-----
DIYHub
Making a shirt t-shirt out of Origami paper
-----
**Hello friends who love hives and art**
-----
Happy to be able to work again in art in this community so that we can still show our abilities through diligent hands and willing to display the latest works with the aim that all of us can study and learn through our work
Regarding art, we can understand that it is not born from lazy people, but must study regularly and carefully, every work you see, having skill is not enough, but experience and knowledge can make what we want.
I learned a lot from my work that everything I make hopes to be neat and good, therefore I try it several times so that everything will appear good and bad from my work itself
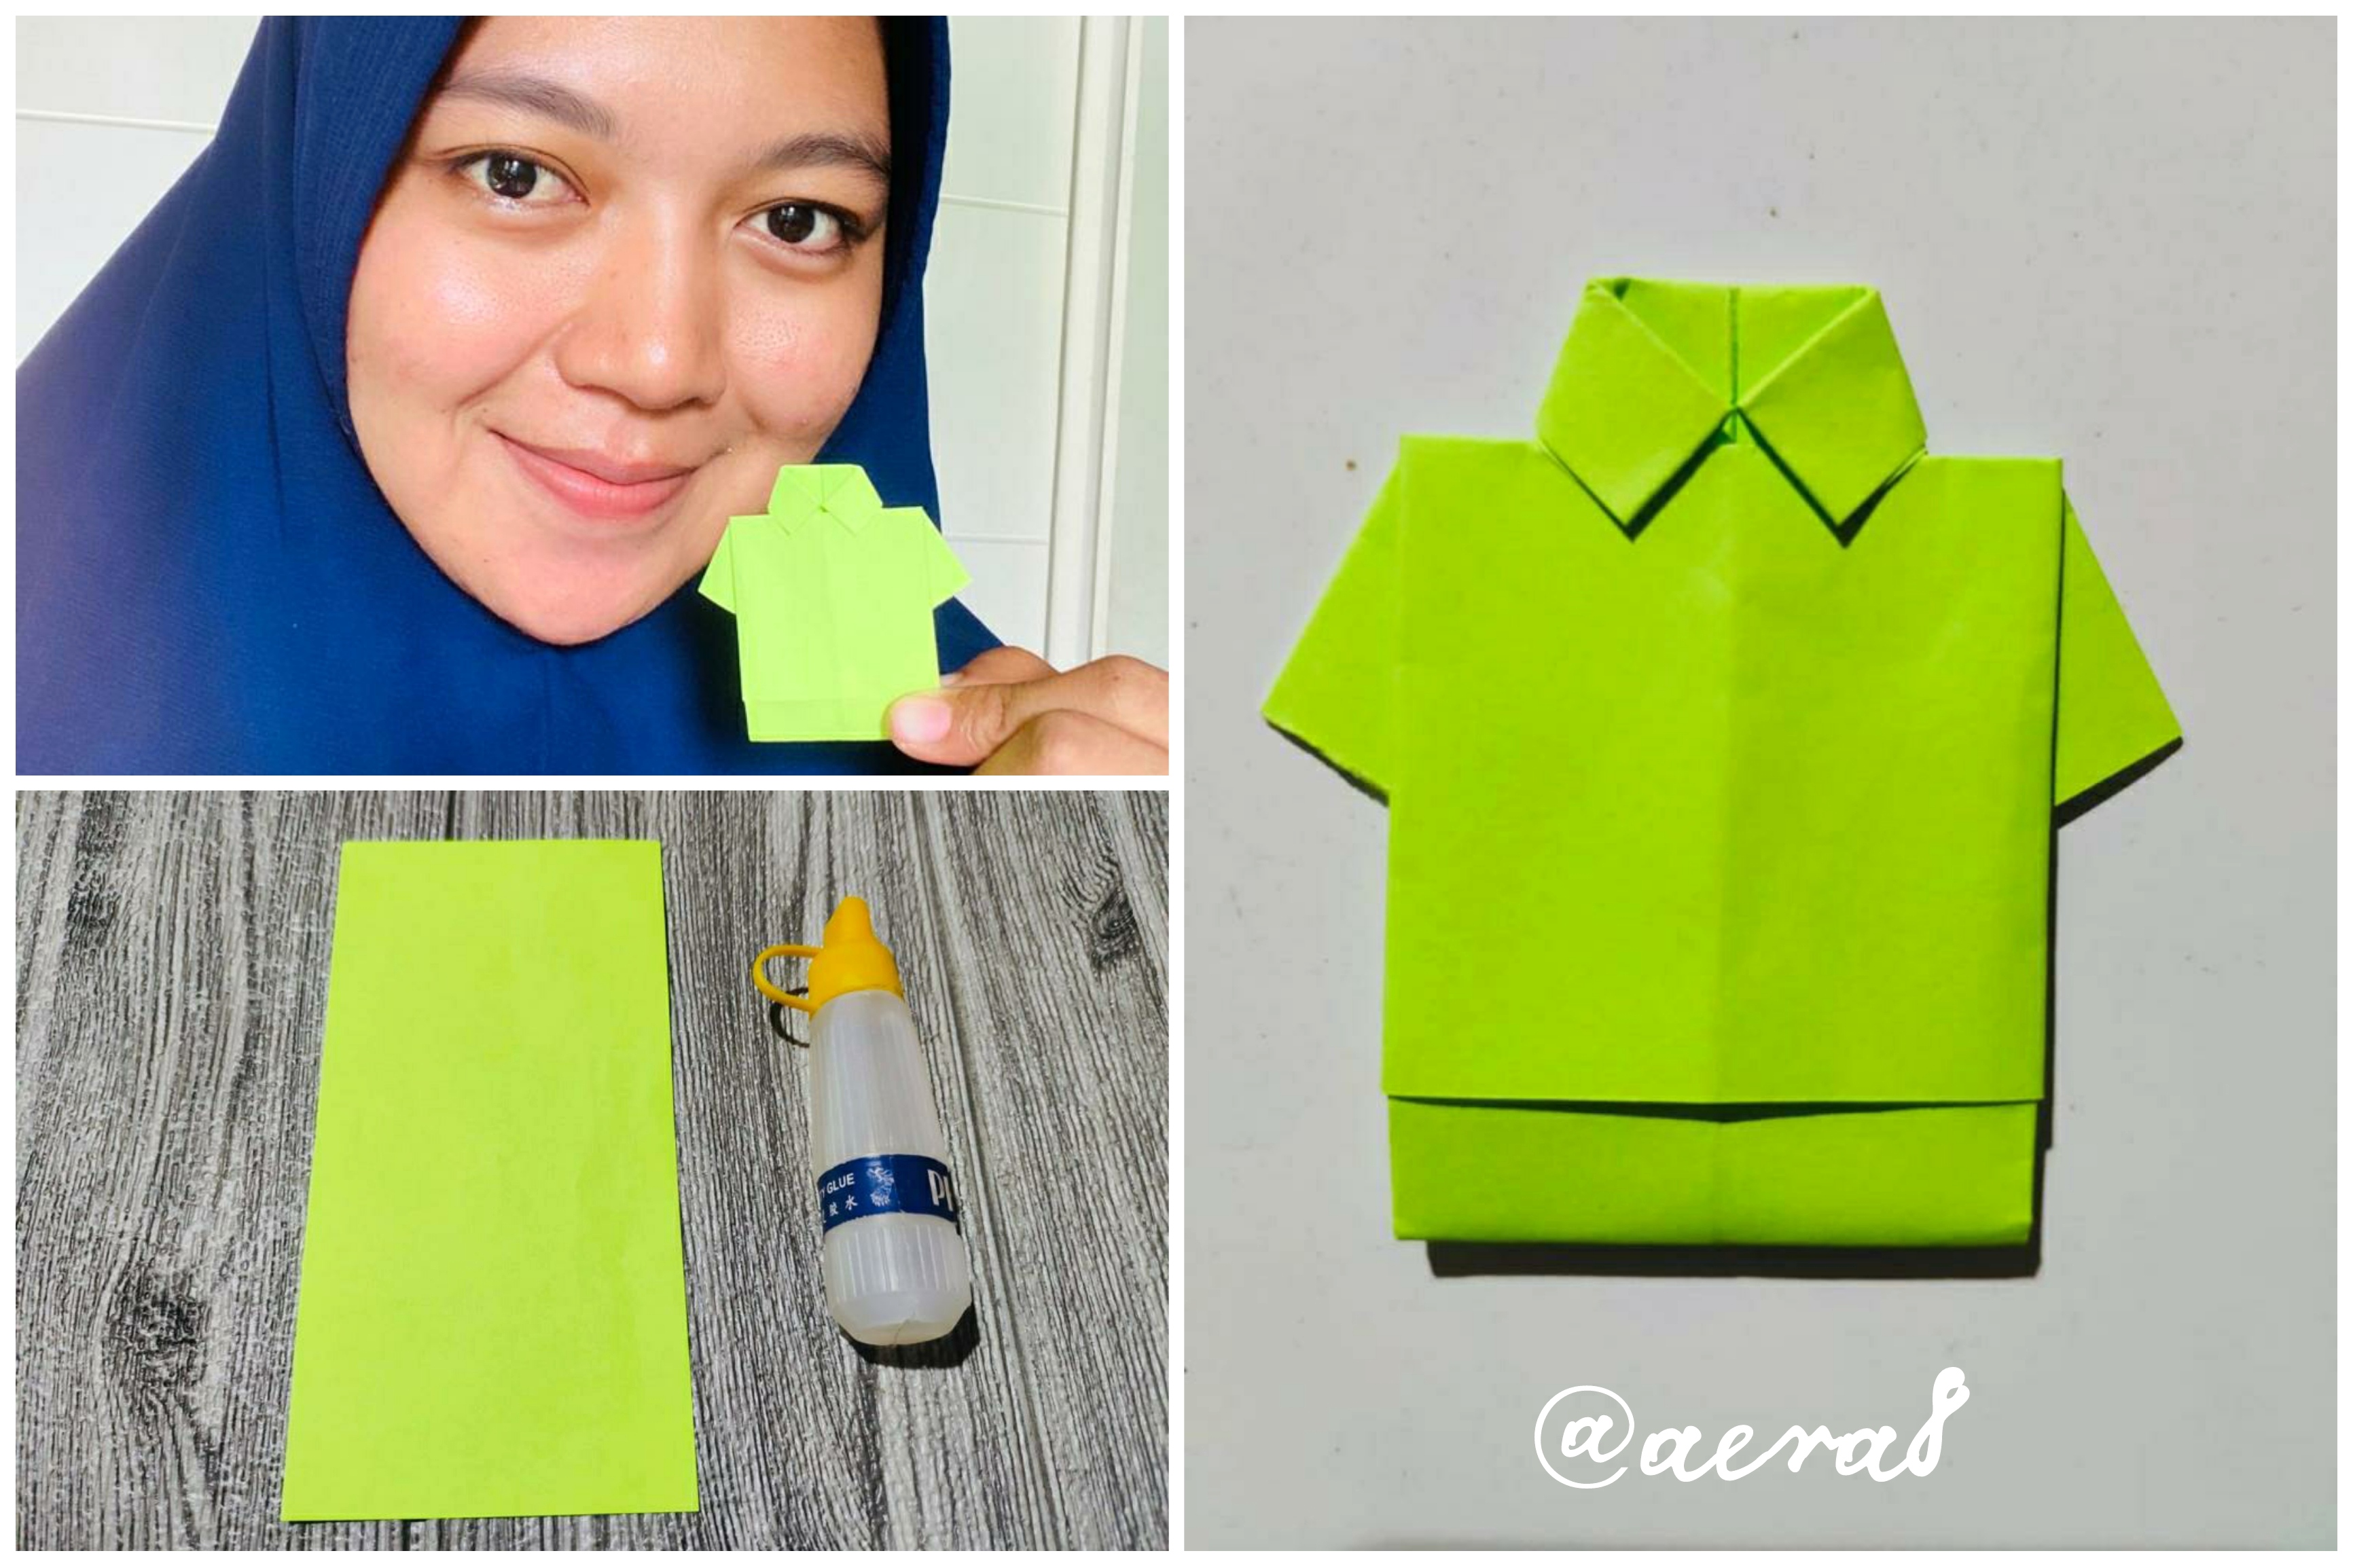
As you can see in the post, I have published a new work, namely making t-shirts from Origami paper and that is the result of my handicrafts and trying to make them as neat as possible so that you will like and be entertained, friends.
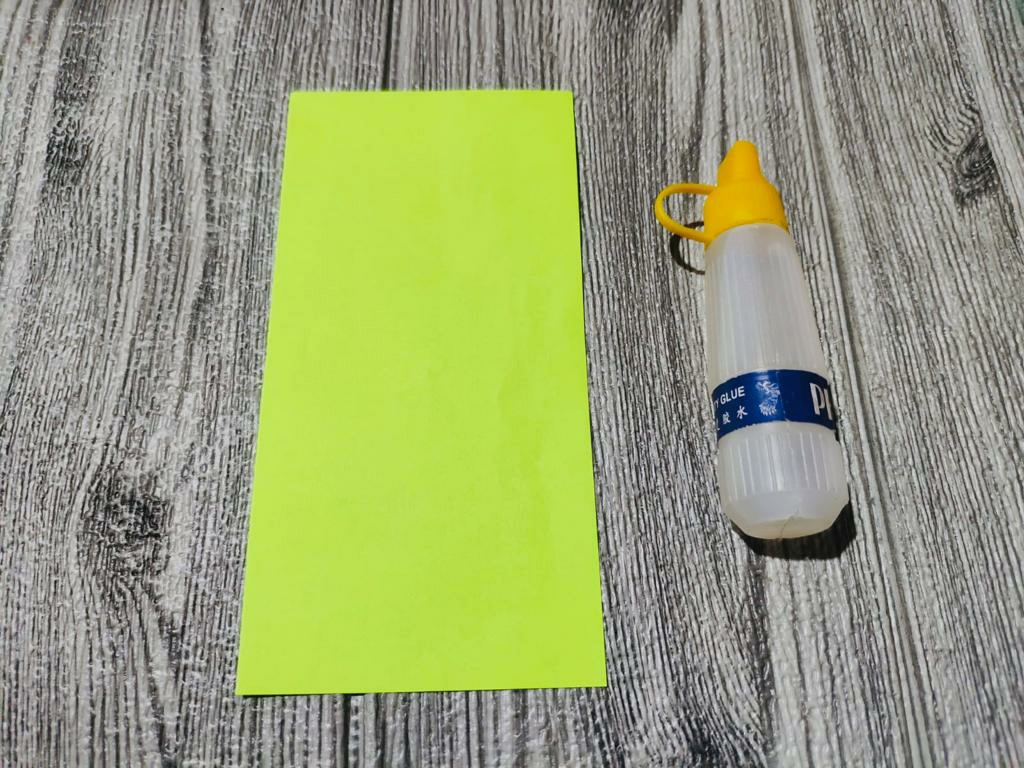
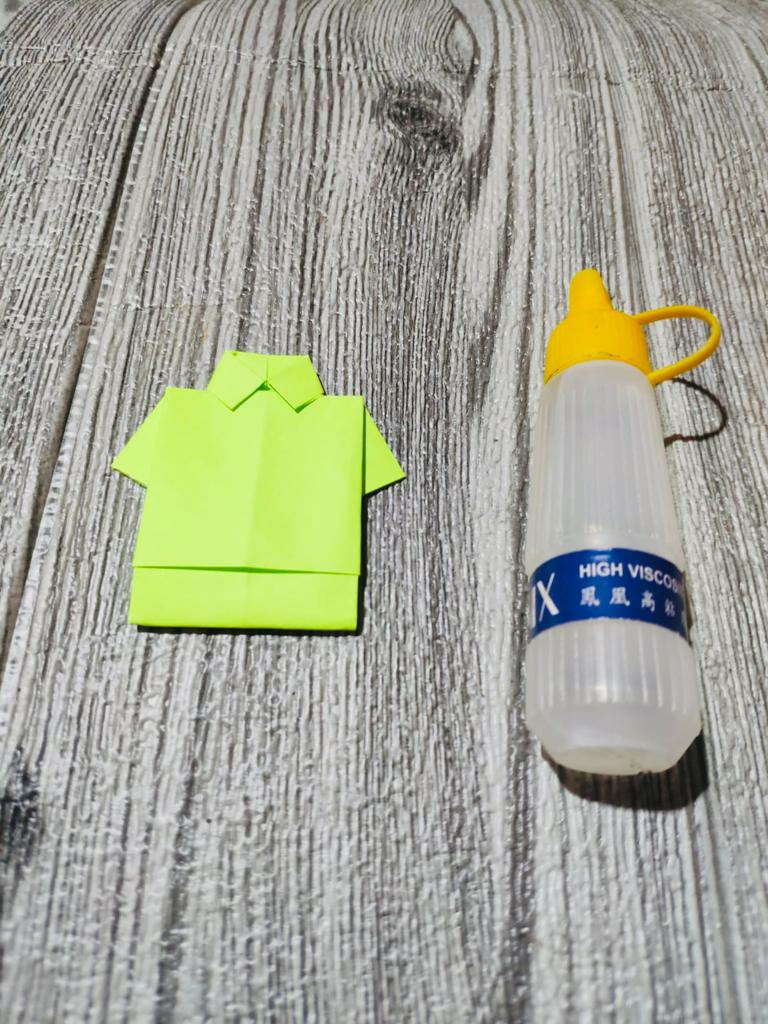
**Here are the materials for making shirt shirts**
* Origami Paper
* Glue
-----
-----
-----
**Here are the steps to make a shirt t-shirt**
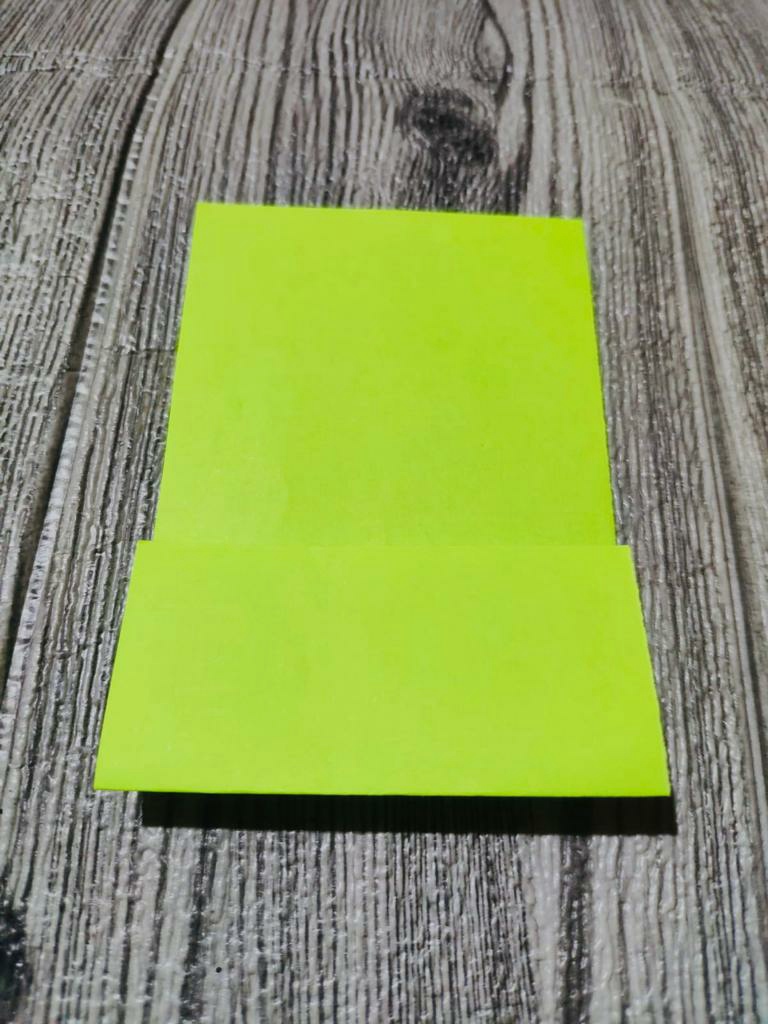
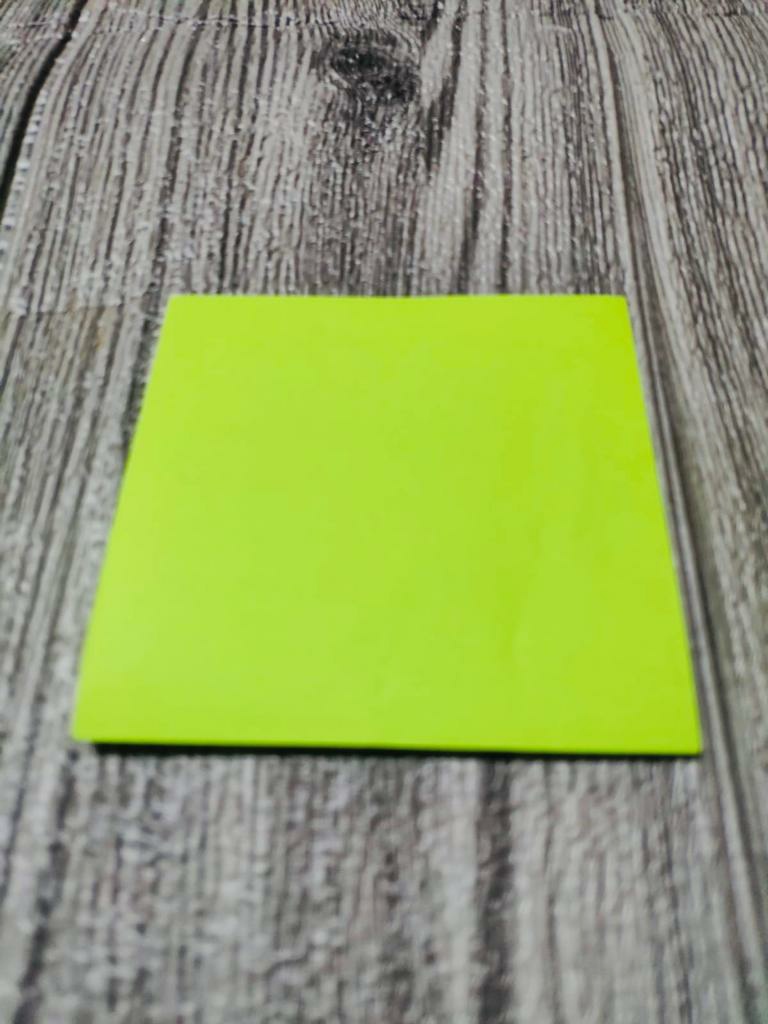
(1) The first step that must be made is to take 16×16 cm Origami paper then fold it in half and take one part, then fold it in half again and fold the top part towards the middle.
|  |  |
|-|-|
-----
-----
-----
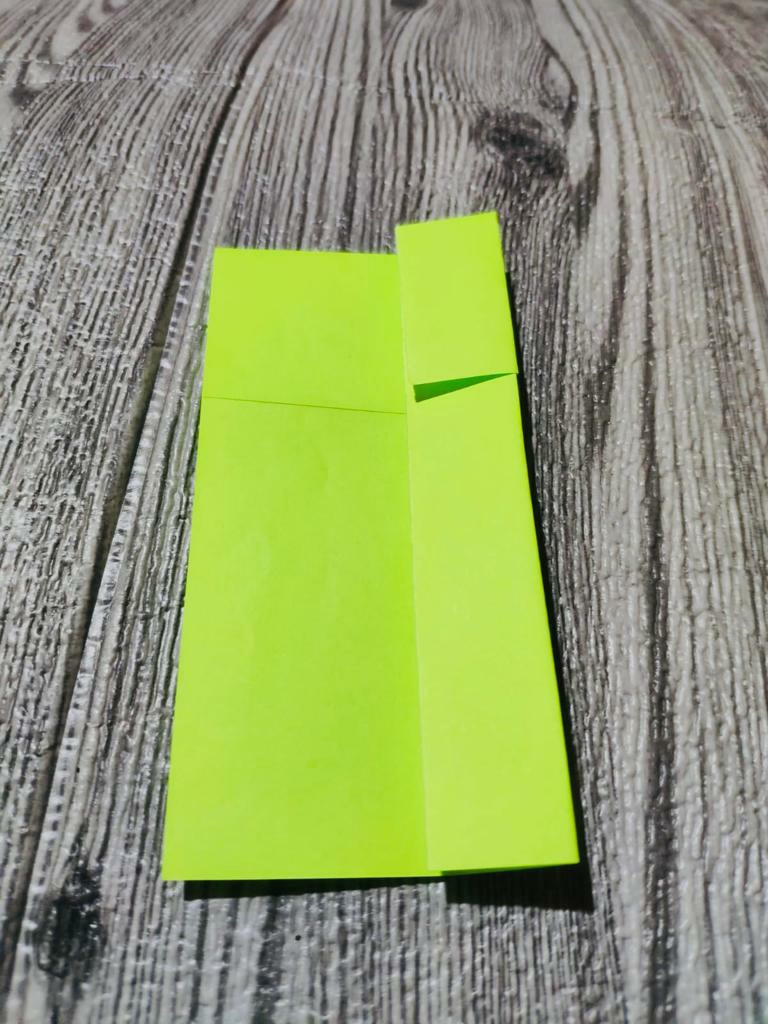
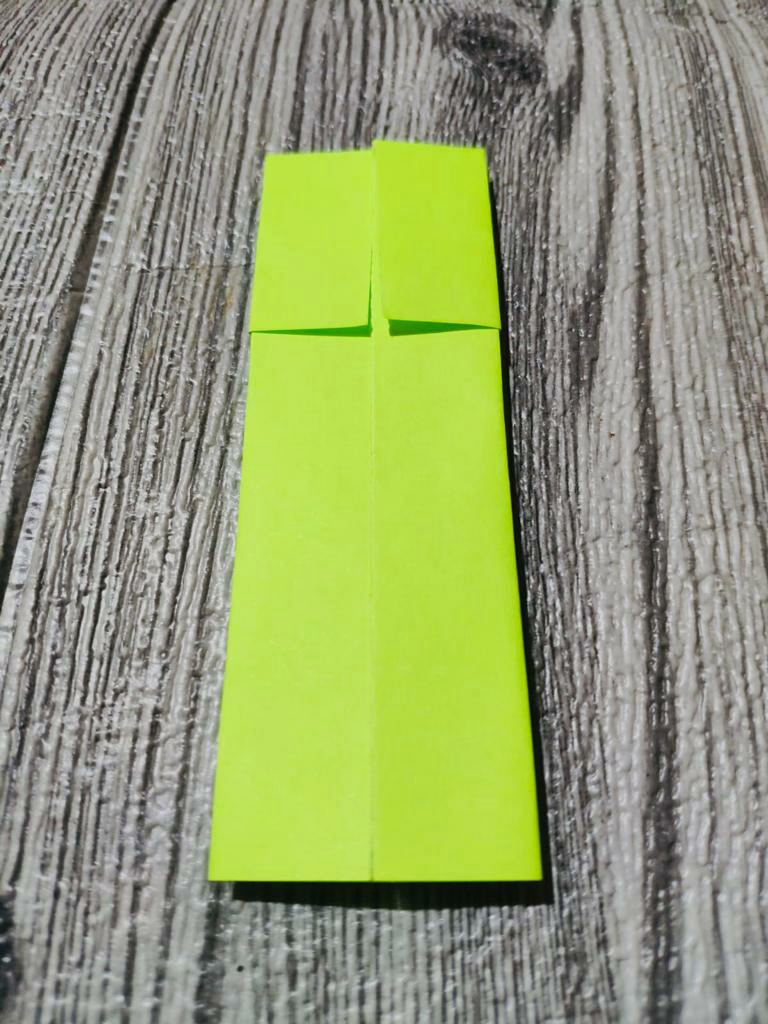
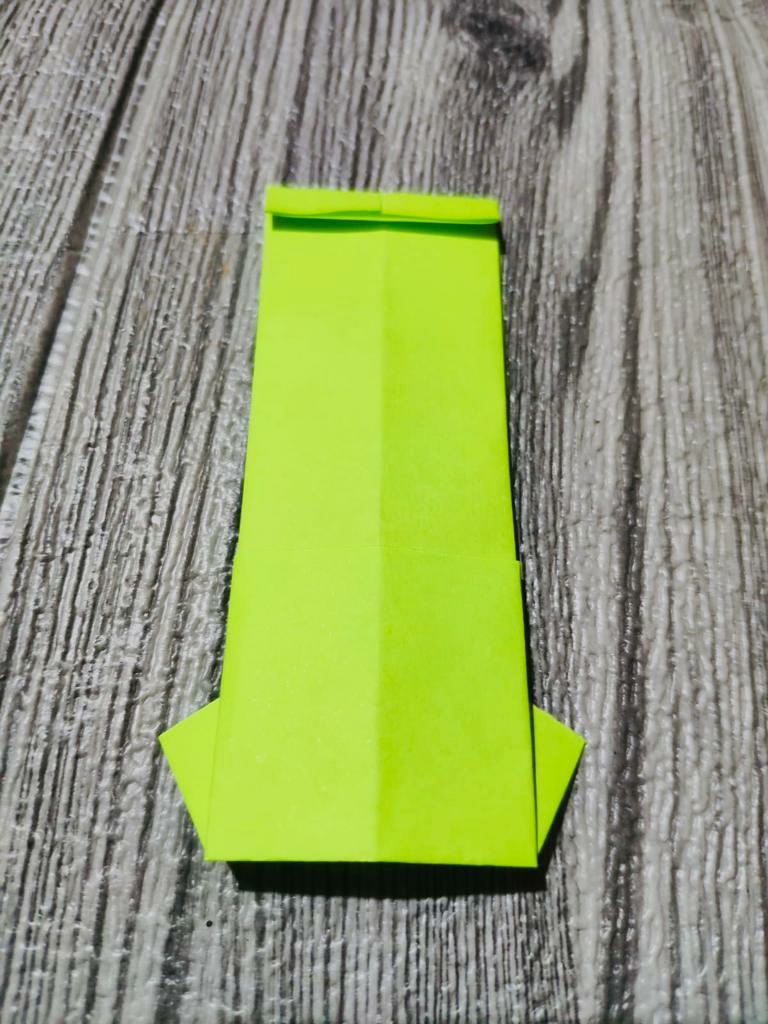
(2) After that, fold it into two parts so that the middle line is visible and it is easy to fold it into the left part to the middle and the right part to the middle
|  |  |  |
|-|-|-|
-----
-----
-----
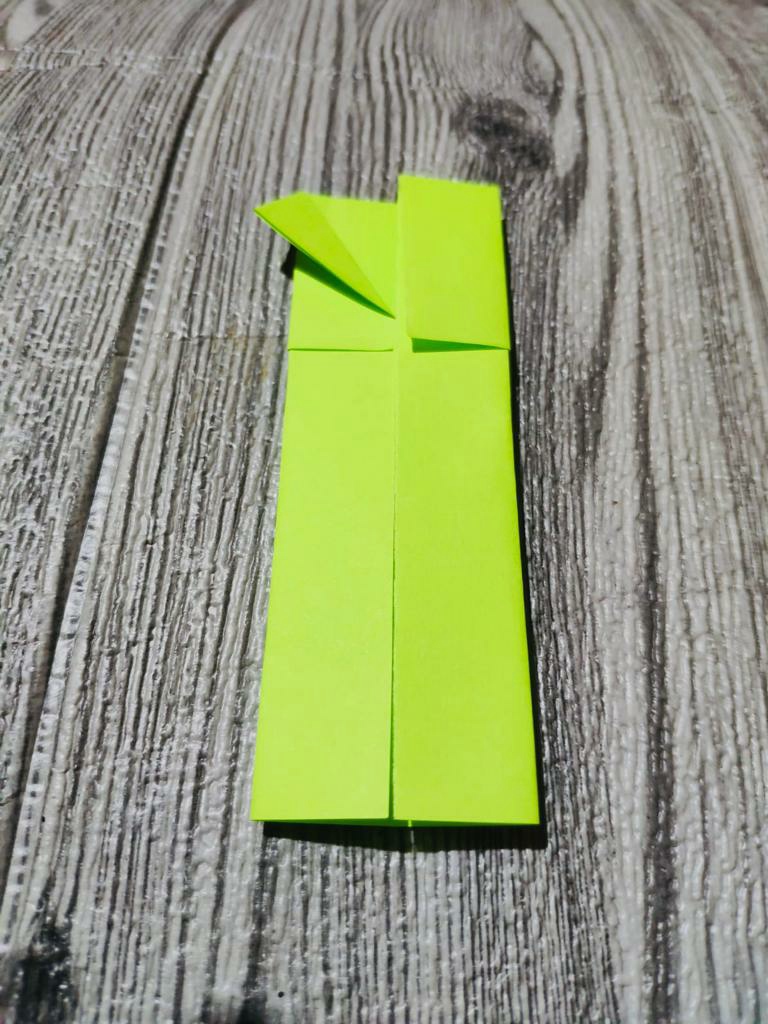
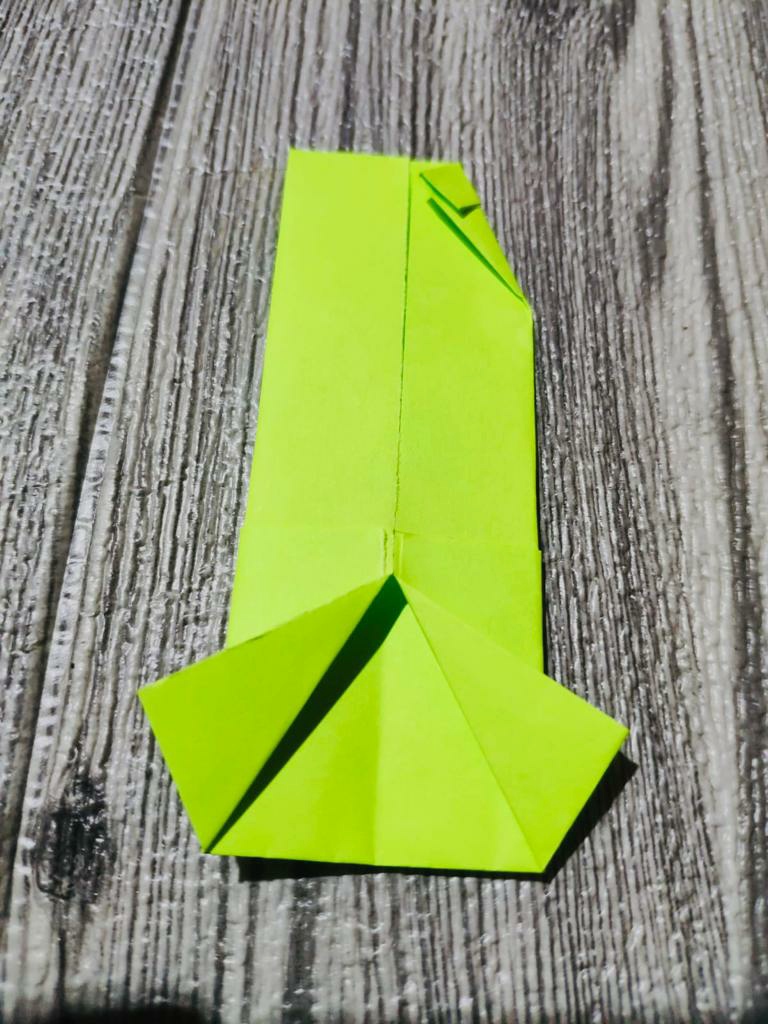
(3) Then fold the top side to the edge in a conical shape so that the right and left triangles are visible and make sure the shapes are parallel so that the shirt is beautiful
|  |  |
|-|-|
-----
-----
-----
(4) After that, turn it to the back of the paper and make it small by folding it inward and this will later become a shirt collar so it's up to you whether you want a large or small collar, in my opinion it's more beautiful and small.
-----
-----
-----
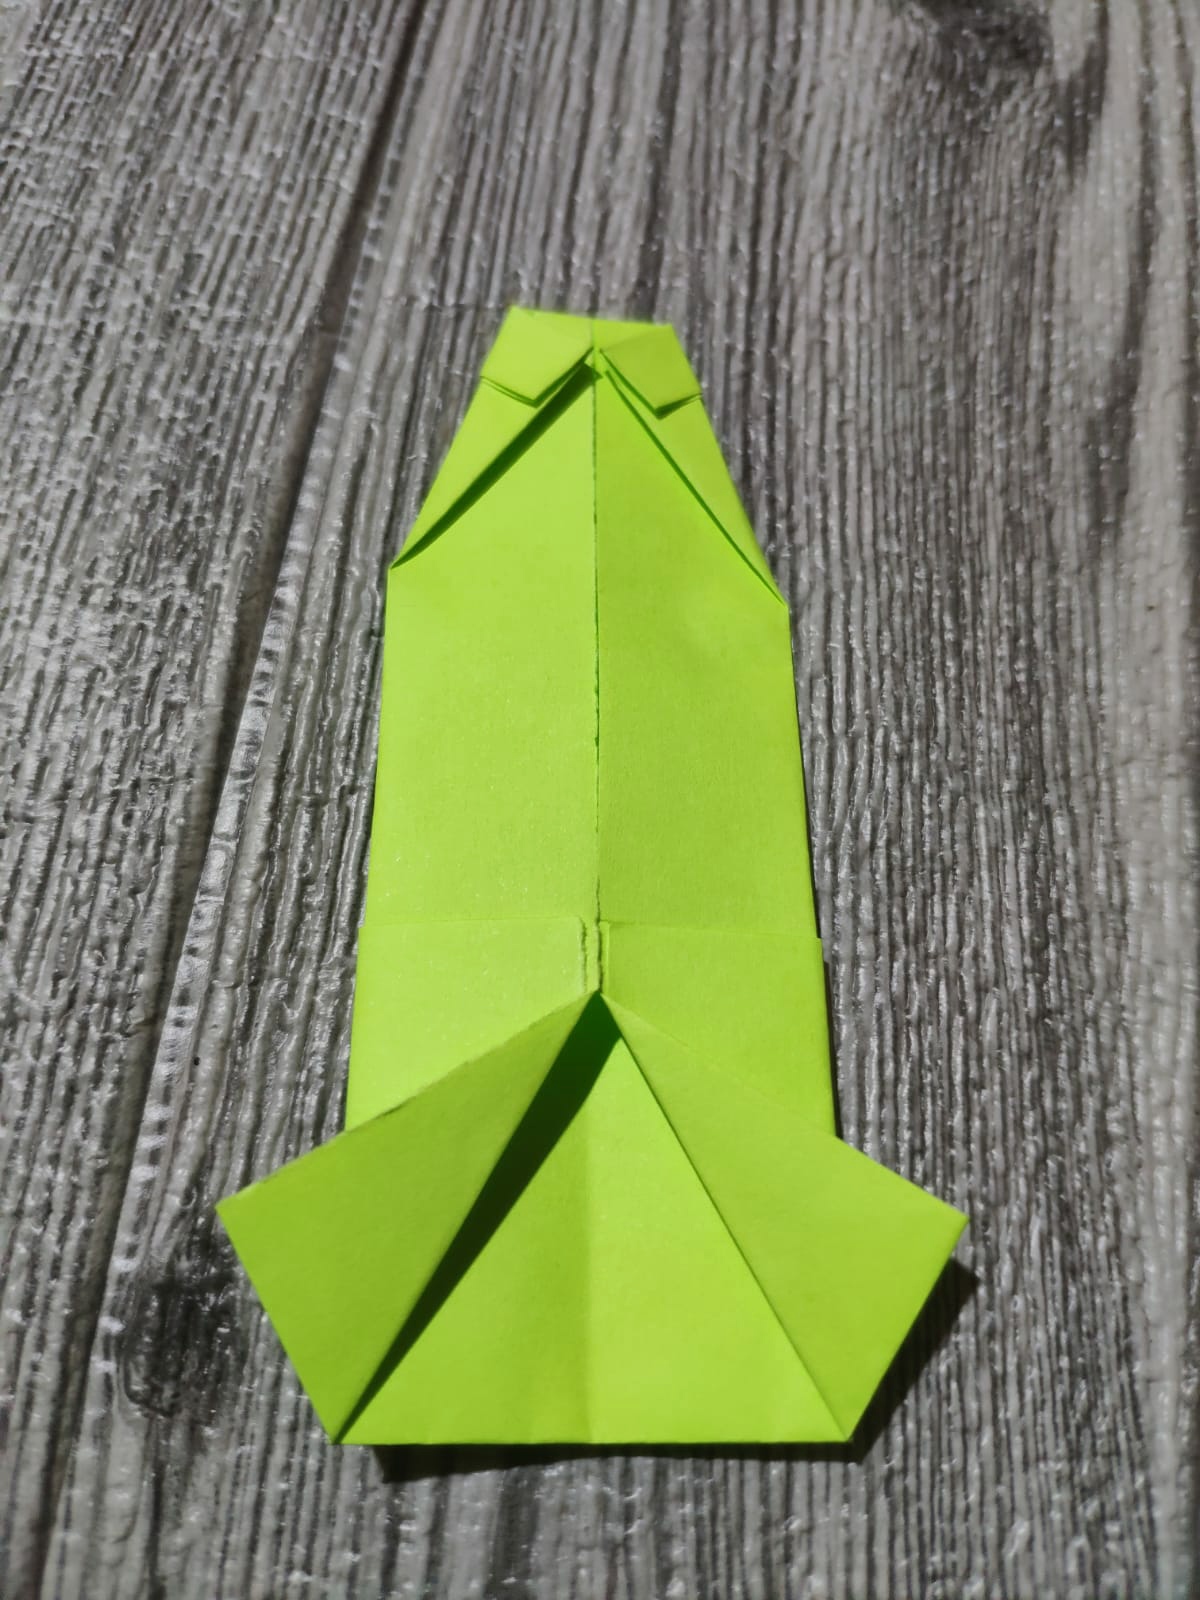
(5) Then fold it in a cone shape downwards and do it parallel to the left and right then form the shirt by folding the bottom up and inserting it under the collar of the shirt
|  |  |  |
|-|-|-|
-----
-----
-----
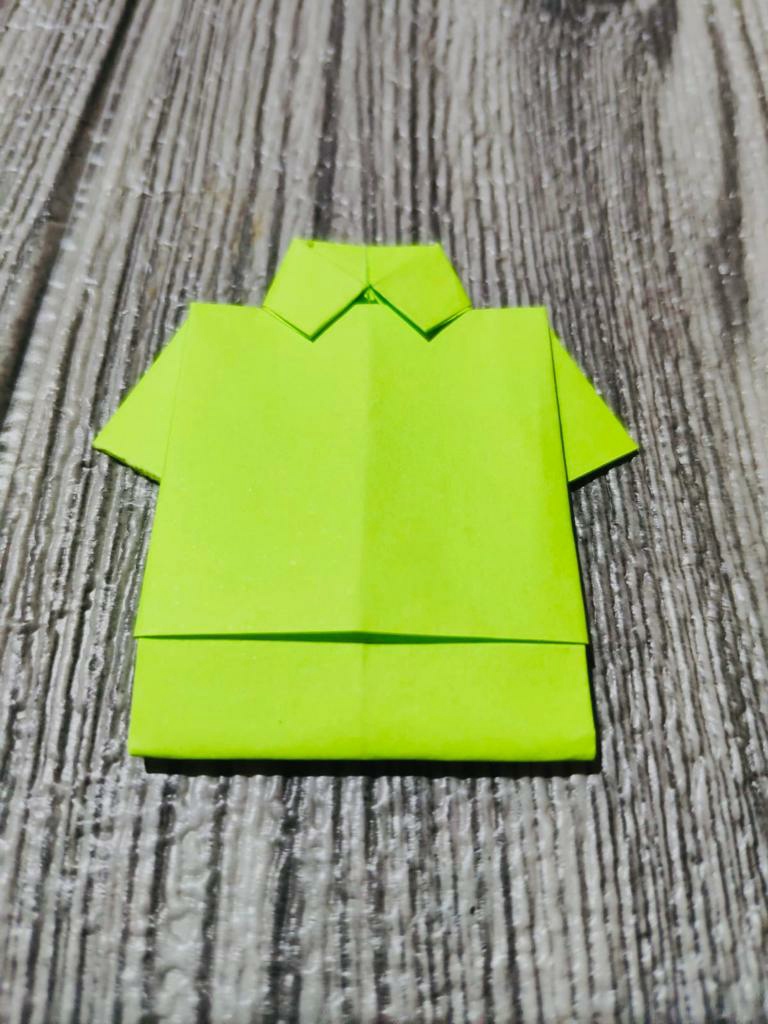
(6) After that, take the glue and trim any loose ends so that the clothes are neat and look like they have been rubbed with an iron
-----
-----
-----
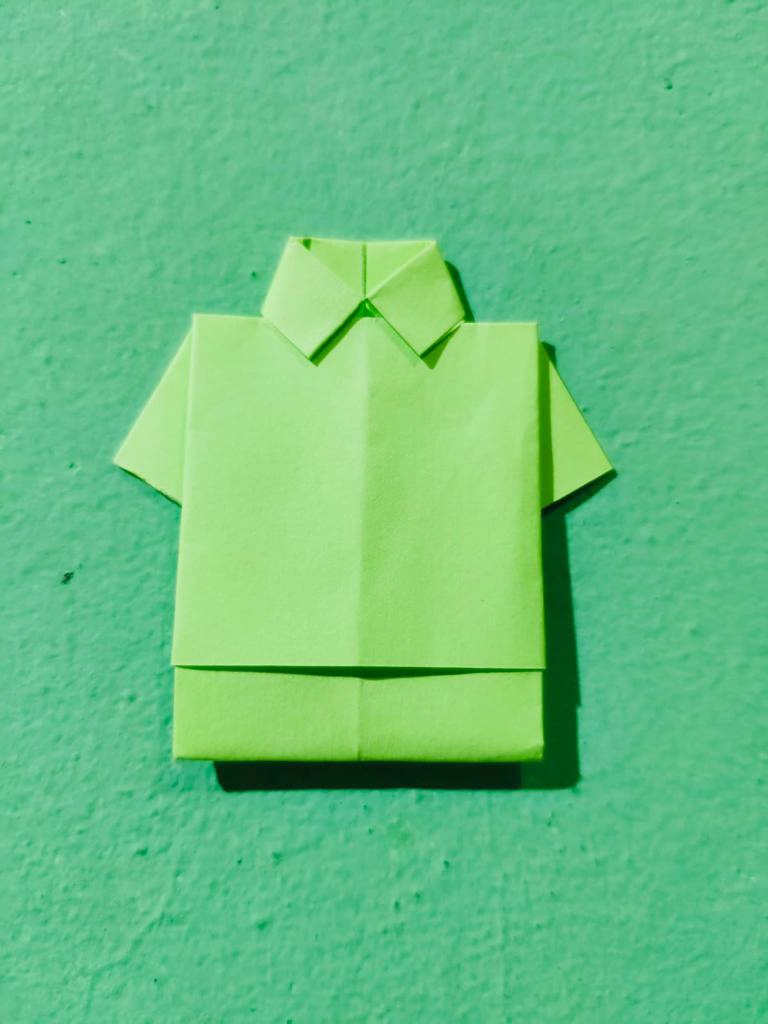
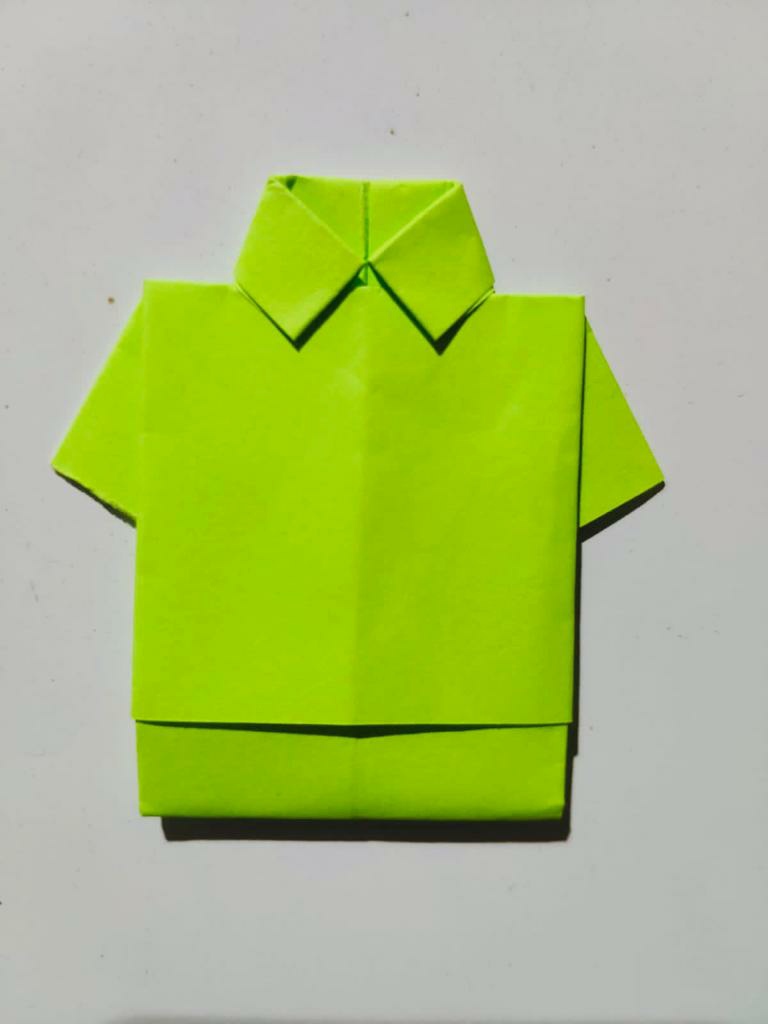
Here are some photos after it is finished
-----
-----
-----
I on occasion chose the color green easily and told me that it was my favorite color because with this color I can see the world brighter so it's natural that my clothes are more of this color than other colors
Maybe some of us have different favorite colors and different choices, so if you like other colors, it's more suitable for you to choose the color of clothes according to your likes. As for the tutorial, you can pay close attention and be careful step by step so that it works.
This is all I can share on this occasion, hopefully the tutorial on making t-shirt shirts can be useful and you like
---

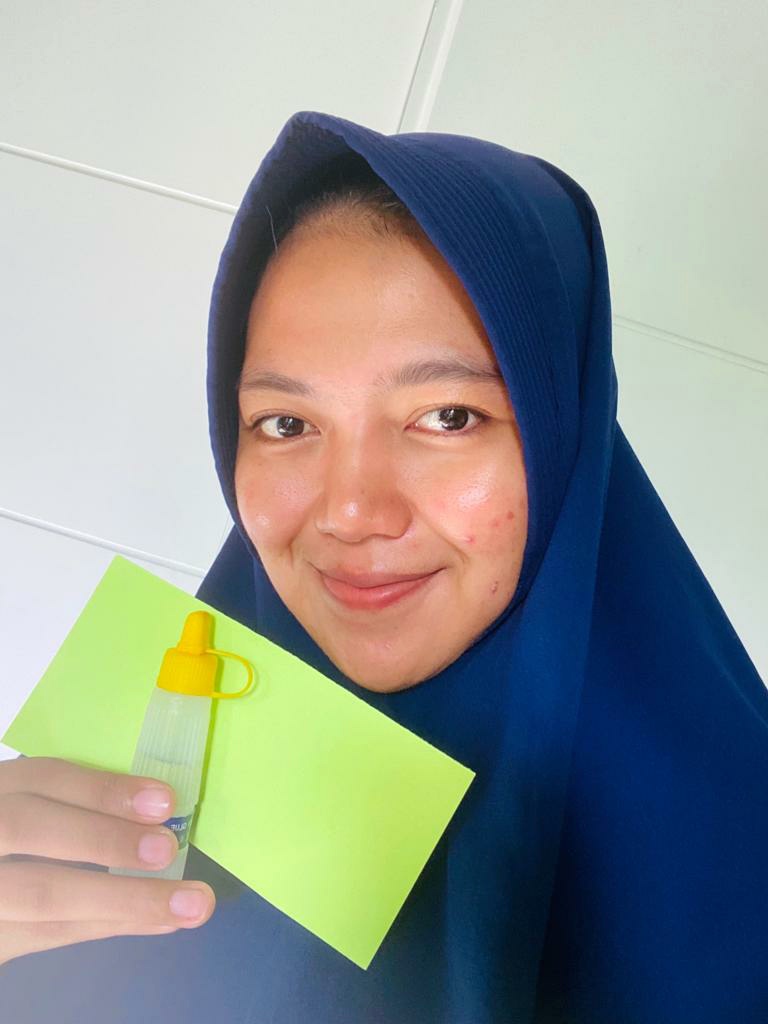
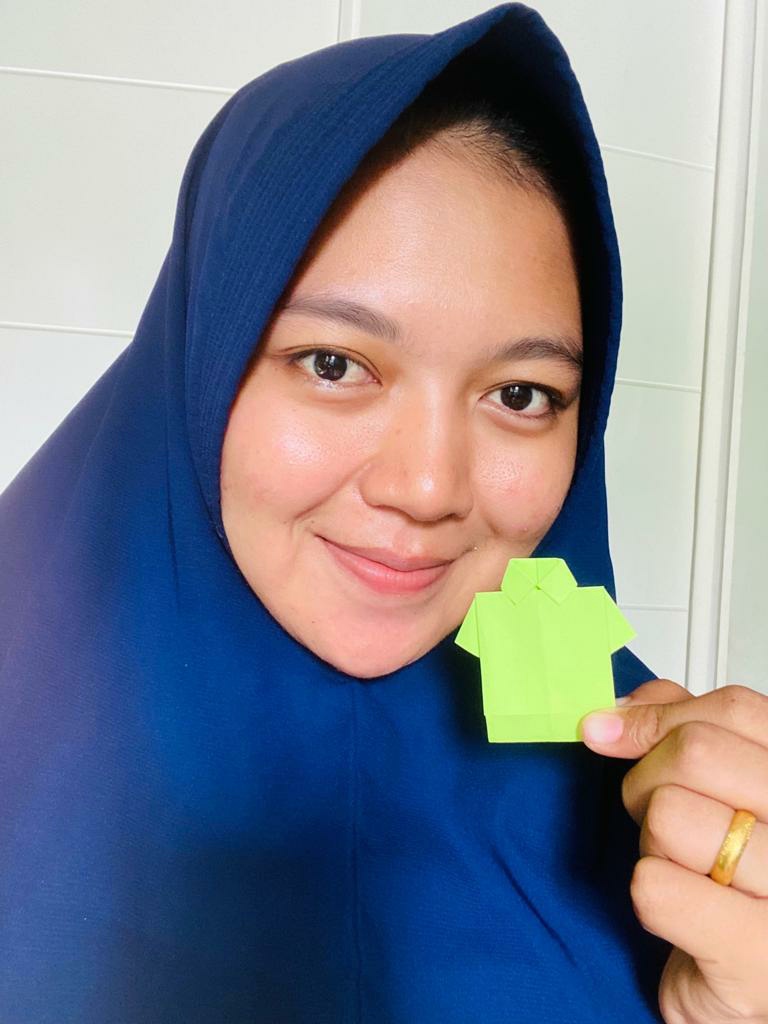
Who is @aera8?
My full name is Aera binti Rasyidi, many friends on the Nest platform call my name Aera, I come from the country of Indonesia which is specifically located in Aceh Province, I was born on 11/13/2001 until now I graduated from high school with an integrated Islamic boarding school education . I like interesting and unique things and I also love food and art and new things, so on this beloved platform I will share cooking tutorials, art, traveling and other interesting things.
###Thank you for your visit
#### Best Regards @aera8
----