Last weekend in Berlin, I visited an Italian pastry shop where a friend of mine works. Their meringues were not only beautiful but also incredibly delicious! I brought some home as souvenirs, and my daughter loved them so much that it even became popular when taken to school as a snack. That’s how we ended up deciding to bake meringues together.
I had made meringues before, but only the small Japanese-style ones, and they never turned out quite right. When I mentioned this to my friend, she shared a few tips: “Think of it as drying rather than baking. For large, thick meringues it can easily take two hours or more. And if you add a little cornstarch, they’ll come out crispier.”
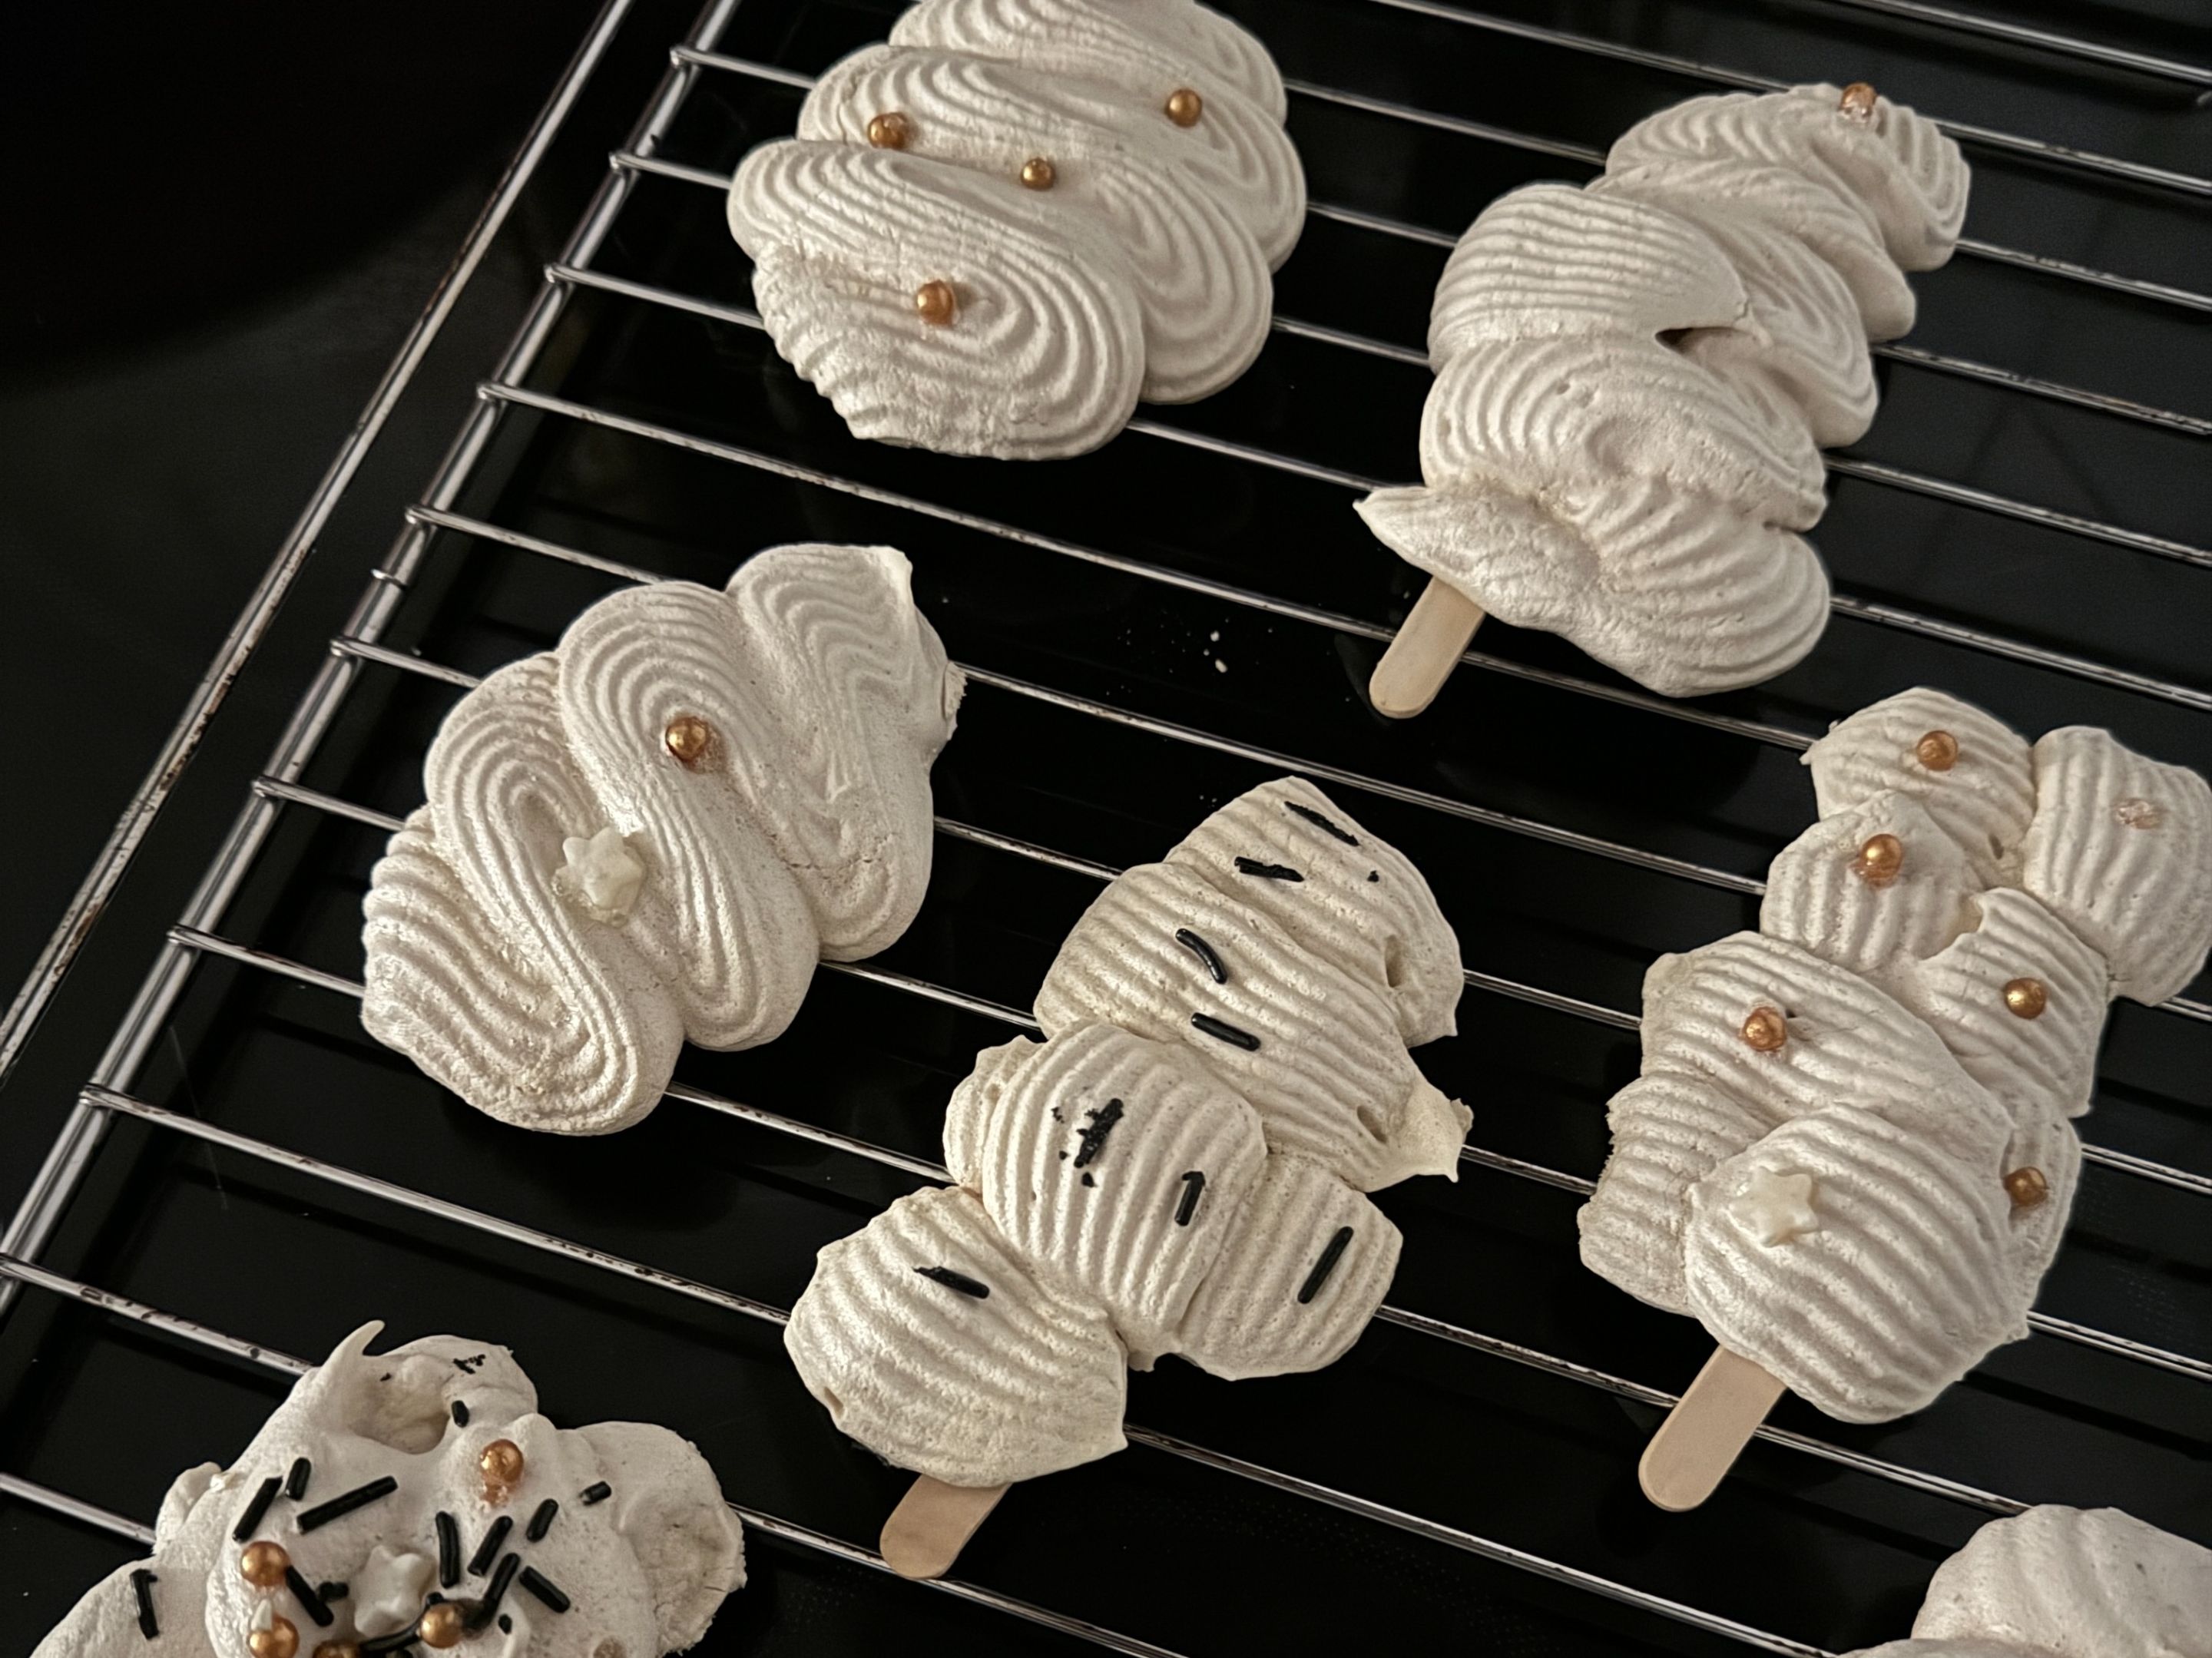
We went out to buy a piping tip that could make nice thick swirls, looked through some recipes, and combined them with my friend’s advice. This time it finally worked! Here’s my note for next time.
Ingredients
- 2 egg whites
- A few drops of lemon juice
- 100 g sugar
- 2 tsp cornstarch
Method
- Whip the egg whites until slightly foamy, add the lemon juice, and continue beating on high speed for 5–6 minutes.
- Add the sugar in three parts, beating well after each addition until the meringue is glossy and firm.
- Sift in the cornstarch and gently fold it in.
- Pipe onto a baking sheet lined with parchment paper.
- Bake (or rather, dry) at 100°C with the fan on, keeping an eye on them until crisp.
Looking back, my earlier attempts failed because I didn’t whip long enough and didn’t bake them for nearly as long as needed.
Now I see so many fun piping and coloring ideas online, and my daughter is eager to keep experimenting, so it looks like the meringue boom will continue in our house for a while.
While searching for piping tips, I also found some that my mother had sent me years ago when she was still well.
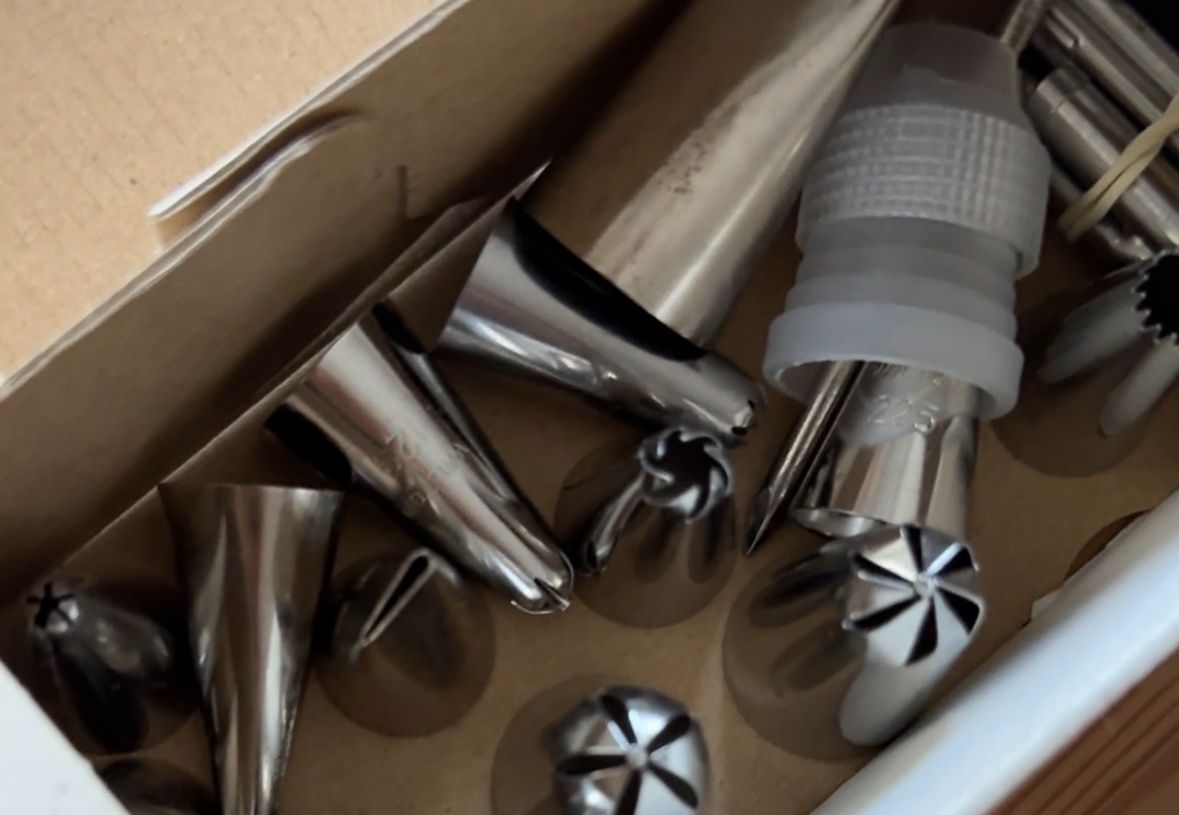
They were those I asked her to send me as a birthday gift to practice buttercream piping. They are in the box of her favorite baking supply store. Seeing those tips again brought back memories. When the weather cools down a bit, I’d love to start practicing again with my daughter.
Happy baking!
先週末に訪れたベルリンで、友人が働いているイタリアのお菓子屋さんのメレンゲが美しくておいしいのなんのって!お土産に買って帰ったら、特に子供が気に入って、学校に持っていくおやつにも入れてあげたら人気者だったようで、一緒に作ることになりました。
私はメレンゲを作ったことはあるものの、日本の小さなメレンゲを作ったことがあるだけで、なんか上手く行ったことがないんですよね。そんな話を友人にしたら「しっかり焼くというか乾かす、大きい厚みのあるものだと普通に2時間、それ以上かかることもある」「コーンスターチを入れるとサクッと仕上がる」とコツを教えてくれました。
太くきれいに出そうな口金を買いに行って、いろいろなレシピを見て、友人のアドバイスをとりいれて焼いてみたらできました!メモを残しておこうと思います。
材料
- 卵白 2個
- レモン 3滴ほど
- 砂糖 100g
- コーンスターチ 小さじ2
作り方
- 卵白を泡立てて、少し泡立ってきた所でレモンを3滴加えて、5-6分間、高速で泡だてます
- 砂糖を3回に分けて加えて、都度あわだててピカピカに光るメレンゲに仕上げます
- ふるったコーンスターチを加えてさっくり混ぜます
- 絞りがねでベーキングペーパーを敷いた天板にしぼっていきます
- ファンを回して100度のオーブンで様子を見つつ、焼きます(乾かします)
以前の私の作り方を振り返ってみると、泡立てが短すぎだったのと、焼き時間が短すぎだったのがうまくいかなかった原因のようです。インターネットにはいろいろおもしろい絞り方をしたメレンゲがたくさん出ていて、子供もまだまだ試したいようで、しばらくメレンゲブームが続きそうです。
口金を探していて、久しぶりに製菓用品を入れていた箱を開けたら、母が元気な頃に日本から送ってくれた口金が出てきて、しんみりしてしまいました。バタークリーム絞りに凝ったことがあったんですよね。もう少し気温が下がったら練習を再開したいなと思いました。