Hello friends and crochet lovers! I hope you're all doing very well 😁
It's been several months since I last posted in this community because I've had much less time to crochet. And it's true, I missed it a bit! With winter approaching and me having some yarn on hand, I decided to make a sweater.
Last year, I tried making a cardigan with this slightly chunky yarn. But it was a real flop; I even shared my bad experience with you…
So, this year, I decided to do better and create a sweater without a specific pattern. And since I think it turned out quite well, I'm going to share the steps I followed to make it:
Materials
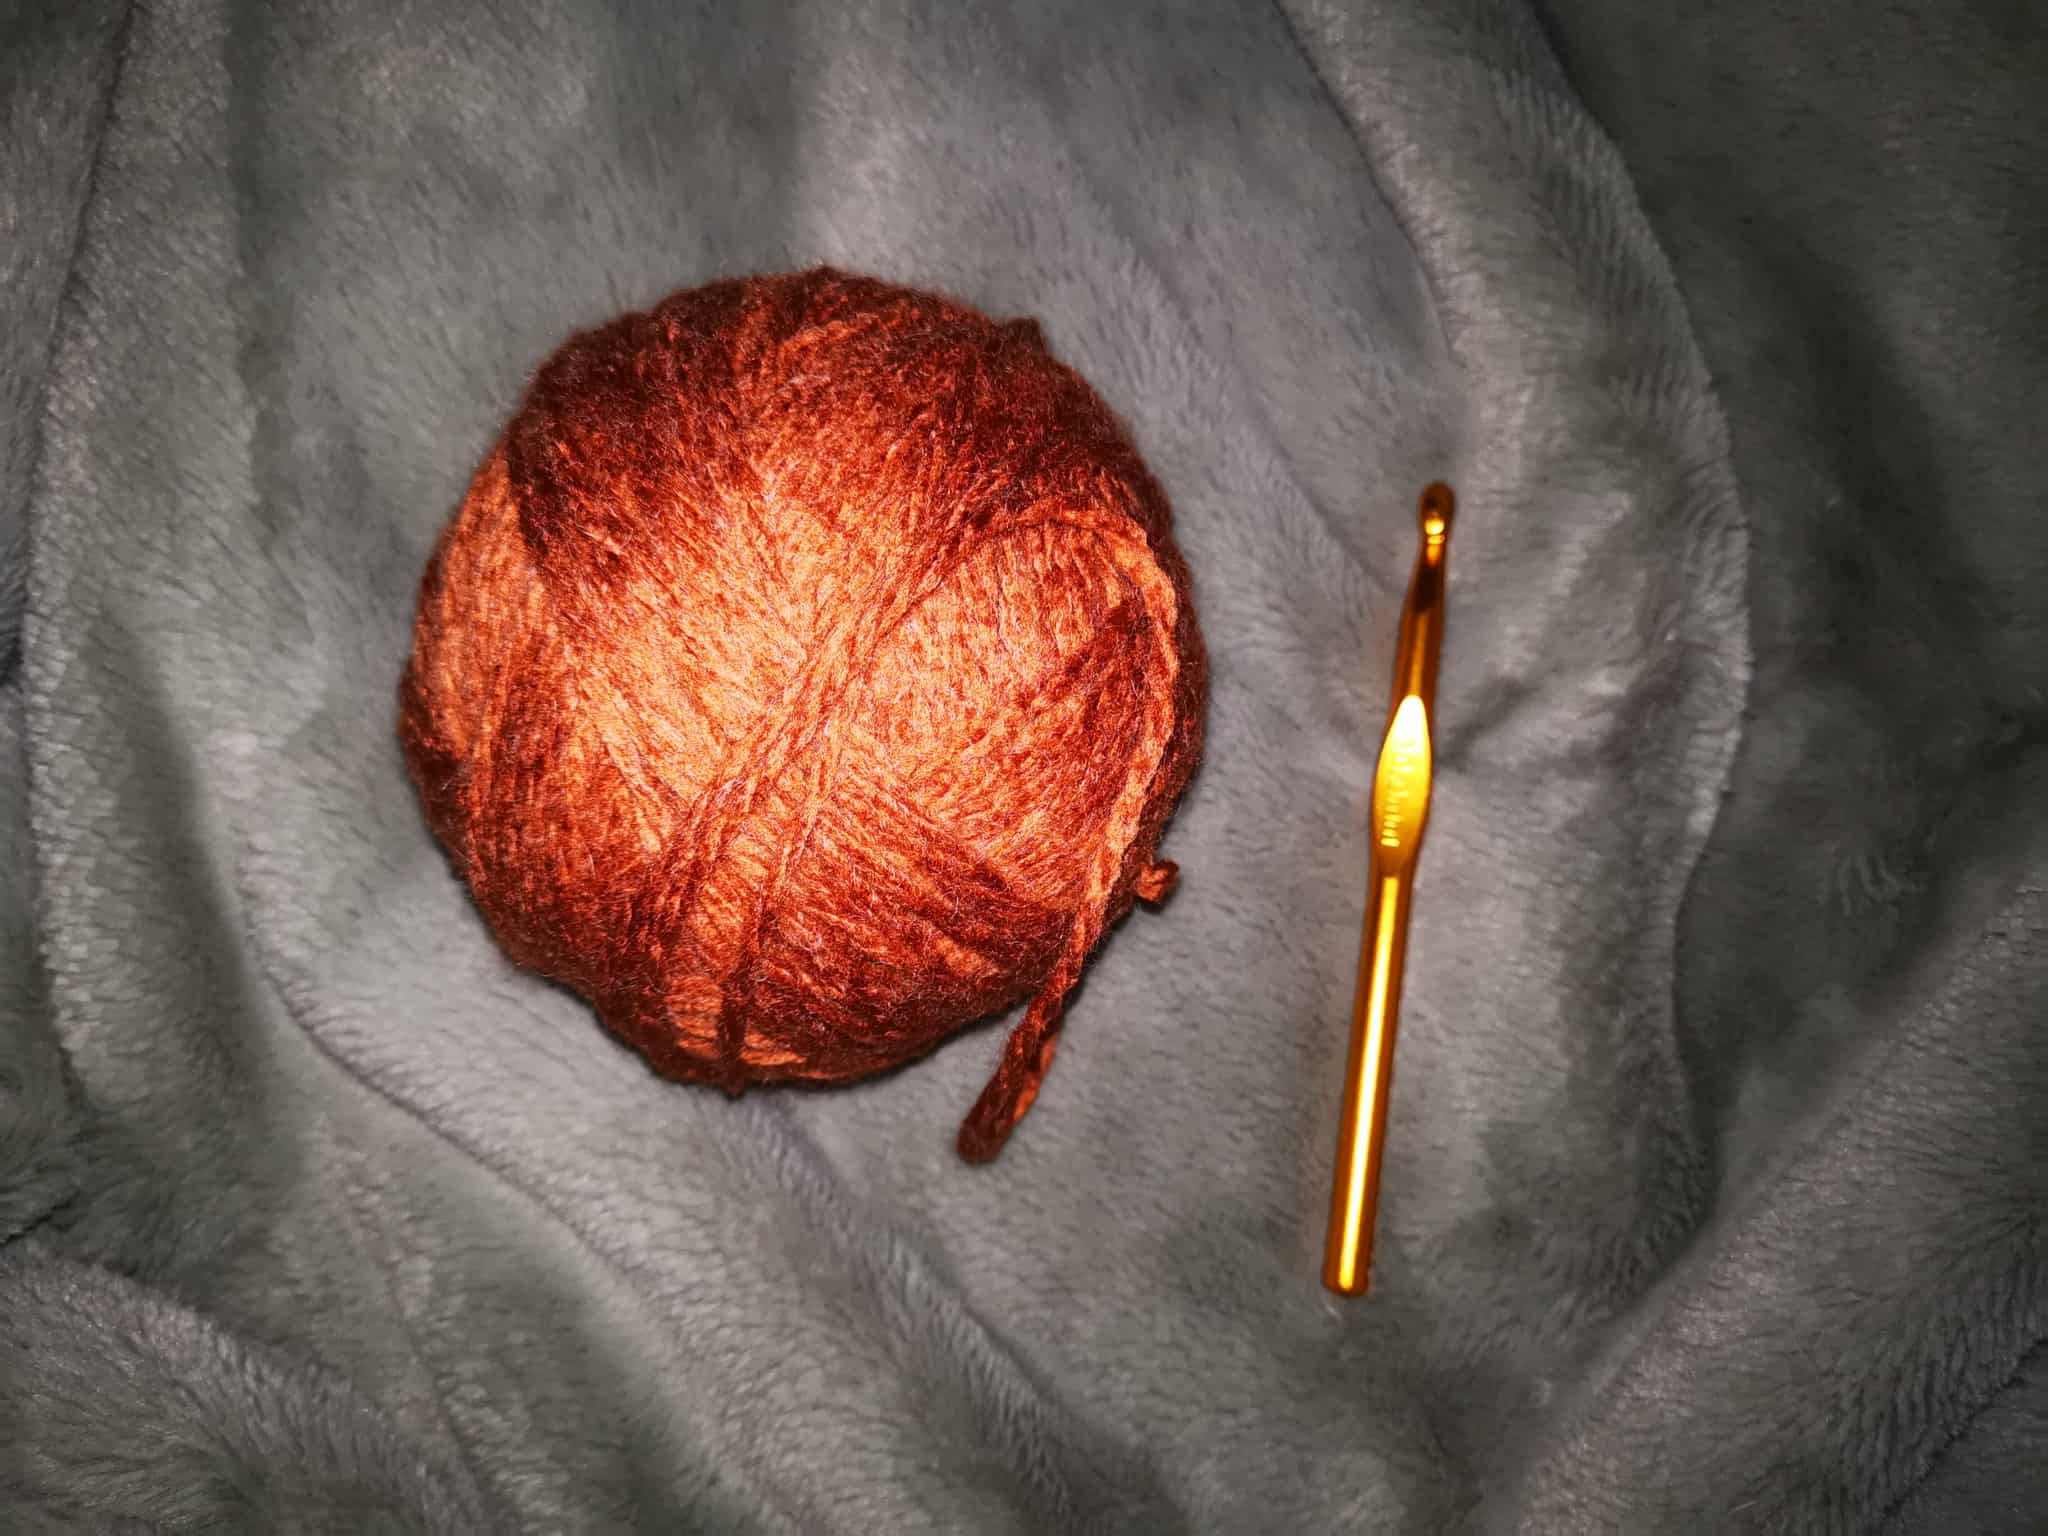
- 6 balls of chunky yarn;
- A 10mm crochet hook.
The Making Steps
I started with the two panels: the front and the back. They are two identical panels.
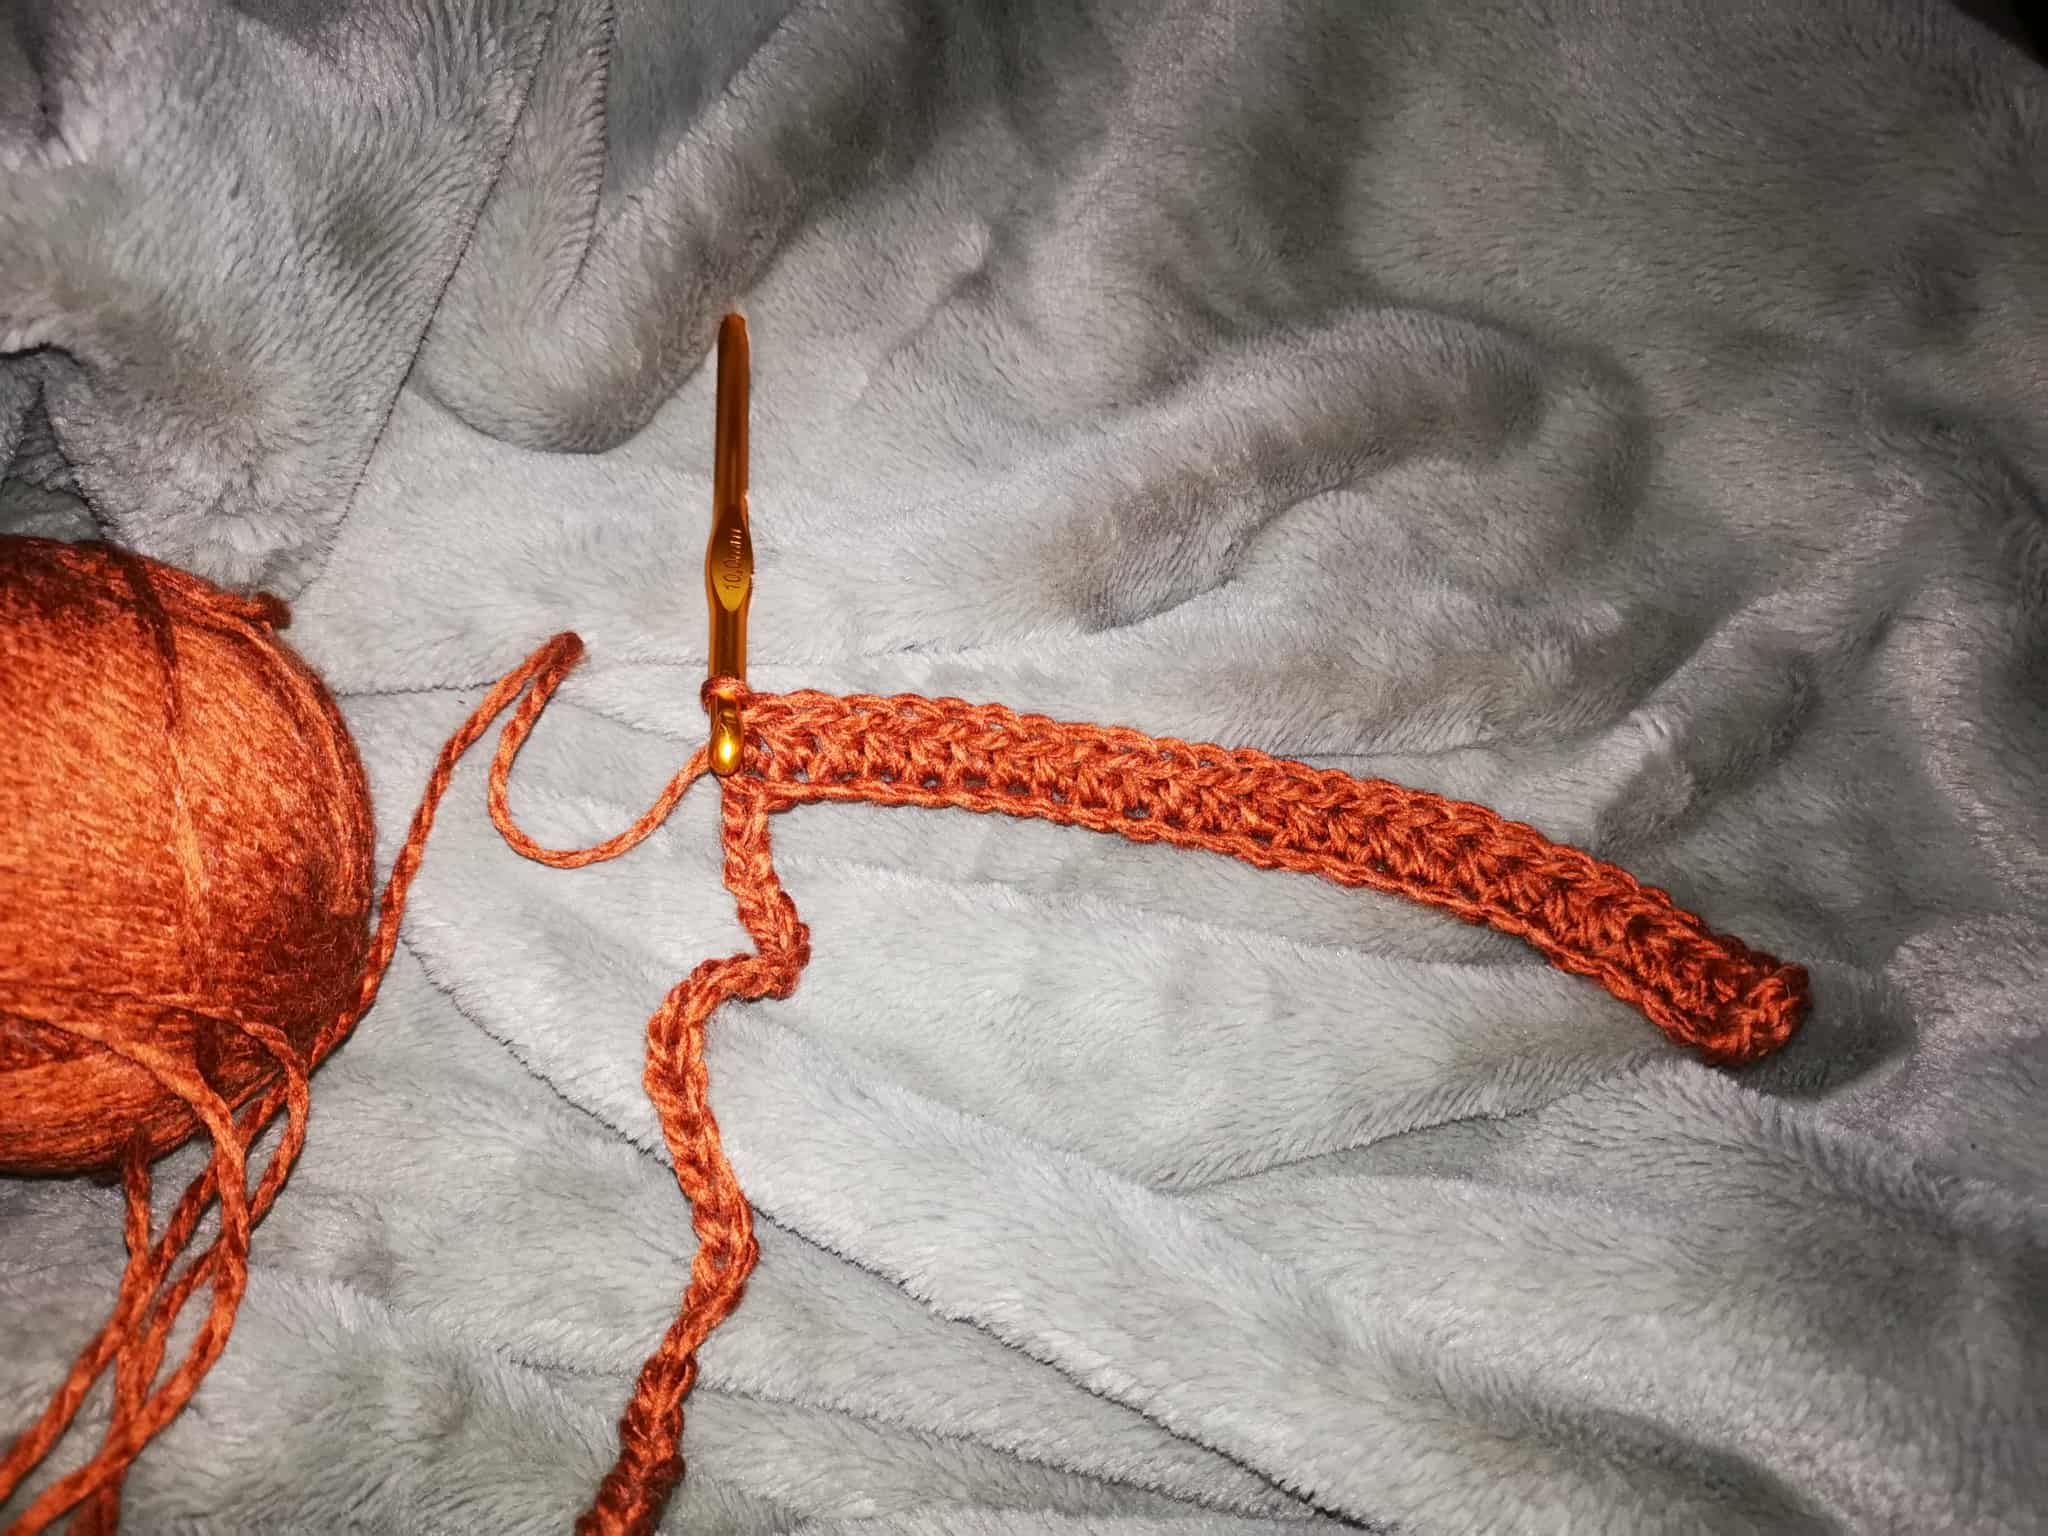
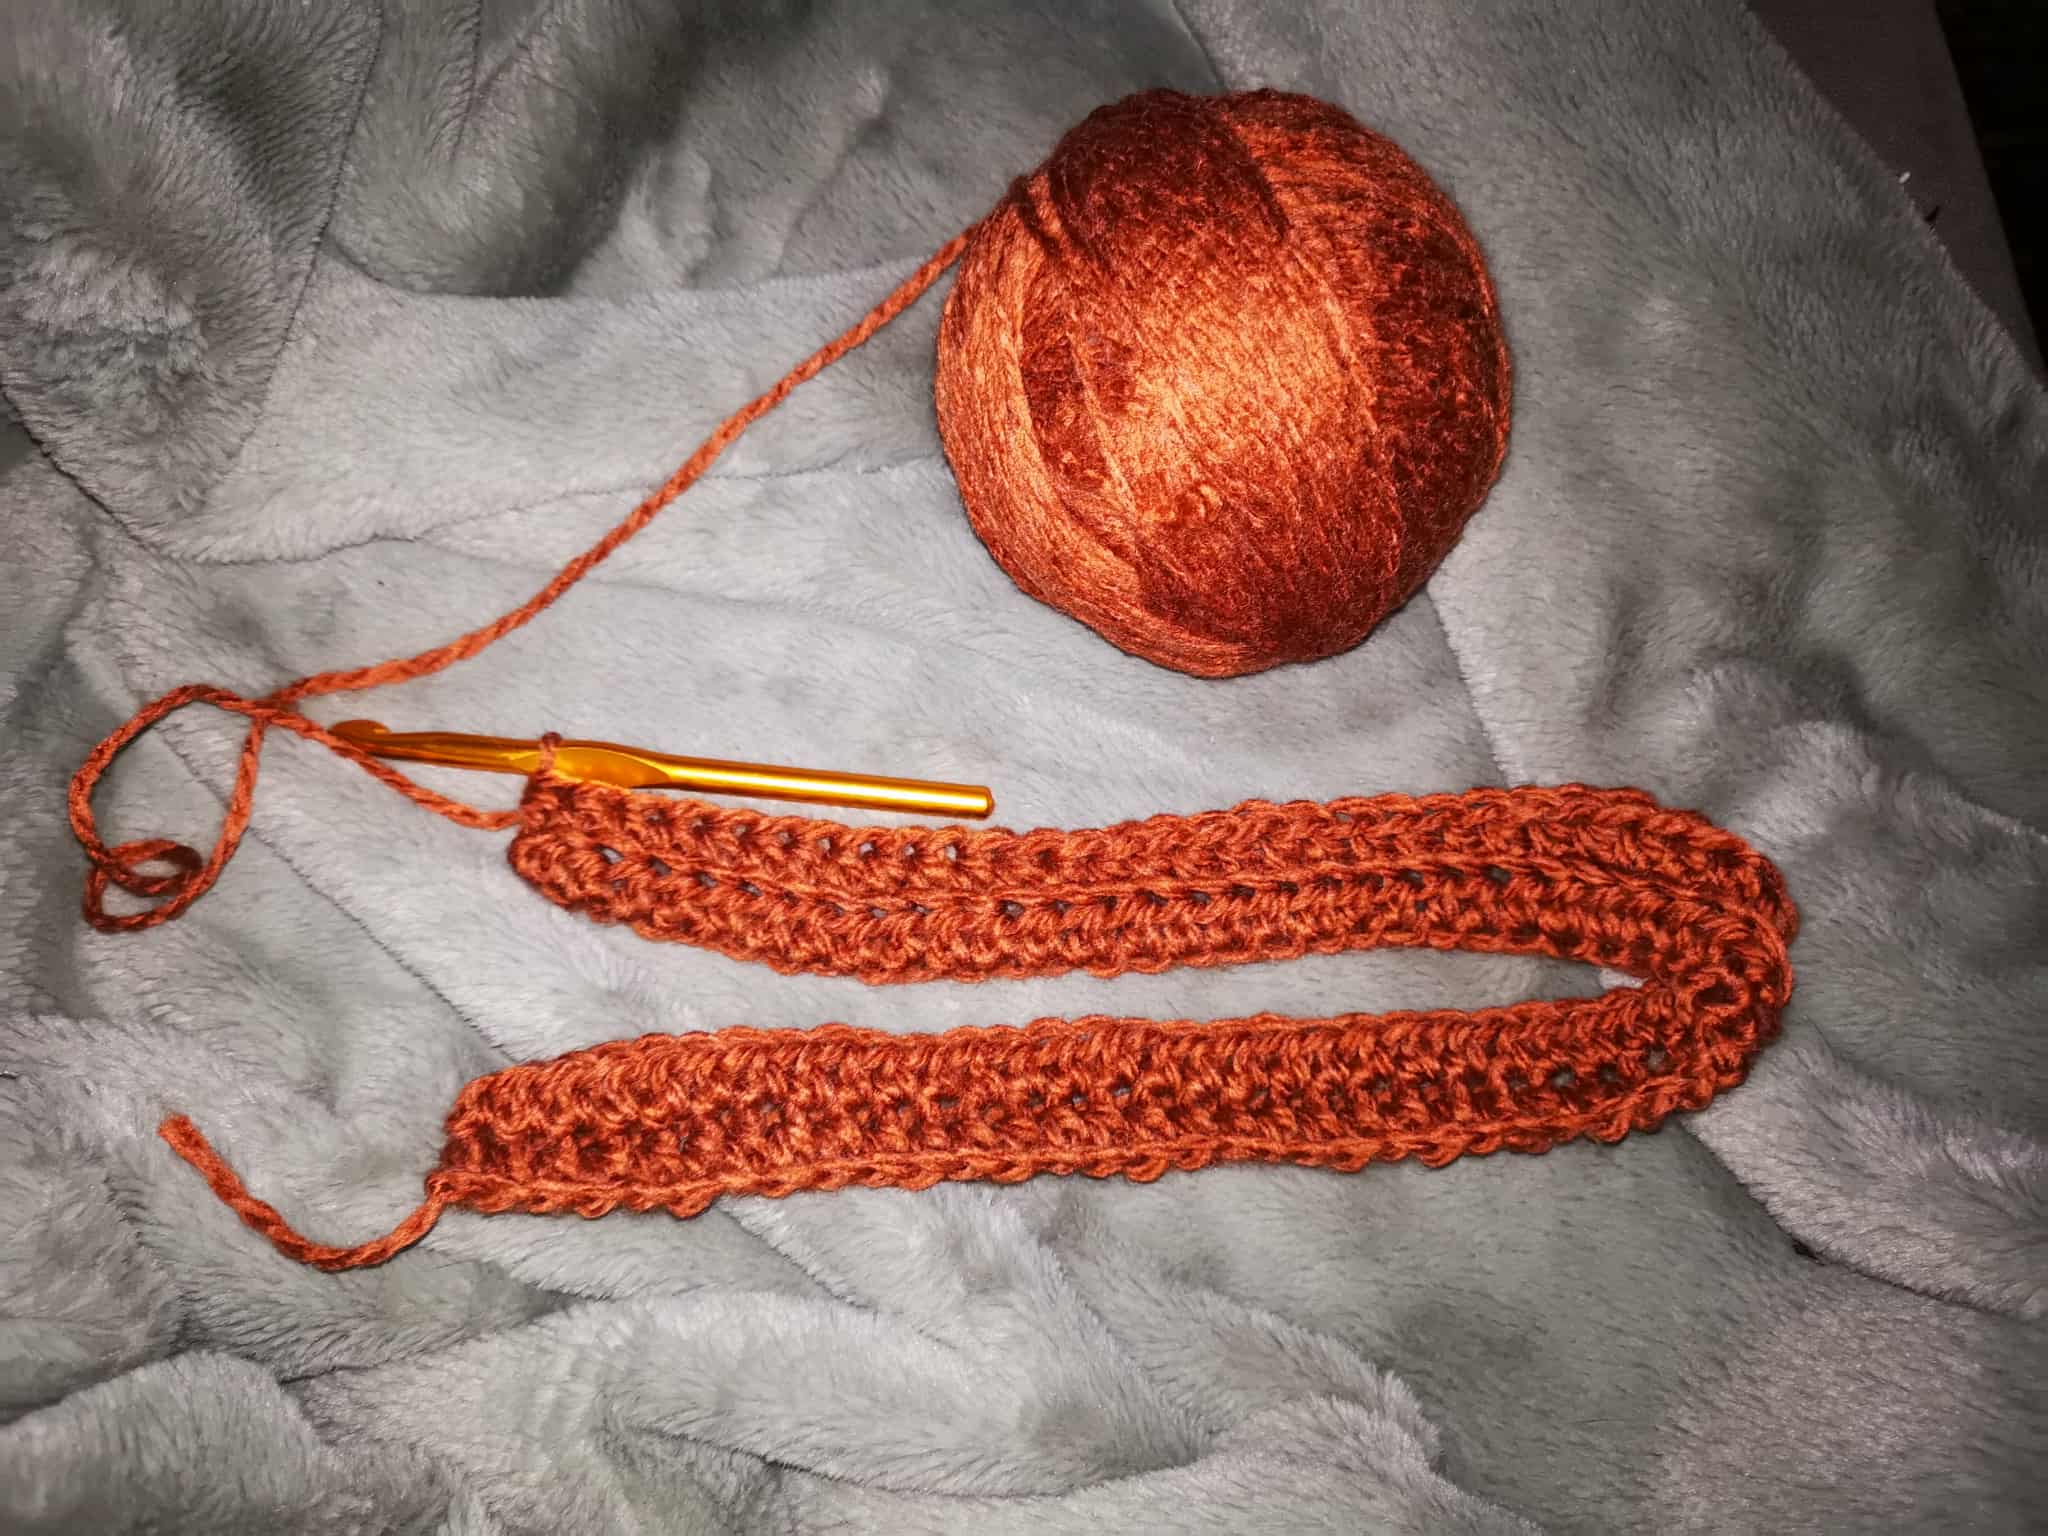
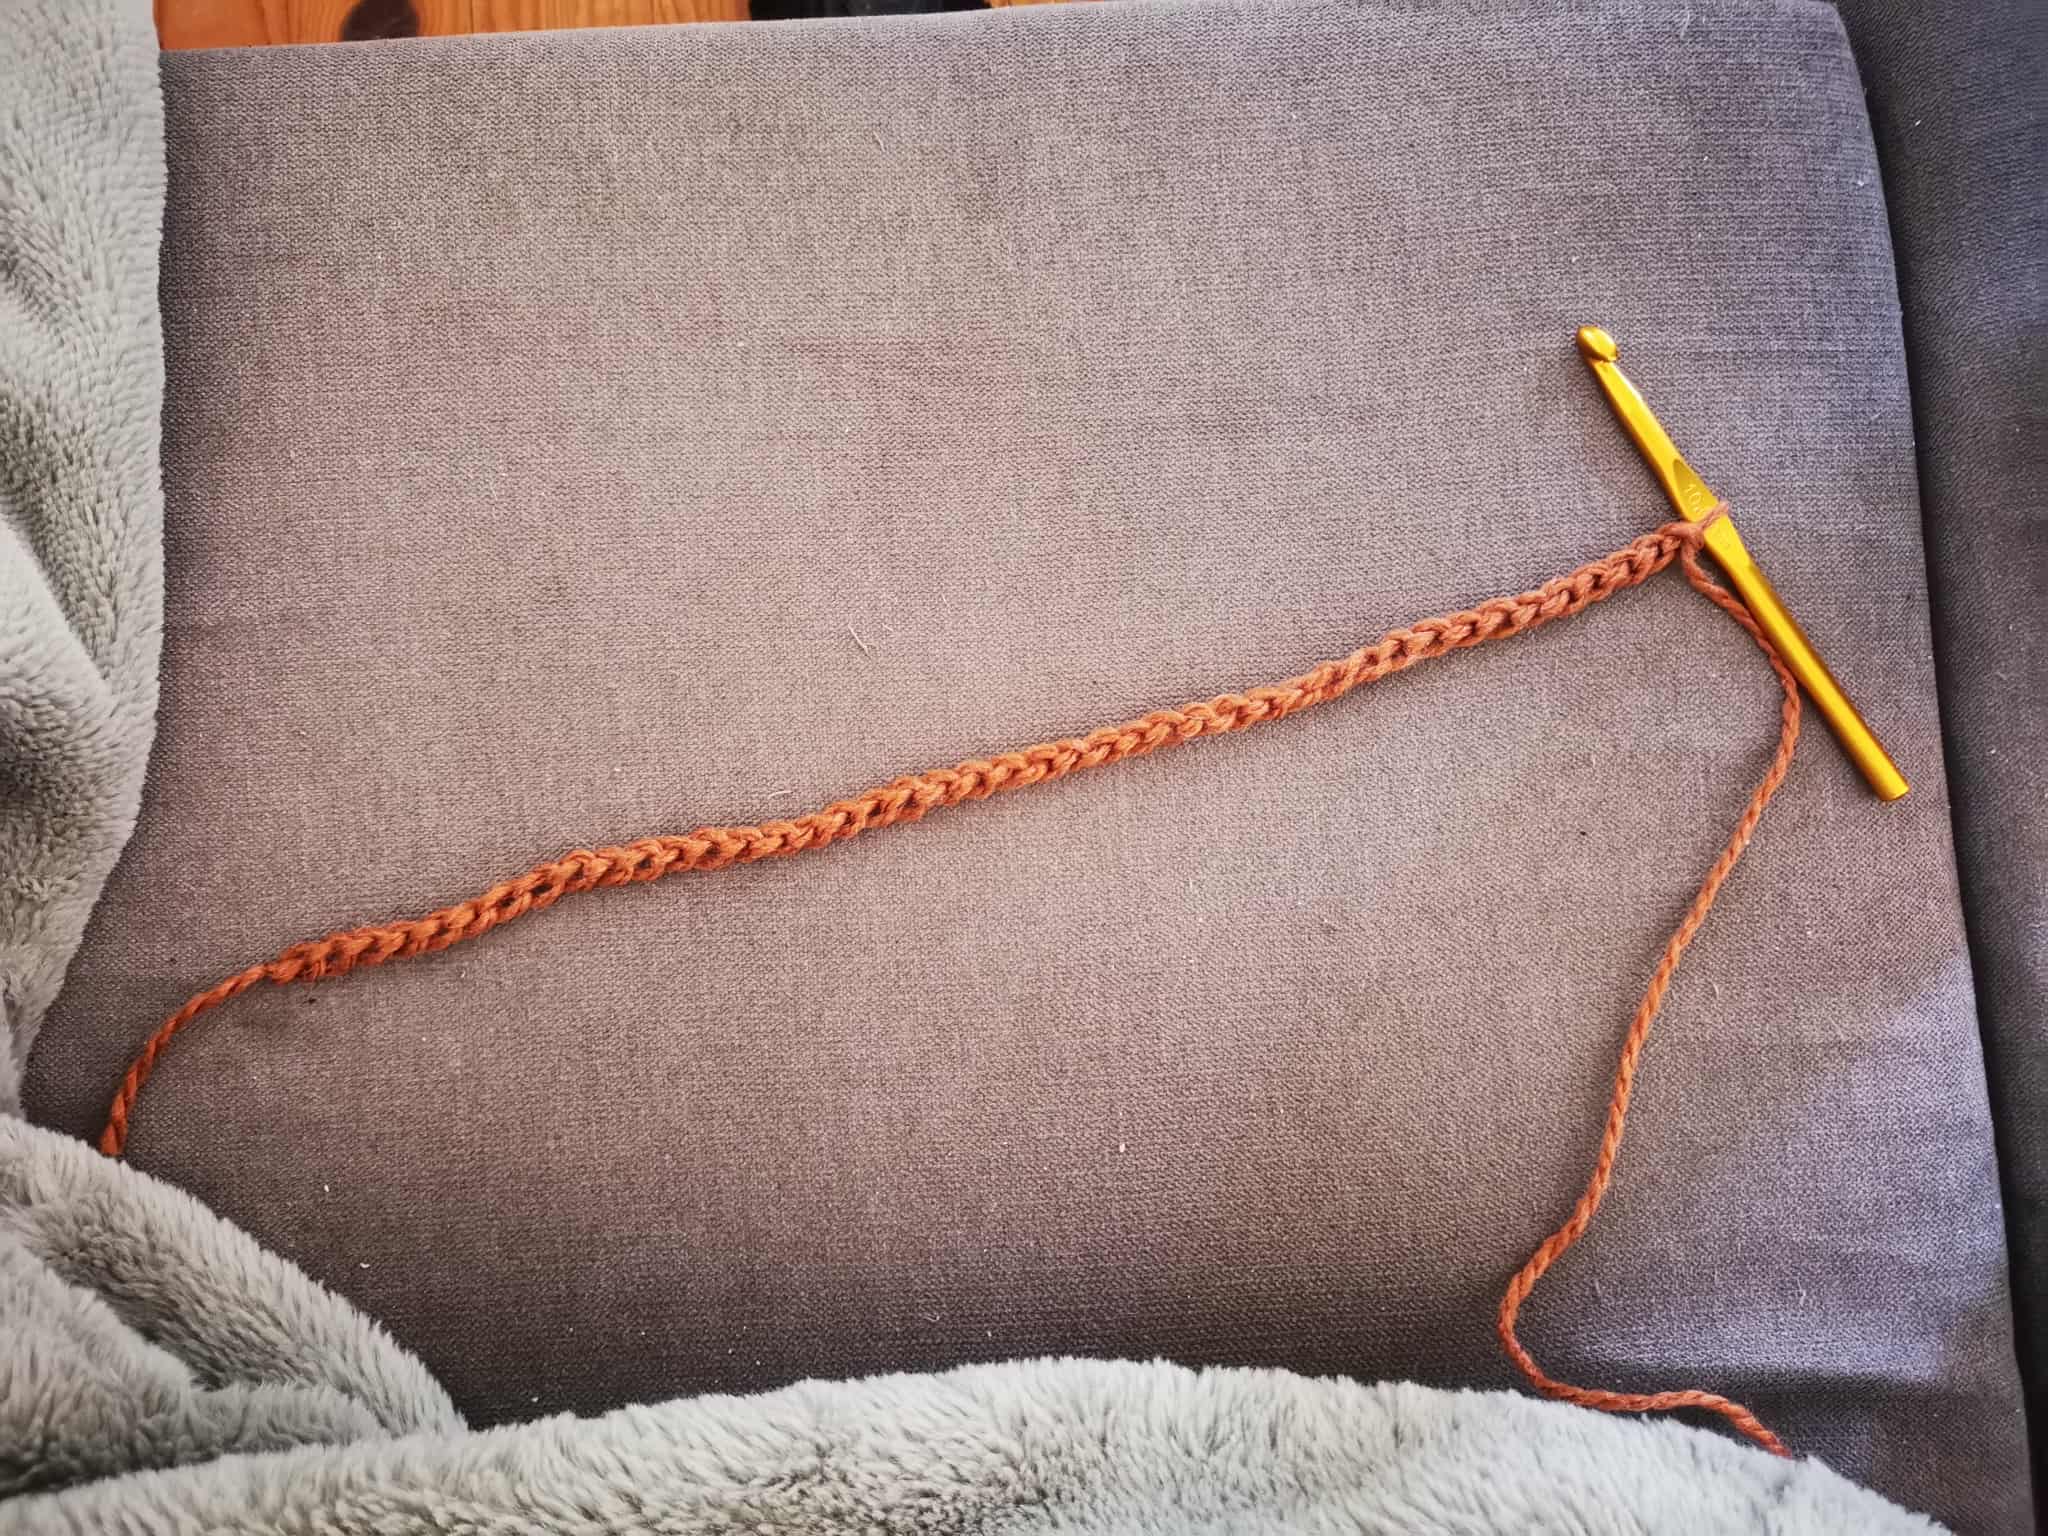
I made a slip knot and created a starting chain of 60 stitches:

The number of stitches in the starting chain depends on your measurements. I wanted an oversized sweater that wasn't too short. The chain should extend from your shoulder to your waist/hip. Ultimately, it all depends on the desired length of the sweater.
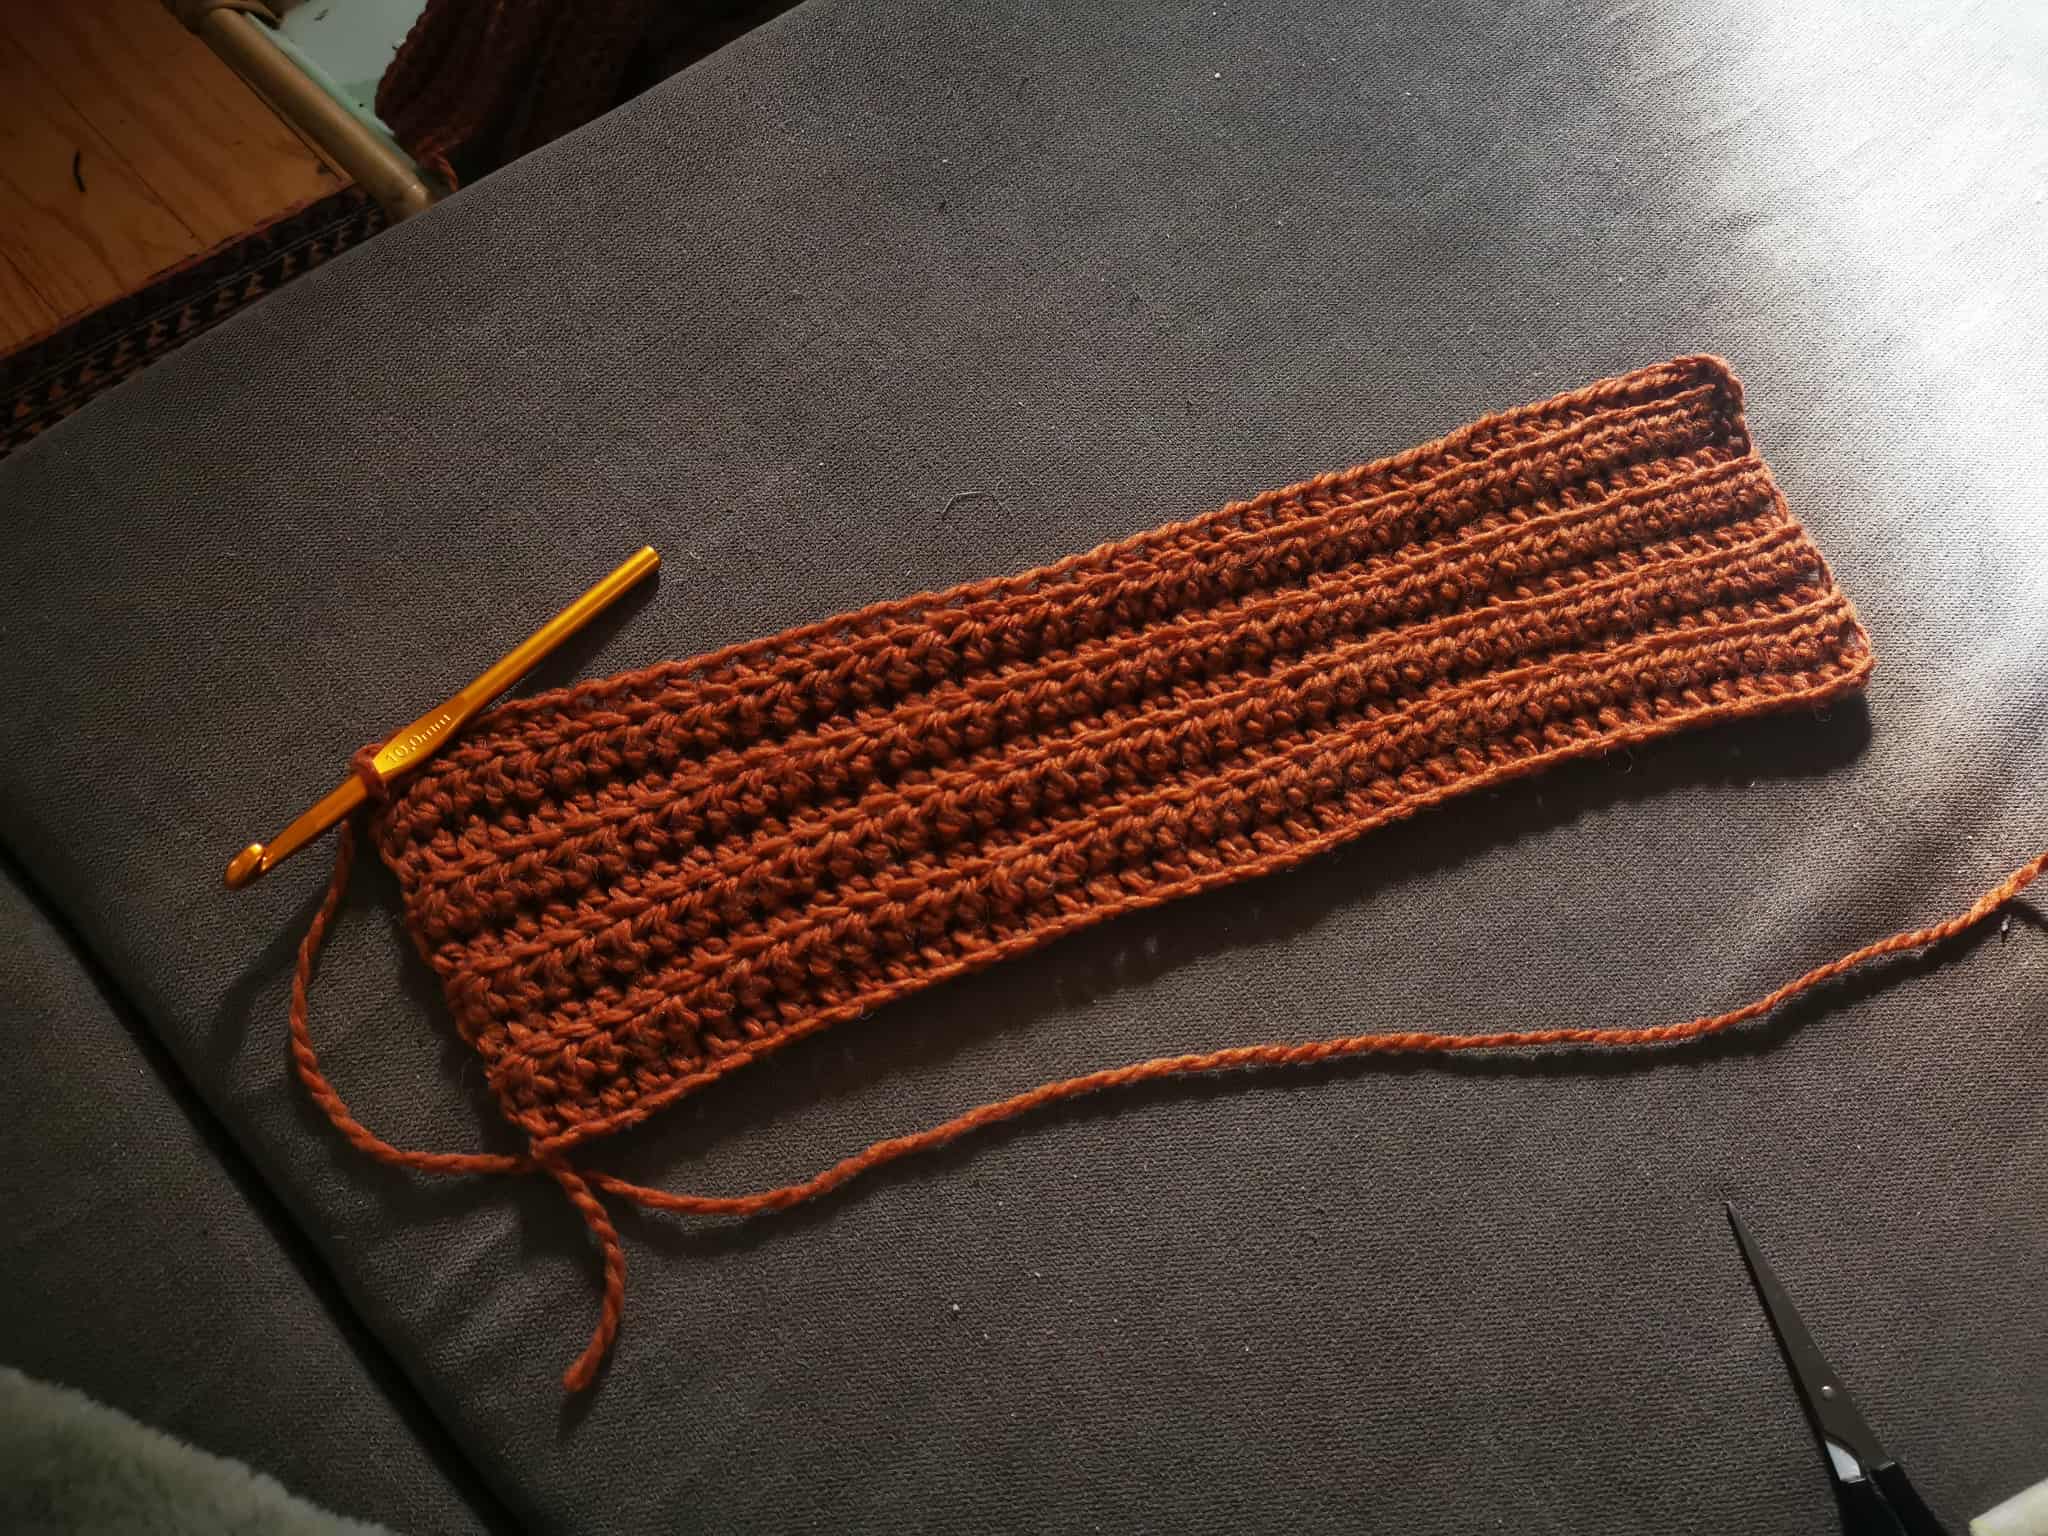
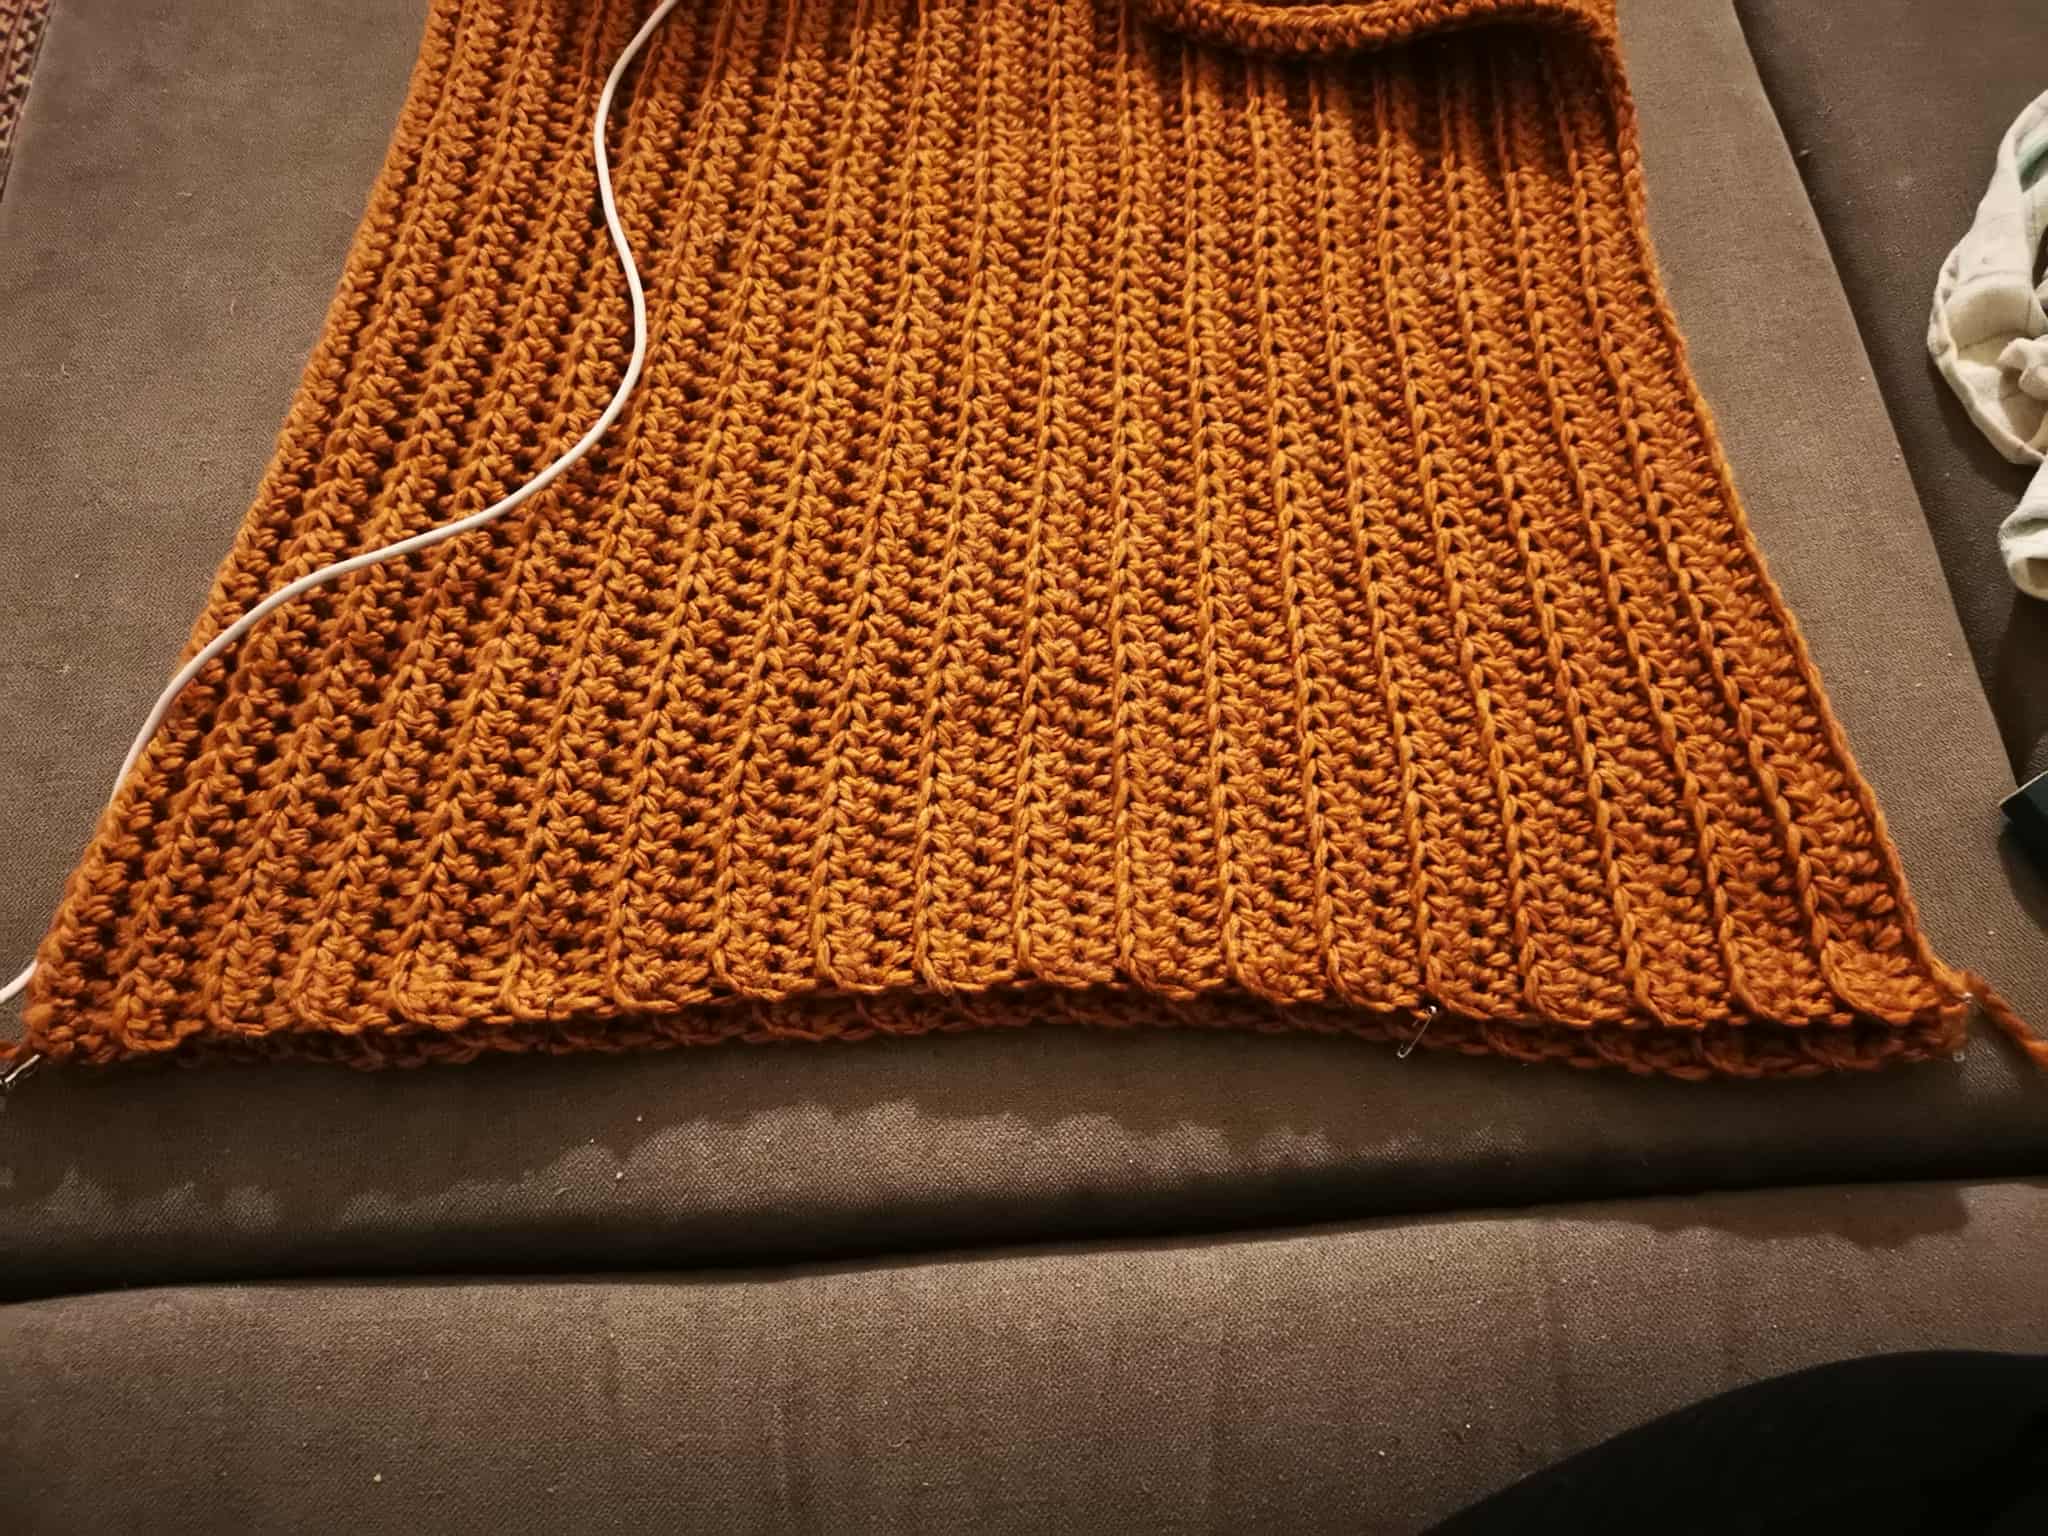
Next, I began my first row of classic half double crochets, adding one chain stitch to turn the project:
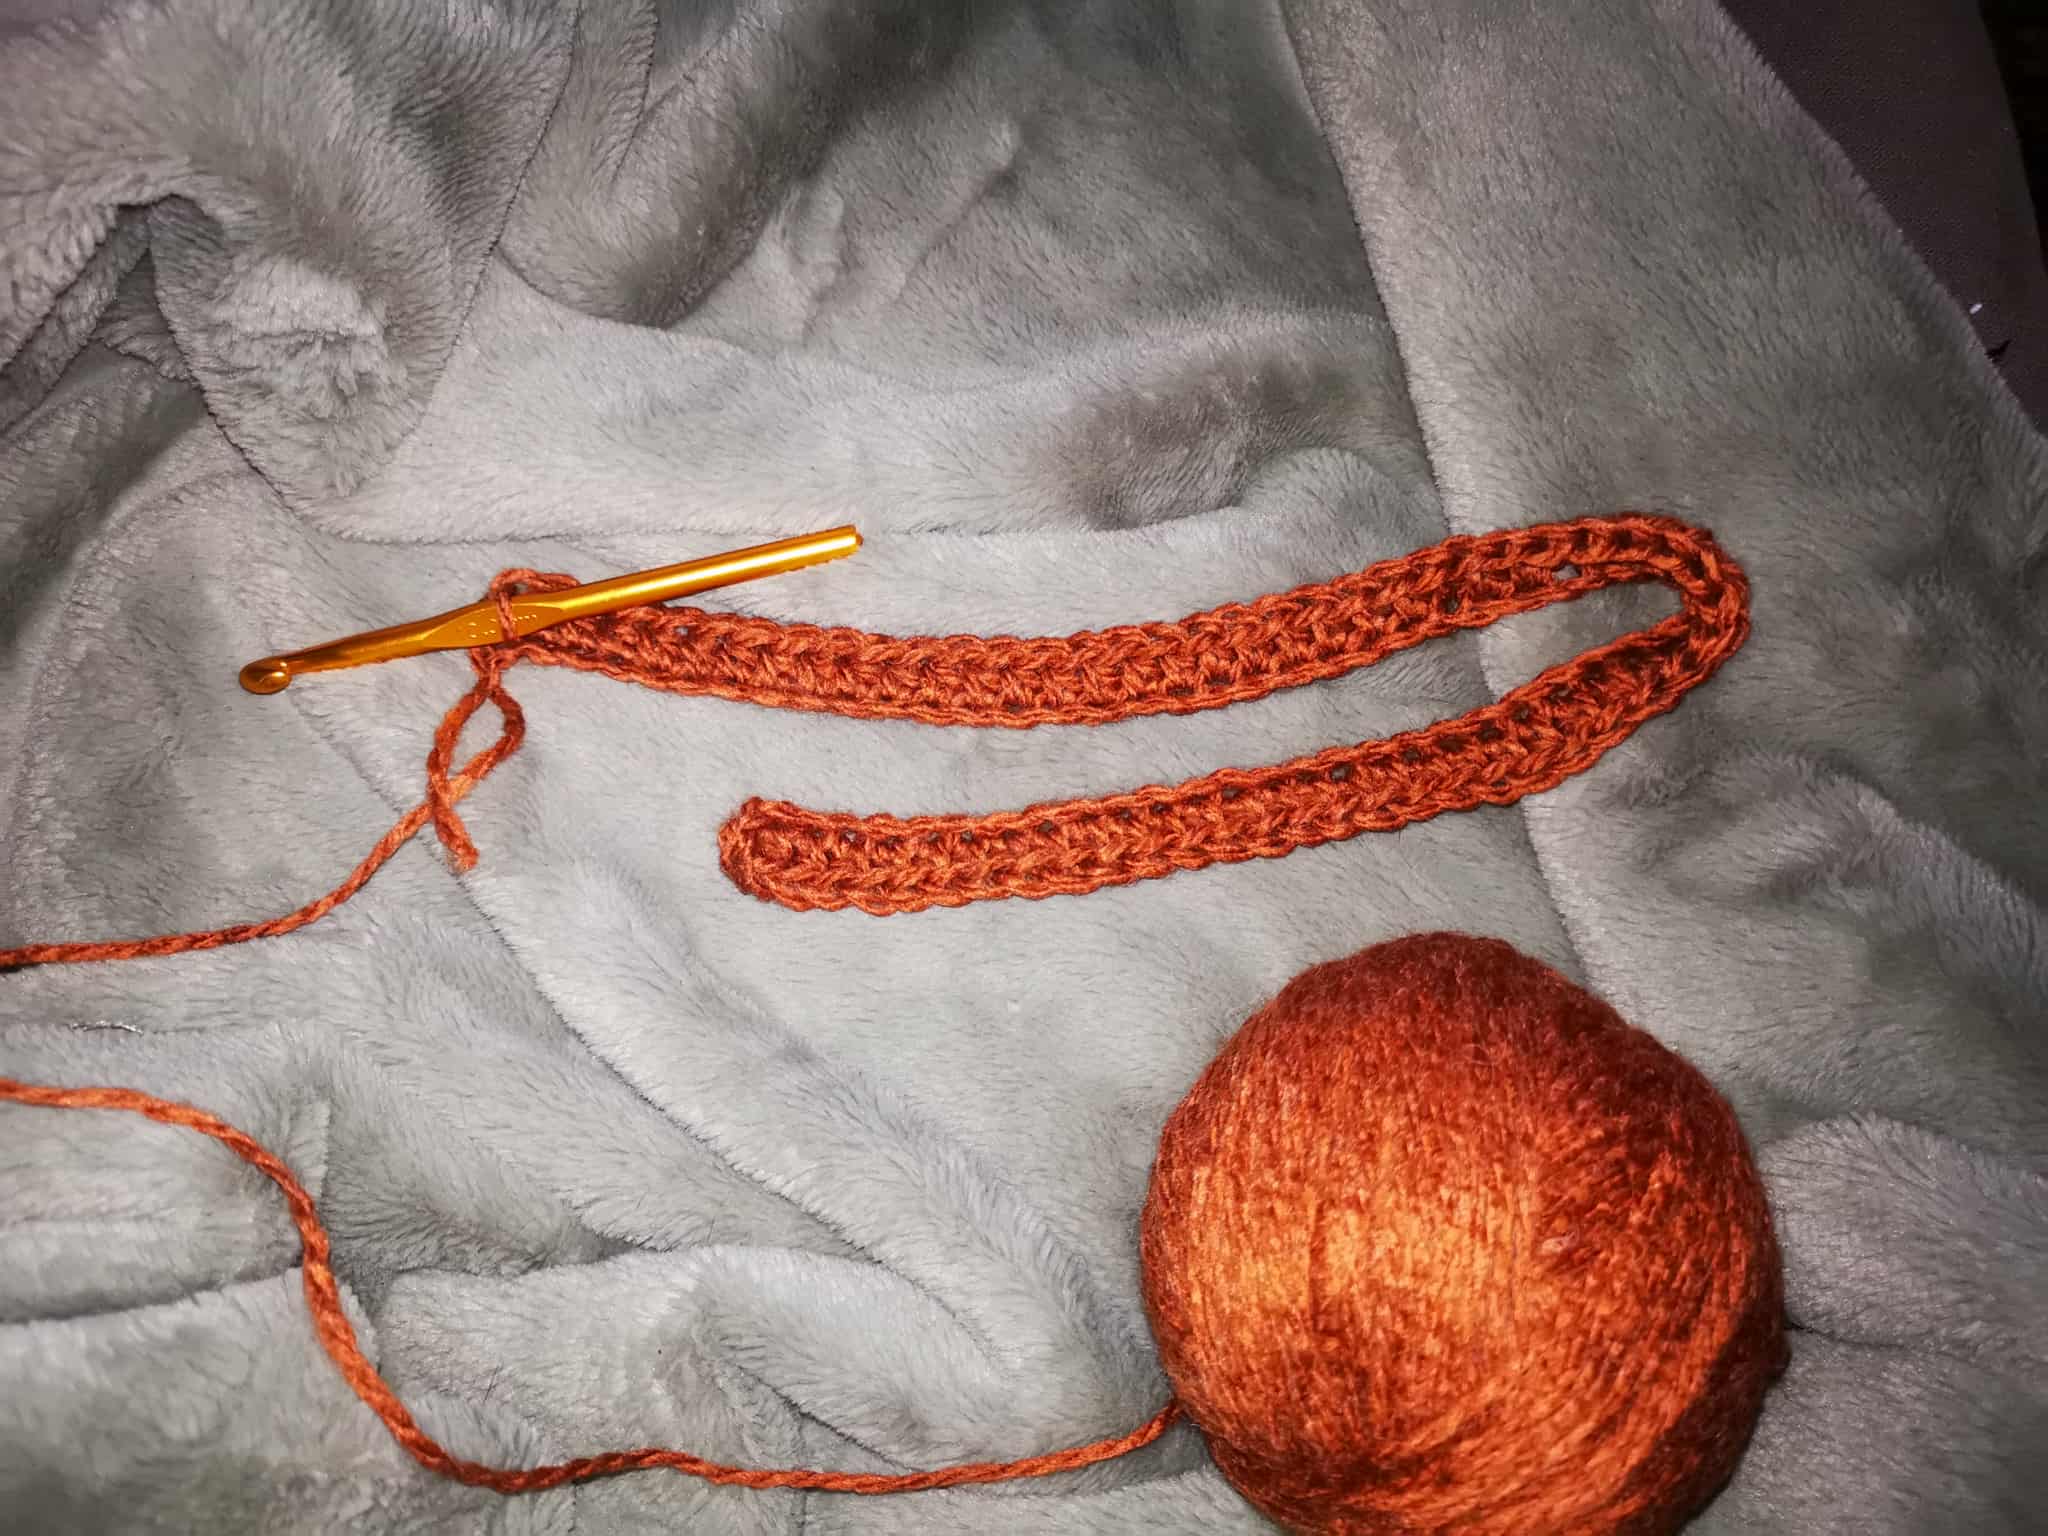
Then, for the following rows, I worked half double crochets in the back loop, always adding one chain stitch to turn the project each time:
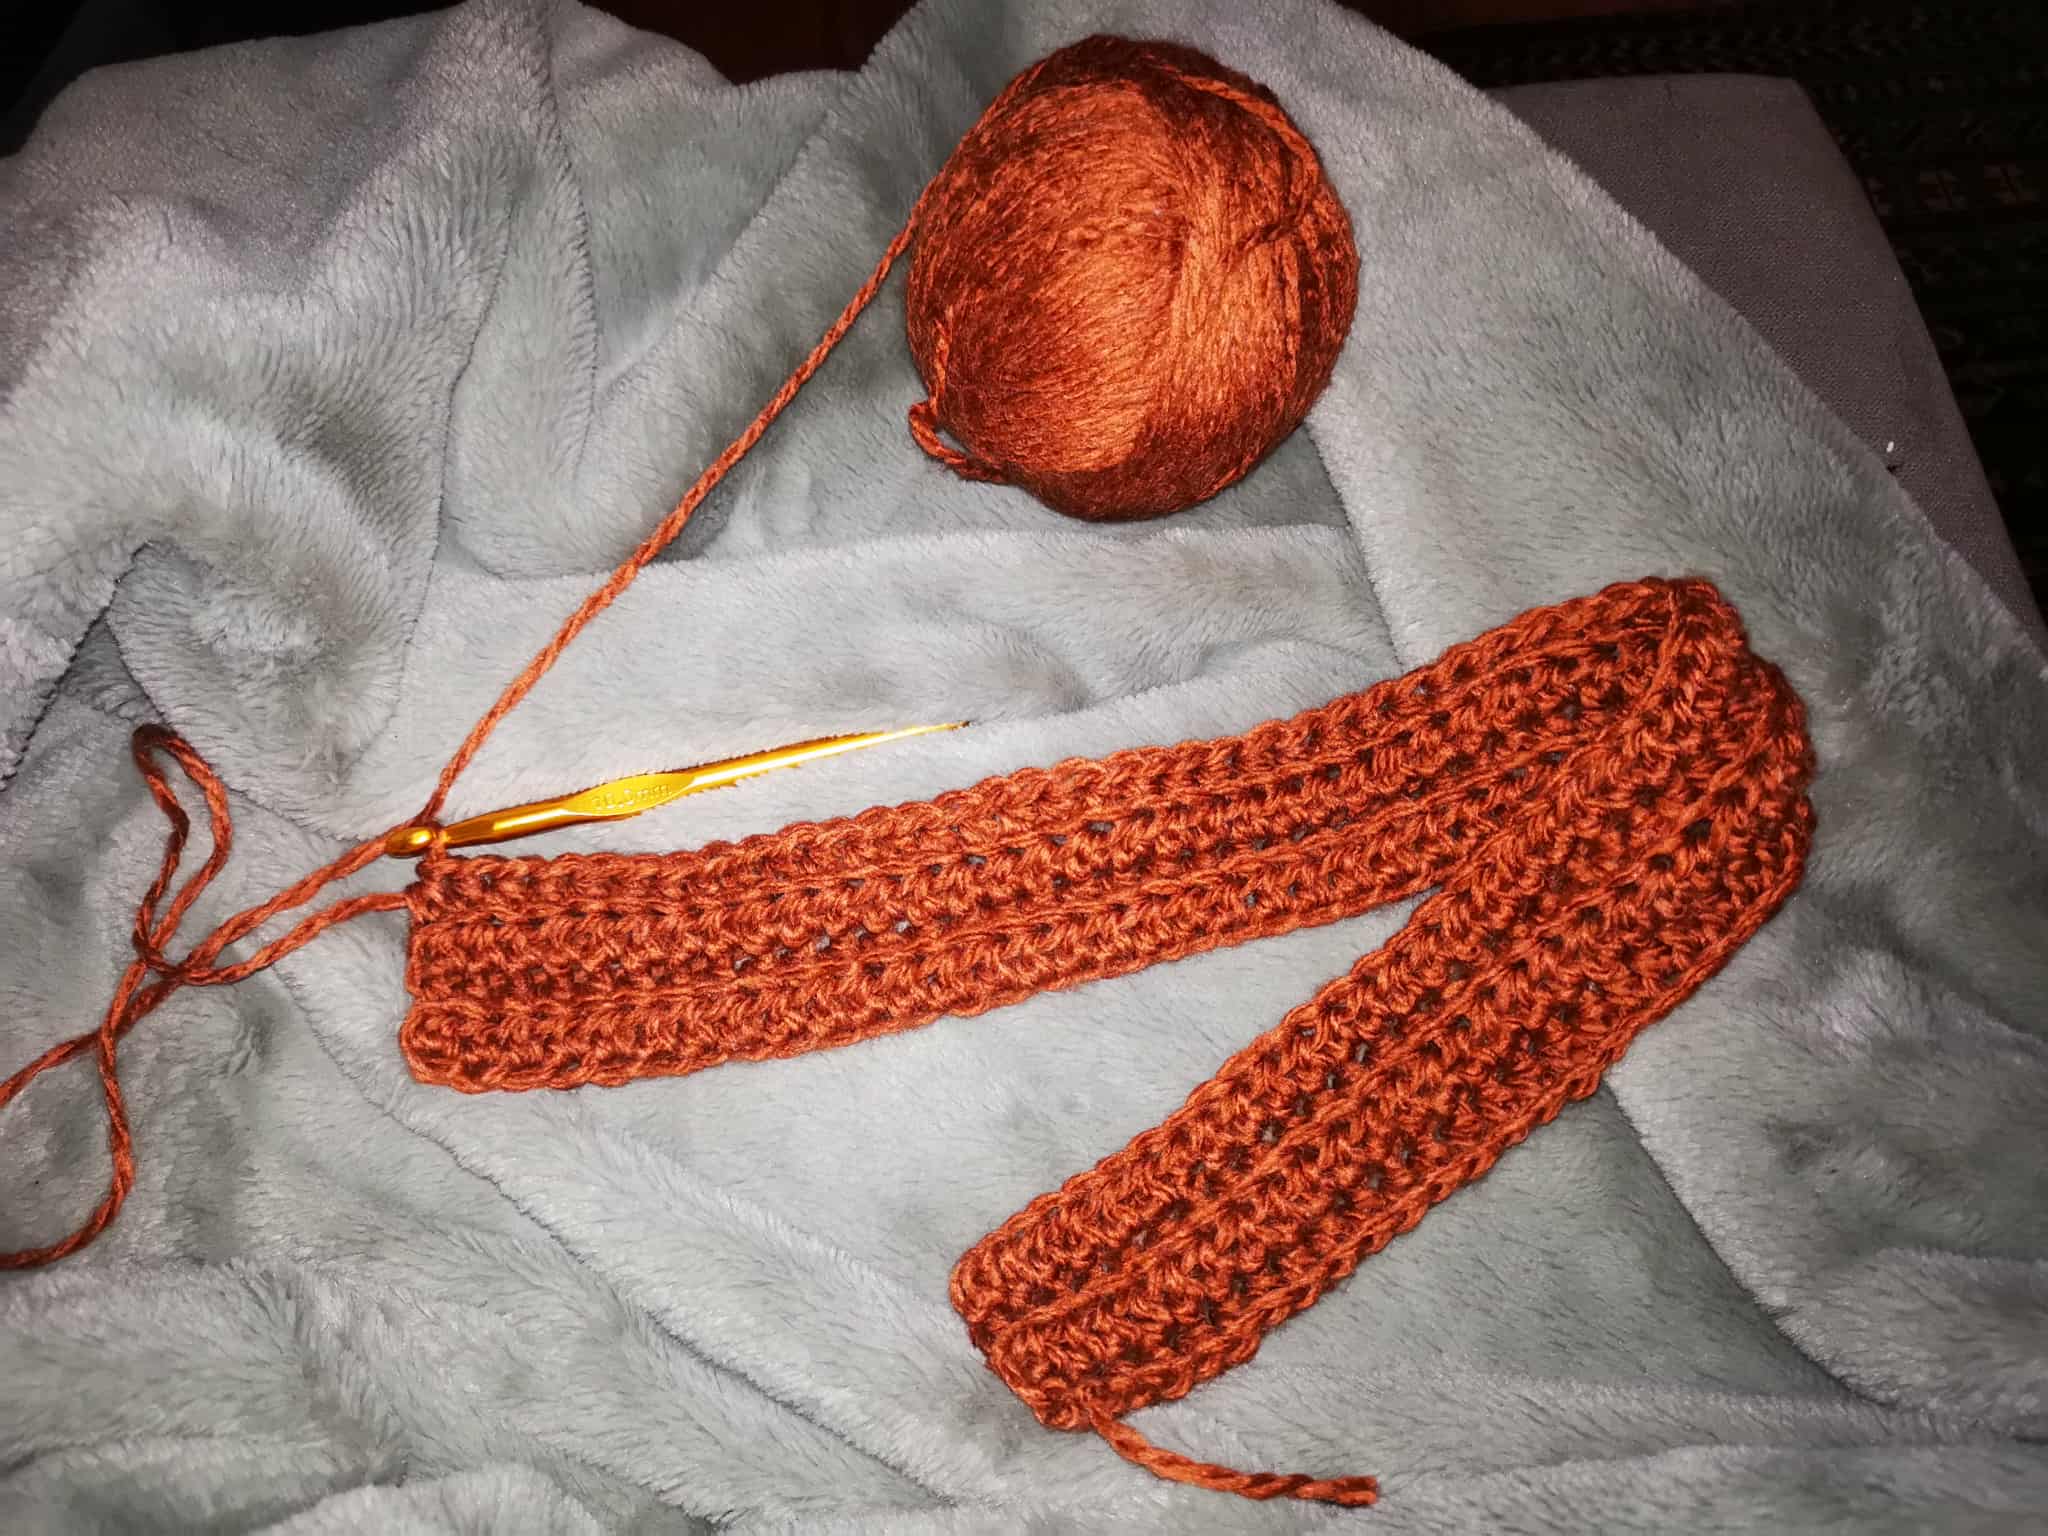
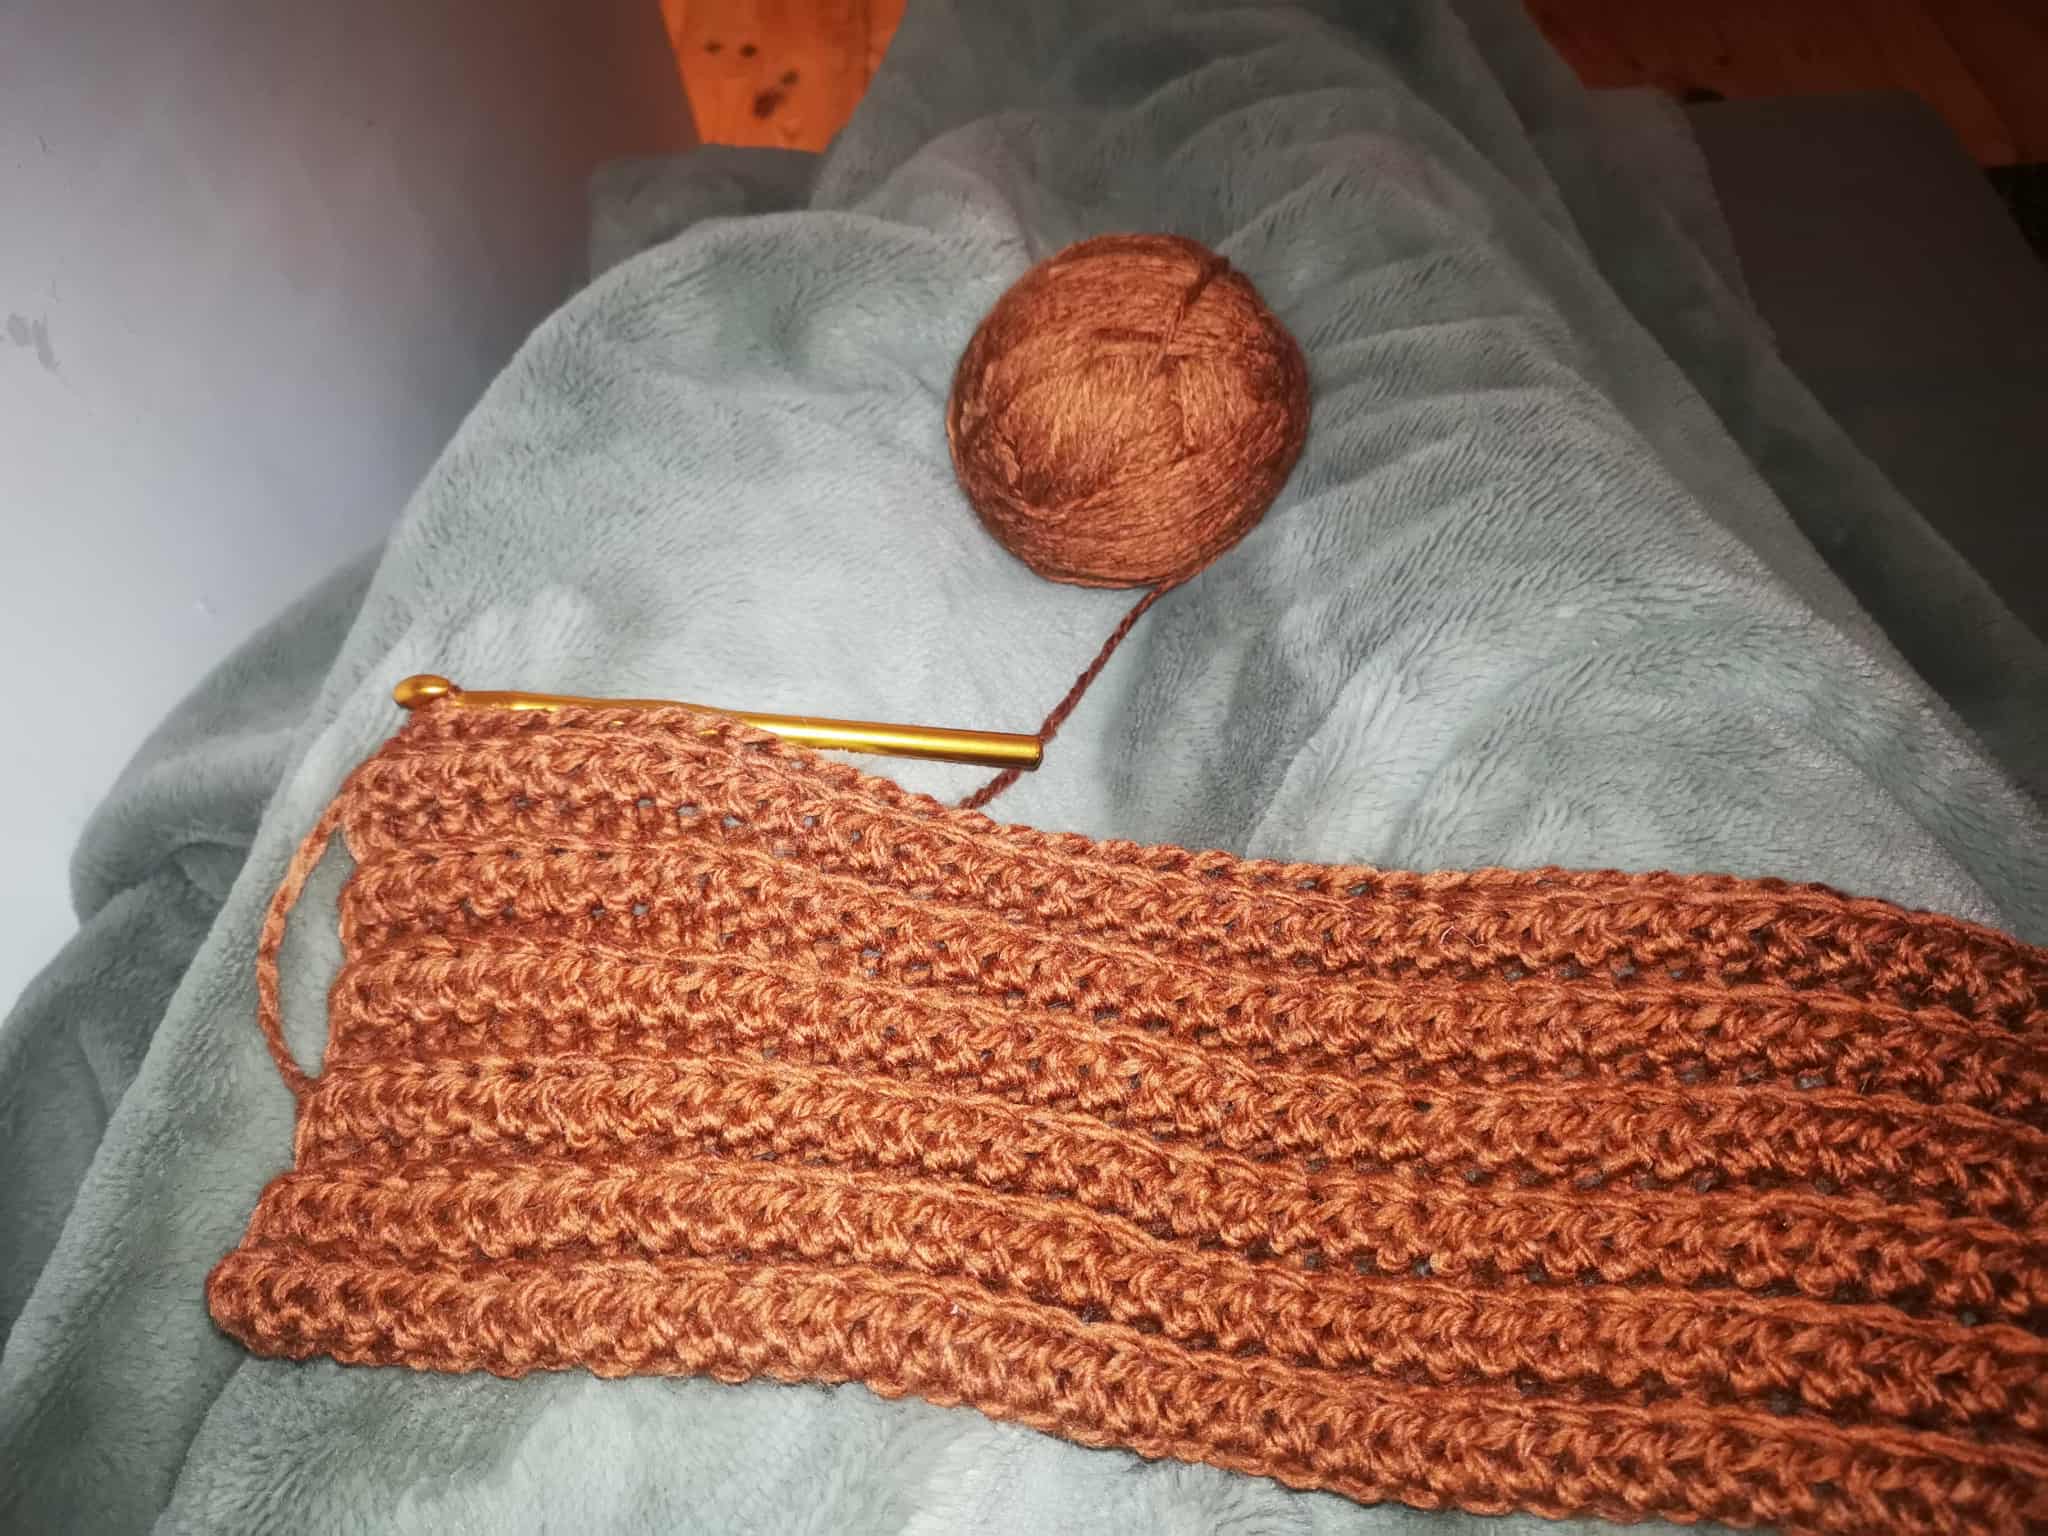
Crocheting in the back loop creates the wavy effect I was looking for.
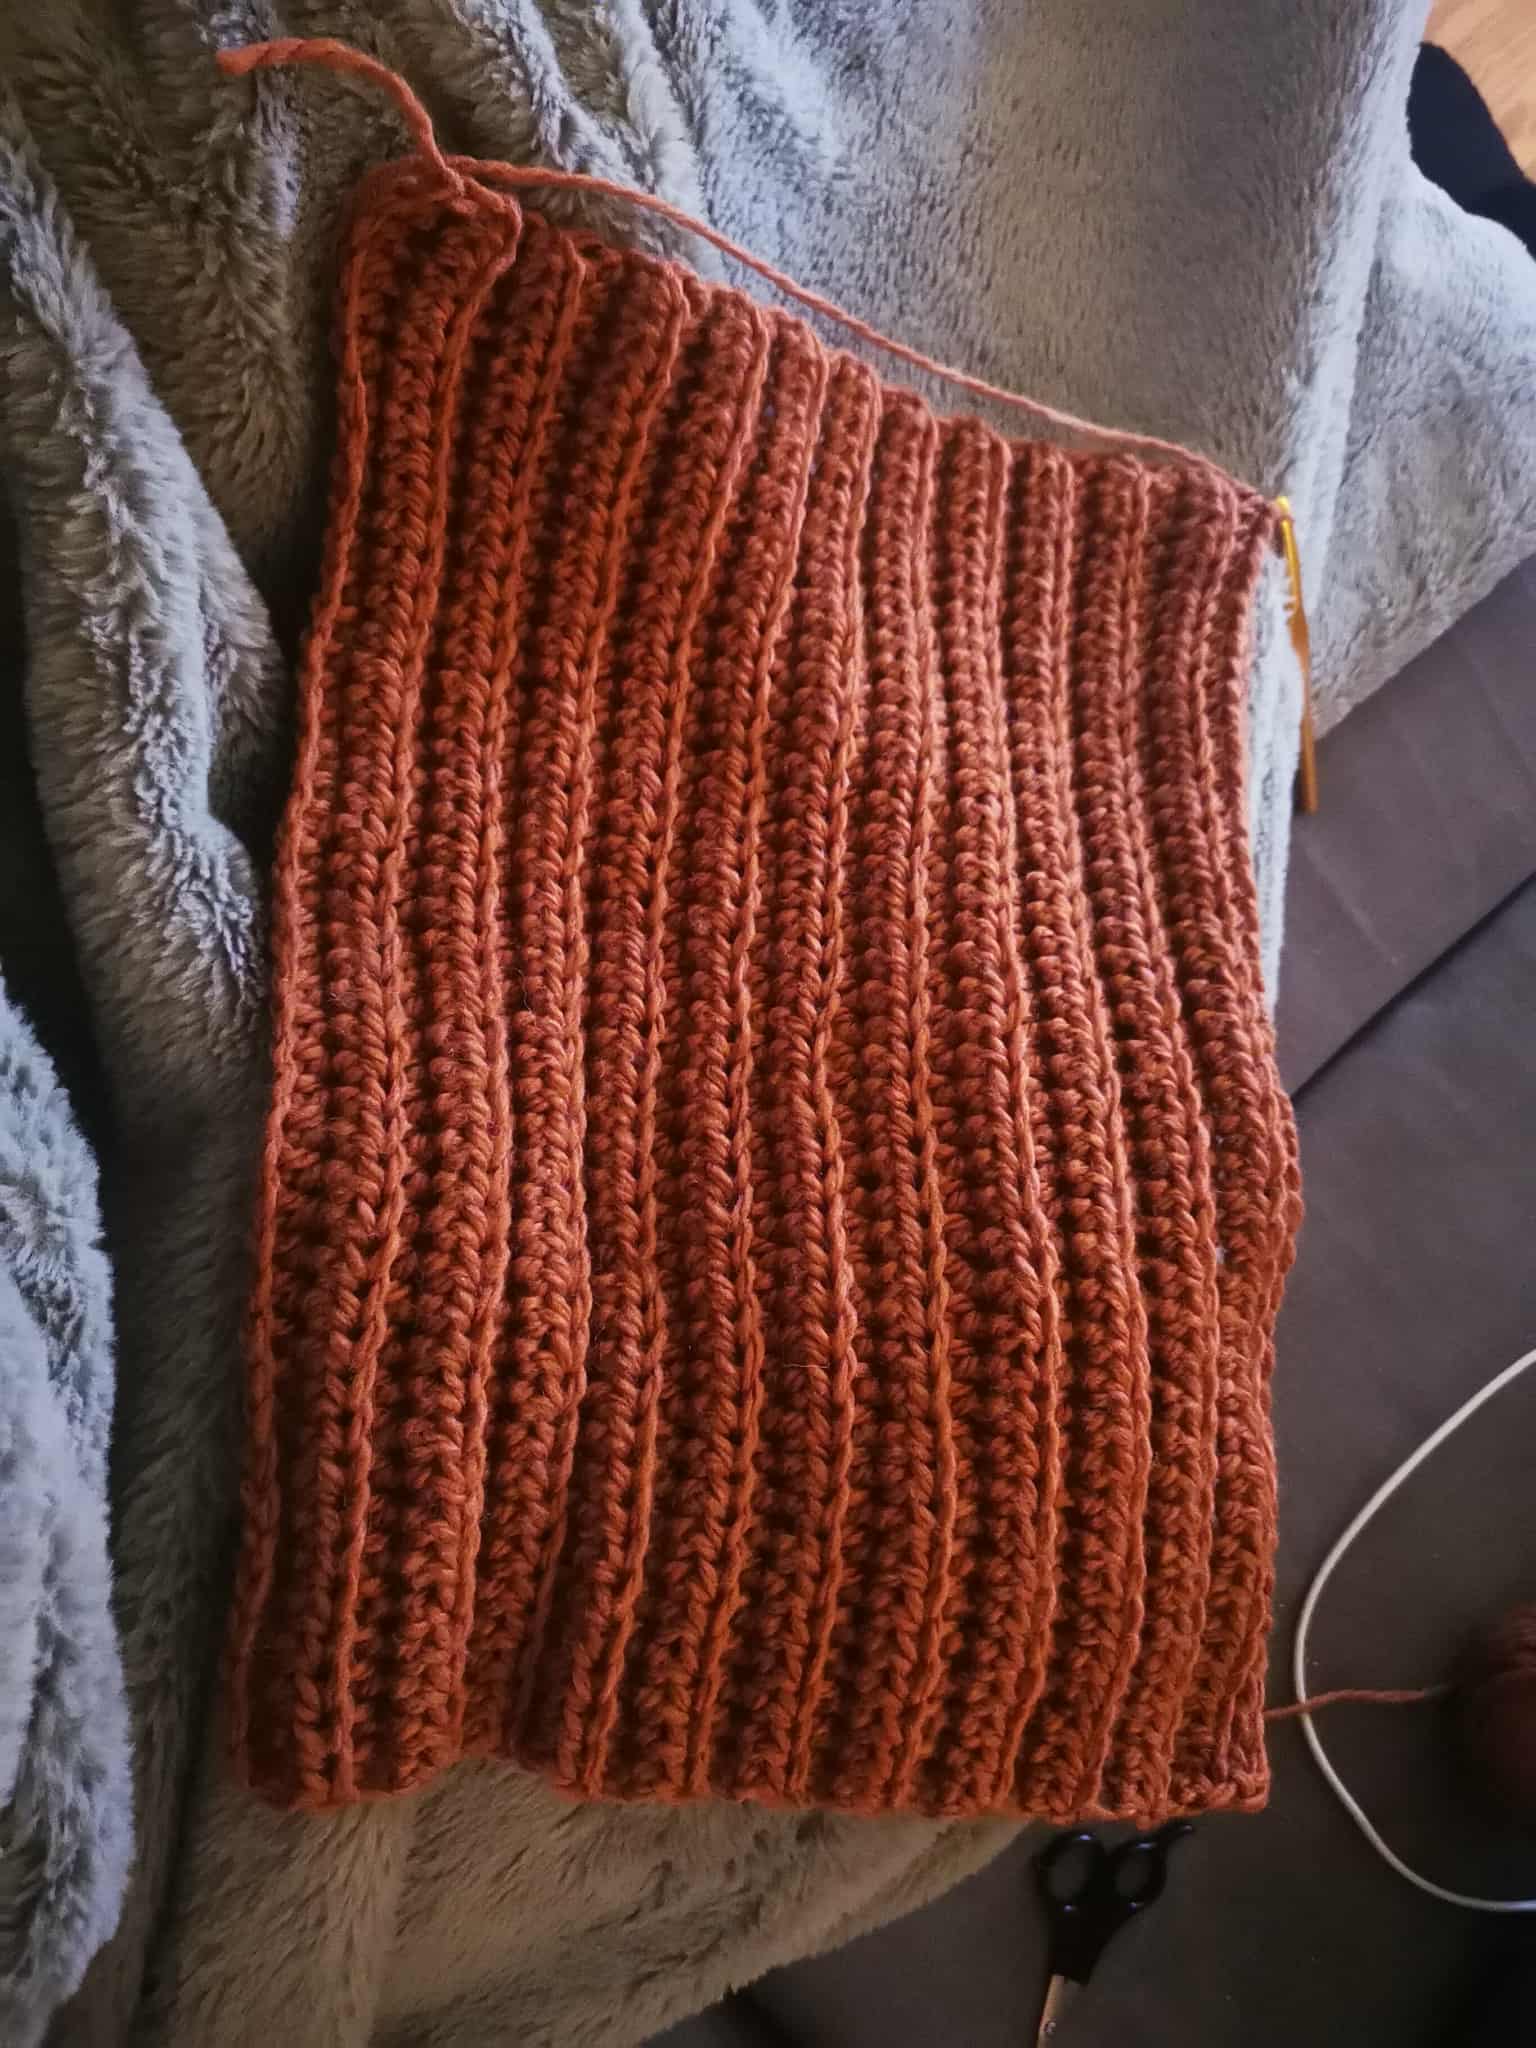
And I continued my rows of half double crochet in the back loop until my front panel spanned from one shoulder to the other.
In total, I made 38 rows.
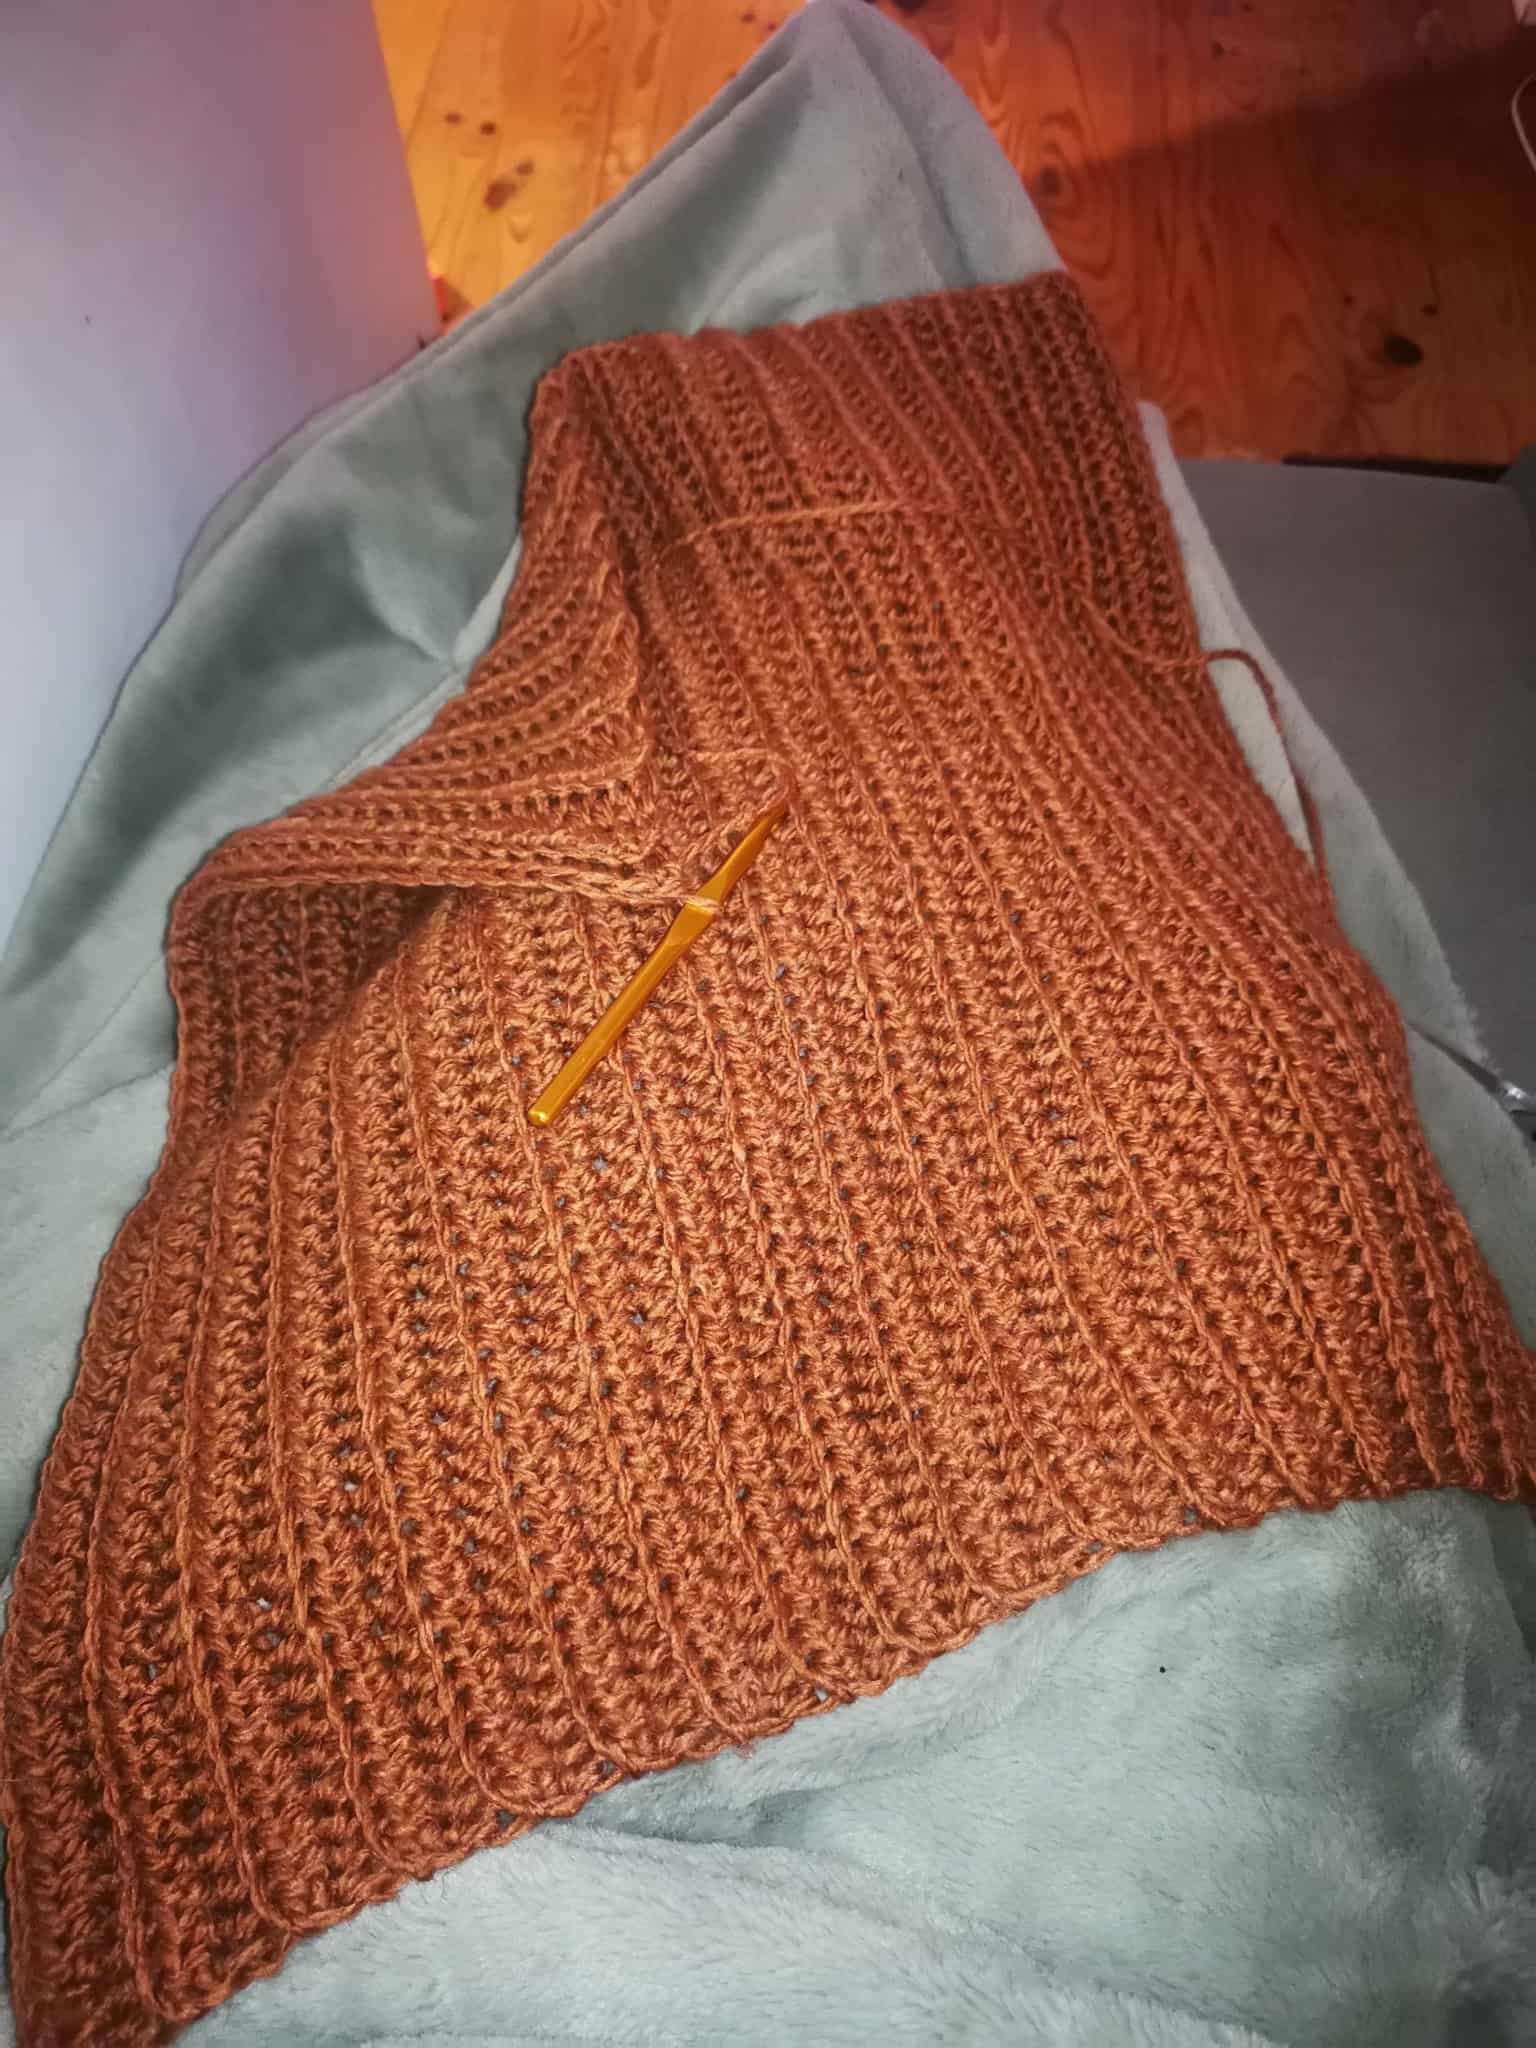
And for the back, I made the exact same panel again.
Then, for the sleeves, I started with a chain of 43 stitches.
Then, I made a row of regular half double crochet with a chain stitch to turn the project.

And for the following rows, I made half double crochet in the back loop with a chain stitch to turn the project.

I made 23 rows in total.
The panel should be able to go around your arm.
And I made a second identical panel for the second sleeve.
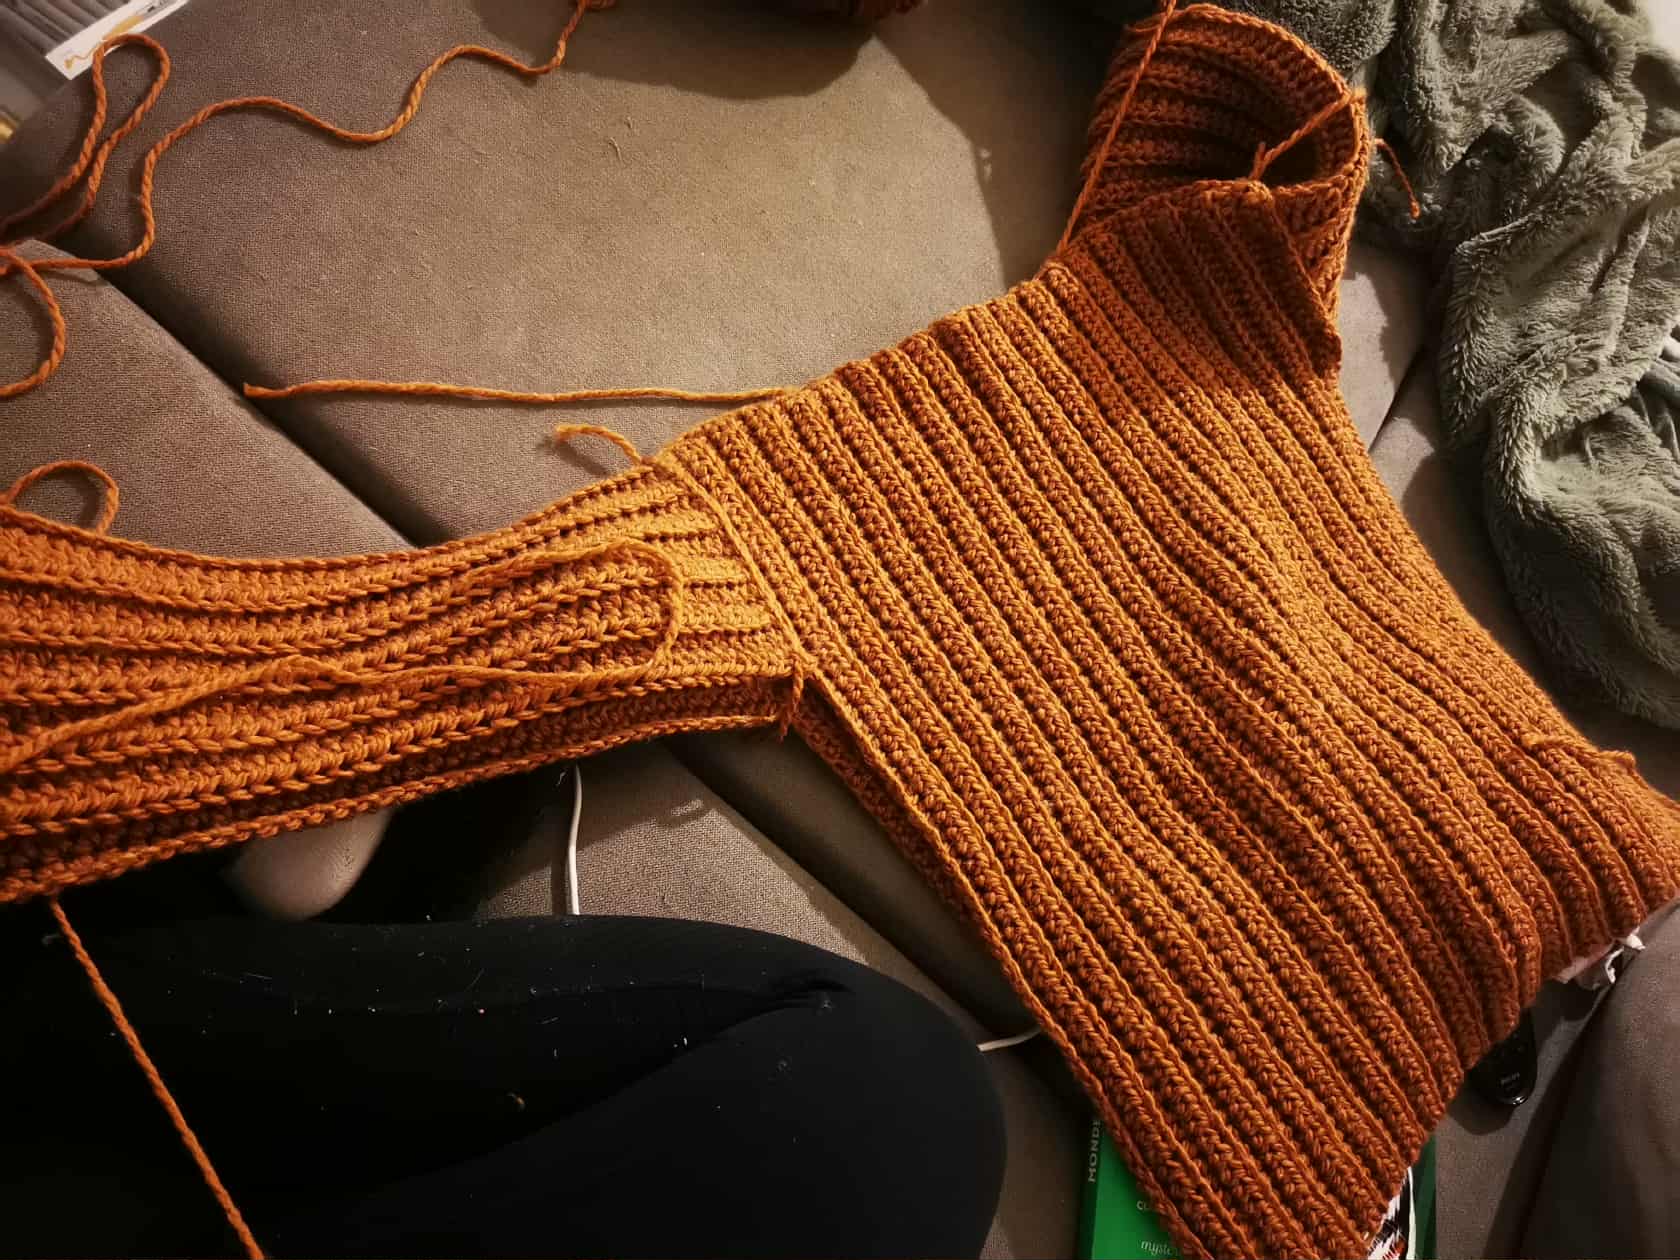
Then, I moved on to the assembly 👇
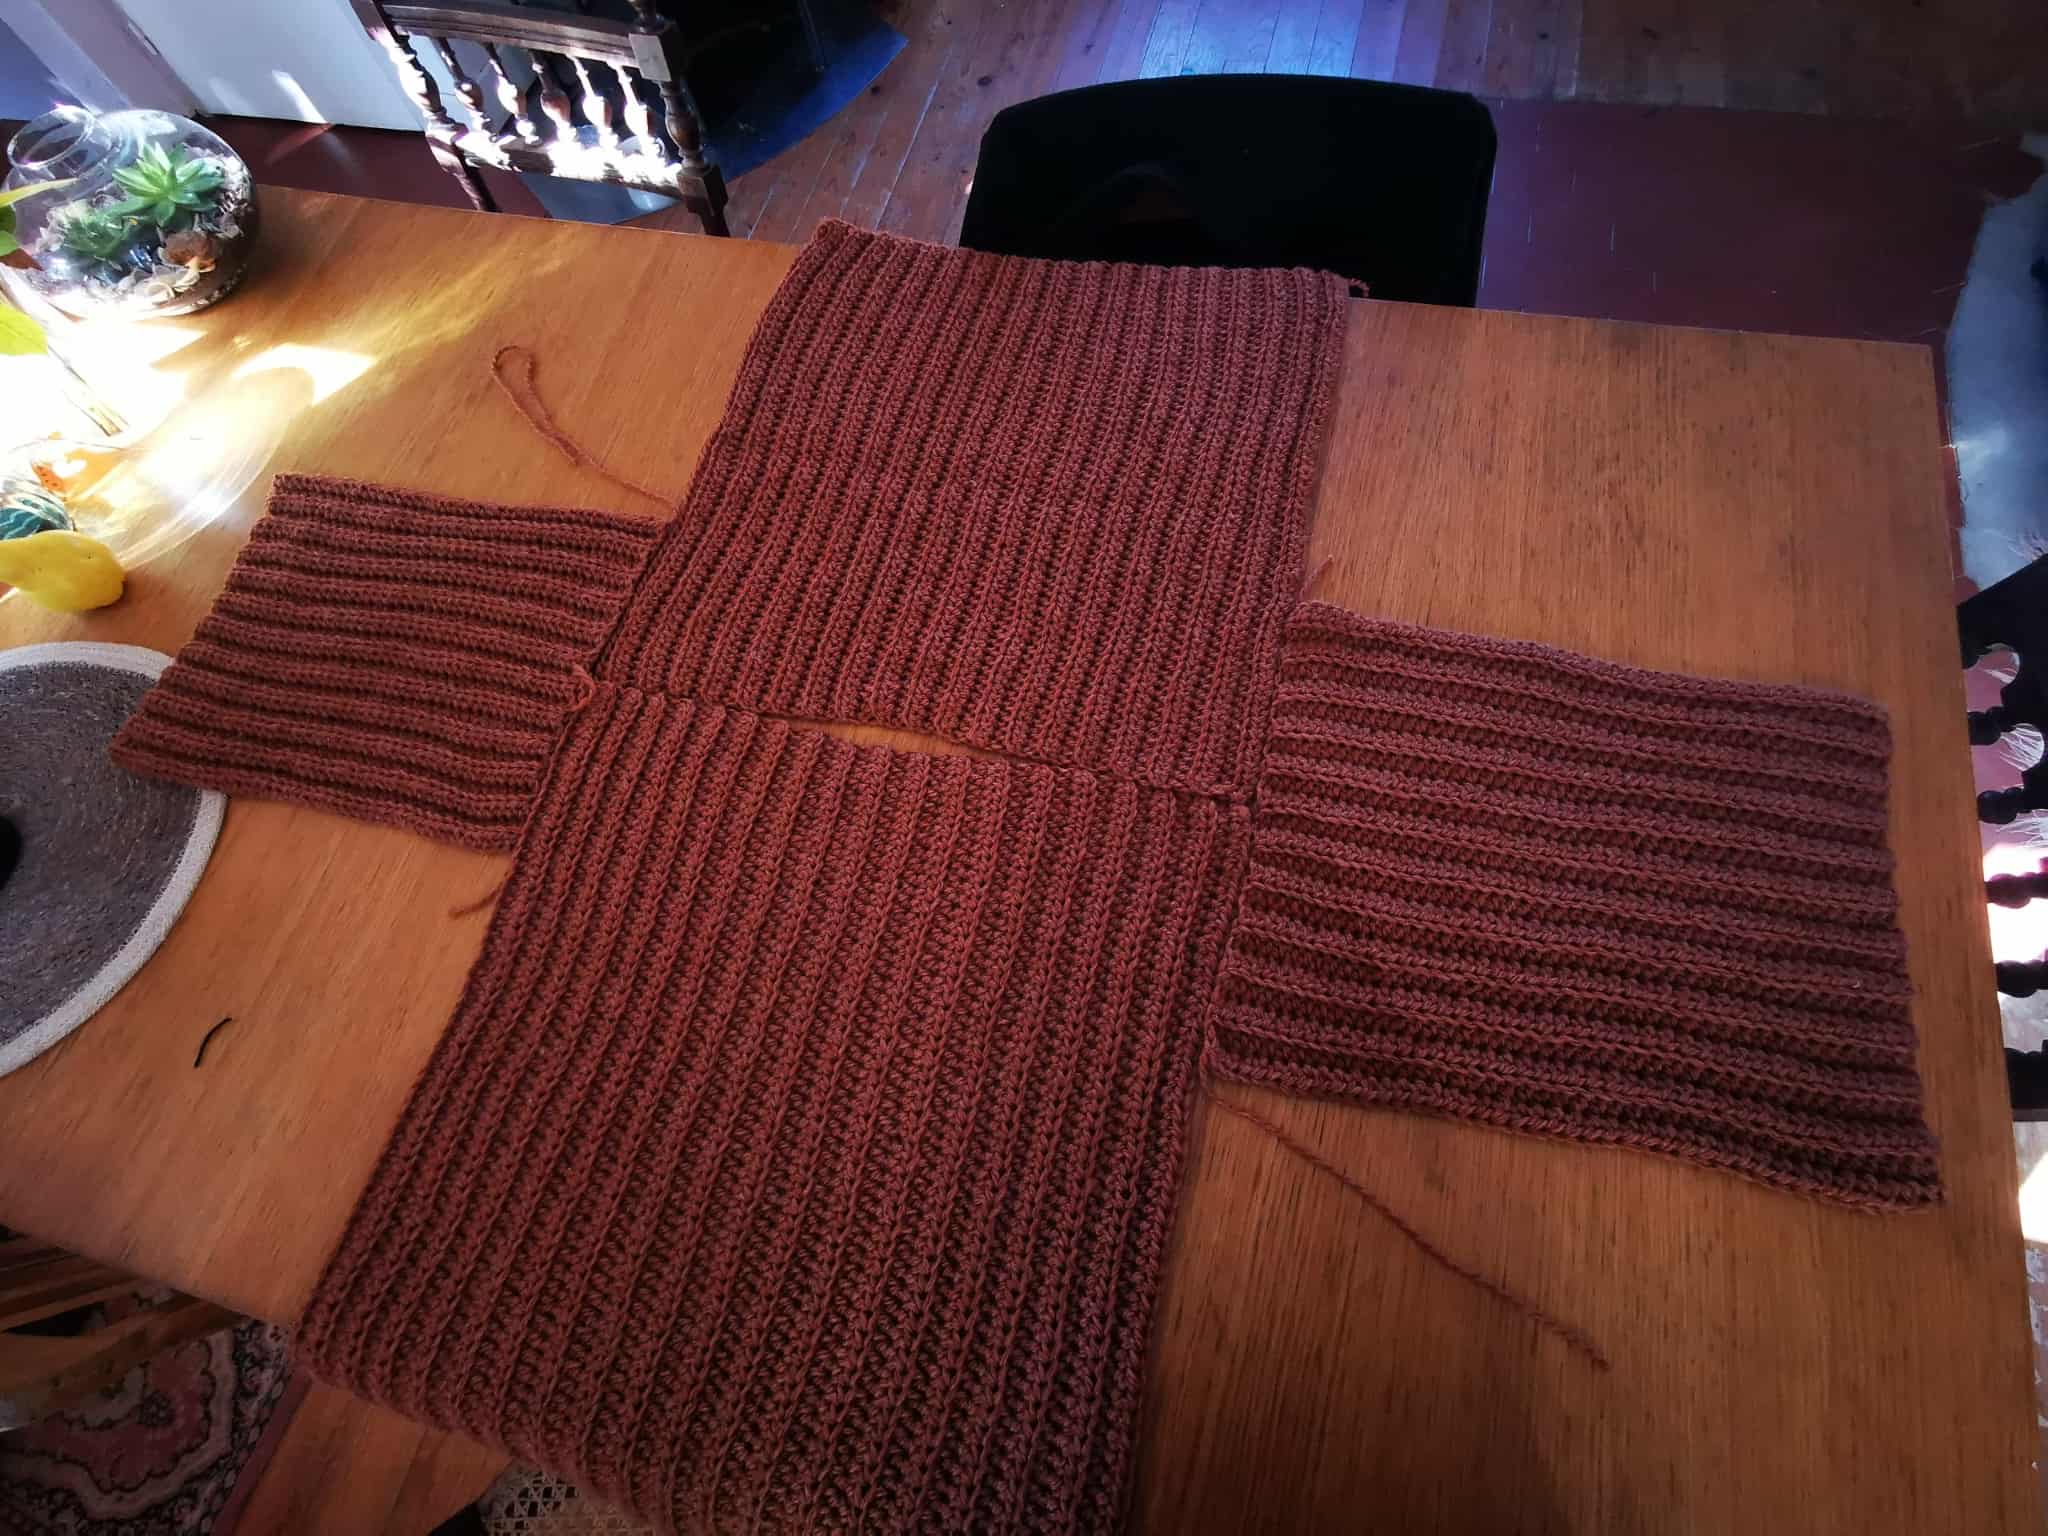
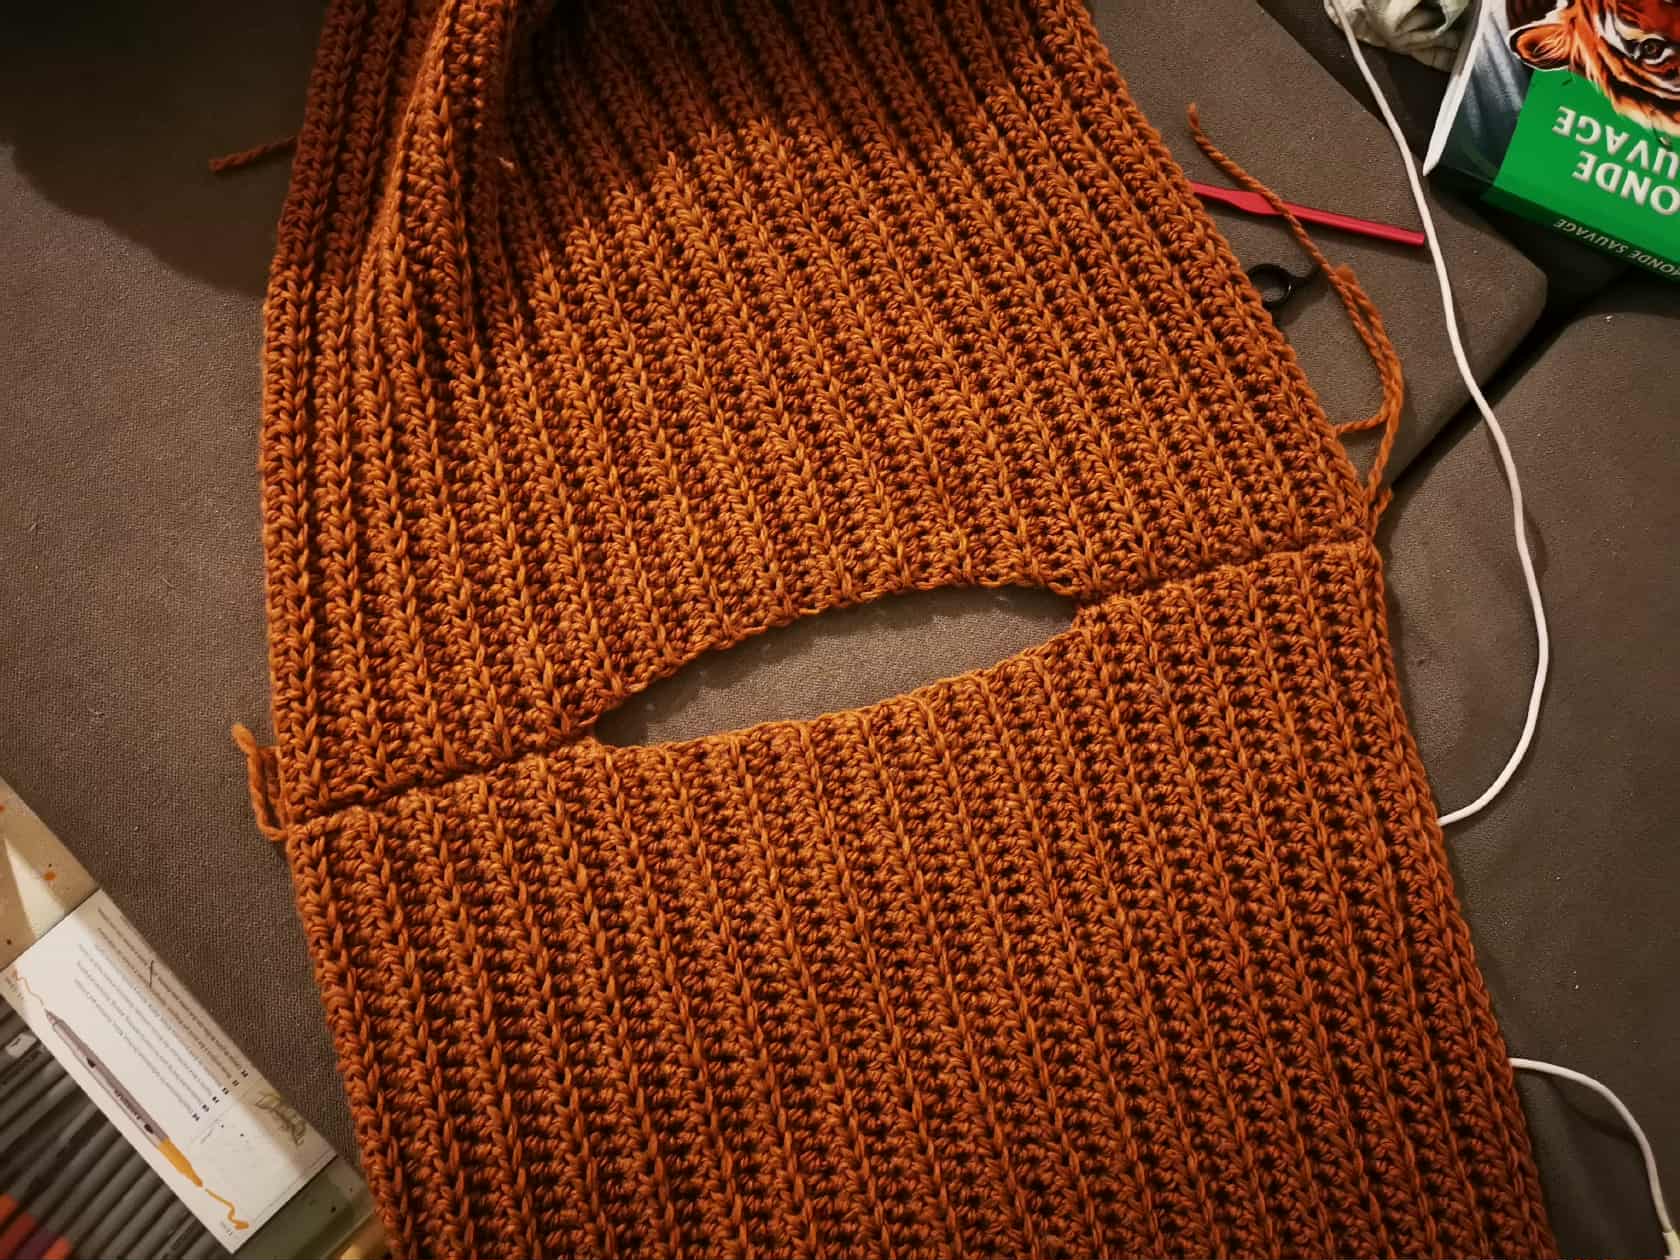
I started by assembling the collar, so I used safety pins to mark where I would join the front and back panels, and I joined them with slip stitches (because I don't like sewing):
Then, I moved on to the sleeves. I positioned them, then started slip stitching to join them to the front and back panels. Remember to sew all the seams on the wrong side of the garment:
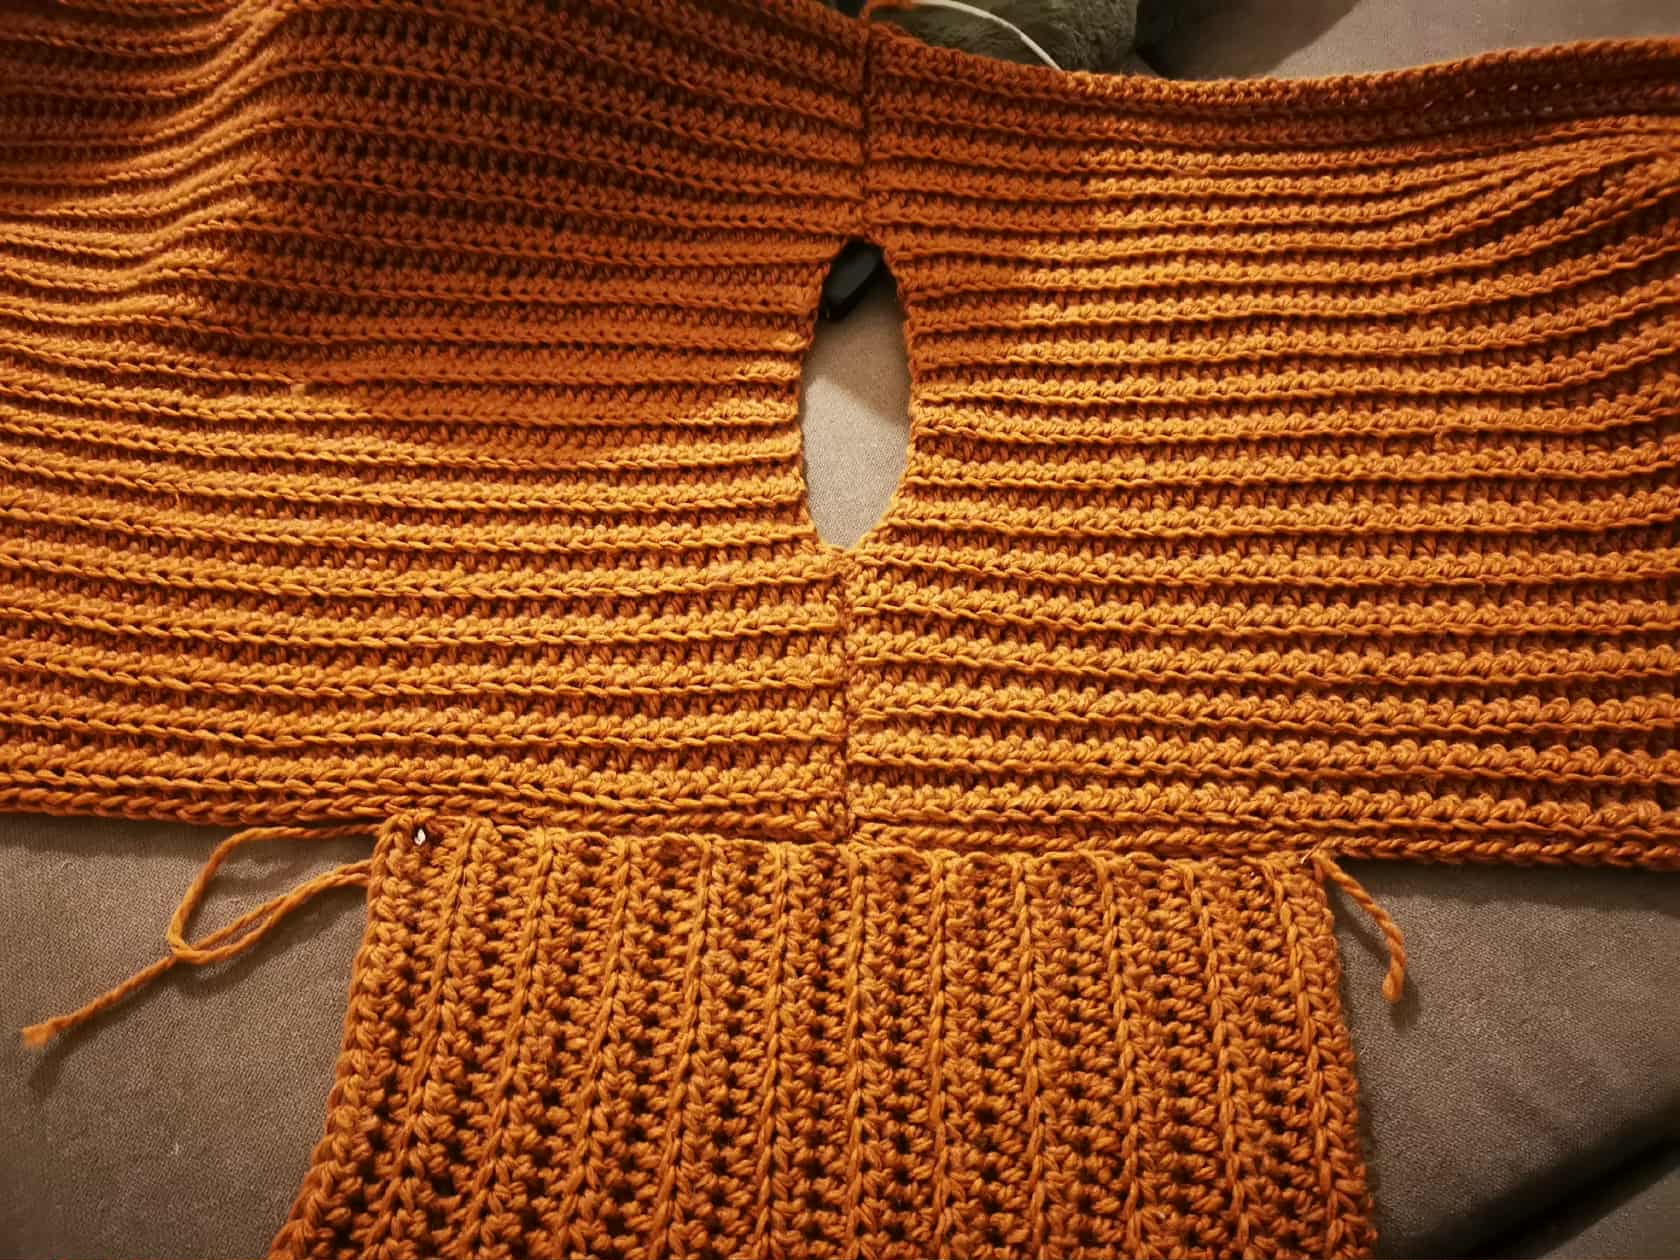
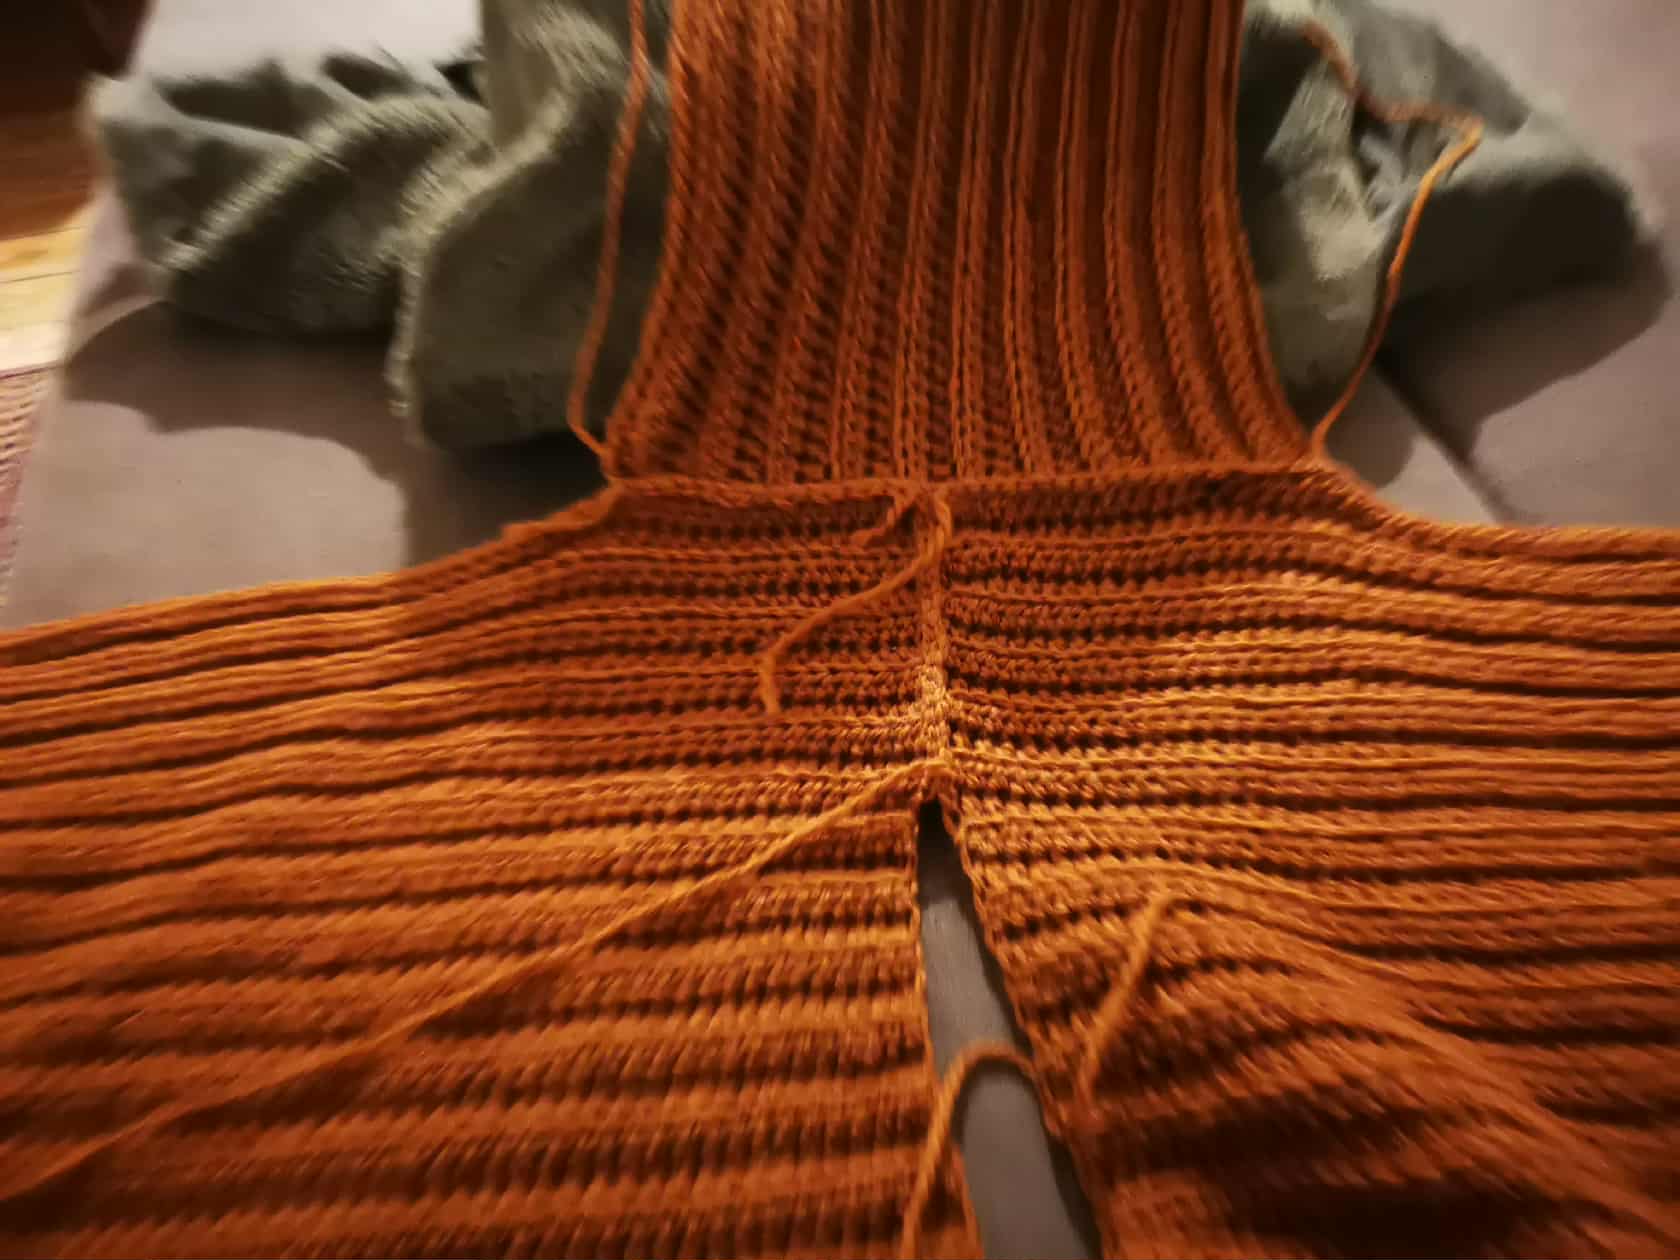
Once my two sleeves were attached to the front and back panels, I moved on to sewing the rest of the sweater. I did everything with slip stitches, as I find this technique easier.
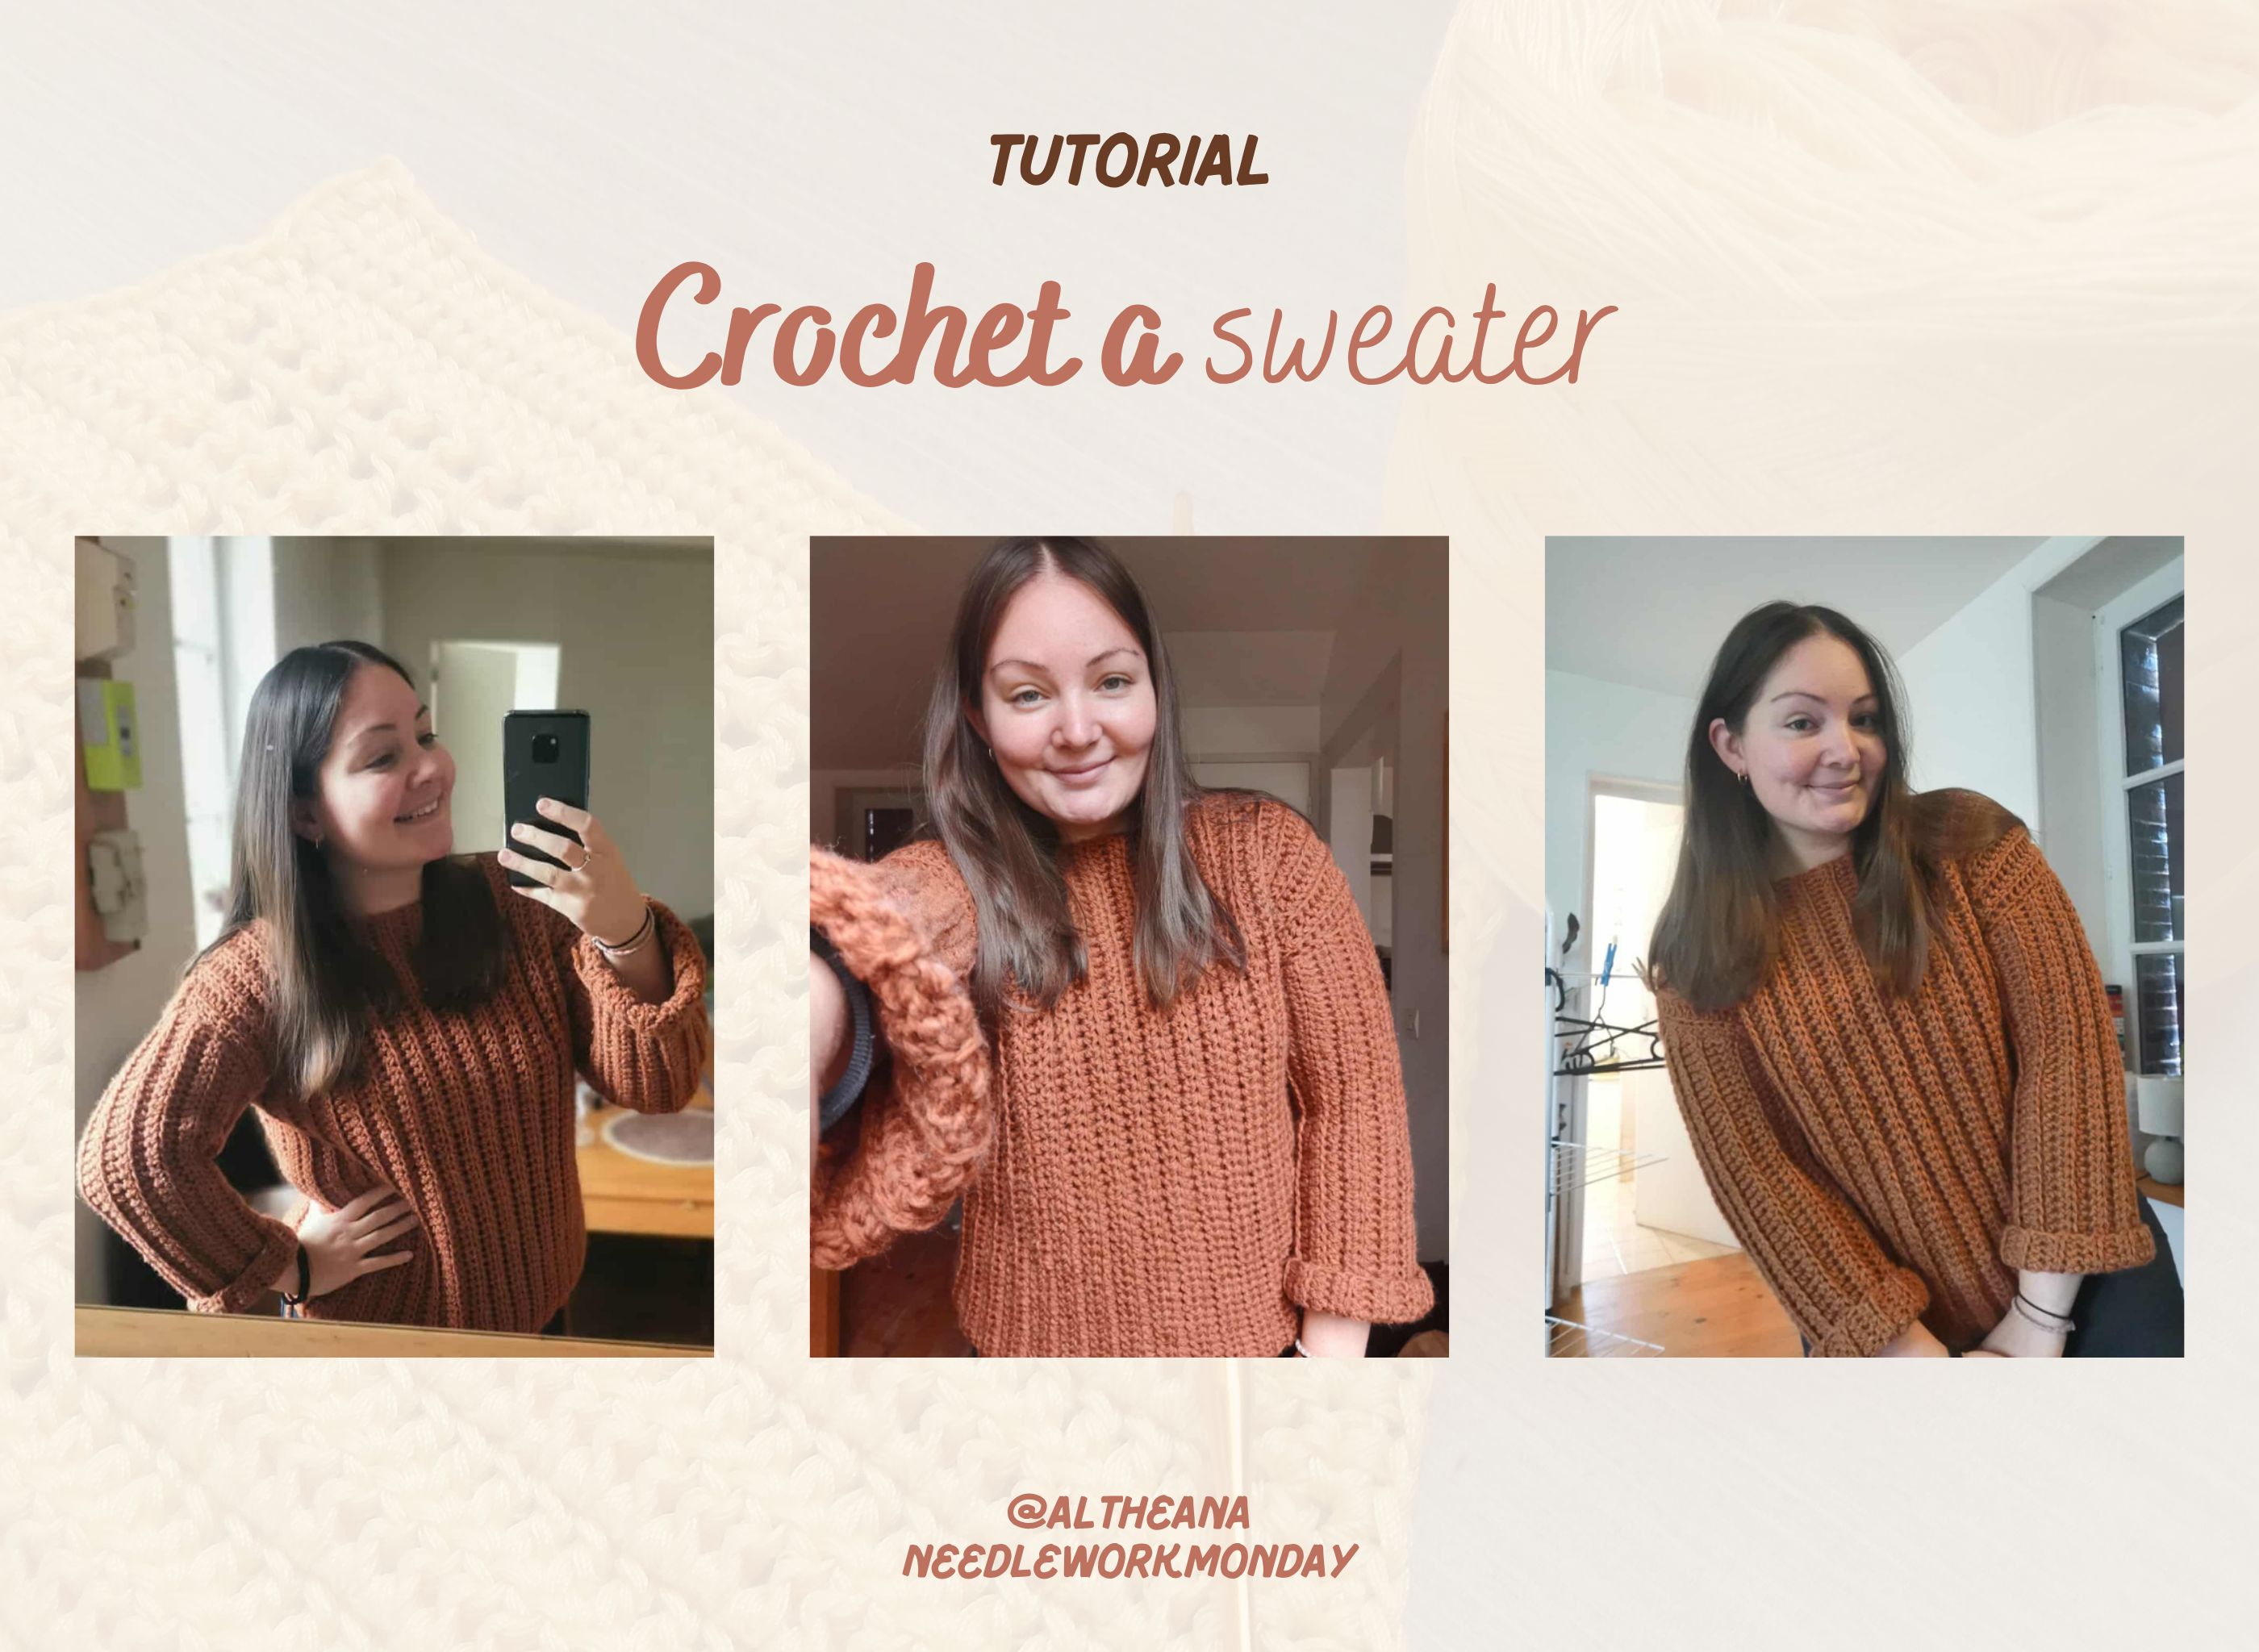
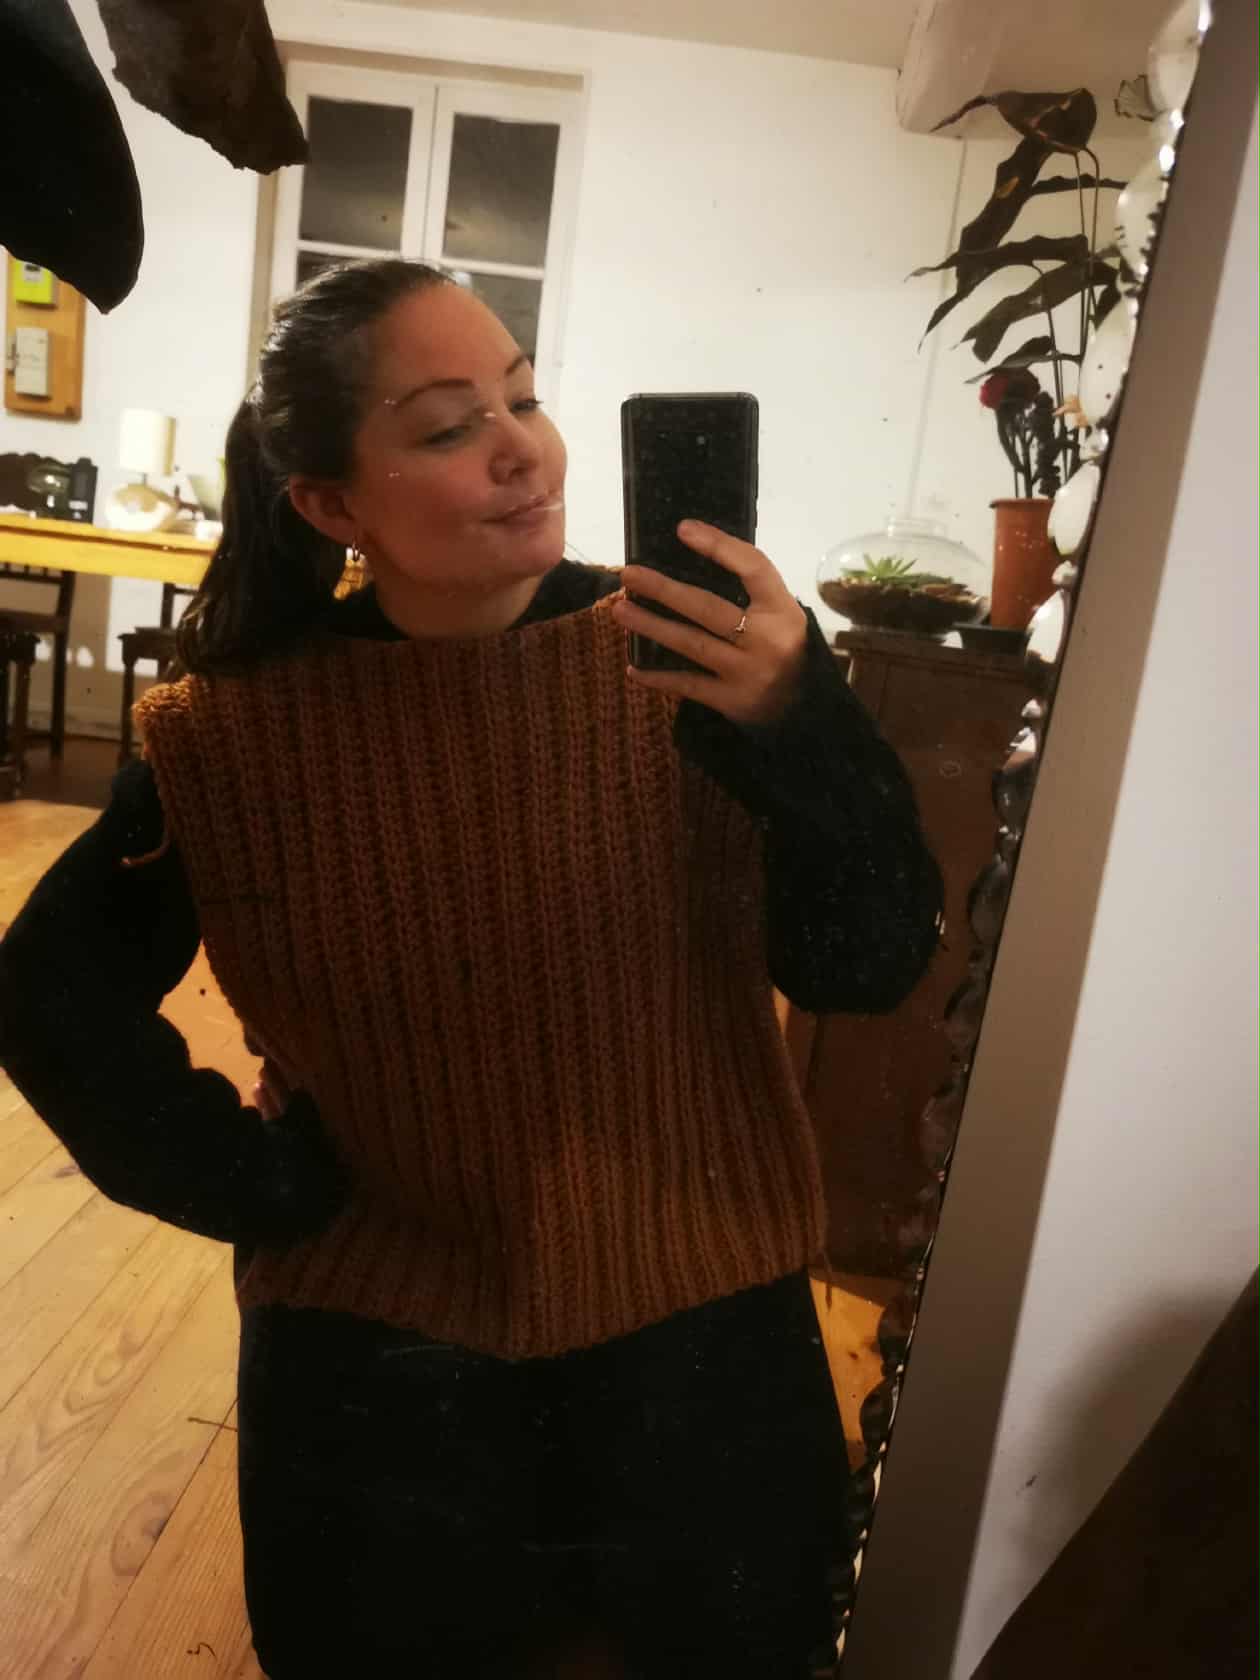
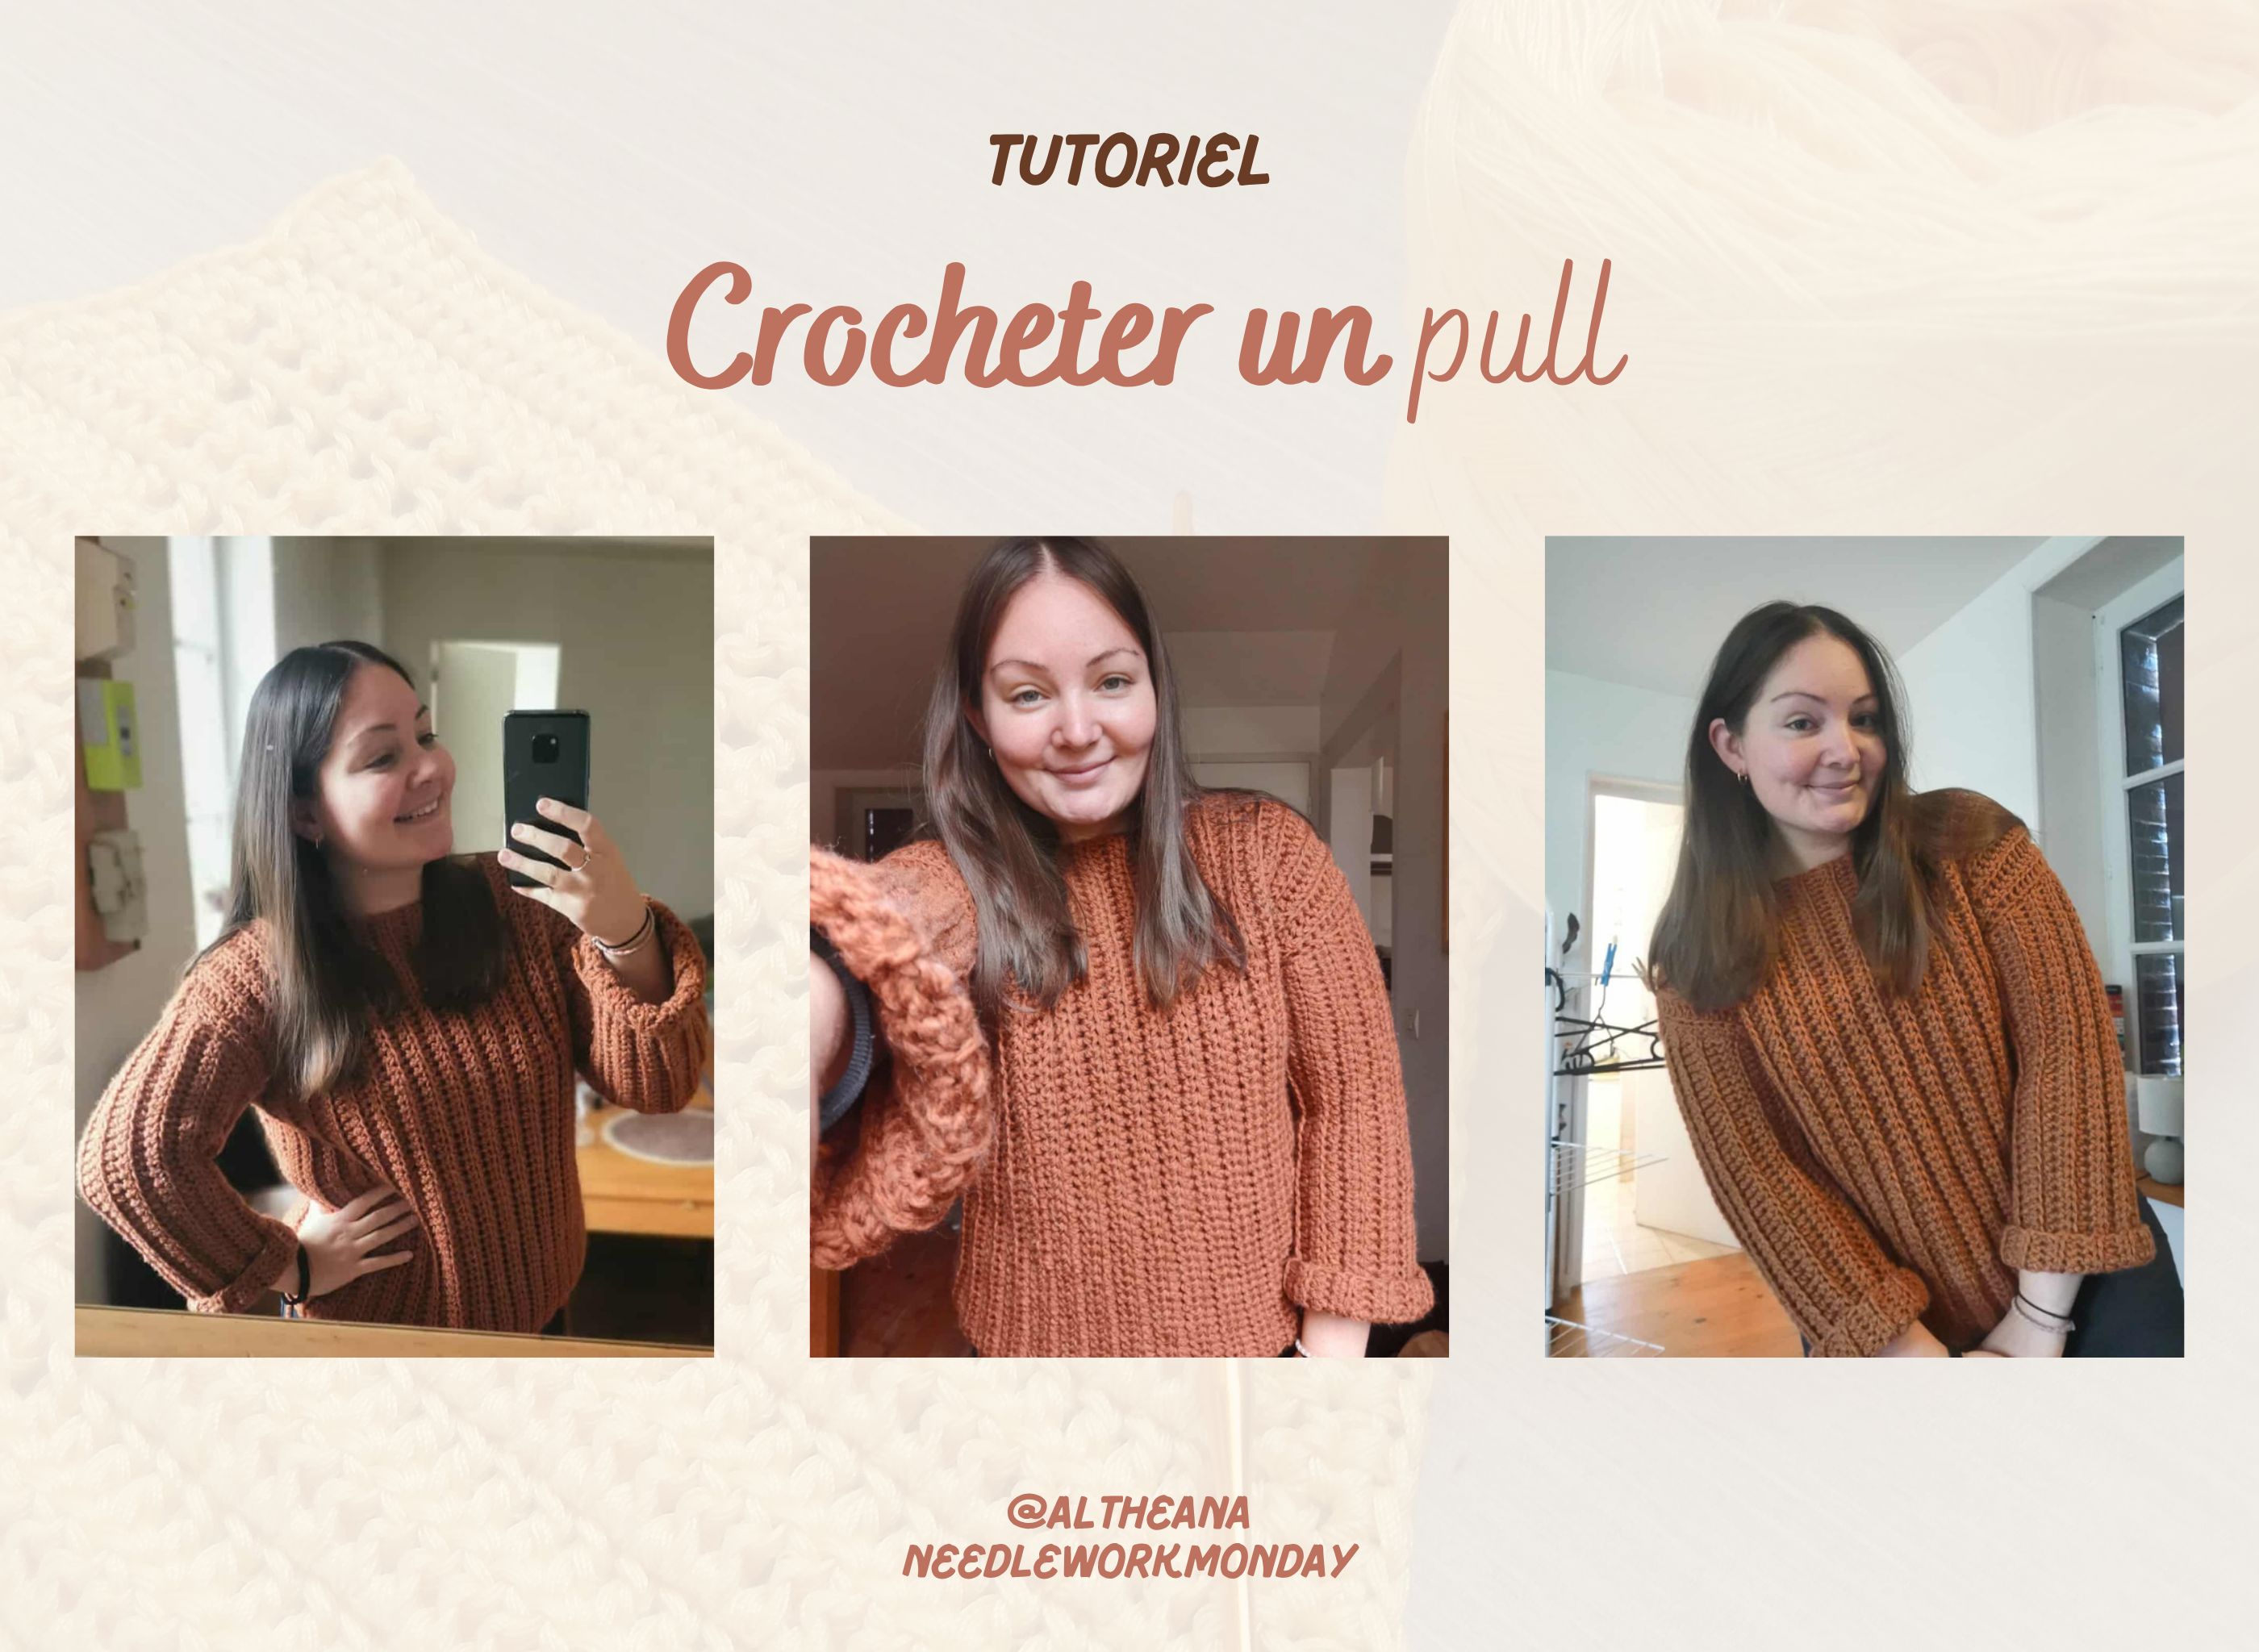
And here's the result:
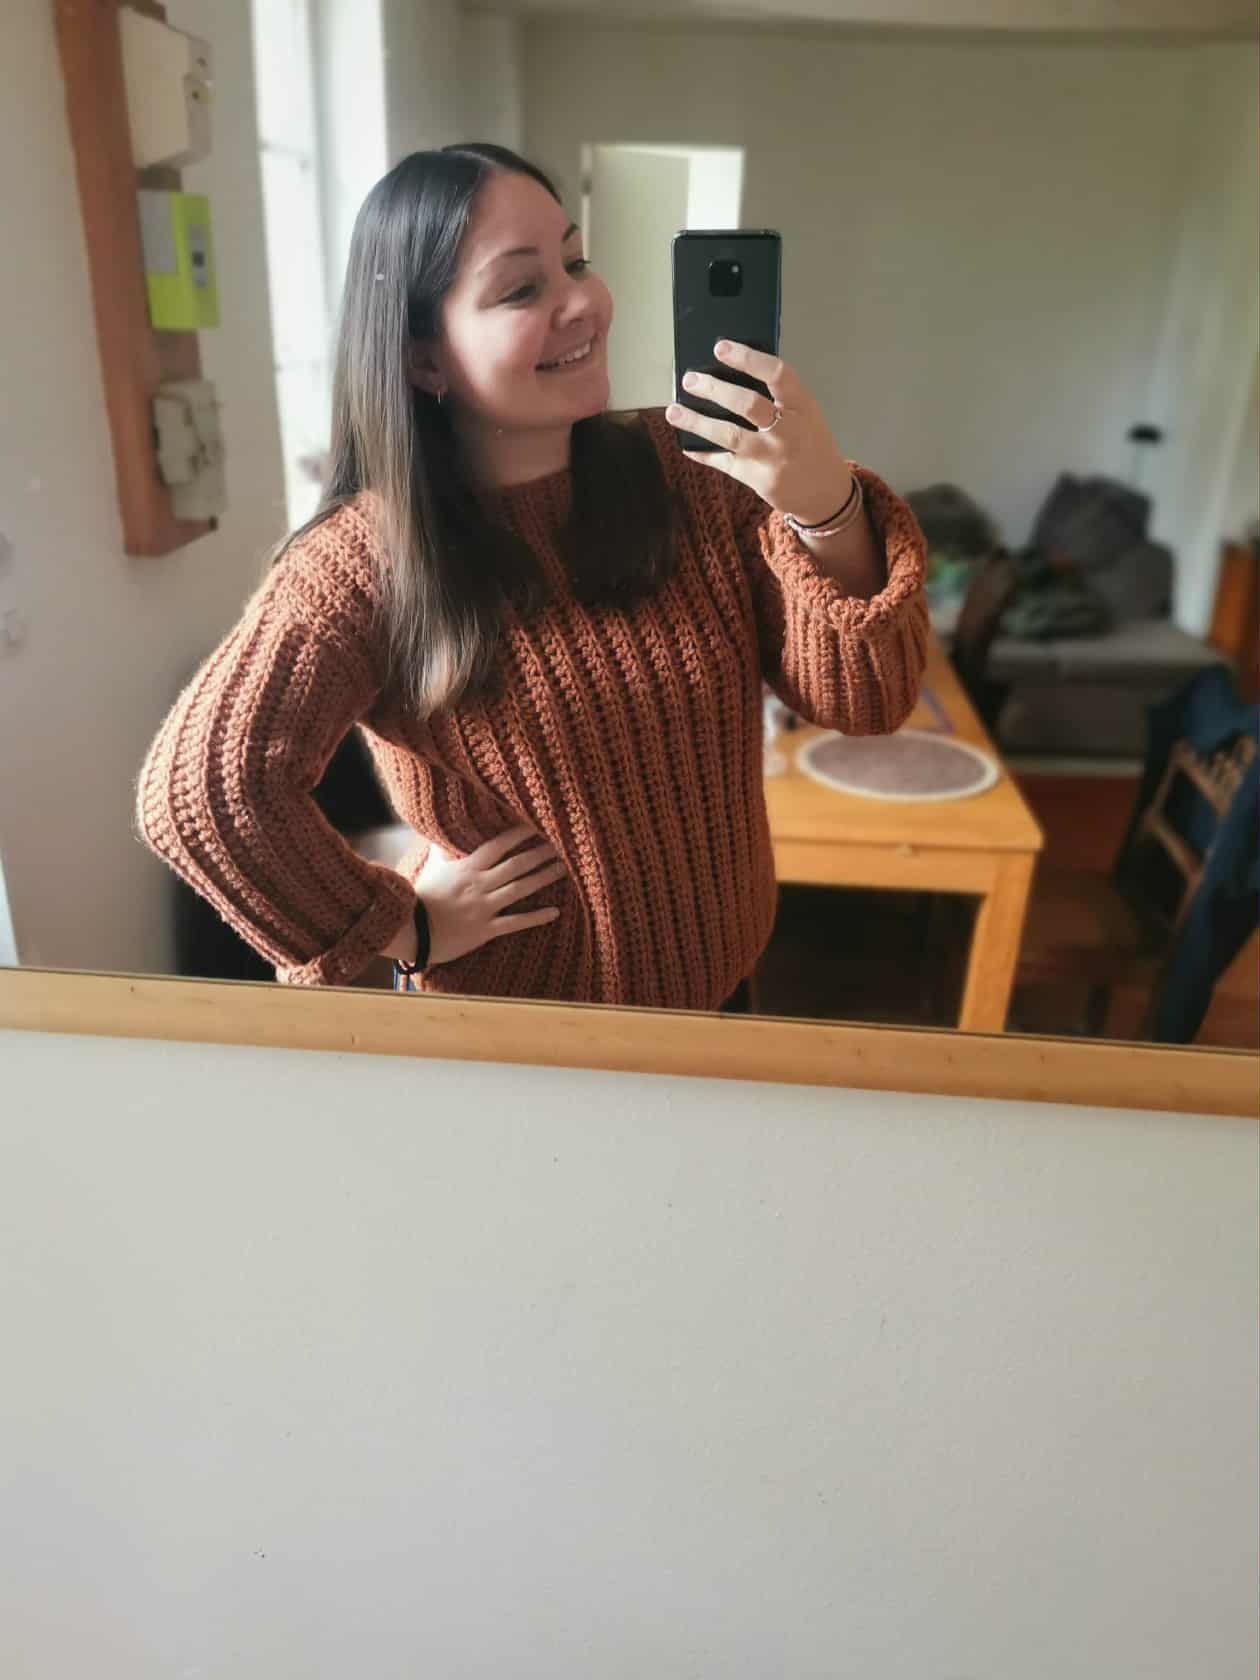
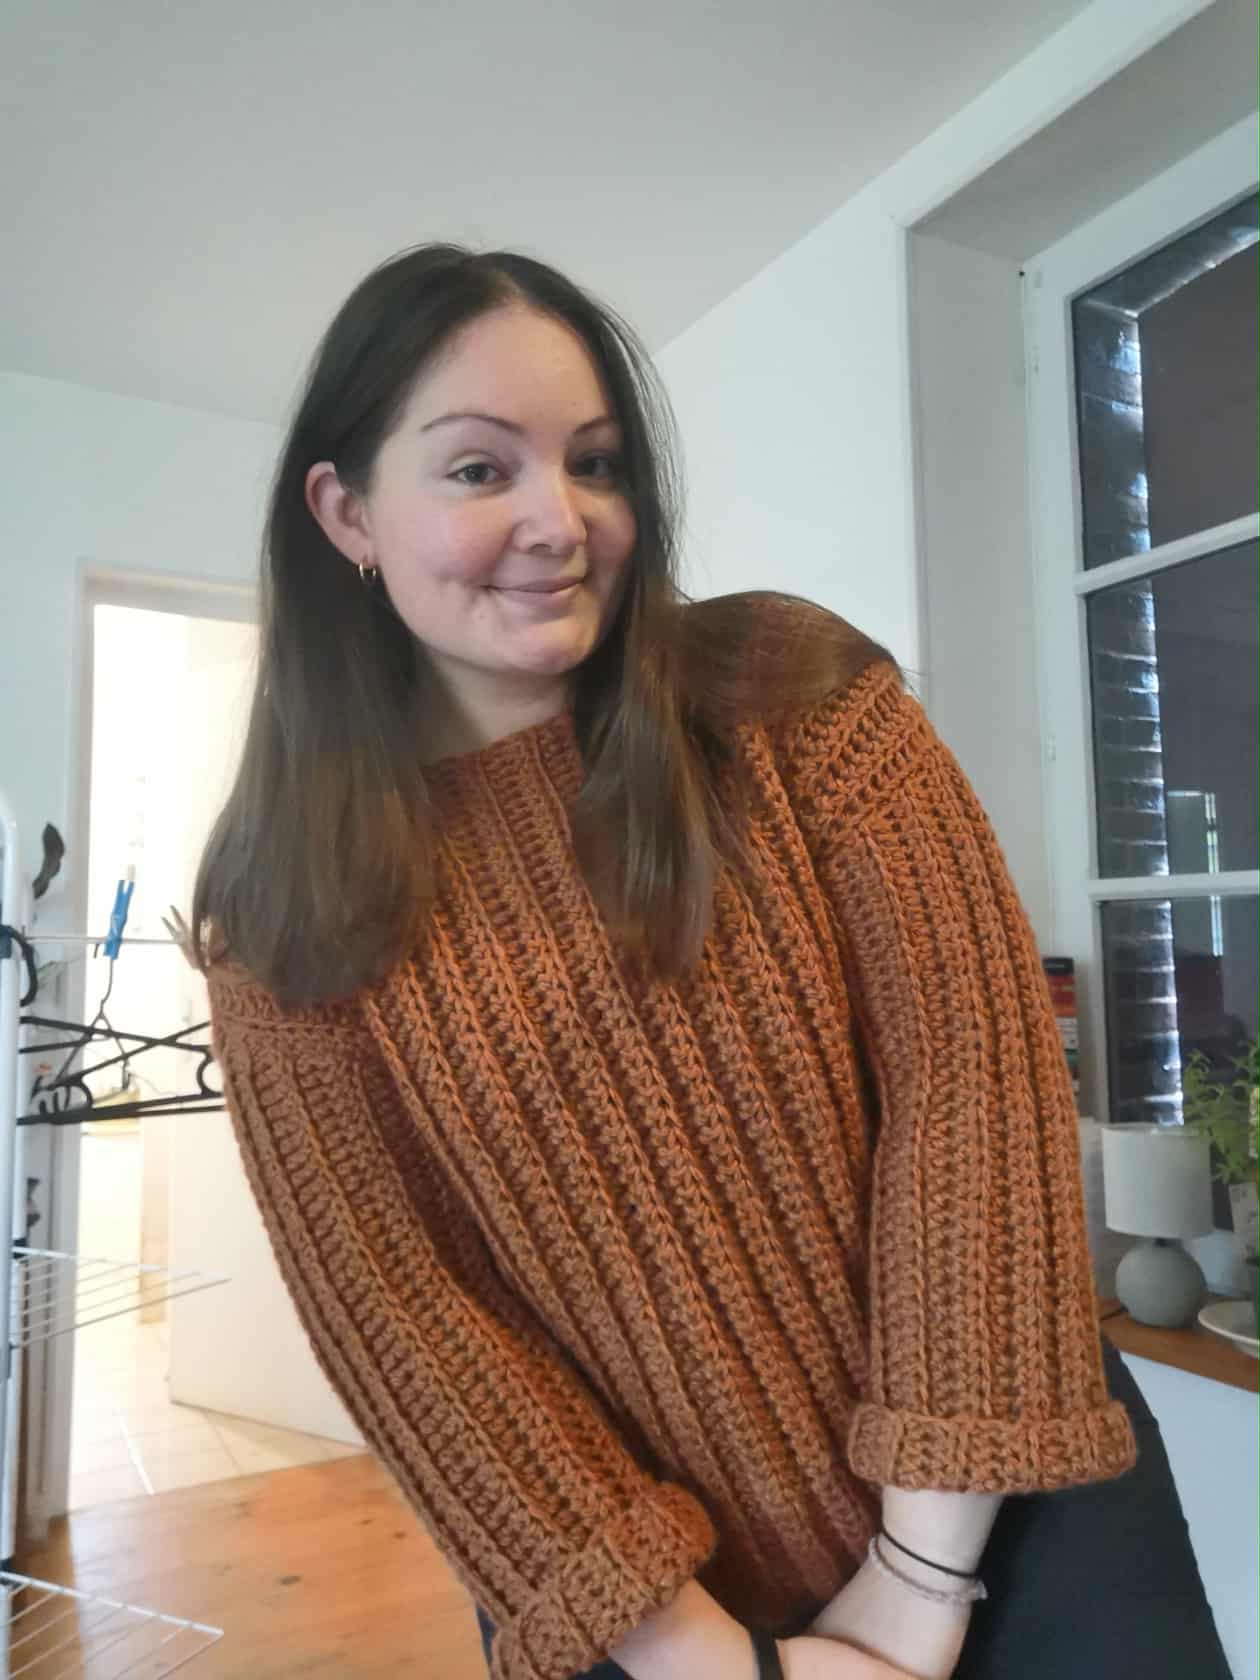
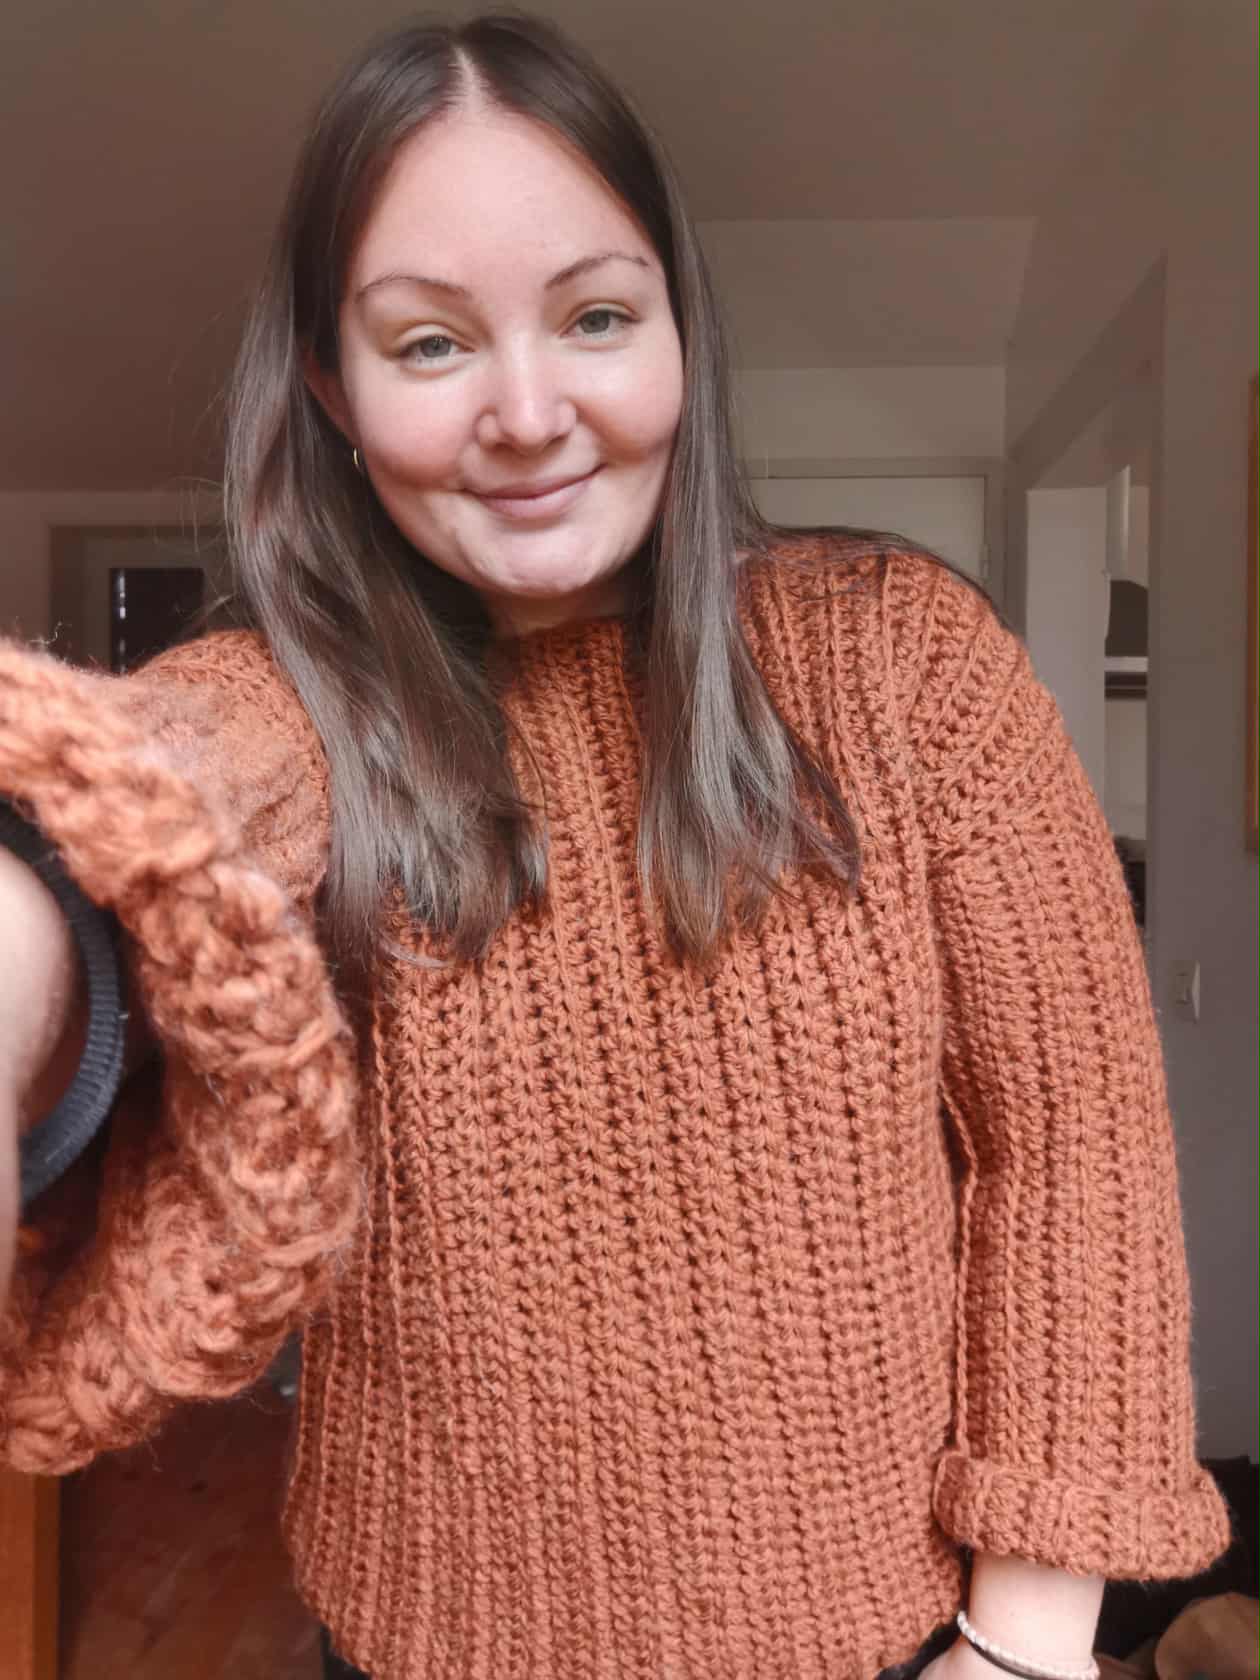
A nice warm oversized sweater for this winter. The fabric is incredibly comfortable to wear; I'm quite pleased!
I can't wait to wear it, because it's so nice to wear your own creations! 😁
Anyway, I hope this little tutorial has inspired you to make your own sweaters for this winter. Even if you're a beginner at crochet, I'm sure you'll succeed, as it's a fairly simple project.
However, it is a project that takes a bit of time. Personally, I worked on it several evenings in front of the TV, and I think it took me about 10 or 12 hours in total.
I can't wait to see your creations for this winter!
See you soon, Johanna
PS: I used Google Translate to translate the English part.
Version en français
Hello les amis et les crochet lovers ! J’espère que vous allez tous très bien 😁
Il y a déjà plusieurs mois que je n'ai pas posté dans cette communauté parce que j’avais beaucoup moins de temps pour crocheter. Et c’est vrai que ça me manquait un peu ! Et comme l’hiver approchait et que j’avais de la laine d’avance, alors je me suis lancé dans la création d’un pull.
L’année dernière, j’avais déjà essayé de faire un cardigan avec cette laine un peu épaisse. Mais c’était un vrai flop, je vous avais même partagé ma mauvaise expérience…
Donc, cette année, j’ai décidé de faire mieux et de créer un pull sans tutoriel précis. Et comme je le trouve plutôt réussi, je vais vous partager les étapes que j’ai suivies pour le réaliser :
Le matériel
- 6 pelotes de laine épaisse ;
- Un crochet 10mm.
Les étapes de fabrication
J’ai commencé par les deux panneaux : l’avant et l’arrière. Ce sont 2 panneaux identiques.
J’ai fait un noeud coulant et j’ai monté une chaînette de départ de 60 mailles :
Le nombre de mailles qui composent la chaînette de départ dépend de vos mensurations. Pour ma part, je voulais un pull oversize et pas trop court. Ce qu’il faut, c’est que la chaînette aille de votre épaule à votre taille / hanche. Enfin, tout dépend de la longueur que vous souhaitez pour ce pull.
Ensuite, j’ai commencé mon premier rang de demi-brides classique, en ajoutant 1 maille en l’air pour tourner le projet :
Puis, pour les rangs suivants, j’ai fait des demi-brides dans le brin arrière, en ajoutant toujours 1 maille en l’air pour tourner le projet à chaque fois :
Le fait de crocheter dans le brin arrière donne ce côté ondulé que je recherchais.
Et j’ai continué mes rangs de demi-brides dans le brin arrière jusqu’à ce que mon panneau avant aille d’une épaule à l’autre.
Au total, j’ai fait 38 rangs.
Et pour l’arrière, j’ai refait exactement le même panneau.
Ensuite, pour les manches, j’ai commencé par une chaînette de départ de 43 mailles.
Puis, j’ai fait un rang de demi-brides classique avec une maille en l’air pour tourner le projet.
Et pour les rangs suivants, j’ai fait des demi-brides dans le brin arrière avec une maille en l’air pour tourner le projet.
J’ai fait 23 rangs au total.
Il faut que le panneau puisse faire le tour de votre bras.
Et j’ai fait un deuxième identique pour la deuxième manche.
Puis, je suis passé à l’assemblage 👇
J’ai commencé par assembler le col, j’ai donc placé des épingles à nourrice pour délimiter jusqu’au je vais relier mes panneaux avant et arrière et j’ai relié les deux en faisant des mailles coulées (car je n’aime pas coudre) :
Puis, je suis passé aux manches. Je les ai placés, puis j’ai commencé à faire des mailles coulées pour les relier aux panneaux avant et arrière. Il faut bien penser à faire toutes les coutures sur l’envers du vêtement :
Une fois mes deux manches reliés aux panneaux avant et arrière, je suis passé à la couture du reste du pull. J’ai tout fait en mailles coulées, car je trouve cette technique plus simple.
Et voici le résultat :
Un pull oversize bien chaud pour cet hiver. La matière est ultra agréable à porter, je suis assez satisfaite !
J’ai hâte de le porter, parce que c’est tellement agréable de porter ses propres créations ! 😁
Bref, j’espère que ce petit tutoriel vous a donné envie de faire vos propres pulls pour cet hiver. Même si vous commencez le crochet, je suis sûr que vous réussirez, car c’est un projet assez simple.
En revanche, c’est un projet qui prend un peu de temps. Pour ma part, j’y ai travaillé plusieurs soirs devant la télé et je pense qu’au total cela m’a pris environ 10 ou 12h.
J’ai hâte de voir vos créations pour cet hiver ! 😊
À bientôt, Johanna
PS : J’ai utilisé Google Traduction pour traduire la partie en anglais.