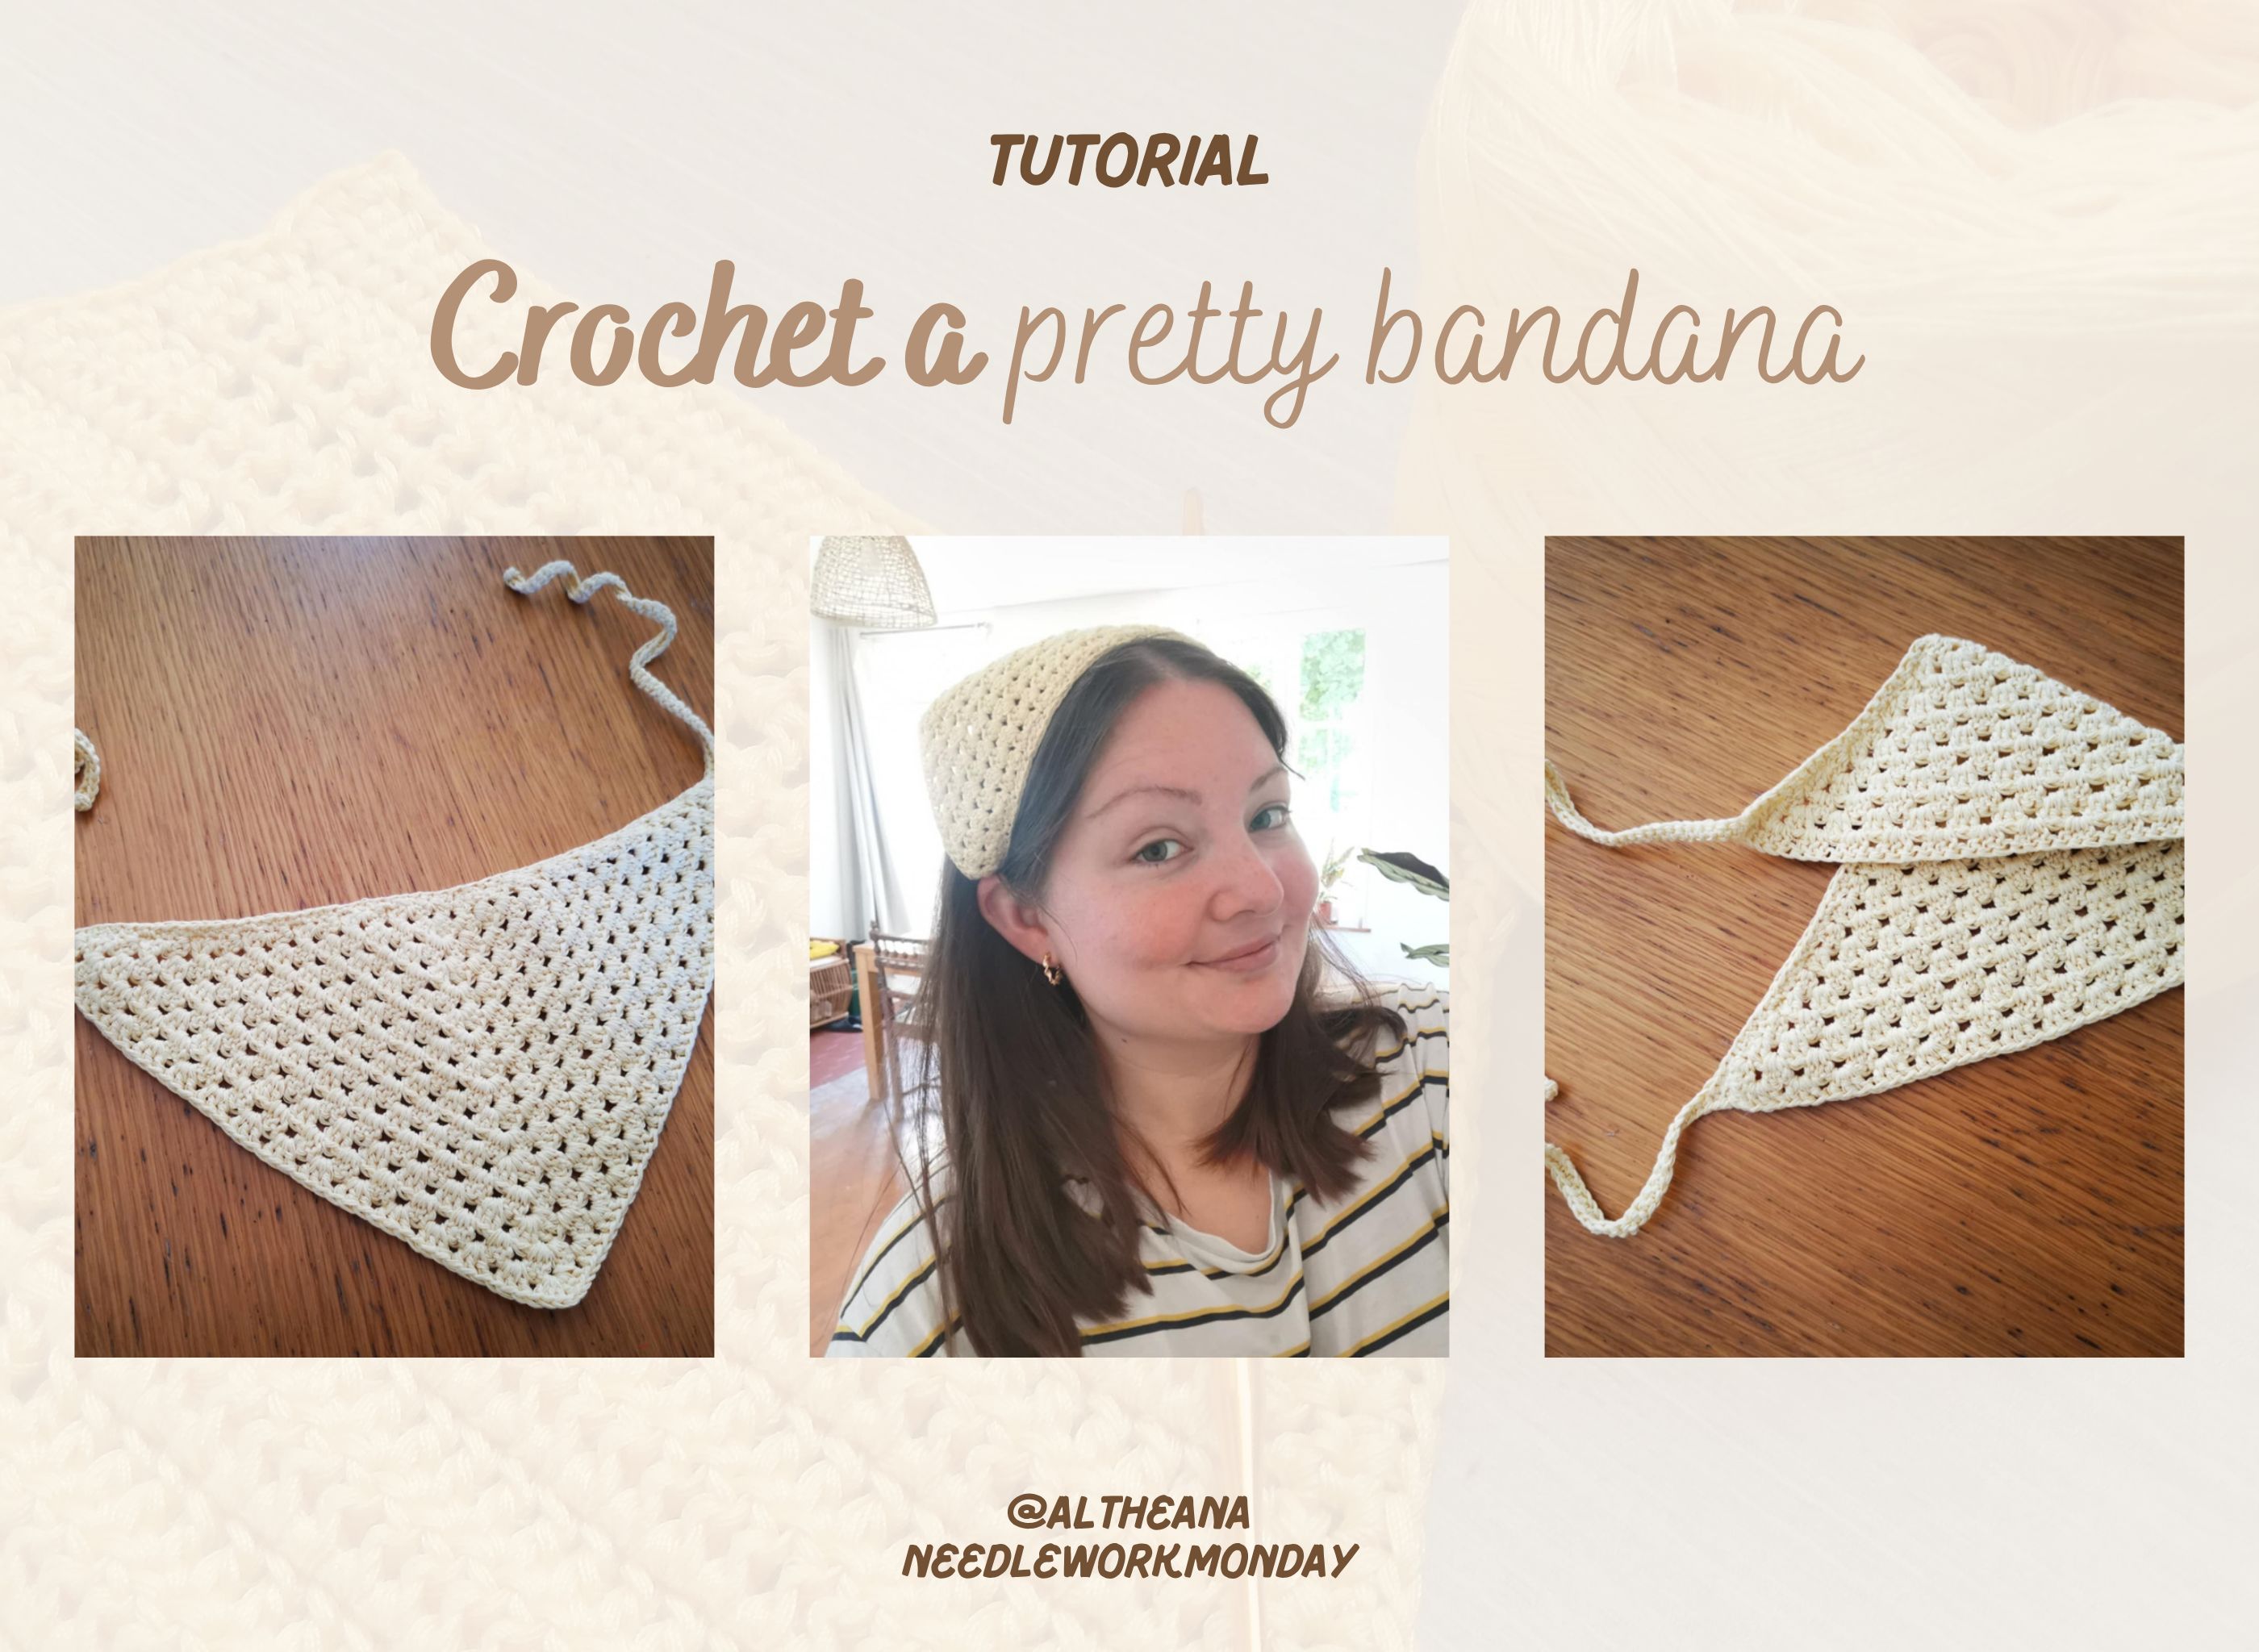
Hello friends and crochet lovers! I hope you're all doing well 😁
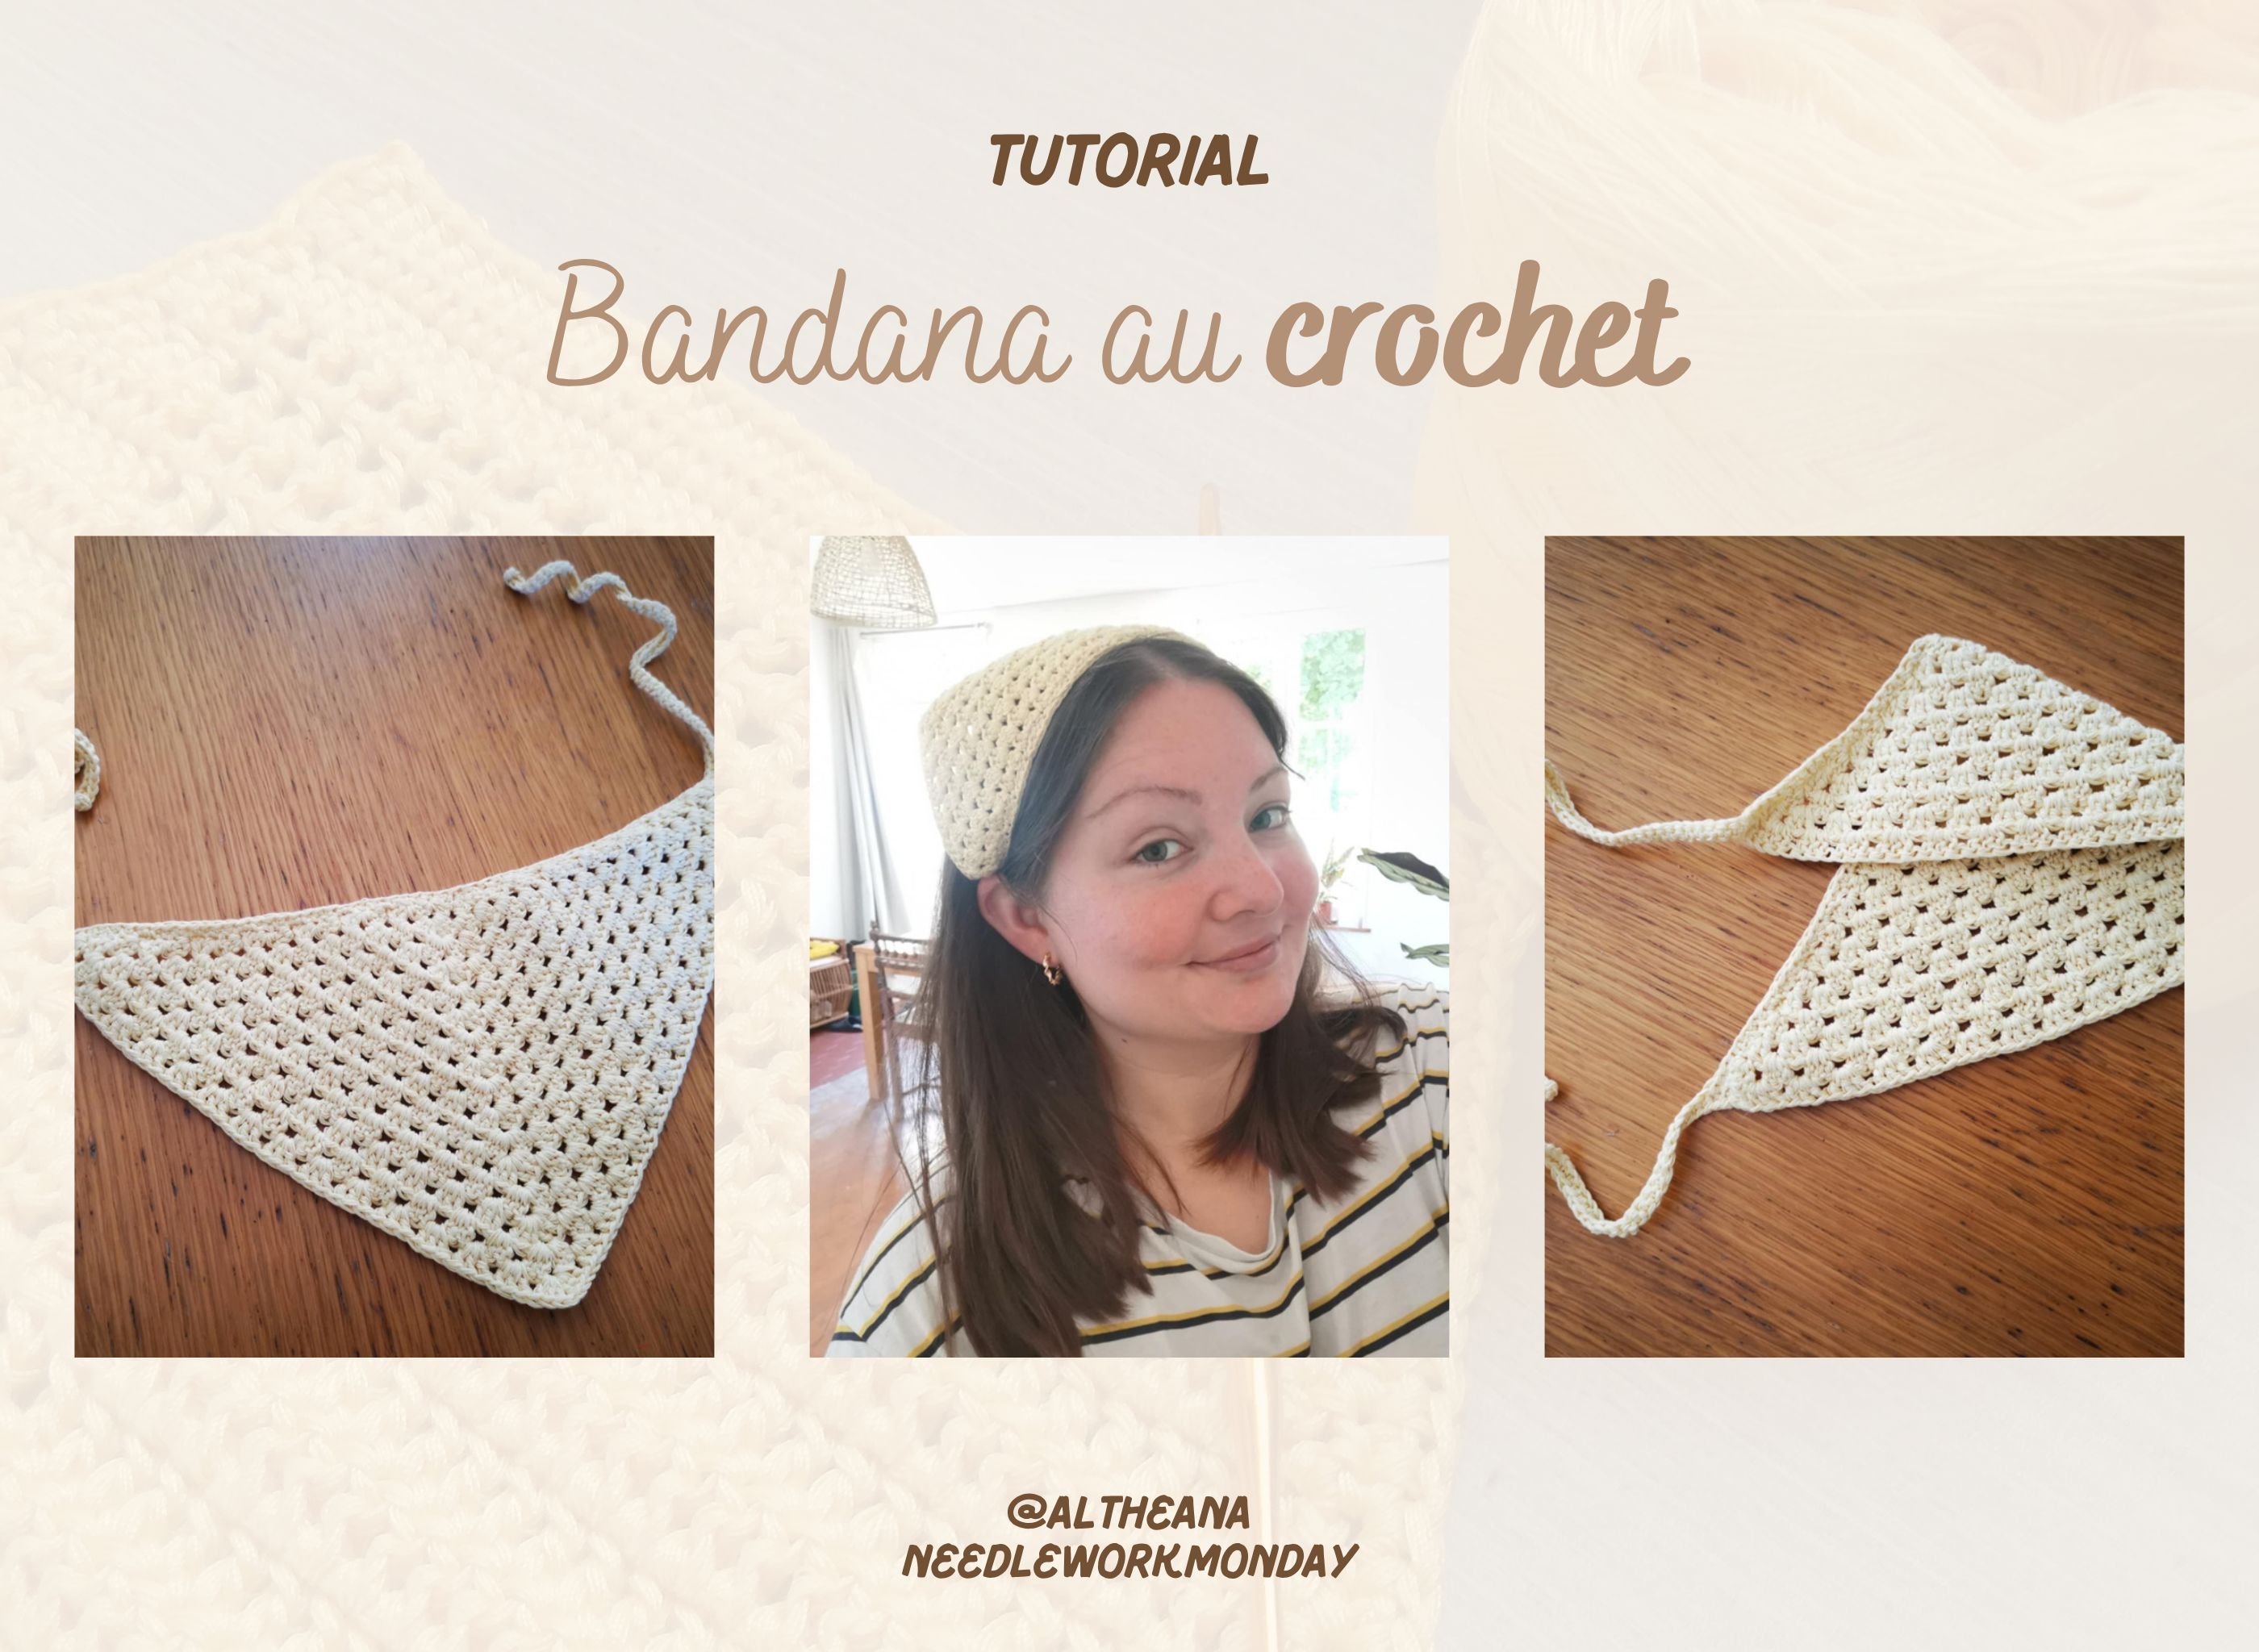
I'm continuing my little summer creations, and this week, I made a pretty bandana! I'd been wanting to make one for a long time, but I couldn't choose the right color or material.
Finally, I decided to take the hassle out of it and make it light yellow, like the headband I made a few weeks ago! ☀️
It's a very simple and quick project. It can be completed in less than half a day if you crochet regularly.
I think it's a very cute accessory; it gives a little bohemian look to my outfits 😁
Anyway, here's the tutorial for making this little bandana 👇
Materials
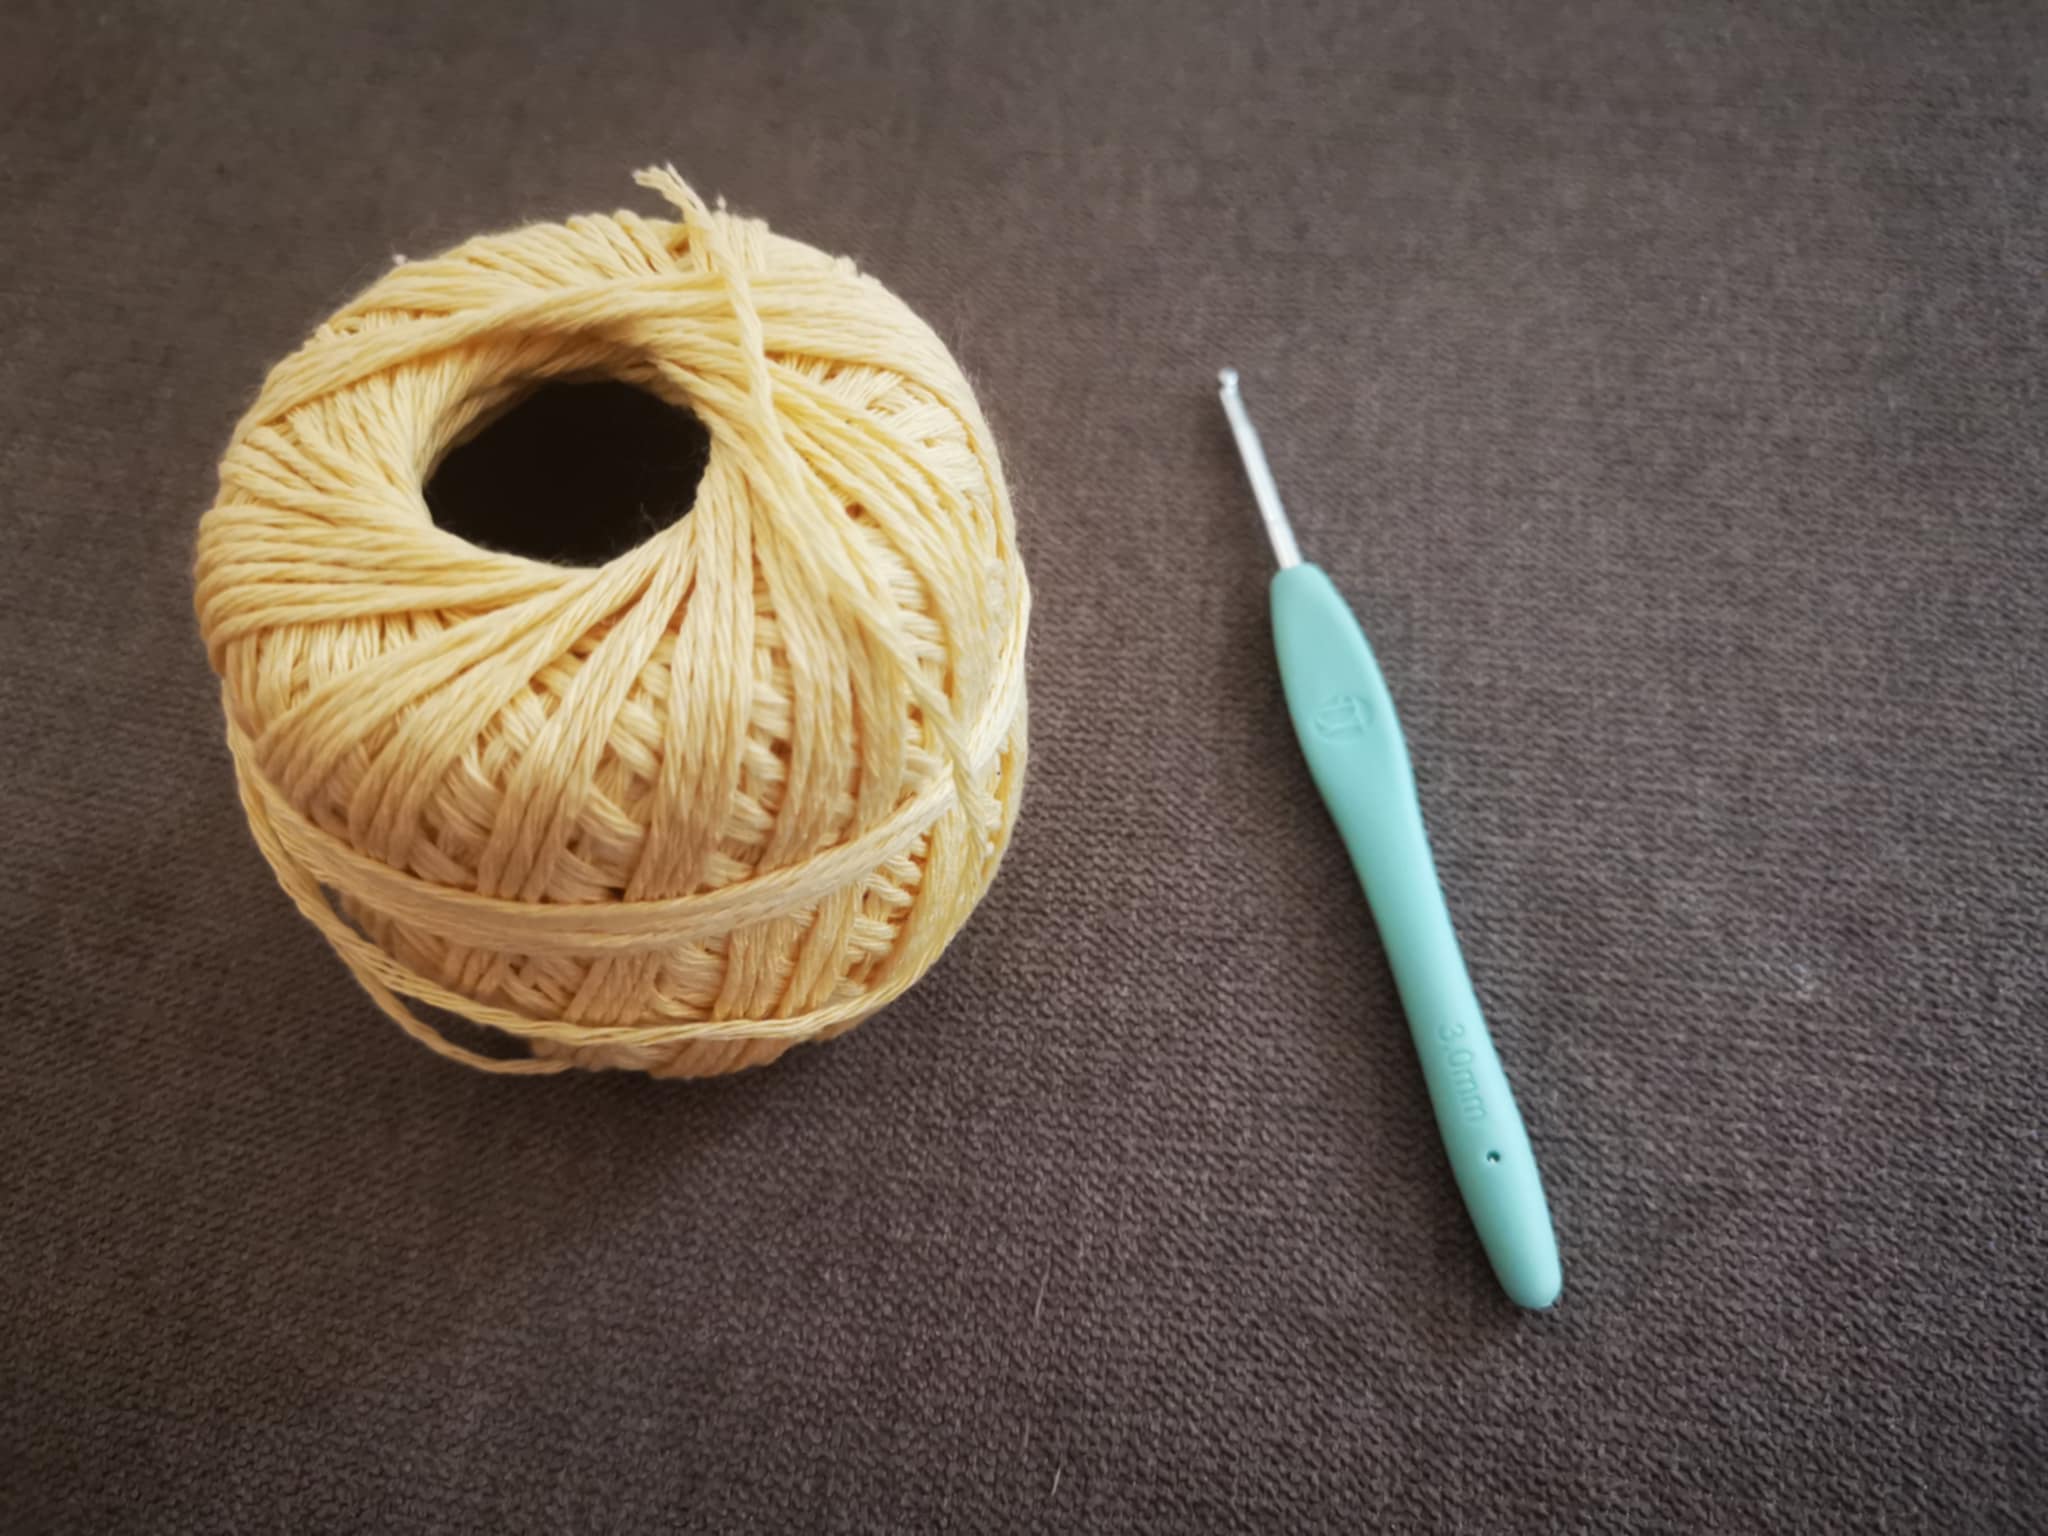
You will need:
- A ball of fine cotton yarn;
- A 3mm crochet hook.
The steps involved
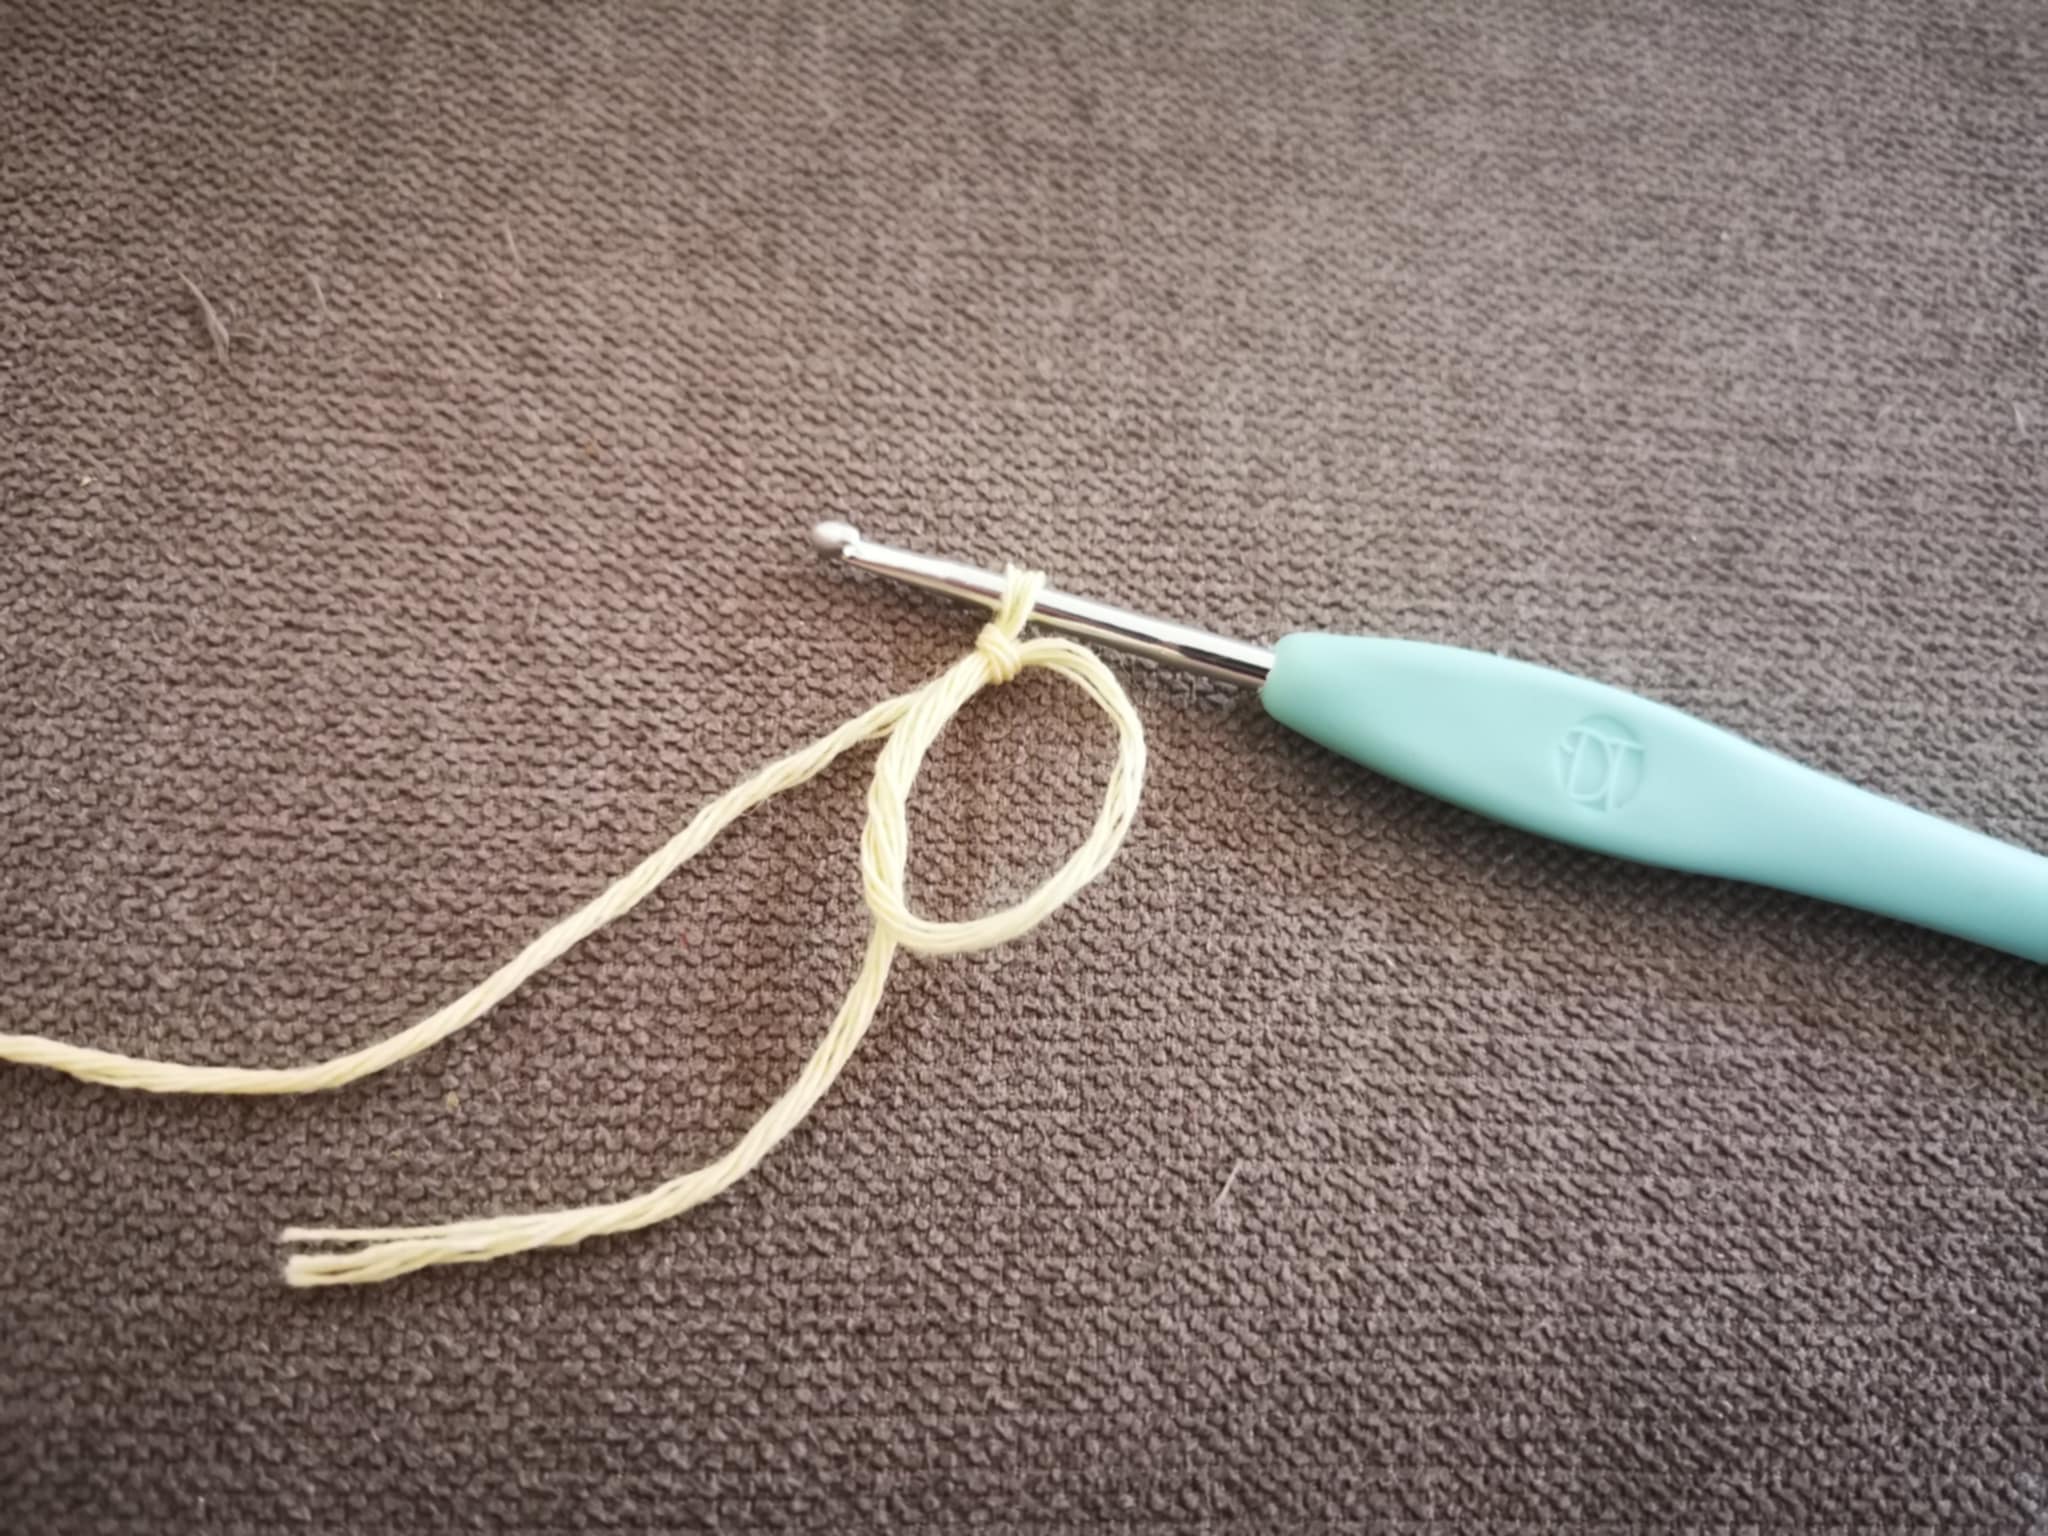
To make this bandana, you need to start with a magic ring:
Then, cast on 3 chain stitches, which will count as a first double crochet:
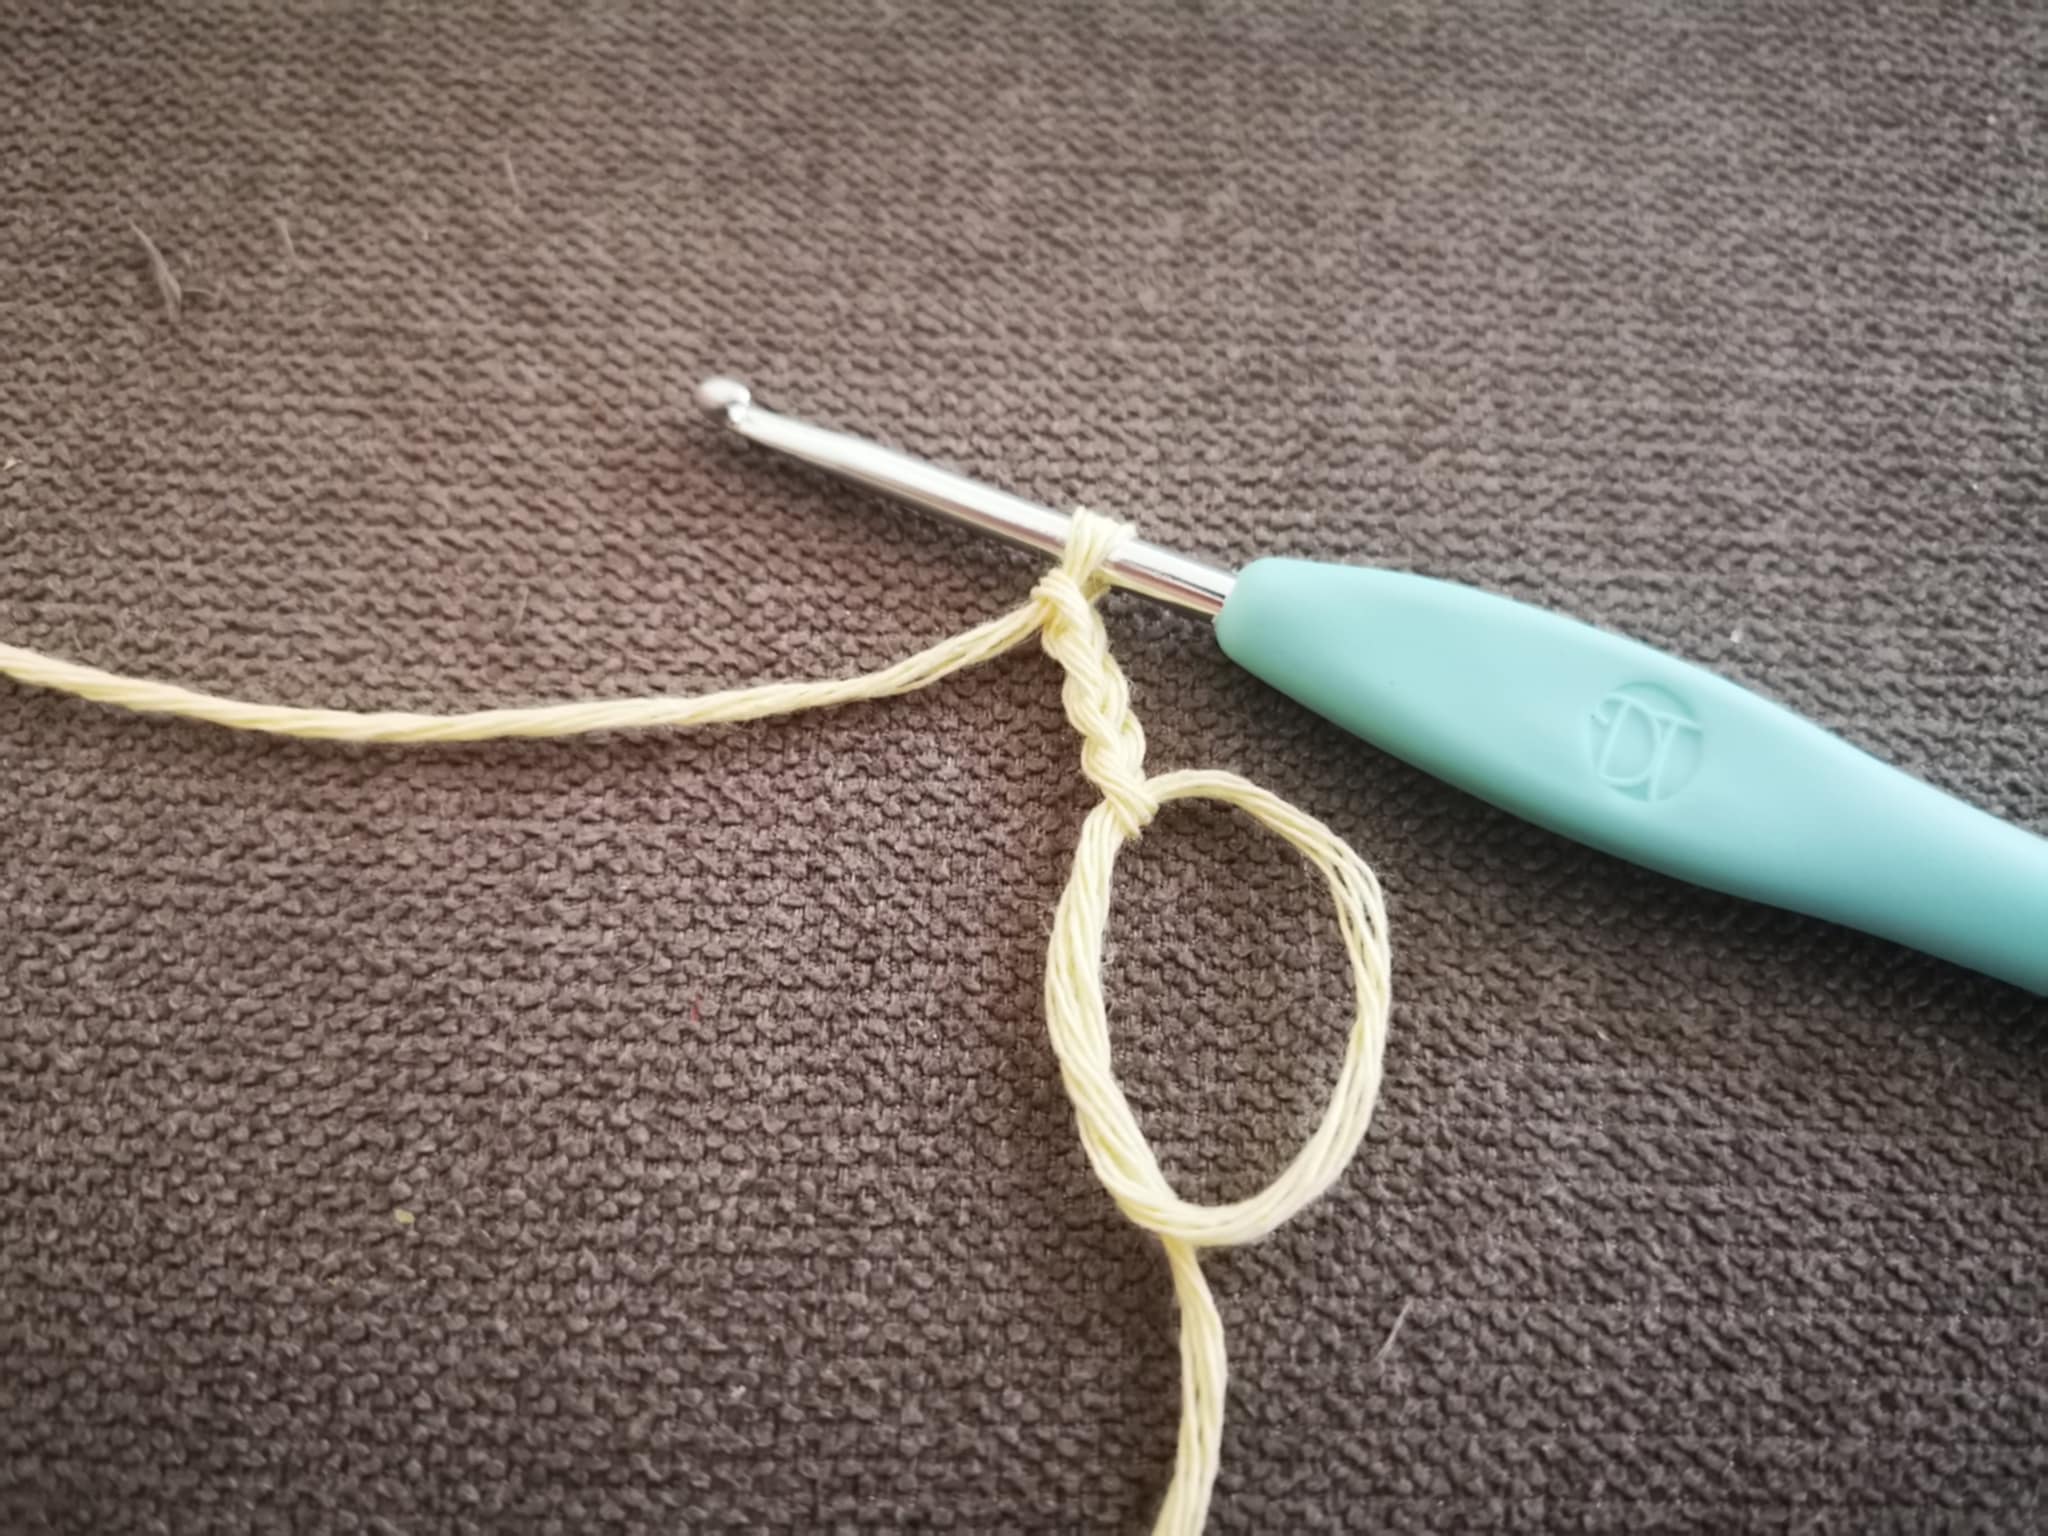
Next, I made 2 first double crochets in the magic ring:
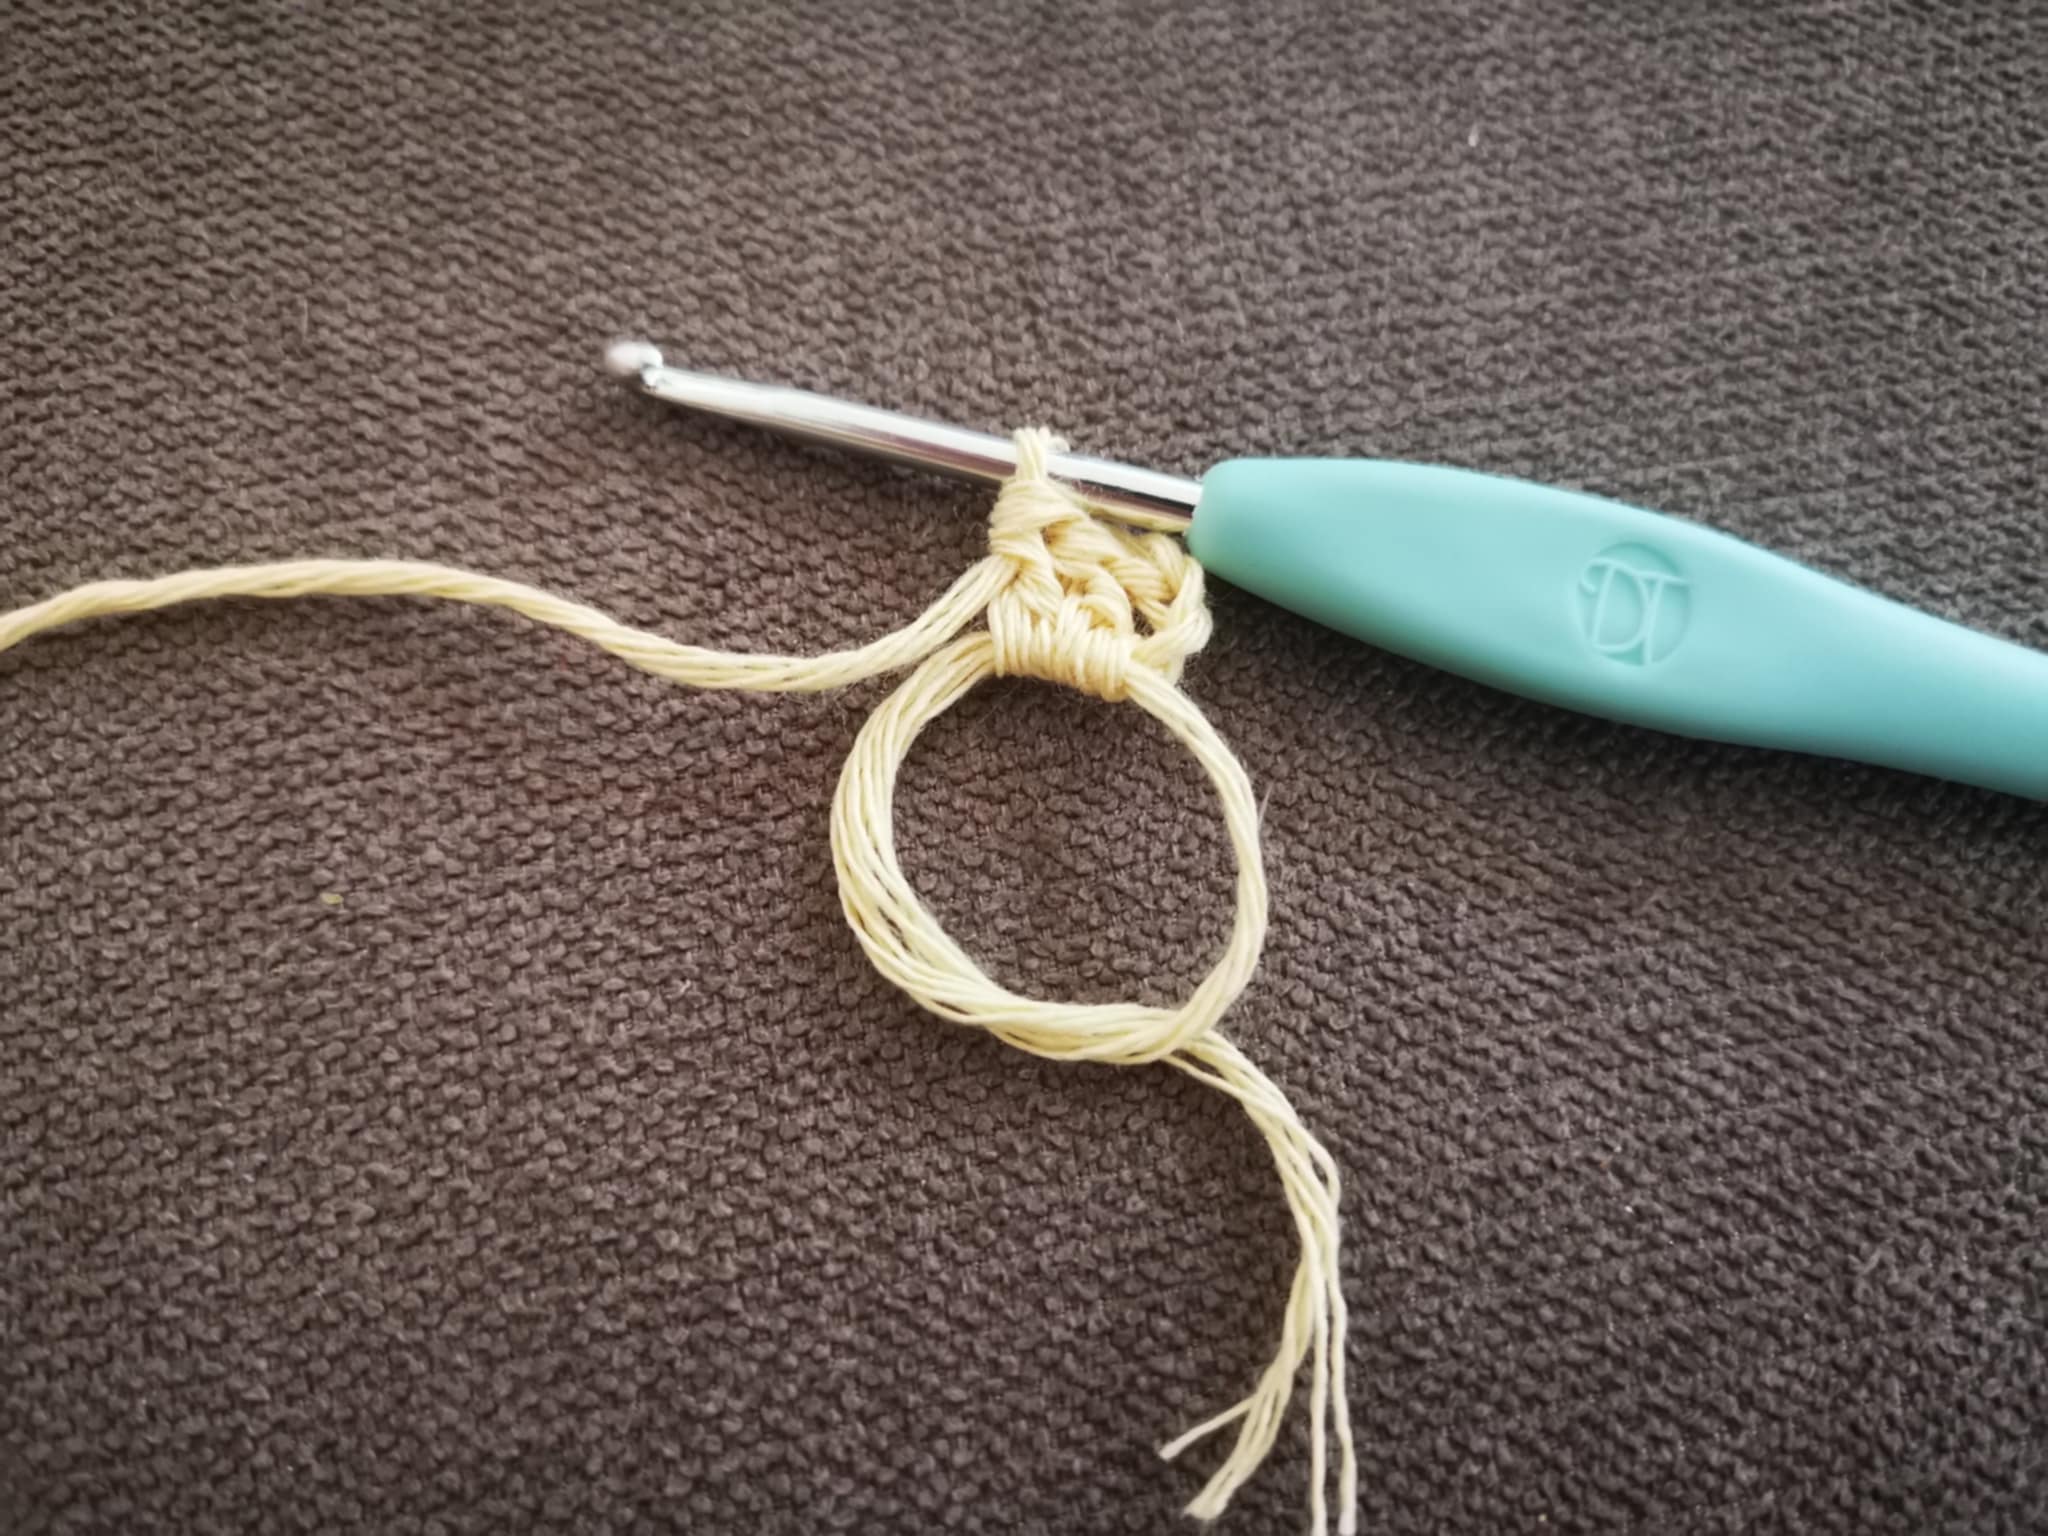
Then, I cast on 1 chain stitch:
And I made 3 double crochets in the magic ring:
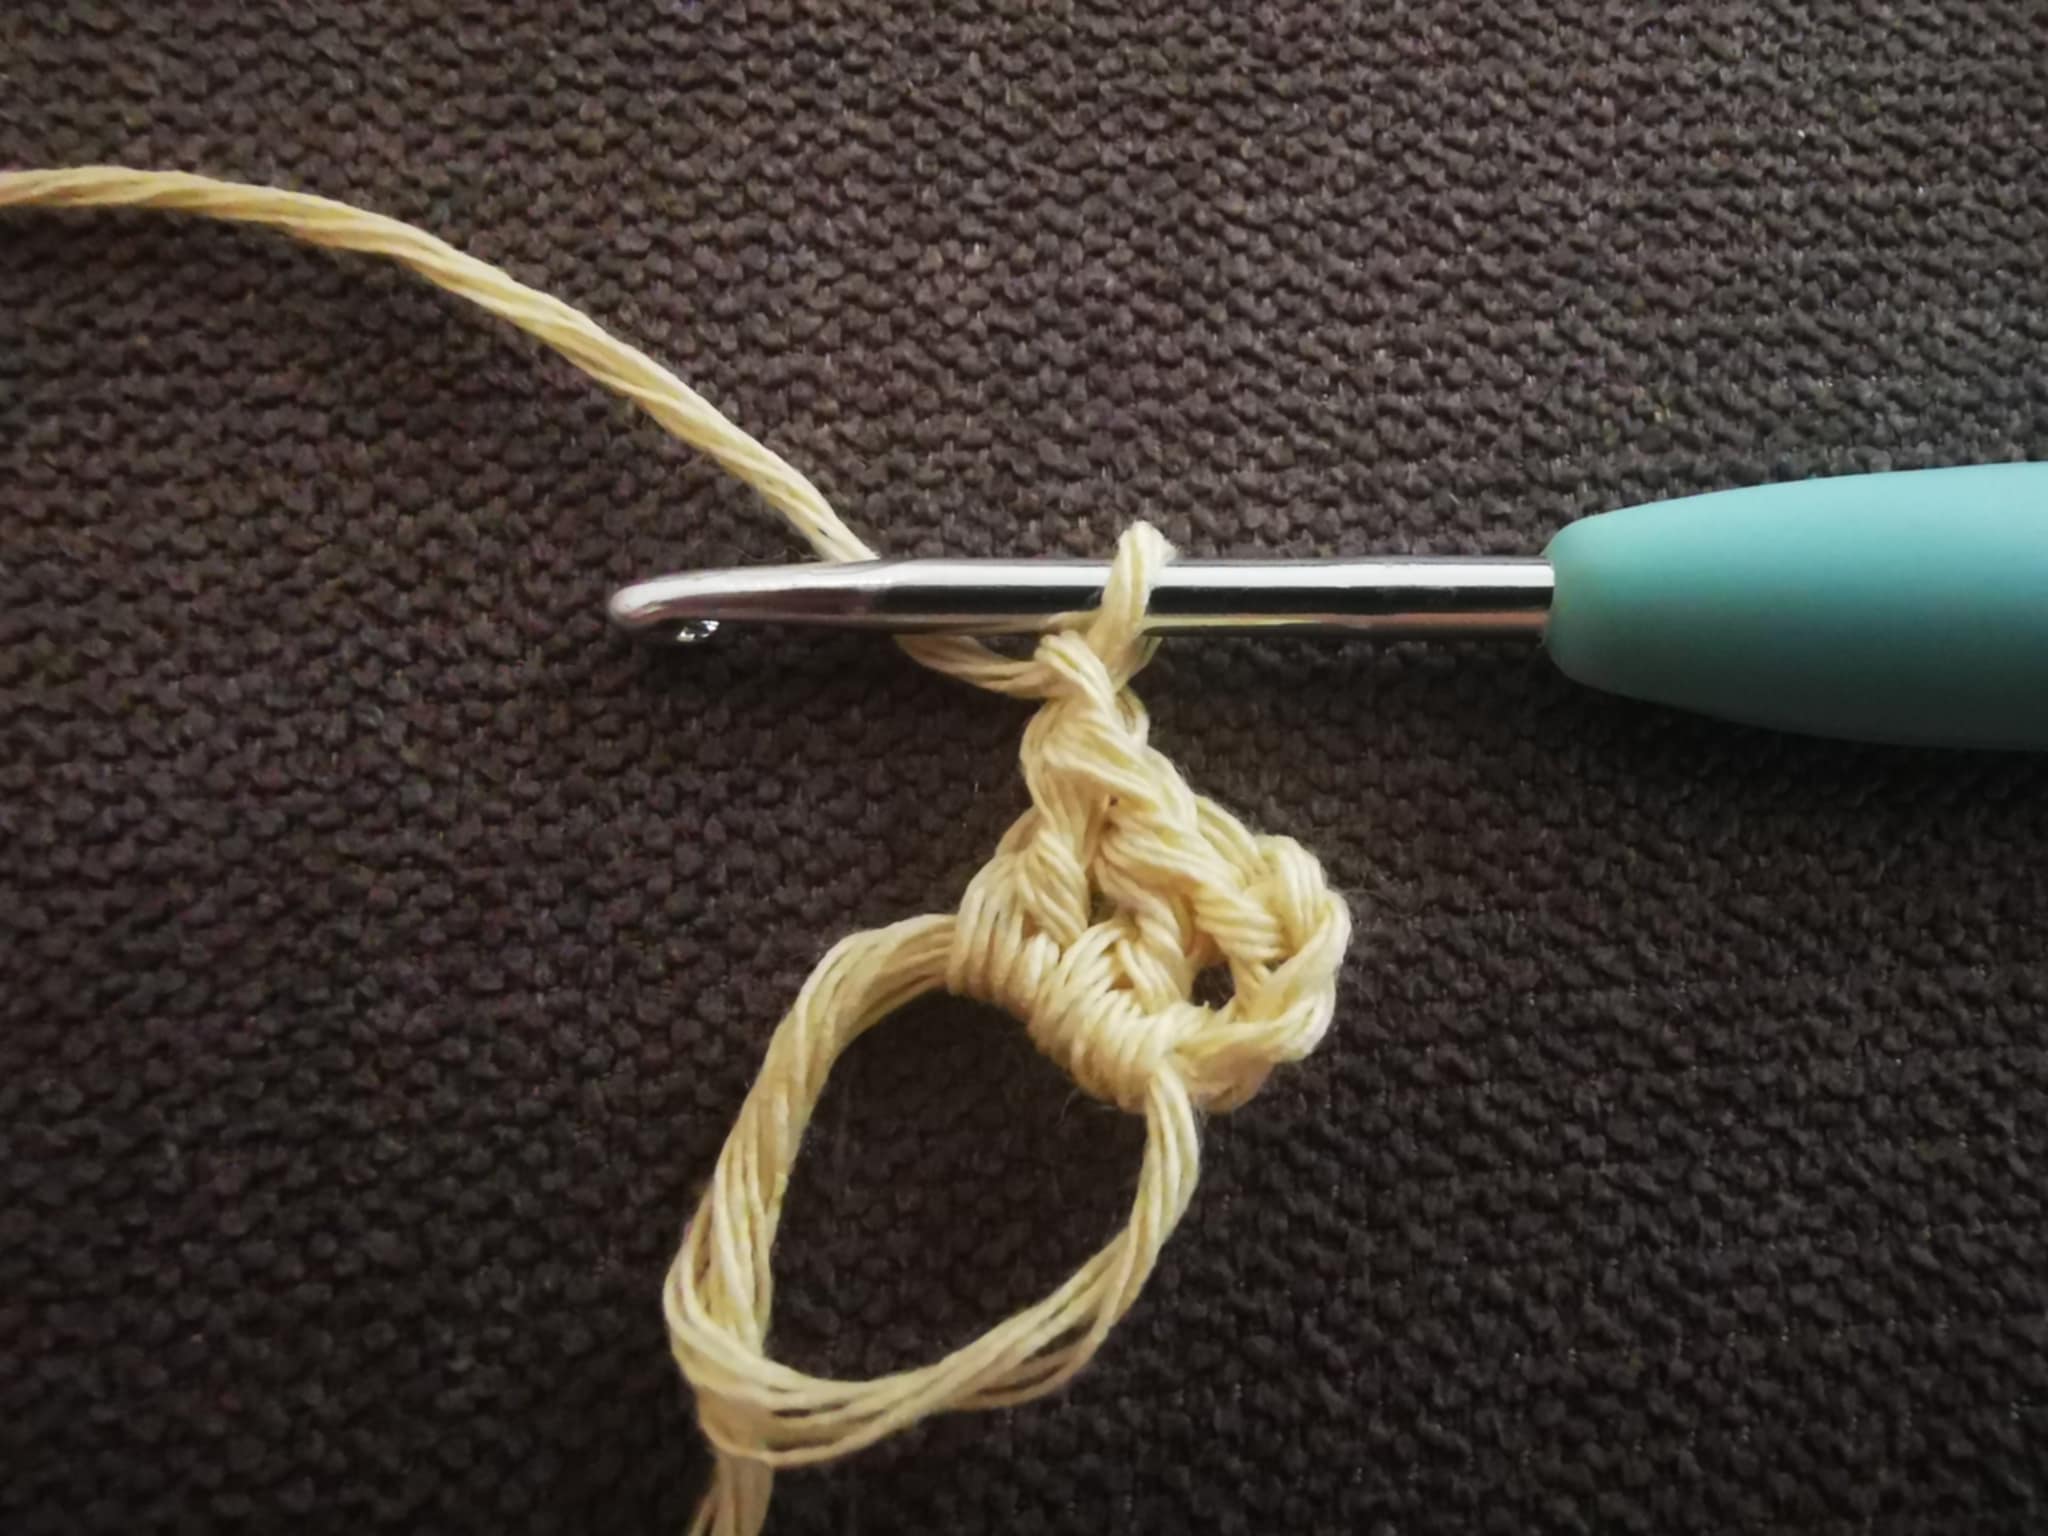
I closed the ring by pulling the yarn:
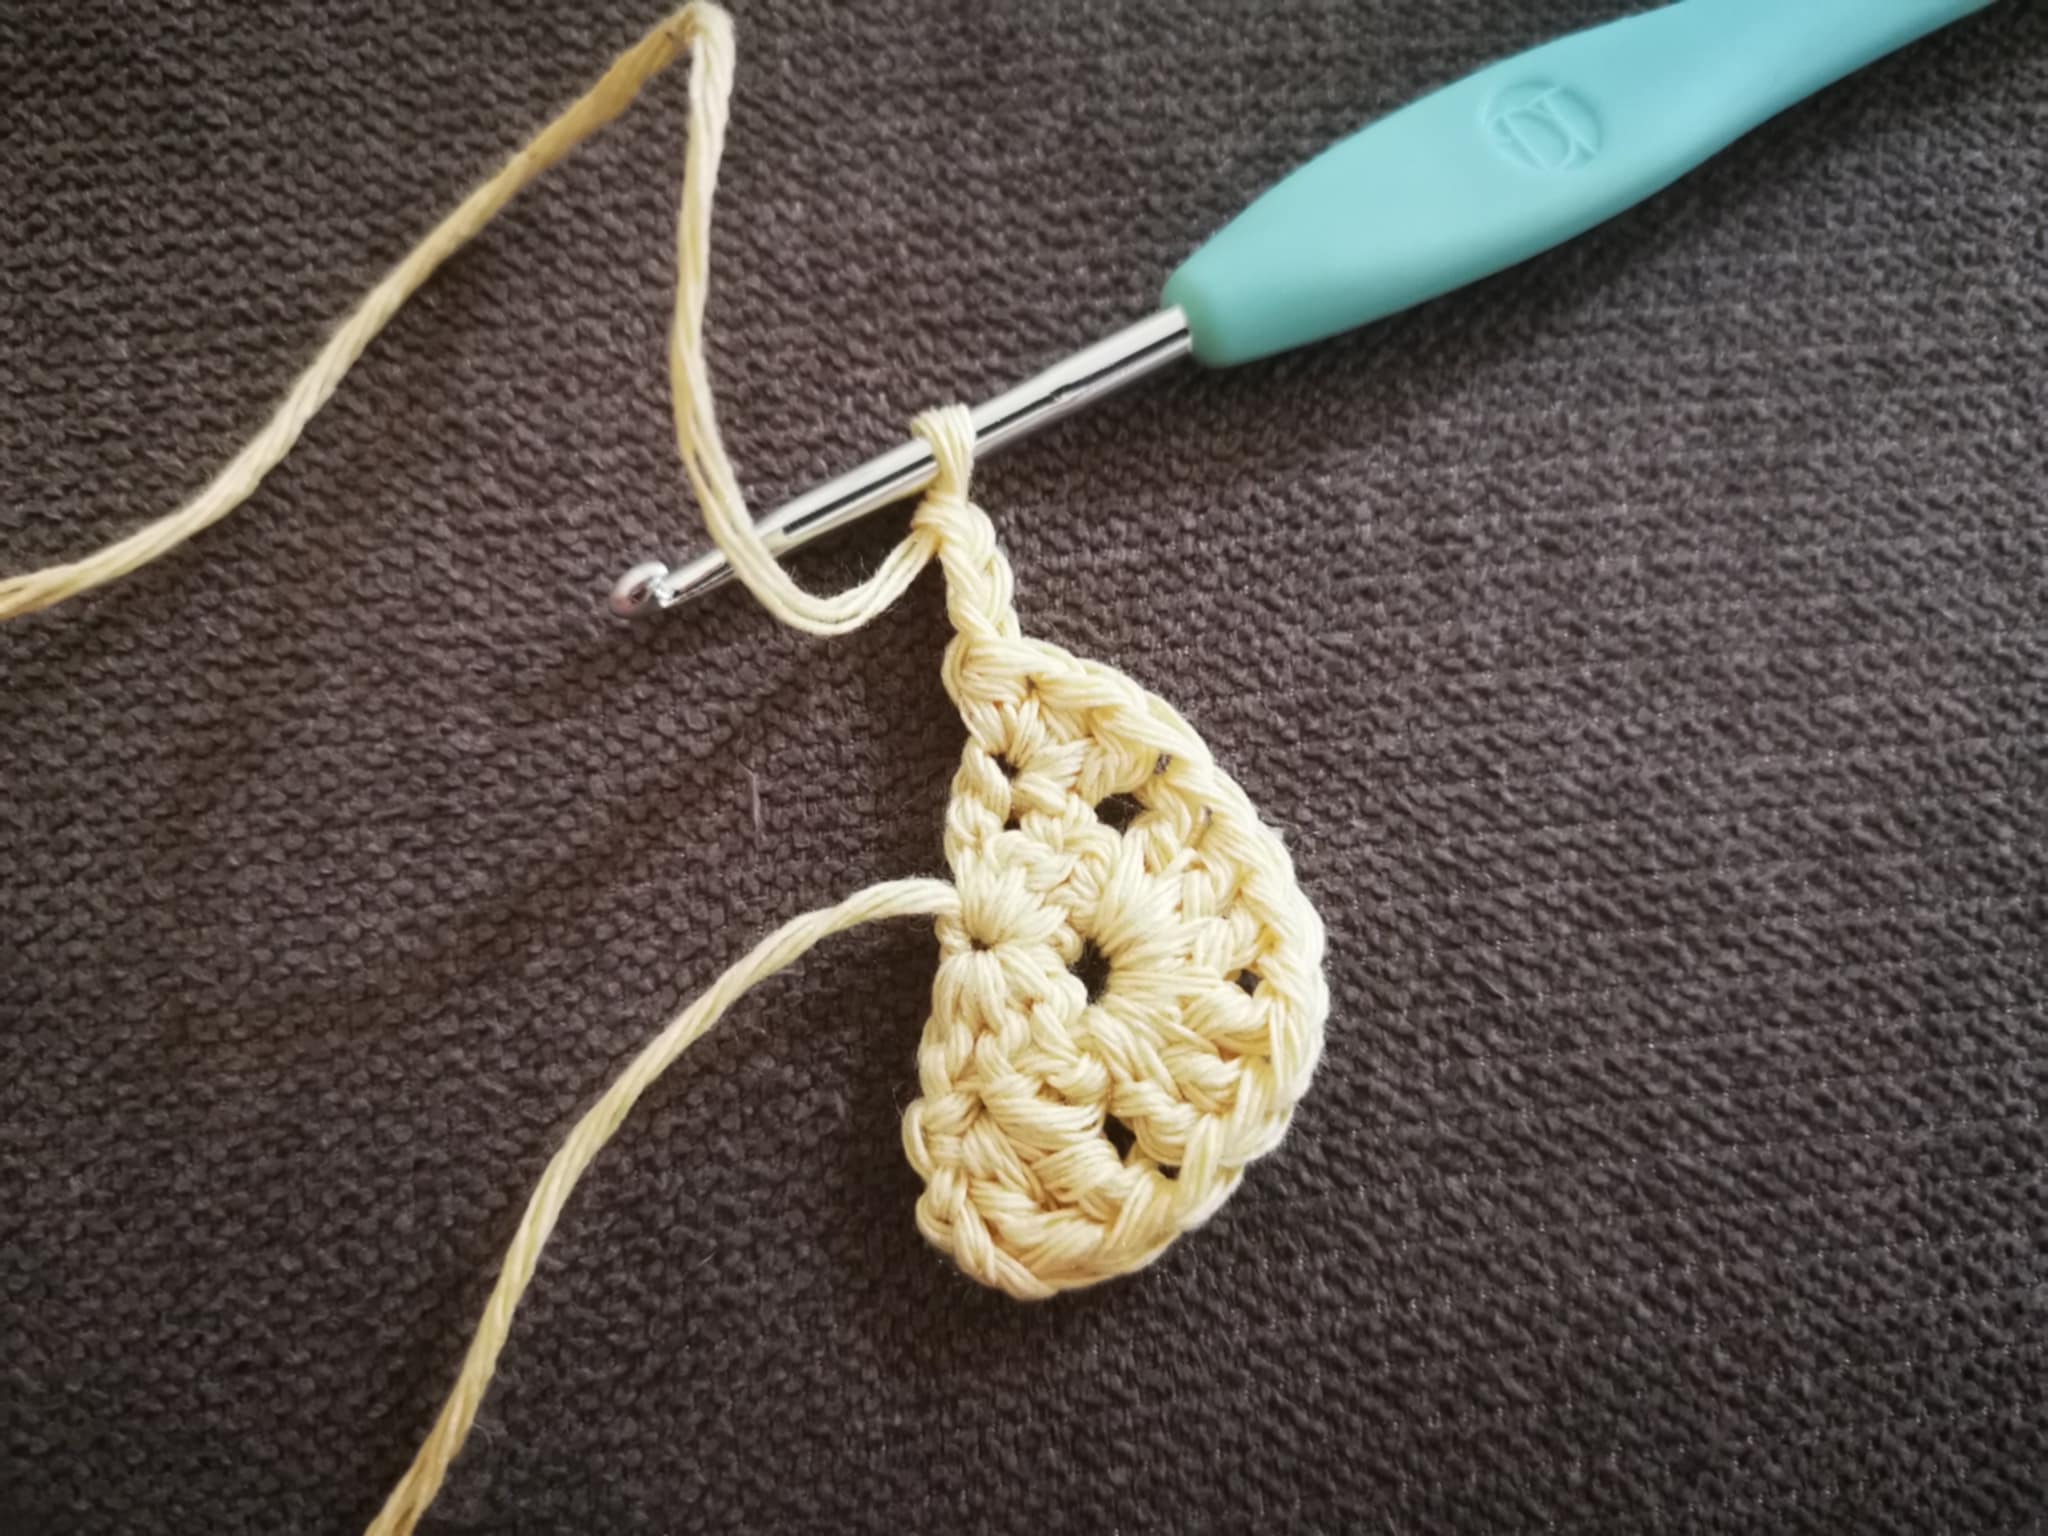
Then, I cast on 3 chain stitches before turning the project to begin row 2:

For row 2, I started by making 2 double crochets in the first stitch:
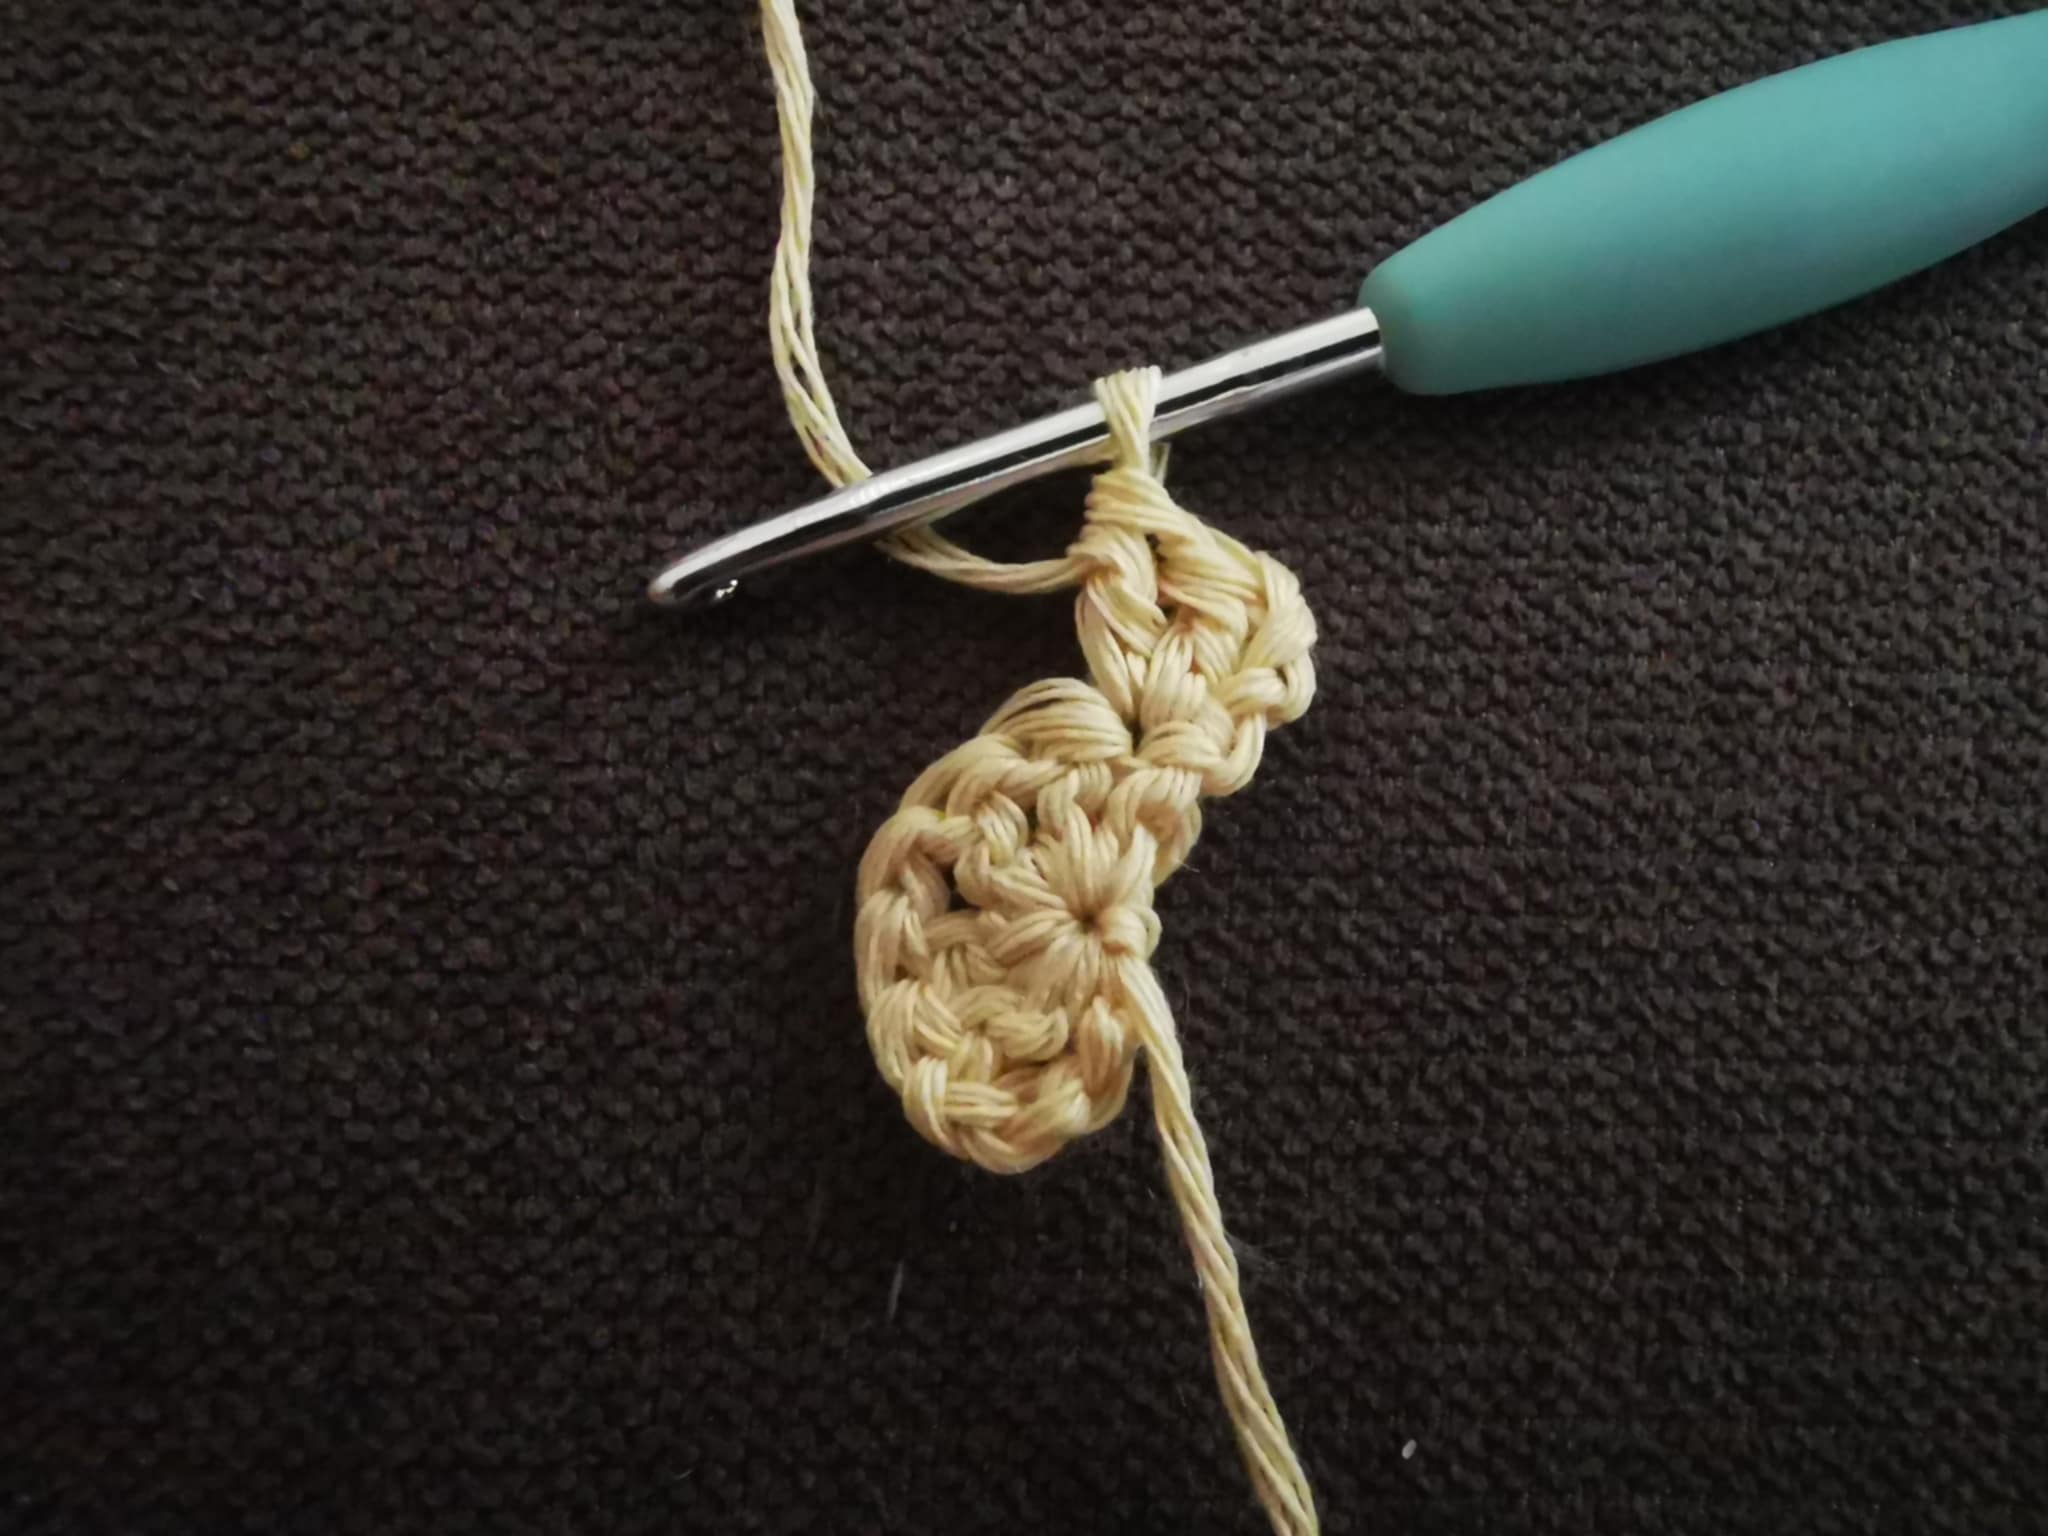
Then, for the tip, I made: 3 double crochets in the space formed by the chain stitch from the previous row, then 1 chain stitch, then 3 double crochets in the same space:
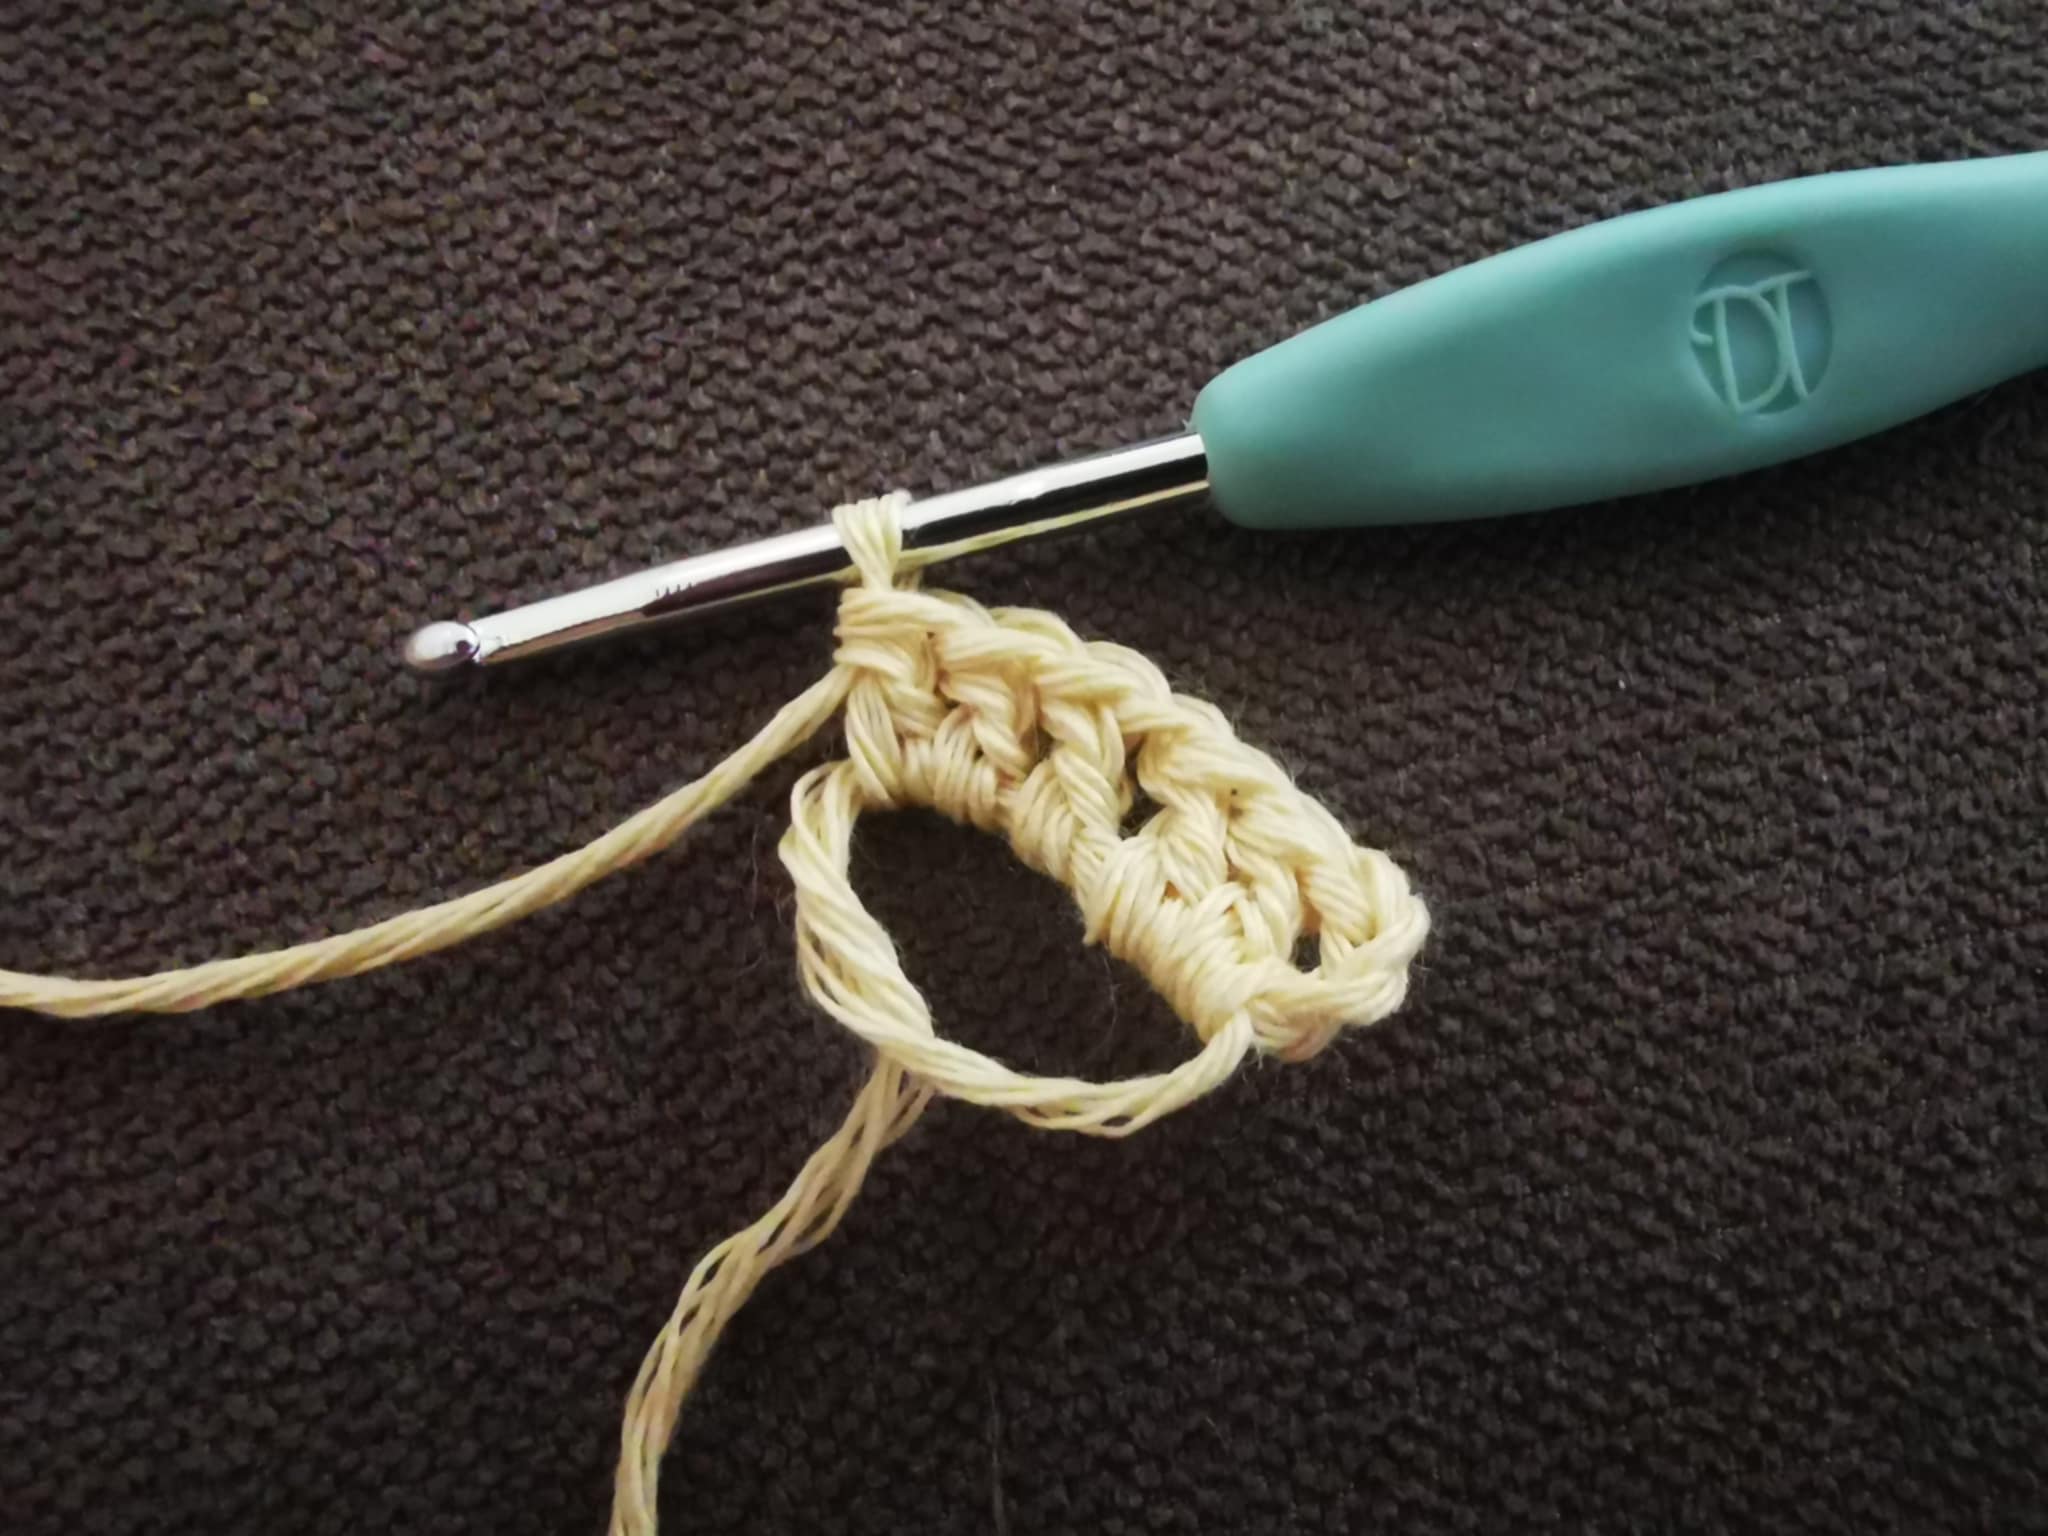
And to finish this row, I made 3 double crochets in the last Stitch:
I cast on 3 chains and turned the project:
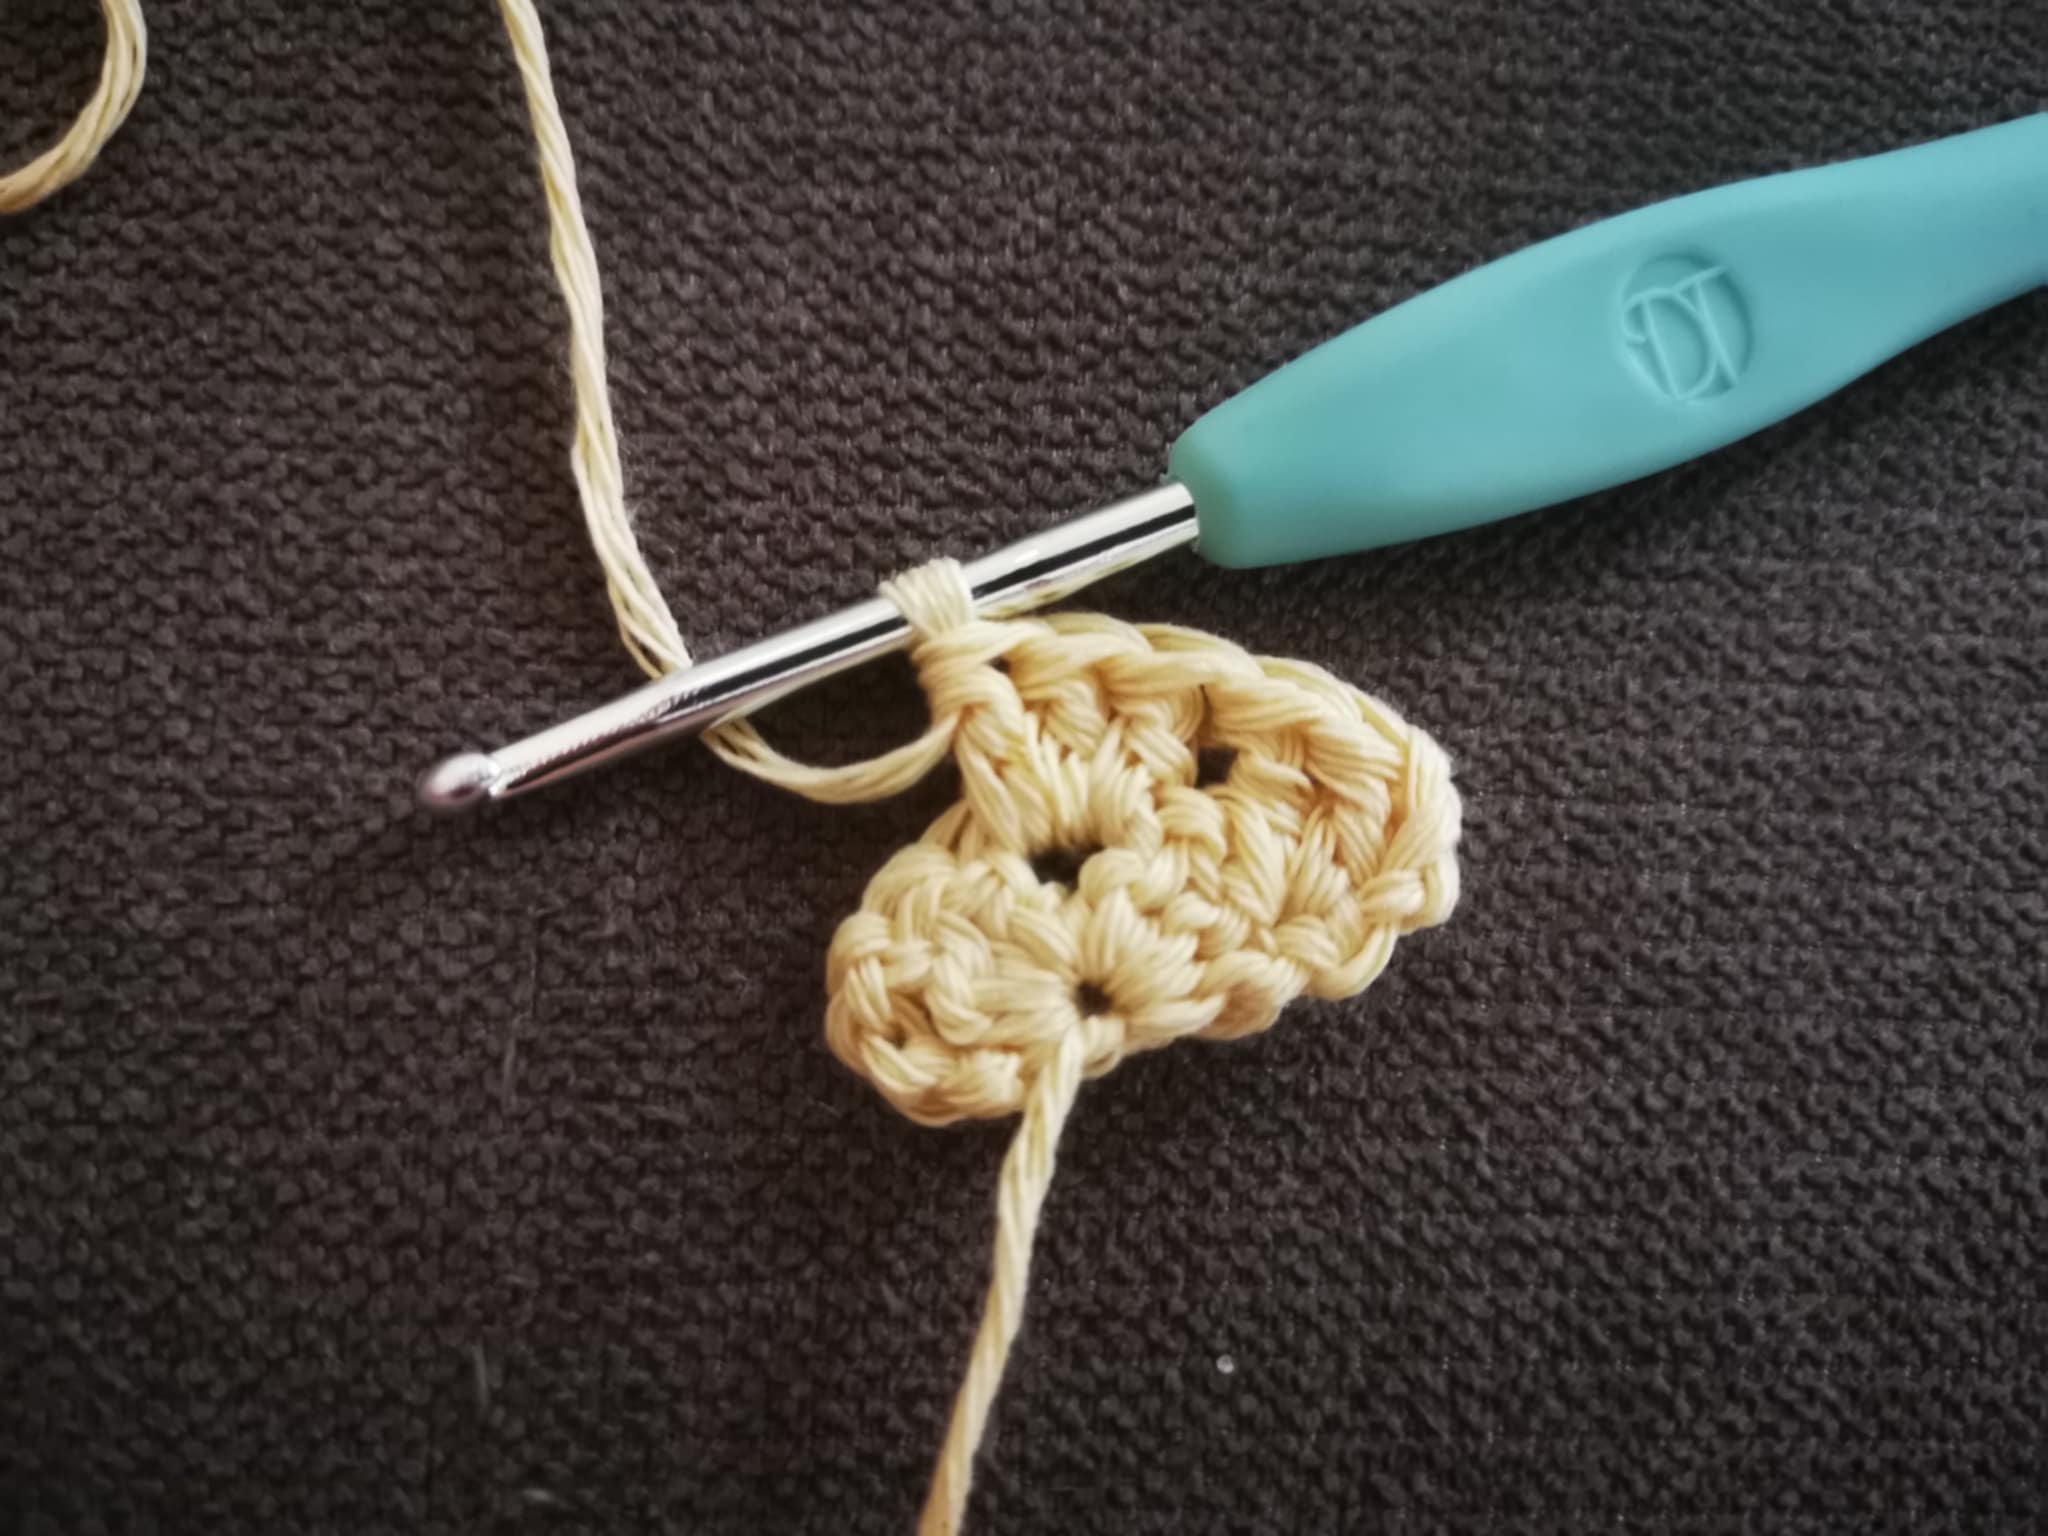
For row 3, I started with 2 double crochets in the first stitch:
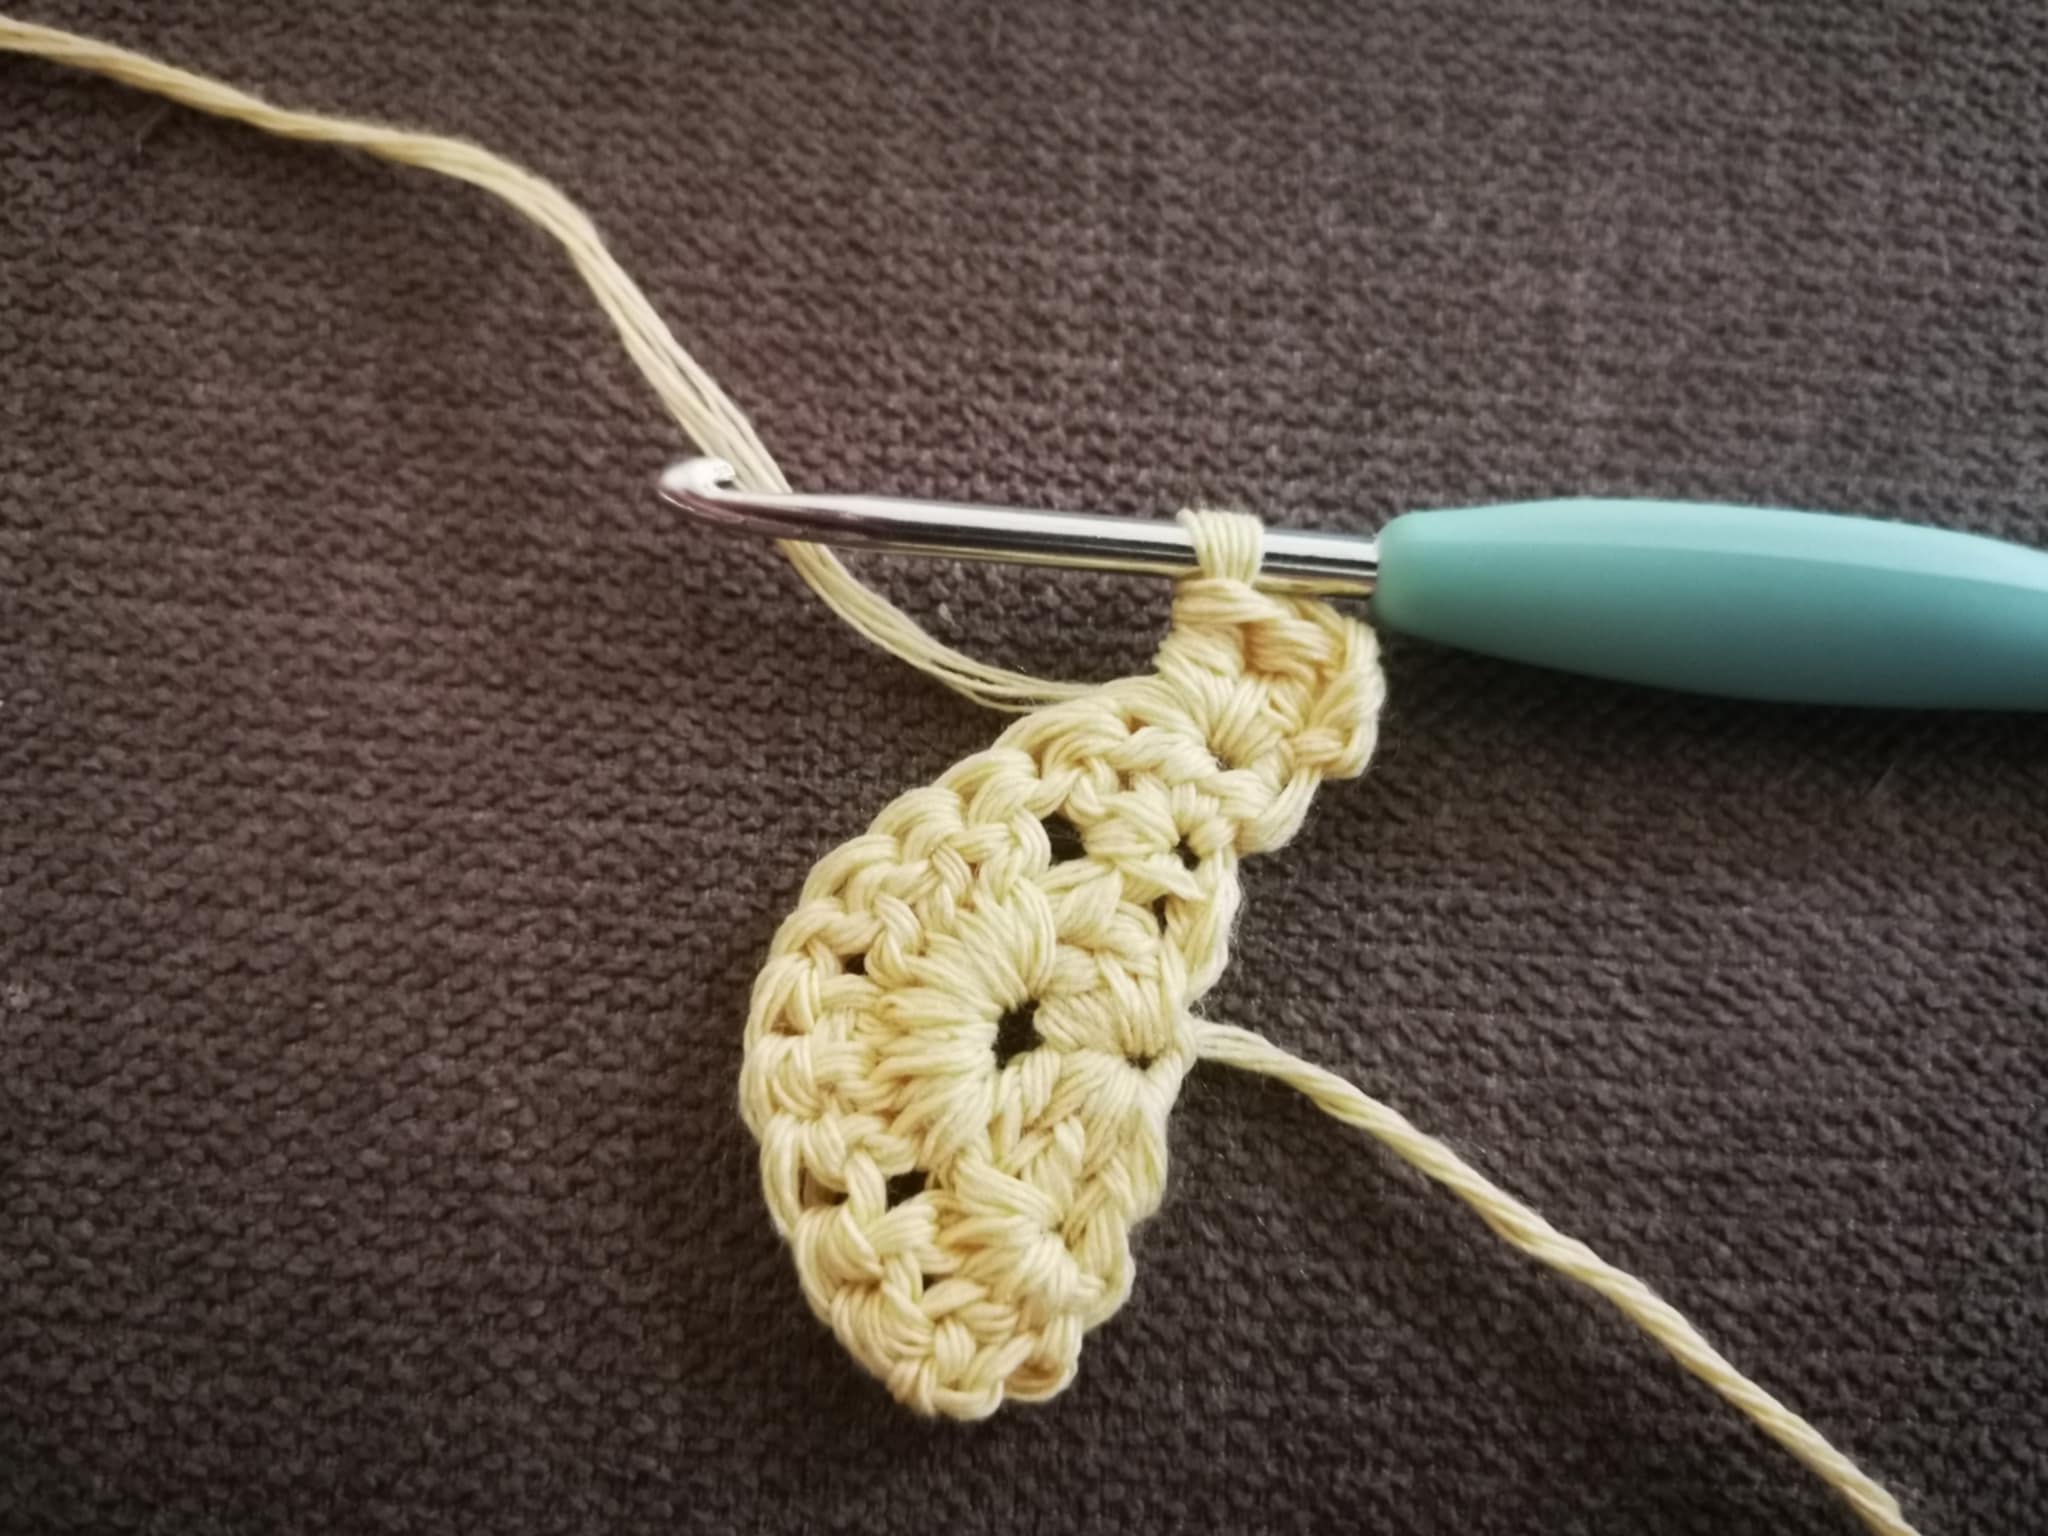
Then, I made 3 double crochets in the next space:
Then, for the toe, I made 3 double crochets, 1 chain stitch, and 3 double crochets in the same space:
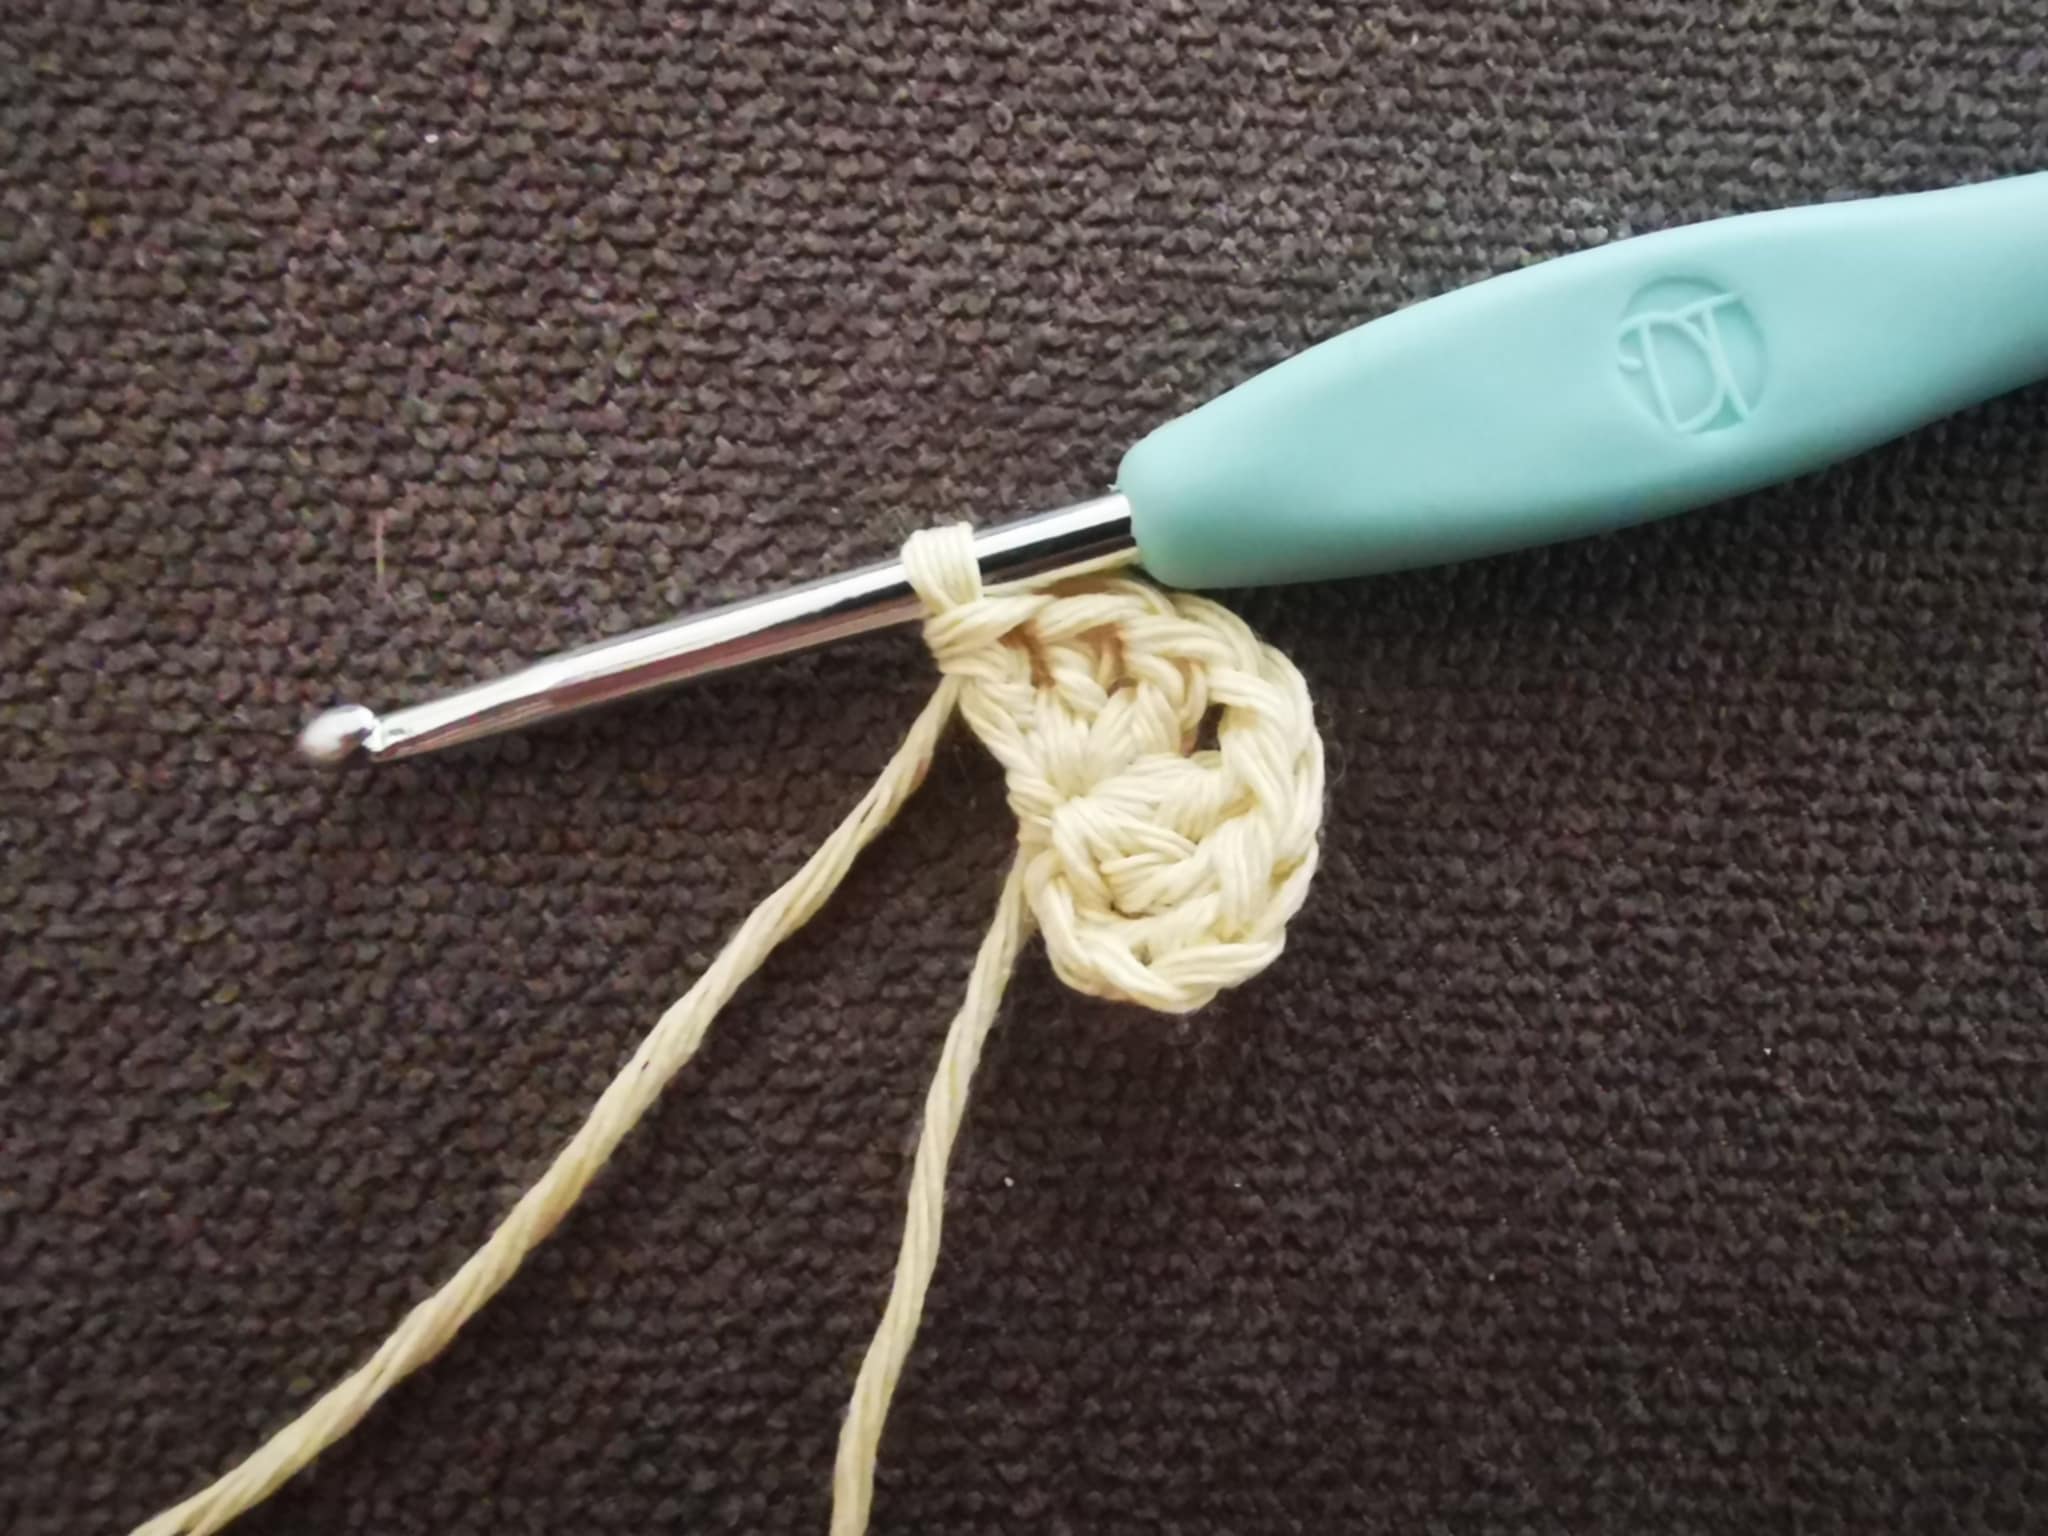
I continued with 3 double crochets in the next space:
And I finished the row with 3 double crochets in the last stitch:

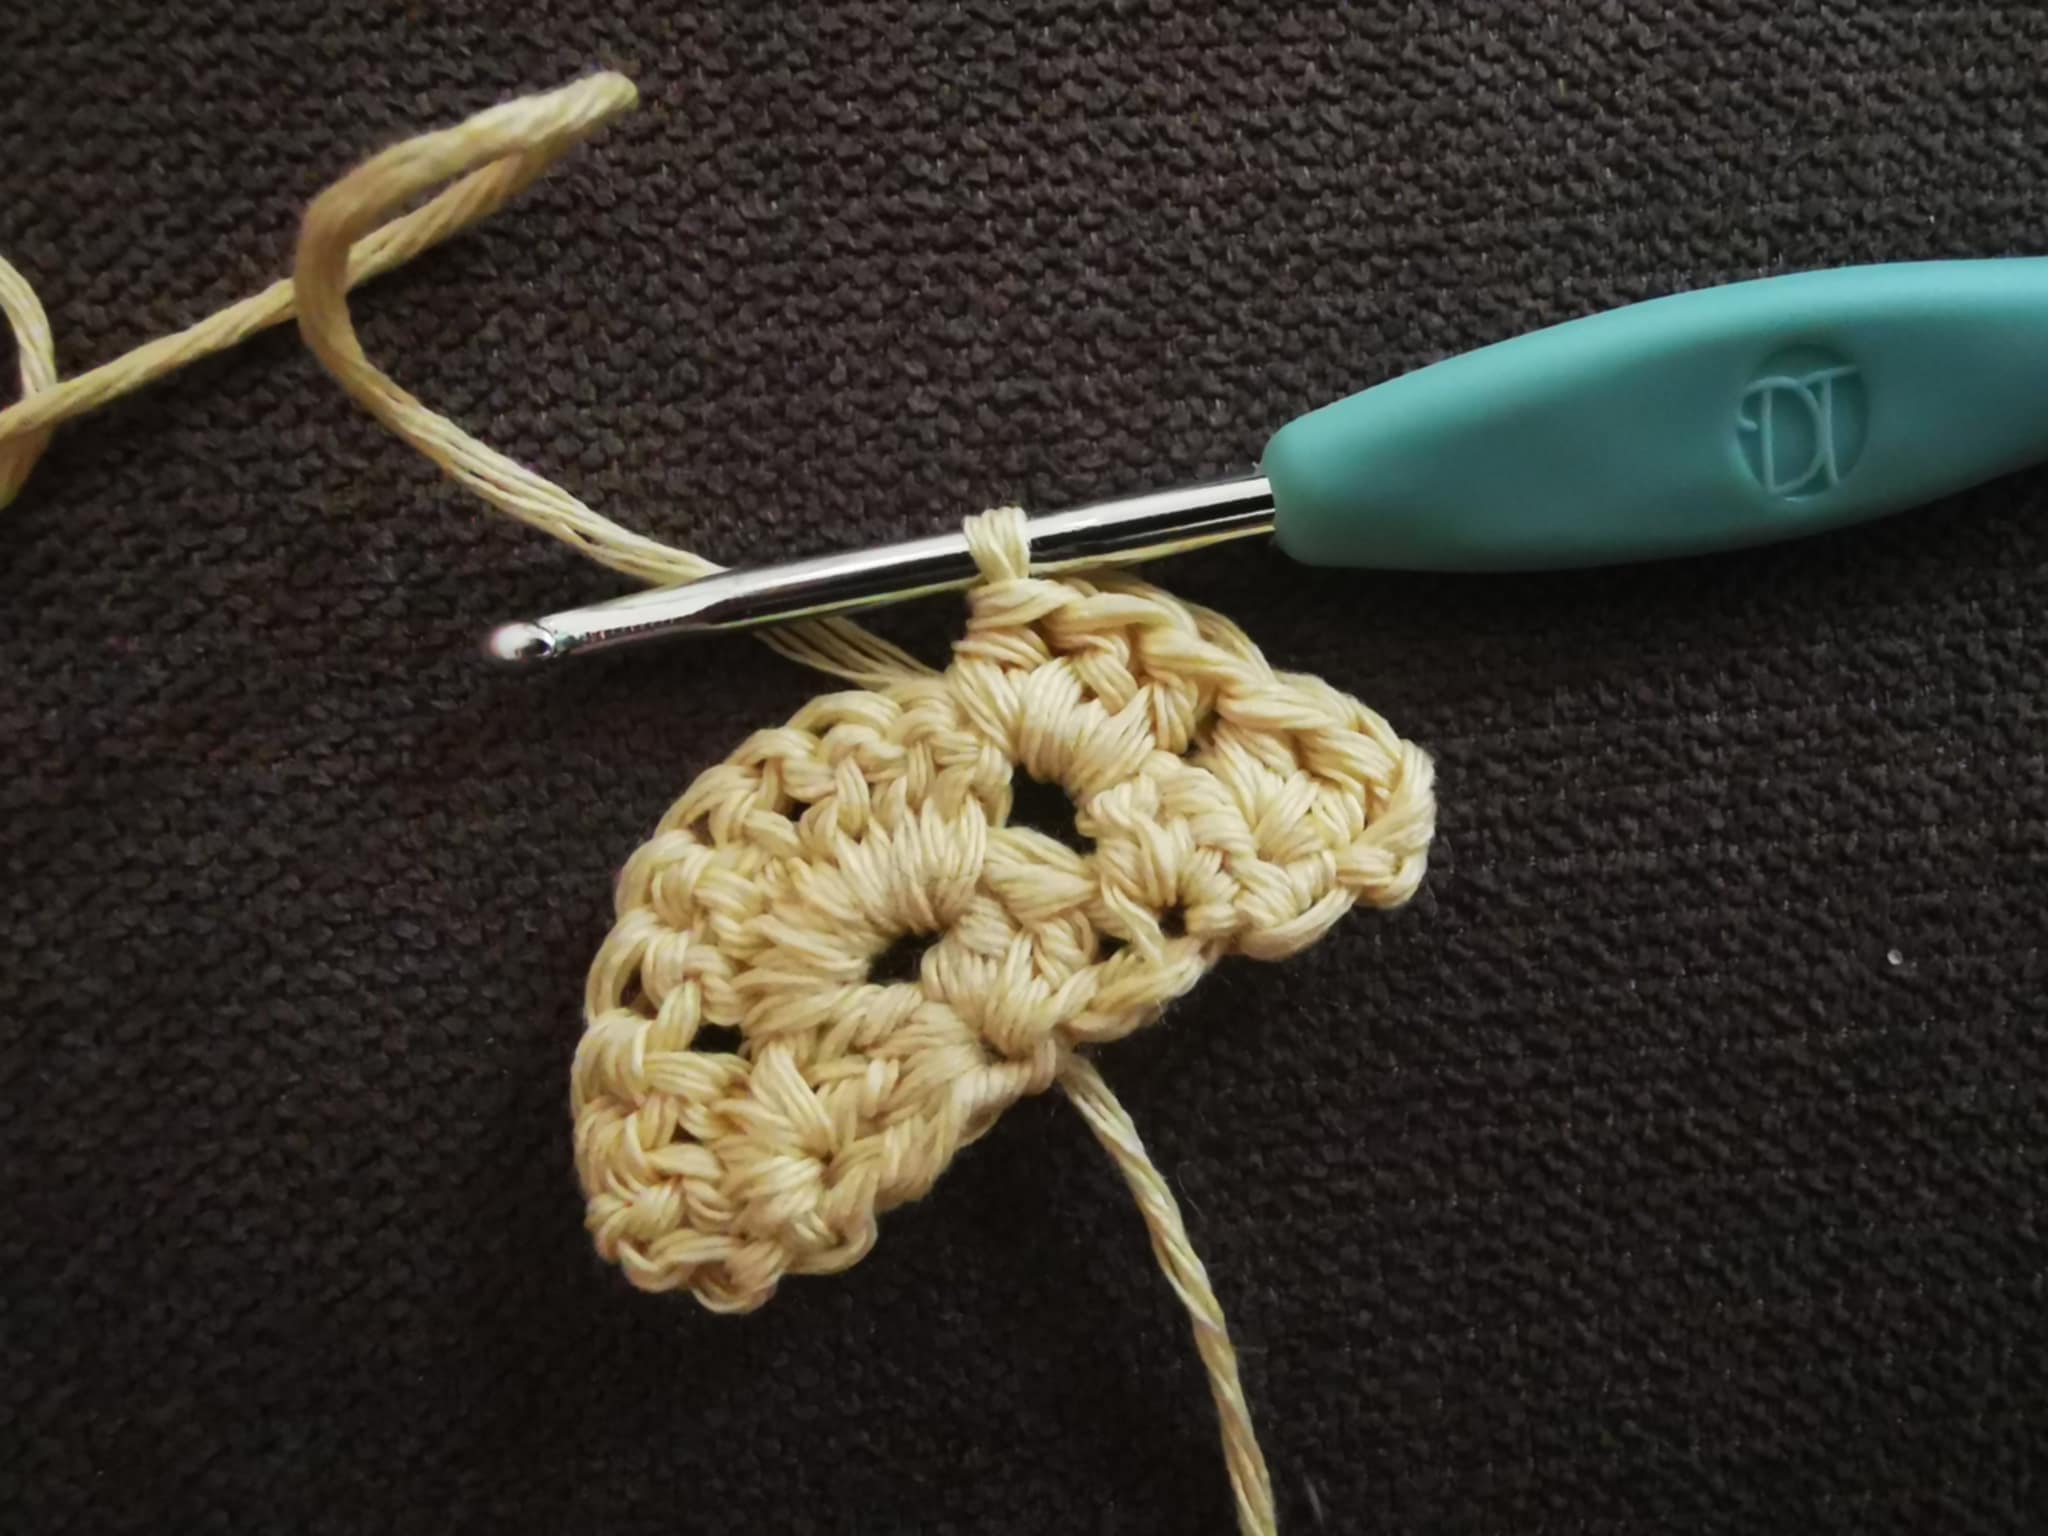
Then, I cast on 3 chains and turned the project.
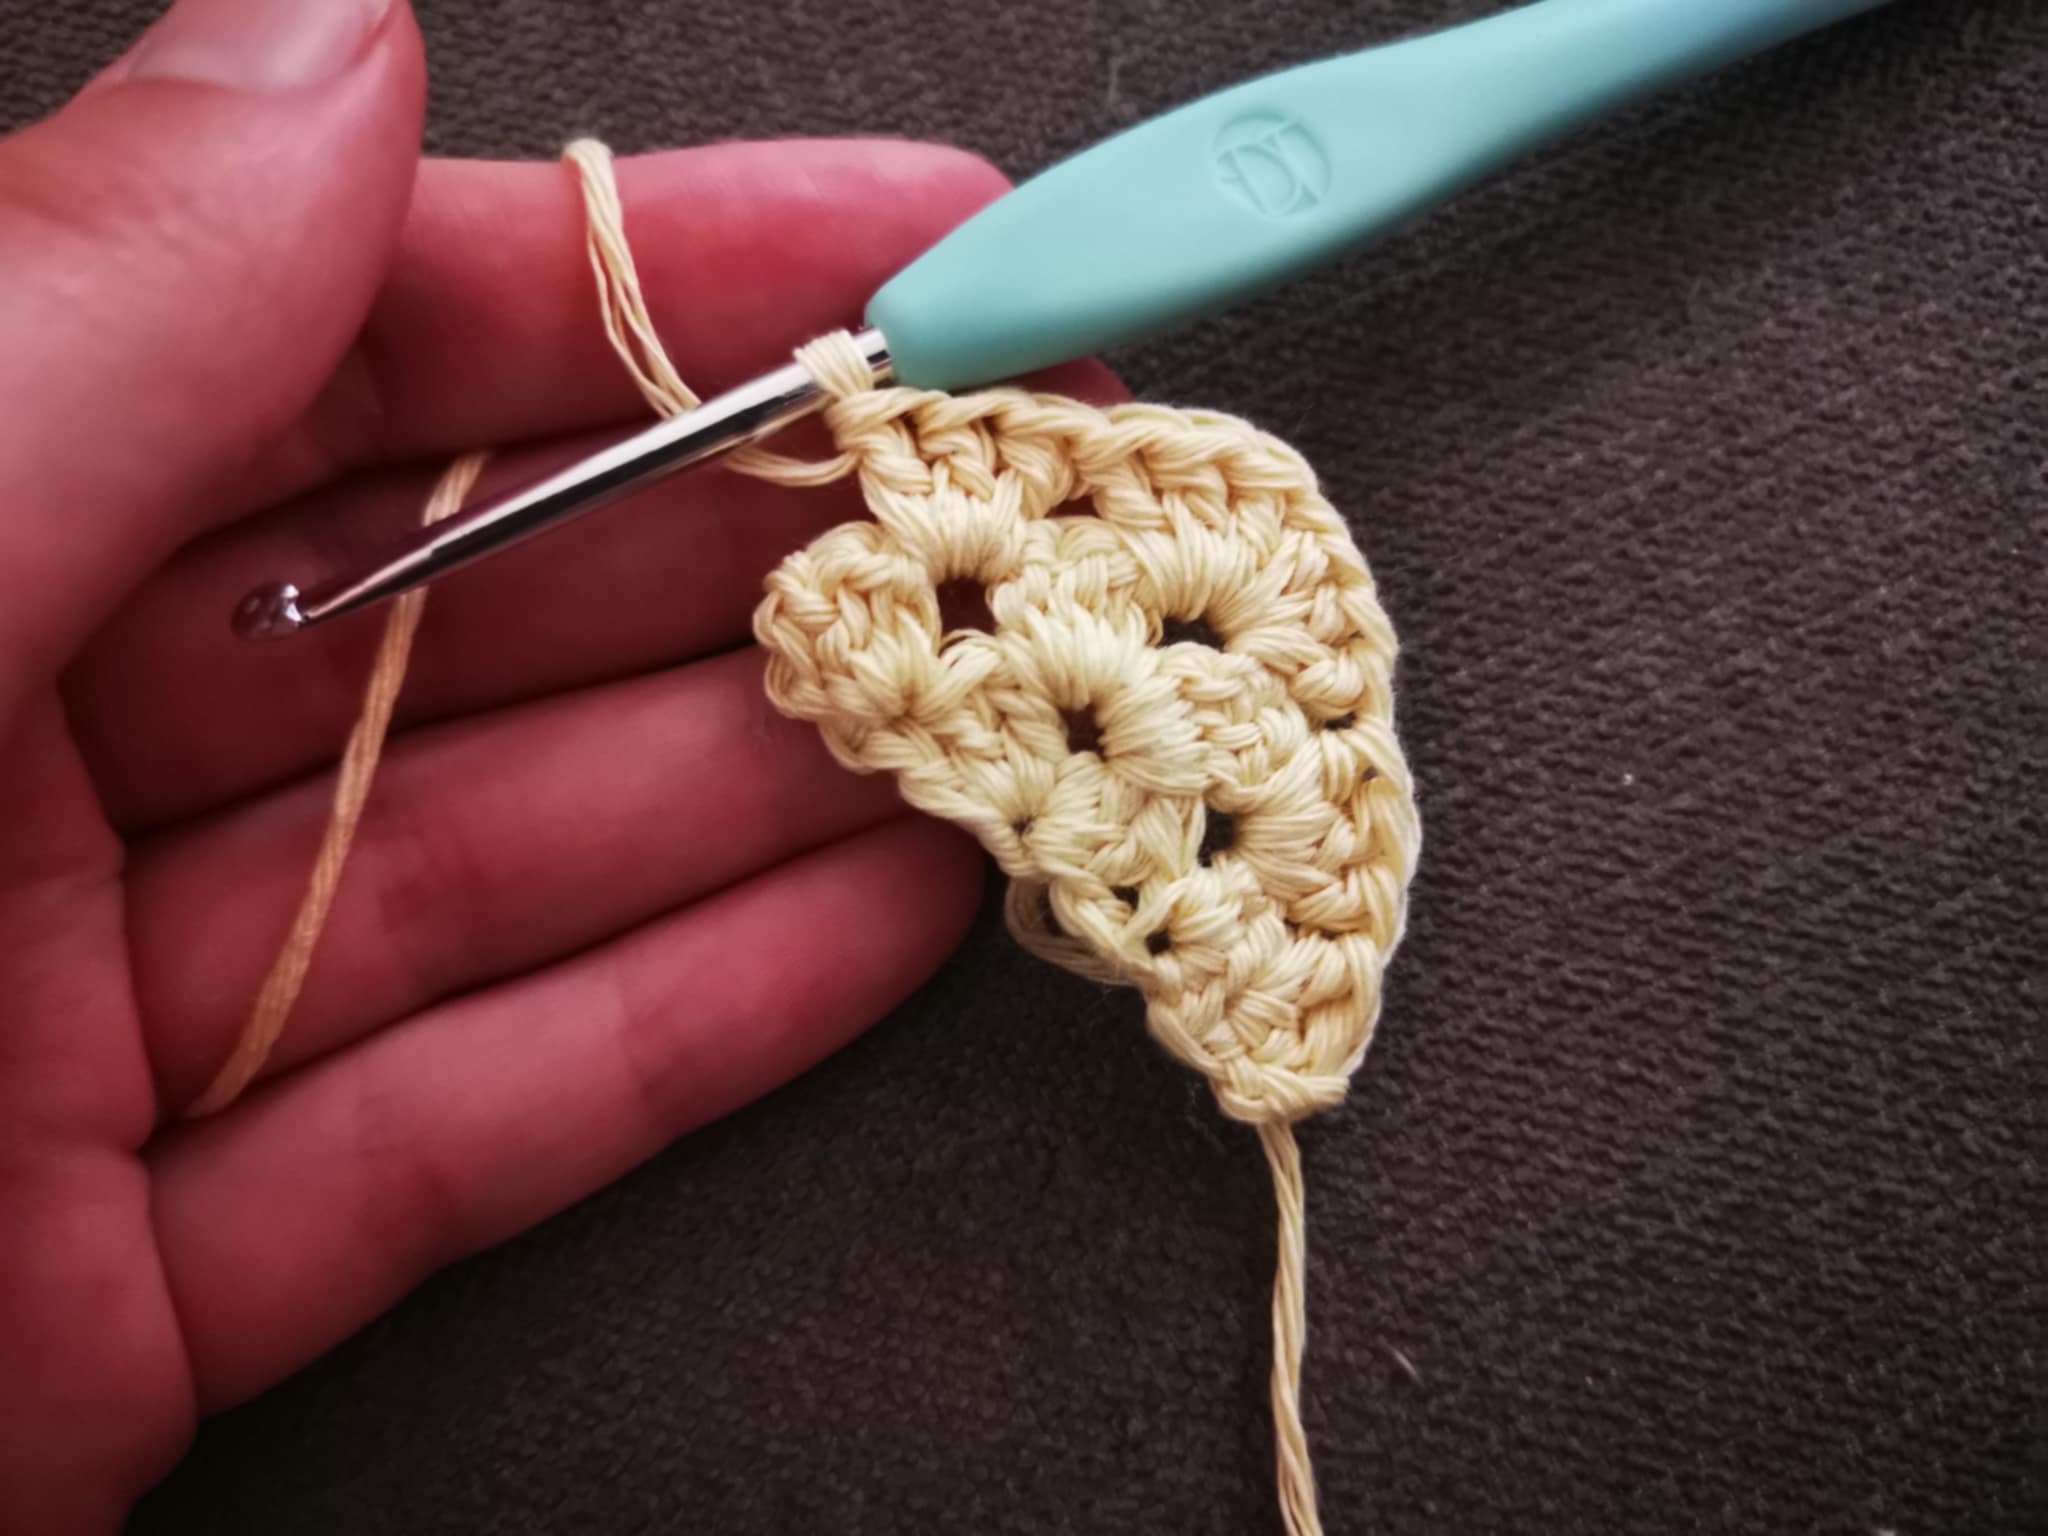
As you can see, the pattern is always the same until the end.
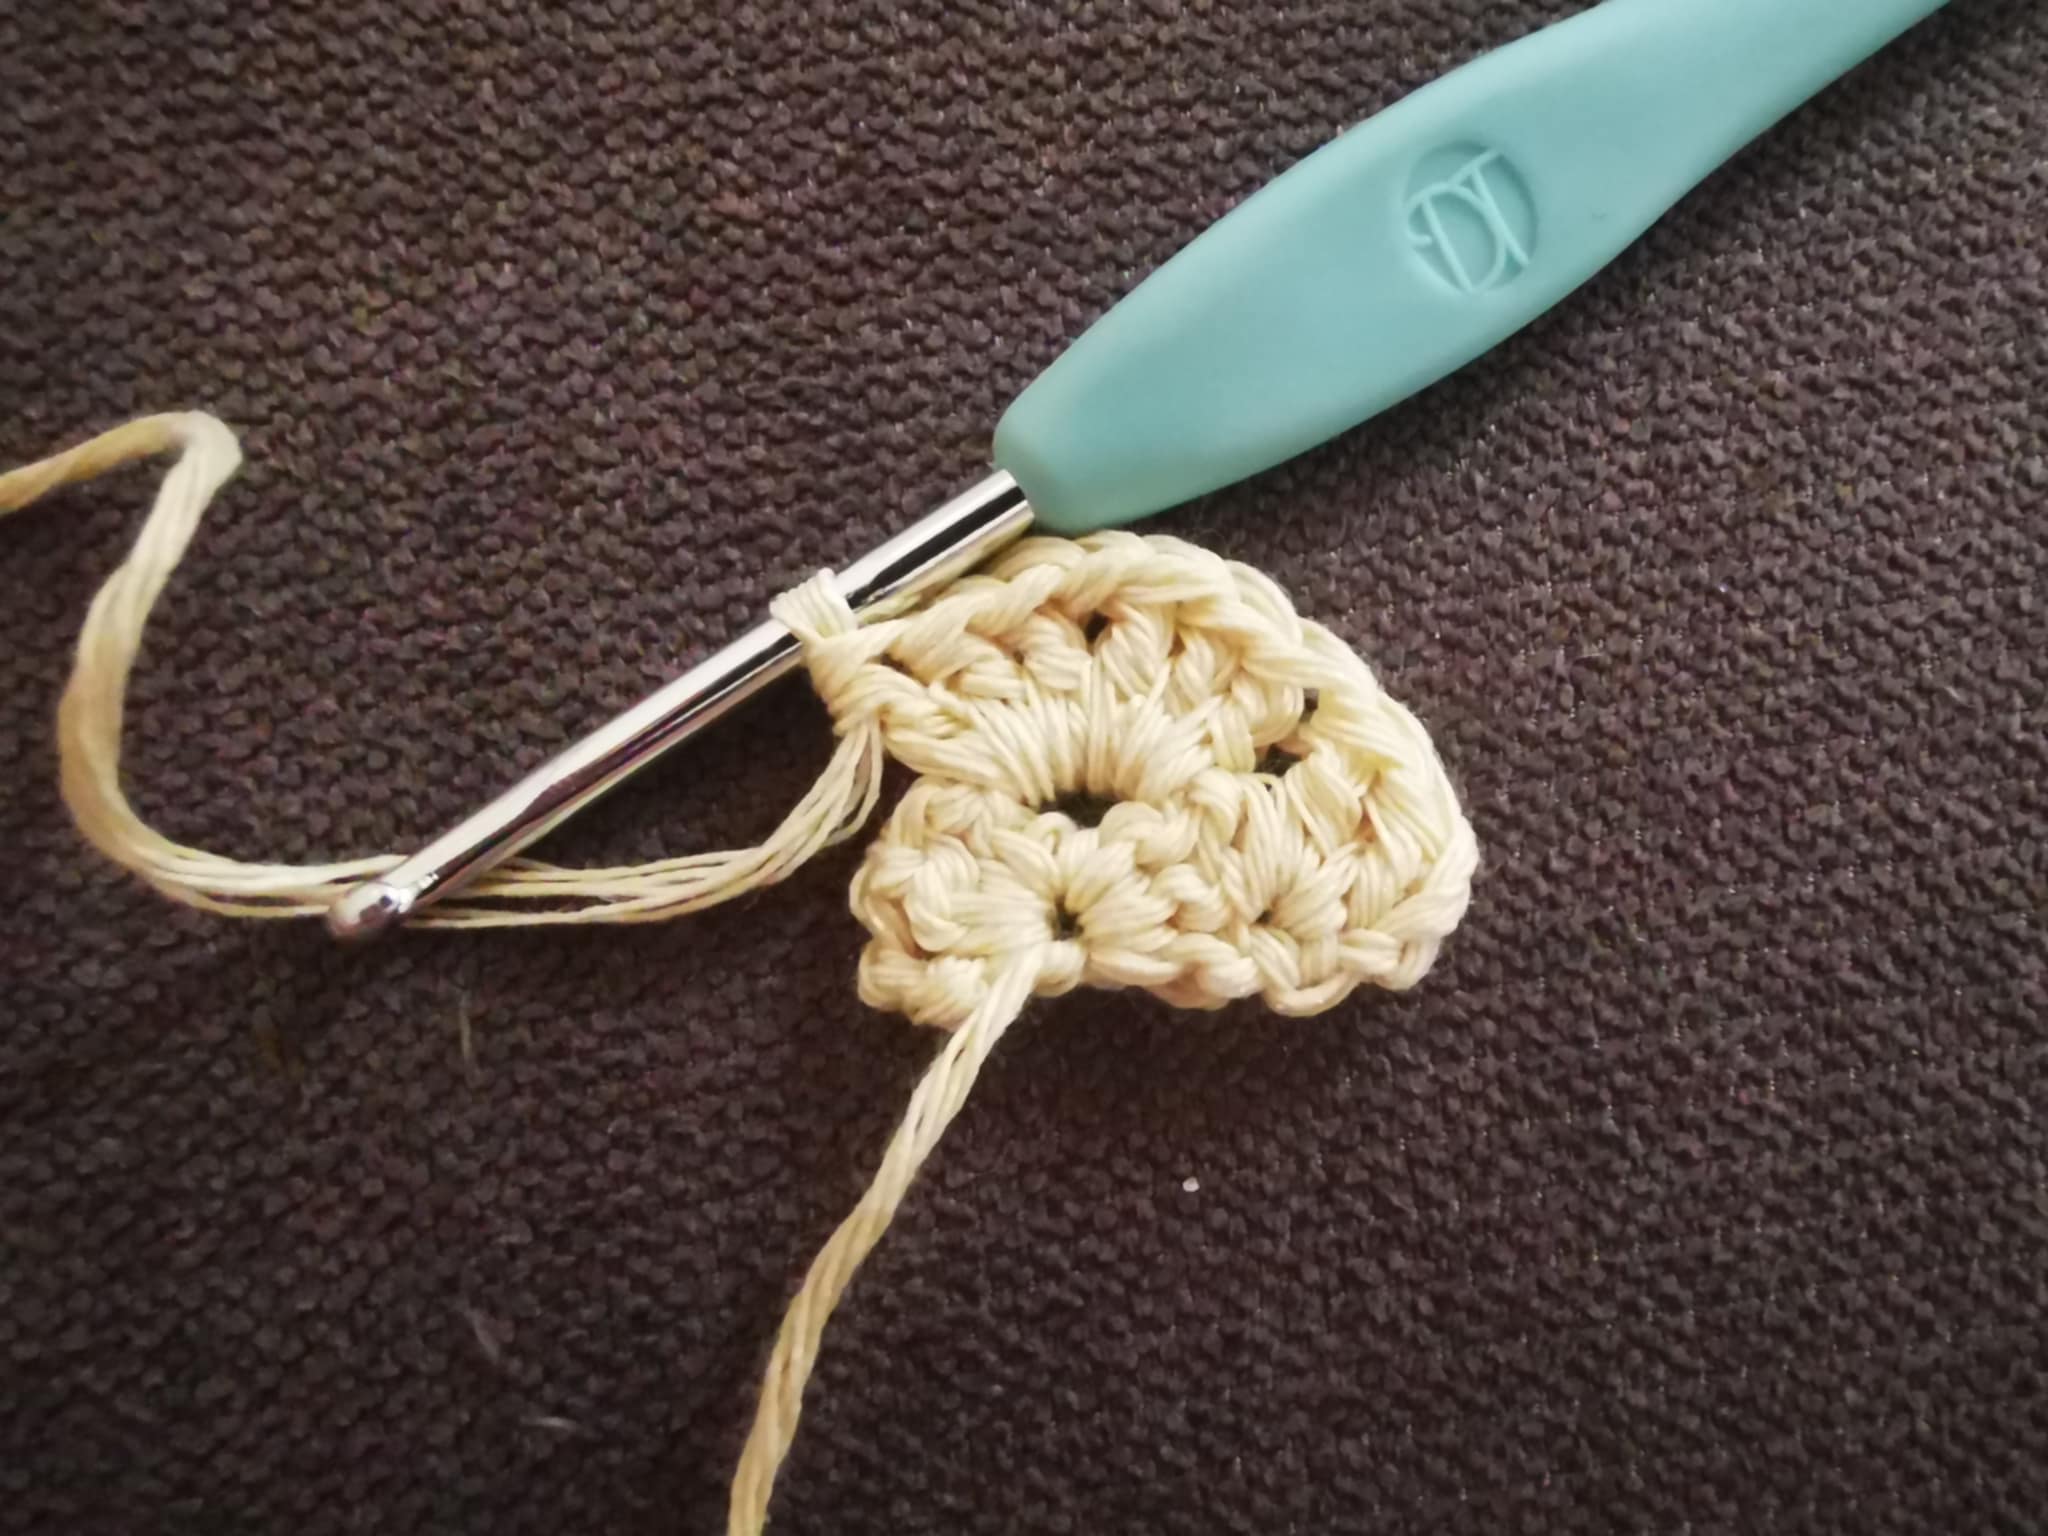
For row 4, I made: - 2 double crochets in the first stitch; - 3 double crochets in the next space; - 3 double crochets in the next space; - 3 double crochets, 1 chain stitch, and 3 double crochets in the same space for the toe; - 3 double crochets in the next space; - 3 double crochets in the next space; - 3 double crochets in the last stitch.
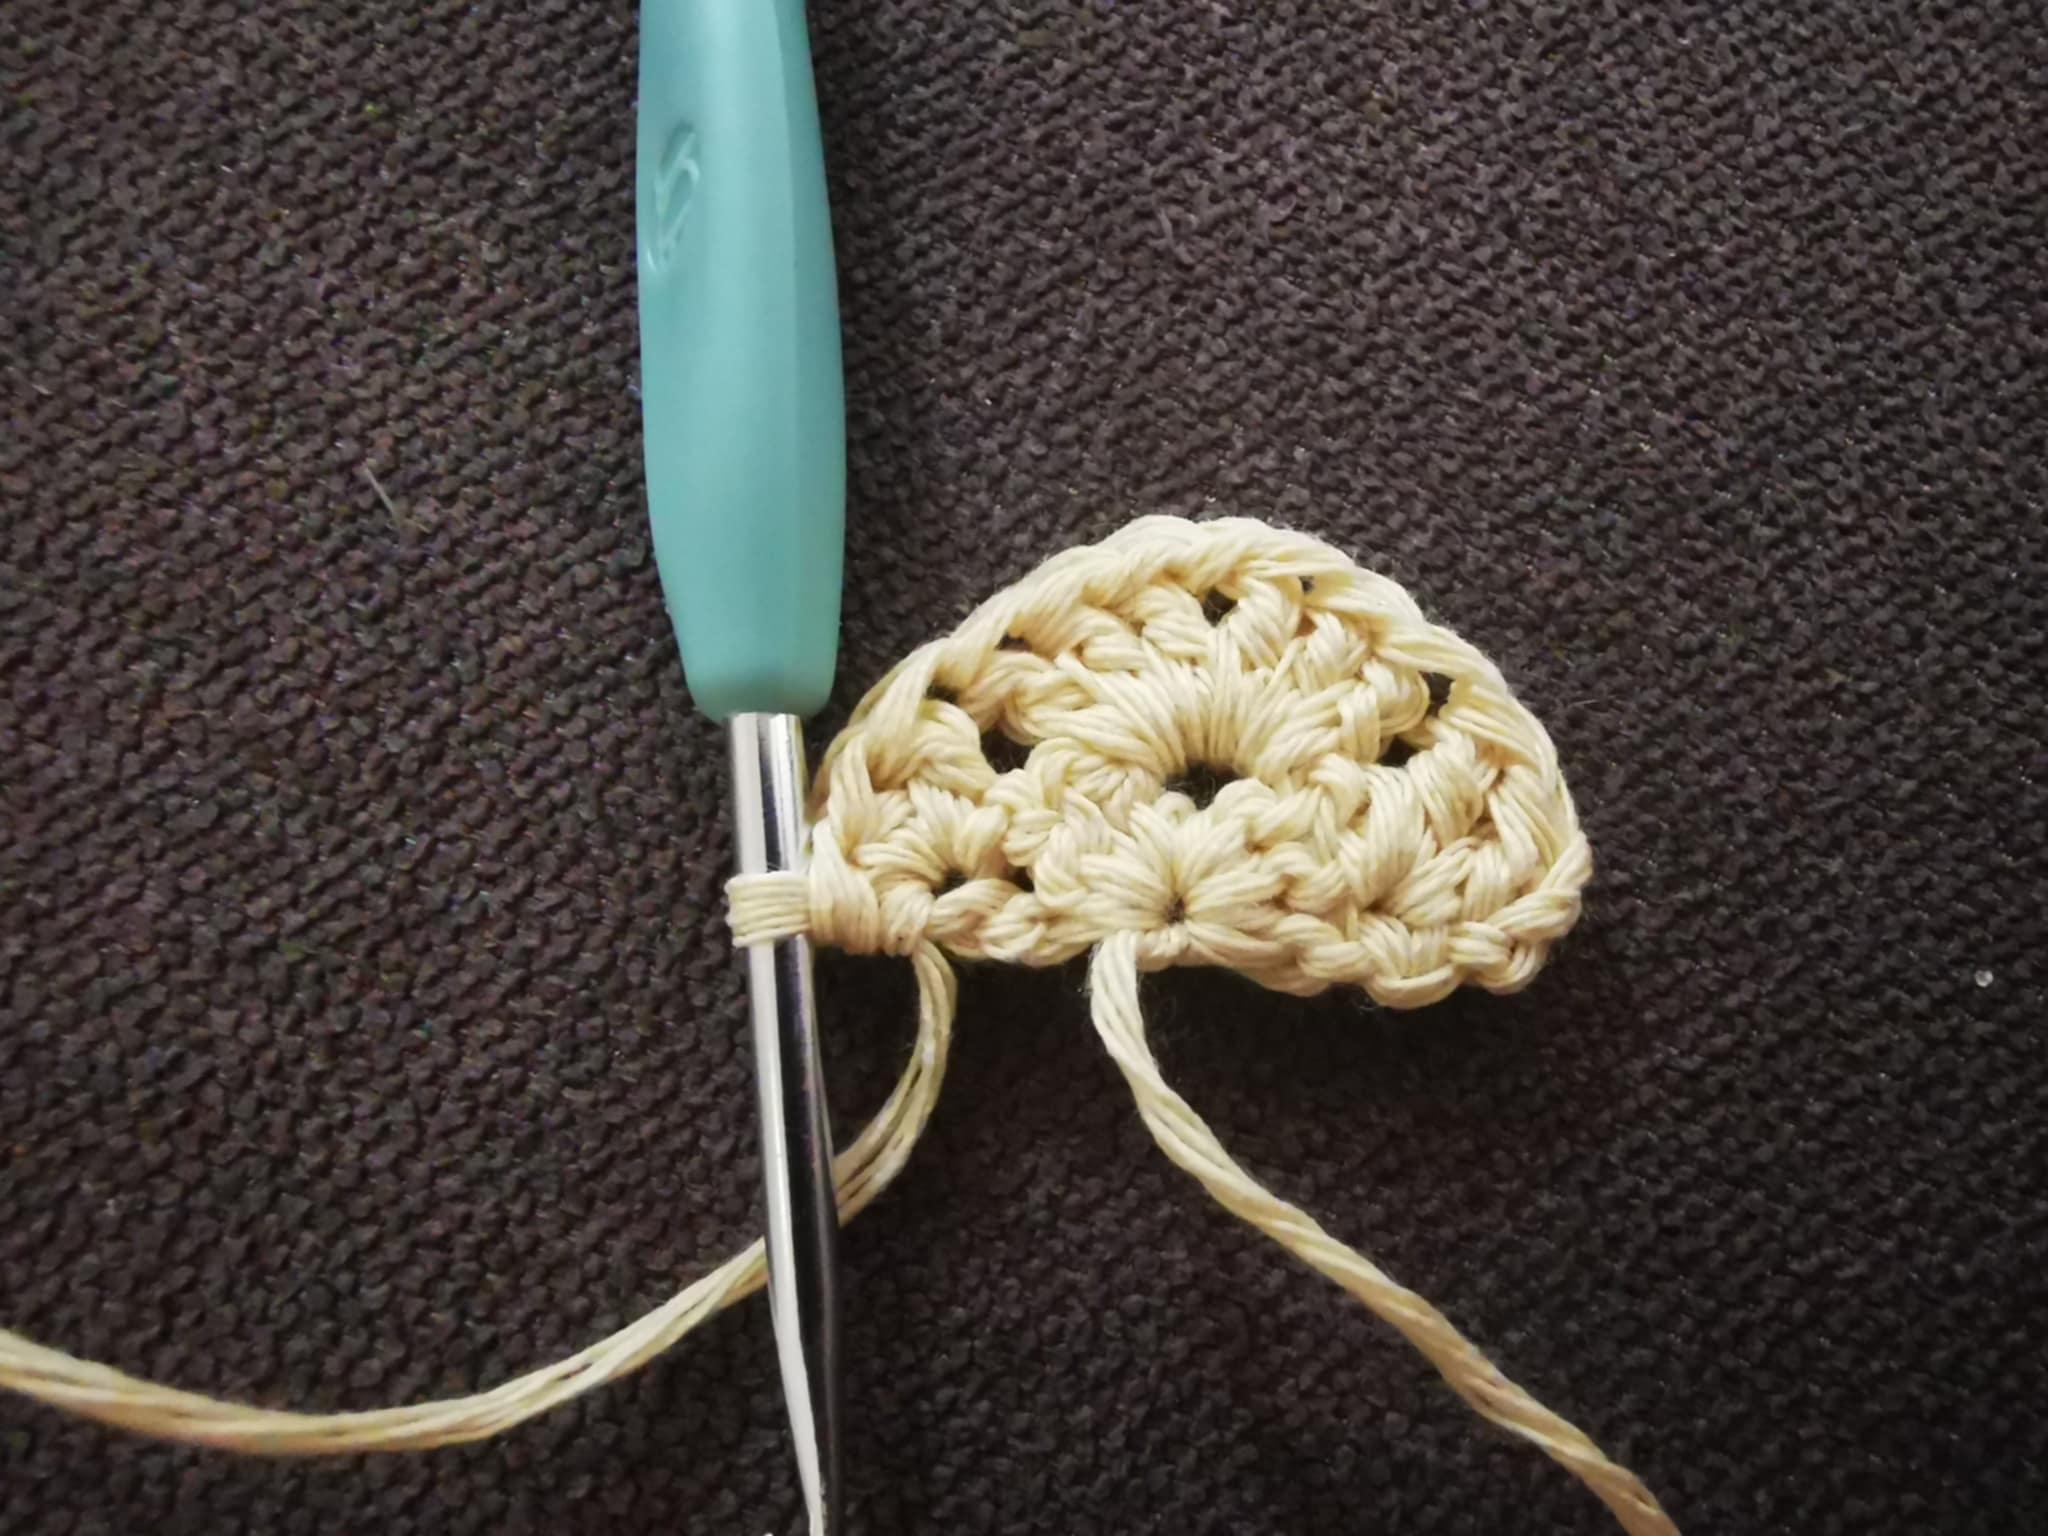
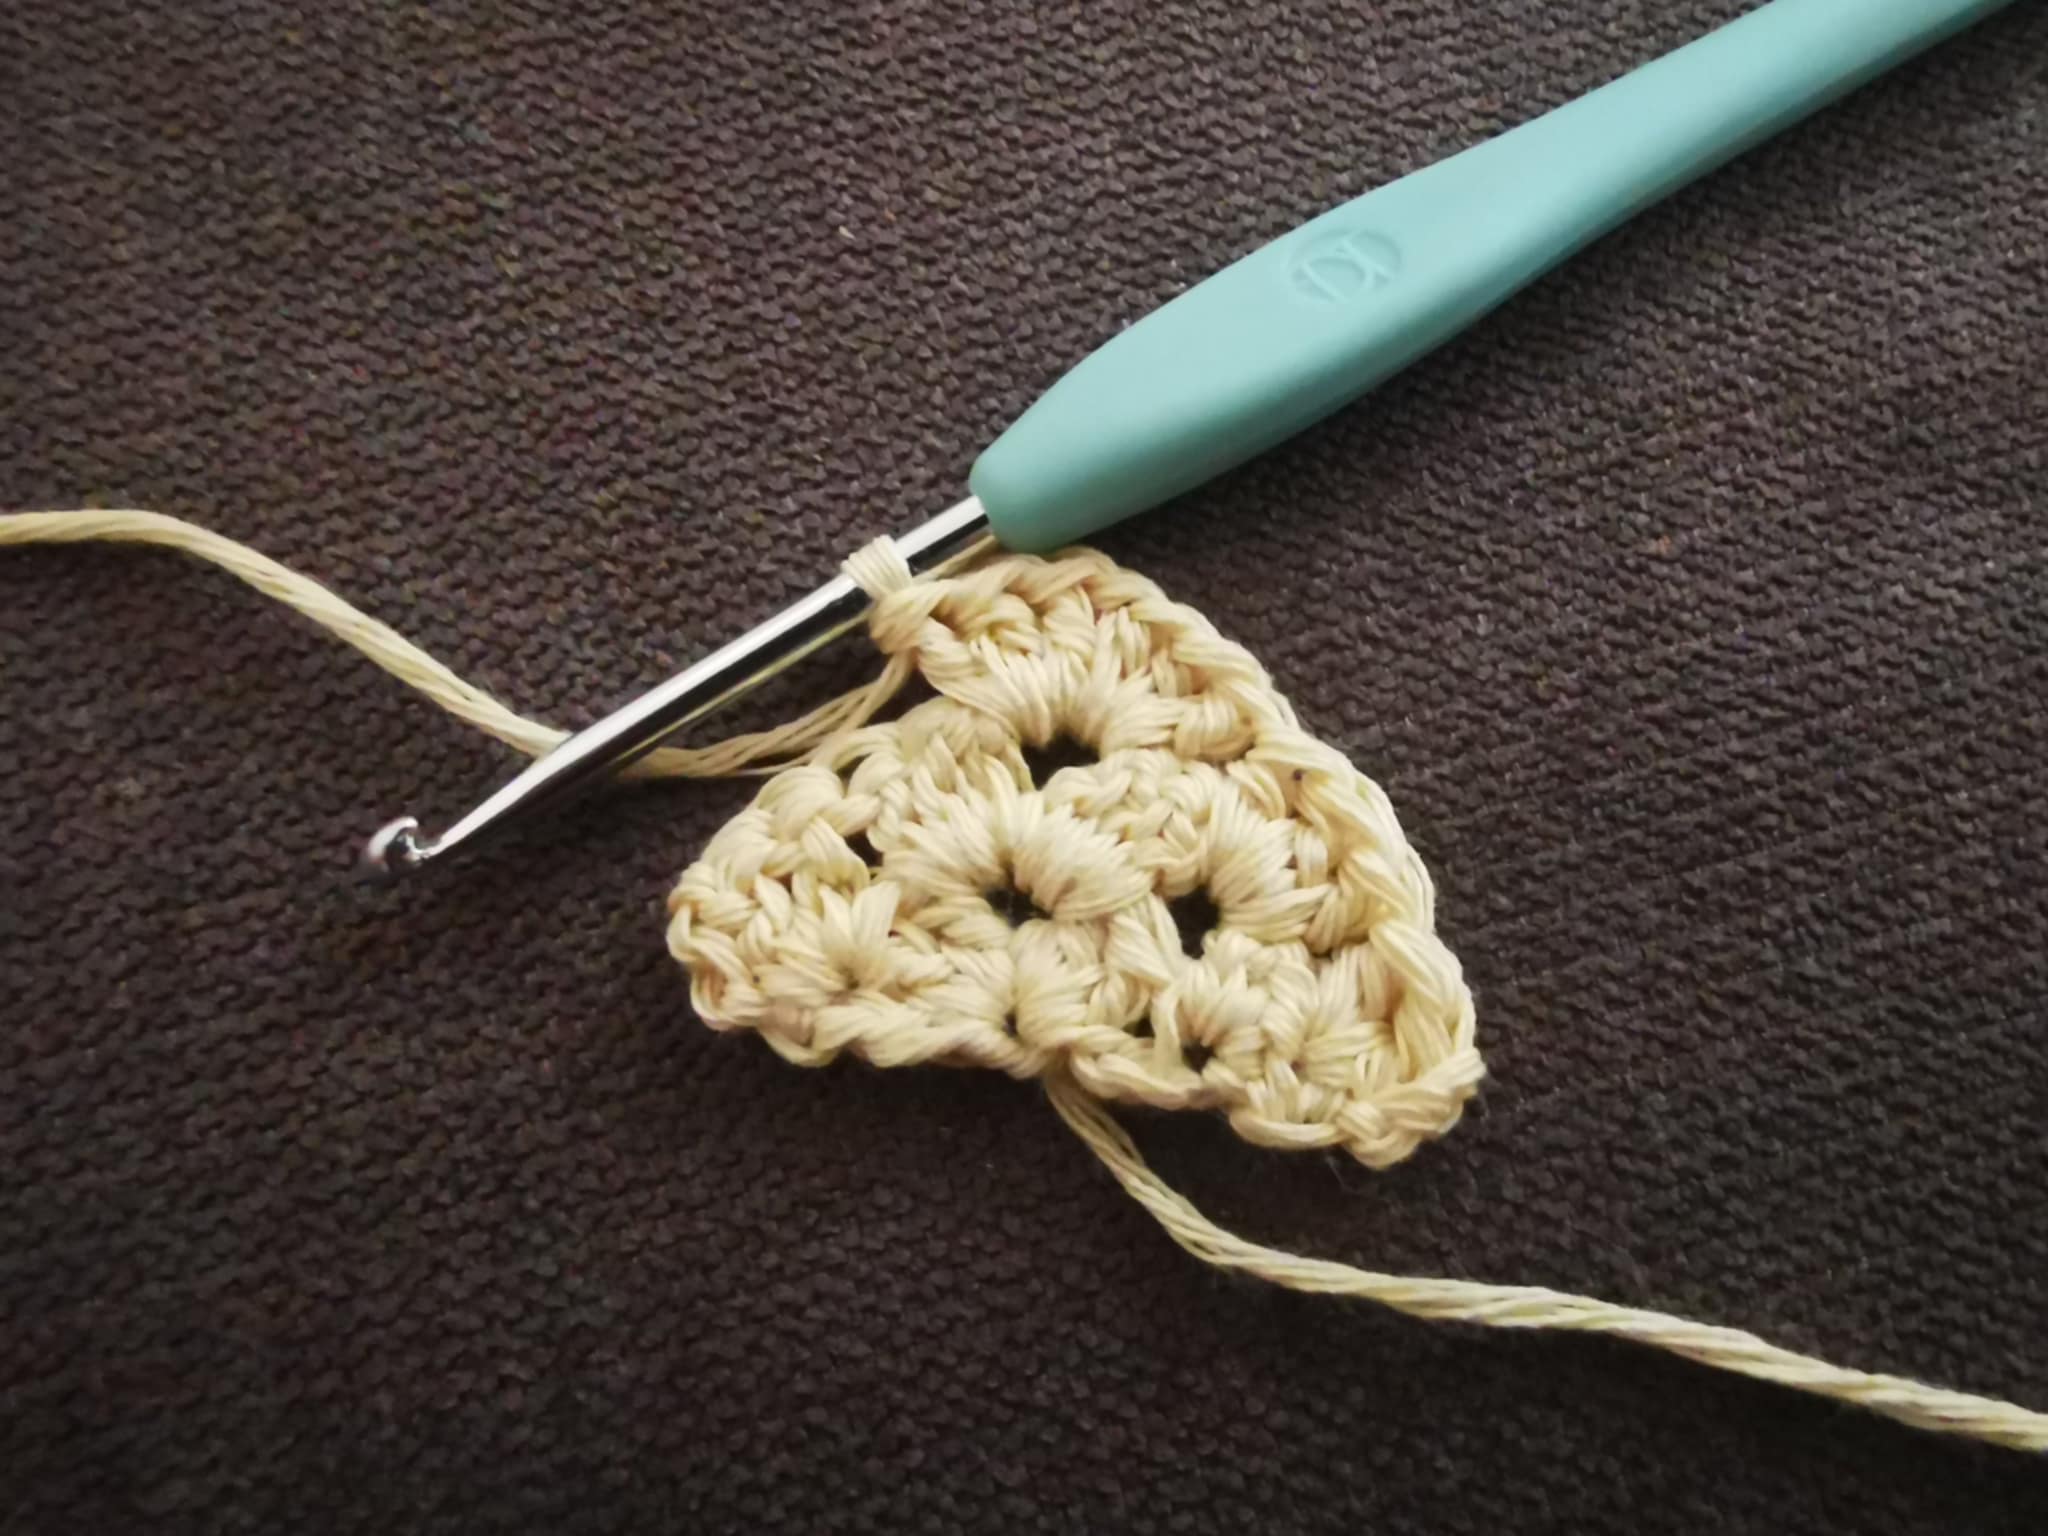
And I started again until I had 16 rows.
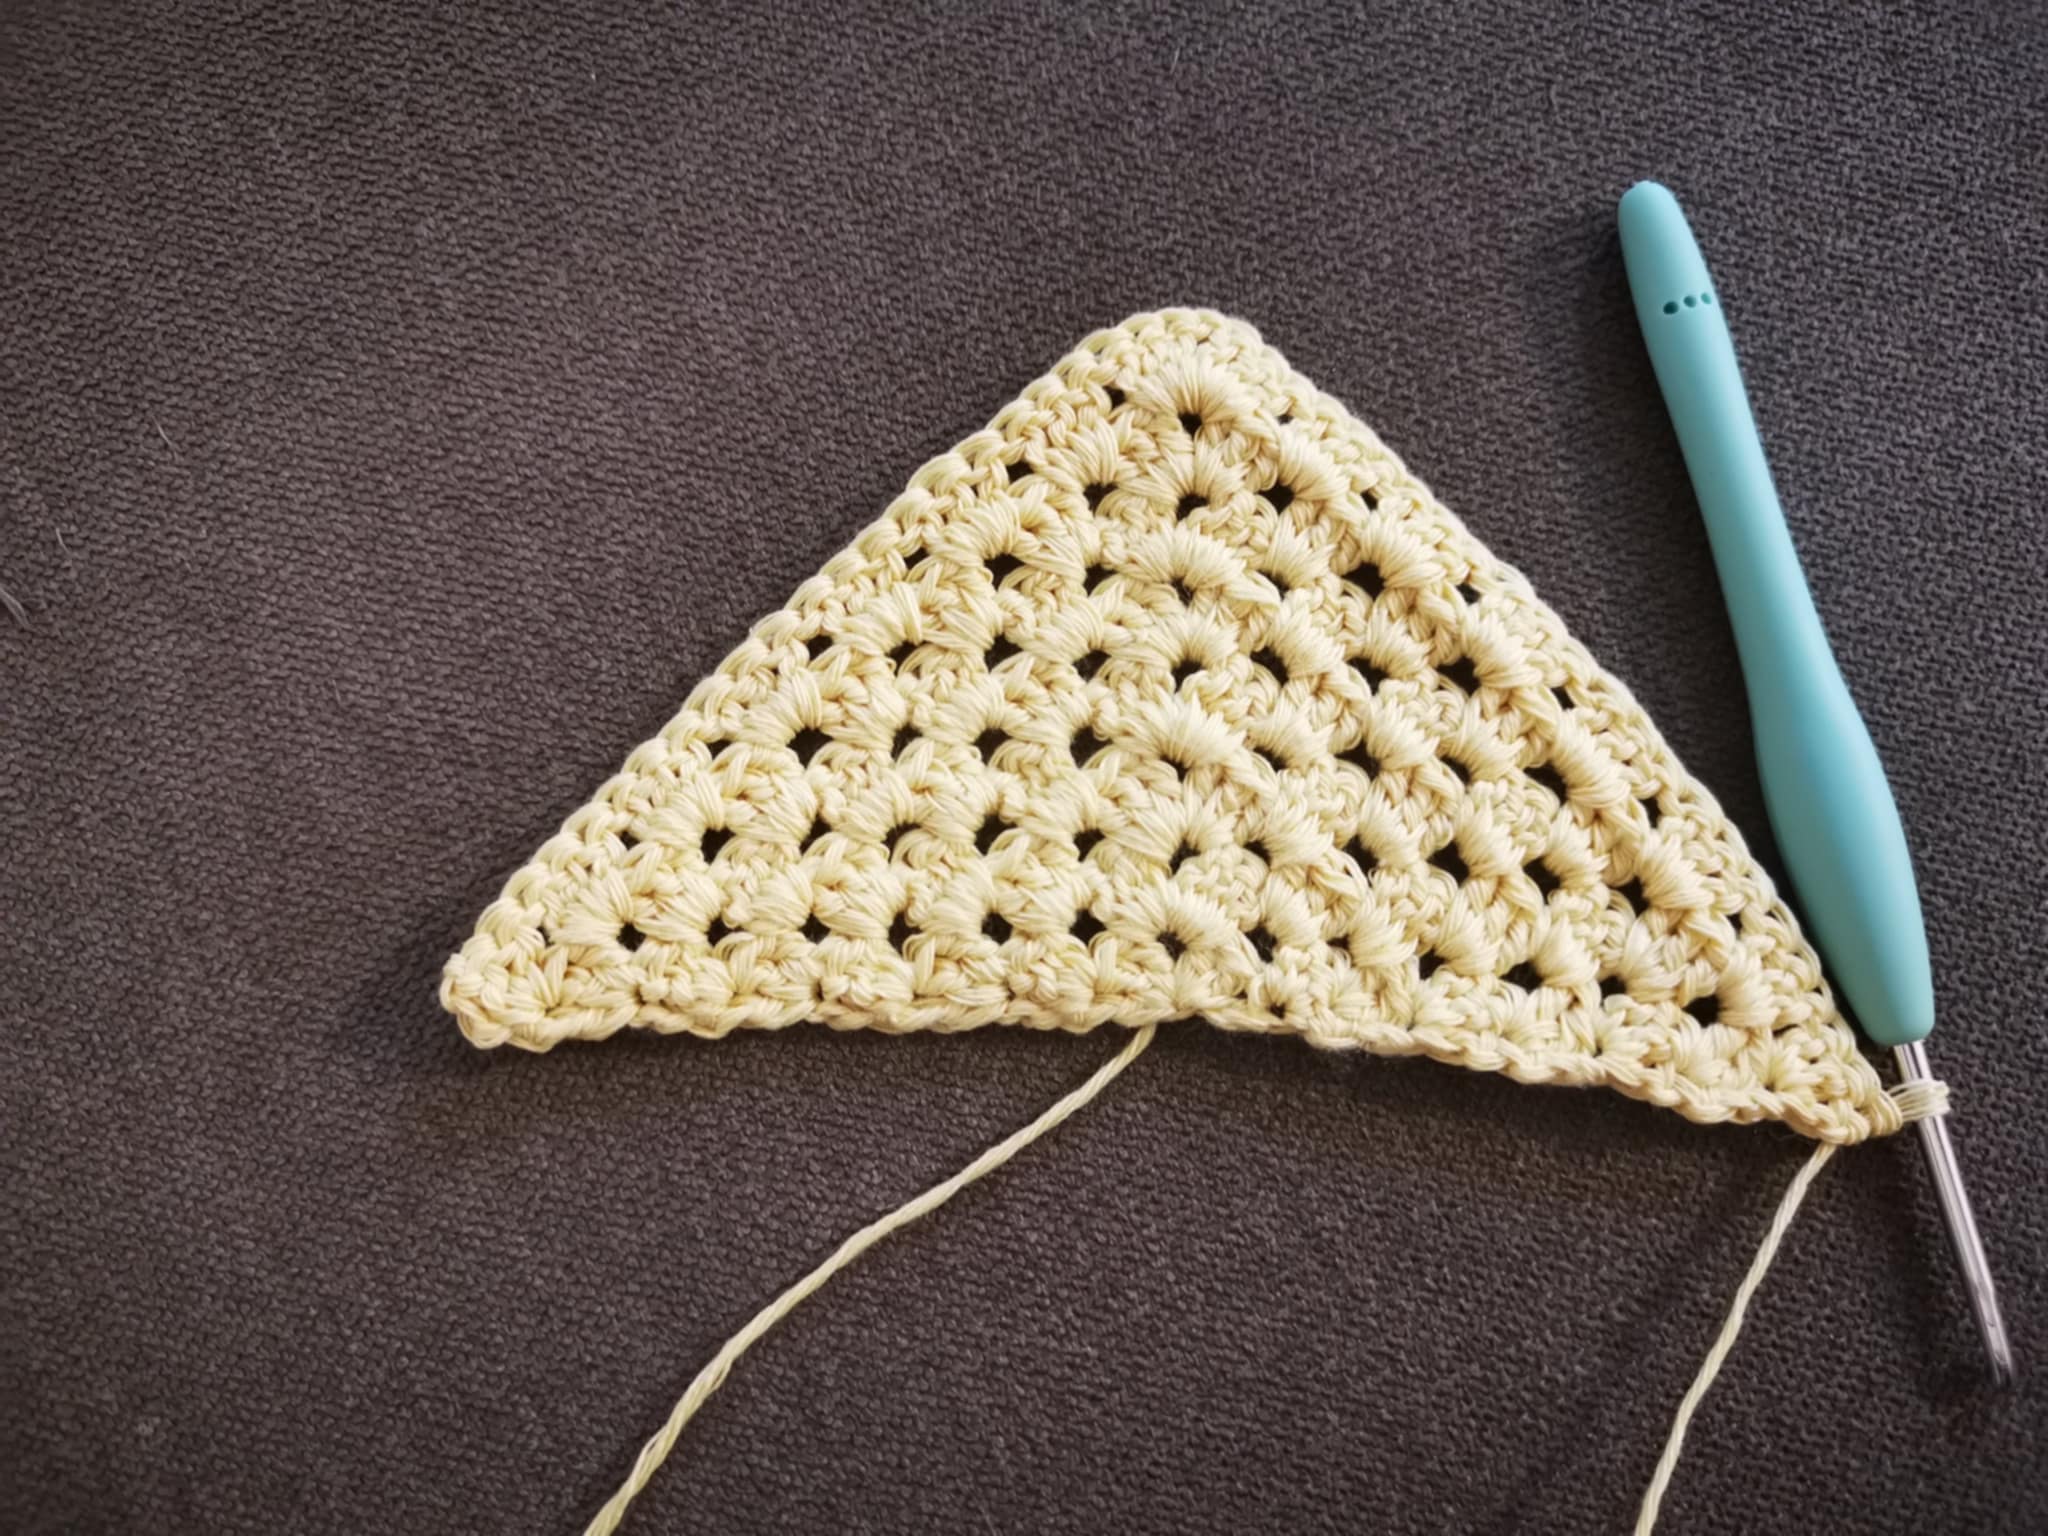
Once I had 16 rows, I chained 60 stitches + 1 to turn.

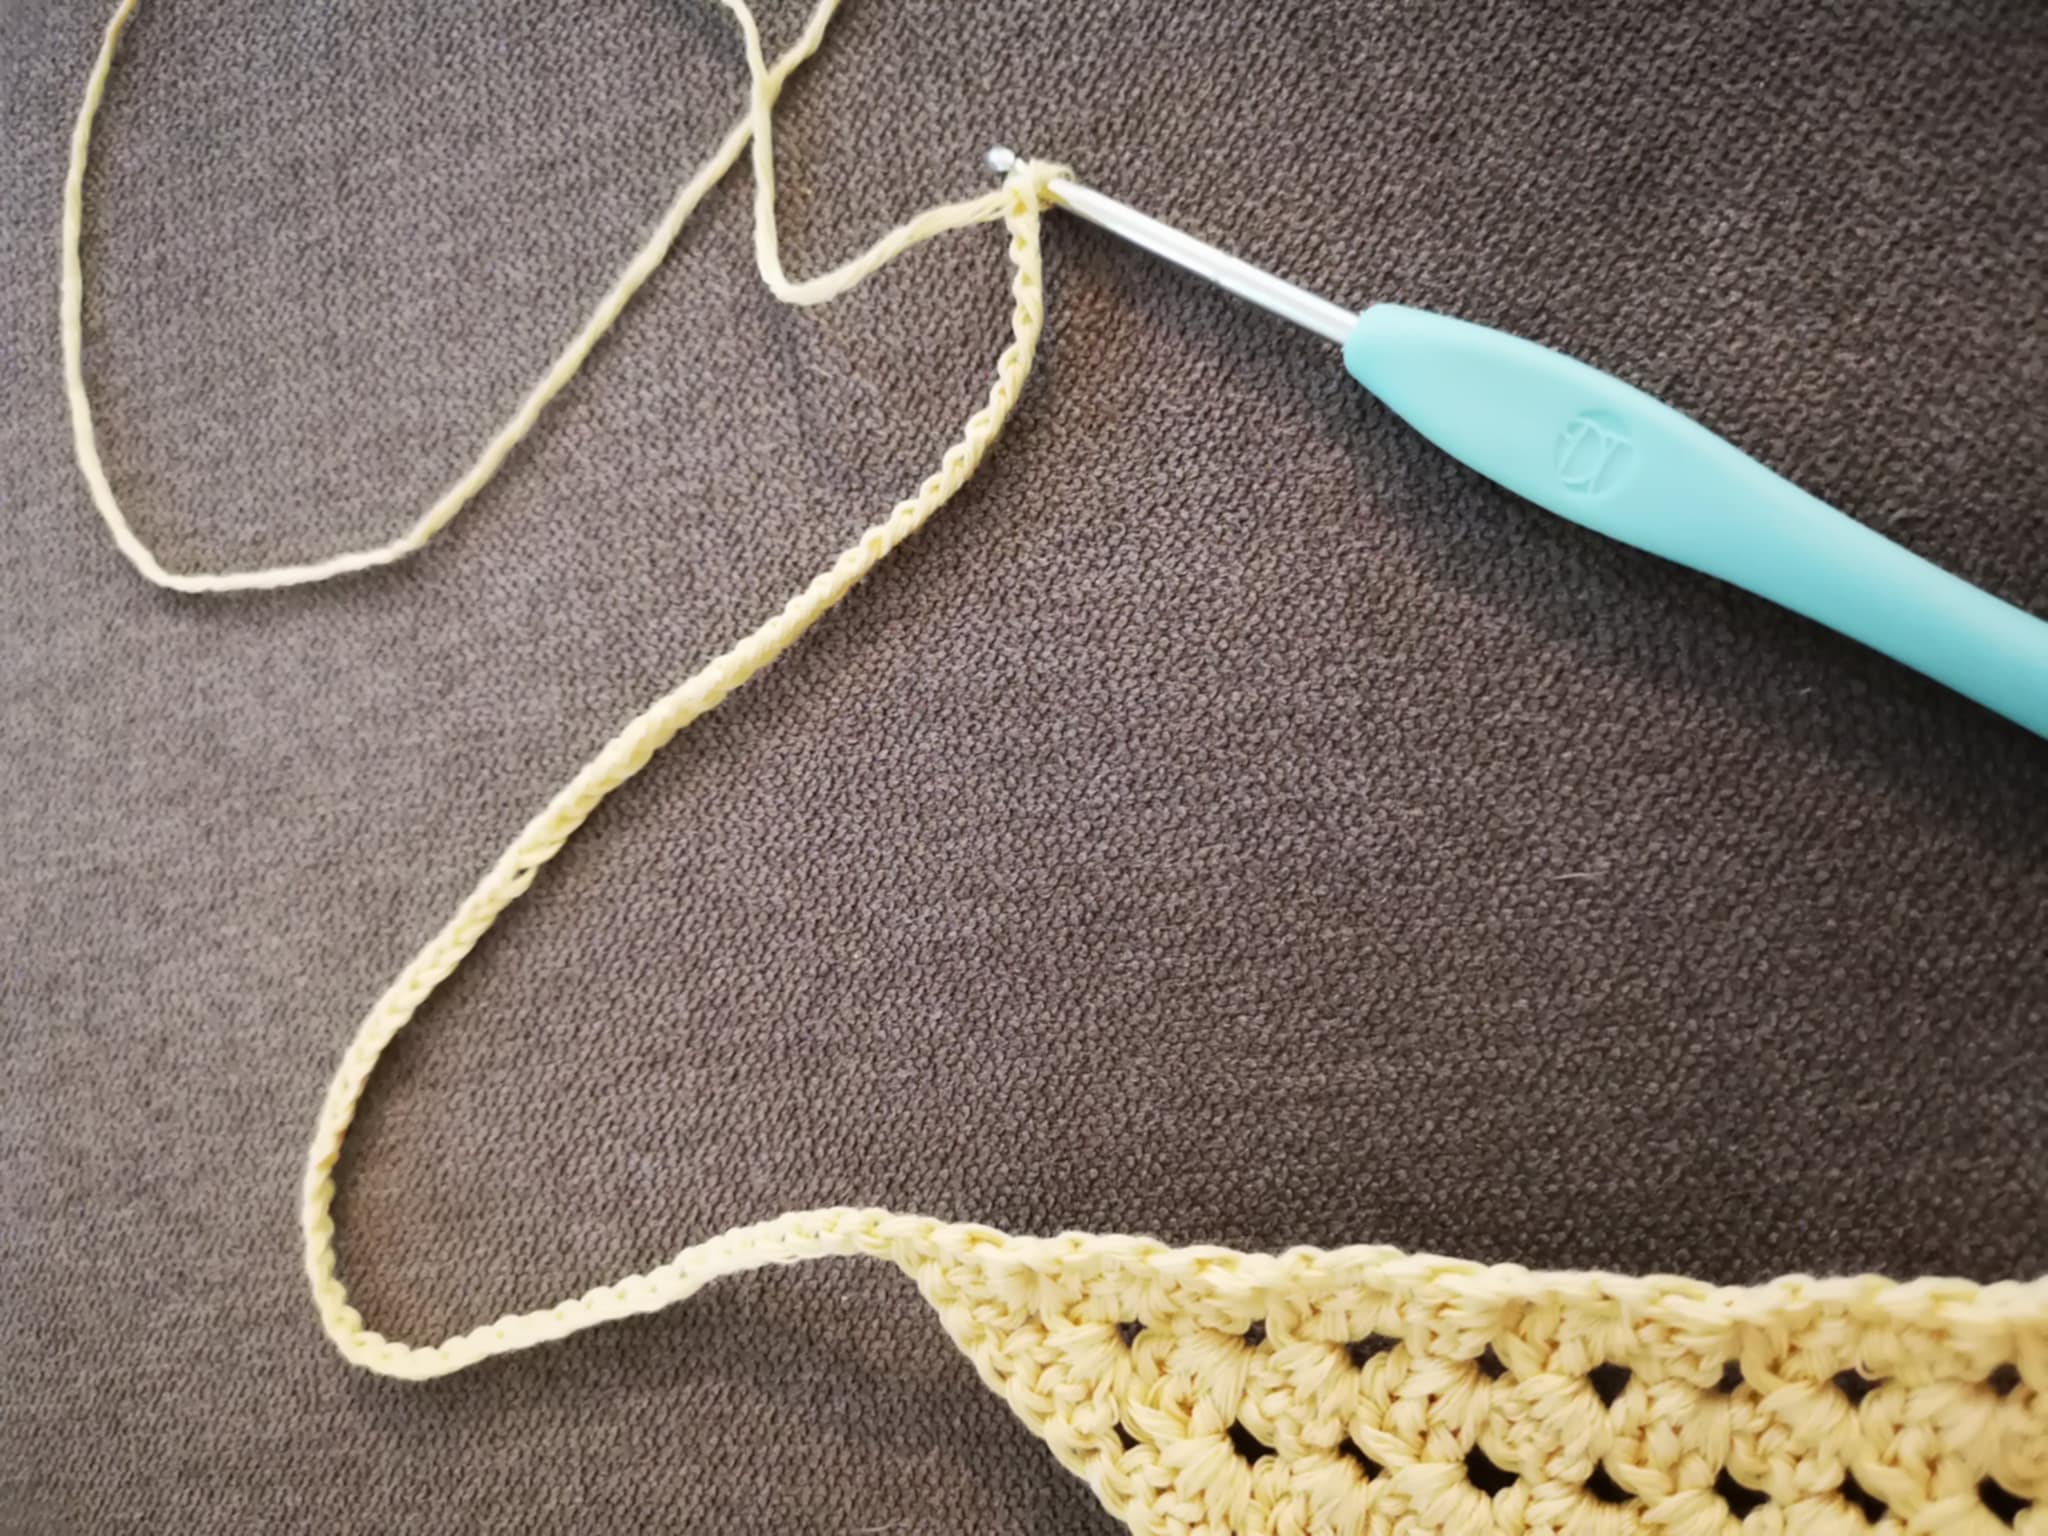
Then, I made a row of single crochets:
When I reached the end, I made a row of single crochets on the edge, which wasn't very even.
And when I reached the end, I started casting on 60 chain stitches + 1 to turn:
Then, I did a row of single crochets:
And when I reached the end, I made a slip stitch, then a chain stitch, and cut the yarn.
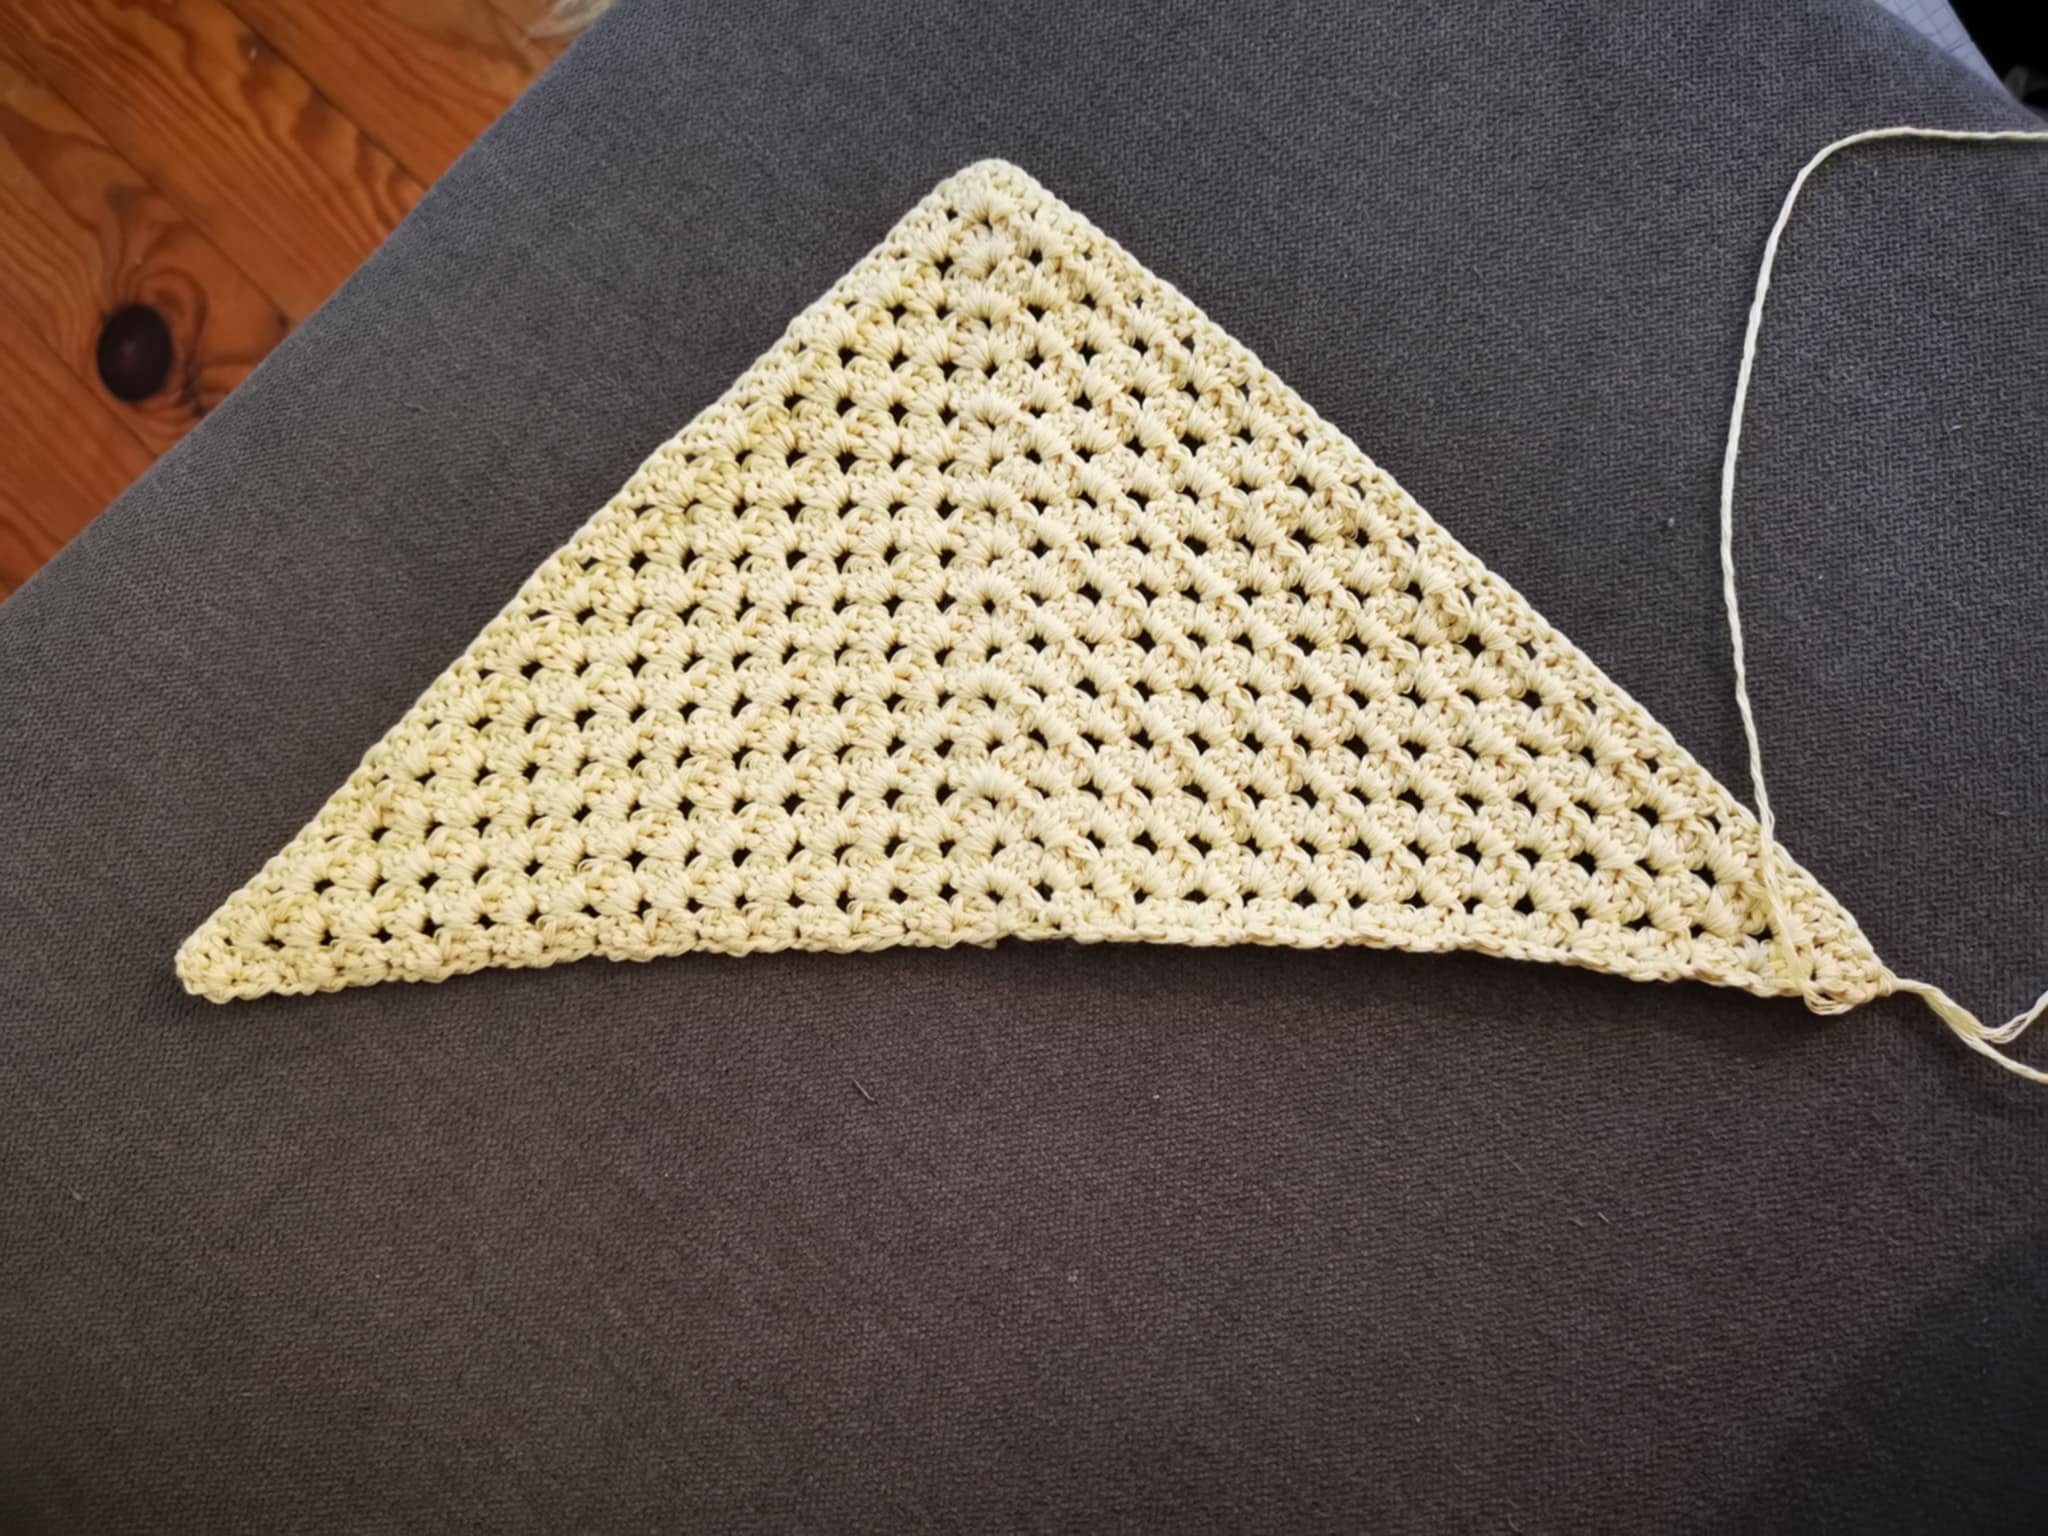
The bandana is finished!
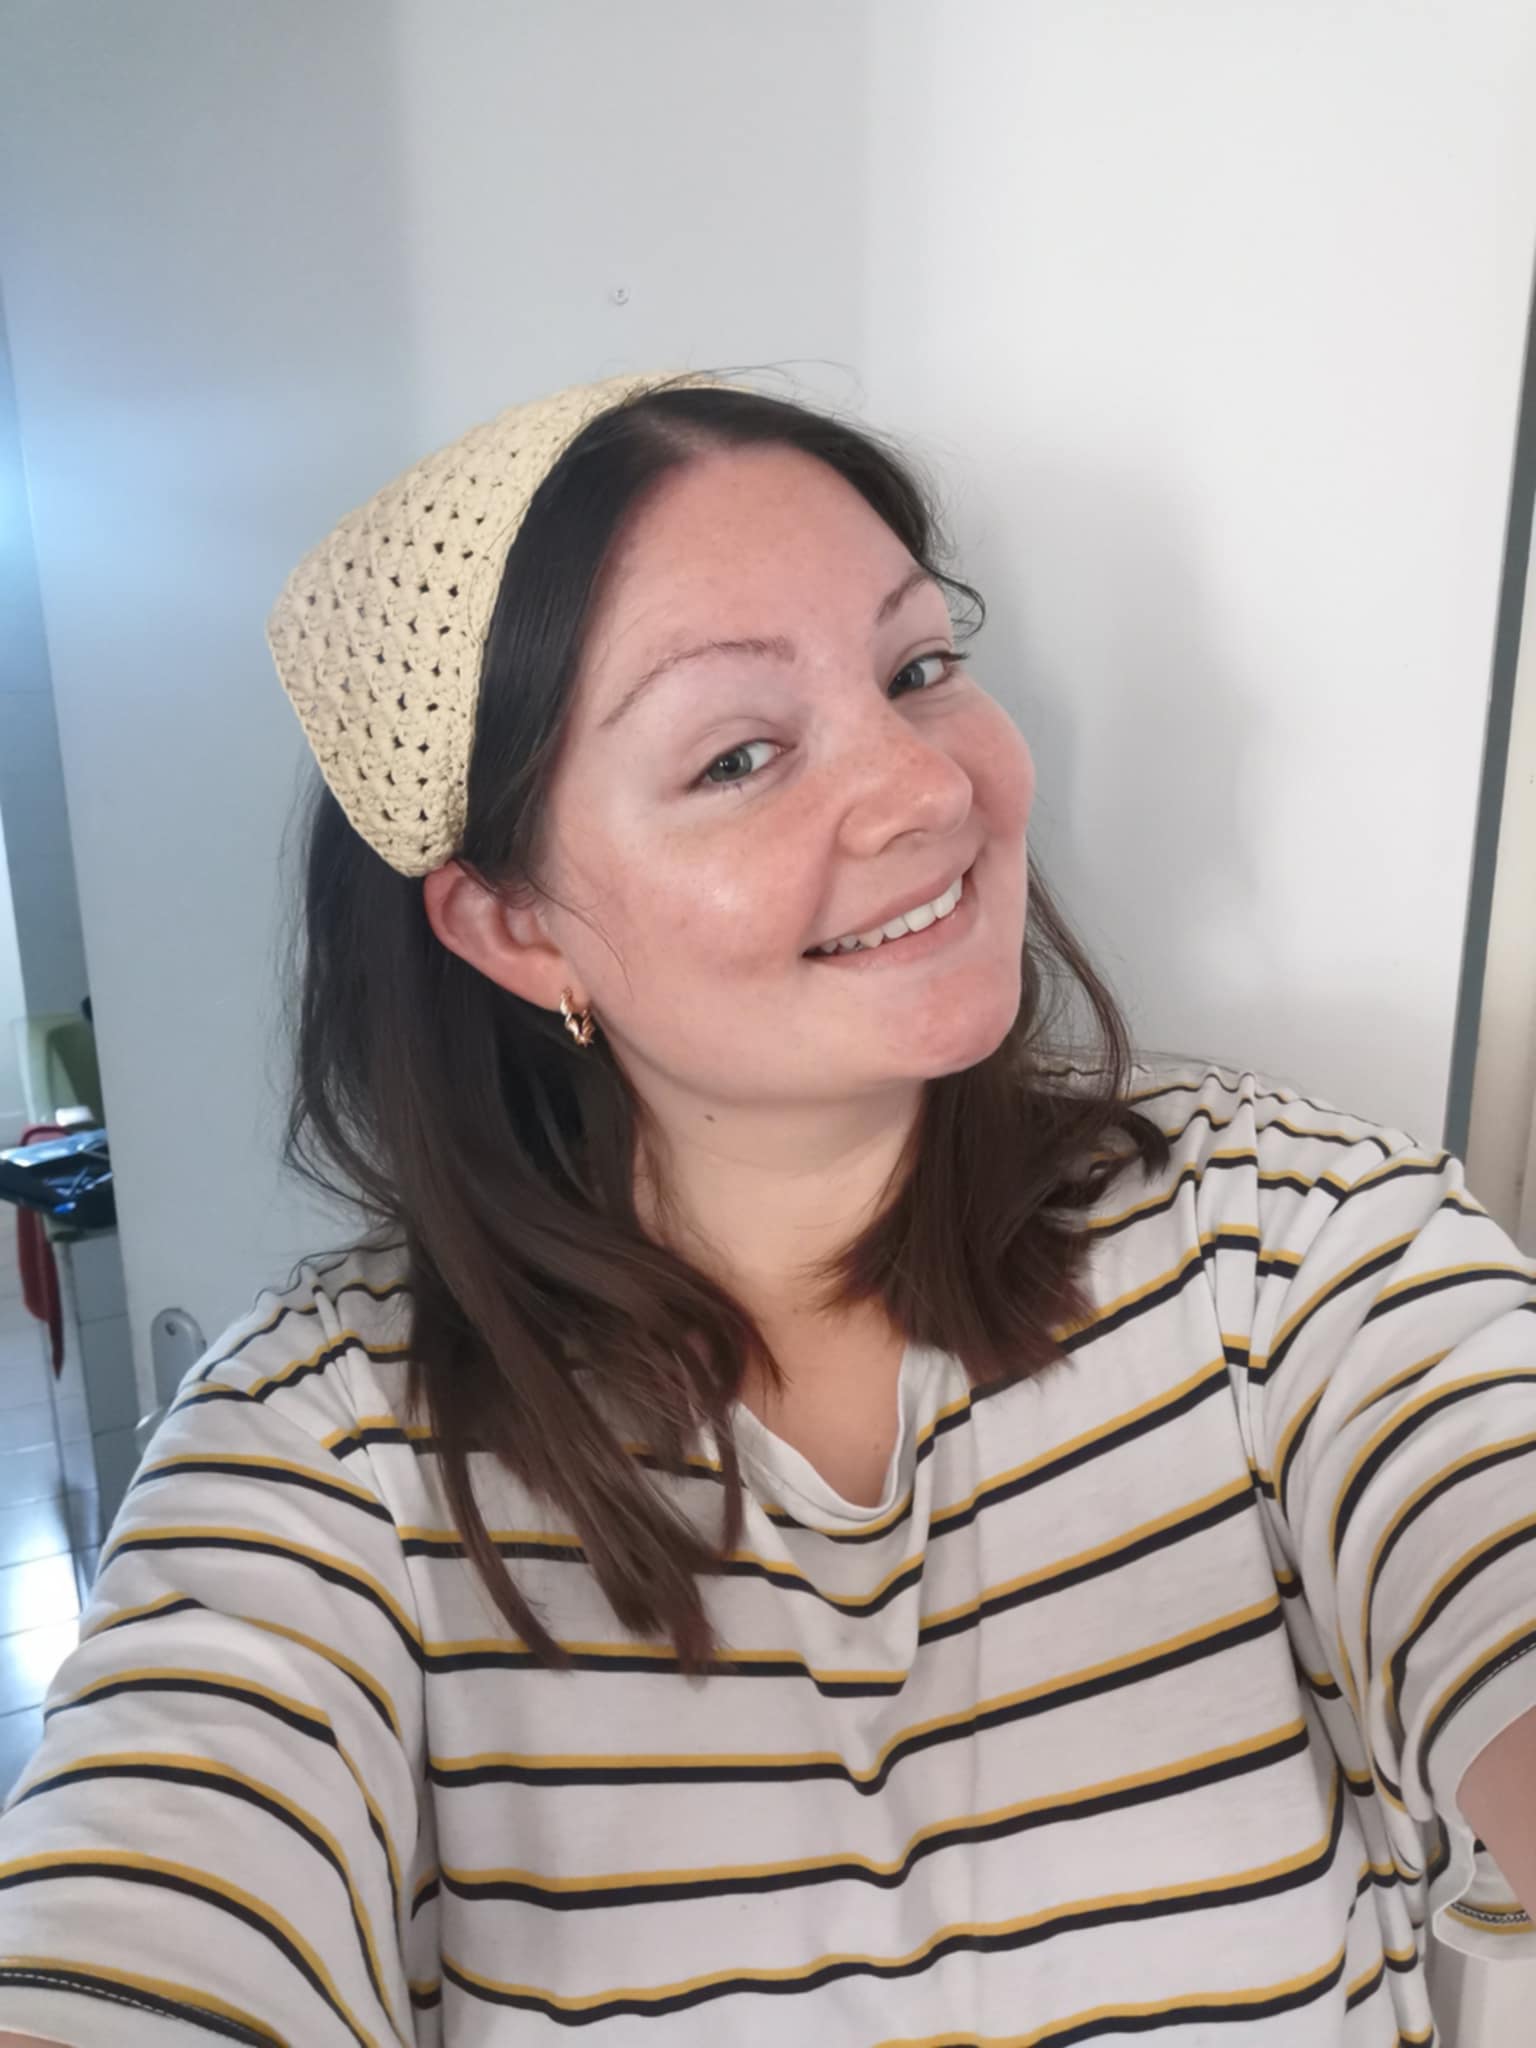
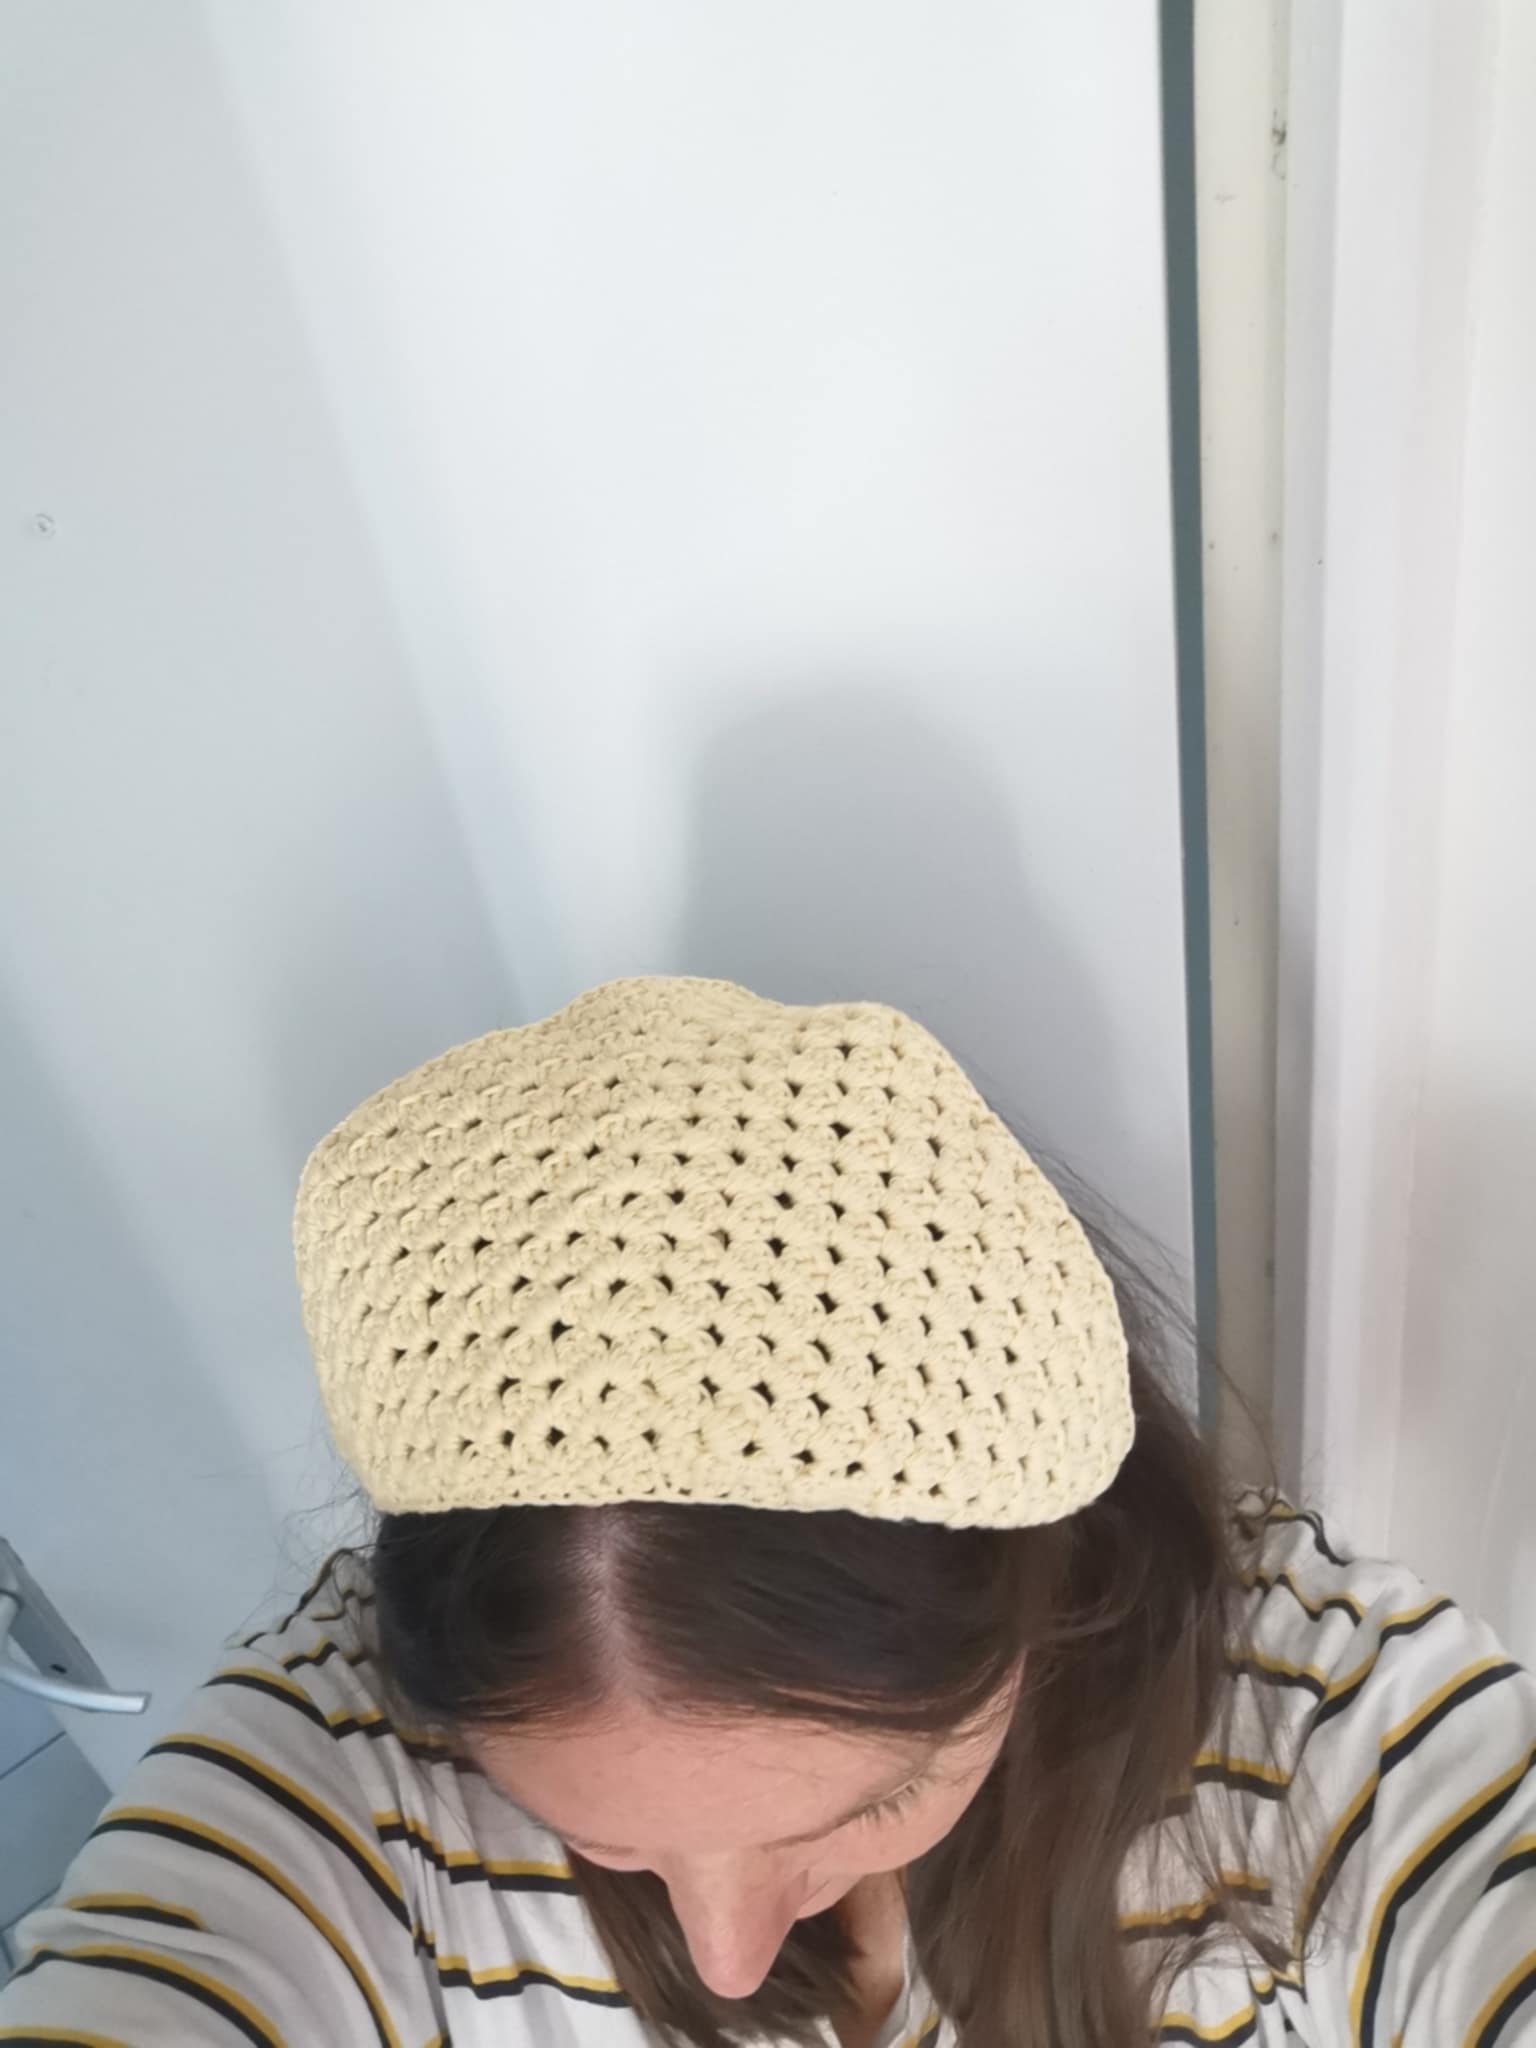
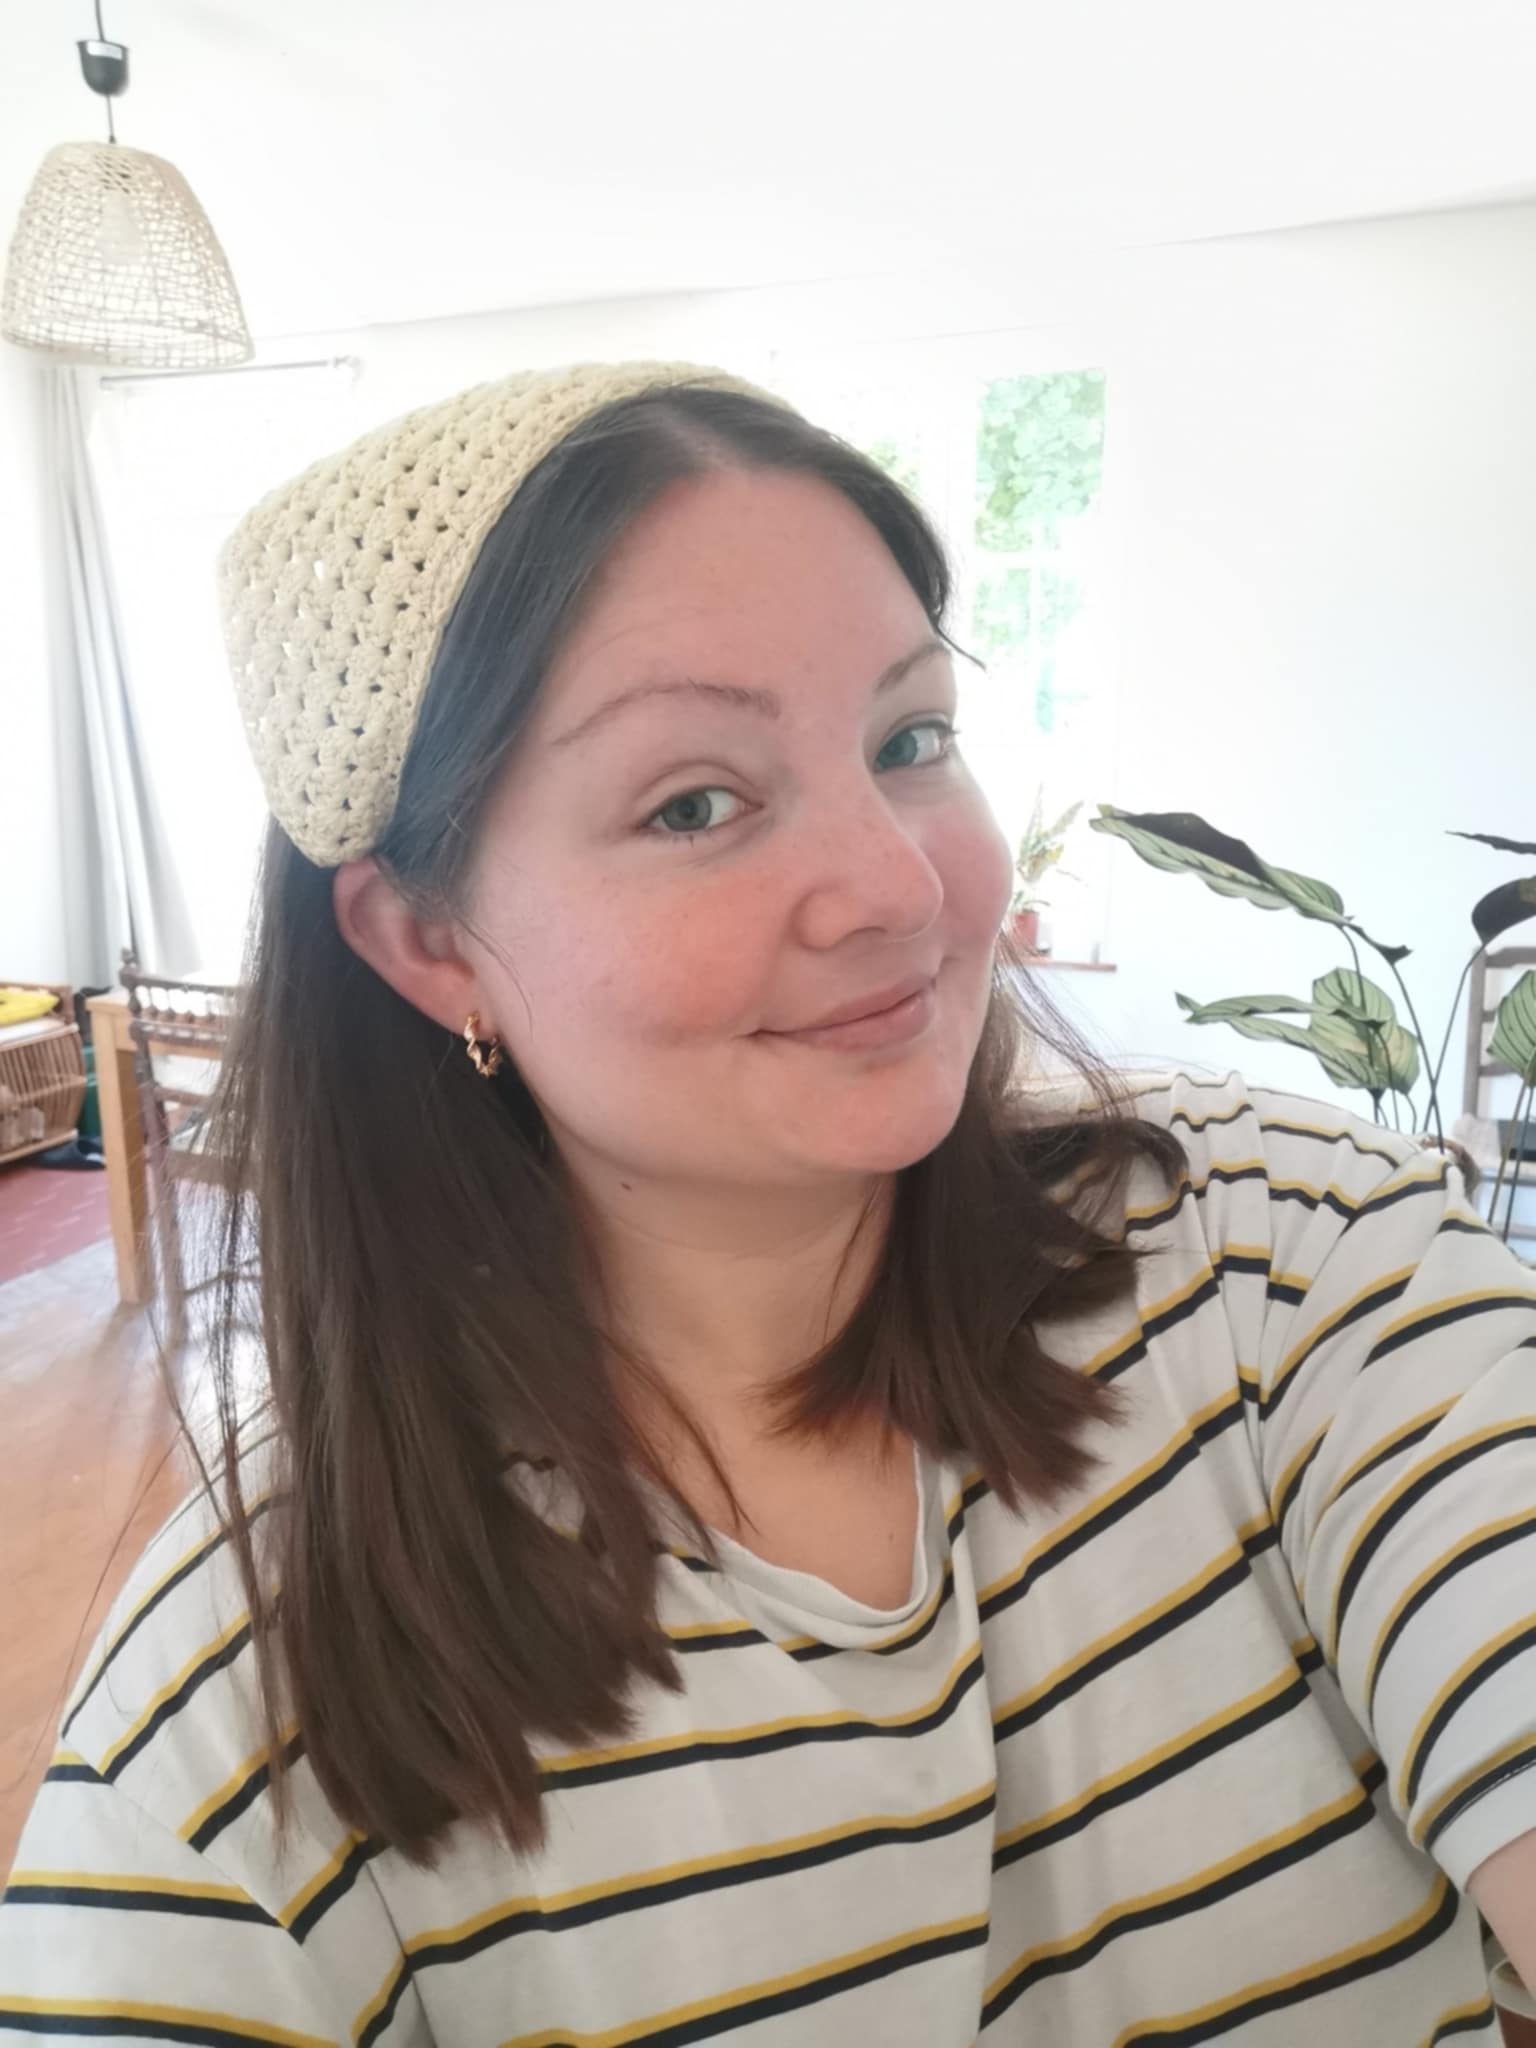
I think the result is pretty cool; I love how it looks when worn! It's very cute and provides some protection from the sun. It's a really simple little accessory to make. 😁
I hope this little tutorial has inspired you to make a little bandana for yourself or your children!
See you soon, Johanna
PS: I used Google Translate to translate the English part.
Version en français
Hello les amis et les crochet lovers ! J’espère que vous allez tous très bien 😁
Je continue mes petites créations pour l’été et cette semaine, j’ai réalisé un joli bandana ! Cela faisait longtemps que je voulais en faire un, mais je n’arrivais pas à choisir la bonne couleur, ni la bonne matière.
Finalement, j’ai décidé de ne pas me prendre la tête, et de le faire jaune clair, comme le bandeau pour cheveux que j’ai réalisé il y a quelques semaines ! ☀️
C’est un projet très simple et rapide à réaliser. Il peut être réalisé en moins d’une demi-journée si vous faites régulièrement du crochet.
Je trouve que c’est un accessoire très mignon, cela donne un petit look bohème à mes tenues 😁
Bref, voici le tutoriel pour réaliser ce petit bandana 👇
Le matériel
Vous aurez besoin de :
- Une pelote de coton fin ;
- Un crochet 3mm.
Les étapes de fabrication
Pour réaliser ce bandana, il faut commencer par un cercle magique :
Puis, monter 3 mailles en l’air, qui vont compter comme une première bride :
Ensuite, j’ai fait 2 premières brides dans le cercle magique :
Puis, j’ai monté 1 maille en l’air :
Et j’ai fait 3 brides dans le cercle magique :
J’ai fermé le cercle en tirant sur le fil :
Puis, j’ai monté 3 mailles en l’air avant de tourner le projet pour commencer le rang 2 :
Pour le rang 2, j’ai commencé par faire 2 brides dans la première maille :
Ensuite, pour la pointe, j’ai fait : 3 brides dans l’espace formé par la maille en l’air du rang précédent, puis 1 maille en l’air, puis 3 brides dans le même espace :
Et pour terminer ce rang, j’ai fait 3 brides dans la dernière maille :
J’ai monté 3 mailles en l’air et j’ai tourné le projet :
Pour le rang 3, j’ai commencé par 2 brides dans la première maille :
Puis, j’ai fait 3 brides dans l’espace suivant :
Ensuite, pour la pointe, j’ai fait 3 brides, 1 maille en l’air et 3 brides dans le même espace :
J’ai continué avec 3 brides dans l’espace suivant :
Et j’ai terminé le rang avec 3 brides dans la dernière maille :
Puis, j’ai monté 3 mailles en l’air et j’ai tourné le projet.
Vous l’aurez compris, le schéma est toujours le même jusqu’à la fin.
Pour le rang 4, j’ai fait : - 2 brides dans la première maille ; - 3 brides dans l’espace suivant ; - 3 brides dans l’espace suivant ; - 3 brides, 1 maille en l’air et 3 brides dans le même espace pour la pointe ; - 3 brides dans l’espace suivant ; - 3 brides dans l’espace suivant ; - 3 brides dans la dernière maille.
Et j’ai recommencé jusqu’à obtenir 16 rangs.
20-bandana crochet.jpg (https://files.peakd.com/file/peakd-hive/altheana/EogMmFDFiZK4B4TP7m7j4fewqkjrn6LTZW9a55rKKUY1BMM9wtaFbWPCHSfP7vThS1q.jpg)
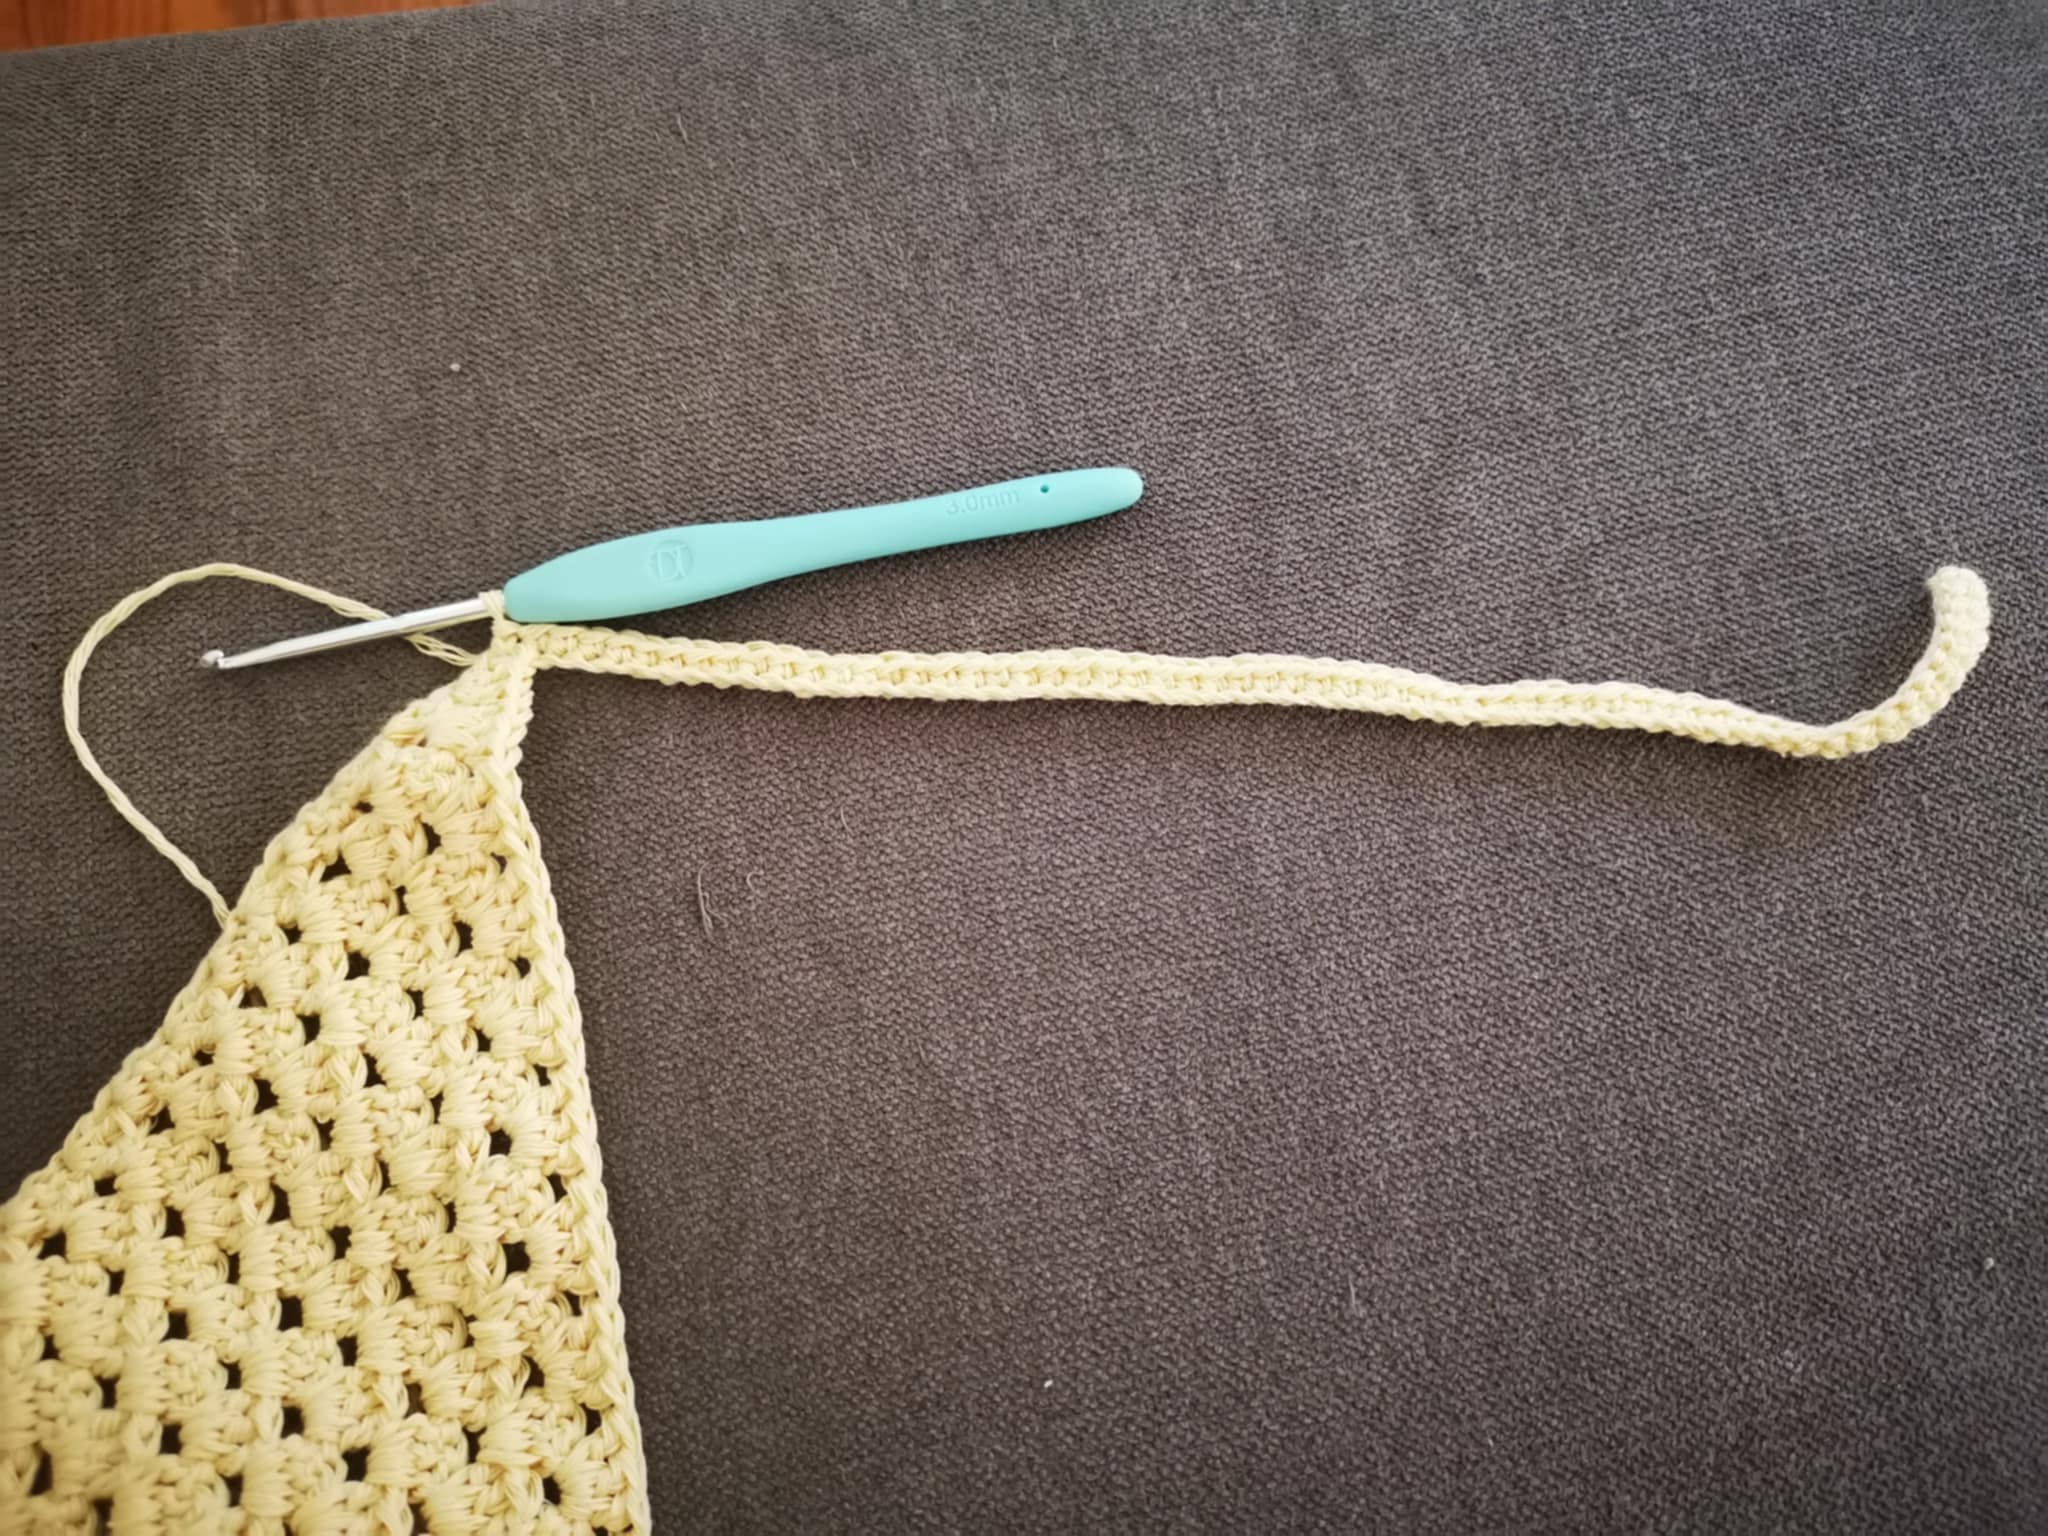
Une fois que j’ai obtenu 16 rangs, j’ai monté une chaînette de 60 mailles en l’air + 1 pour tourner.
21-bandana crochet.jpg (https://files.peakd.com/file/peakd-hive/altheana/EoyPUPYBwByPcWcQjWSiQ9nZ4Vk8aoqadvgCRbRYhQxKzdbZ7xB4Z7on4v6gGy3xy2Y.jpg) 22-bandana crochet.jpg (https://files.peakd.com/file/peakd-hive/altheana/EoGxsiGnSZ2rjAY7QqcZwPUVYEtXnXVaxcSVmeQ2ZzHHkkxAgsQcxGU2725ekqRhVUb.jpg)
Puis, j’ai fait un rang de mailles serrées :
23-bandana crochet.jpg (https://files.peakd.com/file/peakd-hive/altheana/EopsWQxV1zsJ6w4g8VGoYeR6ndJNFA5kY9iB4uRzaWU43fcuNcFZsnXvowFr82BdFvQ.jpg)
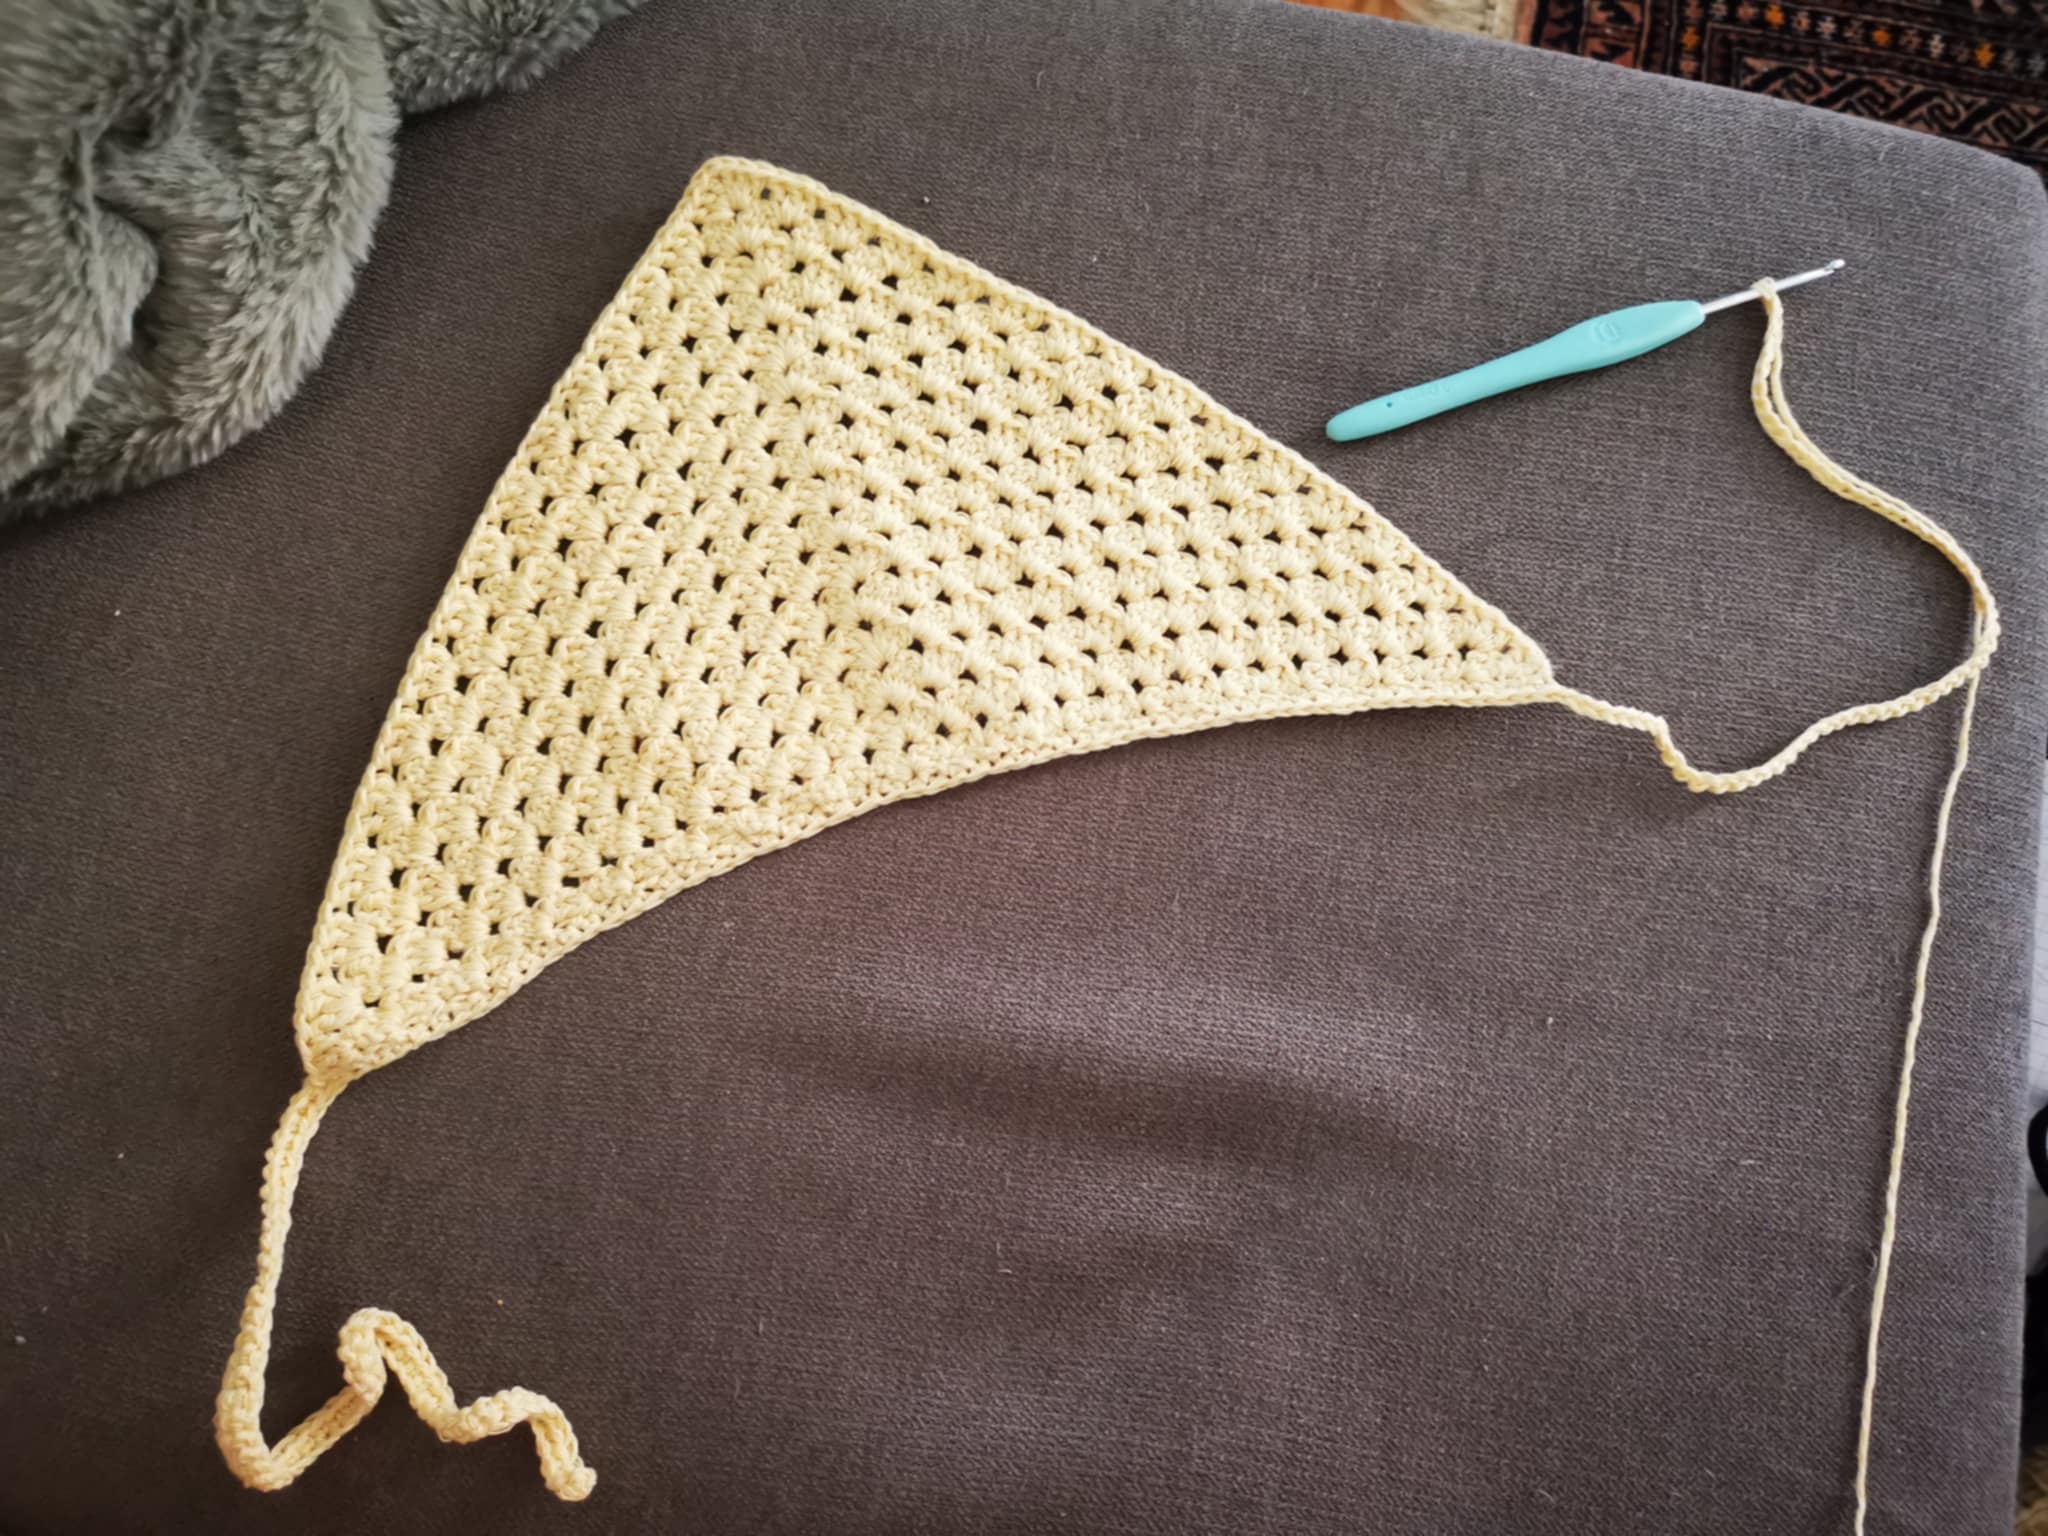
Arrivé au bout, j’ai fait un rang de mailles serrées sur le bord qui n’était pas très régulier.
Et lorsque je suis arrivée au bout, j’ai commencé à monter 60 mailles en l’air + 1 pour tourner :
24-bandana crochet.jpg (https://files.peakd.com/file/peakd-hive/altheana/EogNHozbpwvKjHRxd7MXoQ29XoEnhaX8XvuMaKiNAsS7ghUWA2EotcTLaYDPoA7KpnL.jpg)
Puis, j’ai fait un rang de mailles serrées :
28-bandana crochet.jpg (https://files.peakd.com/file/peakd-hive/altheana/EoErQgJCXkhzYKzmzjCguxCU7E3hGZNMF1crTEhM5ovdR7xVANEdgSUy5AHRPKDhkGr.jpg)
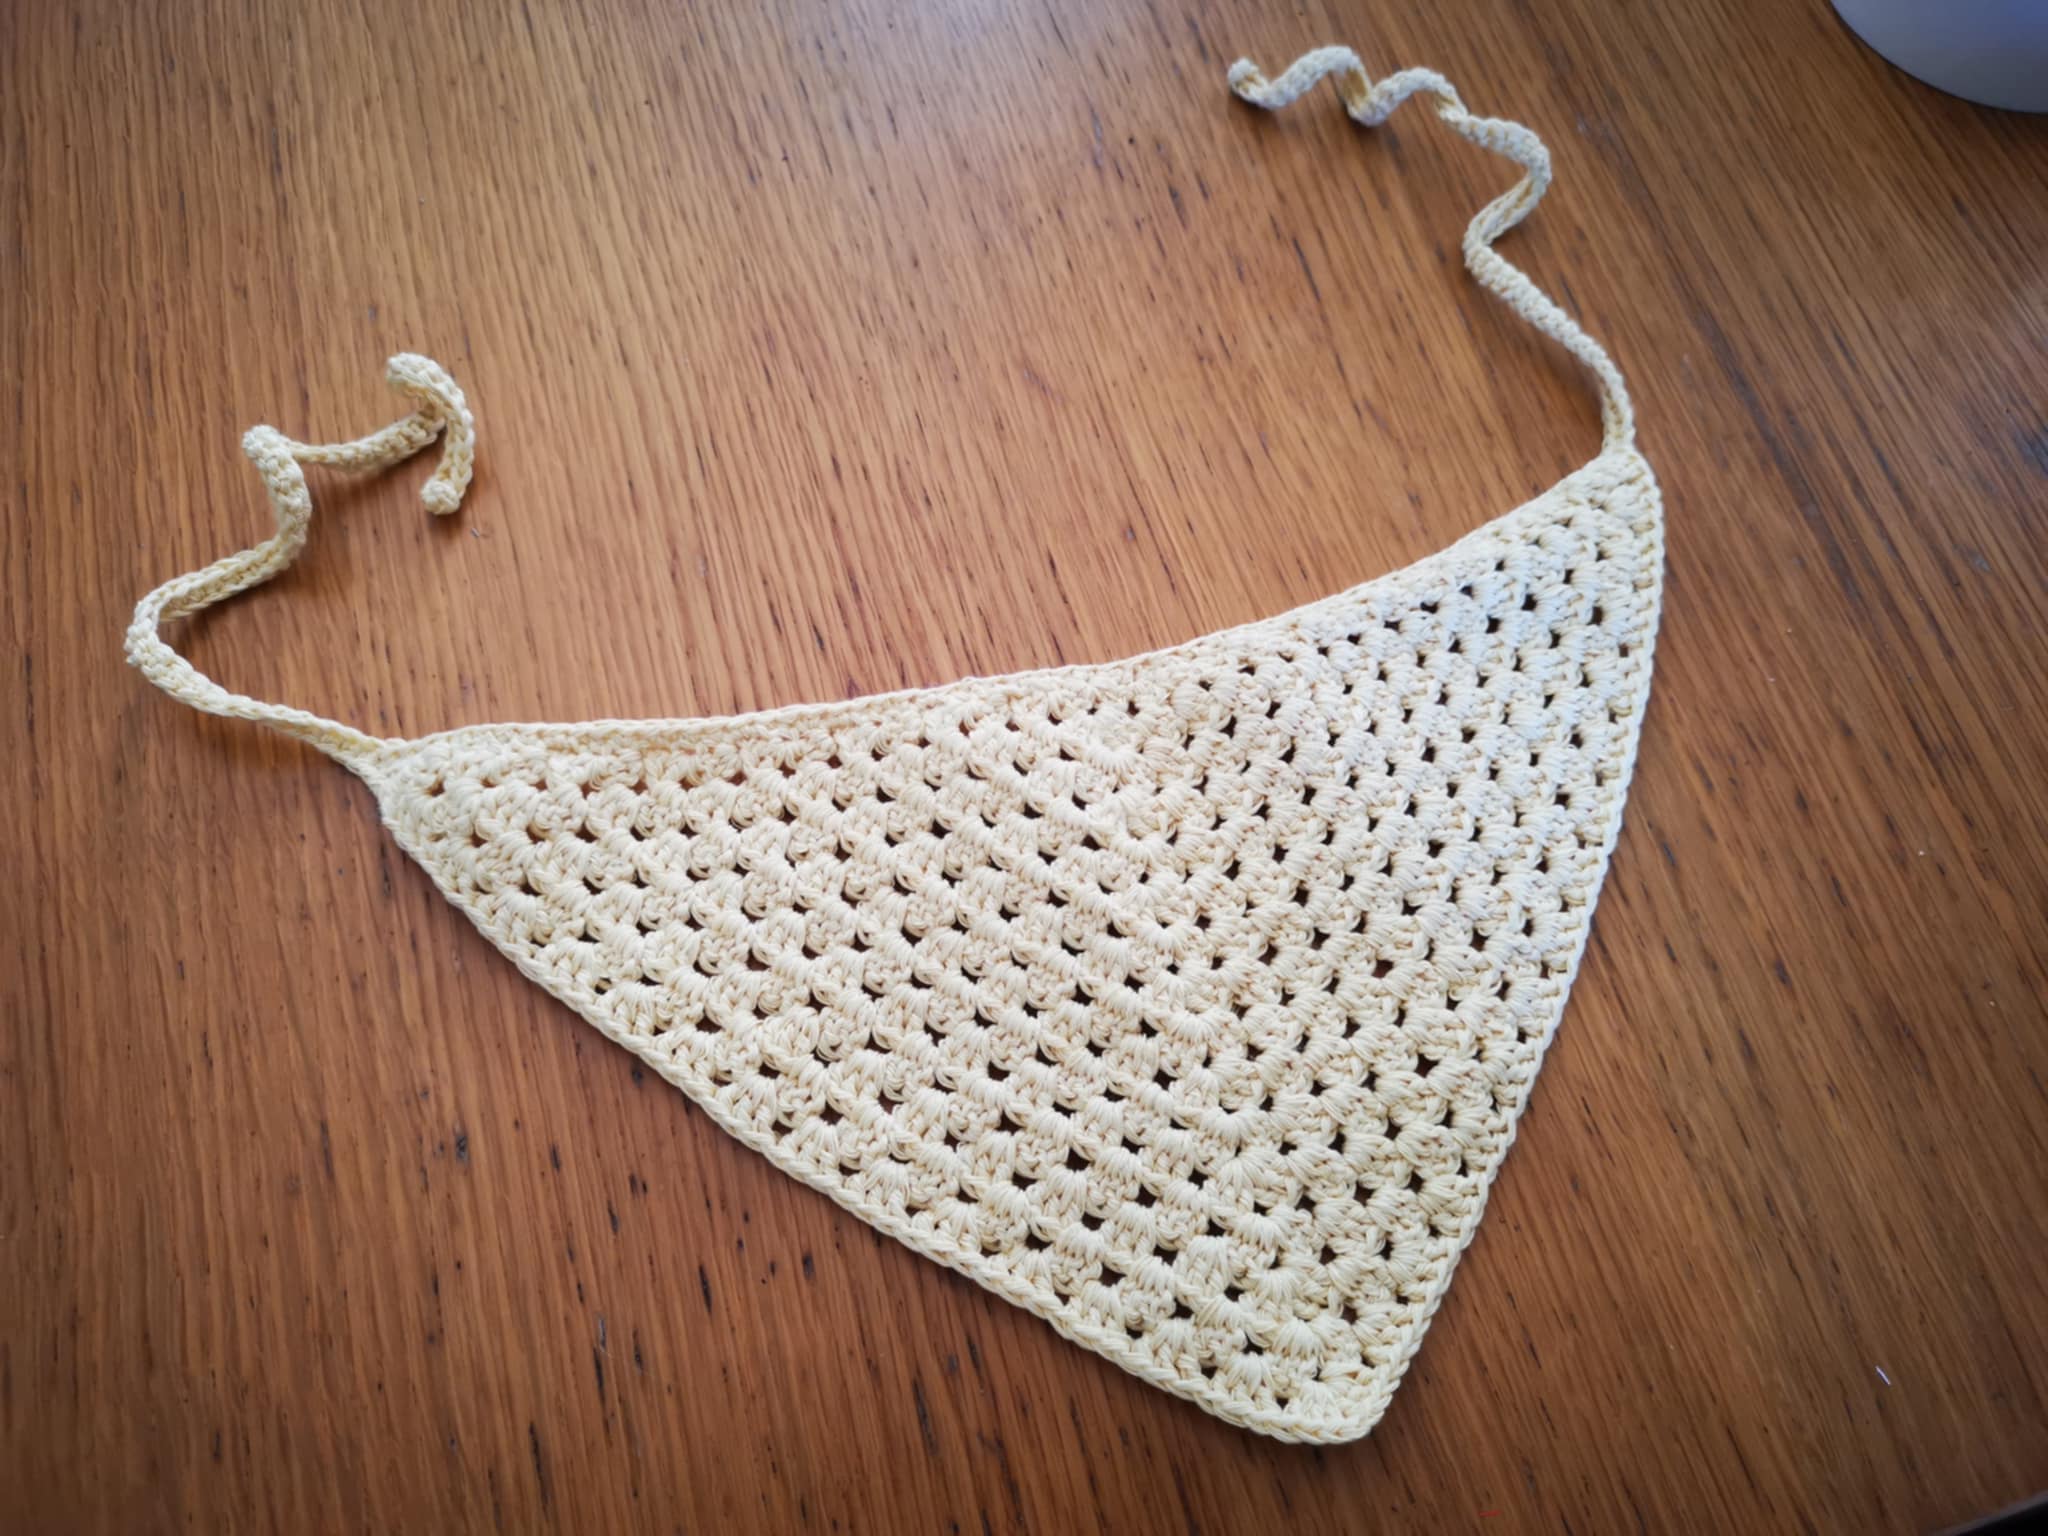
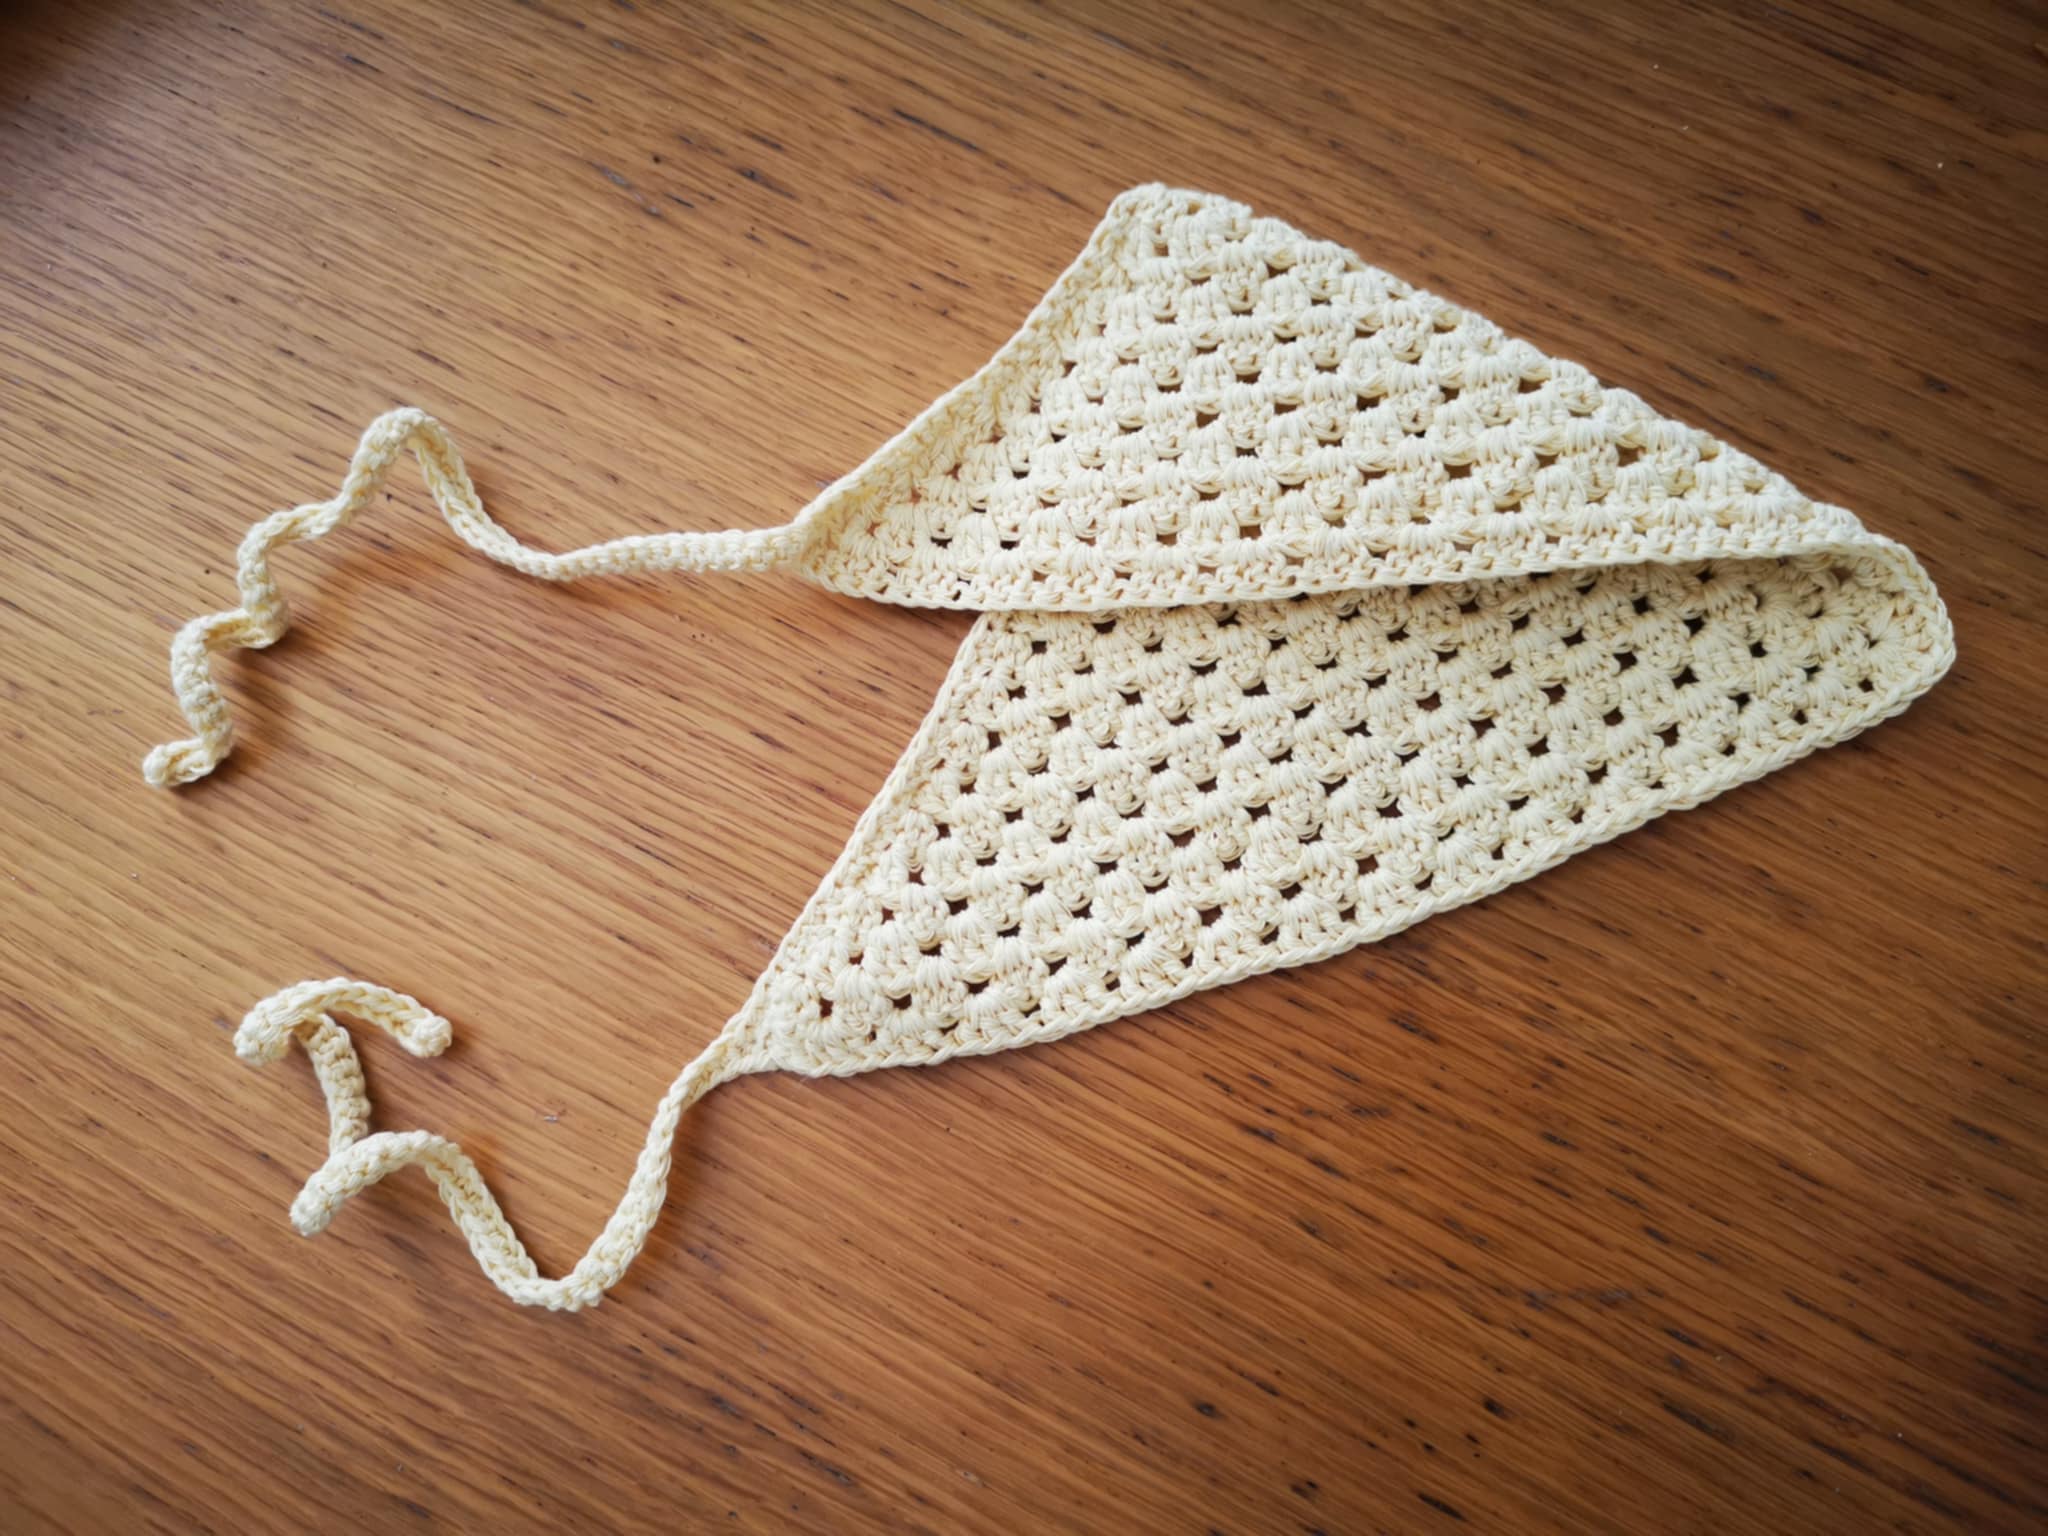
Et arrivé au bout, j’ai fait une maille coulée, puis une maille en l’air et j’ai coupé le fil.
Le bandana est terminé !
29-bandana crochet.jpg (https://files.peakd.com/file/peakd-hive/altheana/EopuNLZtch6N4mPKRsMdnu5ydzLo7jCYdTYJdzPq687Ssh3AcfR62v366yQNNeyxFw6.jpg) 26-bandana crochet.jpg (https://files.peakd.com/file/peakd-hive/altheana/23ydCbiWcCoT75nLJfm9QVdQa1fERL8vpbSjaKRvwswnoY5znXLoDKdBH7oTuPAcpAs4A.jpg) 27-bandana crochet.jpg (https://files.peakd.com/file/peakd-hive/altheana/244Kbj8YEC1sfbphGHisT6sQazyV4ePXVDGNXwYzpRqENGKGzUdmxkmQFQS8rq9scfmMW.jpg) 25-bandana crochet.jpg (https://files.peakd.com/file/peakd-hive/altheana/245Hwz8z2ohgyUWwDRyGvpb6sHG1iVUCfHXFU5Bfvqz2ayzvuvy5QNx5AkjTaYFhMQ13T.jpg)
Je trouve que le résultat est plutôt chouette, j’adore le rendu porté ! C’est très mignon et ça protège un peu du soleil. C’est un petit accessoire vraiment simple à réaliser. 😁
J’espère que ce petit tutoriel vous a donné envie de faire un petit bandana pour vous ou pour vos enfants !
À bientôt, Johanna
PS : J’ai utilisé Google Traduction pour traduire la partie en anglais.