Hello friends and food lovers! I hope all is well with you 😁
If you read my posts regularly, you probably know that Fridays are cocktail hour! And we love to innovate, so every Friday, we prepare a new "dish" 😊
Last Friday, we made gyoza!
We usually love eating them at restaurants, but they come at a certain cost. And we thought we'd try making some ourselves! Well, it was a great idea, because we enjoyed them 😋
Do you like gyoza?
I followed several recipes I found on TikTok. And I'm going to share the final version with you here, so here's the recipe for about 20 gyozas 👇
Ingredients
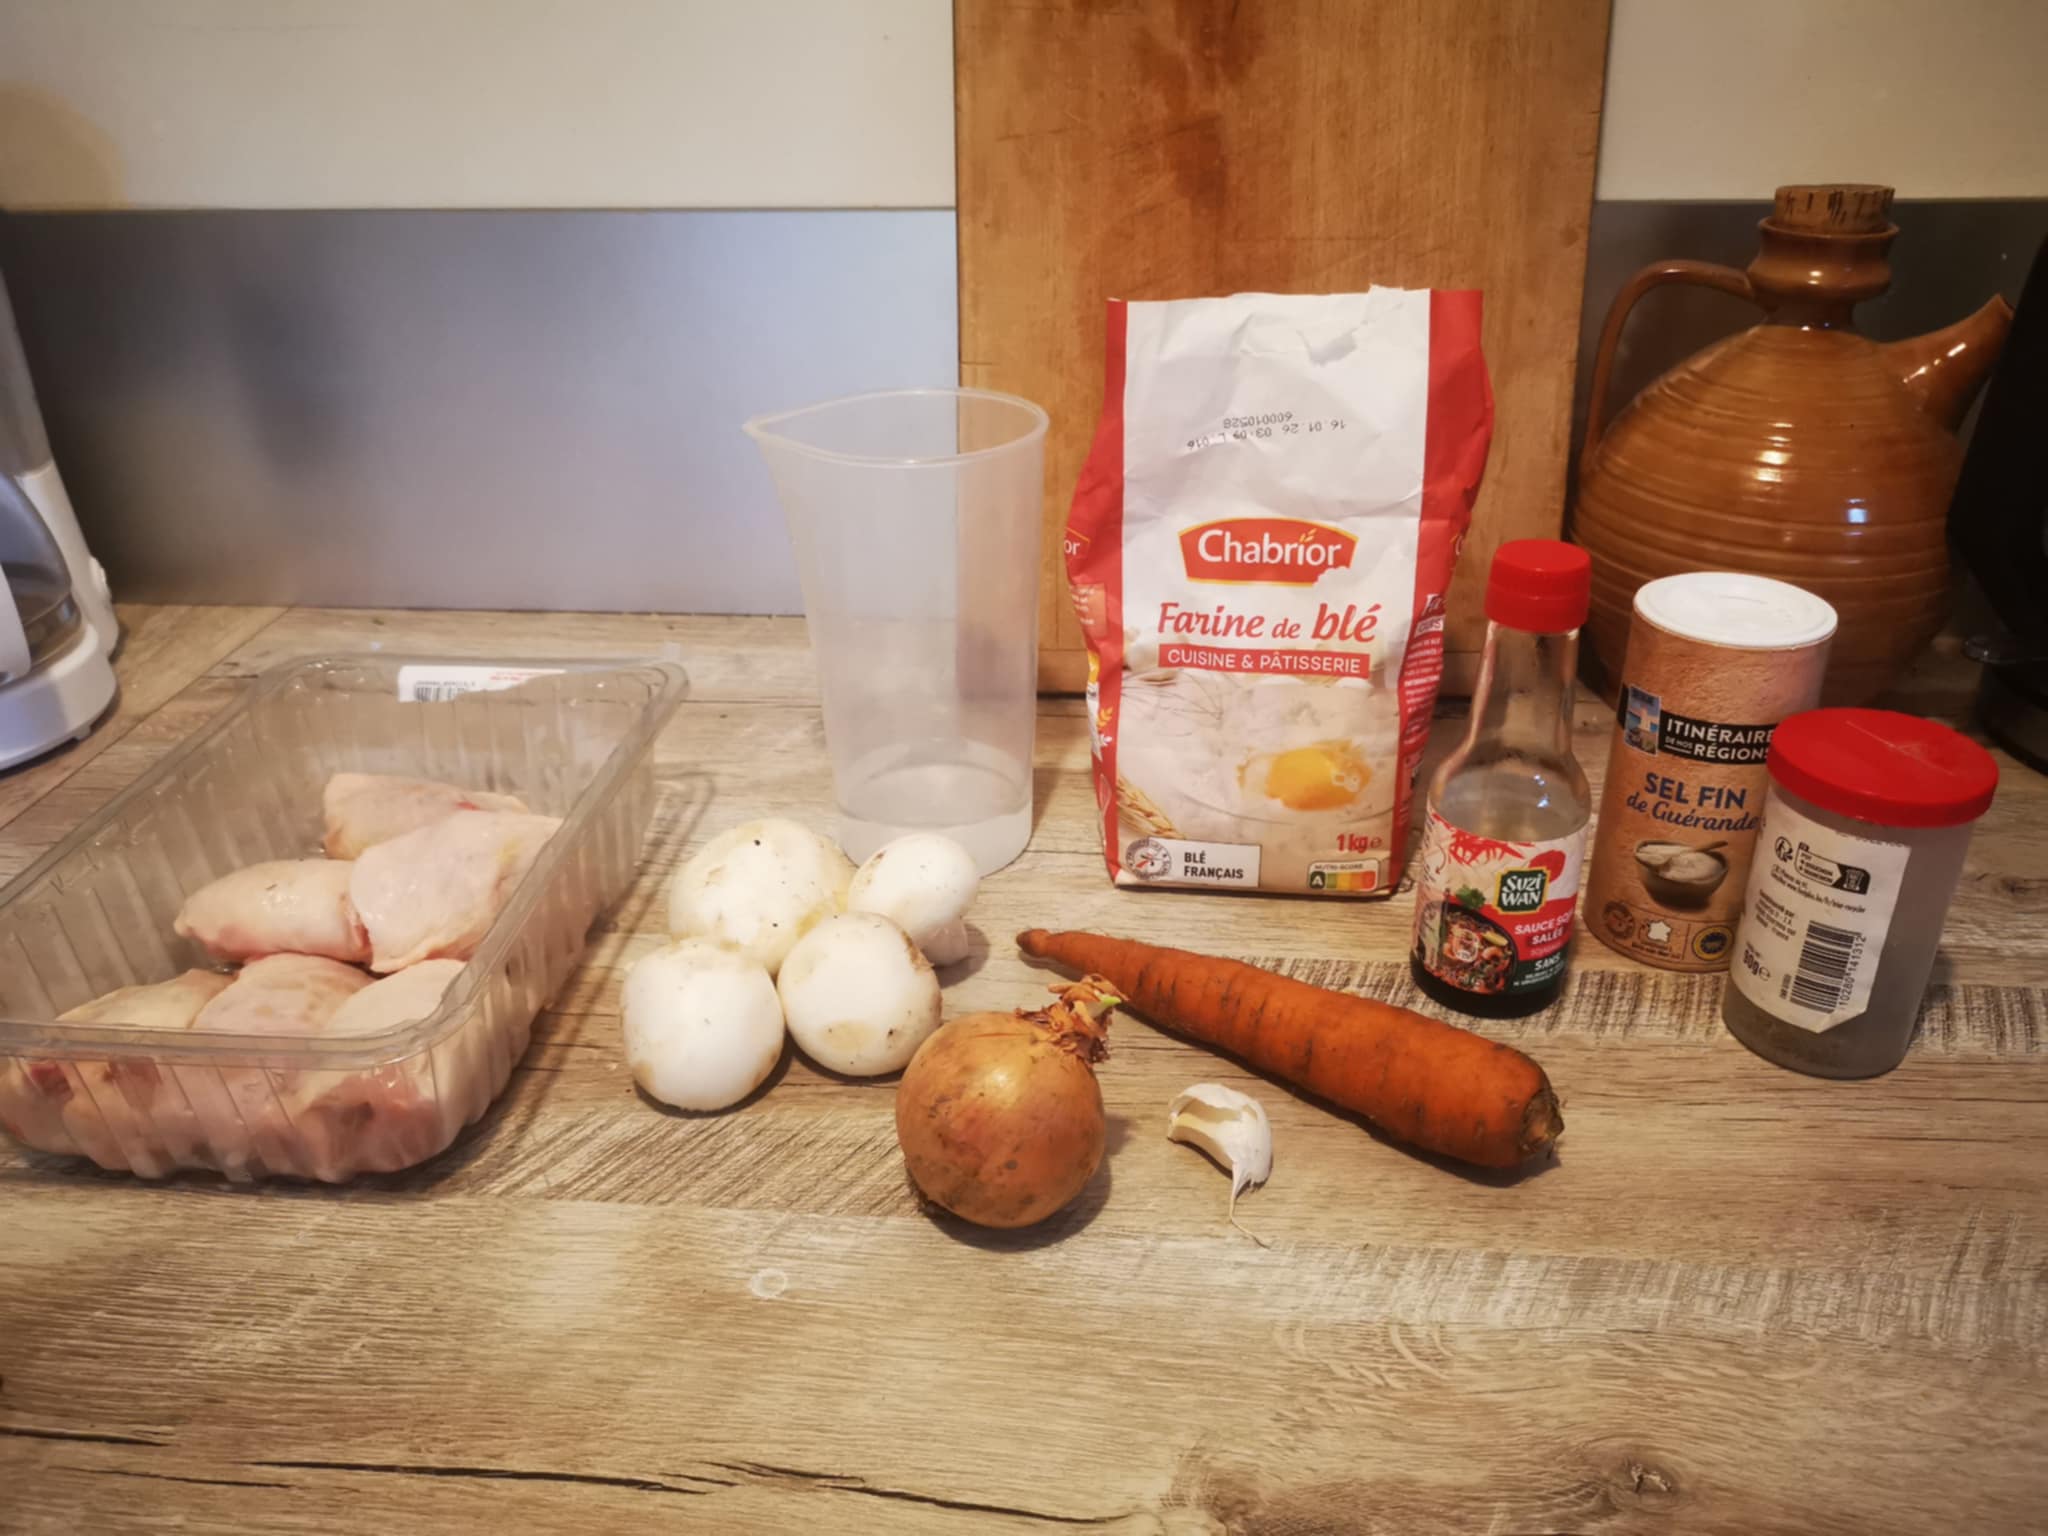
For the dough 👇 - 300 grams of flour; - 20 cl of hot water.
For the filling 👇 - 4 chicken thighs; - 4 mushrooms; - 1 carrot; - 1 onion; - 1 garlic clove; - 1 tablespoon of salted soy sauce; - salt and pepper.
Preparation steps
The filling 👇
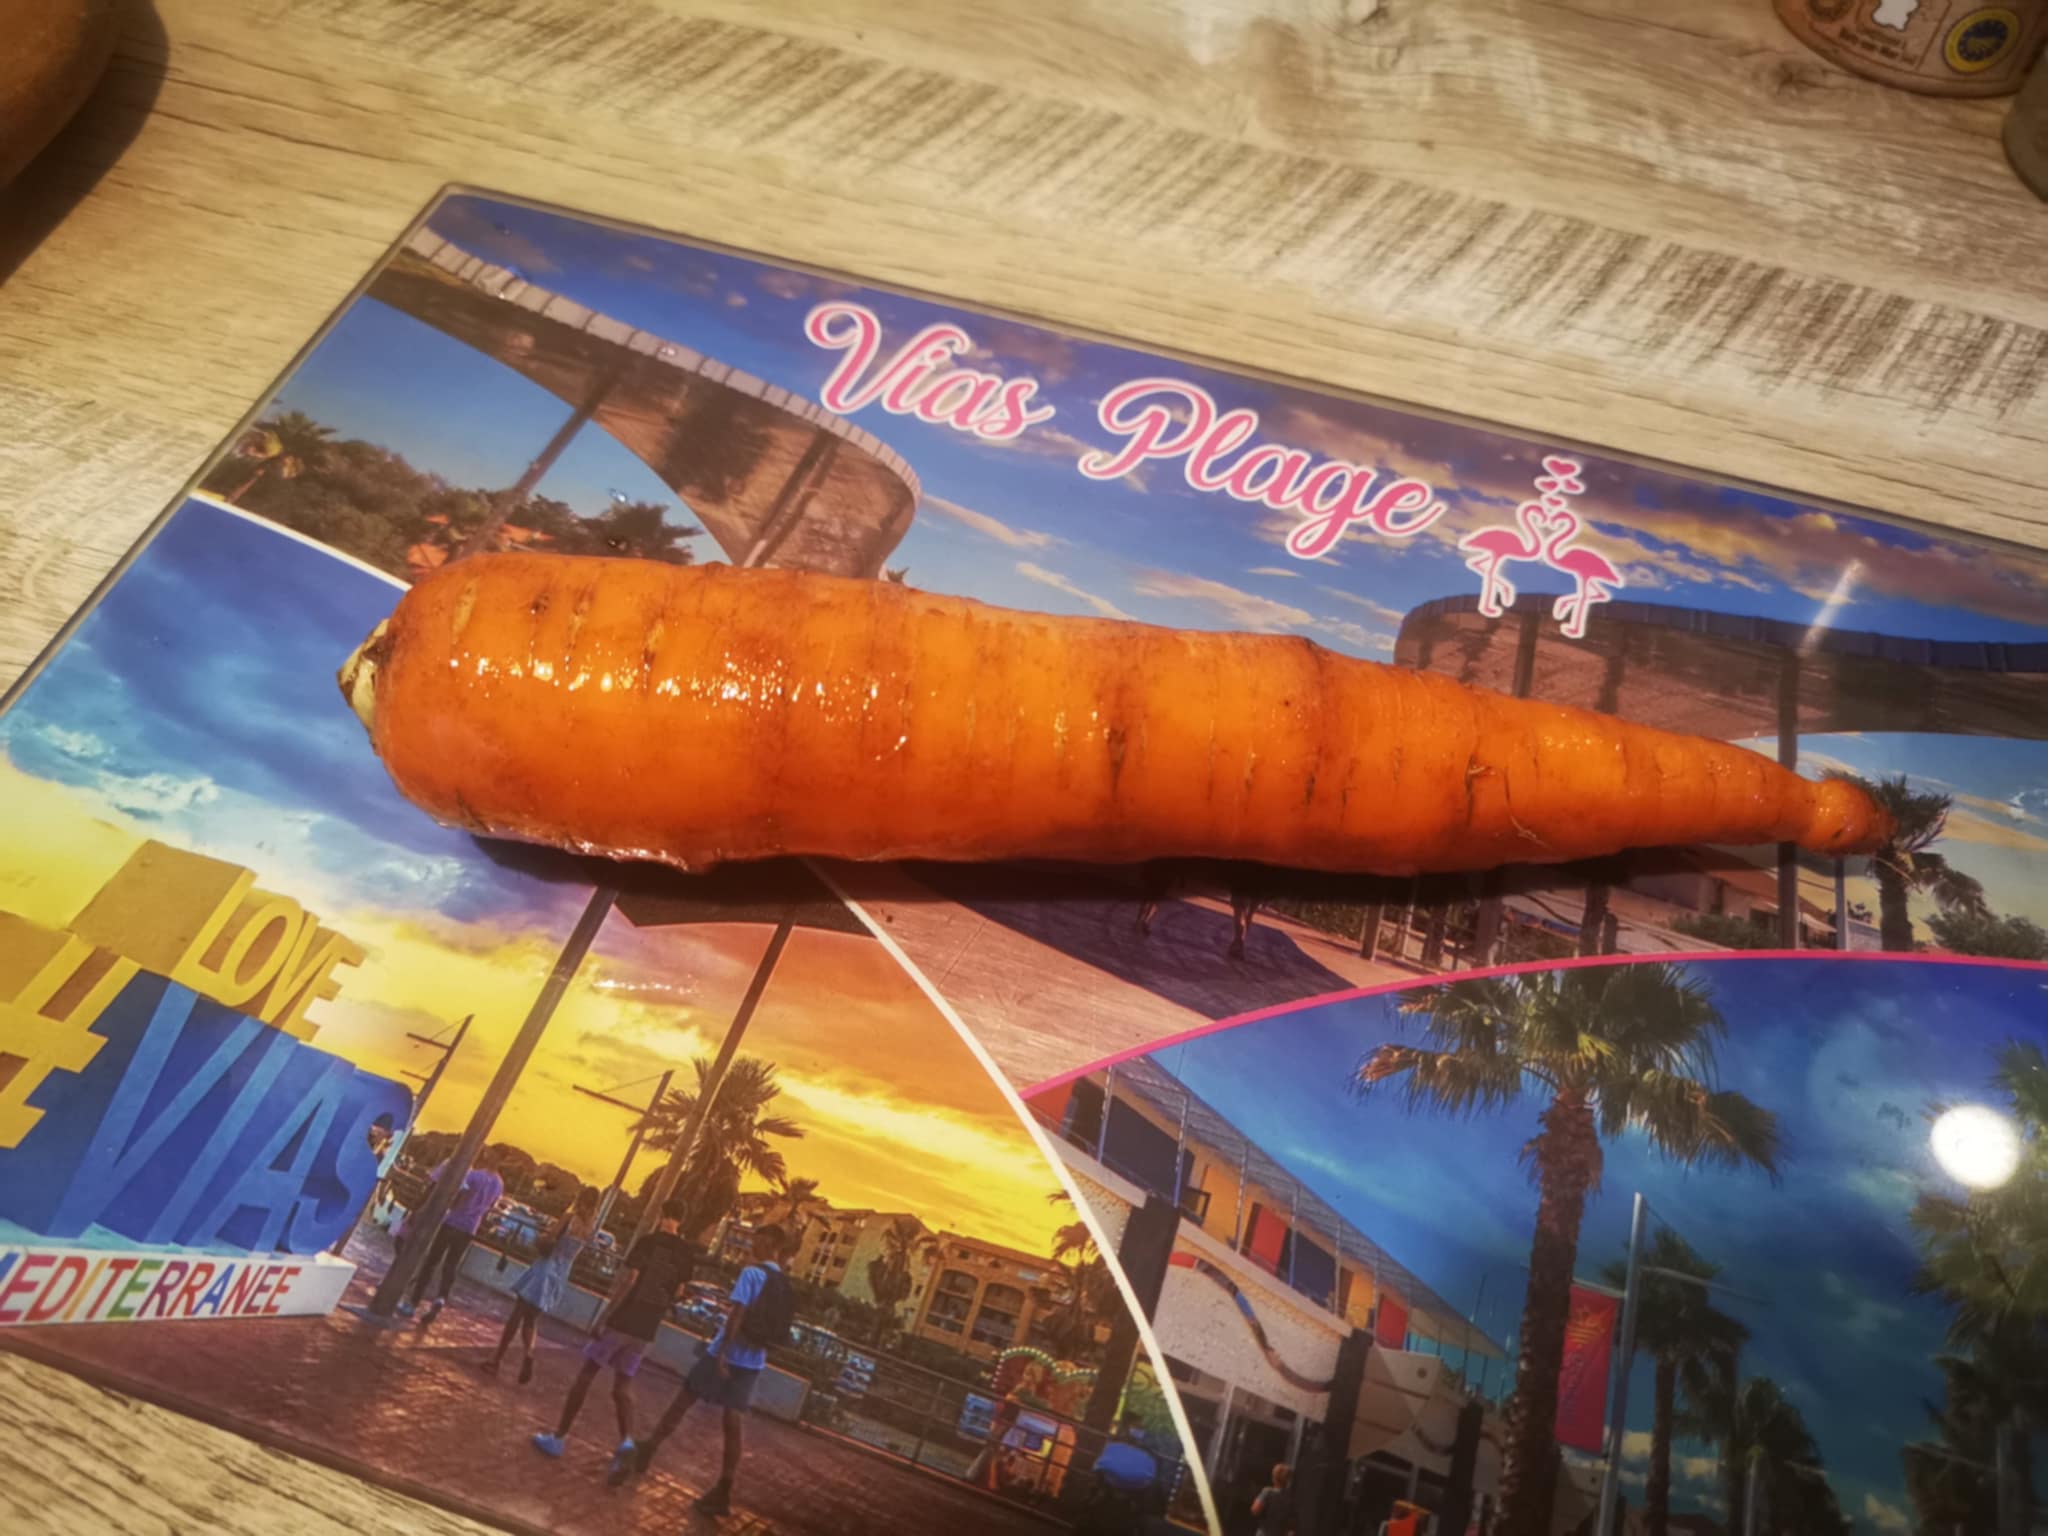
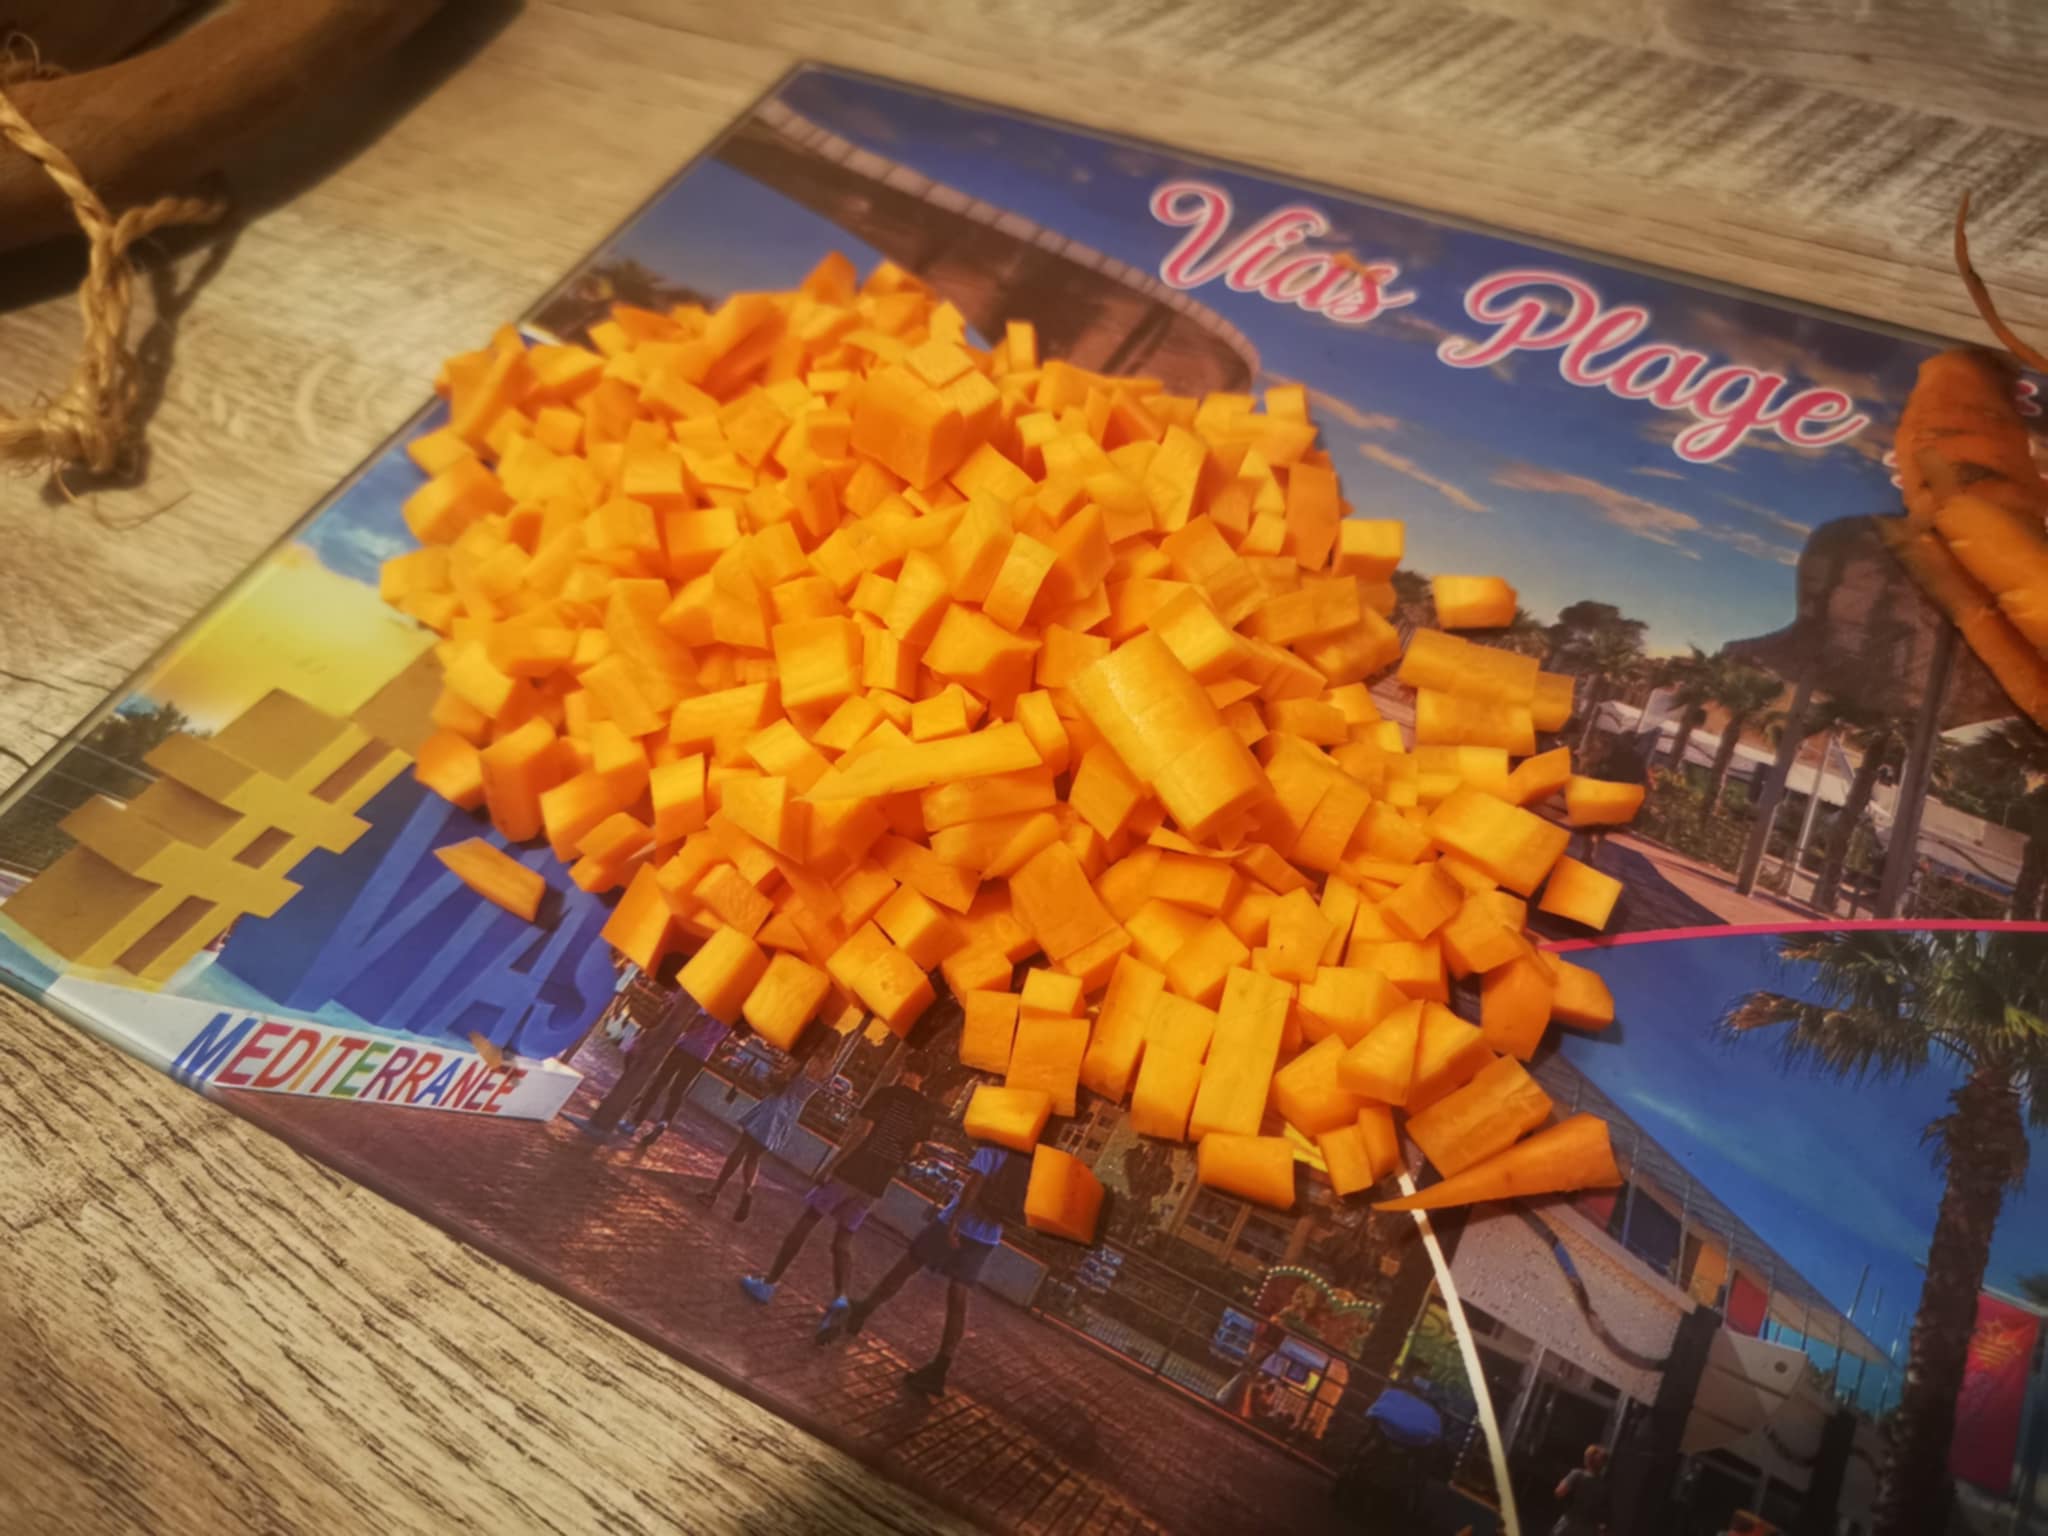
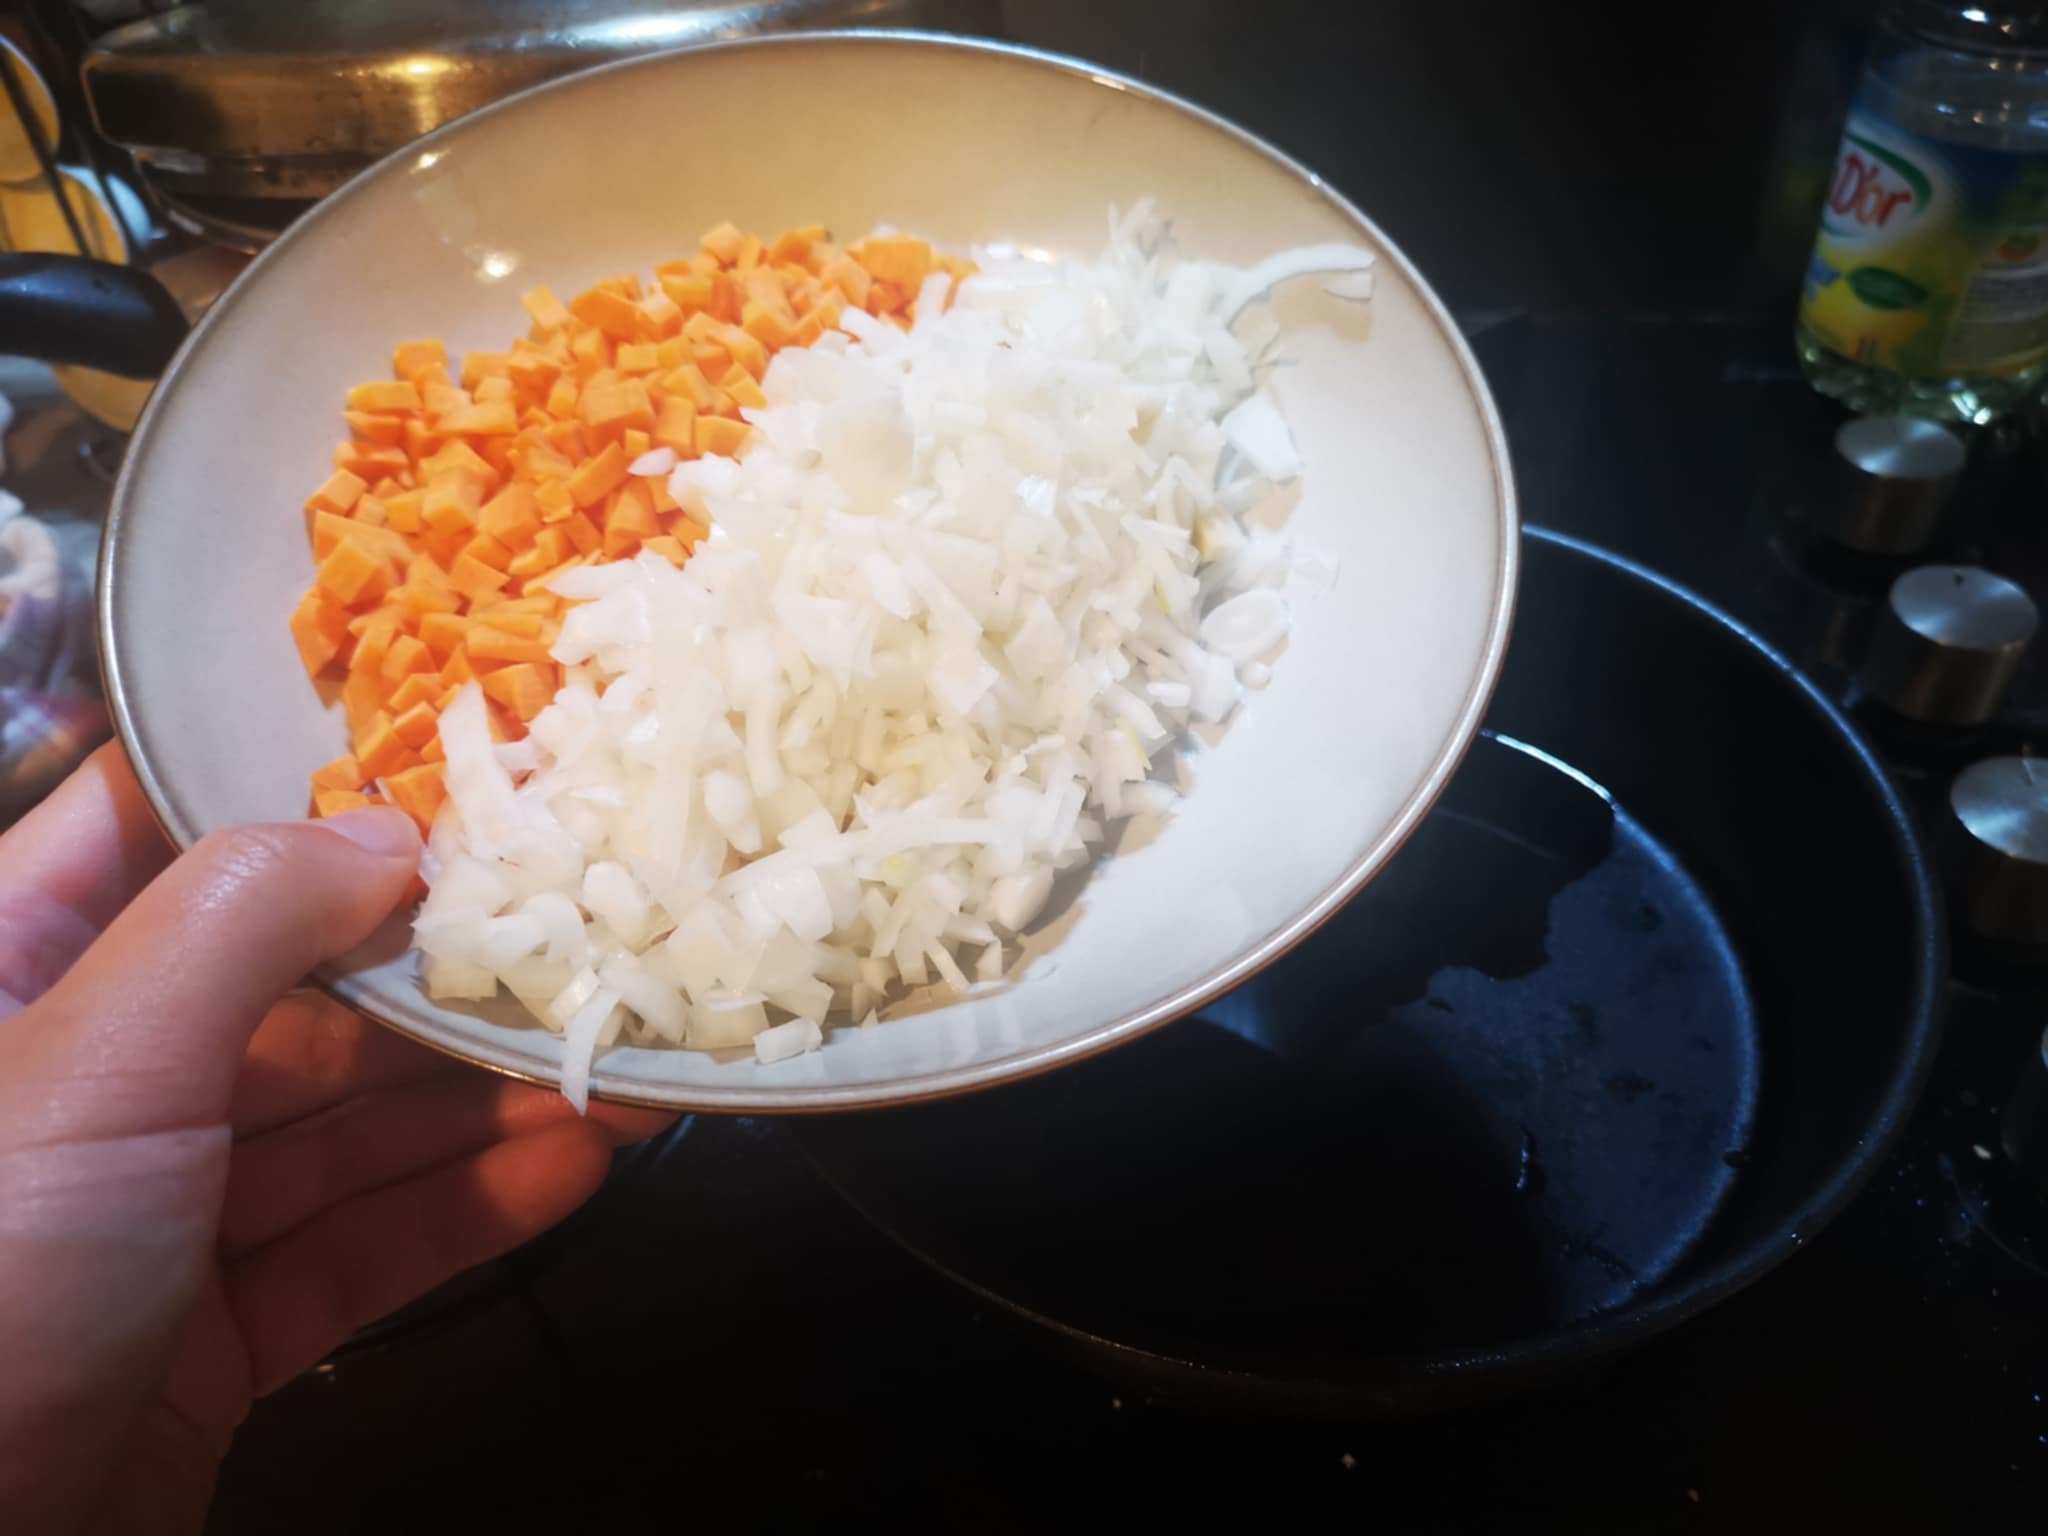
I started by washing, peeling, and cutting the carrot into small pieces:
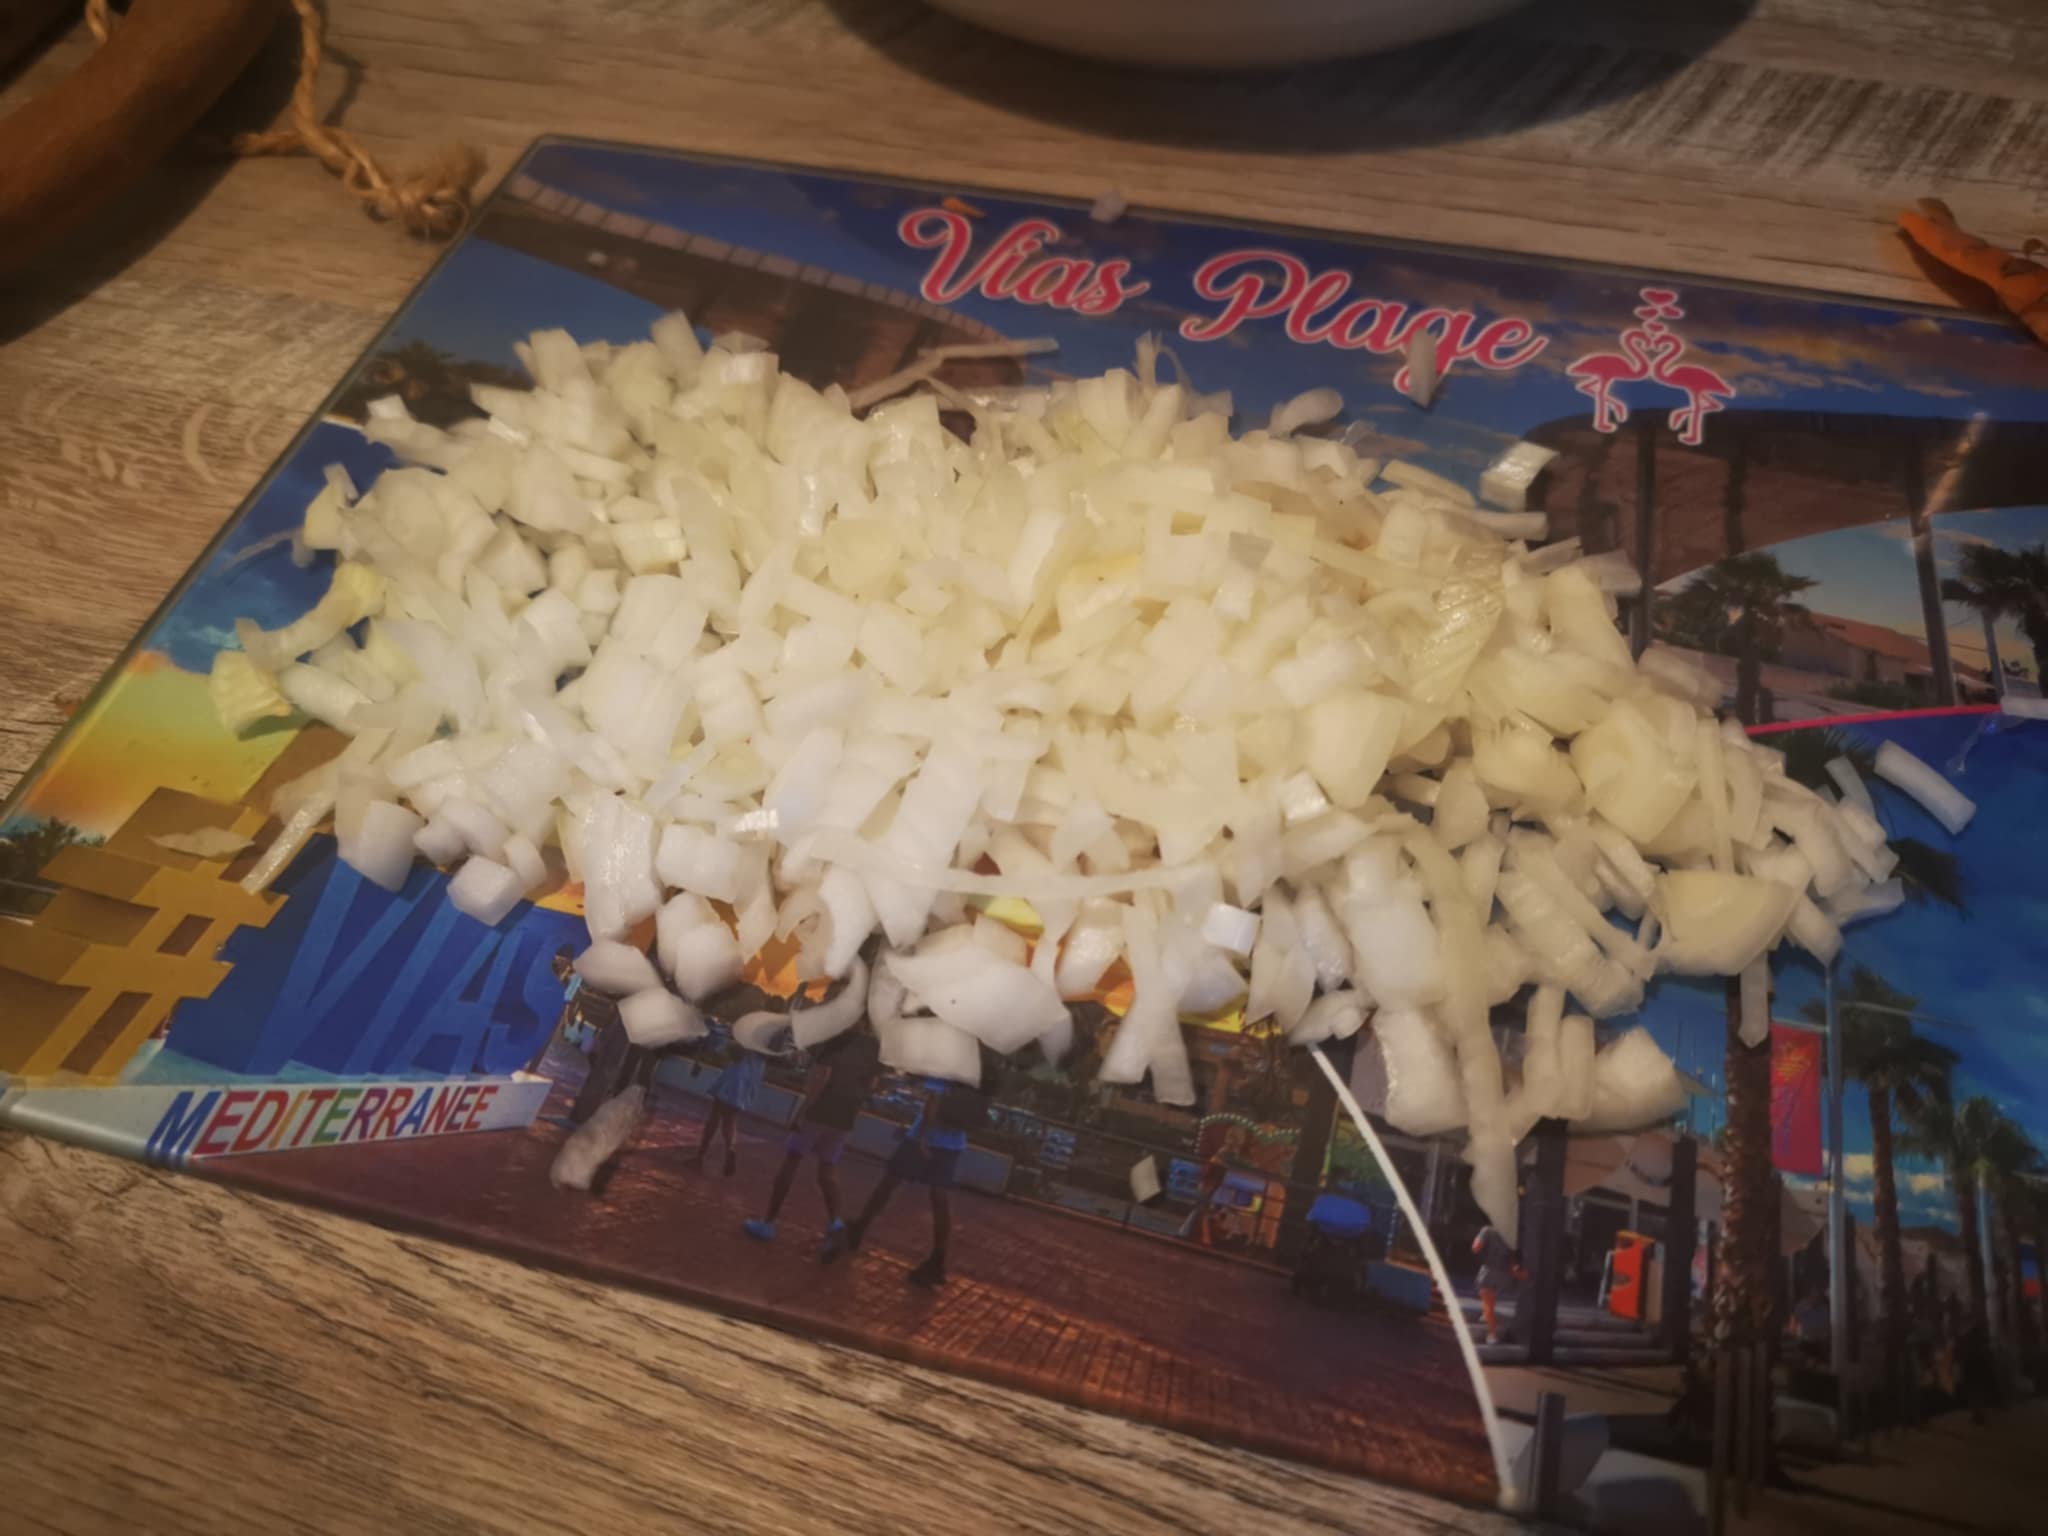
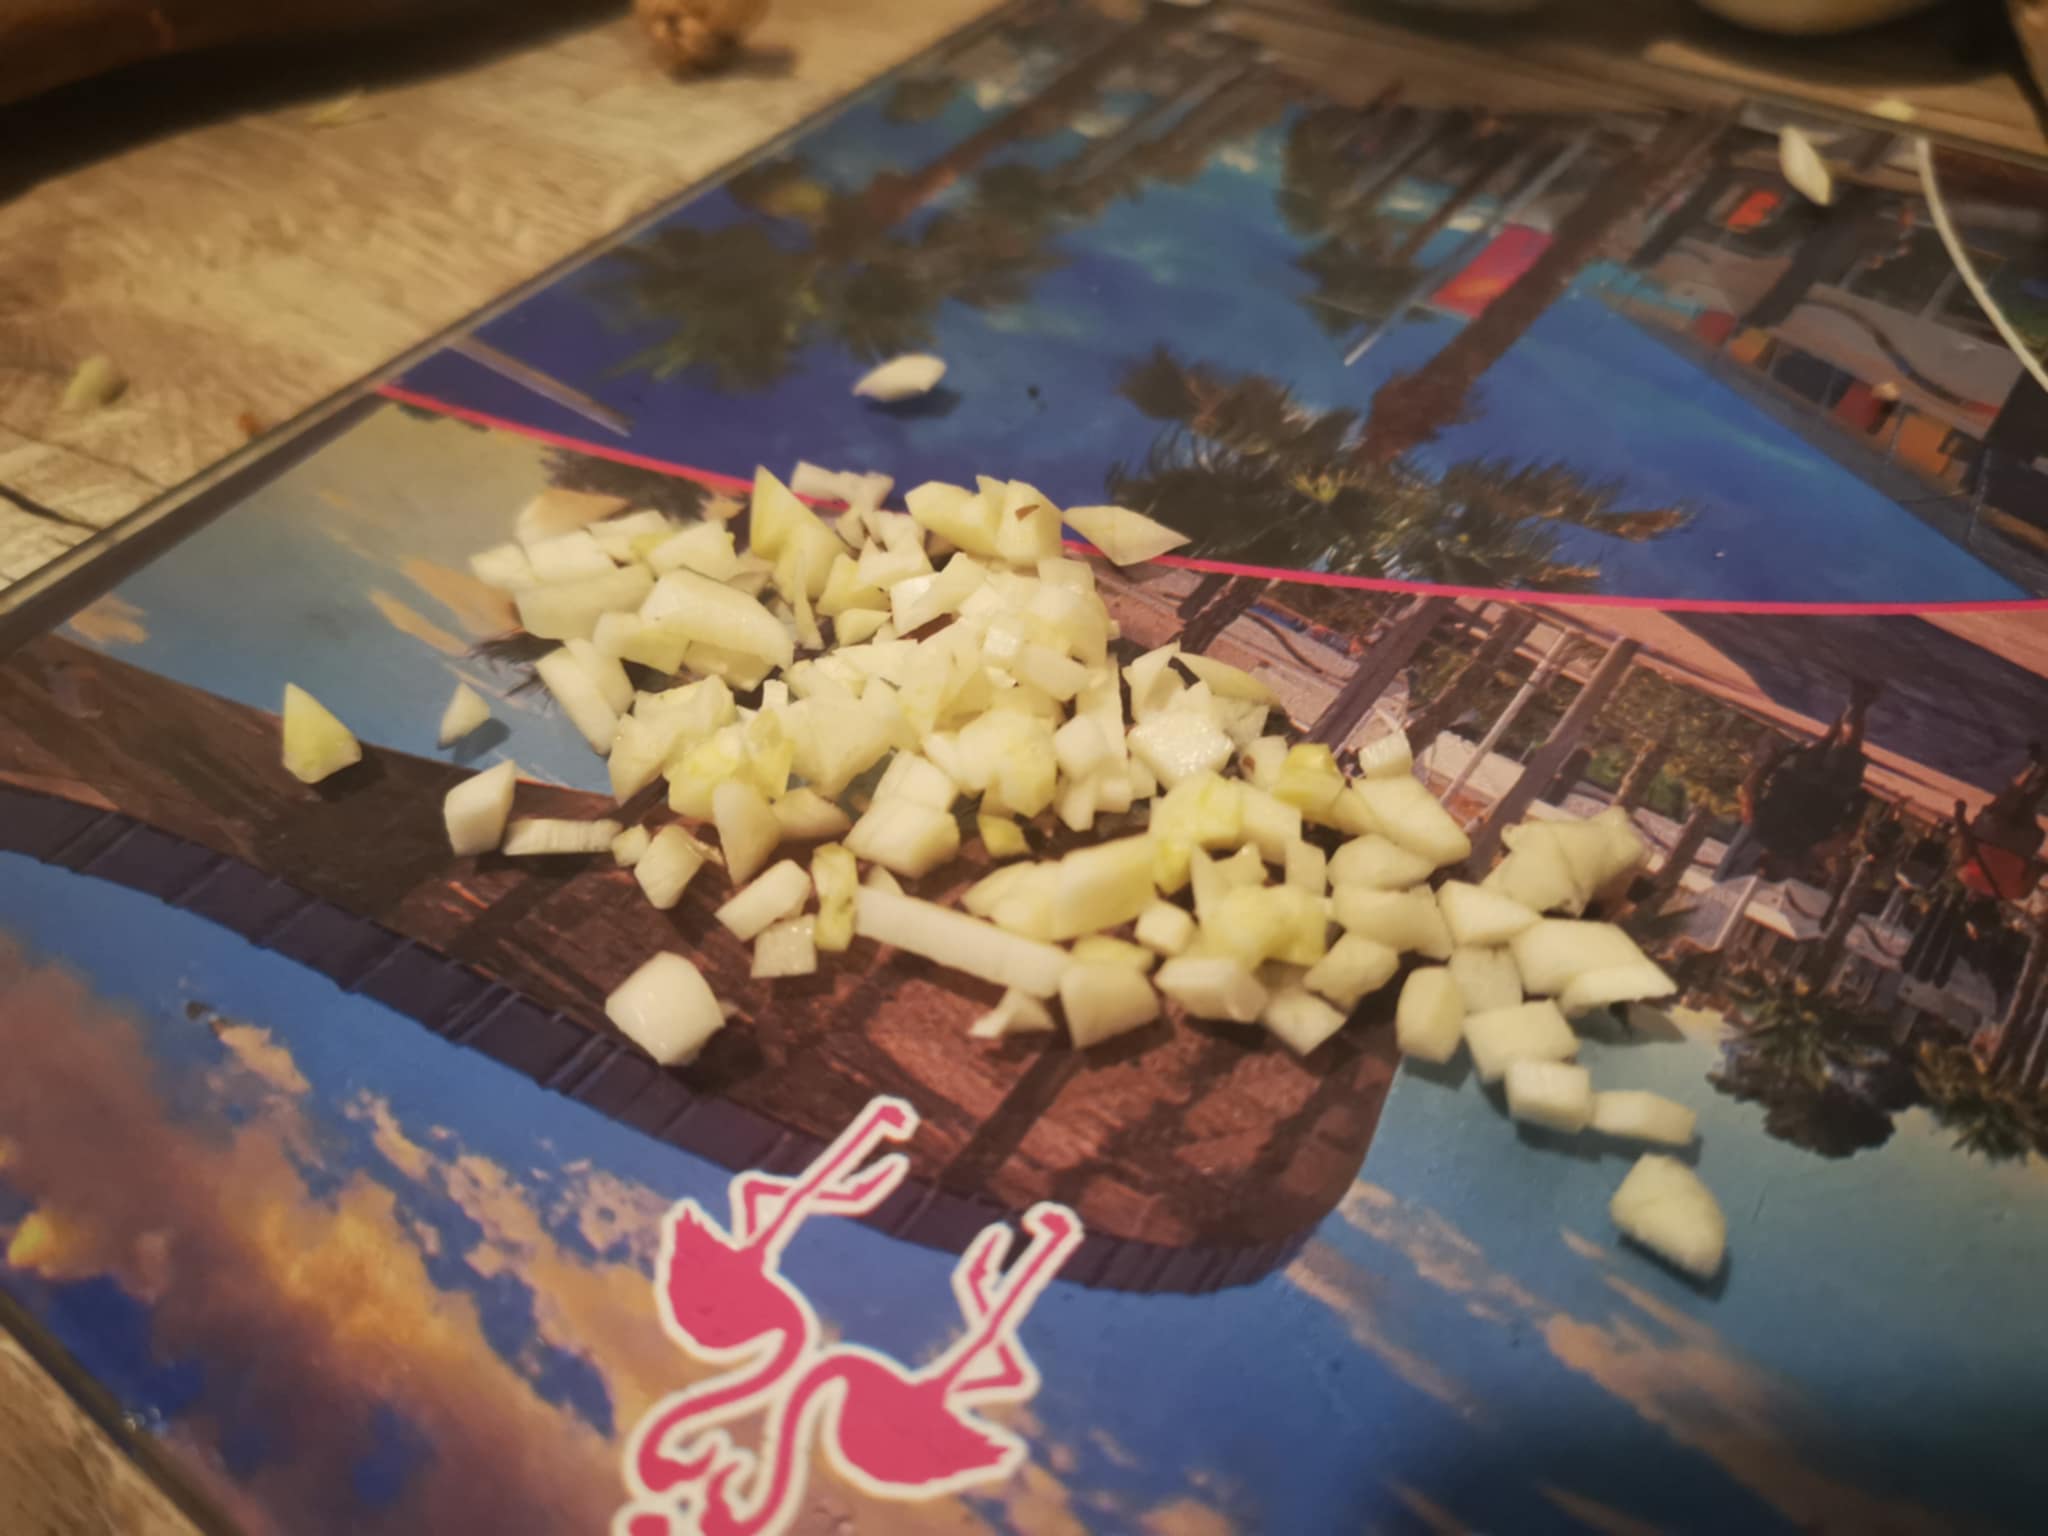
Then, I peeled and chopped the onion:
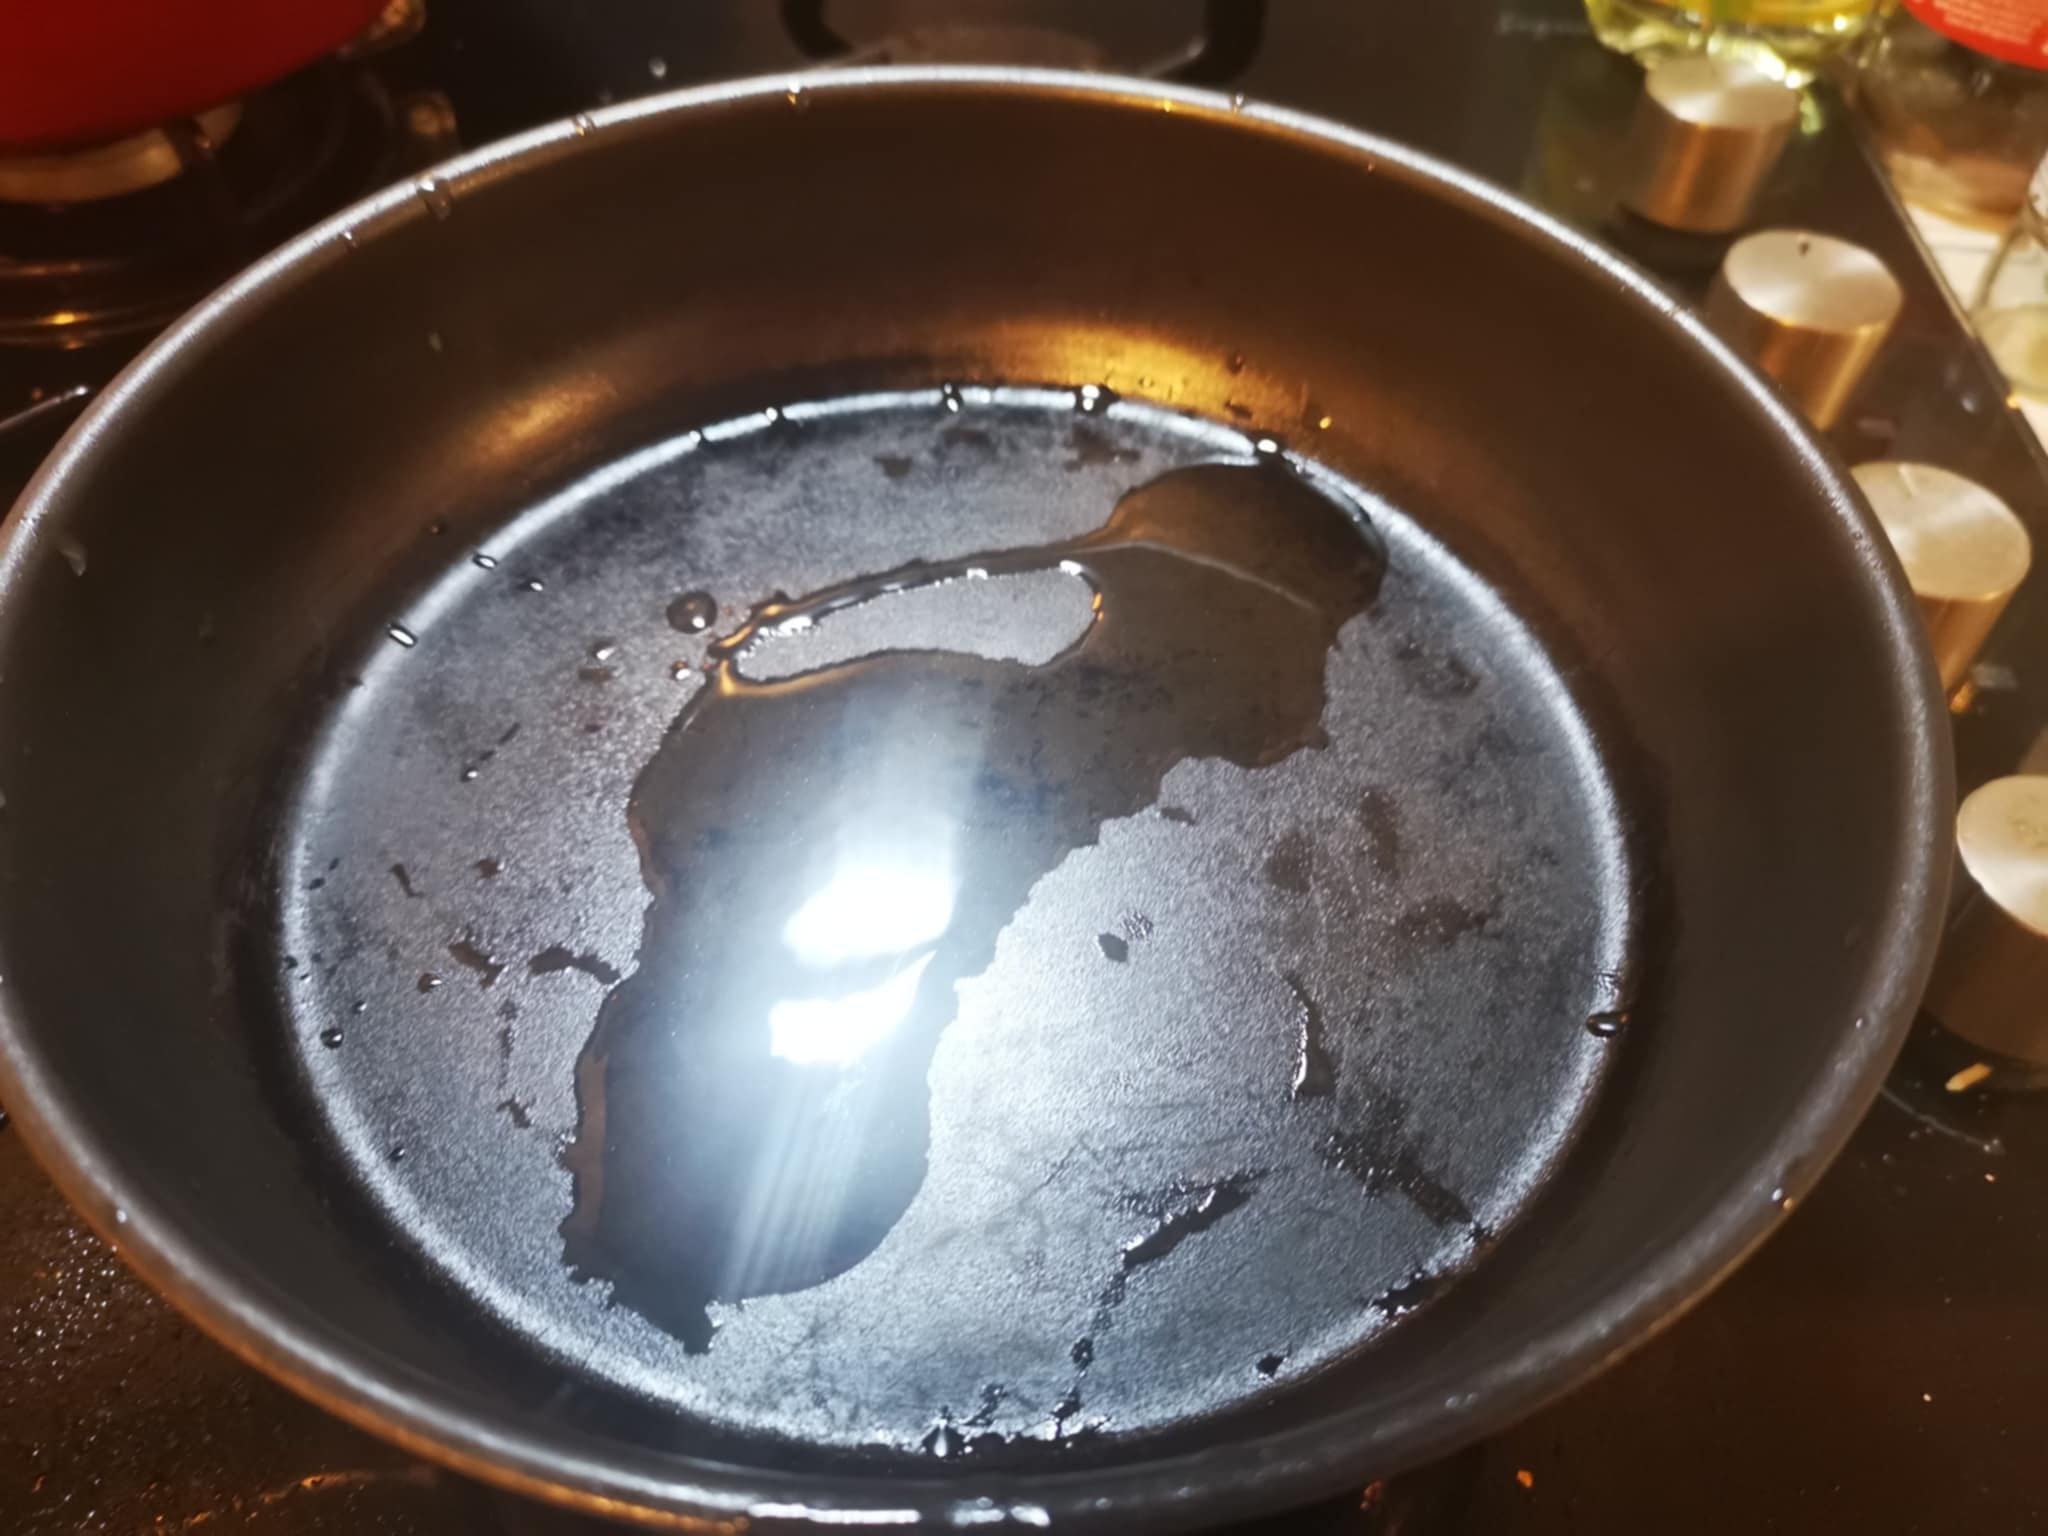
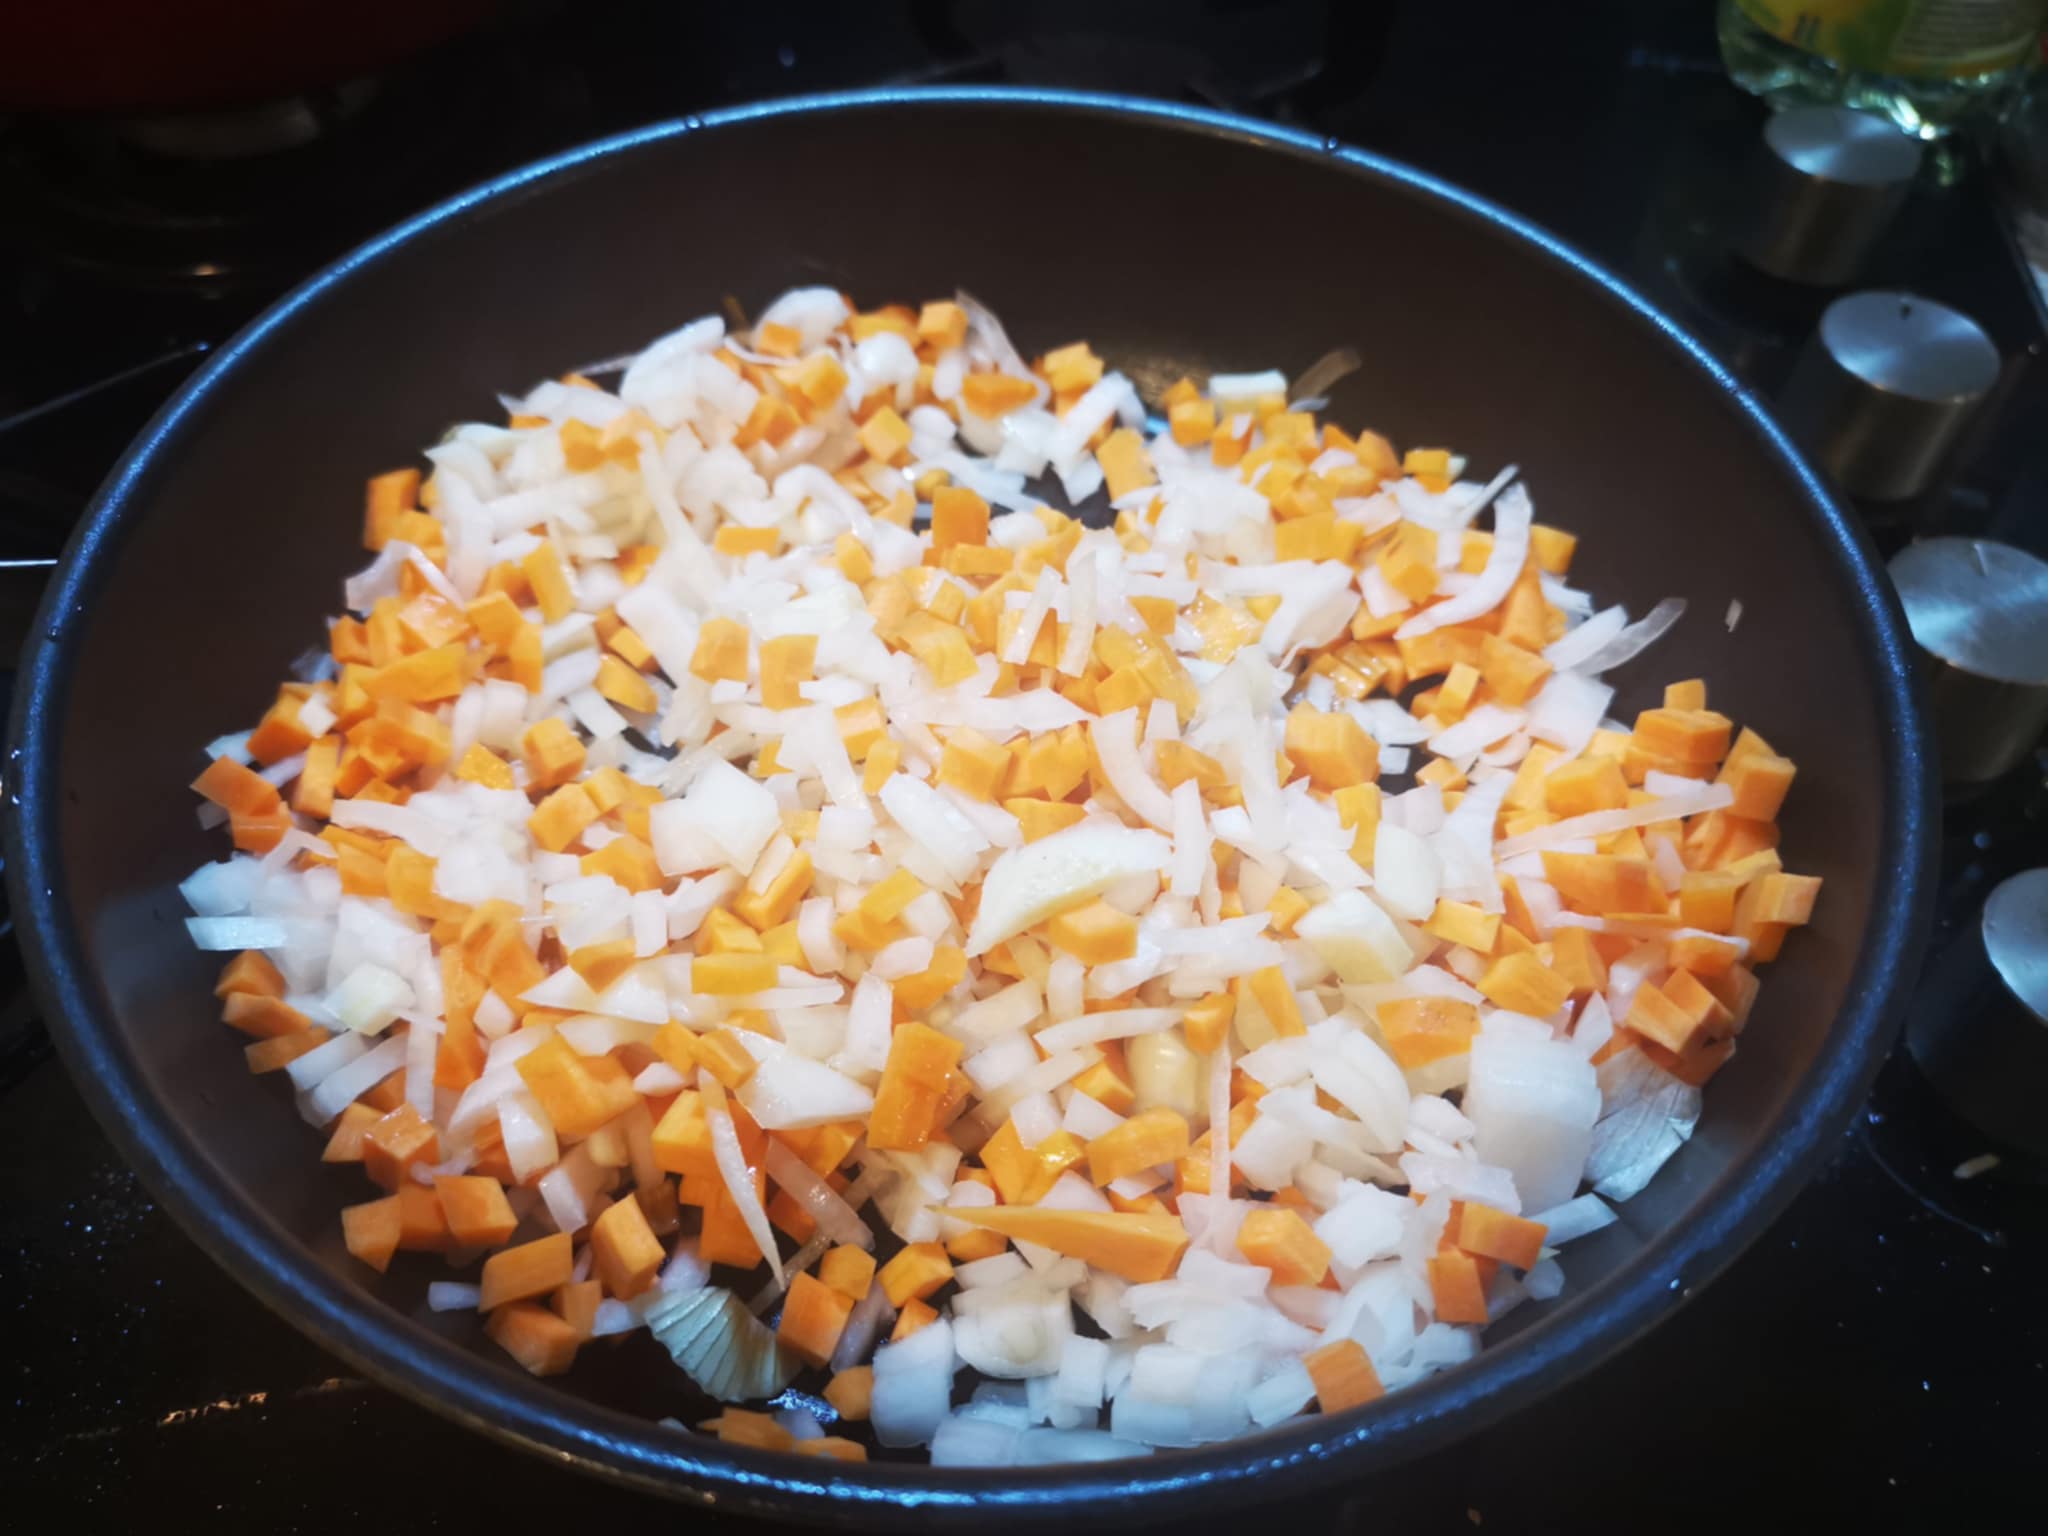
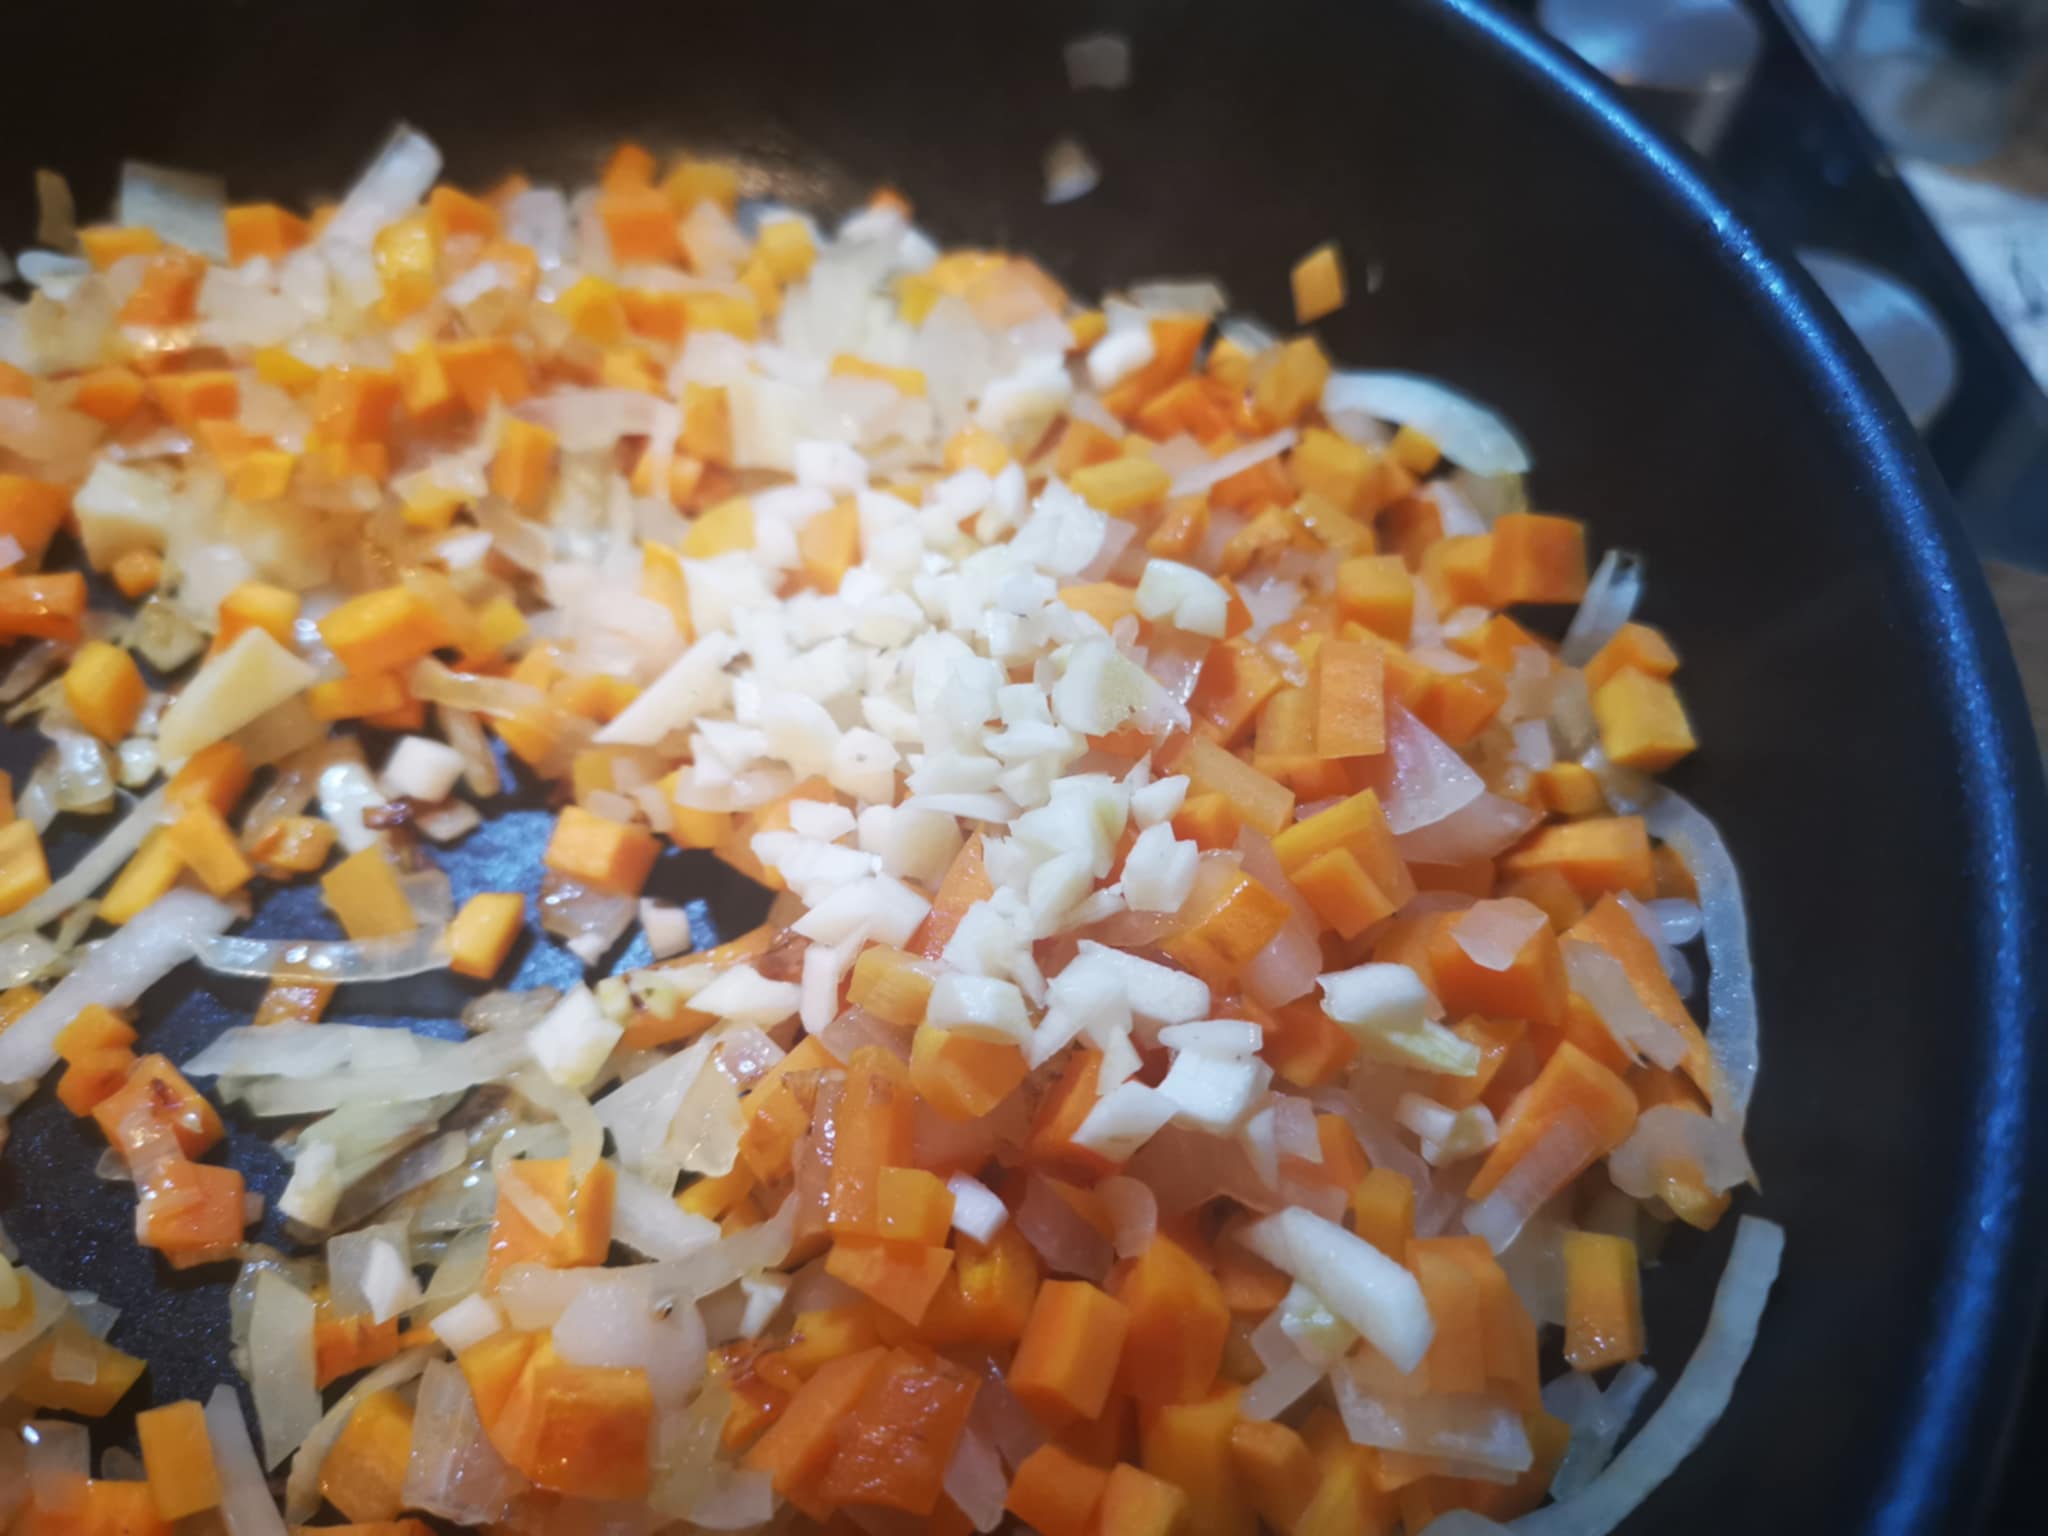
I heated a little olive oil in a pan and added the carrot pieces and onions. I sautéed them for about 10 minutes.
I also chopped the garlic clove into small pieces and added them to the pan:
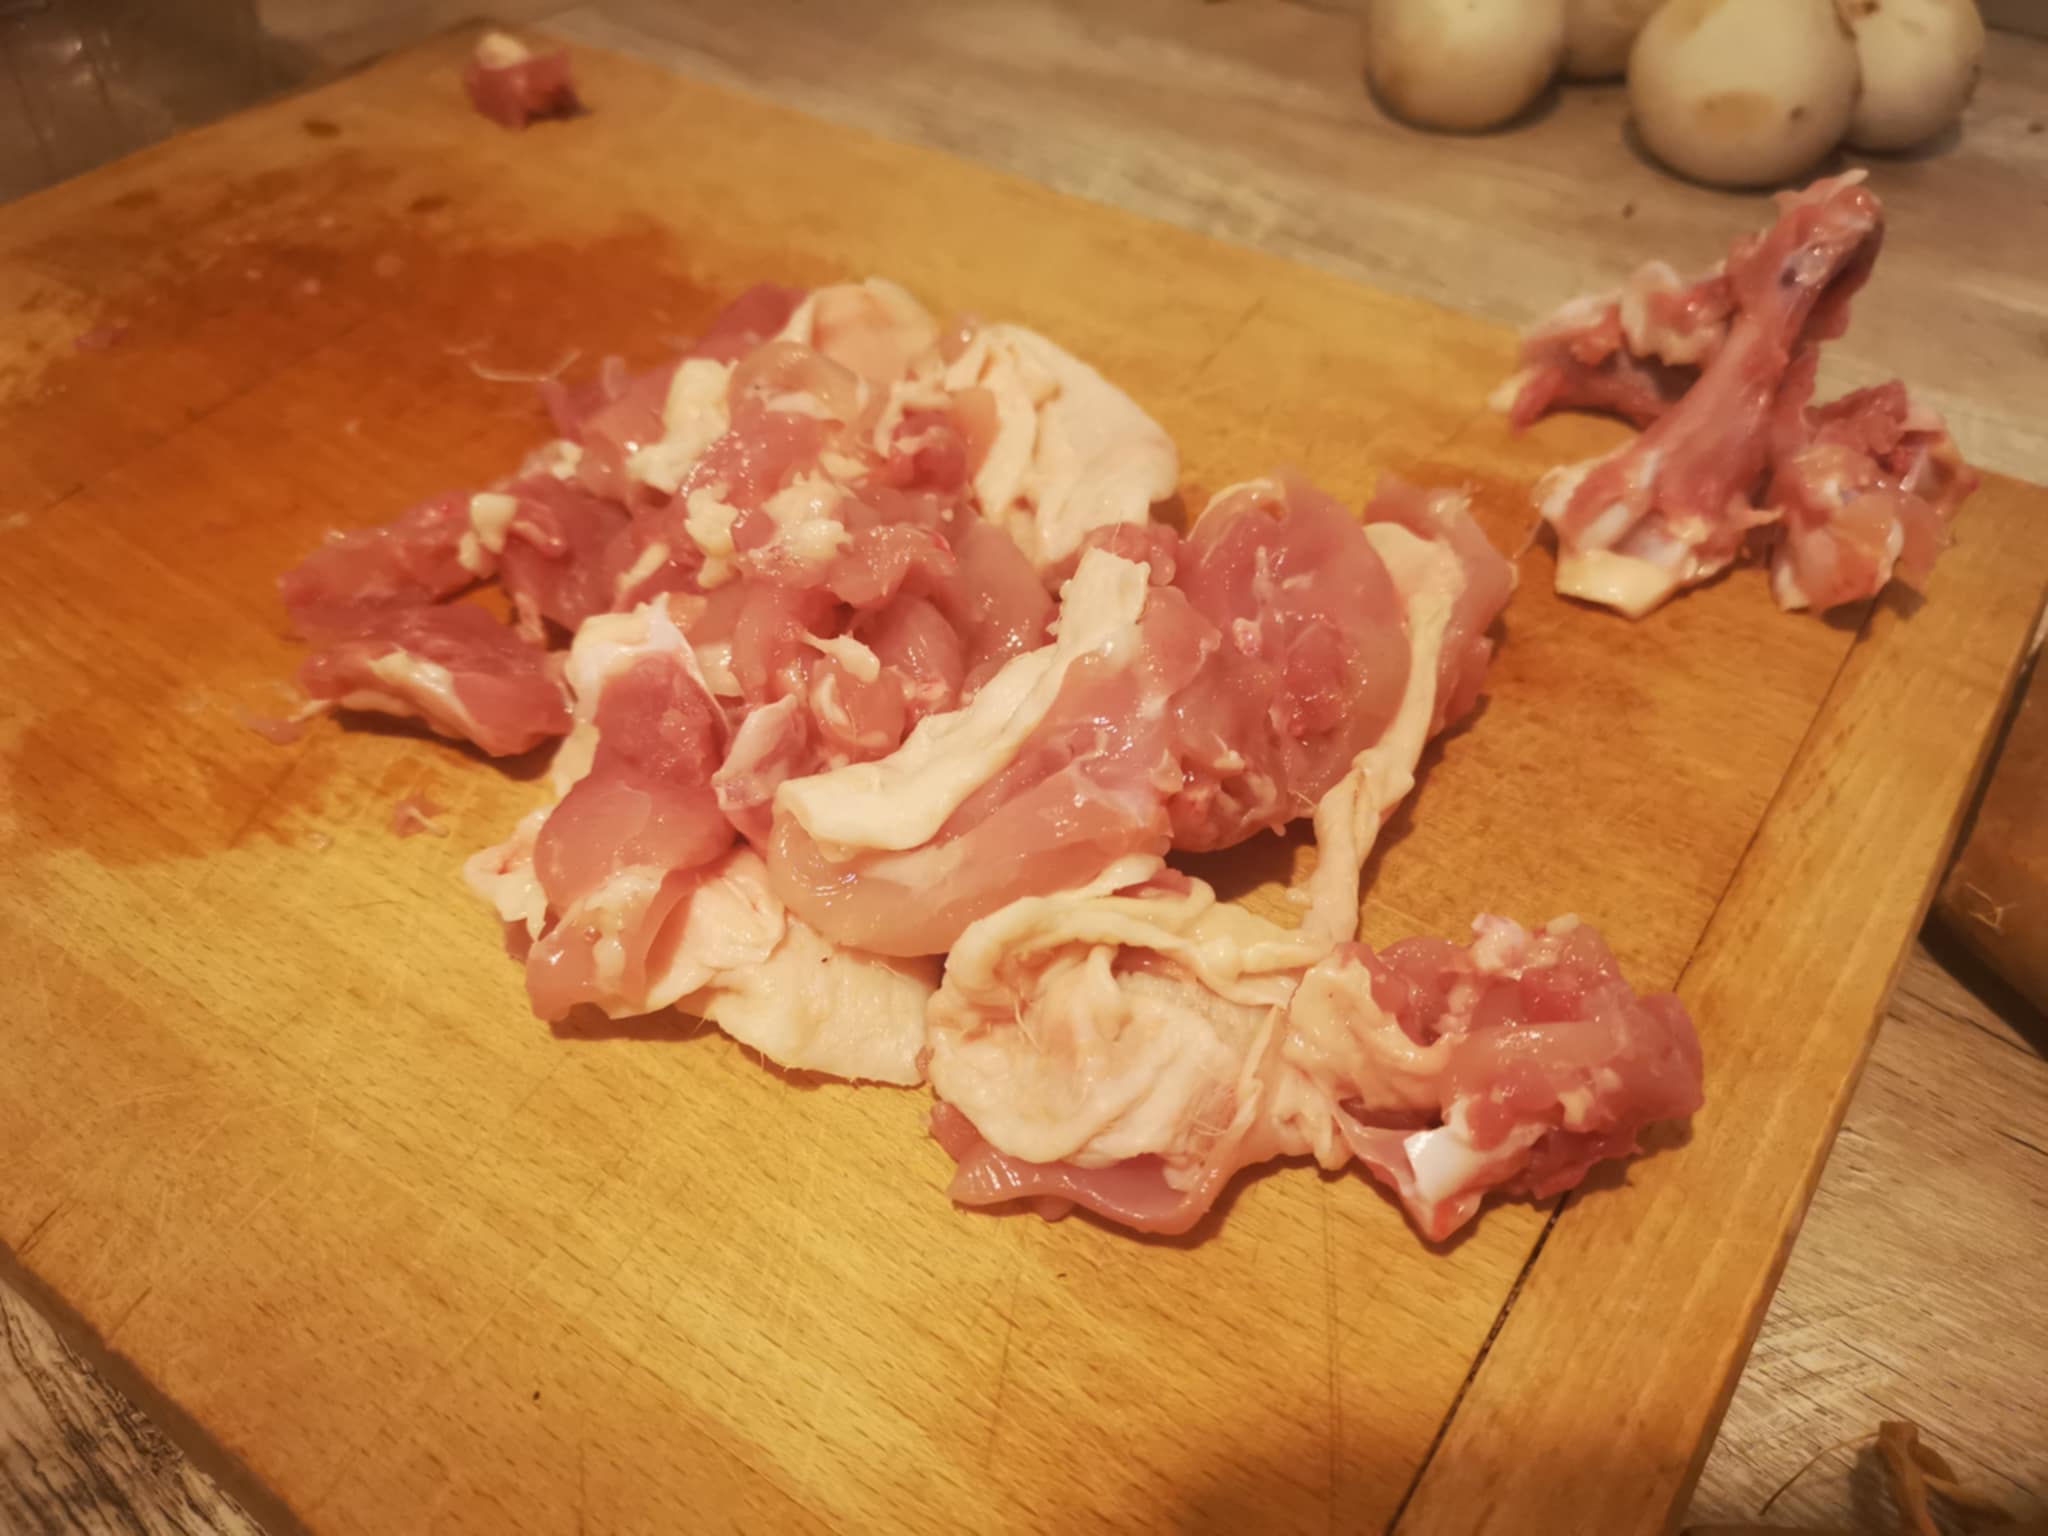
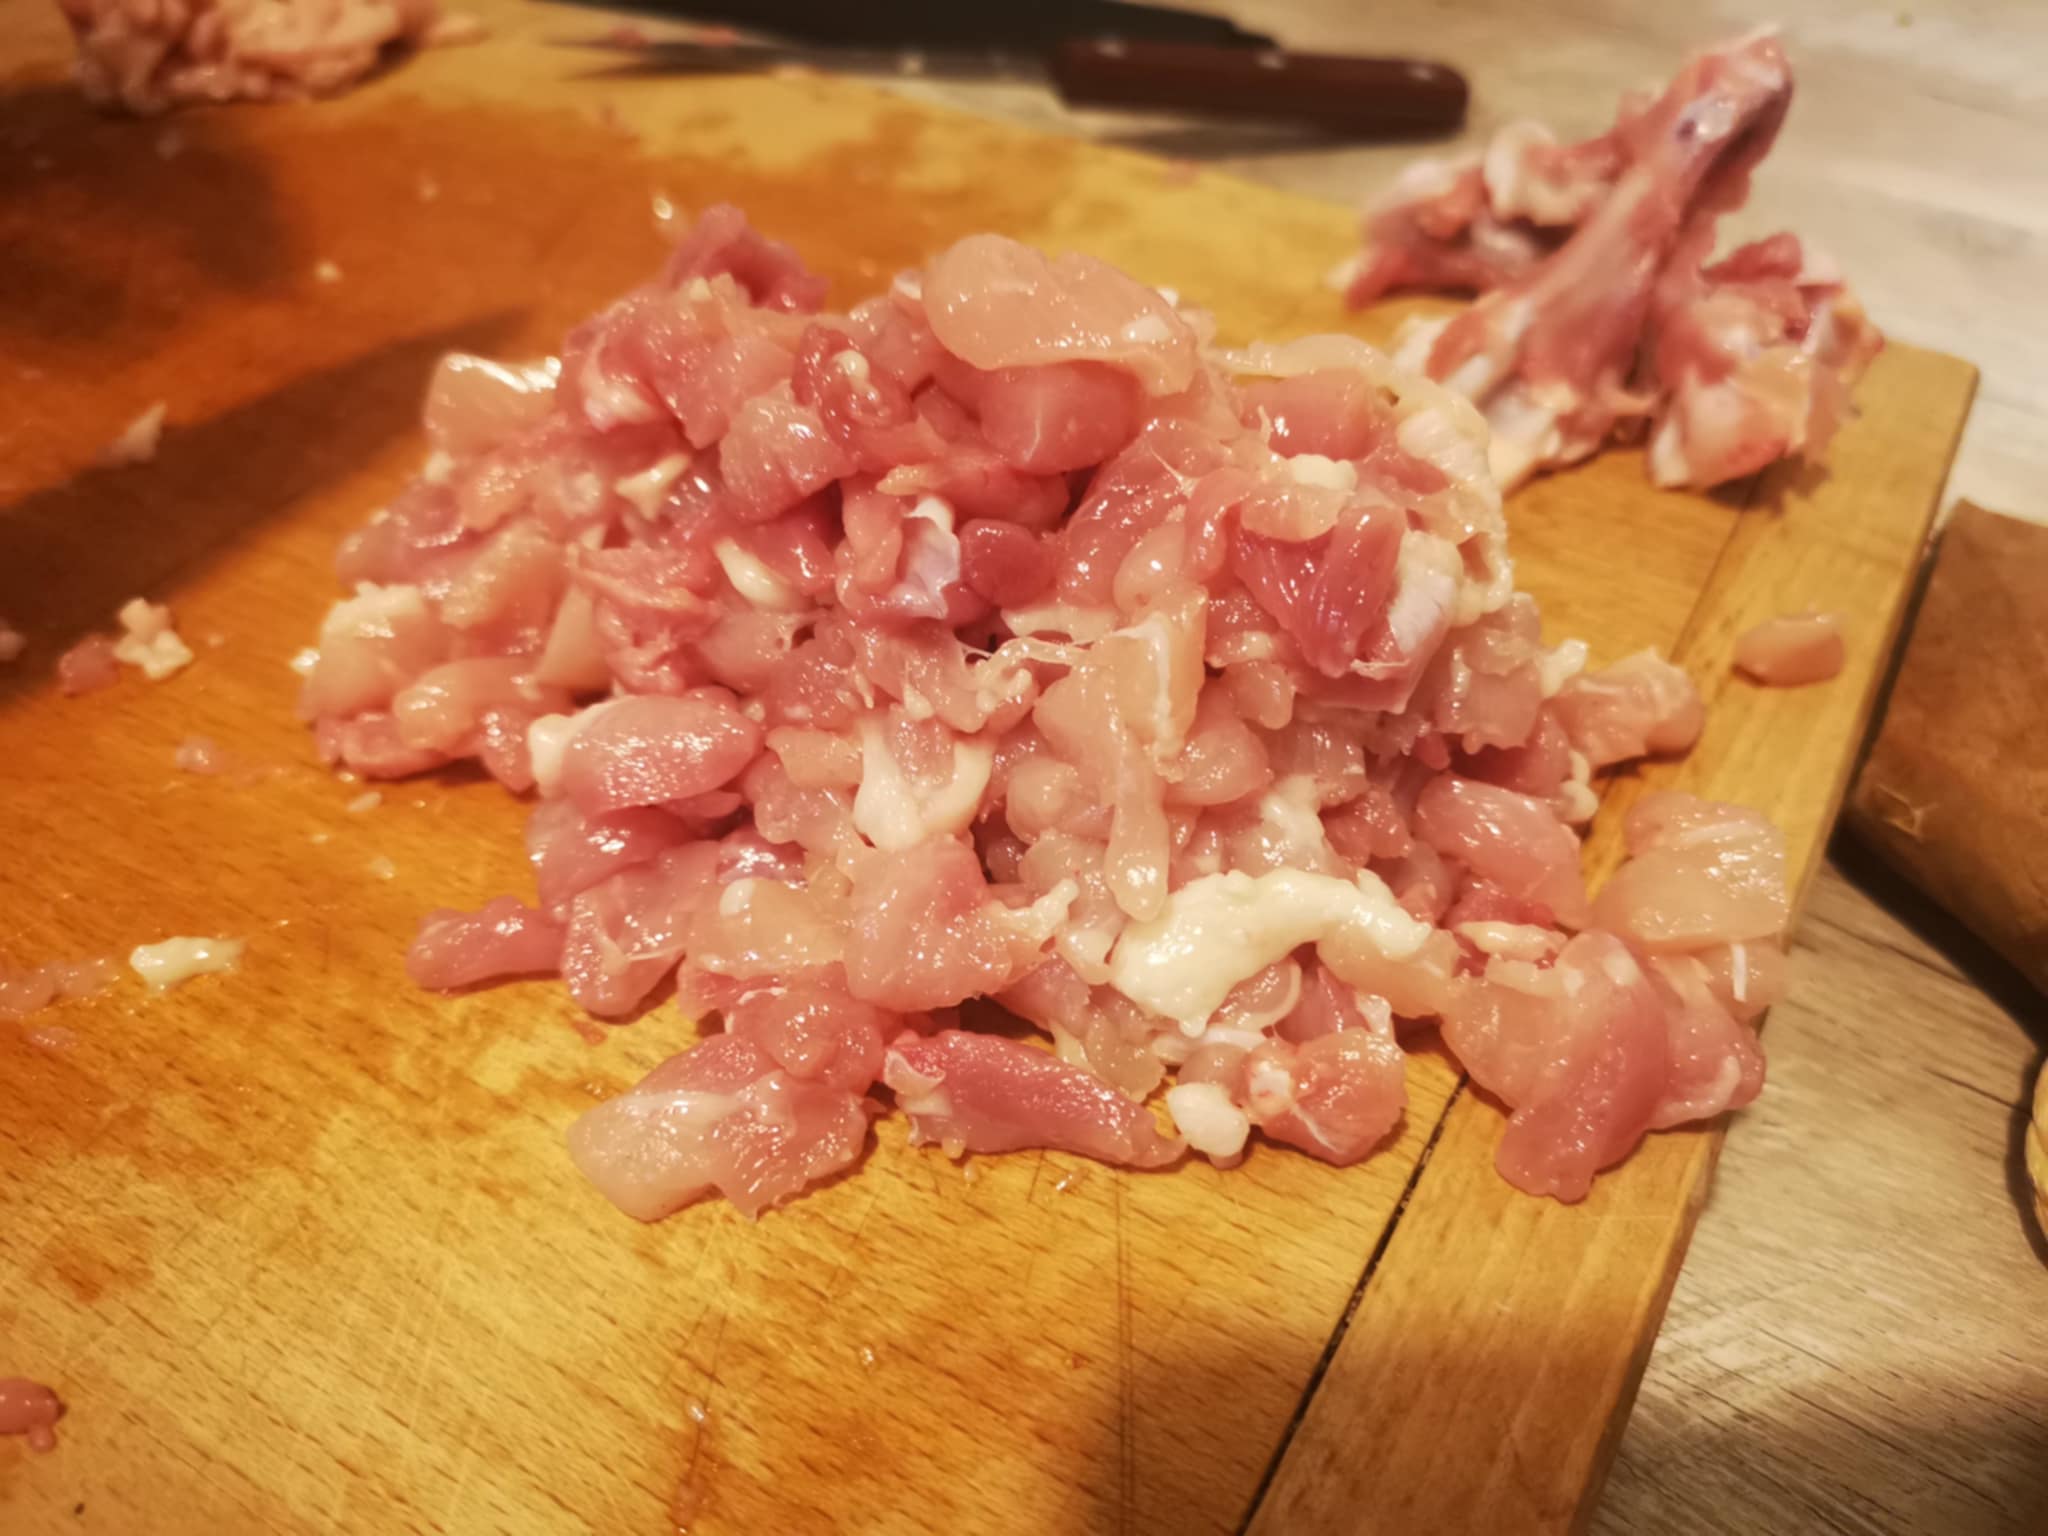
Meanwhile, @genesisledger removed the bones from the chicken and cut them into small pieces:
Then, we added the pieces of meat to the pan to cook.
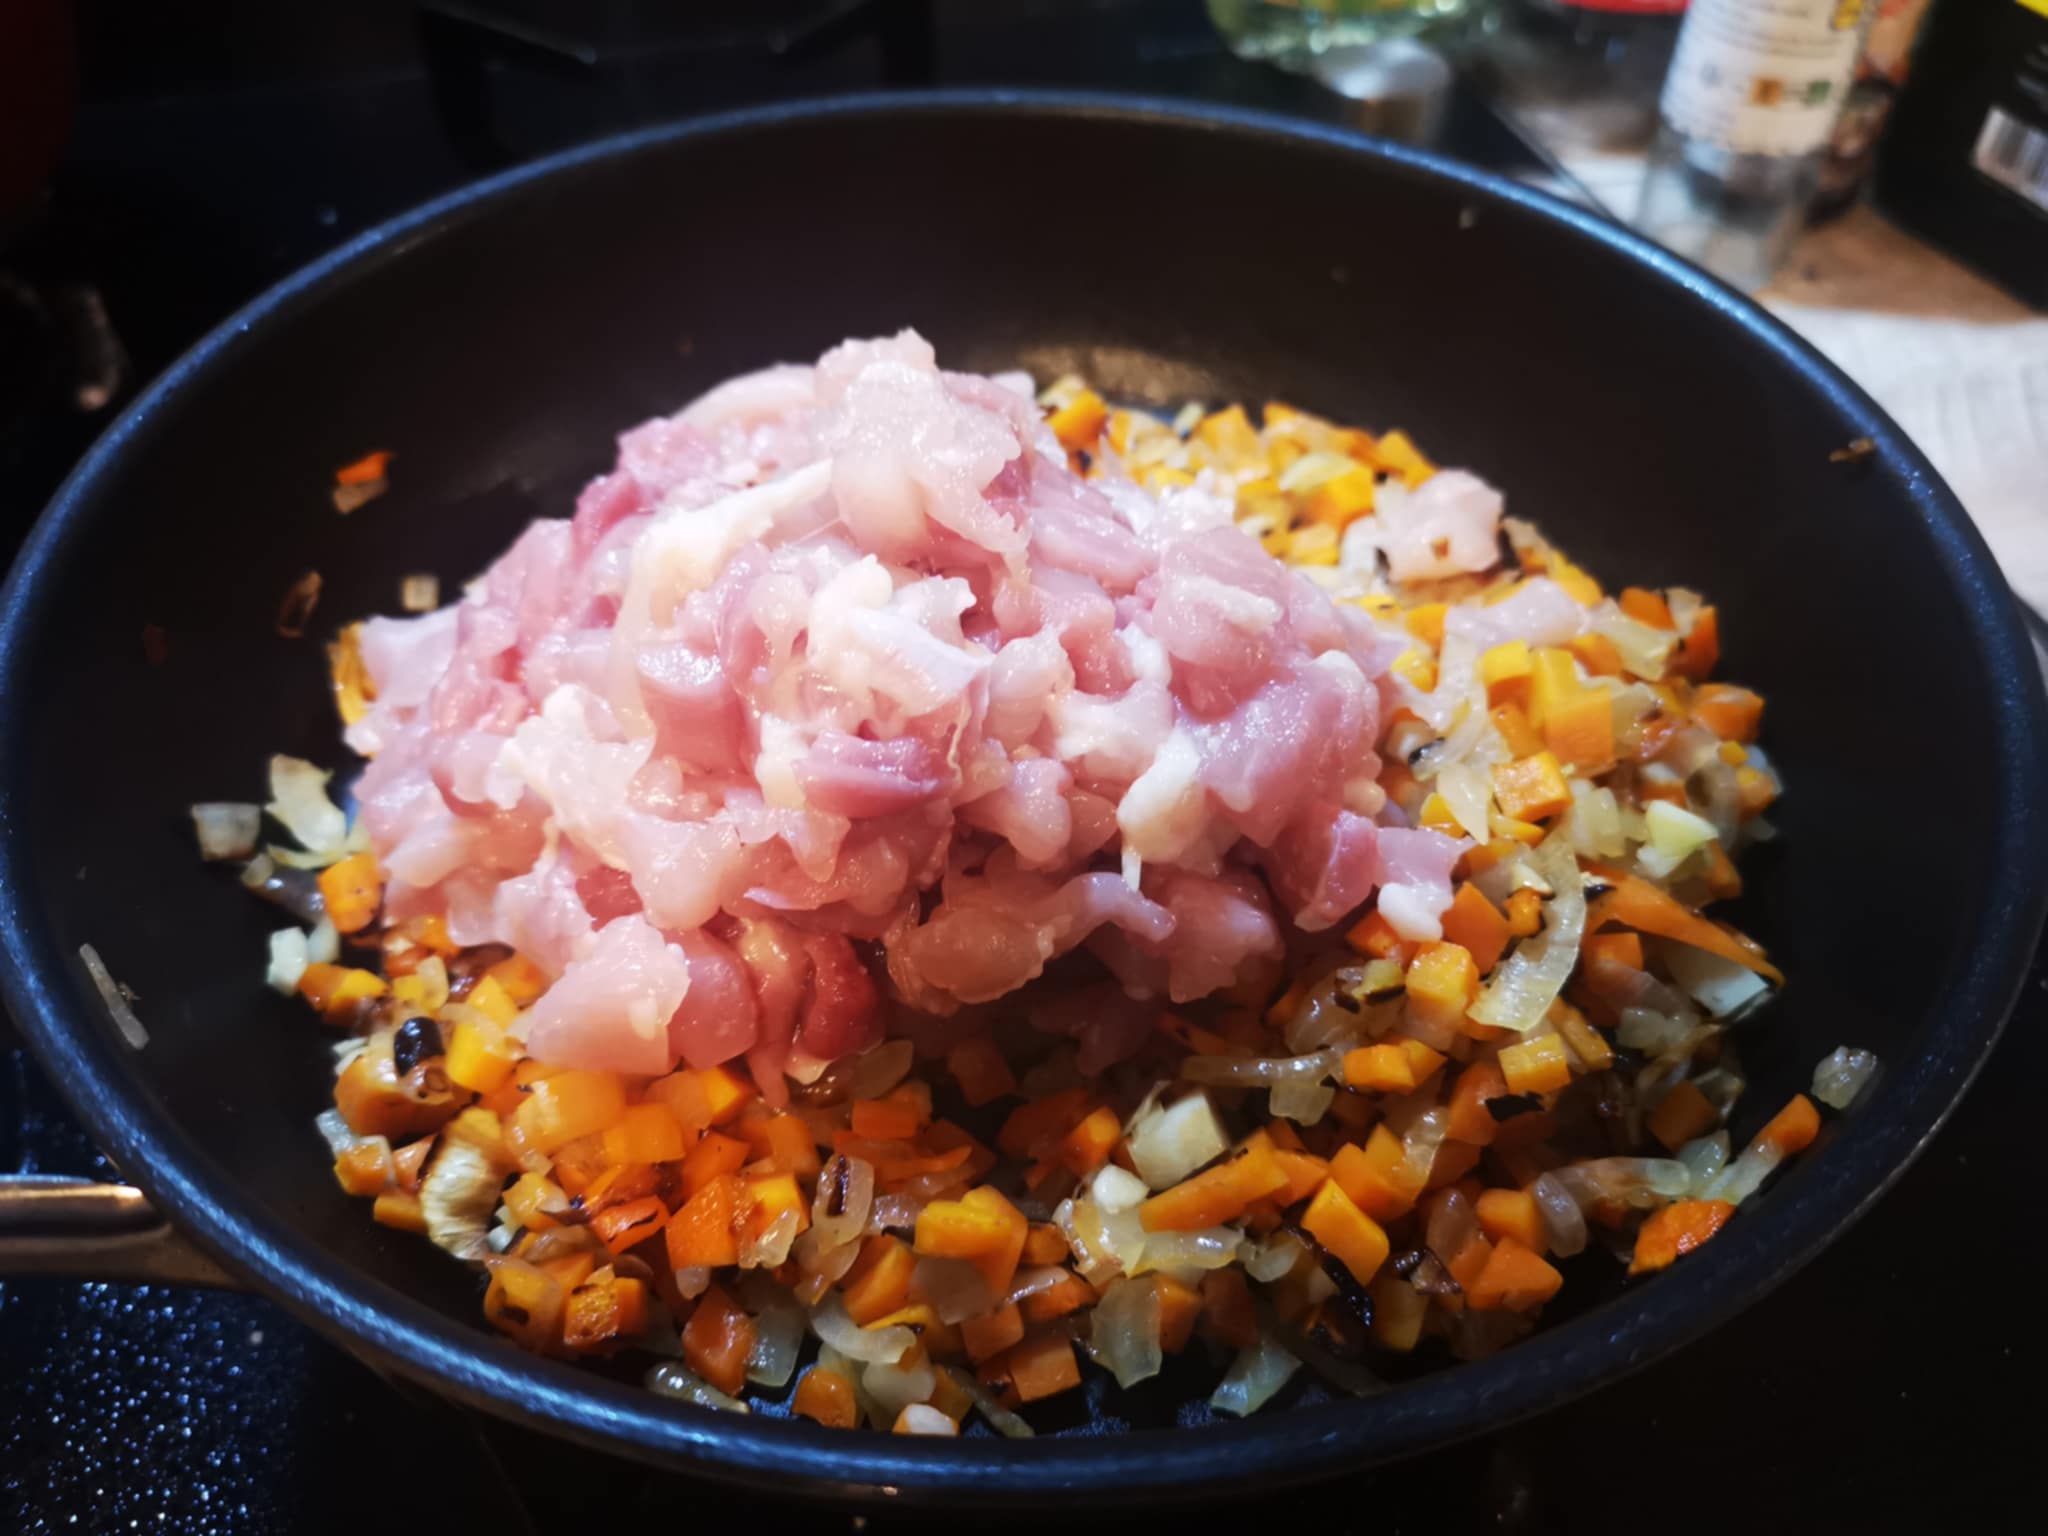
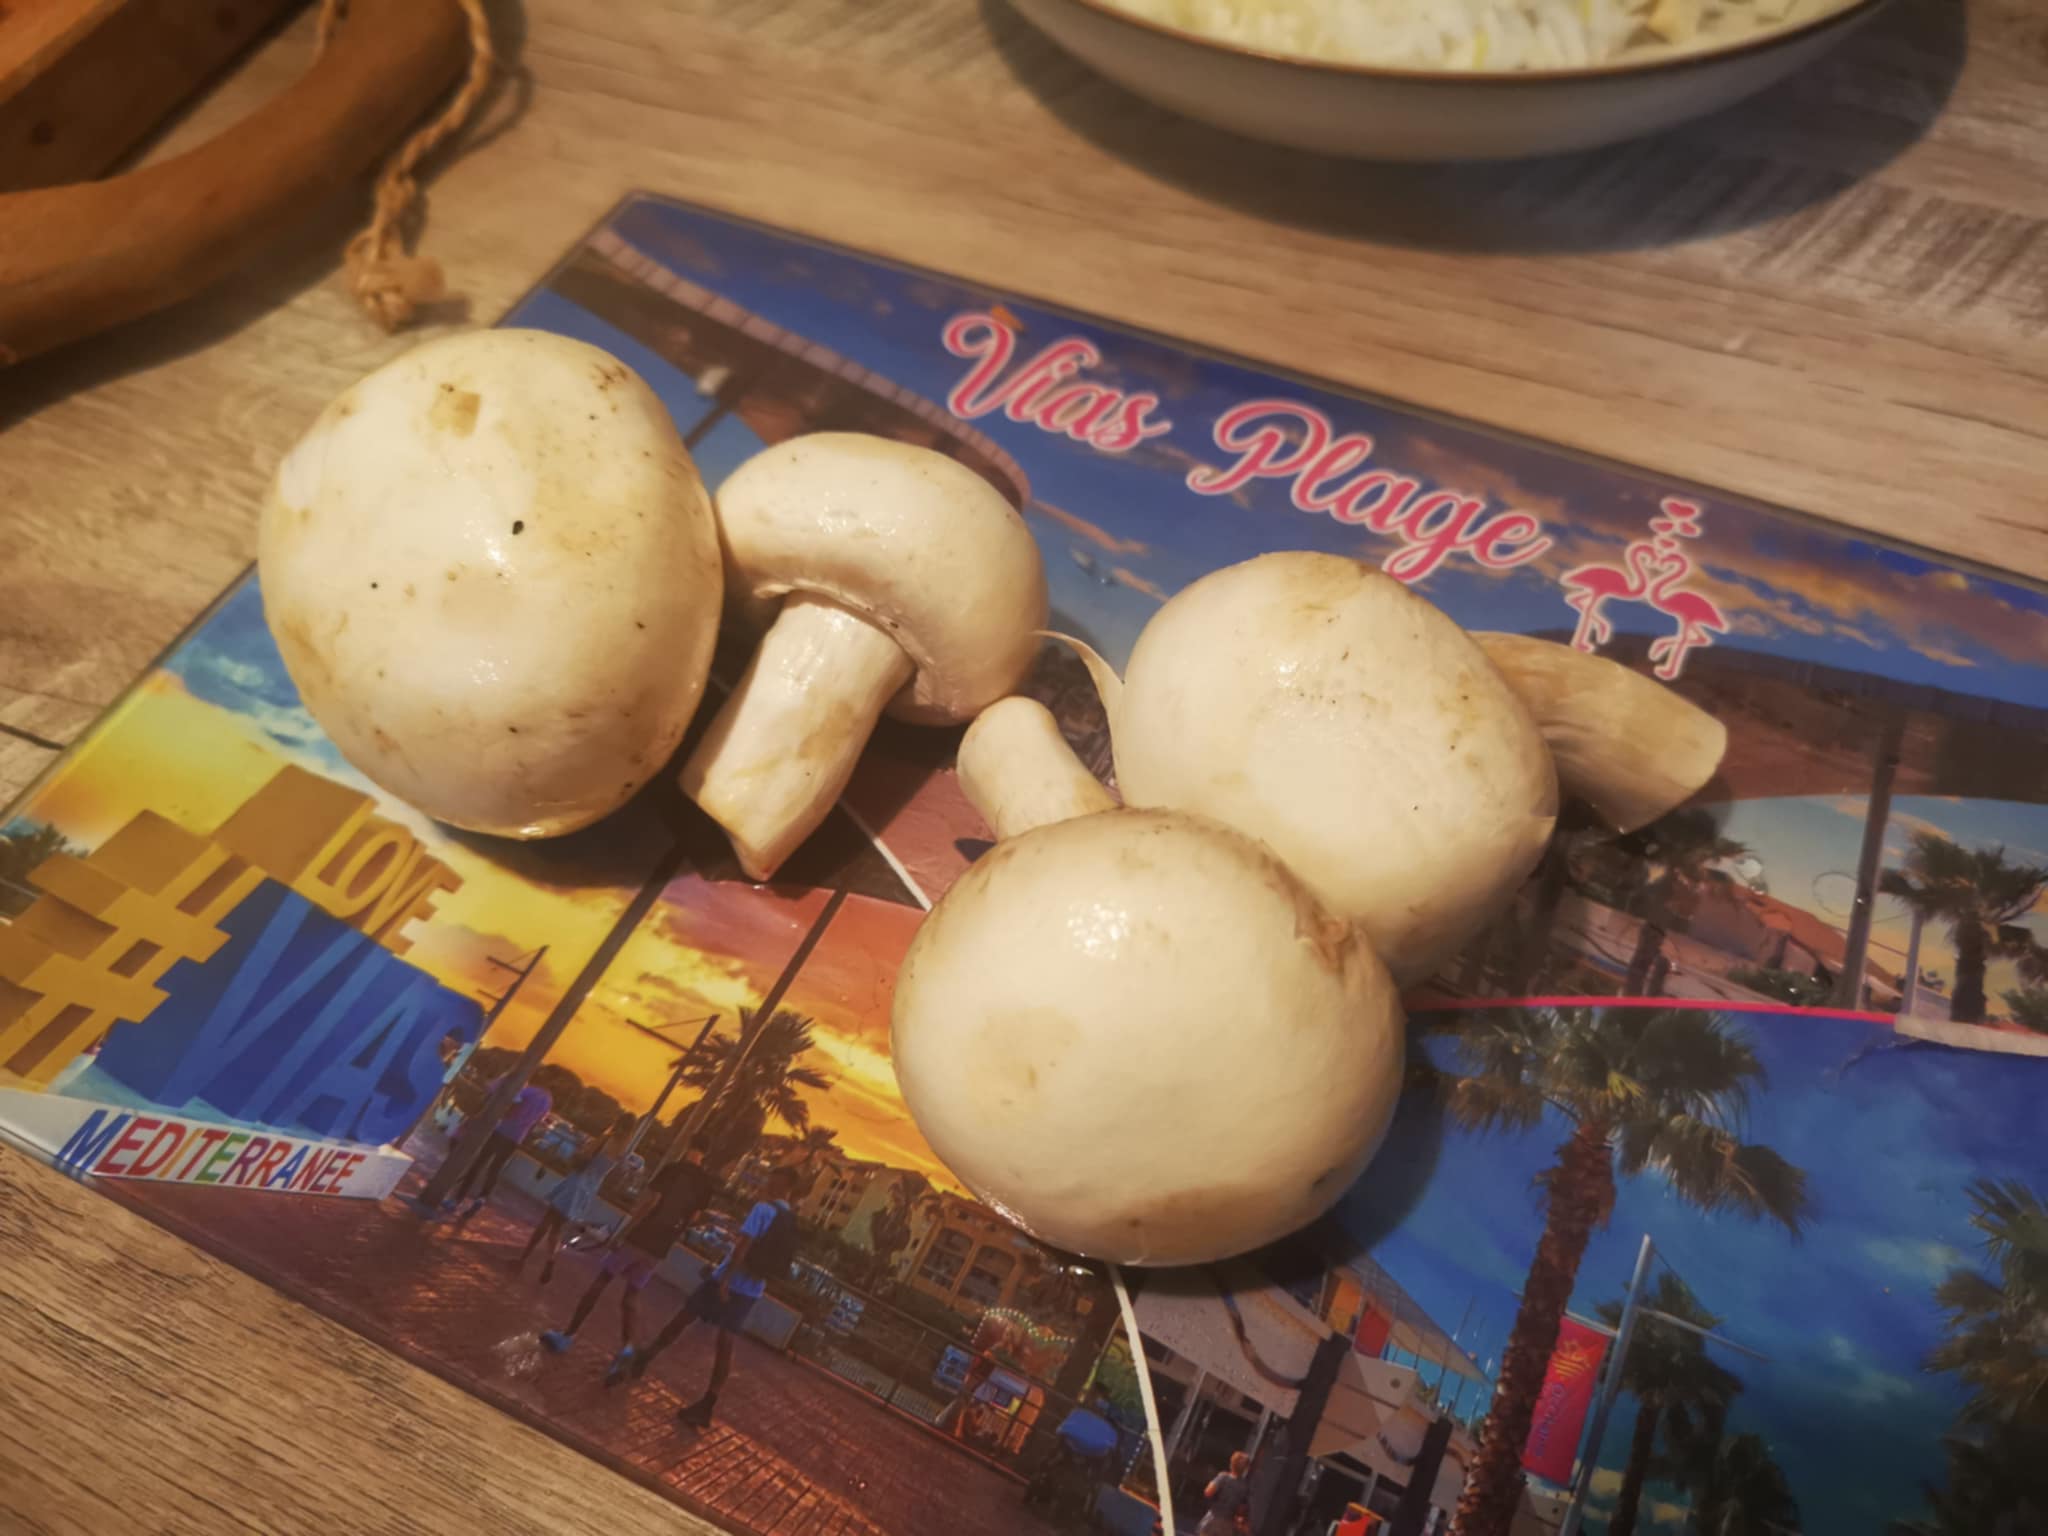
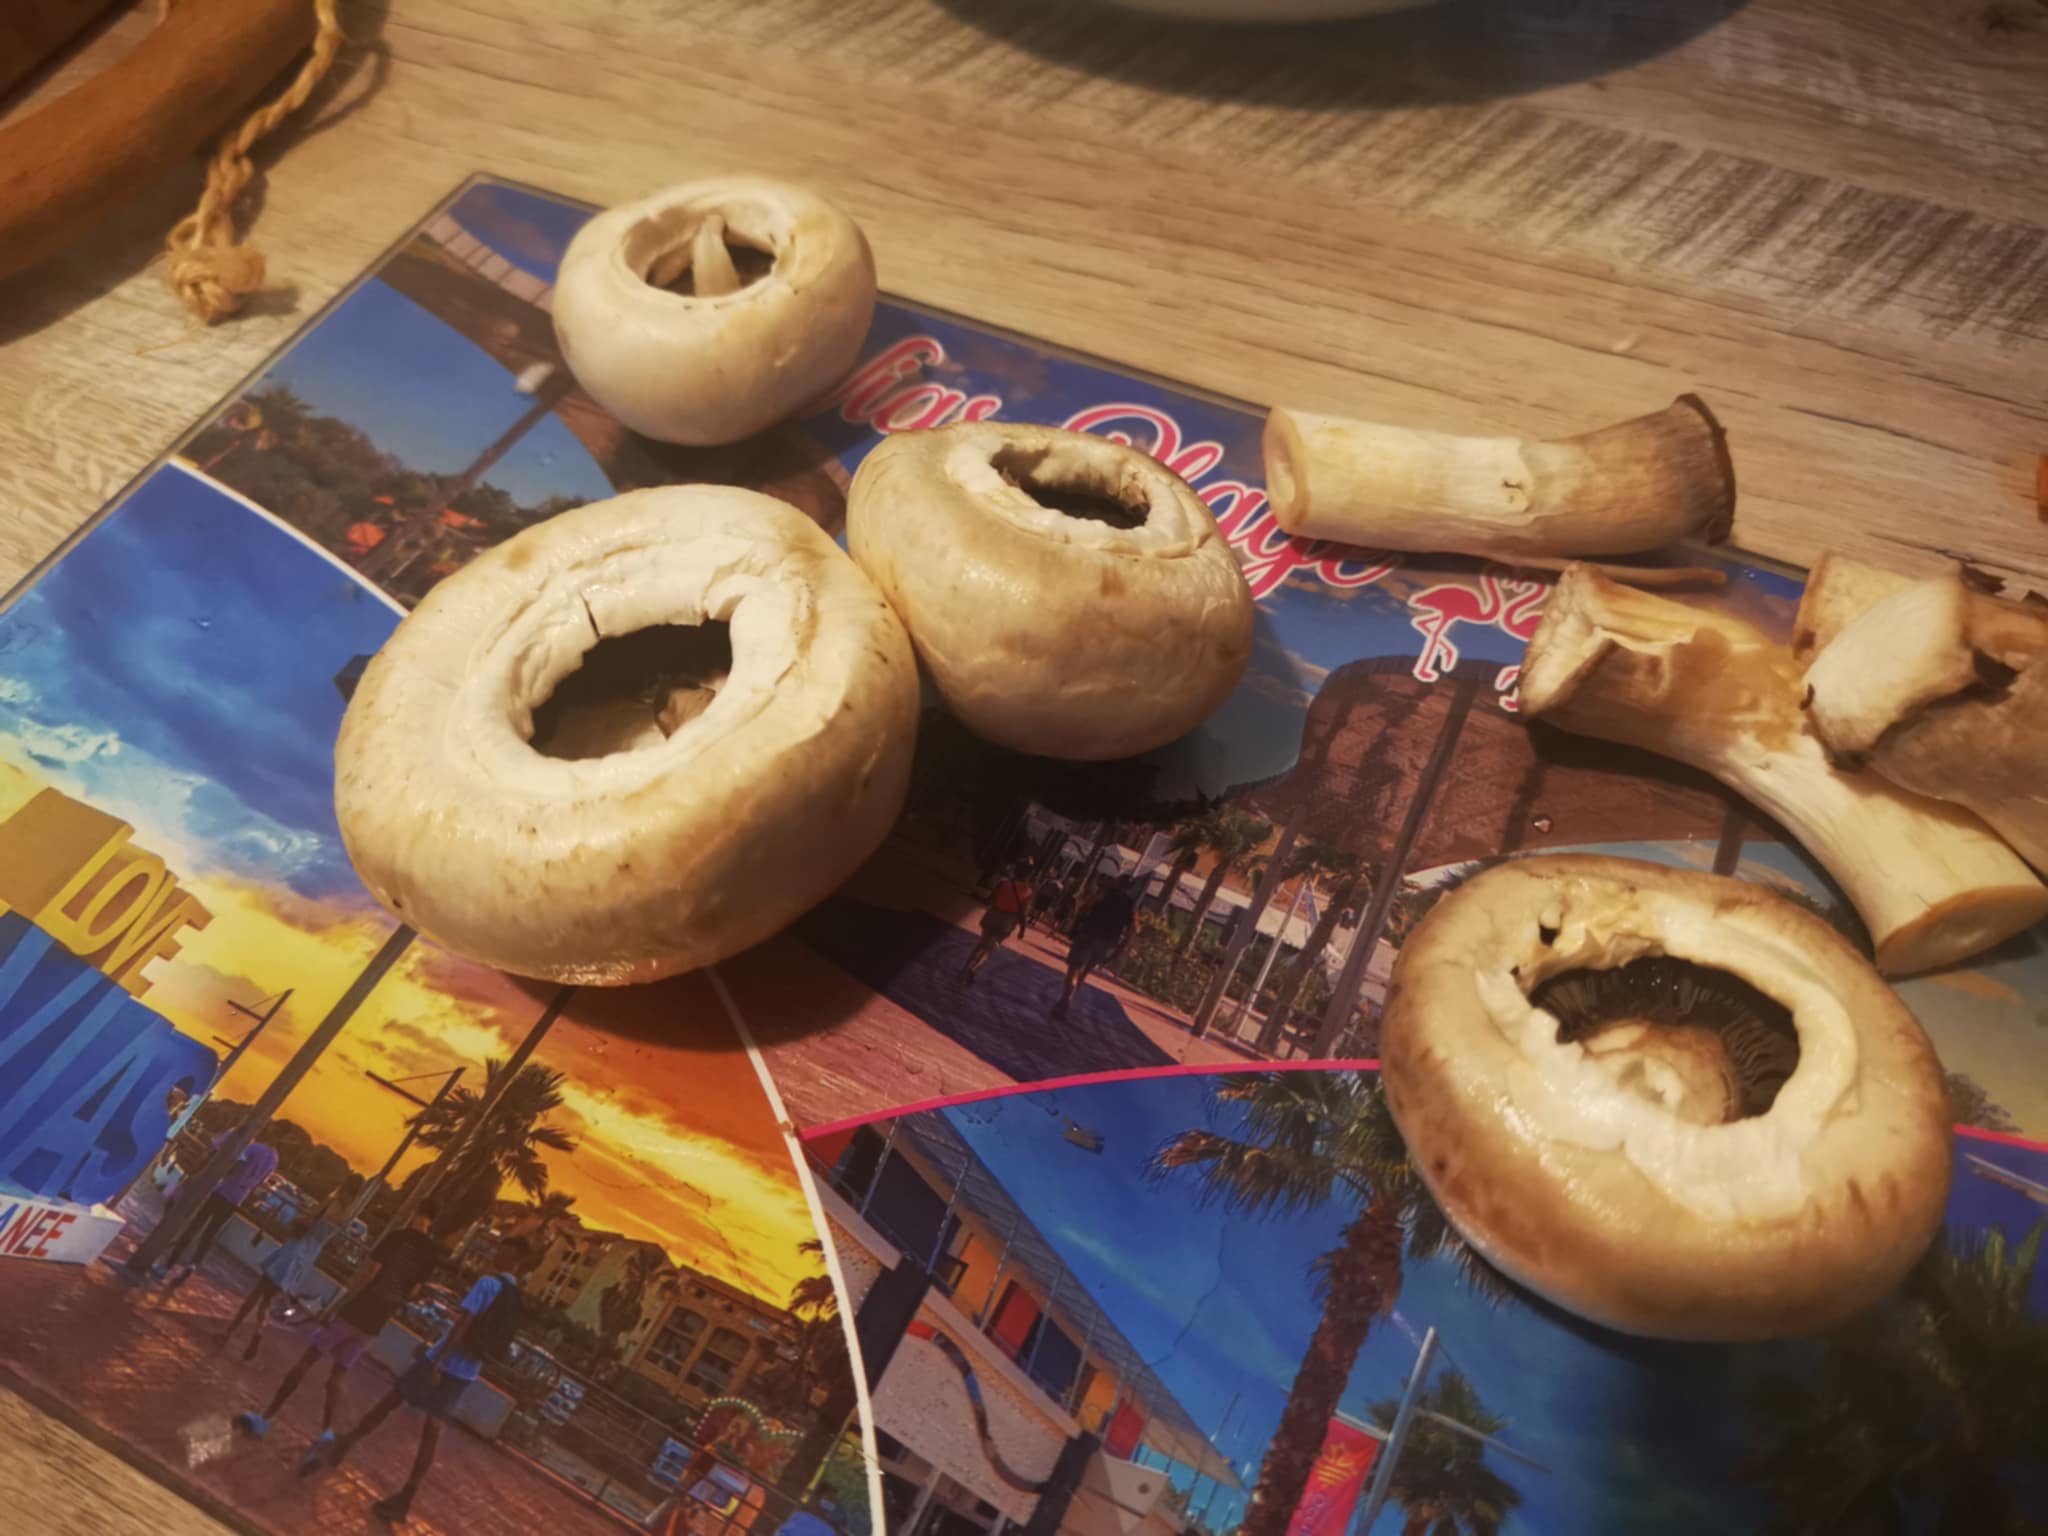
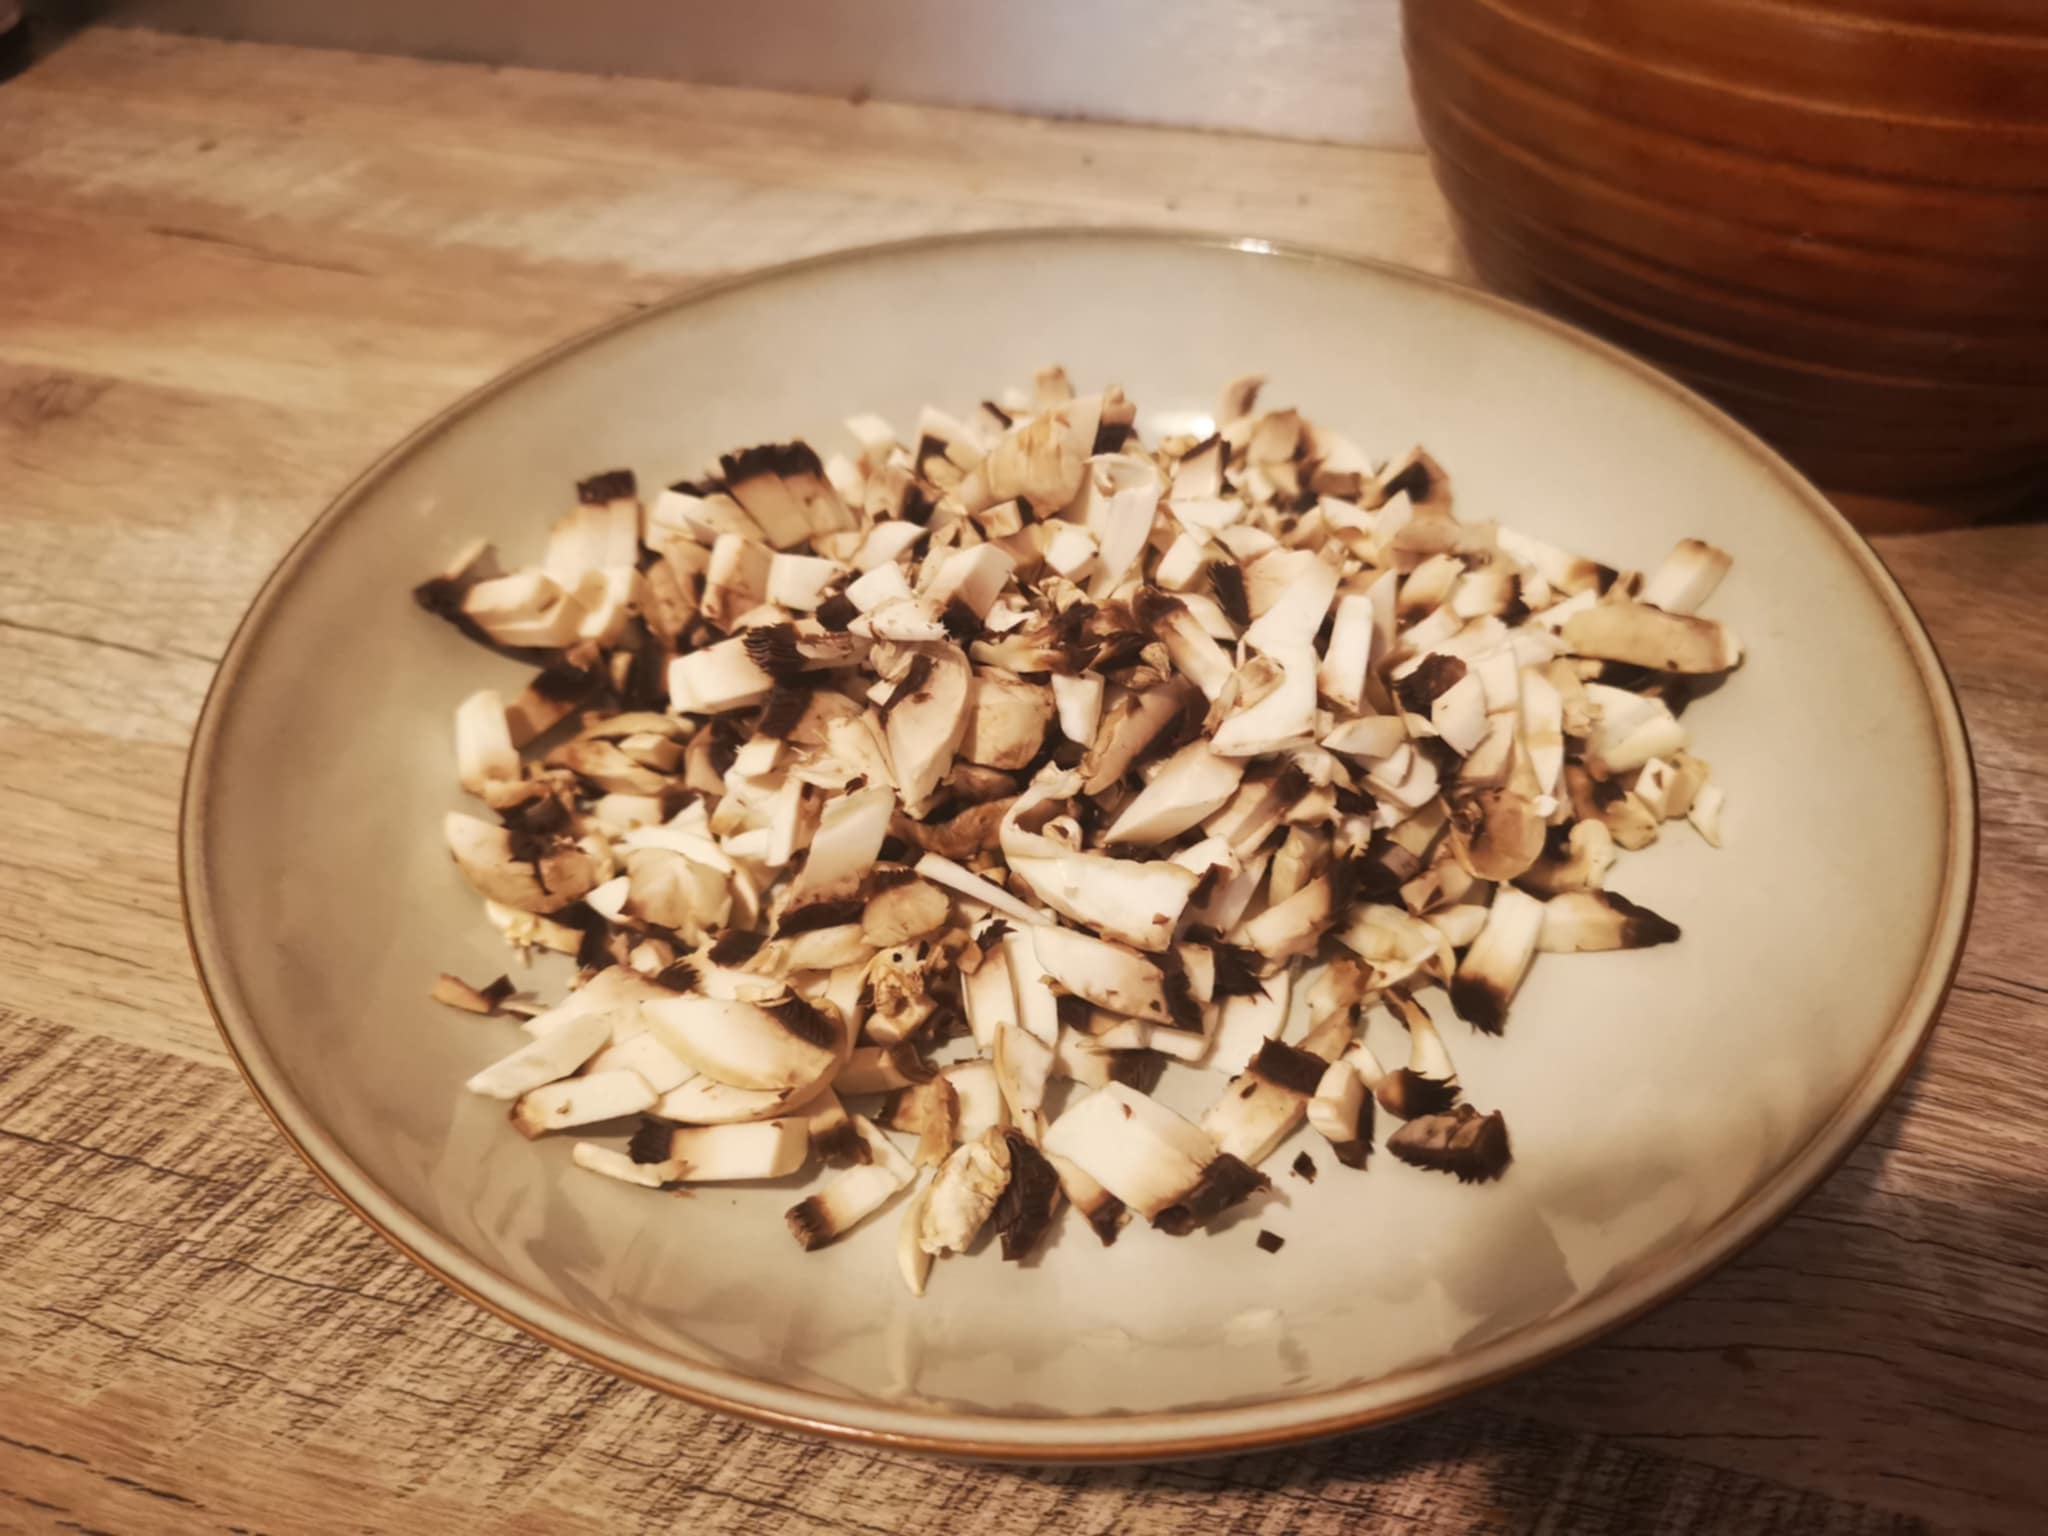
And I washed and chopped the mushrooms into small pieces, then added them to the pan:
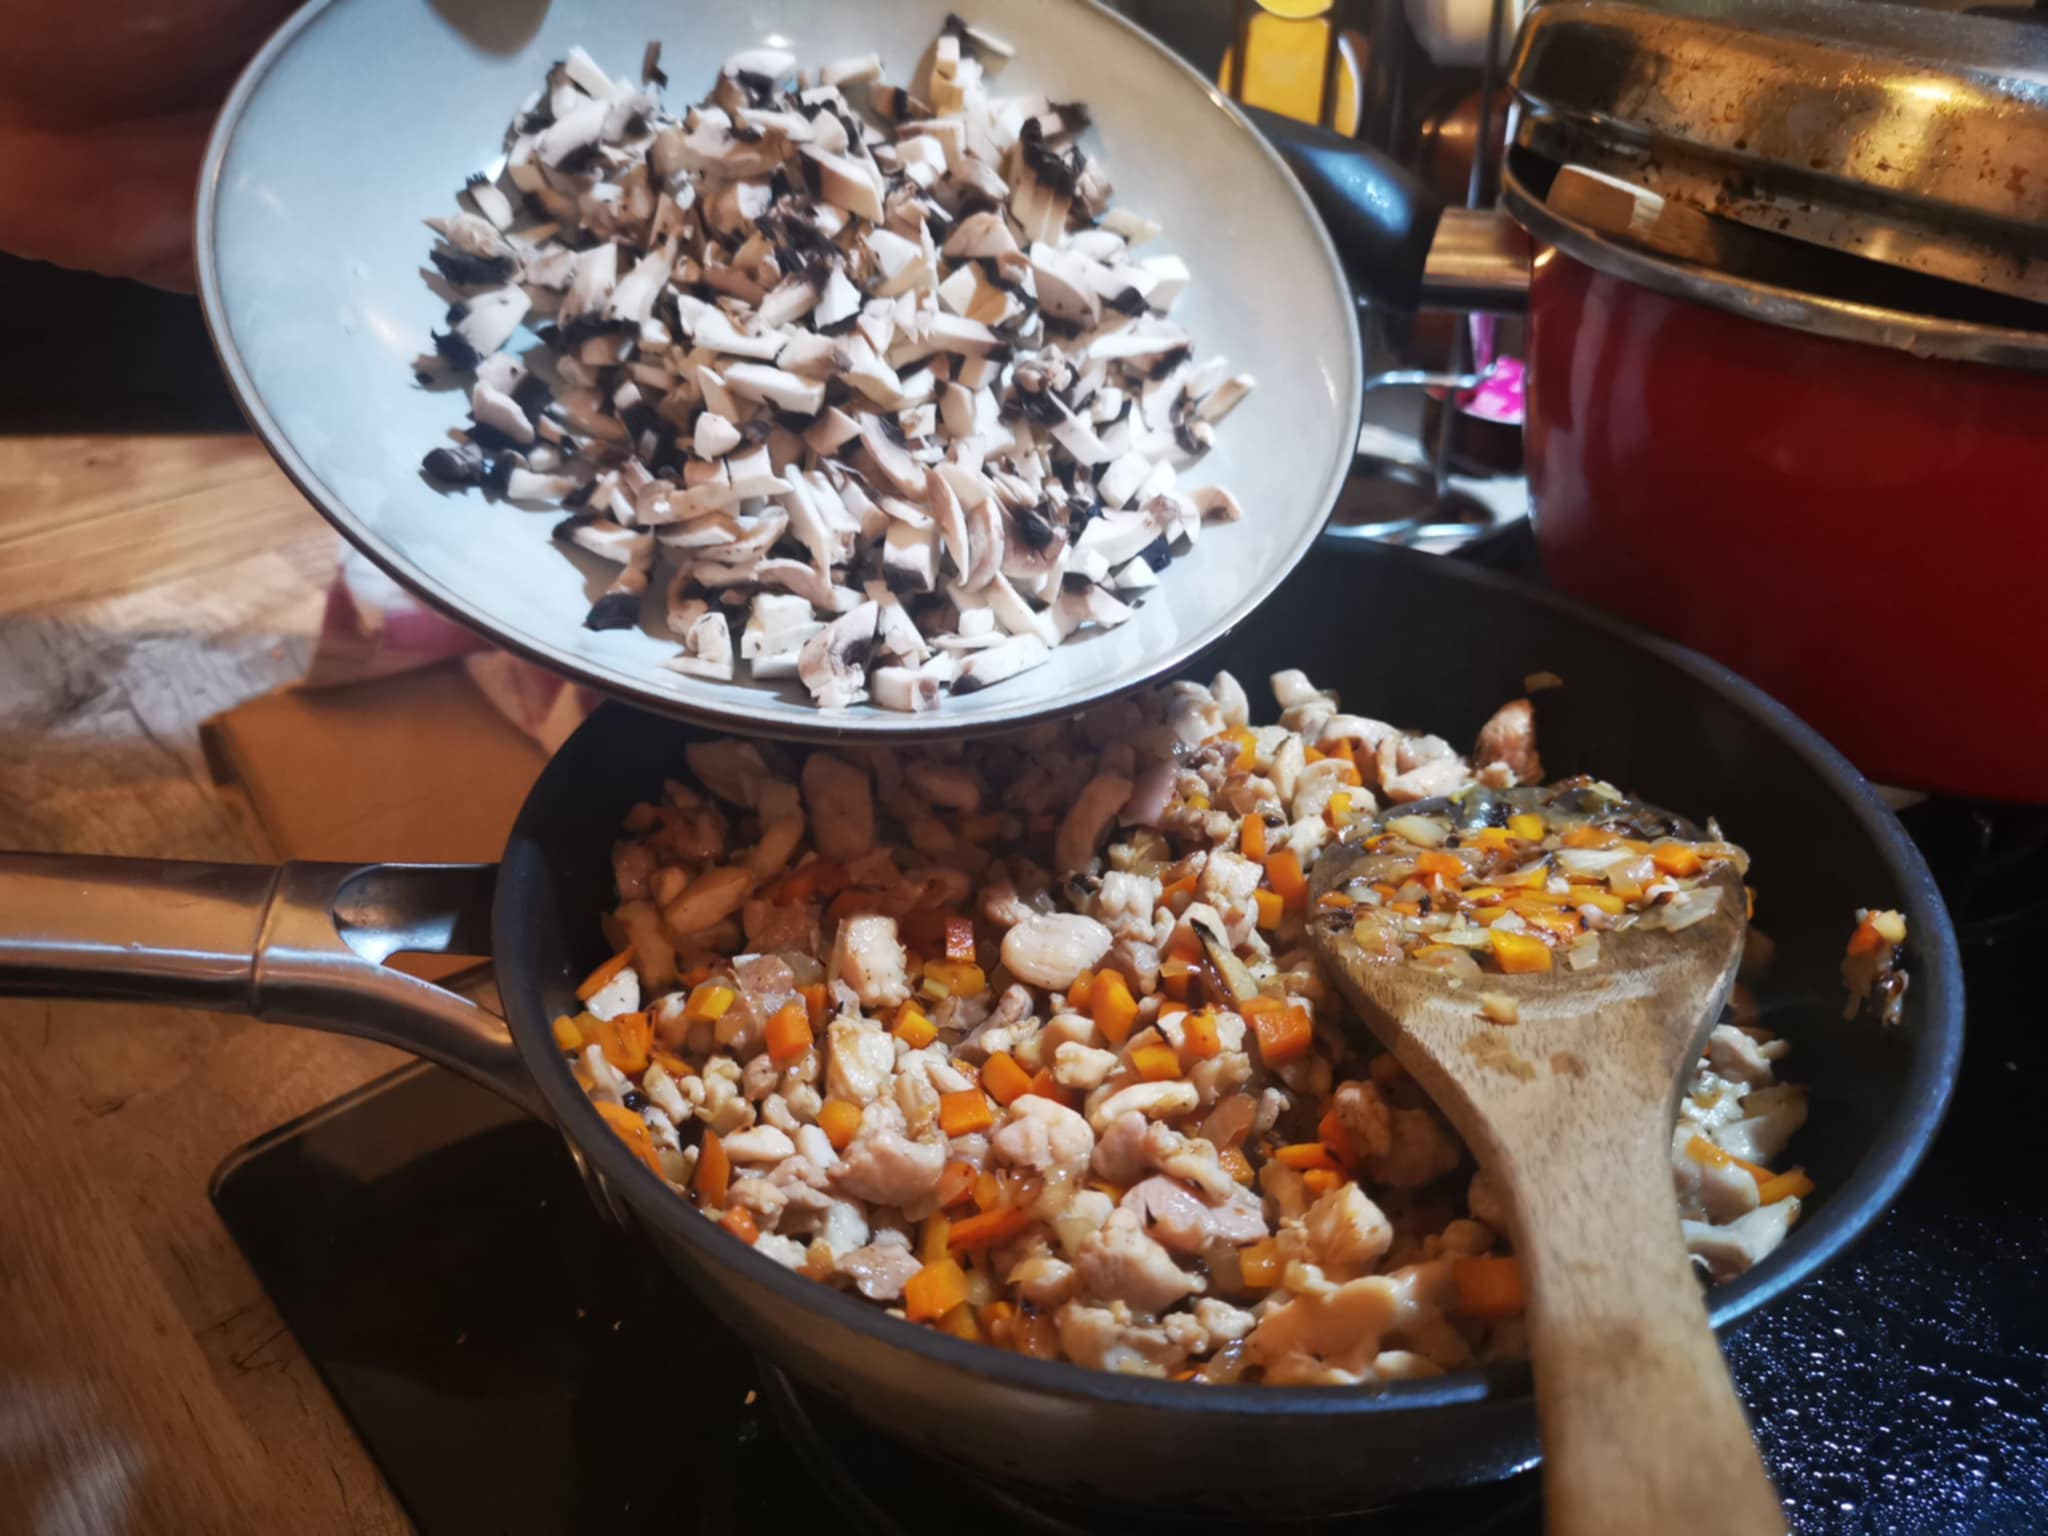
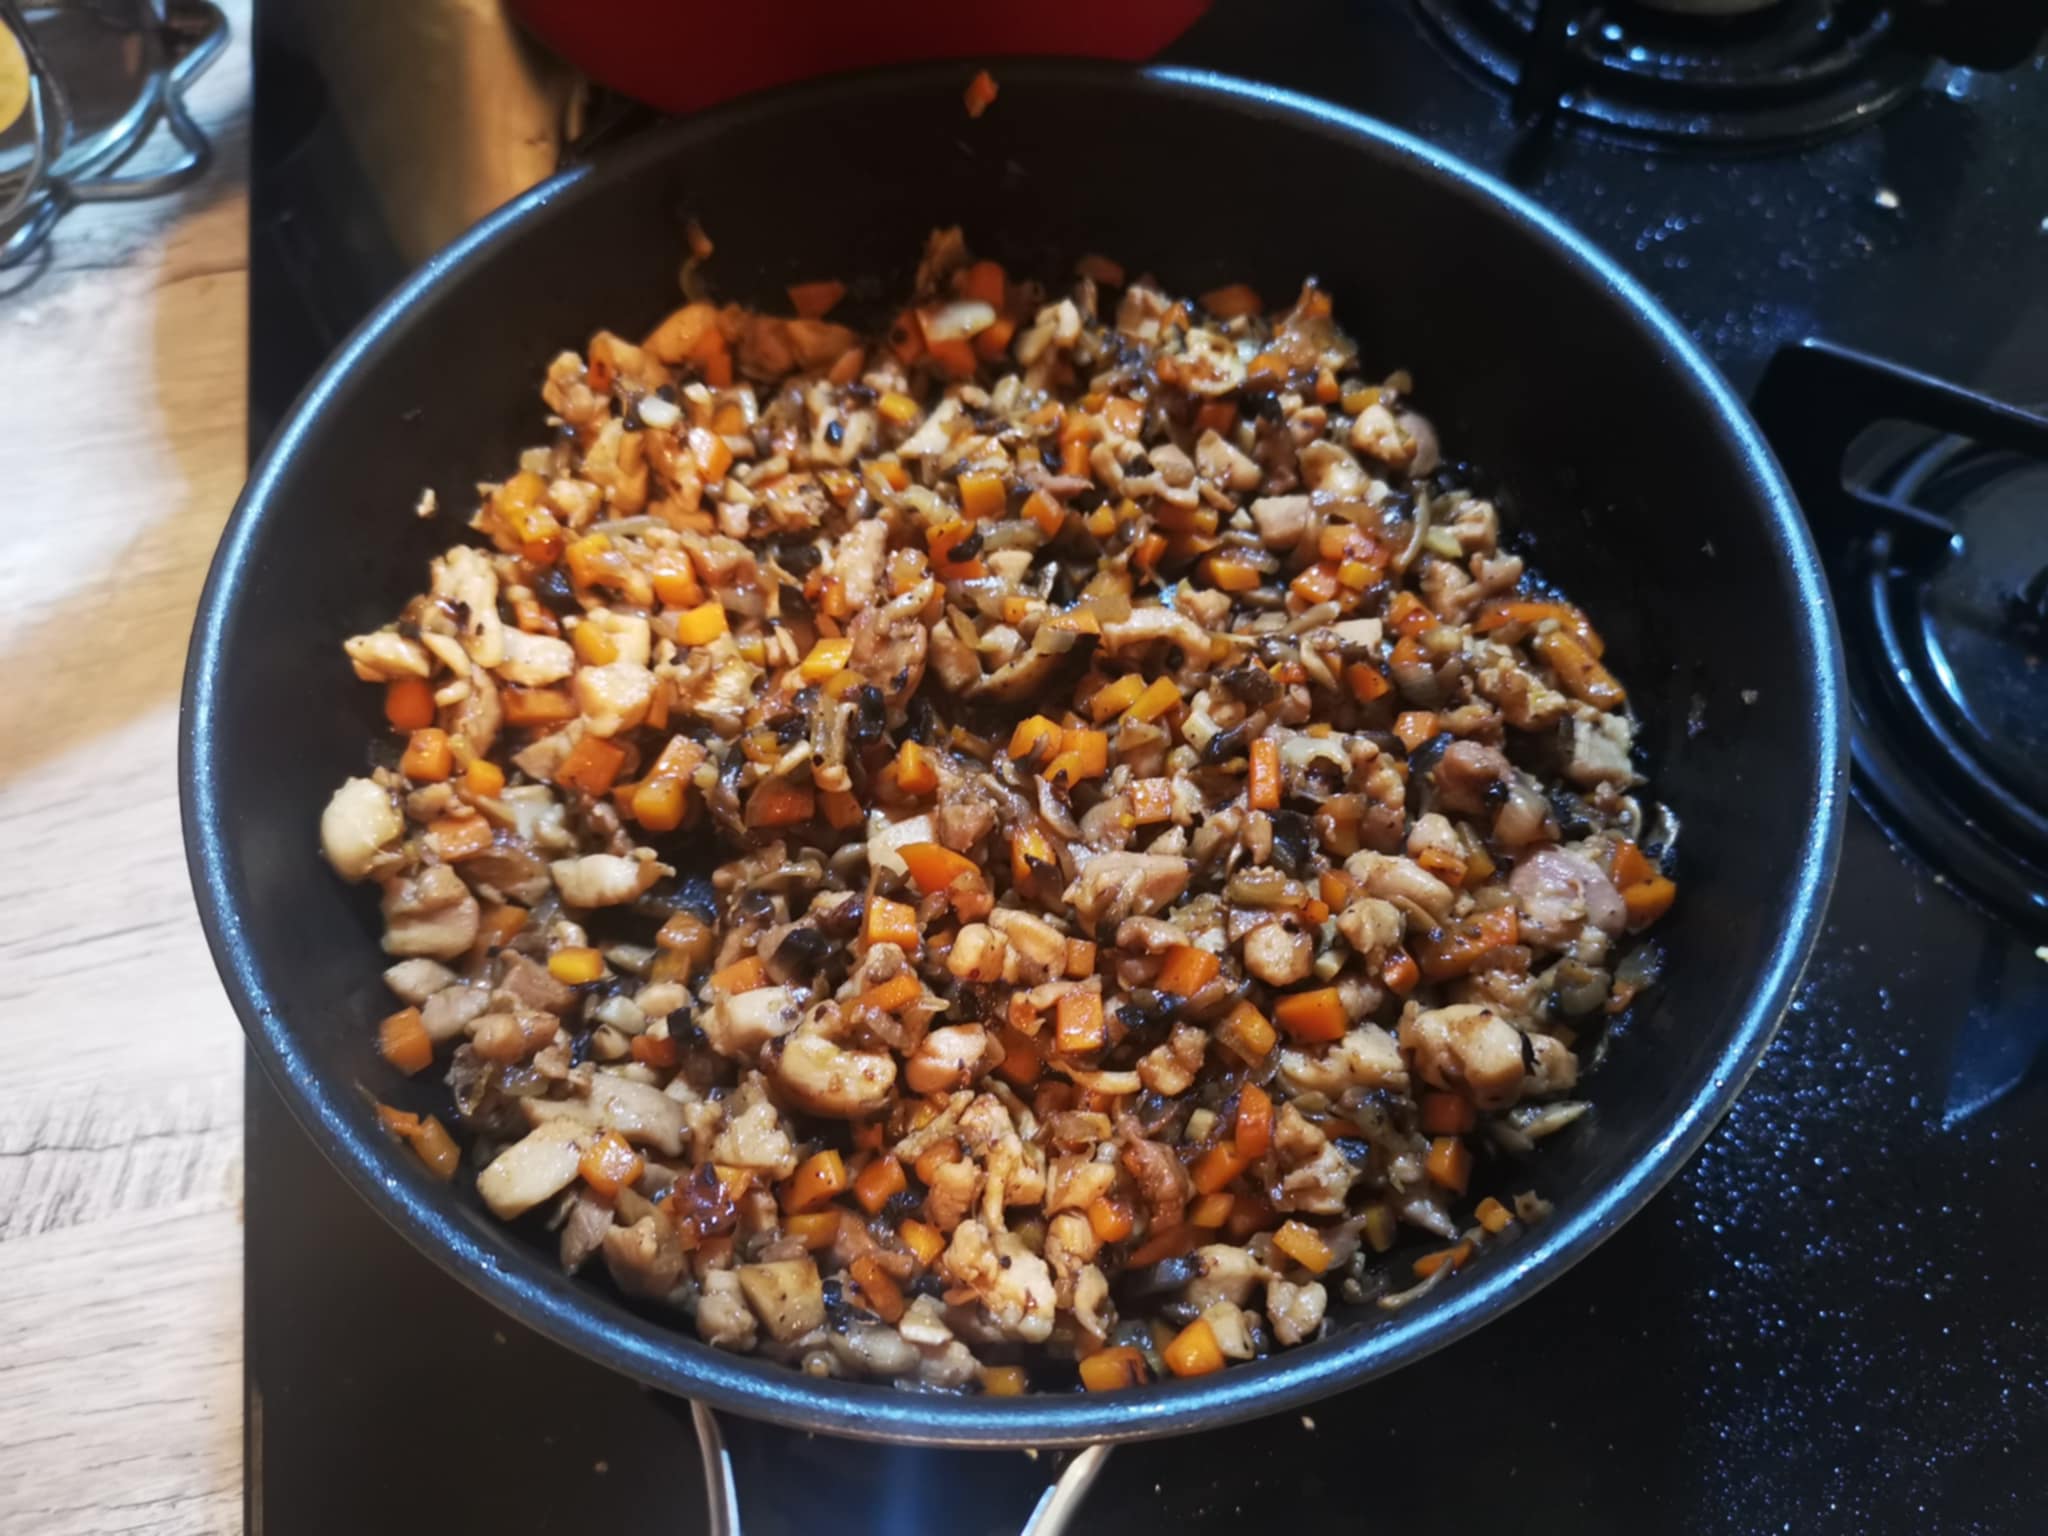
Here's what it looks like after 15 minutes of cooking:
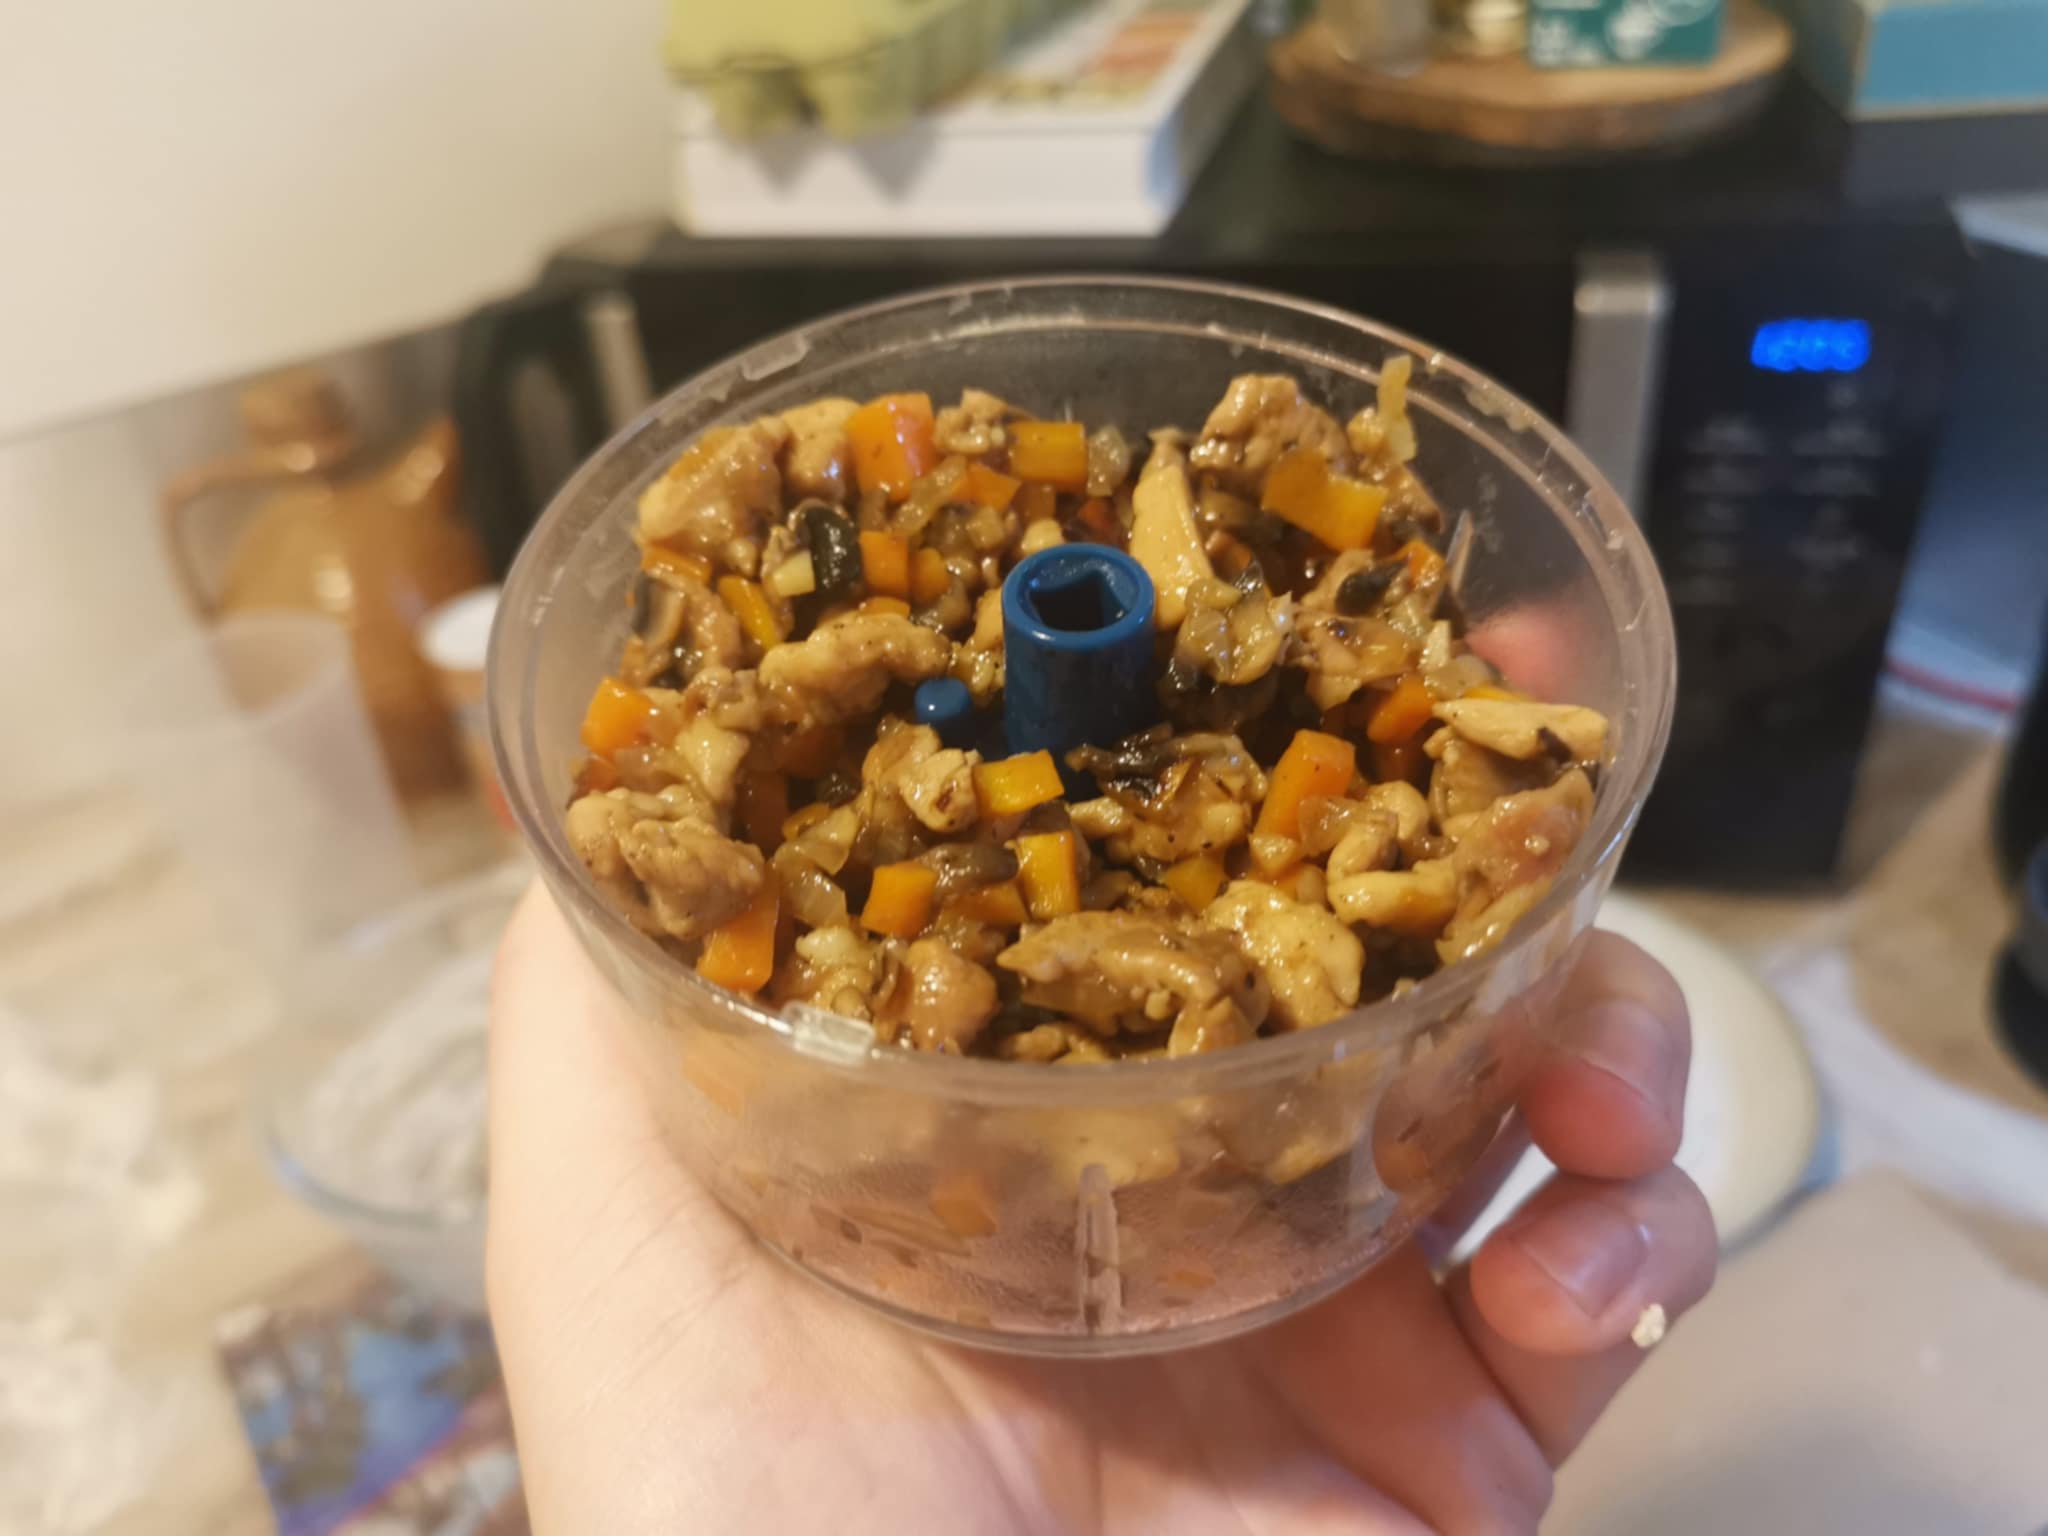
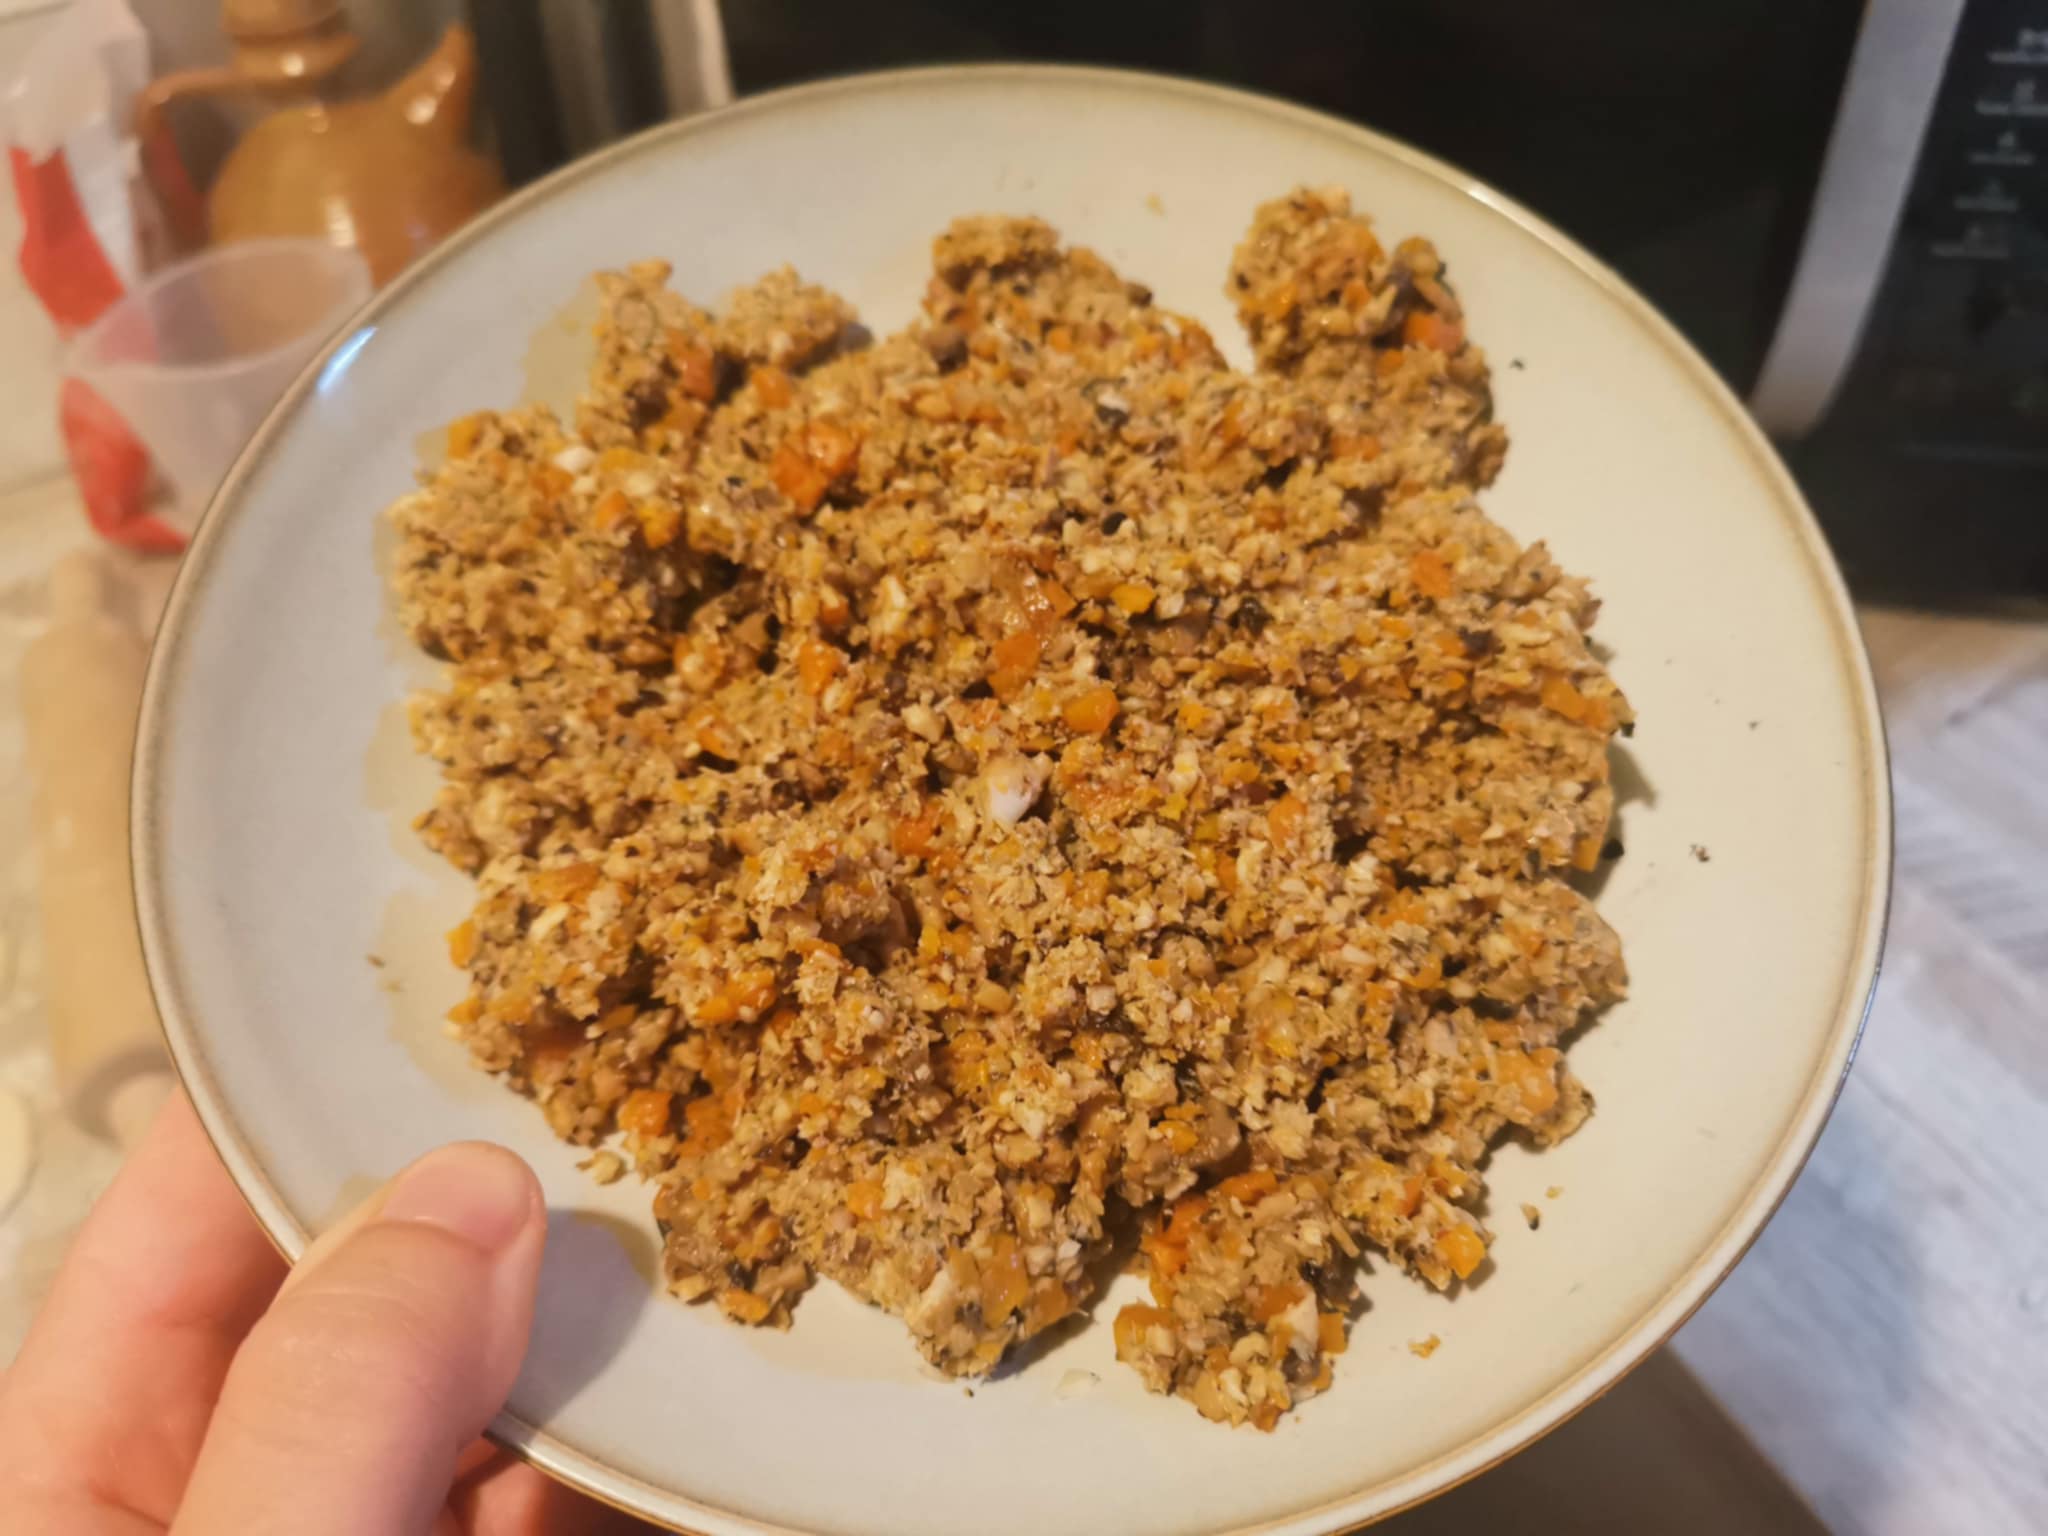
And to make the stuffing a little finer, we put it through a mincer:
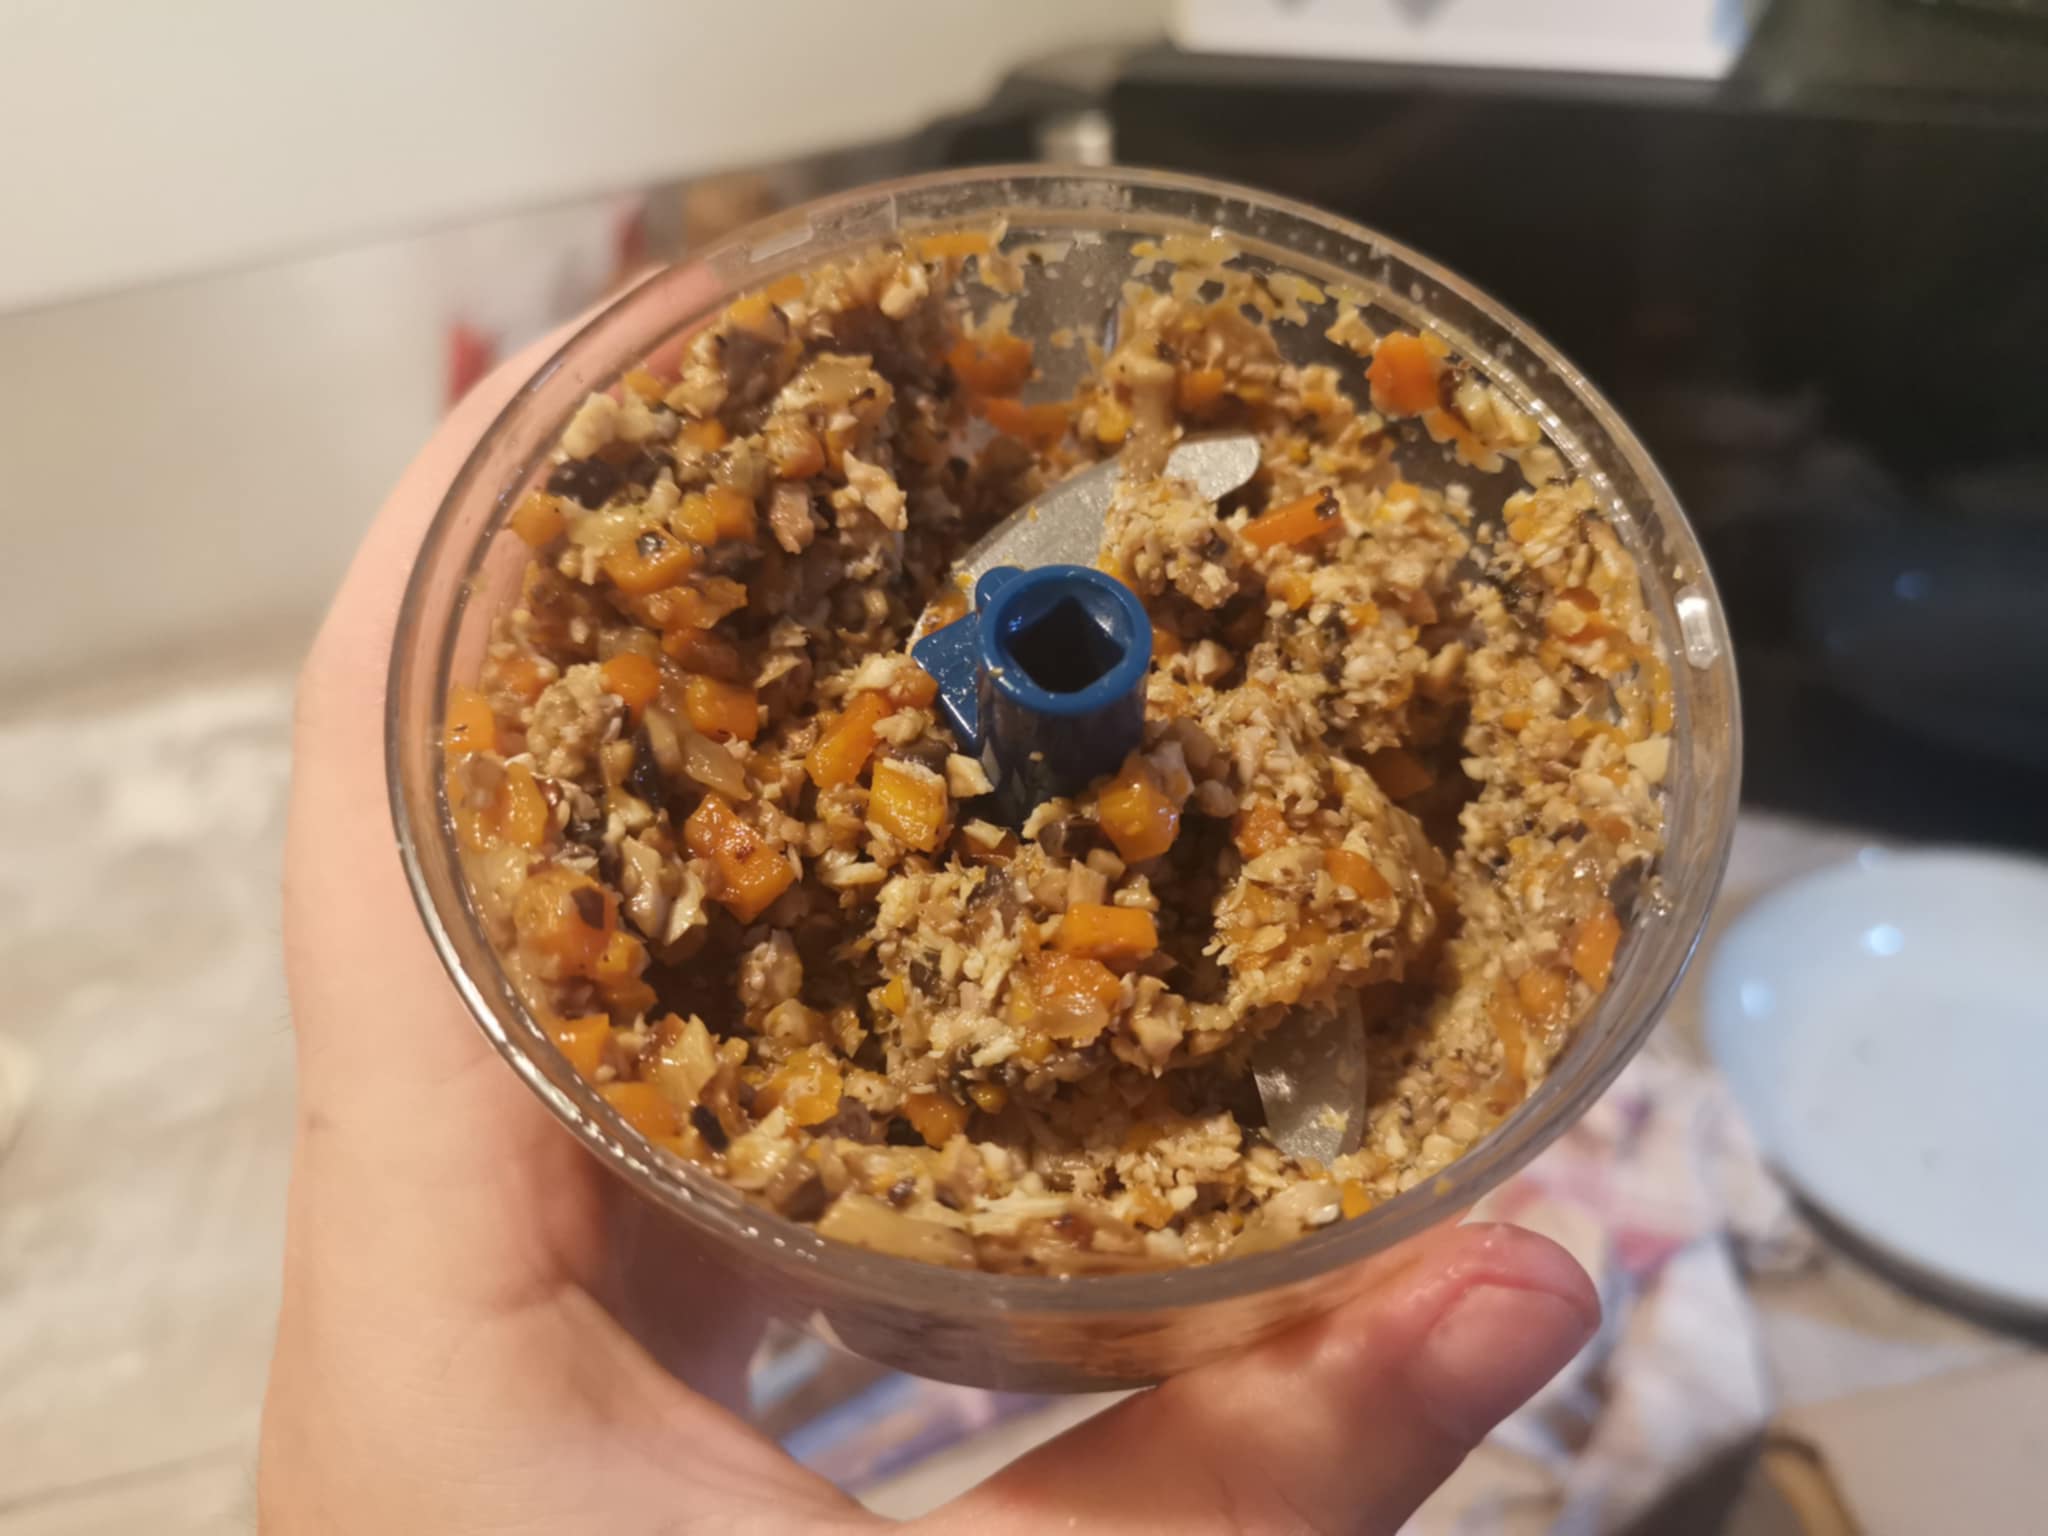
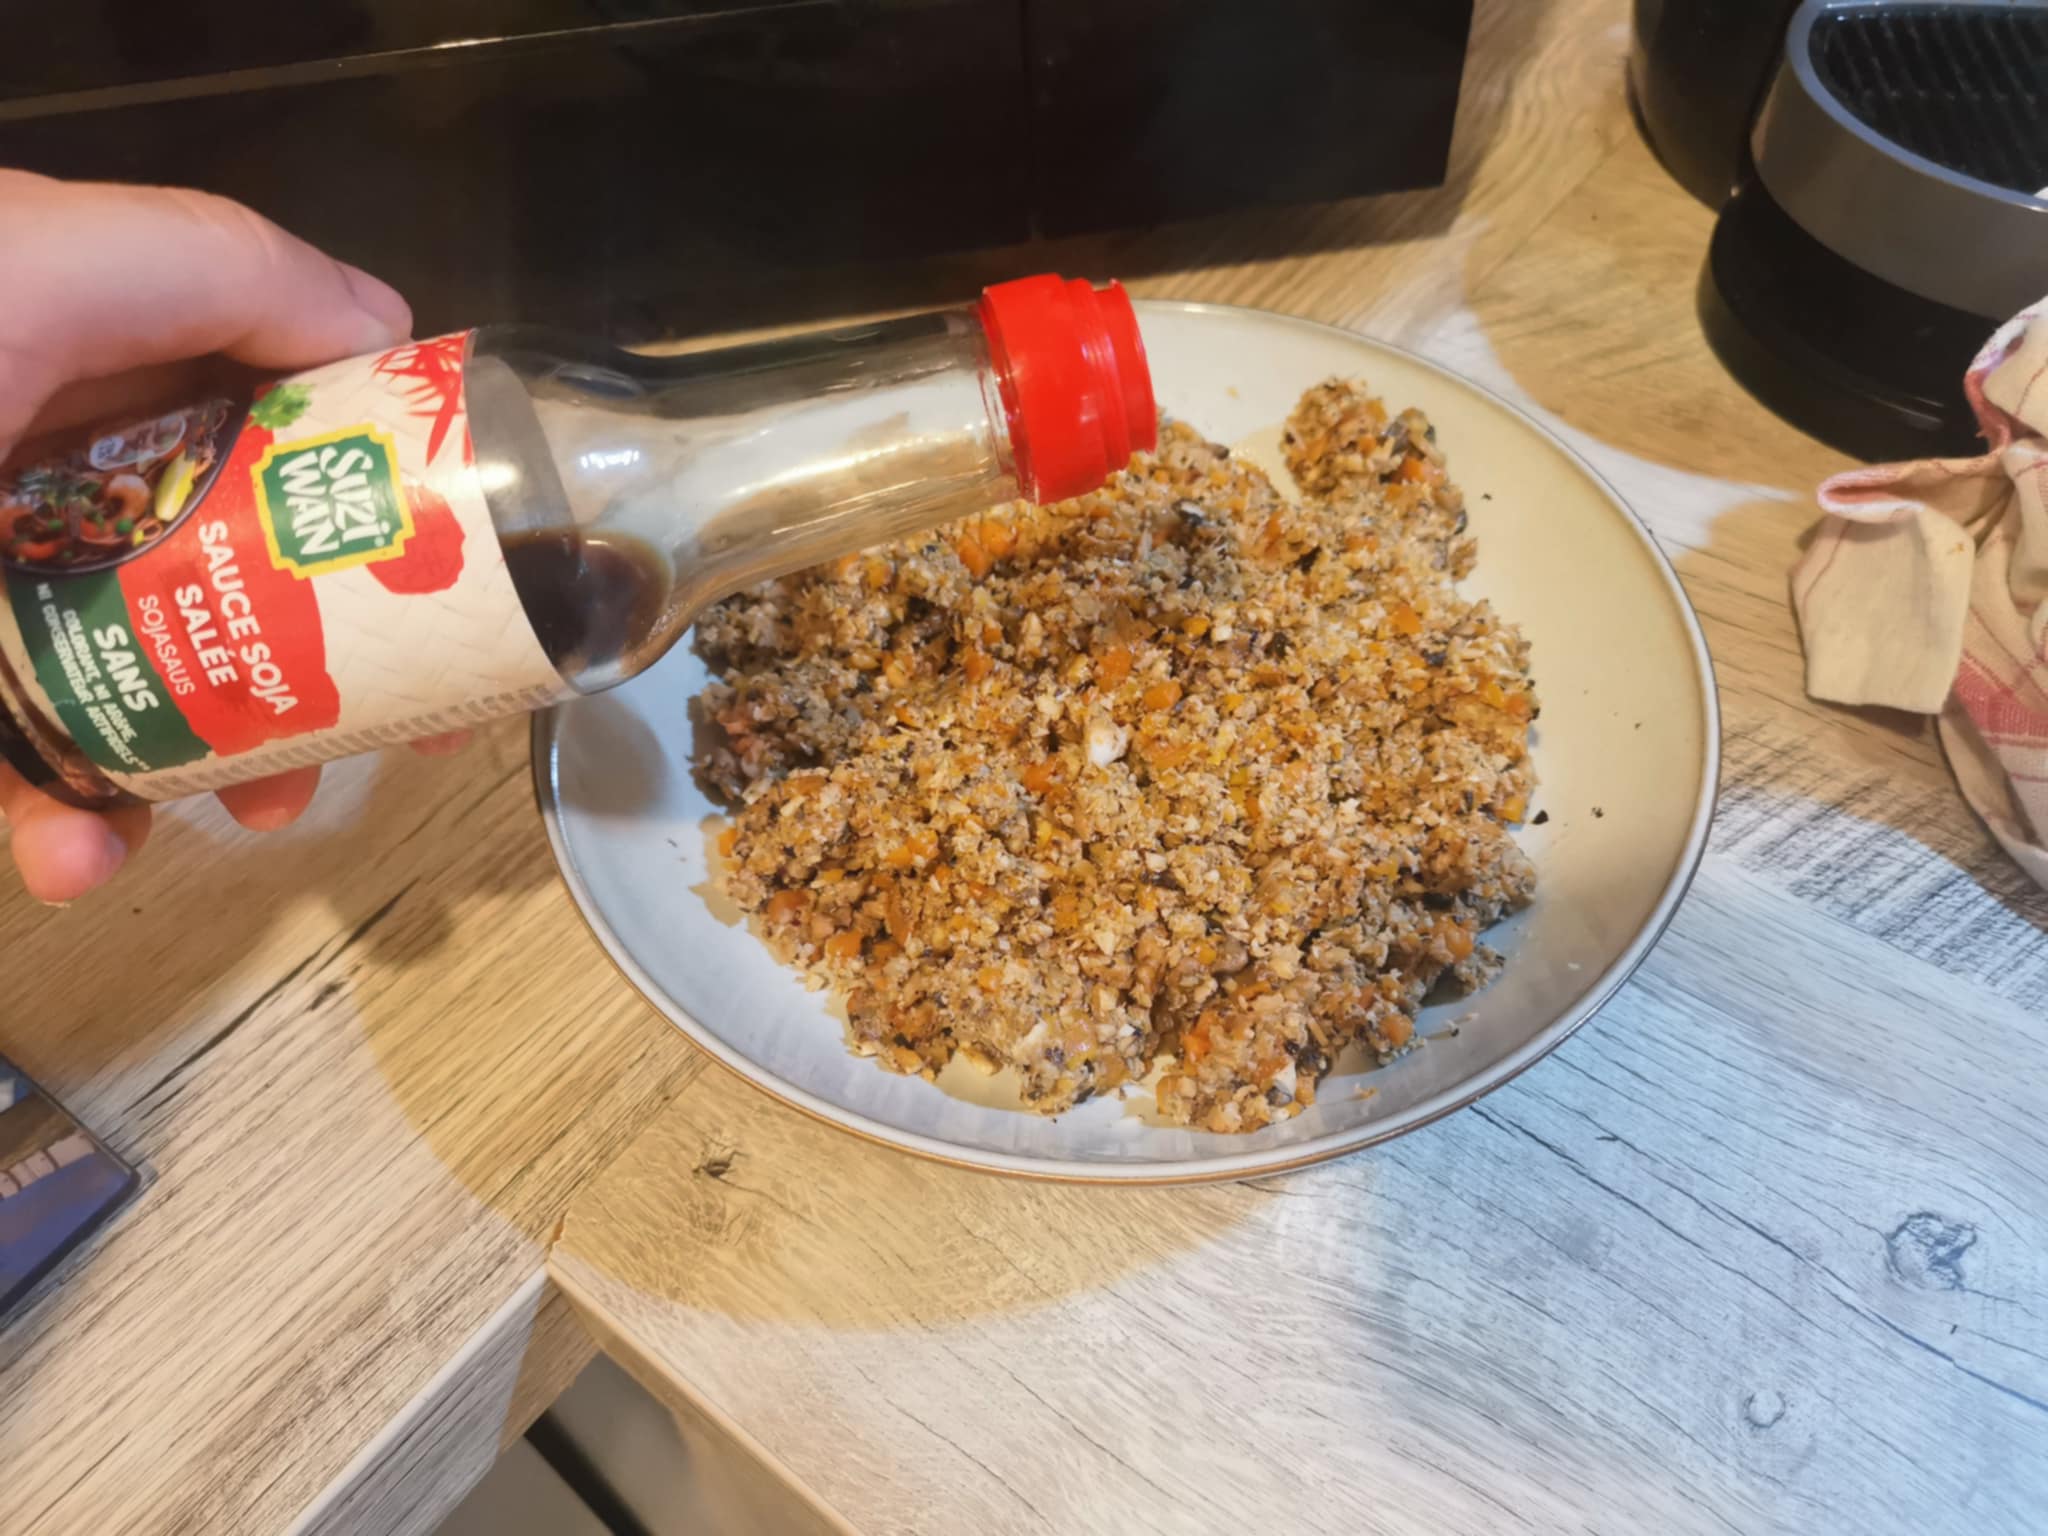
Then, we added 1 tablespoon of salted soy sauce and mixed it:
The stuffing is ready!
The dough 👇
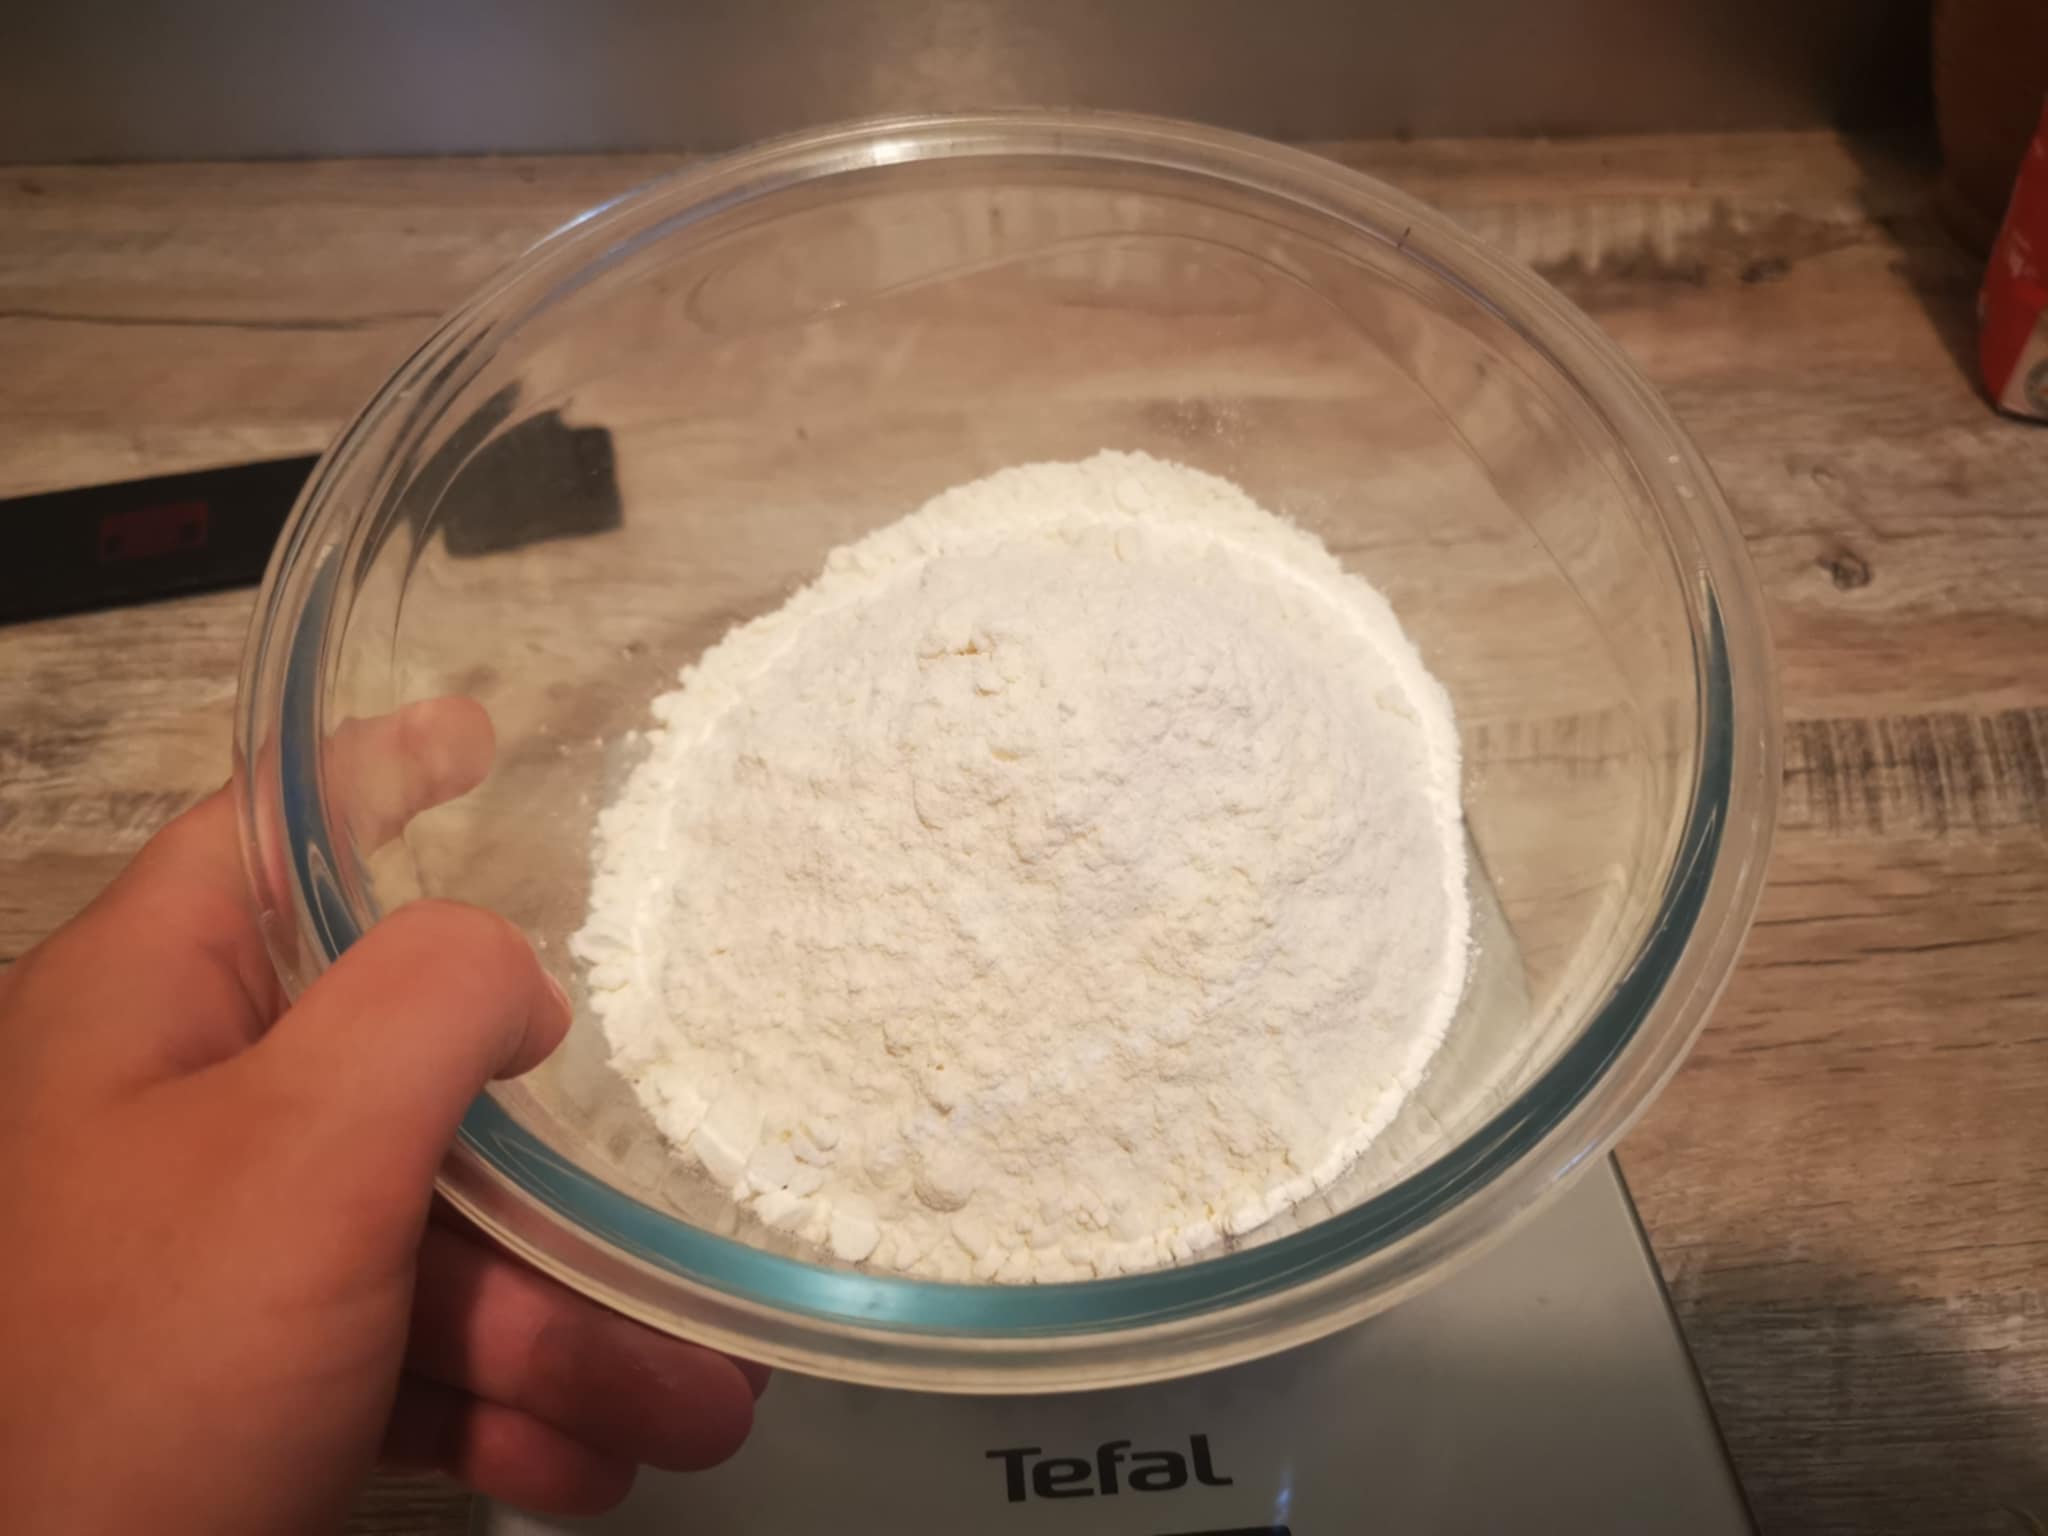
For the dough, I added the flour to a bowl:
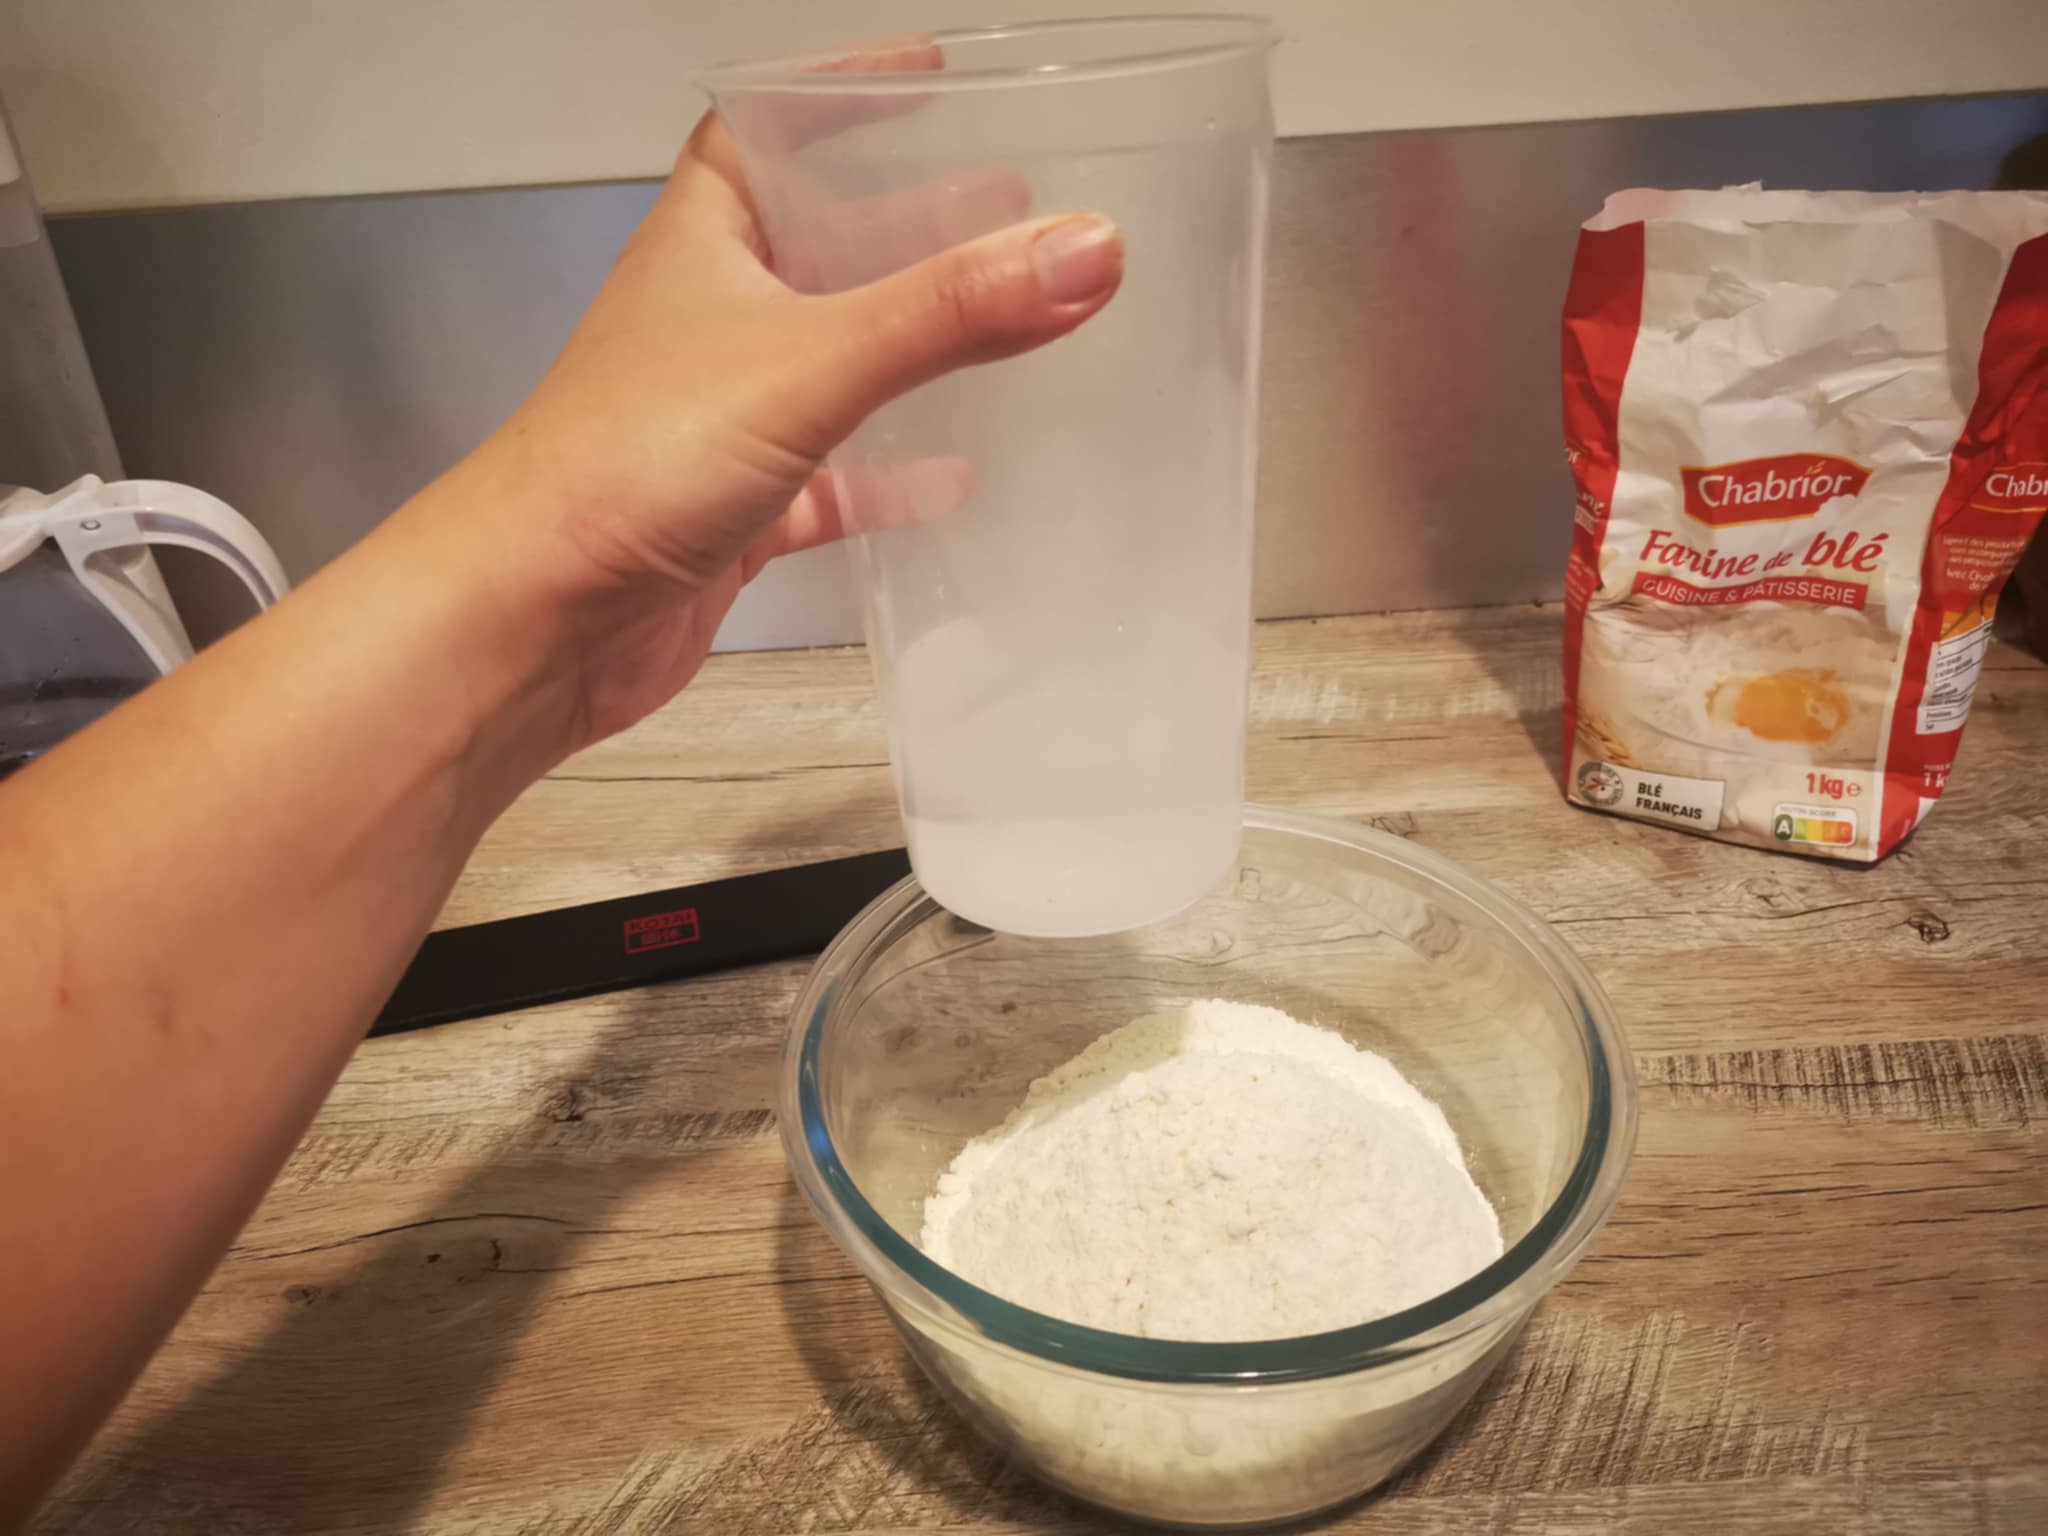
Then, I added the hot (but not boiling) water:
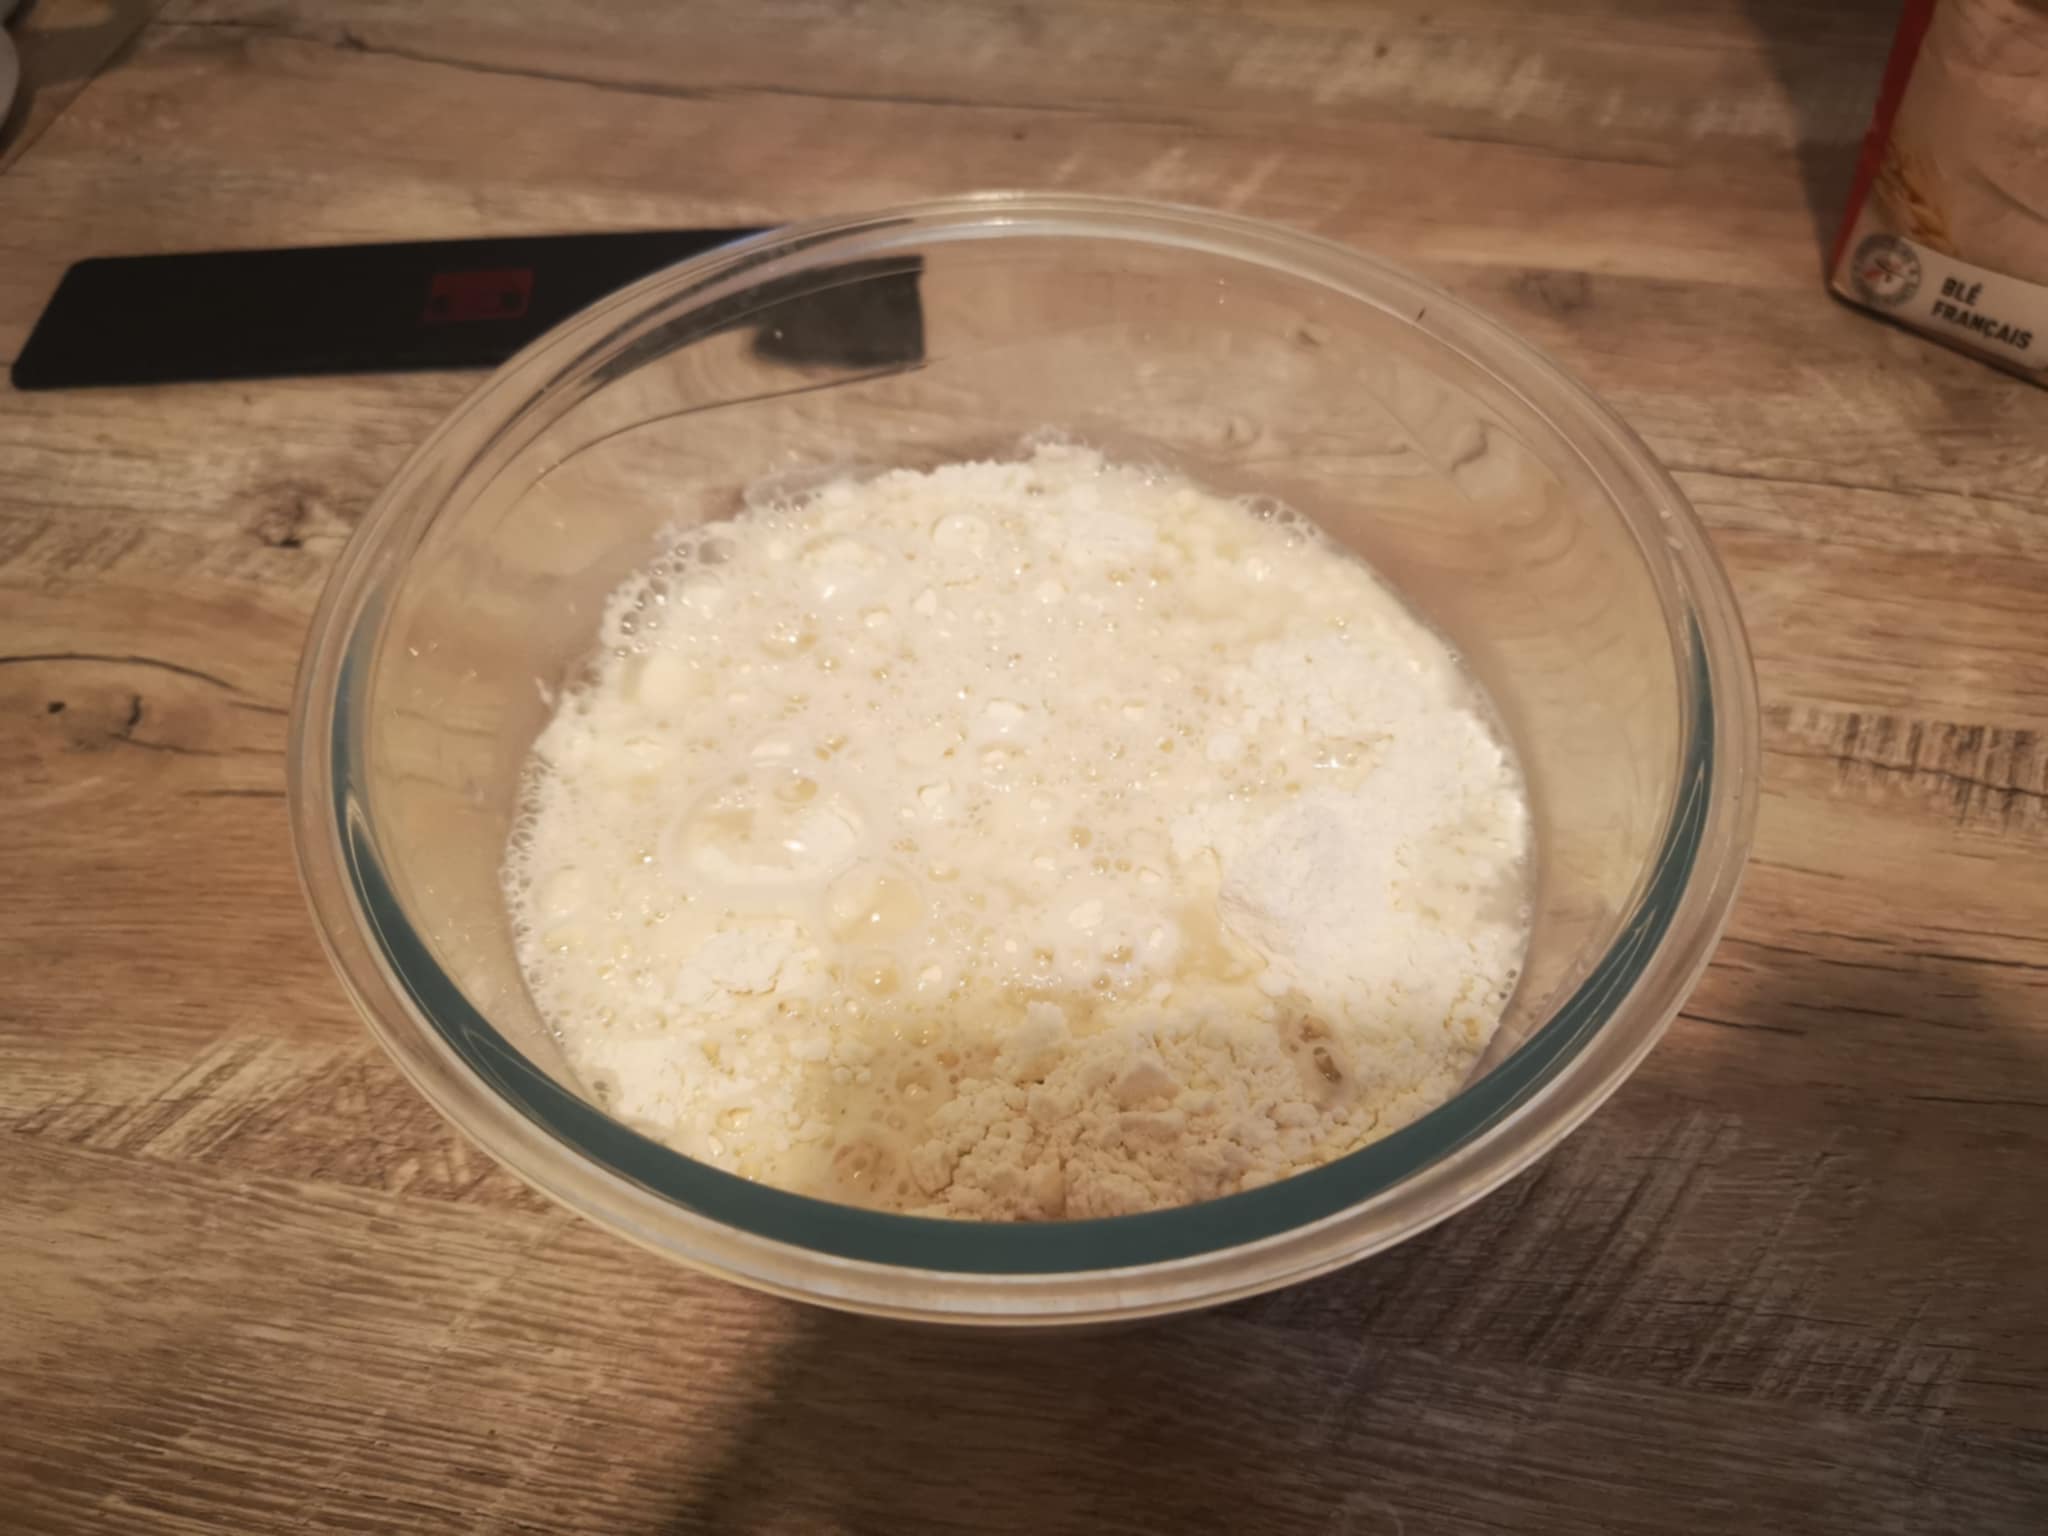
And I mixed it until I got a kind of dough.
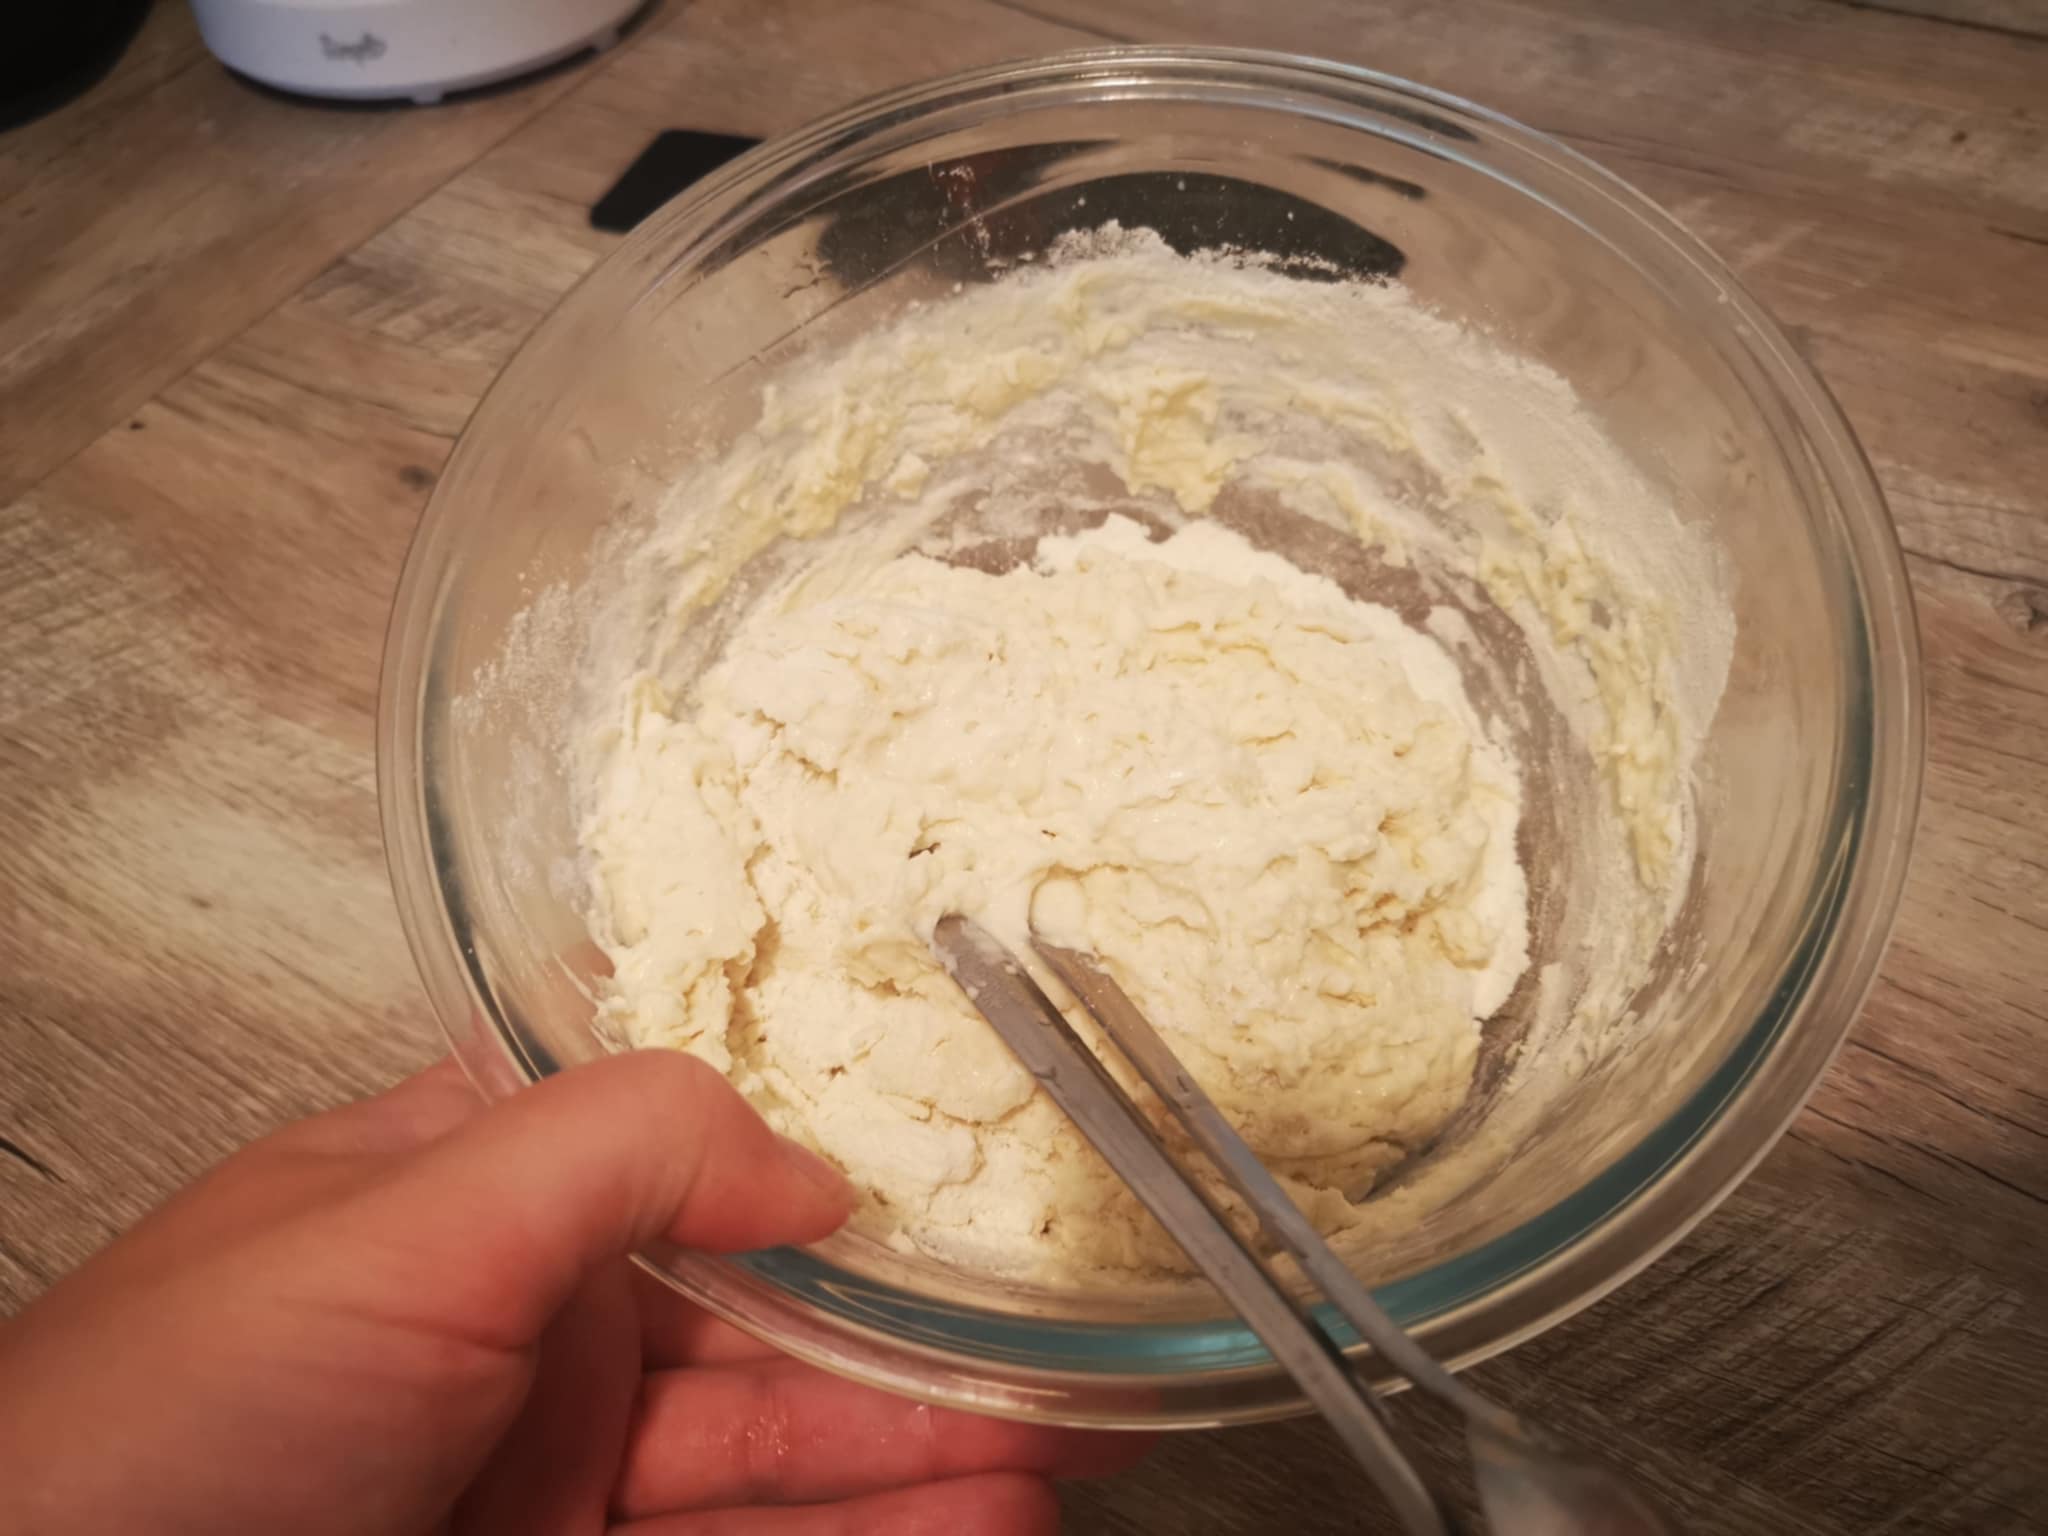
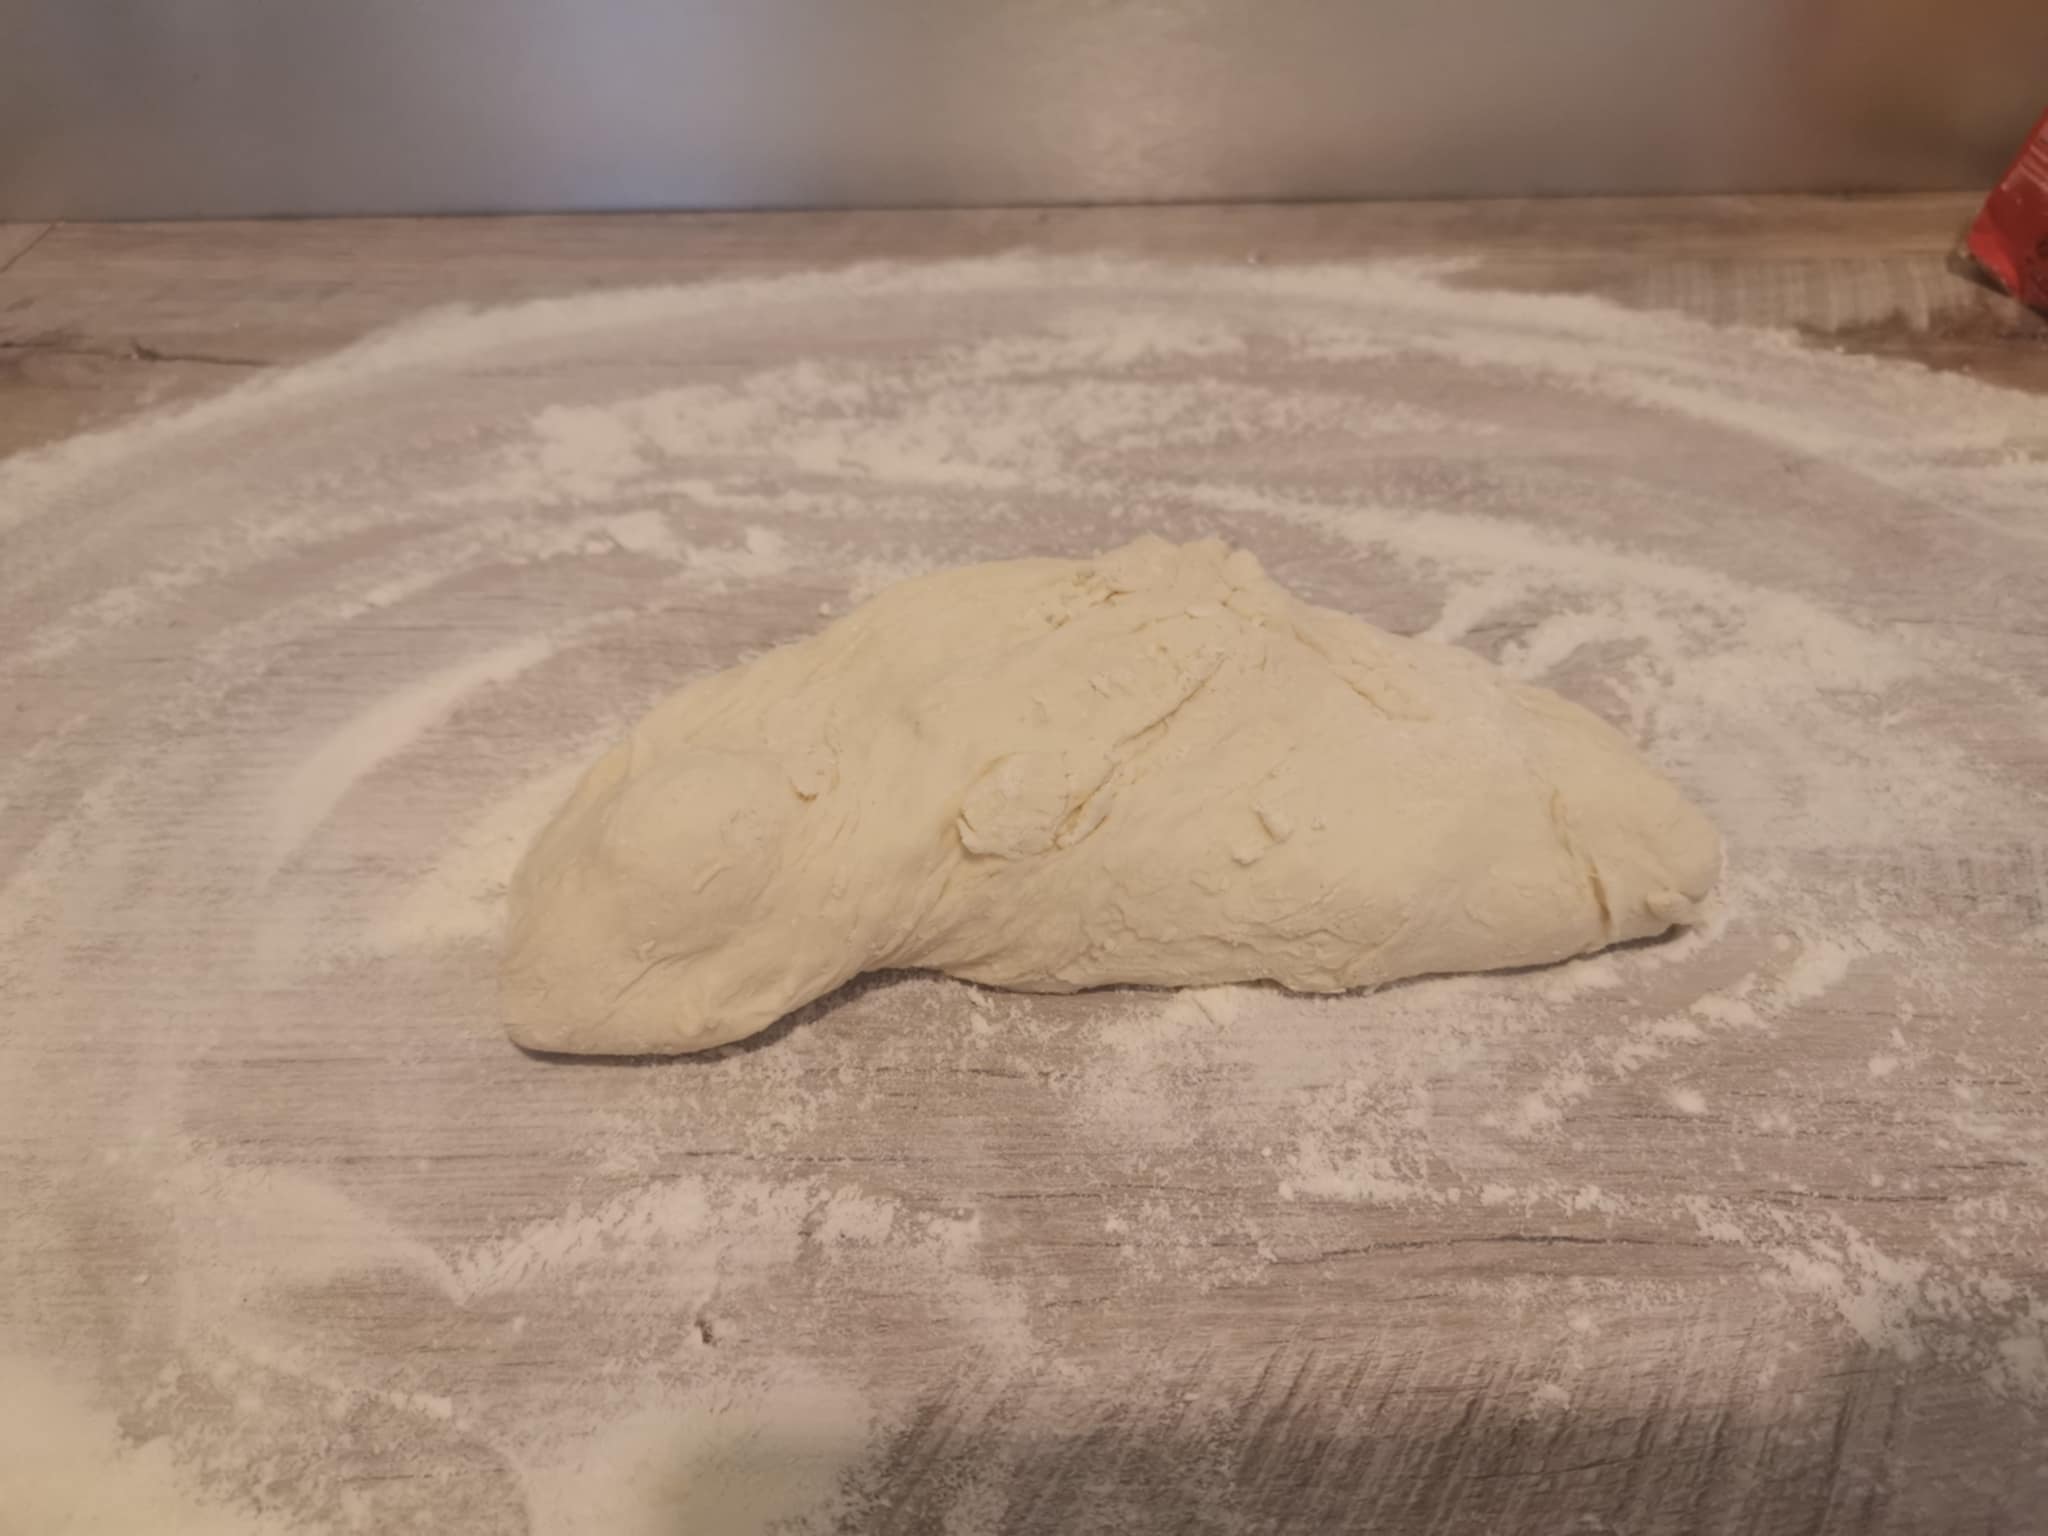
Next, knead it by hand for a few minutes. If it's still a little sticky, add a little flour.
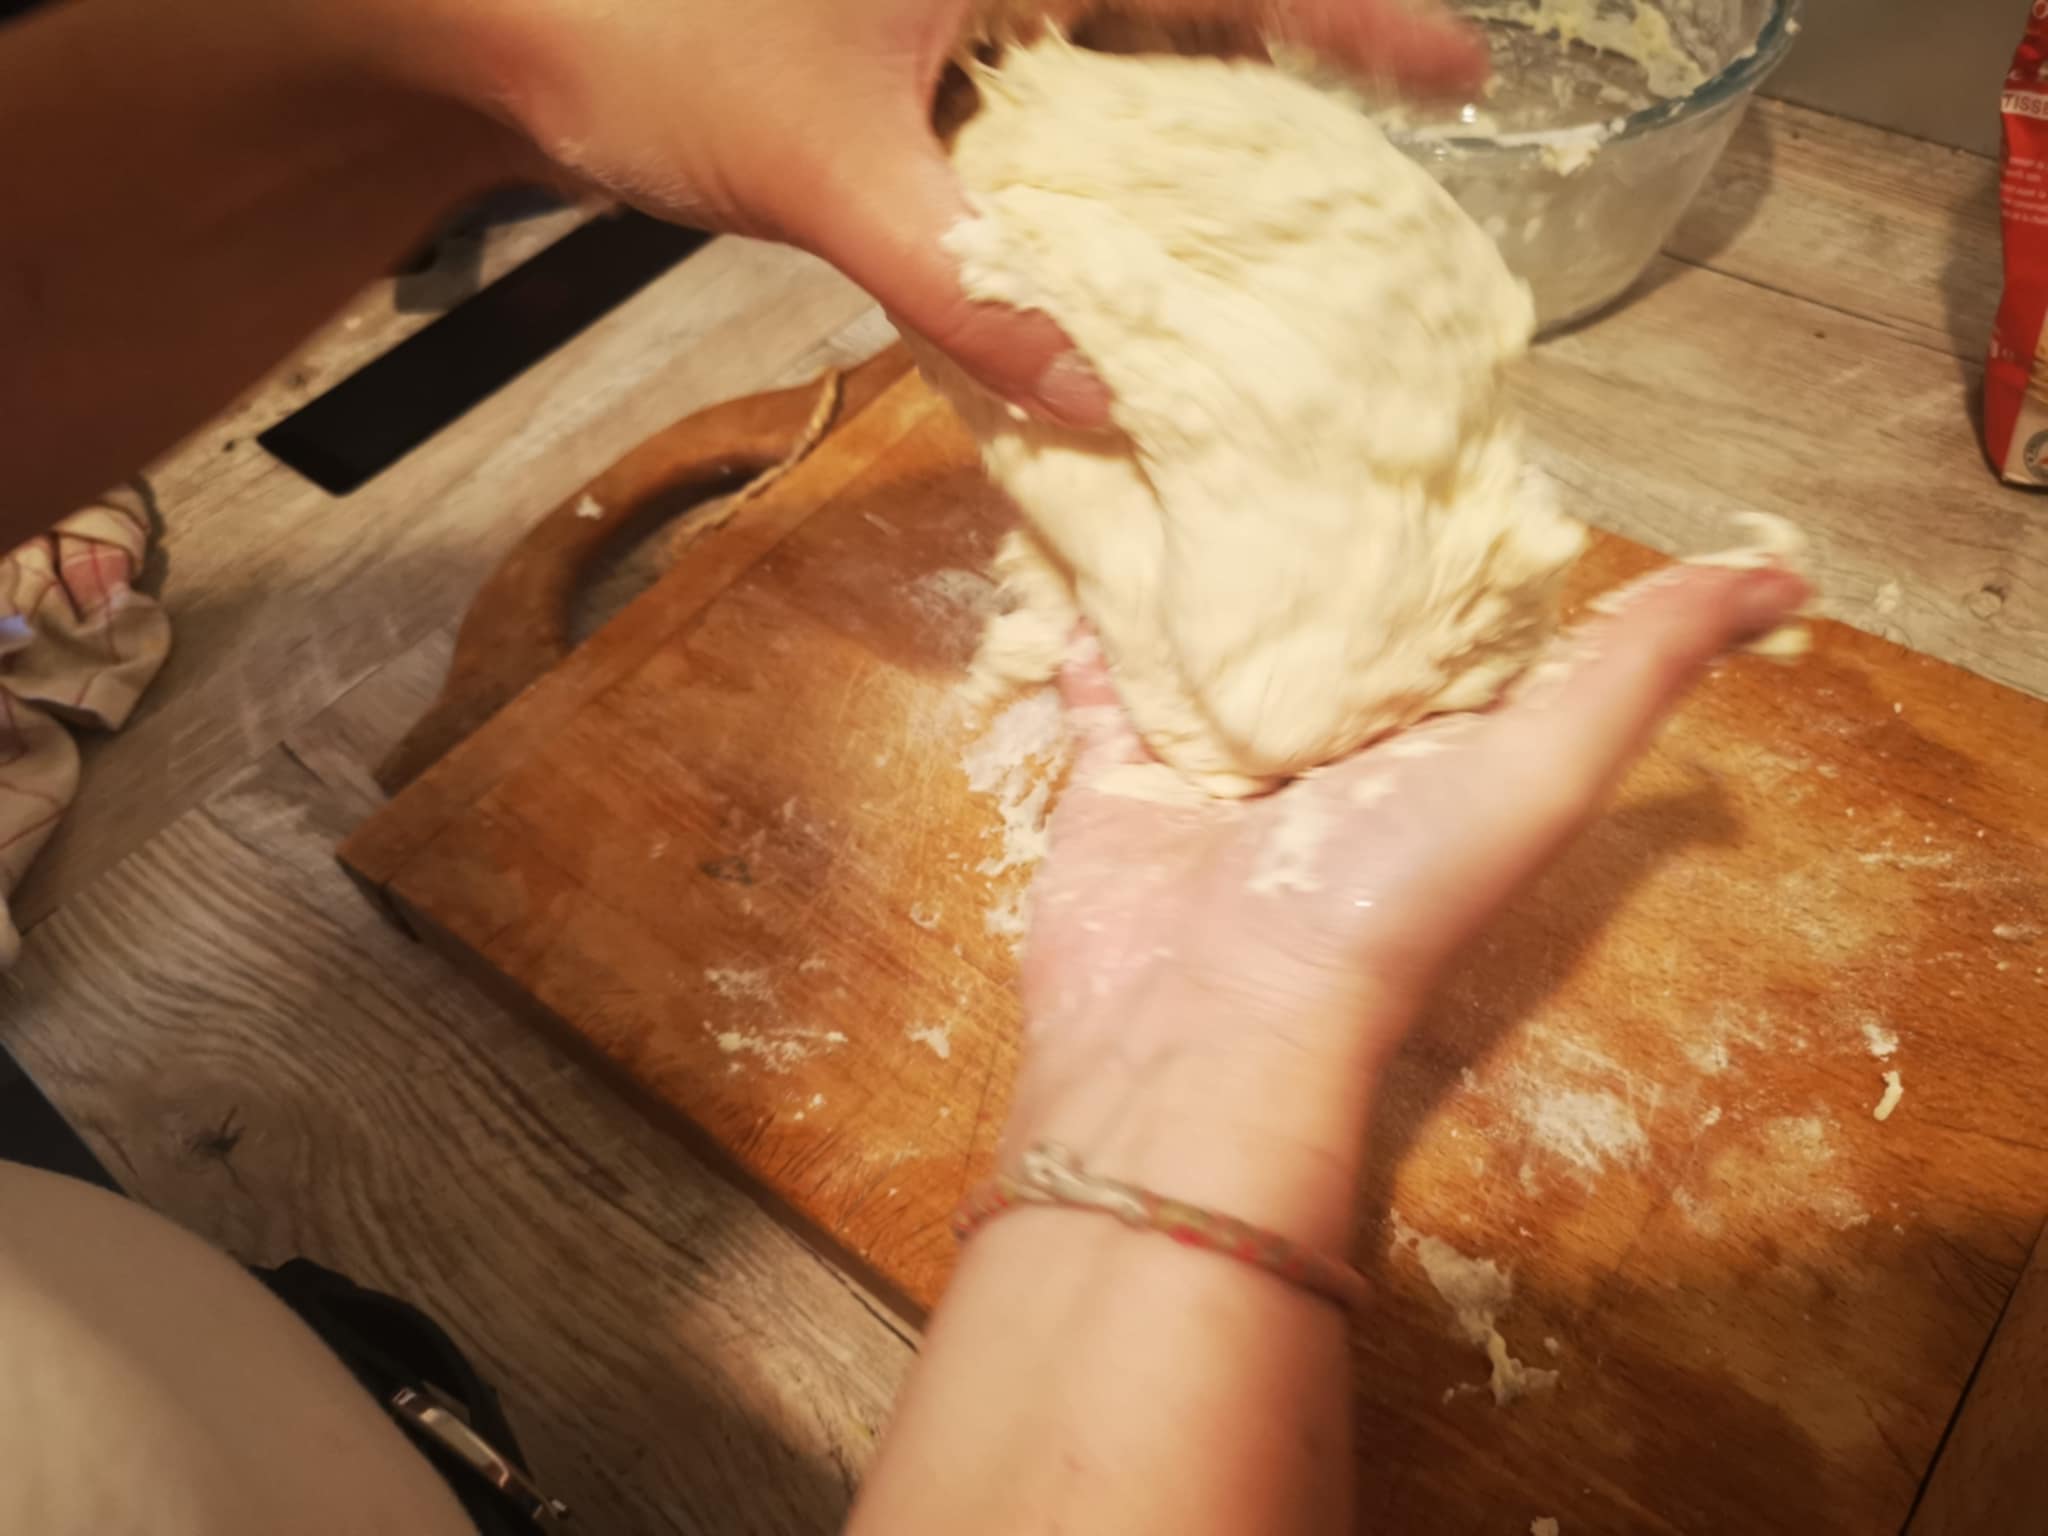
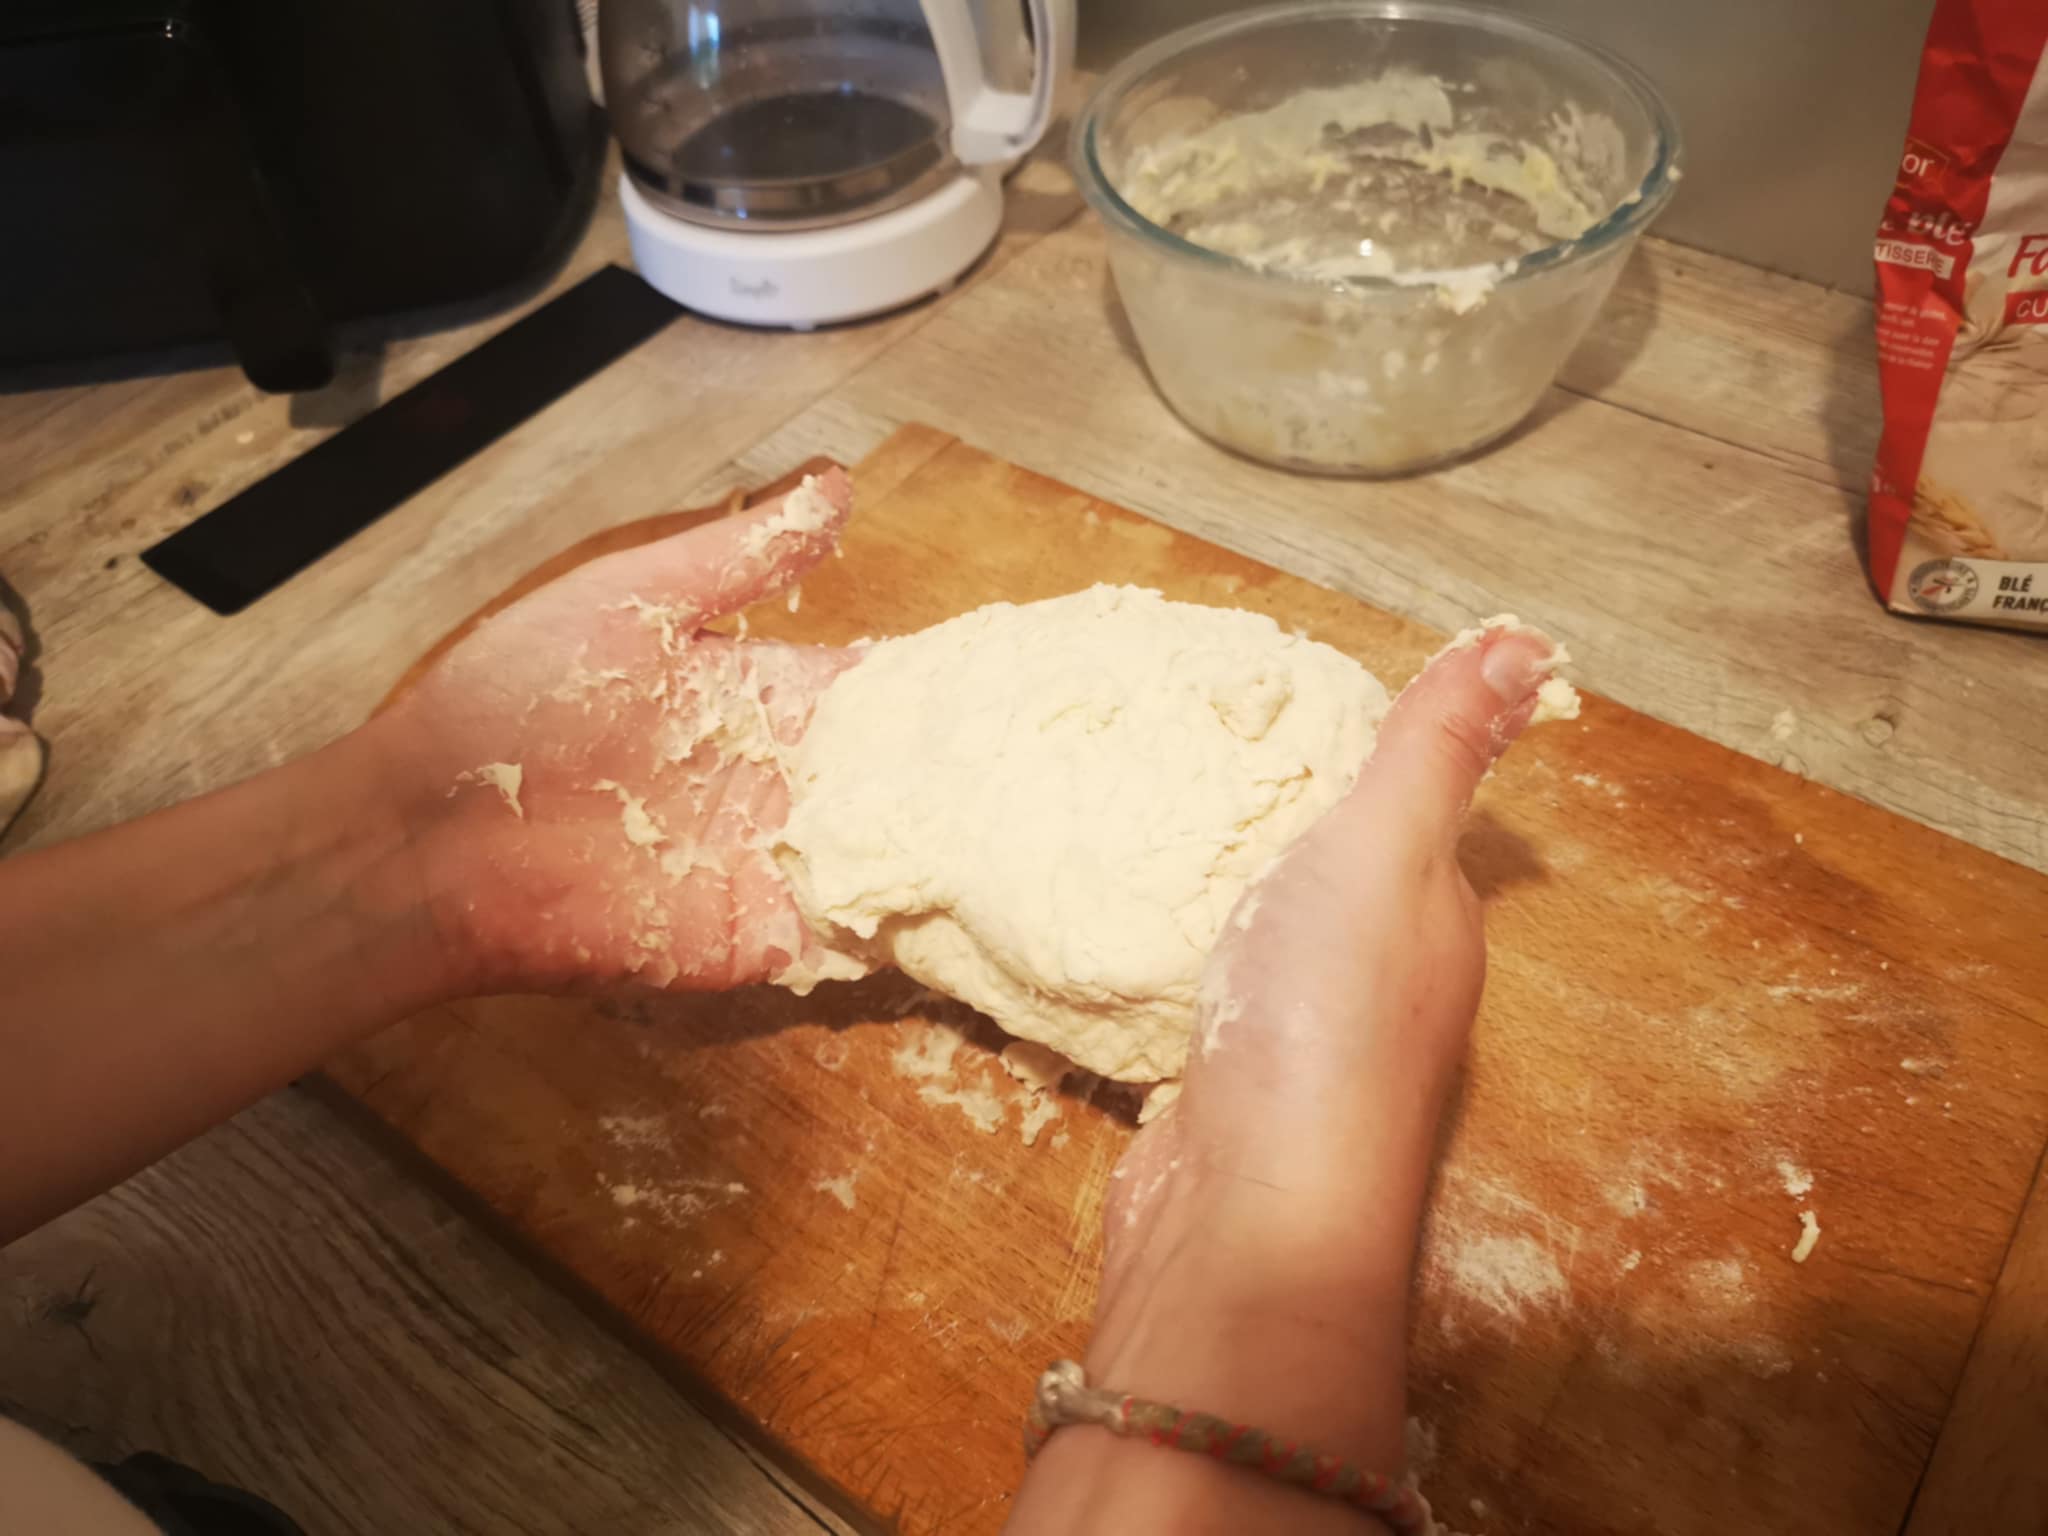
You should get a ball of dough.
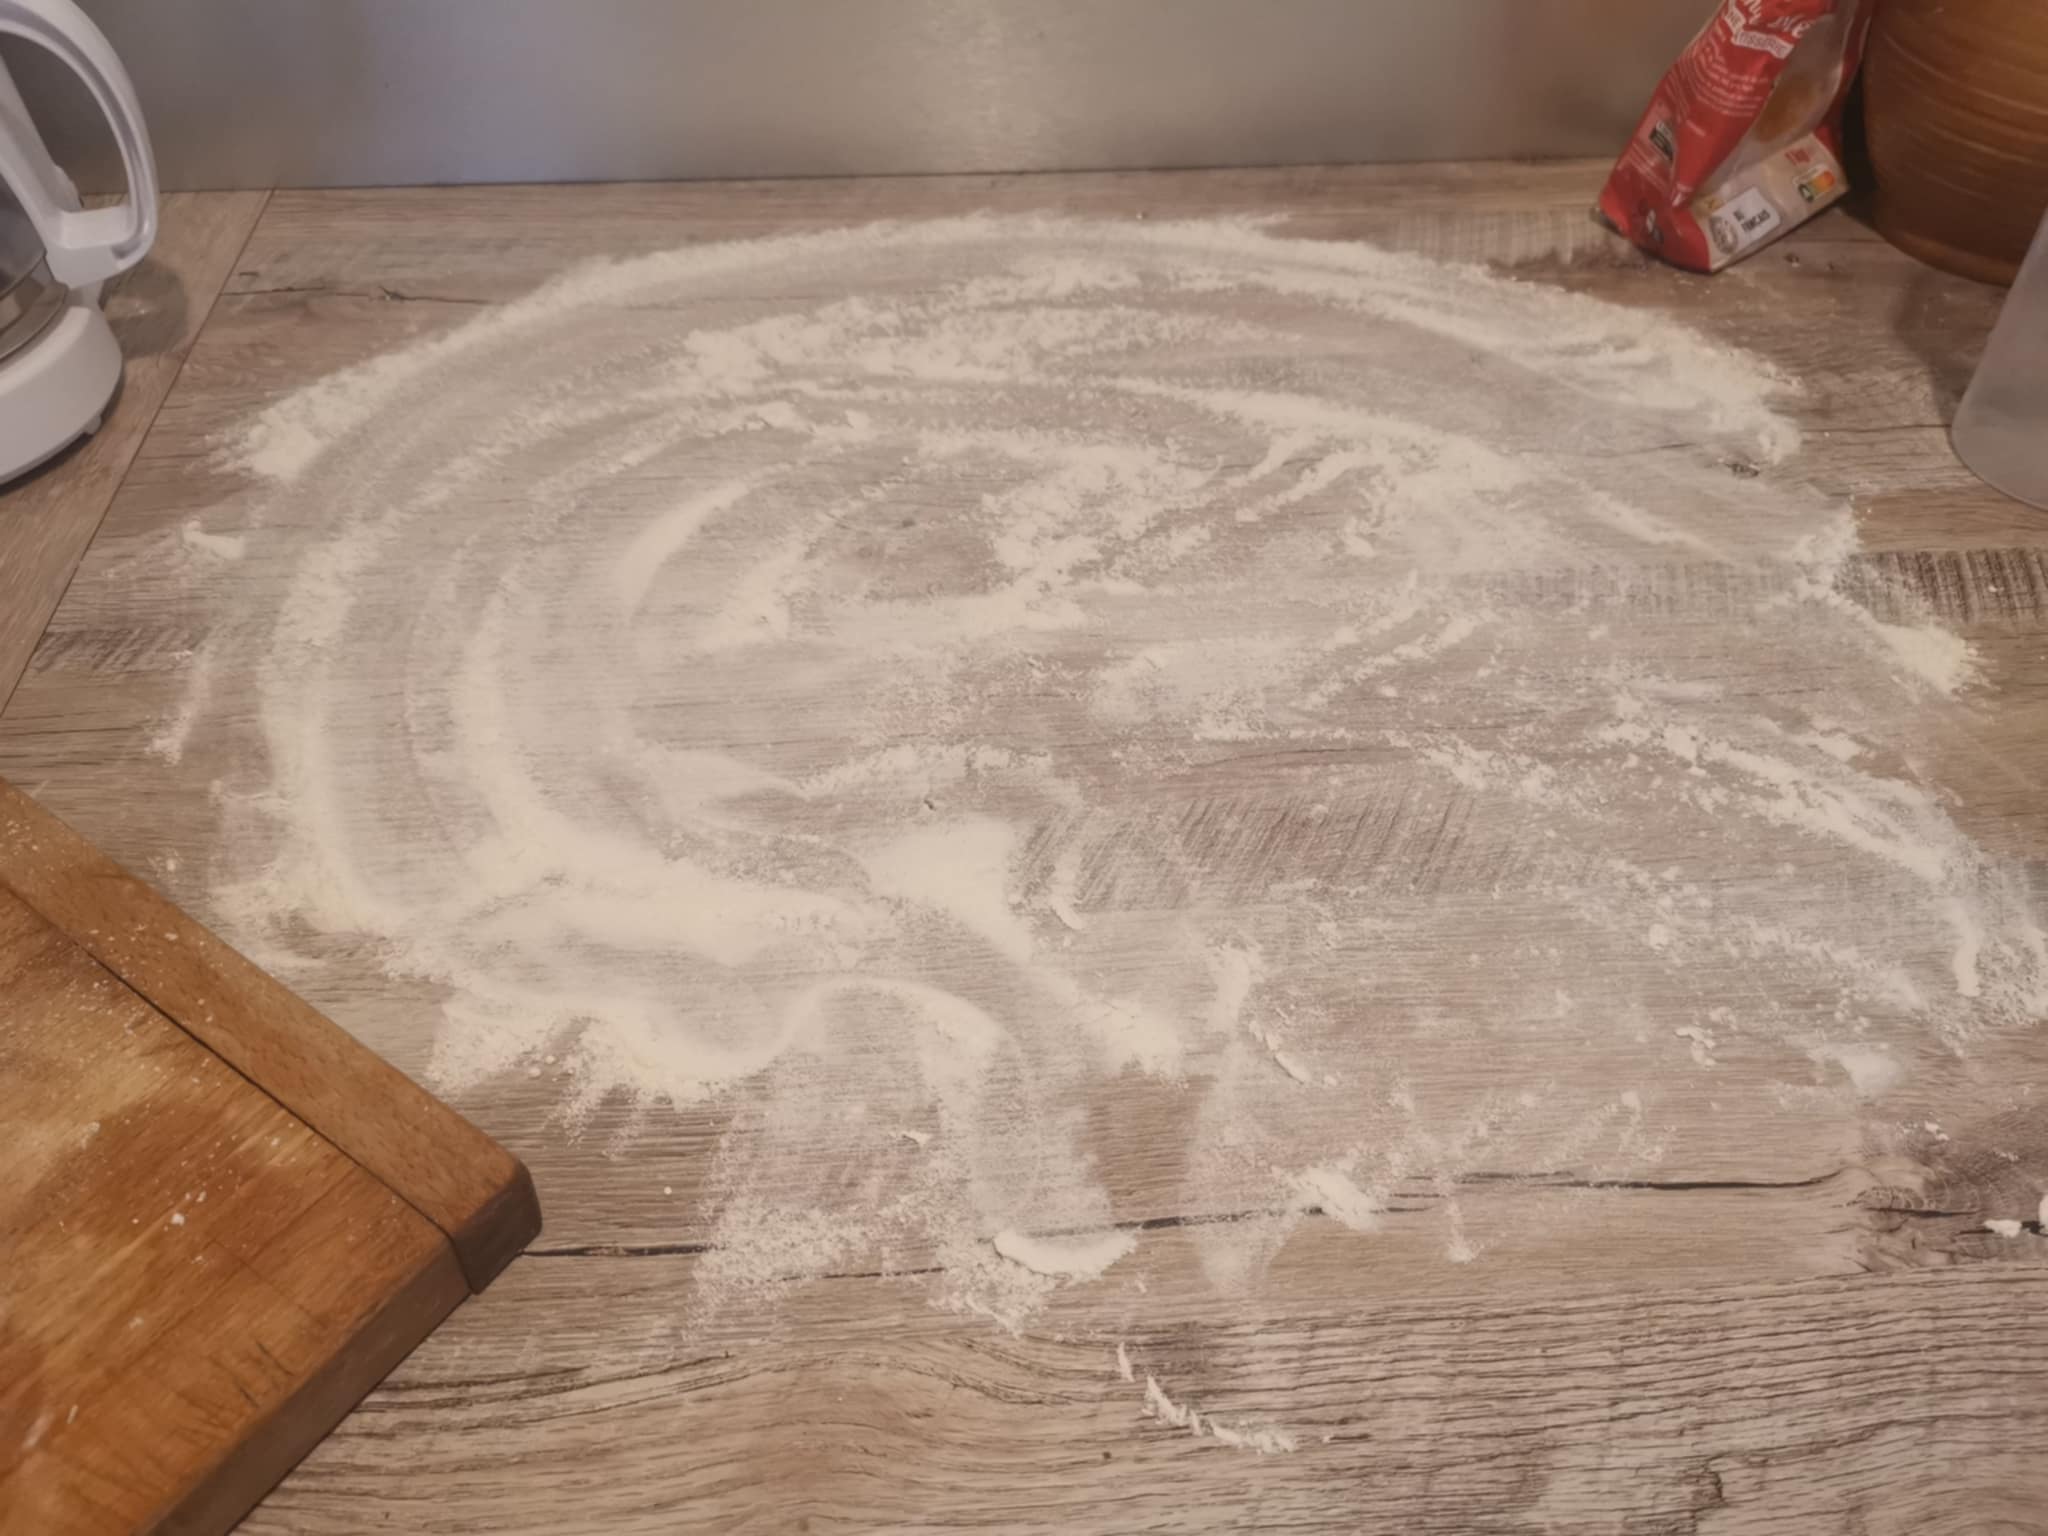
Next, spread a little flour on the work surface so you can roll out the dough without it sticking to the work surface.
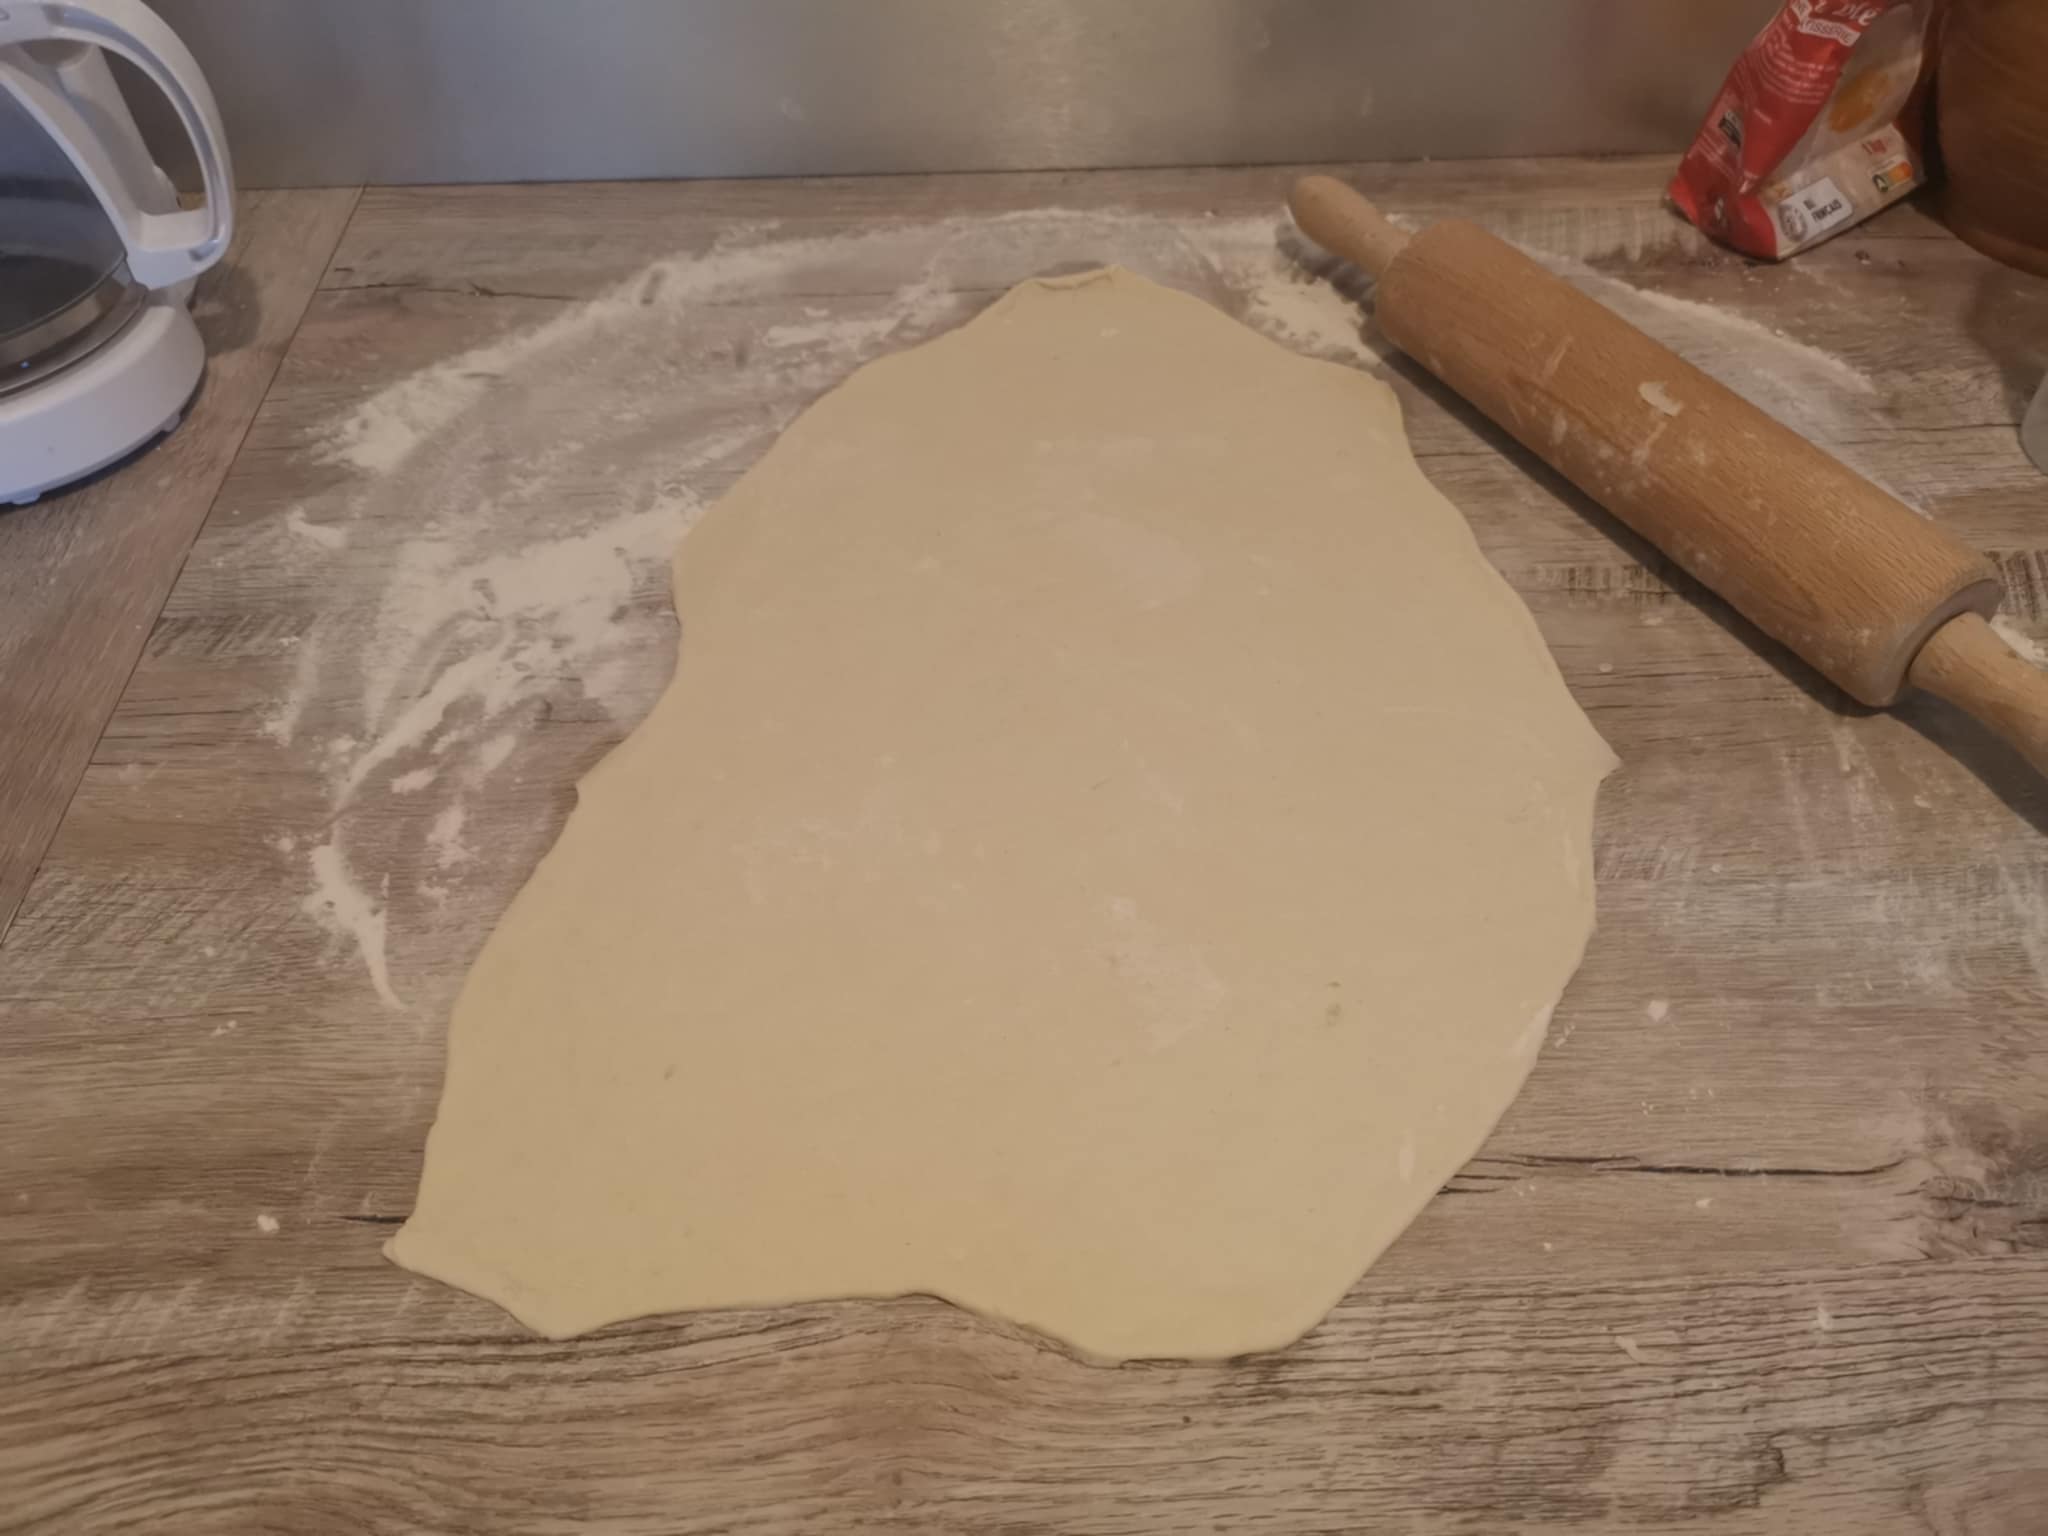
I rolled the dough as thin as possible.
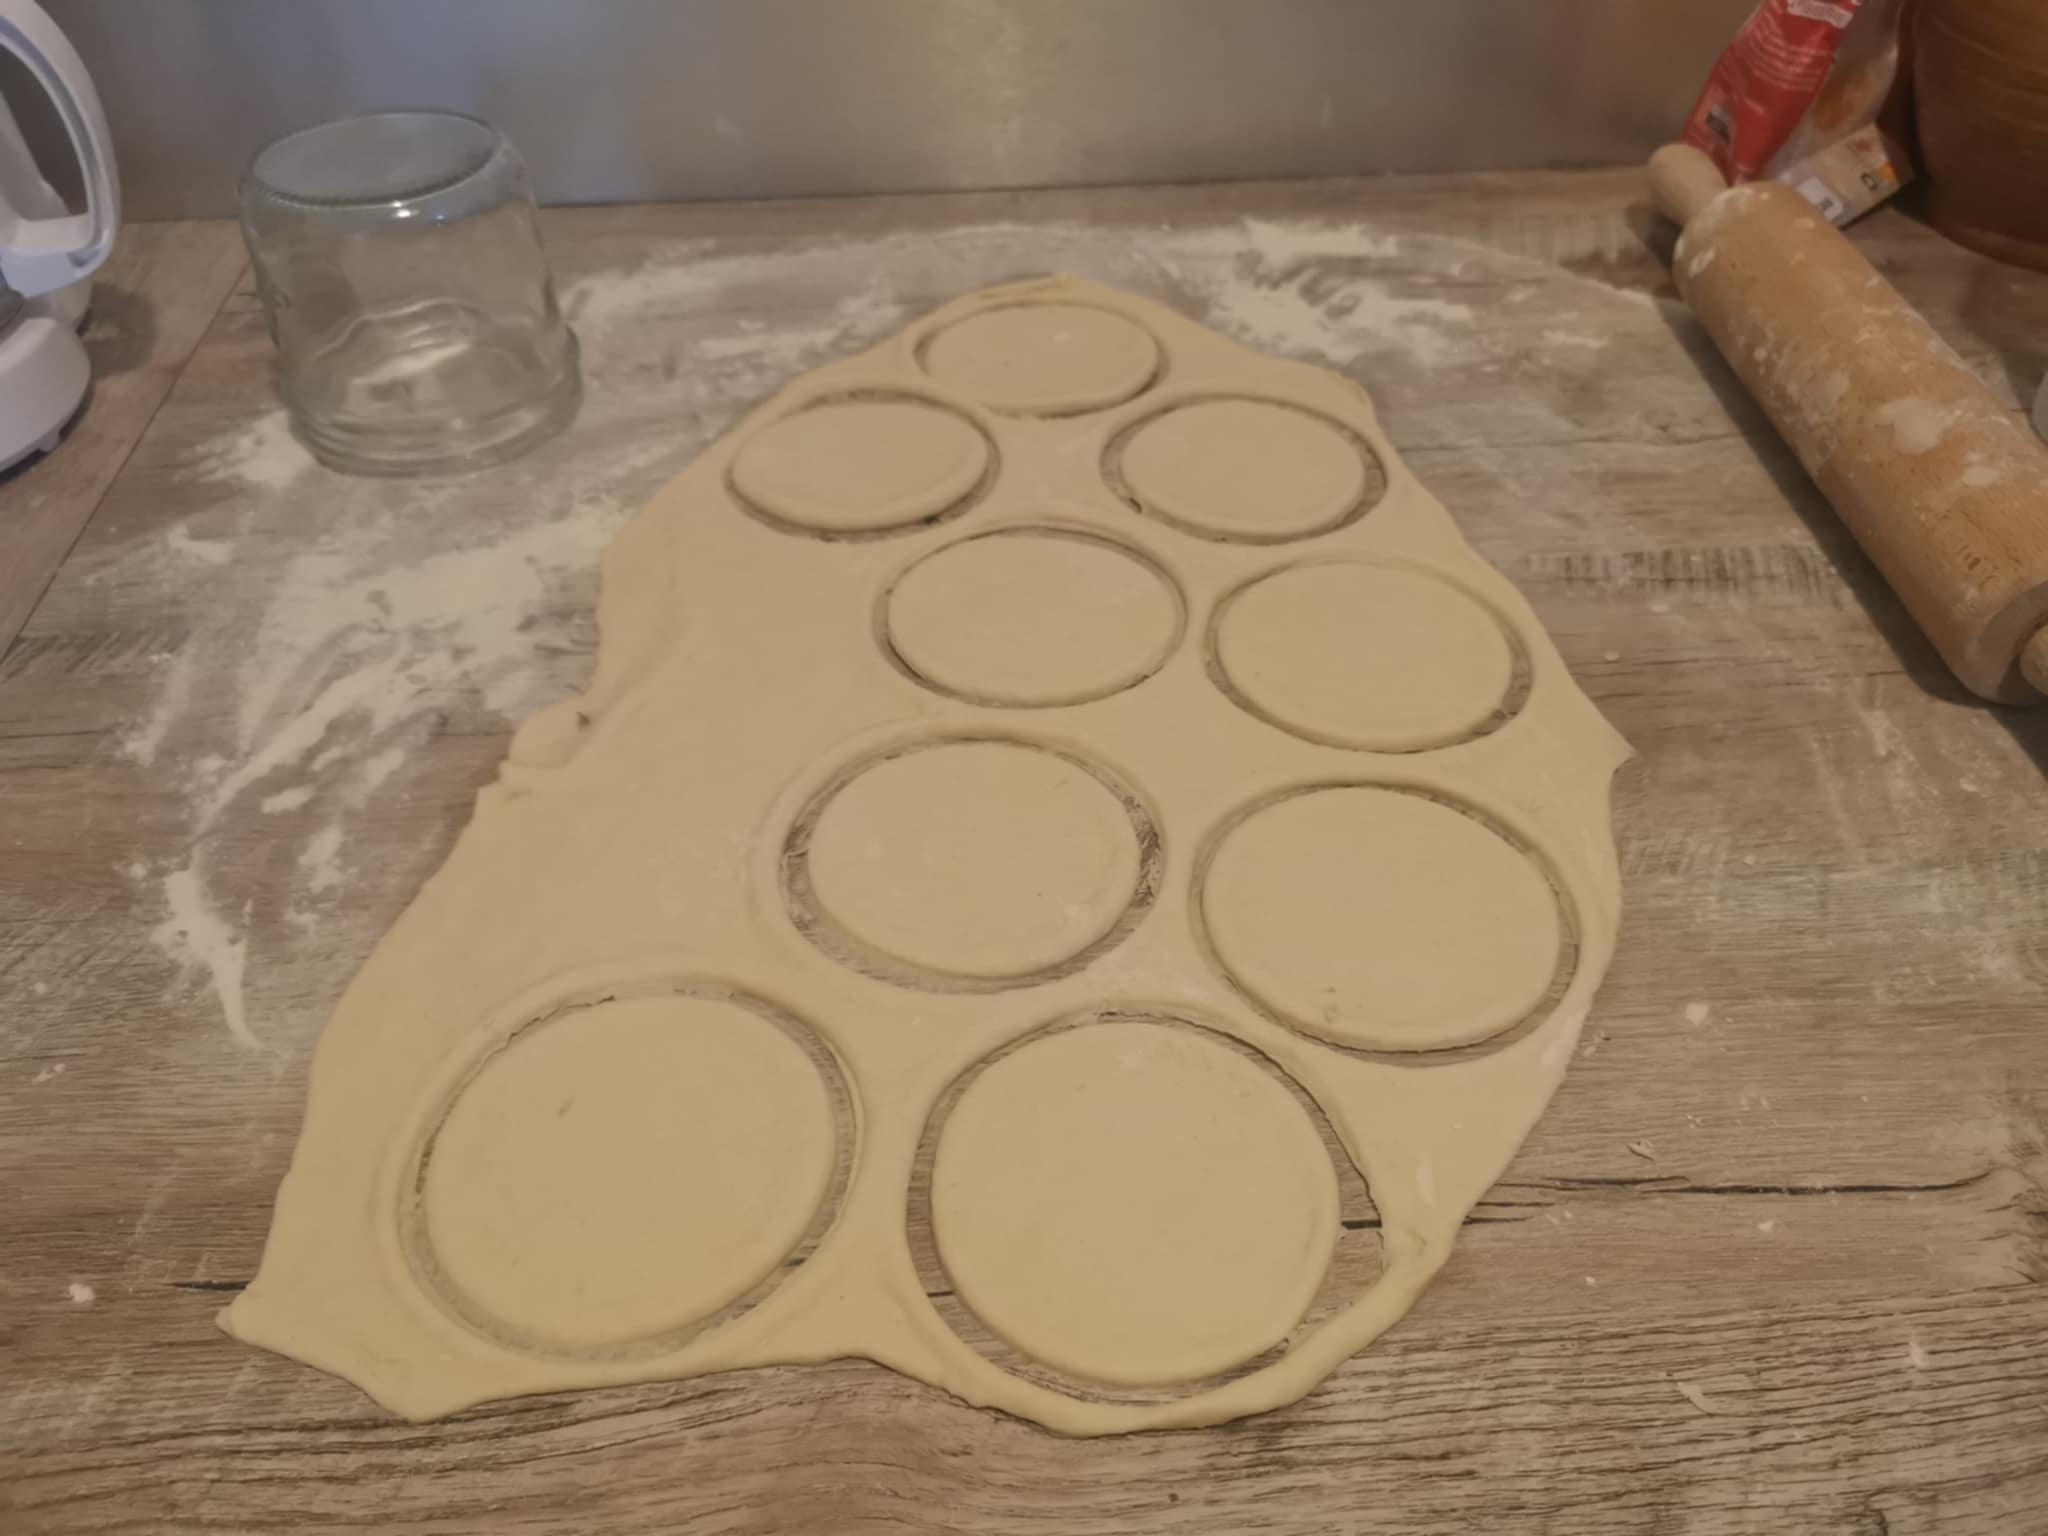
Next, you need to cut out circles; for this, I simply used a glass.
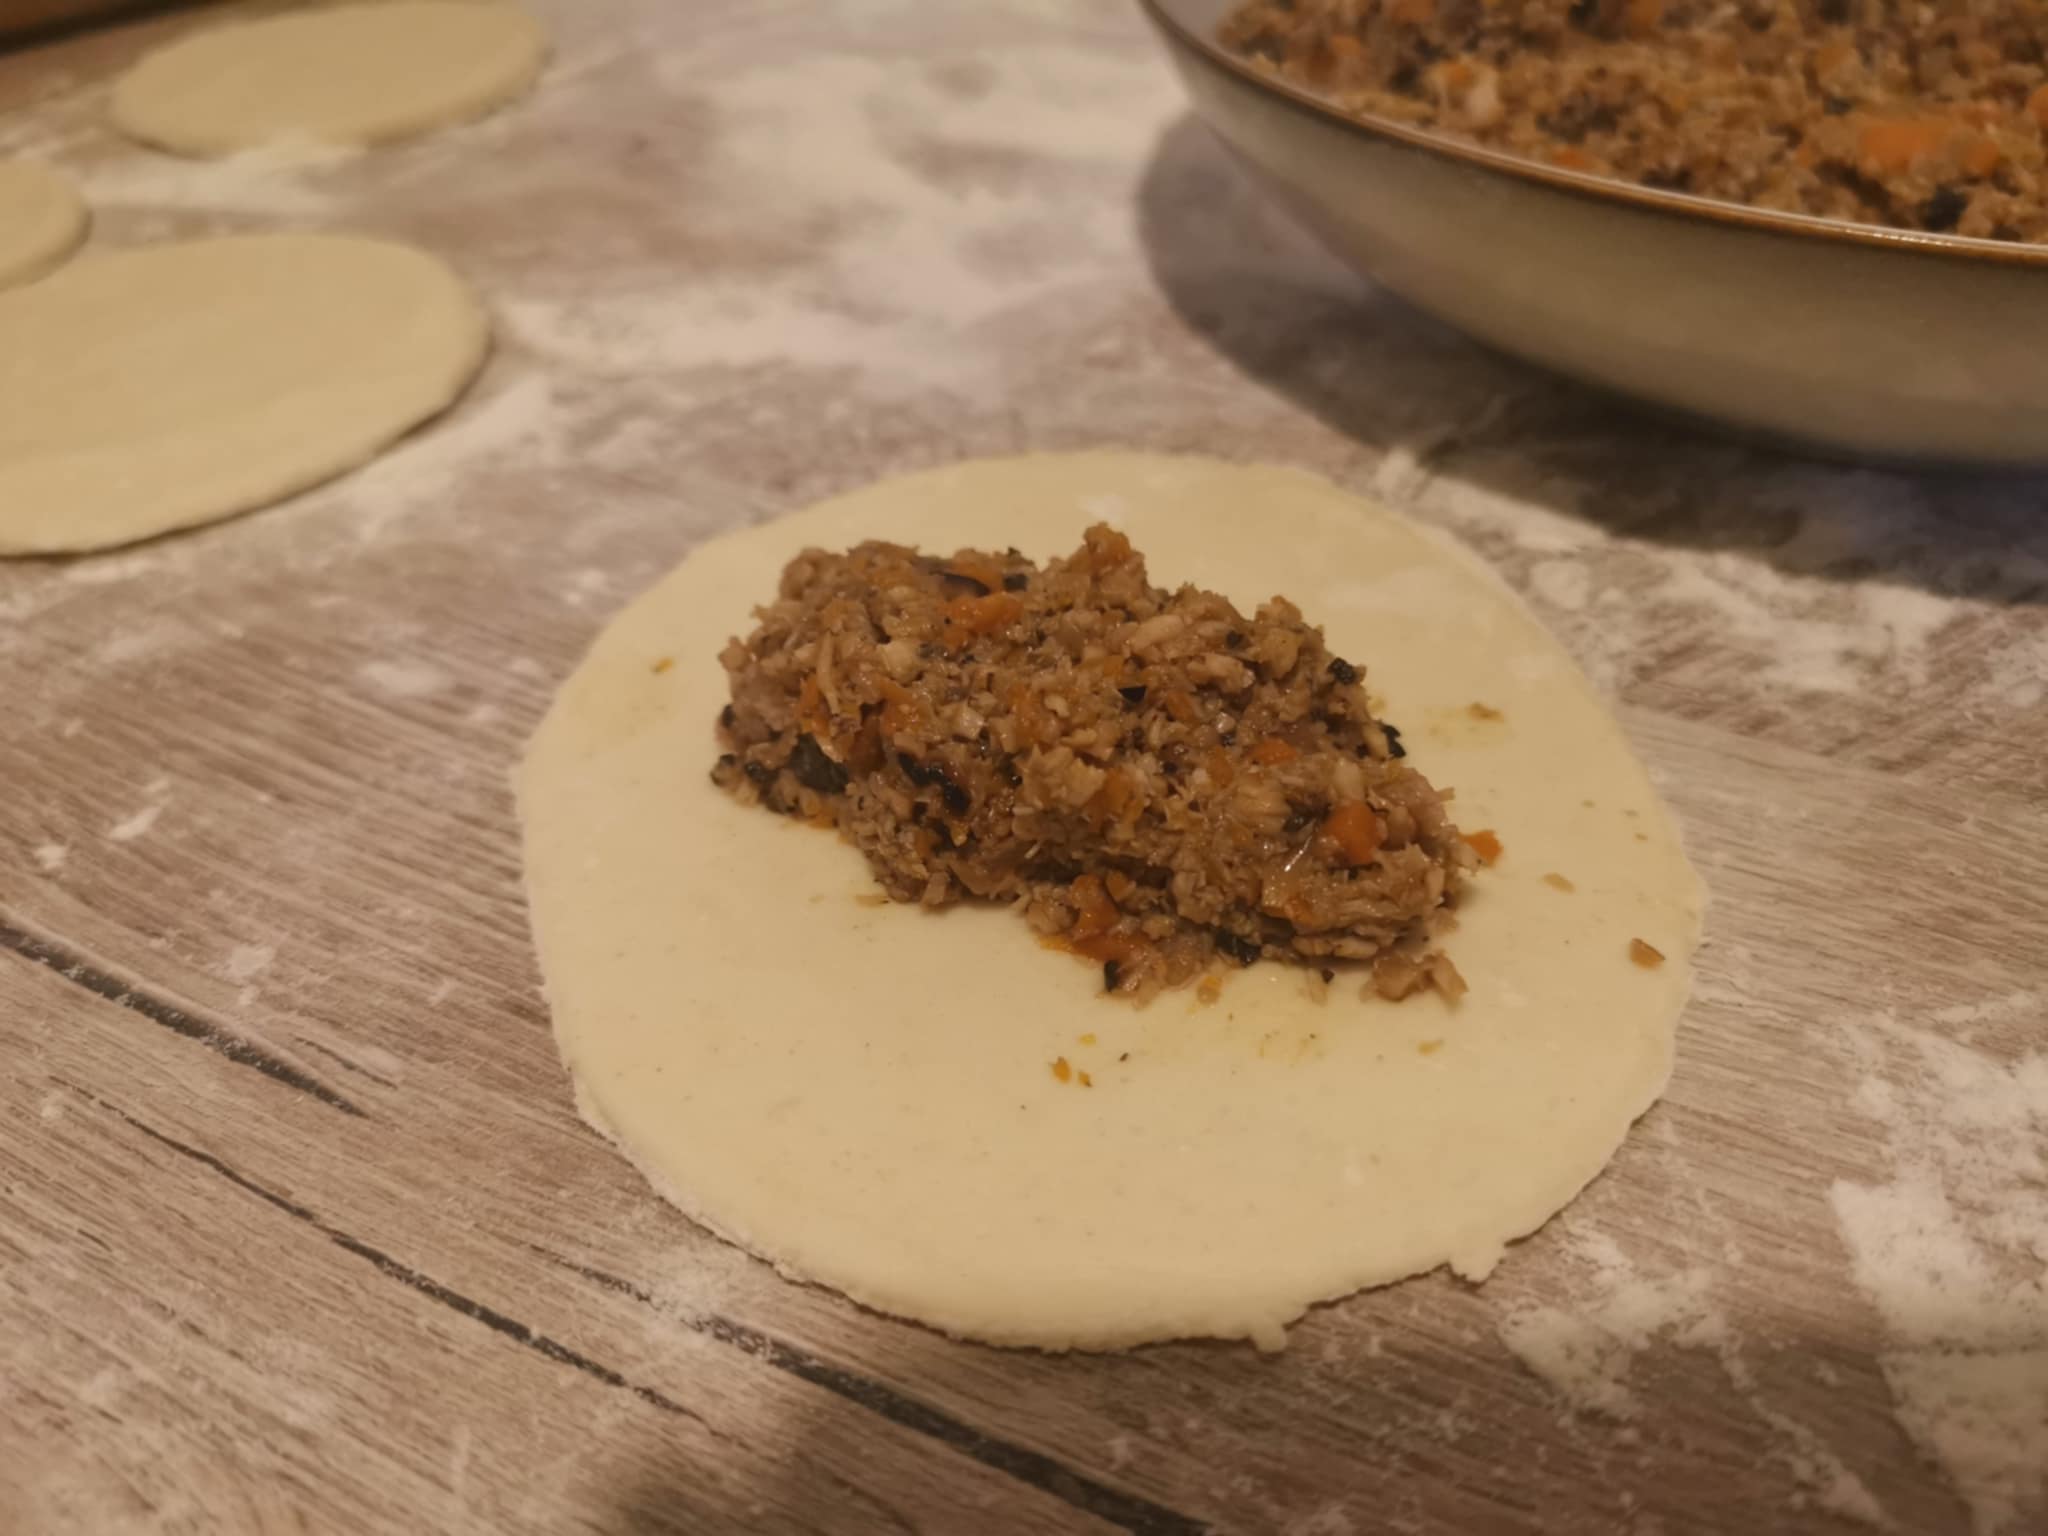
Once I had all my circles, I started assembling the gyoza.
Take a circle in your left hand (if you're right-handed) and place a little filling on it. Then, fold the circle in half and seal the edges by wetting them. You want to form a kind of "wave" shape.
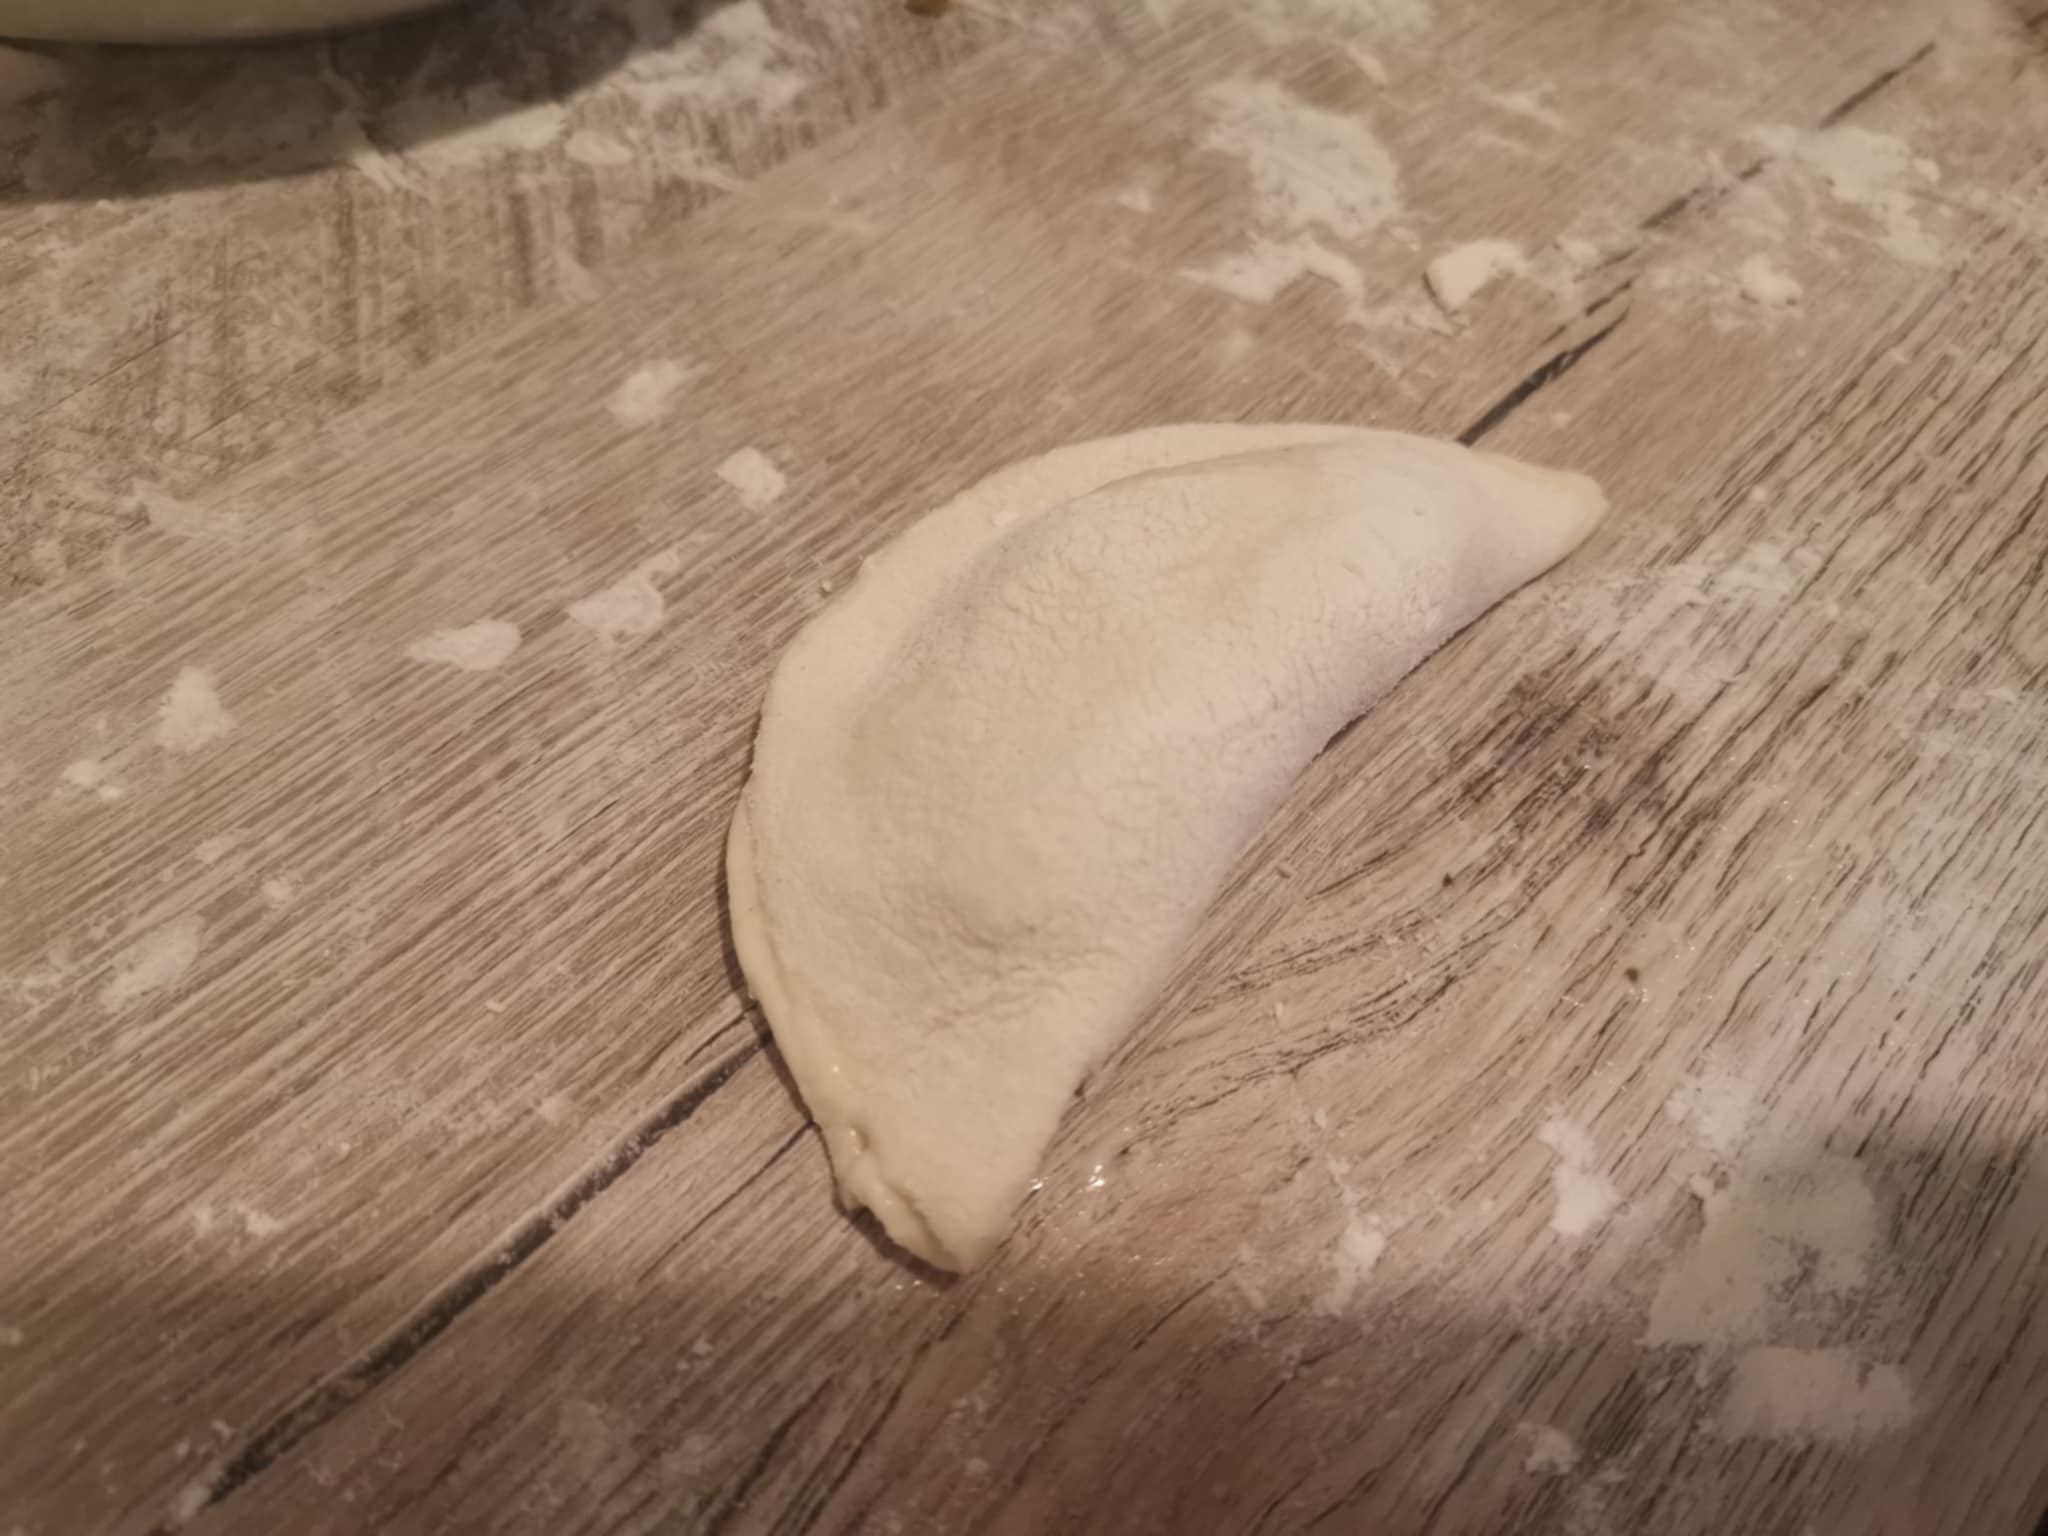
The first few steps are quite tedious to make, but once you get the hang of it, it's fine, almost satisfying 🤣
And once the gyozas are formed, you can move on to cooking them.
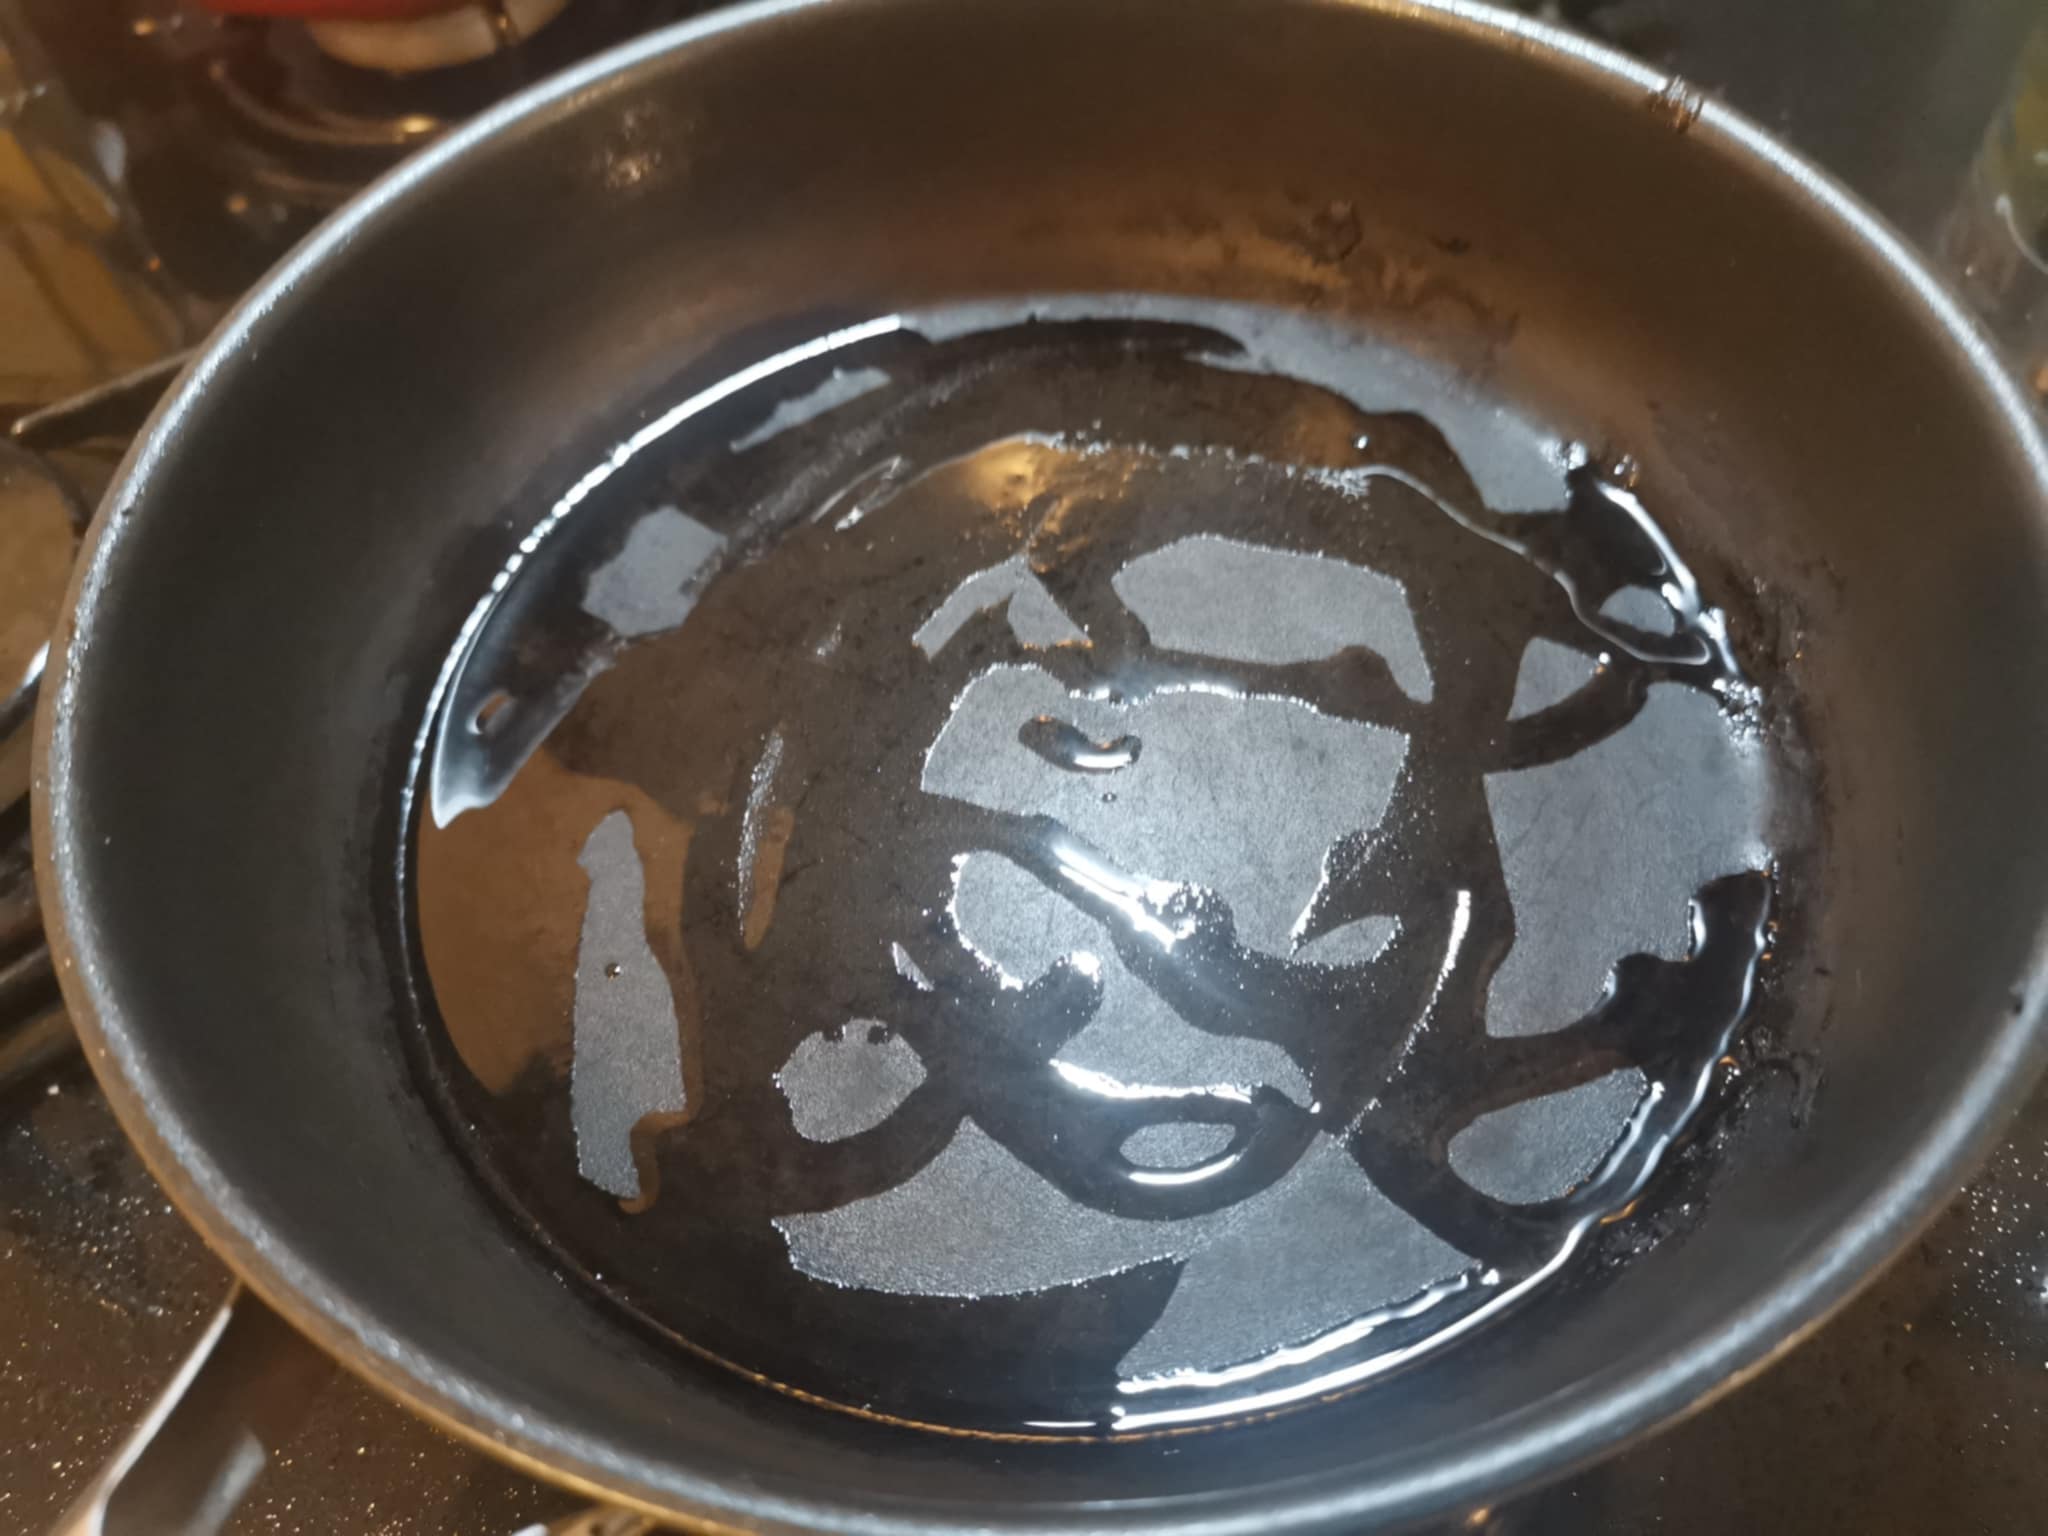
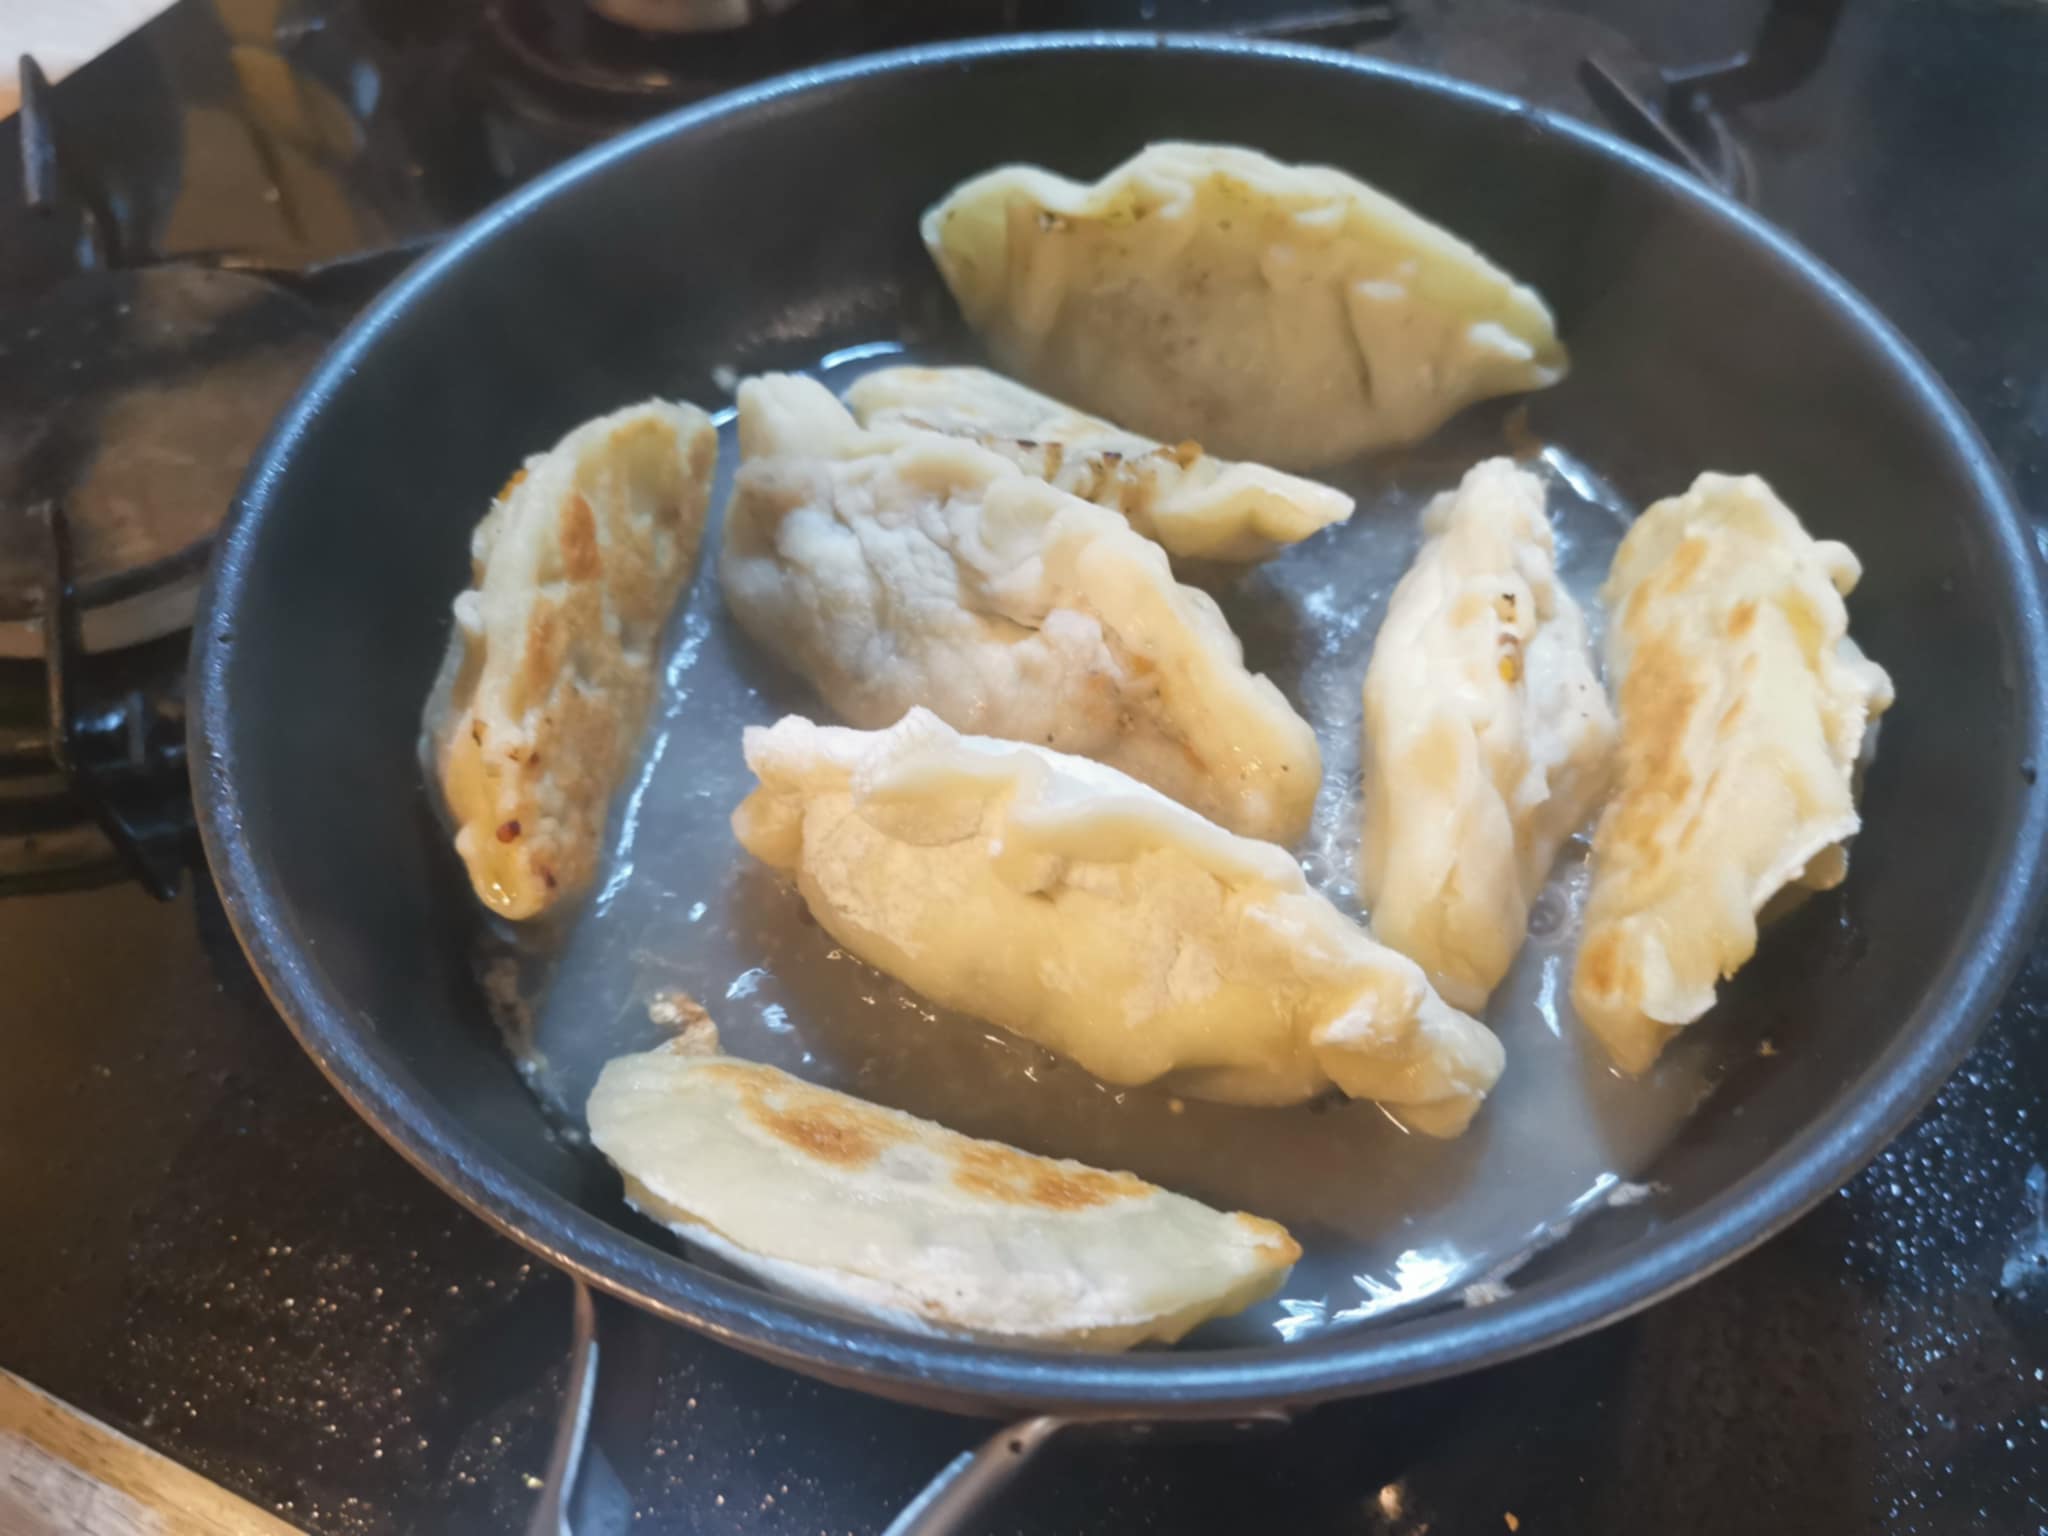
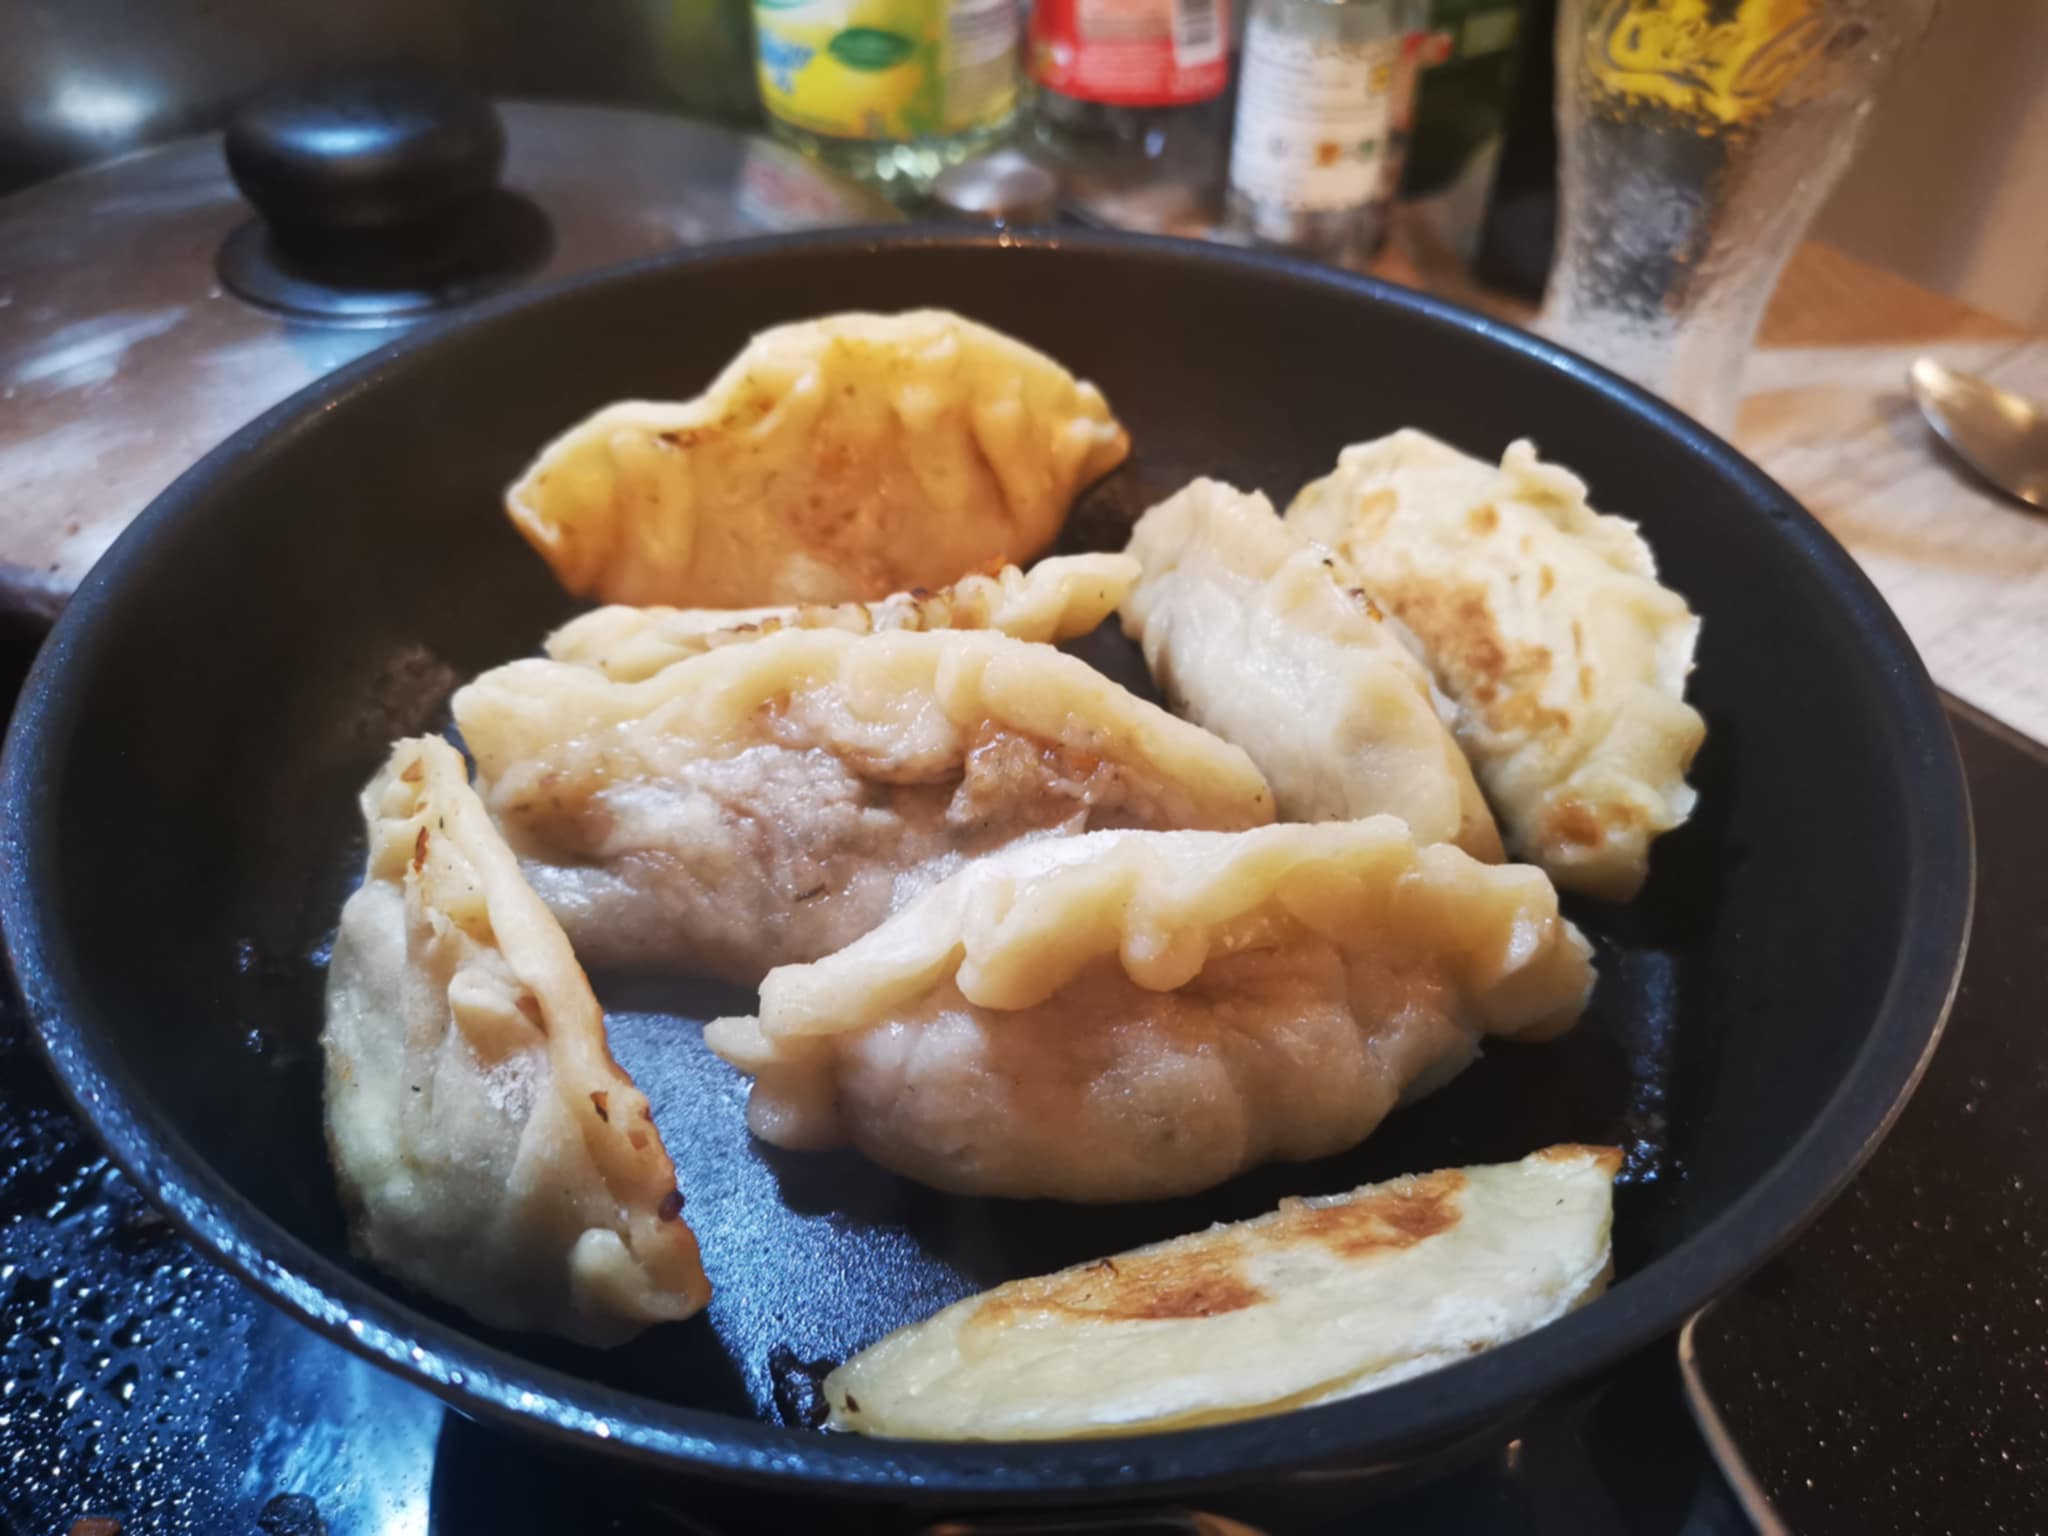
To do this, heat a little olive oil (or any other oil) and add the gyozas to grill them on one side only.
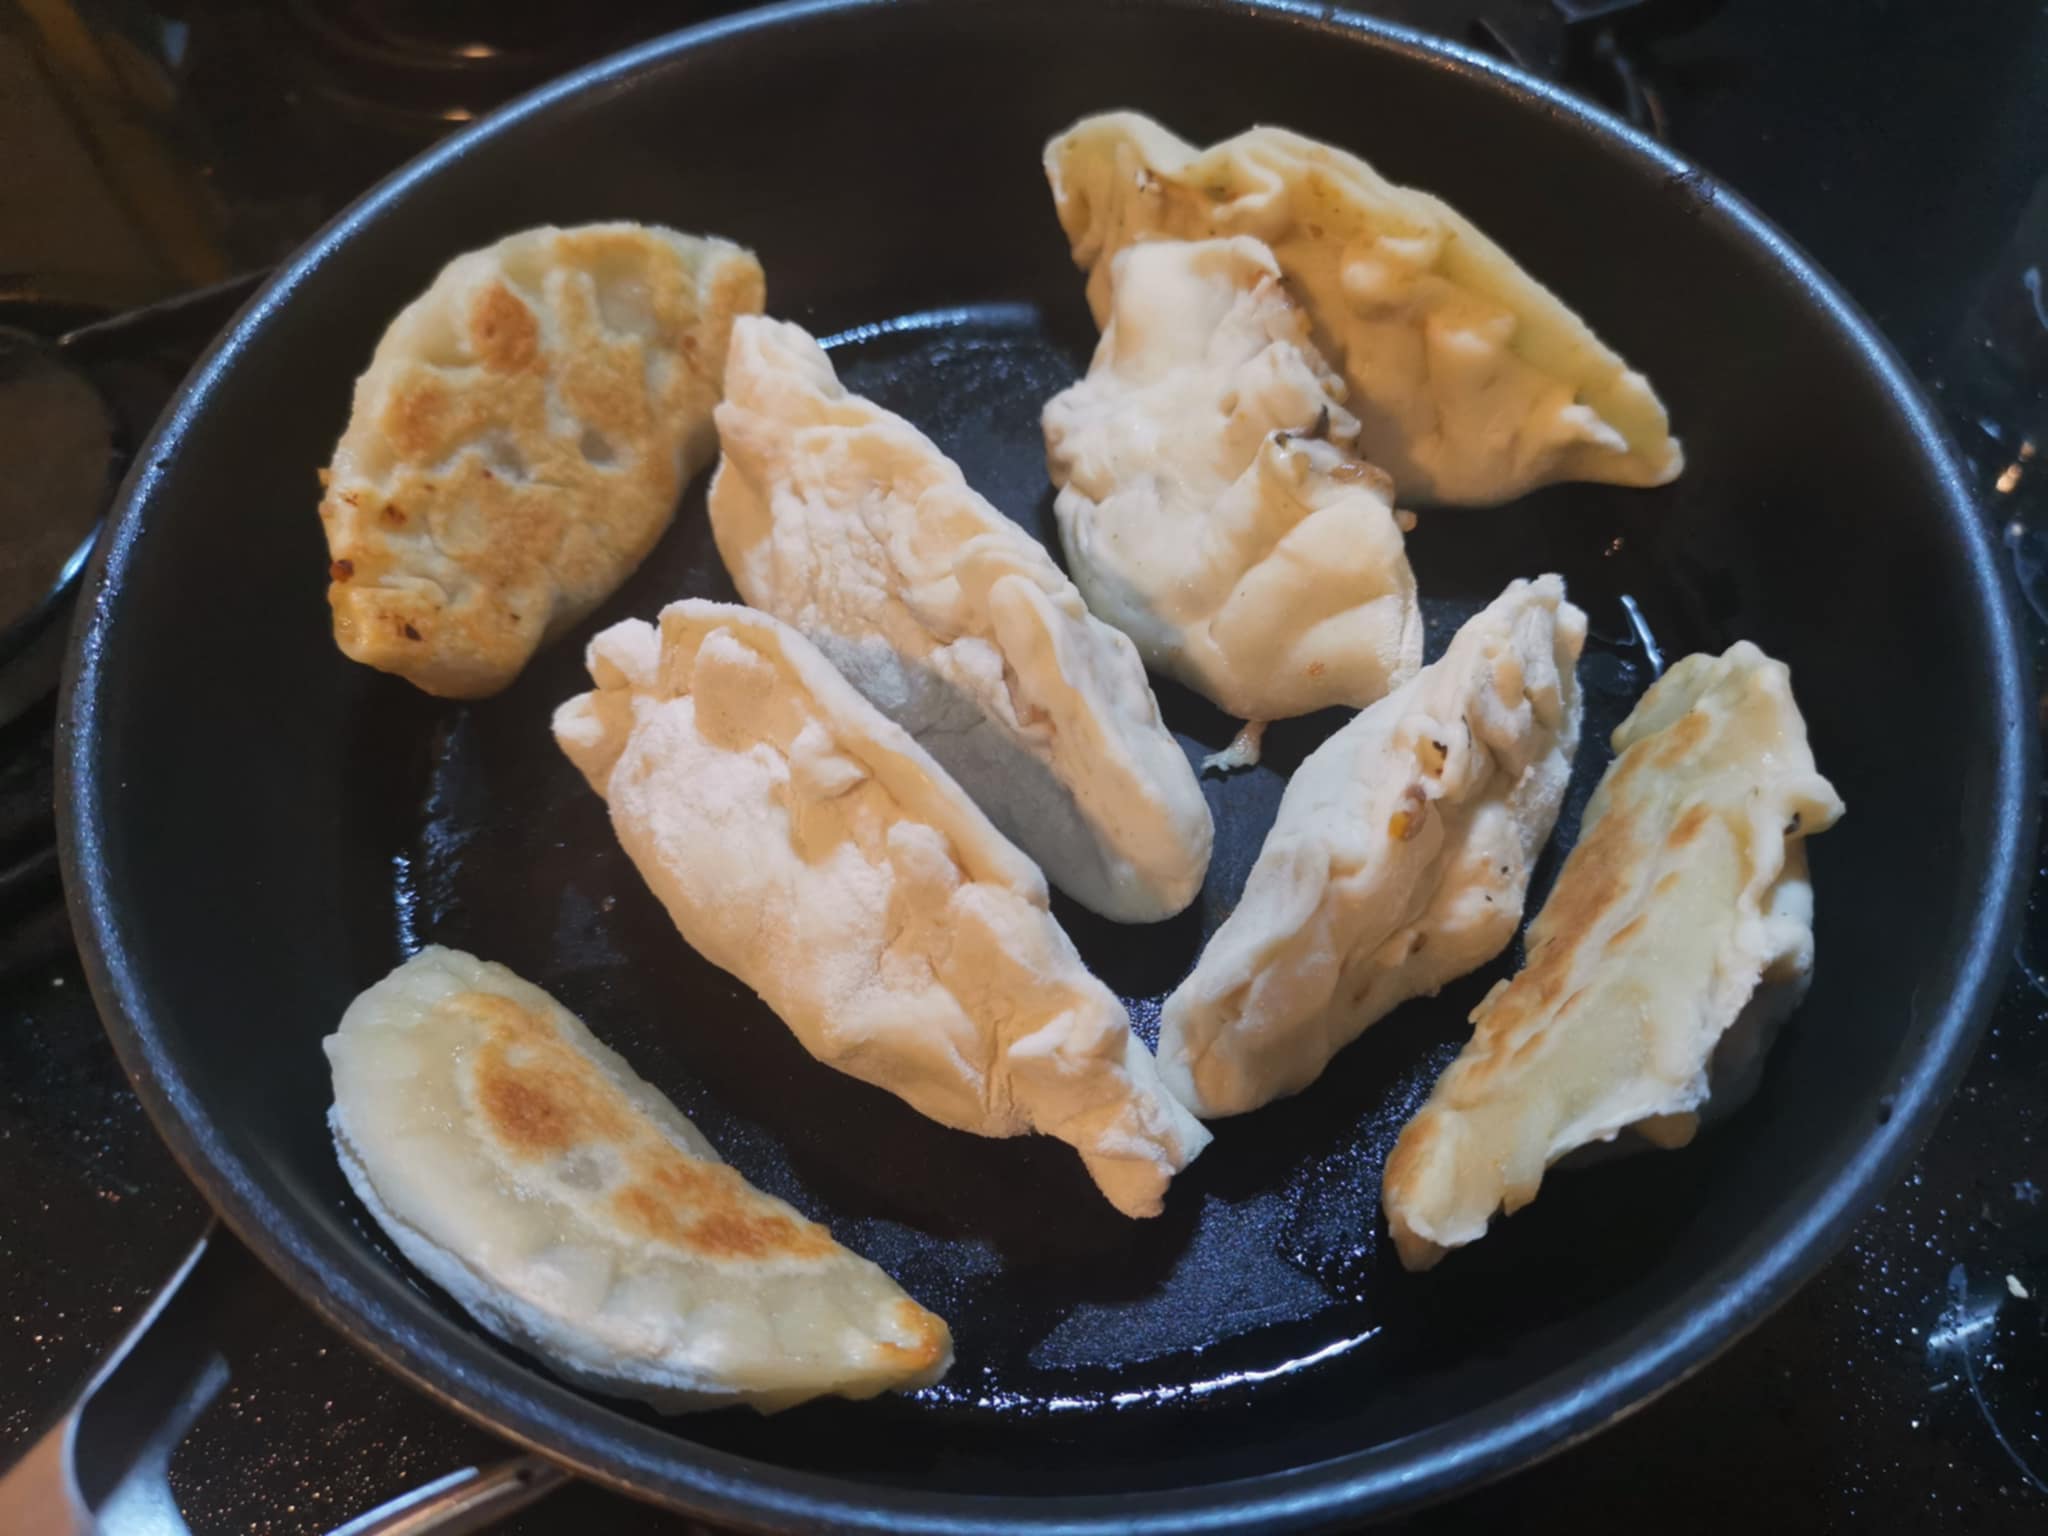
Once they're golden brown, add a little water and cover. Let them steam for about 10 minutes.
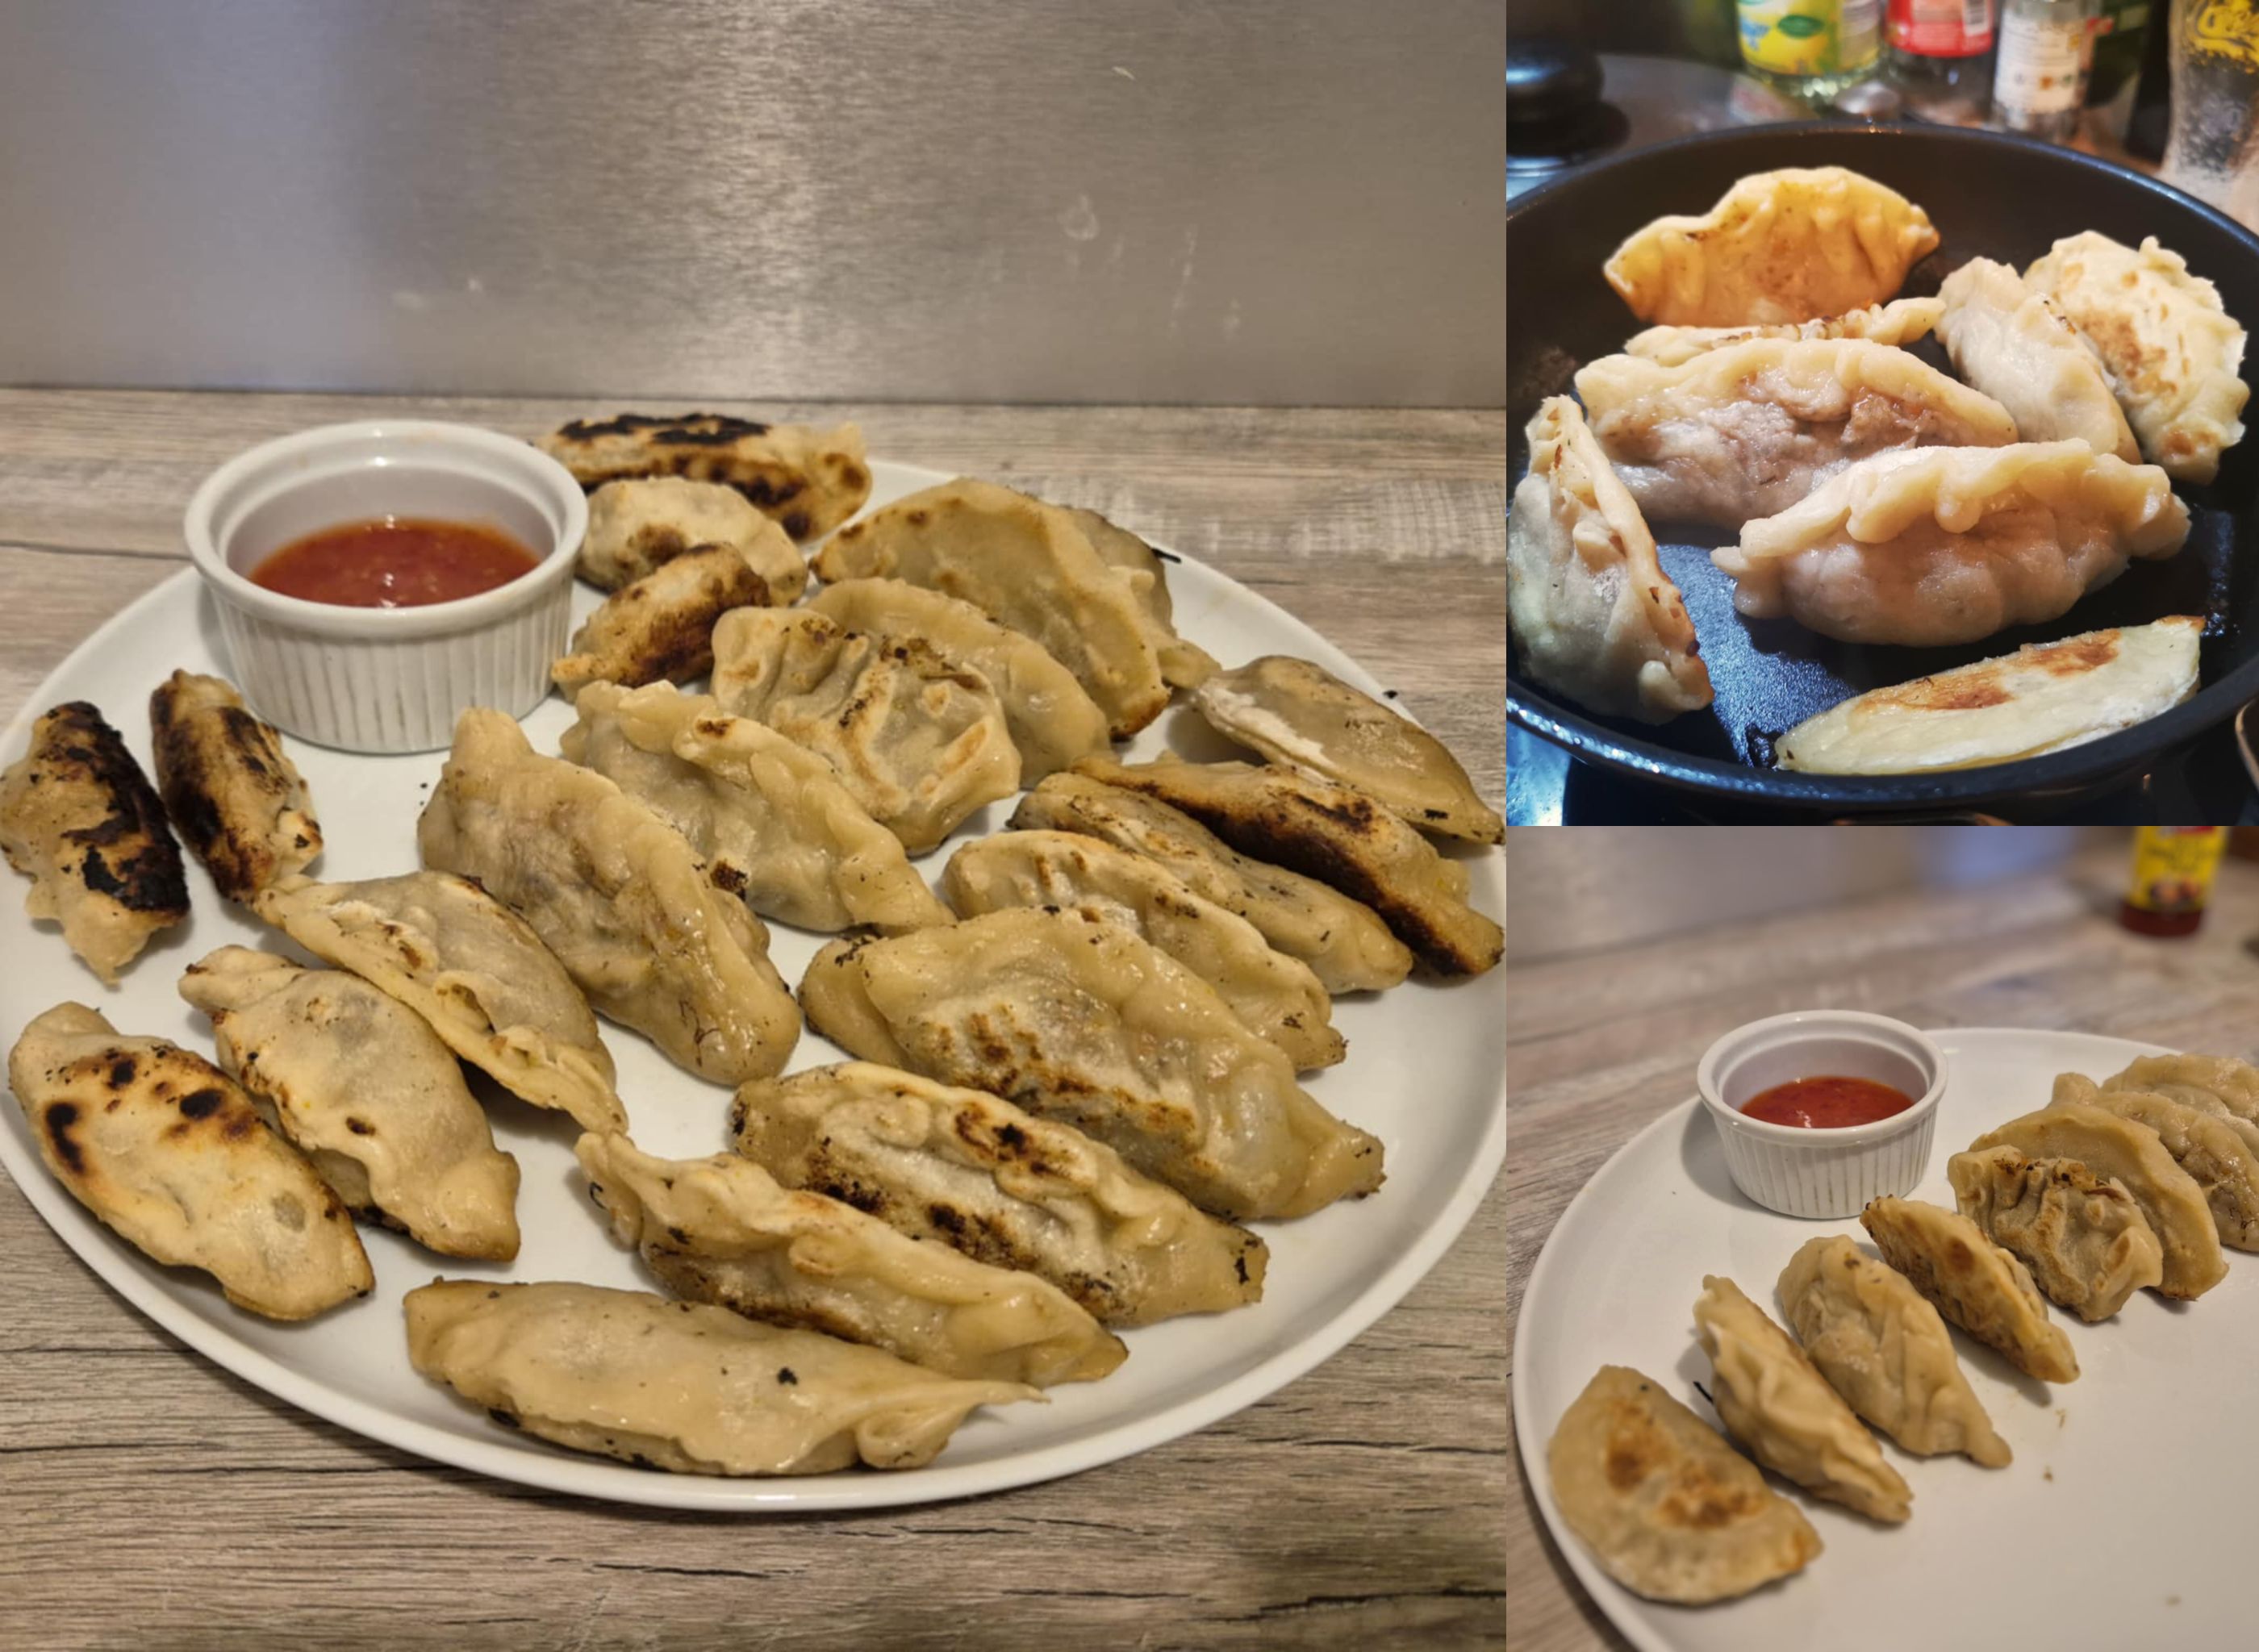
And here's the result:
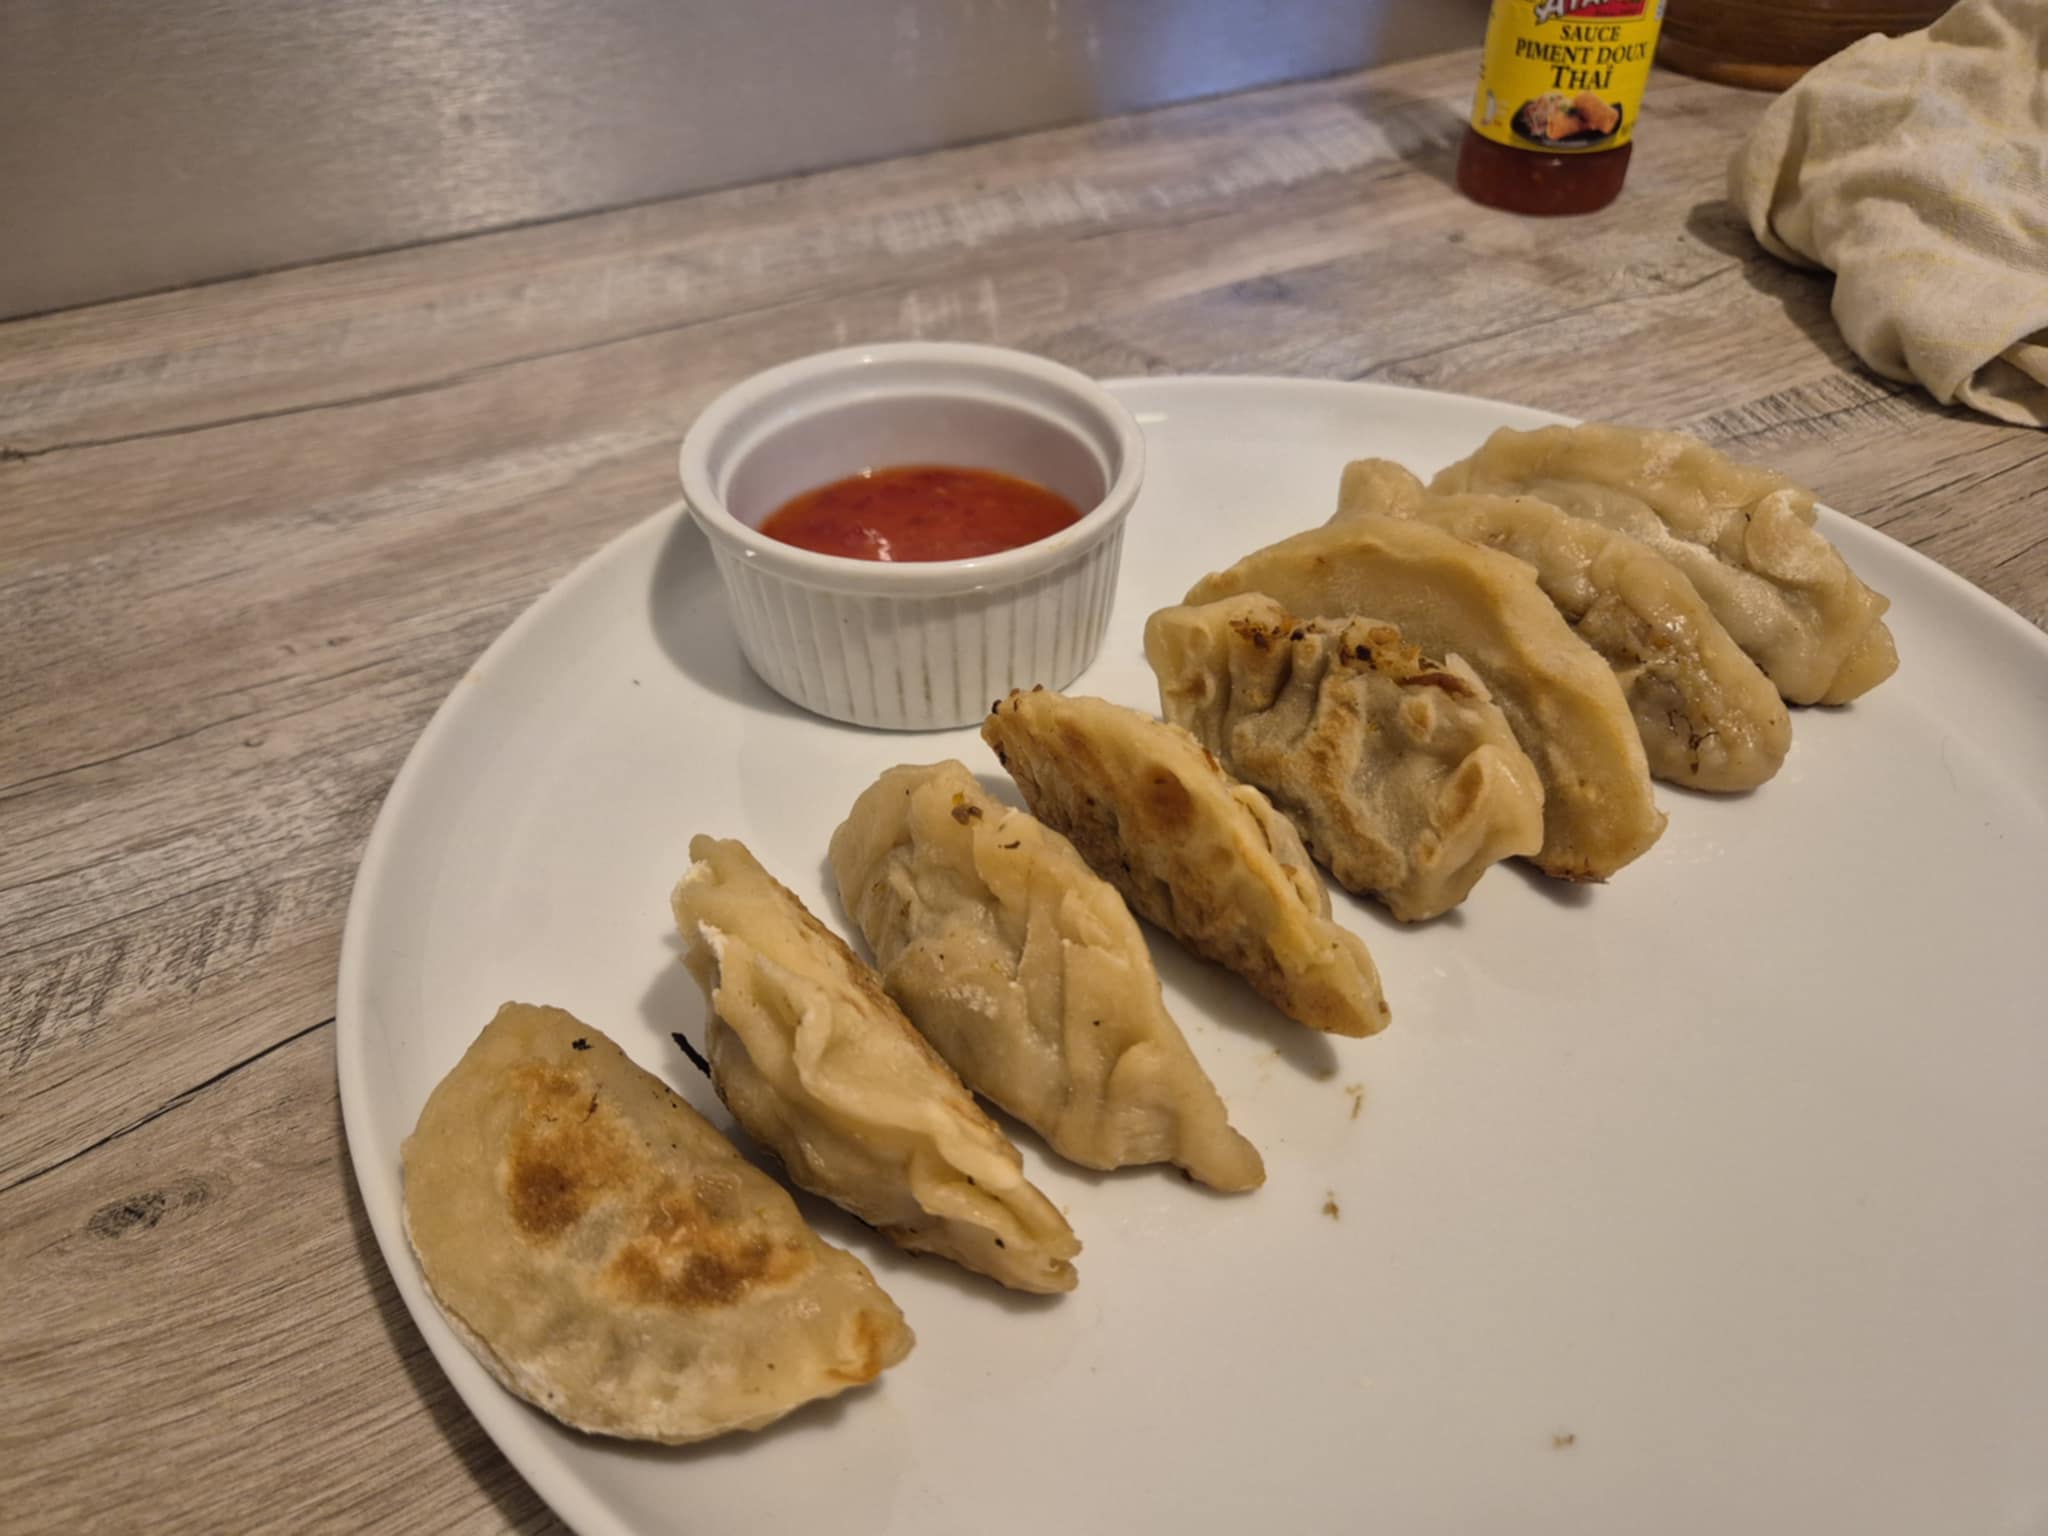
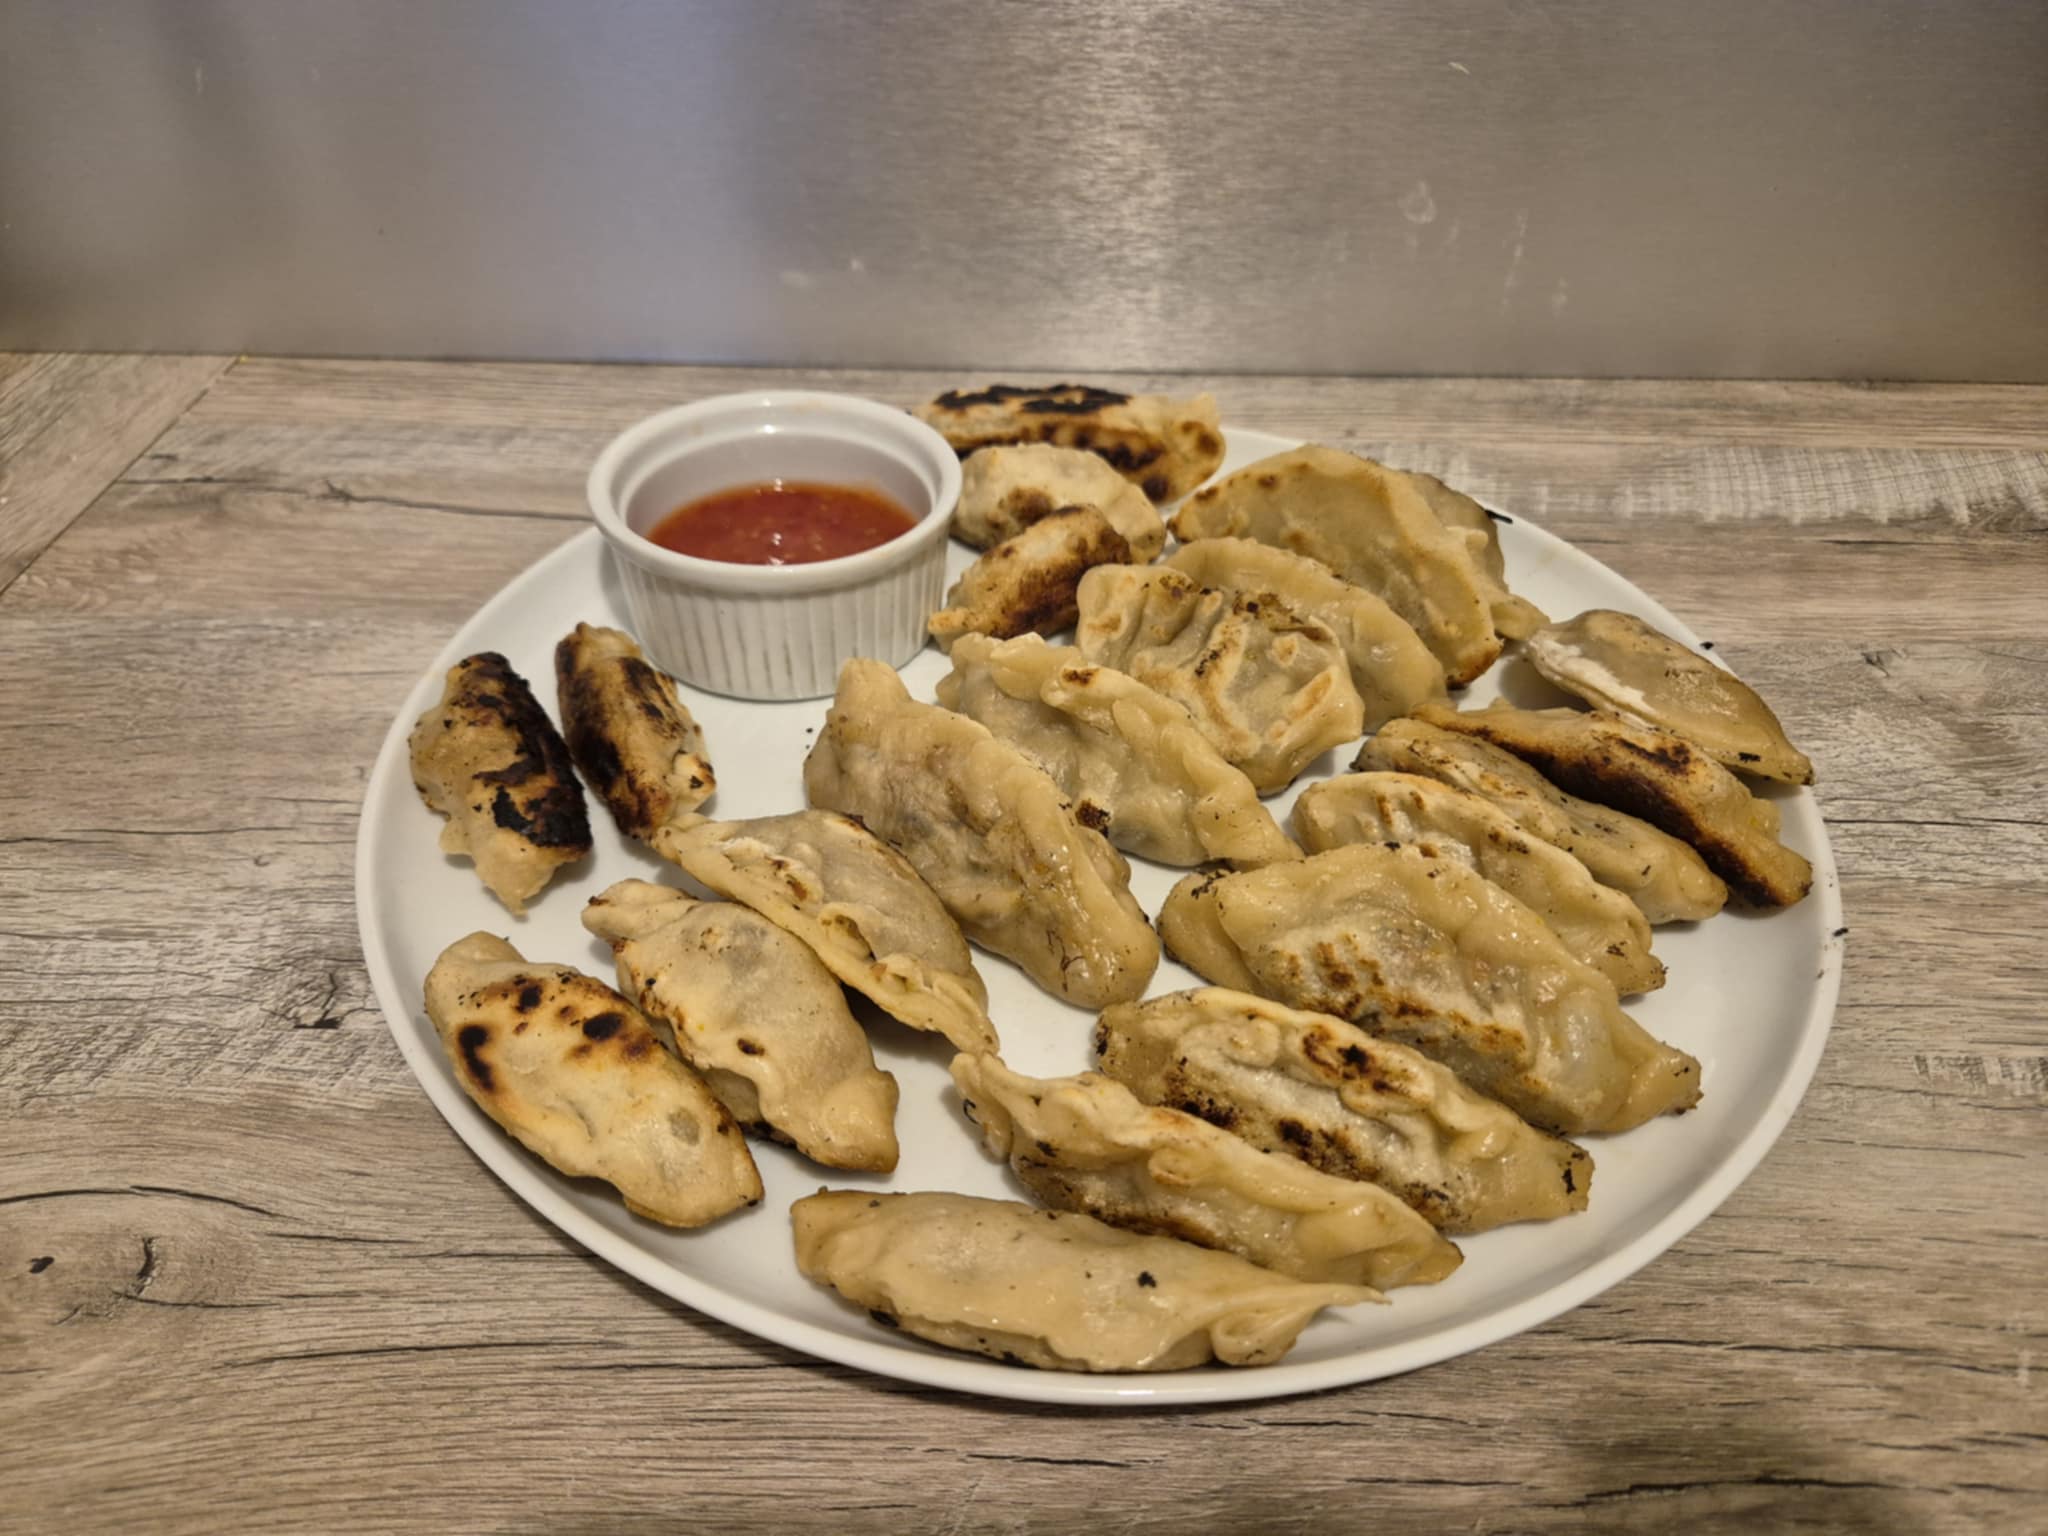
We served these little gyozas with Thai chili sauce, and it was delicious! They were both crispy and tender, and the filling was really flavorful. Next time, we might add a second clove of garlic.
This recipe takes a bit of time; you should allow at least an hour to cook. But it's worth it! And most importantly, the cost is much lower when you make them yourself! 😁
Anyway, I hope you enjoyed this little recipe and it inspired you to make your own gyoza!
See you soon, Johanna
PS: I used Google Translate to translate the English part.
Version en français
Hello les amis et les food lovers ! J'espère que tout va bien pour vous 😁
Si vous lisez régulièrement mes posts, vous devez savoir que le vendredi, c’est apéro dînatoire ! Et on adore innover, alors chaque vendredi, on prépare un nouveau “plat” 😊
Vendredi dernier, nous avons fait des gyozas !
D’habitude, on adore en manger au restaurant, mais cela a un certain coût. Et on s’est dit qu’on allait essayer d’en faire nous-même ! Et bien, c’était une très bonne idée, car on s’est régalé 😋
Est-ce que vous aimez ça les gyozas ?
J’ai suivi plusieurs recettes que j’ai trouvées sur Tiktok. Et je vais vous partager la version finale ici, donc voici la recette pour environ 20 gyozas 👇
Les ingrédients
Pour la pâte 👇 - 300 grammes de farine ; - 20 cl d’eau chaude.
Pour la farce 👇 - 4 hauts de cuisse de poulet ; - 4 champignons ; - 1 carotte ; - 1 oignon ; - 1 gousse d’ail ; - 1 cuillère à soupe de sauce soja salée ; - du sel, du poivre.
Les étapes de préparation
La farce 👇
J’ai commencé par laver, éplucher et couper la carotte en petits morceaux :
Puis, j’ai épluché et coupé l’oignon :
J’ai fait chauffer un peu d’huile d’olive dans une poêle et j’y ai ajouté les morceaux de carotte et les oignons. Je les ai fait revenir environ 10 minutes.
J’ai aussi coupé la gousse d’ail en petits morceaux et je les ai ajoutés dans la poêle :
Pendant ce temps, @genesisledger a retiré les os du poulet et a découpé des petits morceaux :
10-gyozas.jpg (https://files.peakd.com/file/peakd-hive/altheana/EoAdYE3ozy6woFU4GweuWy4jzaPMYoZZEk4BJvp3dhfLkGwb3L39hZNAUtp2gus3jPZ.jpg) 11-gyozas.jpg (https://files.peakd.com/file/peakd-hive/altheana/EoAe9XFuikJZ4wPkKVzWGwkkX95UpfaTJ8yYUwrUqEfxSaEhVquXzThNmCMyvWUjr9K.jpg)
Puis, on a ajouté les morceaux de viande dans la poêle, pour la faire cuire.
12-gyozas.jpg (https://files.peakd.com/file/peakd-hive/altheana/EokcfdcmzY8G4FGjHD79naLCV4mTx9cKQ4vBA9j9E9MbMGz5s9bm2ZUdBtd3DCkrNKd.jpg)
Et j’ai lavé et découpé les champignons en petits morceaux, puis je les ai ajoutés dans la poêle :
13-gyozas.jpg (https://files.peakd.com/file/peakd-hive/altheana/EoeFKXBHuvEU8fdmLiepx68QyEF4dXzdeUKGV74aXYr6tetj2QnA8poB3GYAZk7Ufzk.jpg) 14-gyozas.jpg (https://files.peakd.com/file/peakd-hive/altheana/EokdfCbcEXD3xWAYkY9TA9jxbjMkWmeuhTQNnt4i2j46z1Q6wBj5oqP1sJeW1VP32s9.jpg) 15-gyozas.jpg (https://files.peakd.com/file/peakd-hive/altheana/EoiY7FMsRNFiPd3h5SRQFTdktTCFsdcFgPxDC6gDdCeN4uK9WwtP9gt9Goo4T4URdv1.jpg) 16-gyozas.jpg (https://files.peakd.com/file/peakd-hive/altheana/Eou8AQTUyCy74SSUrExN6tufUY3yA5K1RT1fe1fM6y9XuqhfY7Ud5WYGhpM7iKpmXCo.jpg)
Voici ce que ça donne après 15 minutes de cuisson :
177-gyozas.jpg (https://files.peakd.com/file/peakd-hive/altheana/EpEGmb2xgqRXgiKrxCa17wft8B4GE3oUpUxxGeD4SVsN3B9i1cwMDsZnugvyjQuBXdg.jpg)
Et pour que la farce soit un peu plus fine, on l’a passé au hachoir :
18-gyozas.jpg (https://files.peakd.com/file/peakd-hive/altheana/EpXLSK3VQ2zySS9DQYkoUipBMKVT7YiAbcAQJxEagKutzuB2xrmZcp1KHHeQzRAzASK.jpg) 19-gyozas.jpg (https://files.peakd.com/file/peakd-hive/altheana/EpT5dvCsxoZayrSAocQ8oh2topLbFvU4huaFsjEkythBwtt9waVP9ZEKLBx23xZZDmq.jpg) 20-gyozas.jpg (https://files.peakd.com/file/peakd-hive/altheana/EoiY3xSqNoFRu2QGY1hALHZwSR3WqqsinE3Q31iyfzDg6Qws6GcdbUGABPeDVX2yVyu.jpg)
Puis, on a ajouté 1 cuillère à soupe de sauce soja salée et on a mélangé :
21-gyozas.jpg (https://files.peakd.com/file/peakd-hive/altheana/EoeGtQBnxwUzkhyCWFpdkkmrsRMtcqyvgs2zfcpvEAWyLx1JUQr8CkjjaVksHei5ACc.jpg)
La farce est prête !
La pâte 👇
Pour la pâte, j’ai ajouté la farine dans un saladier :
22-gyozas.jpg (https://files.peakd.com/file/peakd-hive/altheana/EogPhj2uLdFYhv5S2hKXTCQUNx6Lb6y9FeyznN5KcN7jwsun3wA1RdoaRCLHCjDPUKh.jpg)
Puis, j’ai ajouté l’eau chaude (mais pas bouillante) :
23-gyozas.jpg (https://files.peakd.com/file/peakd-hive/altheana/EoGzqiSueWr8bWgYqV9YXKPGRBLHZoWbMsrVCjjmEoSE3ZDL5PhxhALFU58RsJQZ6U4.jpg) 24-gyozas.jpg (https://files.peakd.com/file/peakd-hive/altheana/EogPhj2jAfZsPZuaxYAdNu5qaefK1Tsz2gmDj14unQYK19ZeS9jnakN5xEzzDLqXdh1.jpg)
Et j’ai mélangé jusqu’à obtenir une espèce de pâte.
25-gyozas.jpg (https://files.peakd.com/file/peakd-hive/altheana/Eoc93DKFcwkh4eZgGZu5zsGhmhj3khs2zm5EqAg2DrkxDQ9ZKKKArjVZJ2or9UkjvL2.jpg)
Ensuite, il faut la pétrir à la main pendant quelques minutes. Si elle est encore un peu collante, il faut rajouter un peu de farine.
26-gyozas.jpg (https://files.peakd.com/file/peakd-hive/altheana/Eos3Ej1kbhZuyu4dmAtSTf7Hv6m3VHSTPs7797mm6BUzRw2TWWstSddB4DgUN9UNodE.jpg) 27-gyozas.jpg (https://files.peakd.com/file/peakd-hive/altheana/EoGzSEZiAawSsAKkn3iJteGd17YEukEPxjuzqfDLRrzdjbiPqVBGPMa5Has3rFbxpym.jpg)
Vous devez obtenir une boule de pâte.
Il faut ensuite étaler un peu de farine sur le plan de travail pour pouvoir étaler la pâte sans qu’elle ne colle au plan de travail.
28-gyozas.jpg (https://files.peakd.com/file/peakd-hive/altheana/Eo8VExH7KY52zPKJJqe5ka6ejgH3HYRhdY5WMPUhKLs3VTq6HMbc93kzJbKs85F3M1b.jpg) 29-gyozas.jpg (https://files.peakd.com/file/peakd-hive/altheana/Eo8VExMbVXK7pw7C6AE91qjTwfBvnYvWF5GAjJH3TTF8xHbuhstizDhUD4DLM2y7PxM.jpg)
J’ai étalé la pâte le plus finement possible.
30-gyozas.jpg (https://files.peakd.com/file/peakd-hive/altheana/Eo8UK5jxLfa3Z5wgR58xNtDMvpQ1L3NaGLJKvGvcP3zvn1FUowcAM8mh4EDTnJeVu6s.jpg)
Et il faut ensuite découper des ronds, pour cela, j’ai simplement pris un verre.
31-gyozas.jpg (https://files.peakd.com/file/peakd-hive/altheana/Eo6Lw13XN5quF9foAGgdcoQ354ehPzjfXLGe37RM8Lm3pi3By7kBGZa4iyQYChBq4Gt.jpg)
Une fois que j’ai tous mes ronds, j’ai commencé le montage des gyozas.
Il faut prendre un rond dans sa main gauche (si vous êtes droitier) et y déposer un peu de farce. Puis, il faut replier le rond en deux et coller les bords en les mouillant. Il faut former des espèces de “vagues”.
32-gyozas.jpg (https://files.peakd.com/file/peakd-hive/altheana/EokeWsKCZ6Xw19DKsZPv2HownJ8aVCpBwT9oN51ZTznJLYfM9AEhcYAJTyg7DPoxefi.jpg) 33-gyozas.jpg (https://files.peakd.com/file/peakd-hive/altheana/EoeGQ7Uog7ra7QtN6FkKScxP7sRHdqSMGX4tbUD7esaD9drYEfNKQ4FiCBvFDhrAvQF.jpg)
Les premiers sont assez énervants à faire, mais une fois que le coup de main est pris, ça va, c’est presque satisfaisant 🤣
Et une fois que les gyozas sont formés, on peut passer à la cuisson.
Pour cela, vous devez faire chauffer un peu d’huile d’olive (ou n’importe quelle autre huile) et ajouter les gyozas pour les faire griller sur une seule face.
34-gyozas.jpg (https://files.peakd.com/file/peakd-hive/altheana/EoCgAFApC7kJigsNDVWmj4bpXKapxs9b368nHqFhBKPtDFUxjcmuD8yEBnx4BTCqsb5.jpg) 35-gyozas.jpg (https://files.peakd.com/file/peakd-hive/altheana/EoGwuMBctGwFT2kgnjCAPCPUDoVJy6vstgw2F973we2t7vPouJQ5xTPtor418dJFXp7.jpg)
Une fois qu’elles sont dorées, il faut ajouter un fond d’eau et mettre un couvercle. Et laisser cuire à la vapeur pendant environ 10 minutes.
36-gyozas.jpg (https://files.peakd.com/file/peakd-hive/altheana/Eoc77Fs5SQxkDQN5Kj15BsgSWbwXzmeJaiSjyE8RX8evRUDhfFyTKXwofdcf9AaLt2i.jpg)
Et voilà le résultat :
37-gyozas.jpg (https://files.peakd.com/file/peakd-hive/altheana/Eoc7WReZKvKRivbLomfM1vzkE6uWwwb4WDVGFEevgJG7F8Fvu7ZkhjZAwYDYfWR9uqZ.jpg) 40-gyozas.jpg (https://files.peakd.com/file/peakd-hive/altheana/EoCjcsM7GvWyhCDnVEcBXGvtP319cXZBT9XMzBGfpigx3aN3vEYg7auihoPT6hxtRhX.jpg) 39-gyozas.jpg (https://files.peakd.com/file/peakd-hive/altheana/Eo8UjfhdQ2T8xtzWJYCiZBUK7wMgXqH7RWAfmvq7vtGB2JfSWGTfodioosQJfThe5dc.jpg)
On a accompagné ces petits gyozas de sauce thaï au piment, c’était super bon ! C’était croustillant et fondant à la fois et la farce avait vraiment bon goût. La prochaine fois, on rajoutera peut-être une deuxième gousse d’ail.
C’est une recette qui prend un peu de temps, il faut prévoir minimum 1h de cuisine. Mais ça en vaut la peine ! Et surtout, le coût est beaucoup moins élevé quand on les fait soi-même ! 😁
Bref, j’espère que cette petite recette vous a plu et vous a donné envie de réaliser vos propres gyozas !
À bientôt, Johanna
PS : J’ai utilisé Google Traduction pour traduire la partie en anglais.