Hello friends and crochet lovers! I hope you're all doing well today 😁
Right now, I'm looking for quick crochet projects that don't require a lot of yarn. I'm looking for profitable products with a view to opening a small online store to sell some of my creations. 🧶
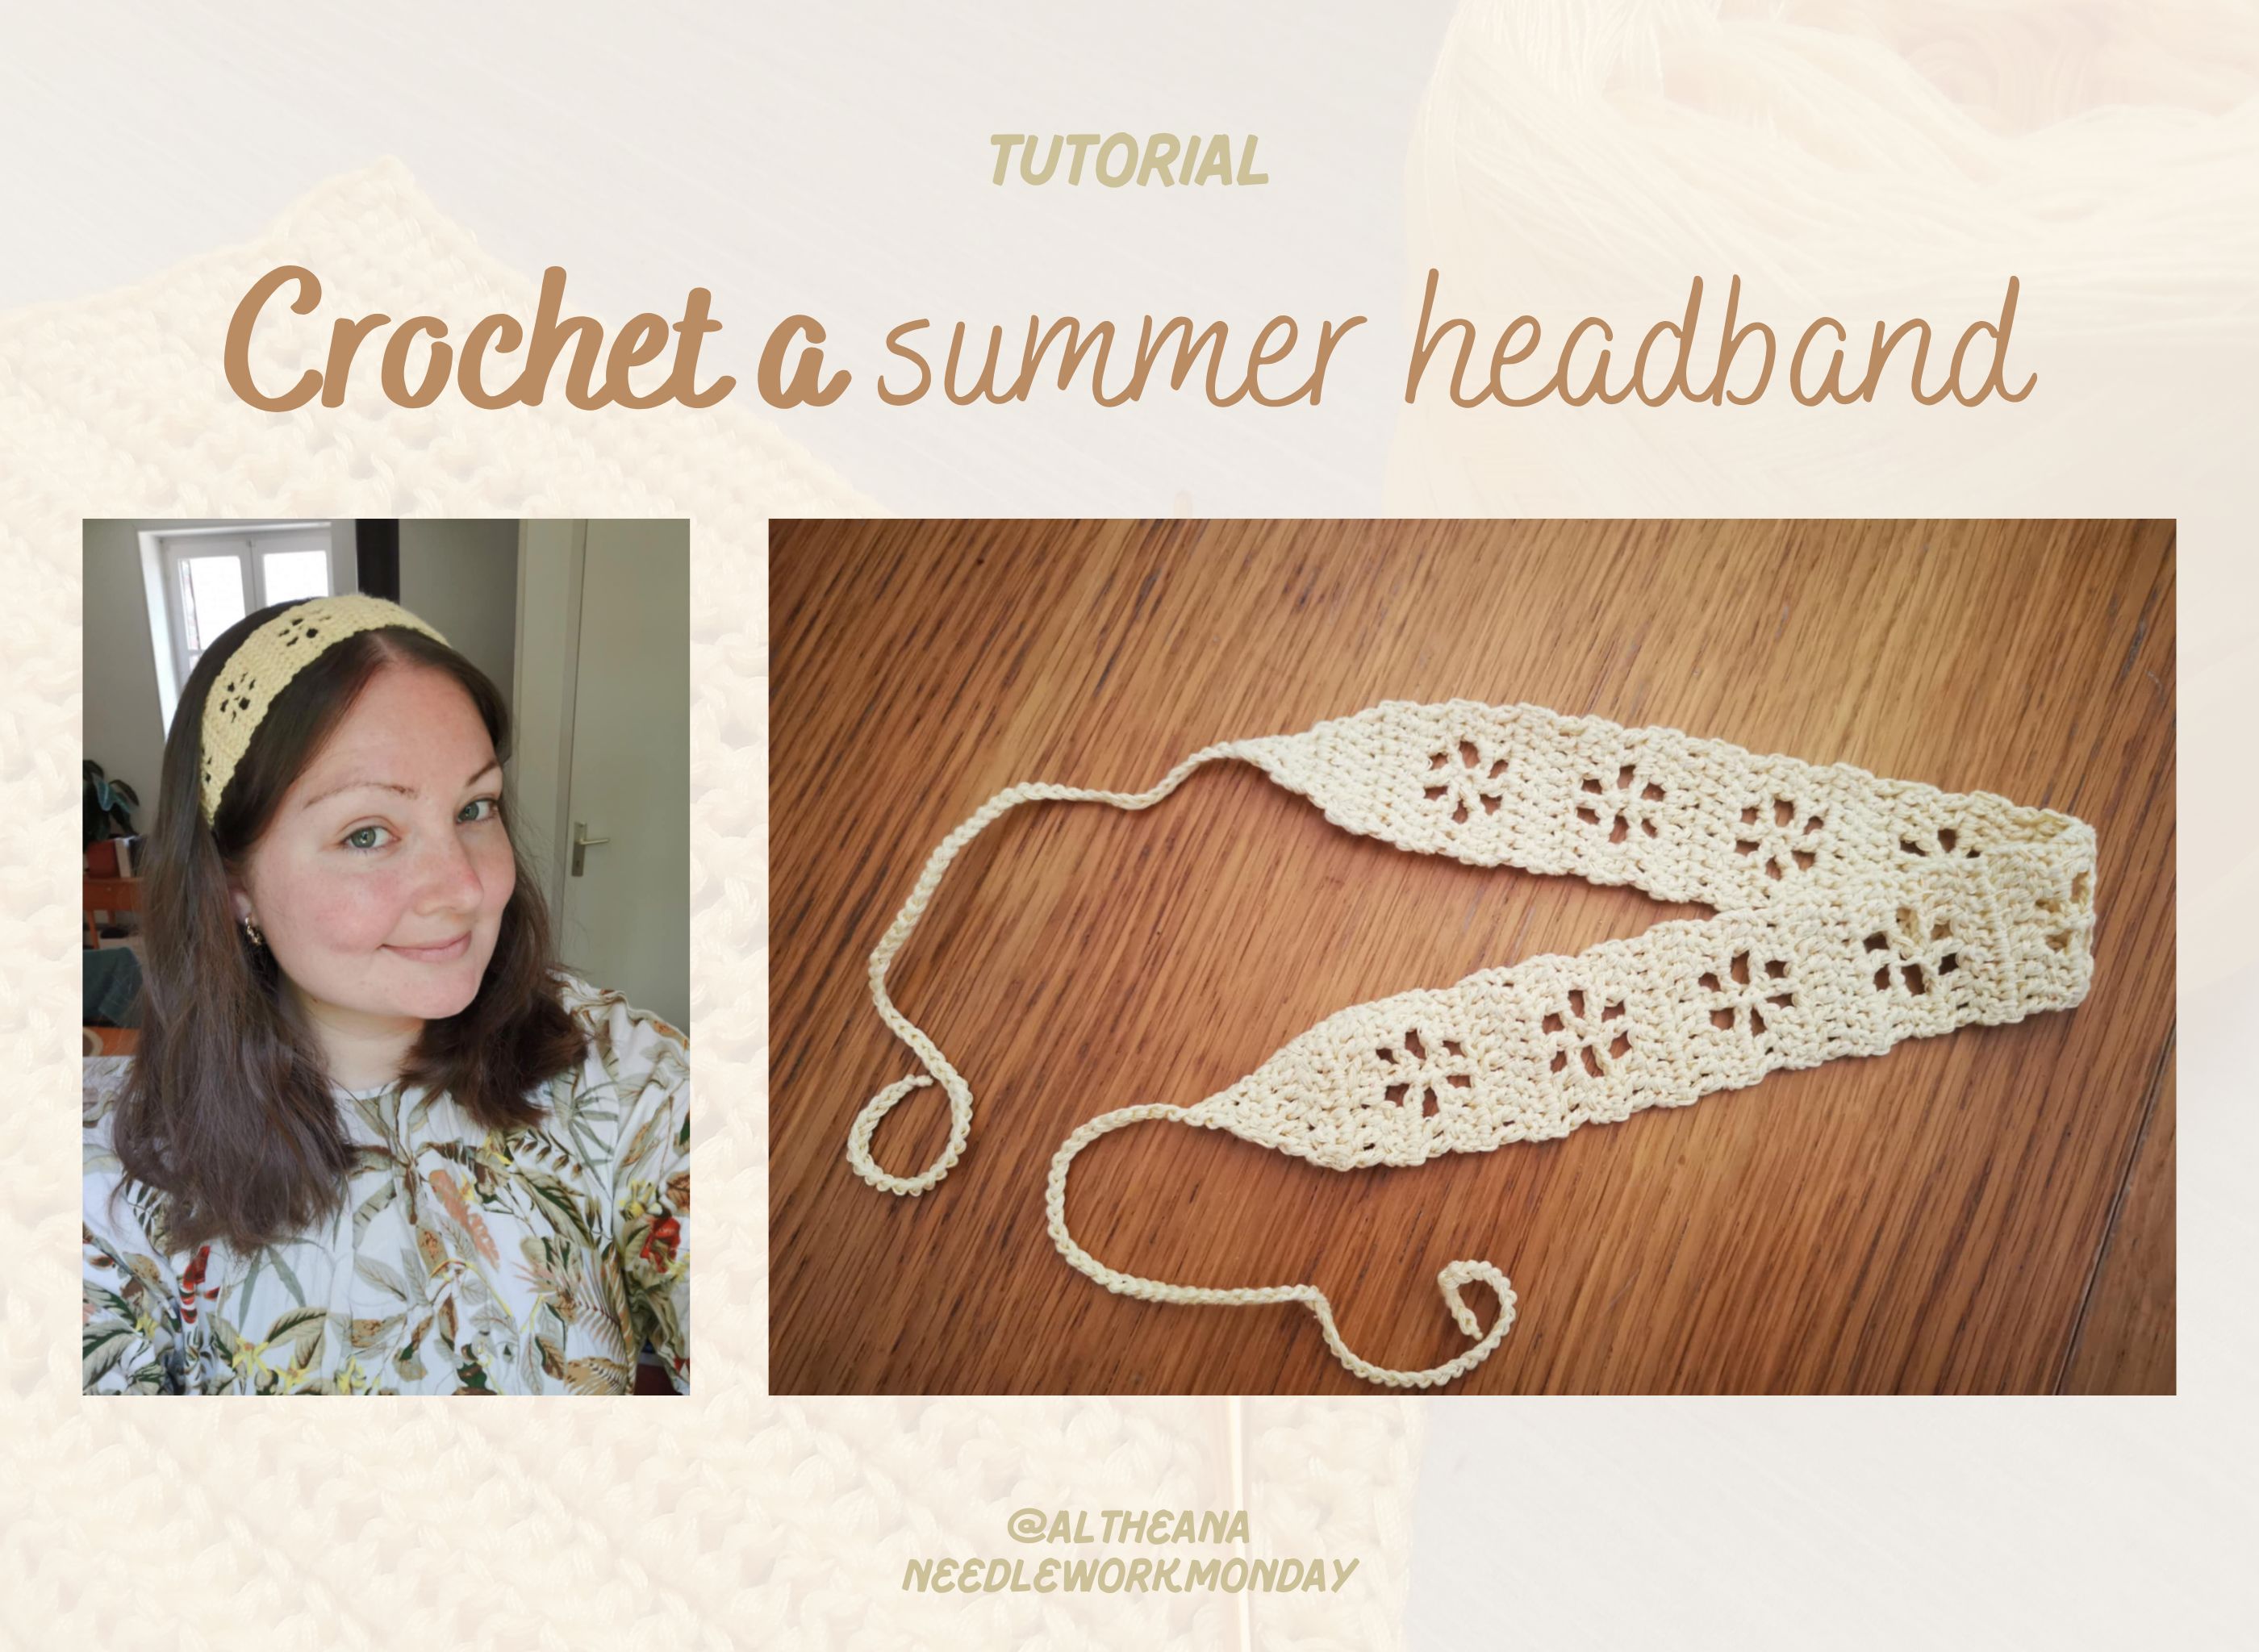
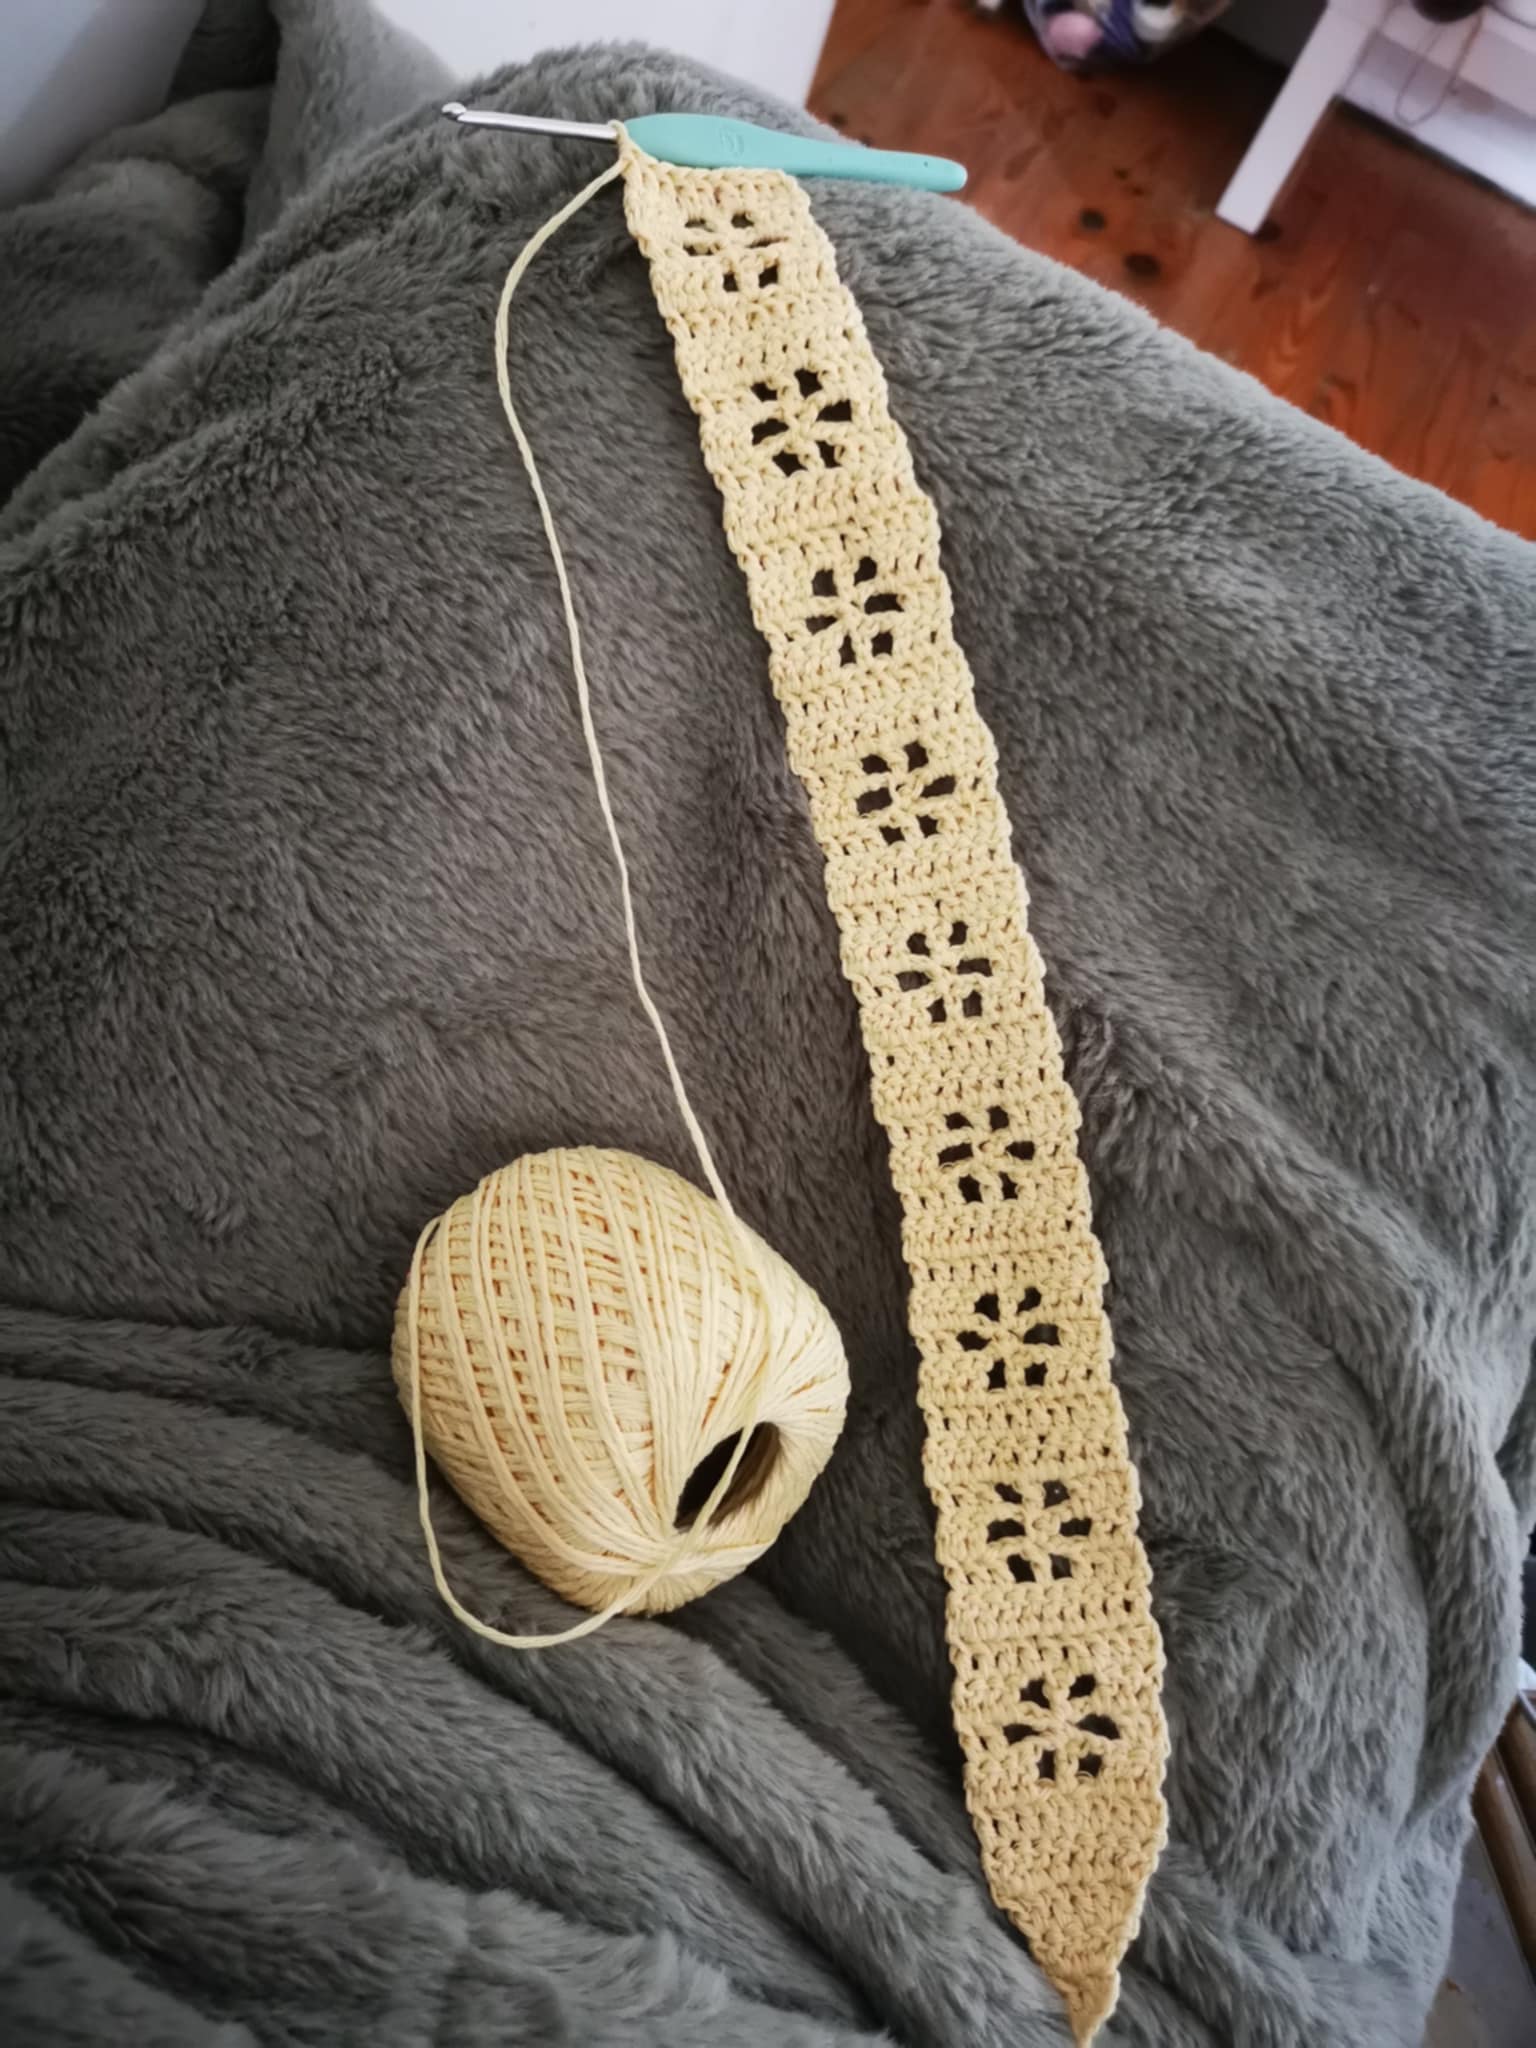
And I found a super quick and cute project: a hairband, an ideal accessory for summer (and not just for summer, by the way)!
I spotted several pretty patterns, and I'm going to share with you the creation process I followed for each one! Here's the first one, a small openwork headband with a "flower" motif 🌸
I find it very bohemian, very rustic, and it suits me so well!
It's a quick and easy project that's completely accessible to beginners. Here's the link to the tutorial on YouTube, and now here's my written tutorial 👇
Materials
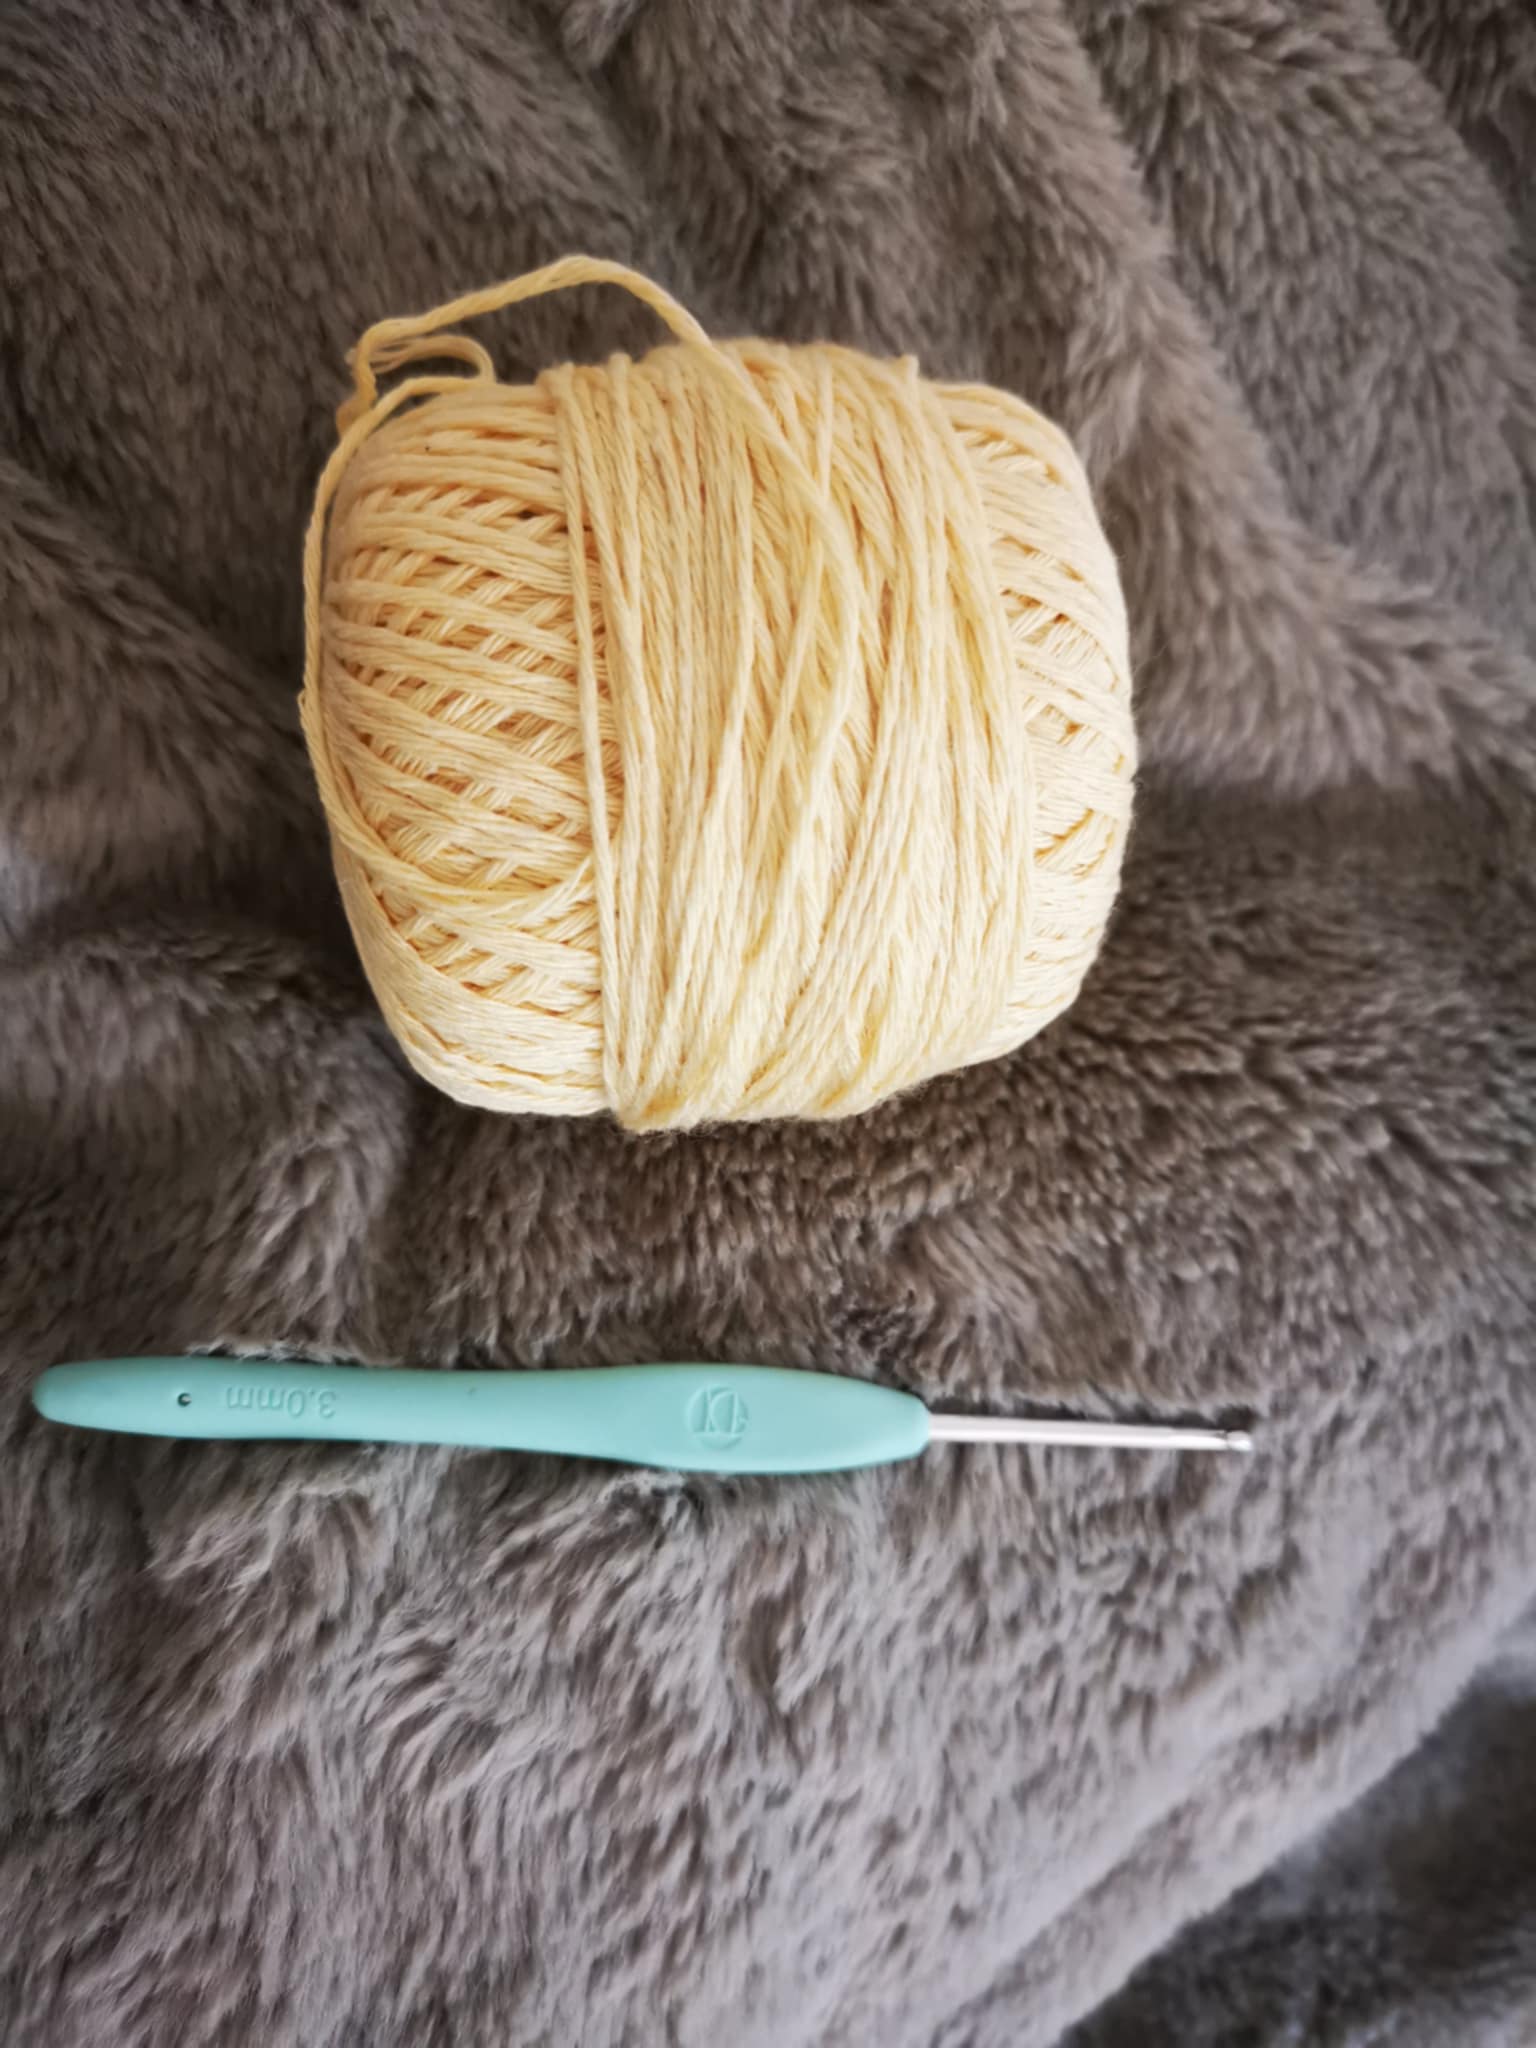
To make this little headband, you'll need:
- 1 ball of cotton or other comfortable material;
- 1 3mm crochet hook.
Steps to follow
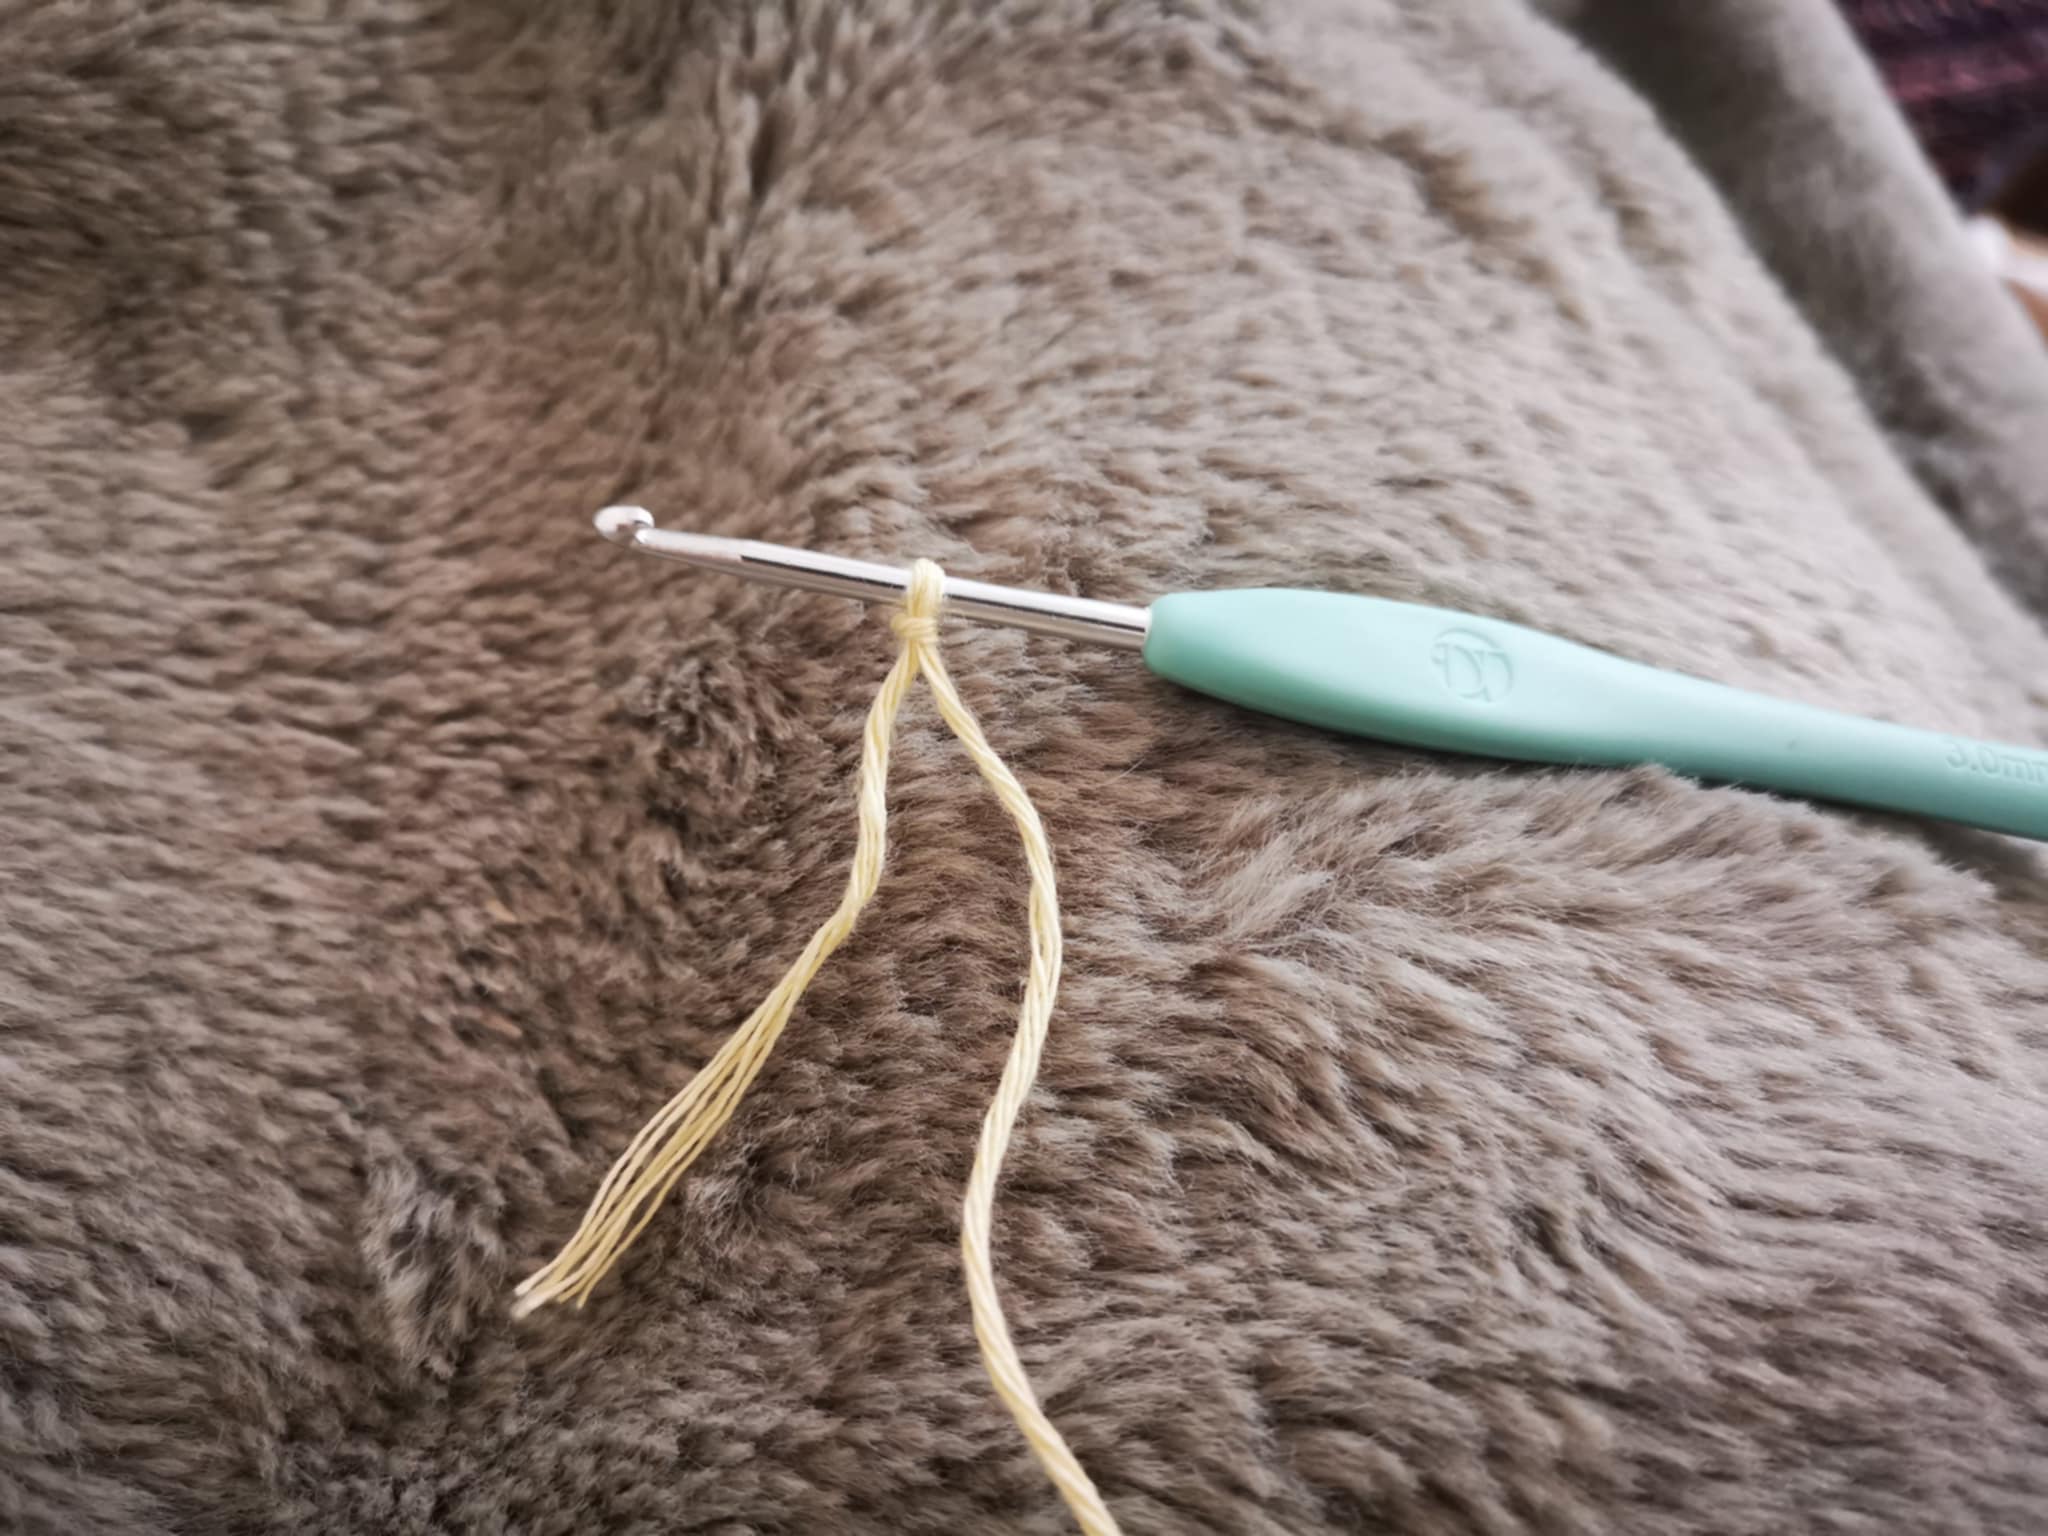
To begin this project, you'll simply make a slip knot:
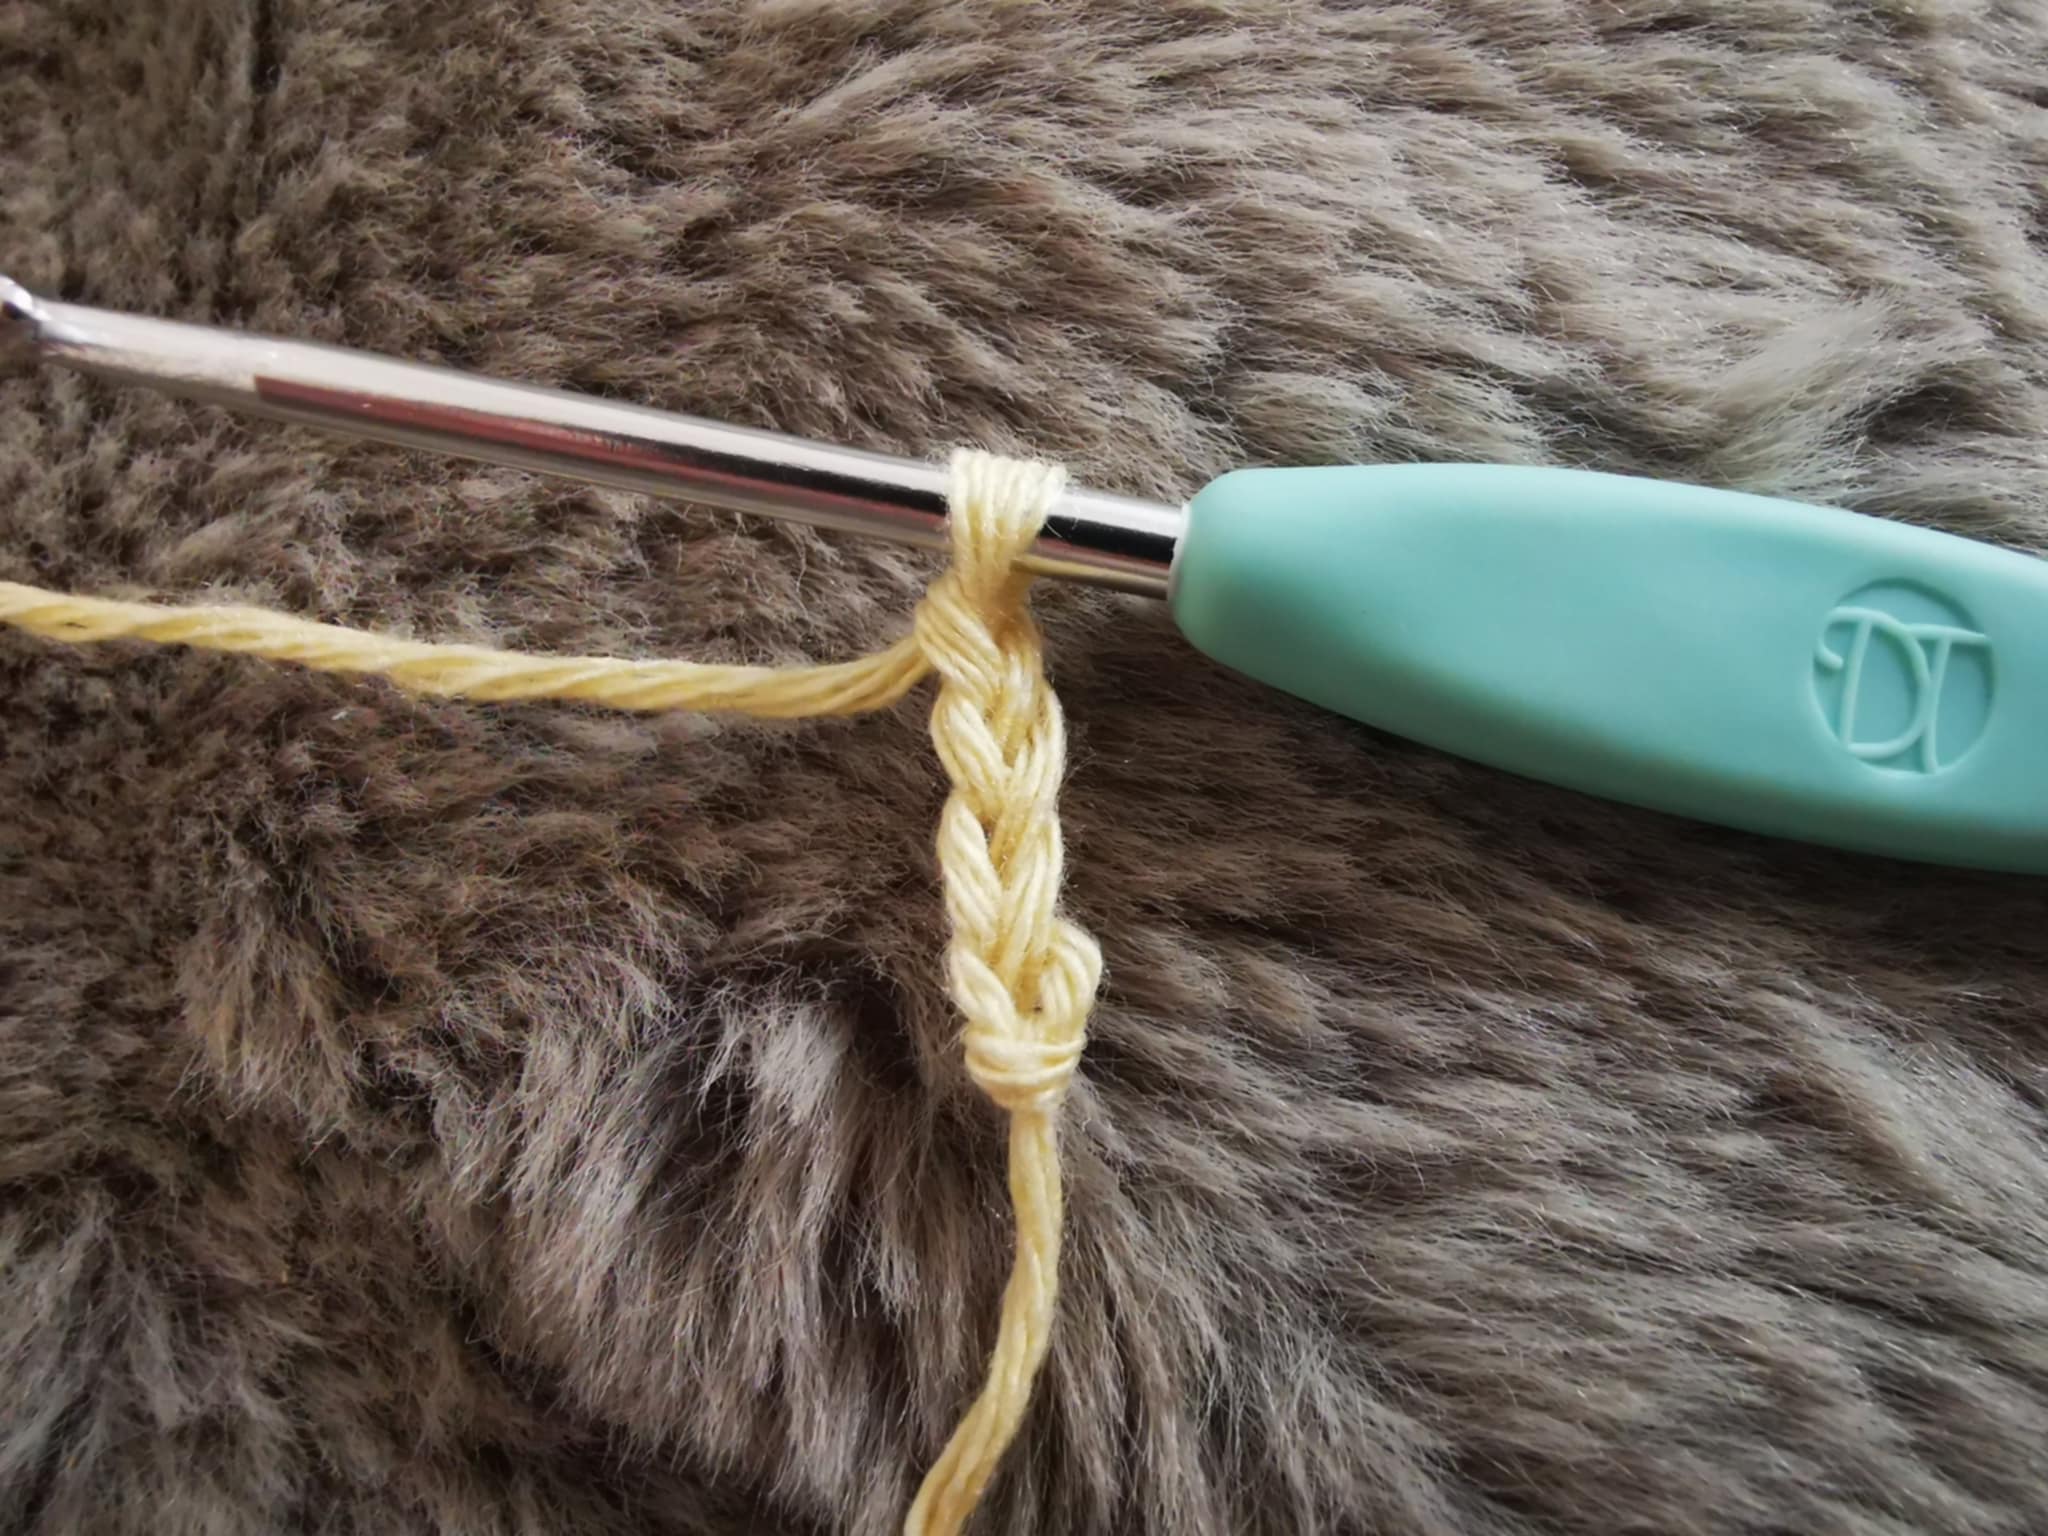
Next, you'll cast on 4 chain stitches:
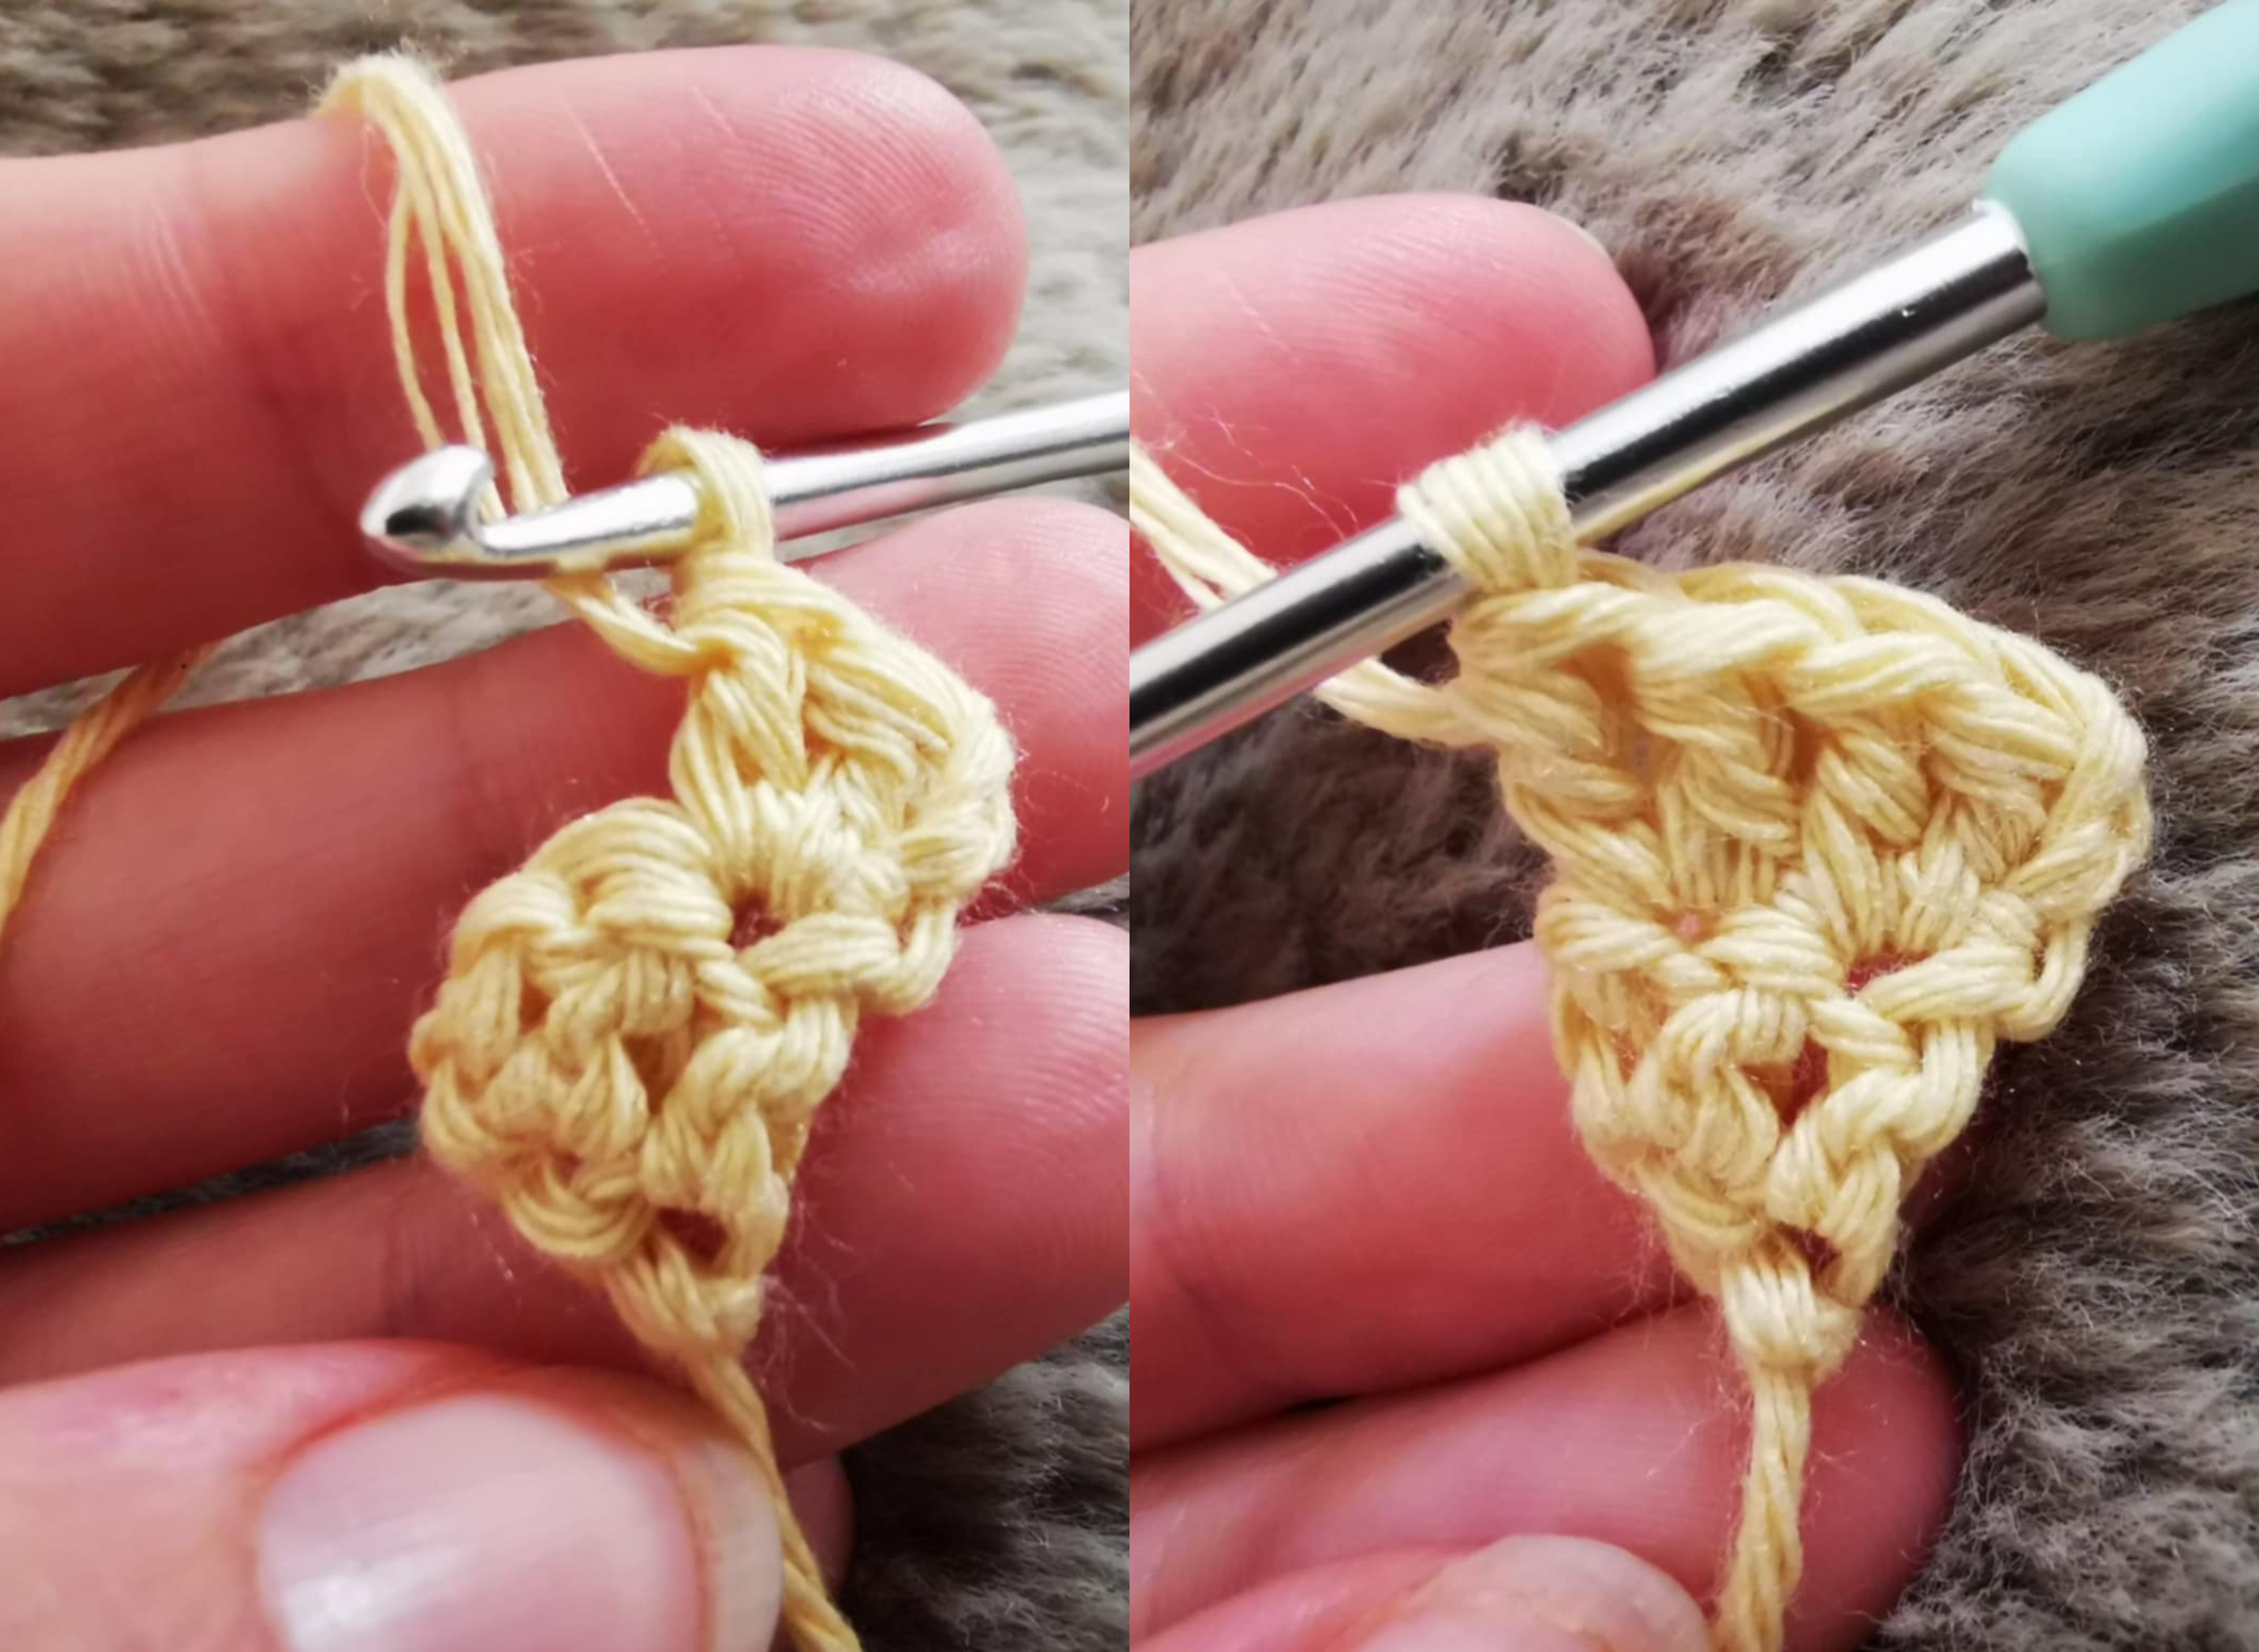
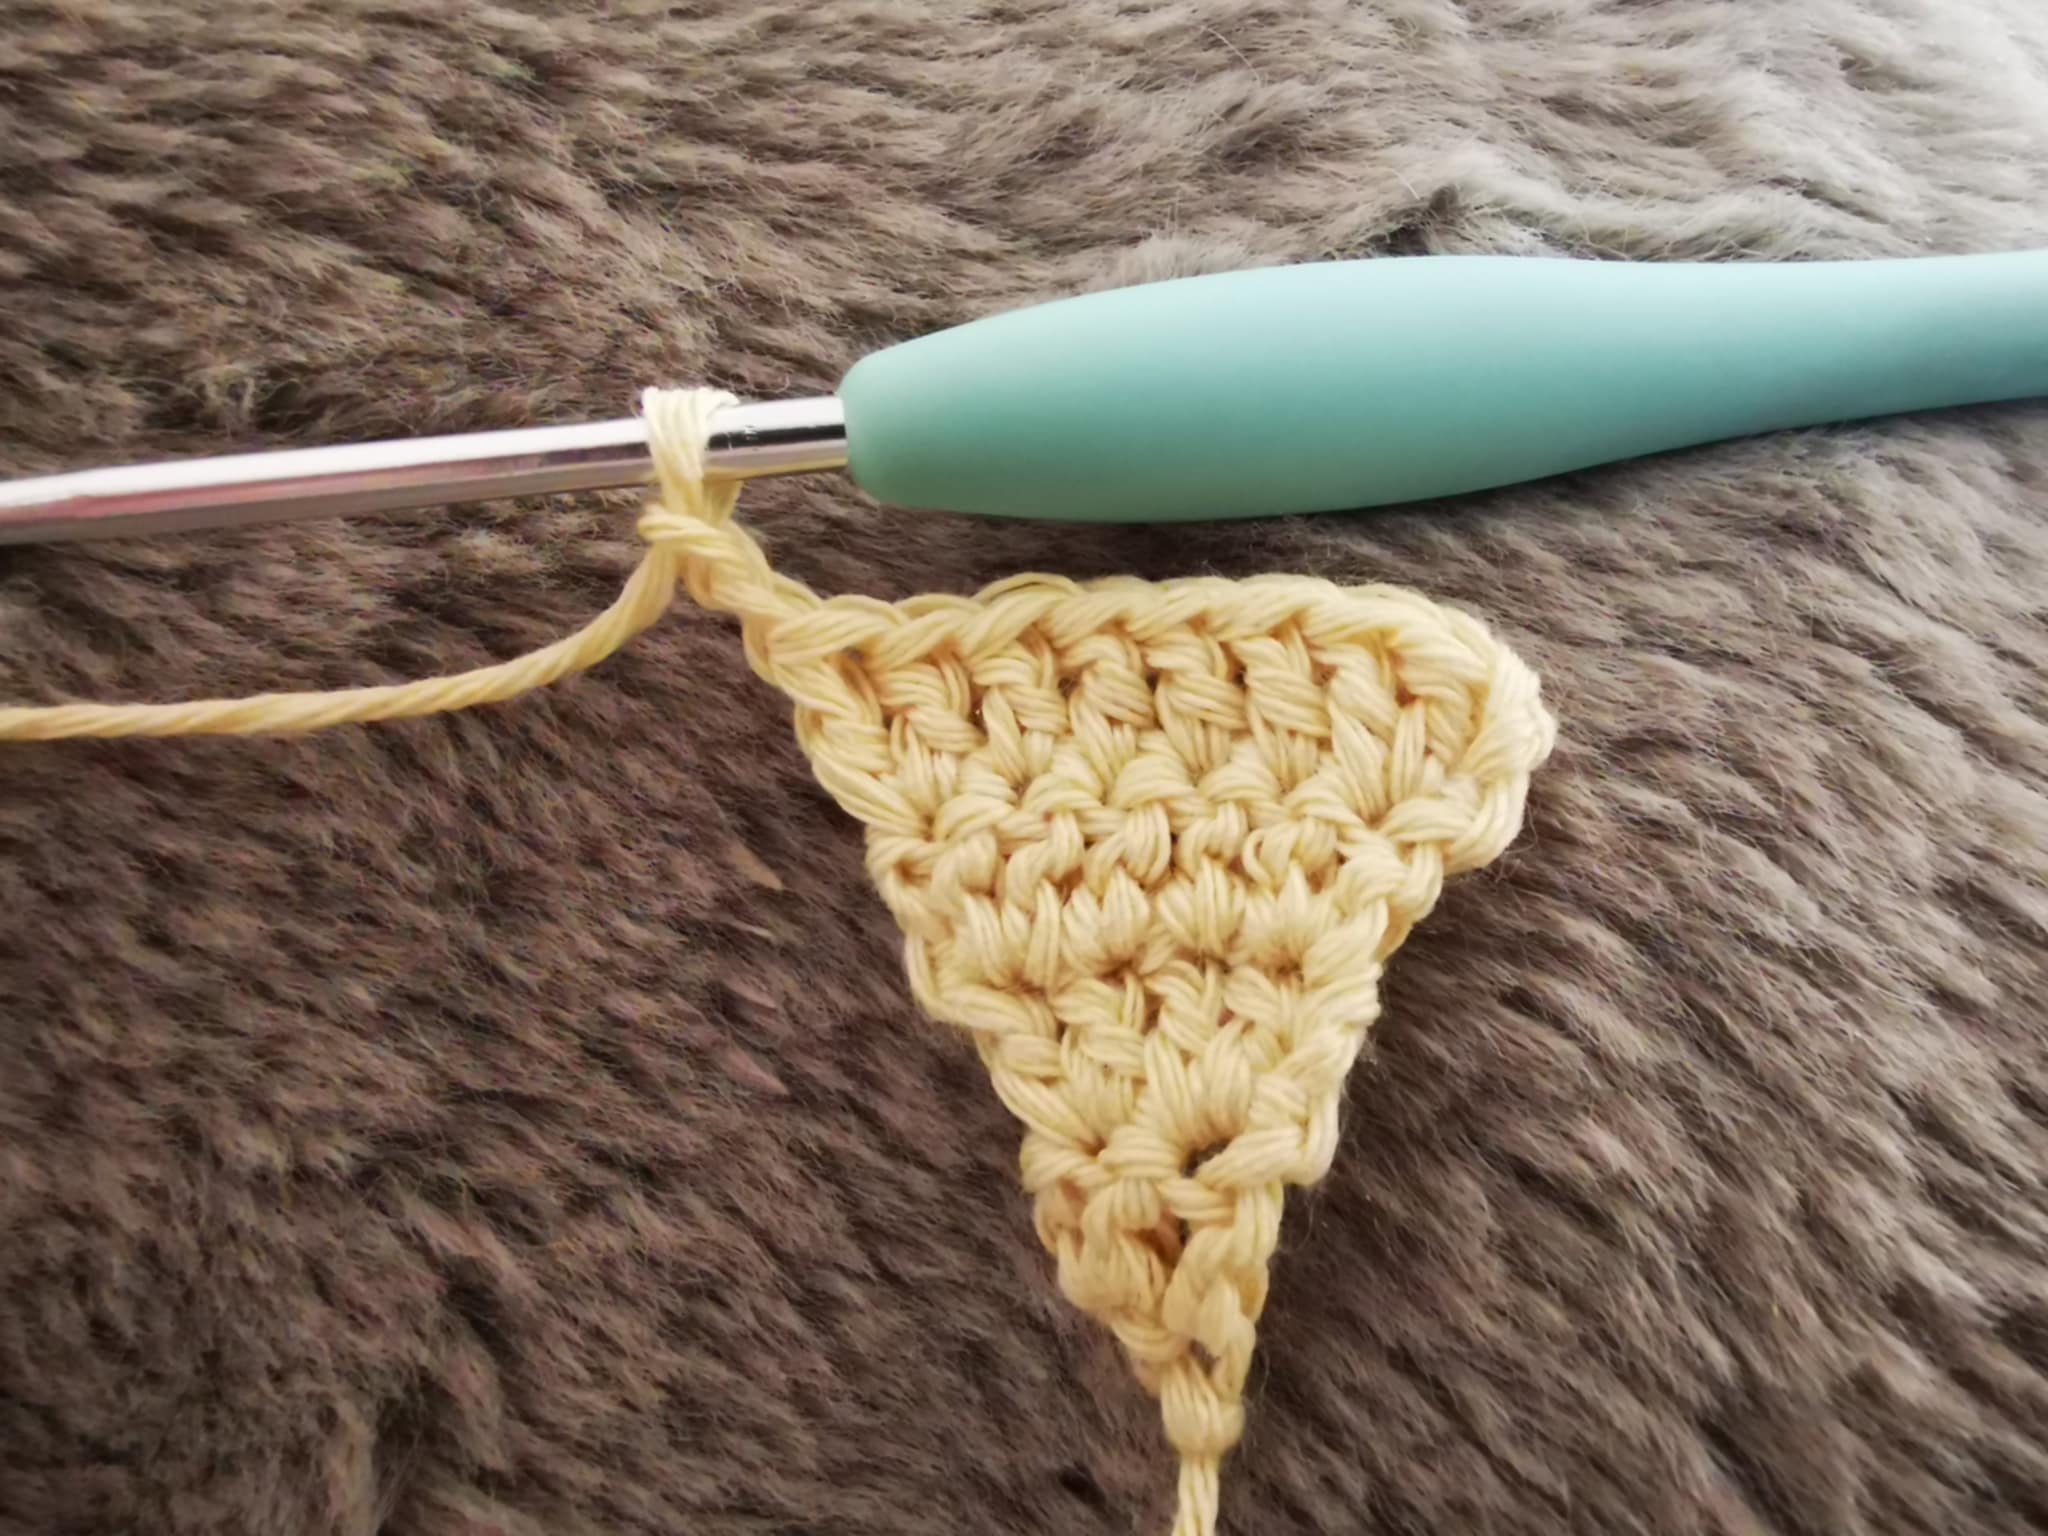
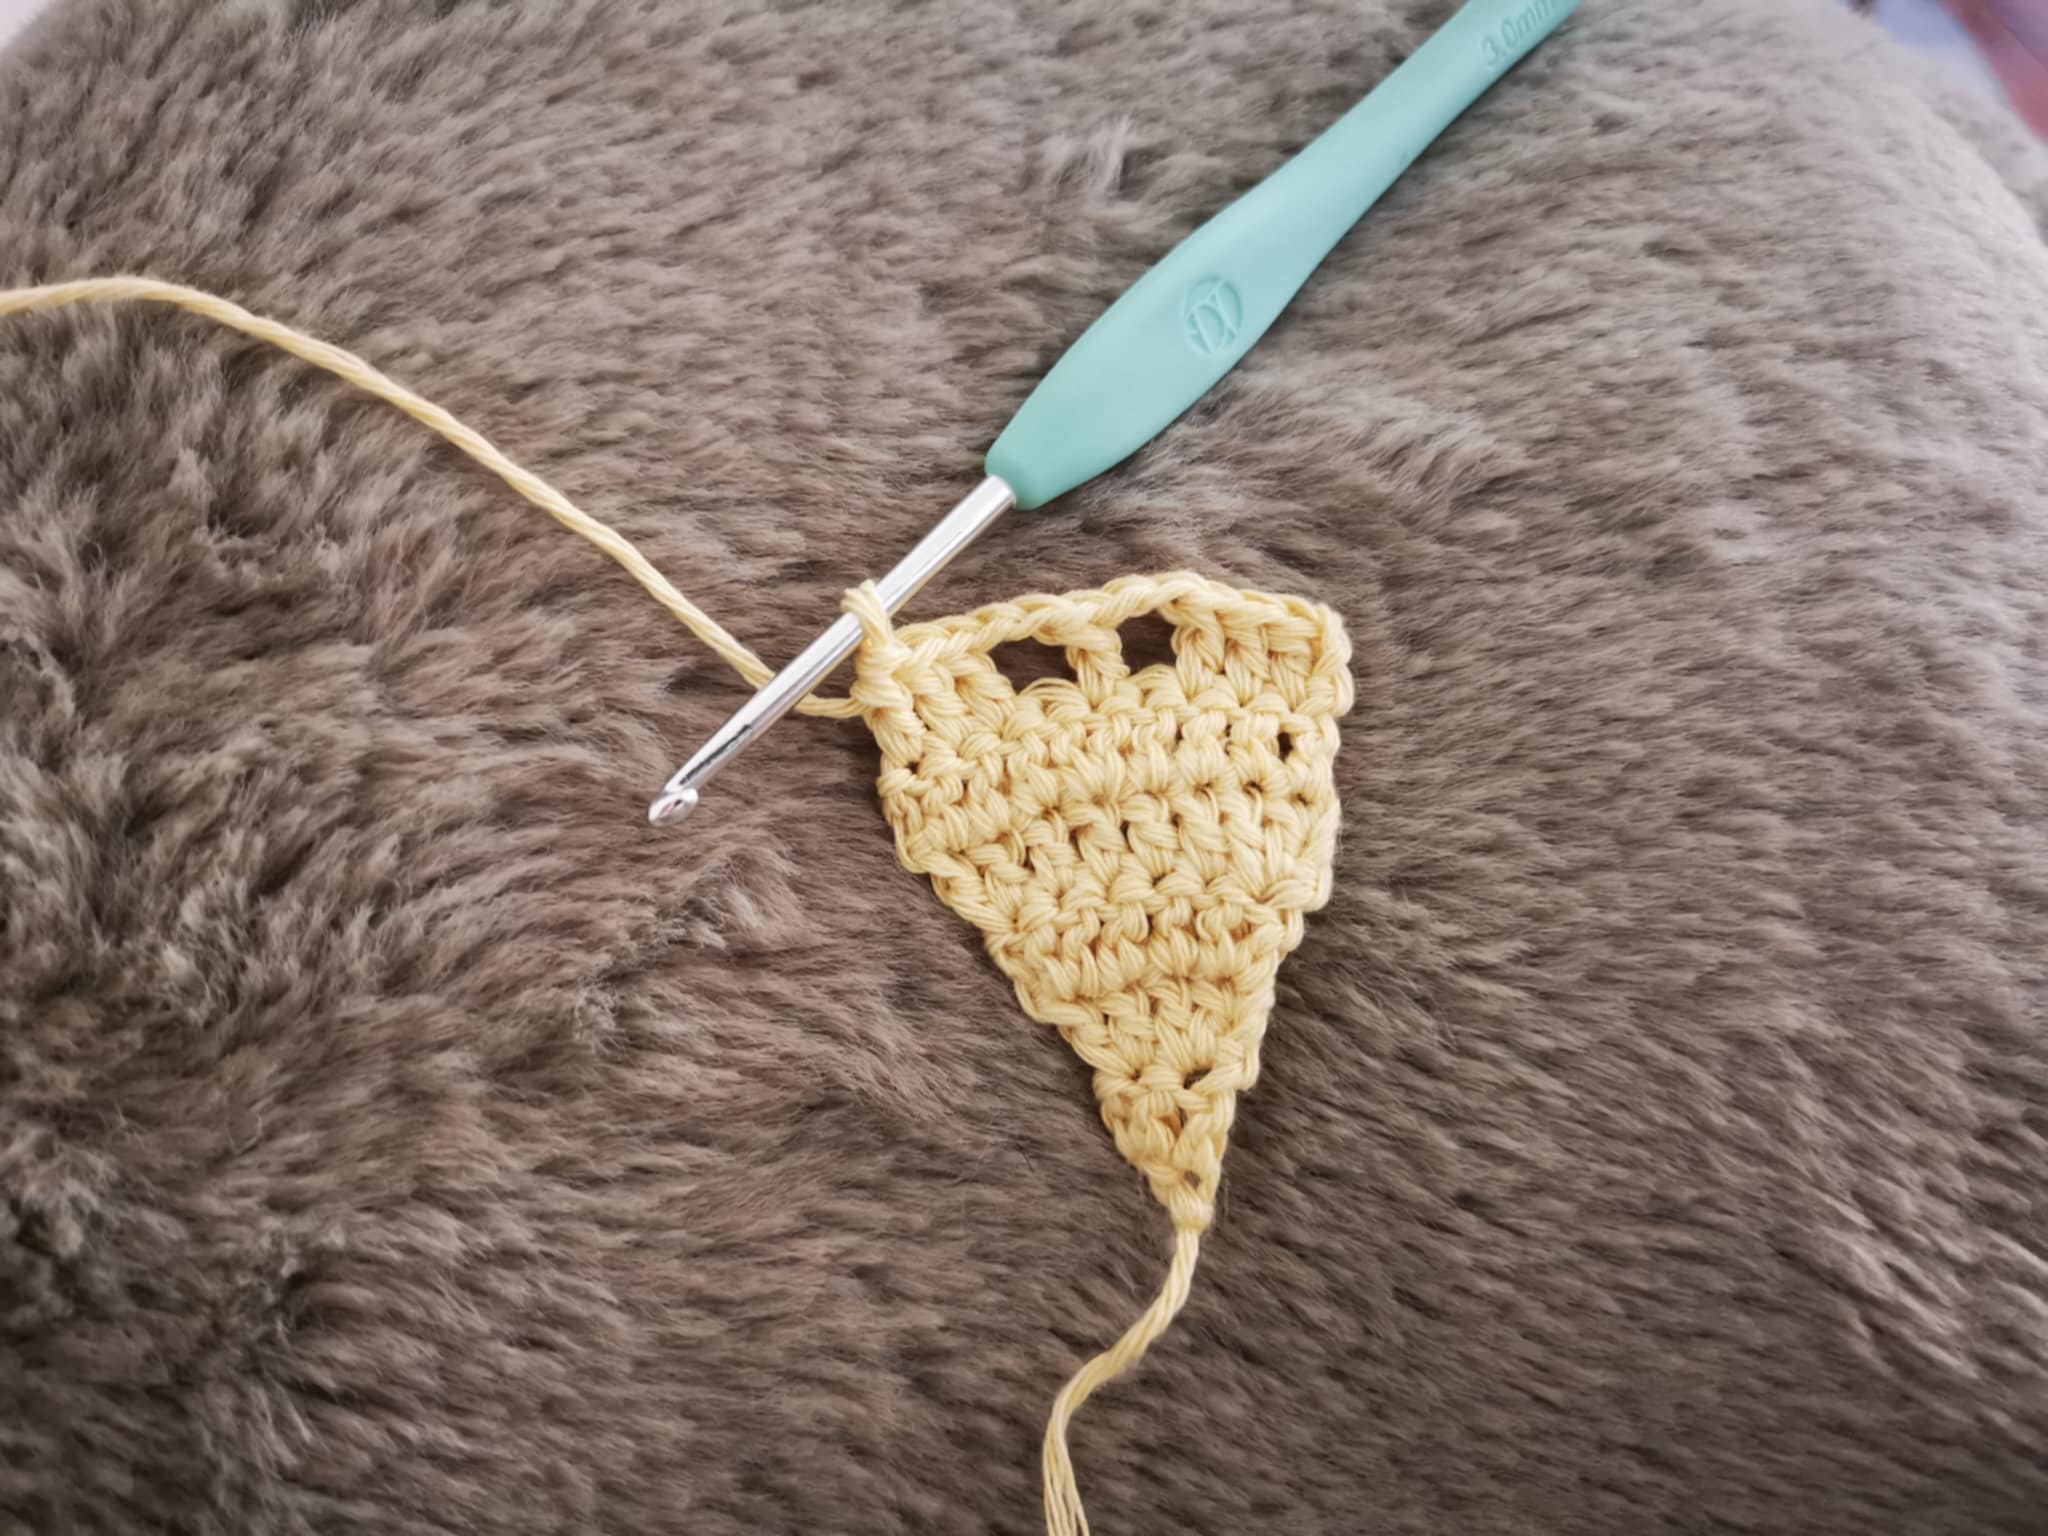
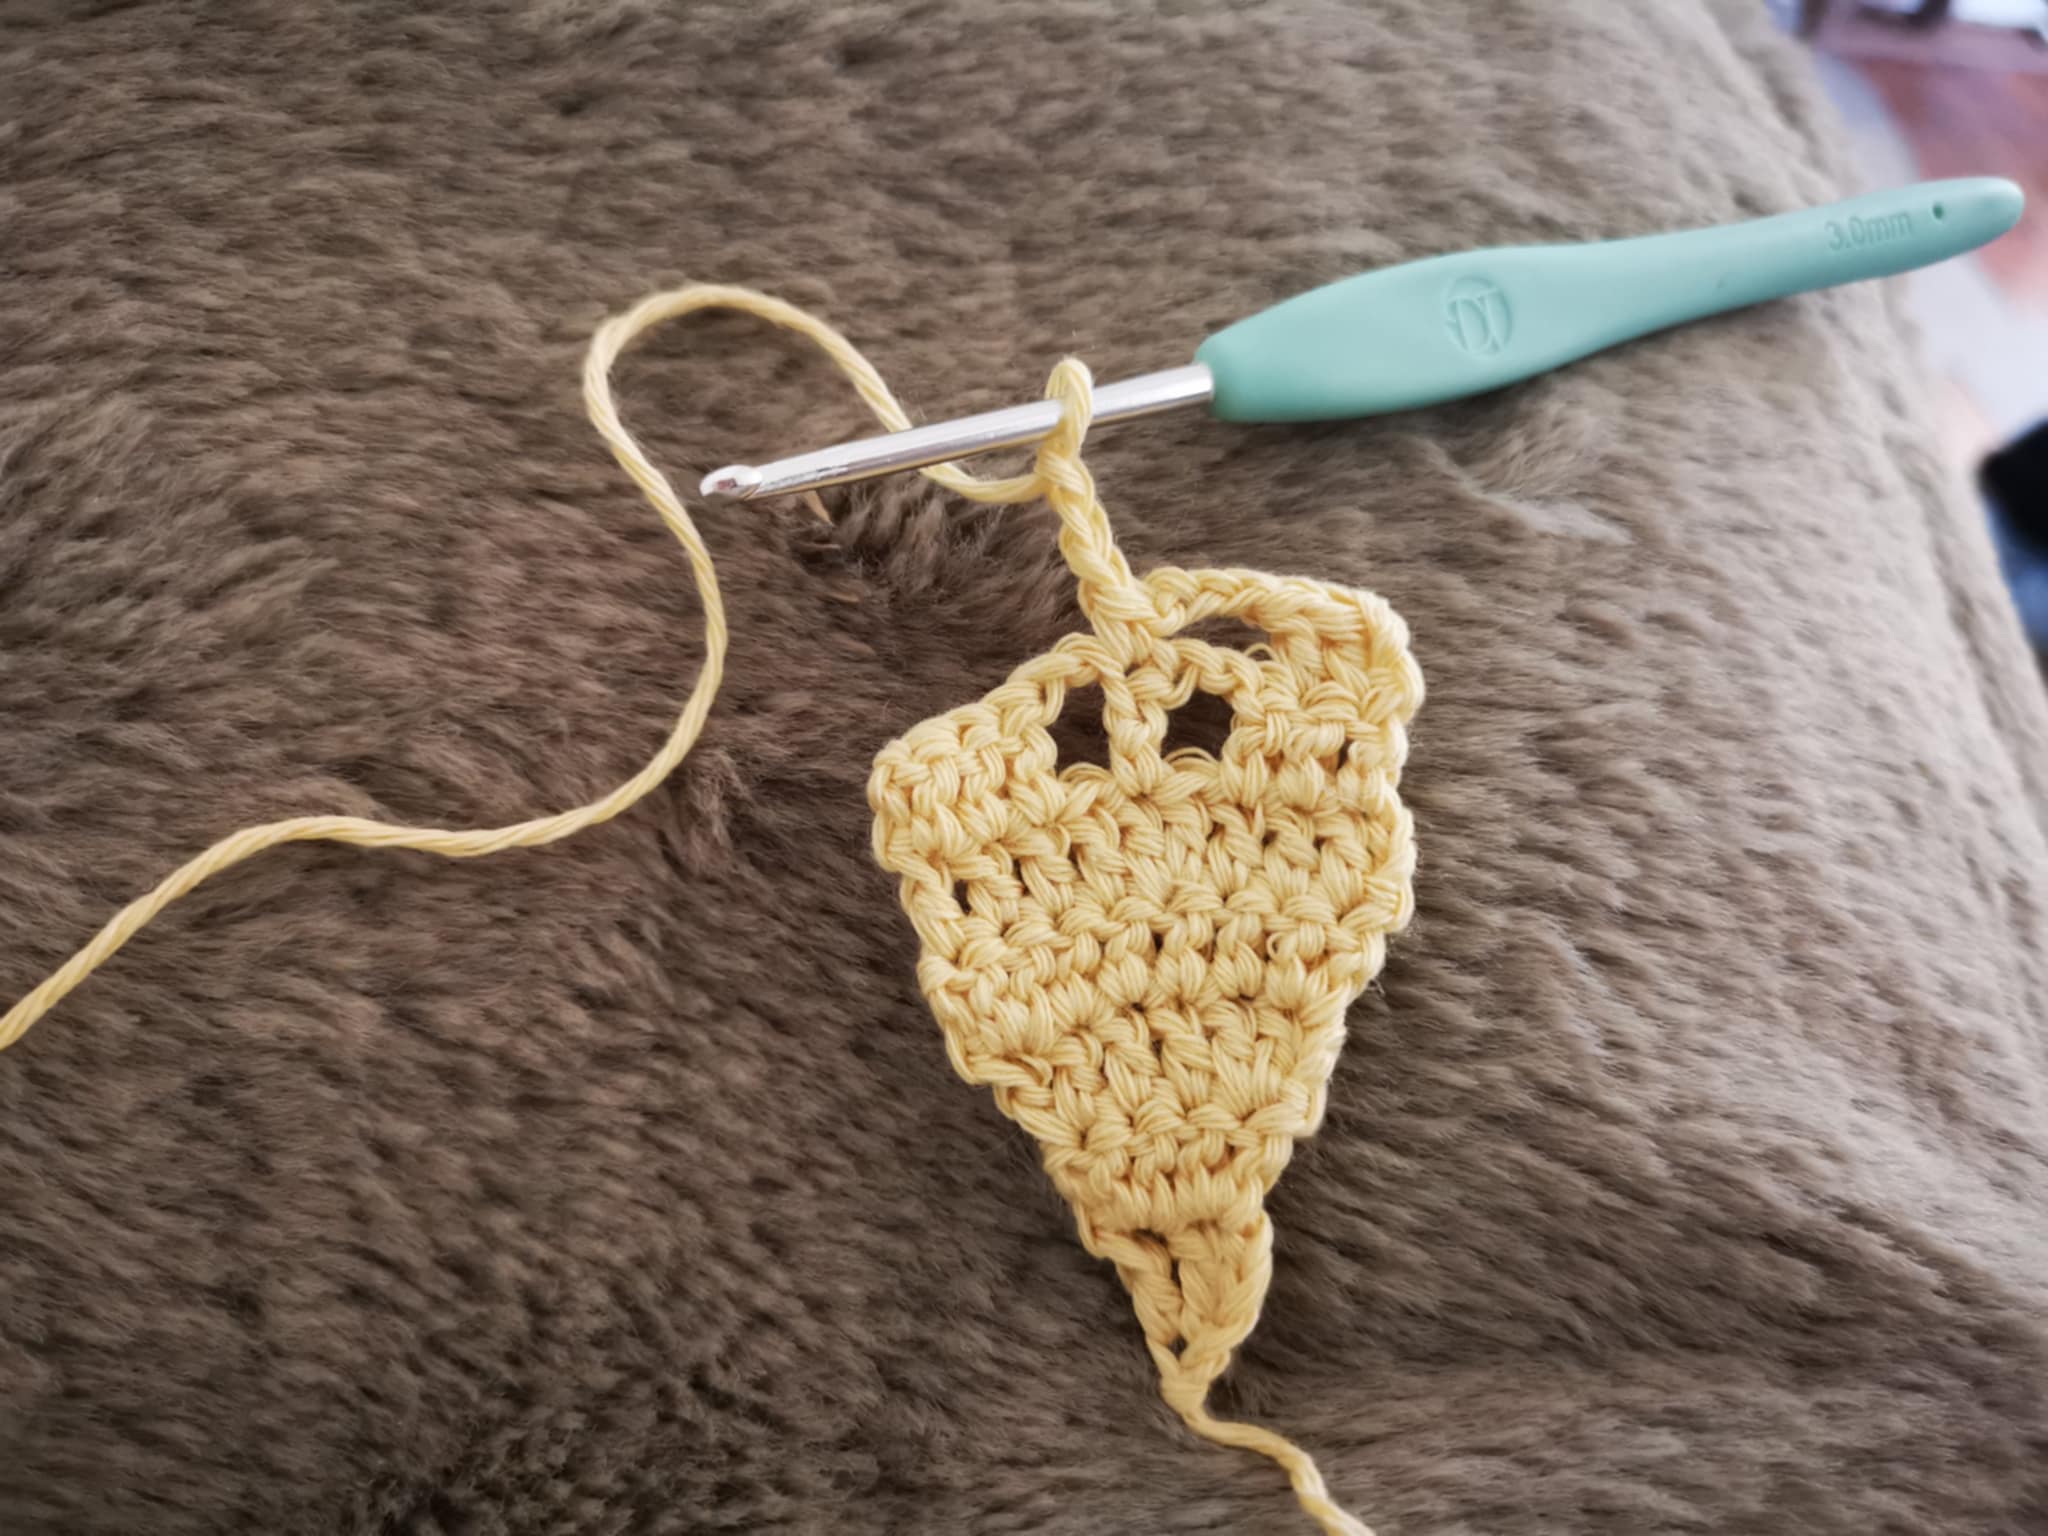
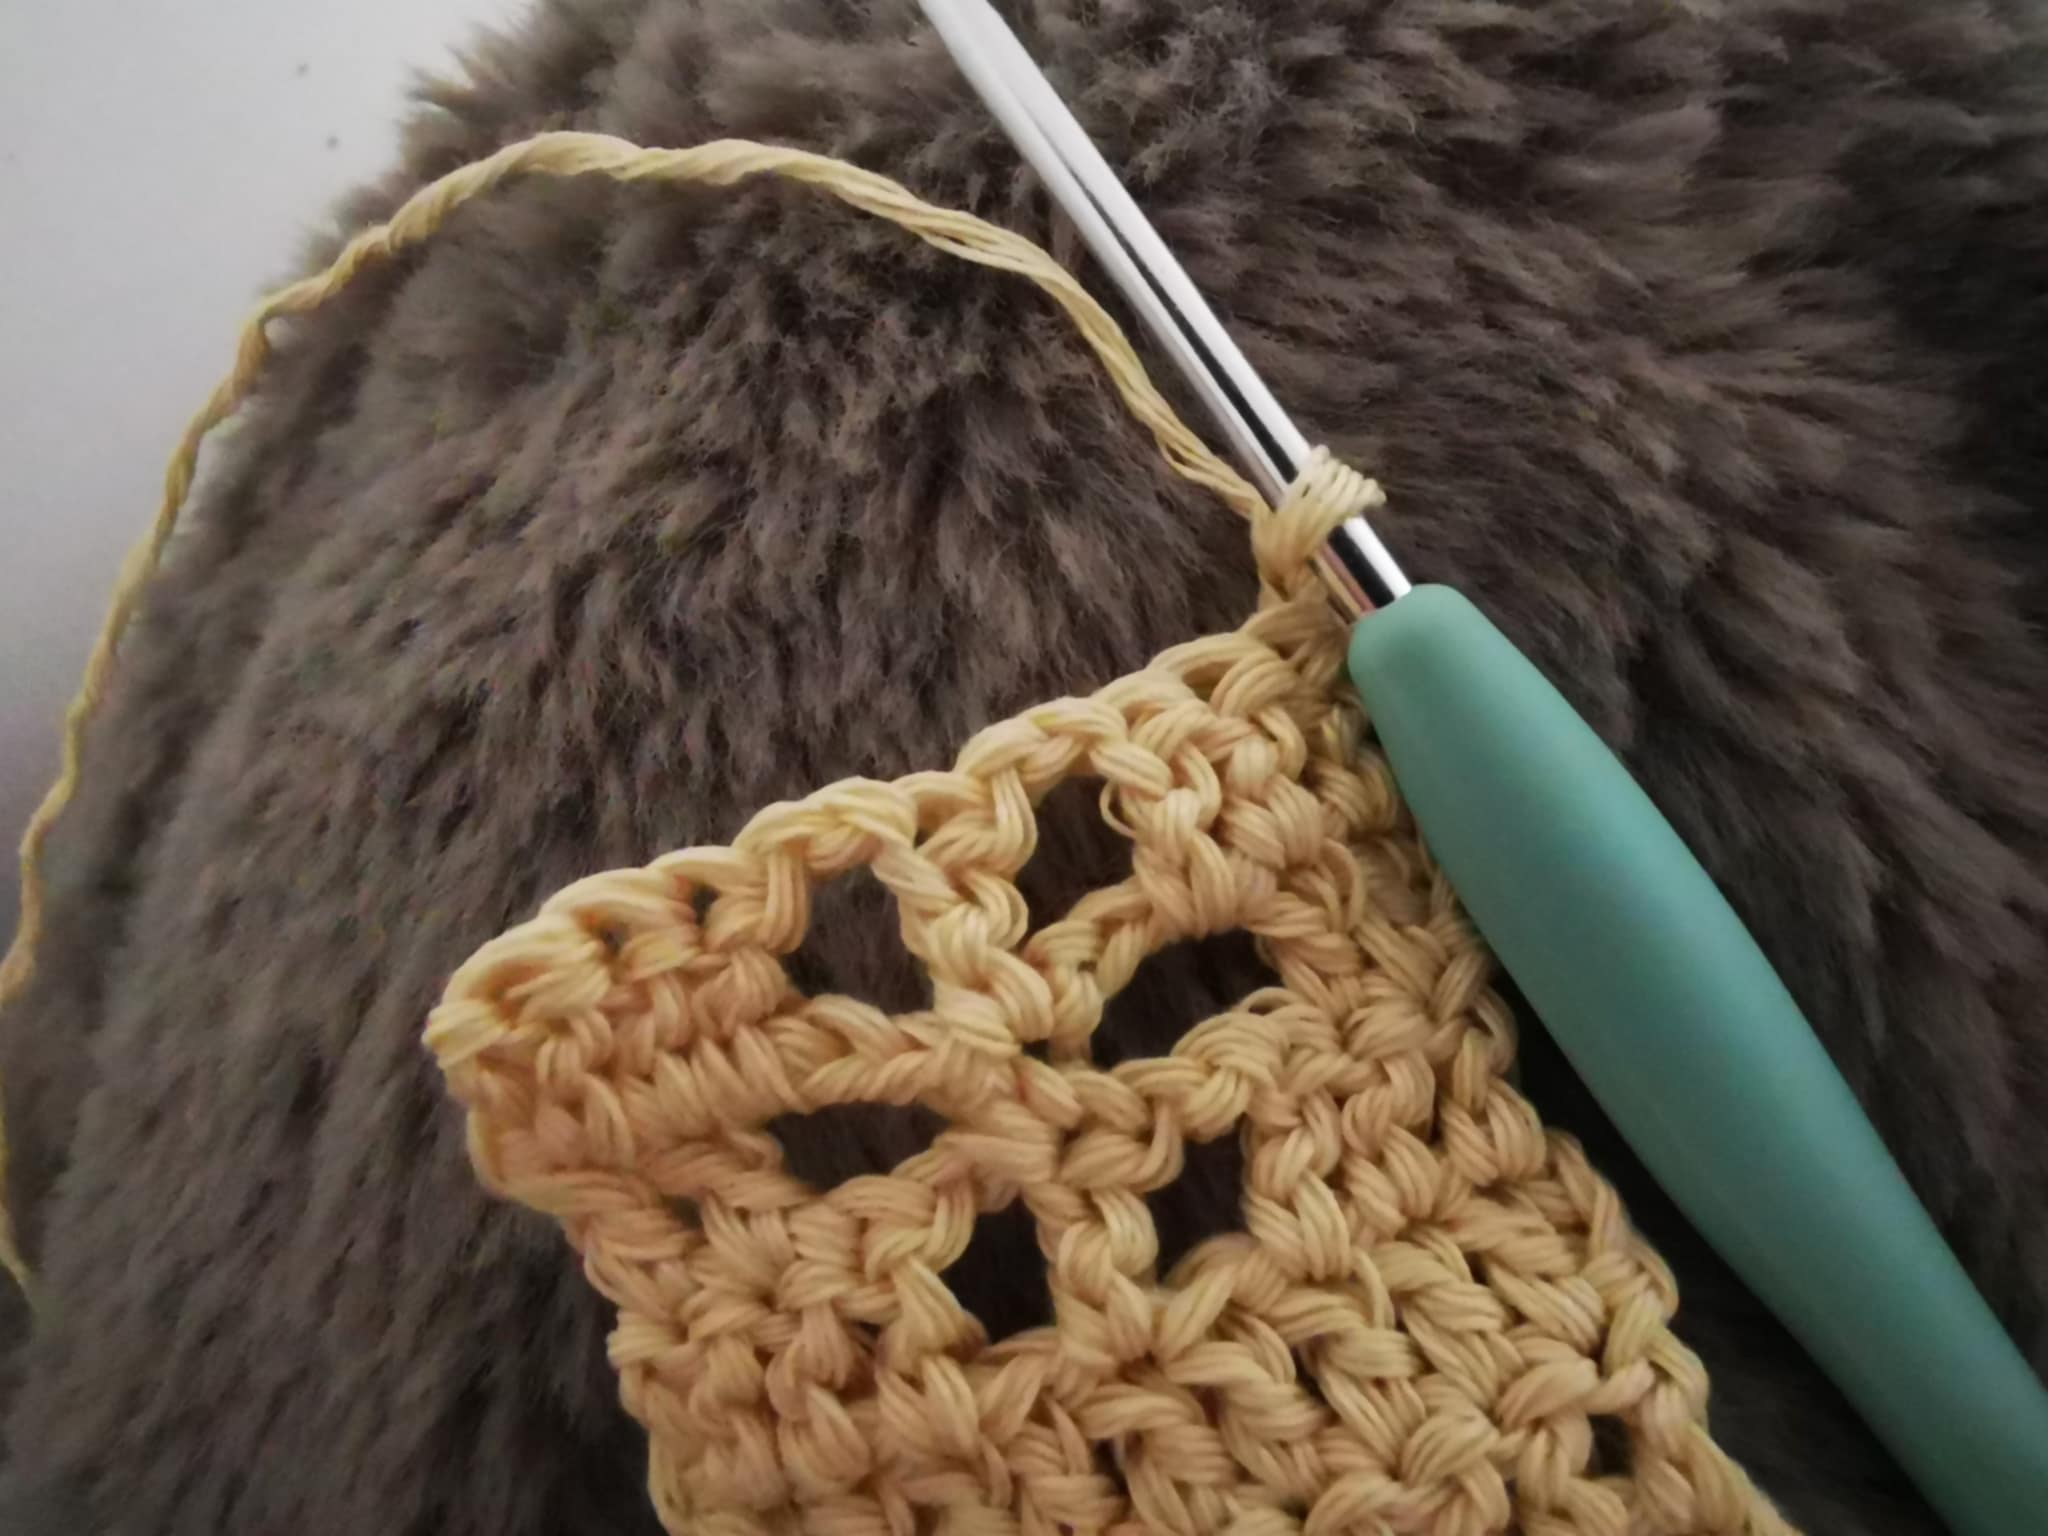
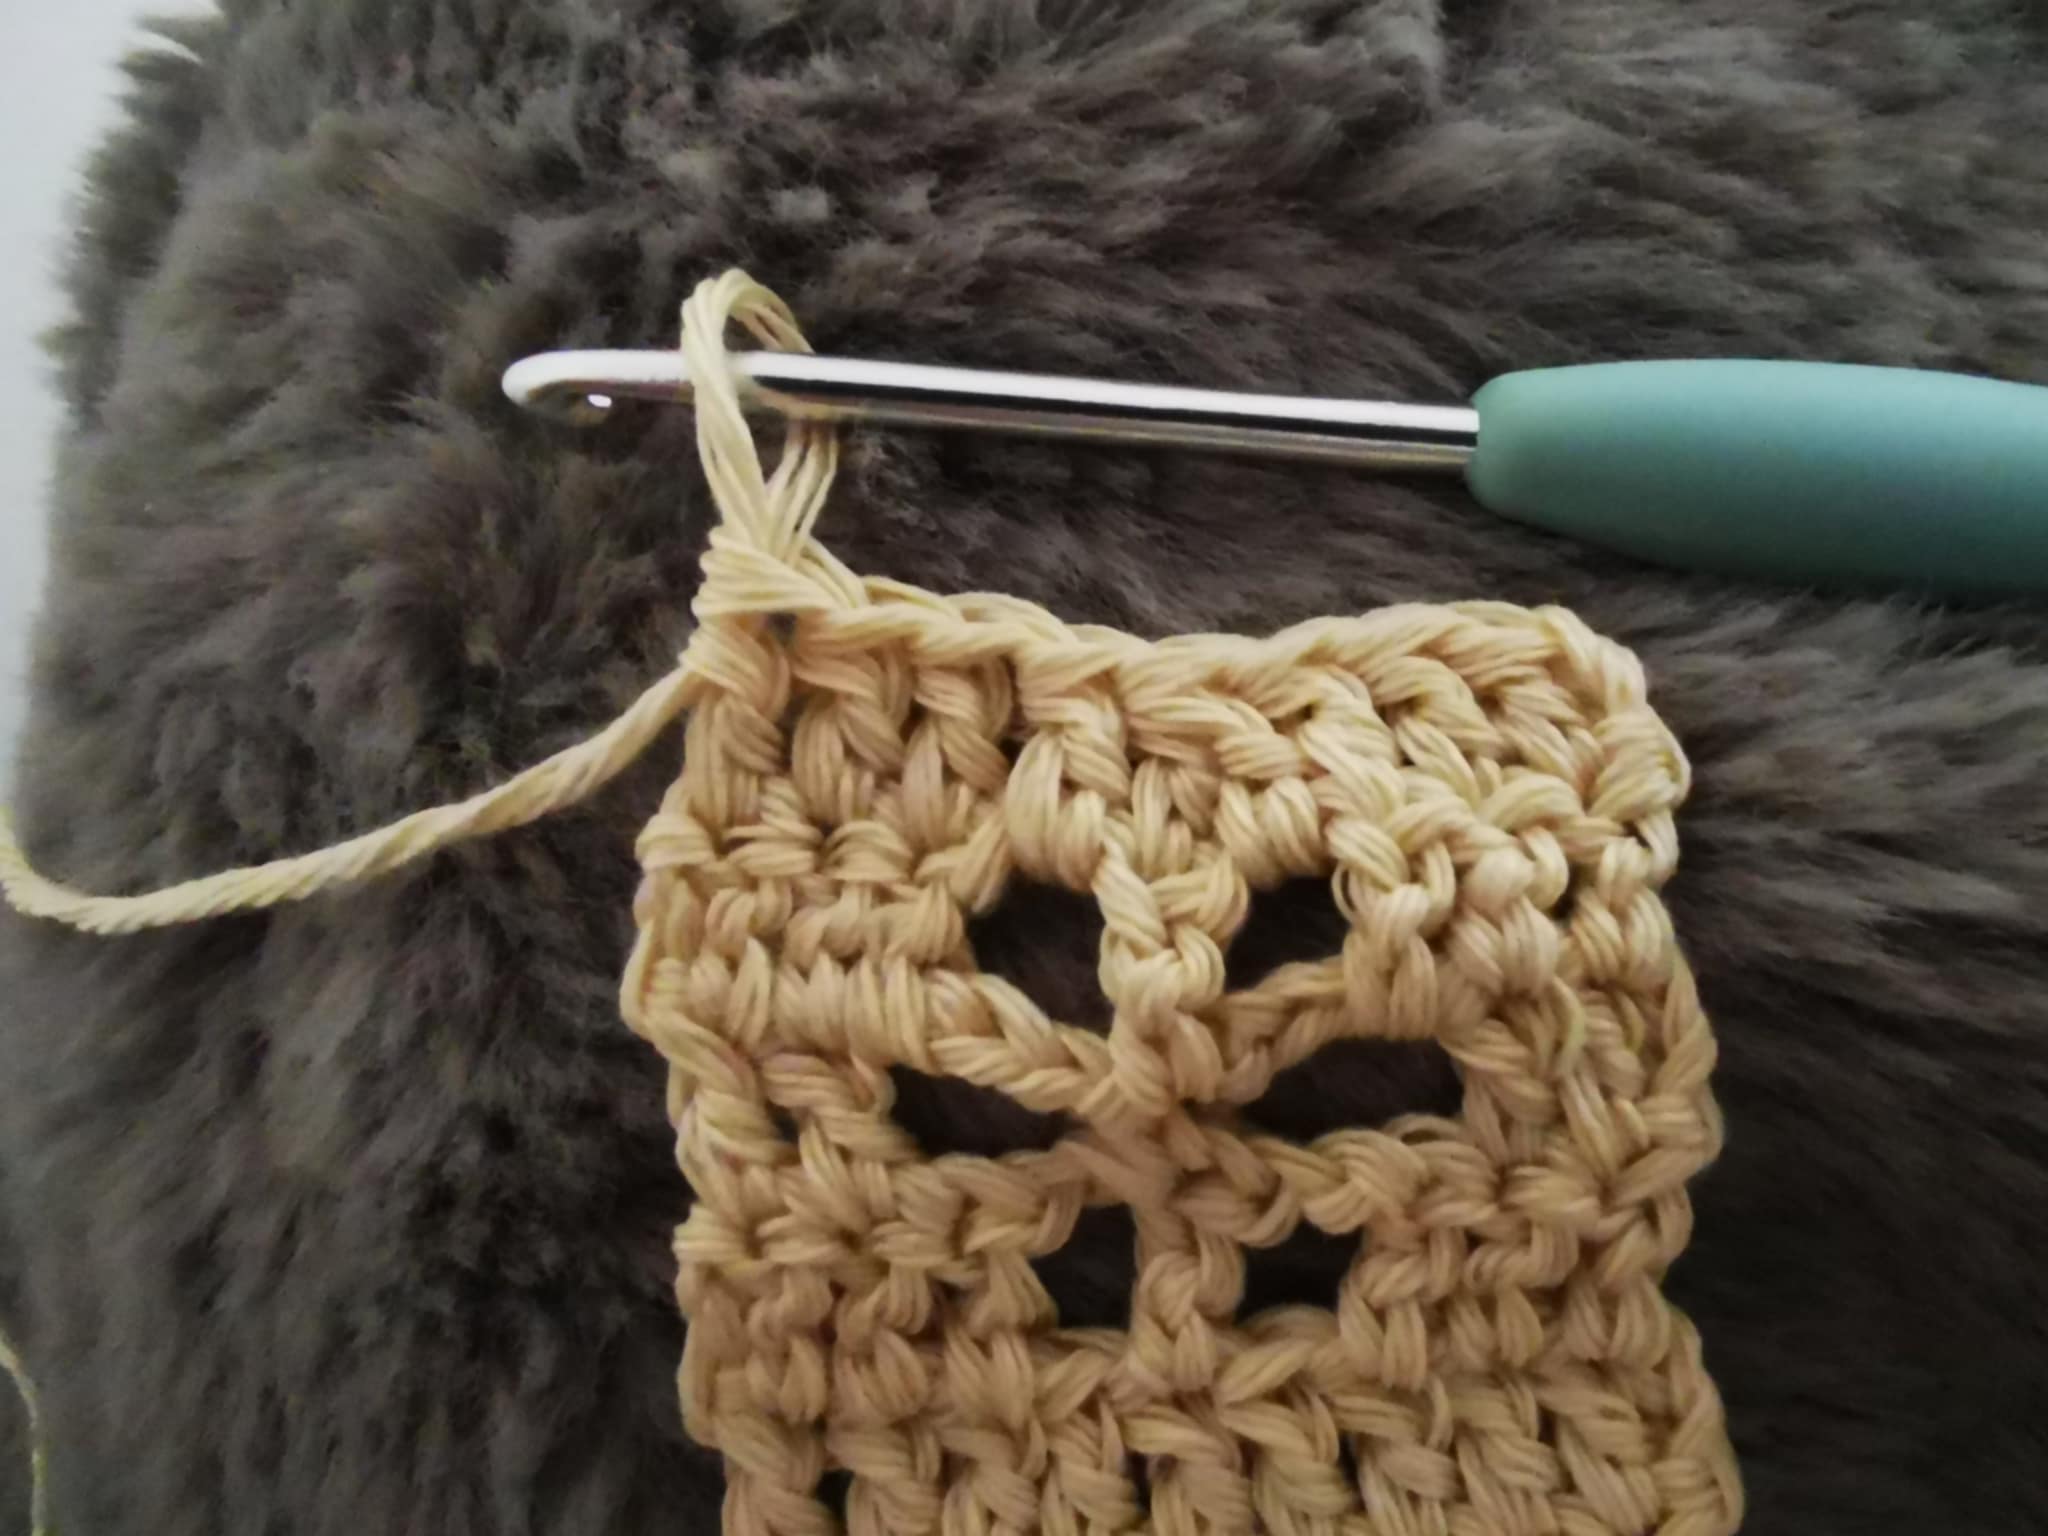
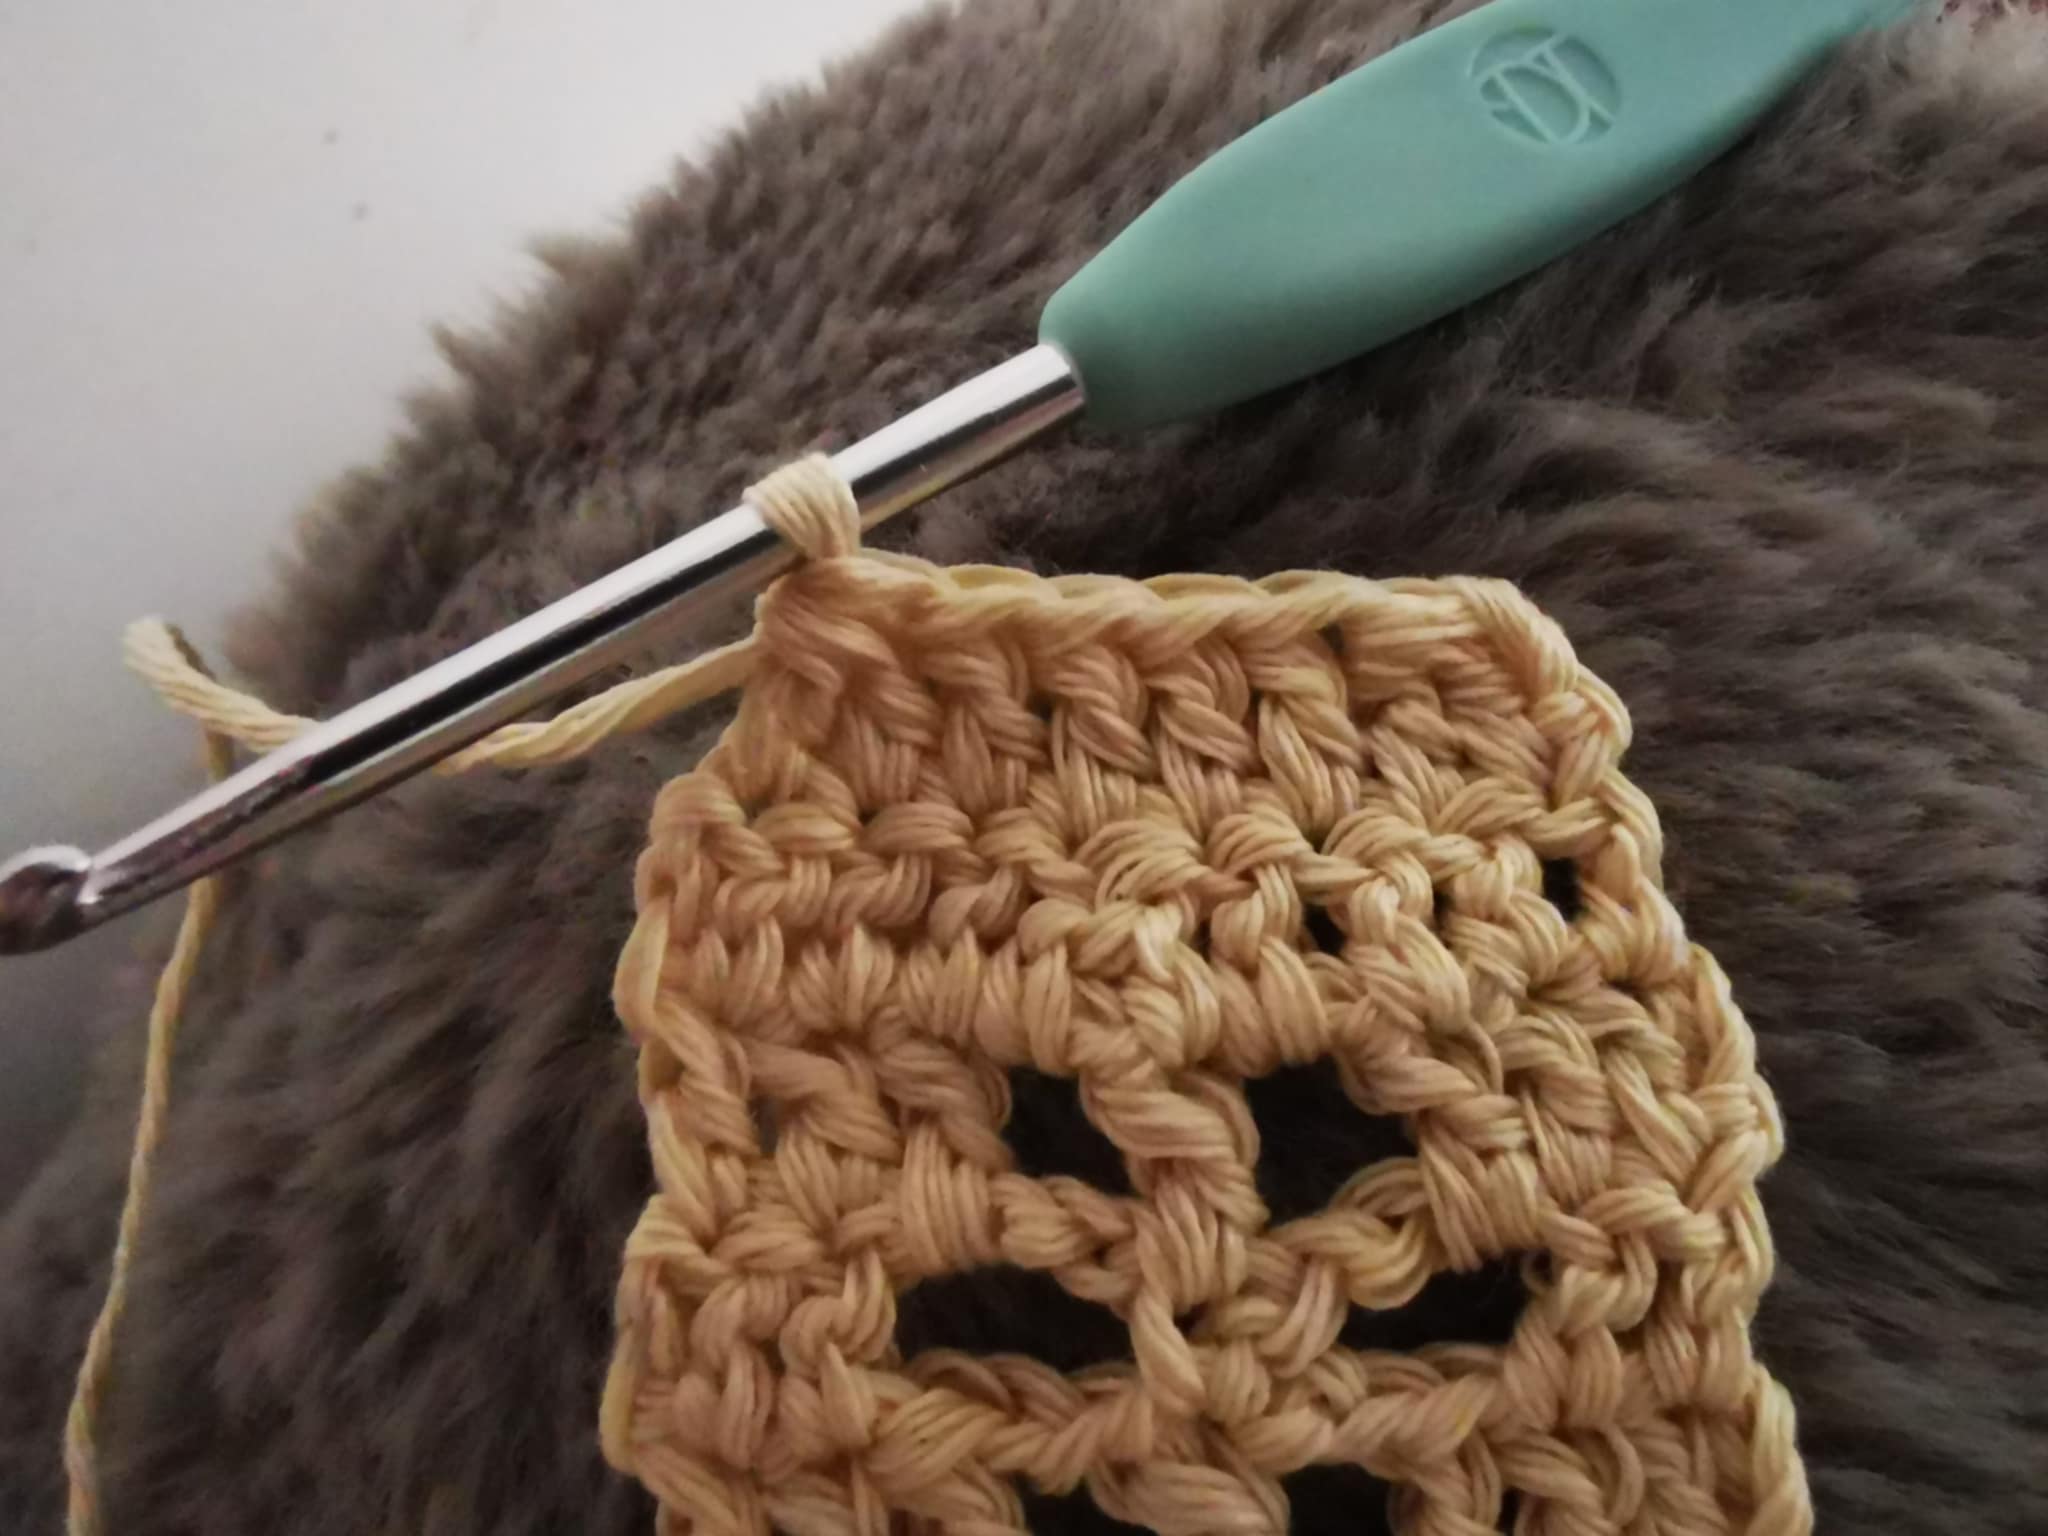
Then, in the third stitch from the hook (the one where I placed my yarn needle to show you), you'll make 1 double crochet:
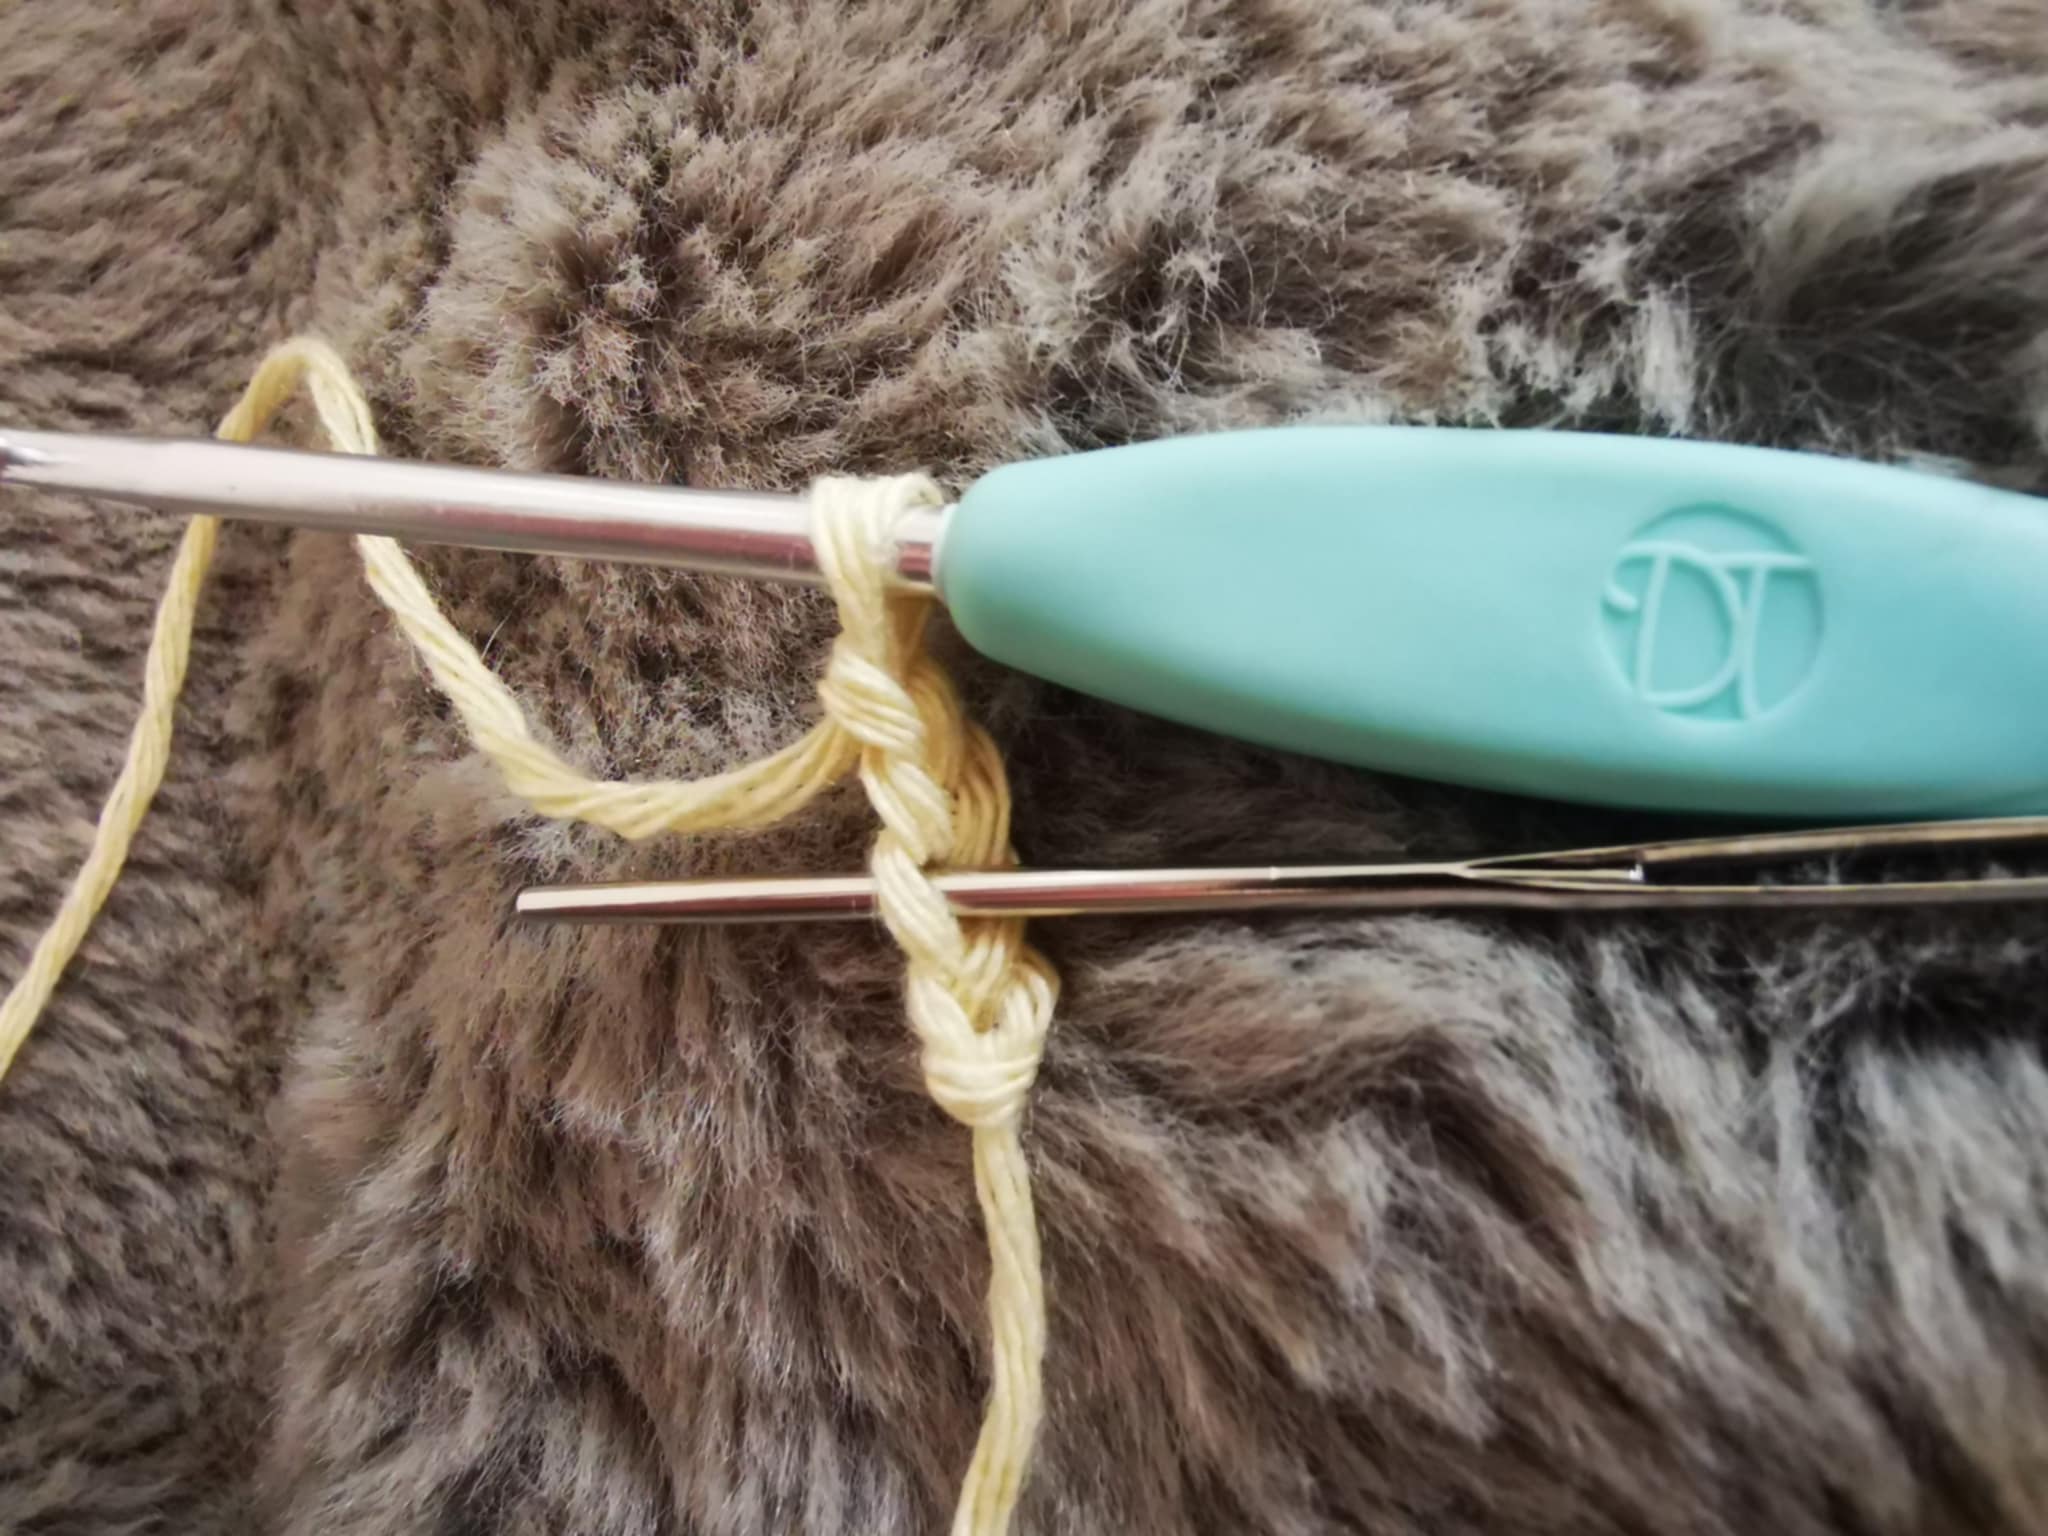
And then, you'll make another double crochet in the next stitch.
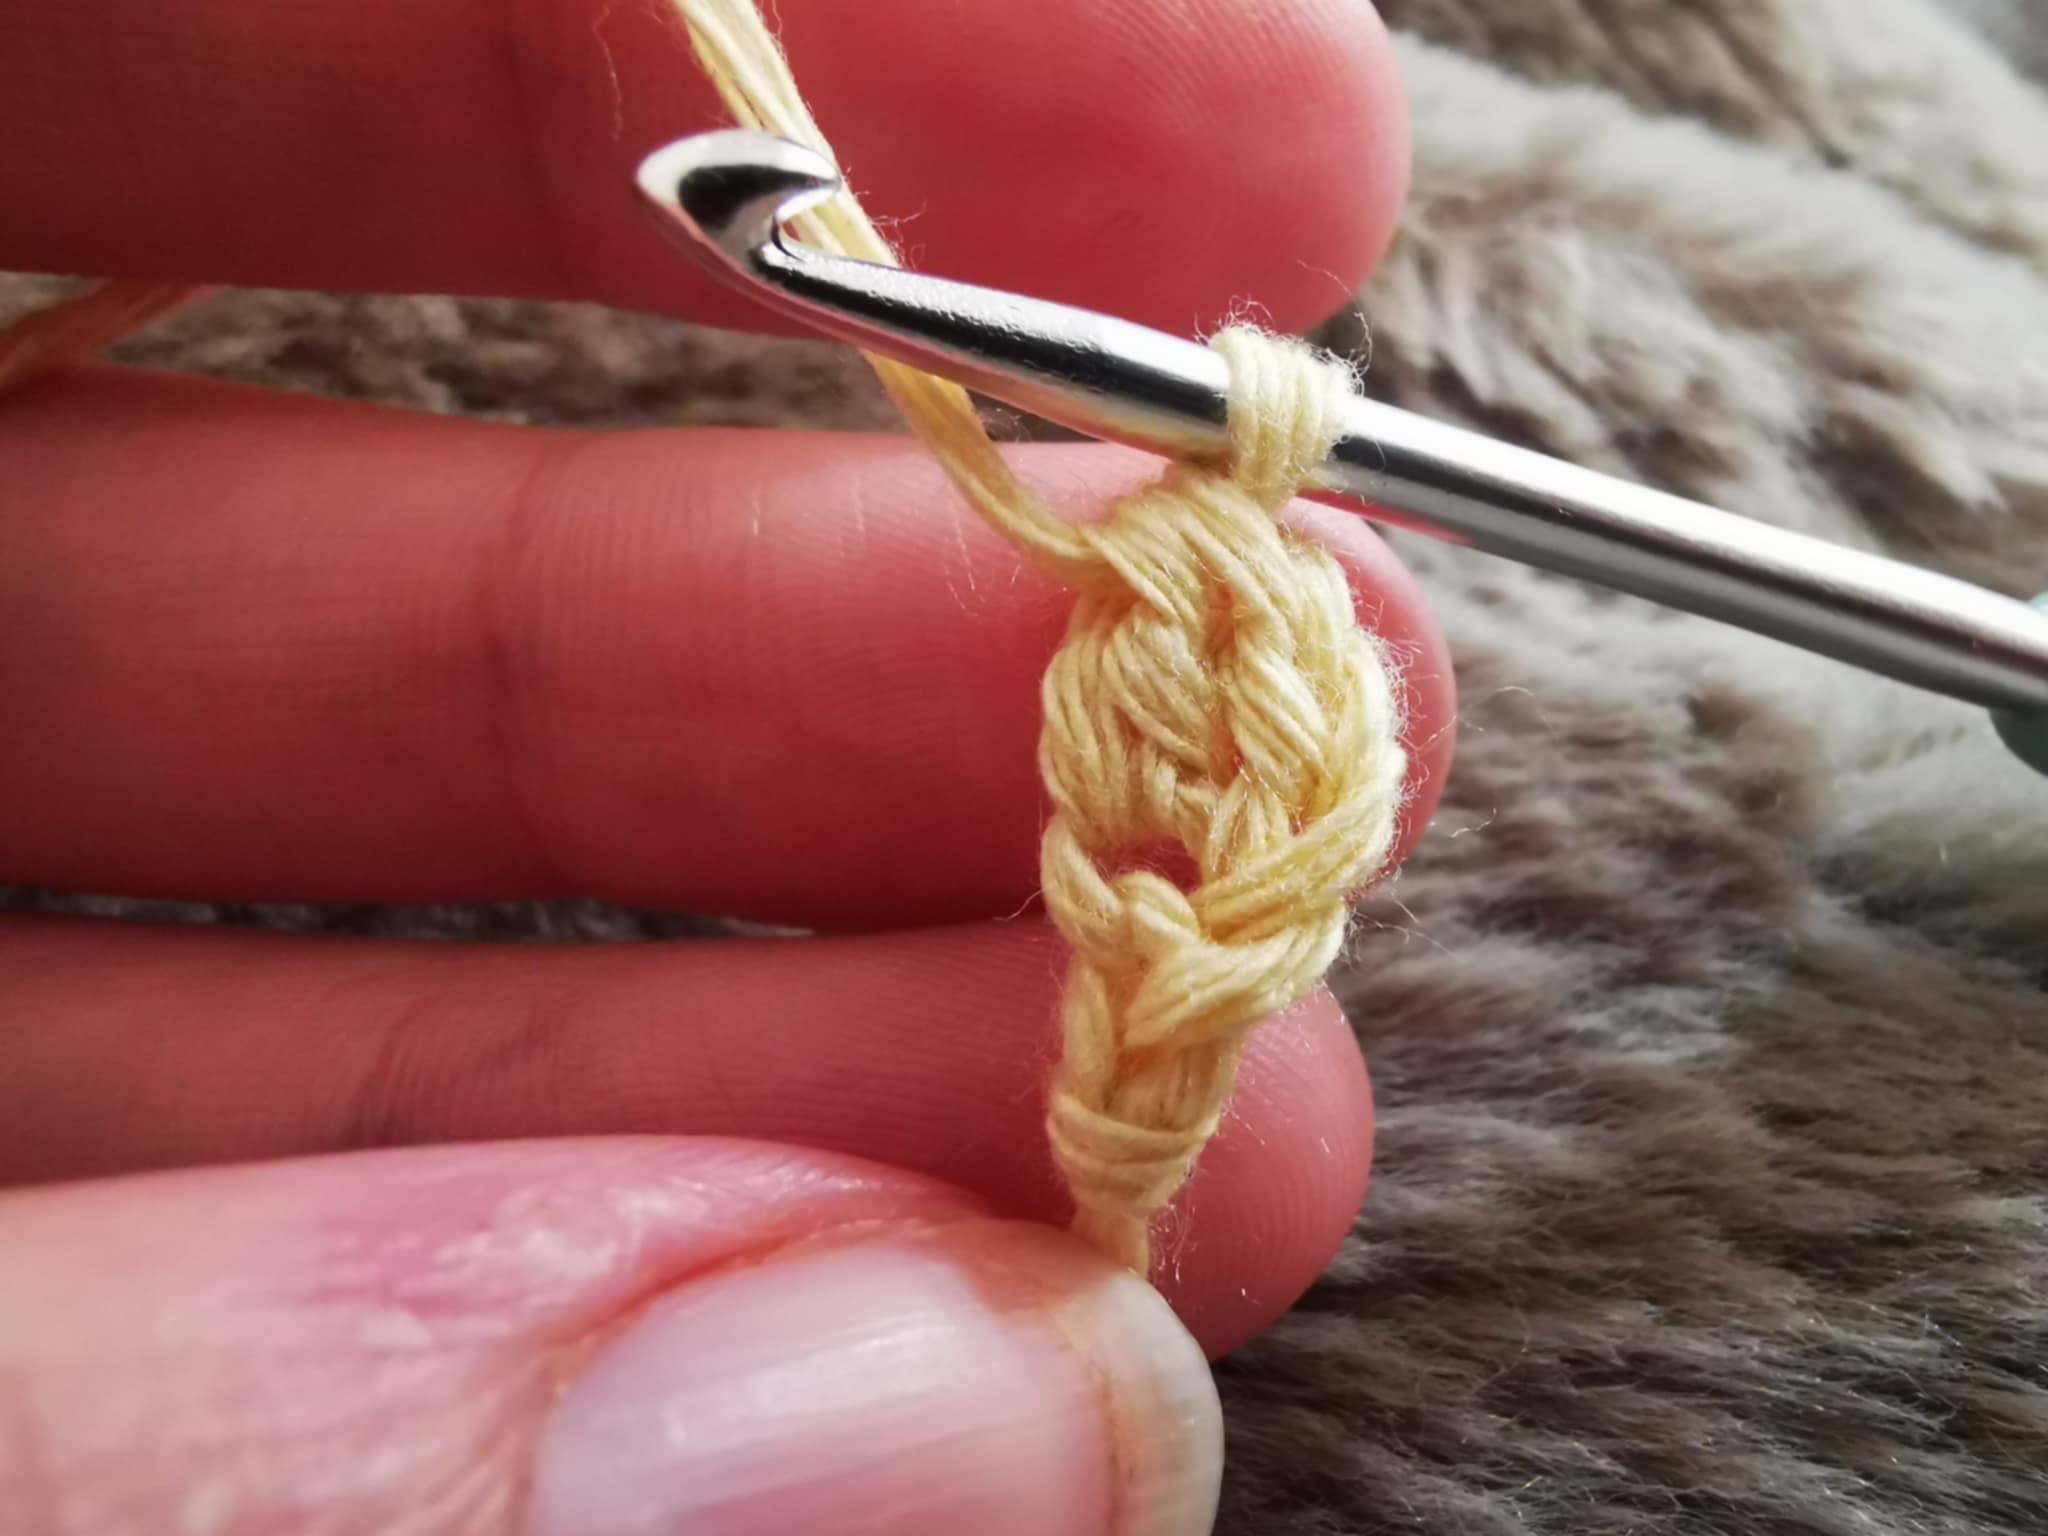
Your first row is complete!
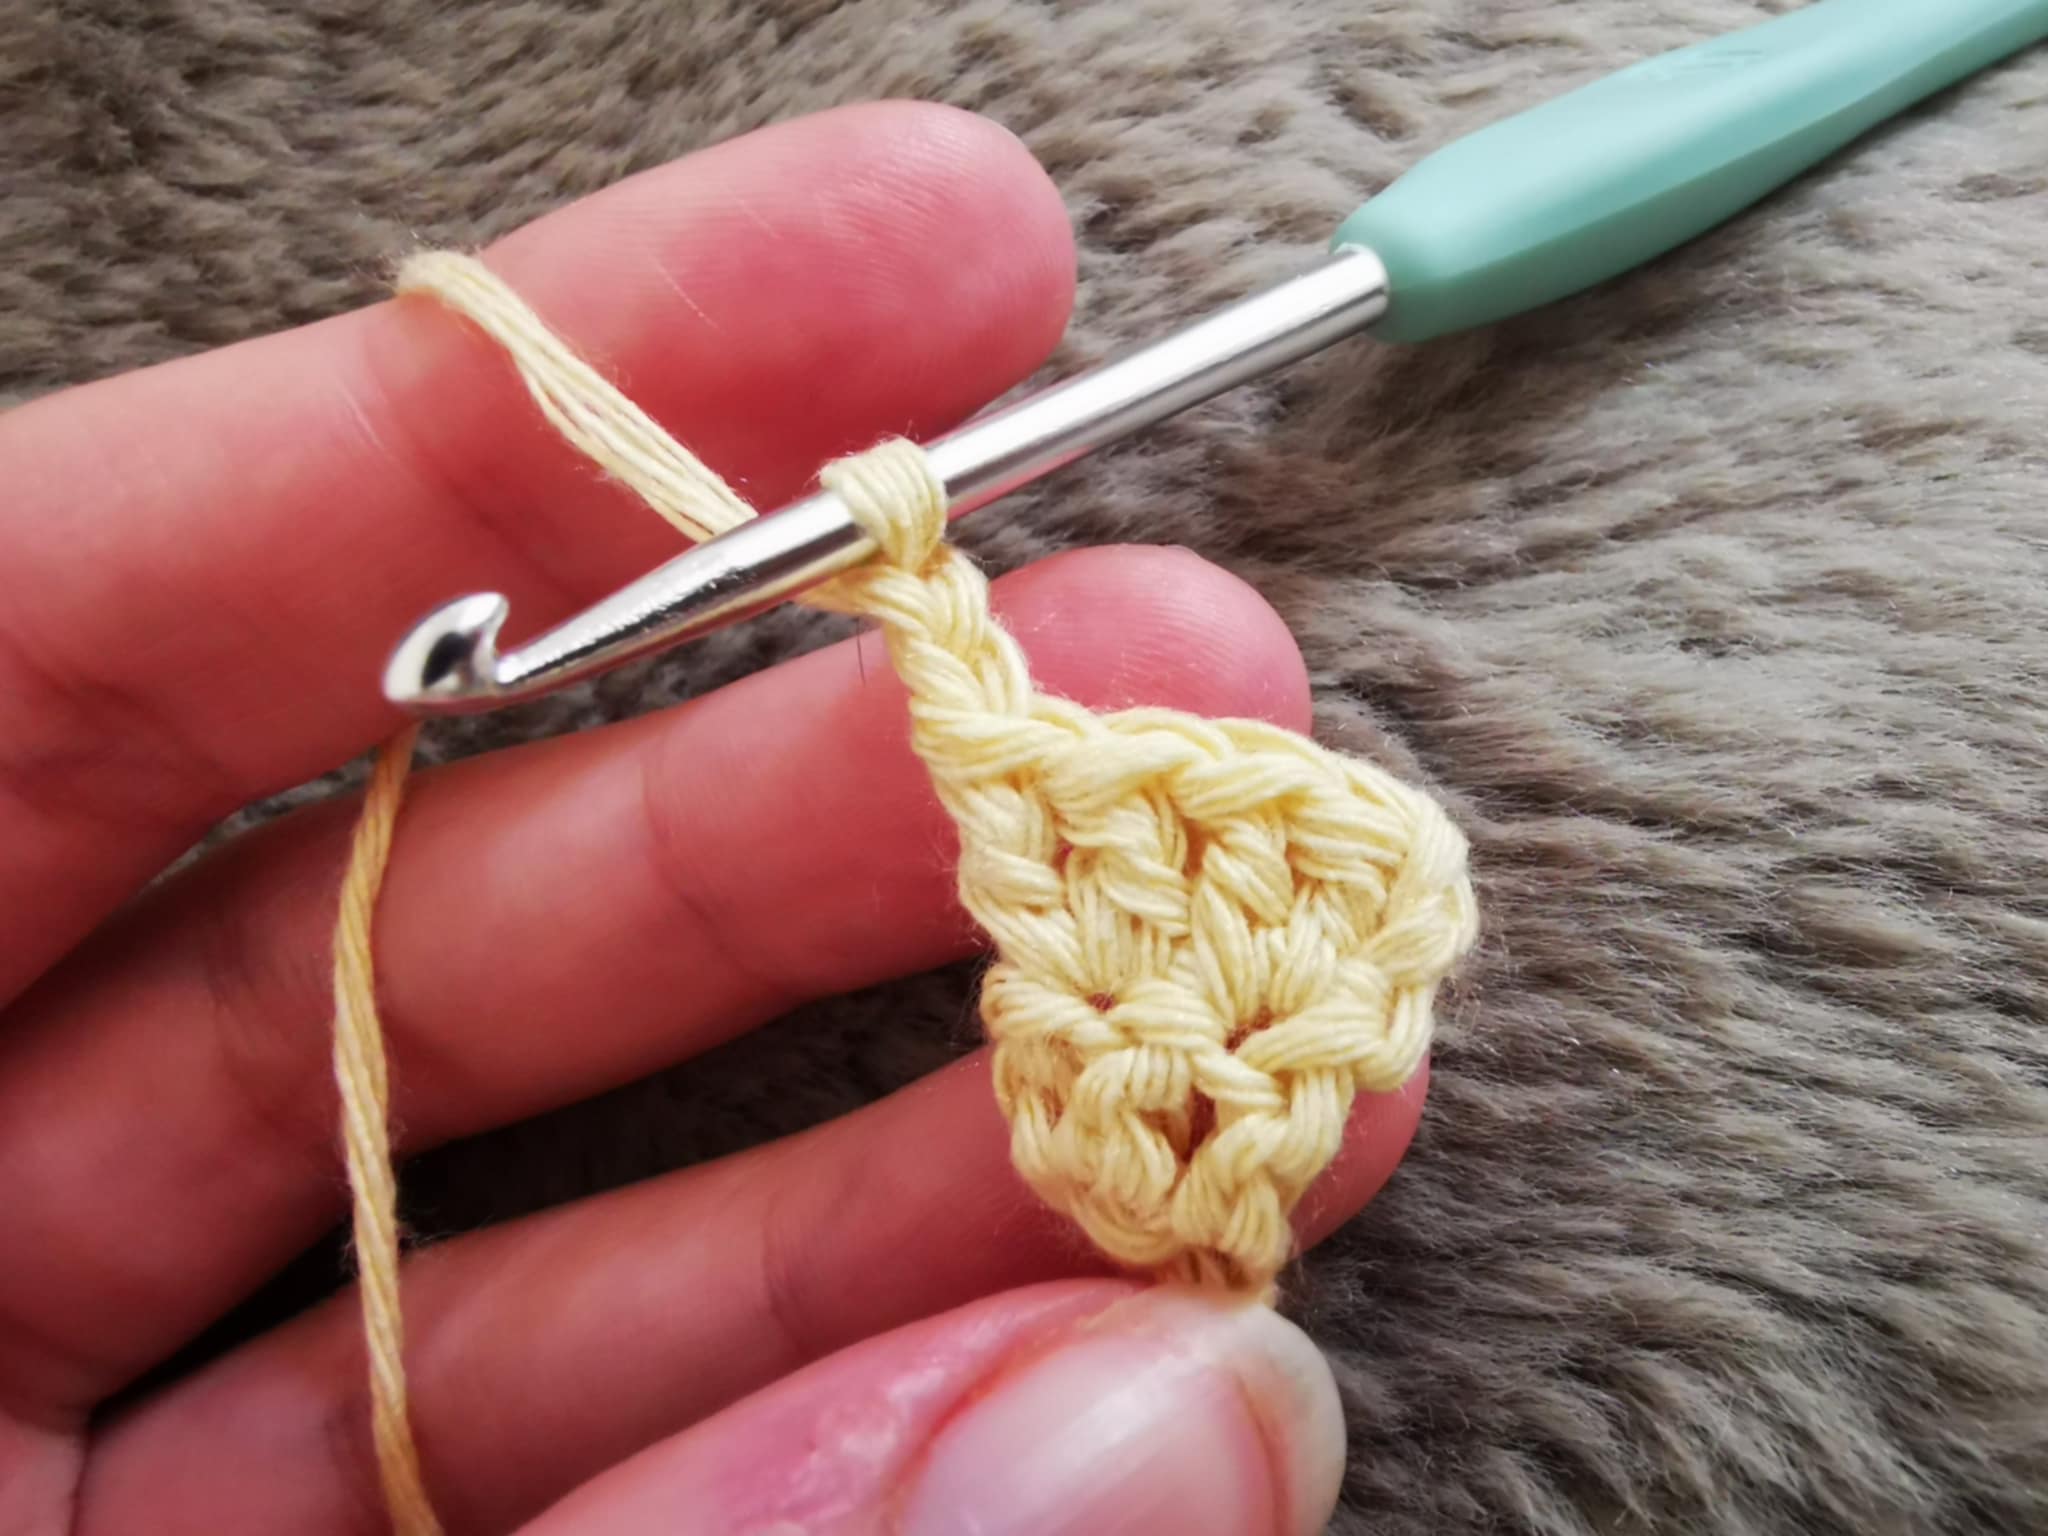
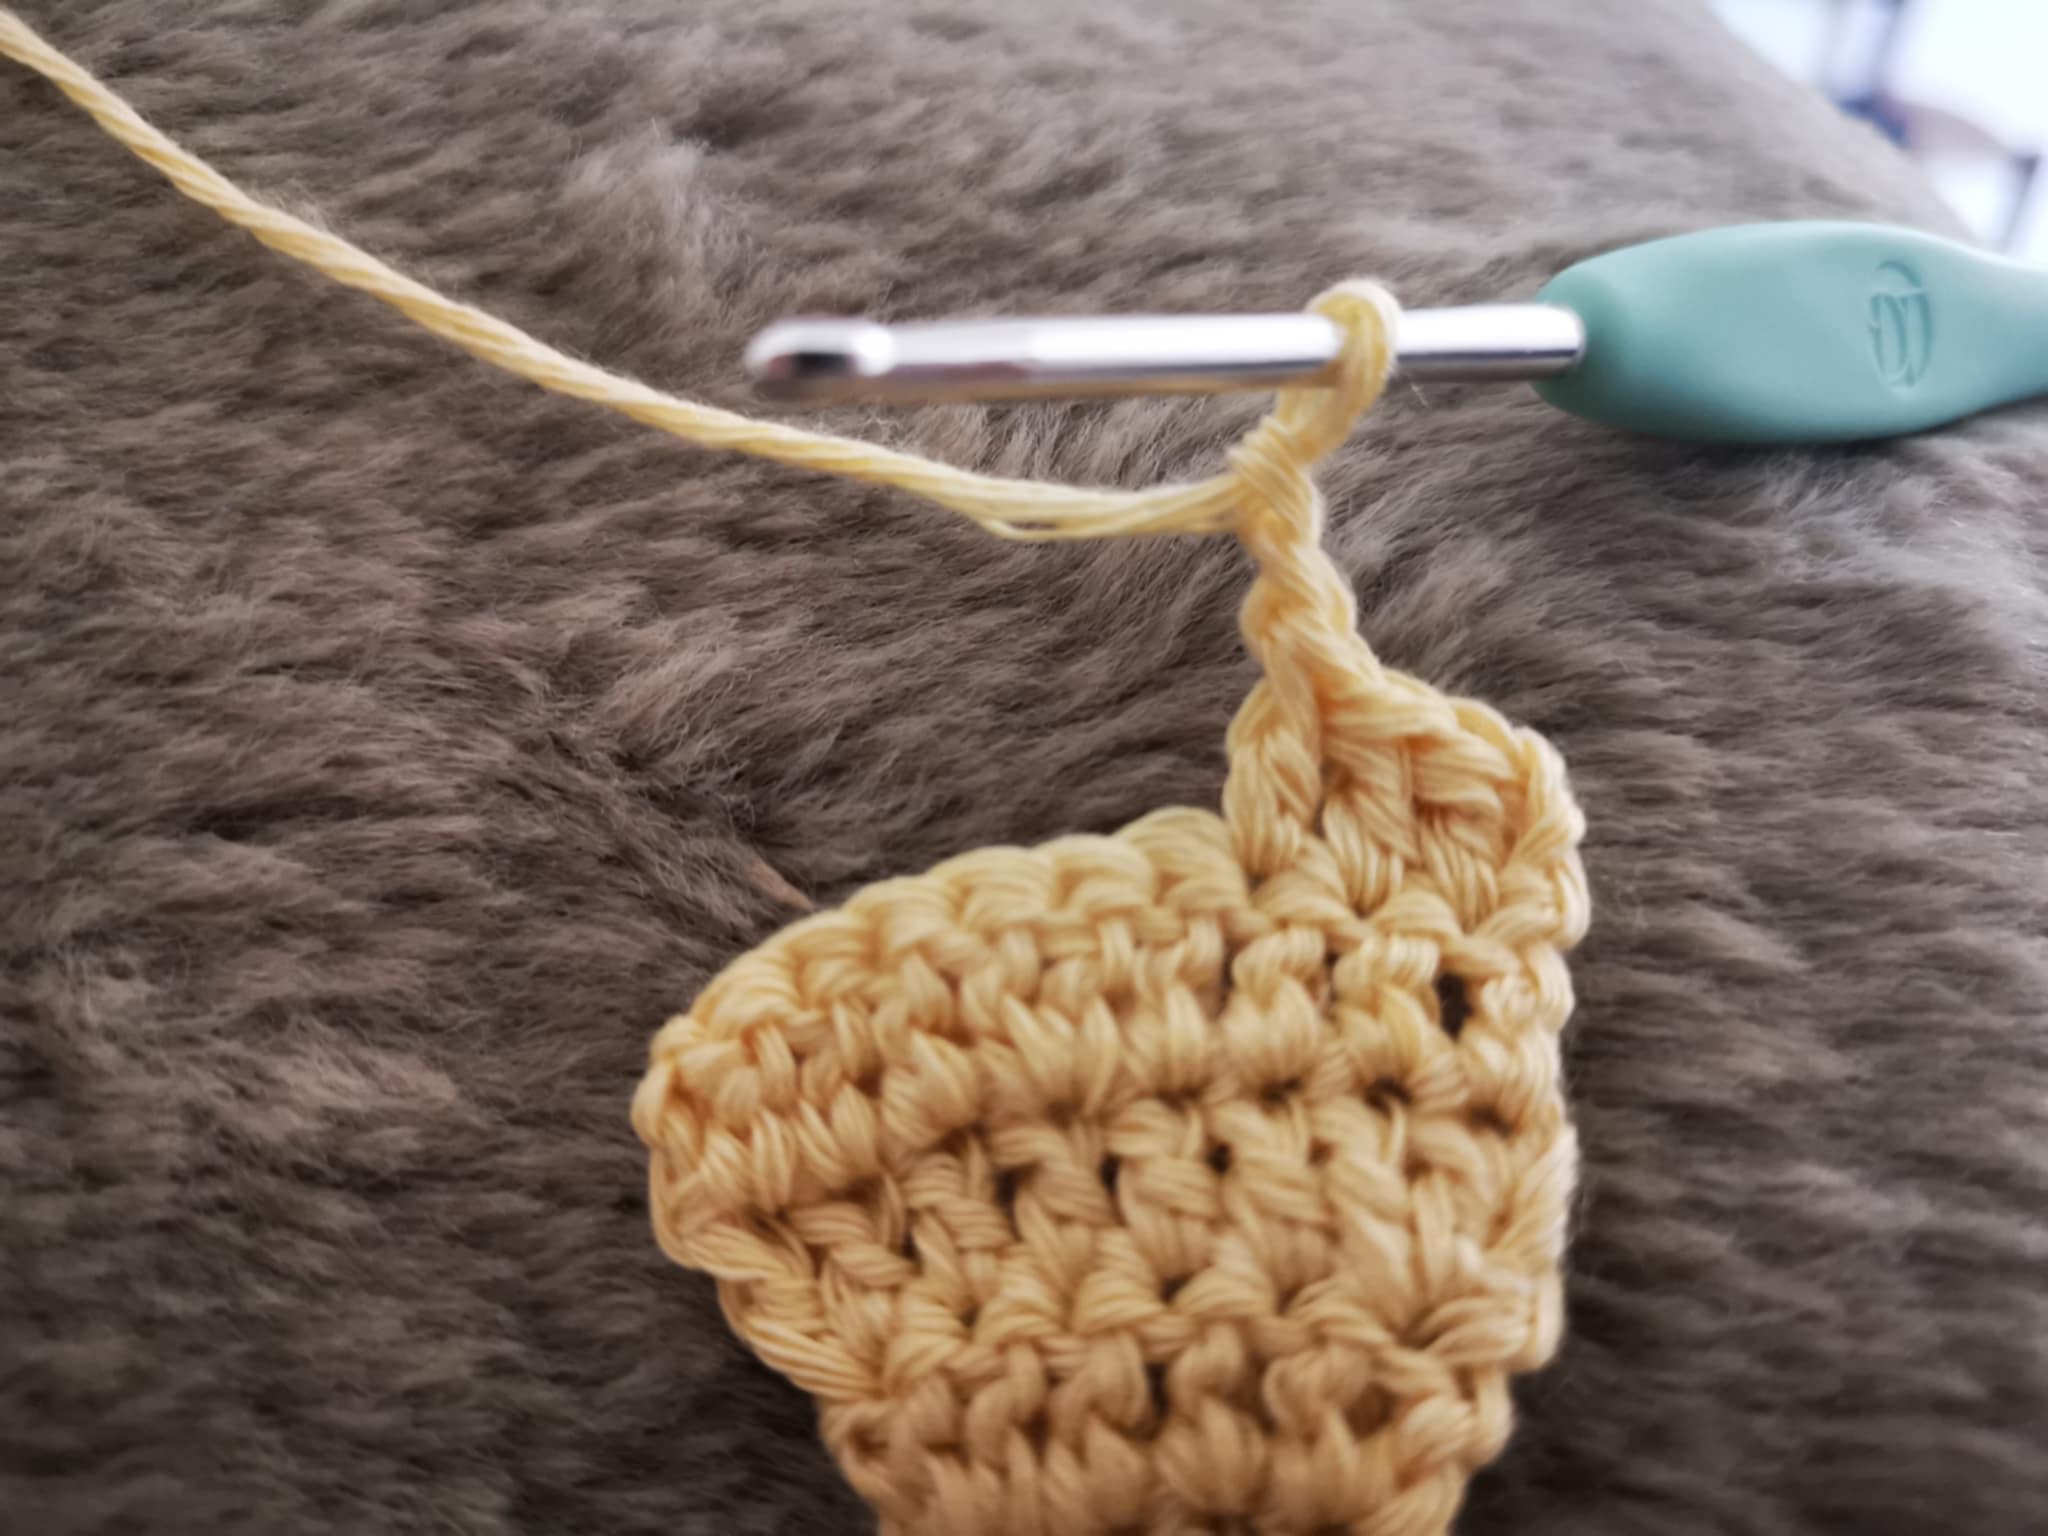
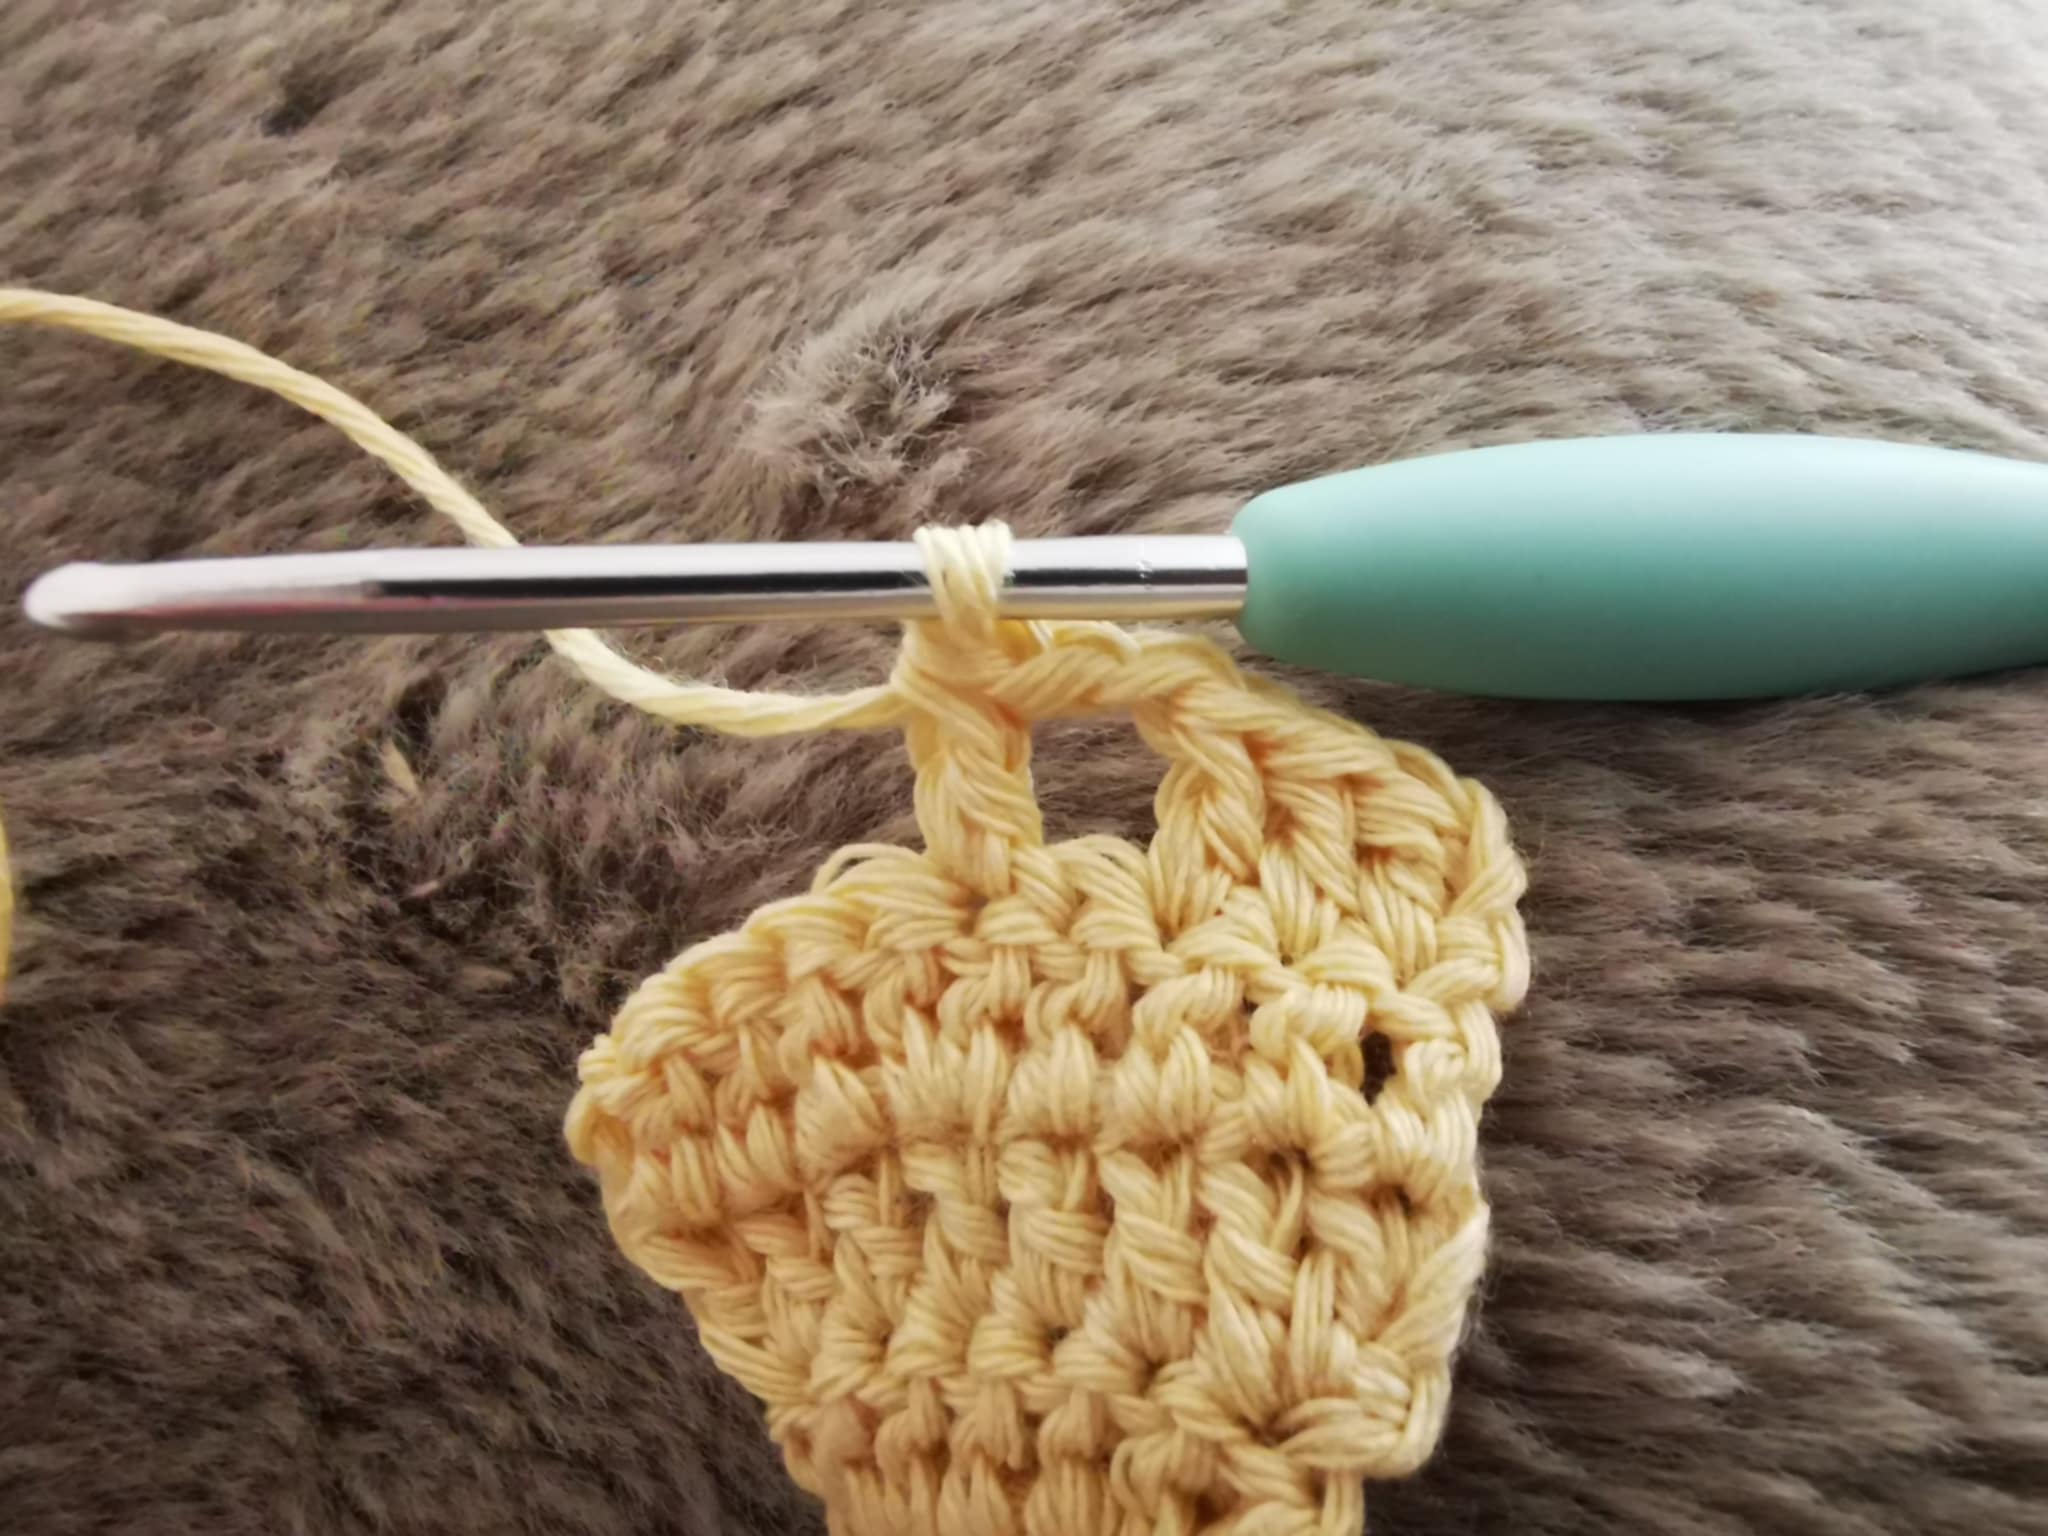
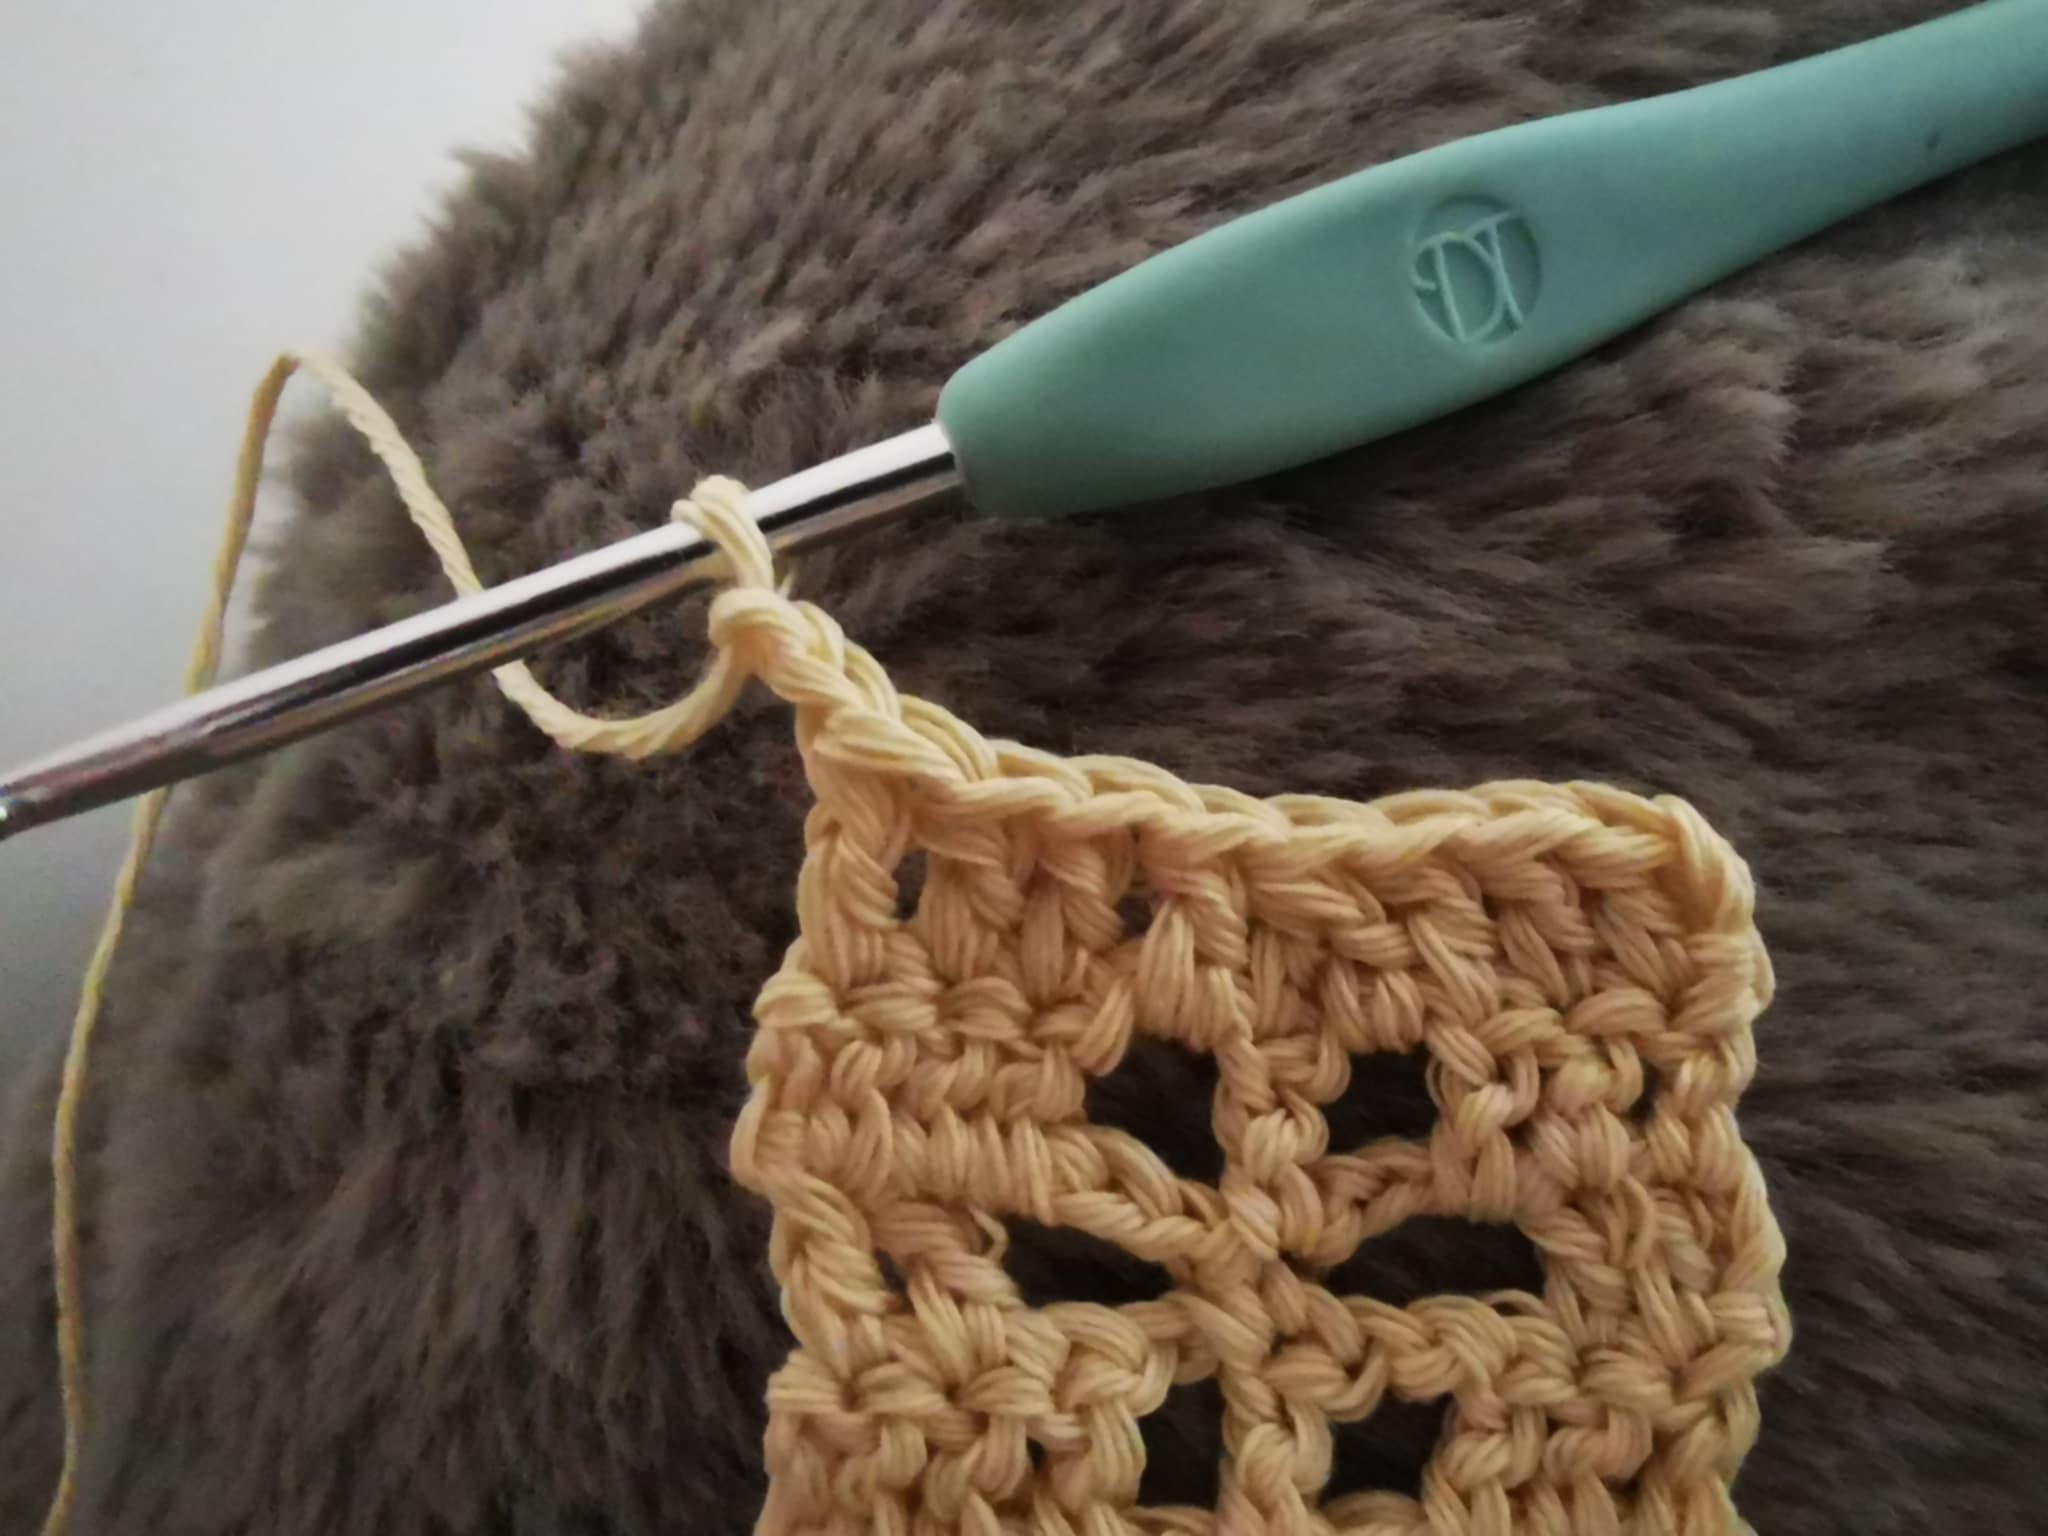
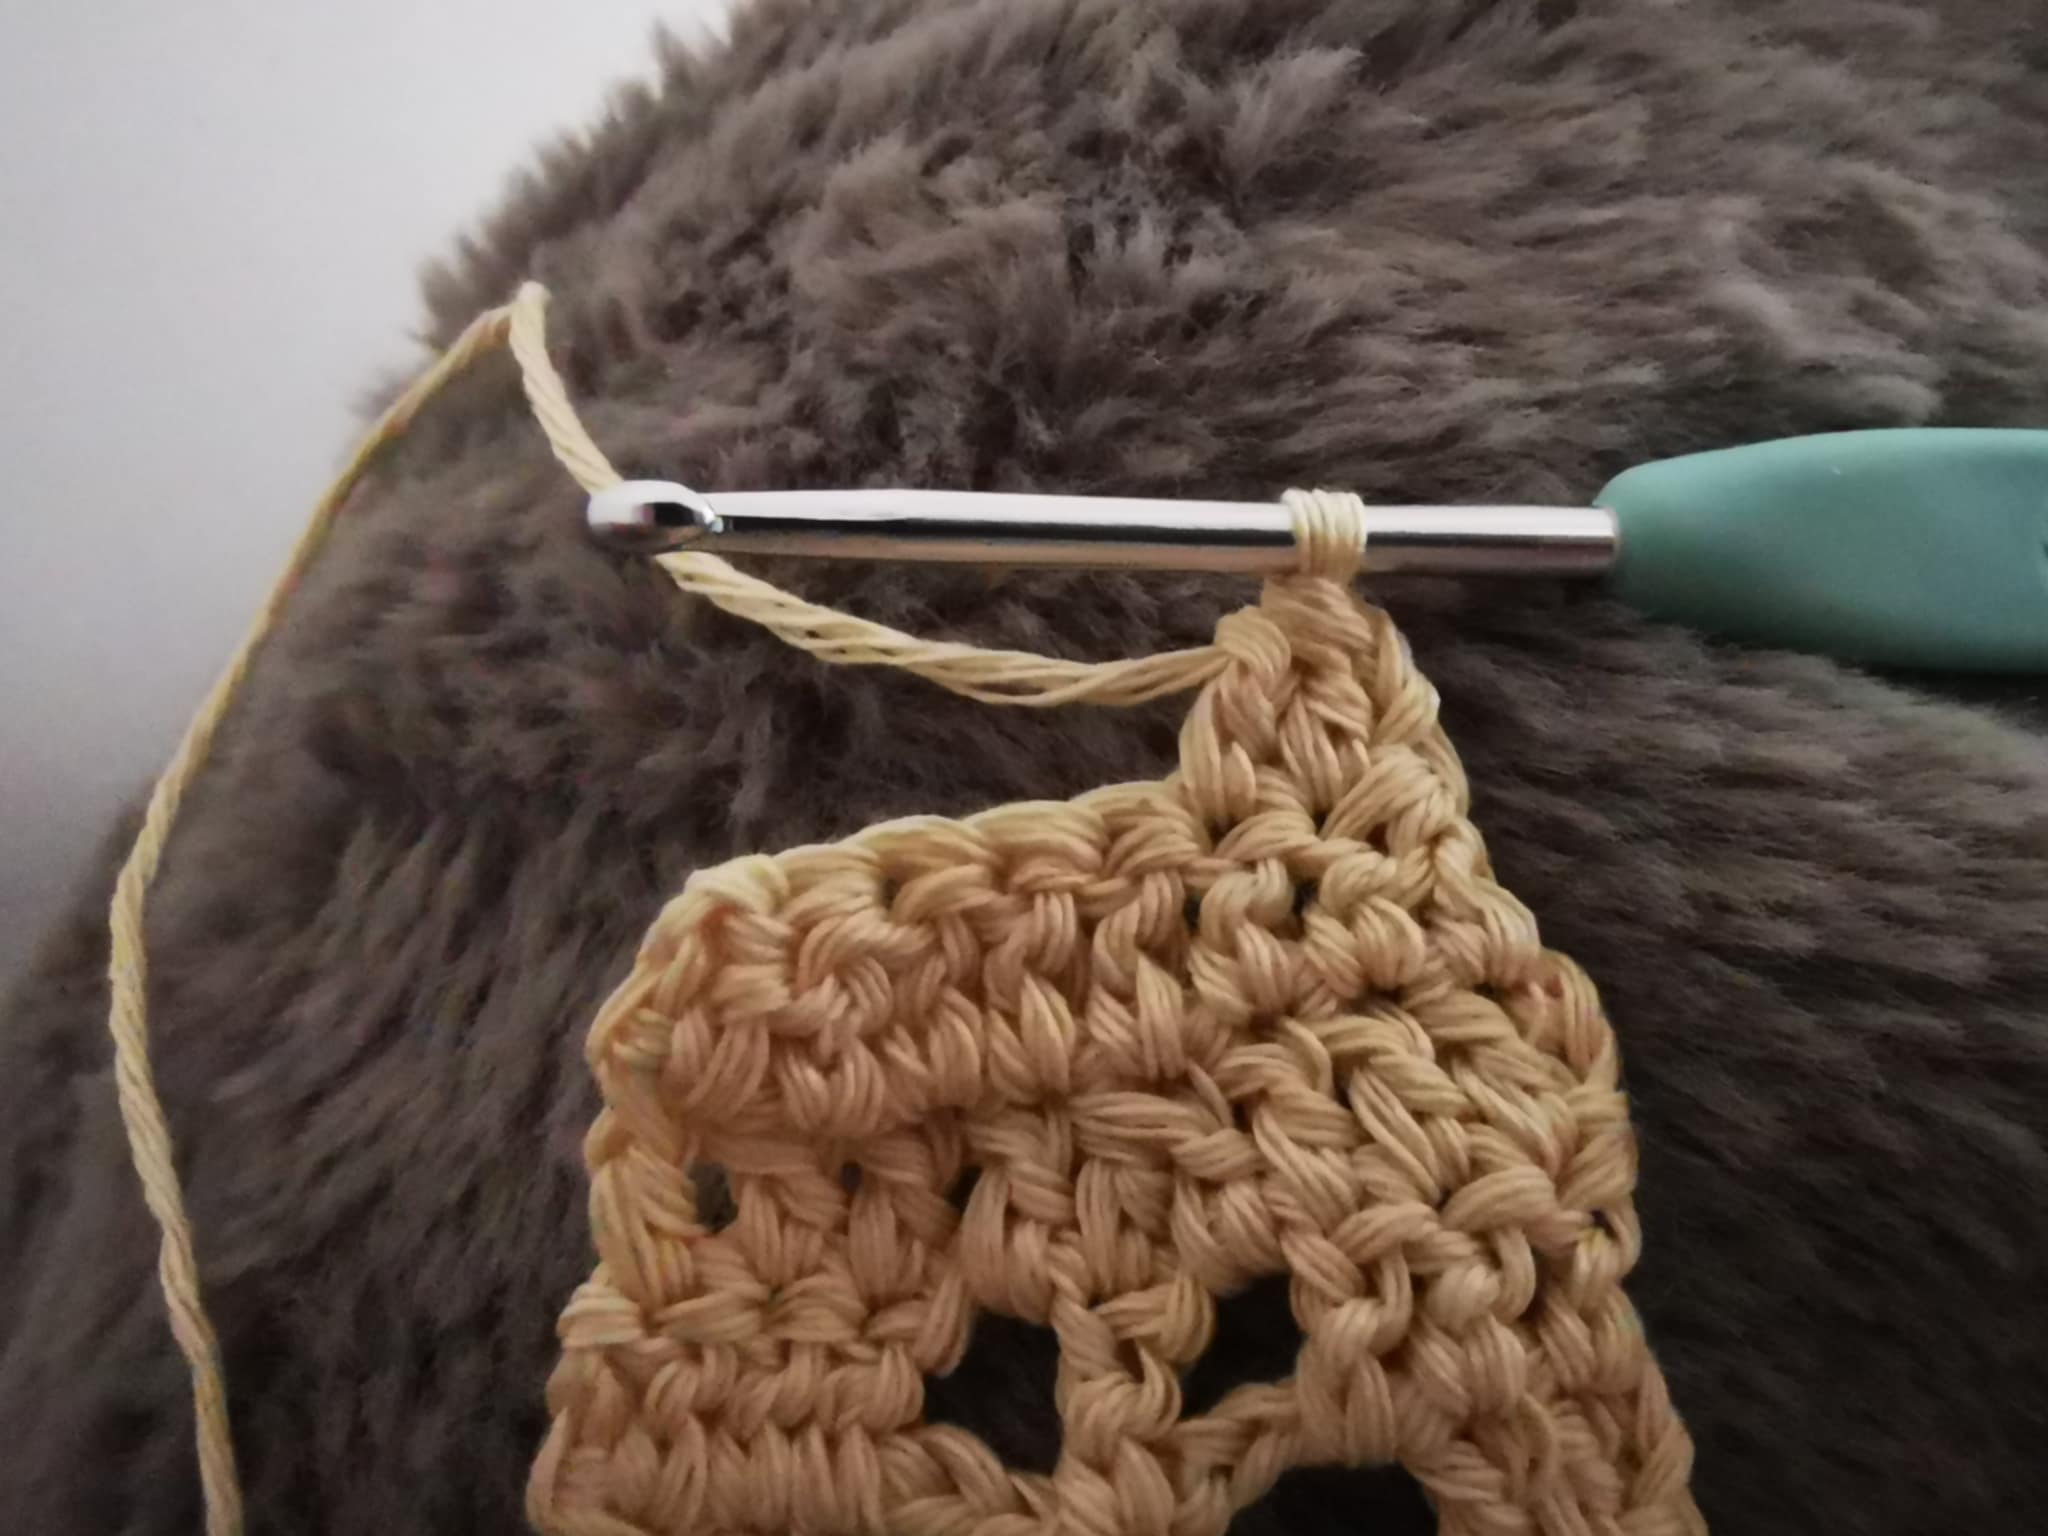
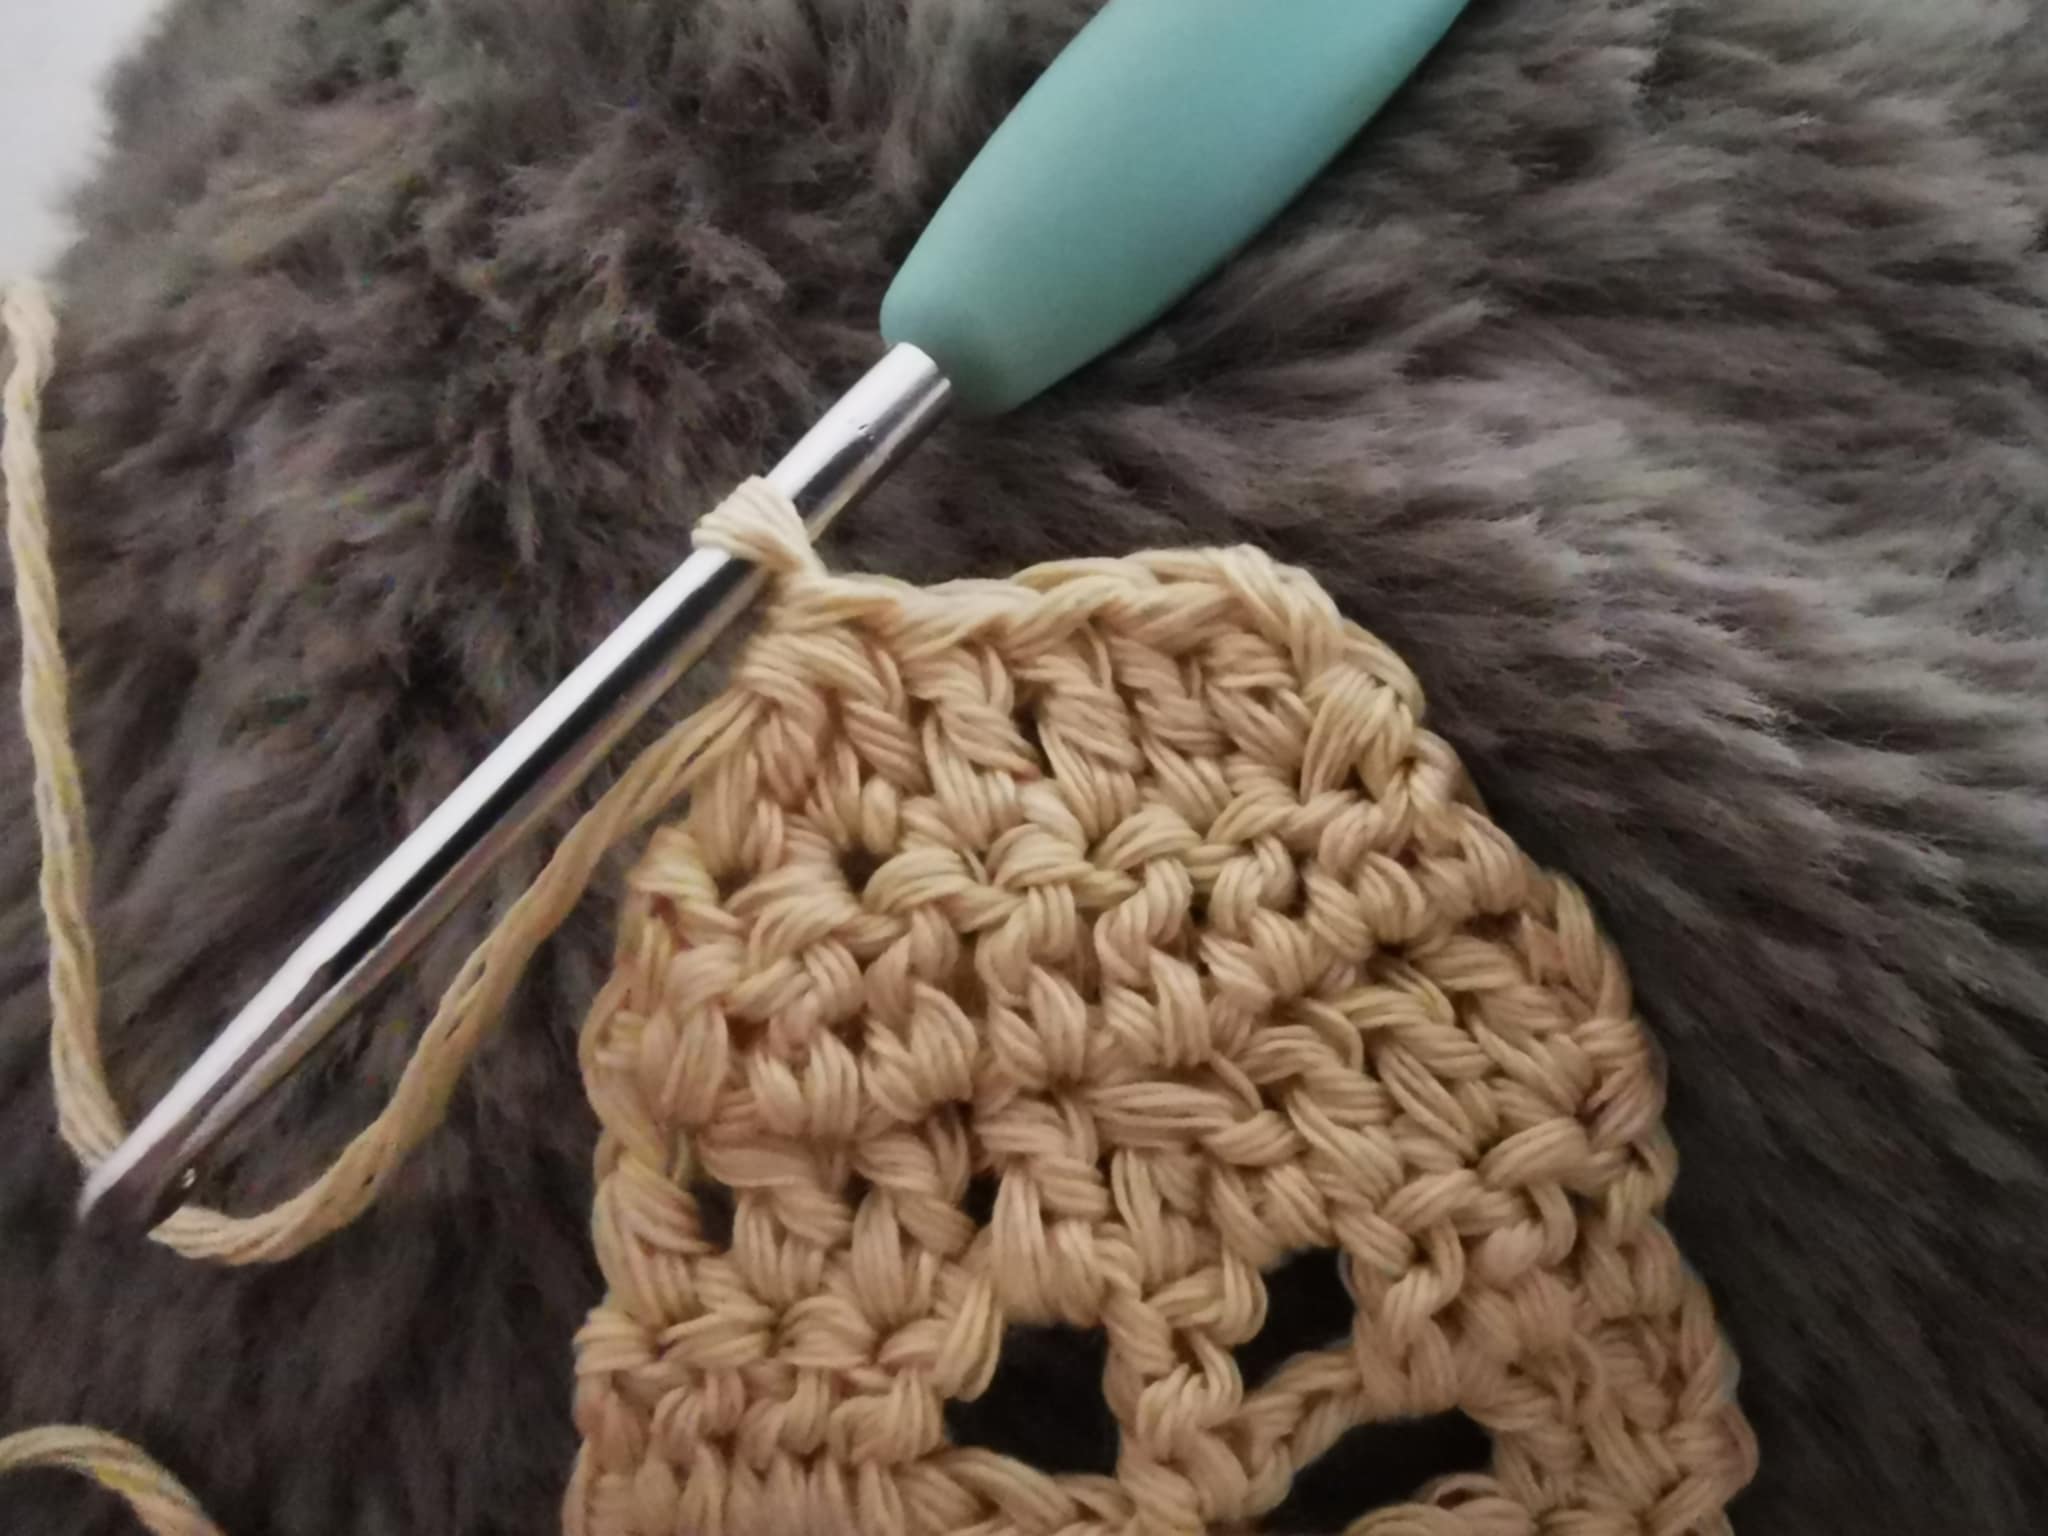
Now you need to cast on 2 chain stitches, then turn your project:
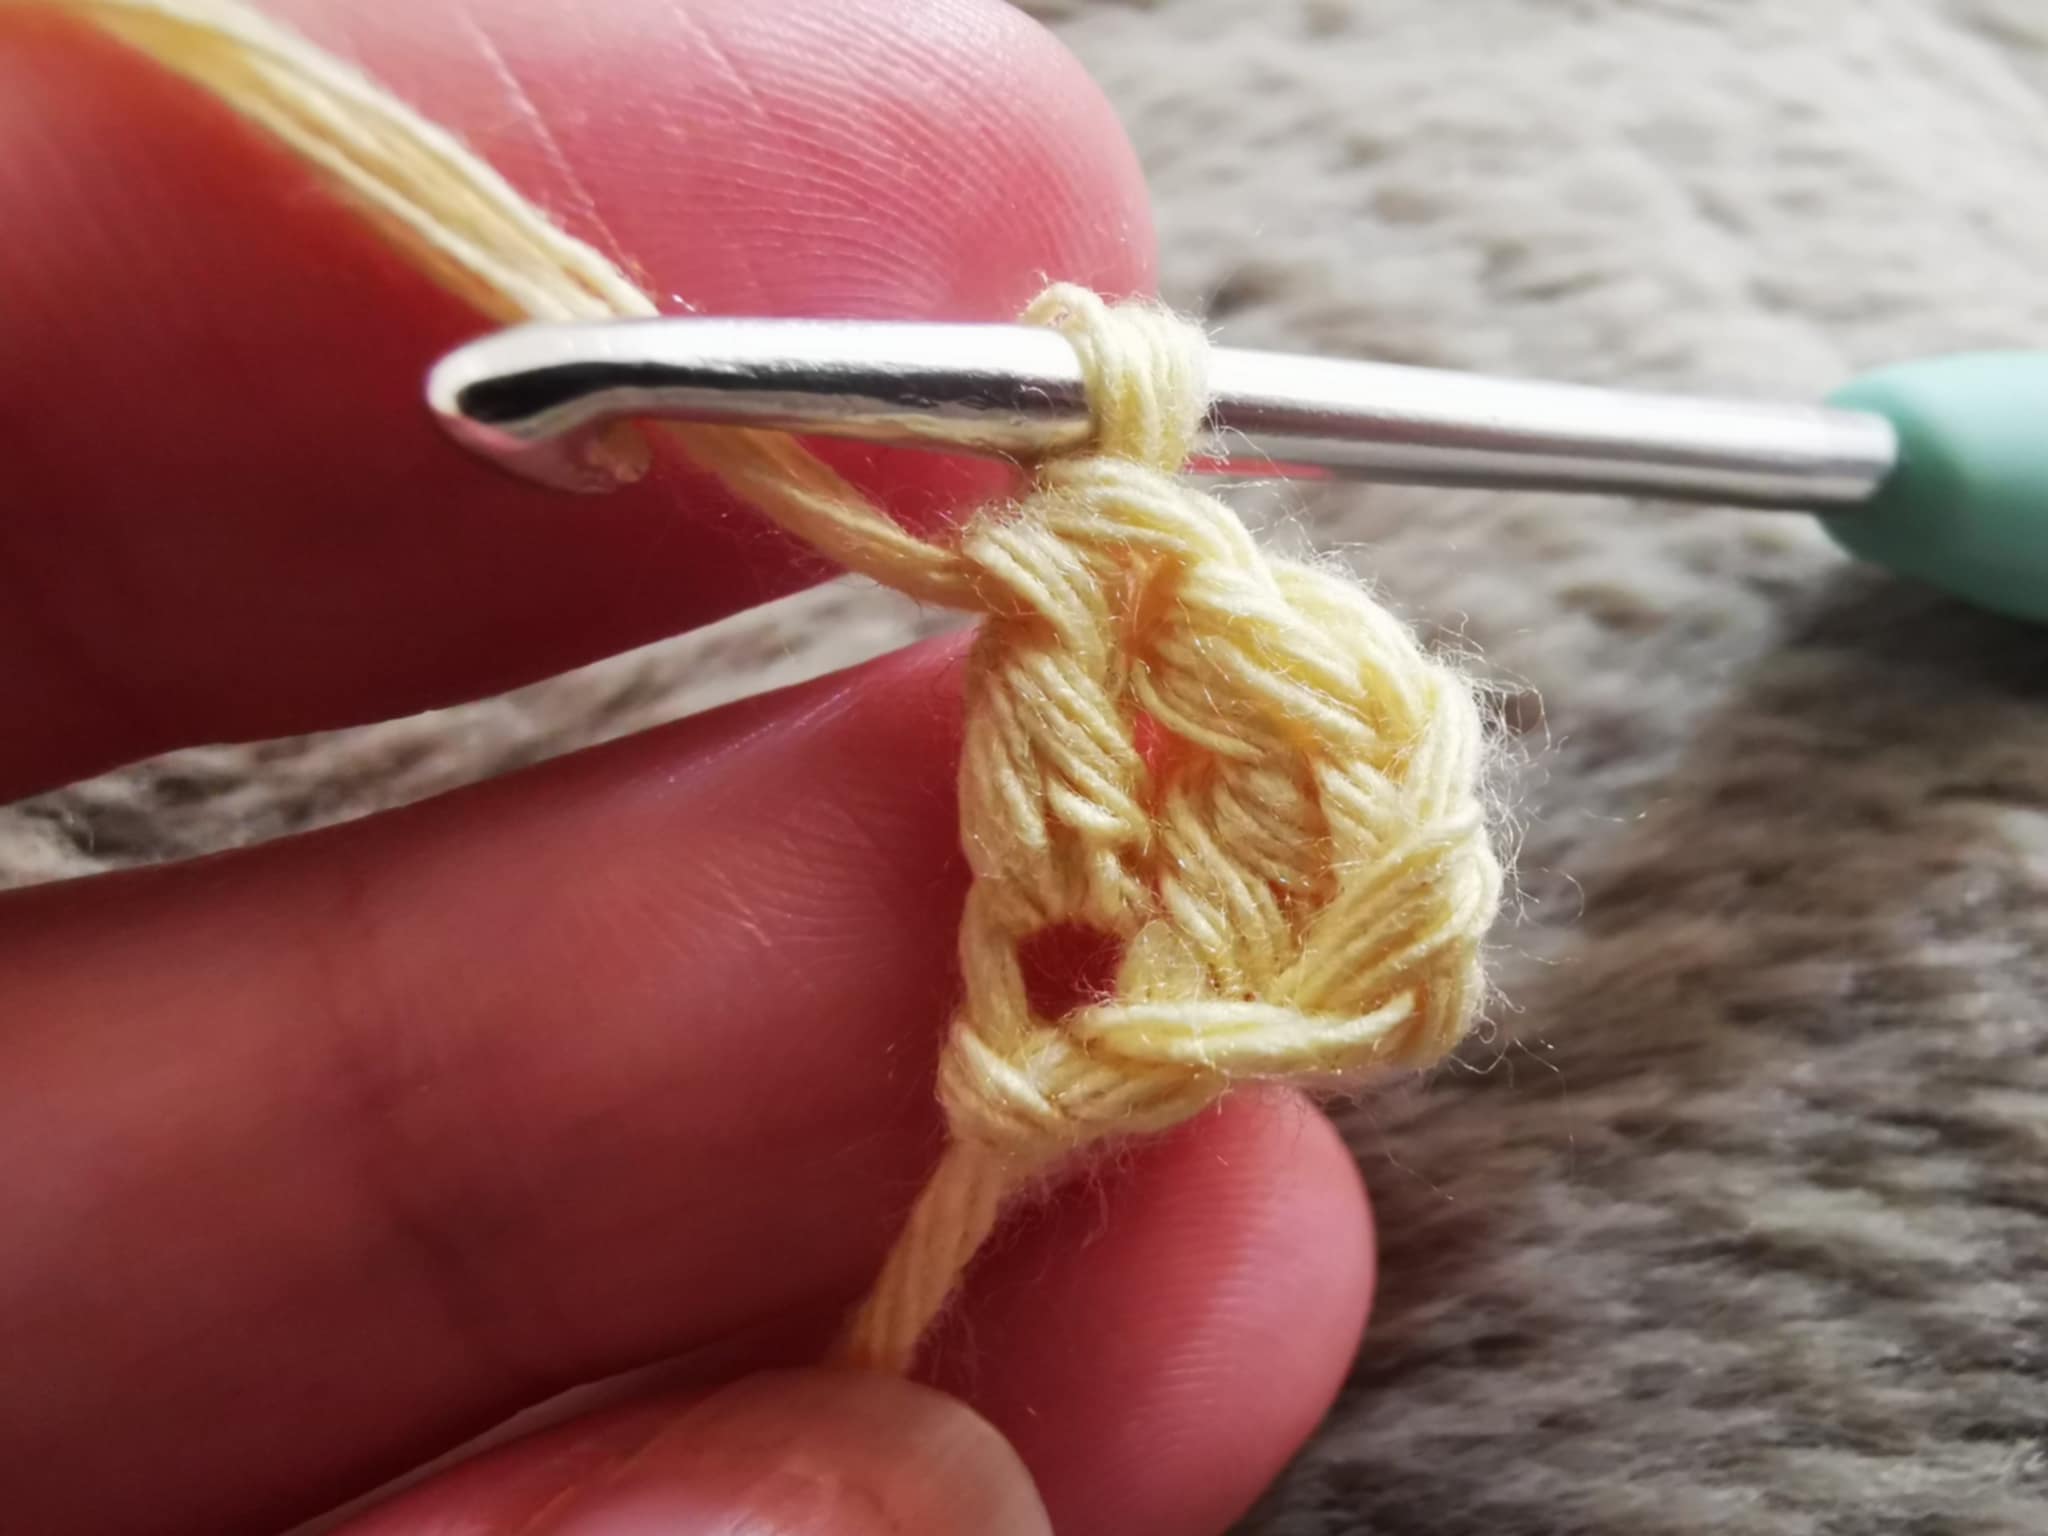
For this second row, you need to make 2 increases (2 double crochets in the same stitch):
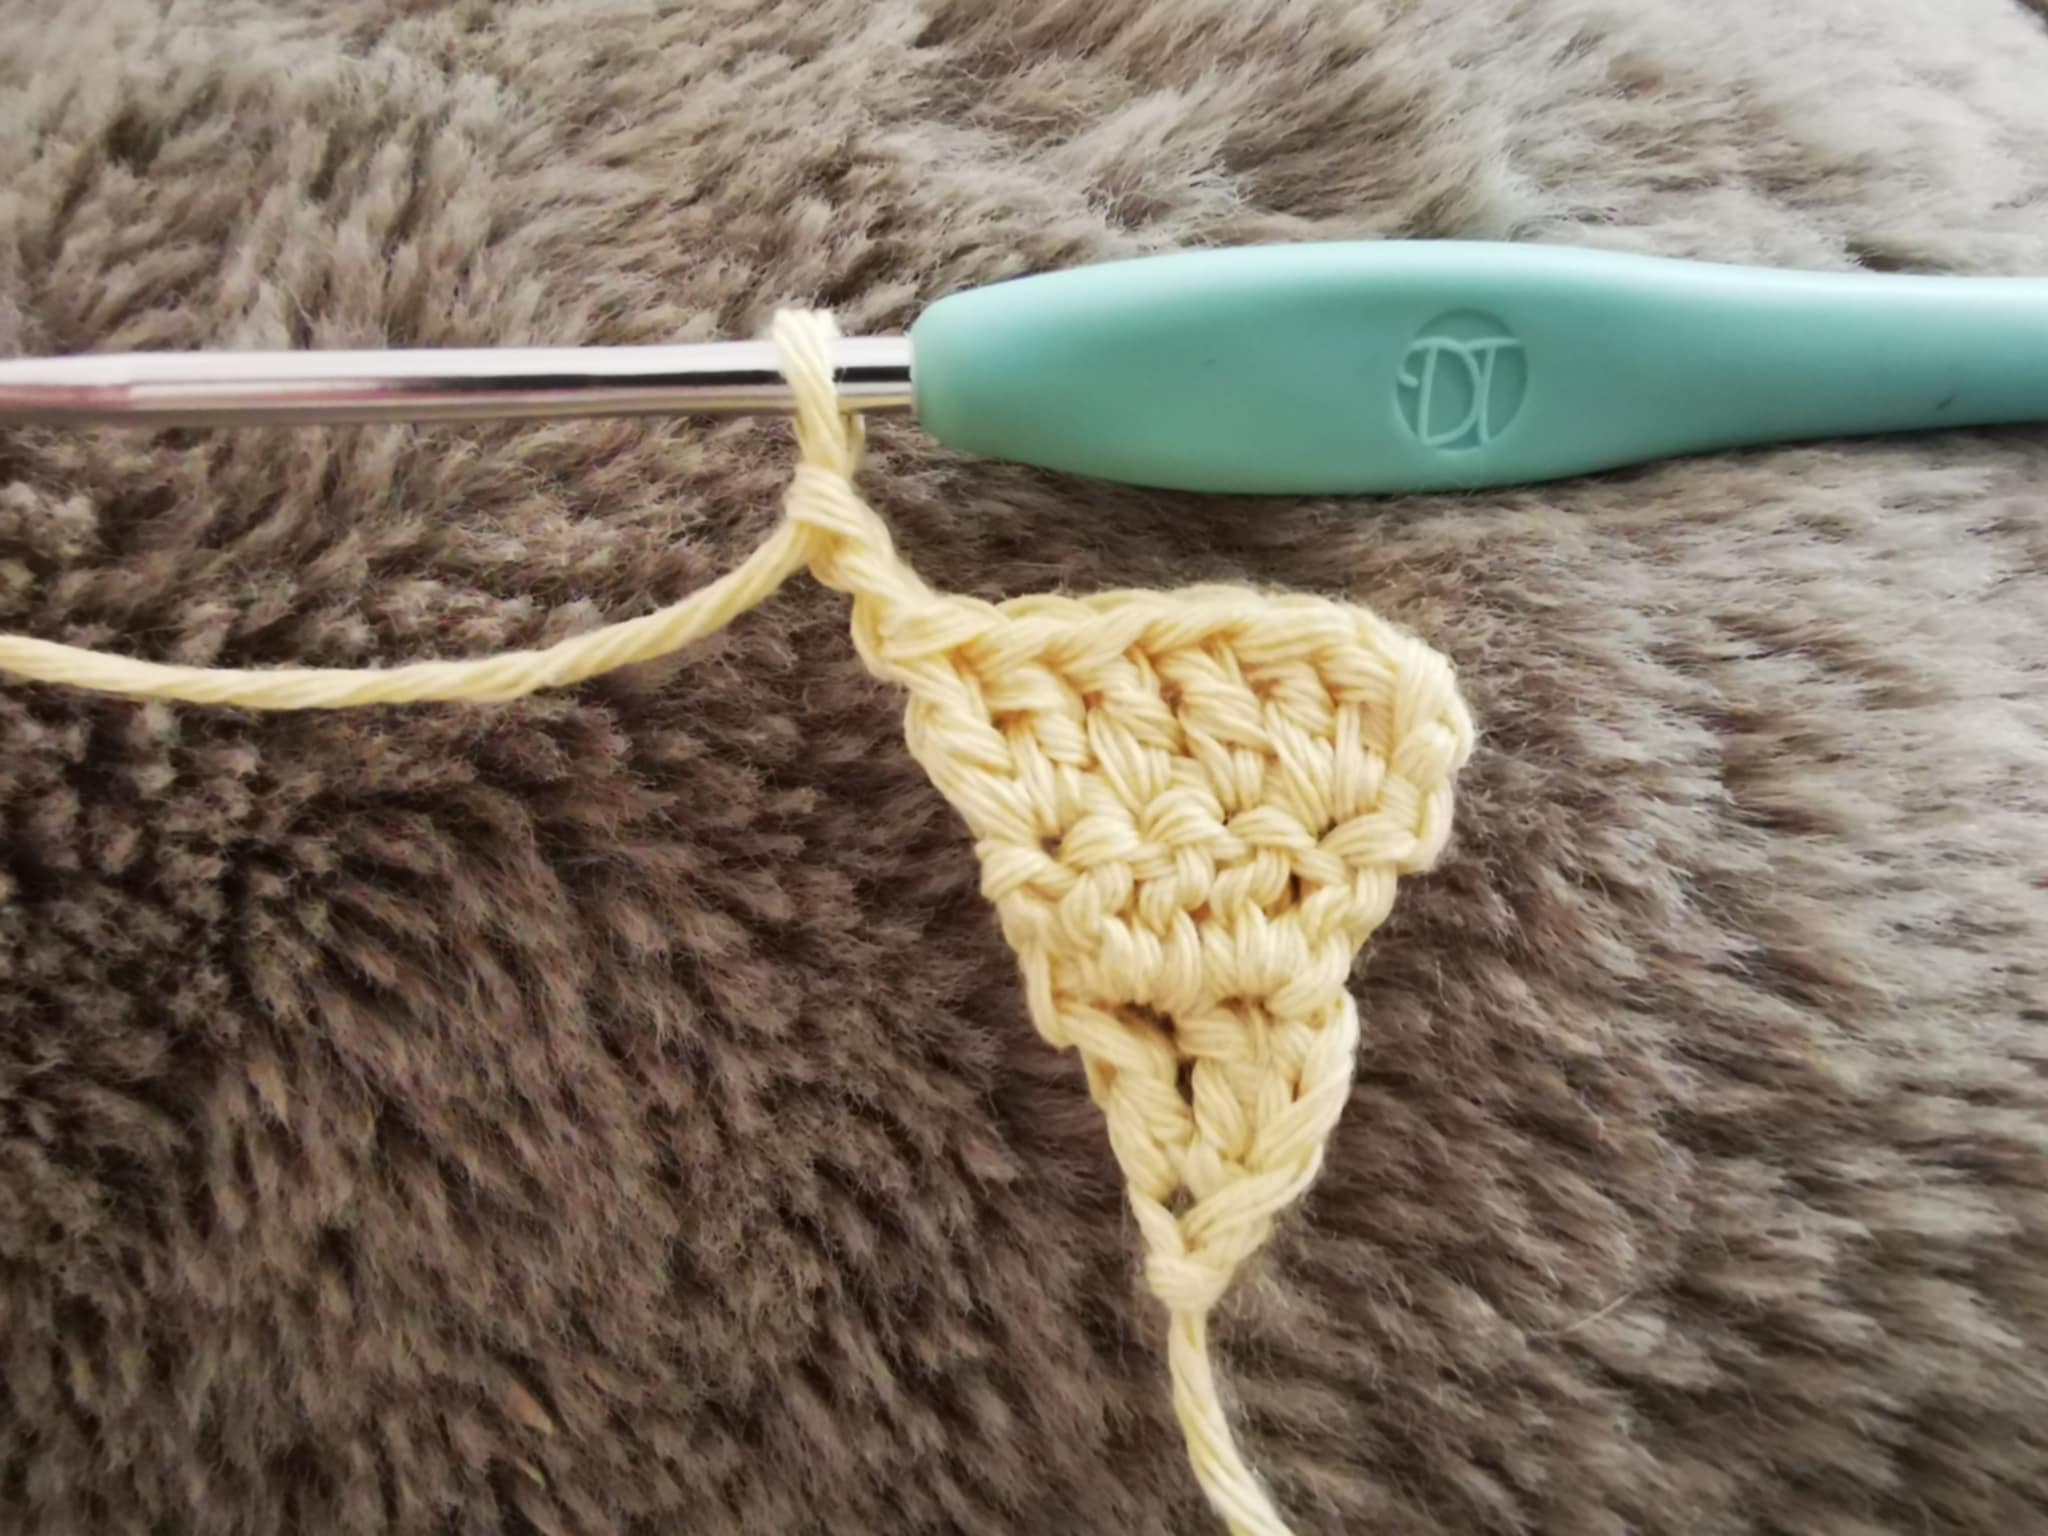
Then, you need to cast on 2 chain stitches and turn the project:
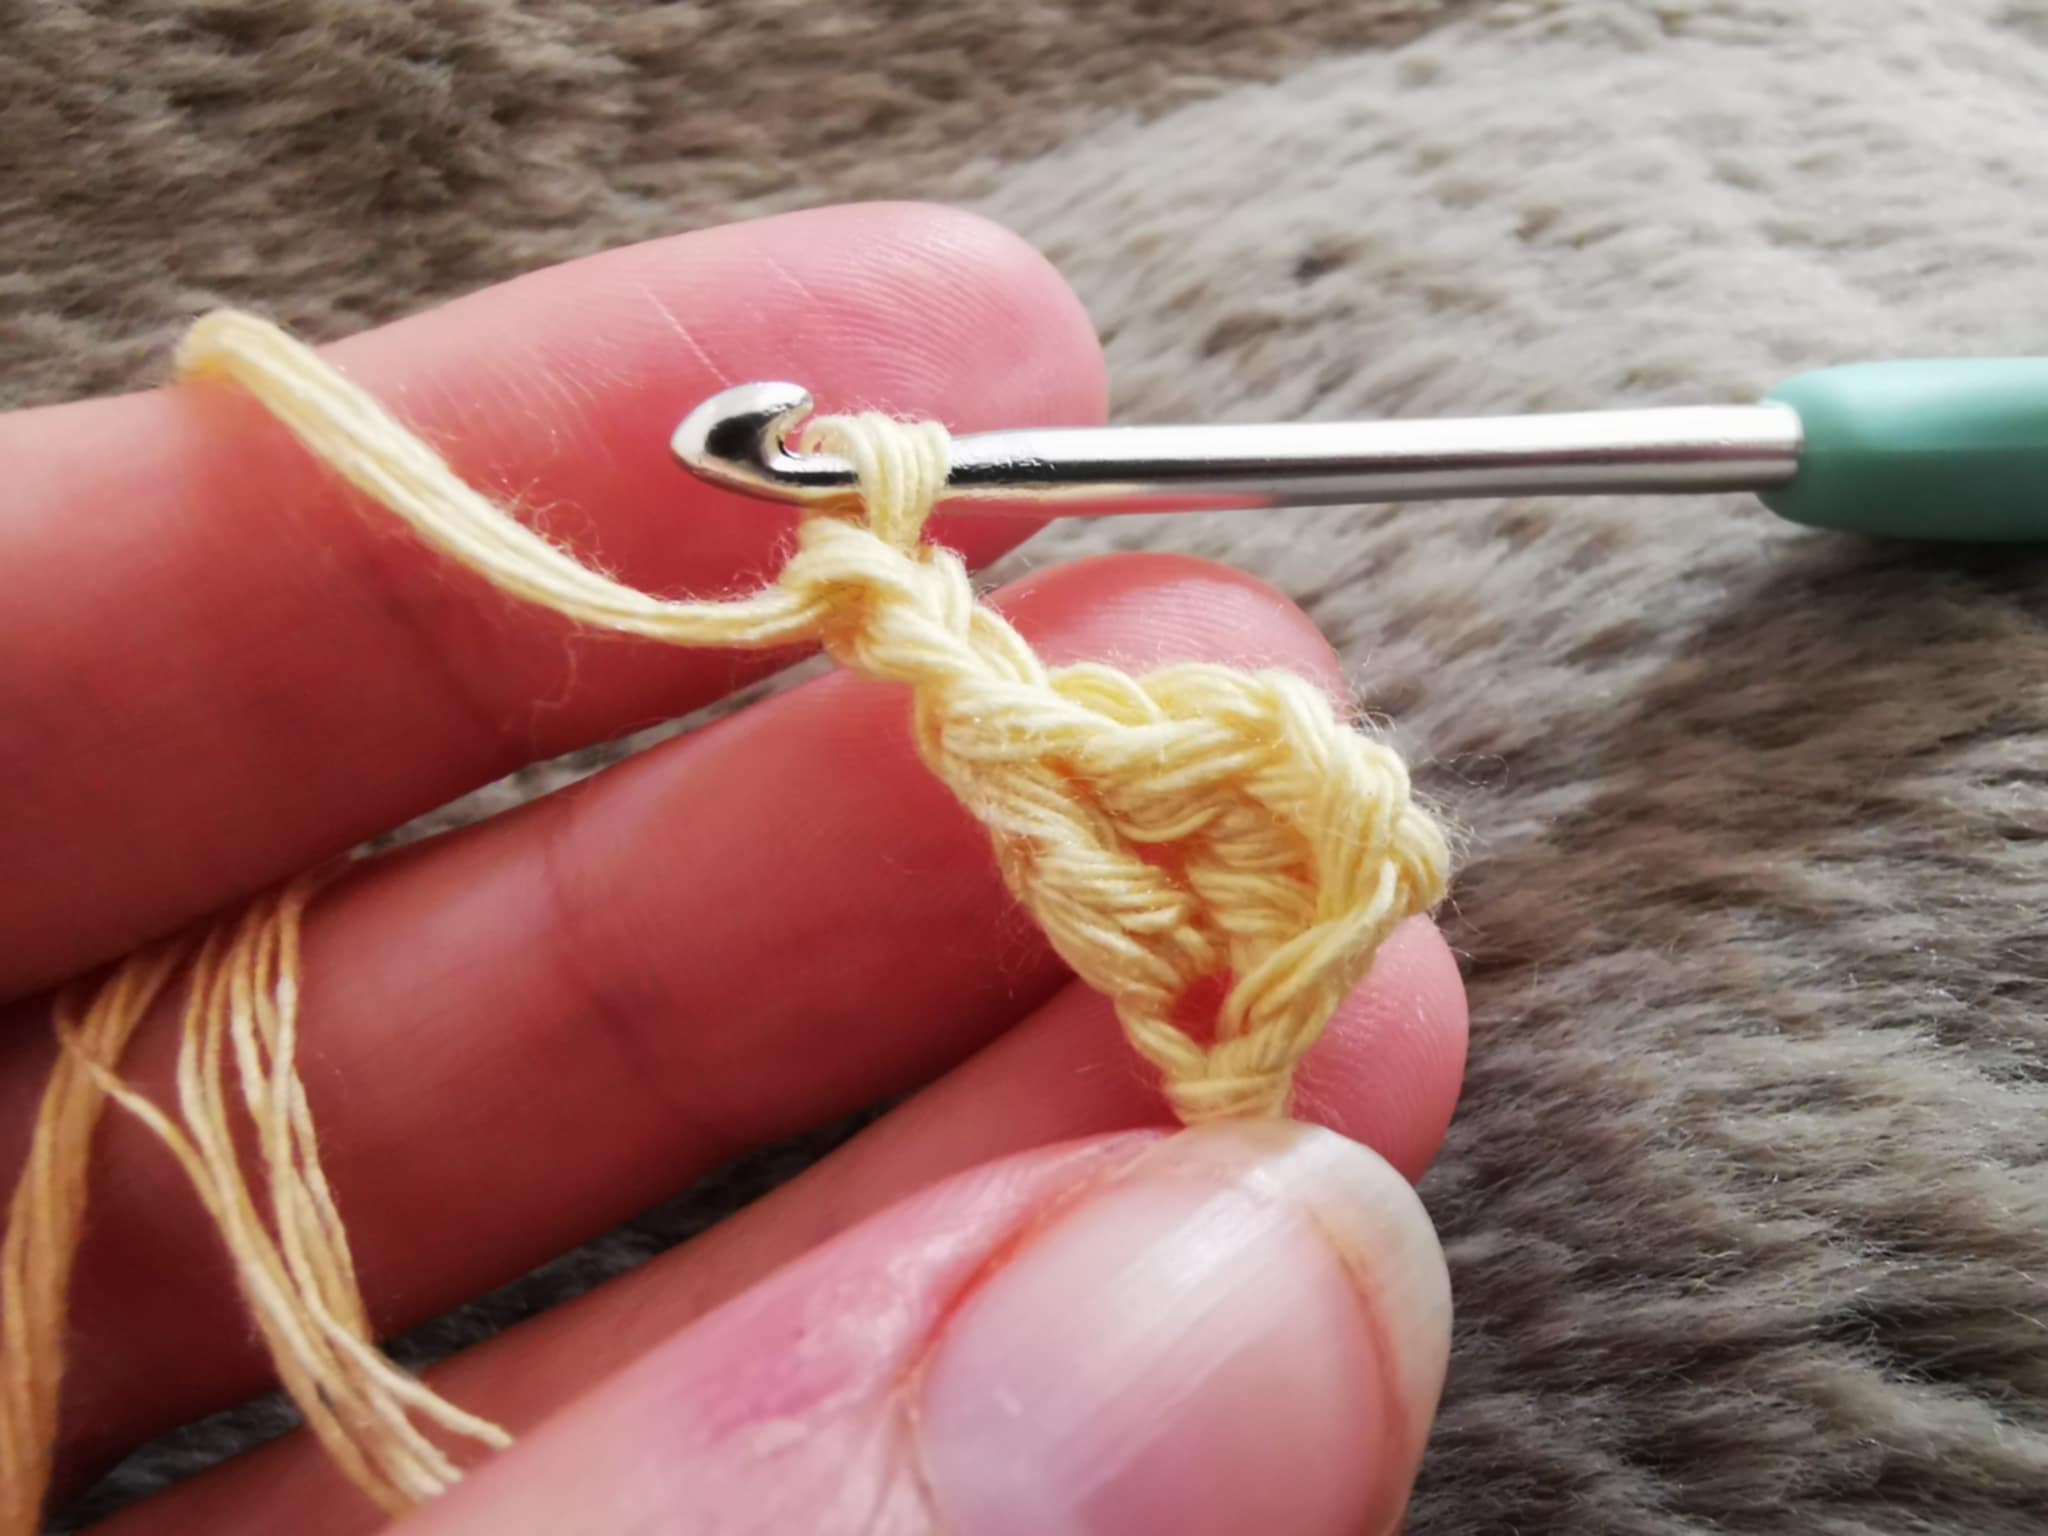
For row 3, you need to make:
- 1 increase (2 double crochets in the same stitch),
- 2 individual double crochets,
- 1 increase.

Then, you need to cast on 2 chain stitches before turning the project.
For row 4, you need to make:
- 1 increase,
- 4 individual double crochets,
- 1 increase.
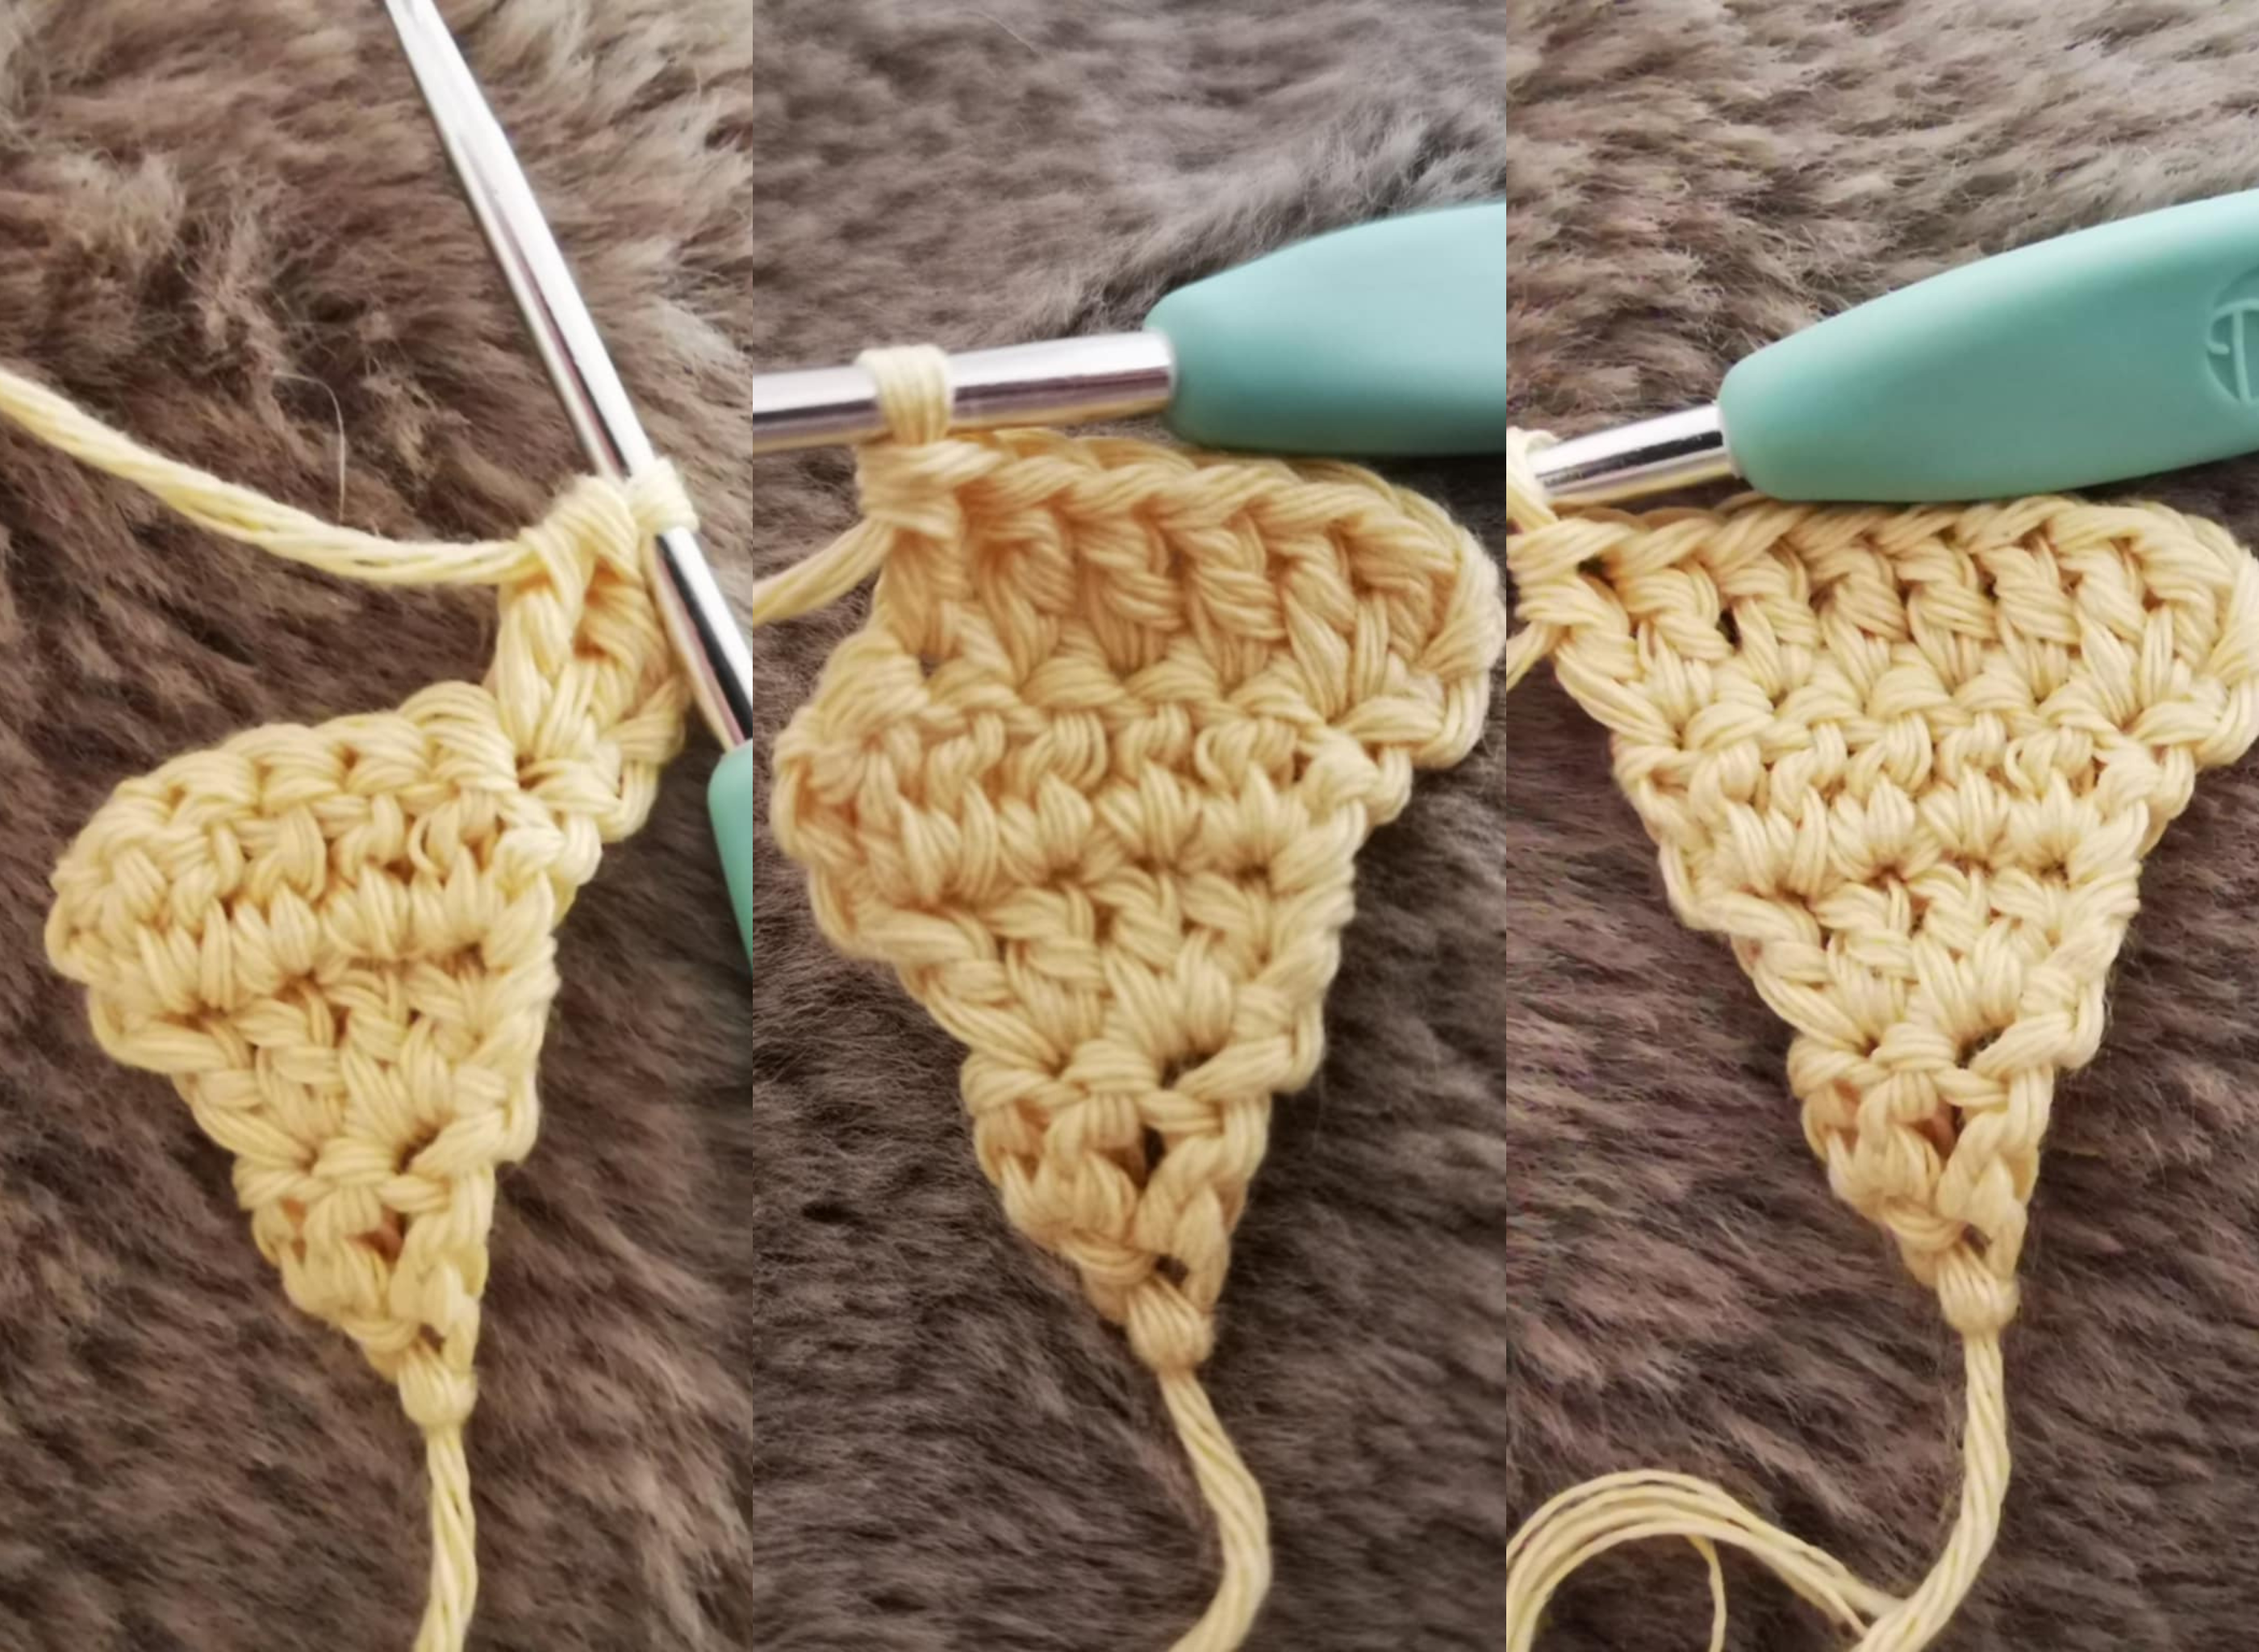
Then cast on 2 chain stitches before turning the project.
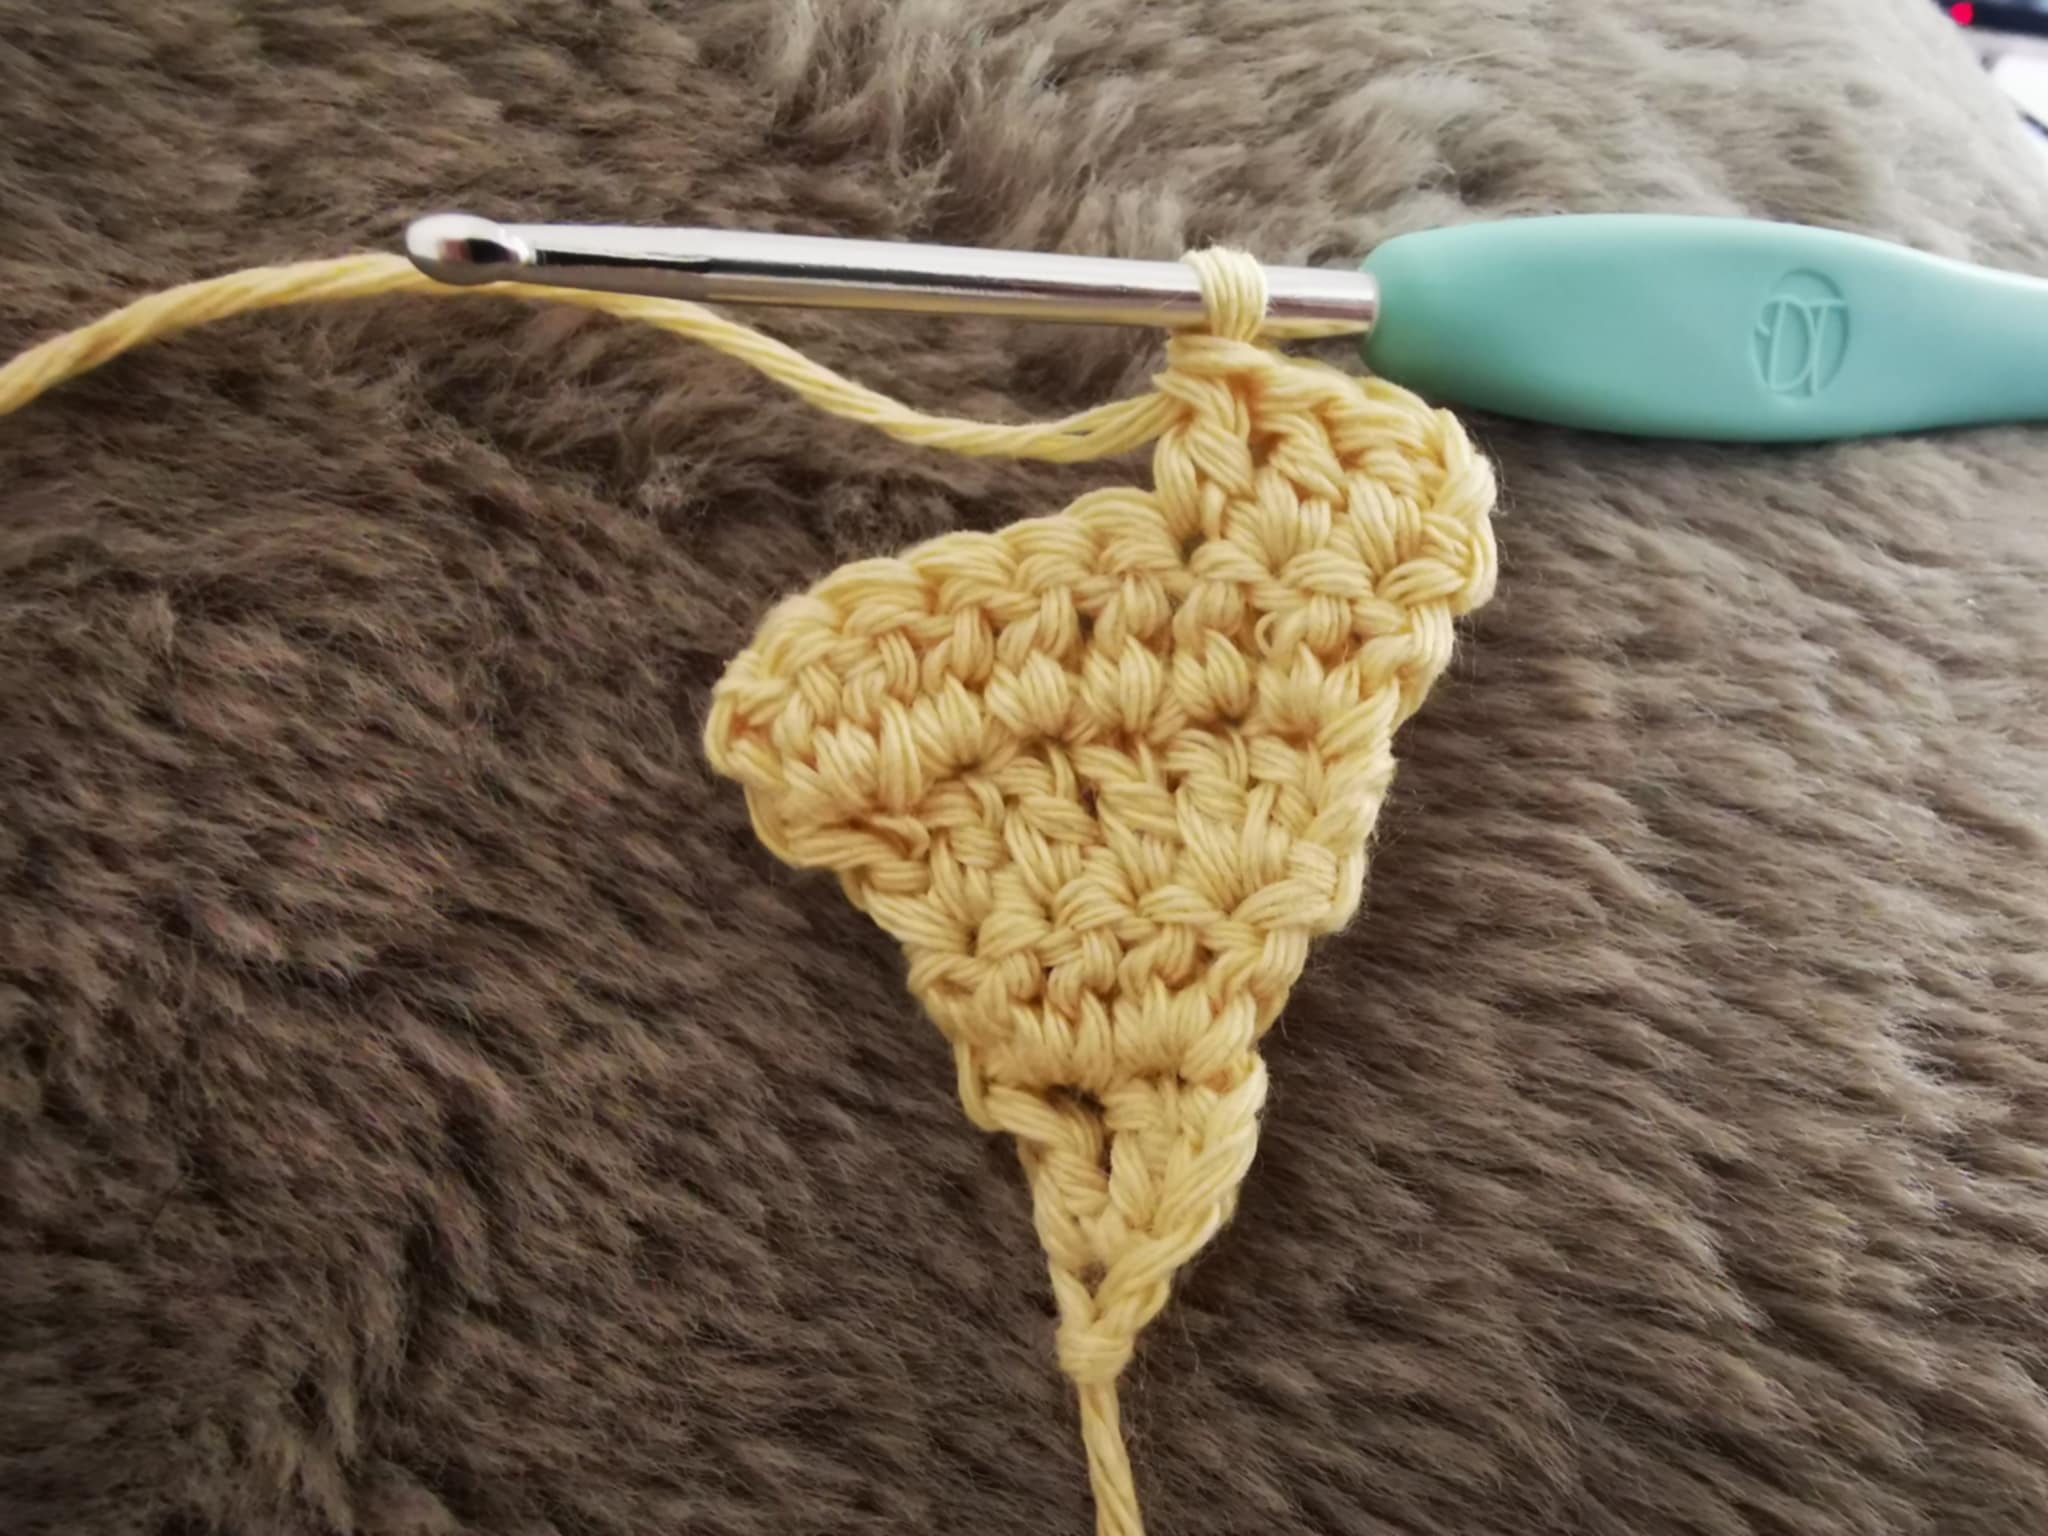
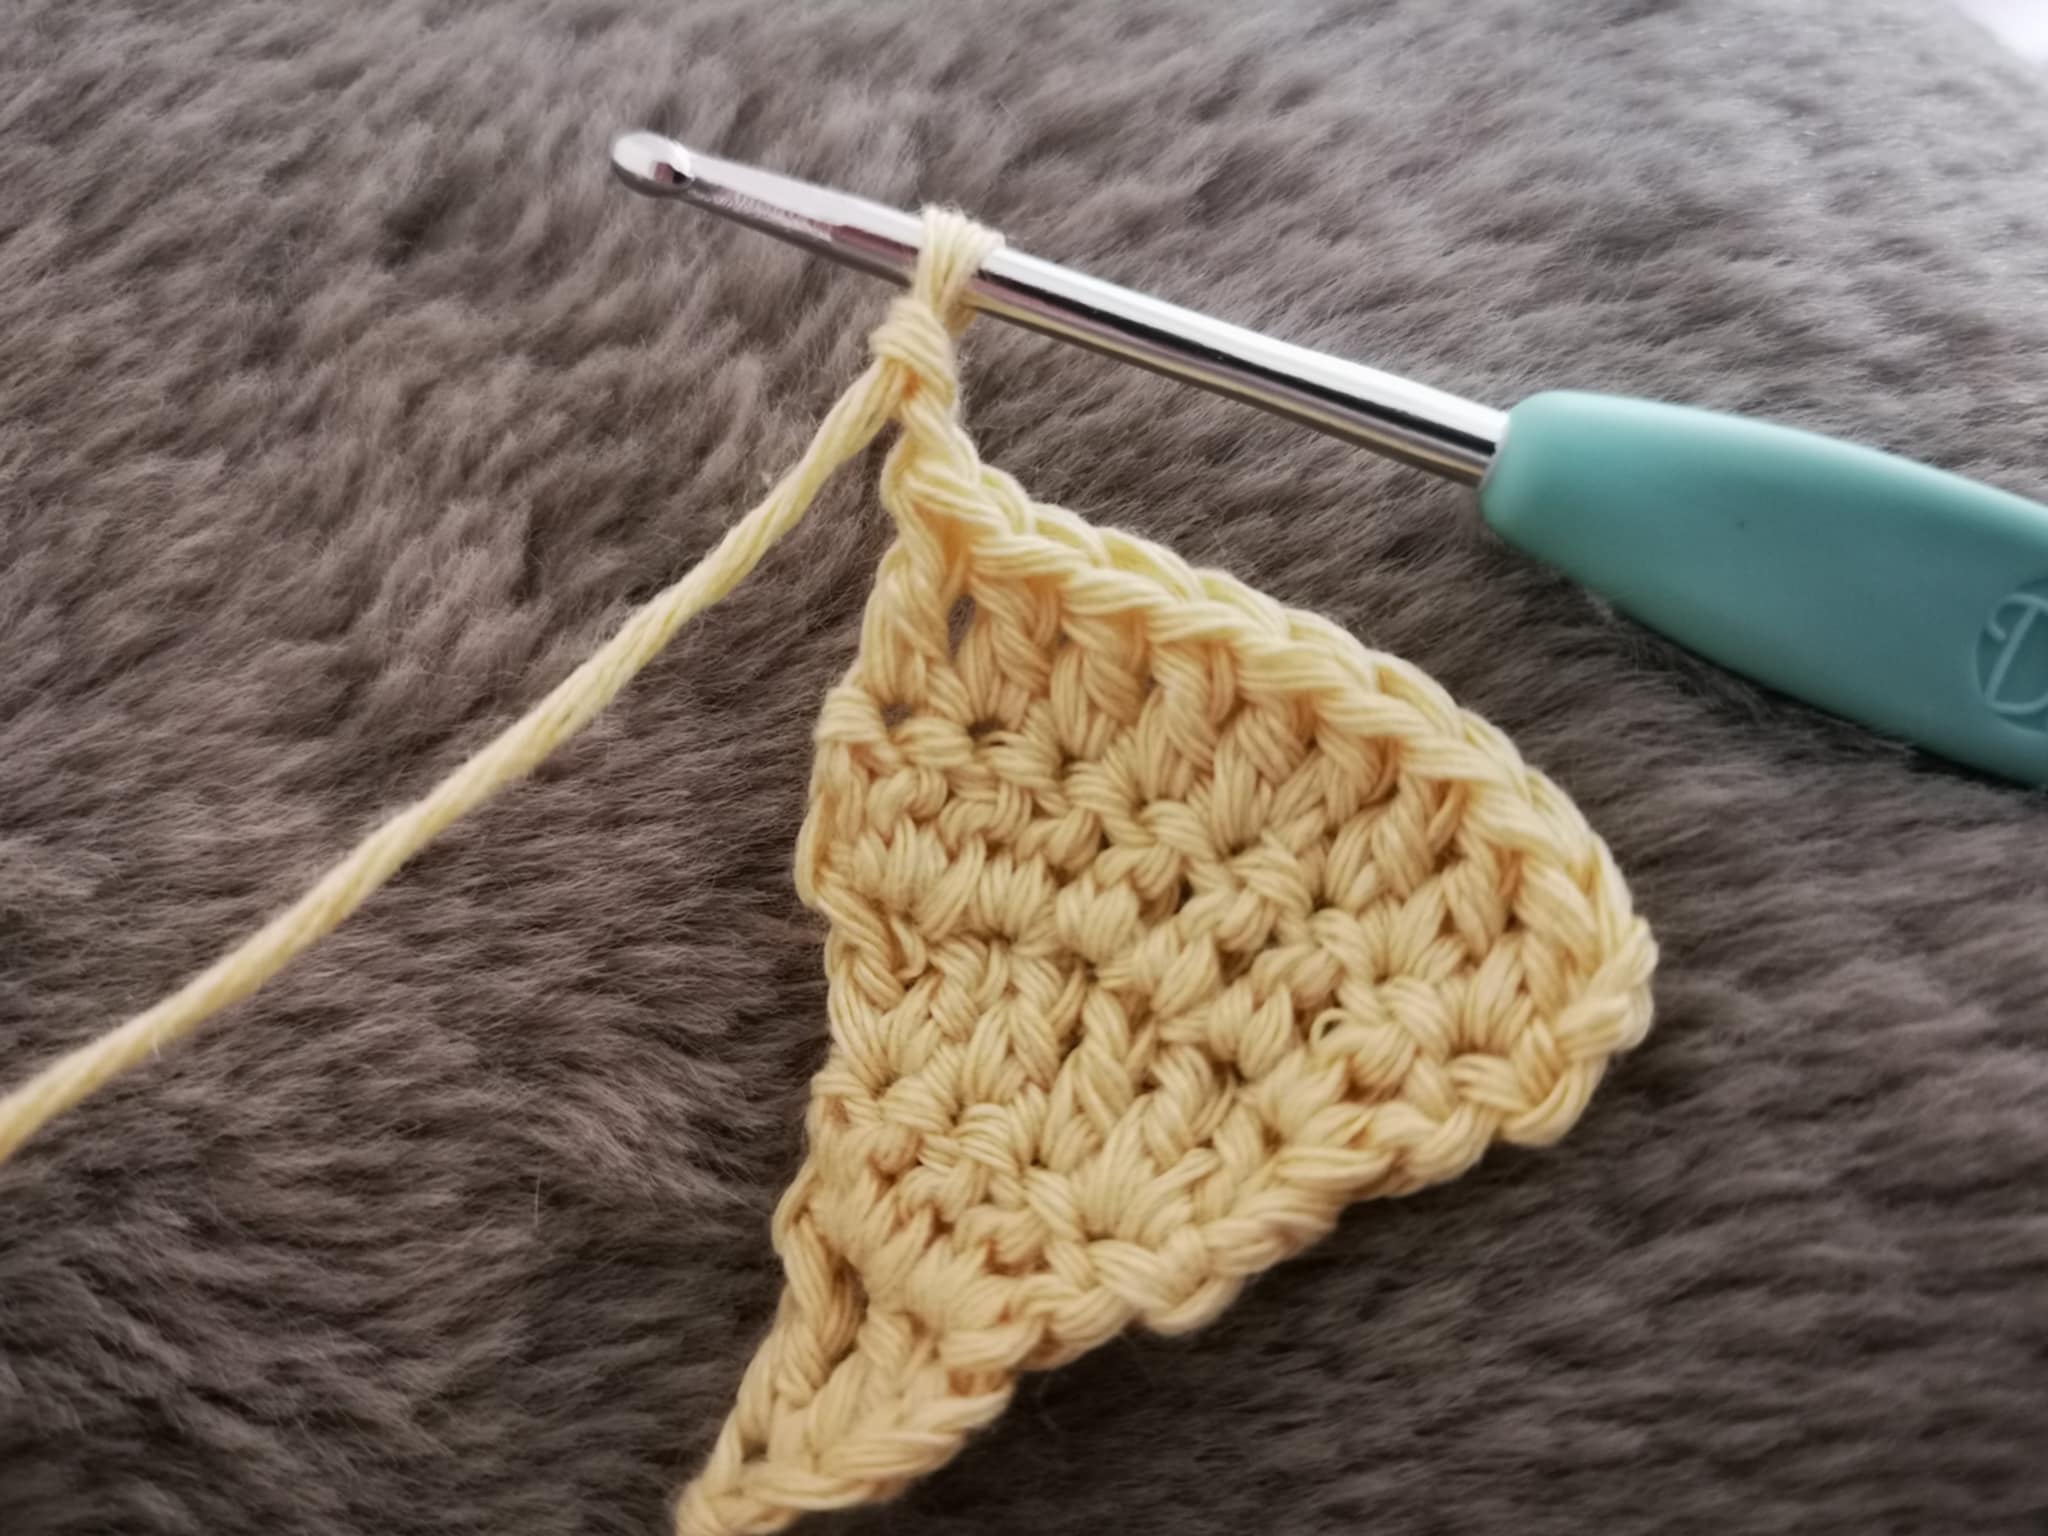
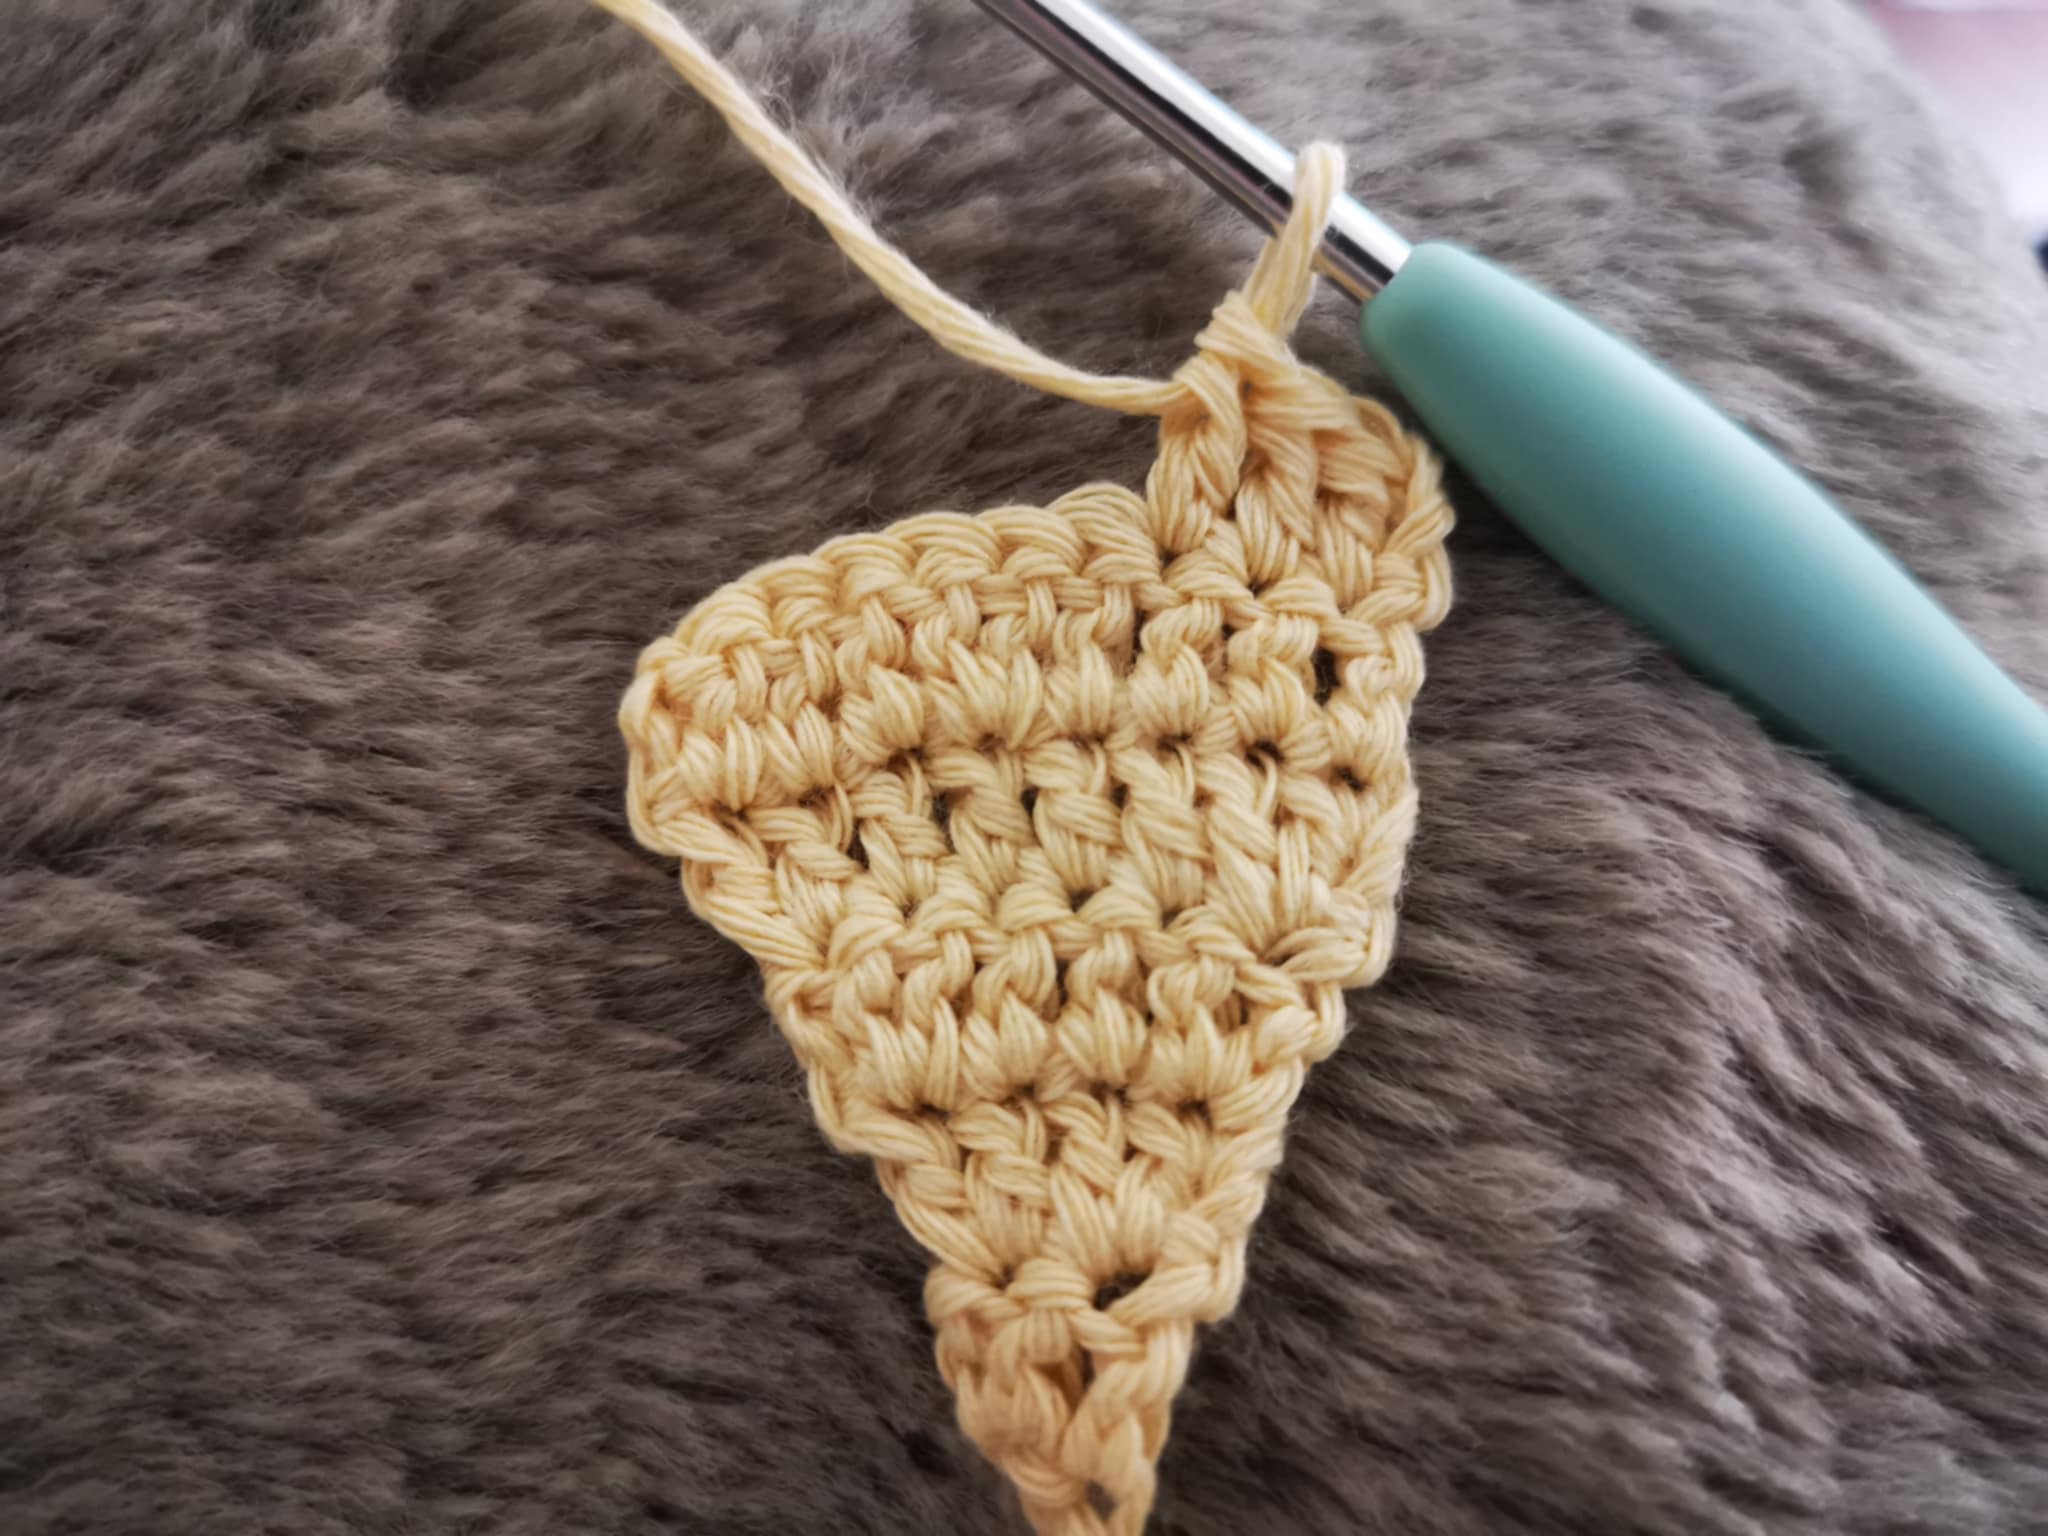
For row 5, you need to make:
- 3 double crochets,
- 1 increase,
- 4 double crochets.
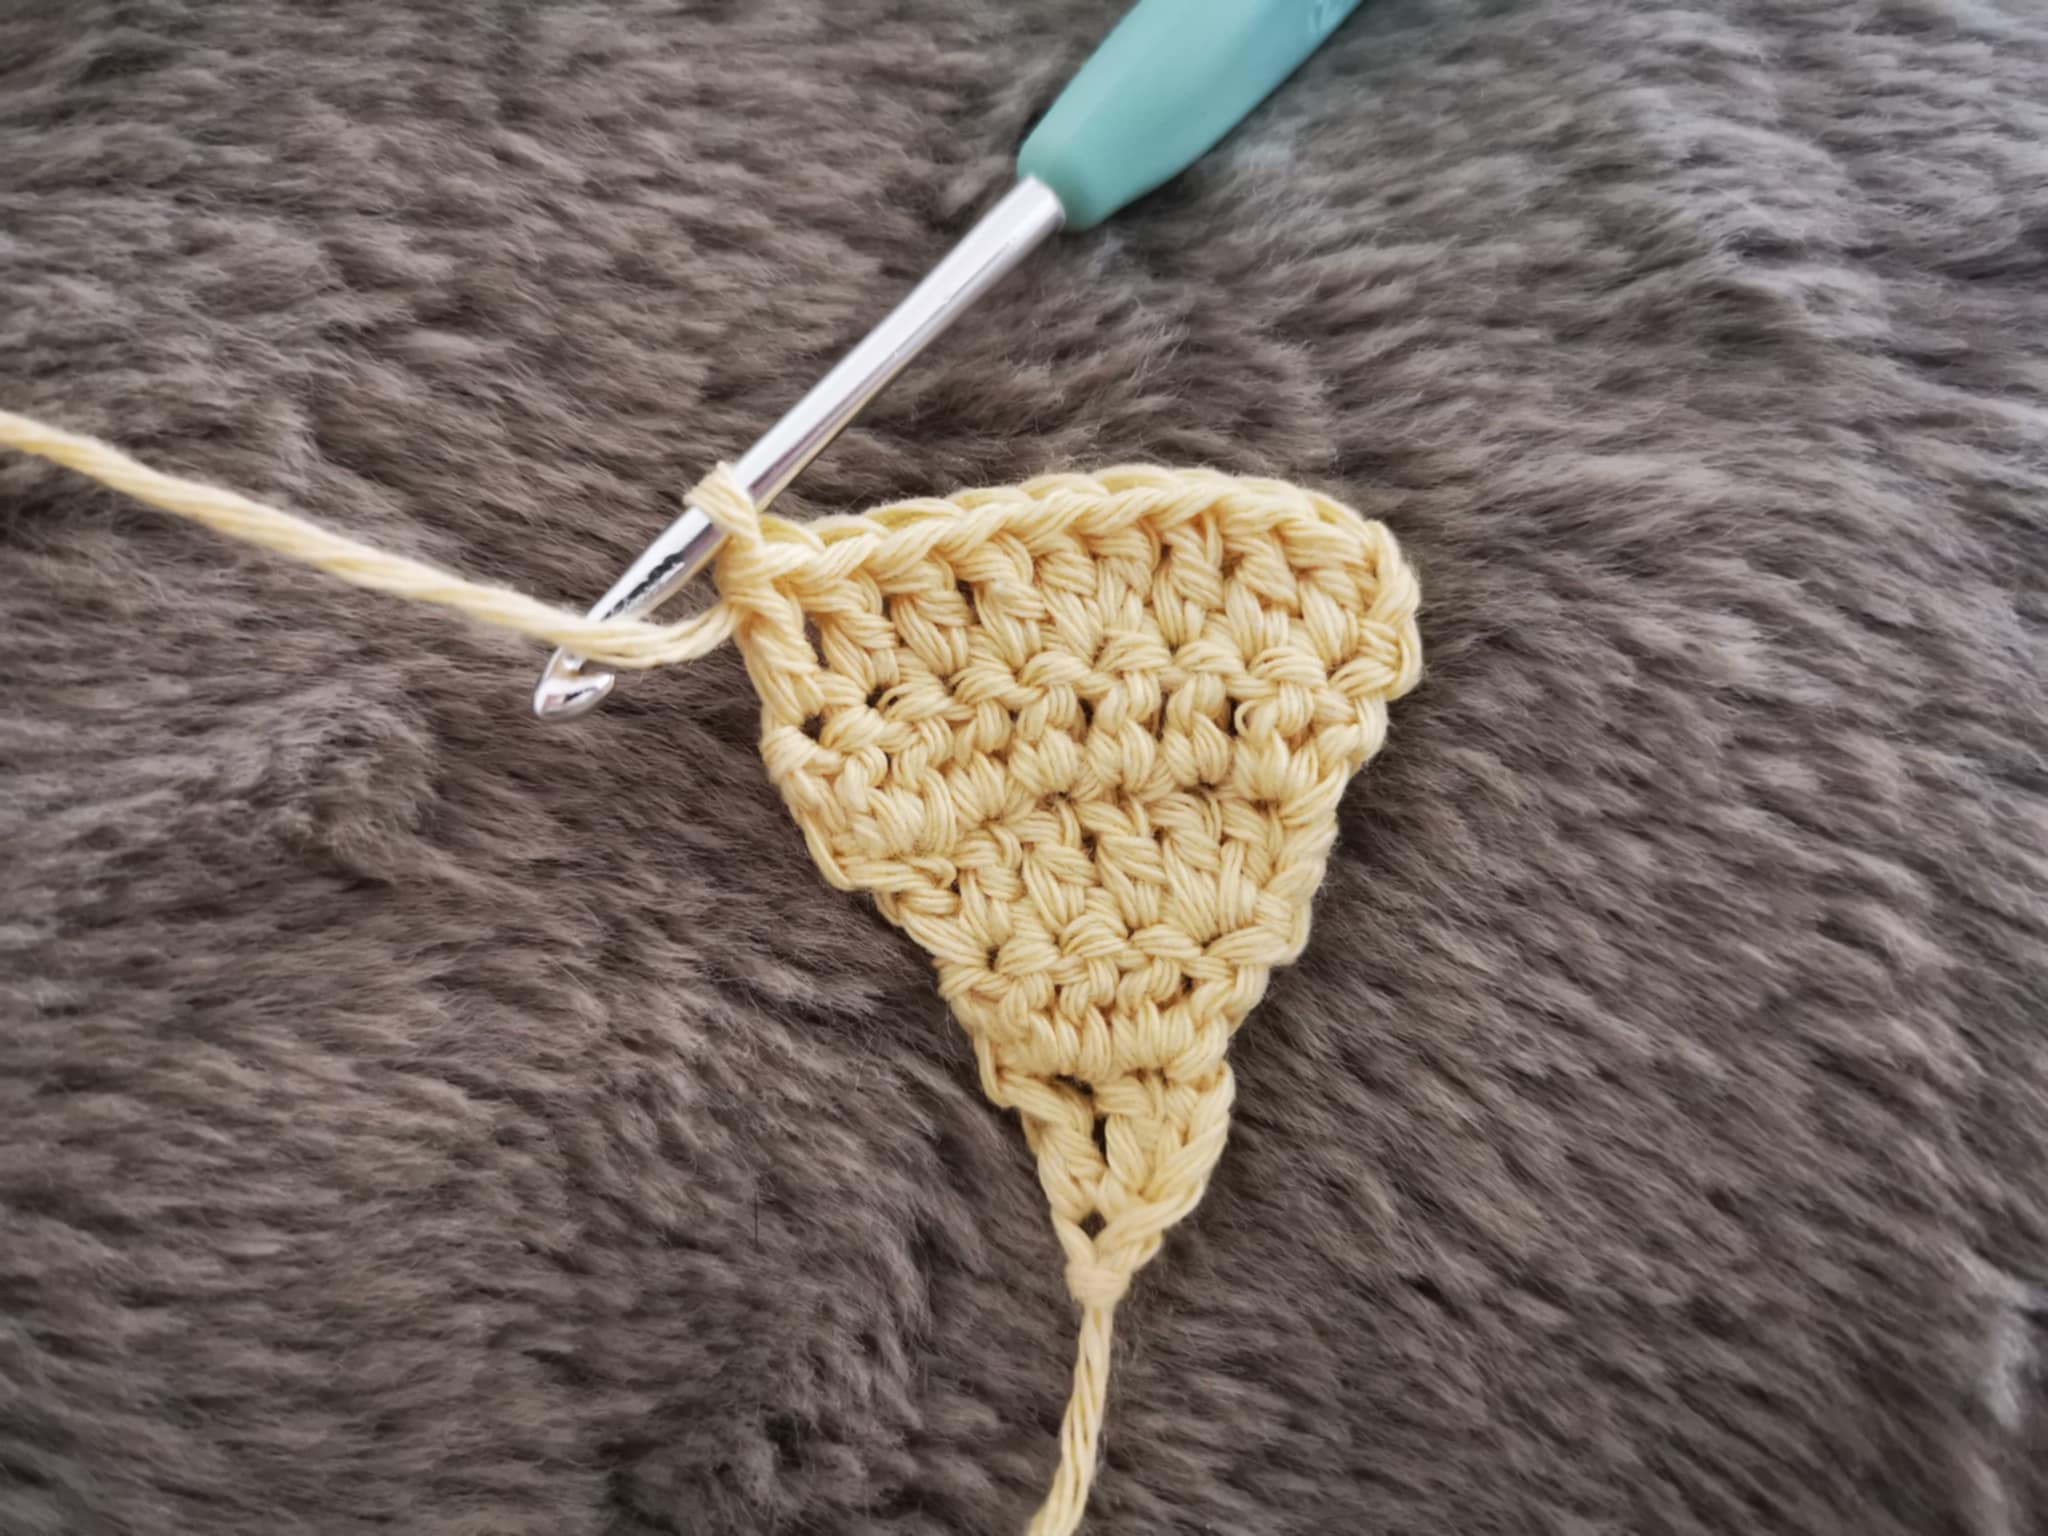
Then cast on 2 chain stitches before turning the project.
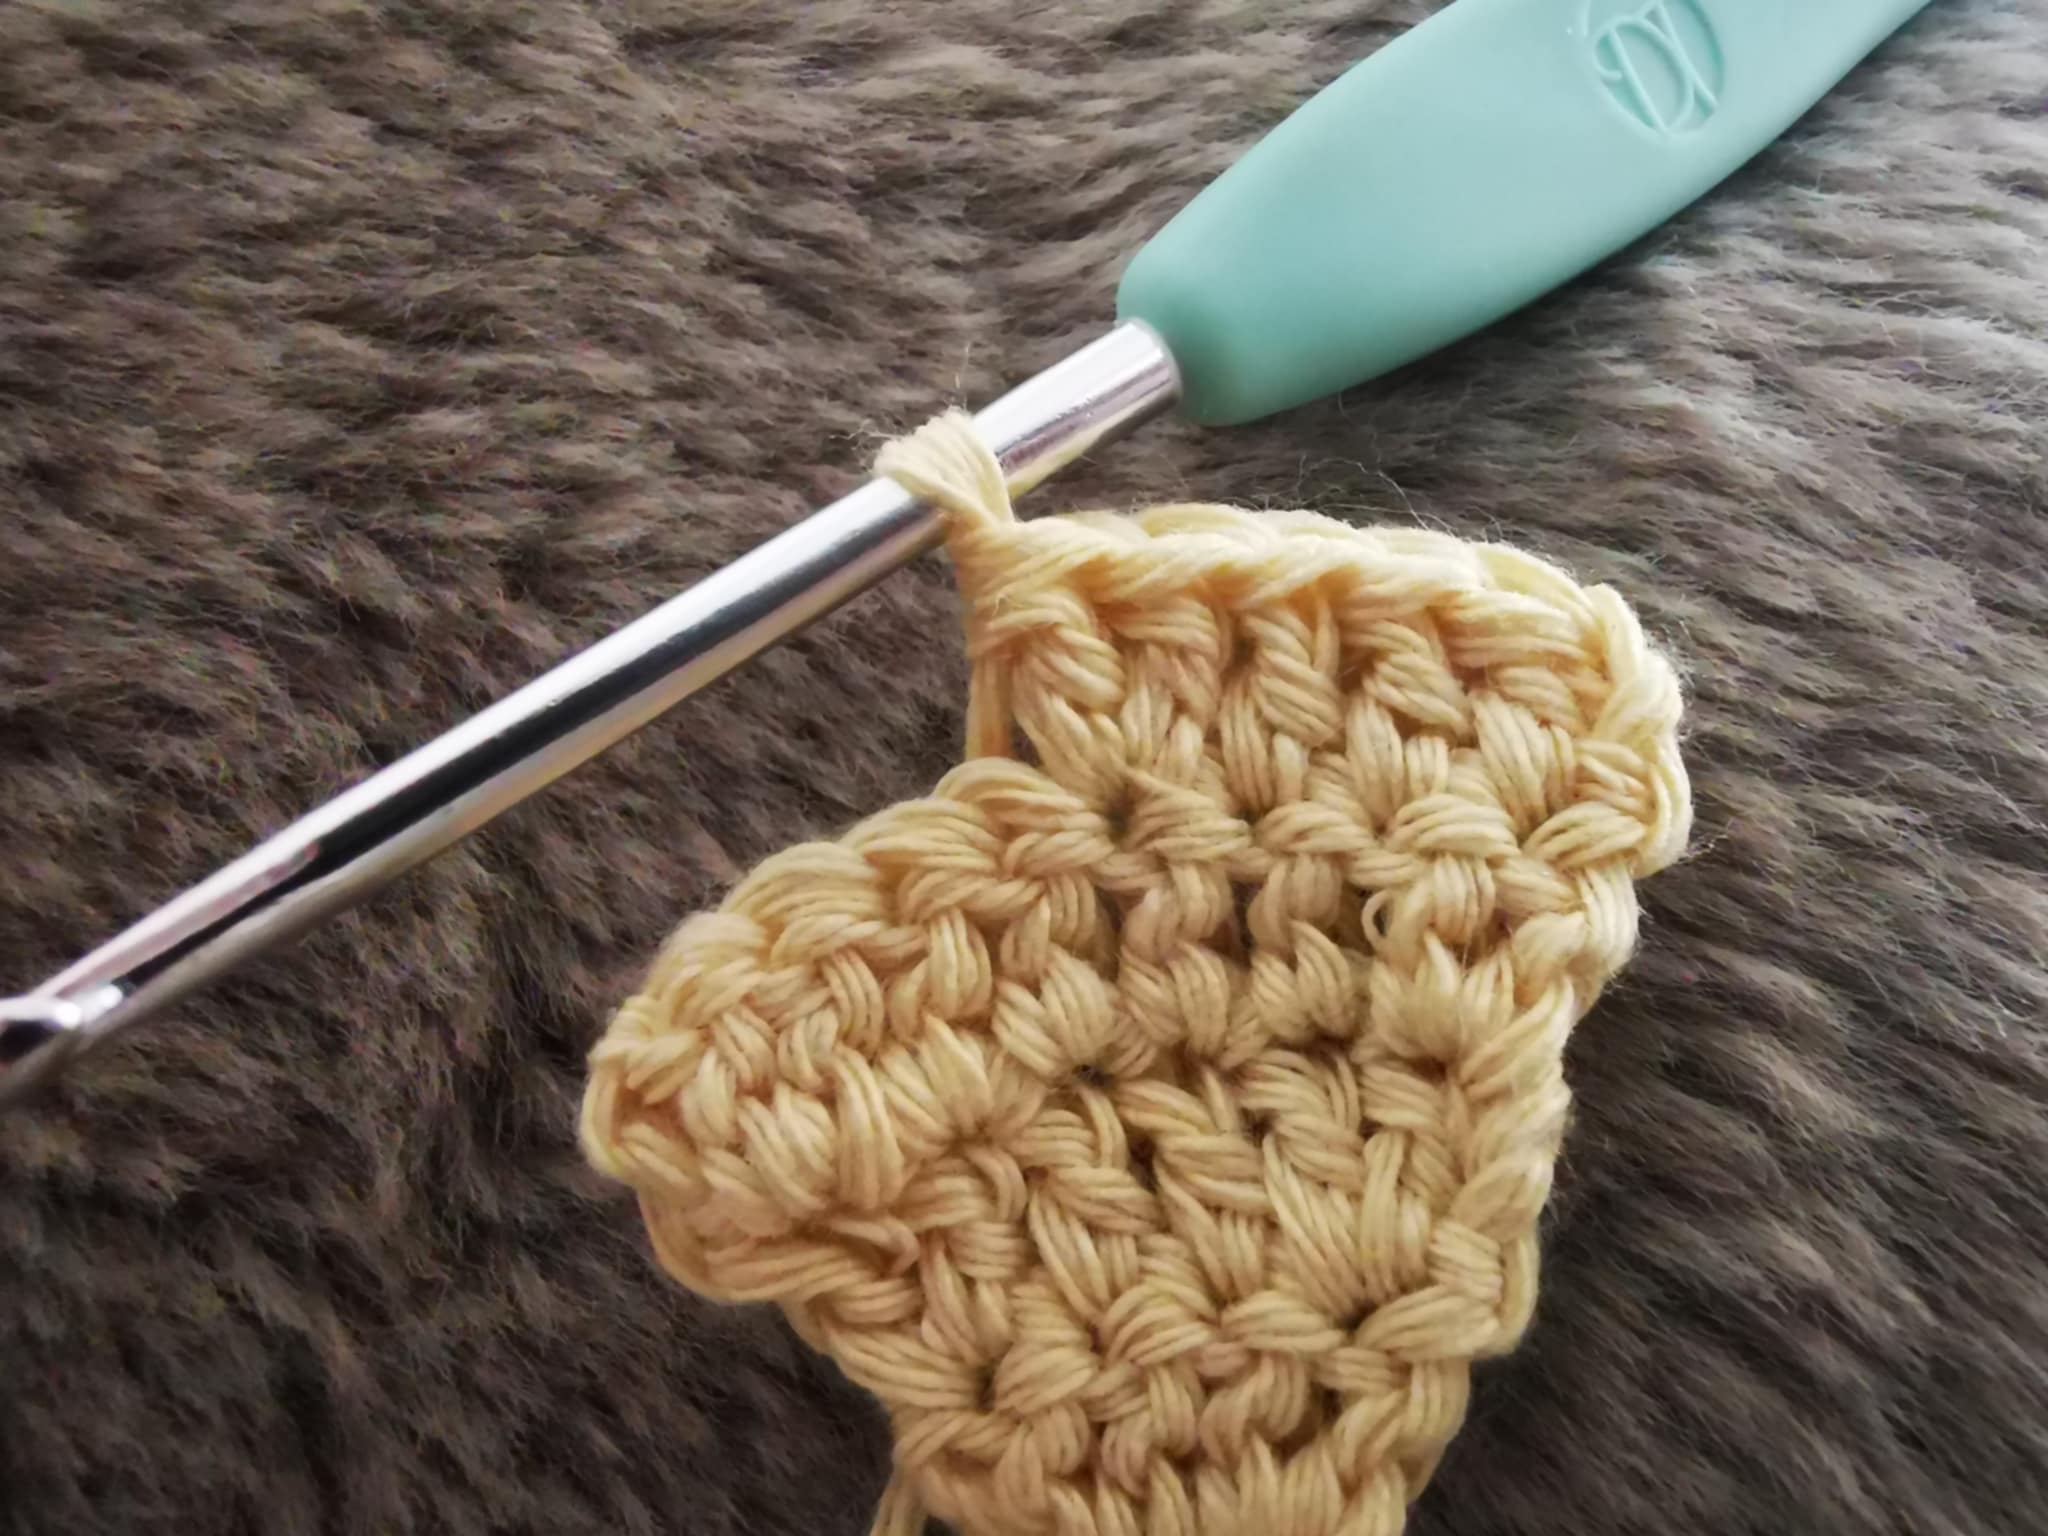
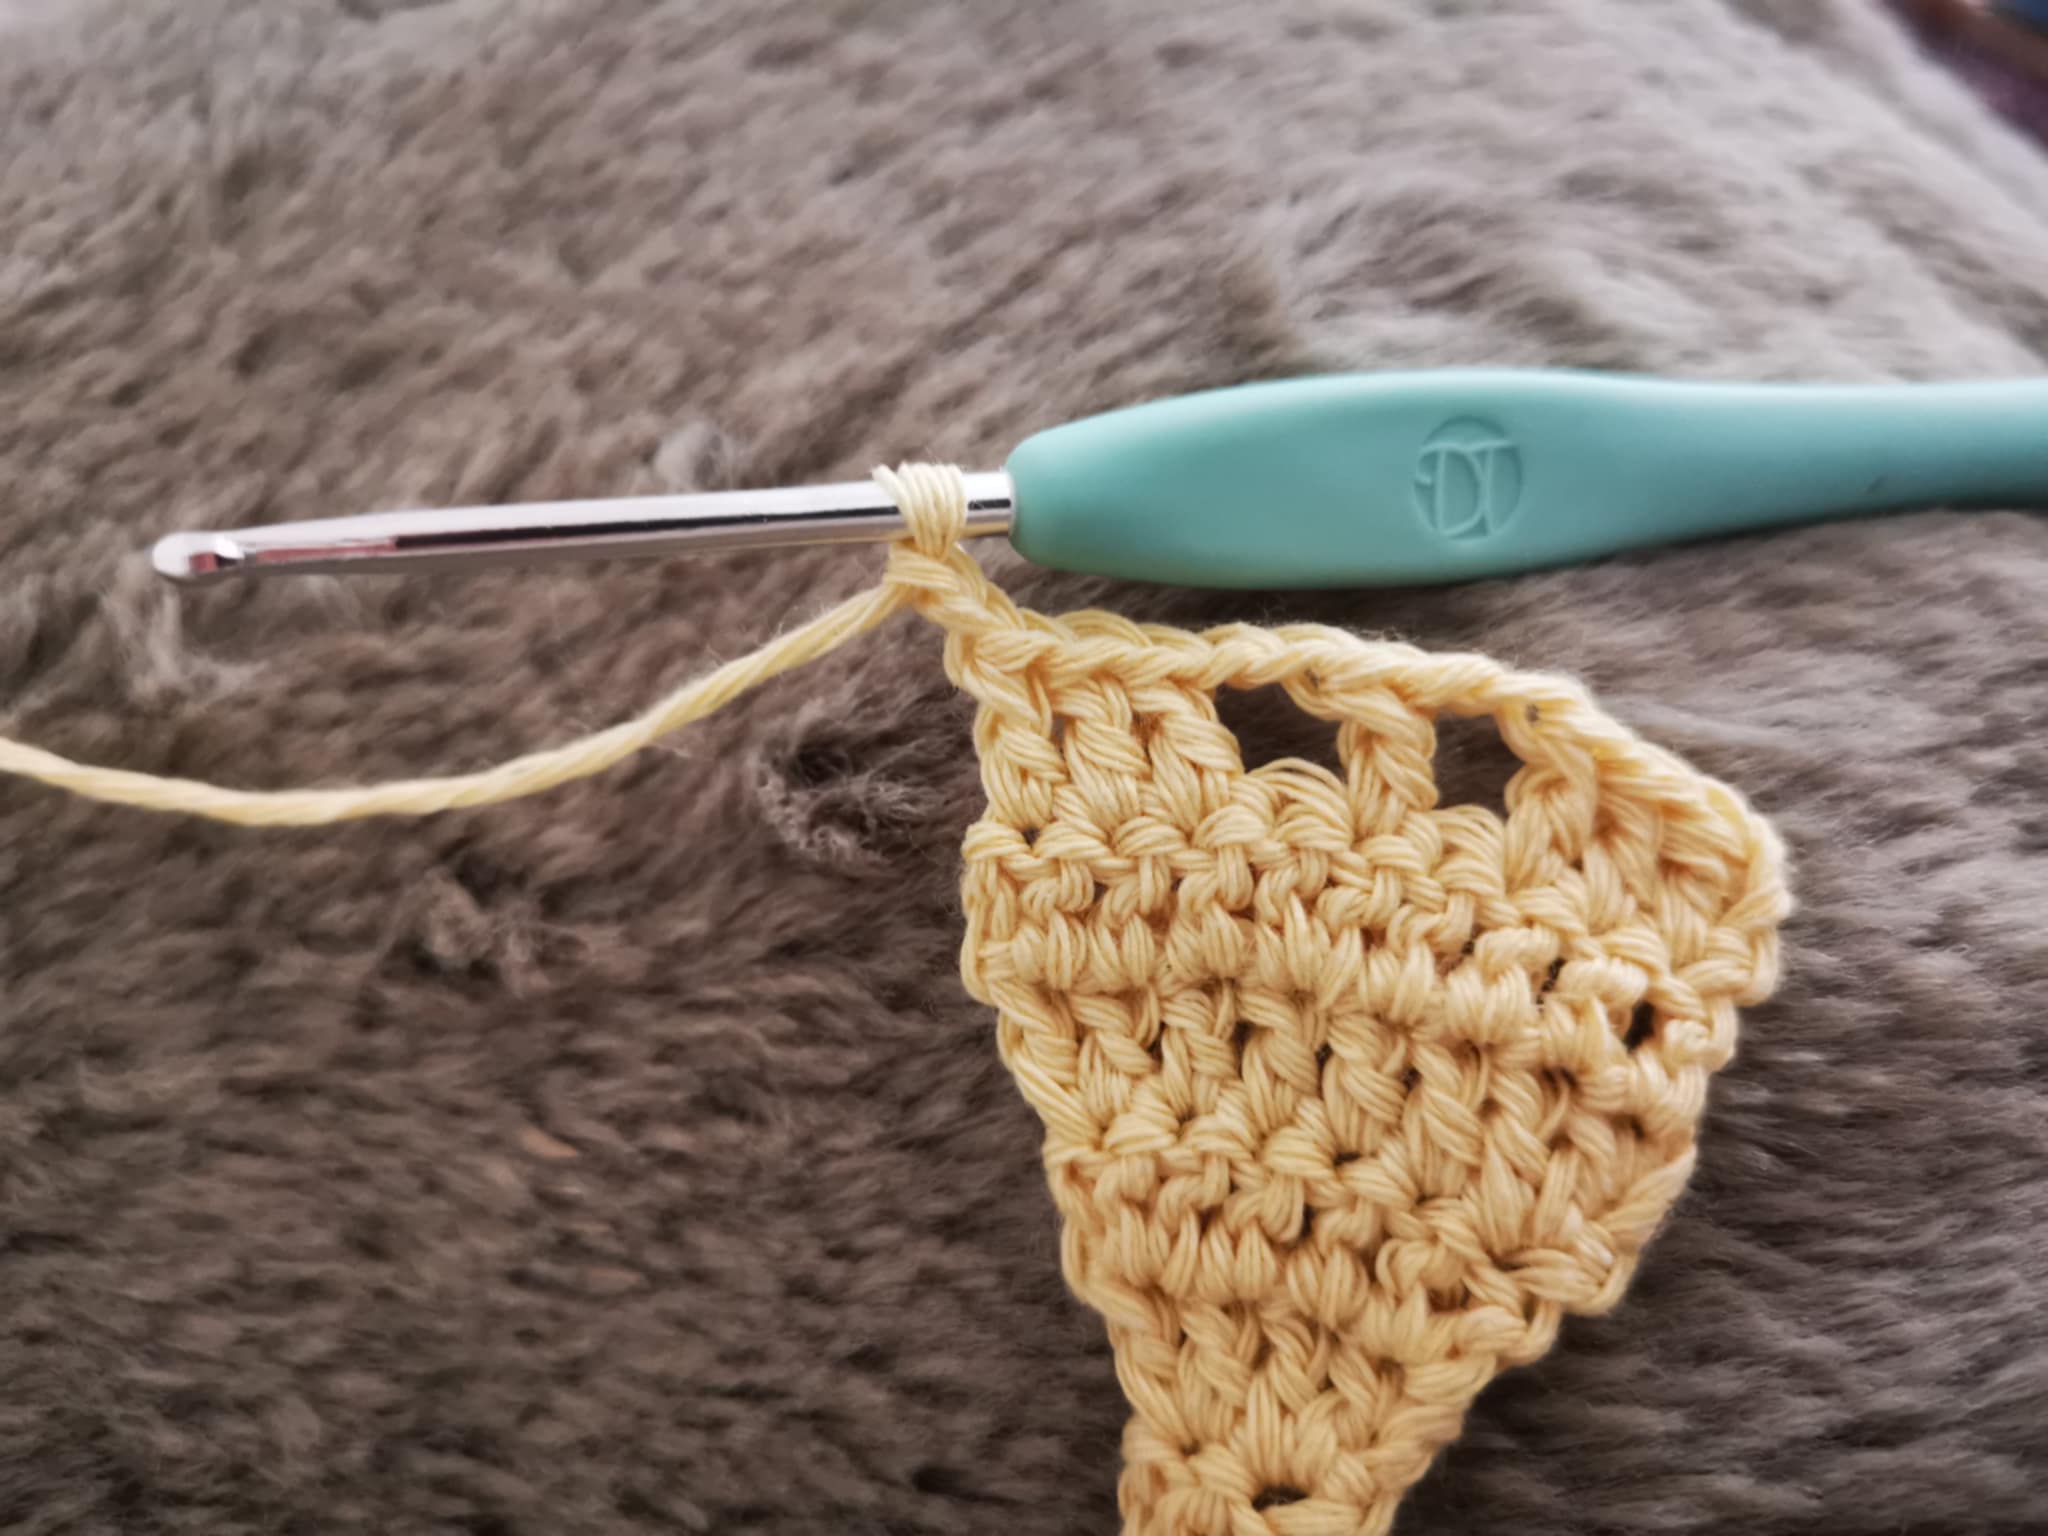
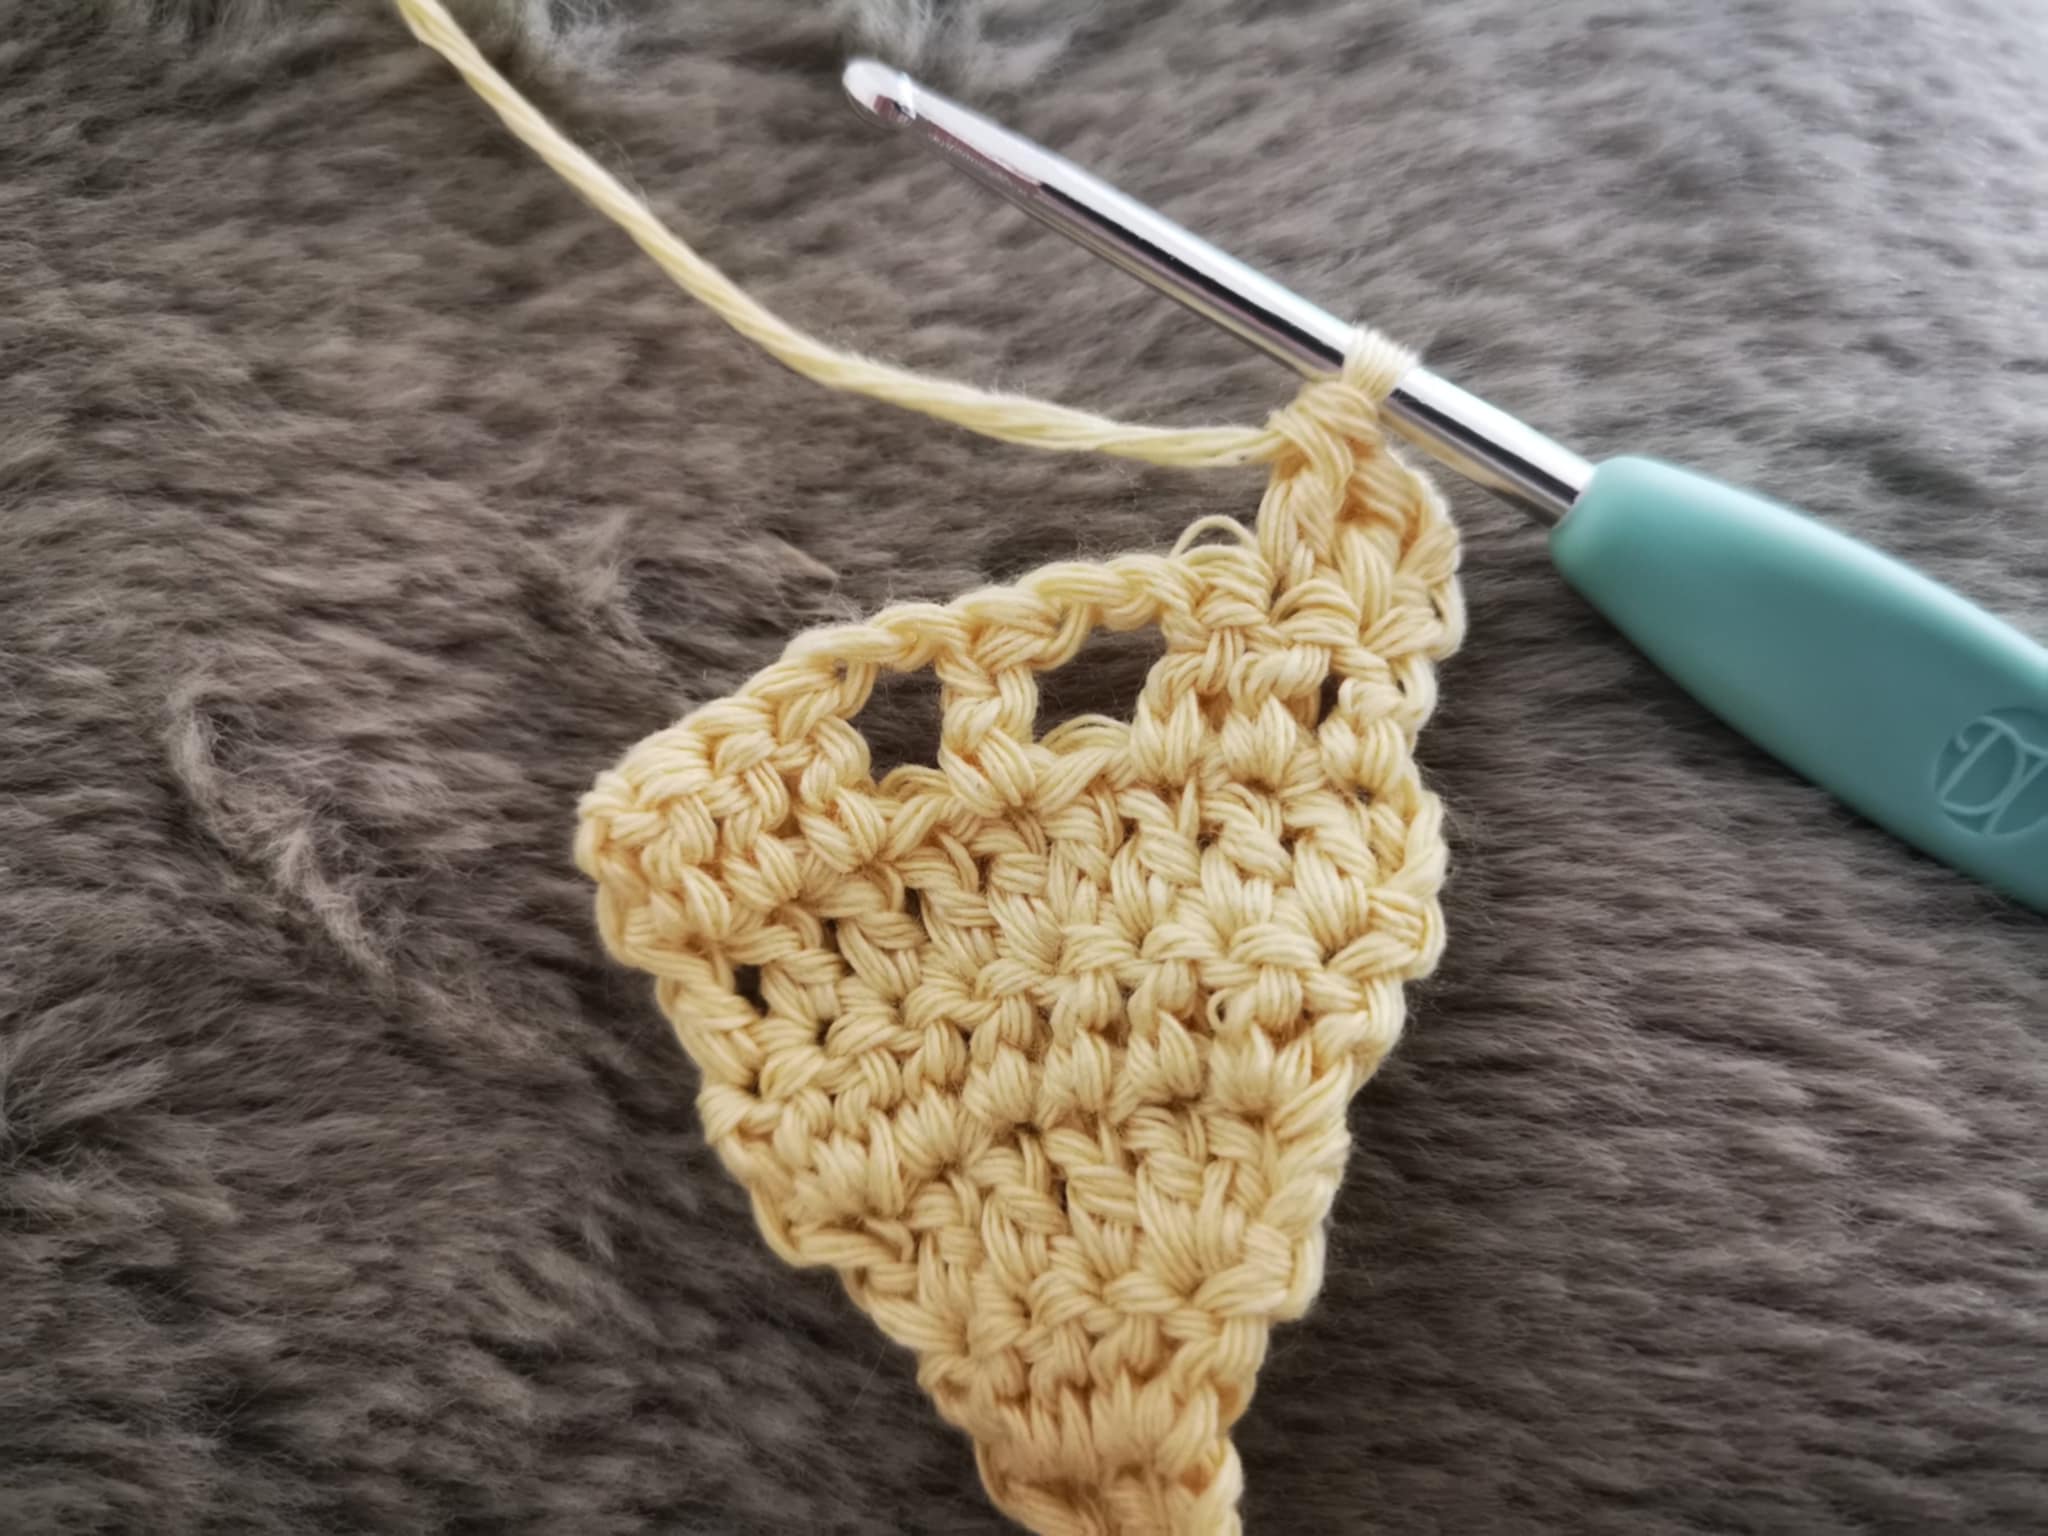
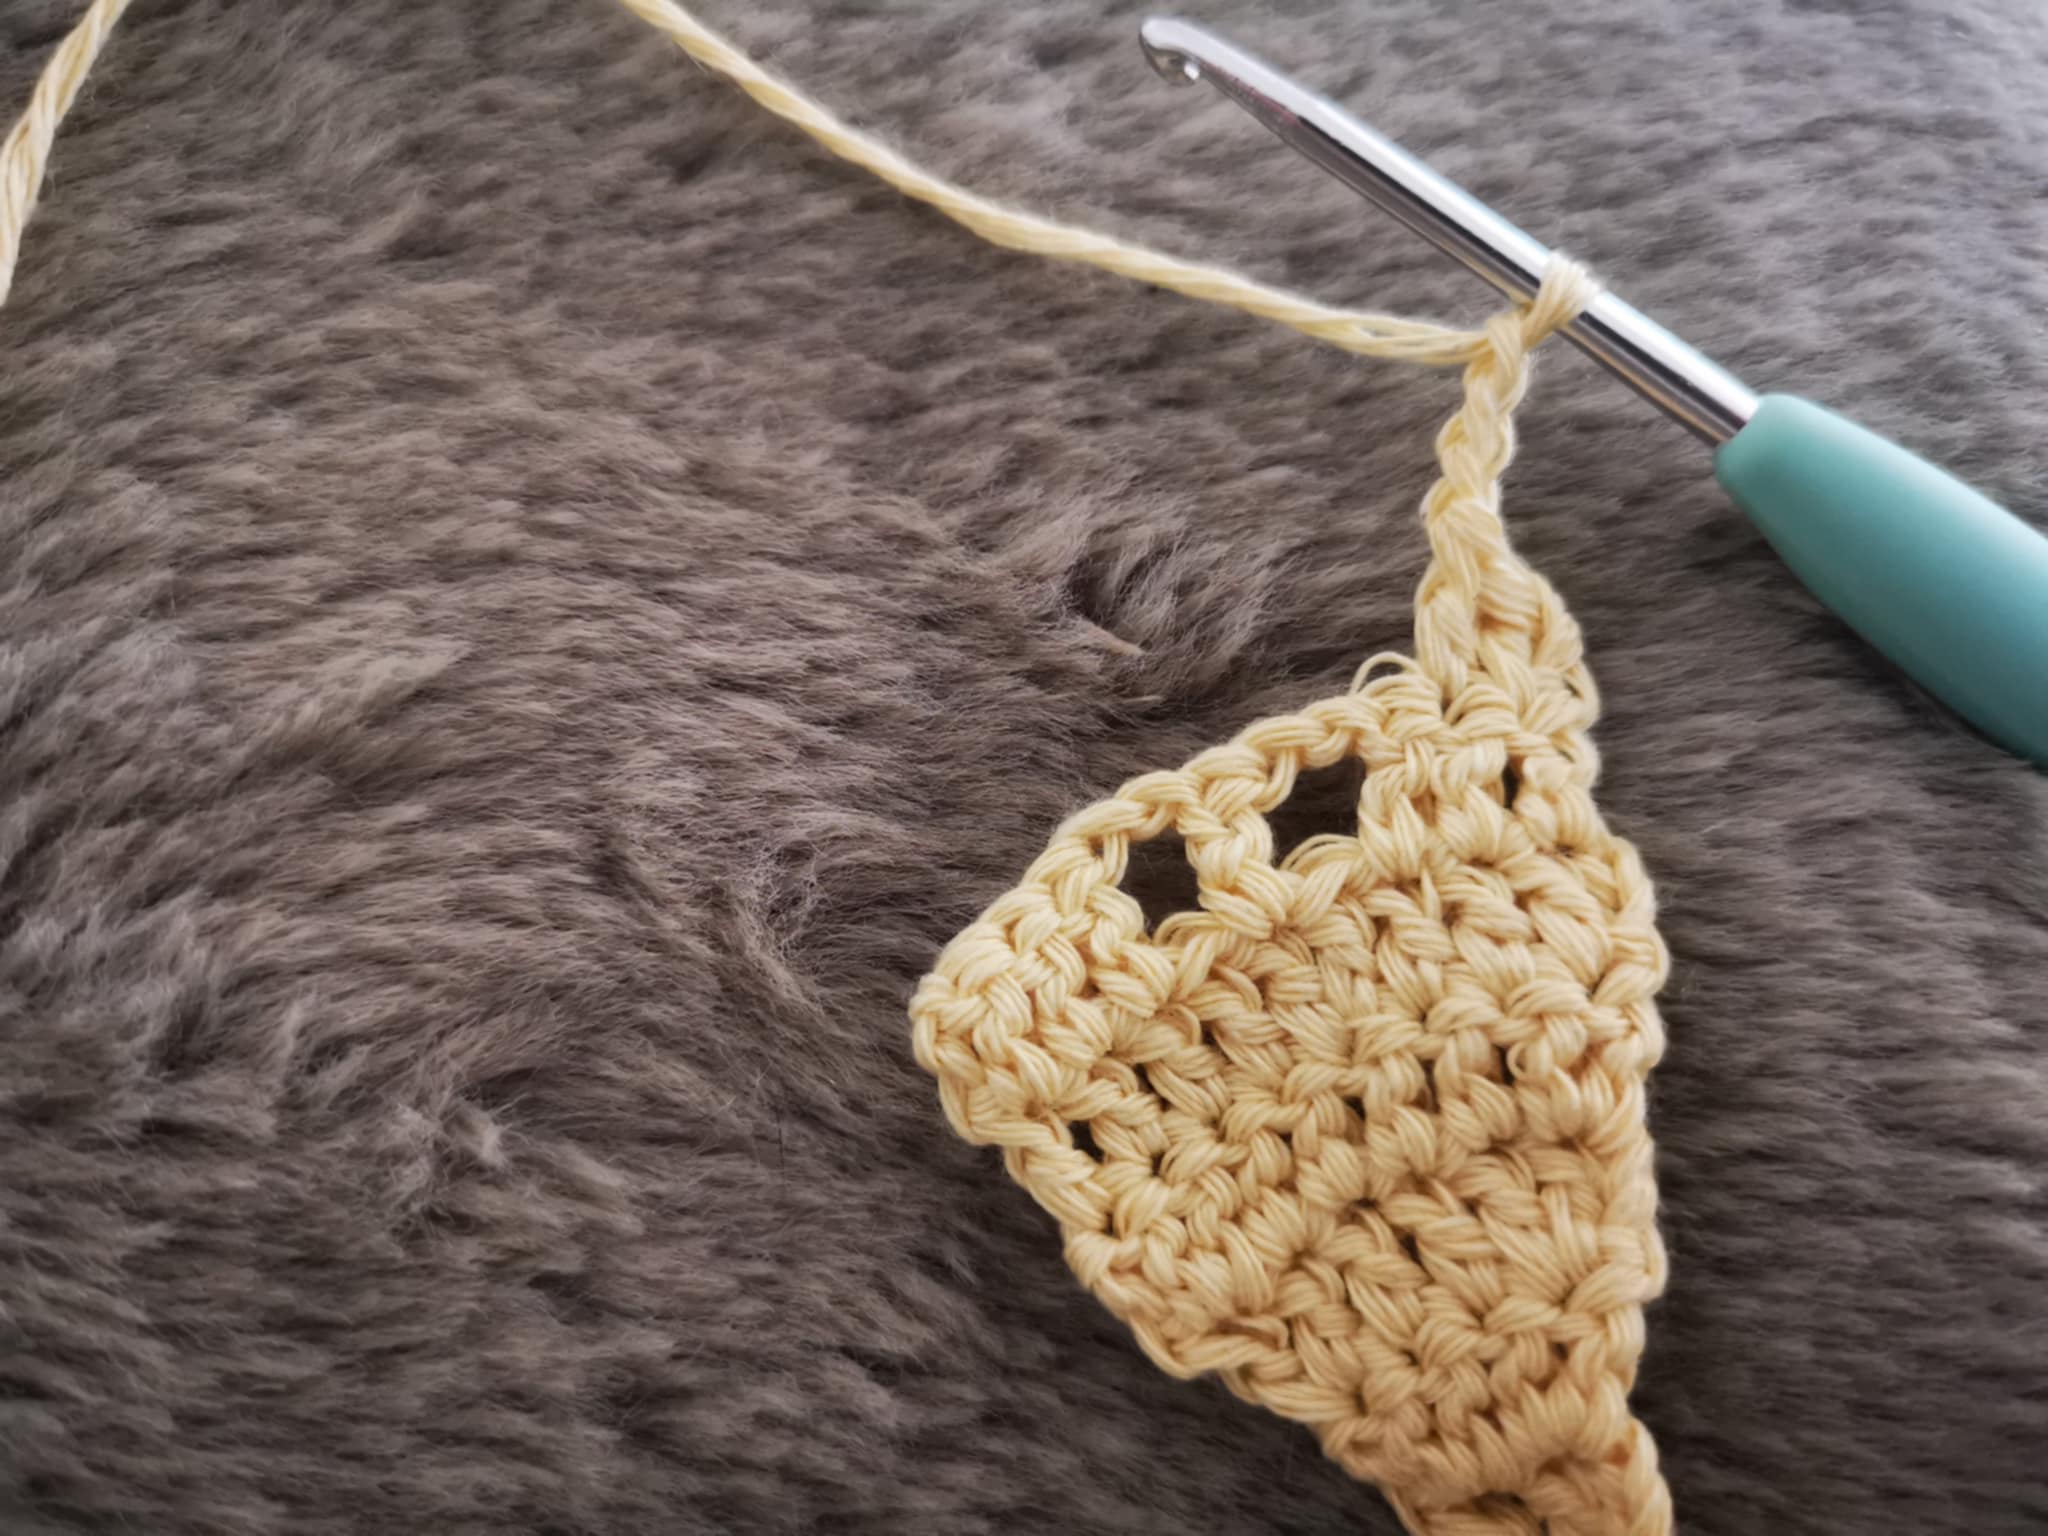
For row 6, we will begin creating the pattern. To do this, you need to do:
- 3 double crochets,
- 2 chain stitches,
- Skip one stitch and make 1 double crochet;
- 2 chain stitches,
- Skip one stitch and make 1 double crochet;
- 2 double crochets.

Don't forget to cast on 2 chain stitches before turning the project.
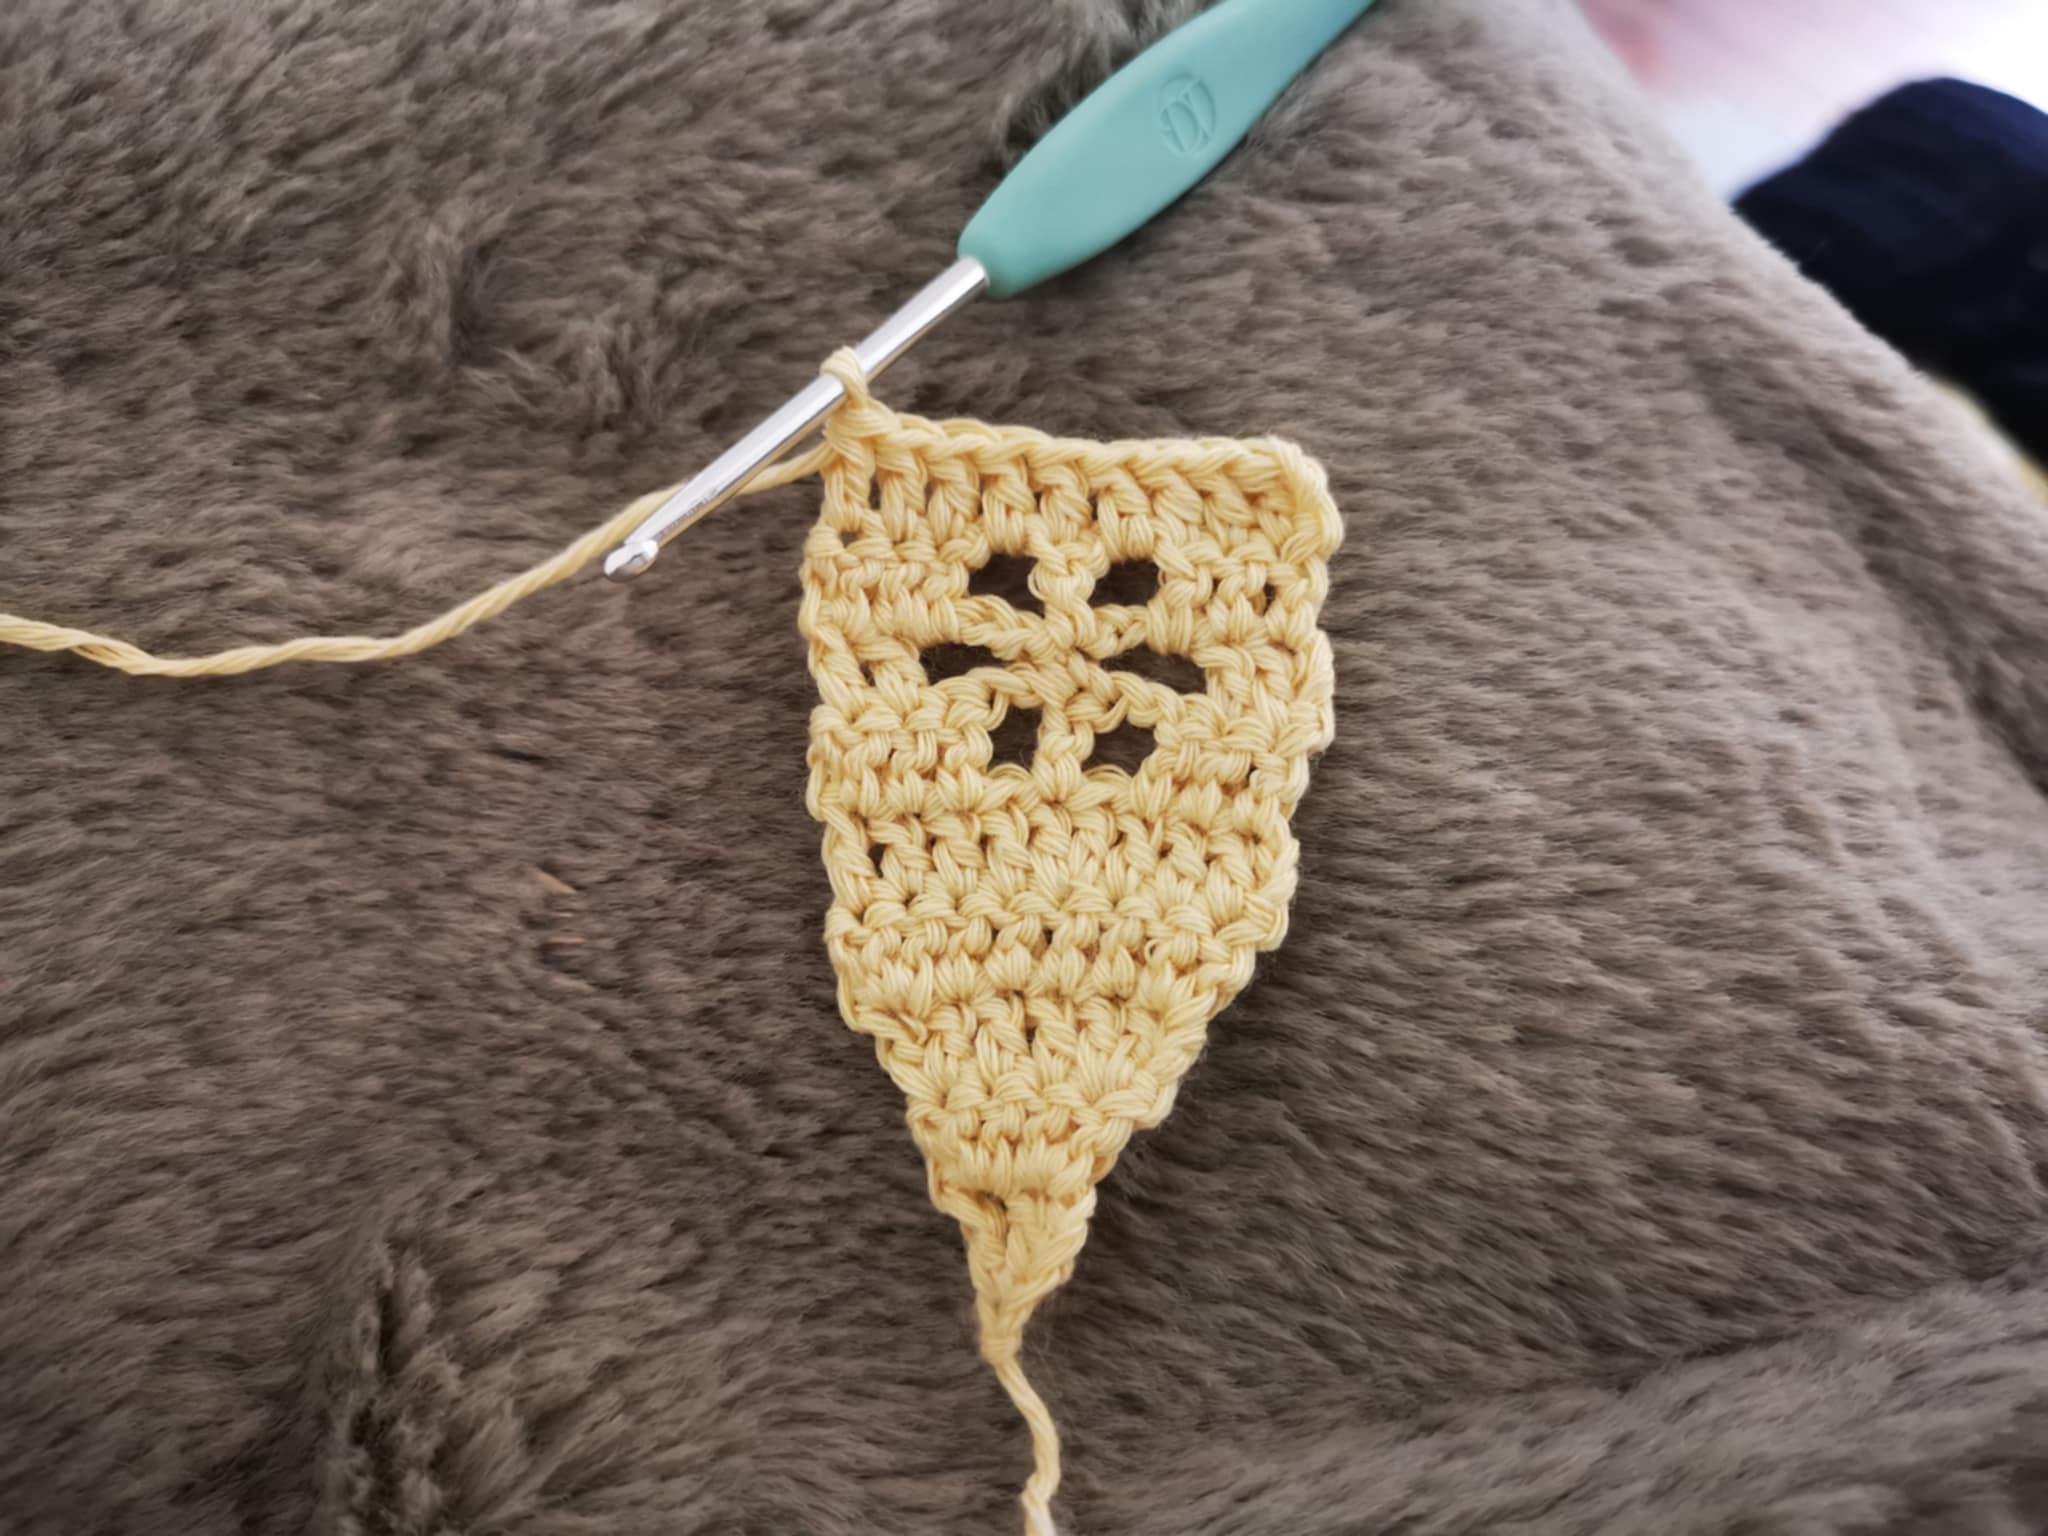
For row 7, you need to do:
- 2 double crochets;
- 3 chain stitches;
- 1 single crochet in the center of the middle double crochet,
- 3 chain stitches;
- 2 double crochets.

Cast on 2 chain stitches before turning the project.
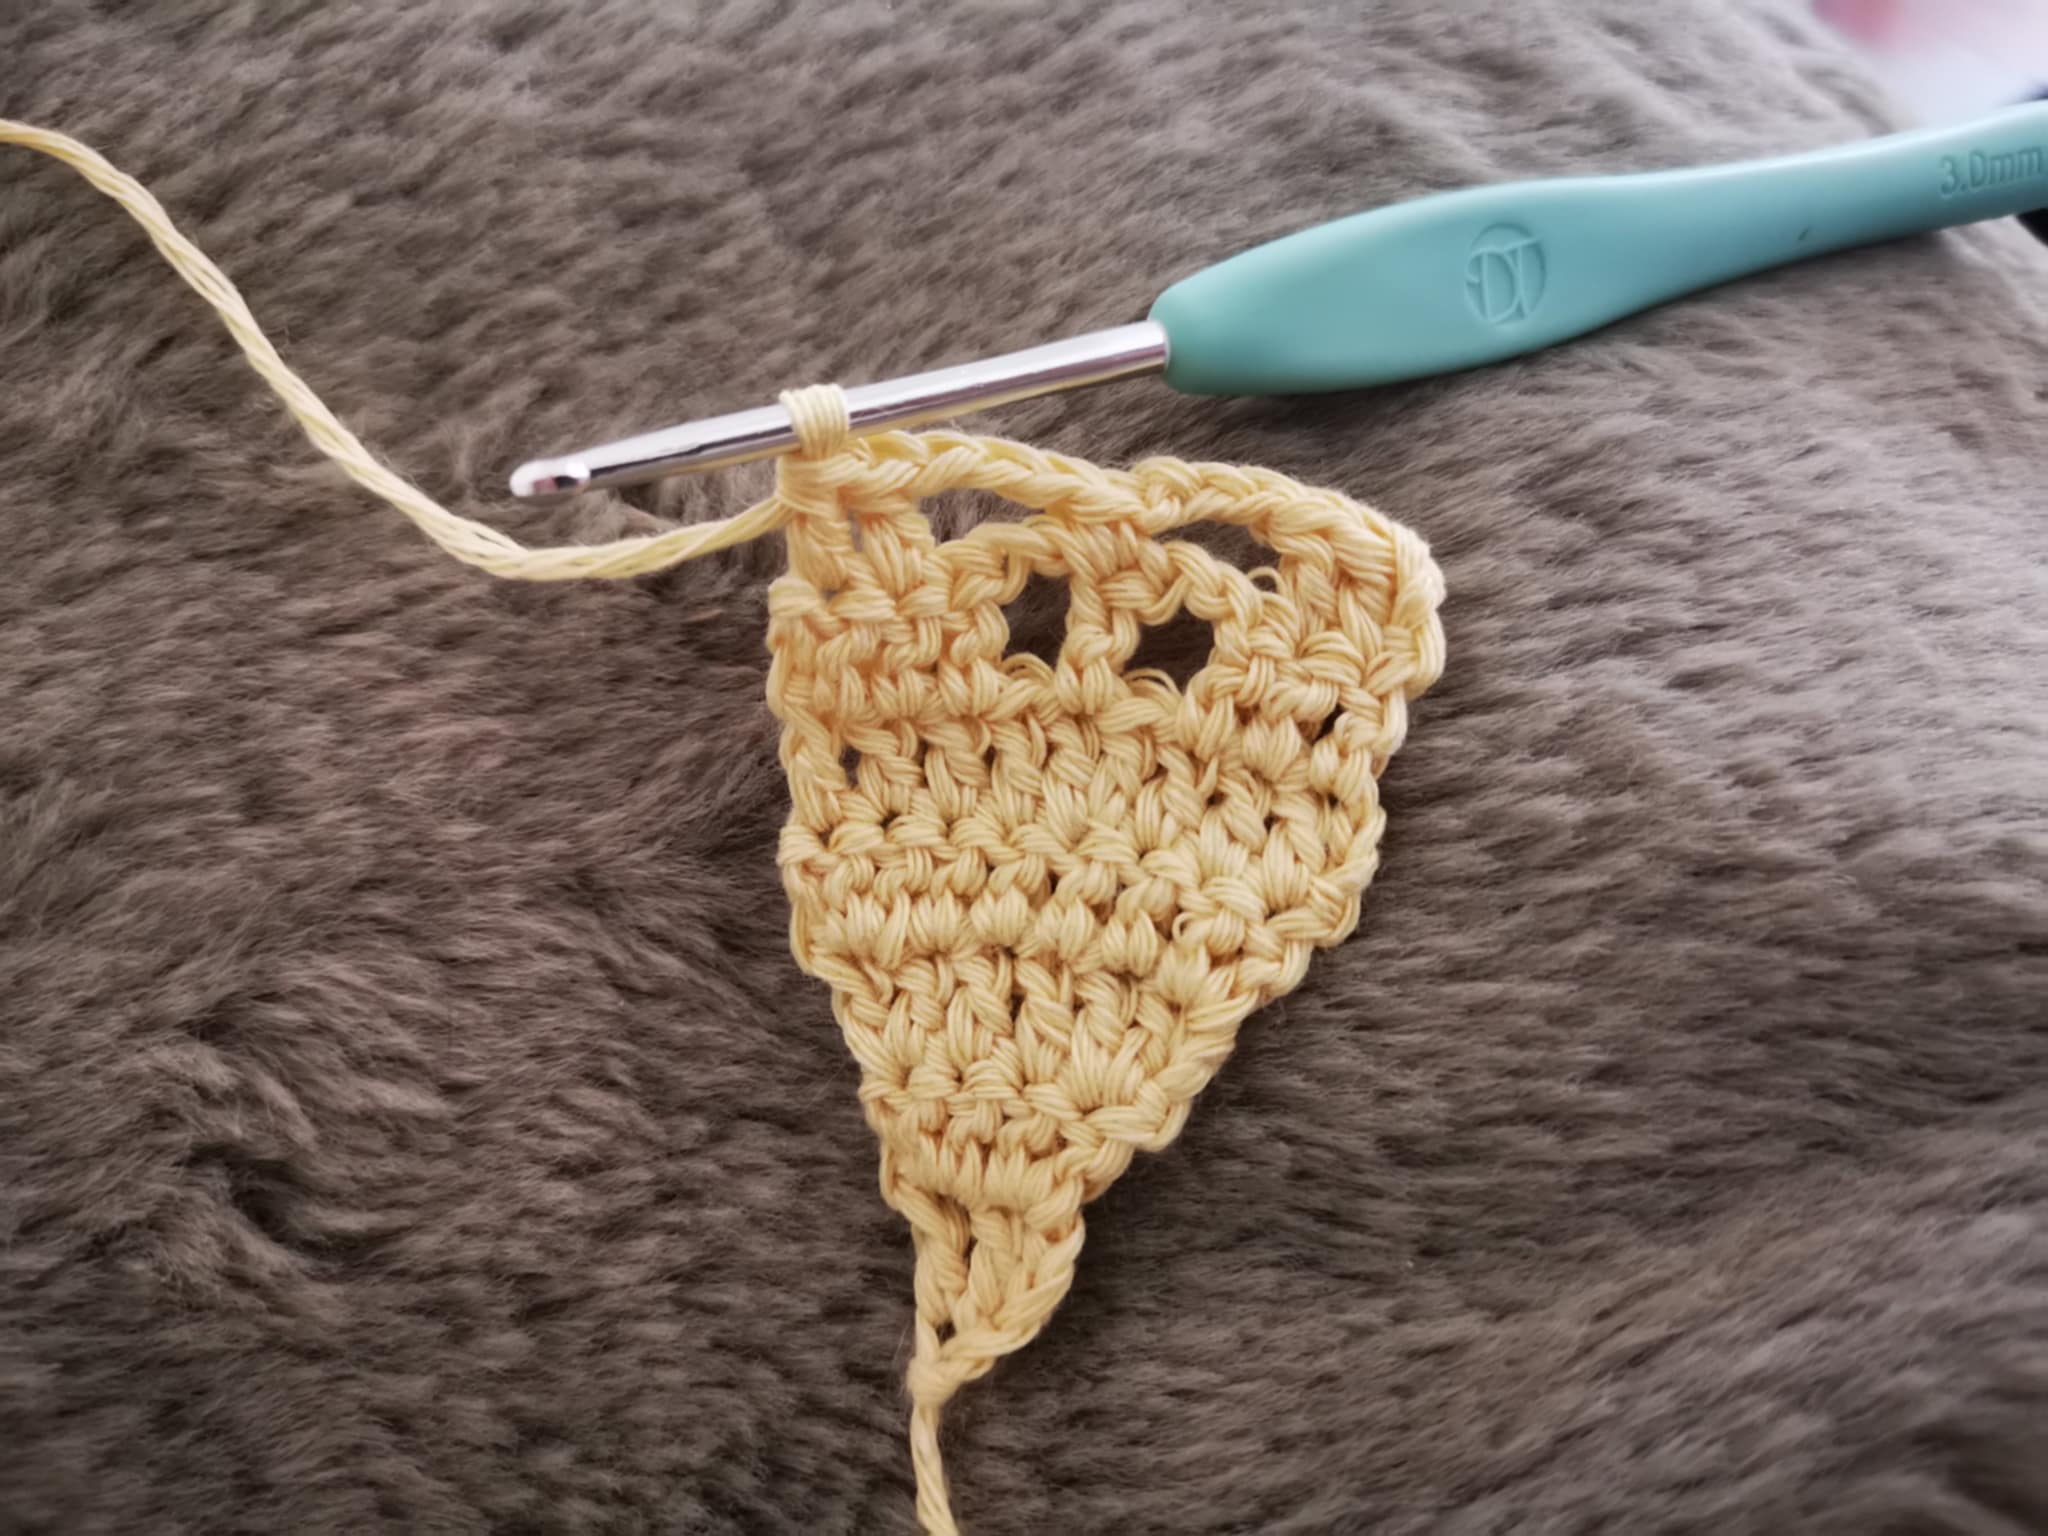
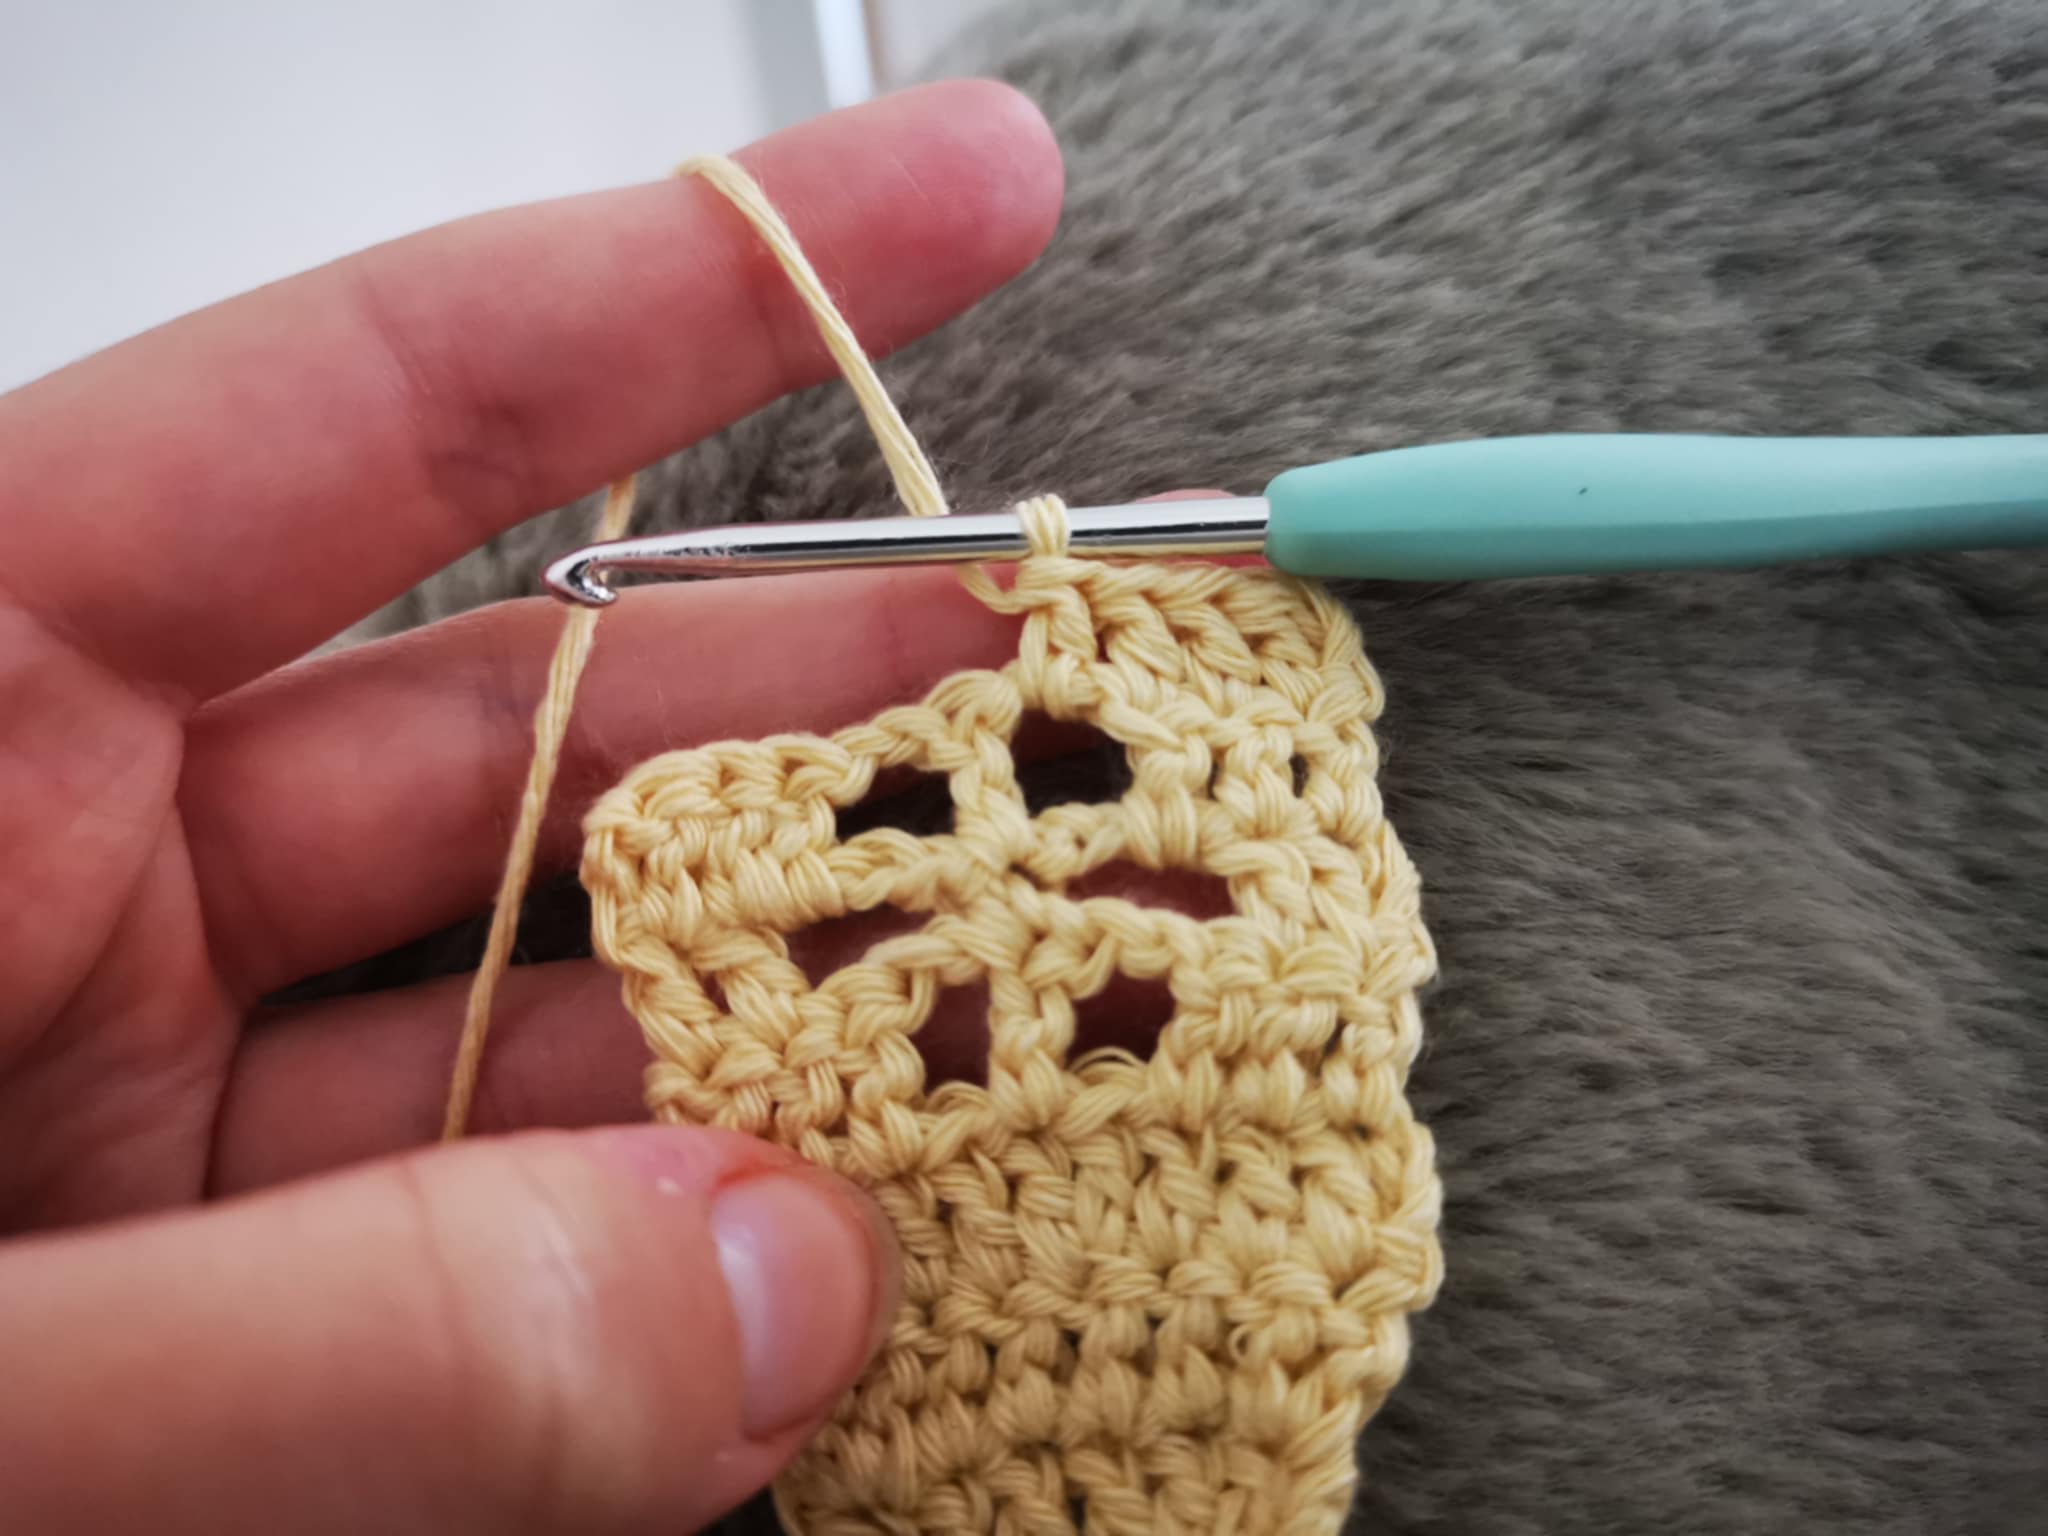
For row 8, you need to do:
- 2 classic double crochets,
- 1 double crochet in the motif space;
- 2 chain stitches;
- 1 double crochet in the center of the single crochet from the previous row;
- 2 chain stitches;
- 1 double crochet in the motif space;
- 2 double crochet.
Remember to cast on 2 chain stitches before turning your project.
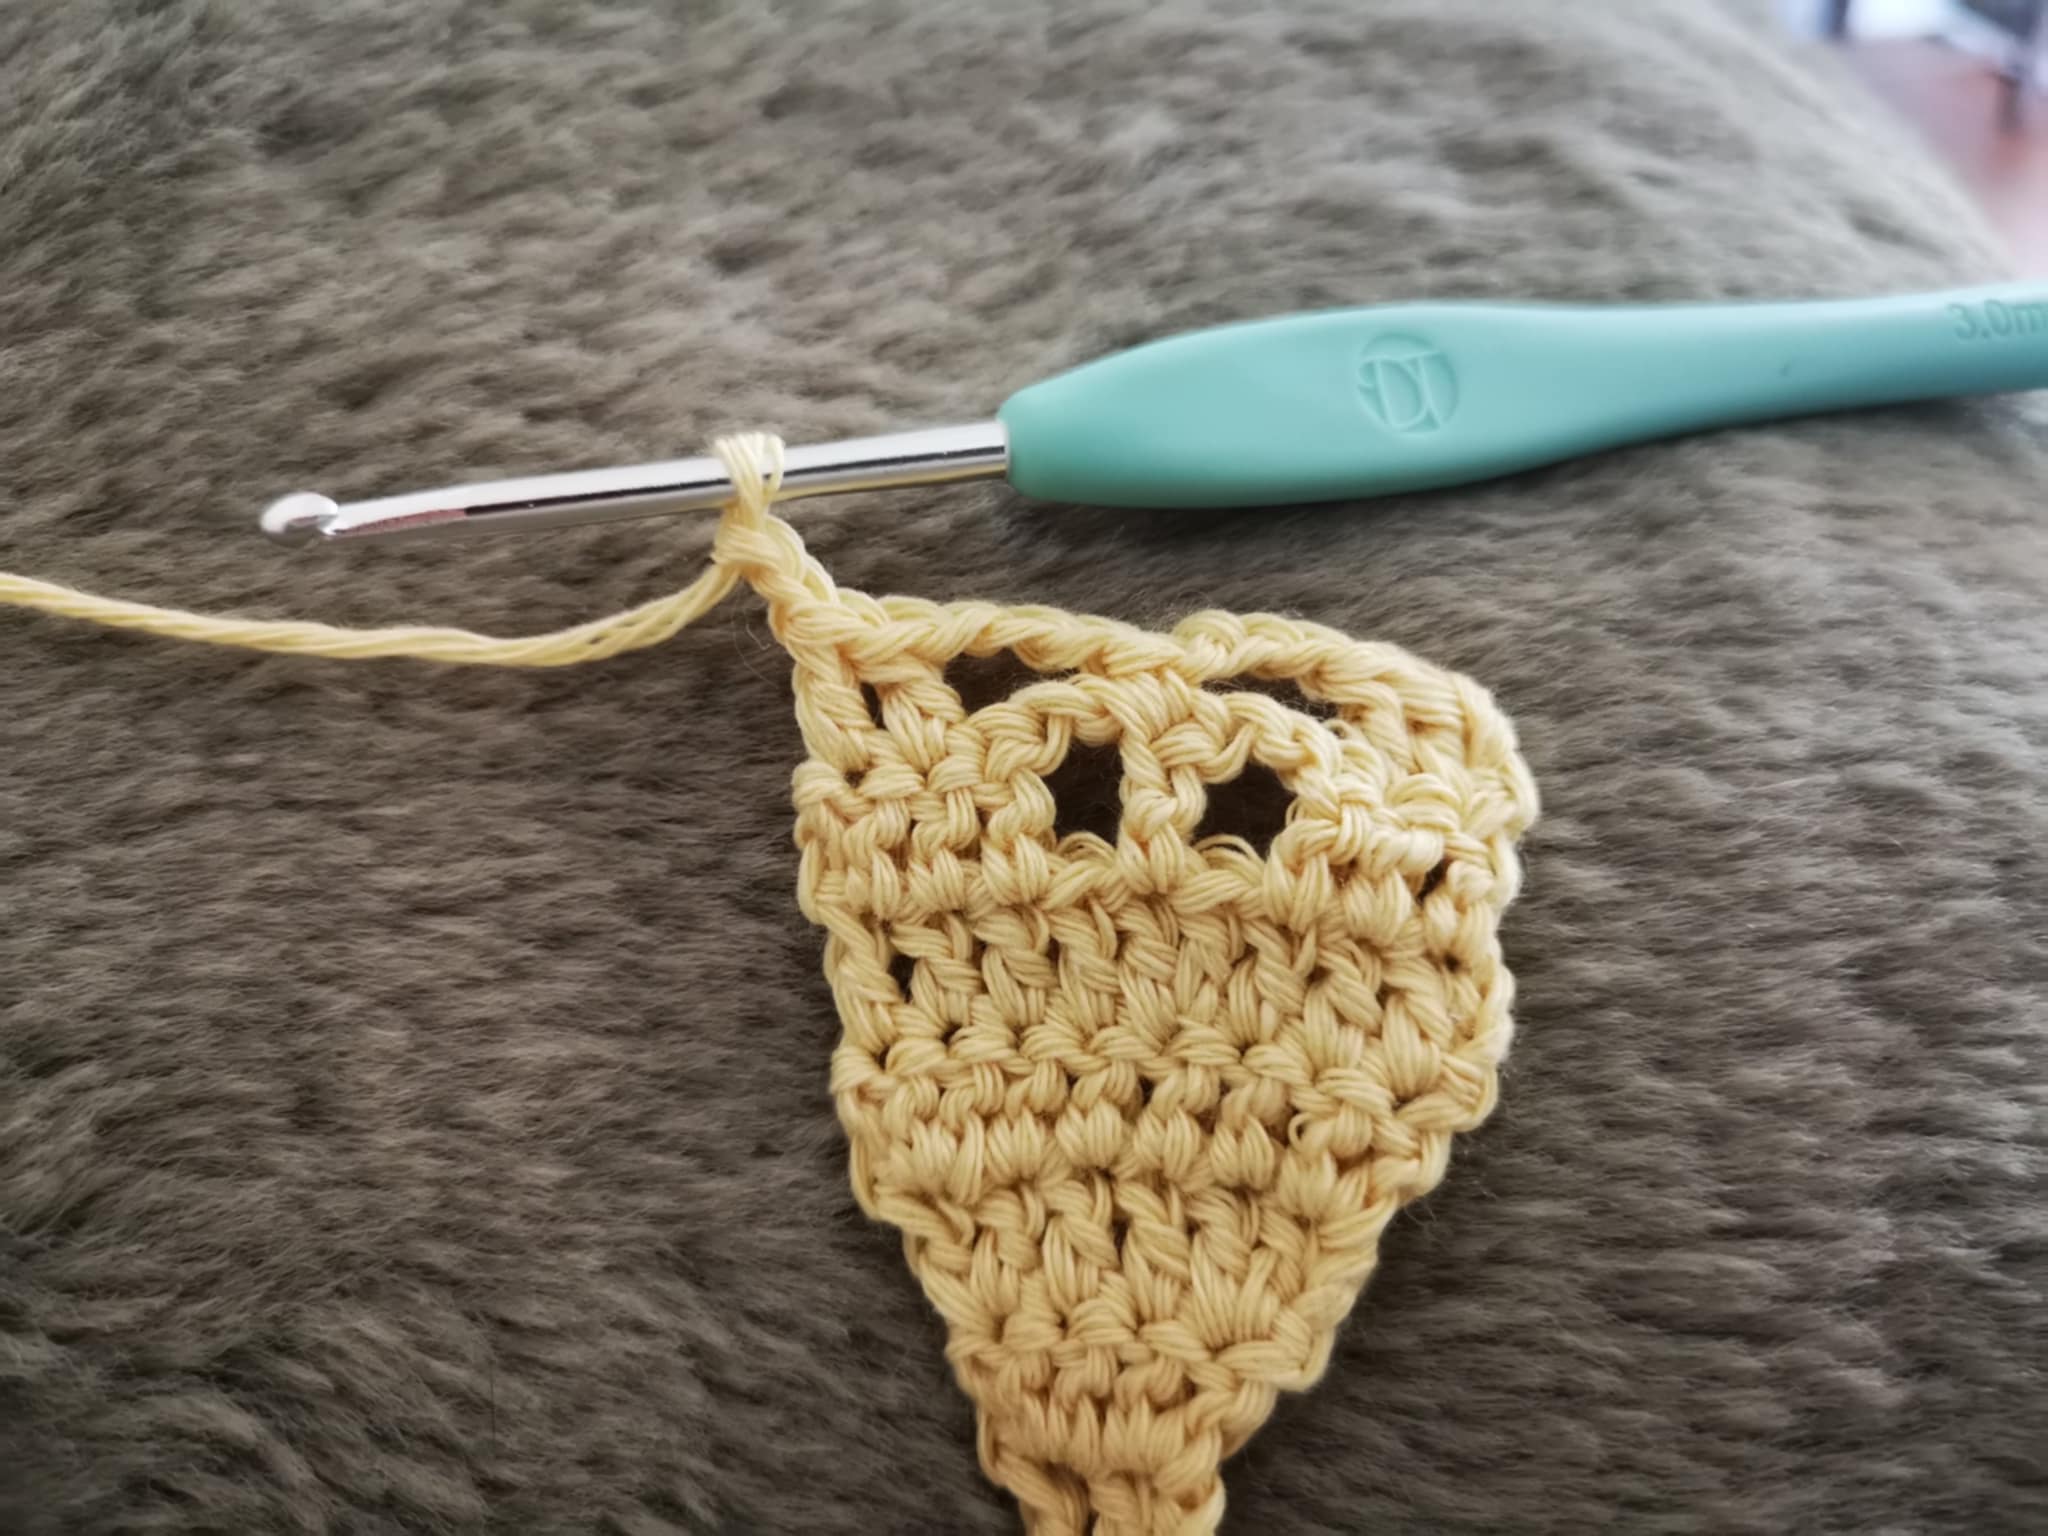
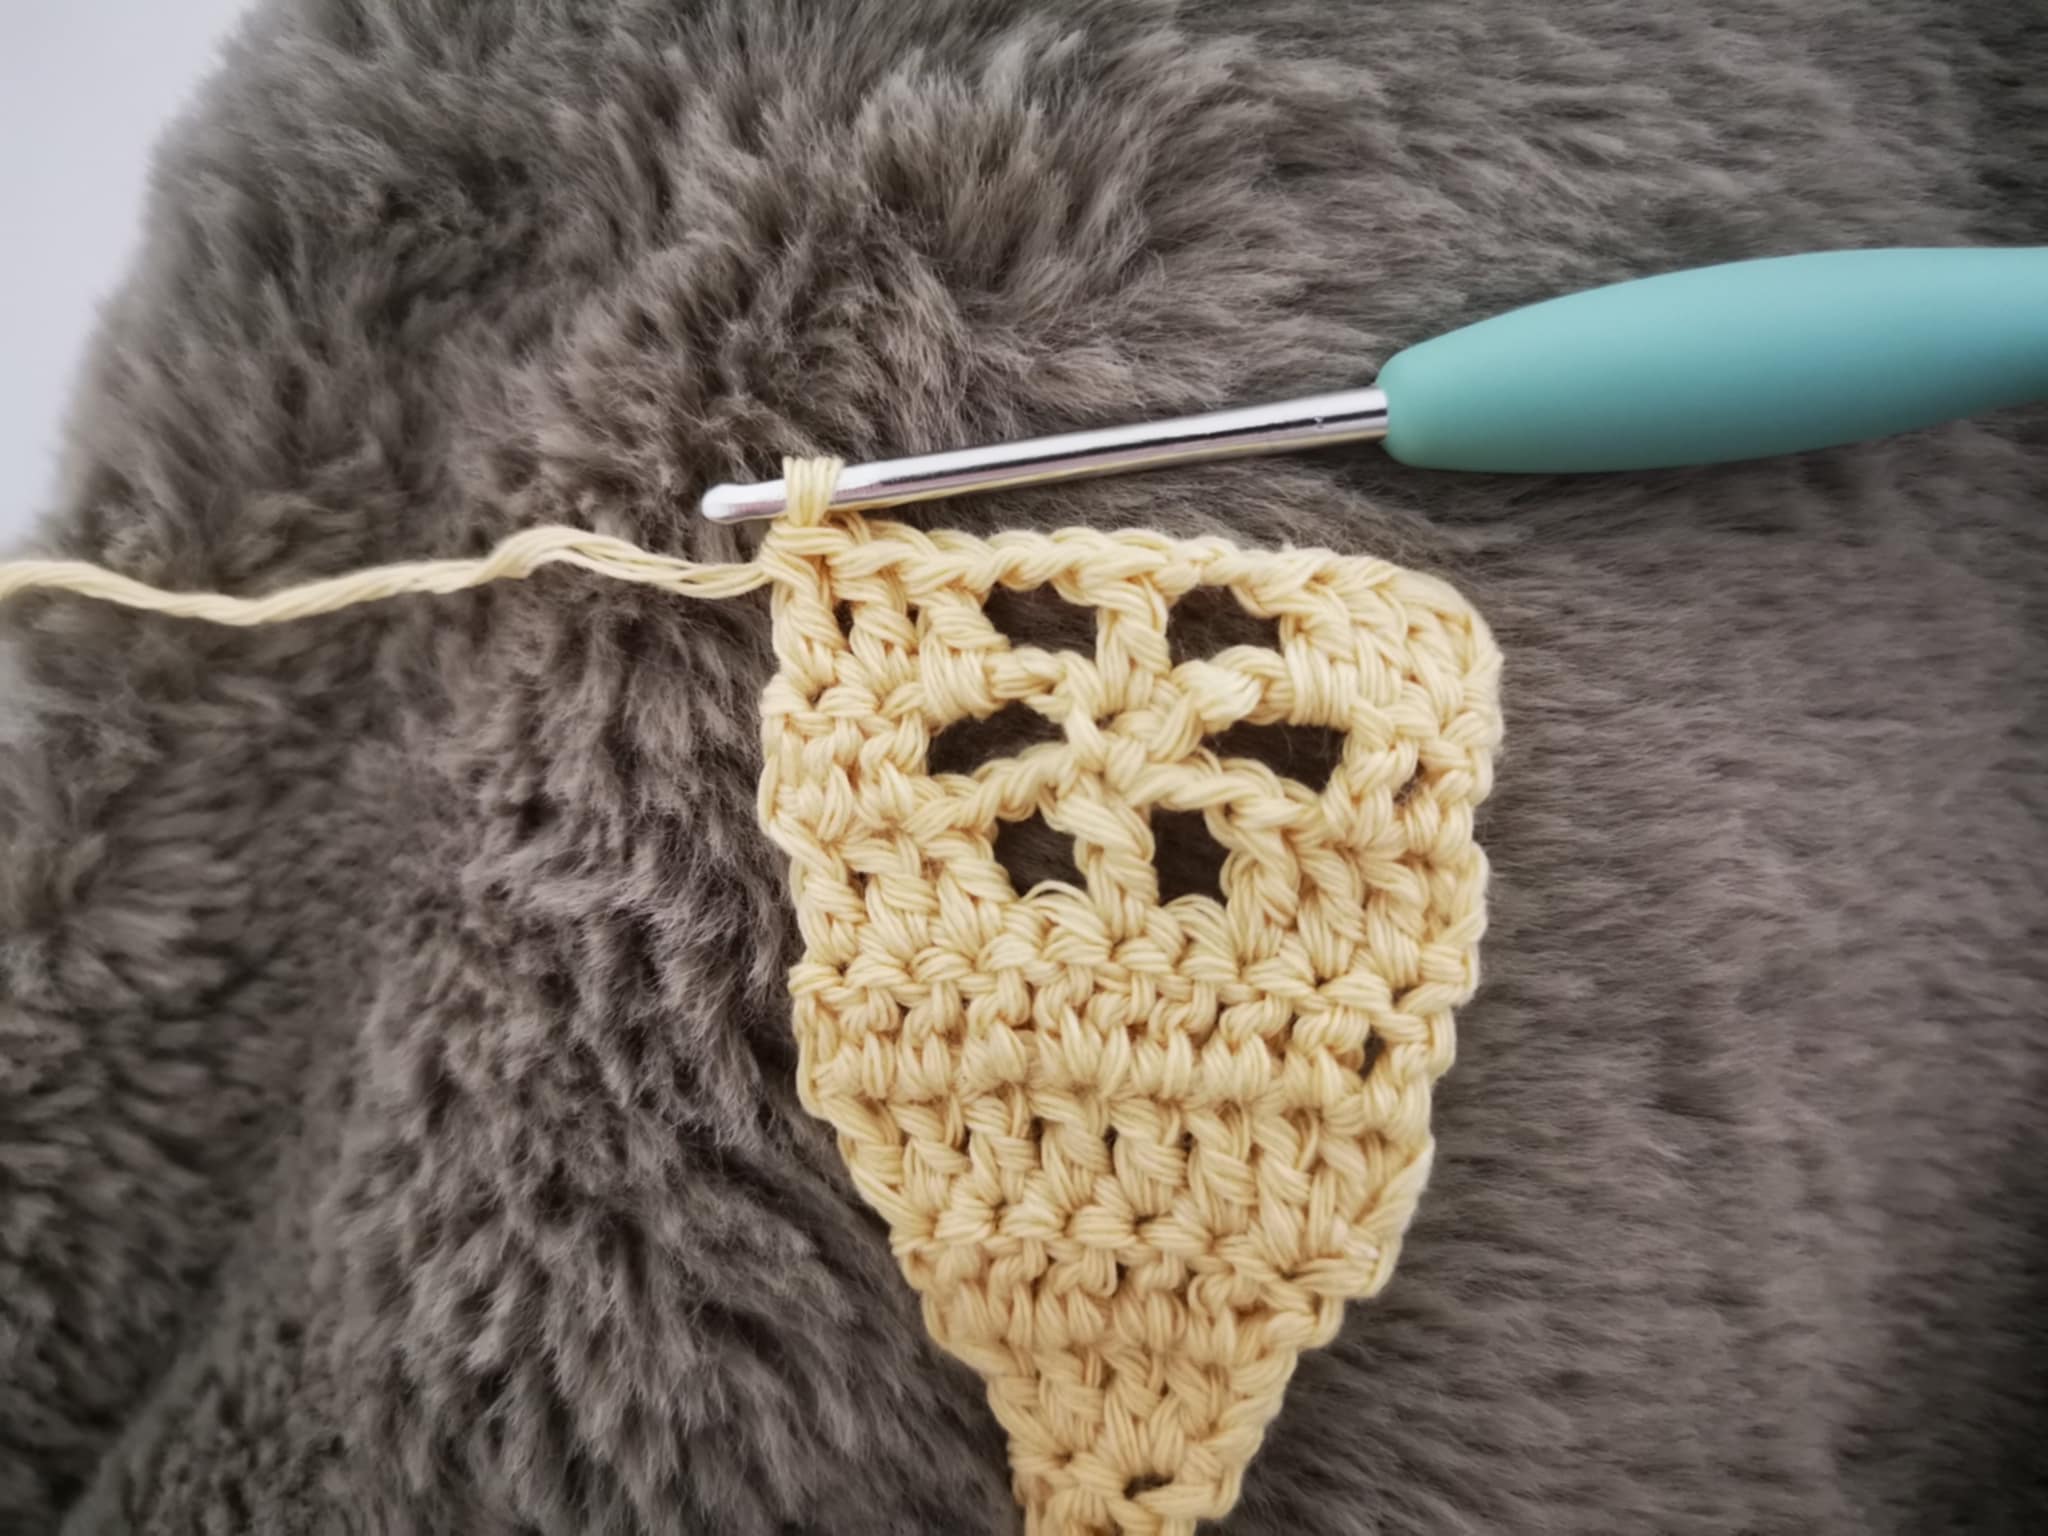
For row 9, you need to work:
- 3 classic single crochets;
- 1 double crochet in the motif space;
- 1 double crochet in the center;
- 1 double crochet in the motif space;
- 3 classic double crochets.
And cast on 2 chain stitches before turning your project.
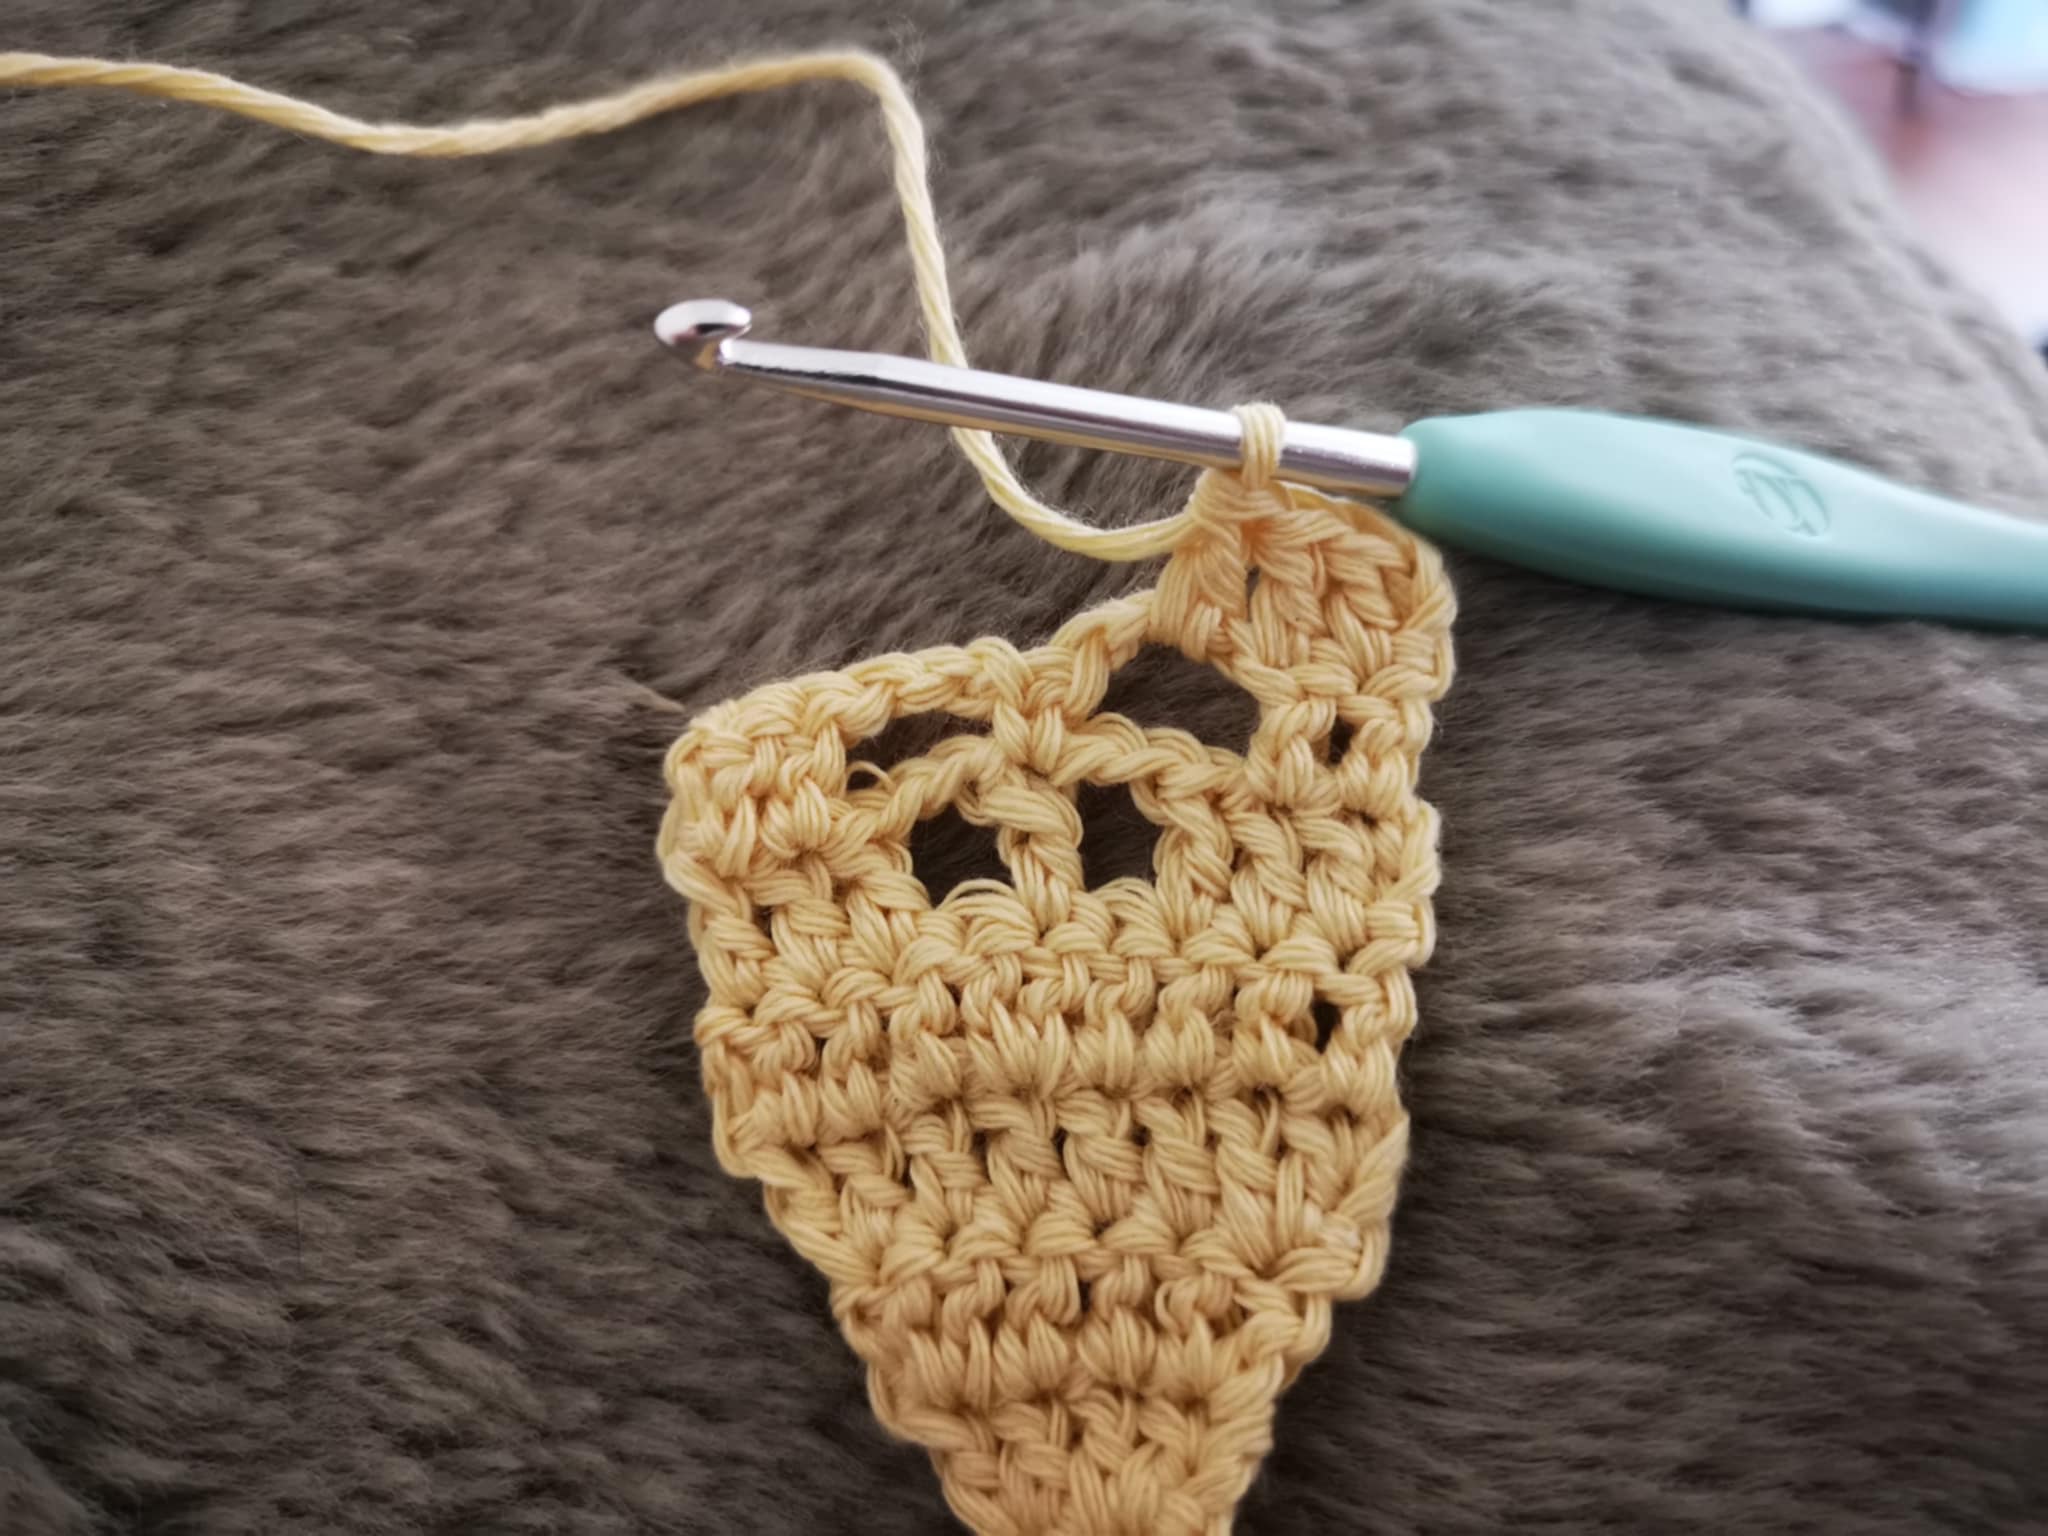
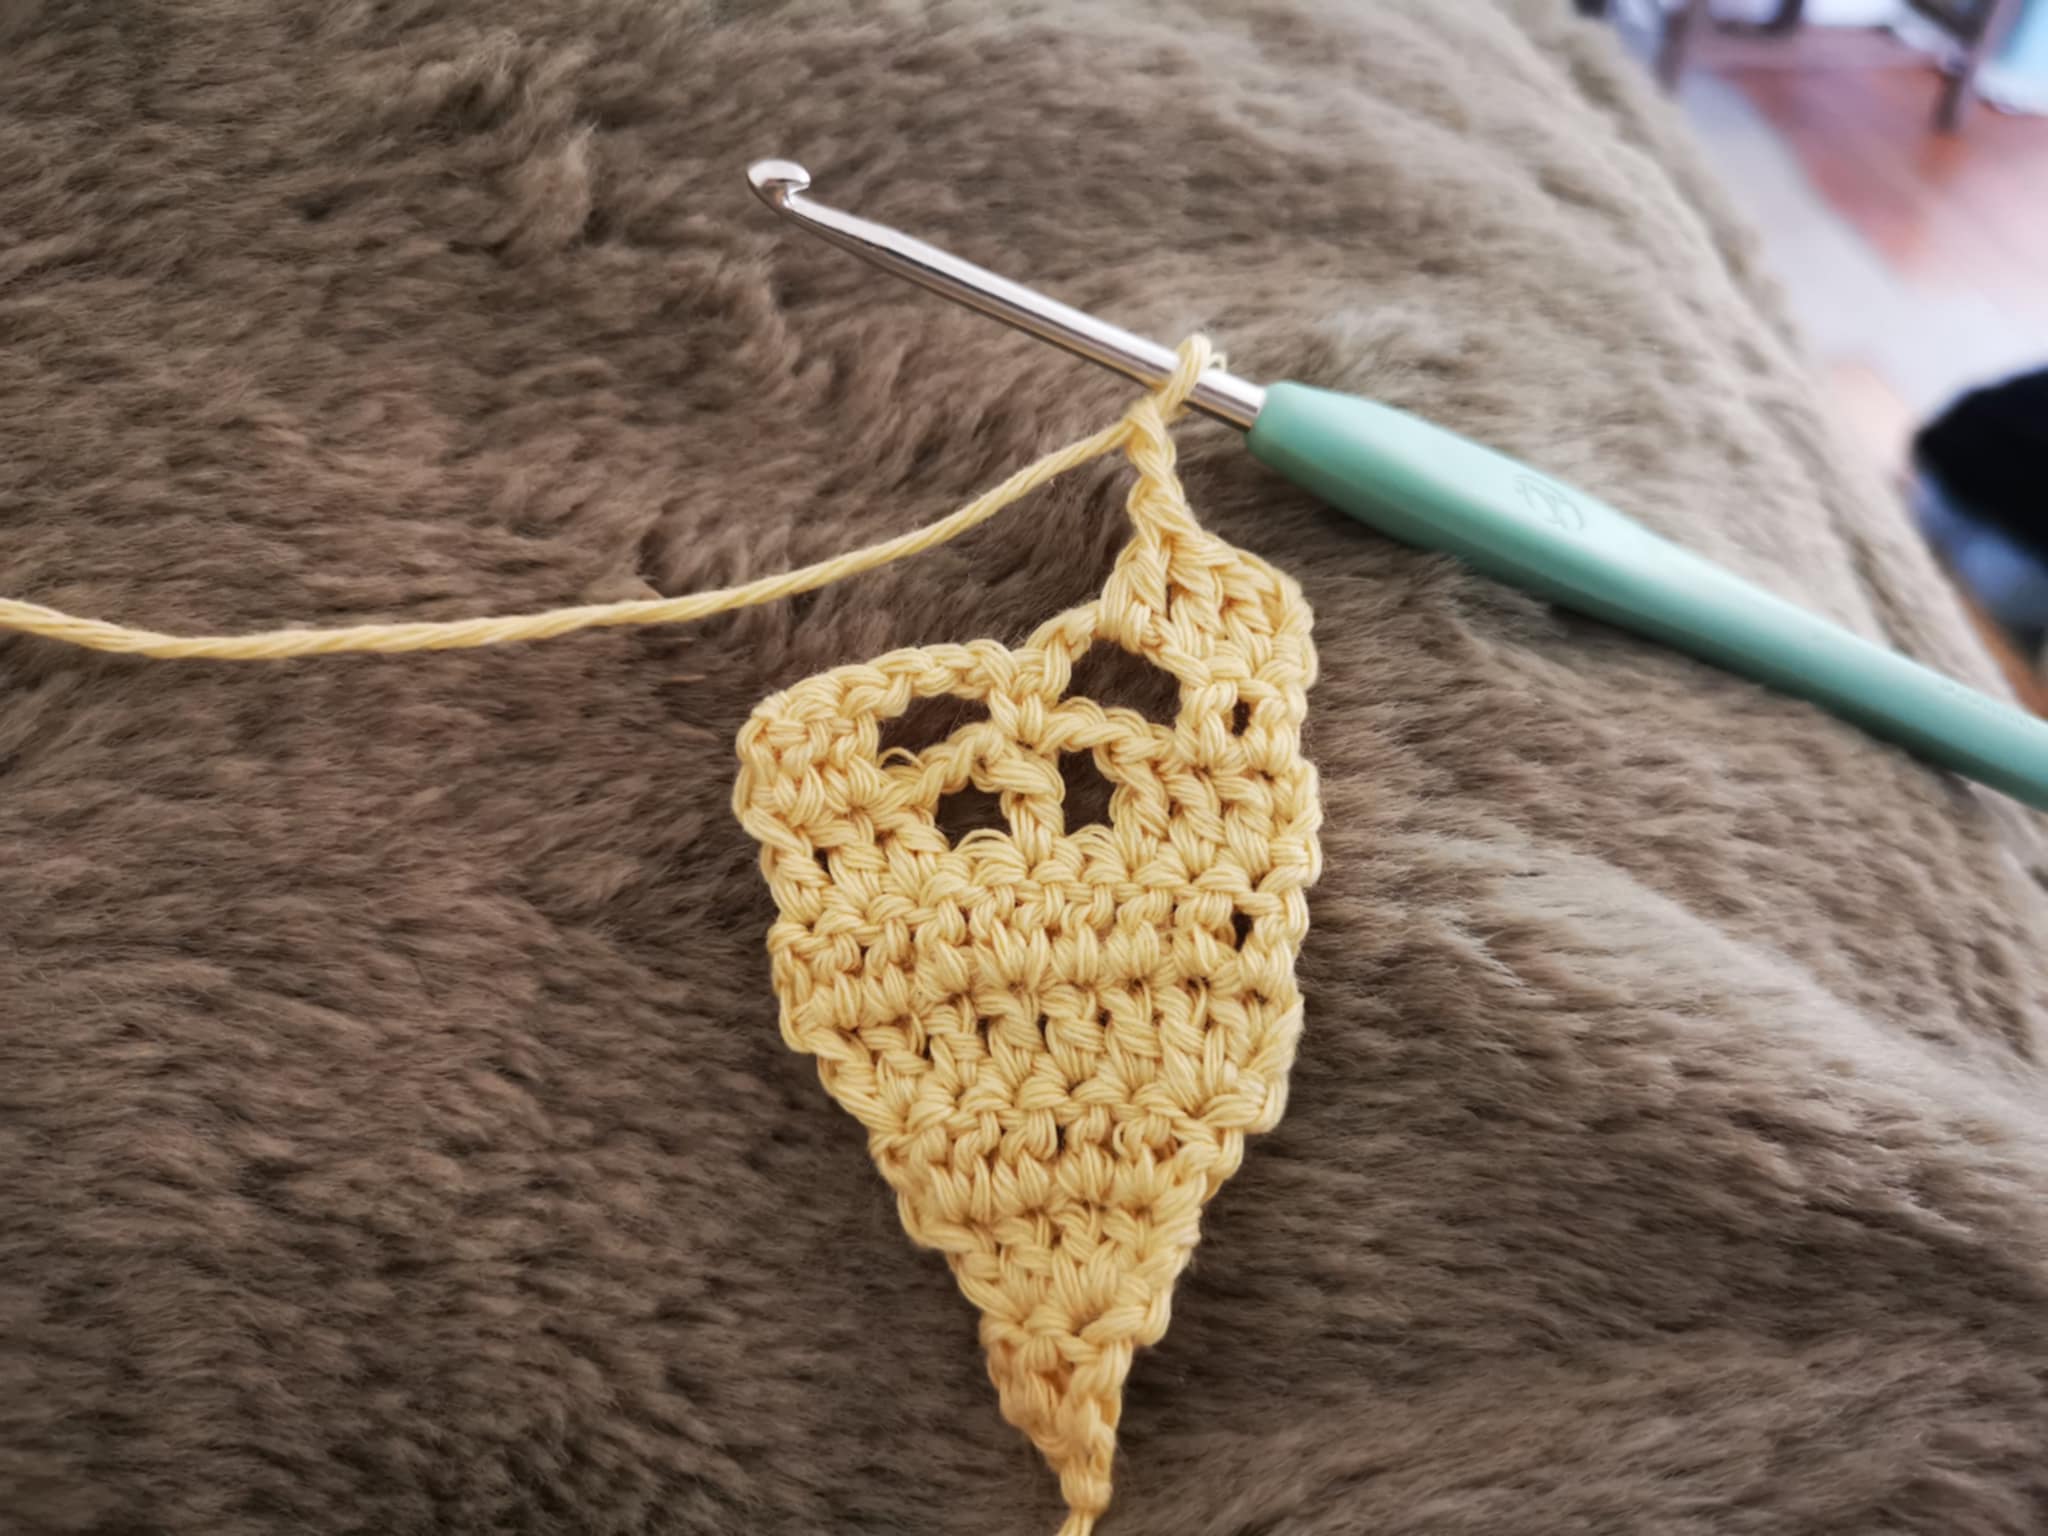
For row 10, you need to work:
- 9 single crochets.
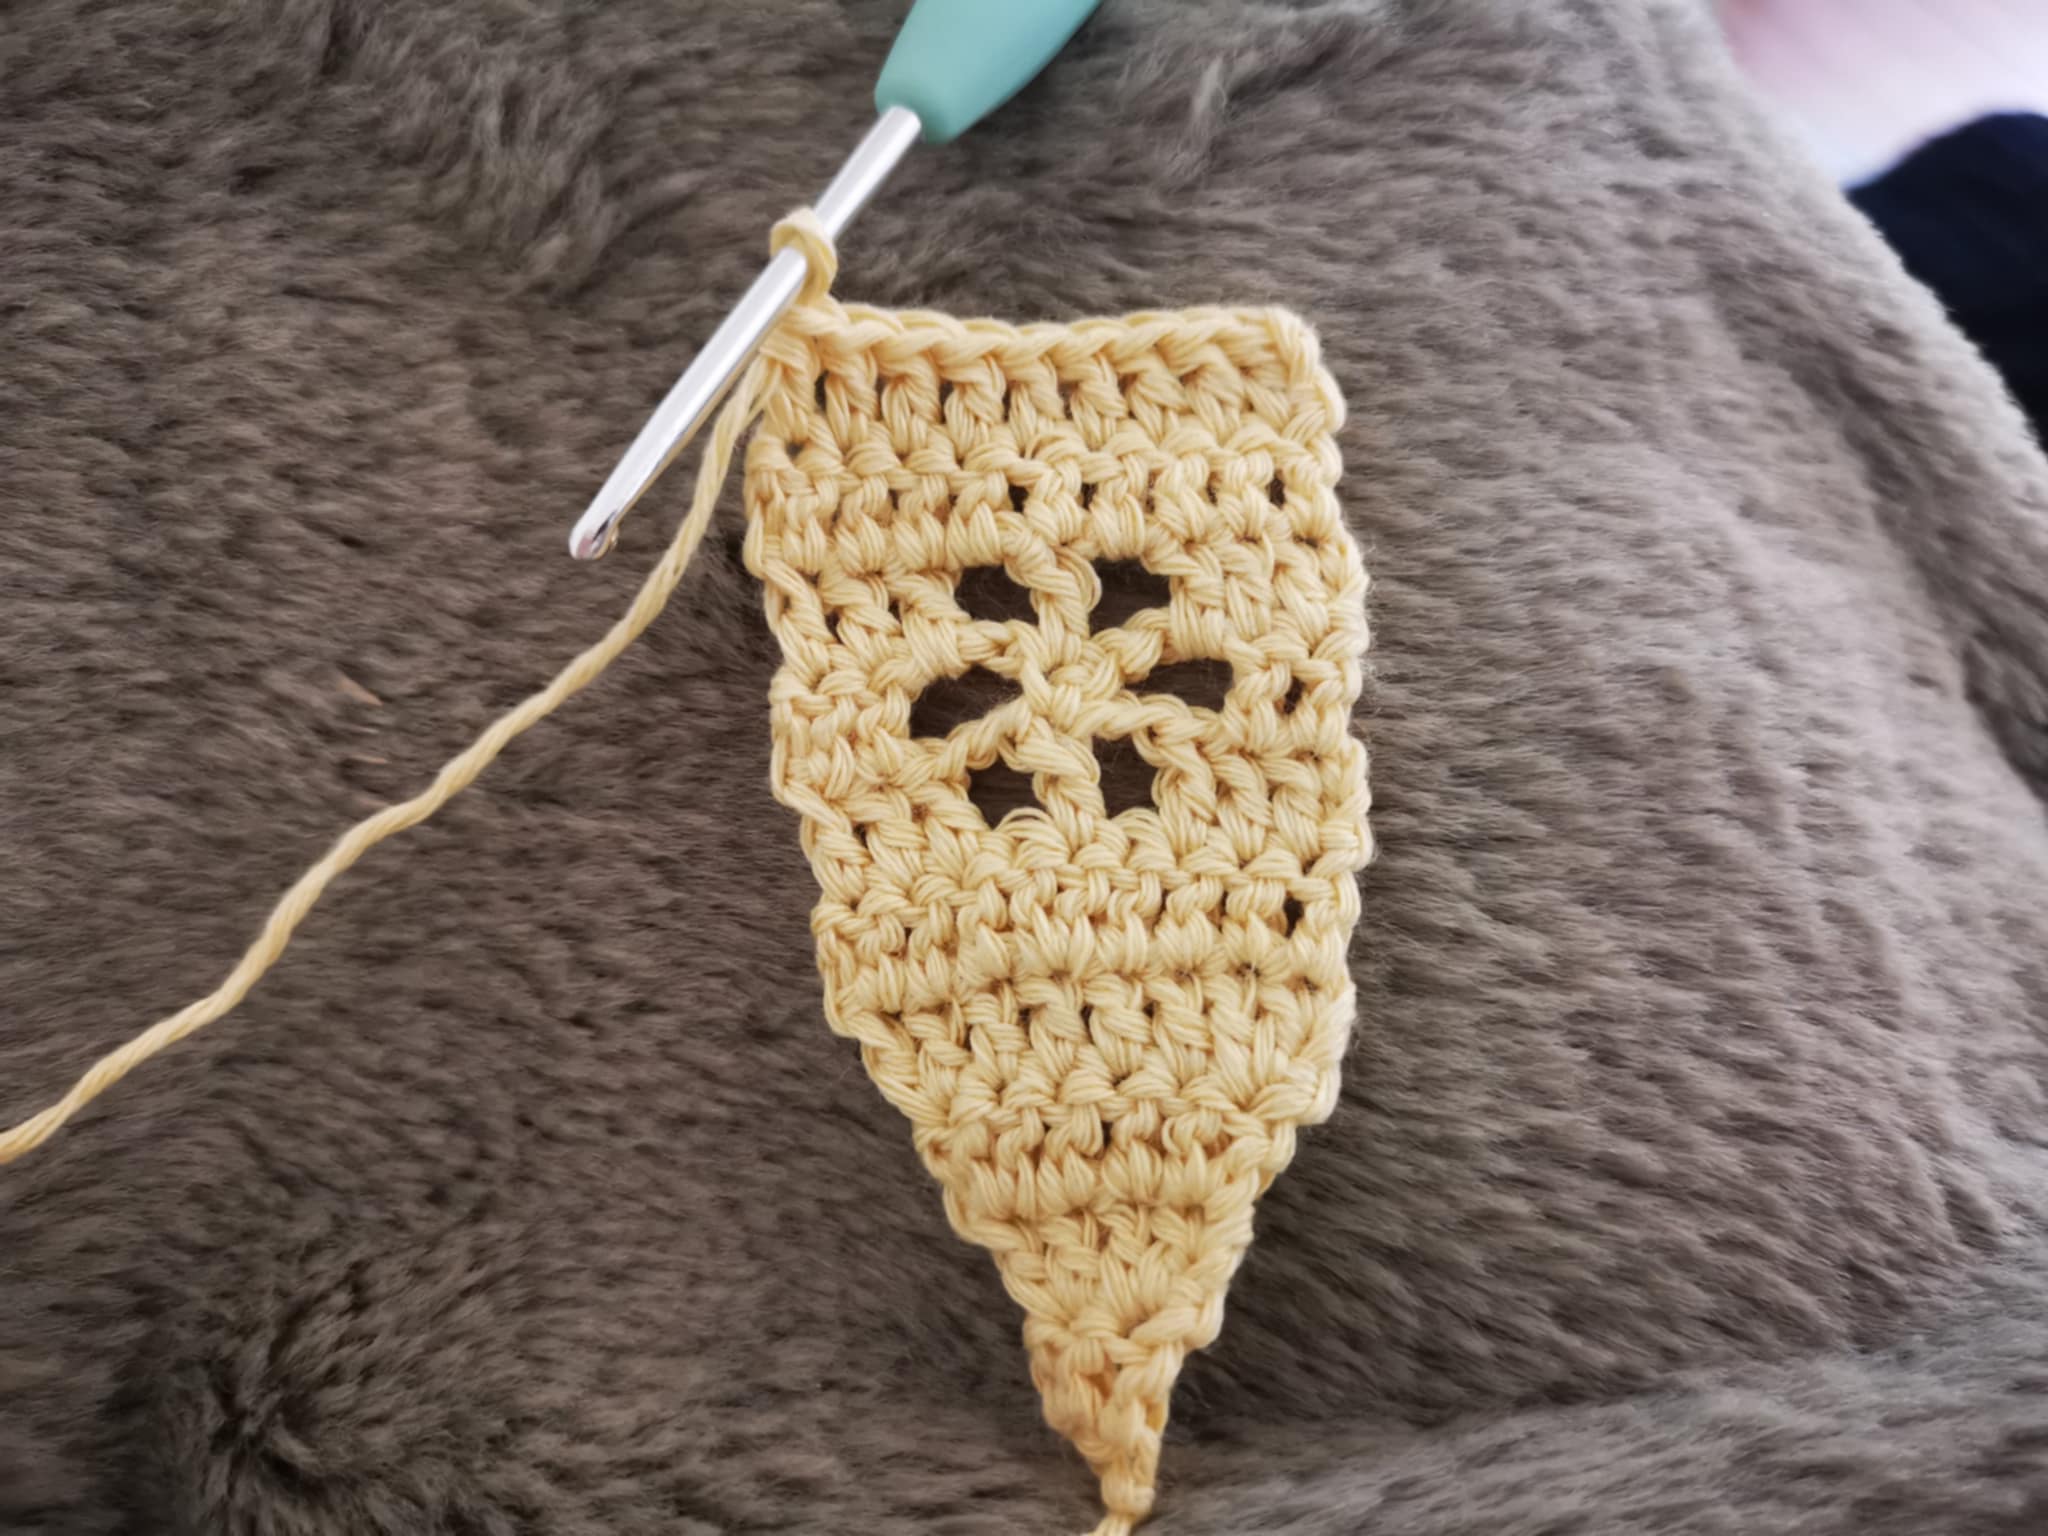
You have completed your first motif. And to continue the headband, you will simply need to repeat this motif. For this headband, I made 9 motifs.
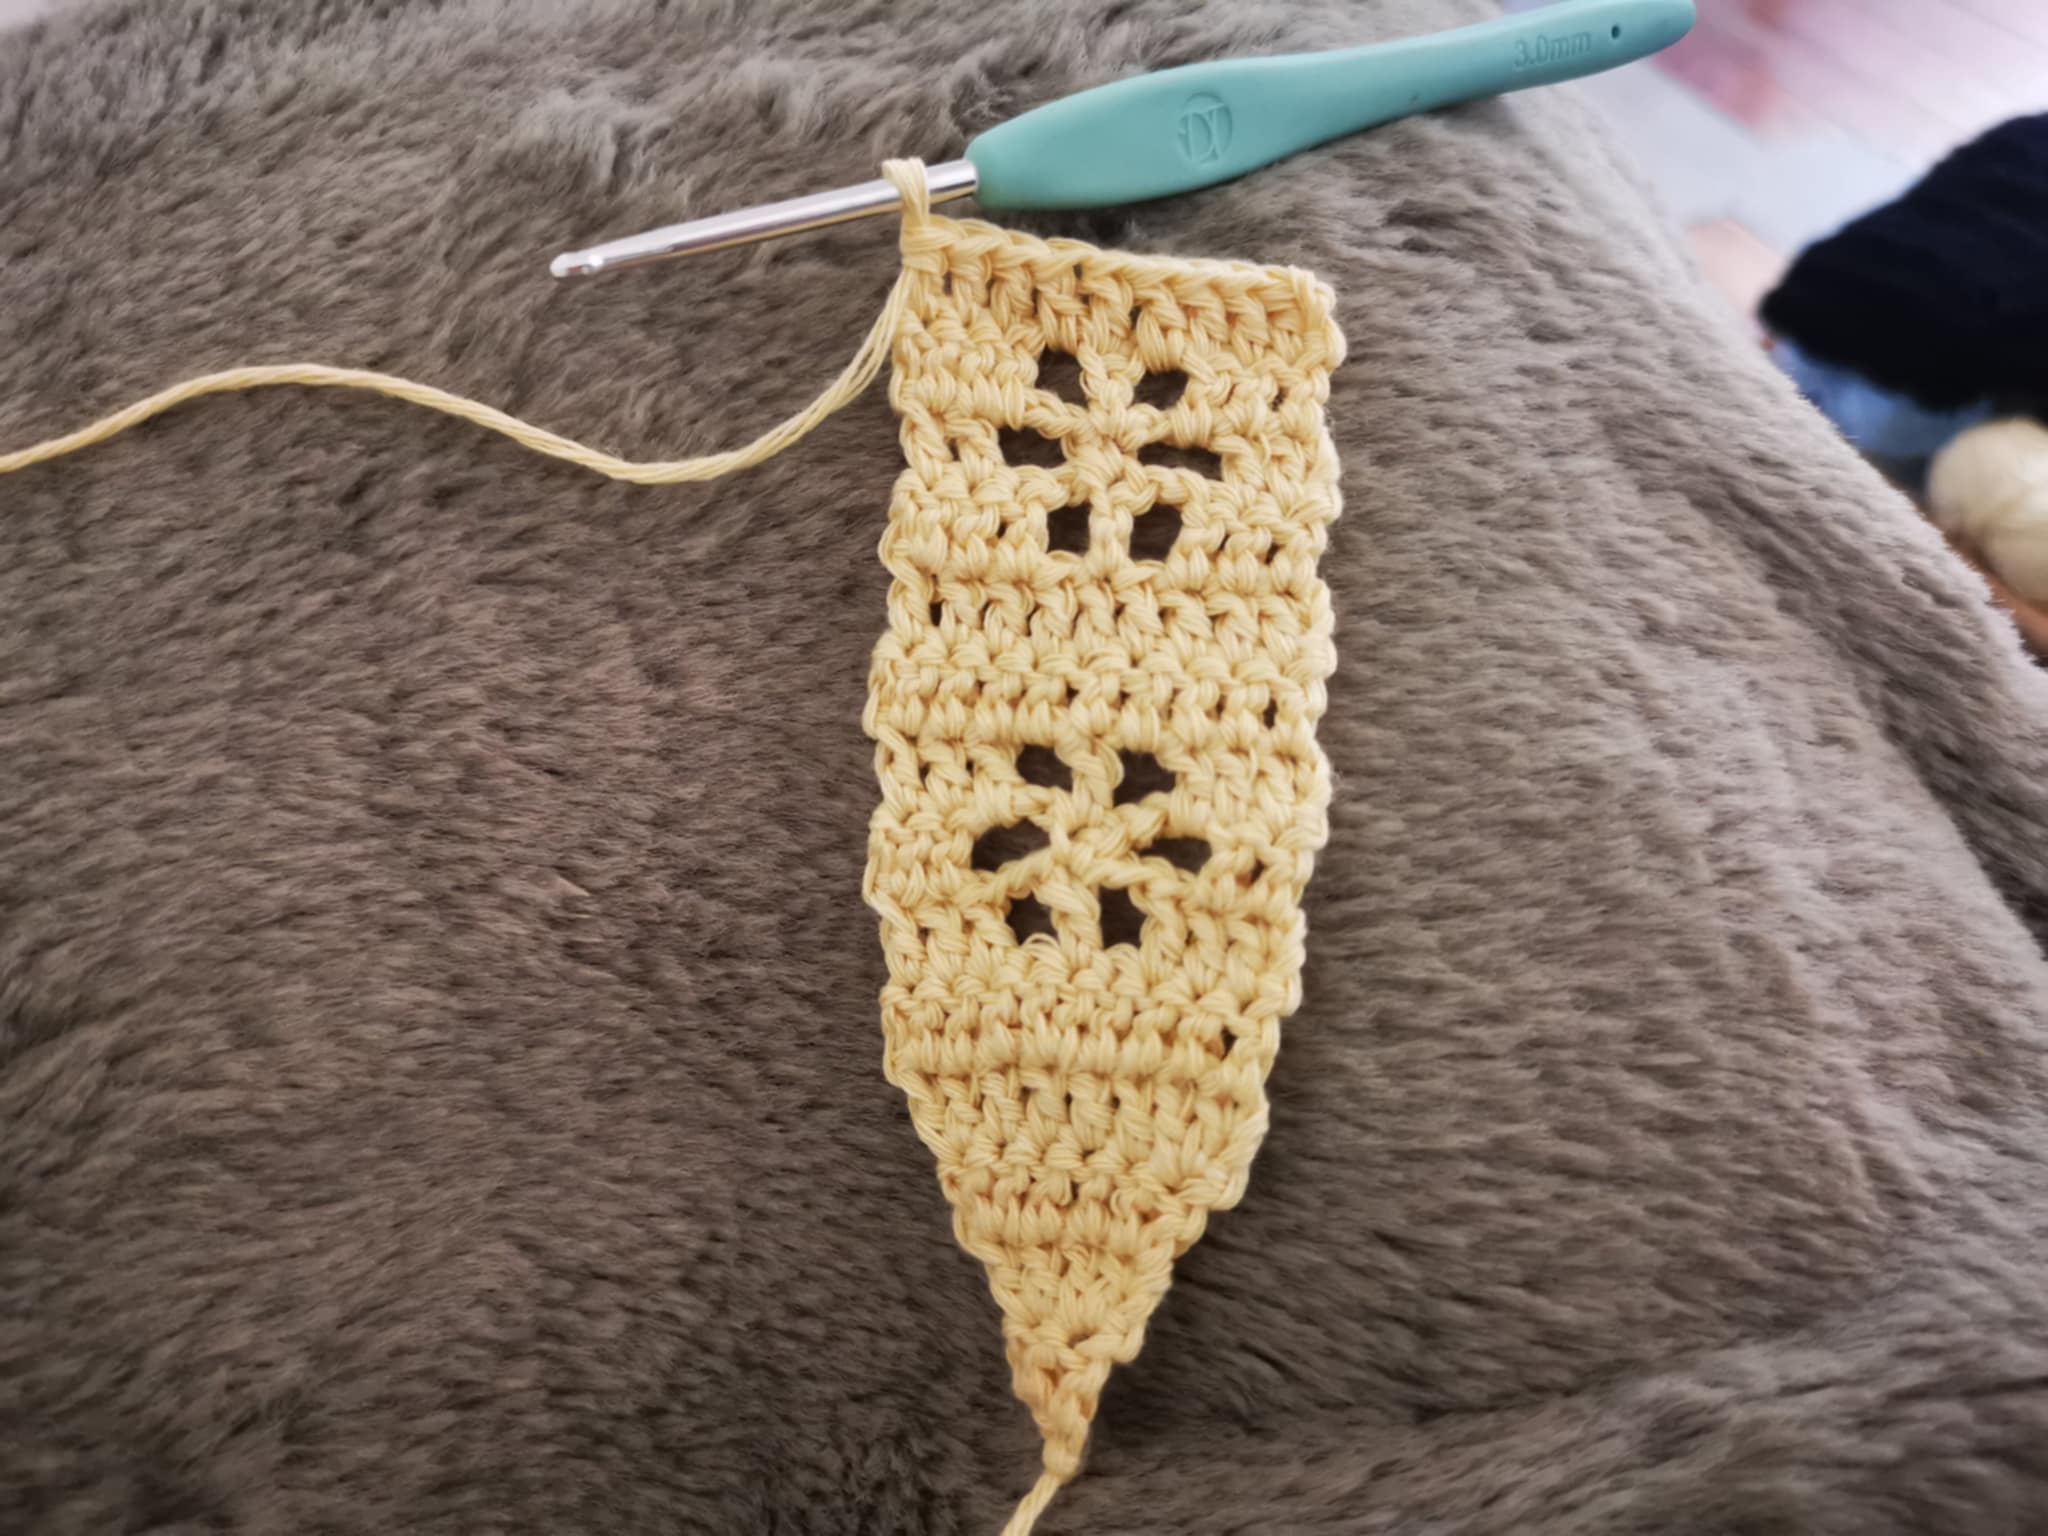
The last motif is a little different, as it stops just after the motif (as shown in the photo) and we will begin the decreases. From here, you need to make:
- 3 double crochets,
- 1 decrease (so 2 double crochets together: the one in the motif space and the one in the center);
- 1 double crochet in the motif space;
- 3 classic double crochets.
Then cast on 2 chain stitches and turn the project.
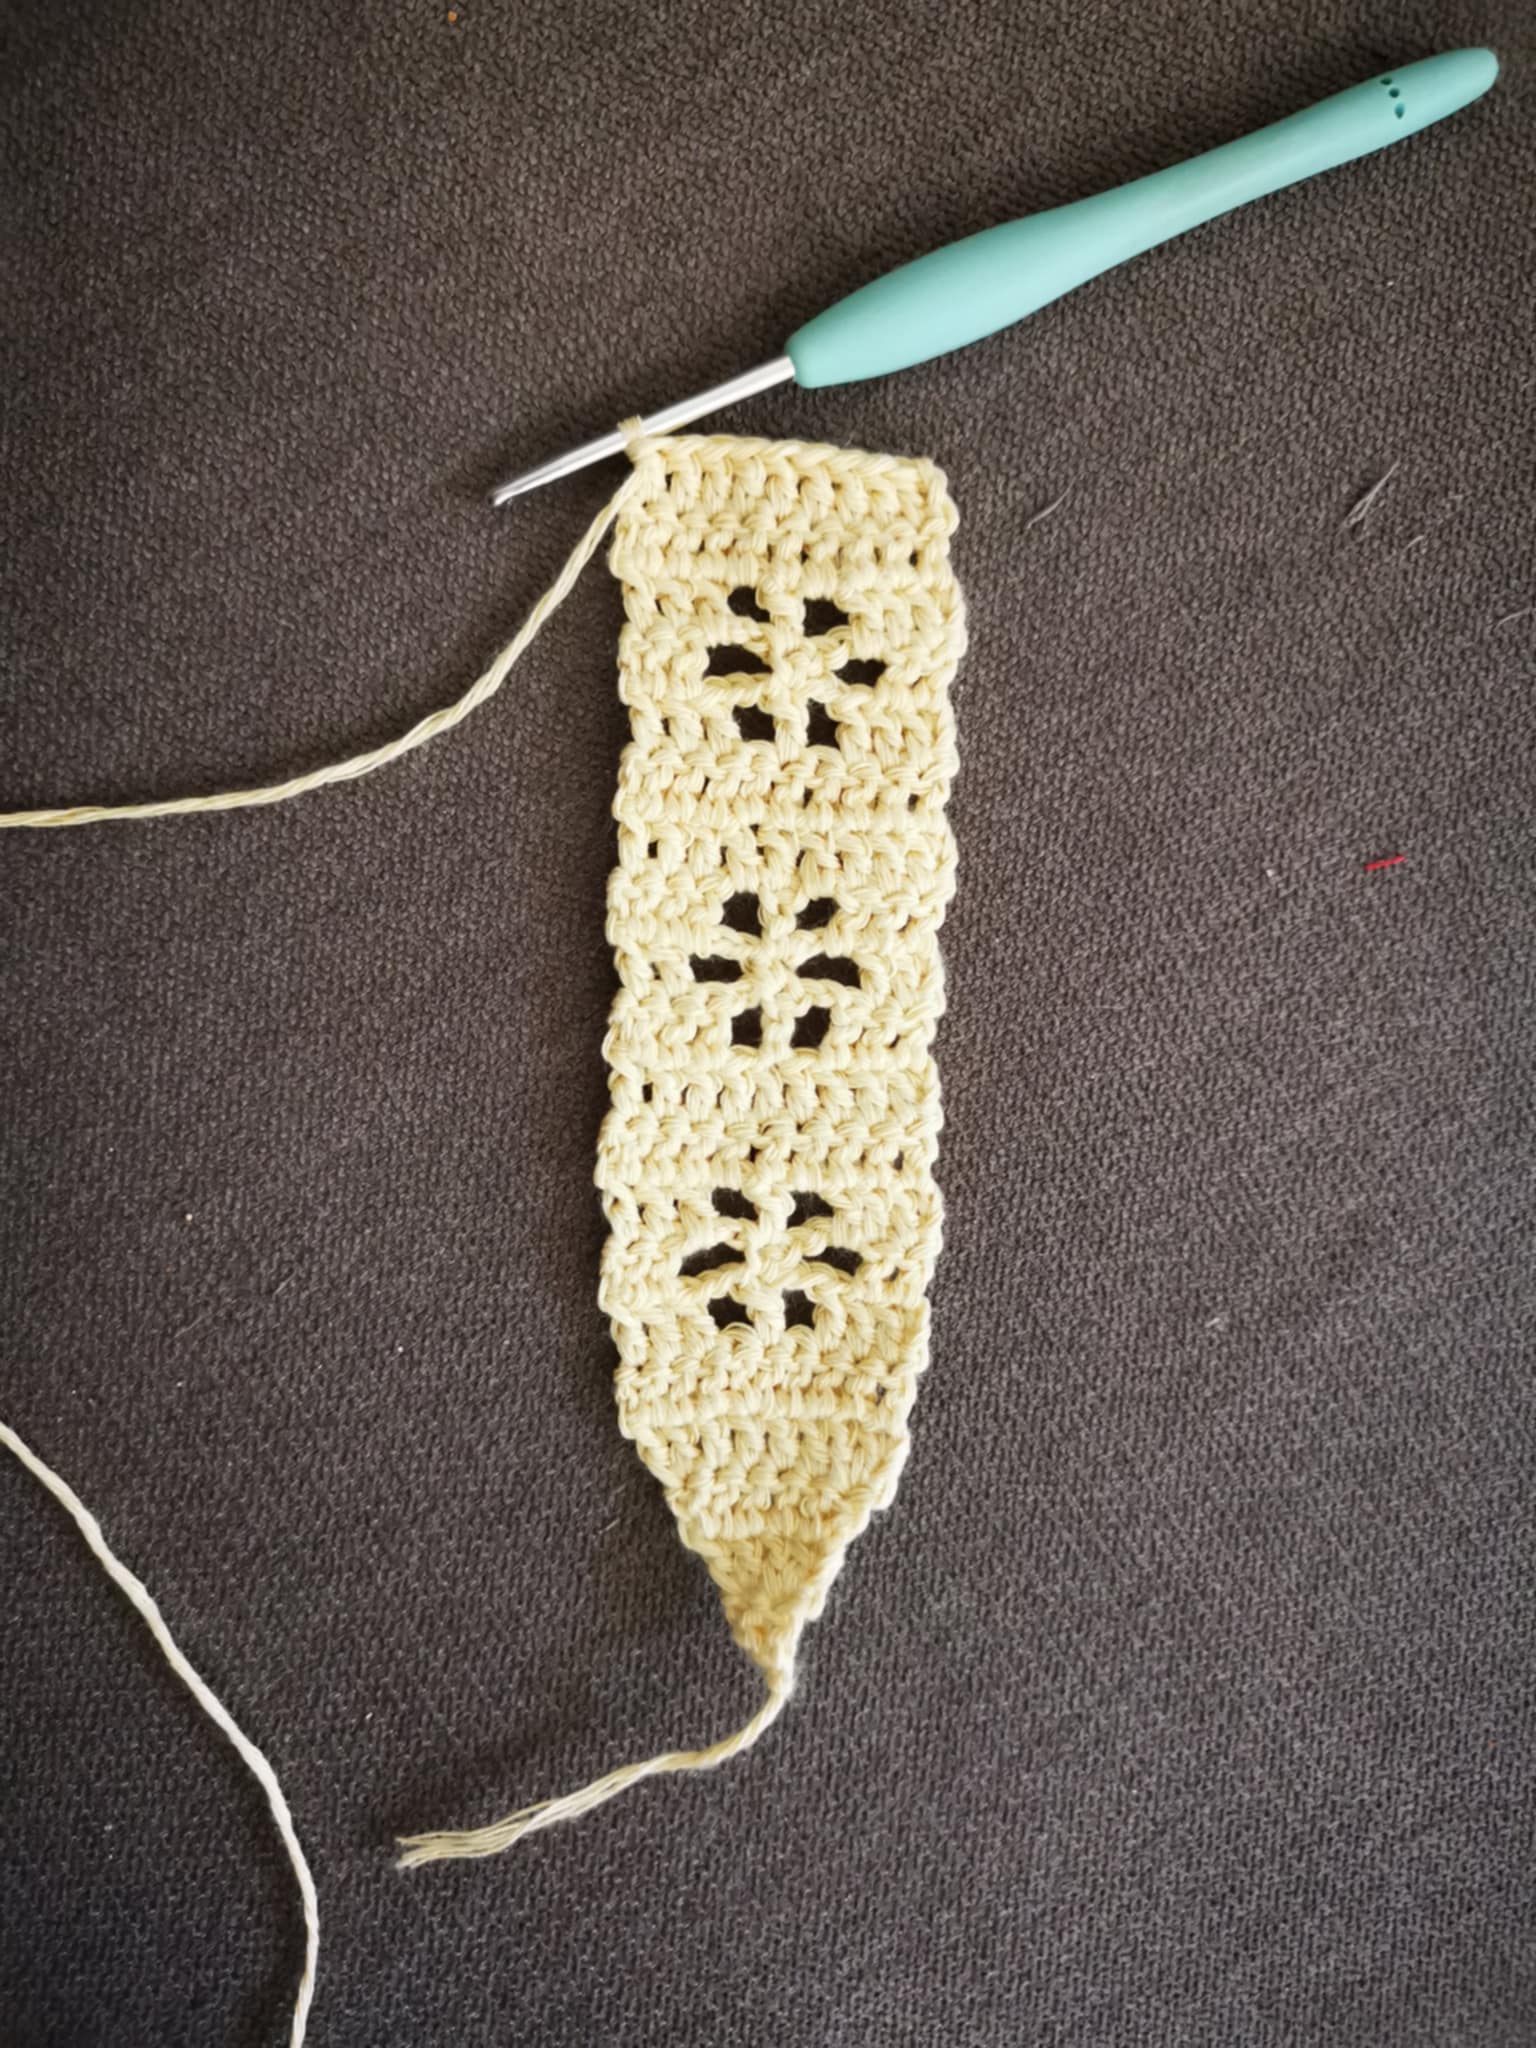
For the next row, you need to make:
- 1 decrease;
- 4 classic double crochets;
- 1 decrease.
Then cast on 2 chain stitches before turning the project.
For the next row, you need to make:
- 1 decrease;
- 2 classic double crochets;
- 1 decrease.
And cast on 2 chain stitches before turning the project.
For the next row, you need to make:
- 2 decreases.
55-bandeau cheveux crochet.jpg (https://files.peakd.com/file/peakd-hive/altheana/EoeDWaiokvJhMHwxdBgBXK35g2tMyJF5f6THezt1Vuf5KzV5mAbpNDTxaHmXthiKjwa.jpg) 56-bandeau cheveux crochet.jpg (https://files.peakd.com/file/peakd-hive/altheana/EoEofS4mAWGwWhVjRbfTBSsW1w655MPEXxtCyx1QAf6dneUH4JzGgoBgbzRsNhYnujn.jpg)
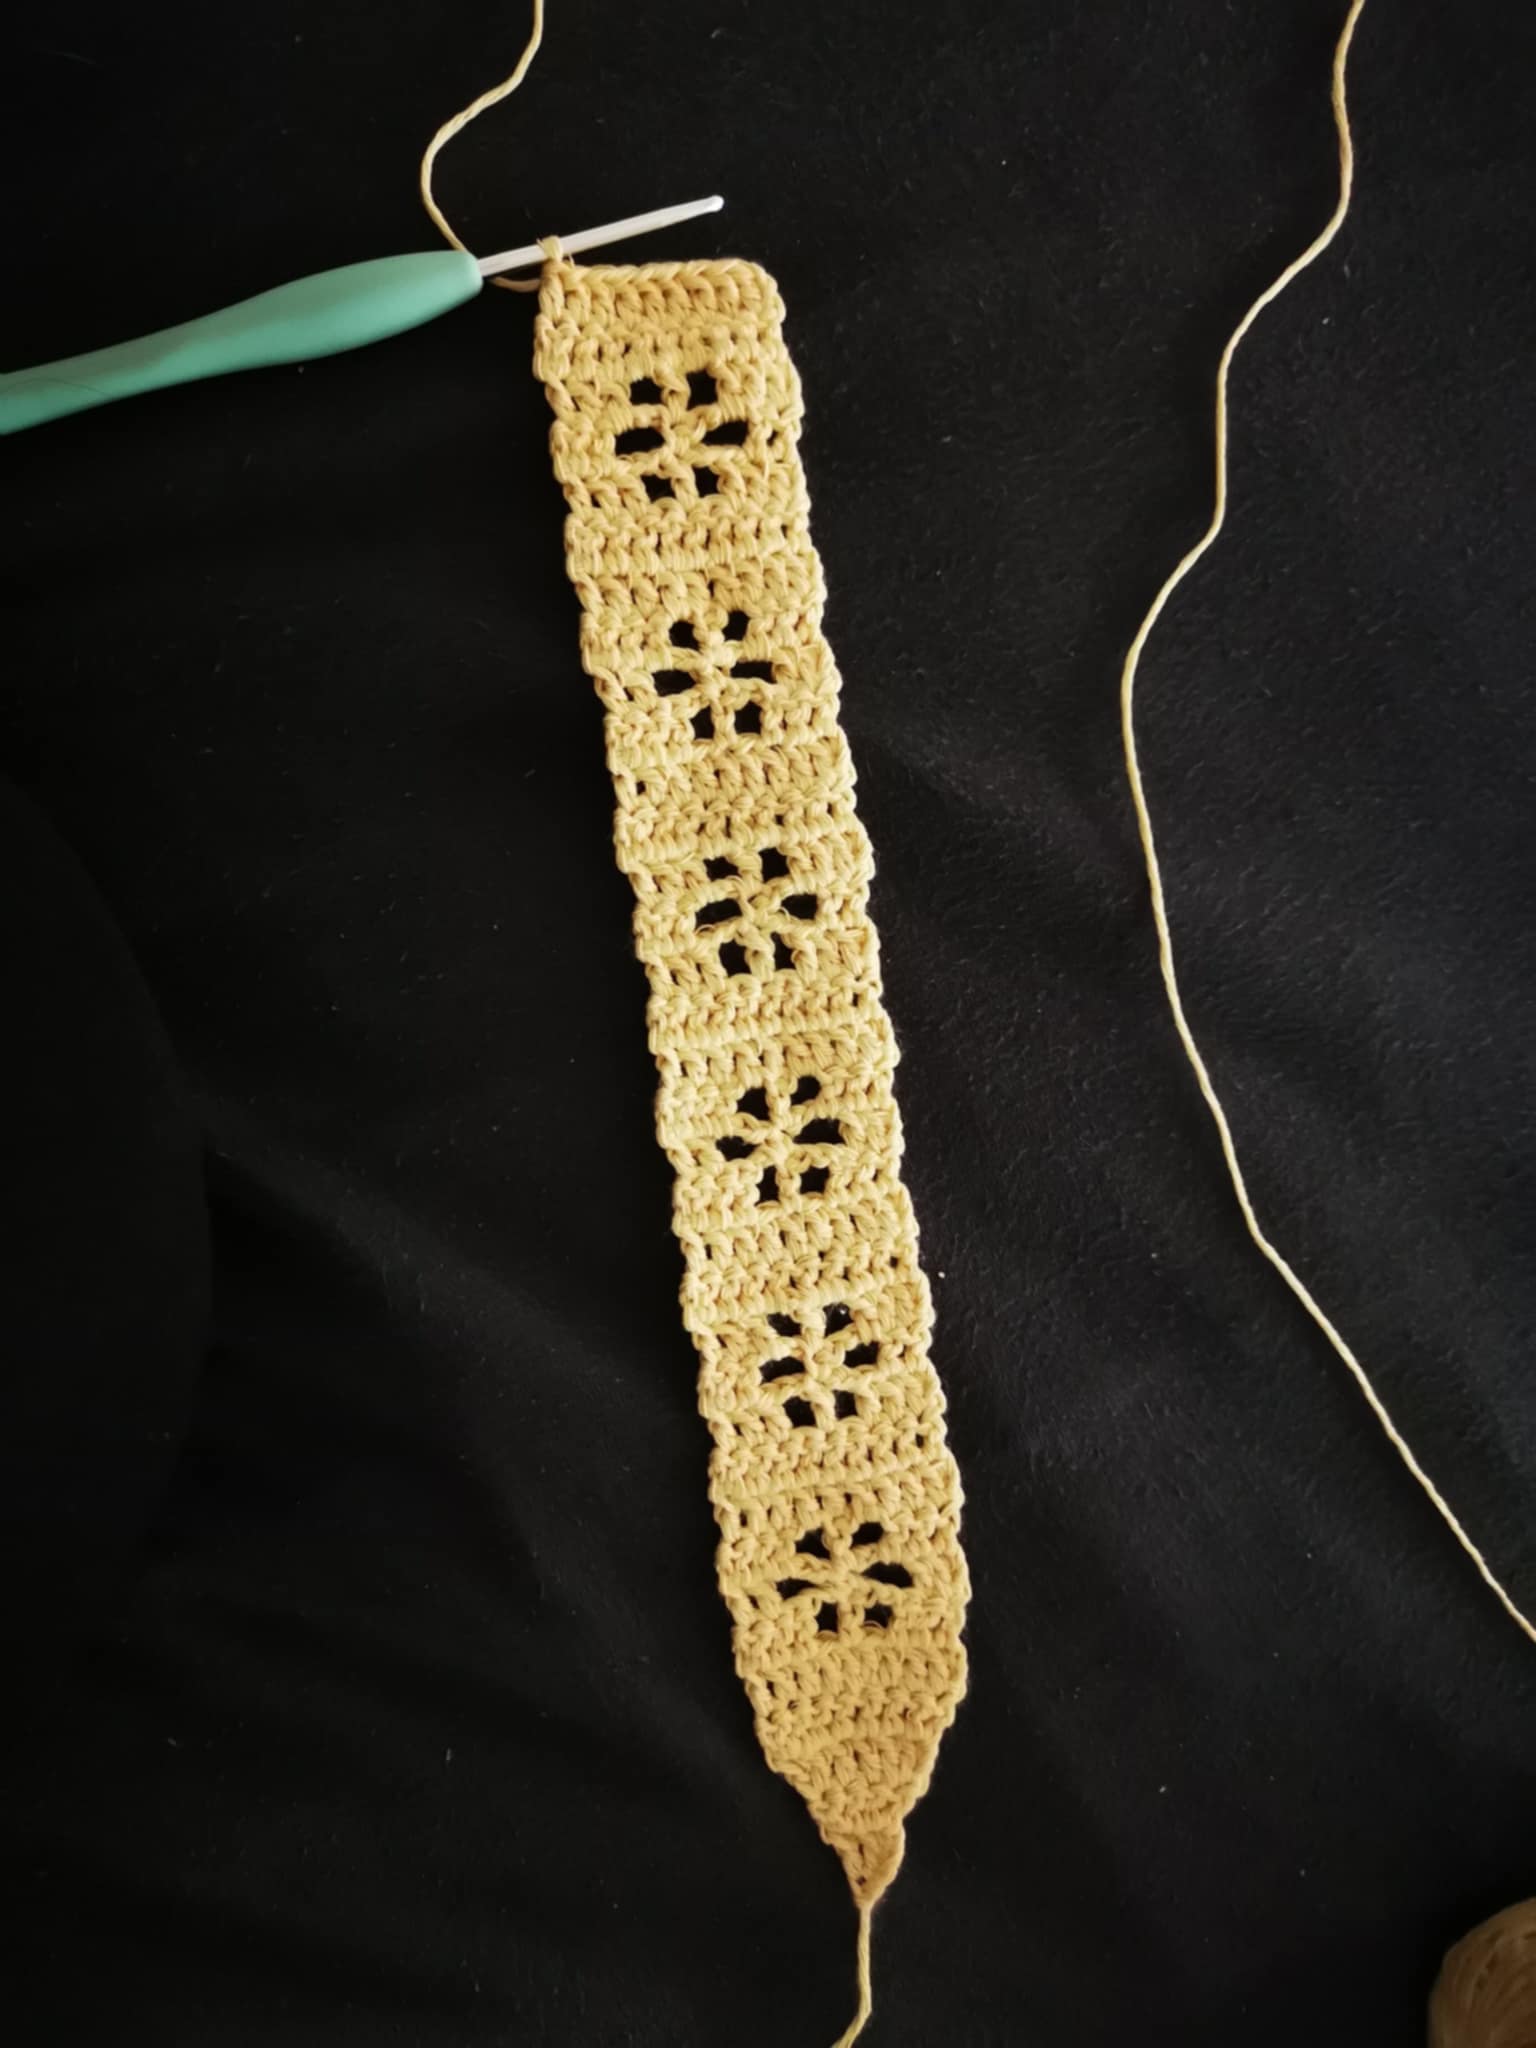
Next, to finish this side, cast on a chain of 60 stitches. Once this is done, simply chain one more stitch and cut the yarn. To ensure the chain doesn't unravel, I recommend burning the end with a lighter.
57- bandeau cheveux crochet.jpg (https://files.peakd.com/file/peakd-hive/altheana/EoyMaK6uMnzdjjgvNDtUrnYjujhaJ12WMAWKRiABzXuPgCFMRtqiTvmUQwAmJMa4dkY.jpg)
For the other side, make a slip knot and attach the yarn to the end of the headband. Then, cast on a chain of 60 stitches before cutting the yarn.
58-bandeau cheveux crochet.jpg (https://files.peakd.com/file/peakd-hive/altheana/EoAYKvXxxby8aLWavM1Z3qAp6cUUZnPTscwcXnCnQb1QnkKSaeFjmRHZK9ywpWoViC5.jpg)
And there you have it, the headband is finished! 😊
Here's the result:
59-bandeau cheveux crochet.jpg (https://files.peakd.com/file/peakd-hive/altheana/Eoc8v64Y3nPn7mWYDUstTrR8AB1HrQi5uk7DAC8KETt7FxnUCFrWieT8XVm8XJfj3Fu.jpg) 60-bandeau cheveux crochet.jpg (https://files.peakd.com/file/peakd-hive/altheana/EogPqNNX7KvApjWtHGA3k7tXmfztZhQDy54SfYv5NaAzkncSBZyqegBkuujykzptV69.jpg) 61-bandeau cheveux crochet.jpg (https://files.peakd.com/file/peakd-hive/altheana/EoeGQ6p8WeKkBcvk34ovPhFzNDBJJWPzeLJvKbJojK3wf7xi6jQ58T4HmokqtJuHUeQ.jpg) 62-bandeau cheveux crochet.jpg (https://files.peakd.com/file/peakd-hive/altheana/23w2oQt3Pyzxdmxdf3xAuPac5hVqoYMSNZoePspEqU8gSzy67mubgJogDYg2hha7oQQsj.jpg) 63-bandeau cheveux crochet.jpg (https://files.peakd.com/file/peakd-hive/altheana/242DQsnTaSEhyHntH6fG2VxvaoirixwfYYhz8Jd2UZovfC7pDHSz2EZi6eFDuQbjRQyAa.jpg)
I love how it looks when worn; I think it's really cute! 🌸
I think I'll make more of these, in other colors, to sell on my online store. And maybe I'll participate in one or more craft markets, since it's the season! 😁
Anyway, I hope you enjoyed this little tutorial! And if my explanations aren't clear enough, feel free to ask any questions in the comments.
See you soon, Johanna
PS: I used Google Translate to translate the English part.
Version en français
FR.png (https://files.peakd.com/file/peakd-hive/altheana/Eq9Yb7hQ1vqmQDCXGzMXy5TuW8eLpivyseKDxUdkYmo5iEAJva9u2CuiLQaeinoZfEp.jpg)
Hello les amis et les crochet lovers ! J’espère que vous allez tous très bien aujourd’hui 😁
En ce moment, je suis à la recherche de projets crochet rapide à réaliser et qui ne sont pas gourmands en fil. Je cherche des produits rentables en vue d’ouvrir une petite boutique en ligne pour vendre certaines de mes créations. 🧶
Et j’ai trouvé un super projet rapide et trop mignon : le bandeau pour cheveux, un accessoire idéal pour l’été (et pas seulement pour l’été d’ailleurs) !
J’ai repéré plusieurs modèles assez sympathiques et je vais vous partager le processus de création que j’ai suivi pour chacun ! Voici le premier, un petit bandeau ajouré avec un motif de “fleur” 🌸
Je le trouve très bohème, très champêtre et il me correspond tellement !
C’est un petit projet rapide à réaliser, qui est totalement accessible aux débutants. Voici le lien du tutoriel sur Youtube et voici maintenant mon tutoriel écrit 👇
Le matériel
1 - bandeau cheveux crochet.jpg (https://files.peakd.com/file/peakd-hive/altheana/EoiW9T4aF5fideZAJzTSrCQM9QncPVTZ7ddSVWxExQp4iBZxXobsGr7UkjrnVdqvKG1.jpg)
Pour réaliser ce petit bandeau, vous allez avoir besoin de :
- 1 pelote de coton ou autre matière agréable à porter ;
- 1 crochet 3mm.
Les étapes de fabrication
Pour commencer ce projet, vous allez simplement faire un nœud coulant :
2- bandeau cheveux crochet.jpg (https://files.peakd.com/file/peakd-hive/altheana/EoGySffTa15KgRrcFzWmFK5AThLR6sh7JS95YRykQLKoVLiixd4BRRS43nFJXwfuM64.jpg)
Ensuite, vous allez monter 4 mailles en l’air :
3-bandeau cheveux crochet.jpg (https://files.peakd.com/file/peakd-hive/altheana/EoK5LPnEpDoinsYwVF5ntQjVC7CFZXYNucoXEfaFuUe1eKmWrwxhZ7s8i6R2BgRWCYy.jpg)
Puis, dans la troisième maille en partant du crochet (celle où j’ai placé mon aiguille à laine pour vous montrer), vous allez faire 1 bride :
4-bandeau cheveux crochet.jpg (https://files.peakd.com/file/peakd-hive/altheana/EogMmExyNncxEEwouqEhiy4gYQ1hrfmsCu7EthKoZeDGUYkVhahVKb93SpkH91WR6JT.jpg)5-bandeau cheveux crochet.jpg (https://files.peakd.com/file/peakd-hive/altheana/EoErw9p1yHETtqVNcxap27gH8r8HM11Hq8T32WjaLyXsuzthHV2Vuoeznup3Wr91eSf.jpg)
Et ensuite, vous allez faire une autre bride dans la maille suivante.
6-bandeau cheveux crochet.jpg (https://files.peakd.com/file/peakd-hive/altheana/EpQwJCrGi8gswqiANXeUEKa7fTE9YtuR3gk5N7WNbWKvLRWatvUJ7rLkEaS3soDj79n.jpg)
Votre premier rang est terminé !
Il faut maintenant monter 2 mailles en l’air, puis tourner votre projet :
7-bandeau cheveux crochet.jpg (https://files.peakd.com/file/peakd-hive/altheana/EopuSNUEK4Z8QbTnySYz8HBPGm6kRGGQh17GdmqmbTE1QWADe1GHDwk7LTFTfU8B6mg.jpg)
Pour ce rang 2, il faut faire 2 augmentations (2 brides dans la même maille) :
8 - 9 rang 2 bandeau.png (https://files.peakd.com/file/peakd-hive/altheana/EokfWRu5GFzrk6KGH3oQpeVjnq6Rnhjbdvu6vRjjZjKU4uhqxmuVsNS3hmgBApHfKzo.png)
Puis, il faut monter 2 mailles en l’air et tourner le projet :
10 - rang 2.jpg (https://files.peakd.com/file/peakd-hive/altheana/EoiX9khpYenLDj7fX72Apu8n15B1V6nrFkMZpYHKnFUiVBhw8Uc67pEw7adZJYLe1f4.jpg)
Pour le rang 3, il faut faire :
- 1 augmentation donc 2 brides dans la même maille,
- 2 brides individuelles,
- 1 augmentation.
11 - 12 -13 rang 3 bandeau crochet.png (https://files.peakd.com/file/peakd-hive/altheana/EogPiUzZXgRbU7hYaHpMtg8X8qoKzzQftWf1bdSCoGLyTn2PgMSfBVqFHNKUqB3sjNC.jpg)
Ensuite, il faut monter 2 mailles en l’air avant de tourner le projet.
14 - rang 3.jpg (https://files.peakd.com/file/peakd-hive/altheana/Ep1XM1AmKESsNPFBa9HF1obUvqDSkhwdDCKtRYQdw1EiMQVatynmQZtXfBG9Kh541Po.jpg)
Pour le rang 4, il faut faire :
- 1 augmentation,
- 4 brides individuelles,
- 1 augmentation.
15 - 16- 17 rang 4 bandeau crochet.png (https://files.peakd.com/file/peakd-hive/altheana/Eoke8VgADFwCr9eSE1X4mAuQgGeb9ufpEueh8PiDCyJKjgVCnWCZKM5Qg4ynzmx74Pp.png)
Puis monter 2 mailles en l’air avant de tourner le projet.
18 - rang 4.jpg (https://files.peakd.com/file/peakd-hive/altheana/Eou99RDtcSvtVNMbs7fodtdjs8VJbg8PGxZF49ZrWFCJ3gQFPXTnWHoR3oXSGUL4pph.jpg)
Pour le rang 5, il faut faire :
- 3 brides individuelles,
- 1 augmentation,
- 4 brides individuelles.
19 - rang 5.jpg (https://files.peakd.com/file/peakd-hive/altheana/EopsN298KE9mbDgQ83Ay9yvfwdWVZXiJ9xSWbLHhtJmazh7i3bgLZ8bNYRD4H6guDeY.jpg) 20 - rang 5.jpg (https://files.peakd.com/file/peakd-hive/altheana/Eokci2DyEnUZw8gLFZ7U8CtsHLxE133nfYJiR5o8782juqeLjfD4tsEggZohN4bc5JK.jpg) 21 - rang 5.jpg (https://files.peakd.com/file/peakd-hive/altheana/EoK5tQU1M7L91By9ffW9dPYUJbFPEHgfsA282p5rdyKysvseeEuoitg2udyuZ8mCt2e.jpg)
Puis monter 2 mailles en l’air avant de tourner le projet.
22 - rang 5.jpg (https://files.peakd.com/file/peakd-hive/altheana/EonkVPYMhXR3EWdnc2u9ngeKgJzAsoJrRLr5rfx5jxmRdthNCczPvkmbwKbLcVPCRqW.jpg)
Pour le rang 6, on va commencer à créer le motif. Pour cela, il faut faire :
- 3 brides individuelles,
- 2 mailles en l’air,
- Sauter une maille et faire 1 bride ;
- 2 mailles en l’air,
- Sauter une maille et faire 1 bride ;
- 2 brides individuelles.
![23 - rang 6.jpg](https://files.peakd.com/file/peakd-hive/altheana/EoeEN3yoeGK1EzpmUz1P995abMx7nCviZok6MwuyA91KgQ