Feliz noches mis queridos amigos creativos de hive☺️.!
Happy night my dear creative friends of hive☺️.!
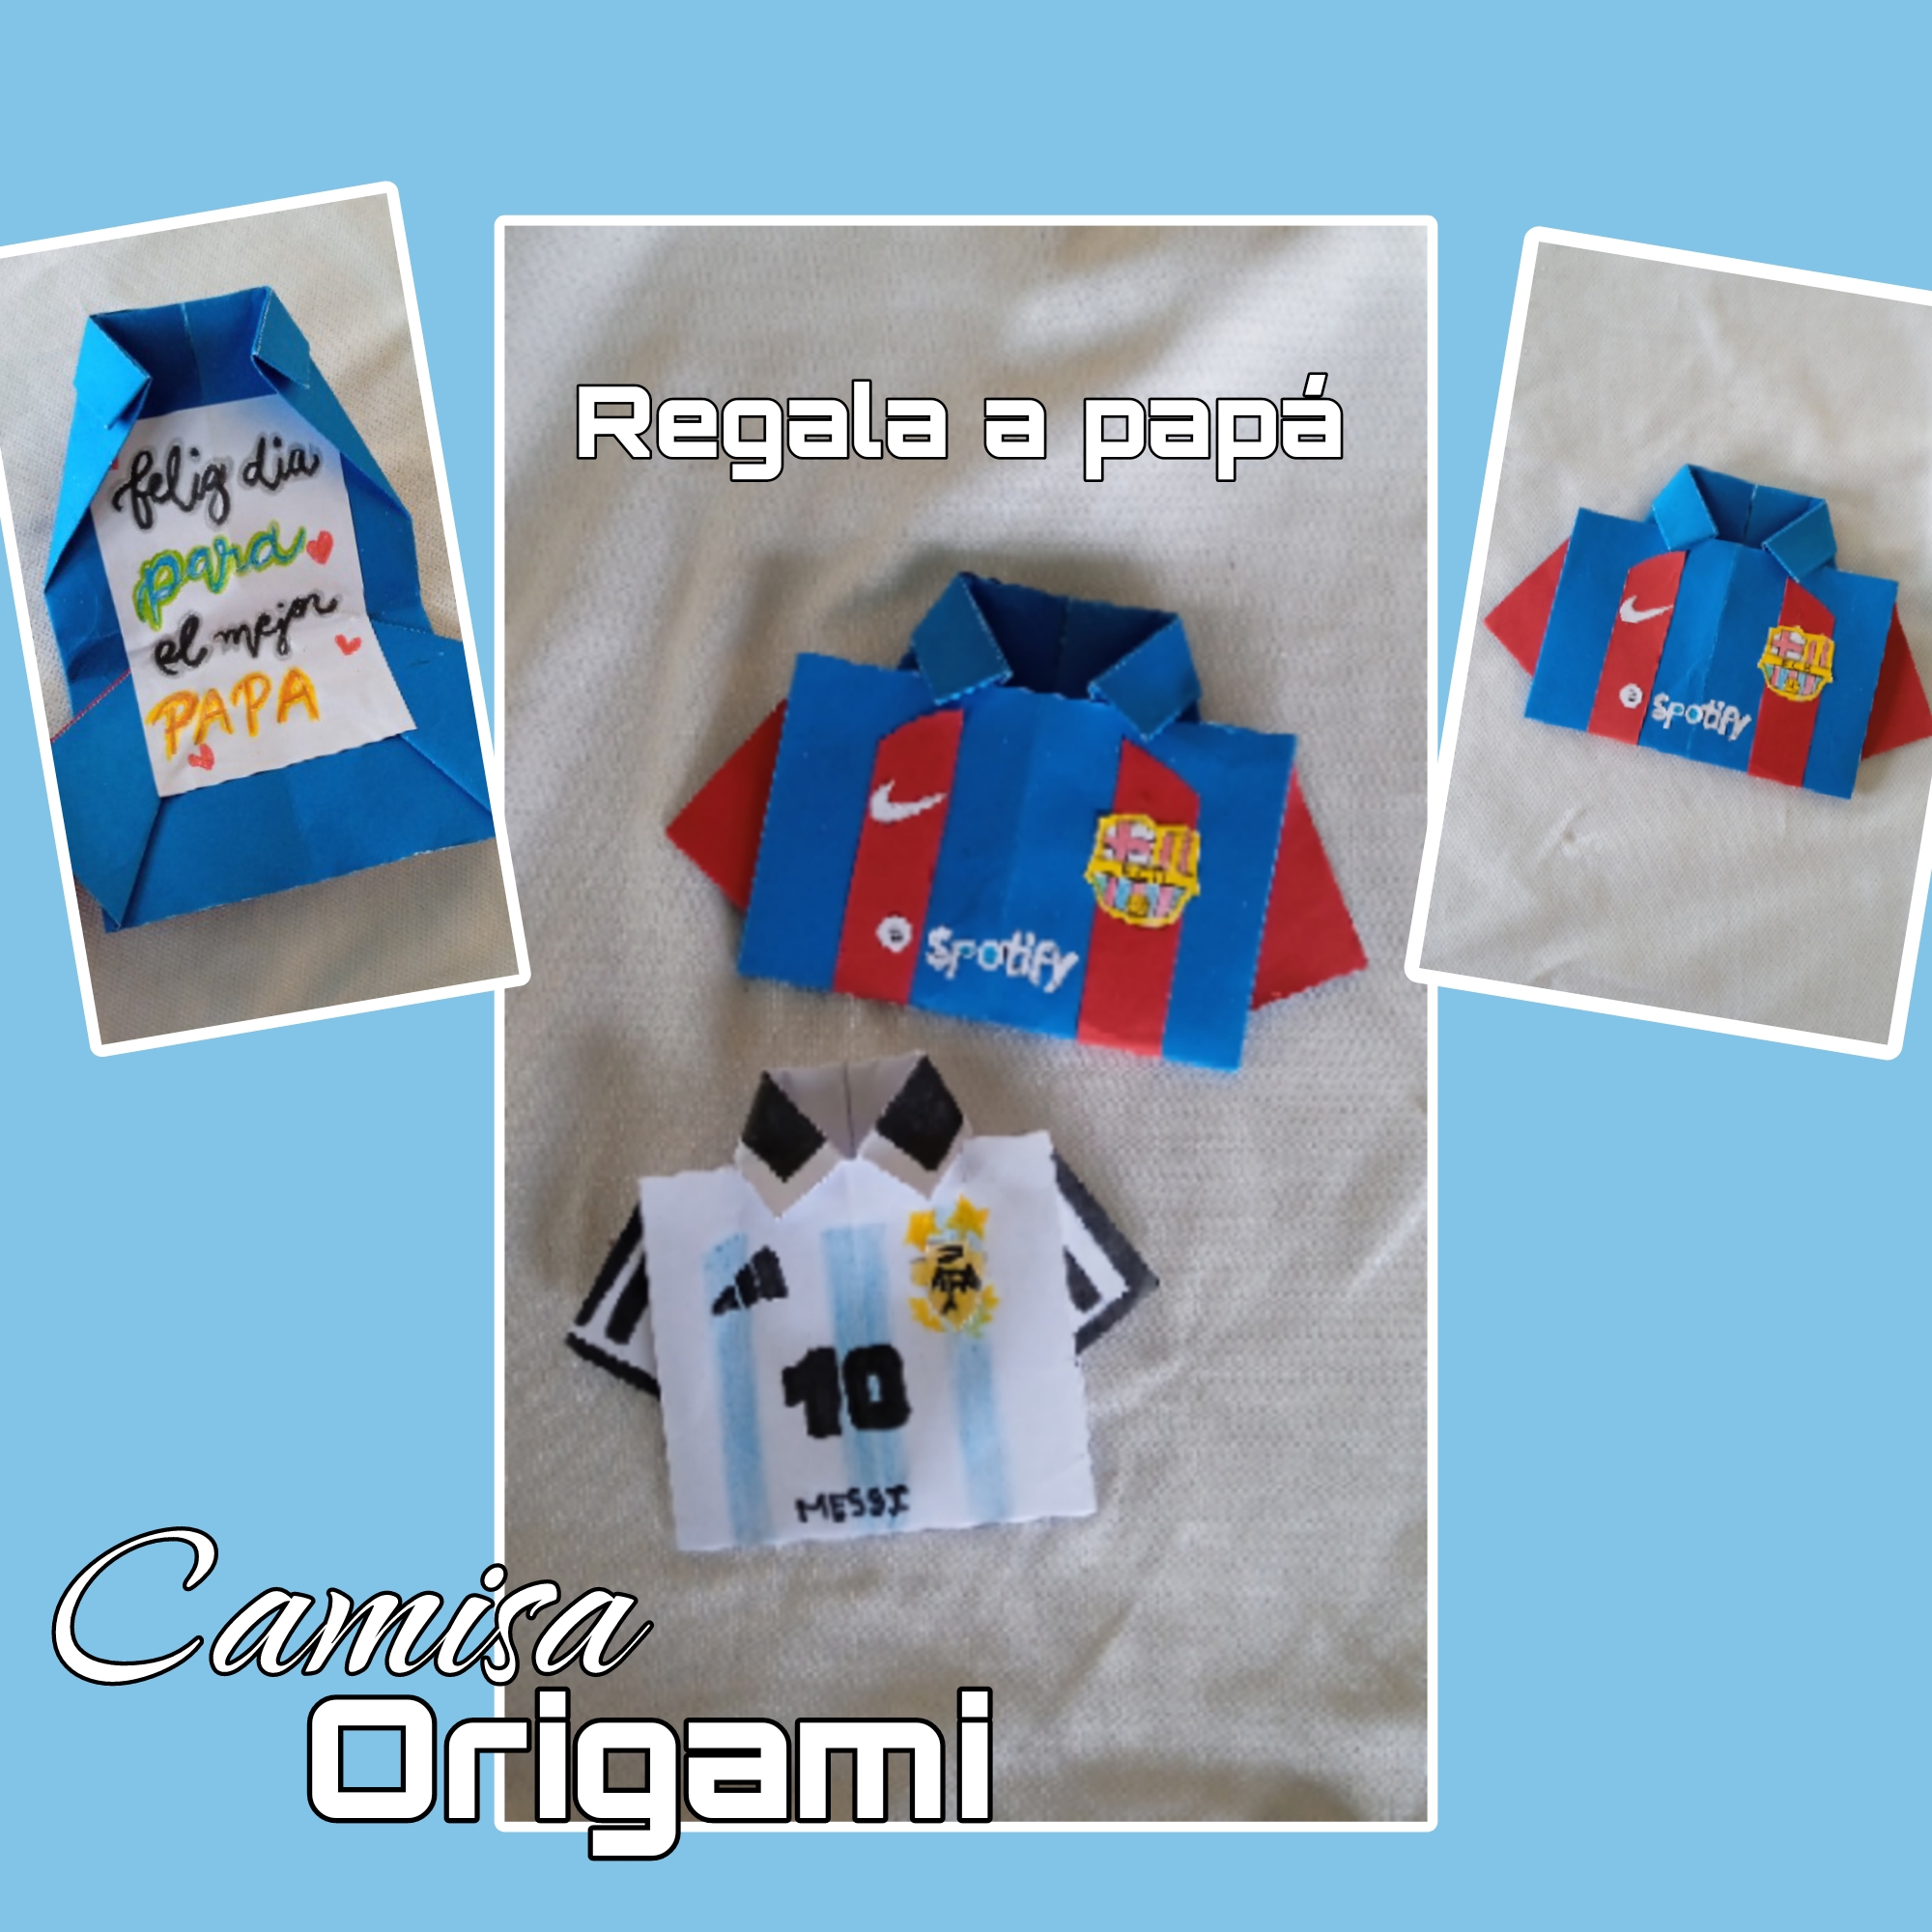
Hello! Hello! Friends, I greet you with much affection and wish you many blessings. I missed you very much, as I was away from the platform and my beloved hometown for a while. Thank God I was able to return home to resume some work, including this beautiful work that I love so much. I want to tell you that yesterday I made a beautiful origami shirt-shaped card with my dear niece, who was very happy with the creation. Father's Day is in a few days, so I wanted to take the opportunity to make these beautiful origami cards. The process is quite simple and can be done without complications. I hope you like my project and let's get started.
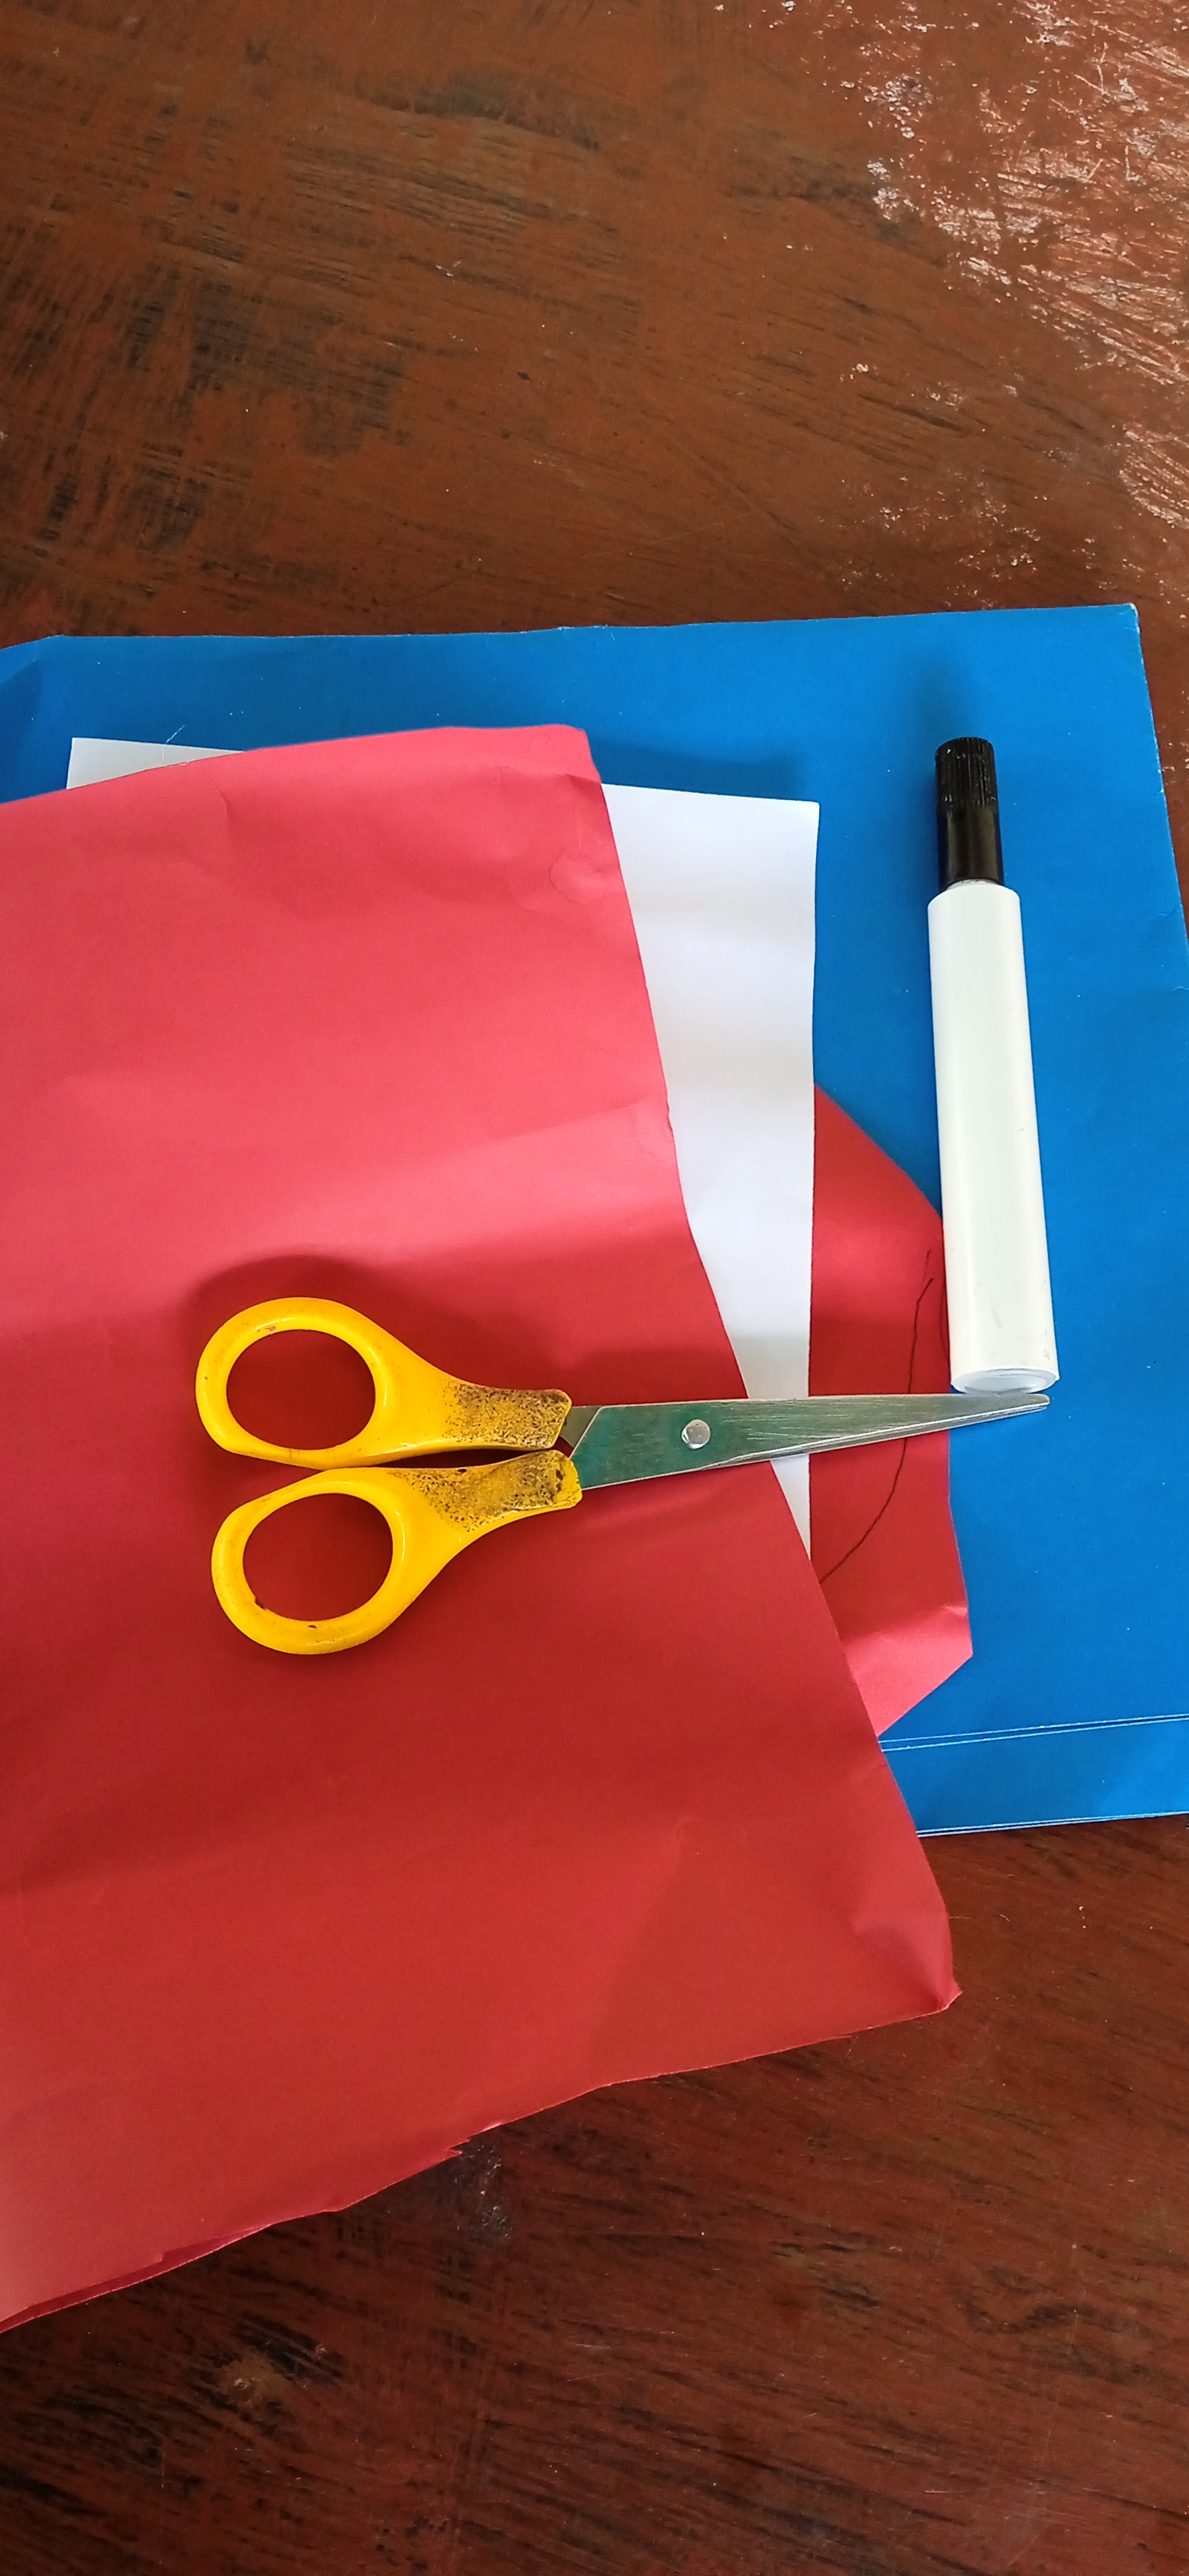
Materiales * Cartulina. * Tijera. * Silicona. * Crayones.
Materials * Cardstock. * Scissors. * Silicone. * Crayons.
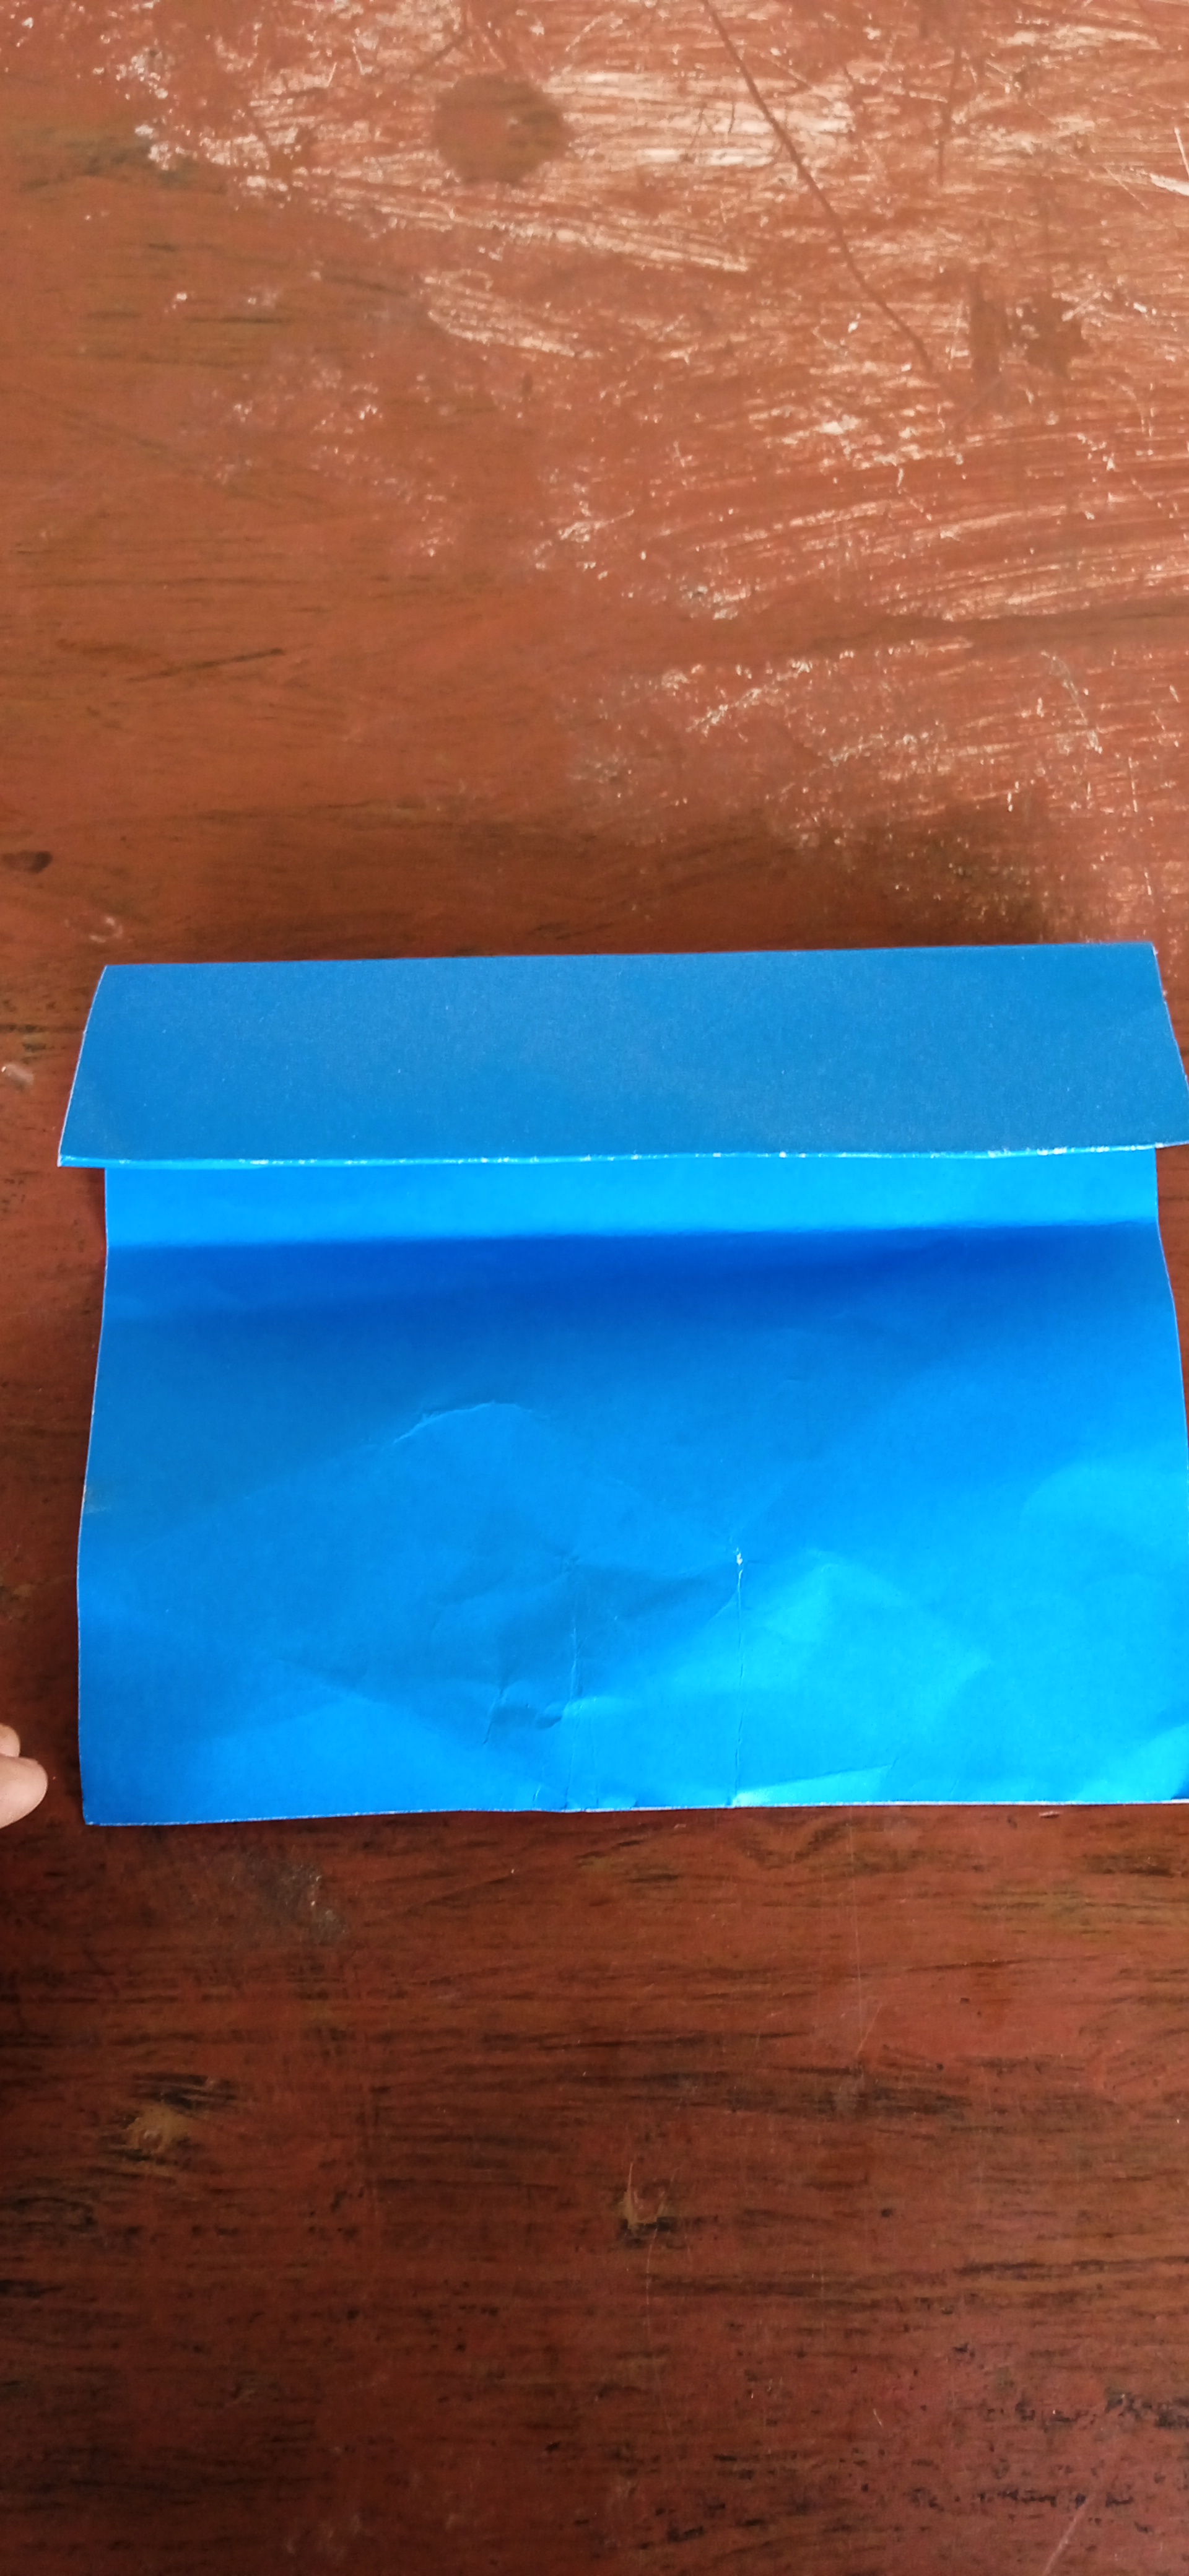
Friends, let's start making this beautiful gift for Dad. Cut a sheet of cardstock to the size you prefer, whether large or small. Once you have the cardstock, fold it in half and score it.
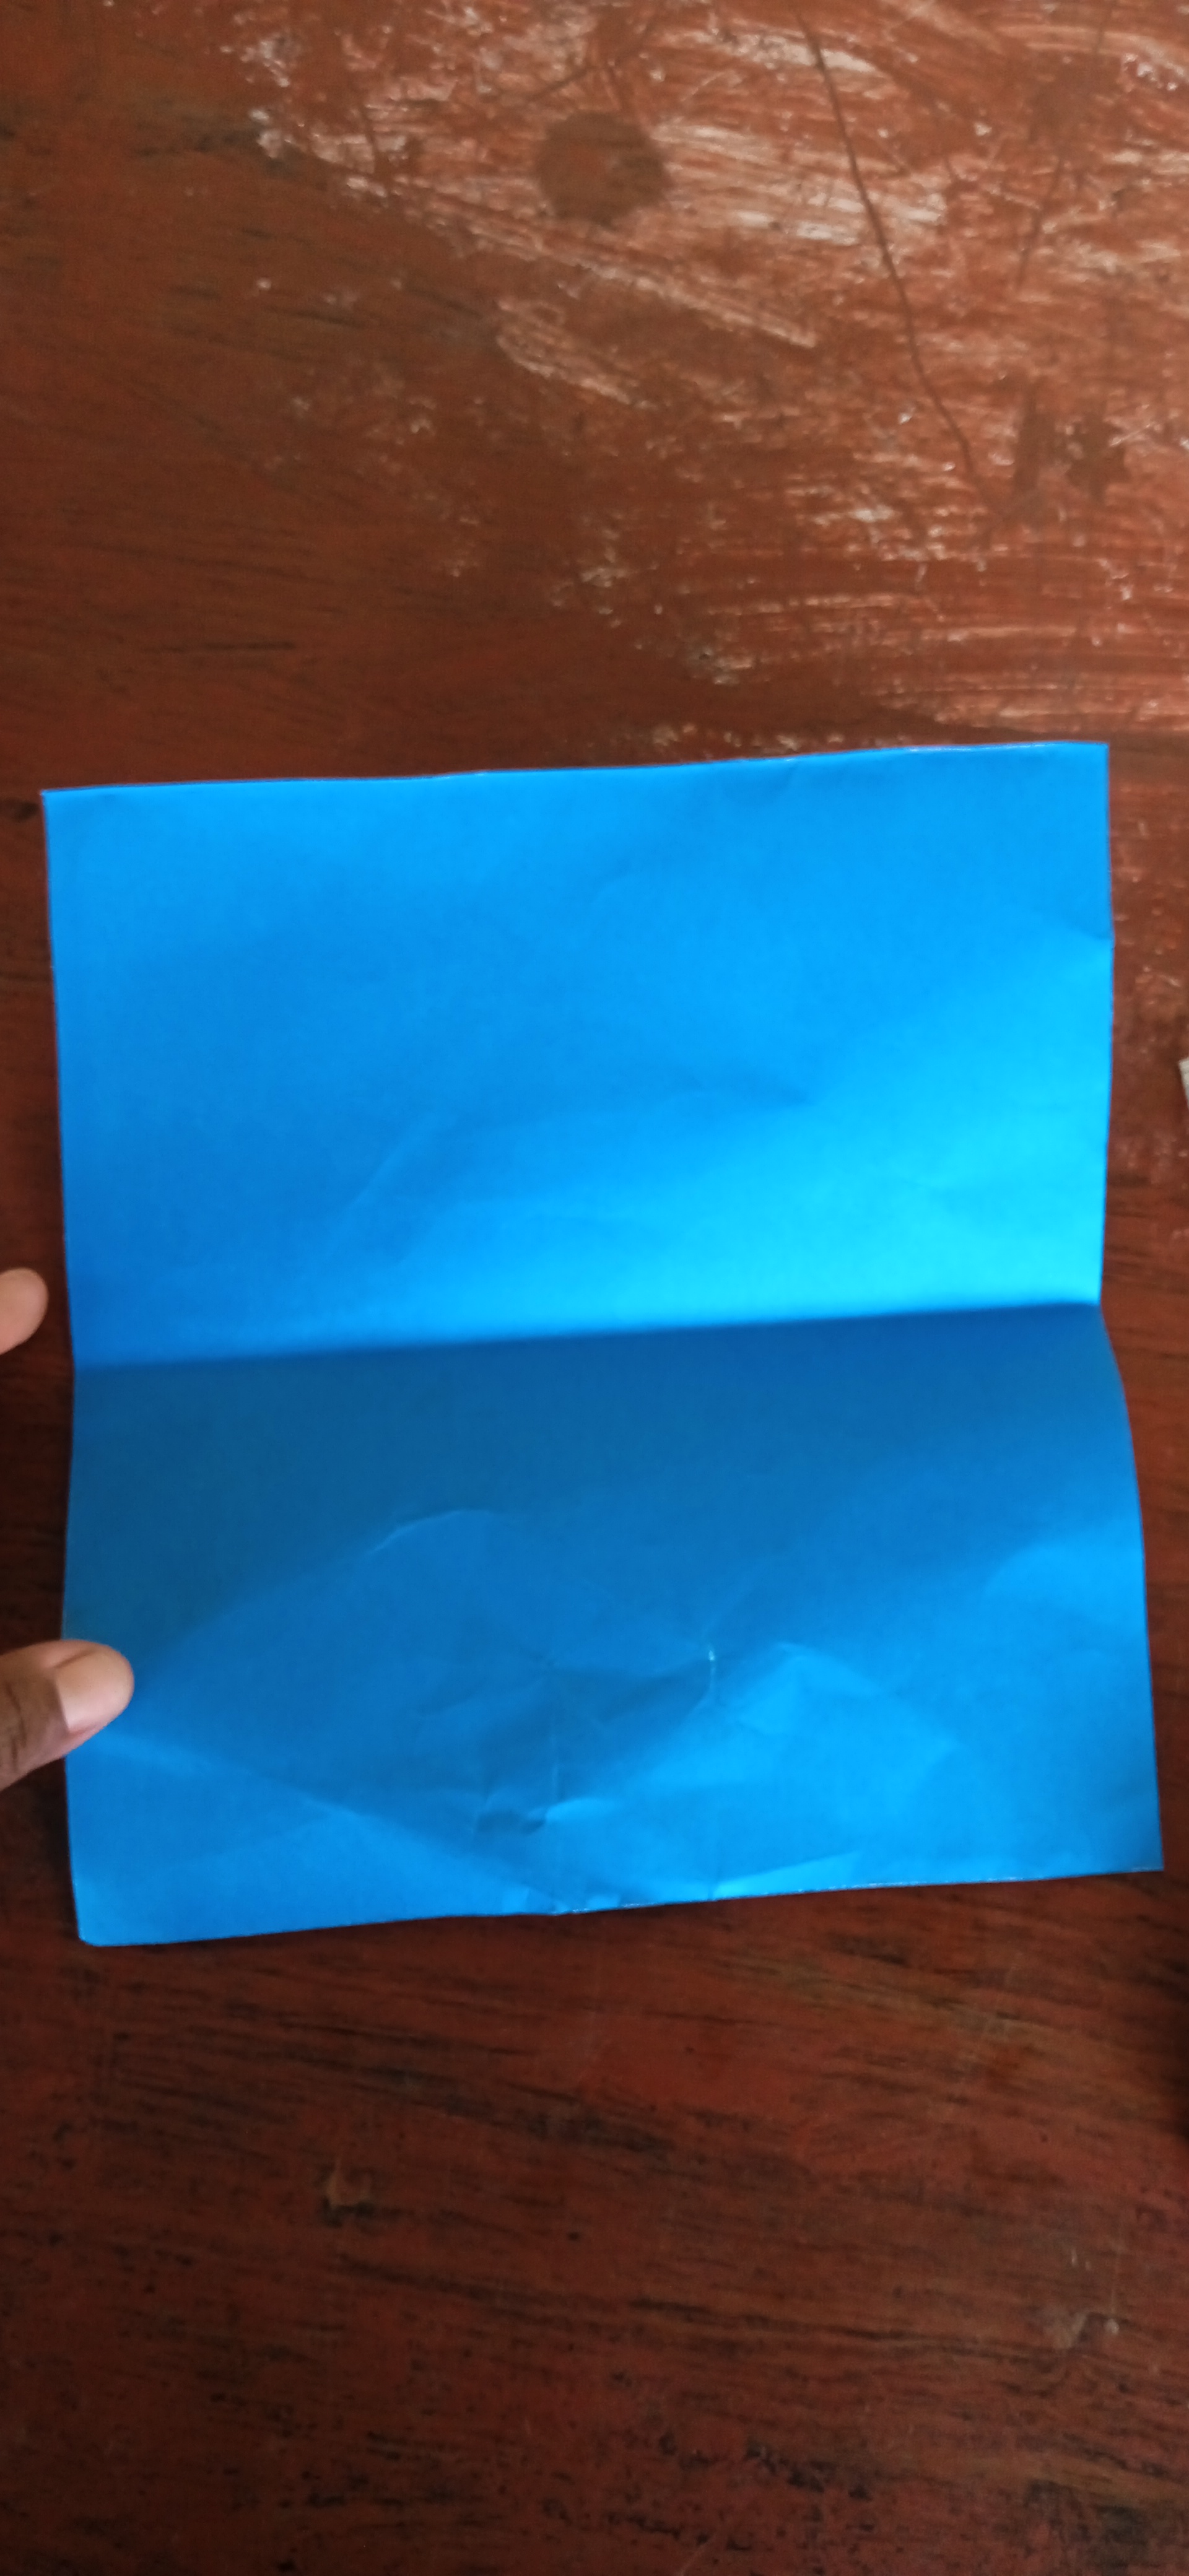
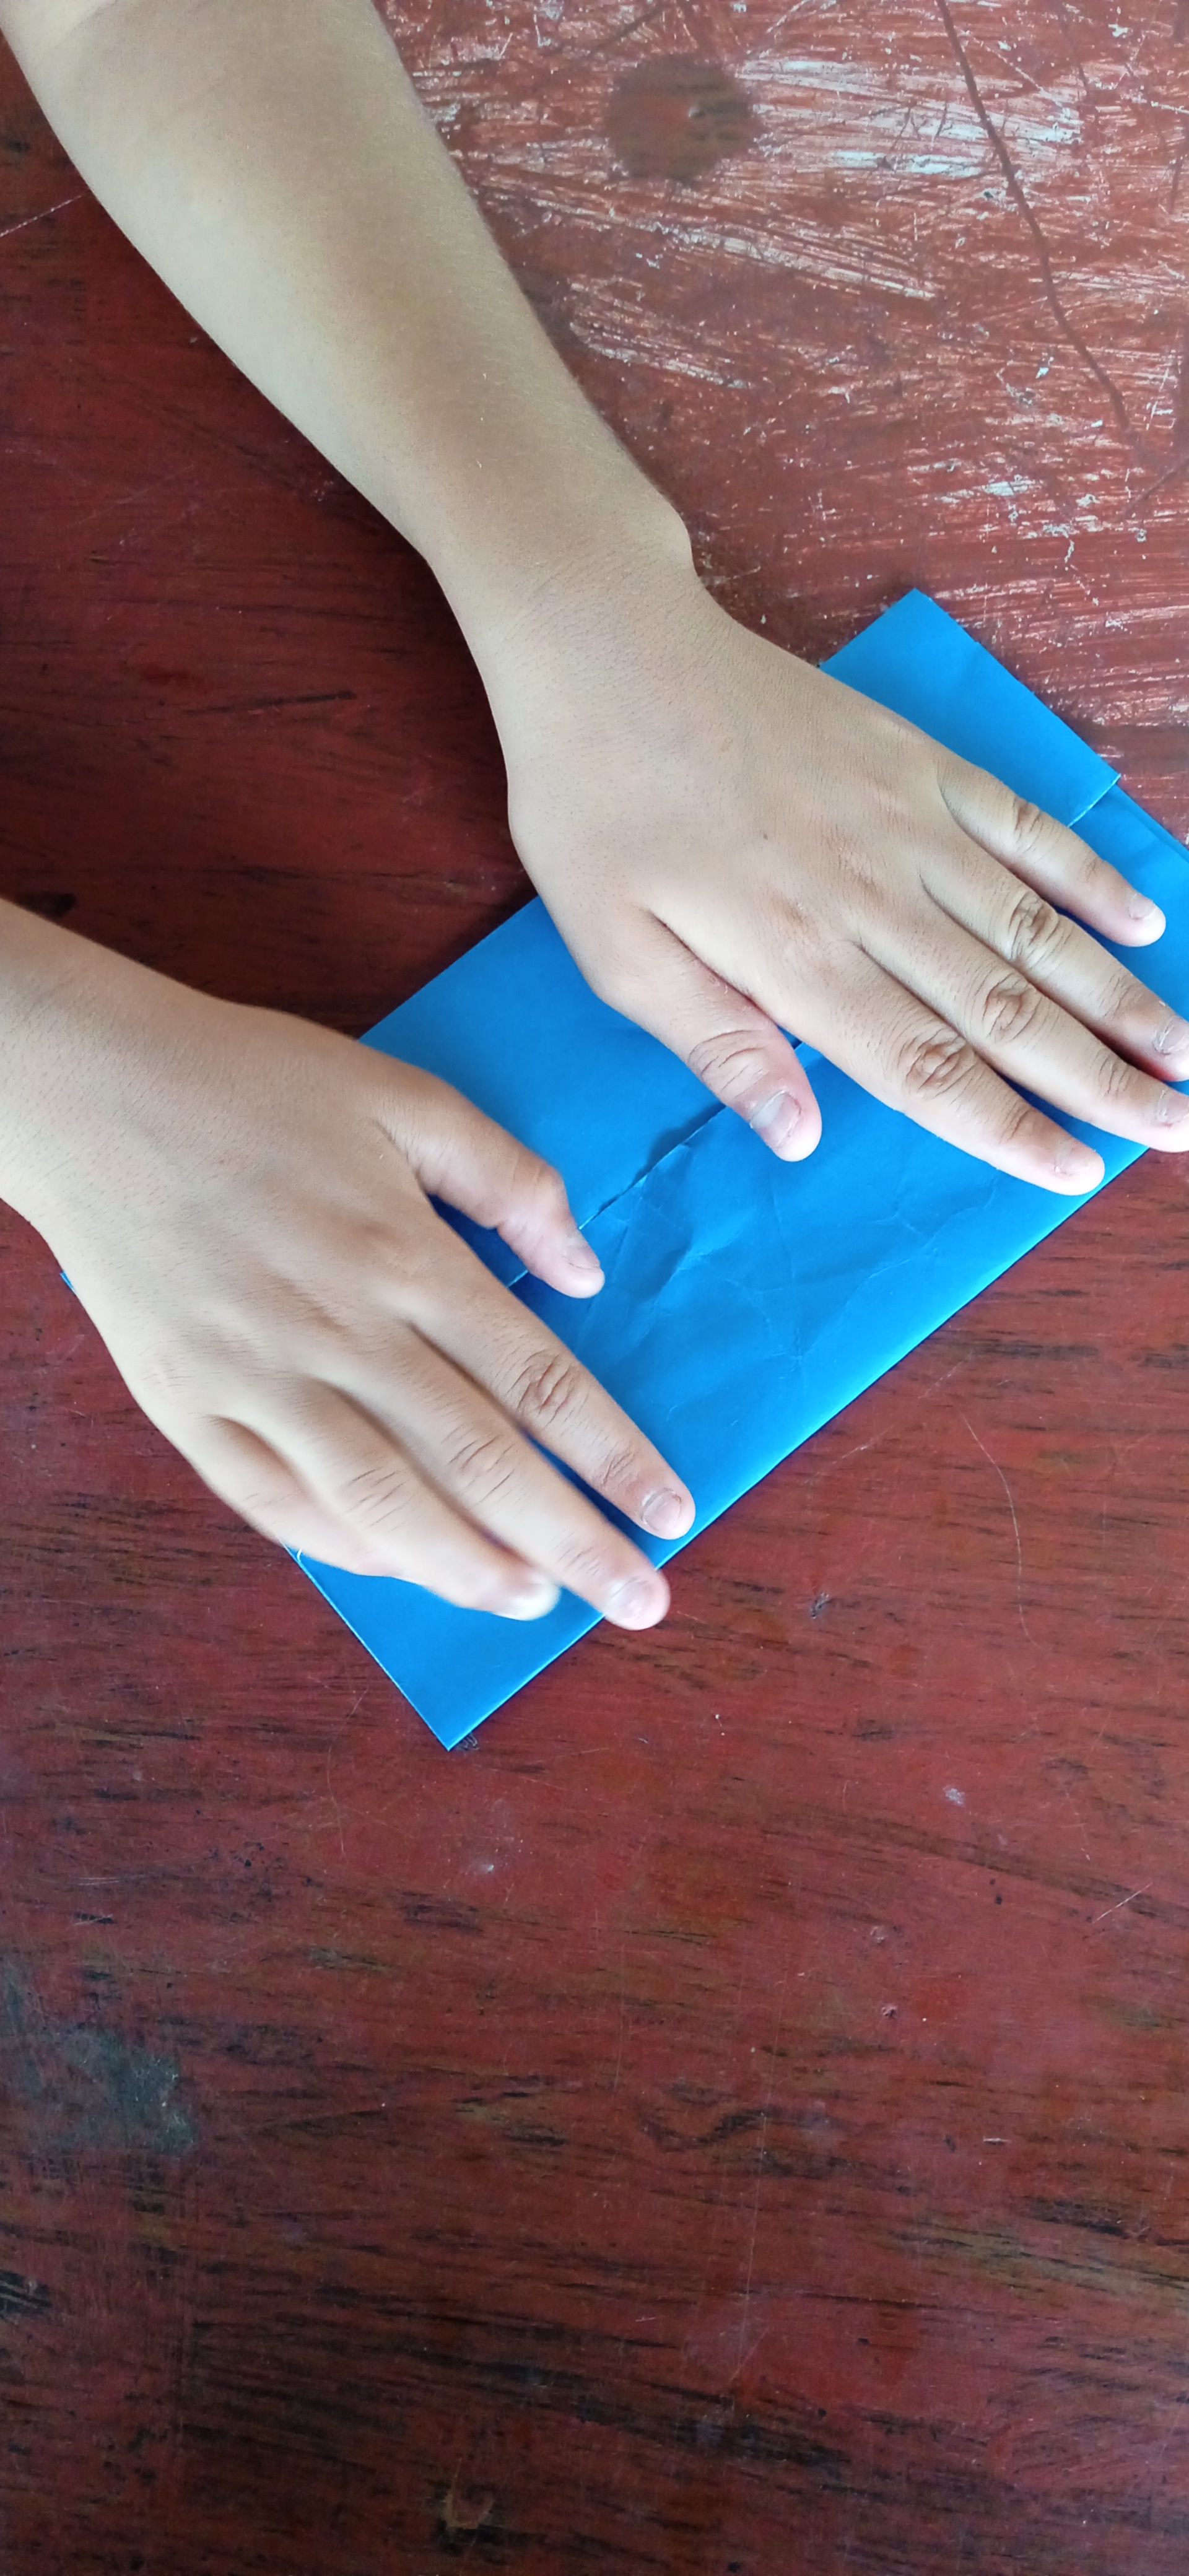
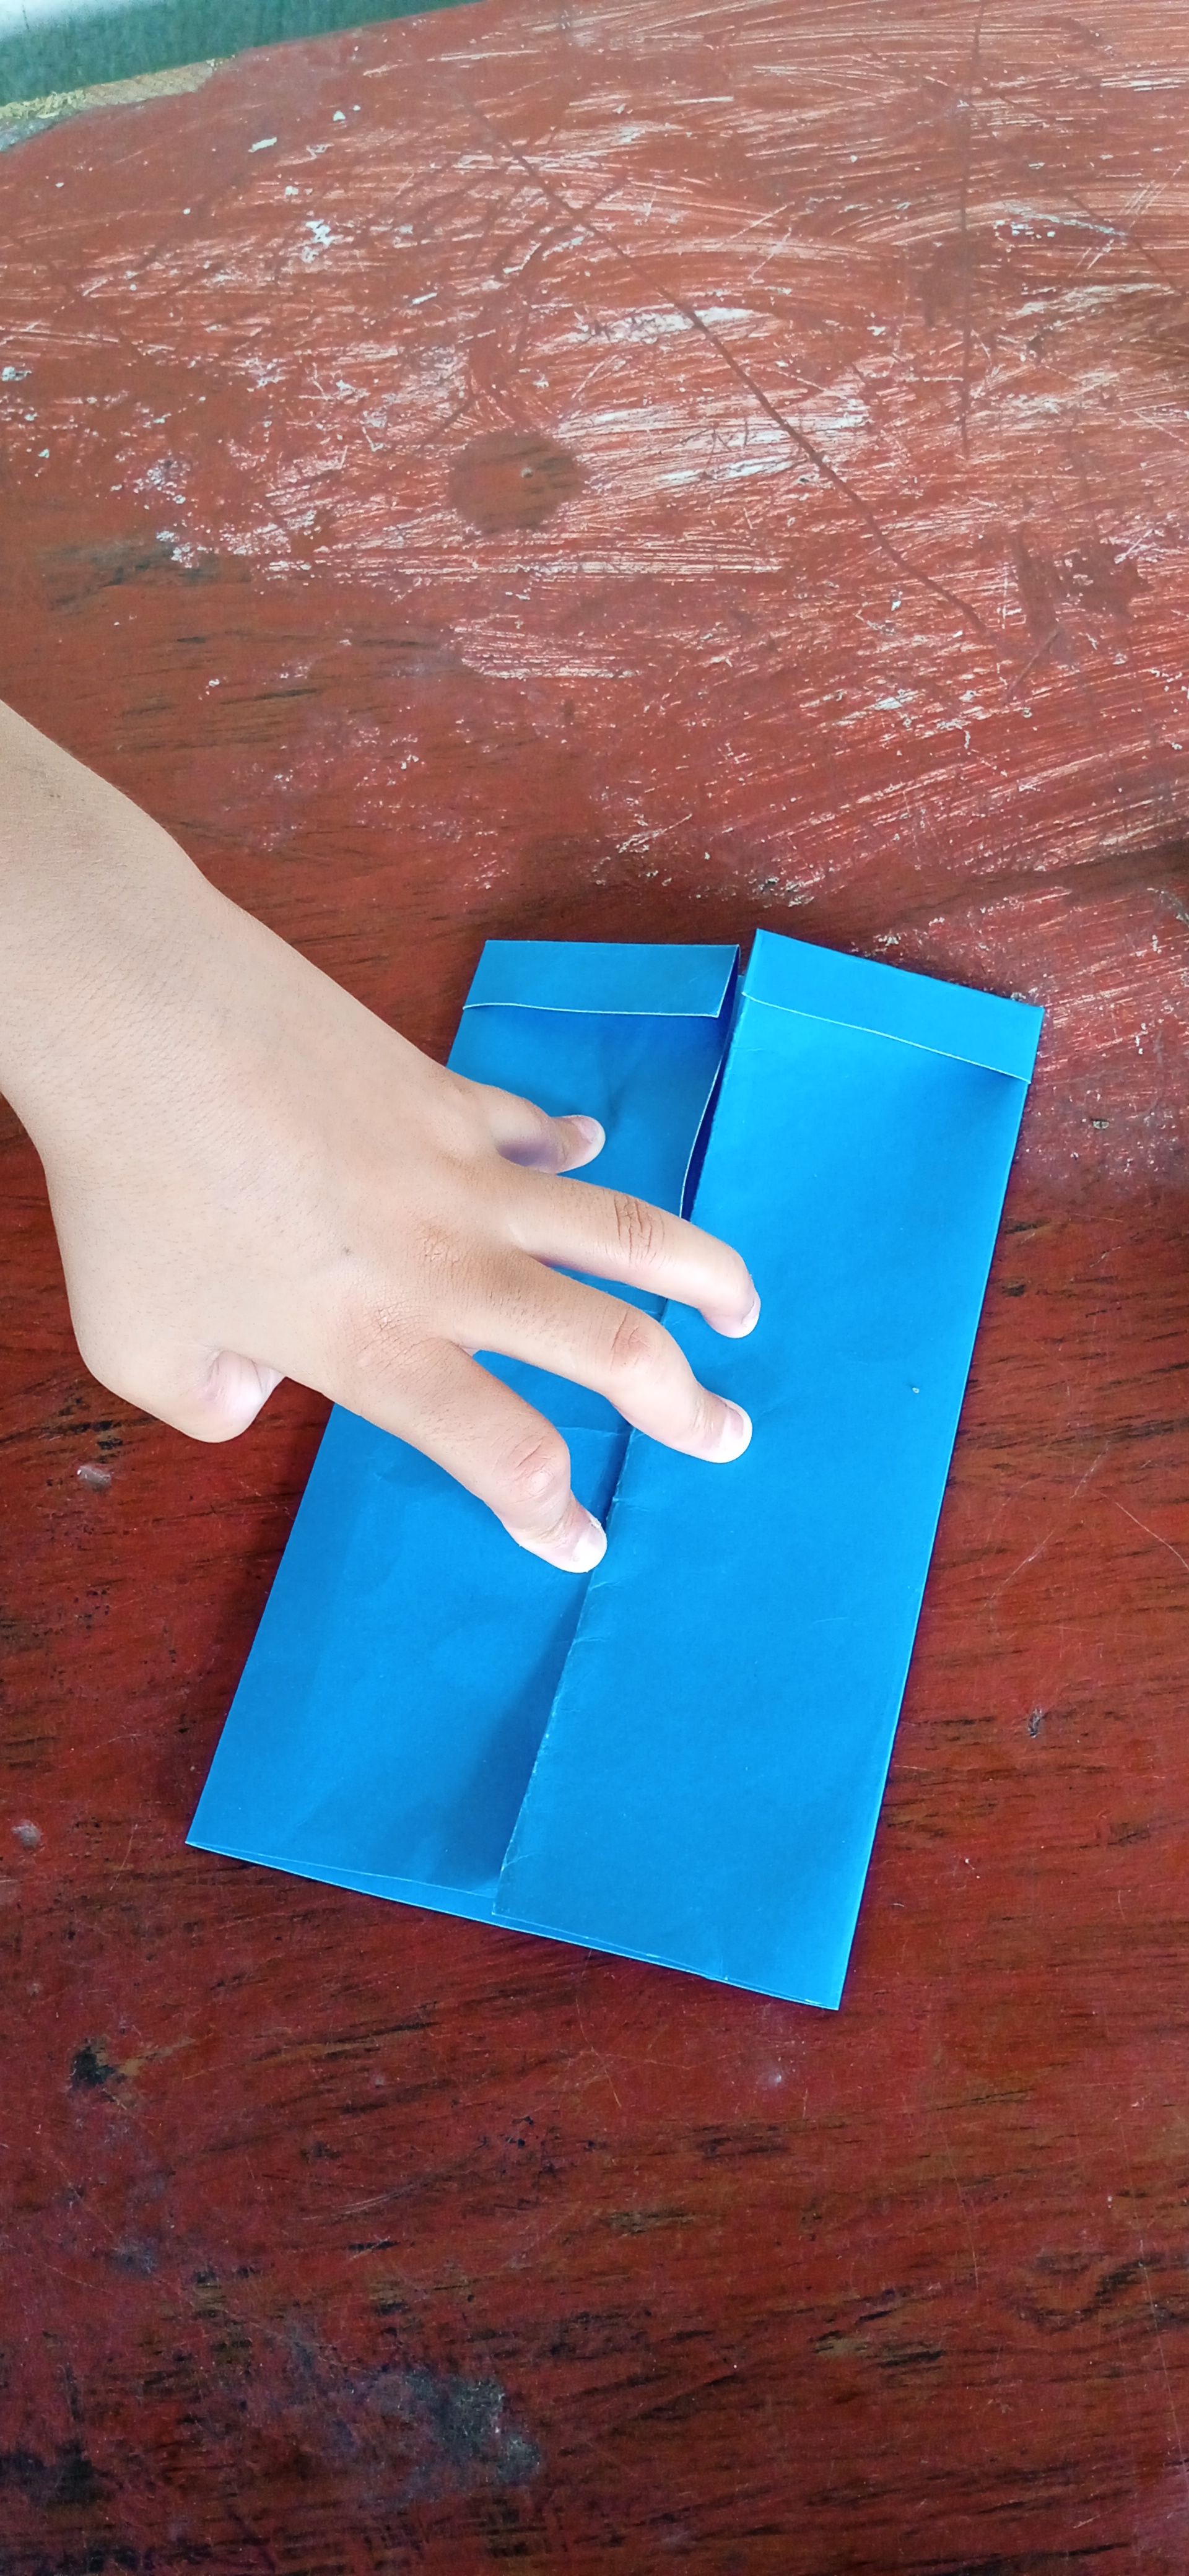
We take the top section and bring it to the line, then we take the bottom section and bring it to the center as well. We mark it with our hands, applying a little pressure each time we fold.
As I told you before, my niece helped me and here you can see her beautiful little hands making each fold.
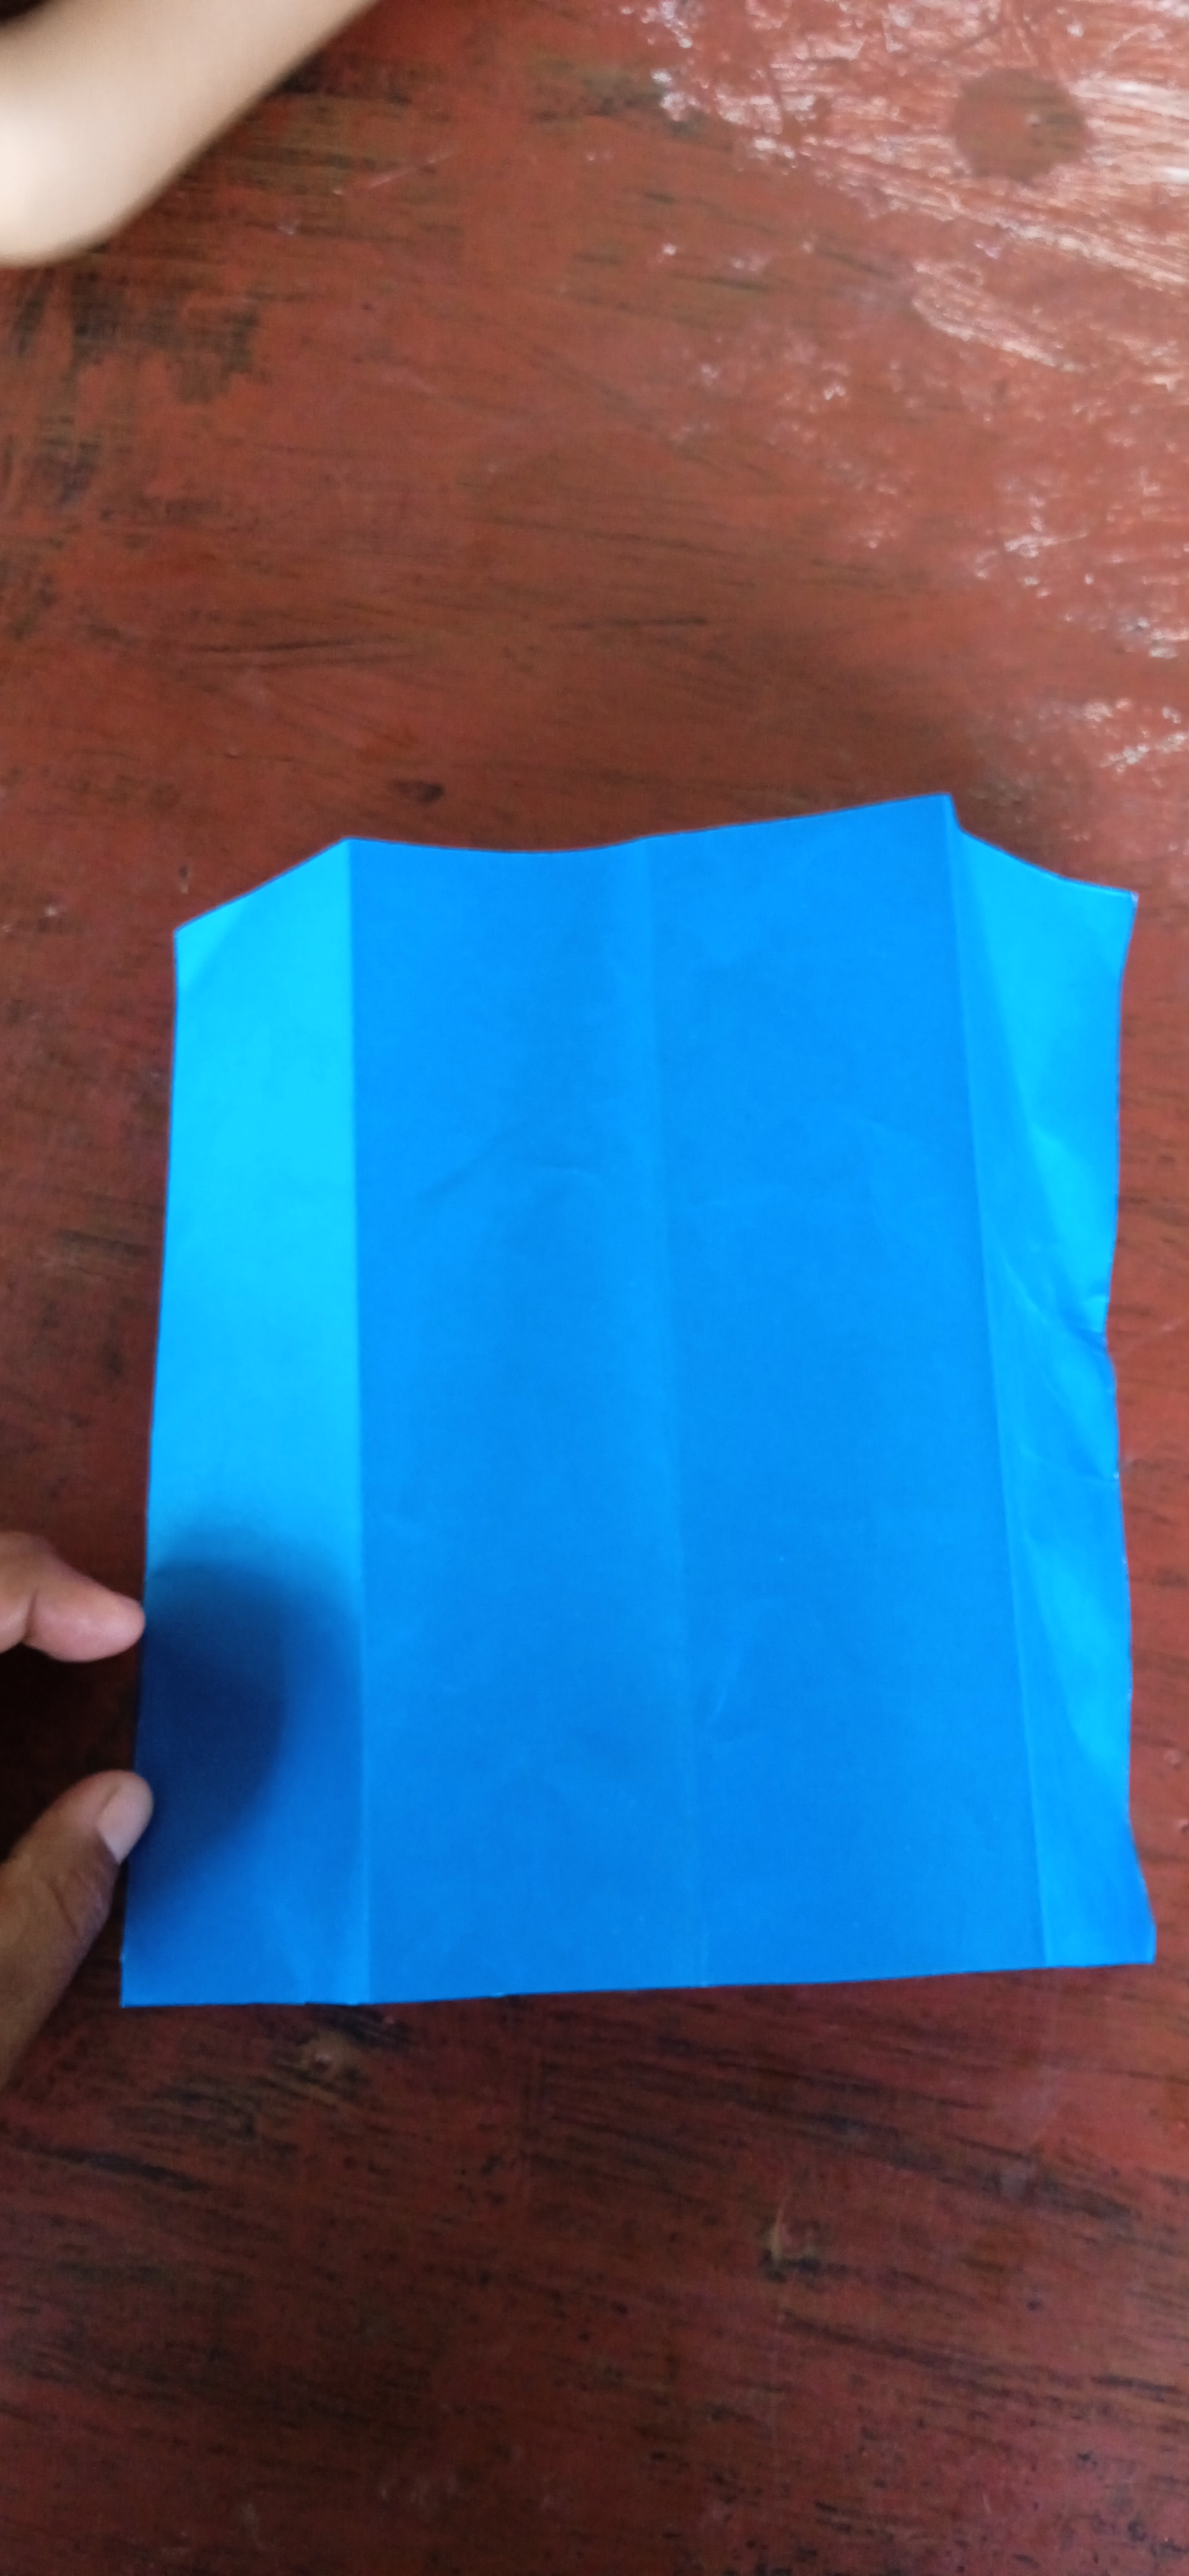
Notice that the sheet has been divided into four marked sections. We turn the sheet over to continue folding.
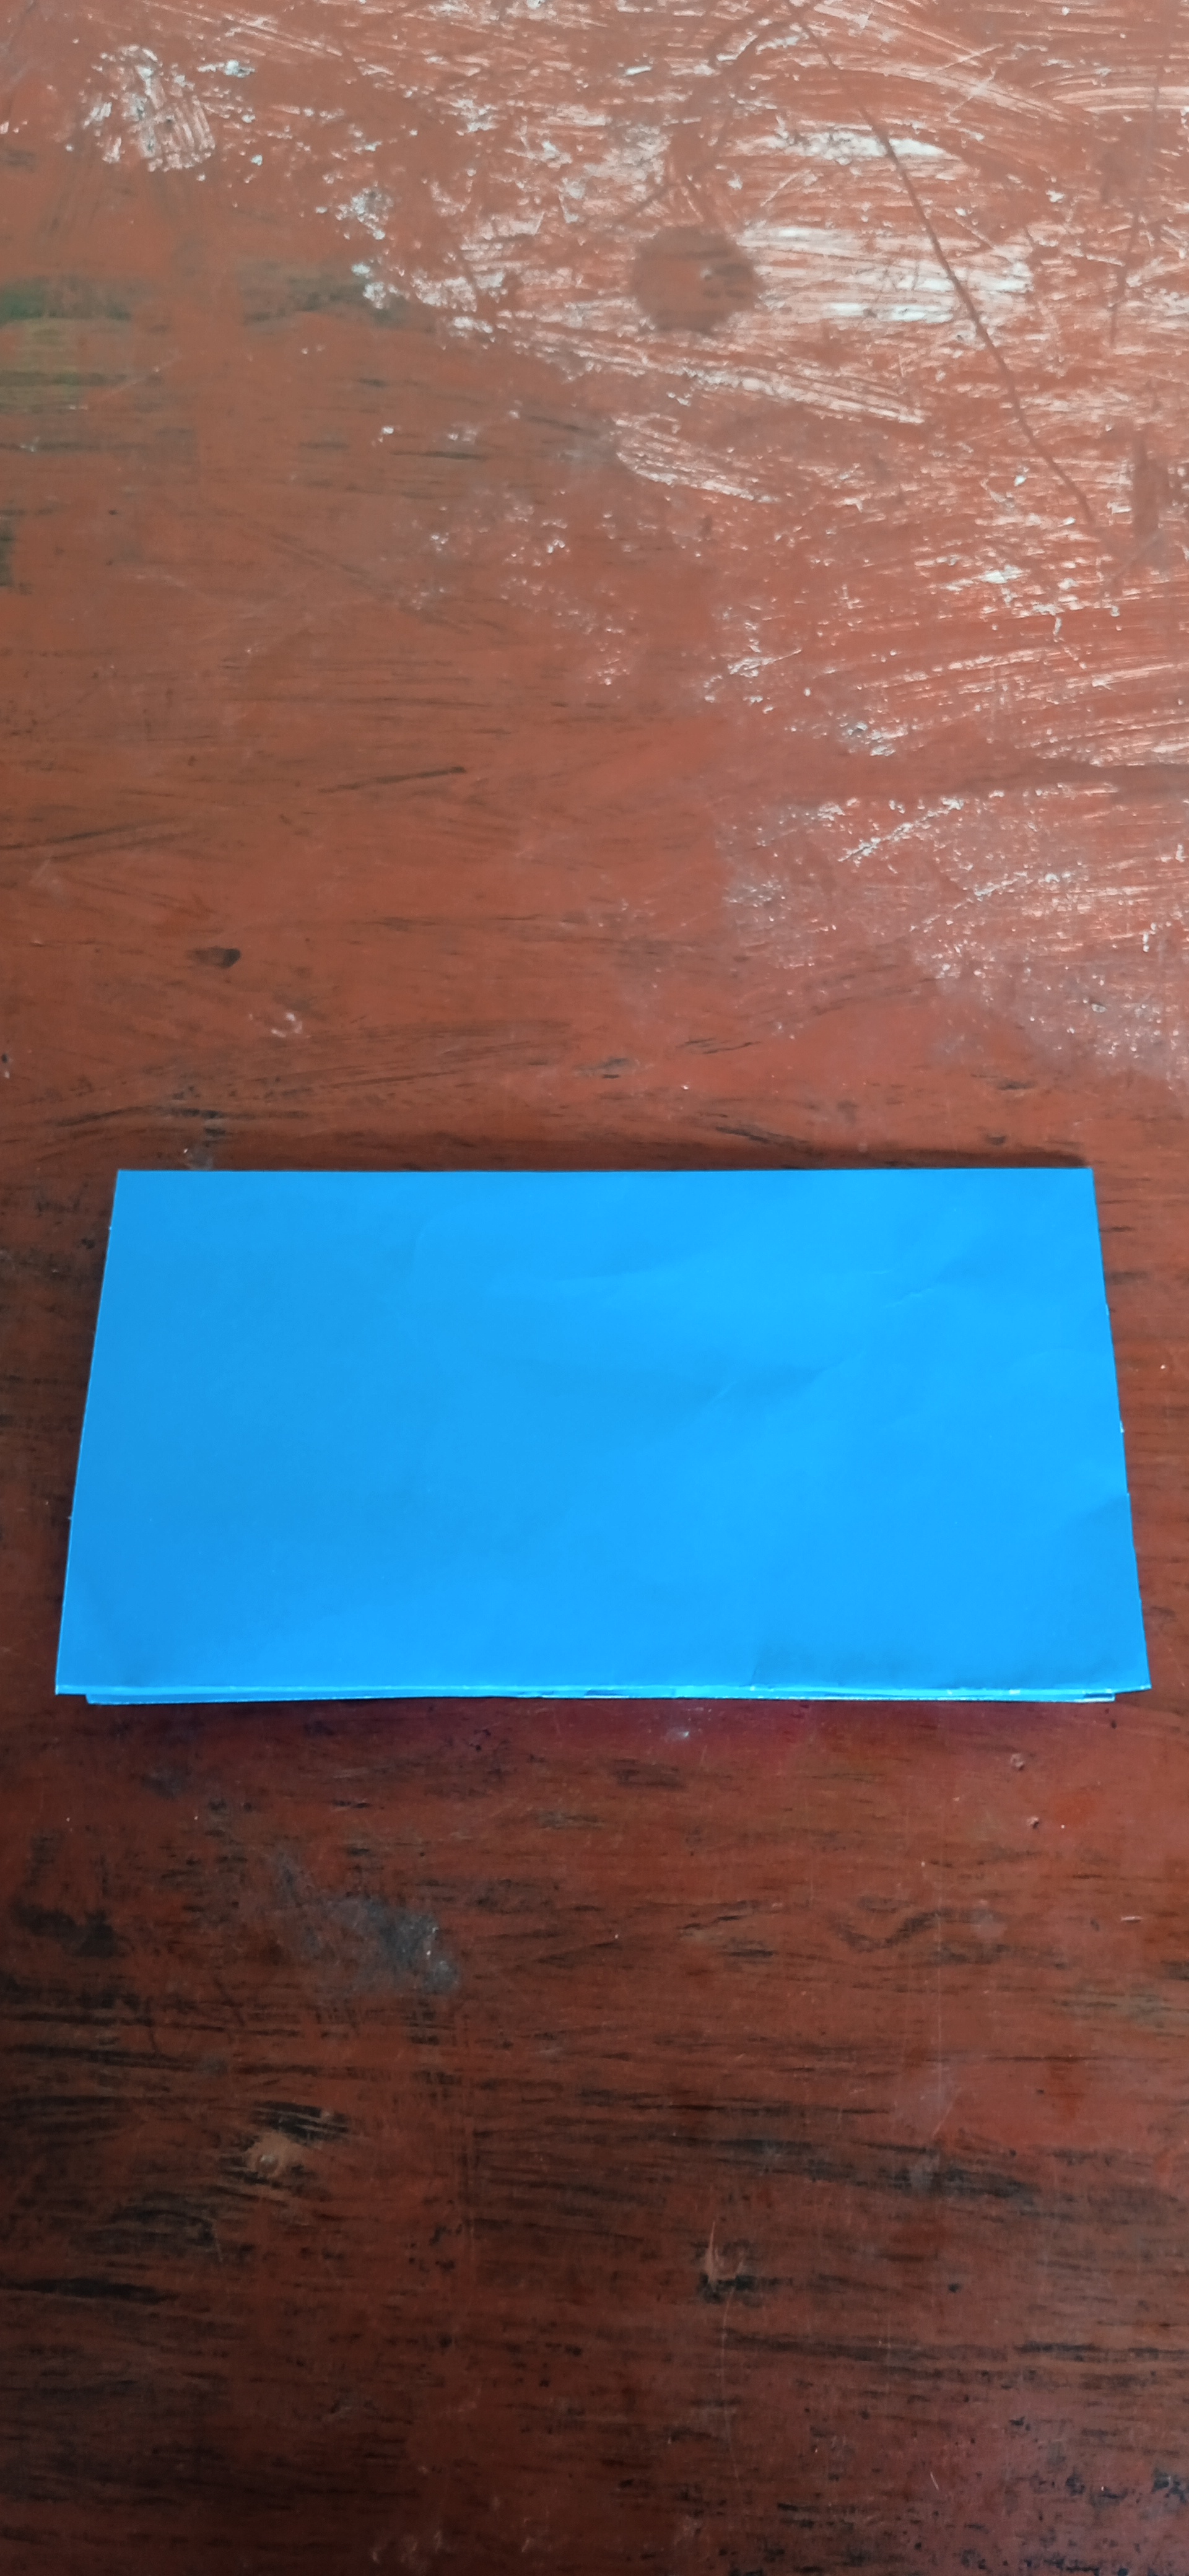
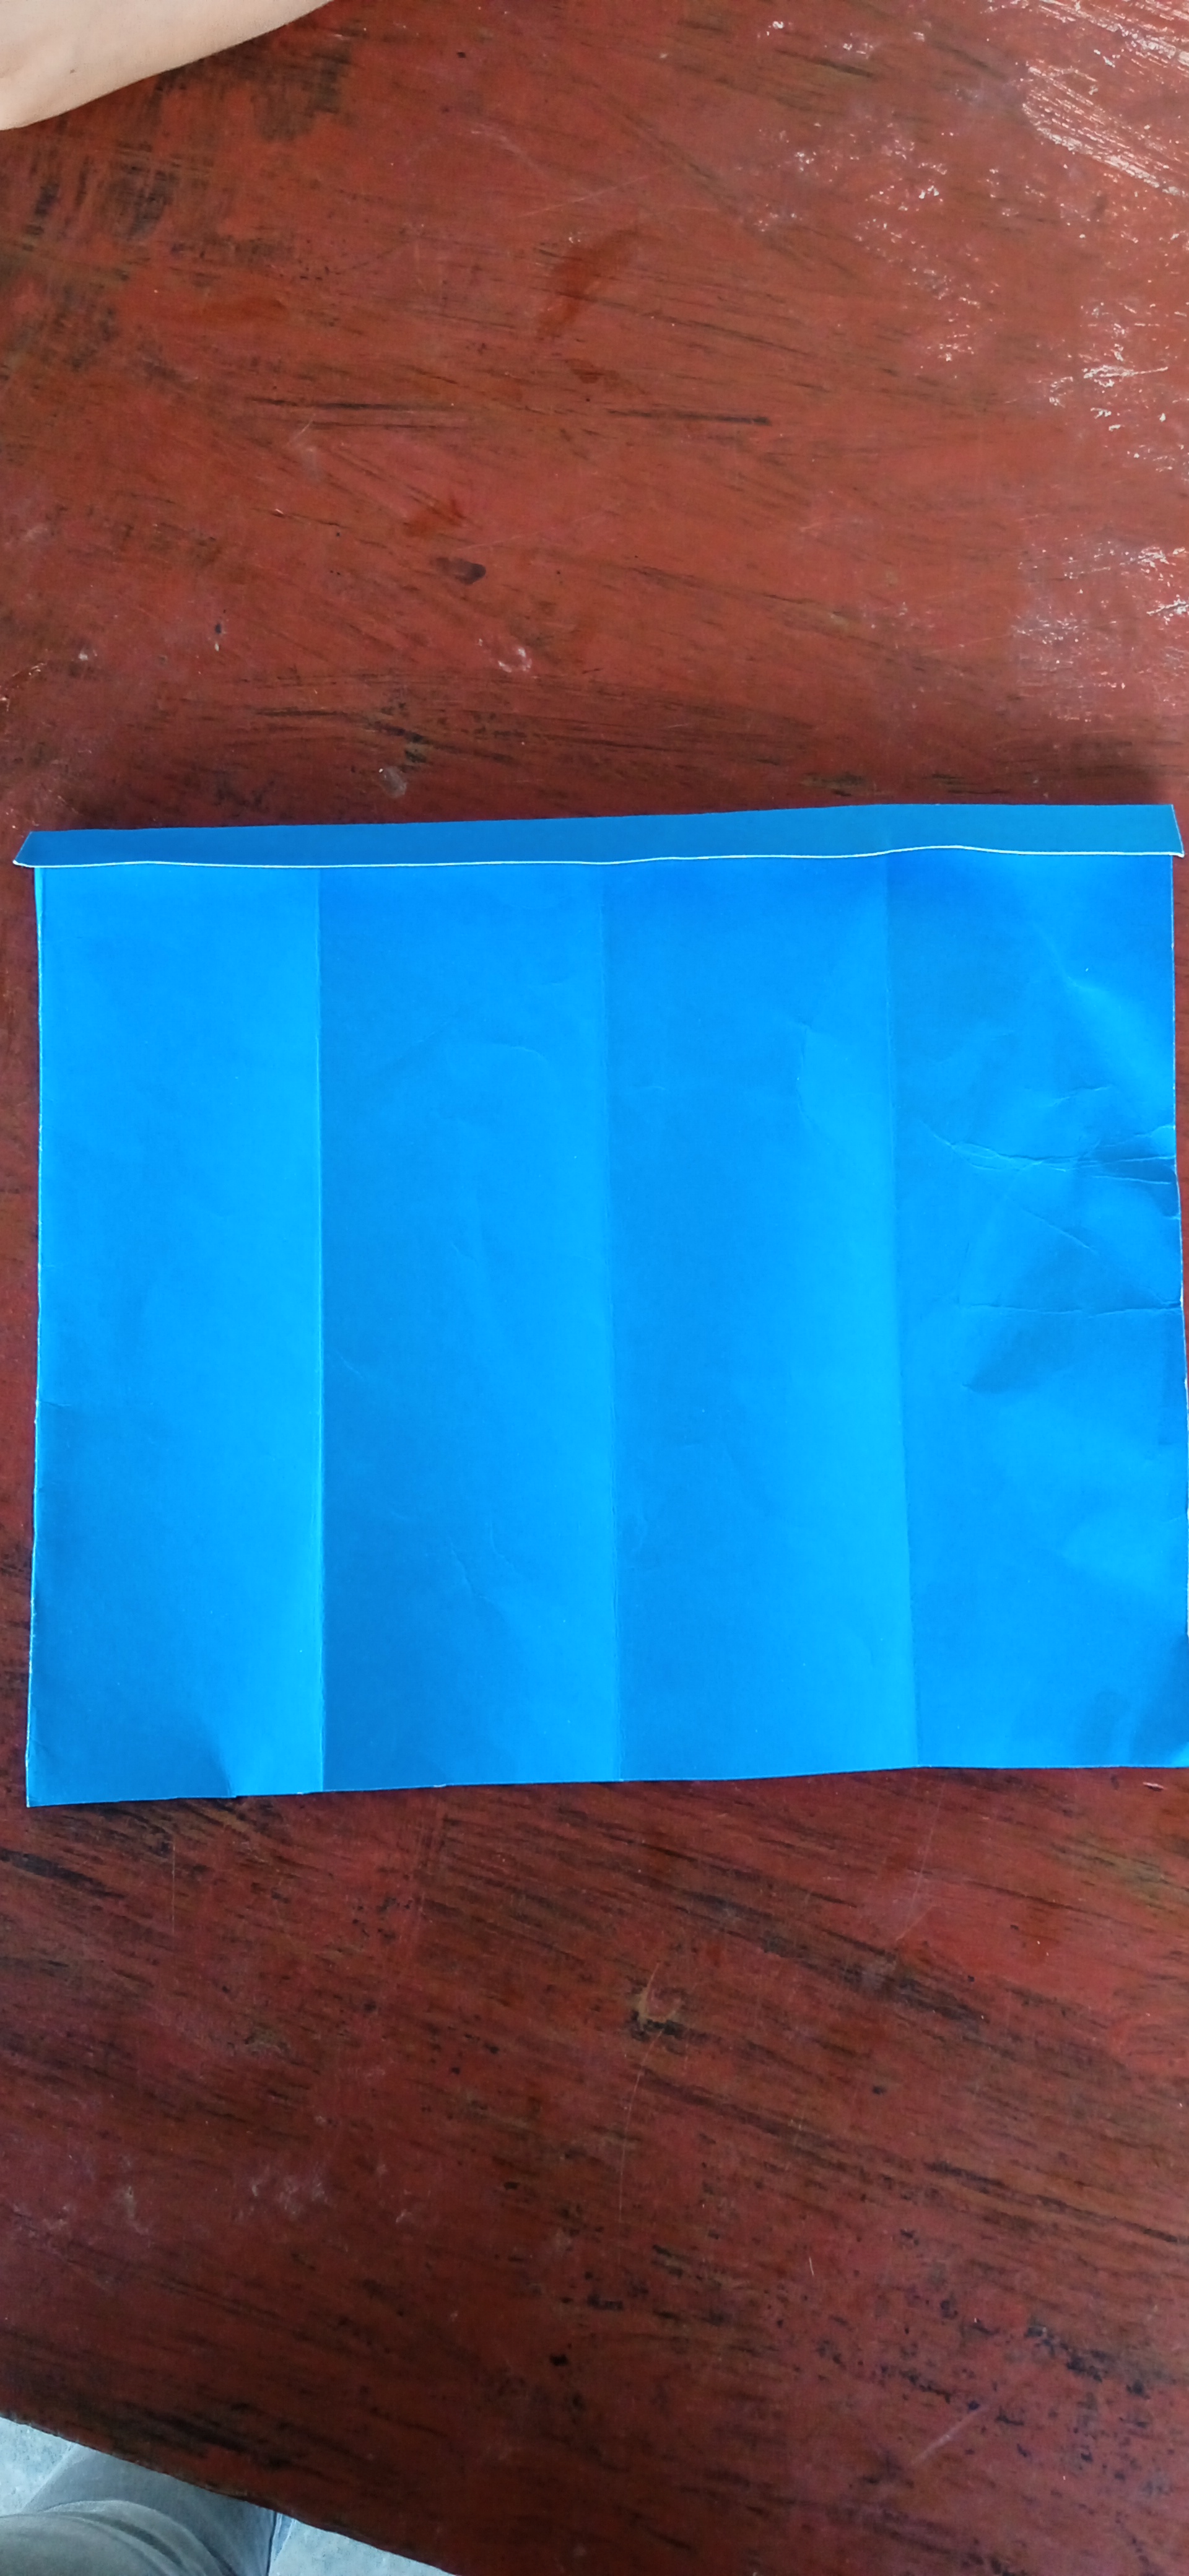
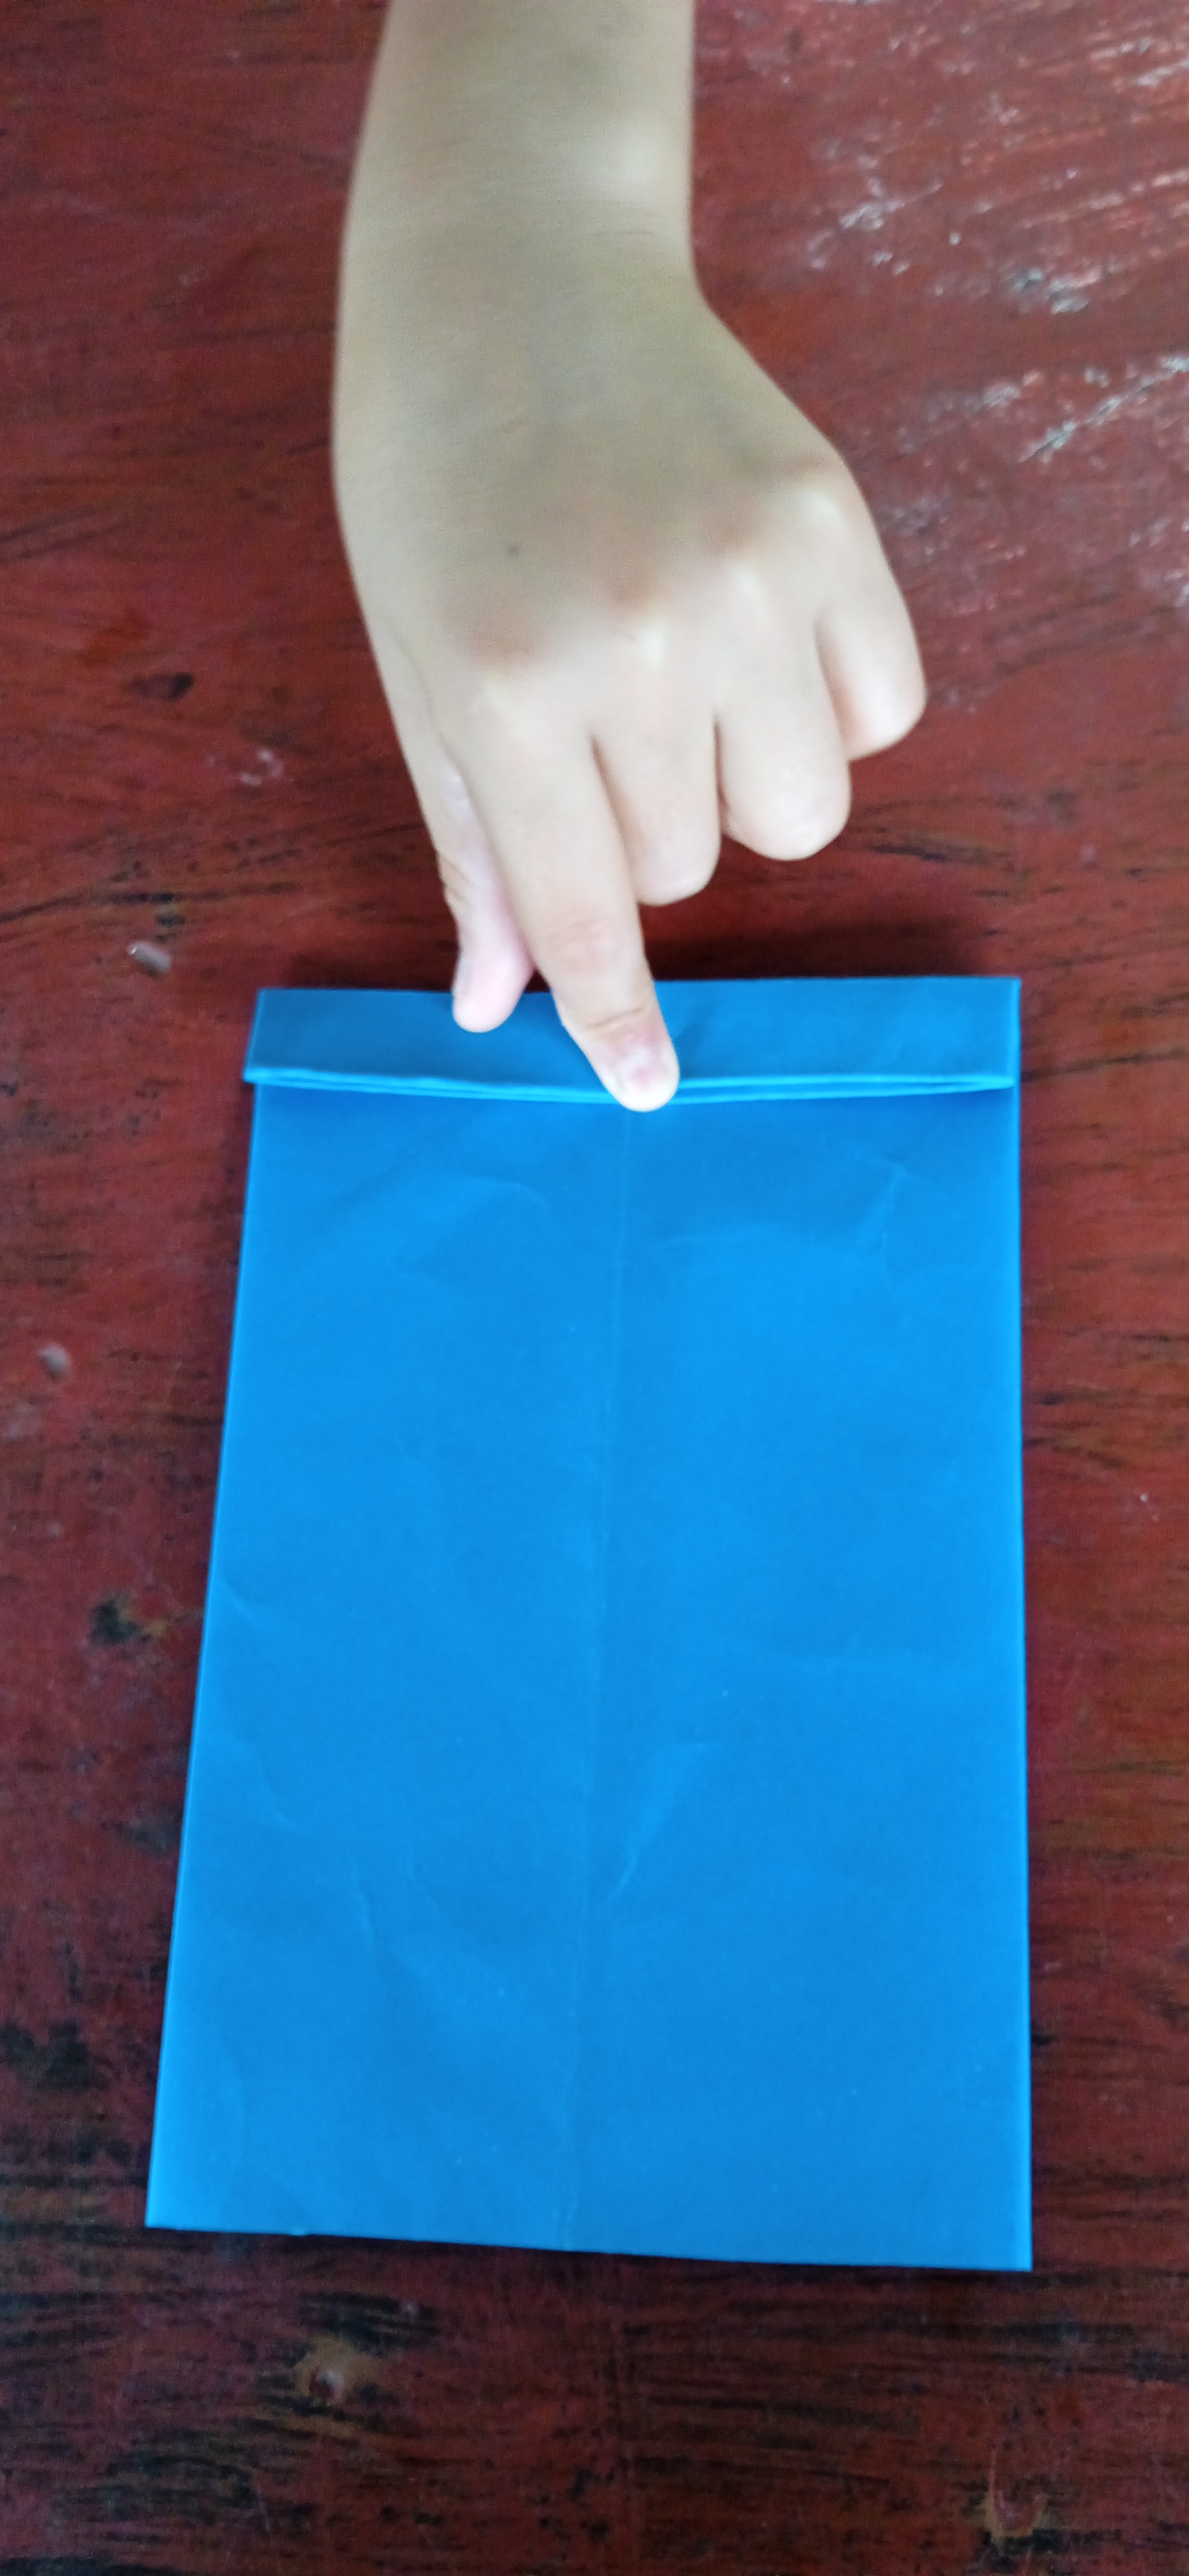
Una vez que volteamos la lámina, doblamos la parte de arriba 1.5cm
Once we turn the sheet over, we fold the top part 1.5cm
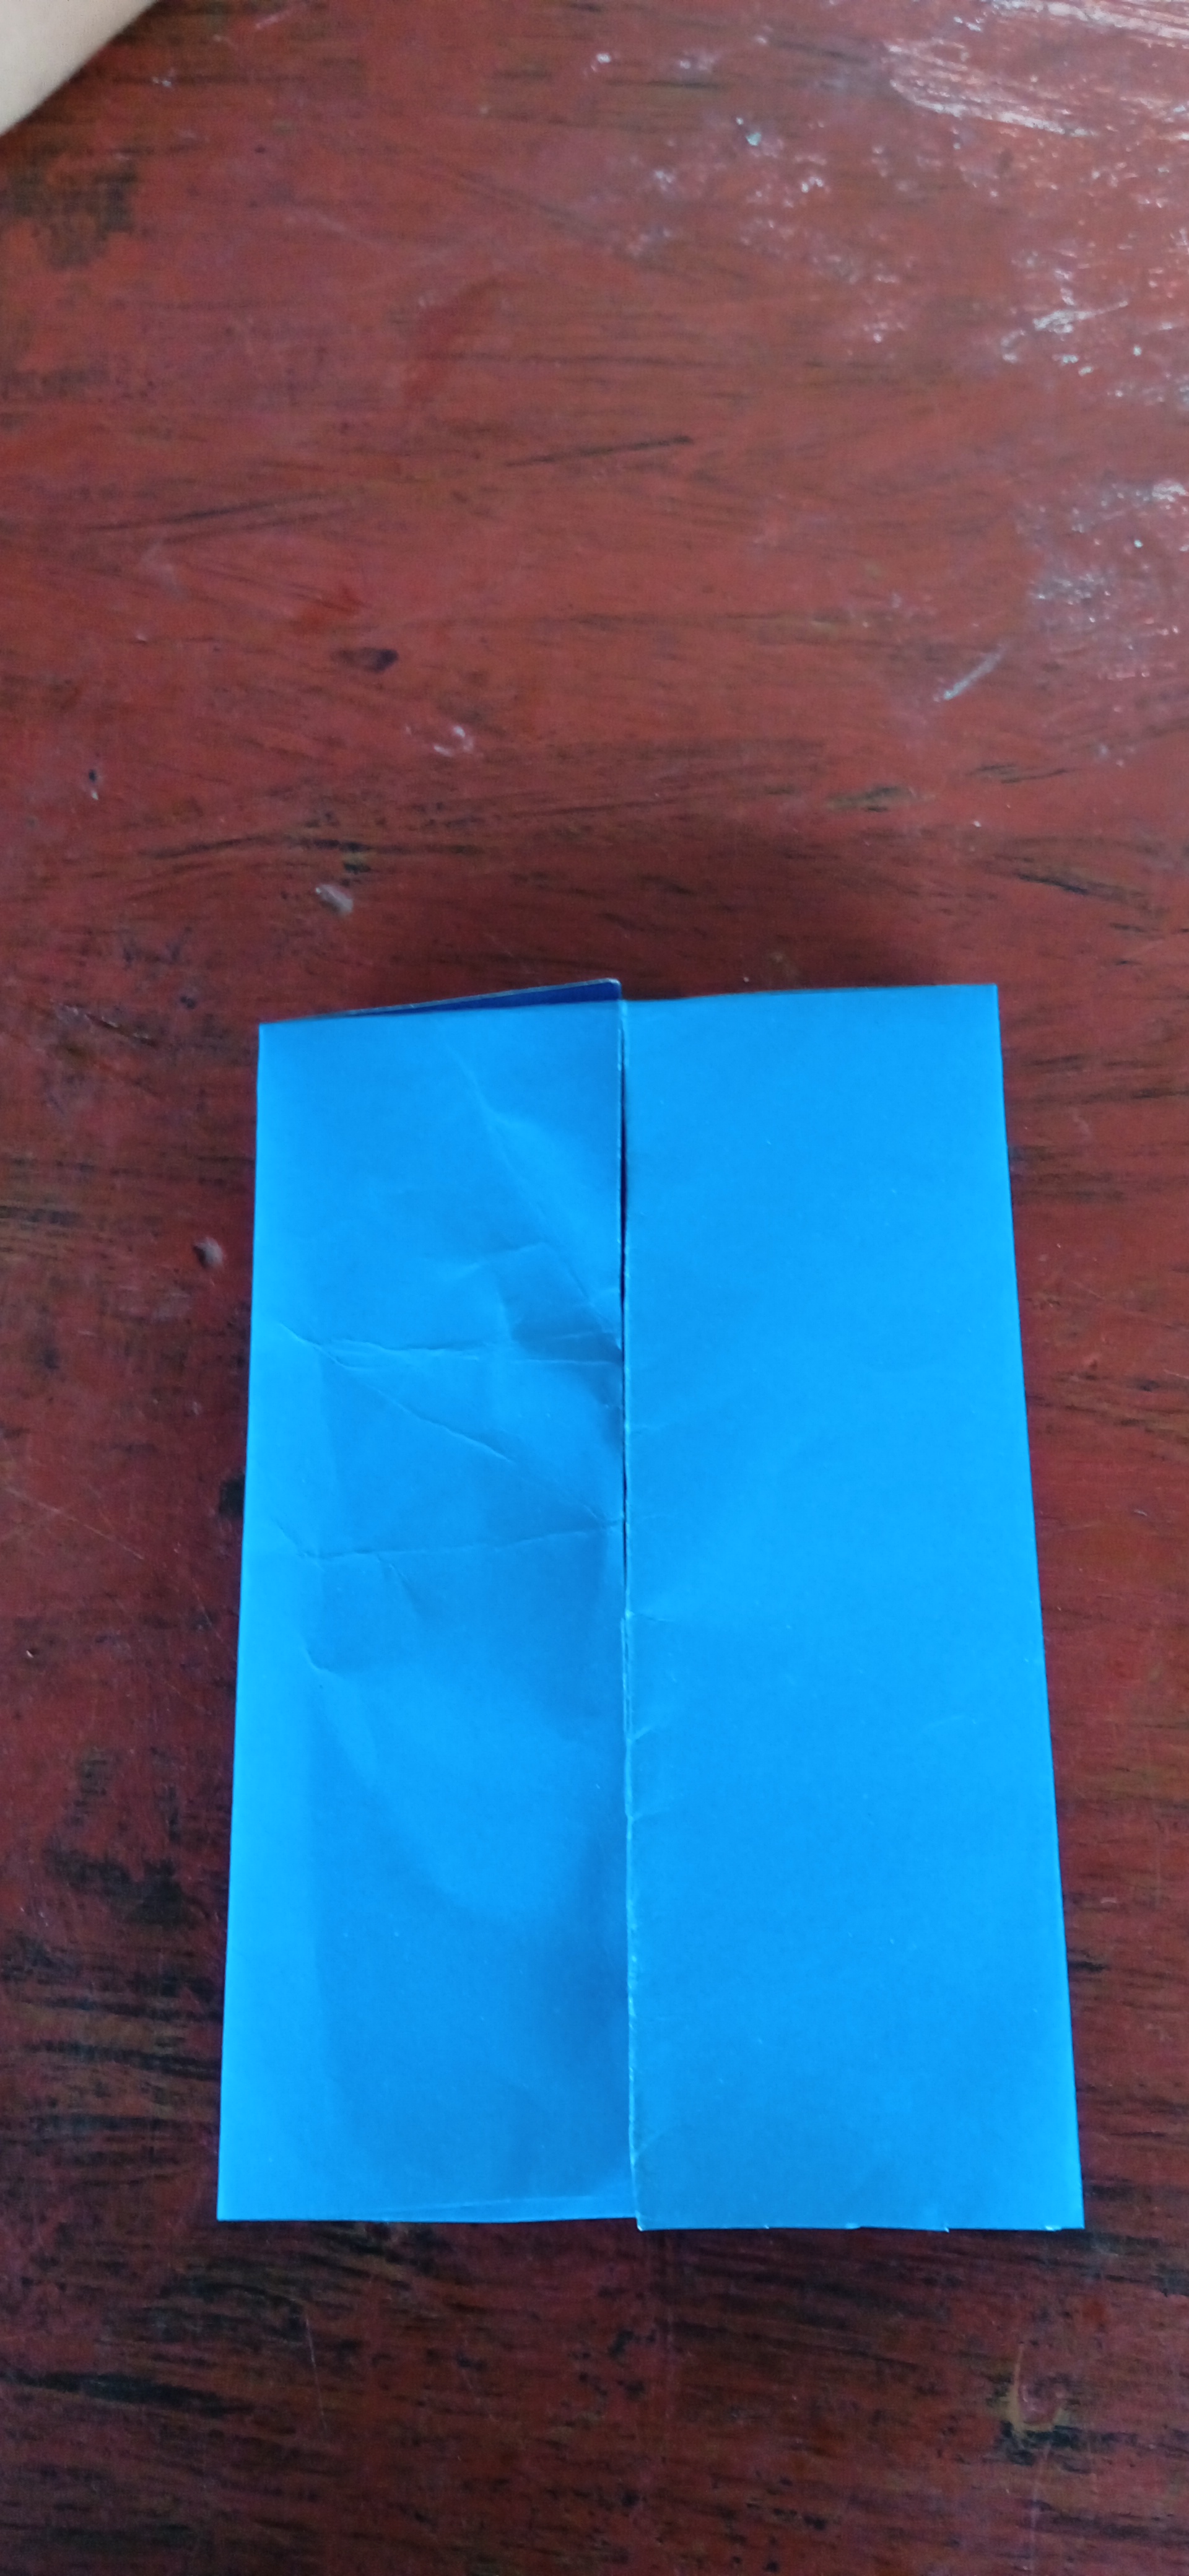
Giramos nuevamente la cartulina para que tome la forma inicial.
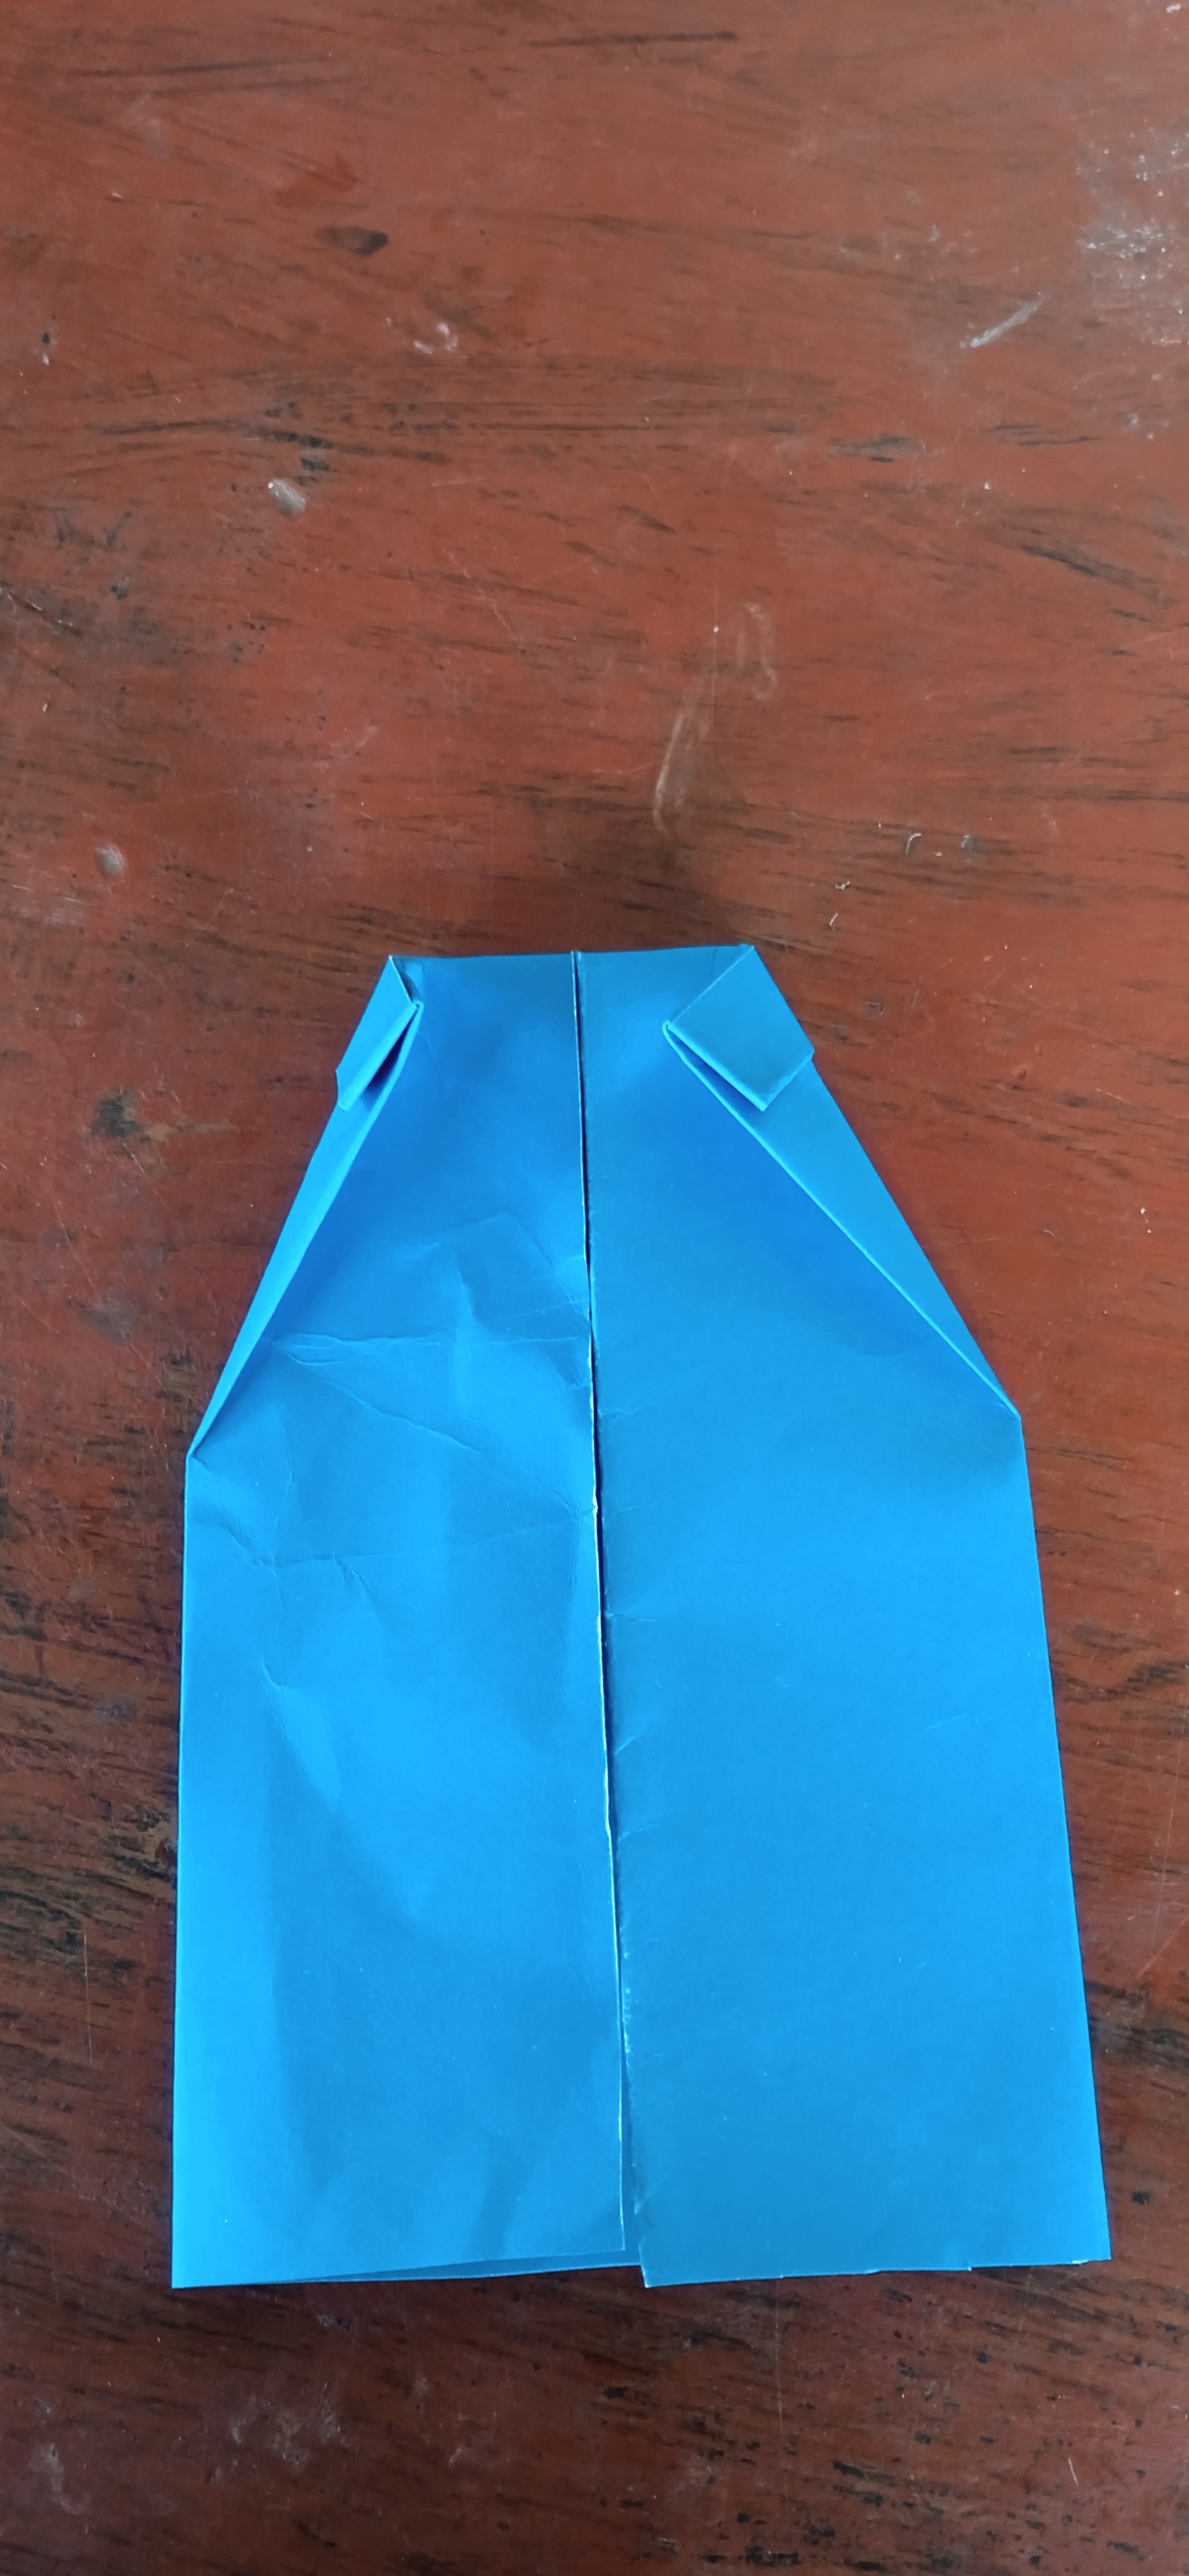
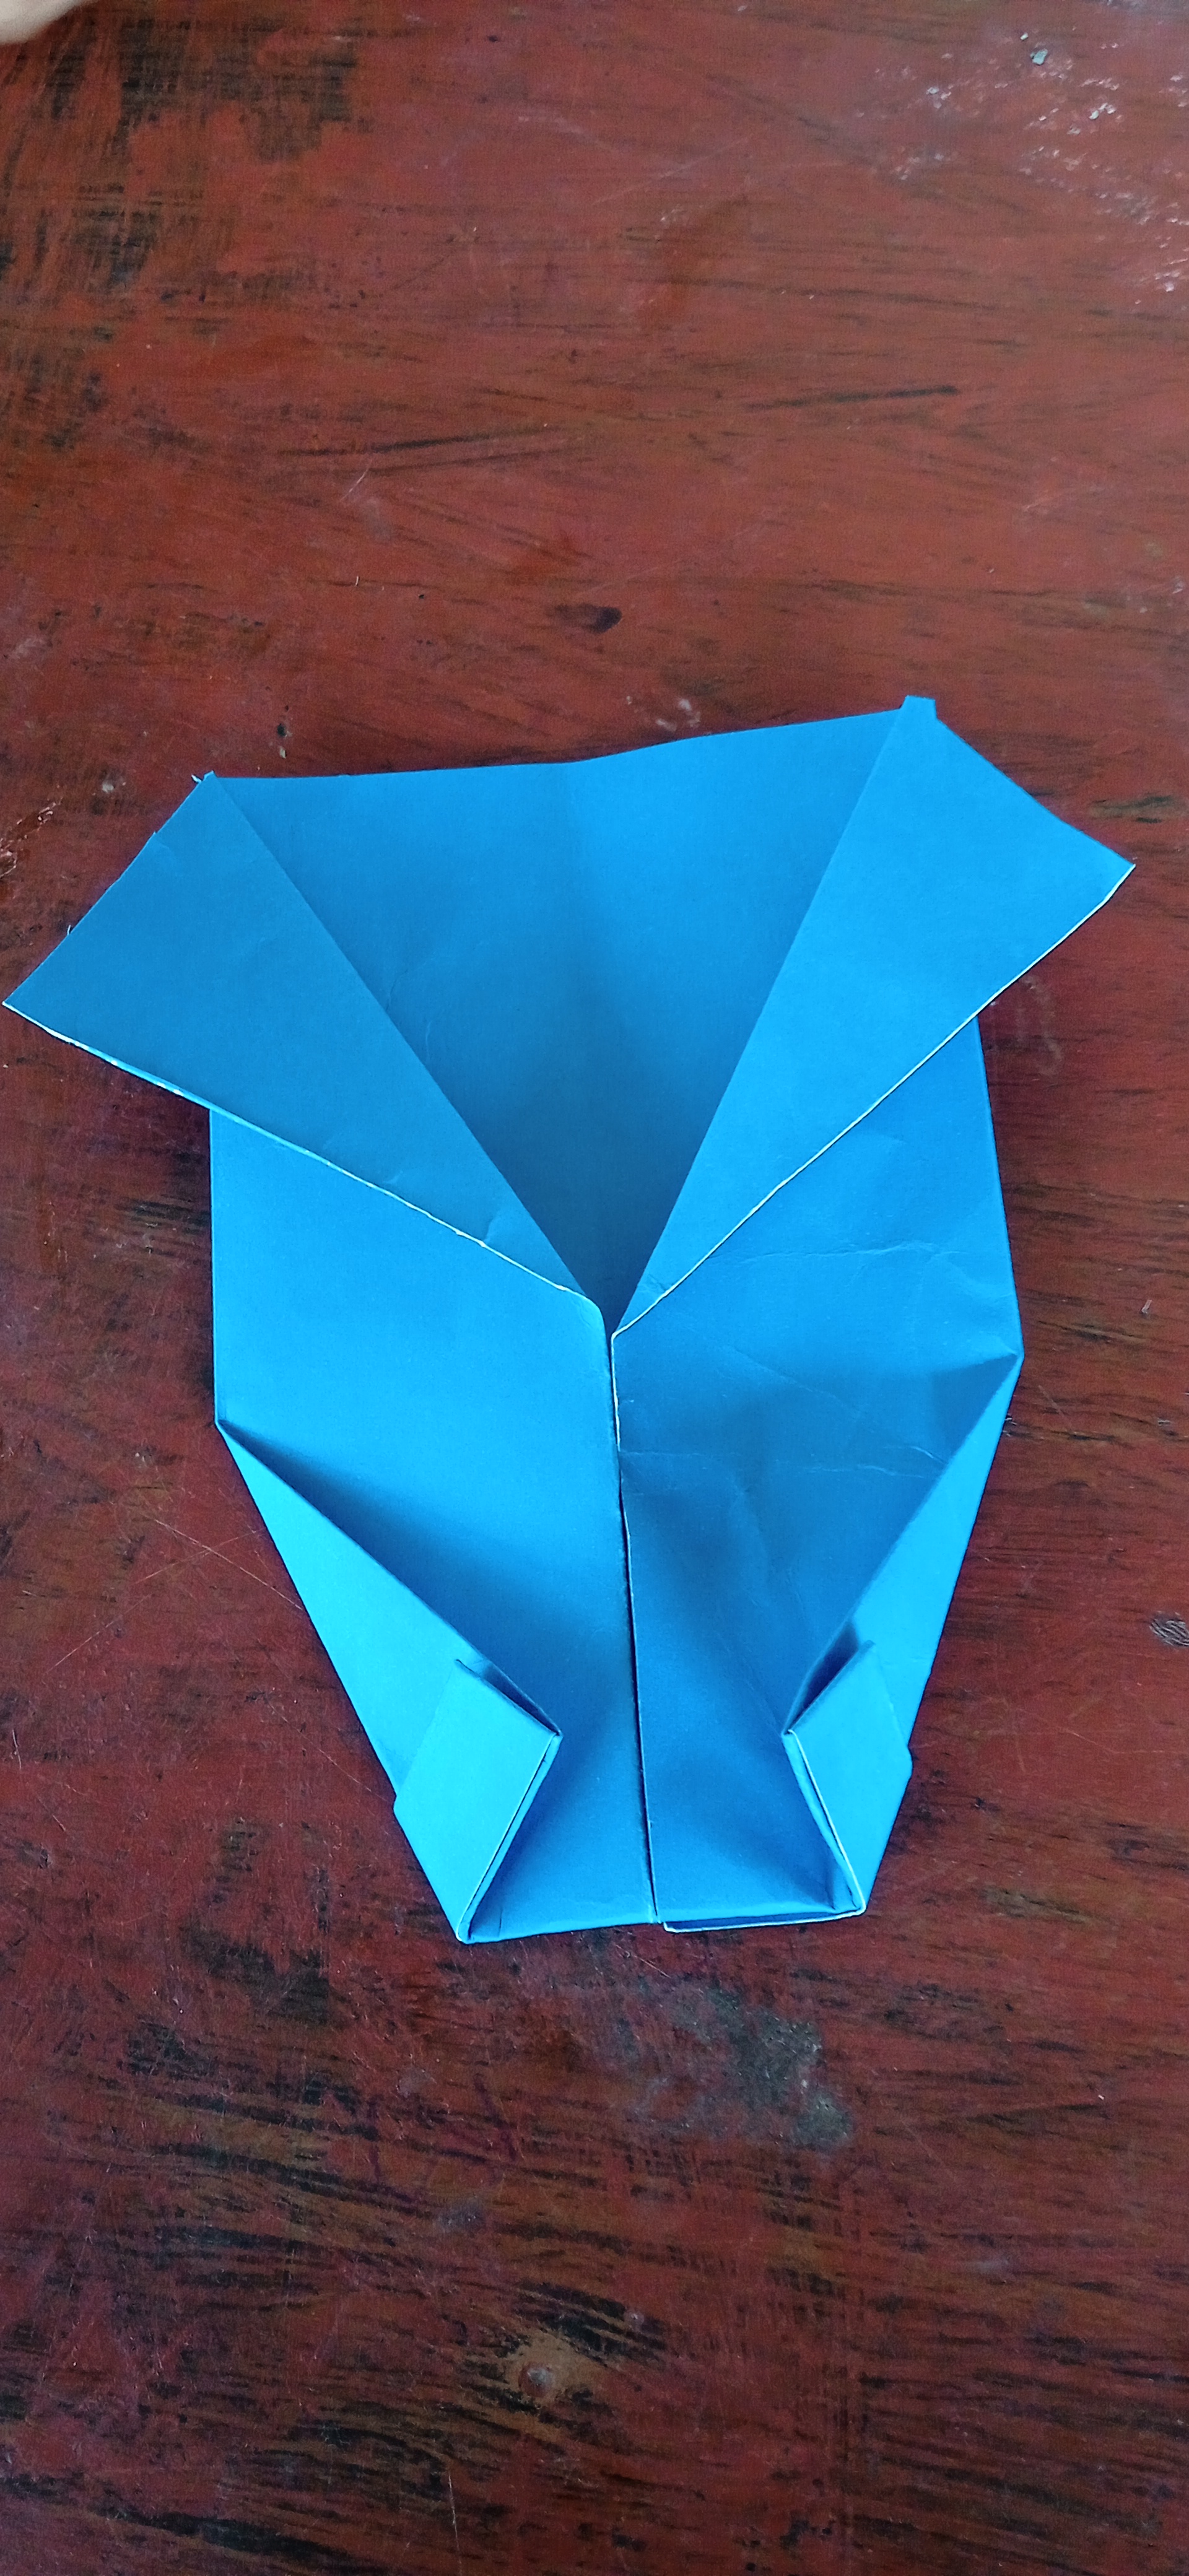
We continue with our origami. In this step, we'll make the shirt collar. Fold the corners to the center.
Seguímos girando la tarjeta sin abrirla y doblamos la parte de arriba.
We continue turning the card without opening it and fold the top part.
Volteamos la tarjeta por la parte delantera para mostrarles como va quedando.
We turn the card over to the front to show you how it looks.
We continue with our origami. In this step, we'll make the shirt collar. Fold the corners to the center.
It's time to make the shirt sleeves. We twist the other end to fold it at an angle.
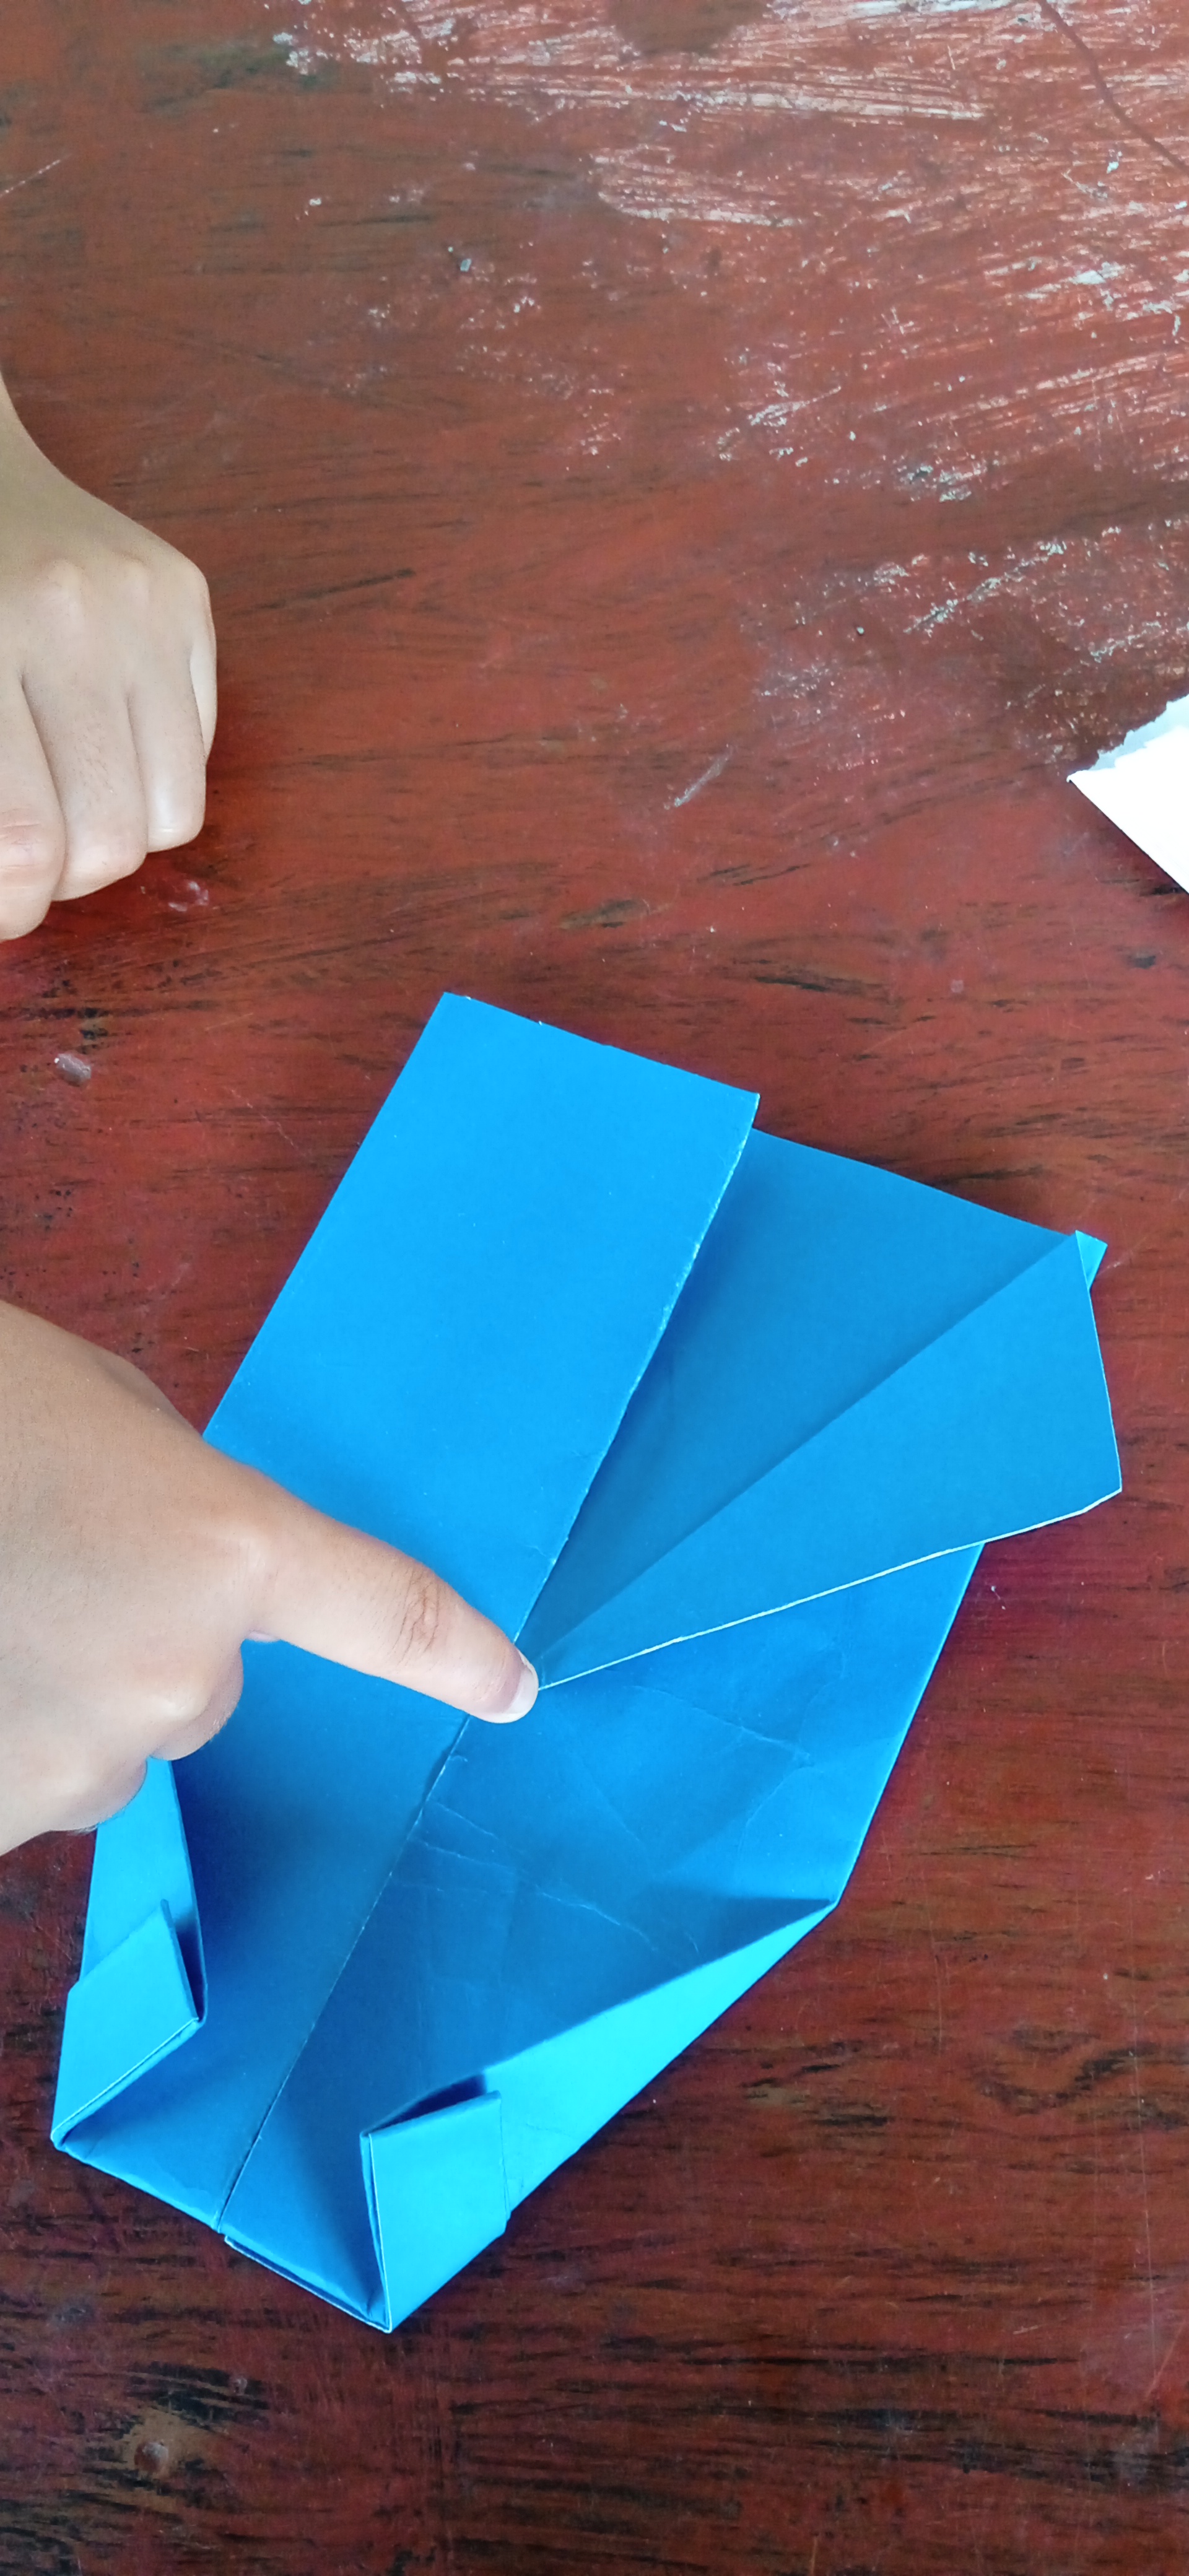
This last fold will be to create the shirt, then we go up to mark a line in the middle, finally we insert between the collar.
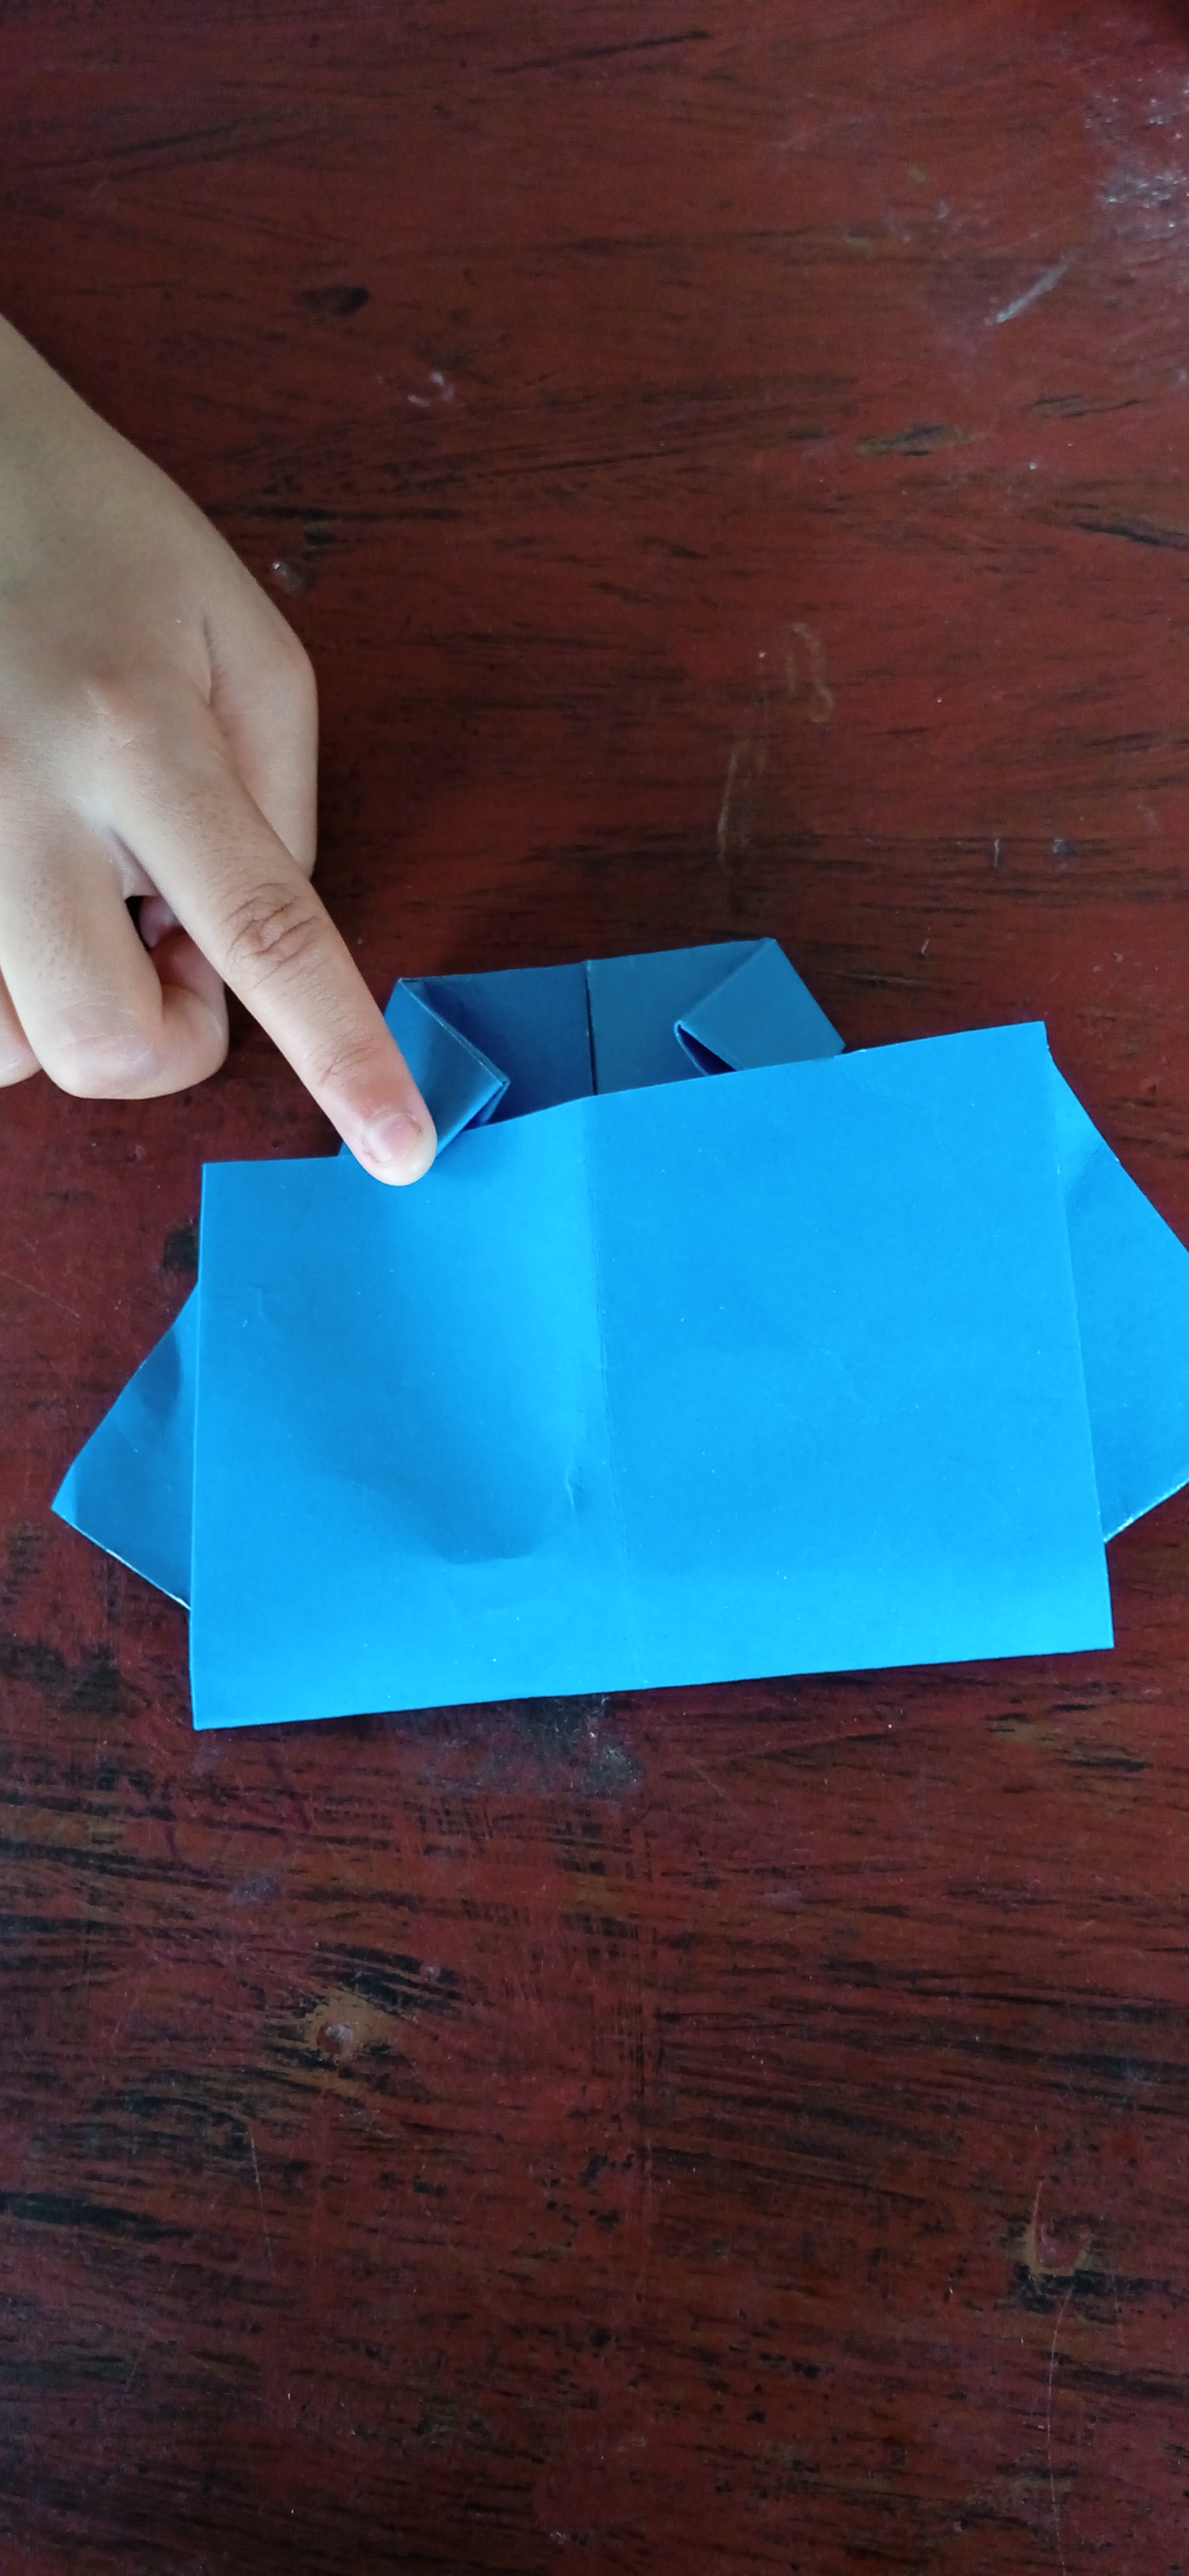
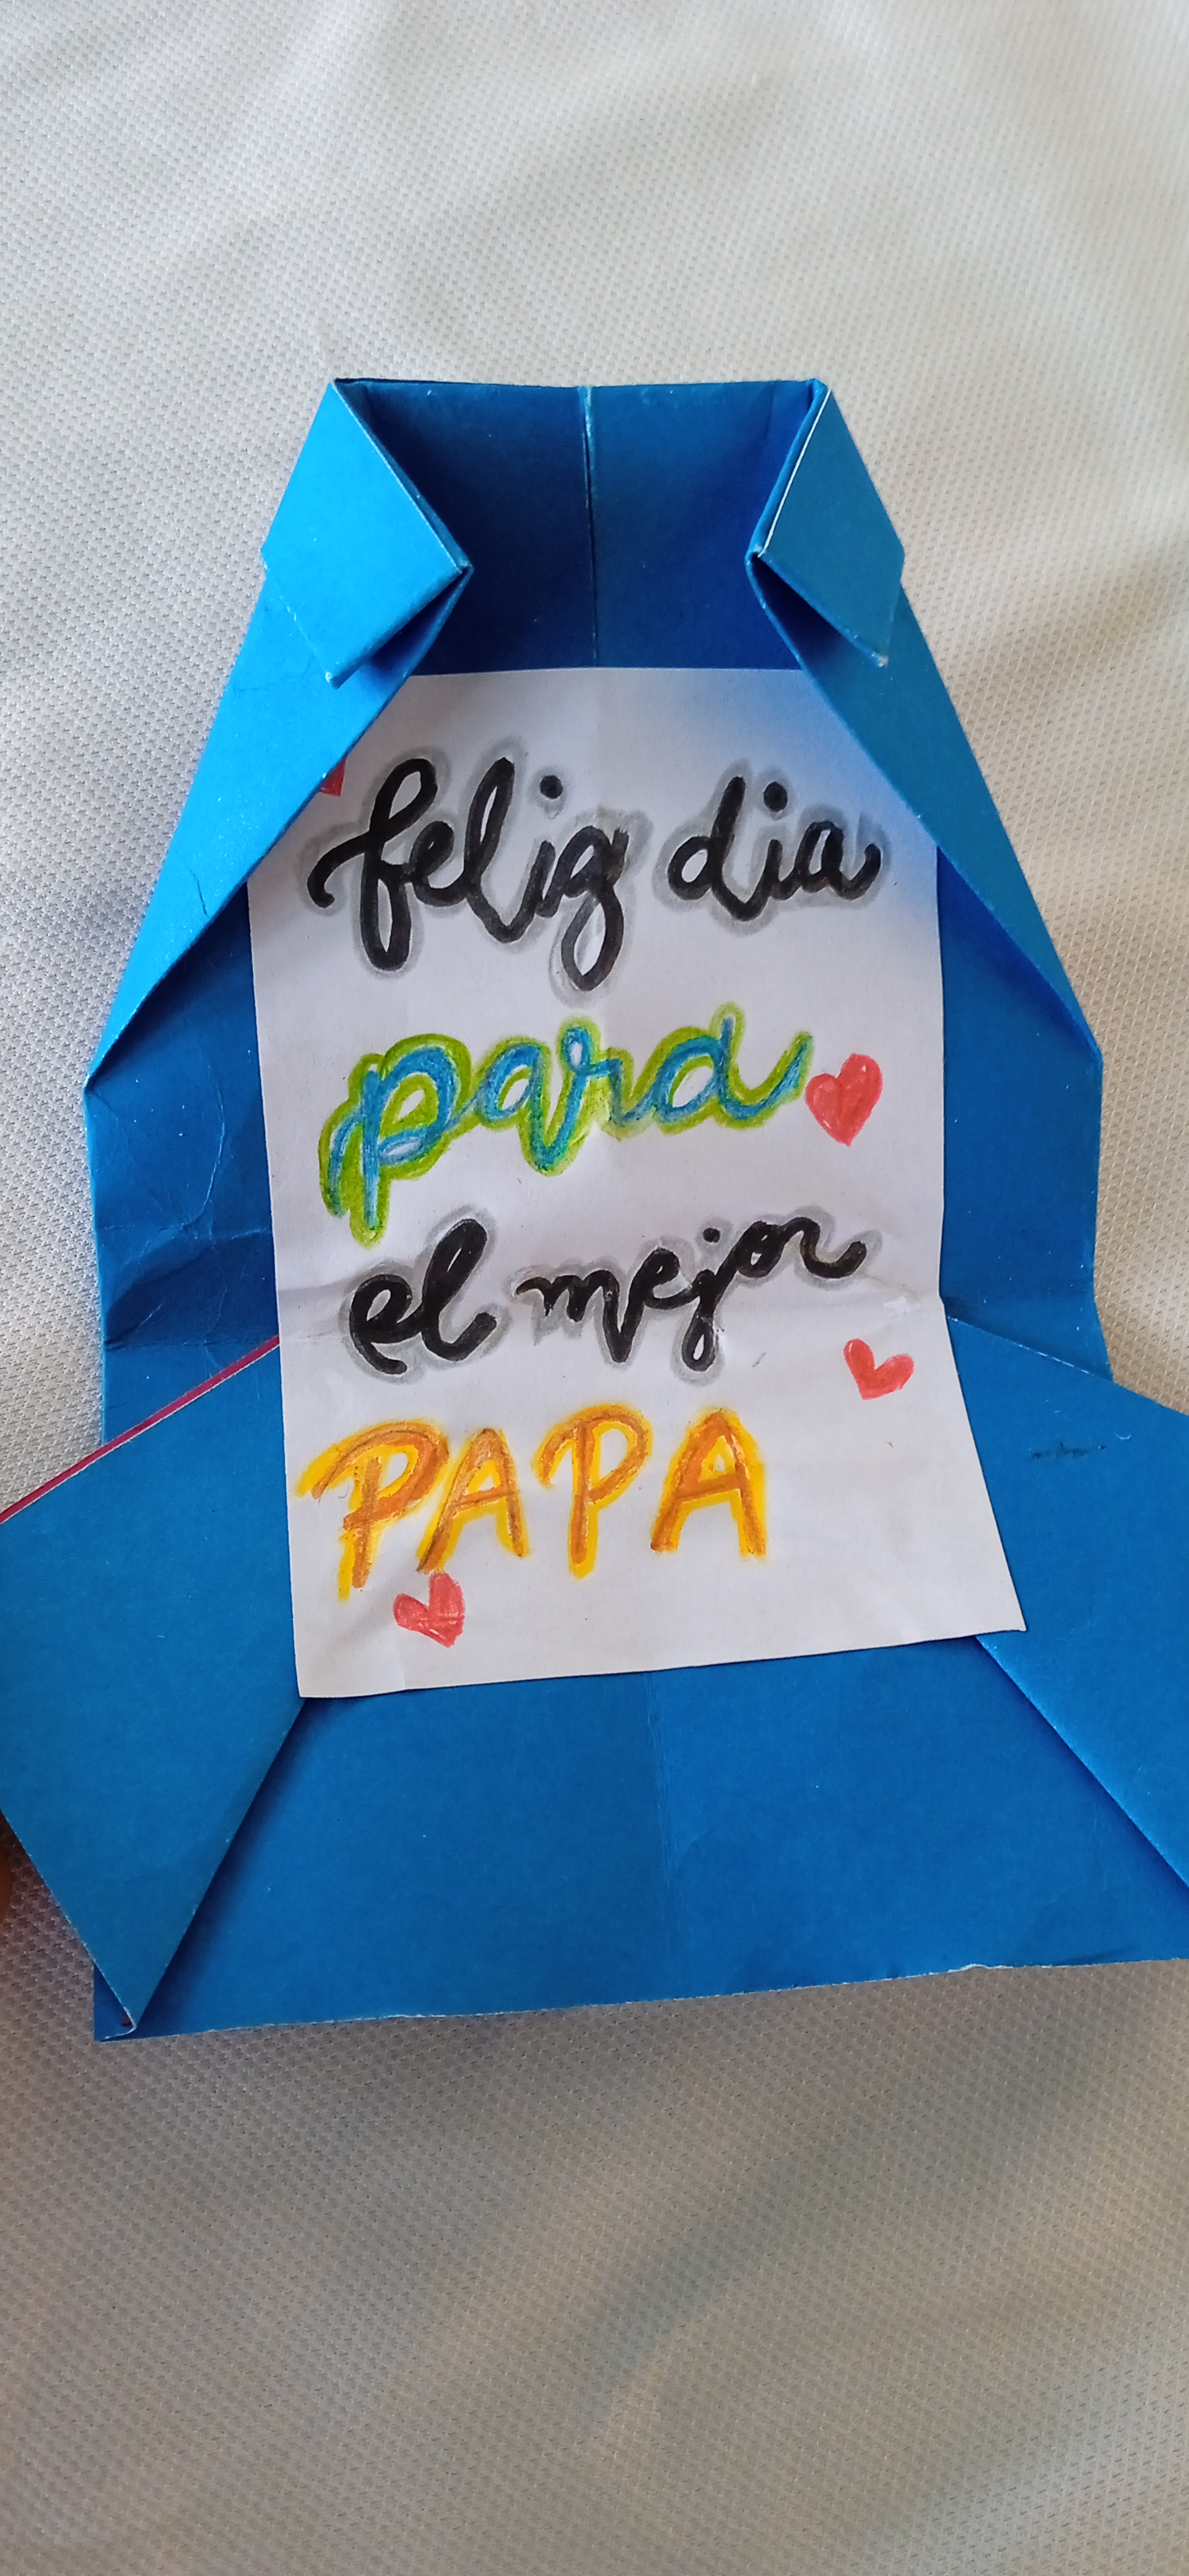
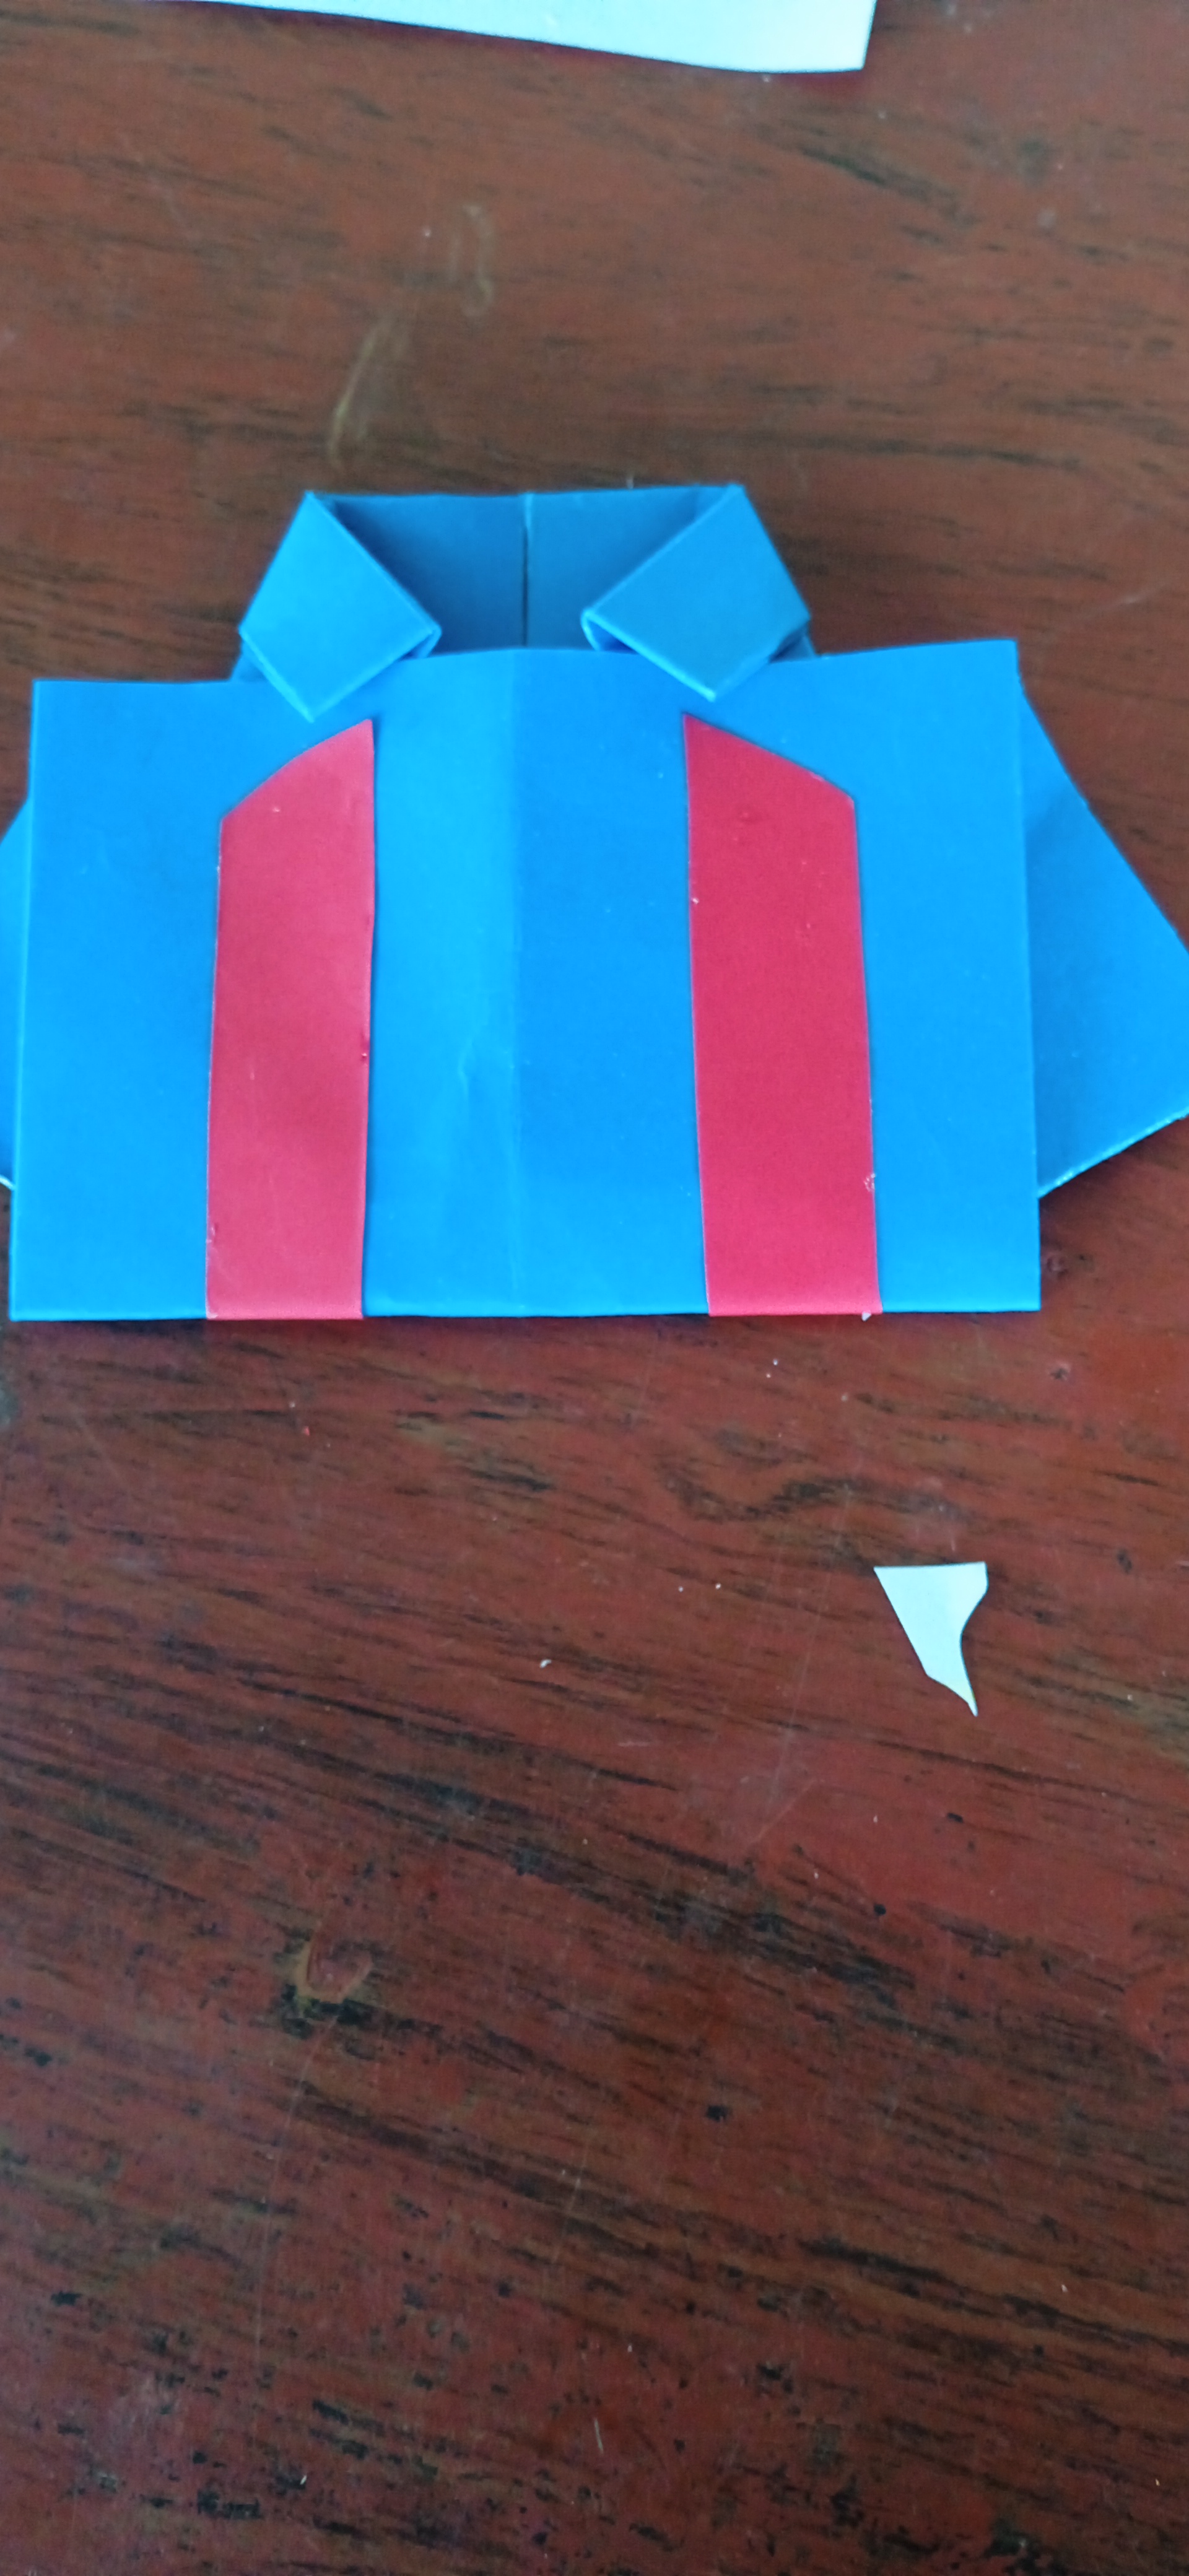
To finish this craft, we make the center section to write the message we want. We cut out a piece of paper and glue it down with a little glue. Then, we write.
Finally, add details to personalize it and make it more fun, such as adding stripes to make it look like a soccer jersey.
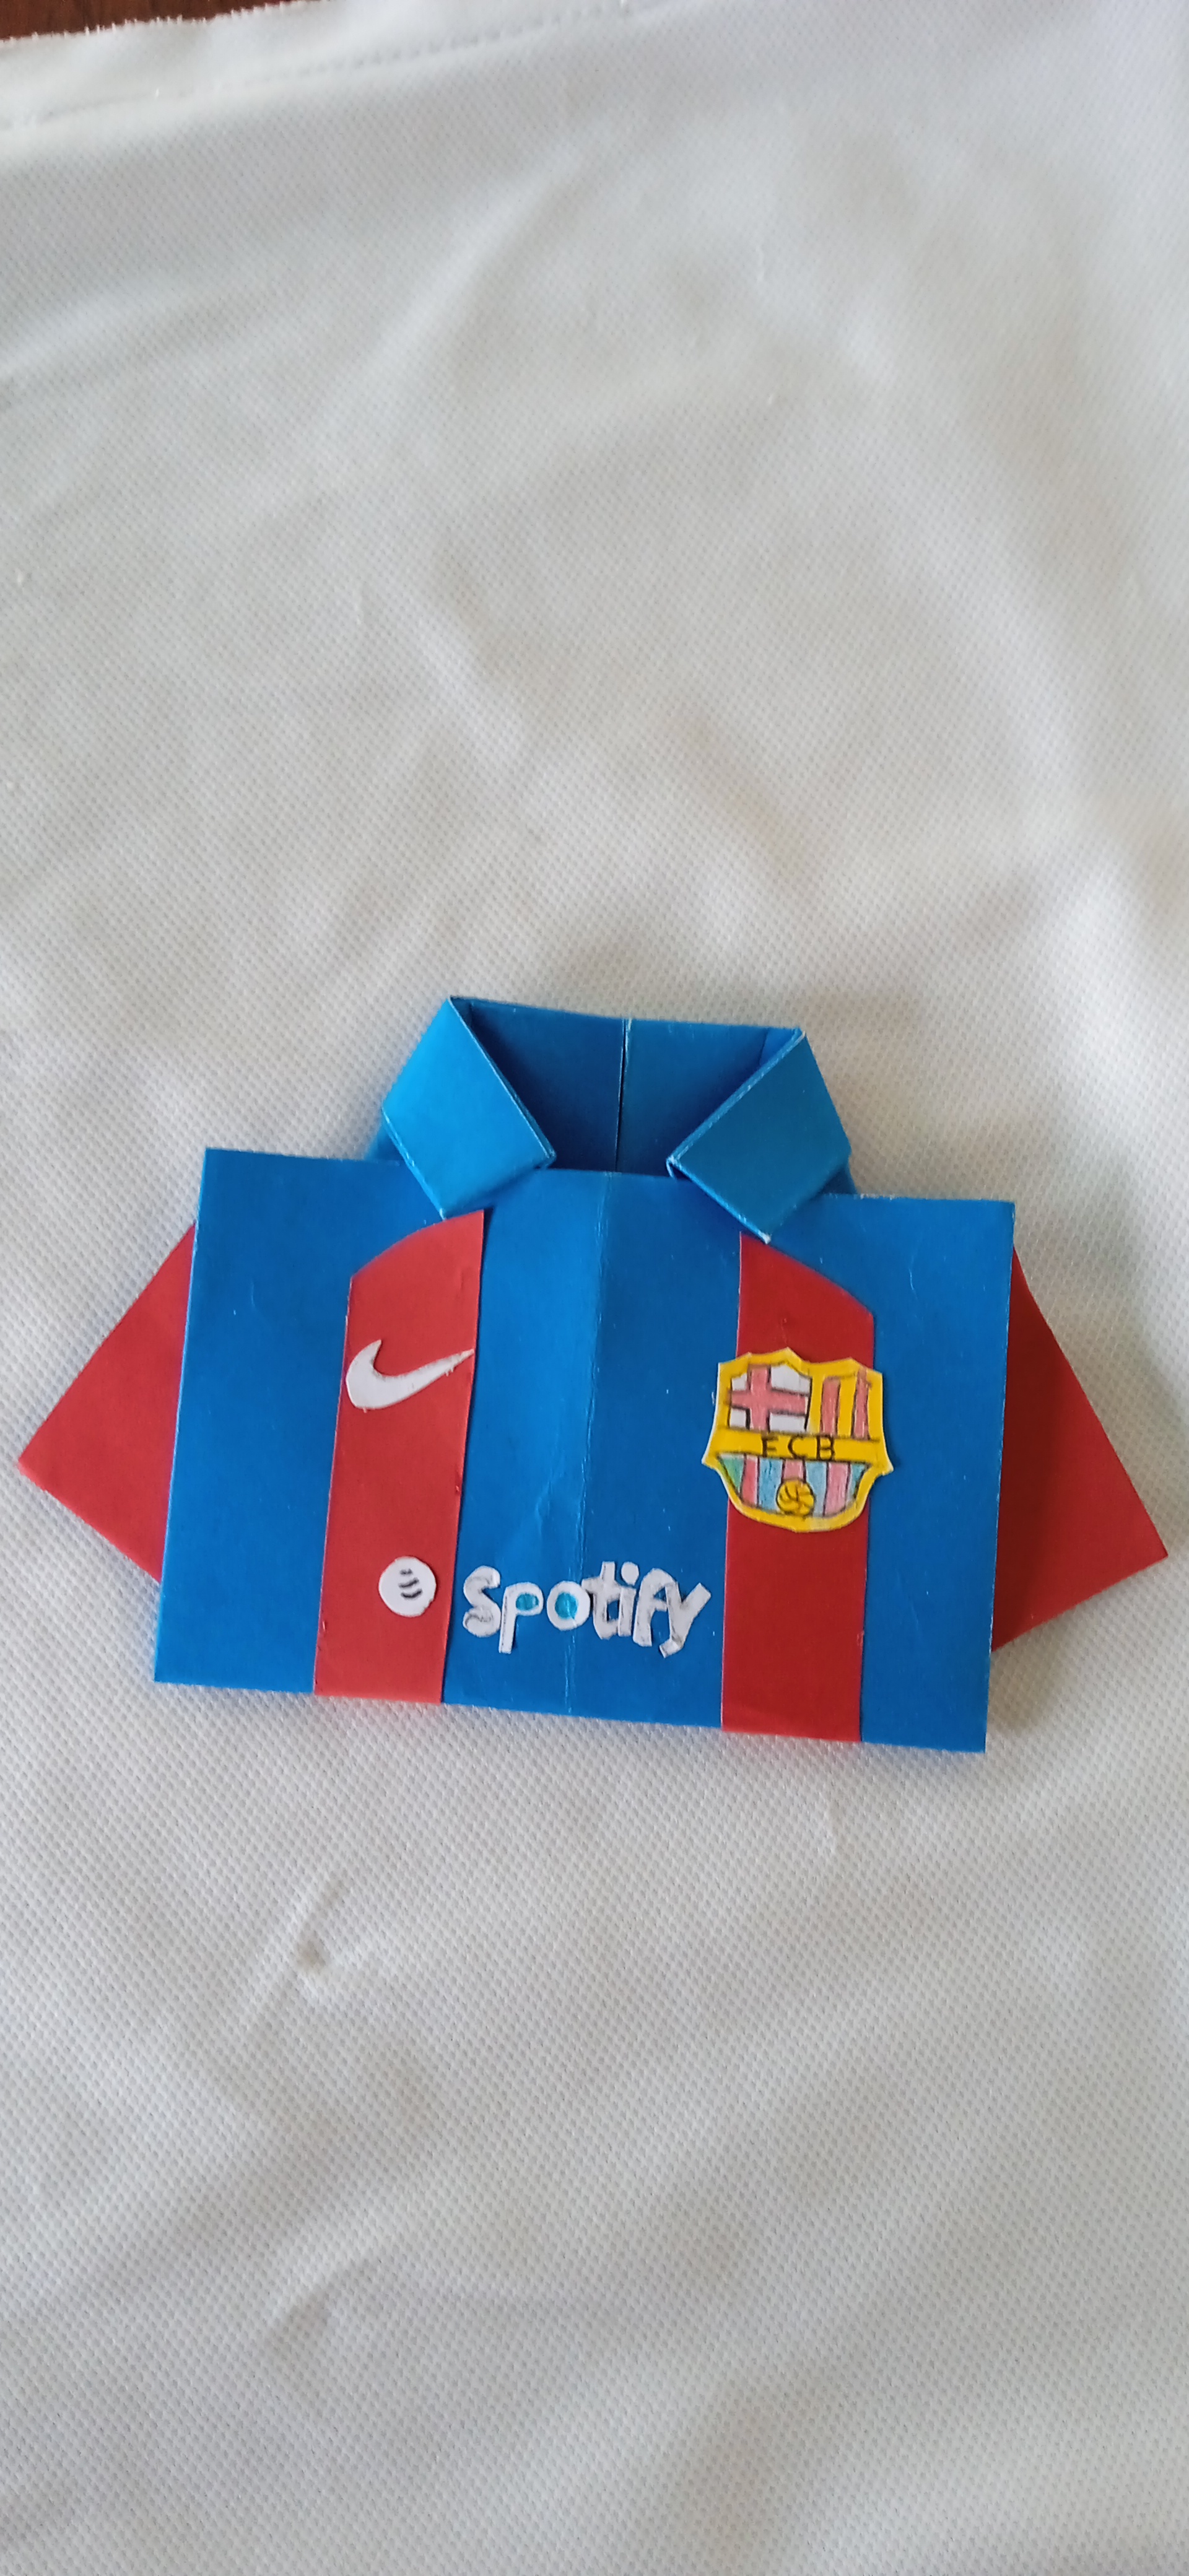
Resultado final.
Final result.
This is a cute, creative, and fun result that Dad is sure to love. Plus, it has a nice message, and you can add a sweet treat to sweeten his day ☺️
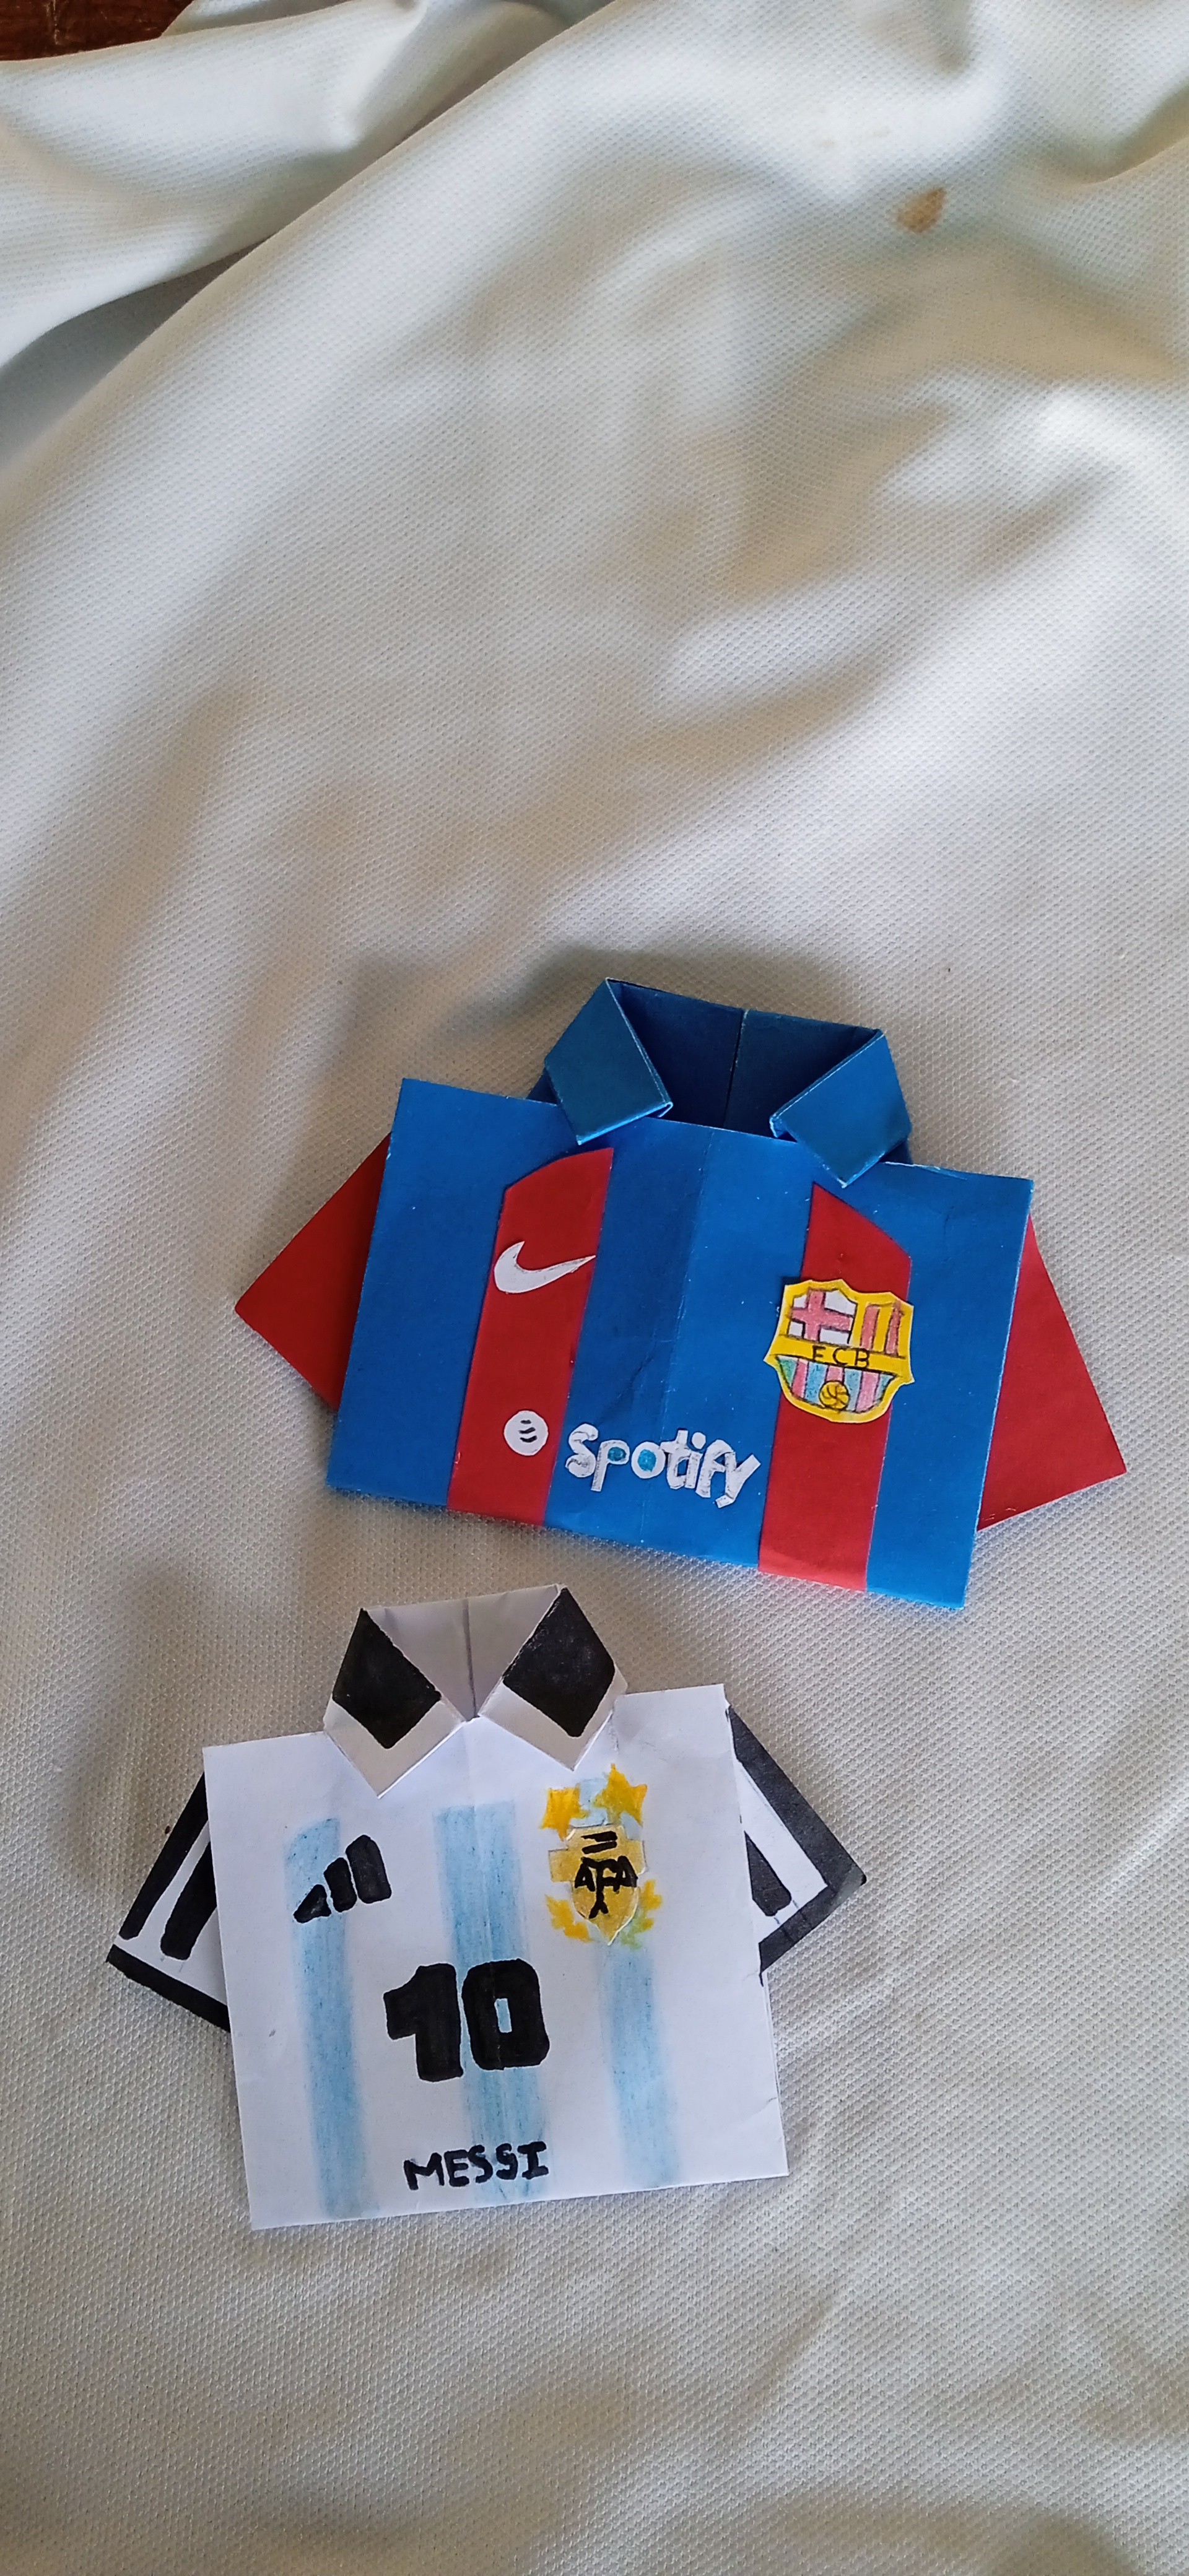
Friends, this is a lovely project to give Dad on his special day. The most important thing is that our little ones can participate in making the gift, making it even more special, as it requires a little effort and enthusiasm on their part. It has been a pleasure to share this project with all of you; I hope to return with another project as beautiful and creative as this one. Greetings and blessings, have a wonderful evening!
Contenido de mi propiedad. Fotos capturada por mi teléfono Xiaomi A10. La foto de portada fue editada por PicsArt. Traductor utilizado, Google.com
Content is my own. Photos captured with my Xiaomi A10 phone. Cover photo edited by PicsArt. Translator used: Google.com