If there's one crop I highly recommend growing for family food security, it's onions. Since I live in the lowlands, I can only recommend growing shallots.
Especially in Indonesia, shallots are a must-have cooking spice and are always used in every daily meal. They make food savory and delicious, even without added flavoring.
Meanwhile, the price of shallots in the market tends to be stable, but there are certain months when they usually spike sharply. So, there's no harm in growing shallots at home.
In my experience in my garden, growing shallots is very profitable. It also significantly saves me money on cooking expenses. Furthermore, most importantly, shallots are relatively easy to care for, and the risk of pests is very low compared to other crops.
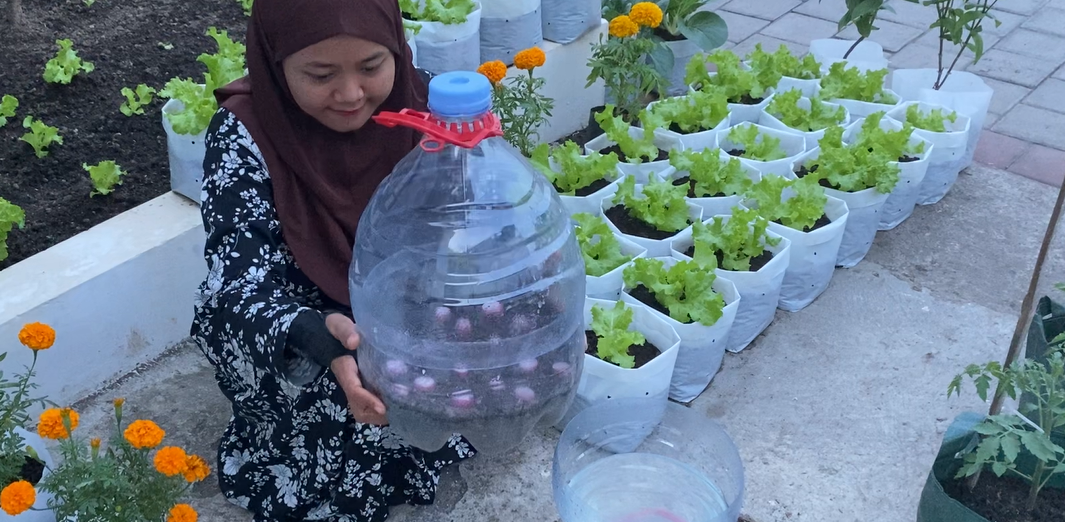
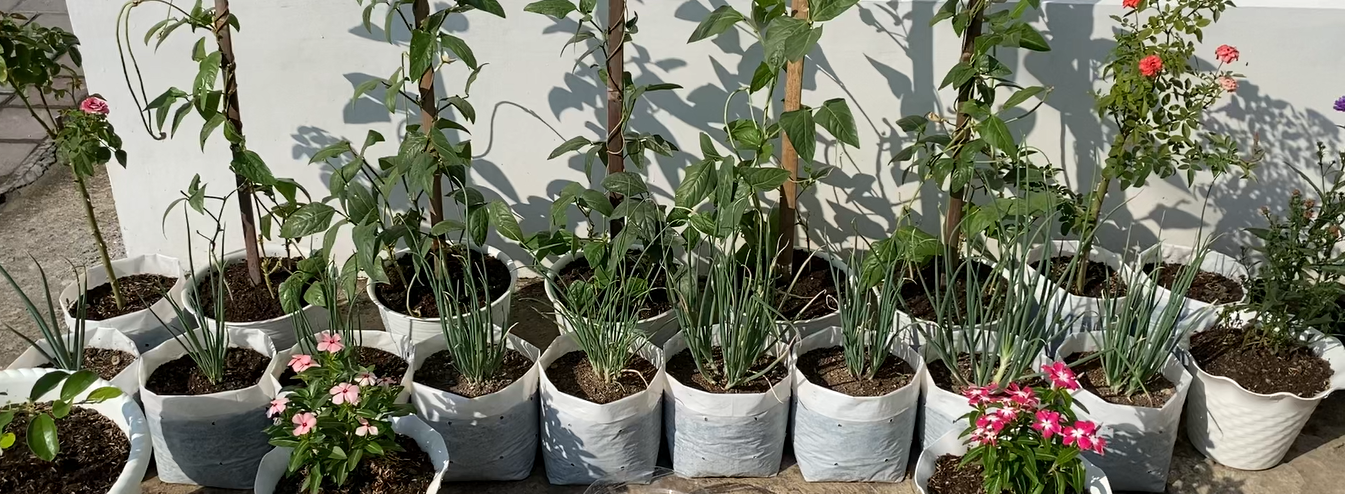
Because shallots are so easy to care for, I'll share with you here how I grow shallots from scratch to harvest. I use polybags. However, for the initial seedlings, I use used gallon jugs.
---
## Stages of Growing Onion Shoots
Planting shallots using bulbs from the kitchen, rather than special shallot seeds, requires special tricks to prevent the bulbs from rotting and ensure they successfully become shallot seedlings ready for transplanting into polybags or pots.

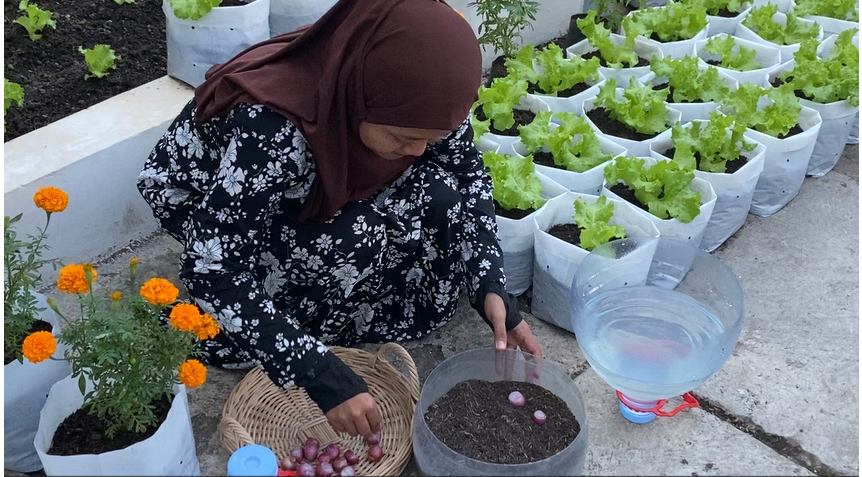
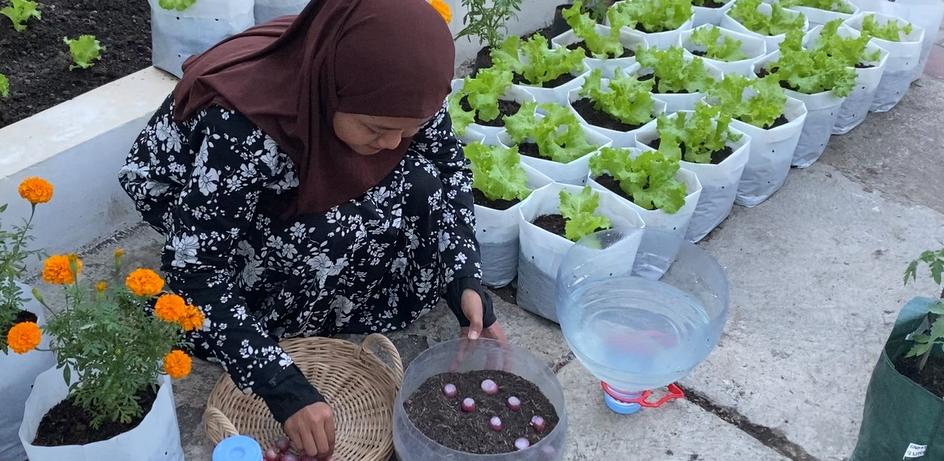
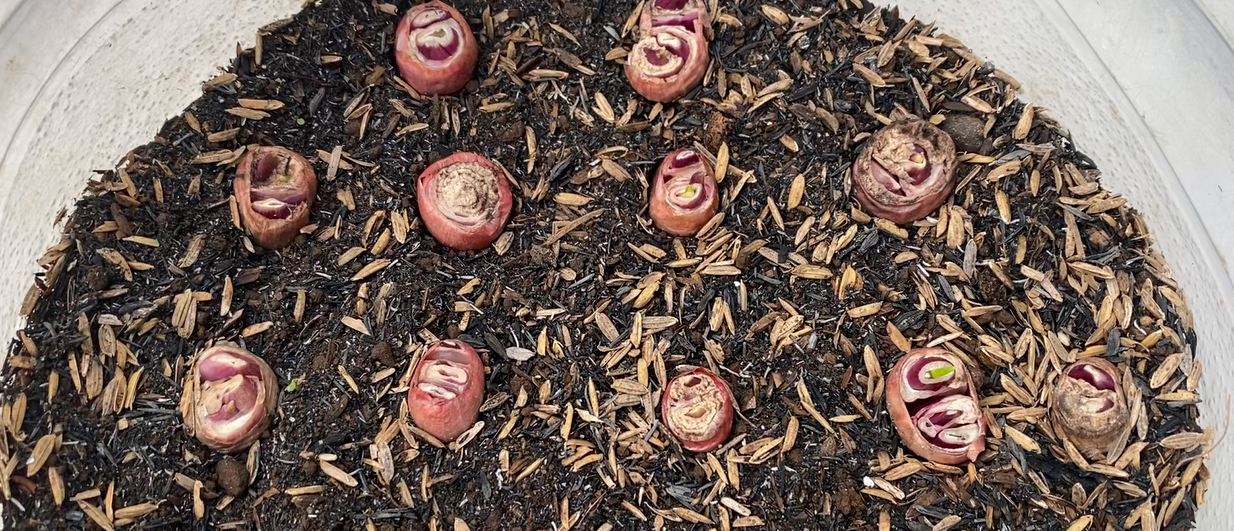
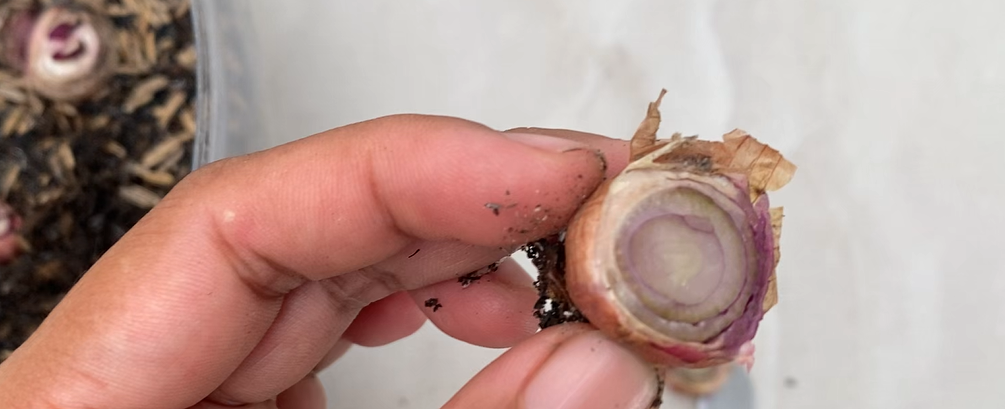
I prepared several shallots. Then, I cut off a small portion of the top of each shallot to plant in the prepared growing medium.
---
---
---
In an old gallon jug, I prepared the growing medium. I used a mixture of soil, burnt rice husks, and goat manure. Then, I placed the shallot bulbs in this growing medium.
Don't let the cut shallot bulbs be covered by soil. Leave the tips of the bulbs exposed. Then, water them lightly, but don't overdo it, as shallots don't like water.
---
Water only when the growing medium is dry. Place the shallot bulbs in a shady spot, out of direct sunlight, but don't place them in a dark area.
---
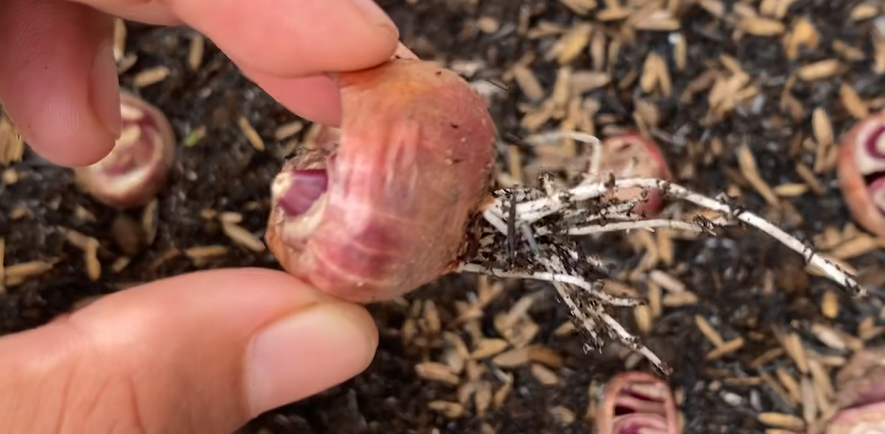
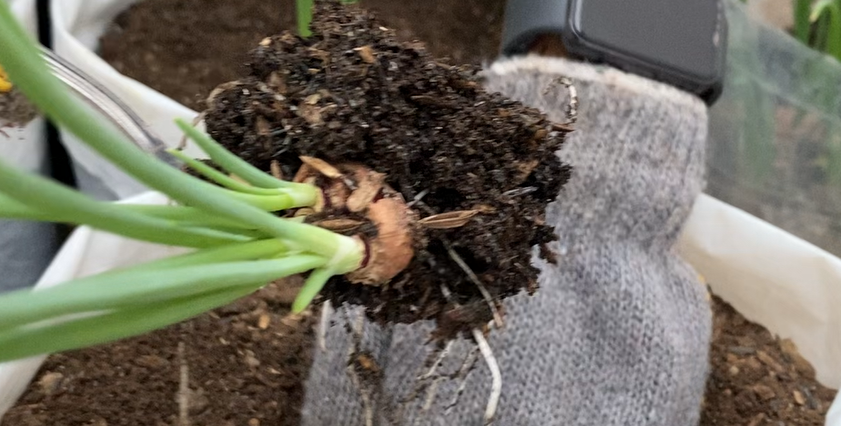
Five days later, the shallot shoots began to grow. However, some of the shallot bulbs didn't sprout.
Don't worry, there's a trick to getting the shallot bulbs that didn't sprout. We have to remove the shallot bulbs that didn't grow.
The roots appear to be growing but haven't sprouted yet. So, what we need to do is make another thin slice on the surface of the shallot bulbs that look dry. After thinly slicing, place them back in the growing medium as before.
---
A few days later, all the shallot bulbs finally sprouted again. After sprouting, they need to be taken out and exposed to direct sunlight. But try not to expose them to rain first to prevent the sprouts from rotting.
----
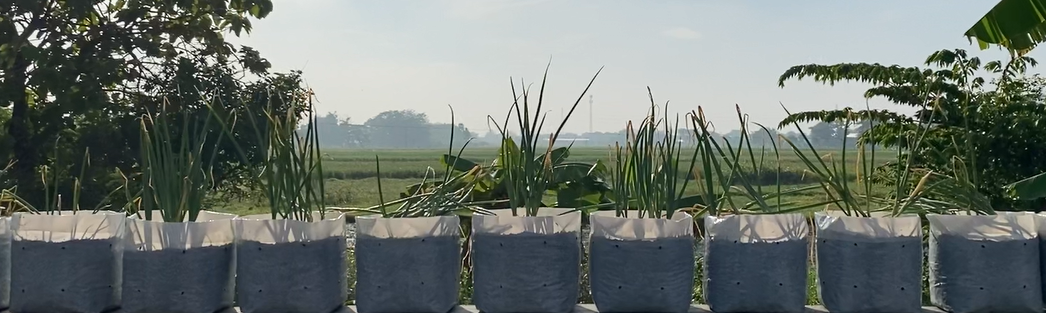
## Transplanting to a Larger Planting Container
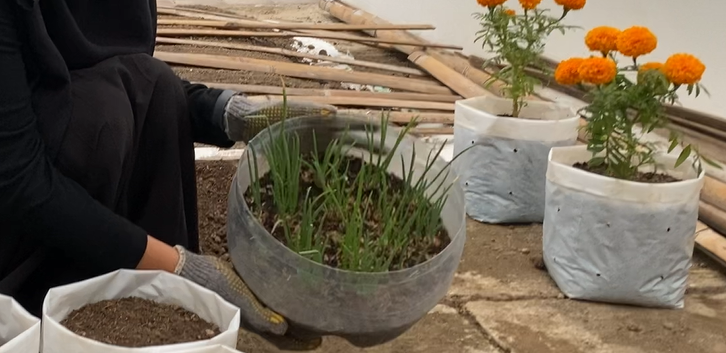
After two weeks, I transplanted the shallot shoots into white polybags.
I filled each polybag with one shallot seed. I transplanted them in the afternoon.
----
## Fertilizing
After the first week of transplanting, I fertilized with liquid organic fertilizer. This liquid organic fertilizer is made from compost water. However, I used a ready-to-use product. I'm currently getting free fertilizer from a product I promote on TikTok.
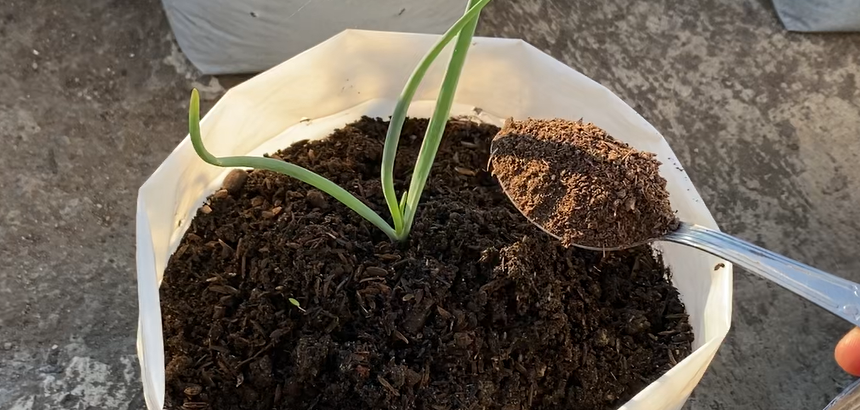
Meanwhile, for solid fertilizer, I apply goat manure when the plants are two weeks old. I then apply goat manure every two weeks.
---
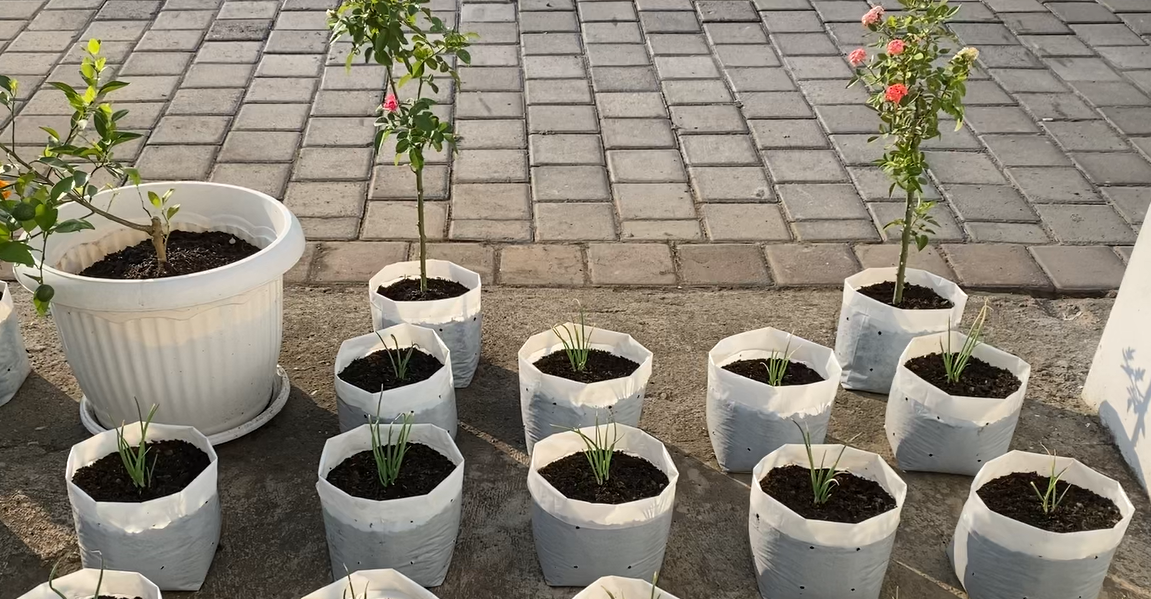
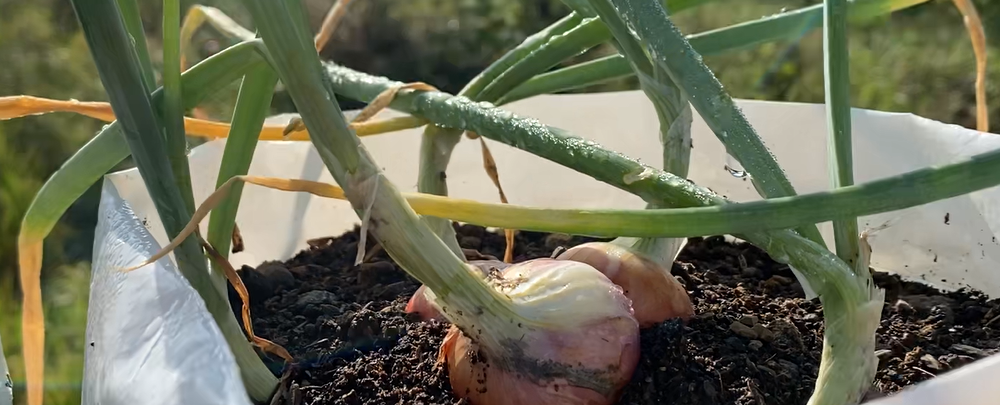
## Shallot Bulbs Begin to Grow
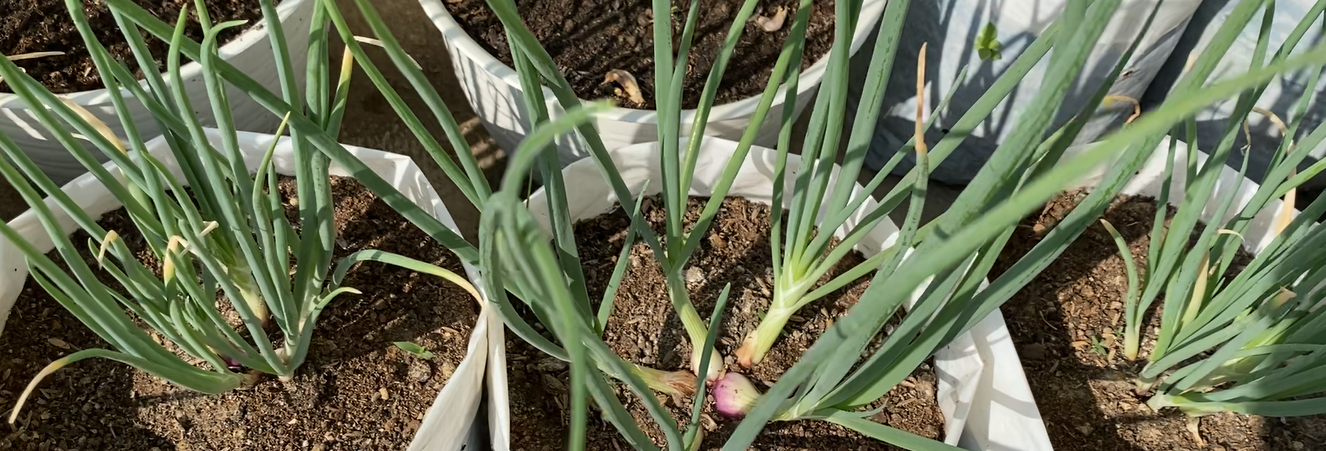
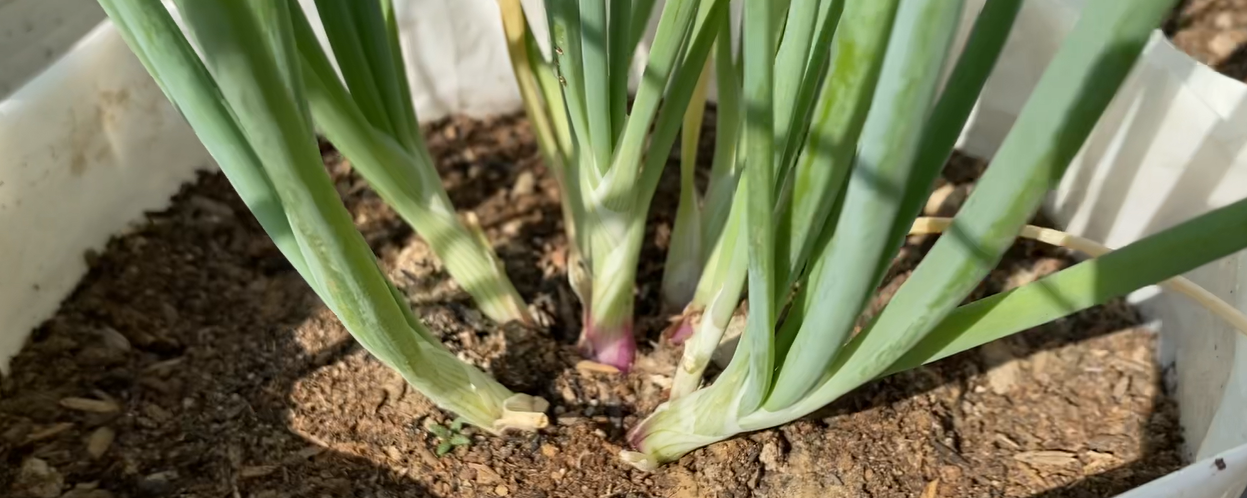
Immediately, the shallot bulbs are starting to appear before they're two months old. At two months, the shallots are almost ready to harvest.
---
---
---
As the harvest approaches, the shallot leaves will start to become unsteady. So, I tidy them up by tying them up to keep them neat.
---
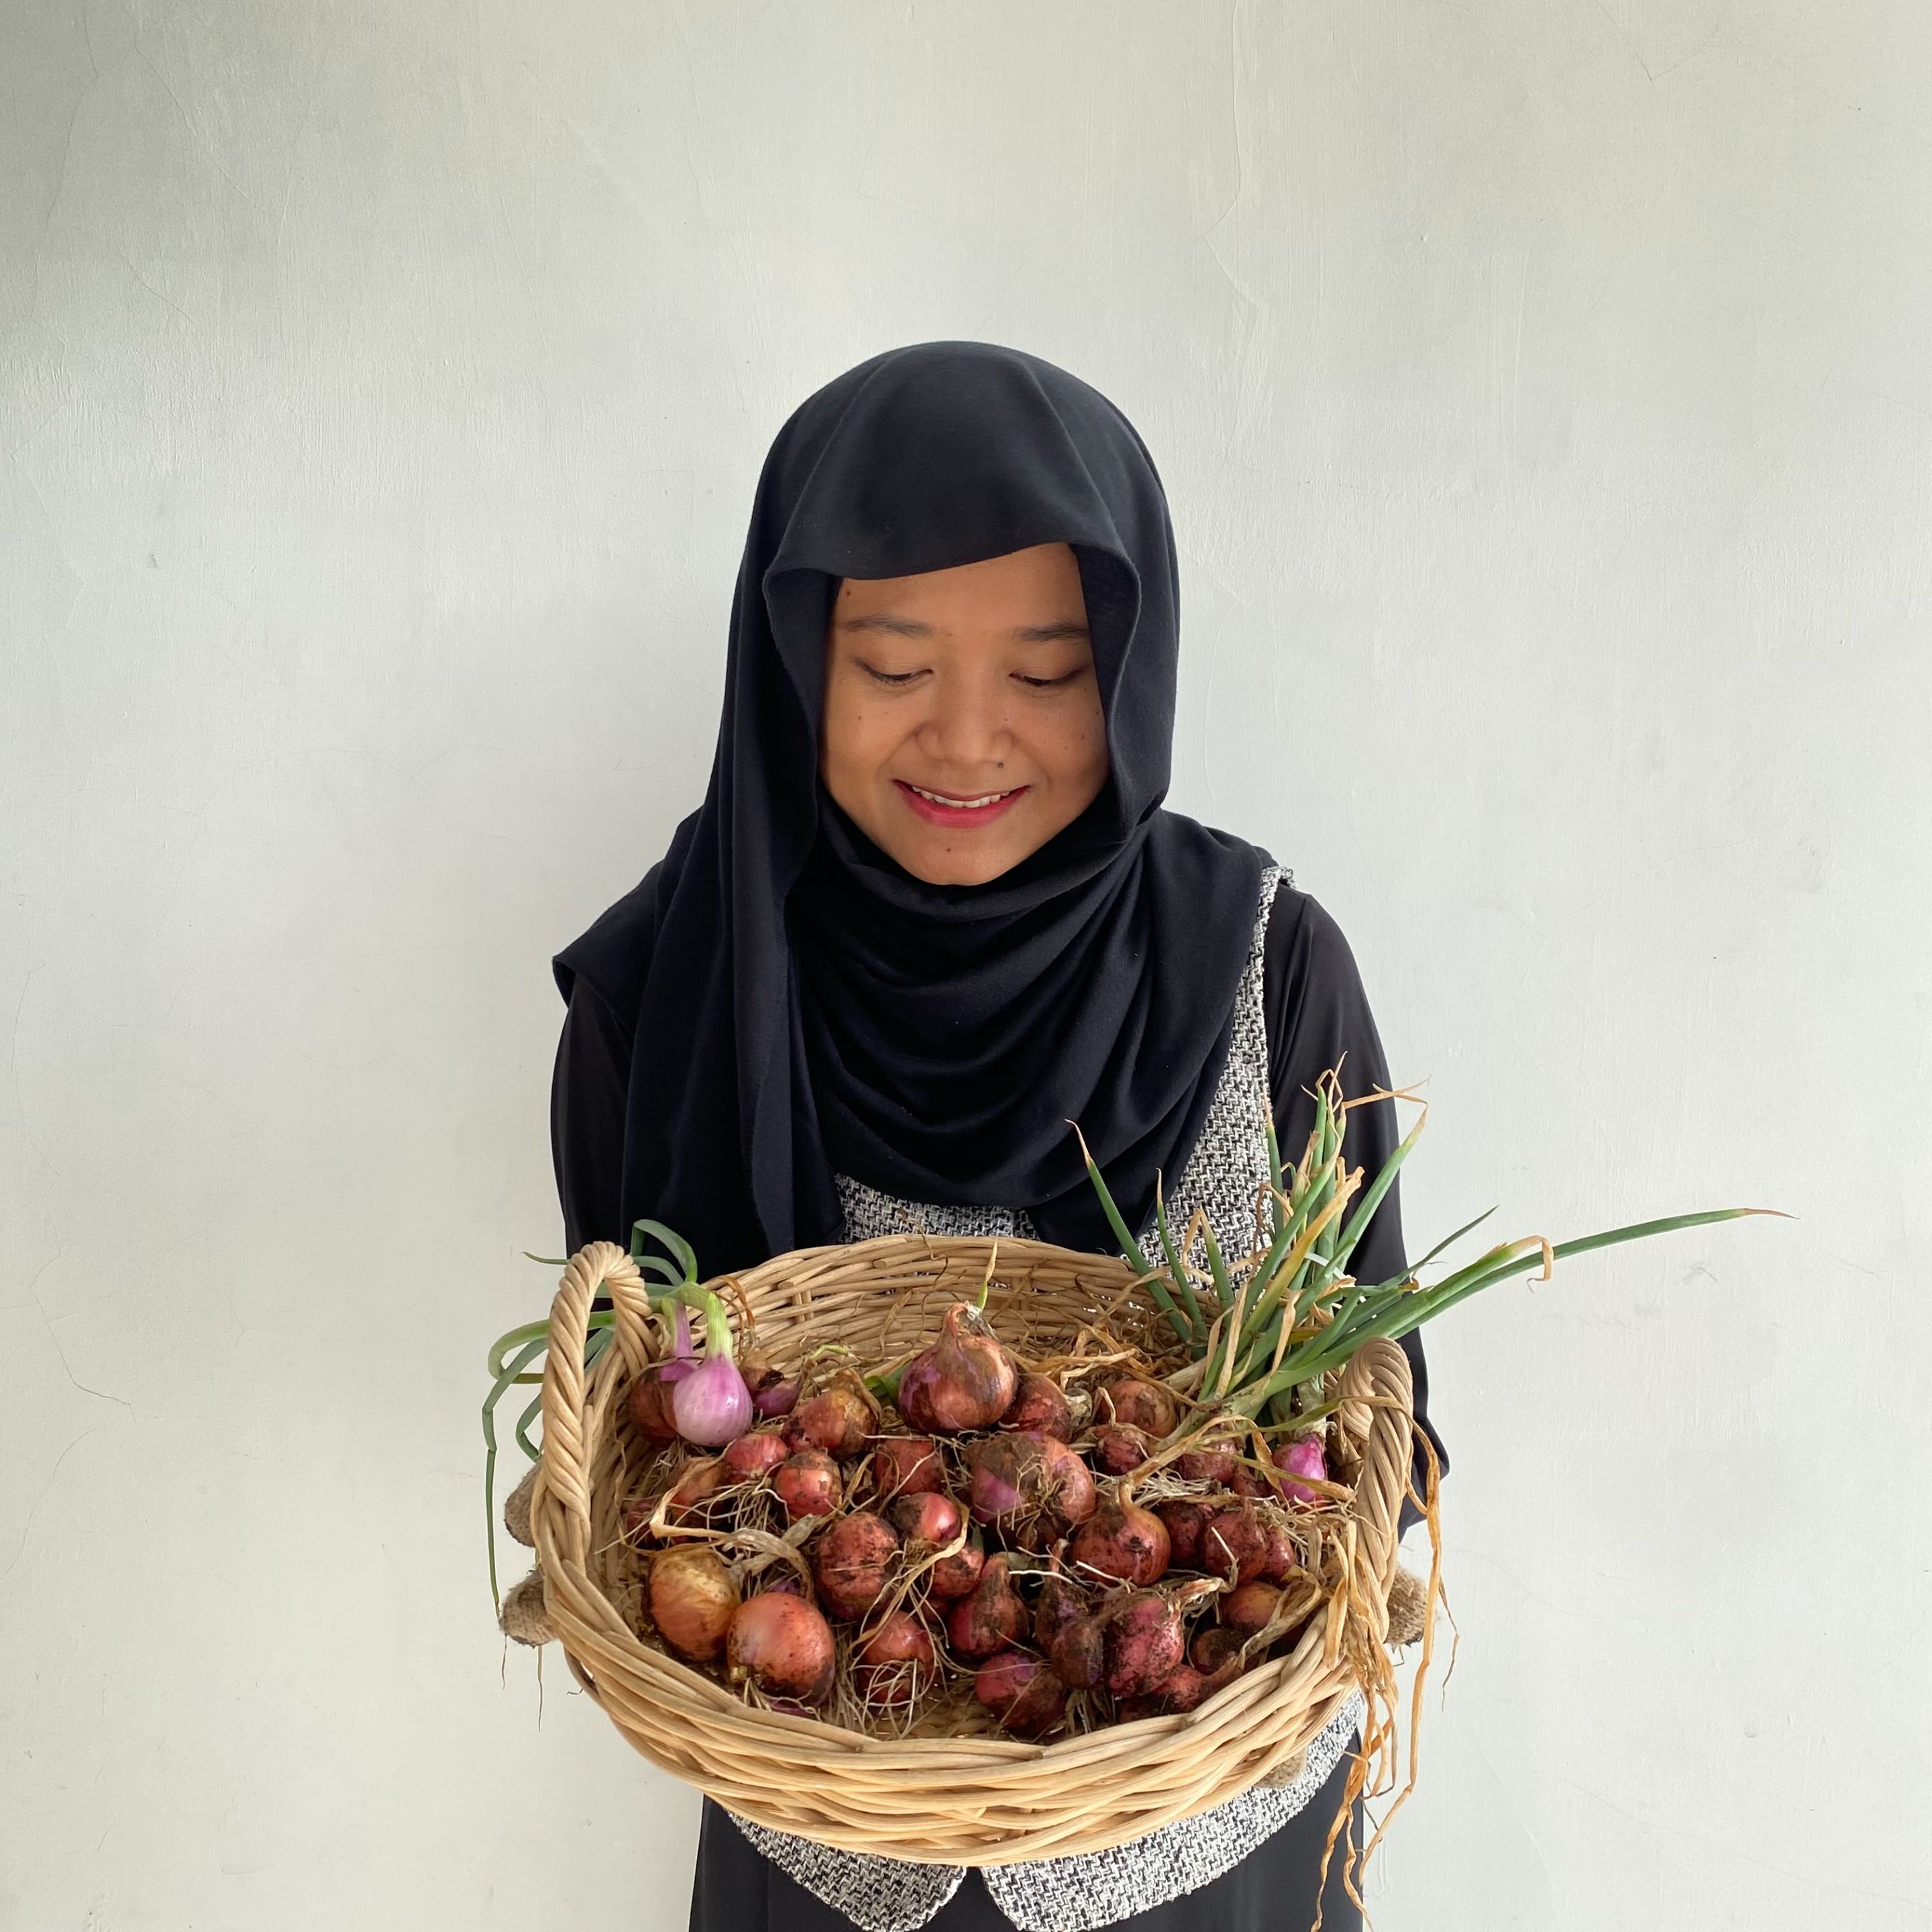
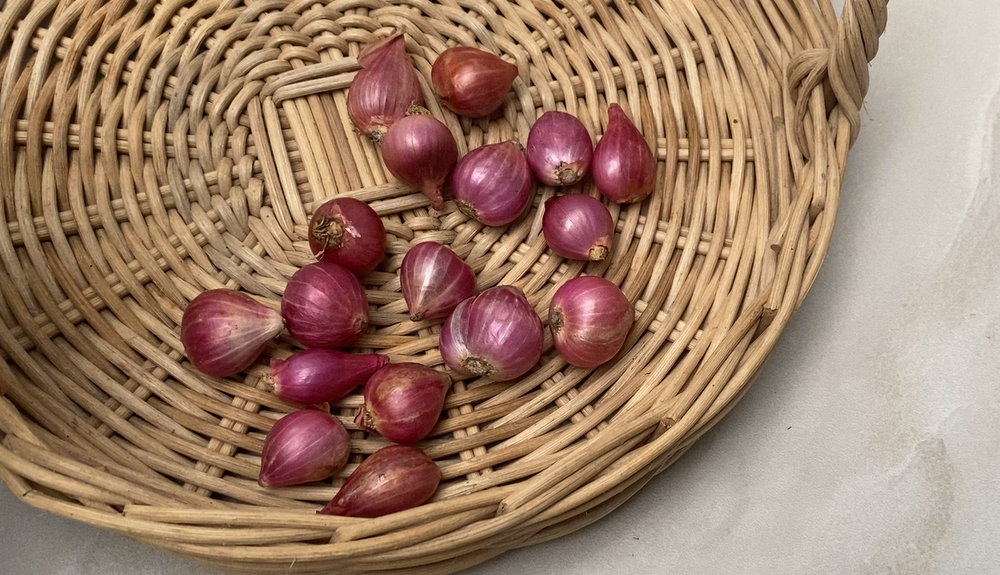
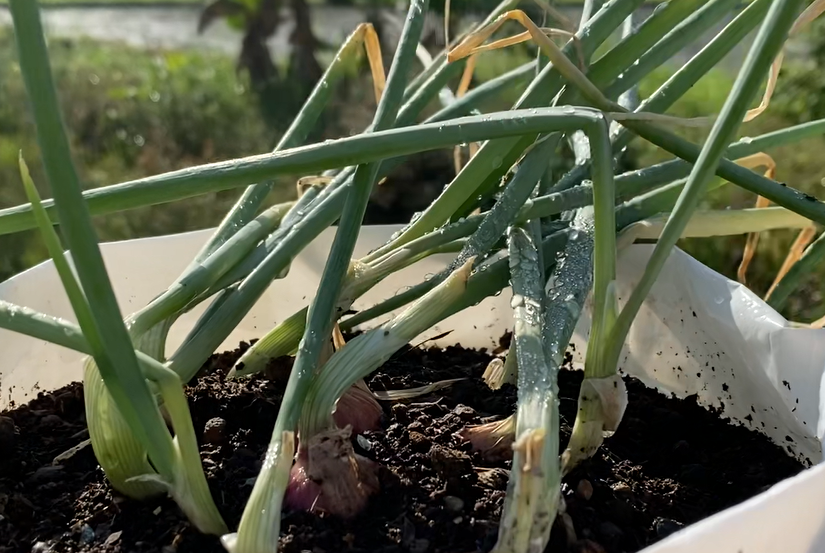
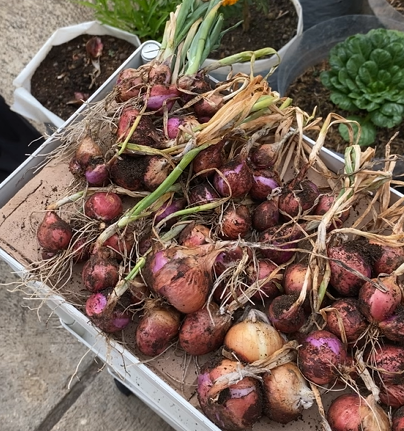
## Shallot Harvest
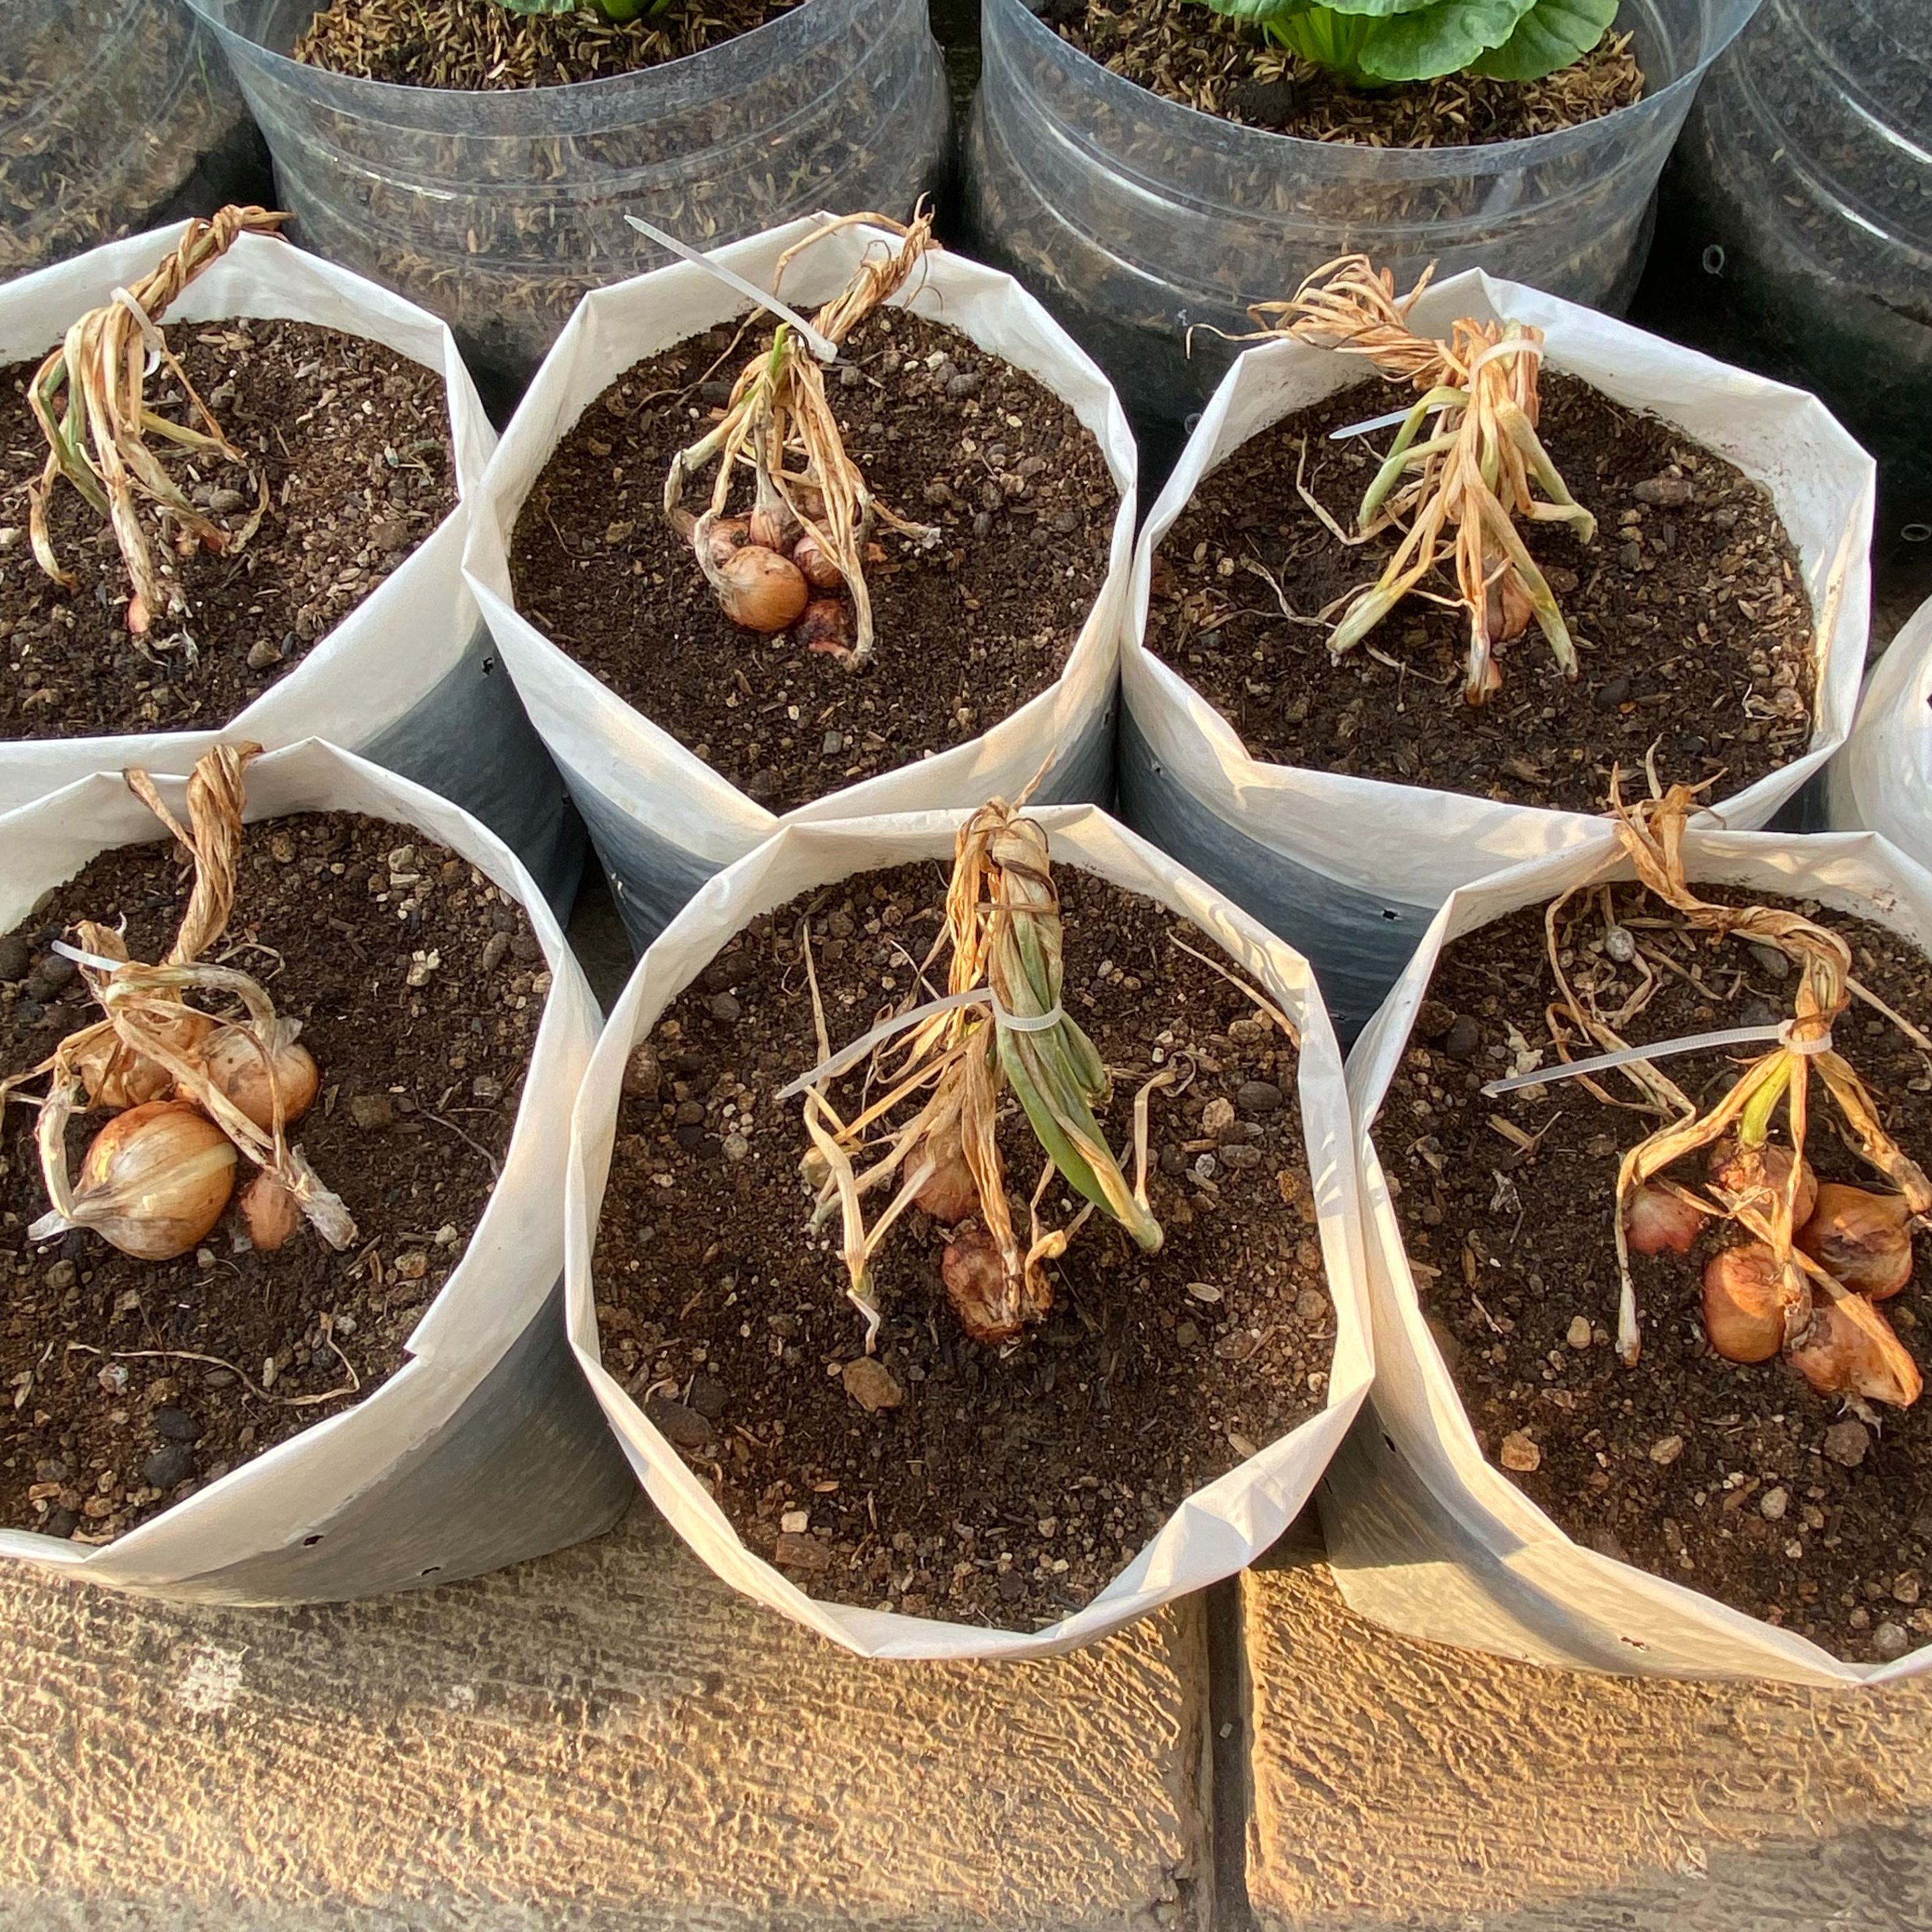
Shallots can be harvested from 2.5 to three months old. Meanwhile, I harvested my shallots at three months.
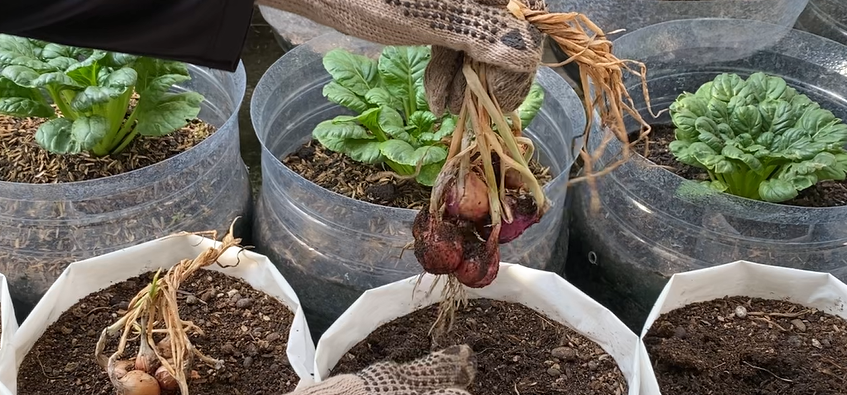
Whoaaaaaaaaaaaaaaaa! I'm so happy. From the shallot bulbs in the kitchen, I can actually produce more shallots. This can be used as a spice stock in my kitchen. In fact, my stock of shallots from the previous harvest hasn't even run out.
---
I harvested about 0.7 kg of shallots and I'm very proud that I was able to grow them. In fact, many people still fail to grow shallots because the shallot shoots often rot during the planting process.

That's why I like growing shallots. But during the rainy season, I'll experiment again. During the rainy season, it's better to grow shallots from seeds, not bulbs.
I hope you can also grow shallots at home. I'm sure it can save you money. Happy gardening!

---
>Best Regards,
Anggrek Lestari
---
Who is Anggrek Lestari?
Anggrek Lestari is an Indonesian fiction writer who has published two major books. Now She is a full-time content creator. She has a goal to share life, poem, and food content that makes others happy and can get inspiration.
---
Contact Person: authoranggreklestari@gmail.com
Discord: anggreklestari#3009