🧶Bienvenido al mundo del DIY conmigo,un placer saludarles ☺️✨🎨. | 🧶Welcome to the world of DIY with me, a pleasure to greet you ☺️✨🎨.
Feliz noche amigos un placer para mi saludarles ,les doy una cálida y bienvenida a este tutorial ,ya tenía rato que no pasaba visitando esta alegre comunidad y lo quise hacer con una bonita creación que puedes hacer en casa para decorar tu habitación o sala de estar, porque precisamente les quiero compartir una idea muy bonita de manualidades en casa y decoraciones ,se trata de esta bonita decoración con temática de Minecraft el videojuego de supervivencia que al principio me llamó mucho la atención porque la naturaleza en el videojuego como tal me encanta mucho los árboles las flores los animales y el mar , entonces se me ocurrió hacer un mini mundito con una abejita honguito y tulipanes dentro de un envase,envase que tenia sin uso y lo he reutilizado para hacer esta manualidad.
Good evening friends, it is a pleasure for me to greet you, I give you a warm welcome to this tutorial, it's been a while since I last visited this happy community and I wanted to do it with a nice creation that you can do at home to decorate your room or living room, because I want to share with you a very nice idea for crafts at home and decorations, it is about this nice decoration with a Minecraft theme, the survival video game that at first caught my attention because I really love nature in the video game as such, trees, flowers, animals and the sea, then it occurred to me to make a mini world with a bee, mushroom and tulips inside a container, a container that I had unused and I have reused it to make this craft.

Yo se que te gustaría mucho apreciar como es que lo he elaborado ,así que por eso es que te he traído el tutorial completo de como hacerlo 😎y cuidando cada detalle te lo comparto espero disfrutes el proceso de esta genial manualidad.
I know you would really like to see how I made it, so that's why I've brought you the complete tutorial on how to do it 😎 and taking care of every detail I share it with you. I hope you enjoy the process of this great craft.

_
Materiales: | Materials:
_
- Fieltro verde
- Tijeras
- Trozo de cartulina blanca
- Silicón
- Colores
- Envase de vidrio
- Hilo transparente (un trozo)
- Esmalte de uñas(porque es más resistente)
- Green felt
- Scissors
- Piece of white cardstock
- Silicone
- Colors
- Glass container
- Transparent thread (a piece)
- Nail polish (because it's more resistant)
_
Pasos a seguir: | Steps to follow:
_


Paso 01
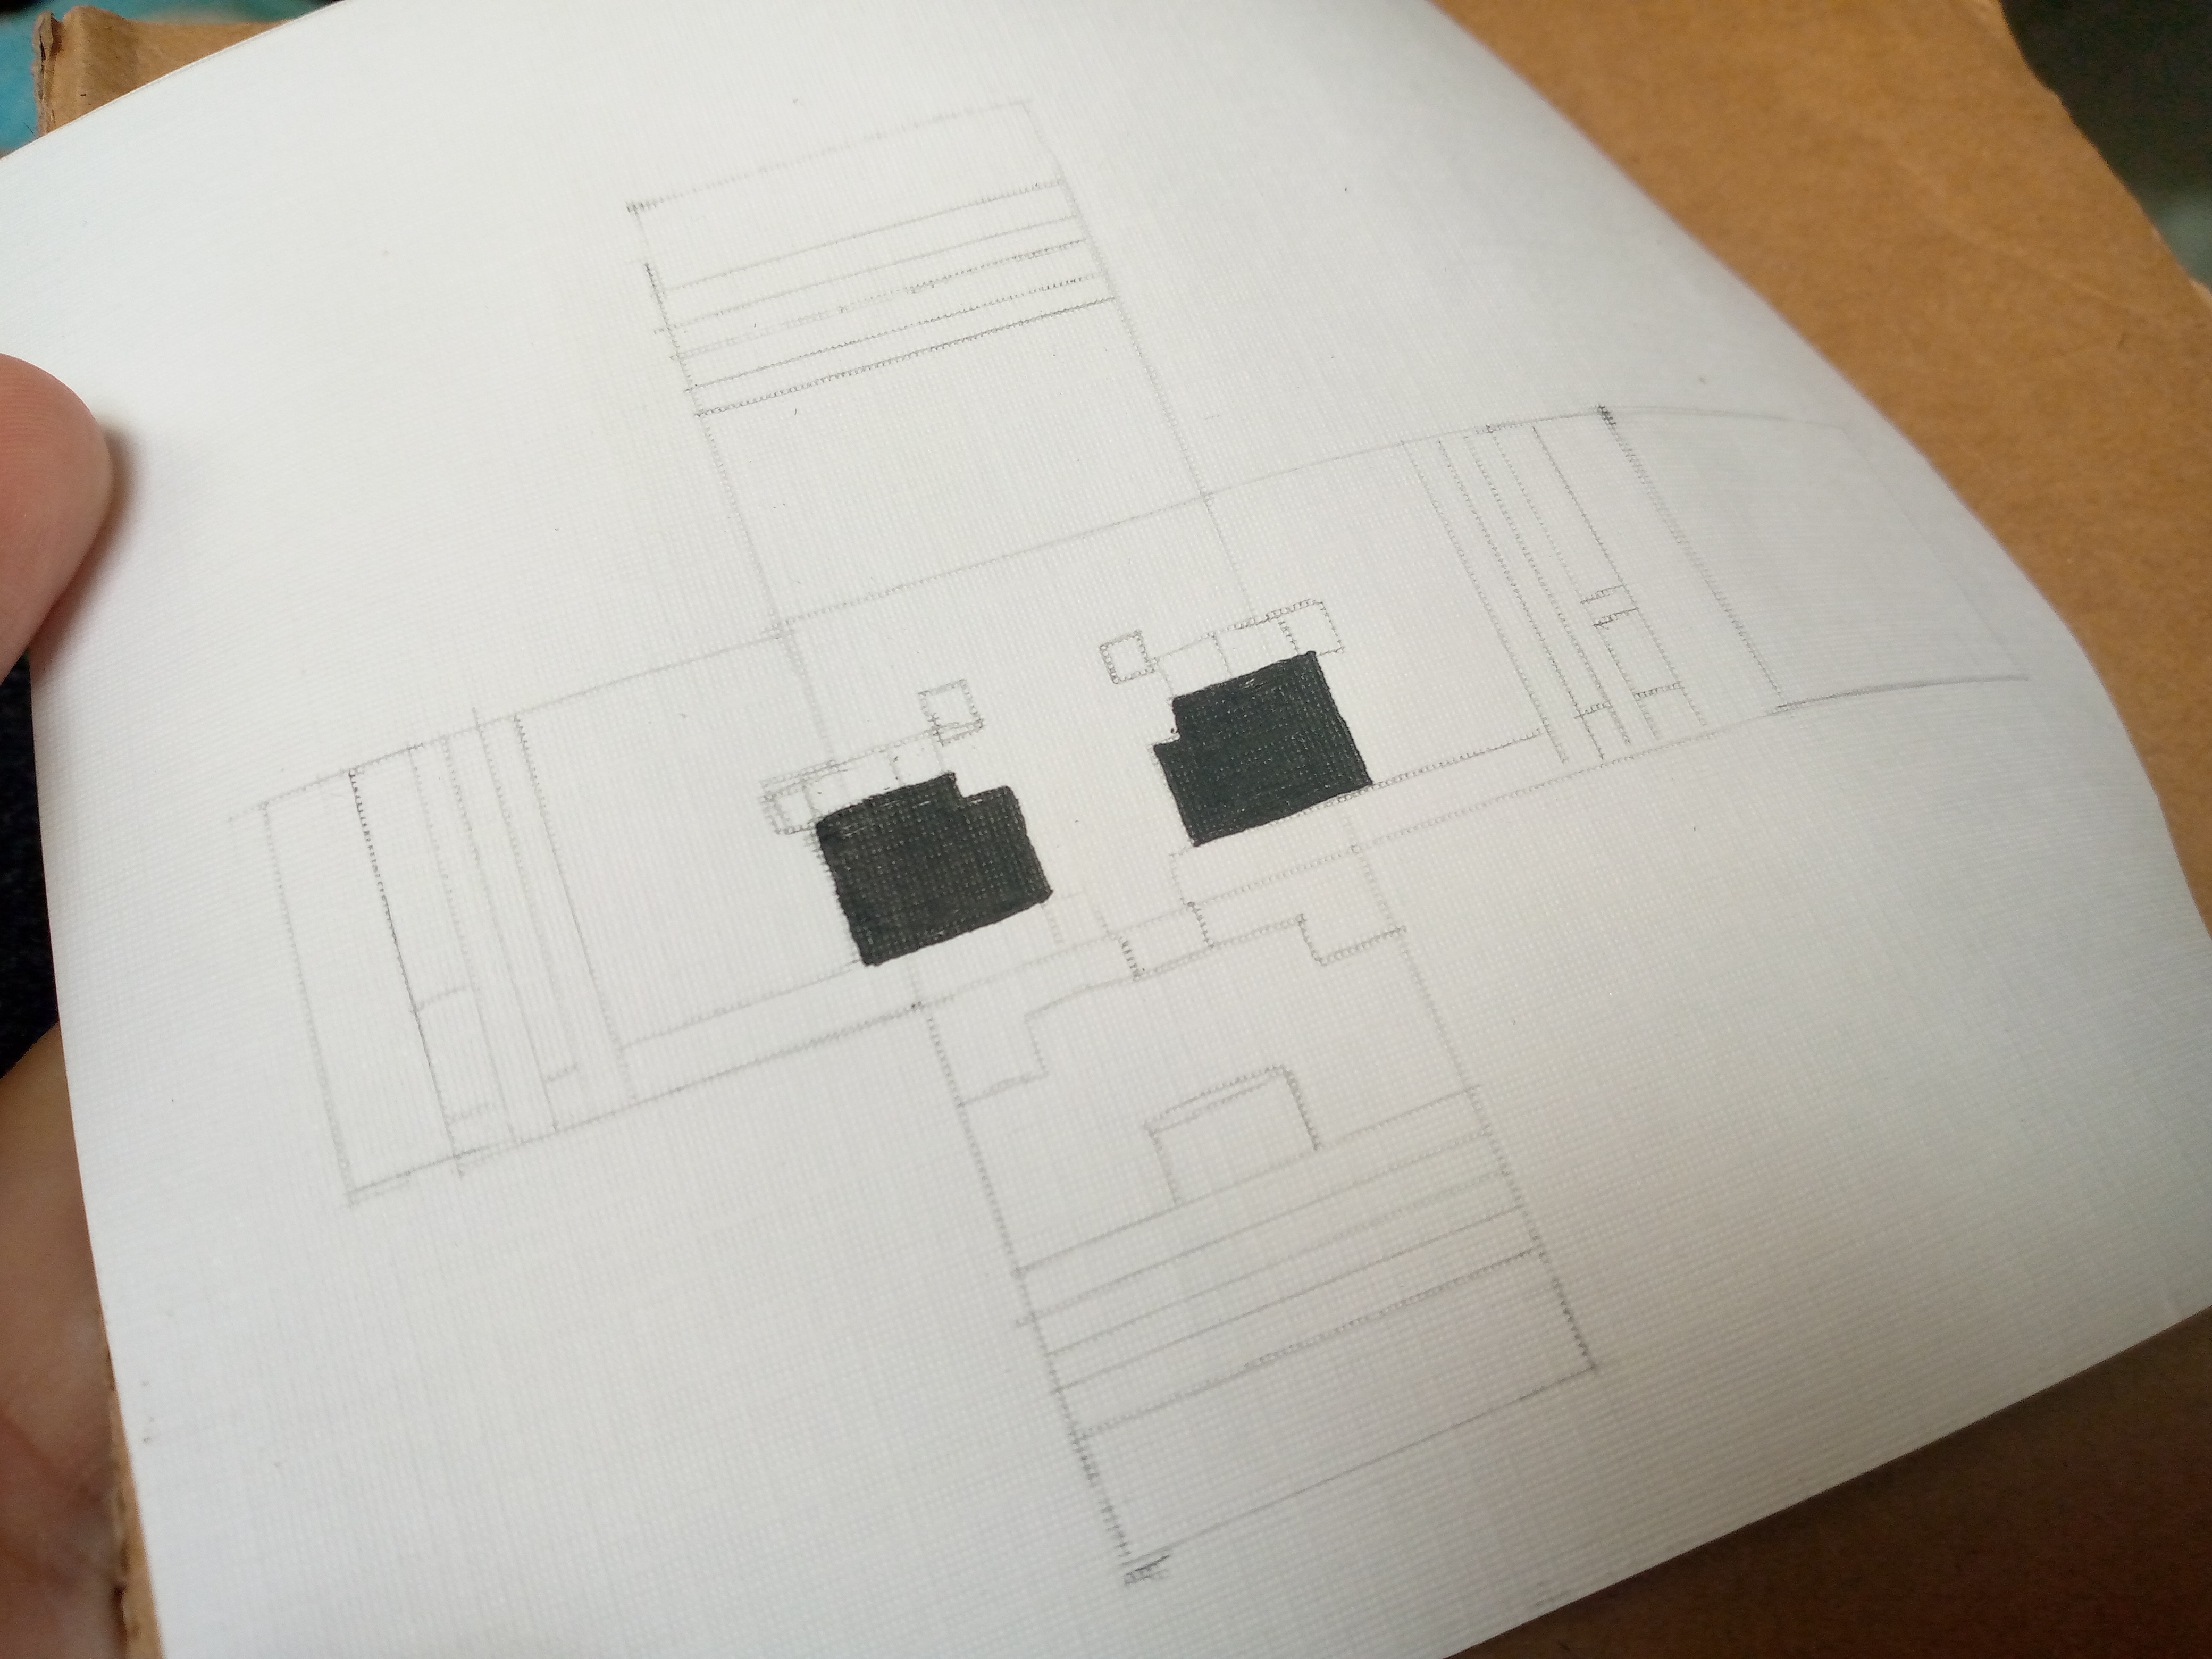
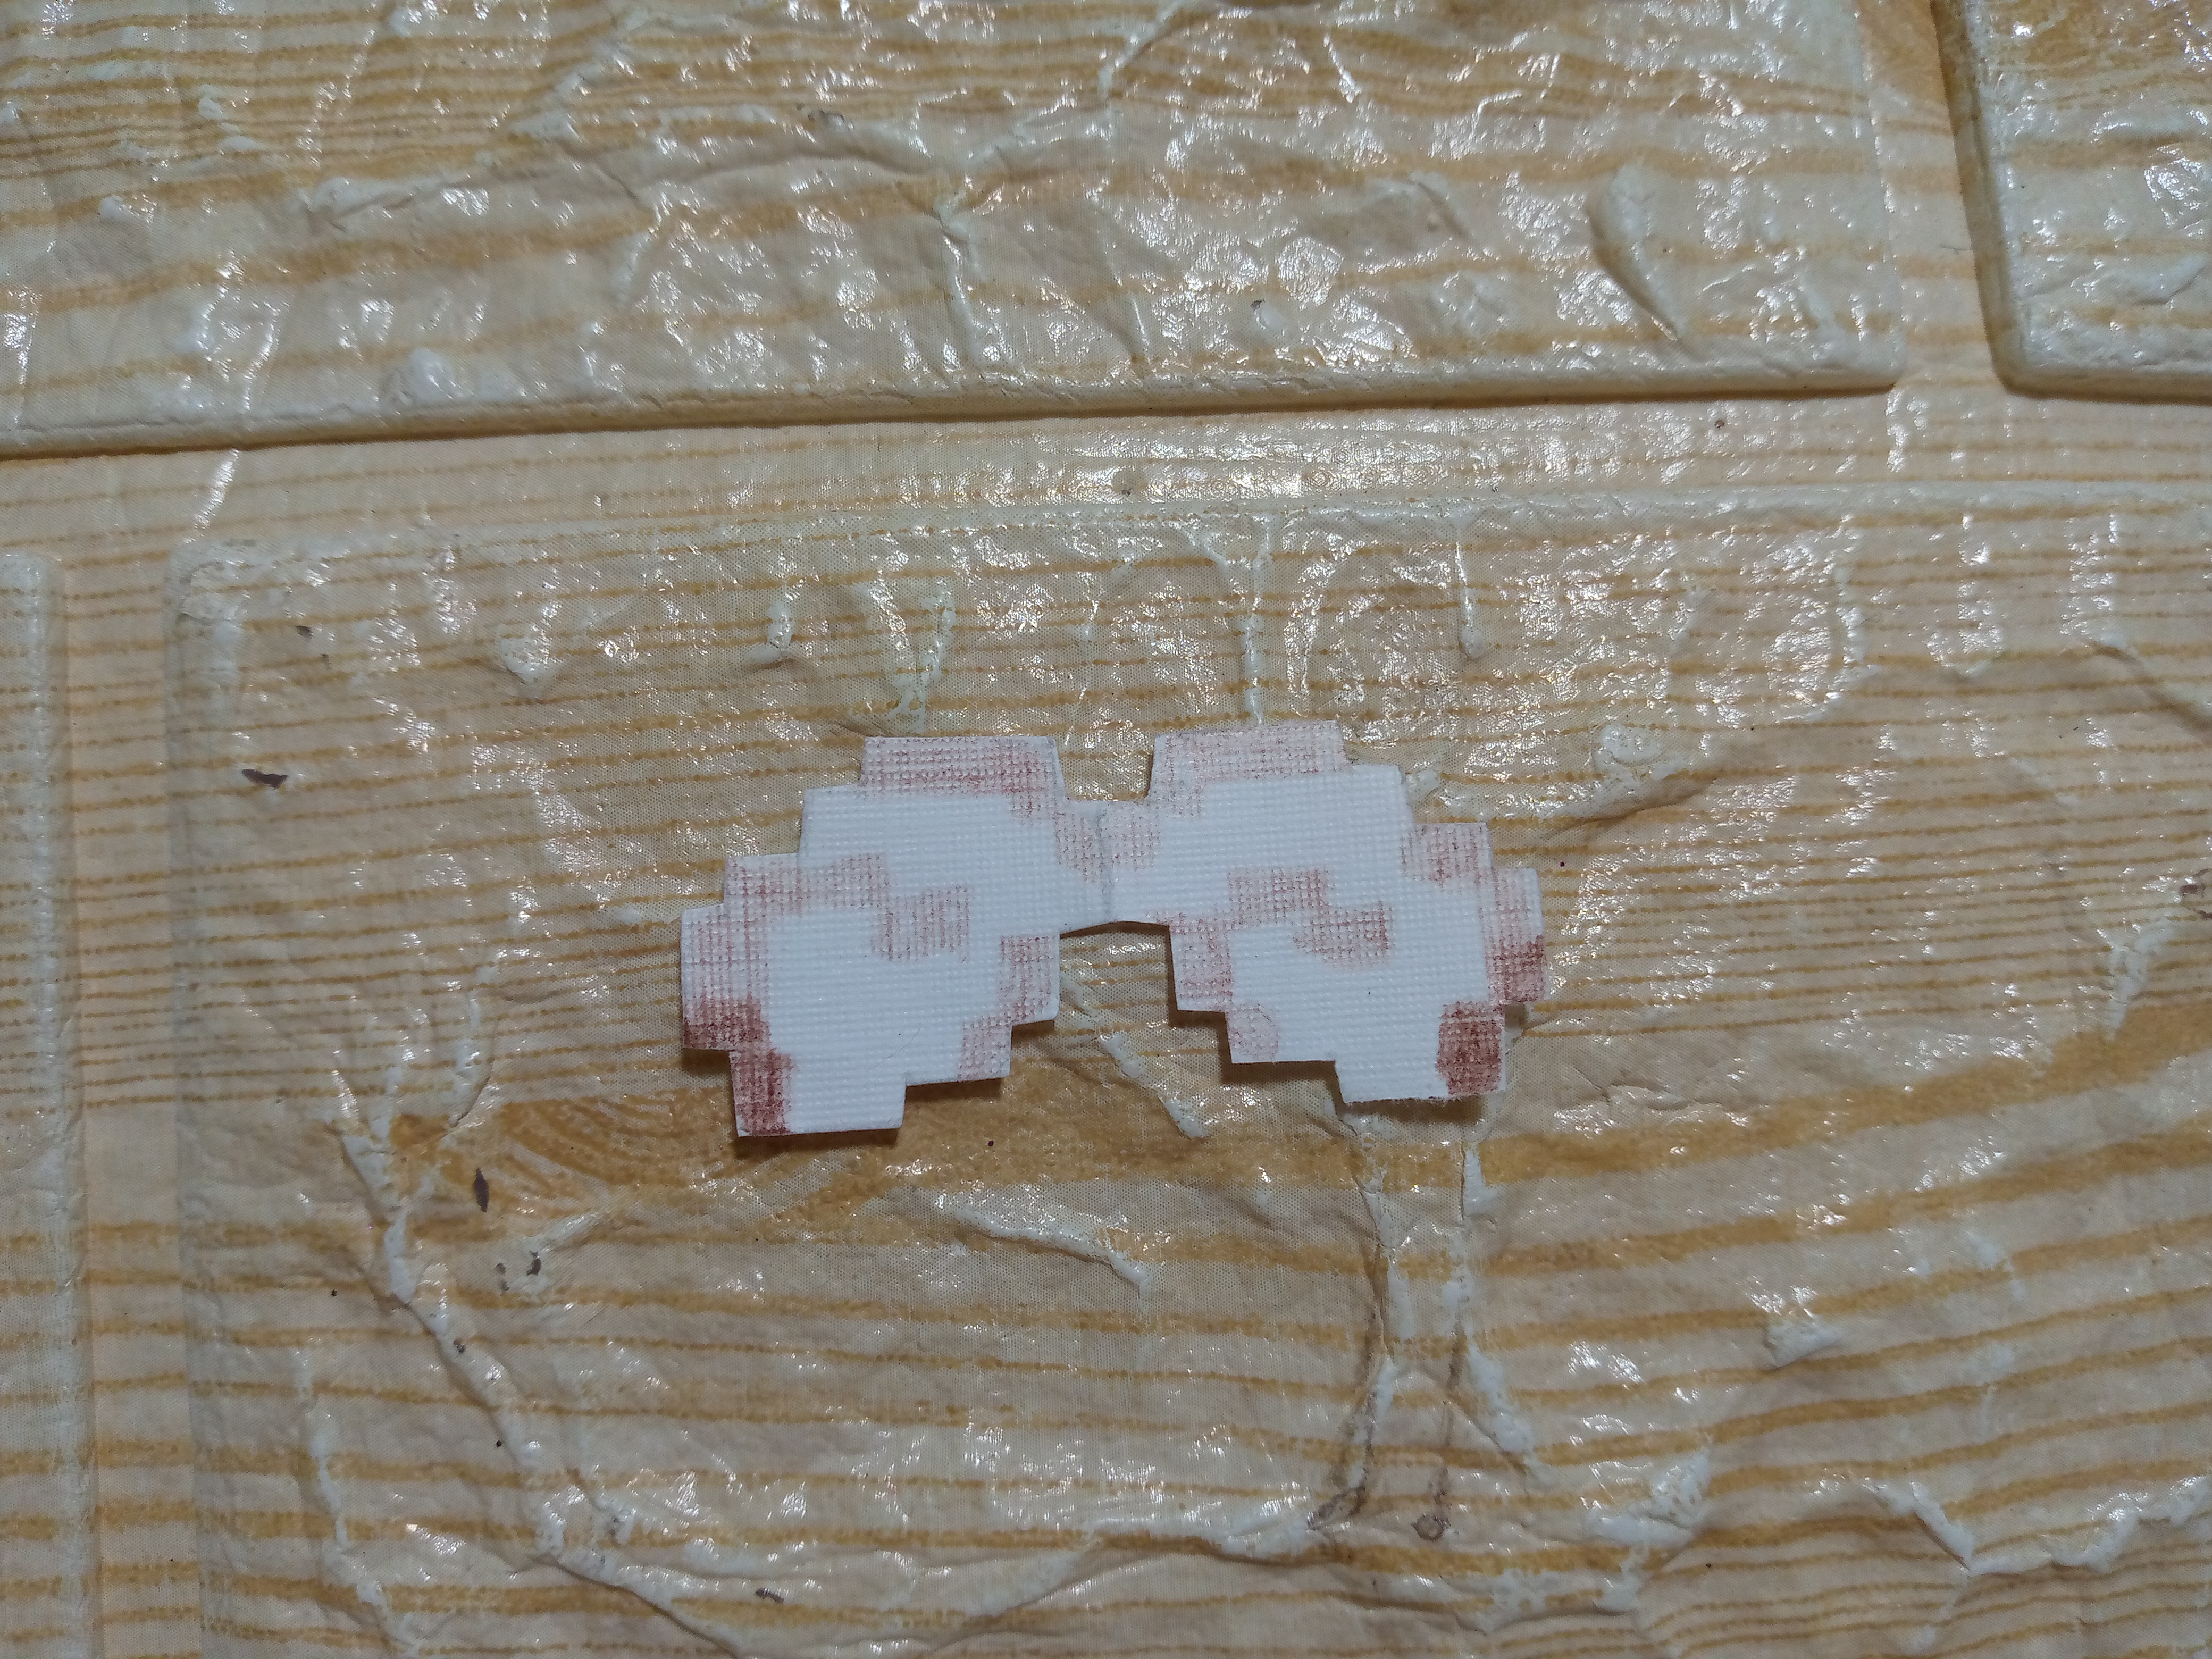
Vamos a empezar tomando nuestro trozo de cartulina blanca y vamos a buscar el diseño de nuestra abejita en este caso vamos a hacer nuestra abejita para armarla en forma de cubecraft ,con ayuda de una regla y un lápiz y una imágen por supuesto empecé a marcar en mi trozo de cartulina ,y luego tomé los tonos de colores para pintar mi abejita en este caso tonos de colores cálidos , amarillo, naranja,marrón negro y mostaza, comencé pintando los ojitos en color negro y un poquito de azul.
Step 01
We are going to start by taking our piece of white cardboard and we are going to look for the design of our little bee in this case we are going to make our little bee to assemble it in the form of cubecraft, with the help of a ruler and a pencil and an image of course I began to mark on my piece of cardboard, and then I took the color tones to paint my little bee in this case tones of warm colors, yellow, orange, brown, black and mustard, I began by painting the eyes in black and a little bit of blue.


Paso 02
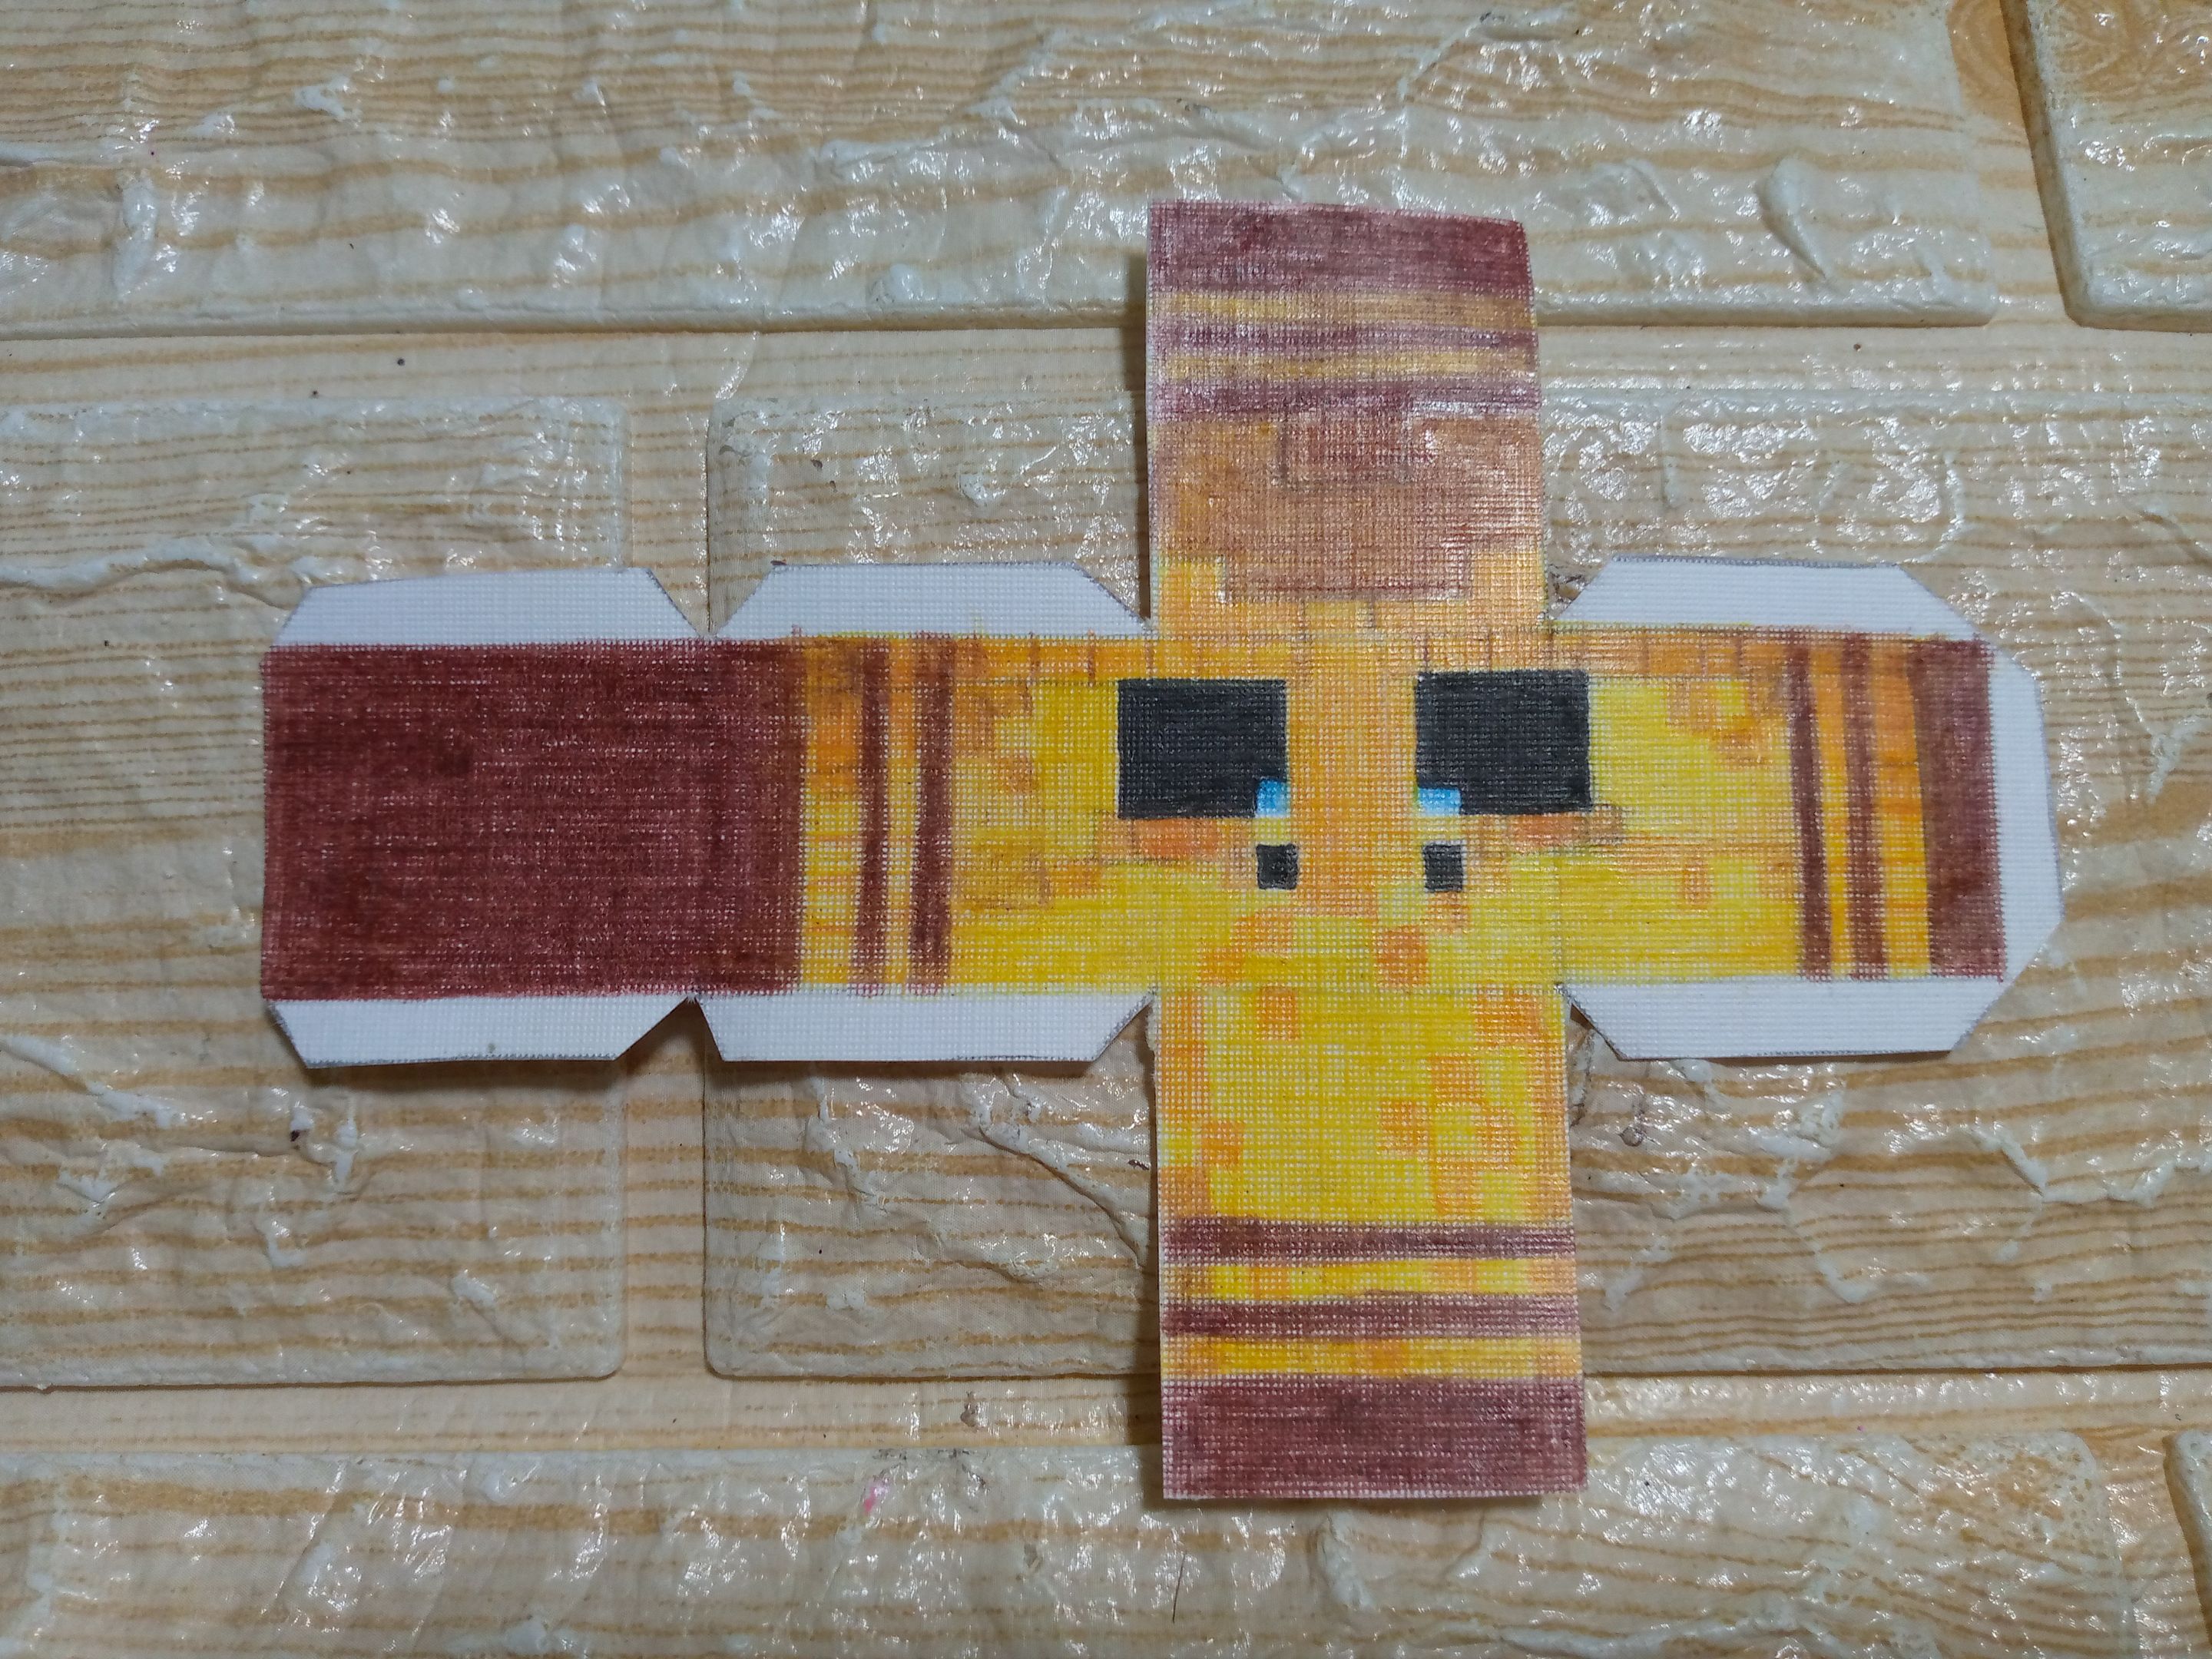
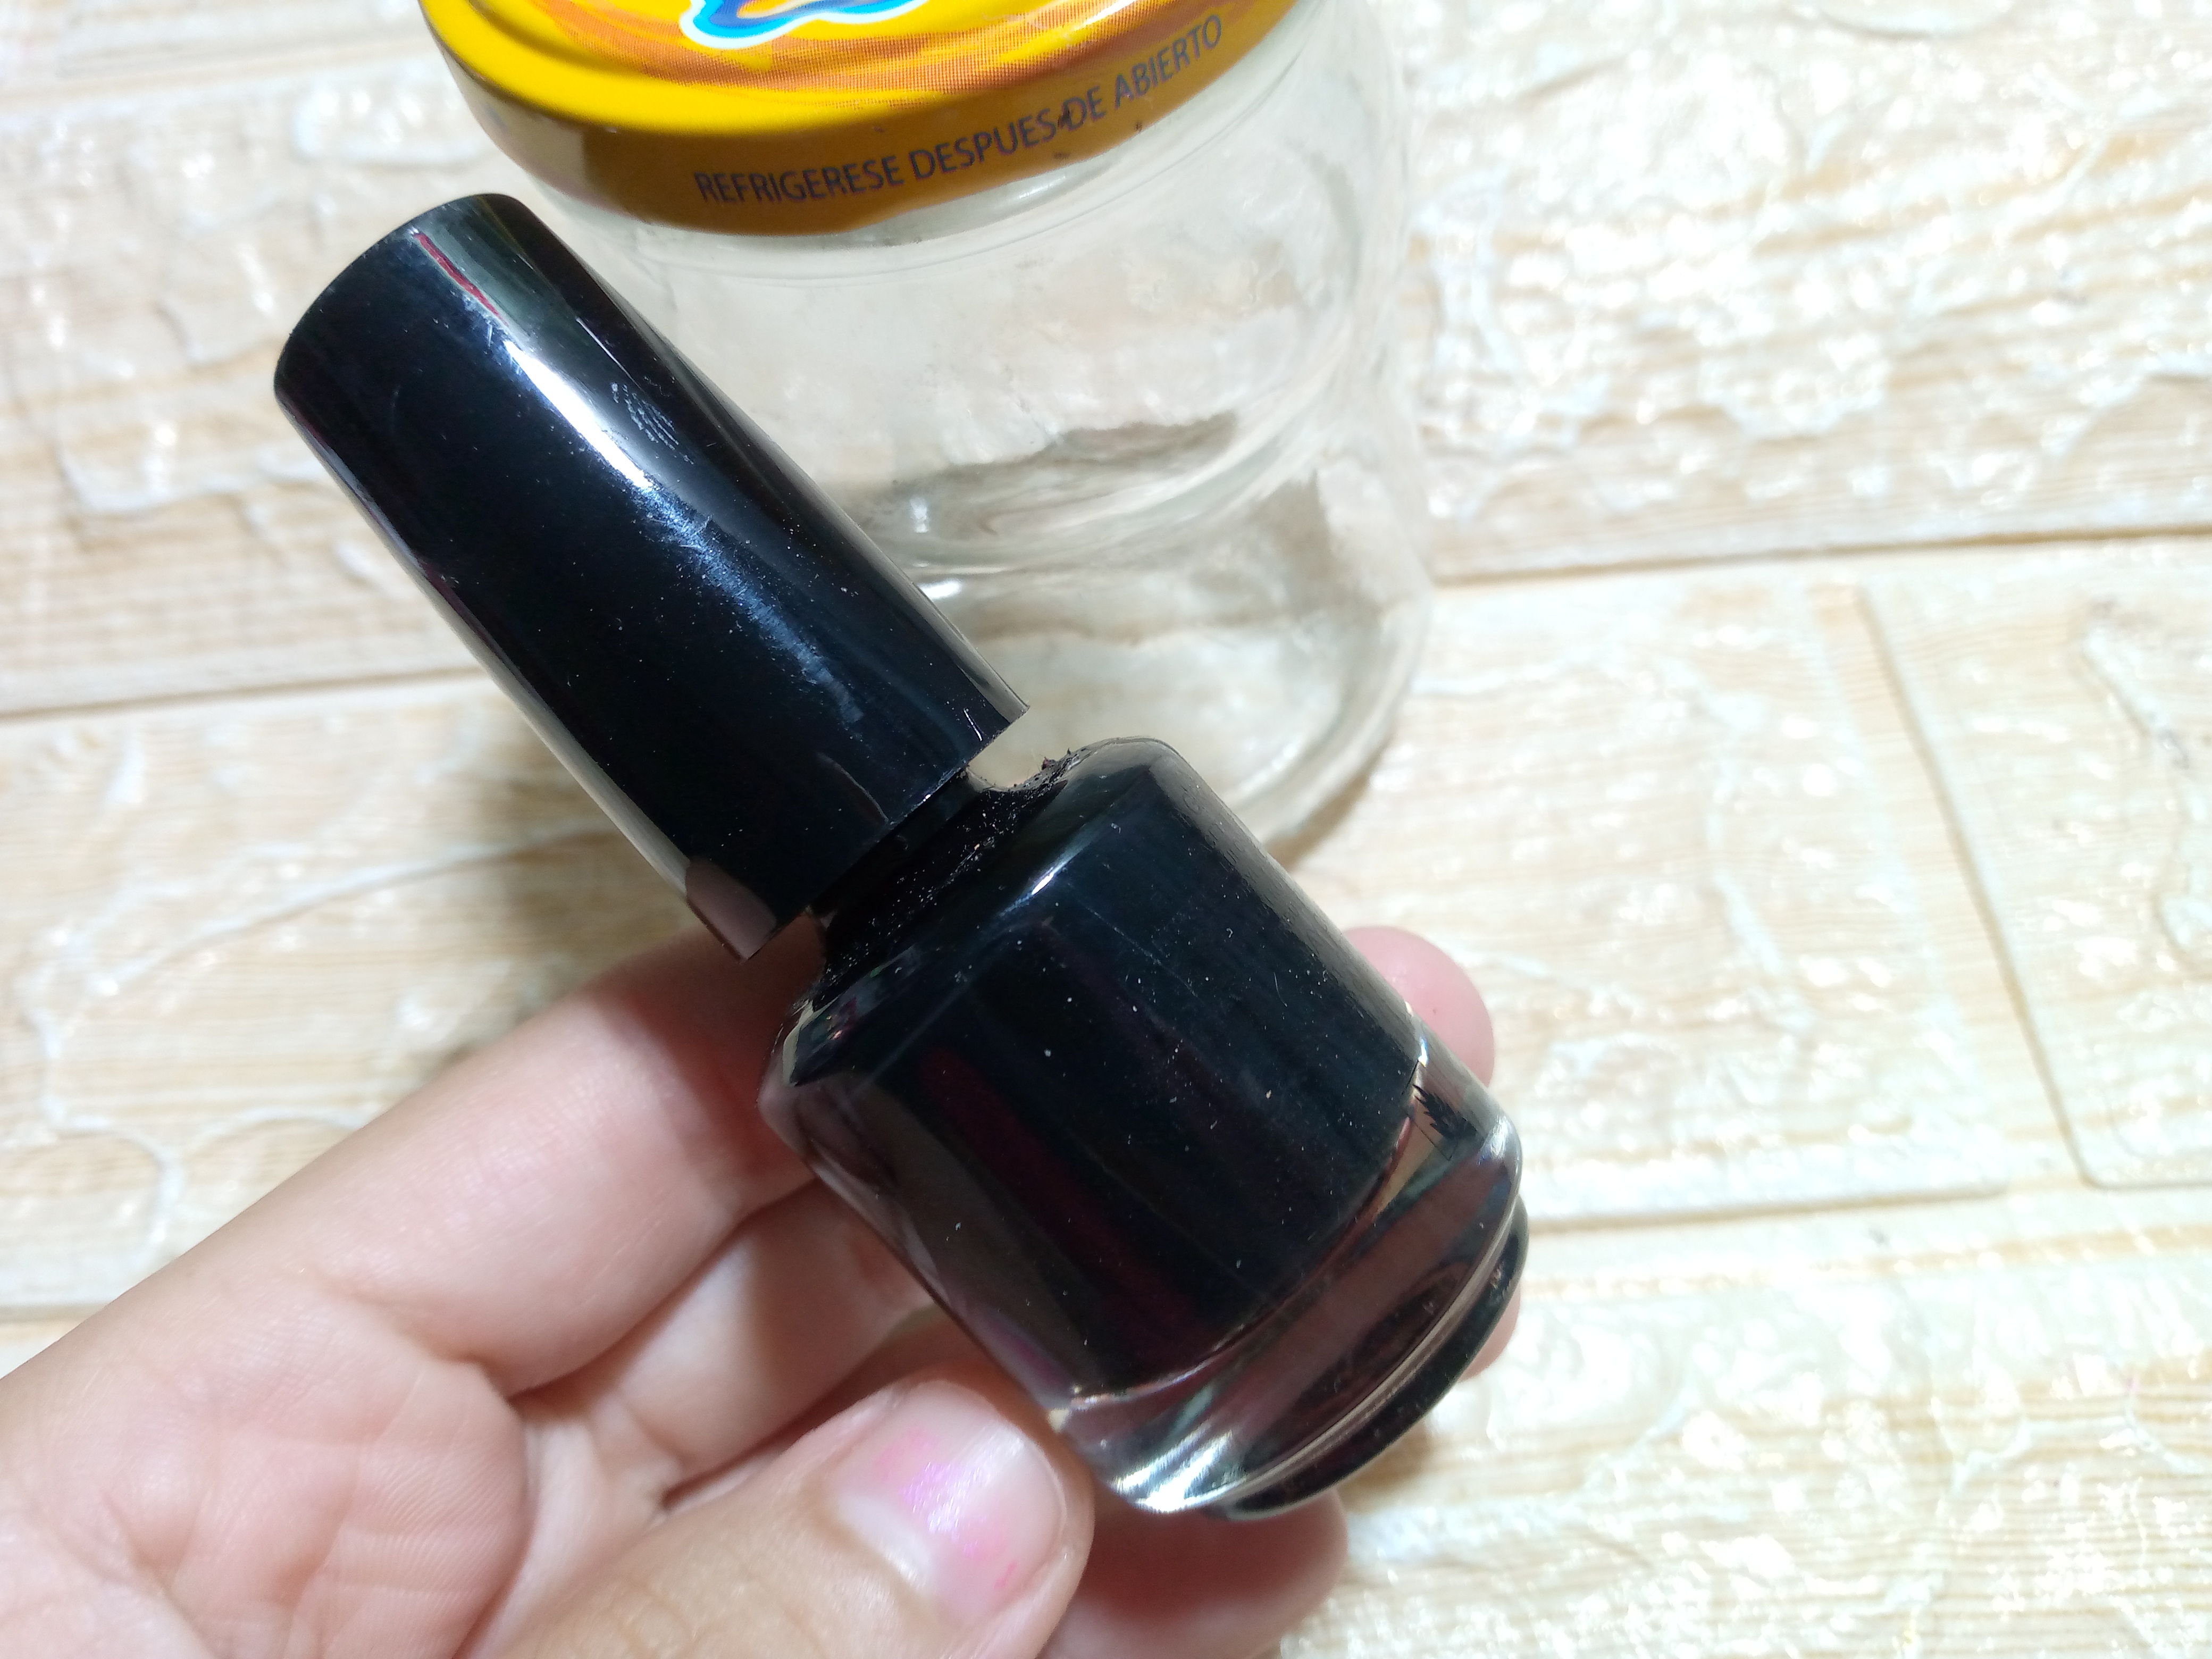
Seguimos con el proceso de pintar nuestra abejita,cuando he terminado no olvidemos dibujar las pestañas de los lados para que al doblarla podamos unir nuestro cubecraft a cada esquina y nos quede armado perfectamente,luego de dibujar las pestañas recorté con una tijera por los bordes con mucho cuidado porque se puede cortar las piezas que no queremos,una vez recorté he tomado mi esmalte de uña y empecé a pintar mi tapa ,al principio por supuesto la limpié muy bien igual mi envase tanto por fuera como por dentro, dejé secar la pintura durante 10 minutos y asegurarme que estuviese lo suficientemente seca para manejar la tapa con confianza sin mancharme ya que esta pintura no se quita facil.
Step 02
We continue with the process of painting our little bee, when I've finished don't forget to draw the eyelashes on the sides so that when we fold it we can join our cubecraft to each corner and it will be perfectly assembled, after drawing the eyelashes I cut with scissors along the edges very carefully because you can cut the pieces that we don't want, once I cut I took my nail polish and started to paint my lid, at first of course I cleaned it very well as well as my container both outside and inside, I let the paint dry for 10 minutes and made sure it was dry enough to handle the lid with confidence without staining myself since this paint is not easily removed.


.jpg)
Pinterest
Paso 03
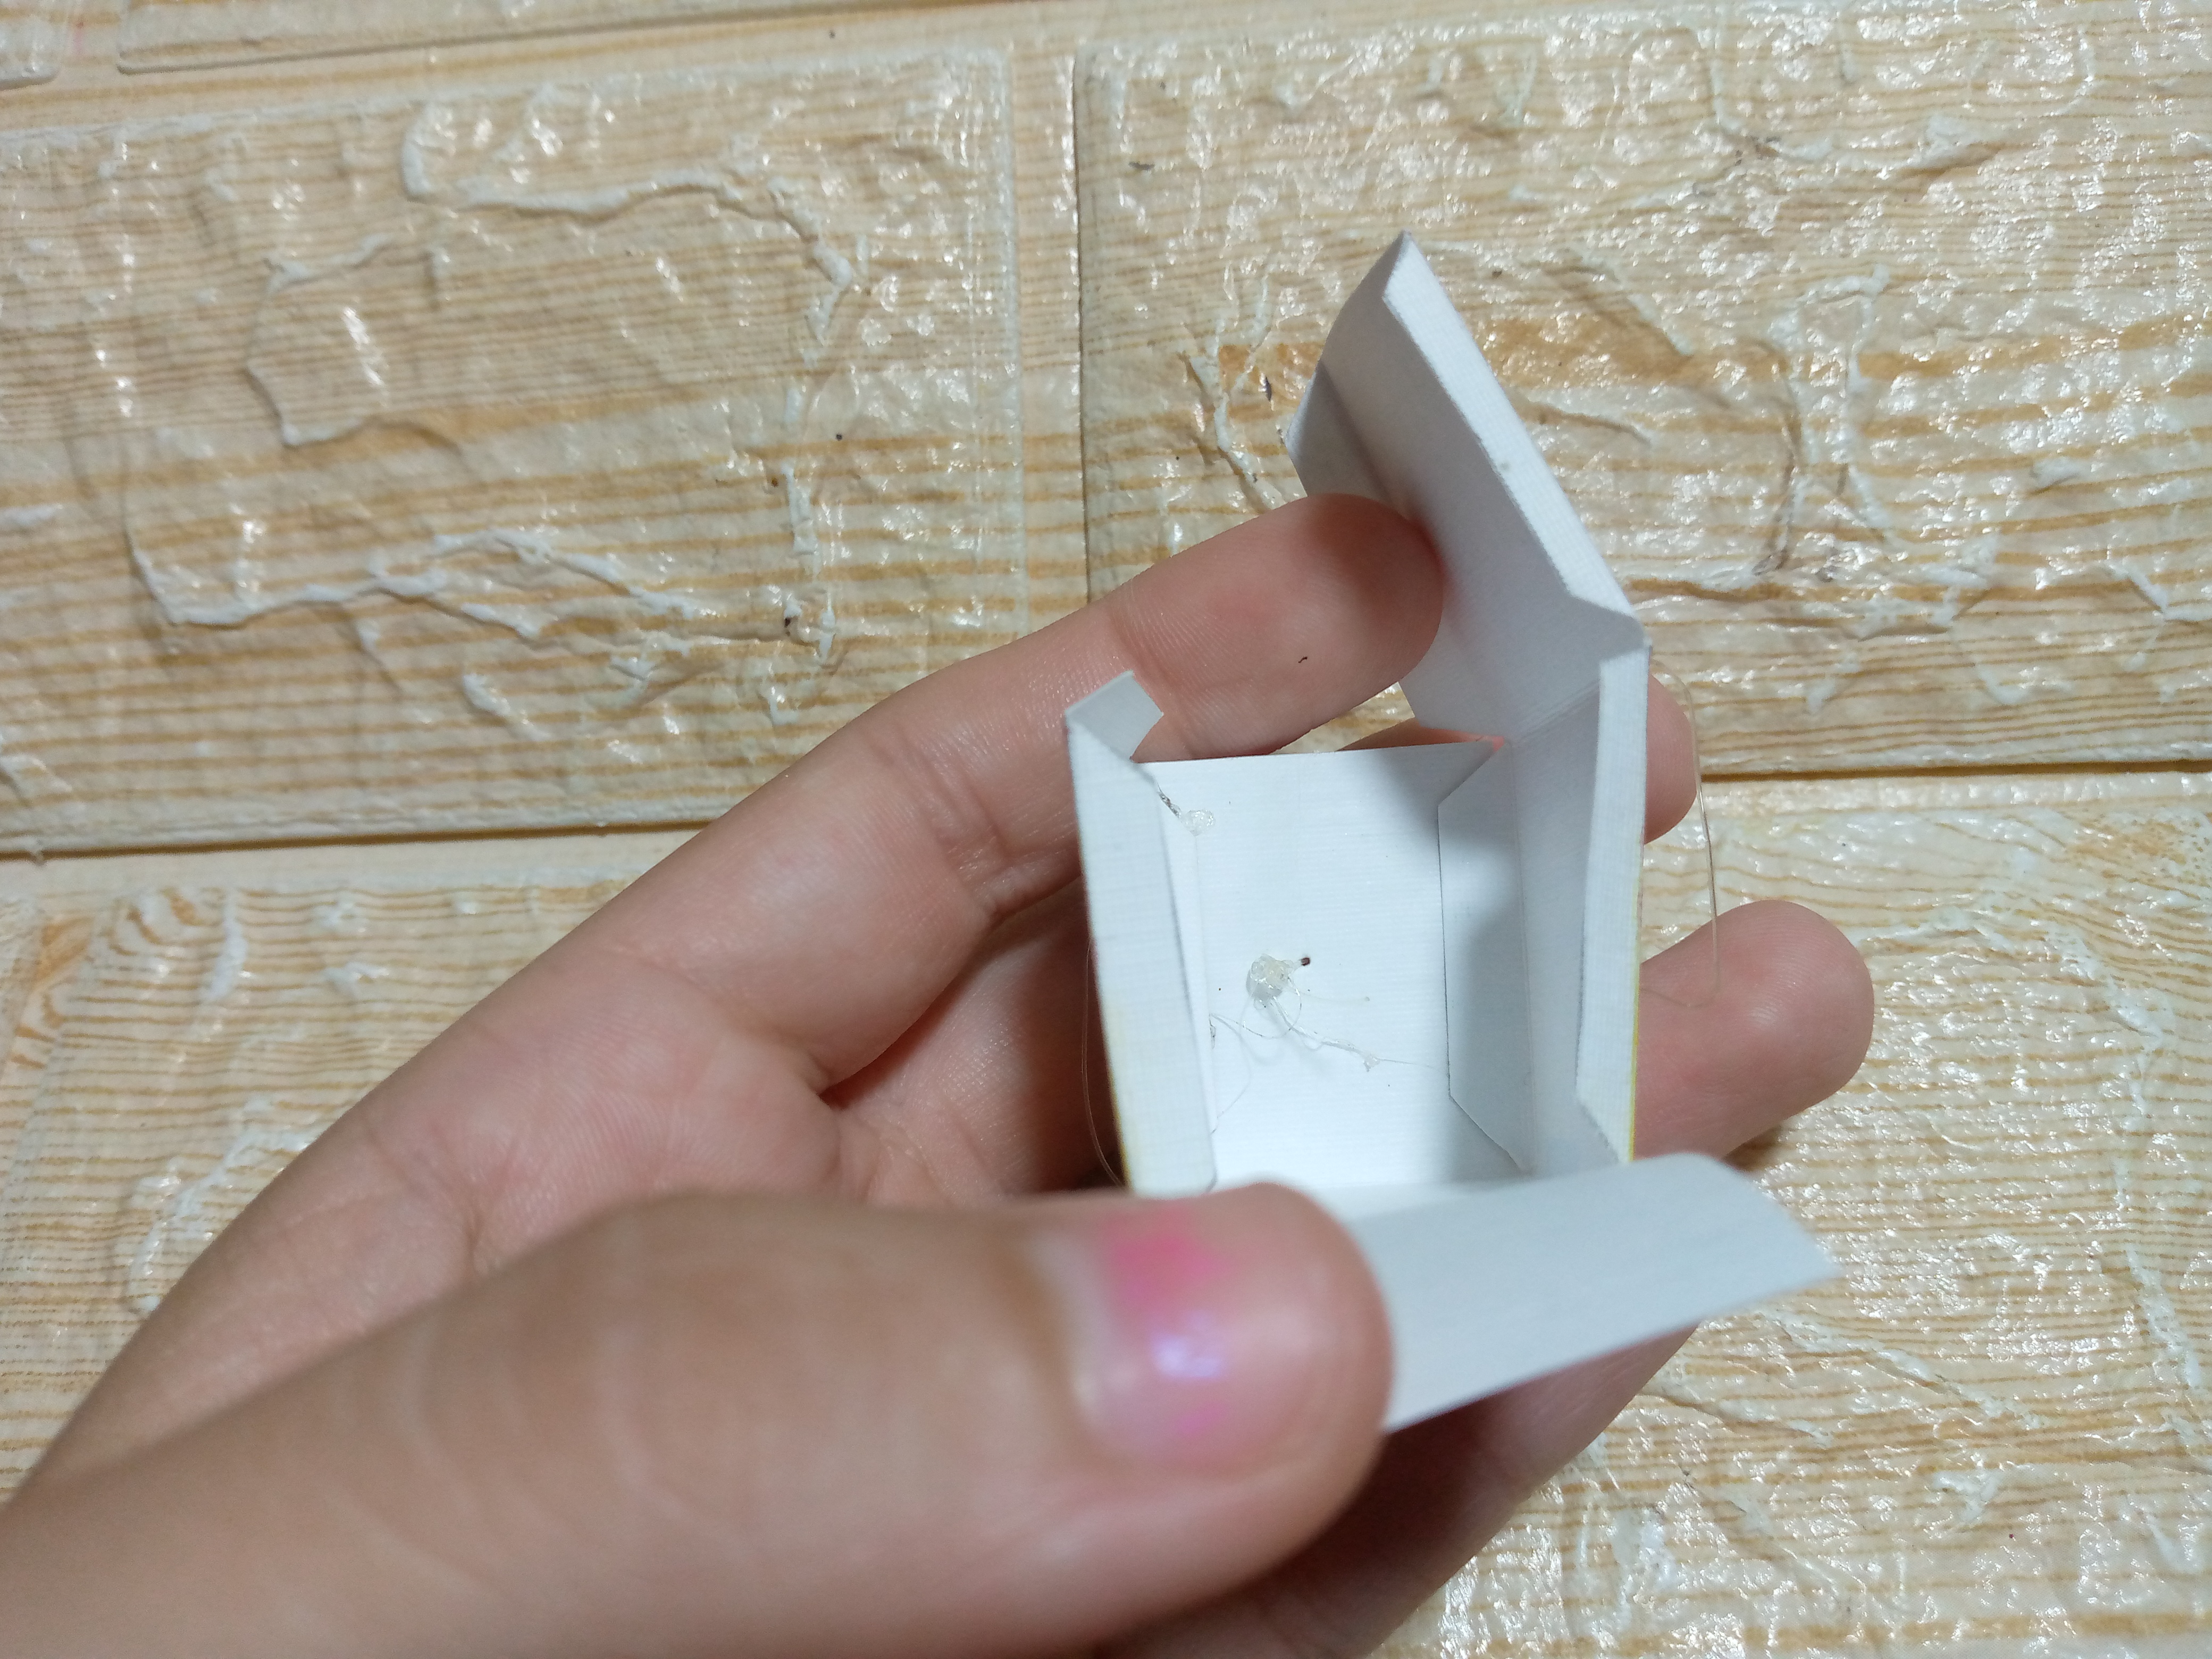
Es momento de empezar a armar la abejita, entonces lo que hice fué armar la pieza de arriba dejando espacio por abajo para introducir en la parte de arriba con aguja y con cuidado el hilo transparente ,de alrededor de 3 cm esto lo haremos para que nuestra abejita nos quede colgando a la tapa , procedo a hacer las alitas con un pequeño trozo de cartulina,este también se los compartiré acá para que ustedes puedan hacerla igual los tulipanes, después de haberle colocado el hilo terminamos de sellar abajo nuestra abejita con silicón .
Step 03
It's time to start assembling the bee, so what I did was assemble the top piece leaving space below to carefully insert the transparent thread into the top with a needle, about 3 cm long. We will do this so that our bee is hanging from the lid. I proceed to make the wings with a small piece of cardboard, I will also share this with you here so that you can make the same tulips, after placing the thread we finish sealing our bee at the bottom with silicone.


Paso 04
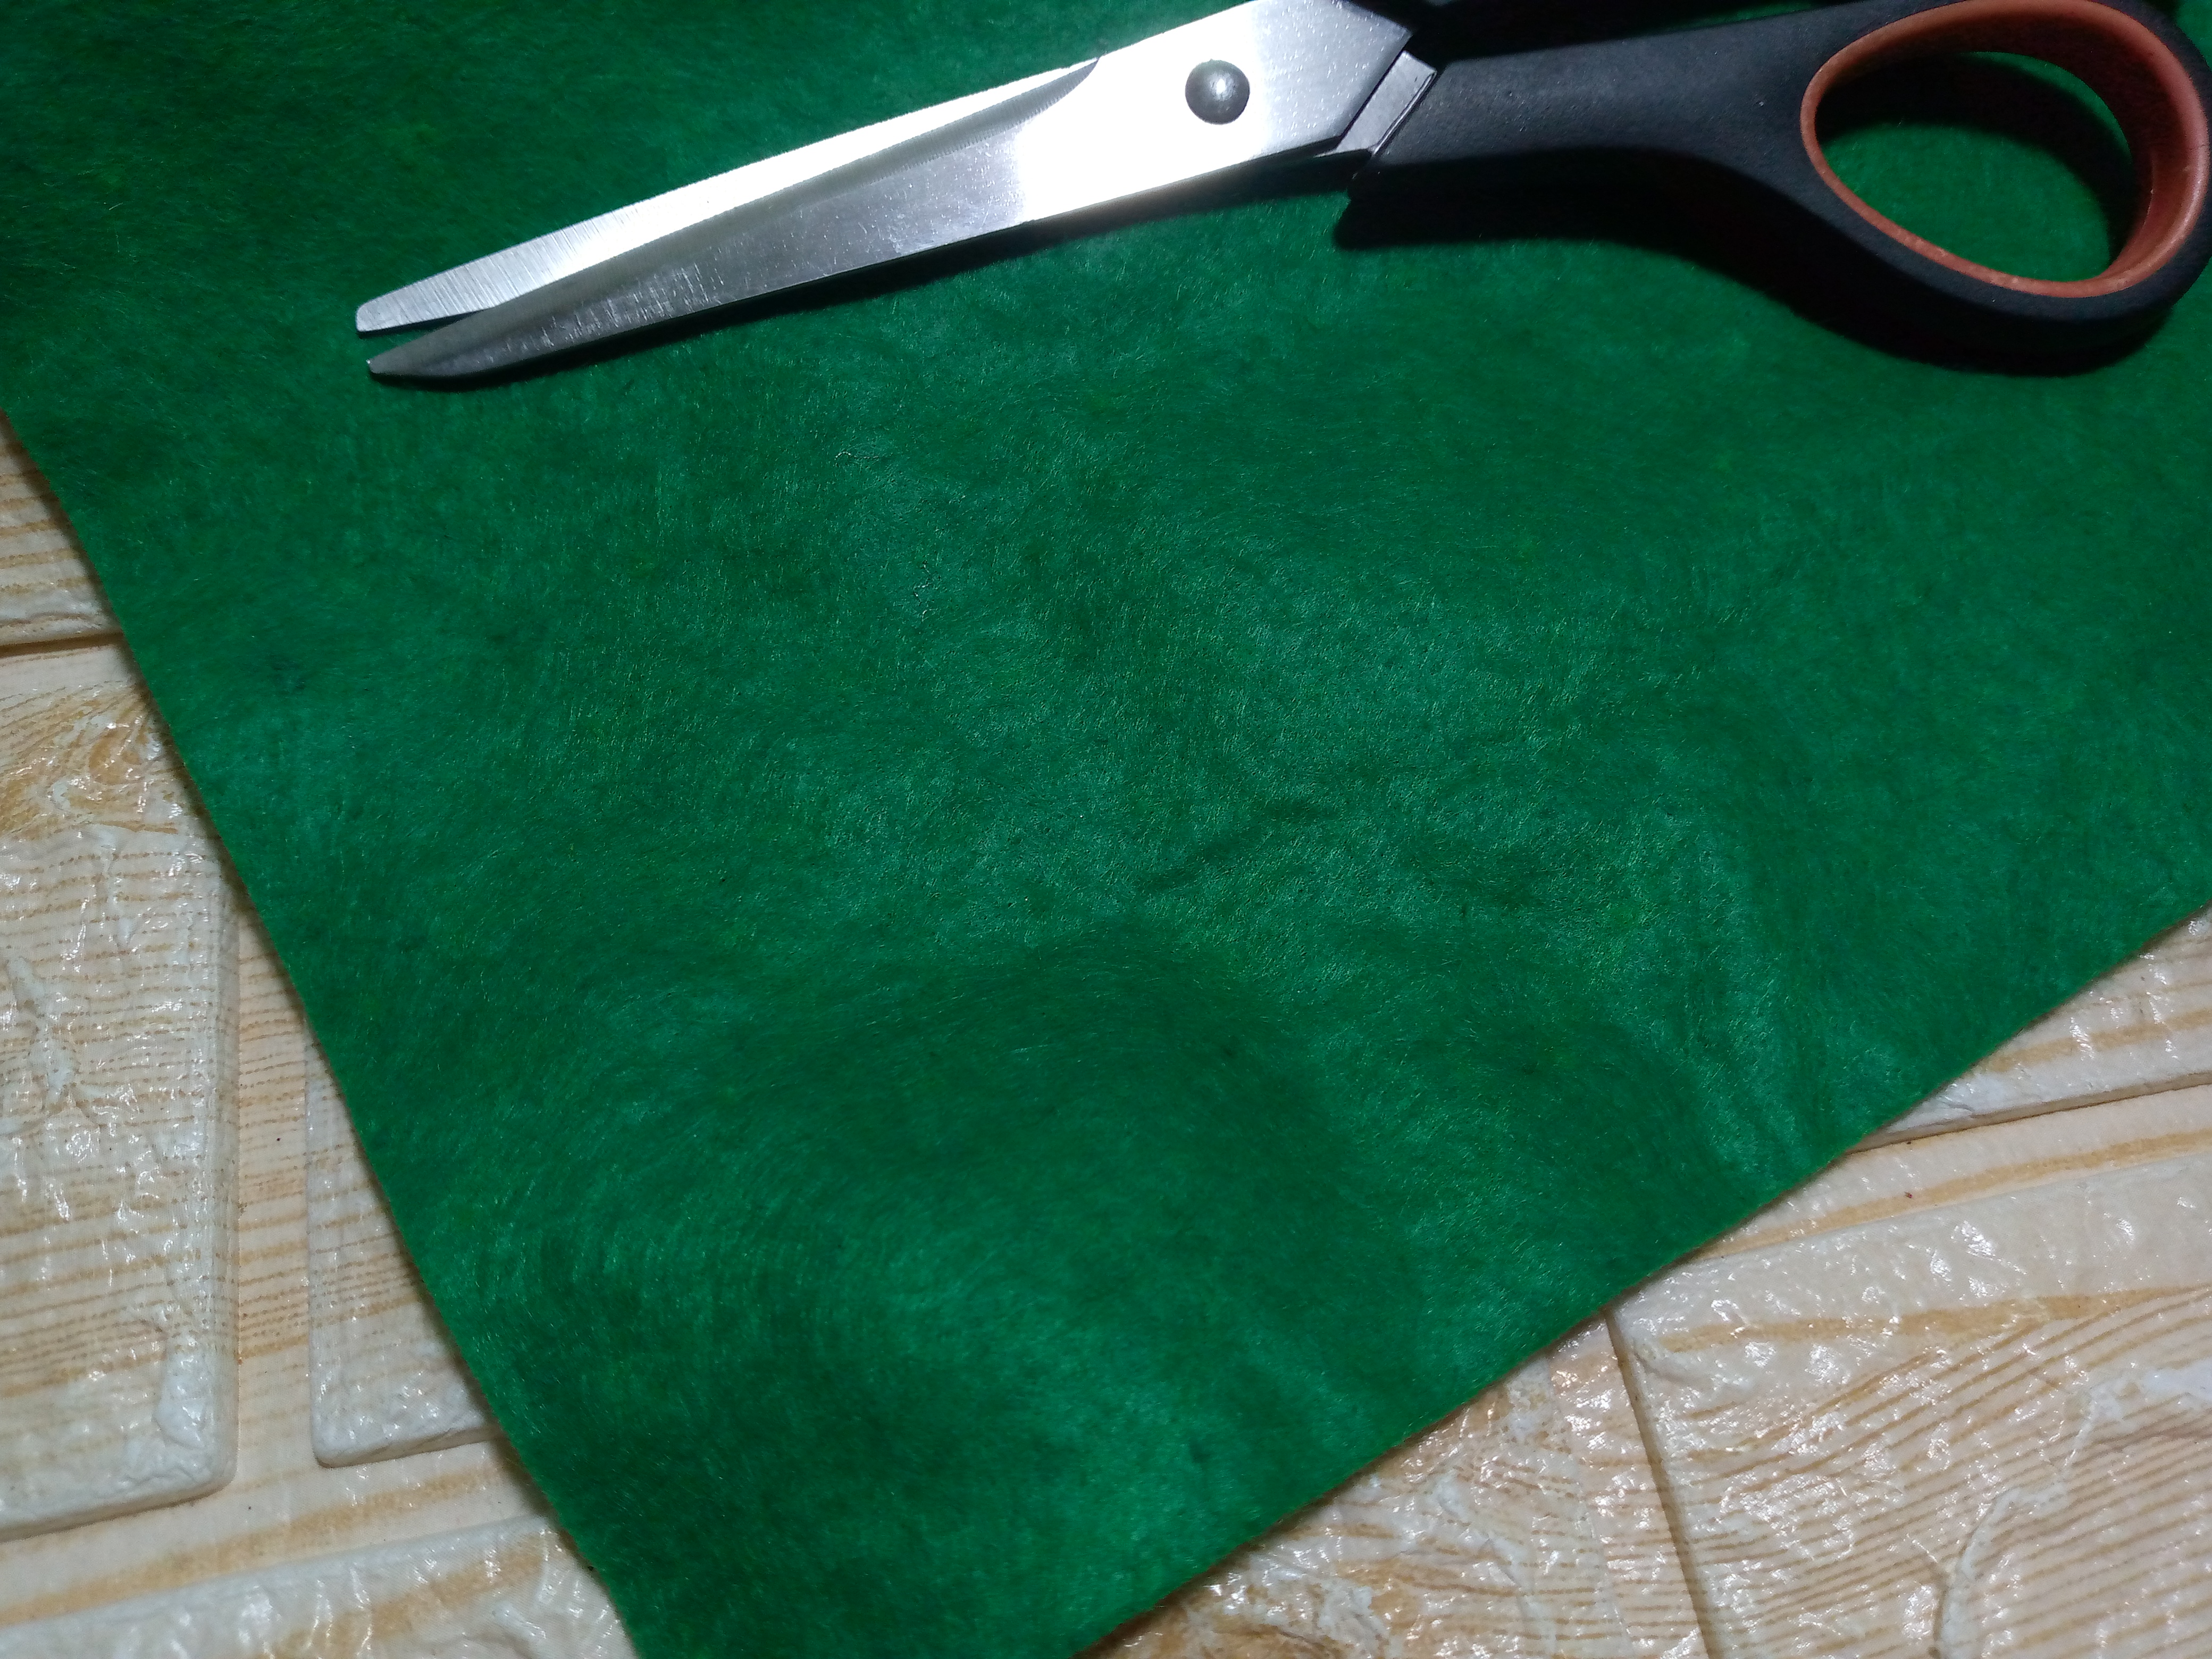
Pasamos después a tomar un poco de cartulina para hacer los tulipanes muy pequeños de manera que entren en mi envase, entonces con la misma medida de la circunferencia de mi envase hice un círculo de fieltro para simular mi cesped y una vez coloreé mis tulipanes los fuí ubicando afuera en mi círculo de fieltro .
### Step 04
We then moved on to taking some cardboard to make the tulips very small so that they fit in my container, then with the same measurement of the circumference of my container I made a felt circle to simulate my grass and once I colored my tulips I placed them outside in my felt circle.
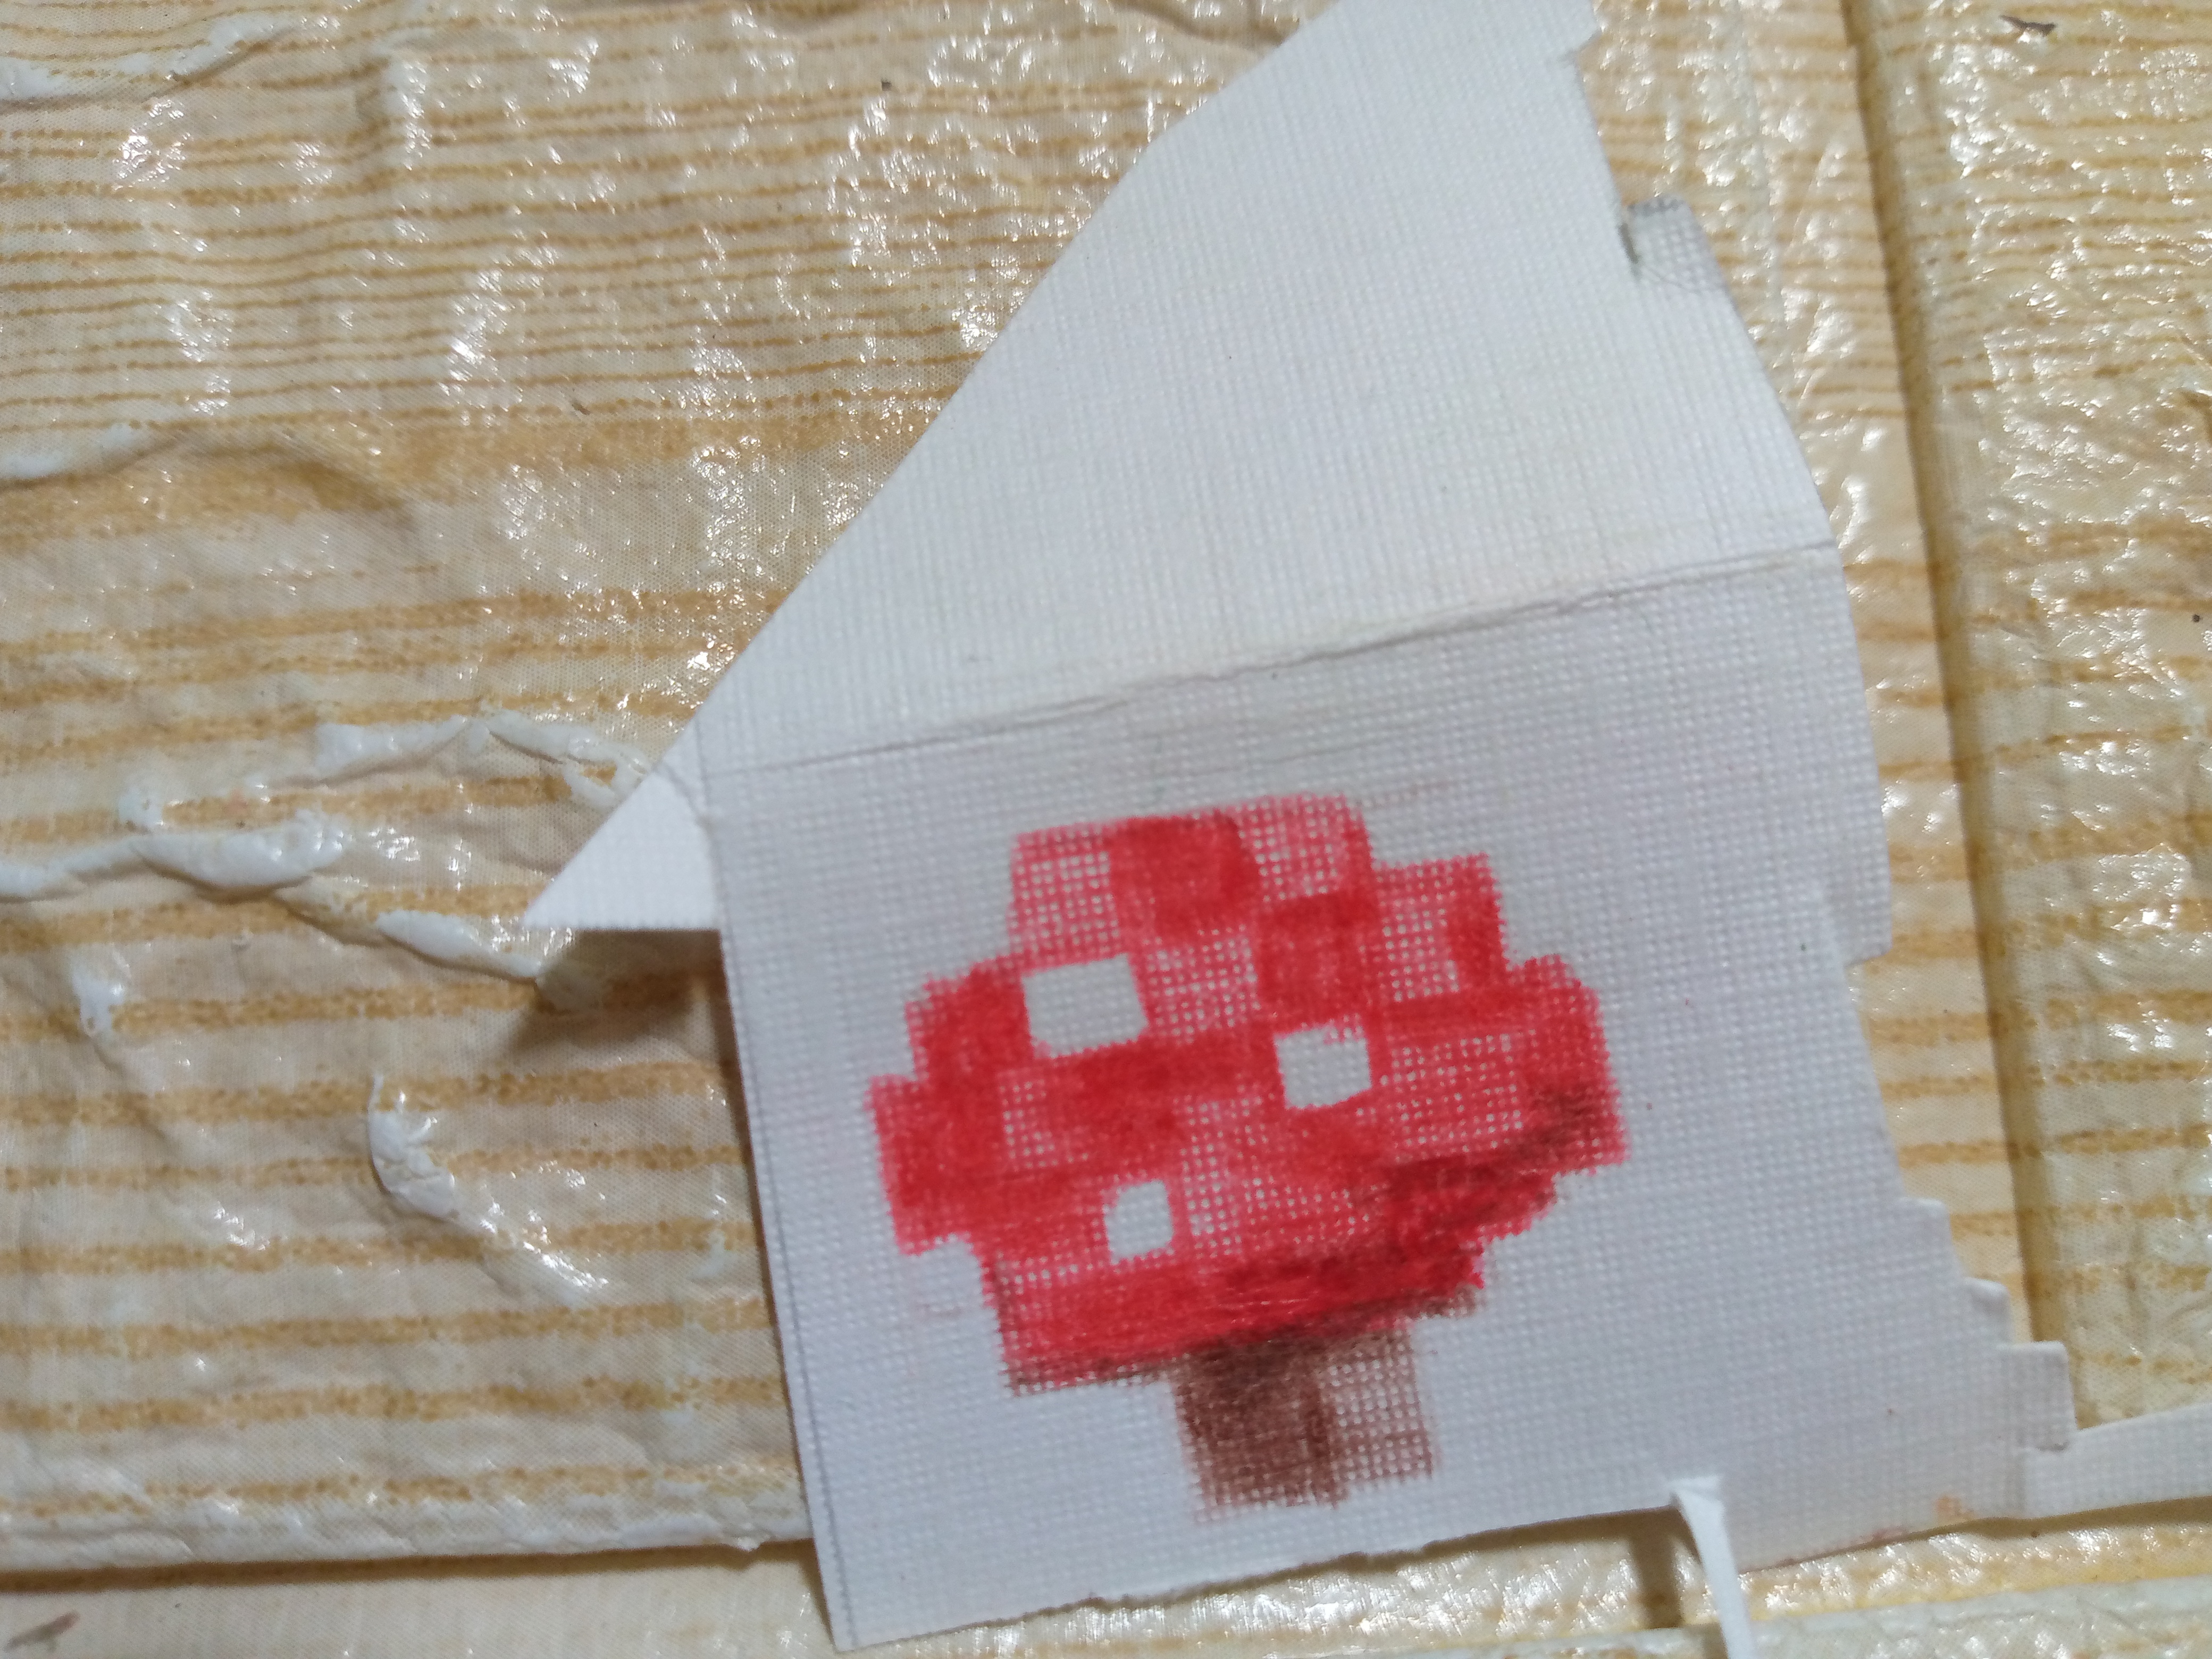

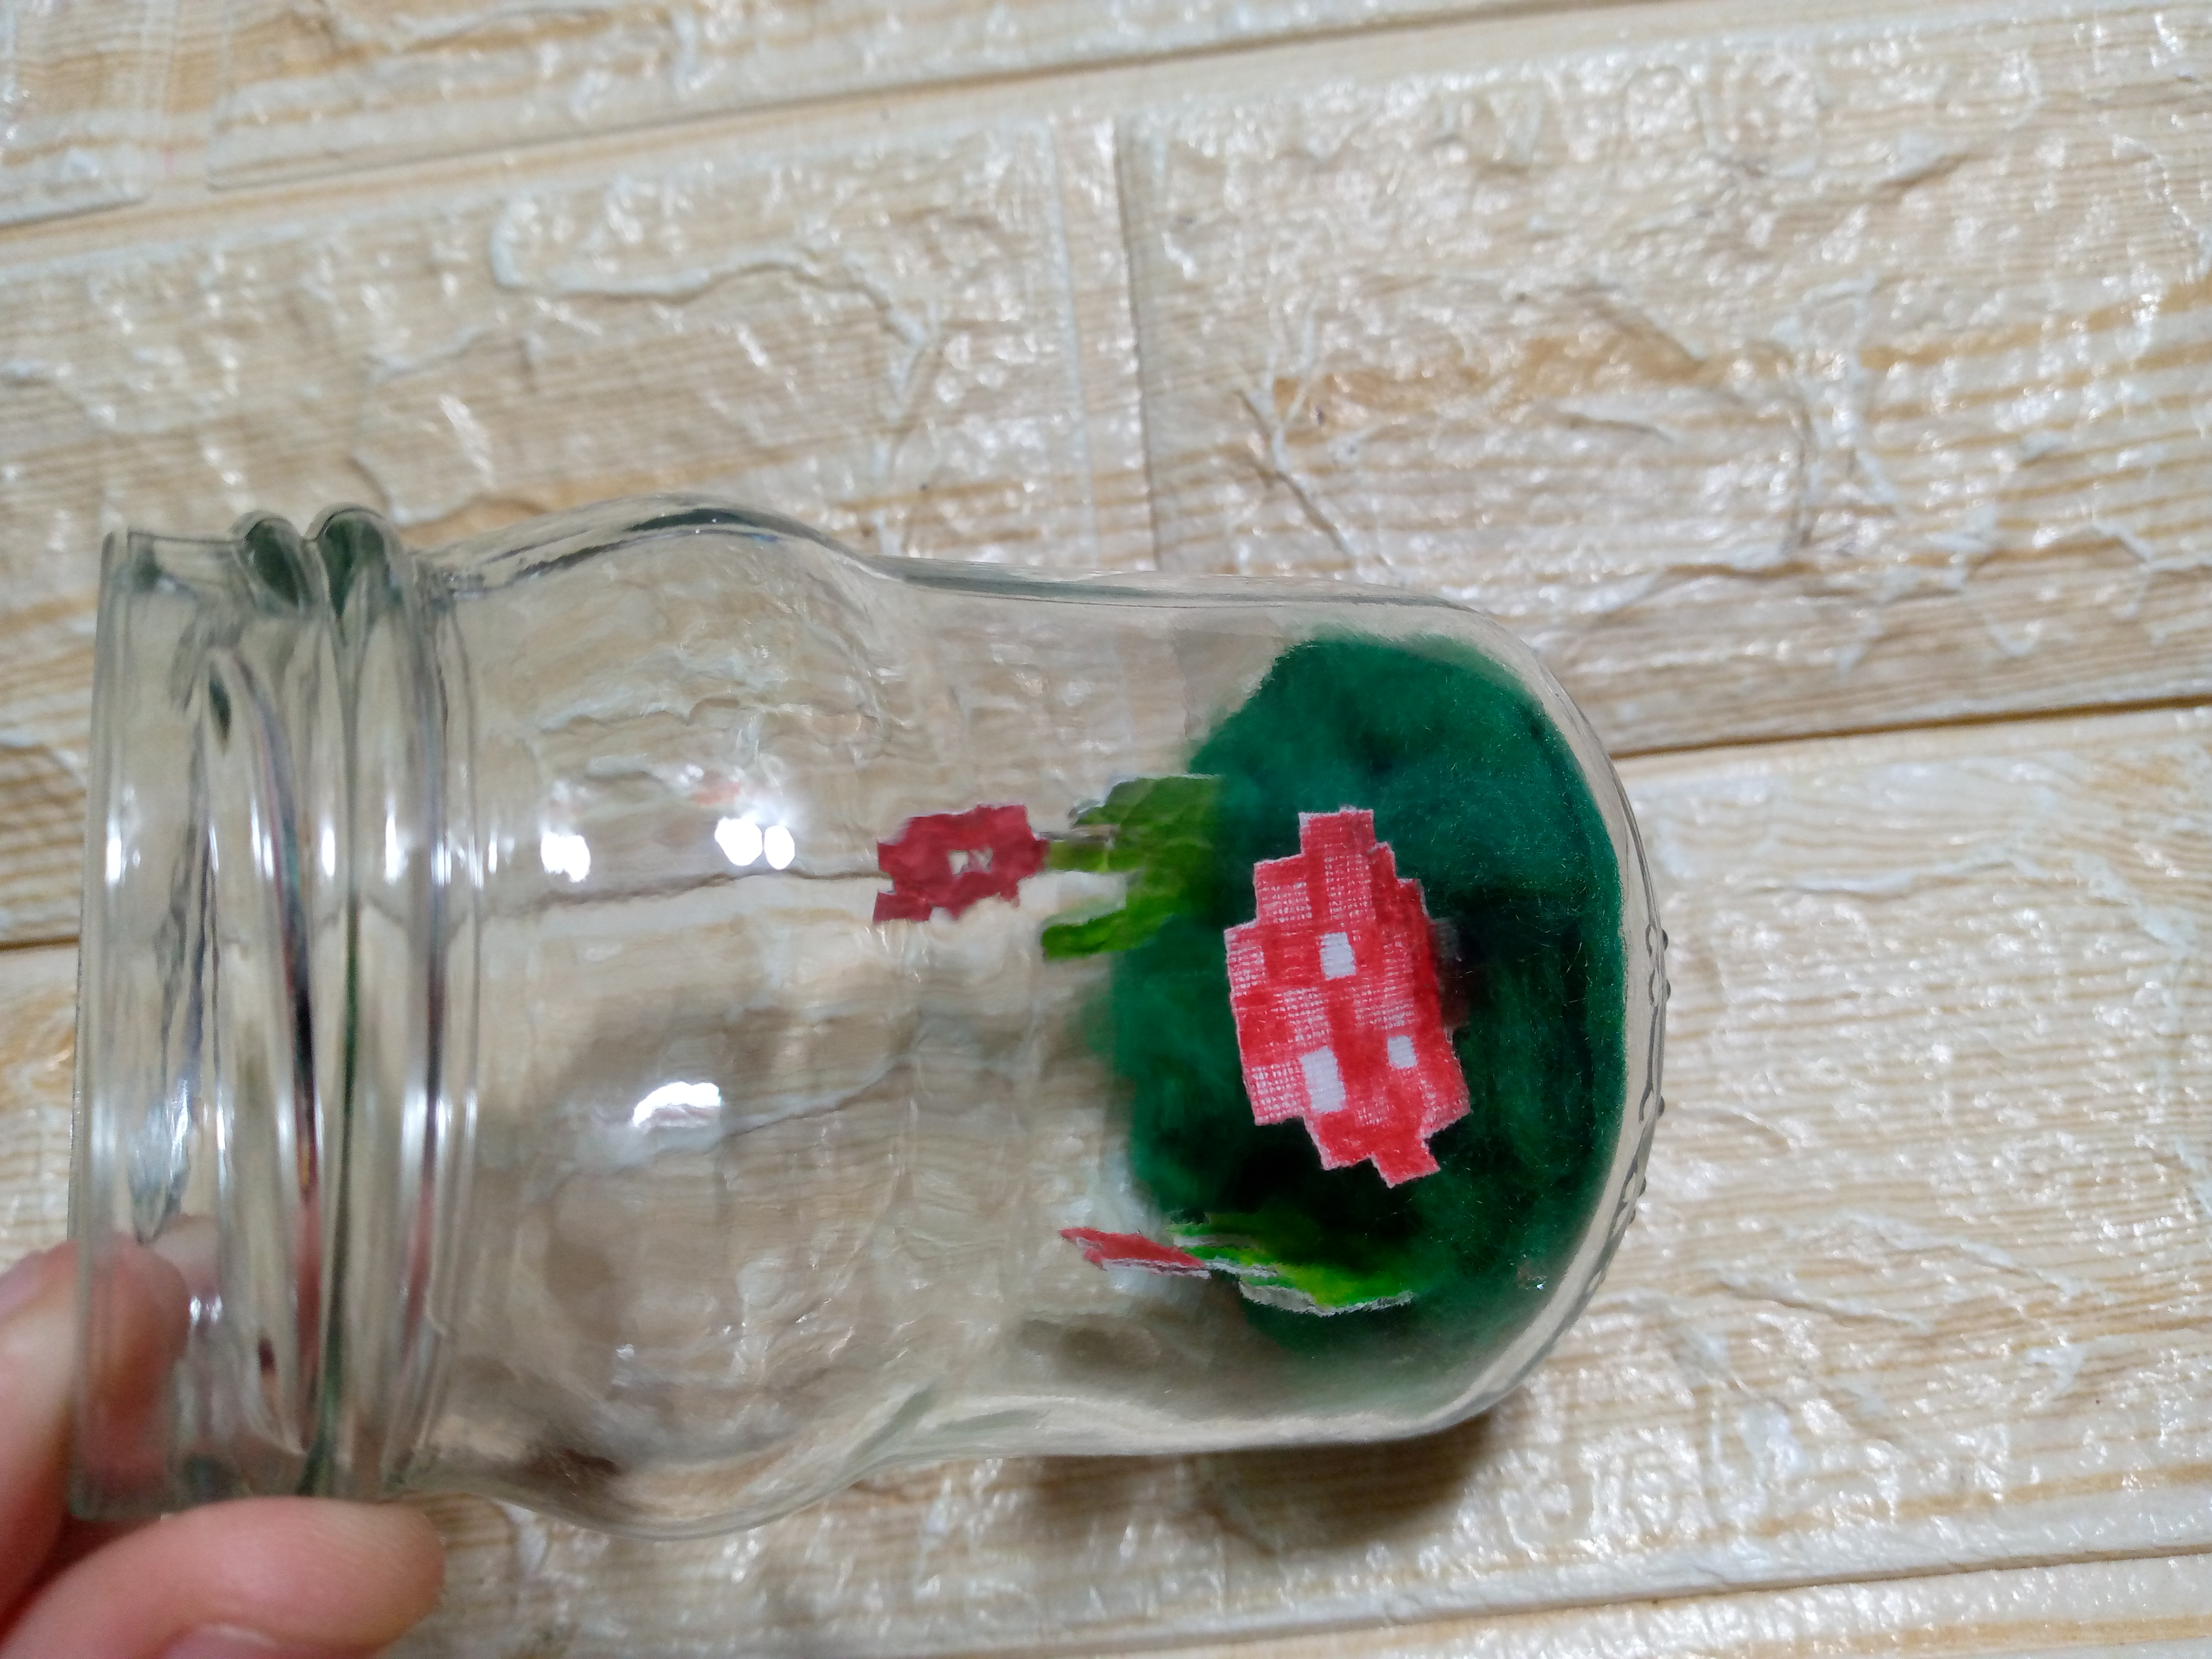


Paso 05
De último hice un pequeño honguito que también lo pegué casi en el centro del círculo del fieltro cerca de mis tulipanes para darle vida a este mini mundo de Minecraft,luego eché silicón en el fondo del envase e introducí mi cesped con las flores y lo pegamos bien , después recorté un pequeño círculo muy pequeño de cartulina y ubicaremos el hilo transparente con la abeja en la tapa y lo pegamos el círculo lo usaremos para sellar el silicón y el hilo una vez lo terminamos me encargué de introducir bien la abejita al envase y lo sellé bien ,asi lo terminé.
### Step 05
Finally I made a small mushroom that I also glued almost in the center of the felt circle near my tulips to give life to this mini Minecraft world, then I poured silicone into the bottom of the container and introduced my grass with the flowers and glued it well, then I cut out a very small circle of cardboard and we will place the transparent thread with the bee on the lid and glue the circle, we will use it to seal the silicone and the thread once we finished it I took care to introduce the bee well to the container and I sealed it well, that's how I finished it.
_
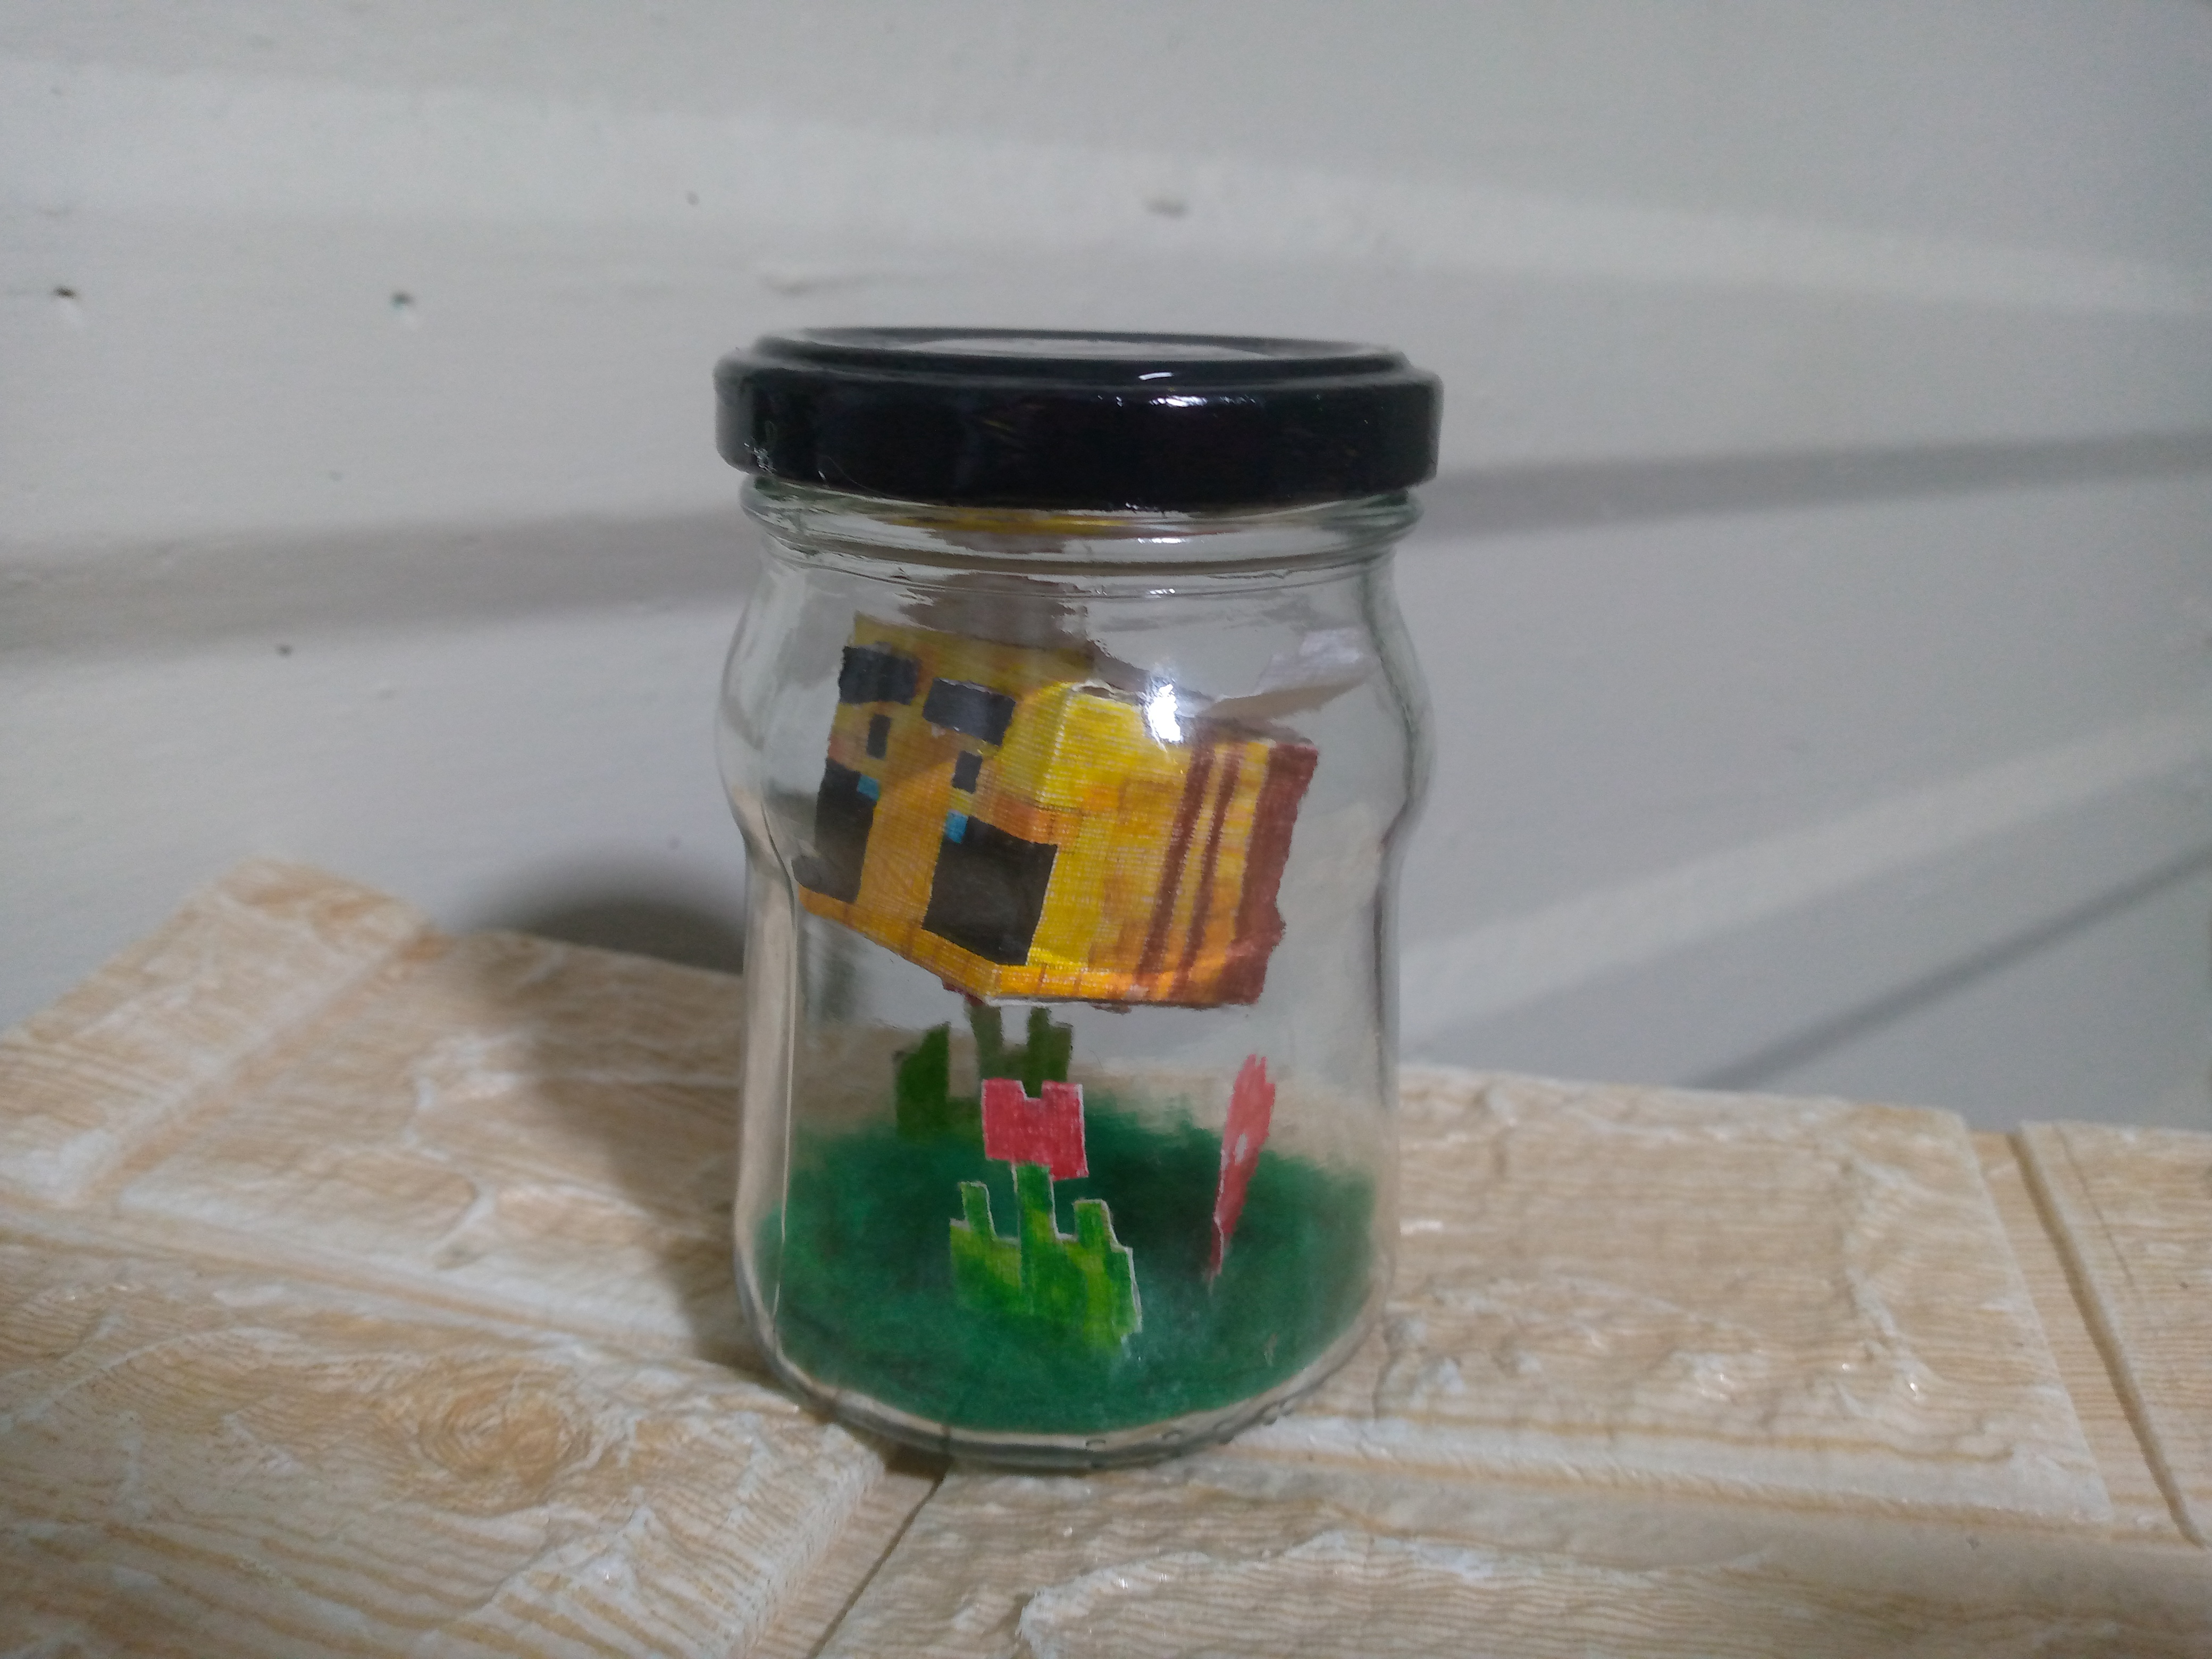
Resultado: | Result:
_
Así nos ha quedado esta hermosa decoración de Minecraft ❤️🌷🍄 me ha gustado mucho como se ve terminado,y a ti que tal te pareció está idea ,comenta si te gustó 😌 ...Con esto llegamos al final de nuestro tutorial , espero poder encontrarnos en otro tutorial 🥰saludos amigos .
This is how this beautiful Minecraft decoration turned out ❤️🌷🍄 I really liked how it looks finished, and what did you think of this idea, comment if you liked it 😌 ... With this we come to the end of our tutorial, I hope to meet again in another tutorial 🥰 greetings friends.


¡Hola!...Soy Annie
Una chica que le apasiona el diseño,la costura las manualidades y crear cualquier cosa de mucho uso con mis manos,tengo como hobbie la música ,el maquillarme,la pintura y el dibujo,expresar mis ideas y sentimientos en un dibujo es algo que me gusta hacer,amo la naturaleza,un atardecer ,la playa y disfrutar con mis familiares de los buenos momentos de la vida.❤️
_
Creando las cosas con amor🌷♥️ | Creating things with love🌷♥️
_
_
Imágenes:de mi autoria | Edición:Canva® y PicsArt © | Traductor:Traductor de Google | Dispositivo:TecnoSpark 8C.
_
_
Images:my own work | Edited by:Canva® and PicsArt © | Translator:Google Translate |Device:TecnoSpark 8C .
_