Hola!..Gracias por tu visita,vamos a crear manualidades increíbles ✂️✨...|Hello! Thanks for visiting, let's make some amazing crafts ✂️✨...
Hey craft friends, it's been a while since I shared something creative with you in the community and it's been a little busy with my arrangements for the wedding that will be next year but from now on I want to get ahead as much as I can with the decorations and one of the things I've been working on is my dress which of course is almost ready it only needs little things like sewing the lace and the lining which is the least of it and I'll sew that quickly, another thing that I've also been thinking about is that I should get ahead with the decorations and the candy dishes adorned with paper roses that I had previously shared a tutorial on how to make them you can look for them at the beginning of my blog if you haven't seen this tutorial on how to make your own paper or cardboard roses.


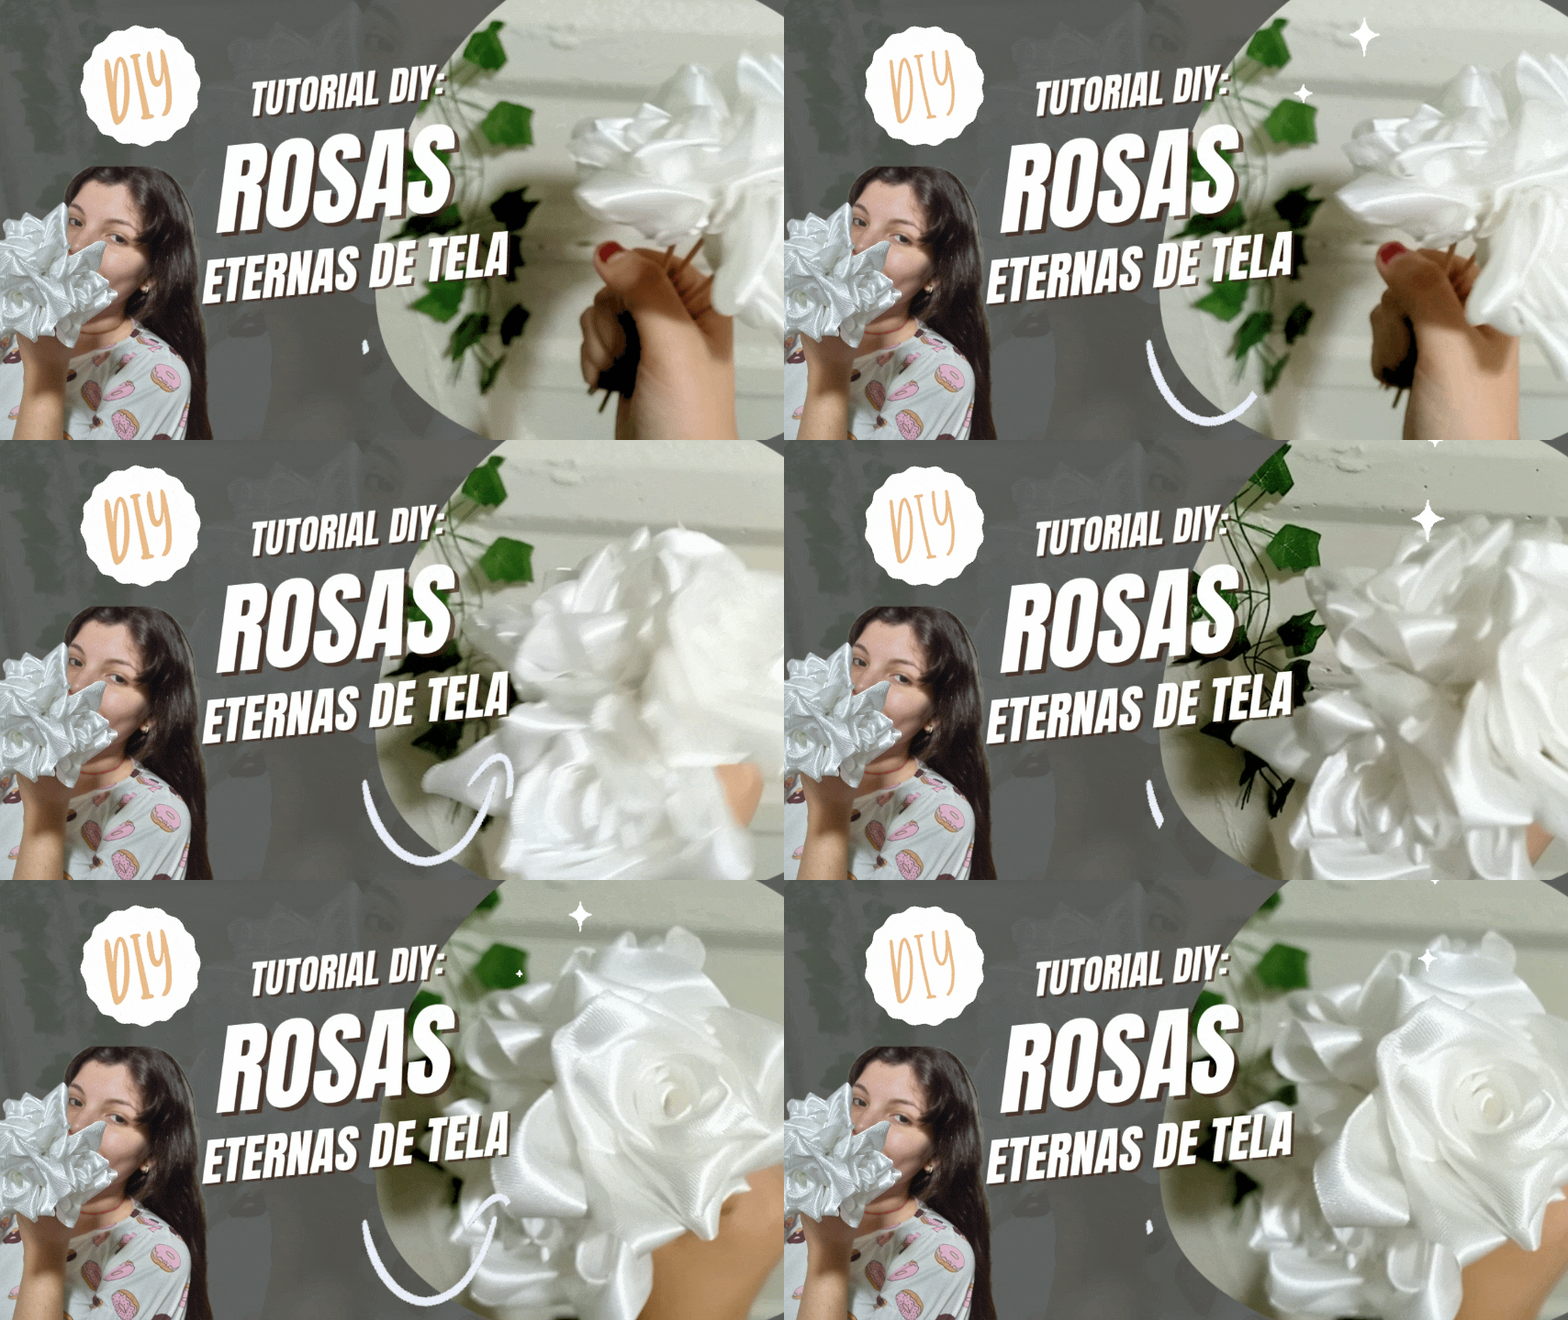
So today I come with this tutorial on how to make eternal roses but with your scraps of fabric this time I will be making them basically for my bridal bouquet this bouquet has around 16 flowers but since I was missing some of the material to make them all, I decided that I would start making them with what I have and see how many I get at the moment I needed enough silicone in this case in stick form to glue the petals instantly it is very important to glue them with this type of silicone since it is much easier to work it like this, possibly you already know how to make them but surely not with fabric, we will be using a bridal satin fabric of course and if you have another model any will do because the important thing is that we can make the flower as such, so stay and I will be teaching you in an easy, quick and simple way to make them ... Let's go with the materials!


_
Materiales: | Materials:
_
- Tijeras
- Silicón
- Trozos de tela
- Palillos de madera de cocina(preferiblemente cortados a la mitad)
- Encendedor y vela
- Tarjeta
- Scissors
- Silicone
- Pieces of fabric
- Wooden kitchen chopsticks (preferably cut in half)
- Lighter and candle
- Card

_
Pasos a seguir: | Steps to follow:
_


Paso 01
Step 01
The first step we will do is cut long strips of our fabric, as long as we can of course, and we will cut the width to 4 cm. We cut enough strips and we will gradually cut rectangles the length of our card and we will be using our lighter and candle to burn the edges of our fabric rectangle to prevent the fabric from fraying.


Paso 02
Step 02
Once I have several rectangles of fabric already prepared, what we do is fold one of the top points, bringing them inwards on both the right and left sides, and what we will do is glue it. It should look like a triangle, and so we do with the others. It should be noted that this process is a little slow, but for it to turn out well, we must be very patient 😊.


Paso 03
Step 03
After having all the rectangles that make up the rose petals, we are simply going to fold once more, bringing one of the outer tips to the center, right in the center of our petal on top of the one we folded previously.


Paso 04
### Step 04
I already have the petals all ready, I'm going to start assembling the rose. To do this, I'm going to take a petal and right in the middle of the petal towards the right side, we will place the other petal on top of this sequence. We continue gluing one on top of the other from that distance until we complete a series of 16 petals. Then we will take the toothpick, add silicone to the tip and we will roll the petals evenly until we reach the end to finish our rose. We can continue assembling the others.

_
Resultado: | Result:
_
Look how beautiful our roses look already placed on the stick and perfect for placing them in the bouquet. Now, dear friends, I just have to put it together and I will do another tutorial with more details about this later. I hope you liked it a lot.


Les doy gracias por visitar este blog y espero poder verlos en otra oportunidad 👋🏻no se pierdan mis tutoriales ✂️💓,Saludos Los quiero mucho queridos amigos de #hivediy❤️
Thank you for visiting this blog and I hope to see you again next time 👋🏻don't miss my tutorials ✂️💓, Greetings I love you very much dear friends of #hivediy❤️

¡Hola!...Soy Annie
Una chica que le apasiona el diseño,la costura las manualidades y crear cualquier cosa de mucho uso con mis manos,tengo como hobbie la música ,el maquillarme,la pintura y el dibujo,expresar mis ideas y sentimientos en un dibujo es algo que me gusta hacer,amo la naturaleza,un atardecer ,la playa y disfrutar con mis familiares de los buenos momentos de la vida.❤️
_
Creando las cosas con amor🌷♥️ | Creating things with love🌷♥️
_
_
Imágenes:de mi autoria | Edición:Canva® y PicsArt © | Traductor:Traductor de Google | Dispositivo:TecnoSpark 8C.
_
_
Images:my own work | Edited by:Canva® and PicsArt © | Translator:Google Translate |Device:TecnoSpark 8C .
_
