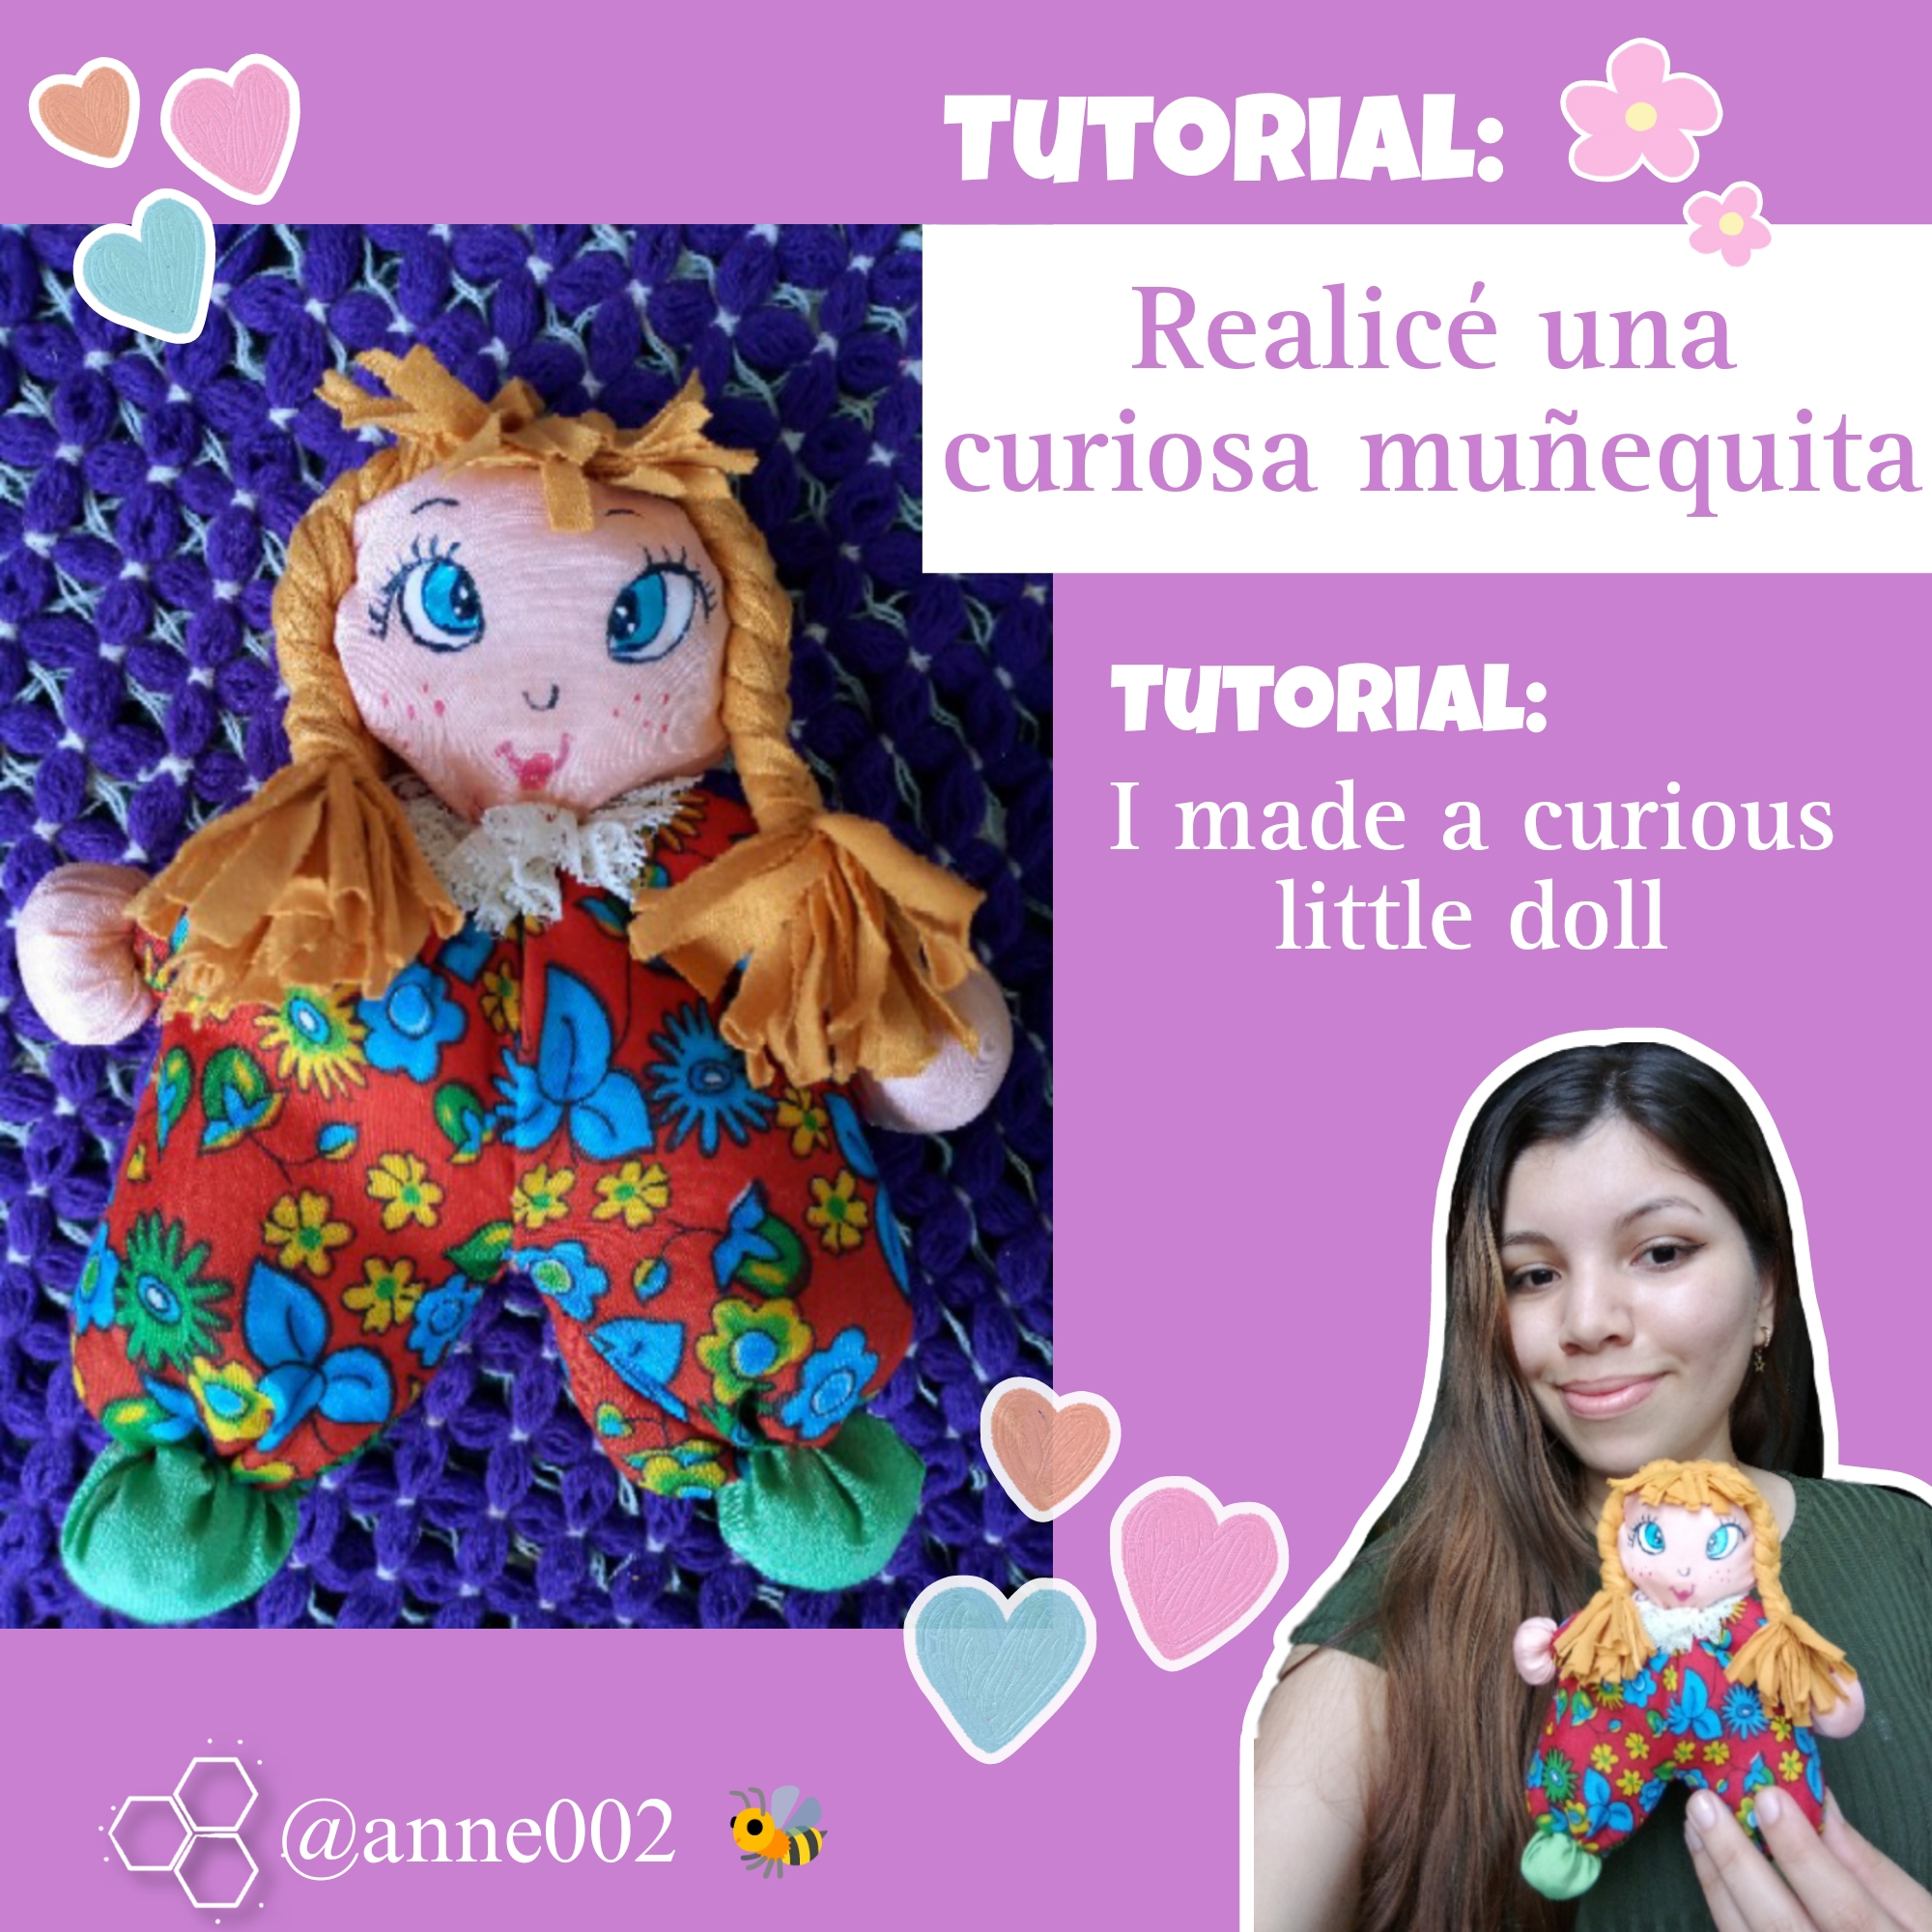
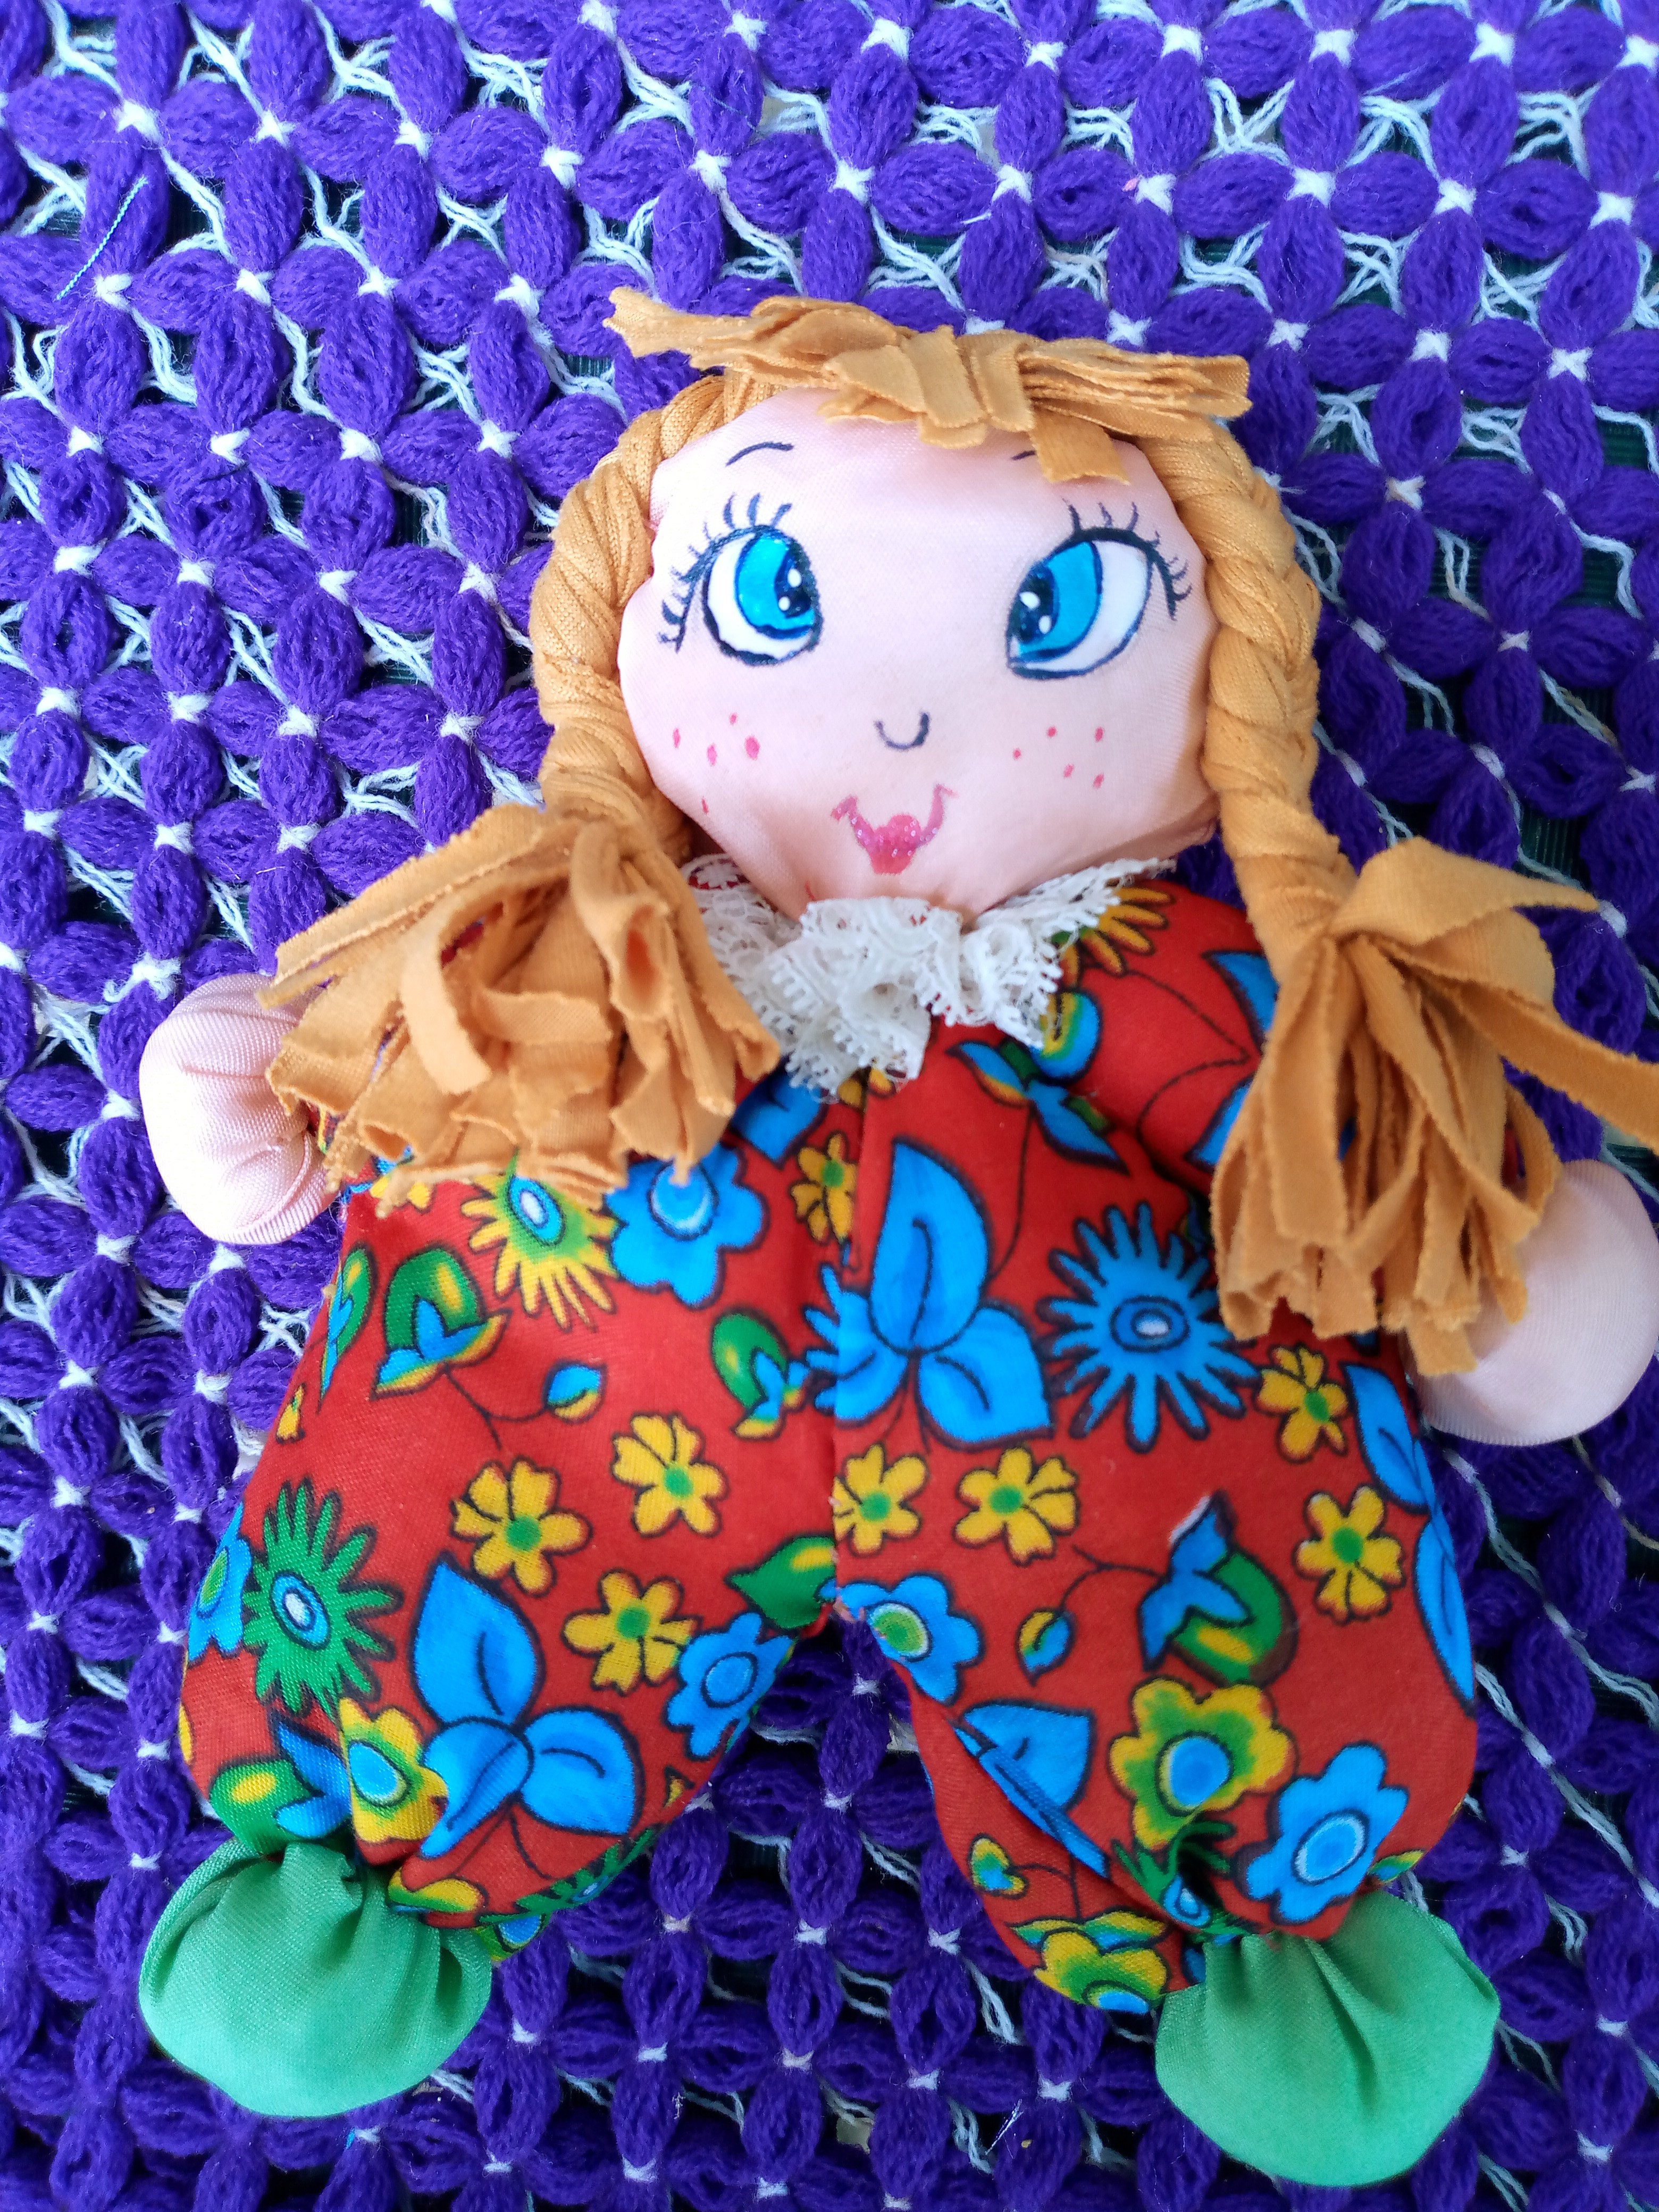
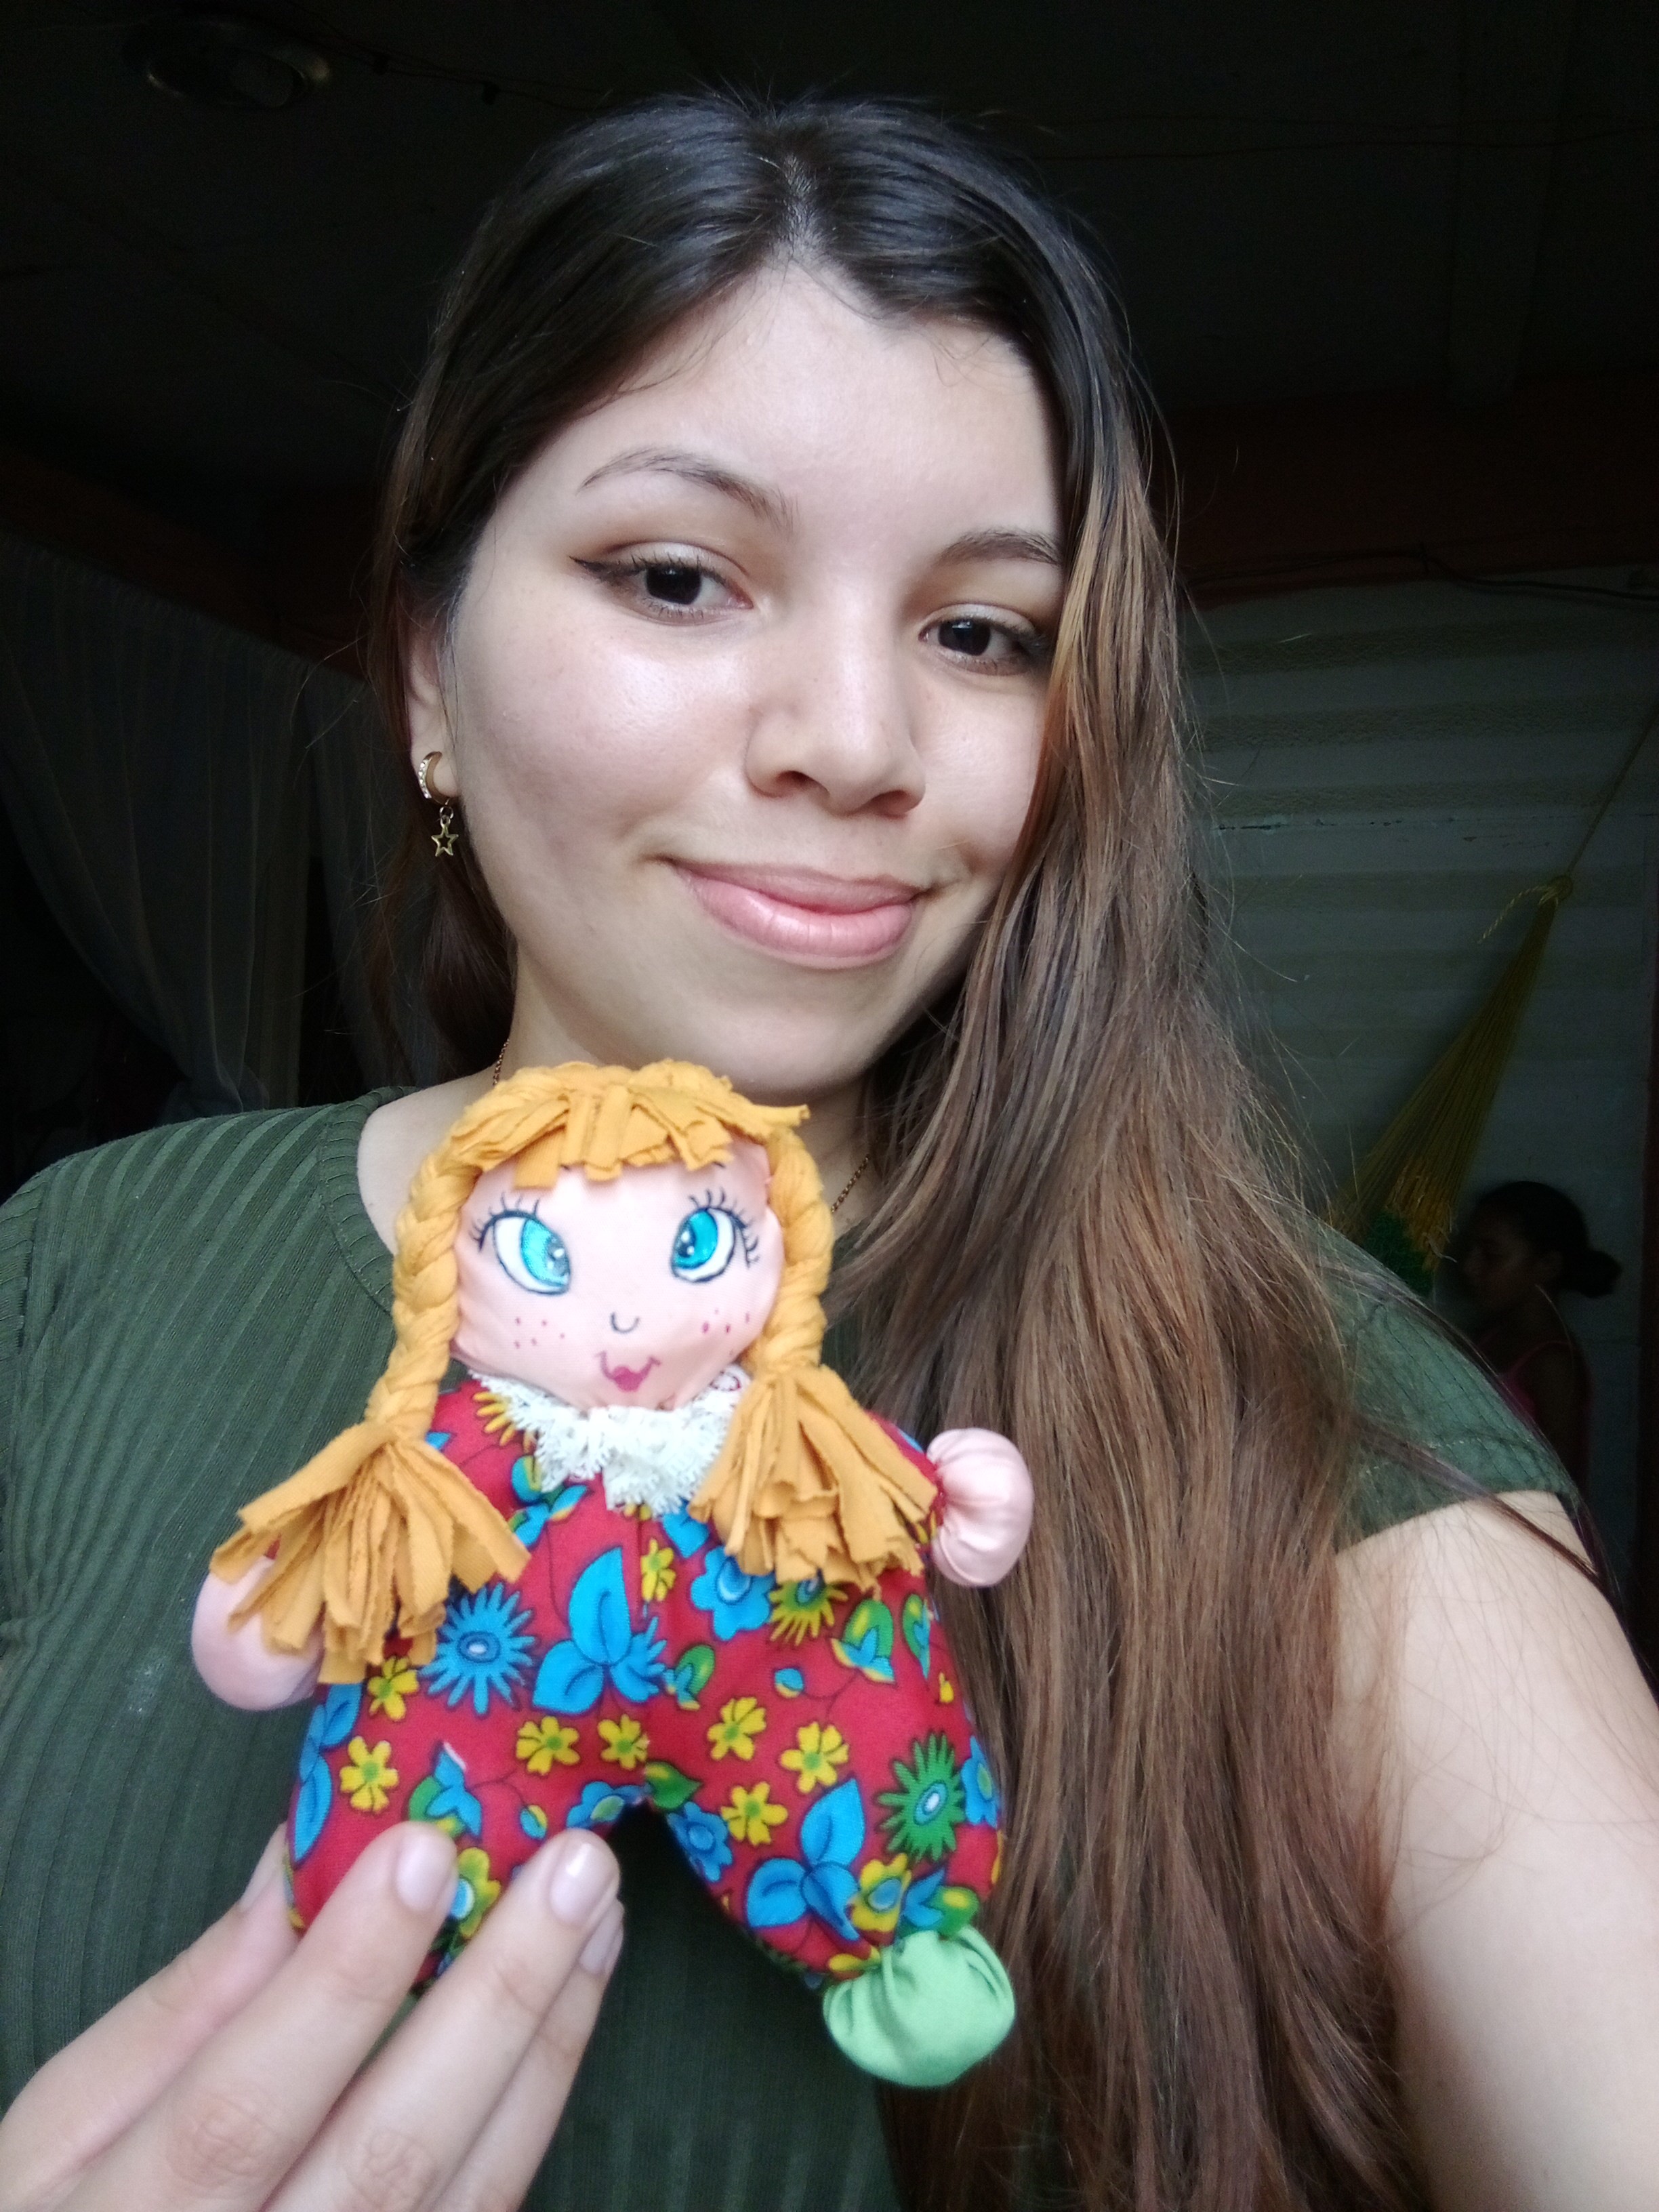
Happy afternoon friends it's a pleasure to greet you, I'm glad to be with you in this community showing you my creative work, on this rainy afternoon I bring you a very peculiar craft that I have made, as you saw at the beginning it is a small doll, I love making this type of craft because it reminds me of my childhood and when my mother made dresses for them, I made this doll with the intention of giving it to a little girl, daughter of a friend, so I was happy to make it for her, so I invite you to Stay with me and appreciate the final result.
.jpg)
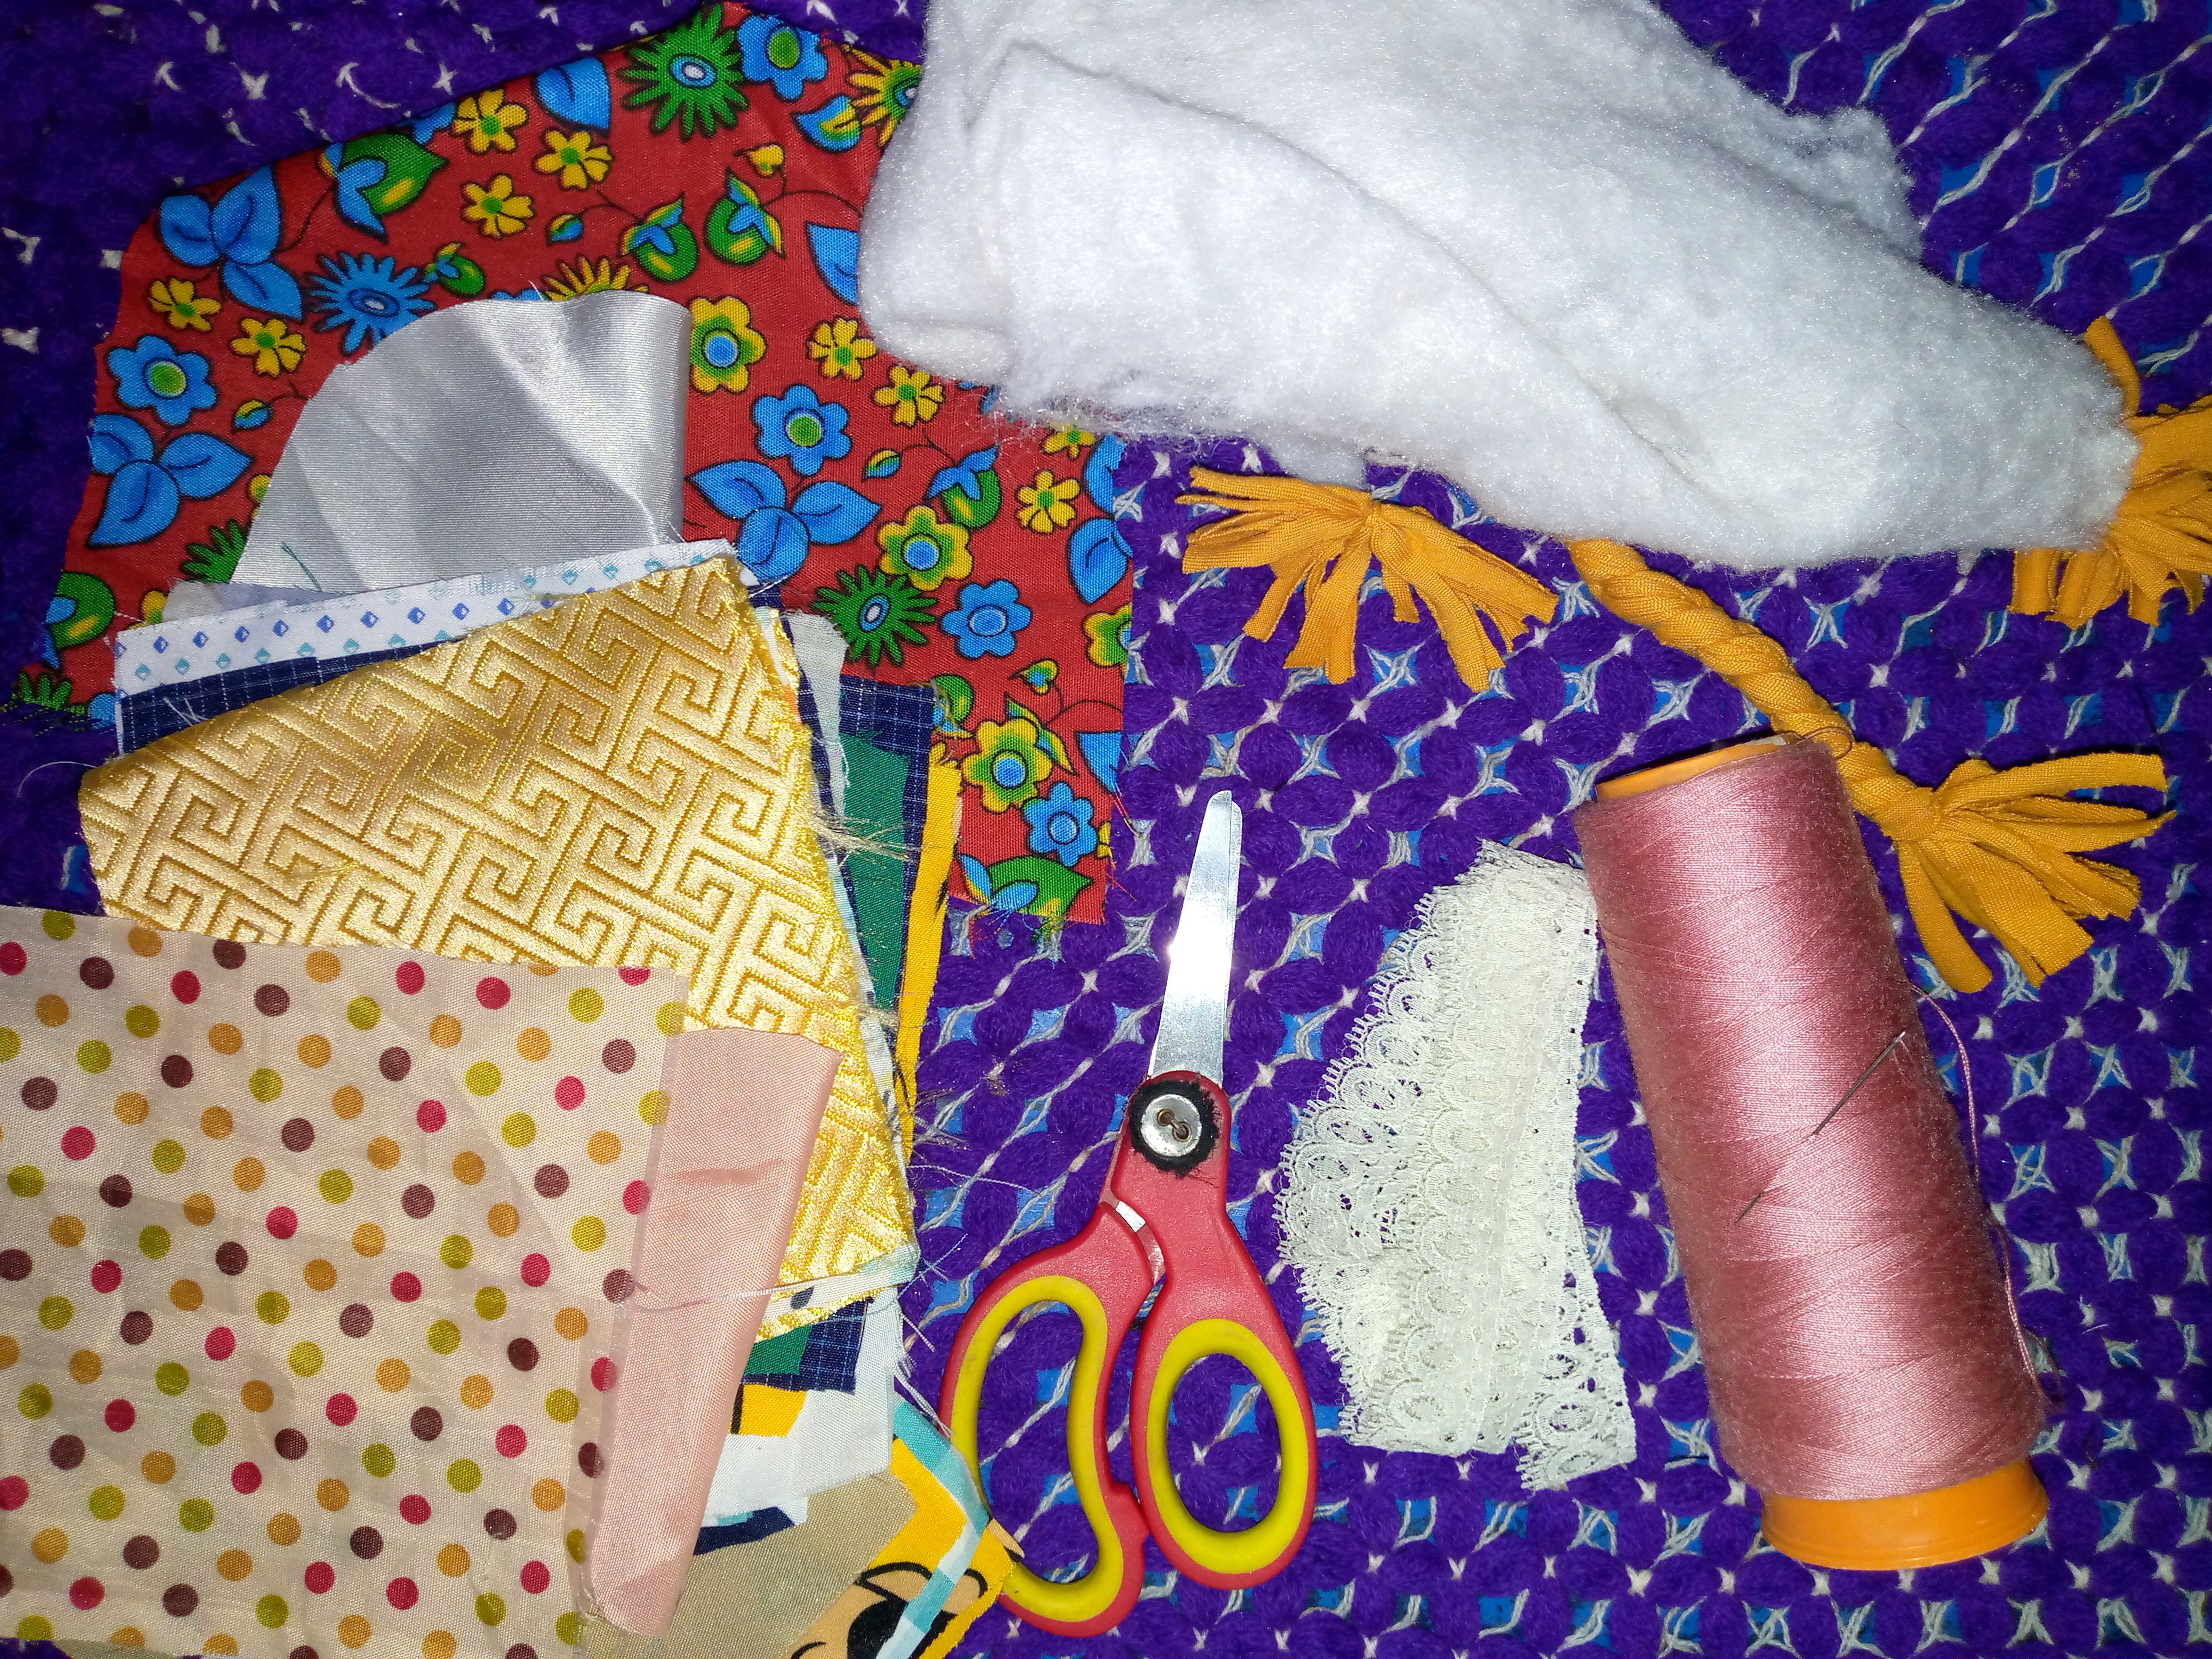
💖Materiales que usé:💖
Materials i used :
- Hilo y aguja
- Retazos de tela de colores
- Cabello de muñeca hecho de tela
- Encaje
- Relleno
- Tijera
- Esmaltes de uñas para pintar los ojos y boca de la muñeca
- Thread and needle
- Scraps of colored fabric
- Doll hair made of fabric
- Lace
- Stuffed
- Scissors
- Nail polish to paint the doll's eyes and mouth
💖Pasos a seguir:💖
Steps to follow:
Paso 01
Step 01
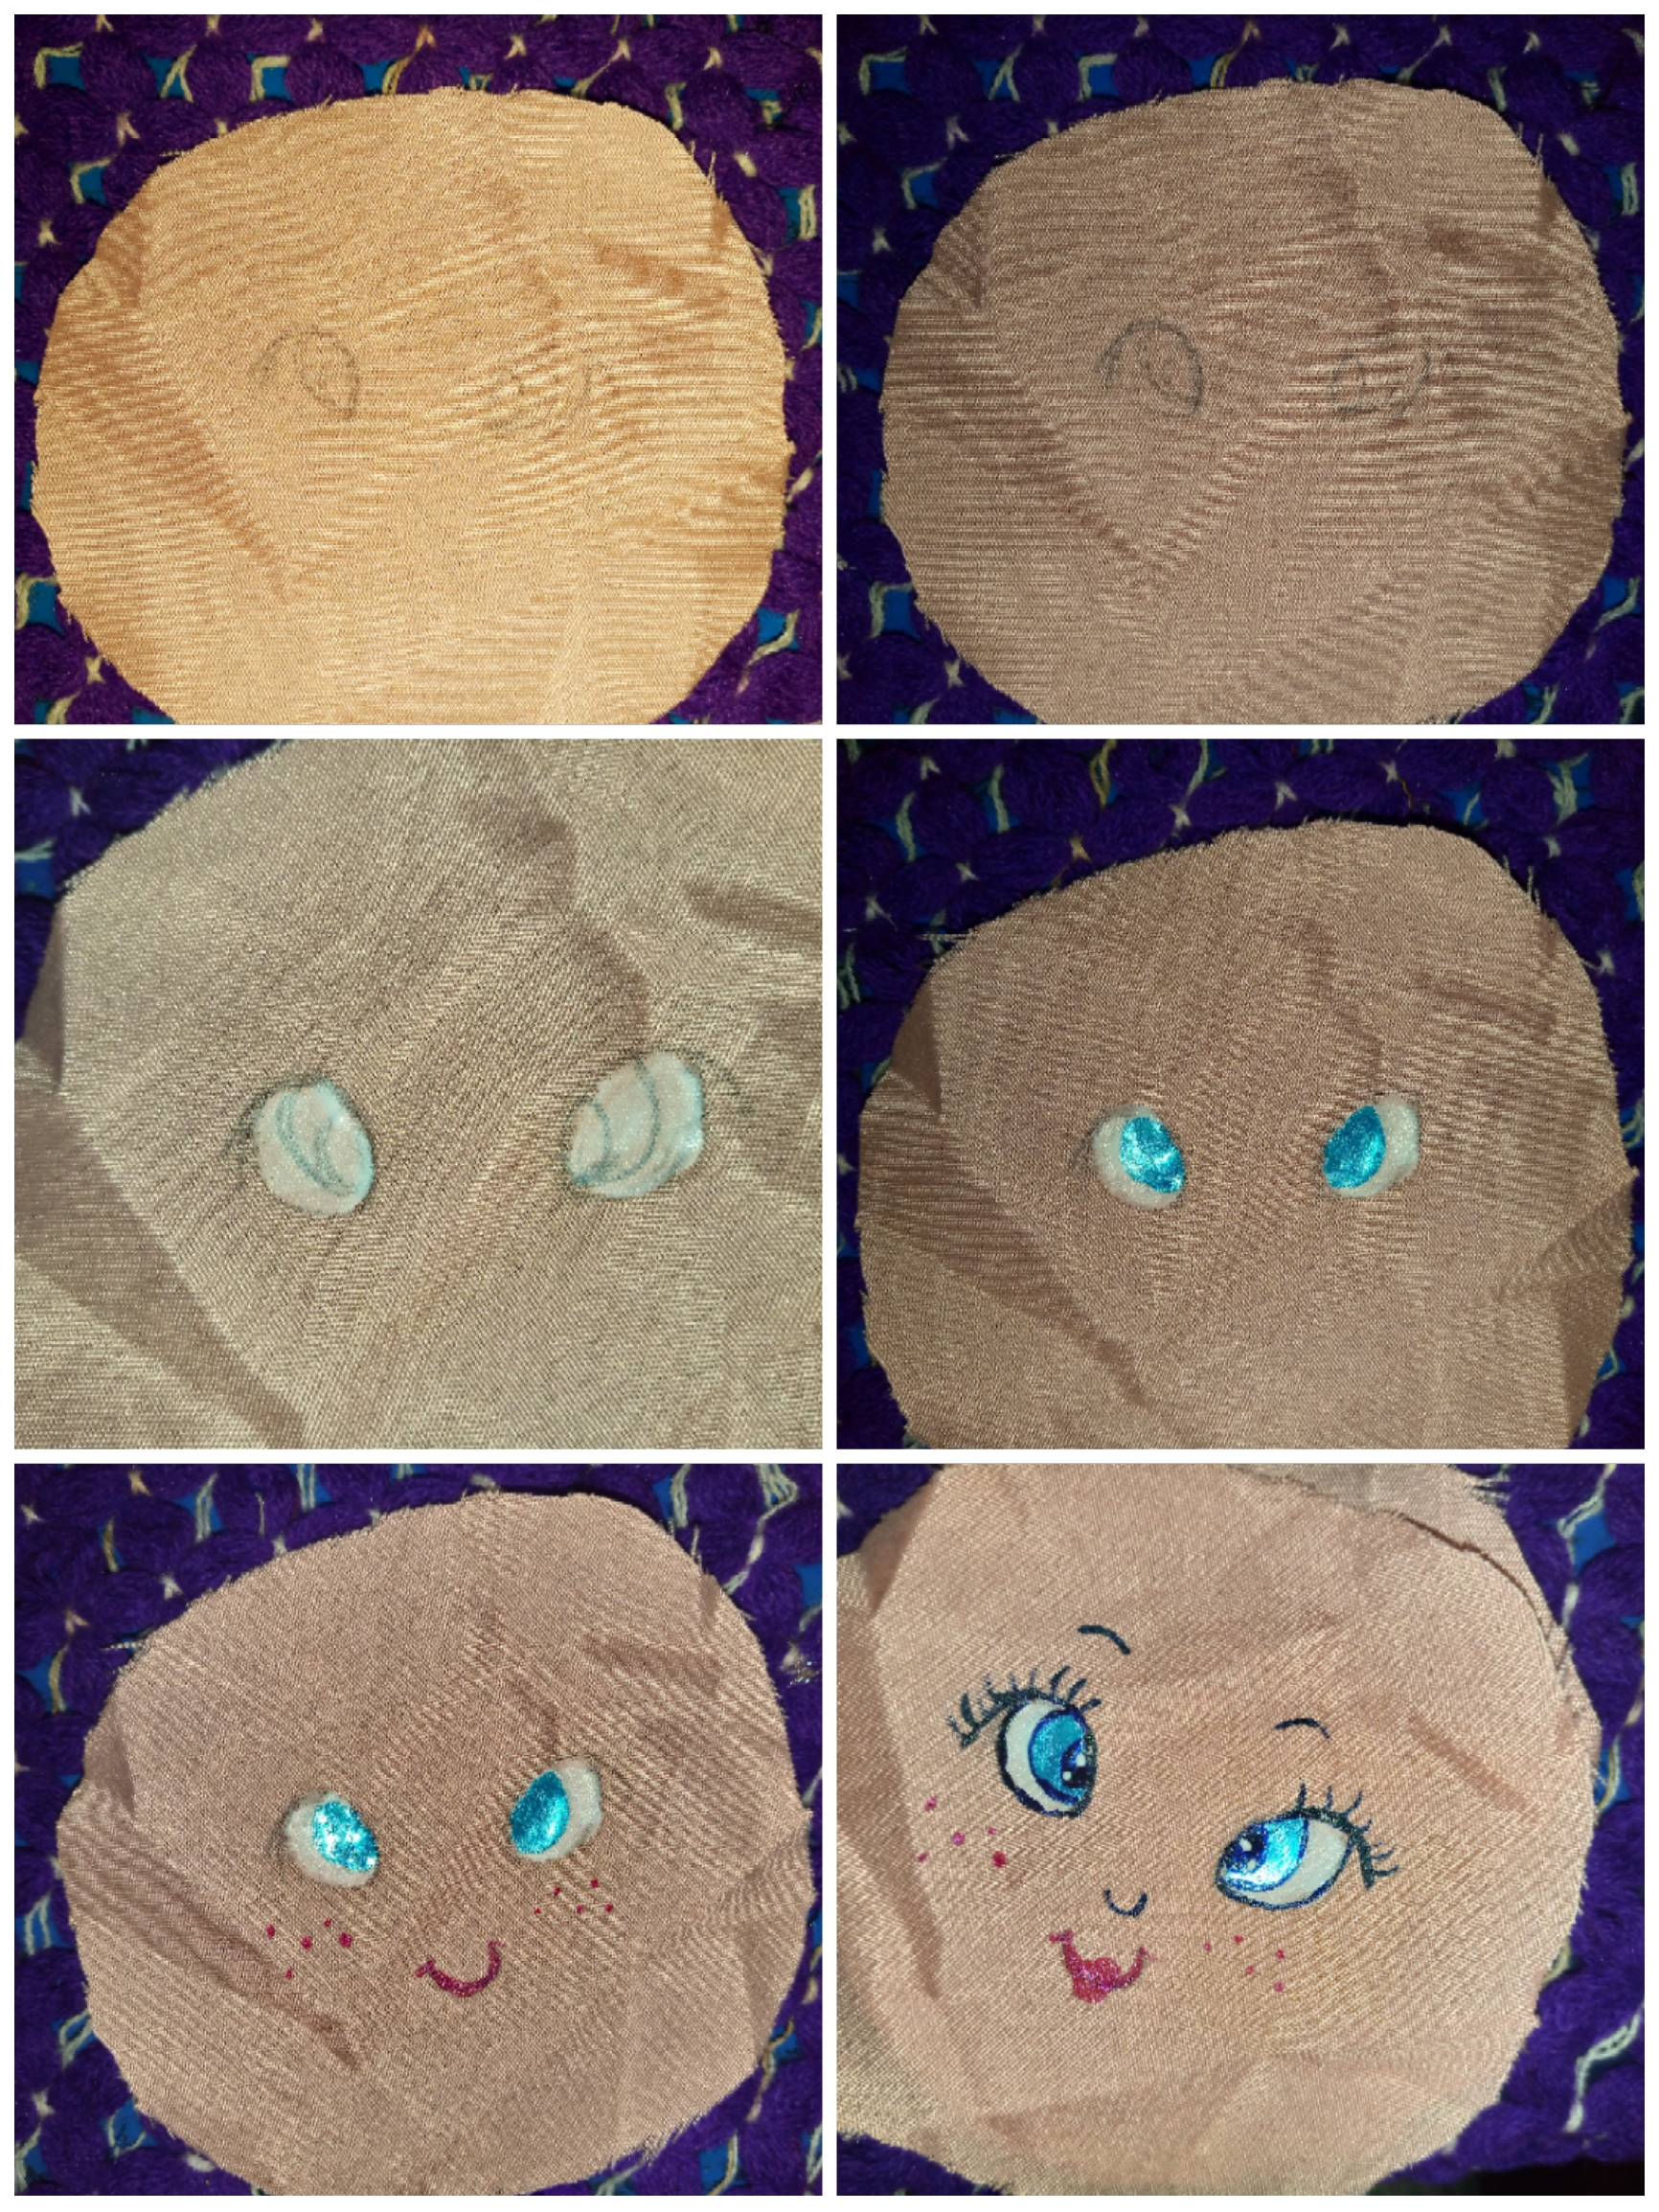
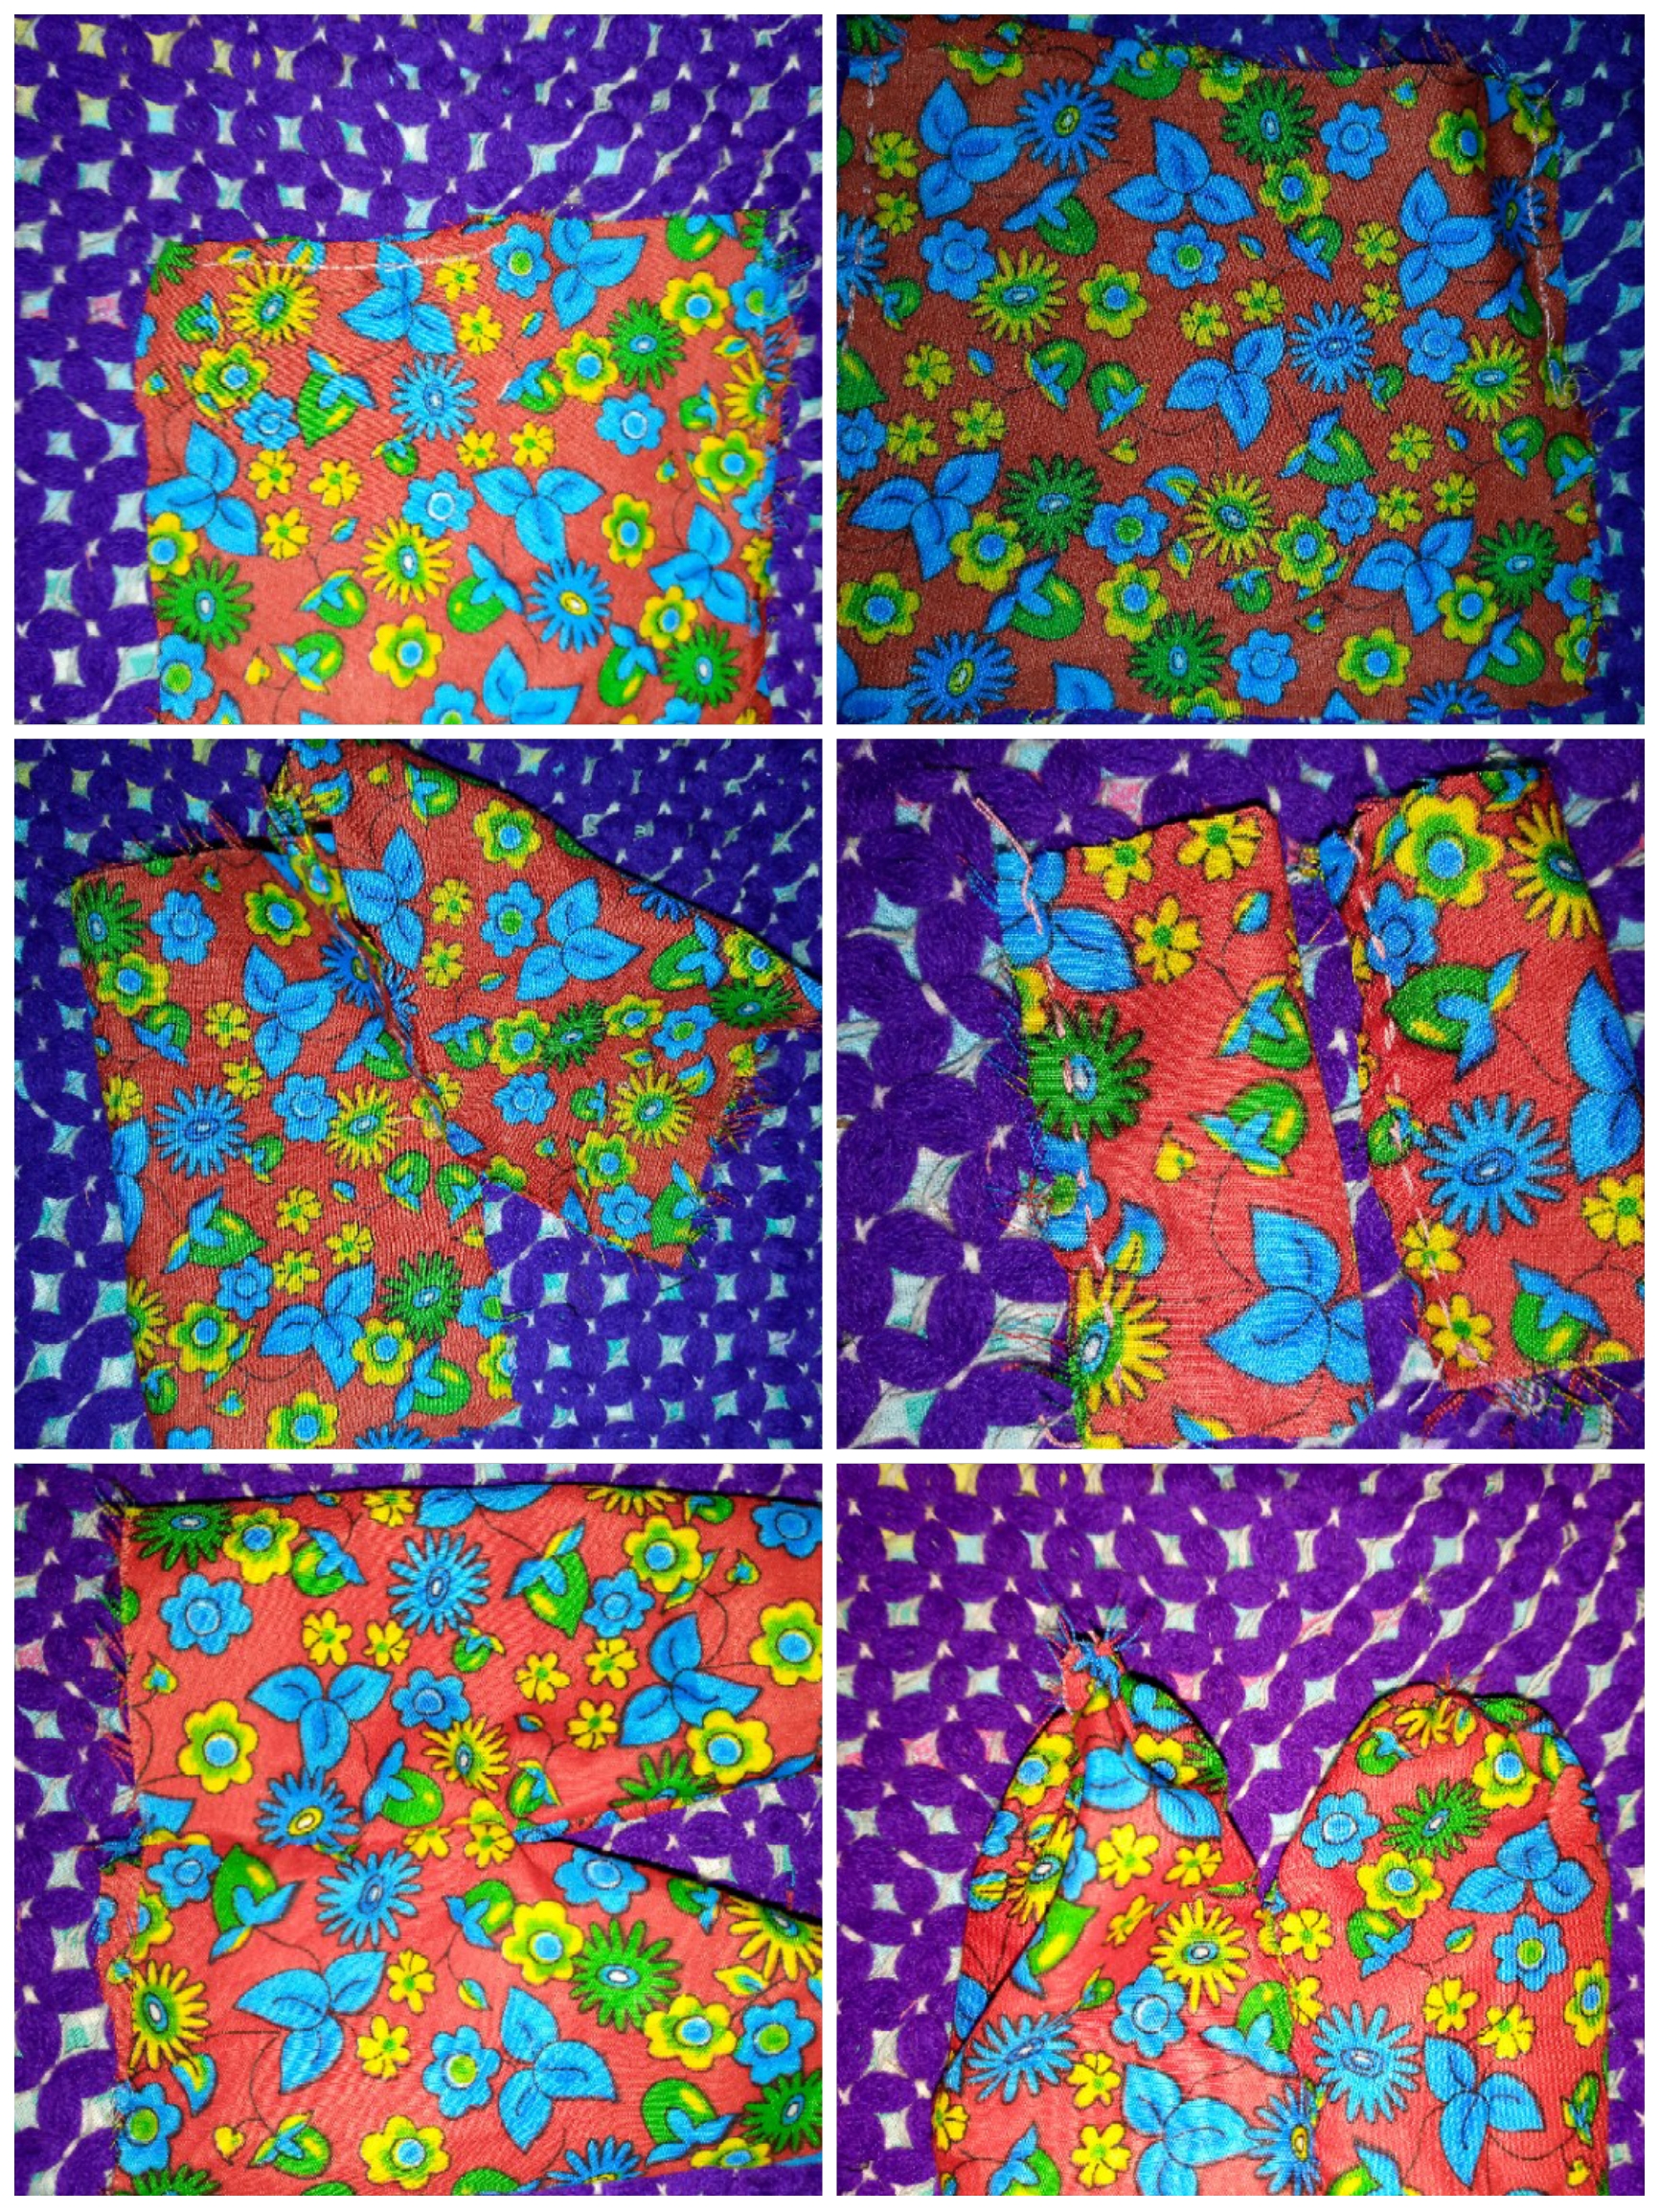
We are going to start cutting out five circles in our pieces of fabric, three in skin color on a piece of fabric, but the head if we cut the circle larger and two for the feet in green or whatever you prefer, I also chose this fabric print in red, blue, green and yellow colors of flowers because I feel this piece of fabric draws a lot of attention. I will use it to make the body and the arms. For the body I simply made some kind of pants and the arms, just two double squares of fabric.

Paso 02
Step 02
As the next step I take my nail polish to paint the eyes and mouth but first I will use a pencil to mark the lines first so I don't make mistakes and they come out the same I will draw the mouth and nose also some small freckles on the cheeks, I am going to start painting it the white base of the eyes then the pupil and then the iris also the white glitter for the center of the iris, I end up going over the eyes or outlining them with black polish and I seal it with nail glitter I use polishes so that the paint on the fabric is more durable and resistant.
Paso 03
Step 03
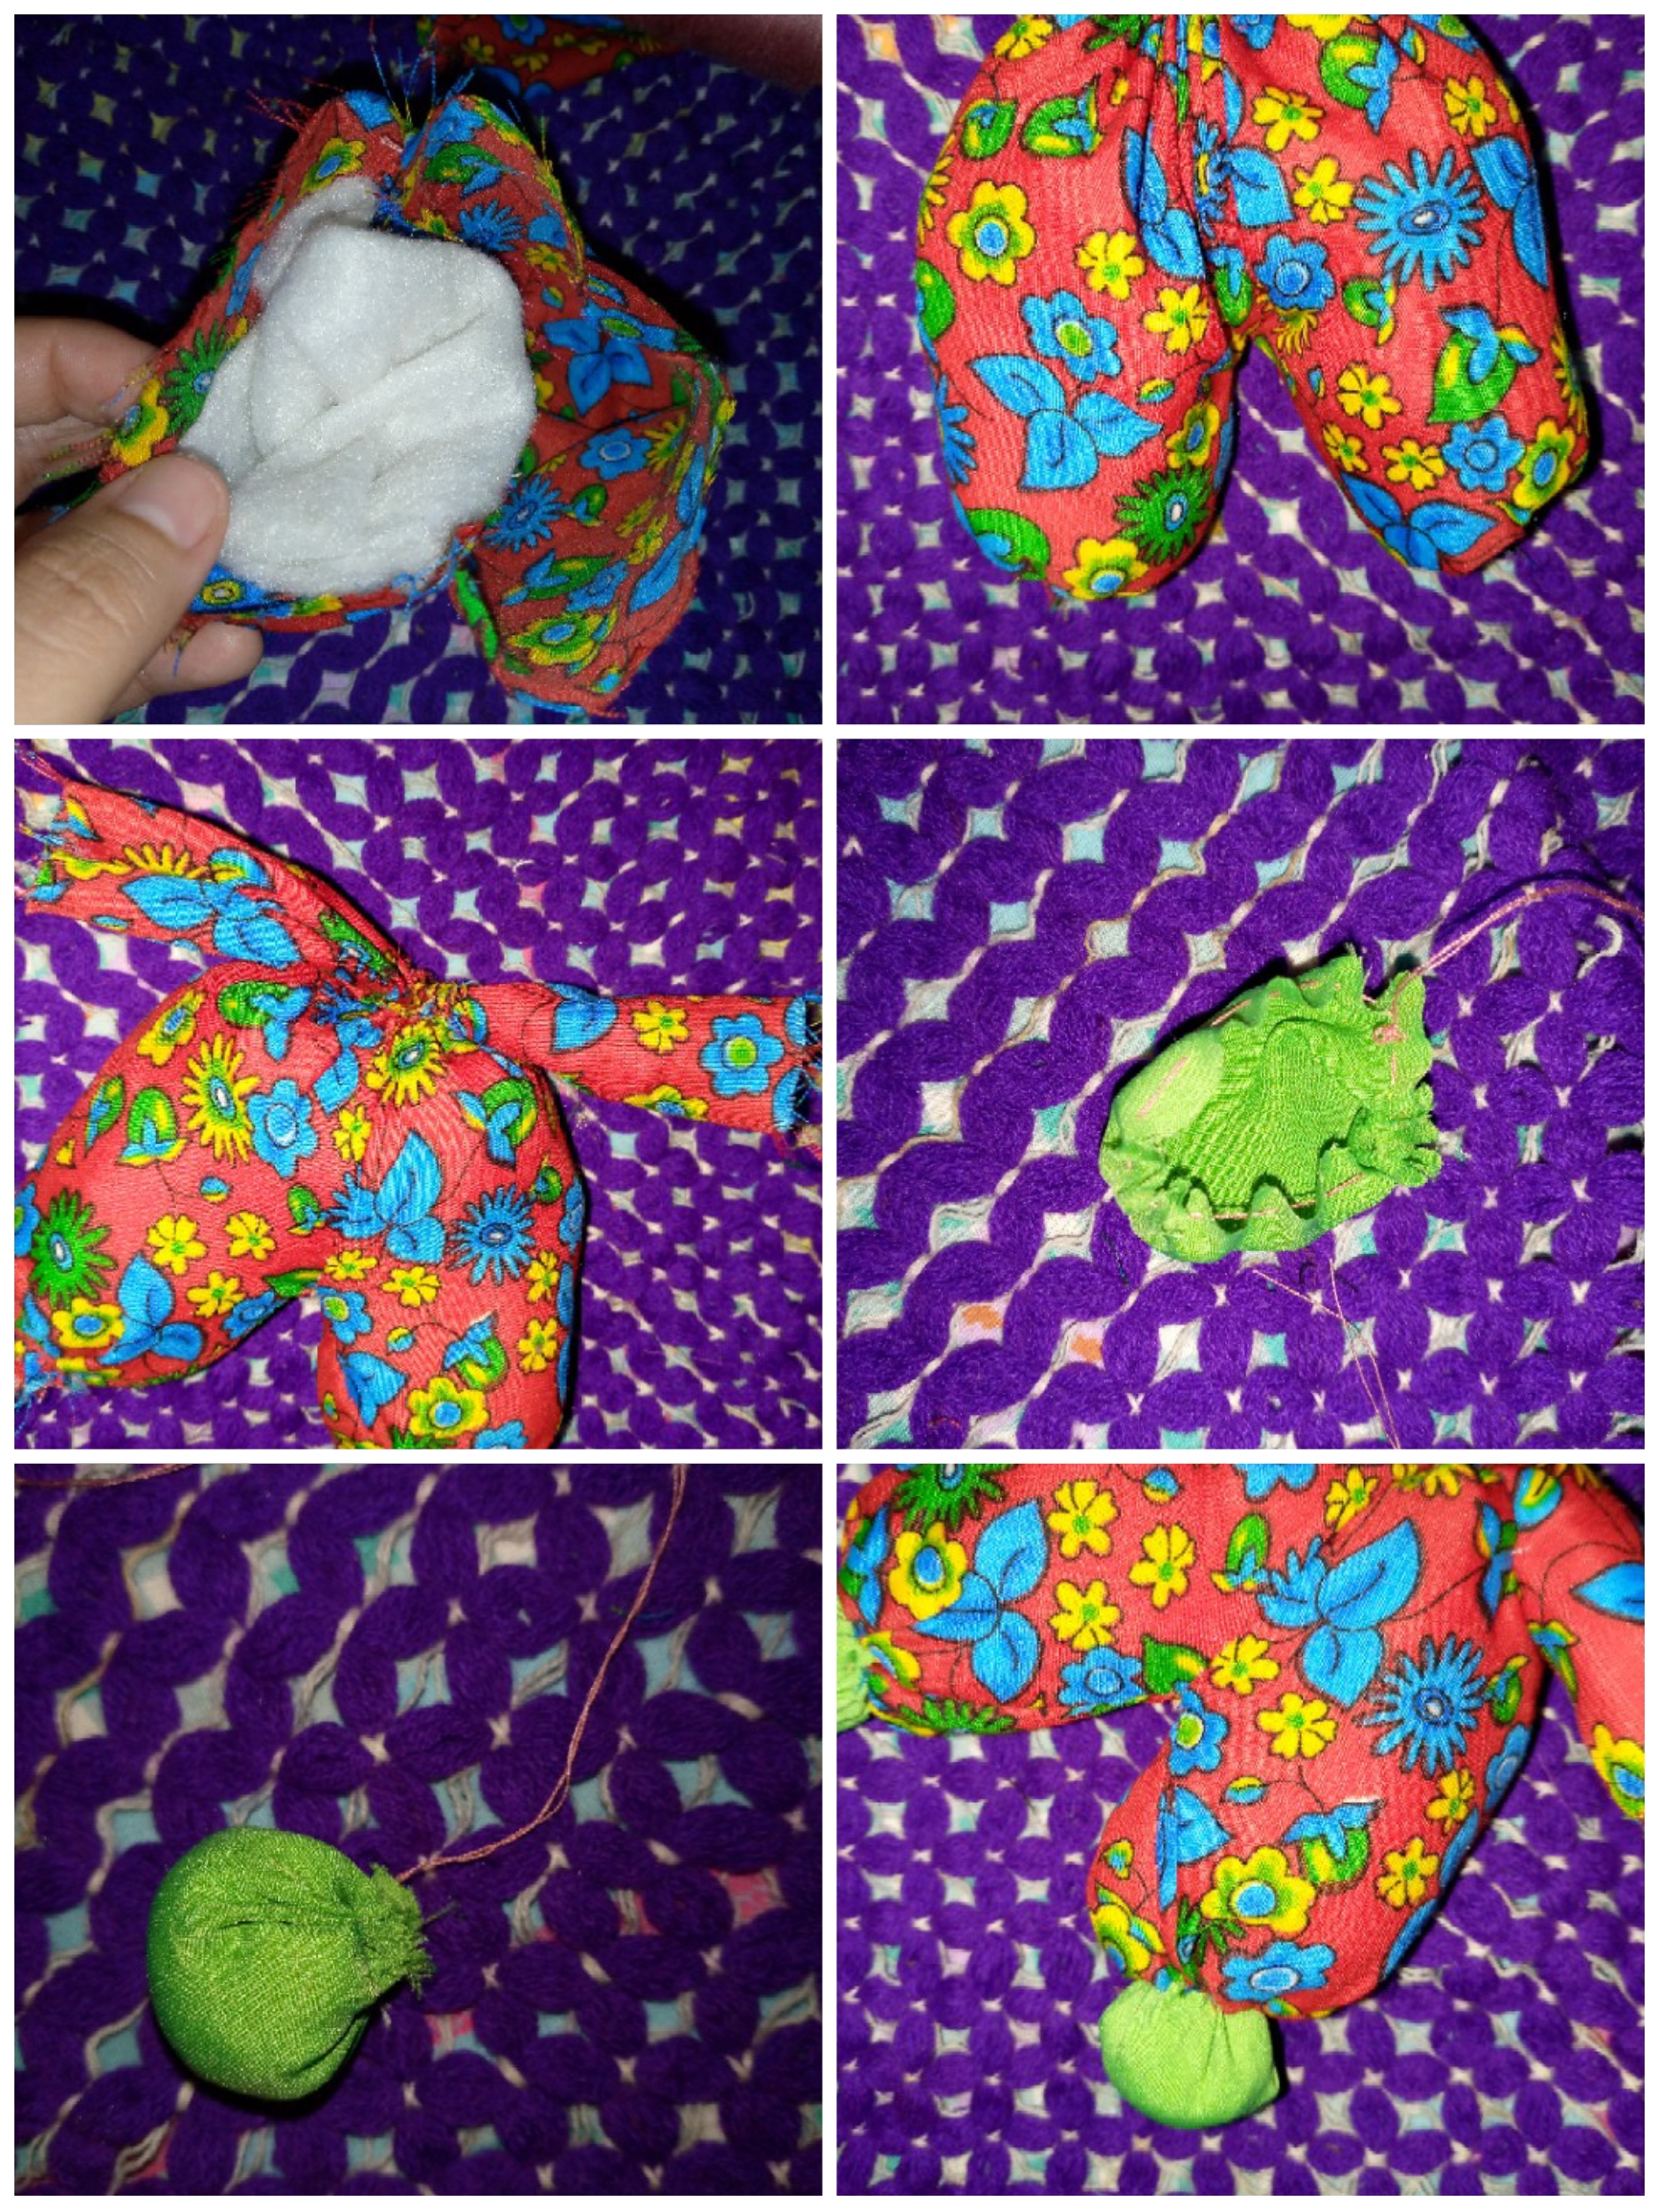
I proceed to sew the pieces of the body, which is a kind of pants, I'm going to sew by hand on all the two edges, then I open it and sew it along the waist of the pants and both sides of the leg to form the small pants, I sew the arms and I turn them over, at the end at the bottom of the pants I'm going to gather the fabric so that our filling doesn't come out.
Paso 04
### Step 04 We go on to fill the pieces and with the green circles that we made for their feet we make a seam around the circle, we fill and gather, we adjust well and at the bottom of the leg we sew the little balls that we have made with the circles to form a kind of shoes .
Paso 05
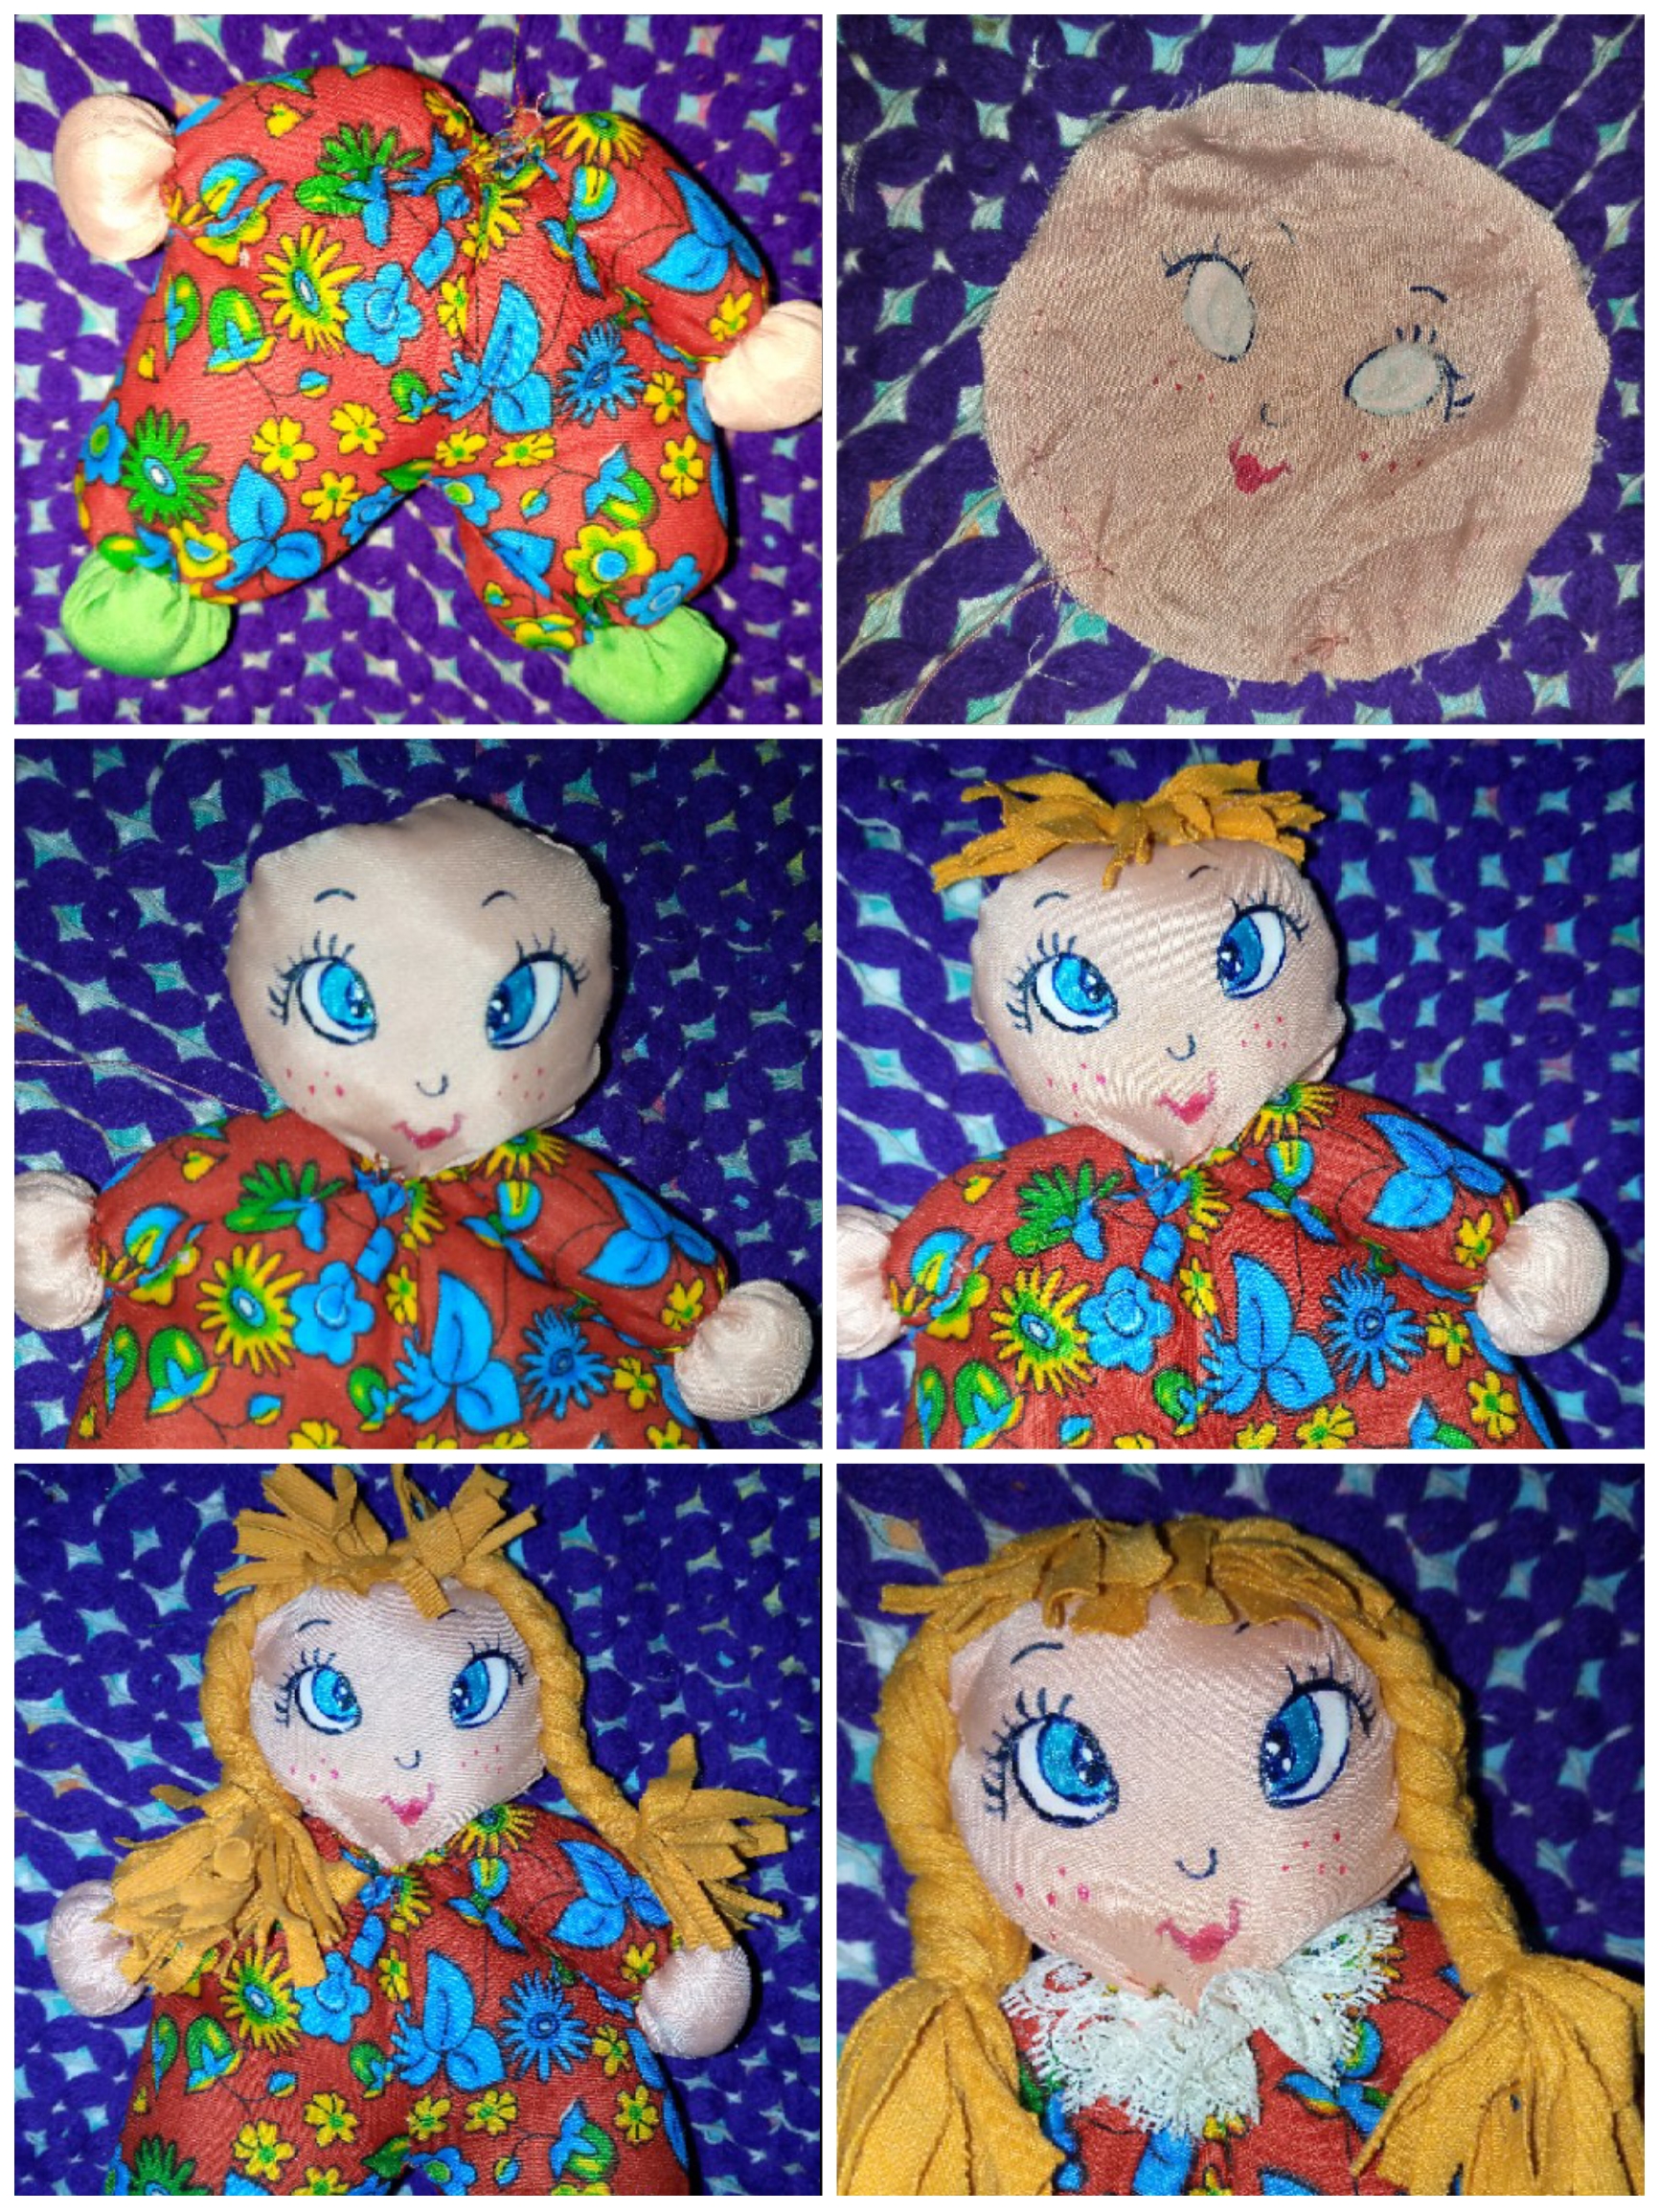
### Step 05 To finish the same thing we did with the balls to form the feet, we will do it with the two circles to form her hands and sew them to each of her arms. Then I will sew the circle of the head around the entire edge, leaving 1 cm of seam and a small unsewn hole to turn it around and fill it. I am going to sew it to the body of my doll. I also went on to sew her fringe in the middle of her head and her hair with braids. In this way I have finished it easily and simply.
💖Resultado:💖
Resultado:
How did you like the easy steps to make it? This way you can make dolls for your girls and also as gifts the girls will like to play with them, remember you can make them with different colors of hair and clothes, also with other accessories with skirt, dresses or hats, tell me if you liked this step by step, I send you a big hug and I hope to see you soon in another next tutorial recycling scraps of fabric.

.jpg)
🦋✨Todas las imágenes de esta publicación son de mi autoria ,📱tomadas con mi celular TecnoSpark8C |📸Fotos editadas en PicsArt. Texto traducido en el traductor de Google.
🦋✨ All the images in this publication are my author ,📱taken with my TecnoSpark8C cell phone |📸Photos edited in PicsArt. Text translated in Google Translate.