Felíz noche un gusto saludarte🥰✨ | Happy evening, a pleasure to greet you.✨🥰
Soy de las que tienen una rutina para leer la Biblia me encanta,y aunque el material de ella es un poco delicado así que como tenía material reciclado de otros trabajos se me ocurrió hacerle un forro sencillo de plástico transparente de bolsas de sábana para protegerla mucho más de los daños que se le puedan causar de tanto darle uso diariamente,aquí a mi encanta reciclar este tipo de materiales porque puedes usarlos para hacer forros de libros que quieres que se transparente la carátula entonces como tenía un trozo del mismo se me ocurrió hacerle uno con sesgo de tela negra para que no se le viera la suciedad por supuesto esto ustedes lo pueden lavar cuando deseen,espero te guste mucho el proceso que es muy sencillo y me cuentes si has reciclado este plástico que ya no usas de tus empaques de sábanas.
I am one of those who have a routine to read the Bible I love it, and although the material of it is a little delicate so as I had recycled material from other jobs I decided to make a simple transparent plastic lining from sheet bags to protect it much more from the damage that can be caused by so much daily use, here I love to recycle this type of materials because you can use them to make book covers that you want the cover to be transparent so as I had a piece of it I decided to make one with a bias of black fabric so that the dirt could not be seen, of course you can wash this whenever you want, I hope you like the process a lot that is very simple and tell me if you have recycled this plastic that you no longer use from your sheet packaging.
¡Vamos con los materiales!
Let's go with the materials!

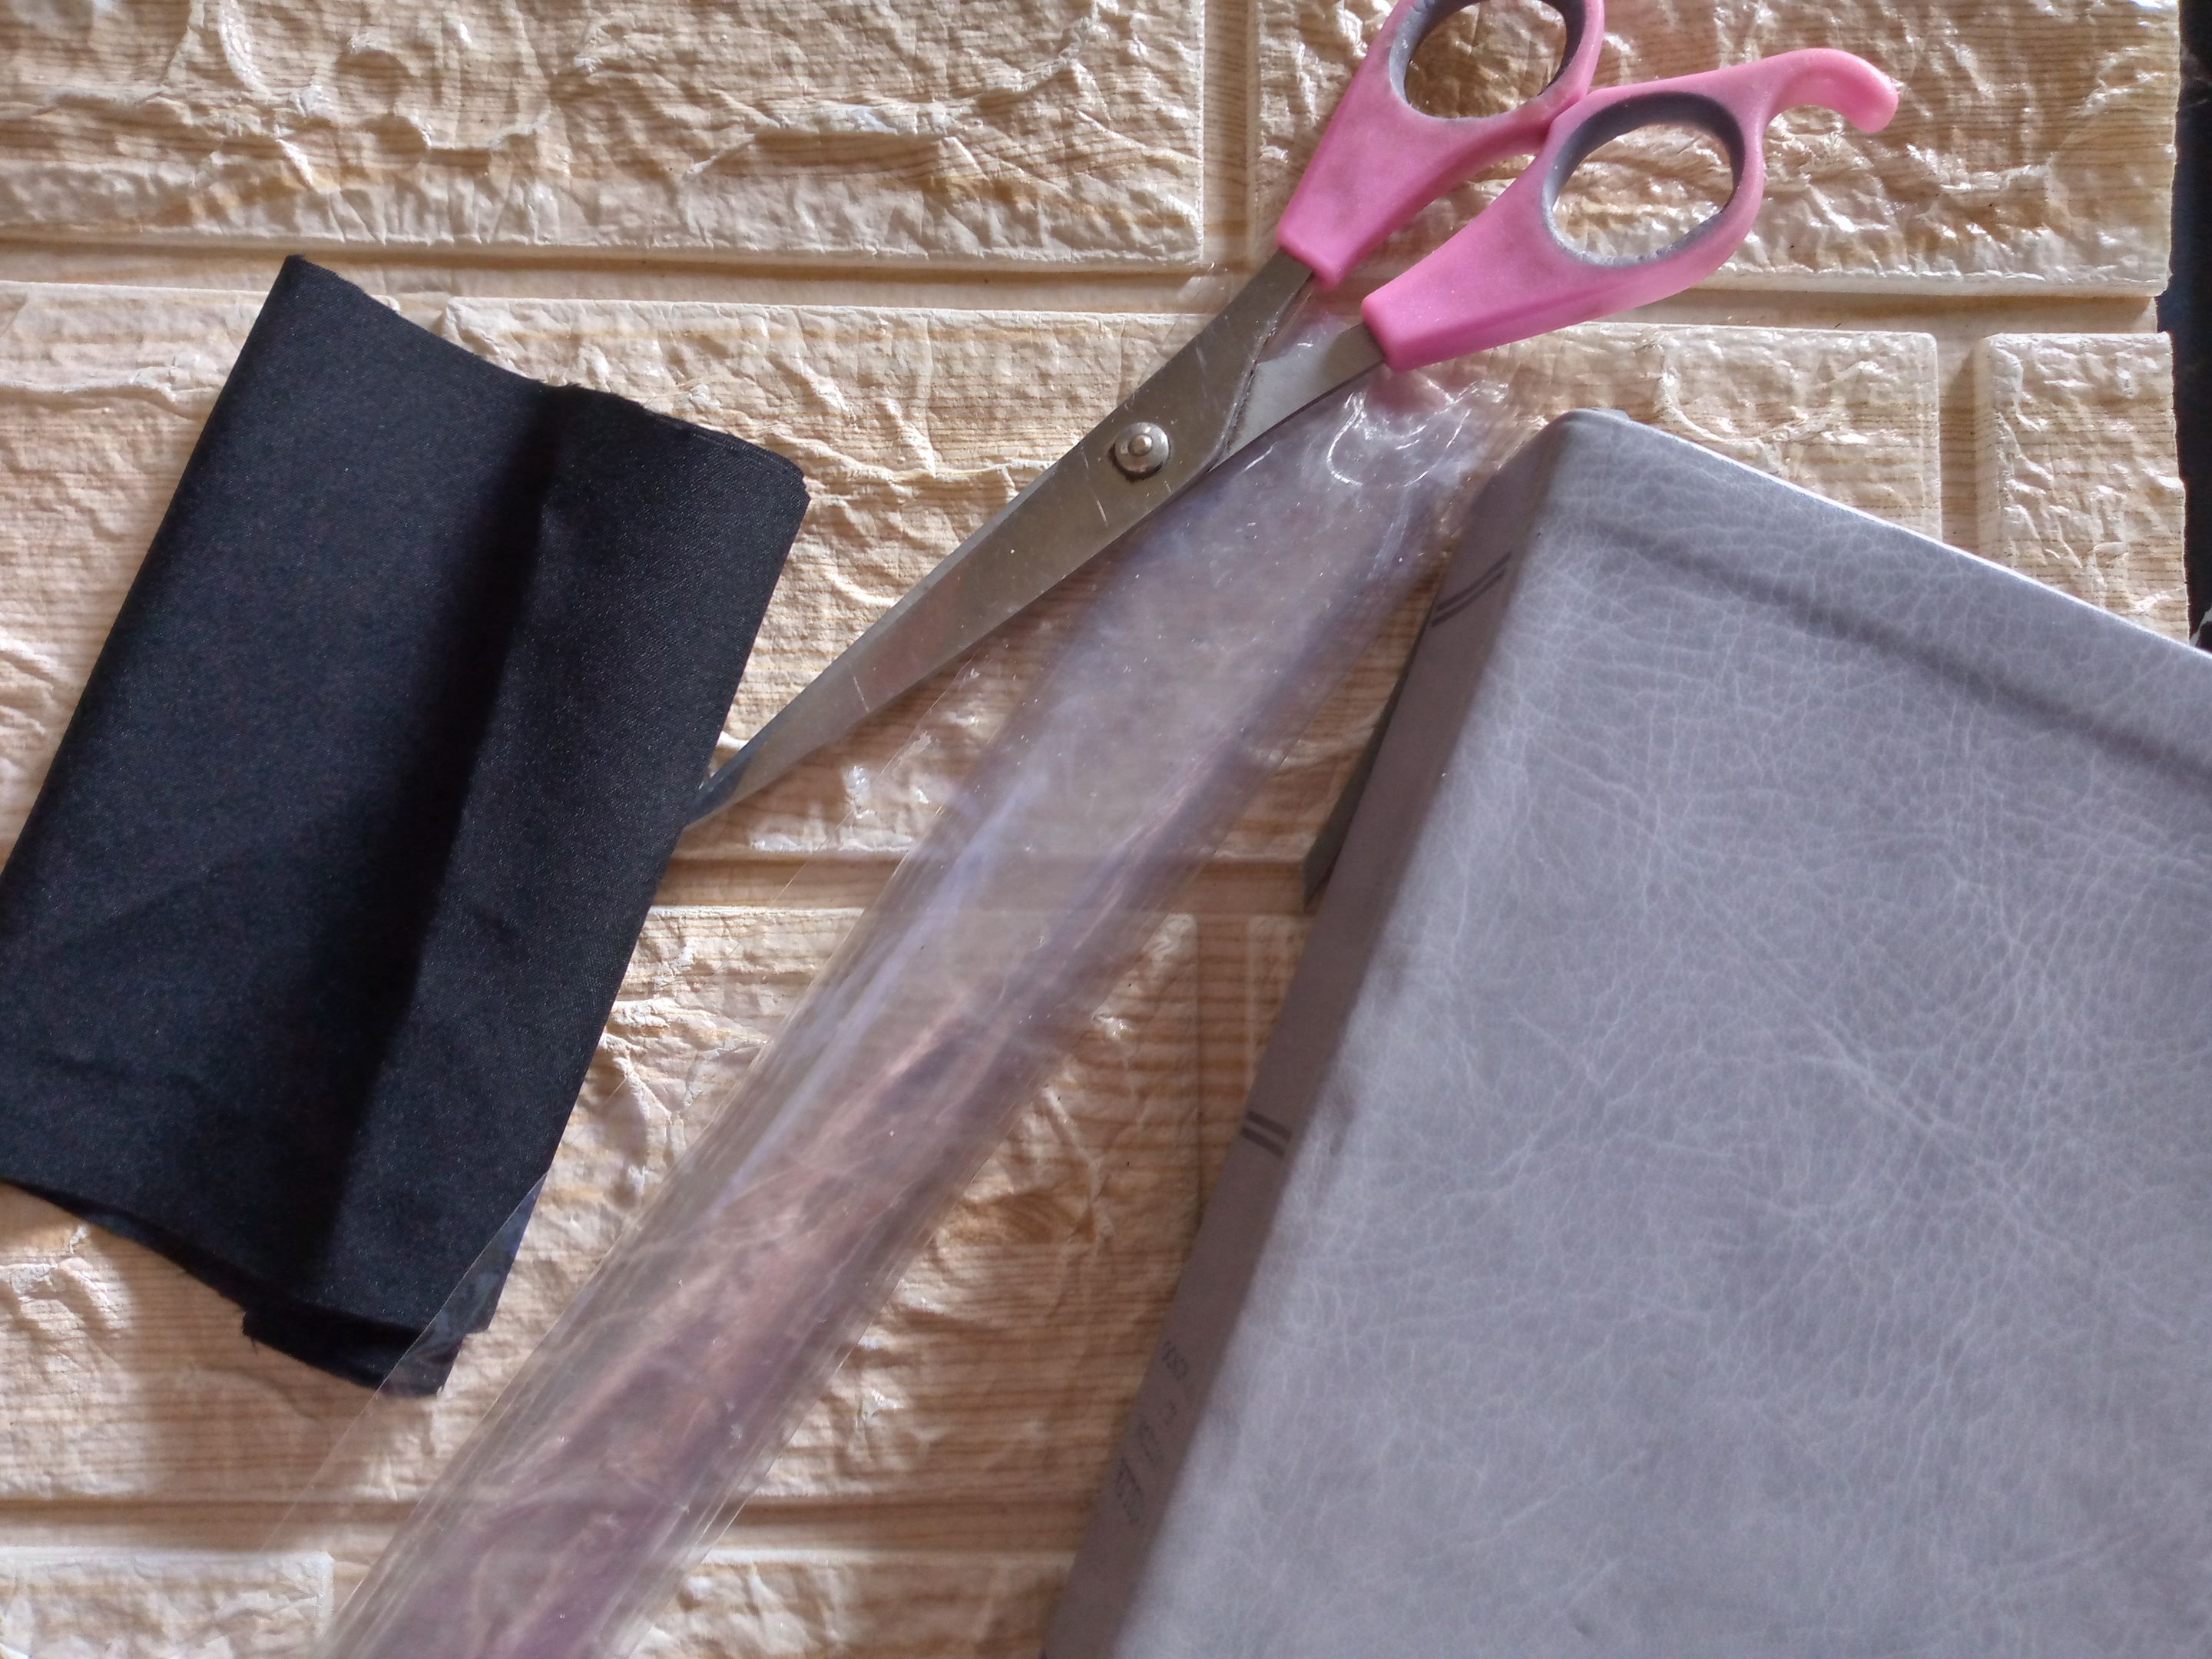

Materiales: | Materials:
- Trozo de plástico transparente
- Tijeras
- Bolígrafo
- Tela negra(no estirable)
- Máquina de coser
- Cinta métrica
- Piece of clear plastic
- Scissors
- Pen
- Black fabric (non-stretchable)
- Sewing machine
- Tape measure

Pasos a seguir: | Steps to follow:
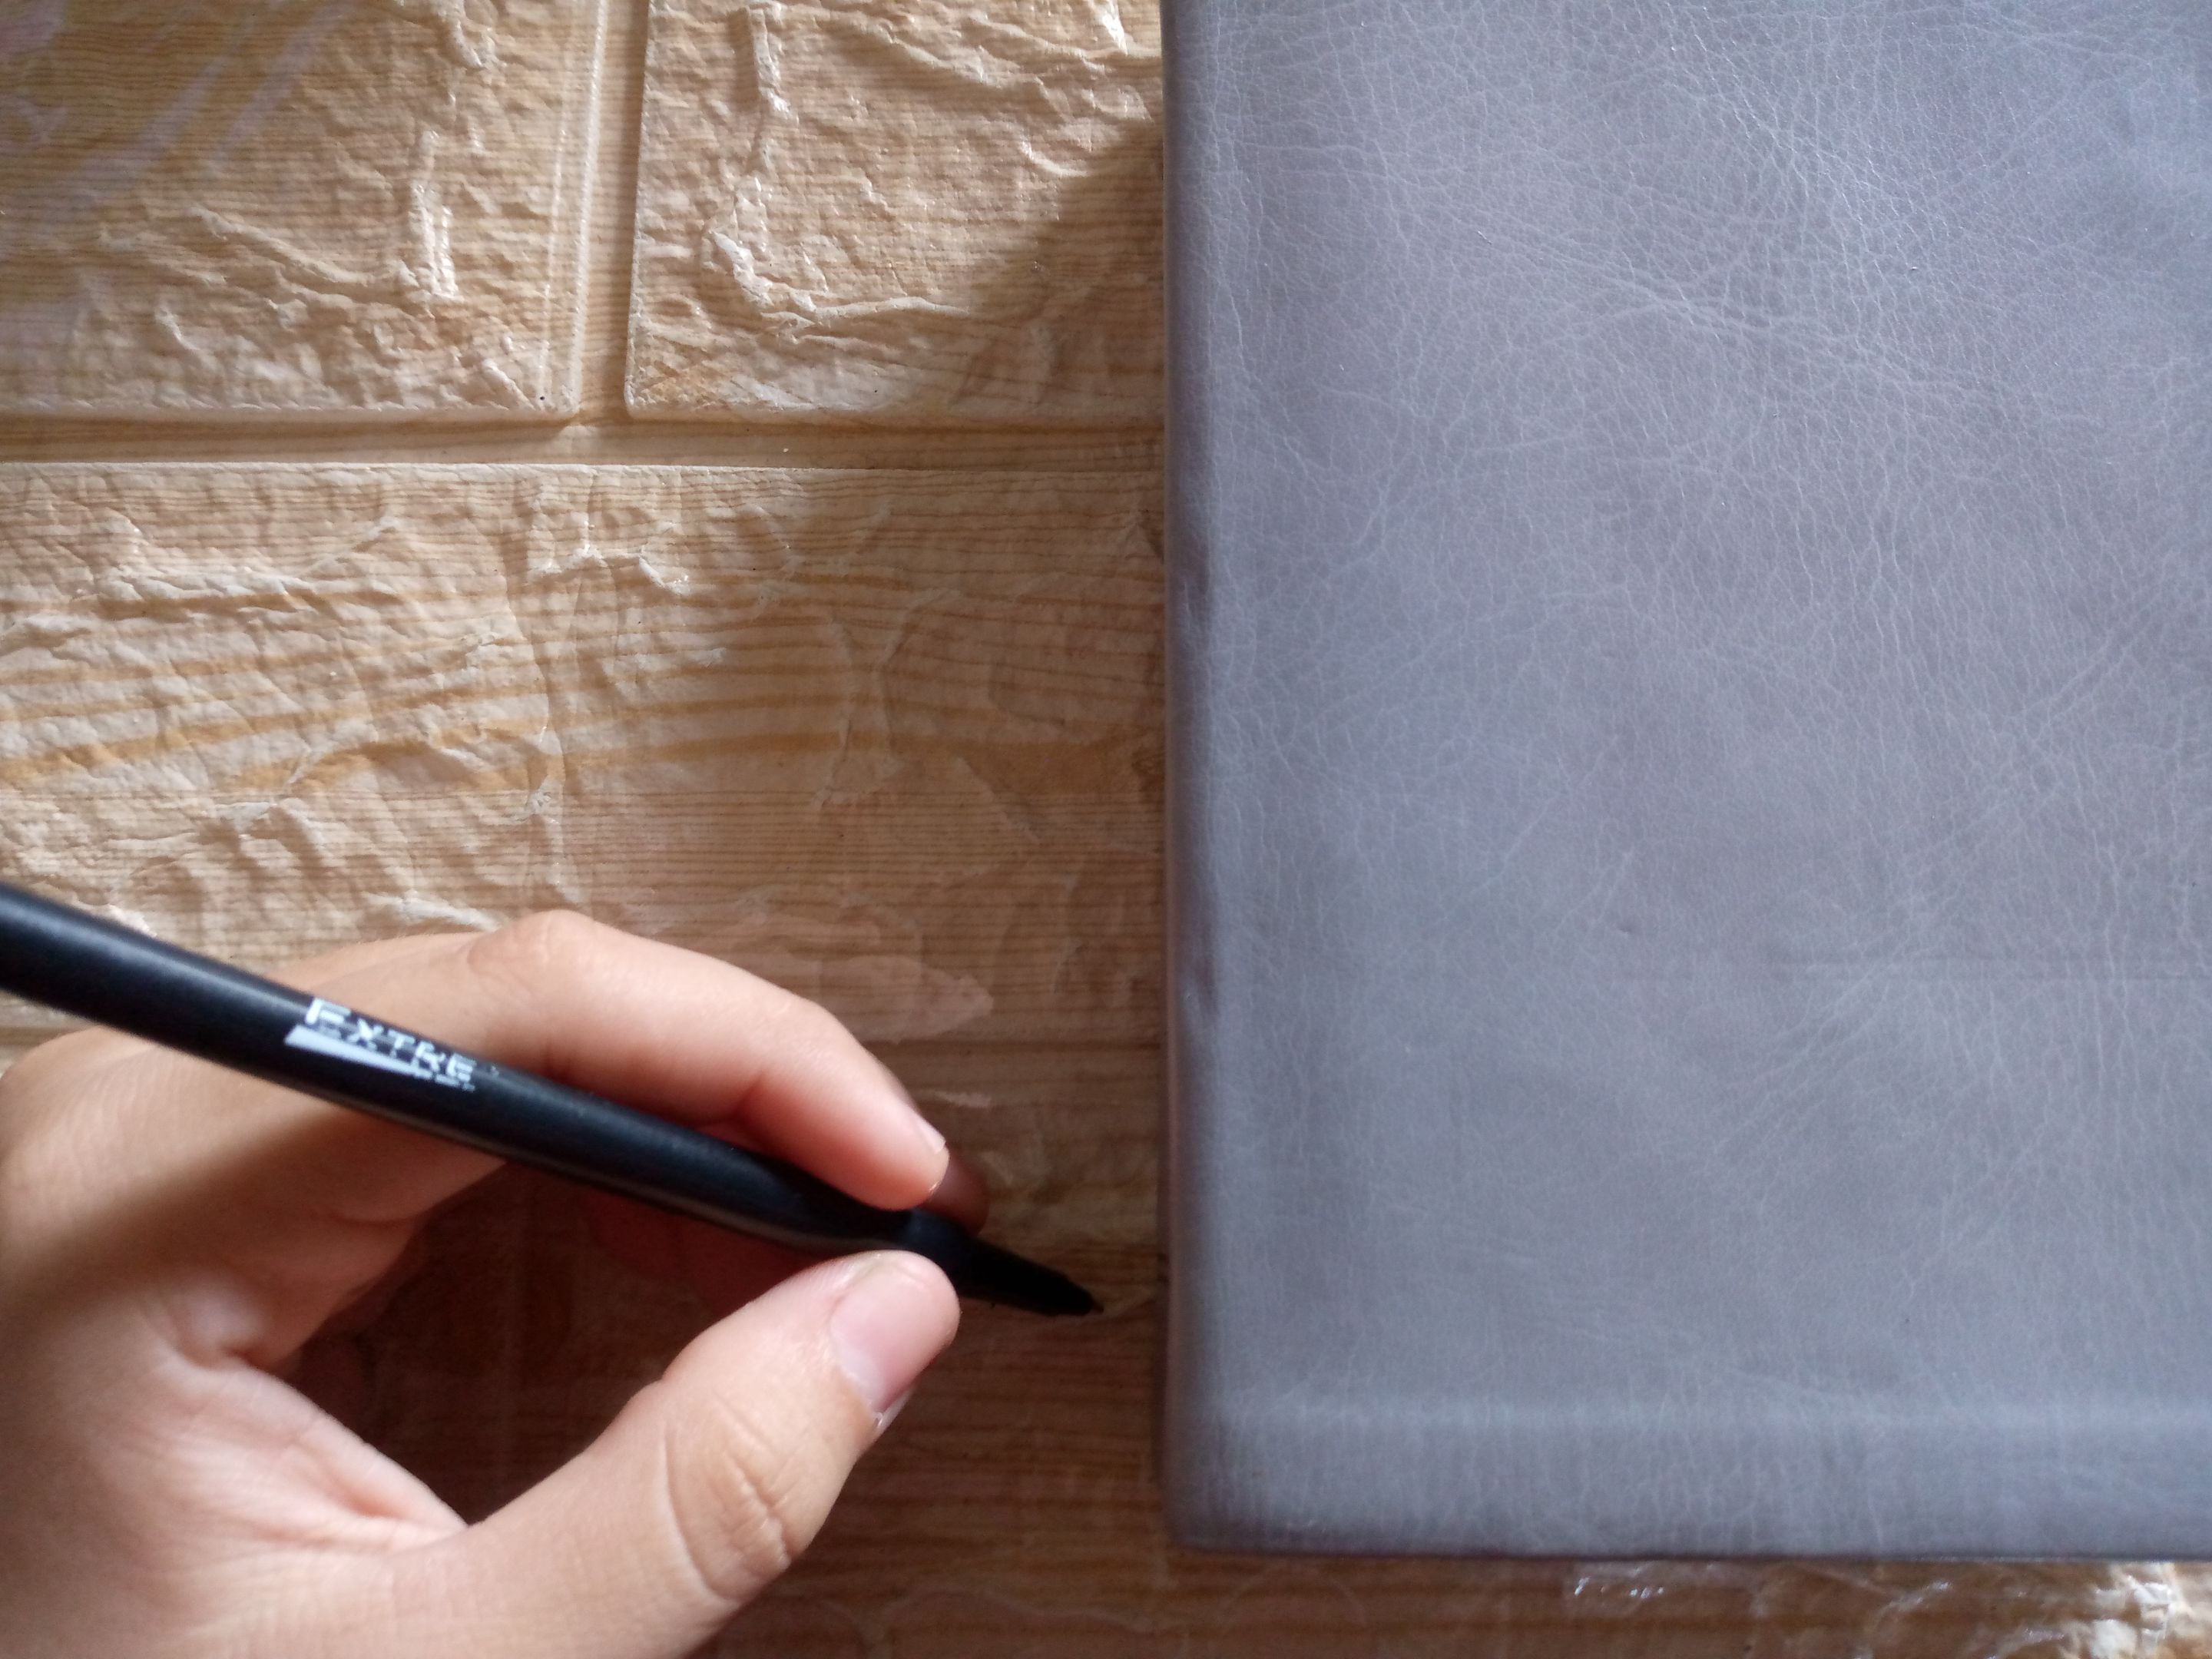
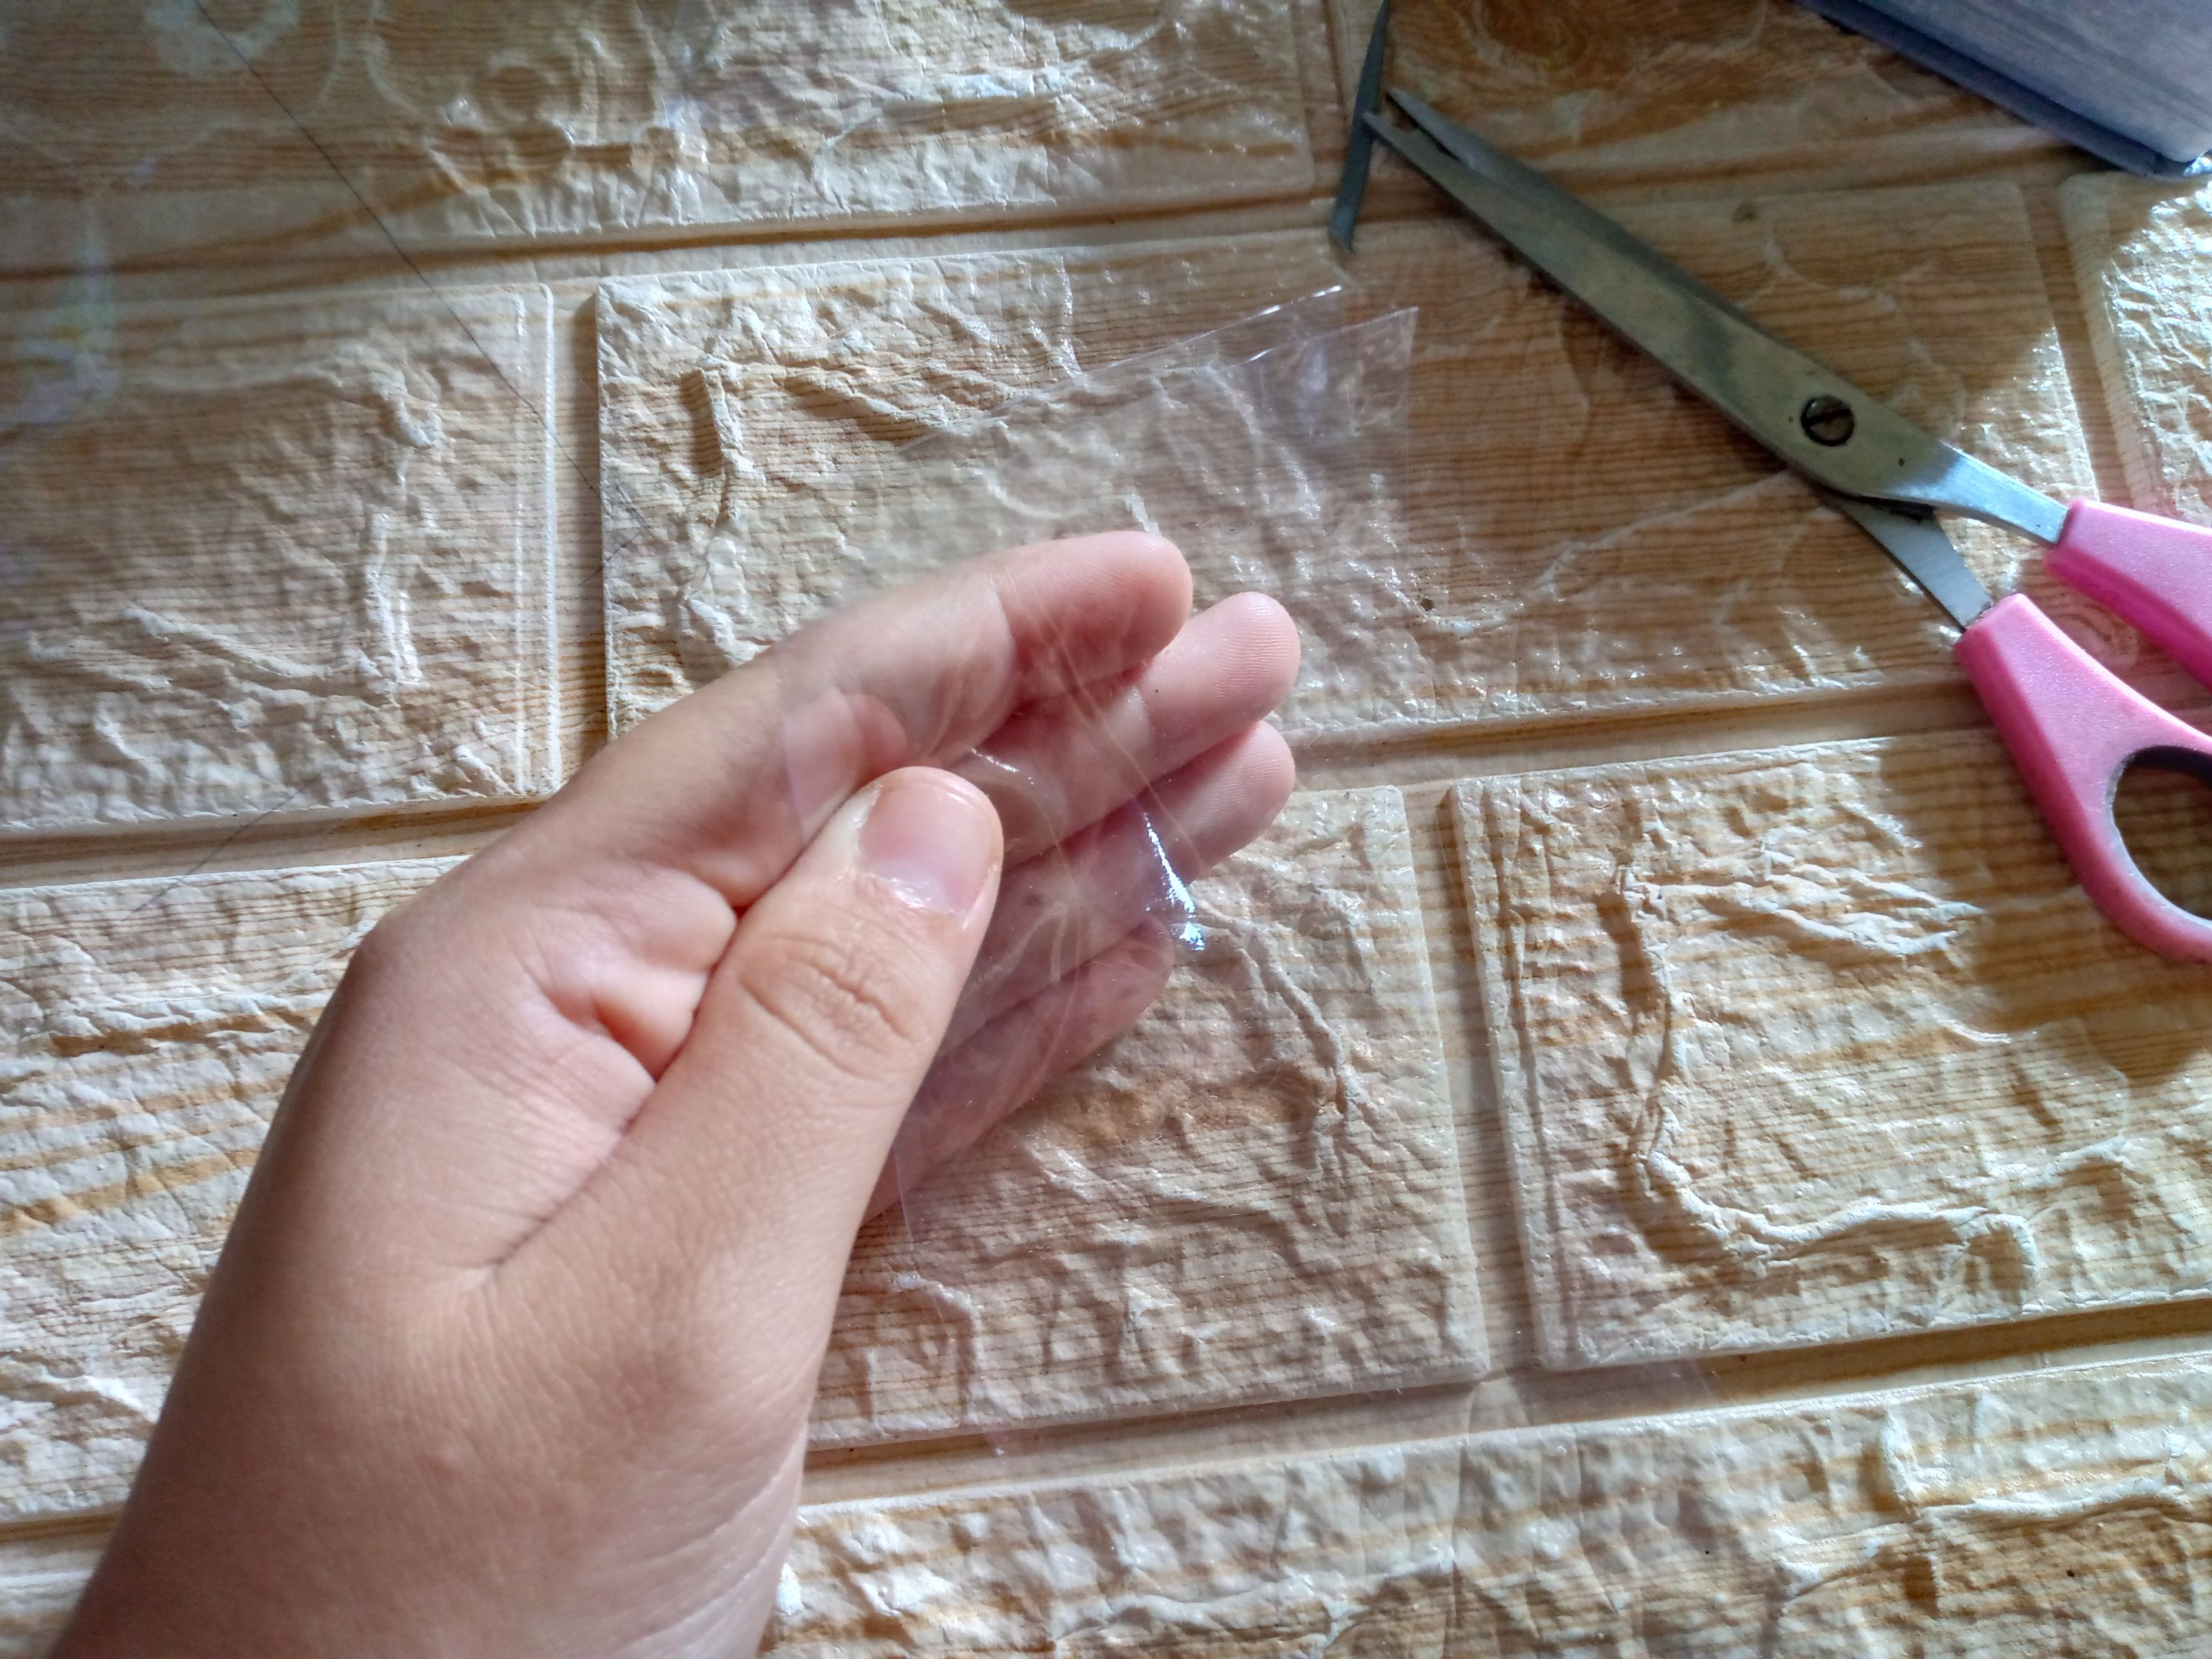
Paso 01
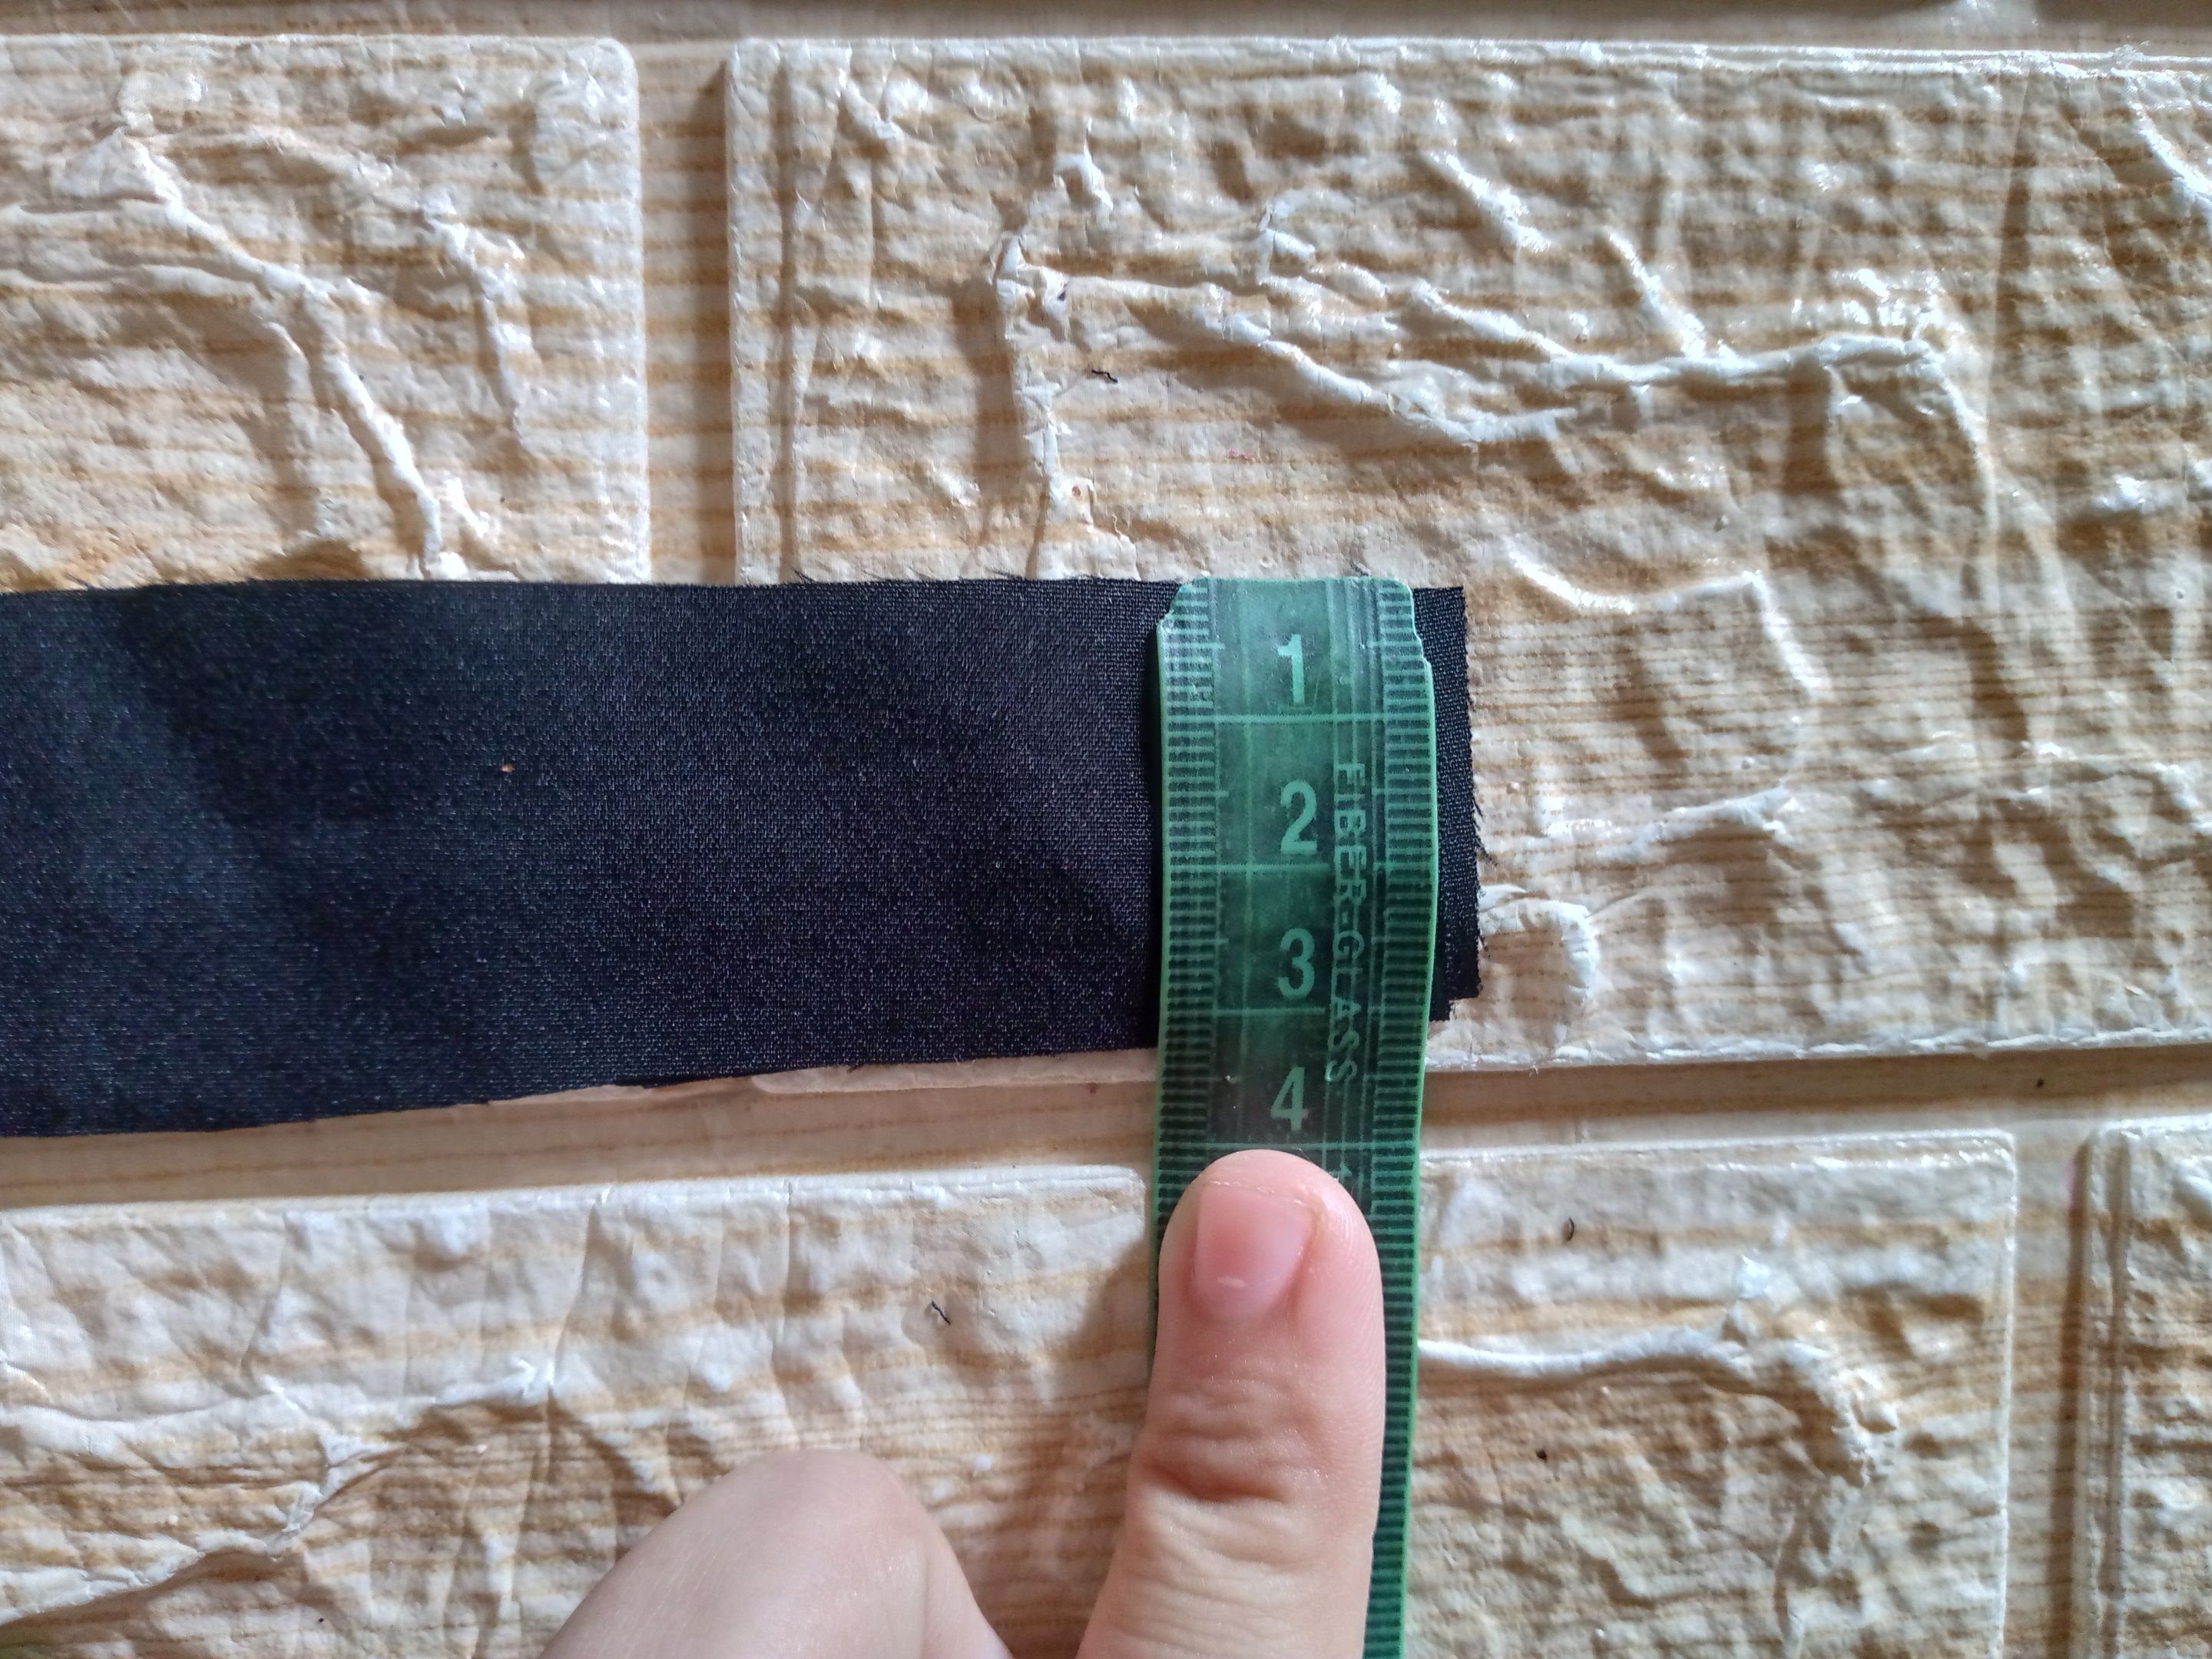
Vamos a empezar el proceso sencillo tomando el trozo de papel transparente colocándolo en una superficie en color blanco para que al marcar con la tinta se aprecie las marcas por donde vayamos a marcar el contorno del tamaño d ela Biblia entonces extendemos el papel ,tomamos la Biblia la colocamos encima y con el bolígrafo marcamos por todo el contorno vamos a recortar de excedente 1 cm ,luego vamos a cortar las piezas de adentro las tapas o vistas de 4 cm de ancho x el largo de l forro.Tomámosla tela y estaré cortando cintas de sesgo de alrededor 3 cm de ancho x el largo del contorno del forro también.
Step 01
We are going to start the simple process by taking the piece of transparent paper placing it on a white surface so that when marking with the ink the marks can be seen where we are going to mark the outline of the size of the Bible, then we spread the paper, take the Bible, place it on top and with the pen we mark around the outline, we are going to cut off 1 cm of excess, then we are going to cut the pieces inside the covers or views 4 cm wide x the length of the lining. We take the fabric and I will be cutting bias tapes of around 3 cm wide x the length of the outline of the lining as well.
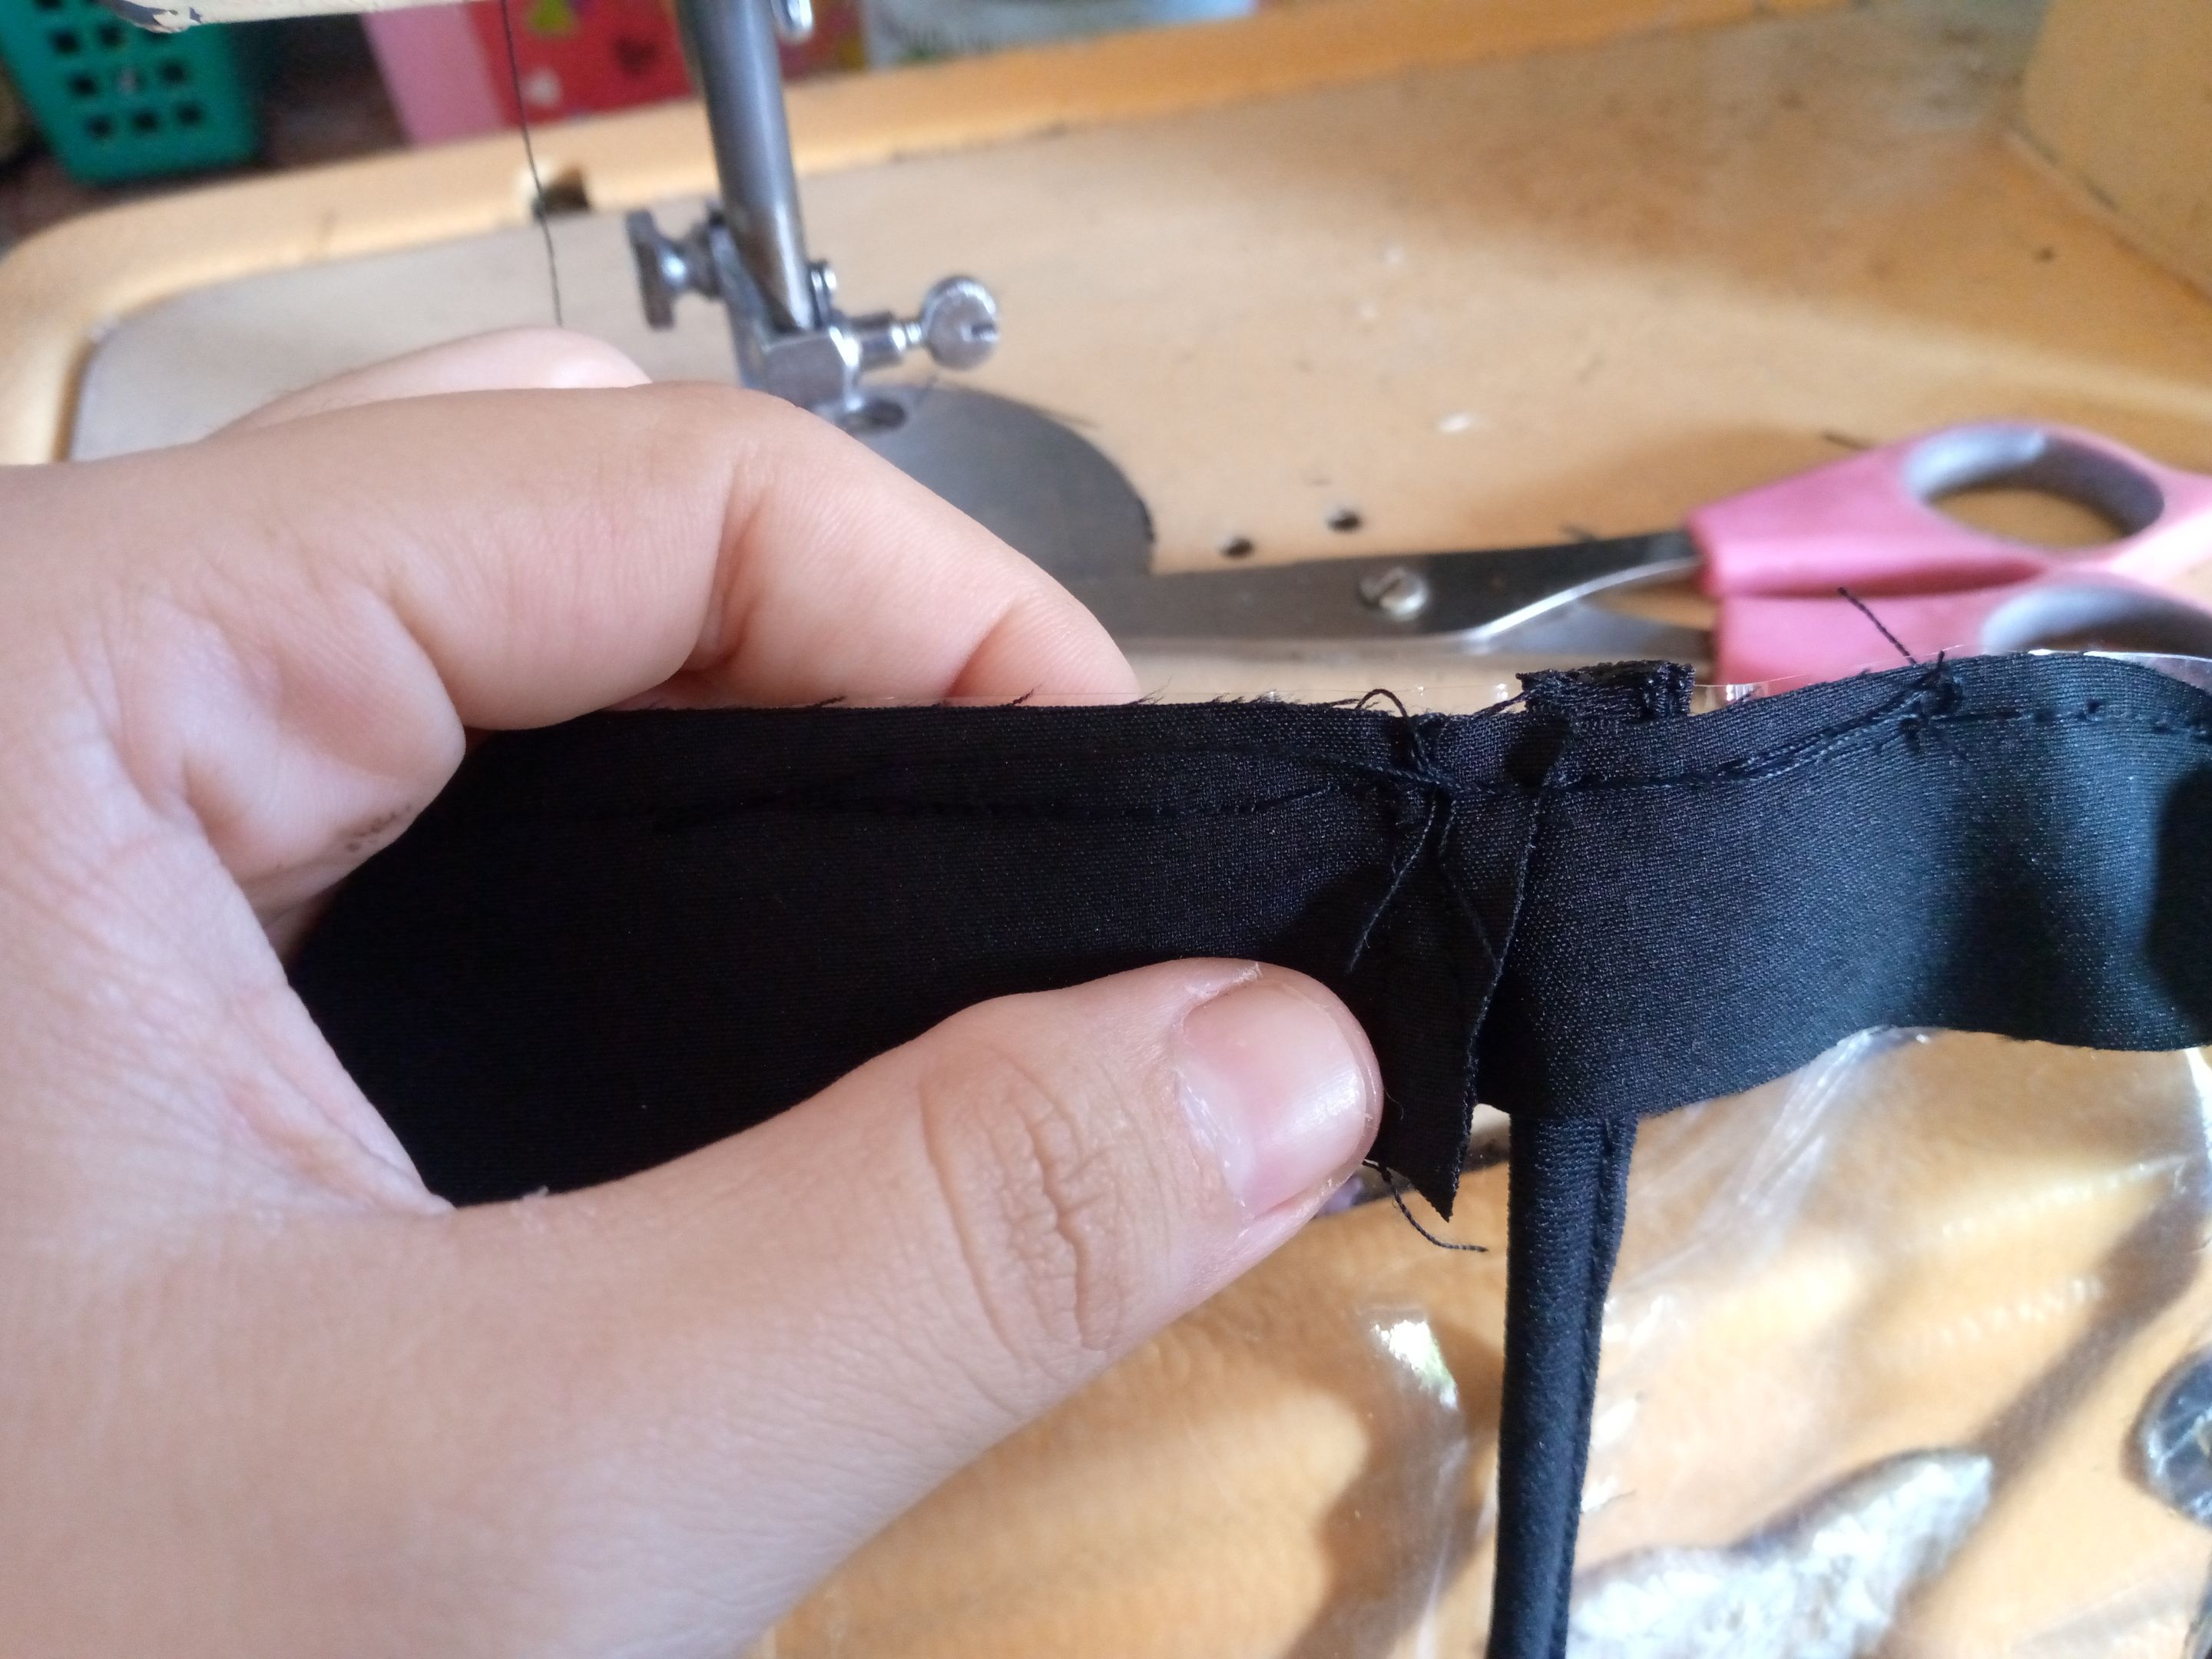
Paso 02
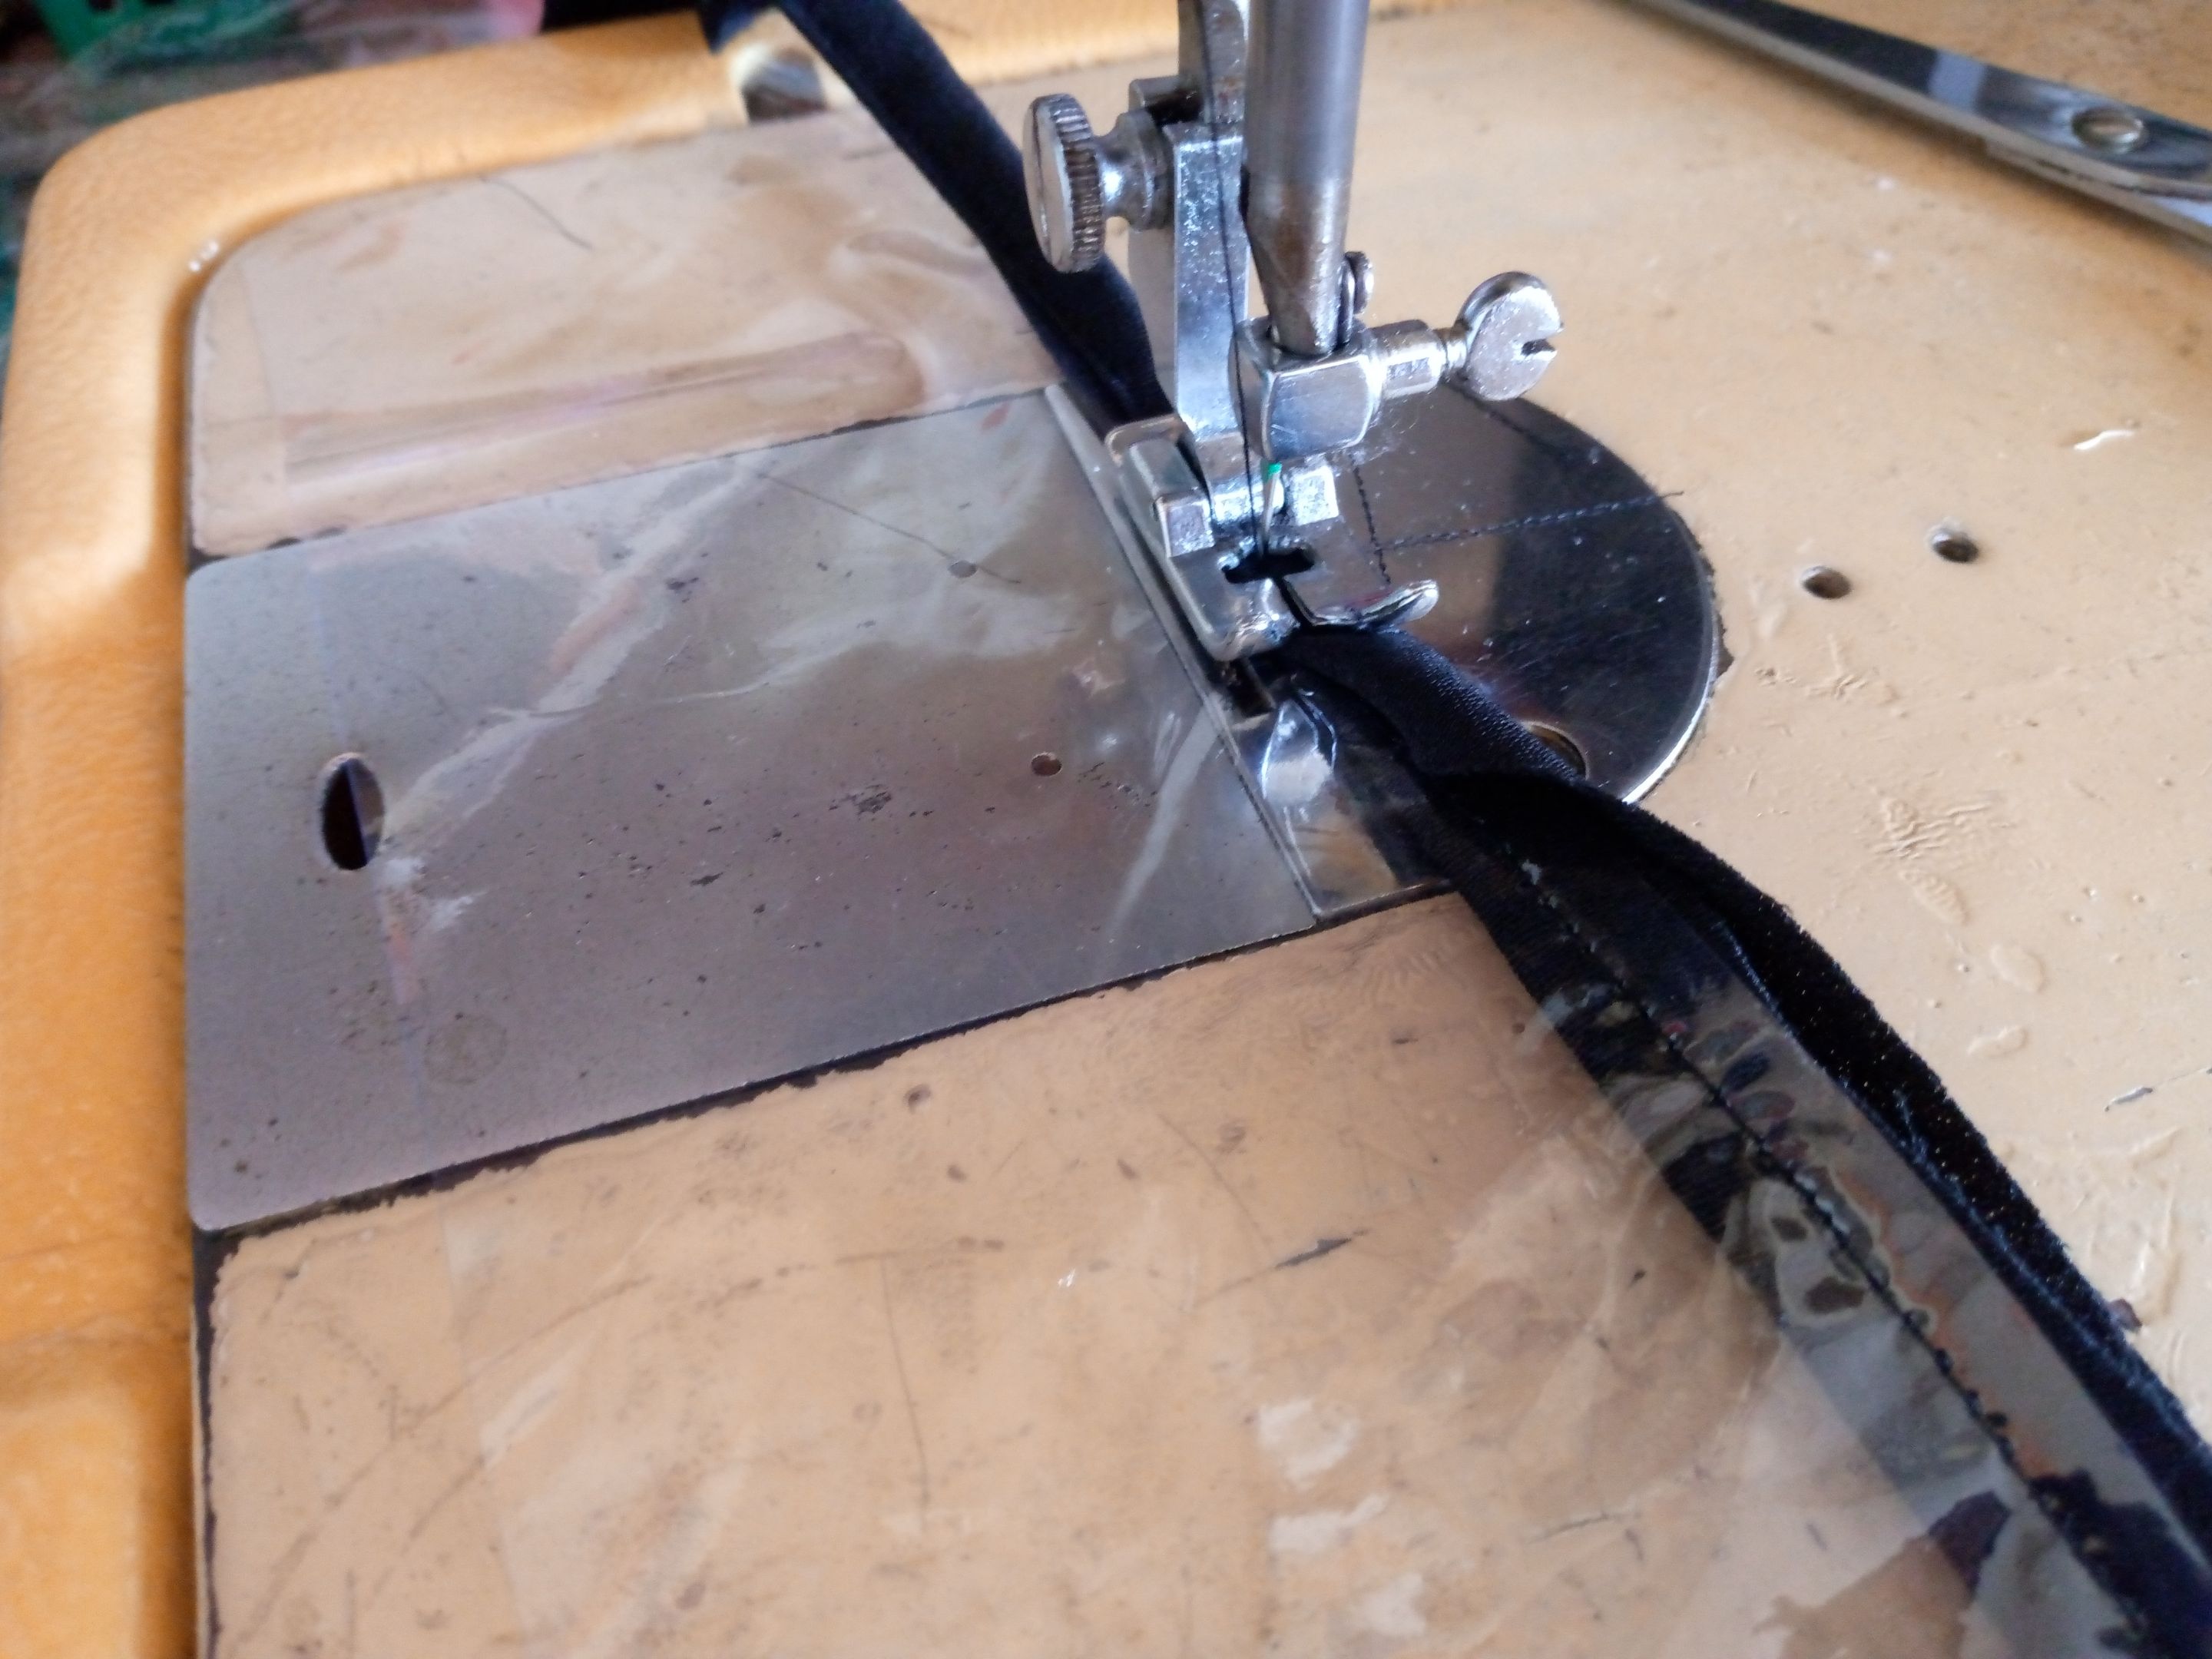
Para pasar con el segundo paso estaremos tomando parte de nuestro sesgo de tela y lo vamos a ubicar en la parte de la derecha de las vistas de adentro del forro cosemos por la parte de abajo y por encima doblamos el sesgo haciendo como pequeño dobladillo y cosemos con costura recta ,hacemos el mismo procedimiento del bias con la otra tapa de la vista así nos quedan las dos.
Step 02
To move on to the second step, we will take part of our fabric bias and place it on the right side of the inside views of the lining. We sew along the bottom and top, we fold the bias making a small hem and sew with a straight seam. We do the same procedure as the bias with the other side of the view, so that we have both.
Paso 03
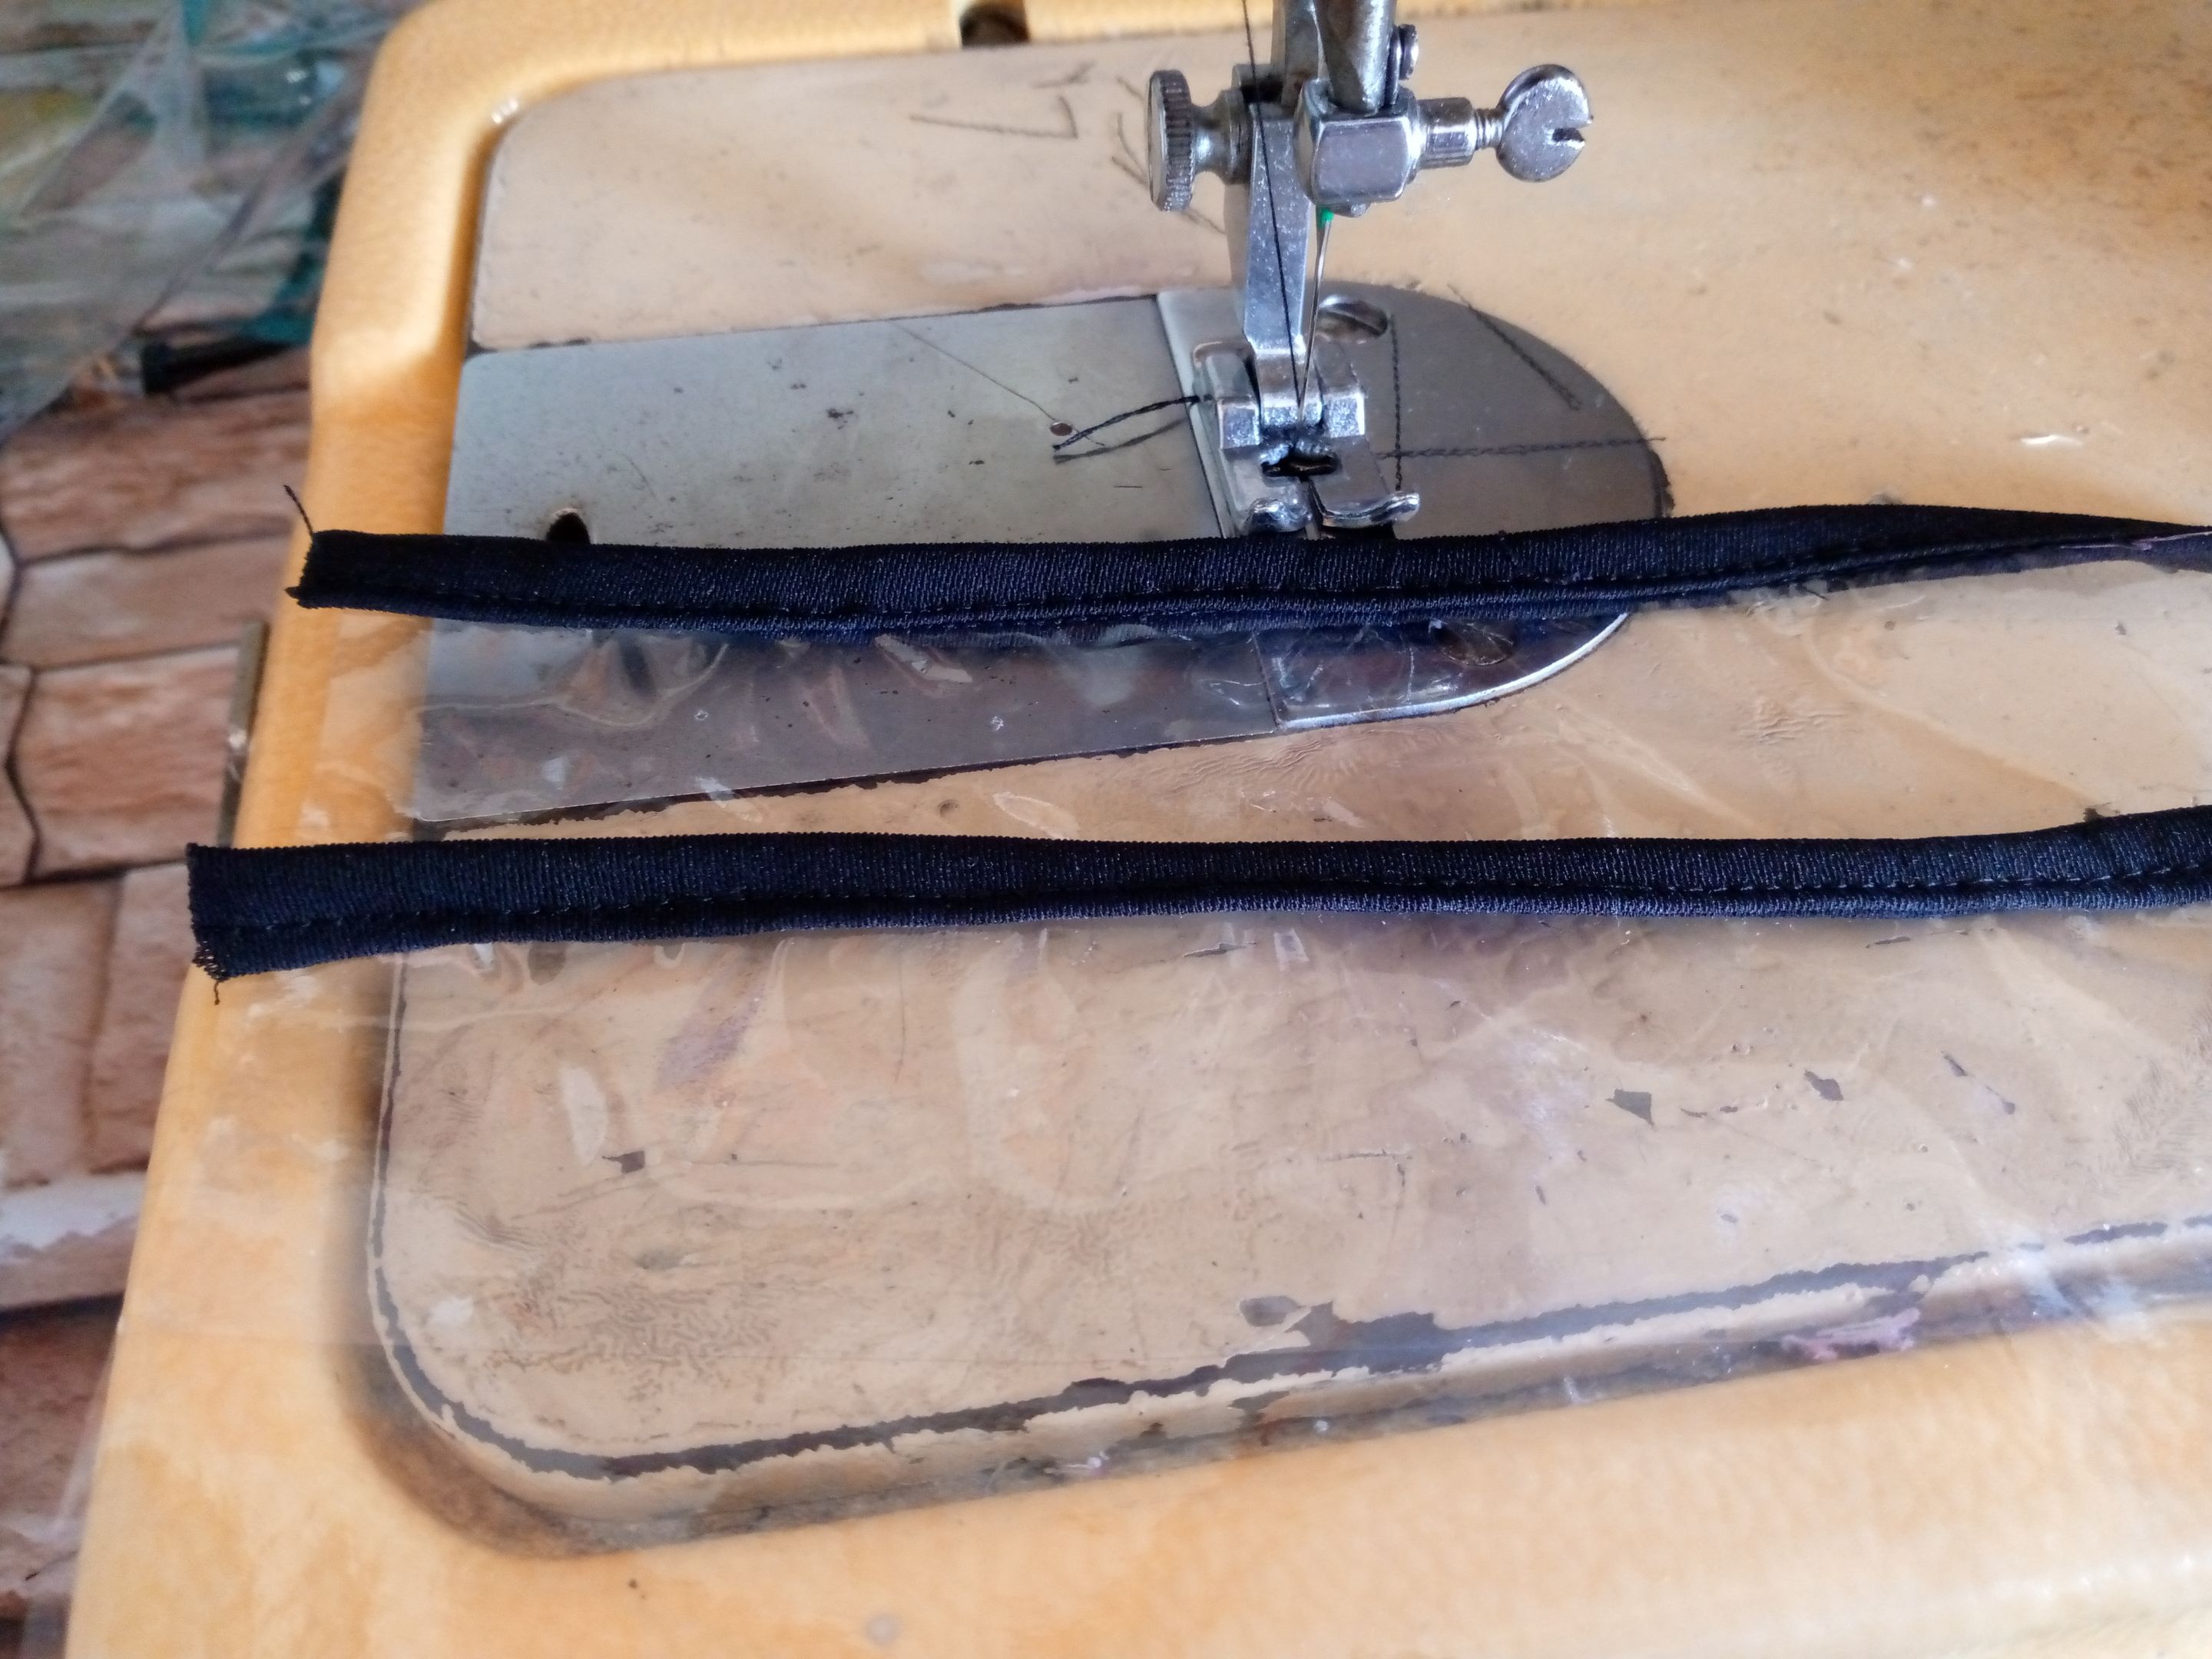
Como tercer paso pasaré a coser entonces por todo el contorno de adentro hacia afuera nuestro bias cosemos y cuando lleguemos a la punta de ambos extremos del bias vamos a unir los con uns costura a lo ancho doblamos justo en el borde donde hemos marcado con bolígrafo al principio.
Step 03
As a third step, I will sew around the entire contour from the inside out, we sew our bias and when we reach the tip of both ends of the bias we will join them with a seam across the width, we fold right at the edge where we marked with a pen at the beginning.
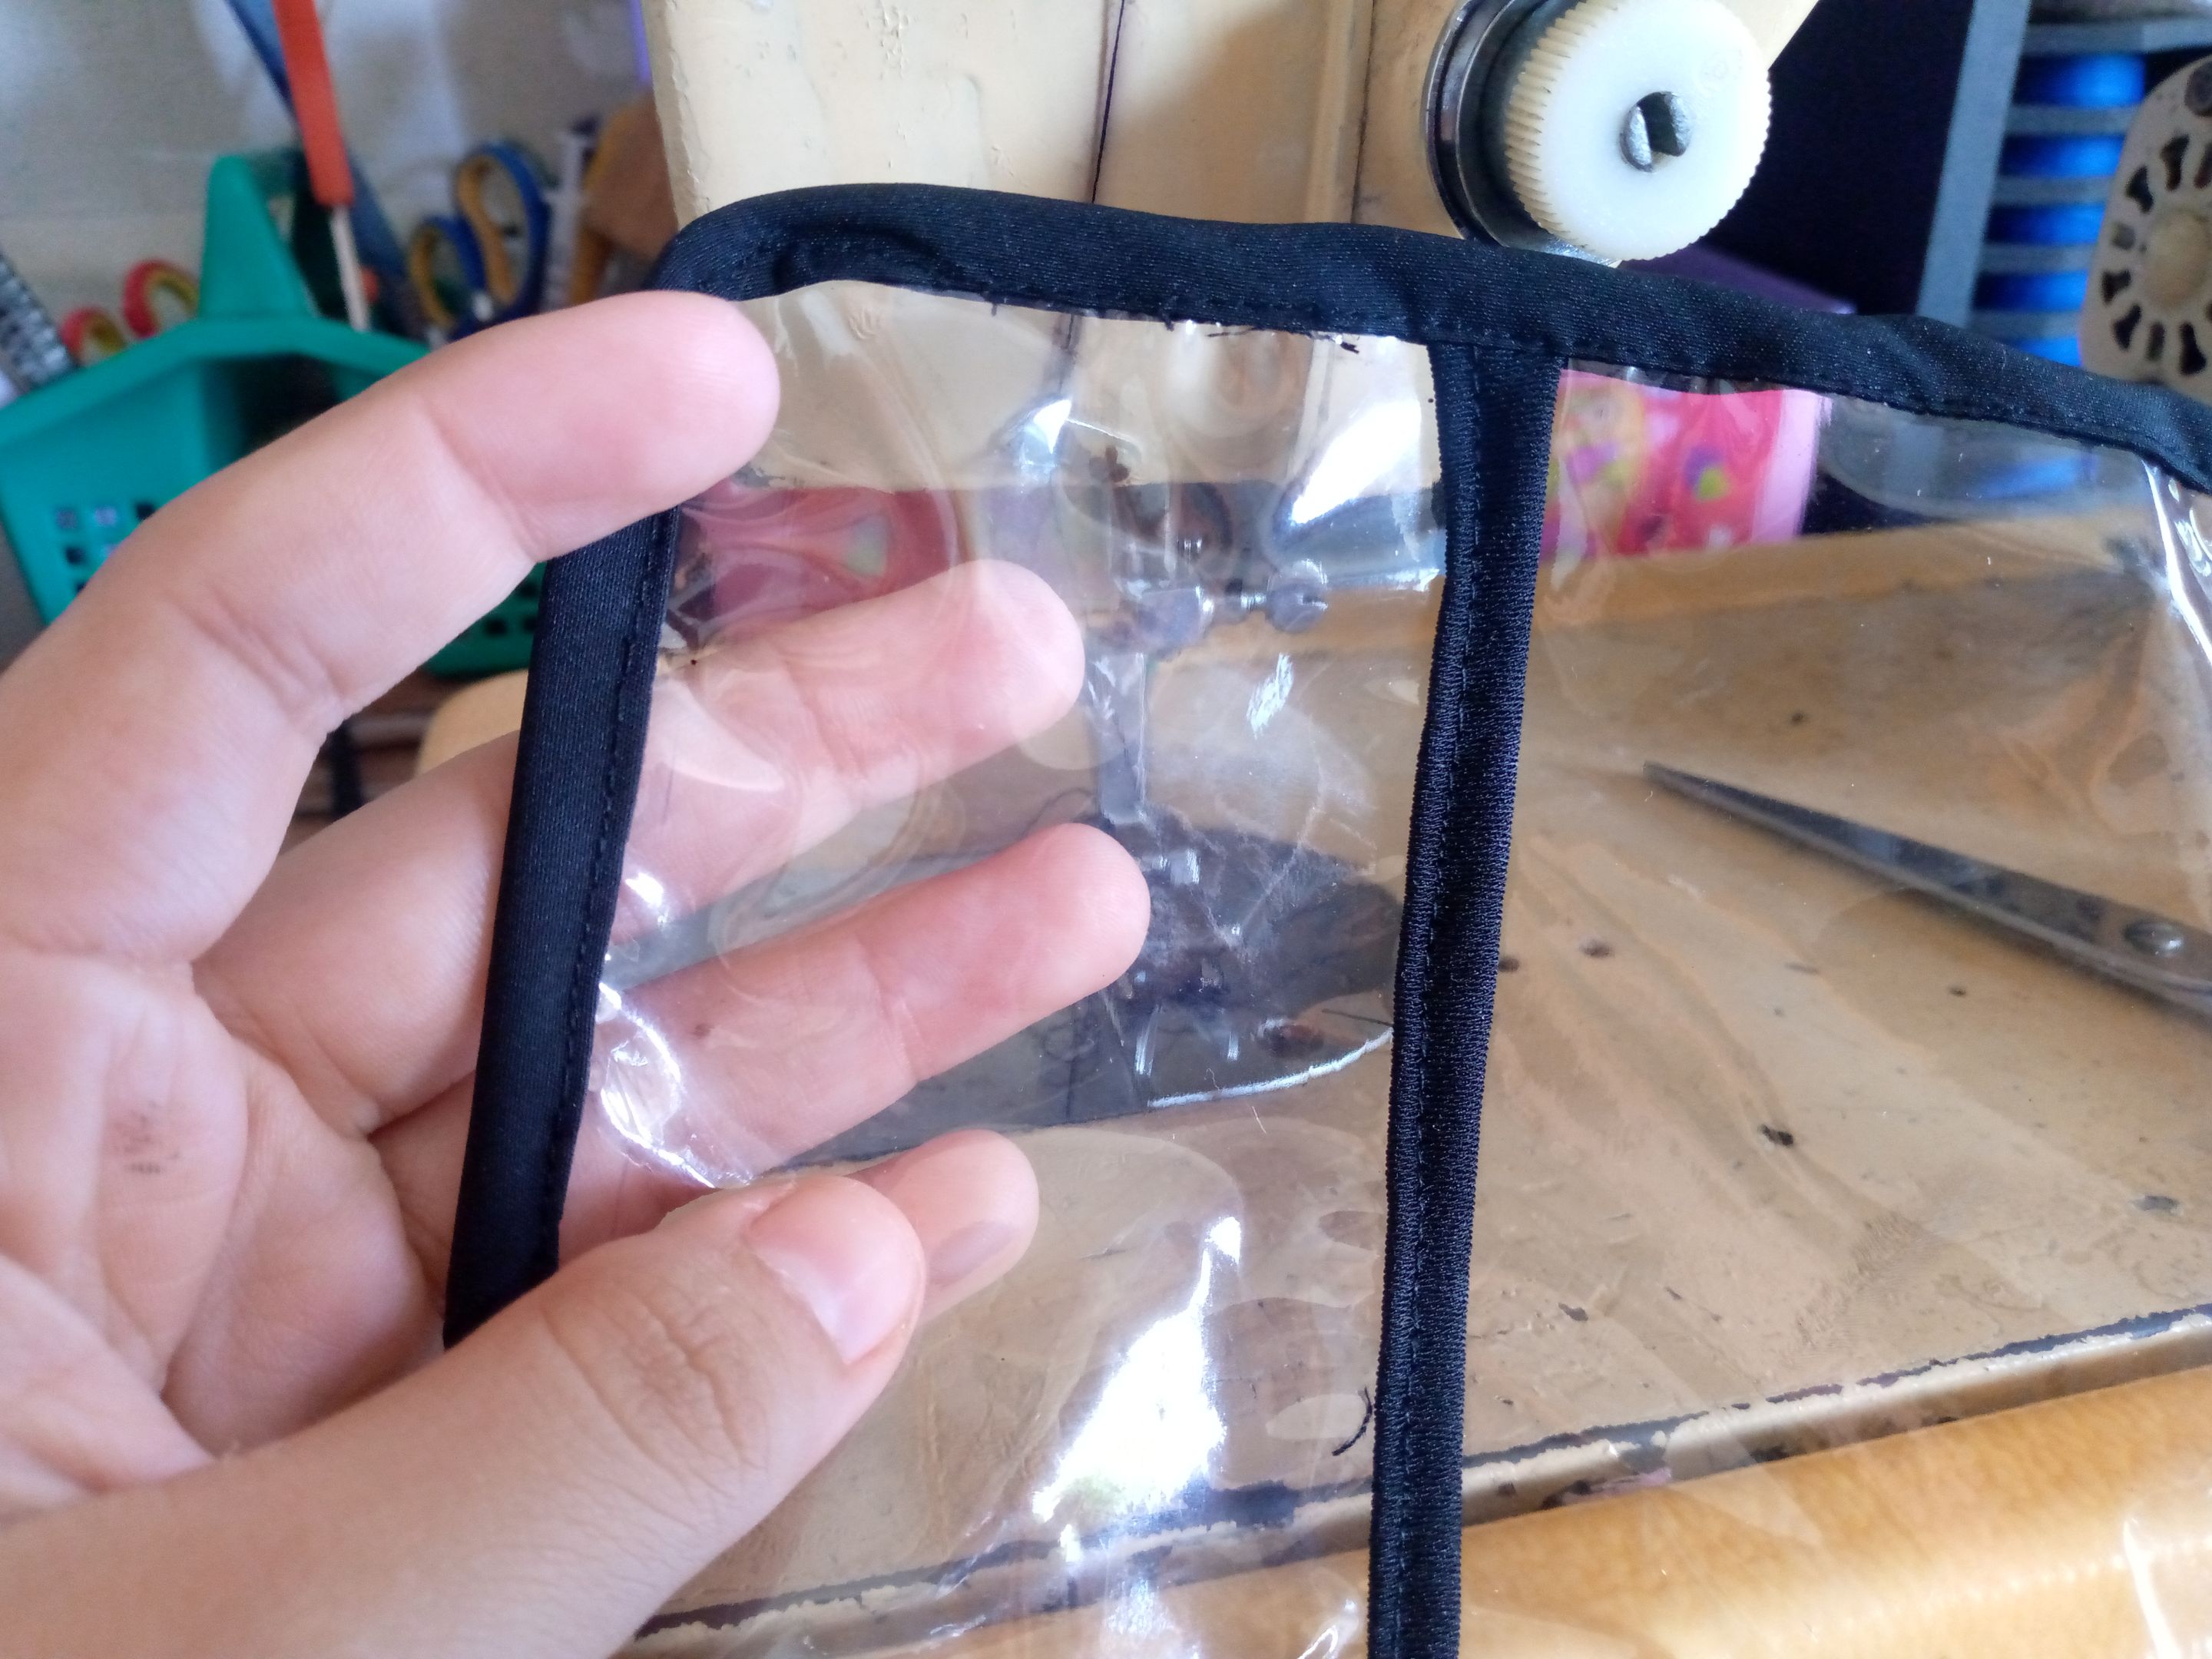
Paso 04
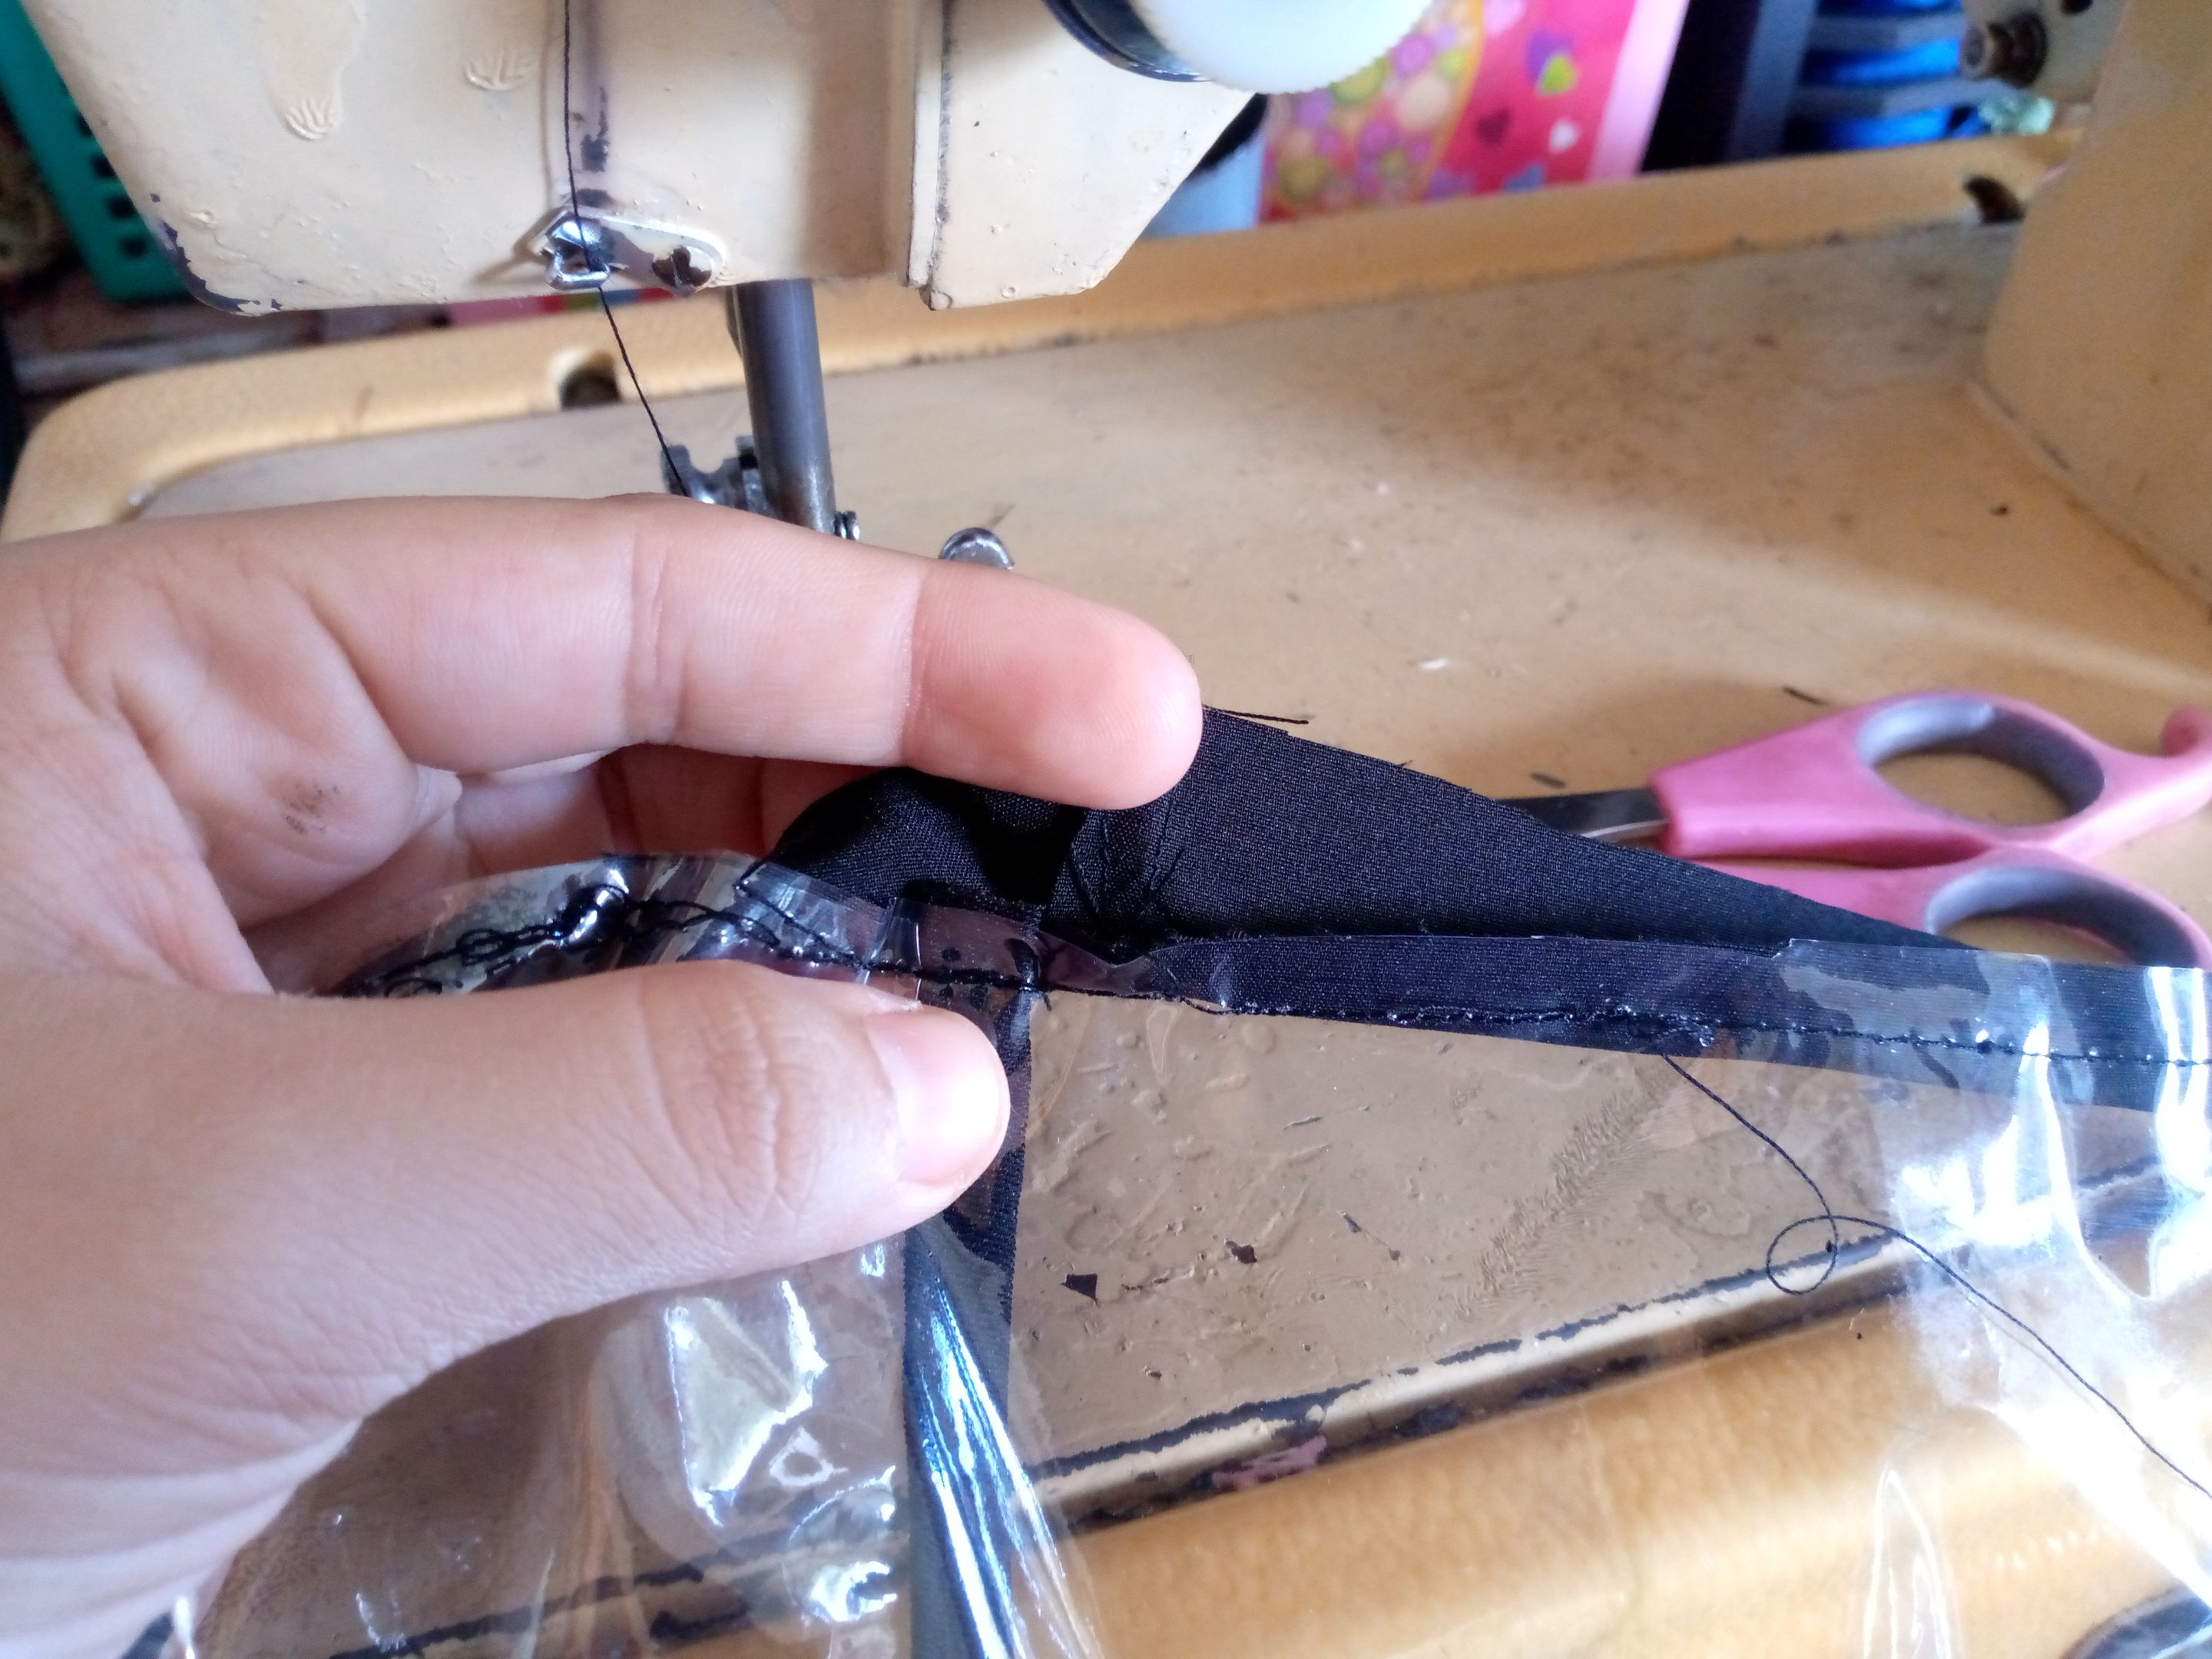
Para finalizar ya aquí doblé el sesgo hacia adentro y lo que hice fué revisarlo y coserlo por todo el contorno del forro dando así por terminado este forro súper sencillo.
### Step 04
To finish, I folded the bias inwards and what I did was check it and sew it all around the lining, thus finishing this super simple lining.

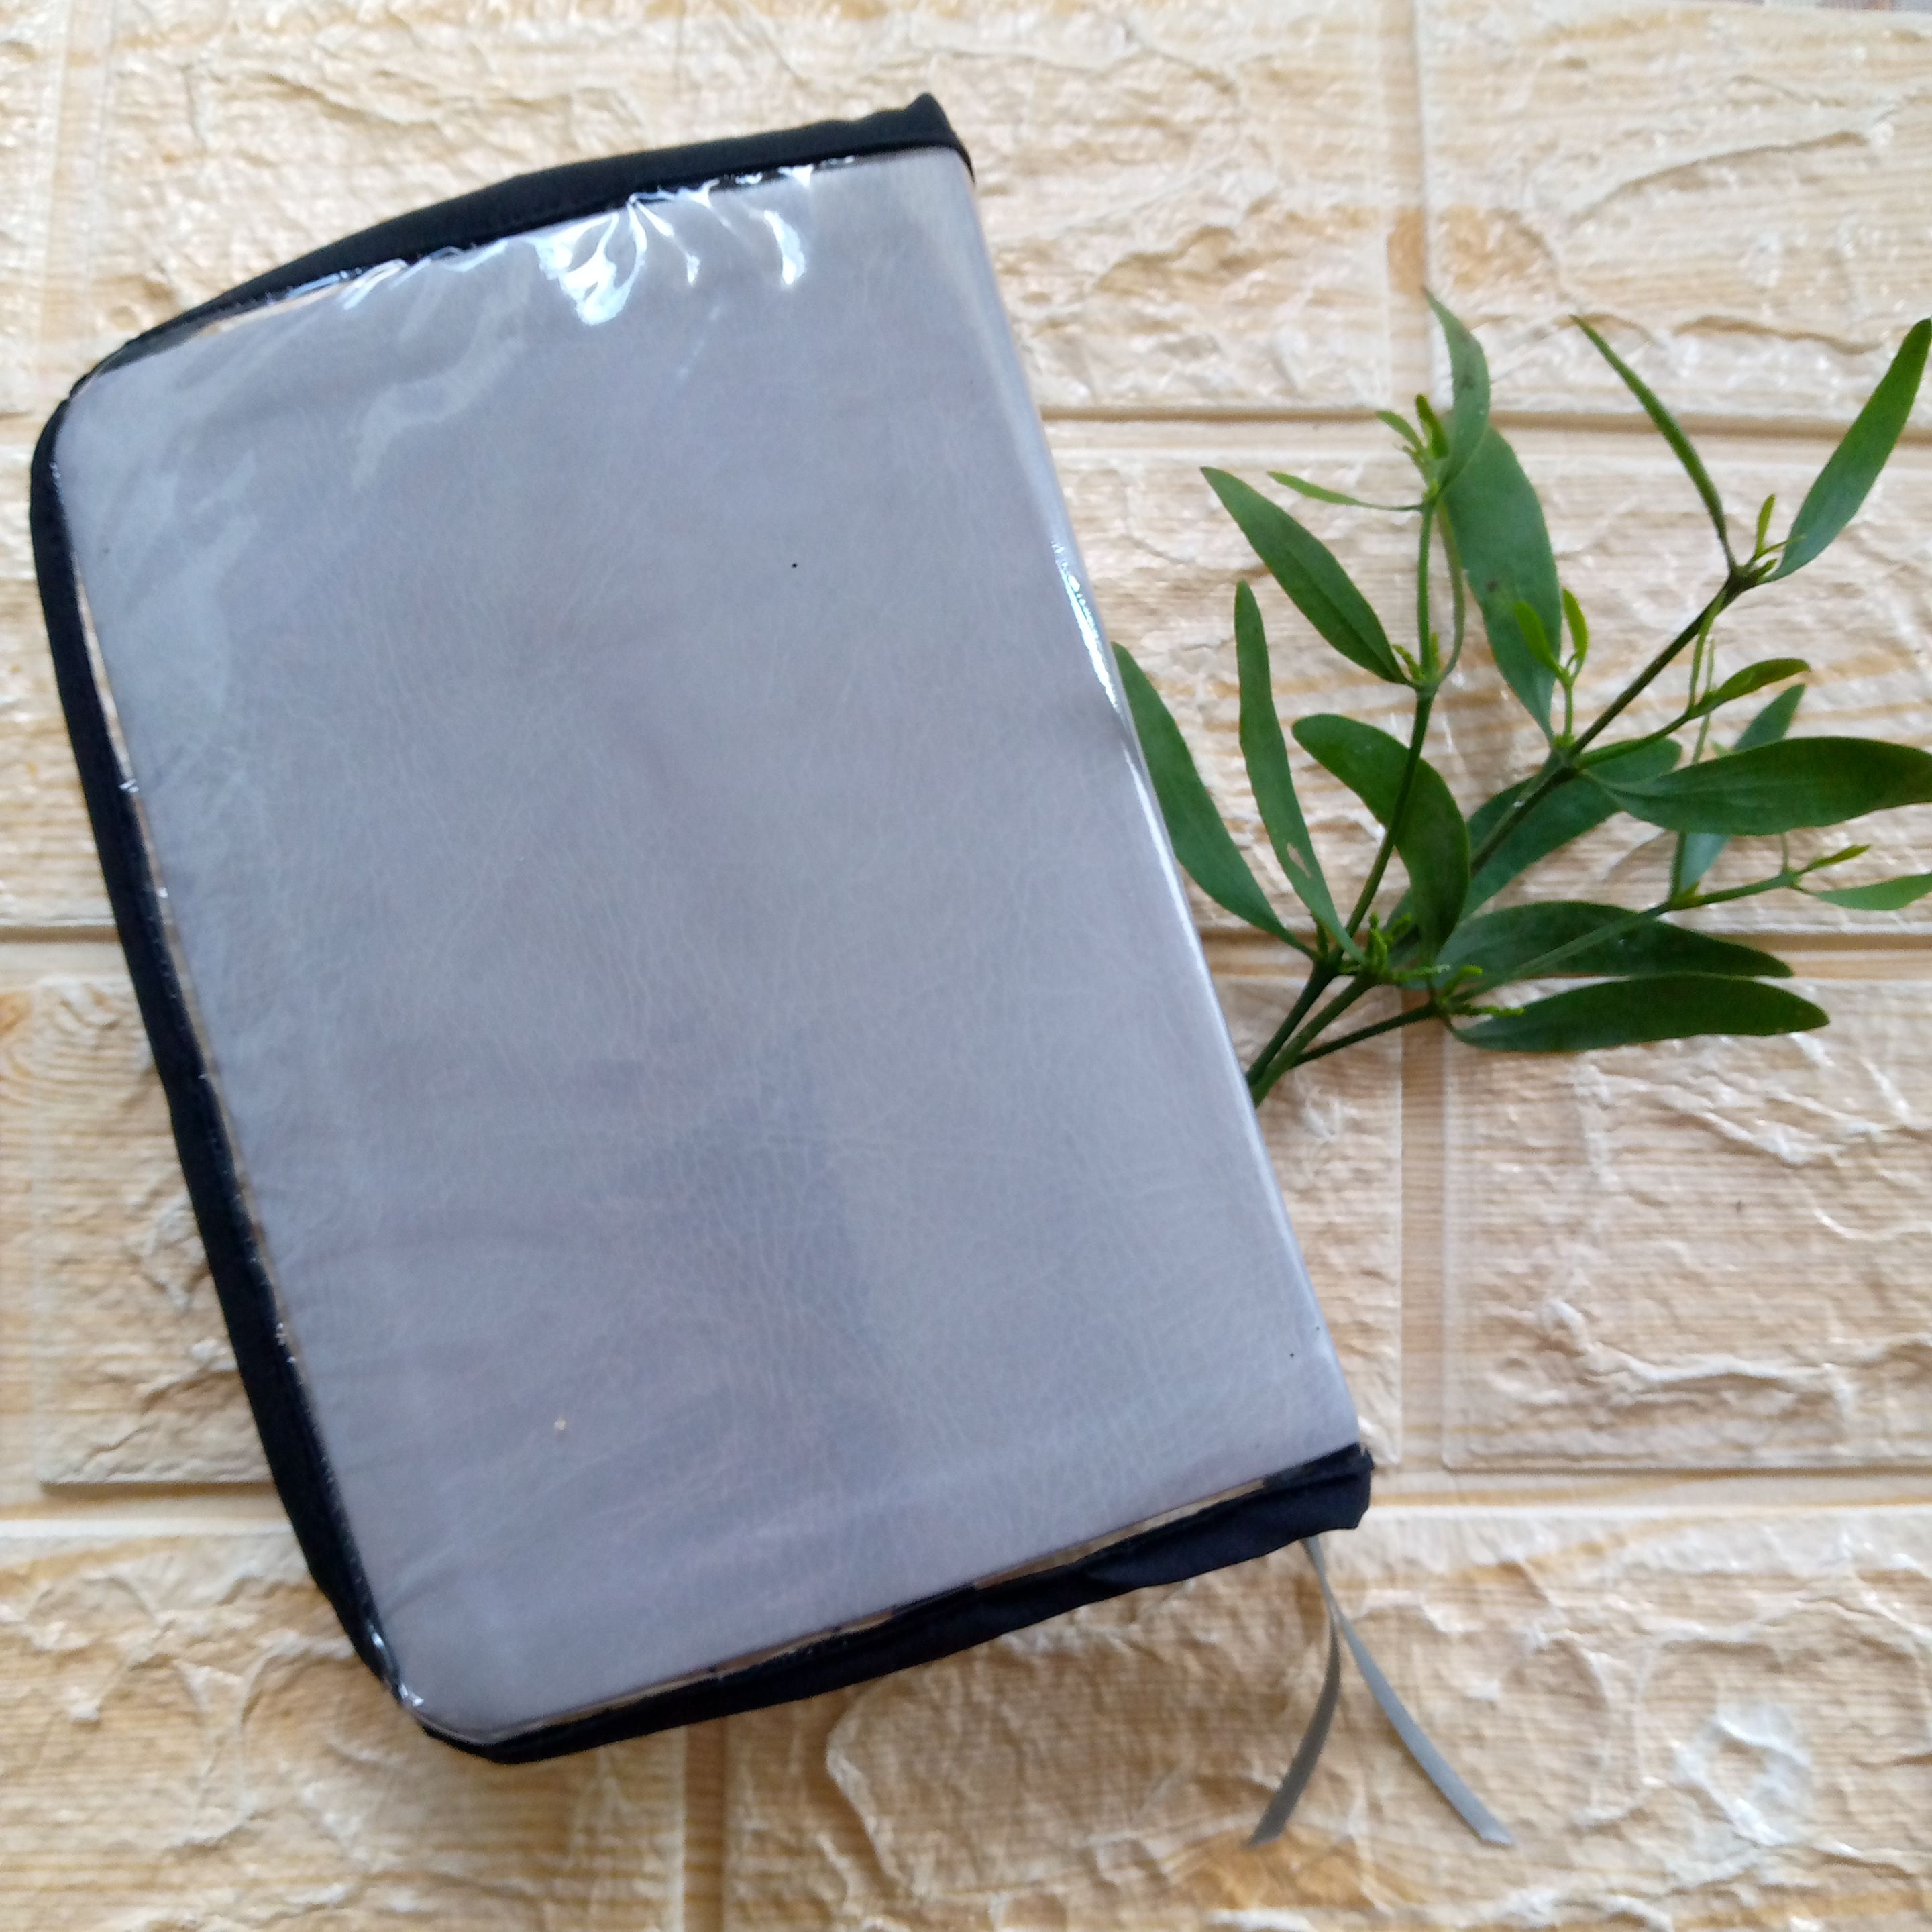
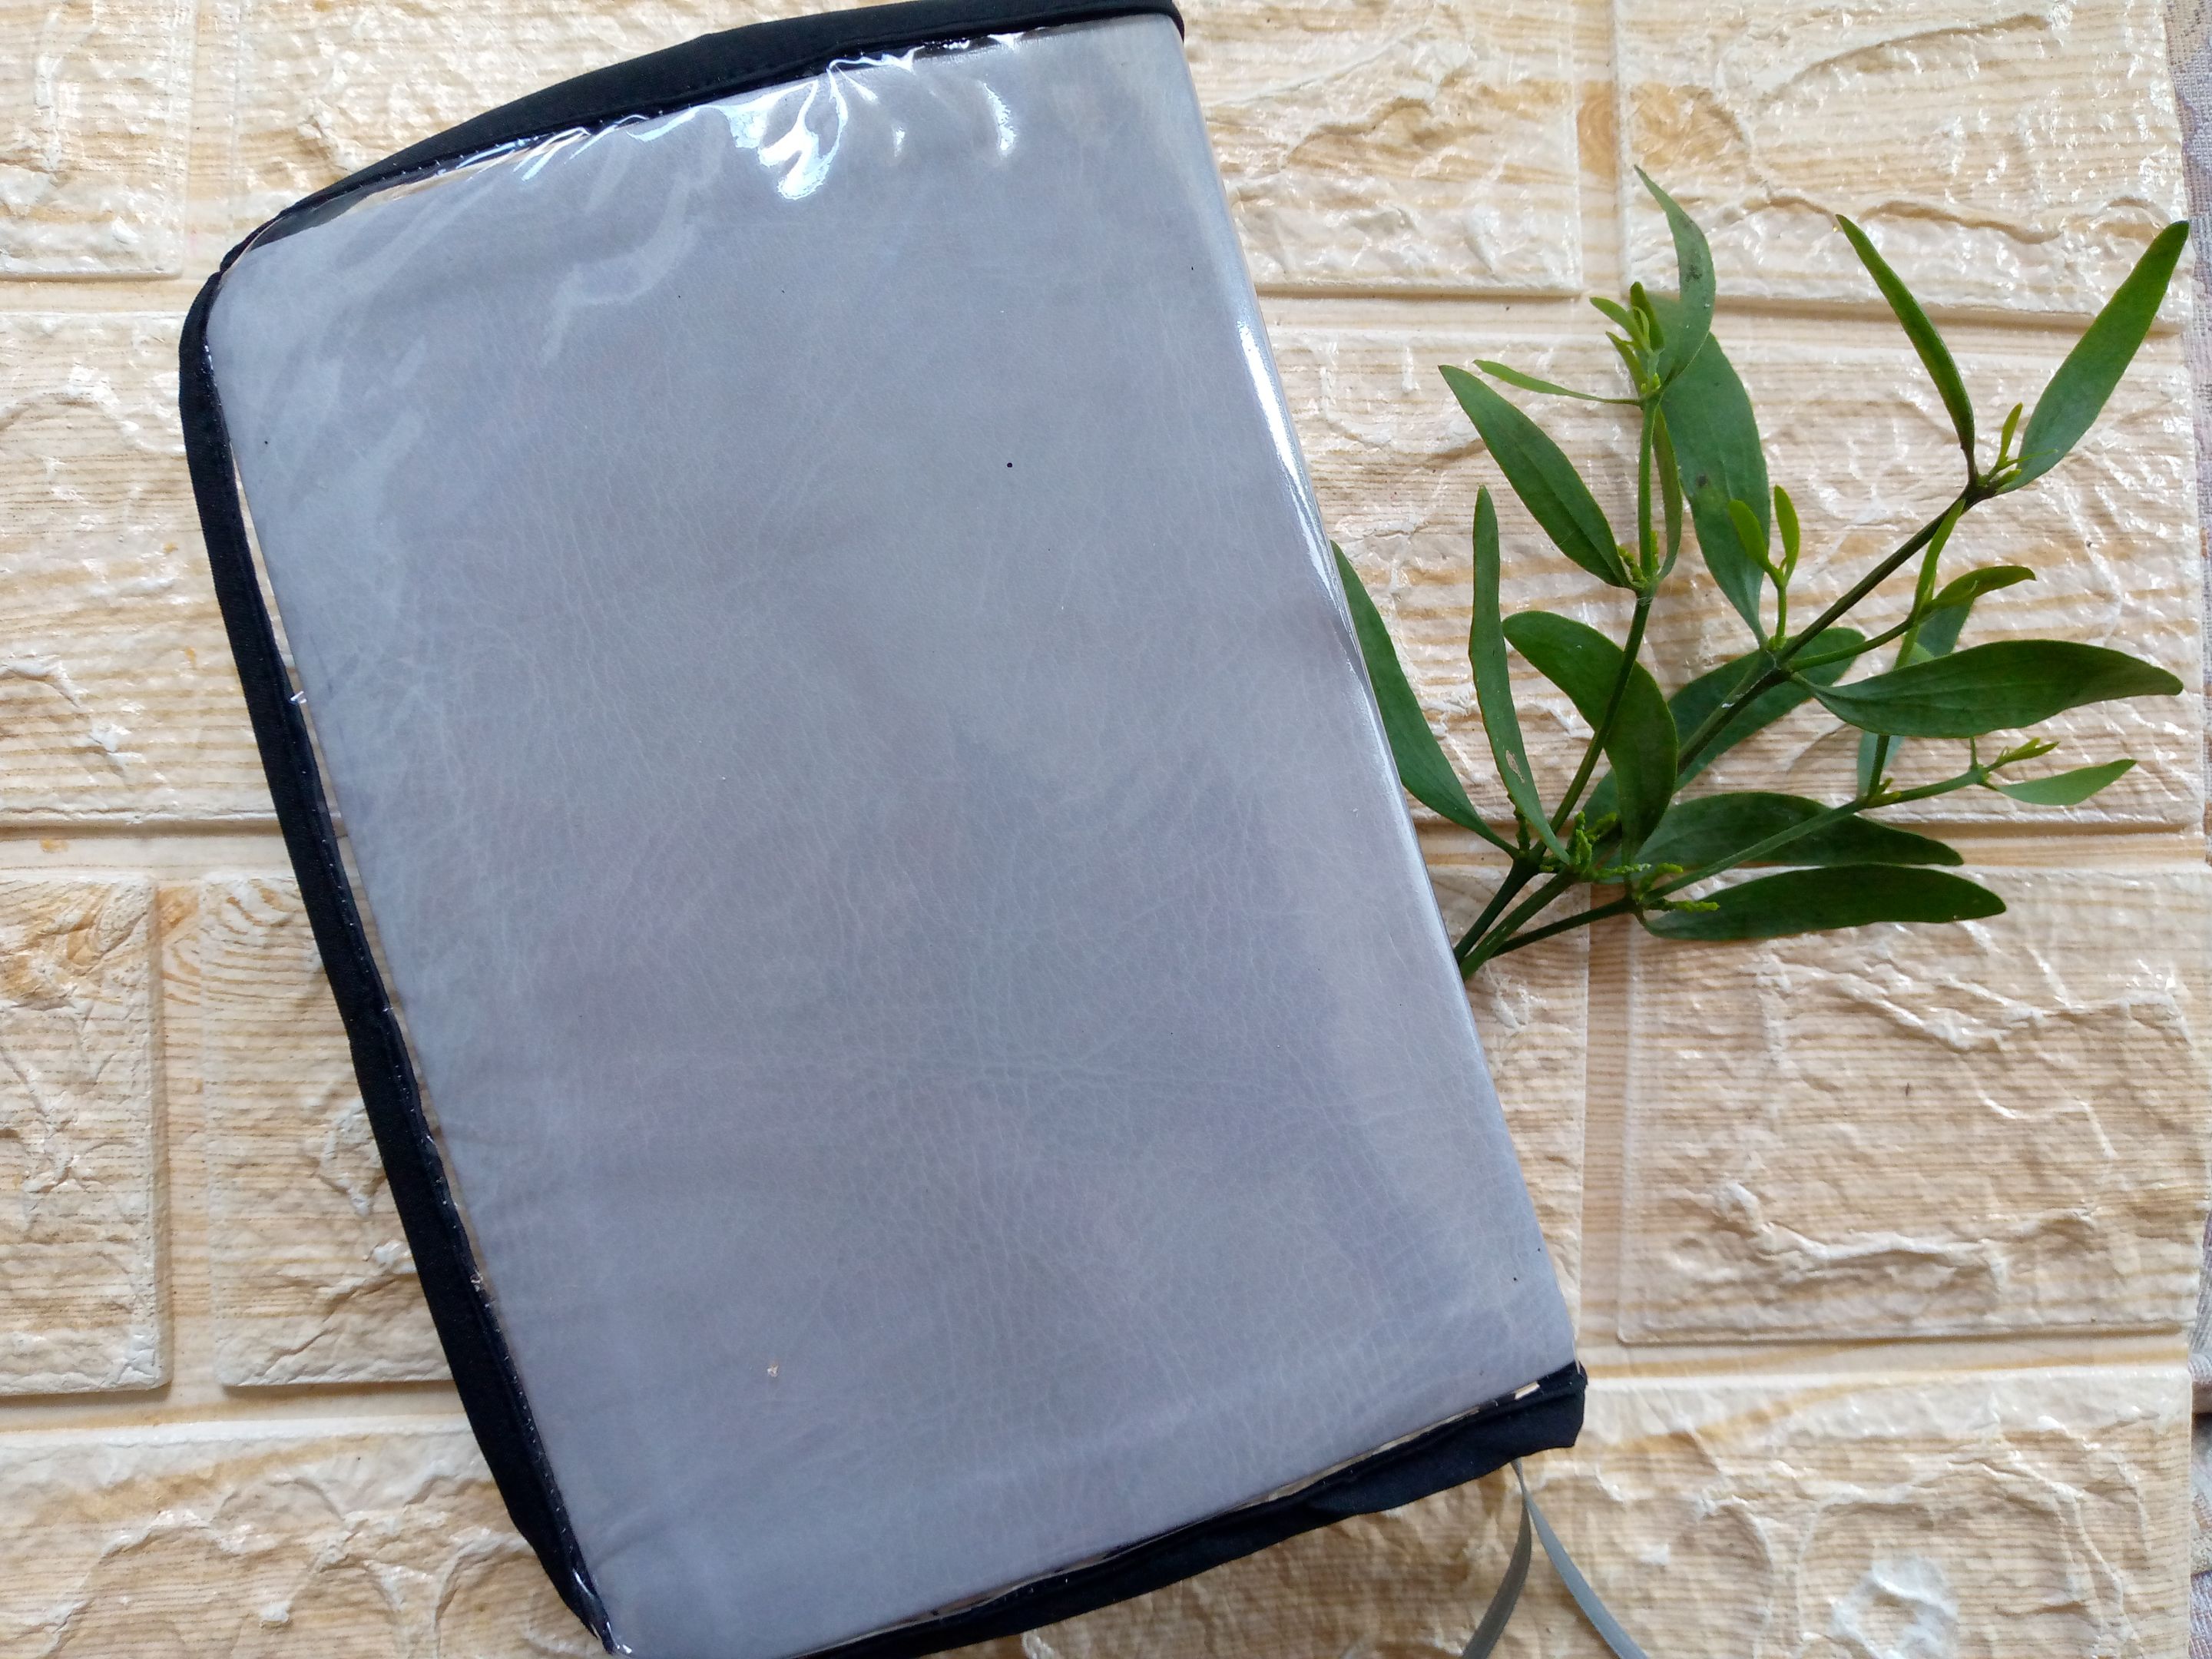
Resultado: | Result:
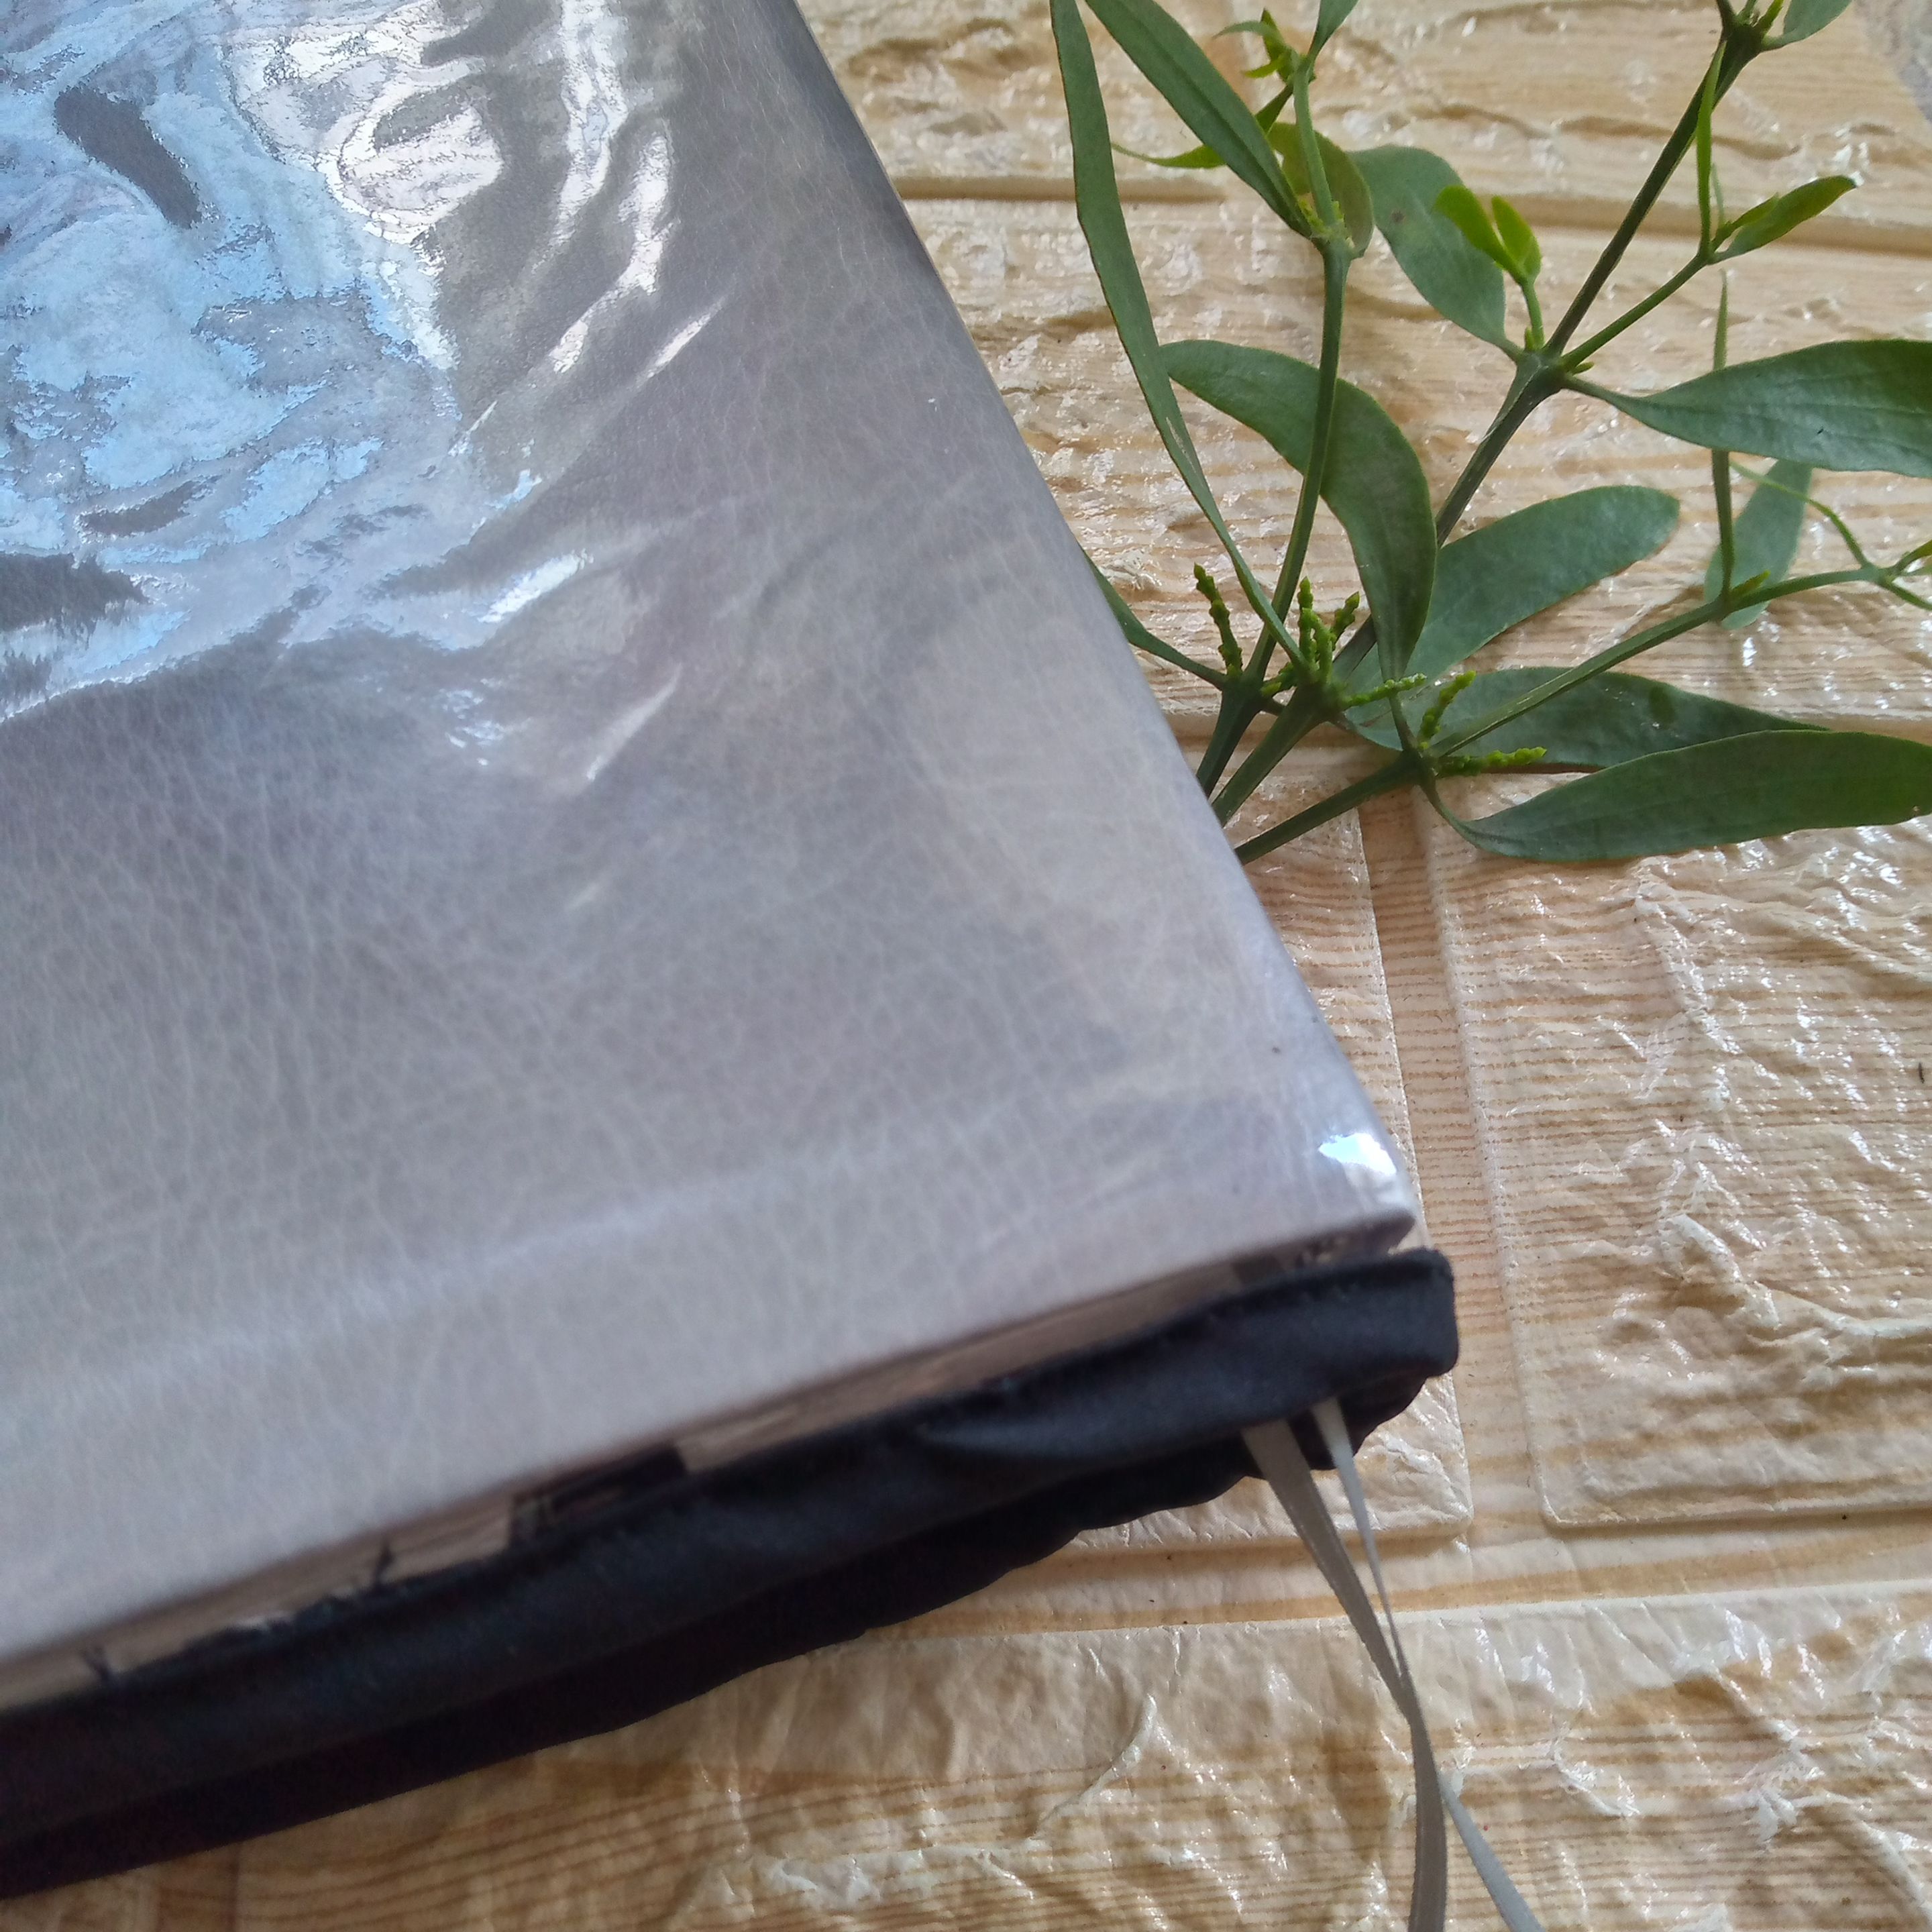
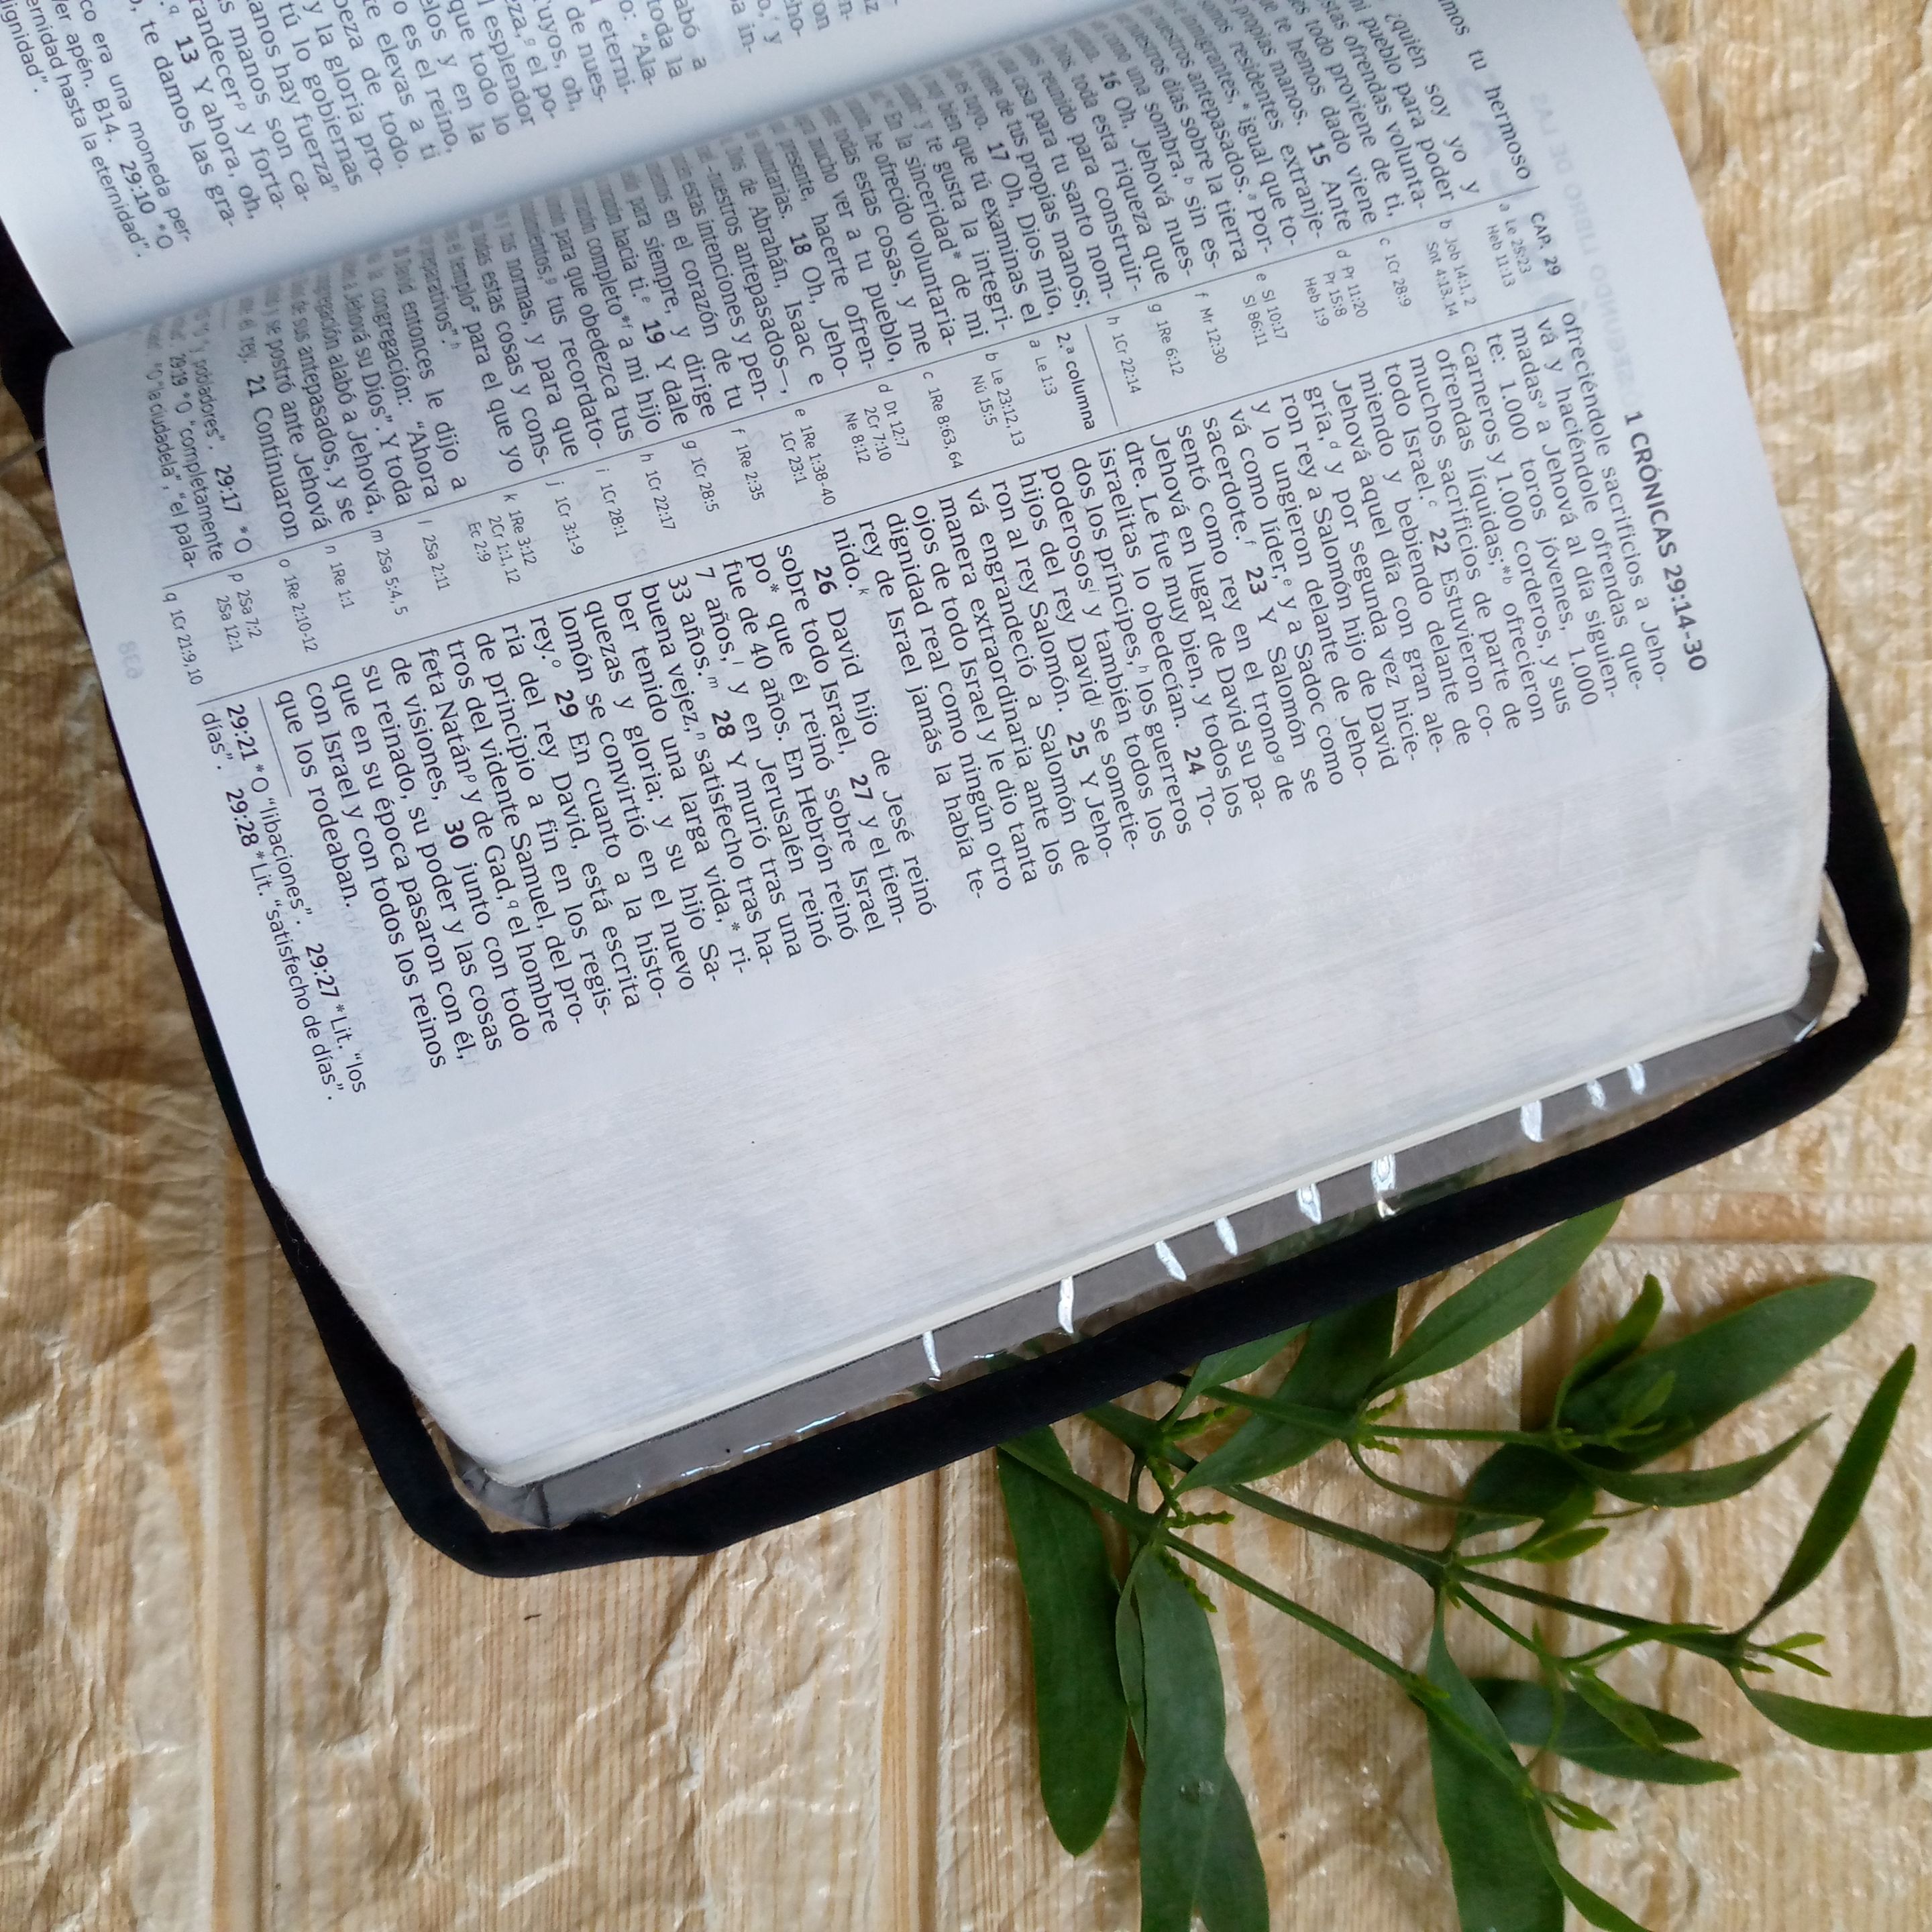
Con esto terminamos nuestro forro sencillo de material reciclado ,este material que es de un plástico muy suave por cierto puedes hacer otras costuras mas como carteras ,porta cosméticos con forro por dentro , cartucheras y hasta lazos para niñas,todo depende de nuestra imaginación y nuestras ideas para reciclar material de provecho,me gustaría saber qué tal te ha parecido esta idea genial aquí en los comentarios ,que con gusto estaré leyendo,con esto me despido de ustedes les dejo las fotografías del resultado final,Dios les bendiga y cuidense mucho ,hasta otro próximo tutorial.
With this we finish our simple lining made of recycled material, this material is a very soft plastic and by the way you can make other seams like wallets, cosmetic holders with lining inside, pencil cases and even bows for girls, it all depends on our imagination and our ideas to recycle useful material, I would like to know what you think of this great idea here in the comments, which I will gladly read, with this I say goodbye to you and I leave you the photographs of the final result, God bless you and take care of yourselves, until another next tutorial.

Creando las cosas con amor🌷♥️ | Creating things with love🌷♥️
🦋Todas las imágenes de esta publicación son de mi autoria✨ tomadas con mi celular TecnoSpark8C |📸Fotos editadas en PicsArt y Canva. Texto traducido en el traductor de Google.
🦋 All the images in this publication are my author✨ ,taken with my TecnoSpark8C cell phone |📸Photos edited in PicsArt and Canva. Text translated in Google Translate.