✨🧵Hola amigos amantes de las agujas bienvenidos a un lindo espacio creativo de ideas y todo lo que tiene que ver con el mundo de la "Costura"🪡 | ✨🧵Hello needle-loving friends, welcome to a lovely creative space for ideas and everything related to the world of sewing.🪡
Te gustan las calabazas?y las hortalizas 🎃...Porque te traigo una idea genial para hacer un bonito alfiletero con tus retales de tela esos que tienes en casa y que puedes reutilizar para hacer adornos muy bonitos,en mi caso me encanta mucho reutilizarlos para hacer lindas costuras ,los aprovecho mucho sobre roso para hacer nuevos alfileteros cuando siento que uno de los alfileteros se me dañan sobre todo al mantenerlos en contacto directo con las manos se terminan deteriorando y ya pues toca siempre darles un cambio.
Do you like pumpkins? And vegetables 🎃... Because I bring you a great idea to make a pretty pincushion with your fabric scraps, those that you have at home and that you can reuse to make very pretty decorations, in my case I love to reuse them to make pretty seams, I take advantage of them a lot especially to make new pincushions when I feel that one of the pincushions is damaged, especially when keeping them in direct contact with my hands, they end up deteriorating and then it's always time to change them.
Yo se que te va a gustar mucho esta idea ,así que te invito a que aprecies este tutorial que además de ser sencillo te enseñaré a hacer este alfiletero en la comodidad de tu hogar y con tus manos también con materiales que tienes en casa.
I know you'll love this idea, so I invite you to check out this simple tutorial. I'll teach you how to make this pincushion in the comfort of your own home, using only the materials you have at home.

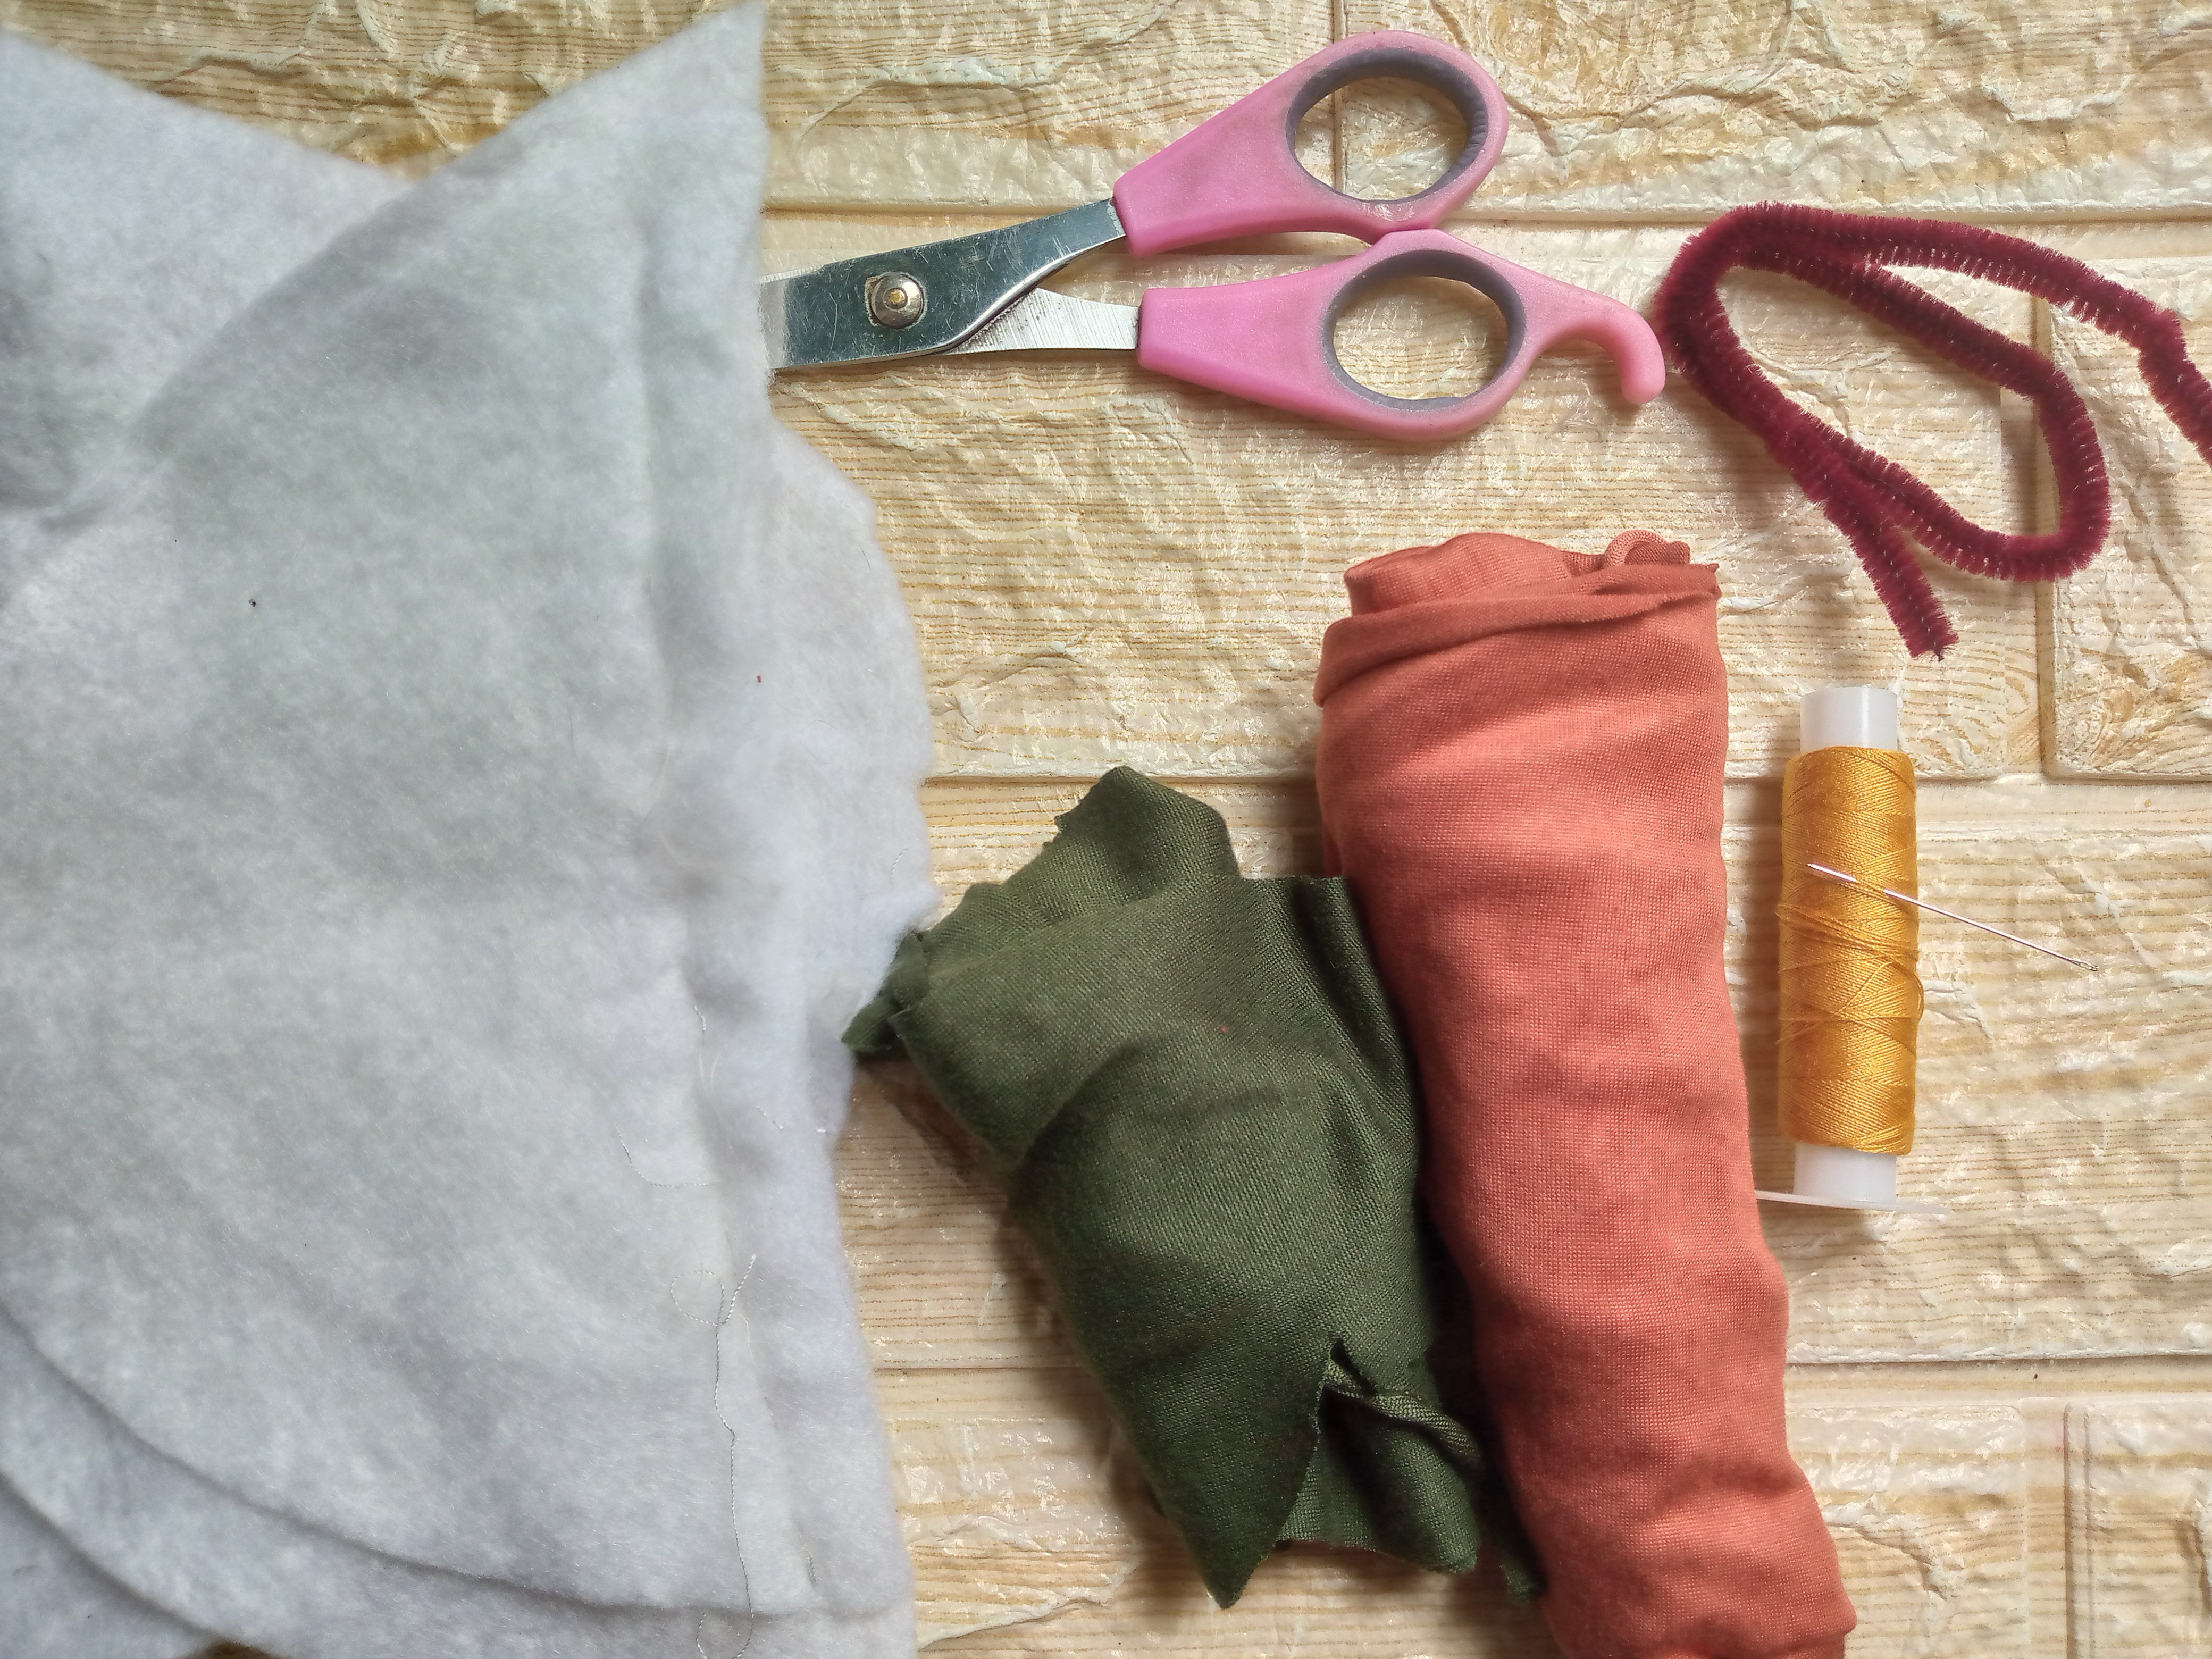

Materiales: | Materials:
- 1 tapa de una taza redonda
- Hilo y aguja
- Retazos en color naranja y verde
- Relleno de peluches
- Tijeras
- 1 limpia pipas marrón o vinotinto para el tallo de la calabaza
- 1 round cup lid
- Thread and needle
- Orange and green scraps
- Stuffed animal stuffing
- Scissors
- 1 brown or burgundy seed cleaner for the pumpkin stem

Pasos a seguir: | Steps to follow:
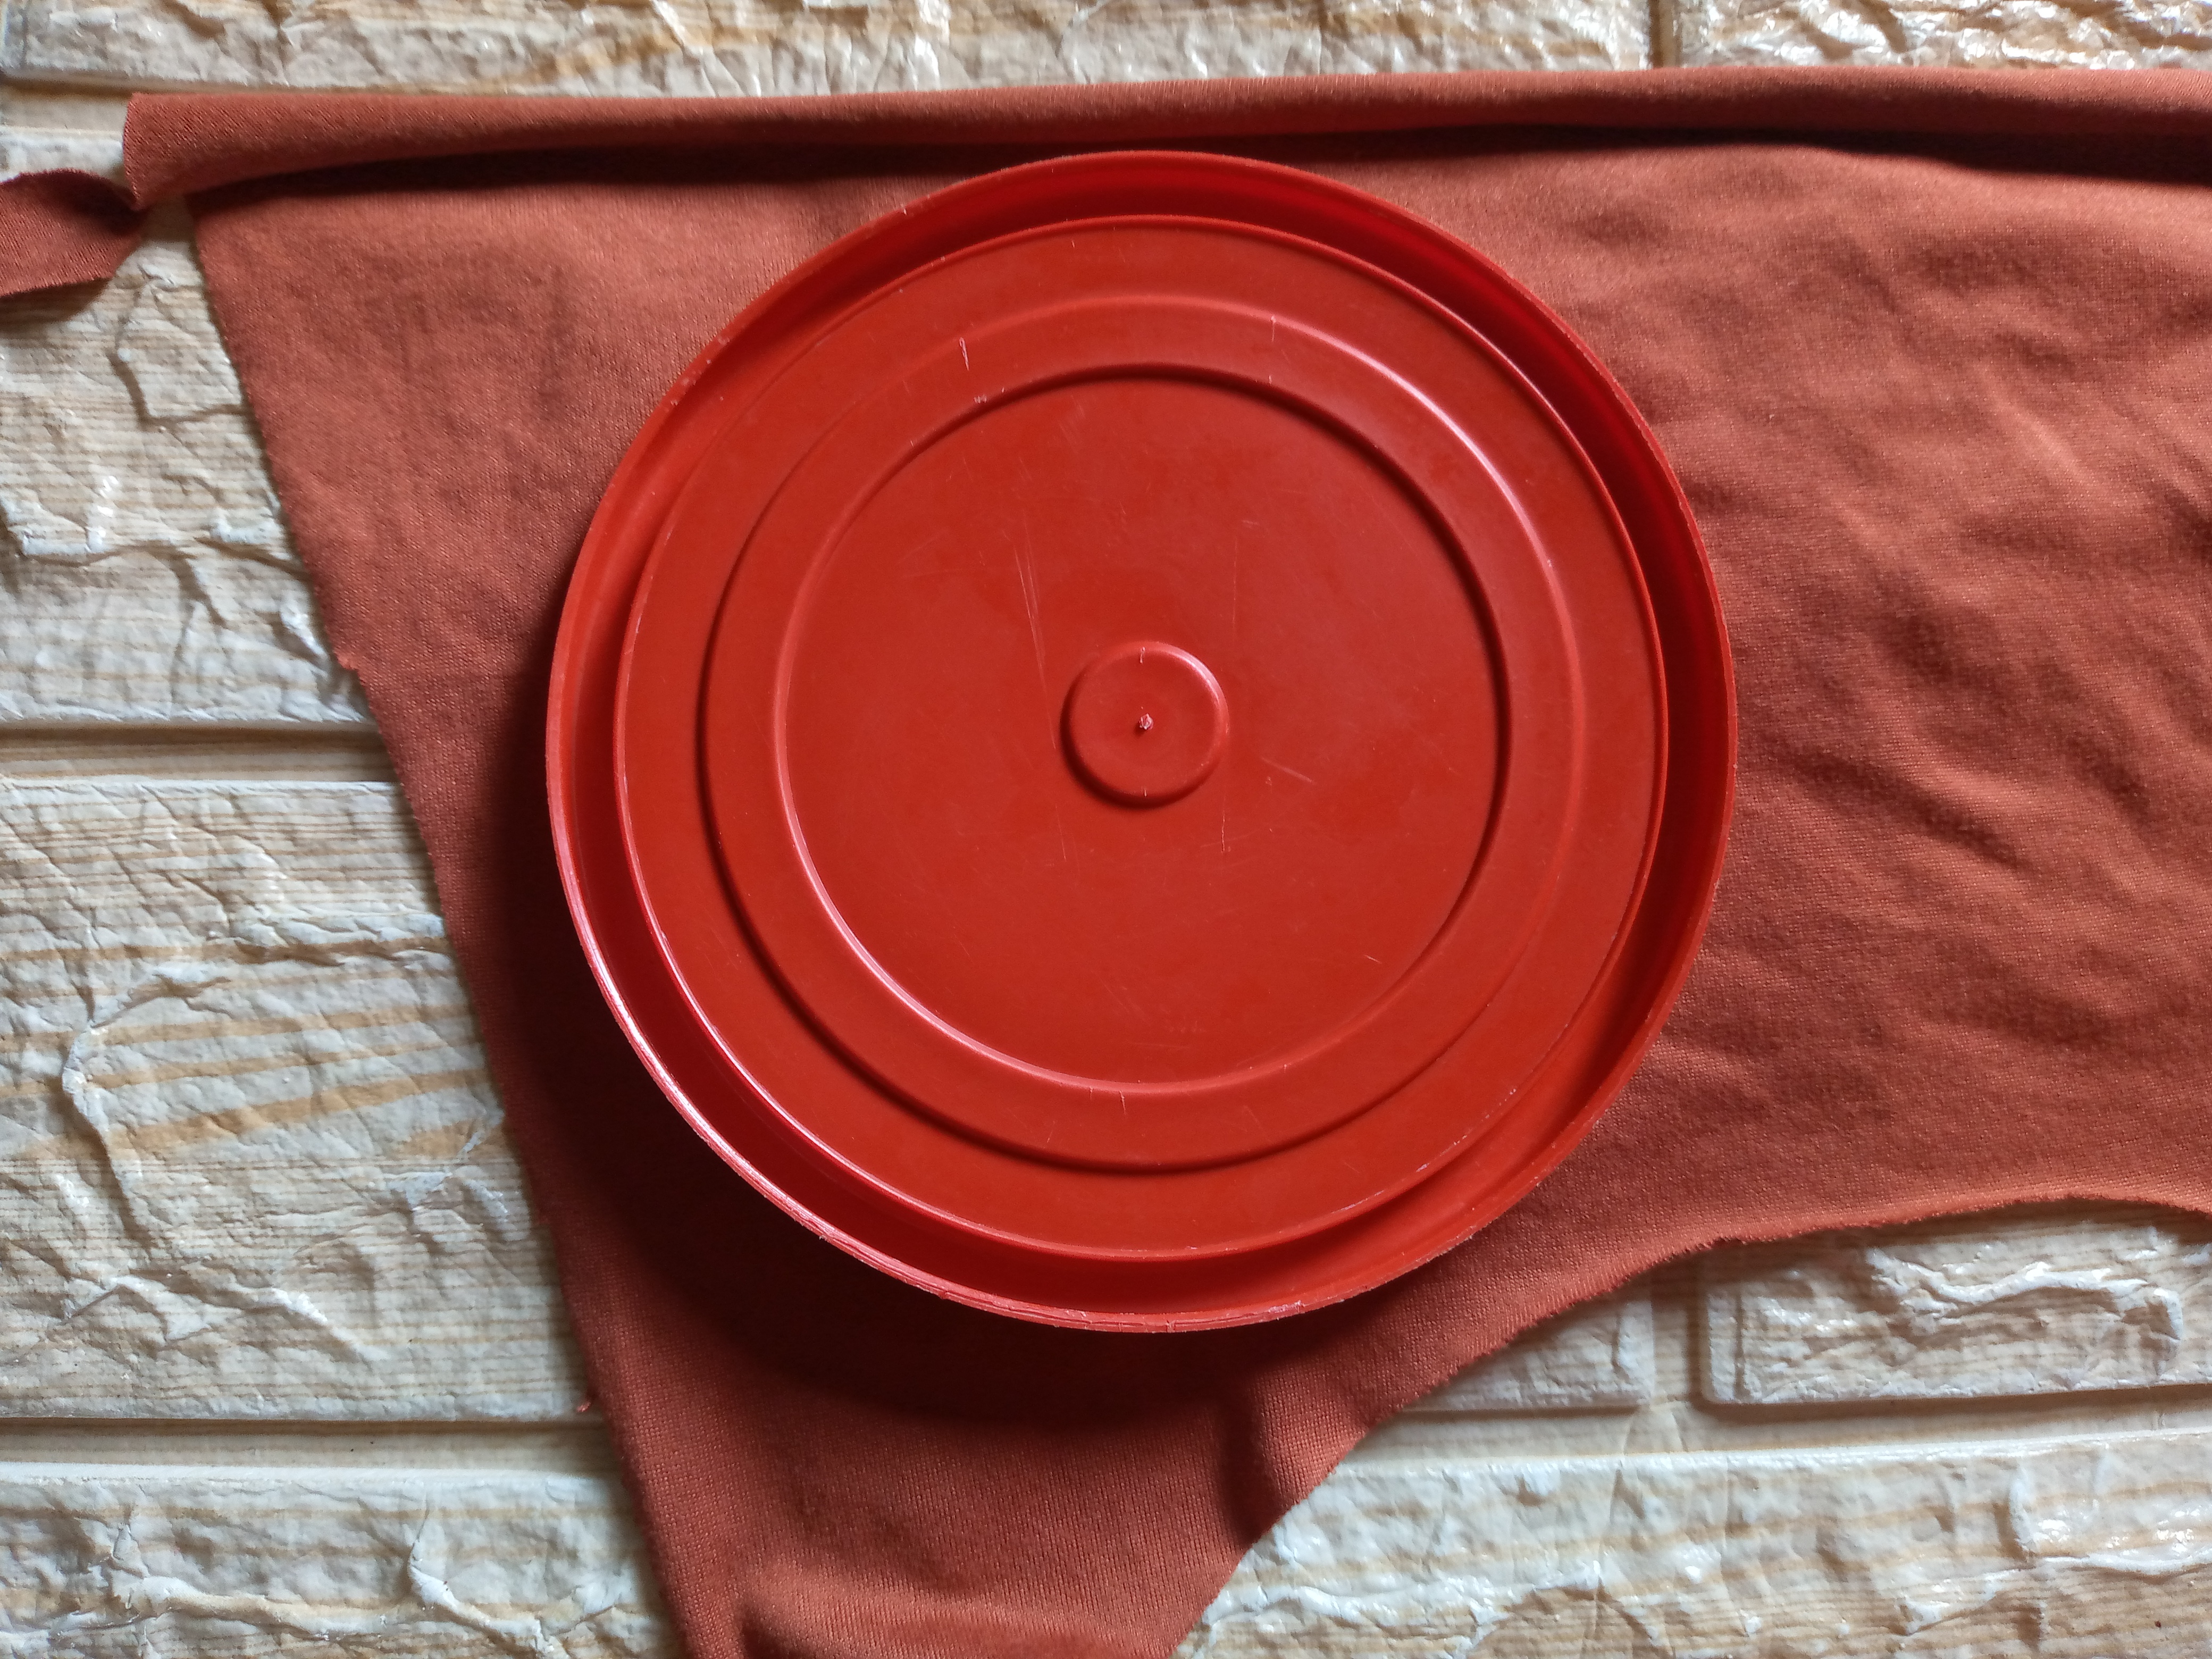
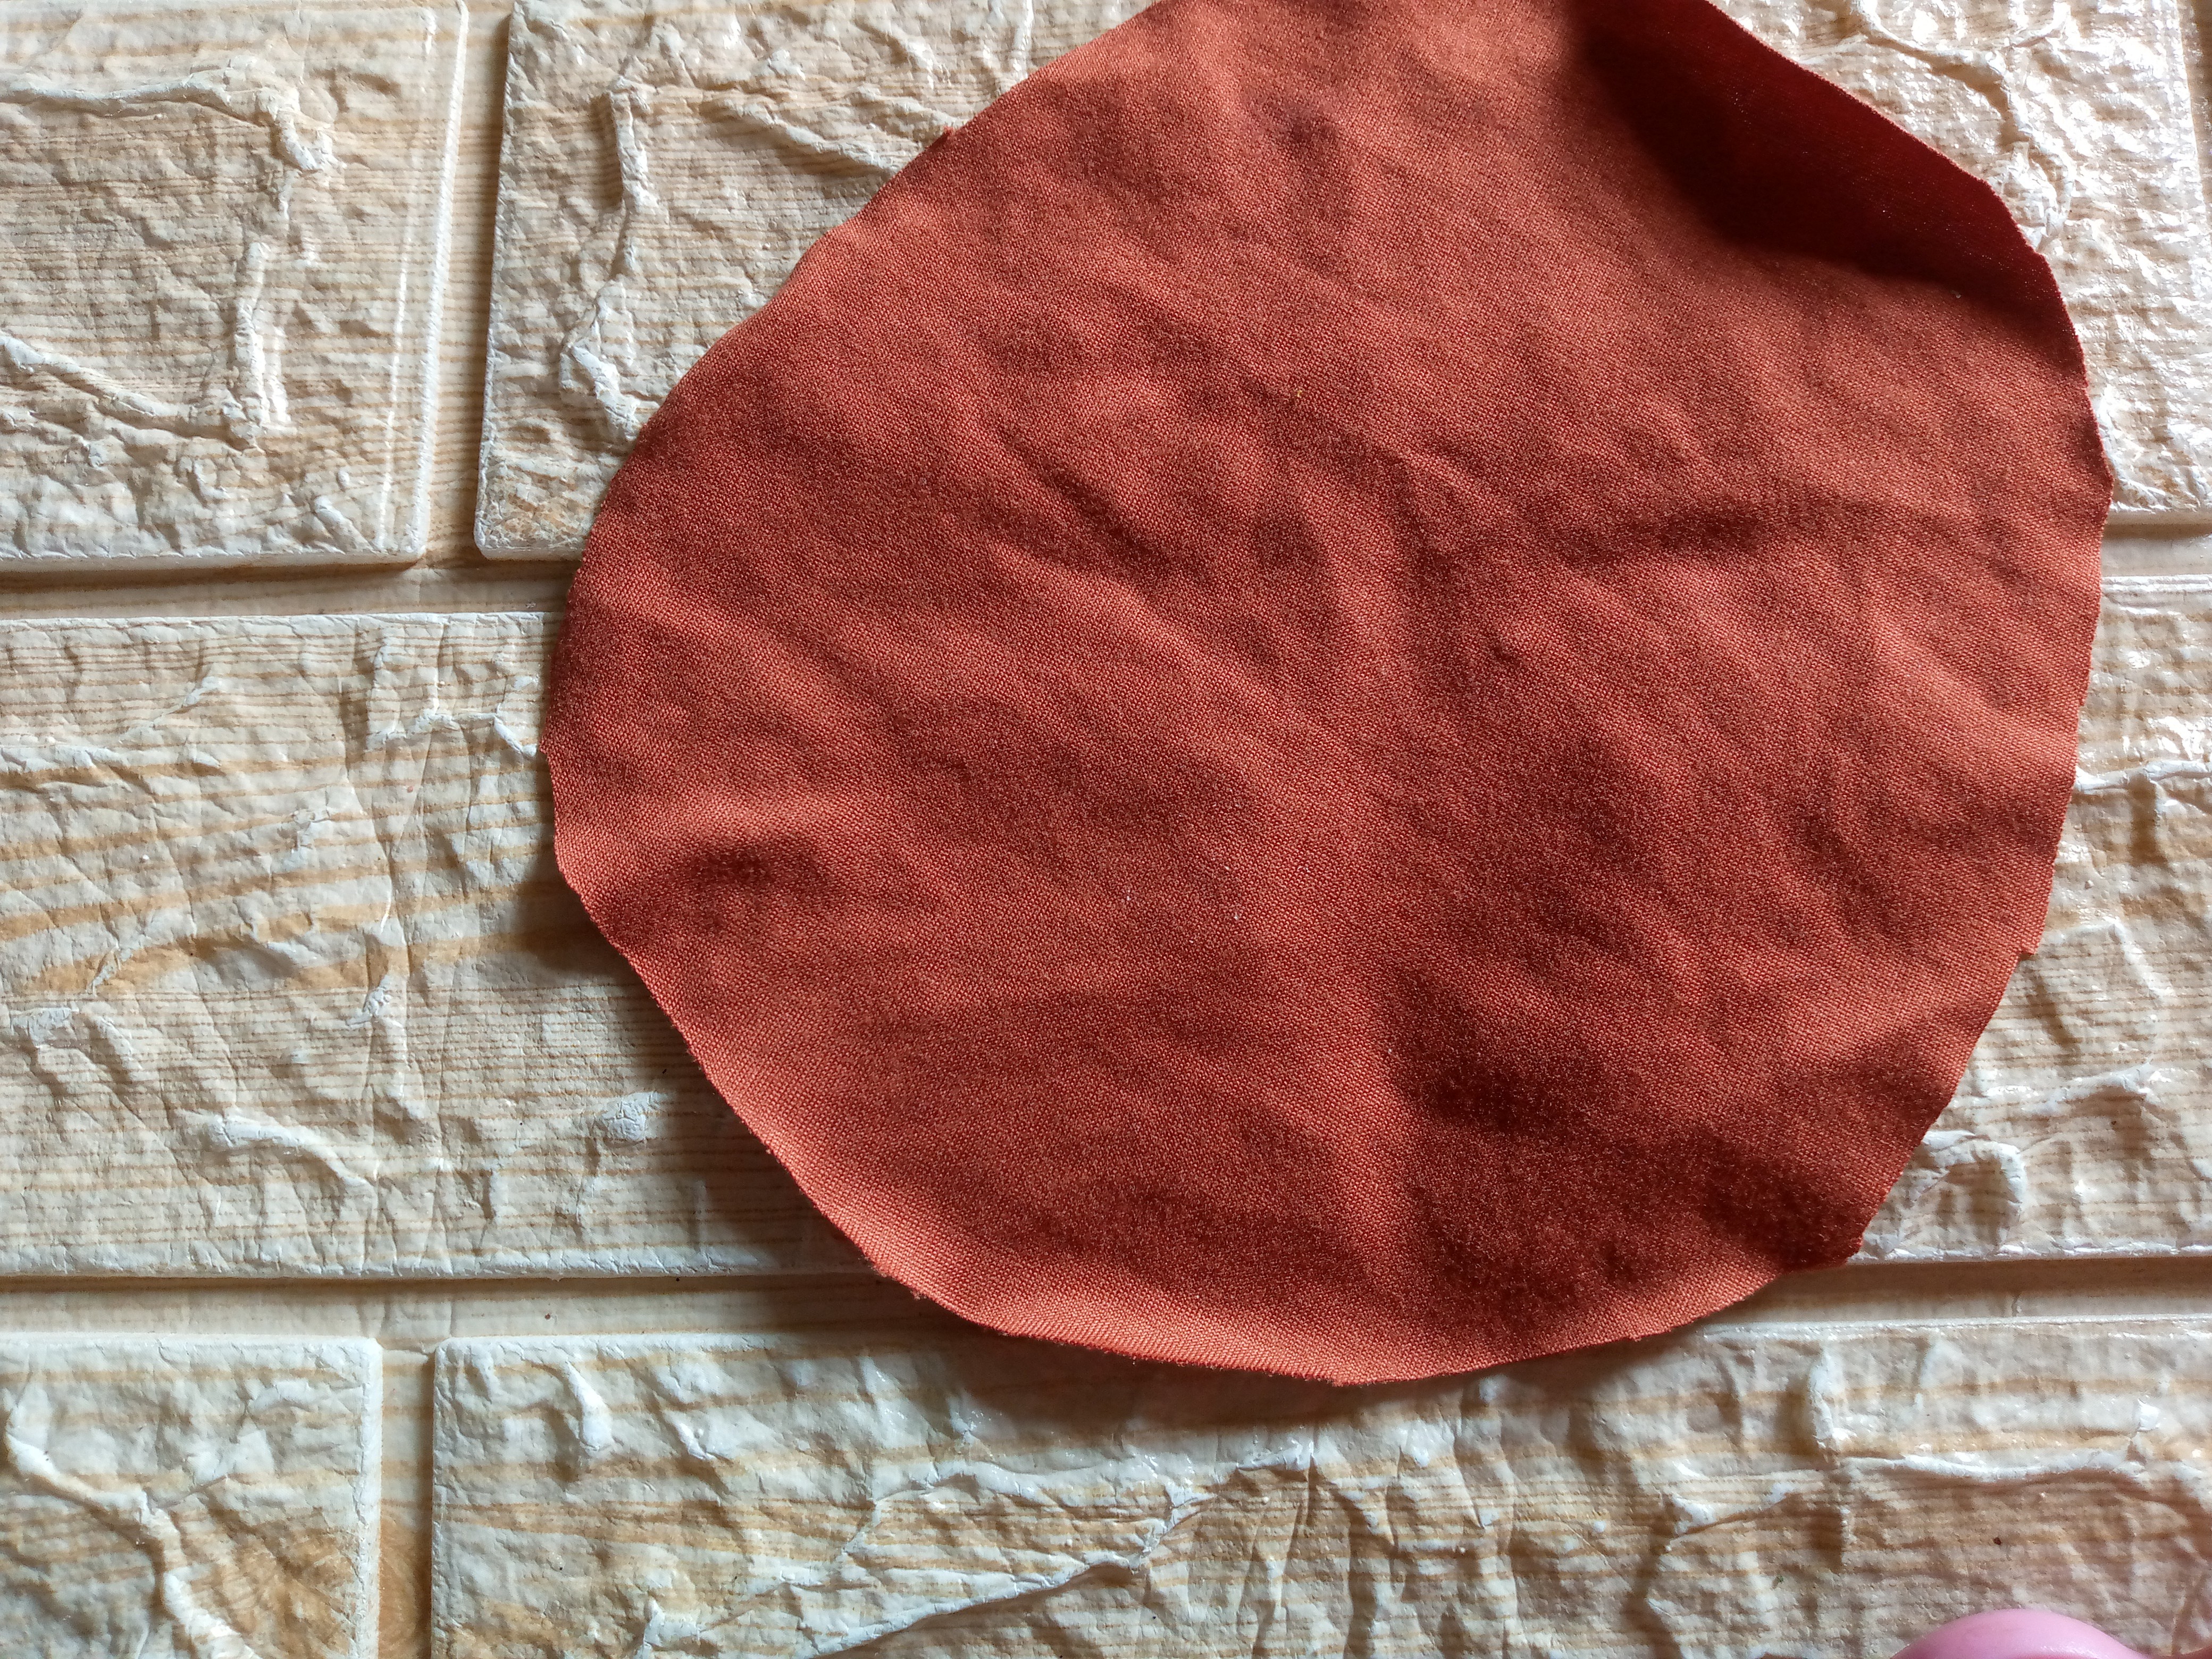
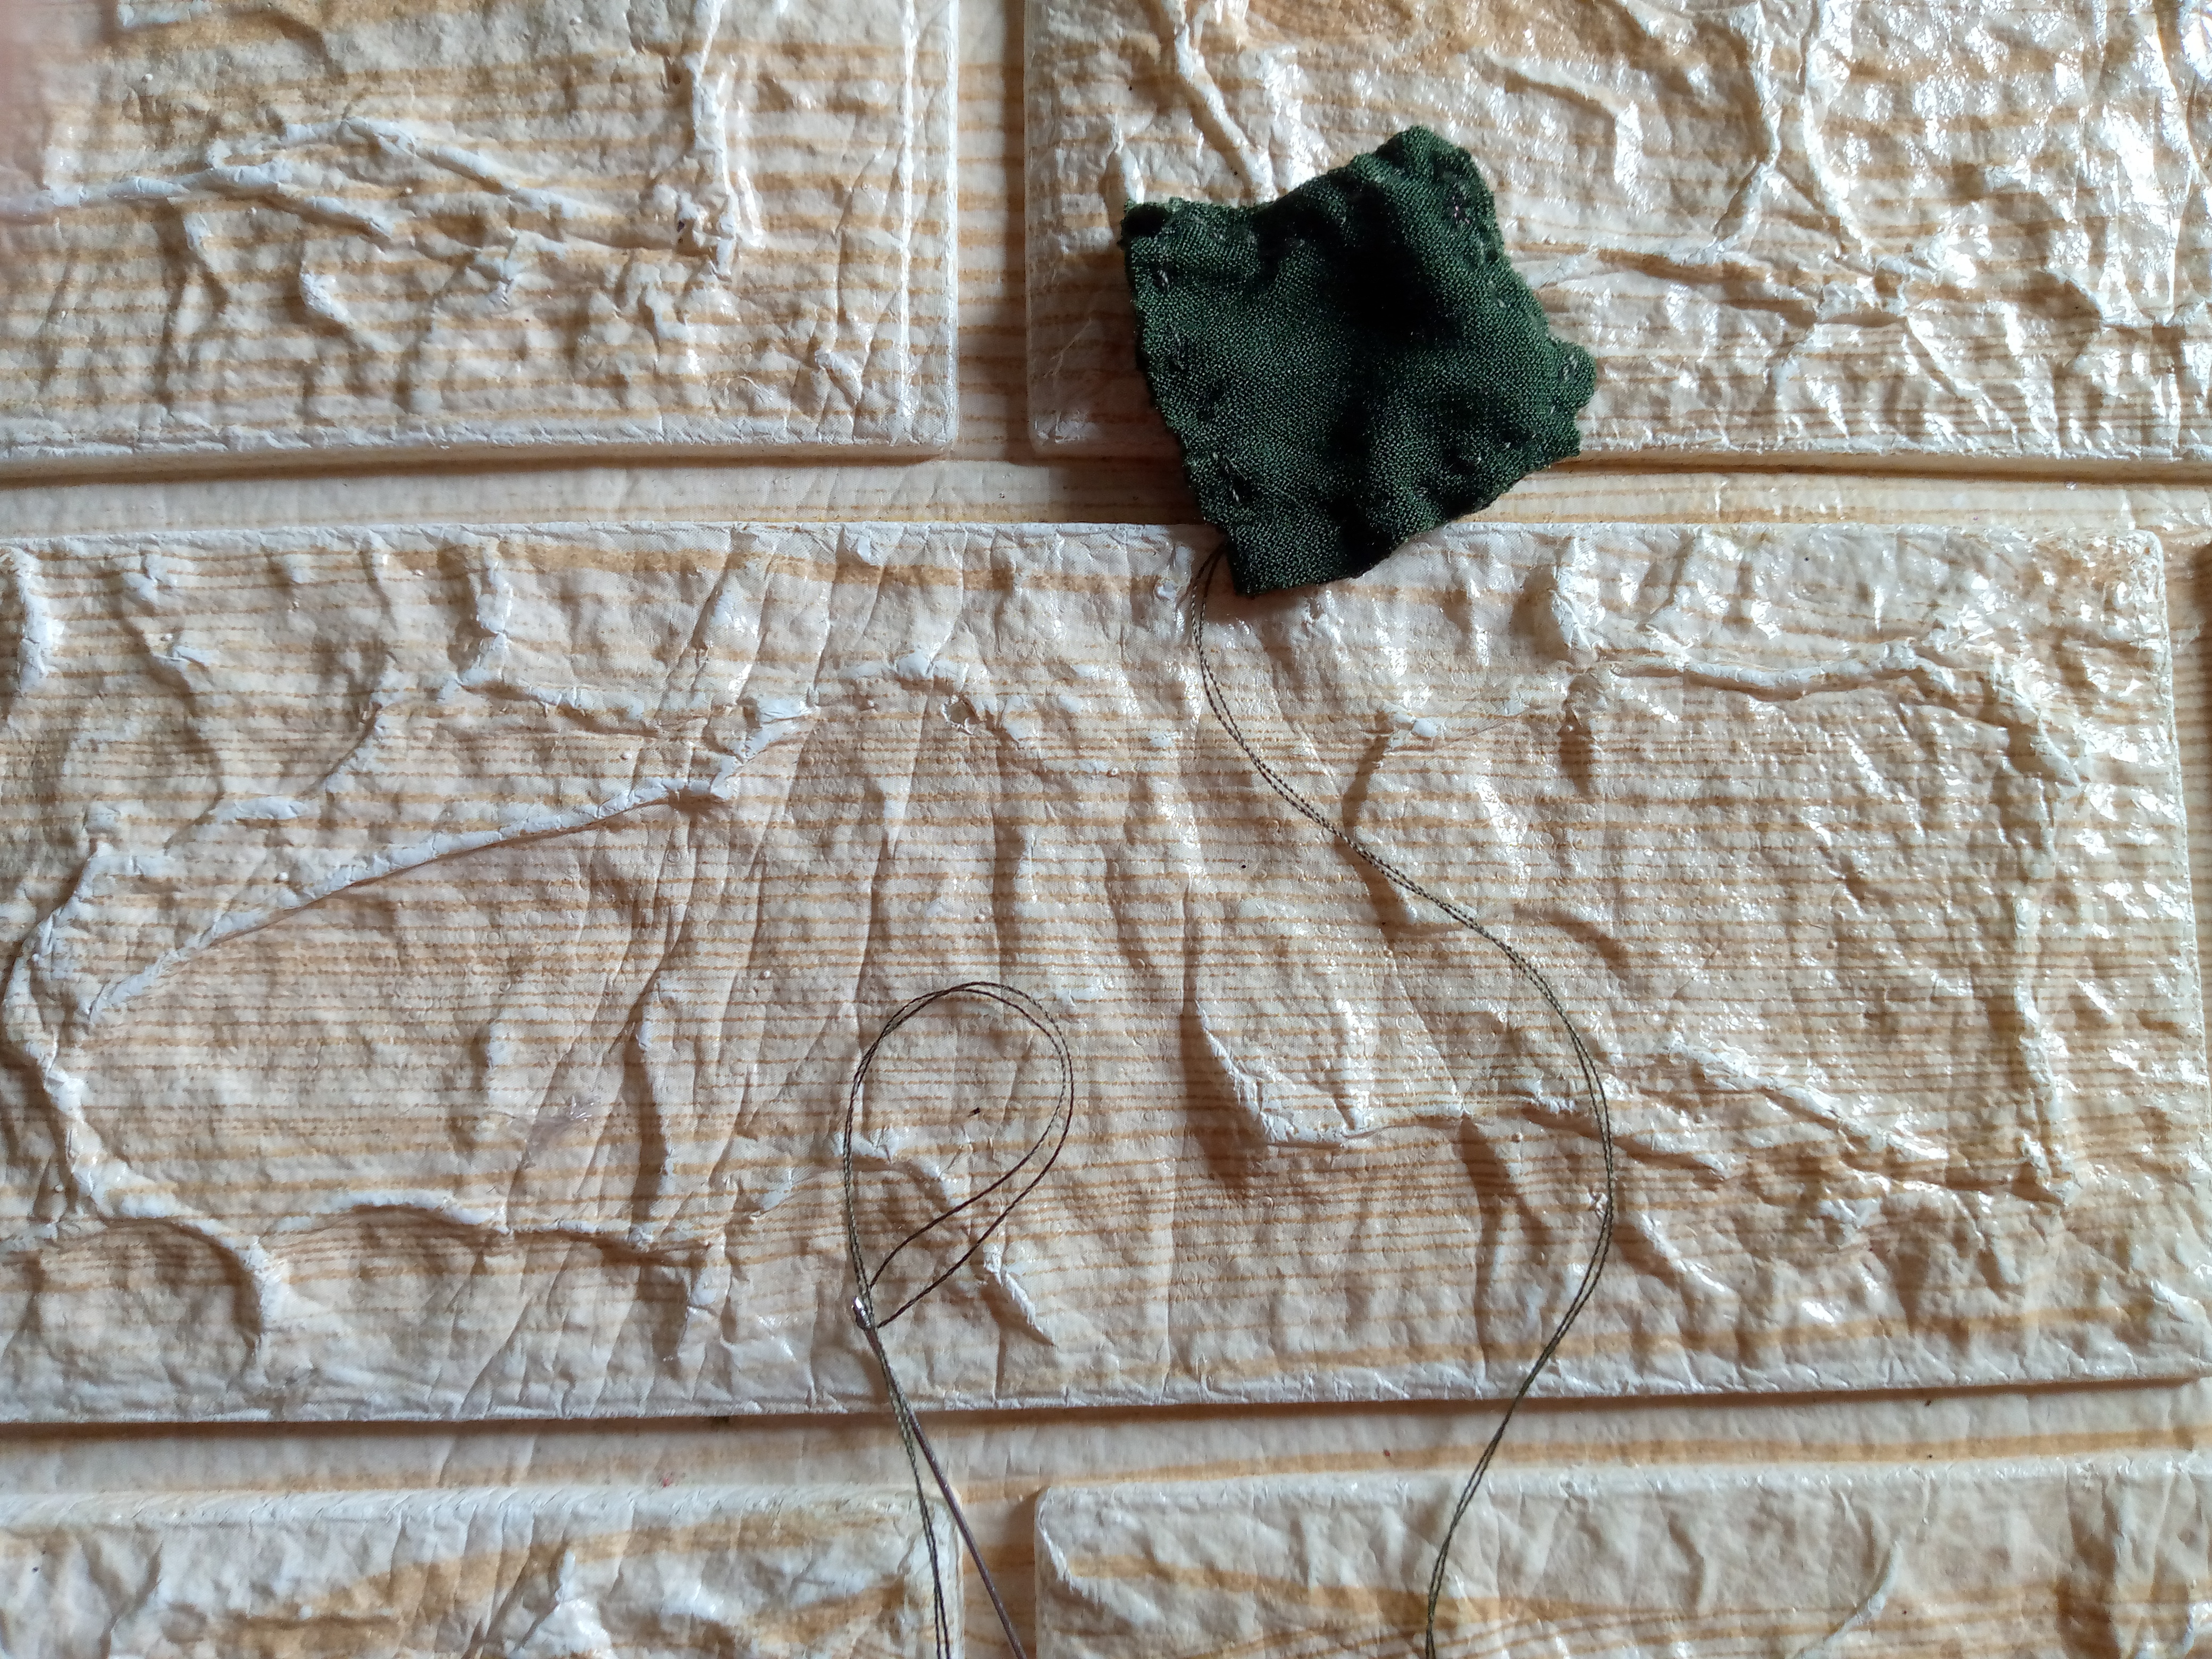
Paso 01
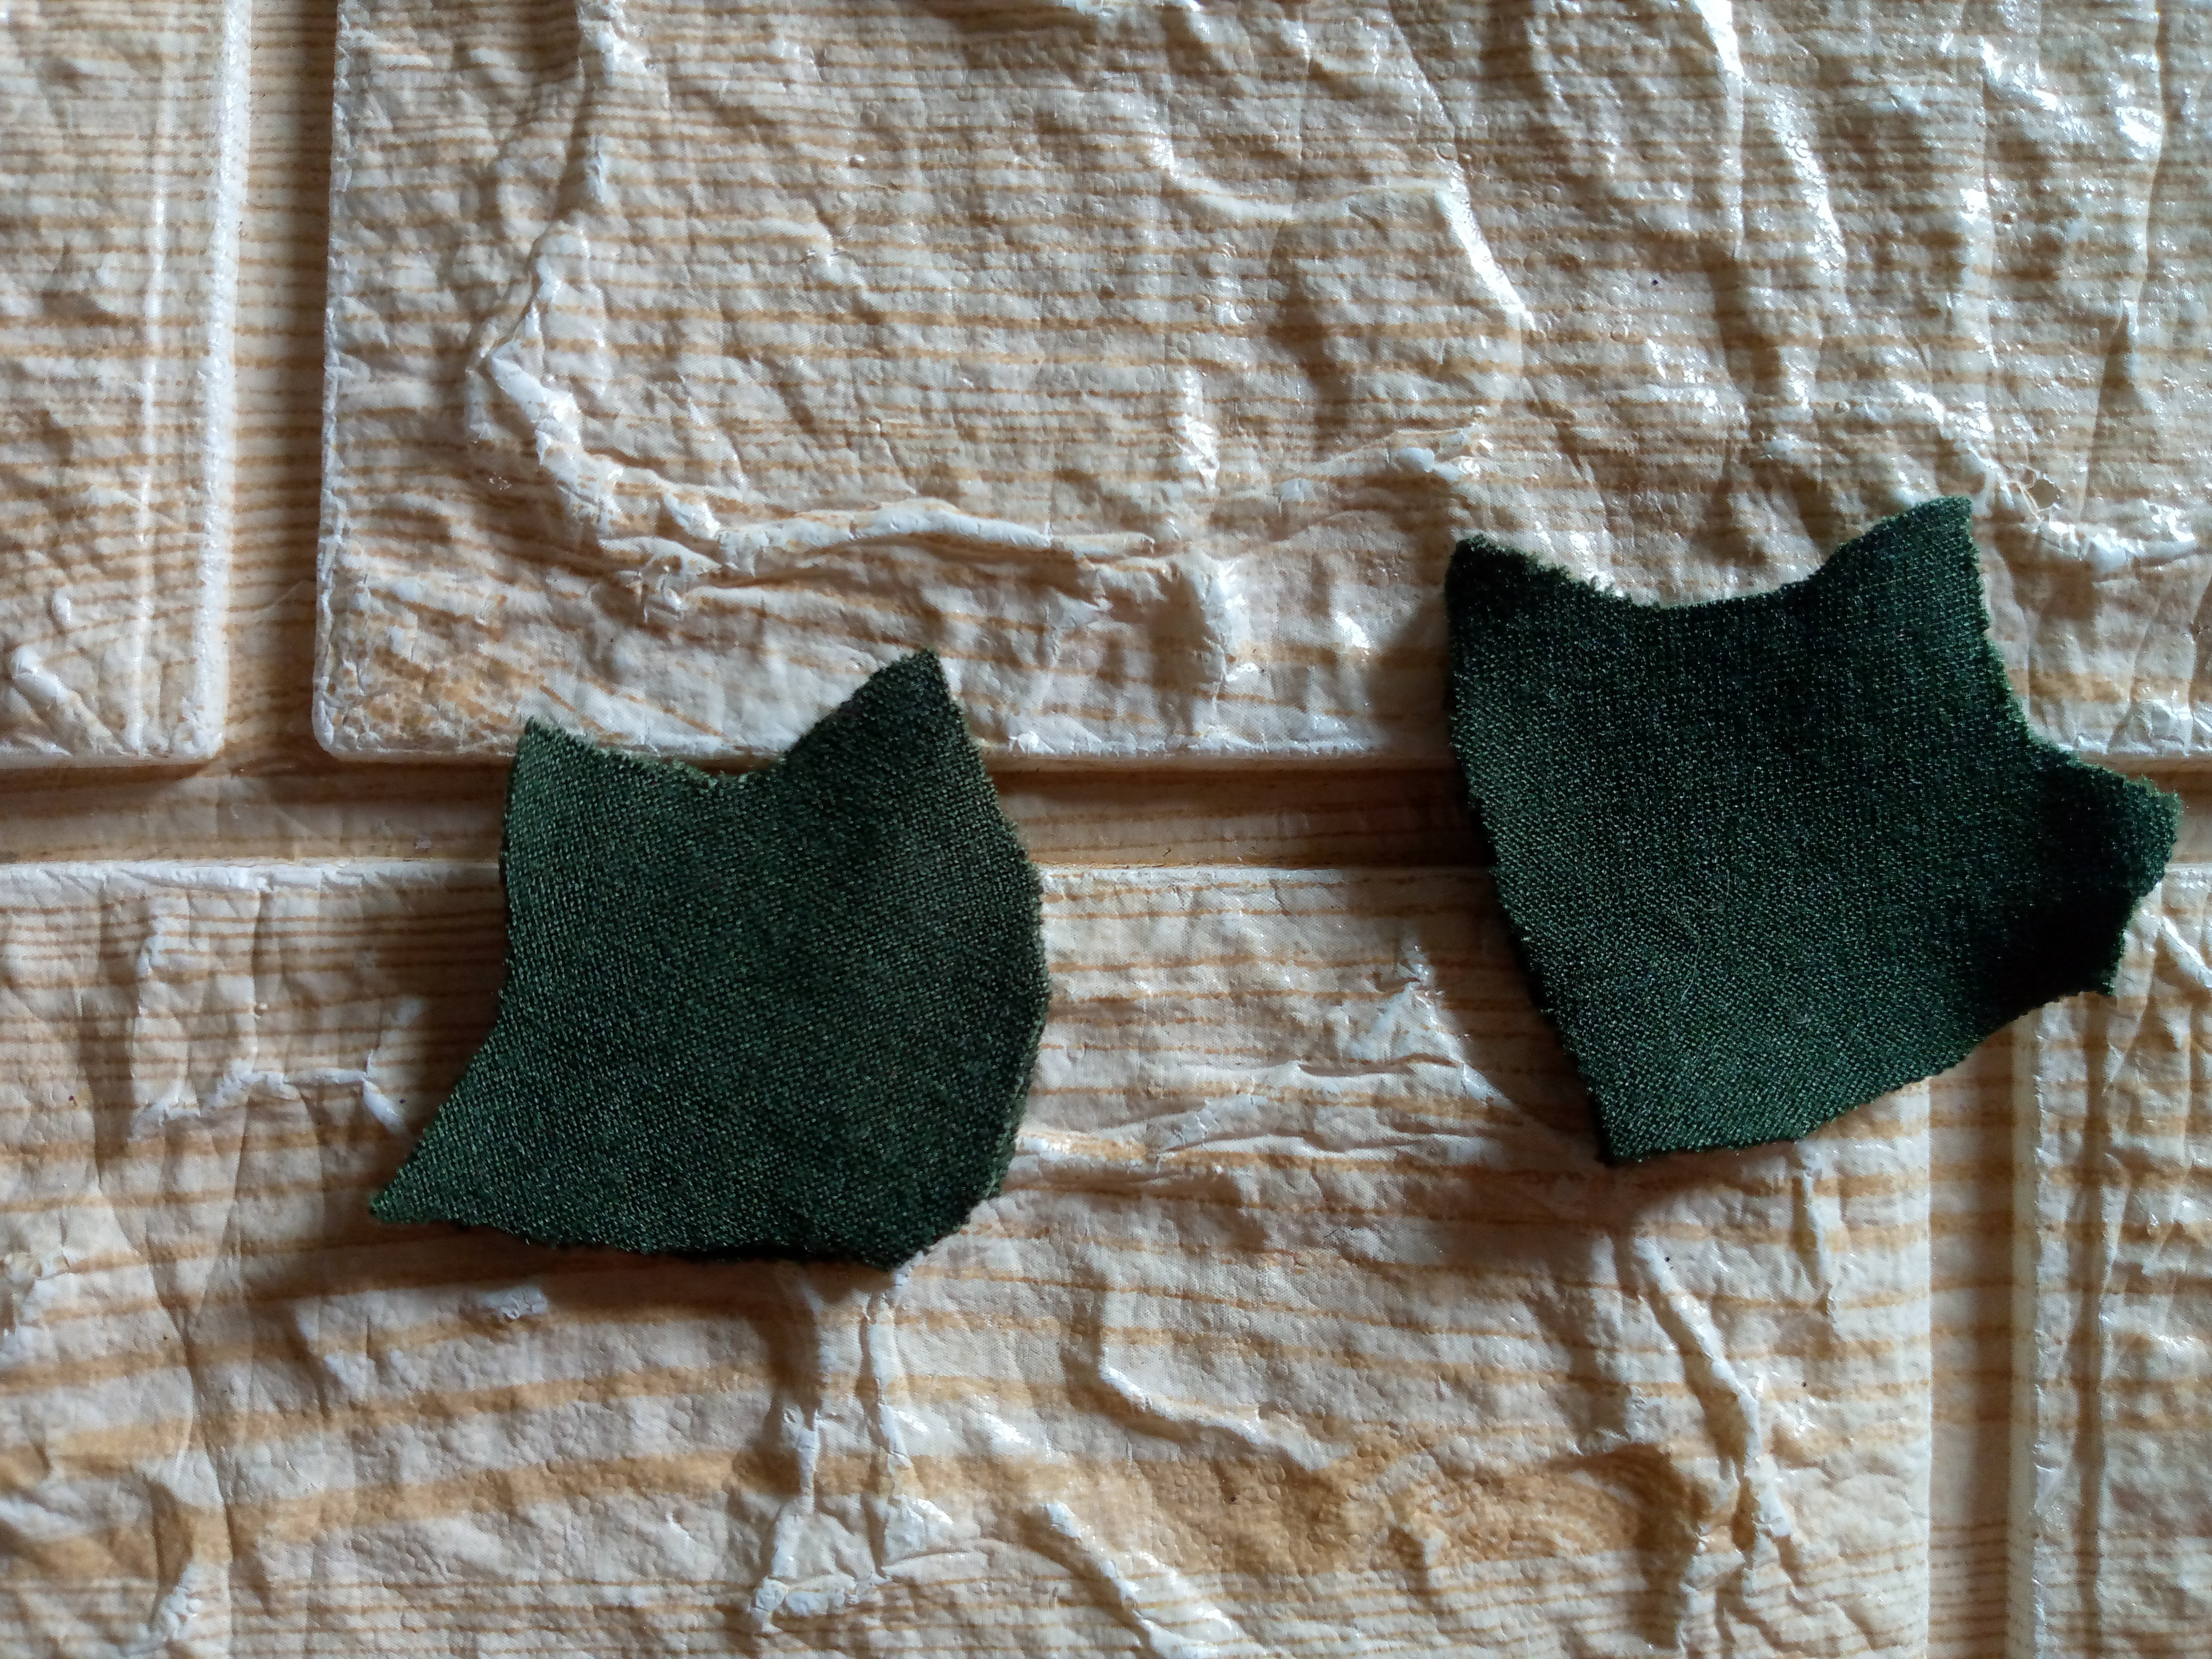
Vamos a empezar extendiendo los retazos de tela en este caso comenzamos haciendo la base osea la calabaza extendemos ese retazo color naranja yo conseguí uno como naranja oscuro y siento le va perfecto este color ,con ayuda de la tapa la ubicaremos en el centro donde esté más amplio el retazo y vamos a cortar un círculo de tela,luego tomamos el verde en este caso conseguí un retazo verde olivo y simplemente vamos a cortar dos hojas dobles osea serían 4 piezas ,las hojas de la calabaza son puntiagudas y asi las cortaremos.
Step 01
We are going to start by spreading out the scraps of fabric, in this case we begin by making the base, that is, the pumpkin, we spread out that orange scrap, I got one like dark orange and I feel this color suits it perfectly, with the help of the lid we will place it in the center where the scrap is wider and we are going to cut a circle of fabric, then we take the green, in this case I got an olive green scrap and we are simply going to cut two double leaves, that is, there would be 4 pieces, the leaves of the pumpkin are pointed and we will cut them like that.
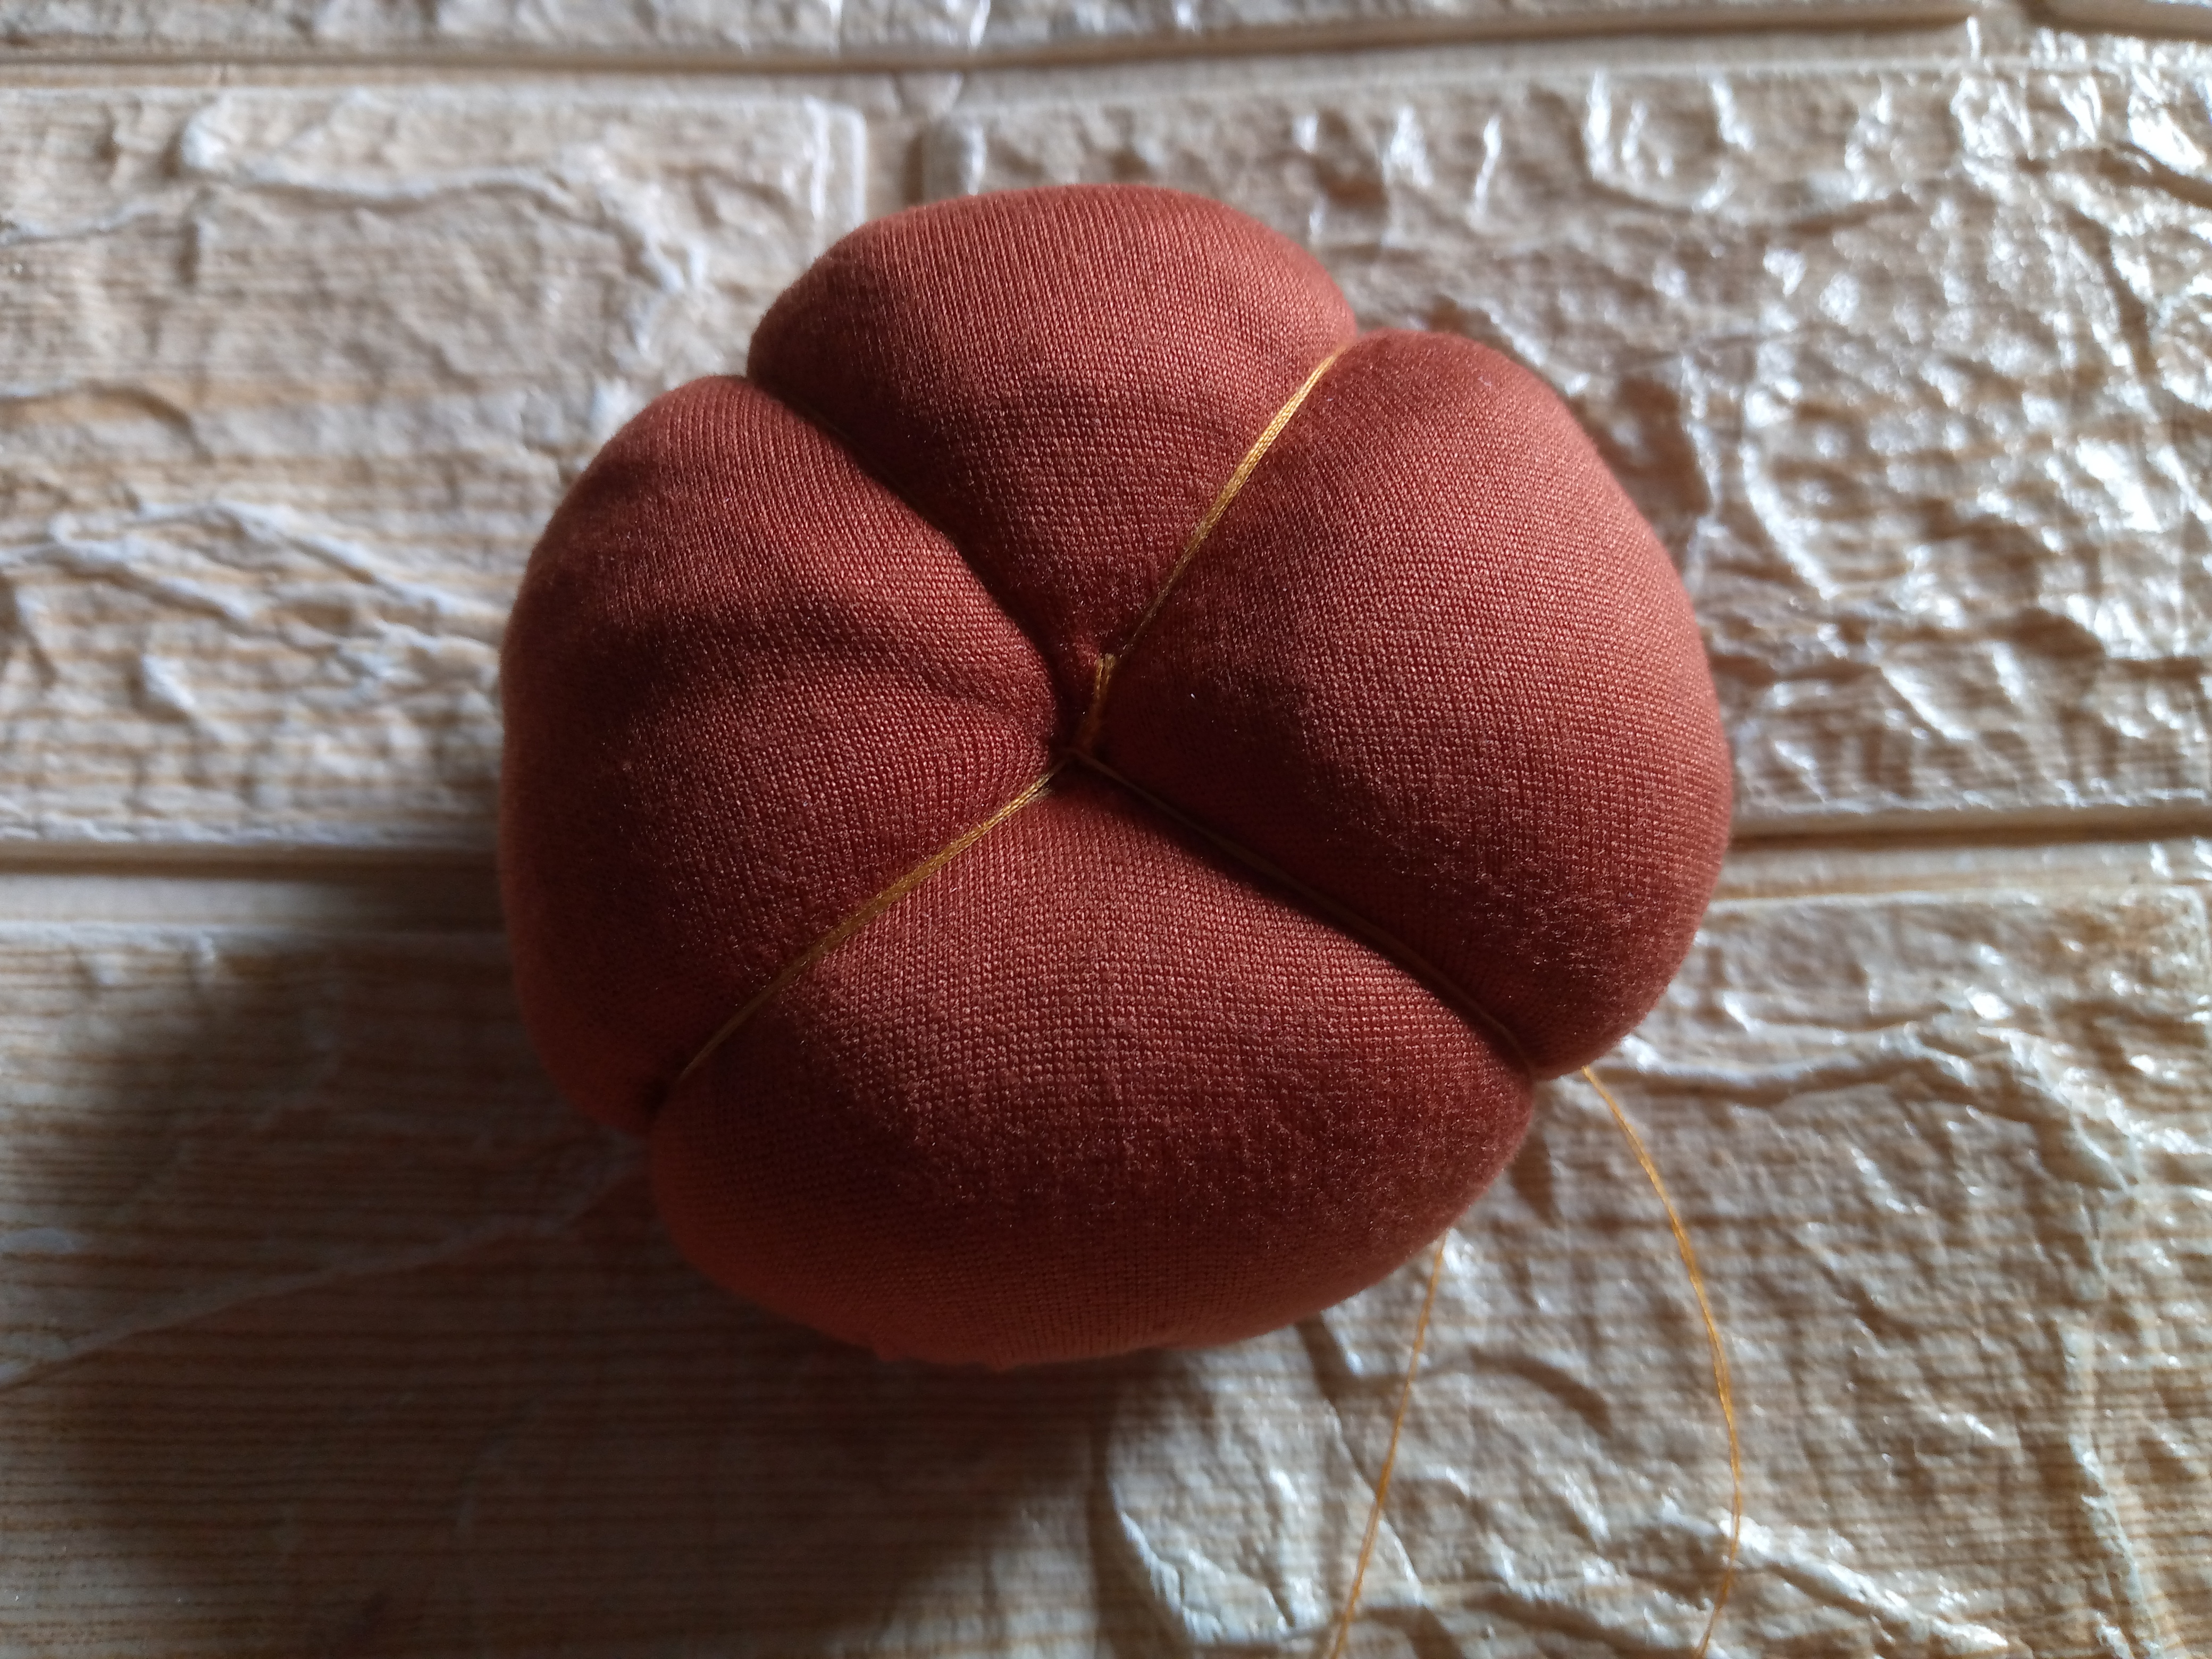
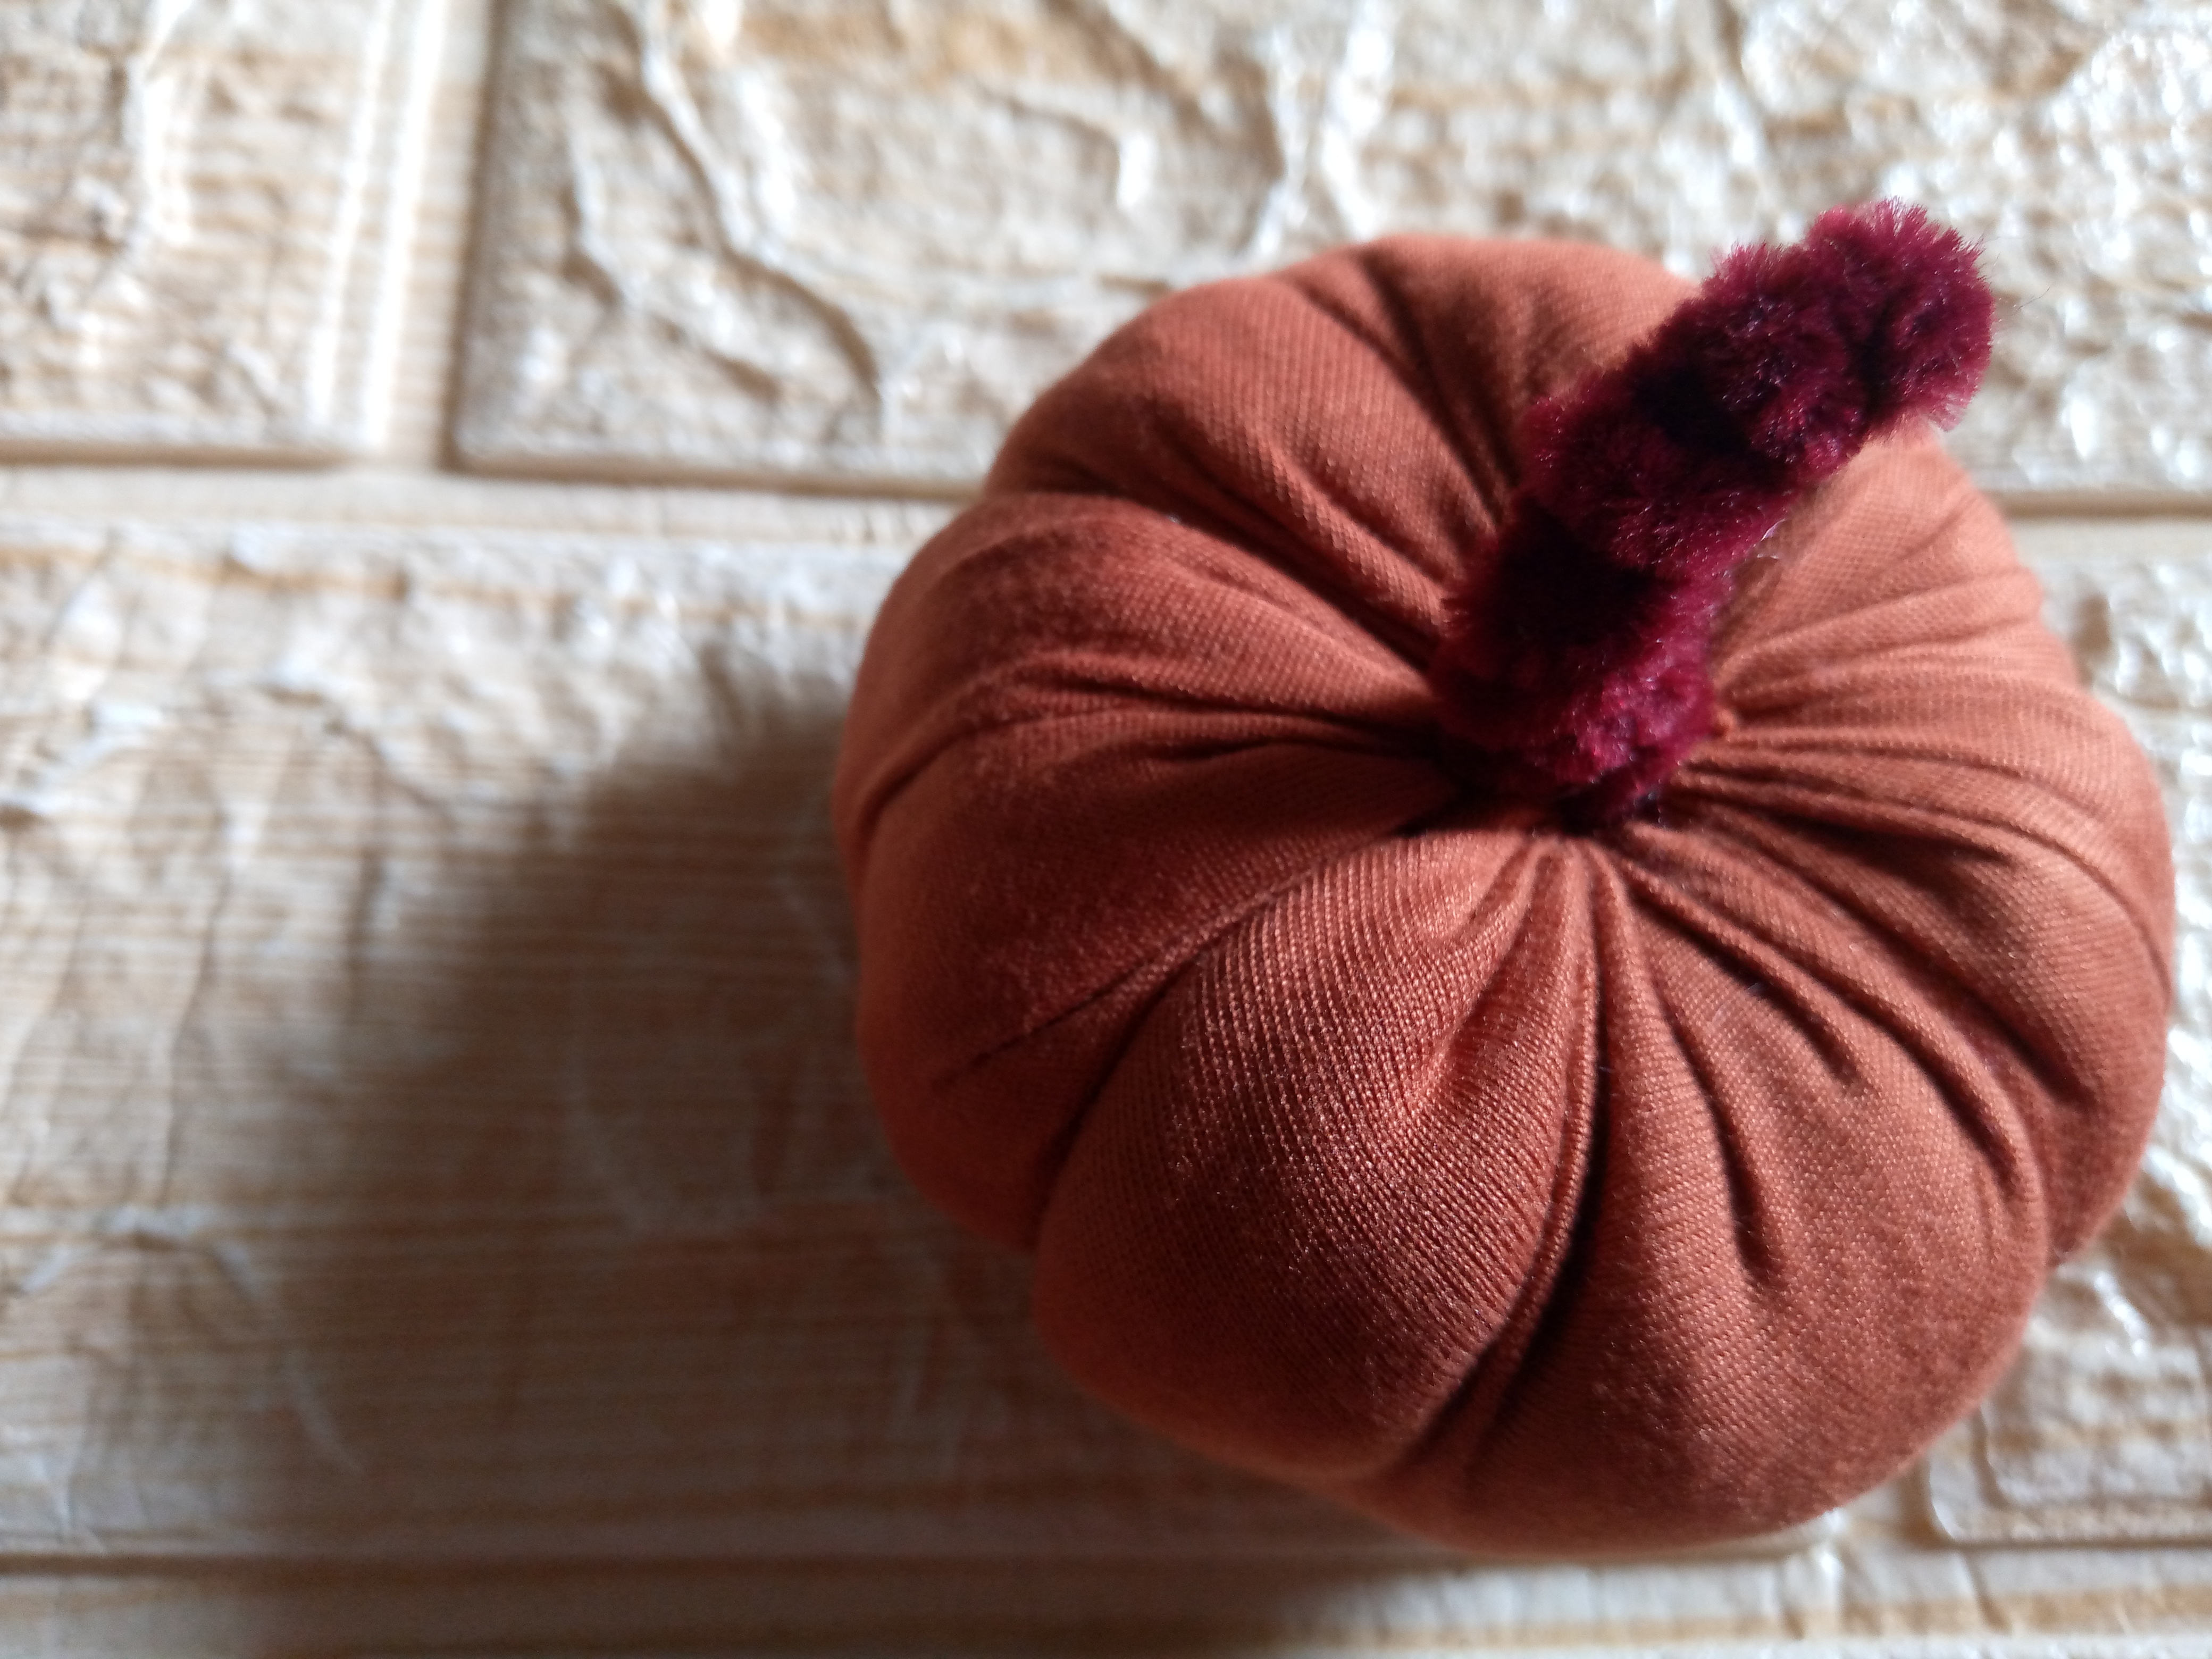
Paso 02
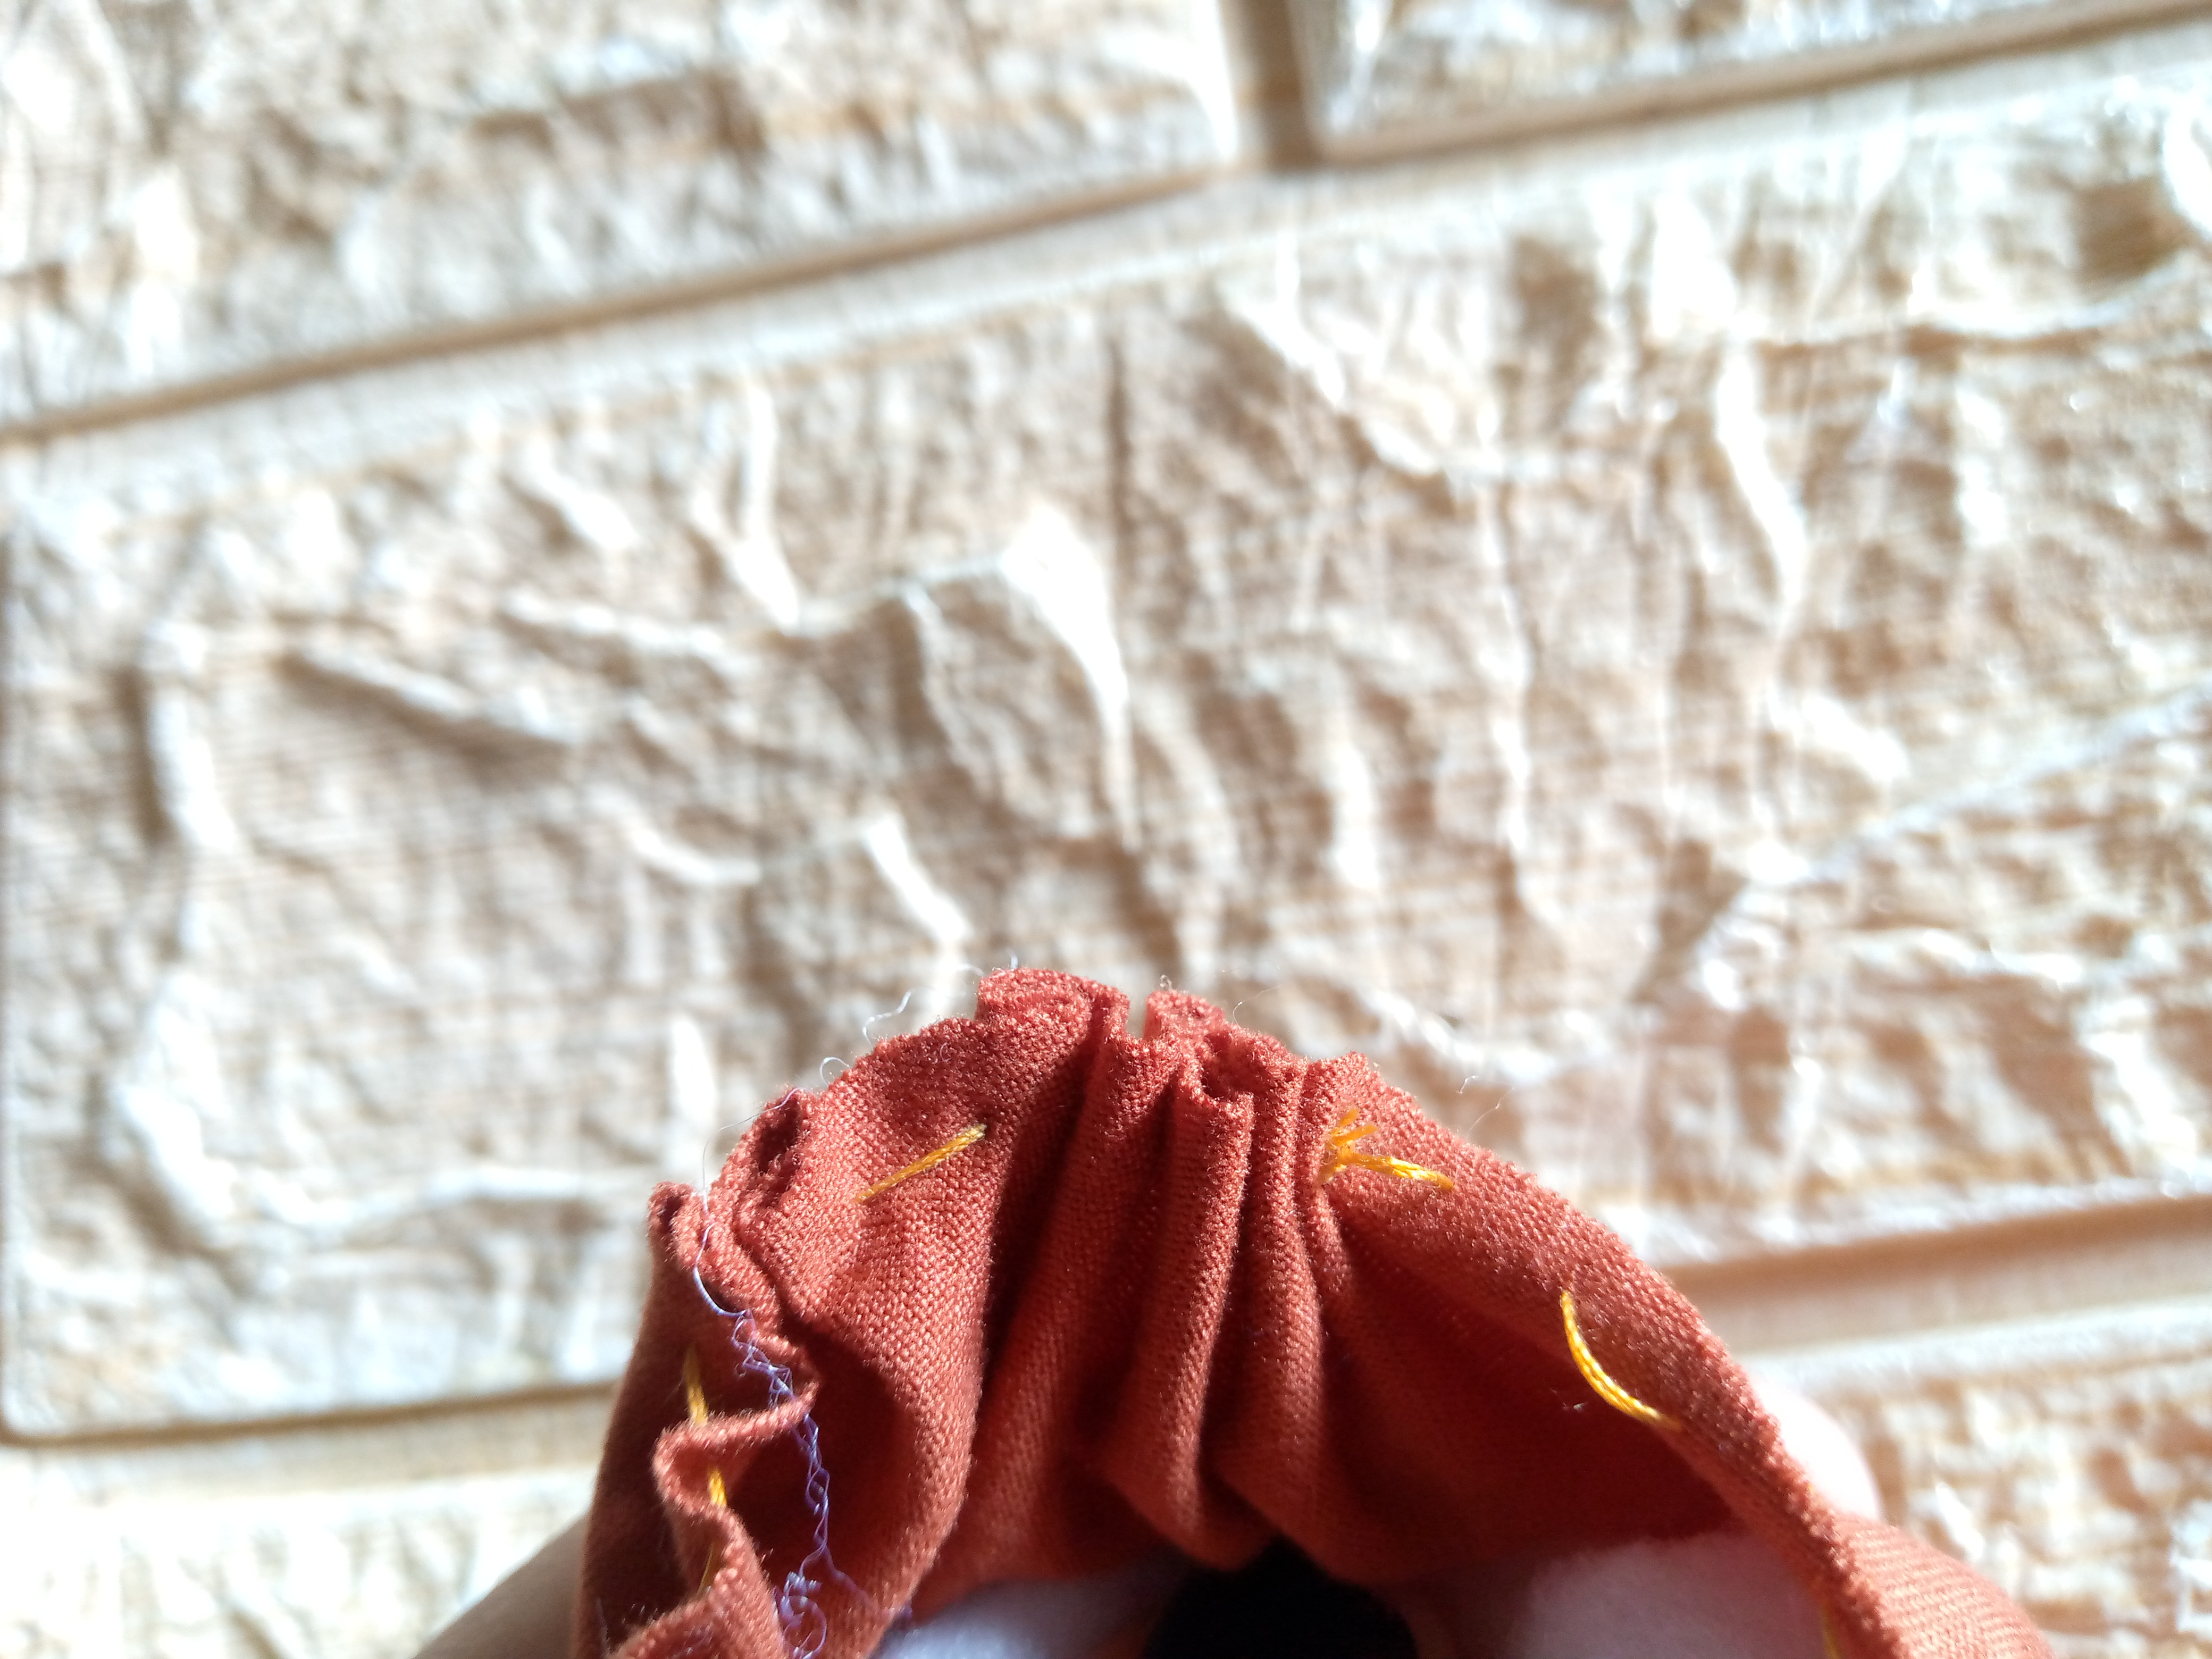
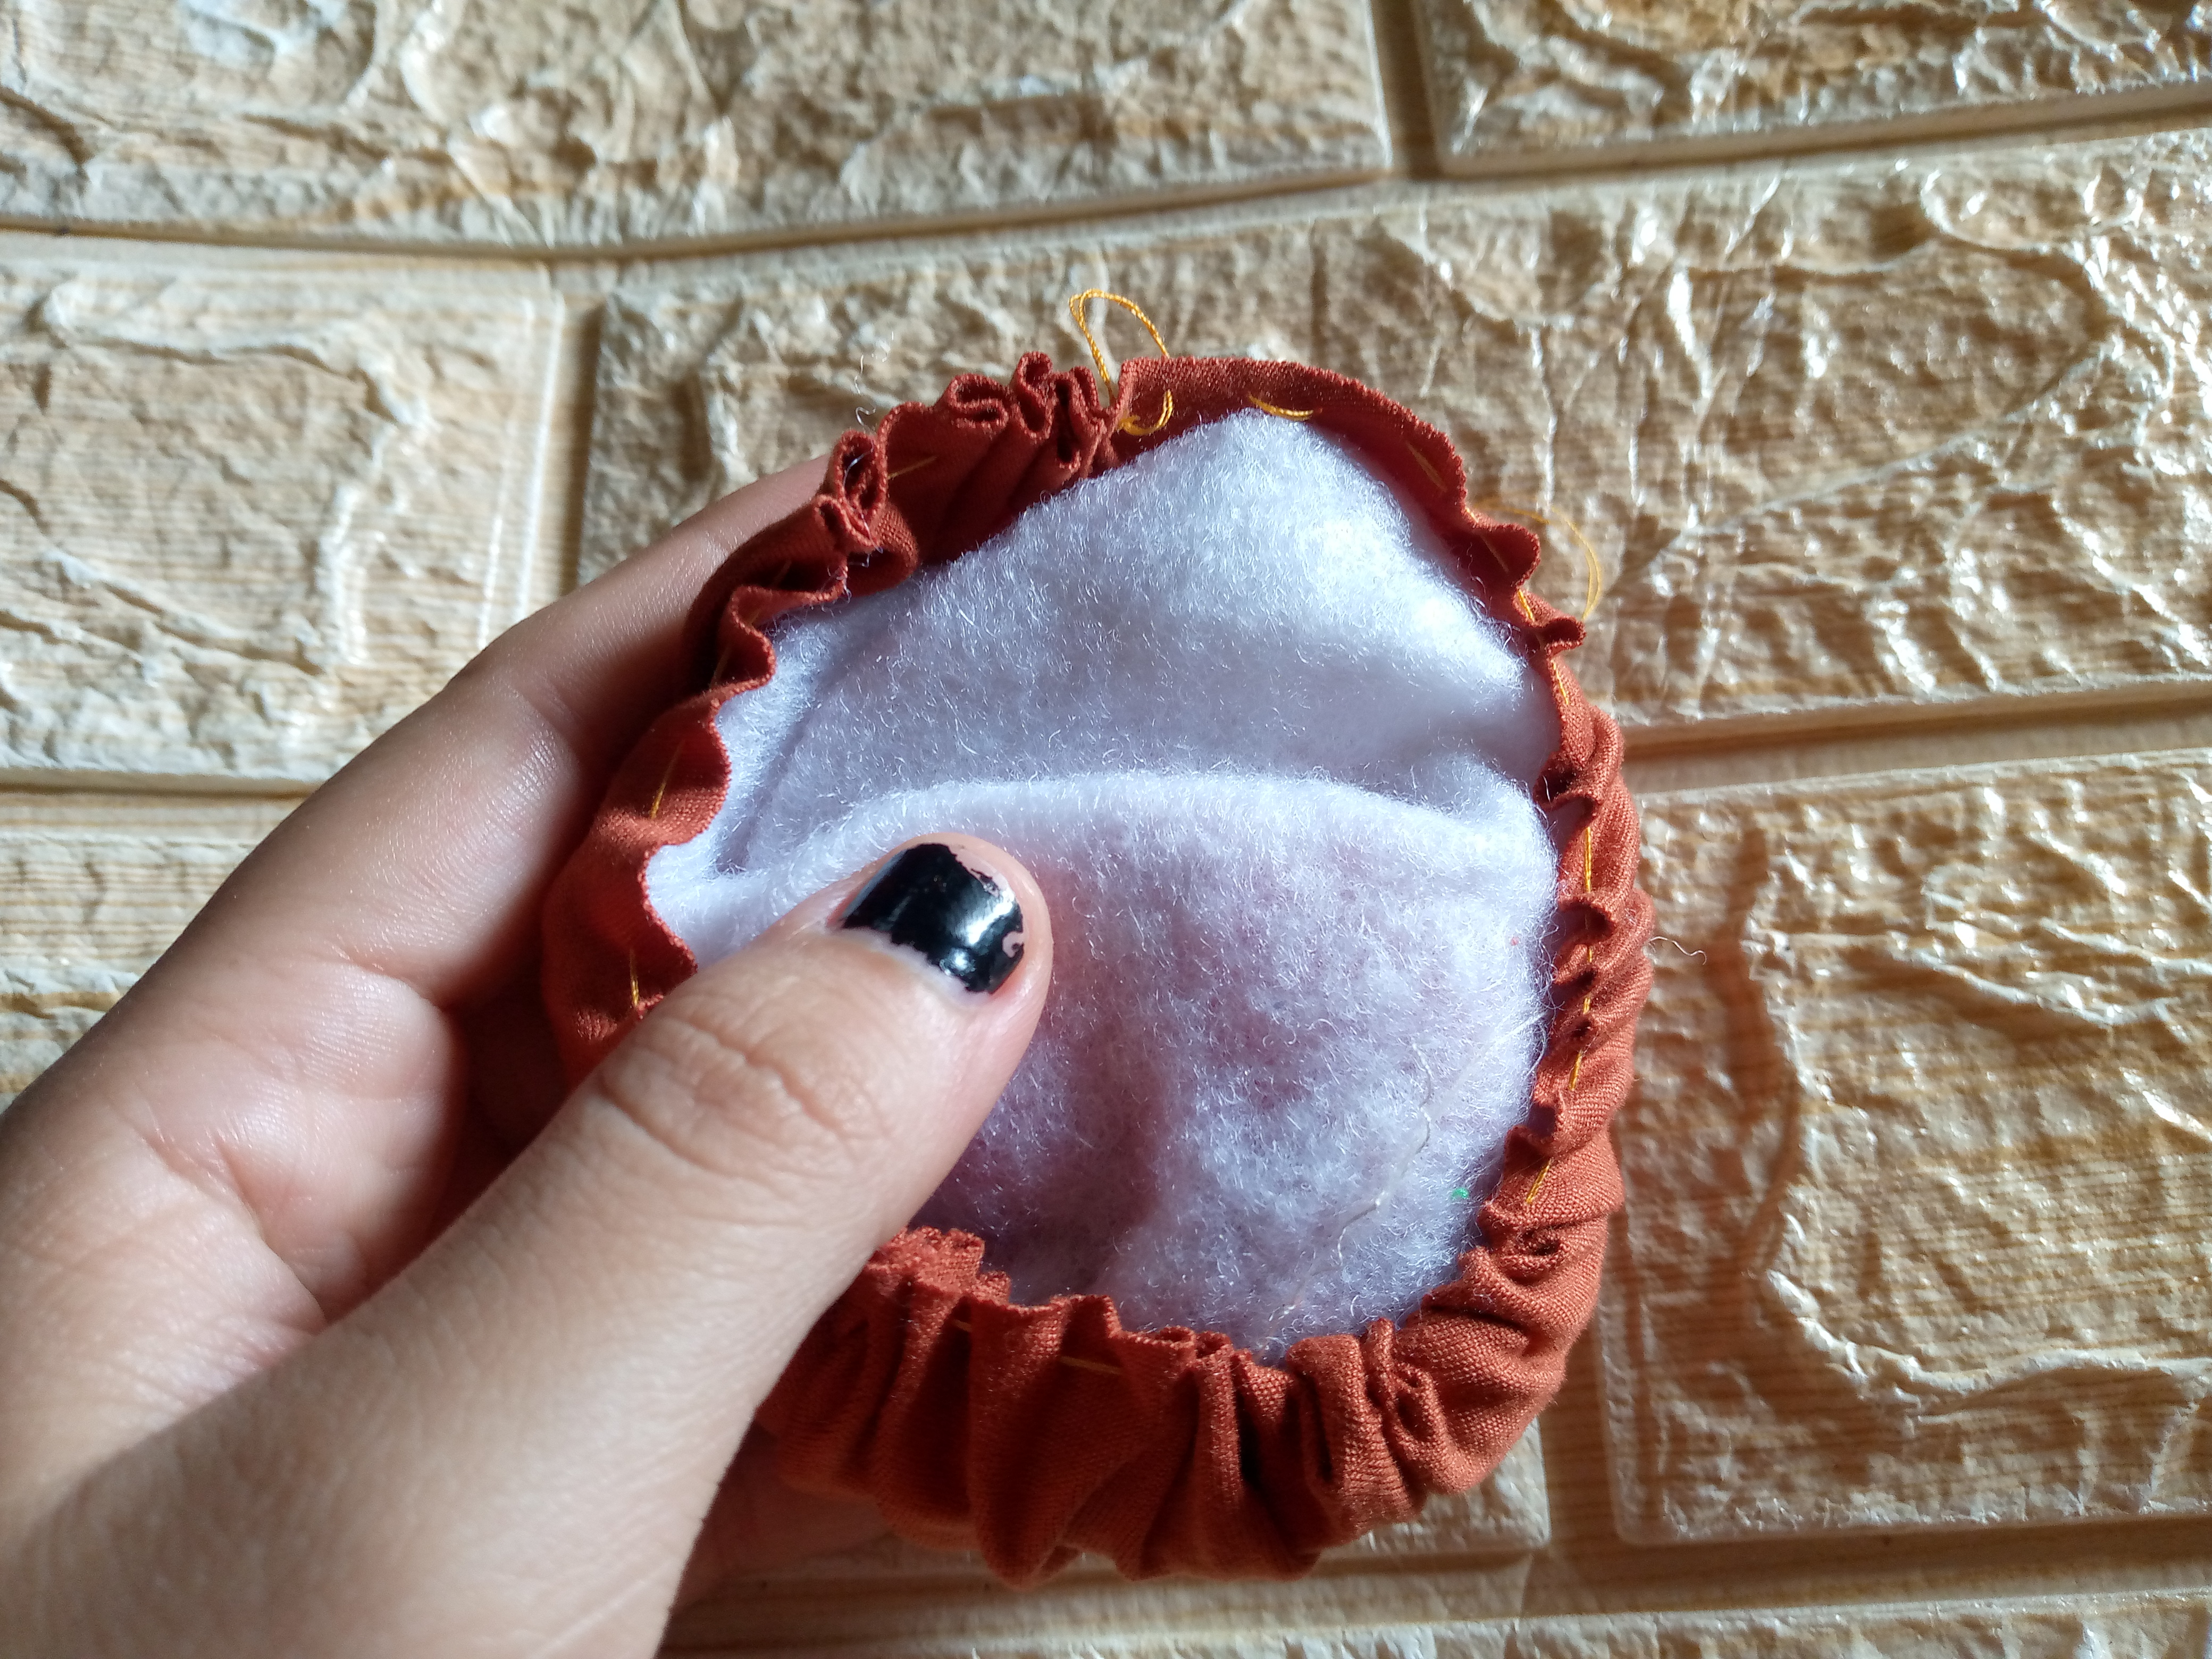
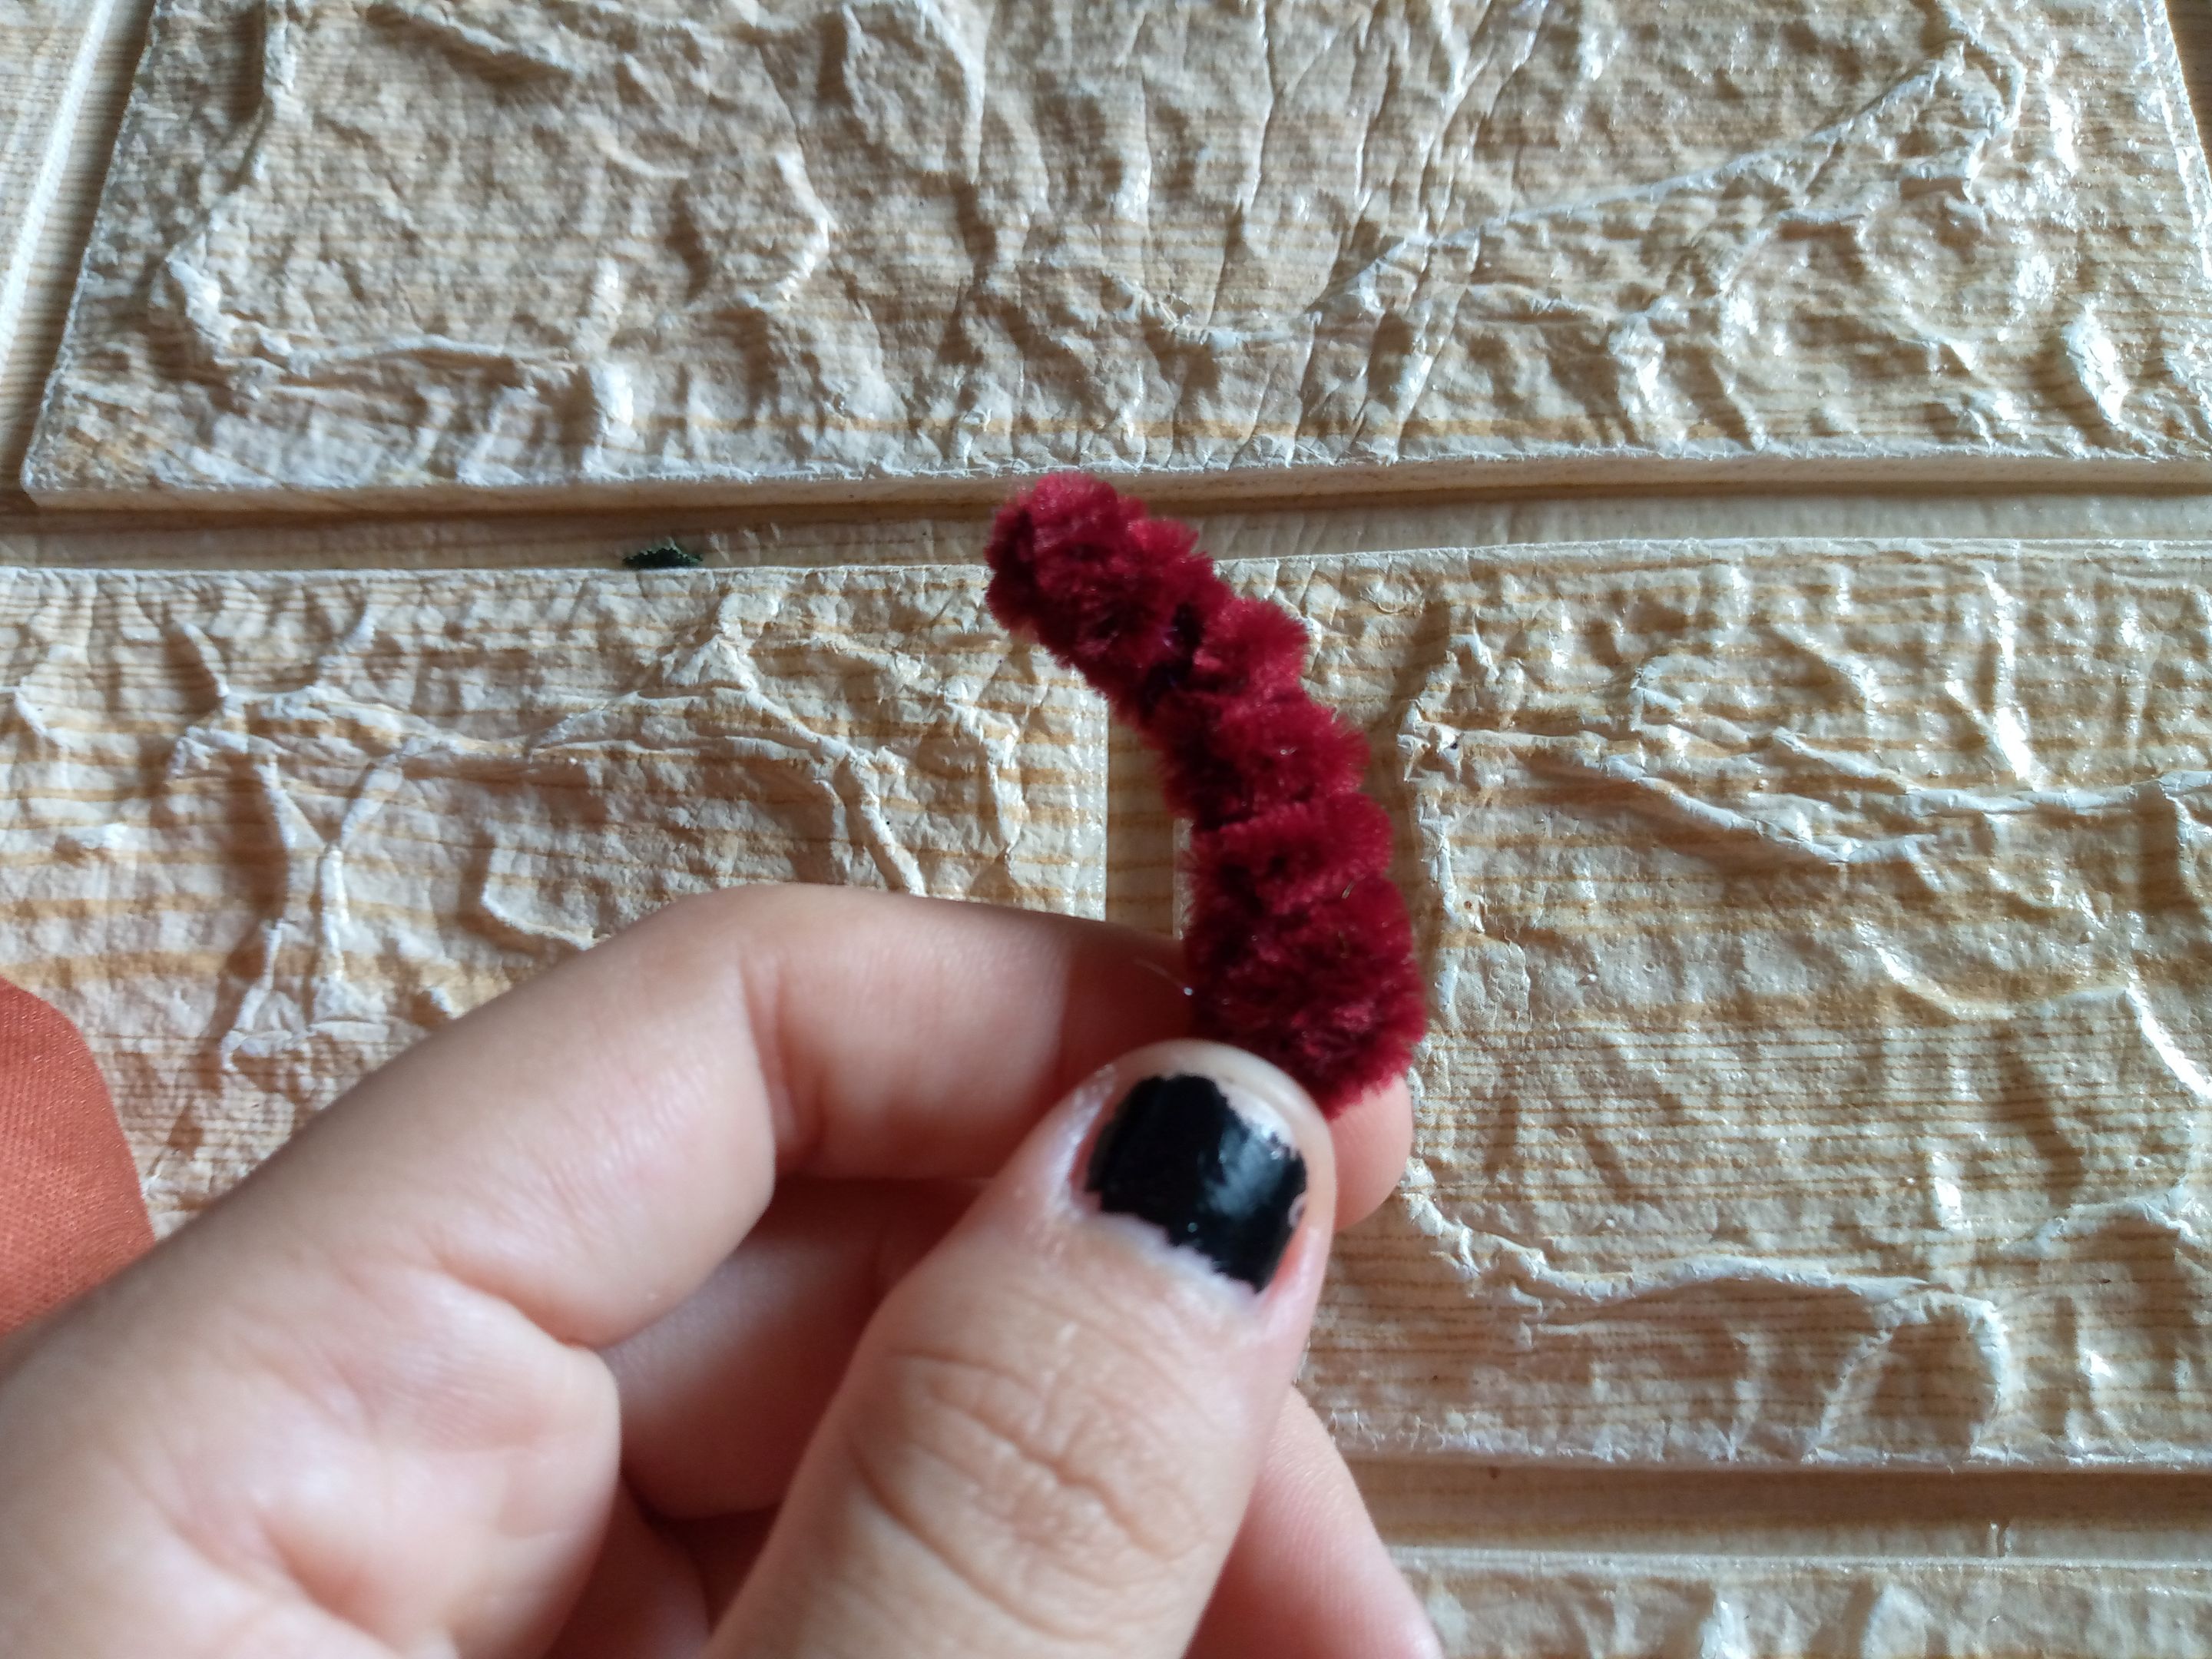
Procedo después a tomar el círculo de tela naranja y con aguja e hilo voy a estar cosiendo todo el borde de mi circunferencia y simplemente lo voy a rellenar con el relleno de peluche este círculo para darle la forma de calabaza redonda tiramos el hilo y sellamos bien ,nos debe quedar lo suficientemente relleno para no perder la forma,luego tomaremos el limpia pipas y le estaremos dando forma de tallo porque lo coseremos después en el centro de la calabaza,con el mismo hilo y aguja y vamos a darle cuatro vueltas dobles a la calabaza para darle forma así como se muestra en la última foto llevando el hilo de arriba abajo pasándolo por fuera.
Step 02
I then proceed to take the orange fabric circle and with needle and thread I will be sewing the entire edge of my circumference and I will simply fill this circle with the plush filling to give it the shape of a round pumpkin, we pull the thread and seal it well, we should have enough filling to not lose the shape, then we will take the pipe cleaner and we will be giving it the shape of a stem because we will sew it later in the center of the pumpkin, with the same thread and needle and we are going to give four double turns to the pumpkin to give it shape as shown in the last photo taking the thread from top to bottom passing it through the outside.
Paso 03
Pasamos a voltear la calabaza por la parte inferior donde hemos cosido el fruncido y justamente en el medio ubicaremos el tallo y lo vamos a ir cosiendo dándole varias vueltas a la vez para que no se nos suelte el tallo nos debe quedar bien cosido a penas sin moverse , después Coseremos por la parte inferior de las hojas por todo el contorno porque las vamos a voltear en total hice dos hojas.
Step 03
We turn the pumpkin over at the bottom where we sewed the gathering and right in the middle we will place the stem and we will sew it several times at a time so that the stem does not come loose. It should be well sewn, barely moving. Then we will sew along the bottom of the leaves all around the outline because we are going to turn them over. In total, I made two leaves.
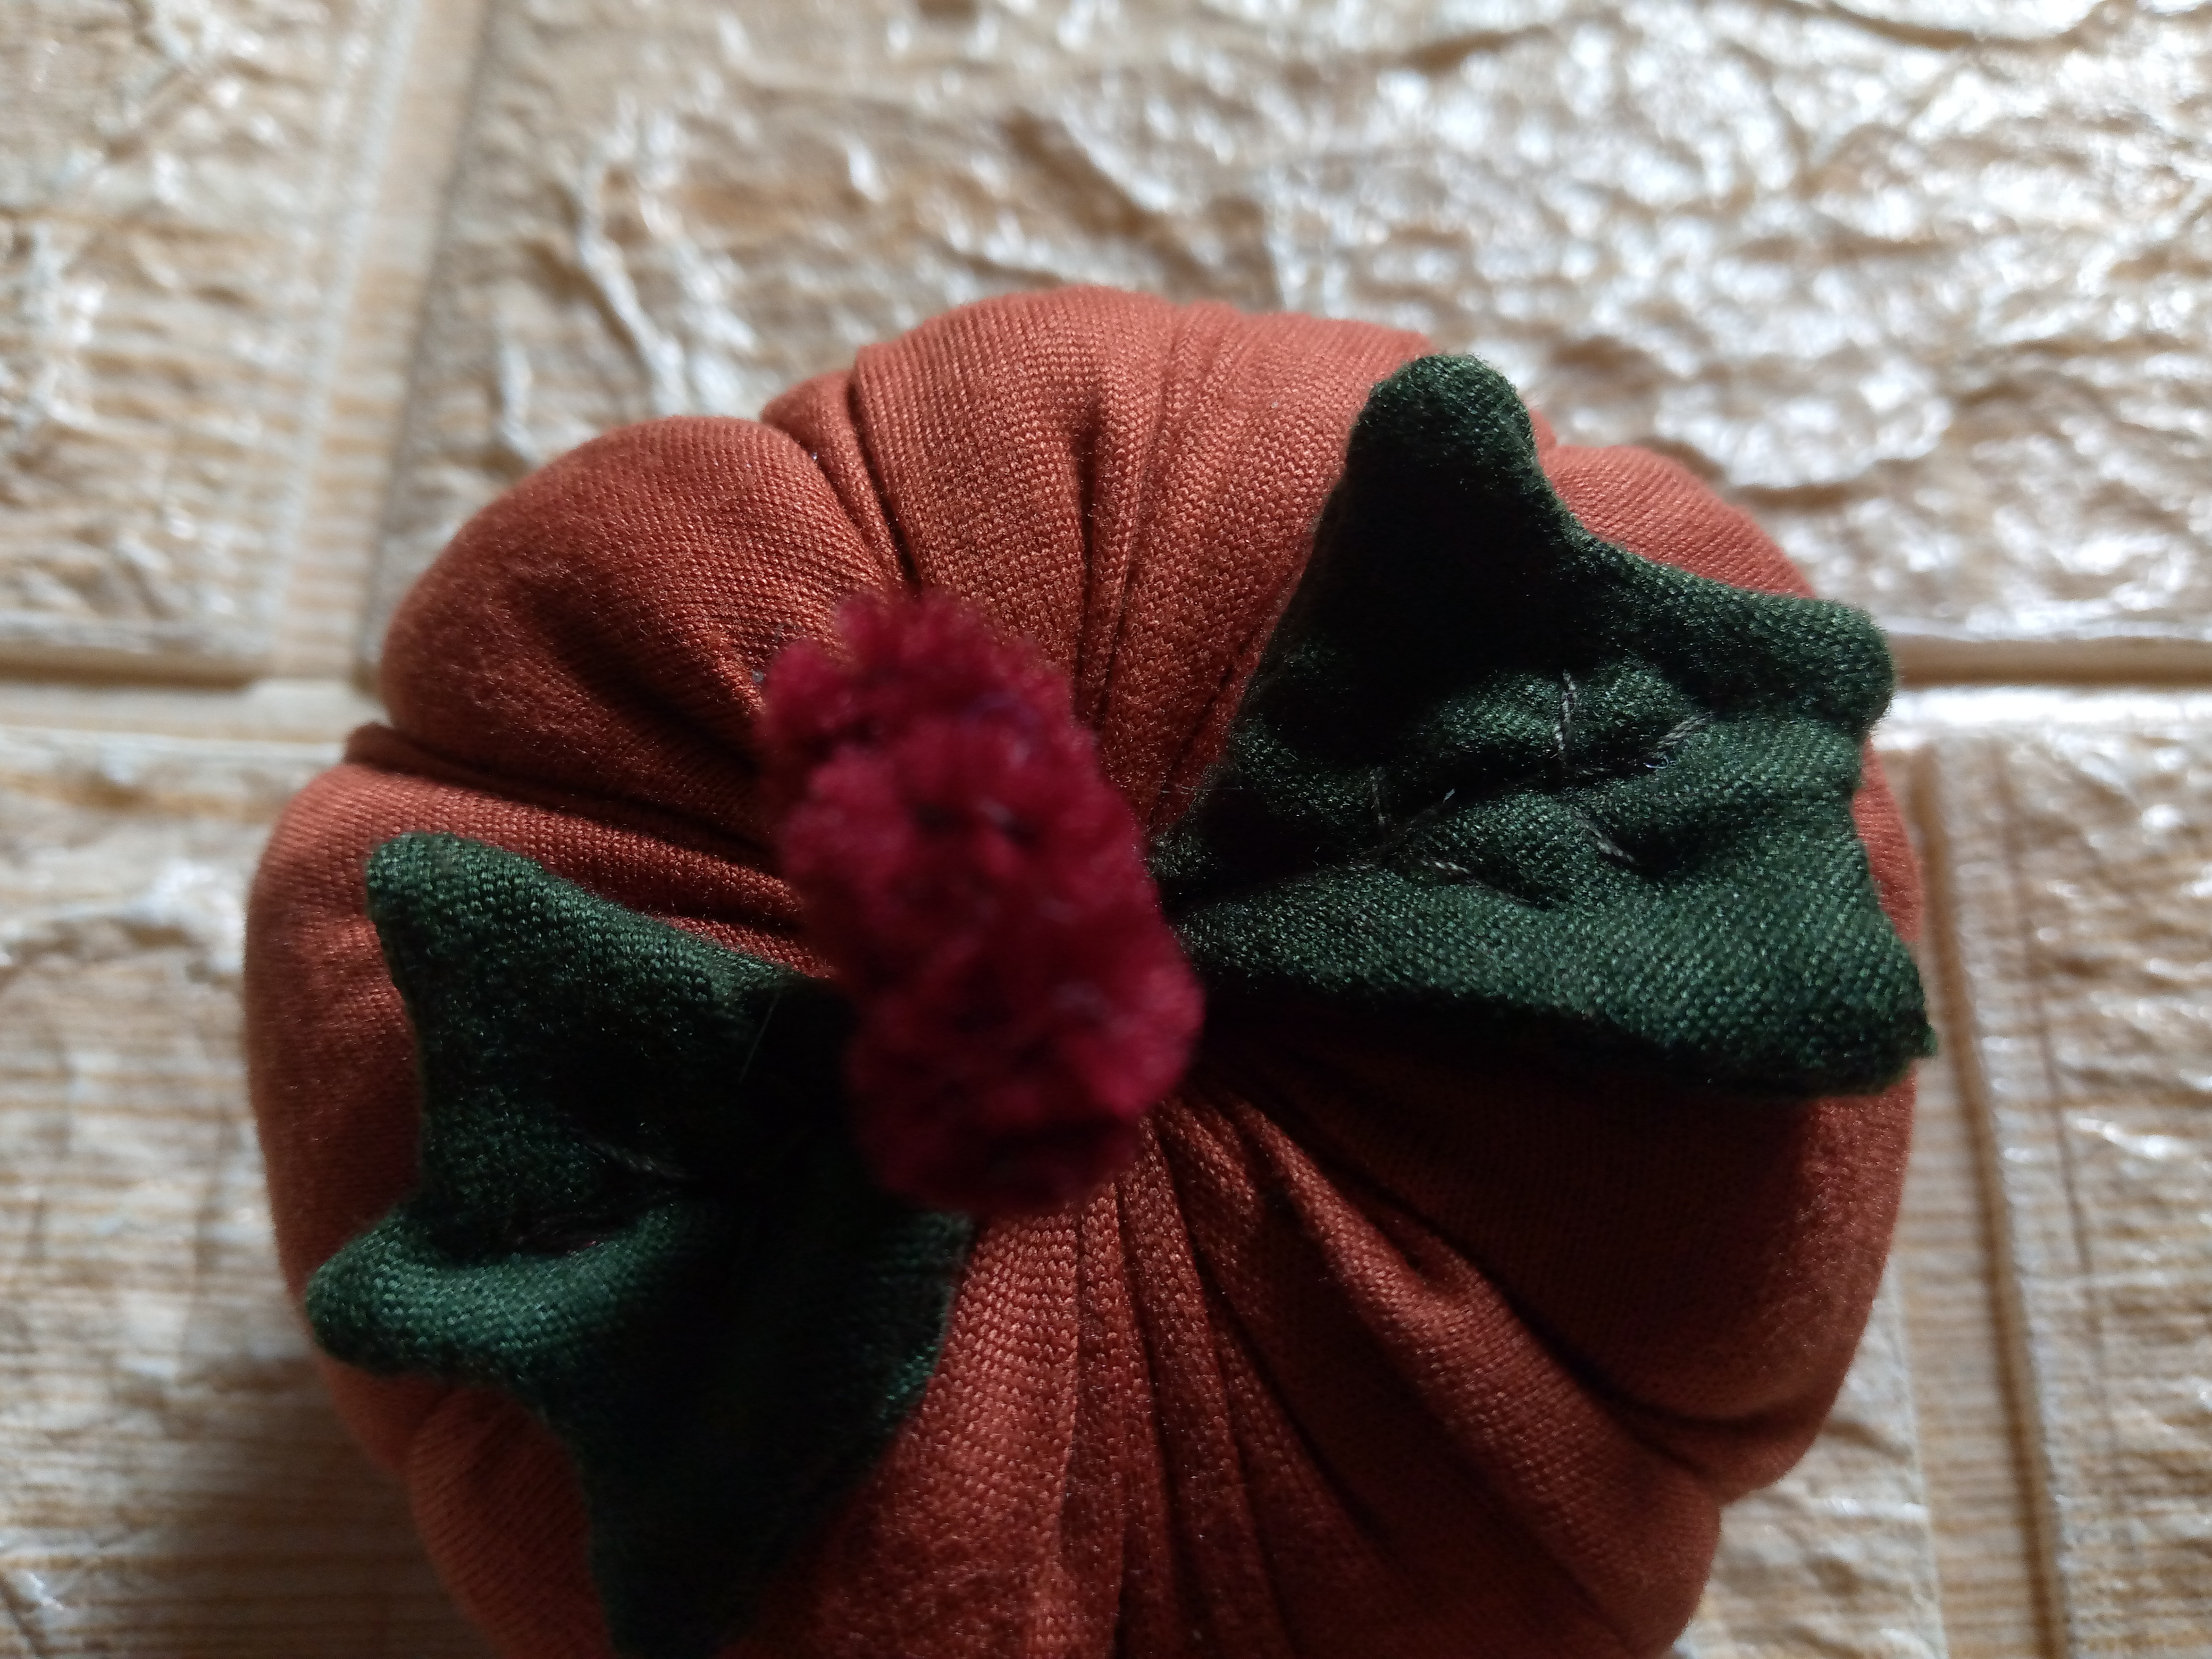
Paso 04
Estaré ubicando mis hojas justo a los lados de mi tallo una al lado de el otro y le coseremos las marcas de la hoja en la parte de arriba con hilo,ya solo queda agregarle detalles.
### Step 04
I'll be placing my leaves right next to each other on either side of my stem, and we'll sew the leaf markings onto the top with thread. Now all that's left is to add the details.

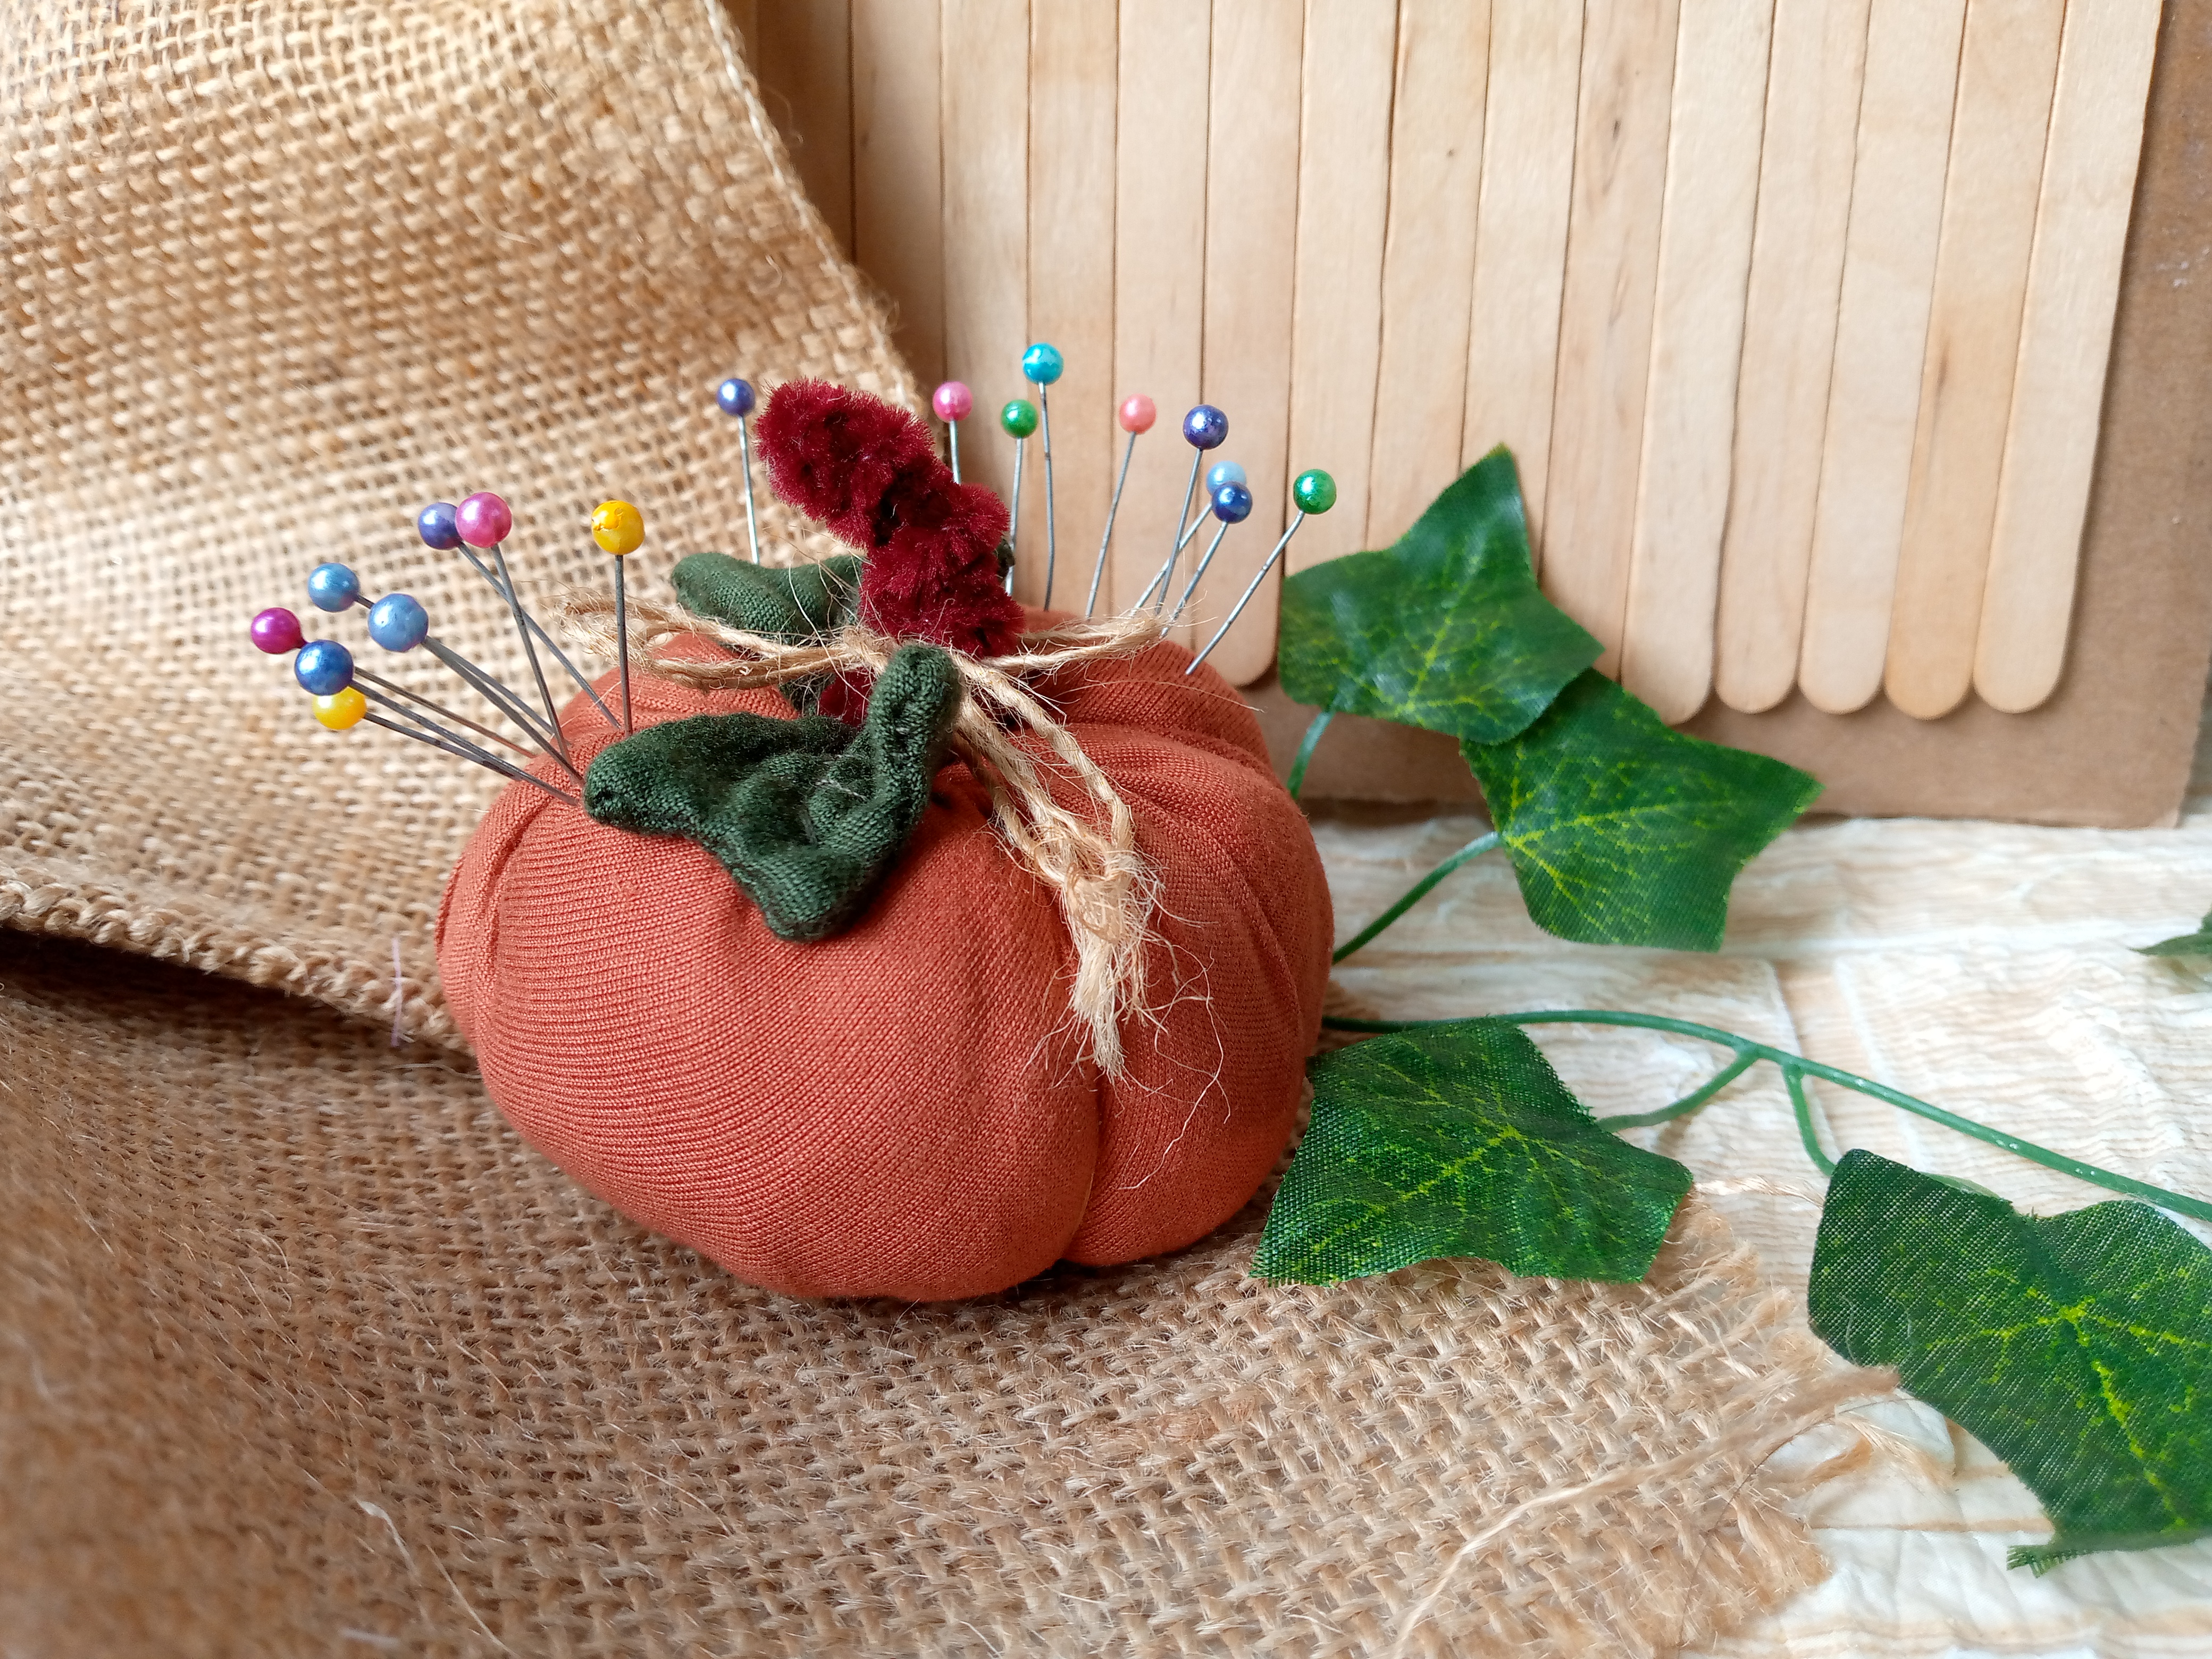
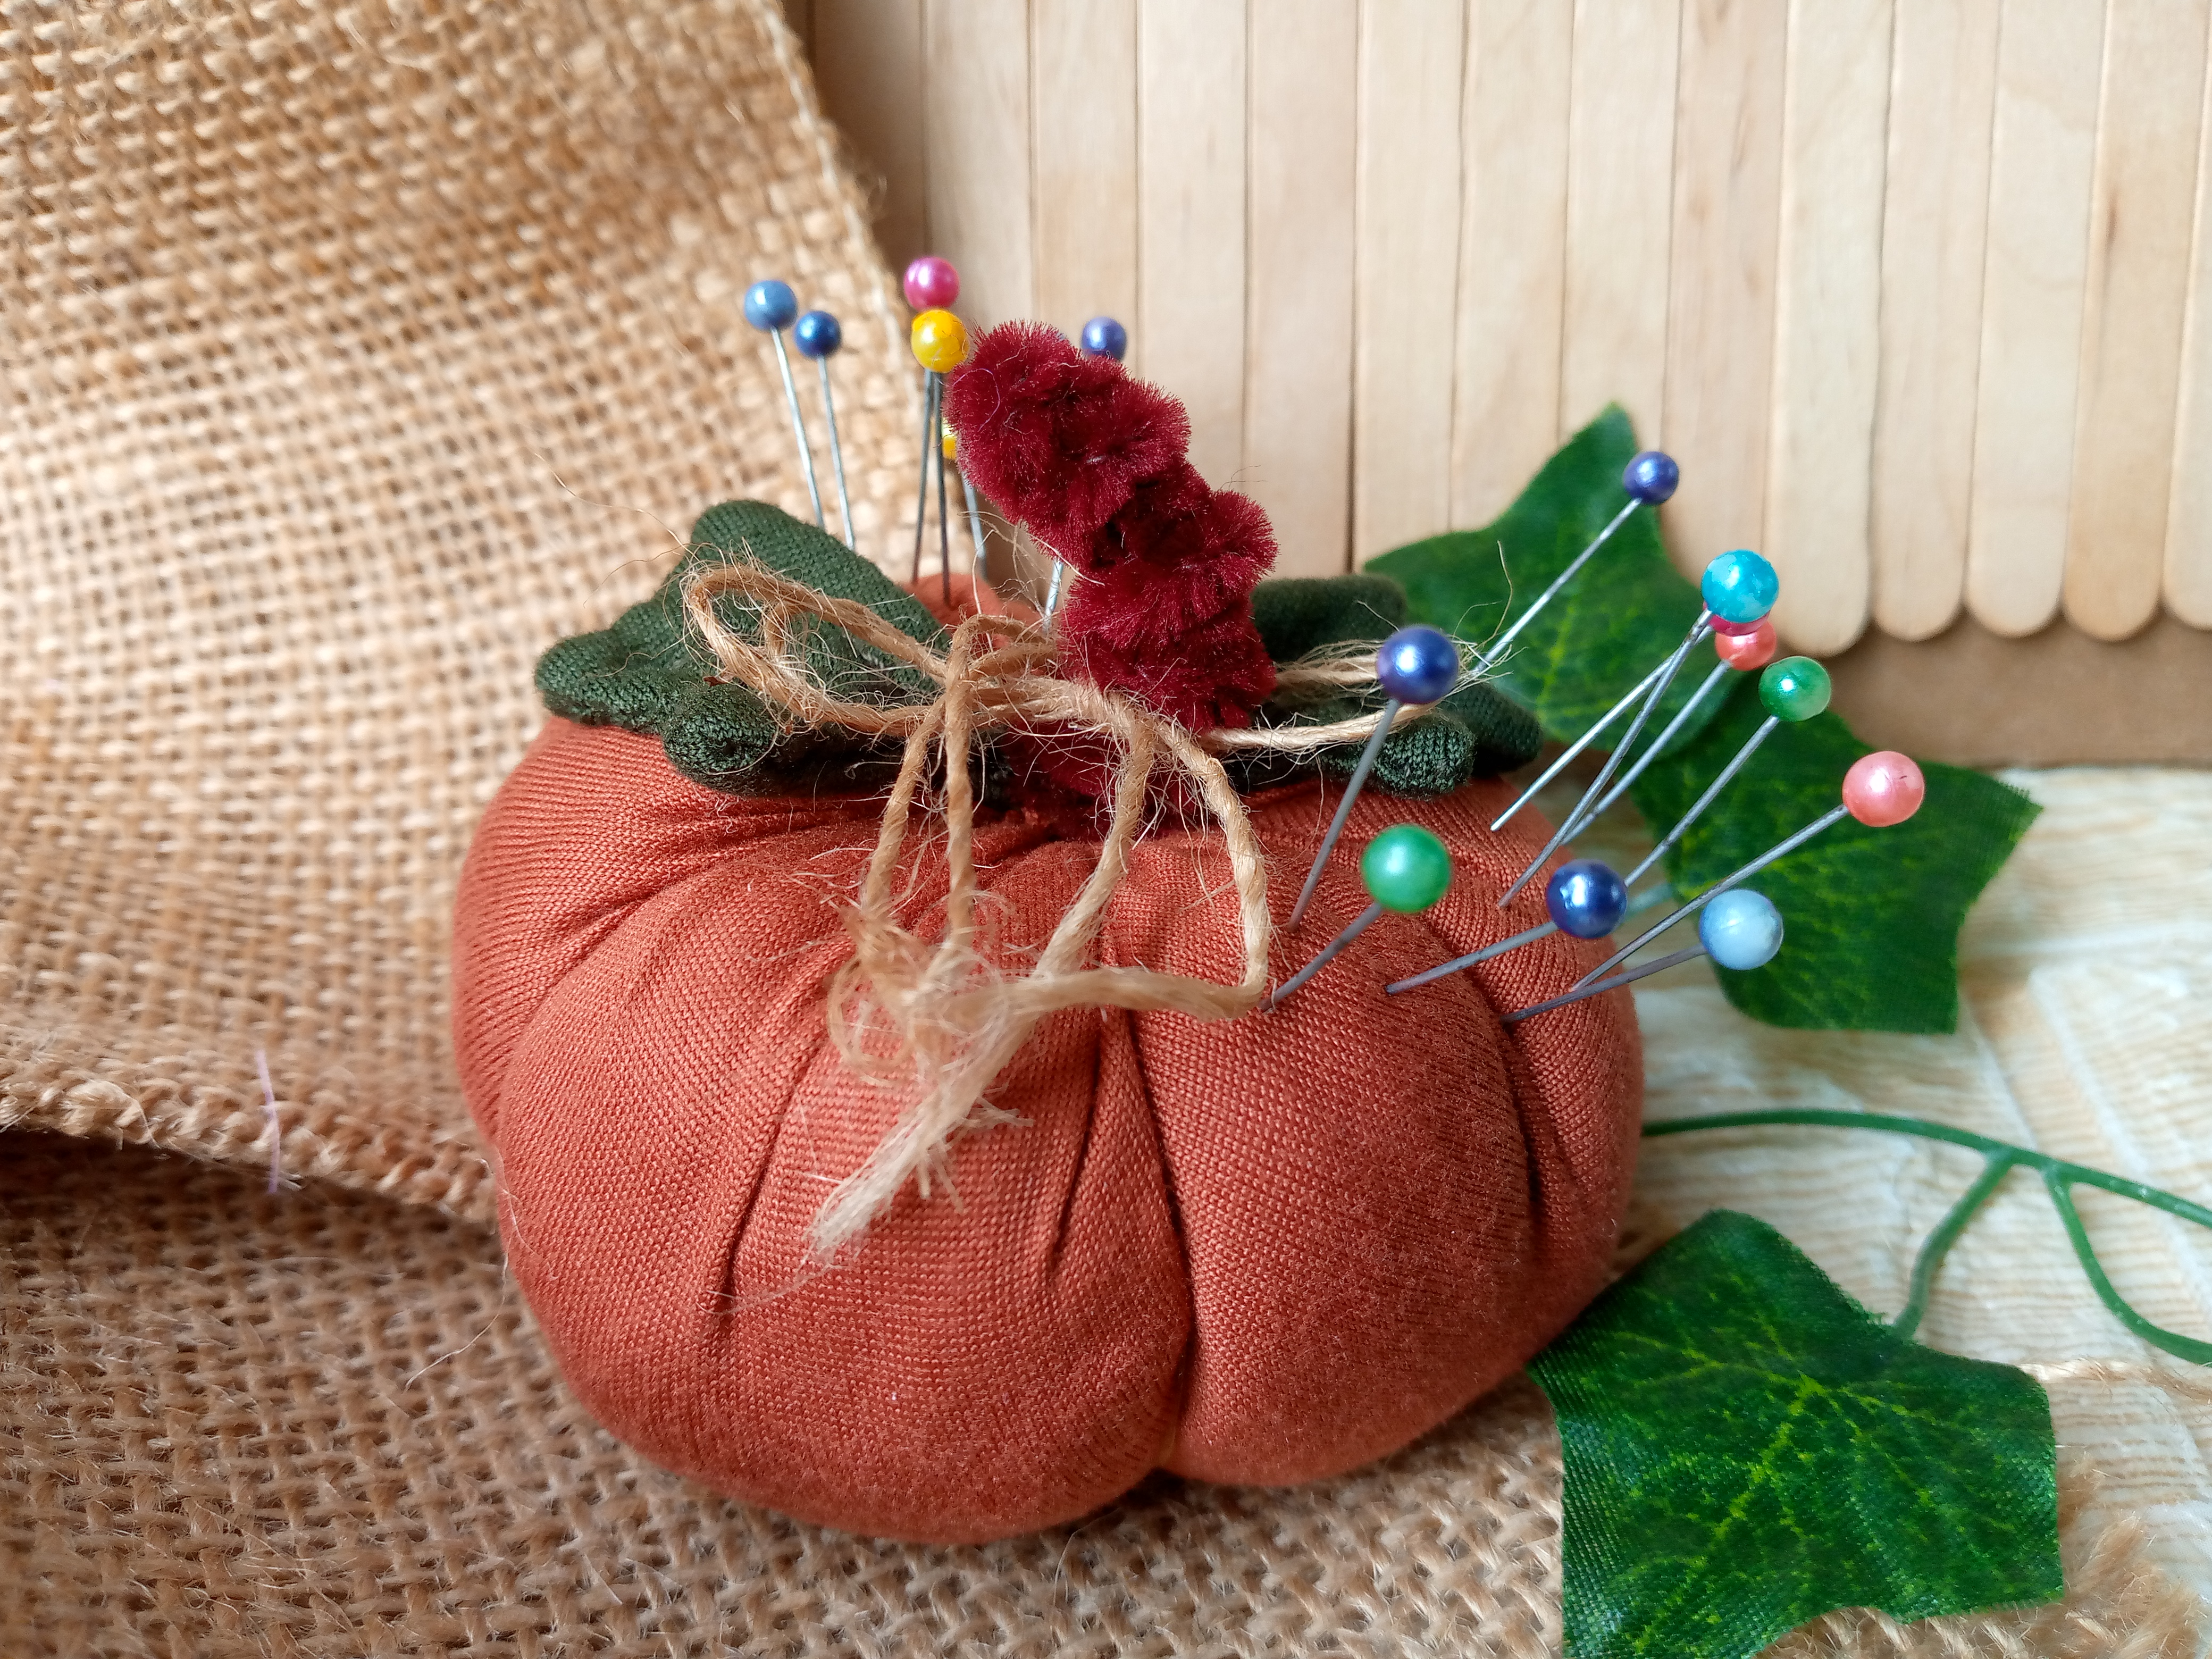
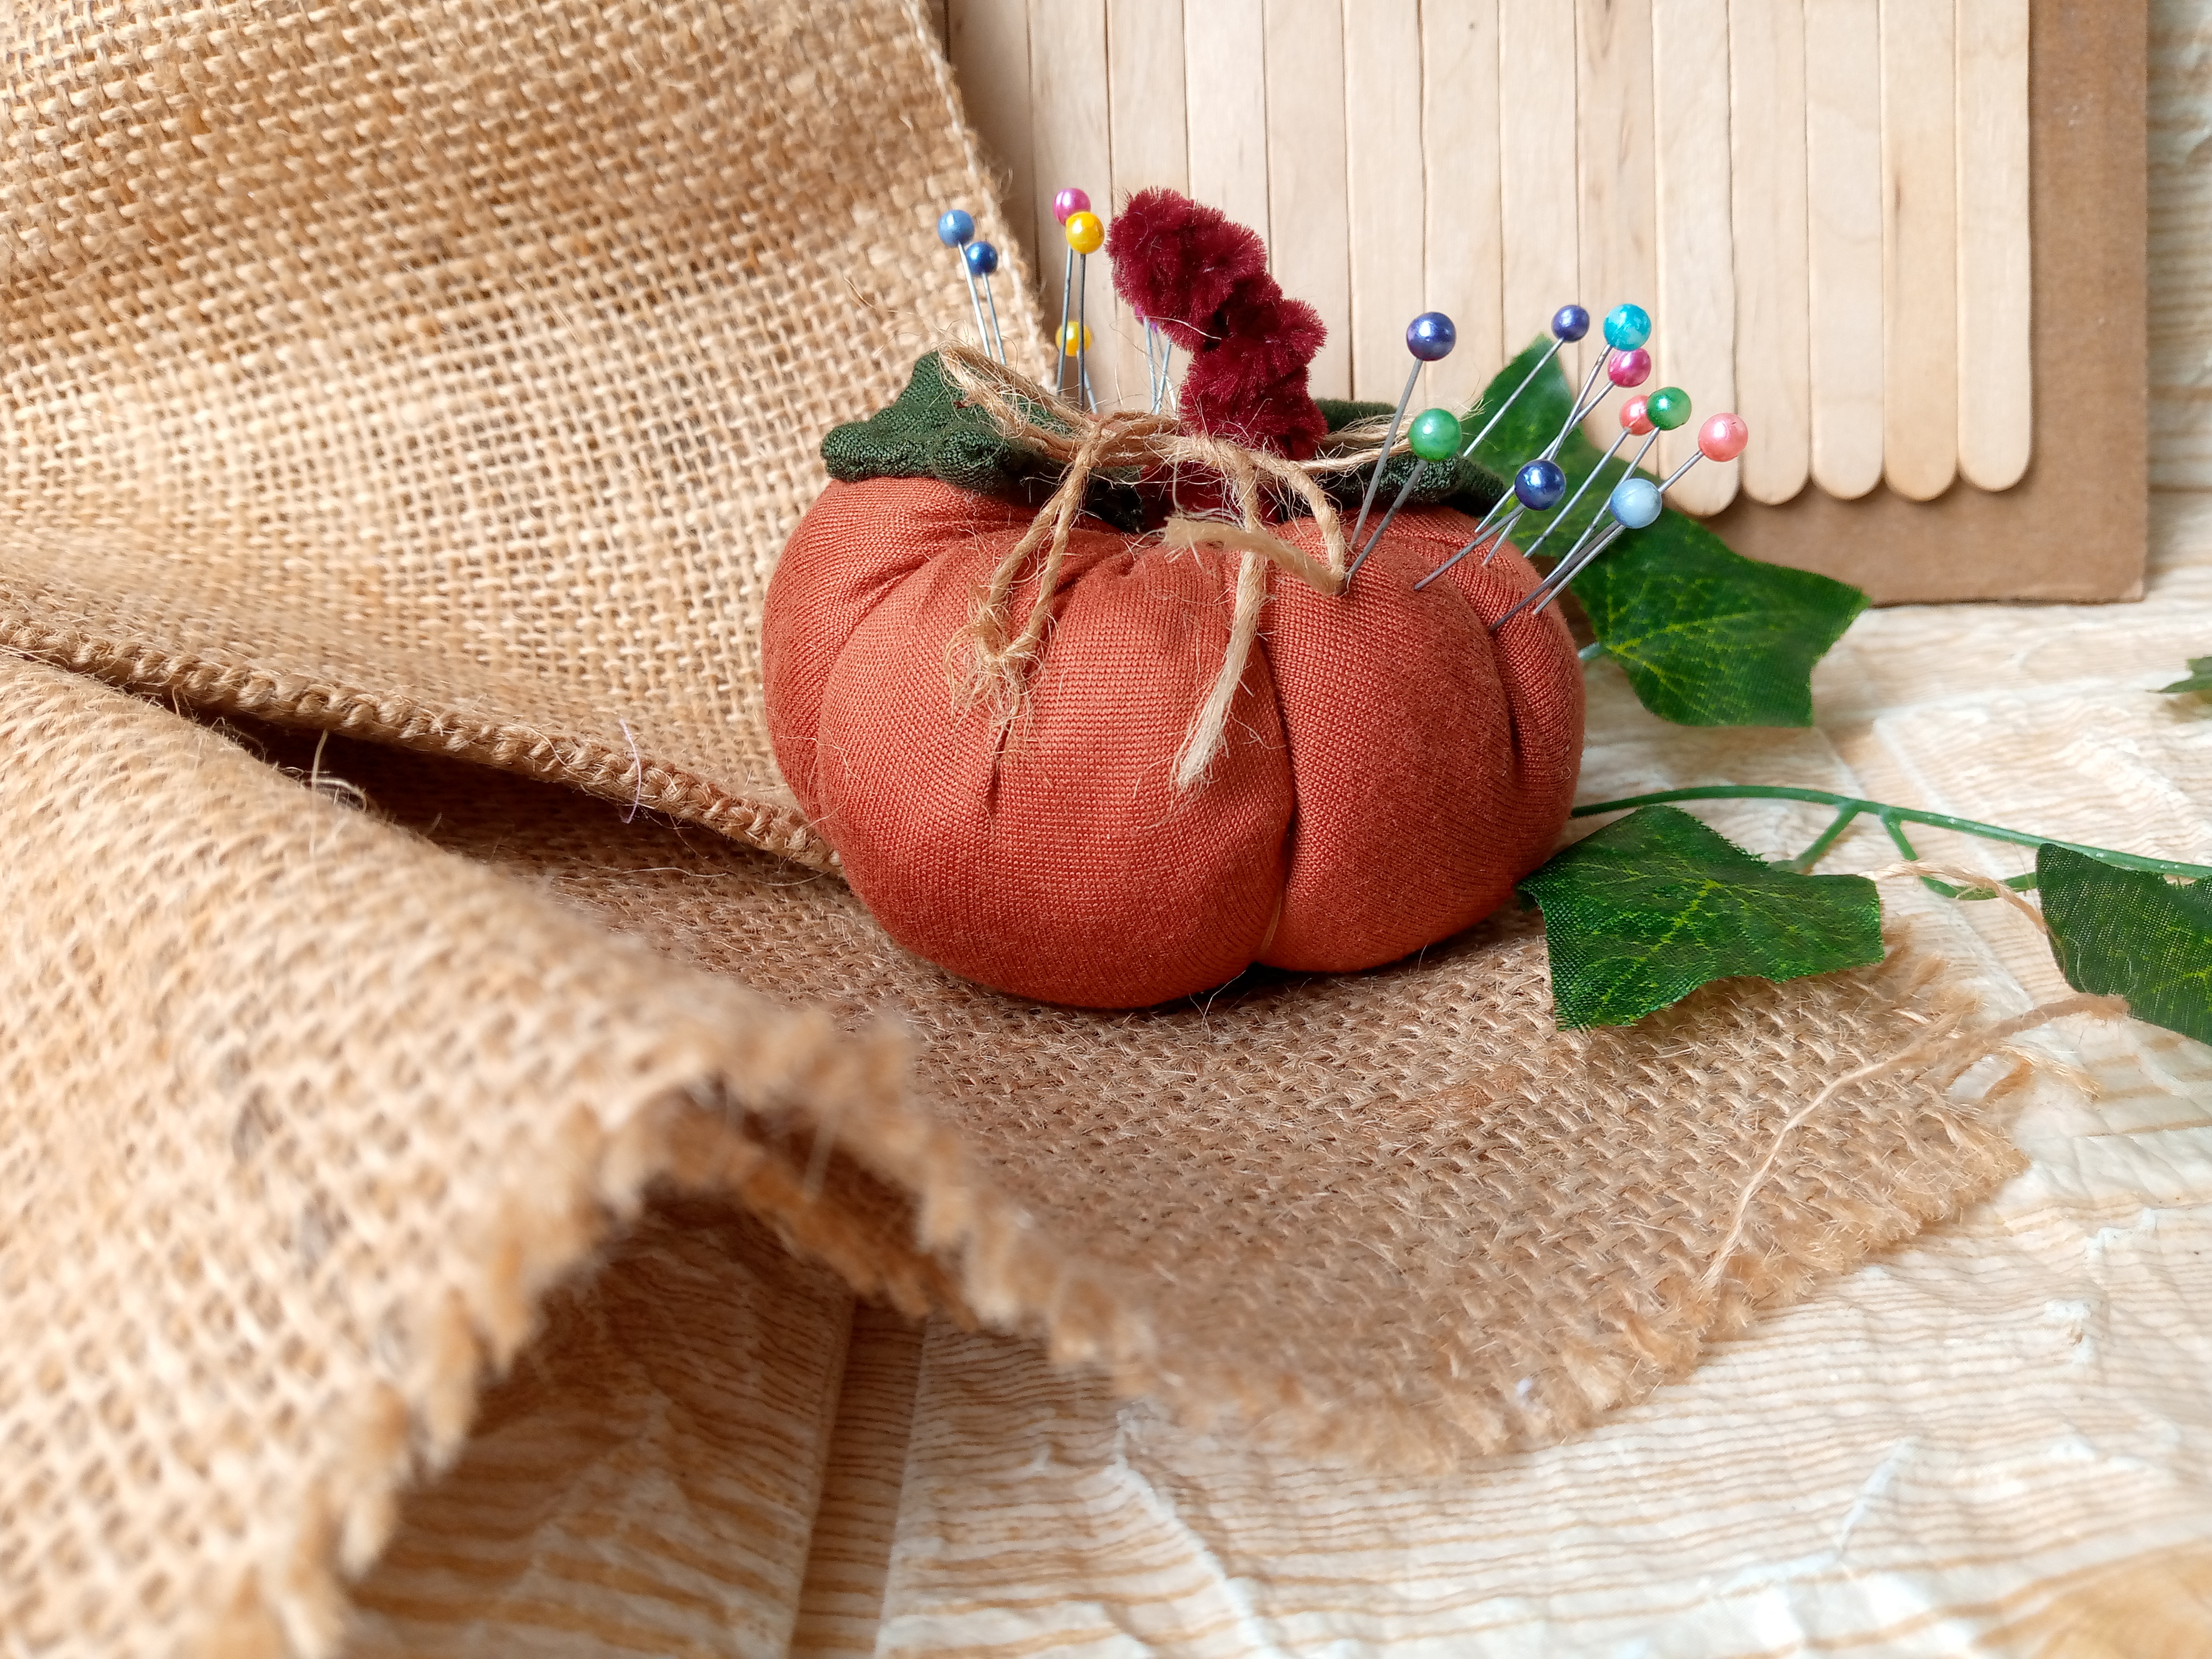
Resultado: | Result:
Espero les haya gustado mucho este alfiletero ,al final le coloqué un lacito con hilo de malla marron ecológica,se ve muy bonito y siento le resalta mejor este detalle,ya solo le coloqué los alfileres que tenia acá 🥰.
I hope you really liked this pincushion. At the end, I added a little bow with some brown eco-friendly mesh thread. It looks very pretty and I feel it highlights this detail better. I just added the pins I had here 🥰.

Gracias por leer este tutorial mis apreciados amigos #needleewokers y nos vemos en otro próximo blog de costura, saludos virtuales...
Thank you for reading this tutorial, my dear #needleewokers friends, and I'll see you in another upcoming sewing blog. Virtual greetings...

Creando las cosas con amor🌷♥️ | Creating things with love🌷♥️
Imágenes:de mi autoria | Edición:Canva® y PicsArt © | Traductor:Traductor de Google.
Images:my own work | Edited by:Canva® and PicsArt © | Translator:Google Translate.