
🧶Bienvenido al mundo de la costura conmigo,un placer saludarles ☺️✨. | 🧶Welcome to the world of the costure with me, a pleasure to greet you ☺️✨.
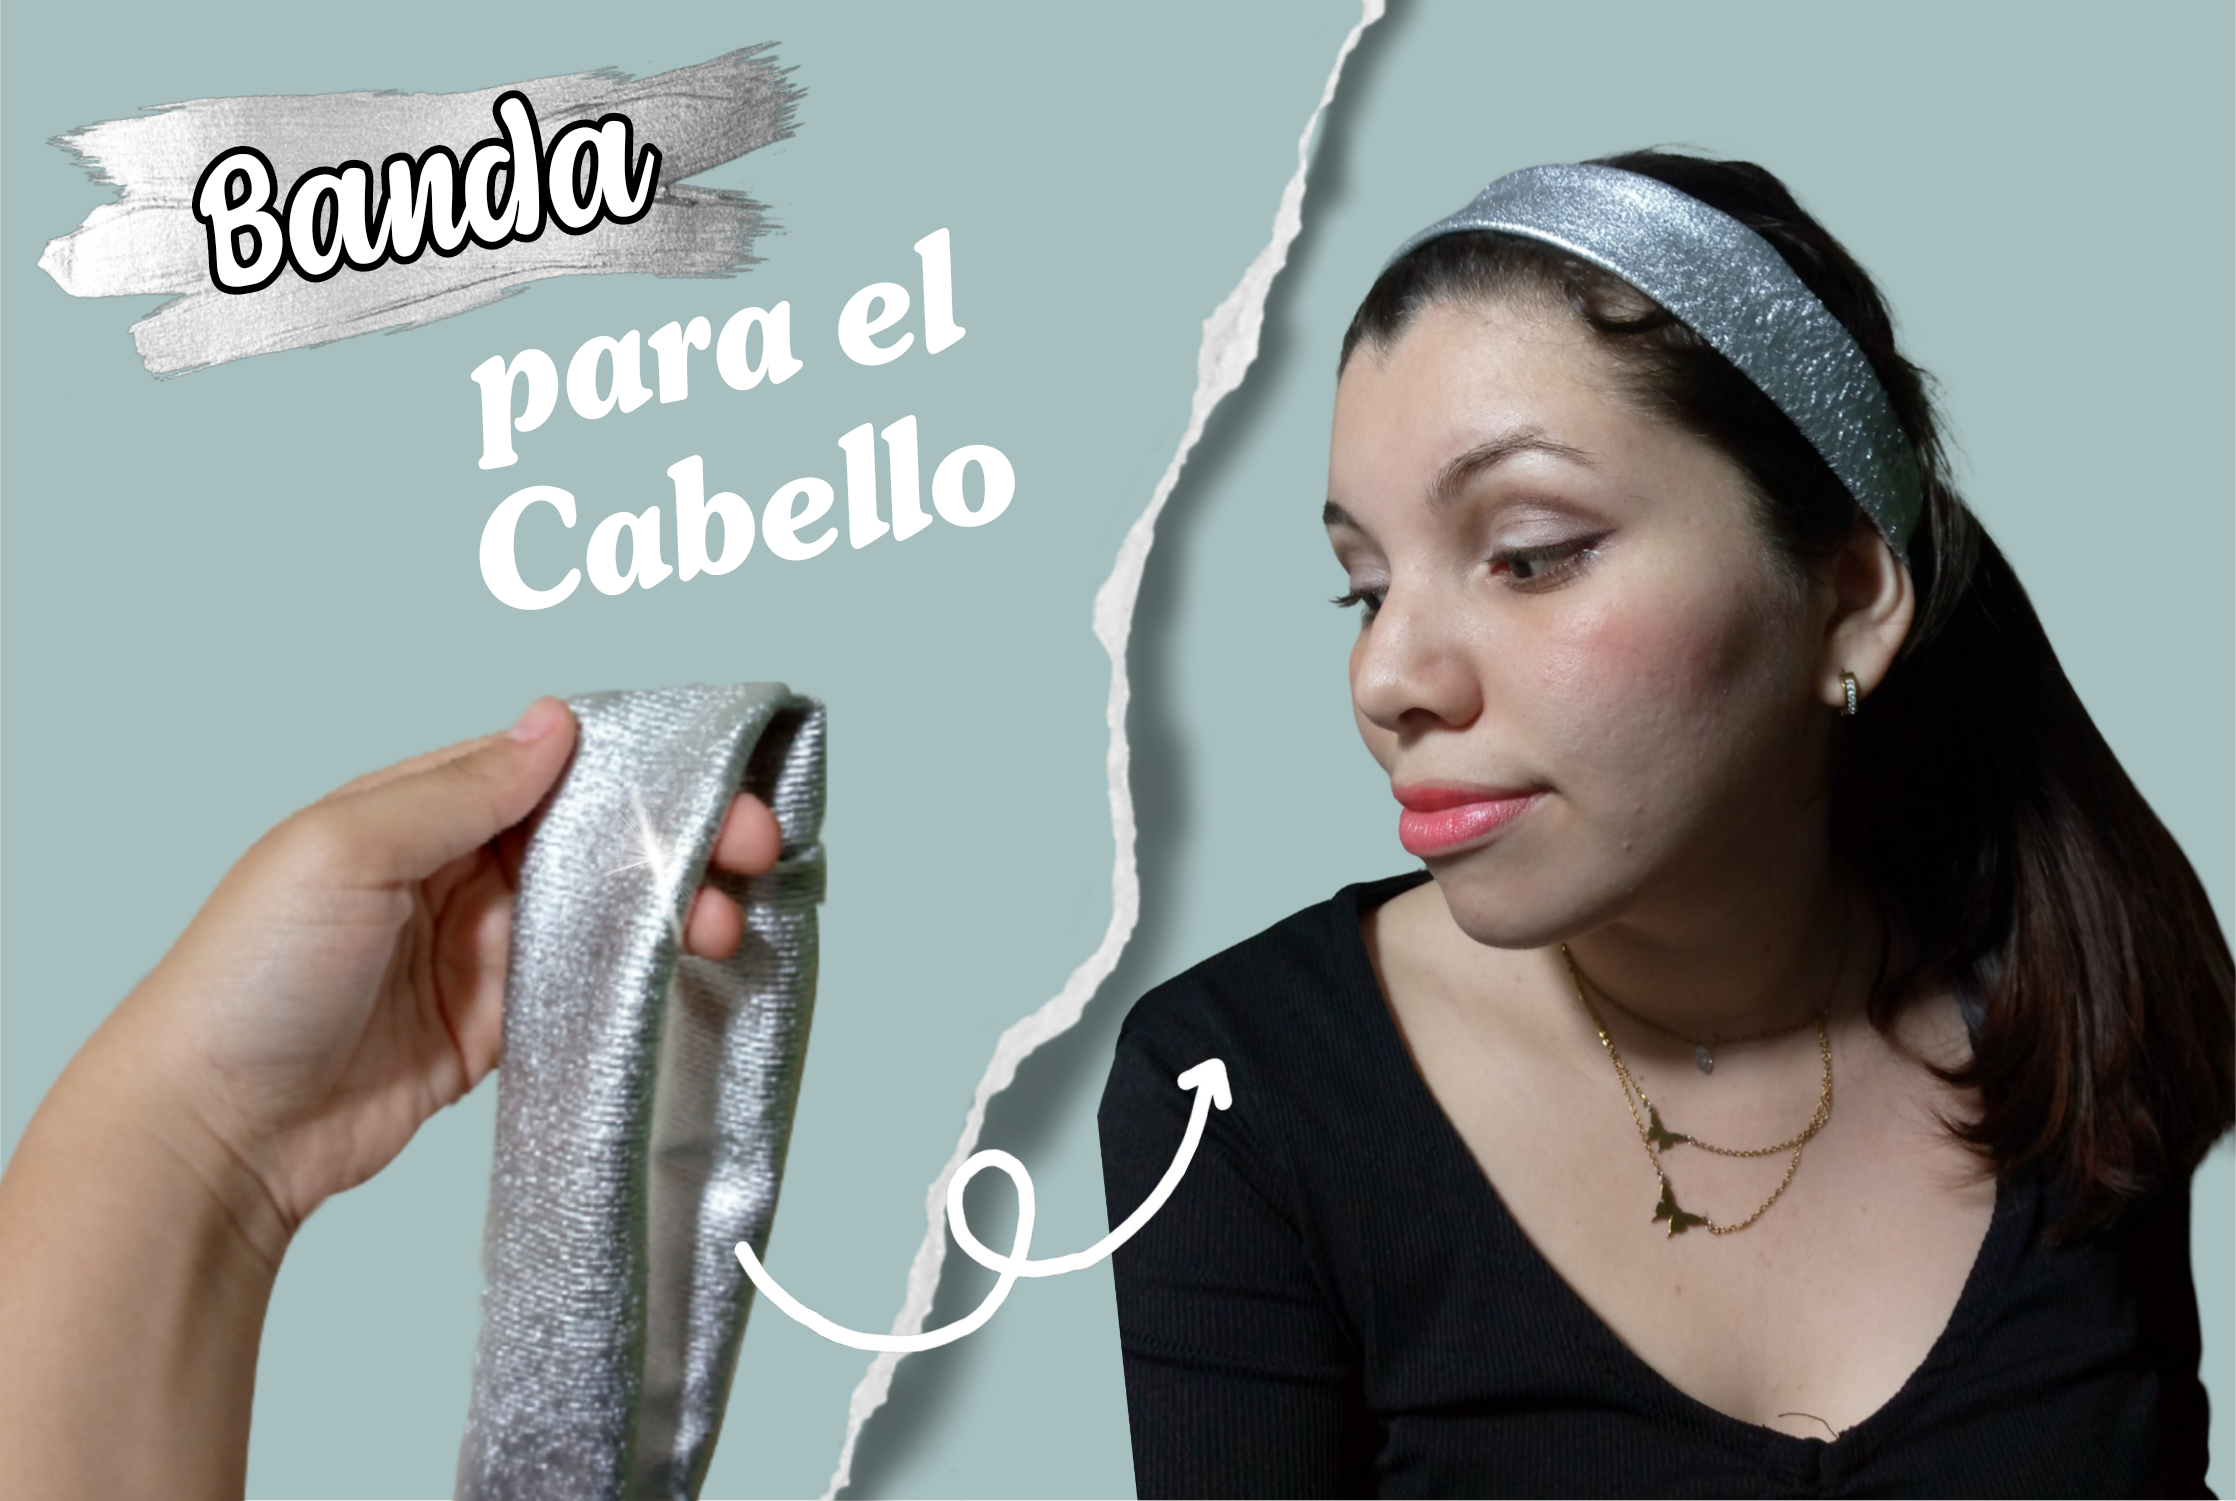
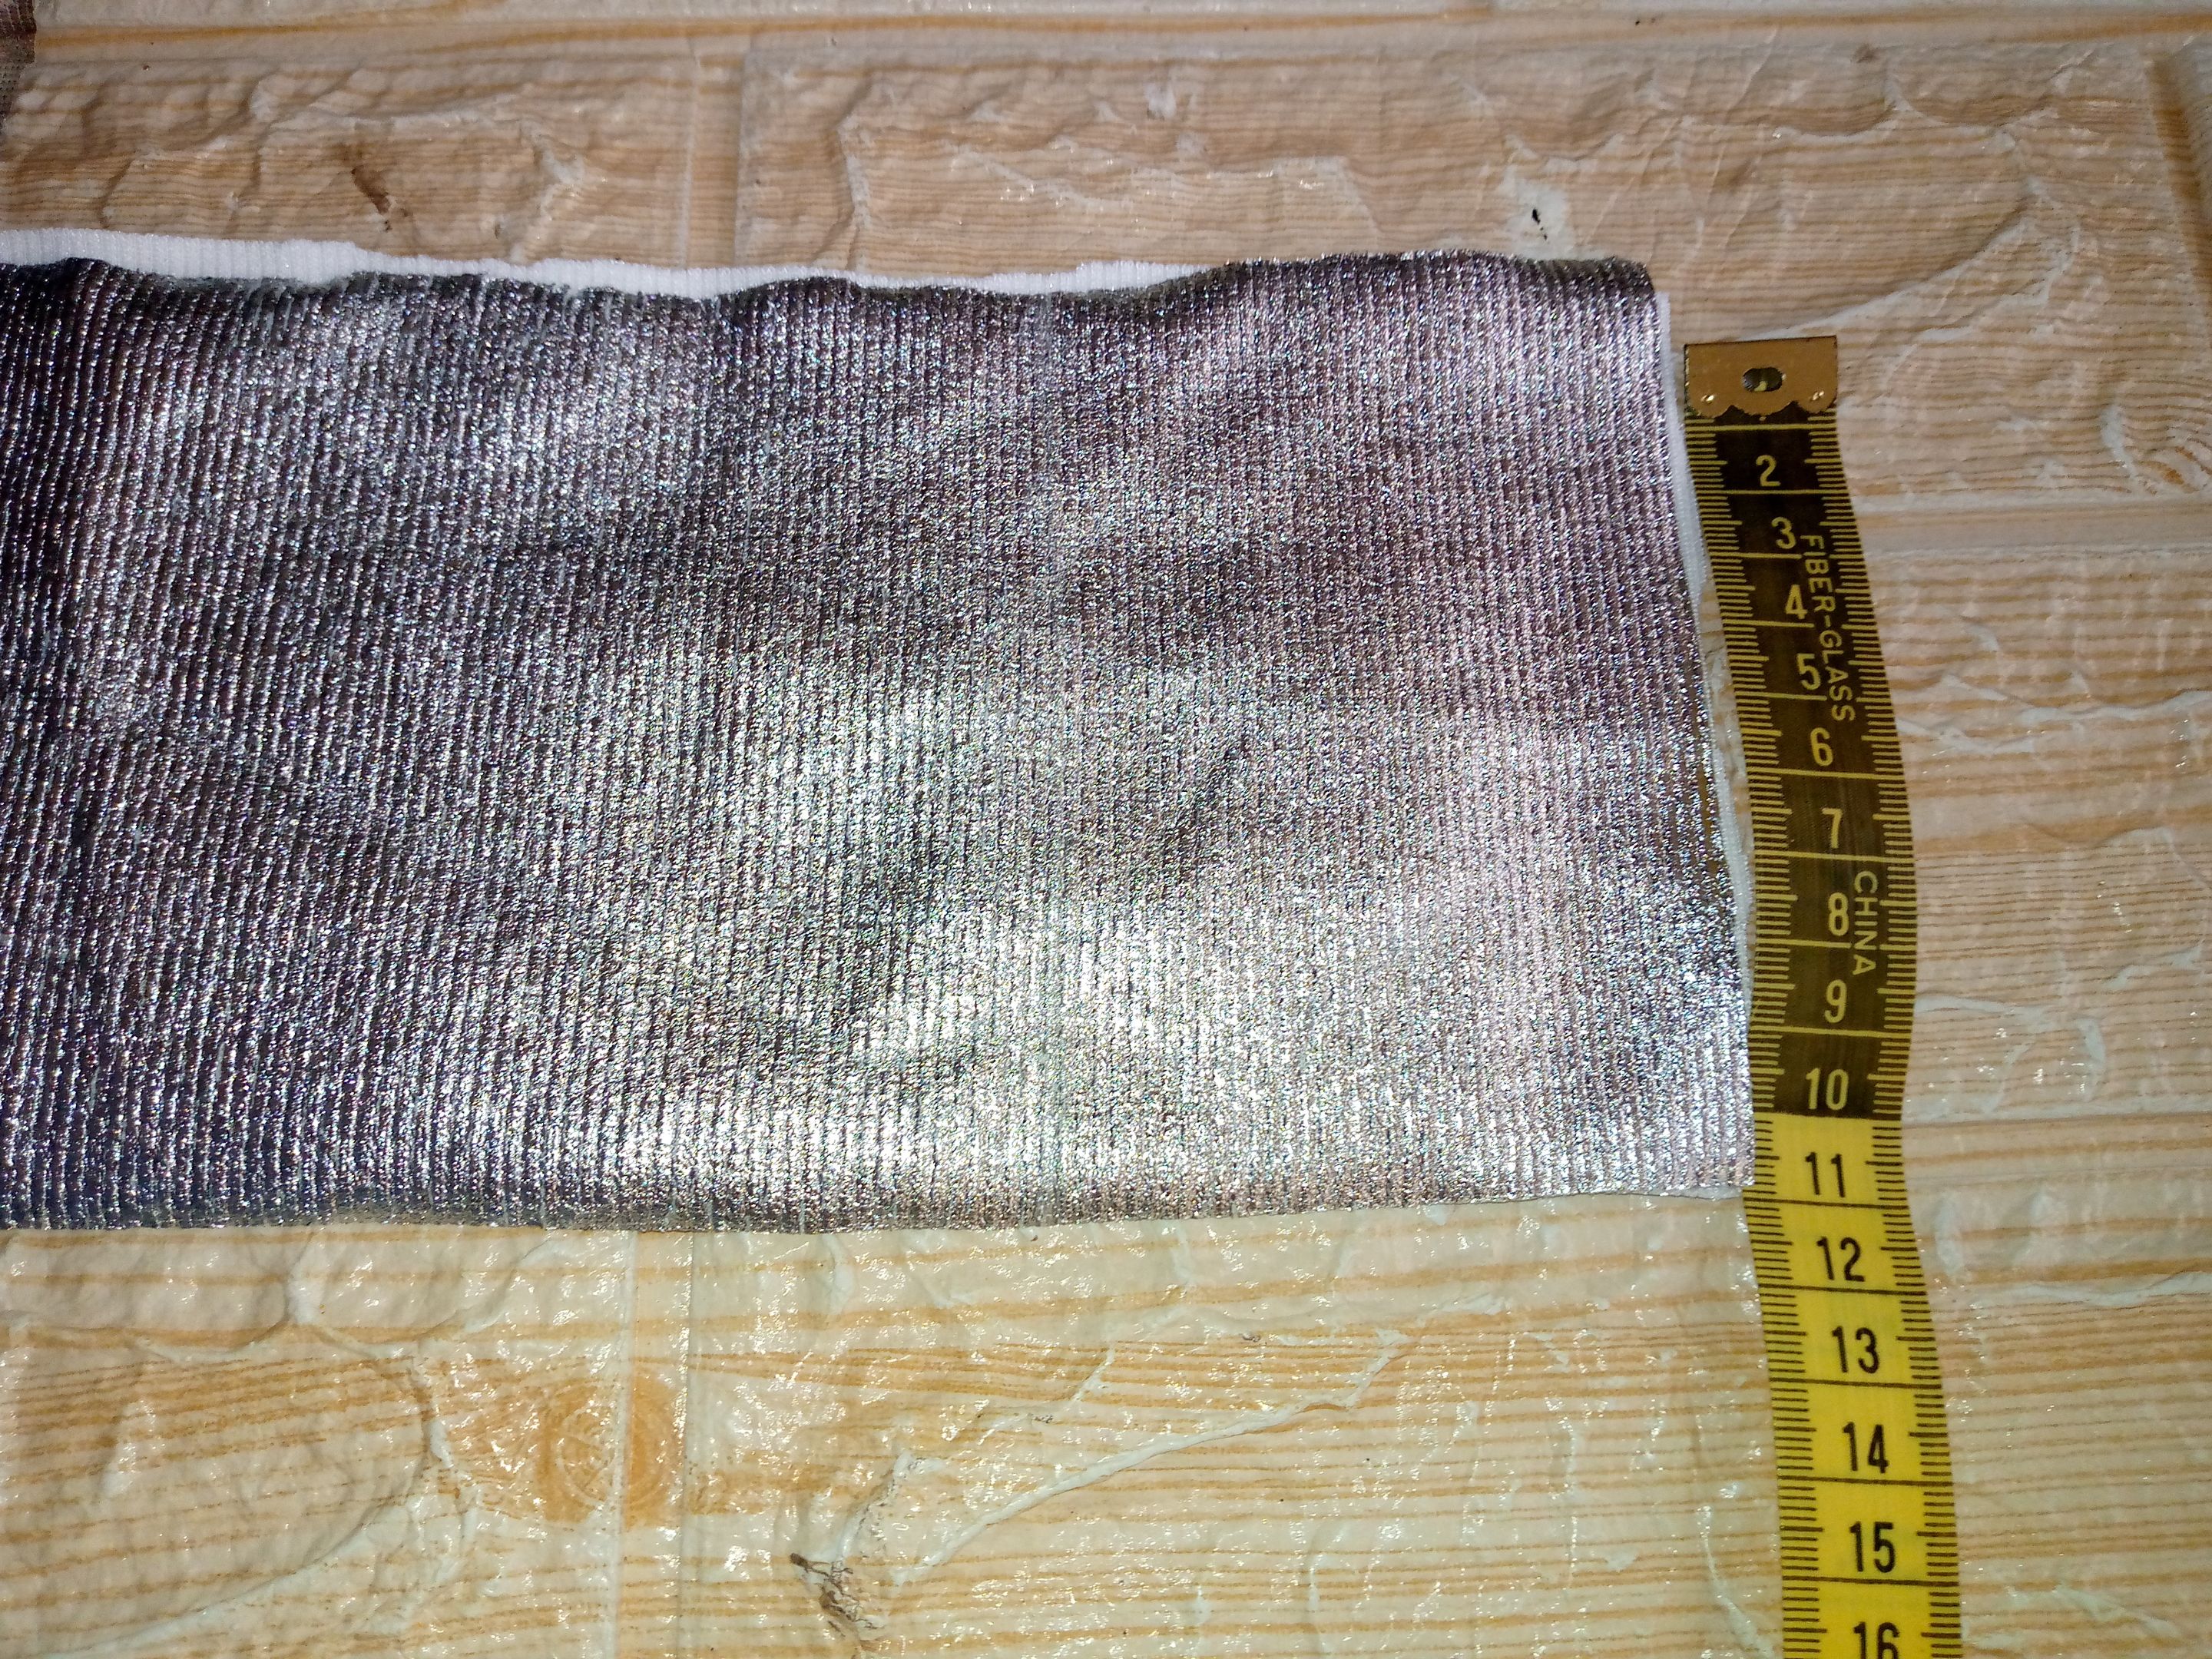
Hello everyone in this community! Today I wanted to share that I had a small piece of very elegant and shiny fabric that I didn't know what to do with. It's a fabric that looks a bit like metallic foil, the kind used for making elegant dresses. This particular piece had a ribbed texture, and I really loved it. I was thinking of using it to make some other little things, like hair bows or ribbons for kids, but then I realized I needed a new headband for when I put on makeup—you know, the kind you wear to keep your hair out of your face. So, I decided to make one. I wanted to keep it simple, without too many embellishments.
This fabric is so beautiful, so I didn't miss the opportunity to make the headband I wanted with it, to wear while doing my makeup and to keep my hair out of my face. If you like it, I invite you to watch the process and let me know if you've ever made a headband like this one.

_
Materiales: | Materials:
_
- Necesitamos un trozo de tela
- Cinta métrica
- Hilo y aguja (Coseremos a mano fácilmente la bandana)
- Tijera
- Lápiz
- We need a piece of fabric
- Measuring tape
- Thread and needle (We can easily sew the bandana by hand)
- Scissors
- Pencil
_
Pasos a seguir: | Steps to follow:
_
Paso 01
Step 01
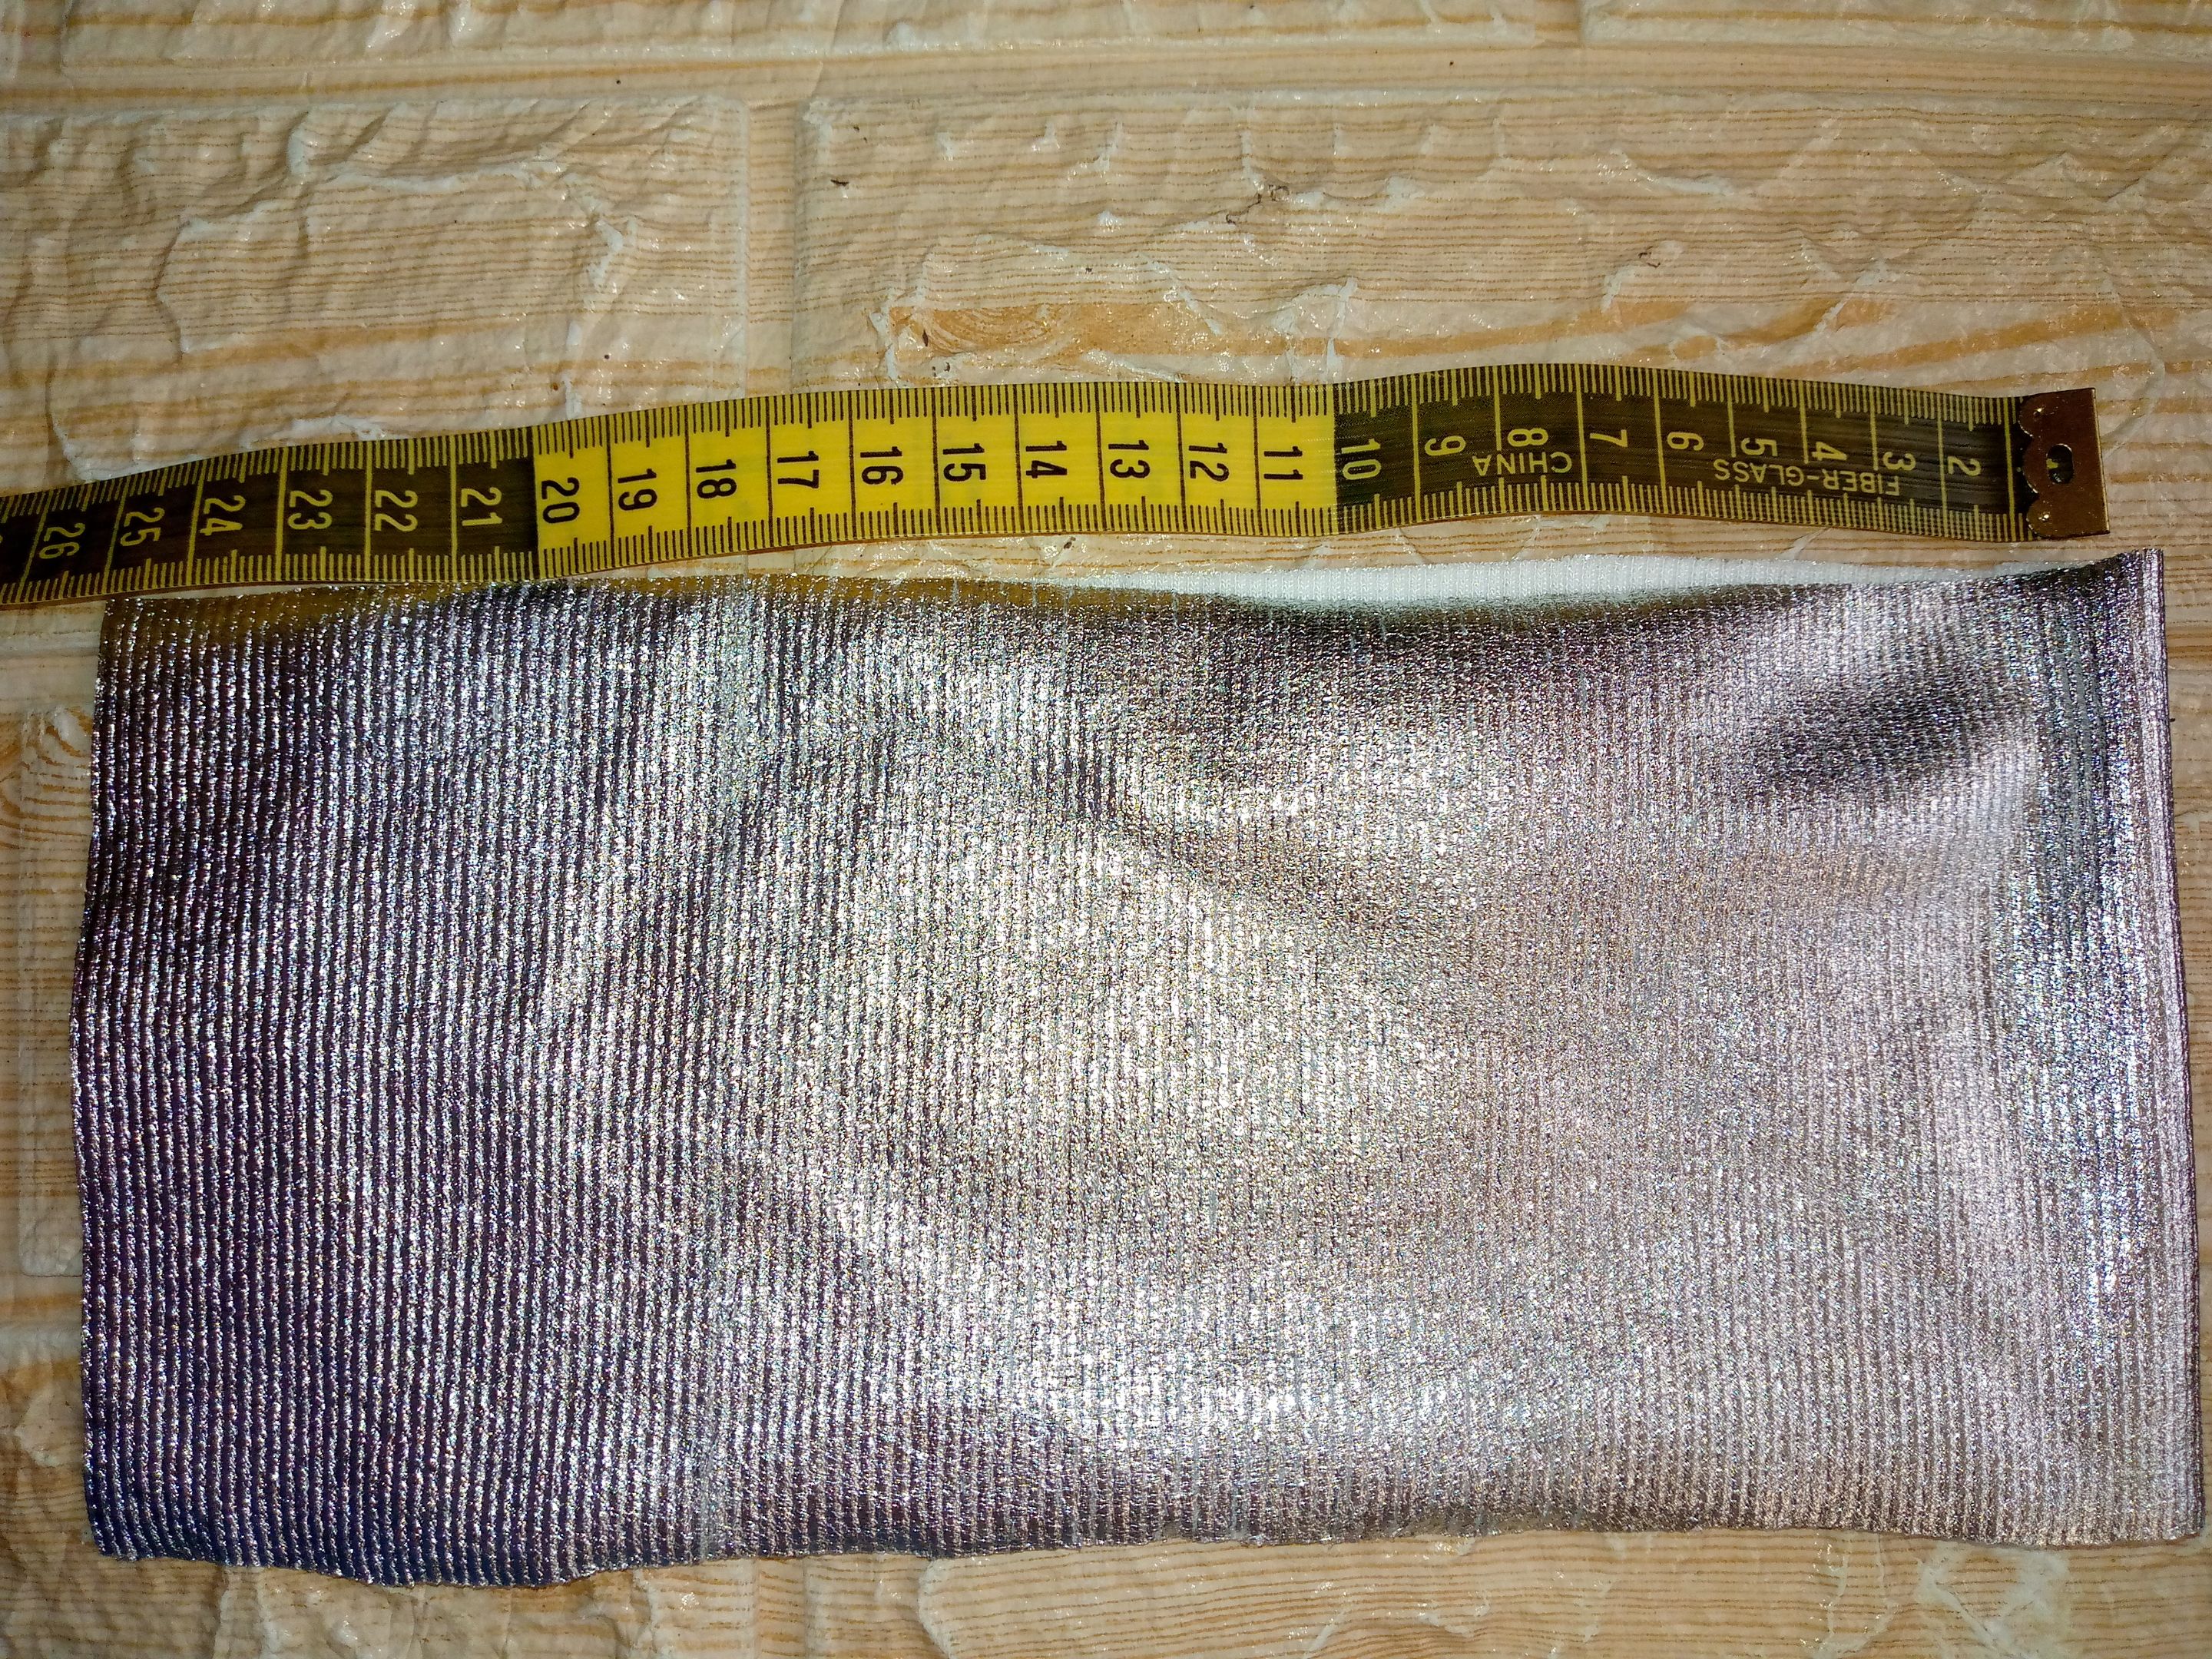
Okay, friends, to begin, let's take our piece of fabric. We'll lay it flat on the surface where we'll be cutting it, and we'll measure a rectangle that is 25 cm long by 11 cm wide. We'll use these measurements to cut the fabric. You can also create a pattern beforehand if you want to make more bandanas in the future.


Paso 02
Step 02
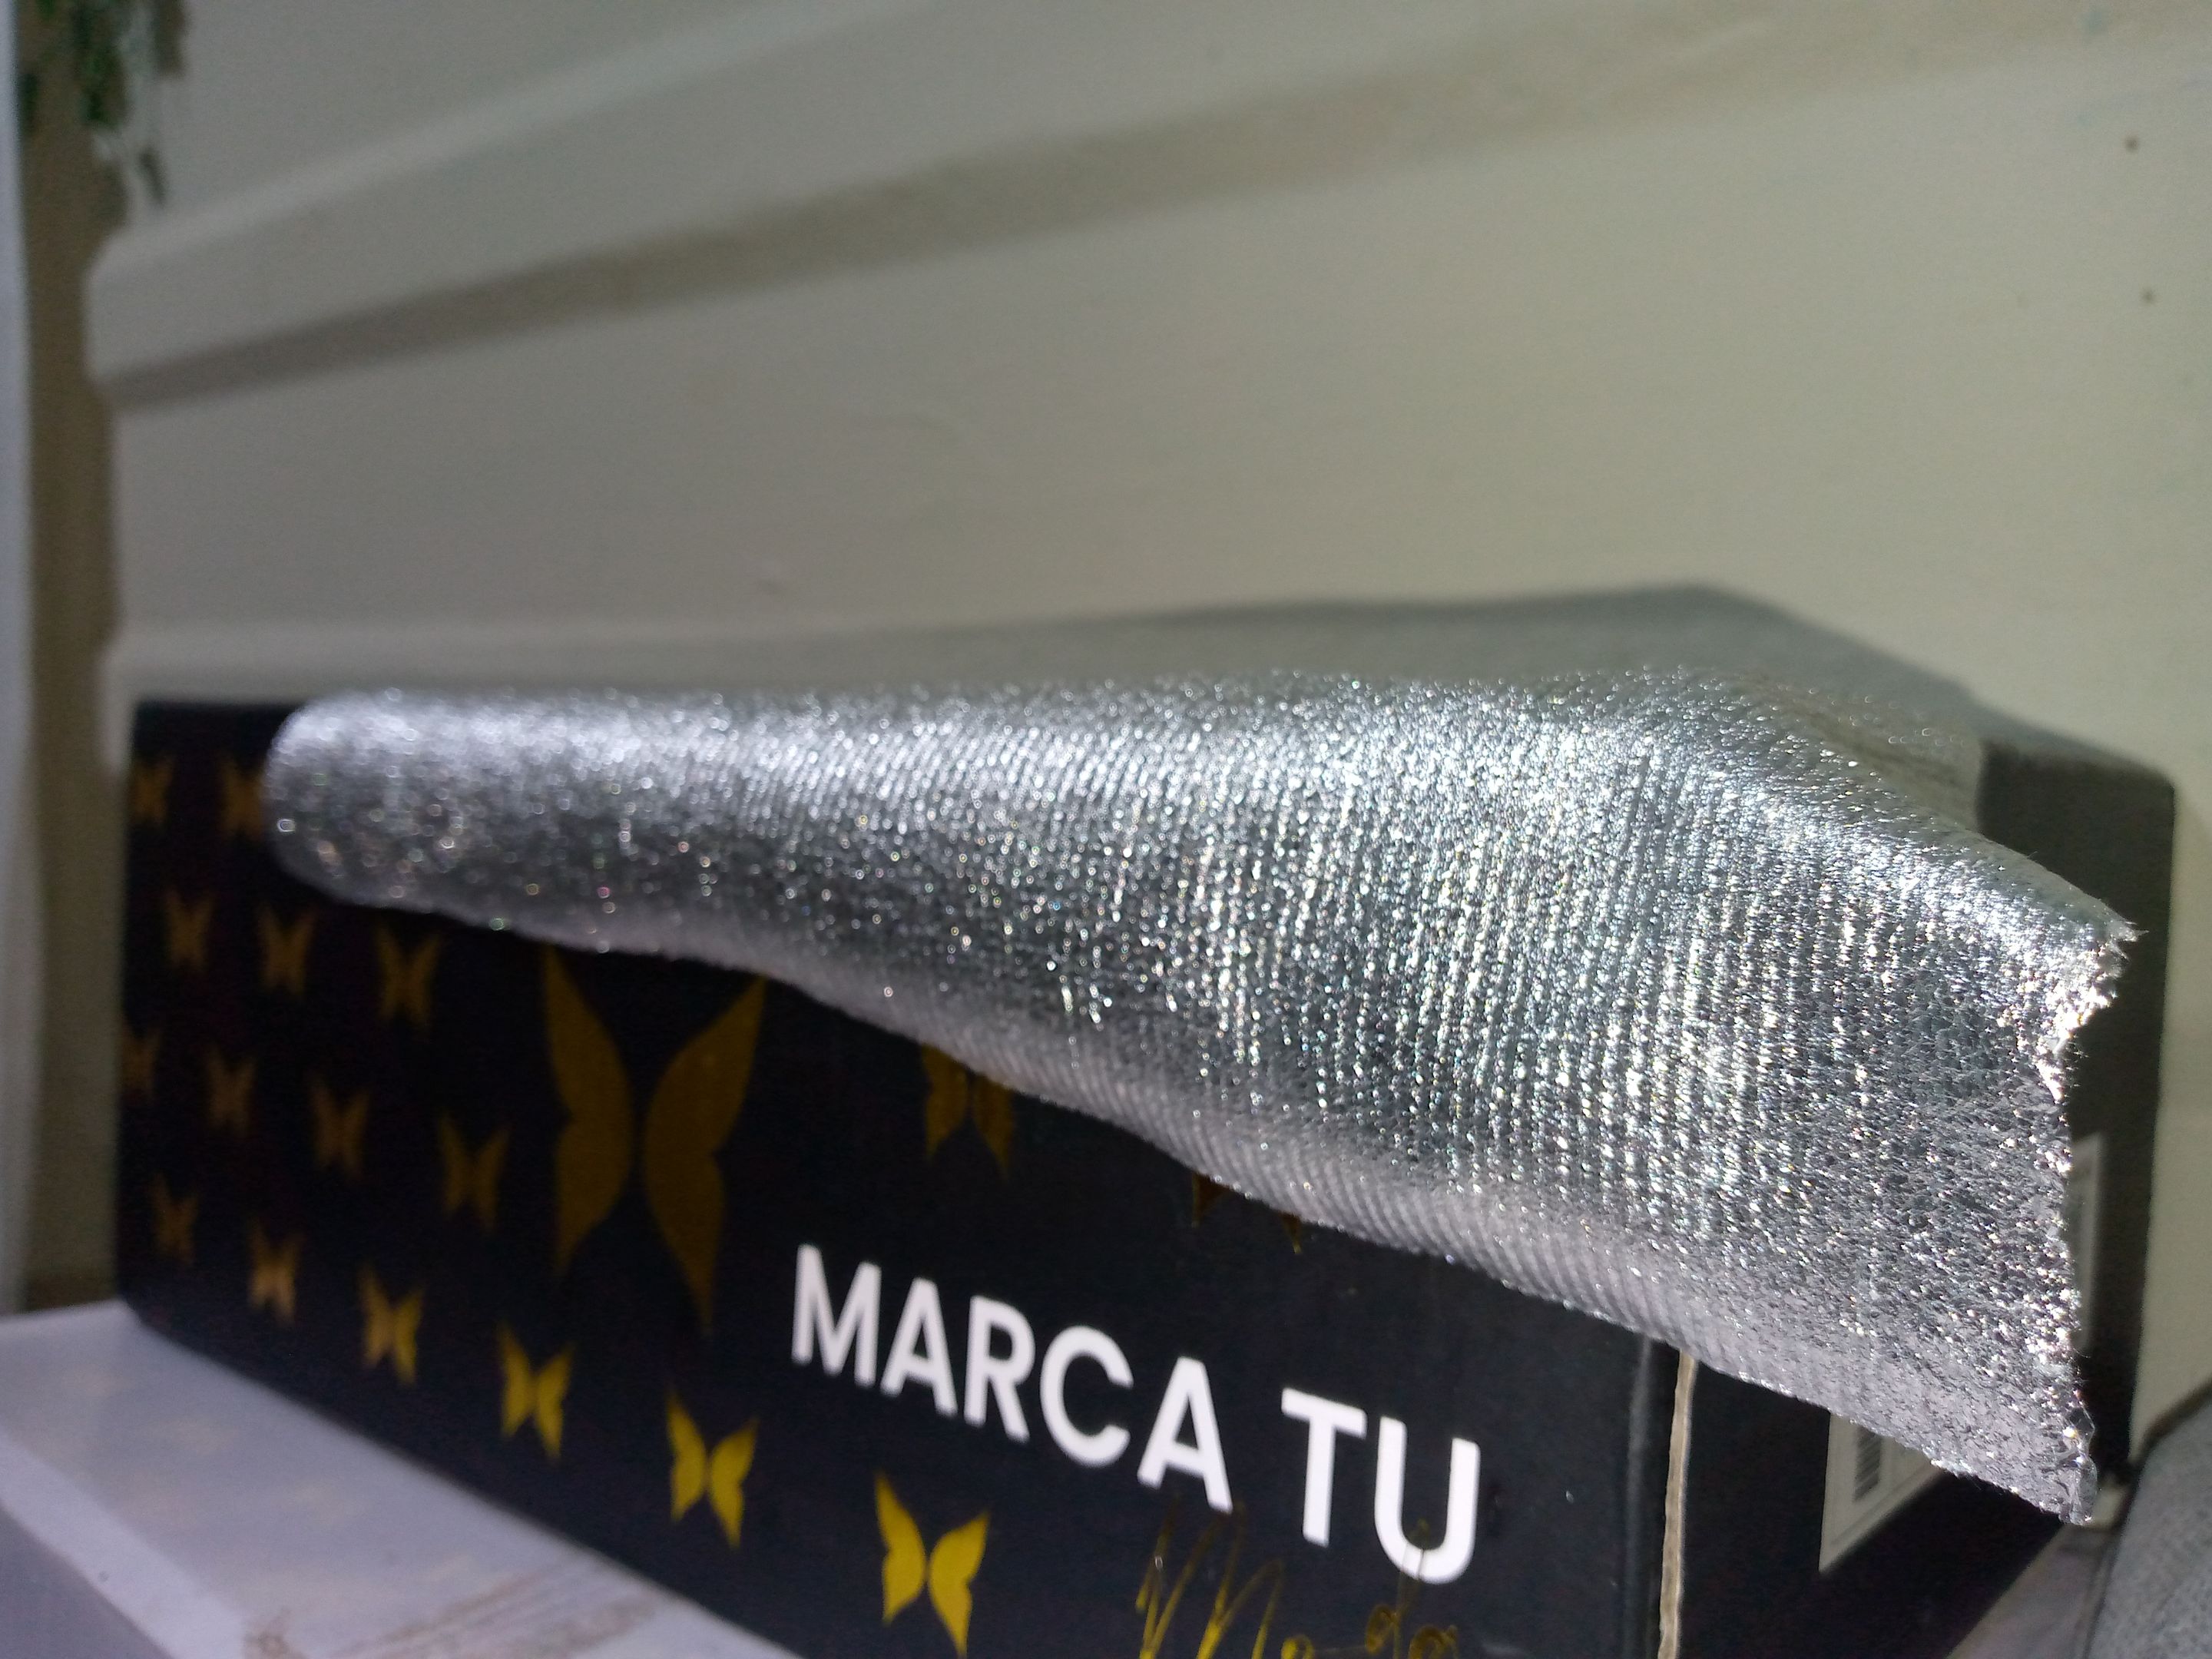
As the second step, we will take the rectangle and cut it to the measured dimensions. Then, we will fold it in half. We will leave approximately 1 cm at the tip unstitched, and then we will start sewing from that point inwards along the entire edge of the bandana, leaving a 0.5 cm seam allowance. Once we finish sewing, we will also leave a 1 cm seam allowance at the other end where we finished sewing, and then we will simply turn the piece right side out.


Paso 03
Step 03
Once I've turned it inside out, I'll align both ends of the piece and sew them together from the inside. When we can't continue sewing from the inside, we simply turn the piece right side out and continue sewing with a neat, invisible stitch to finish the remaining seam.


Paso 04
### Step 04 I then went back over the hand-sewn stitch with a sewing machine to reinforce it, making it virtually invisible. After I finished, this is what our bandana looked like.
_
Resultado: | Result:
_
As you can see, friends, it's so easy to make your own hair bandanas! And the best part is that you can sew them by hand yourself, using those leftover fabric scraps you have lying around. I'd love to know if you liked it. It looks beautiful, elegant, and shiny—just the way I like it! I realized I can wear it when I go for walks or outings. I really love how it turned out, and I hope you do too!


🧵Nos vemos en otra oportunidad,esto ha sido todo por el tutorial de hoy saludos gracias por leerme!!! 🎀🌸
See you next time! That's all for today's tutorial. Thanks for reading! 🎀🌸
¡Hola!...Soy Annie
Una chica que le apasiona el diseño,la costura las manualidades y crear cualquier cosa de mucho uso con mis manos,tengo como hobbie la música ,el maquillarme,la pintura y el dibujo,expresar mis ideas y sentimientos en un dibujo es algo que me gusta hacer,amo la naturaleza,un atardecer ,la playa y disfrutar con mis familiares de los buenos momentos de la vida.❤️
_
Creando las cosas con amor🌷♥️ | Creating things with love🌷♥️
_
_
Imágenes:de mi autoria | Edición:Canva® y PicsArt © | Traductor:Traductor de Google | Dispositivo:TecnoSpark 8C.
_
_
Images:my own work | Edited by:Canva® and PicsArt © | Translator:Google Translate |Device:TecnoSpark 8C .
_