Que tal amigos #needlewokers ,que tal están pasando el fin de semana,yo espero que muy bien ,sean bienvenidos a un nuevo blog de costura sencilla conmigo 😊📌.
Hello friends #needlewokers, how are you spending your weekend? I hope you are doing very well. Welcome to a new simple sewing blog with me 😊📌.
Les quiero enseñar como hacer un vestido sencillo con tela estampado de muselina que está muy hermosa este estampado floral especial para ir a salir a caminar una reunión o a la playa 😍🏖️hablando de playa con este calor que hace se me está antojando ir aunque sea un momento ,tenía la oportunidad de ir hace mucho pero pensé que como está lloviendo de tarde la verdad no me gusta vivir la experiencia de un día lluvioso en la playa,así que mejor dejé para ir con mi novio cuando nos casemos y así disfrutar del solcito el mar y la arena en verano 😊...
I want to show you how to make a simple dress with a beautiful muslin print fabric, this floral print is special for going out for a walk, a meeting, or to the beach 😍🏖️speaking of the beach, with this heat, I'm craving to go even for a moment. I had the opportunity to go a long time ago, but I thought that since it's raining in the afternoon, I really don't like the experience of a rainy day at the beach, so I better leave it to go with my boyfriend when we get married and thus enjoy the sun, the sea, and the sand in the summer 😊...
Dejando a un lado las ganas de ir a la playa y volviendo al tema de este bonito vestido,mi clienta me comentó que queria un diseño sencillo pero de mangas en forma de tulipan lastimosamente la tela no le alcanzó porque ella es rellenita y le iba a hacer falta mas tela pero como aquí solucionamos decidí hacerselo sencillo en la parte de las mangas corridas por supuesto y el cuello redondo ,le colocaré elástico en la cintura para sacar mas volumen del vestido ,si te gustaría apreciar el proceso y los resultados finales te dejo el tutorial acá de cómo hacerlo 🥰espero te llame mucho la atención y si deseas confeccionar tus propios vestidos como emprendimiento o para ti ya lo tienes y lo mejor es que lo puedes guardar para verlo cuando tengas las telas para confeccionarlo 😊.
Leaving aside the desire to go to the beach and returning to the subject of this beautiful dress, my client told me that she wanted a simple design but with tulip-shaped sleeves, unfortunately the fabric was not enough because she is chubby and she was going to need more fabric but as we solve here I decided to make it simple in the part of the continuous sleeves of course and the round neck, I will put elastic in the waist to get more volume from the dress, if you would like to appreciate the process and the final results I leave you the tutorial here on how to do it 🥰 I hope it catches your attention and if you want to make your own dresses as a venture or for yourself you already have it and the best thing is that you can save it to see it when you have the fabrics to make it 😊.

_
Materiales: | Materials:
_
- 1.50 cm de tela muselina
- Tijera
- Máquina de coser
- Cinta métrica
- 40 cm de elástico de 1 cm de ancho
- Hilo
- 1.50 cm of muslin fabric
- Scissors
- Sewing machine
- Tape measure
- 40 cm of 1 cm wide elastic
- Thread
_
Pasos a seguir: | Steps to follow:
_
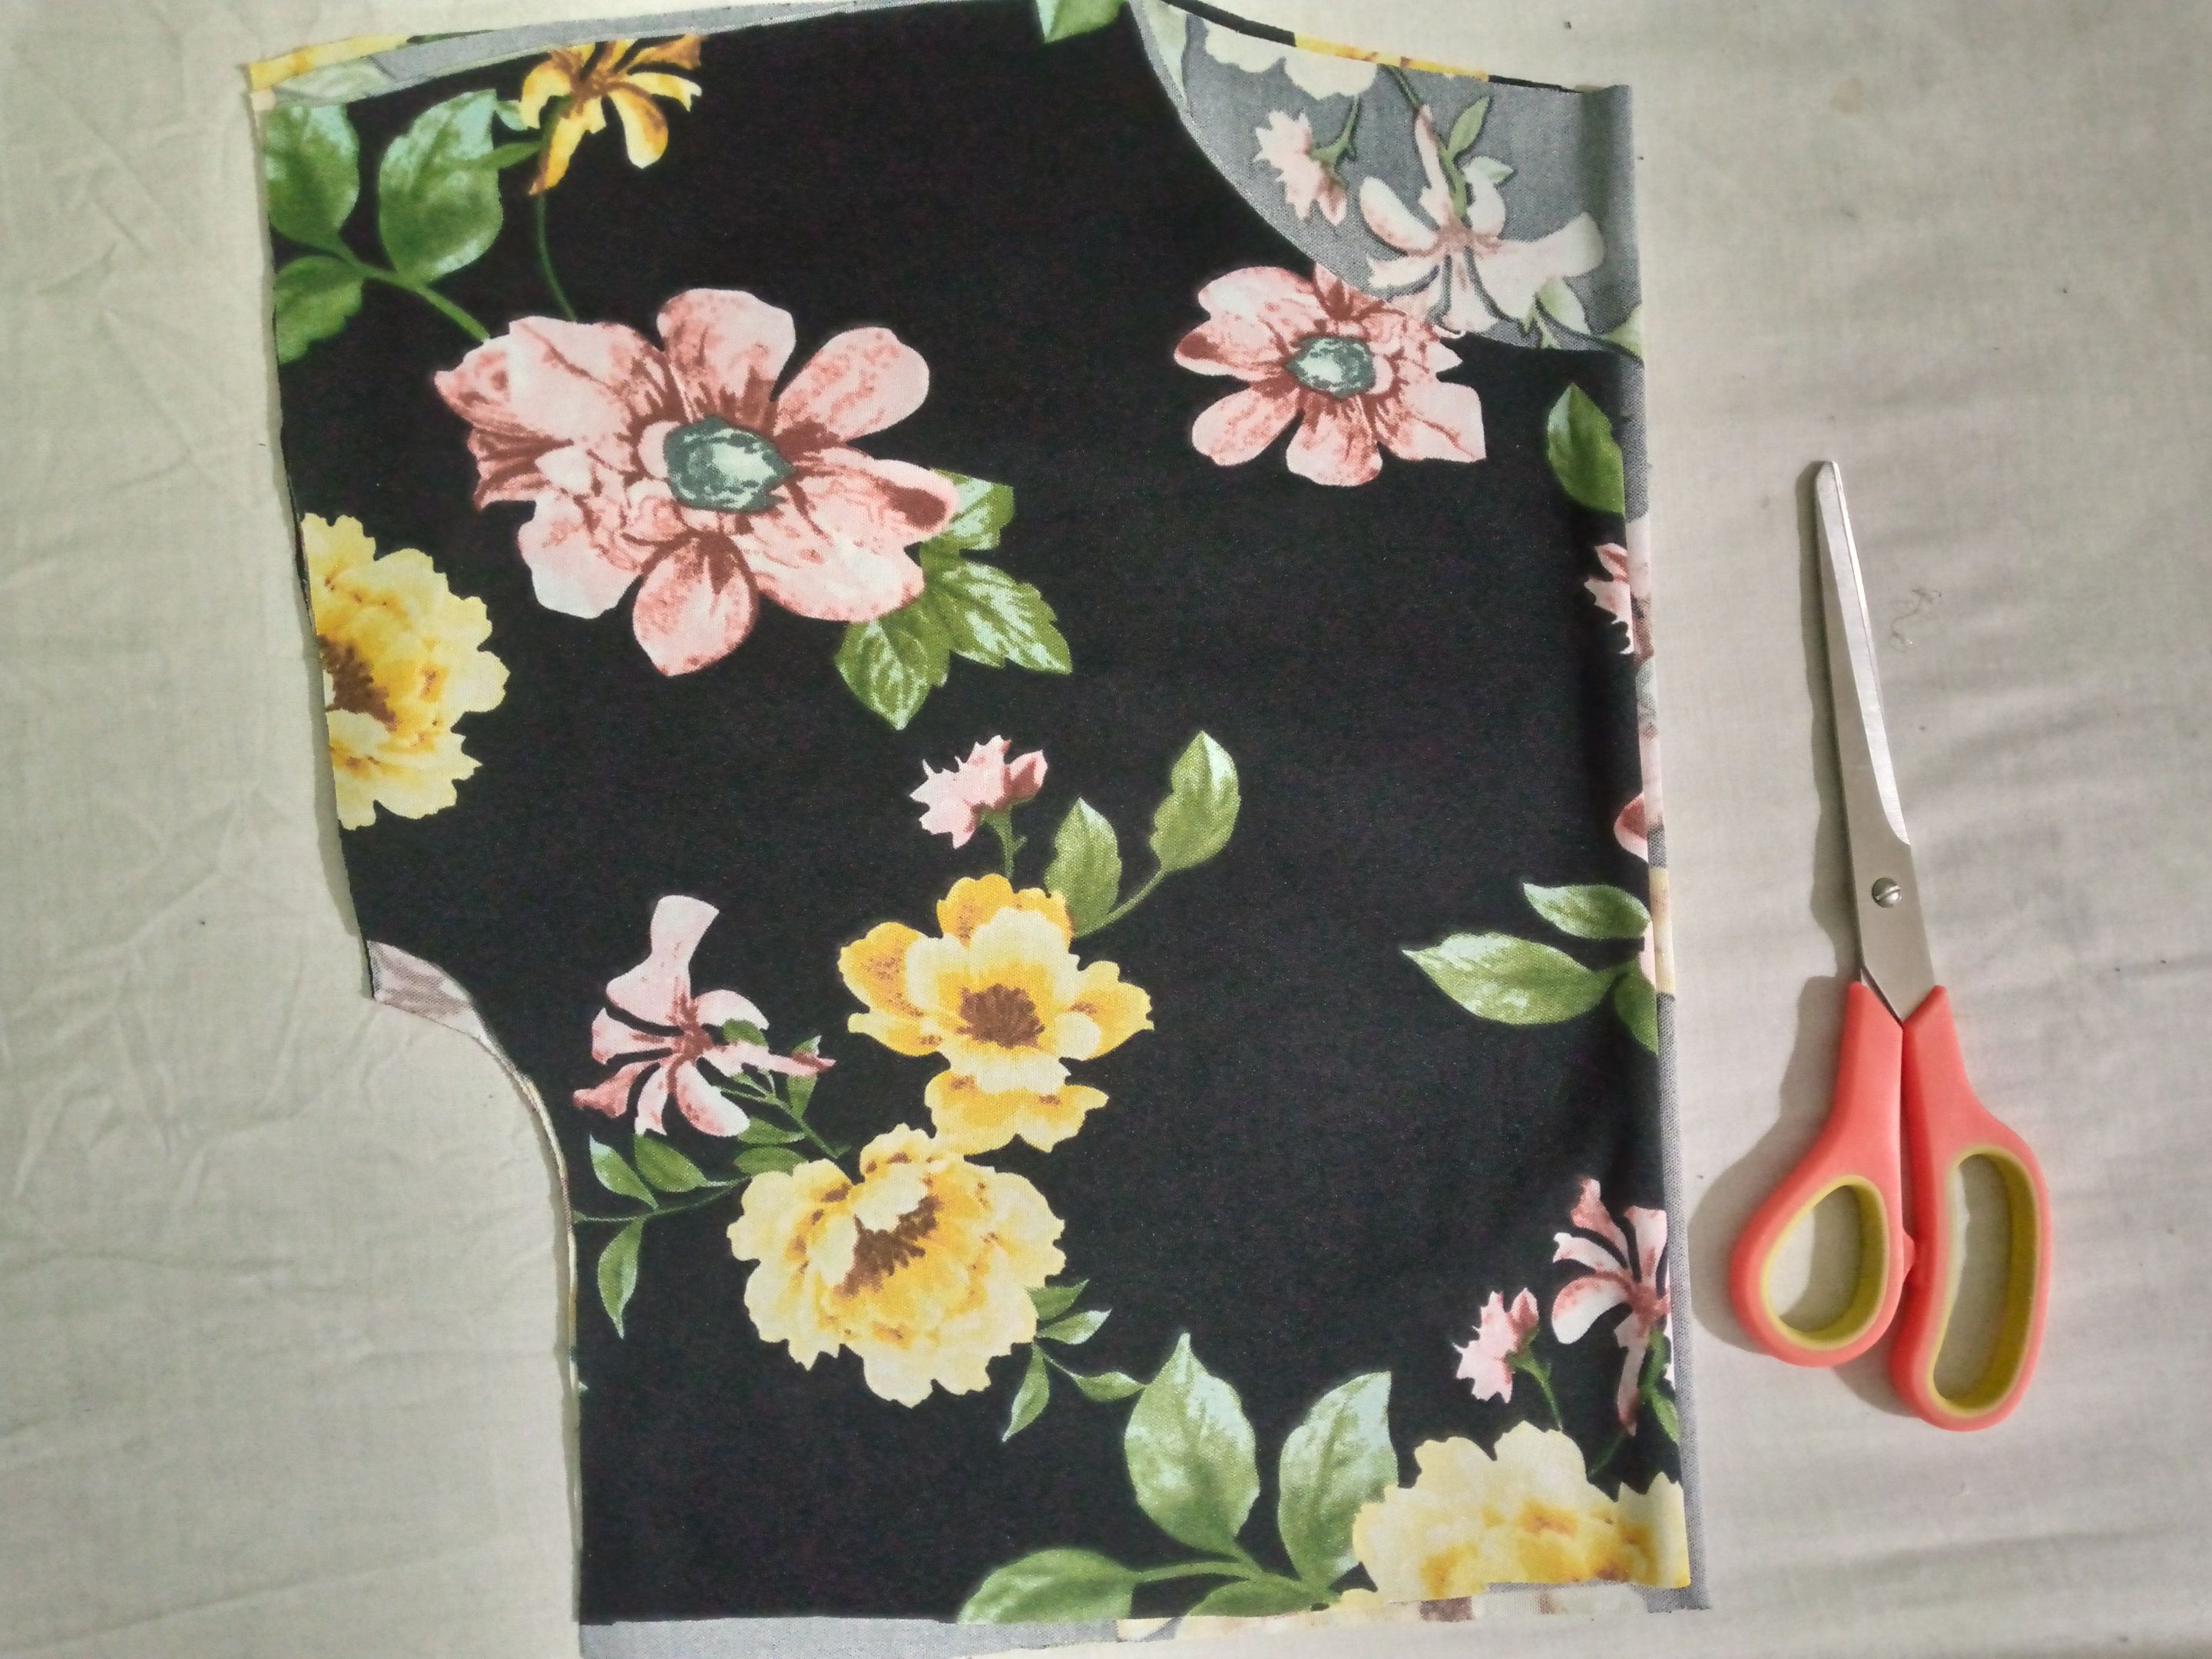
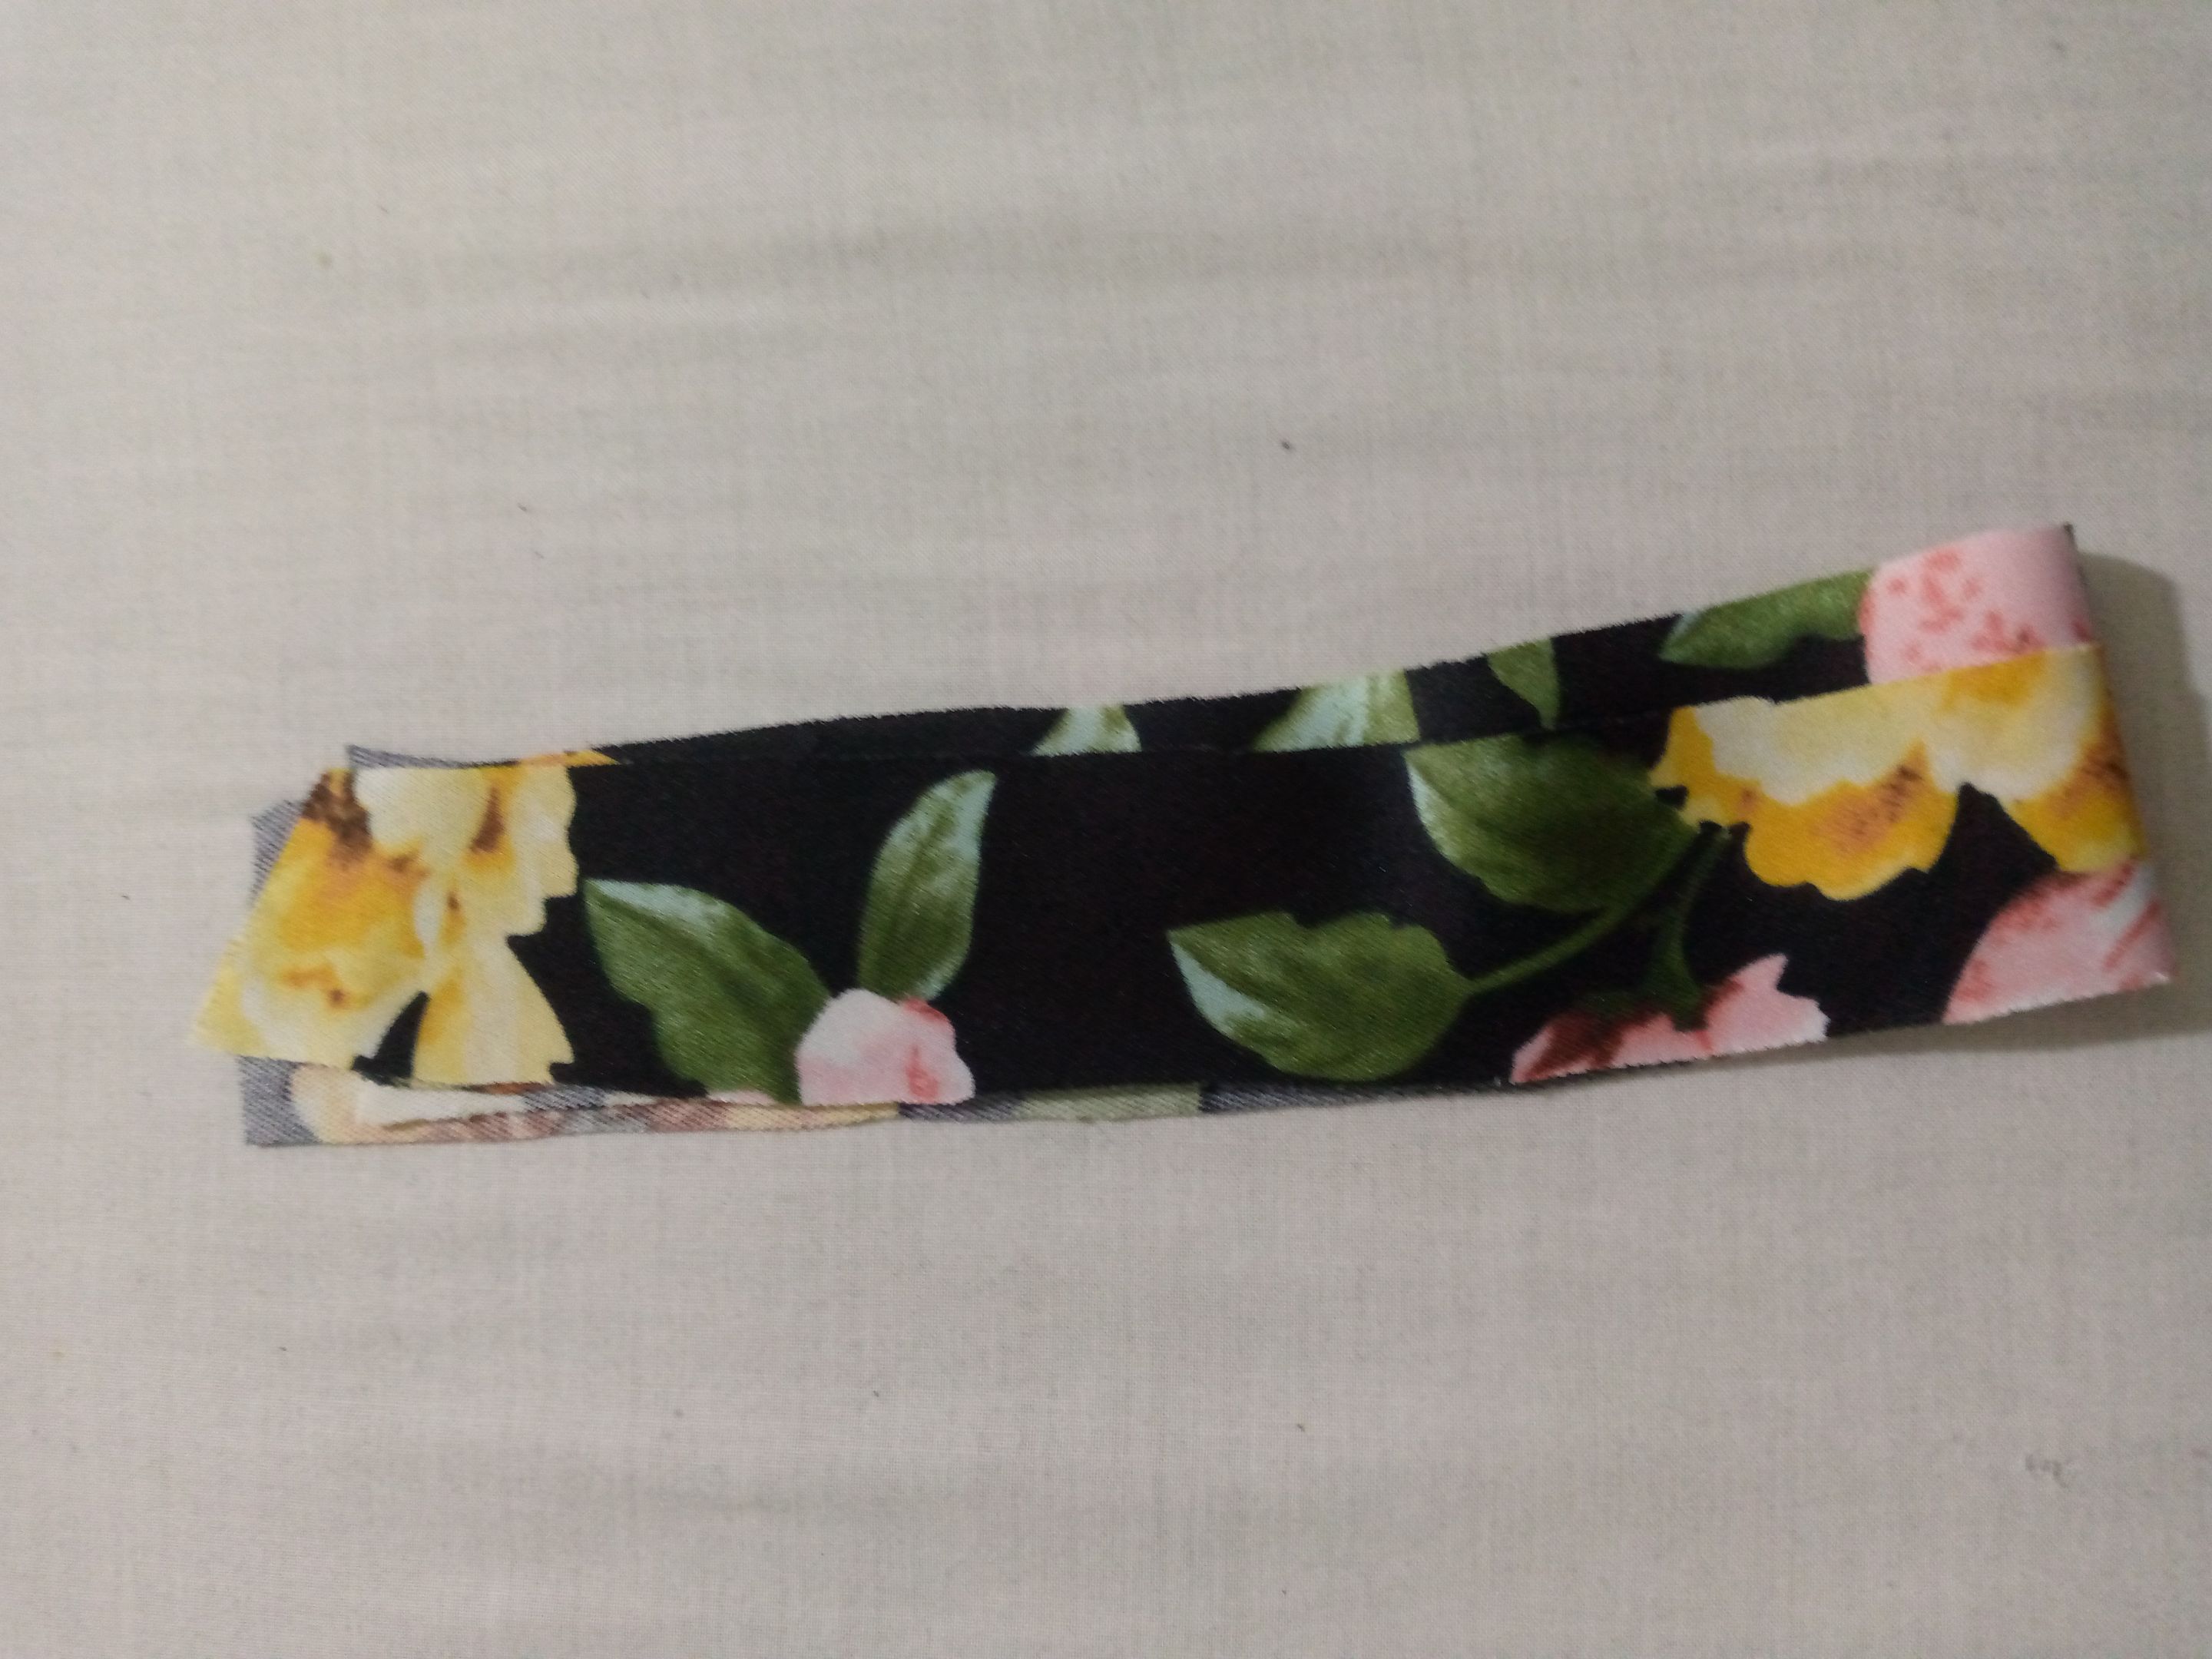
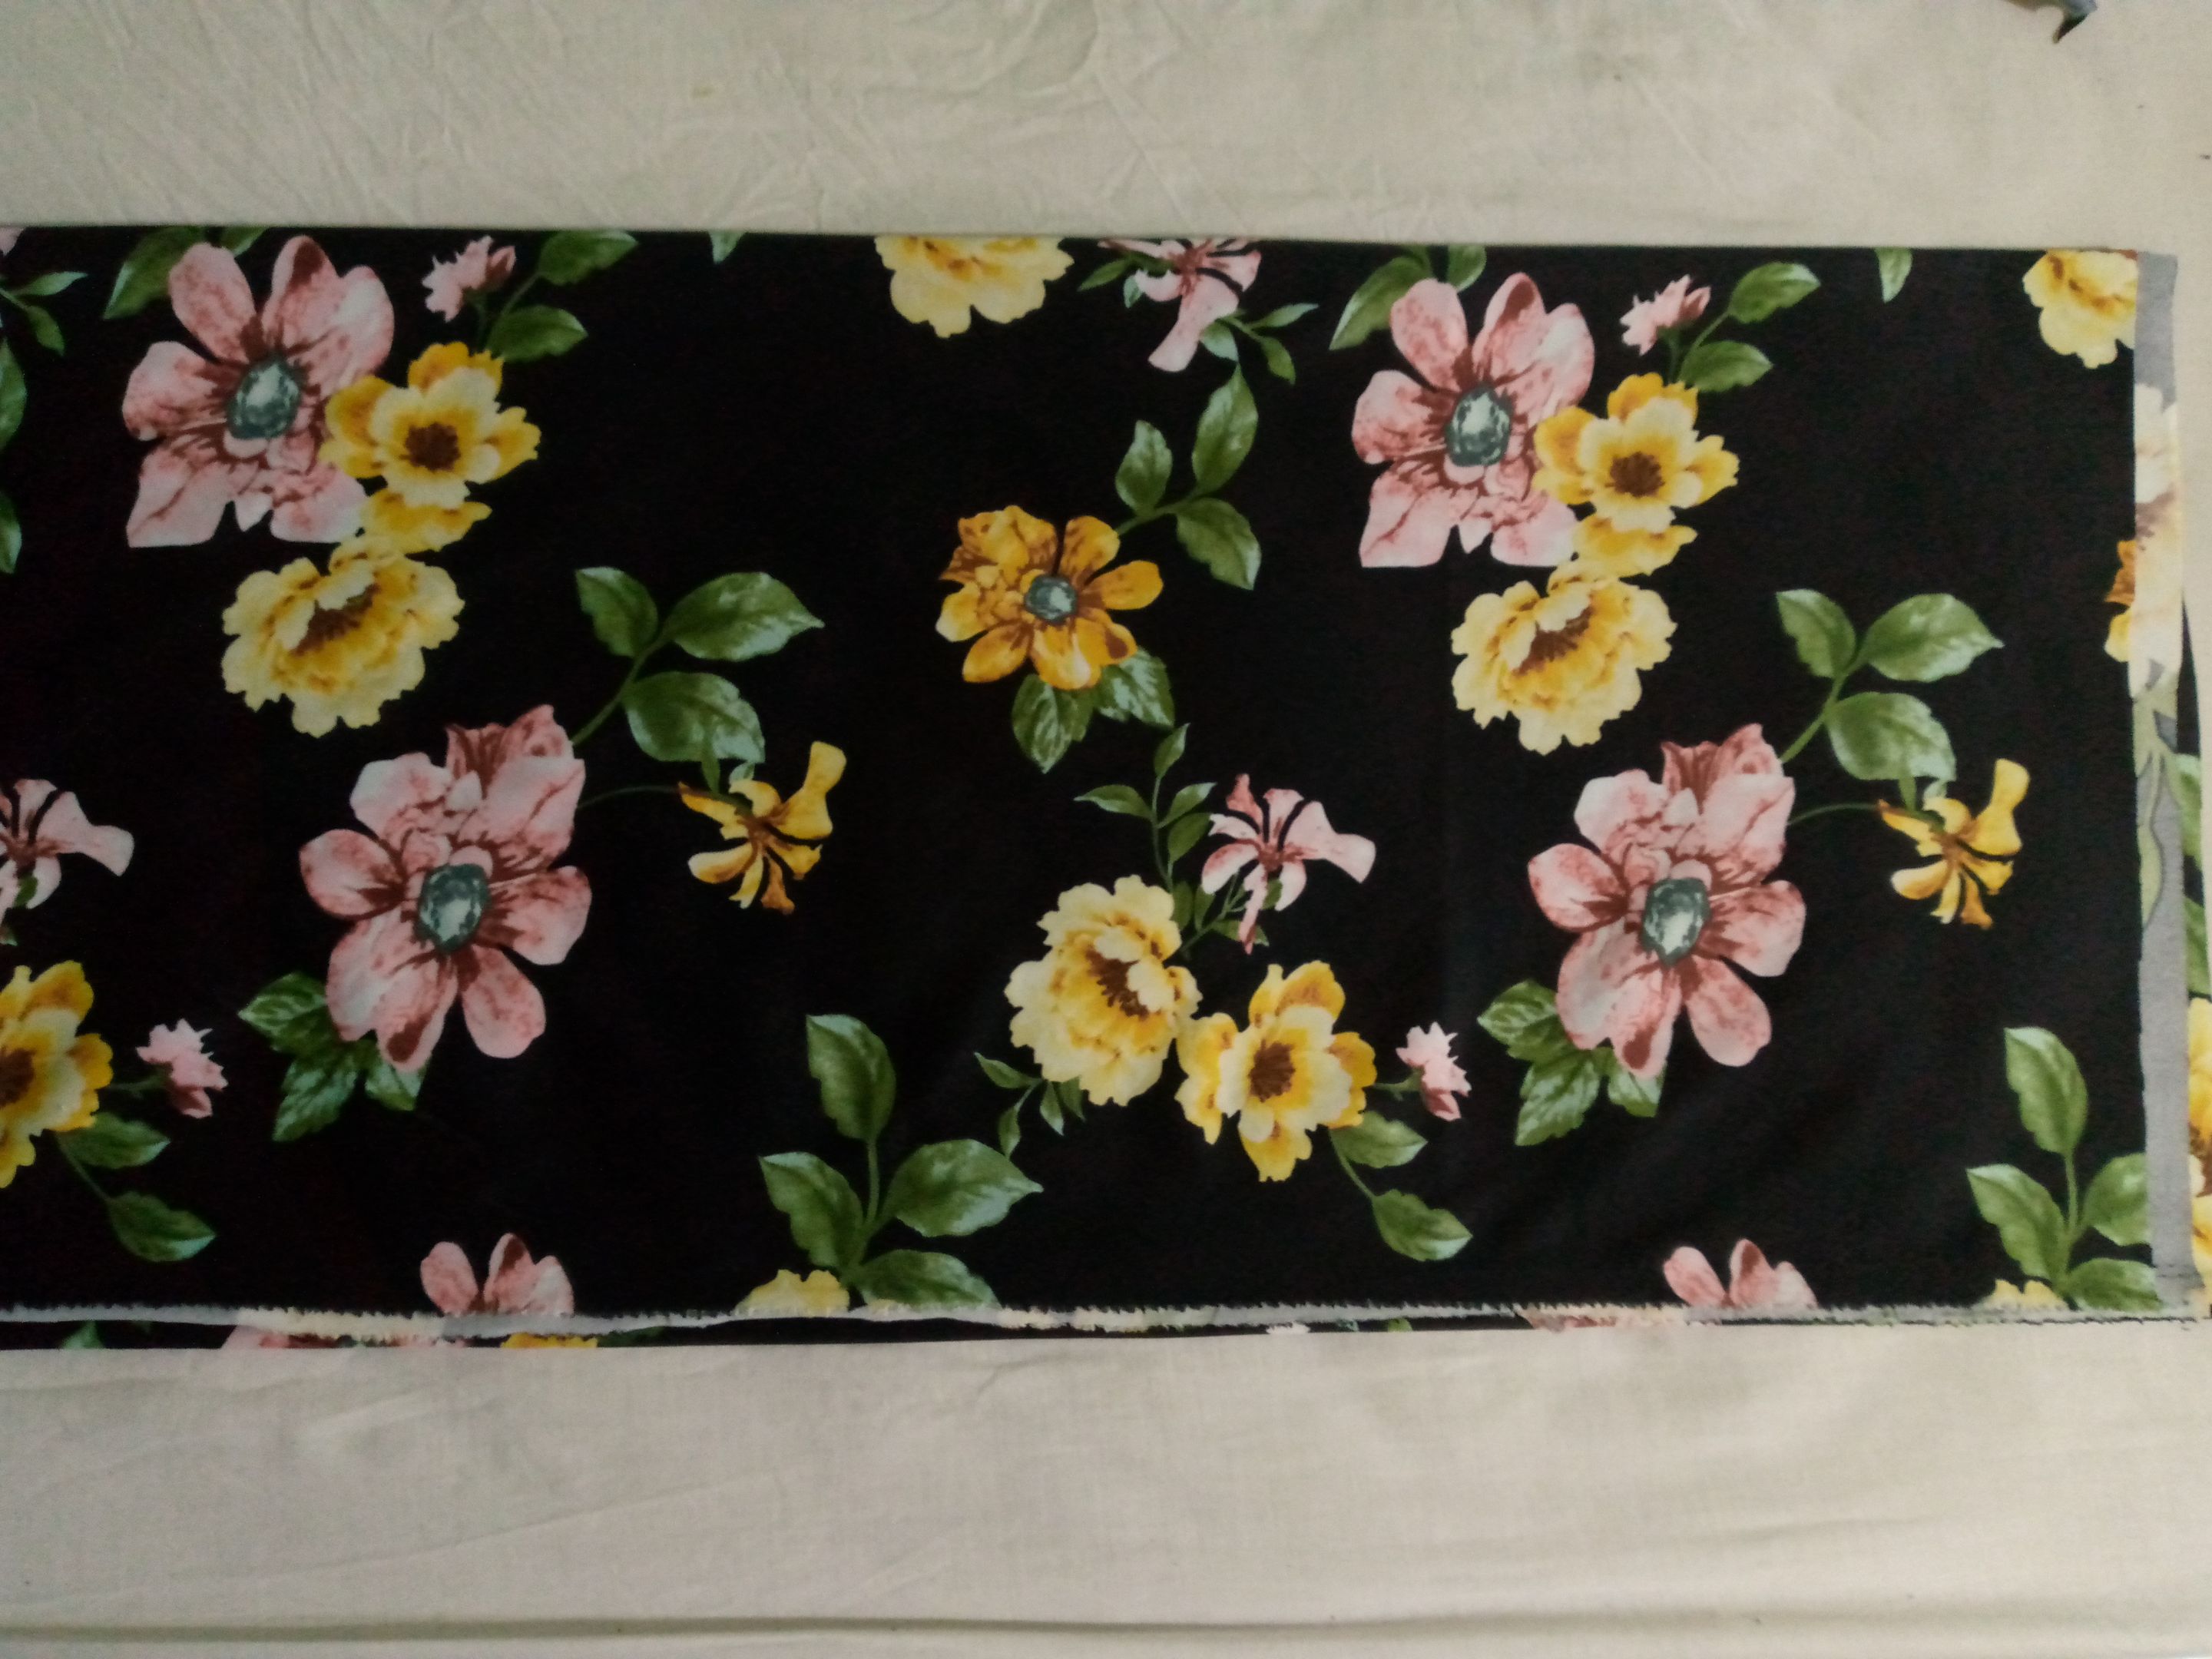
Paso 01
Estaré empezando por la parte que más me encanta que es cortar las piezas del vestido y las que usaremos principalmente como la parte del talle delantero que es de 35 cm de largo ,la falda del vestido de 100 cm + 2 cm de ruedo el ancho es de 1.40 cm ,y el bias o sesgo del cuello del mismo ancho del cuello 36 cm - 2 (34 cm ) x 4 cm de ancho,esas son las piezas que usaremos para proceder a coser el vestido.
Step 01
I will start with the part that I love the most, which is cutting the pieces of the dress and the ones that we will mainly use, such as the front waist part, which is 35 cm long, the skirt of the dress is 100 cm + 2 cm hem, the width is 1.40 cm, and the bias or bias of the neck, the same width as the neck, 36 cm - 2 (34 cm) x 4 cm wide. These are the pieces that we will use to proceed with sewing the dress.
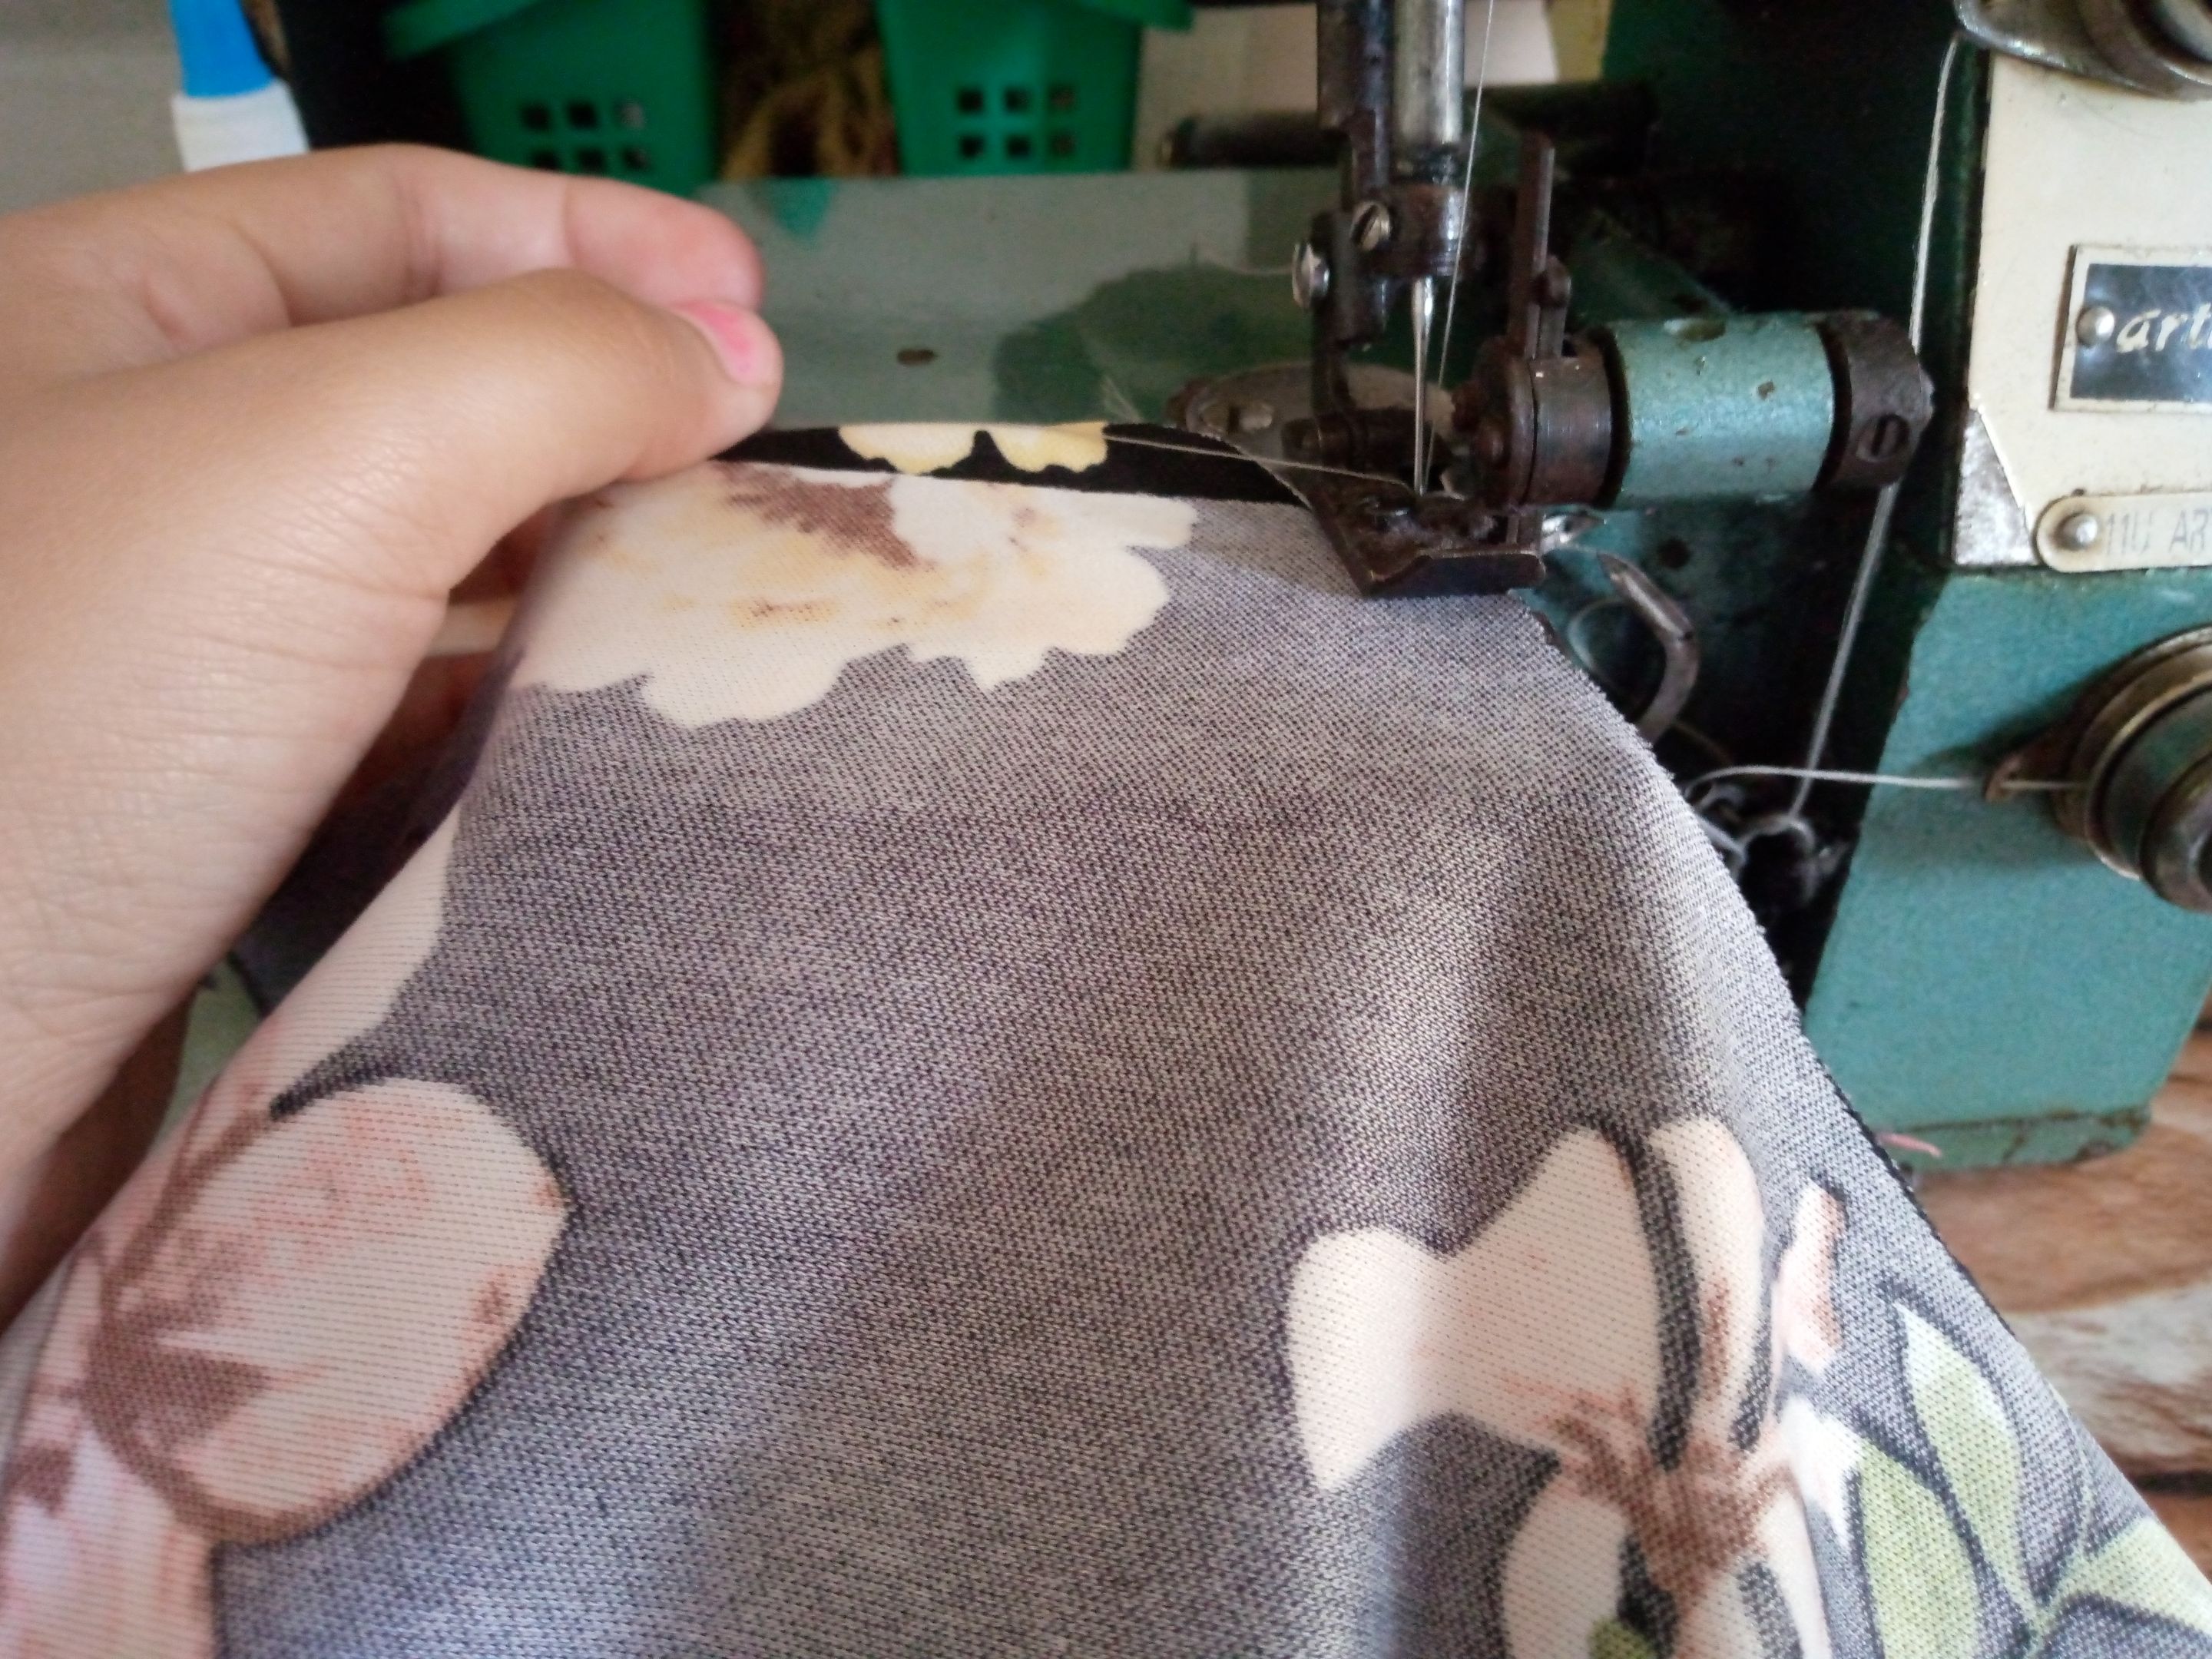

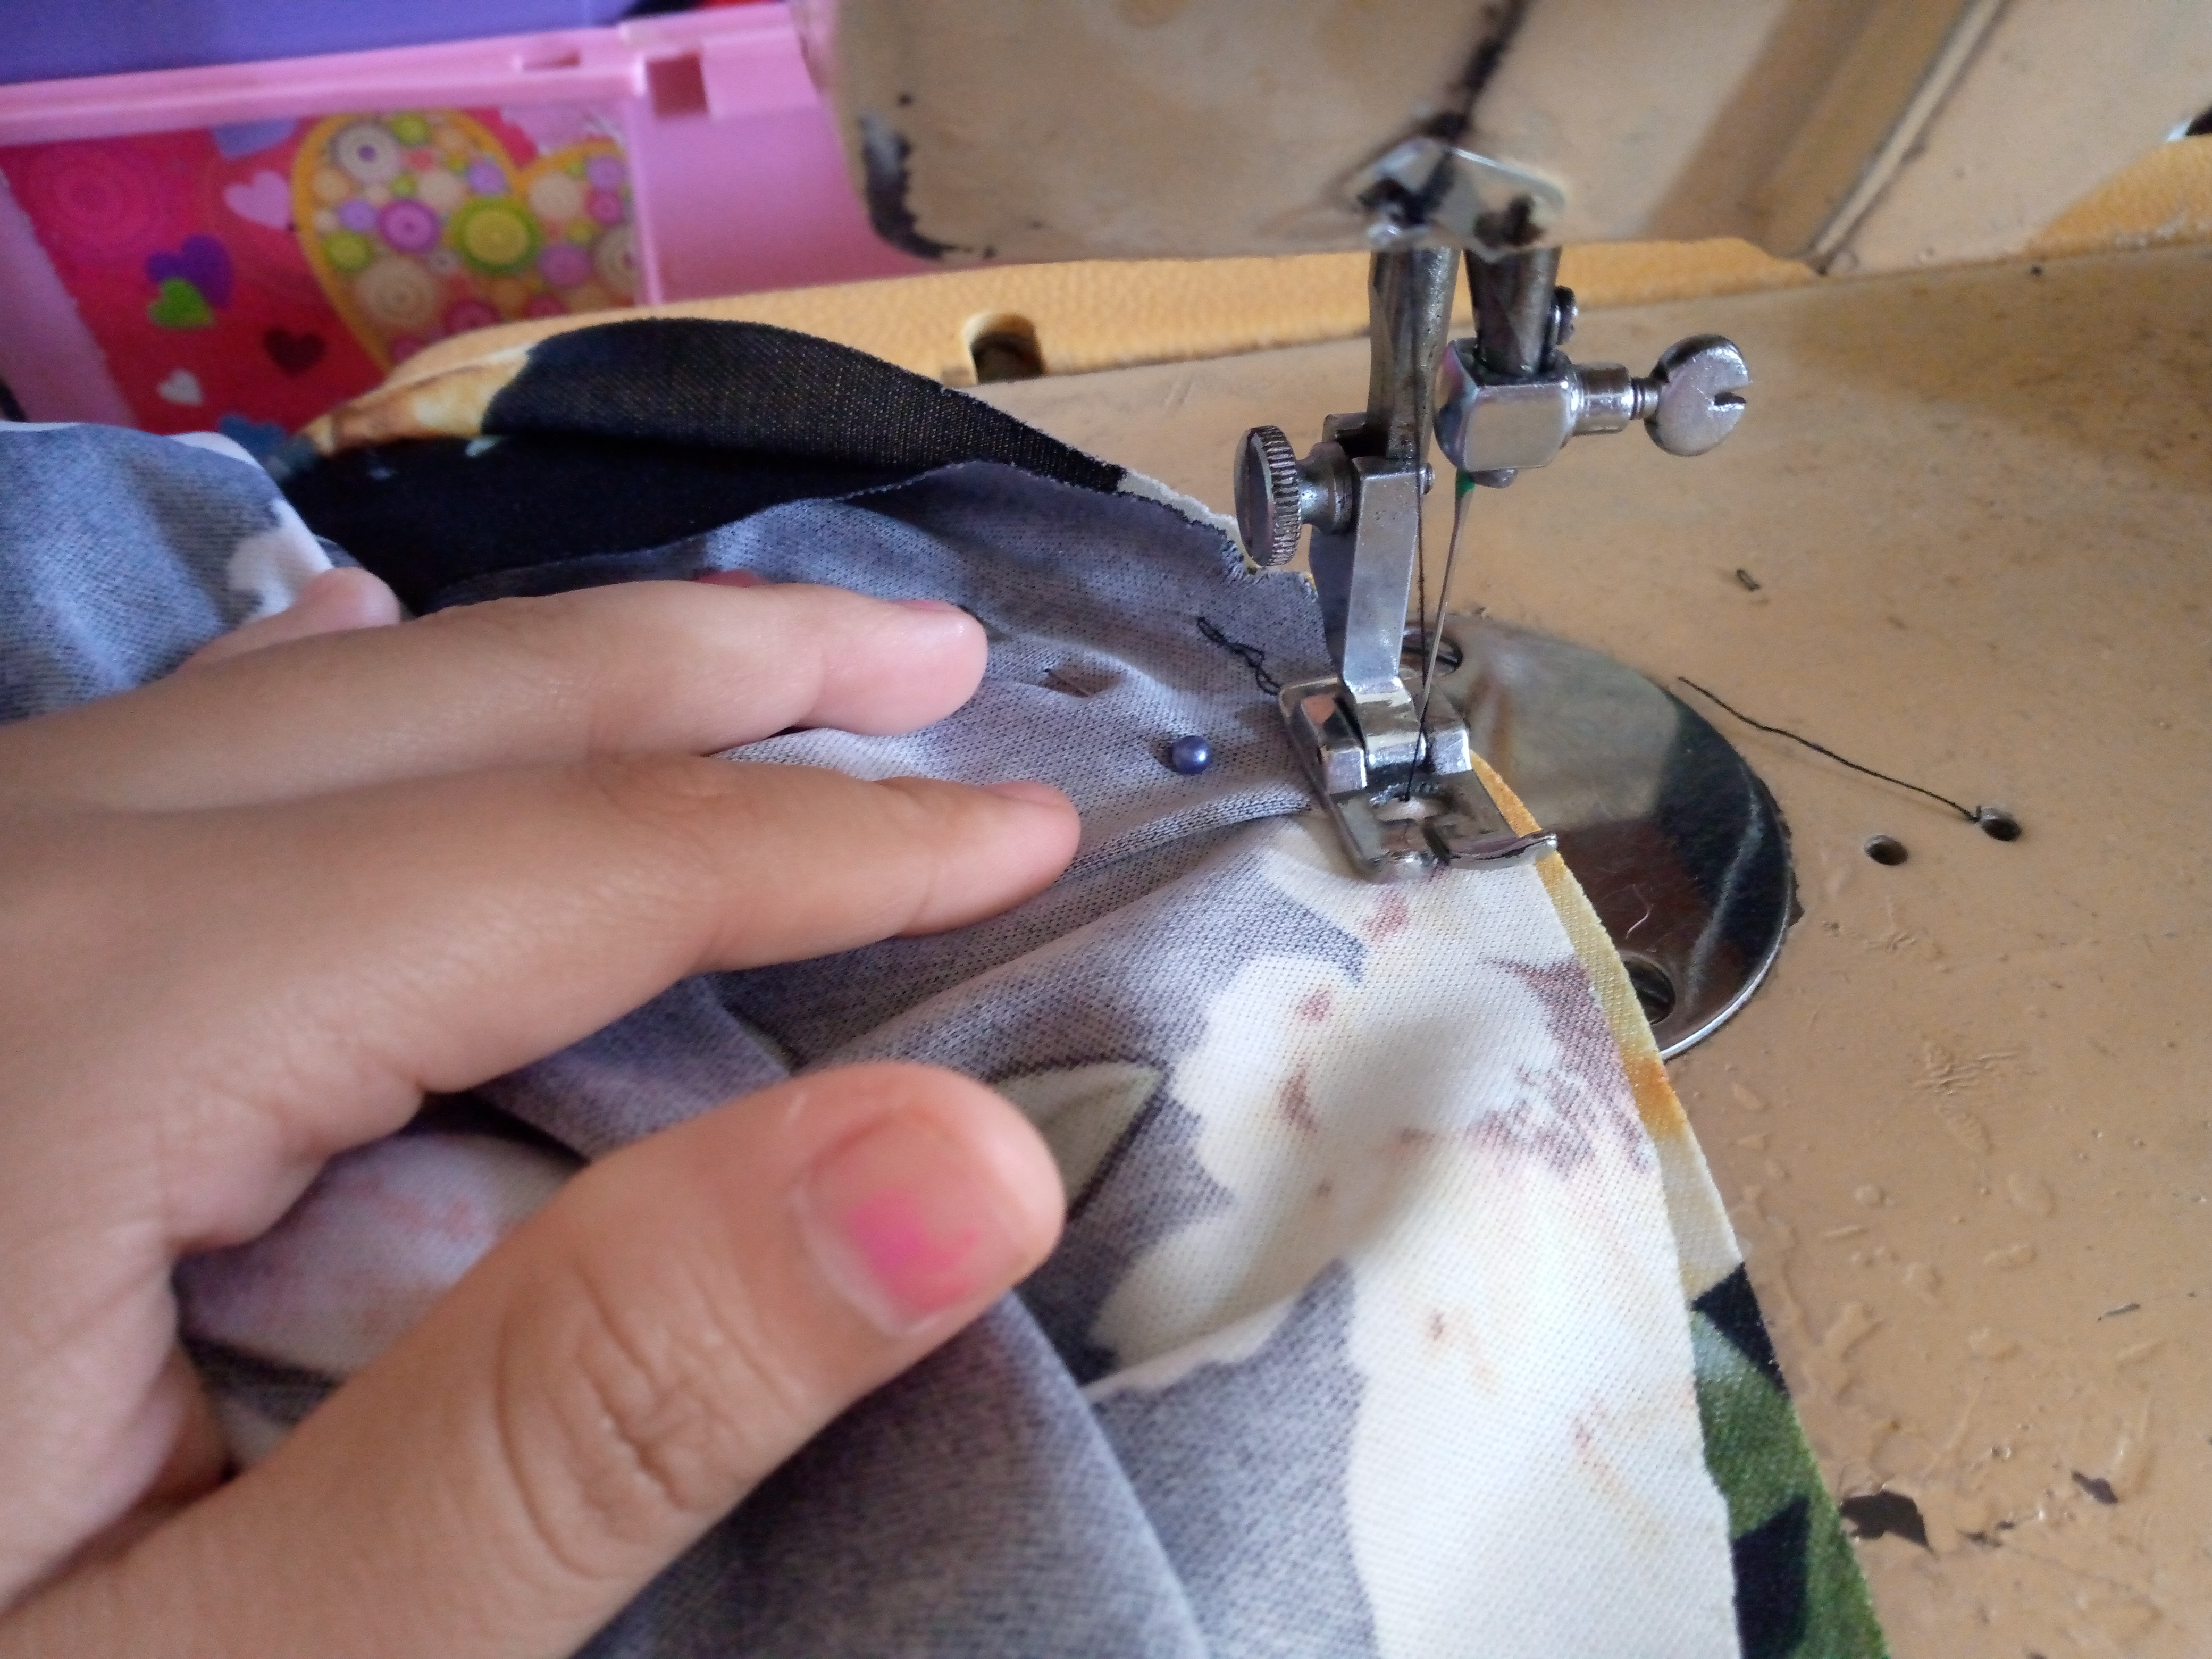
Paso 02
Antes de comenzar a coser como este vestido le corté ambas mangas corridas sin cortarlas aparte he tomado las piezas del talle delantero y el de atrás y justo en la caída del hombro coseré por el borde ,lo he hecho con costura overlock, ustedes pueden hacerlo con zig zag luego rematando costura con costura recta entonces coseremos después la parte de los costados del vestido de los lados hasta sellarlo para cerrar la blusa de mi vestido,para colocar ahora el bias estaremos uniendo el bias en el extremo de ambos lados.
Step 02
Before starting to sew this dress I cut both sleeves without cutting them separately I took the pieces of the front and back waist and right where the shoulder falls I will sew along the edge, I did it with an overlock seam, you can do it with a zig zag then finishing the seam with a straight seam then we will sew the side parts of the dress from the sides until sealing it to close the blouse of my dress, to place the bias now we will be joining the bias at the end of both sides.


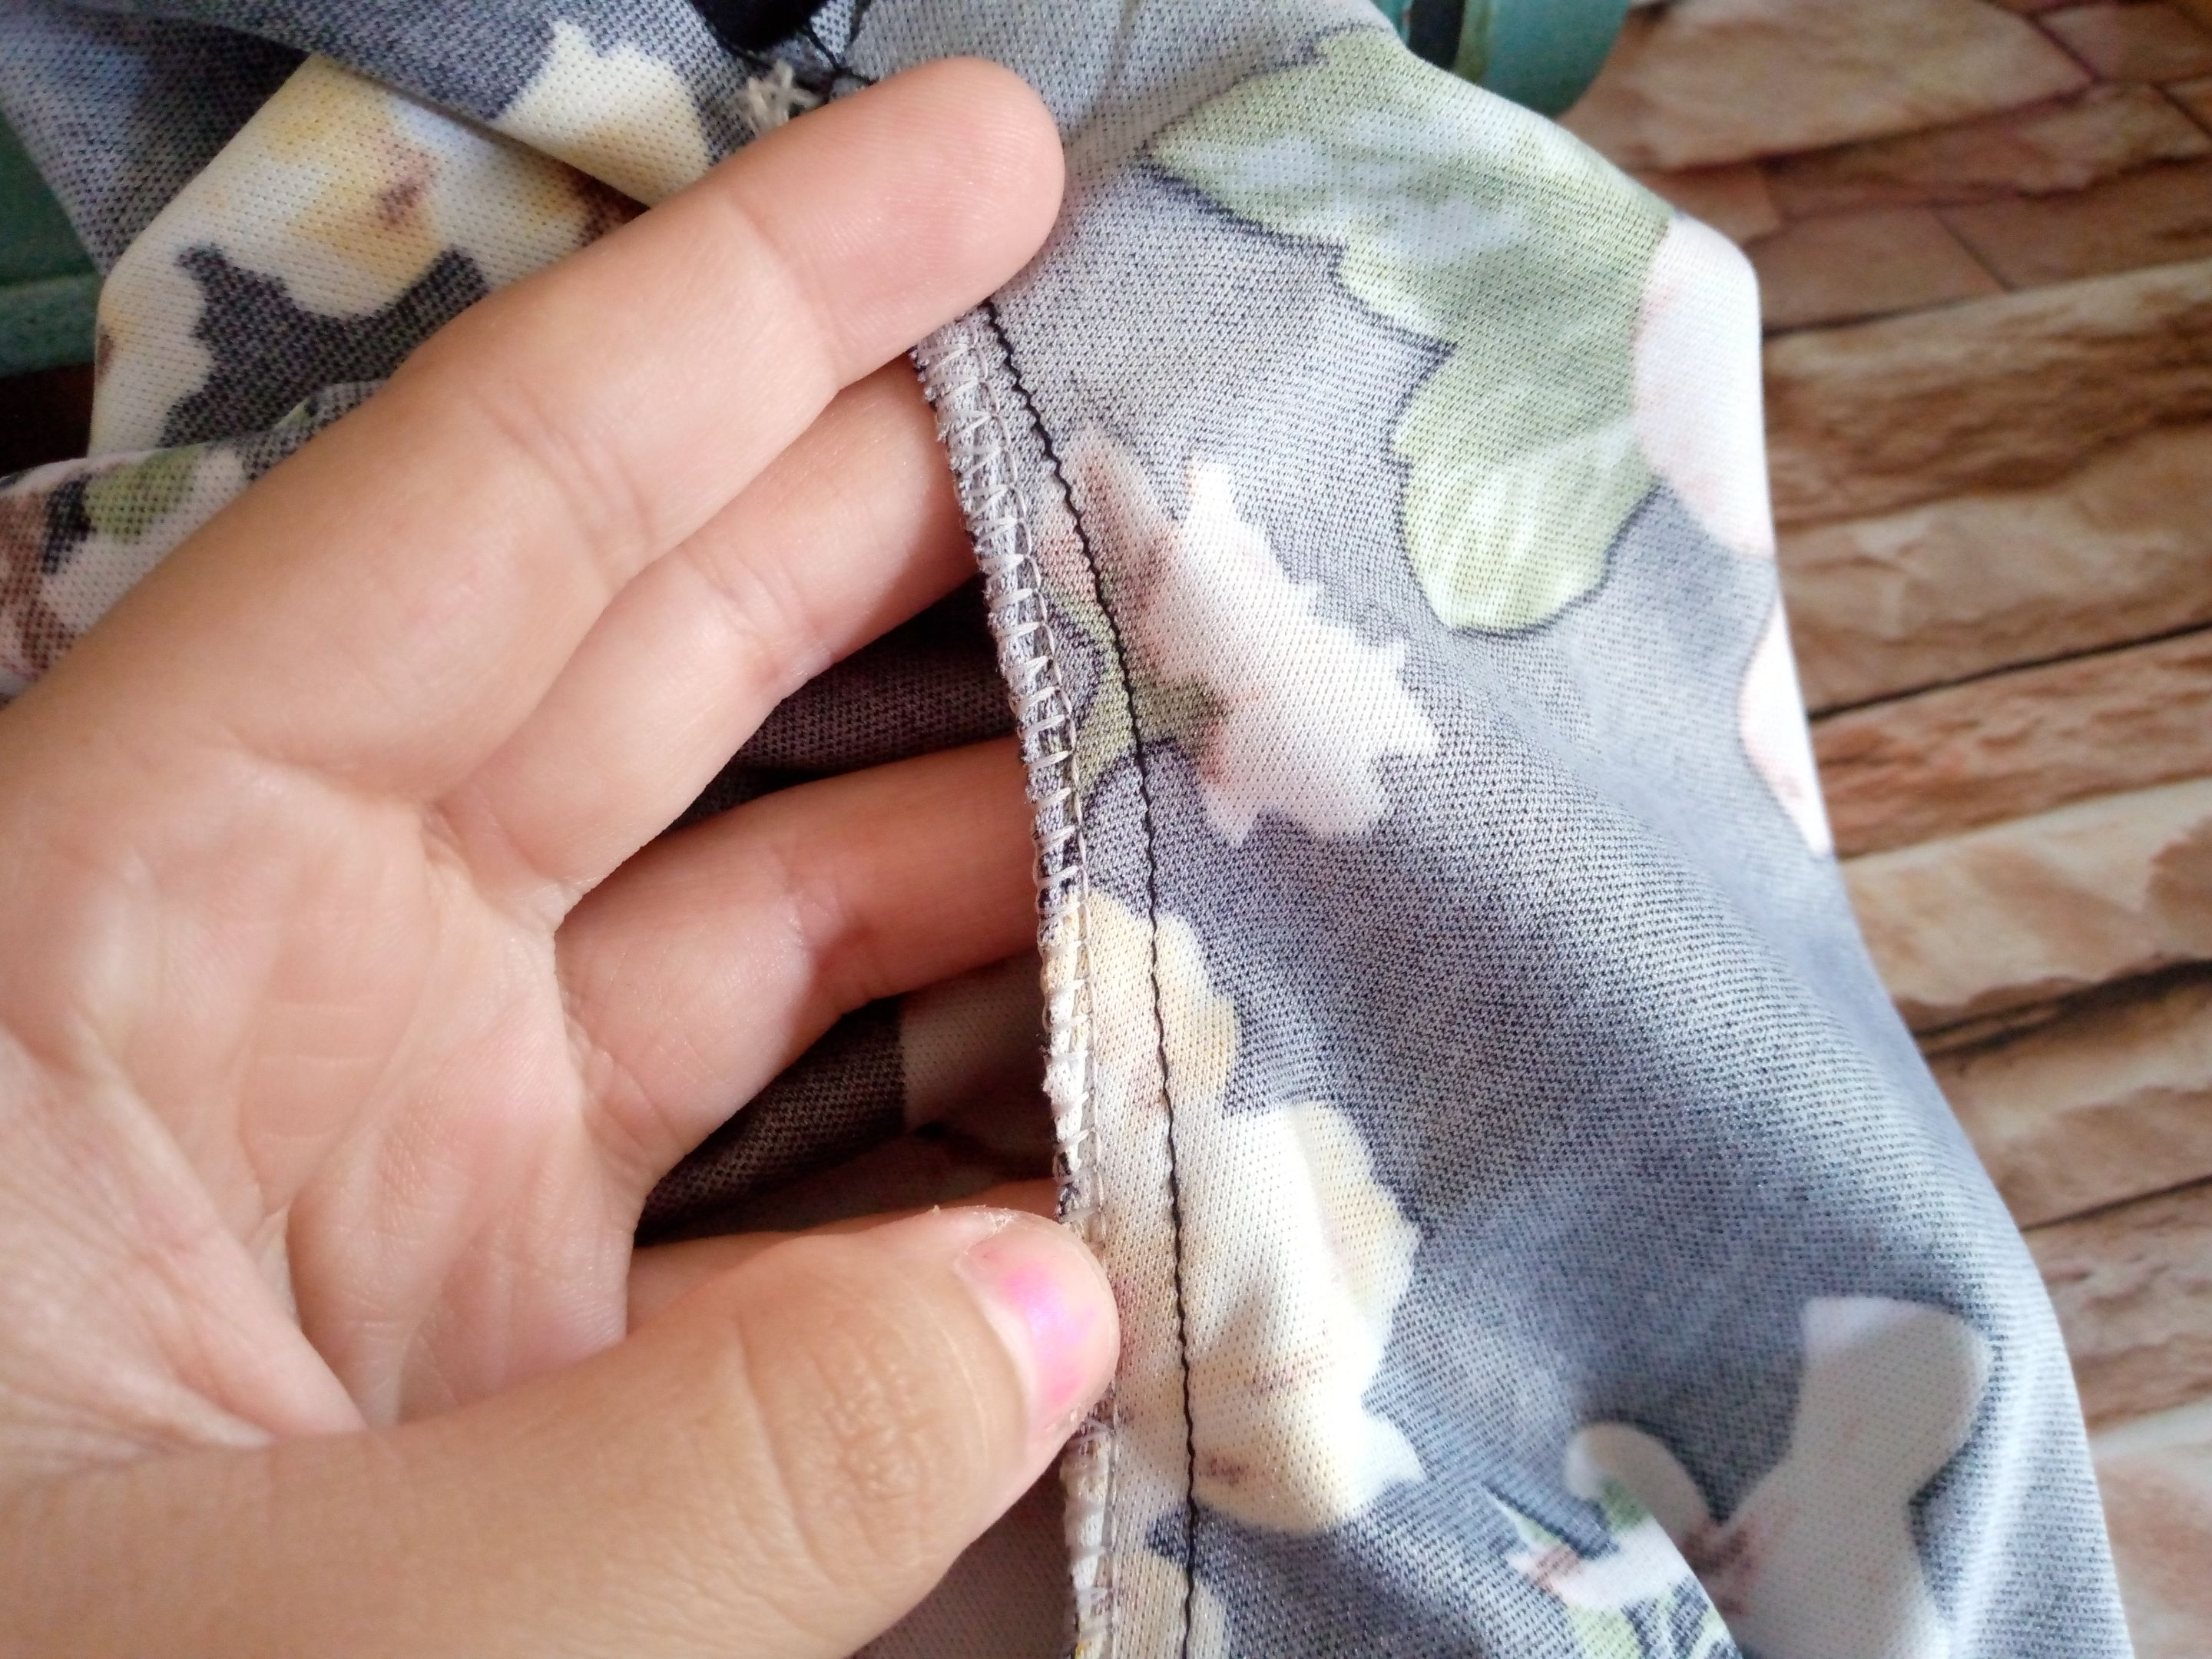
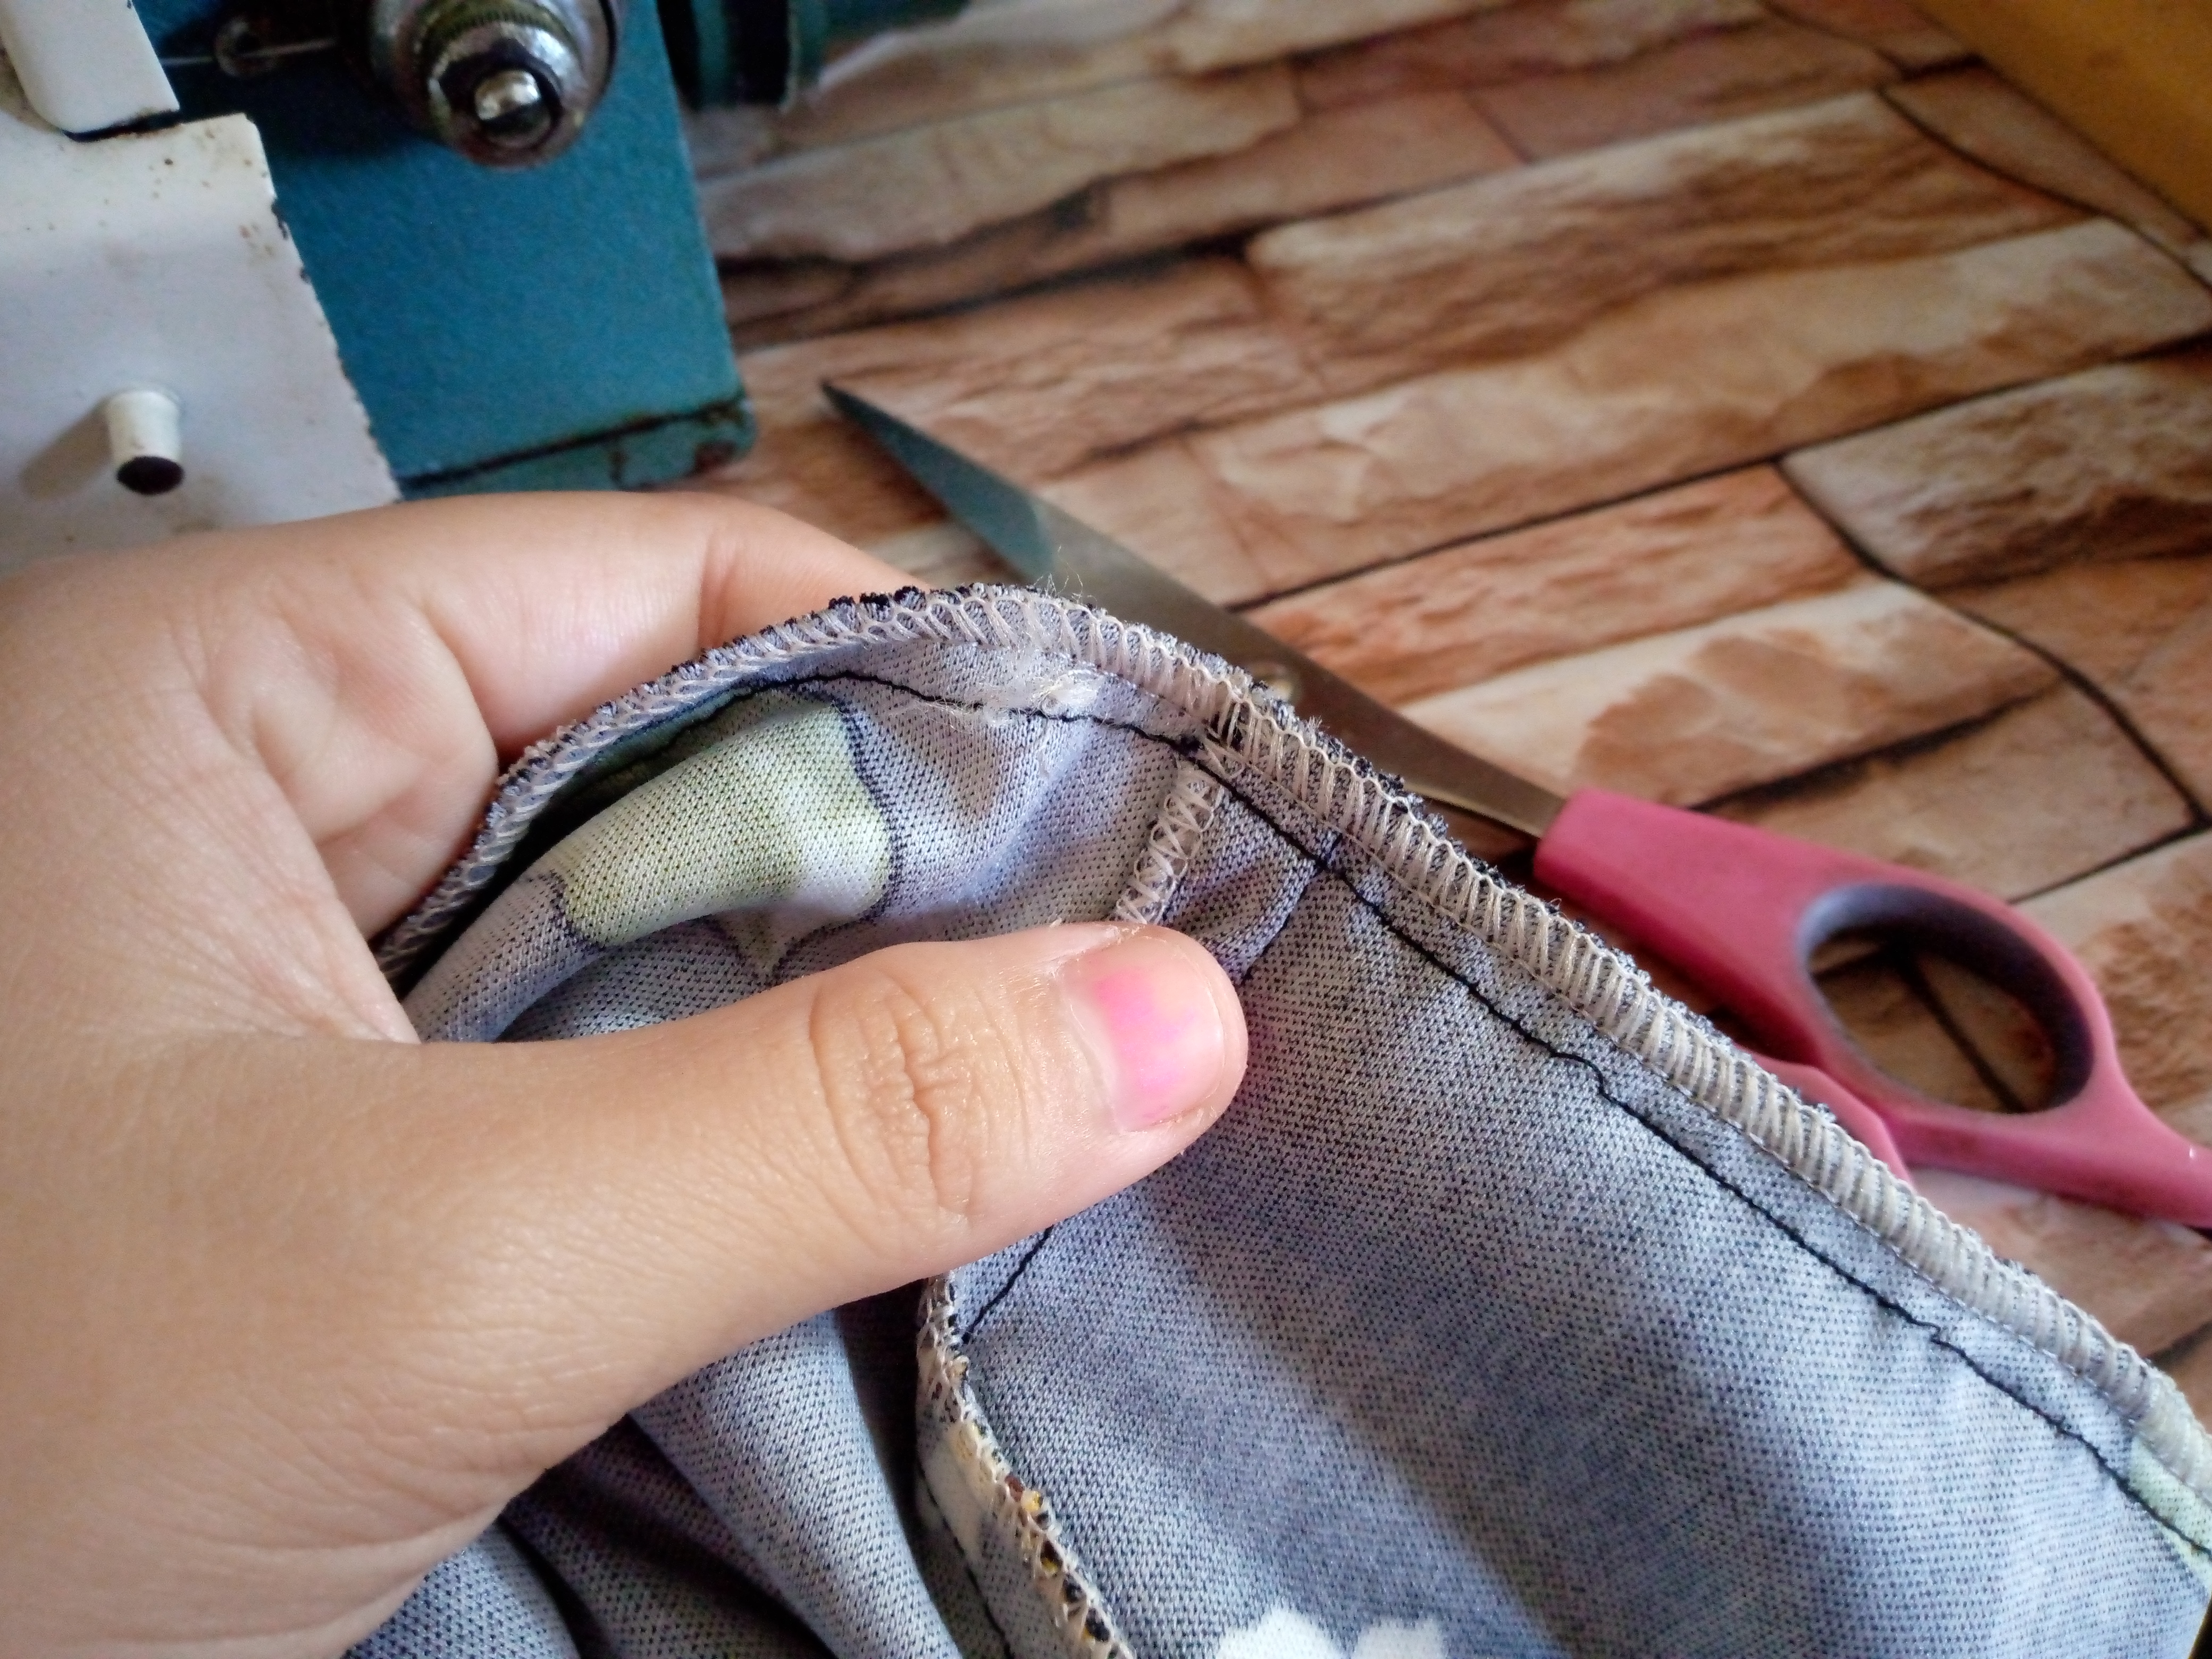
Paso 03
Cosemos con costura recta por el inferior ,ahora lo ubicaremos esta unión del bias en la parte de atrás de la blusa en la caída del cuello pero lo estaremos cosiendo de adentro hacia afuera repisando por encima nuestro sesgo del cuello,para sellar la falda solamente cosemos el borde completo hasta abajo de manera vertical con costura overlock y coseré el borde de mi ruedo.
Step 03
We sew with a straight seam along the bottom, now we will place this bias binding on the back of the blouse where the neck falls, but we will be sewing it from the inside out, overlaying our neck bias. To seal the skirt, we only sew the entire edge all the way down vertically with an overlock seam, and I will sew the edge of my hem.
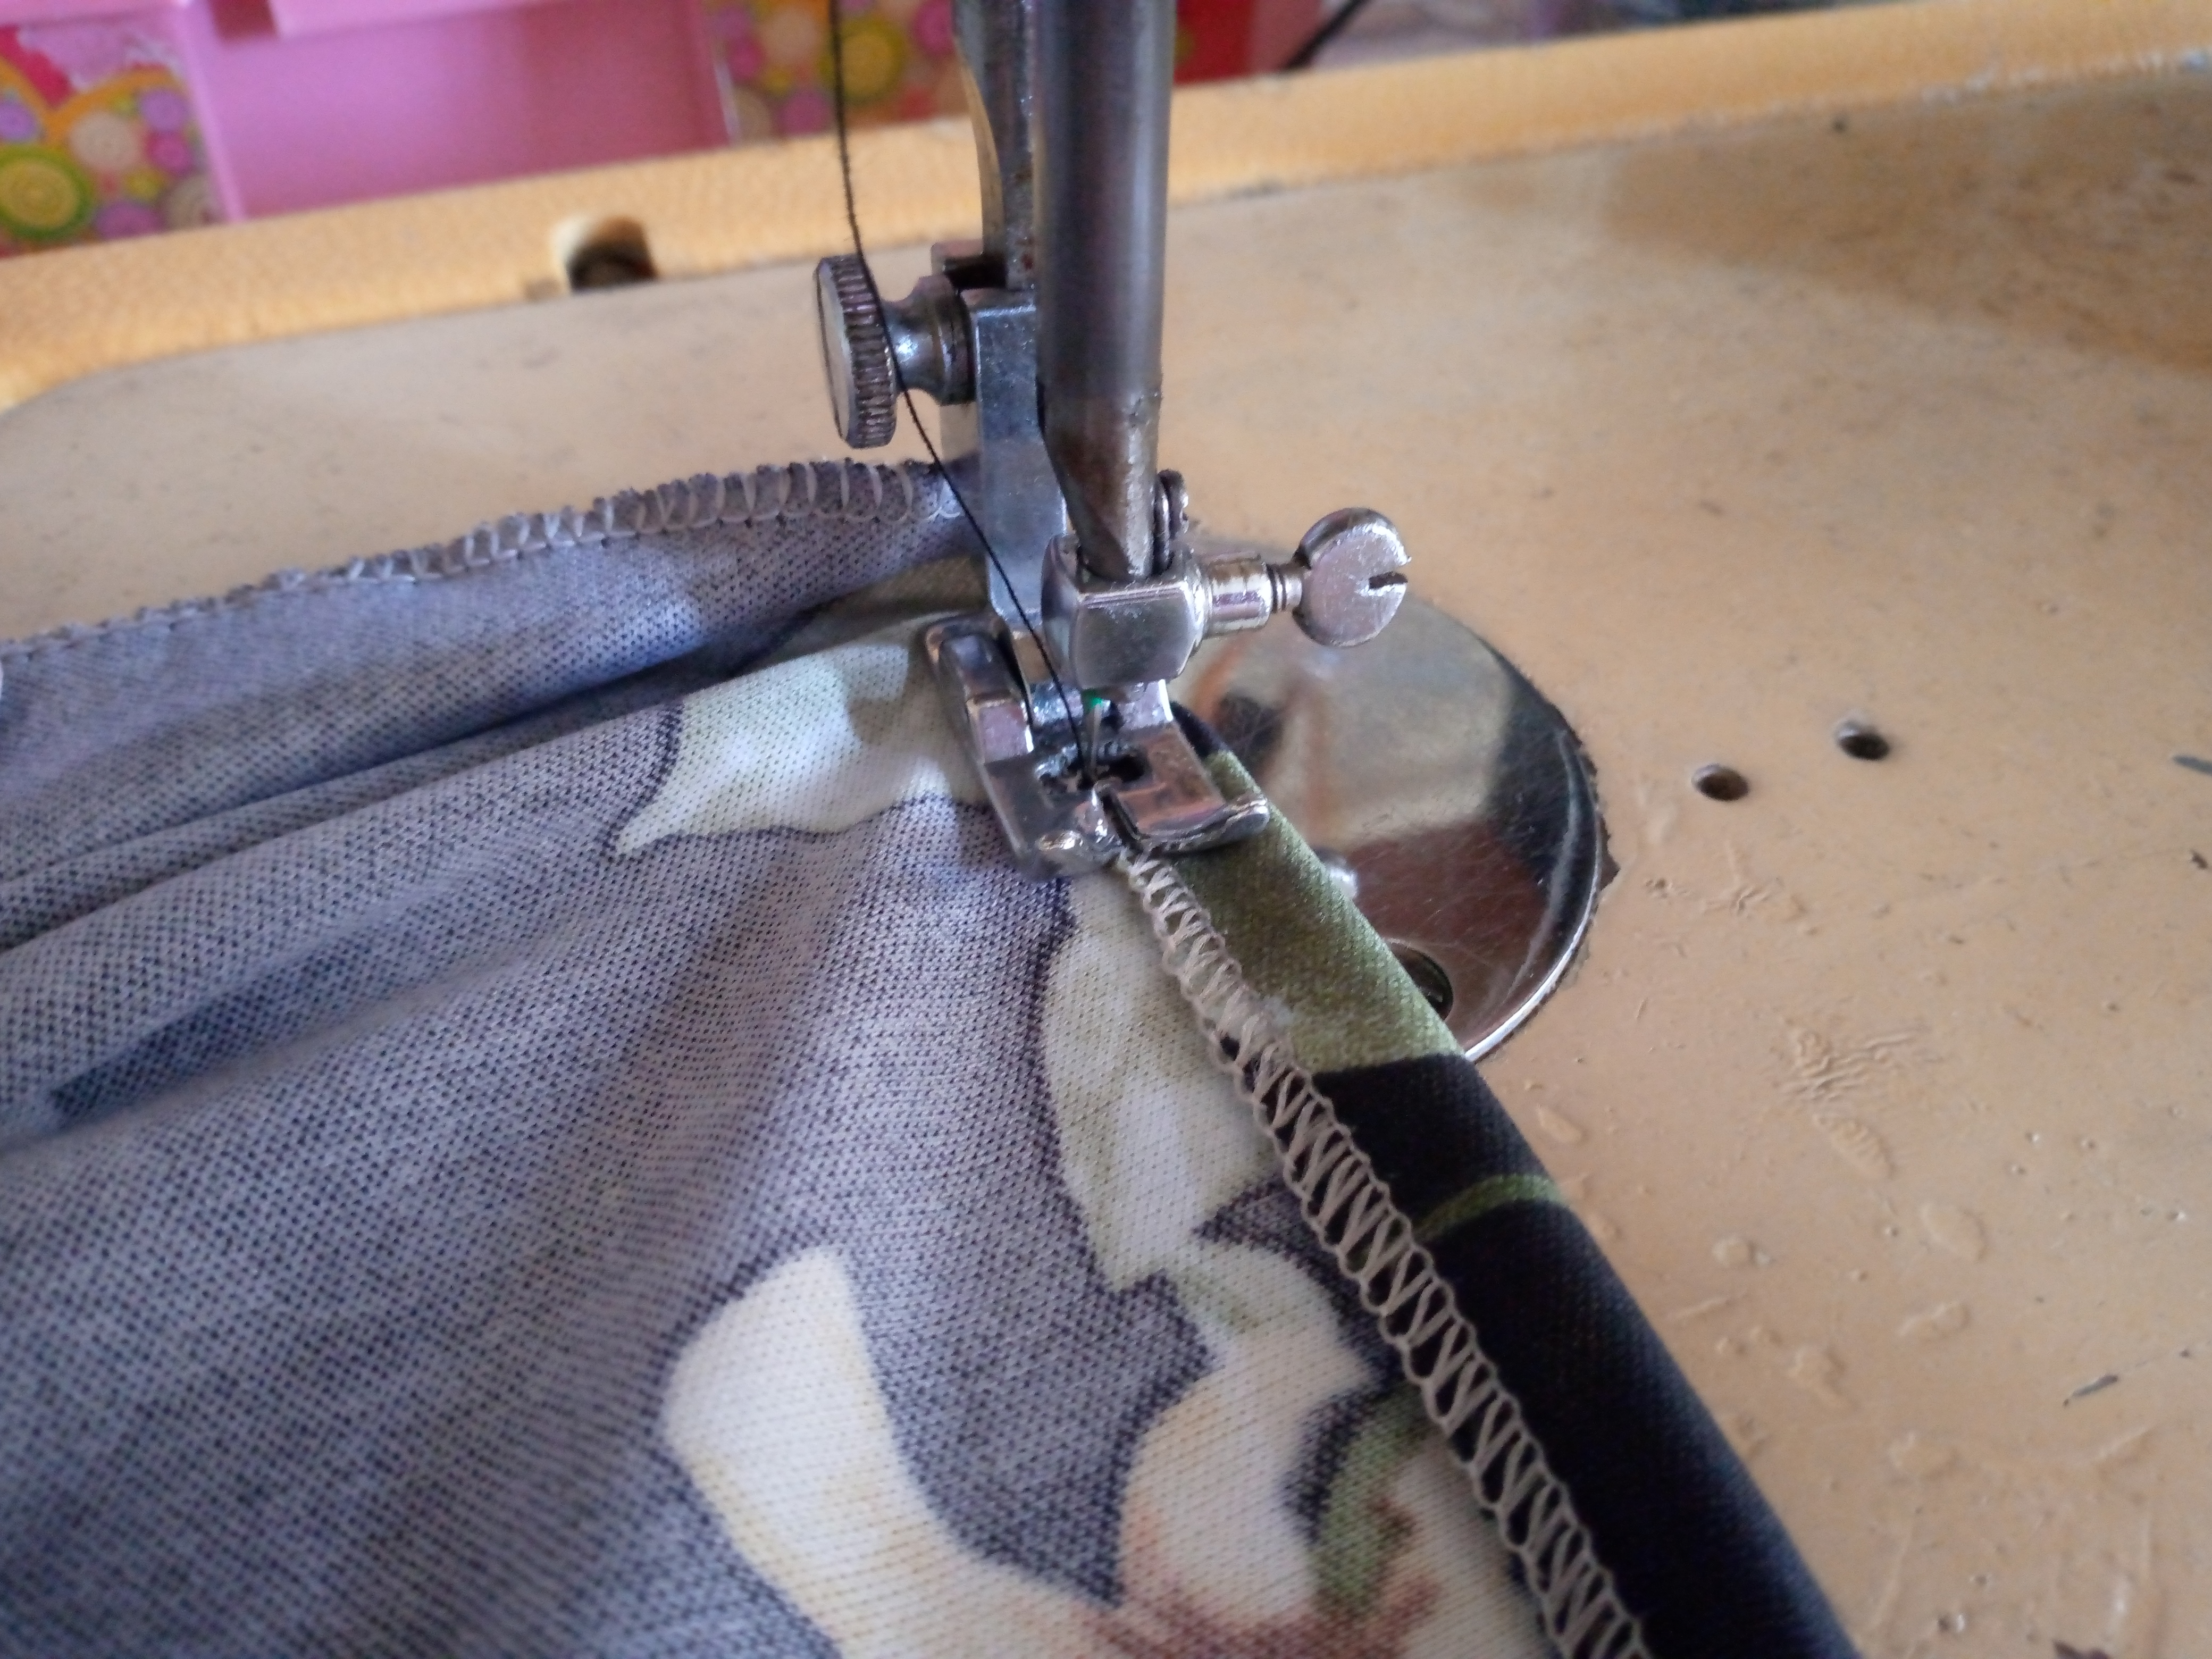


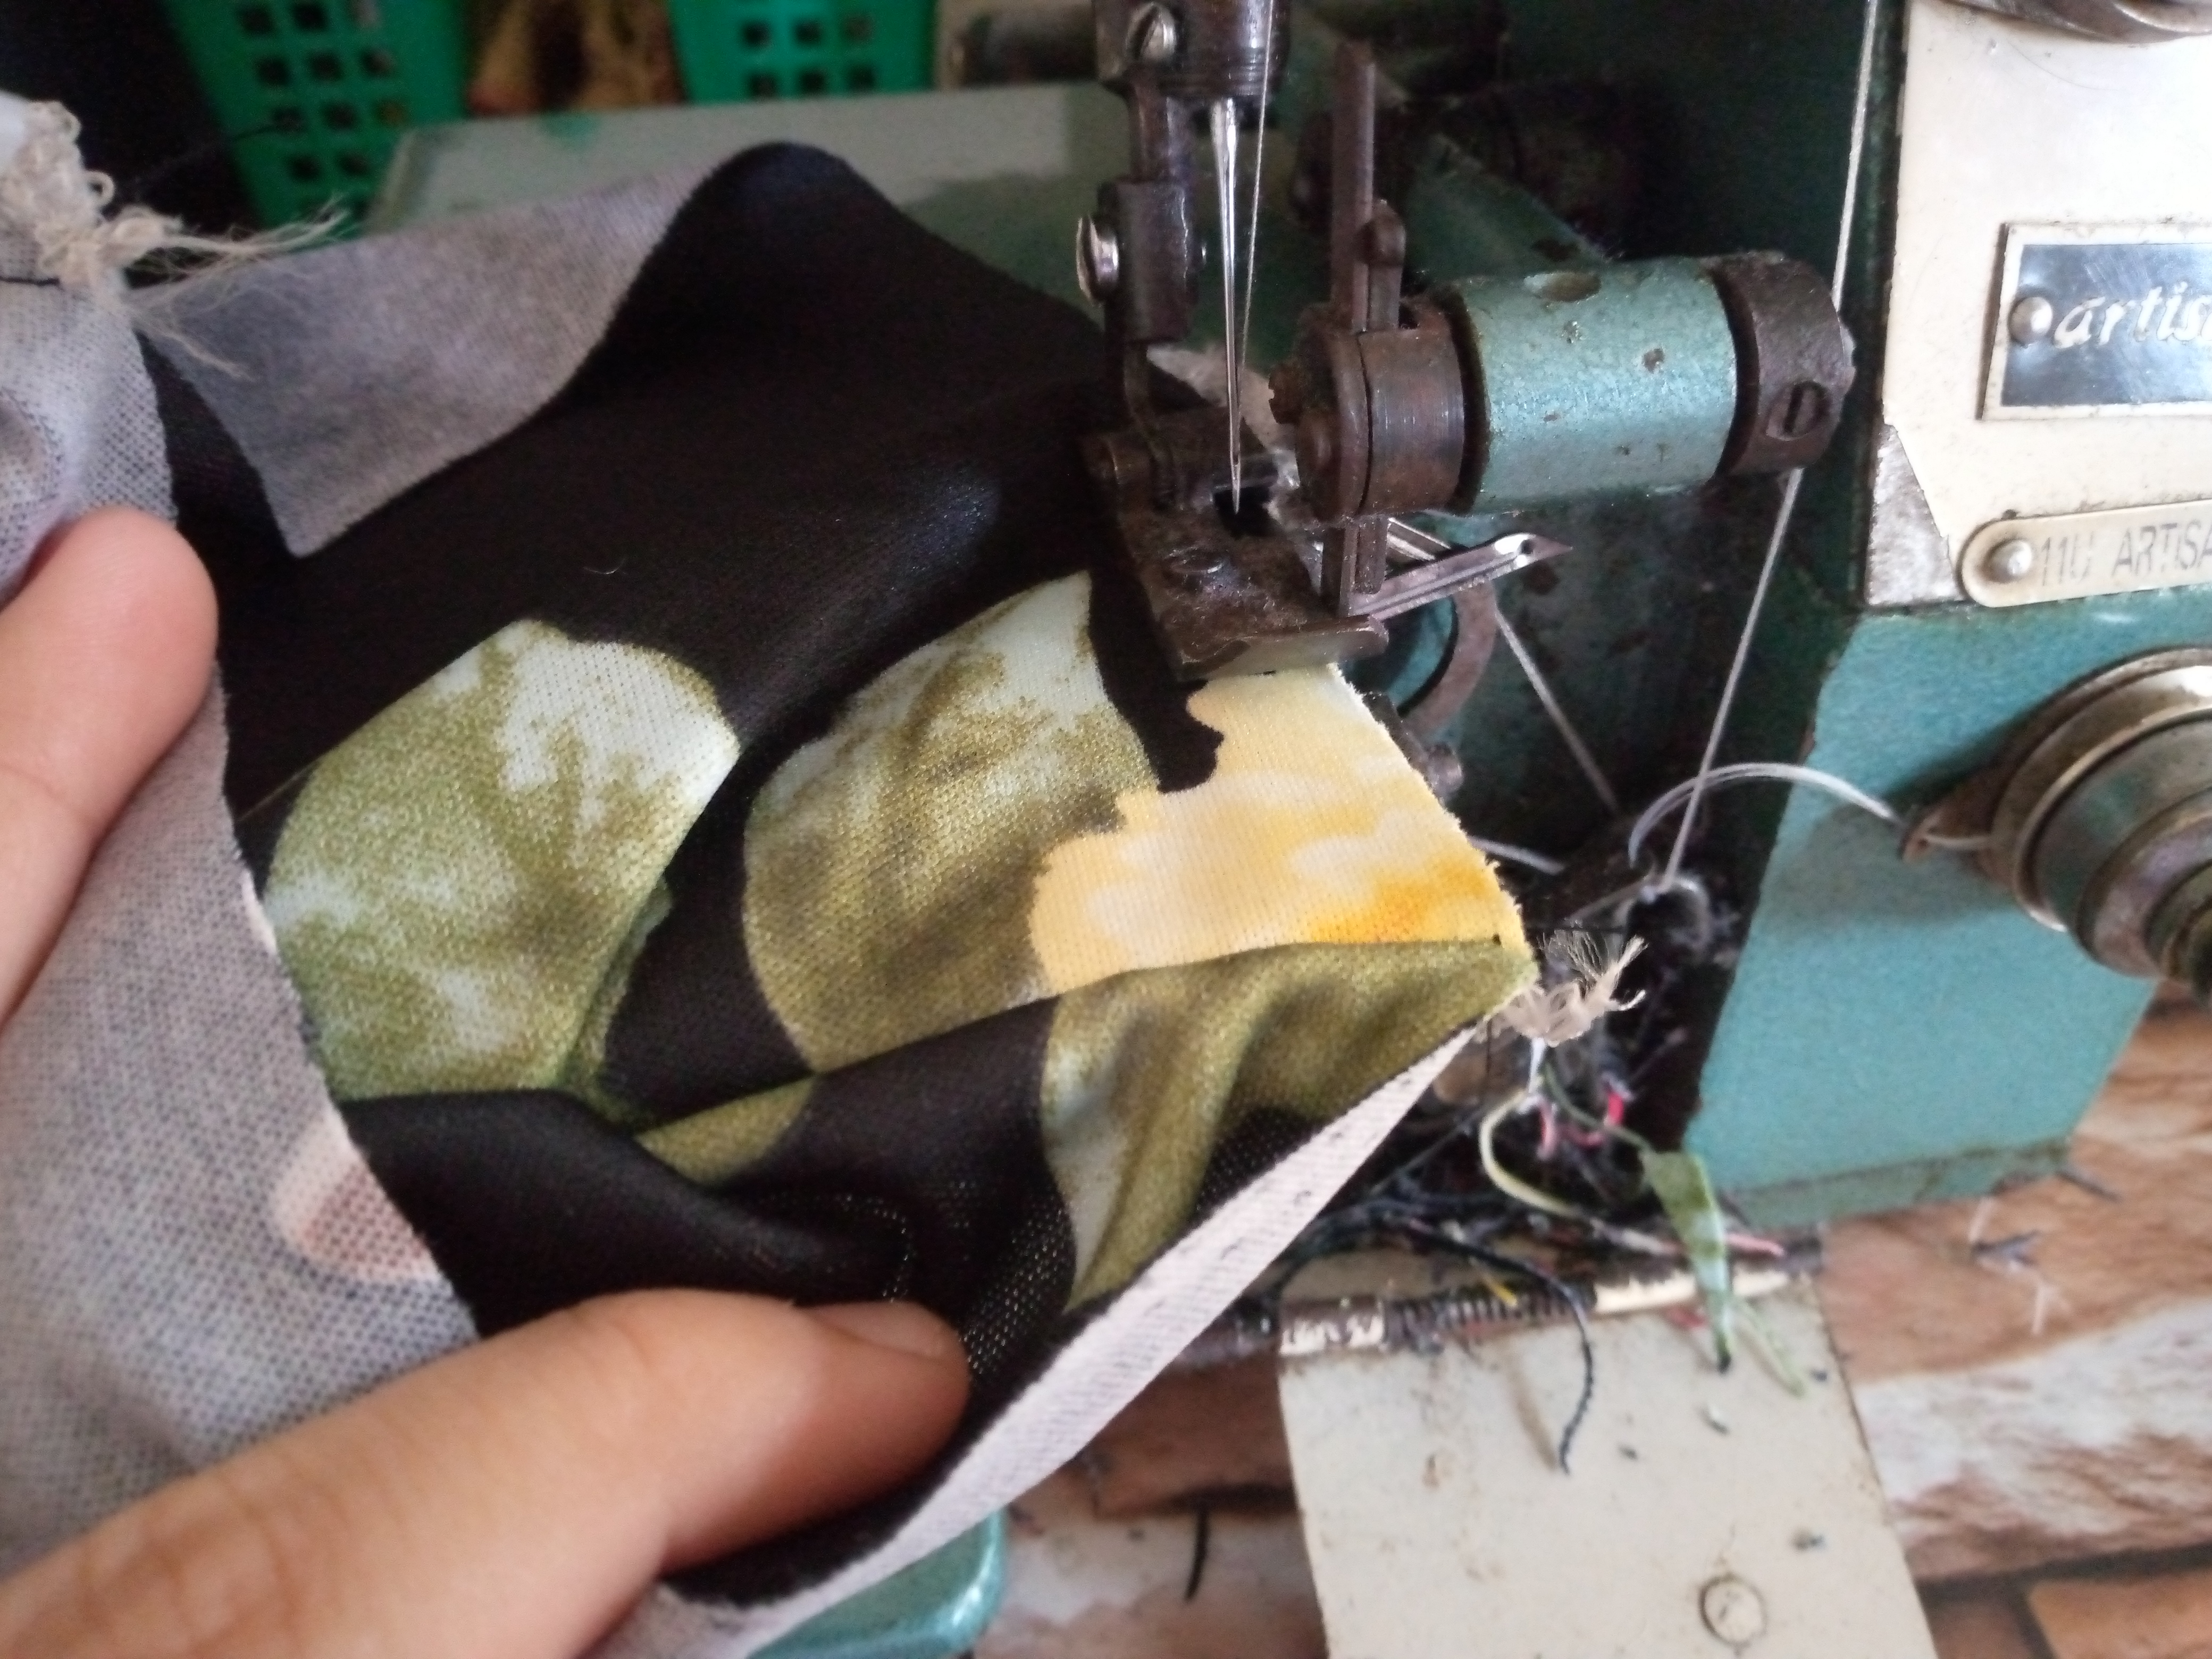
Paso 04
De último me tocó doblar el sesgo de mi ruego hacia adentro de 1 cm aproximadamente y lo he cosido con costura recta ,para unir después la blusa con la falda estaremos ubicando la parte de la falda de atrás igual con la del talle de atrás y vamos a coser por el borde haciendo pequeños tablones a la falda para que nos quede de la misma medida del ancho de blusa , cosemos con overlock después o zig zag el borde de la unión de nuestro vestido en la cintura y estaré tomando el elástico y coseremos desde la union de la falda estirando poco a poco sin forzar hasta que lleguemos de donde habíamos empezado a coser el elástico así lo terminamos.
### Step 04
Finally I had to fold the bias of my pleat inwards approximately 1 cm and I sewed it with a straight seam, to later join the blouse with the skirt we will be placing the part of the back skirt the same as the back waist and we will sew along the edge making small boards to the skirt so that it remains the same measurement as the width of the blouse, we sew with overlock after or zig zag the edge of the union of our dress at the waist and I will be taking the elastic and we will sew from the union of the skirt stretching little by little without forcing until we reach where we had started to sew the elastic and thus we finish it.
_
Resultado: | Result:
_
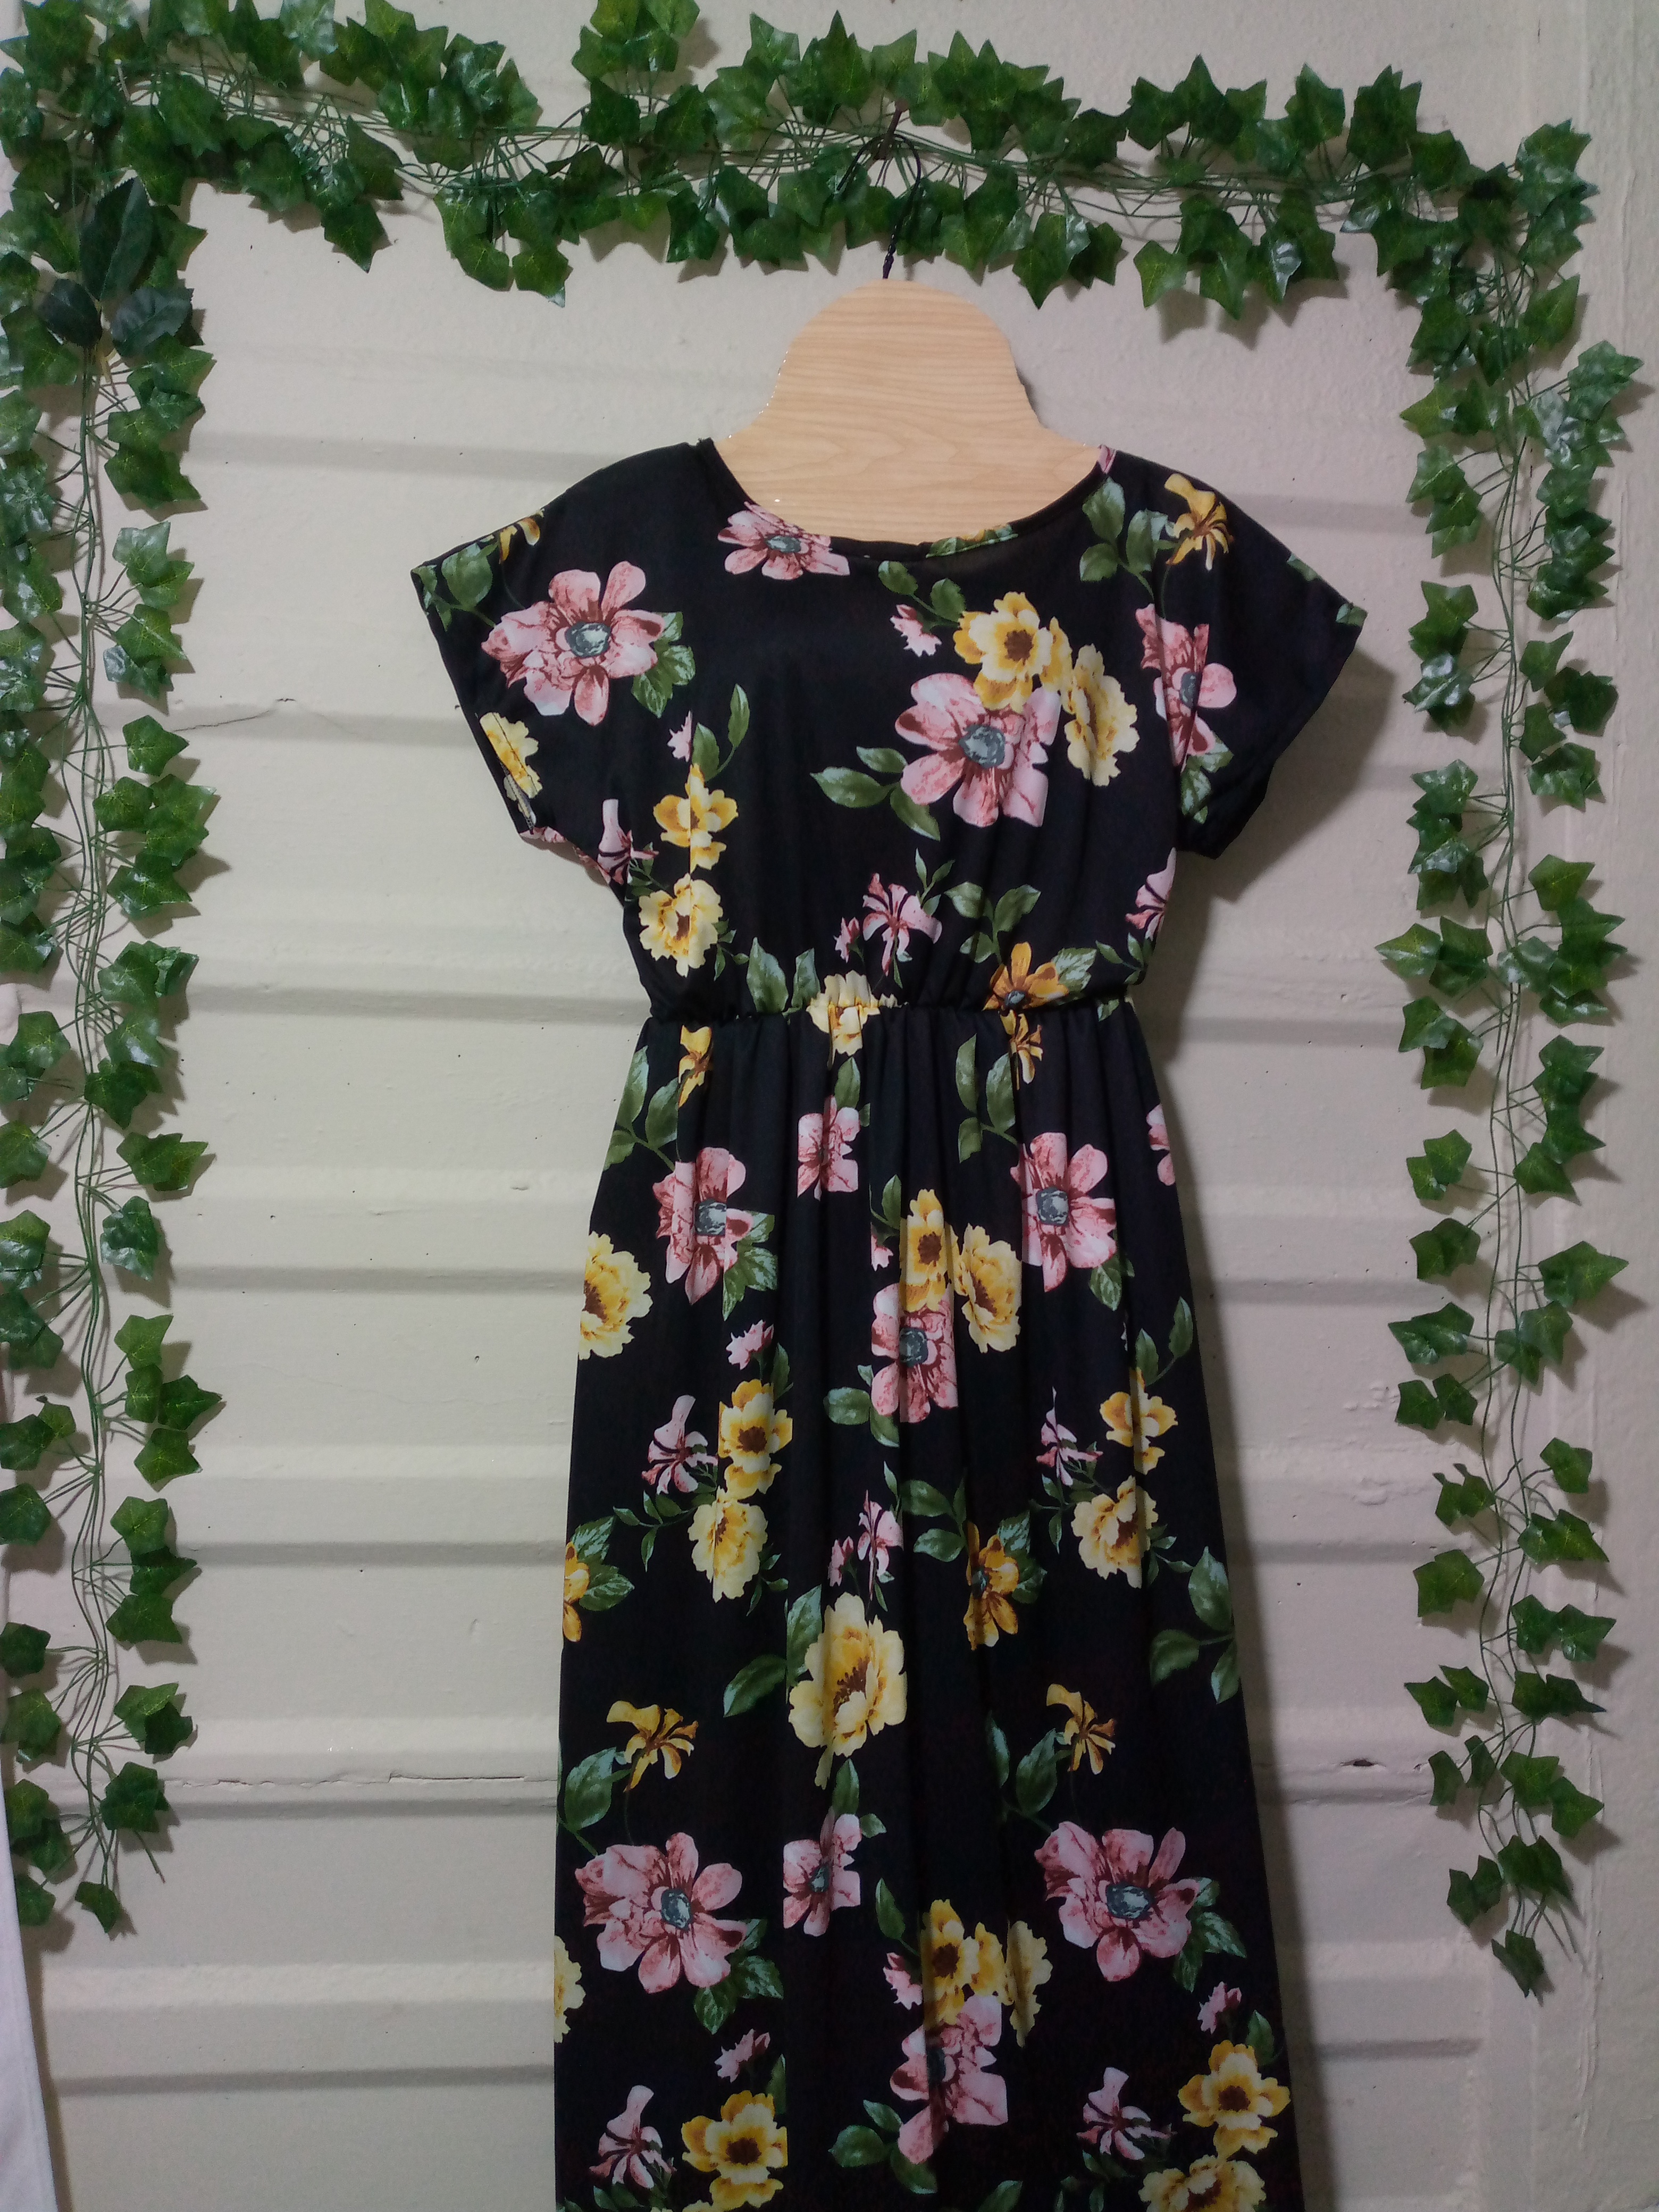
Así nos queda ya elaborado nuestro vestido , terminé de darle bonito acabado con la plancha de ropa para que nuestro vestido agarre mas forma sobre todo en la cintura, planché también el ruedo para que no quedara levantadito y estos son los resultados finales 😍que tal les pareció?? 👗.
This is how our dress looks now, I finished giving it a nice finish with the iron so that our dress takes more shape, especially at the waist, I also ironed the hem so that it wouldn't be raised and these are the final results 😍How did you like it?? 👗.
Espero te haya gustado mucho esta confección,nos leemos en otro tutorial ❤️✂️Les deseo una feliz tarde y que sigan las ideas..✨
I hope you really enjoyed this recipe, see you in another tutorial ❤️✂️I wish you a happy afternoon and keep the ideas coming..✨


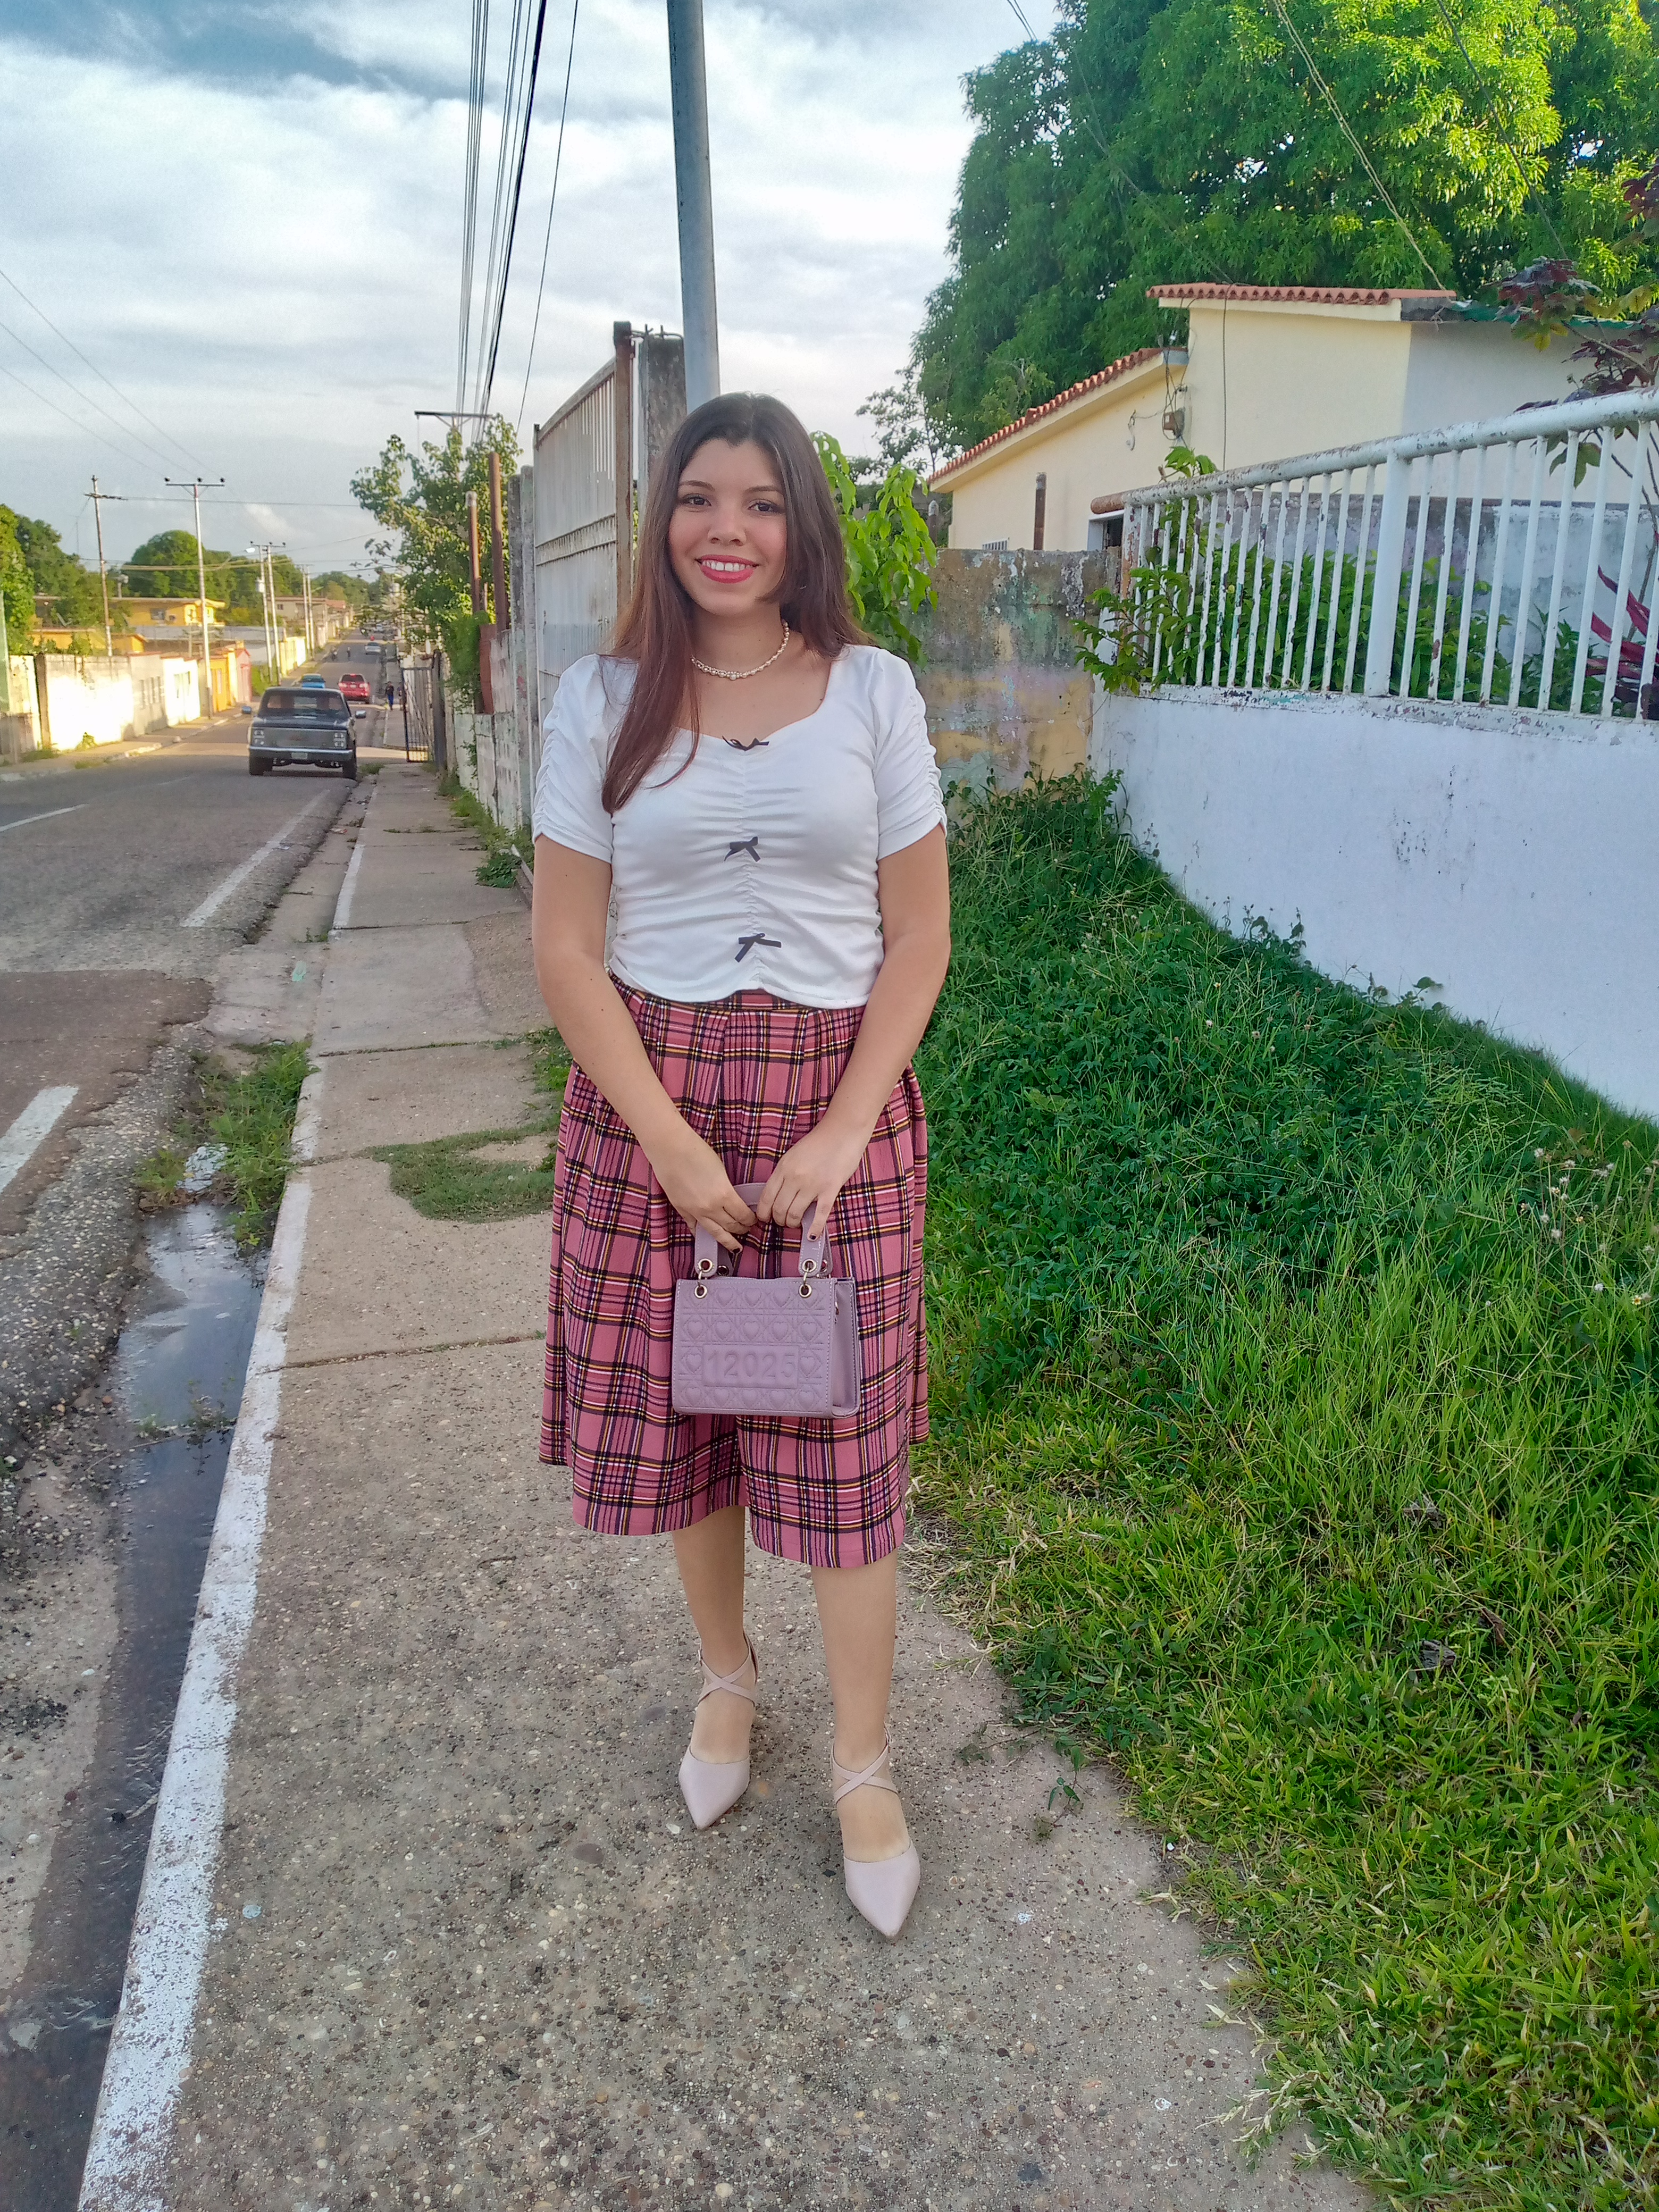
¡Hola!...Soy Annie
Una chica que le apasiona el diseño,la costura las manualidades y crear cualquier cosa de mucho uso con mis manos,tengo como hobbie la música ,el maquillarme,la pintura y el dibujo,expresar mis ideas y sentimientos en un dibujo es algo que me gusta hacer,amo la naturaleza,un atardecer ,la playa y disfrutar con mis familiares de los buenos momentos de la vida.❤️
_
Creando las cosas con amor🌷♥️ | Creating things with love🌷♥️
_
_
Imágenes:de mi autoria | Edición:Canva® y PicsArt © | Traductor:Traductor de Google | Dispositivo:TecnoSpark 8C.
_
_
Images:my own work | Edited by:Canva® and PicsArt © | Translator:Google Translate |Device:TecnoSpark 8C .
_
