✨🧵Making a tulip-shaped scrunchie 🌷[ES|EN]

@anne002 · 2025-10-02 15:13 · NeedleWorkMonday

Hola amigos bienvenidos a mi blog creativo de costura ✨🧵.|Hello friends, welcome to my creative sewing blog ✨🧵.

Después de tanto tiempo sin hacer proyectos costuriles creativos estoy de vuelta con uno que se que te va a gustar muchísimo una idea que tenía en mente de hacía algún tiempo ...Las veces que hacía scrunchies las hacía sencillas pero no se me había ocurrido hacer una scruncie con un motivo sofisticado y delicado como agregarles tulipanes.

After such a long time without doing any creative sewing projects, I'm back with one that I know you're going to love—an idea I've had in mind for a while. I've made scrunchies before, but always simple ones; I never thought of making one with a more sophisticated and delicate design, like adding tulips to it.

Pink and White Cute Simple Makeup Tutorial YouTube Thumbnail.png

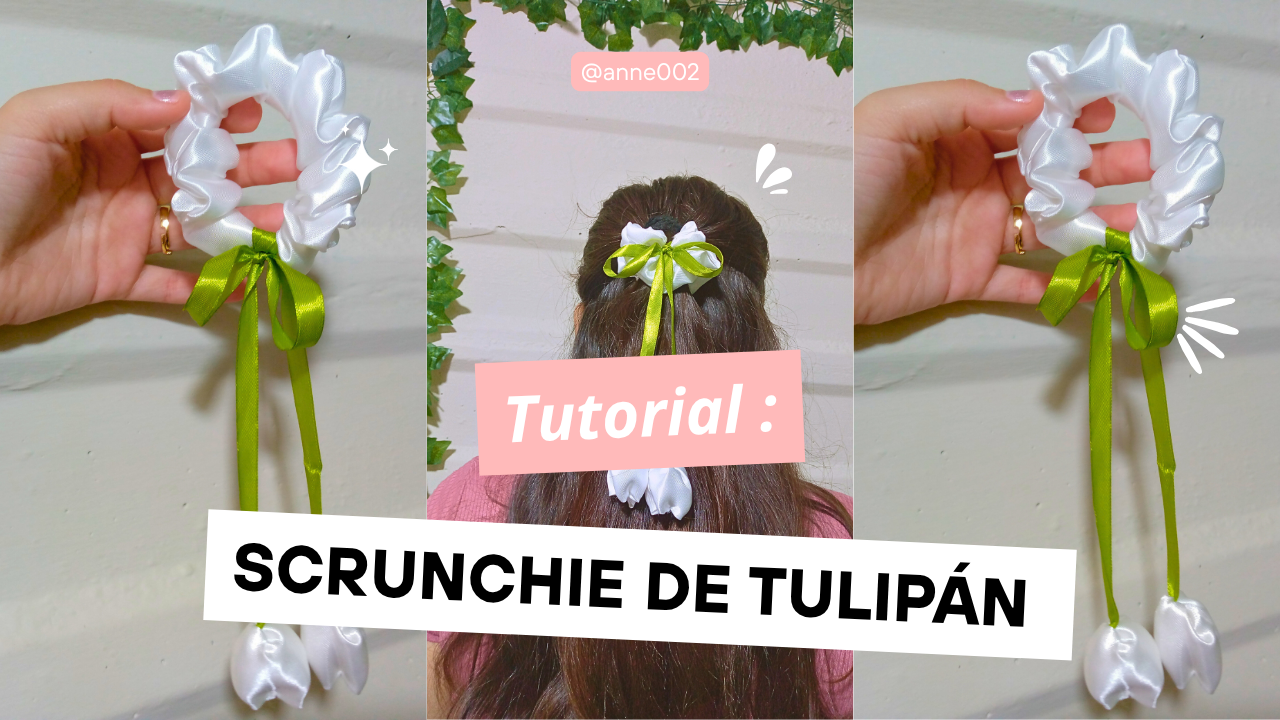
Las scrunchies con tulipanes han sido tendencia así que hoy te quiero enseñar a hacer una scruncie de tulipán🌷con tus retazos de tela de esos que piensas que no podrías hacer nada pues hoy vamos a utilarlos y hacer una scruncie muy elegante para usar en ocasiones especiales o salir a dar un paseo ,espero te guste mucho esta idea y aprendas hacerlas, quédate para que anotes los materiales.

Tulip-patterned scrunchies have been trending lately, so today I want to show you how to make a tulip scrunchie 🌷 using those leftover fabric scraps you thought you could never use for anything. We're going to use them to make a very elegant scrunchie that you can wear for special occasions or just out for a stroll. I hope you love this idea and learn how to make them! Stay tuned to find out what materials you'll need.


@anne002_20250723_195546_0000 (1).png

DIY.png

_

Materiales: | Materials:

_

  • Tijera
  • Cinta de 1 cm de ancho x 30 cm de largo
  • Retazos de tela
  • Cinta métrica
  • Relleno de peluche
  • Hilo aguja
  • Elástico de 1 cm de ancho x 12 cm largo

  • Scissors
  • Ribbon, 1 cm wide x 30 cm long
  • Fabric scraps
  • Measuring tape
  • Stuffing for stuffed toys
  • Needle and thread
  • Elastic band, 1 cm wide x 12 cm long

@anne002_20250723_195546_0000 (1).png

_

Pasos a seguir: | Steps to follow:

_

![IMG_20251001_084452_814.jpg](https://images.hive.blog/DQmb82BtnJid2tAX7ejZV8A9qEmU7oMVpJ5u1PmErzEzmbd/IMG_20251001_084452_814.jpg)
![IMG_20251001_084937_896.jpg](https://images.hive.blog/DQmdqYRWDeQ4M6AiuyR7Sybd4vj1n9Df5YwZfK8NLnytawt/IMG_20251001_084937_896.jpg)

IMG_20251001_085546_495.jpg

Paso 01

Vamos a tomar nuestro retazo de tela y aproximadamente estaremos cortando un rectángulo de 40 cm de largo x 10 cm de ancho ,cortaremos también dos cuadros del mismo ancho y largo (10 x 10) cada uno para hacer los dos tulipanes que colgarán de nuestra scruncie.Luego vamos a empezar a coser la scruncie doblando a la mitad la tela y de manera horizontal dejando de cada extremo 1 cm sin coser y ya les mencionaré por qué dejaremos esto así.

Step 01

Let's take our piece of fabric and cut a rectangle approximately 40 cm long by 10 cm wide. We'll also cut two squares, each measuring 10 cm by 10 cm, to make the two tulips that will hang from our scrunchie. Then, we'll start sewing the scrunchie by folding the fabric in half horizontally, leaving 1 cm of fabric unsewn at each end; I'll explain why we leave that space later.


![IMG_20251001_090204_432.jpg](https://files.peakd.com/file/peakd-hive/anne002/EoErU4auFdv1mYyQgvoaJpRYb3d4hNgFshMd7cMXBa2XPJMuyAyNBcFCCL9rHuG1FQN.jpg)
![IMG_20251001_090254_815.jpg](https://images.hive.blog/DQmdSd3ABYgT4M5uwvmbJNcYuMBiovxLQvazjGk7tLis6AZ/IMG_20251001_090254_815.jpg)

IMG_20251001_090443_393.jpg

Paso 02

Una vez hemos cosido la scruncie vamos a voltearla y con la herramienta pasa cinta vamos a insertar el elástico y le vamos a hacer un nudo para sujetarla y no se nos suelte, anteriormente les decía que debíamos dejar 1 cm sin coser y esto era para unir la scruncie en la punta y lo cosemos por dentro para sellar la scruncie.

Step 02

Once we have sewn the scrunchie, we will turn it inside out and, using the elastic threading tool, we will insert the elastic band and tie a knot to secure it so it doesn't come undone. As I mentioned earlier, we left 1 cm unsewn, and this is so we can join the ends of the scrunchie and then sew it closed from the inside to finish it off.


![IMG_20251001_090756_653.jpg](https://images.hive.blog/DQmcM5h6VKjXw2oofntm7xNNwnUkLRLjG3kwXL2LQtu36mV/IMG_20251001_090756_653.jpg)
![IMG_20251001_090846_851.jpg](https://images.hive.blog/DQmcPQTLgVAgzNYFRG2UKpFL1PRs3CT3WN1ER414pv28HVv/IMG_20251001_090846_851.jpg)
![IMG_20251001_092452_219.jpg](https://images.hive.blog/DQmQ1nbwibJPG4gvrDZbYiRV9wYGFr3FSvd2BBDLigmCd32/IMG_20251001_092452_219.jpg)
![IMG_20251001_092743_698 (1).jpg](https://files.peakd.com/file/peakd-hive/anne002/EoK7GTVTEEuLsPt7hJAR4Naa8oM31tn4jadKkf2y3yaycujj6cr6KnxbgdcSL622zu2.jpg)

IMG_20251001_092957_008.jpg

Paso 03

Tenemos lista la scruncie ,coseremos después los cuadros a la mitad y lo doblamos nos deben quedan de aproximadamente el alto de las flores de 5 cm y pasamos a hacer un nudo con la cinta verde para hacer los tallos de la scruncie y el lazo la hoja.

Step 03

The scrunchie is ready. Next, we will sew the two pieces together along the center, fold them in half, and trim the edges so that the finished scrunchie is approximately 5 cm high (the same height as the flowers). Then, we will tie a knot with the green ribbon to create the stems and the leaf for the scrunchie.


![IMG_20251001_093221_074.jpg](https://files.peakd.com/file/peakd-hive/anne002/EoiWjPsuuPETTx4VNEmkfUhUS8W9YDHyKWbE3KUCwGqm8EWKpD3RS3rjbdmtNicGZ4X.jpg)
![IMG_20251001_093341_470.jpg](https://files.peakd.com/file/peakd-hive/anne002/EoeFsCjhuUmbyBx8qRFRZNdFgw1G3bsK5cGf5F731kJ1gSvY4FNSdBiDpcEjxtoJpwq.jpg)
![IMG_20251001_093440_006.jpg](https://images.hive.blog/DQmay13mpBMmmmYfr3JPvpspmrQK1Rgmv2XGbPDucMya2va/IMG_20251001_093440_006.jpg)
![IMG_20251001_093453_803.jpg](https://images.hive.blog/DQmXHLFBEWKpFFtBzwnc9dE7uLUZ9jqPpgr1BL34QKLy2N5/IMG_20251001_093453_803.jpg)

Paso 04

Pasamos a coser las flores colocándolas hacia el frente metiendo la cinta en el centro y lo vamos a fruncir en la punta la flor y volteamos,luego con el relleno lo insertamos dentro un poco y cosemos a mano un nudo en el centro del cuadrado doblado y otro del lado contrario nos debe quedar bien sellada la flor,hacemos lo mismo con la otra y la terminamos.

### Step 04 Next, we sew the flowers, placing them facing forward with the ribbon in the center. We gather the fabric at the tip of the flower and turn it inside out. Then, we insert a small amount of stuffing and hand-stitch a knot in the center of the folded square, and another knot on the opposite side. This should securely close the flower. We do the same with the other flower, and then we are finished.


@anne002_20250723_195546_0000 (1).png

_

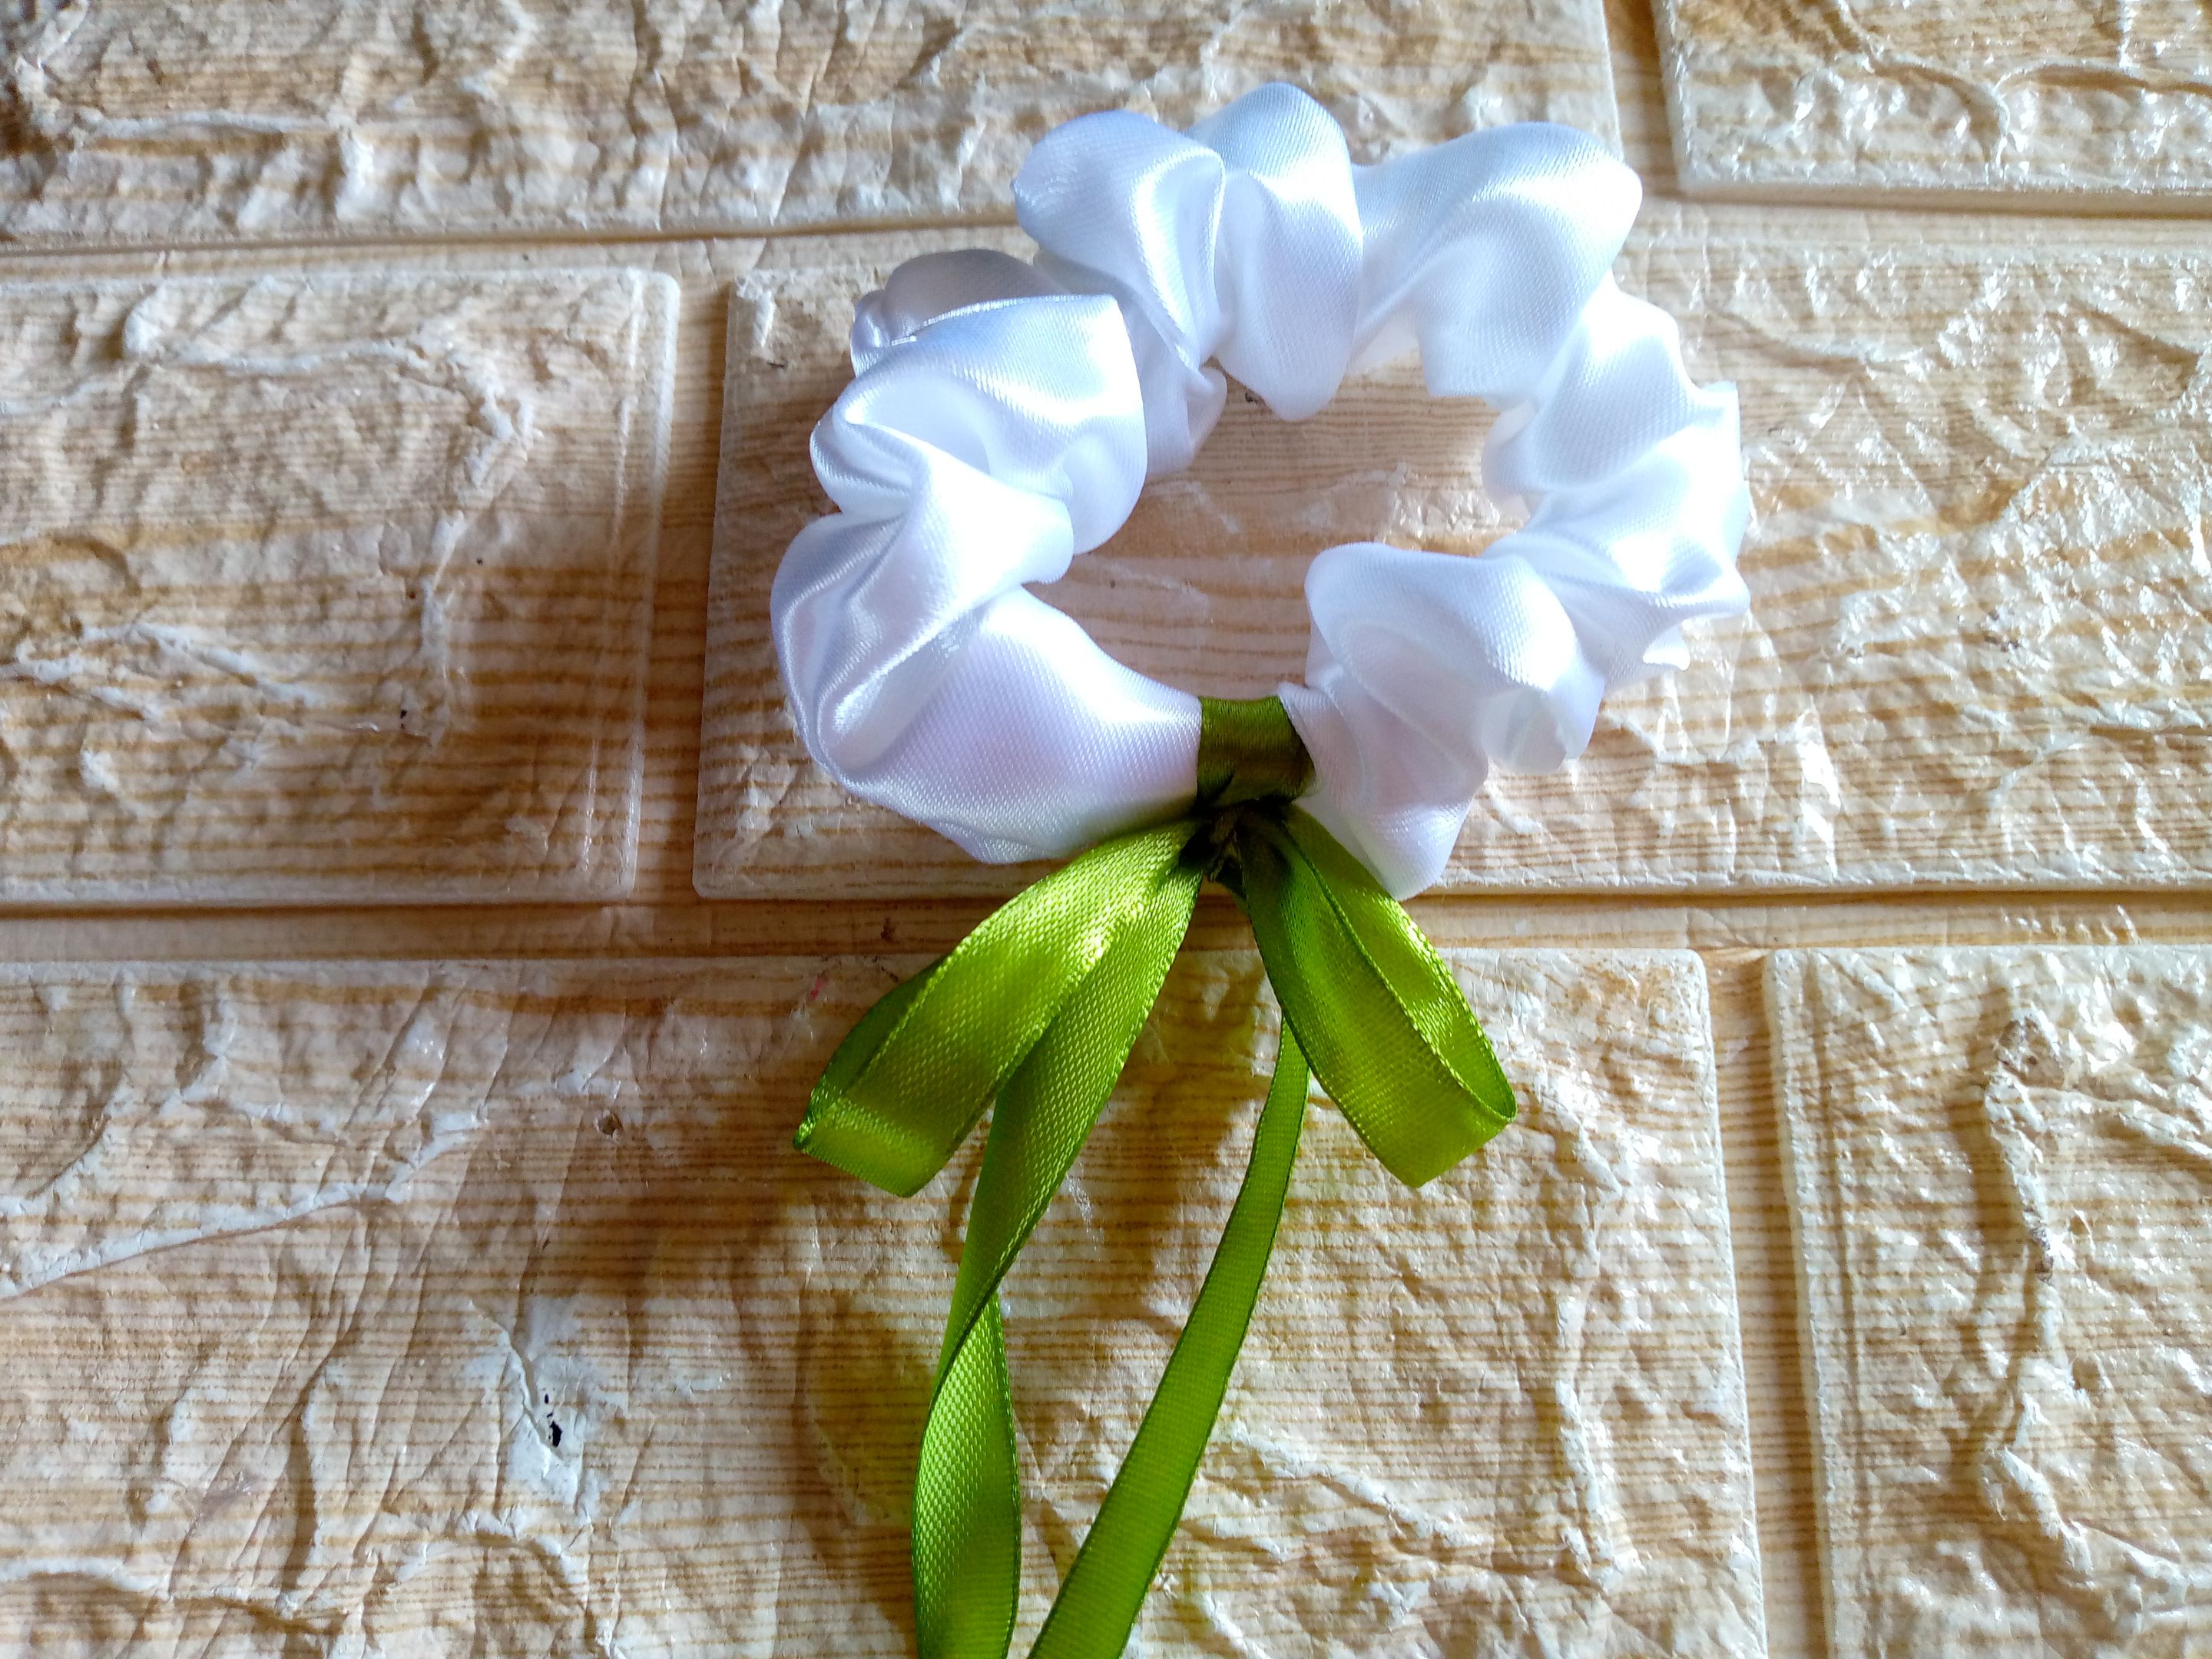
Resultado: | Result:

_

Así nos queda lista nuestra hermosa scruncie de tulipán ❤️🌷lista para usarla comos ese es y a tu estilo, cuéntame qué tal te ha parecido y si las has hecho para tu emprendimiento 🥰.

And here's our beautiful tulip-shaped scrunchie, all ready to wear! Wear it however you like and in your own style. Let me know what you think of it and if you've made any to sell as part of your business! 🥰

Hasta aquí hemos llegado con este proceso sencillo espero les guste no olviden dejar su lindo comentario y ayudarme a compartir,nos vemos ❤️✨.

This concludes this simple process. I hope you liked it! Please leave a comment and help me share it. See you soon! ❤️✨.

IMG_20251001_093734_722.jpg

IMG_20251001_093841_432.jpg

IMG_20251001_093842_976.jpg

IMG_20251001_094456_829.jpg

@anne002_20250723_195546_0000 (1).png

![IMG_20250730_173722_352.jpg](https://images.hive.blog/DQmXjBeEnBuE9Hwjzd3CWDm163YZp8W3GC9Zv1hRAgeo84q/IMG_20250730_173722_352.jpg)
¡Hola!...Soy Annie

Una chica que le apasiona el diseño,la costura las manualidades y crear cualquier cosa de mucho uso con mis manos,tengo como hobbie la música ,el maquillarme,la pintura y el dibujo,expresar mis ideas y sentimientos en un dibujo es algo que me gusta hacer,amo la naturaleza,un atardecer ,la playa y disfrutar con mis familiares de los buenos momentos de la vida.❤️

_

Creando las cosas con amor🌷♥️ | Creating things with love🌷♥️

_

_

Imágenes:de mi autoria | Edición:Canva® y PicsArt © | Traductor:Traductor de Google | Dispositivo:TecnoSpark 8C.

_

_

Images:my own work | Edited by:Canva® and PicsArt © | Translator:Google Translate |Device:TecnoSpark 8C .

_


Neutral Simple Minimalist Lifestyle Blogger YouTube Channel Art _20250625_130338_0000.png


#hive-127911 #spanish #tulipsofscrunchie #sewing #diyhub #tutorial #originalcontent #needlework
Payout: 11.120 HBD
Votes: 58
More interactions (upvote, reblog, reply) coming soon.