🦋𝘔𝘢𝘬𝘦 𝘢 𝘣𝘶𝘵𝘵𝘦𝘳𝘧𝘭𝘺-𝘴𝘩𝘢𝘱𝘦𝘥 𝘣𝘰𝘰𝘬𝘮𝘢𝘳𝘬 𝘶𝘴𝘪𝘯𝘨 𝘳𝘦𝘤𝘺𝘤𝘭𝘦𝘥 𝘱𝘢𝘱𝘦𝘳 🦋[𝘌𝘚|𝘌𝘕]

@anne002 · 2025-09-28 00:31 · DIYHub

🧶Bienvenido al mundo del DIY conmigo,un placer saludarles ☺️✨🎨. | 🧶Welcome to the world of DIY with me, a pleasure to greet you ☺️✨🎨.

🦋🦋🦋🦋🦋🦋🦋🦋

¡Buenas noches amigos!espero esten todos muy bien como yo lo estoy,pasaba mostrándoles una linda manualidad que hice está tarde ,se trata de un bonito marca libros o pisa libros pero esta vez hice uno con respecto a un animalito que me fascina mucho, sí las mariposas me gustan mucho 🦋 siempre que disfruto la lectura de mis libros recuerdo que me hace falta algo que marque la página que estoy leyendo sobre todo cuando cierro el libro, porque no me gusta doblar las páginas y como puede ser posible a veces digo que no pueda aprovechar el talento que tengo de hacer uno usando mi creatividad es algo que pienso y digo que "barbaridad" 🤦🏻‍♀️😂así que para evitarme el tener que perder la página que leo me las ingenié para hacer este preciosos marca libros que es muy sencillo por cierto de hacer.

Good evening, friends! I hope you are all doing well, as I am. I wanted to show you a cute craft project I made this afternoon. It's a lovely bookmark or book prop, and this time I made one featuring an animal that I'm very fond of—butterflies! 🦋 I always enjoy reading my books, but I often find myself needing something to mark the page, especially when I close the book, because I don't like to fold the pages. I sometimes think it's a shame that I don't use my creative skills to make one myself. So, to avoid losing my place, I came up with this beautiful bookmark, which is very easy to make, by the way!

Beige Collage Happy Birthday Video.jpg

Para hacer este bonito marca libros usé materiales de reciclaje sobre todo aprovechando el café que ya hemos usado muchas veces para pintar la hoja de papel reciclado con el que trabajaremos,está técnica de pintar las hojas me gusta porque quedan muy con un estilo original vintage, está técnica puedes usarla también para pintar otras cosas y las hojas de tus libretas ,si te gustaría aprender a hacer este marca libros para tus libros aprovecha mucho este tutorial,espero te guste tanto como a mi me gustó el resultado 🦋✨.

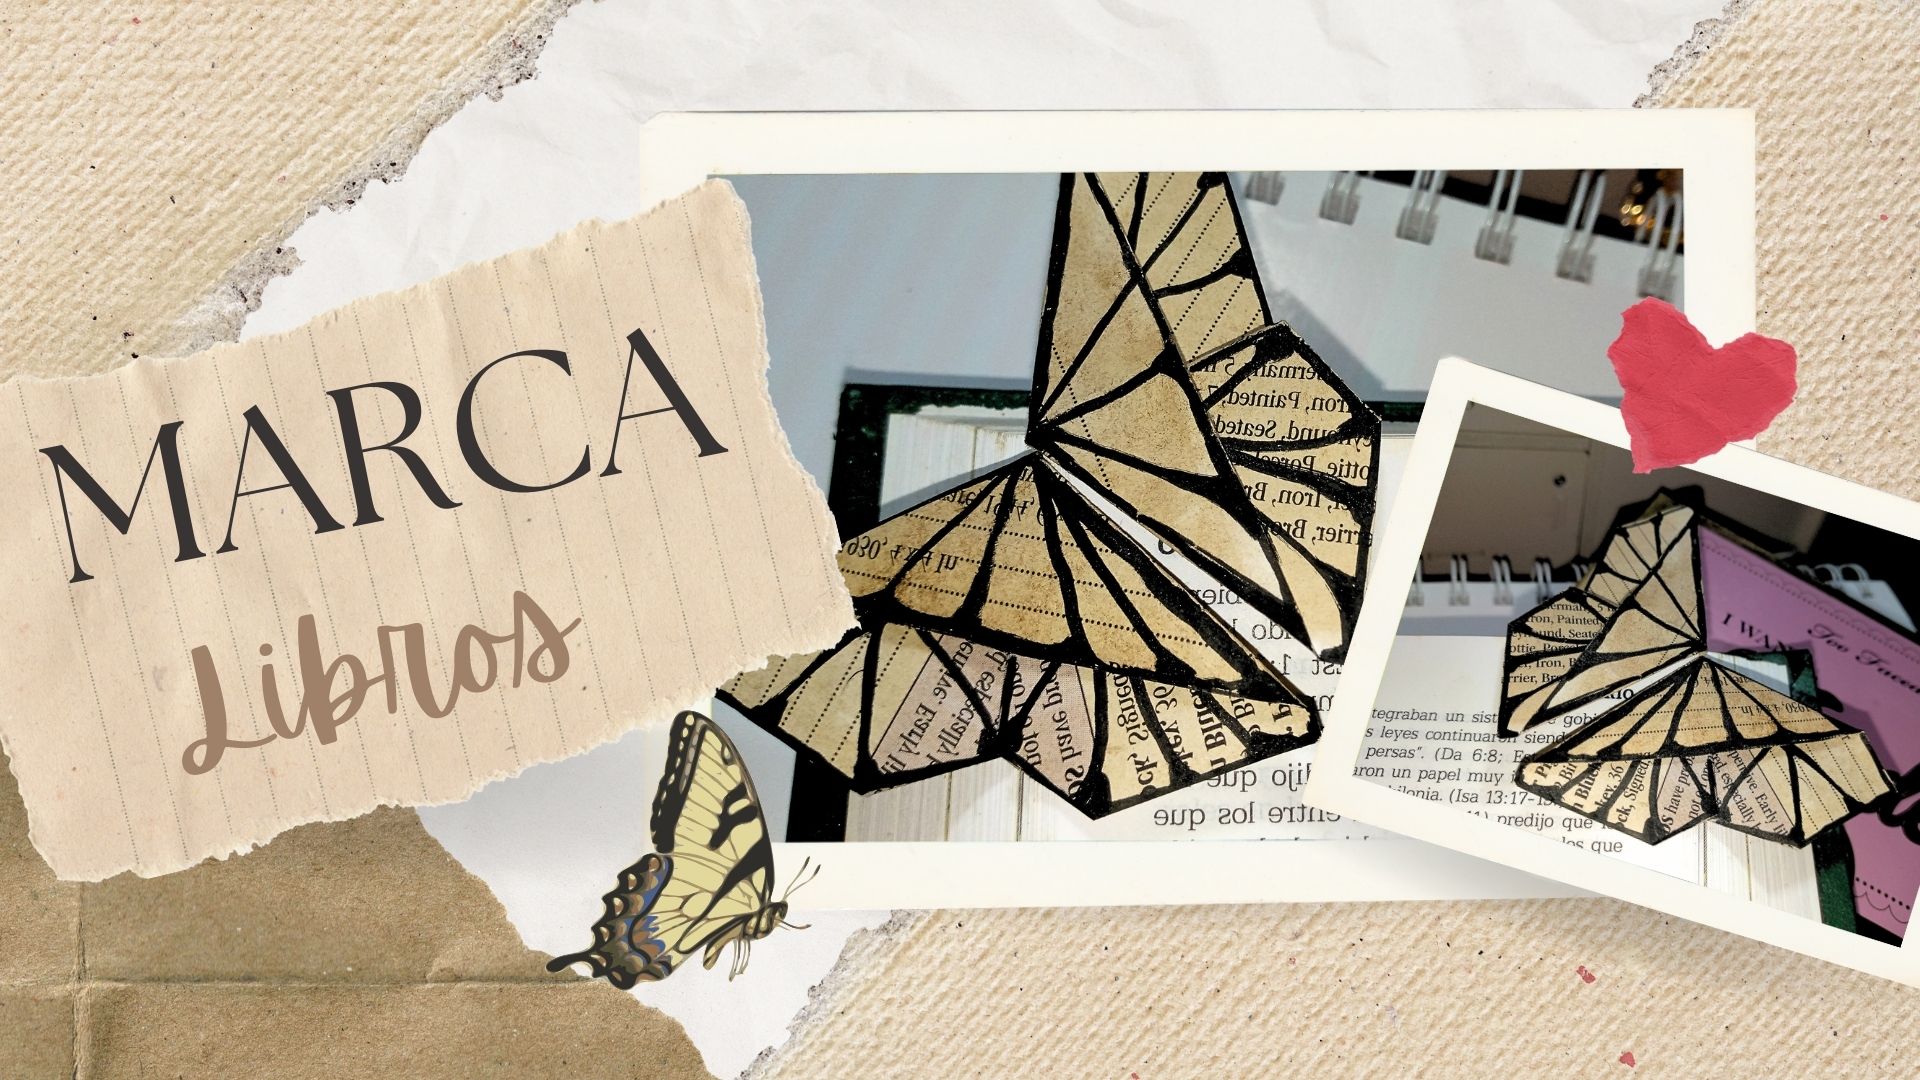
To make this lovely bookmark, I used recycled materials, especially leftover coffee grounds, which we've used many times before to "paint" the recycled paper we'll be working with. I like this technique for coloring the paper because it gives it a unique, vintage look. You can also use this technique to decorate other things, like the pages of your notebooks. If you'd like to learn how to make this bookmark for your books, this tutorial will be very helpful. I hope you enjoy the result as much as I did! 🦋✨

@anne002_20250723_195546_0000 (1).png


IMG_20250924_152113_948.jpg

@anne002_20250723_195546_0000 (1).png

_

Materiales: | Materials:

_

  • Café con un poco de agua en un envase
  • Pincel
  • Hola reciclada
  • Lápiz
  • Regla
  • Marcador negro
  • Tijera

  • Coffee with a little water in a container
  • Paintbrush
  • Recycled paper
  • Pencil
  • Ruler
  • Black marker
  • Scissors

@anne002_20250723_195546_0000 (1).png

_

Pasos a seguir: | Steps to follow:

_

![IMG_20250926_201428_881.jpg](https://images.hive.blog/DQmbNM9sX9oGH8fiEiik13FPnnQXjbjbgNMVBcEh8fE2Ywo/IMG_20250926_201428_881.jpg)
![IMG_20250926_201511_177.jpg](https://images.hive.blog/DQmXPisziRpFrfSmr4bmWynh6oLF6j17bebdWuwCSk8Wqkj/IMG_20250926_201511_177.jpg)
![IMG_20250926_201548_595.jpg](https://images.hive.blog/DQmdiwngRgzMXU5N36cfqaBfXoMKT4dJyGYHQ4bFWccs4gw/IMG_20250926_201548_595.jpg)
![IMG_20250926_201618_422.jpg](https://images.hive.blog/DQmPewFFa8tLLWHYdQce8fAvXkgZmdNo9EWqPX3hKkx4Y5m/IMG_20250926_201618_422.jpg)

IMG_20250926_201628_481.jpg

Paso 01

El primer paso que haremos será pintar con nuestro café y un poco de agua nuestra hoja a usar, entonces la dejaremos secar alrededor de 3 horas ,yo ls dejé secar toda la tarde de ayer ,una vez seca vamos a marcar un rectángulo de 15 cm de largo con la regla x 8 cm de ancho,lo marcamos con el lápiz y lo recortamos, después vamos a tomar el rectángulo y lo estaremos doblando justo a la mitad,luego doblamos en la parte de abajo las esquinas hacia arriba formando un triángulo,abrimos la esquina del lado derecho para pasar al siguiente paso.

Step 01

The first step is to color the sheet of paper with coffee and a little water. Then, let it dry for about 3 hours; I left mine to dry all afternoon yesterday. Once it's dry, use a ruler to mark a rectangle measuring 15 cm long by 8 cm wide. Mark the rectangle with a pencil and then cut it out. Next, take the rectangle and fold it in half lengthwise. Then, fold the bottom corners upwards, forming a triangle. Open the right-hand corner to proceed to the next step.


![IMG_20250926_201640_378.jpg](https://images.hive.blog/DQmbYou64n4dJEua4mnuvc3GYpgKyMCsXsocmtCC1MdEmtA/IMG_20250926_201640_378.jpg)
![IMG_20250926_201656_514 (1).jpg](https://files.peakd.com/file/peakd-hive/anne002/Eoc8sUvunt8Xj8qiWLngyP6WXFRNg6xFo9jM9zYvxBp8DJgB84K17vAjKoKs7dbJrVo.jpg)
![IMG_20250926_201653_755 (1).jpg](https://files.peakd.com/file/peakd-hive/anne002/Eoc9RVKgY7YqAPd5TLewrML21hvLp4XJKq89LZBSvLMCRqRmxdAeLk9BPTus7LYXoWh.jpg)
![IMG_20250926_201837_058.jpg](https://images.hive.blog/DQmQbieVRLbqpFHNMWDZxF1tudv5D4rg7WE3J3bPbMCGFMJ/IMG_20250926_201837_058.jpg)

Paso 02

Una vez abrí la vista del lado derecho la voy a doblar hacia adentro igual haré con la parte del lado izquierdo,metiendo entonces ambas vistas por dentro ,nos quedará un triángulo como nos había quedado anteriormente.

Step 02

Once I open the right side flap, I will fold it inwards. I will do the same with the left side flap, folding both flaps inwards. This will result in a triangle shape, just like before.


![IMG_20250926_201904_804.jpg](https://images.hive.blog/DQmYH48pK9AoWC7gHhjLmLt38VQbkmmCkGAmH2E82dEXSgD/IMG_20250926_201904_804.jpg)
![IMG_20250926_202004_761.jpg](https://images.hive.blog/DQmYnhPRkyZkFrJsiuMHeafbRJg1jQpcWSmwY8XGo8ub5Gy/IMG_20250926_202004_761.jpg)

Paso 03

Una vez tenemos la pieza de esta forma vamos a estar doblando en la parte de arriba hacia adentro o el frente la pestaña de hoja dandole forma a las alas de la mariposa,hacemos esto con el lado izquierdo de manera que nos queden ambas alas iguales un poco abiertas en el centro,no olvidemos ir doblando y presionando nuestros dobleces para que no se nos levante las vistas,así nos queda nuestra mariposa.

Step 03

Once we have the piece shaped like this, we will fold the top edge inwards, or towards the front, to form the butterfly wings. We do this with the left side so that both wings are symmetrical and slightly open in the center. Don't forget to fold and press the creases to keep them from unravelling. This is how our butterfly is finished.


![IMG_20250926_202310_322 (1).jpg](https://files.peakd.com/file/peakd-hive/anne002/EogQks75QSrp8dAzY2nZxswt2aWggJQPVXZjb4fXck4gbhBqGEJAPUXhwU3cGp8LzwS.jpg)
![IMG_20250926_202414_382.jpg](https://files.peakd.com/file/peakd-hive/anne002/Eoc926KgySumKUUJ9nkN3hschGSrKRYGCFuGmuBLXyM3Kd5vE1ko58fpt38yQqzB4Nk.jpg)

IMG_20250926_202648_487.jpg

Paso 04

Utilizando un marcador negro en acrílico le estaré haciendo las líneas que tiene la mariposa por los bordes en la parte de arriba de las alas coloqué tres igual con las alas de la parte de abajo,le fuí haciendo las líneas con cuidado para evitar que nos saliera en curvas ,tenía que hacerlo lo mejor posible ya que estás líneas son las que hacen que nuestra mariposa resalte mucho,una vez terminé de hacerle las líneas esta mariposita estaba lista para marcar cualquier página de mis libros.

### Step 04 
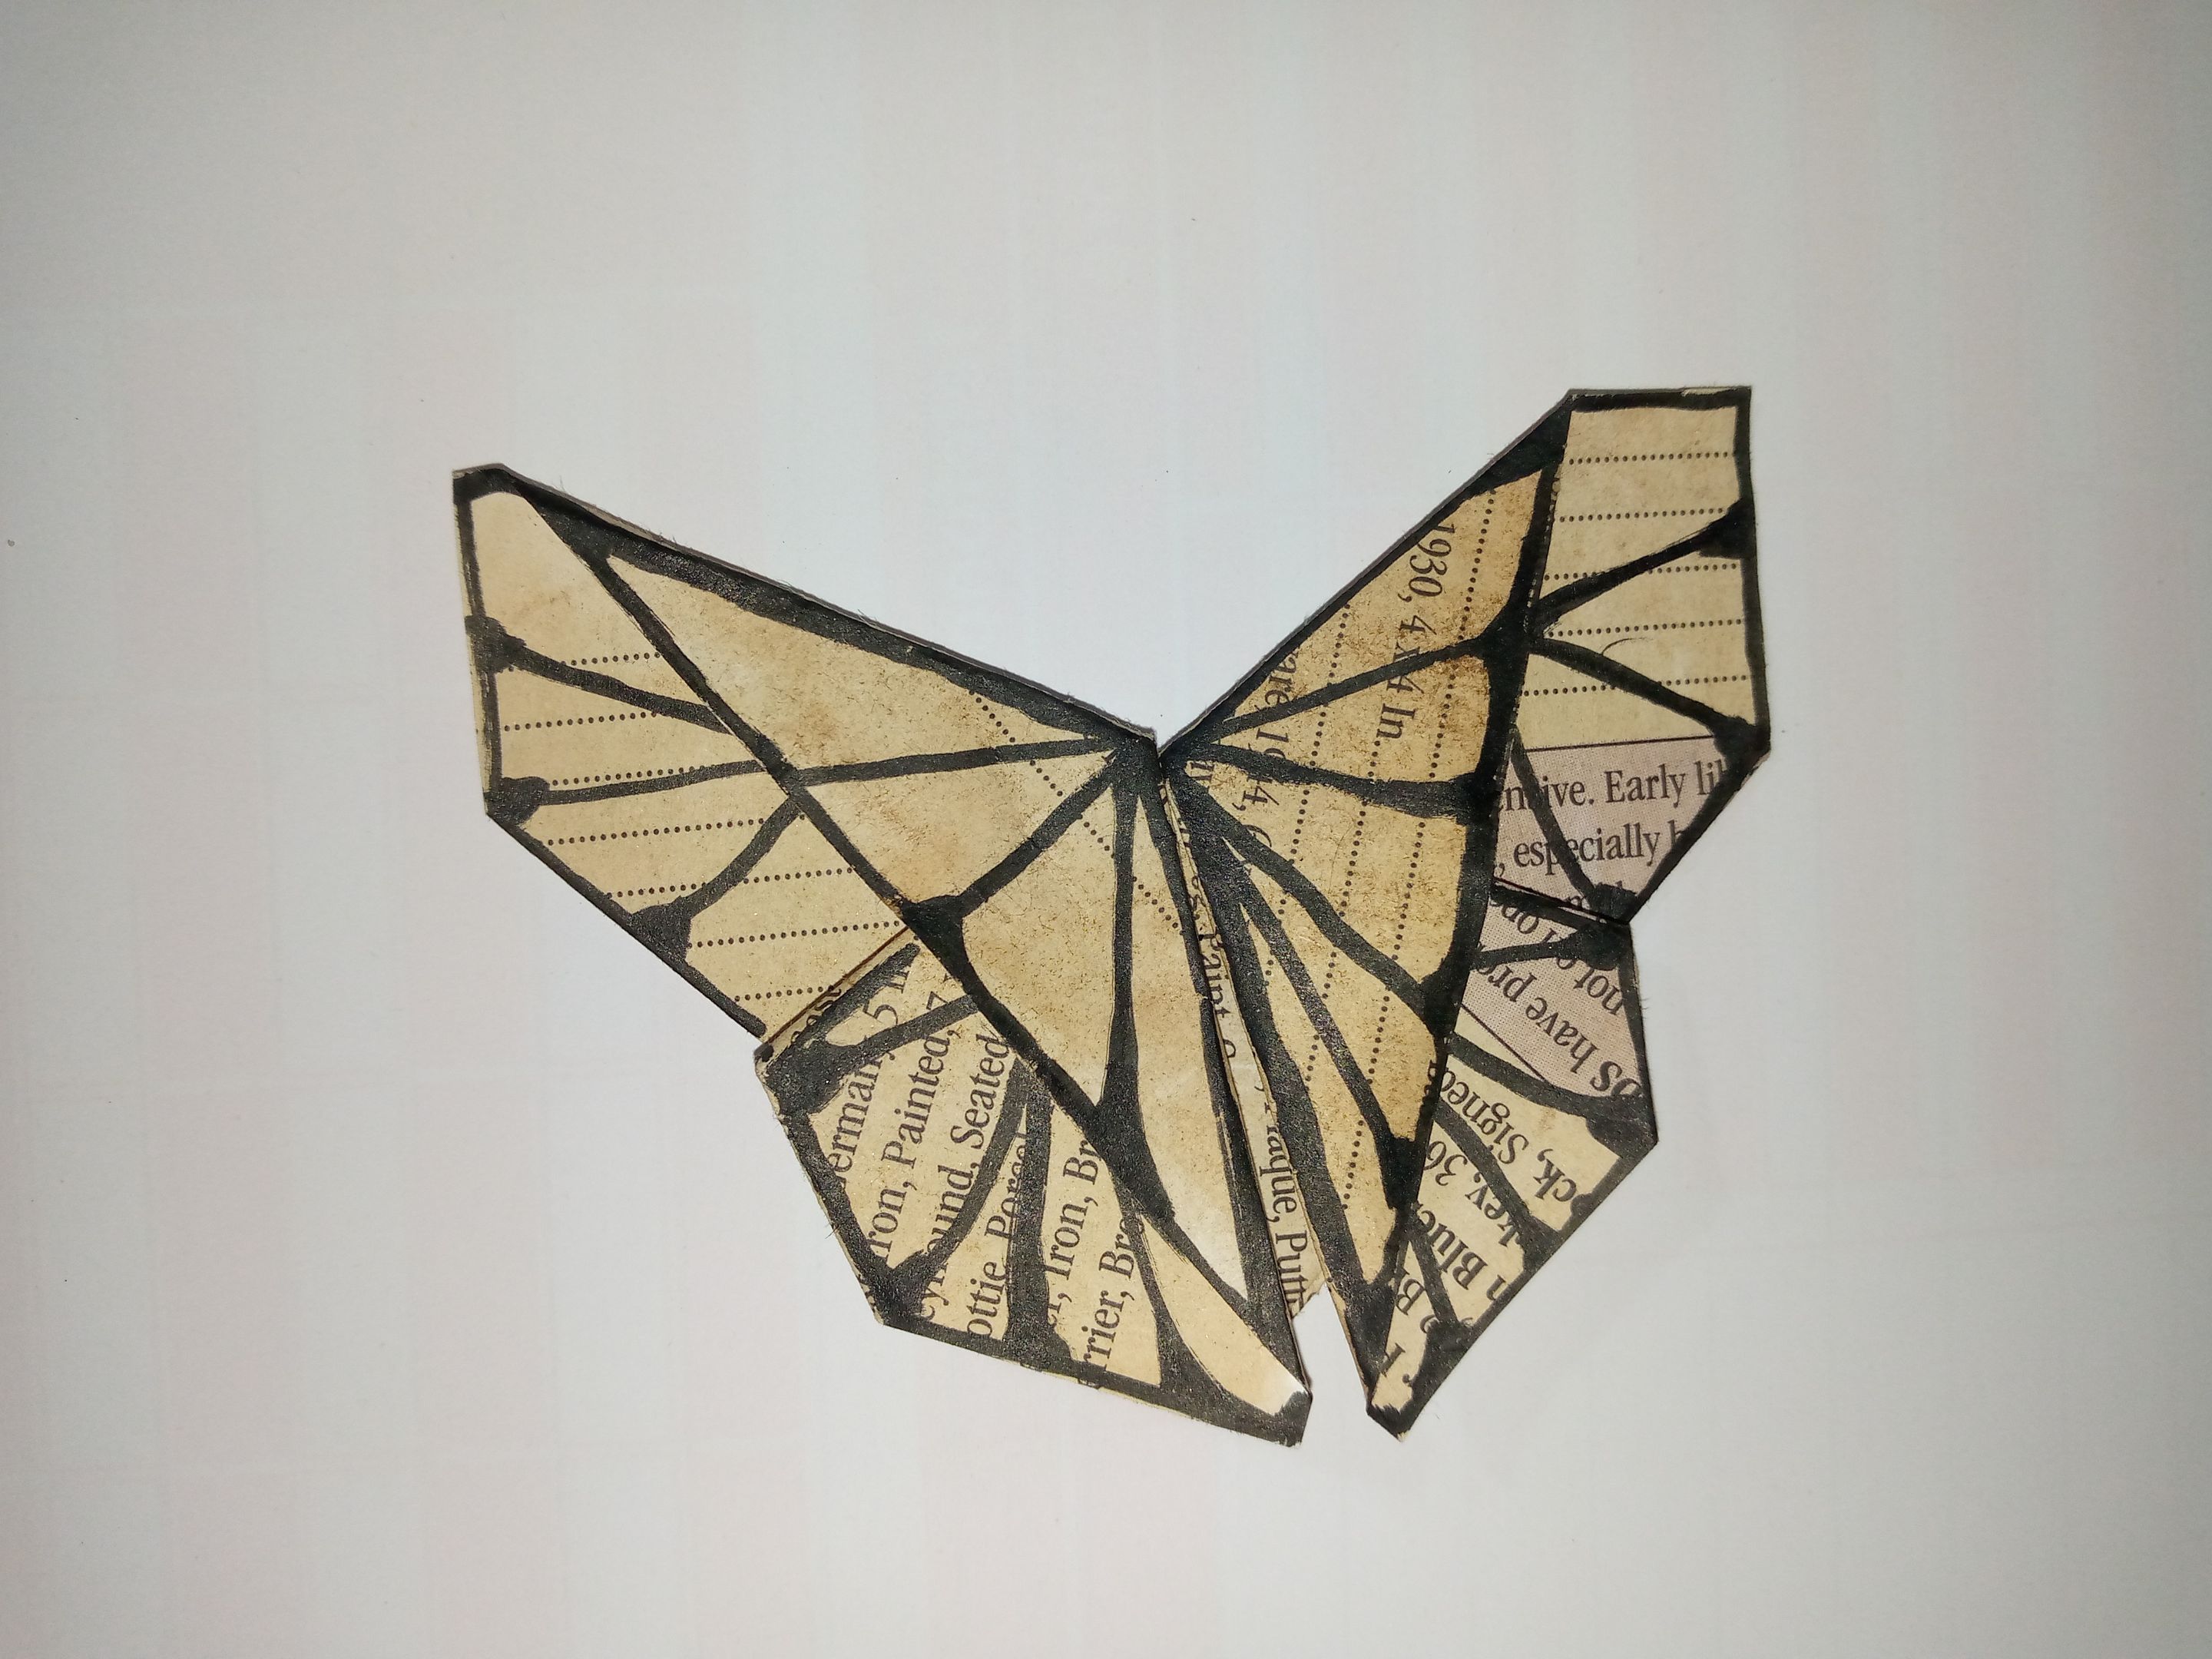
Using a black acrylic marker, I drew the lines along the edges of the butterfly's wings. I added three lines on the upper part of each wing, and the same on the lower part. I carefully drew the lines to make sure they were straight, as I wanted to do it as neatly as possible, since these lines are what make the butterfly really stand out. Once I finished drawing the lines, this little butterfly was ready to mark any page in my books.


@anne002_20250723_195546_0000 (1).png

_

Resultado: | Result:

_

Así nos queda finalizada está obra hermosa 🦋está lindo mariposa así nos queda ya colocada en la página a leer,me gustó mucho la tonalidad que tomó con el tinte de café, depende de el café que le eches más espesa es la tinta y el color por supuesto pero sin gastarnos el café 🤭😌....Espero les guste mucho como quedó me alegraría saber de parte de ustedes que les ha parecido y que ideas te gustaría emplear con esta técnica de tinte de café.

And here's the finished piece! 🦋 This beautiful butterfly looks so lovely on the page. I really liked the color it took on with the coffee stain. The darker the coffee you use, the richer the color and the more intense the stain, of course, but without using up too much coffee! 🤭😌 I hope you all like how it turned out. I'd love to hear your thoughts and any ideas you might have for using this coffee stain technique.

IMG_20250926_230719_788.jpg

IMG_20250926_230747_267.jpg

IMG_20250926_230848_934.jpg

🦋🦋🦋🦋🦋🦋🦋🦋

Con esto me despido por el tutorial de hoy amigos queridos,les dejo muchos saludos y bendiciones,hasta otro próximo blog ,me alegró compartir con ustedes esta idea 😍🦋me encanta,nos vemos amigos 👋🏻.

That concludes today's tutorial, my dear friends. Sending you all my best wishes and blessings. See you in my next blog post! I was so happy to share this idea with you. 😍🦋 I love it! Goodbye for now, friends! 👋🏻

@anne002_20250723_195546_0000 (1).png

![IMG_20250730_173722_352.jpg](https://images.hive.blog/DQmXjBeEnBuE9Hwjzd3CWDm163YZp8W3GC9Zv1hRAgeo84q/IMG_20250730_173722_352.jpg)

¡Hola!...Soy Annie

Una chica que le apasiona el diseño,la costura las manualidades y crear cualquier cosa de mucho uso con mis manos,tengo como hobbie la música ,el maquillarme,la pintura y el dibujo,expresar mis ideas y sentimientos en un dibujo es algo que me gusta hacer,amo la naturaleza,un atardecer ,la playa y disfrutar con mis familiares de los buenos momentos de la vida.❤️

_

Creando las cosas con amor🌷♥️ | Creating things with love🌷♥️

_

_

Imágenes:de mi autoria | Edición:Canva® y PicsArt © | Traductor:Traductor de Google | Dispositivo:TecnoSpark 8C.

_

_

Images:my own work | Edited by:Canva® and PicsArt © | Translator:Google Translate |Device:TecnoSpark 8C .

_


Picsart_25-08-29_23-41-06-198.jpg


#spanish #marcalibros #butterfly #art #handmade #doityourself #originalcontent
Payout: 0.005 HBD
Votes: 77
More interactions (upvote, reblog, reply) coming soon.