Hola amigos de #needlewormonday bienvenidos a mi blog. | Hello friends of #NeedleworkMonday, welcome to my blog!.
En esta oportunidad les traigo una idea genial que van a amar para sus termos de agua y cubrirlos cada que los transportes a cualquier lugar,este práctico tote bag es muy cómodo además podemos hacer usos de nuestros retazos de telas que tenemos en casa y que podríamos sacarle el máximo provecho a estos retazos,yo lo he hecho para mí termo mas grande ,pero de igual manera sirve para hacerlos a cualquier termo no importa nuestro tamaño ya que simplemente agarramos las medidas de este y procedemos a cortar las telas.
This time I'm sharing a great idea that you'll love for your water bottles—a handy tote bag to carry them in. This practical tote bag is very convenient, and you can use leftover fabric scraps you have at home, making the most of those fabric pieces. I made one for my largest water bottle, but you can easily make one for any size bottle; just take the measurements and cut the fabric accordingly.
Yo se que te gustaría apreciar el tutorial así que antes que te cuente como lo hice aquí les dejo los materiales que usé por si desean hacerlo los vayan consiguiendo 🥰.
I know you'll appreciate the tutorial, so before I explain how I made it, here's a list of the materials I used, in case you want to gather them before you start making it yourself. 🥰


_
Materiales: | Materials:
_
- Retazos de tela
- Máquina de coser
- Tijeras
- Cinta métrica
- Hilo
- Alfileres
- Fabric scraps
- Sewing machine
- Scissors
- Measuring tape
- Thread
- Pins
_
Pasos a seguir: | Steps to follow:
_
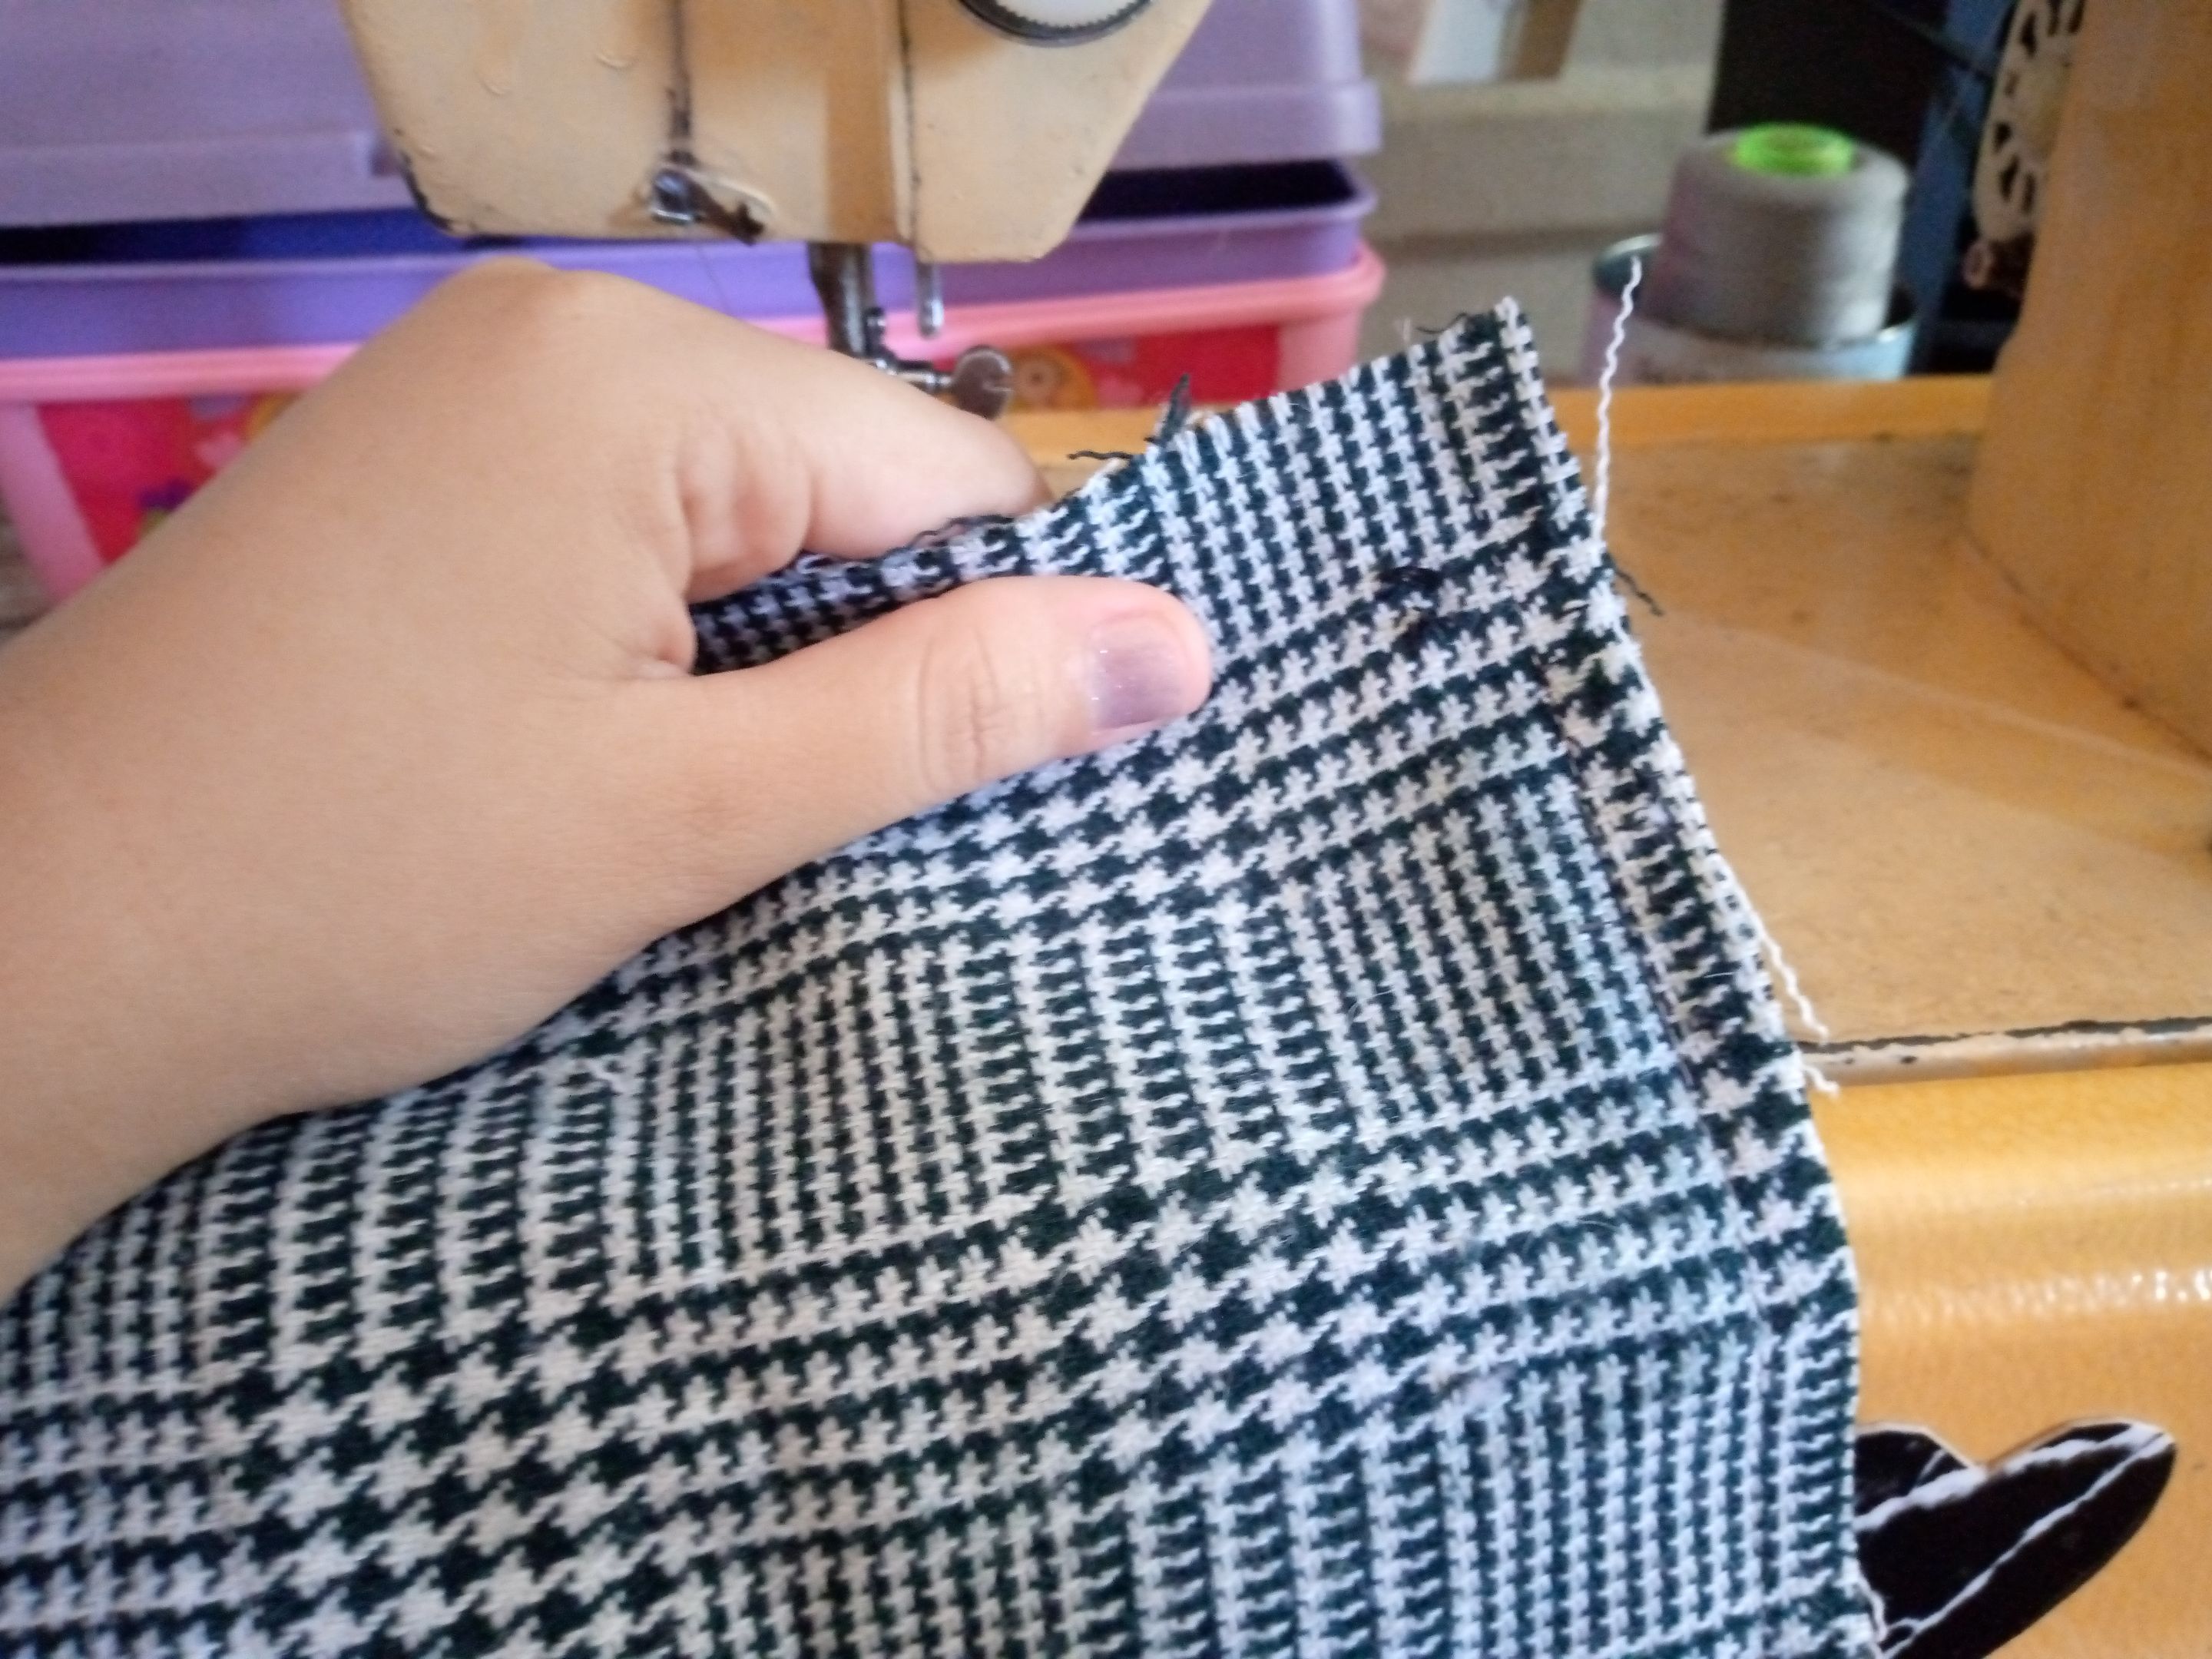
Paso 01
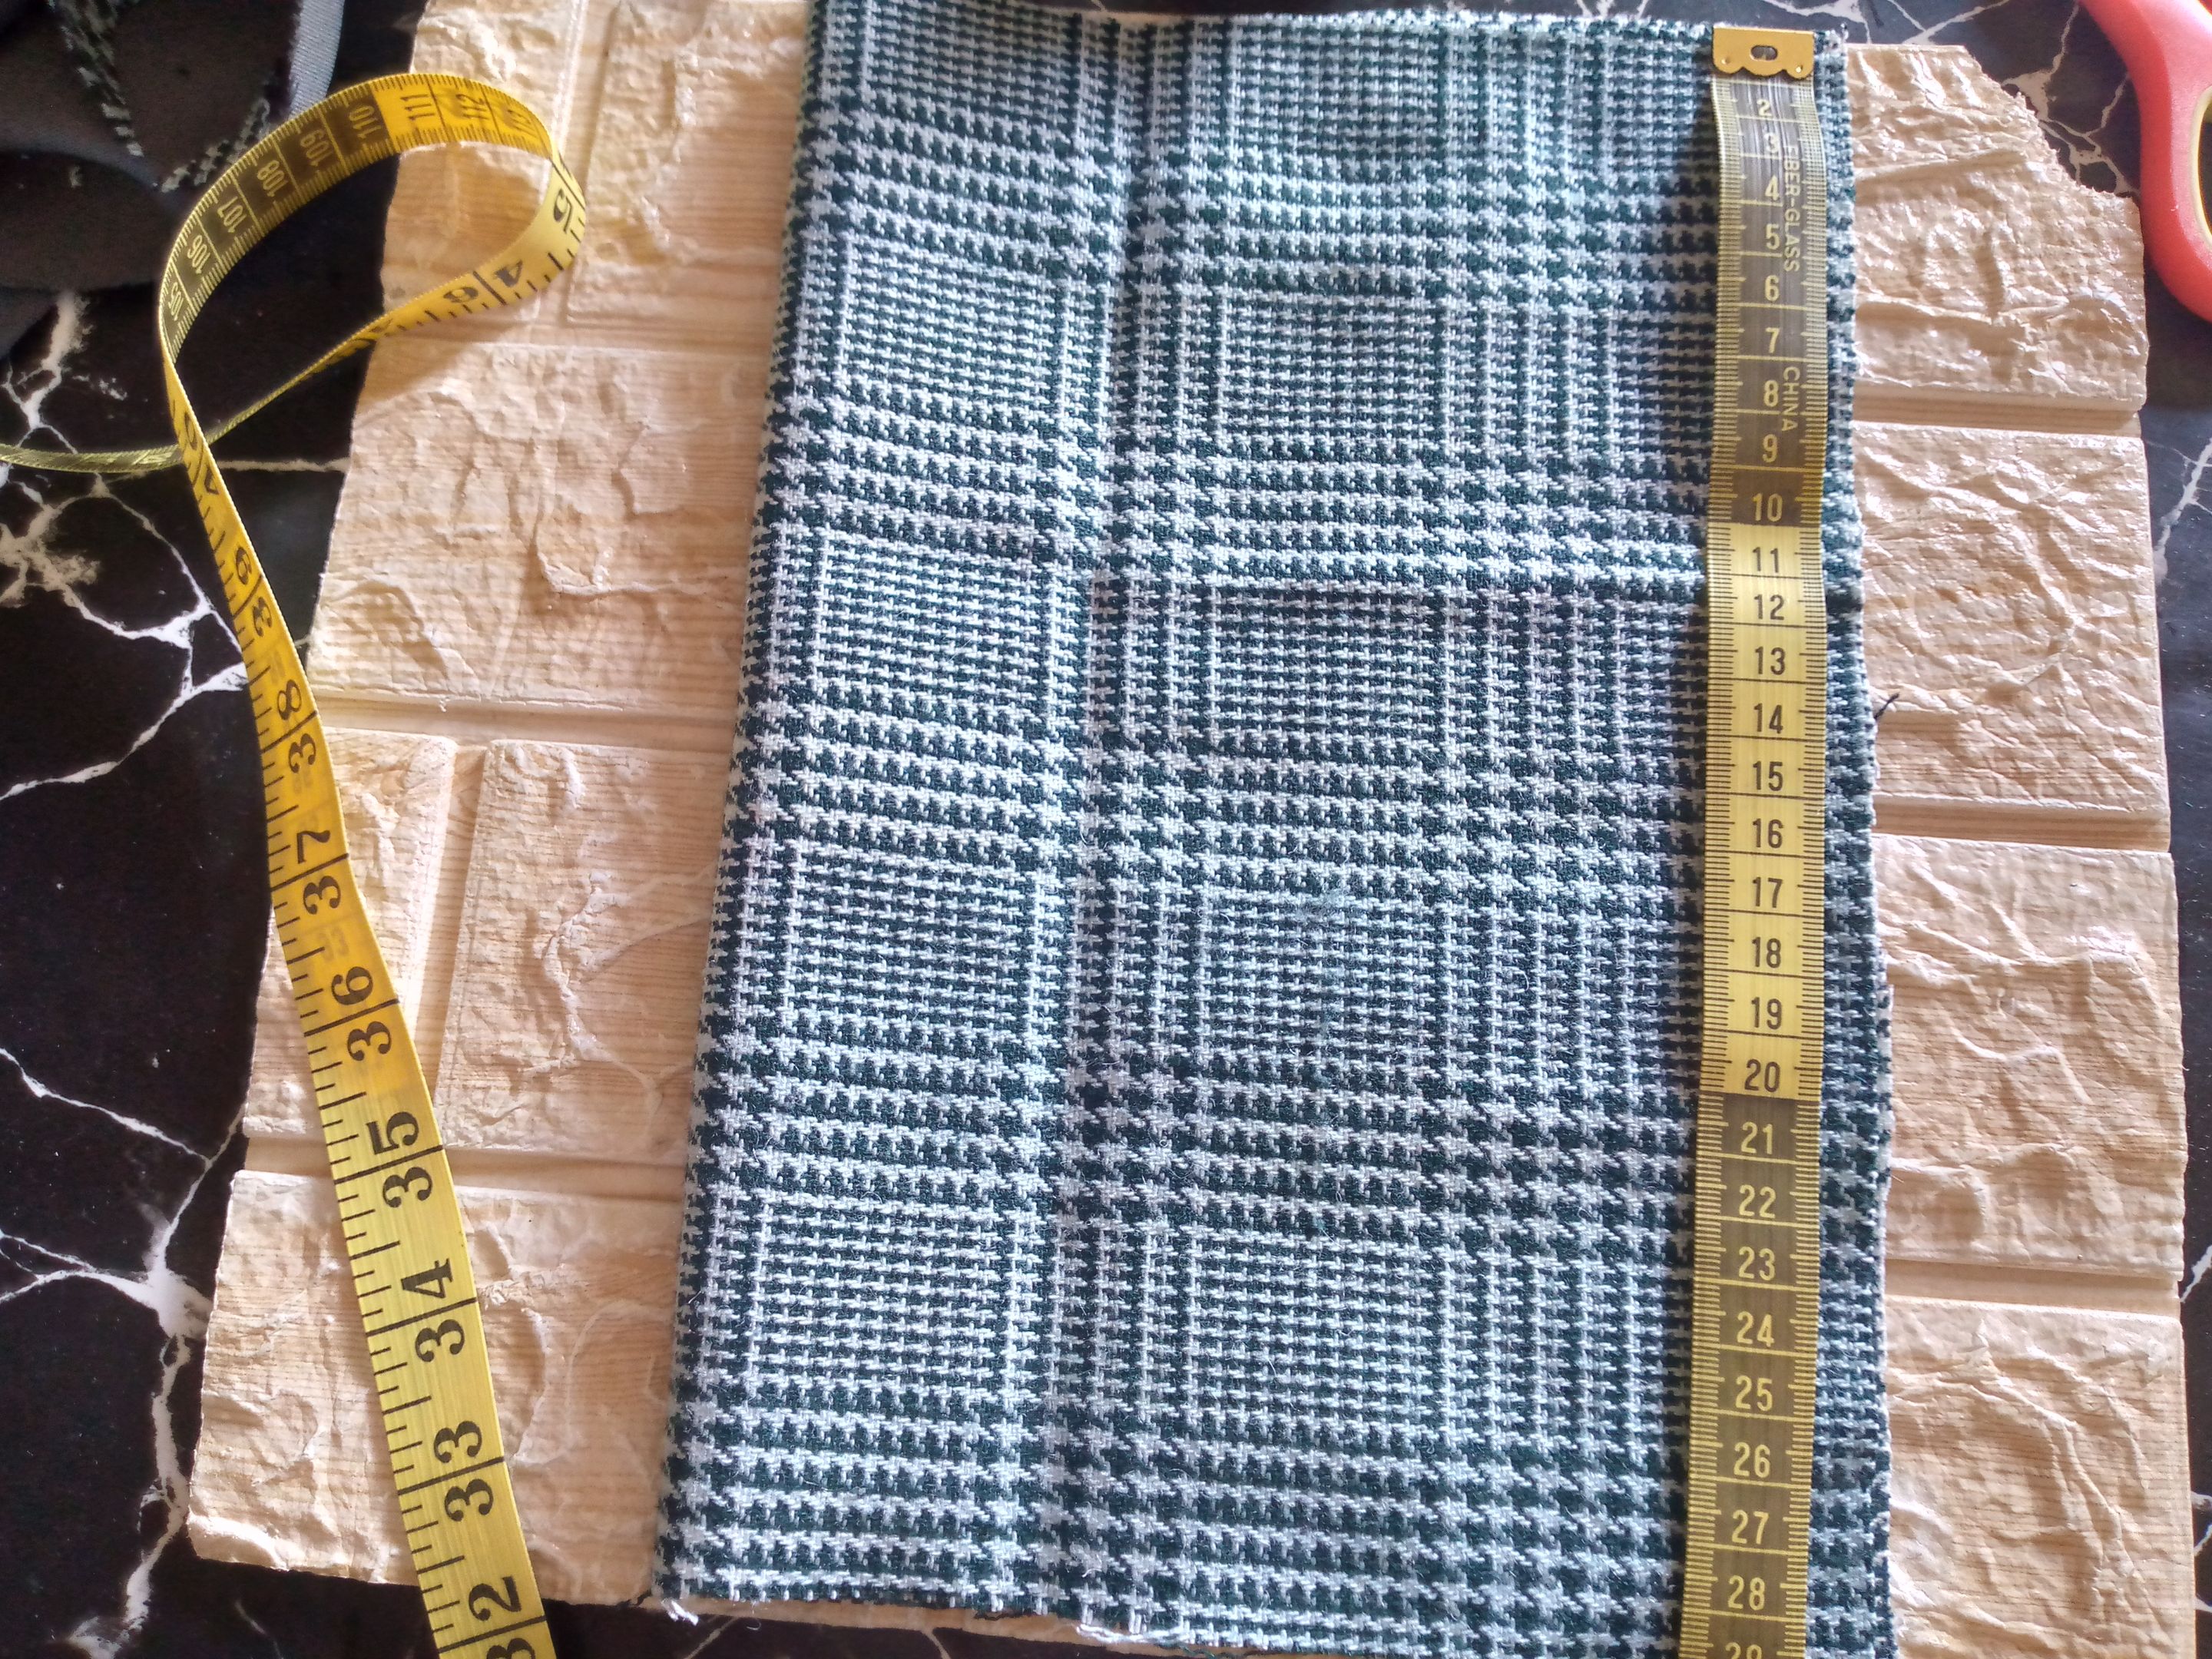
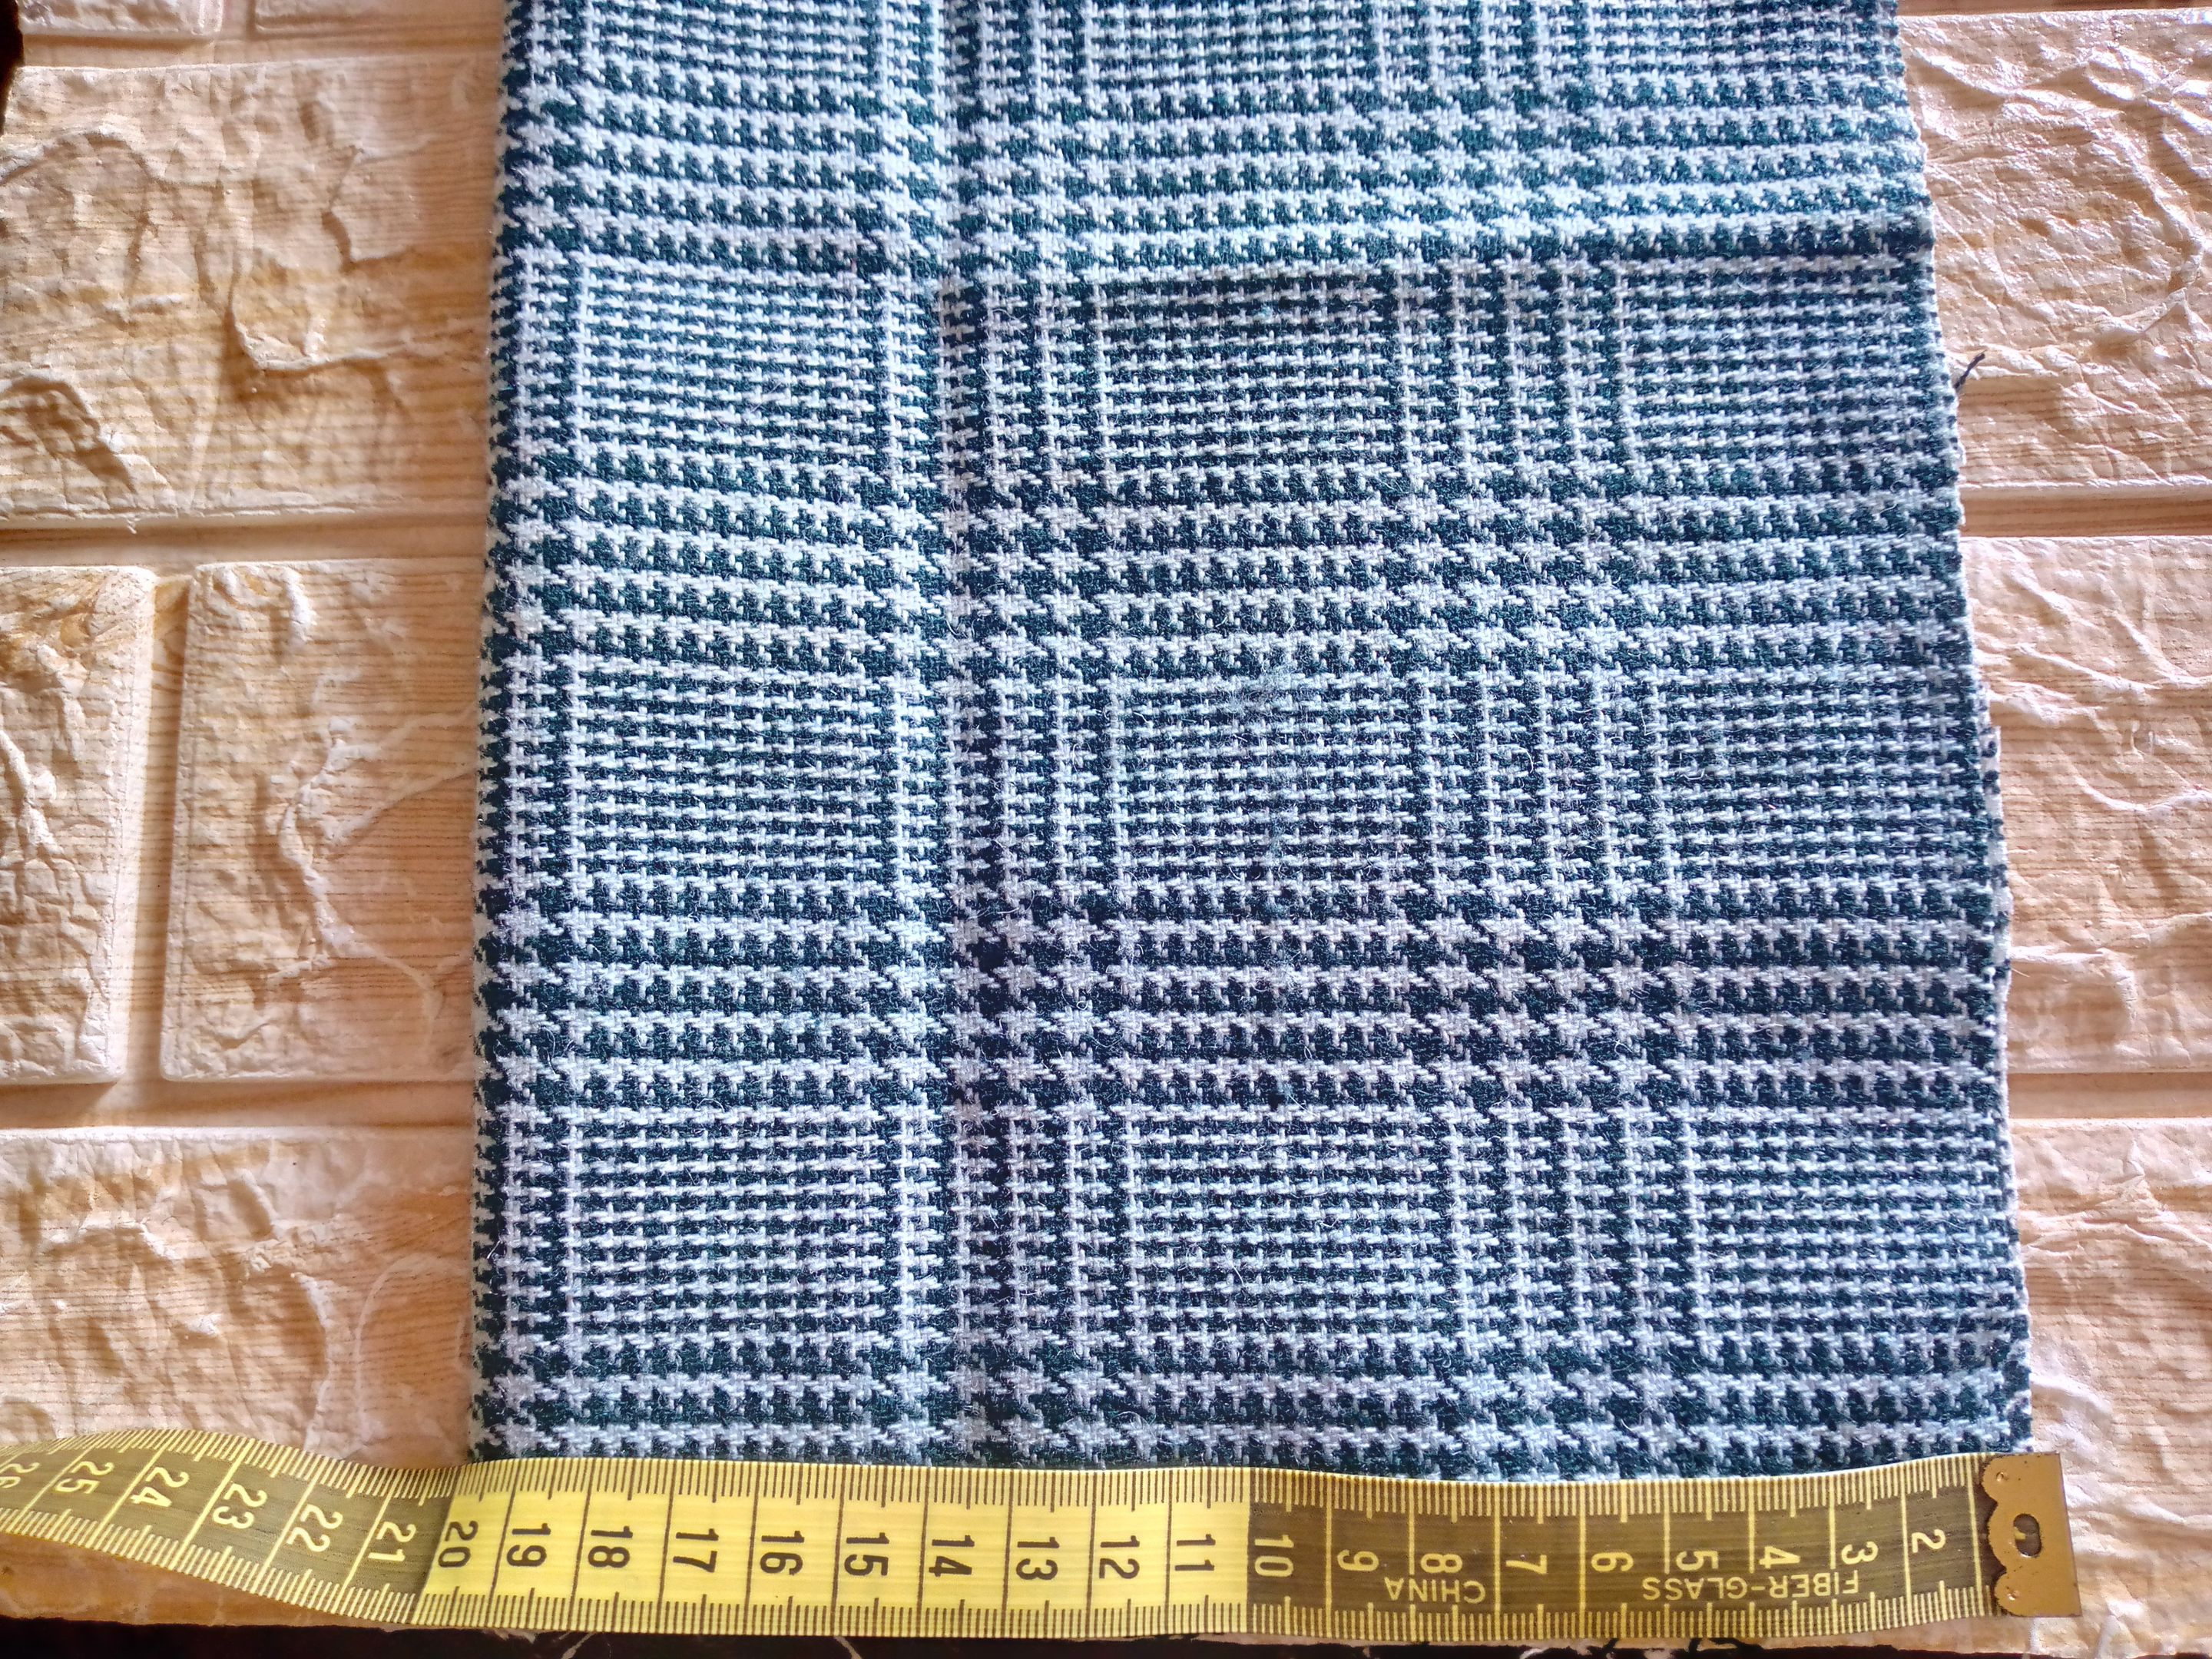
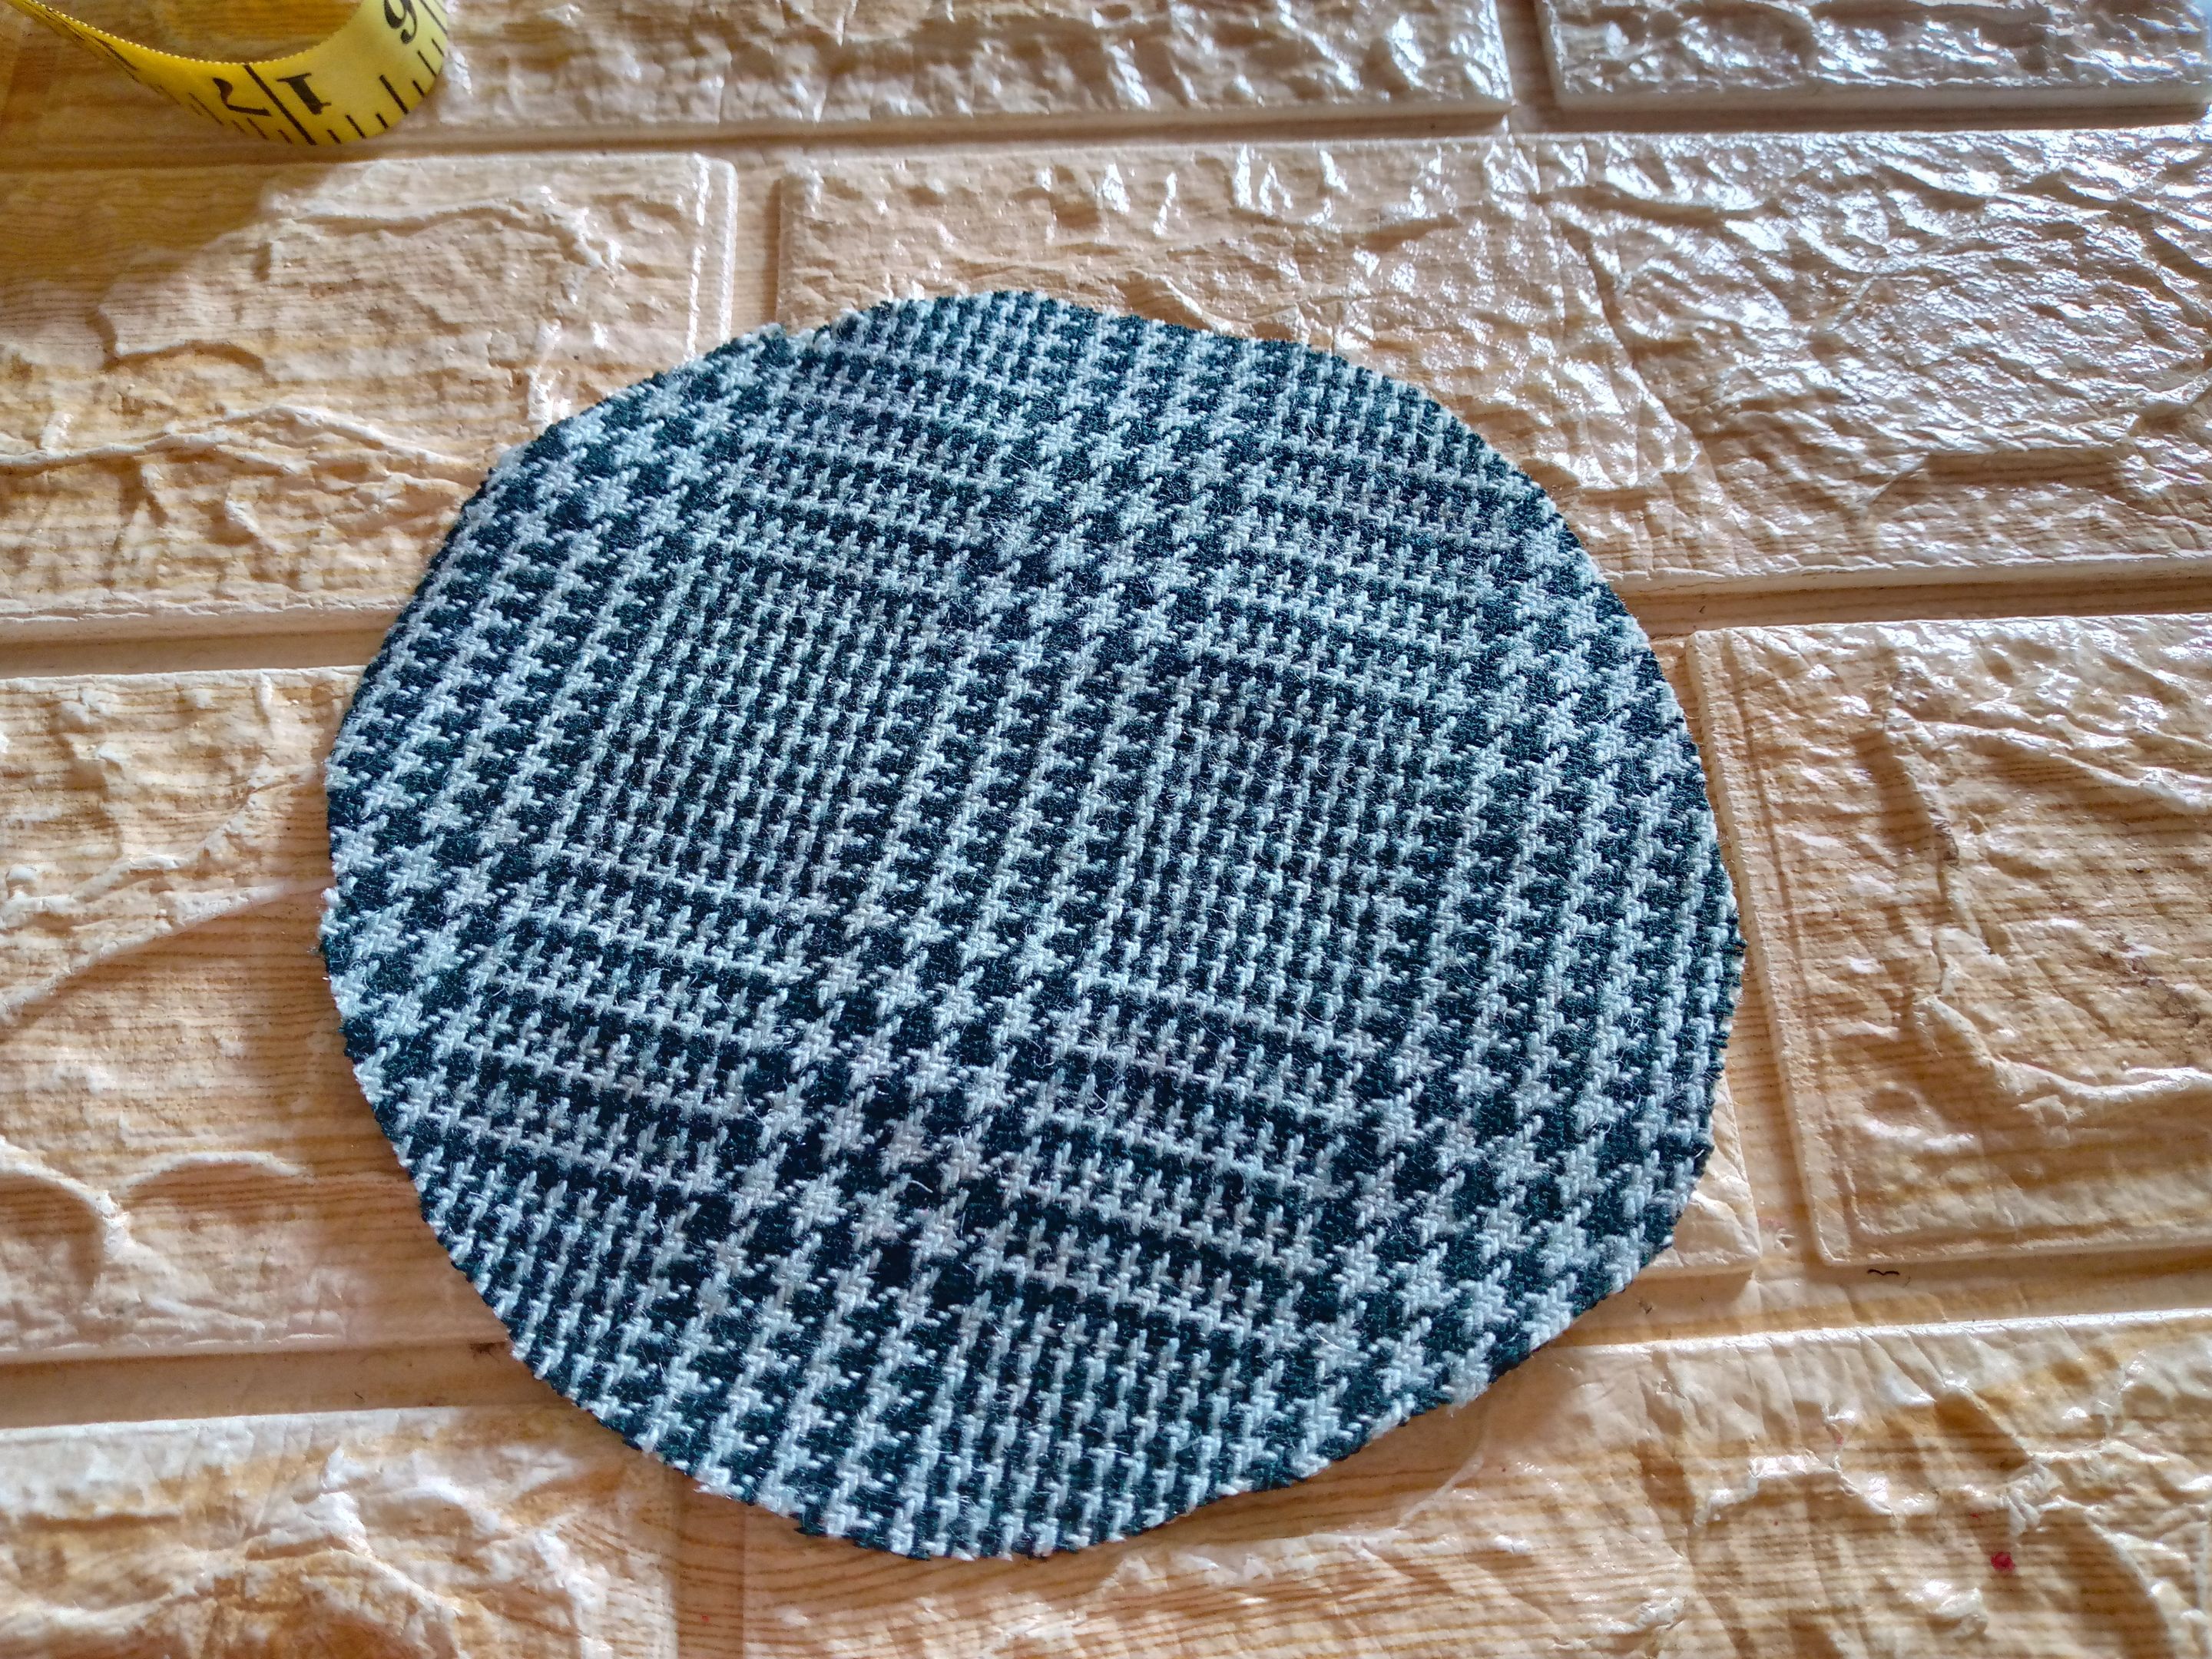
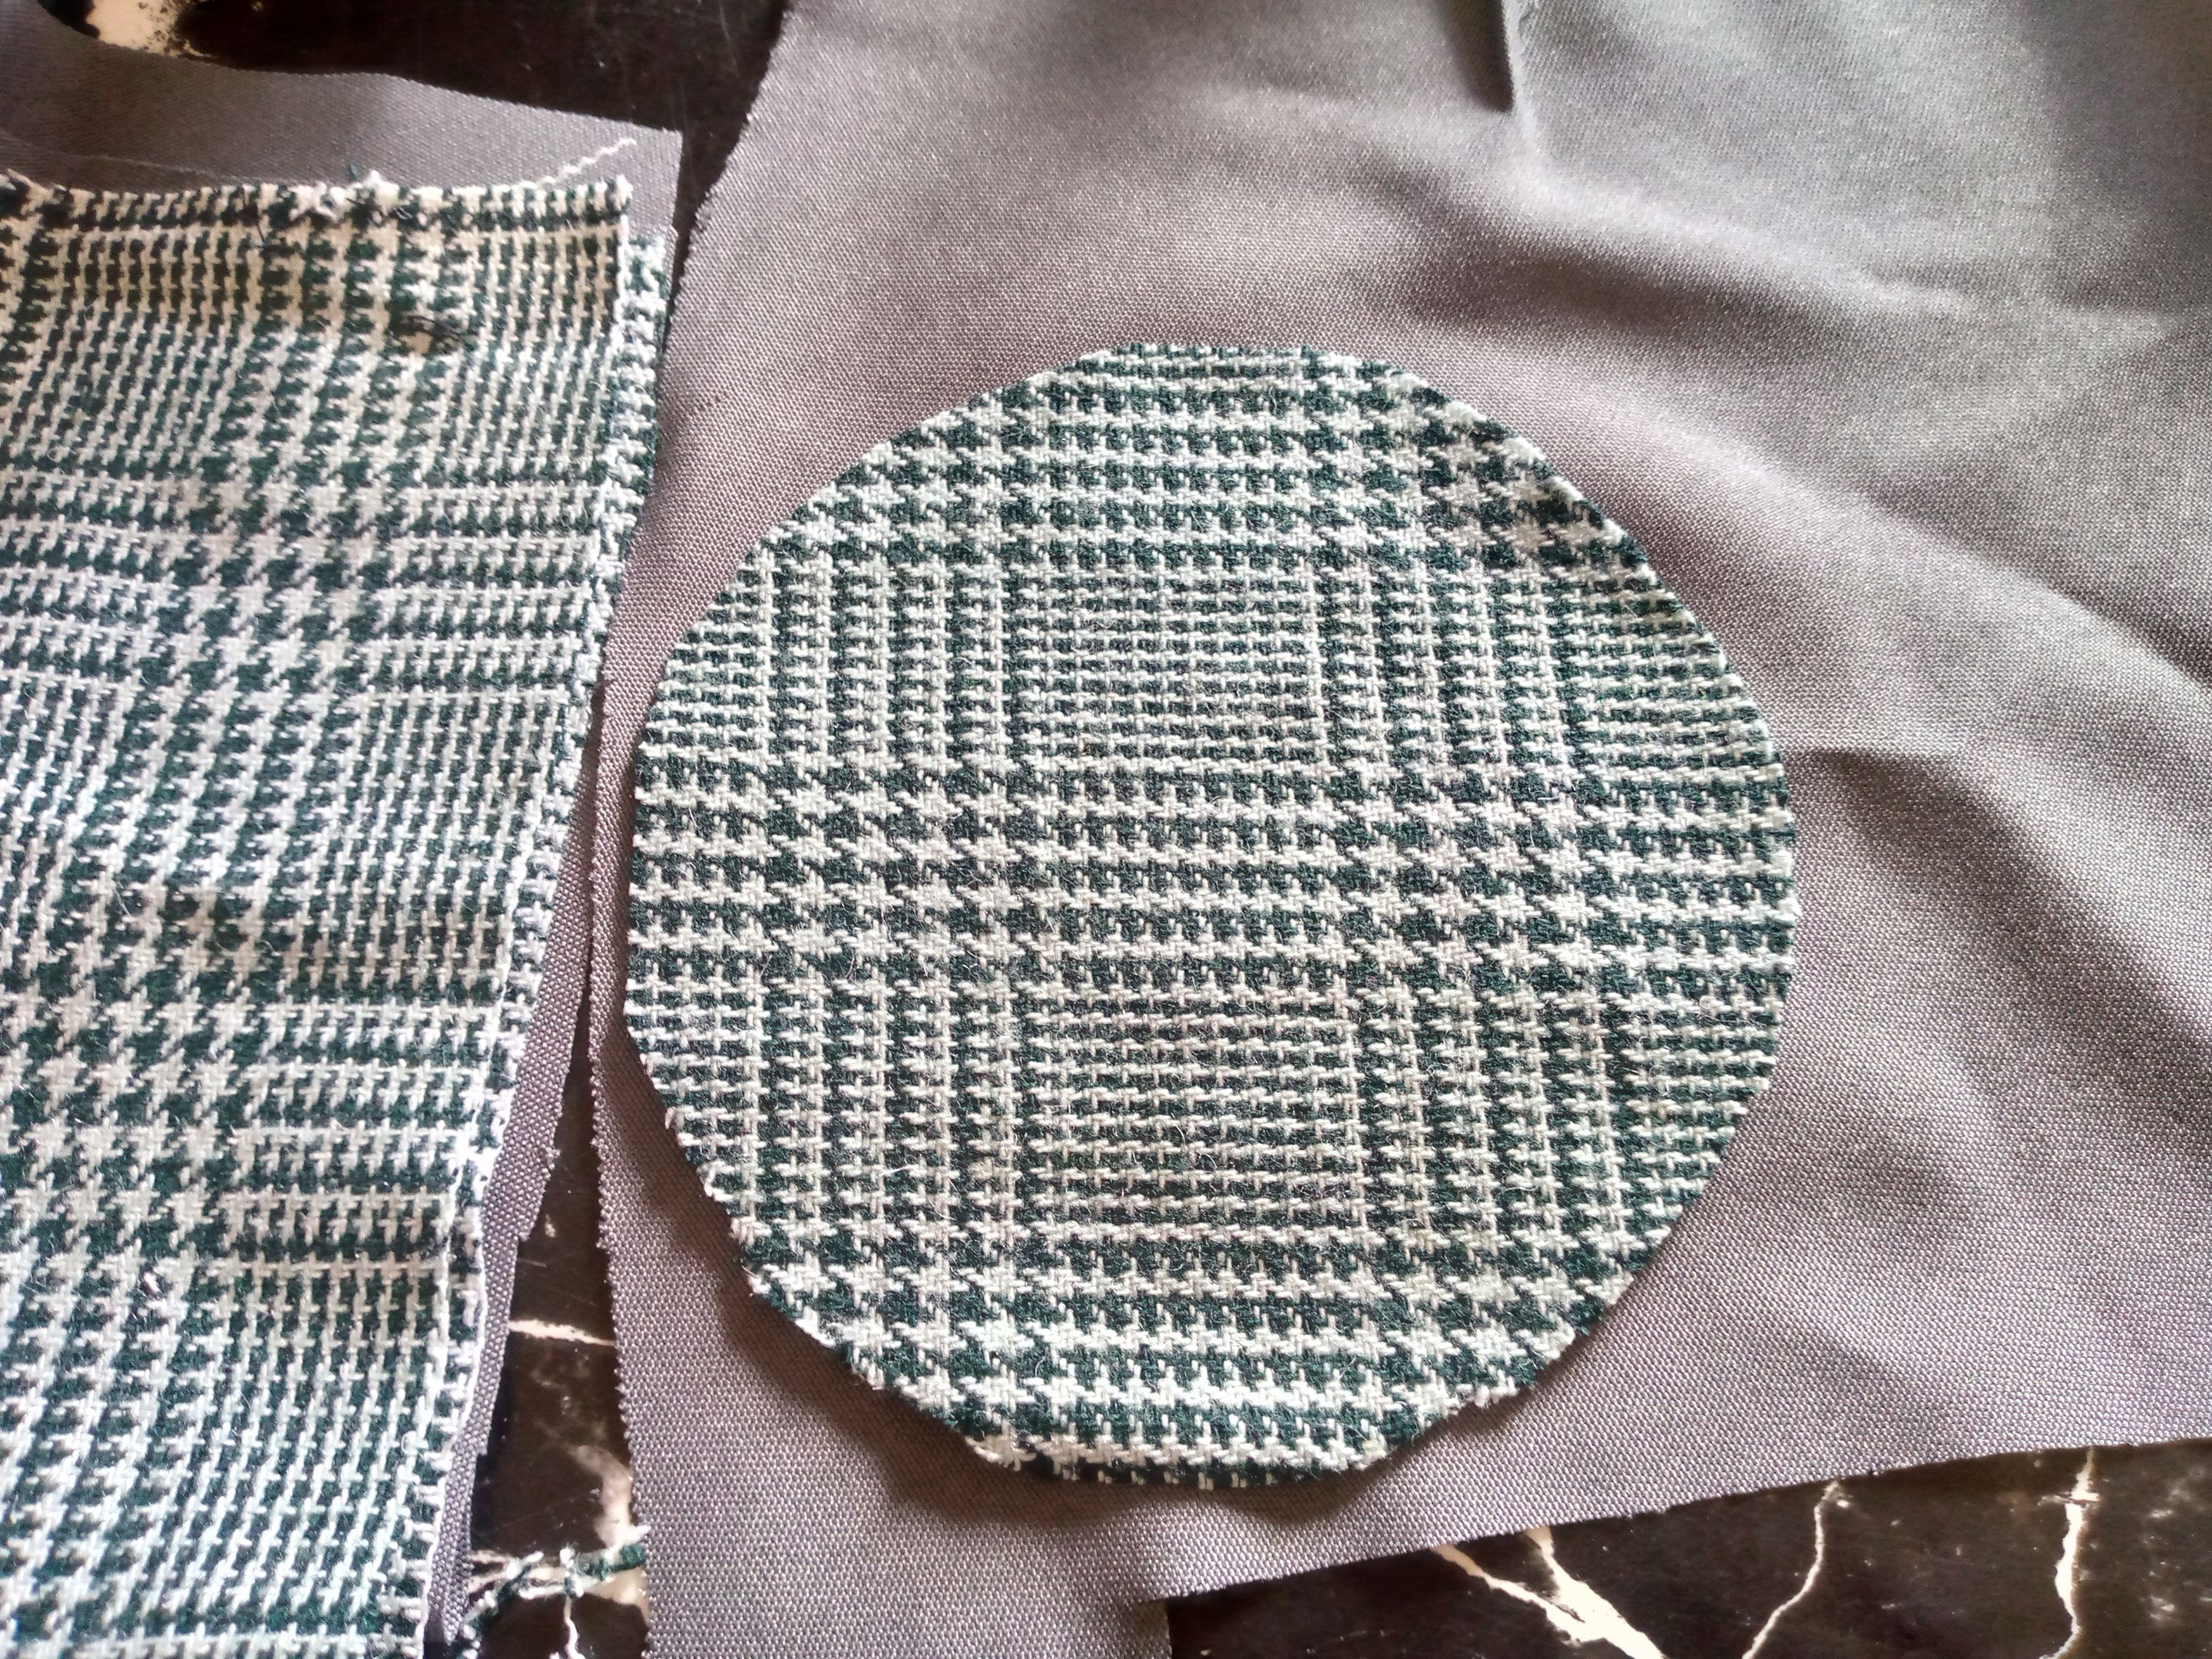
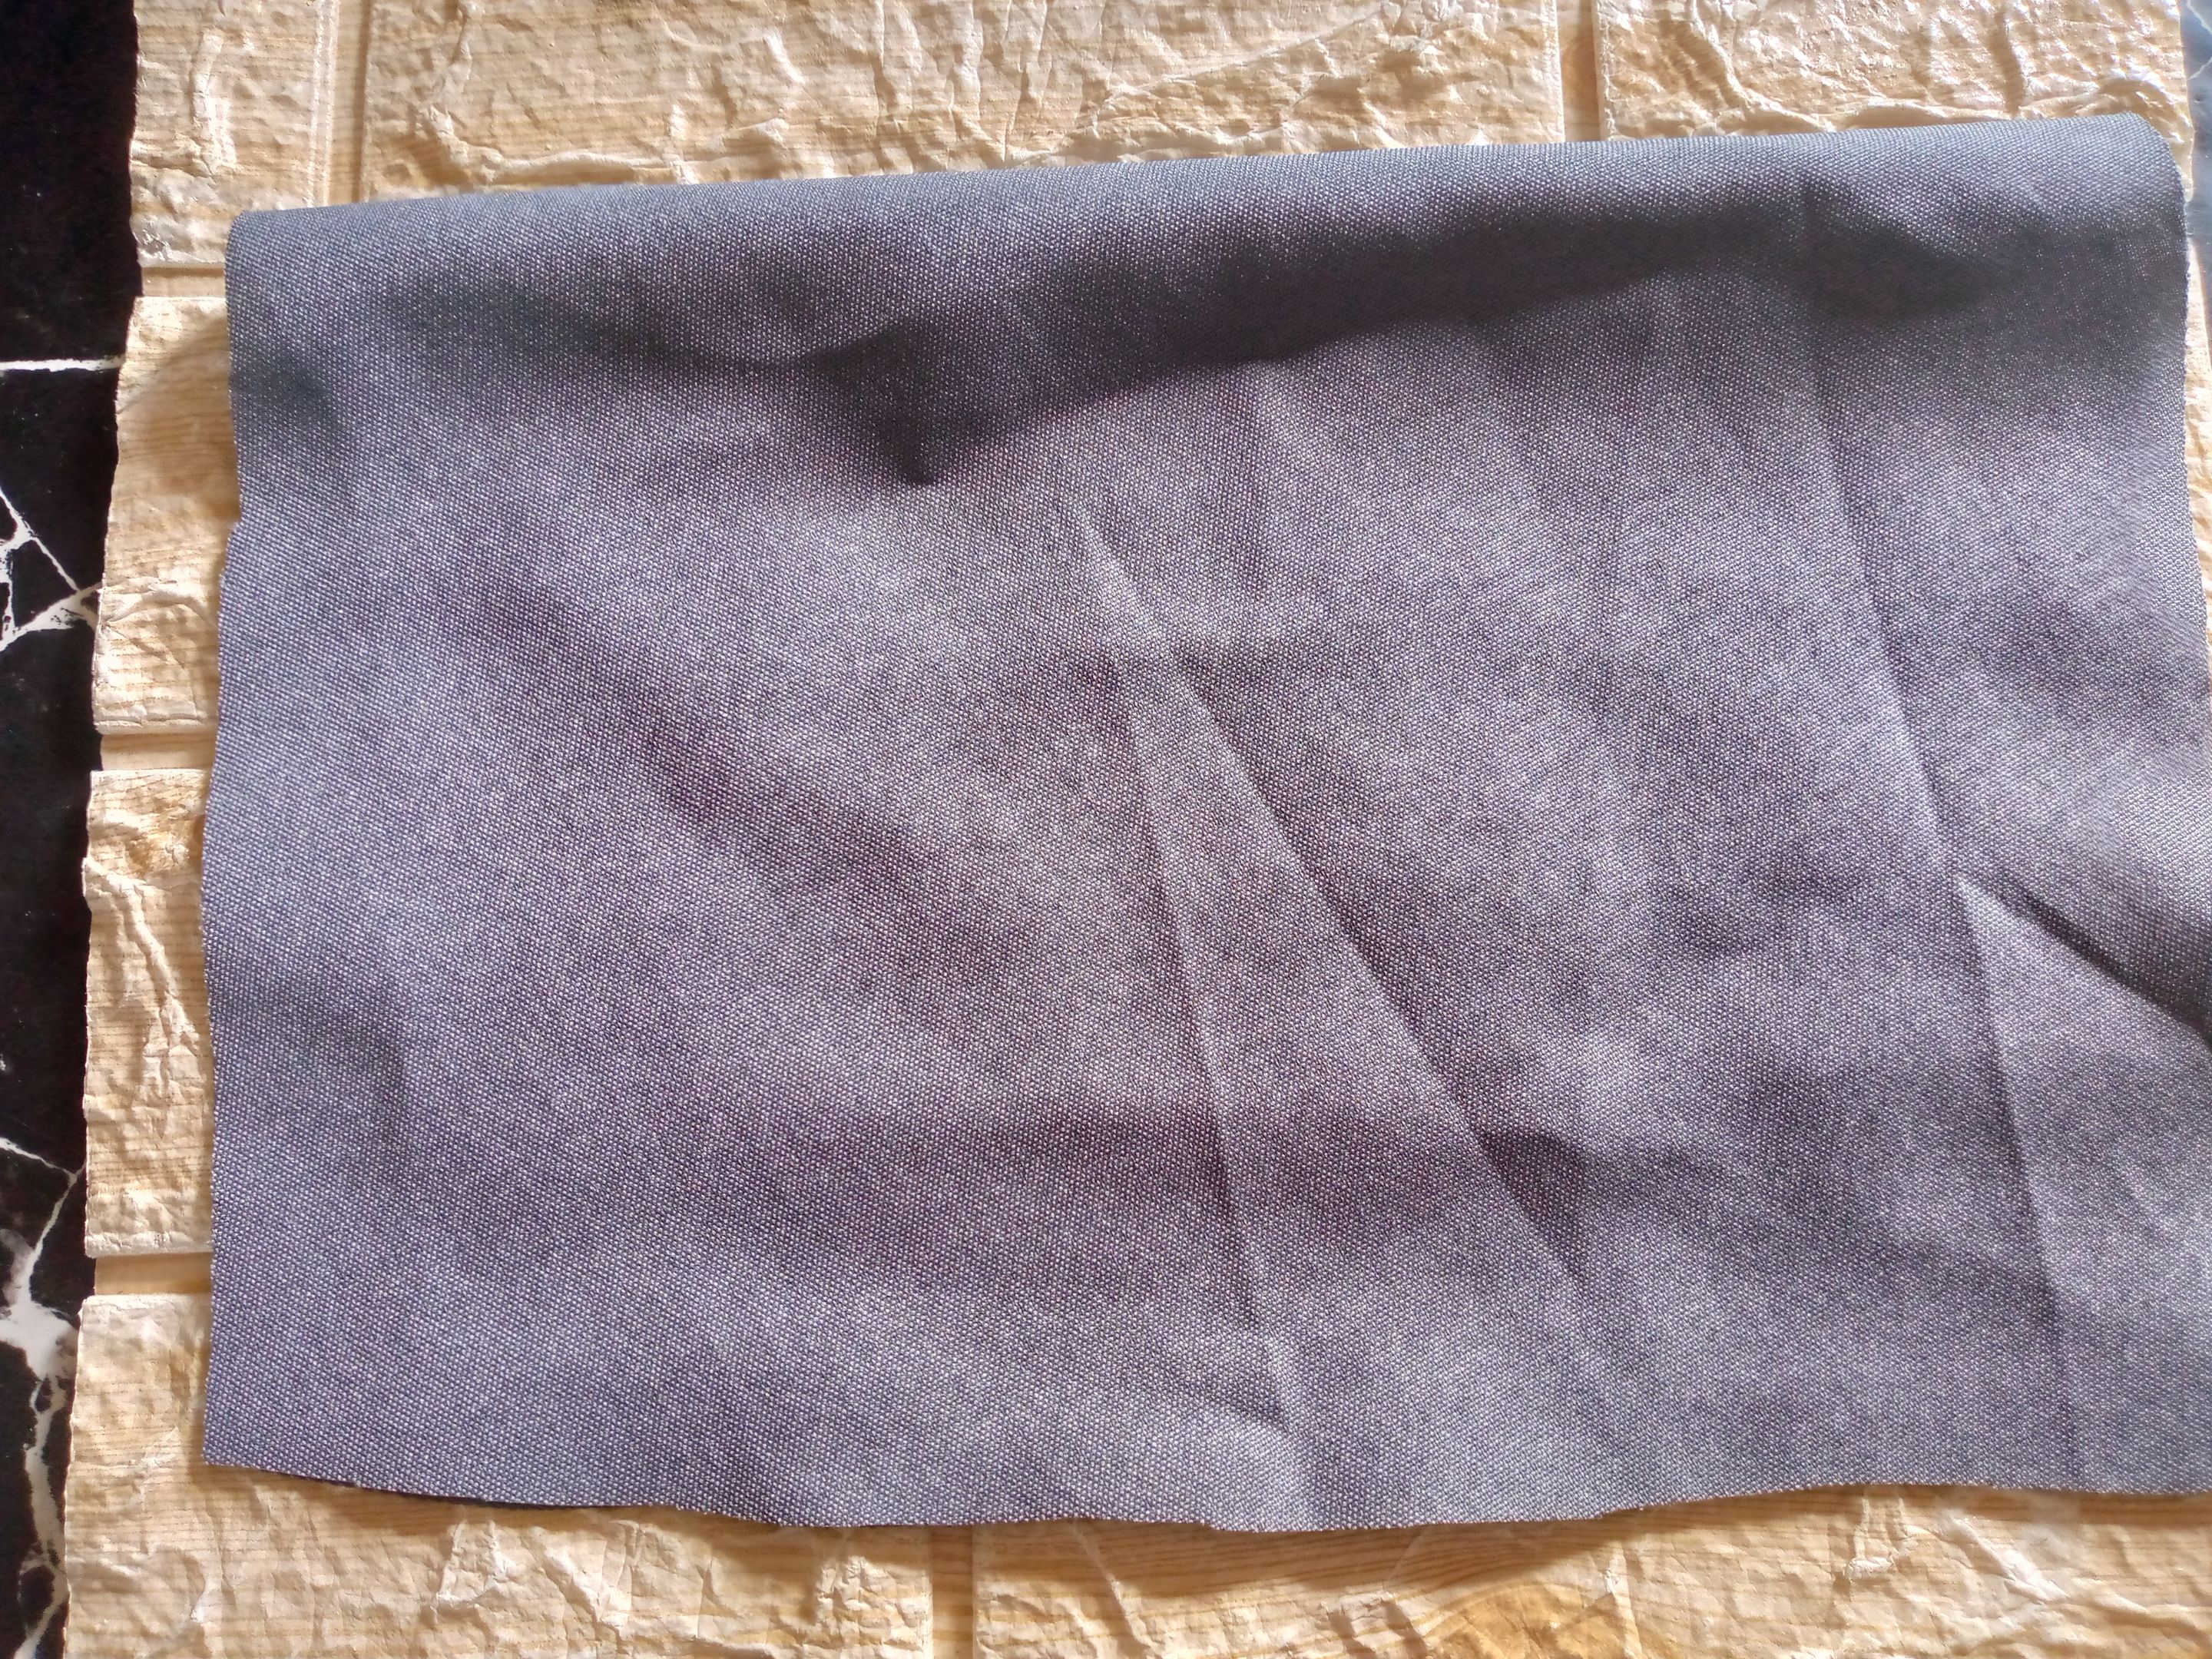
Empezamos cortando un rectángulo de 29 cm de largo x 40 cm de ancho este es oara todo el contorno del termo,luego cortamos la base circular colocando el termo encima dejando 1 cm de costura en toda la circunferencia y procedo a cortarlo , también haremos otro rectángulo para el forro y otra circunferencia también de la misma tela del forro, corté piezas de tela para el sesgo del adorno de la parte del frente de mi tote bag,el cuadro pueden hacerlo del tamaño que desean hacerlo yo lo he hecho de 10 cm de largo x 10 cm de ancho.
Step 01
We start by cutting a rectangle measuring 29 cm long x 40 cm wide; this will be for the outer casing of the insulated container. Then, we cut a circular piece of fabric for the bottom, placing the container on top and allowing for a 1 cm seam allowance all around. We will also cut another rectangle for the lining, and another circle for the bottom of the lining, using the same fabric. I cut pieces of fabric for the bias binding trim for the front of my tote bag; you can make the square any size you like—I made mine 10 cm long x 10 cm wide.
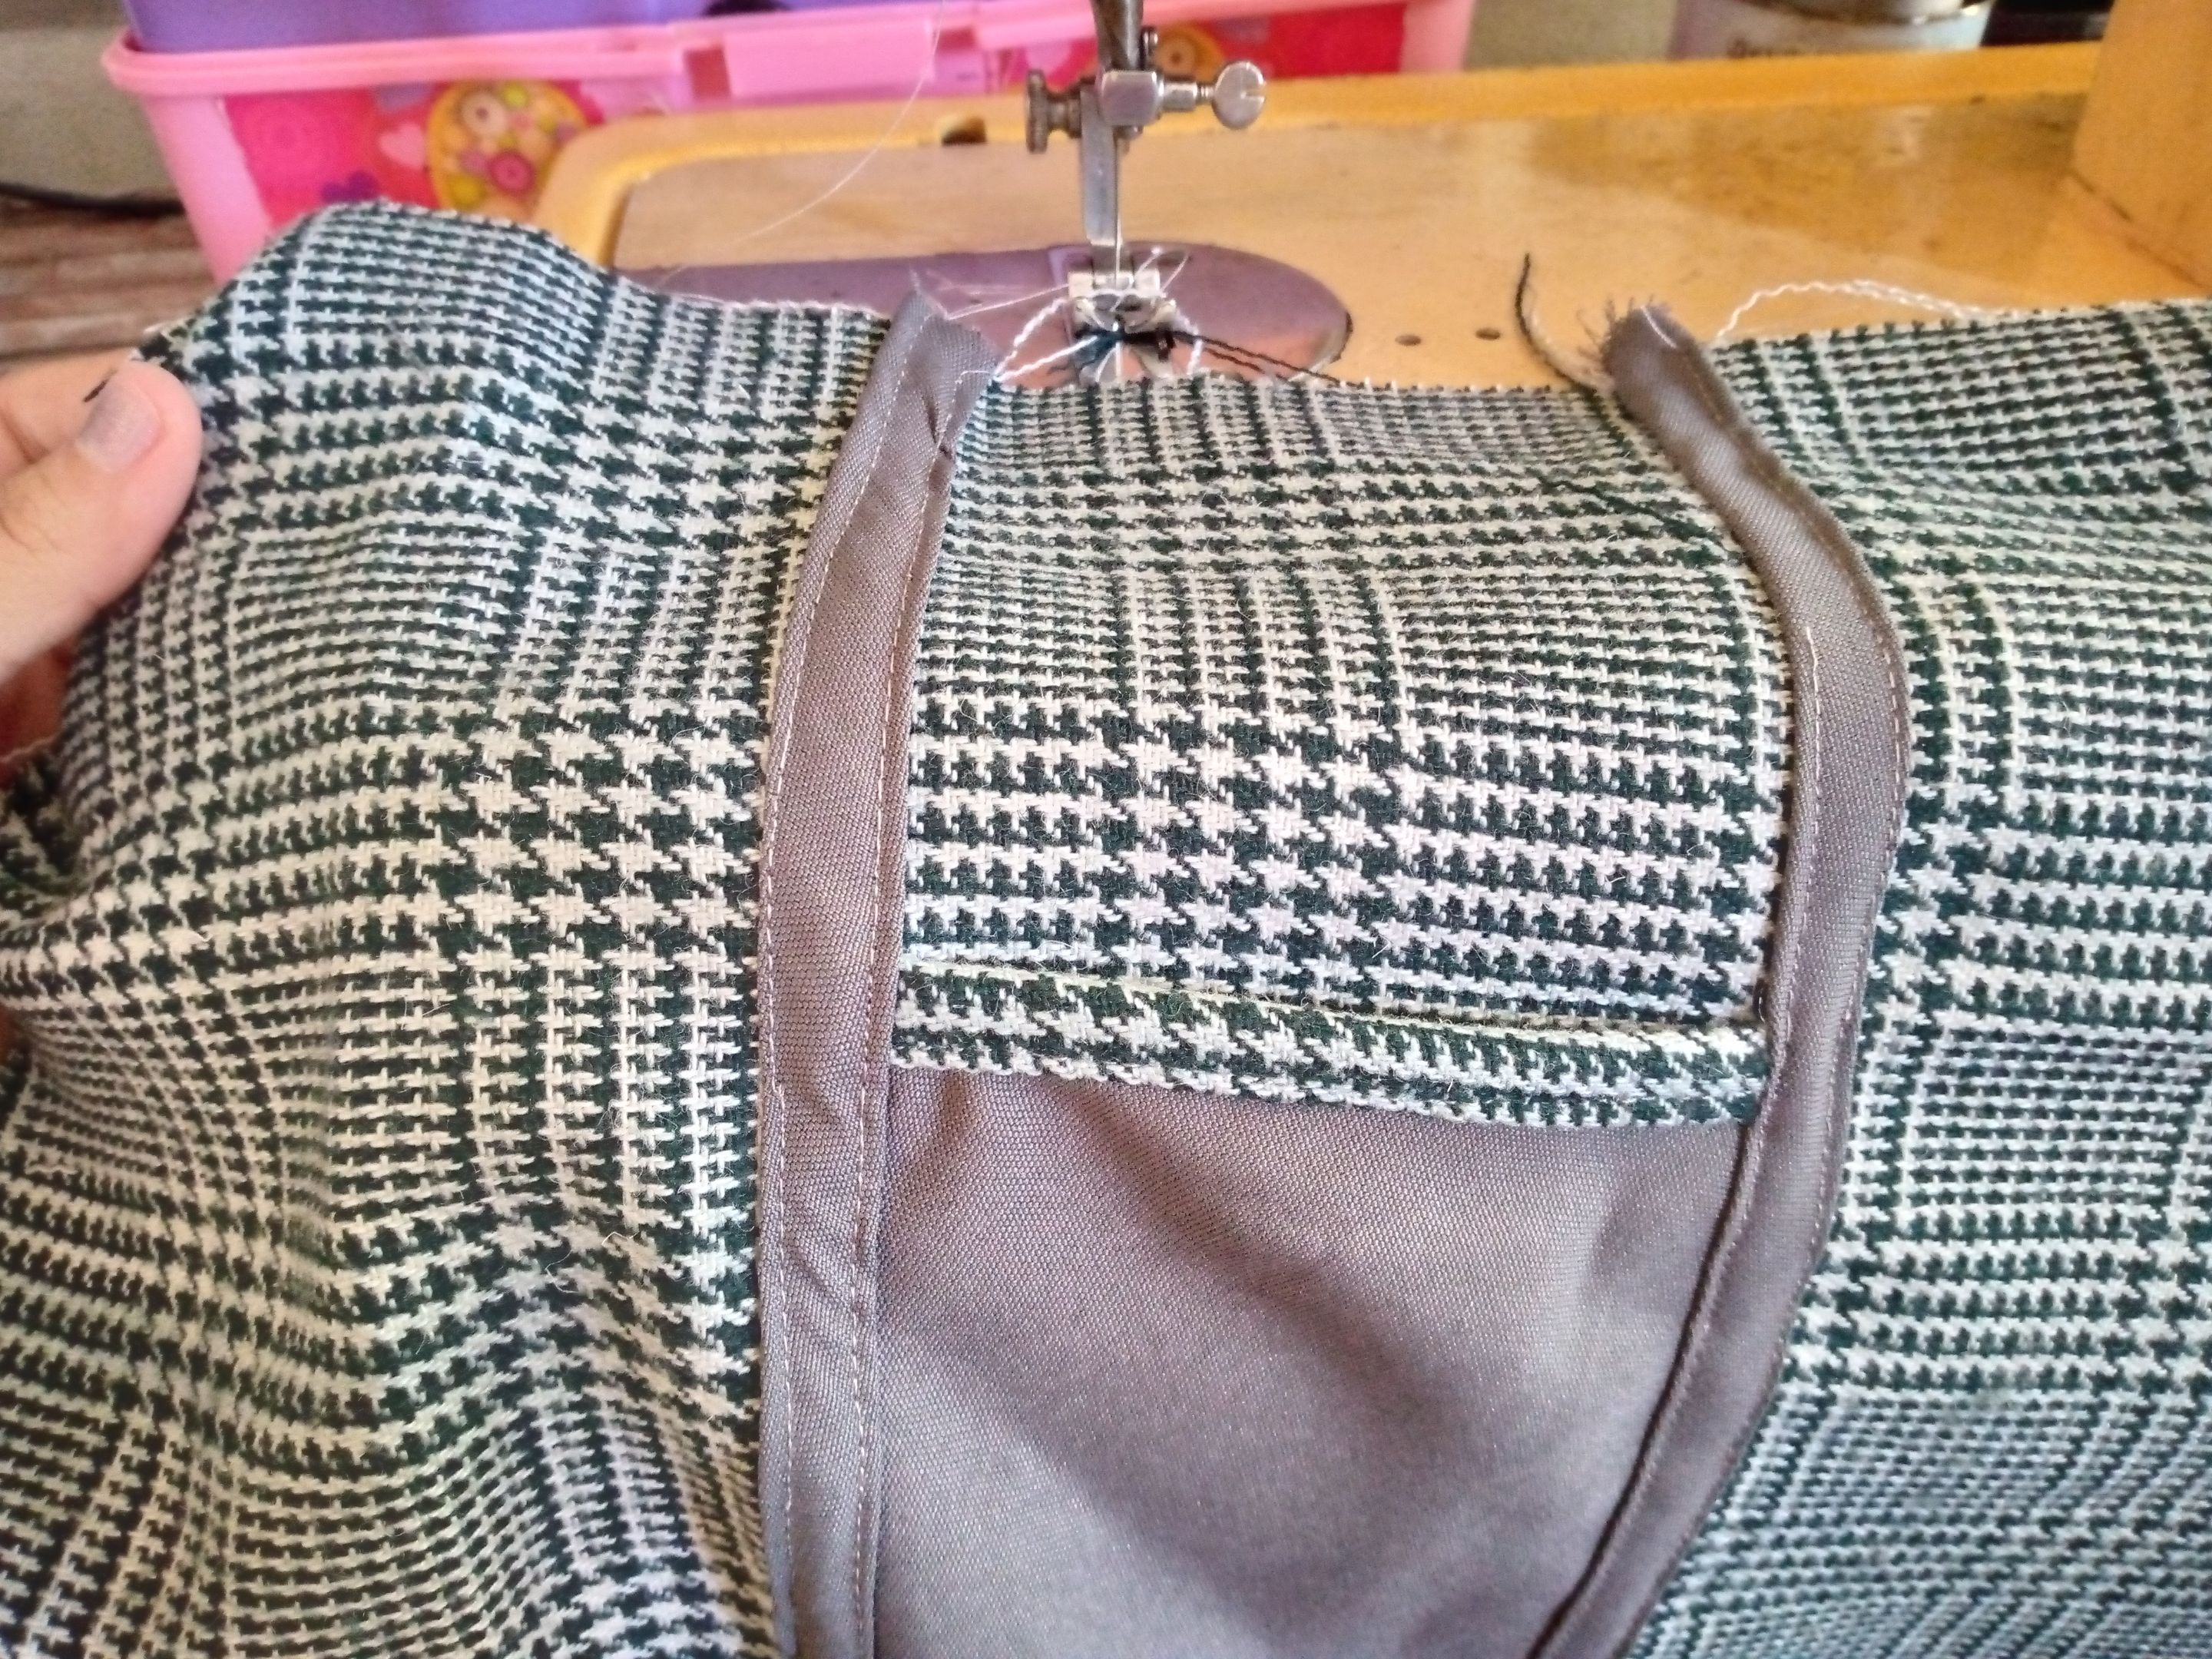

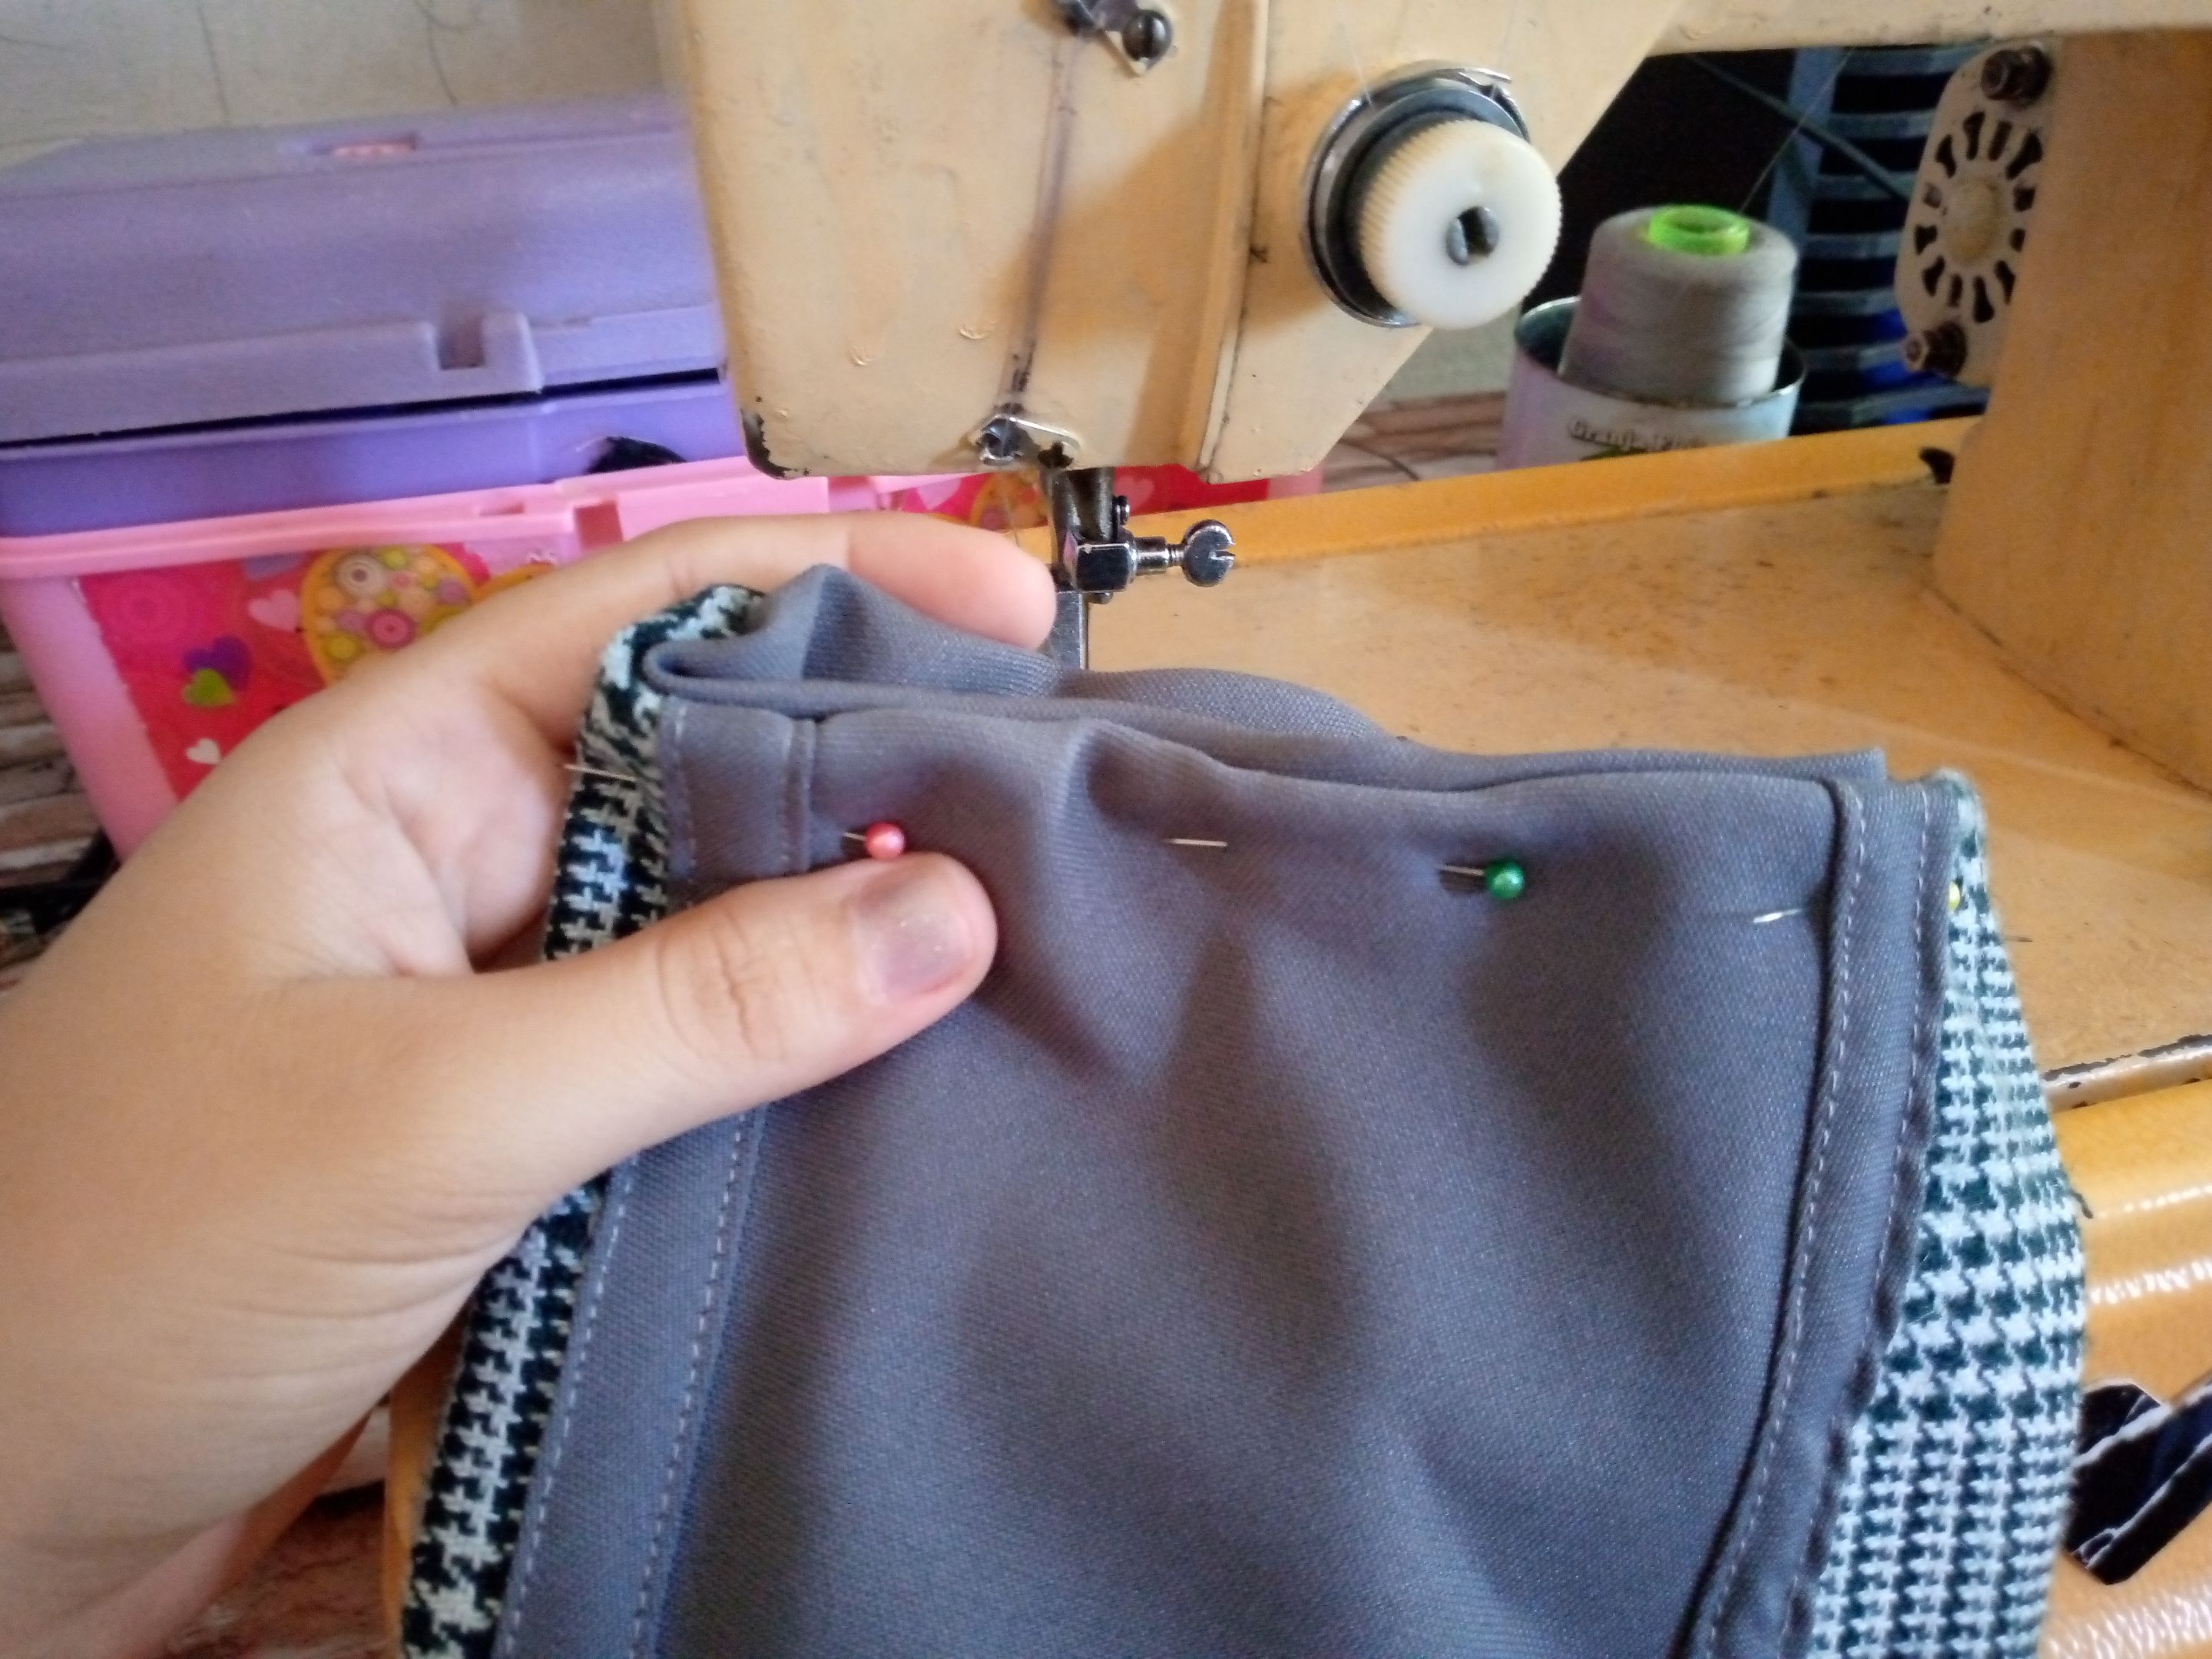
Paso 02
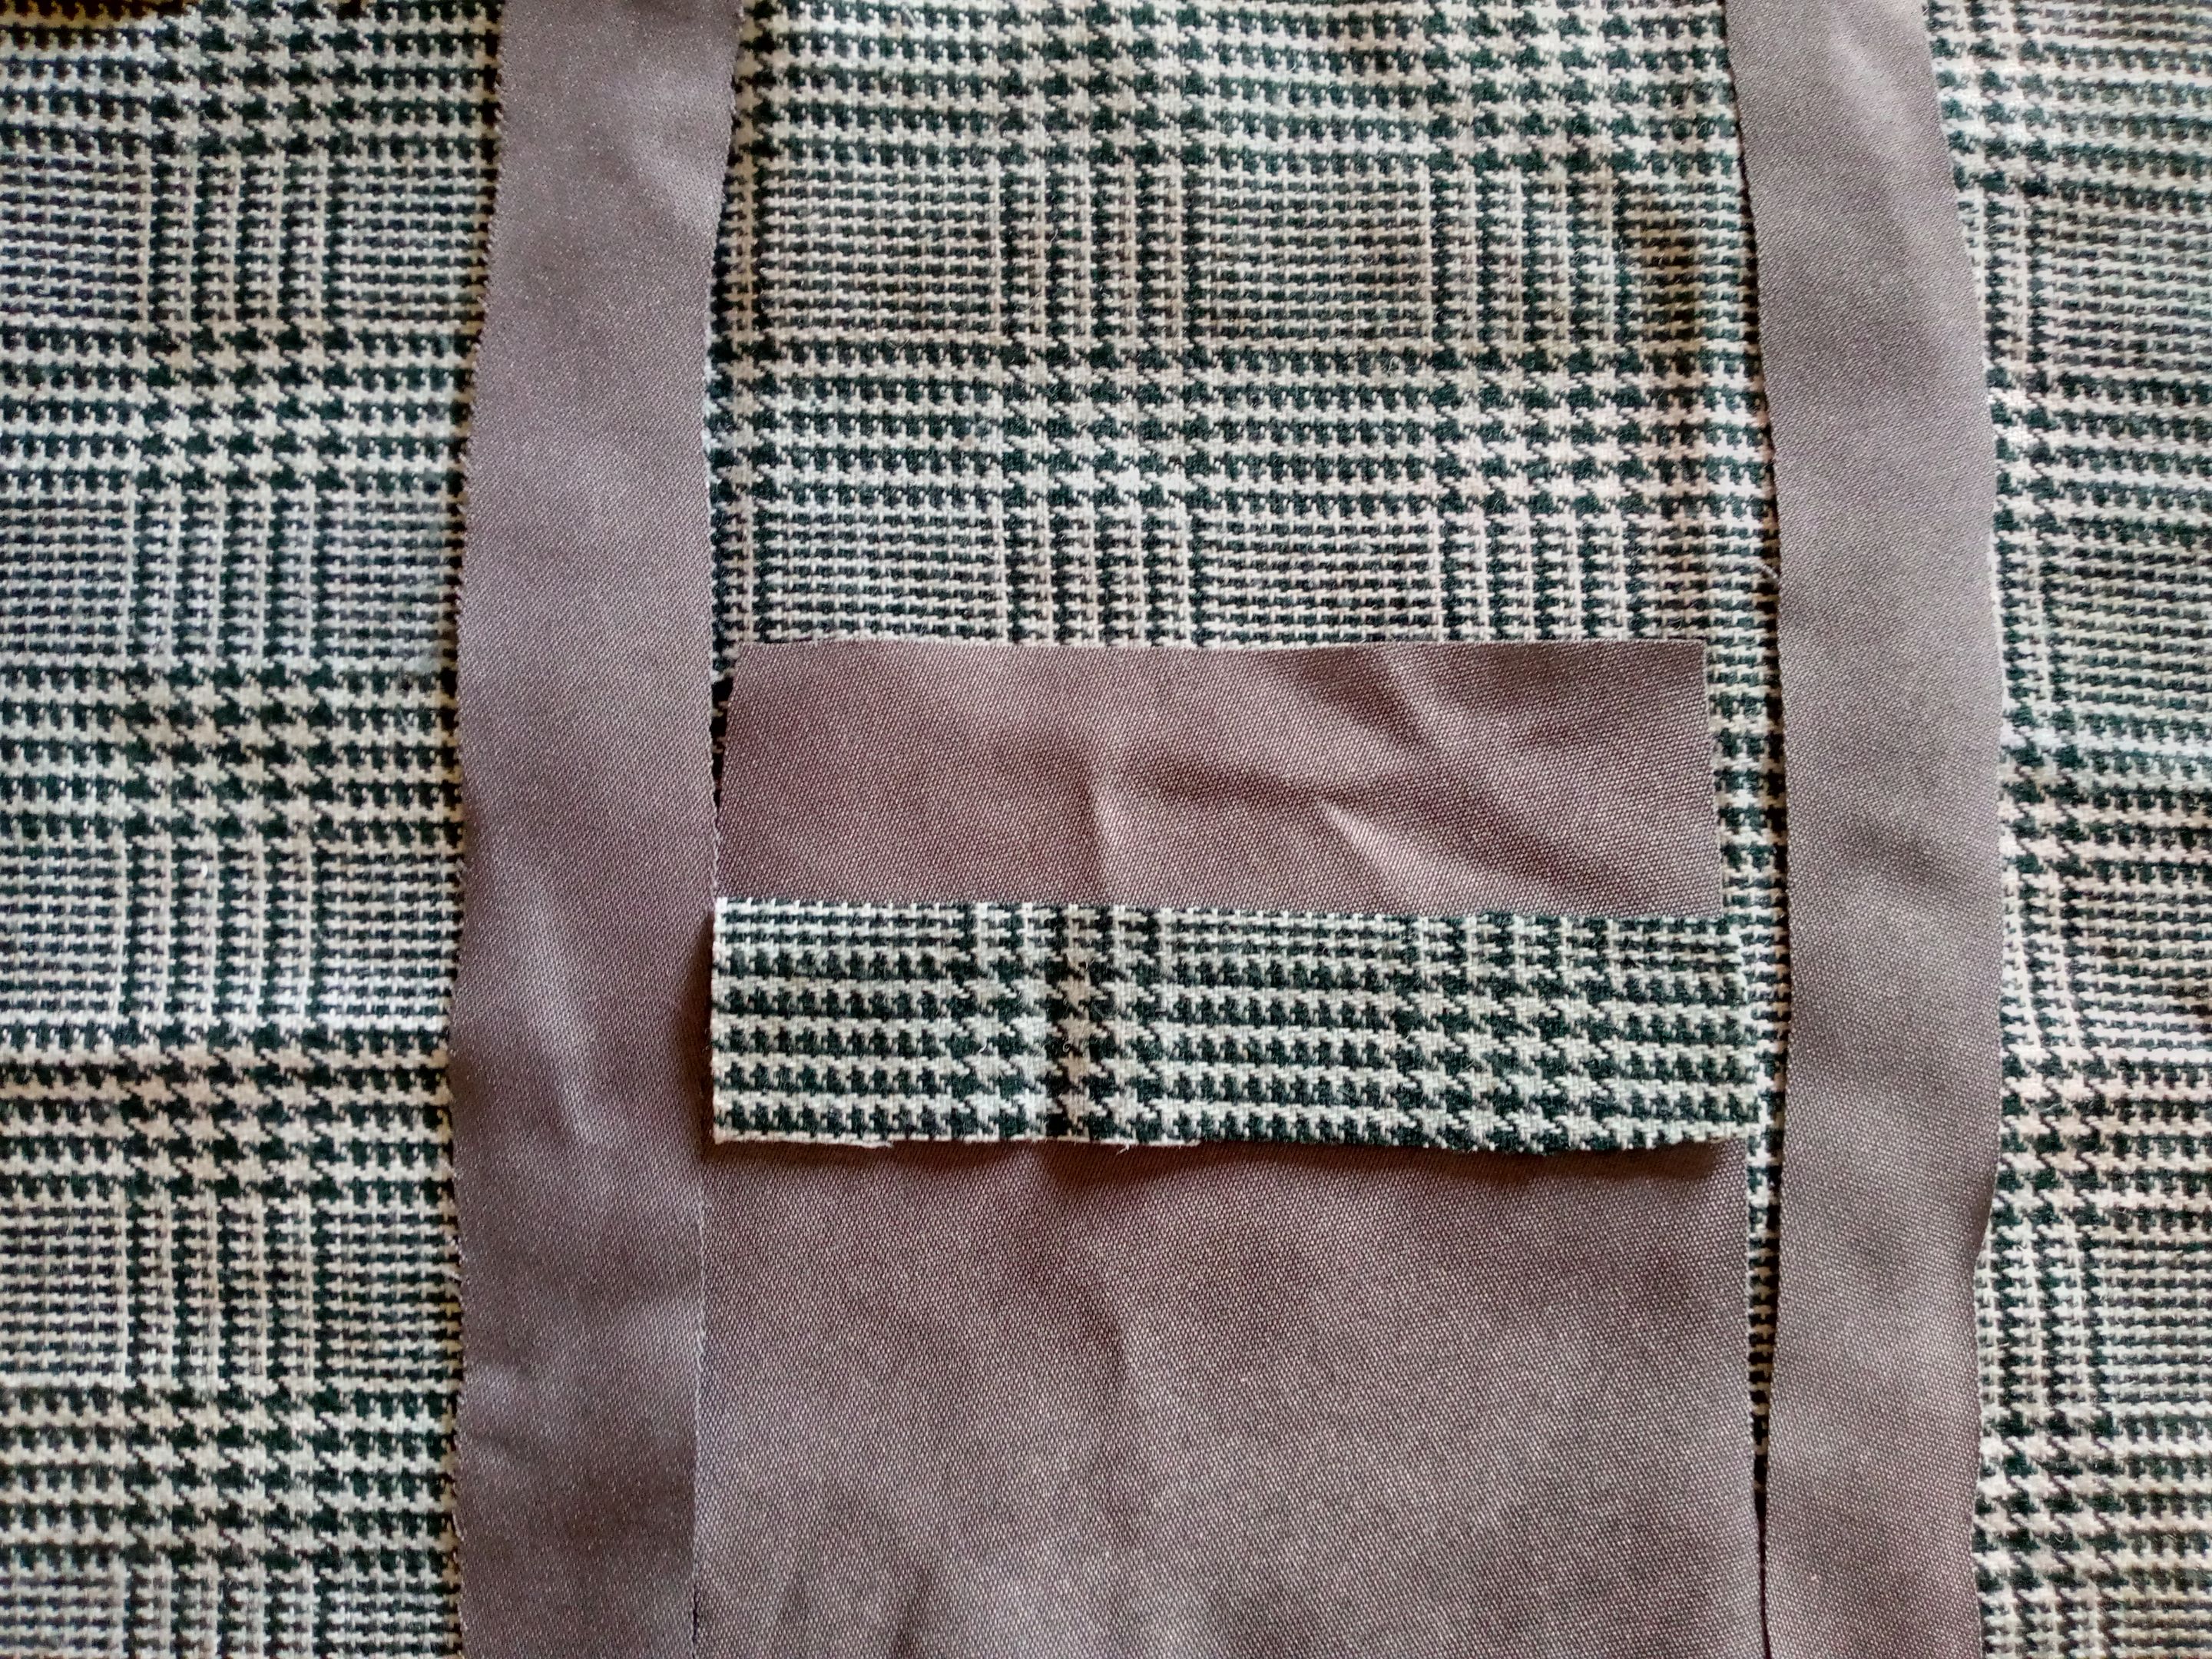
Procedo a coser lo que es la parte del sesgo del adorno que va en la parte del frente de mi forro lo coseremos por la parte inferior y lo repisamos por el frente,luego lo colocamos con alfileres en el rectángulo encima y vamos a coserle a los lados ambos sesgos repisandolos tambien por encima con doble costura ,ahora ajustaremos las dos piezas de la circunferencia con un alfiler.
Step 02
Next, I will sew the bias-cut trim piece to the front of the lining. We will sew it along the bottom edge and then fold it over and stitch it down along the top edge. Then, we will pin it in place on top of the rectangular piece. After that, we will sew both sides of the trim, folding it over and stitching it down along the top edge with a double row of stitching. Finally, we will secure the two ends of the circular piece with a pin.
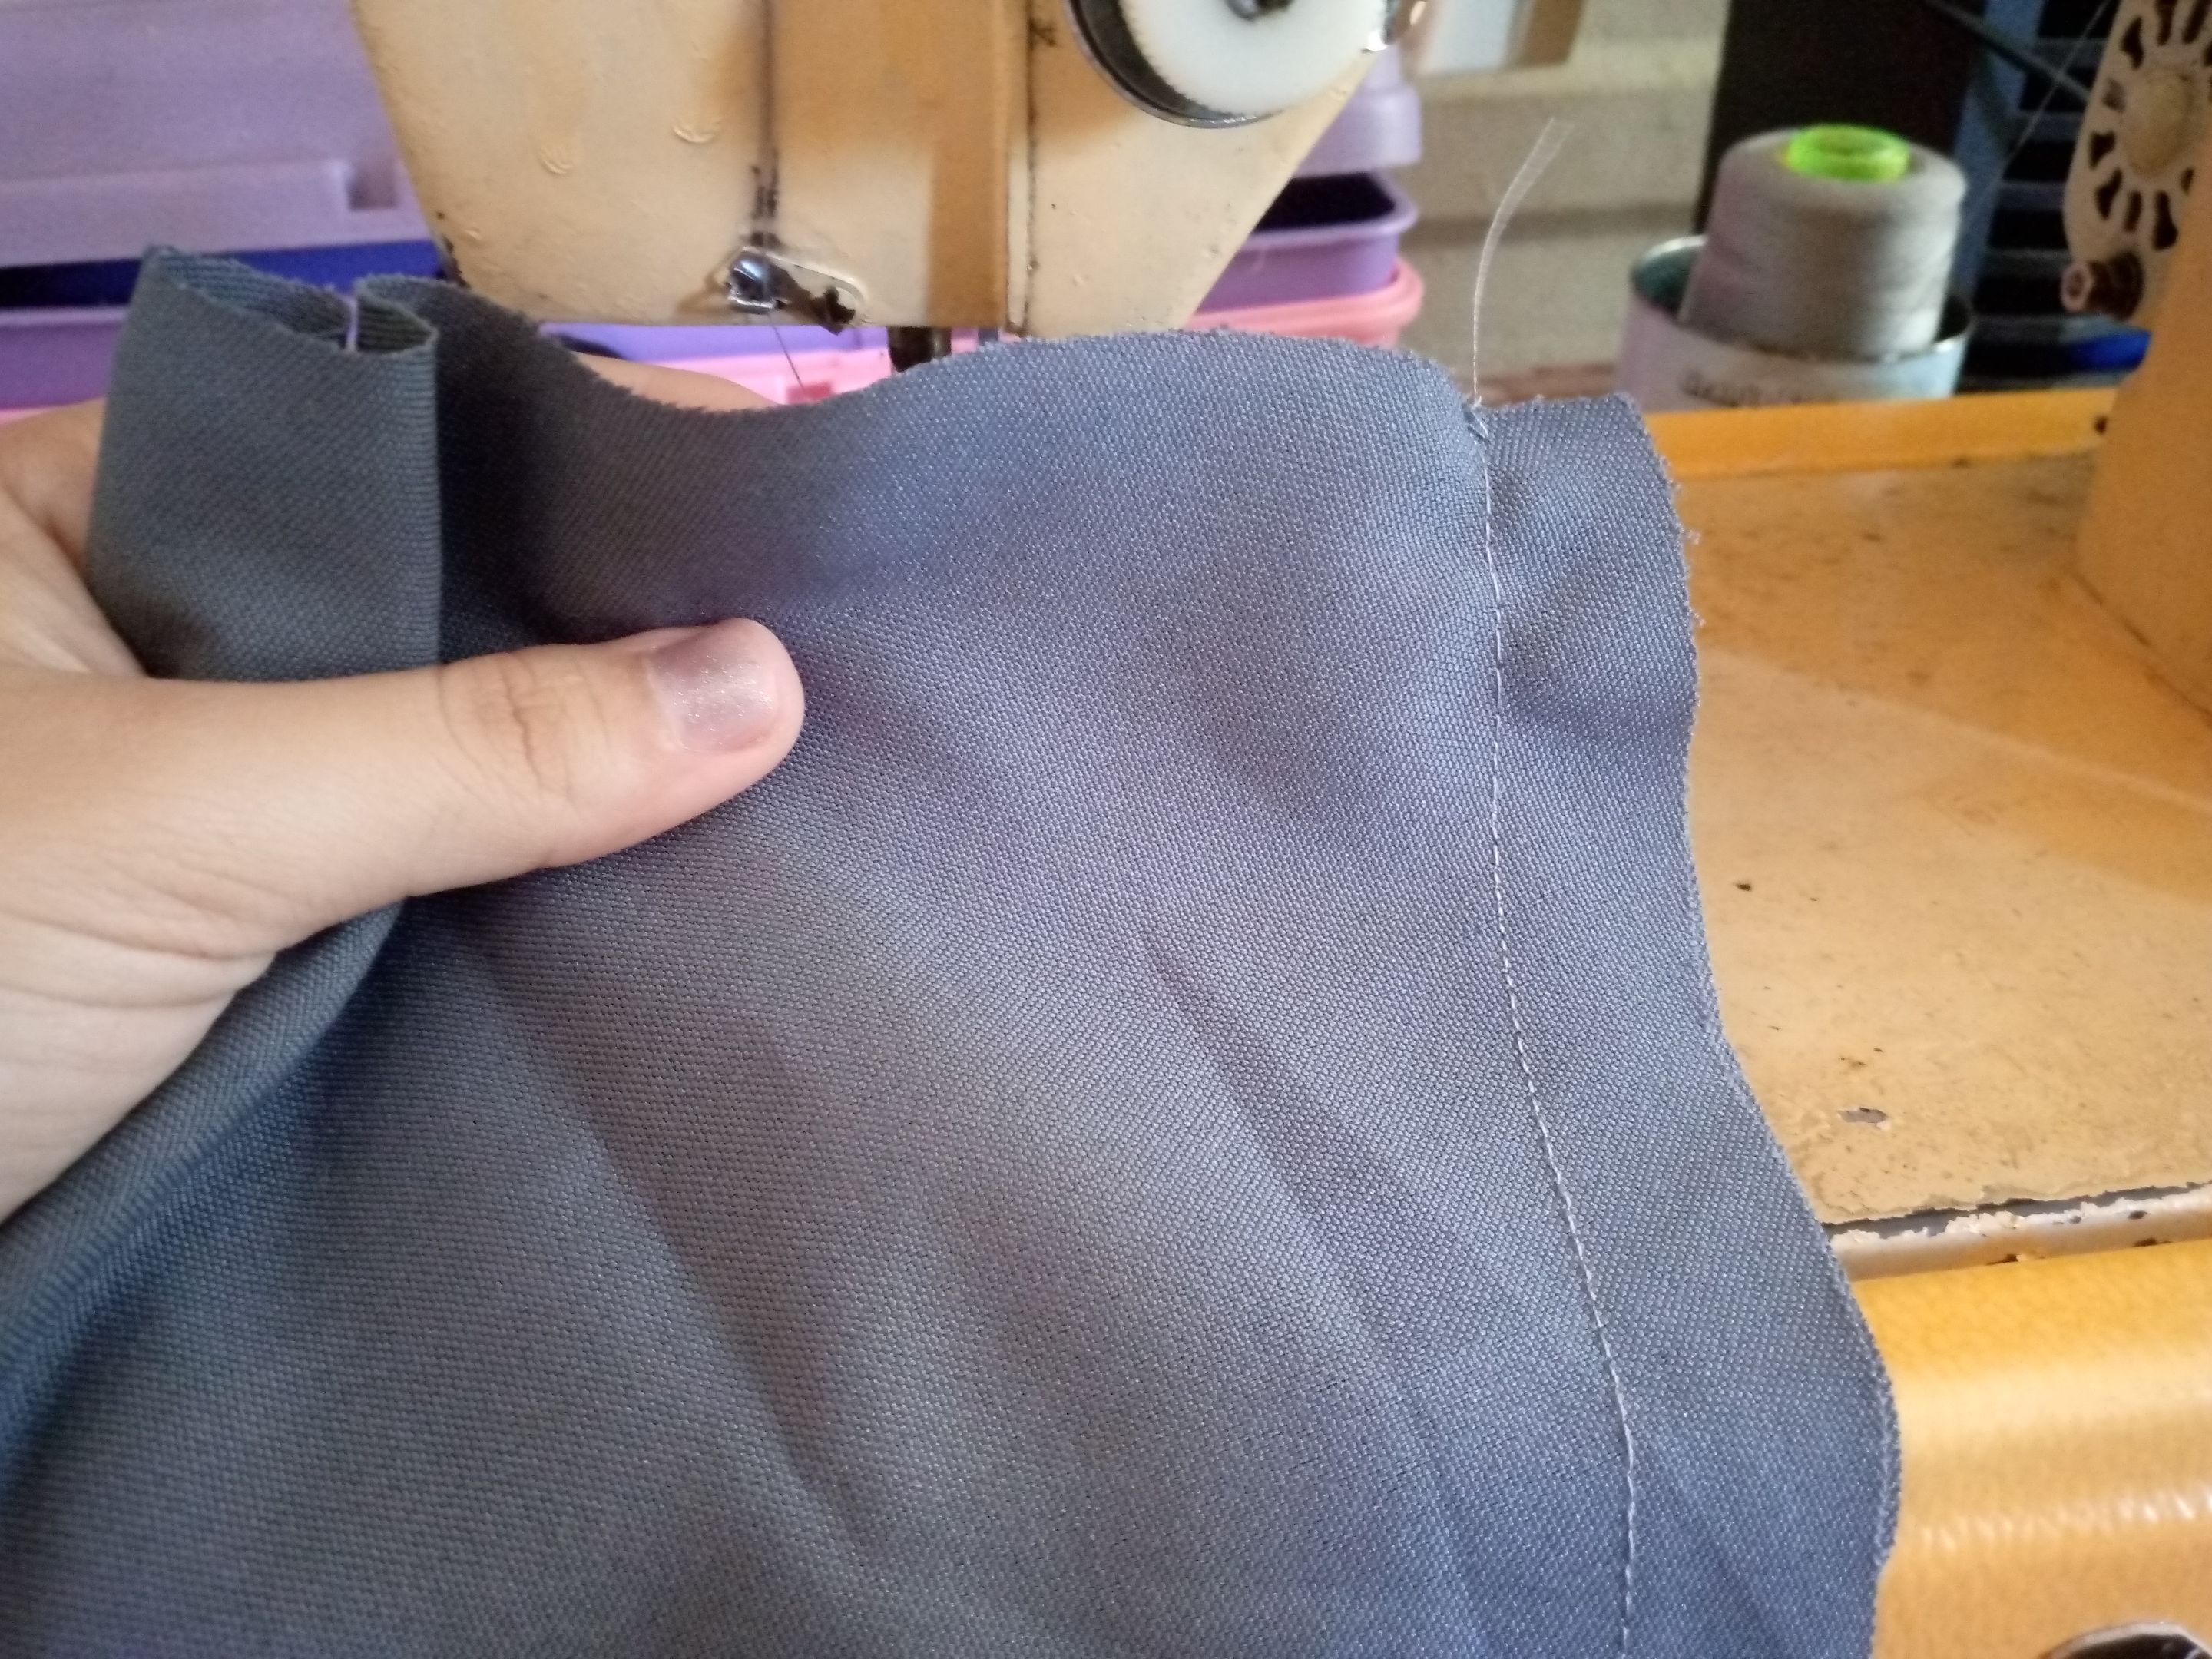

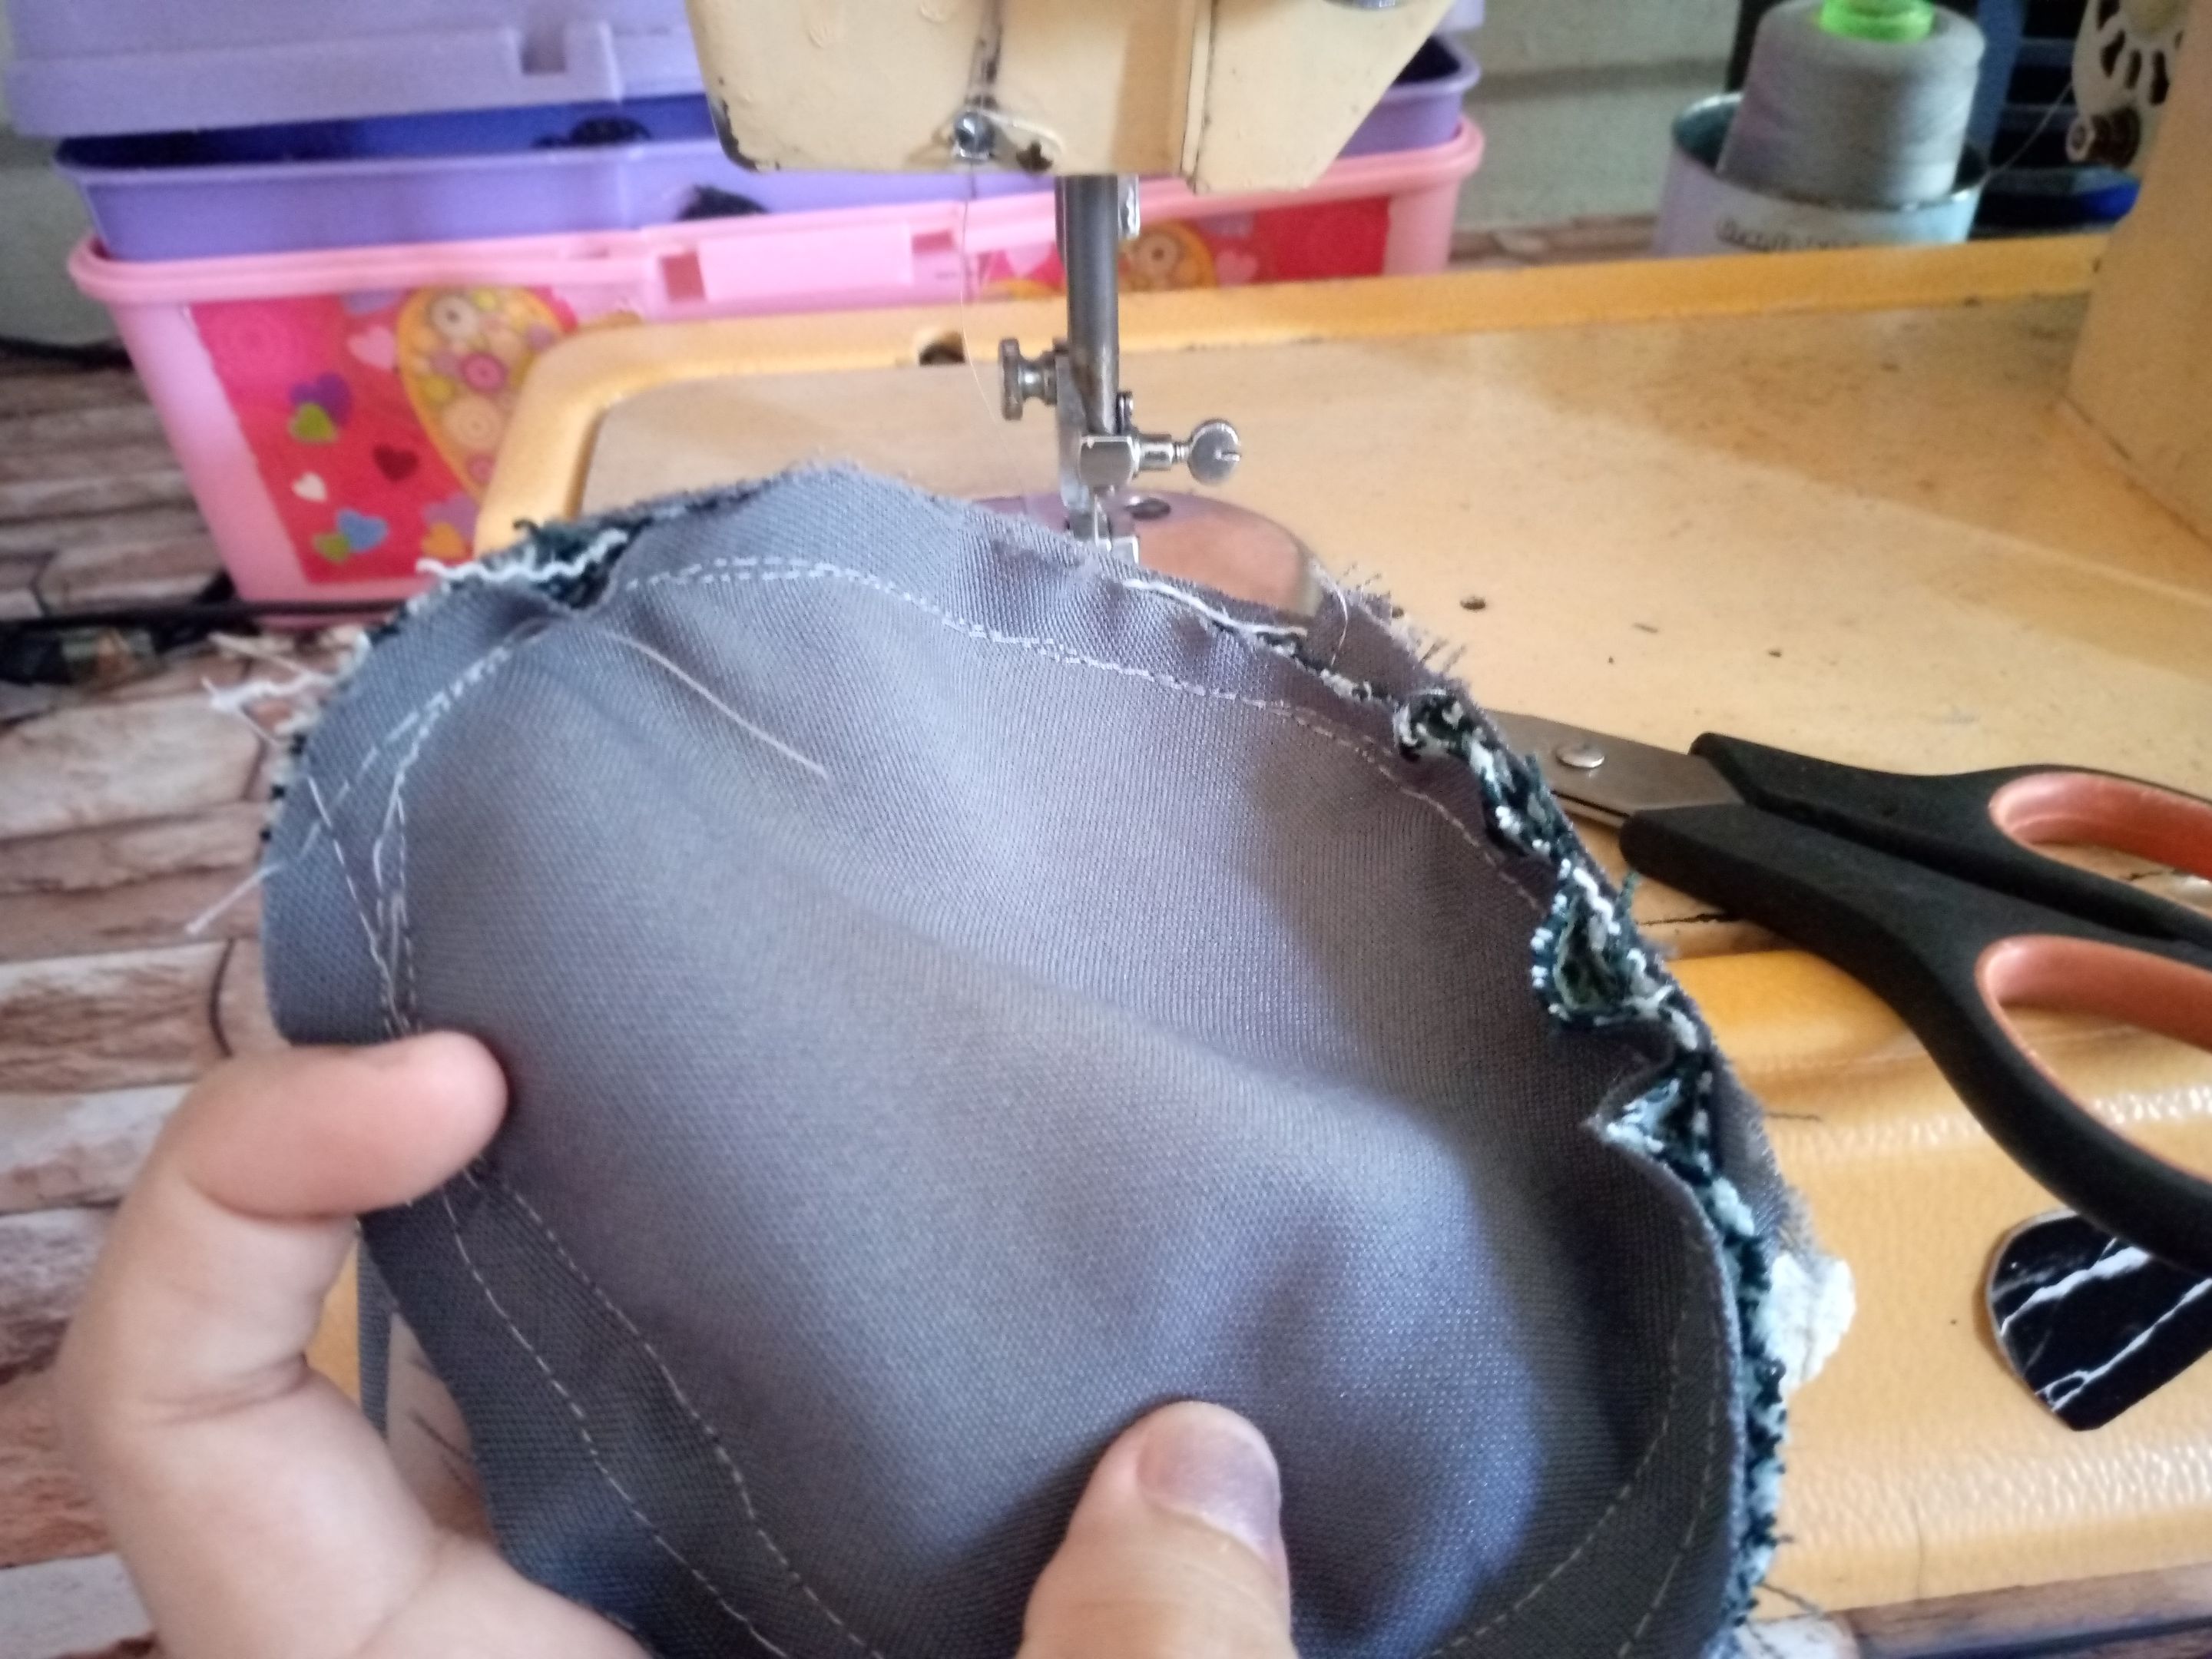

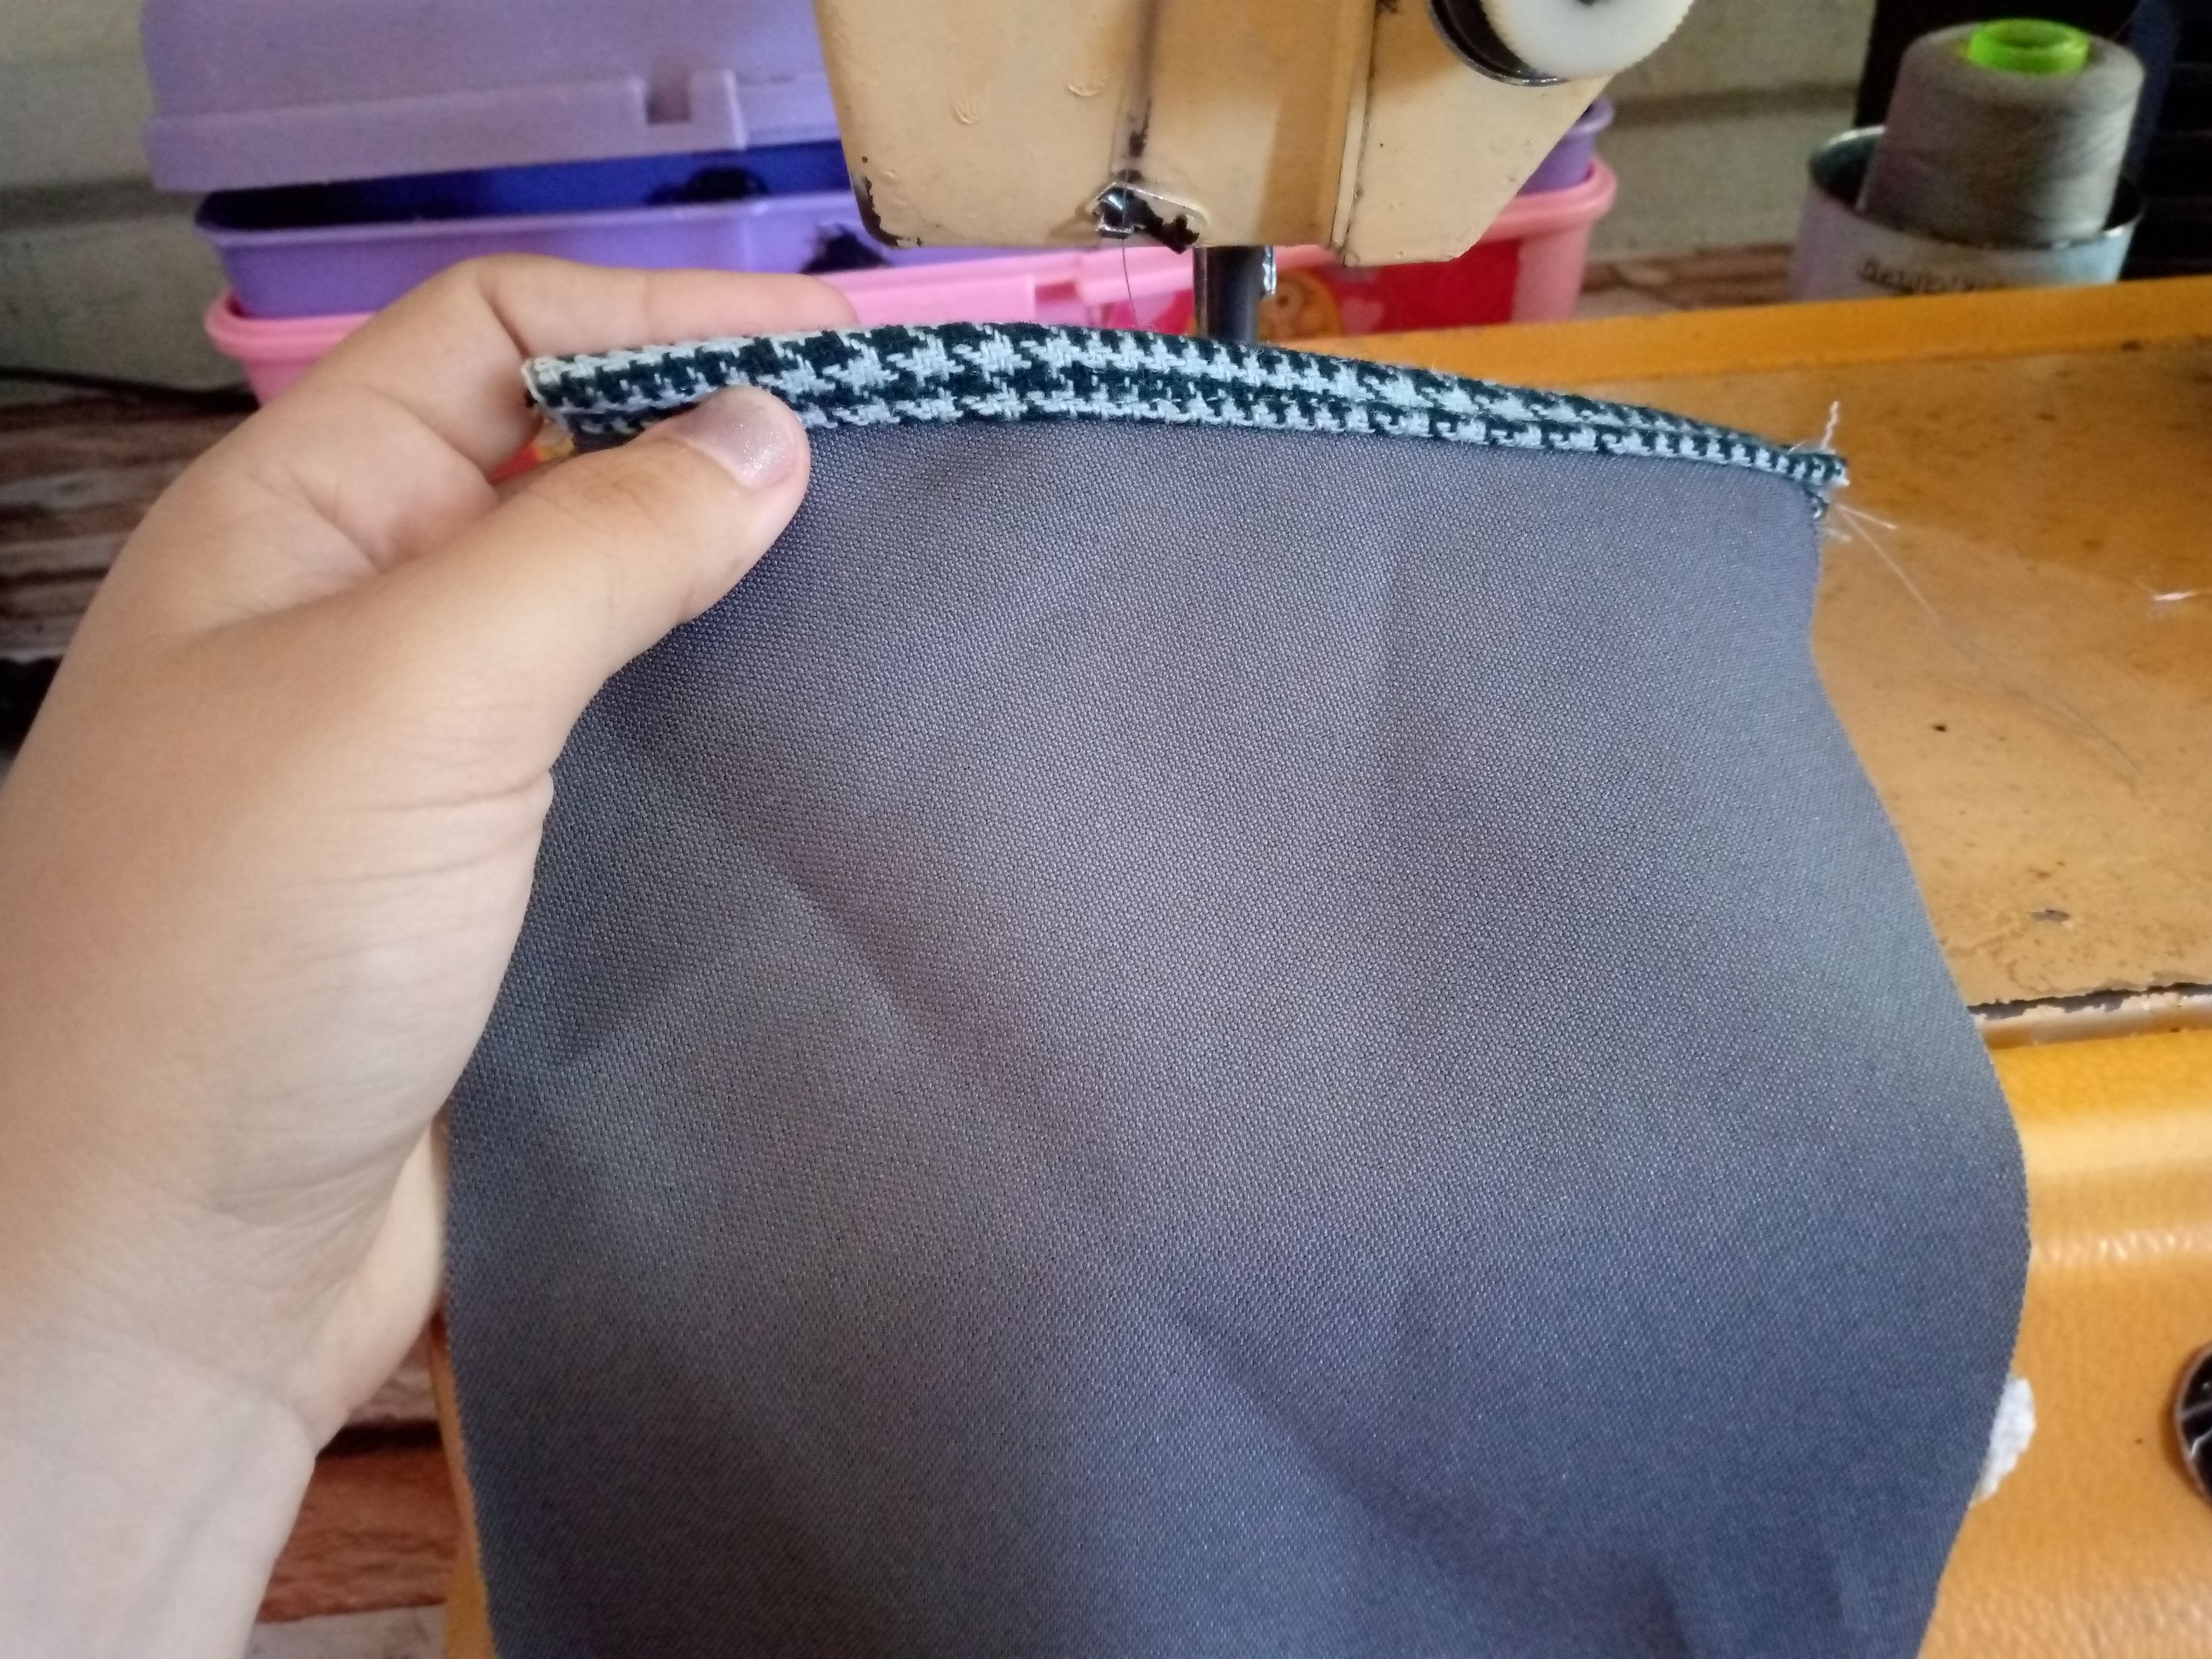
Paso 03
Después vamos a coser el forro primeramente por los costados,luego sellaremos el de la parte delantera por supuesto por dentro luego volteamos cada uno nos deberían quedar dos cilindros al unirlos con la costura ya en esta parte aprovecho para medir al termo mi tote bag por si acaso no le queda ya puedo agarrarle un poco mas si le queda bien no es necesario coserlo,bien ahora vamos a tomar la tela del forro y la metemos por dentro que no nos quede la costura de este por fuera sino dentro y luego ubicamos en la parte de la circunferencia de tela con ambas telas juntas y cosemos por todo el contorno del cilindro para unirlo luego nuestro sesgo que hará que estas telas no se vean.
Step 03
Next, we'll sew the lining, starting with the sides. Then, we'll sew the front piece, making sure to sew it from the inside. After that, we'll turn each piece right side out; we should have two cylinders. At this point, I'll measure the thermos against my tote bag to see if it fits. If it doesn't fit, I can adjust the size of the bag. If it fits well, there's no need to sew it. Now, we'll take the lining fabric and fold it inside, making sure the seam is on the inside, not the outside. Then, we'll align the edges of both fabrics around the circumference of the cylinder and sew along the entire edge to join them. Finally, we'll add the bias binding to cover the raw edges and give it a finished look.


Paso 04
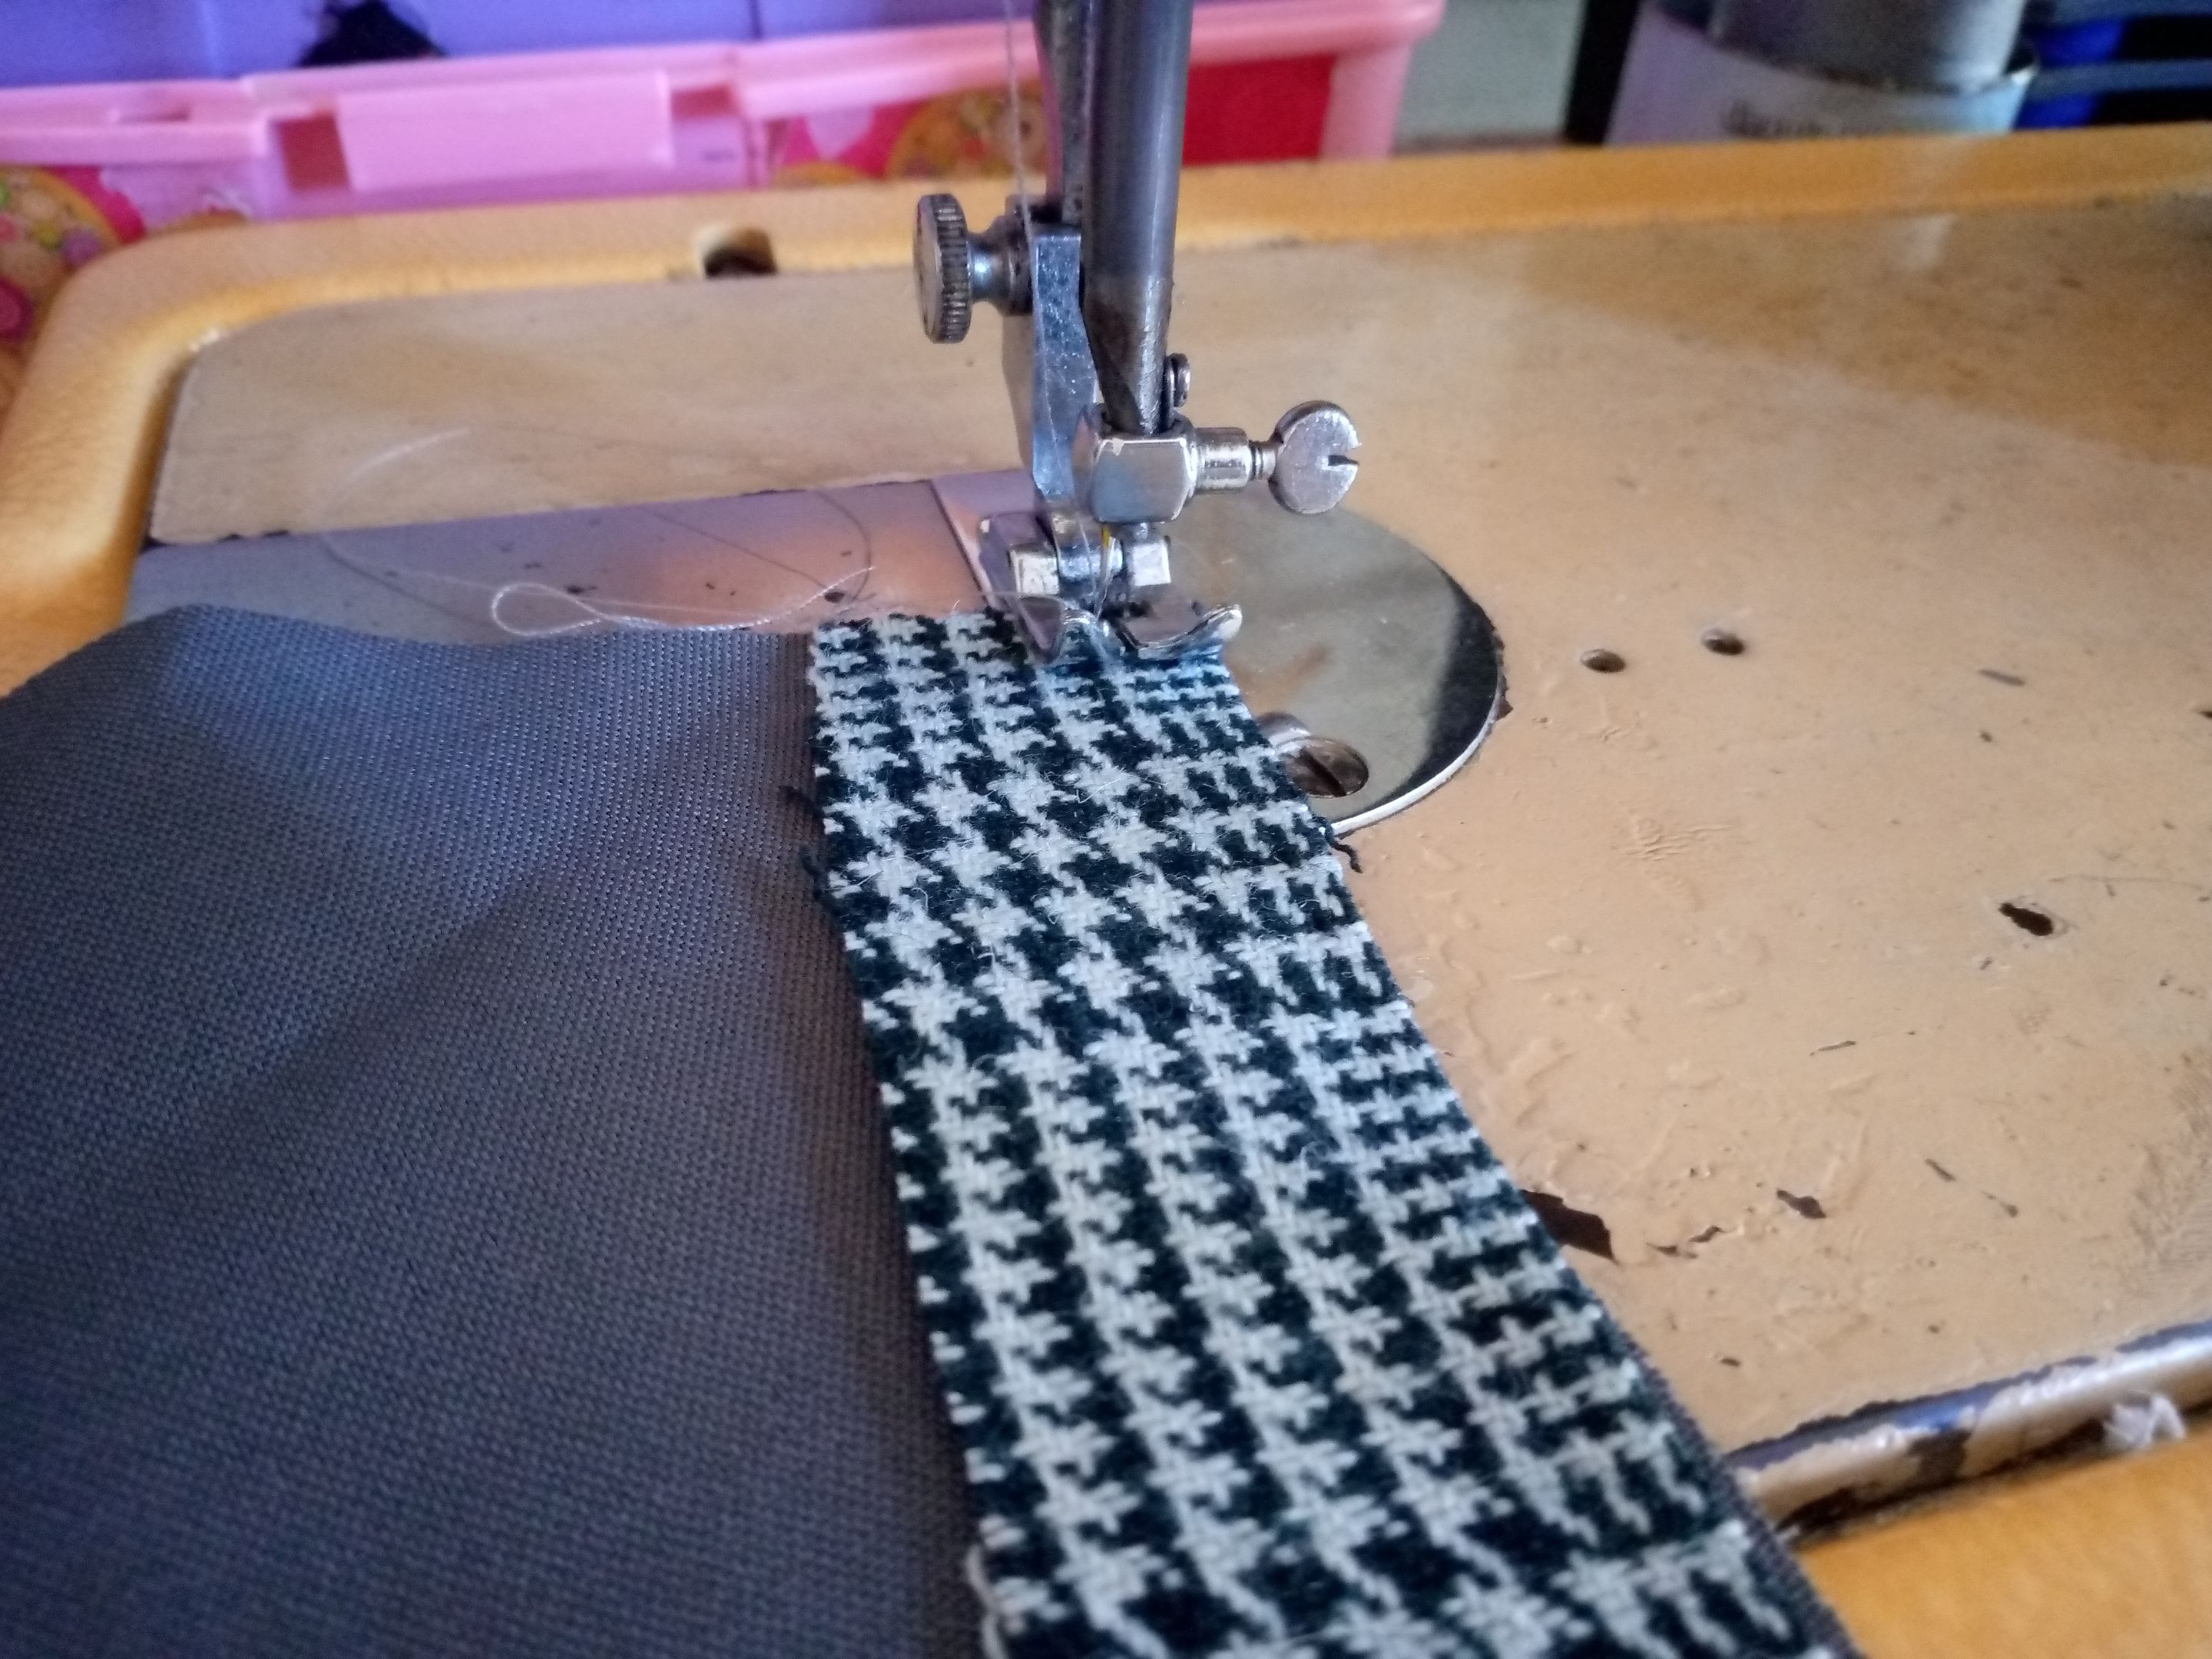
Por último después de coser el sesgo por todo el contorno se vería así como en la primera foto, después coseremos en la parte de arriba nuestro soporte uniremos con alfileres entonces vamos a ubicar nuestra cuerda al tote bag está cuerda la he hecho de 20 cm de largo x 8 cm de ancho si deseas puedes hacerla al largo que se ajuste a tu medida o tu brazo aquí si es de acuerdo a sus gustos,lo ubicaremos en el medio de donde están cosidos los sesgos de la parte del frente aqui le coloqué doble costura a mi tote bag para reforzarlo,de esta manera termino quitando los alfileres asi podemos usarlo.
### Step 04
Finally, after sewing the bias binding all around the edge, it will look like in the first photo. Then, we will sew the handle to the top, securing it with pins. Next, we will attach the strap to the tote bag. I made this strap 20 cm long and 8 cm wide, but you can make it any length that suits your needs or preferences. We will place it in the center, where the bias binding is sewn on the front. I added double stitching to my tote bag for extra reinforcement. And that's it! After removing the pins, the tote bag is ready to use.
_
Resultado: | Result:
_
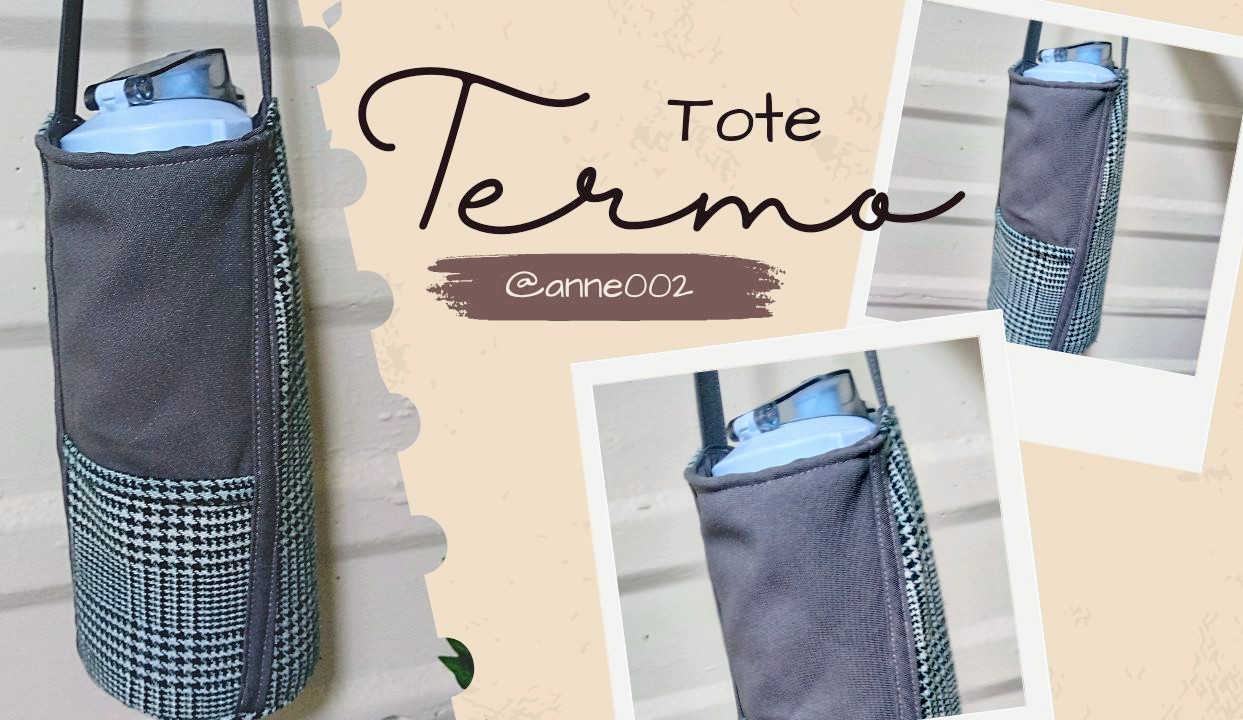
Bueno amigos así nos queda este práctico tote bag así se ve ya con el termo,quise llenarlo de agua para que ustedes vean el peso que puede soportar ,mi termo es de dos litros así que con el doble soporte o costura que le hice su soporta el peso mucho mejor,ahora sí podré transportarlo donde quiera porque la verdad este termo se le perdió su asa así que se me dificultaba agarrarlo pero ya no es impedimento con este forro tote bag.
Okay friends, here's what this handy tote bag looks like. This is how it looks with the thermos inside. I filled it with water to show you how much weight it can hold. My thermos is 2 liters, so with the extra reinforcement or stitching I added, it can easily support the weight. Now I can carry it anywhere I want, because honestly, the handle on my thermos broke off, so it was hard to carry, but this tote bag solves that problem.


Si te ha gustado mucho déjame un bonito comentario lo apreciaría bastante 😍✨gracias por acompañarme en este tutorial de este bonito proyecto,les deseo una bella tarde ,los quiero amigos 🧵.
If you really enjoyed this, please leave a nice comment—I would really appreciate it! 😍✨ Thank you for joining me for this tutorial on this lovely project. I wish you all a wonderful afternoon, and I love you all, my friends! 🧵

¡Hola!...Soy Annie
Una chica que le apasiona el diseño,la costura las manualidades y crear cualquier cosa de mucho uso con mis manos,tengo como hobbie la música ,el maquillarme,la pintura y el dibujo,expresar mis ideas y sentimientos en un dibujo es algo que me gusta hacer,amo la naturaleza,un atardecer ,la playa y disfrutar con mis familiares de los buenos momentos de la vida.❤️
_
Creando las cosas con amor🌷♥️ | Creating things with love🌷♥️
_
_
Imágenes:de mi autoria | Edición:Canva® y PicsArt © | Traductor:Traductor de Google | Dispositivo:TecnoSpark 8C.
_
_
Images:my own work | Edited by:Canva® and PicsArt © | Translator:Google Translate |Device:TecnoSpark 8C .
_
