🧶Bienvenido al mundo de la costura conmigo,un placer saludarles ☺️✨🎨. | 🧶Welcome to the world of the costure with me, a pleasure to greet you ☺️✨🎨.
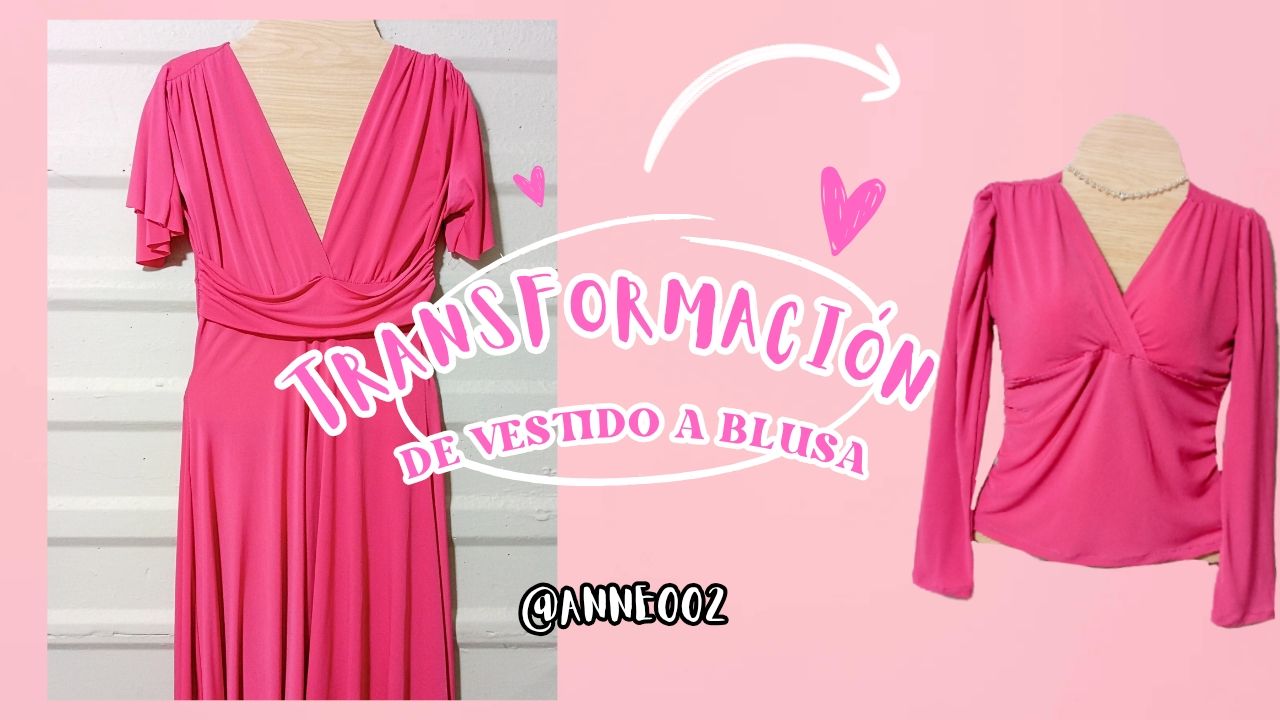
Good morning dear friends, it's a pleasure to greet you. On this occasion, I would like to show you how to transform this dress and turn it into a very pretty piece, a beautiful blouse that wraps around the bust, has long sleeves, and is gathered at the sleeve. My client wanted this blouse exactly as I told you she wanted it because she would wear it for a special occasion, so I got to work taking apart and cutting the dress to make the transformation.
The truth is that taking the dress apart was a bit difficult for me because the fabric is very soft and I was afraid that a few holes would appear, so I had to be very patient when doing this. It wasn't easy, but in the end we achieved the desired change and transformation. I hope you like this work and this idea to transform those dresses that you don't use into other garments that you want to use and give a unique and different style to your outfits.

_
Materiales: | Materials:
_
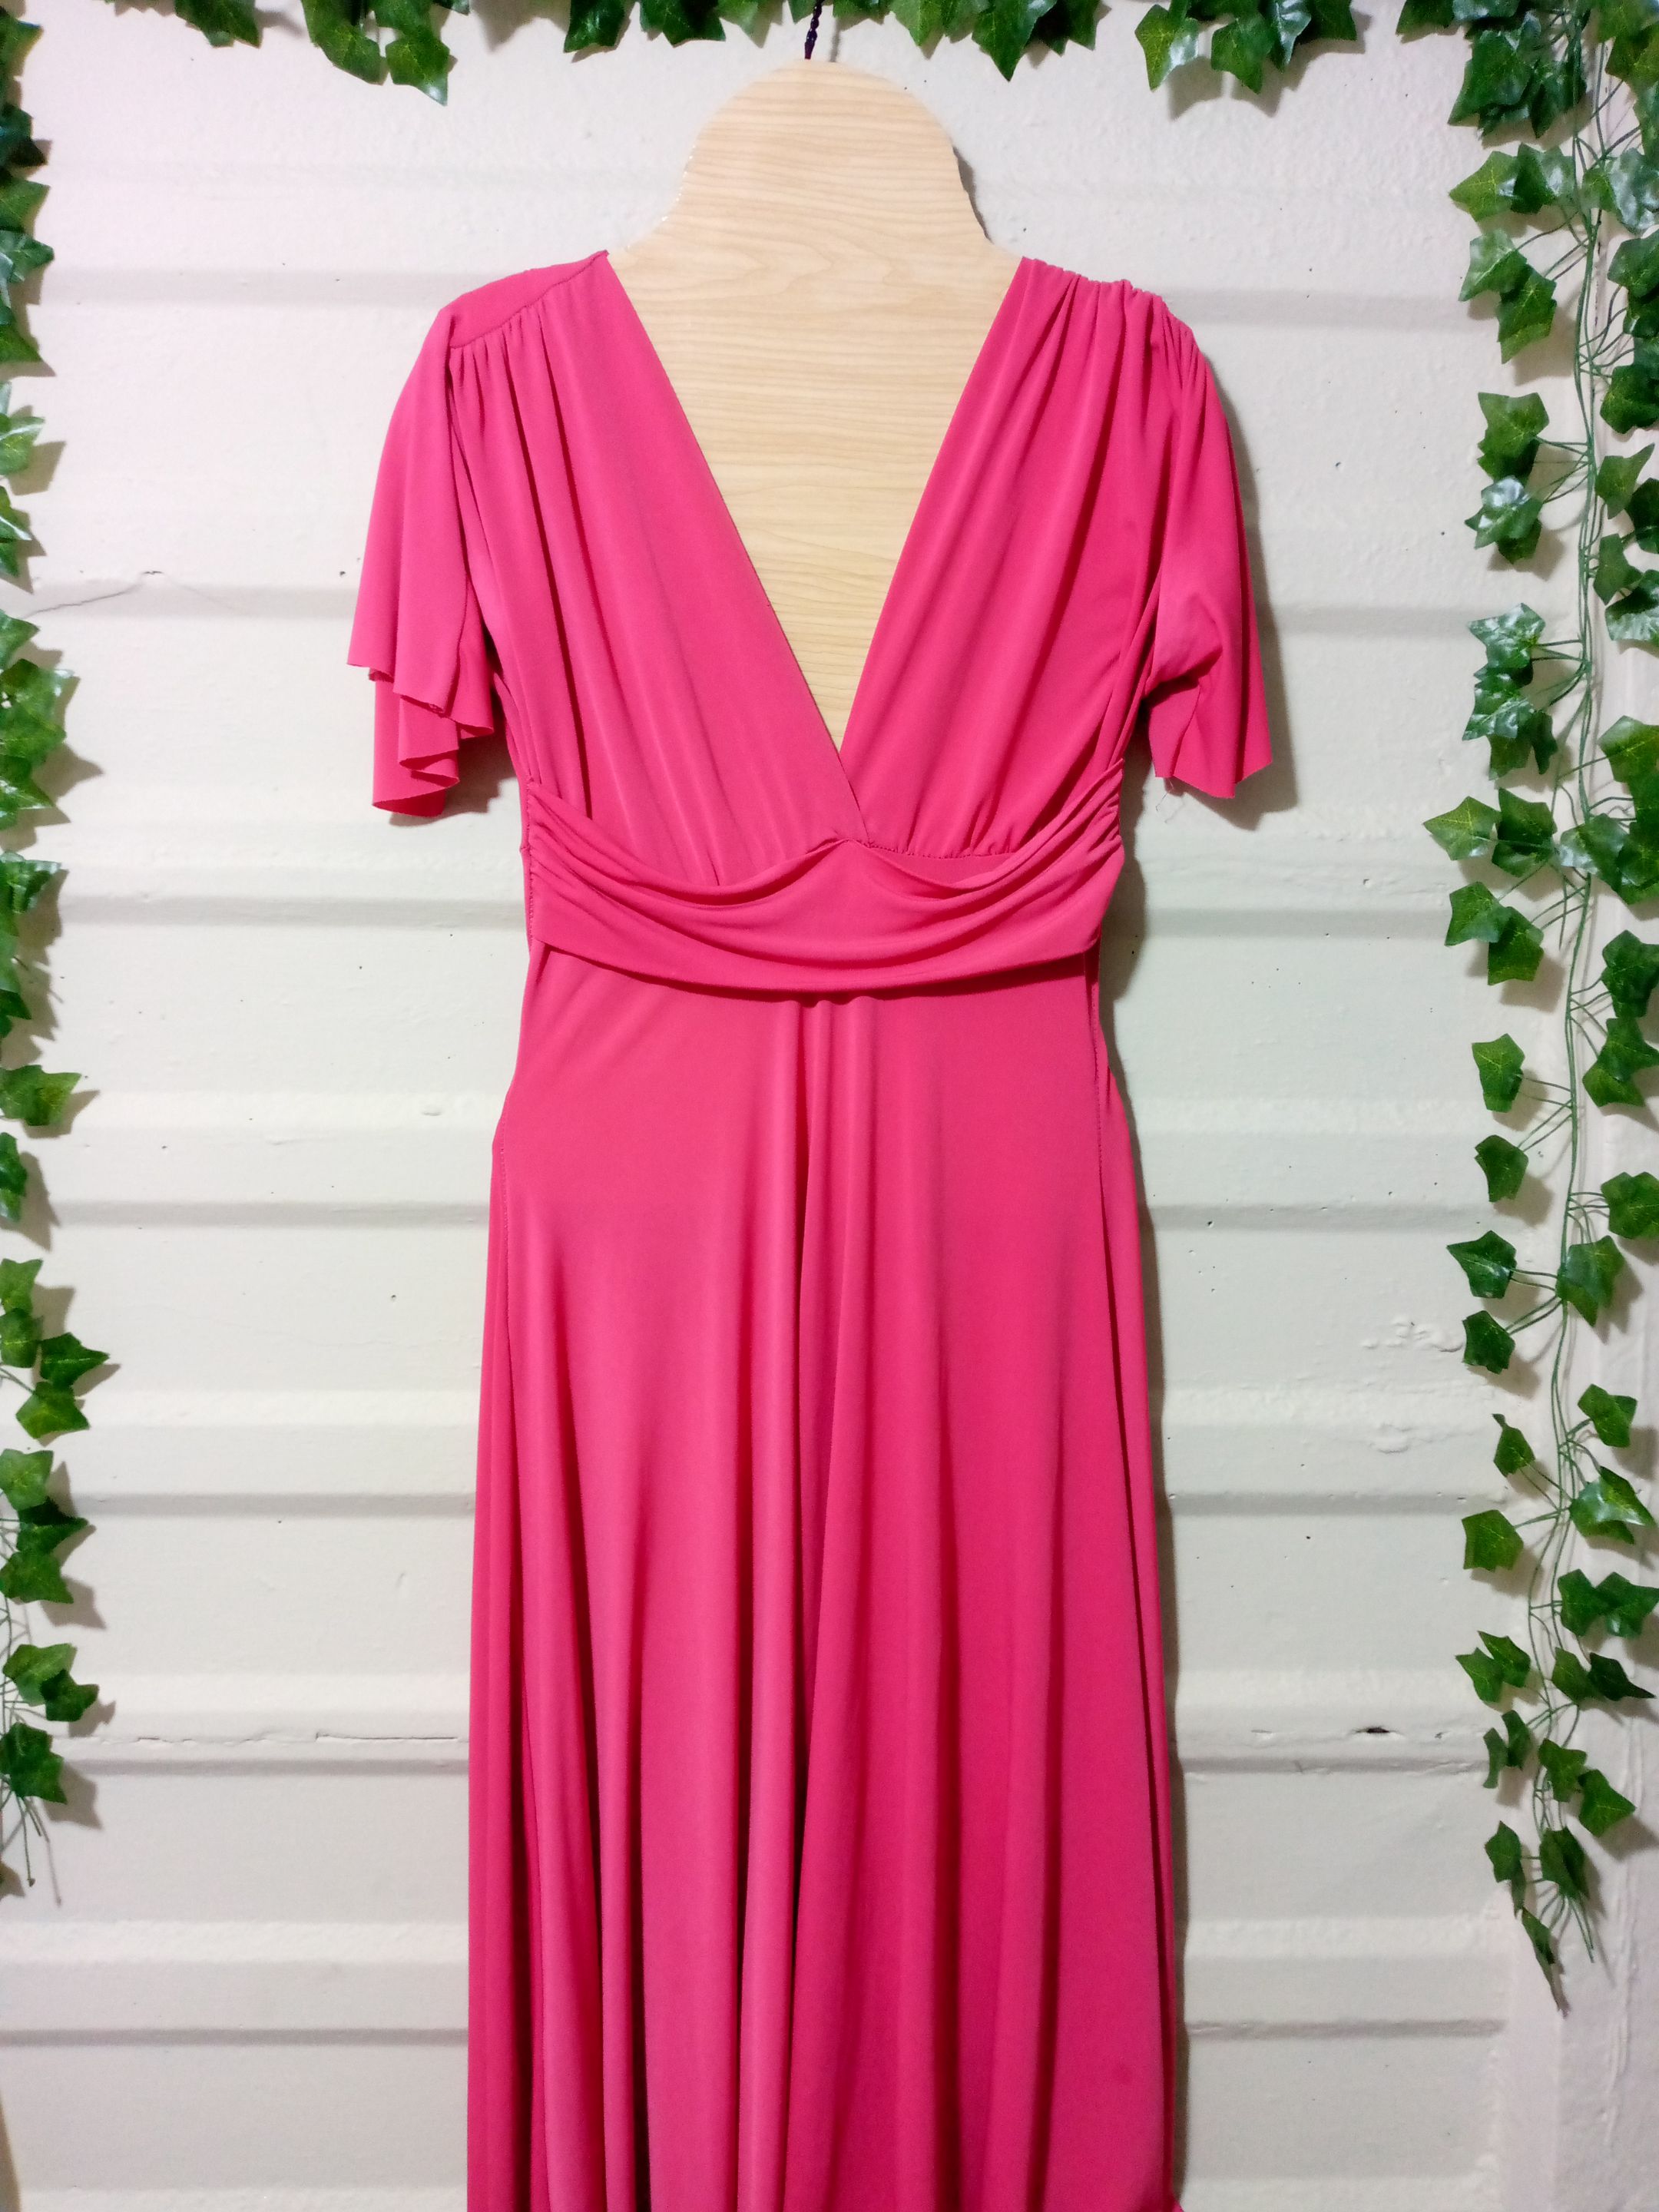
- Vestido a transformar
- Tijera y descosedor
- Hilo
- Maquina de coser
- Medida como referencia para cortar la tela desarmada(o patrones)
- Dress to be transformed
- Scissors and seam ripper
- Thread
- Sewing machine
- Reference measurement for cutting the unassembled fabric (or patterns)
_
Pasos a seguir: | Steps to follow:
_
Paso 01
Step 01
The first thing I did as I mentioned was to unstitch the top and bottom of the blouse, as I wanted to leave the model as such of the dress crossed at the top I simply unstitched the edges and only gave it the fall in the front part of the bust because it was square, once I did this I simply went on to gather the bust piece at the shoulders to give it shape since this part will be filled with my client's bust then we sew above with a loose seam to proceed with it.

Paso 02
Step 02
I proceeded to sew the edge of the bust piece with an overlock stitch, then I made a small hem of two centimeters inwards and sewed with a straight stitch. At the bottom, we joined both pieces to form the crossed part of the blouse before joining them with the bottom piece.

Paso 03
Step 03
I proceed to sew the gathering of the bottom piece and then sew this piece to the top piece with an overlock stitch and straight seam. I then sew the hem of the back piece, making a 1 cm hem inwards and I finish by joining the shoulder pieces to the back piece.

Paso 04
### Step 04 As a final step, I proceed to sew the sleeves, gathering them or making small pleats, and then sew. I proceed to sew from the tip of the sleeve to the bottom of the blouse. I then sew the hem and finish by making a hem at the bottom of my blouse. With this, we finish making it.
_
Resultado: | Result:
_
These are the final results of what this beautiful transformation looks like, the design looks very pretty 💖🤌🏻 and I liked the style of this blouse because it is very comfortable, I hope you liked it too 😍 and here are some photos of the final results.


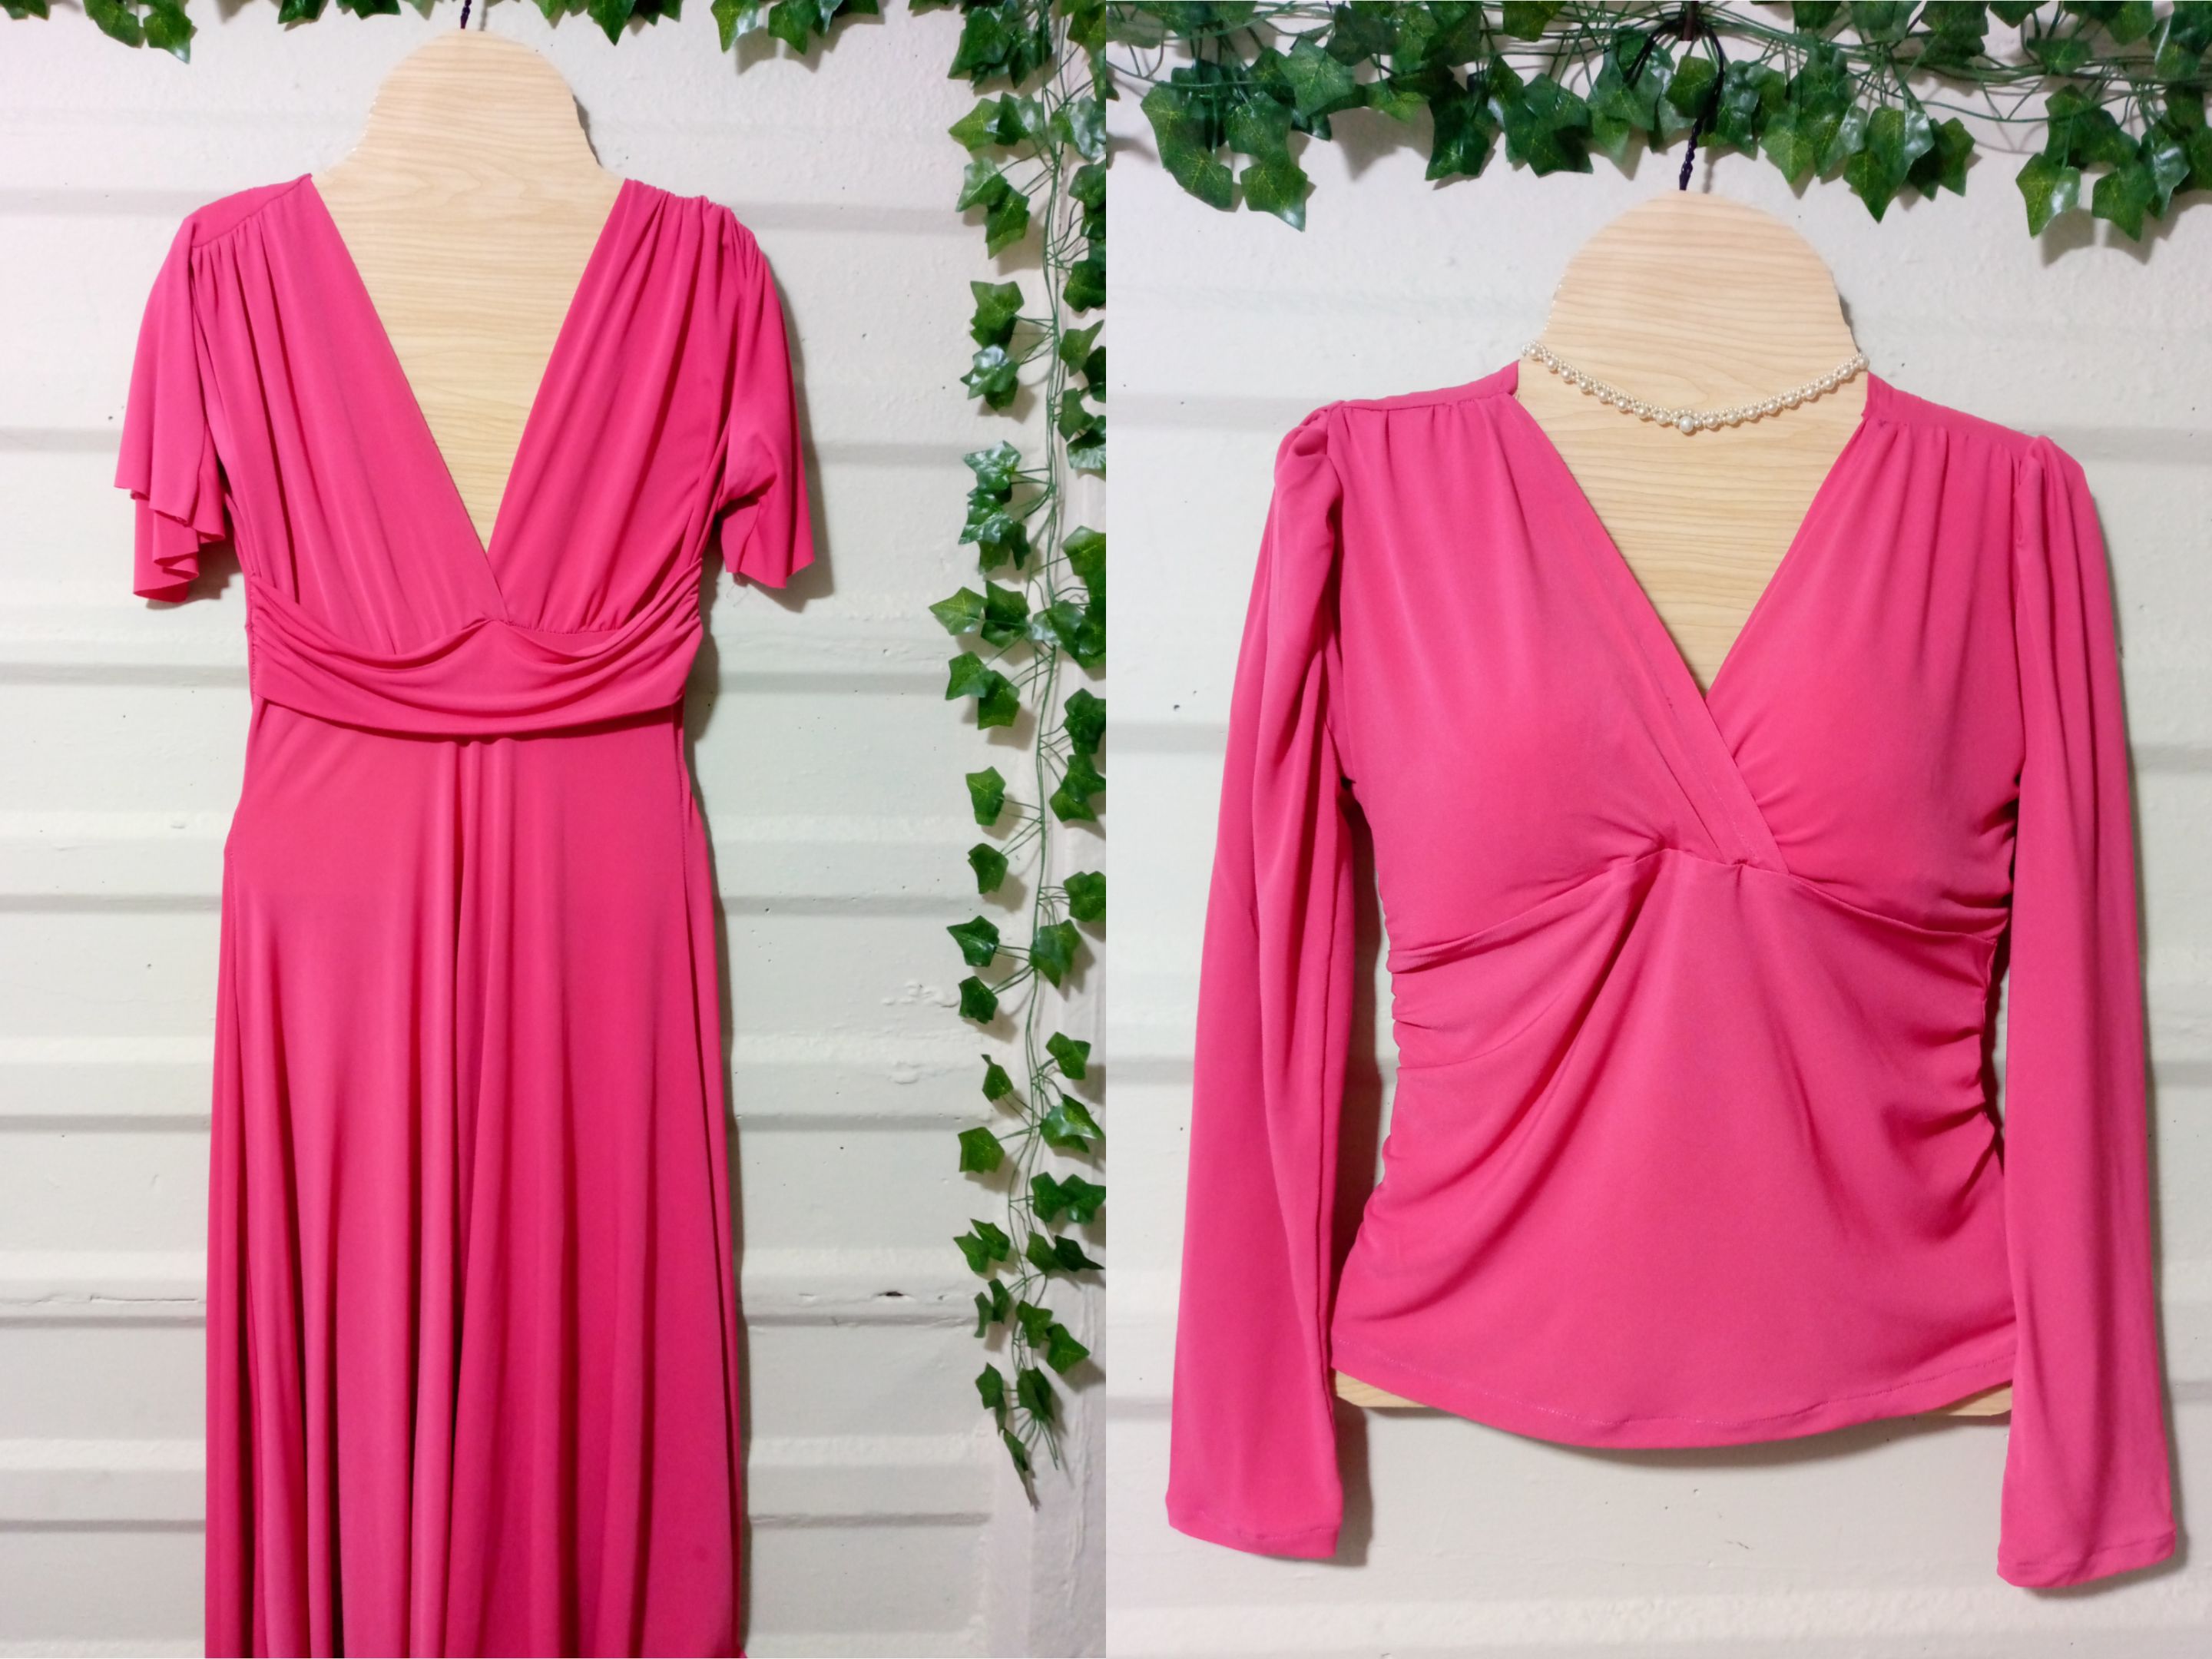
With this tutorial I say goodbye to you, wishing you a nice morning, see you in another transformation tutorial and I hope it was to your liking. Greetings 👋🏻🥰💖.
¡Hola!...Soy Annie
Una chica que le apasiona el diseño,la costura las manualidades y crear cualquier cosa de mucho uso con mis manos,tengo como hobbie la música ,el maquillarme,la pintura y el dibujo,expresar mis ideas y sentimientos en un dibujo es algo que me gusta hacer,amo la naturaleza,un atardecer ,la playa y disfrutar con mis familiares de los buenos momentos de la vida.❤️
_
Creando las cosas con amor🌷♥️ | Creating things with love🌷♥️
_
_
Imágenes:de mi autoria | Edición:Canva® y PicsArt © | Traductor:Traductor de Google | Dispositivo:TecnoSpark 8C.
_
_
Images:my own work | Edited by:Canva® and PicsArt © | Translator:Google Translate |Device:TecnoSpark 8C .
_