🧶Bienvenido al mundo del DIY conmigo,un placer saludarles ☺️✨🎨. | 🧶Welcome to the world of DIY costure with me, a pleasure to greet you ☺️✨🎨.
Hello friends ... I give you a warm welcome, I hope you are having a wonderful day, thank God I woke up with my energies well charged wanting to work on new sewing projects and necessary, this time I want to show you how we can transform a skirt in micropeach fabric that I had in my closet stored and decided to transform it into a blouse, it should be noted that I gave the skirt little use so to use it more often I came up with the idea of making a model and design of blouse in fashion trend and elegant, one that I could use more often when I went out for a walk or do my shopping, above all because the micropeach fabric is very comfortable it molds and adapts easily to the body and that is what I like a lot about these fabrics.
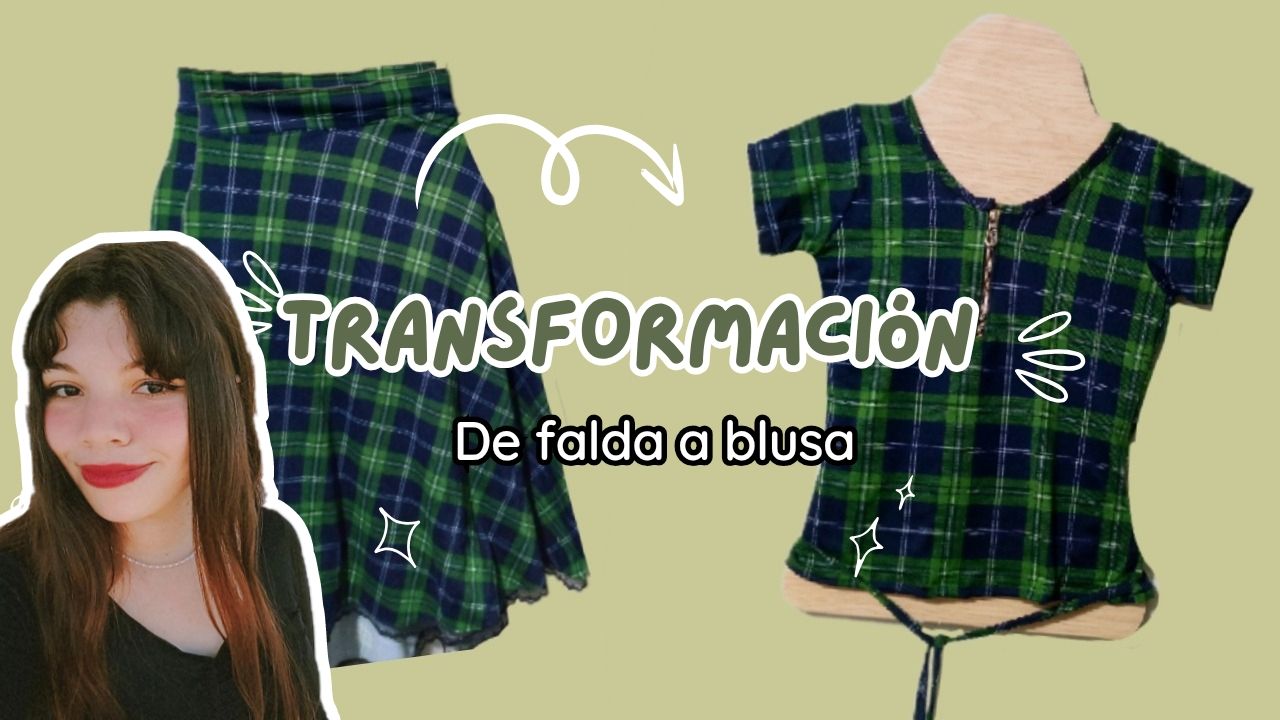
For the transformation of this skirt I have previously taken it apart, but before I tell you the process as such I would like you to appreciate more deeply how we carried out this transformation. You will like it a lot and I hope this tutorial will be very helpful for you to transform those skirts into blouses that you can wear comfortably whenever you want😎.


_
Materiales: | Materials:
_
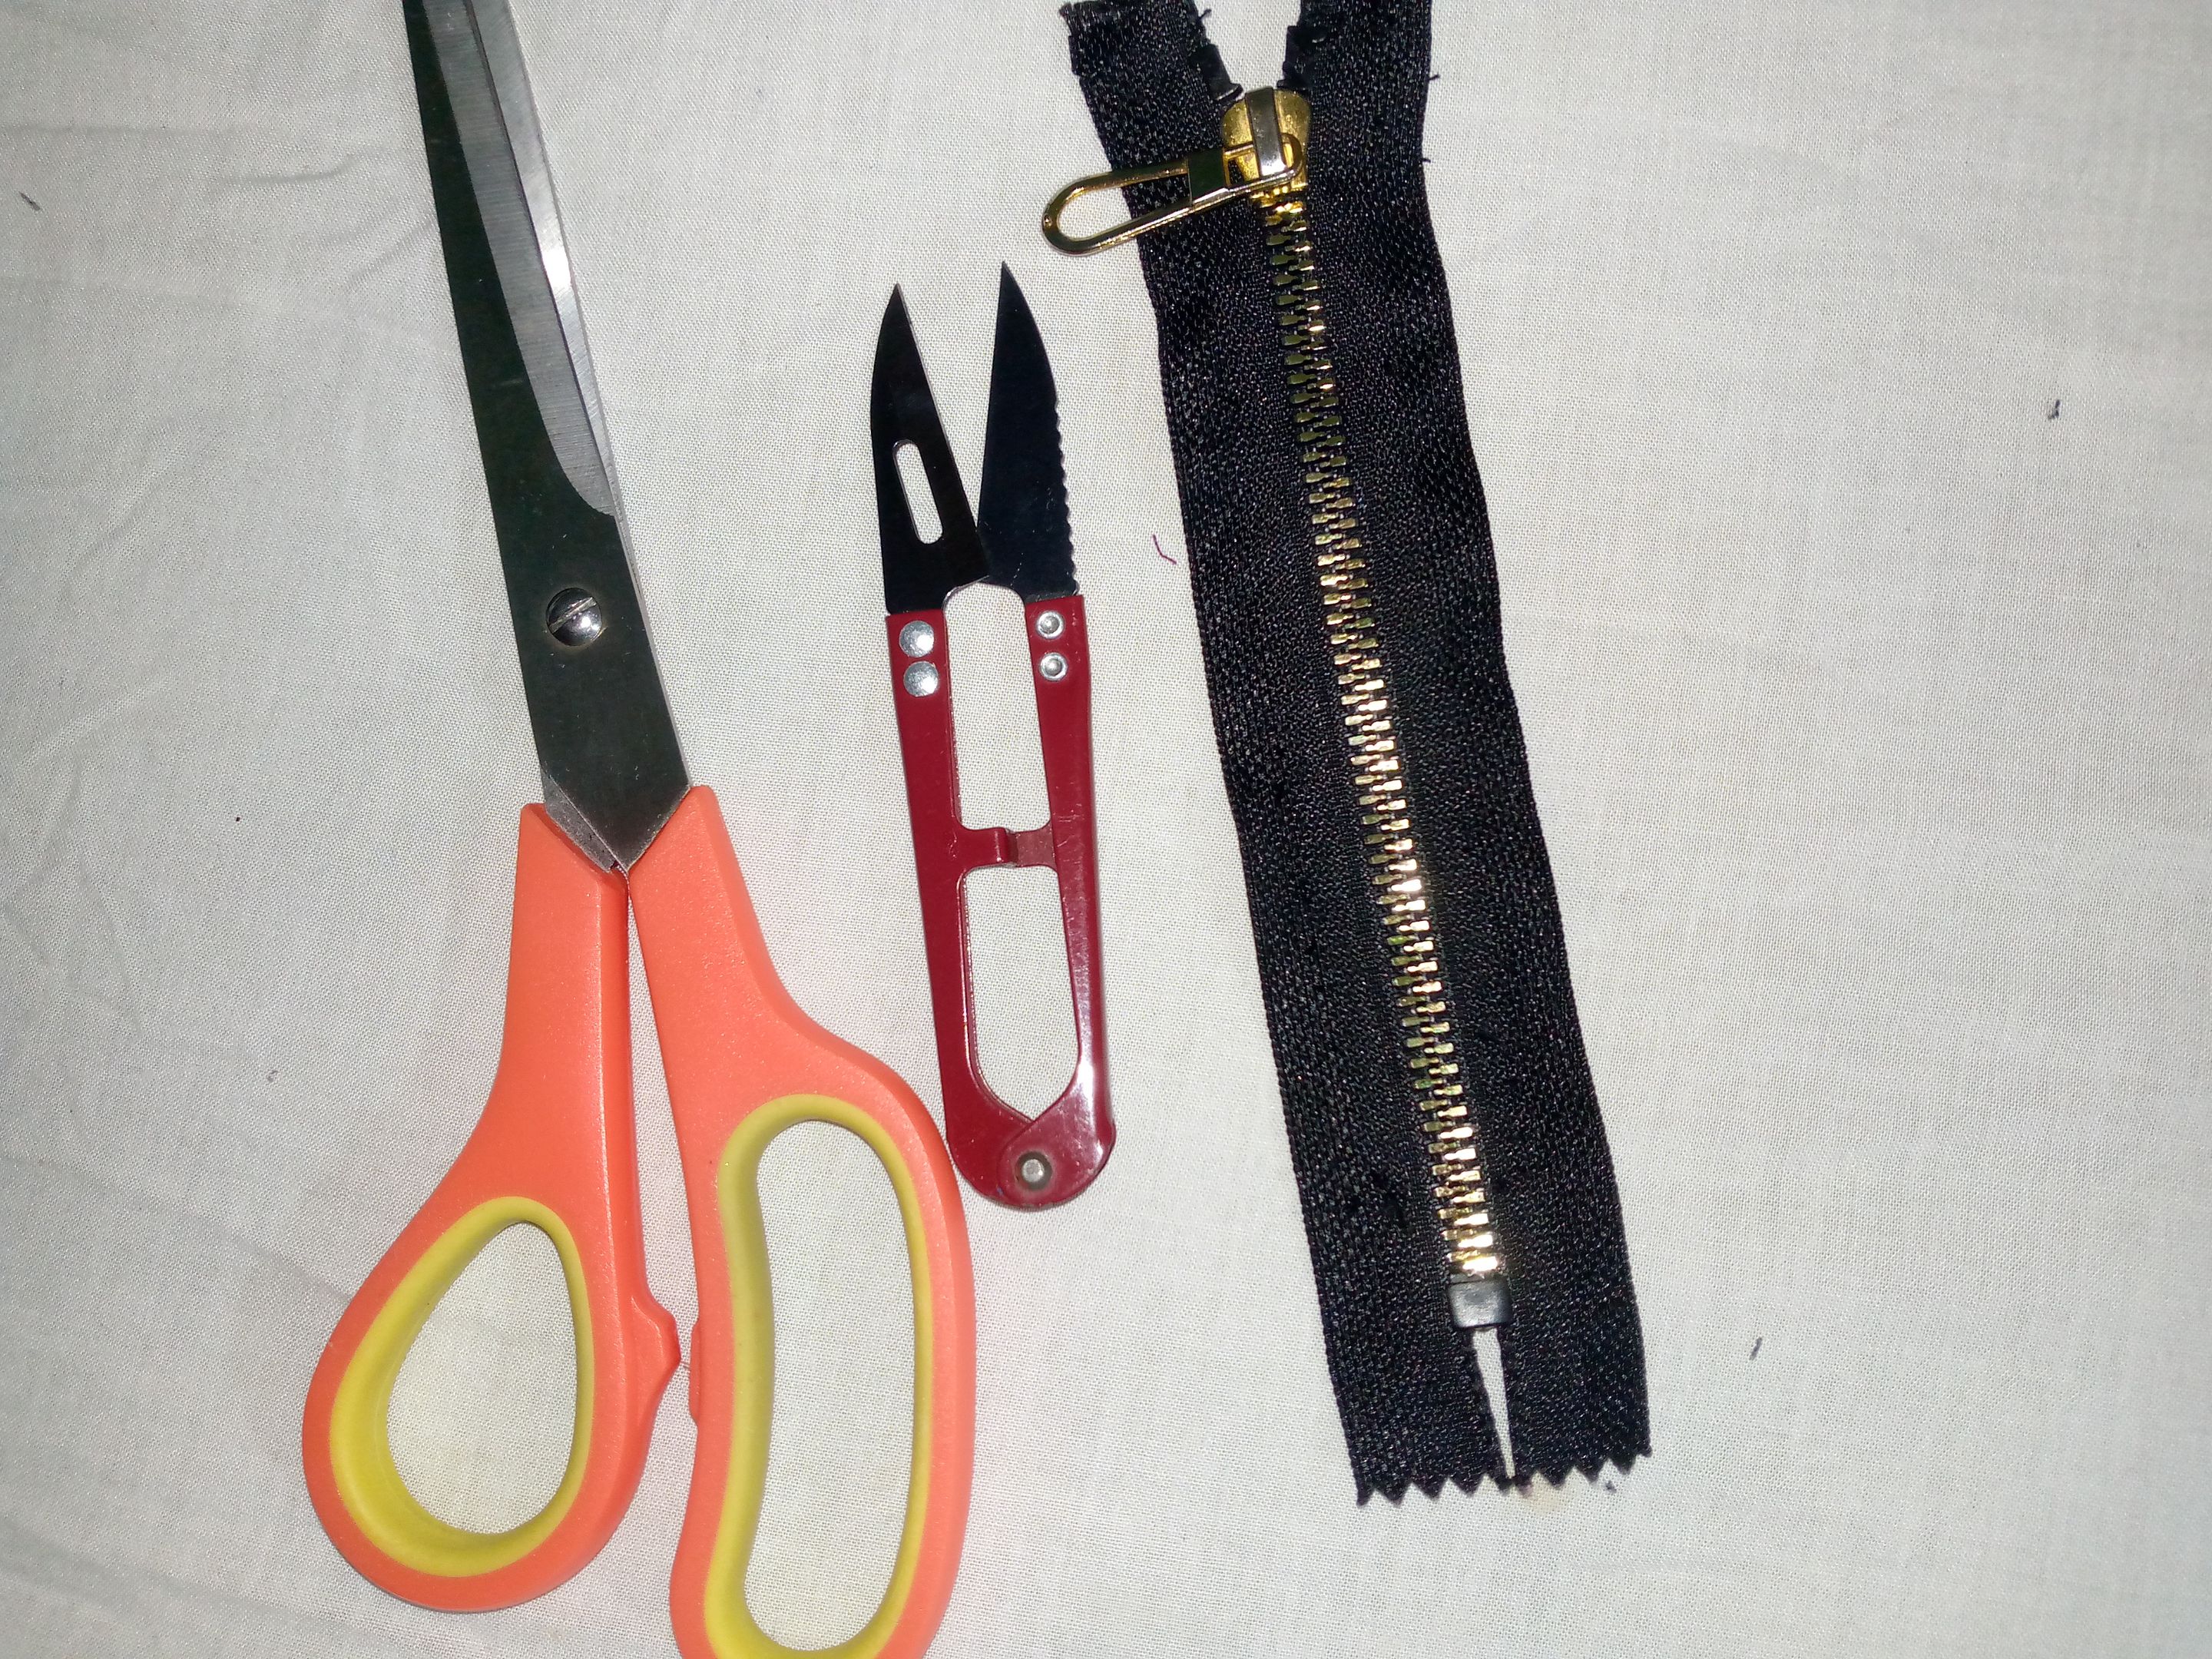
- Tijera
- Descosedor o corta hilos
- Falda a desarmar
- Máquina de coser
- Hilo
- Cierre
- Scissors
- Seam ripper or thread cutter
- Skirt to be taken apart
- Sewing machine
- Thread
- Zipper
_
Pasos a seguir: | Steps to follow:
_
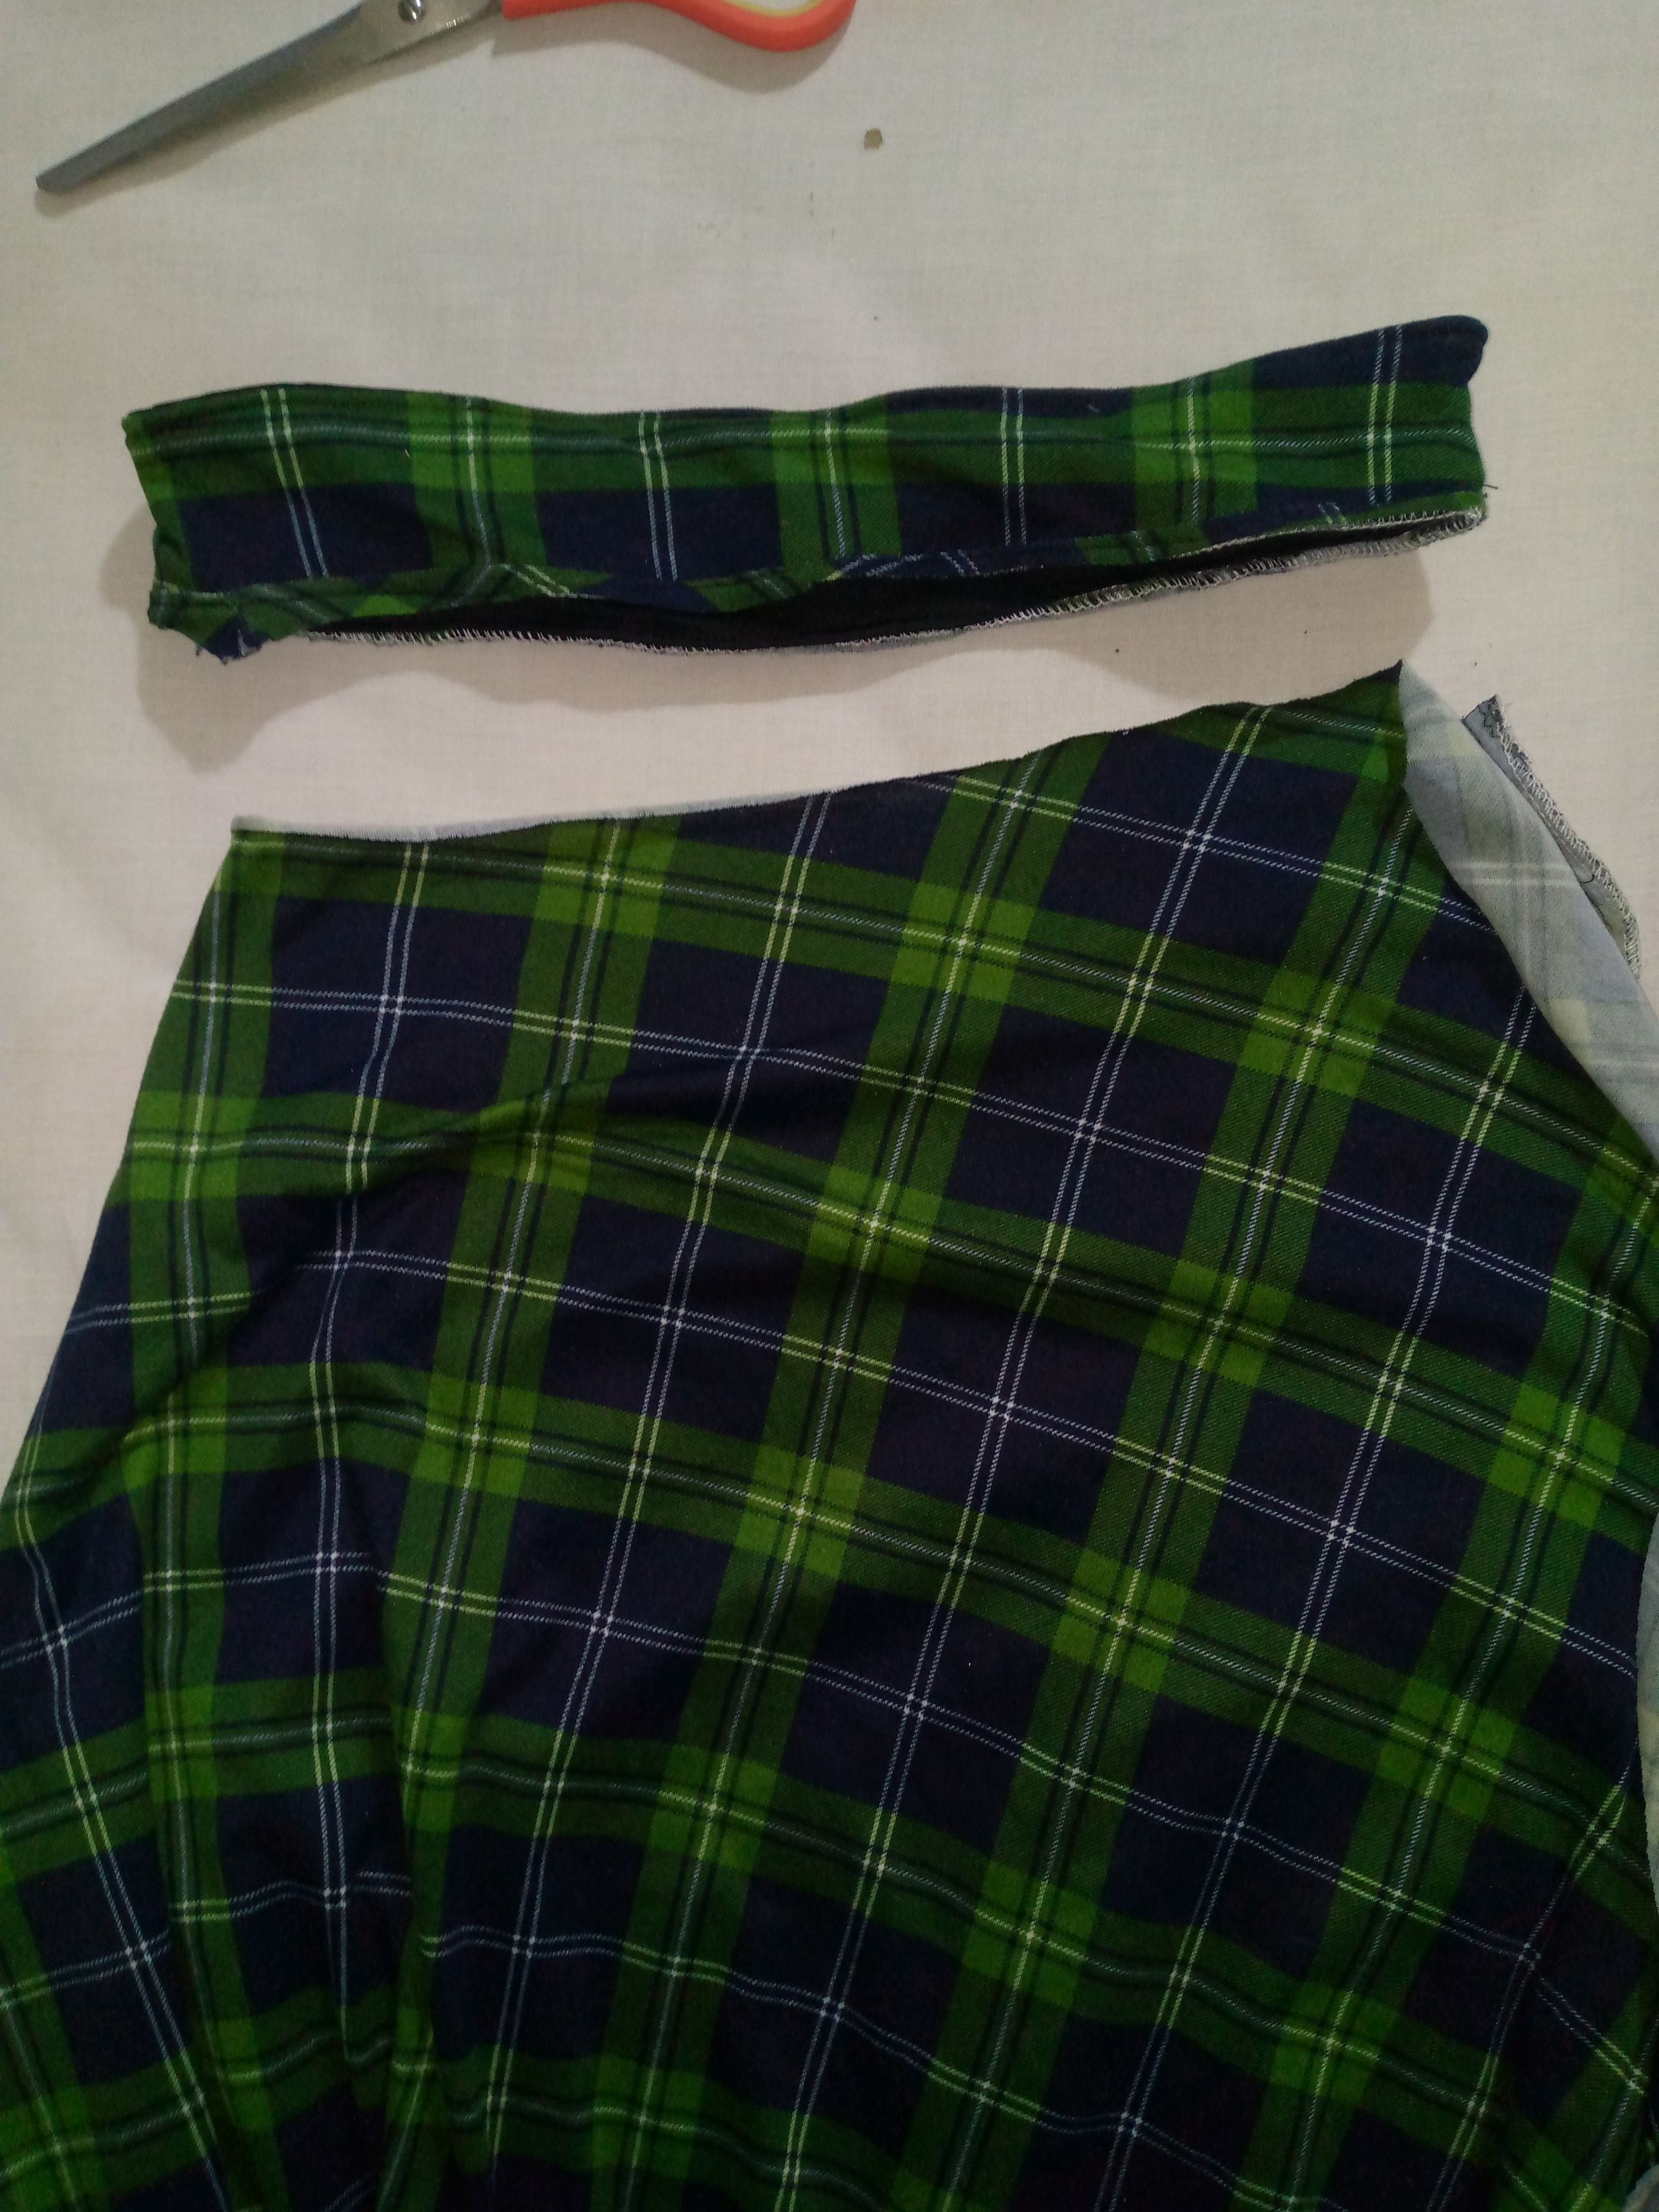
Paso 01
Step 01
At first I cut the waistband of the skirt then I cut or opened the sides of the skirt so that we have two pieces, these two pieces we will be using to place our measurement of the blouse and cut the pieces of both the front and back waist, then I cut both pieces of the blouse, I cut the sleeves, the bias and the complete piece of the strap since we will place as a detail to our blouse two straps in the lower part of the blouse.

Paso 02
Step 02
Before sewing the pieces we are going to cut an opening in the front piece 12 cm long leaving 1 cm of closure then we sew it along the sides leaving the closure in the center, then we are going to take the shoulder pieces to seal the blouse, we sew first with a straight seam and then on the edge we are going to sew either overlock or zig zag.
Paso 03
Step 03
Once I sewed the shoulder piece of the blouse I opened this part of the armhole and the sleeves folded in half I made a small cut to indicate the center of the sleeve that I will be placing open in the middle of the union of the blouse and we are going to sew from one end to the other the sleeve to the armhole we sew the other and then we are going to sew the bias folding at the tip inside the closure and sew from the inside out then we re-edge our bias, before sewing the side of the blouse we are going to be sewing the long strip that we will place as an ornament on the sides, we sew along the bottom side turn it over with the tape tool or a wire and cut it in half, then we make a knot in extreme cads.

Paso 04
### Step 04
Finally, we will sew the blouse along the sides and before finishing the sewing, we will place our strap two centimeters up before reaching the end of the bottom of the blouse, we will sew the hem and then make the 1 cm hem.
_
Resultado: | Result:
_
Look how elegant our blouse looks with the final outfit, you can combine it with your special jeans to go out to the park or wherever you want, I really liked this transformation, it is the first time that a transformation has turned out really well on me and I can say that it has turned out much better than the others 🤭 Tell me what you think? Do you like clothing transformations? Well, it gives a new opportunity to those clothes that you have and that you can't find what to do with them 😁 I encourage you to make a transformation of clothes that you don't use and that you are about to throw away ☺️...


Con esto llegamos al final de nuestro proceso ,gracias por pasar y detenerte a leer este tutorial,espero le guste mucho , saludos 👋🏻🥰💖.
With this we come to the end of our process, thank you for stopping by and stopping to read this tutorial, I hope you like it a lot, greetings 👋🏻🥰💖.
¡Hola!...Soy Annie
Una chica que le apasiona el diseño,la costura las manualidades y crear cualquier cosa de mucho uso con mis manos,tengo como hobbie la música ,el maquillarme,la pintura y el dibujo,expresar mis ideas y sentimientos en un dibujo es algo que me gusta hacer,amo la naturaleza,un atardecer ,la playa y disfrutar con mis familiares de los buenos momentos de la vida.❤️
_
Creando las cosas con amor🌷♥️ | Creating things with love🌷♥️
_
_
Imágenes:de mi autoria | Edición:Canva® y PicsArt © | Traductor:Traductor de Google | Dispositivo:TecnoSpark 8C.
_
_
Images:my own work | Edited by:Canva® and PicsArt © | Translator:Google Translate |Device:TecnoSpark 8C .
_