Bienvenidos queridos visitantes..✨🪡| Welcome dear visitors..✨🪡.
Today I want to show you, dear friends, how to transform a girl's dress that I had stored away for a long time and that belonged to one of my dolls. But since I wanted to remodel my closet and have more comfortable clothes to go to the beach, which I certainly didn't have, I decided to give it a try and make a nice beach top. I used a few scraps to reinforce the back of my top because I will put crossed straps at the back at the opening so I can easily put it on.
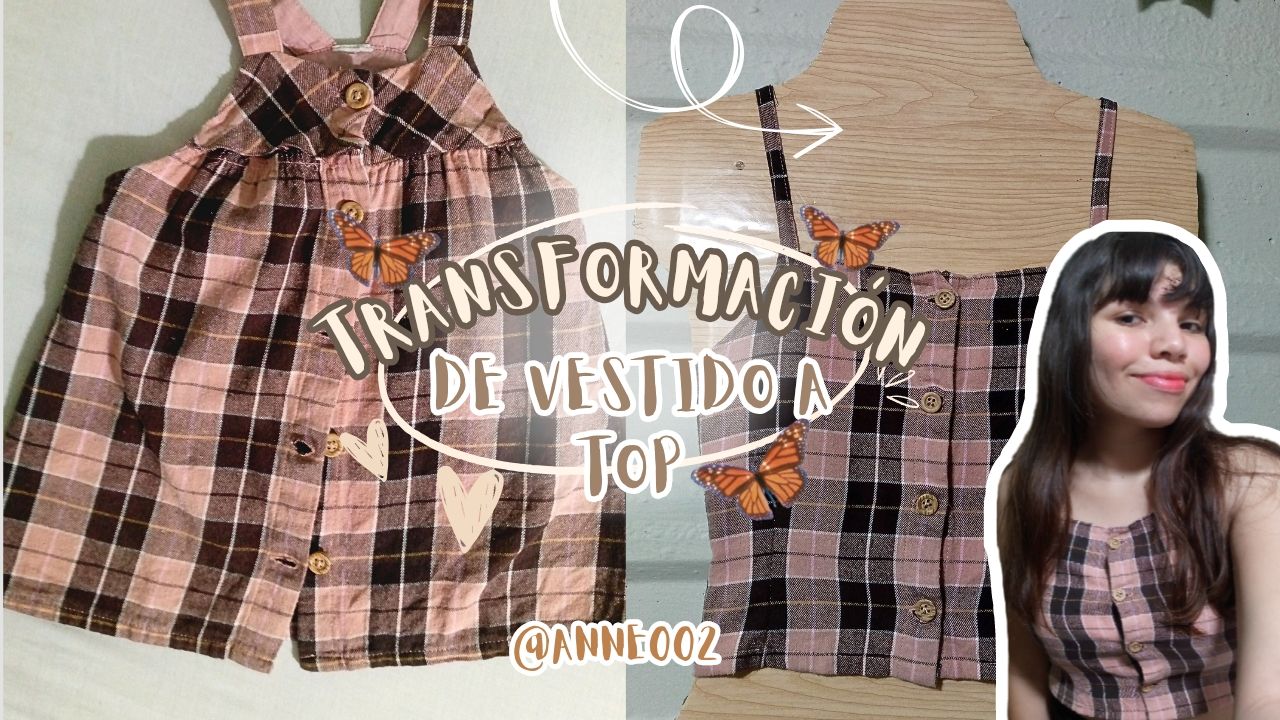
If you really like transformations, I leave you this nice tutorial so you can transform your clothes in different ways just like I have done. I hope you like it a lot ☺️.

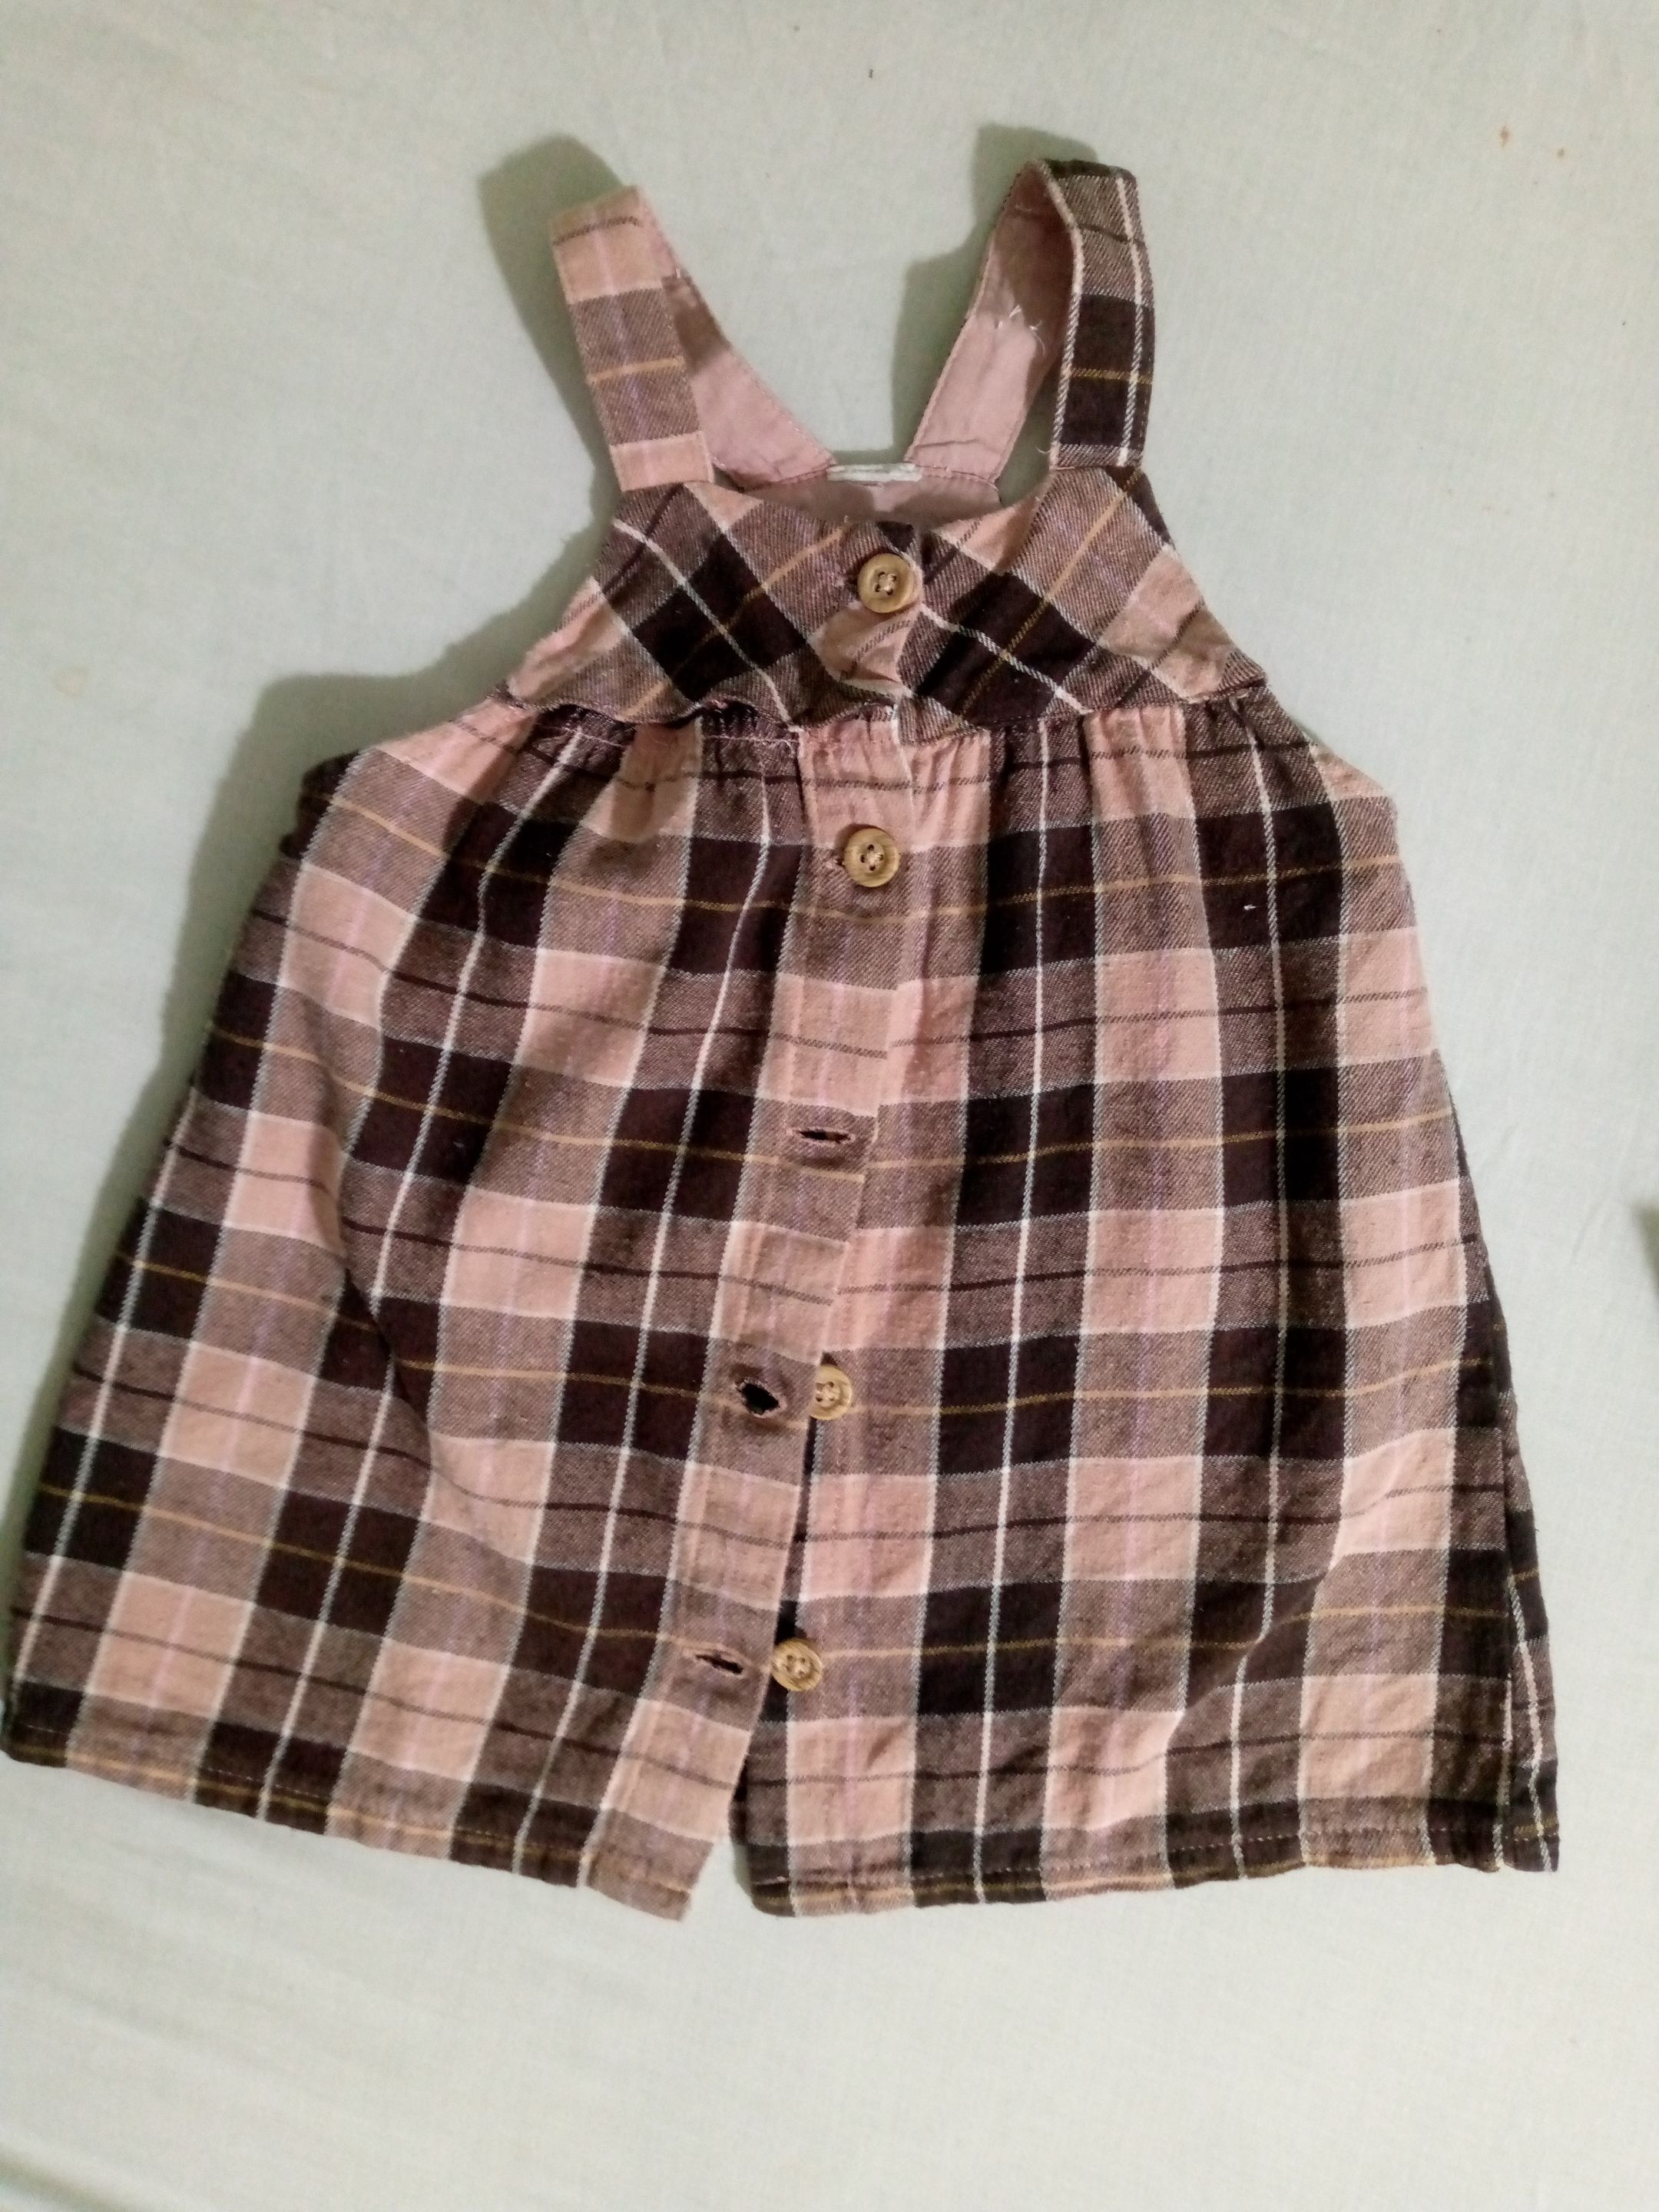
Vestido antes de transformarlo. | Dress before transforming it.
_
Materiales: | Materials:
_
- Vestido a transformar
- Descosedor y tijera
- Plancha de ropa
- Máquina de coser
- Retazos de tela
- Dress to be transformed
- Seam ripper and scissors
- Clothing iron
- Sewing machine
- Fabric scraps
_
Pasos a seguir: | Steps to follow:
_

Paso 01
Step 01
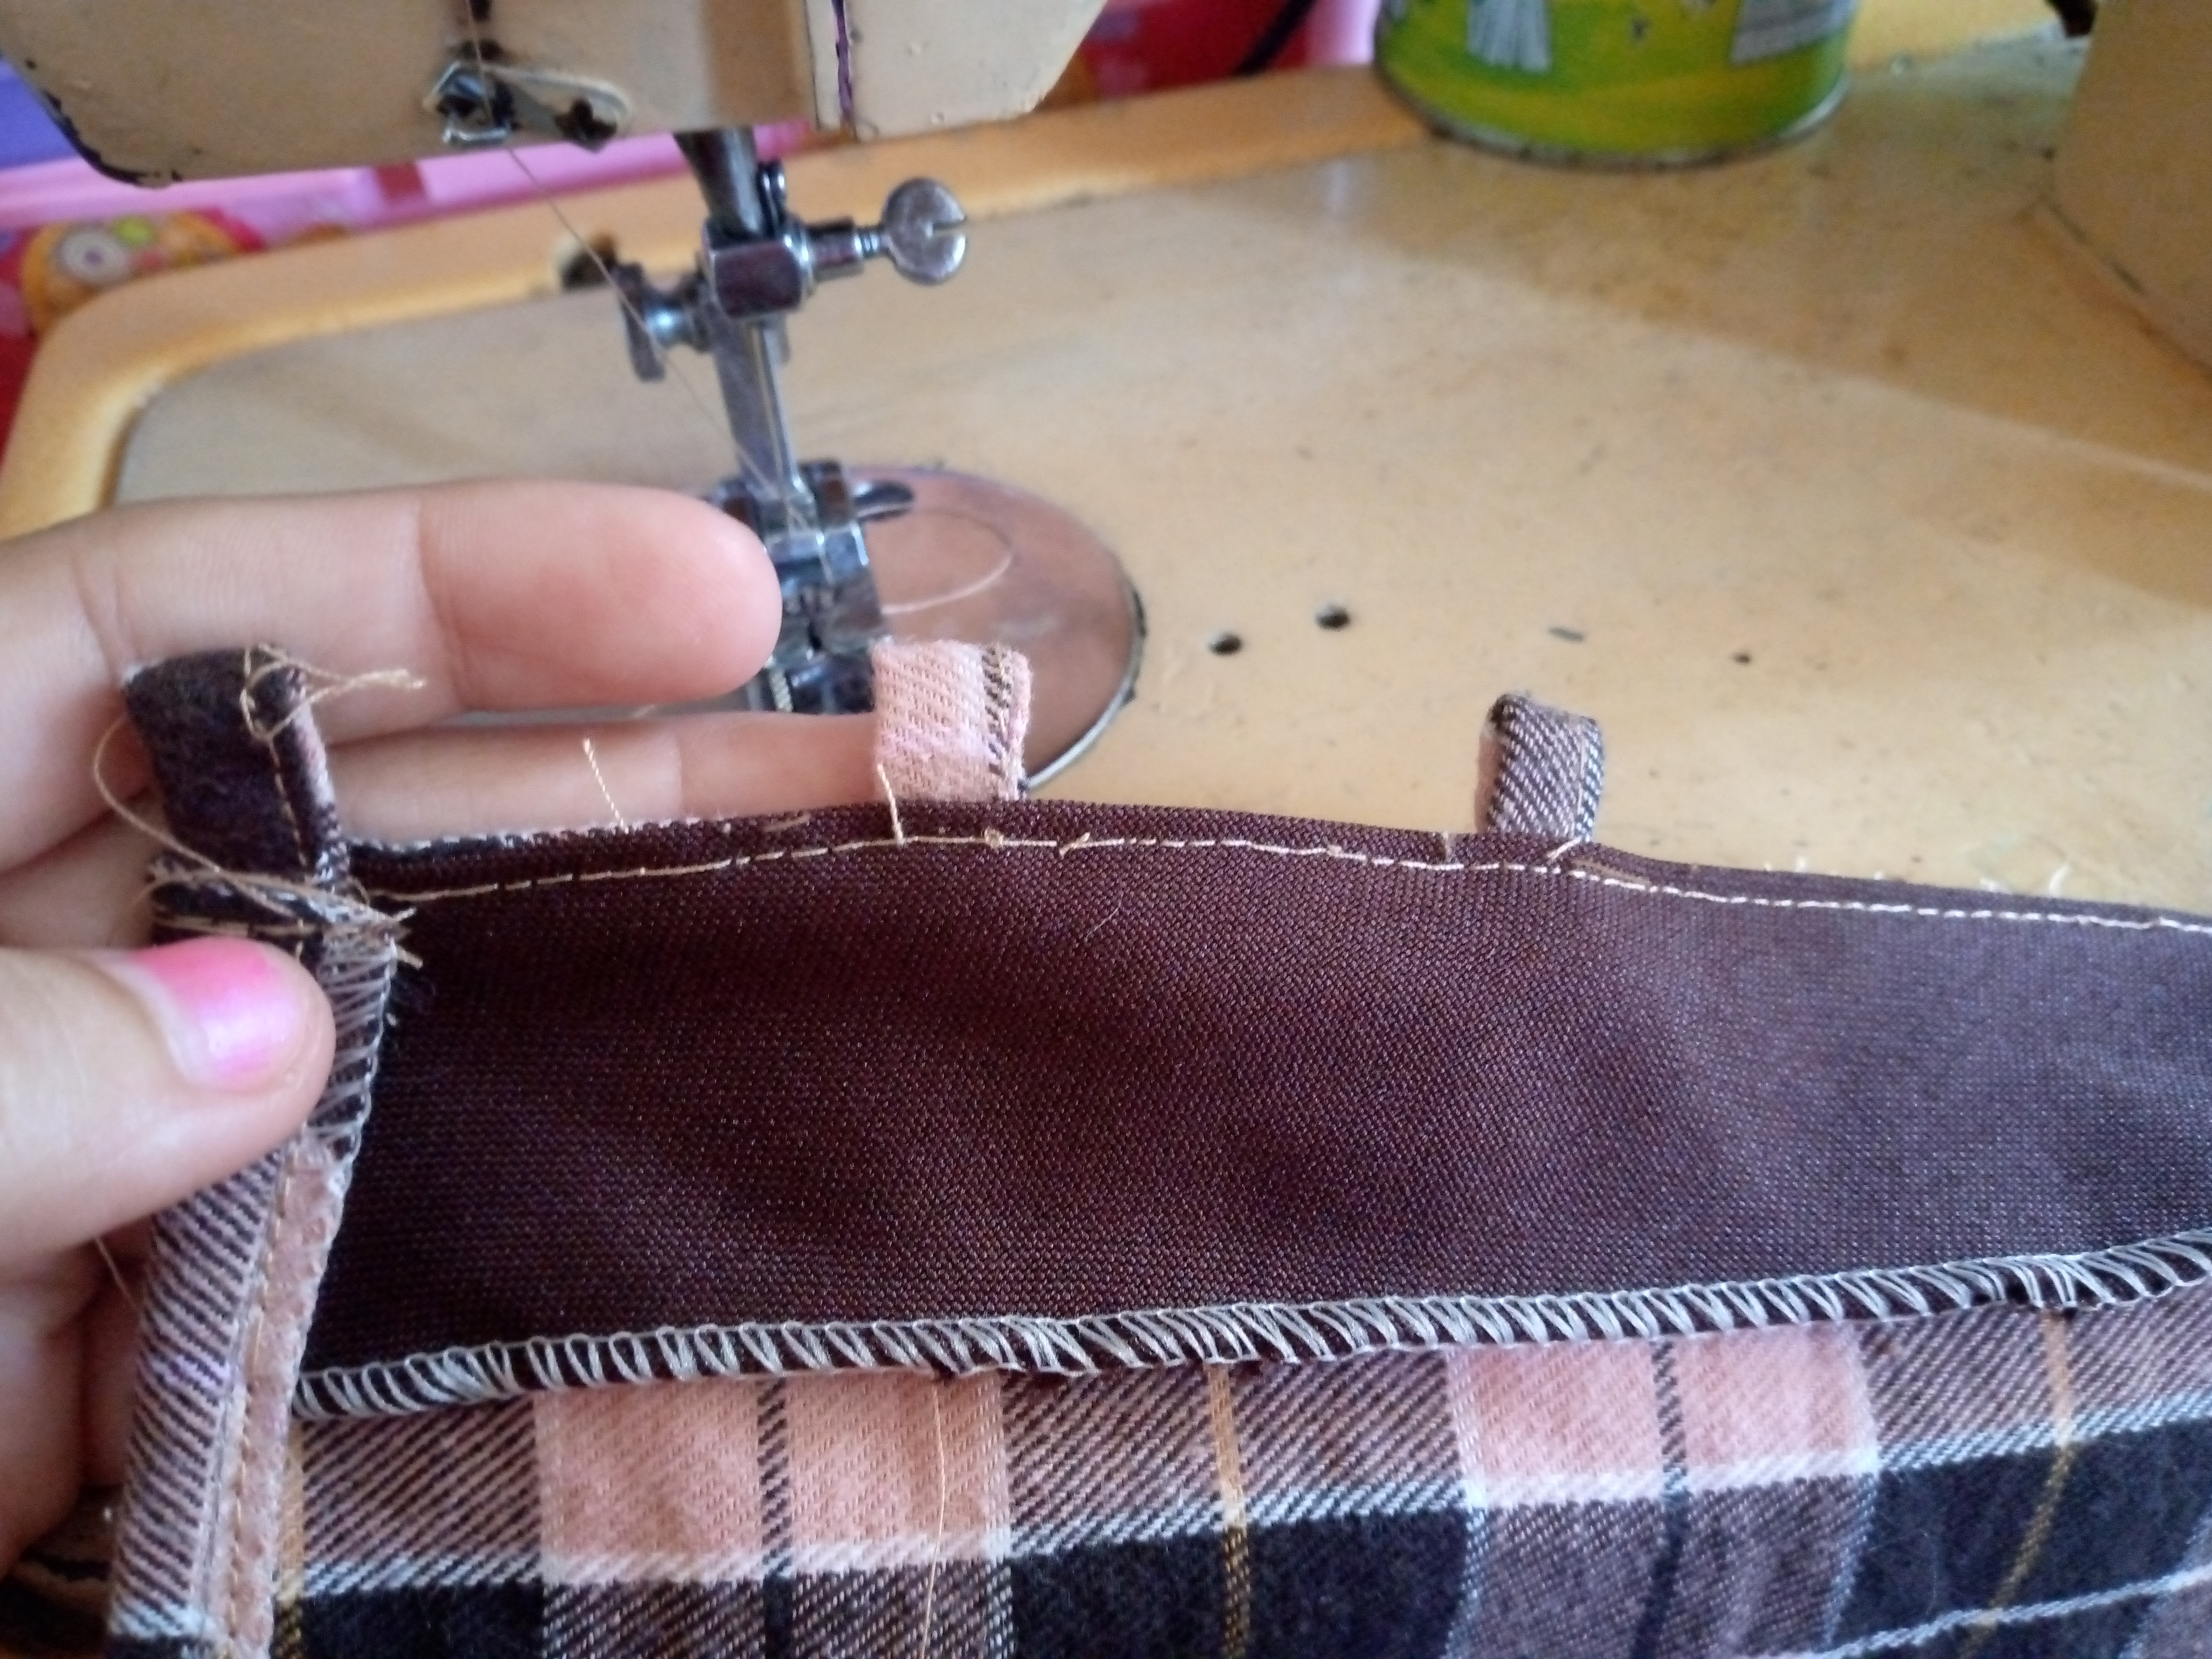
We start first by unstitching the top part of the dress, which is the armhole because it is too small for us, in this case it is because the dress is small so we unstitch that part and we are going to cut our dress in the middle so that the back part where we are going to sew the straps is open, then we are going to sew the edge of our top I have done it with an overlock in this case you can sew it with a zig zag.
Paso 02
Step 02
After sewing the edge I sewed the dart, marking it previously in the middle of the pieces of the front waist part. The dart is 10 cm long each x 1.5 cm wide. Once I sewed them with a straight seam, I went on to sew the piece where the straps go. I cut two rectangles with the scraps that I told you we would use. In this case, I cut them in brown fabric. I feel that this color suits it very well because of the brownish checkered print.


Paso 03
Step 03
After sewing the pieces where we will pass the straps, what I did was sew or overstitch this piece with a straight seam, then I sewed the edge of the armhole to make an inward hem.

Paso 04
### Step 04 Finally, to finish this transformation, I sewed the straps, one complete, of course, so I could then insert it through the top at the back, and the other two for the shoulder straps. I finished sewing it with a straight seam.
_
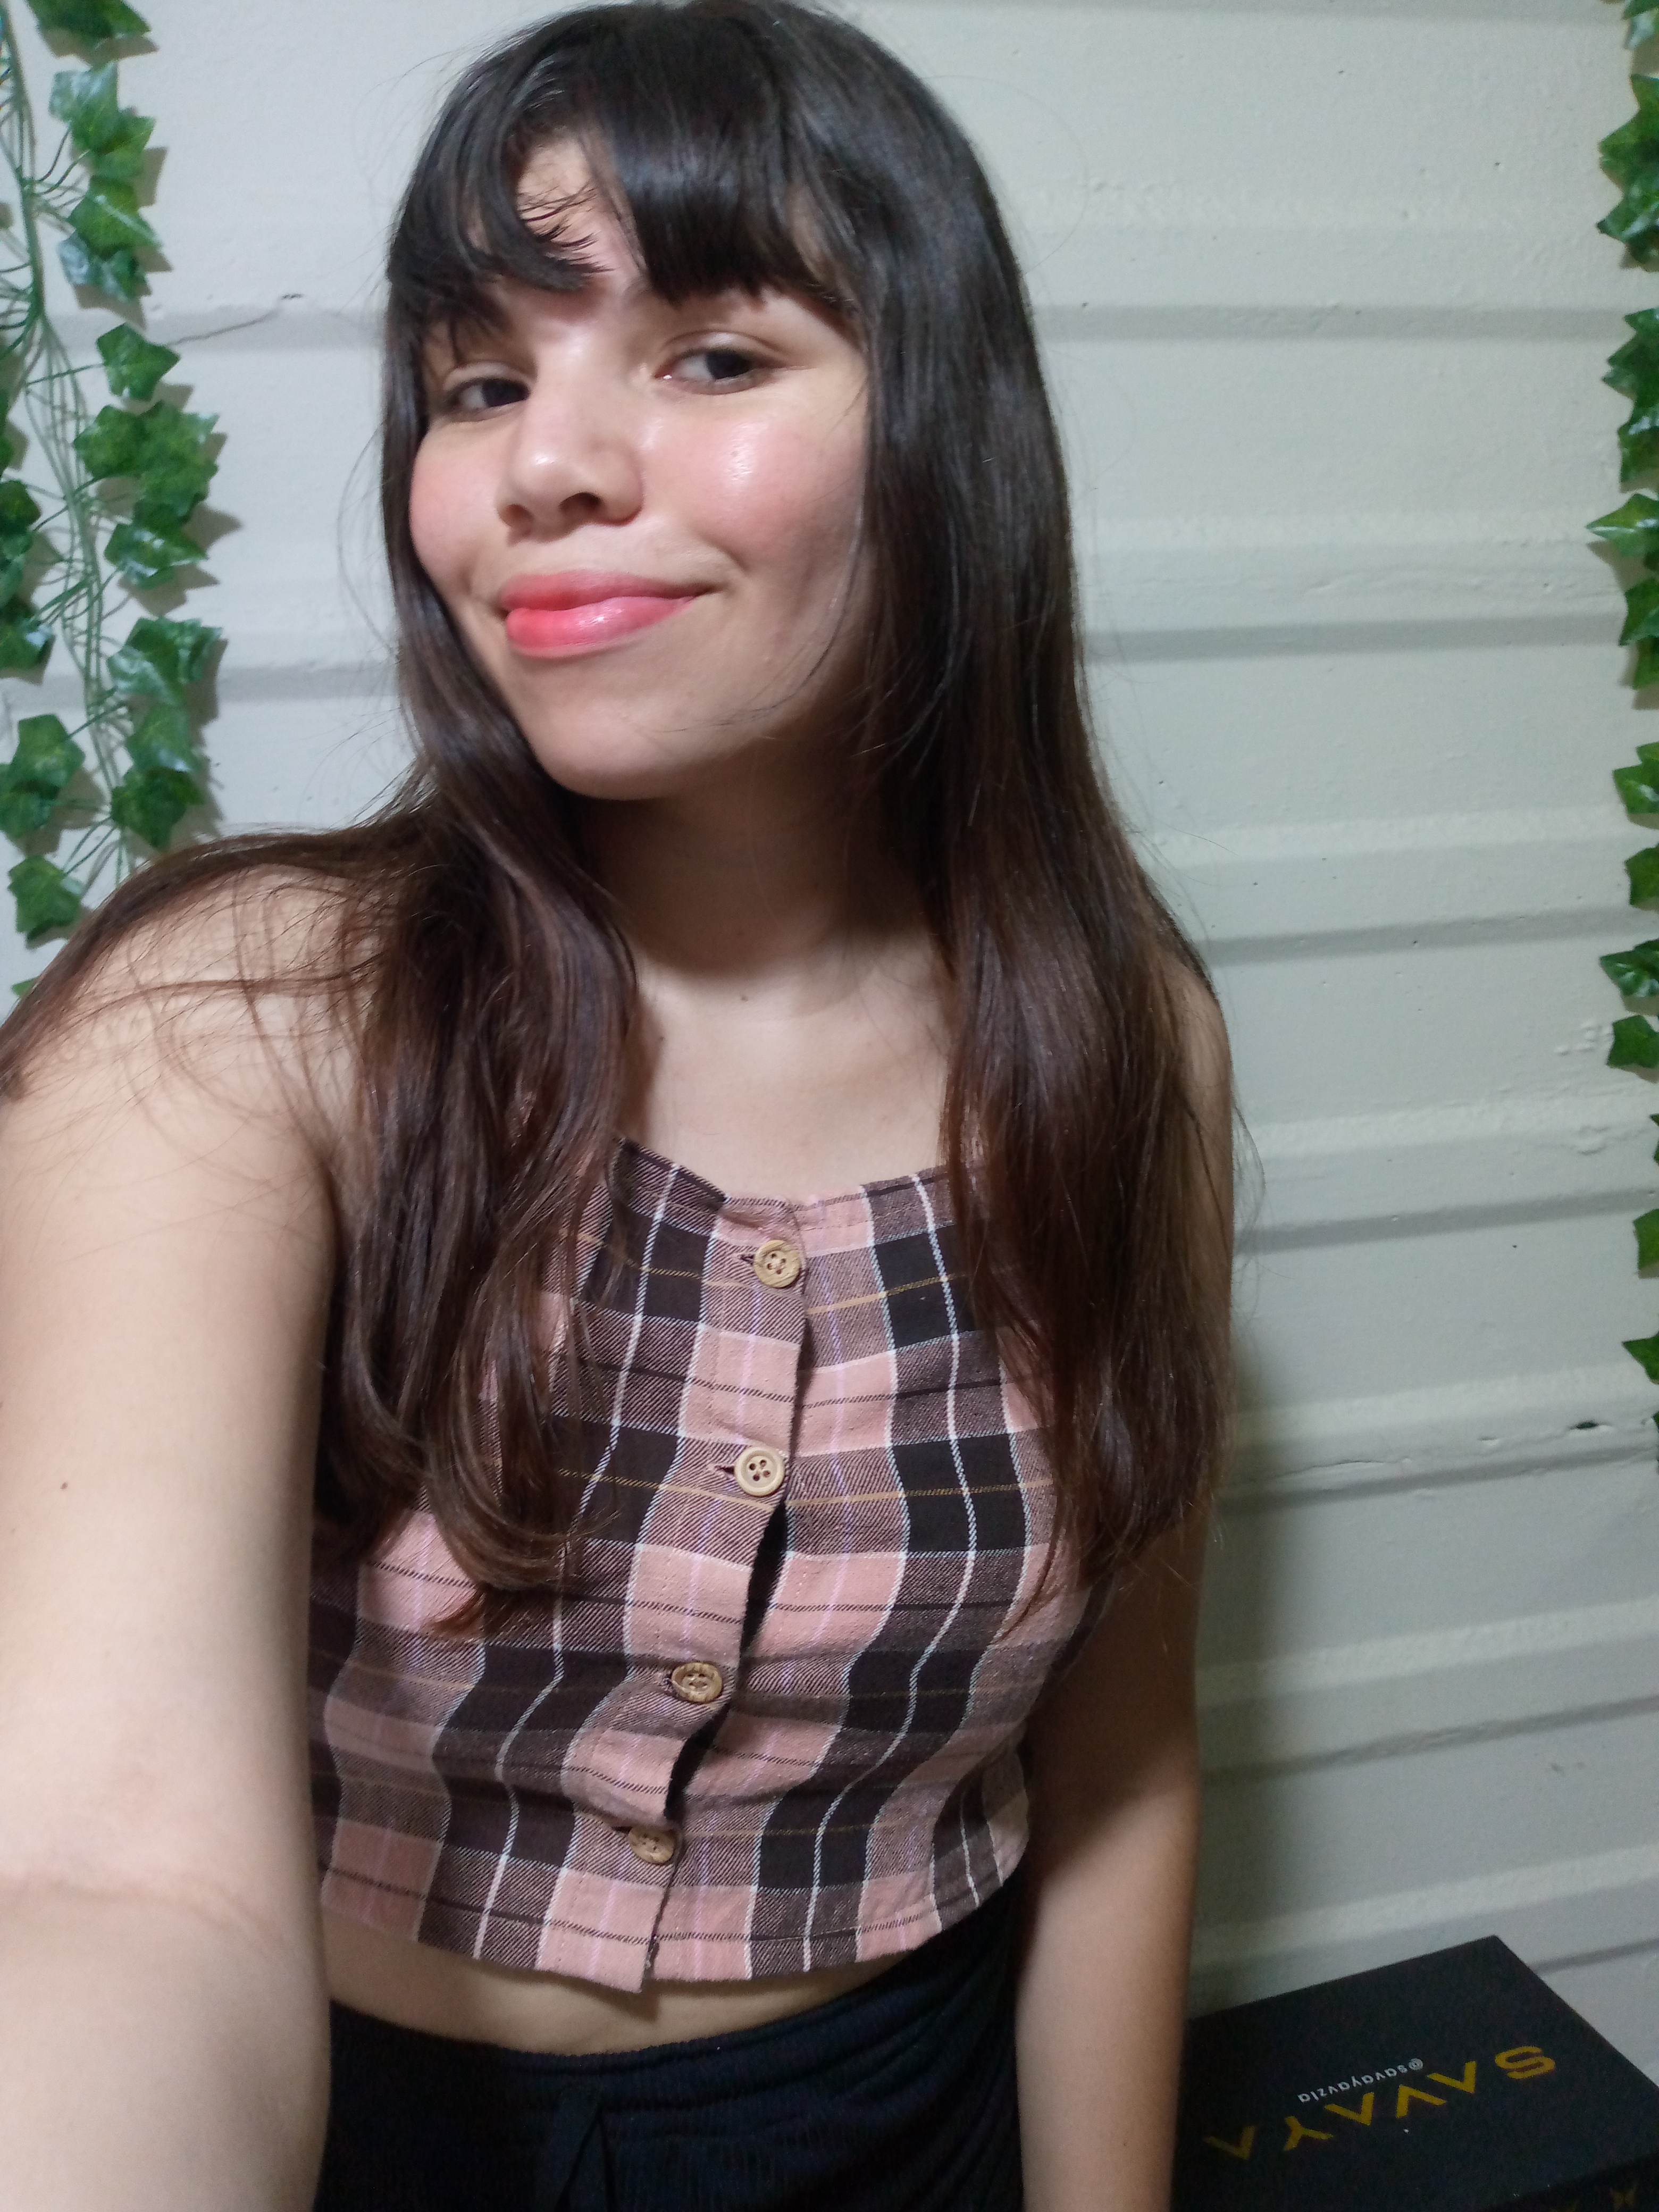
Resultado: | Result:
_
This way our strappy top looks gorgeous ✨ I hope you really liked how I transformed it, tell me if you have done this type of transformations that you think couldn't be done, I'll leave you photos of the final result here, and I say goodbye to you wishing you a beautiful night and a good rest, until another next creative sewing blog 👋🏻🥰.

_
Creando las cosas con amor🌷♥️ | Creating things with love🌷♥️
_
_
Imágenes:de mi autoria | Edición:Canva® y PicsArt © | Traductor:Traductor de Google | Dispositivo:TecnoSpark 8C.
_
_
Images:my own work | Edited by:Canva® and PicsArt © | Translator:Google Translate |Device:TecnoSpark 8C .
_
