🧶Bienvenido al mundo del DIY conmigo,un placer saludarles ☺️✨🎨. | 🧶Welcome to the world of DIY with me, a pleasure to greet you ☺️✨🎨.


🌿 🍍🌺 Concurso Tropical - Diyhub 🌺🍍 🌿
🌺Hola amigos les doy un saludo en esta hermosa mañana soleada ,hoy quise inspirarme en las flores hawaianas 🏵️y tropicales del caribe🌊 para participar en el concurso tropical que ha presentado esta comunidad ,unirme para mí ha sido un reto primero porque tenía muchas ideas en mente con las cuales poder participar pero recordando que hace unos pocos días encontré un filtro en Instagram 📷que me había dado la idea de hacer unas flores de cartulina para decorar mi espacio de la pared ya que sentia le hacía falta un toque de vida y color y esto lo iban a hacer las flores precisamente porque el filtro es de una hermosa flor tropical rosita que me gustó mucho,así que se me ocurrió hacer una guirnalda con hojas de helecho y de colores para ubicar mi participación en el 🍍 Concurso Tropical.🌺
_
🌺Hello friends, I wish you a beautiful sunny morning. Today I wanted to be inspired by Hawaiian 🏵️and tropical Caribbean flowers🌊 to participate in the tropical contest that this community has presented. Joining has been a challenge for me at first because I had many ideas in mind with which to participate, but remembering that a few days ago I found a filter on Instagram 📷that had given me the idea of making some cardboard flowers to decorate my wall space since I felt it needed a touch of life and color and the flowers were going to do this precisely because the filter is a beautiful pink tropical flower that I really liked, so it occurred to me to make a garland with fern leaves and colors to indicate my participation in the 🍍 Tropical Contest.🌺
_
So let's start this creative space by making a beautiful Hawaiian garland. Here are the materials I used to make it and the creative process. I hope you enjoy it a lot and like it as much as I do. 🌿🌼🌺

_
Materiales: | Materials:
_
- Tijeras
- Silicon
- Trozos de cartulina escolar de colores
- Mecatillo
- Fieltro verde o fomi
- Trozo de cartulina dorada o plateada
- Sombra de ojos
- Patrones de hojas y flores
- Lápiz
- Scissors
- Silicon
- Pieces of colored school cardstock
- Mecatillo
- Green felt or foam
- Piece of gold or silver cardstock
- Eyeshadow
- Leaf and flower patterns
- Pencil
_
Pasos a seguir: | Steps to follow:
_

Paso 01
Step 01
While we have our flower and leaf patterns on hand we will take our pieces of cardboard and we will begin to mark the ones you want to use to place them on the garland, then with our eye shadow we will take the flowers from the cardboard where the color can be seen in this case in the red the shadow is not very noticeable so we will only blur the central part of the flowers only in those where the cardboard is marked like the ones I have cut out in yellow cardboard in a low tone and pink in the pink one I used shadow in a fuchsia tone to blur the center.

Paso 02
Step 02
Here I have already blurred the pink flowers and I move on to making the yellow ones and blur them also with my mustard-toned eyeshadow so that I can highlight the center of the flower and then I cut them out with the scissors.

Paso 03
Step 03
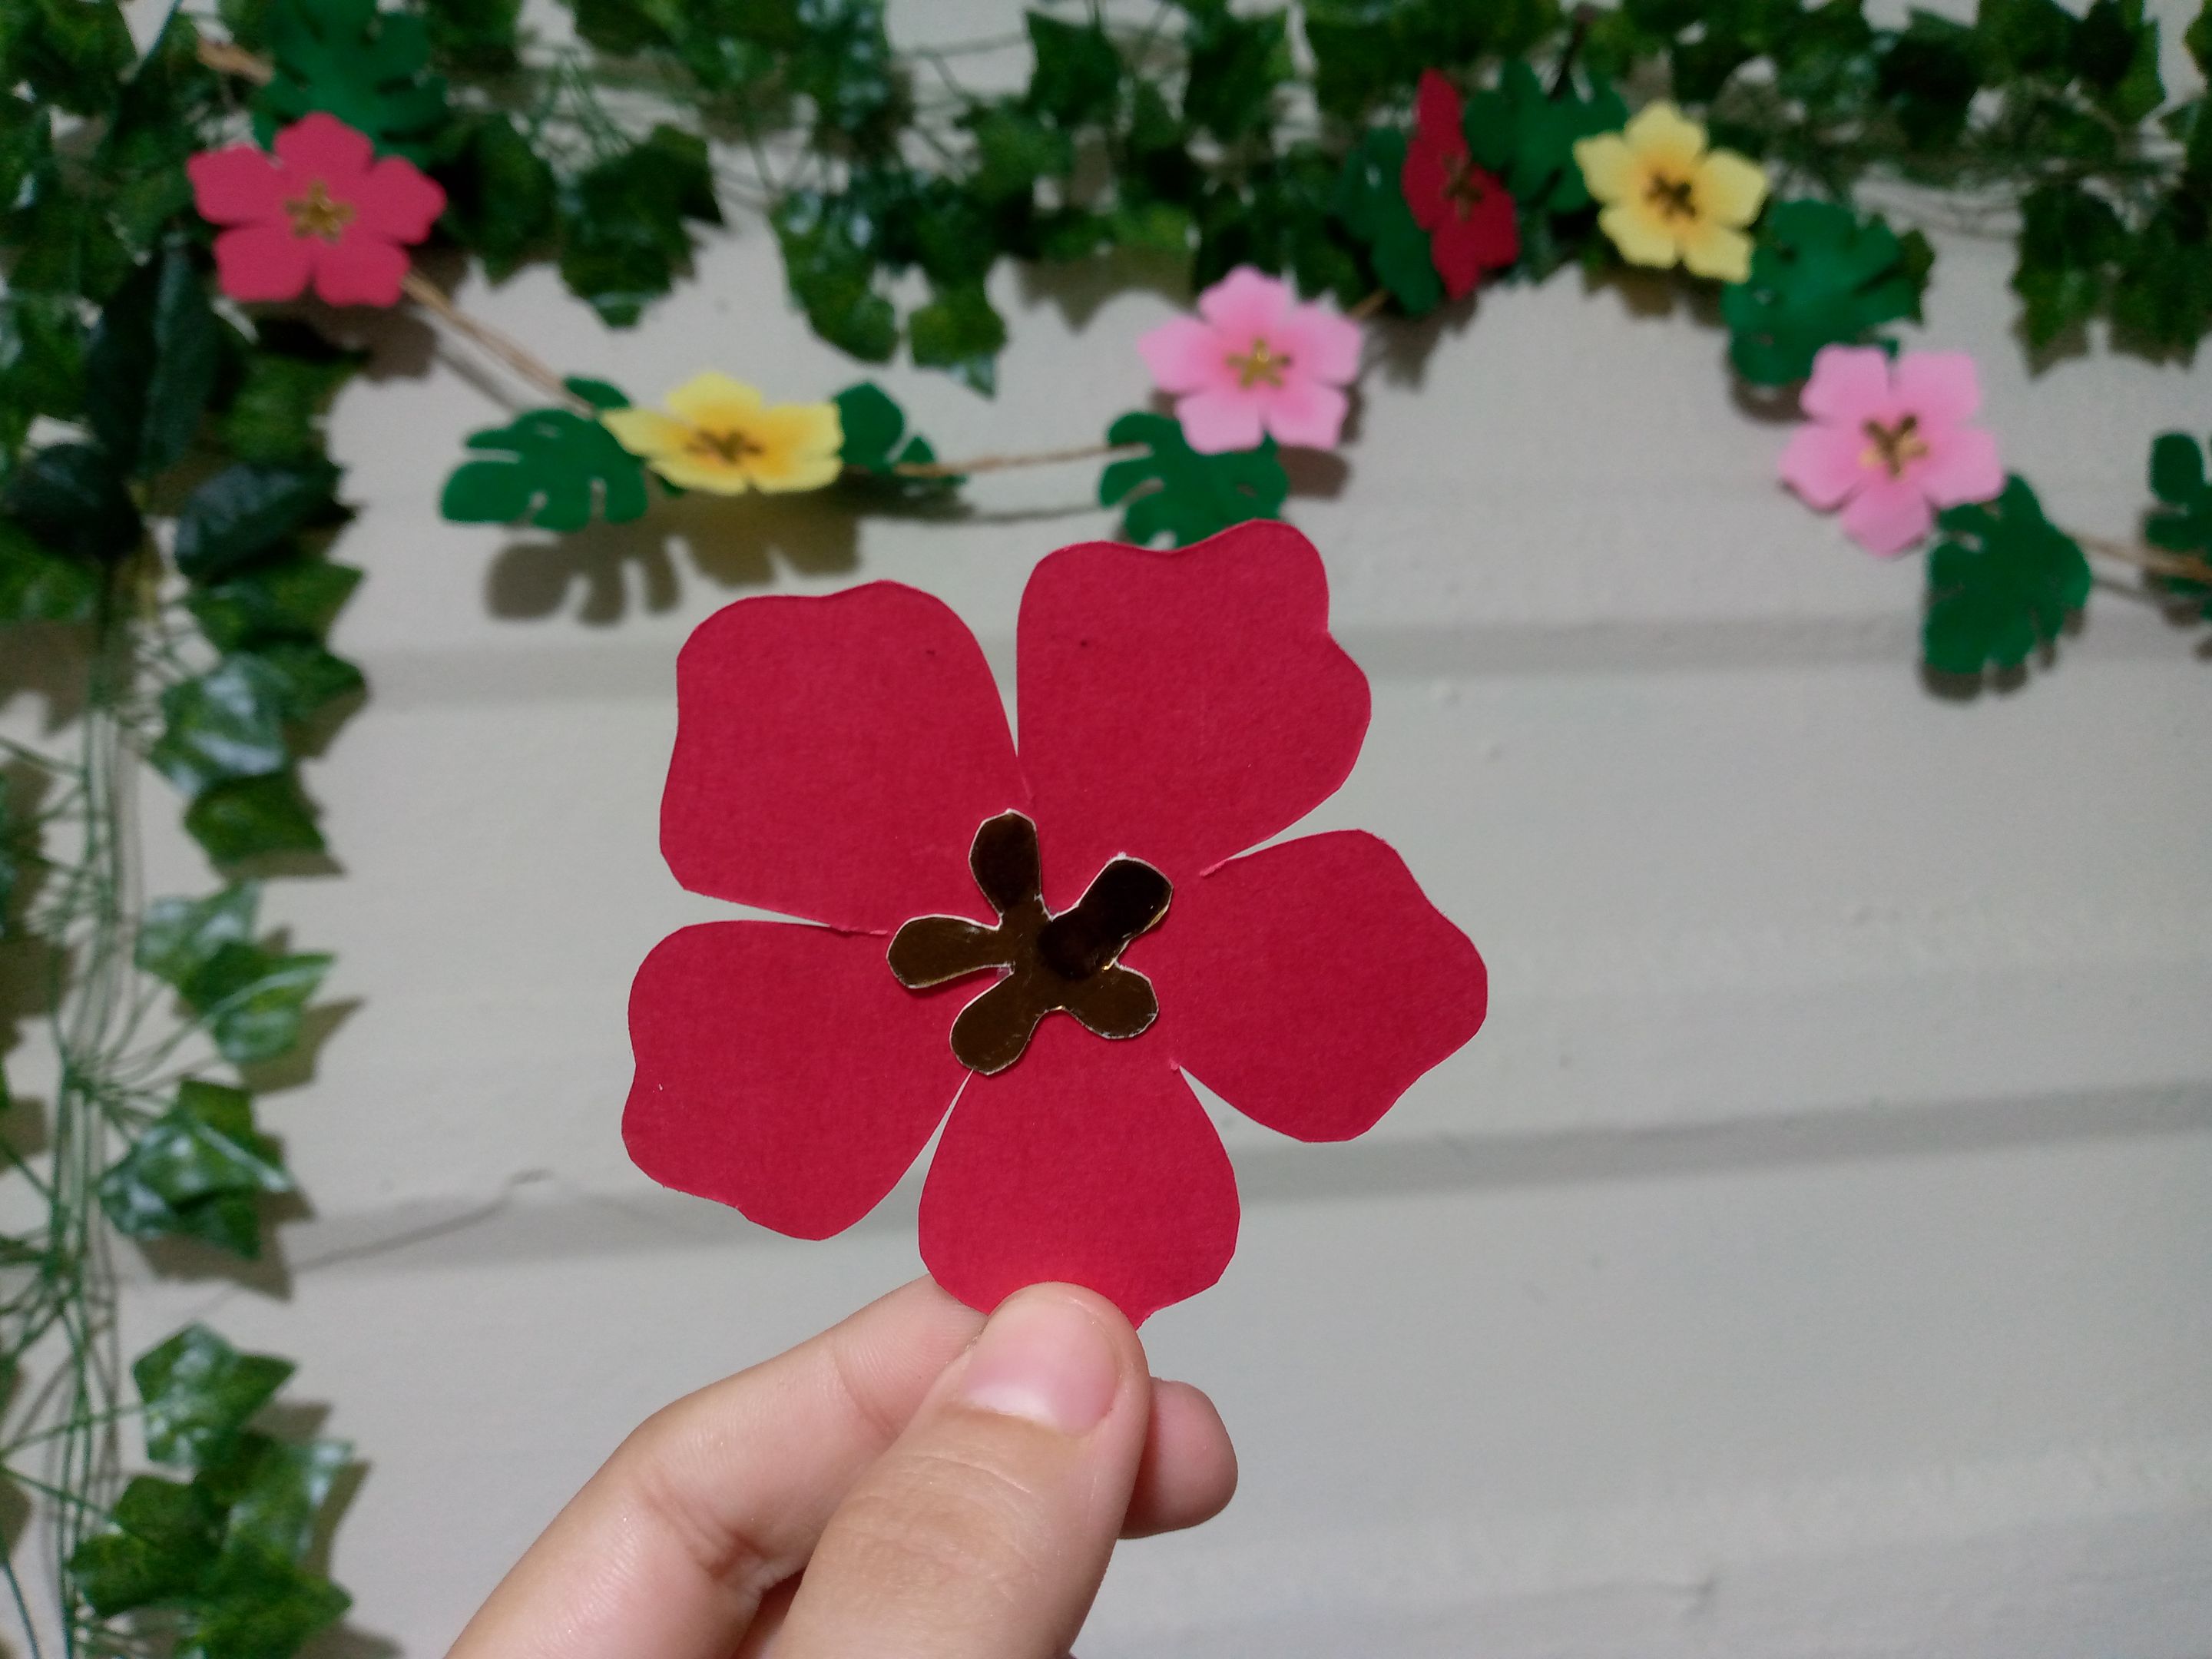
Once I have them ready I'm going to take a small piece of gold or silver cardstock, I'll use these two colors because they highlight the center of the flower much more and give it a unique style, then I'm going to make small flowers that I'll glue later in the center of each of them, then we'll take our green felt or foam, whatever you get to make the leaves is valid then we locate the pattern and we're going to mark the edge of the leaves just as we did when we were going to mark the edge of the flowers.

Paso 04
### Step 04 We cut the edge of our leaves and we are going to glue the mini flowers that we have cut out of the gold cardboard in the center of the flowers and then we will place the flowers and leaves on the string. I made a long rope with five strands each to obtain a long cord where we will place or glue the flowers.
_
Resultado: | Result:
_
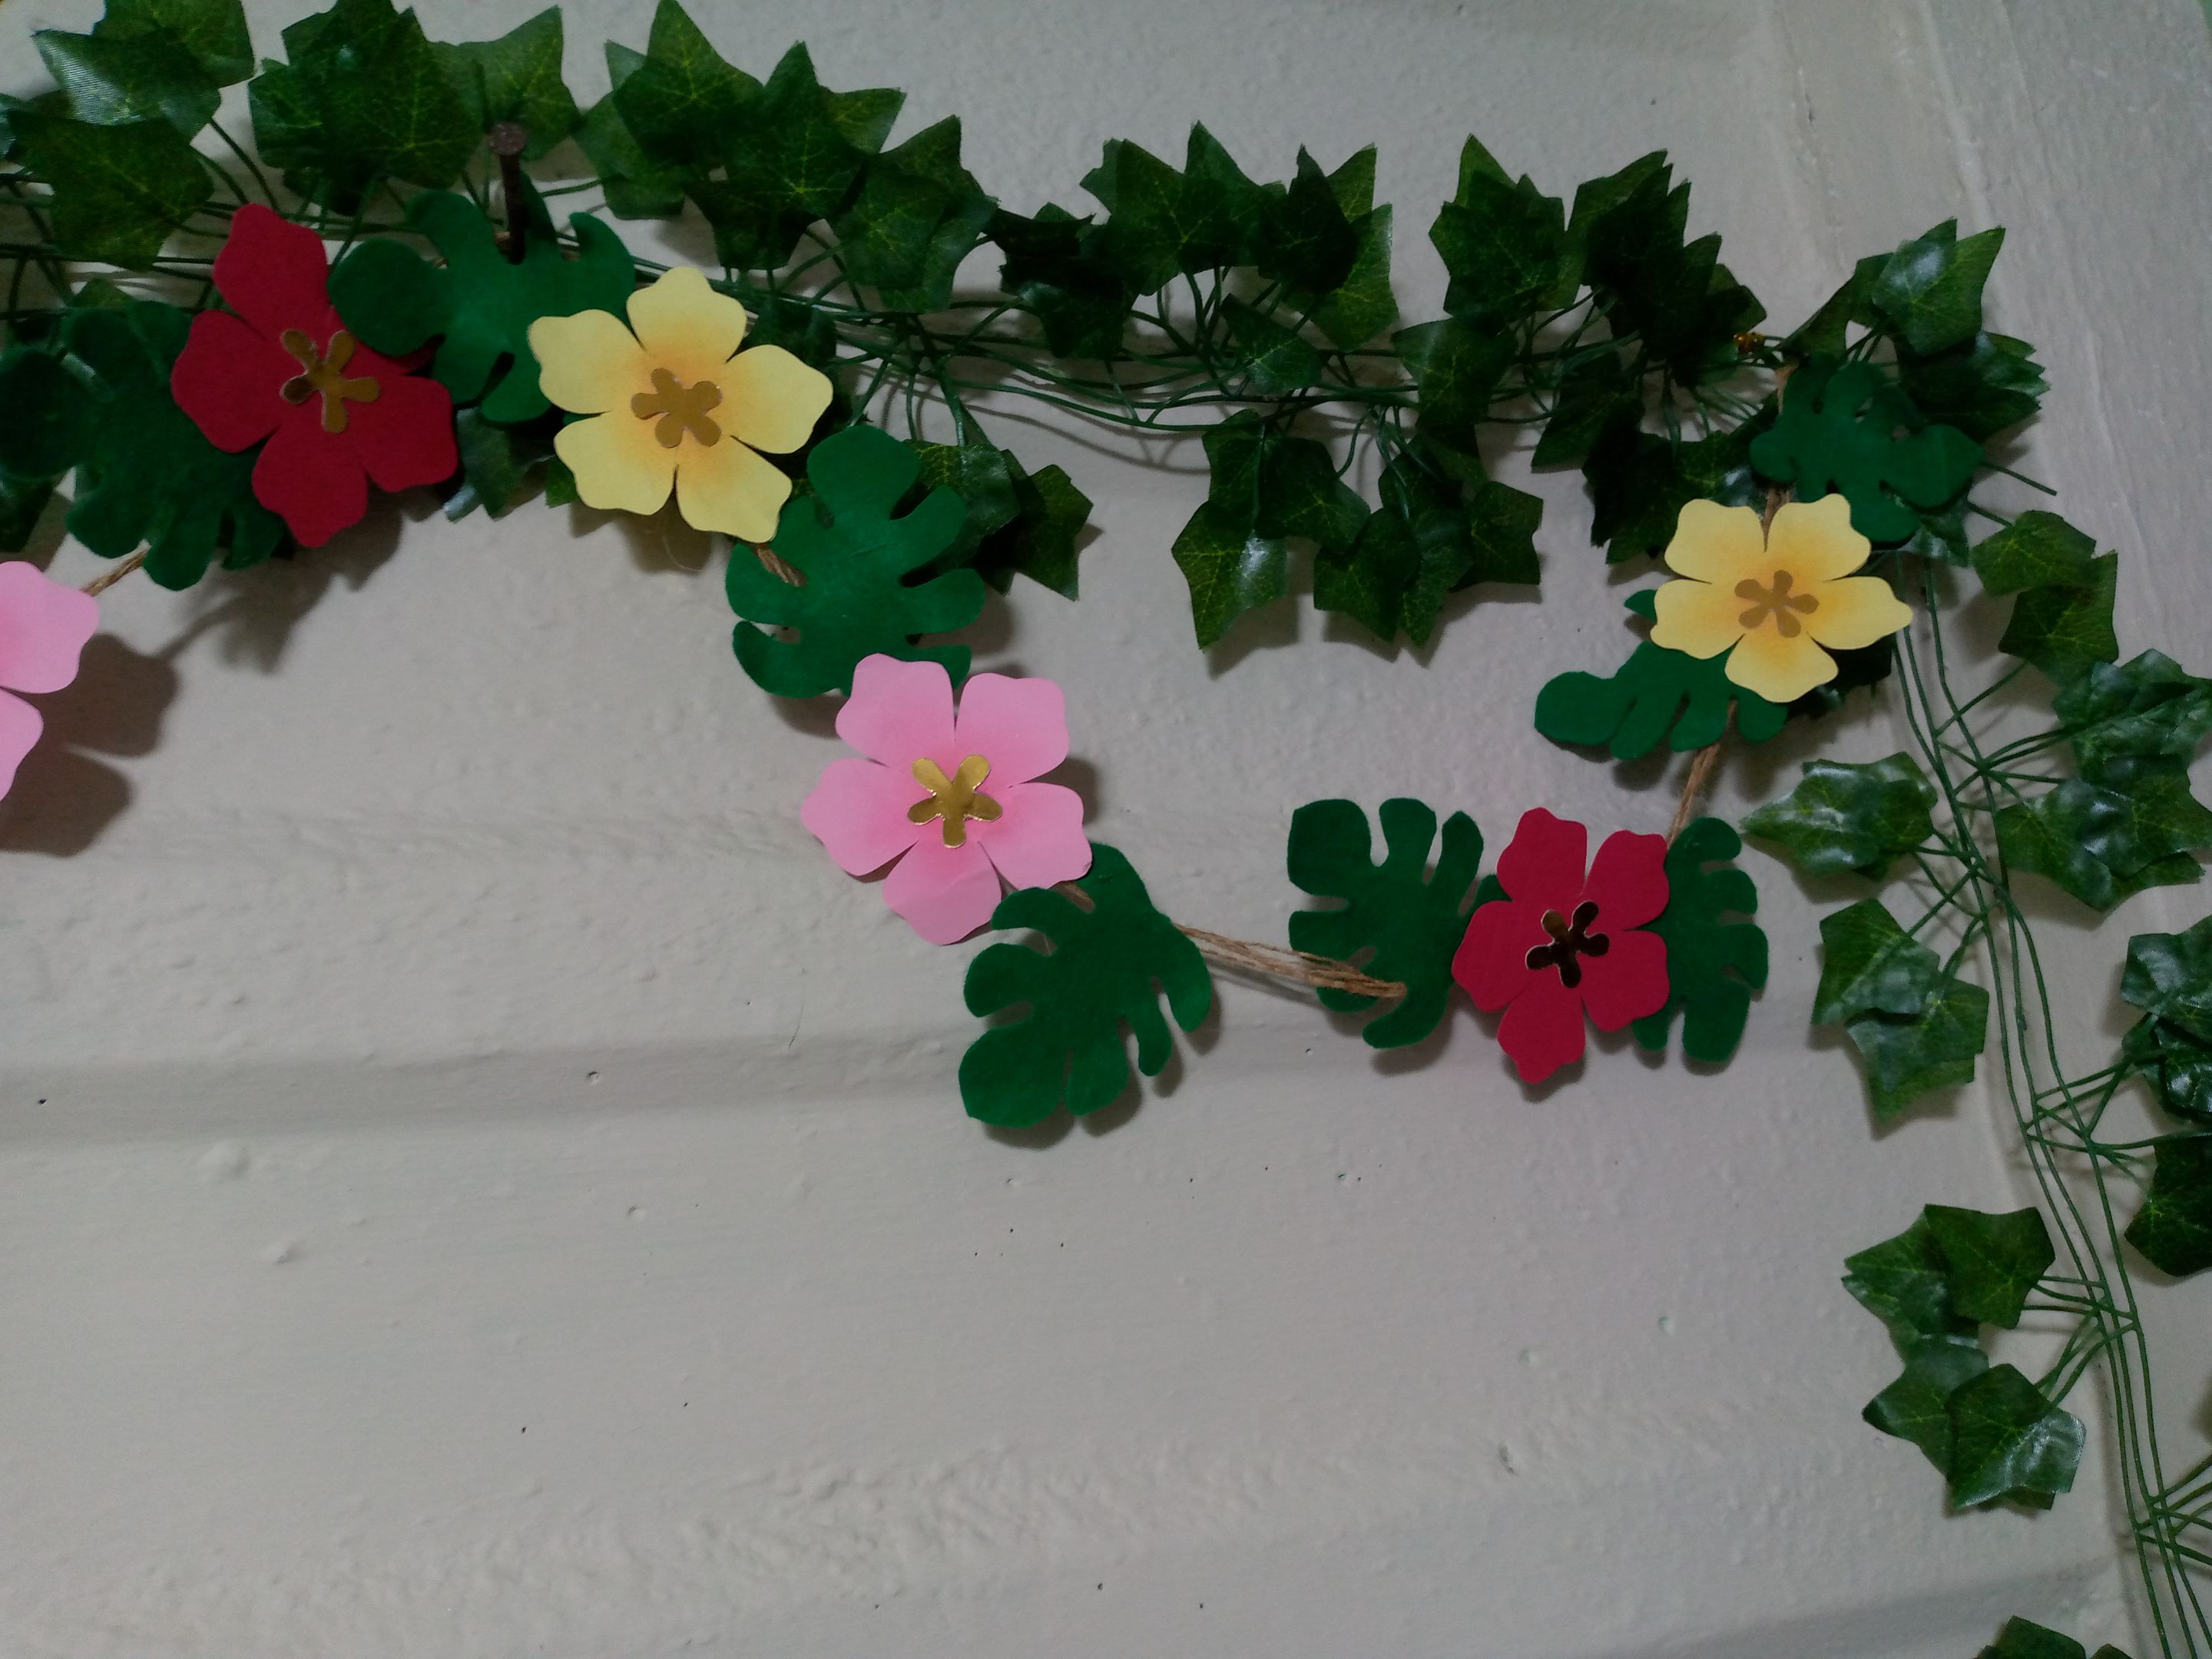
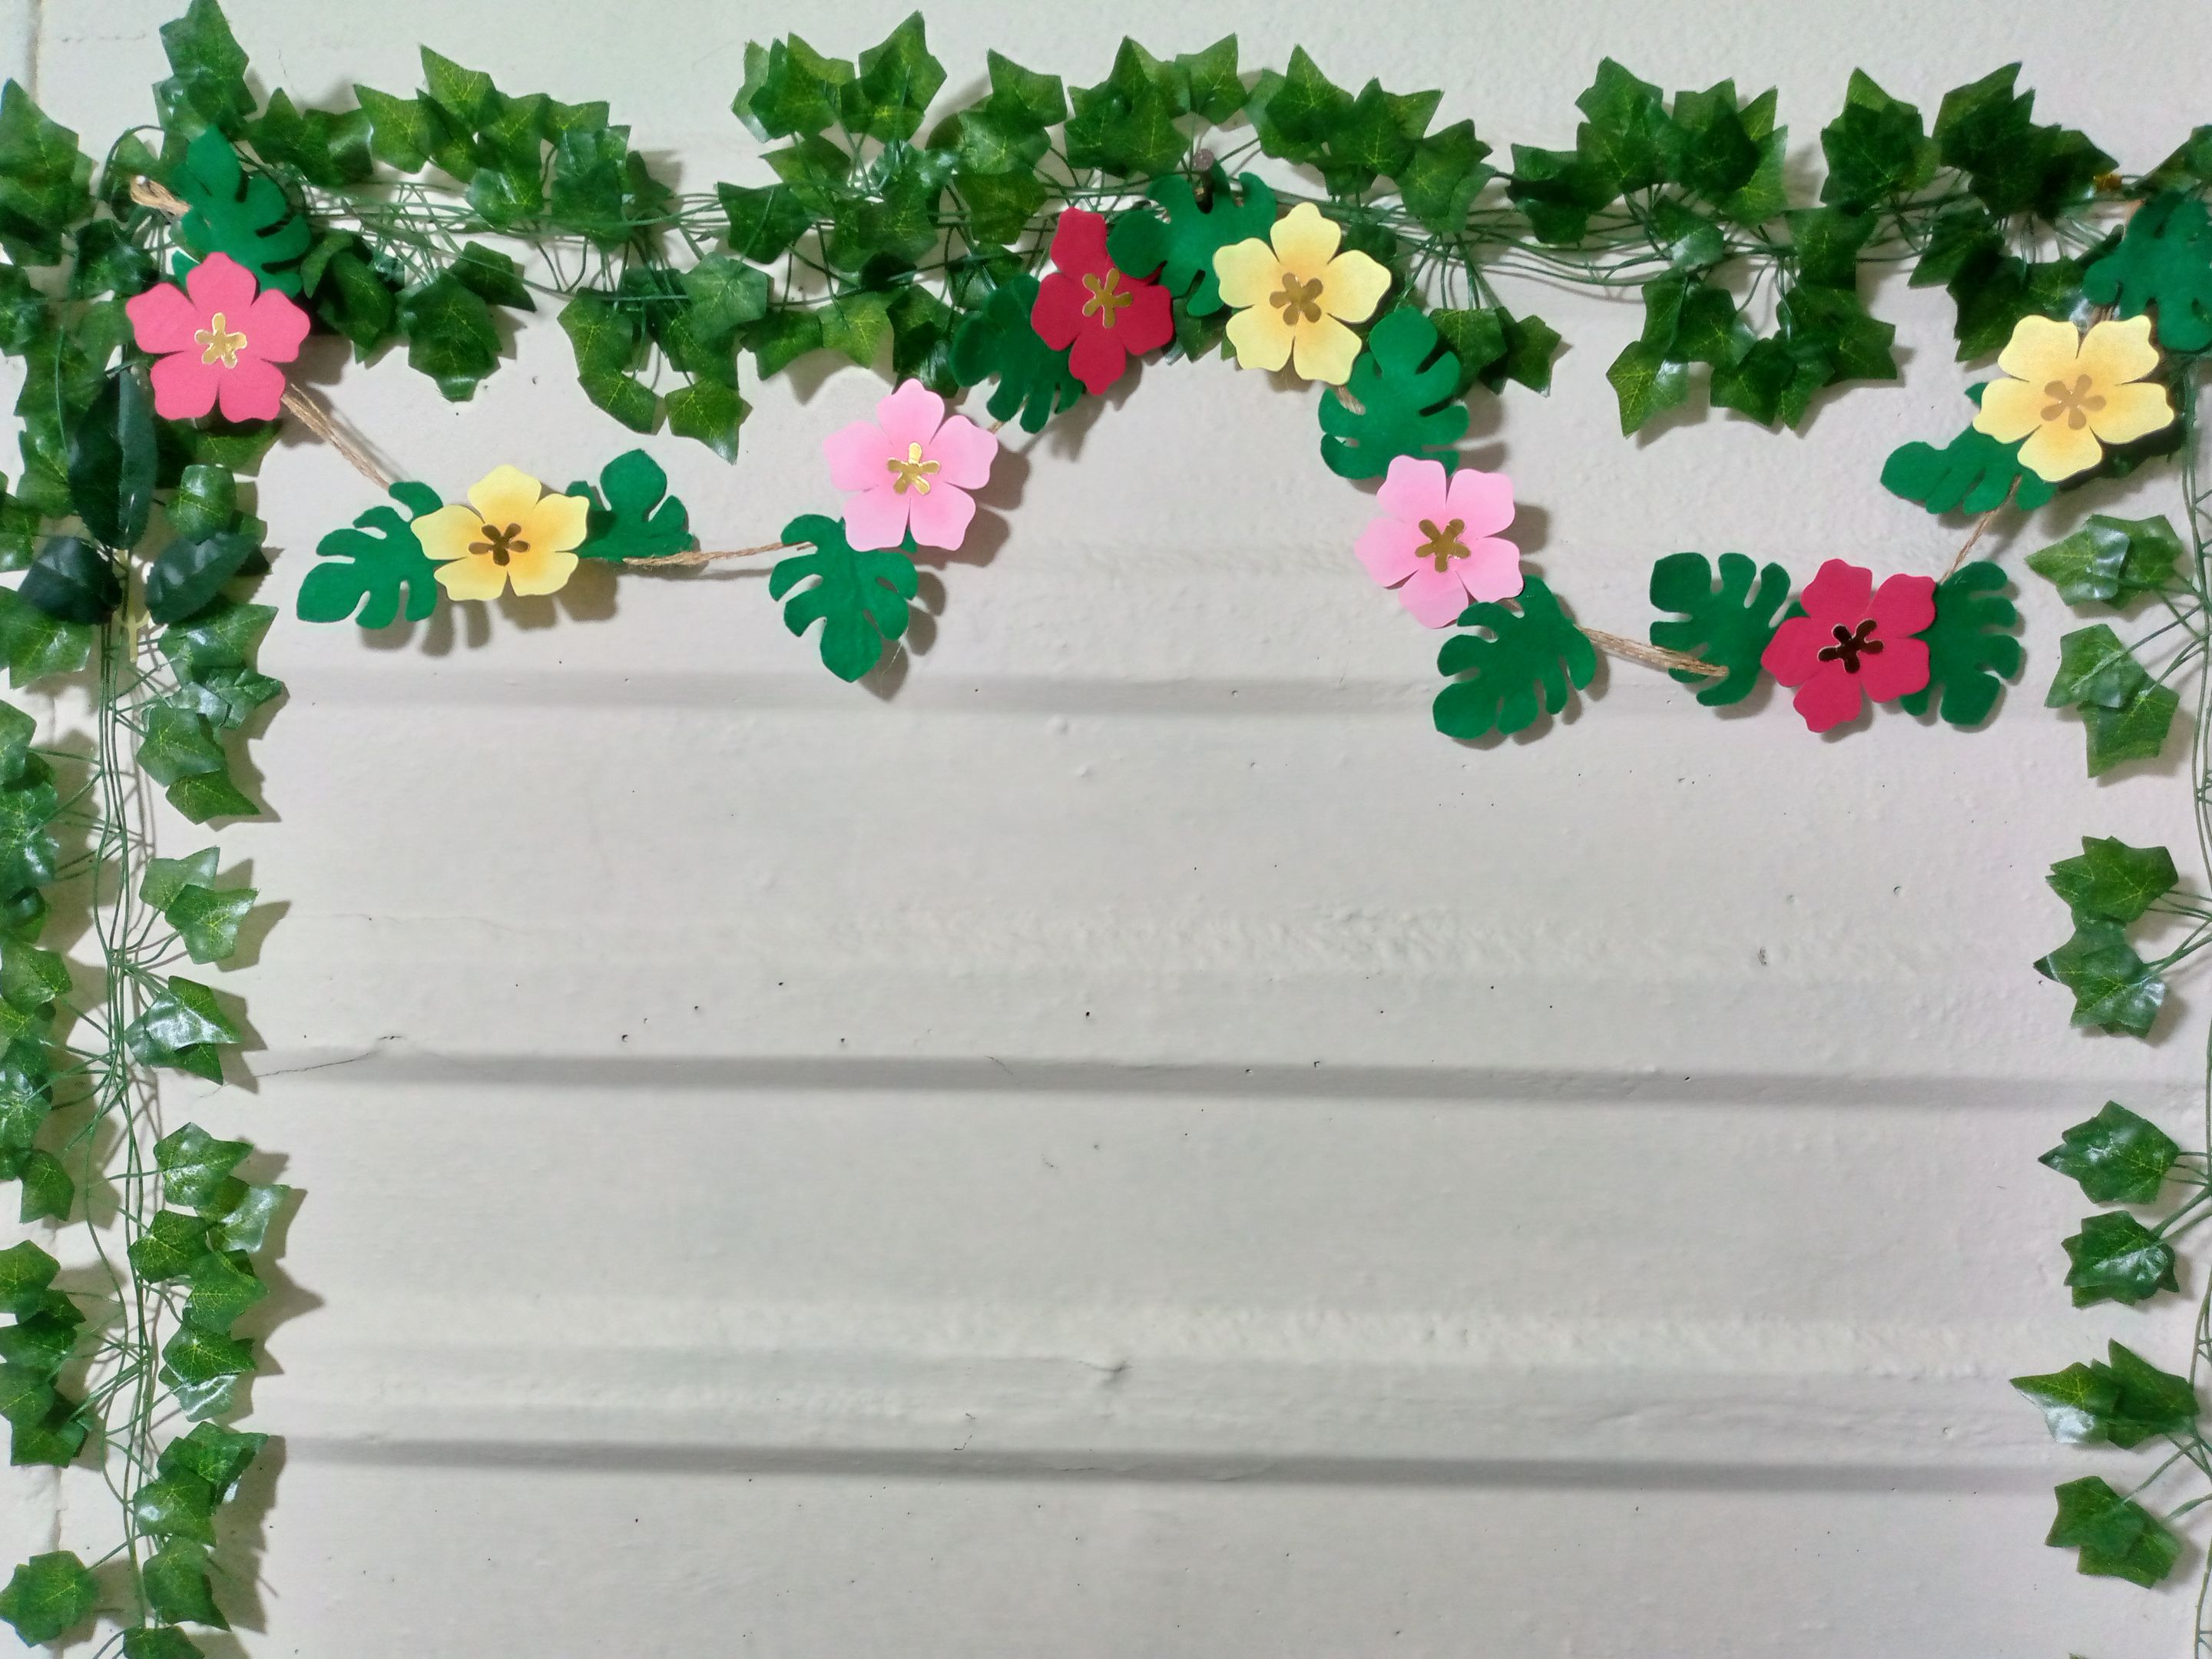
After finishing placing the flowers and leaves, our garland on the wall is now finished, so pretty it looks 🌺😍 I hope you really liked this creative idea to decorate your spaces, friends.
Gracias amigos por leer mi blog ,hasta aquí llegamos por hoy y nos vemos en otra ocasión con ma sidras creativas,hasta pronto!!😉🌺.
Thank you friends for reading my blog, this is it for today and we'll see you another time with more creative ciders, see you soon!! 😉🌺
¡Hola!...Soy Annie
Una chica que le apasiona el diseño,la costura las manualidades y crear cualquier cosa de mucho uso con mis manos,tengo como hobbie la música ,el maquillarme,la pintura y el dibujo,expresar mis ideas y sentimientos en un dibujo es algo que me gusta hacer,amo la naturaleza,un atardecer ,la playa y disfrutar con mis familiares de los buenos momentos de la vida.❤️
_
Creando las cosas con amor🌷♥️ | Creating things with love🌷♥️
_
_
Imágenes:de mi autoria | Edición:Canva® y PicsArt © | Traductor:Traductor de Google | Dispositivo:TecnoSpark 8C.
_
_
Images:my own work | Edited by:Canva® and PicsArt © | Translator:Google Translate |Device:TecnoSpark 8C .
_