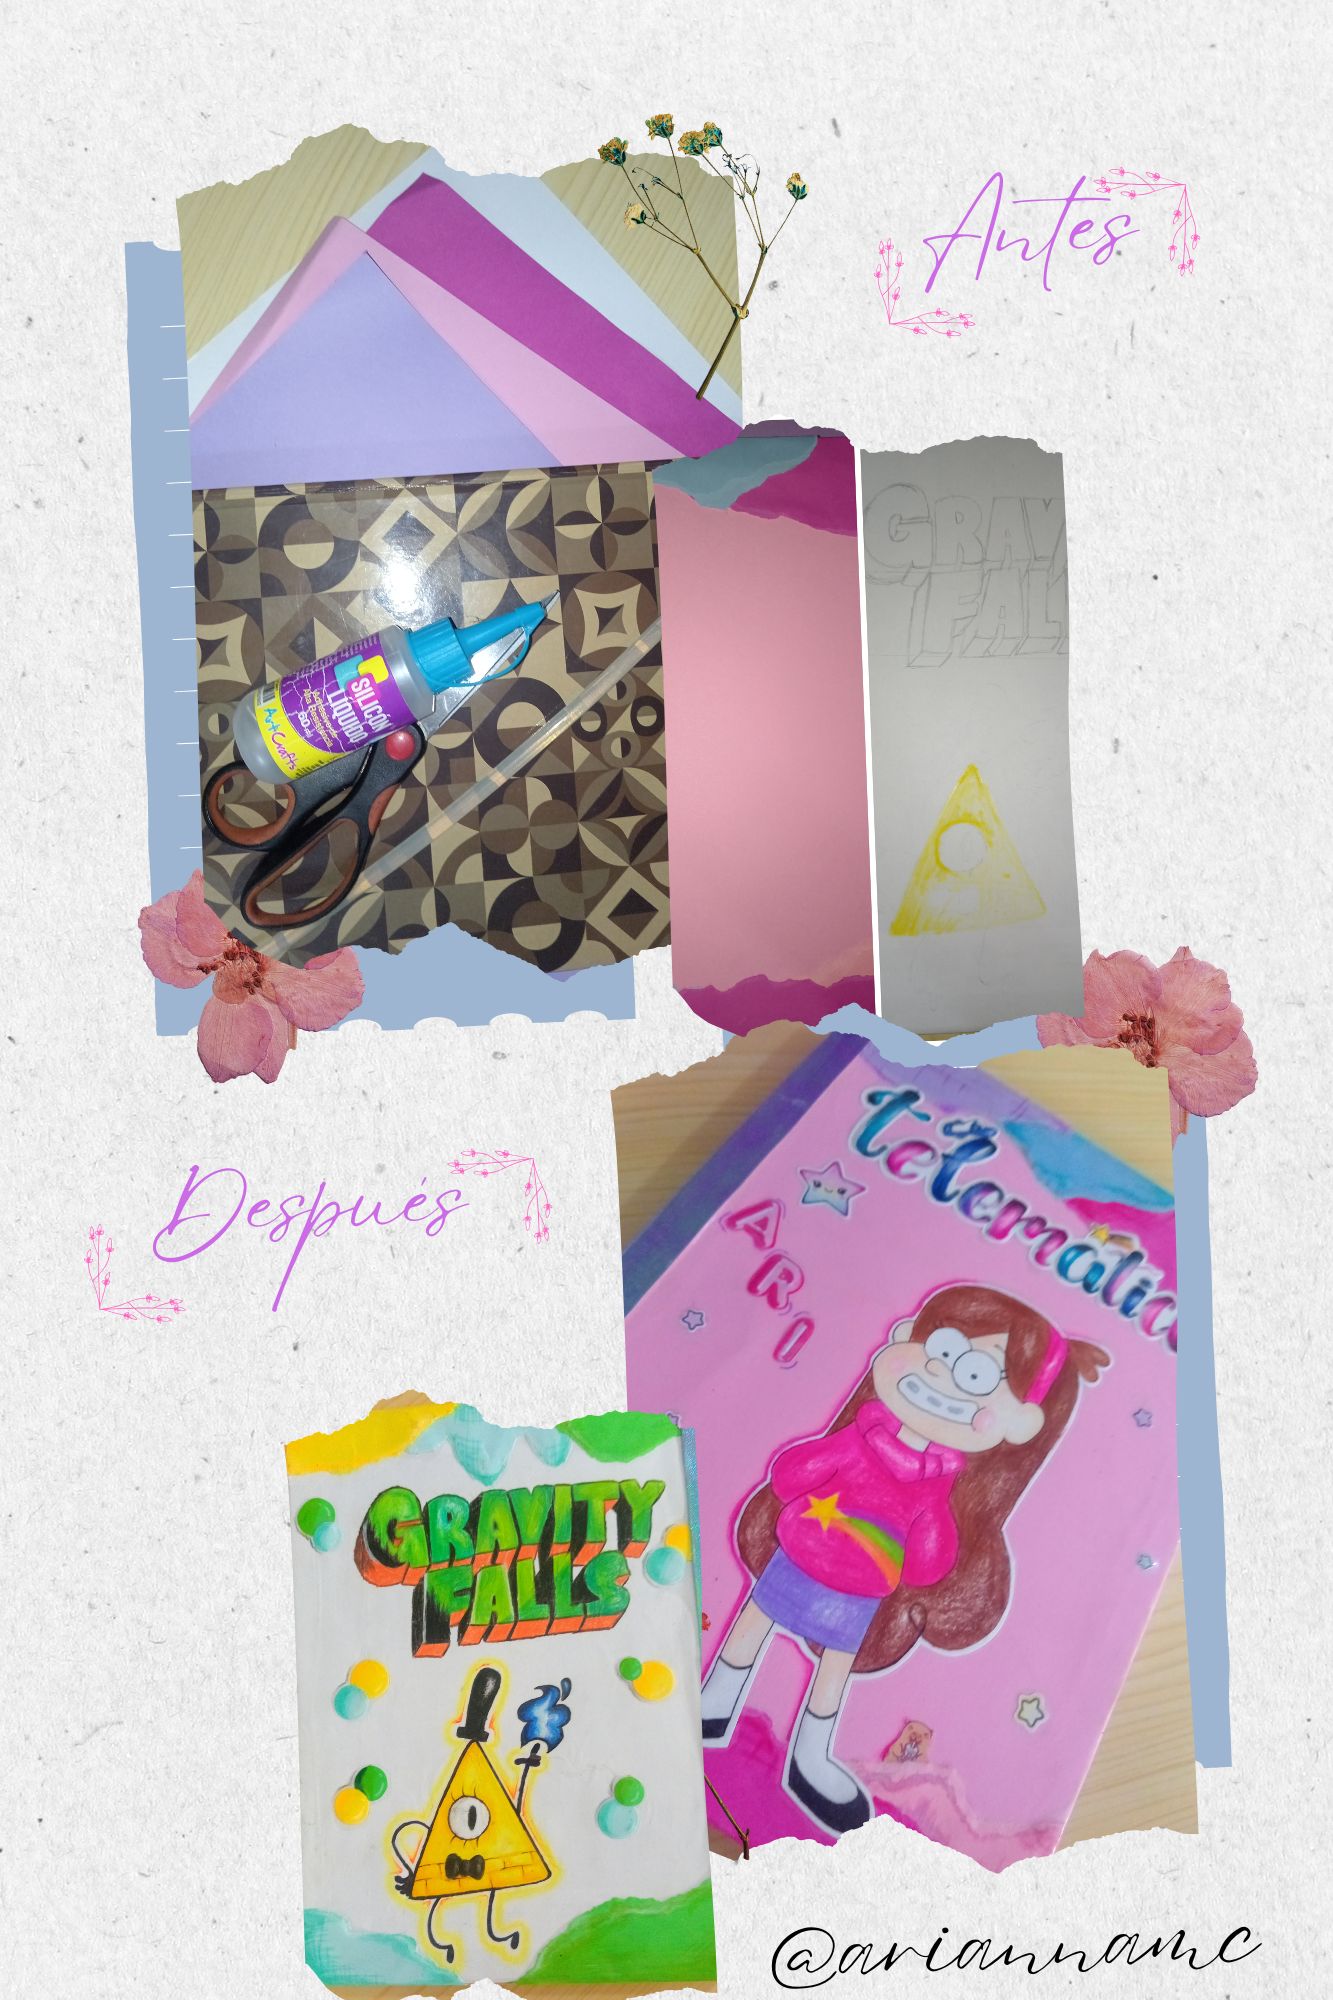 
Forrando mi libreta, para el regreso a clases. 📒✏️ Hola amigos de @hivearte, como están todos ustedes yo muy con este regreso a clases comenzando una nueva etapa que es el liceo, hoy les voy a mostrar un poco del procedimiento de cómo forré mi libreta. 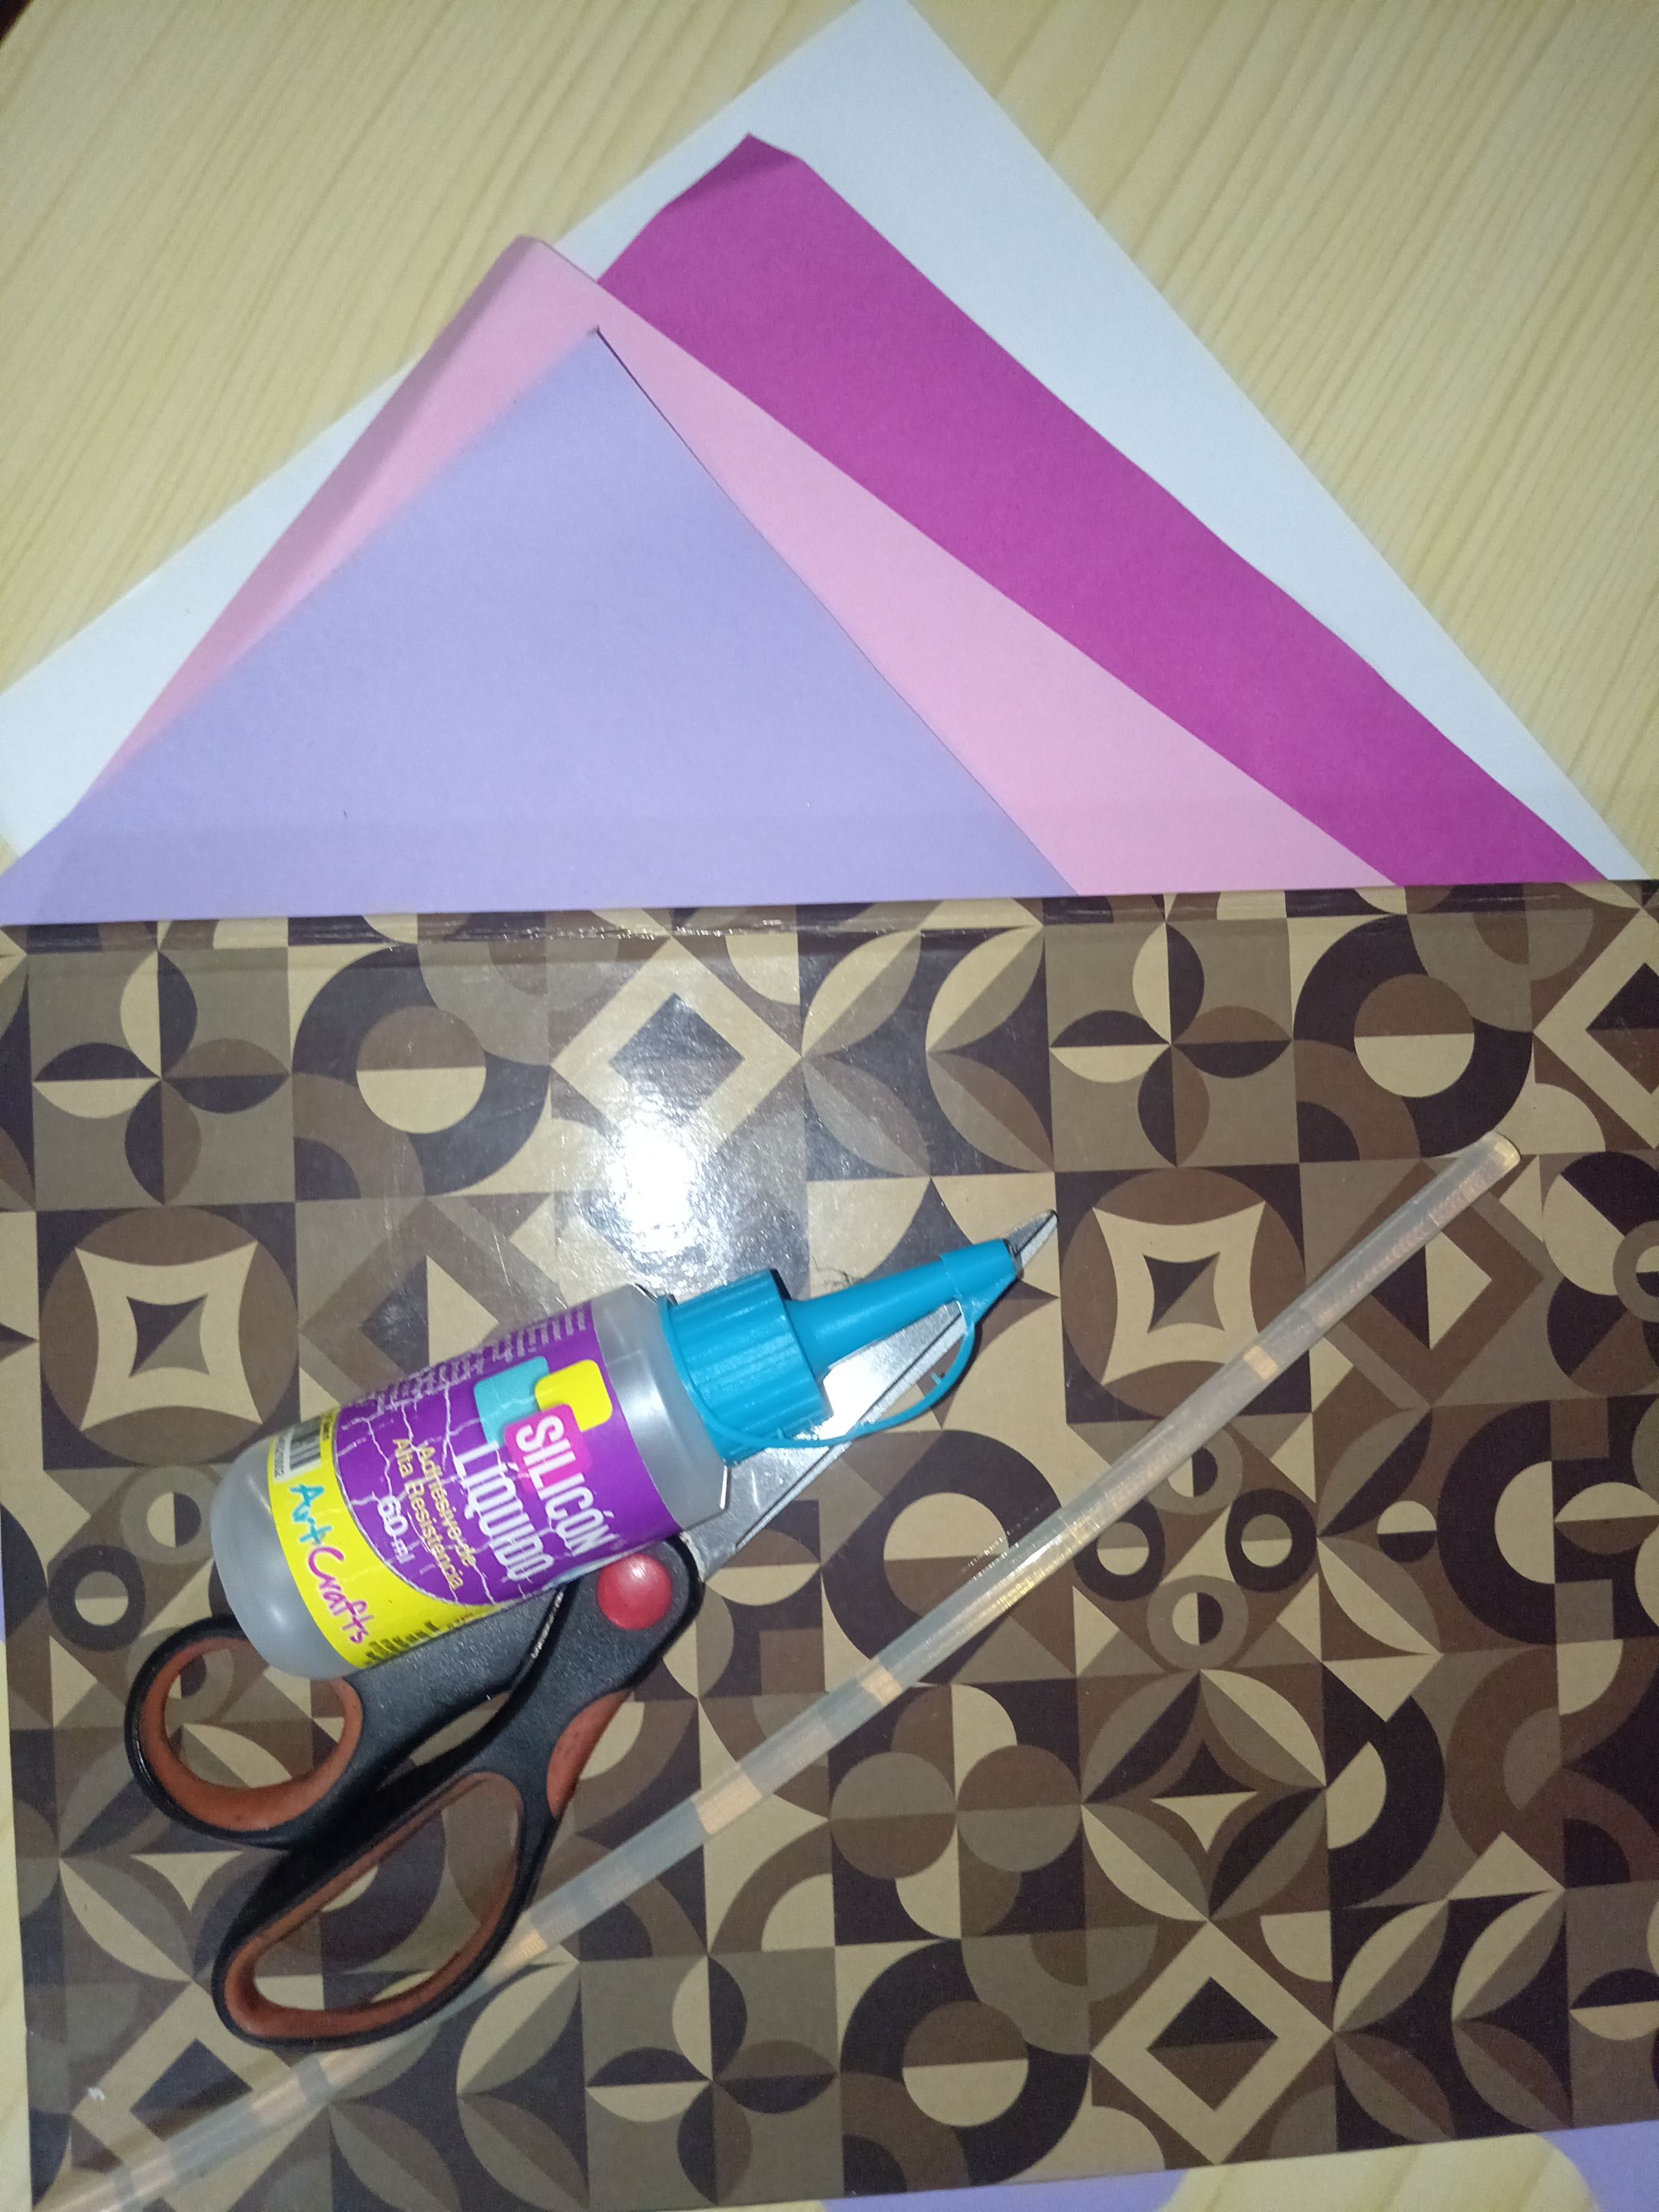
Para forrar mi libreta utilicé estos materiales: una hoja blanca, cartulina de color rosado y fucsia para la portada principal y verde azul y amarillo para la parte de atrás, silicón frío líquido, una tijera, silicón caliente, una regla y papel contact y entre otros materiales, colores y contact. 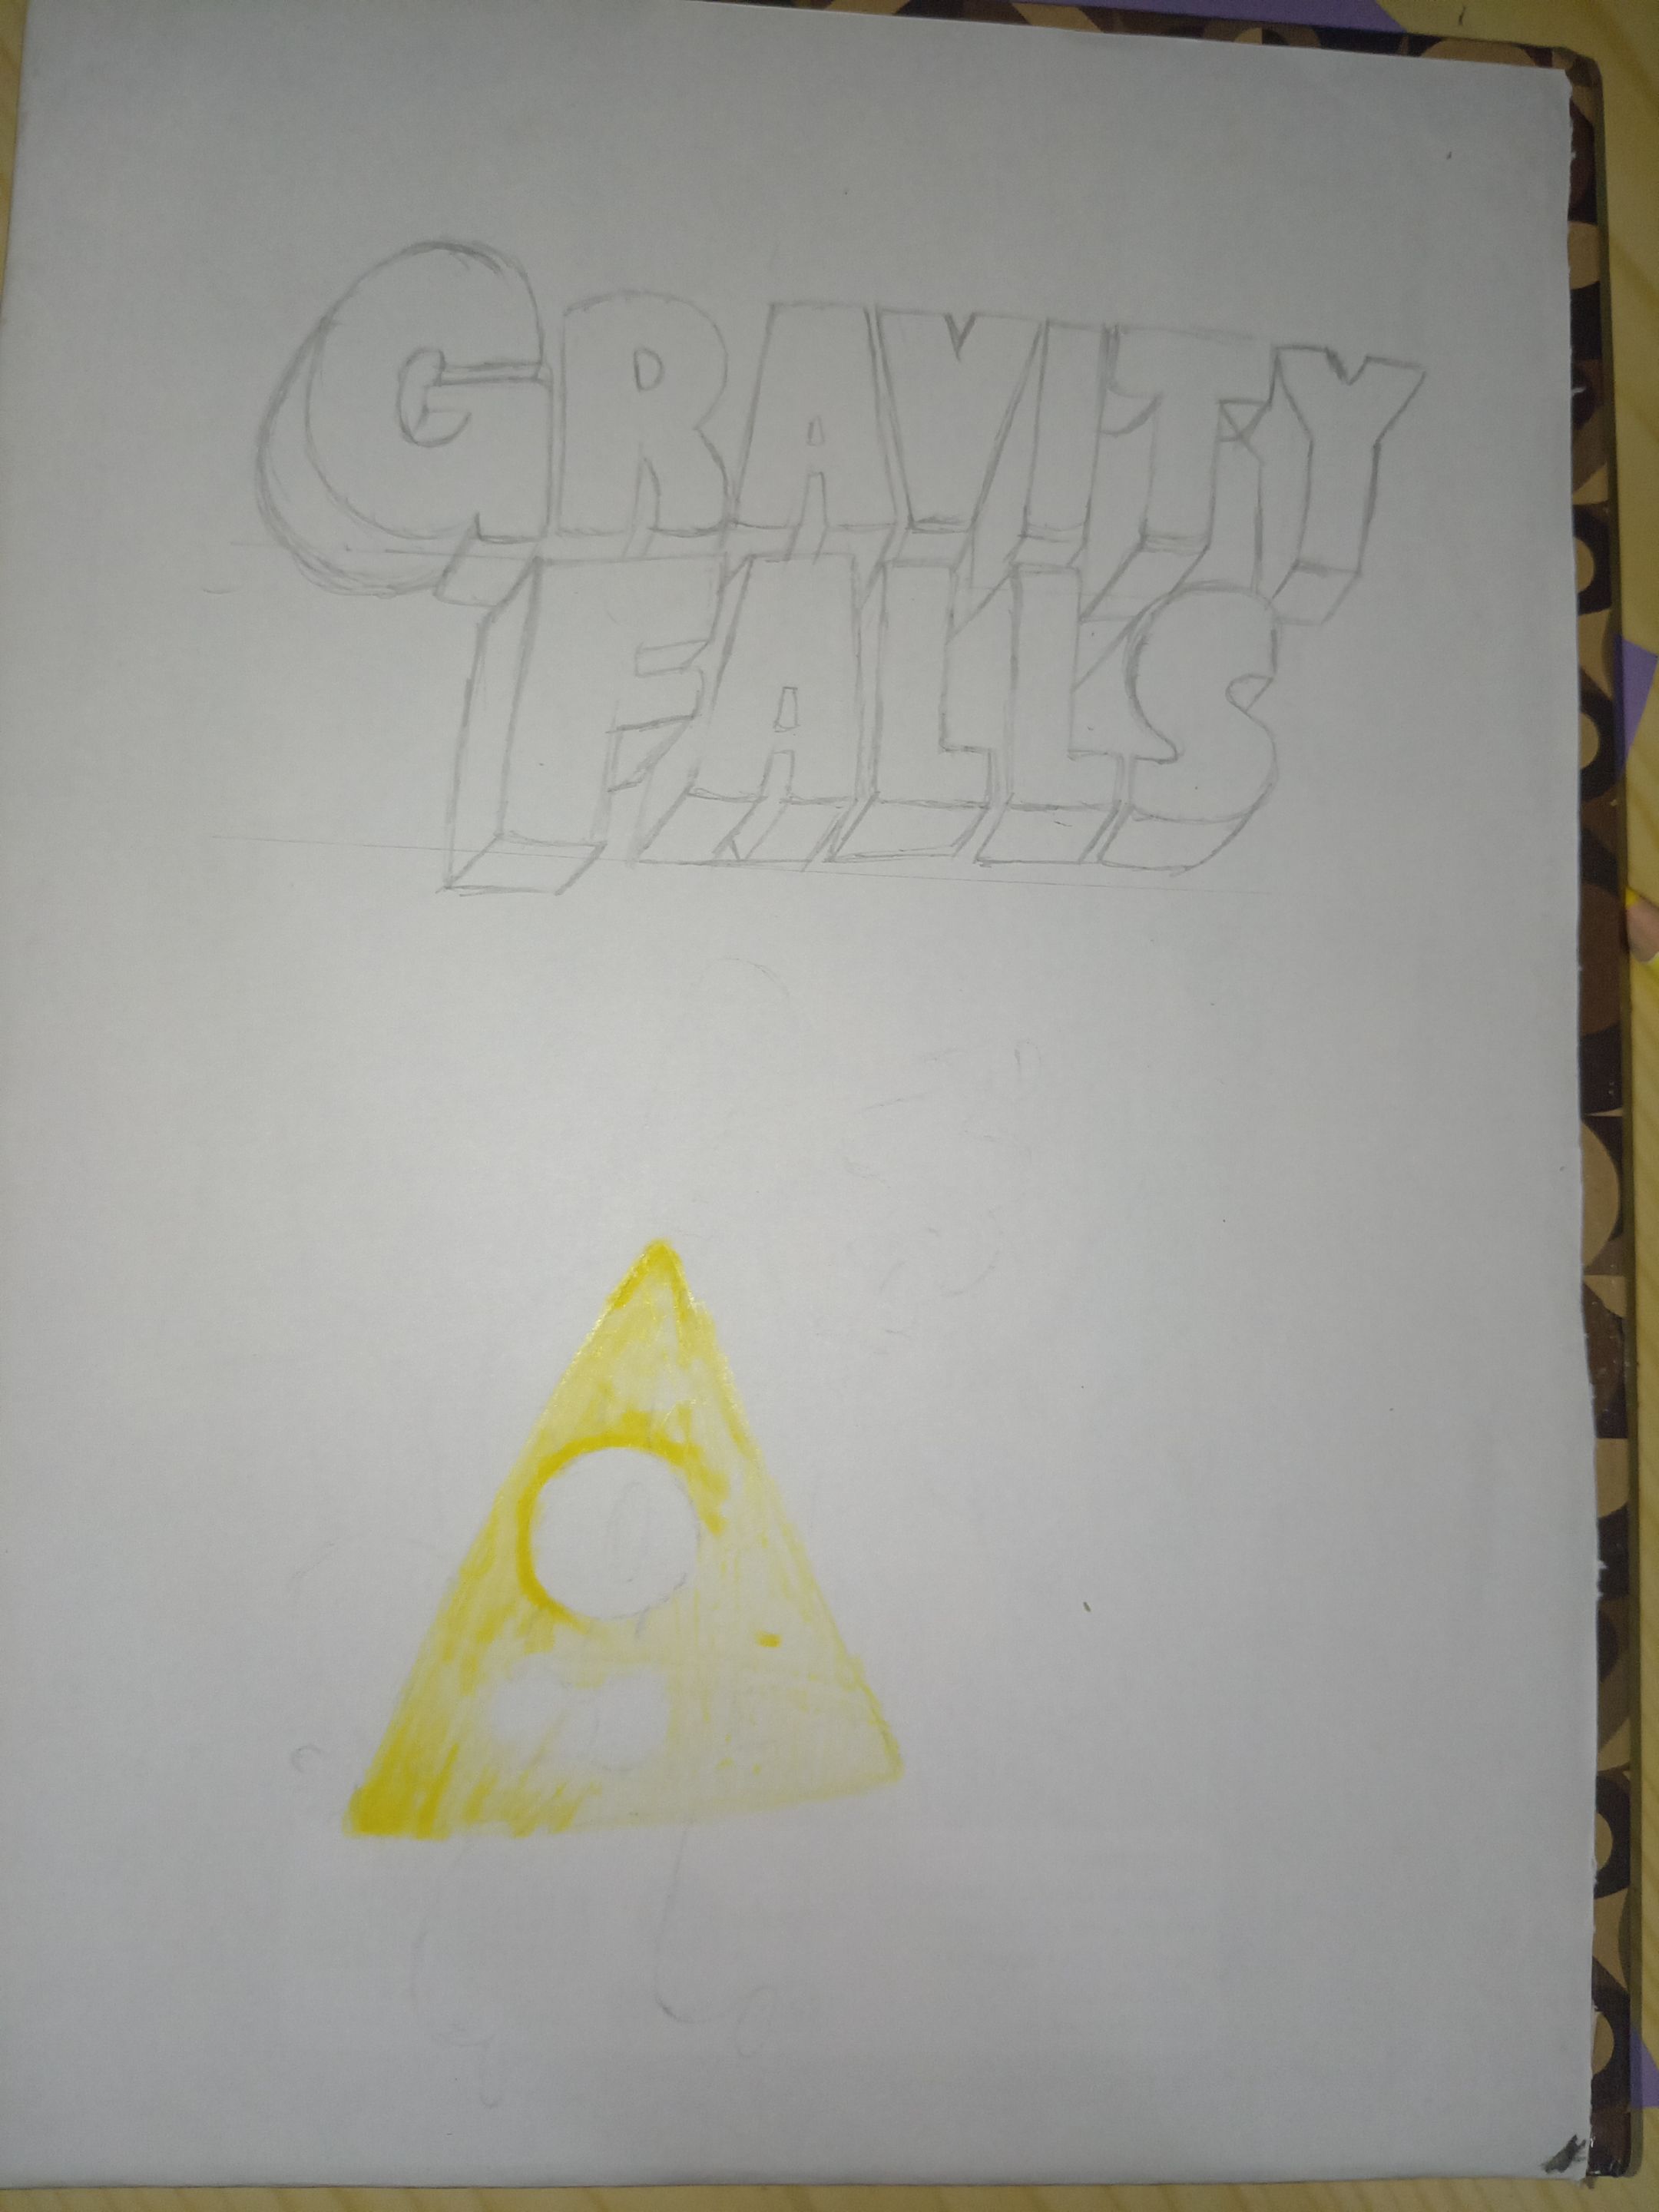  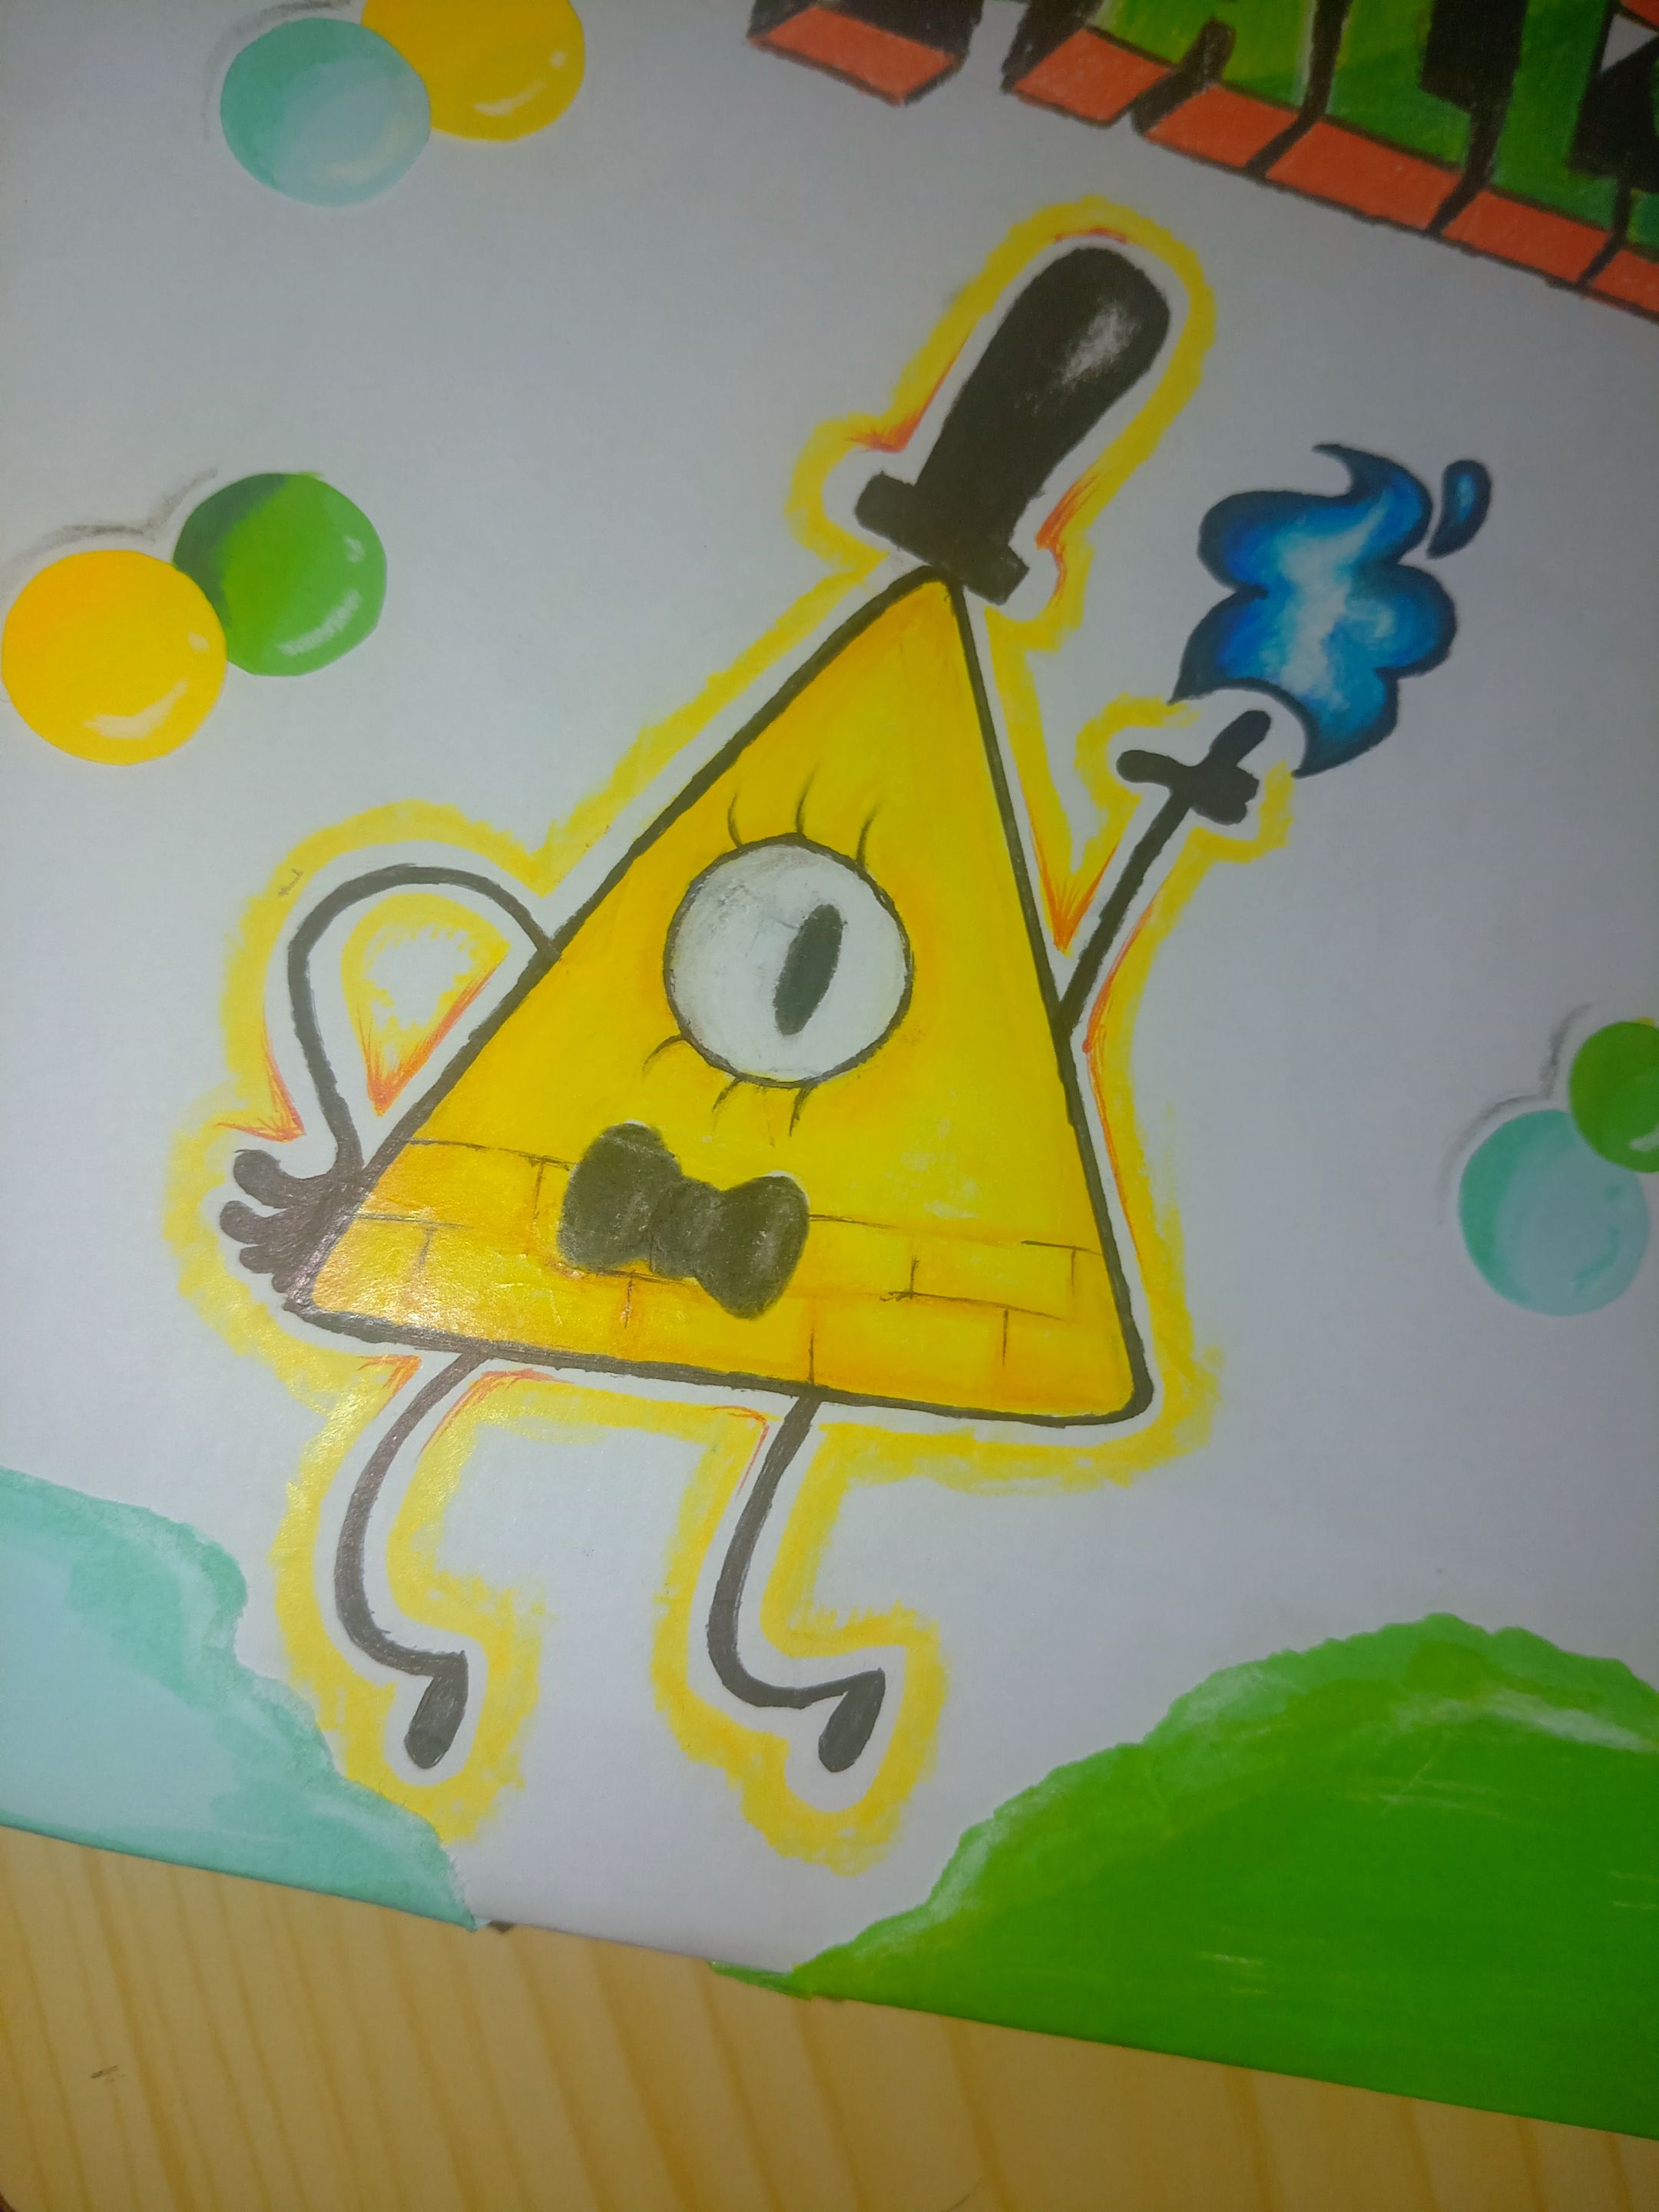
Para forrar esta libreta quise utilizar el tema de una serie o comiquita que veía mucho que es Gravity Falls y decidí utilizar de personaje a Mabel por sus colores y porque combinaban con los colores de las cartulinas qué tenía, empecé forrando la parte de atrás de la libreta con una hoja blanca después de eso hice el boceto de las letras que decía Gravity Falls y después quise hacerle un dibujo de un personaje llamado Bill Cipher que es un personaje ficticio de la serie, y así quedó muy bonito aunque no le tomé casi fotos al proceso. 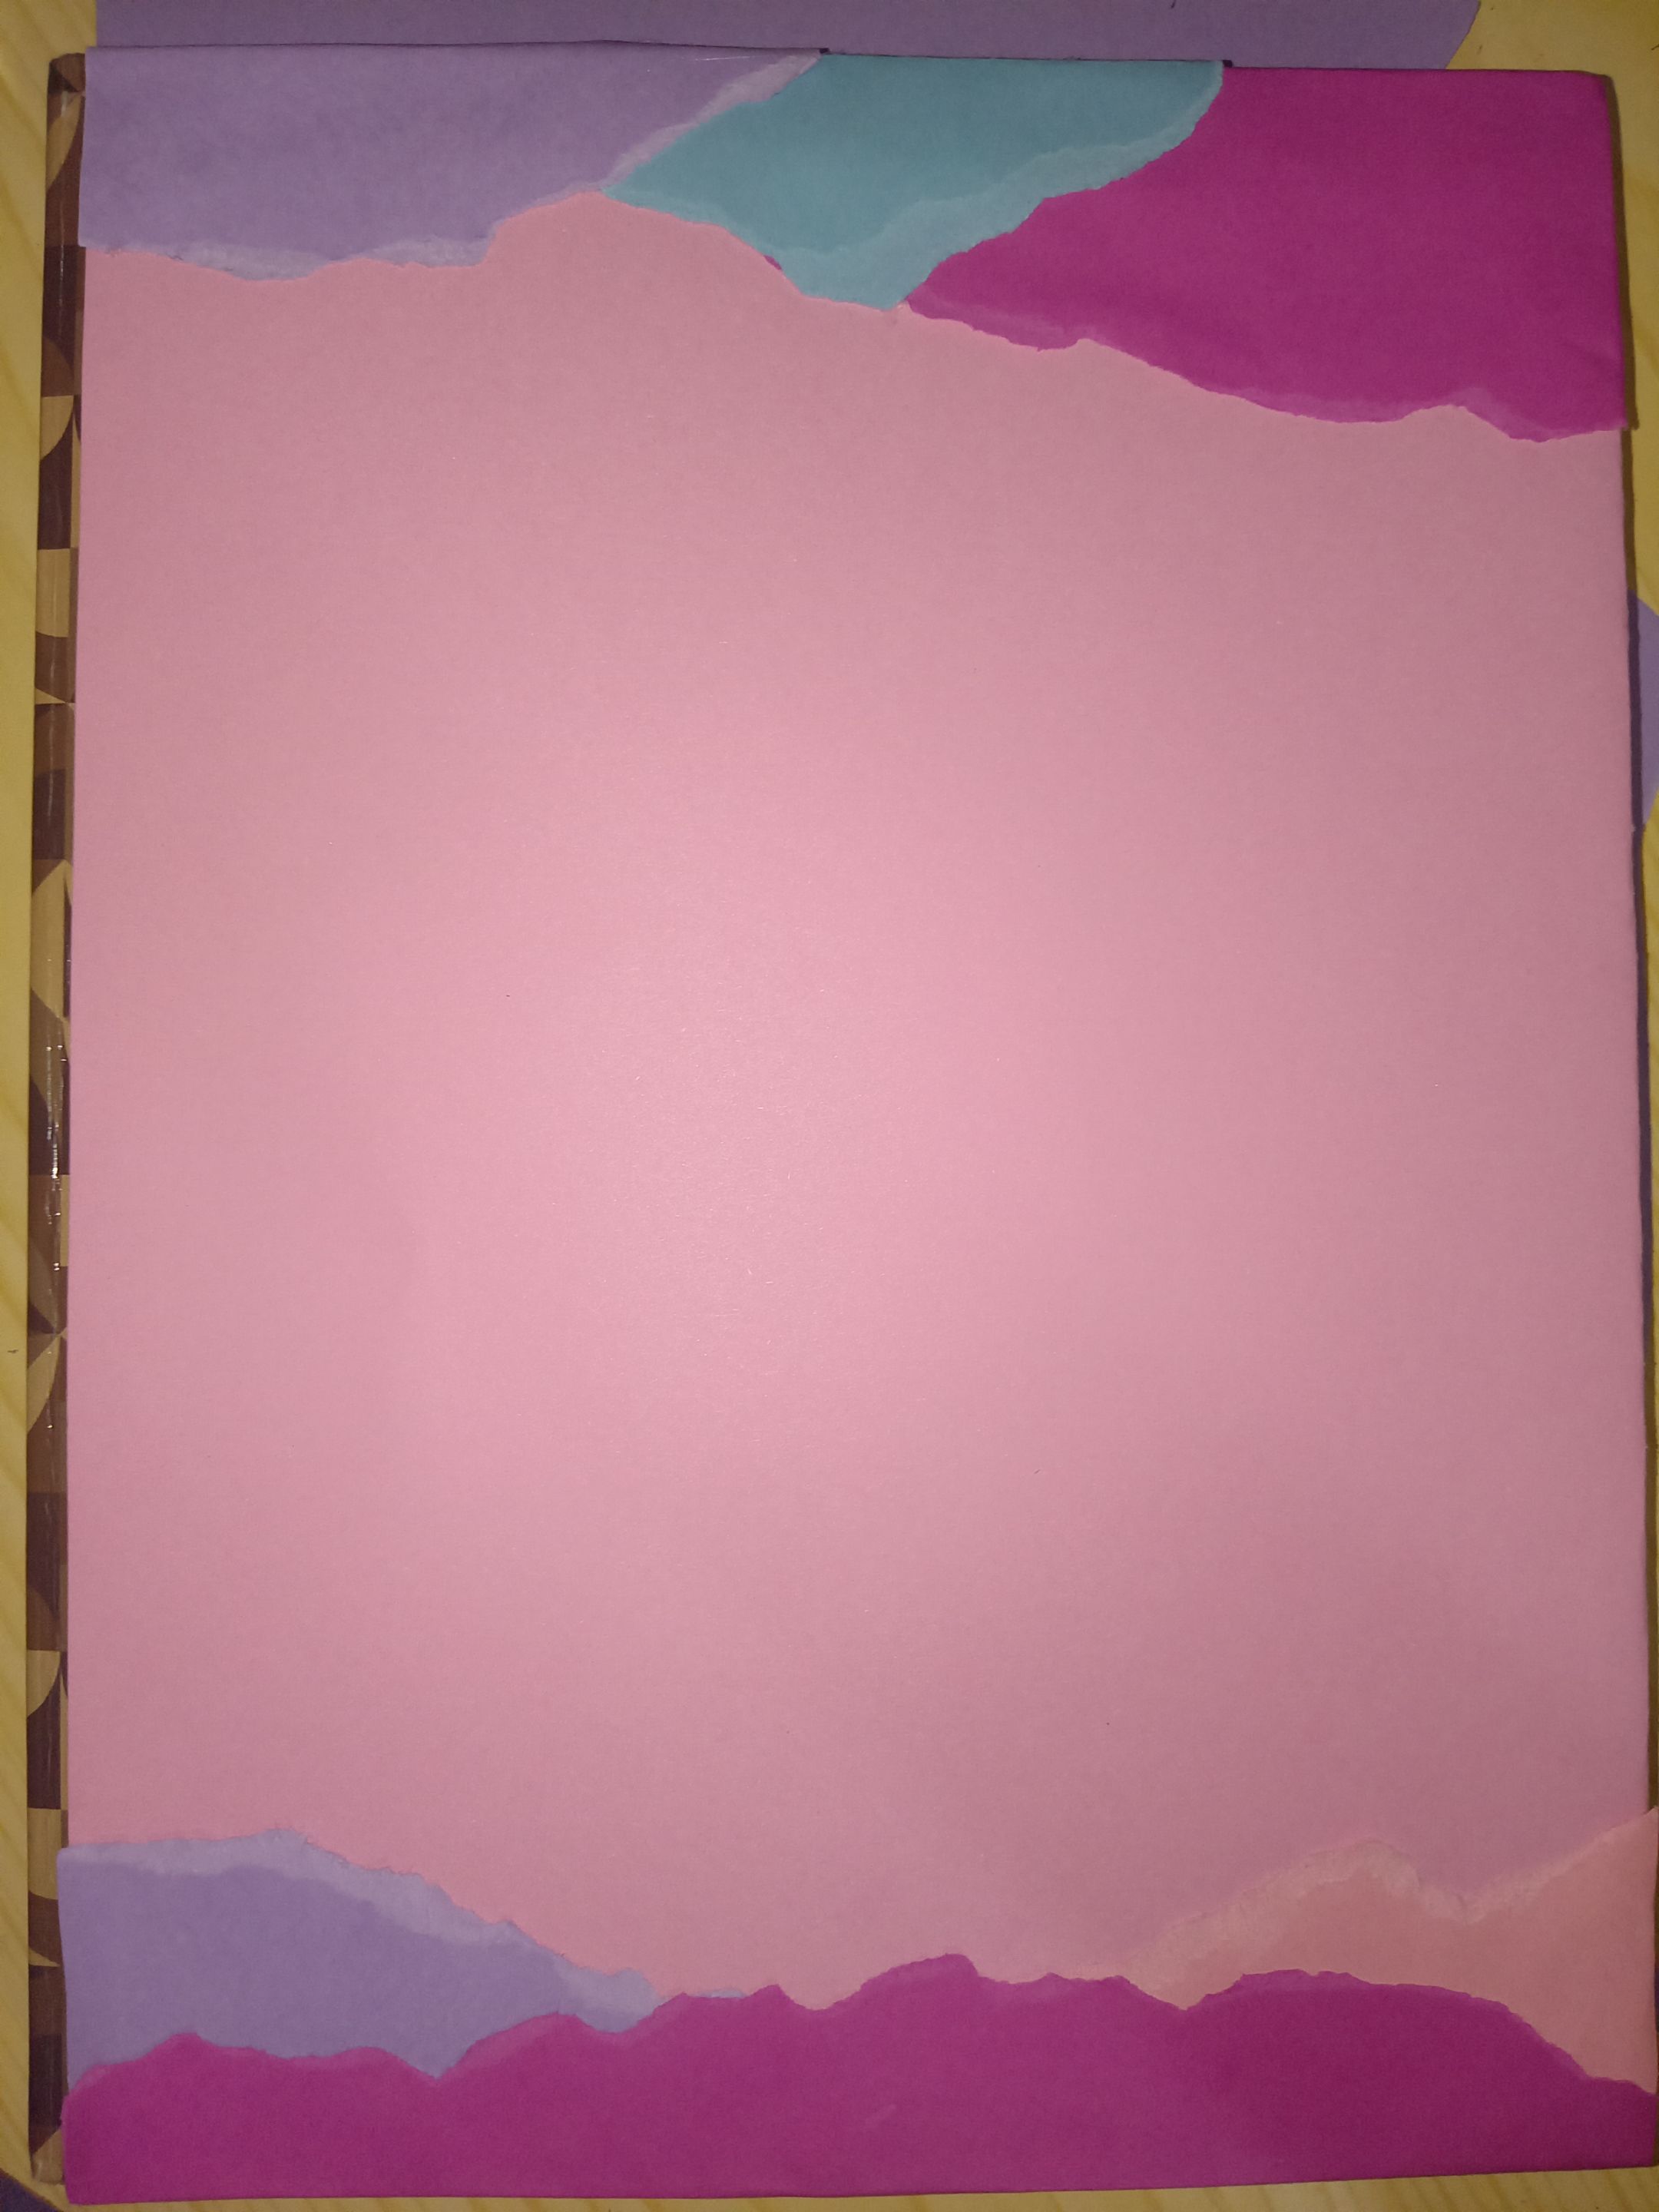 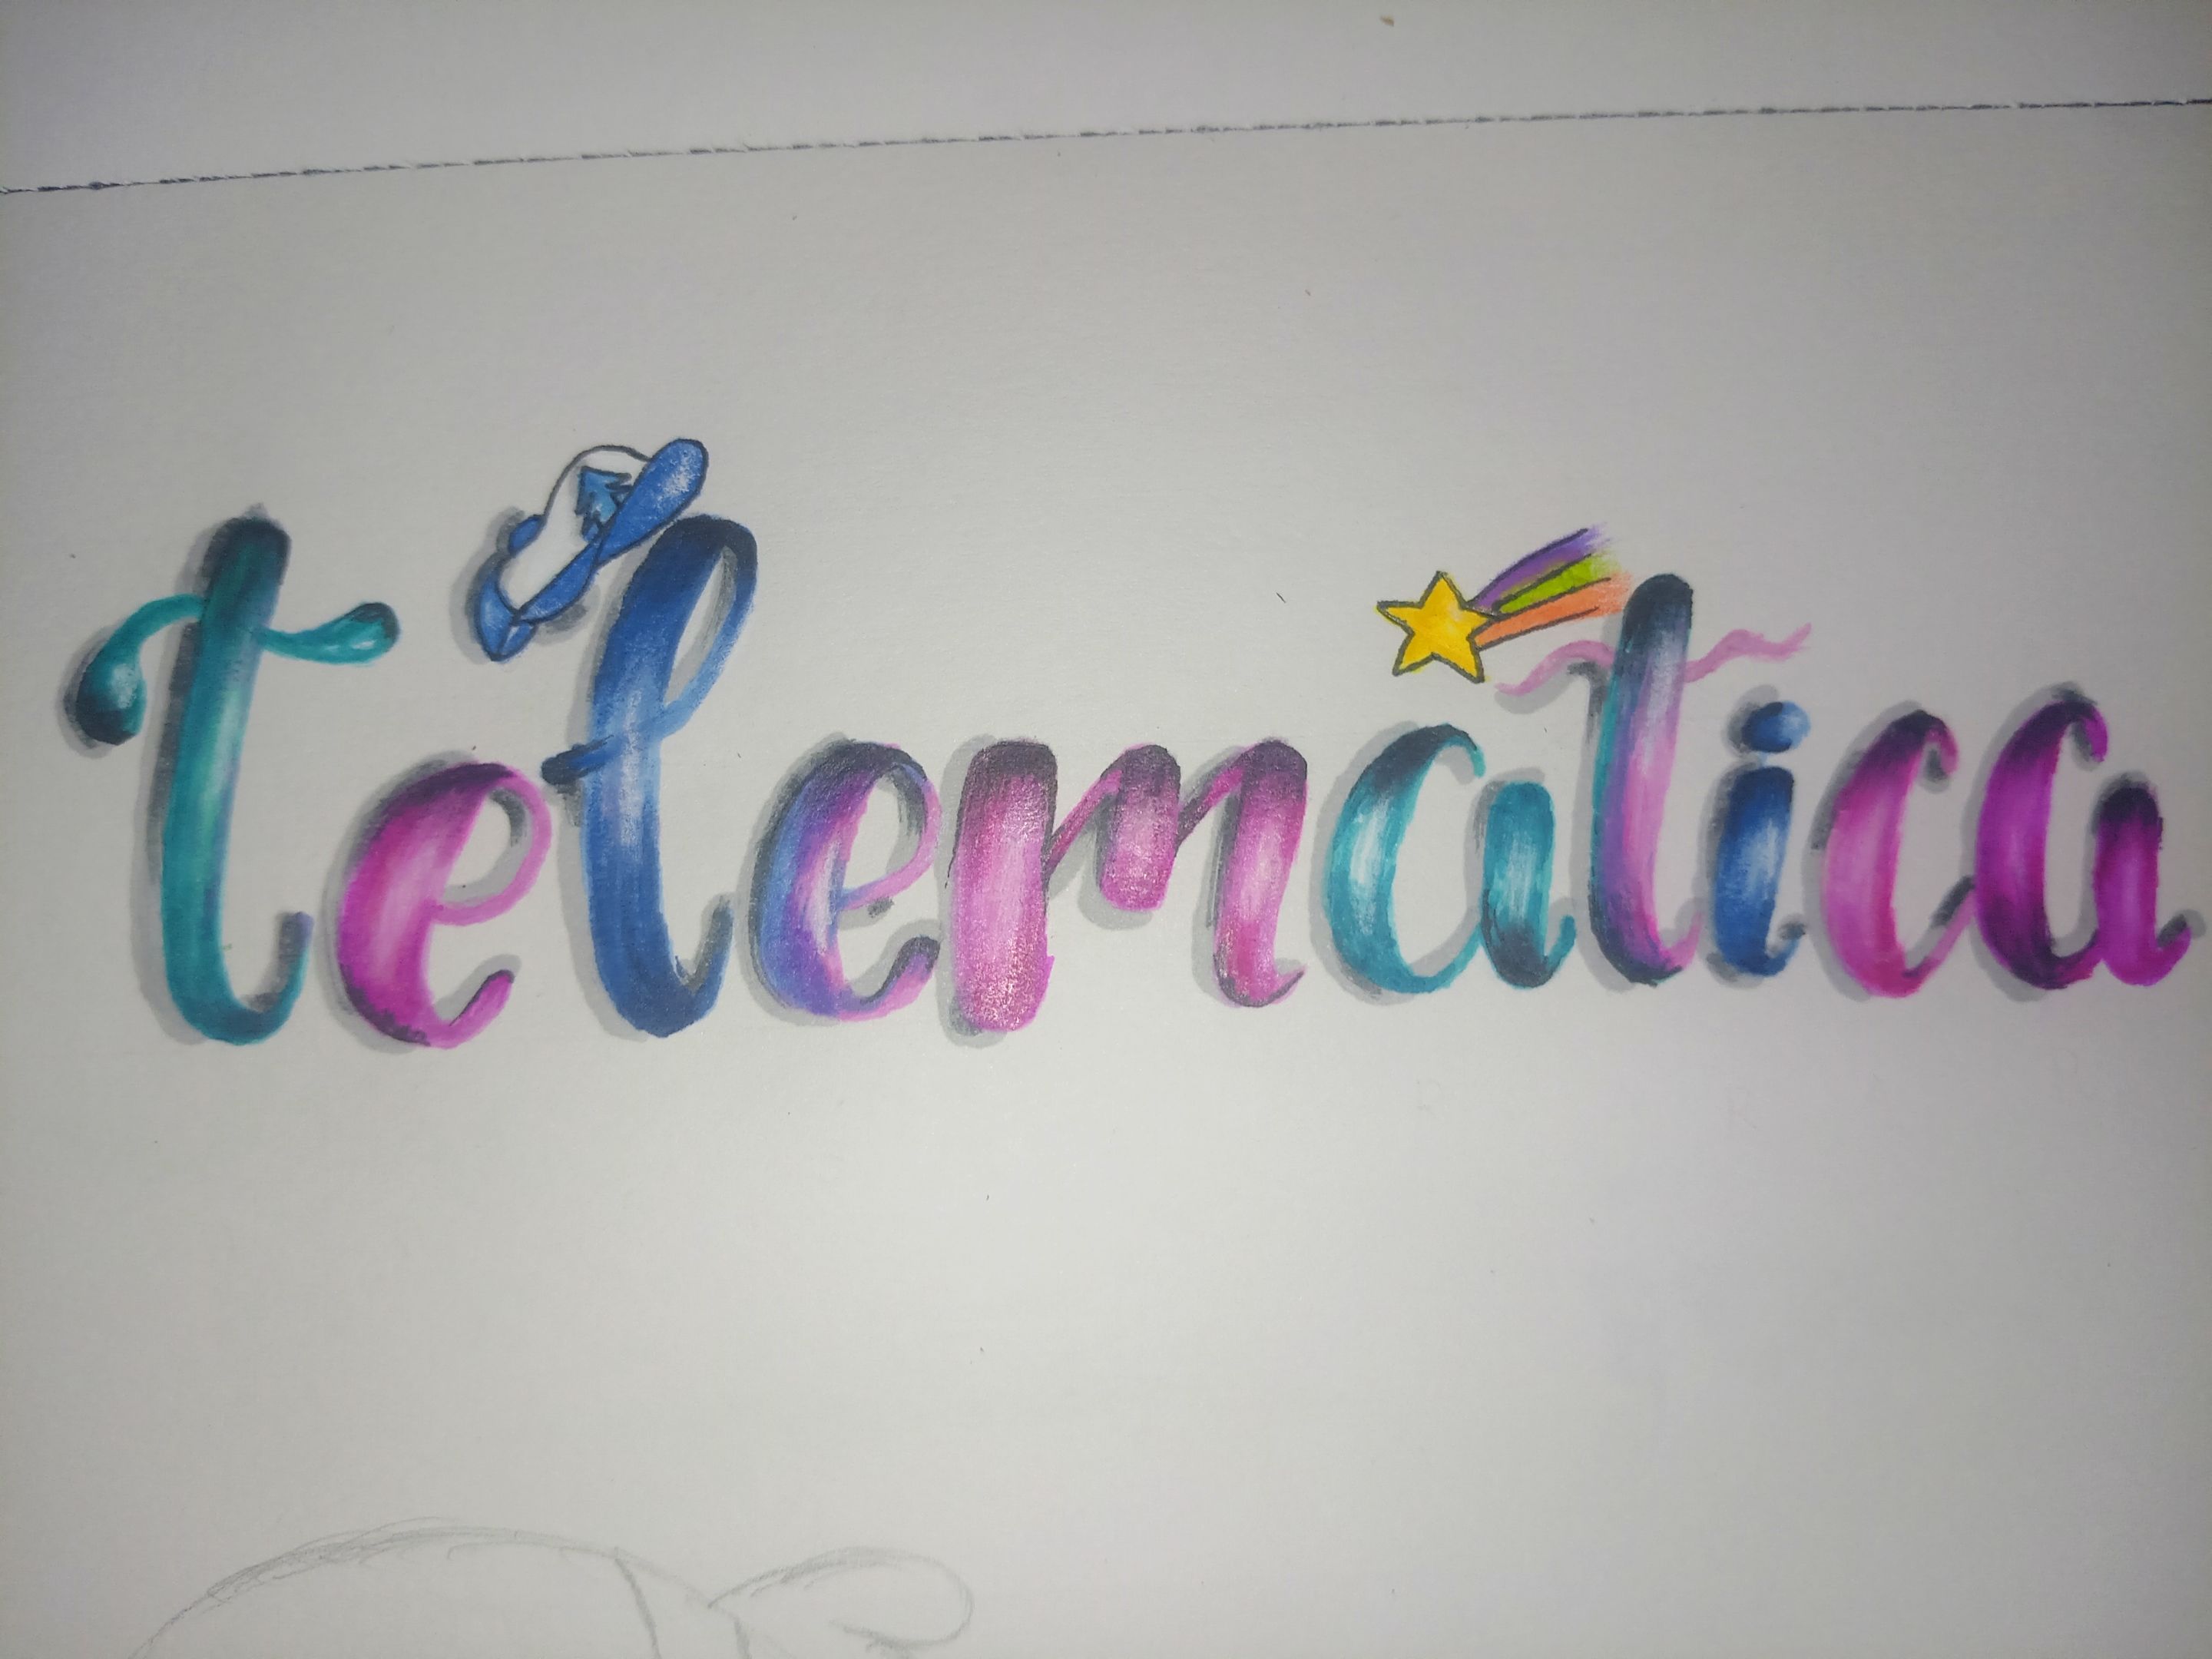 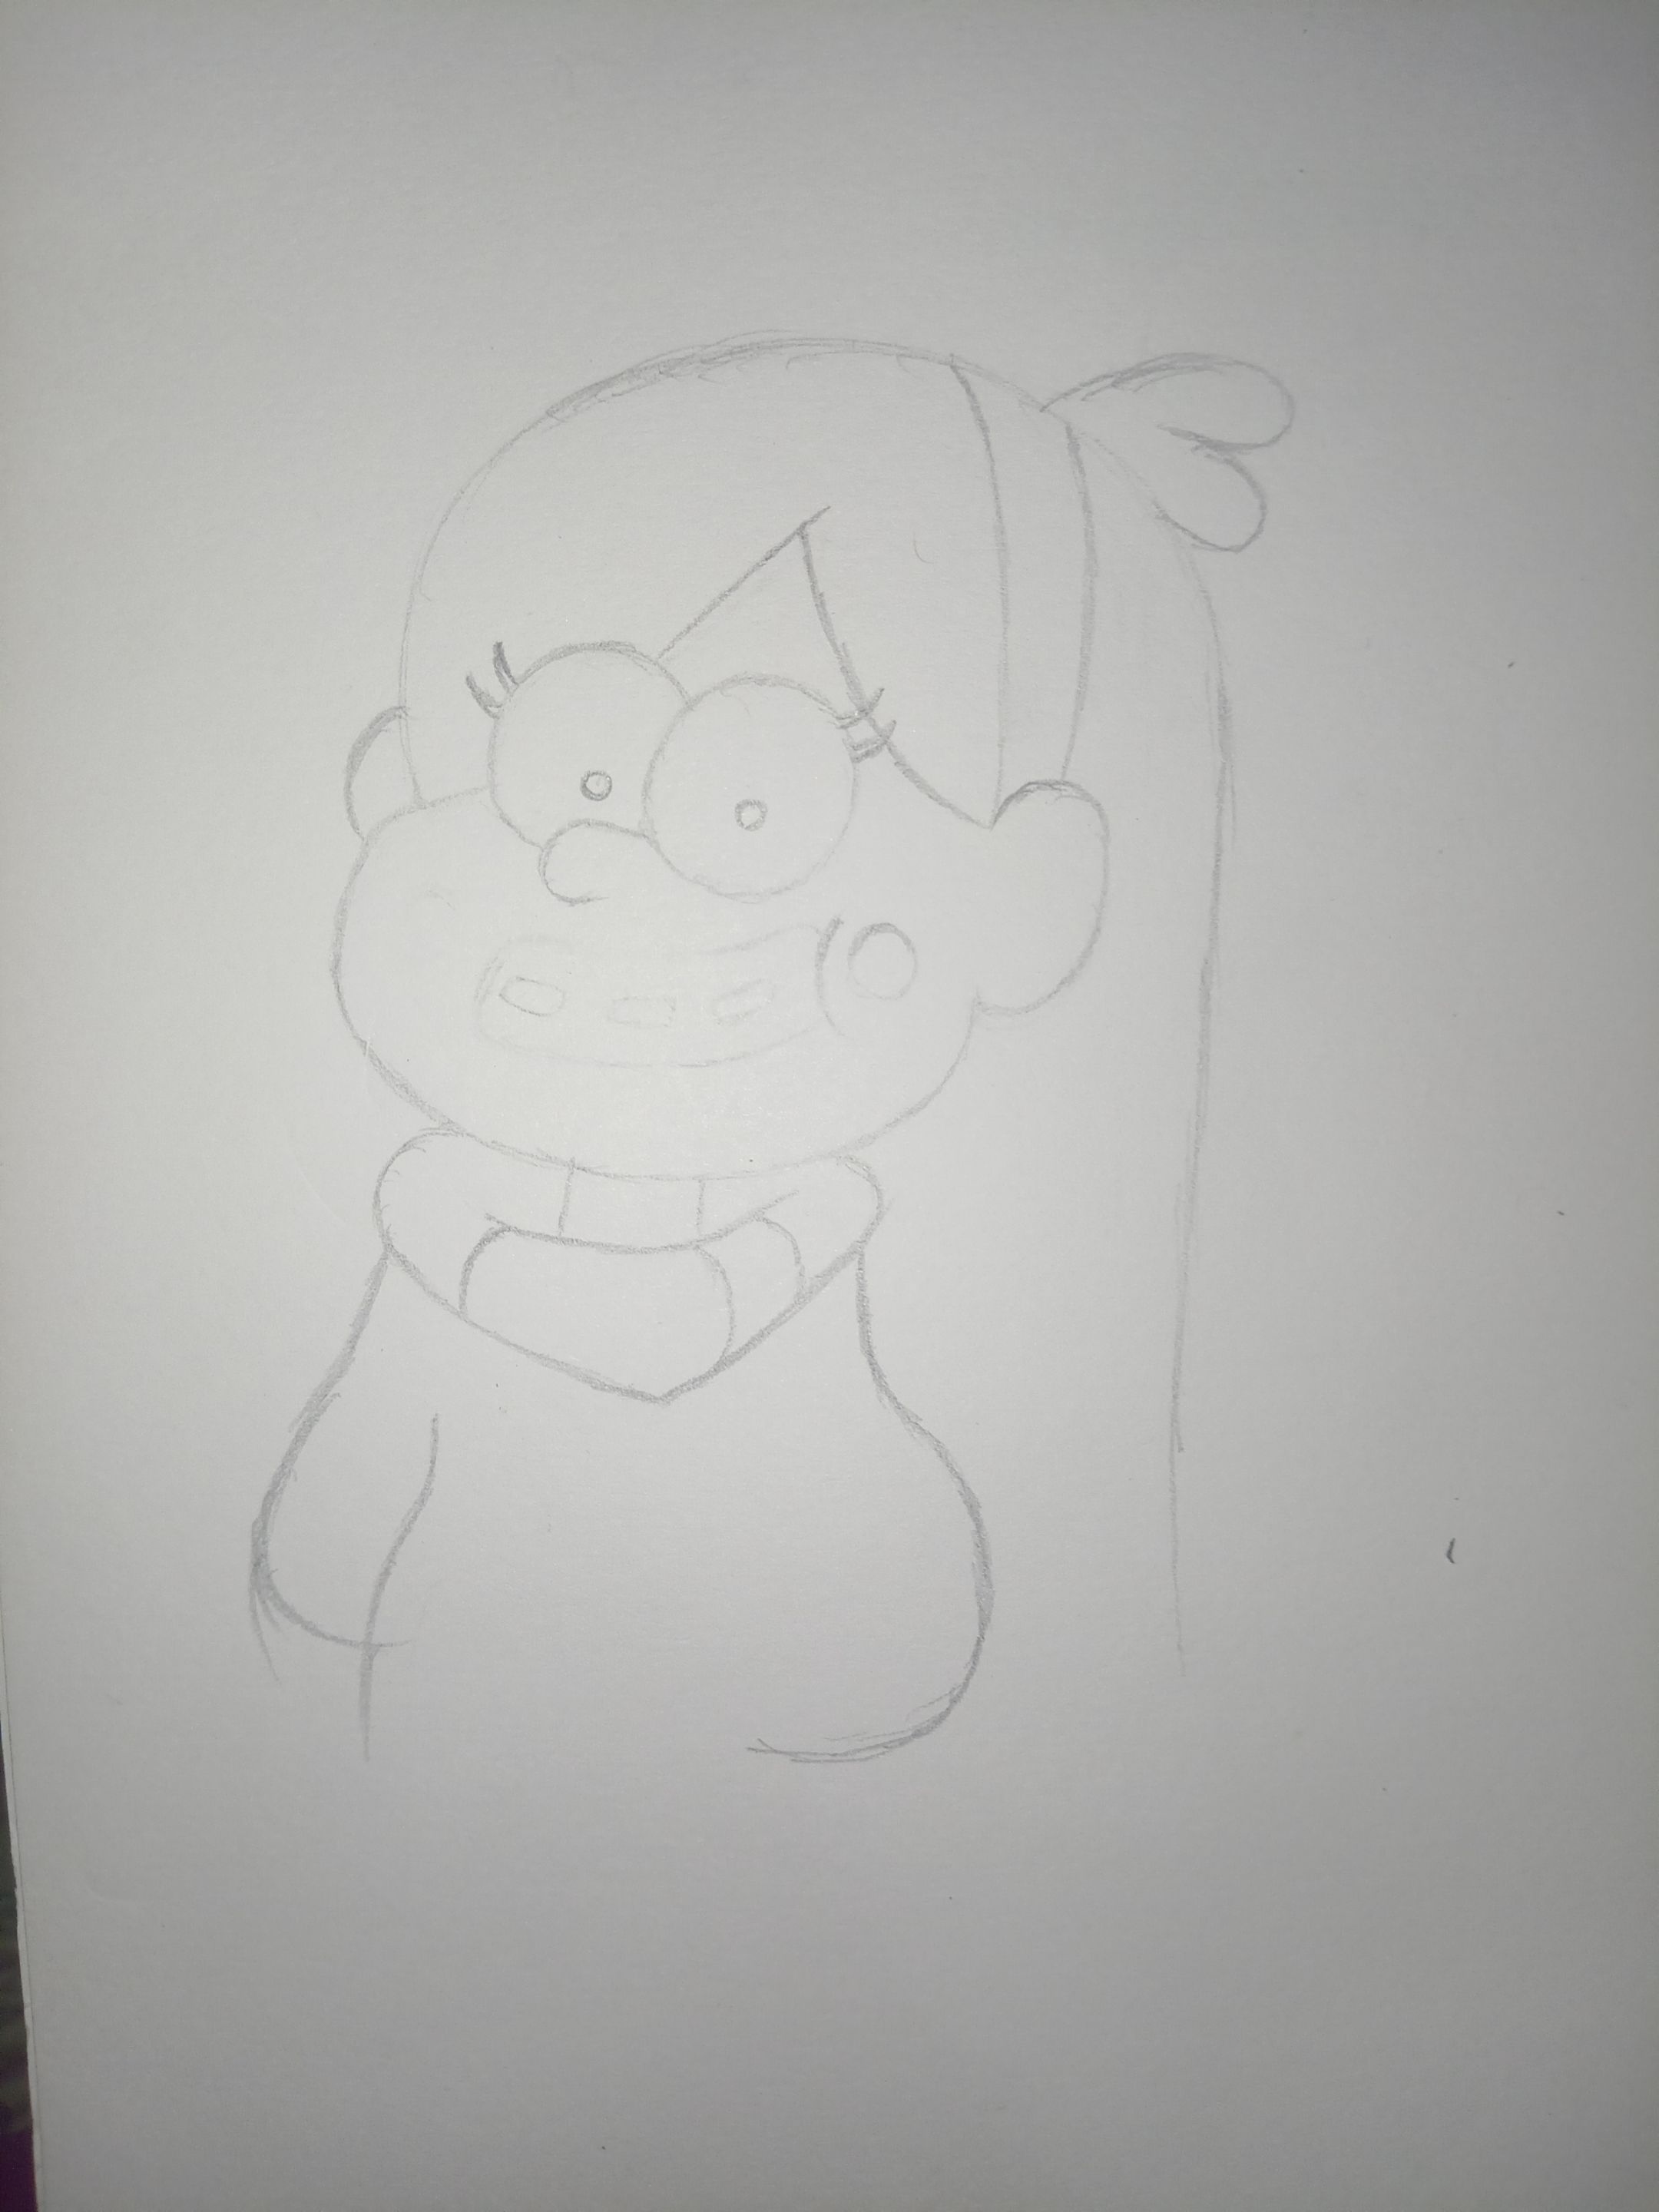 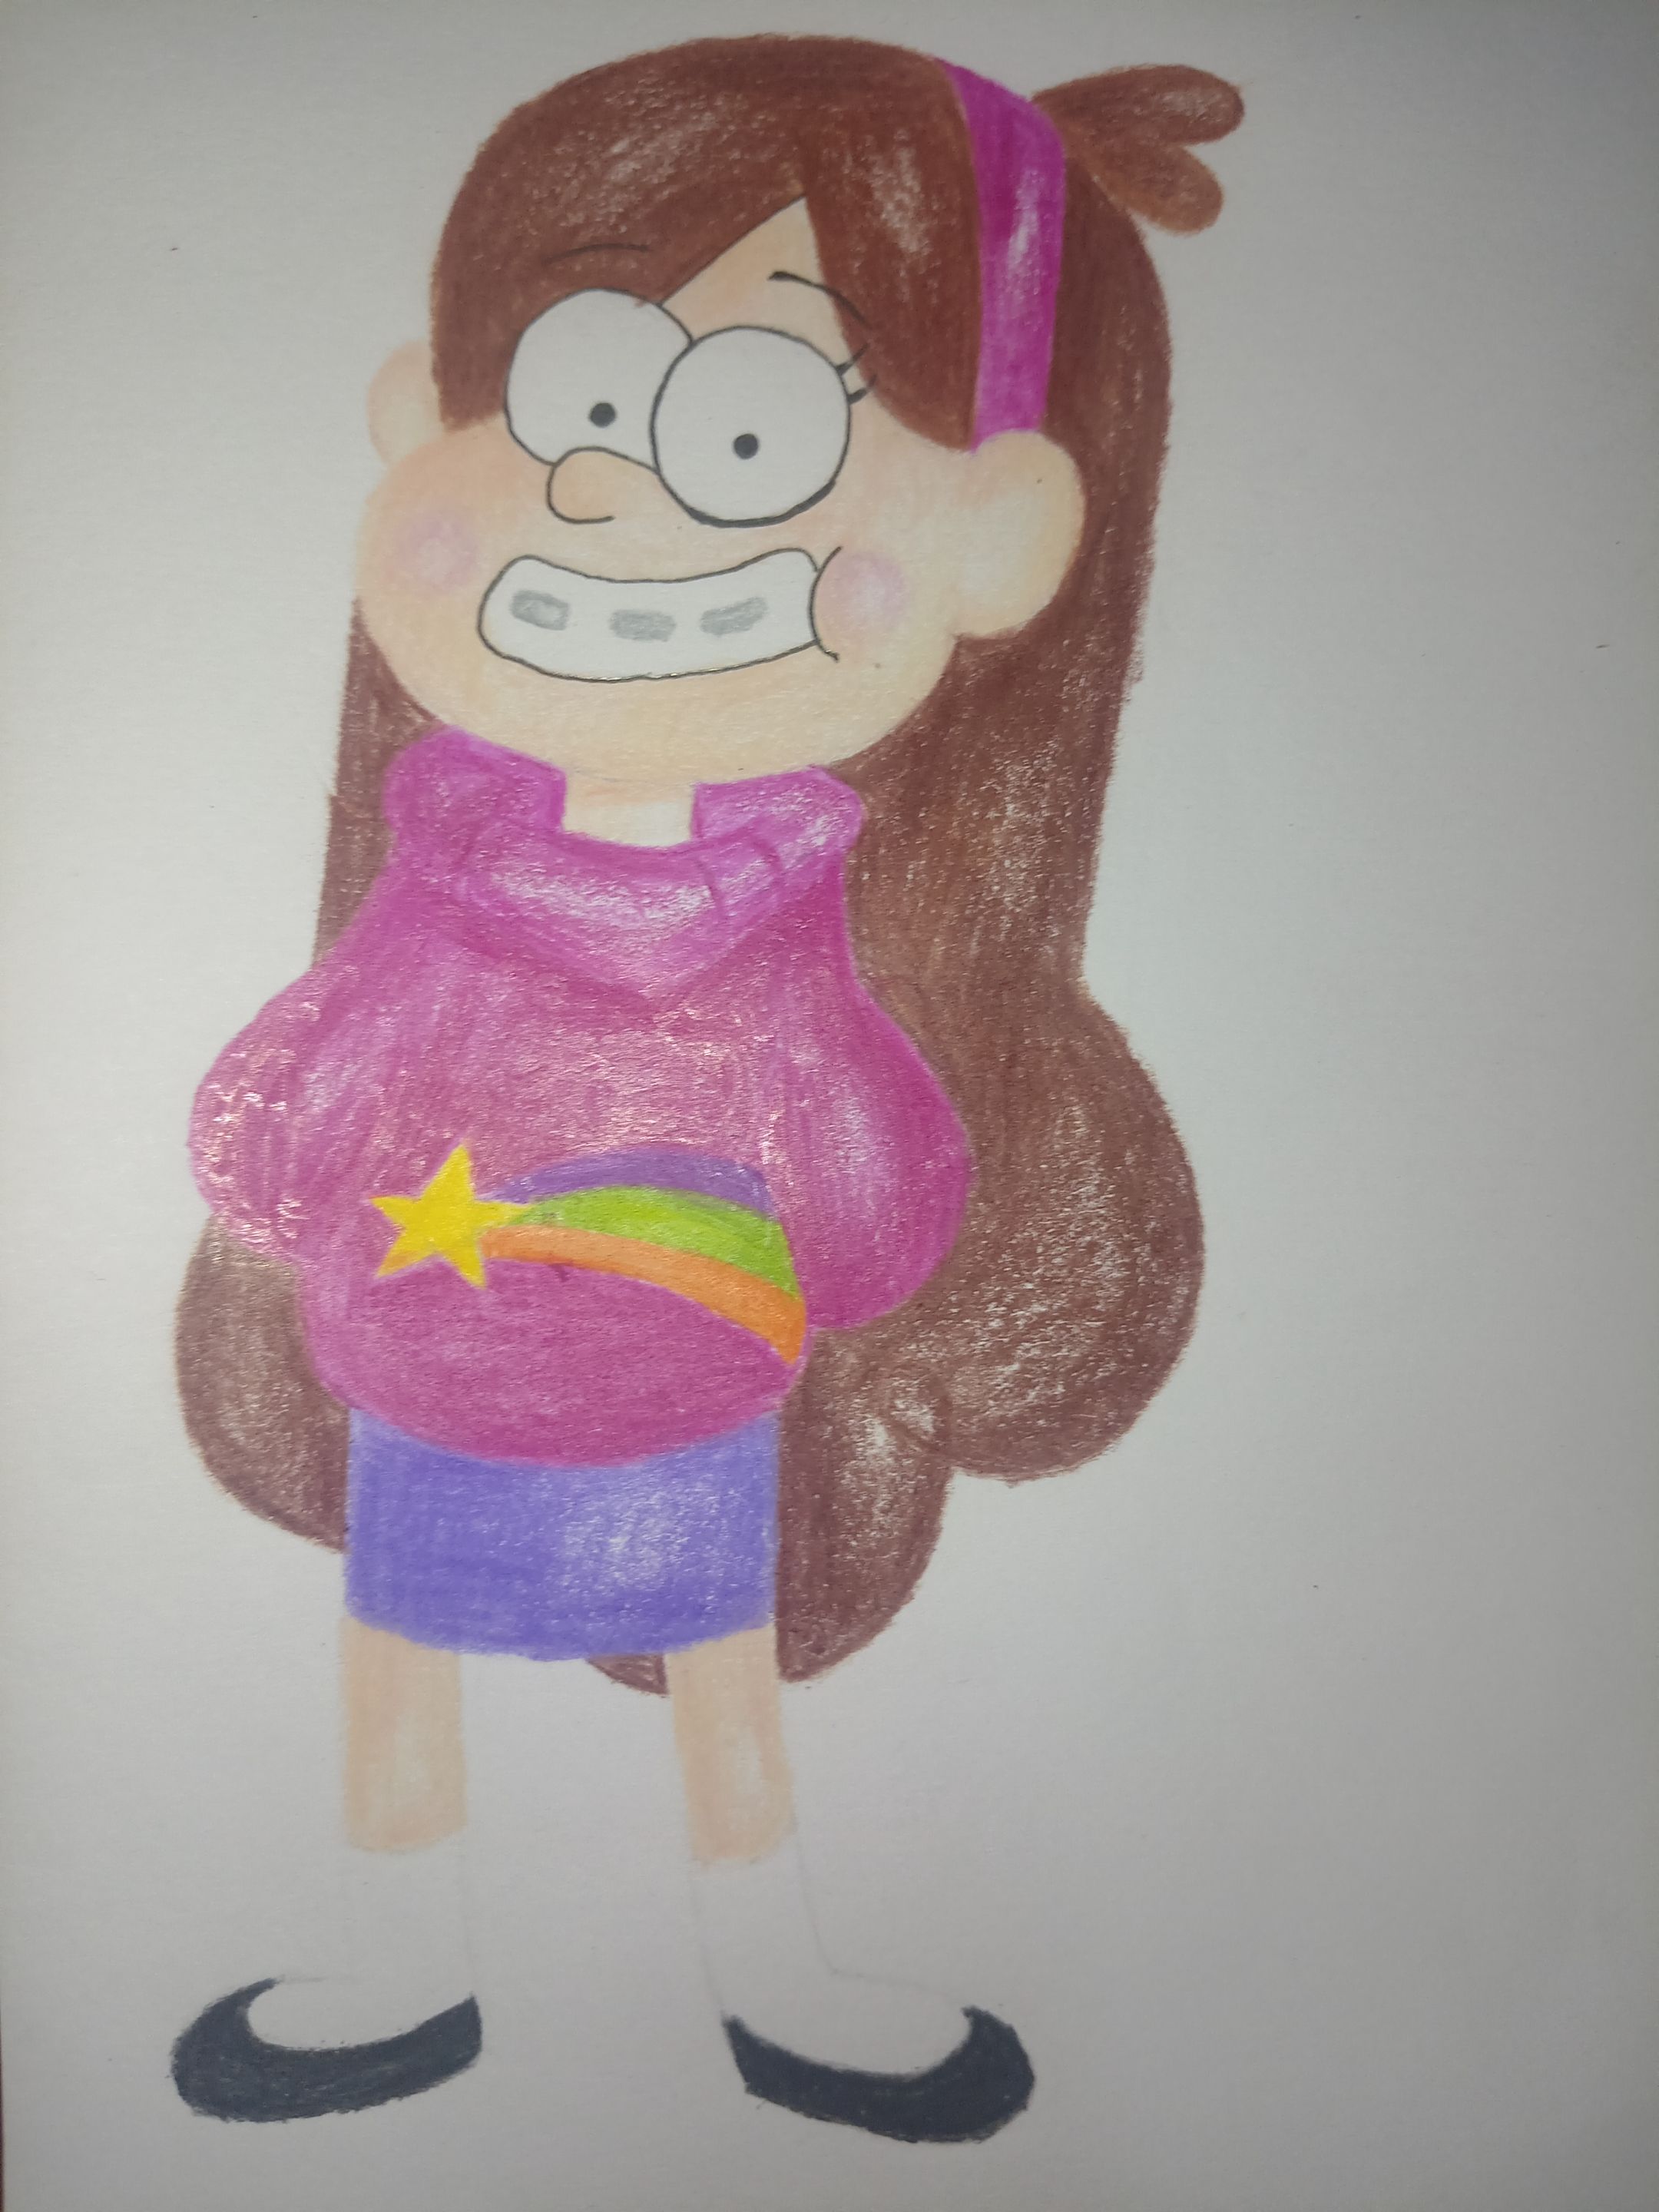
Después empecé a hacer la portada principal de la libreta y lo primero que hice fue forrar el fondo con una cartulina rosa claro y utilicé una técnica de cartulinas con los bordes rotos para decorar una parte de arriba y abajo, porque como la libreta era más grande que la cartulina quedaban bordes libres y los quise tapar con esas cartulinas en el borde, también quise decorar un poco con marcadores y colores de esos mismos tonos para que le diera una vista más bonita, después hice el título de la portada que es telemática porque en esa mención fue la que escogí y la hice de los mismos colores que el fondo de la libreta y le puse algunos detalles que es la gorra de Dipper y la estrellita fugaz que lleva Mabel en su suéter, también pasé a dibujar a Mabel que me tardó un poco hacer el boceto porque tenía tiempo sin hacer este dibujo, pero me quedó muy bonito, cuando terminé los dos dibujos, los recorté dejándole un borde blanco para que se vea más resaltante y lo pegué en la libreta, y también le pegué unas estrellas que había recortado de otra hoja. 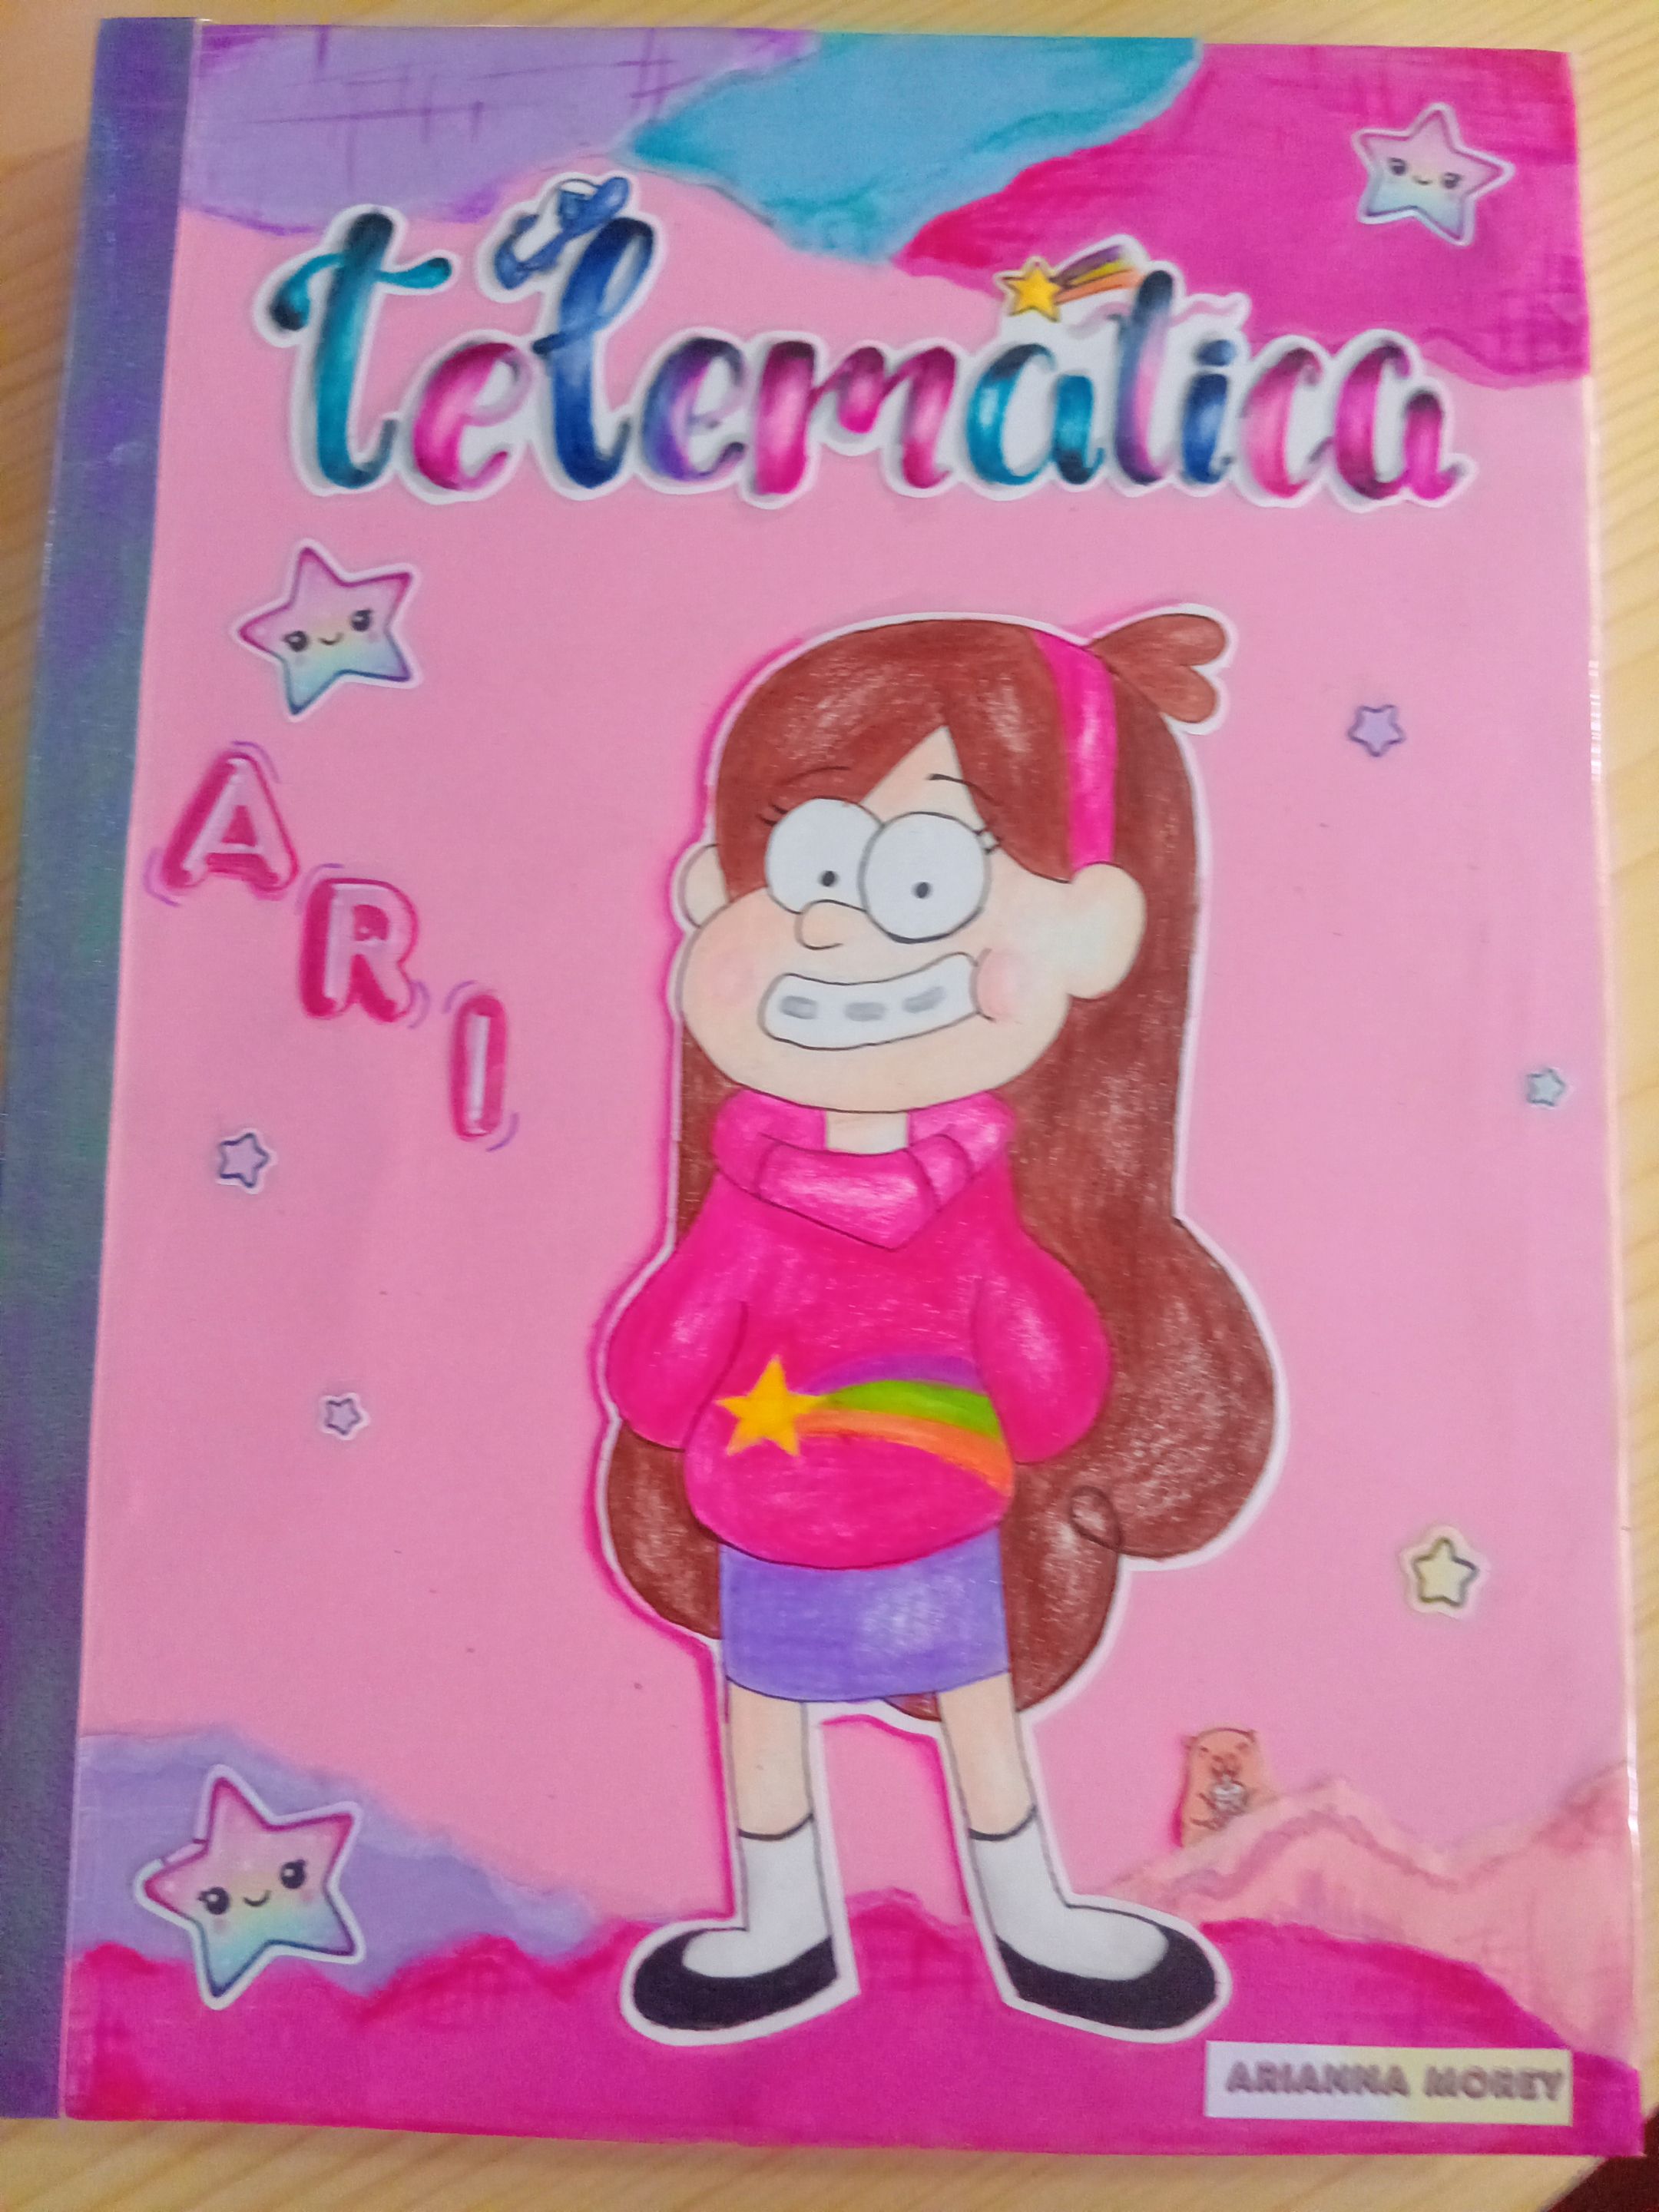 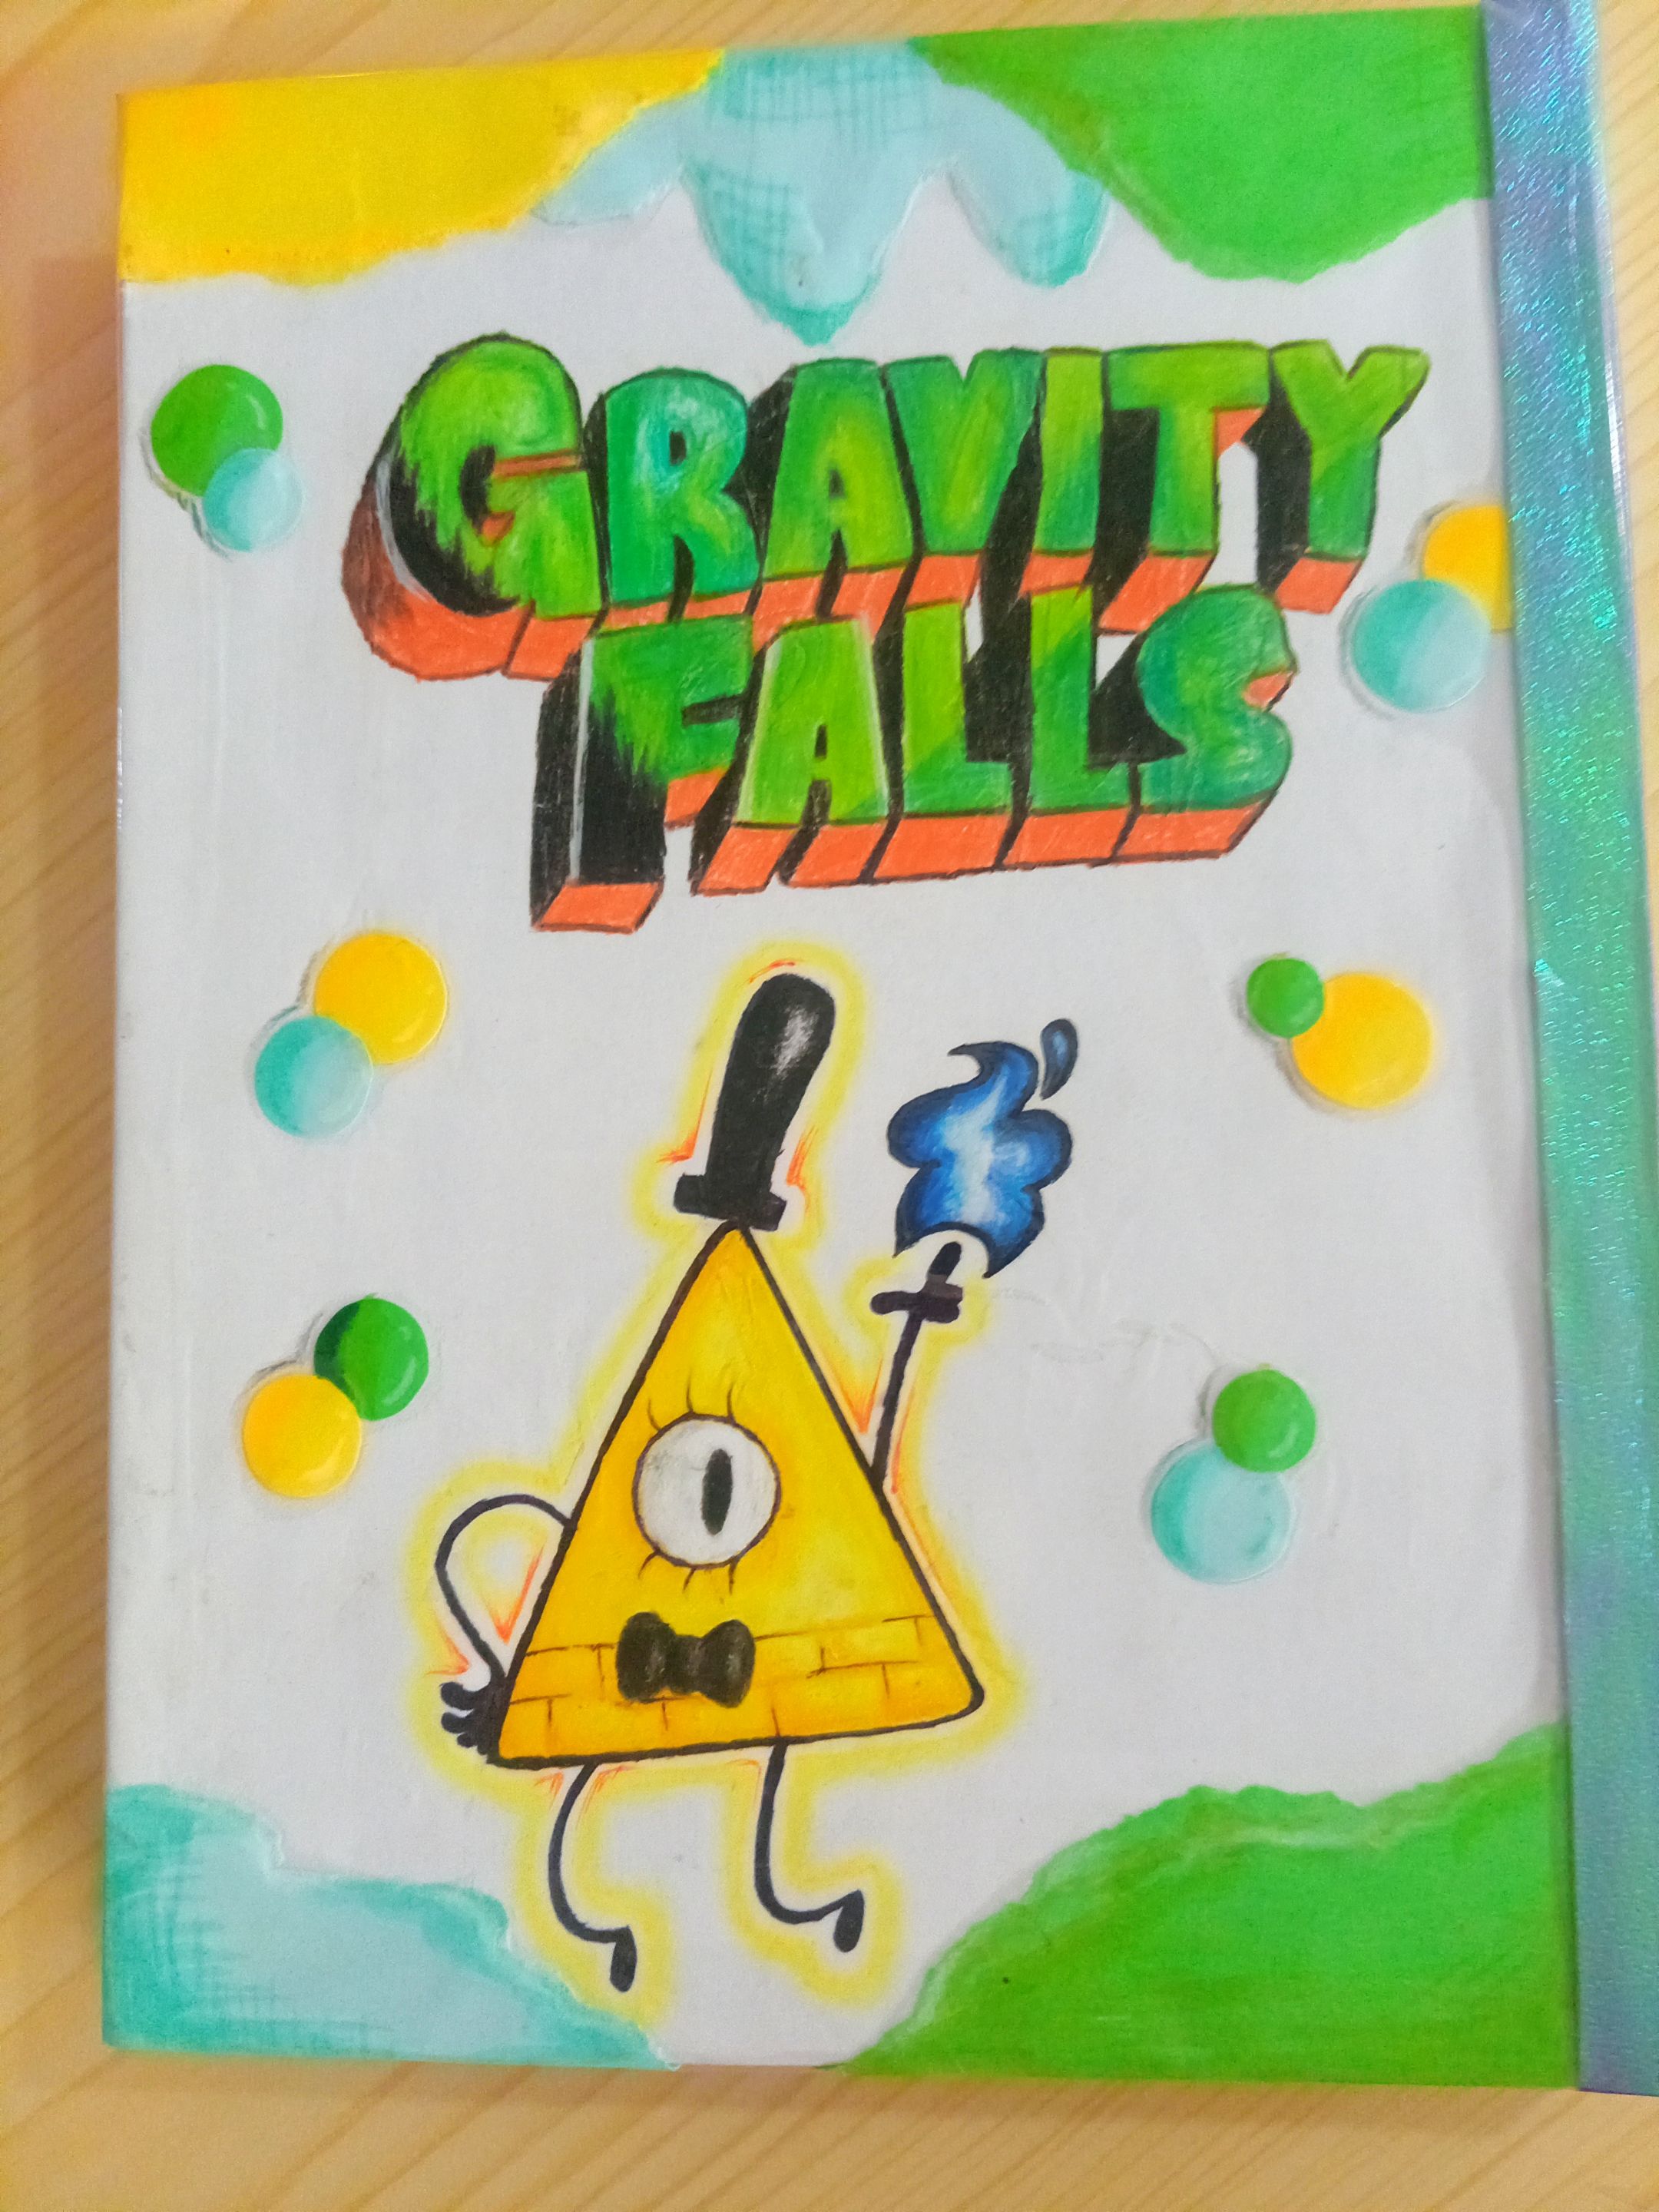
Para terminar Le agregué unos últimos detalles y le puse la palabra Ari que es Ariana que había sacado de una hoja impresa que había salido mal de las portadas de los cuadernos de ámbar y de ahí mismo saqué un pequeño d capibara que puse en un lado de la hojita como si se estuviera escondido y para terminar lo forré con papel contact para que no se arruinara el dibujo y durará más la libreta. Bueno amigos esto fue todo espero que les haya gustado como quedo mi libreta y nos vemos en una próxima publicación, Chao.   # ***Covering my notebook for the start of classes. 📒✏️***
Hello friends at @hivearte, how are you all? I'm very excited about going back to school and starting a new stage in my life, high school. Today I'm going to show you a little bit about how I covered my notebook. To cover my notebook, I used these materials: a white sheet of paper, pink and fuchsia cardstock for the front cover, and green, blue, and yellow for the back, liquid cold glue, scissors, hot glue, a ruler, contact paper, and other materials, colors, and contact paper.   
To cover this notebook, I wanted to use the theme of a series or cartoon that I watched a lot, which is Gravity Falls, and I decided to use the character Mabel because of her colors and because they matched the colors of the cardstock I had. I started by covering the back of the notebook with a white sheet of paper. After that, I sketched the letters that said Gravity Falls, and then I wanted to draw a character called Bill Cipher, who is a fictional character from the series. It turned out really nice, although I didn't take many photos of the process.    
Then I started making the main cover of the notebook, and the first thing I did was cover the background with light pink cardstock. I used a technique with torn edges to decorate the top and bottom because the notebook was bigger than the cardstock, so there were exposed edges, and I wanted to cover them with those cardstock pieces on the edge. I also wanted to decorate it a little with markers and colors in the same tones to make it look nicer. Then I made the title for the cover, which is "telemática" because that's the mention I chose, and I made it in the same colors as the background of the notebook and added some details, which are Dipper's cap and the shooting star that Mabel has on her sweater. I also drew Mabel, which took me a while to sketch because I hadn't done this drawing in a long time, but it turned out very nice. When I finished the two drawings, I cut them out, leaving a white border to make them stand out more, and pasted them into the notebook. I also pasted some stars that I had cut out from another sheet of paper.  
To finish, I added a few final details and wrote the word "Ari," which is Ariana, that I had taken from a printed sheet that had come out wrong from the covers of the amber notebooks. From there, I took a small capybara that I put on one side of the sheet as if it were hiding. To finish, I covered it with contact paper so that the drawing wouldn't get ruined and the notebook would last longer. Well, friends, that's it. I hope you liked my notebook, and I'll see you in my next post. Bye! ***** 
Este post fue realizado en mi teléfono Honor X6s y en el Samsung A54 de mi mamá , usando las aplicaciones Canva para la edición de las imágenes. Traducción con DeepL. > No autorizo a usar mis fotos sin mi consentimiento y el de mi mamá @leidimarc. *** This post was created on my Honor X6s phone and my mom's Samsung A54, using Canva apps to edit the images. Translation by DeepL. > I do not authorize the use of my photos without my and my mom's consent @leidimarc.