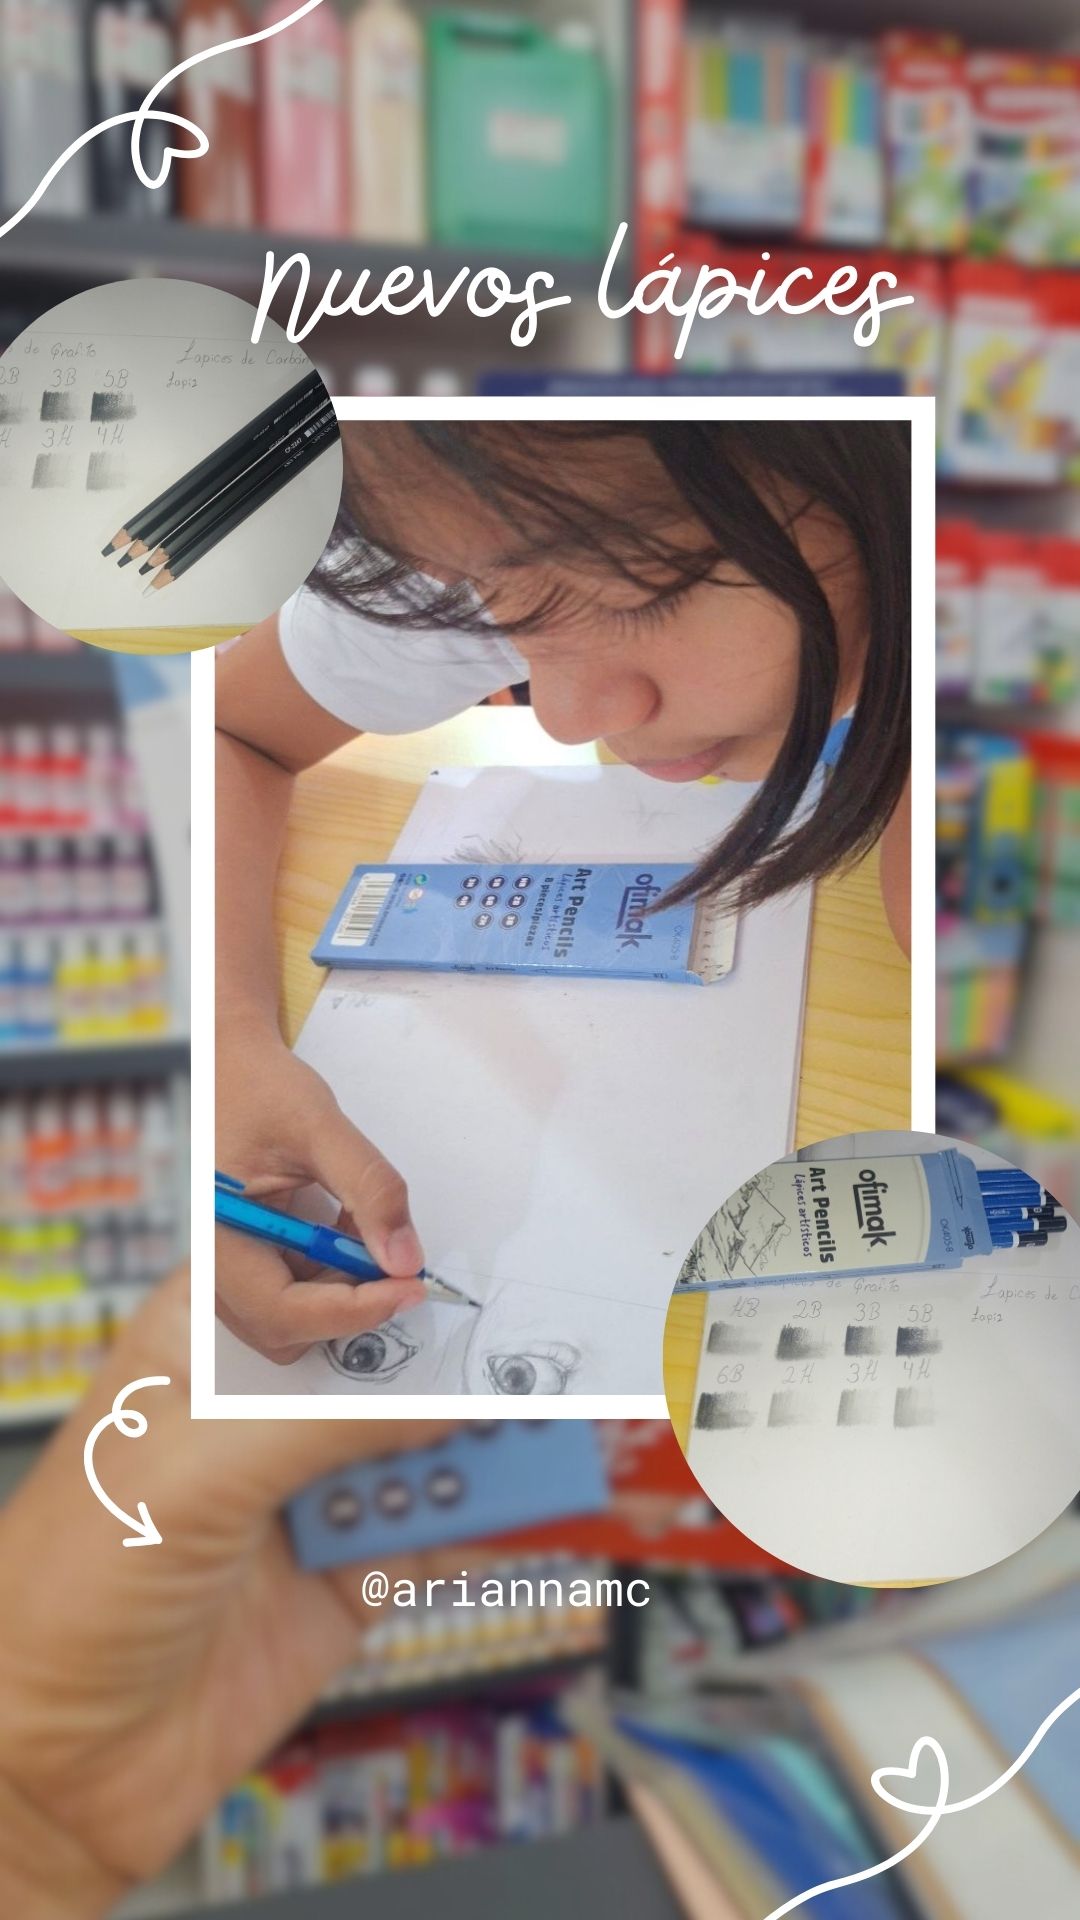 
Probando mis nuevos lápices de grafito y carbón, con un dibujo Hola amigos de @hivearte, como están todos ustedes yo muy bien, hoy paso por acá para mostrarles unos lápices de grafito y de carbón que me regalaron. 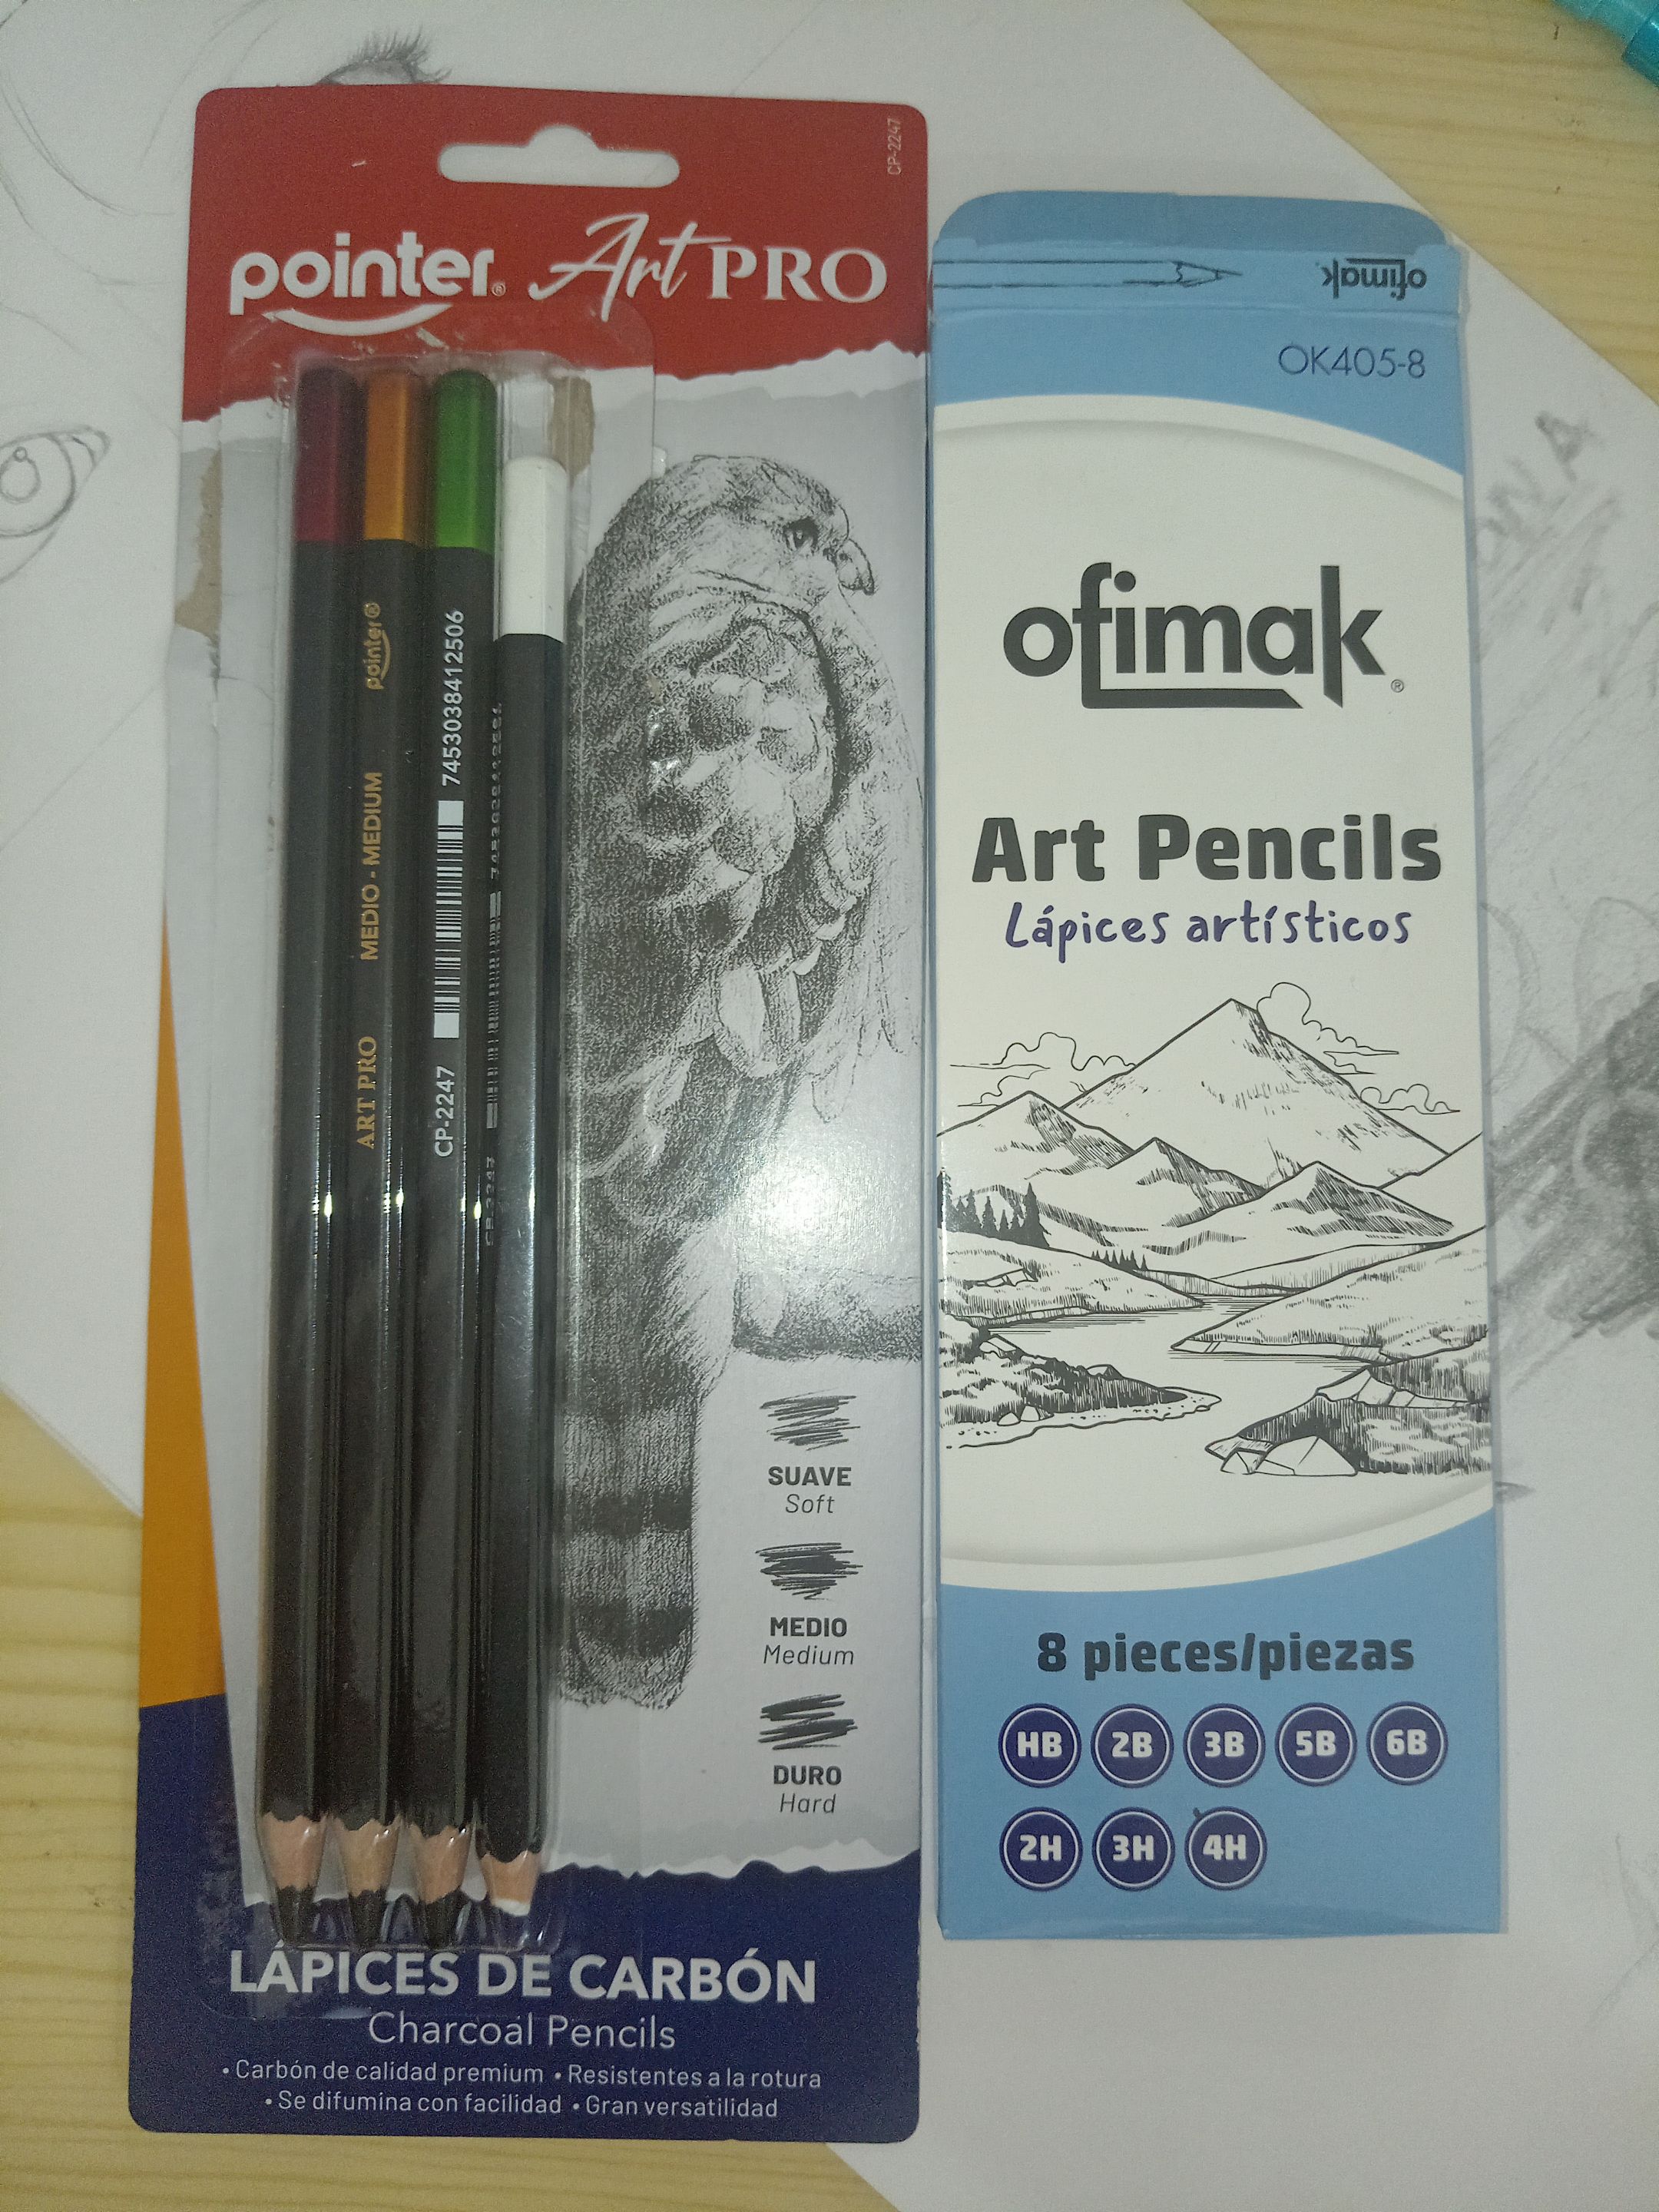 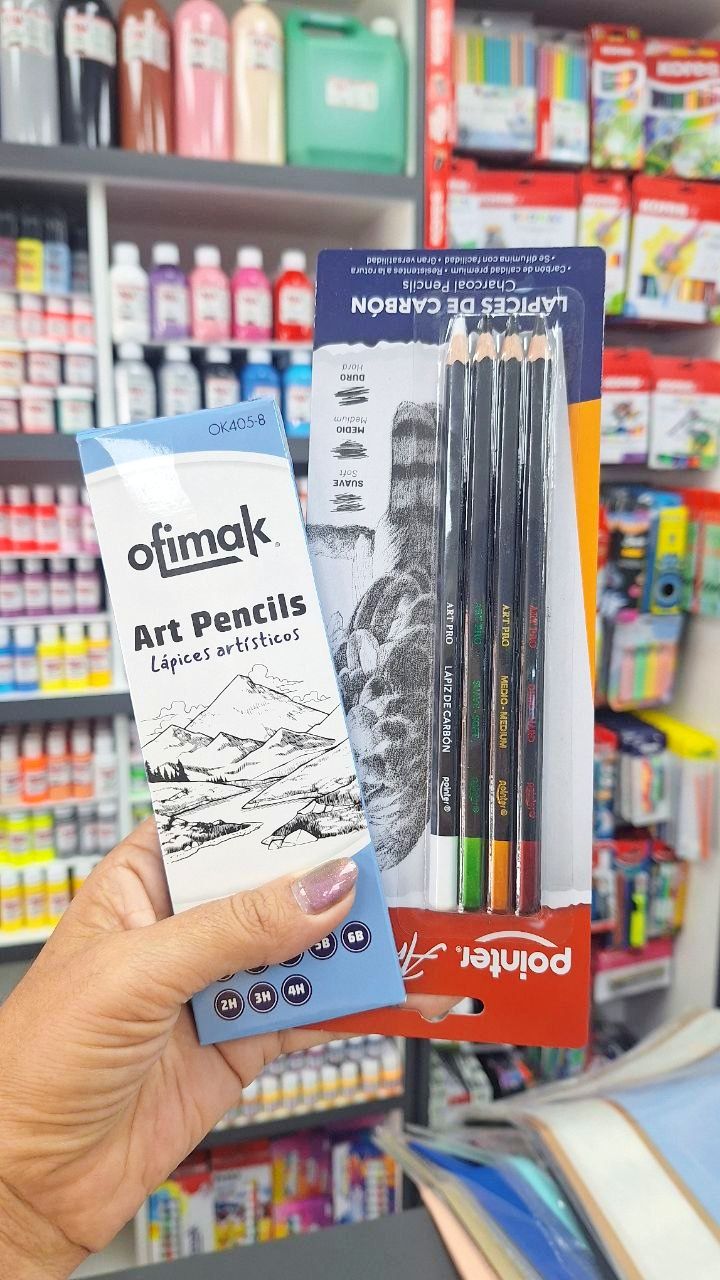
Estos lápices me los regalo mi mamá con otras cosas por mi promoción de 6to grado, este regalo me gustó mucho porque los lápices de grafito los necesitaba para dibujar en blanco y negro, aunque aclaró que así no los tuviera también podía dibujar sin ellos solo con un lápiz normal de HB, pero si tienes la gama de lápices el dibujo queda o parece más profesional aunque yo no lo sea porque apenas estoy aprendiendo sobre esto del dibujo en blanco y negro, y los otros lápices que venían en el regalo son lápices de carbón que honestamente por mi parte yo no sabía ni de su existencia, pero investigué un poco y aprendí que son como los de grafito pero con más intensidad texturas en su trazo, y con los de carbón venía un lápiz blanco que es para iluminar y asta en algunos casos difuminar zonas claras del dibujo. 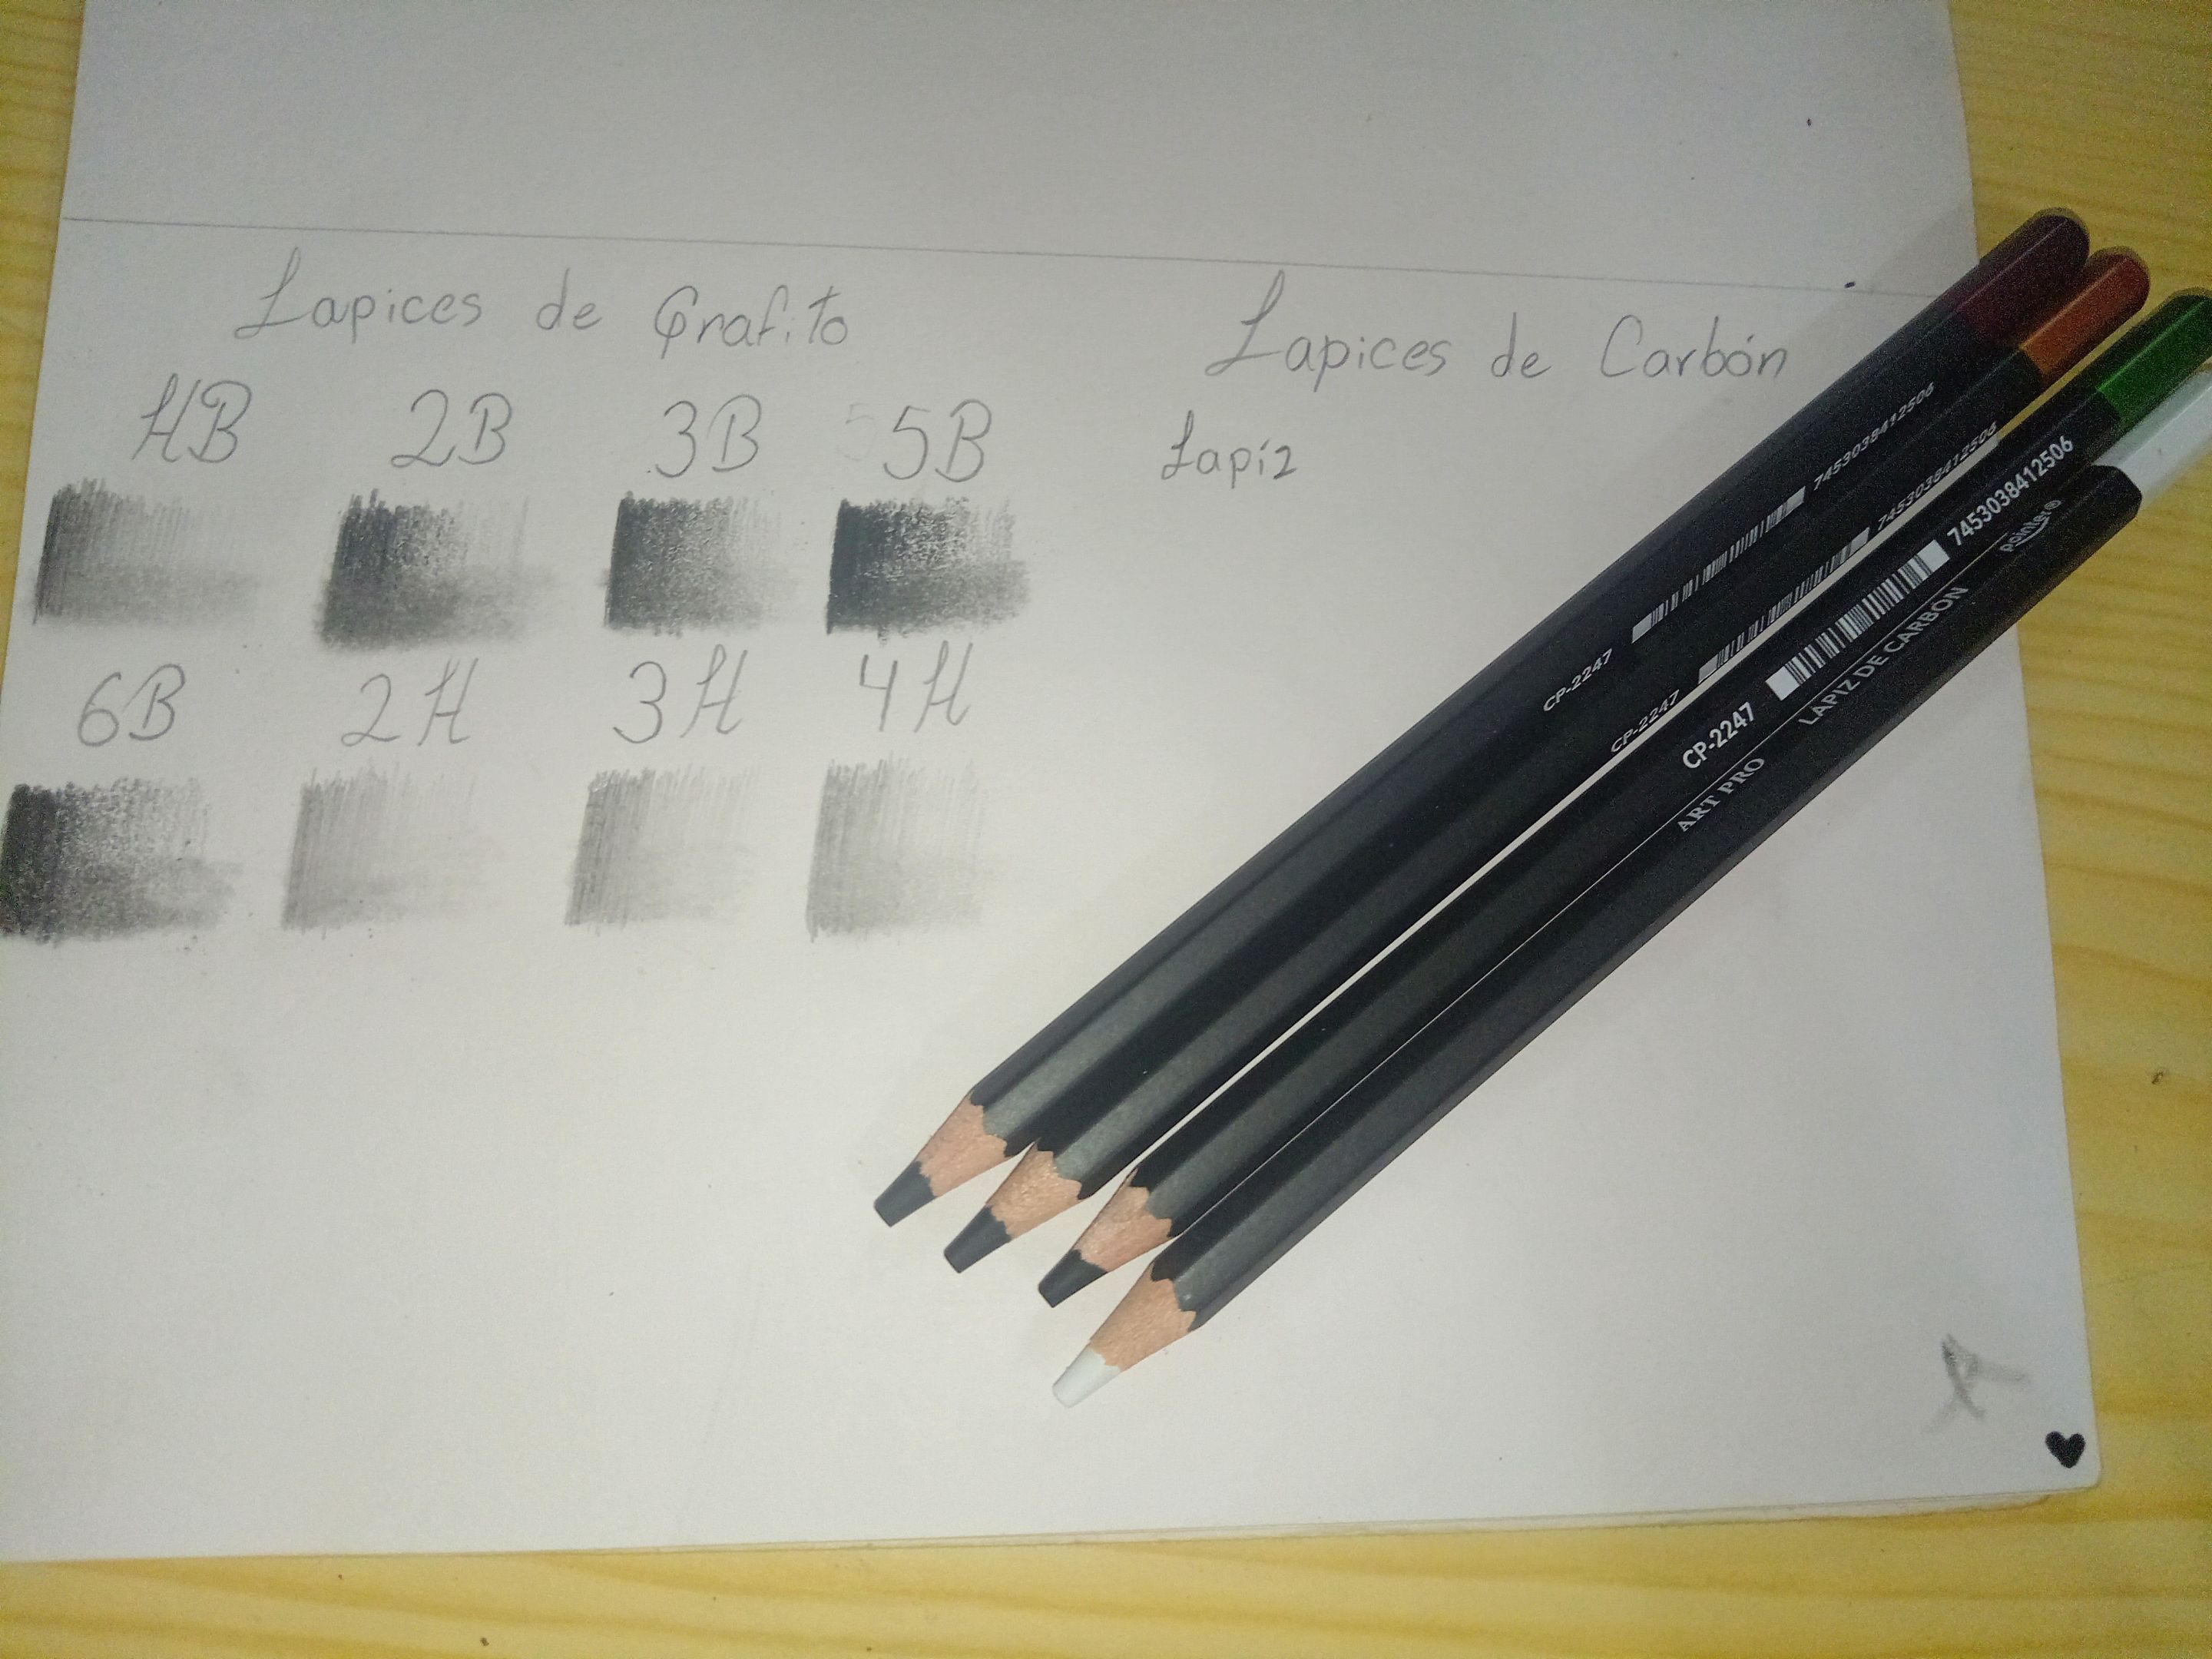 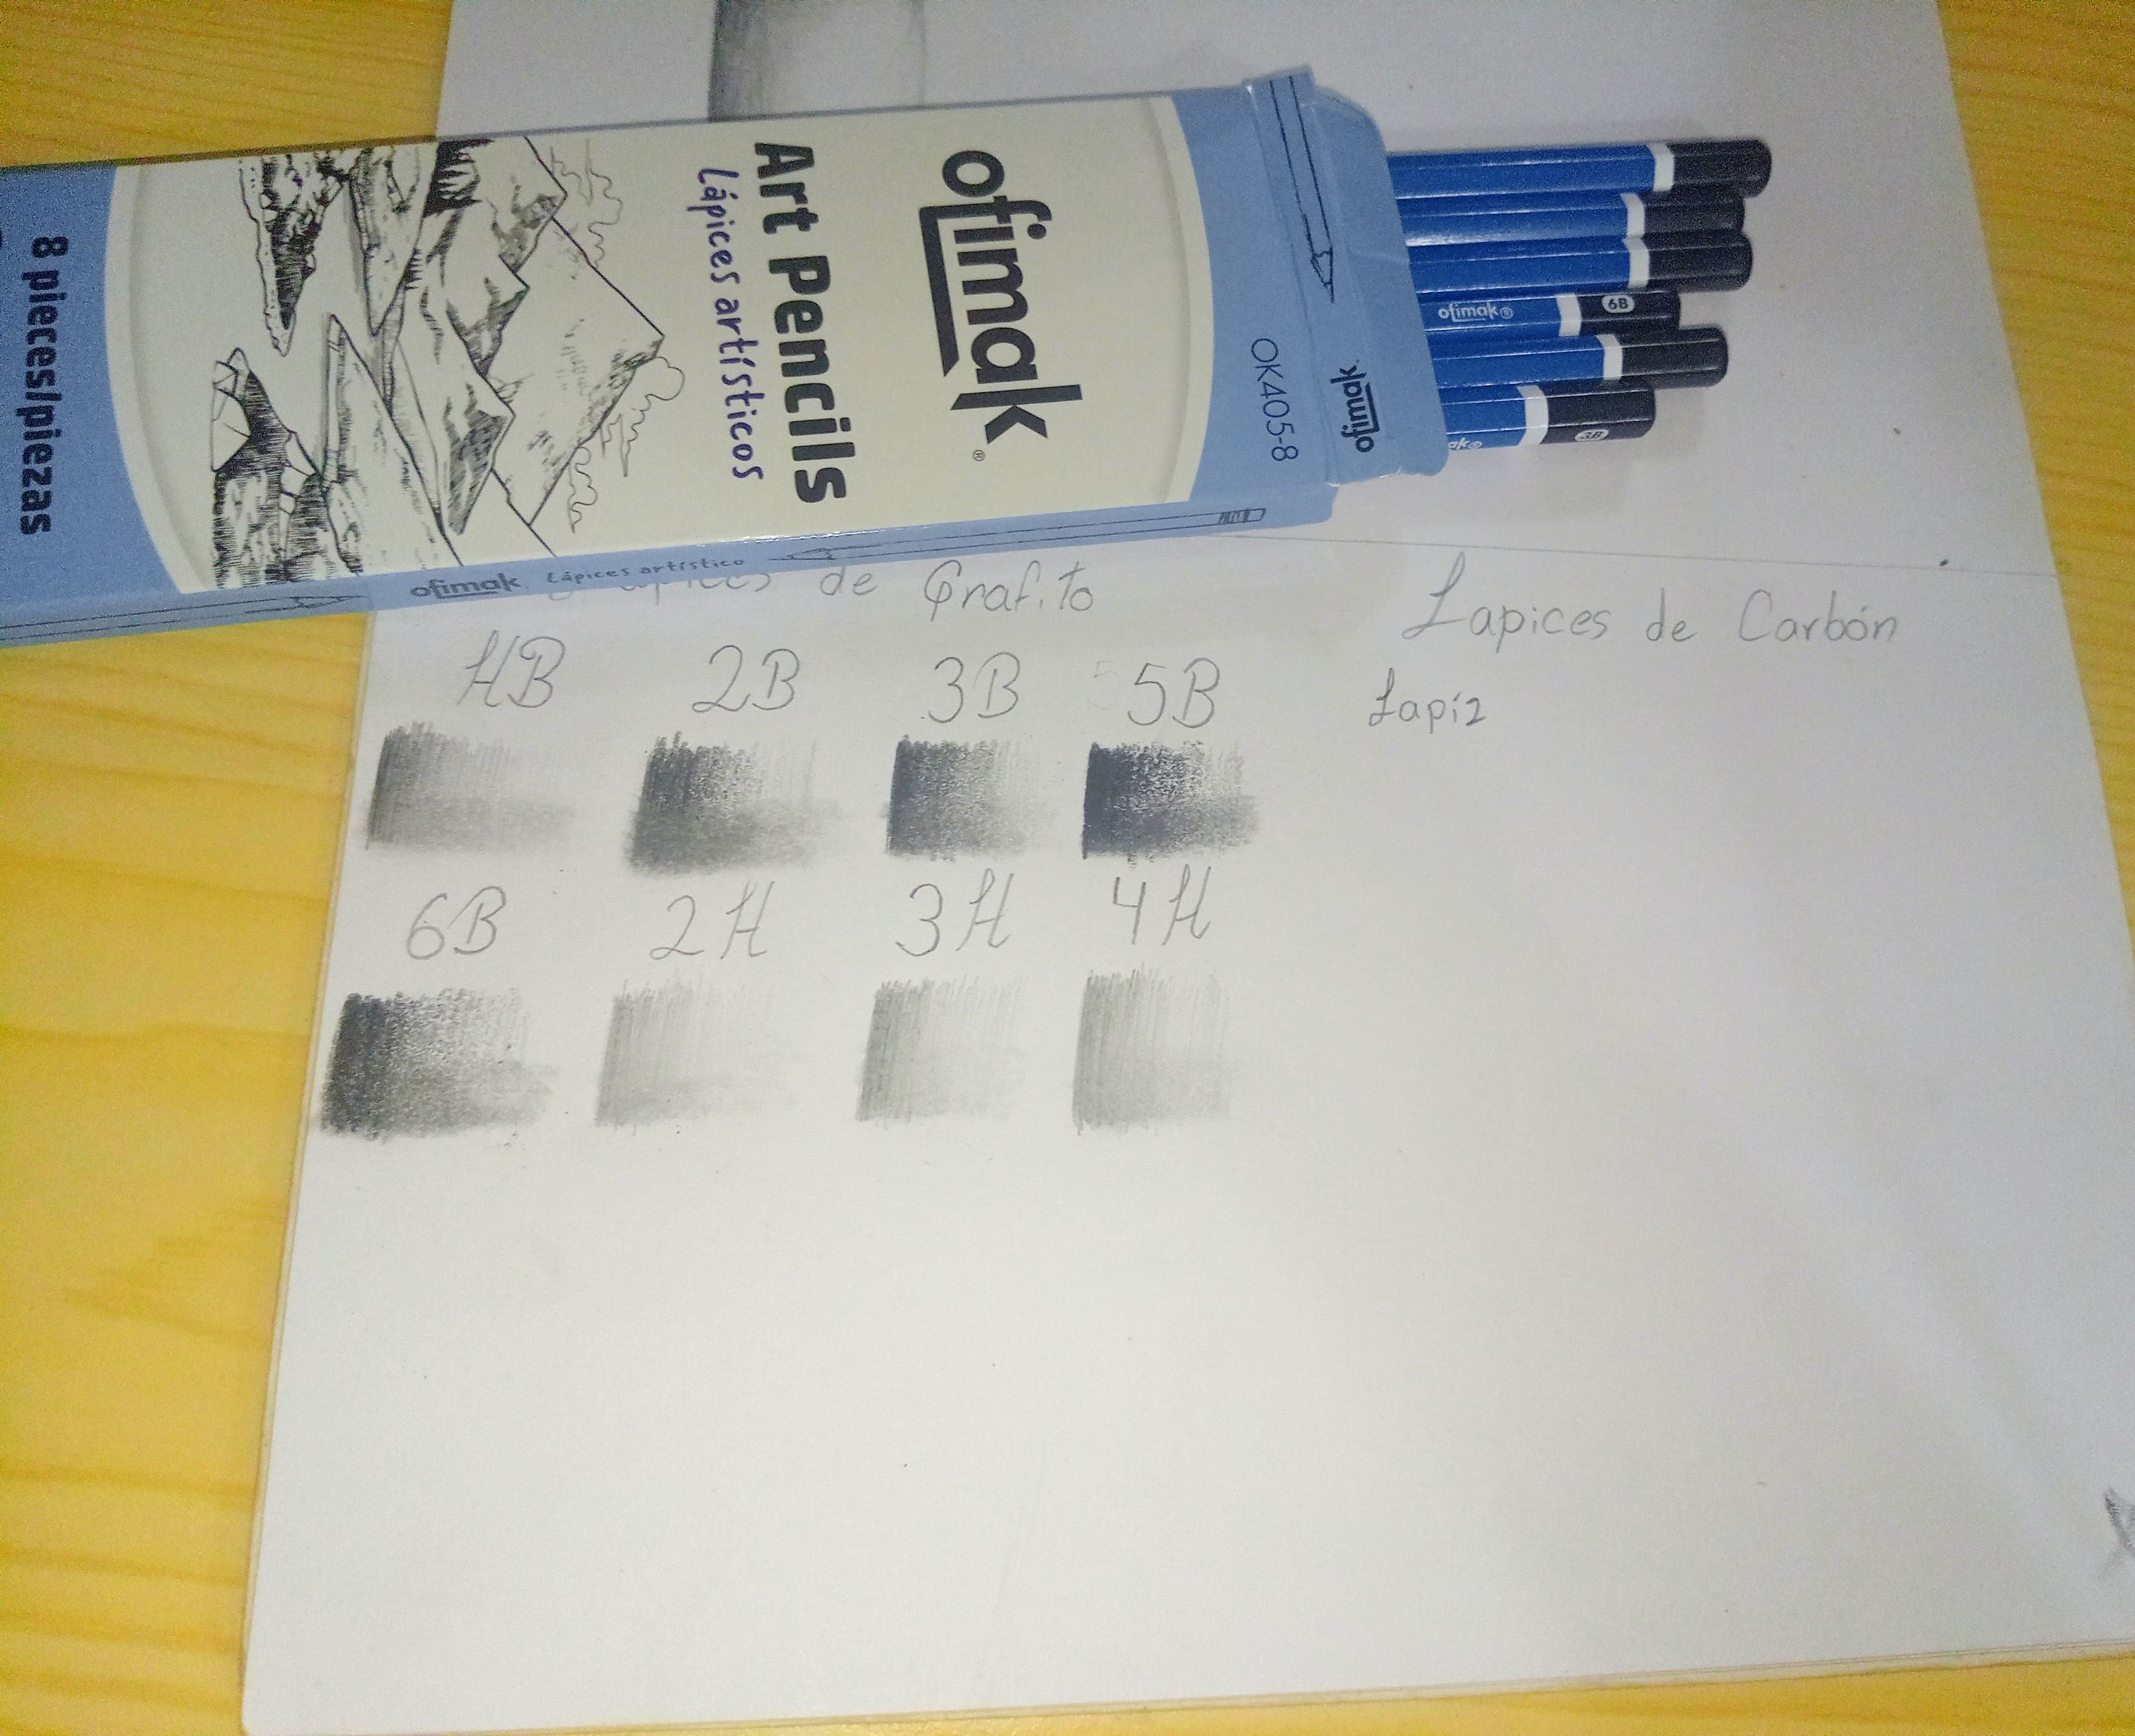 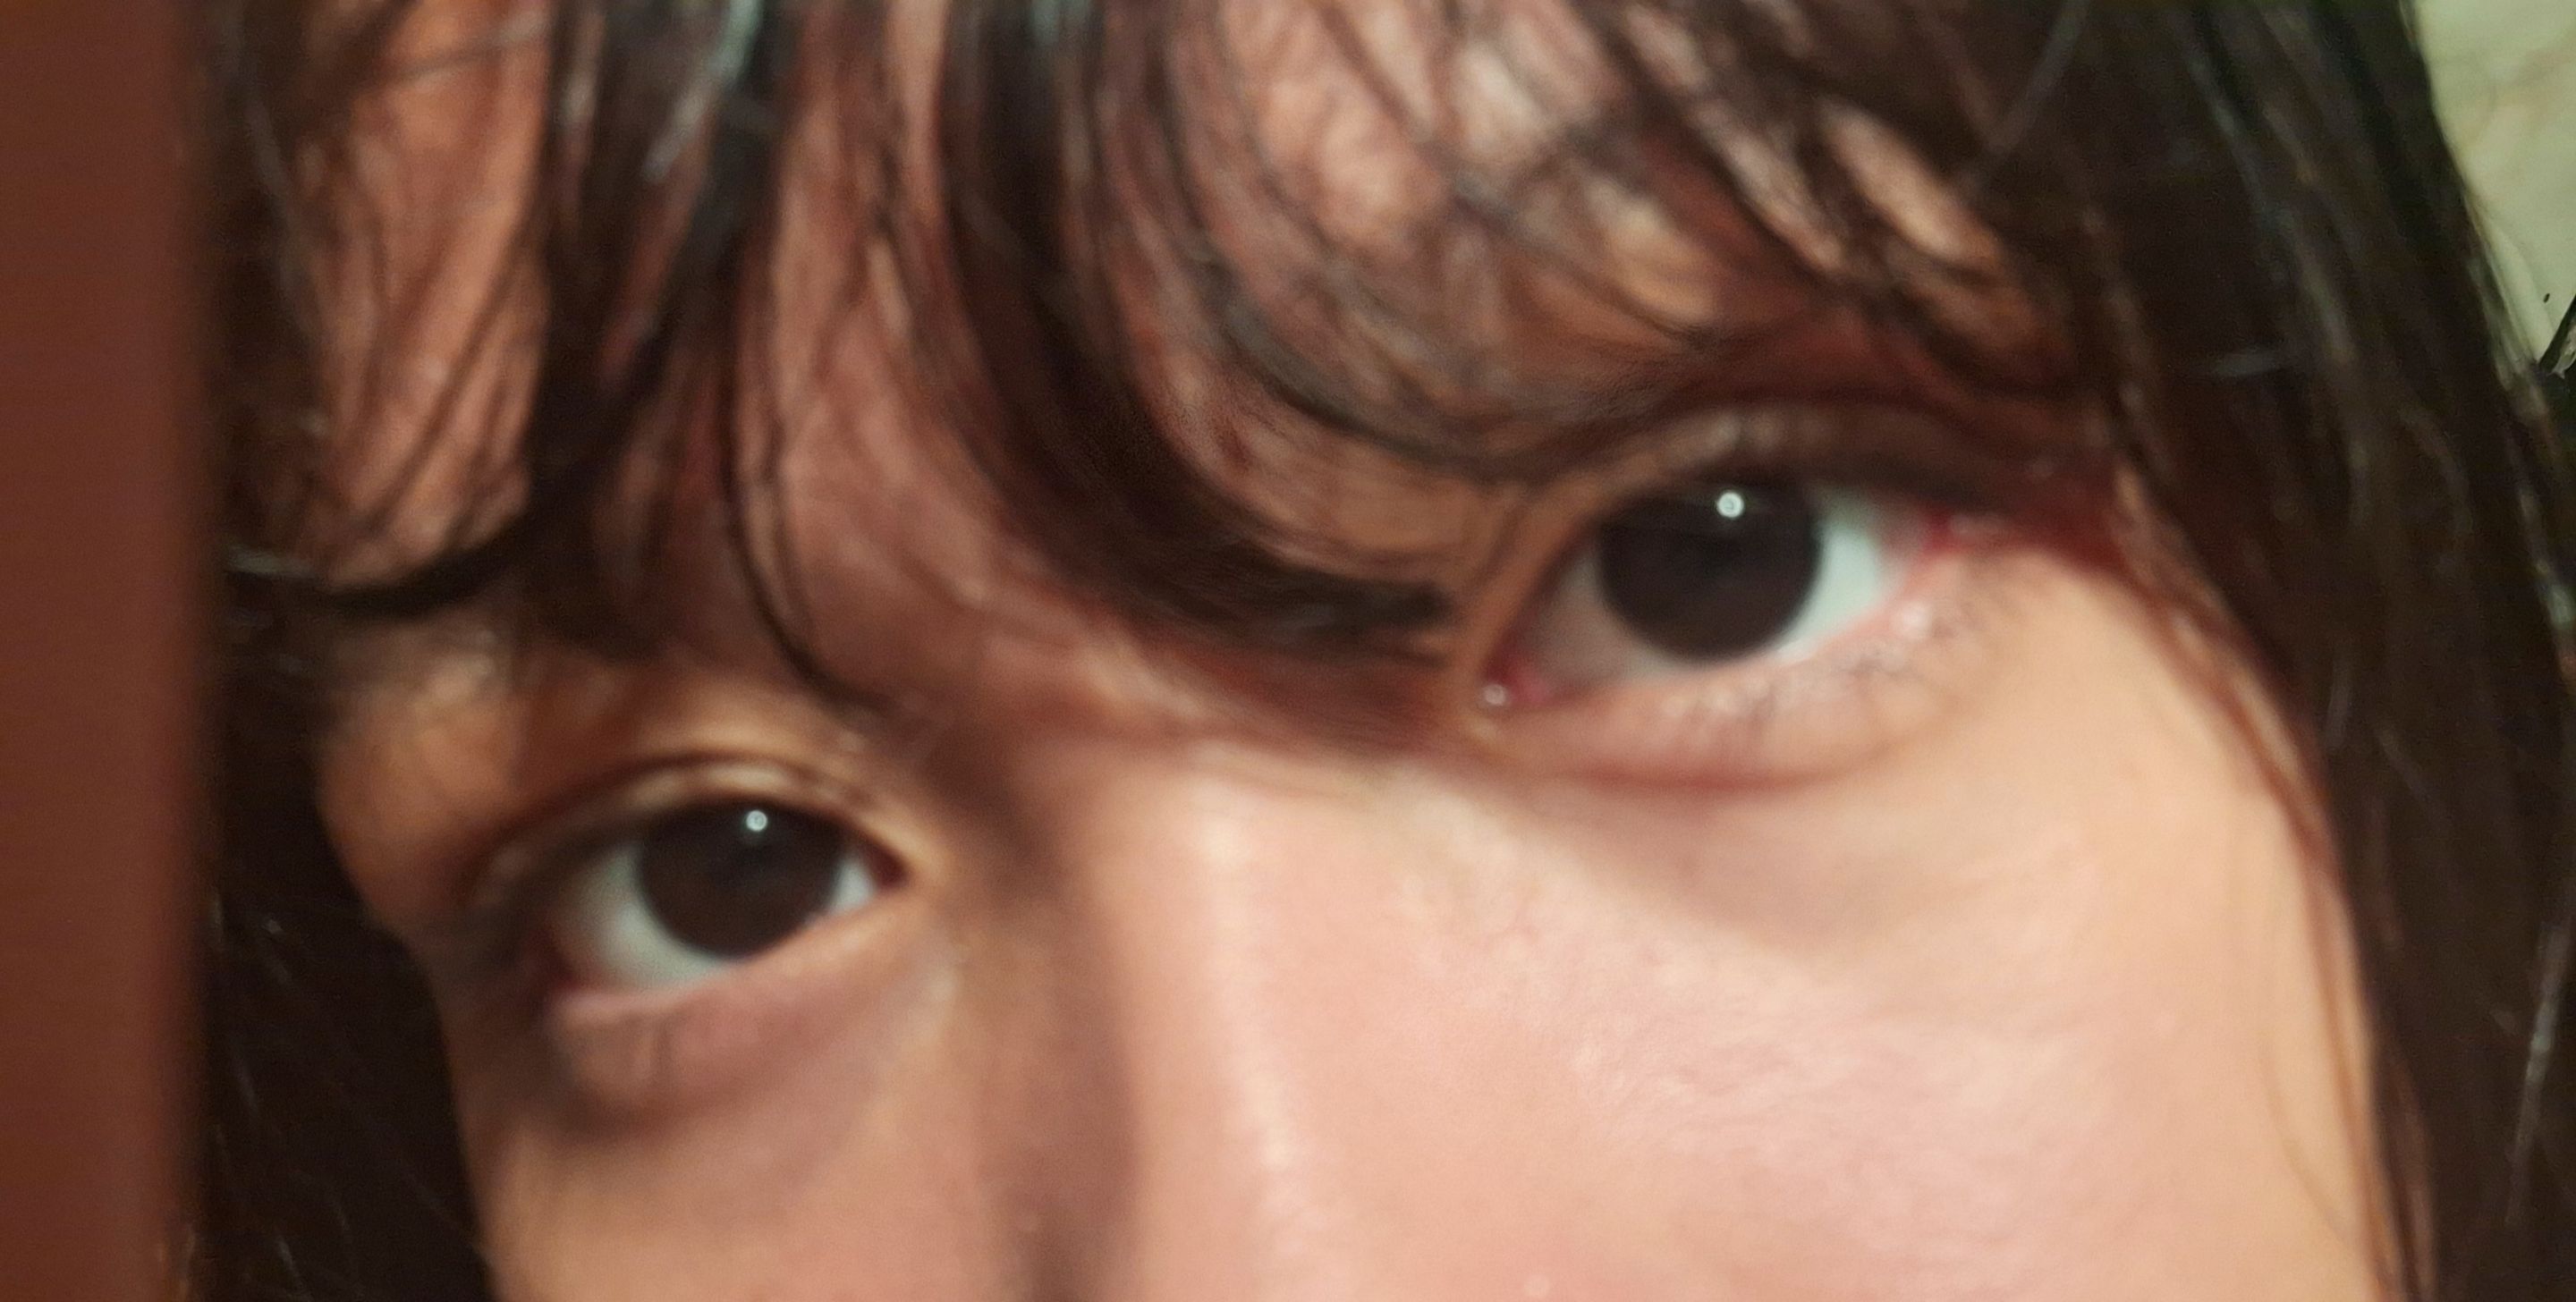 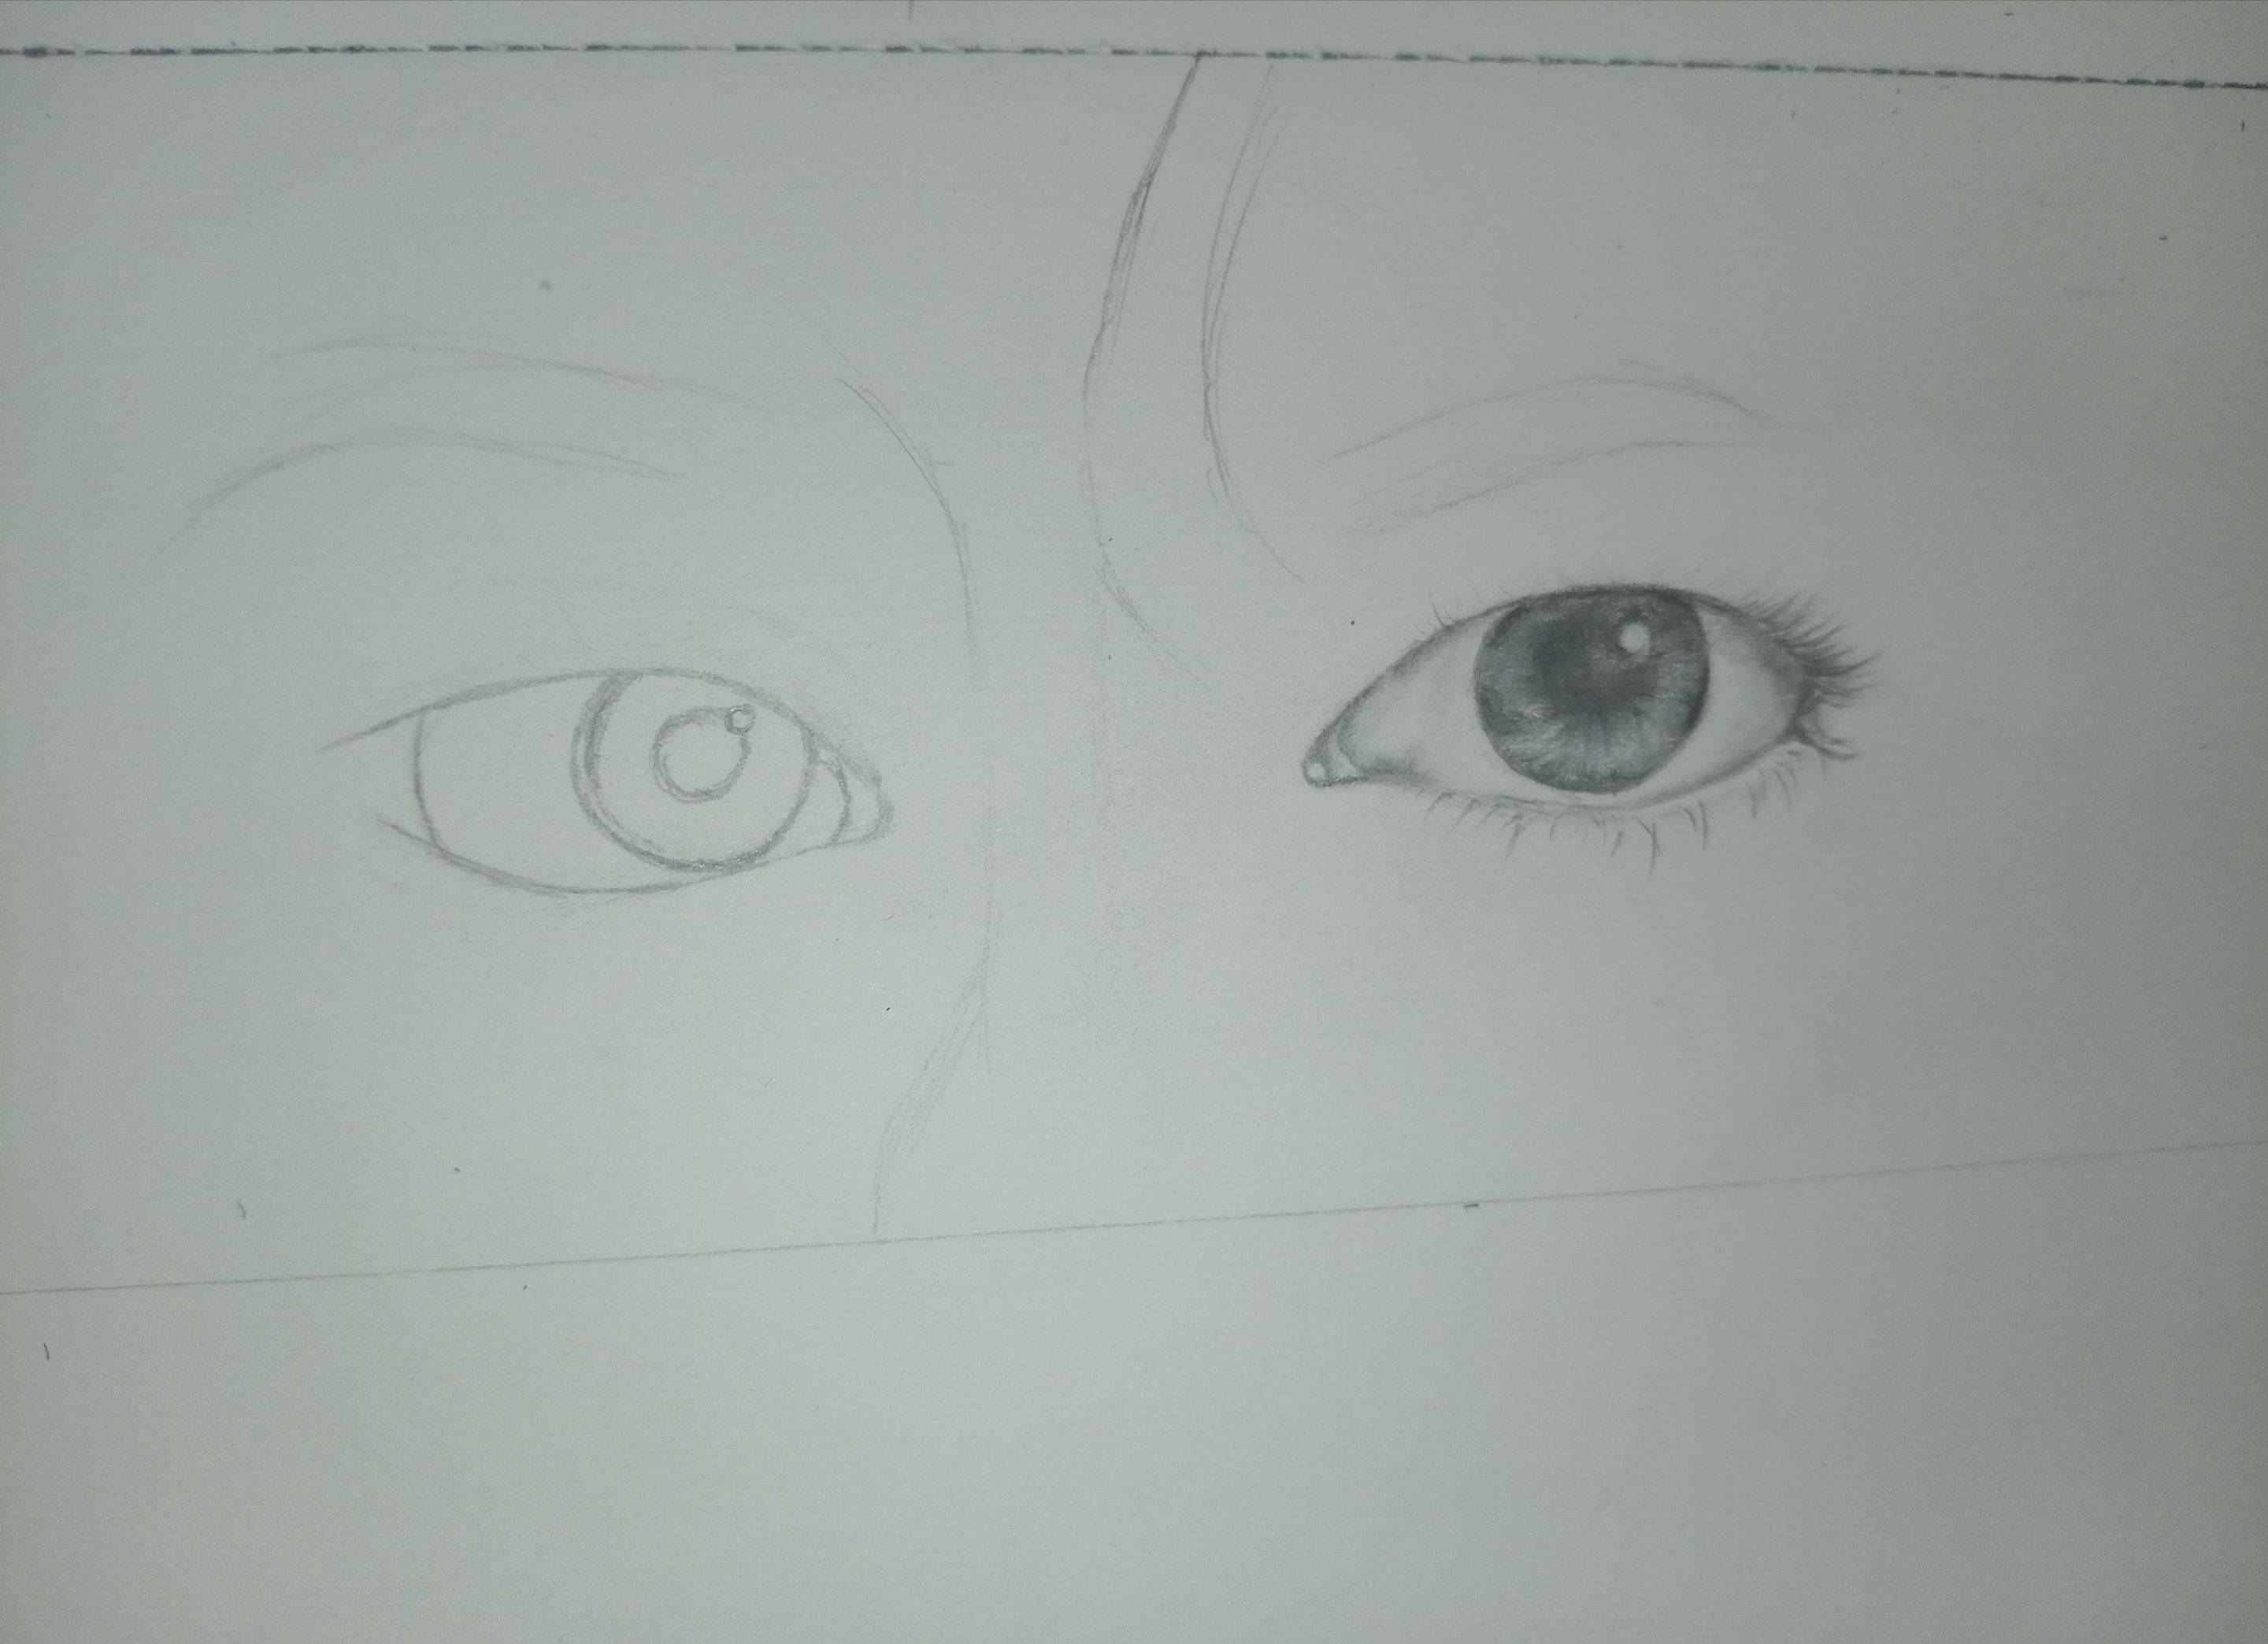
Para probar estos lápices quise hacer un dibujo de mis ojos y utilicé de referencia una foto que yo me había tomado hace tiempo, pero antes de comenzar con el dibujo hice la paleta de colores o en este caso de tonalidades para saber la intensidad y dureza de su trazo, esto siempre lo hago cada vez que voy a hacer un dibujo para que me quede mejor y no echarlo a perder con un lápiz o color que no era el correcto, aunque a veces igual me equivoco porque como ya les dije estoy aprendiendo y no todos somos perfectos, bueno ahora sí empecé haciendo la división del tamaño que va a ser el dibujo y después pase con el boceto tratando de ubicar todo en su lugar para que quede lo más parecido a la referencia, para empezar primero hice el ojo derecho con una técnica nueva que aprendí en el ojo que no me sé el nombre, pero lo pueden ver él en dibujo y hasta aquí es la única foto que tomé del principio porque como estoy dibujando se me olvida tomarlas y por esa parte me perdonan, pero sigamos con el dibujo.  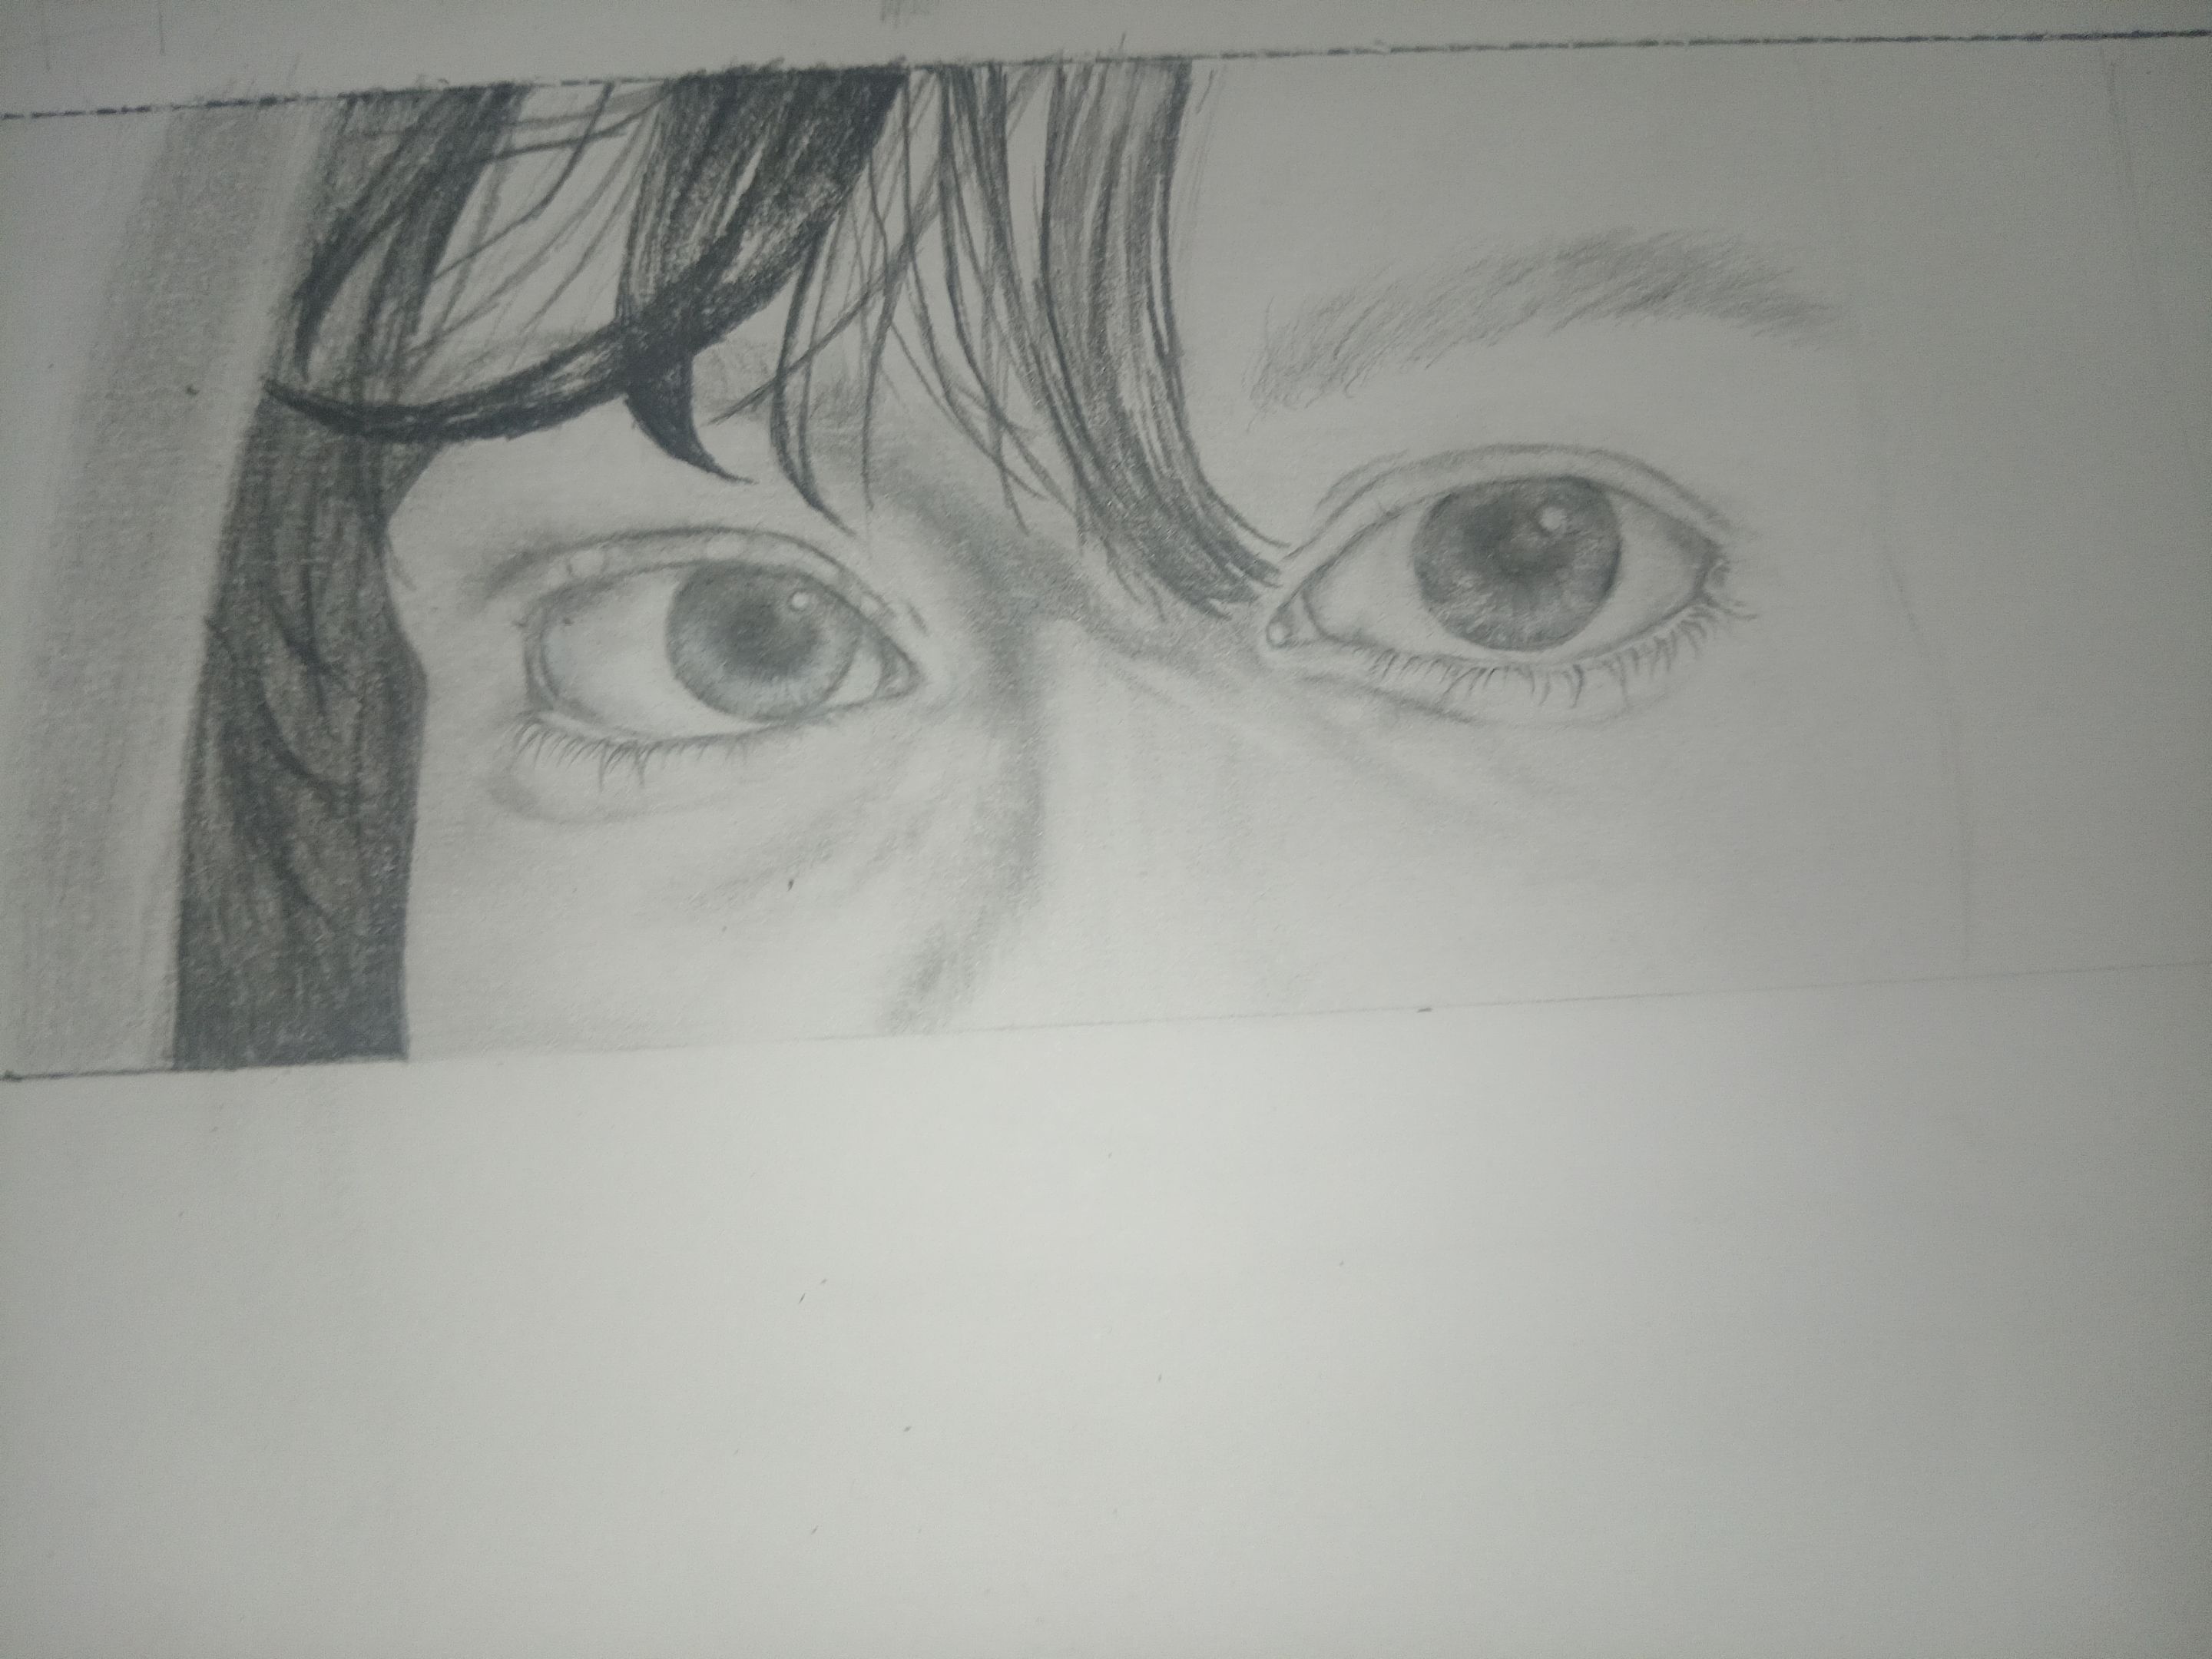 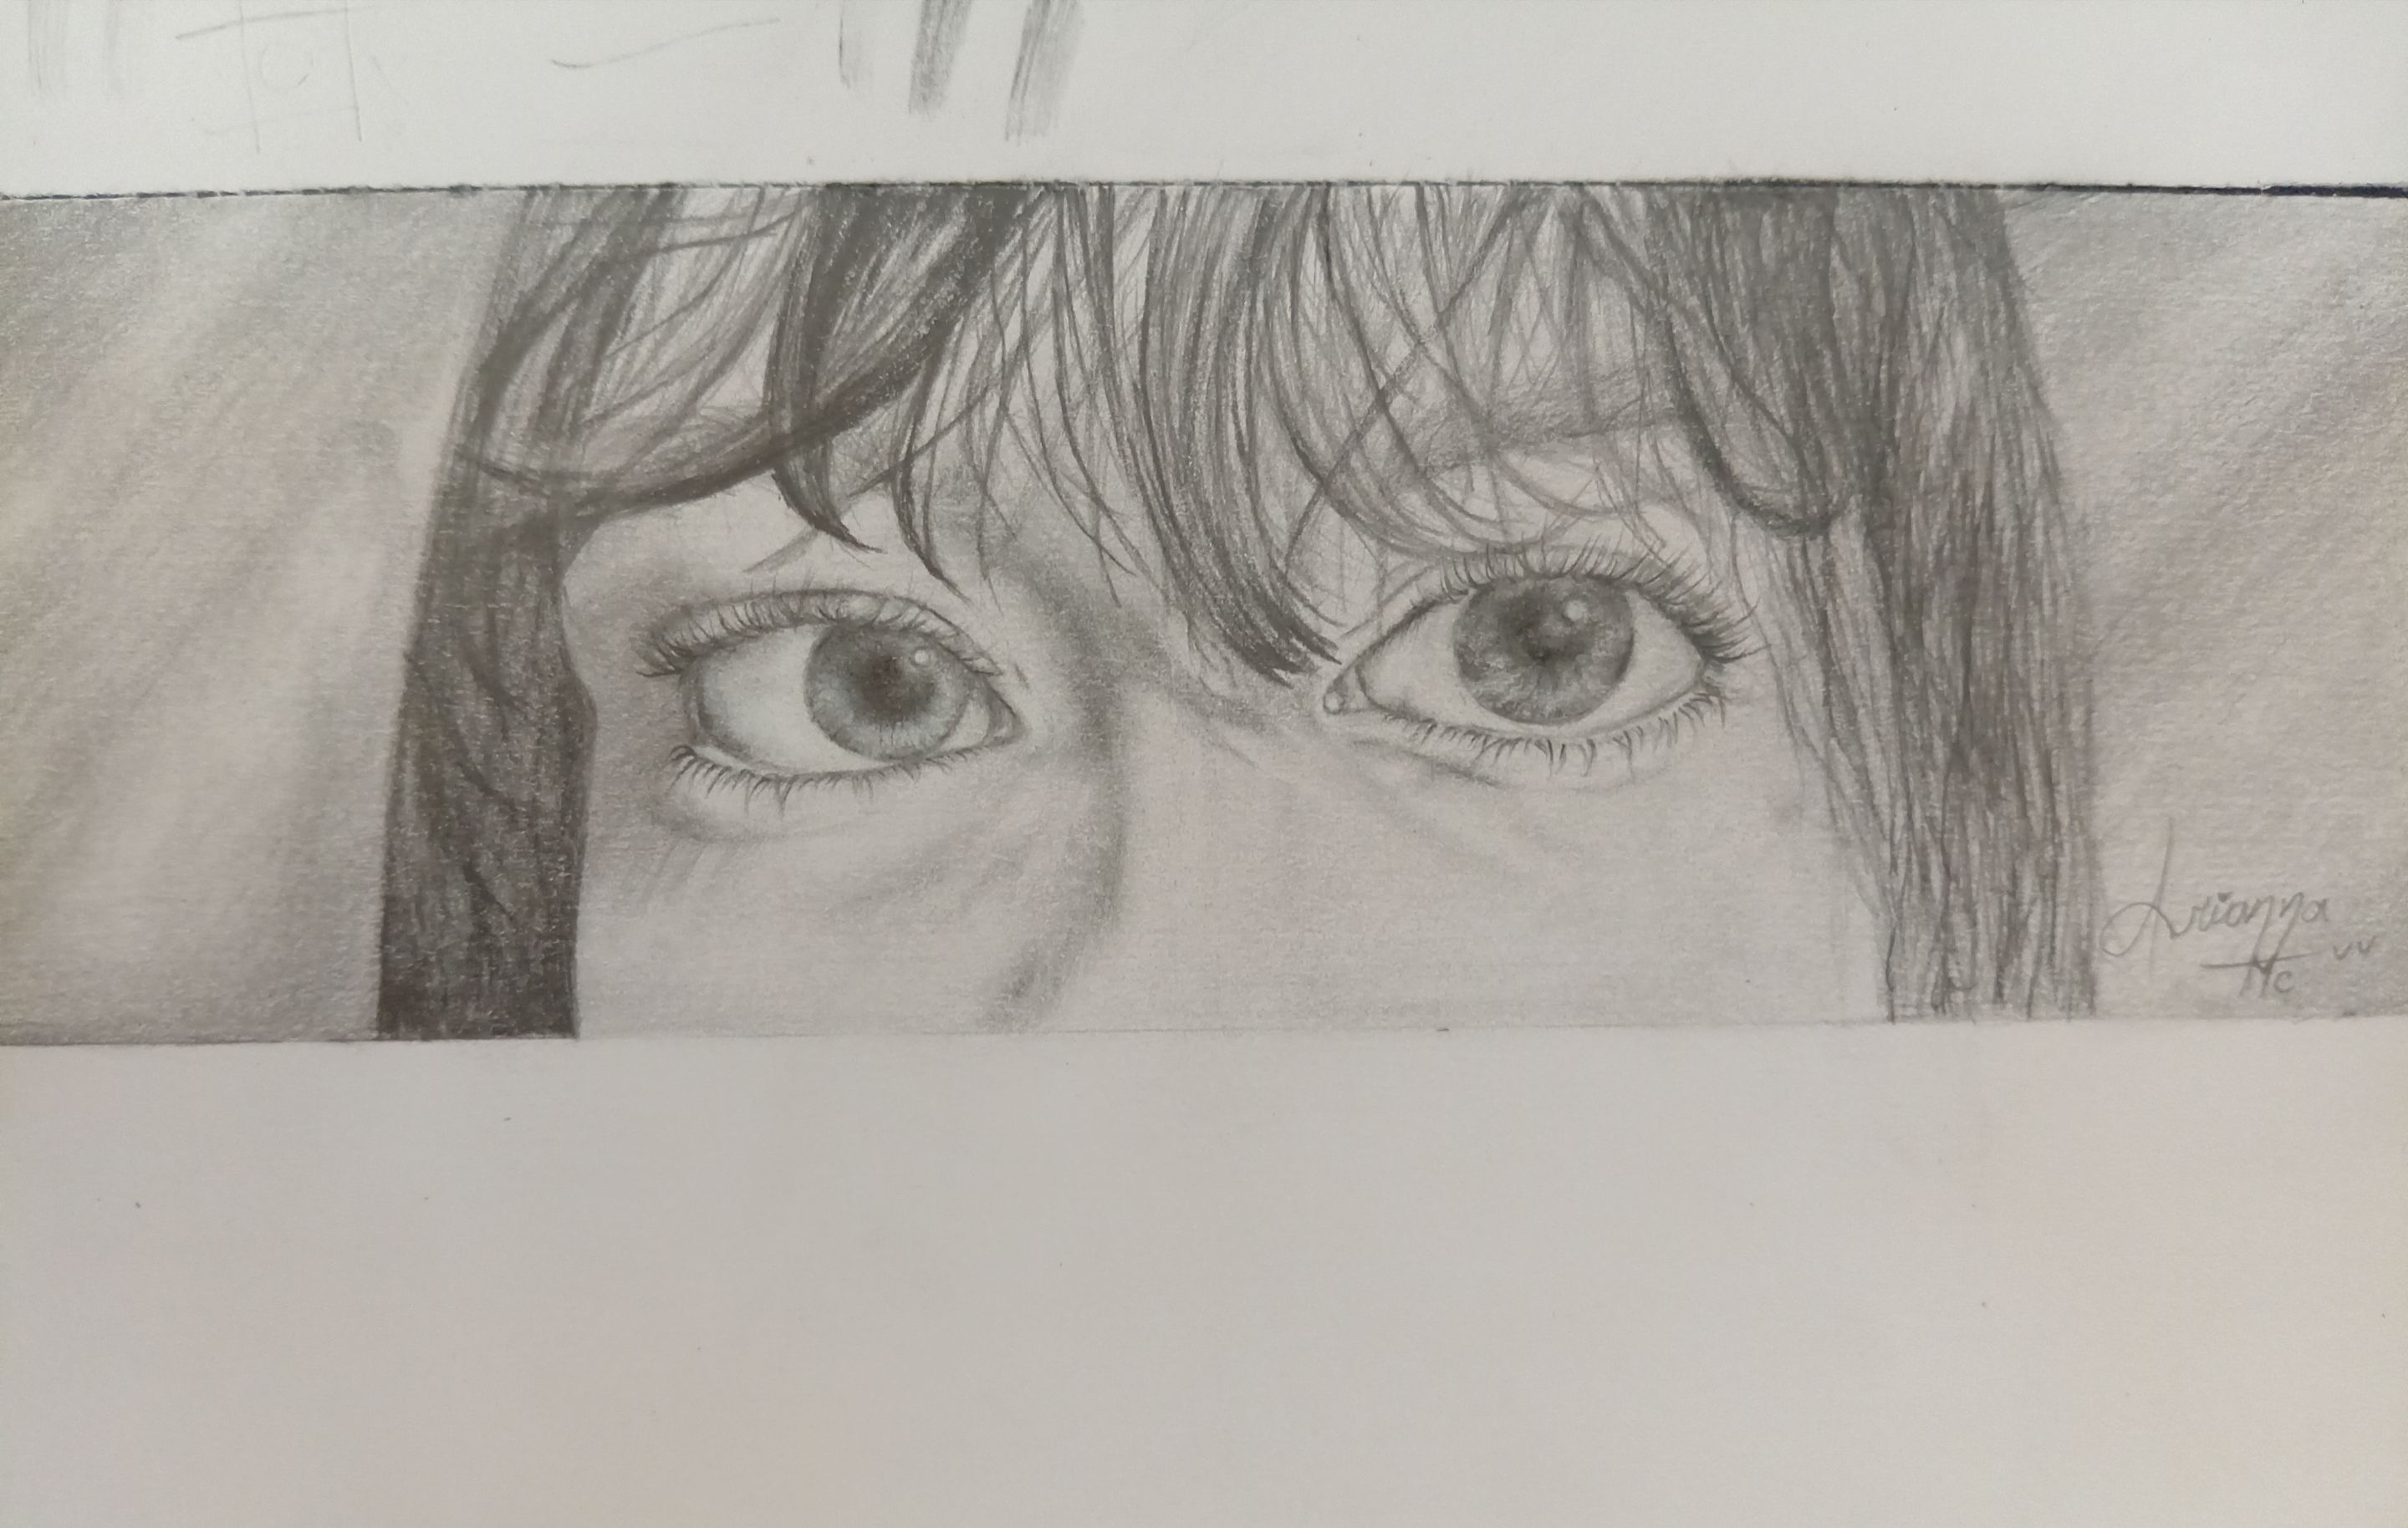 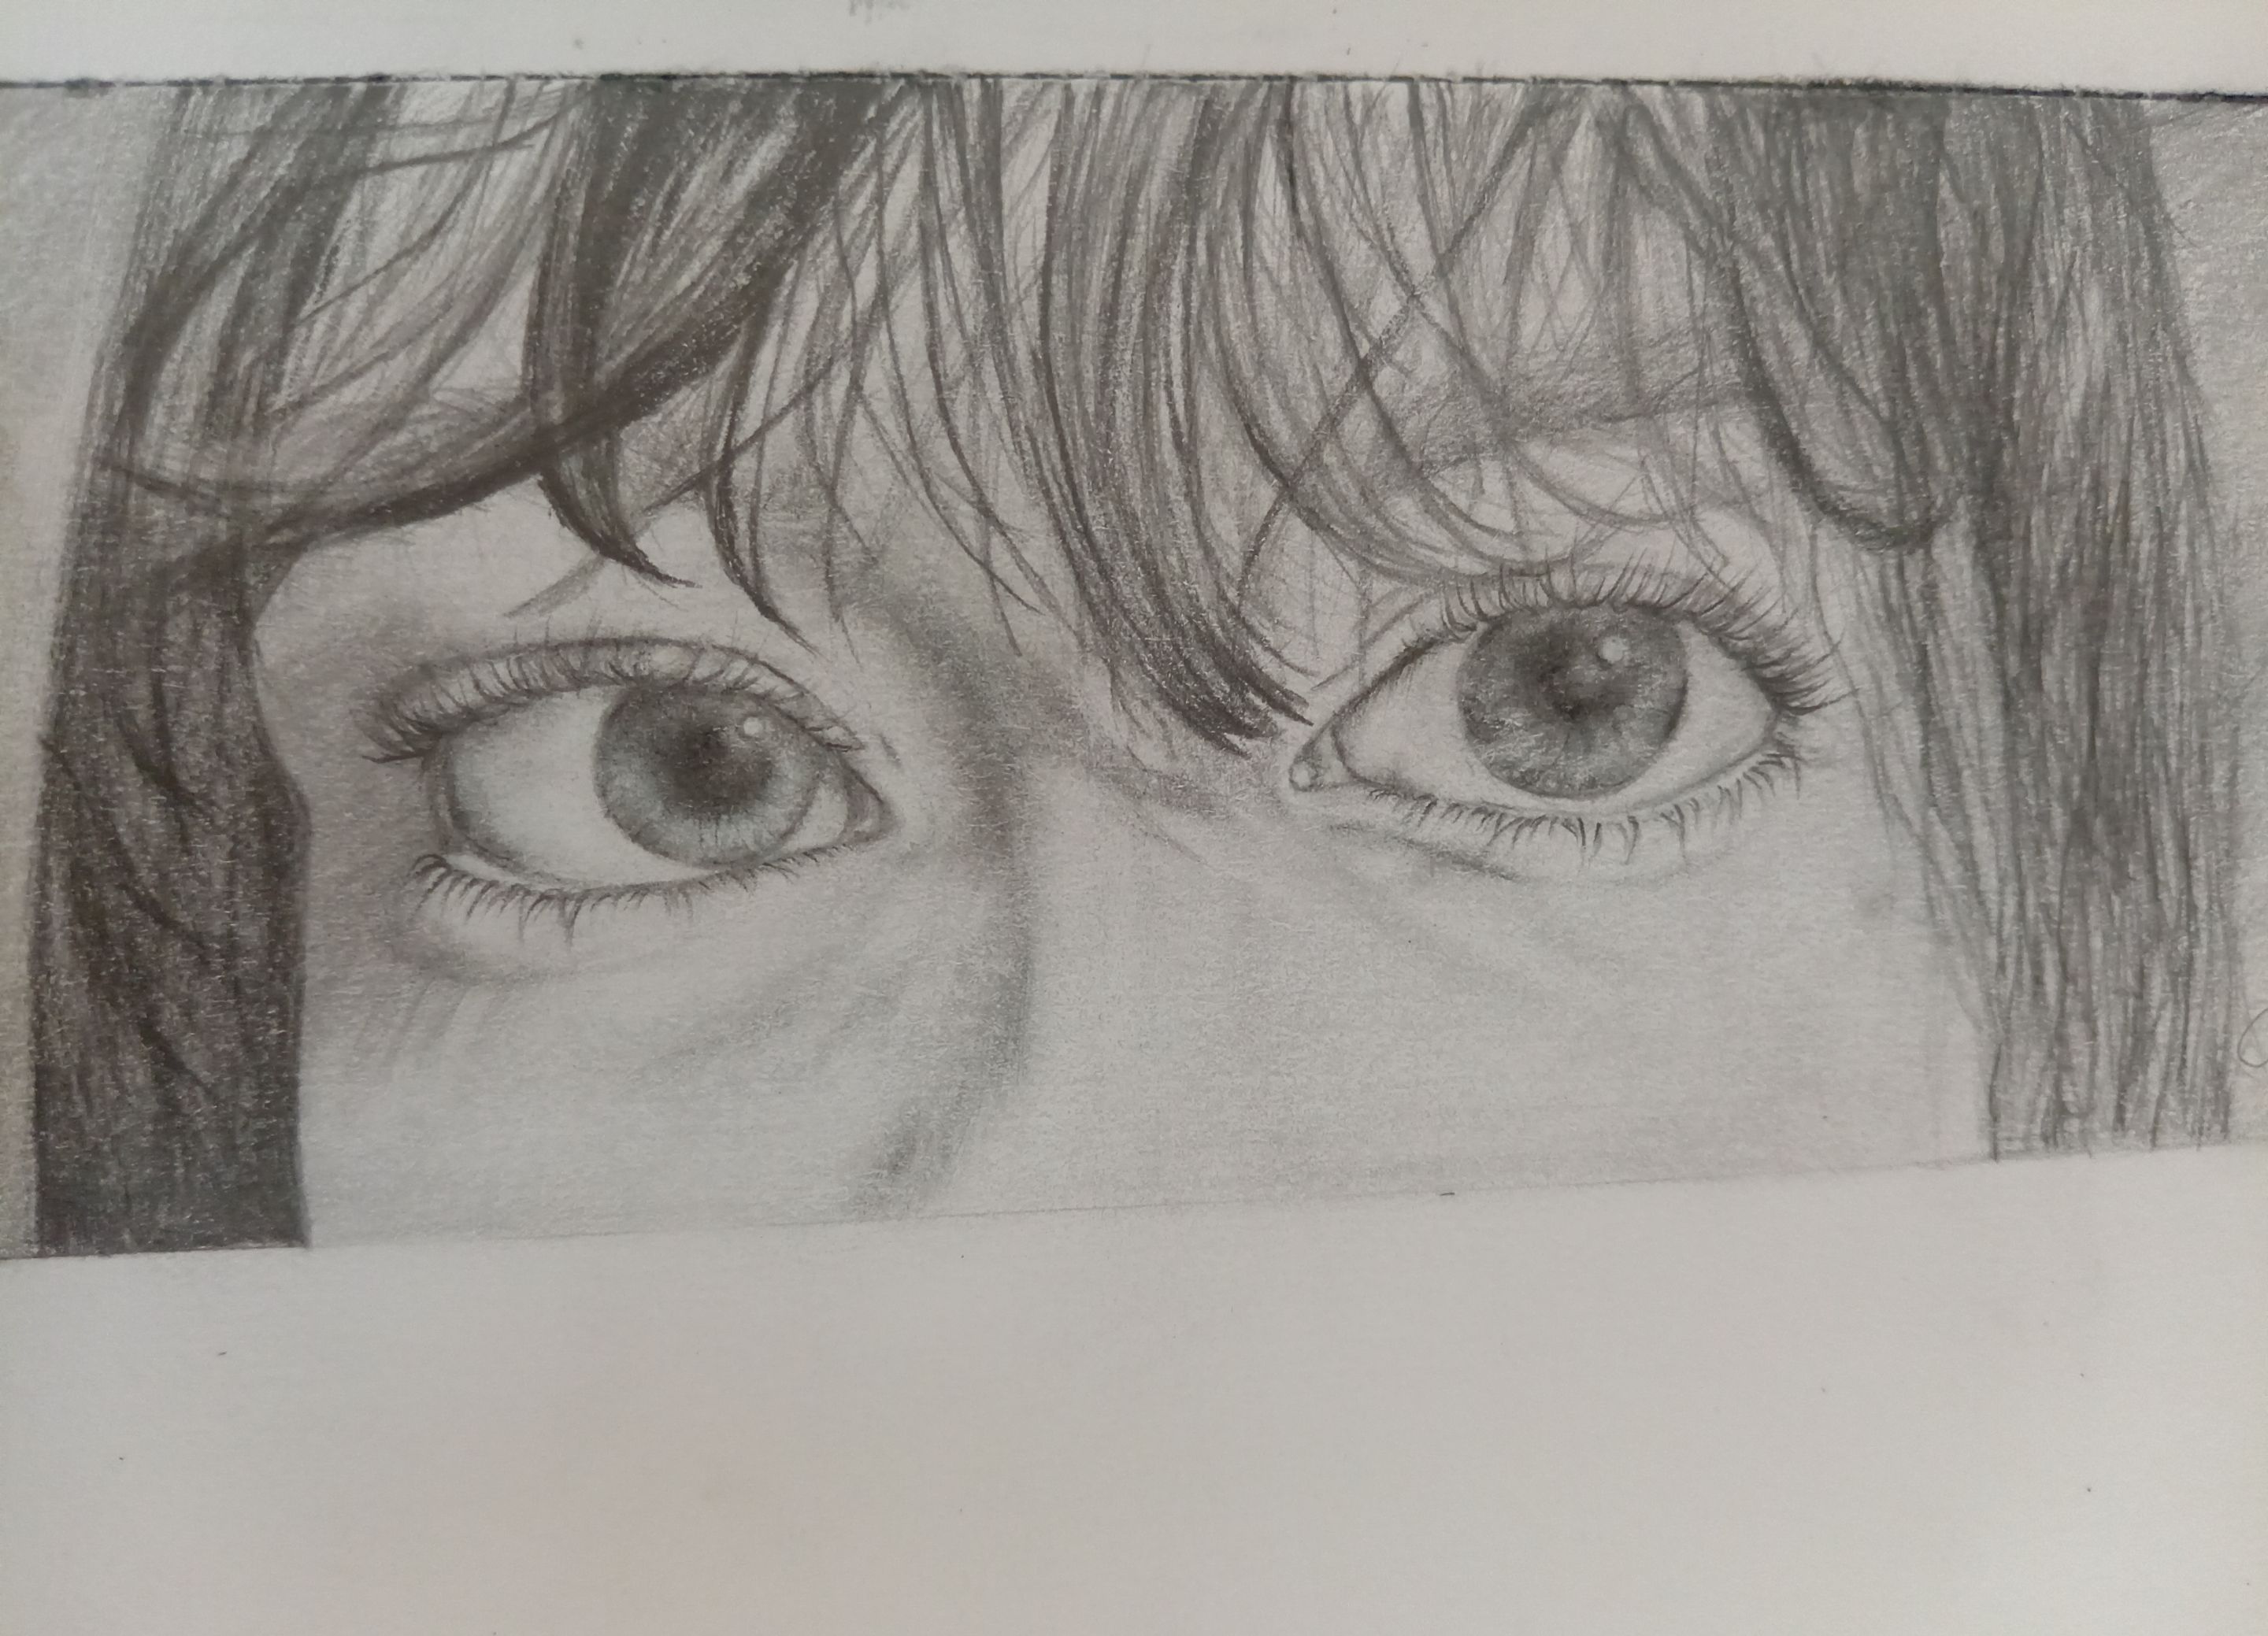
Después hice el otro ojo y lo terminé más rápido porque ya había practicado con el primer ojo, pero igual utilice las mismas técnicas de dibujo en los dos ojos, continue con la piel y el pelo, la piel fue difícil de hacer y creo que no me quedo tan bien, porque las sombras no me quedaron como quería, y el pelo al principio tampoco me gustaba, pero después de resibir al gunos consejos de cómo hacerlo mejor y lo borre un poco y lo mejore y quedó más bonito que antes, para terminar le hice las pestañas y últimos detalles, y así quedó espero que les haya gustado mucho, al final ami me gustó aunque no quedo igual que la referencia. Bueno amigos espero que les haya gustado mi dibujo y nos vemos en una próxima publicación,Chao✏️📒.   # ***Trying out my new graphite and charcoal pencils with a drawing***
Hello friends at @hivearte, how are you all? I'm doing very well. Today I'm stopping by to show you some graphite and charcoal pencils that I was given as a gift.  
My mom gave me these pencils along with other things for my 6th grade graduation. I really liked this gift because I needed graphite pencils to draw in black and white, although she pointed out that even if I didn't have them, I could still draw without them, just with a regular HB pencil. But if you have a range of pencils, the drawing looks more professional, even though I'm not a professional because I'm just learning about black and white drawing. The other pencils that came in the gift are charcoal pencils, which I honestly didn't even know existed. but I did some research and learned that they are like graphite pencils but with more intense textures in their strokes, and with the charcoal pencils came a white pencil that is used to highlight and, in some cases, blend light areas of the drawing.    
To try out these pencils, I wanted to draw my eyes, and I used a photo I had taken of myself some time ago as a reference. But before I started drawing, I made a color palette, or in this case, a shade palette, to determine the intensity and hardness of the strokes. I always do this every time I'm going to draw something so that it turns out better and I don't ruin it with a pencil or color that isn't right. although sometimes I still make mistakes because, as I said, I'm learning and we're not all perfect. Anyway, I started by dividing up the size of the drawing and then moved on to the sketch, trying to put everything in its place so that it would be as similar as possible to the reference. To begin with, I did the right eye using a new technique that I learned, but I don't know the name of it. but you can see it in the drawing, and so far this is the only photo I took at the beginning because as I'm drawing I forget to take them, so please forgive me for that, but let's continue with the drawing.    
Then I did the other eye and finished it faster because I had already practiced with the first eye, but I used the same drawing techniques for both eyes. I continued with the skin and hair. The skin was difficult to do, and I don't think it turned out very well because the shadows didn't turn out the way I wanted, and I didn't like the hair at first either. but after receiving some advice on how to do it better, I erased it a little and improved it, and it turned out prettier than before. To finish, I did the eyelashes and final details, and that's how it turned out. I hope you liked it a lot. In the end, I liked it even though it didn't turn out the same as the reference. Well, friends, I hope you liked my drawing, and I'll see you in my next post. Bye✏️📒. ***** 
Este post fue realizado en mi teléfono Honor X6s y en el Samsung A54 de mi mamá , usando las aplicaciones Canva para la edición de las imágenes. Traducción con DeepL. > No autorizo a usar mis fotos sin mi consentimiento y el de mi mamá @leidimarc. *** This post was created on my Honor X6s phone and my mom's Samsung A54, using Canva apps to edit the images. Translation by DeepL. > I do not authorize the use of my photos without my and my mom's consent @leidimarc.