**
INGLÉS
**
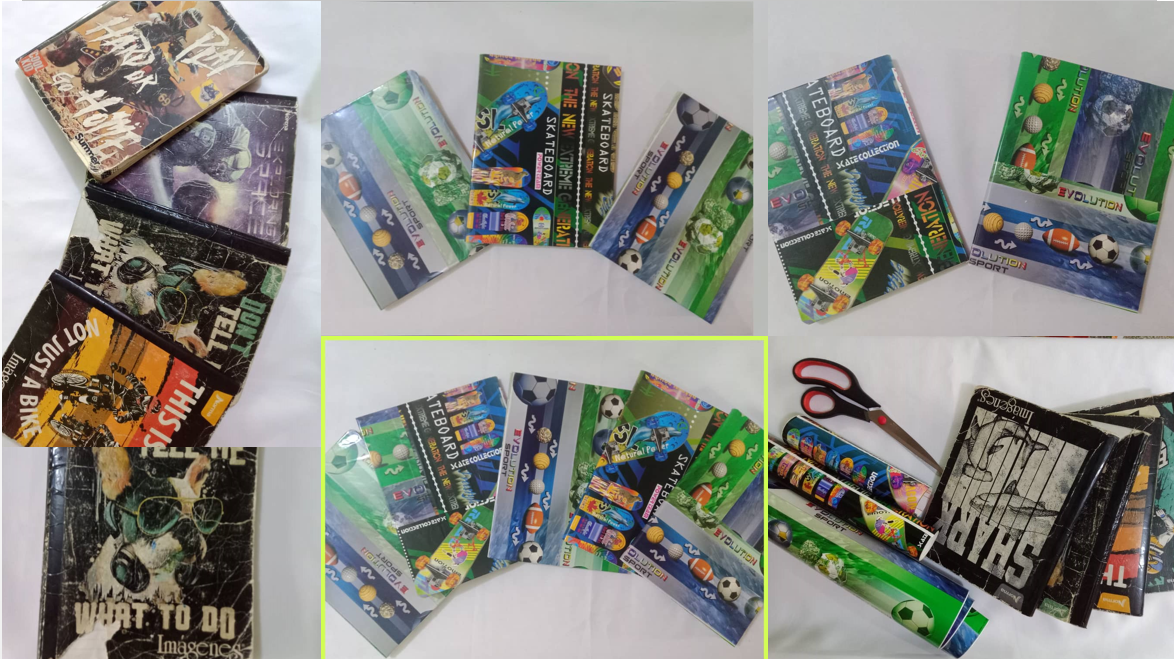
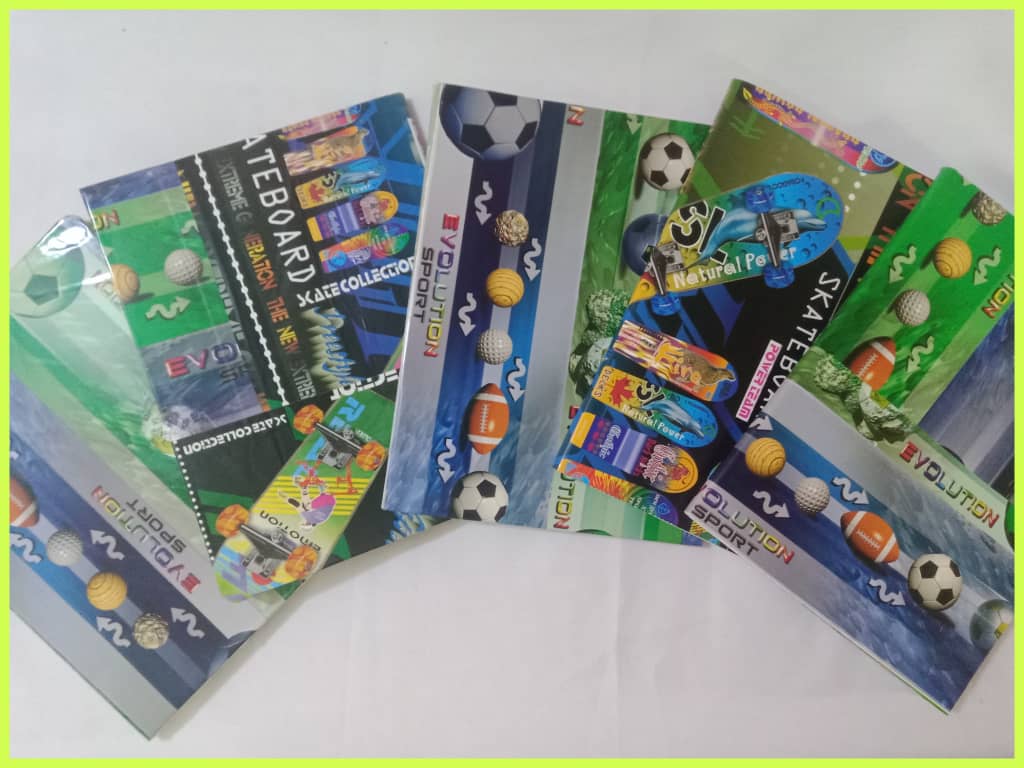
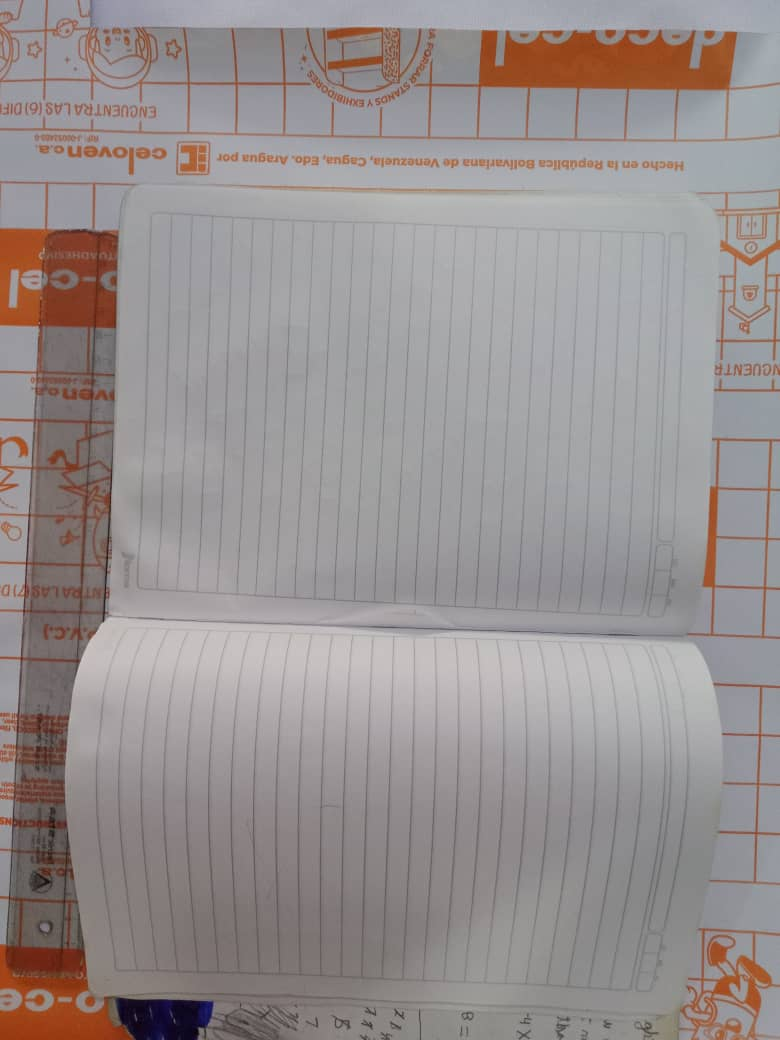
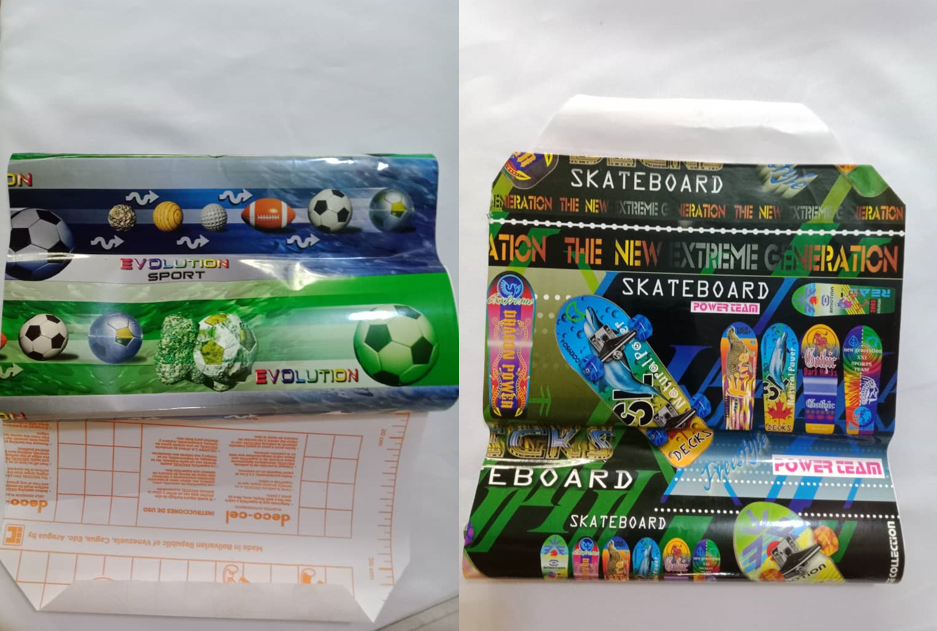
Hello, hello artisan friends and community @hivediy, it is a pleasure to greet you wishing you have an excellent and blessed weekend, this time I share a useful project for the children's return to school, it consists of repairing and covering notebooks to take advantage of the sheets that are left, during the vacation period I took the opportunity to review my son's notebooks and see which ones had enough sheets to use them at least during the first period and it turns out that many of them had blank sheets that could be used for the beginning of the school year, but due to the continuous use of the notebook some covers were worn, others broken and so I decided to cover them, the initial idea was to cover it with wrapping paper, then I remembered that in my craft box I had several leftover contact paper or self-adhesive, which I had bought several years ago when my child started school; I looked for my box and found one with a sports design and the other with a skateboard design. With this self-adhesive paper, I discarded the idea of using the wrapping paper and decided to give it another use for future projects. I invite you to join me in the process of covering and repairing the covers of the notebooks.
**
ESPAÑOL
**
Hola, hola amigos artesanos y comunidad @hivediy, es un placer saludarles deseando que tengan un excelente y bendecido fin de semana, en esta ocasión comparto un útil proyecto para la vuelta a clases de los niños, consiste en reparar y forrar los cuadernos para aprovechar las hojas que van quedando, en el período de vacaciones aproveché para revisar los cuadernos de mi hijo y ver cuáles tenían suficientes hojas para usarlas al menos durante el primer lapso y resulta que muchos de ellos tenían hojas en blanco que podían ser utilizadas para el inicio del año escolar, pero debido al uso del continuo del cuaderno algunas tapas estaban desgastadas, otras rotas y por ello decidí forrarlas, la idea inicial era forrarla con papel de regalo, luego recordé que en mi caja de manualidades tenía varios sobrantes de papel contact o autoadhesivo, que había comprado hace varios años cuando mi niño comenzó la escuela; busqué mi caja y encontré uno con diseño de deporte y el otro diseño de patineta, con este papel autoadhesivo, descarté la idea usar el papel de regalo y decidí darle otro uso para futuros proyectos, les invito me acompañen en el proceso para forrar y reparar las tapas de los cuadernos.

---
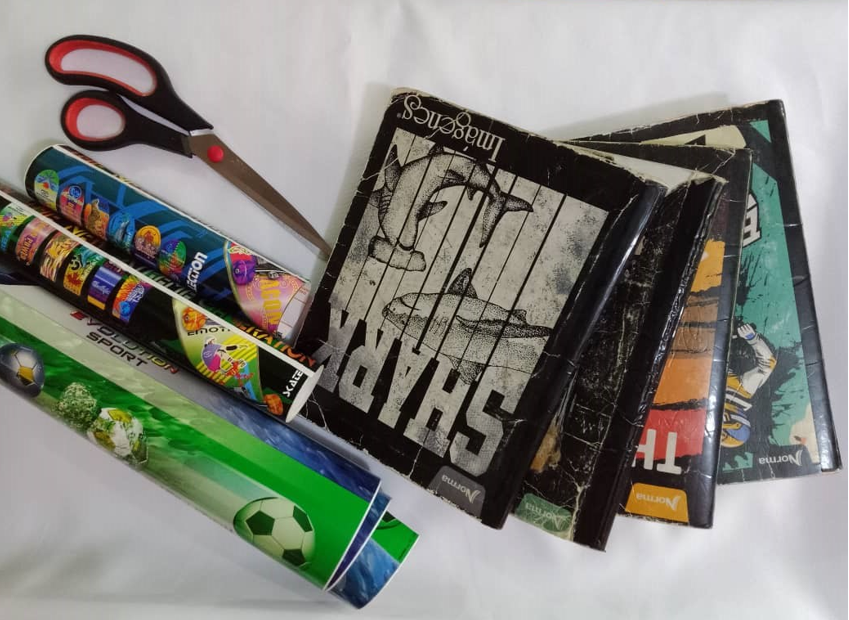
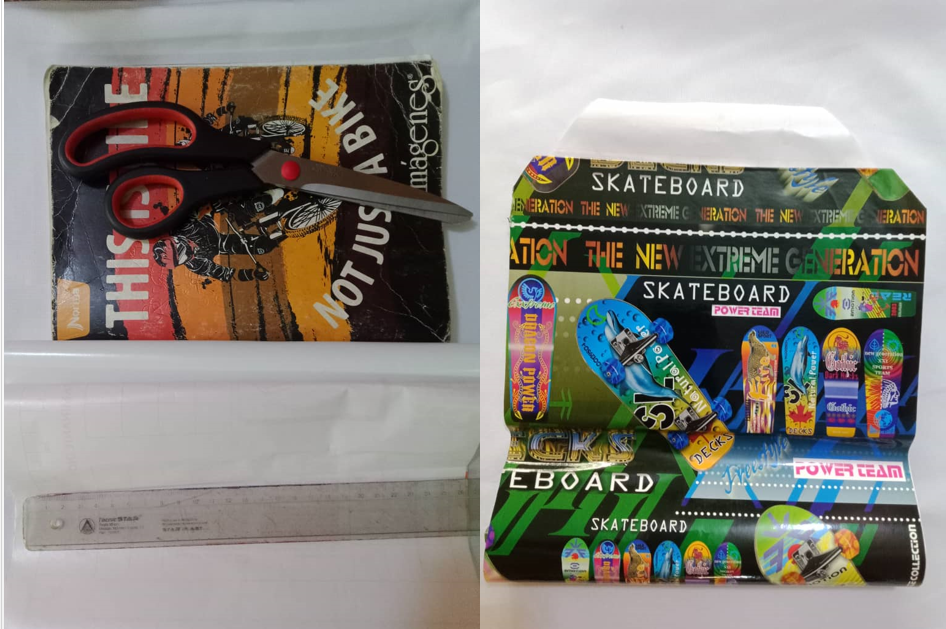
**MATERIALS**
Contact paper (self-adhesive)
Scissors
Ruler
Notebook
**MATERIALES**
Papel contact (autoadhesivo)
Tijera
Regla
Cuaderno o libreta
---
**Elaboration**
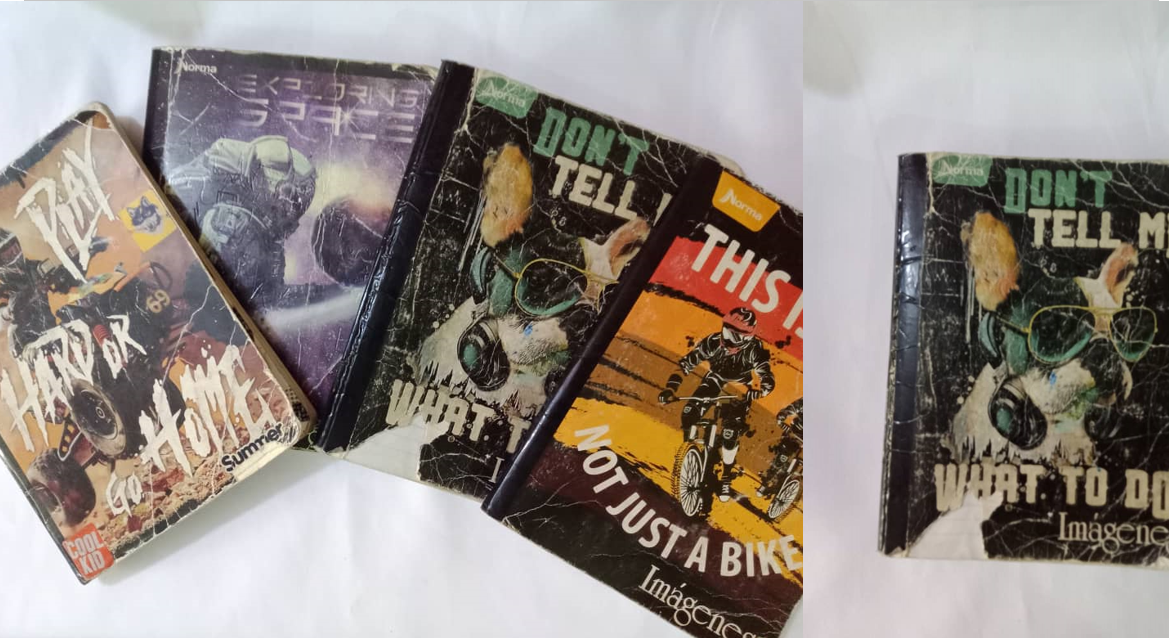
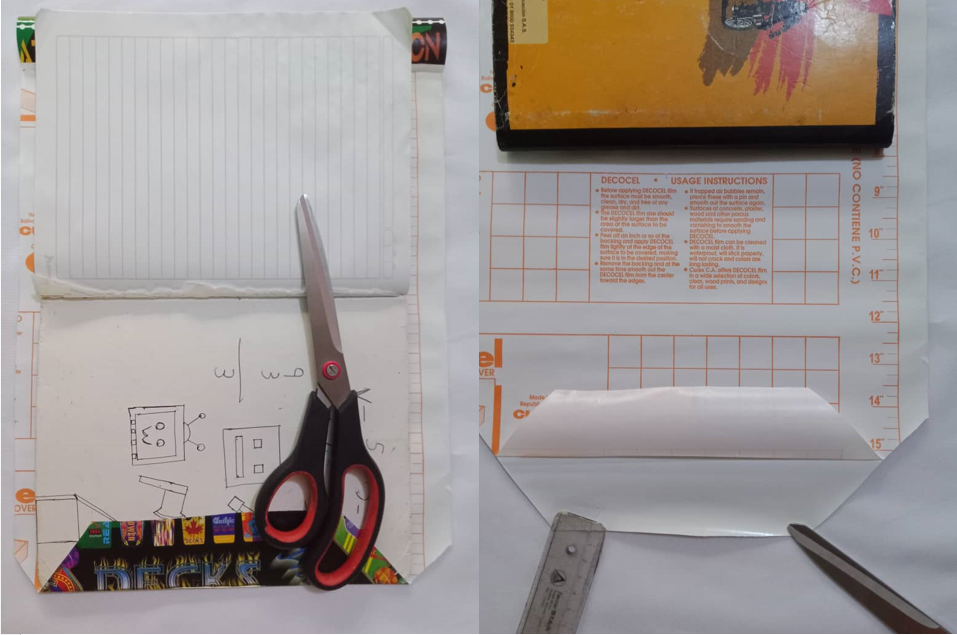
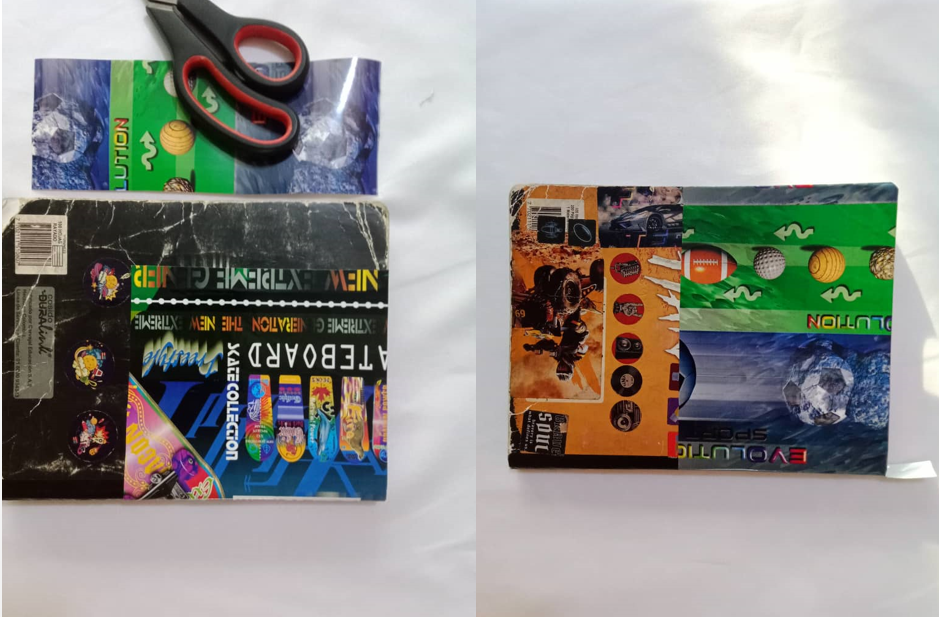
The first step was to check the condition of the notebooks and separate what needed repair and lining. Then I measured the width of the notebooks on the paper. Using a ruler, I marked a rectangle. When cutting the rectangle, I added a few centimeters to make the side, top, and bottom edges. I left a margin of approximately 3 and 4 centimeters on the sides and 2 and 3 centimeters on the top and bottom. Then I cut.
**Elaboración**
El primer paso fue verificar el estado de los cuadernos y separar lo que necesitaban reparación y forro, luego medí el ancho de los cuadernos en el papel, con una regla marqué un rectángulo, al momento de cortar el rectángulo hay que añadir varios centímetros para hacer las aristas laterales, superiores e inferiores para ellas dejé un margen aproximado de 3 y 4 cm en los laterales y de dos y tres en la parte de arriba y abajo, luego corté.
---
Once I cut the paper needed to cover the notebook, I started gluing it from back to front, this way it's easier for me and allows me to move faster, then I made a fold of approximately 3 centimeters to glue the first tab, very carefully I peeled off the waxed paper and I was gluing little by little on the notebook, as the cover is a little wrinkled and damaged you have to glue the paper slowly to avoid bubbles forming, in case there are bubbles, prick them with a needle and with the handle of the scissors we flatten until the bubble disappears, I also use the handle of the scissors to flatten the paper as I glue, this helps it stick very well and prevents the formation of air bubbles.
Cortado el papel necesario para forrar el cuaderno, inicié a pegarlo desde atrás hacia adelante, de esta forma me resulta más sencillo y me permite avanzar más rápido, luego hice un doblez de un doblez de aproximadamente 3 centímetros para pegar la primera pestaña, con mucho cuidado despegué el papel encerado y fui pegando poco a poco en el cuaderno, como la tapa está un poco arrugada y deteriorada hay que ir pegando el papel despacio para evitar que se formen burbujas, en dado caso que hayan burbujas, se pincha con una aguja y con el mango de la tijera aplanamos hasta que la burbuja desaparezca, también utilizo el mango de la tijera para ir aplanando el papel a medida que voy pegando, esto ayuda a que se pegue muy bien y evita la formación de burbujas de aire.

---
In the center or spine of the notebook, glue the paper, applying pressure to ensure it adheres properly. I made triangular cuts in the corners and a cut in the center to glue the back and top tabs, being very careful to avoid bubbles. I continued covering the front completely, just as I did on the back. I glued the side tabs and then the top and bottom tabs.
En parte central o lomo del cuaderno, se pega el papel haciendo presión para que quede bien pegado, hice cortes triangulares en las esquinas y también un corte en el centro para pegar las pestañas posteriores y superiores con mucho cuidado para evitar las burbujas, así continué forrando hasta cubrir totalmente la parte delantera, tal como lo realicé en el posterior, pegué las pestaña lateral y luego las pestañas superiores e inferiores.
---
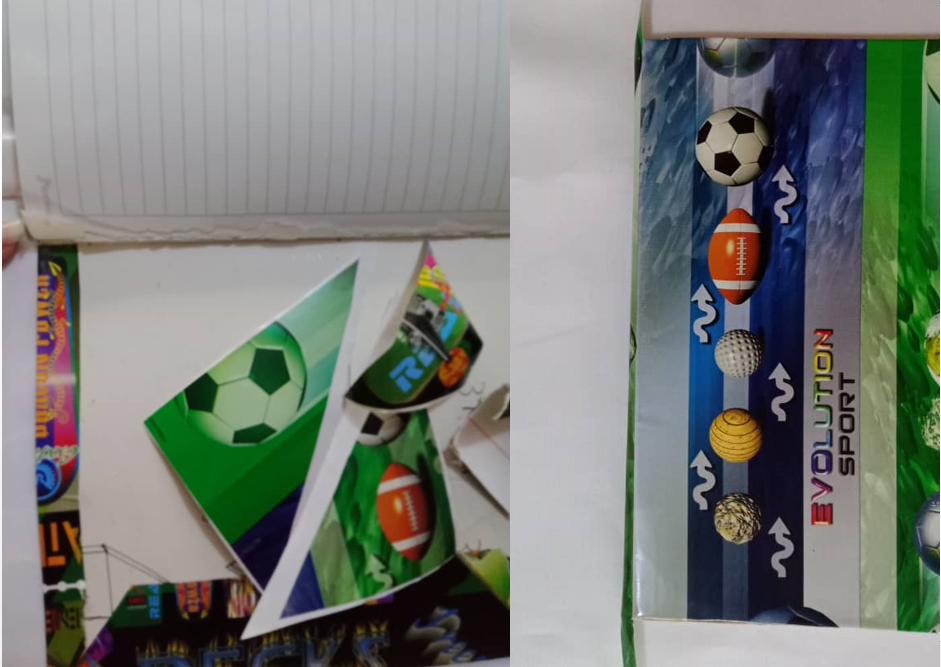
To repair the notebooks that were very torn, I used the leftover strips of contact paper from cutting the triangles. I glued one on the outside and another on the inside, covering the holes in the notebook. Then I cut off the excess. Once I had a complete cover without holes, I began the covering process just as I did with the other notebooks.
Para reparar los cuadernos que estaban muy rotos muy rotos utilice los restantes de papel contact al cortar los triángulos, pegué uno en la parte de afuera y otro en la parte de adentro y así cubrí los orificios del cuaderno, luego corté el sobrante, ya al tener la tapa completa y sin orificios inicié el proceso de forrado tal como lo hice con los otros cuadernos.
---
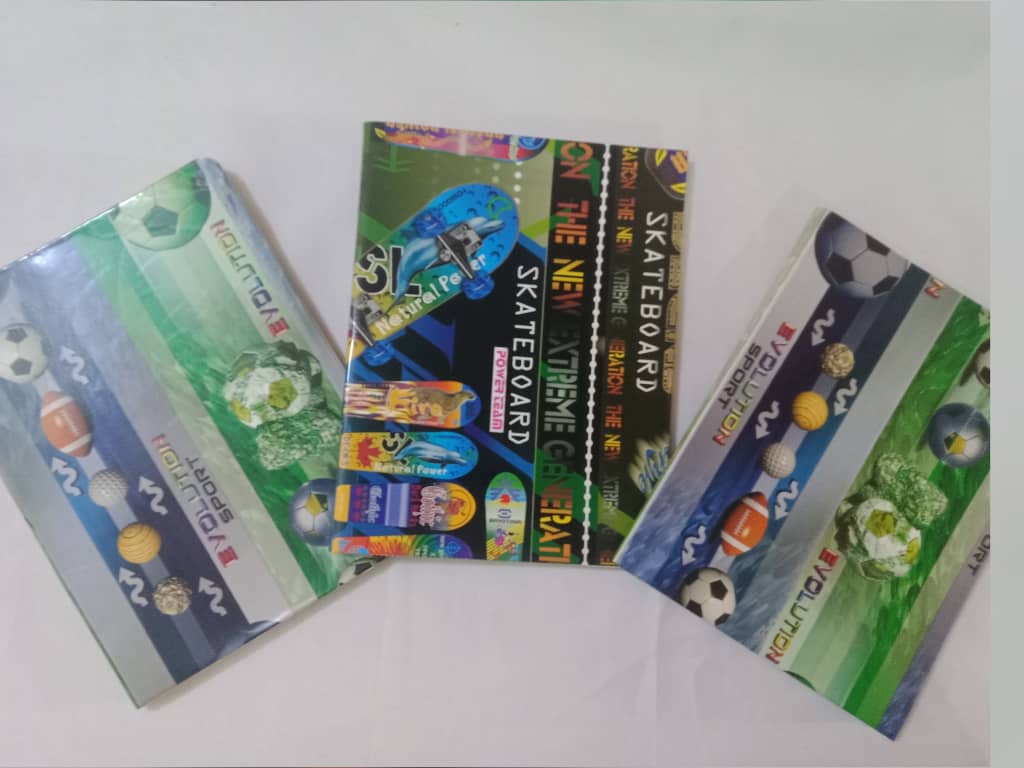
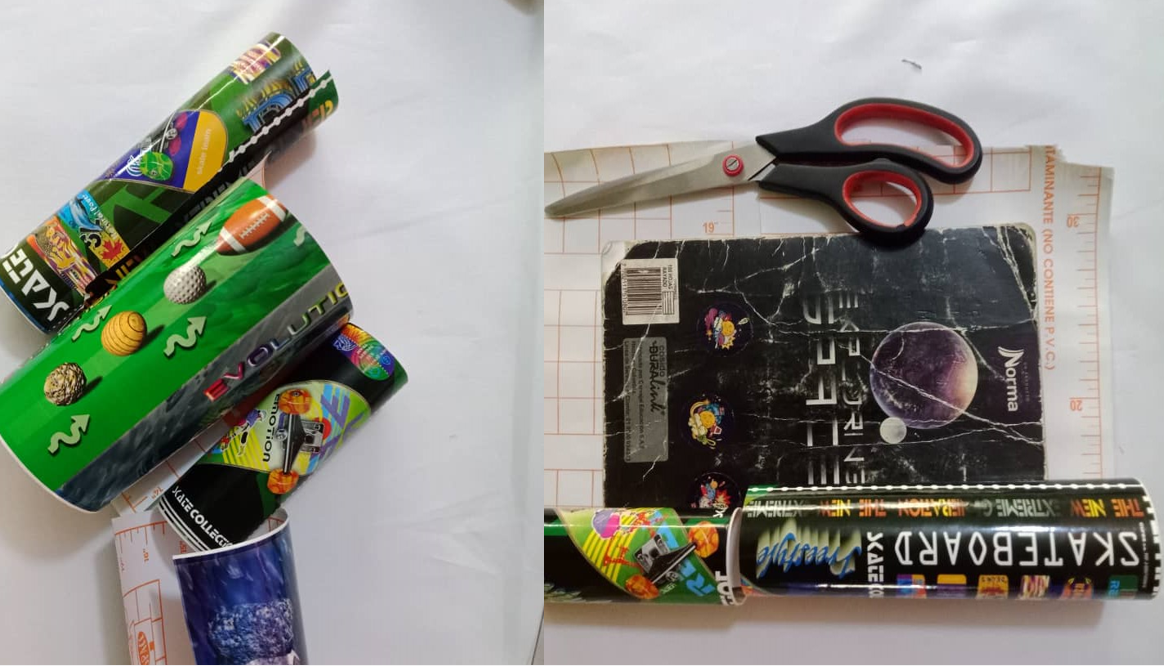
After covering three notebooks, I realized the paper wouldn't fit in a single rectangle, so for the remaining ones, I used the leftover strips. I started by gluing the back, lining until I reached the front, cutting in the center to remove the edges, and then the other strip of contact paper. I placed it one centimeter above the previous one. I gradually glued it until it was completely covered. When I reached the front, I glued the edges and made the cut in the center. With these simple steps, the notebooks are repaired and ready for back-to-school.
Al forrar tres cuadernos me di cuenta que el papel no iba a alcanzar en un solo rectángulo, así que para los restantes utilice las tiras sobrantes, inicié pegando en la parte de atrás, forré hasta llegar a la parte delantera, corté en el centro para sacar las aristas y luego la otra tira de papel contact, la monté un centímetro encima de la anterior, fui pegando progresivamente hasta cubrir totalmente y al llegar a la parte delantera pegué las aristas hice el corte en el centro y con estos sencillos pasos están reparados los cuadernos para la vuelta a clase.

---
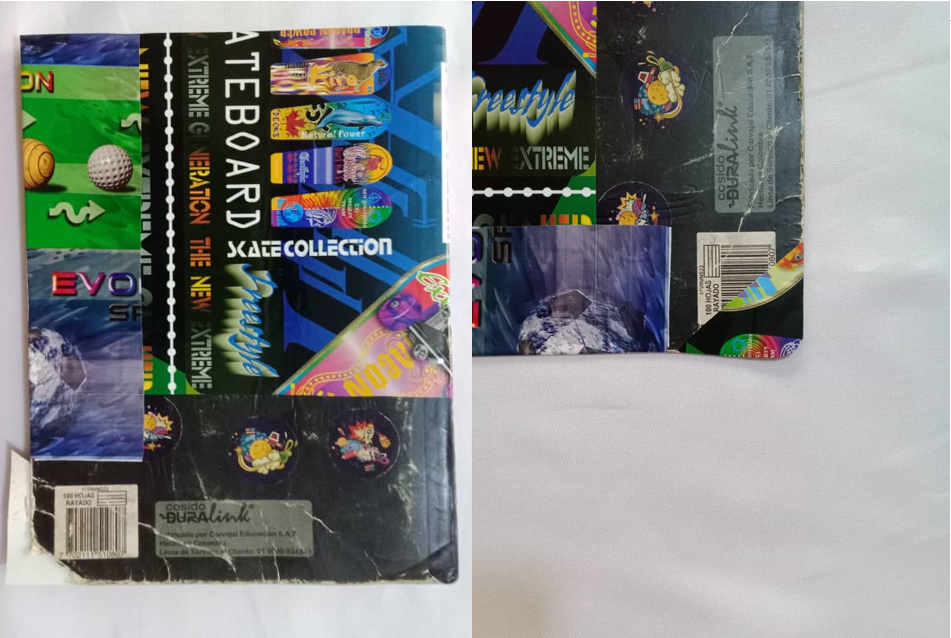
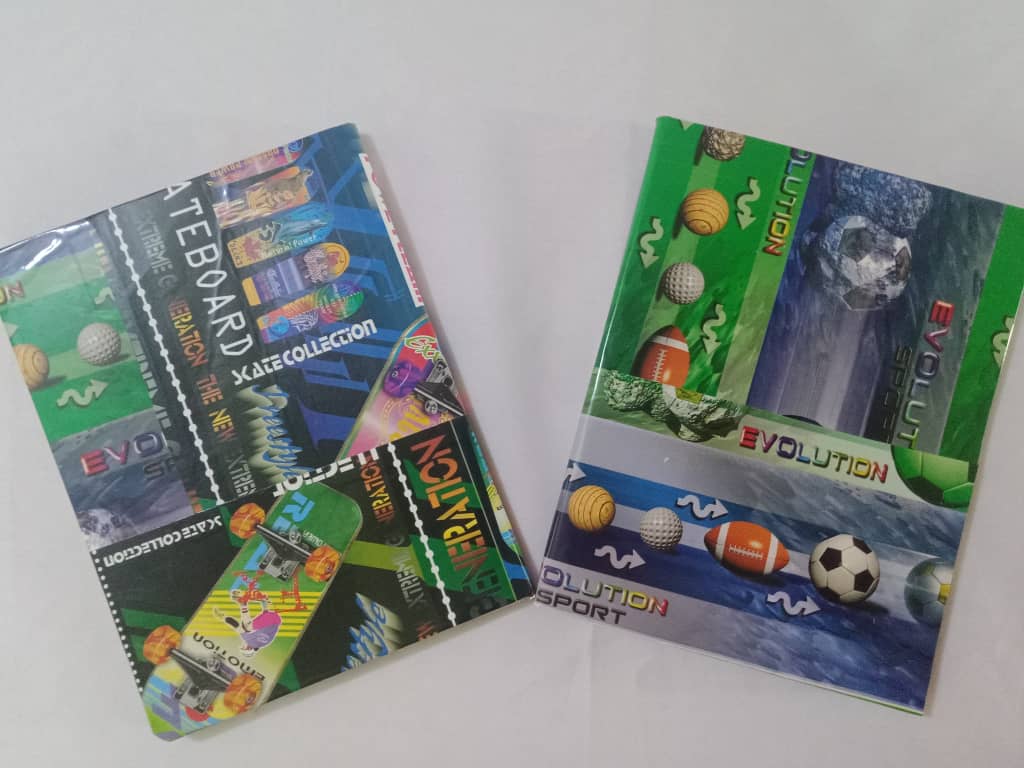
The notebooks look great and the ones with paper strips ended up with a different style. In one of them I had to combine the two designs, the skateboard and the sports one, and I liked the result; it's a beautiful contrast that gives the notebook a unique style. I hope this tutorial is useful for repairing your notebooks and making use of the remaining sheets. You can also save on buying school supplies. If you don't have self-adhesive, wrapping paper, colored cardstock, and others are excellent options for recovering and giving your notebooks a second chance.
Los cuadernos se ven muy bien y los que tienen tiras de papel quedaron con un estilo diferente, en uno de ellos tuve que combinar los dos diseños tanto el de patineta como el de deporte y me gustó el resultado es un hermoso contraste que le da un estilo único al cuaderno; espero este tutorial les sea de utilidad para reparar los cuadernos y aprovechar las hojas restantes, también ahorrar en la compra de útiles escolares, si no se cuenta autoadhesivo, el papel de regalo, cartulina de color, entre otros son excelentes opciones para recuperar y darle una segunda oportunidad a los cuadernos.


---
¡Bendiciones!
Blessings!
---

---
Translated with https://www.deepl.com/translator
All images are my own.
Todas las imágenes son de mi autoría.
#diy
#neoxian
#spanish
#hivediy
#creative
#hanmade
#manualidades
#ecency
#tutorial
#hive-130560
Payout: 12.342 HBD
Votes: 336
More interactions (upvote, reblog, reply) coming soon.