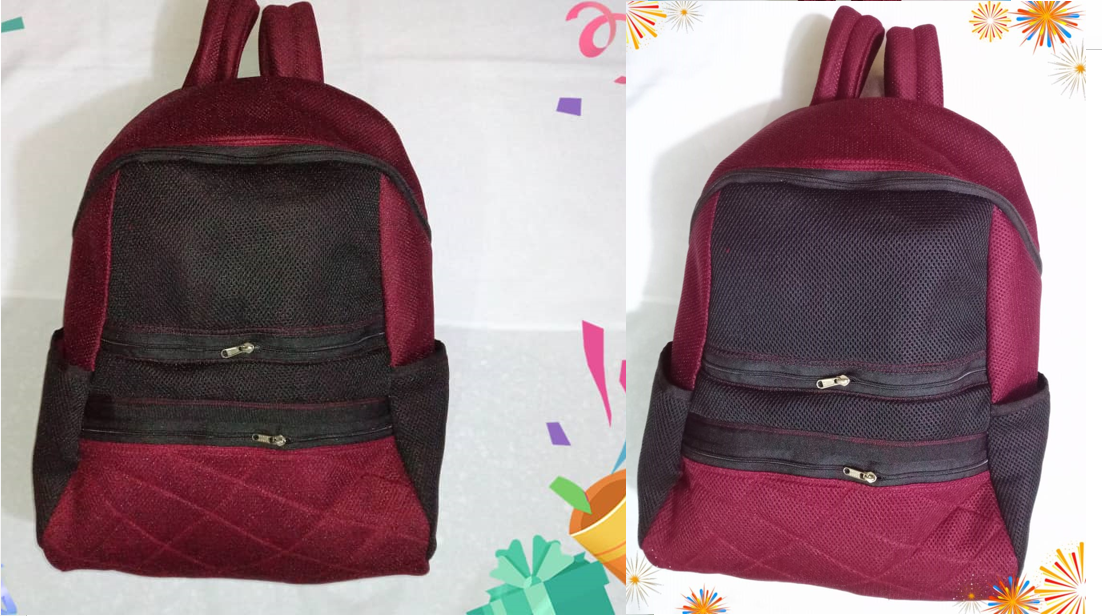

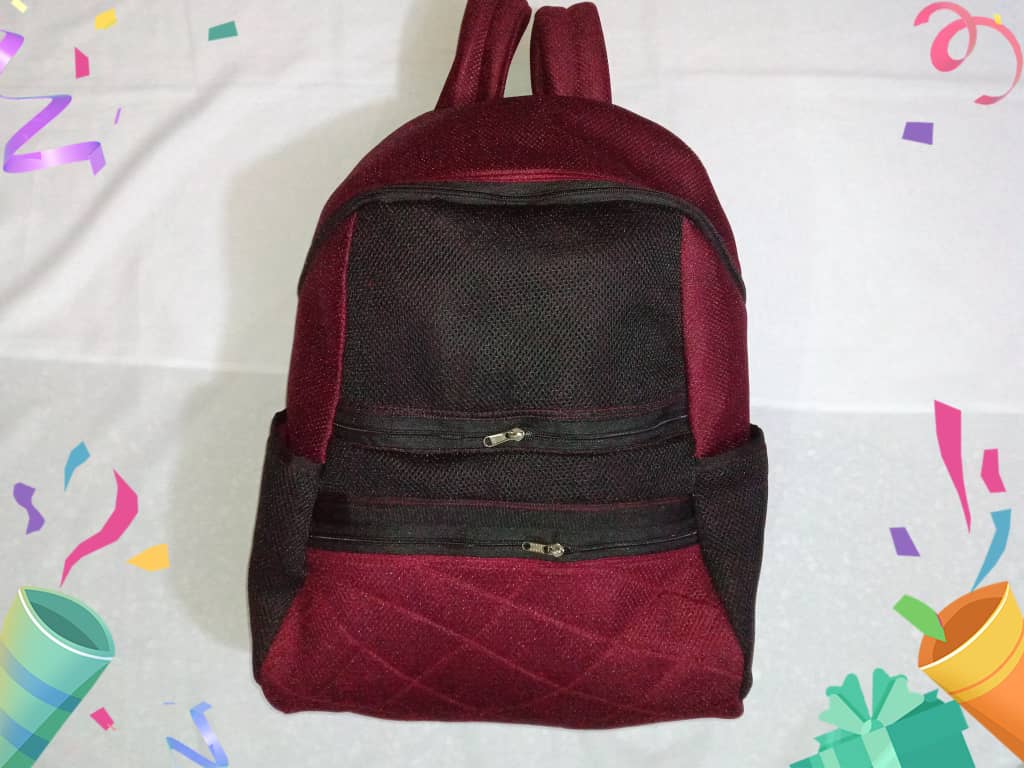
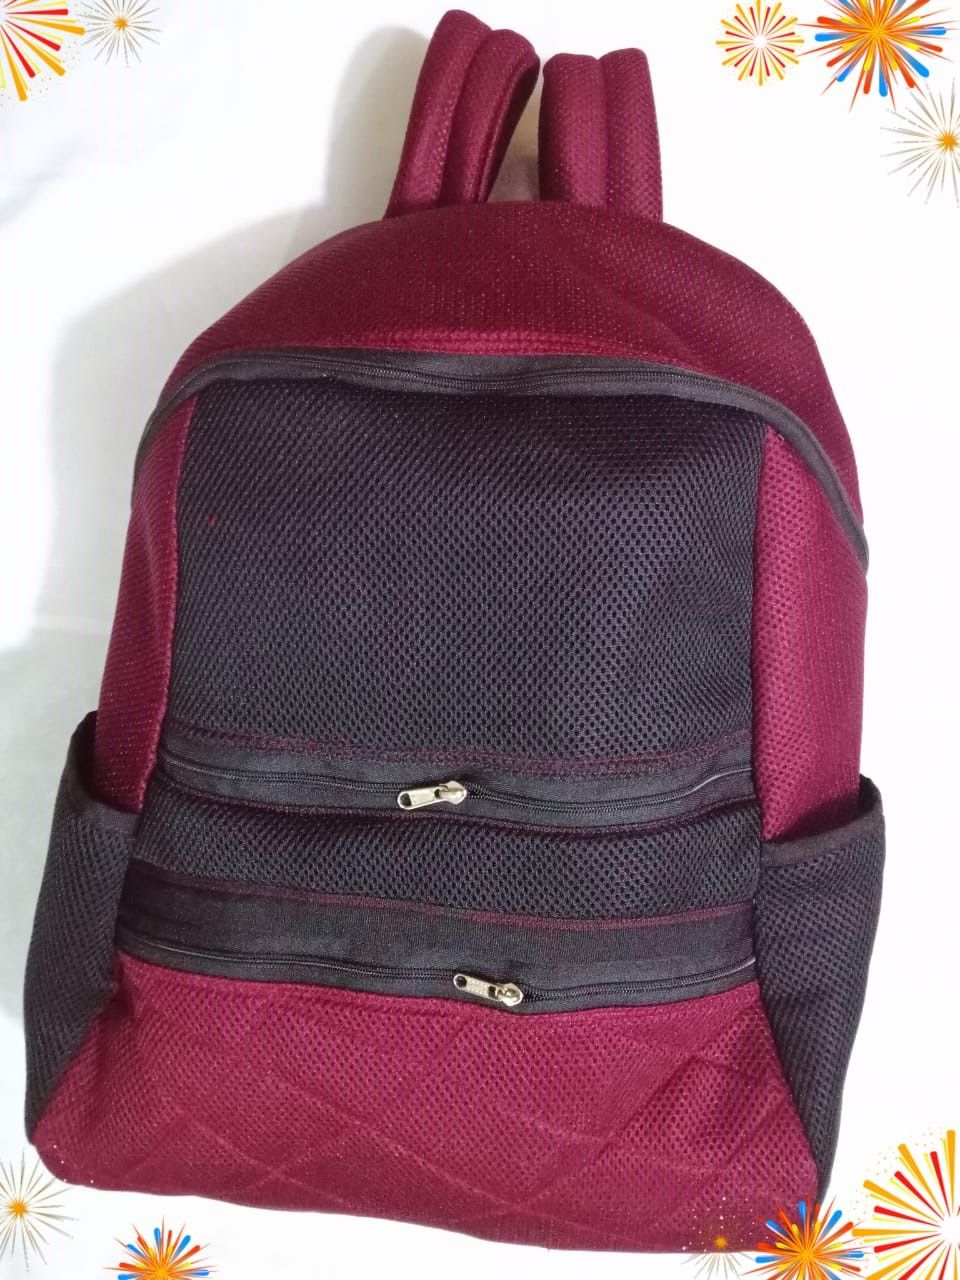
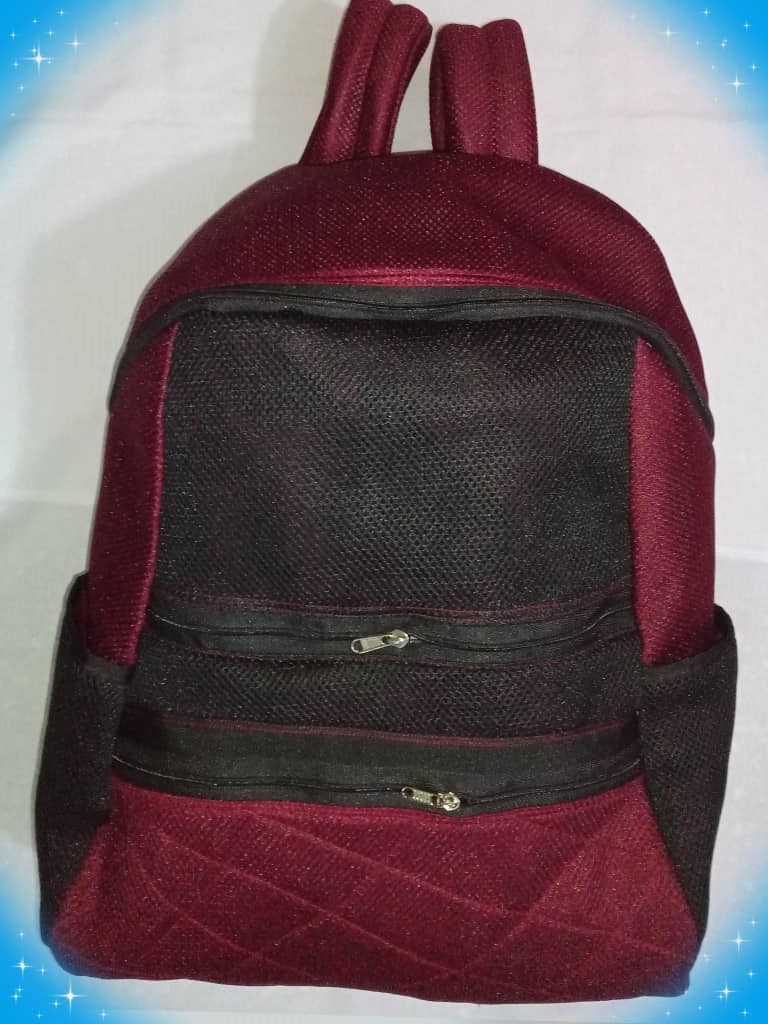
Hello, hello crafter friends and community @hivediy, I hope you have a happy and blessed weekend, I am happy to share a sewing project that I made for my son's return to school, it is a backpack that combines the colors wine and black, before this bag I made one in the colors blue and black, using the sandwich mesh fabric, as I have mentioned on repeated occasions I like this fabric for its durability, texture, thickness and ease of sewing; the bag is spacious and has side pockets to carry water, it also has two pockets in the front, the inside has enough space for notebooks and school supplies.
The bag pieces, I had cut them approximately two months ago and in the week that I cut them, I took the opportunity to make the handles, these have polyfoam inside, then I lined them with wine-colored sandwich mesh fabric, added the slides and poly tape; I do not have photographs of the process of making the handles but their elaboration is quite simple, cut the pieces in polyfoam, they are lined with fabric facing the right sides, leaving the top part unsewn, through this opening the polyfoam is inserted, I helped myself with a height stick, at the bottom the poly tape is placed with the slides, I made two seams with a straight stitch and thus the handles are assembled with their respective slides and poly tape, I invite you to join me in the process of making this beautiful school backpack.

Hola, hola amigos artesanos y comunidad @hivediy, espero que tengan un feliz y bendecido fin de semana, me siento feliz de compartir un proyecto de costura que hice para la vuelta a clase de mi hijo, es un morral que combina los colores vino y negro, anterior a este bolso hice uno en los colores azul y negro, utilizando la tela malla sándwich, como he mencionado en reiteradas oportunidades me gusta esta tela por su durabilidad, textura, grosor y facilidad para coser; el bolso es amplio y con bolsillos laterales para llevar el agua, también tiene dos bolsillos en la parte delantera, el interior tiene suficiente espacio para los cuadernos y útiles escolares.
Las piezas del bolso, las había cortado hace aproximadamente dos meses y en la semana que las corté, aproveché para hacer las asas, estas tienen en el interior poli espuma, luego las forré con tela malla sándwich en color vino, agregué las correderas y cinta poli; del proceso de elaboración de las asas no tengo fotografías pero su elaboración es bastante sencilla, cortadas la piezas en poli espuma, se forran con tela enfrentando los derechos, dejando la parte de arriba sin coser, por esa abertura se introduce la poli espuma, yo me ayudé con un palillo de altura, en la parte inferior se coloca la cinta poli con las correderas, pasé dos costuras con puntada recta y así están ensambladas las asas con las respectivas correderas y cinta poli, les invito me acompañen en el proceso de elaboración de este hermoso morral escolar.

---
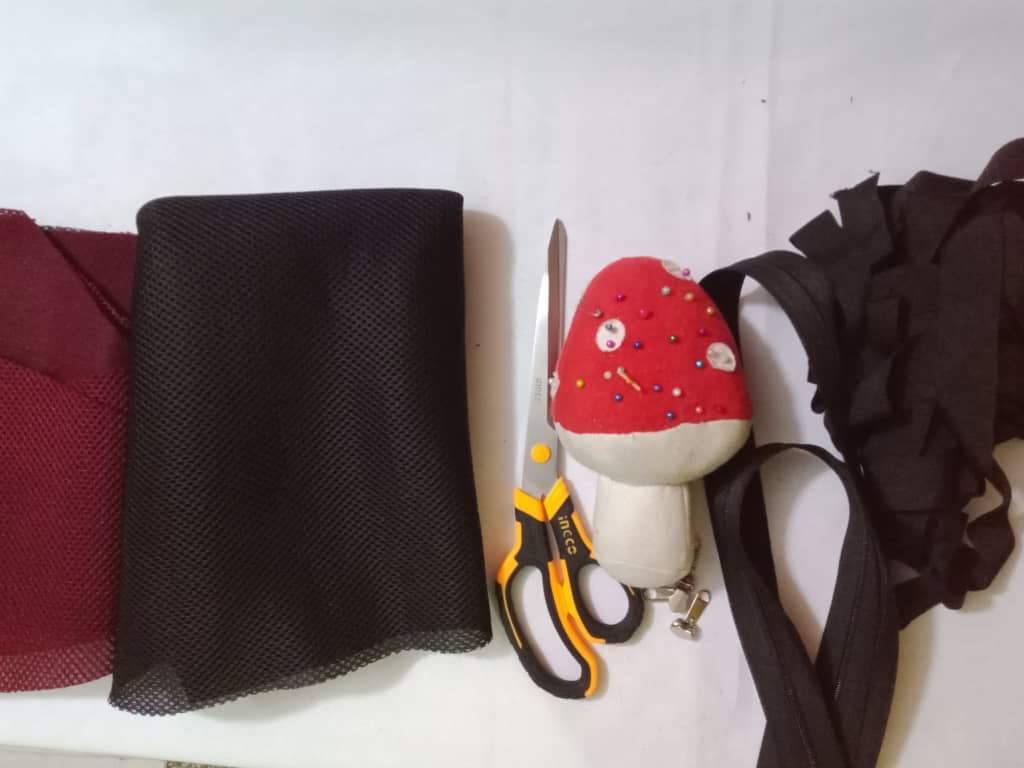
**The materials used were:**
Sandwich mesh fabric (wine and black)
Closure
Slider
Seam seal
Gray and wine-colored gabardine fabric (for the lining)
Template
Scissors
Soap
Sewing machine
Pins
Clamps
**Los materiales usados fueron:**
Tela malla sándwich (vino y negro)
Cierre
Slider
Tapa costura
Tela gabardina gris y vino (para el forro)
Molde
Tijera
Jaboncillo
Máquina de coser Alfileres
Pinzas

---
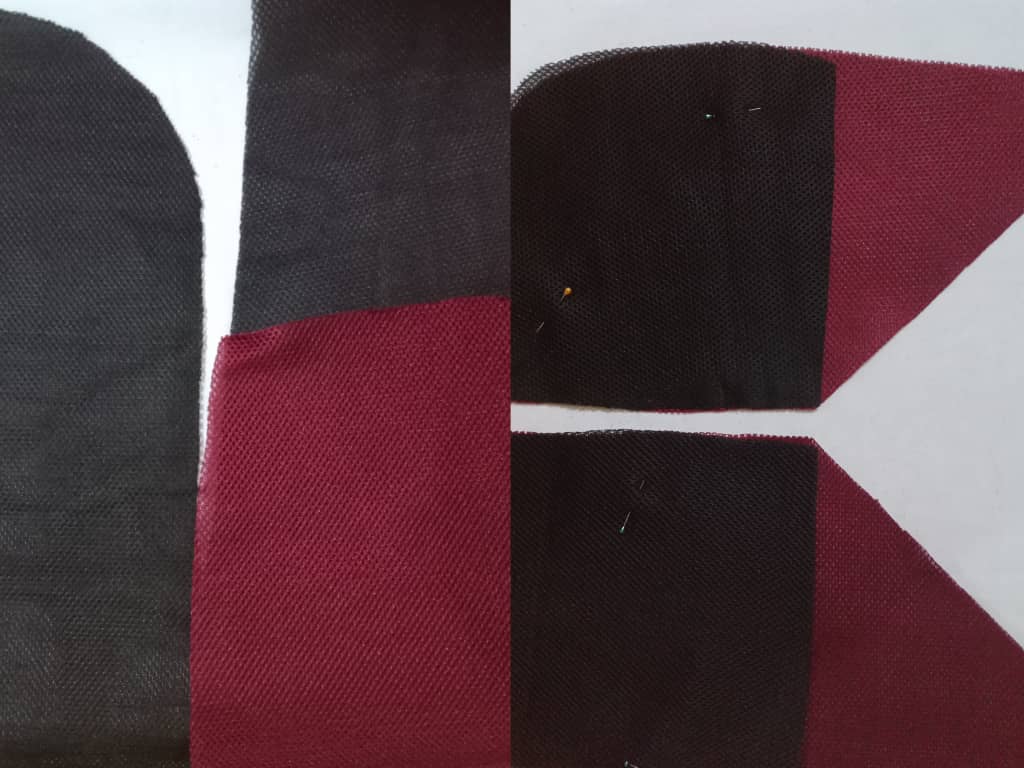
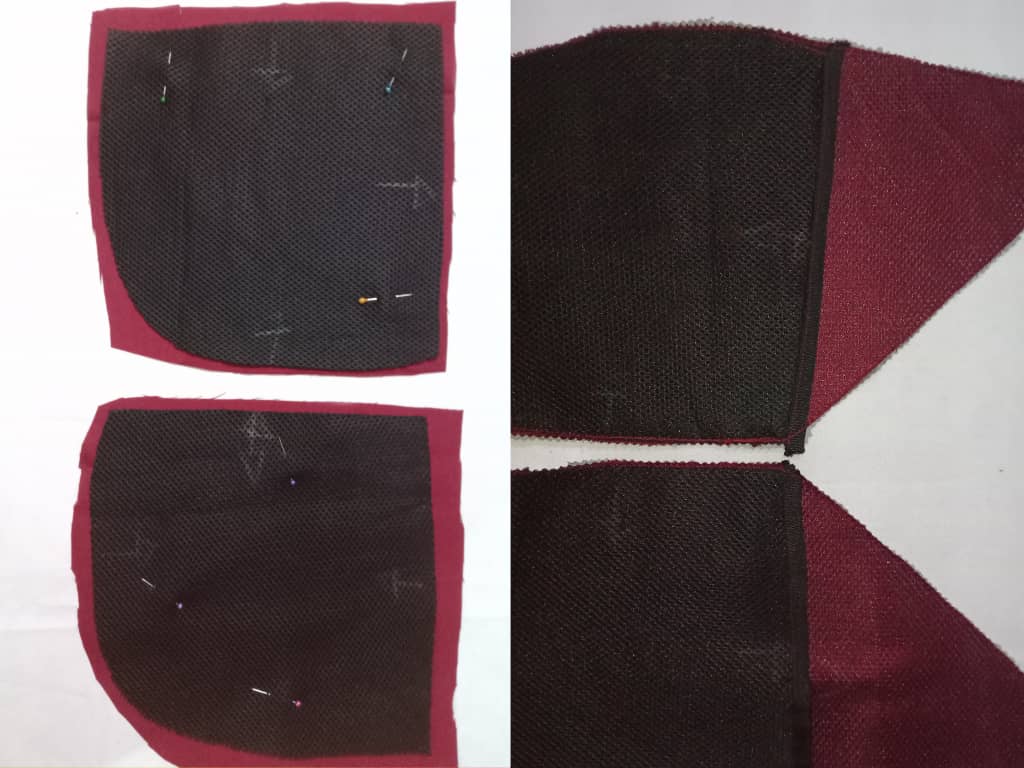
I started by cutting the bag pieces: the front, back, side pockets, and gusset. I also cut the lining for each of these pieces.
Once the pieces were cut, the next step was to glue the zipper to the front pockets. To do this, I made a cut in the front and front pocket pieces. I placed the zipper facing the right sides of the fabric with the right sides of the zipper. I pinned it in place, sewed with a straight stitch, then turned it over and resewed.
Inicié cortando las piezas del bolso; delantero, posterior, laterales bolsillos y fuelle, también corté el forro de cada una de estas piezas.
Cortadas las piezas, el siguiente paso fue pegar el cierre en los bolsillos delanteros, para ello hice un corte en la pieza delantera y en el bolsillo delantero, coloqué el cierre enfrentando derecho de la tela con derecho del cierre, sujeté con alfileres cosí con puntada recta luego volteé y repise,

---
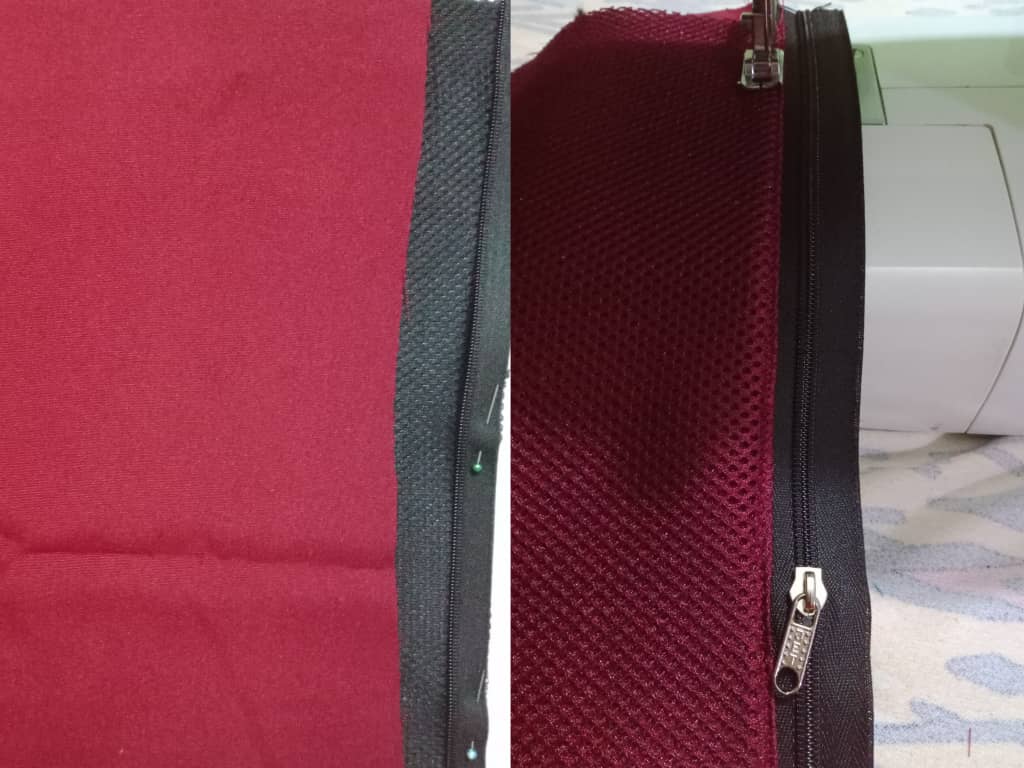
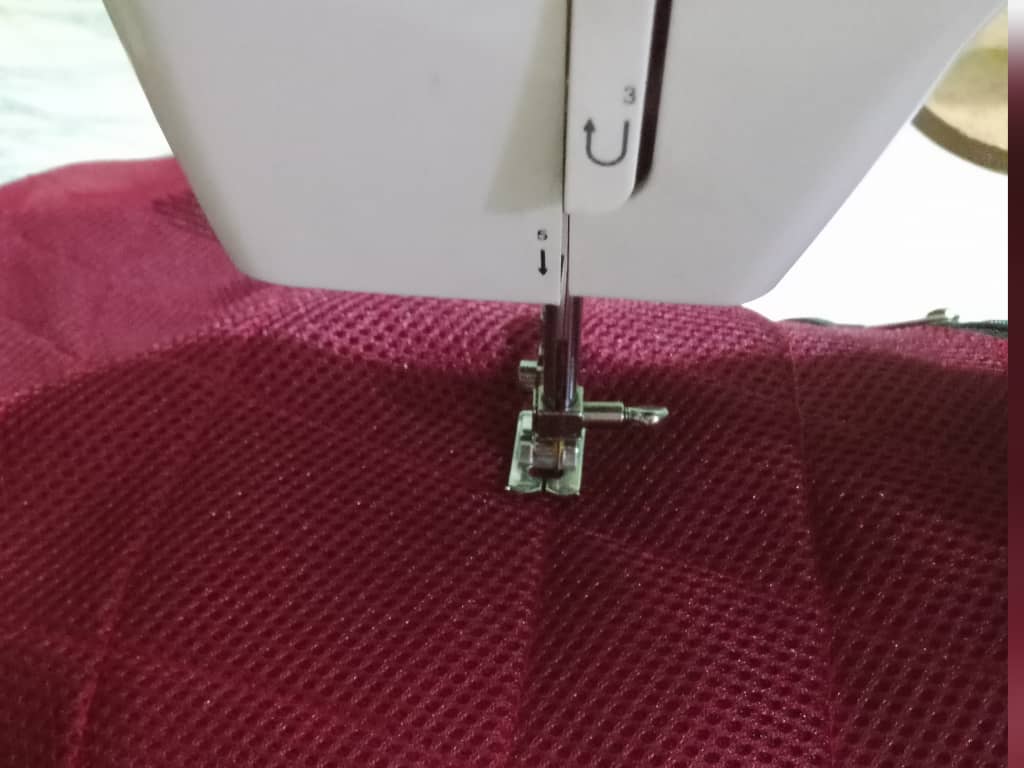
To give it a different style, I drew several straight seams on the lower front pocket, which is wine-colored, then I glued the closure. On the top, I placed a ribbon to cover the edge of the closure and attach it to the front of the bag.
Para darle un estilo diferente, tracé varias costuras recta en el bolsillo frontal inferior, que es de color vino, luego pegué el cierre, en la parte superior coloqué una cinta para tapar el borde del cierre y unirlo a la parte frontal del bolso.

---
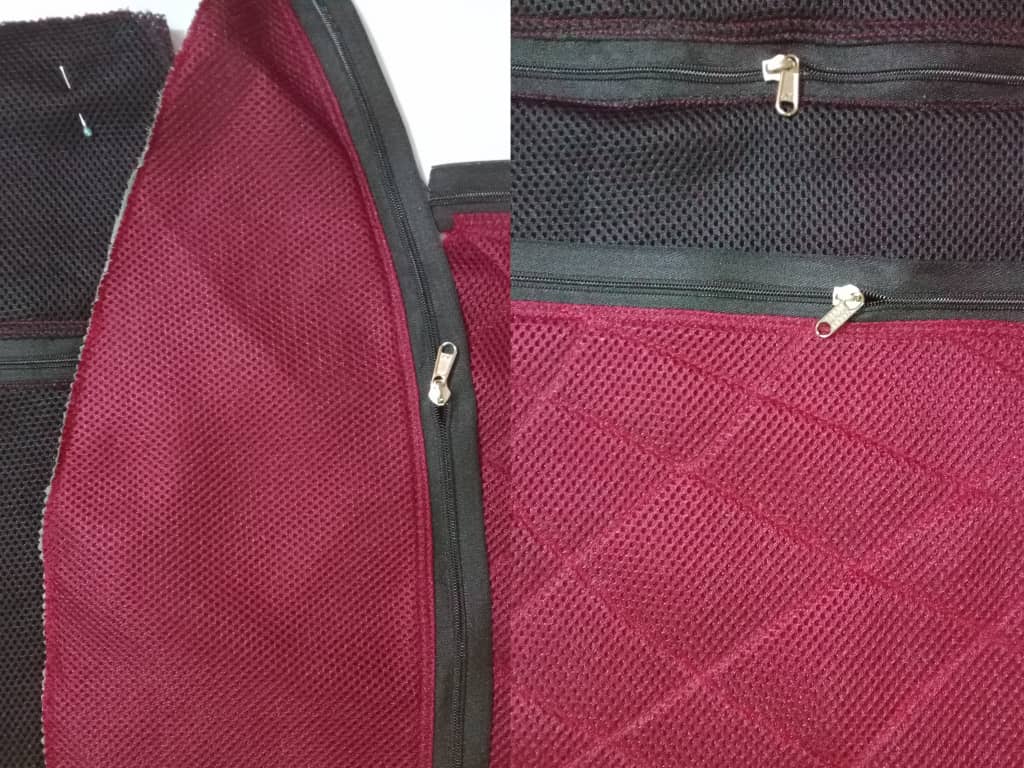
Once the closures were glued to the gusset and front pockets, I assembled the side pockets, sewed the lining, a bias binding on the top, and then glued the pocket to the sides.
Pegados los cierres en el fuelle y bolsillos frontales, ensamblé los bolsillos laterales, cosí el forro, un sesgo en la parte superior, luego pegué el bolsillo encima de los costados.

---
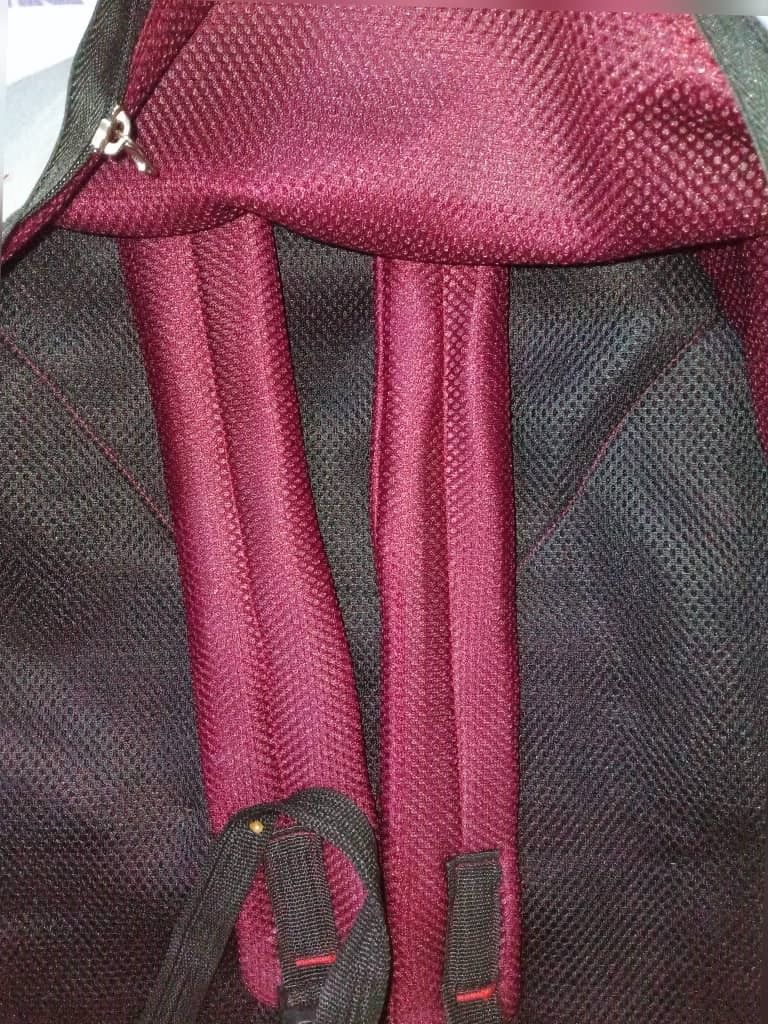
The next step was to place the handles on the back. I secured them with pins and then joined it to the gusset. When gluing the gusset, I started from the center and worked out to both sides. This way, it is easier to sew and we have a better view of how it will turn out, as it should match the ends of the sides.
El siguiente paso fue colocar las asas en el posterior, las fijé con alfilertes luego lo uní al fuelle, al pegar el fuelle se inicia desde el centro hacia ambos lados, así se cose más cómodo y tenemos una visión más completa de cómo va a quedando porque este debe coincidir con los extremos de los costados.

---
Once the back of the bag was assembled, I joined the front pieces together, placed the sides starting from the top end until the entire piece was covered, secured with pins, and sewed with a straight stitch.
Ensamblado el posterior del bolso, uní la piezas del delantero, coloqué los laterales iniciando desde el extremo de la parte superior hasta cubrir toda la pieza, sujeté con alfileres y cosí con puntada recta.


---
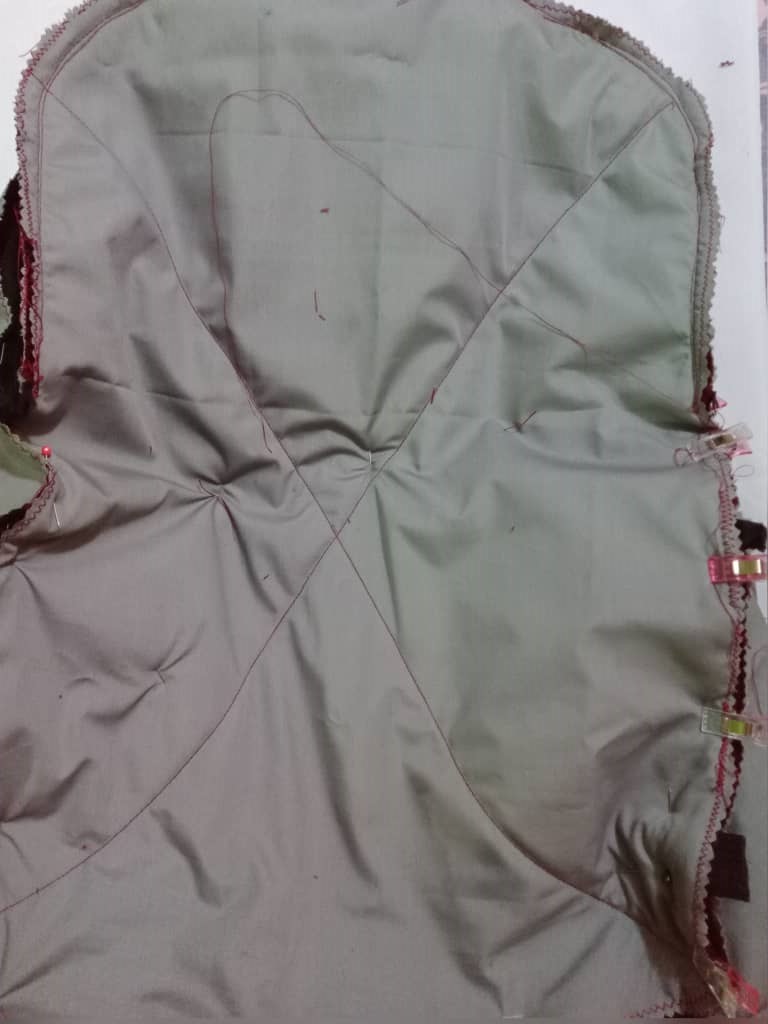
The last step was to face the front and back right sides together, I held them with the darts and very carefully made a straight stitch, to avoid the needle breaking, the thickness of the layers of fabric makes sewing a little difficult, but if you do it slowly you advance and we get a nice result, once I finished assembling the bag, I glued the seam cover, which is a black ribbon made of stiff fabric.
El último paso fue enfrentar por el derecho el delantero y posterior, sujeté con las pinzas y con mucho cuidado pasé puntada recta, para evitar que se rompa la aguja, el grosor de las capas de tela dificulta un poco la costura, pero si se hace lentamente se avanza y obtenemos un lindo resultado, terminado el armado del bolso, pegué el tapa costura, que es una cinta de color negro en tela rígida.

---
I loved the result of the bag, my son is happy with his new backpack, the colors combine very well and it is elegant, I hope the tutorial is useful to you.
Me encantó el resultado del bolso, mi hijo está feliz con su nuevo morral, los colores combinan muy bien y se elegante, espero el tutorial les sea de utilidad .


---
**Blessings!**
**Bendiciones!**
---
**
See you later!
Hasta luego!
**

---
Translated with https://www.deepl.com/translator
All images are my own.
Todas las imágenes son de mi autoría.
#hive-130560
#diy
#neoxian
#creative
#spanish
#hivediy
#manualidades
#sewing
#craft
#ecency
Payout: 0.000 HBD
Votes: 291
More interactions (upvote, reblog, reply) coming soon.