Why the Switch?
I am a self-admitted milk guzzler. I keep milk on hand in the fridge for my 5 year old, because...growing child. But I am 44 and pretty sure I eat enough dark leafy greens, sardines and tofu to keep my bones strong. The milk guzzling needed to stop. My solution, replace milk guzzling with Kombucha guzzling. The guzzling urge is not for a whole glass, just a few gulps to quell my urge...but I do it several times a day. I am hoping that taking mini glasses of kombucha several times a day will satisfy the same urge, thus replacing a terrible habit. Enter the need for a continuous brew kombucha located conveniently on the cabinet in my dining room. I am also excited about having a semi-regular inundation of helpful microbes into my gut microbiome.
Easy Directions
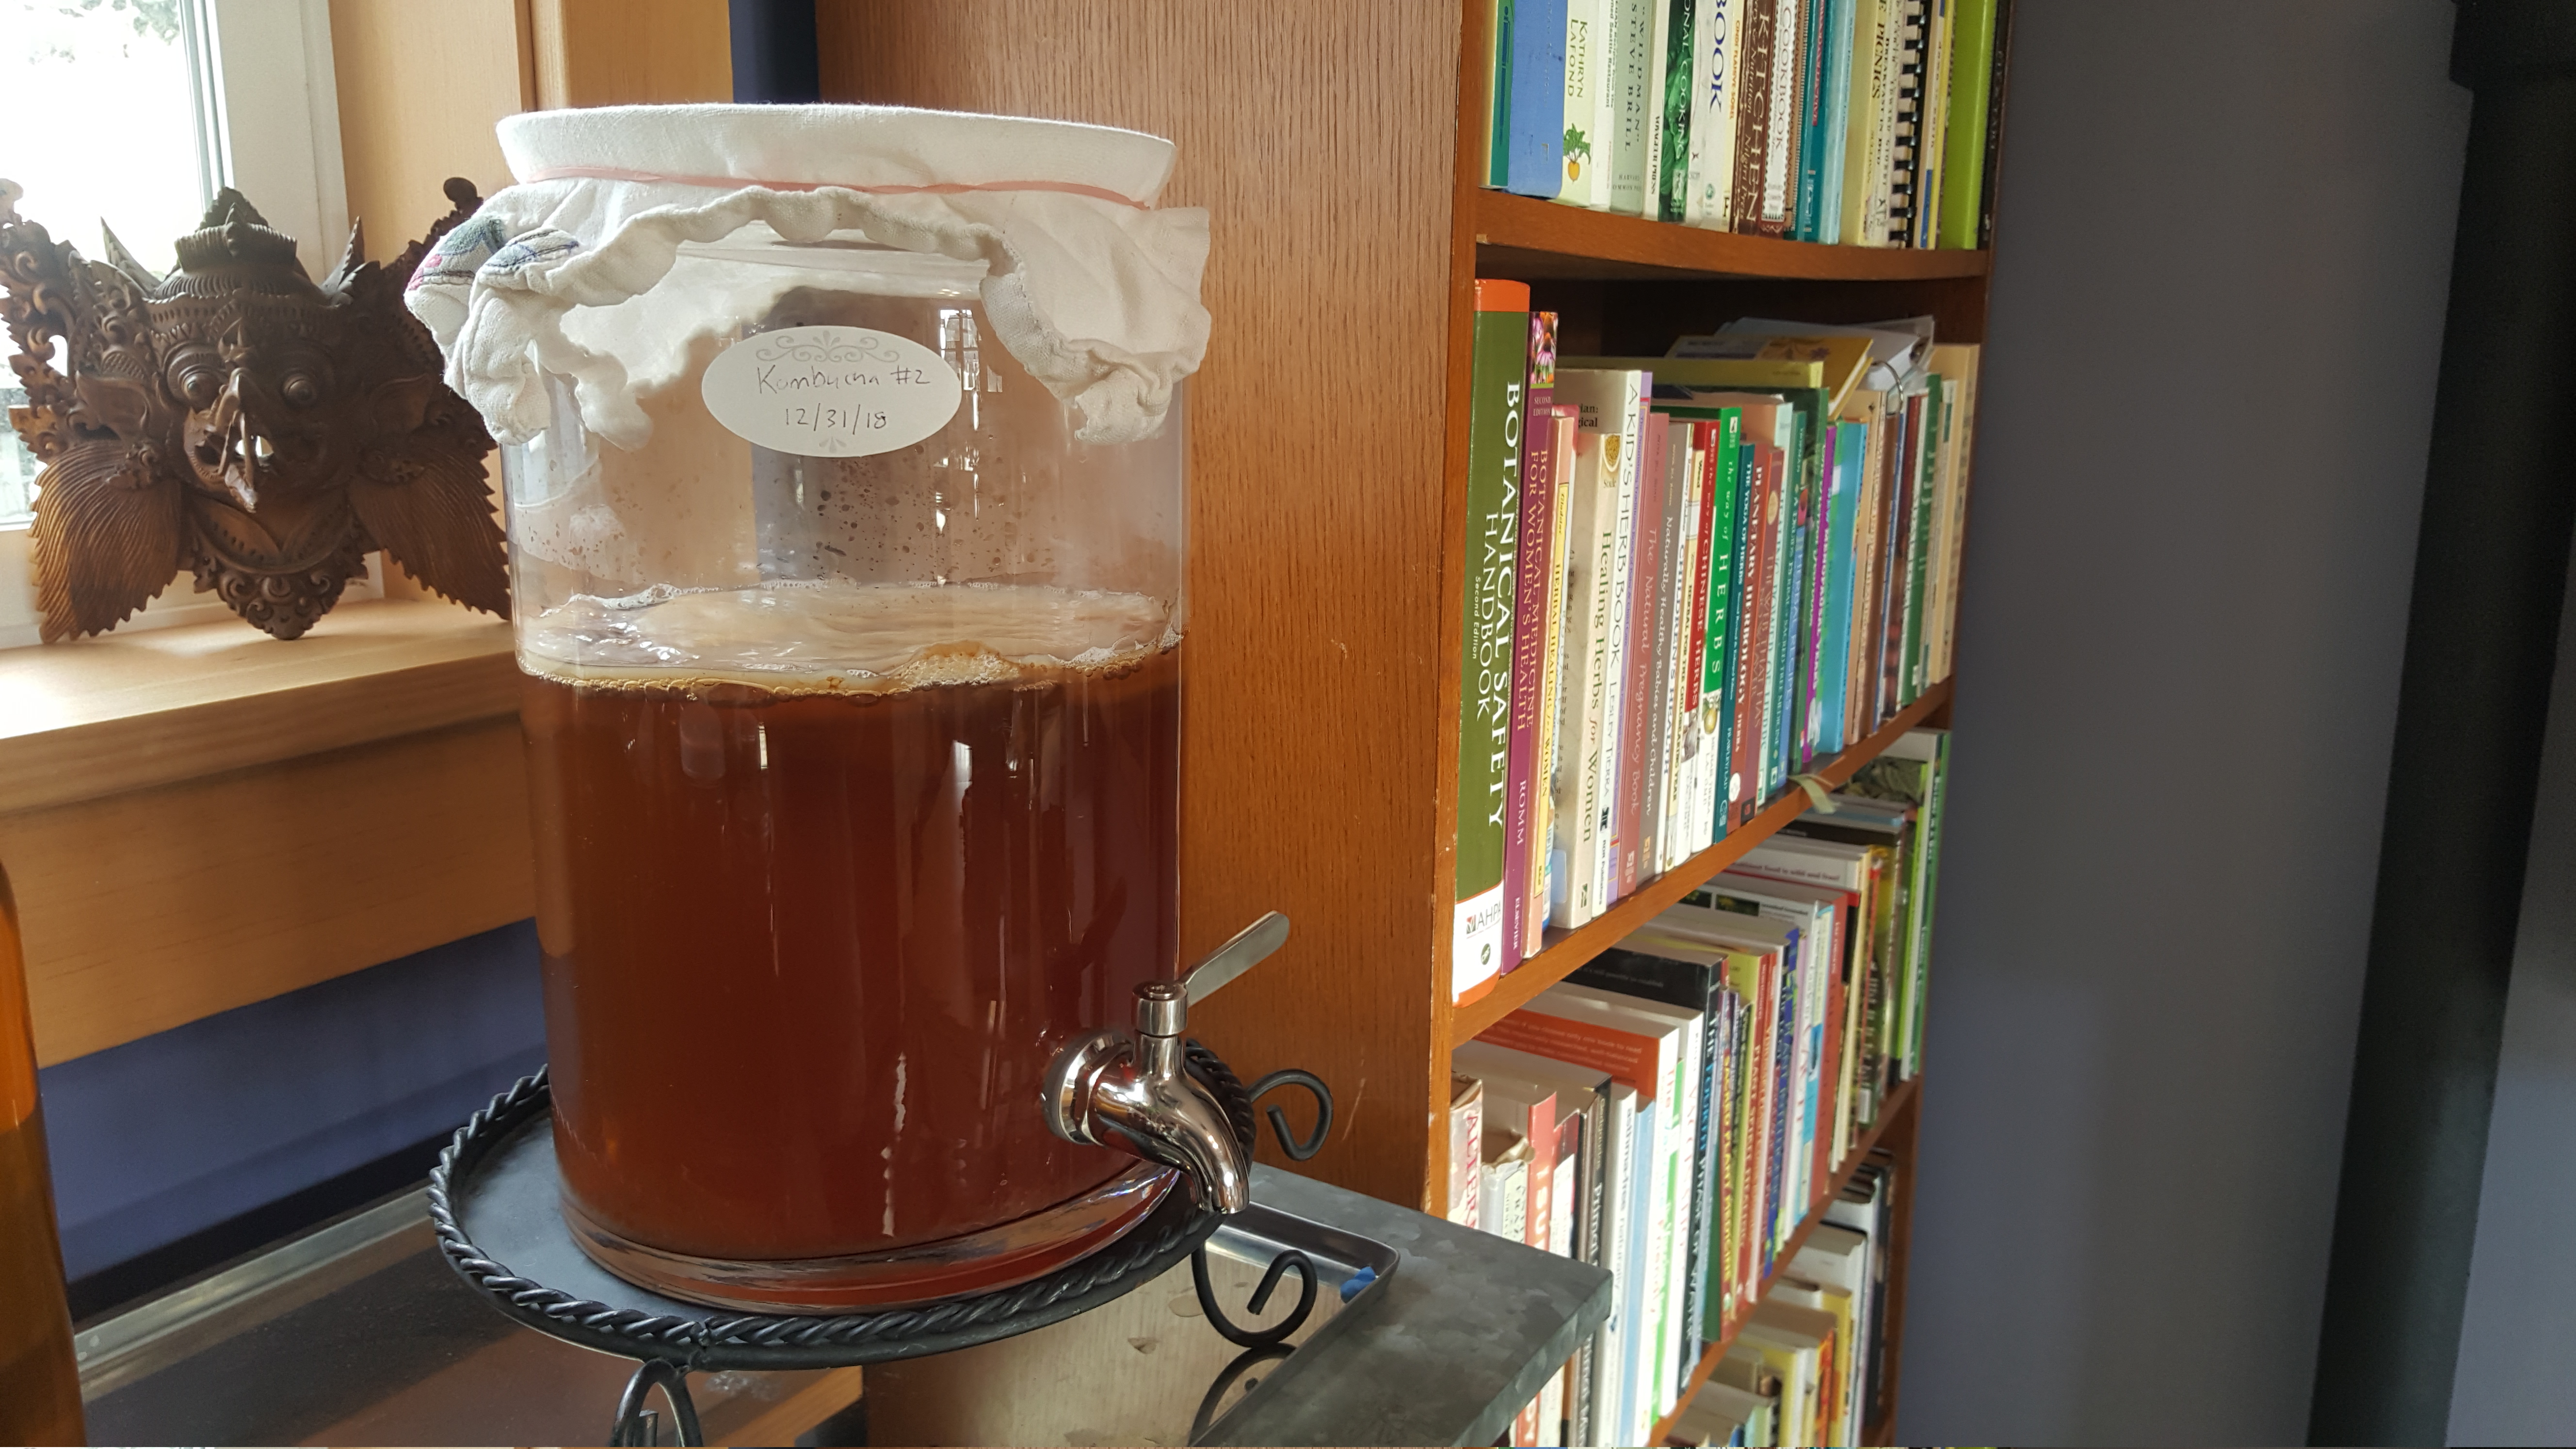
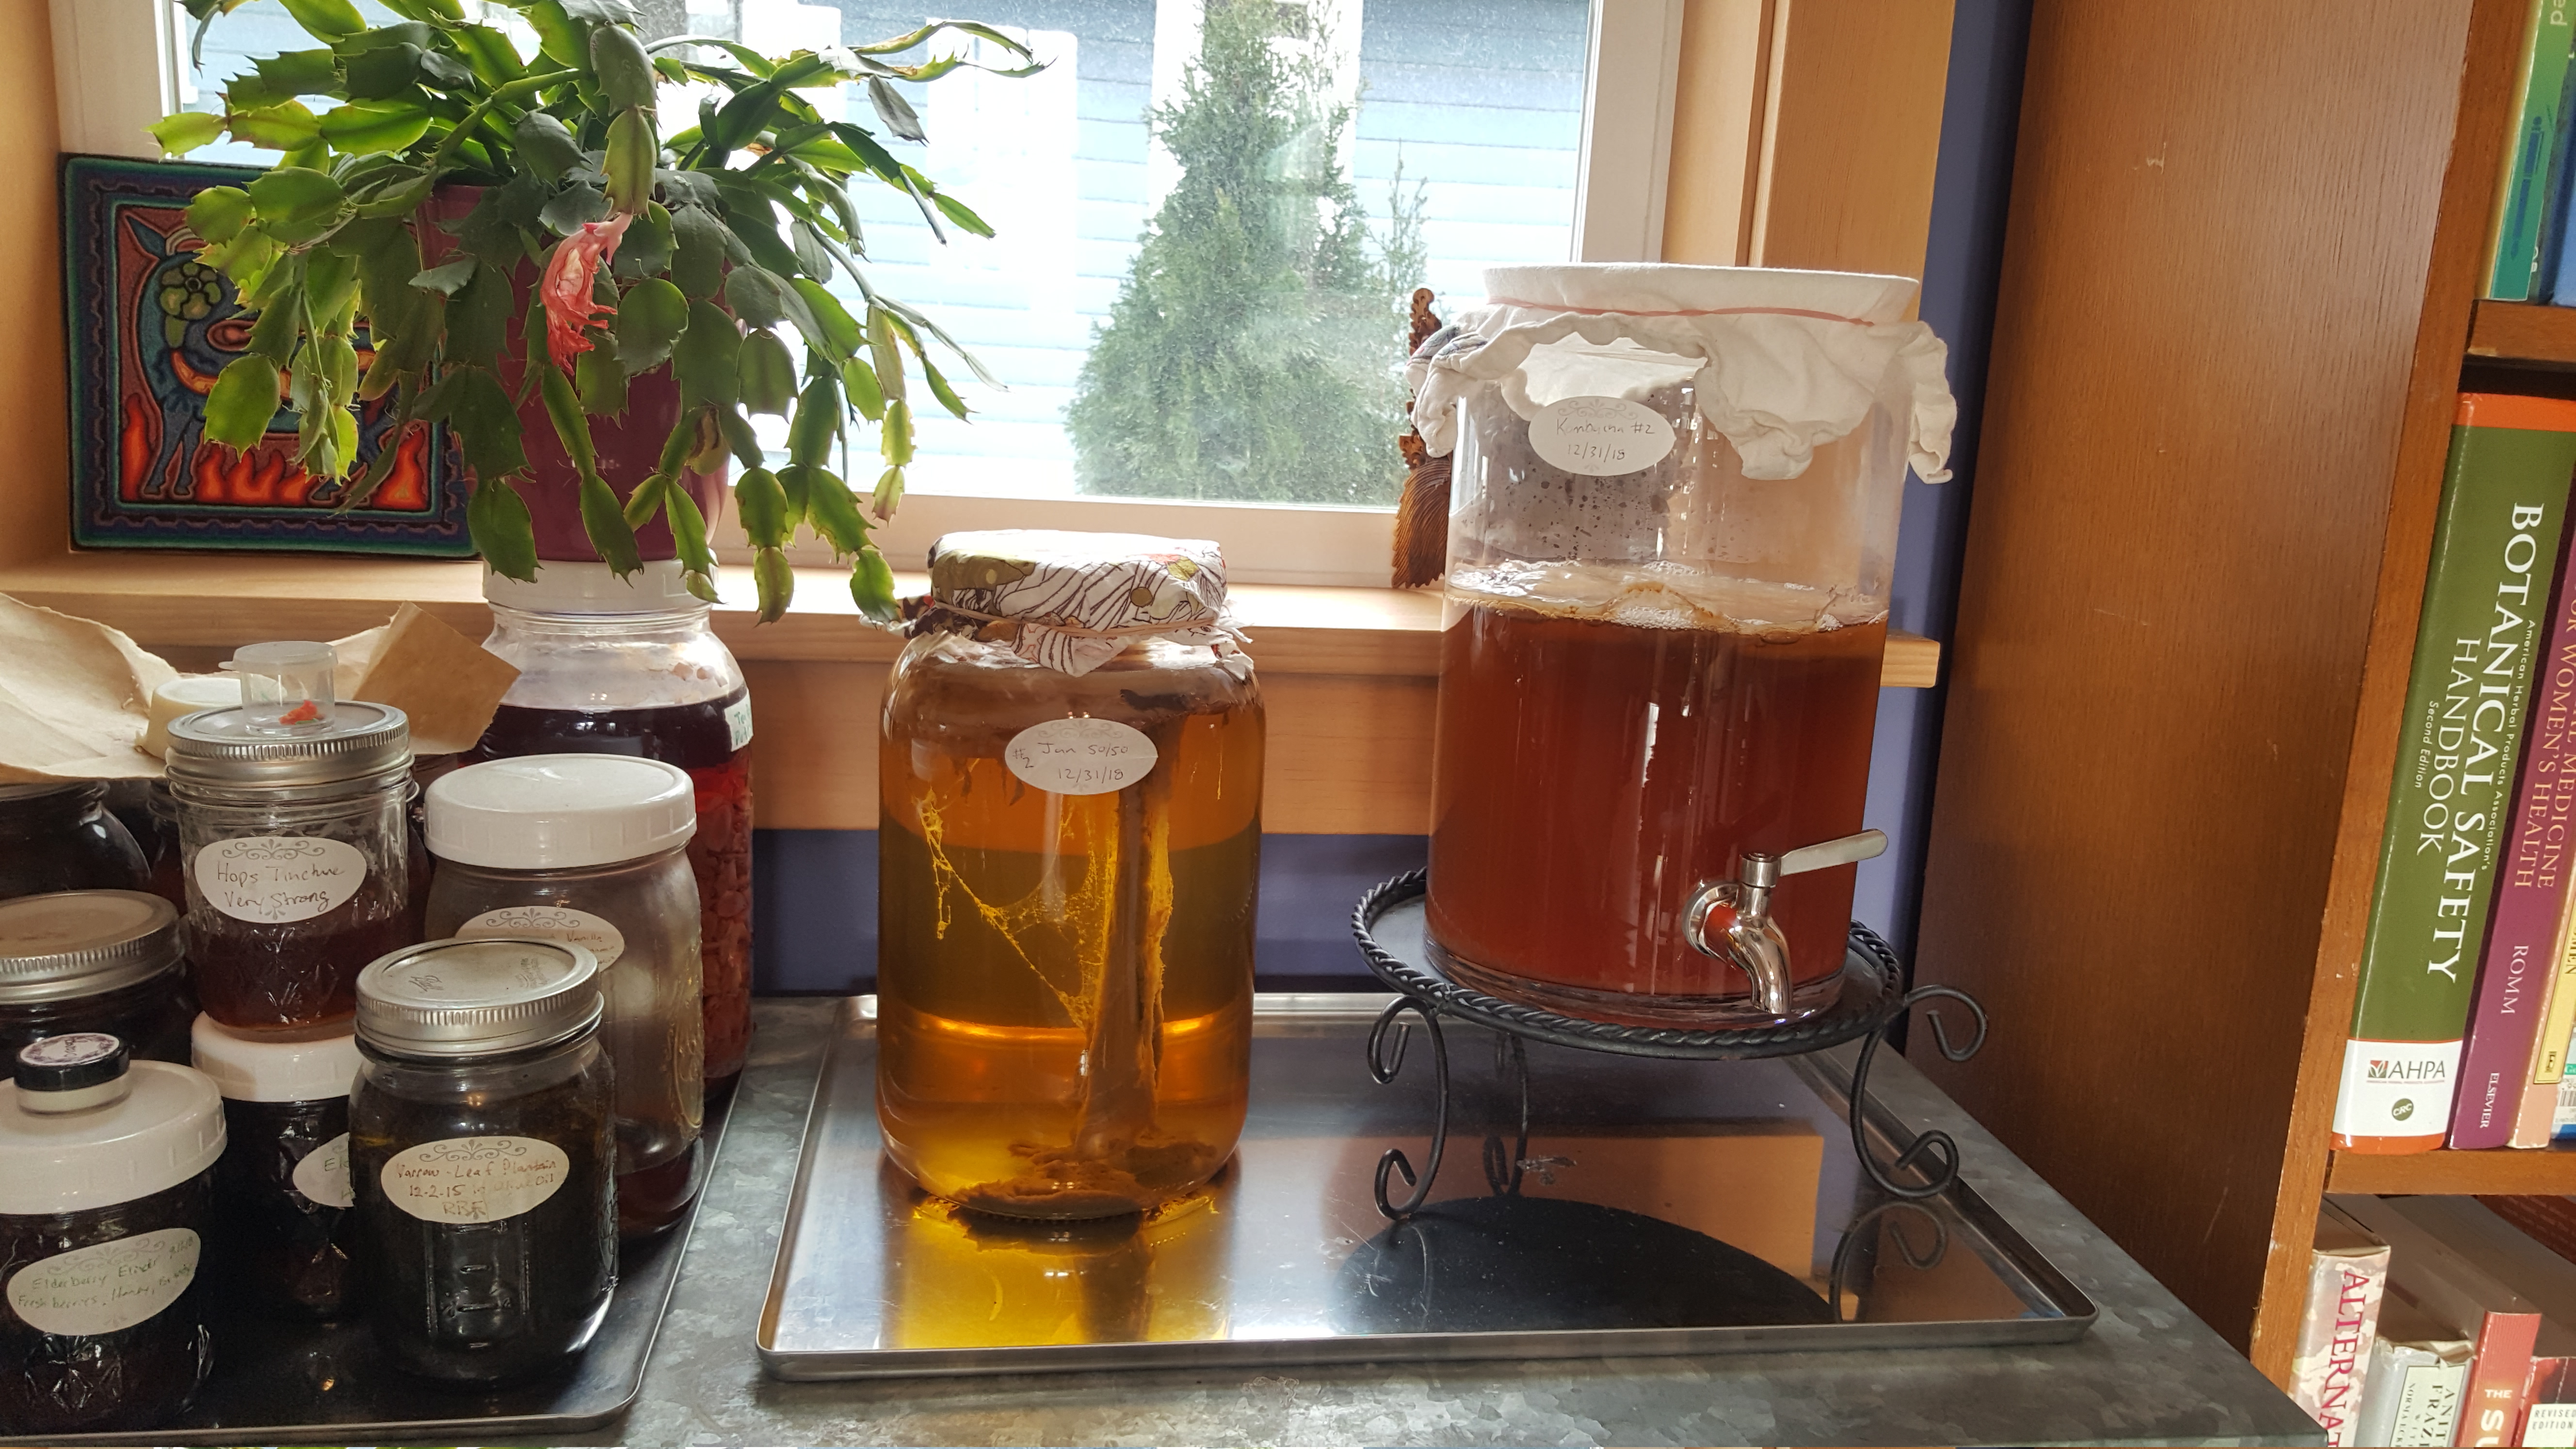
Kombucha is already a regular in my kitchen, so the first step for conversion was to obtain an appropriate brewing vessel with spigot for easy dispensing of brew any old time of the day or night. The acidic environment of a kombucha brew can leach toxic metals, so I knew I wanted to invest in a brewing vessel with an all stainless steel spigot and silicon gasket. These run about $60 online, or you can find a cheaper vessel and upgrade with a new stainless steel spigot, which costs about $15 on Amazon. Luck was with me at a recent trip to a thrift store as I found a brand new 1.5 gallon Crate and Barrel beverage dispenser with stainless steel spigot ready to go, and steeply discounted over purchasing new from manufacturer.
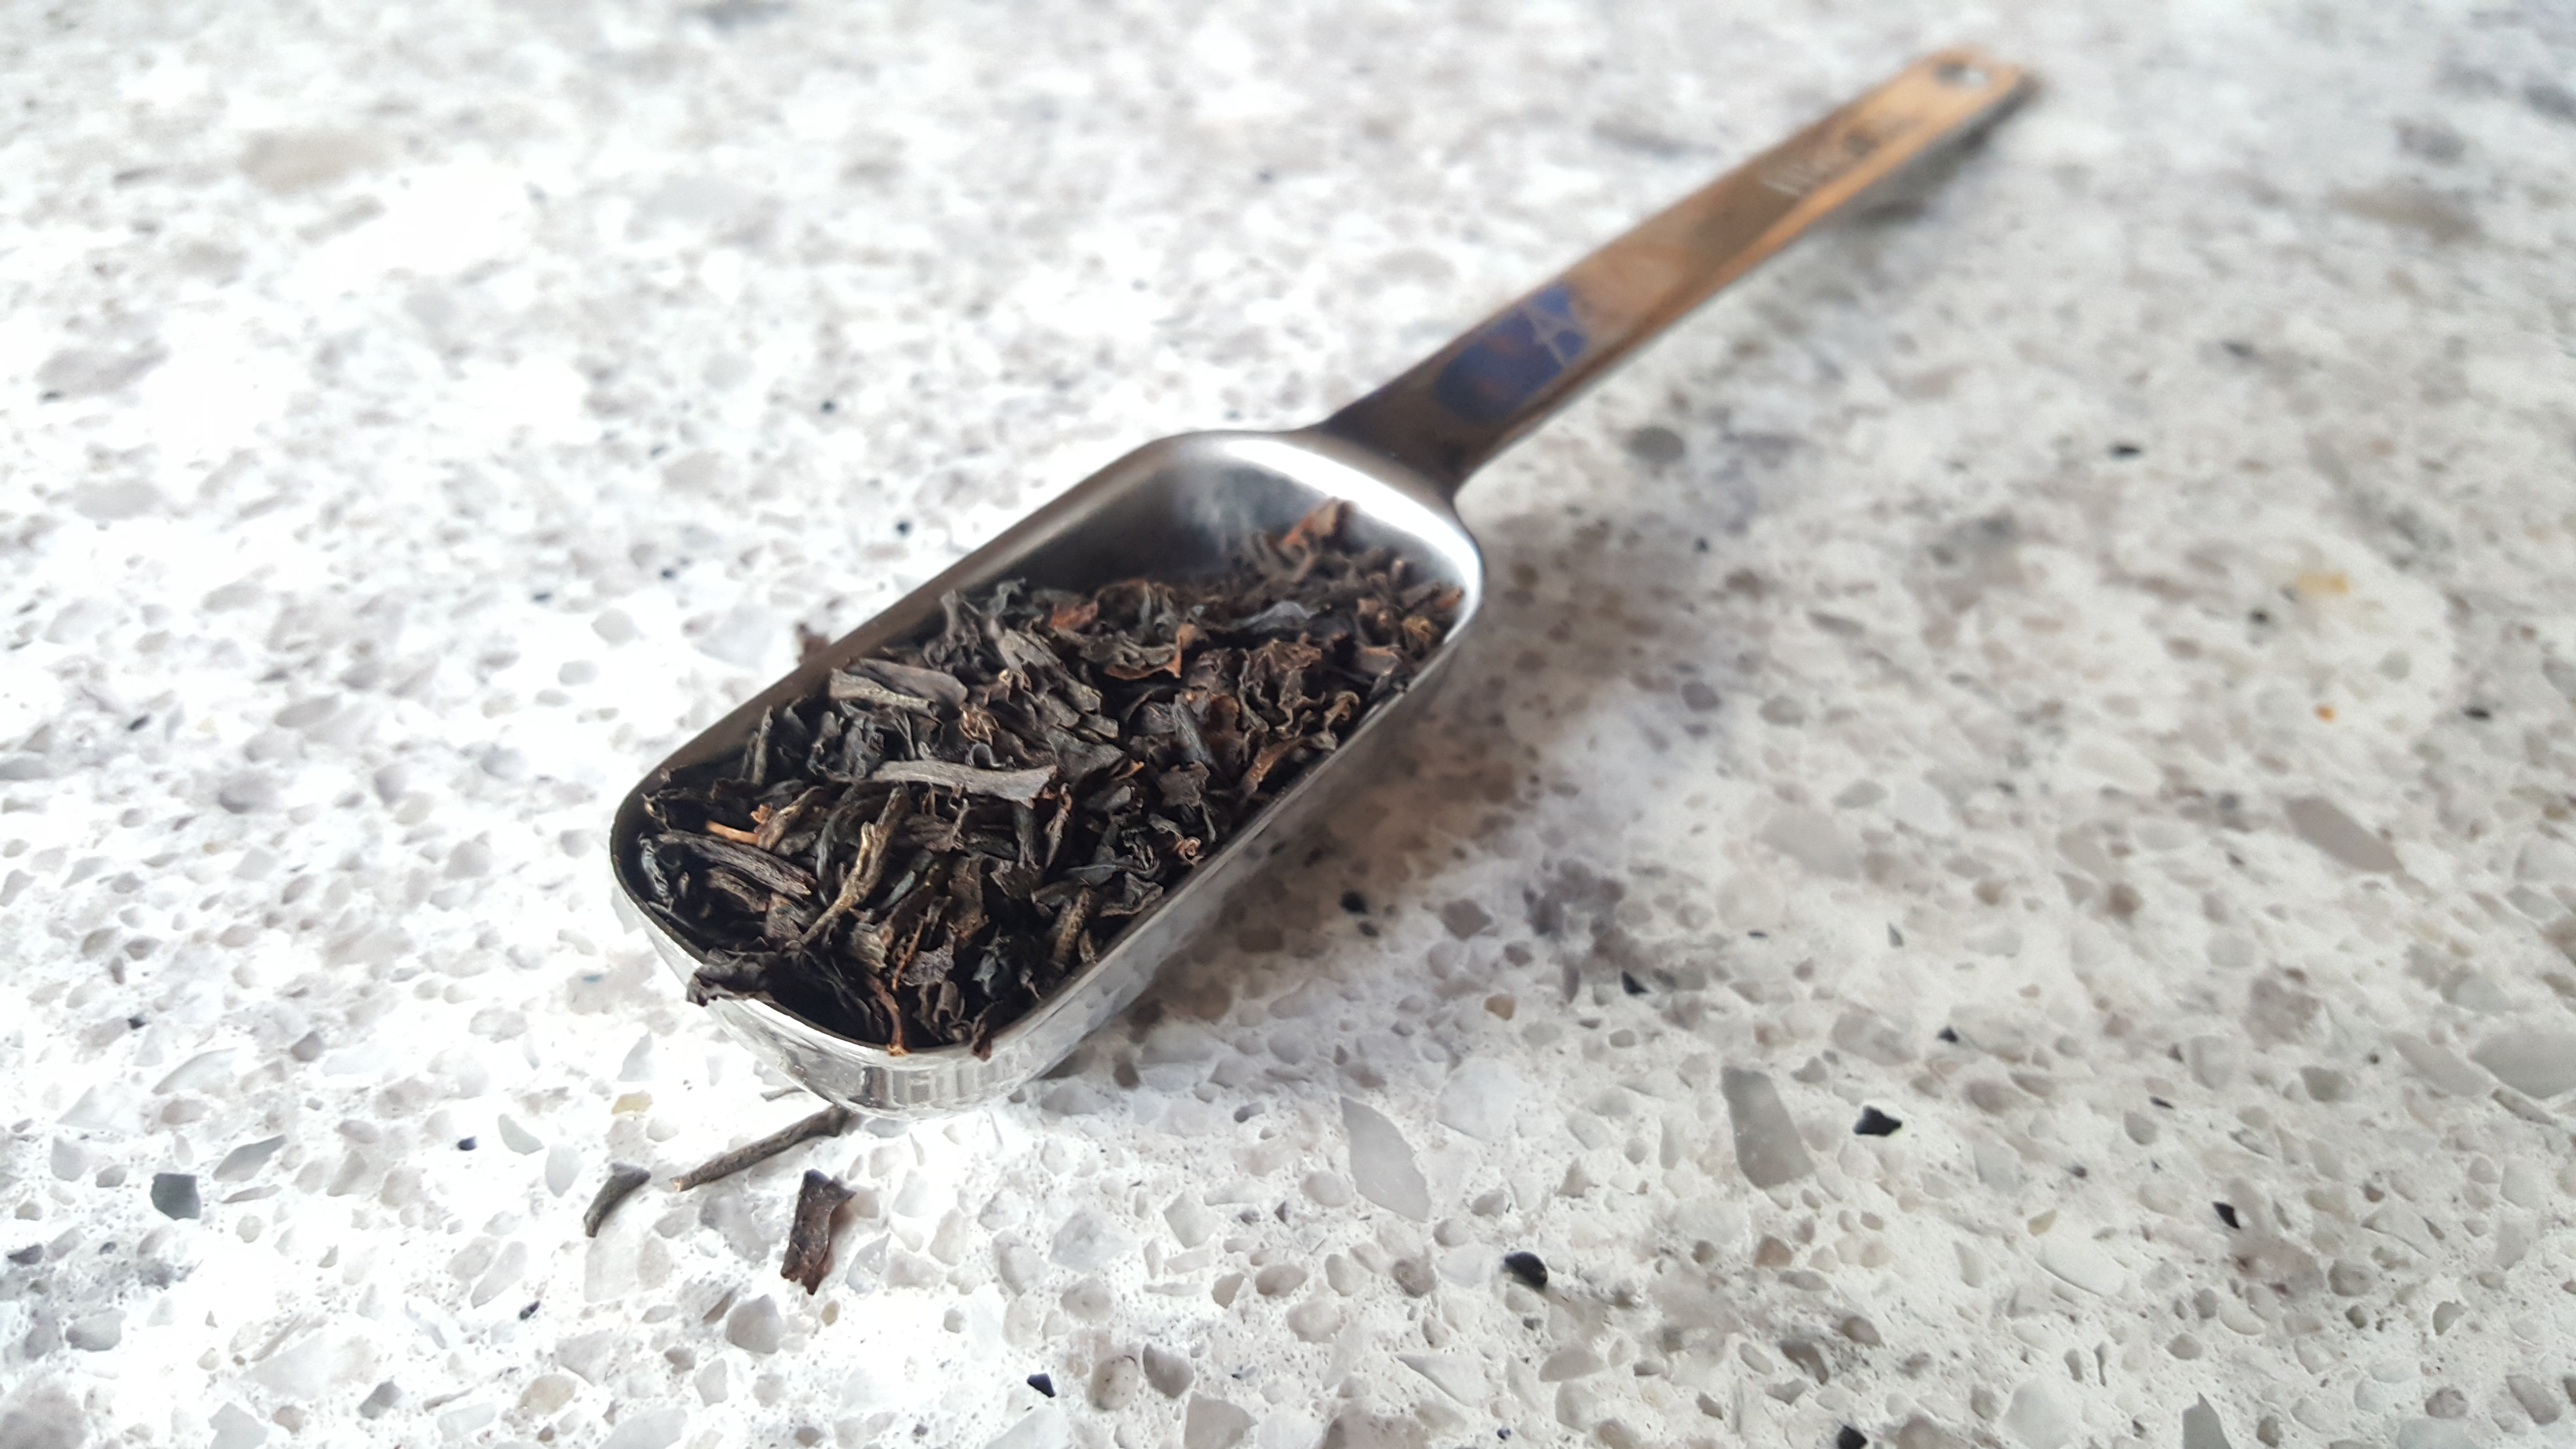
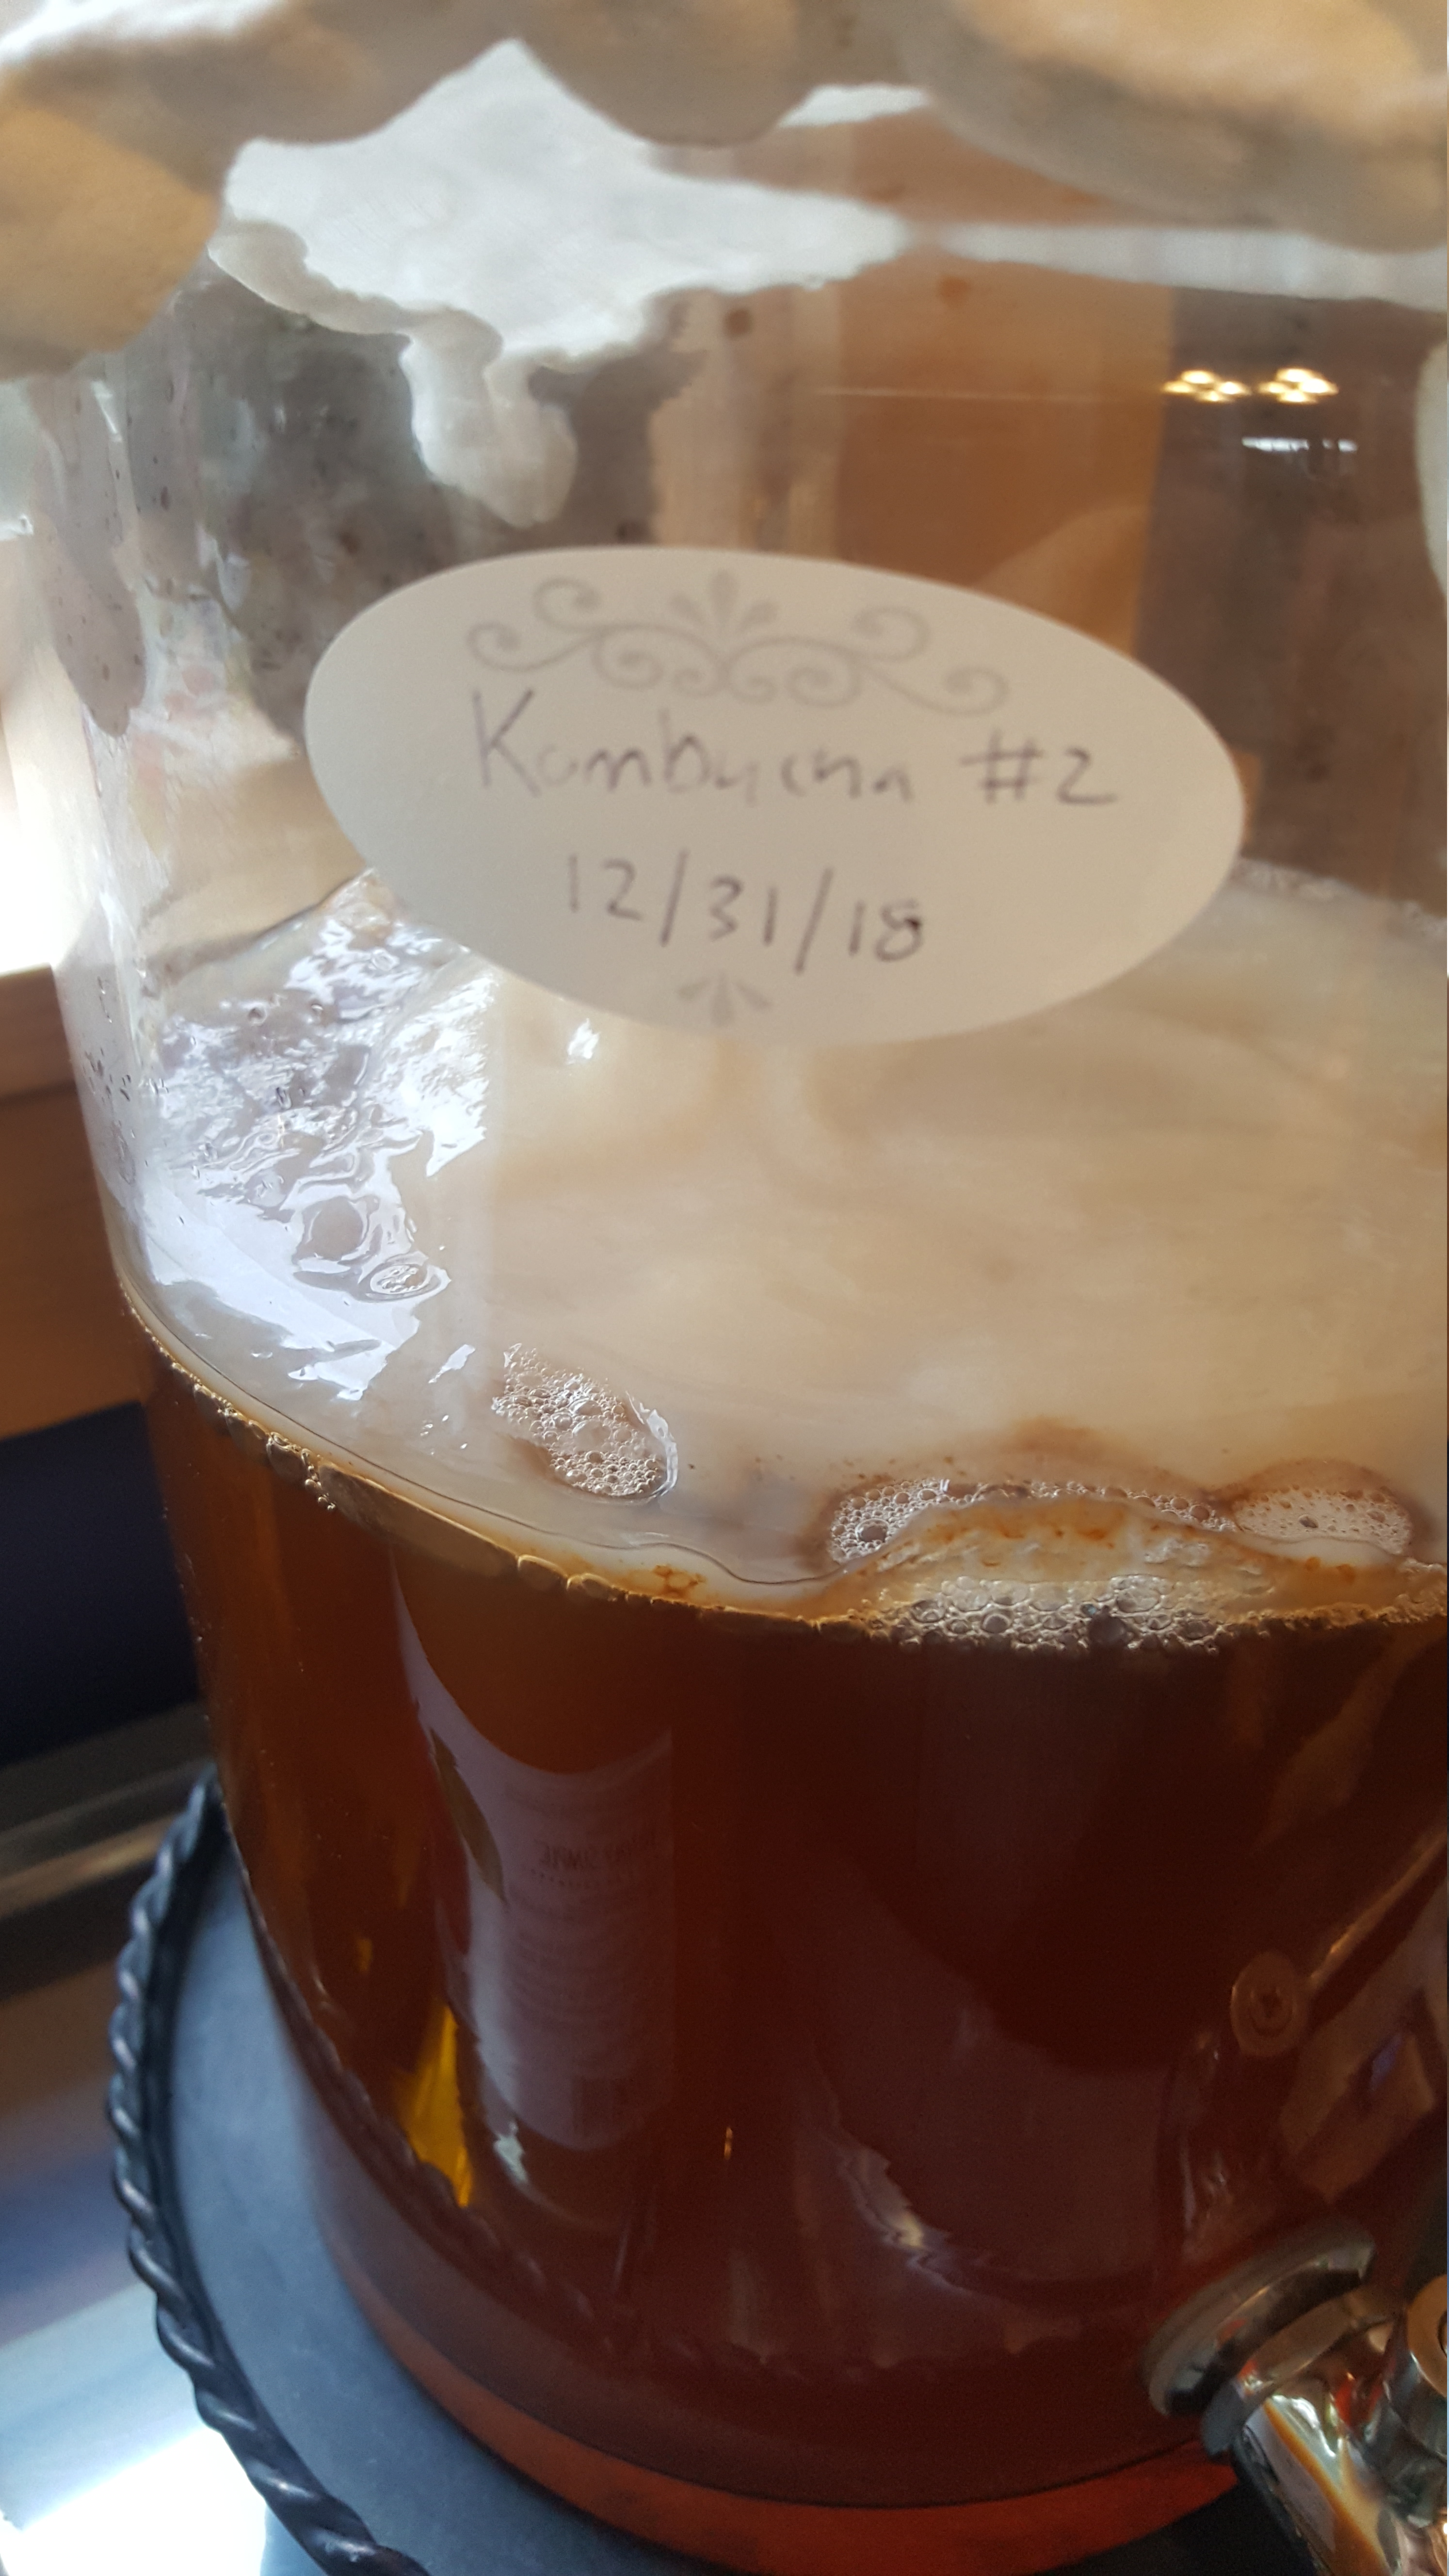
Converting to continuous-brew was a snap. I’ve been brewing in 1 gallon glass jars, so I simply followed my typical 1 gallon recipe, making a sweet tea with 2 tablespoons loose leaf black tea, 1 cup sugar, and 12 cups filtered water. After cooling I added it to my new (larger) vessel along with 2 cups of brew from my last batch and the SCOBY. I started this batch on December 31st and just tasted it today, January 7th. It is delicious, and ready to drink.
The Balancing Act
Here is wonderful and tricky part of the continuous brew. This is a live drink and it will always have a varying level of sweetness and sour depending on when you add your next batch of tea to the top. If you like your kombucha to be a particular level of sweet and/or sour, I suggest you bottle and refrigerate your drink on the day it tastes perfect to you, thus retarding the brewing process. But, in my case, having my kombucha bottled in the fridge makes it less accessible for frequent sips and takes up too much valuable cold storage. Being able to drink anytime from the tap, the results will vary from a sweeter brew after you add your new tea to the top, to a more sour brew over time. I happen to appreciate novelty and enjoy kombucha at both ends of the spectrum, although I definitely prefer it right in the middle sweet spot.
My current plan is to add new tea in ½ gallon batches whenever my jar goes below ½ full. The recipe is 8 cups of filtered water, 1 tablespoon black tea and ½ cup of sugar.
SCOBY Growth
The new 1.5 gallon brew vessel also has a larger diameter than my typical 1 gallon glass brewing jar. With this in mind, I was very interested in how long it would take for the SCOBY to grow to fill the space. In just one week I am happy to report that there is now a thin film of SCOBY that covers the entire surface.
Next Adventures in Jun
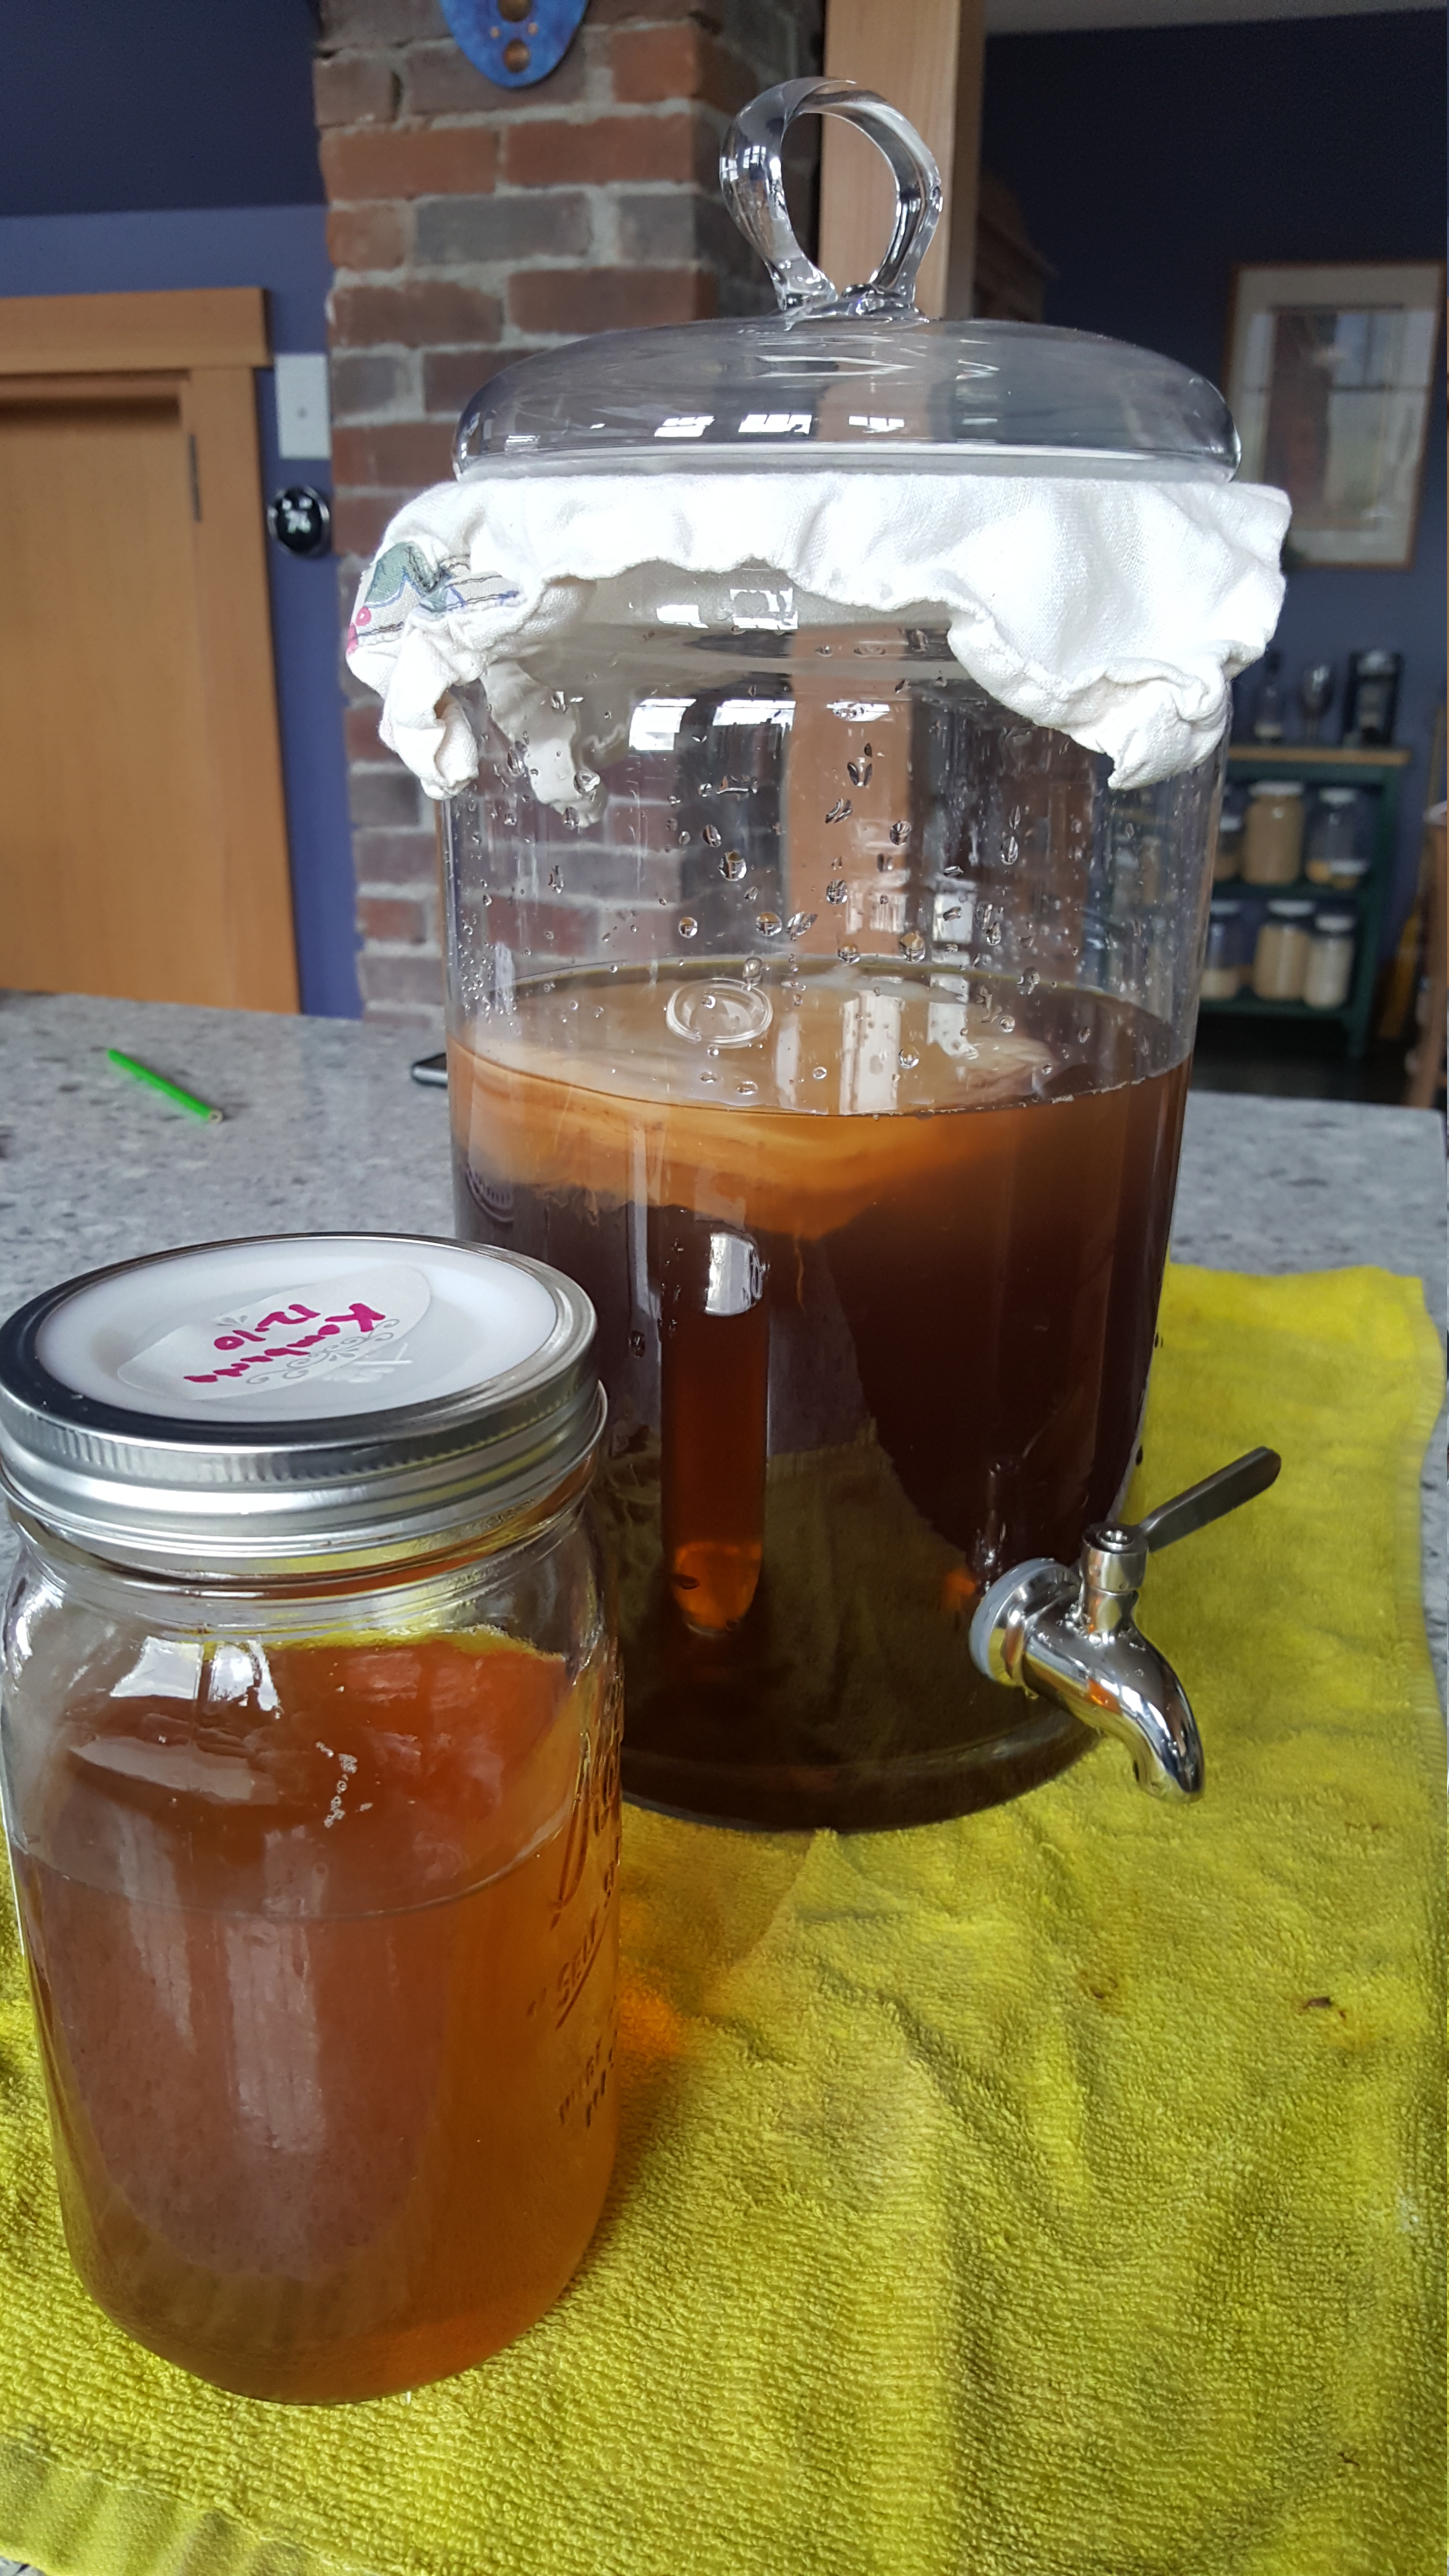
My other kombucha experiment is converting from a sugar and black tea fed SCOBY to a honey and green tea fed SCOBY which produces more delicately effervescent sister drink called Jun. I am two batches into this experiment and the SCOBY is looking bad (see left vessel in photo below). I’m hoping it will turn around, but if it doesn’t work out, I am thinking to try converting slowly with a continuous brew vessel instead. I still need to procure a larger vessel, but am excited to give it a try.
I'm looking forward to posting more brewing experiments, from kombucha and kefir to country wines and whole grain beers. All feedback from novice to expert appreciated.
Wising you bubbly brews and many blessings!