
Hello there, my fellow artisans and handcrafts enthusiasts!
Welcome back to another entry on this ukulele build. Last time, we finally for the fretboard on the instrument and we will start working on the bridge. However, there is something extra to put on the fretboard before hammering the frets in their slots. And those are the position marker. We will get into this and also apply a coat of finish on this piece.
Let's get to it!
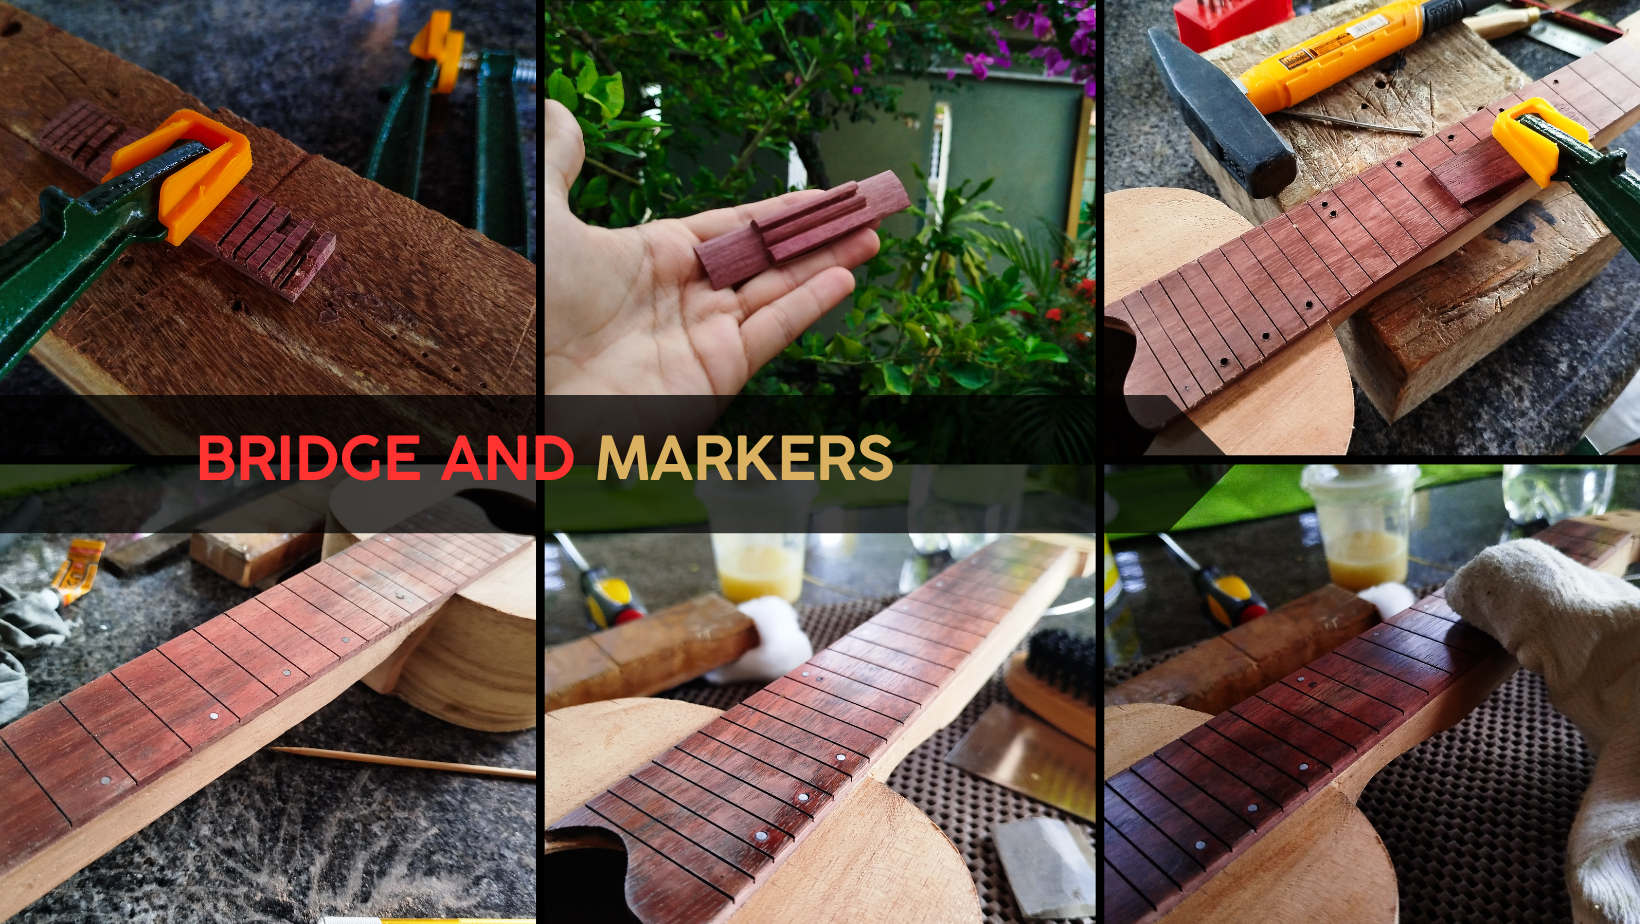
Bridge

Swipe to see the photos
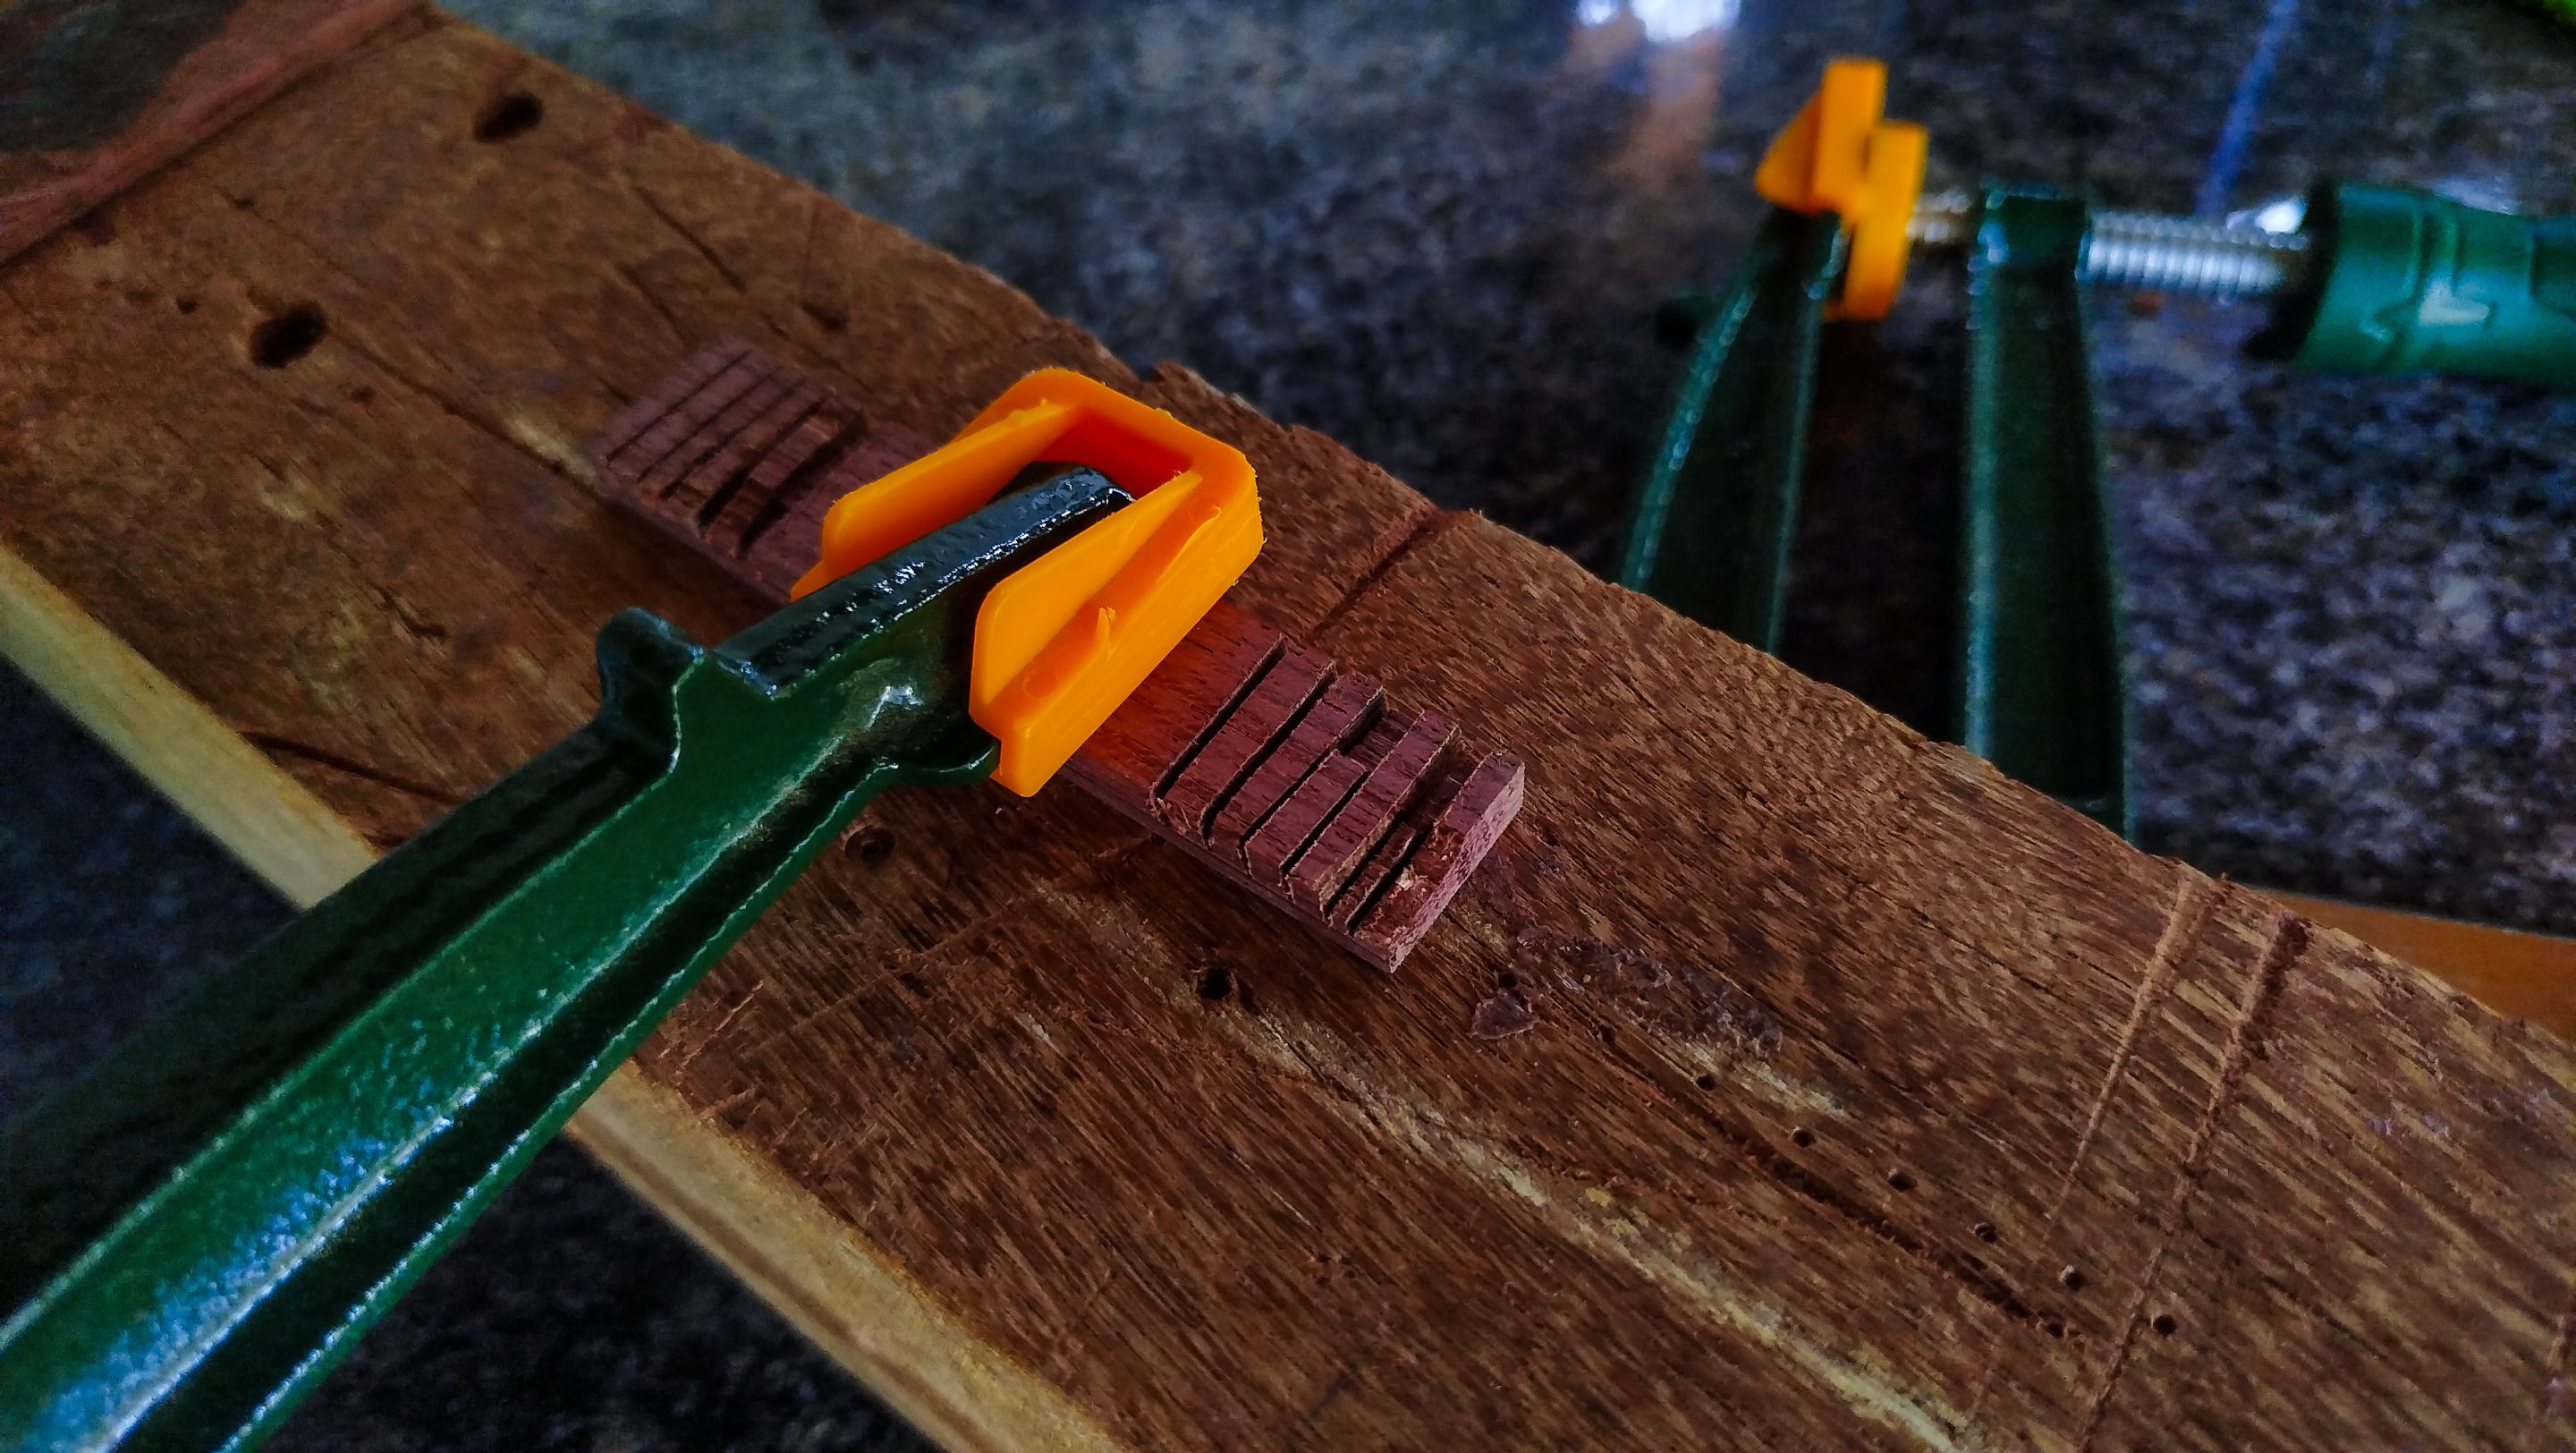
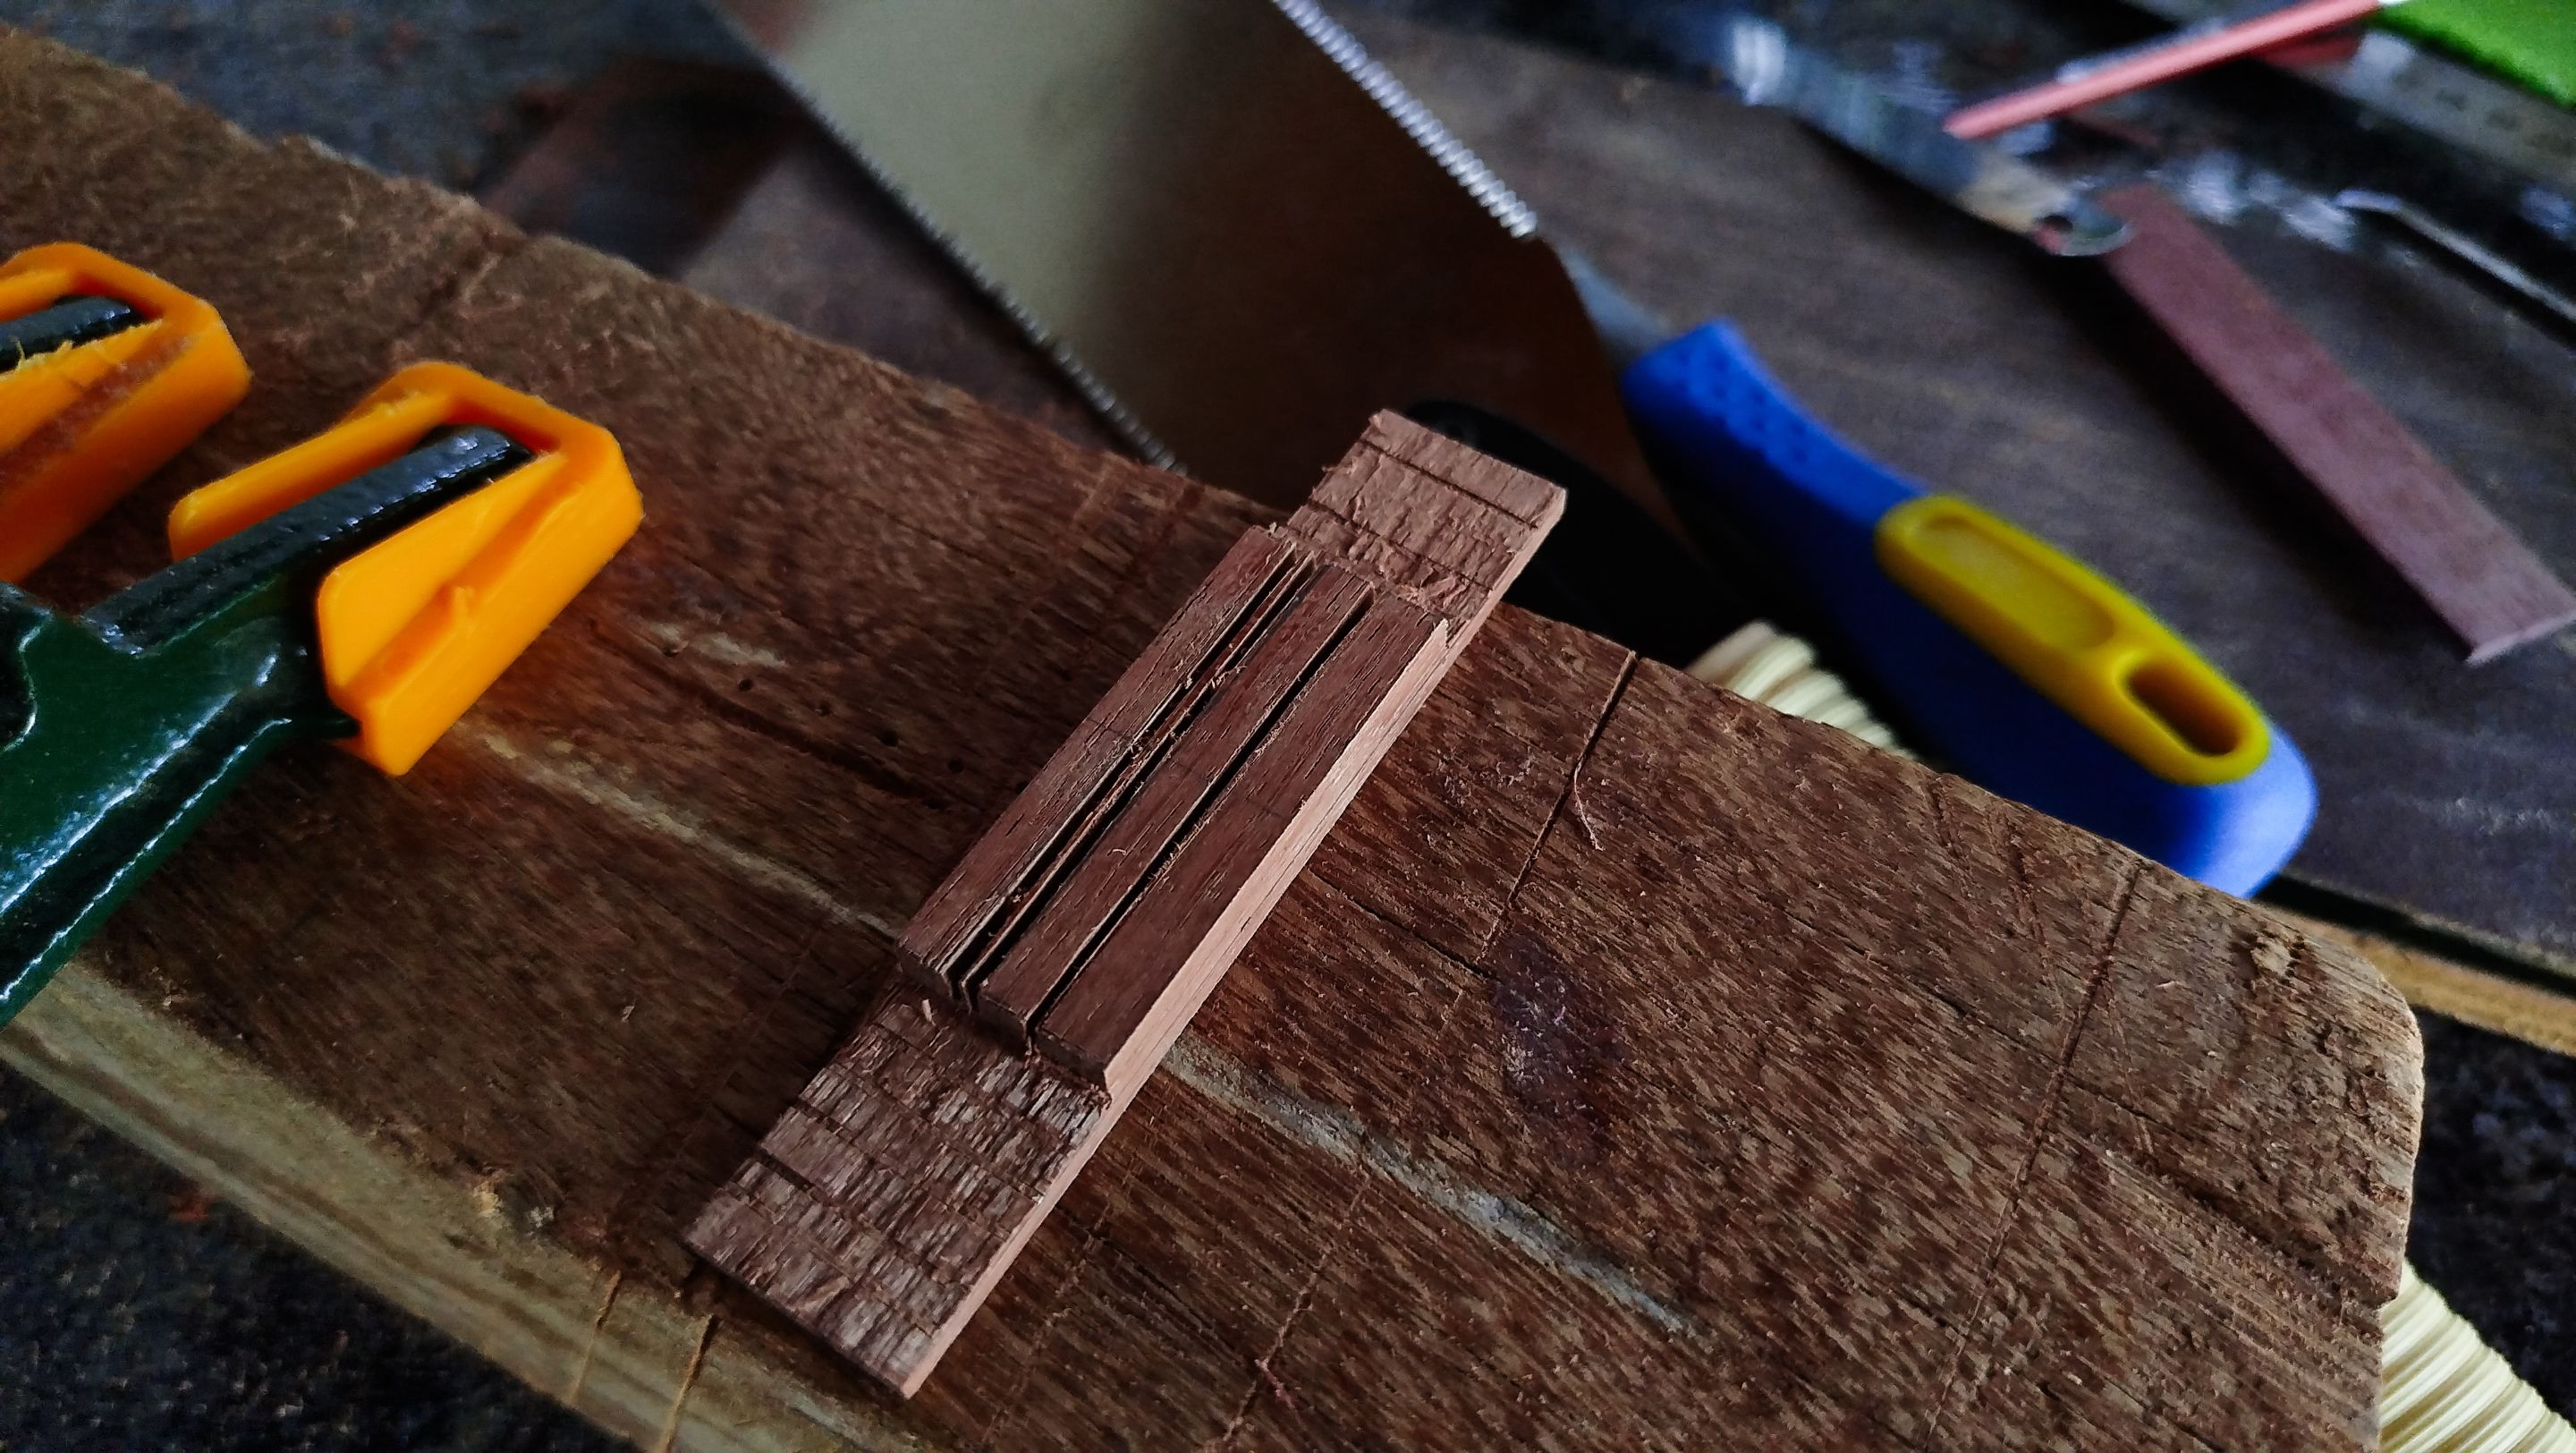
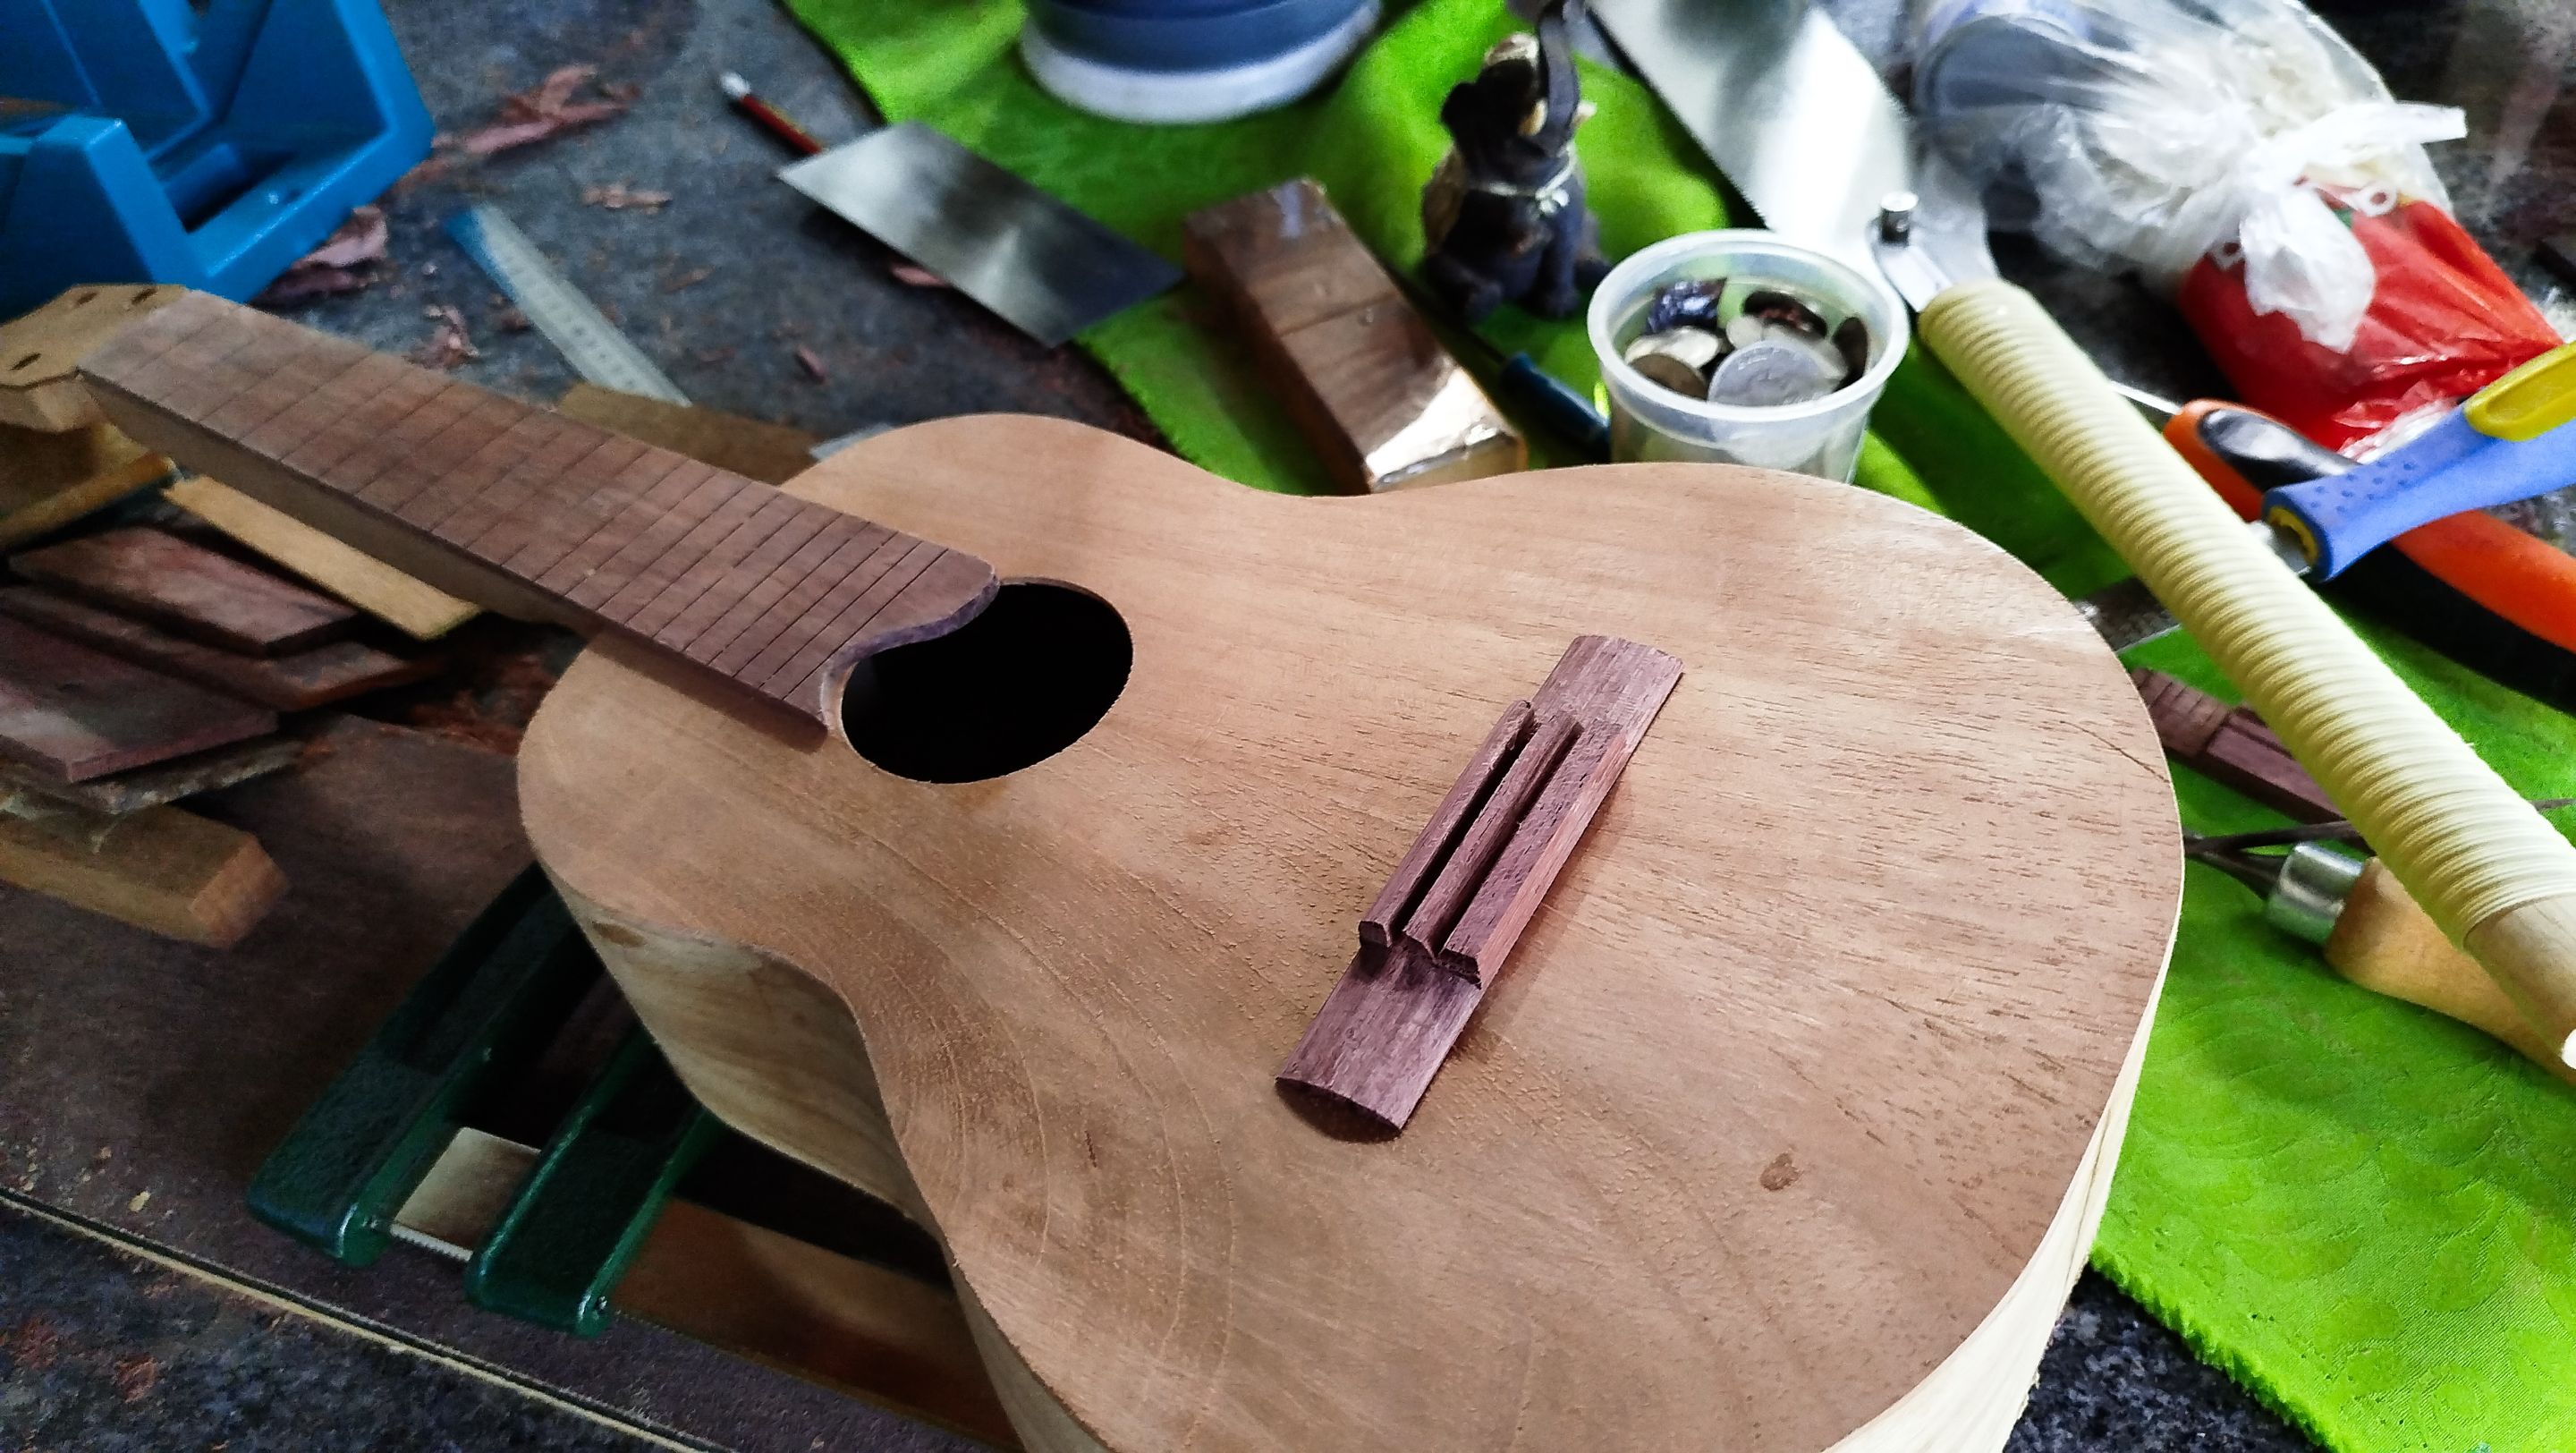
The bridge is the piece that holds the strings above the sound board. It is also the piece that sends the vibrations of the strings into the body of the instrument to produce the sound. To make this one, we just need a blank and start giving it some form. We first cut it to length. Then we need to make sure we get some lines to give us in the process of giving it shape. When we have put all the lines in place, we start making all the cuts and carving.
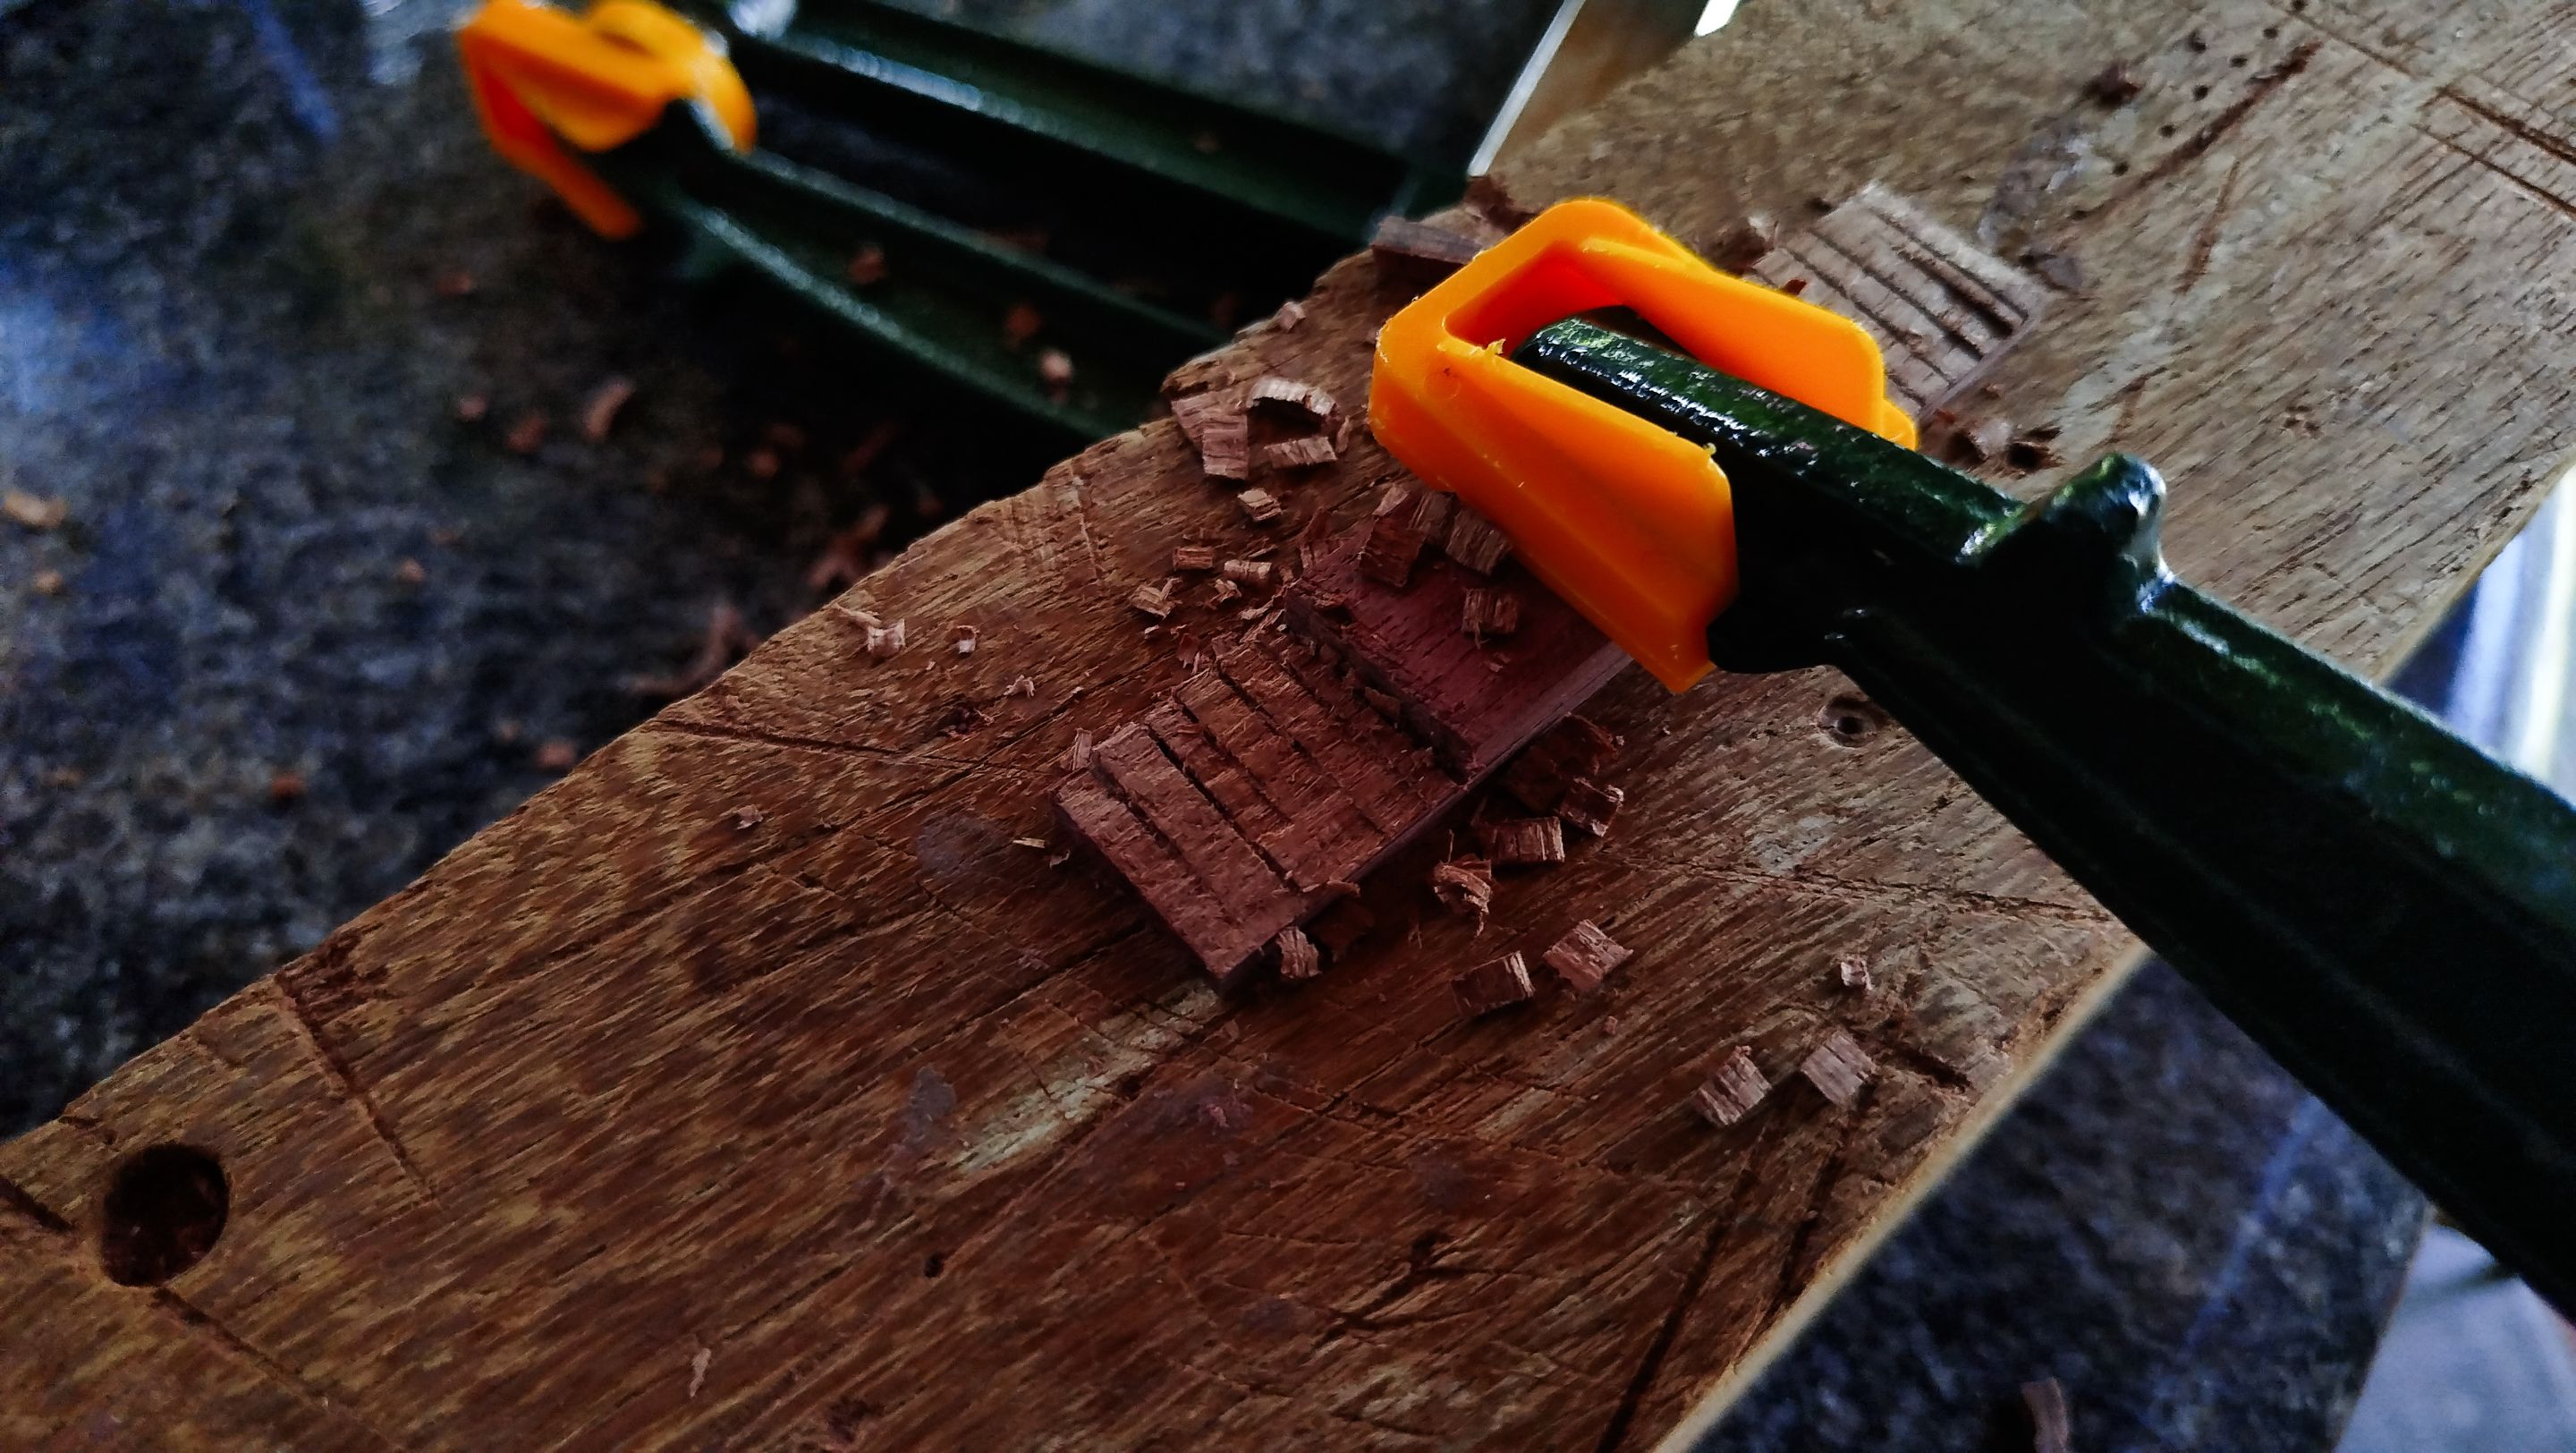
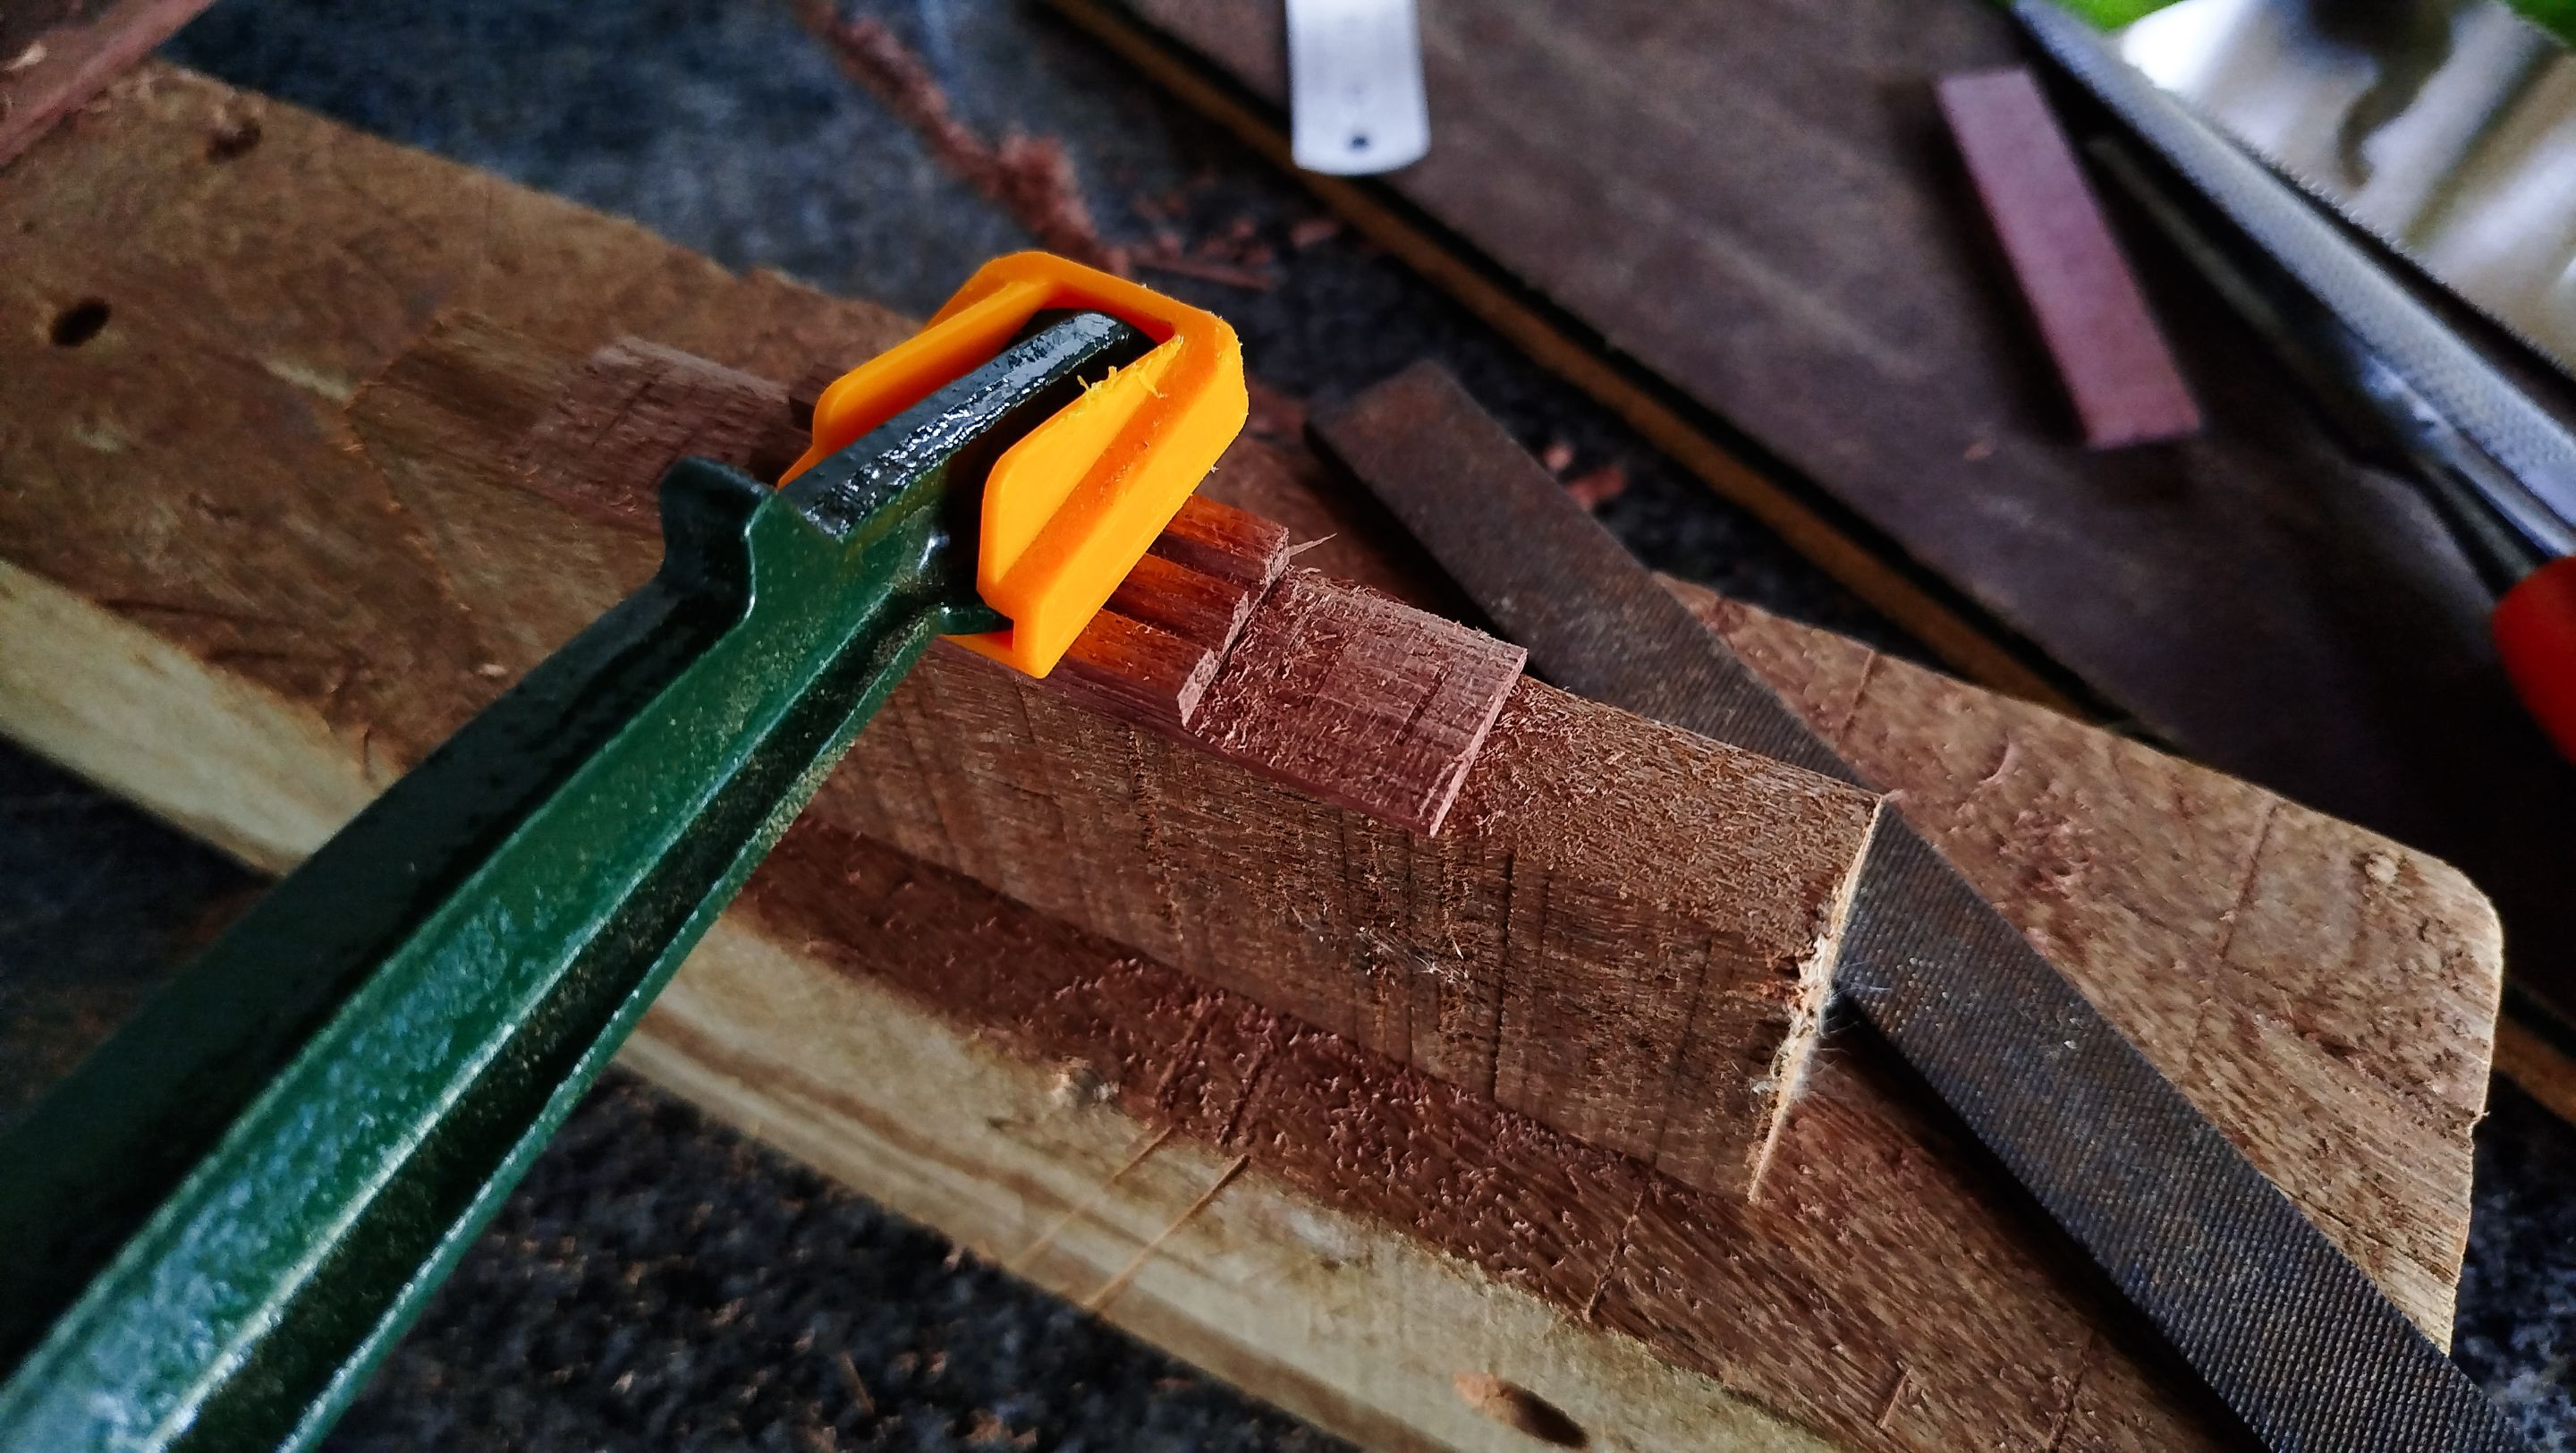
We start by making shallow cuts to create the difference of height on the sections of the bridge. The outer parts are smaller to the center portion by comparison. The cuts we made previously will help us remove the extra material without messing with the center portion. Once this is clear, we can move ahead and make the cuts for the slots.
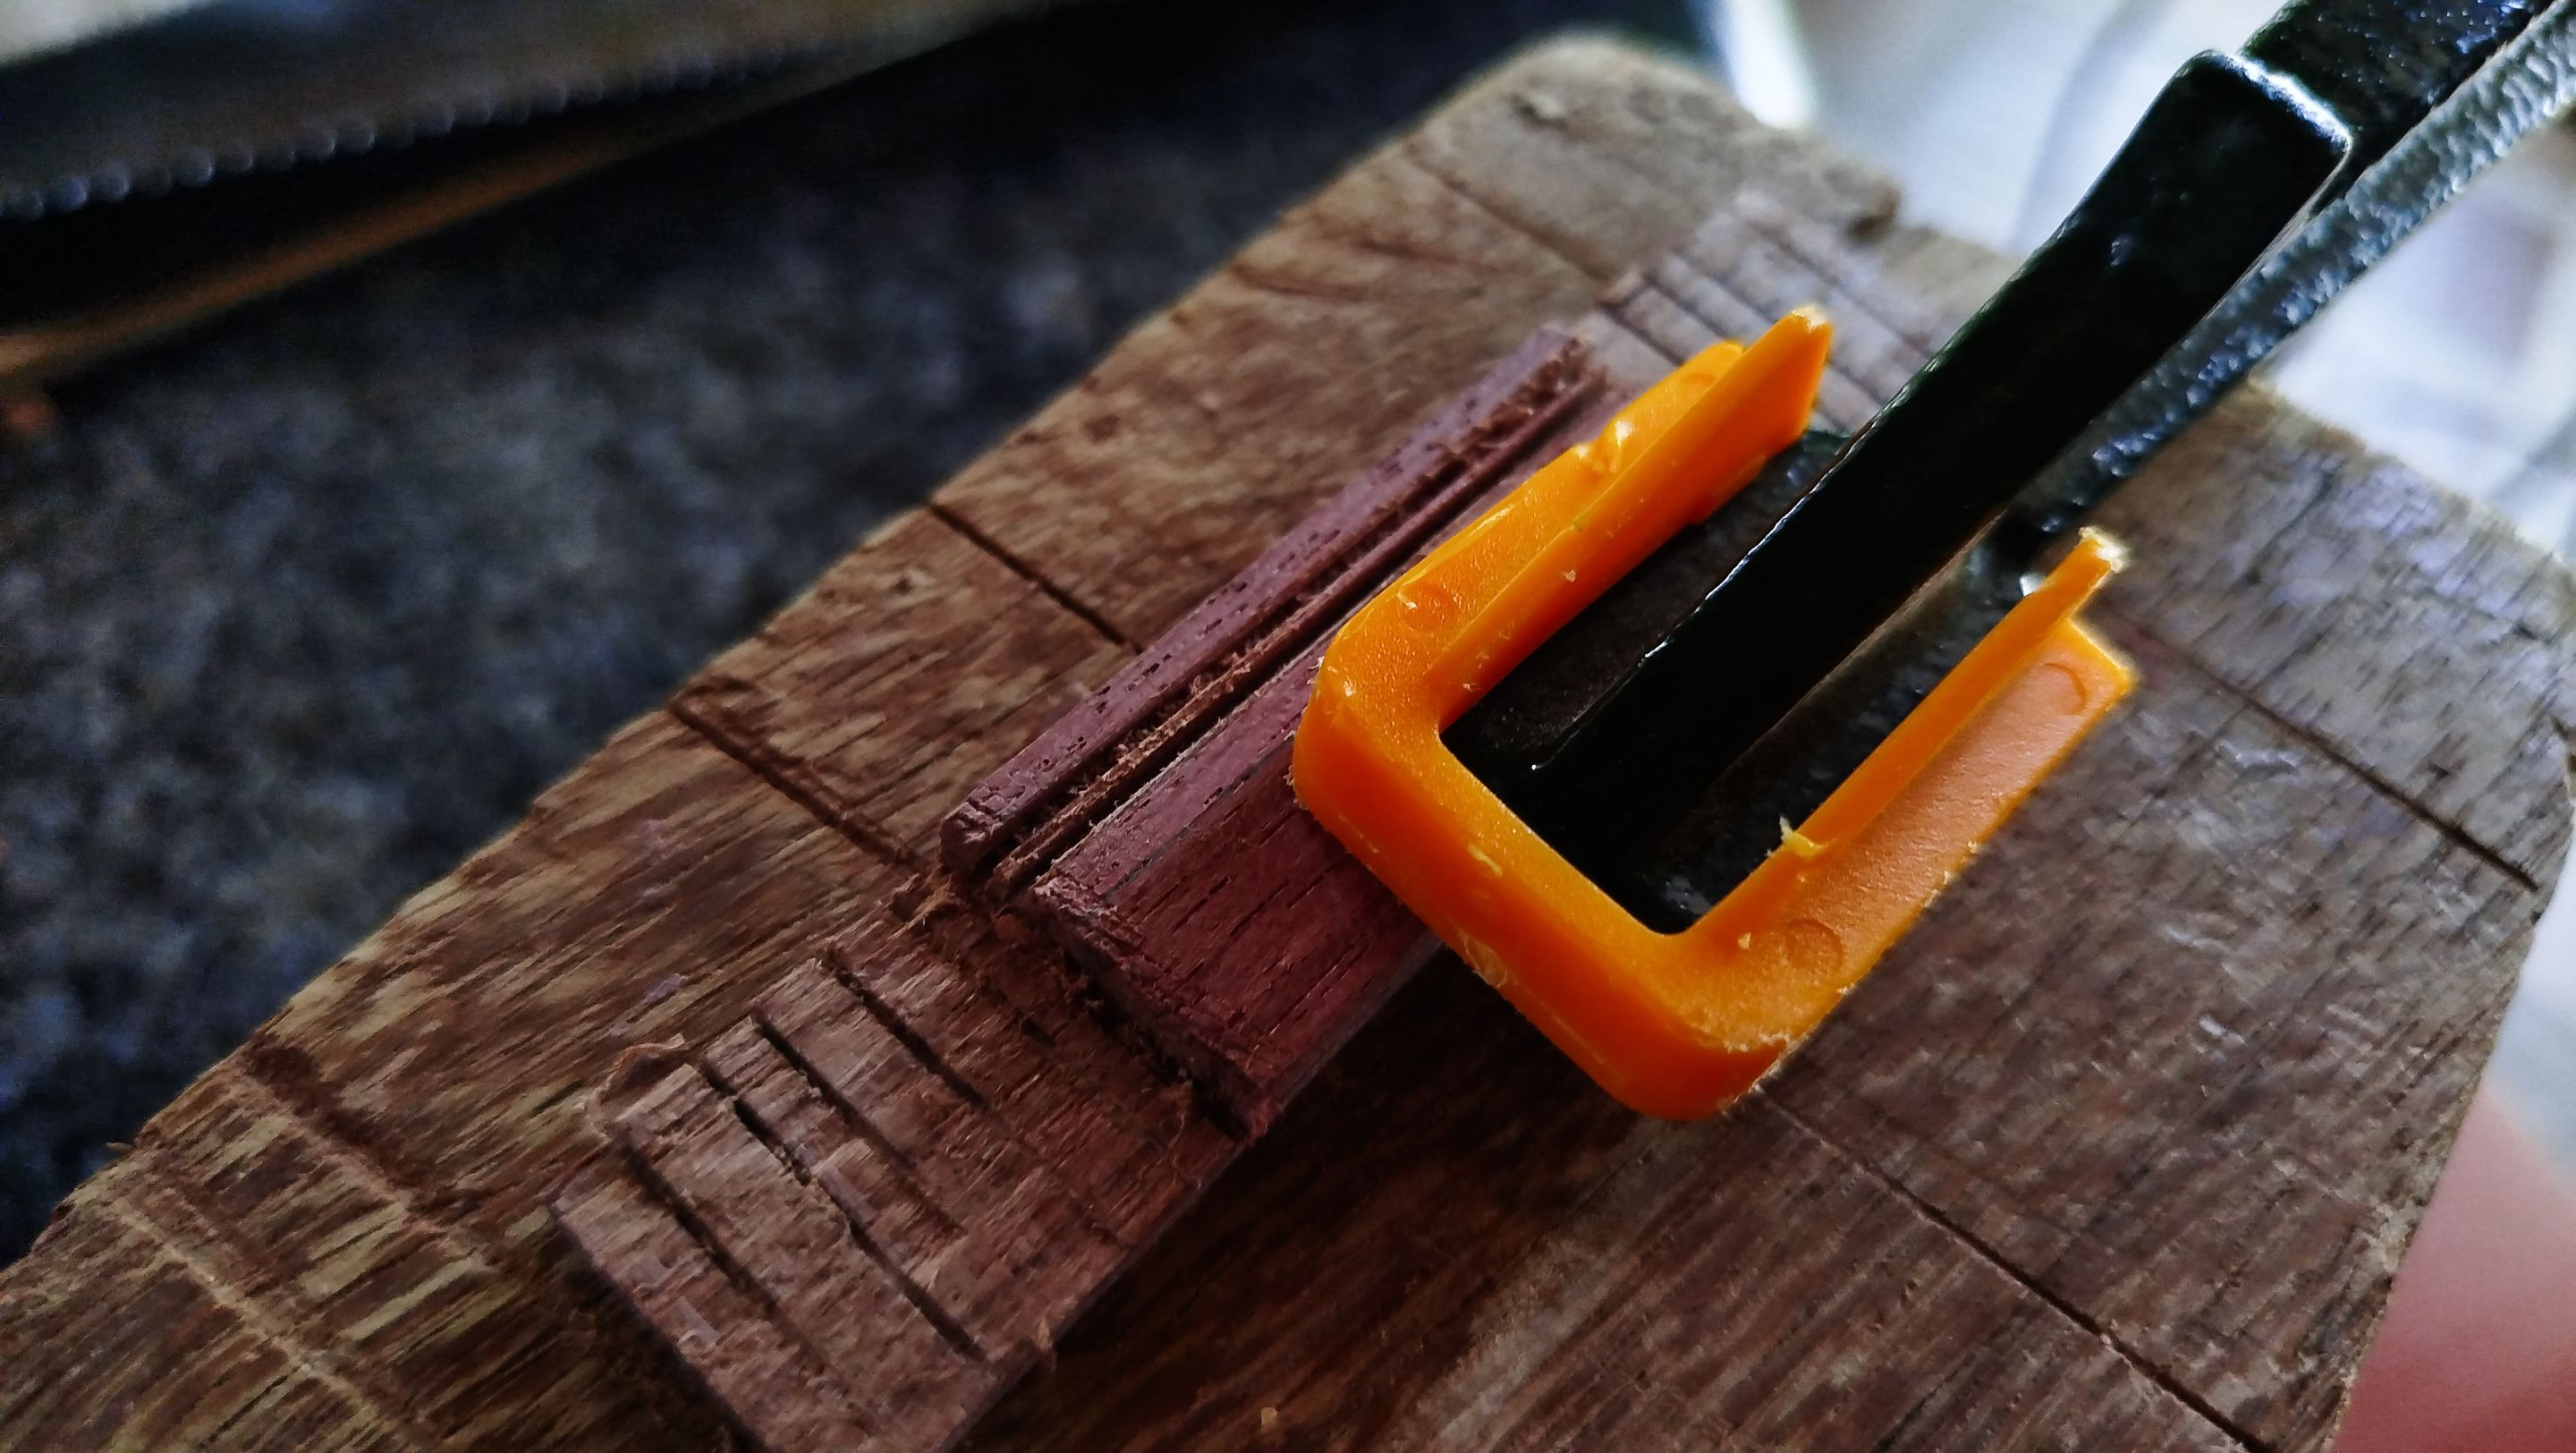
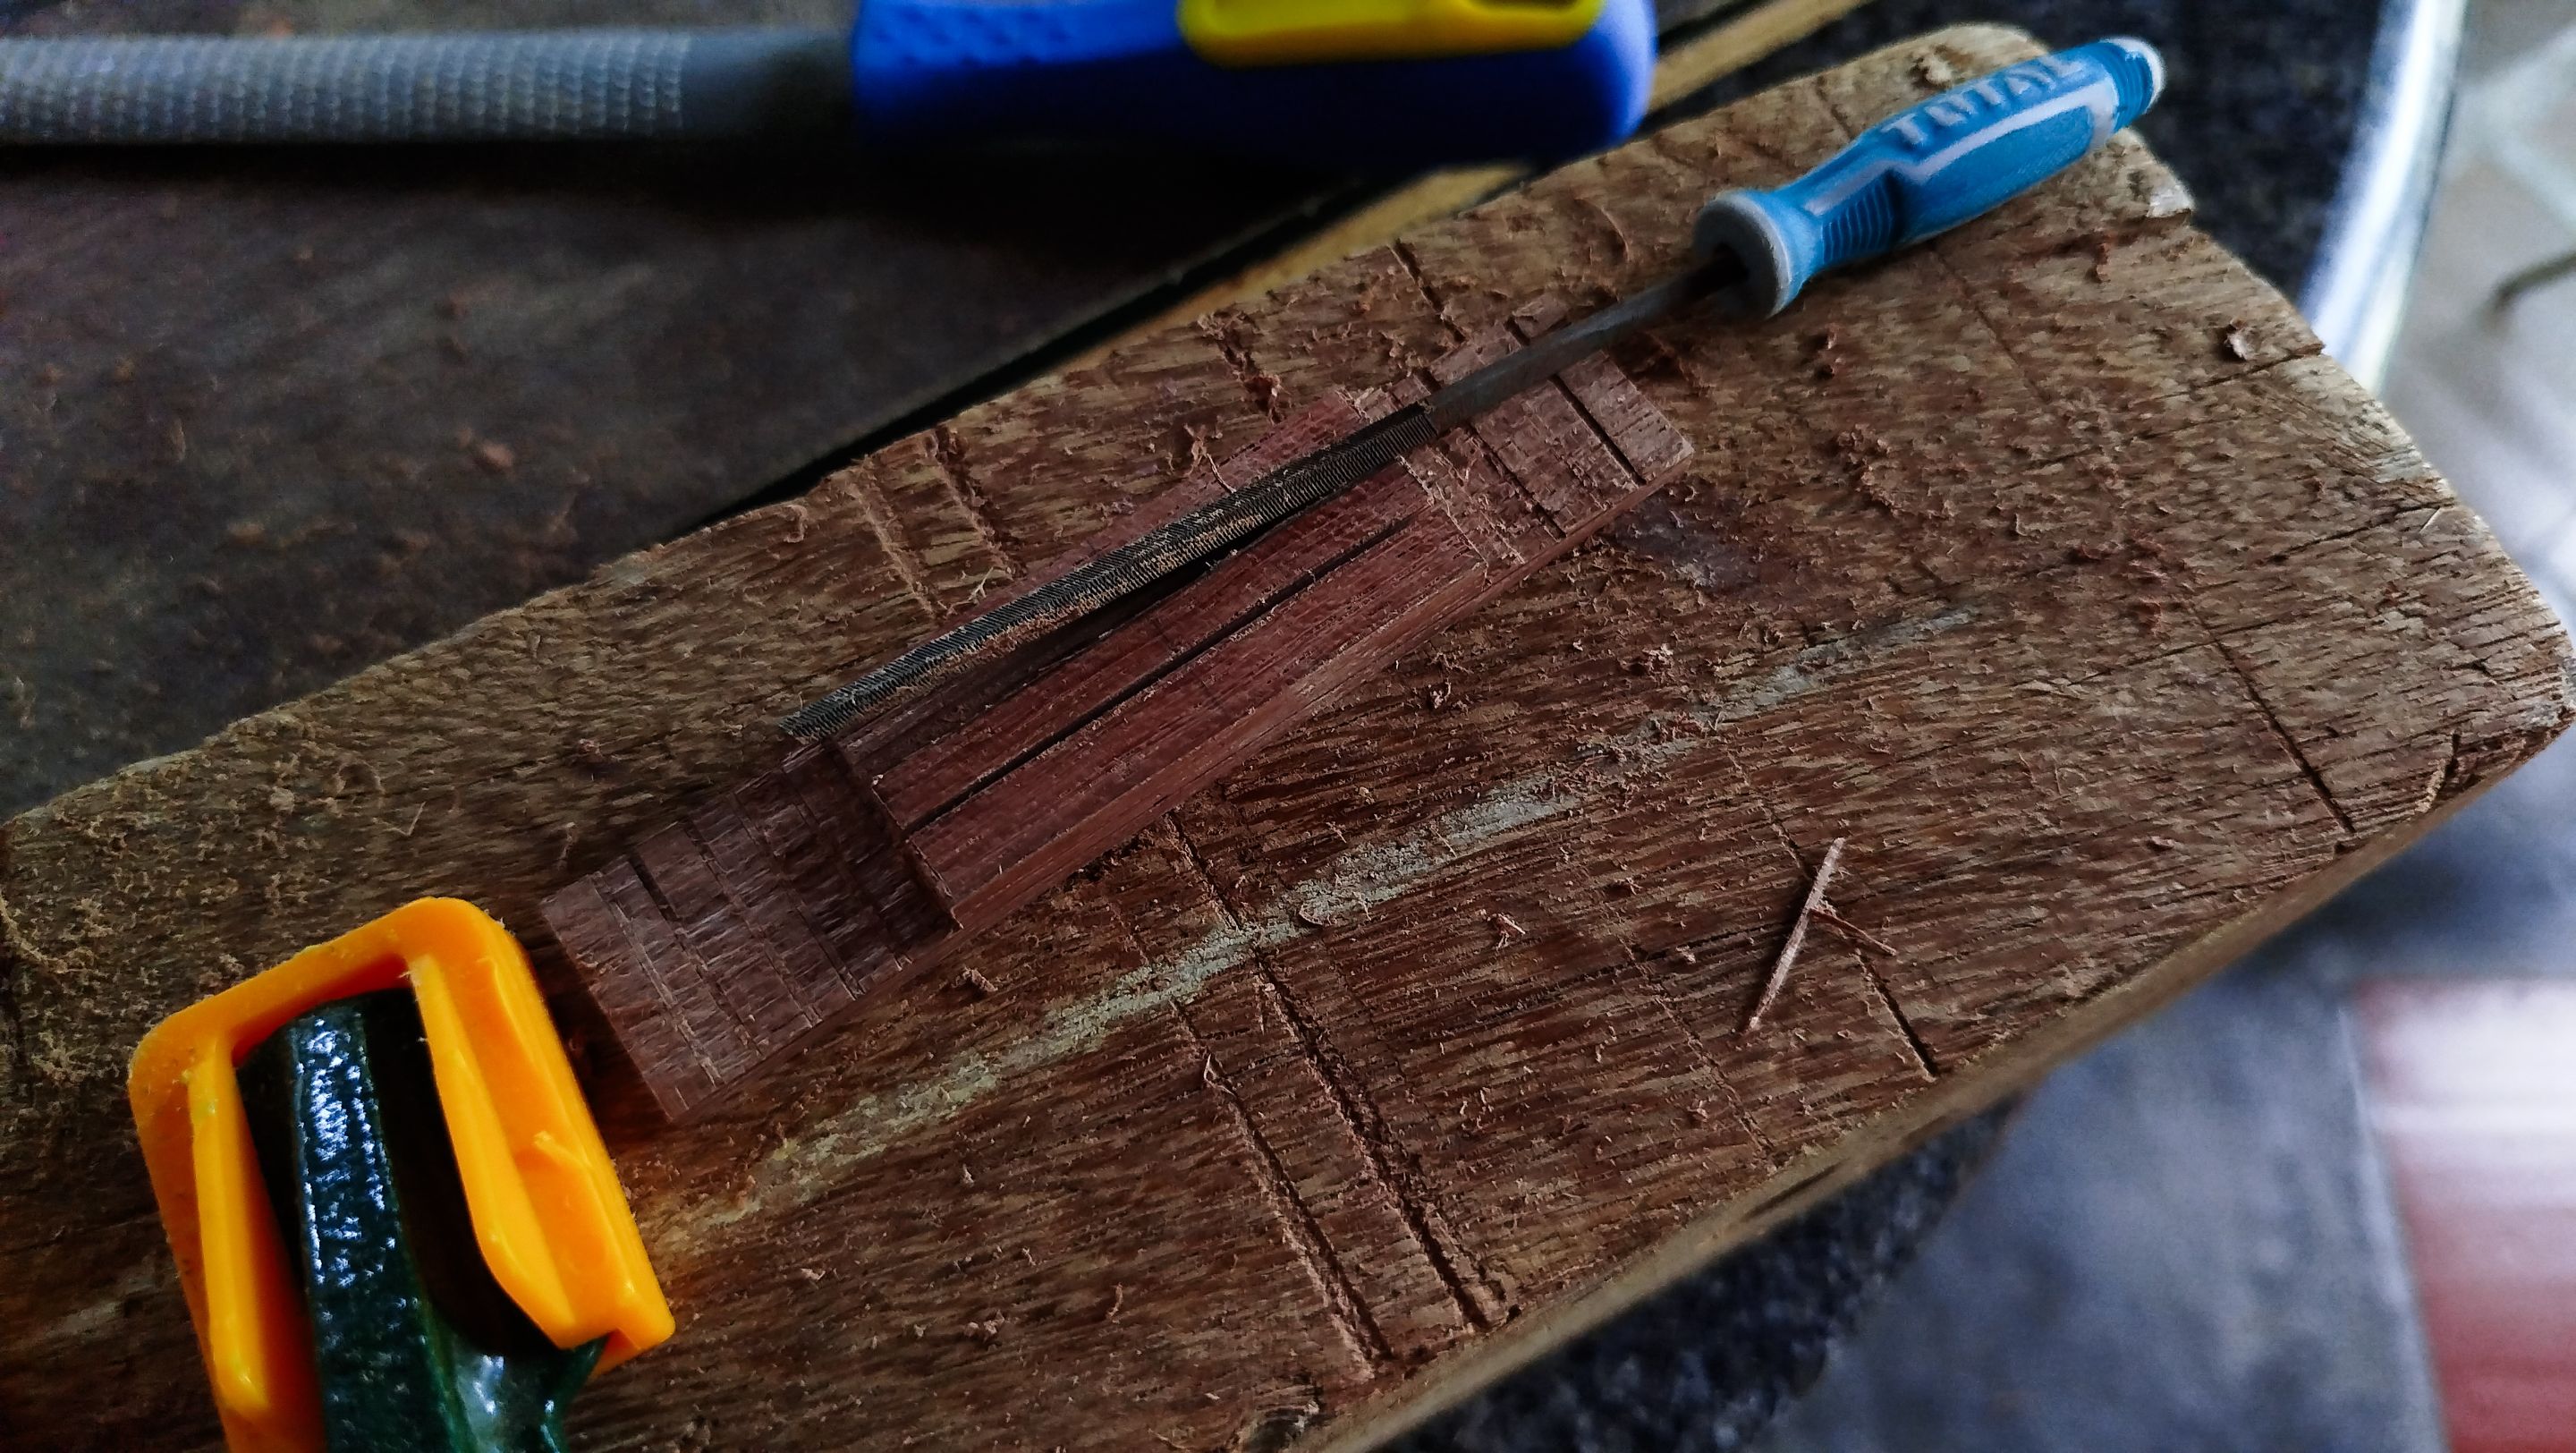
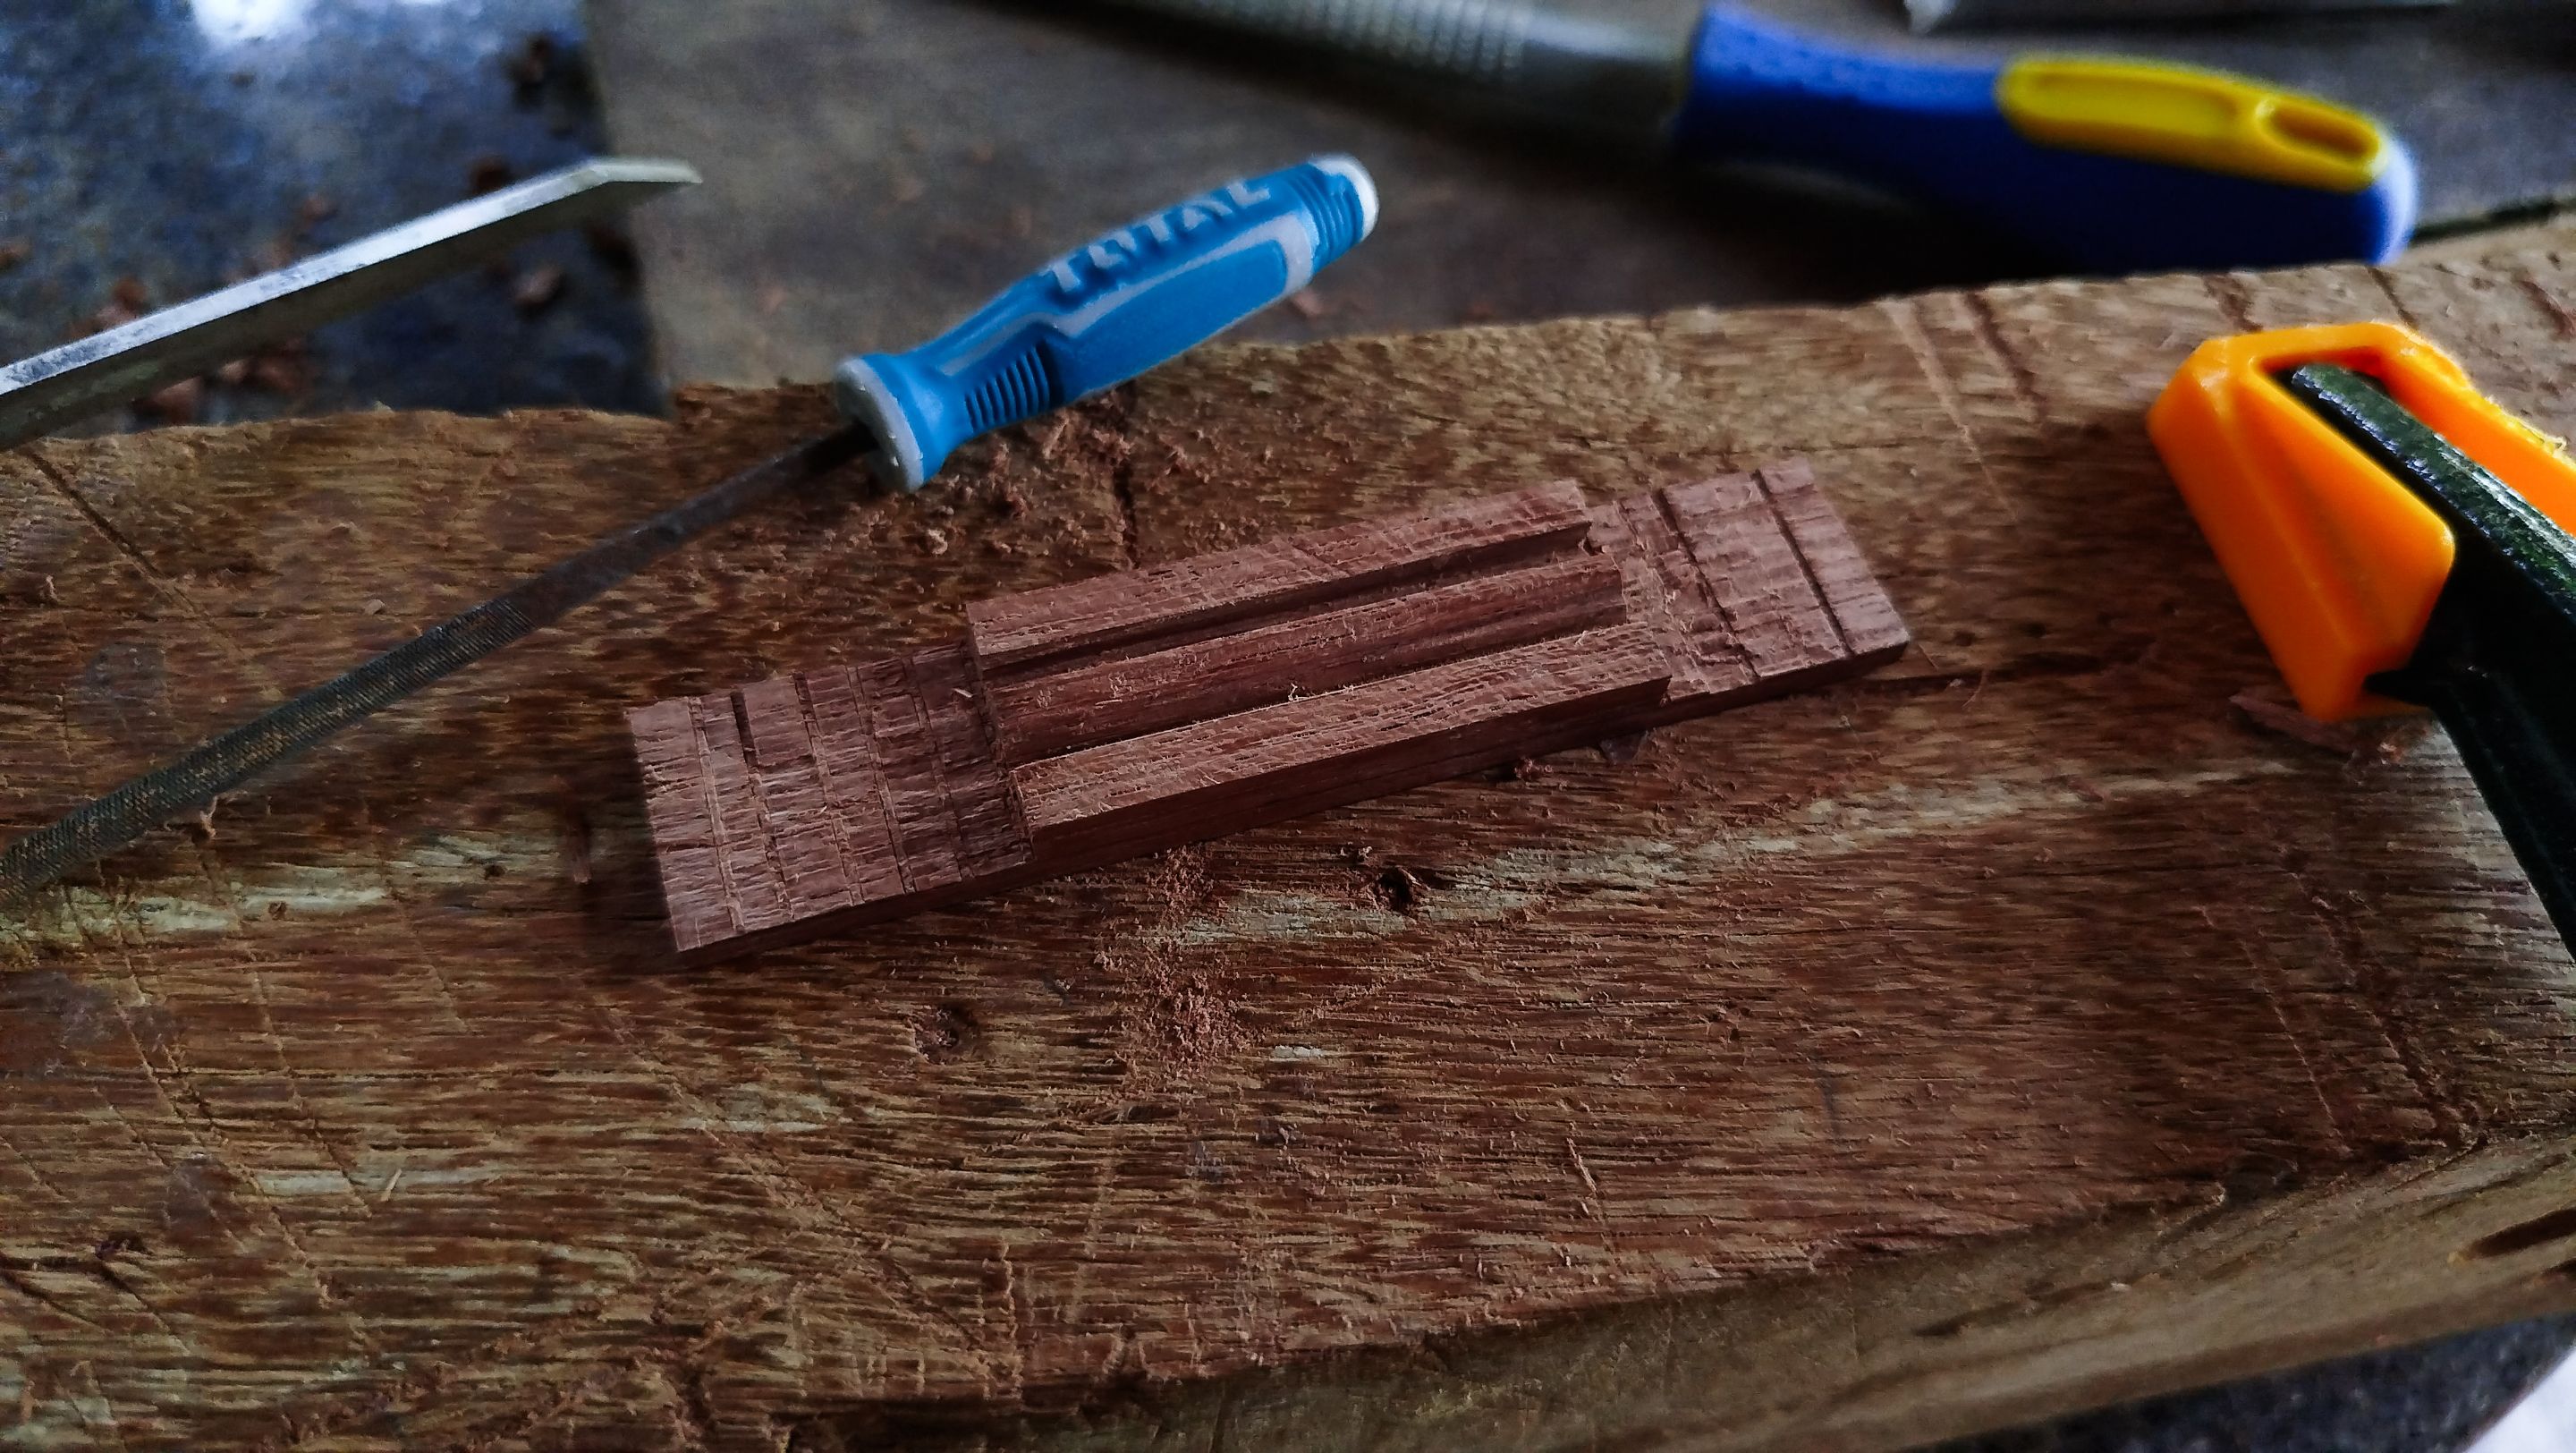
We make the cuts to get both slots and then use a chisel and file to remove the waste. The last thig we are doing with this bridge for now is using a file to make the lower portions more aesthetic and then using sandpaper to remove any uneven surfaces.
However, we still need to make the holes for the strings. That will come later in the entries.
There are two slots in the traditional bridge. One is for the saddle; the other, room for the strings.
Markers

Swipe to see the photos
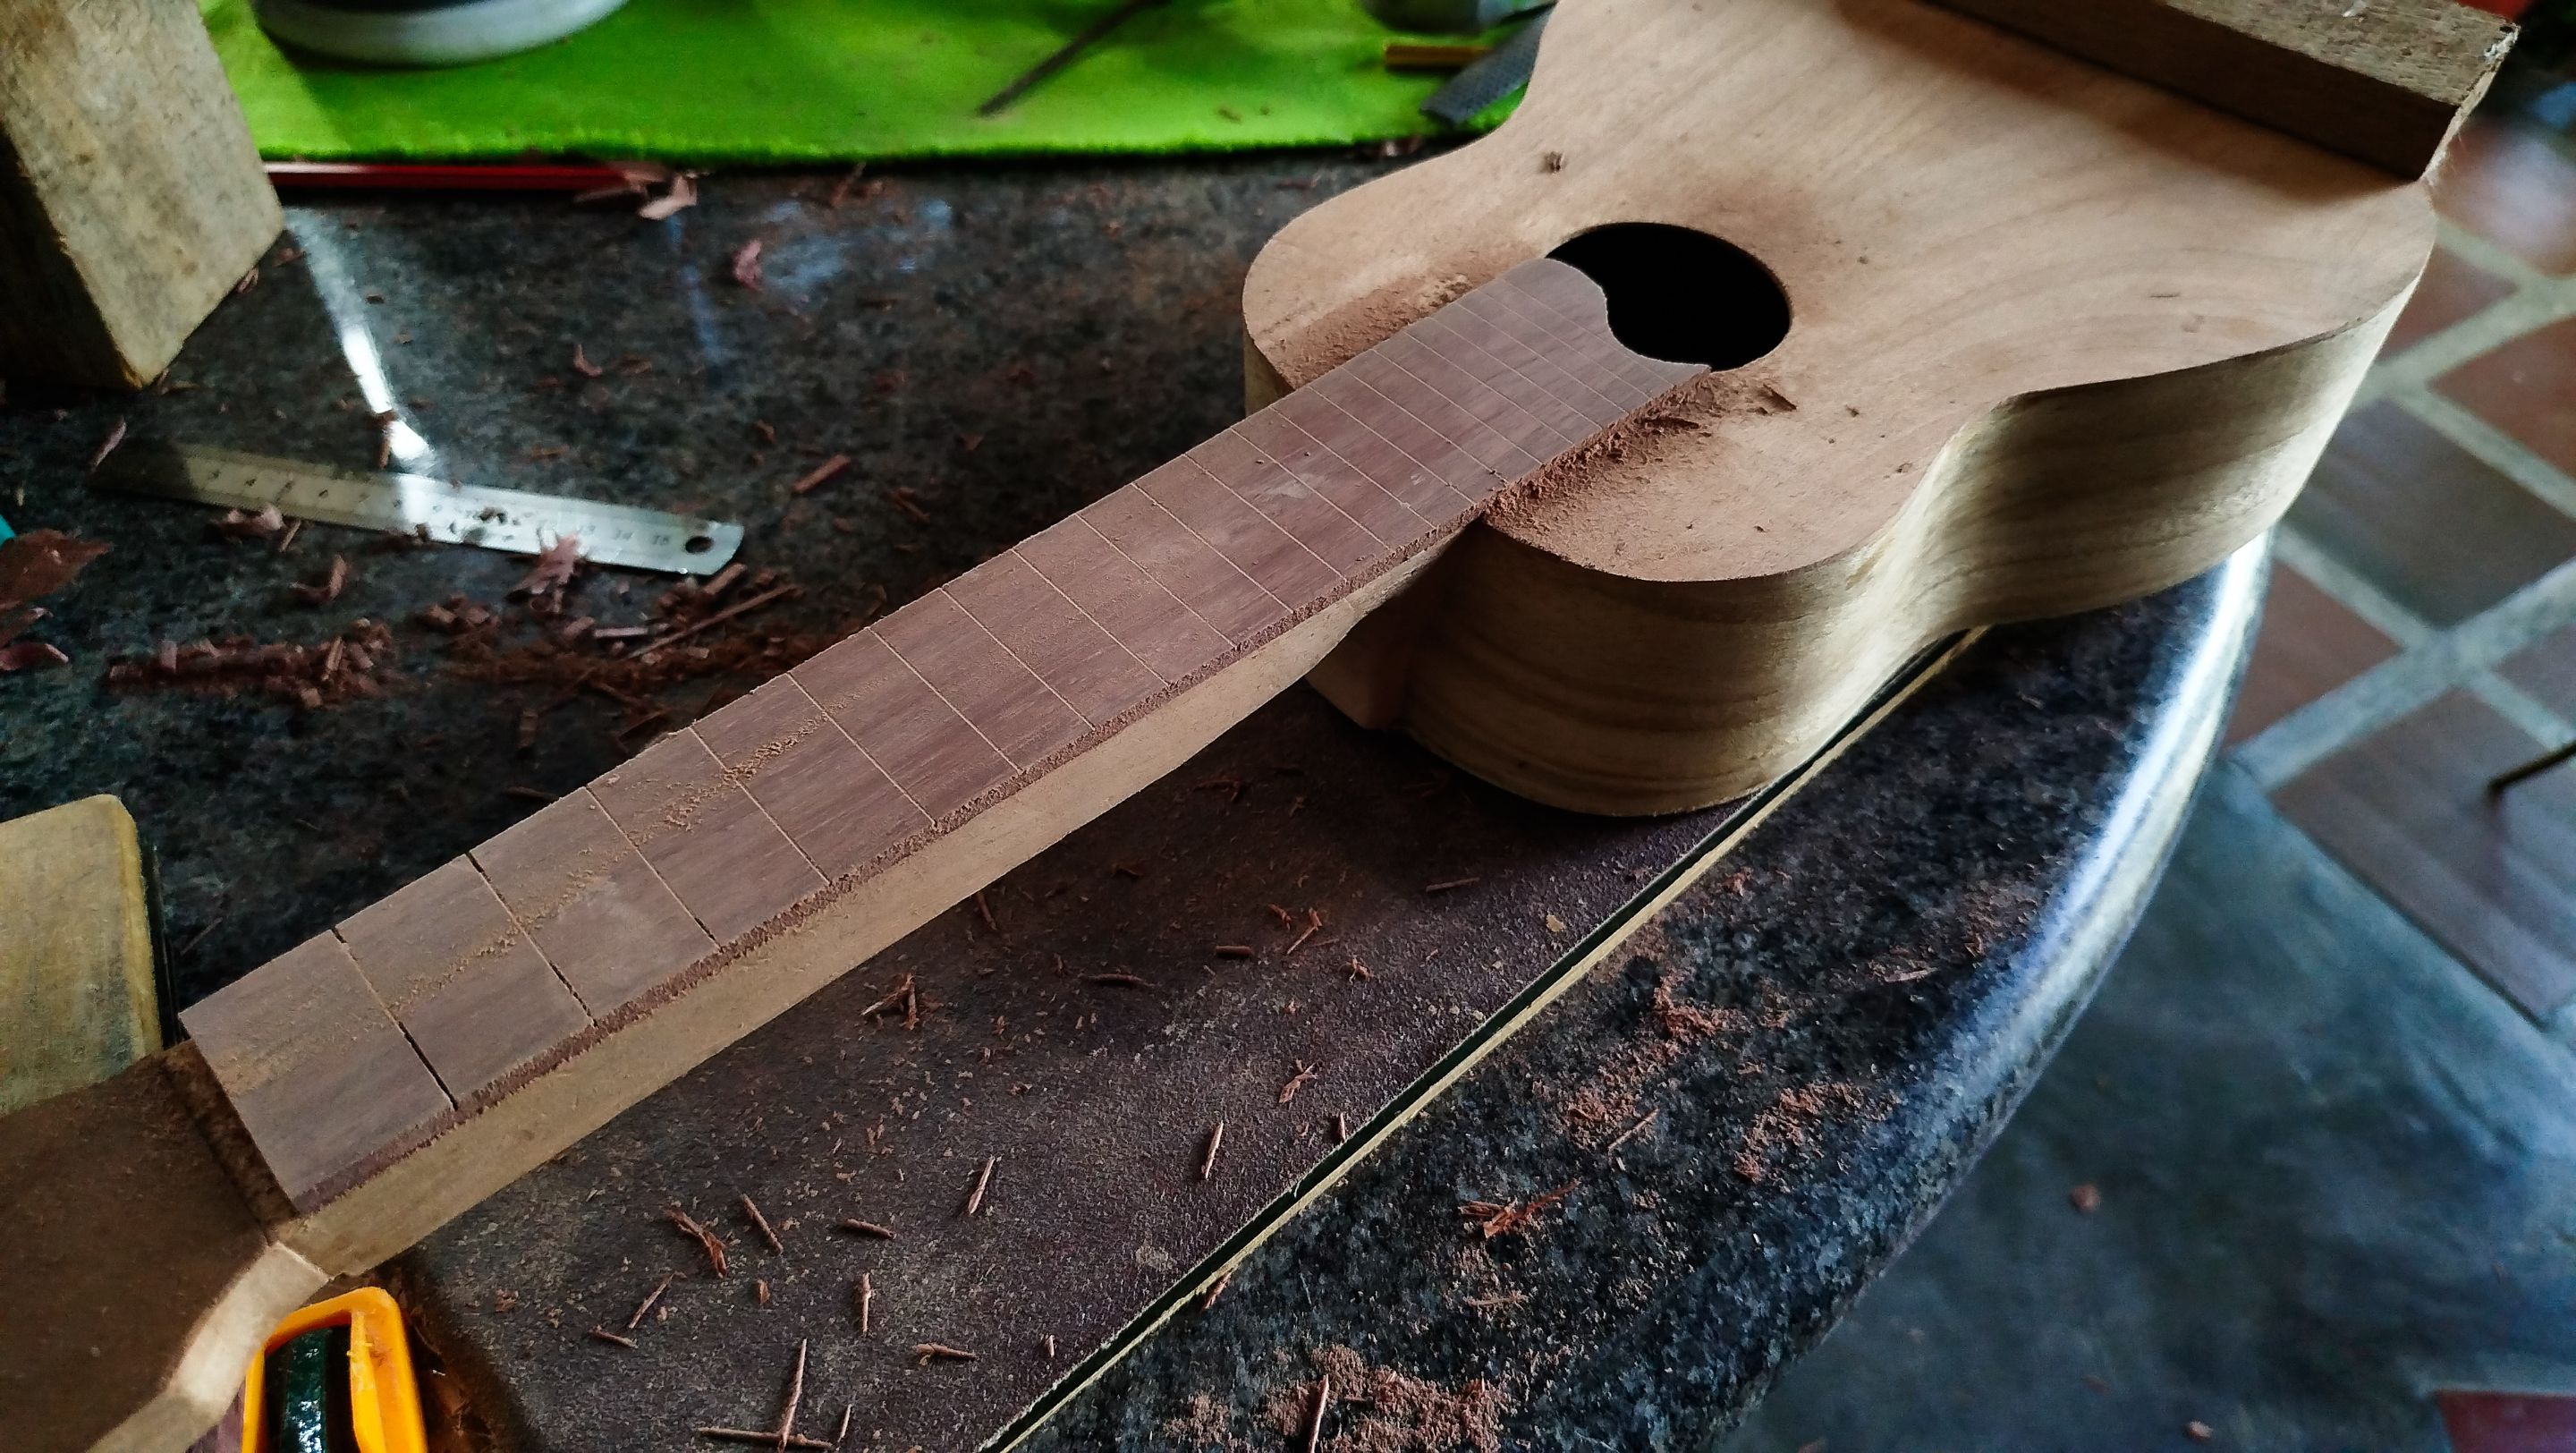
The position markers are entirely optional in any build. We are getting some of these in the front portion of the fretboard to give it another look to the whole build. The idea is to mark the fret where harmonics are produced. These are some sweet sounds that you can make in the strings when you press with just enough force to get the sound without fretting the string.
These sounds are at fixed intervals with the division of the string. Those intervals are frets 3, 5, 7, 9, 12, 15, 17 and others. The idea is that harmonics keep getting a rise in pitch that goes even beyond human audition. The markers also help players know what fret they are look at while they play. And some of these positions are crucial for systems like CAGED. That is a way to create melodies with chords.
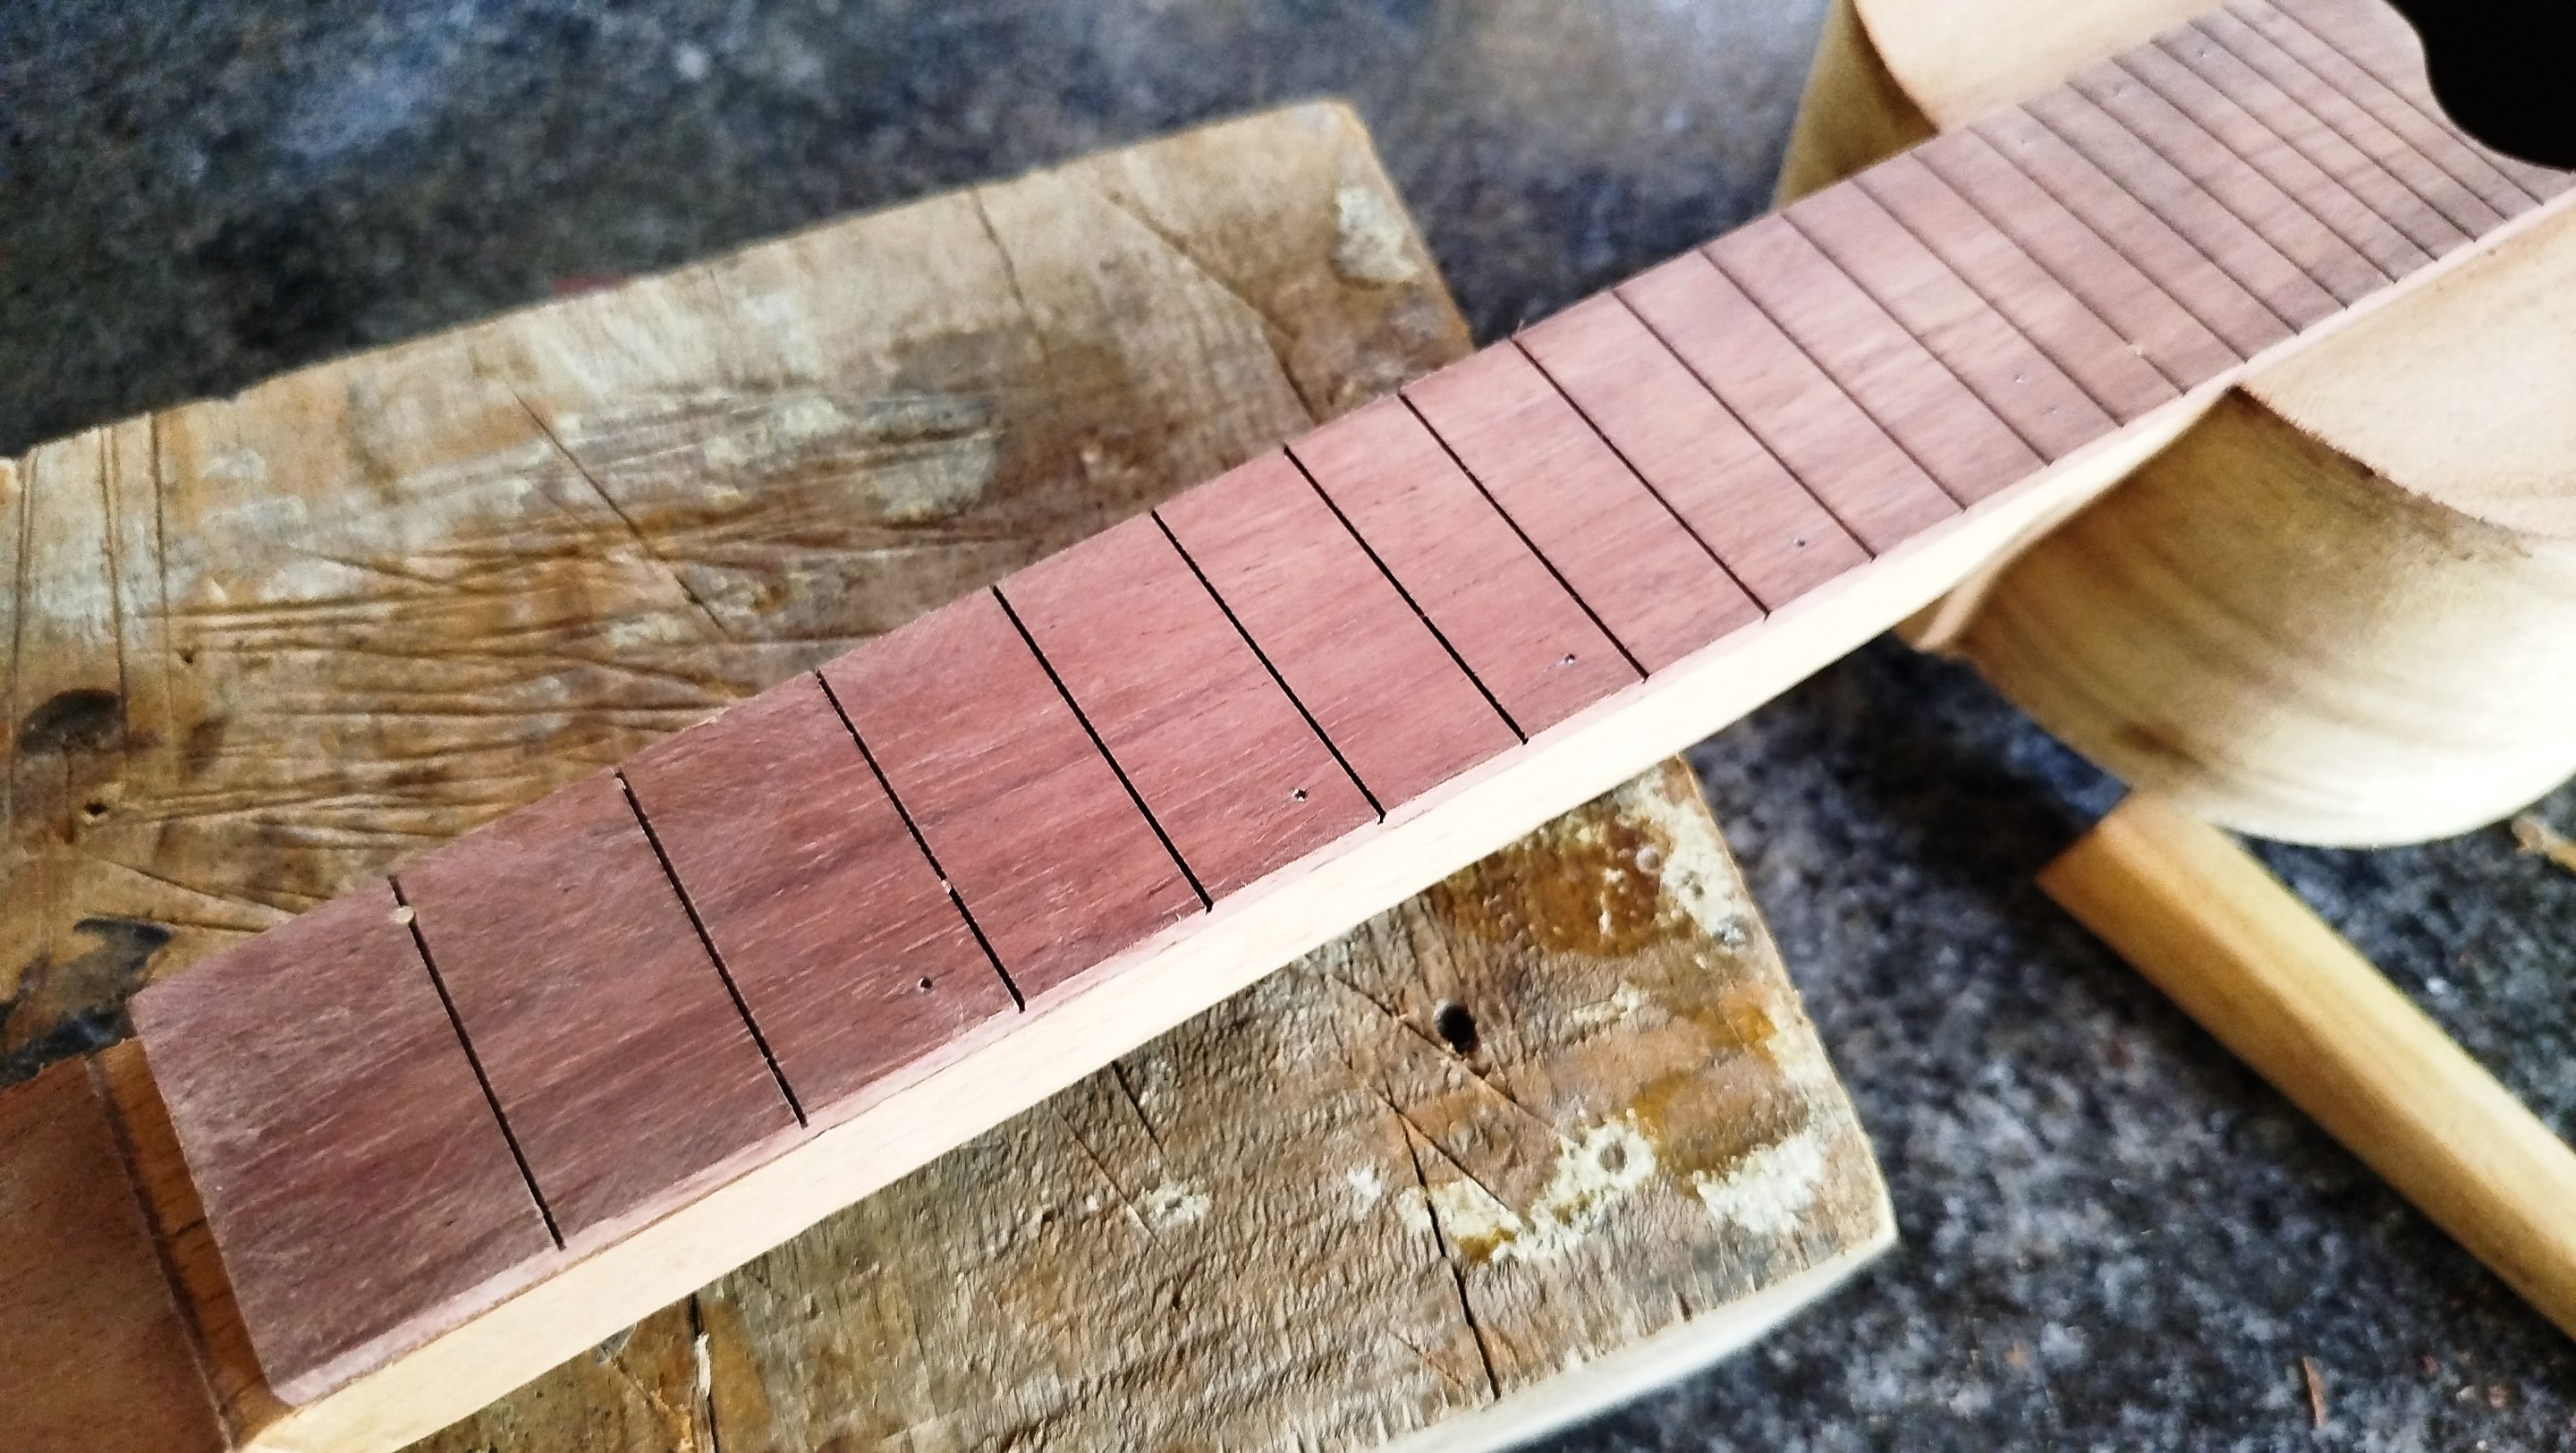
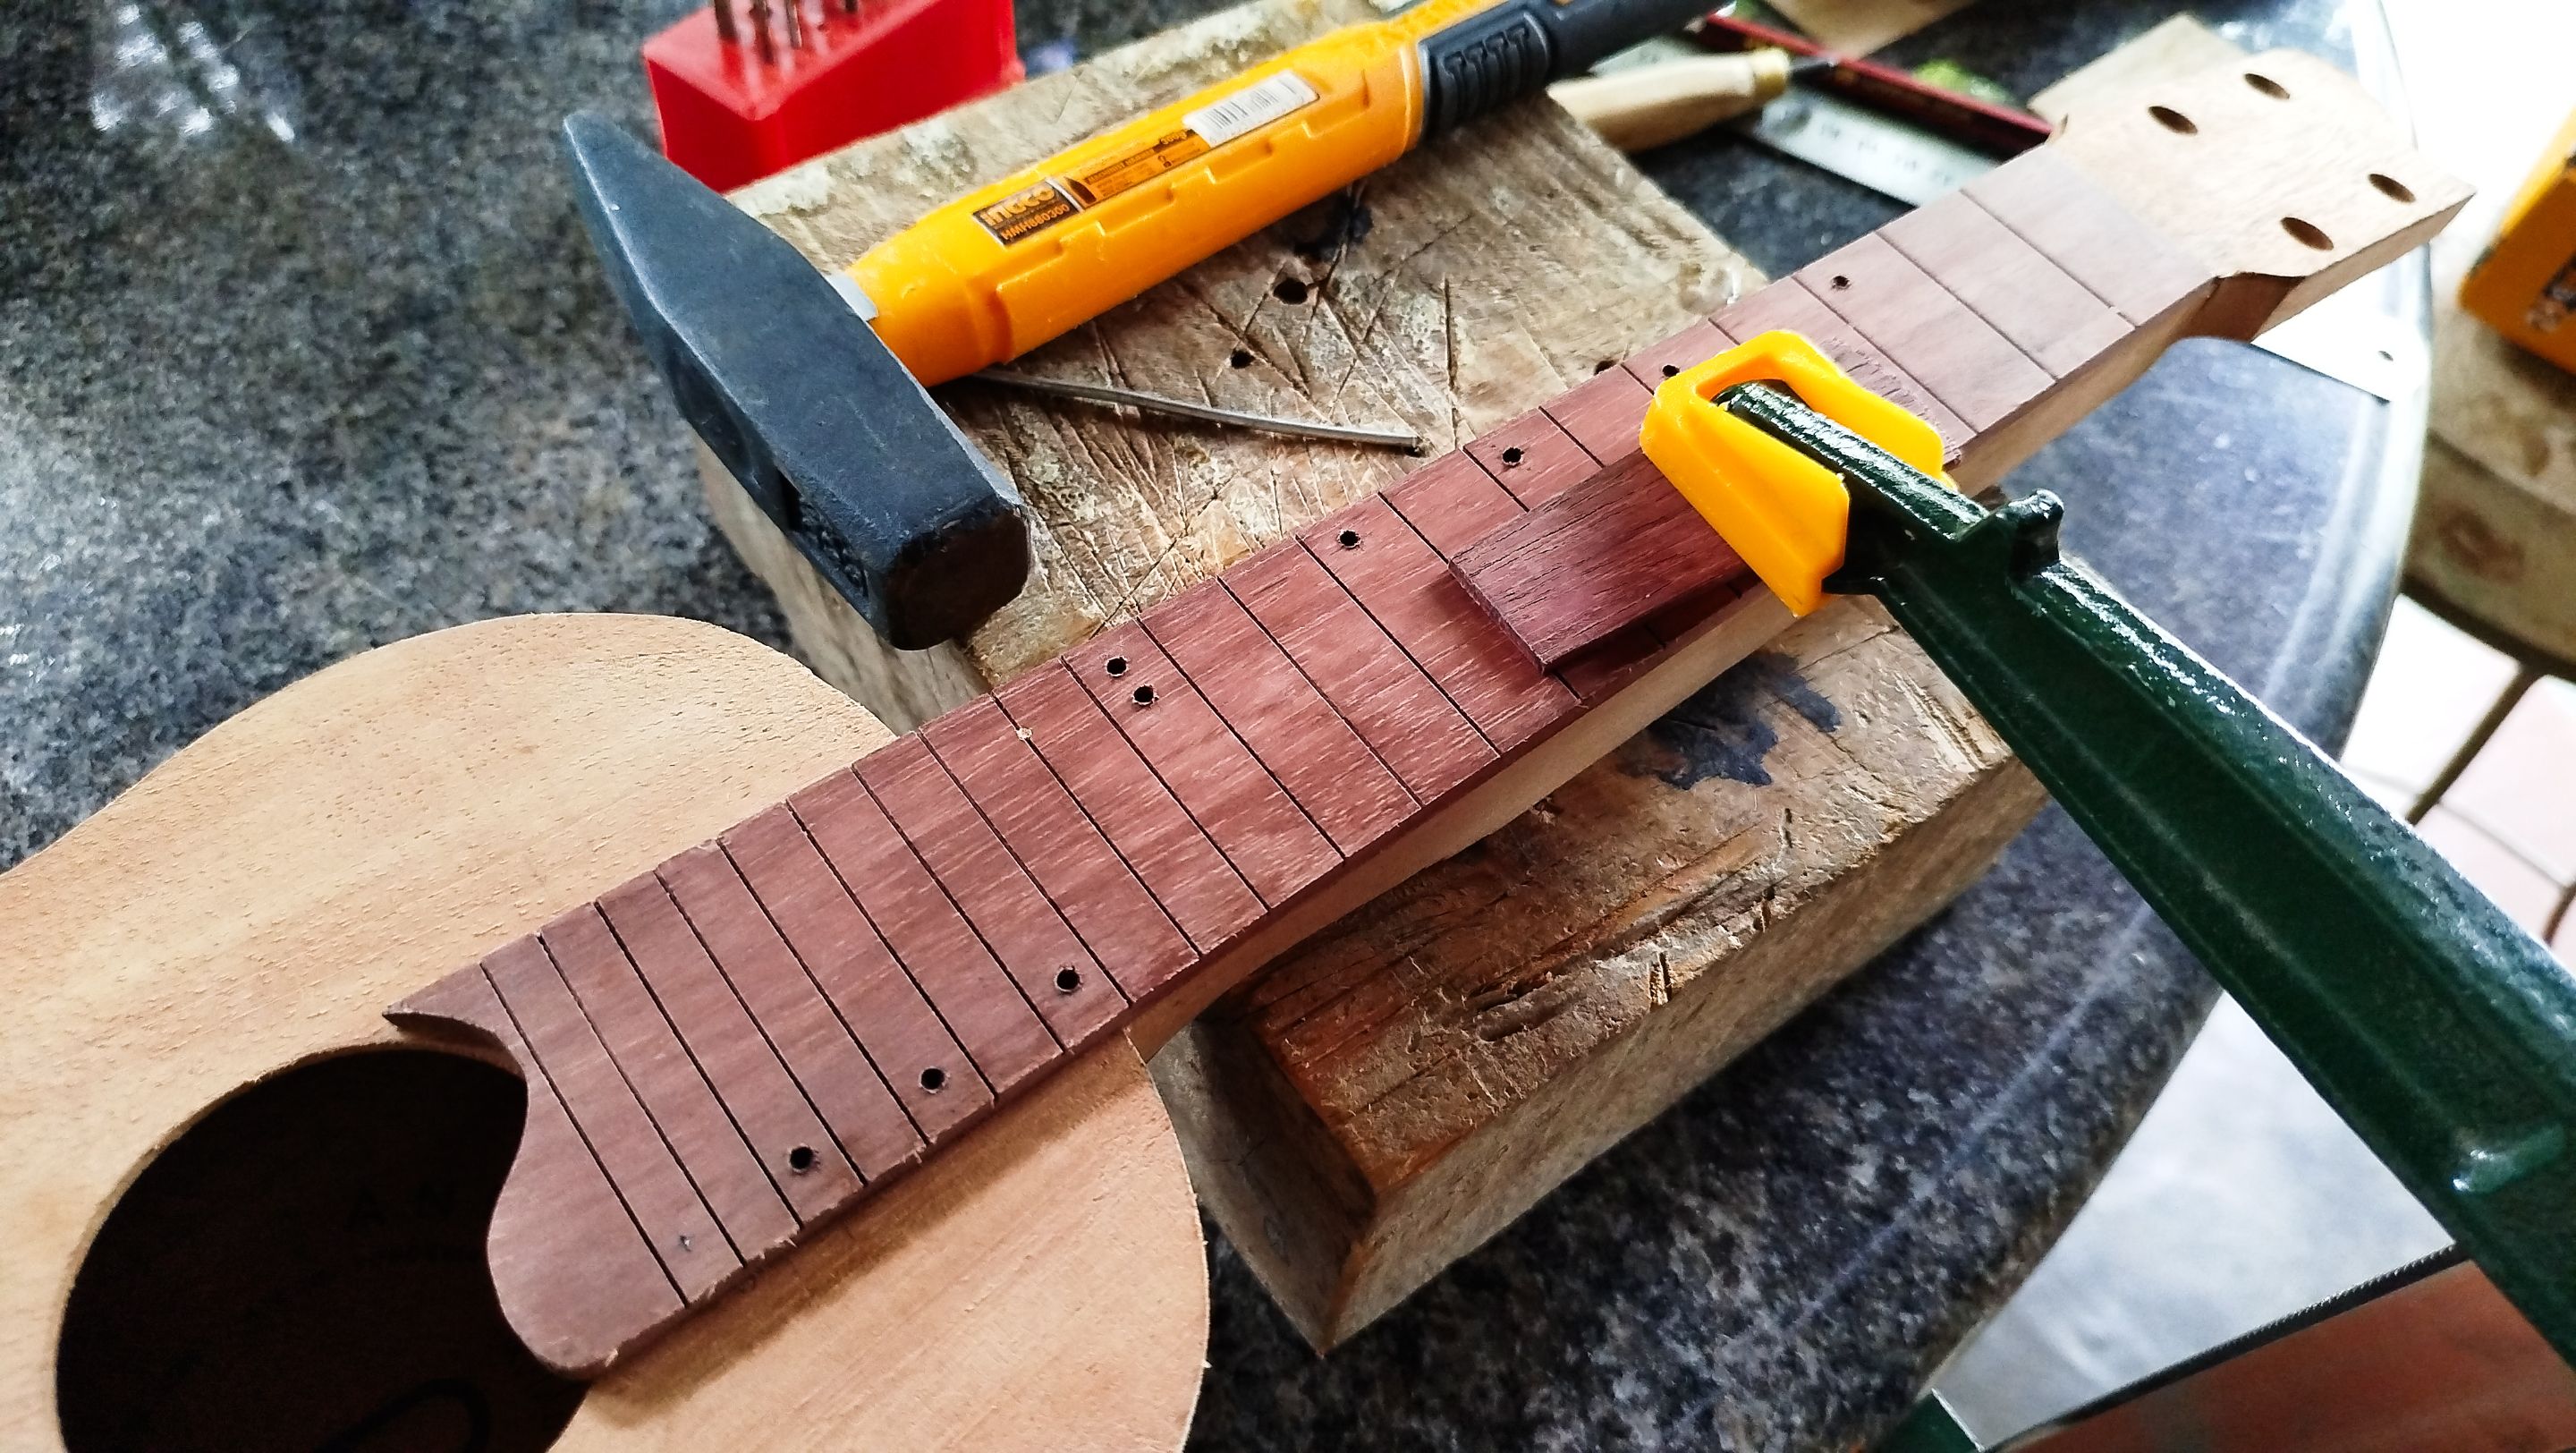
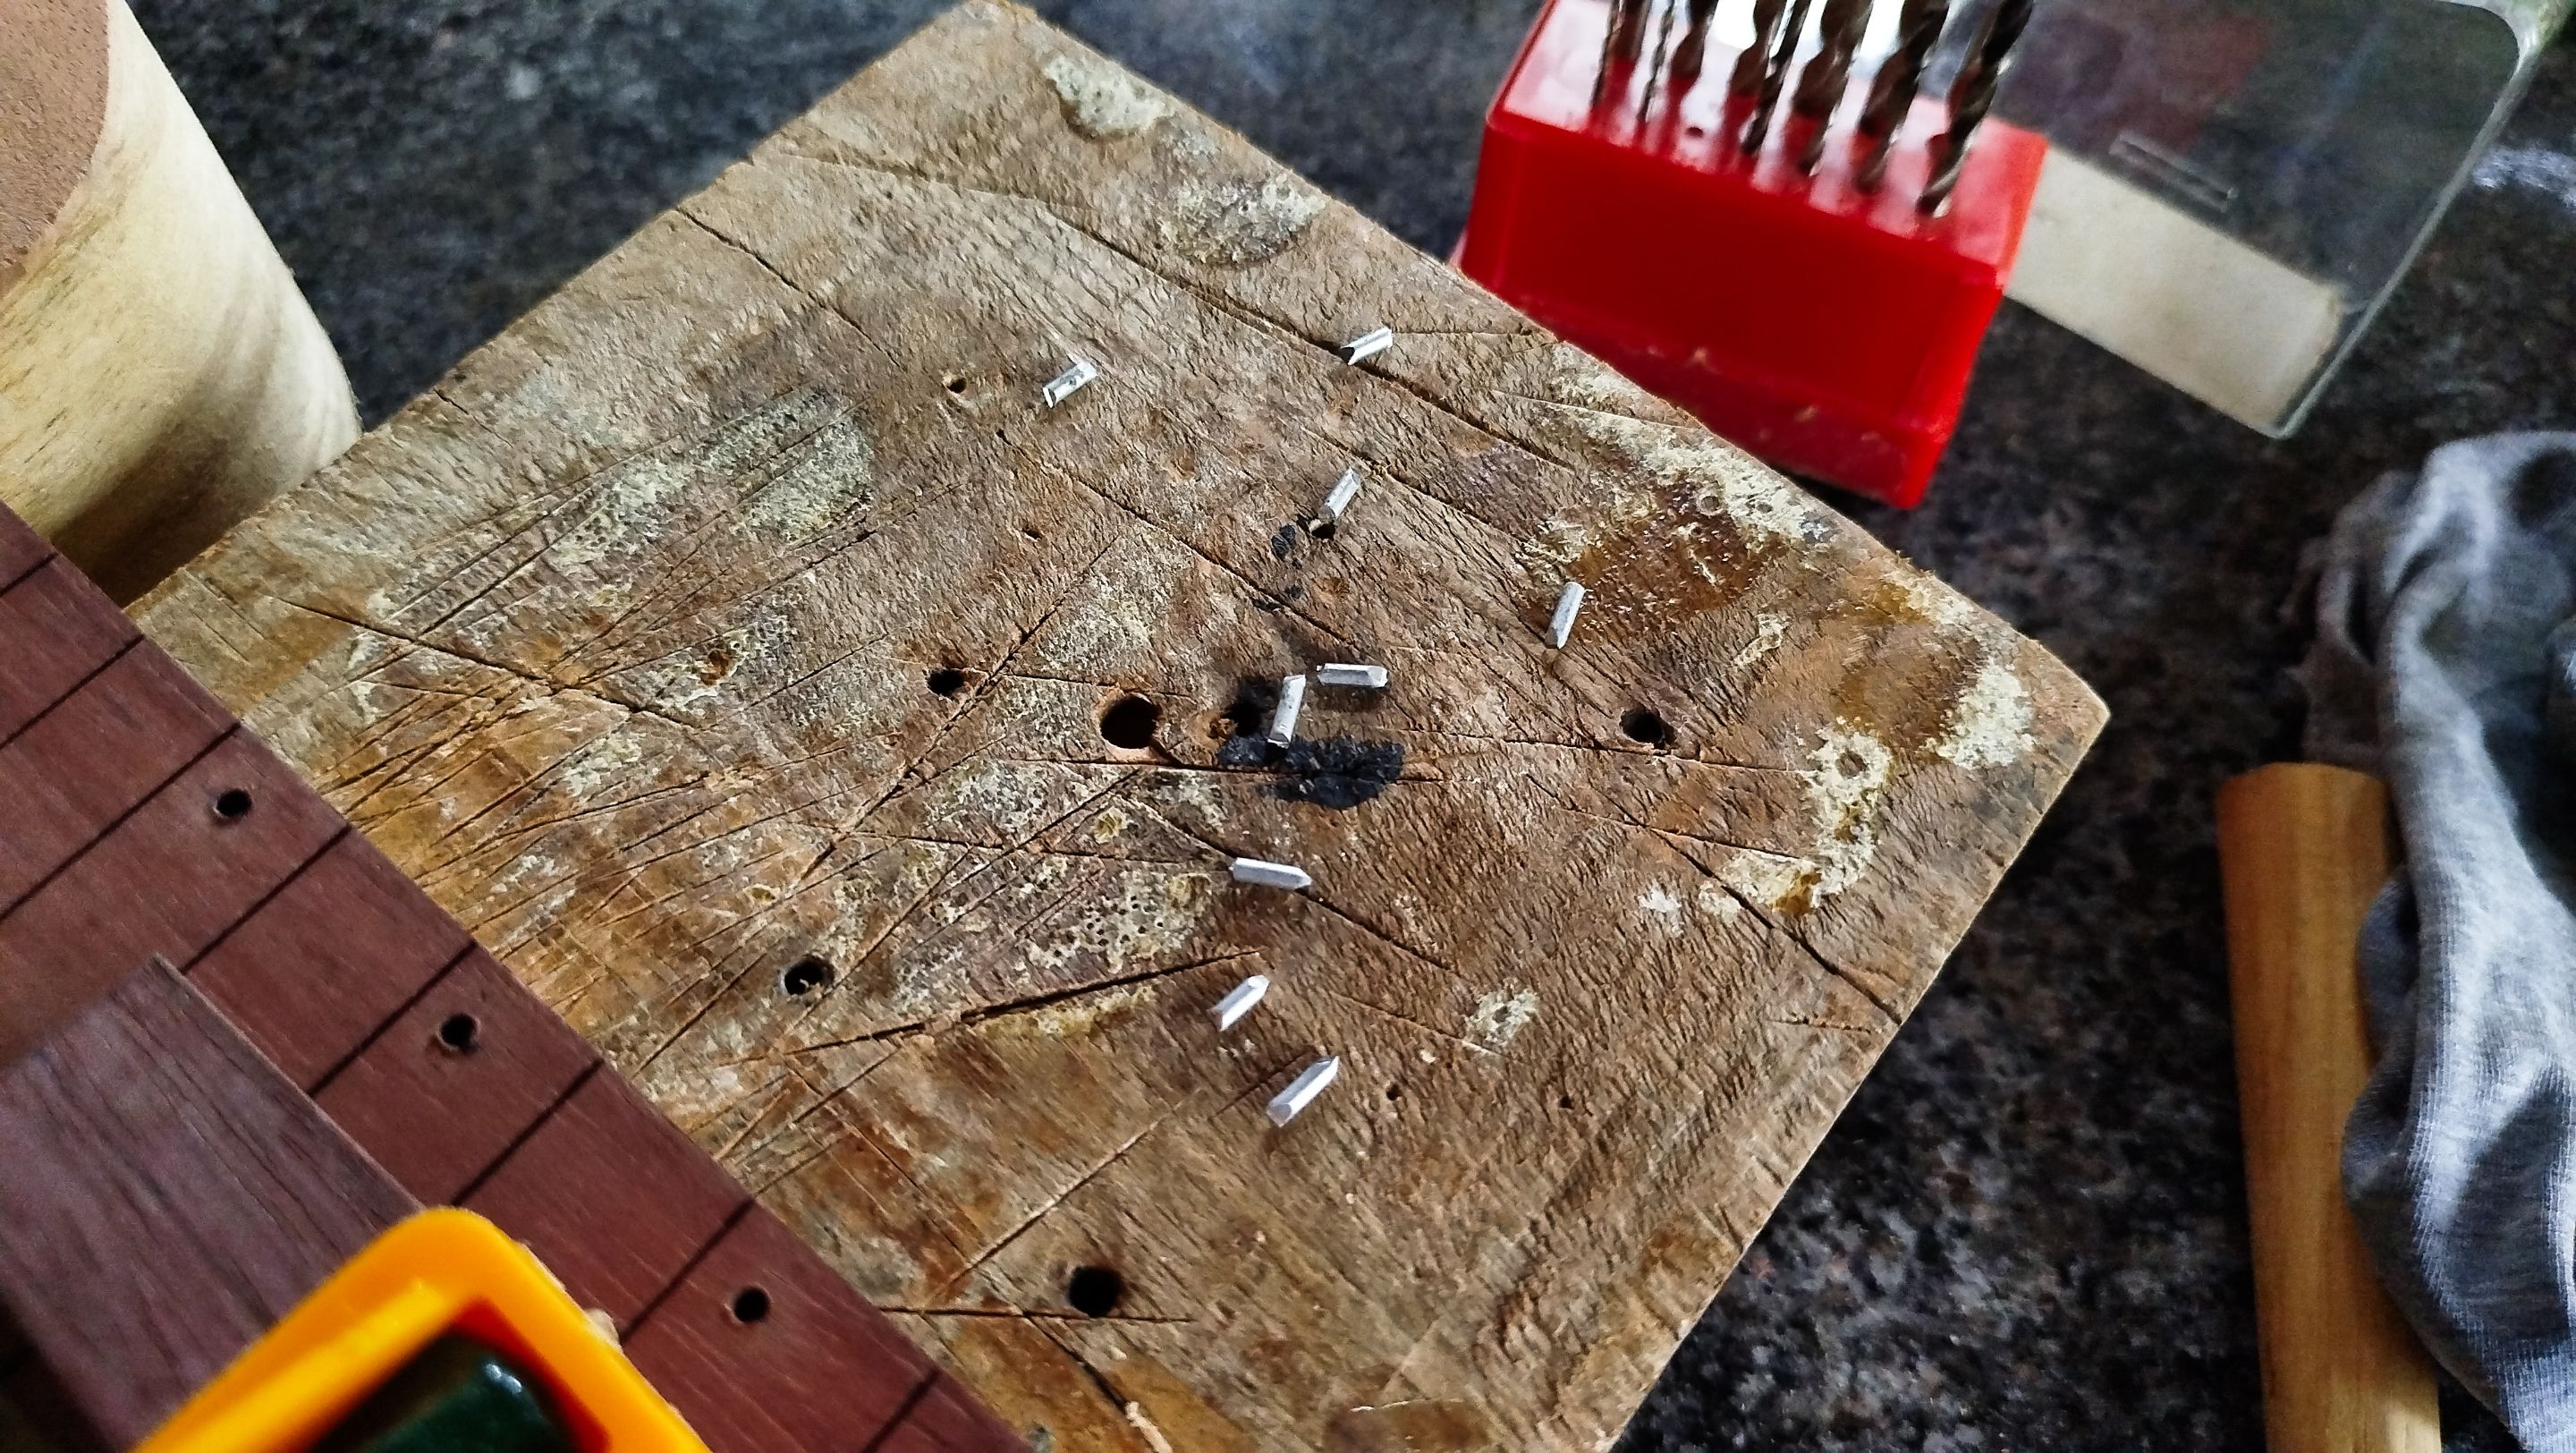
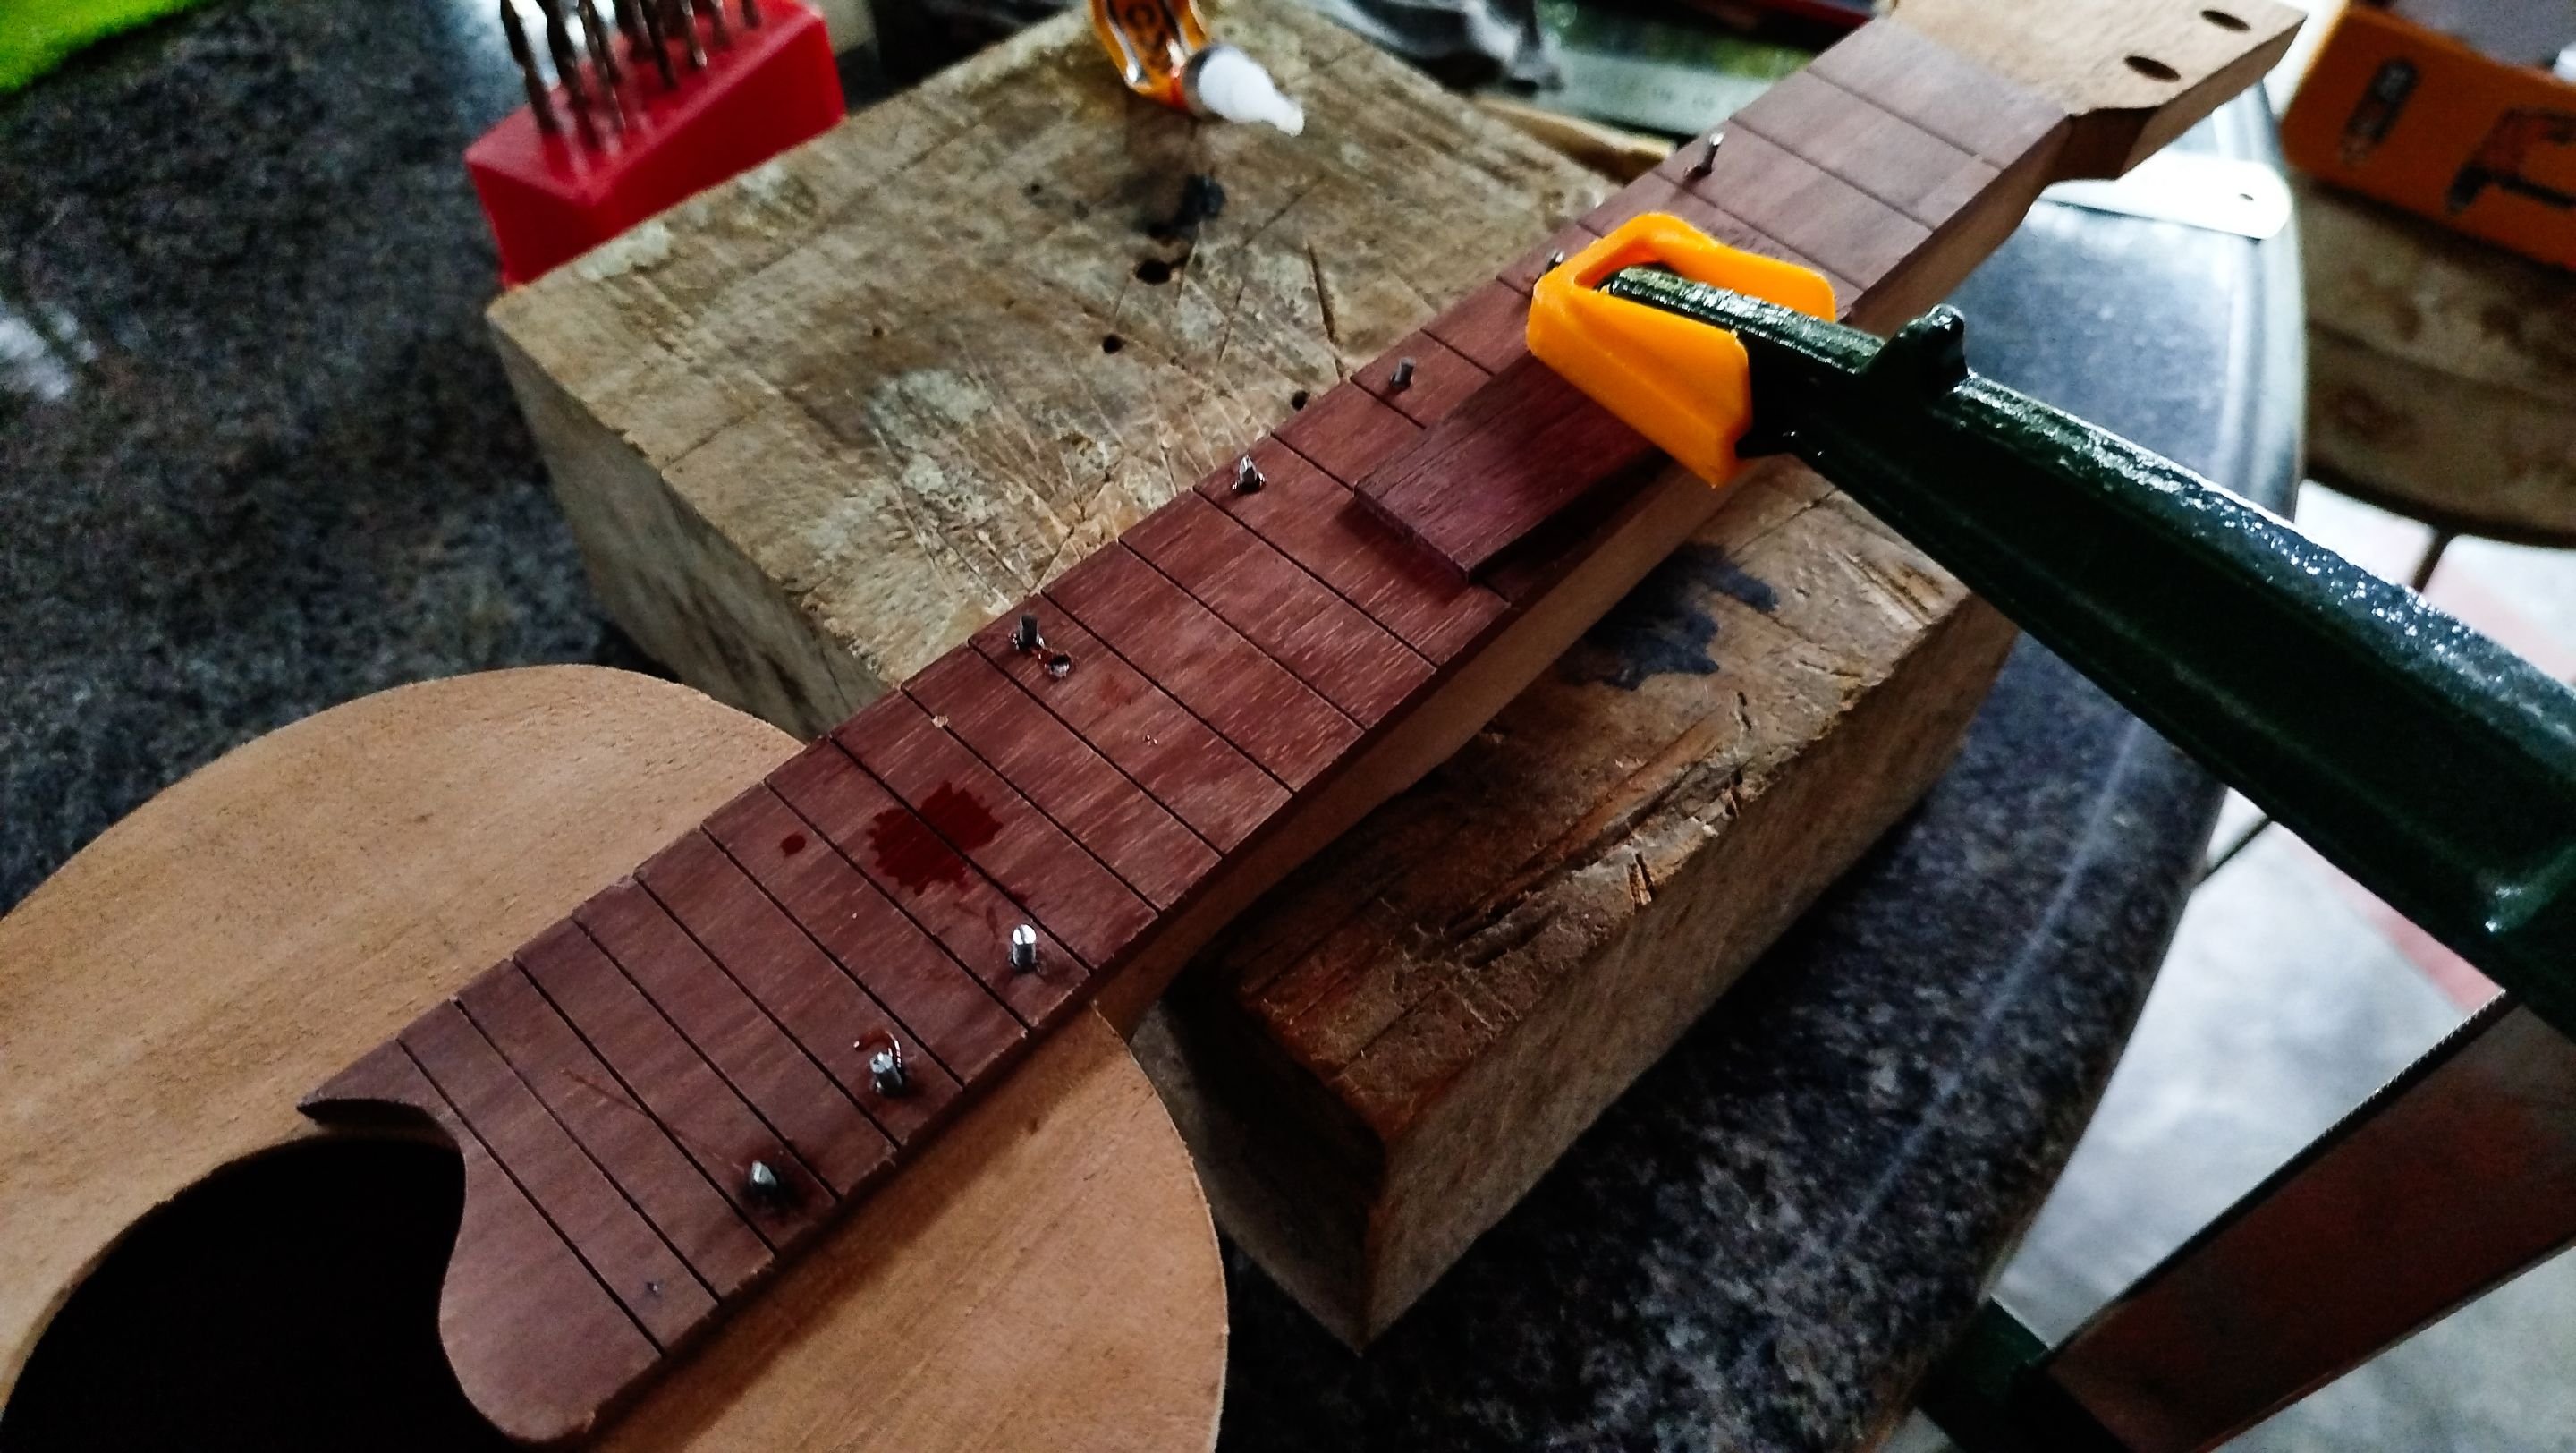
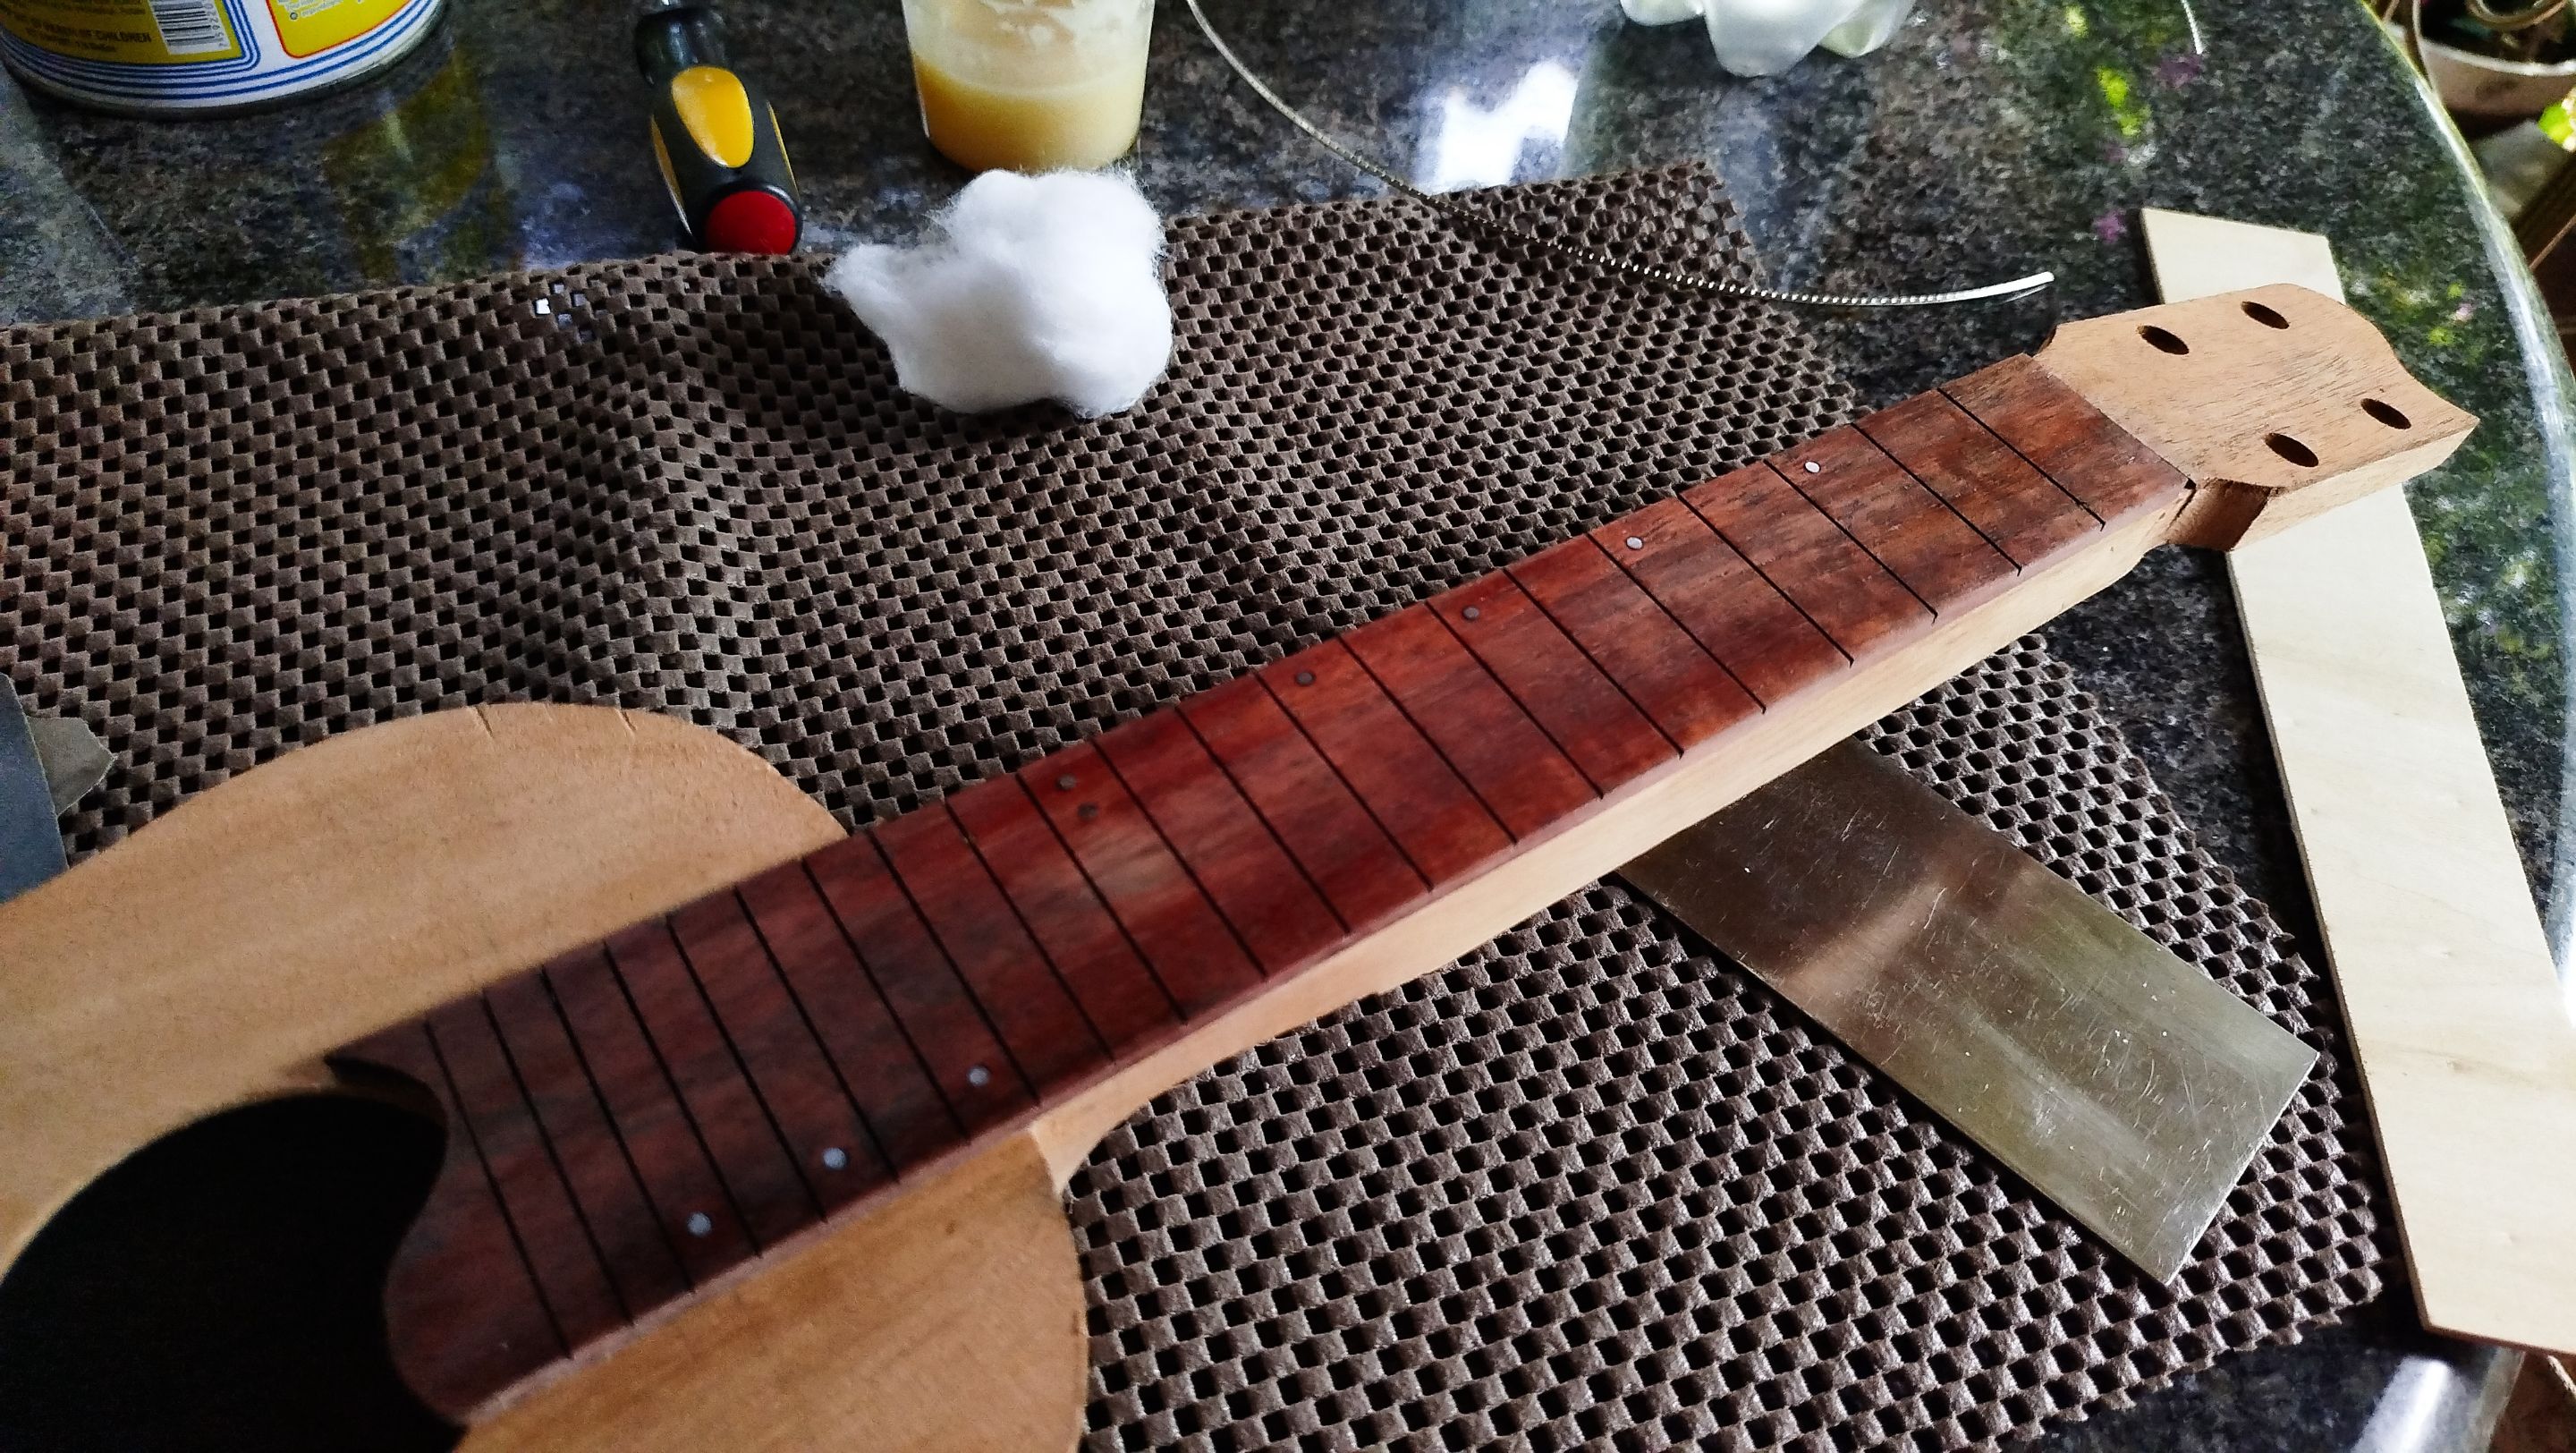
To make room for the slots, we just need to drill one hole in the fretboard at the positions we mentioned earlier. And two holes on fret 12 since it marks the octave. We make some measurements to keep the markers aligned to the shape of the fretboard. The we proceed with the colocation of the metal pieces we are using for this job.
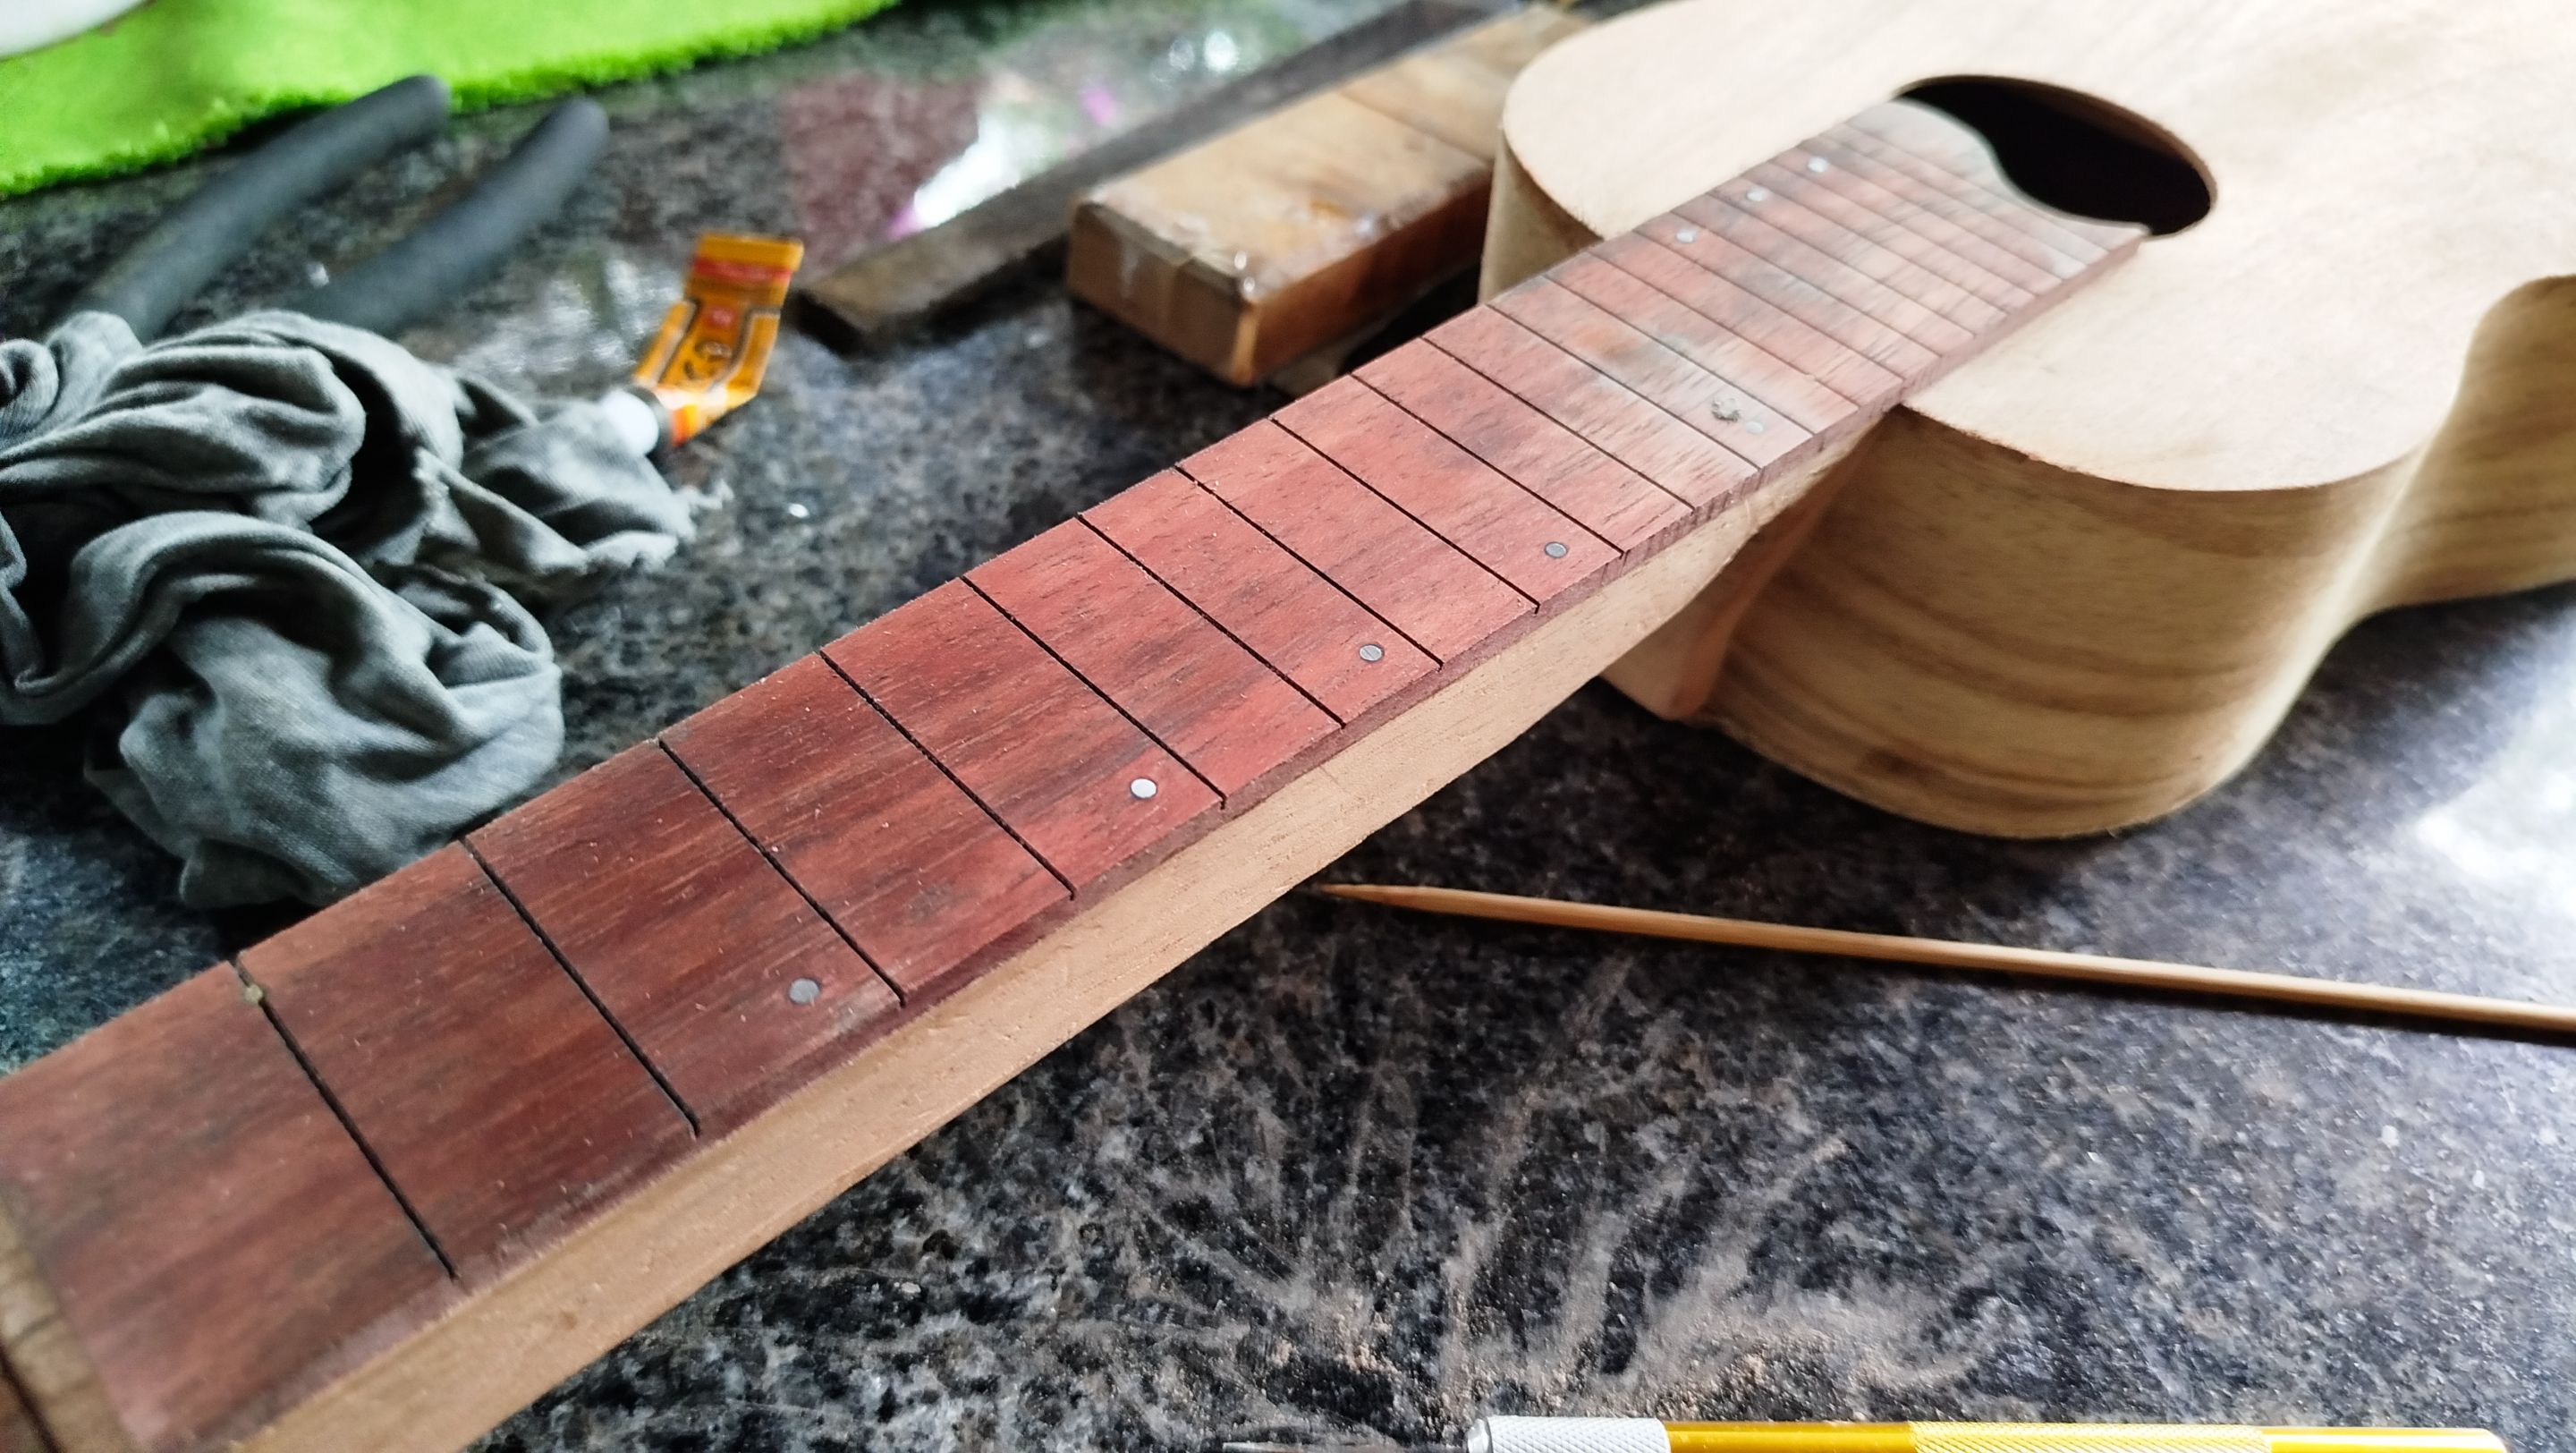
We need to use cyanoacrylate to make sure the metal sticks to the wood. Once the markers are in position, we just need to file them closer to the surface of the fretboard and then use sandpaper to finish the work are level them with the fretboard. Thus, we have the markers in place and looking fine
Sealing the fretboard
Swipe to see the photos
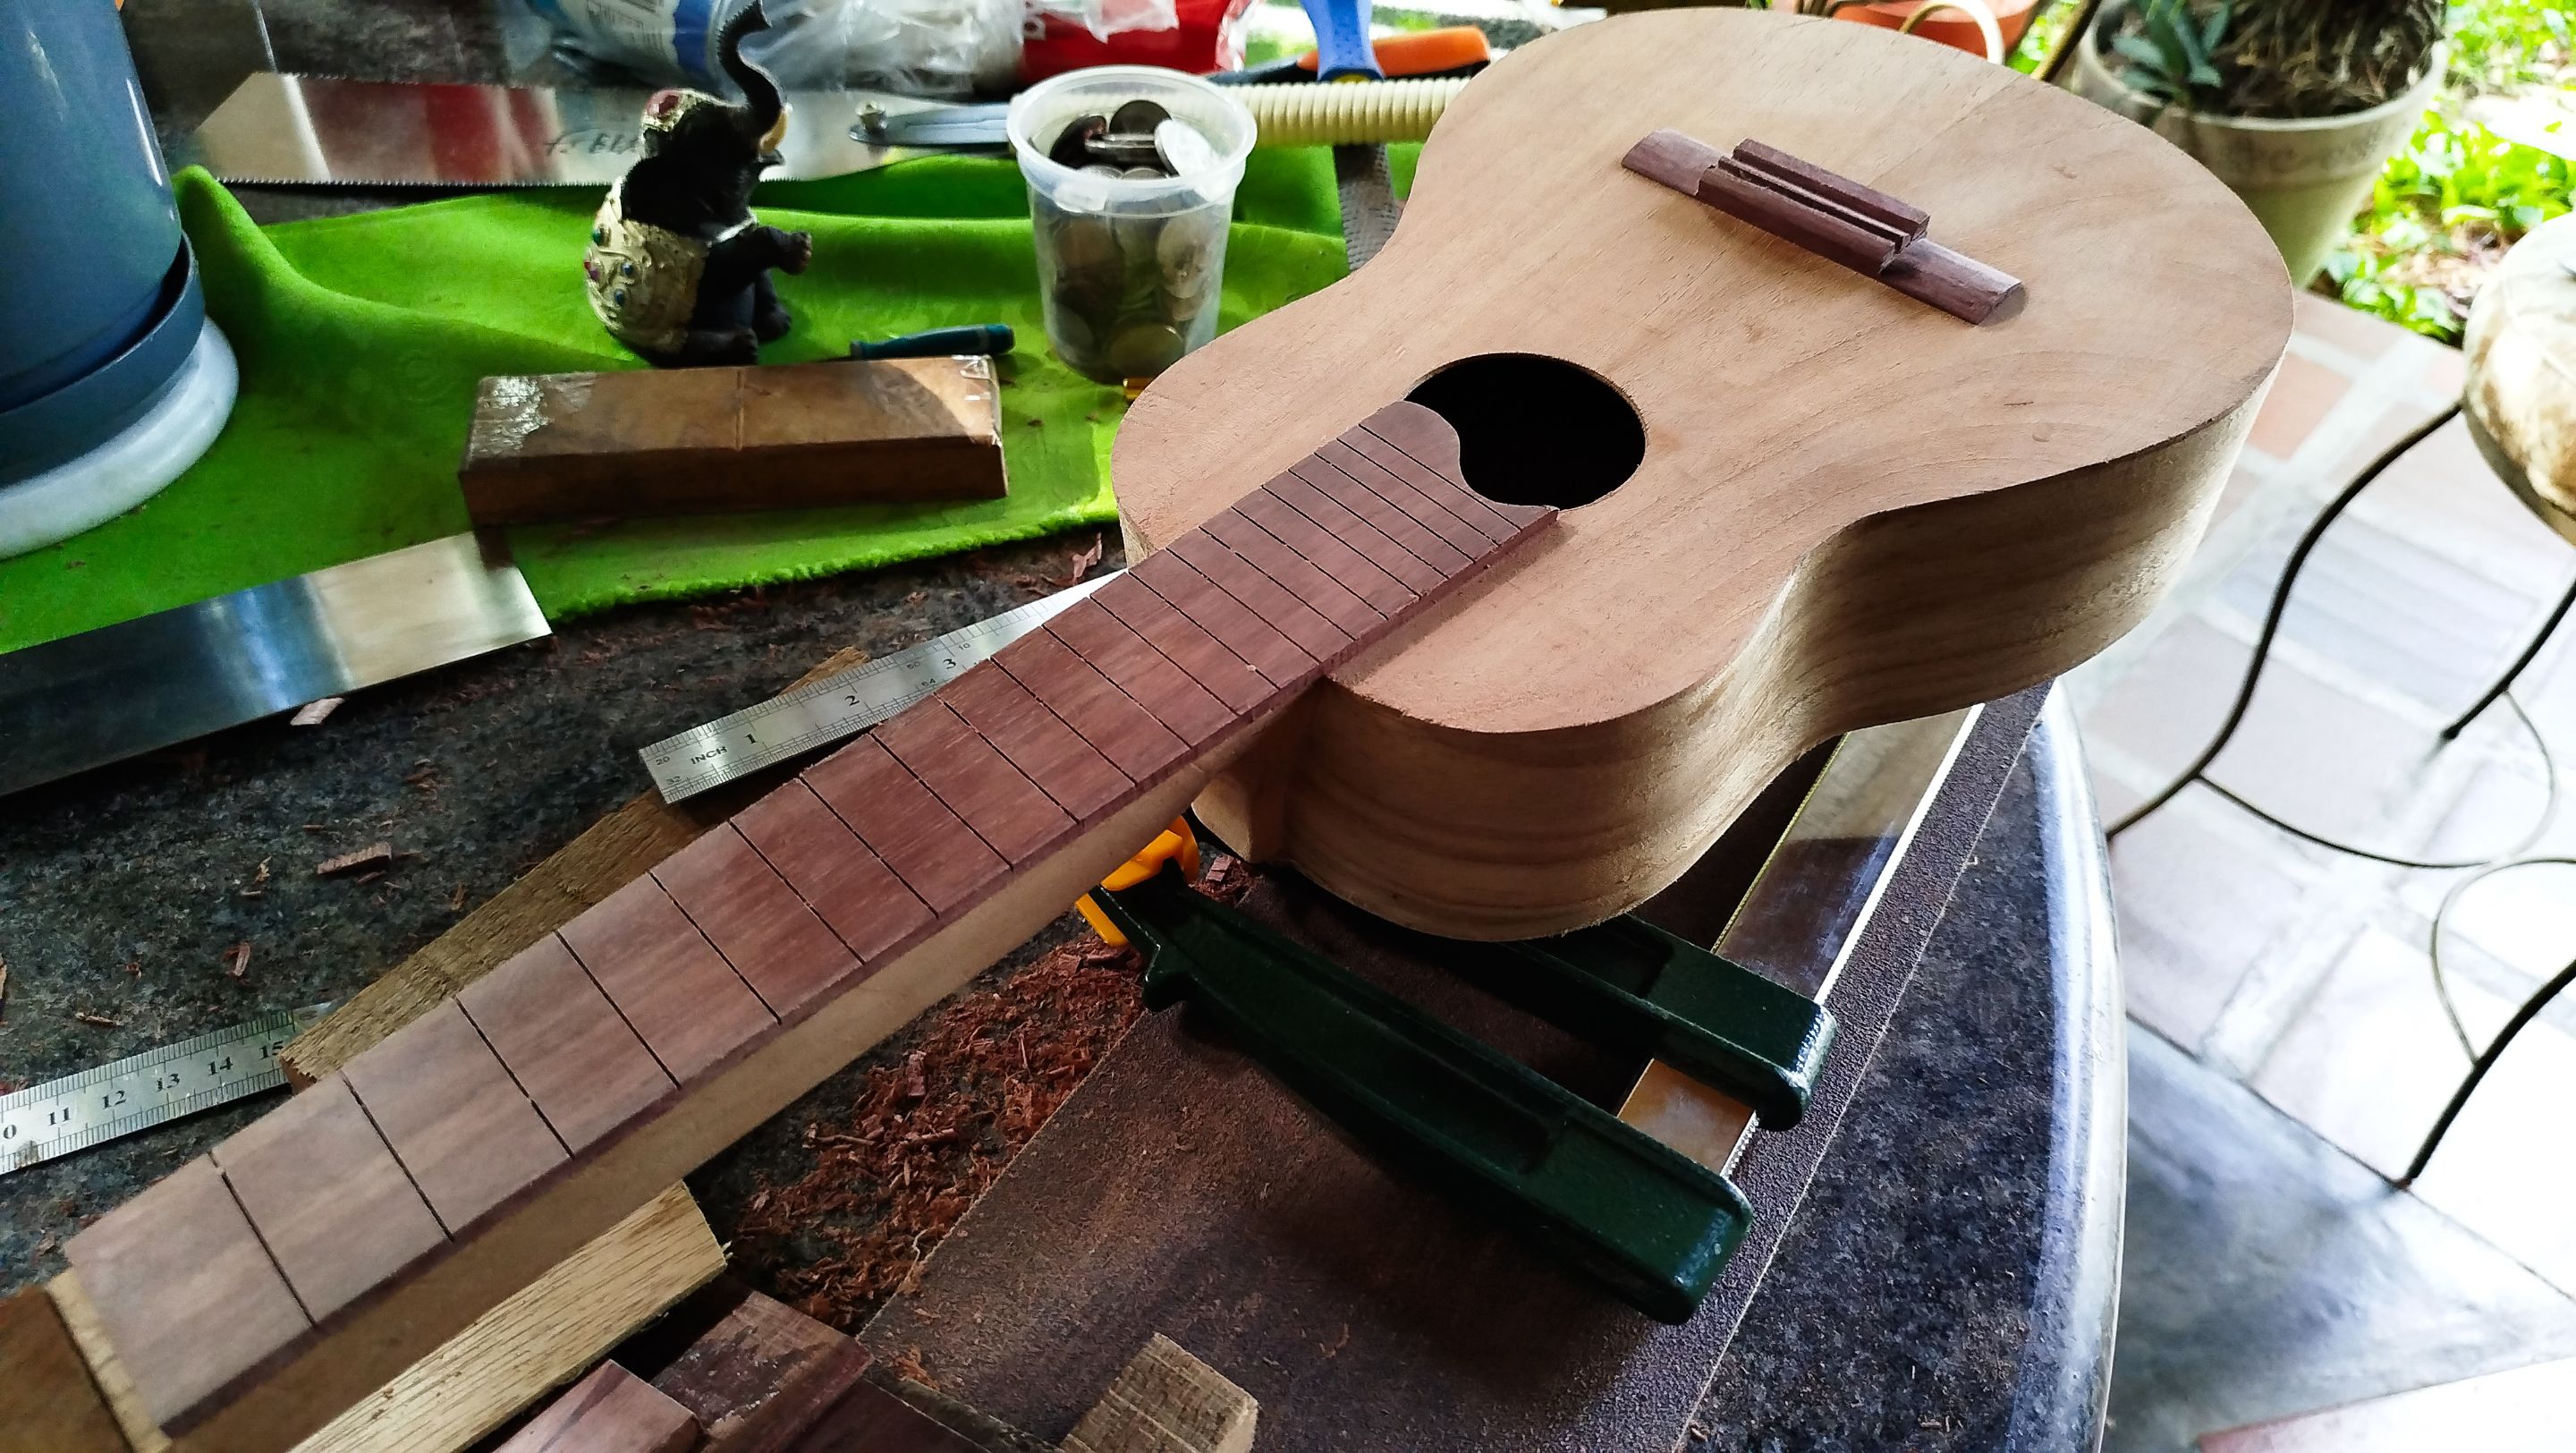
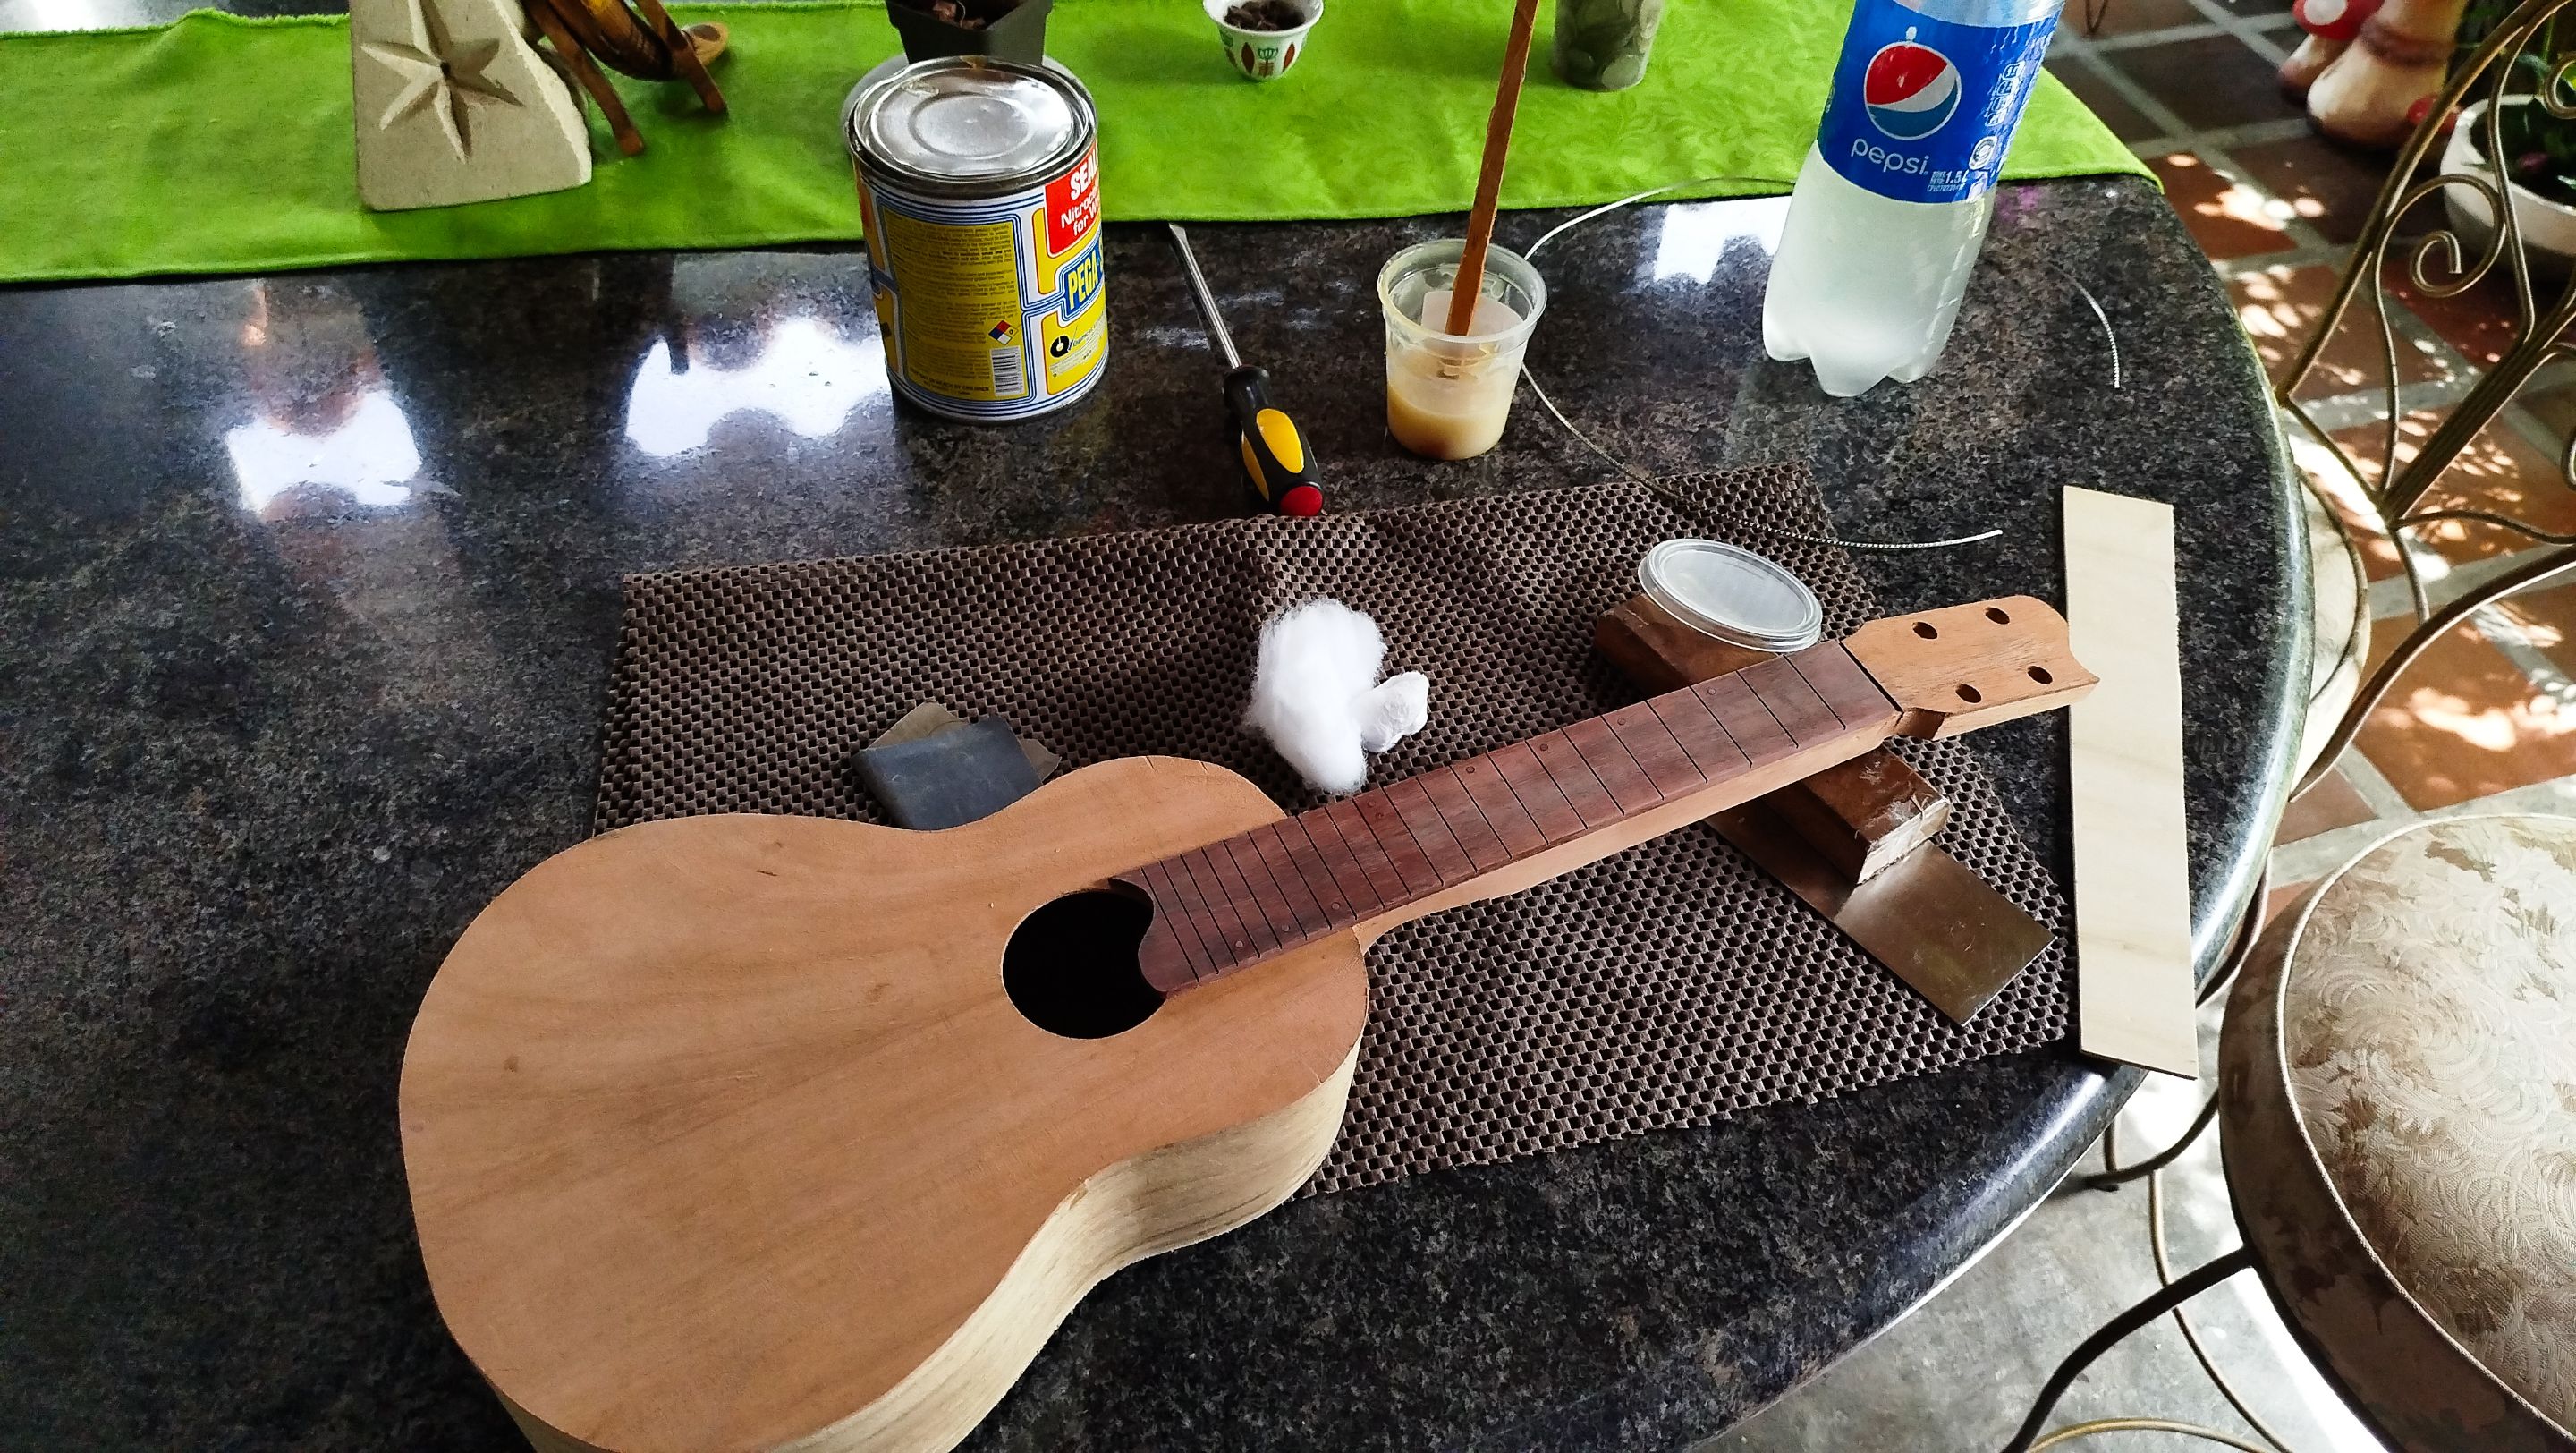
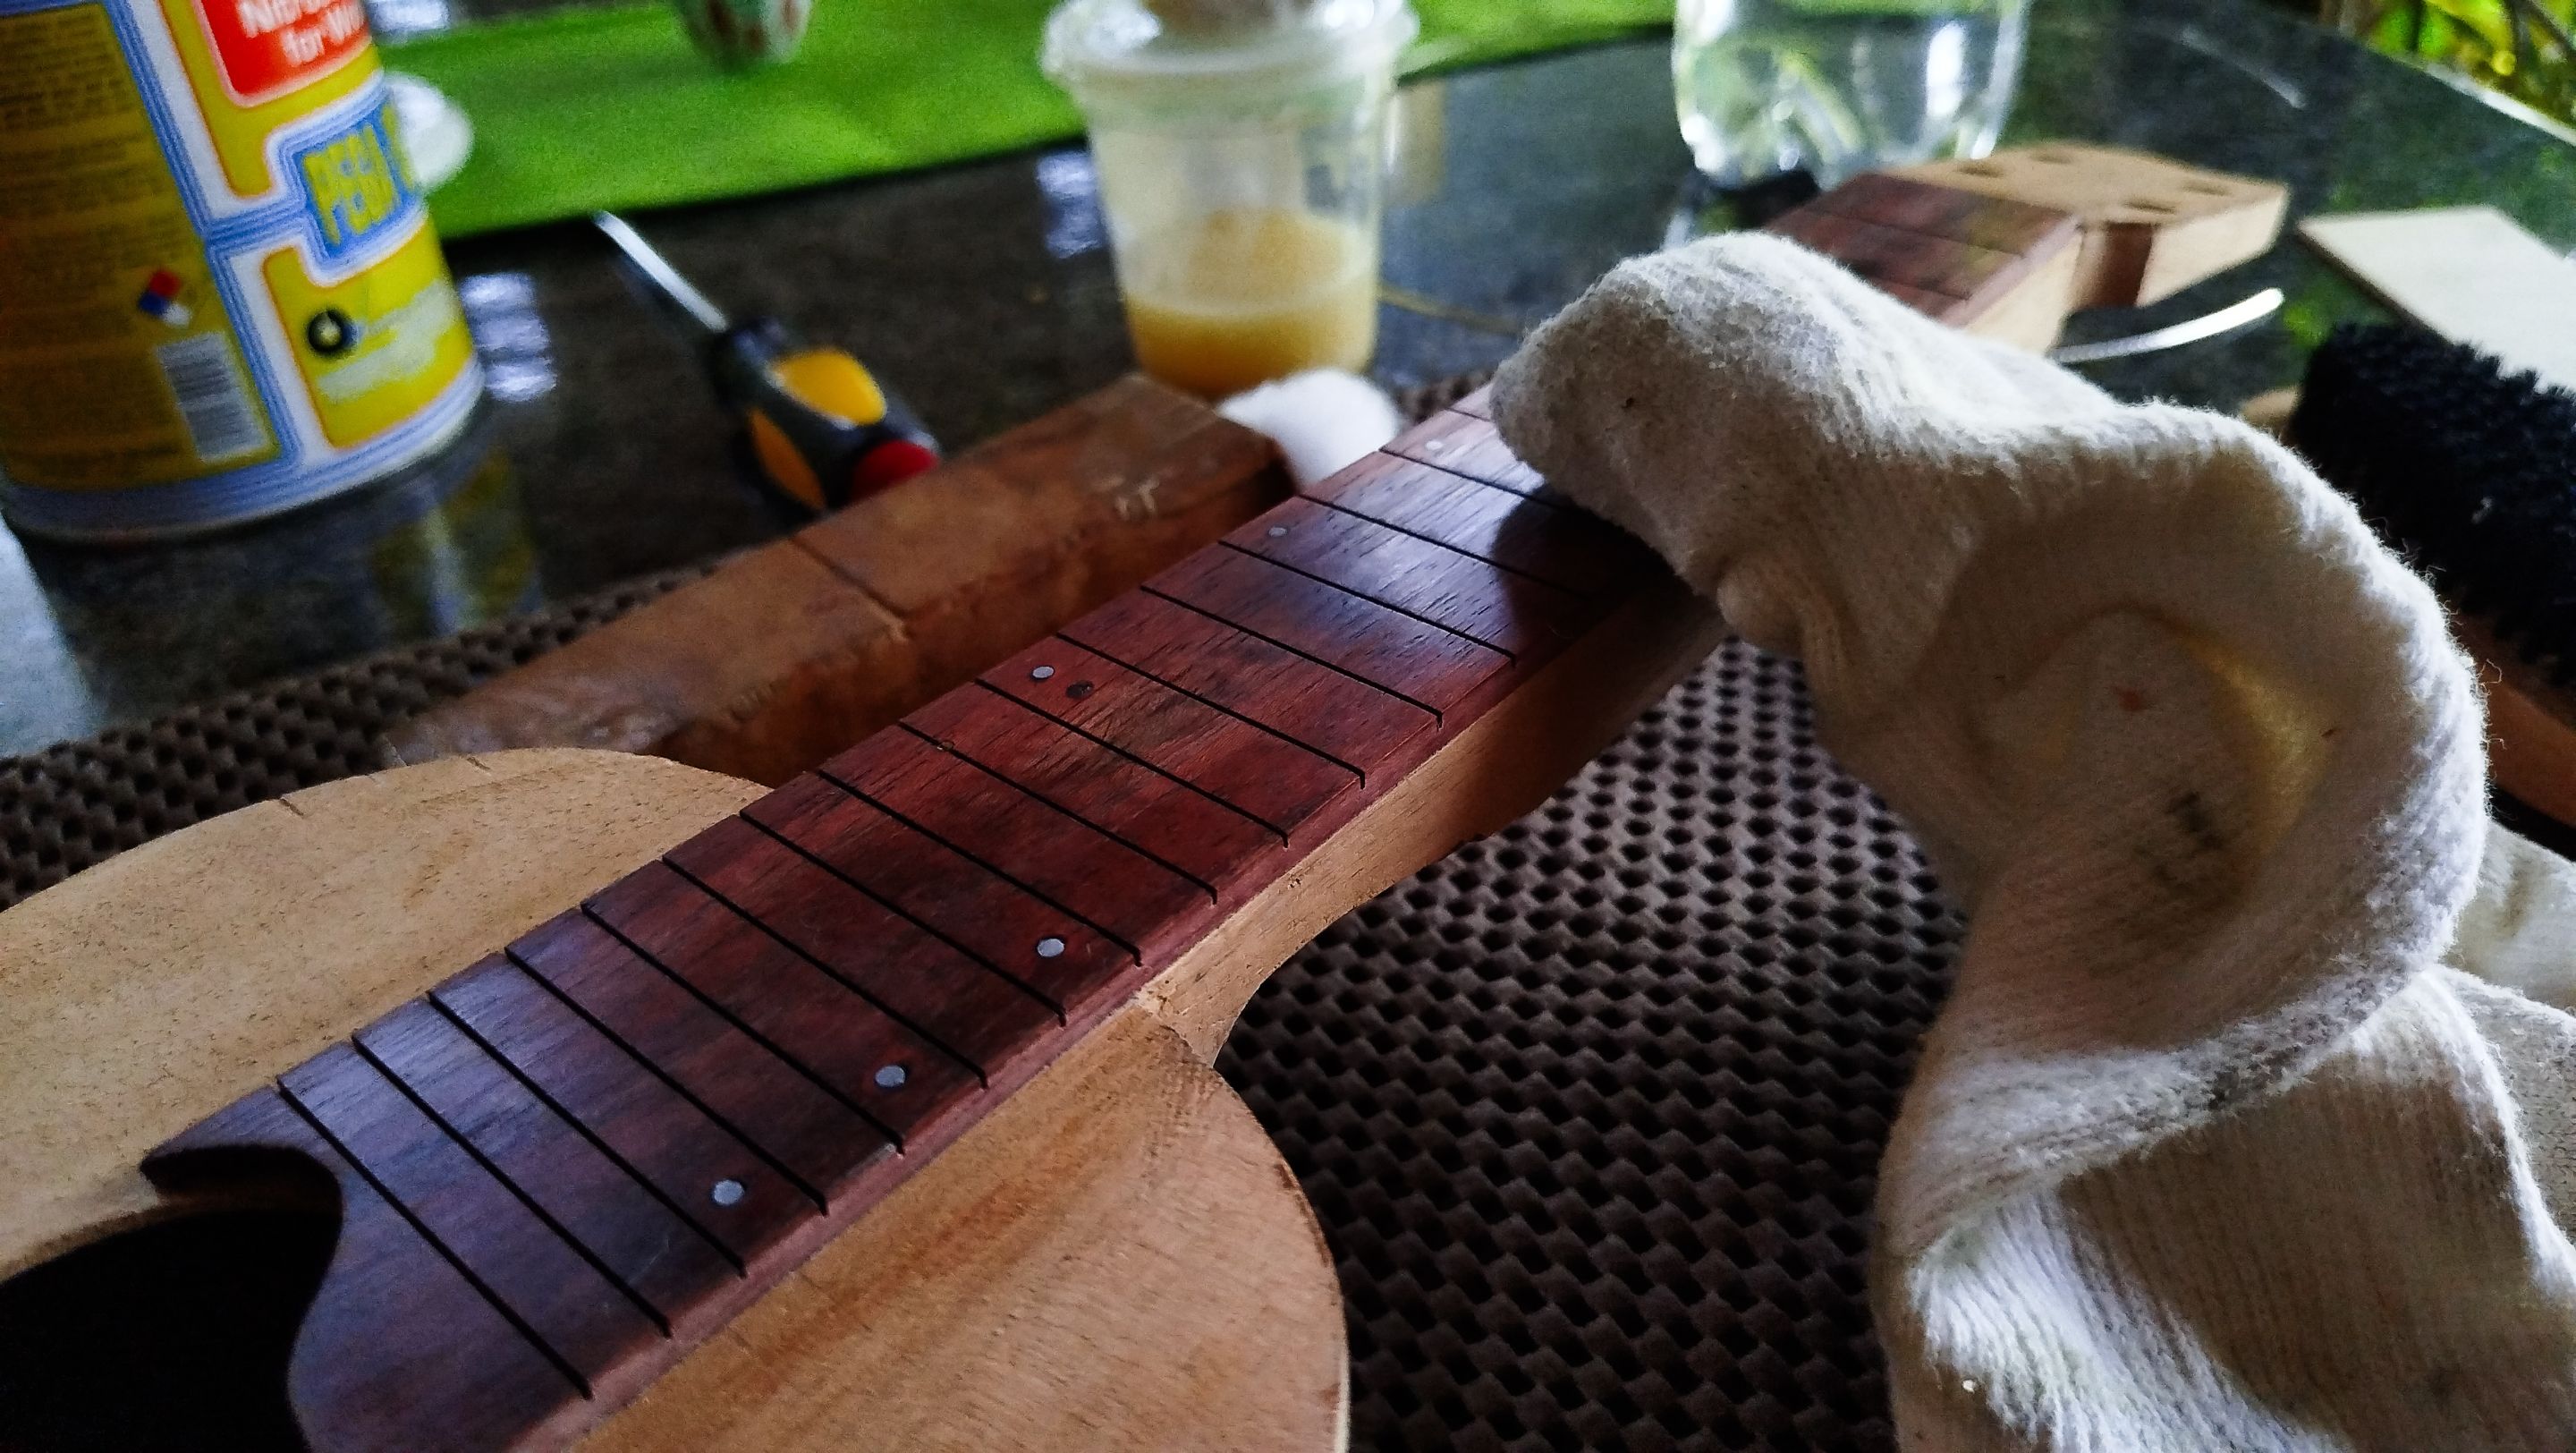
Our last bit of work is to apply some coats of finish over the fretboard. it is usually the first piece to get something like this in any build. At least, it is true for the builds in the workshop. It gets a fine coat of sealer to prevent any stains on the wood. The idea is to create a mix of 1 part sealer and at least 5 parts thinner and apply it at intervals. The rest periods of the mix on the fretboard are for sanding. And we need to use a fine-grit sandpaper to get the job done.
The final step is to apply some coats of teak oil. This is extra protection. And we do the same. Applying the oil, resting, and sanding. That until we buffer the top of the fretboard and achieve the finish we desire.
On the next entry, we will get into the step of getting get frets in their slots. And we will even get to the whole working their edges and the first coats of sealer on the rest of the instrument. Thanks a lot for reading, see you next time!
| Entry | Title |
|---|---|
| 1 | The Fist Ukuele |
| 2 | Structure |
| 3 | Heel and Bars |
| 4 | Head Stock and End Block |
| 5 | Sides and Kerfing |
| 6 | Out of the Mould |
| 7 | Lid On |
| 8 | Fretboard on |
-
Photos 📷: Redmi Note 13
-
Thumbnail 🖼️: Canva.
-
Editing 🎬:Adobe Photoshop Lightroom.

Follow me on Instagram for enquires and commission.
If you'd like to help the workshop grow, you can make a donation here.
You can find me at discord as bertrayo#1763