
Hello there, my fellow artisans and handcrafts enthusiasts!
Welcome back to another entry on the Ukulele build. It is time to address the frets, neck rounding and the third to last sanding. Today, we are going to watch how we put the frets in place, then round the neck and finally sand all the instrument to have it ready for the first coats of finish.
Let's get to it!
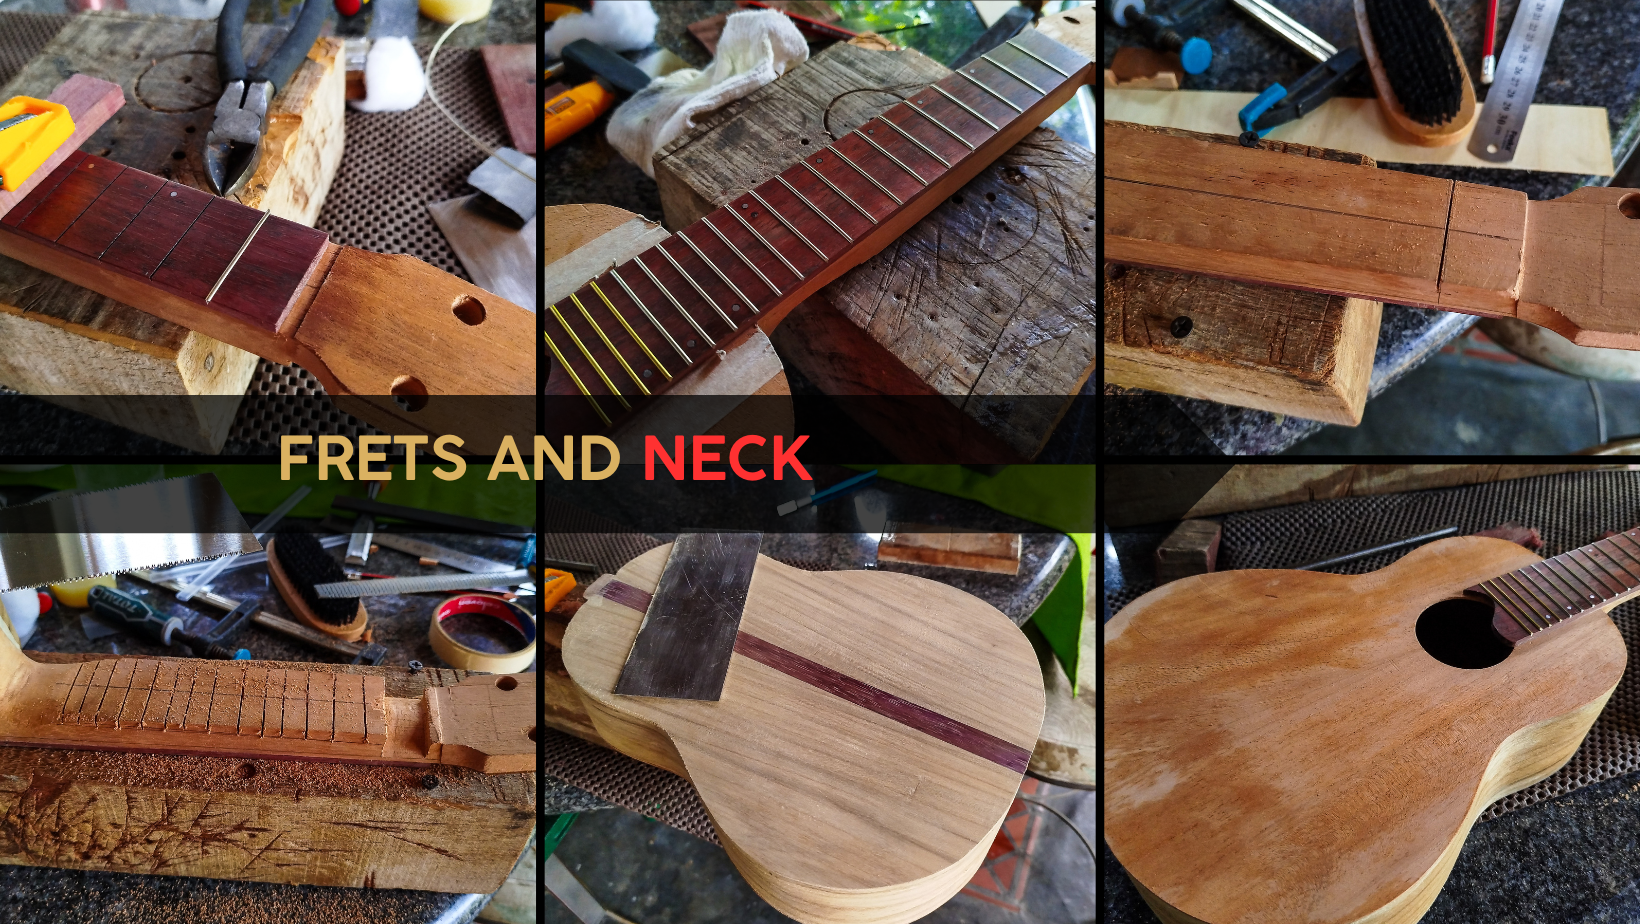
Frets
Swipe to see the photos
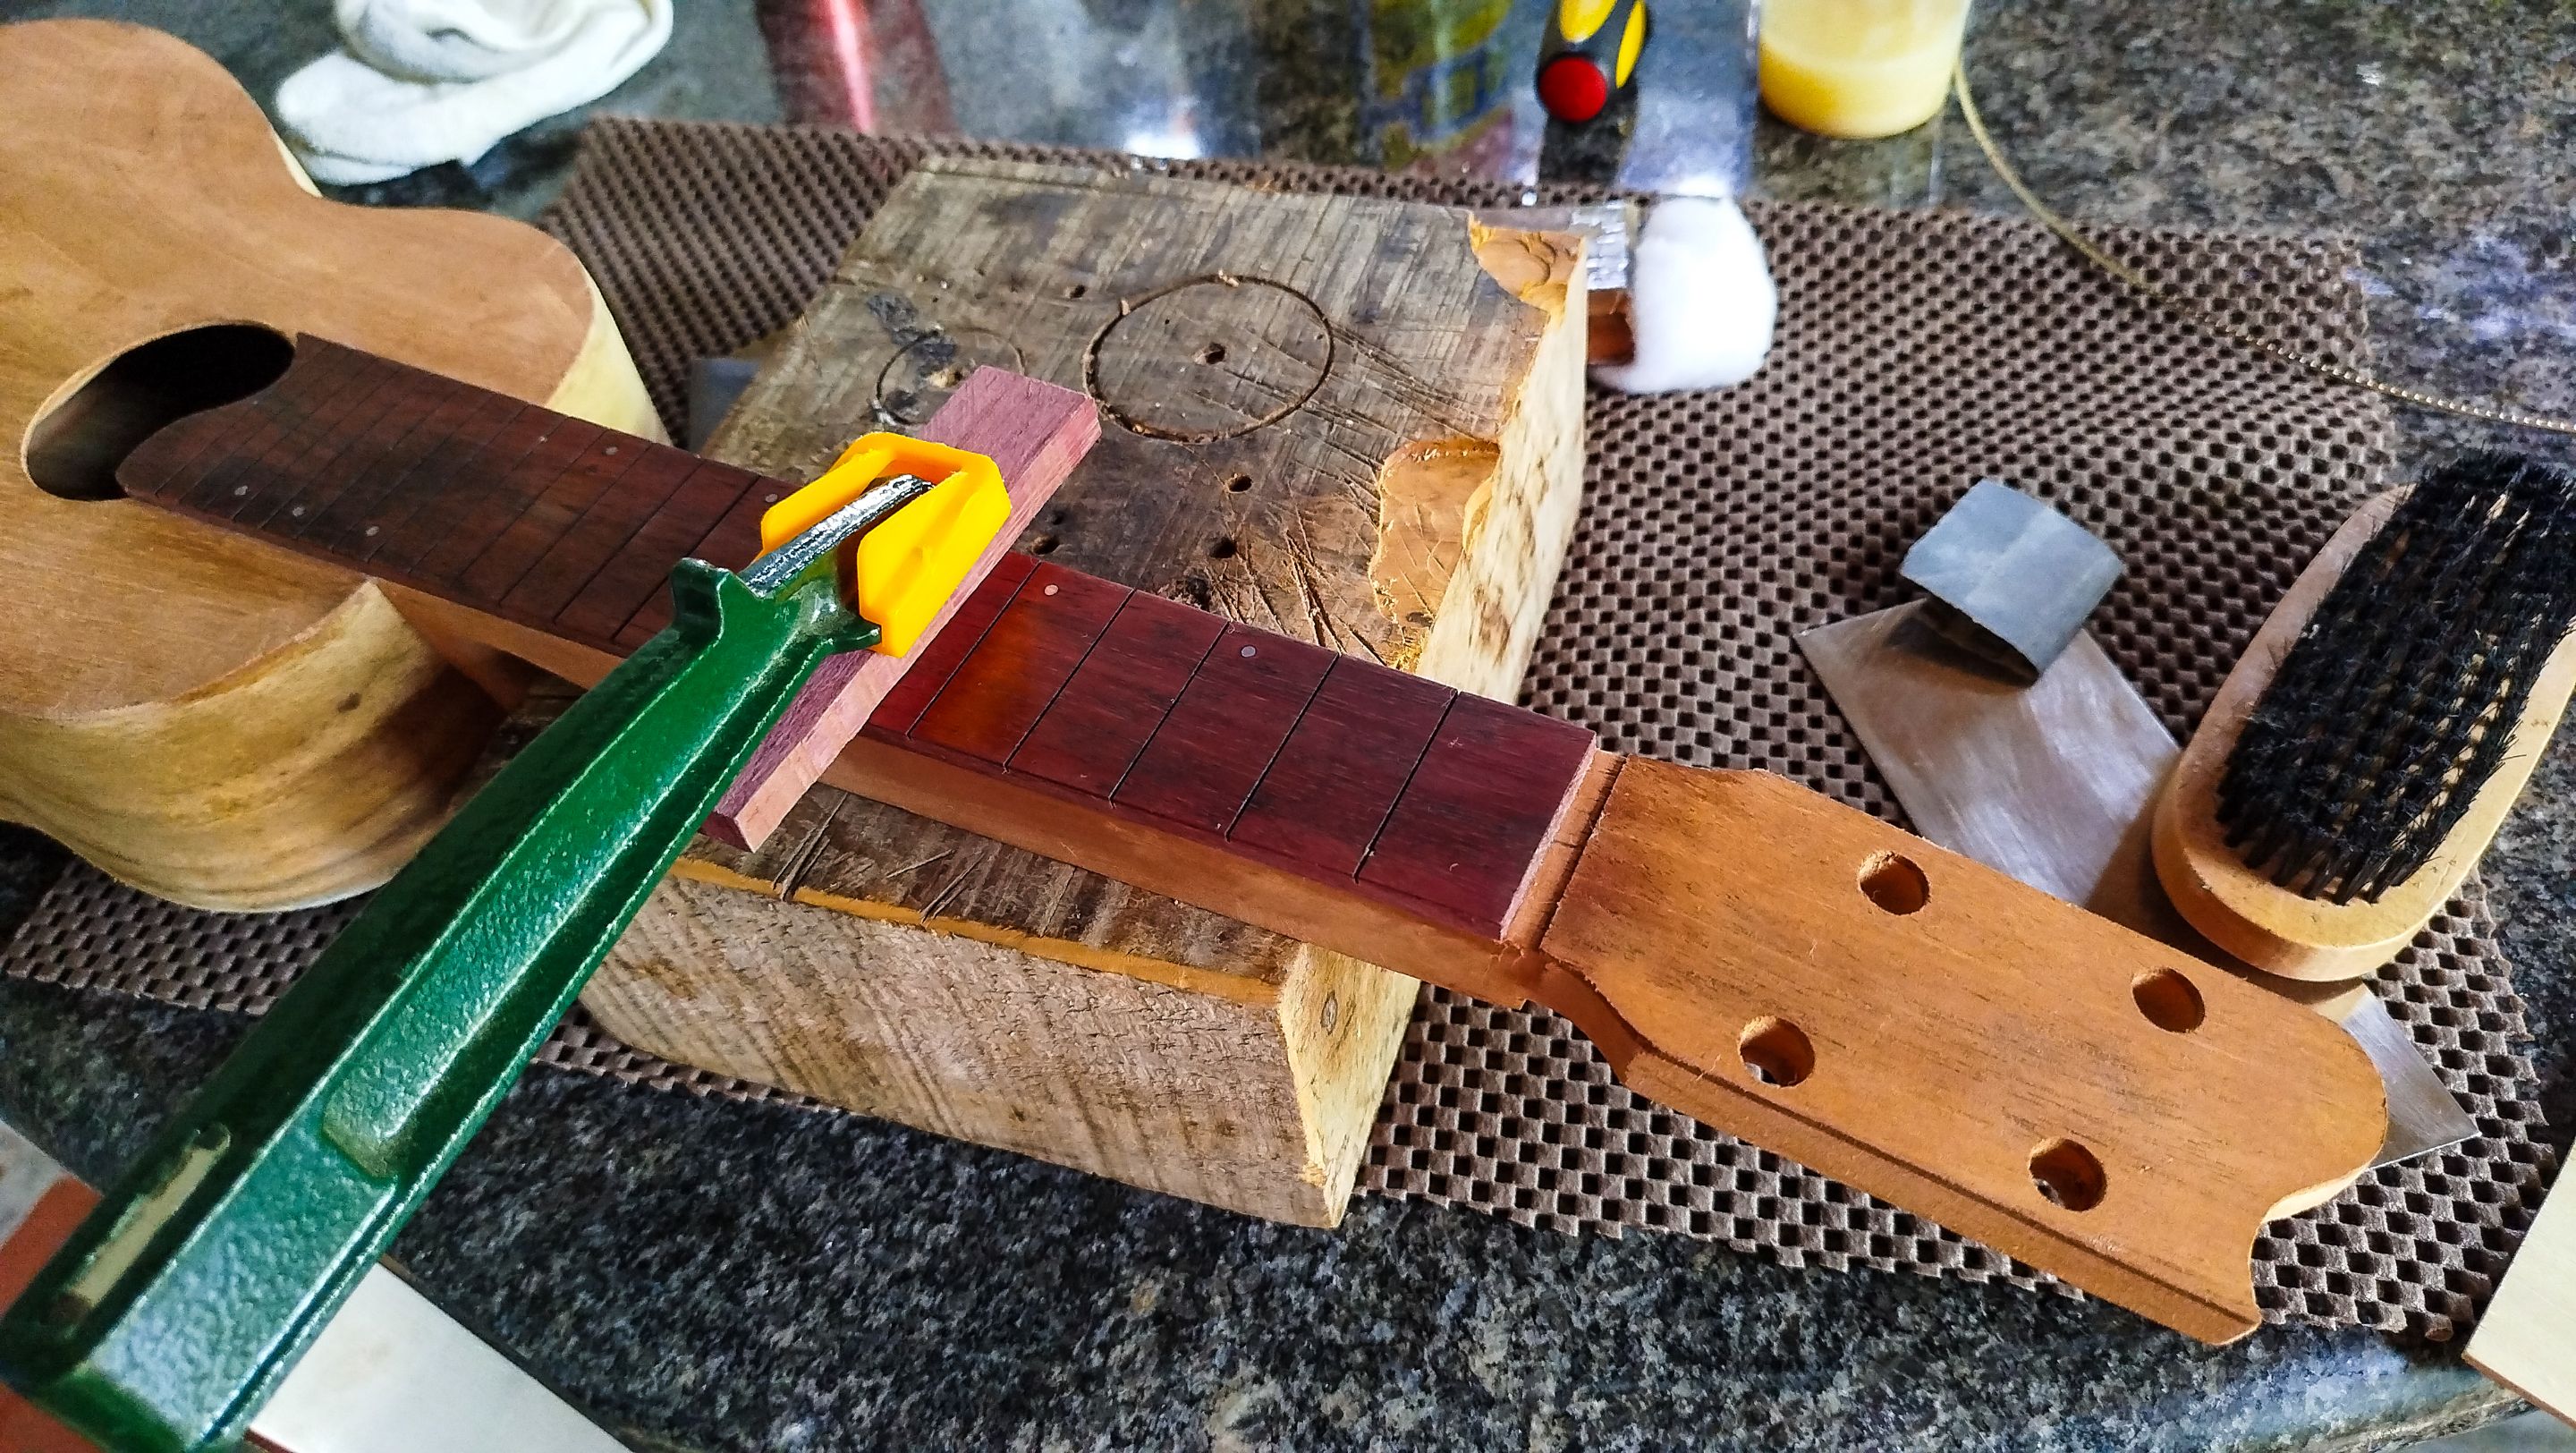
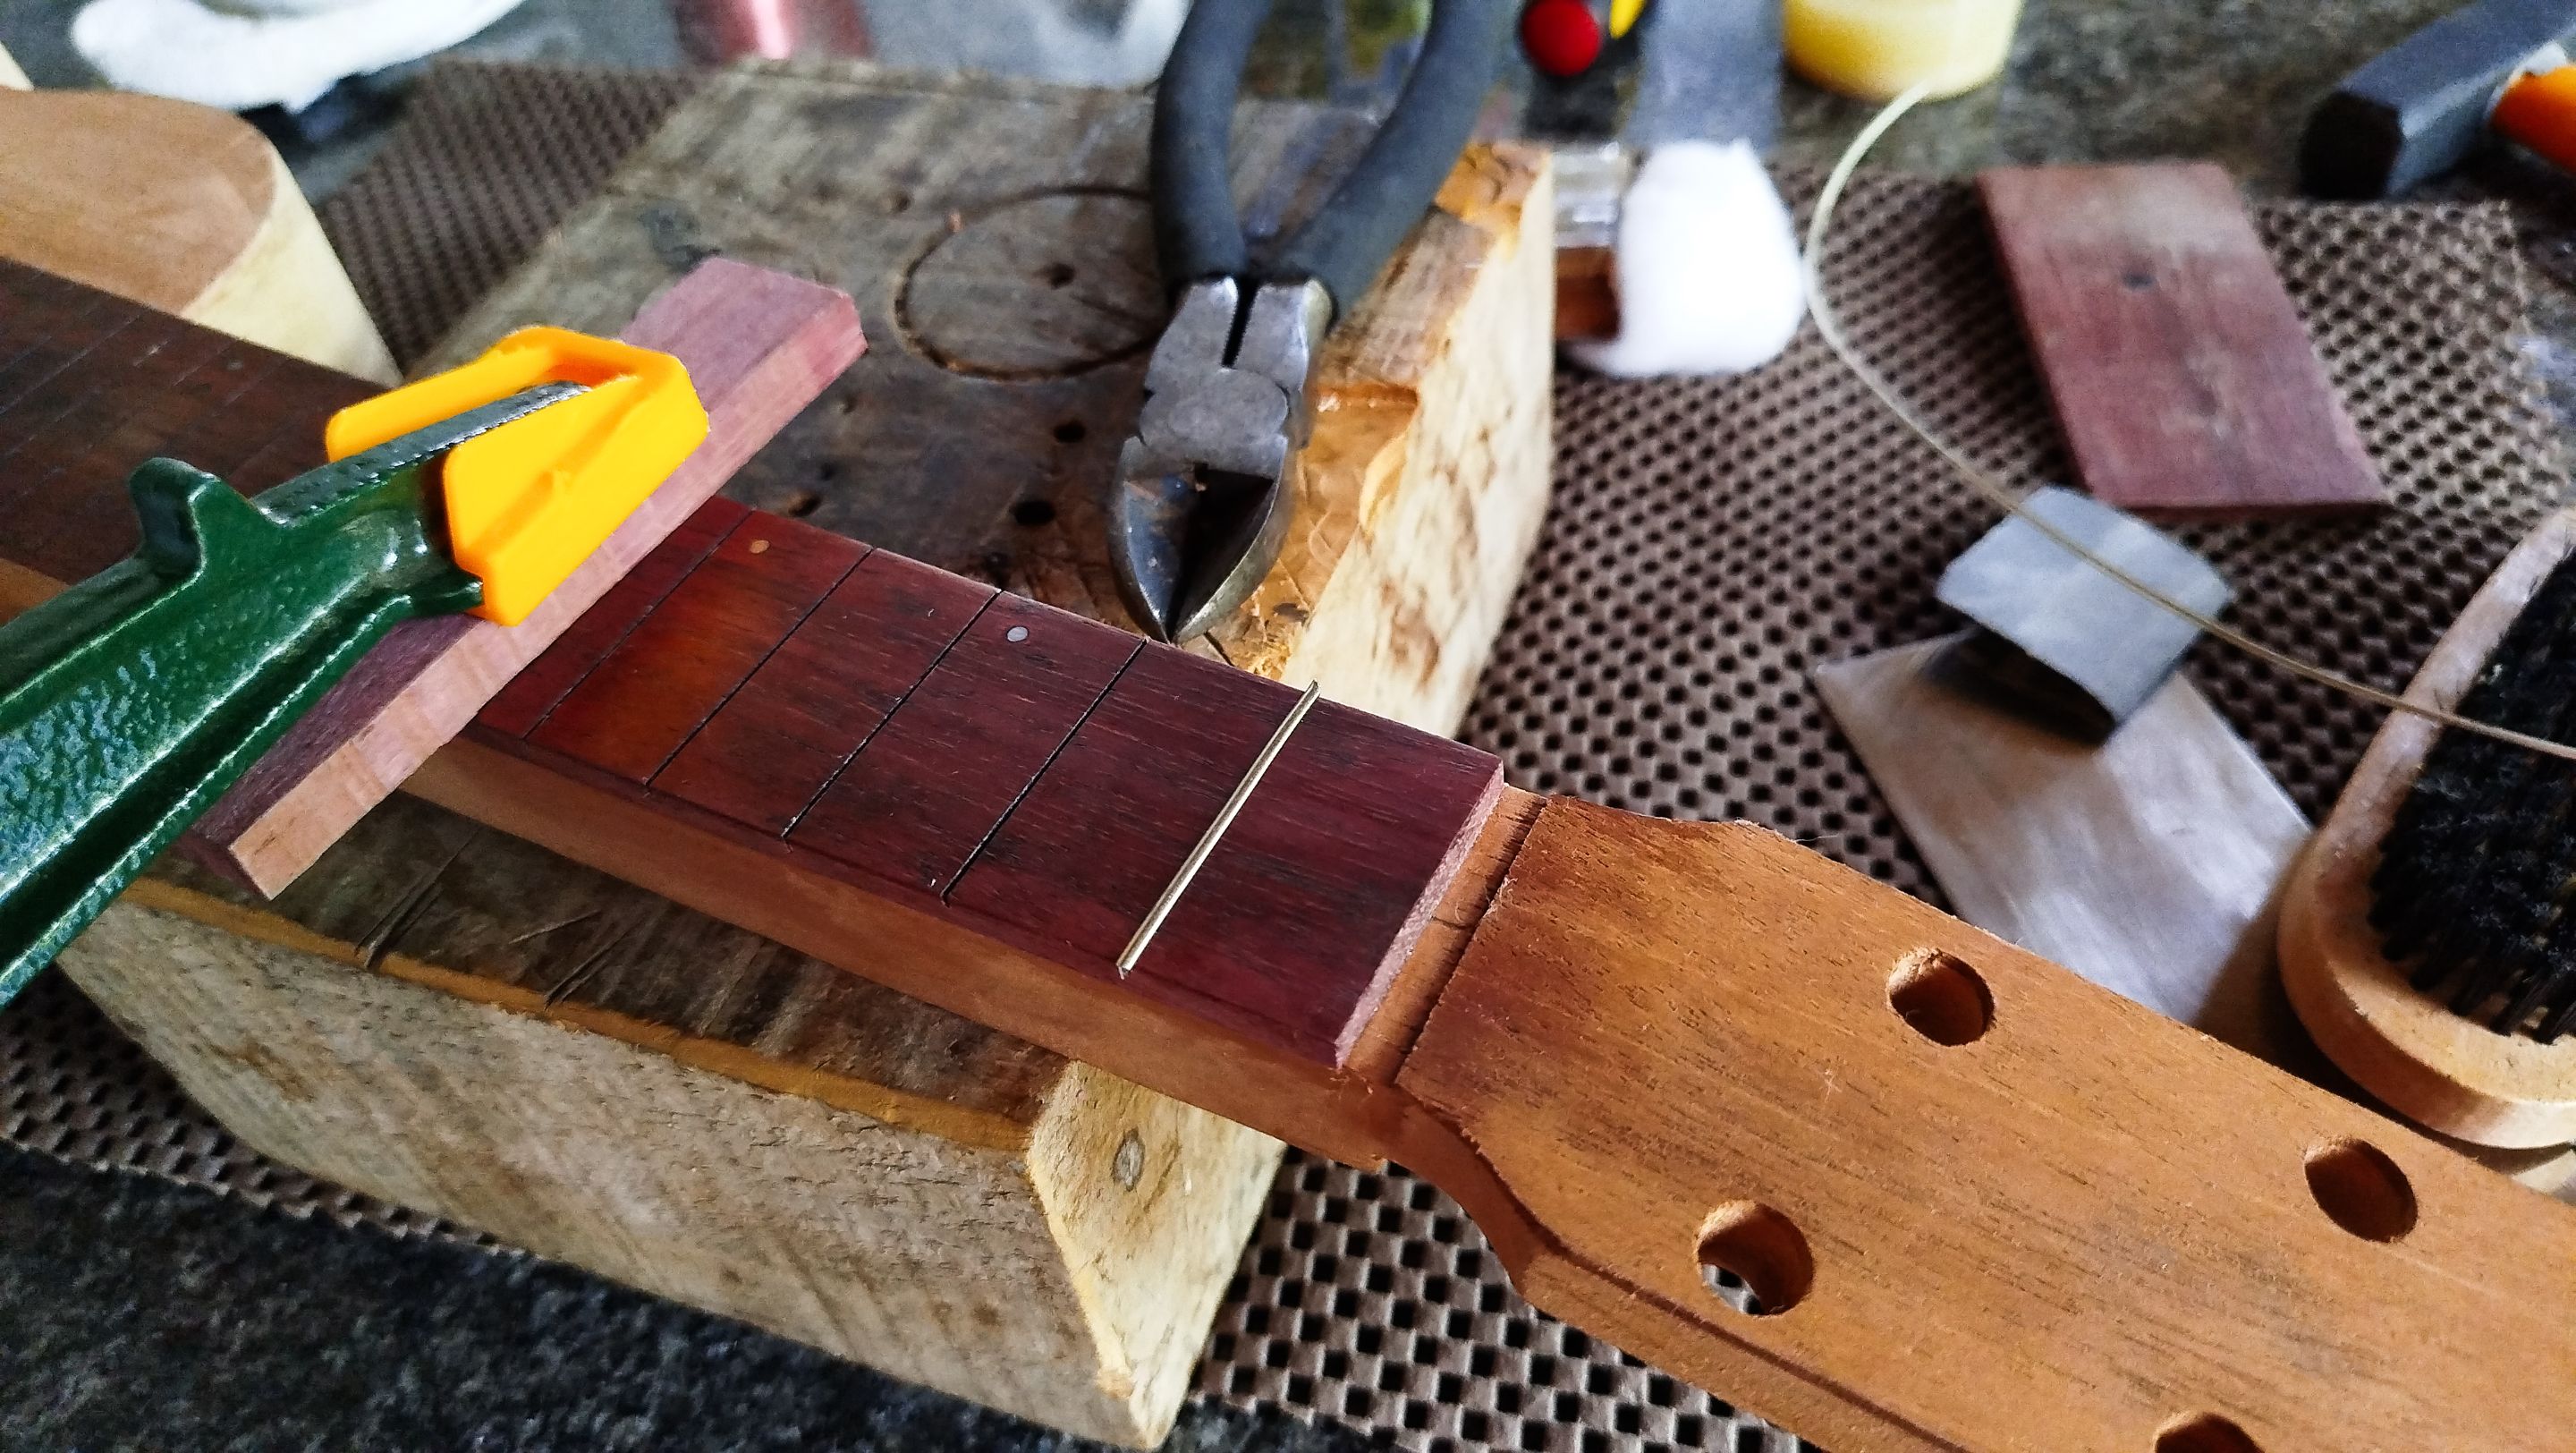
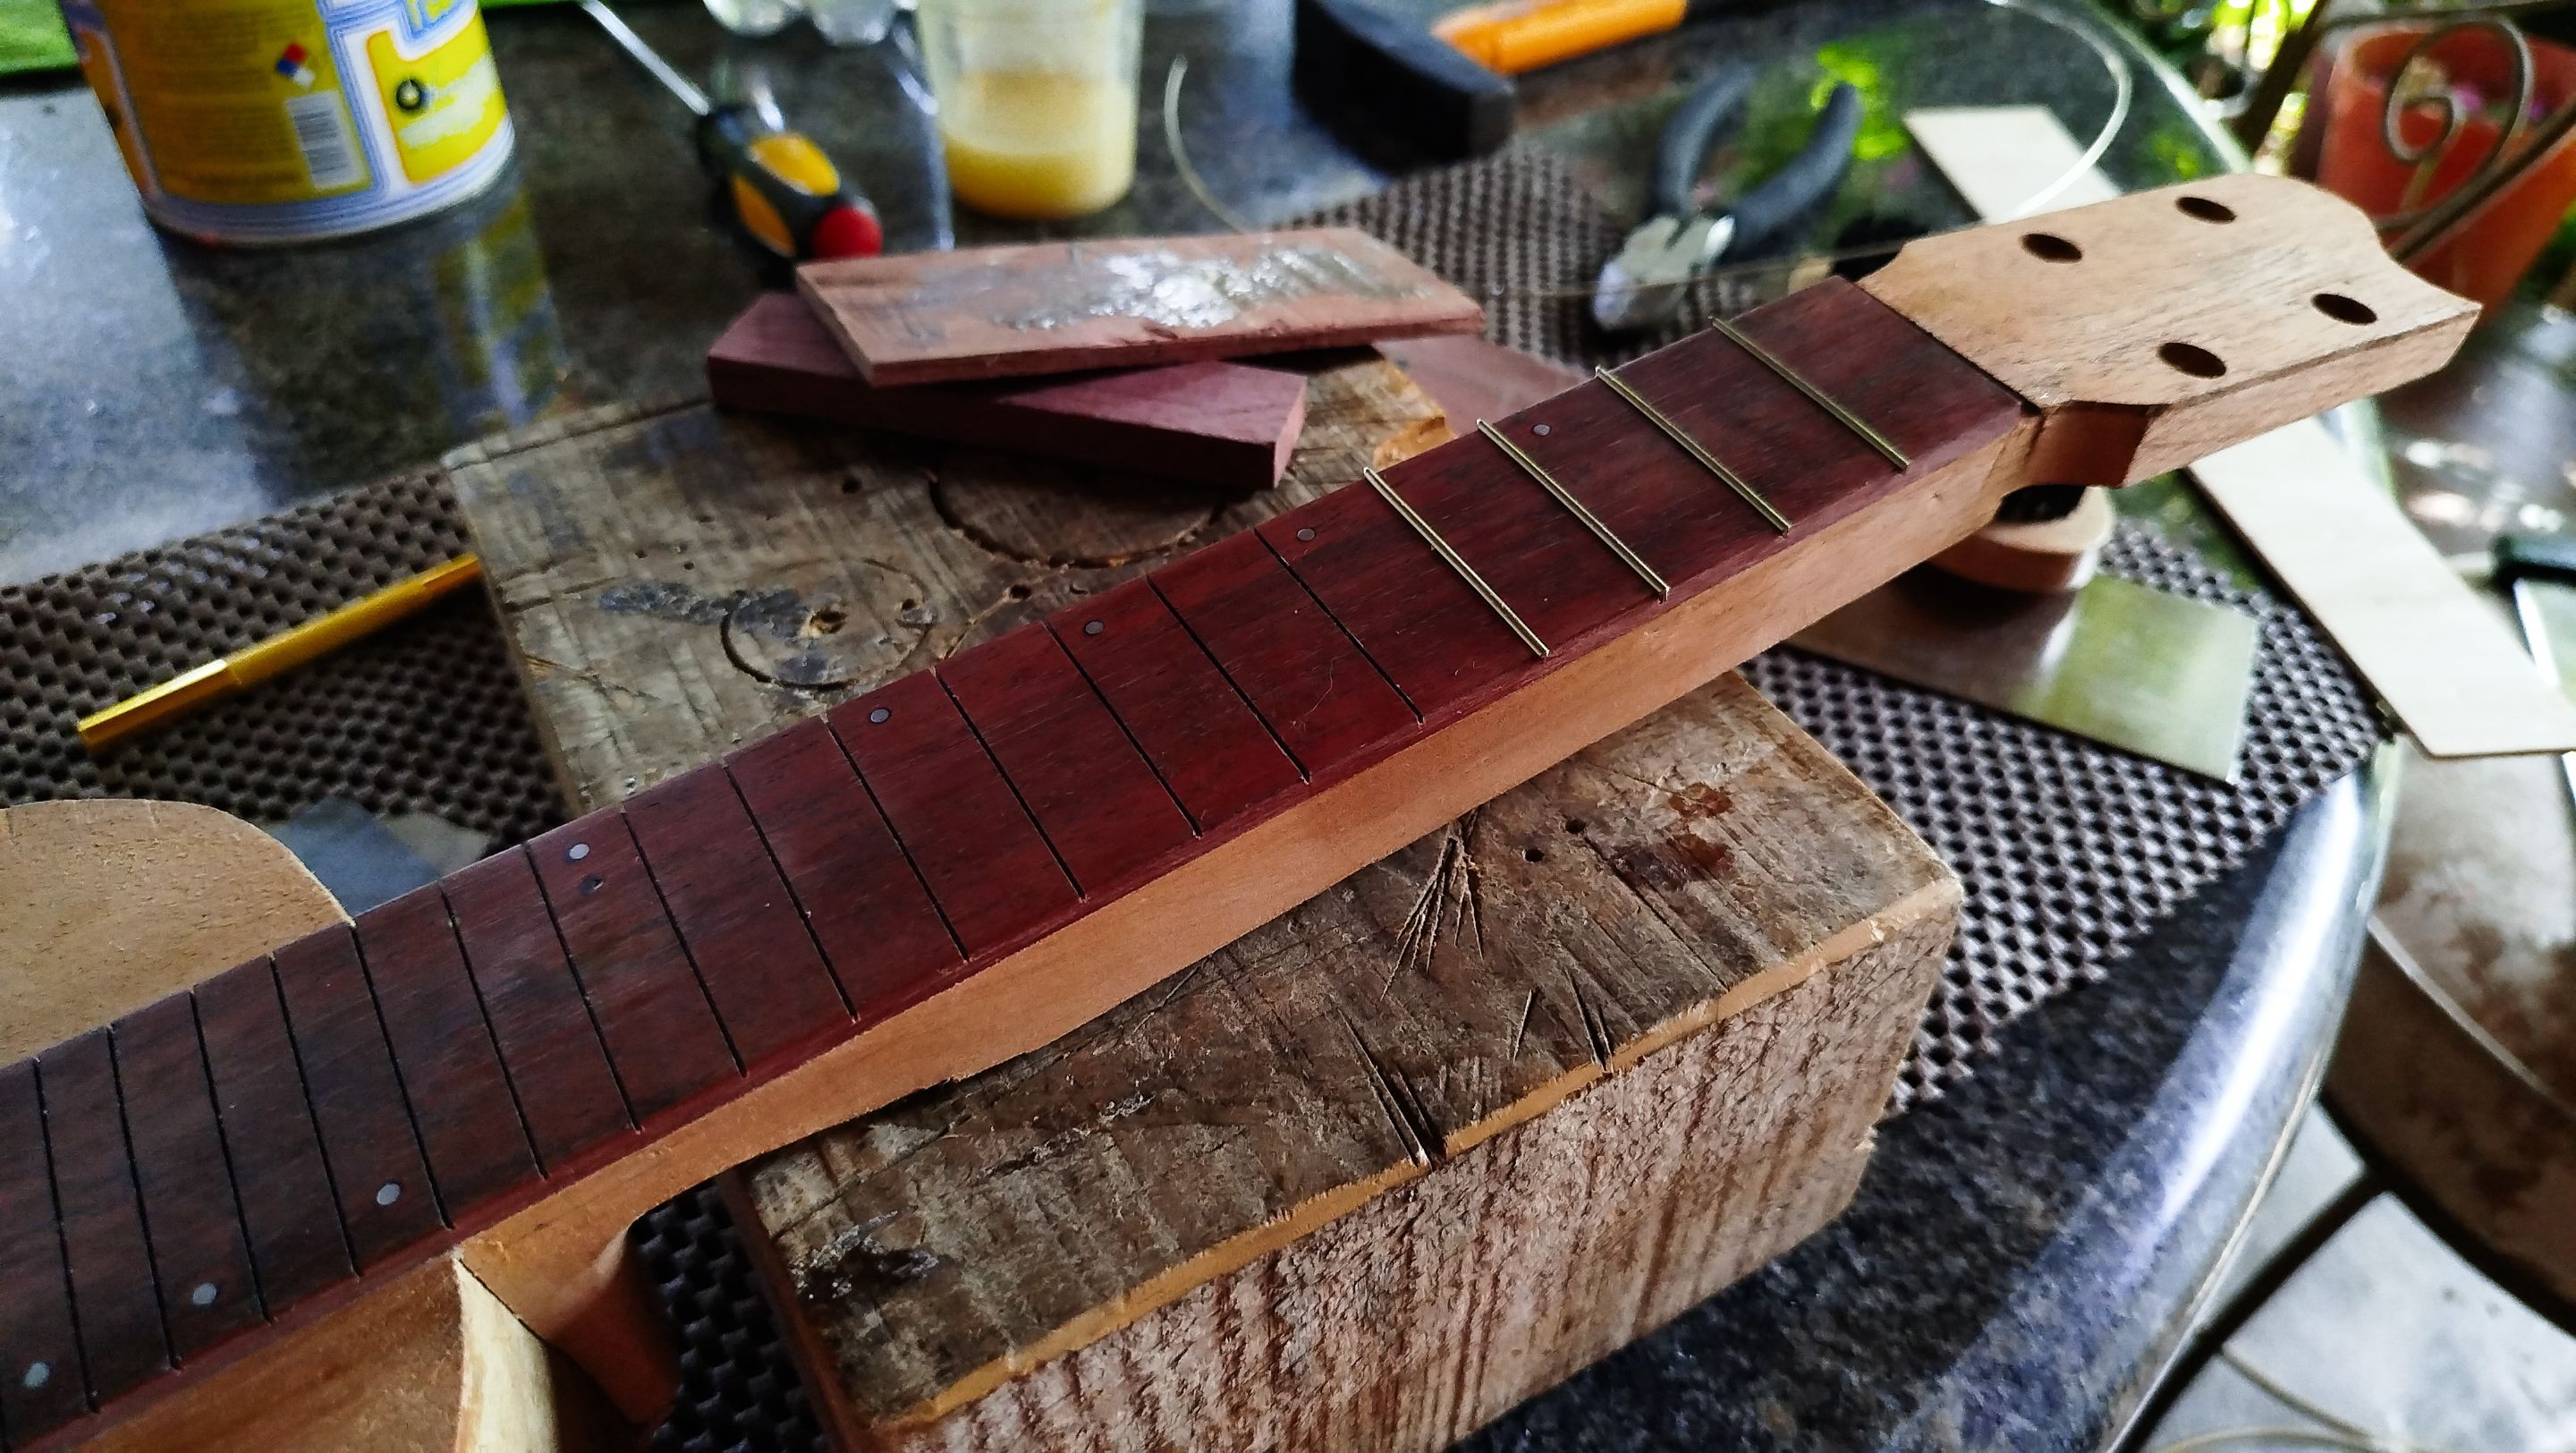
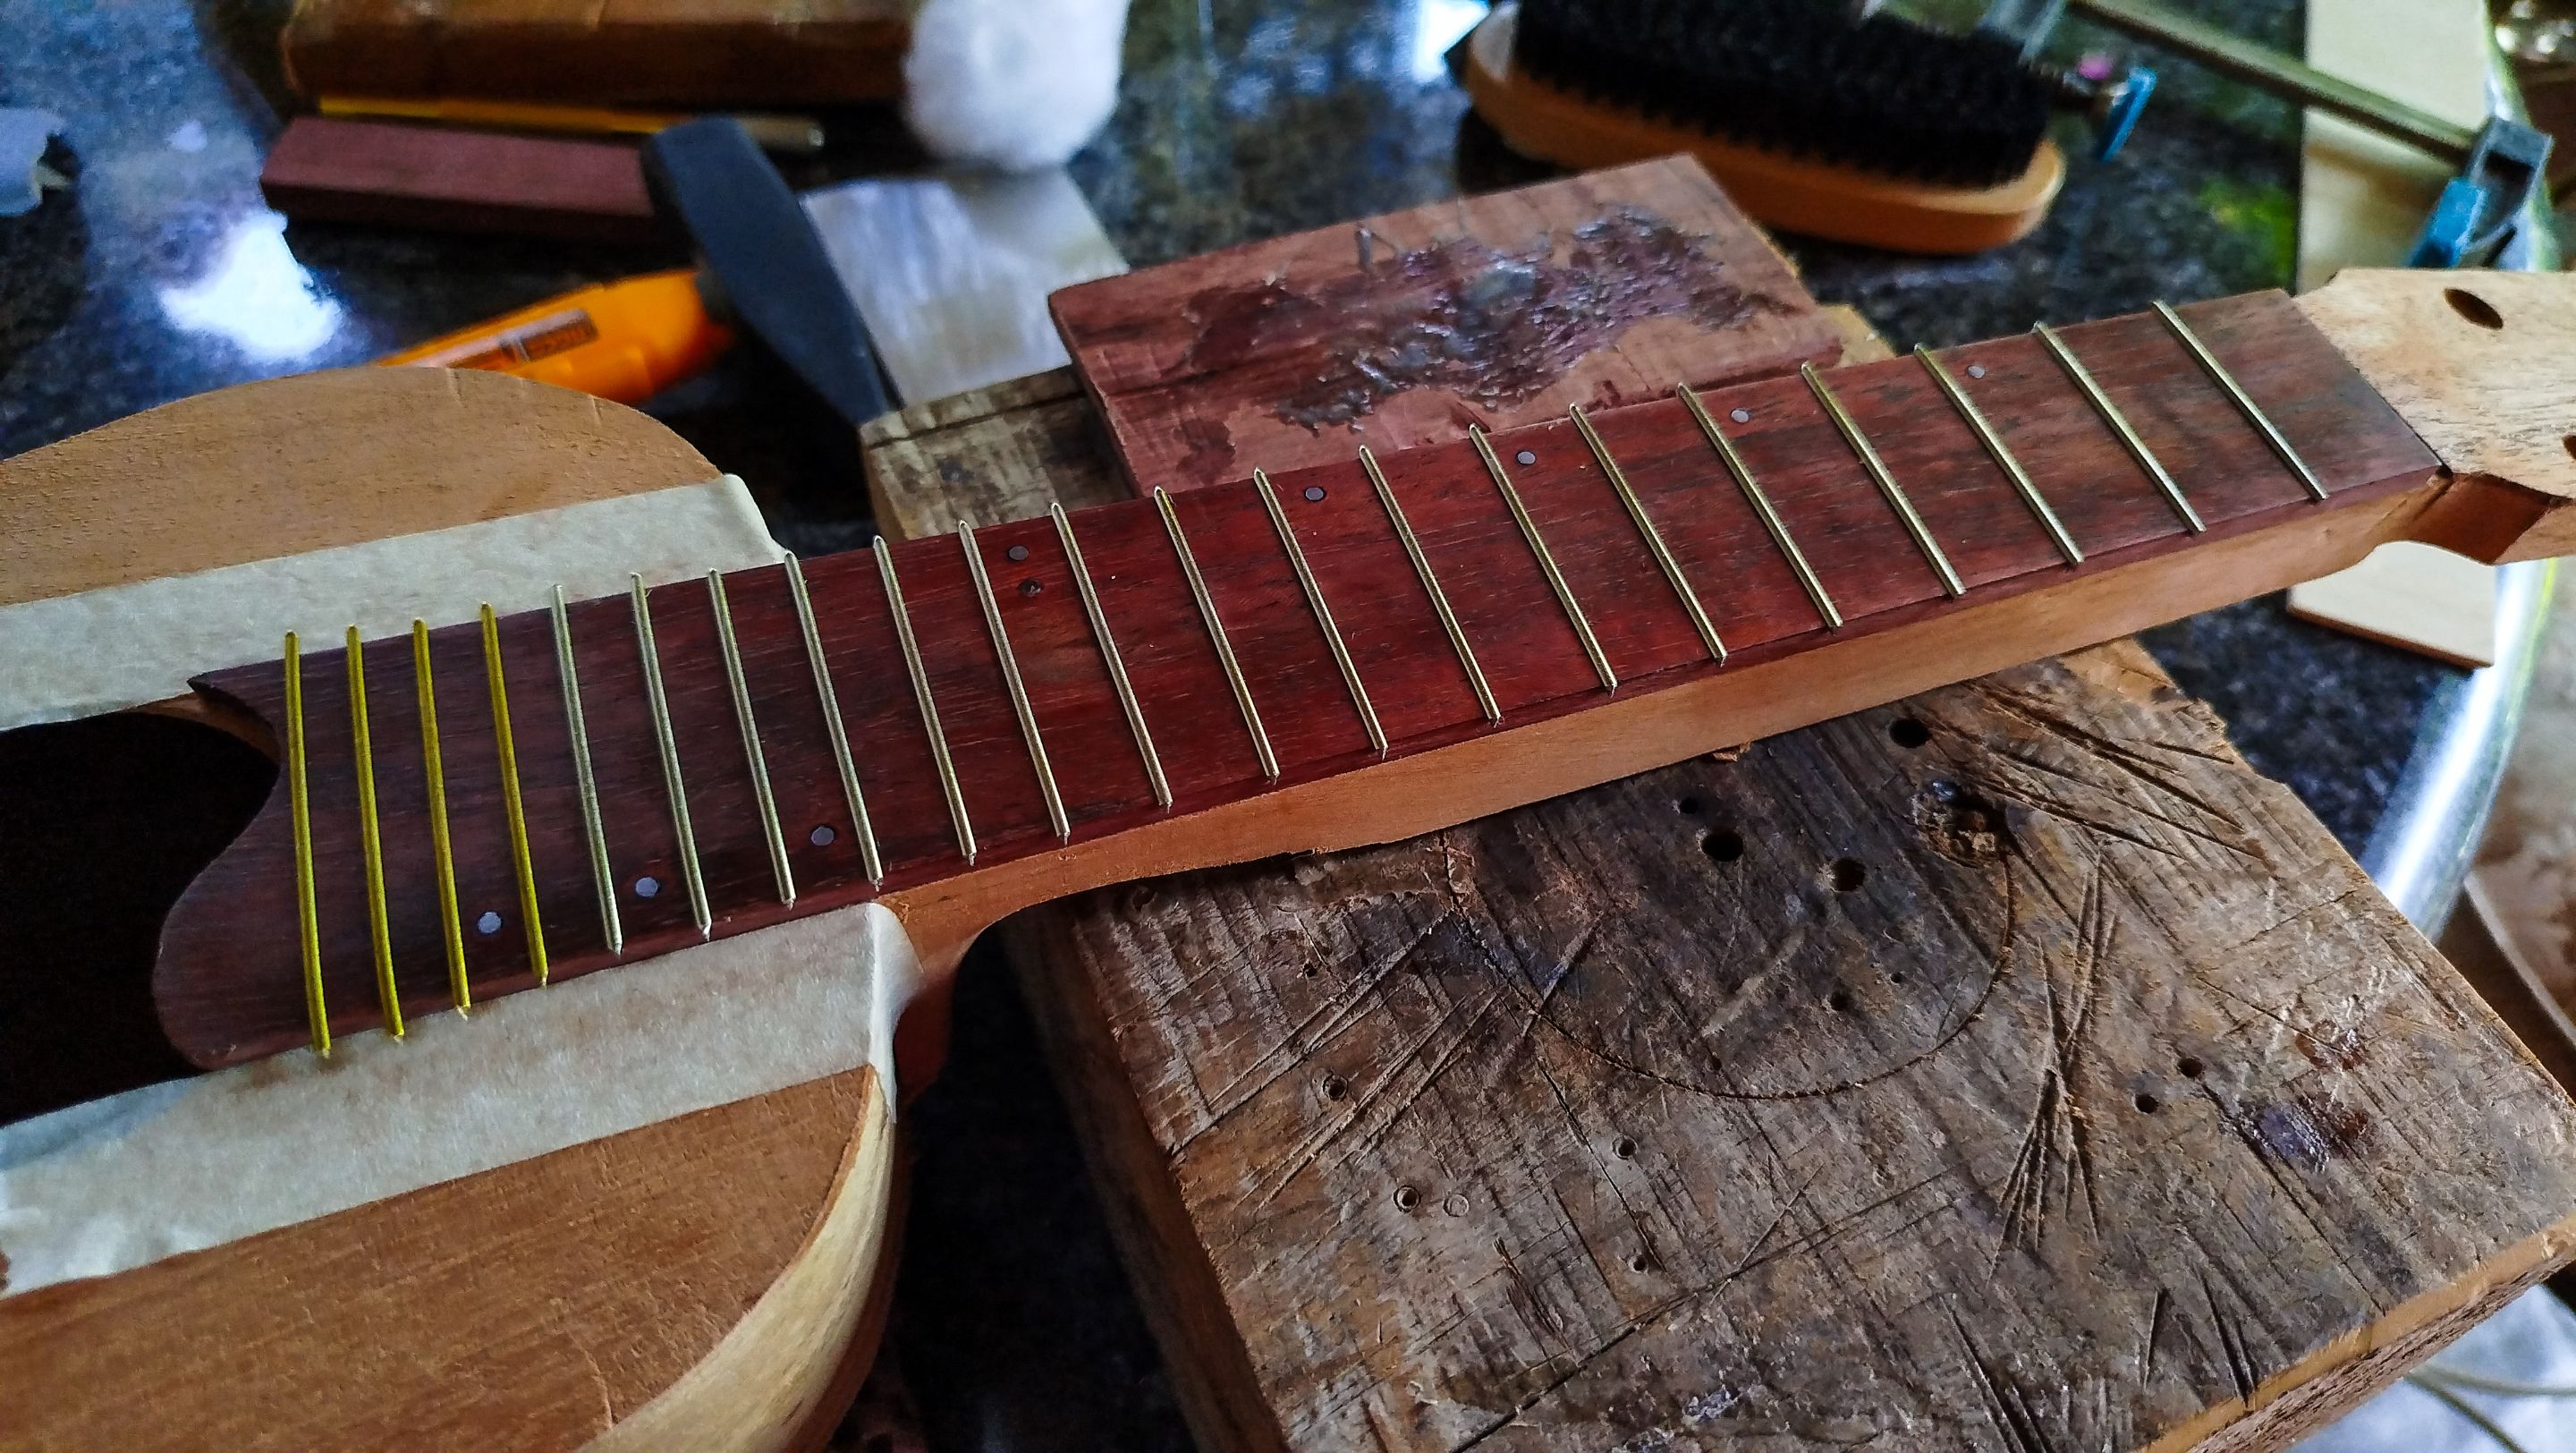
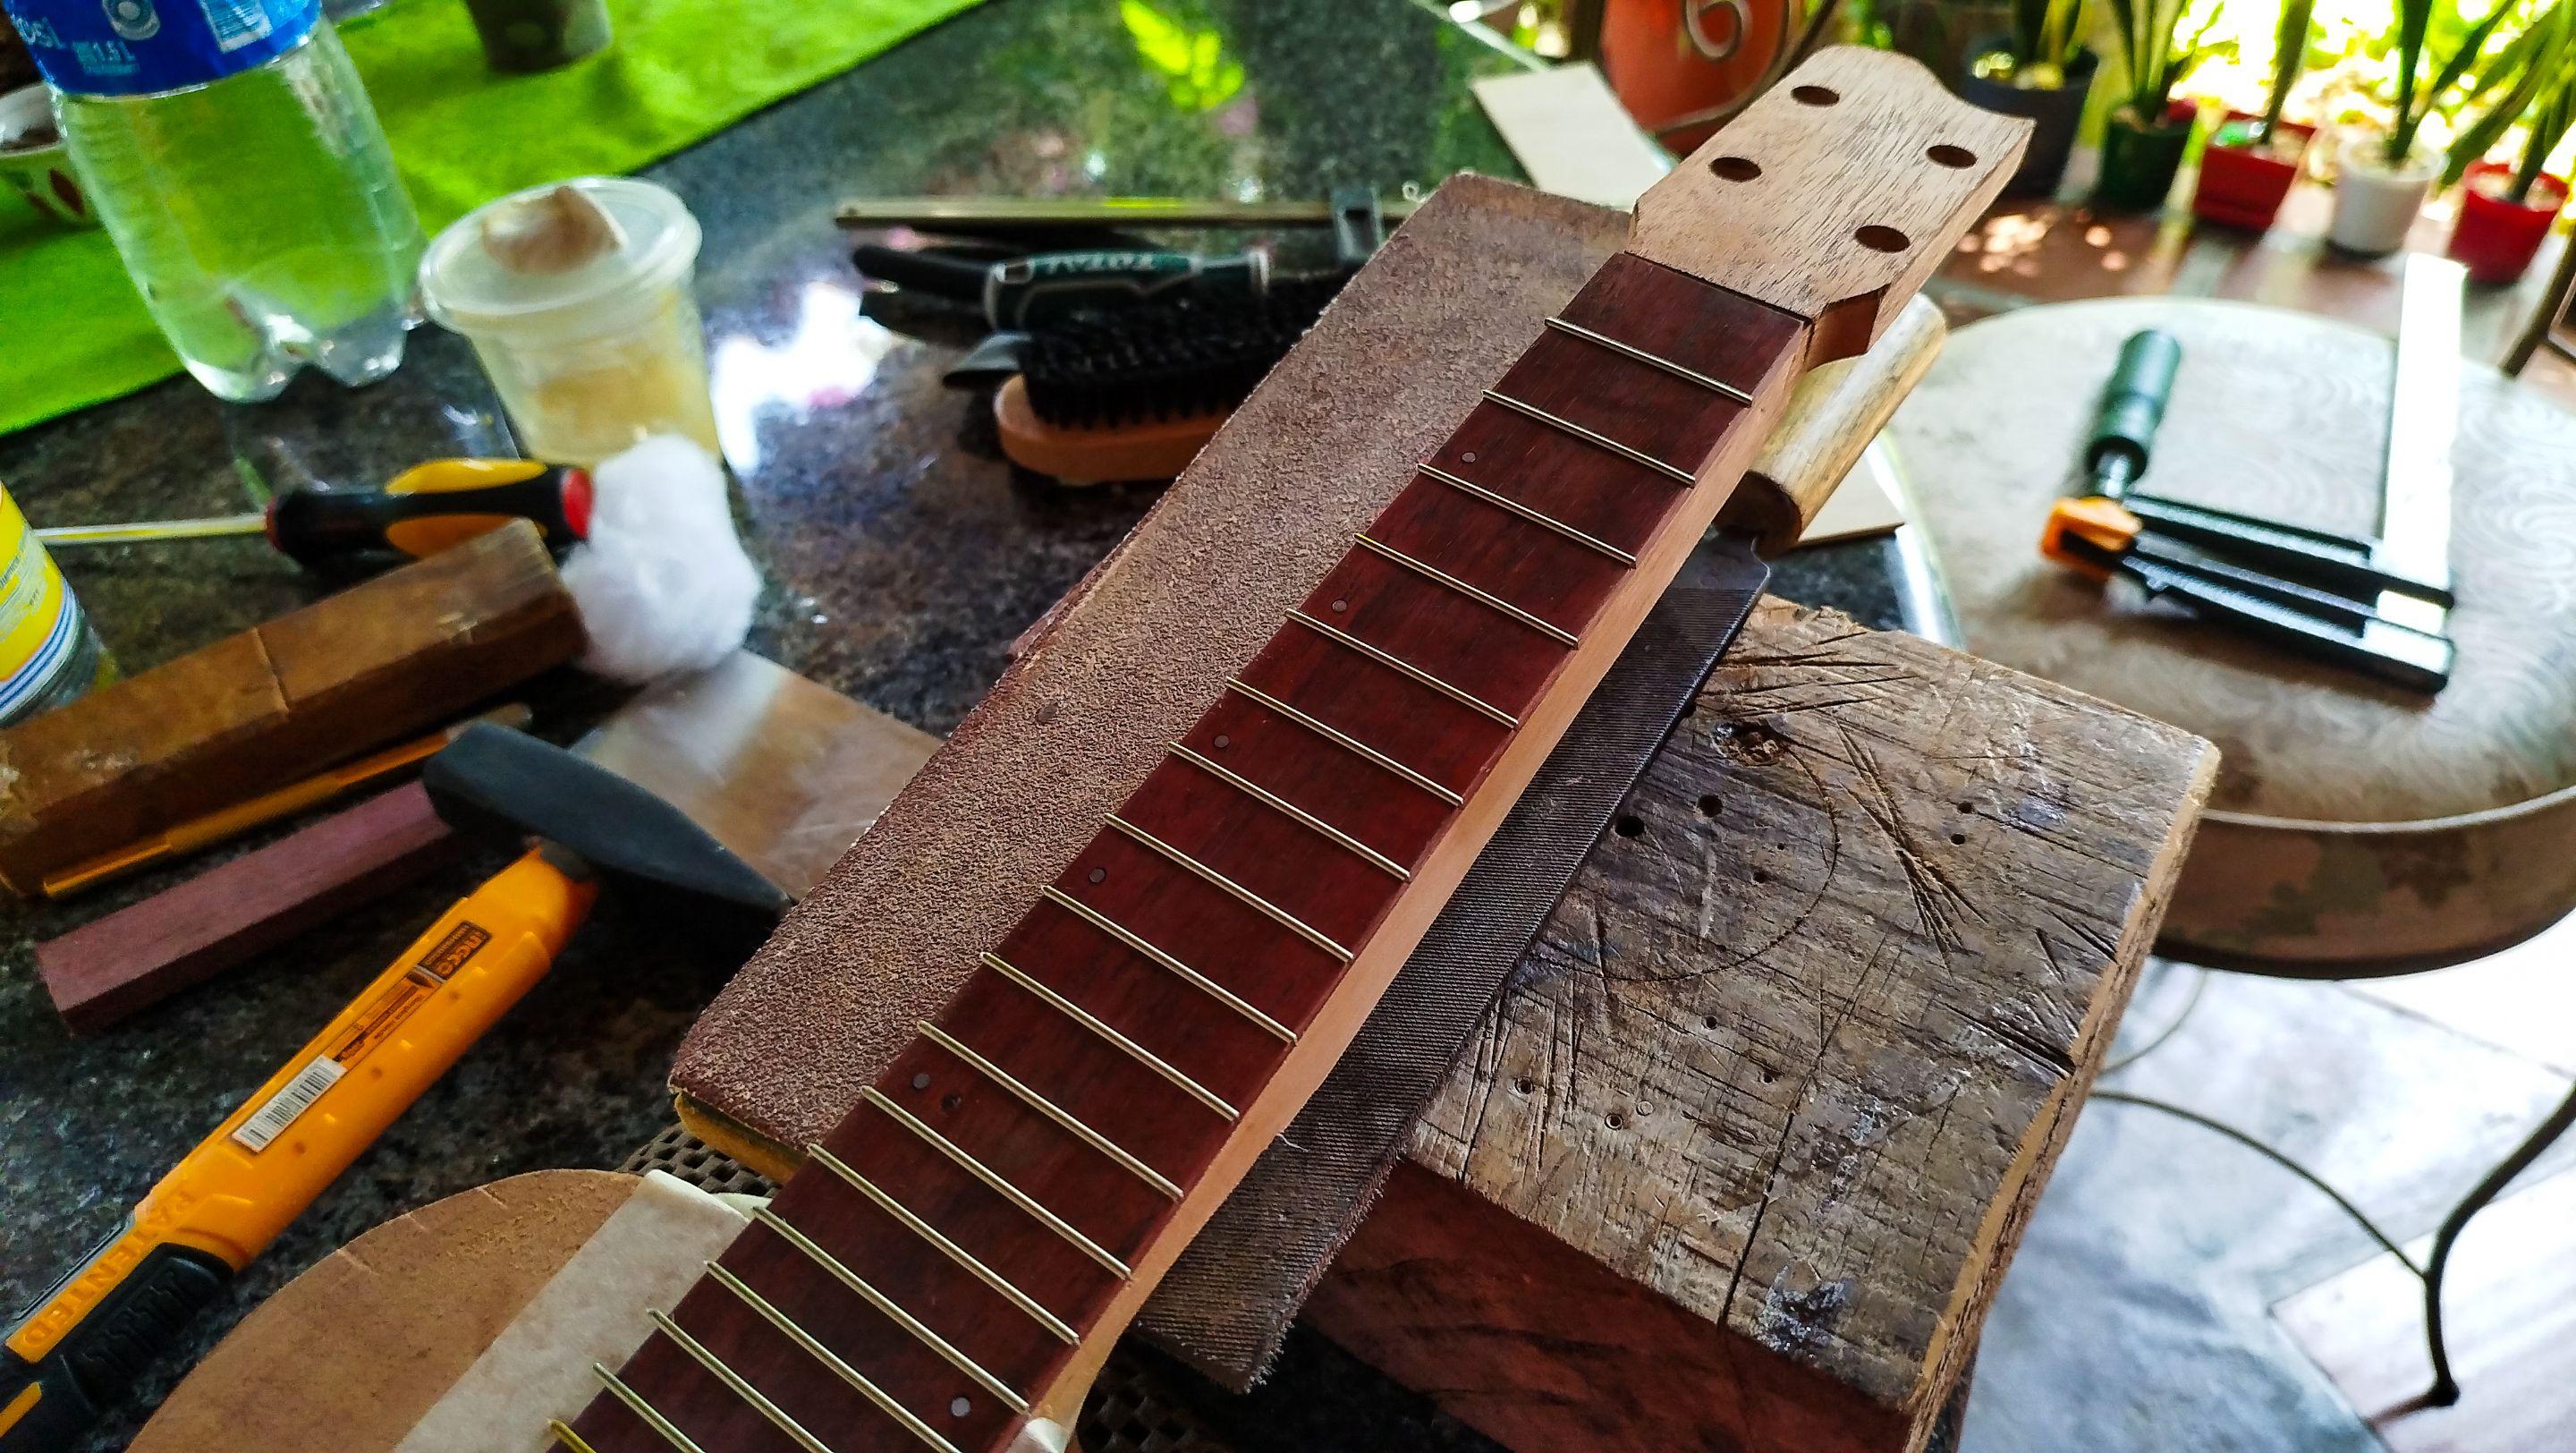
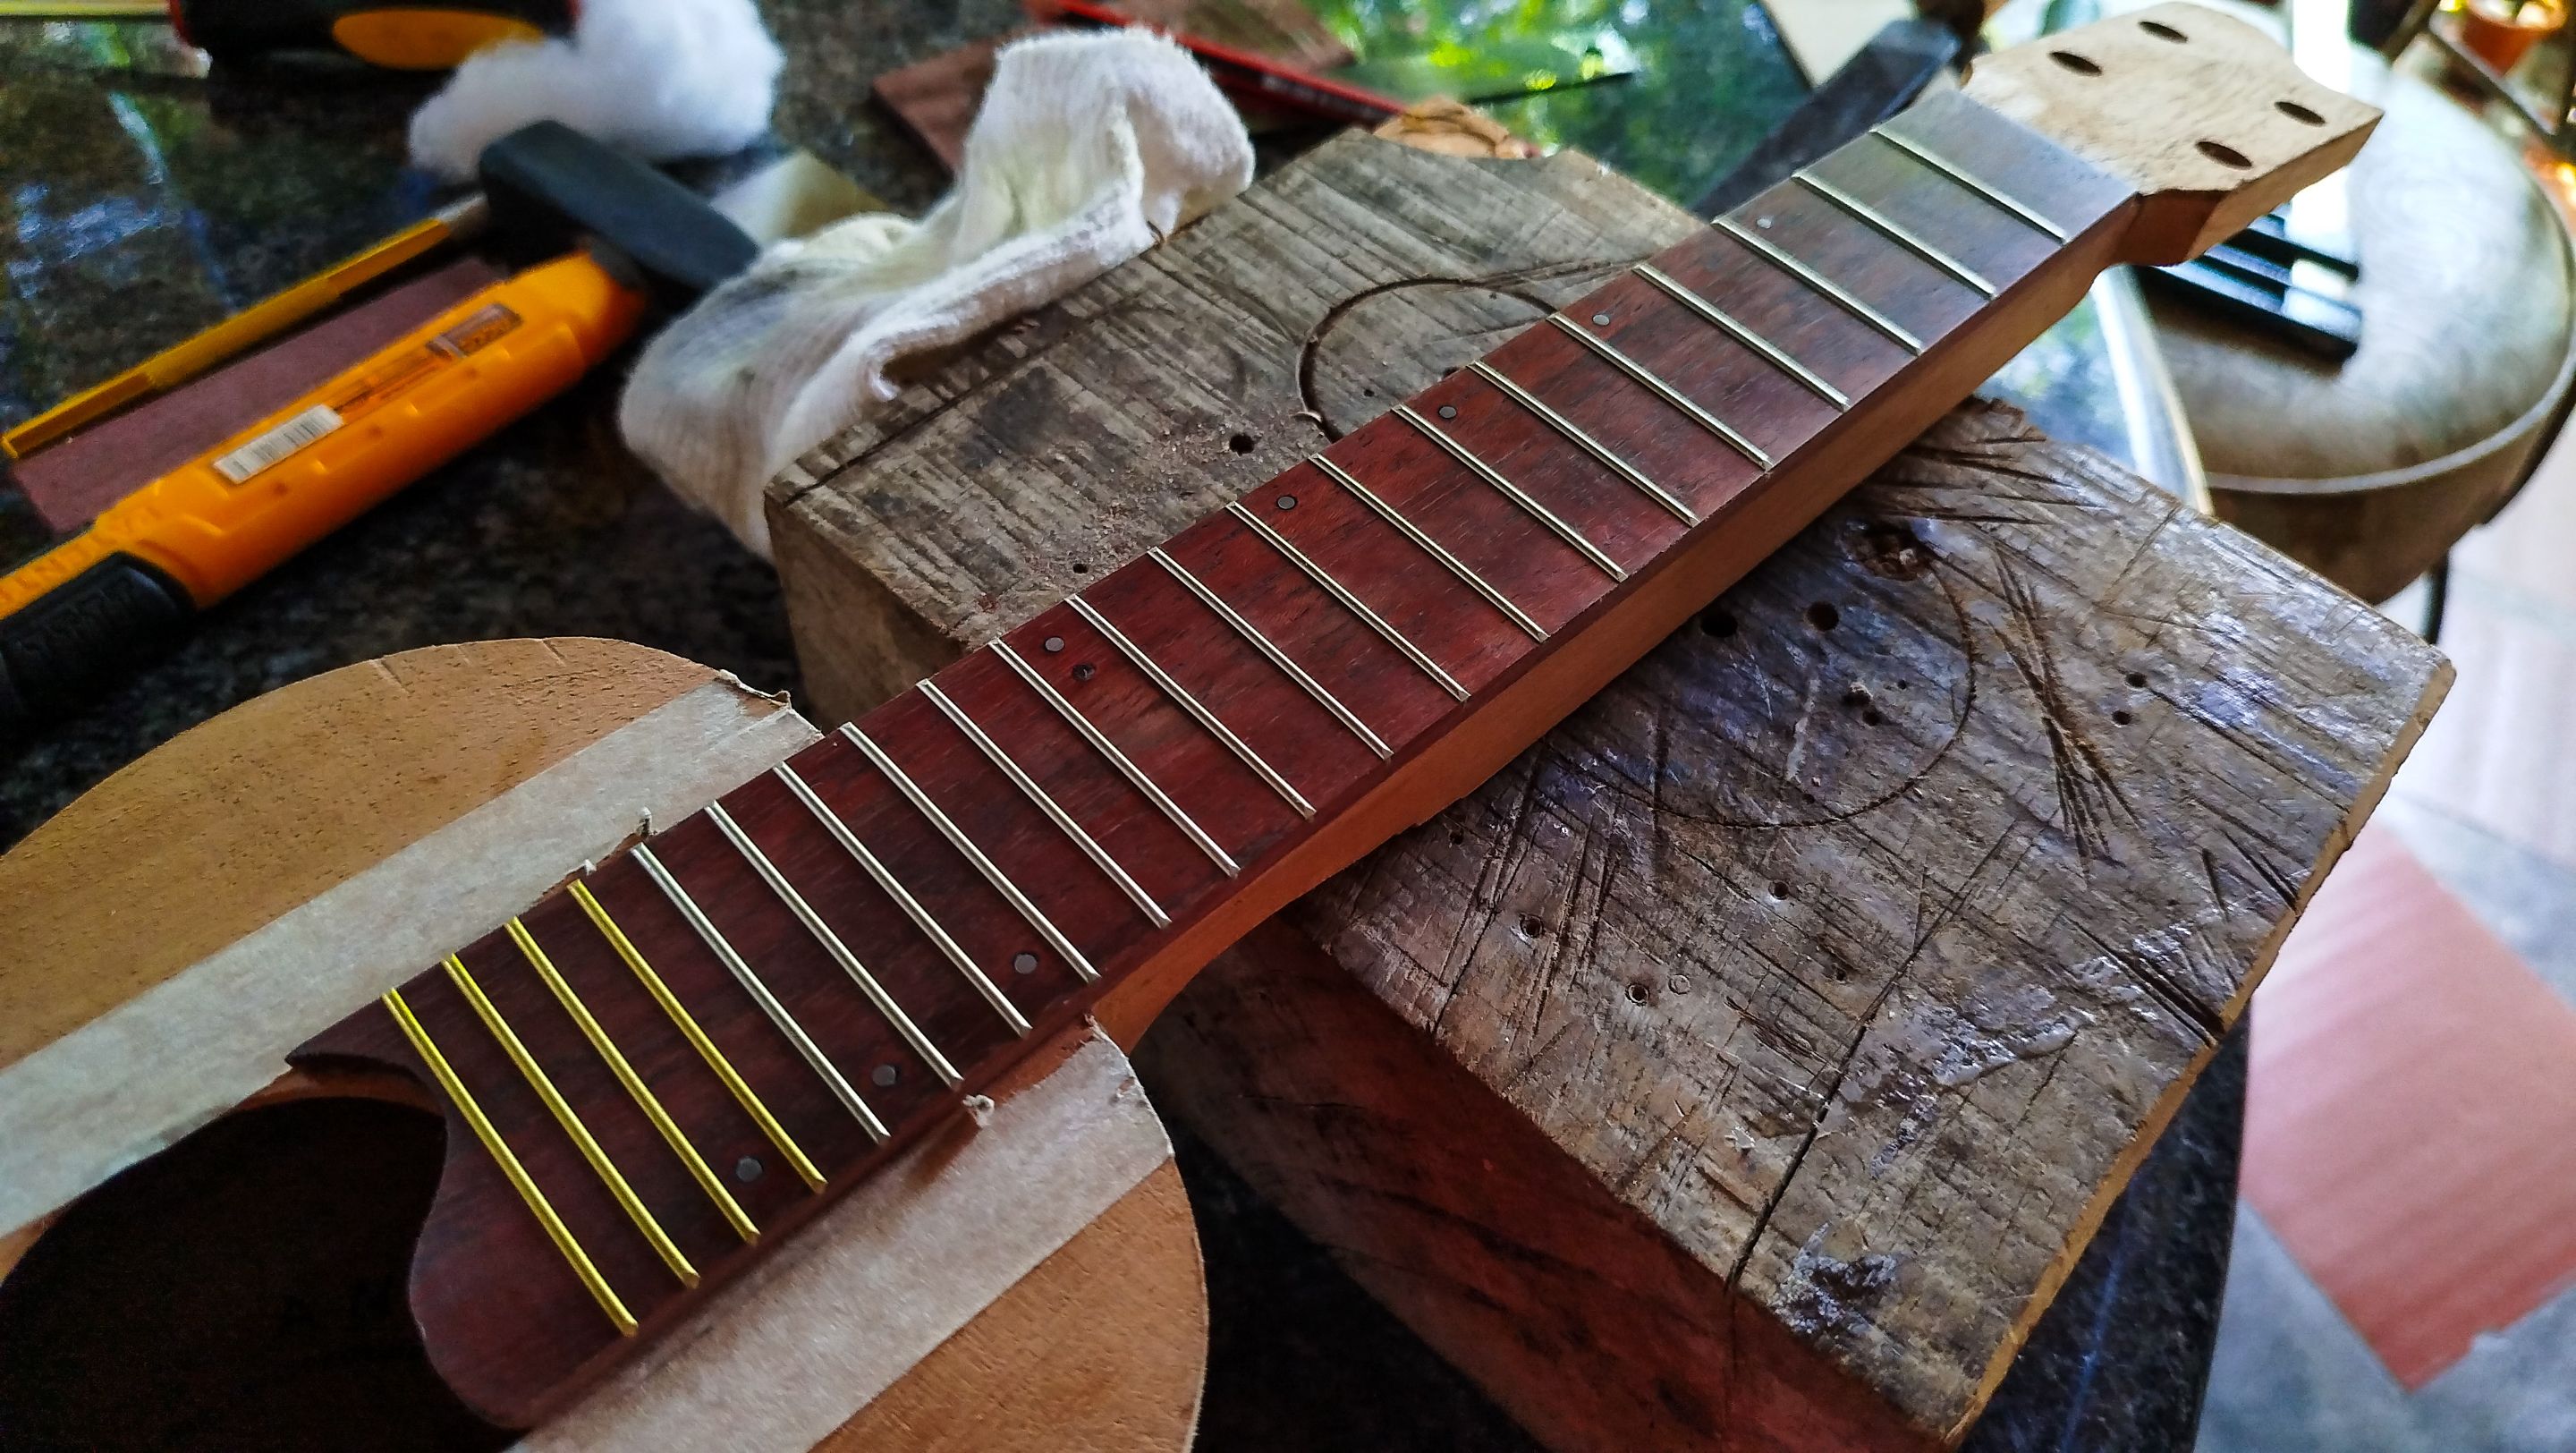
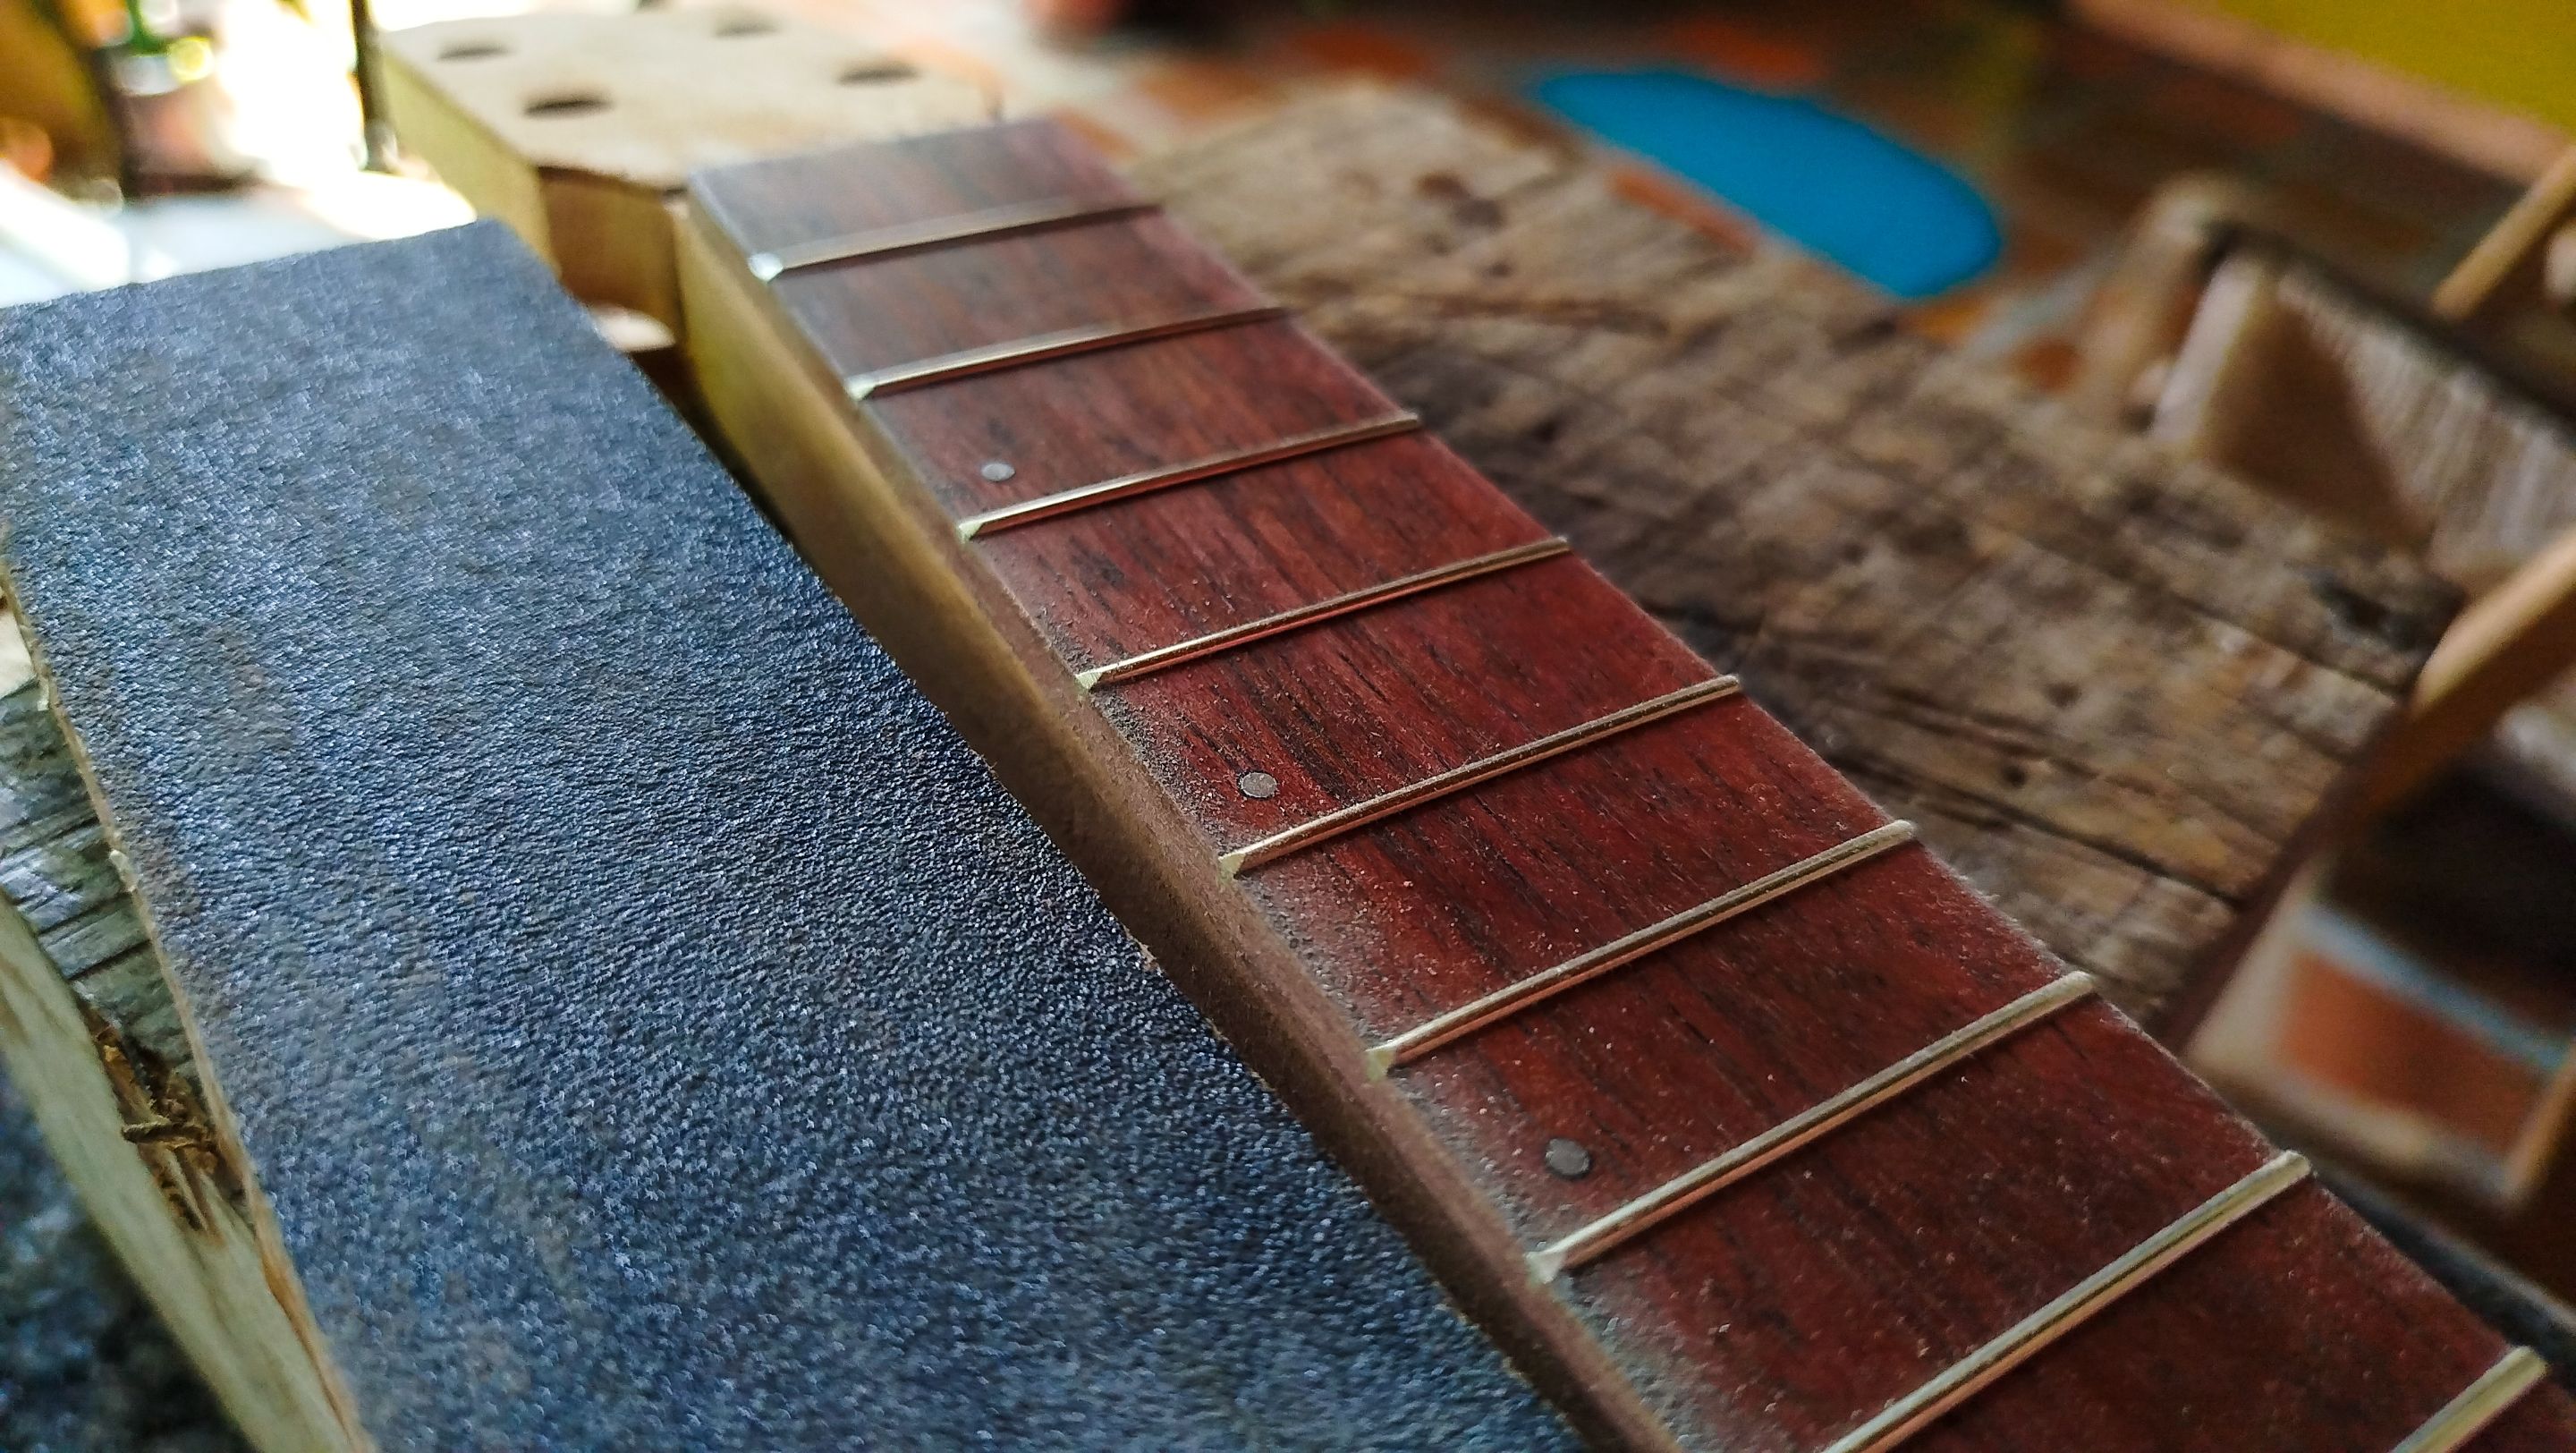
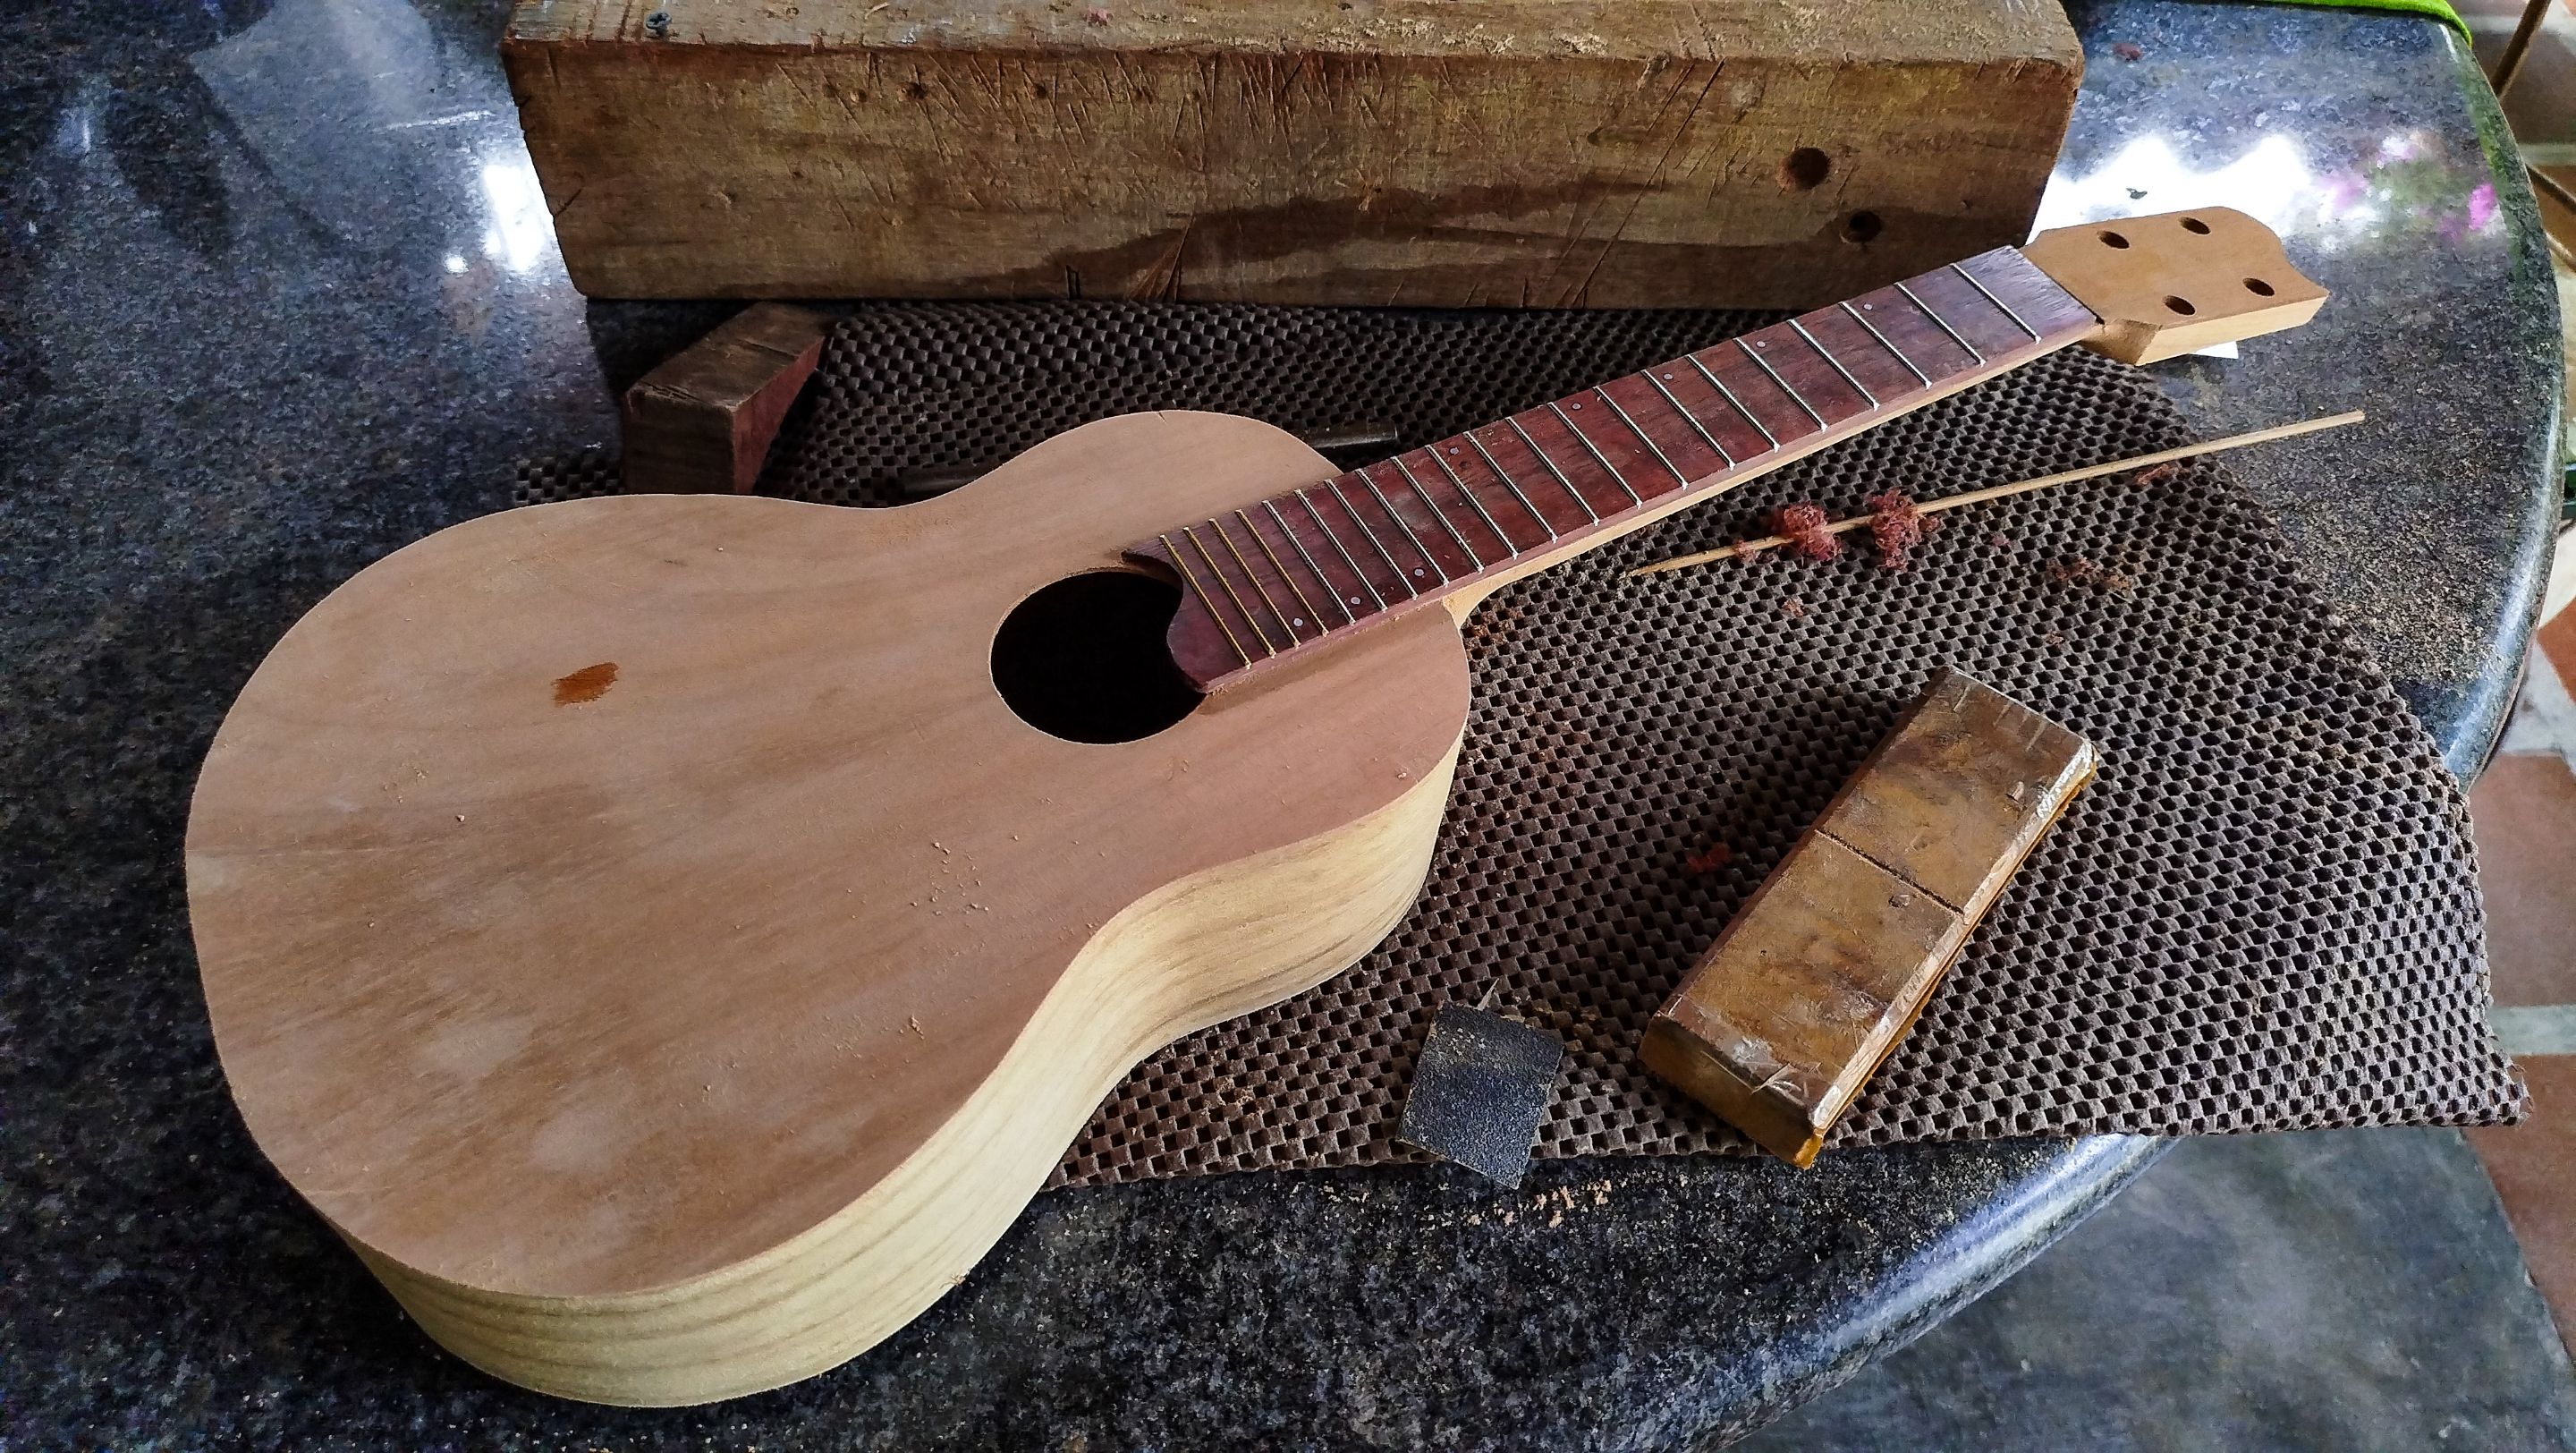
With the position markers in place and the fretboard ready, we are hammering the frets in place. We use the strips of the fret to start getting them in place. We need to use a piece of hardwood to prevent the fret from getting deformed from the action of hammering. The idea is to get the foot of the fret inside the slot. It has some barbs that finally get in the wood and firmly holds the fretboard. We repeat this process cutting the fretwire at the end.
We did not have enough of the silver wire to complete the fretboard. Luckily, we found some brass wire to finish the task. It even gives the fretboard a different style. Although, this does not needs this much frets to function. Some of this are not even usable since they are too narrow. They could work if your fingers are that narrow.
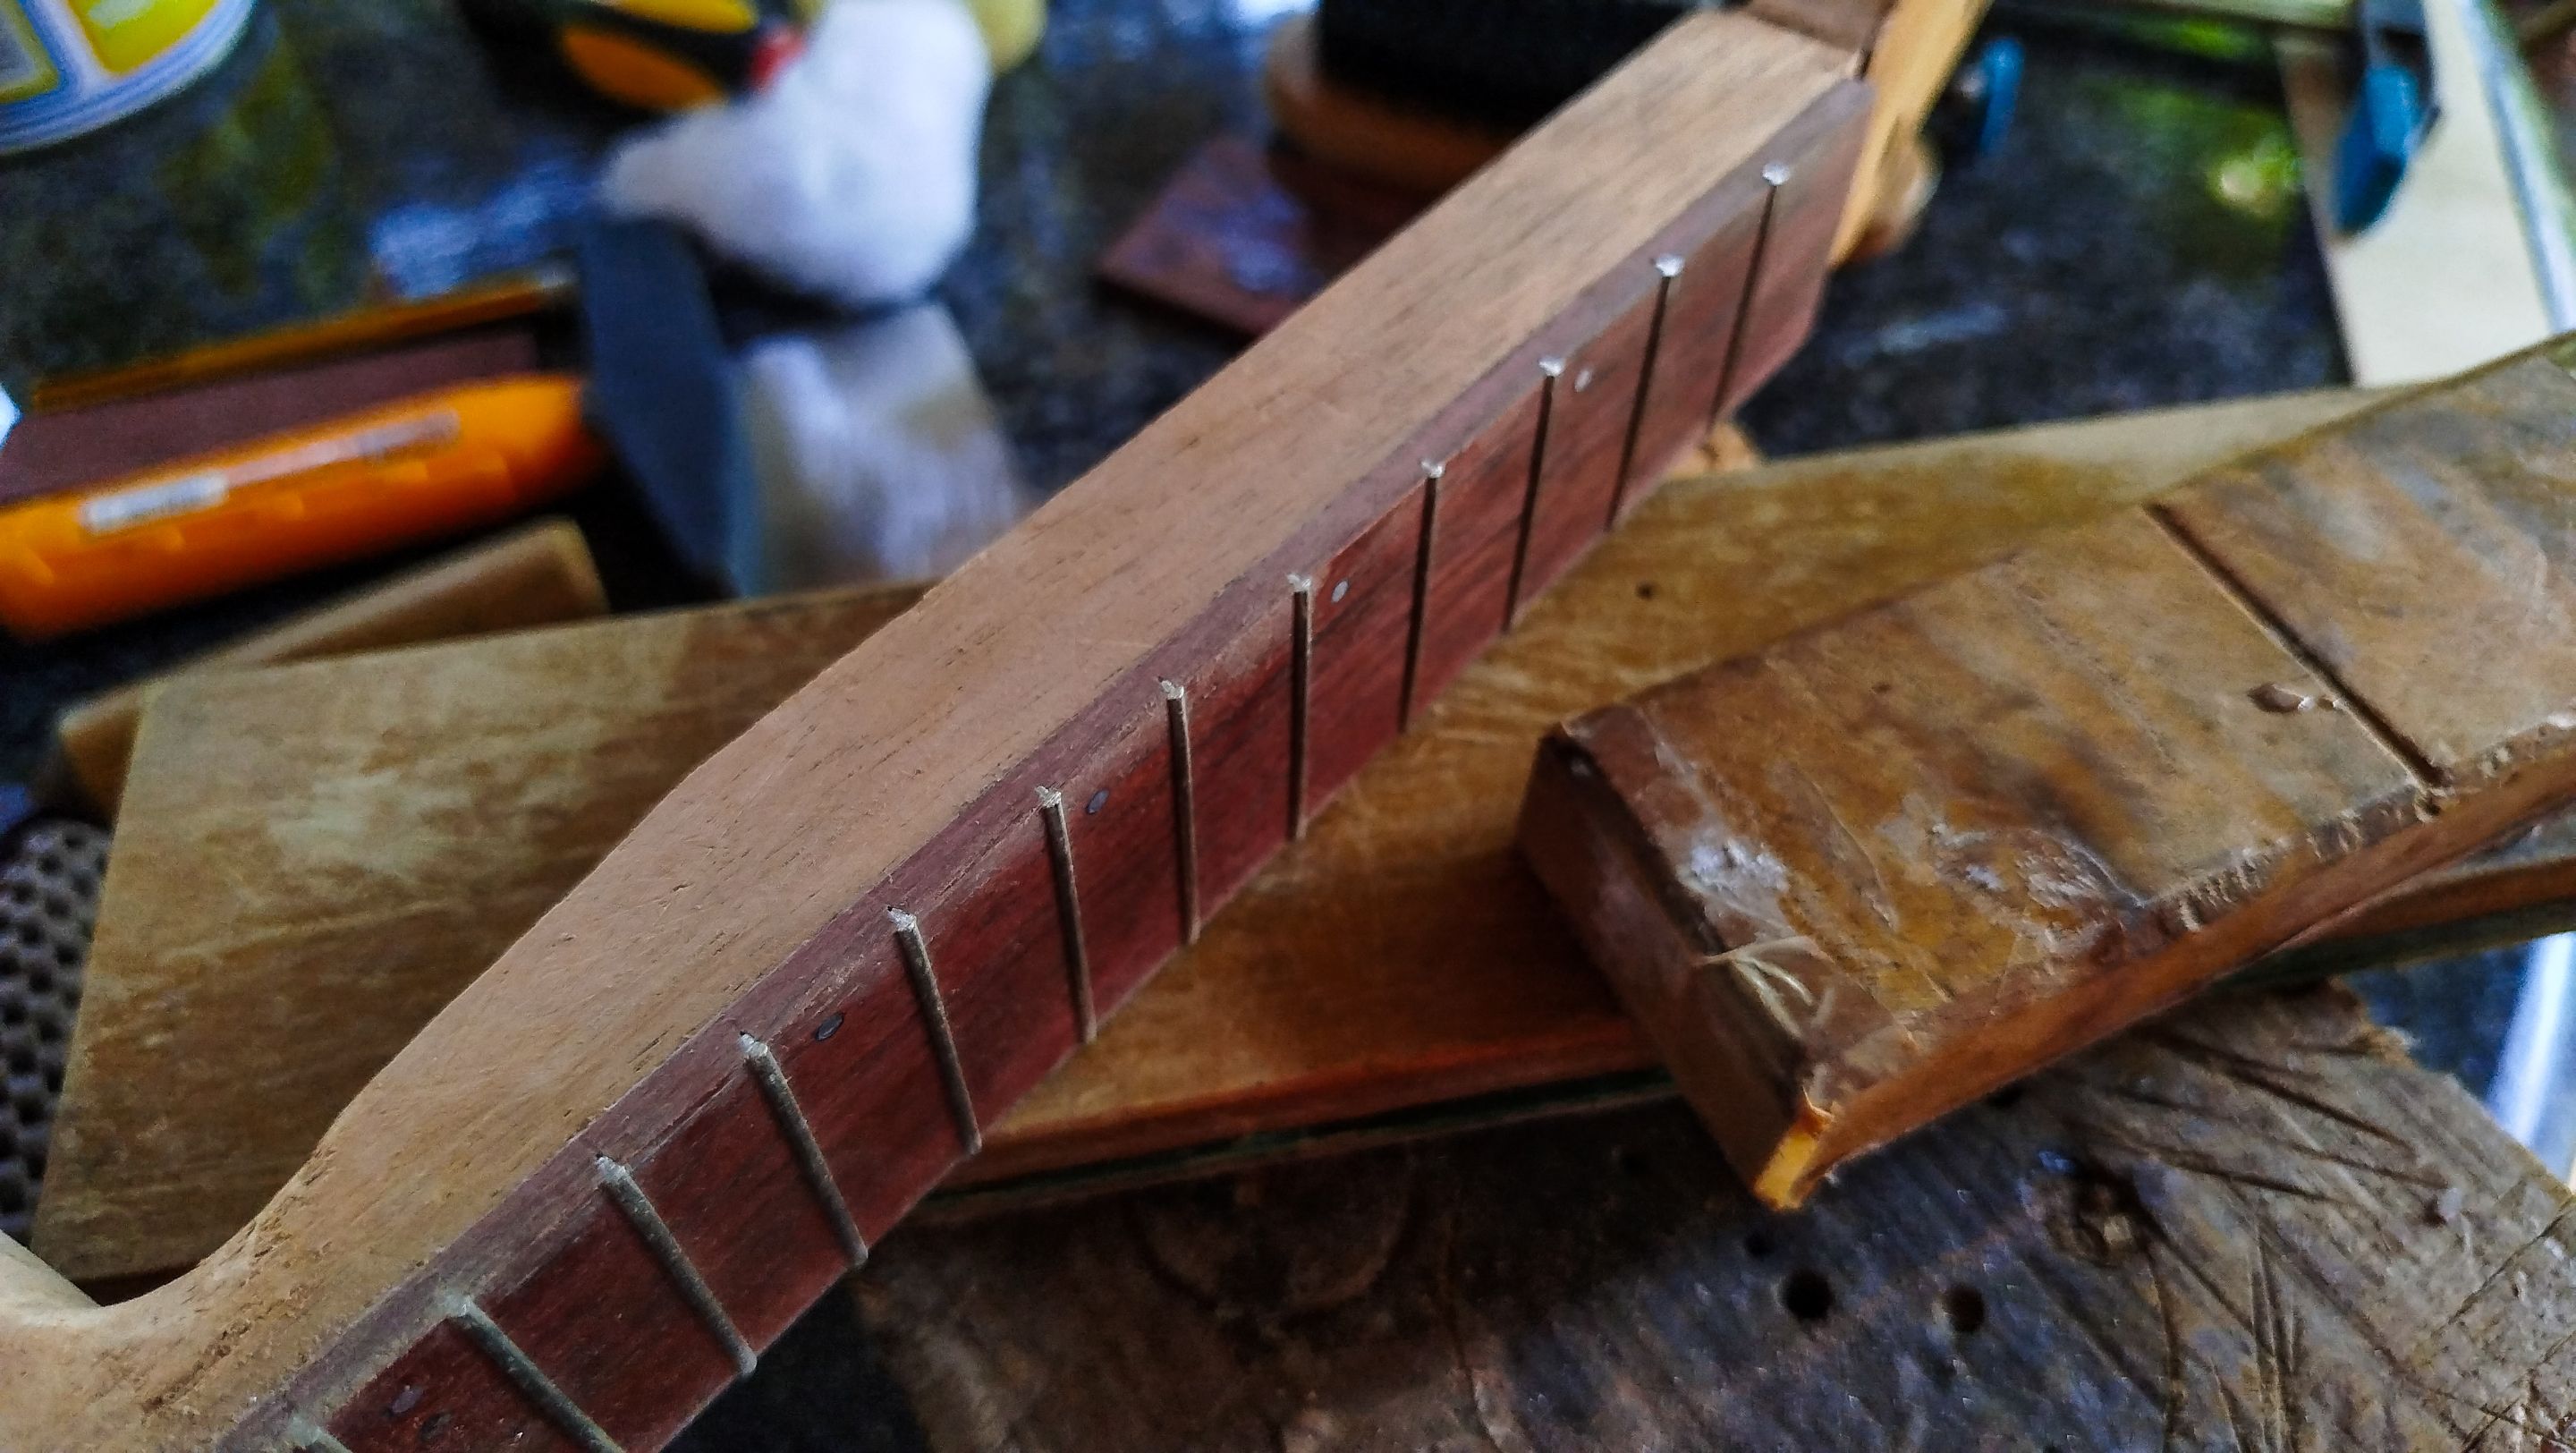
To finish the work on the frets, we need to cut the ends to make them flush to the fretboard. Then we have to file and sand the ends to remove the sharp edges. Finally, we use the sand block to create a bevel at the ends. We also need to come back to it until we remove any sharpness in these ends.
Neck Rounding

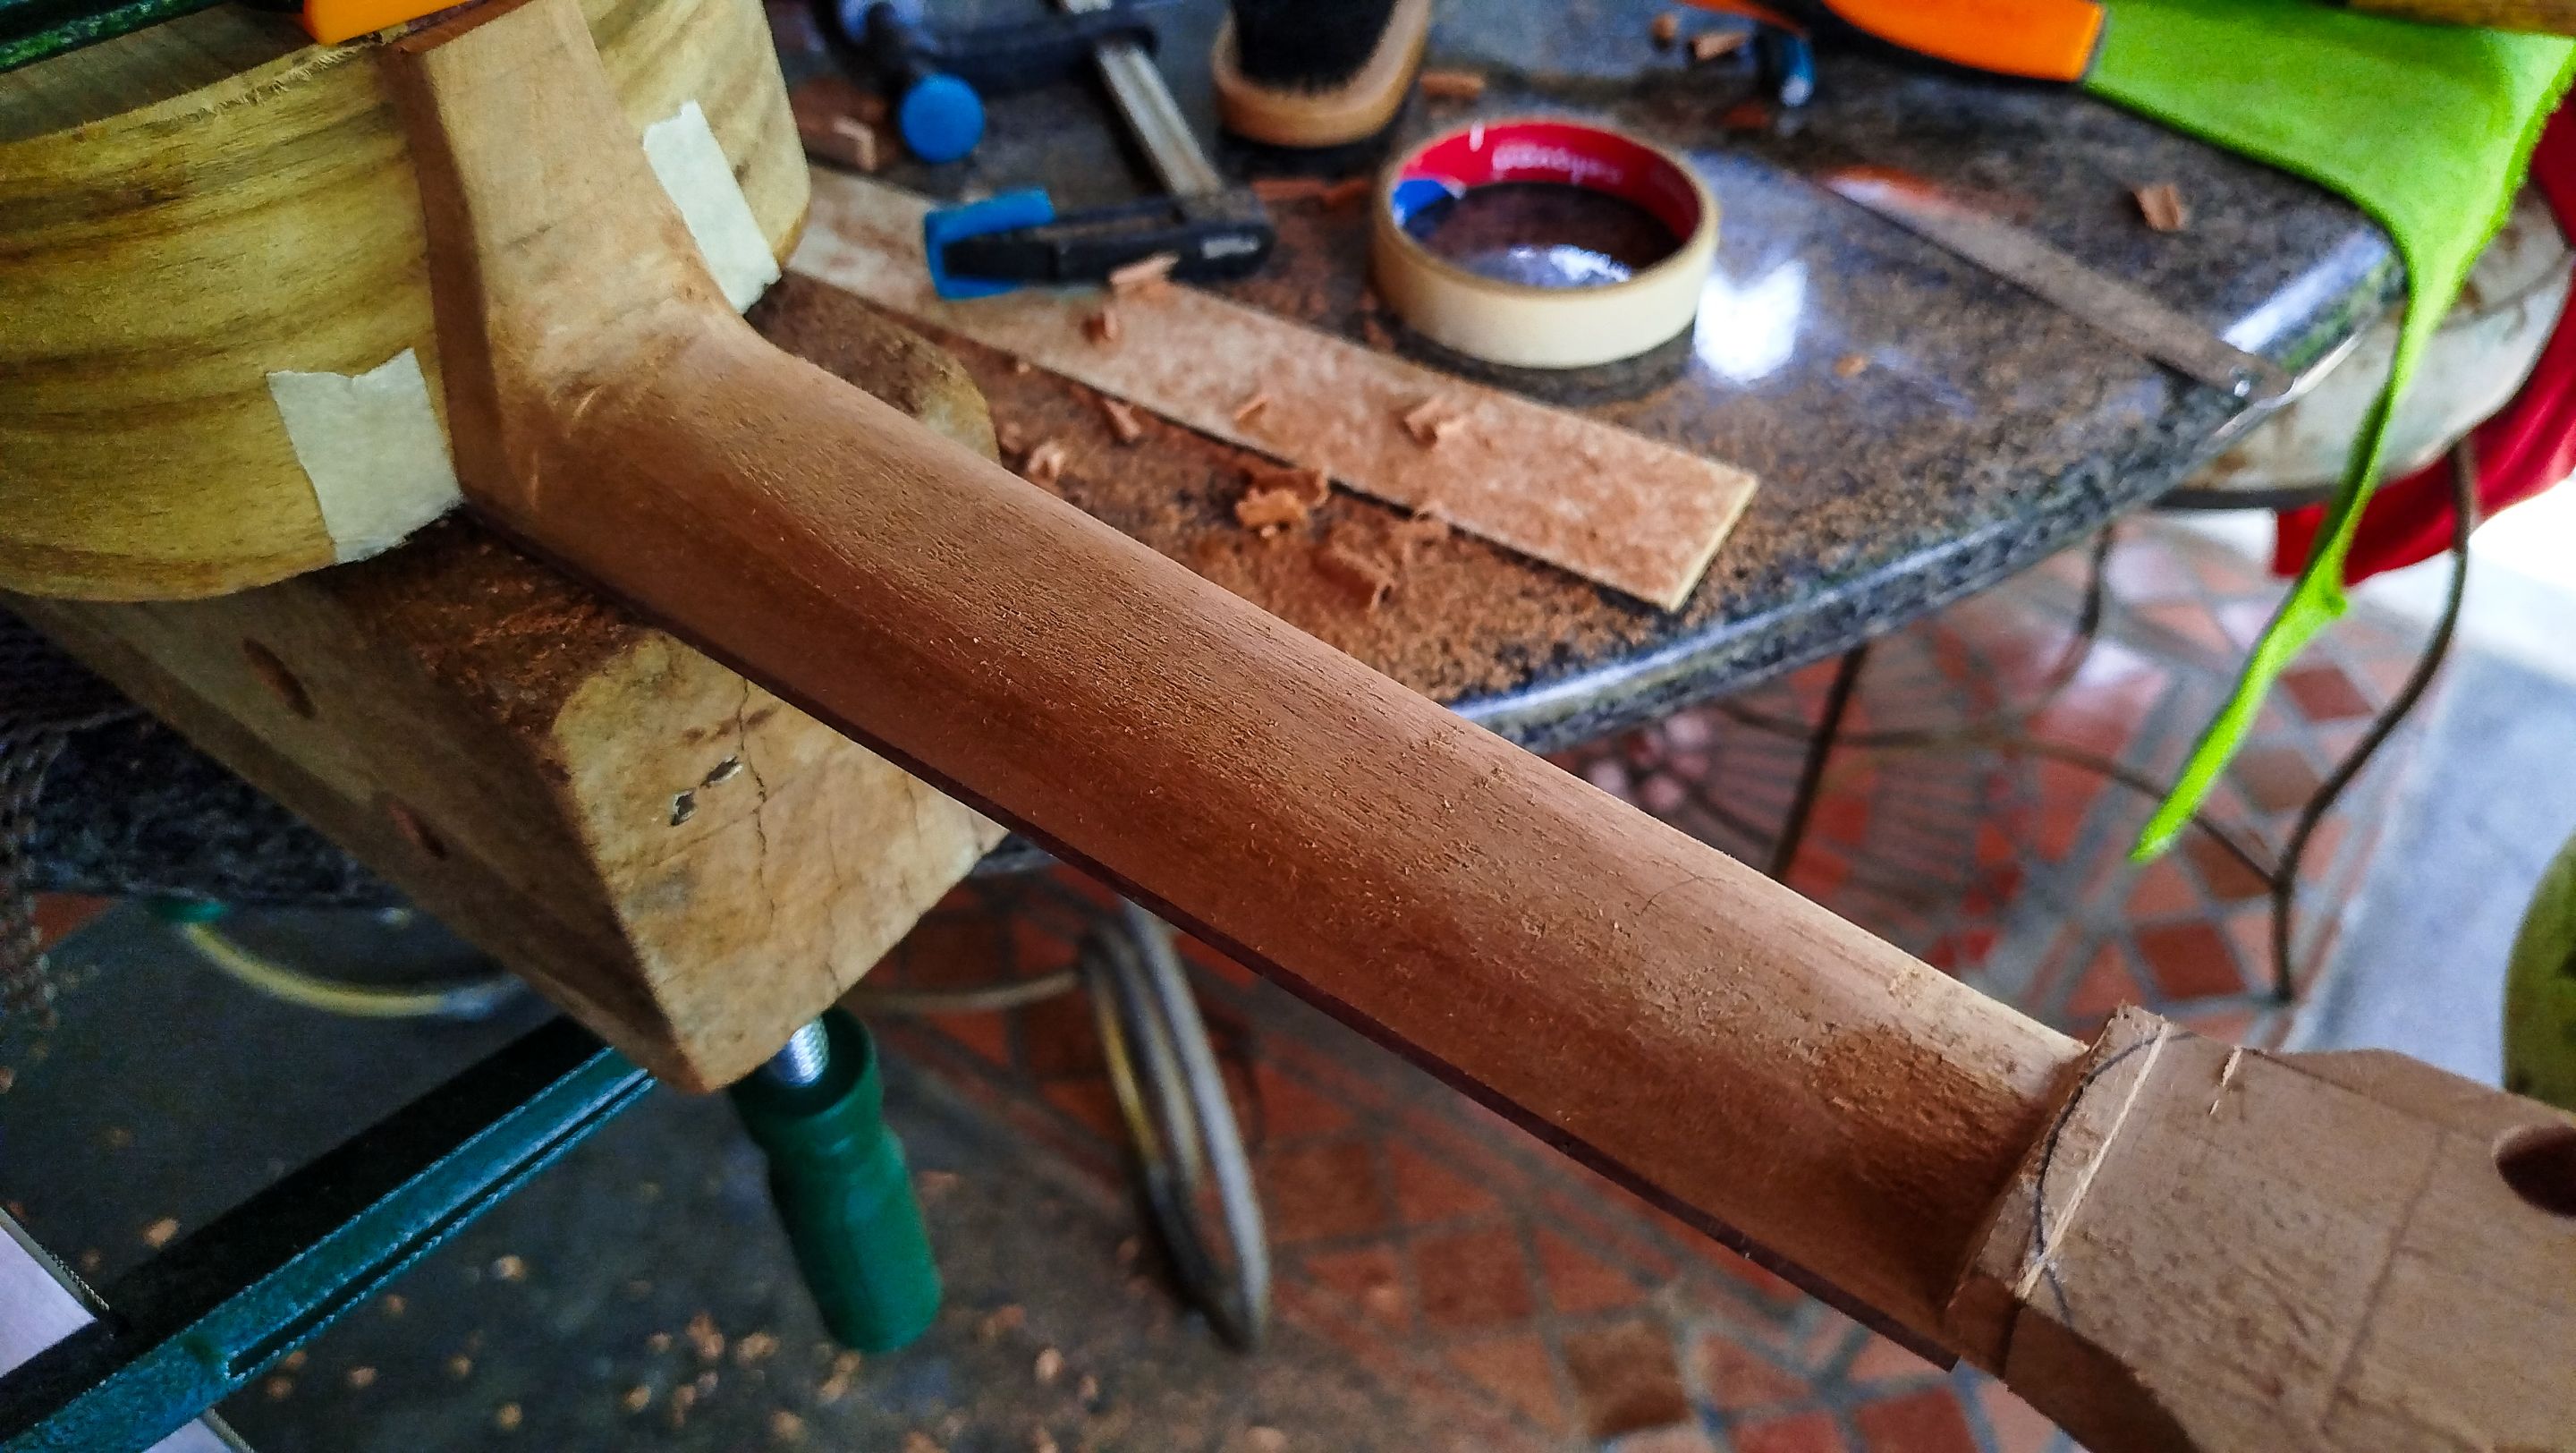
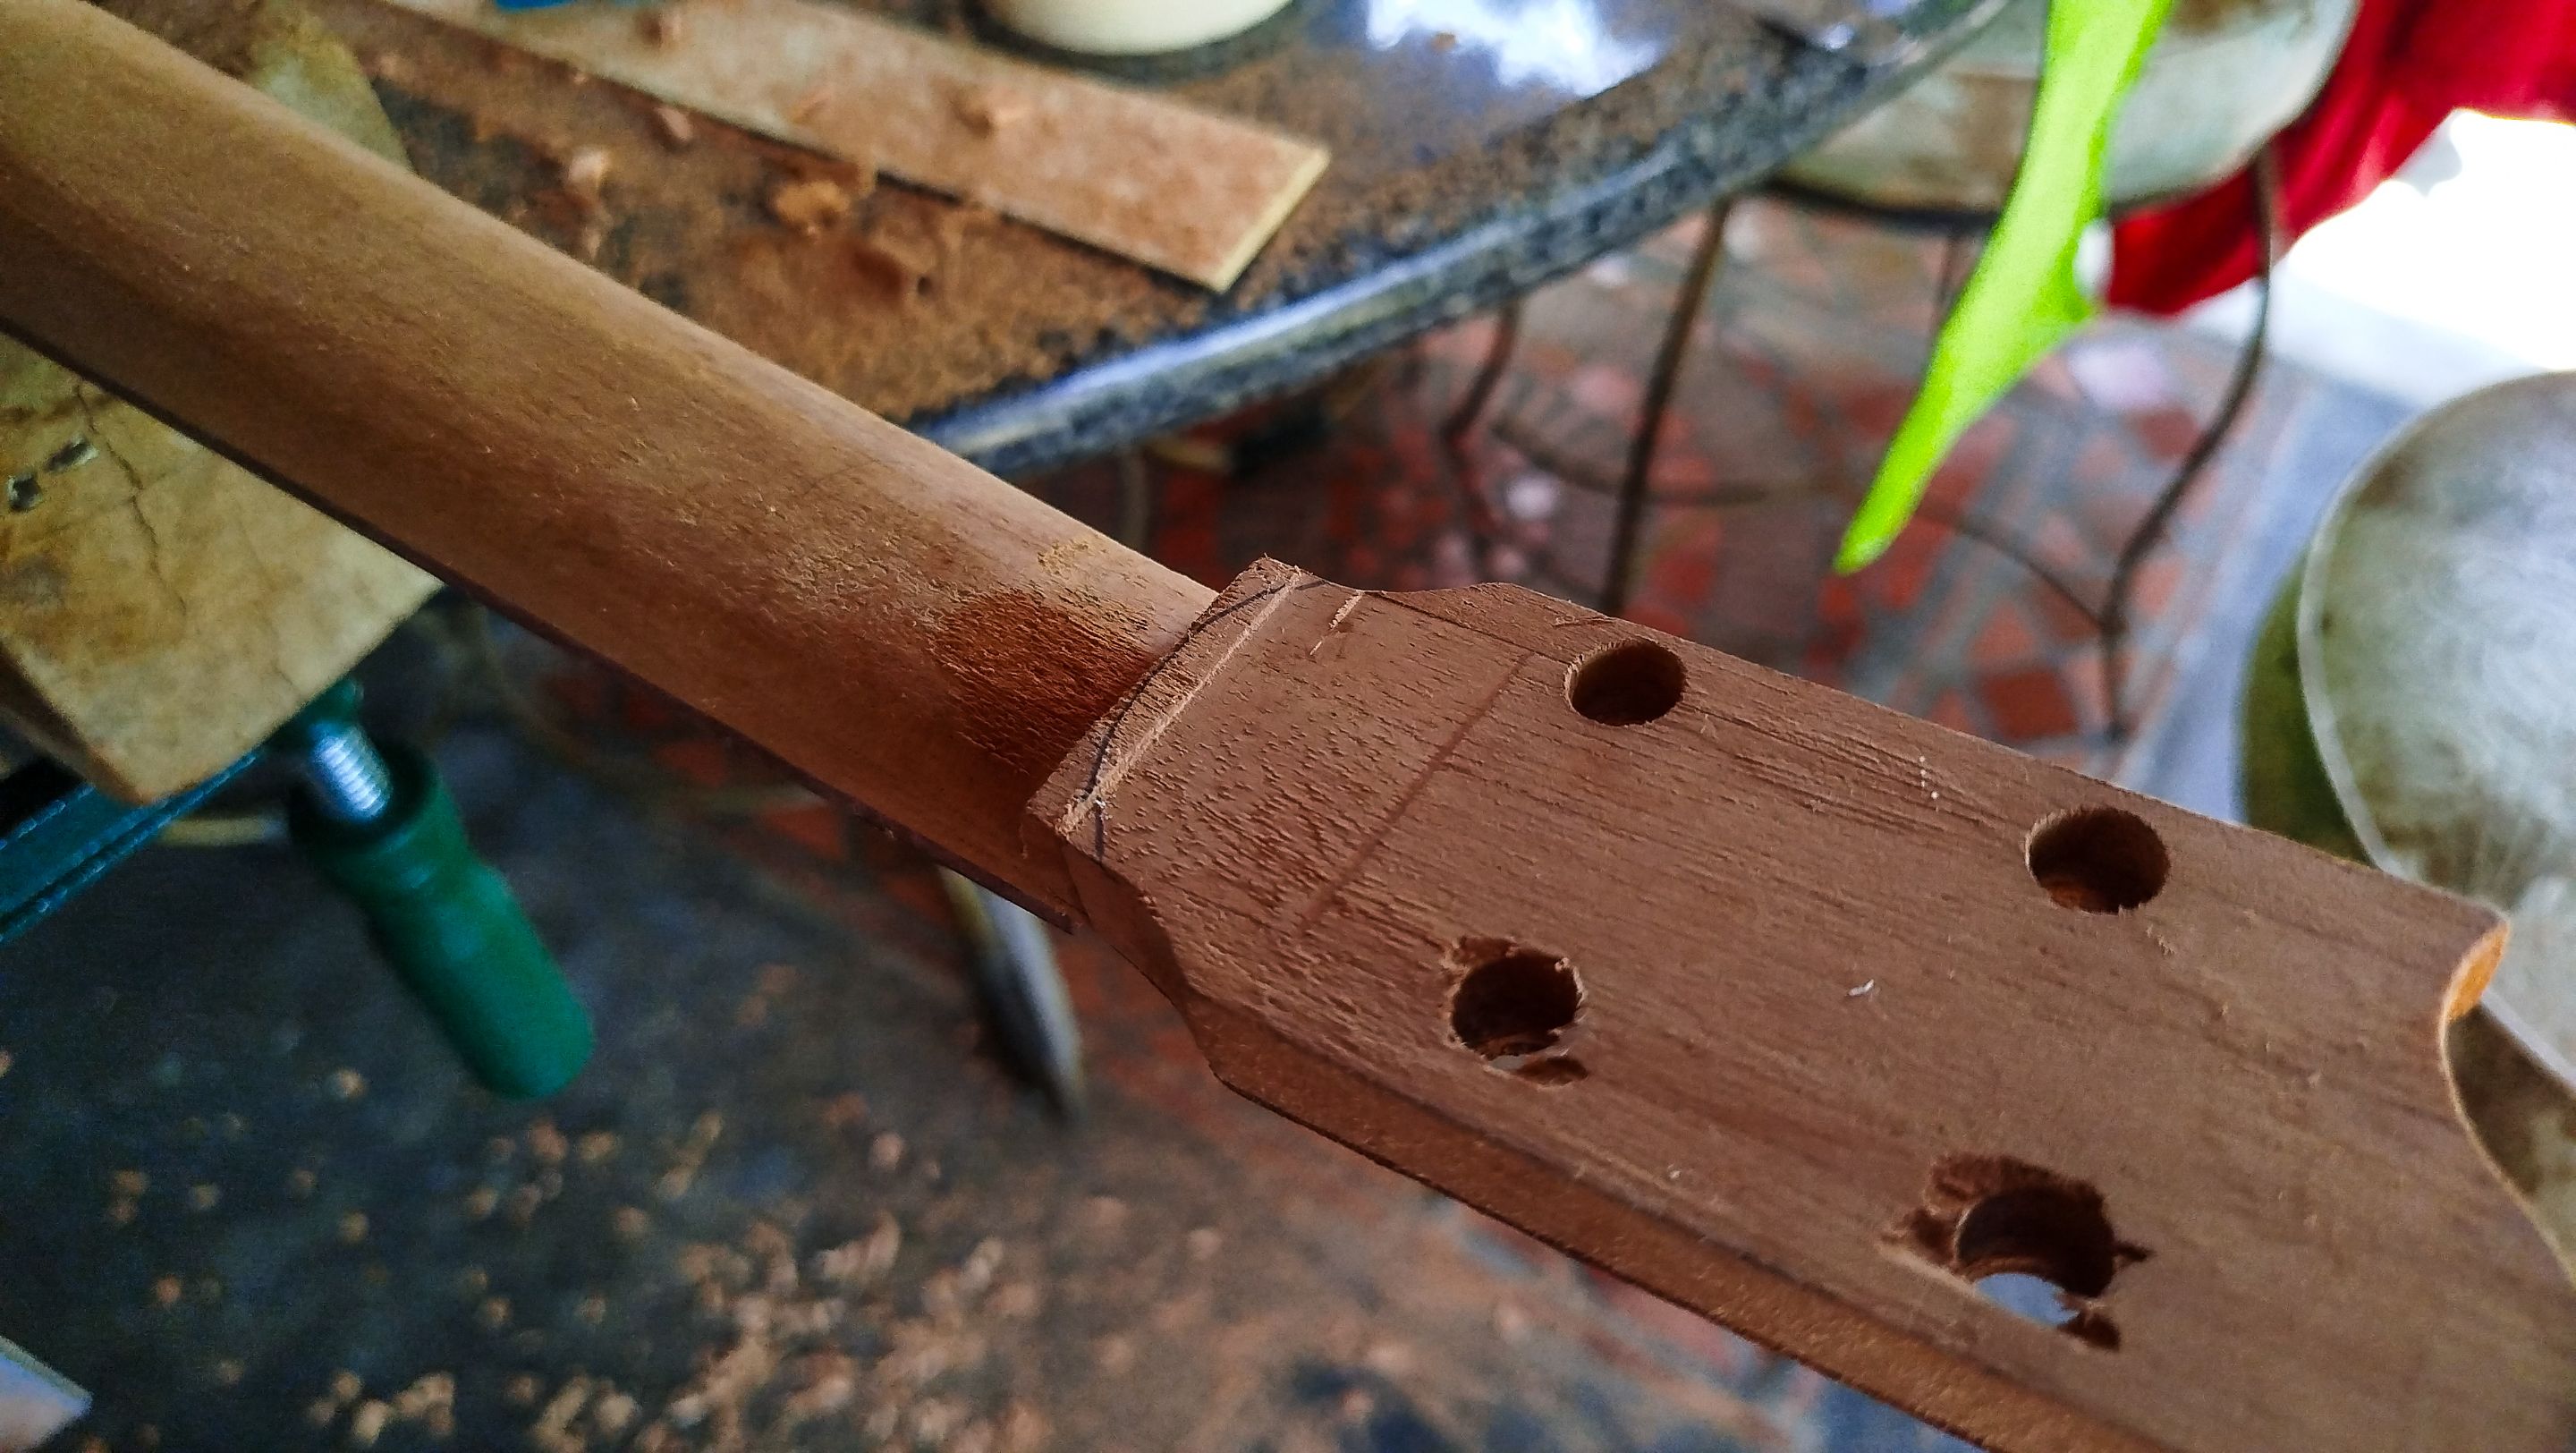
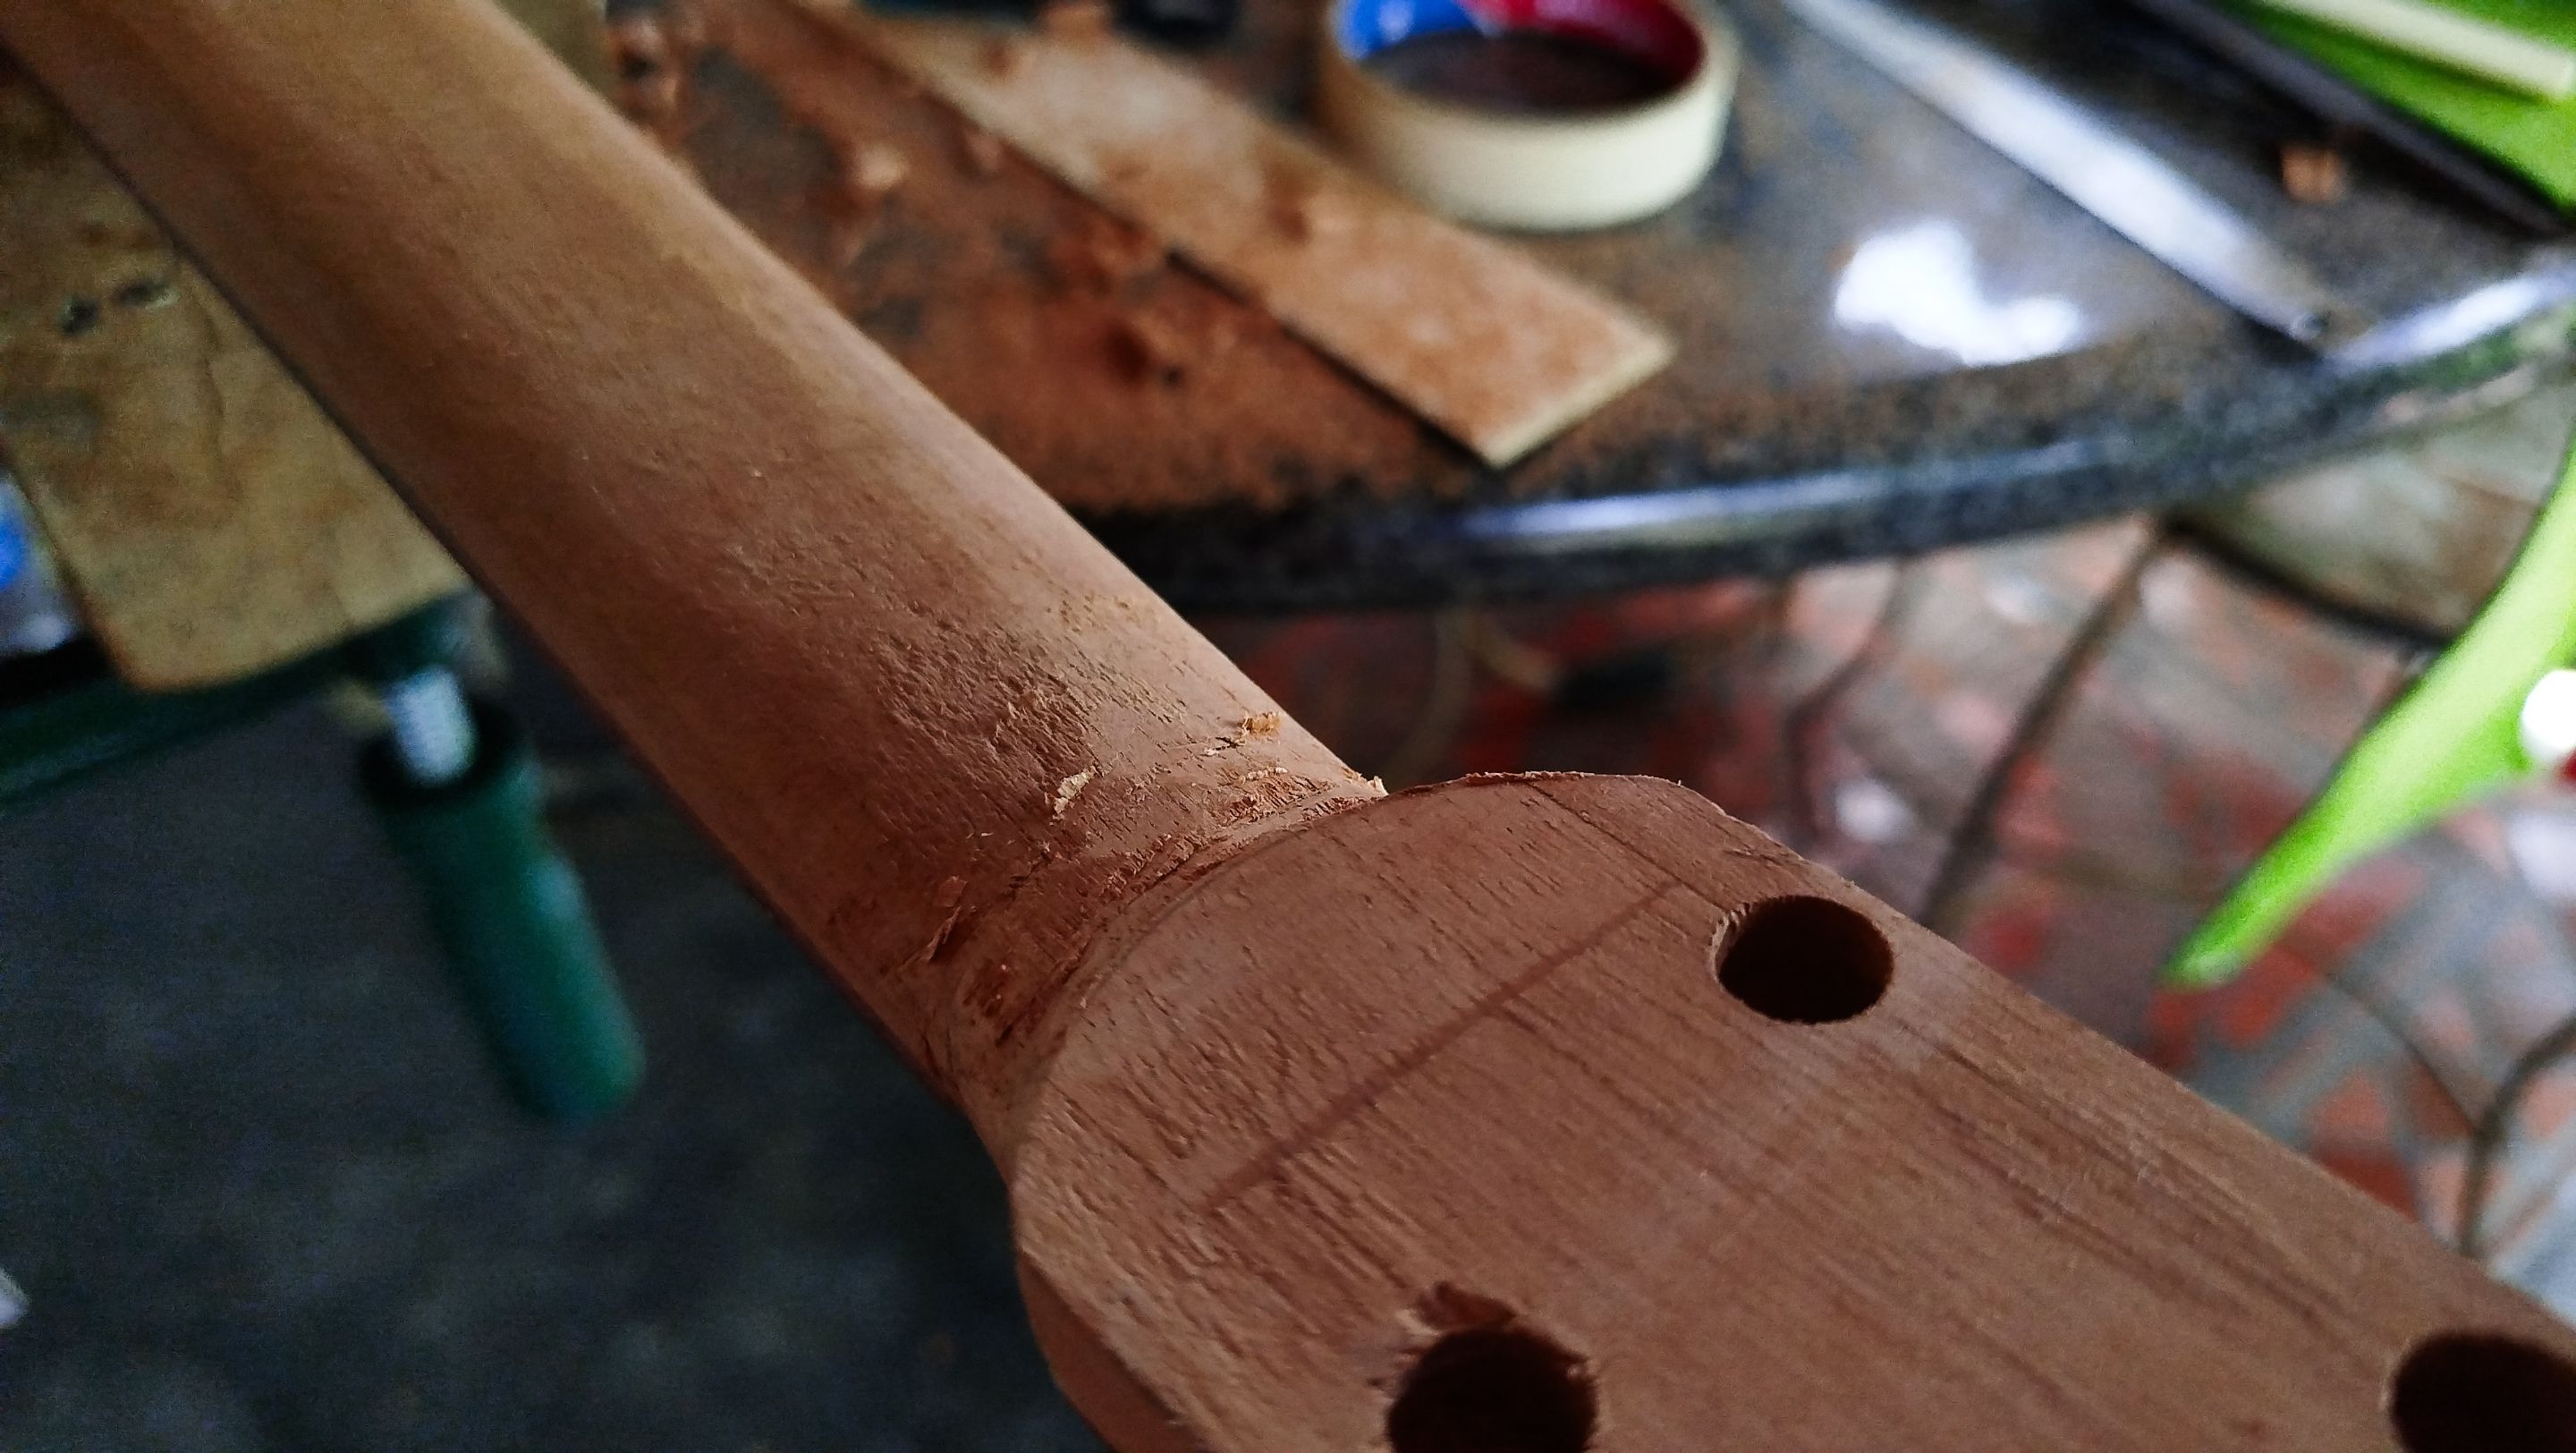
Swipe to see the photos
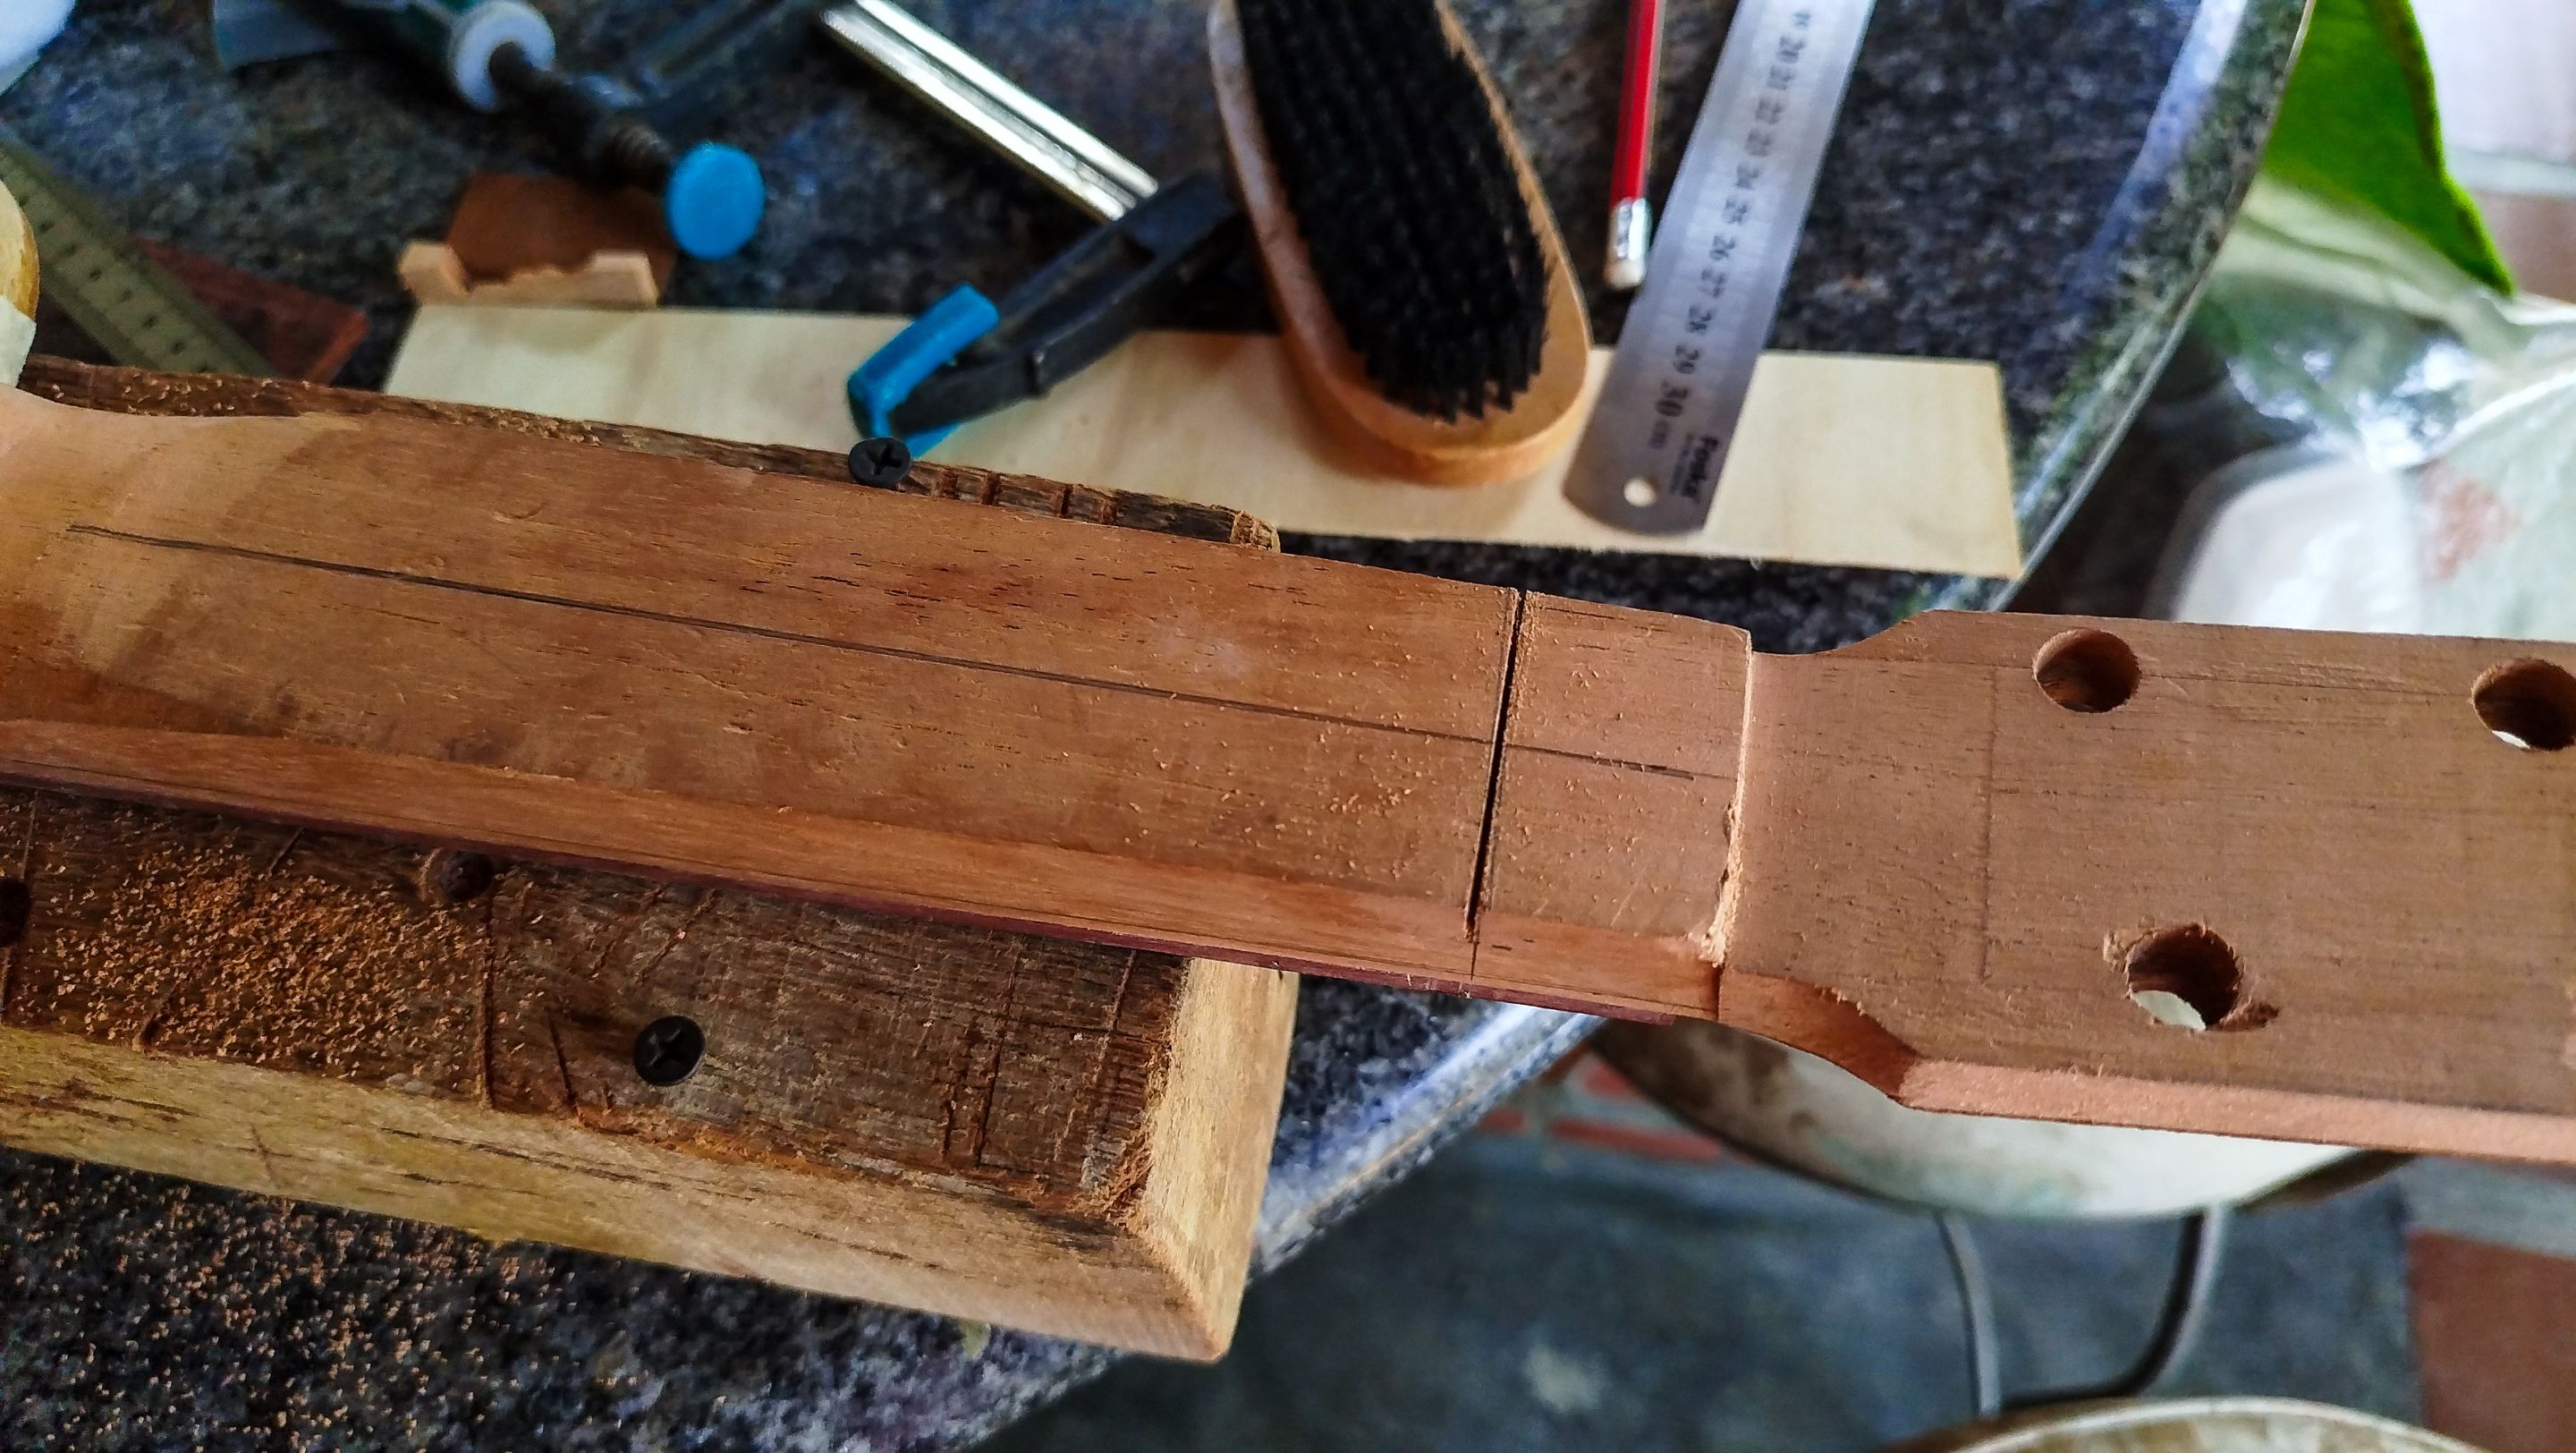
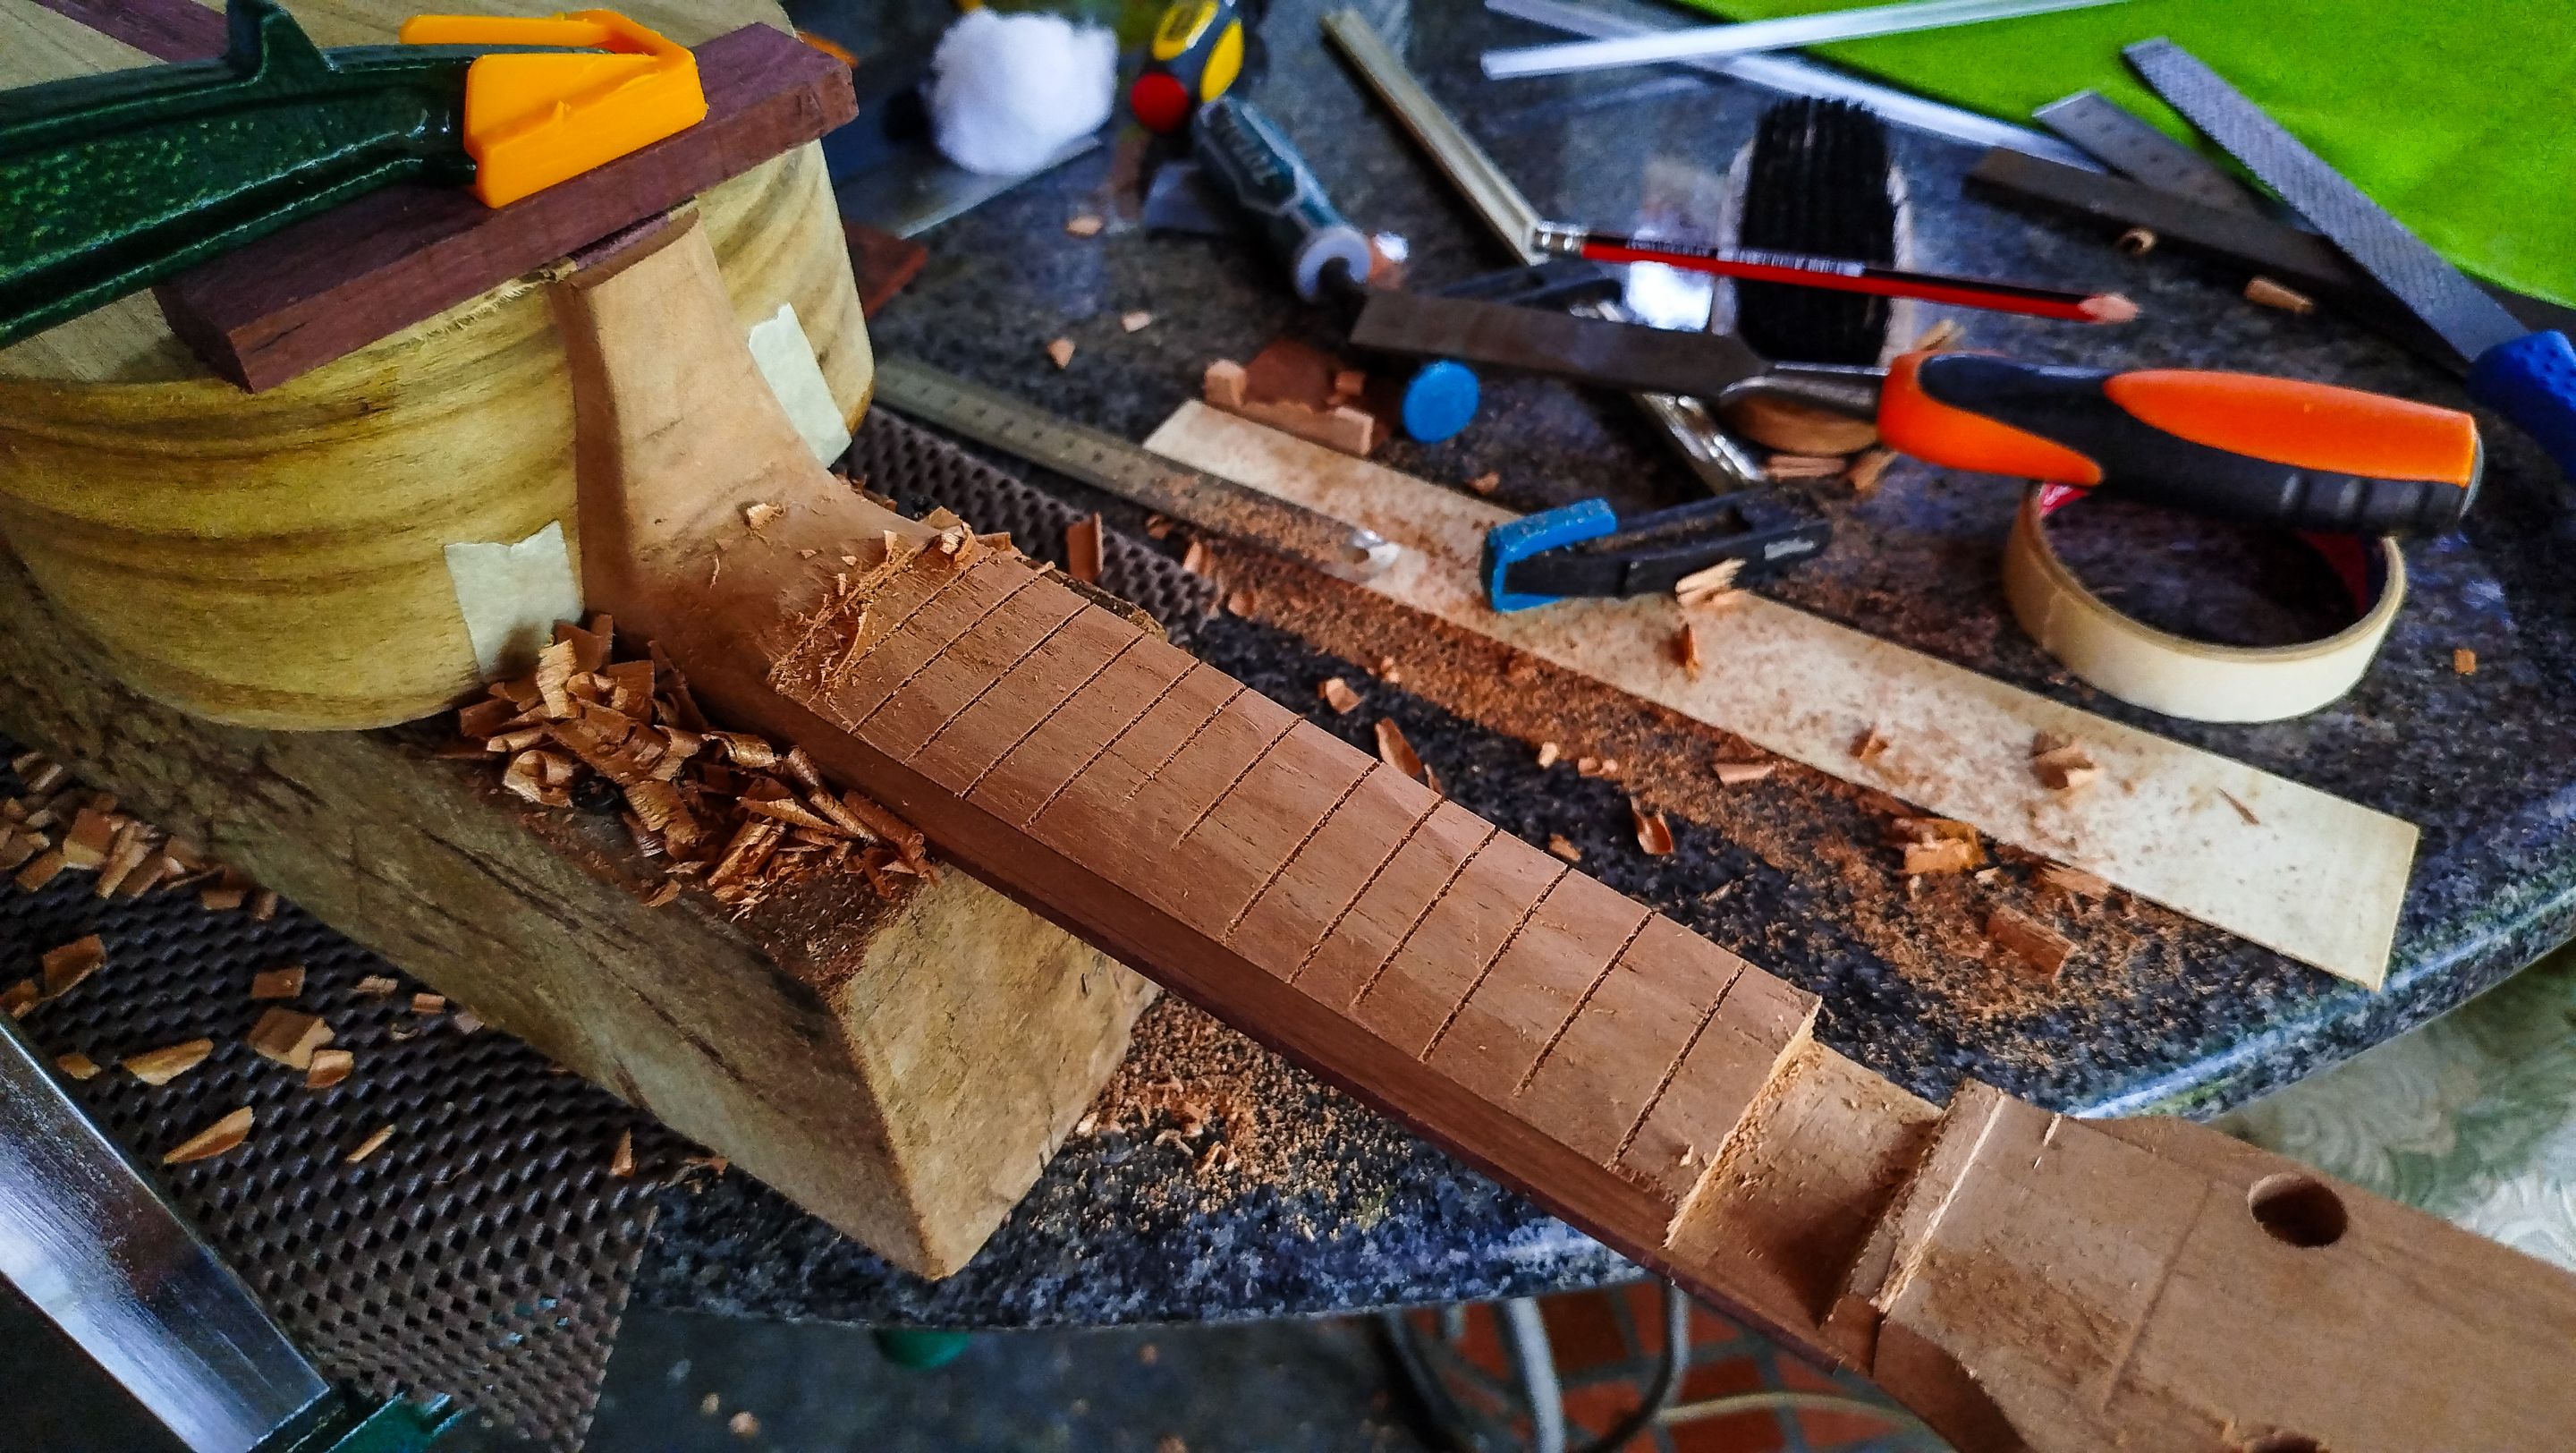
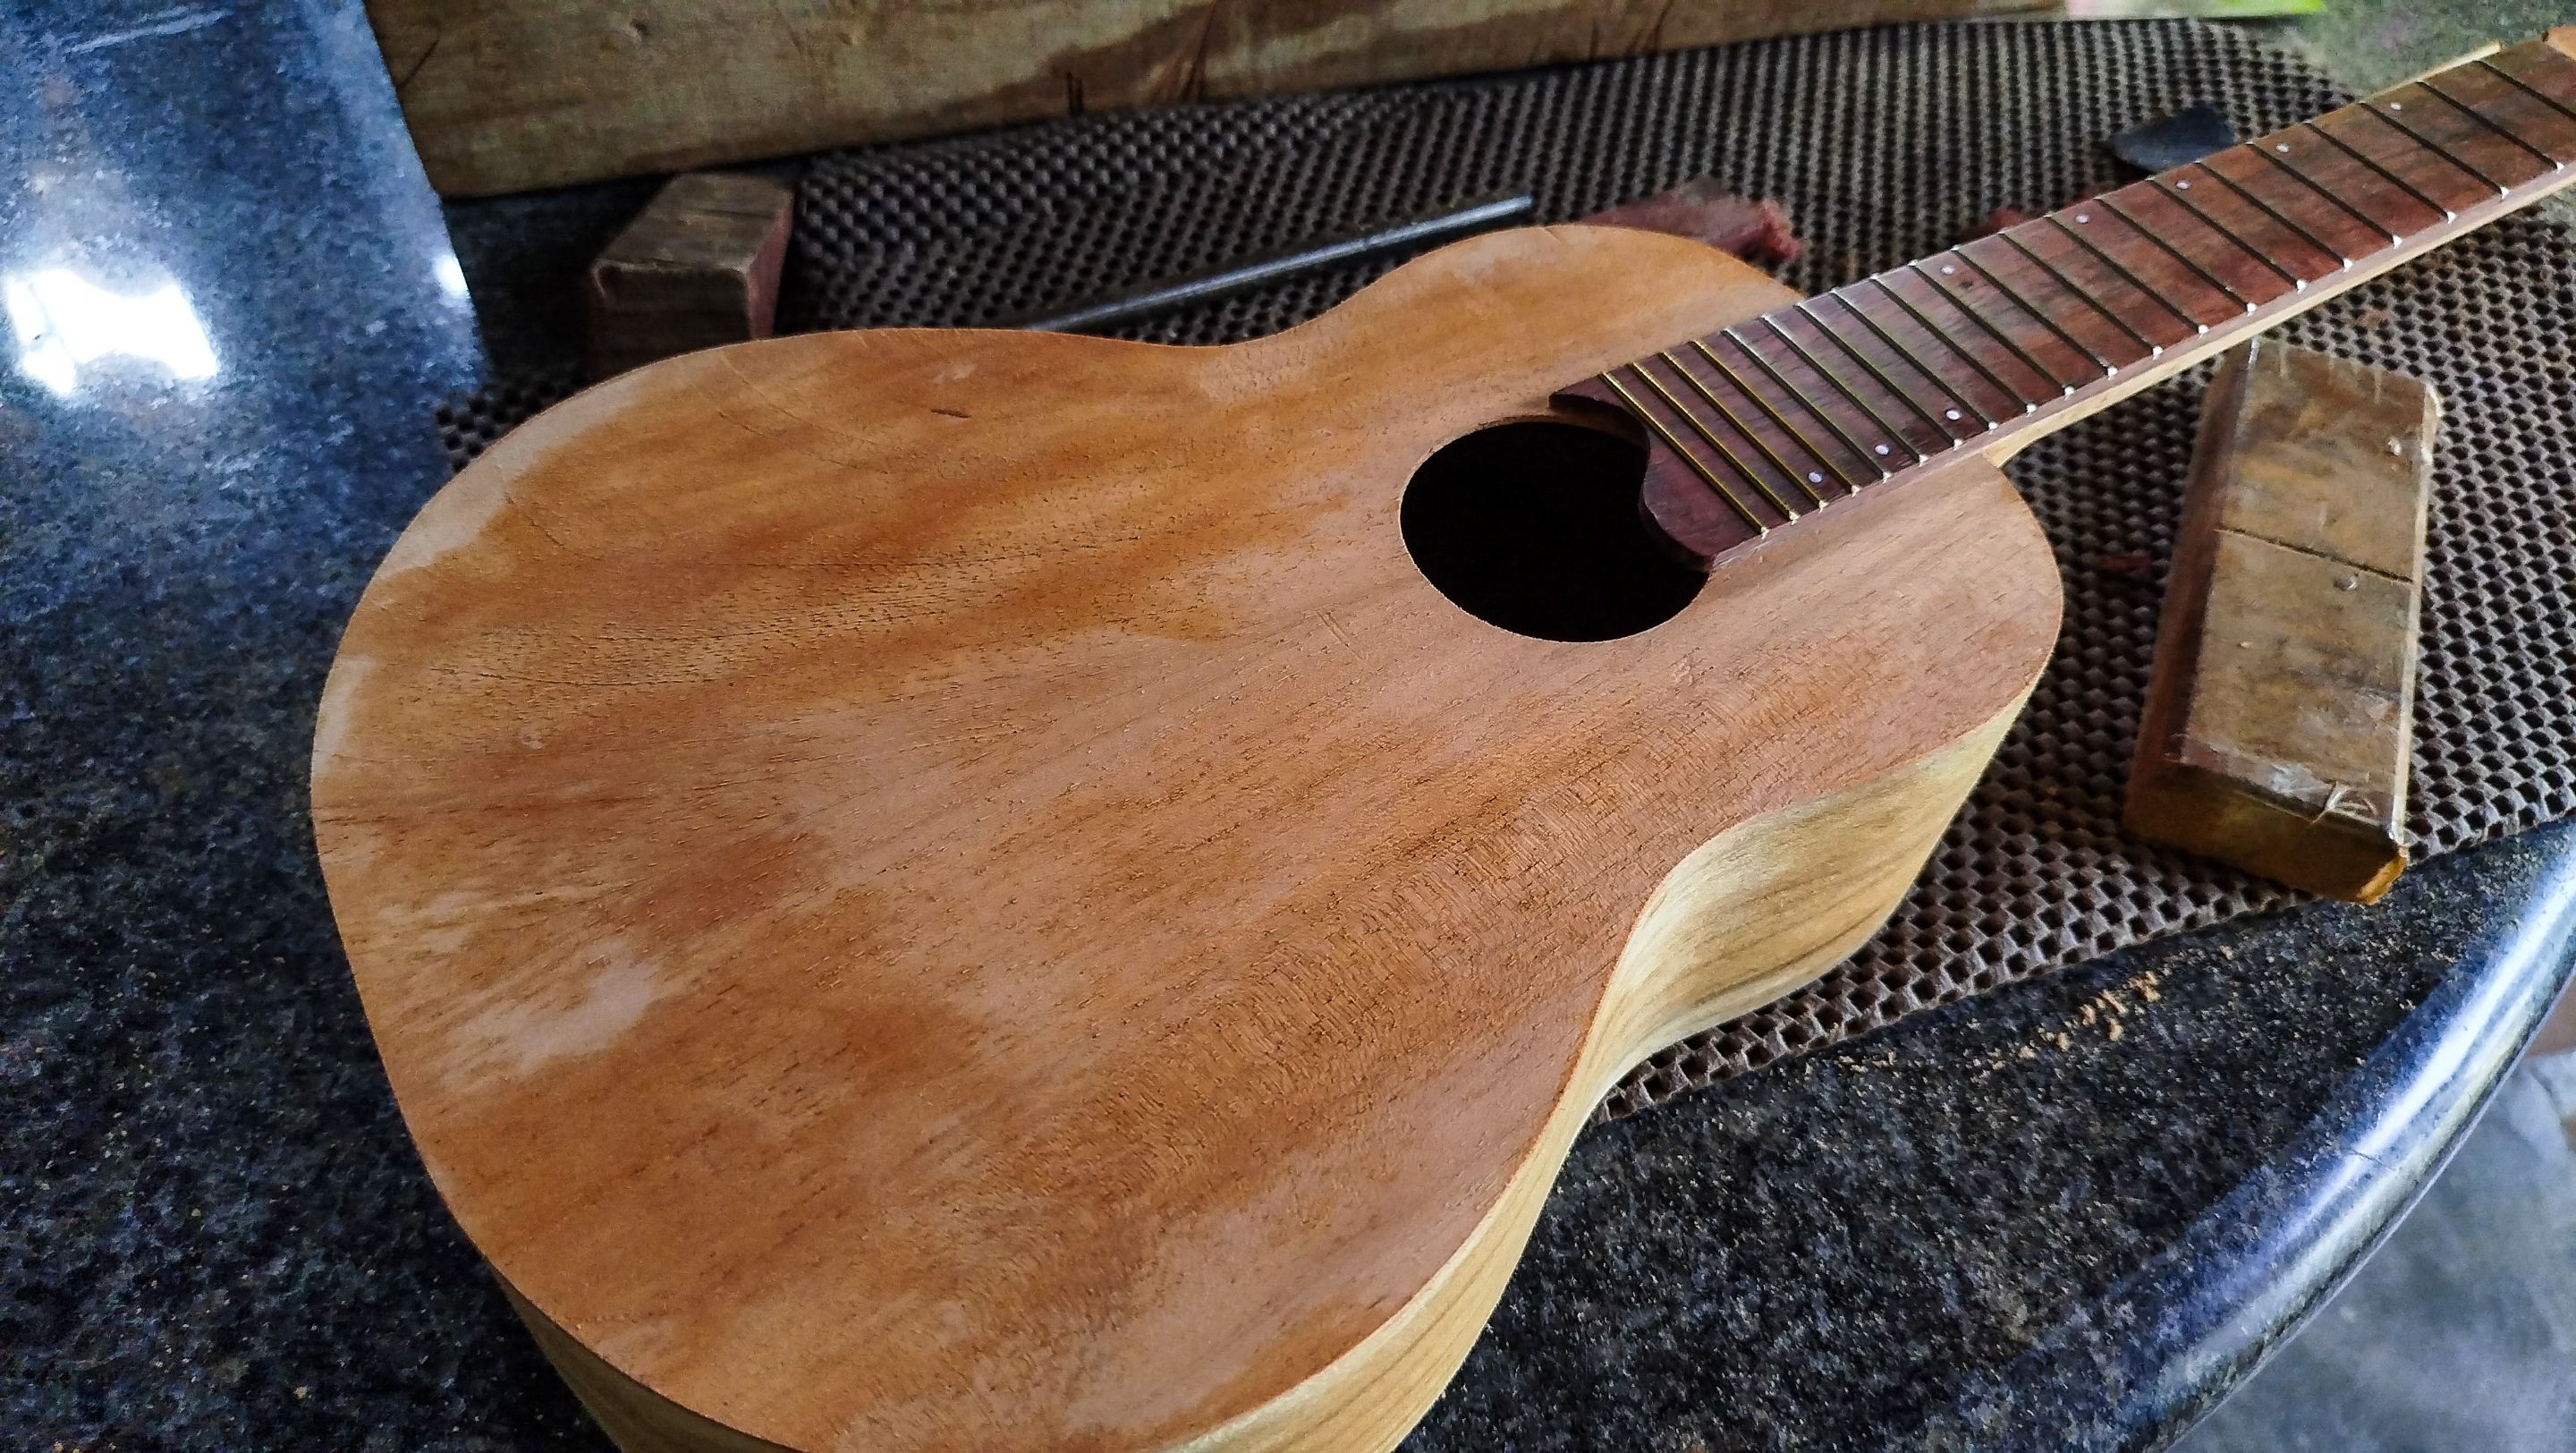
Now that the frets are in place, we can finally round the back side of the neck. We start by measuring the highest and lowest points of the neck. Then we mark the slope between these parts and connect them with a line. Then we use the saw to make our first cut and work on the portion closest to the head stock. This is to create the template for the rounding of the neck.
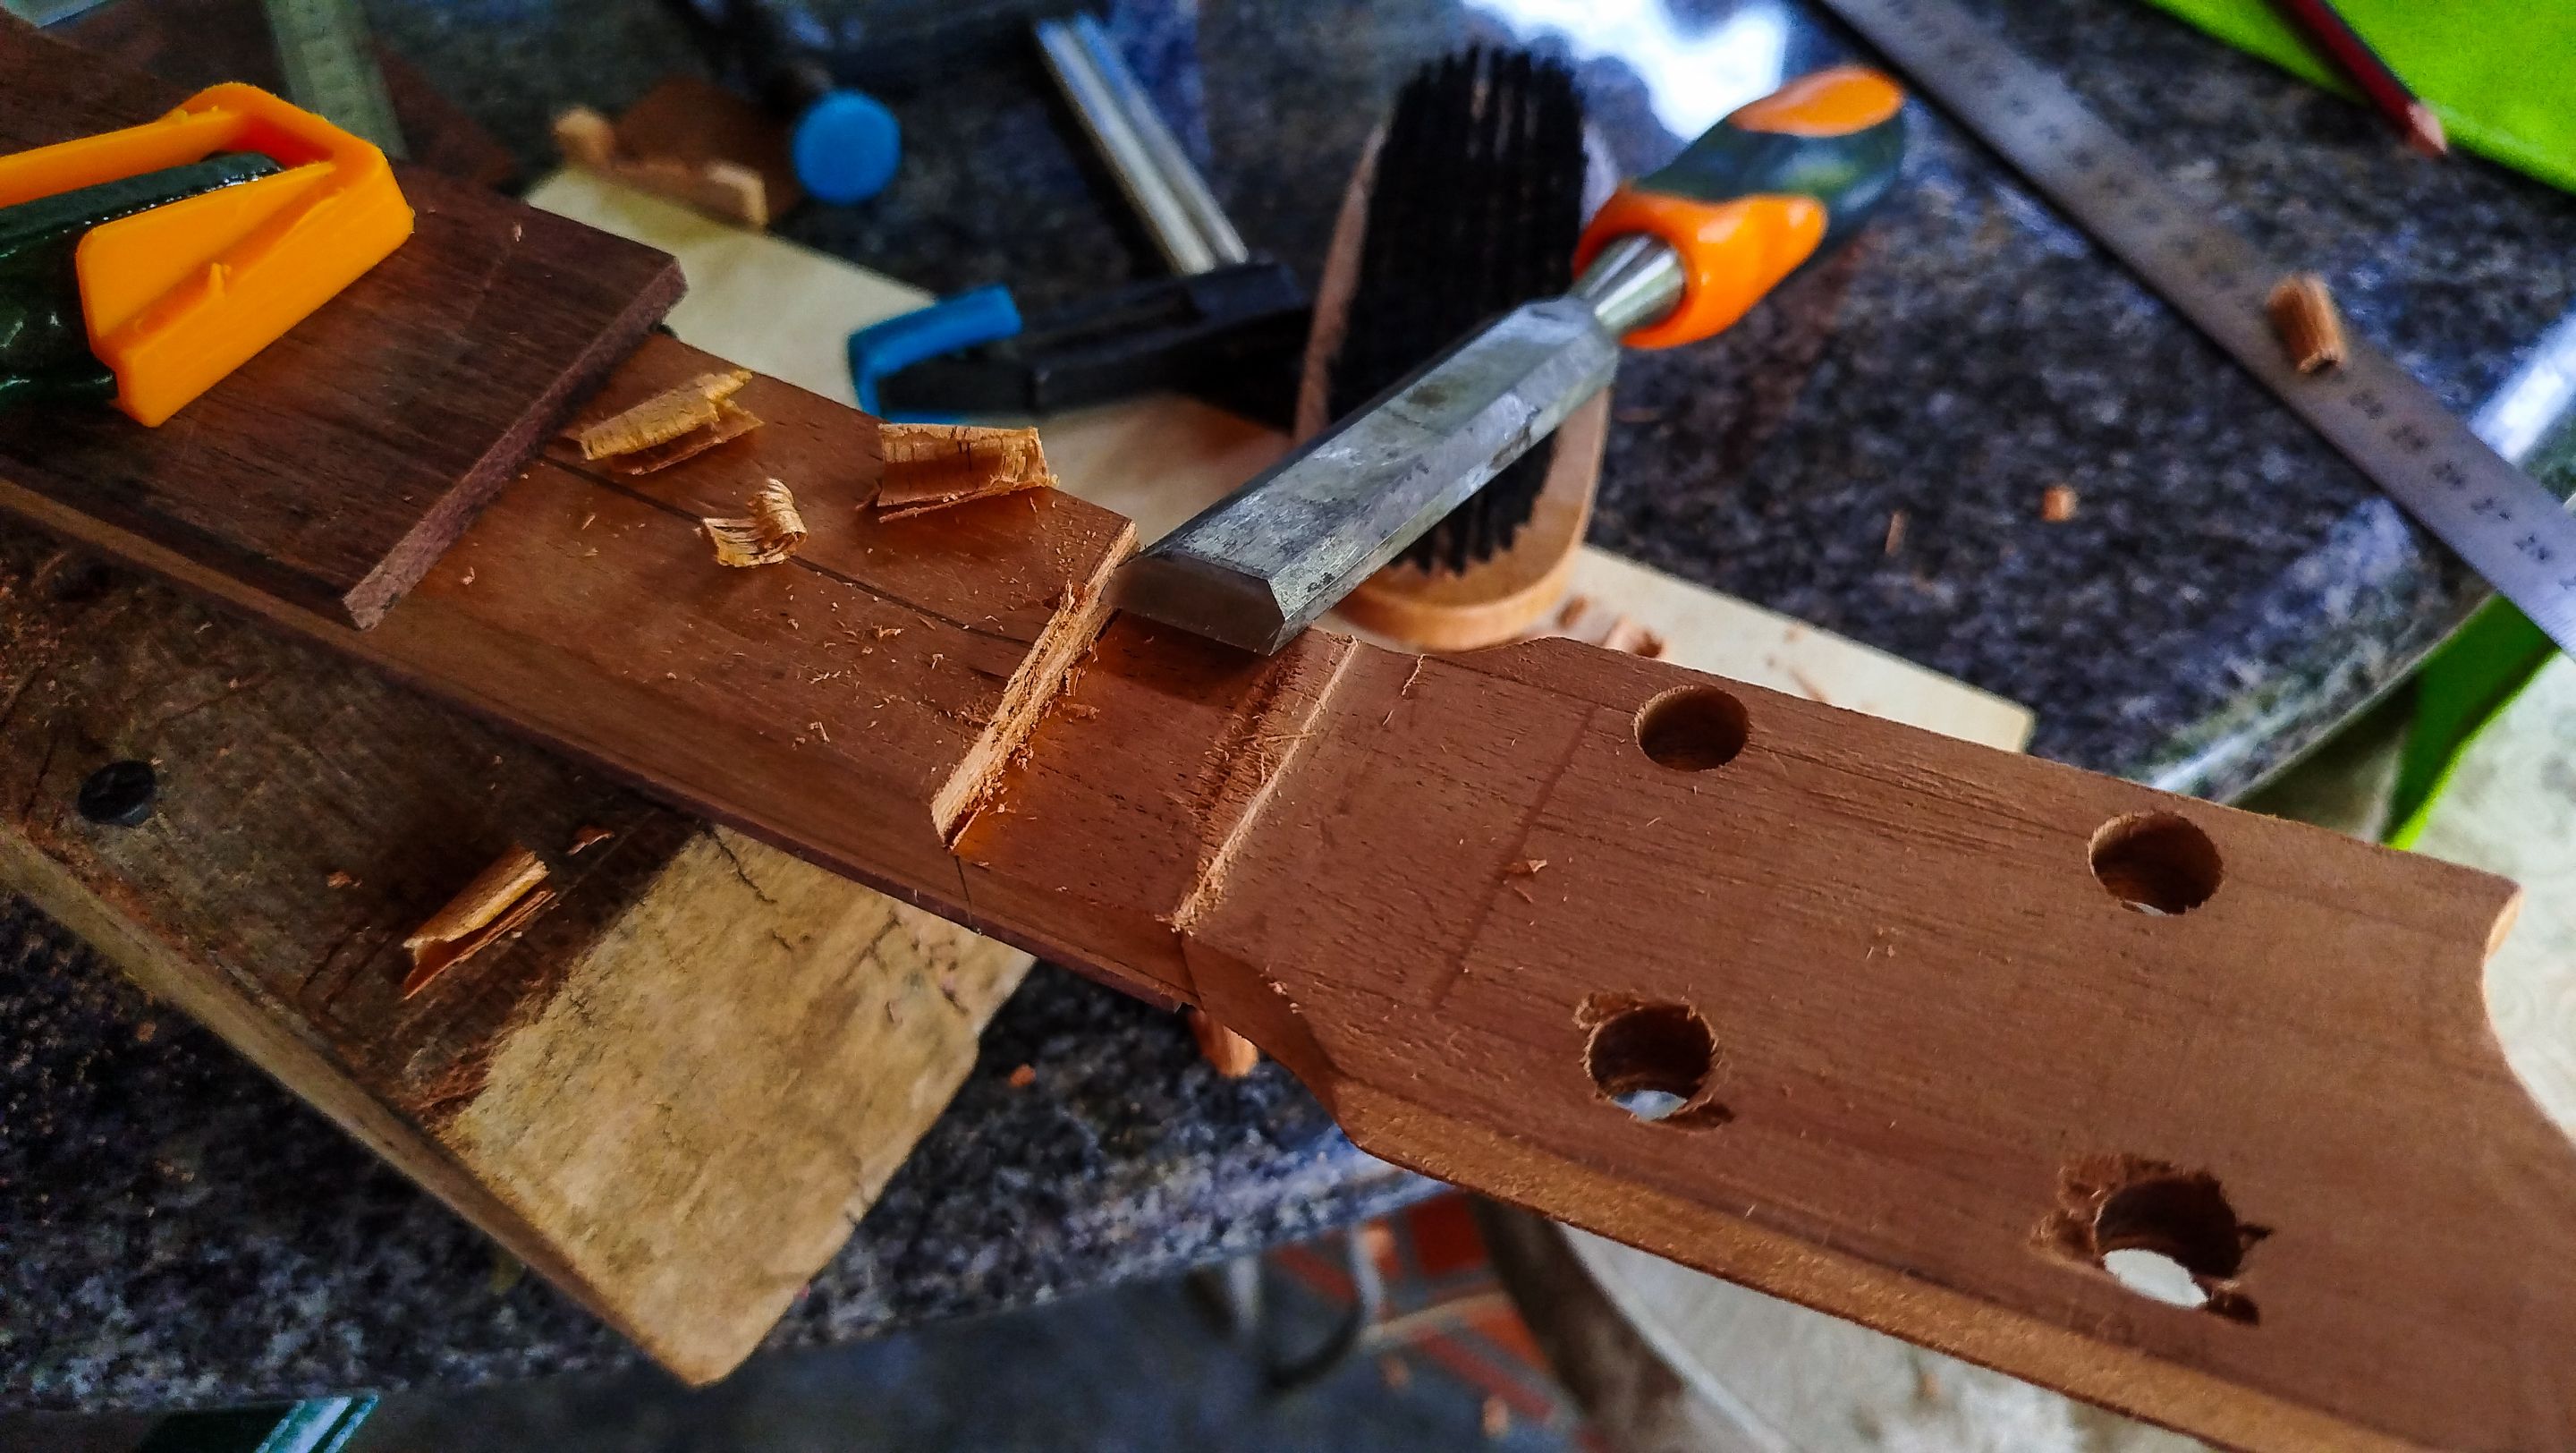
Then we can make other cuts to guide the rest of the slope and always know how much wood is available for removal. We just start getting more and more of the waste from the sections. Finally, we use the rasp to start creating the corners to cut and make the whole neck round on this side.
This will need a lot of sanding until the neck gets rounded. Then we also need to work on the area of the head stock to create a volute to mark the end of it and the beginning of the neck. And now we can move to the next step.
Sanding before finish
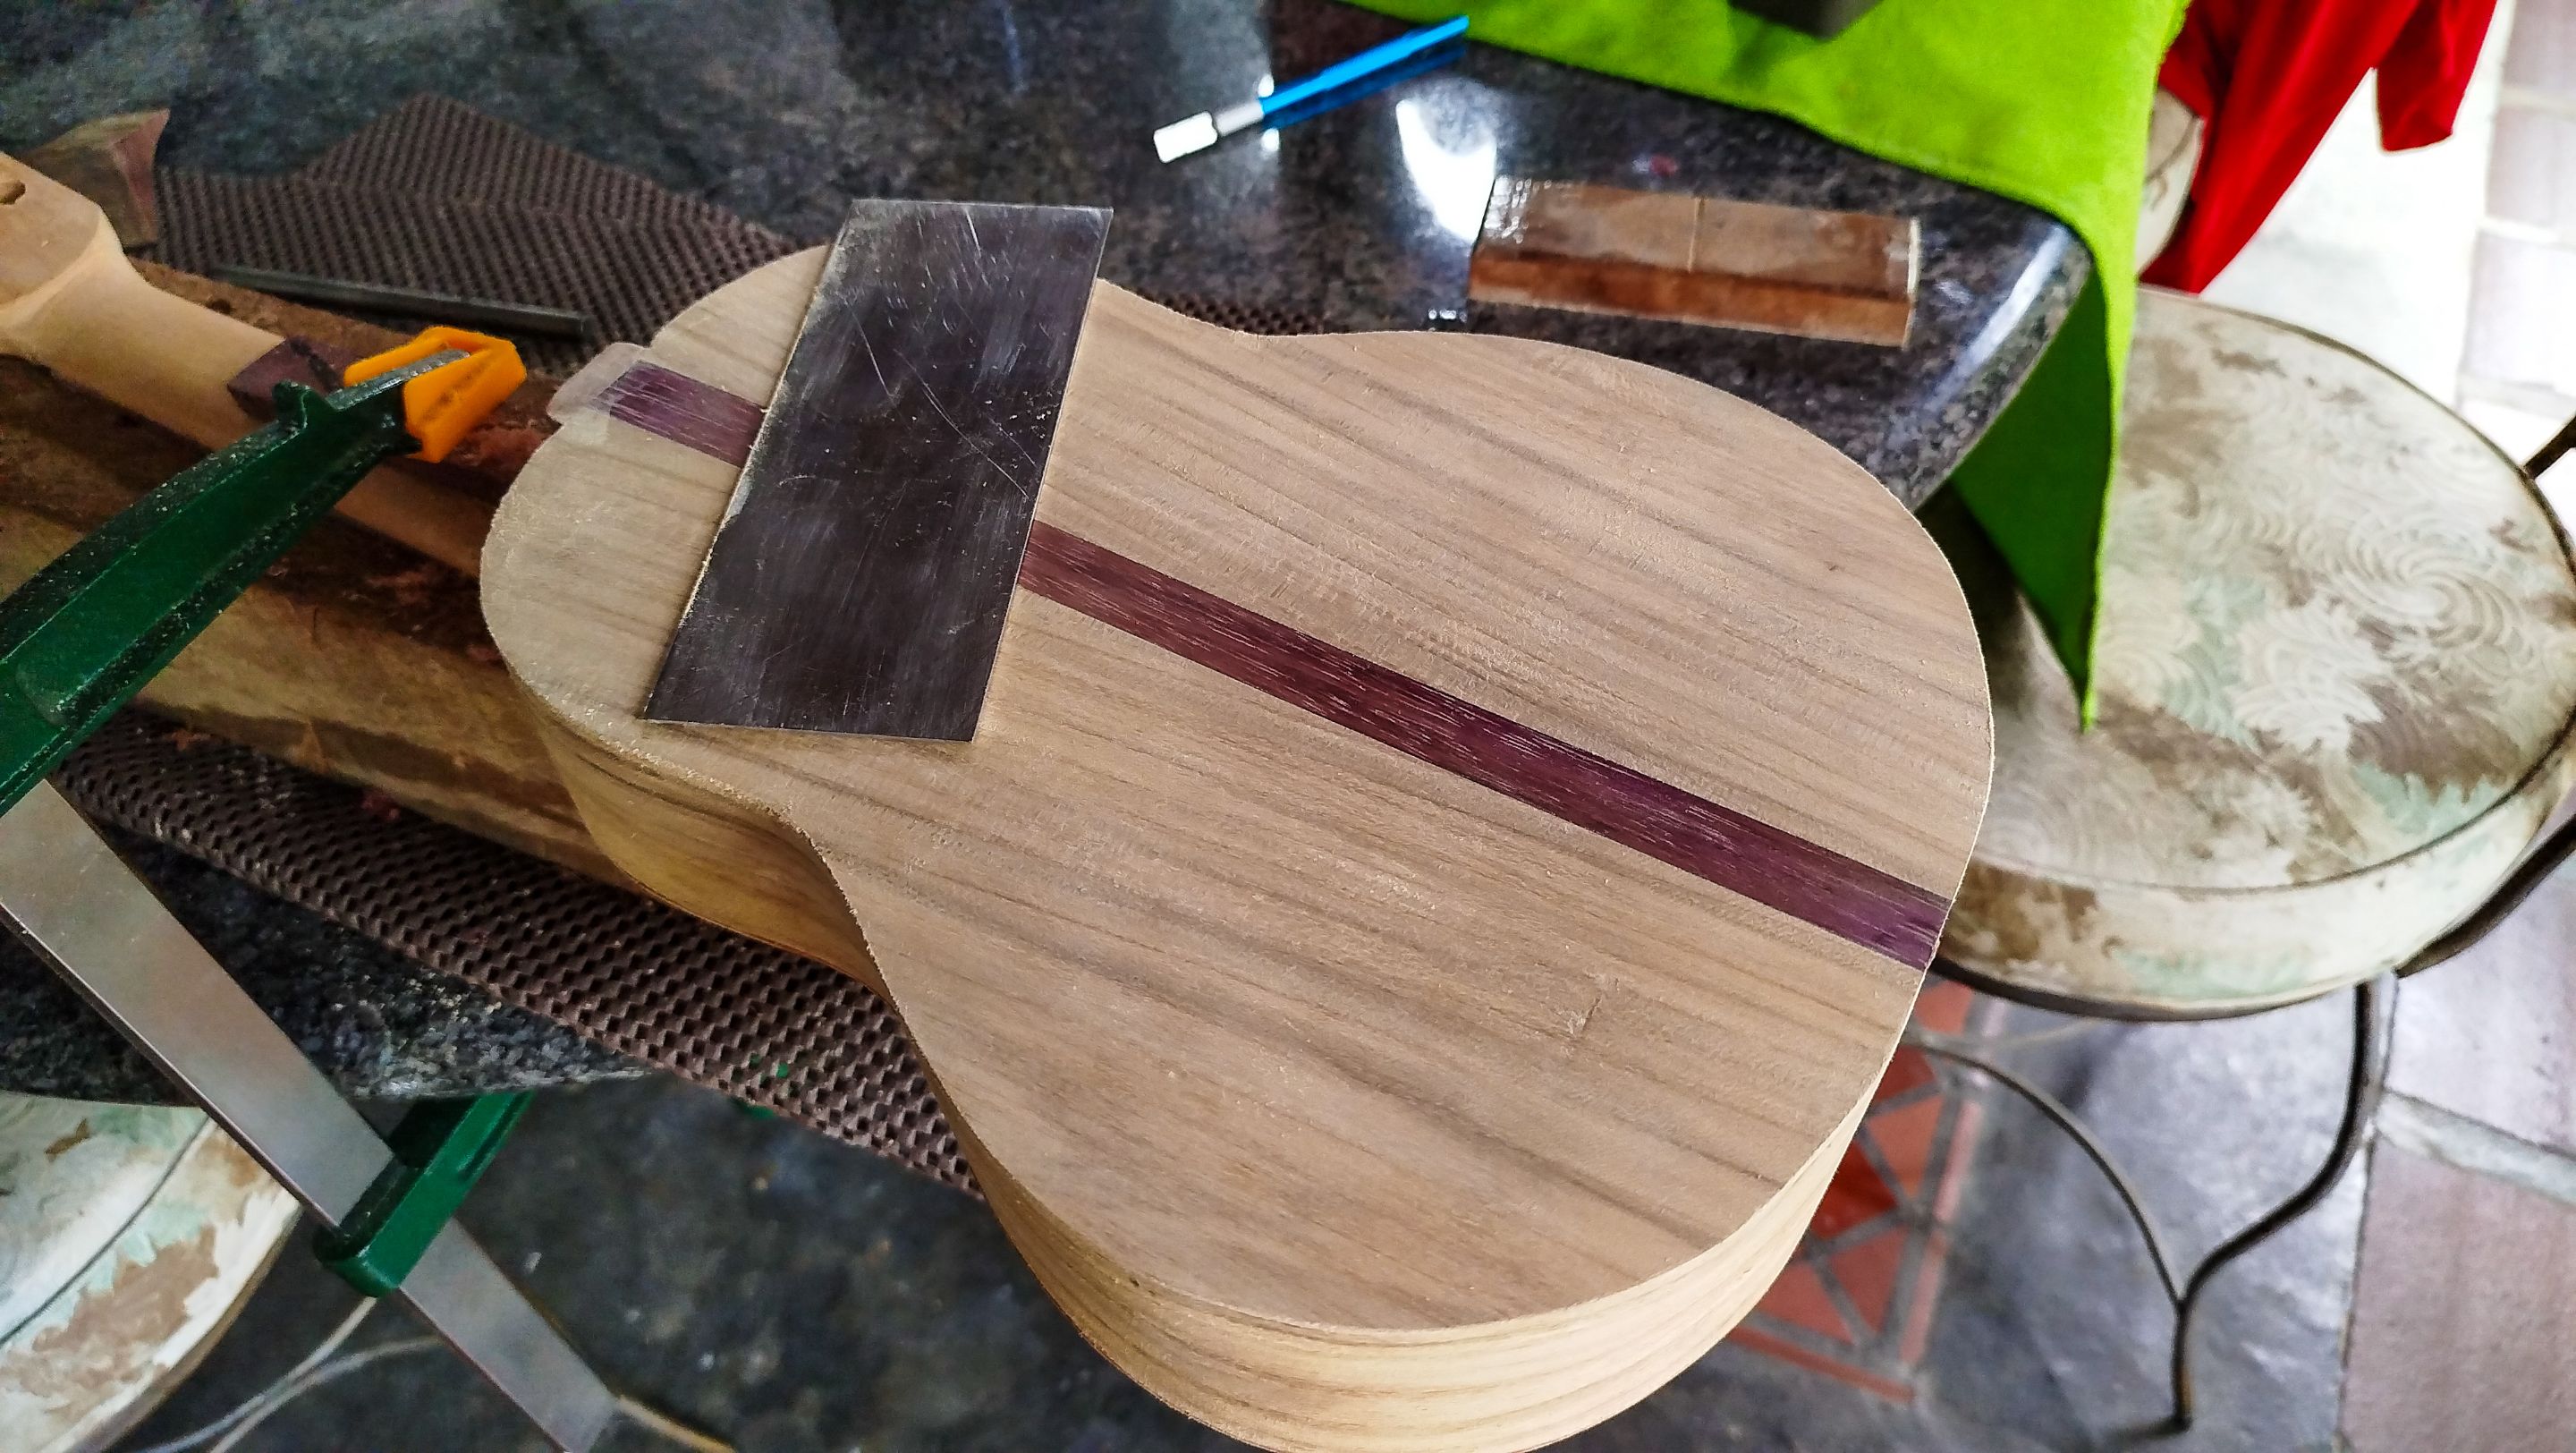
Swipe to see the photos
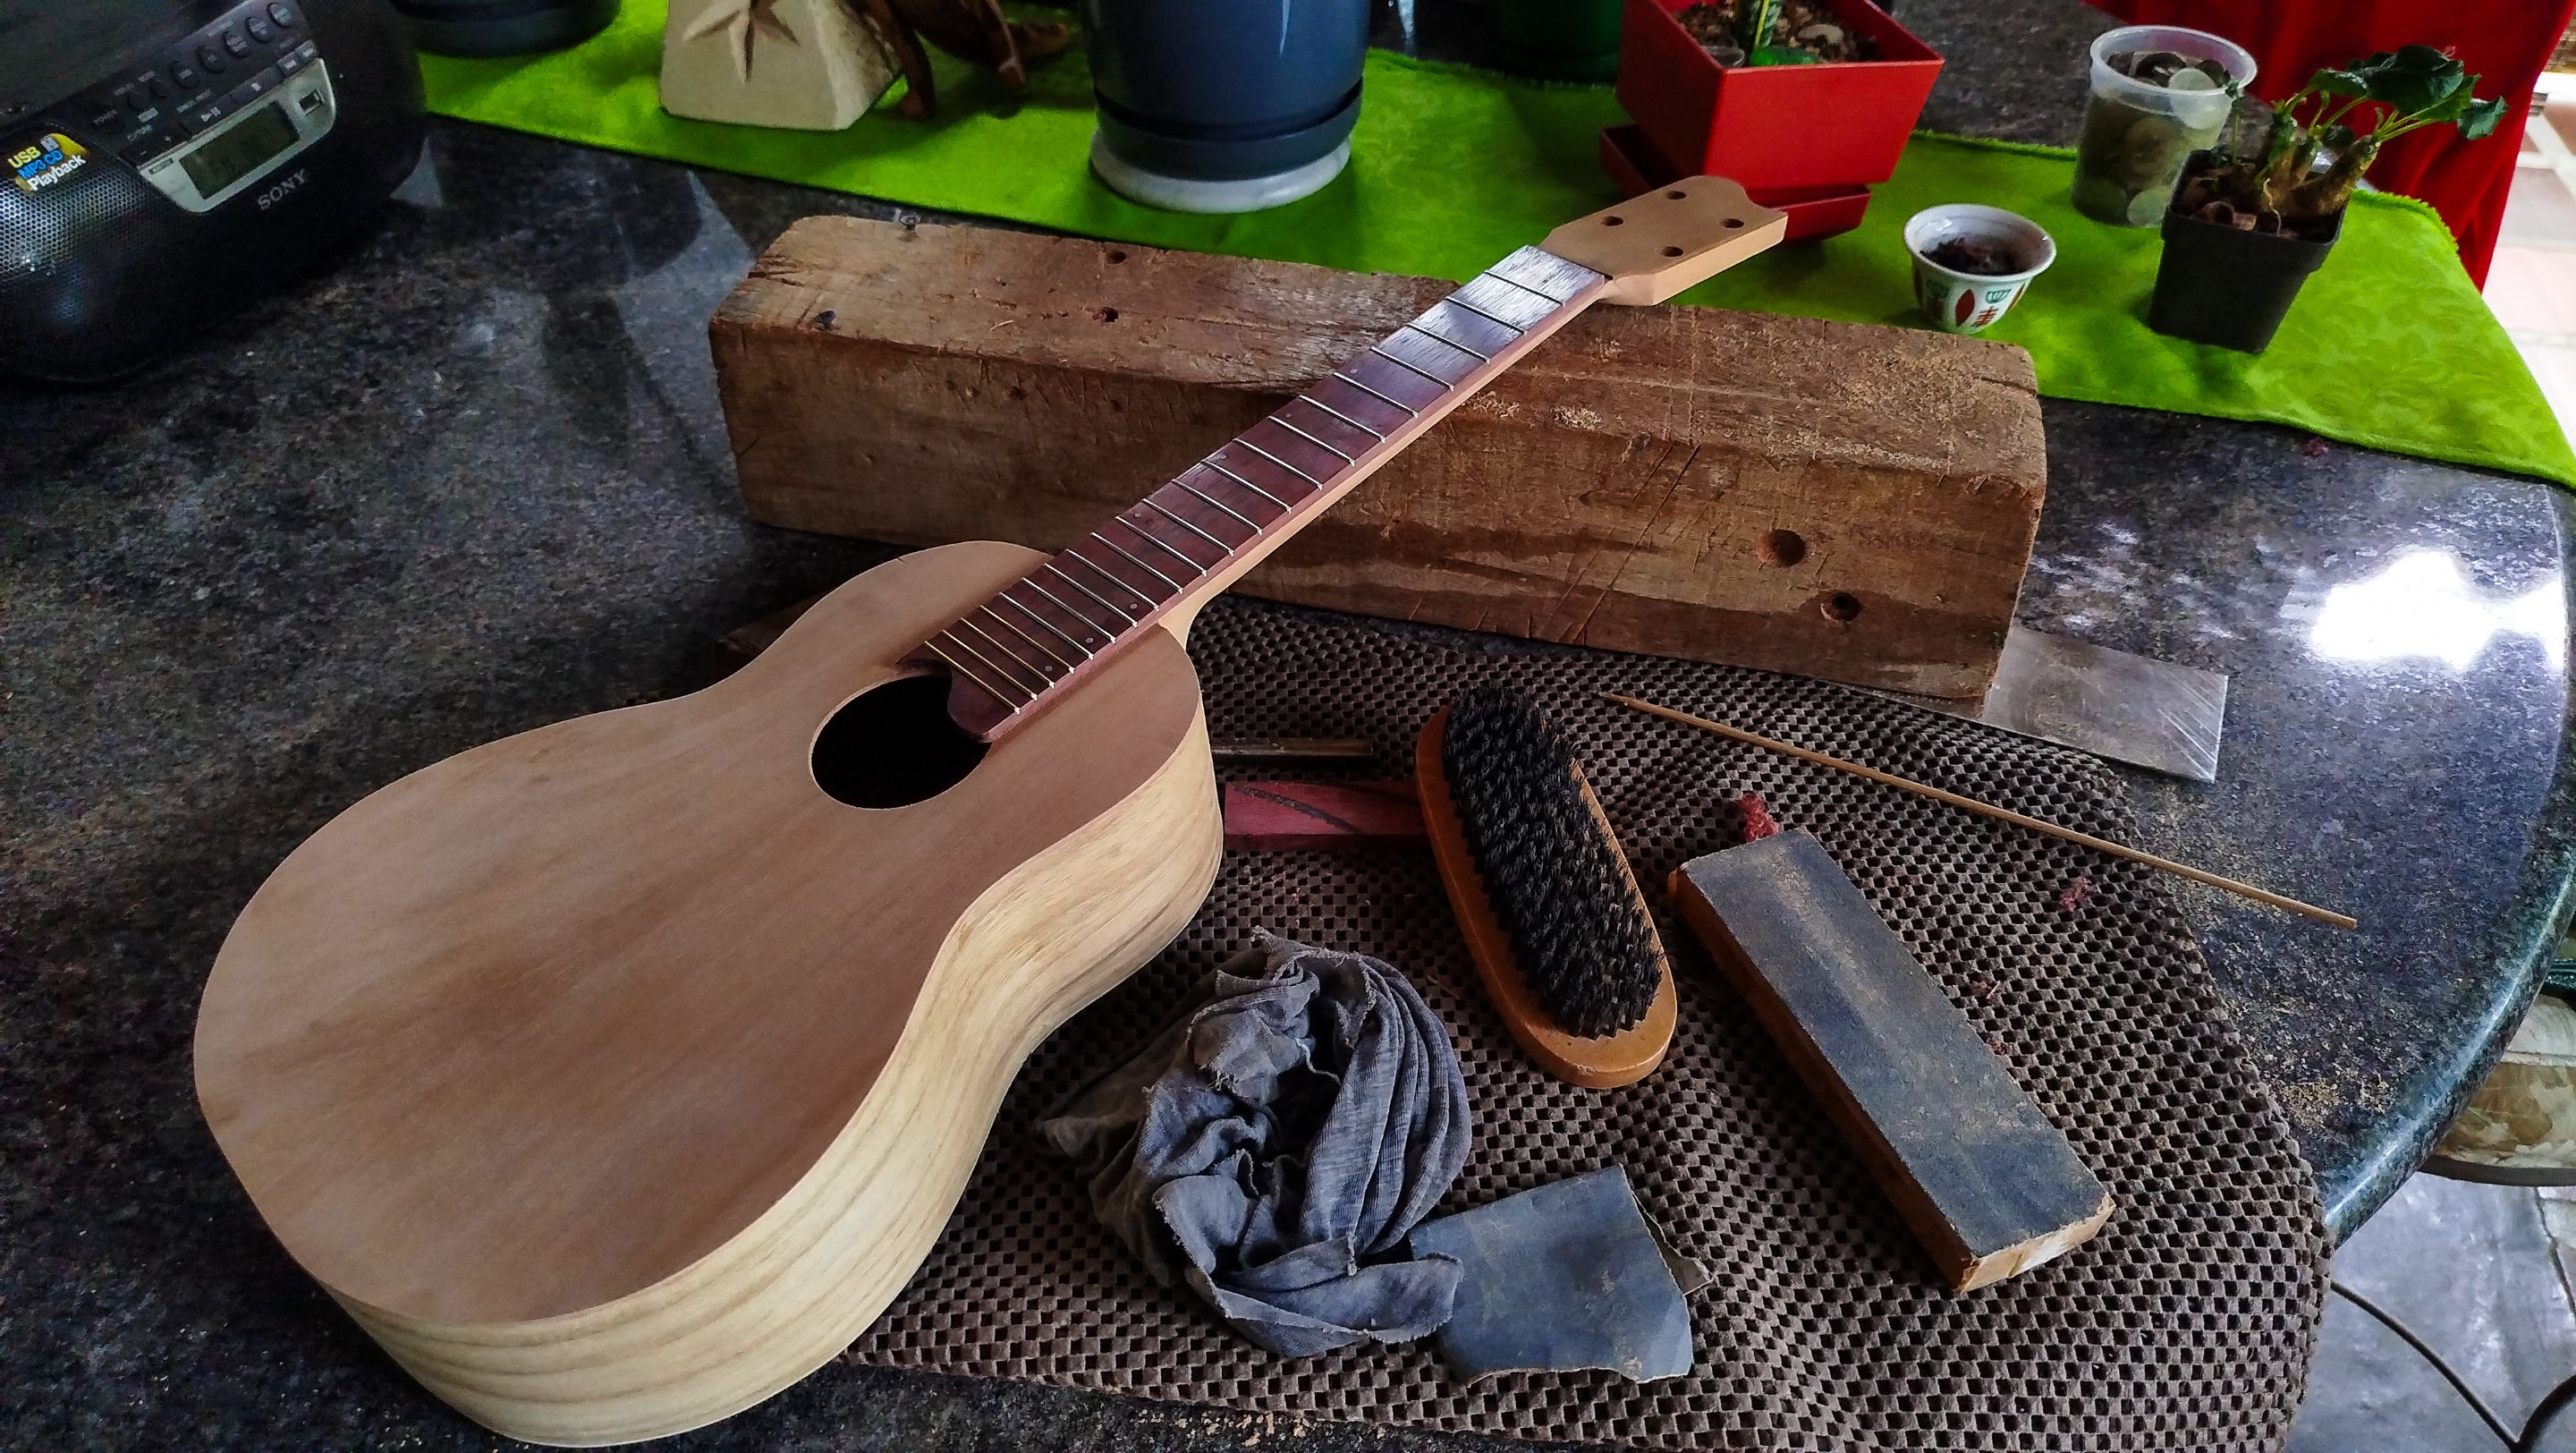
The final portion of work is to sand all the instrument to get it ready for the first coat of sealer. And it is just that. We take sandpaper to start removing any uneven spots and keep making the surface even more smooth. We start with 100-grit and work our way up to 220. It is not as easy as moving from one grit to the other. In between the sanding bits, we need to use a damp cloth to make the splinters of the wood rise. We repeat this trick until no more splinters get up with the roughest sandpaper.
Then we move up to the next grit and repeat this task once more. When we finish, the surface of the wood will feel as smooth as a baby's cheek. And we can get a rest for the upcoming rinse and repeat task, applying sealer. But that will be a thing for another entry.
Thanks for reading. See you next week!
| Entry | Title |
|---|---|
| 1 | The Fist Ukuele |
| 2 | Structure |
| 3 | Heel and Bars |
| 4 | Head Stock and End Block |
| 5 | Sides and Kerfing |
| 6 | Out of the Mould |
| 7 | Lid On |
| 8 | Fretboard on |
| 9 | Bridge and Markers |
-
Photos 📷: Redmi Note 13
-
Thumbnail 🖼️: Canva.
-
Editing 🎬:Adobe Photoshop Lightroom.

Follow me on Instagram for enquires and commission.
If you'd like to help the workshop grow, you can make a donation here.
You can find me at discord as bertrayo#1763