
Hello there, my fellow artisans and handcrafts enthusiasts!
Welcome back to another entry on this Mandolin build. Last time, we worked on the fretboard to get it ready for the frets. Today, we are going to put the frets in place and then start the whole sanding process to apply the first coats of sealer to the rest of the instrument.
Let's get to it!
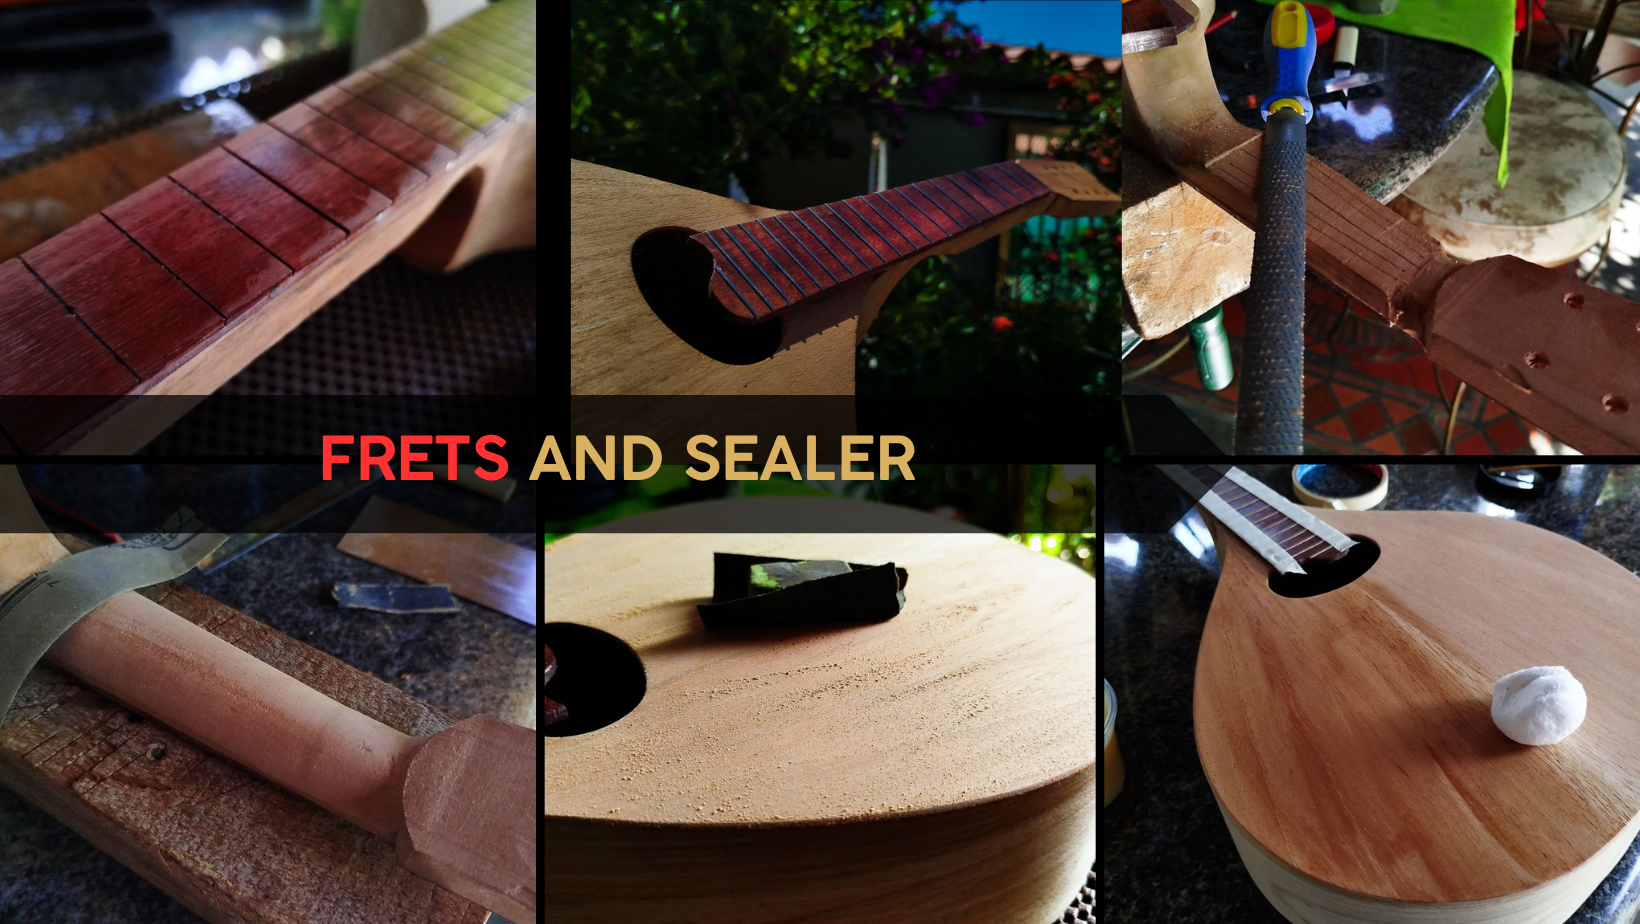
Frets on
Swipe to see the photos
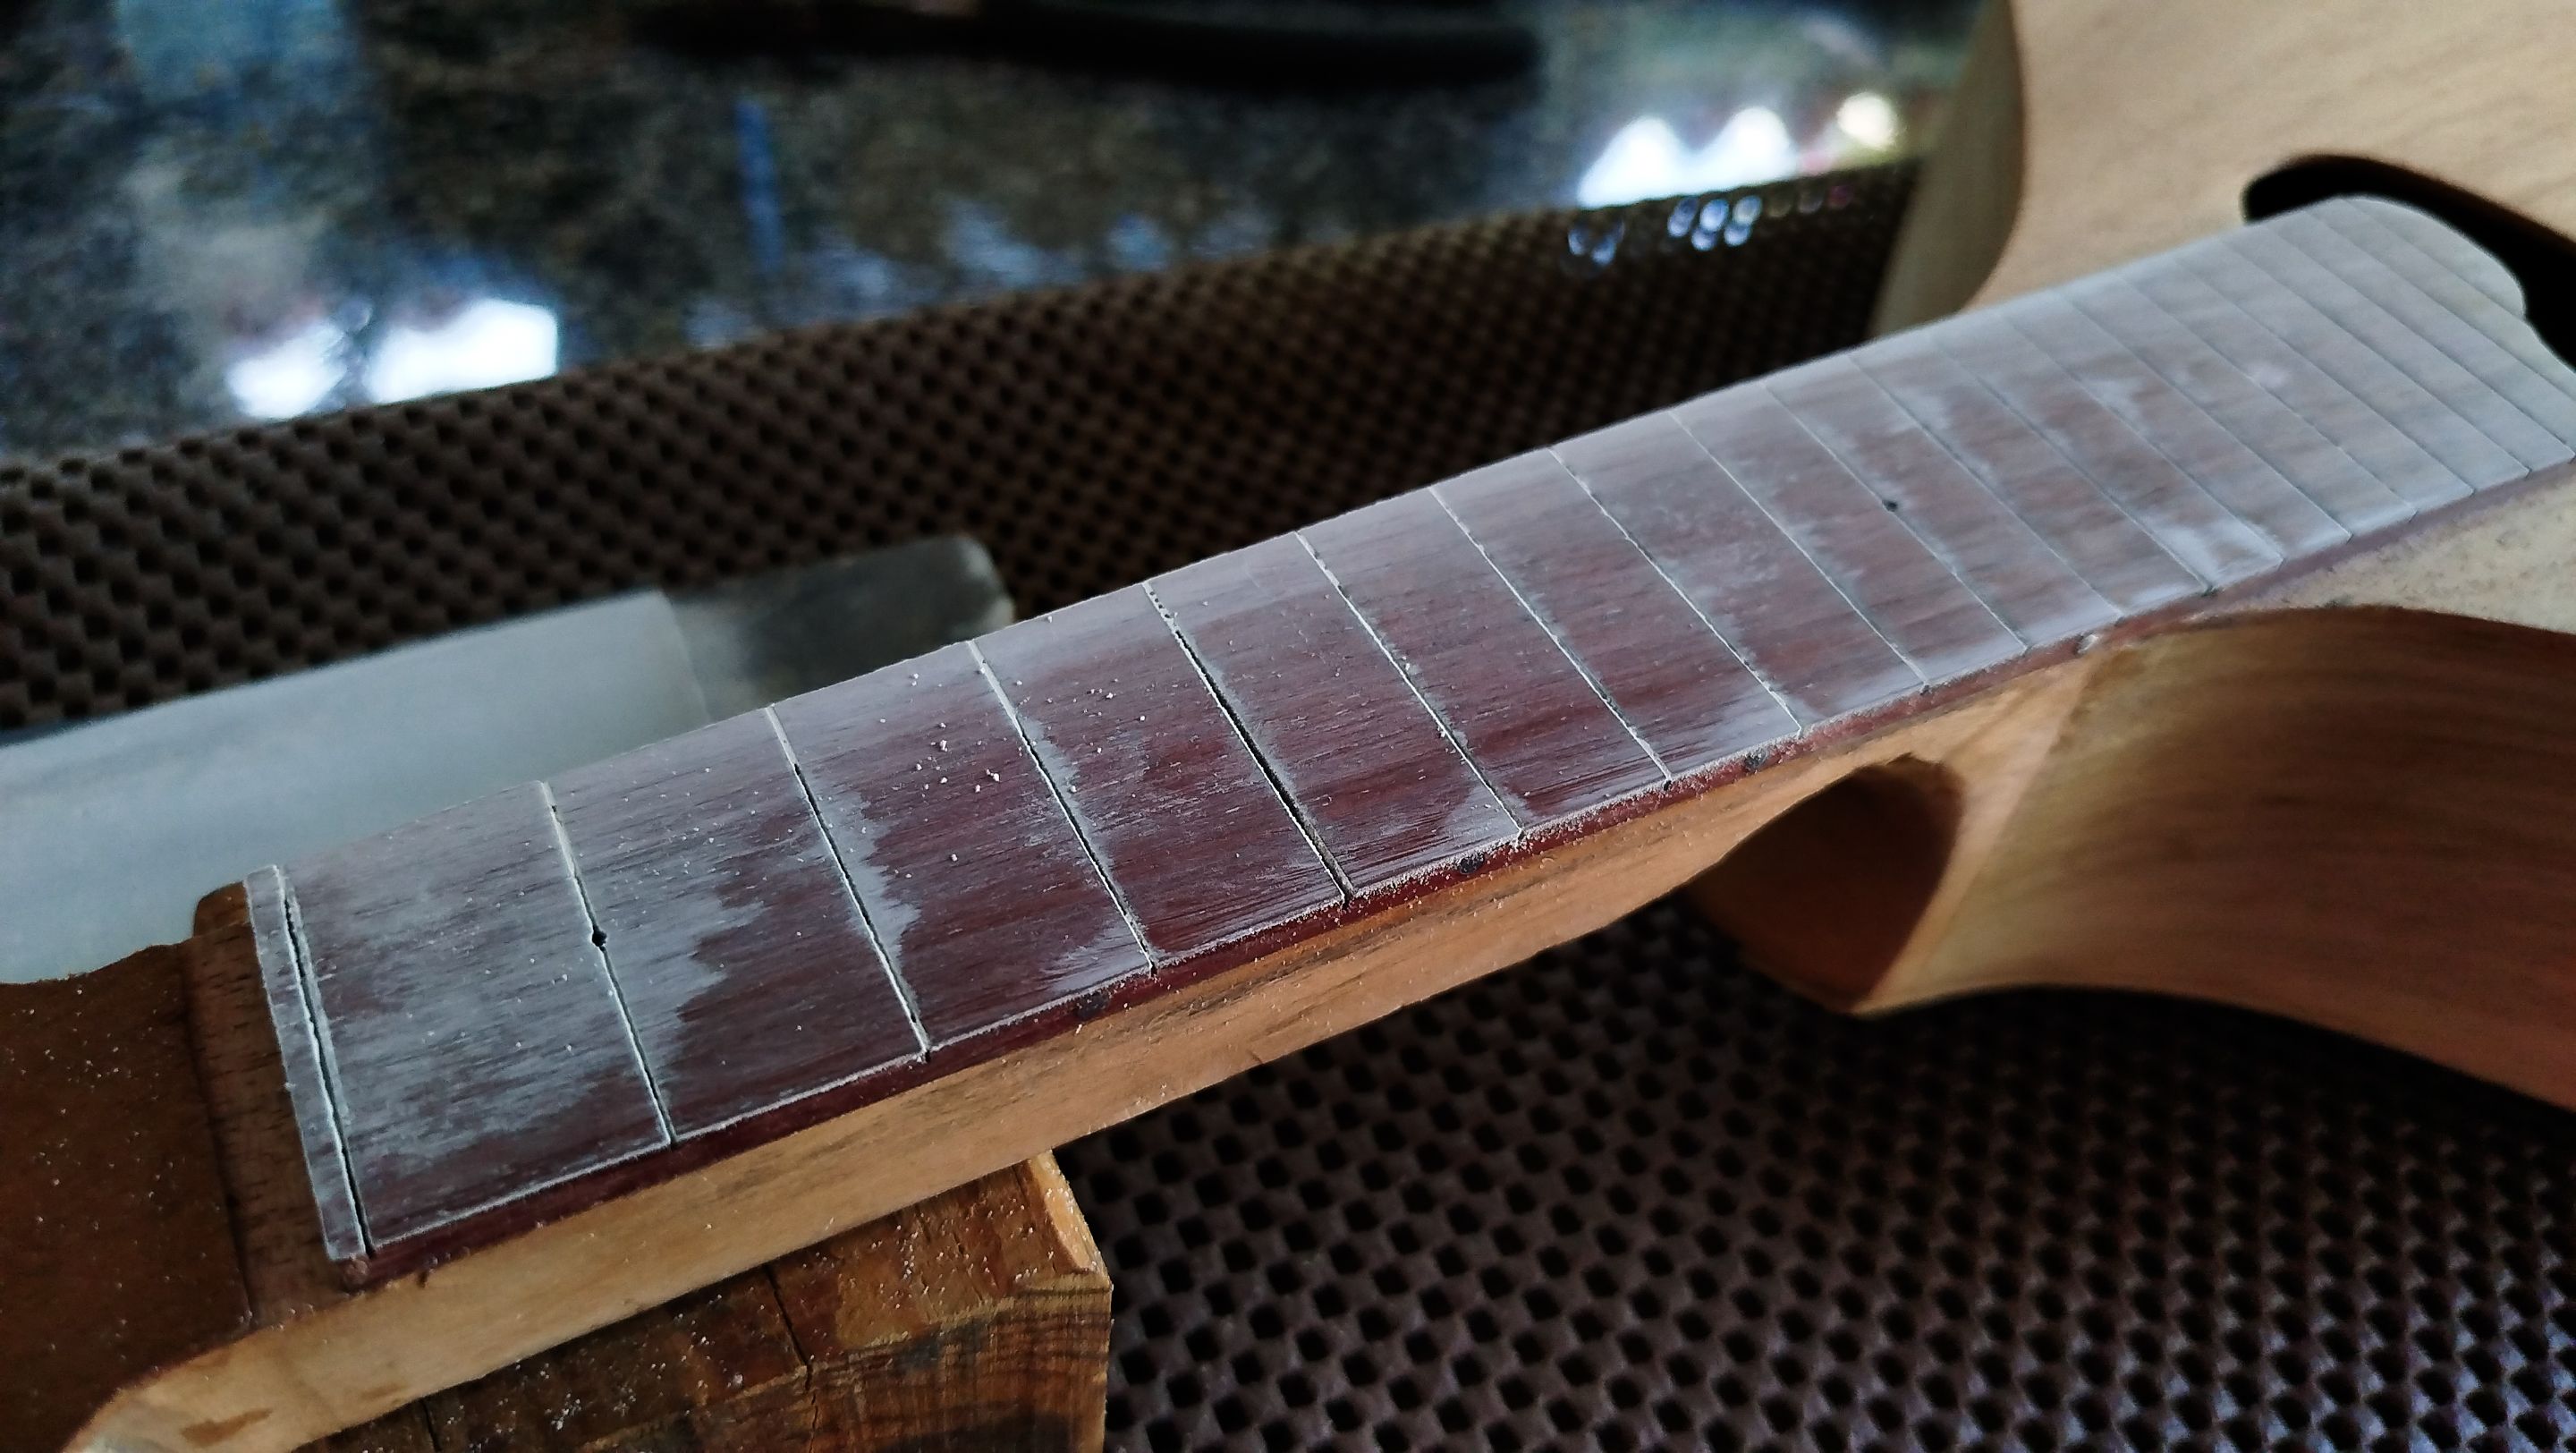
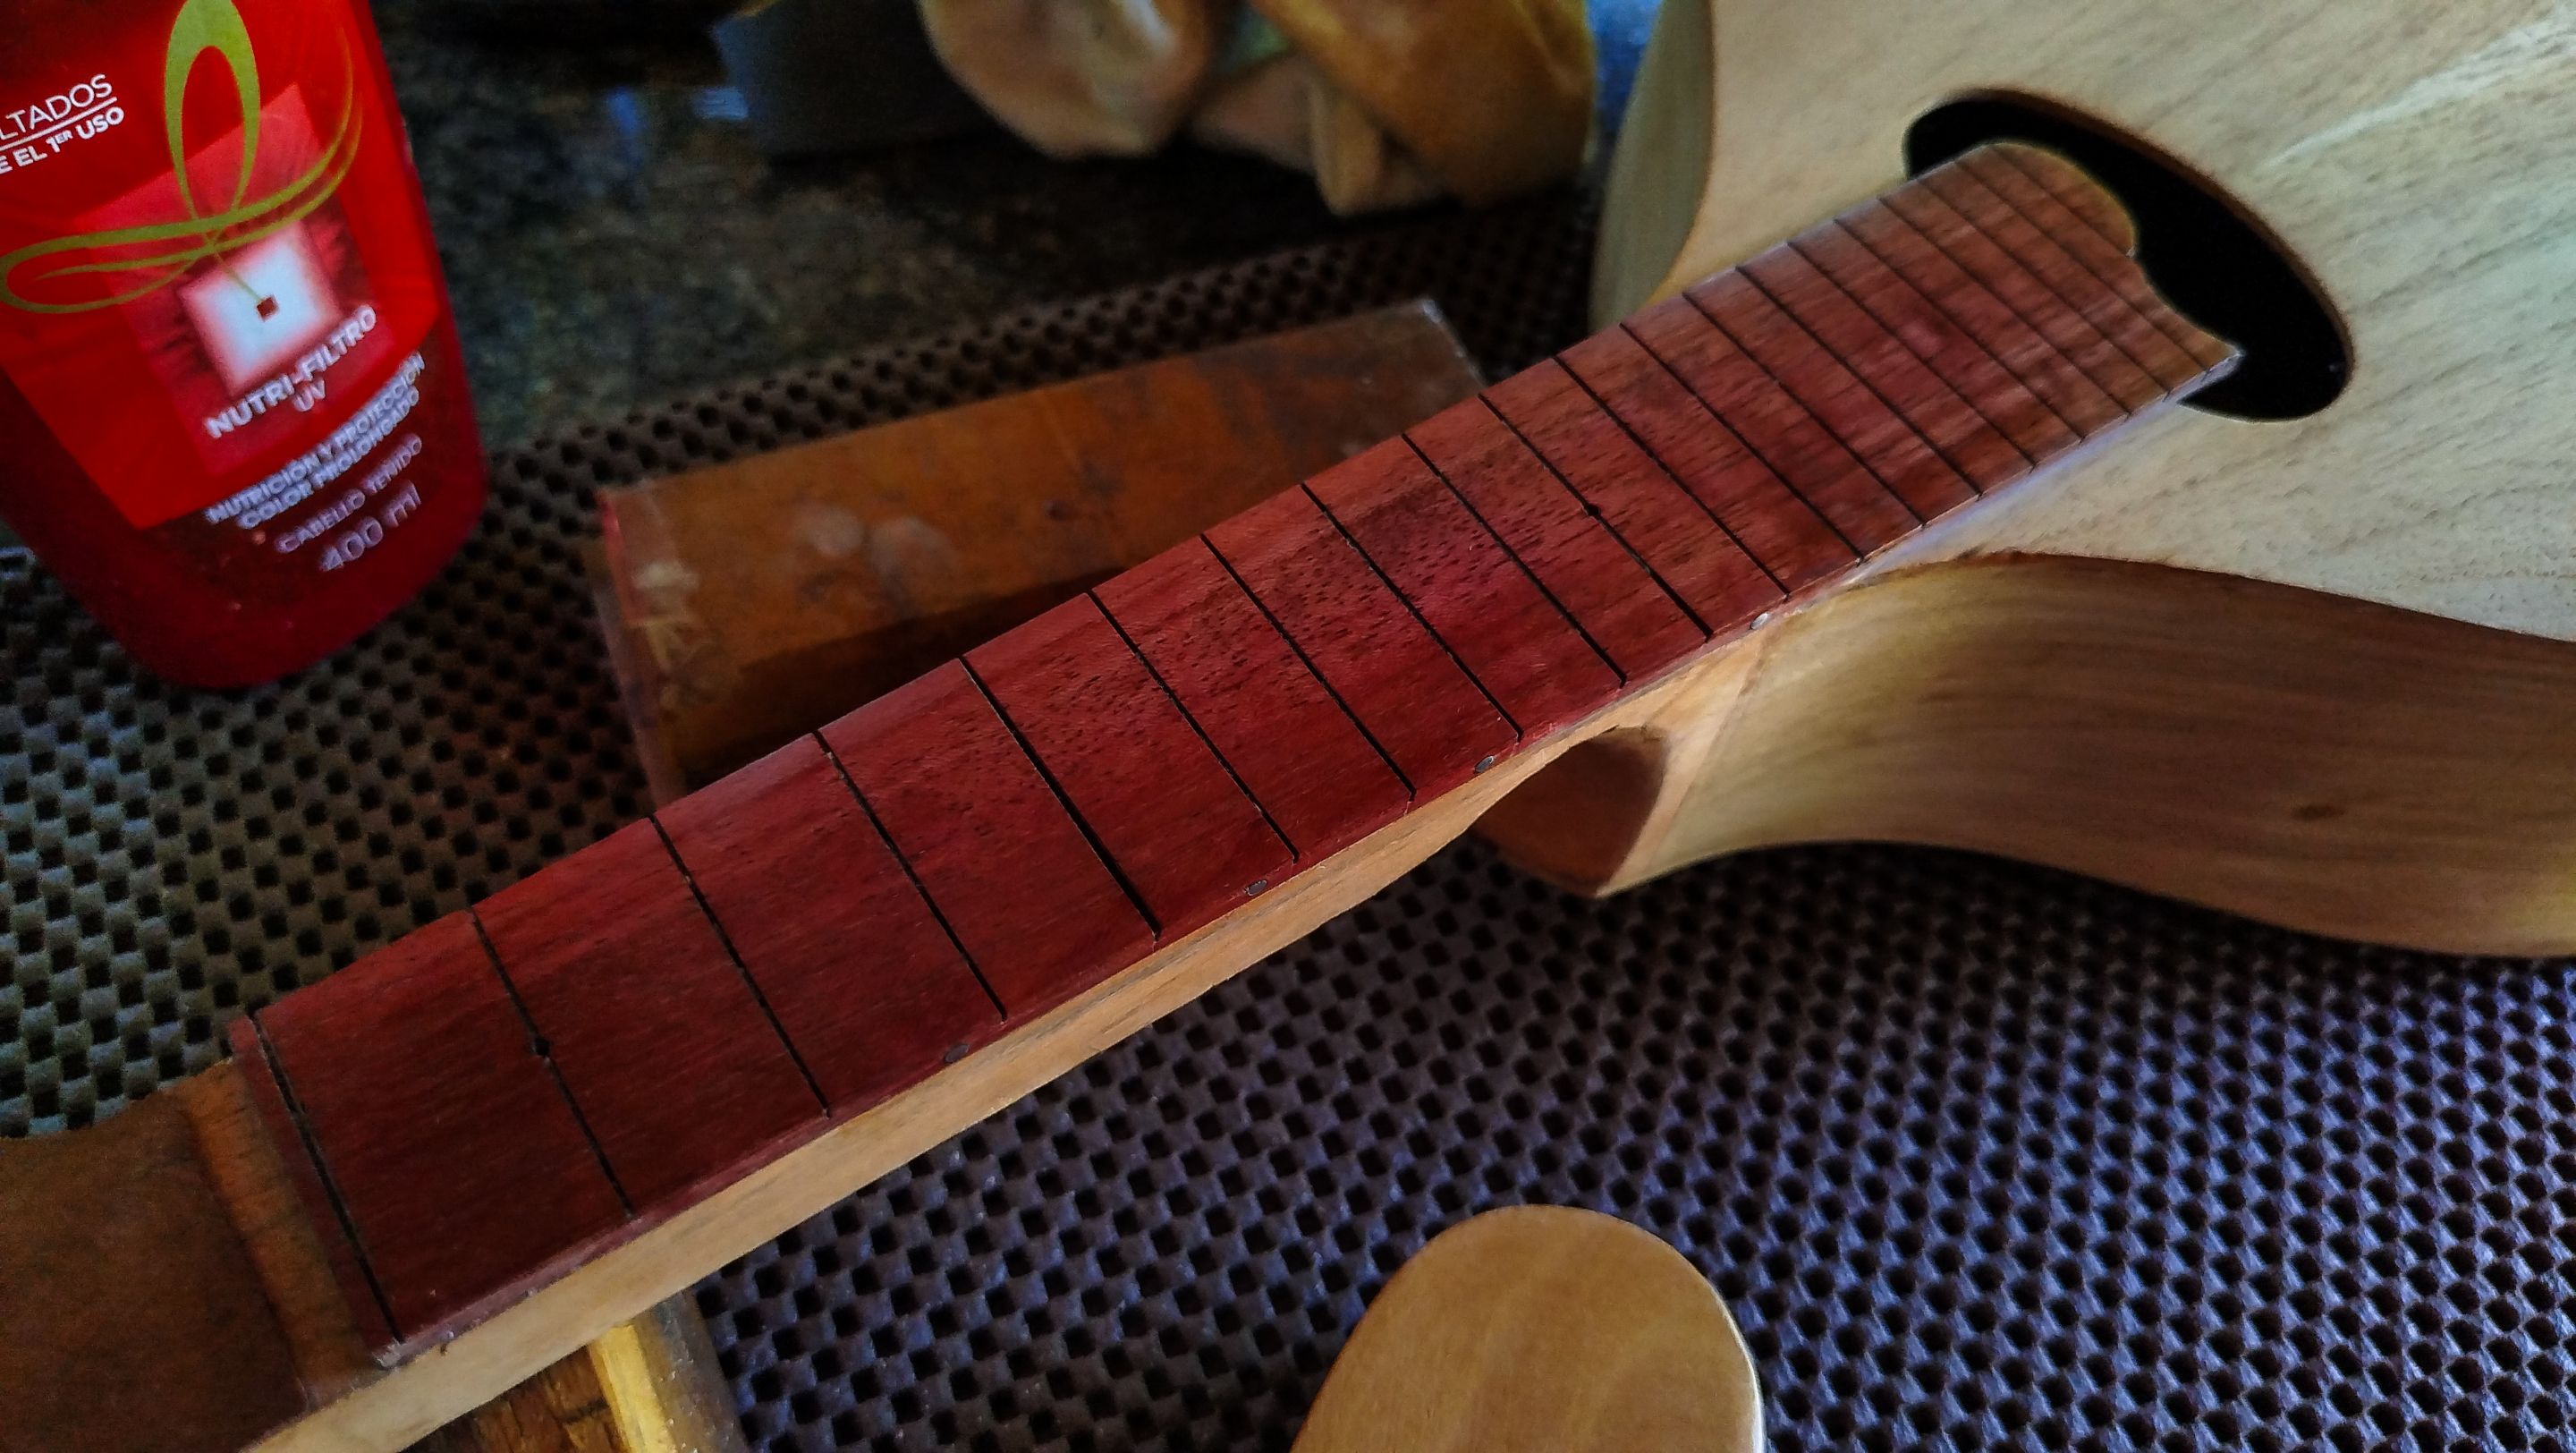
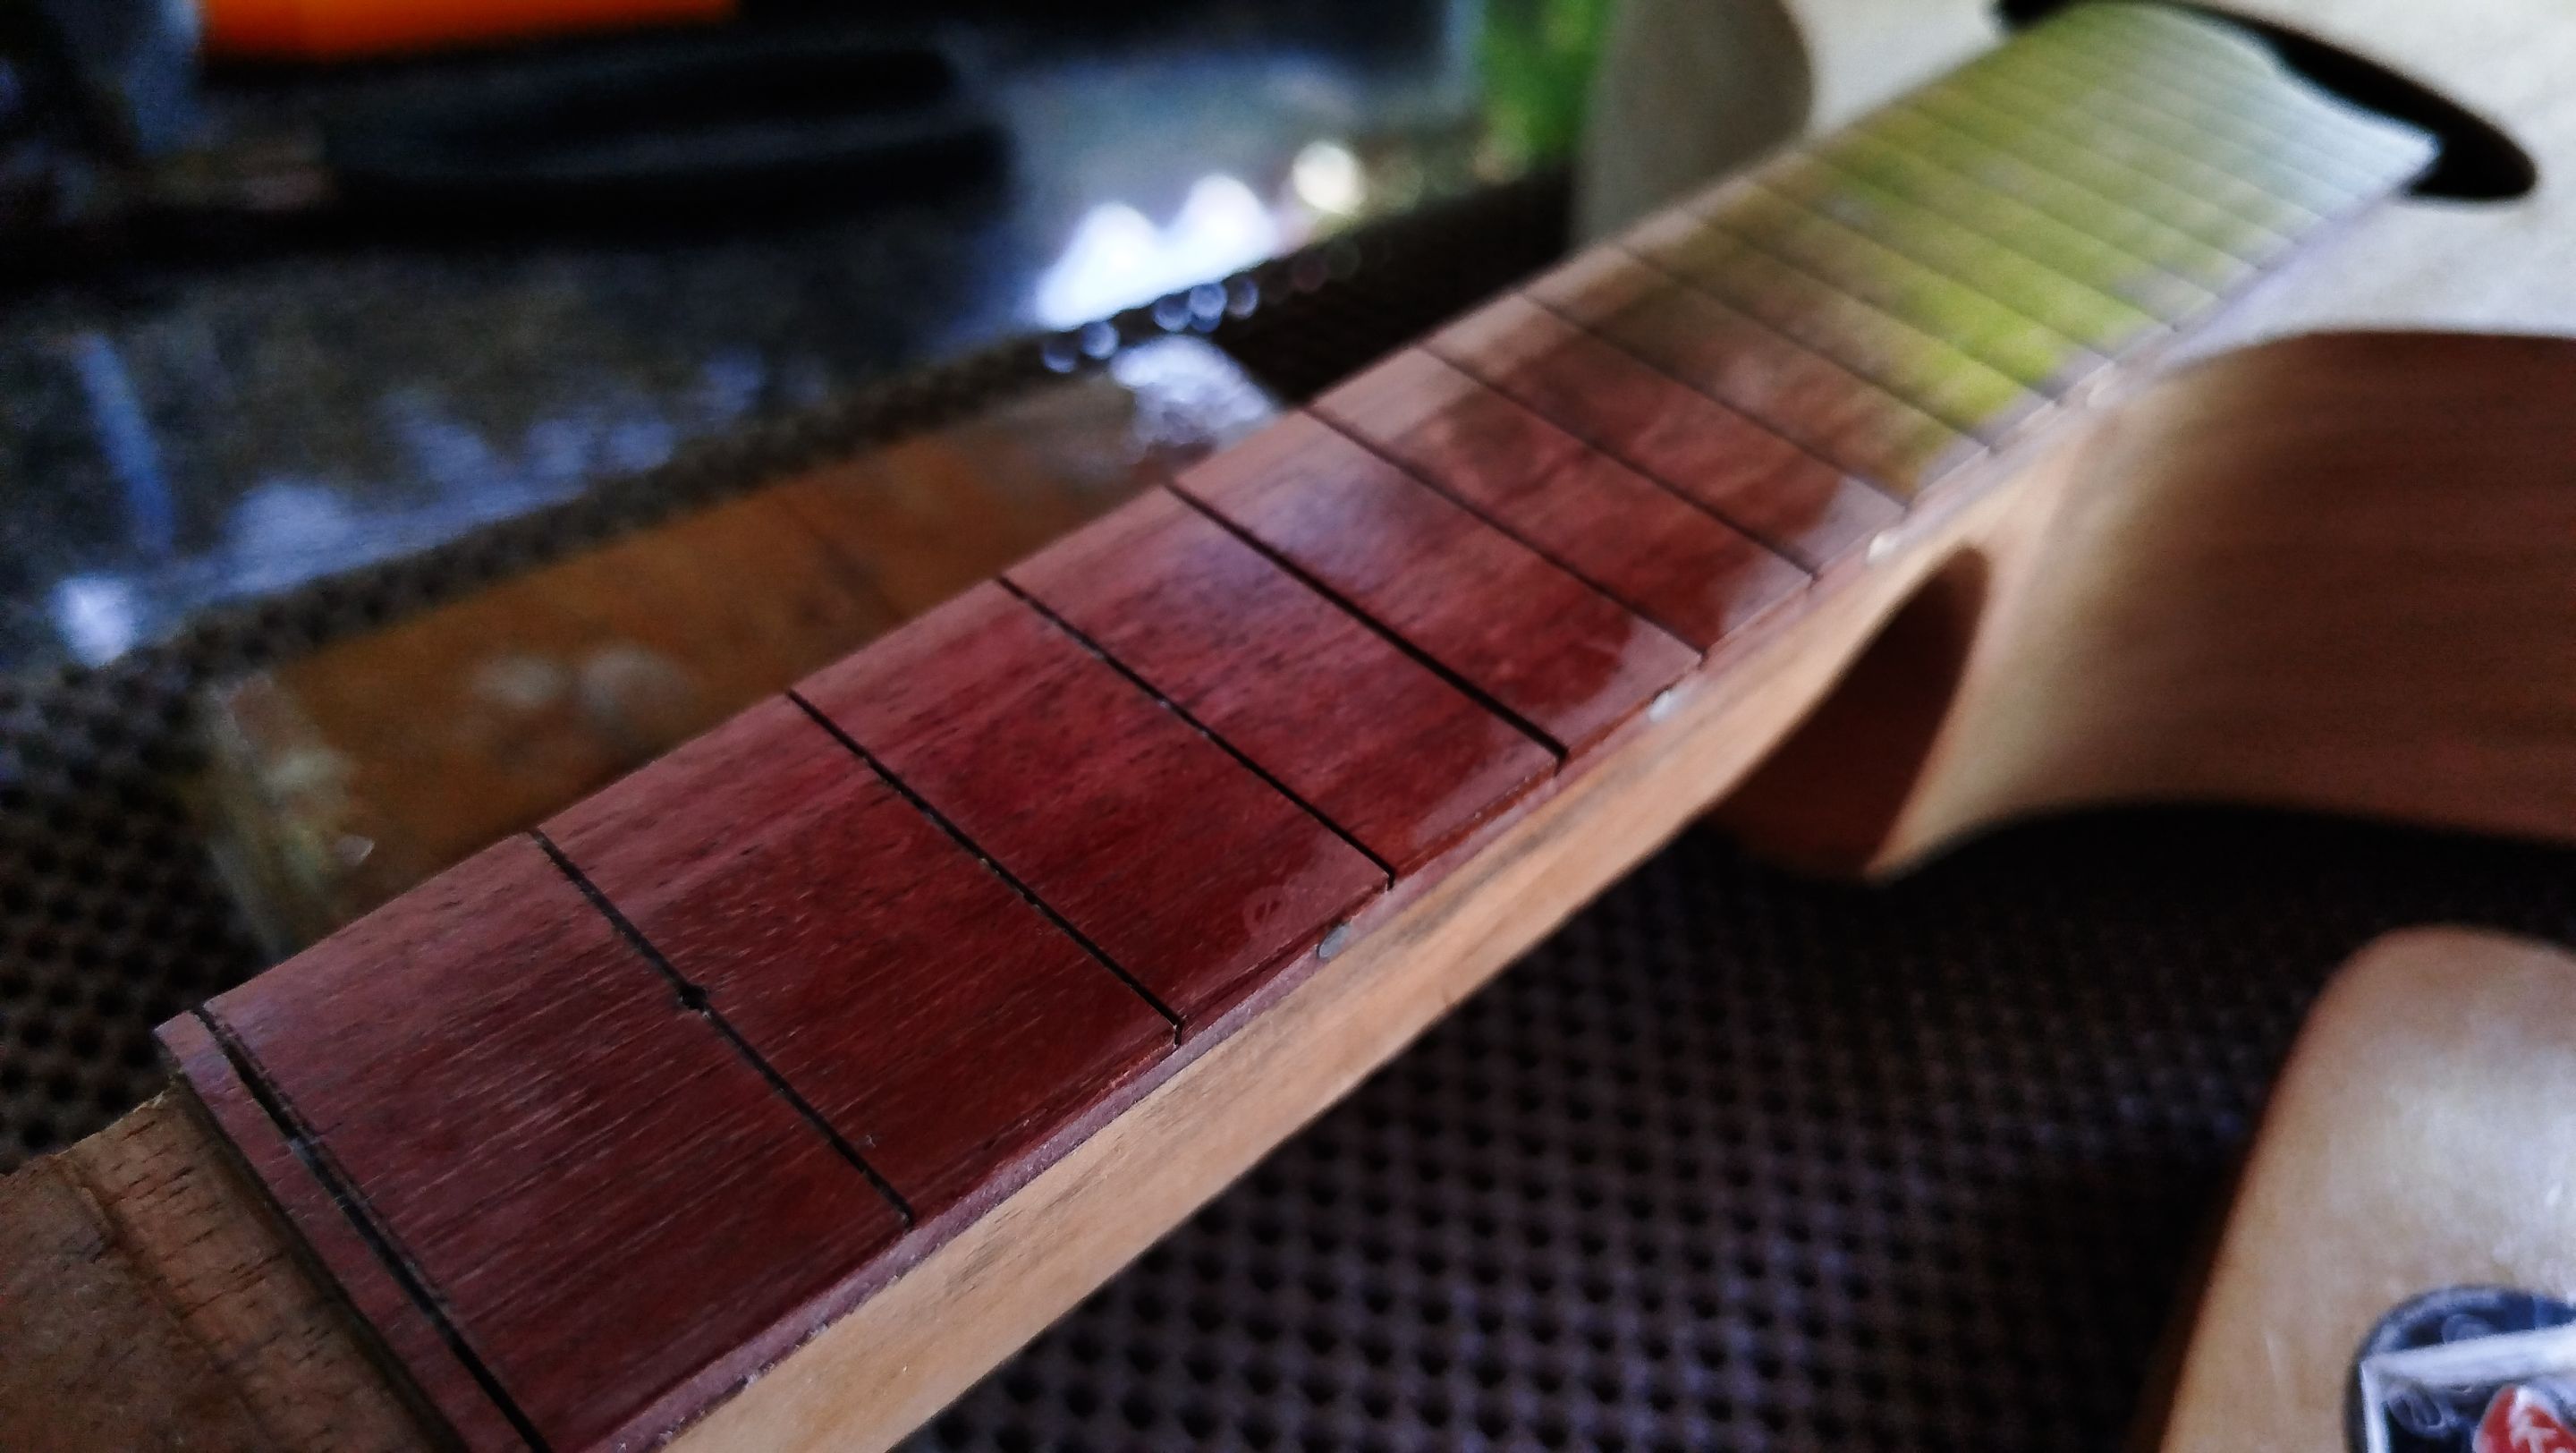
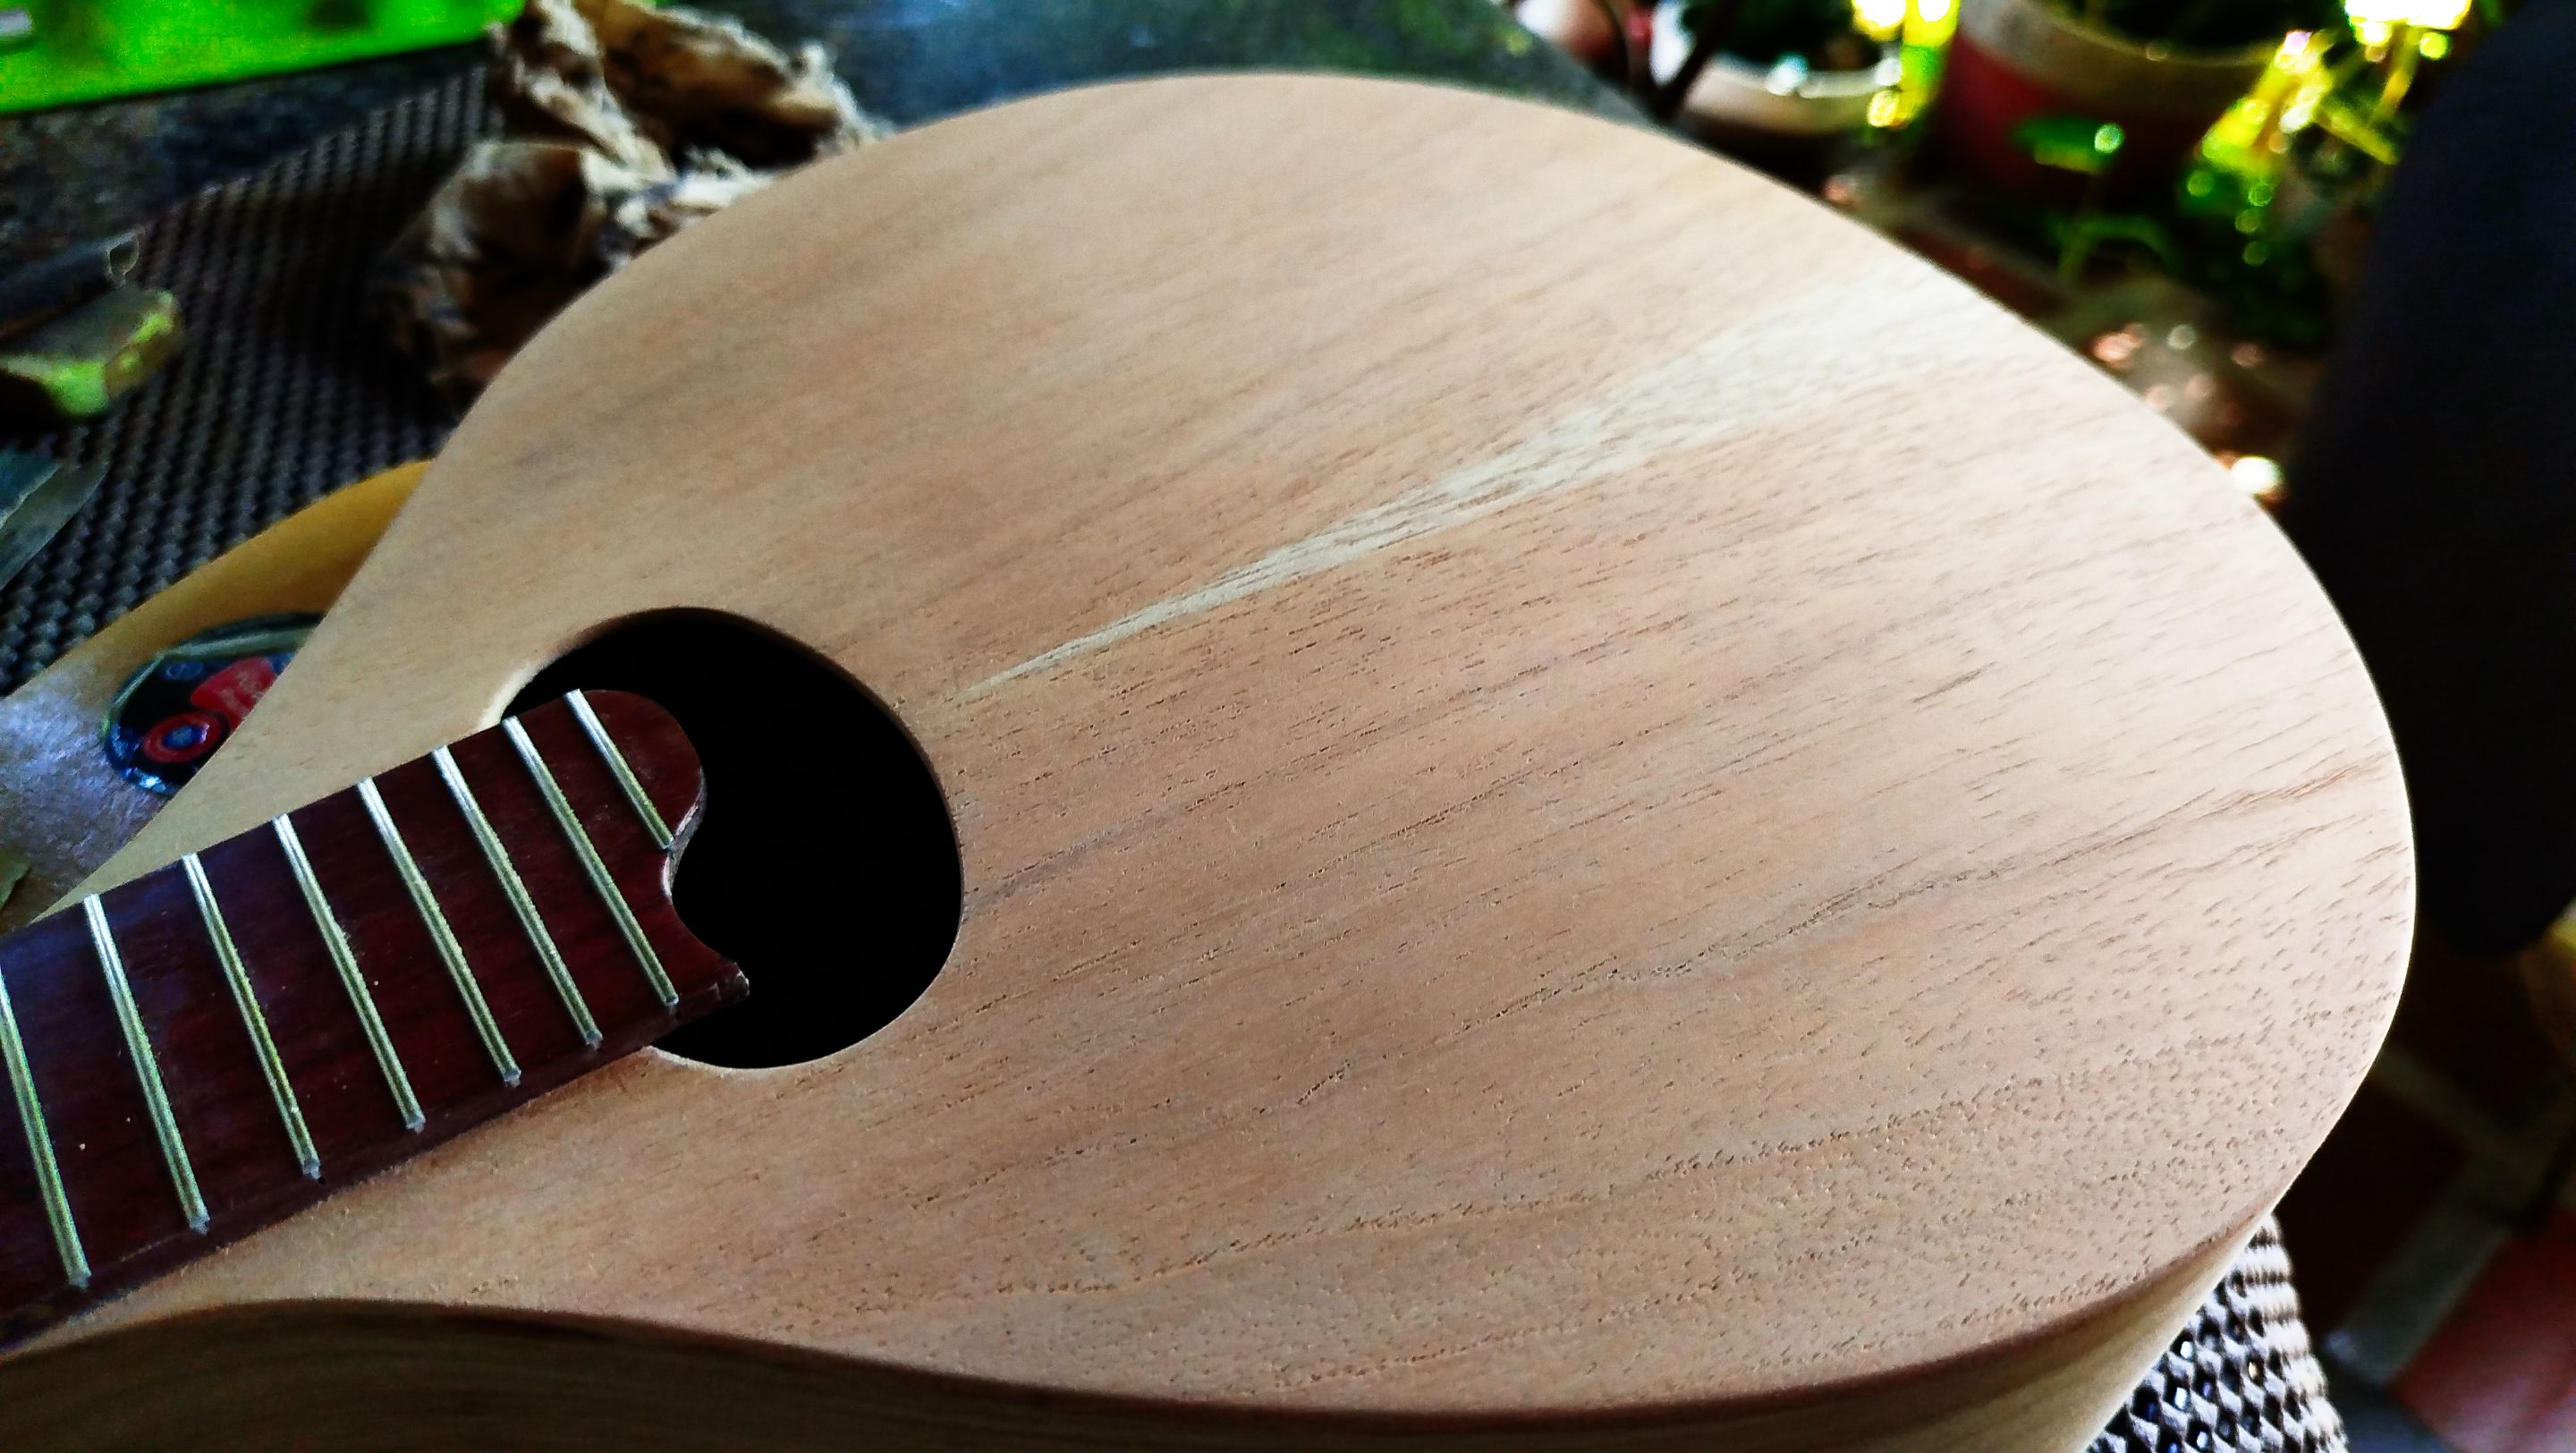
Before getting the frets in place, we need to sand the last coat we applied. That layer of sealer is going to give the fretboard a glossy finish. We use a fine-grit sandpaper. Then we remove the dust from all the fretboard. The last bit of work on the the fretboard finish is to get some layers of oil on top on the surface. We just need to let this dry up.
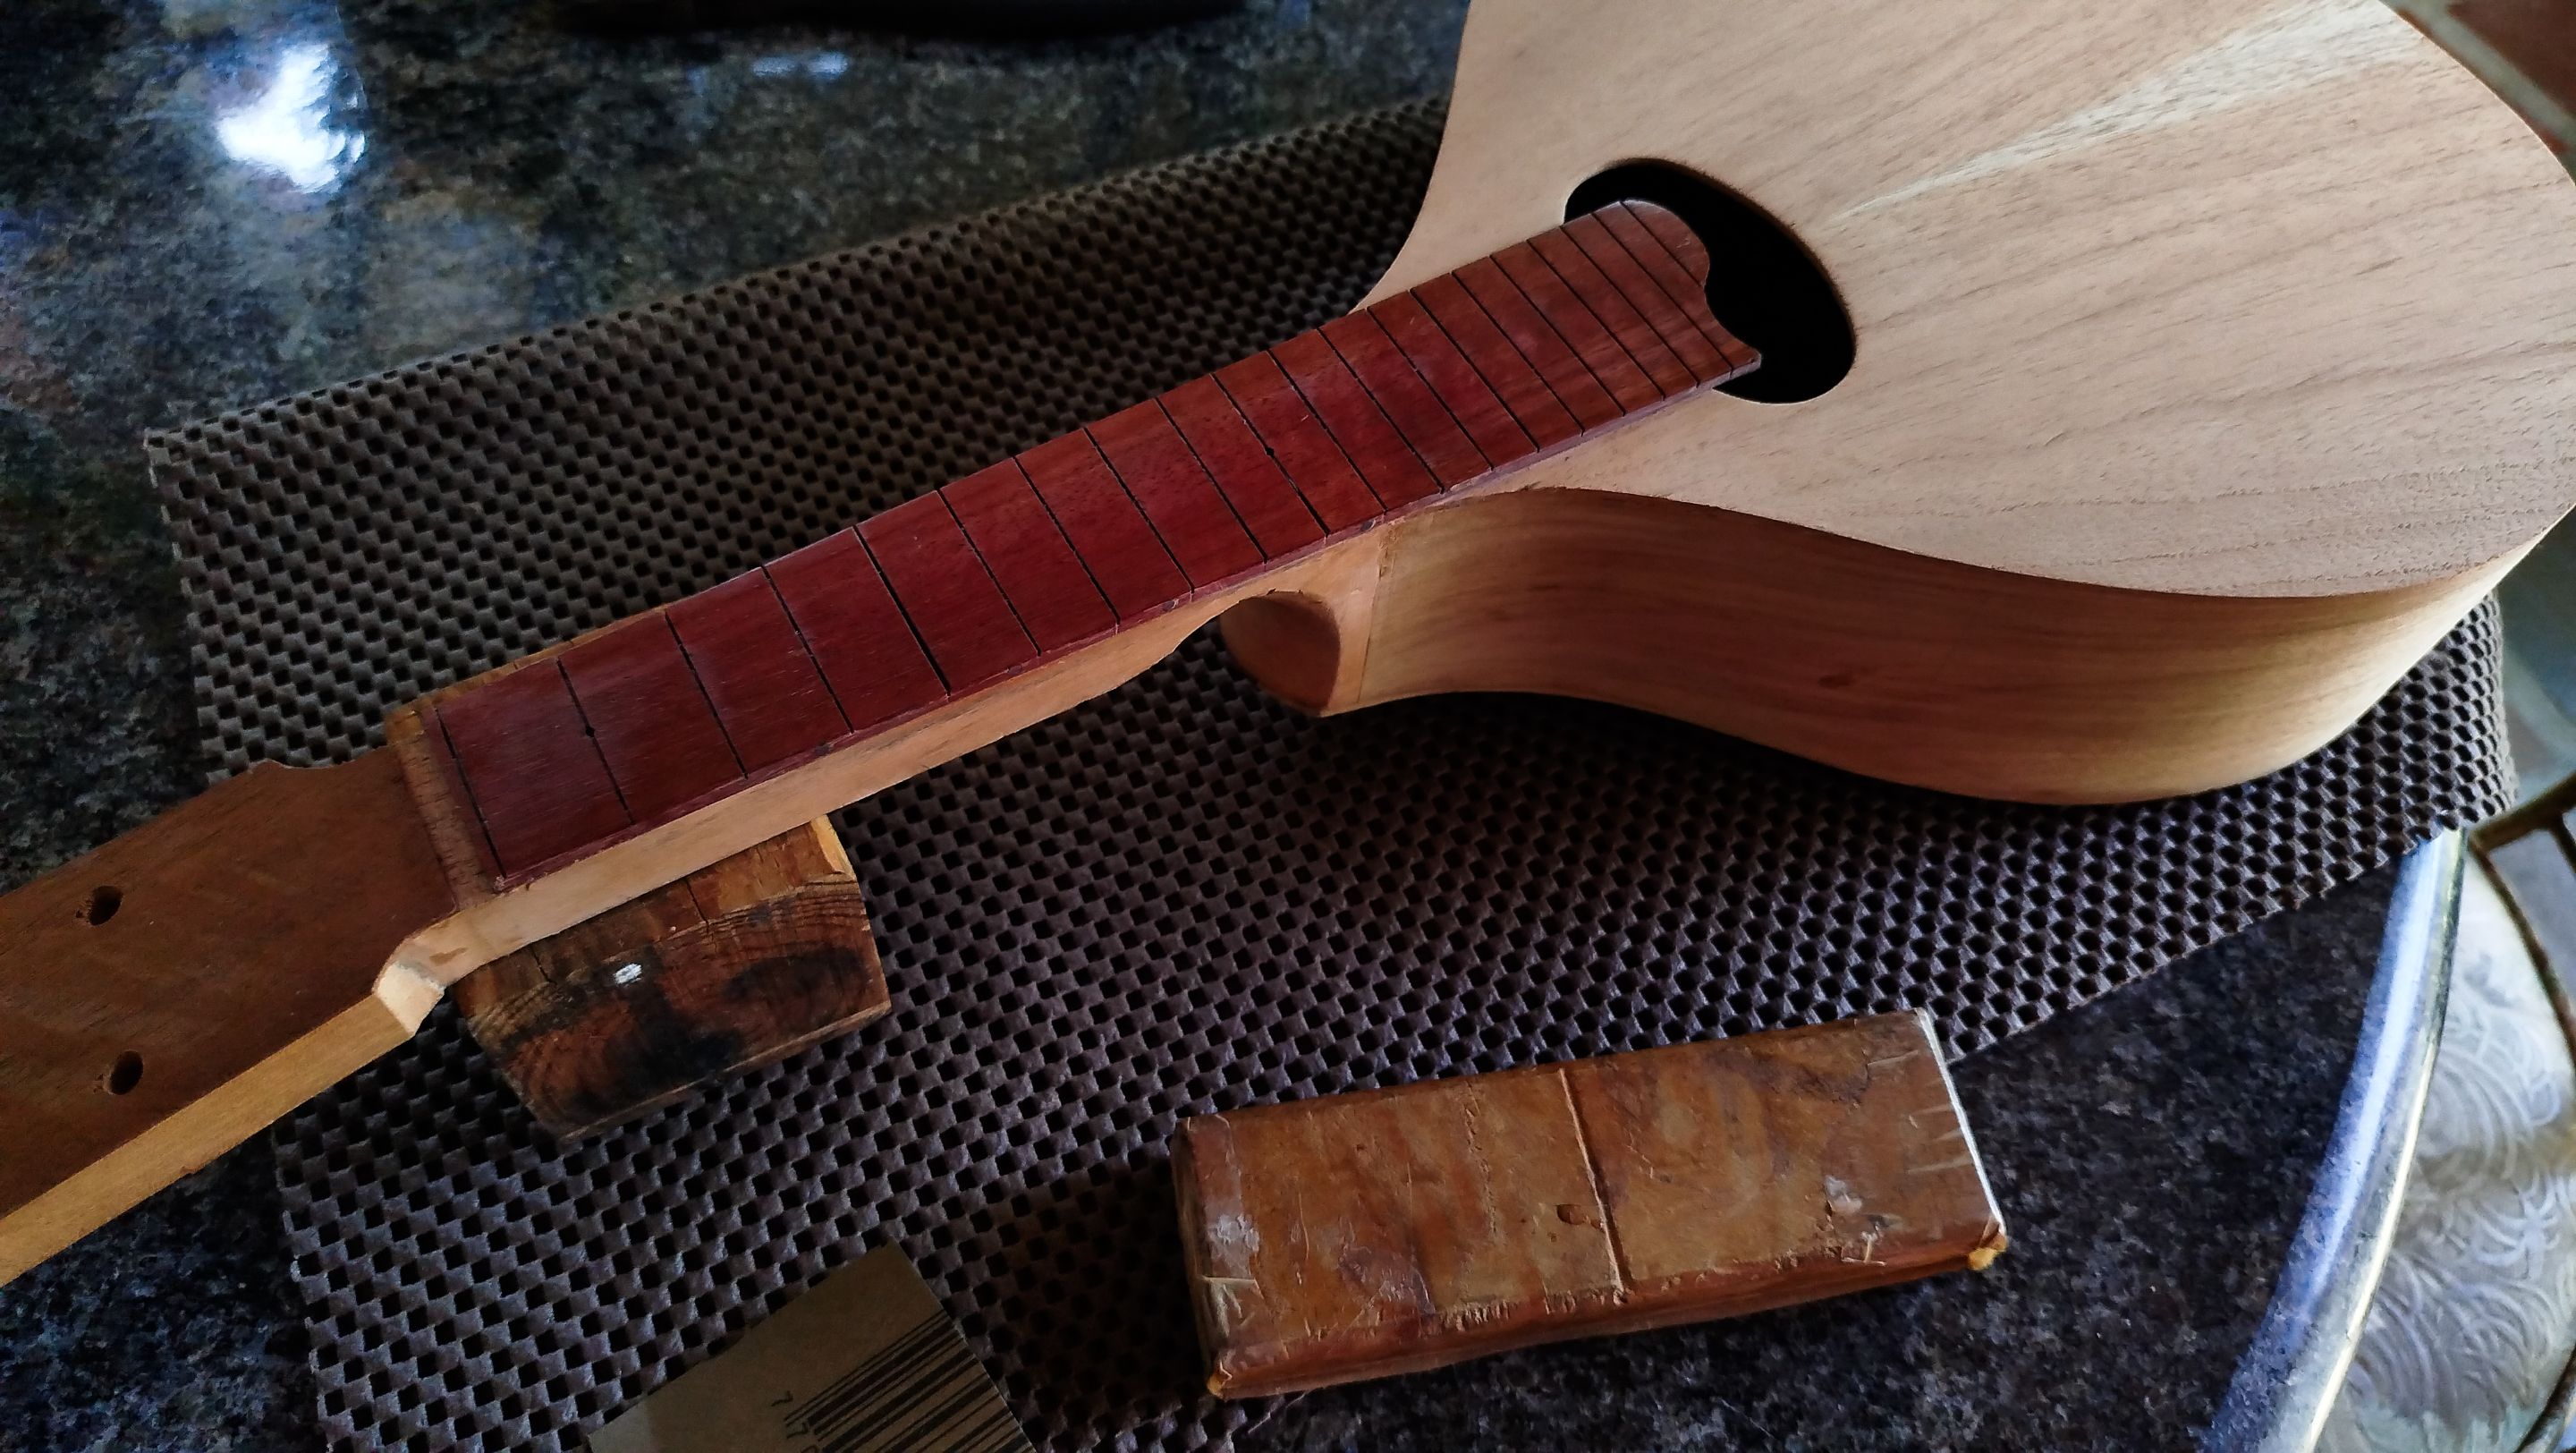
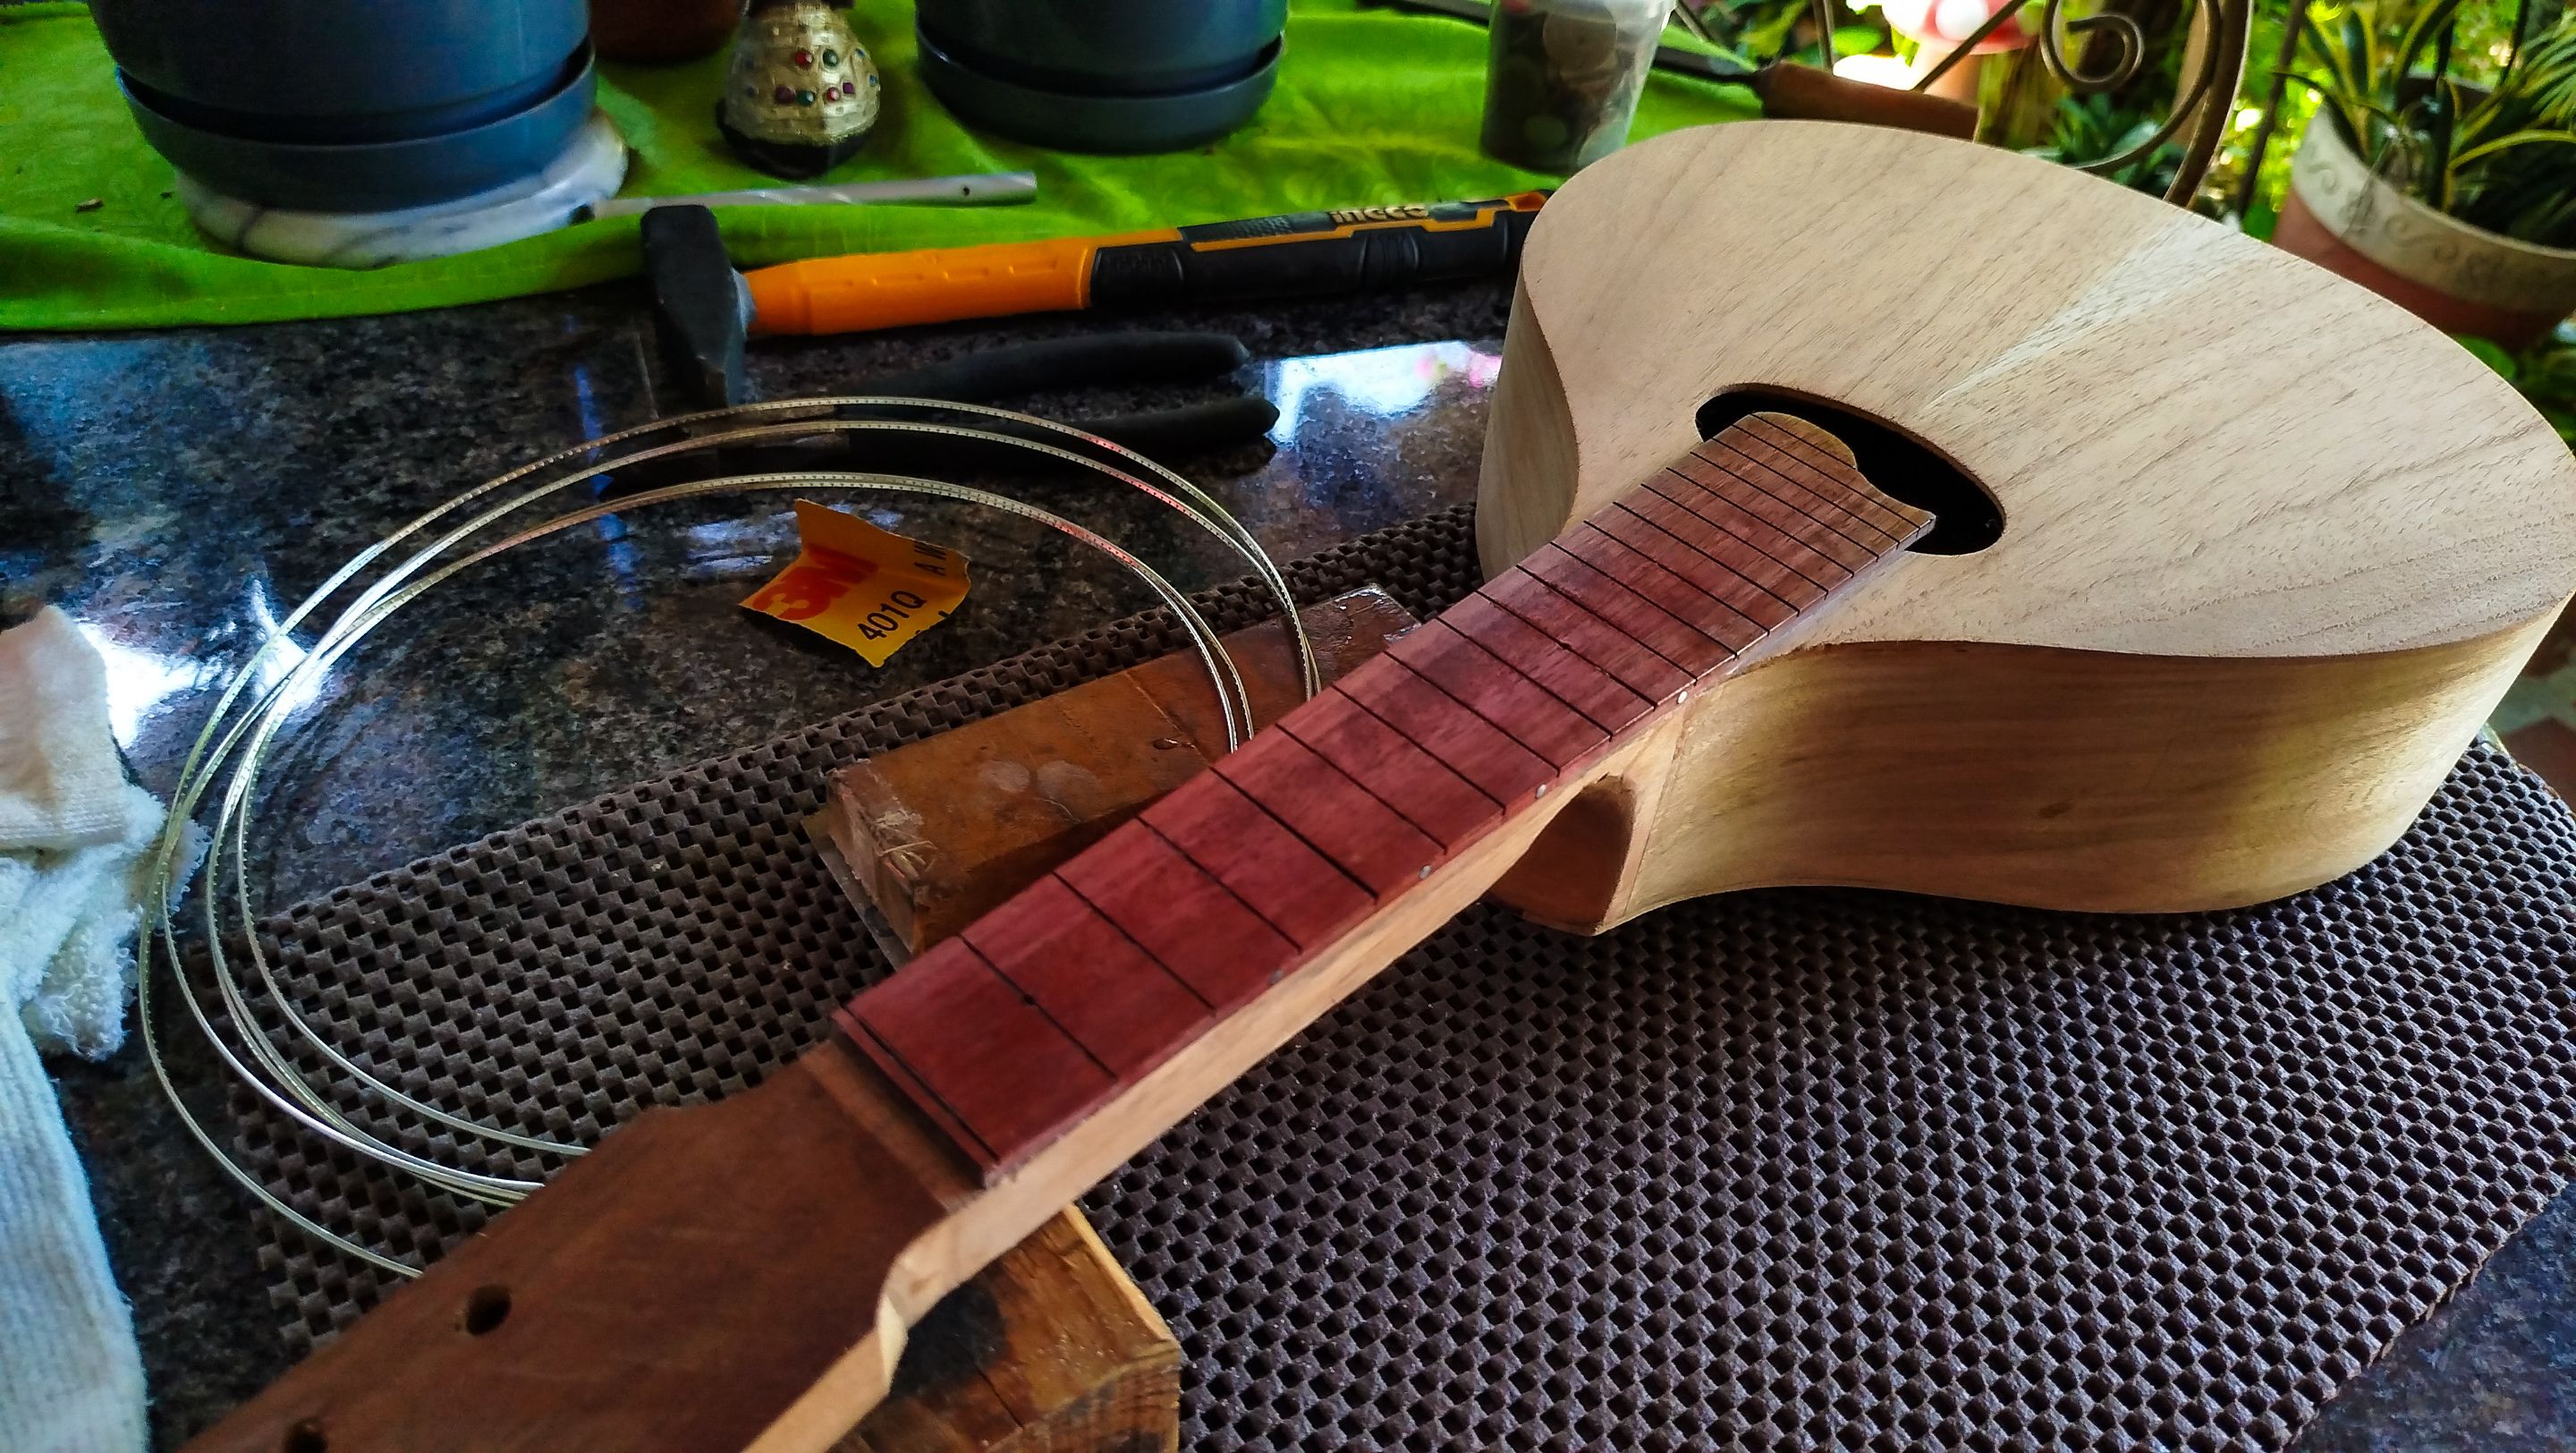
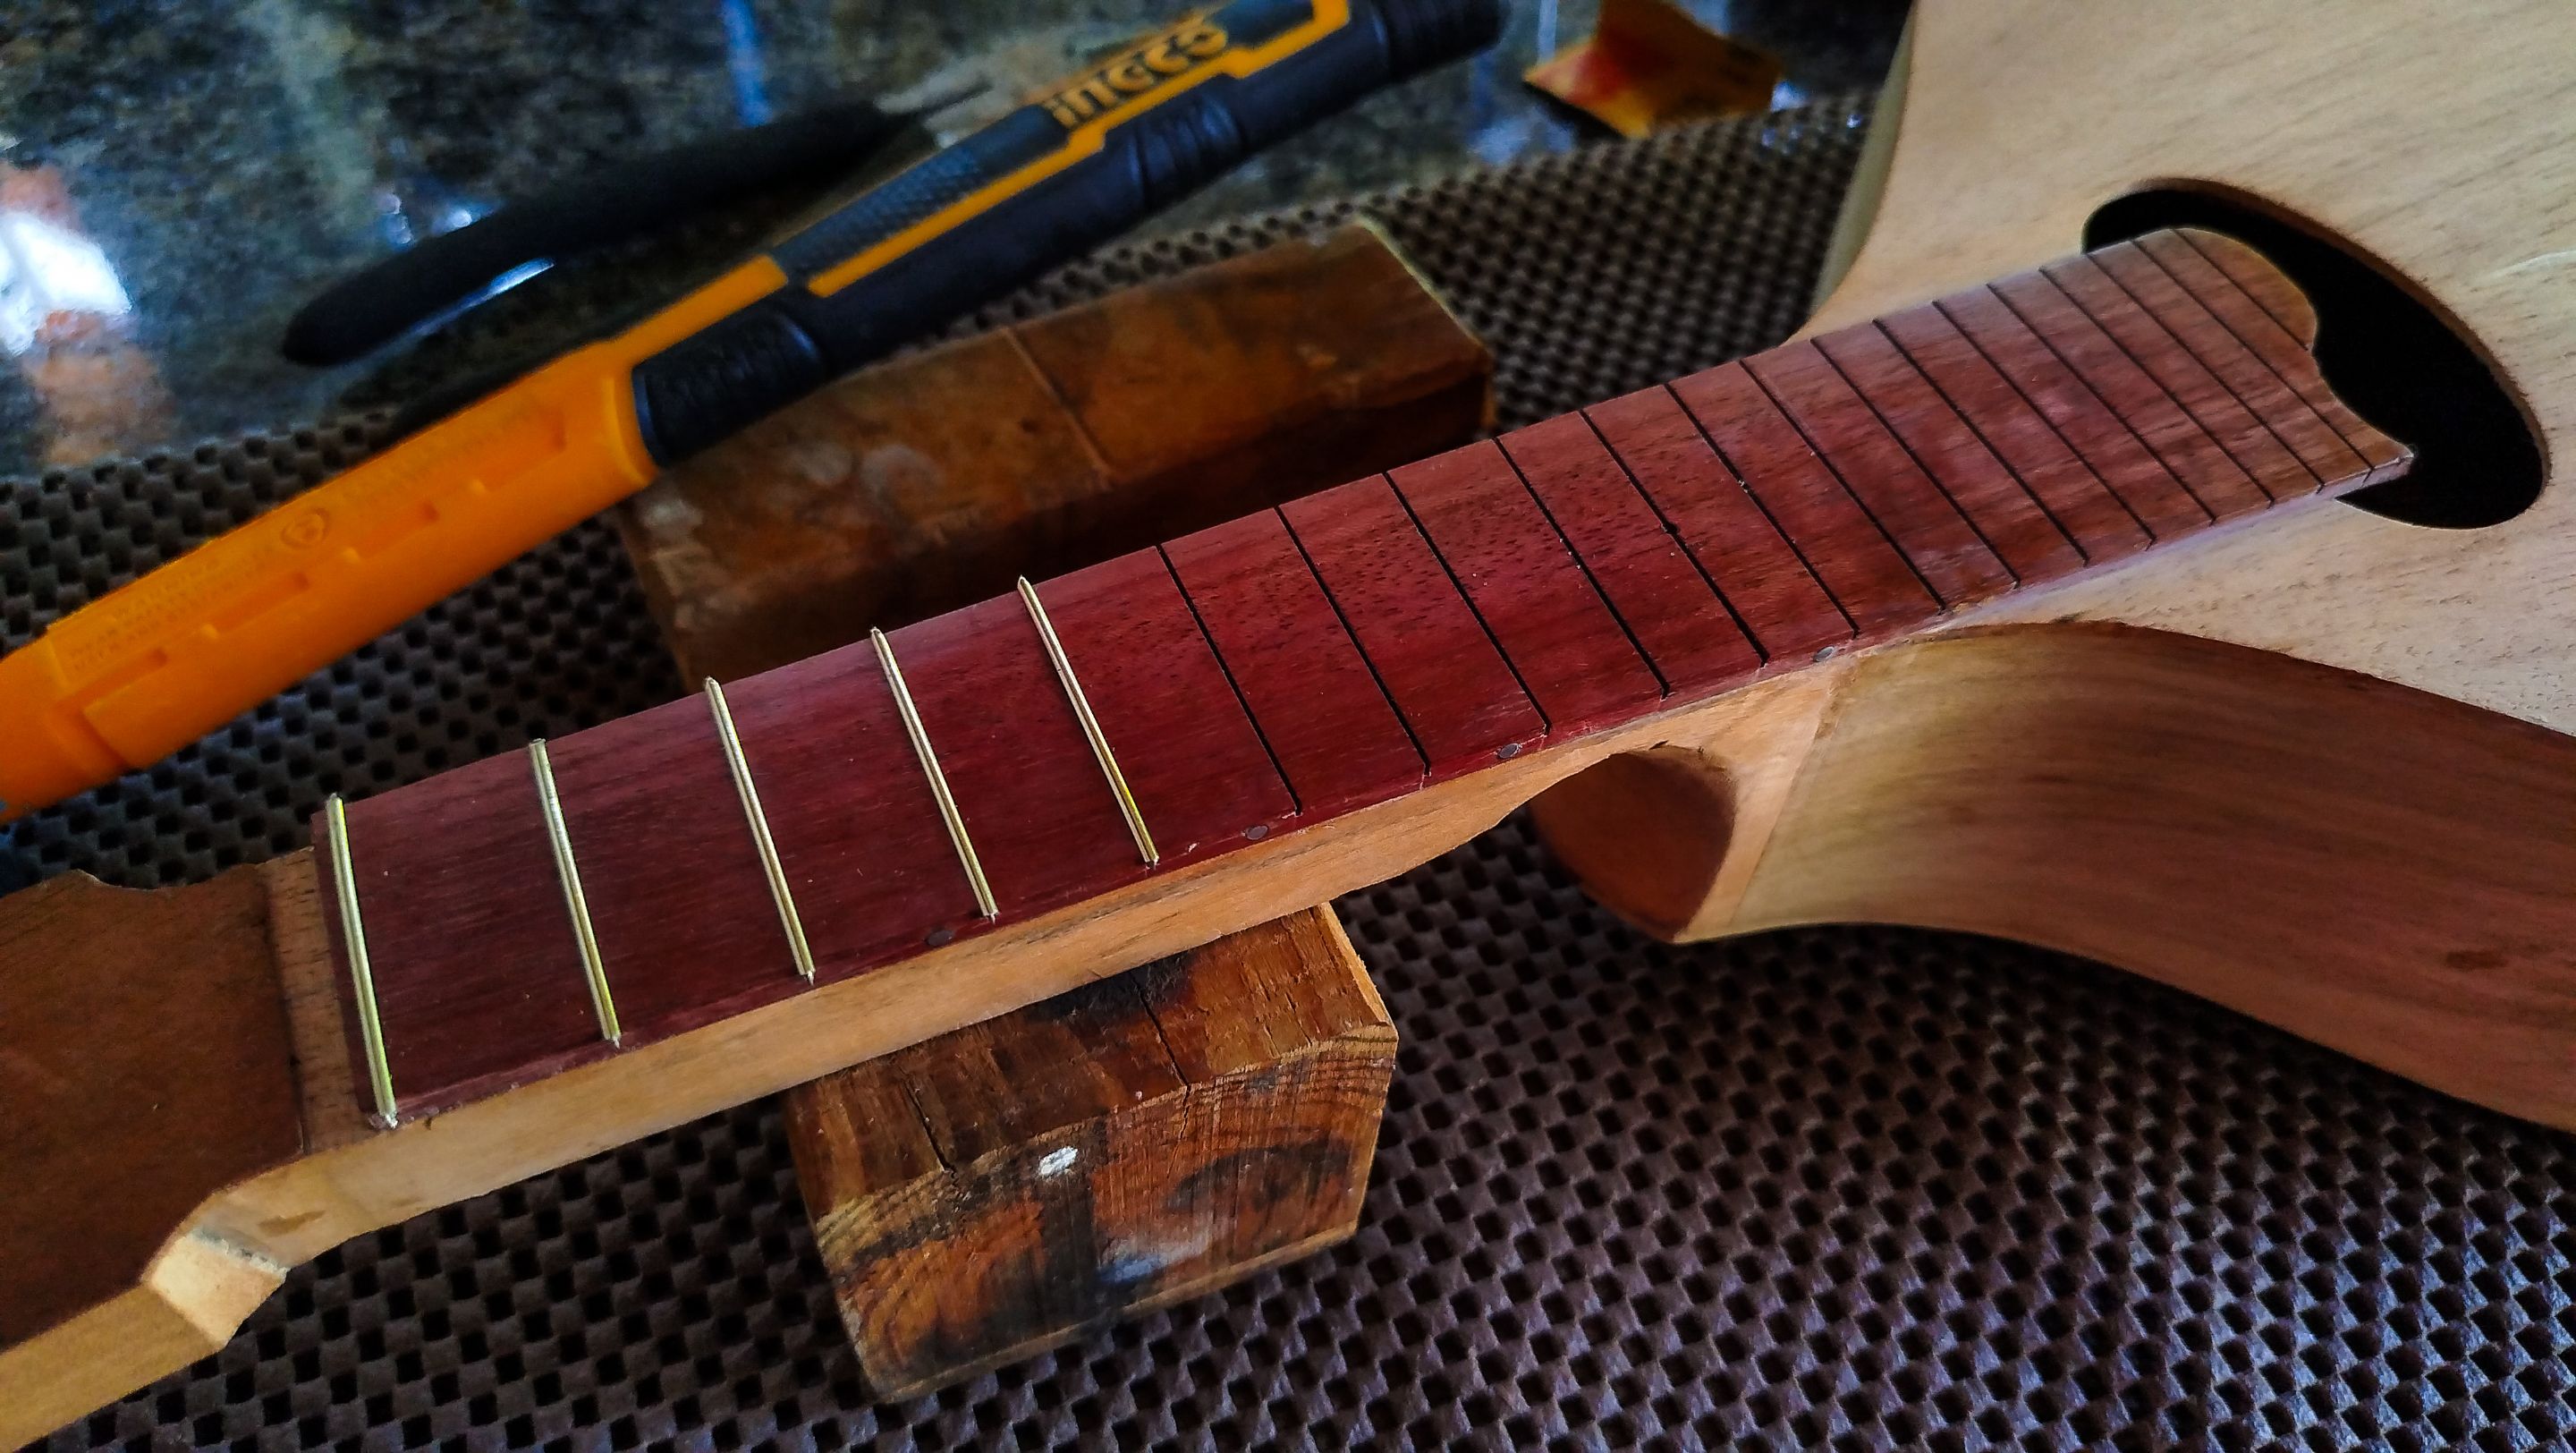
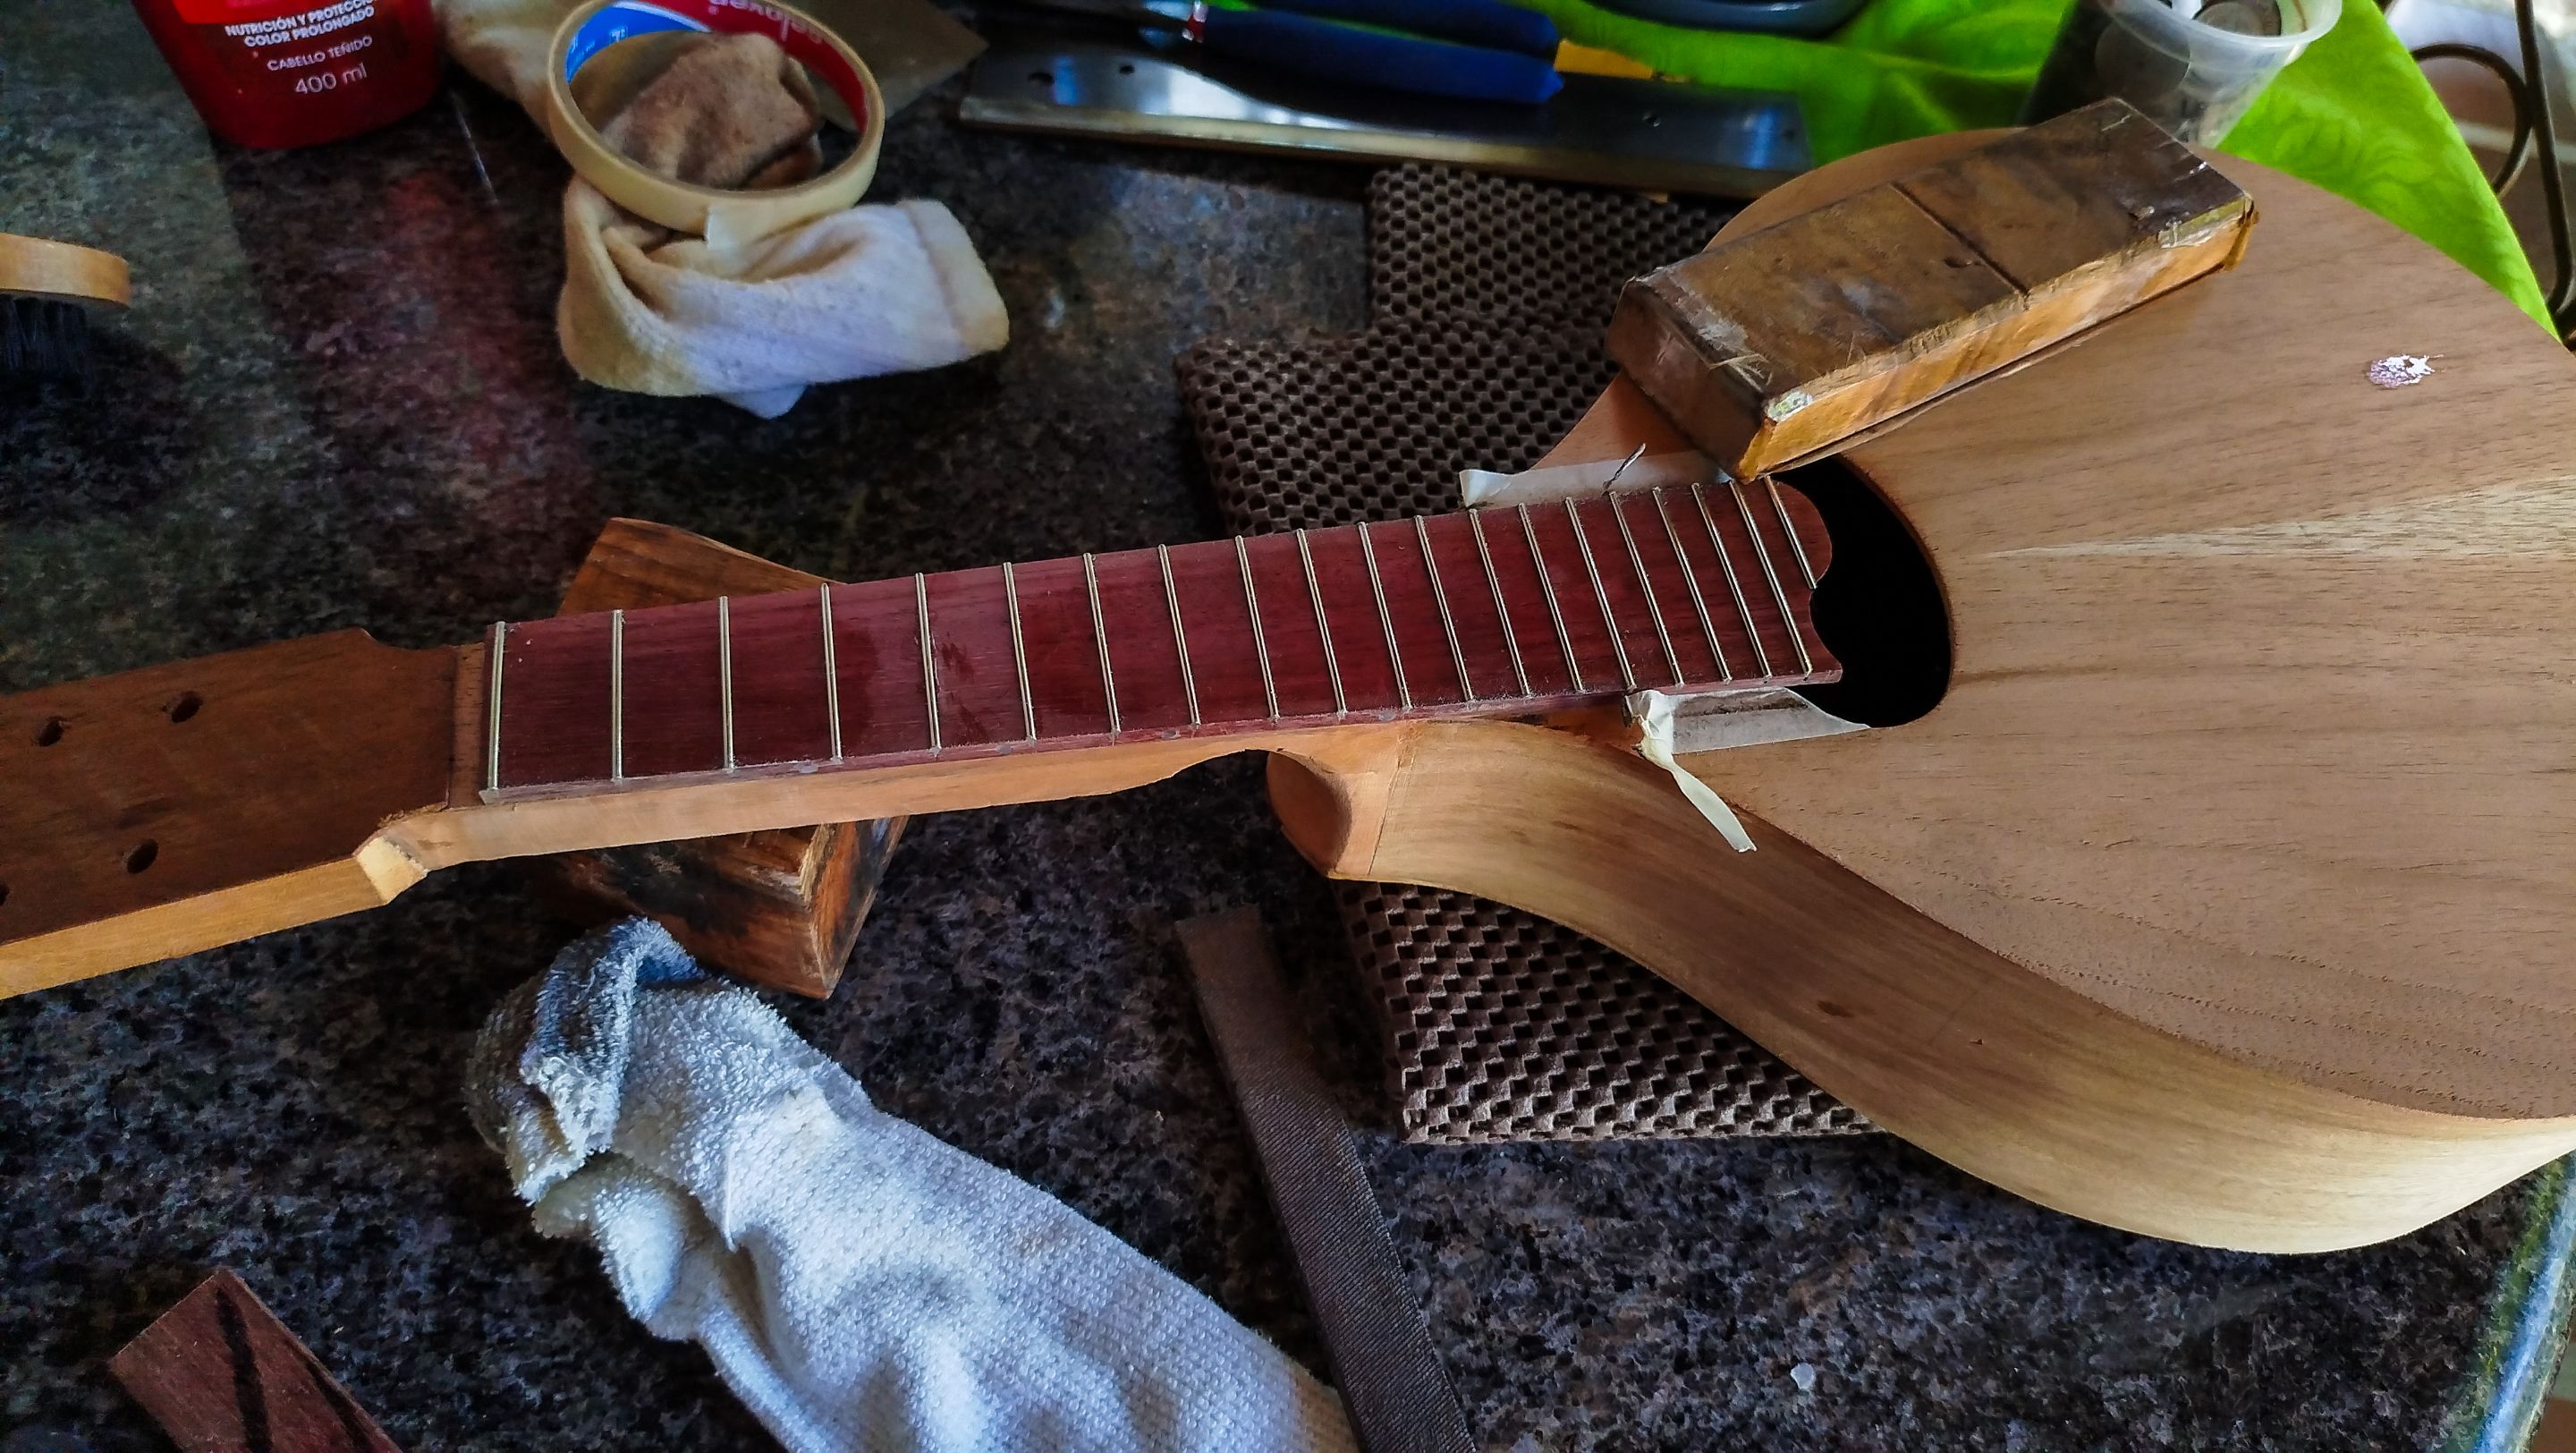
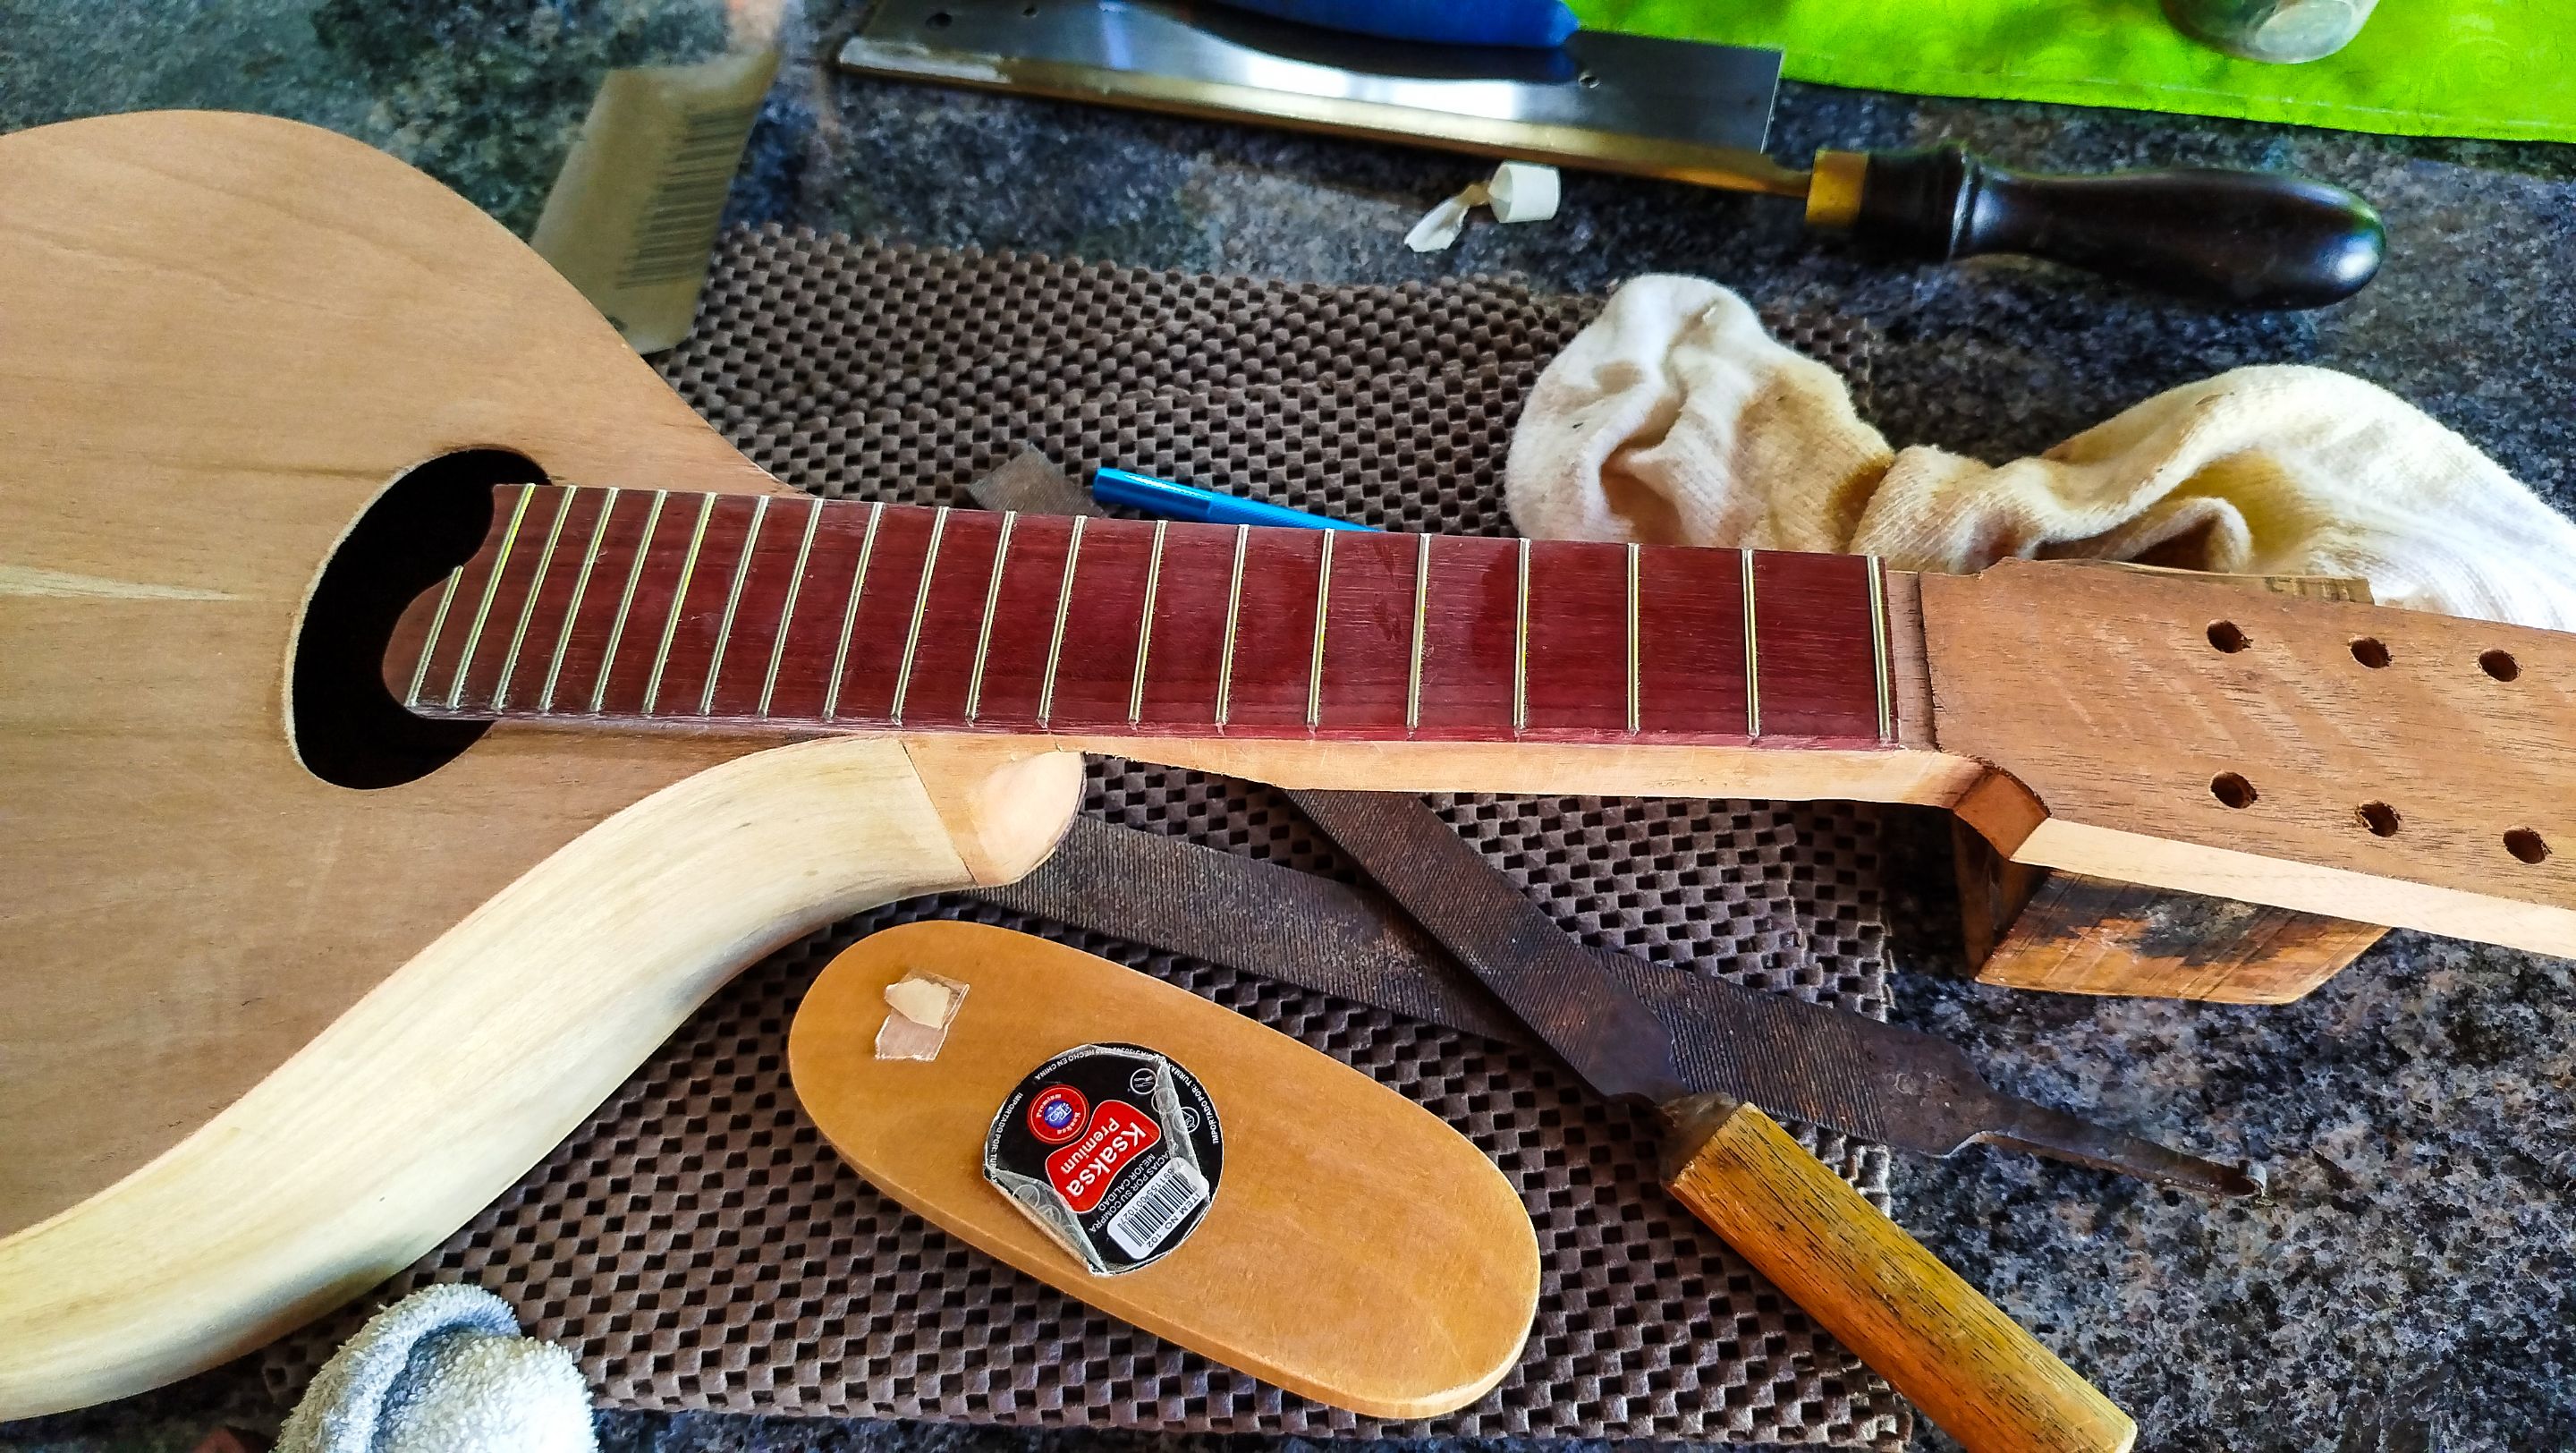
Now we can get the fretwire to start making the cuts for the frets of the mandolin. We start making the necessary steps to starting putting the frets in the slots. Starting with fret 0, we use a hammer to get the individual pieces of fret in their slots. We just need to make sure to use the hammer firmly. And also remember to use a piece of wood to let the strength of the blow transfer to it instead of damaging the work. We get the frets in place and then cut.
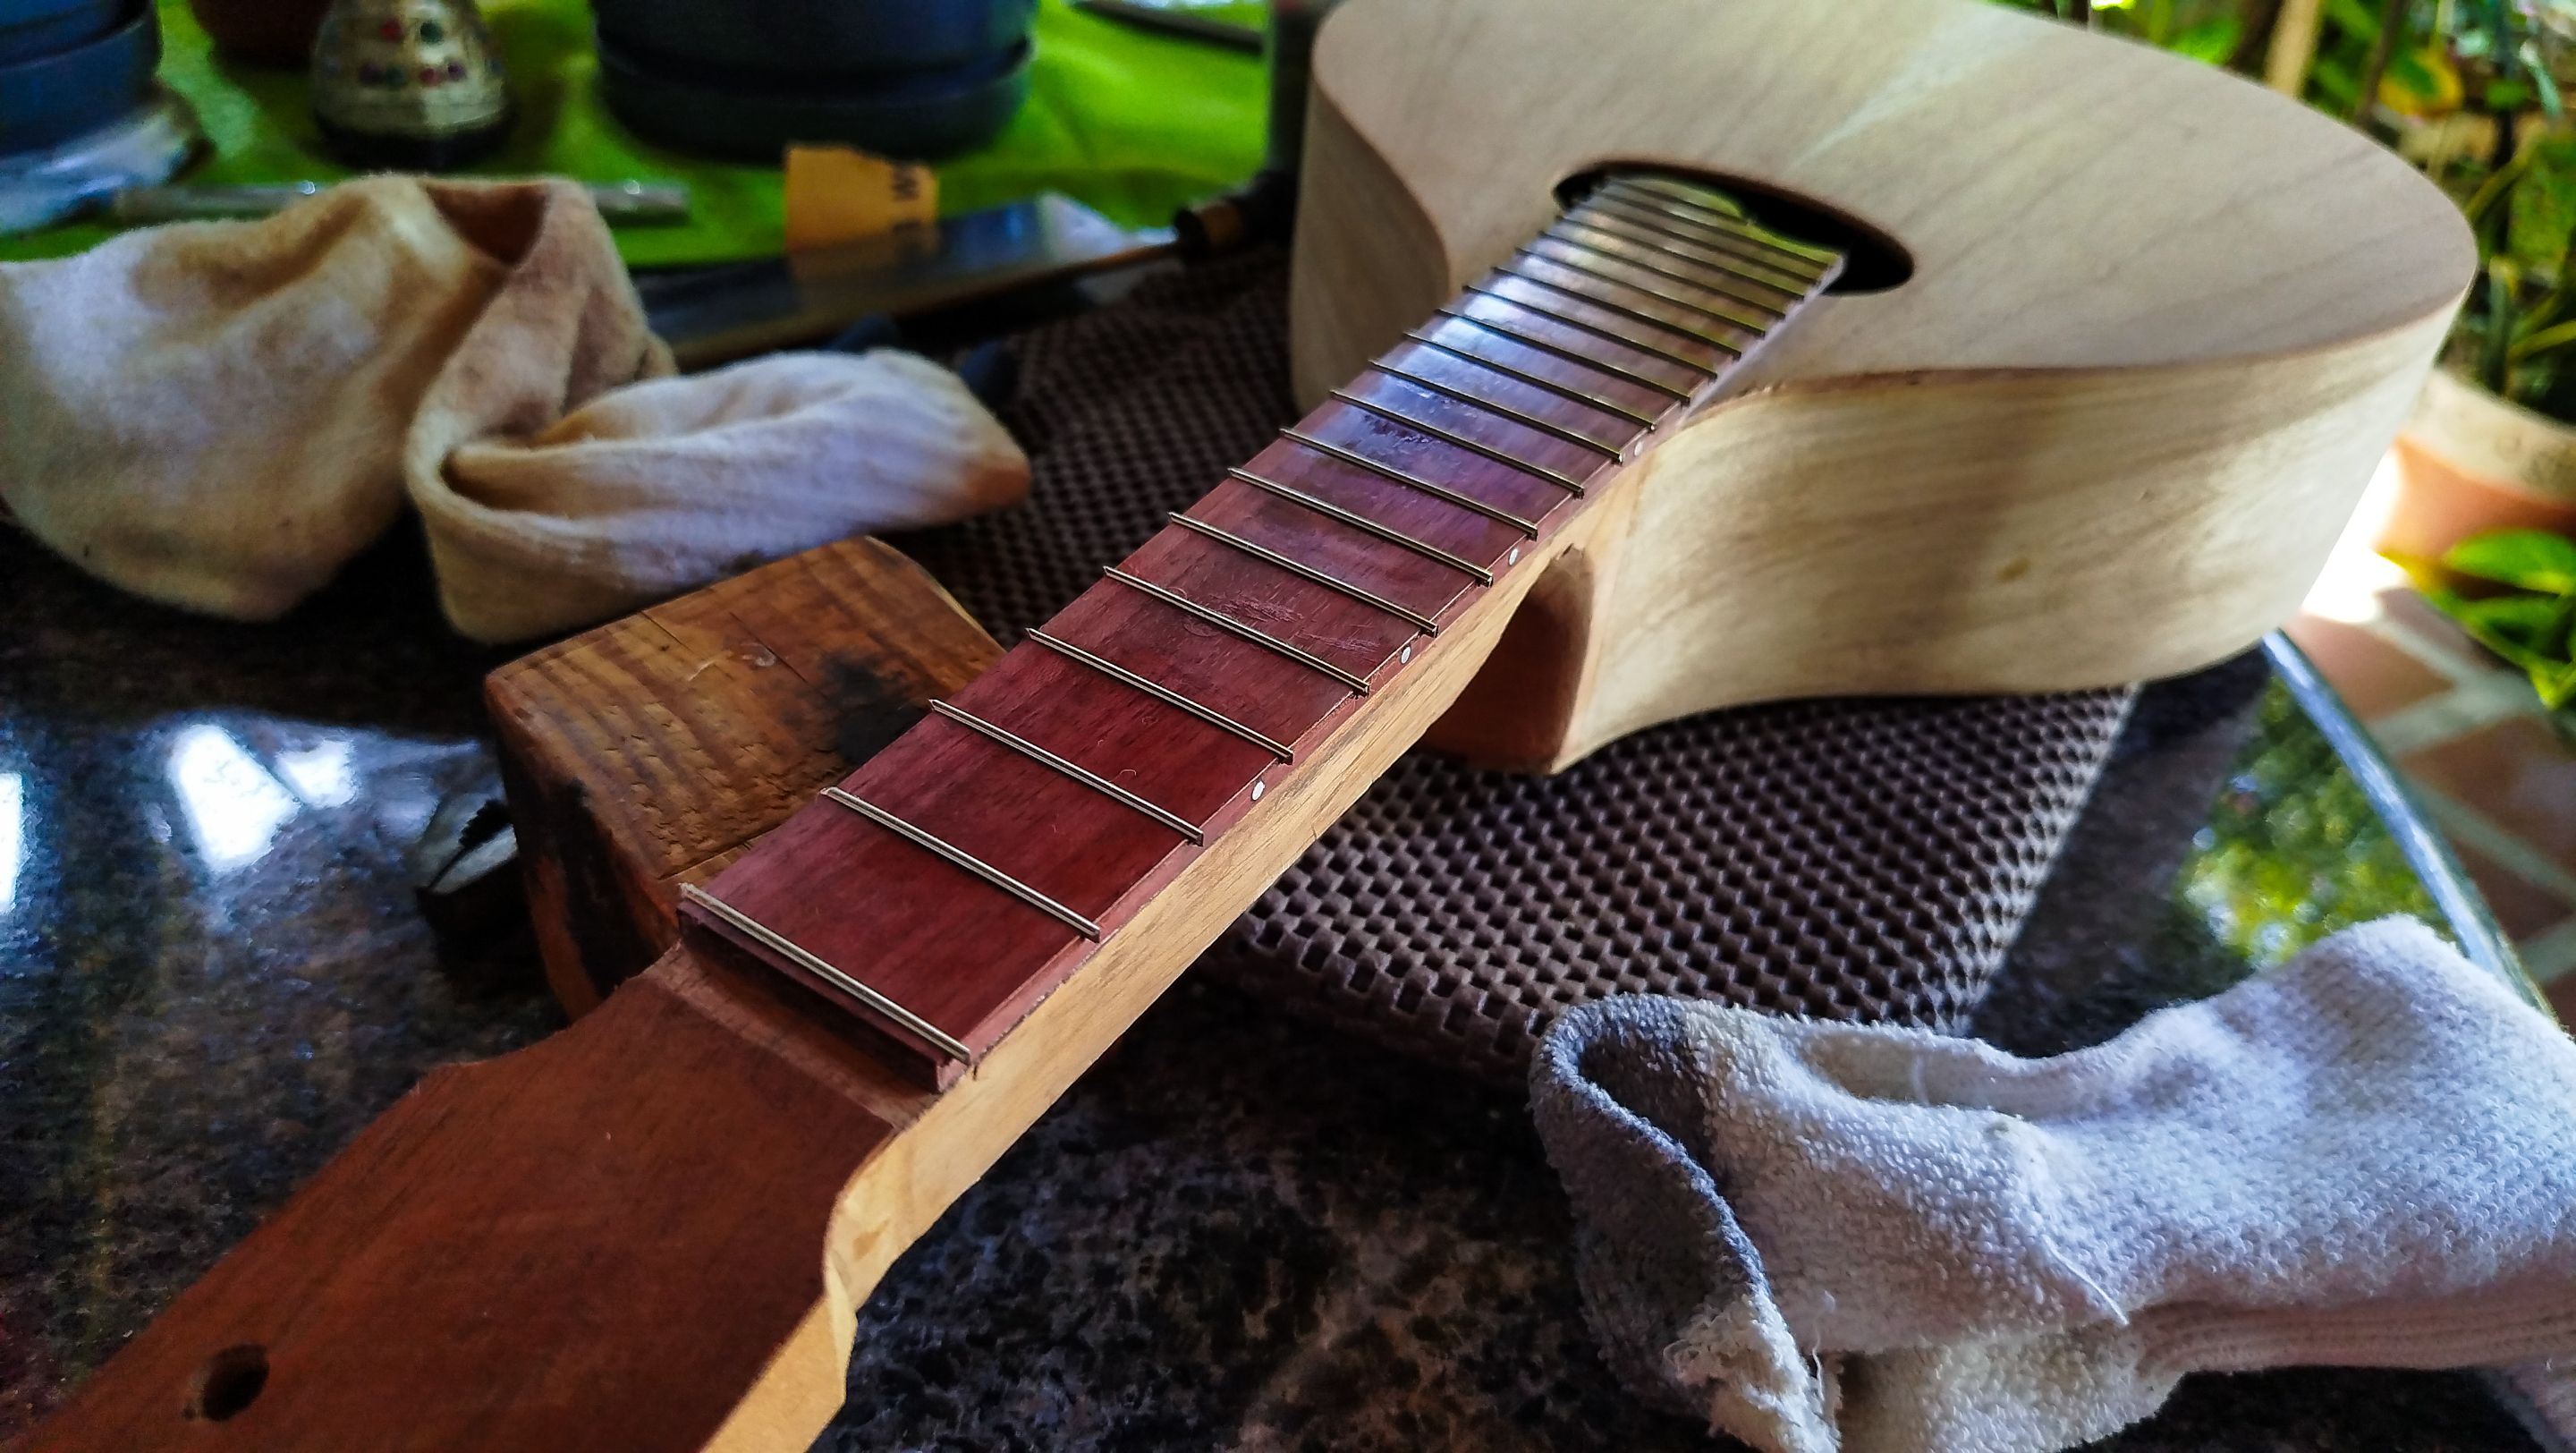
The last part is to use the sanding block to create the bevel at the end of the frets. This is to remove the sharp ends on every side. Then we use an angle to create the bevel ad the edges. We can also check for any frets that might not be correctly put in their slots. We can fix these by using some cyanoacrylate glue and holding the fret in place.
Rounding the neck
Swipe to see the photos
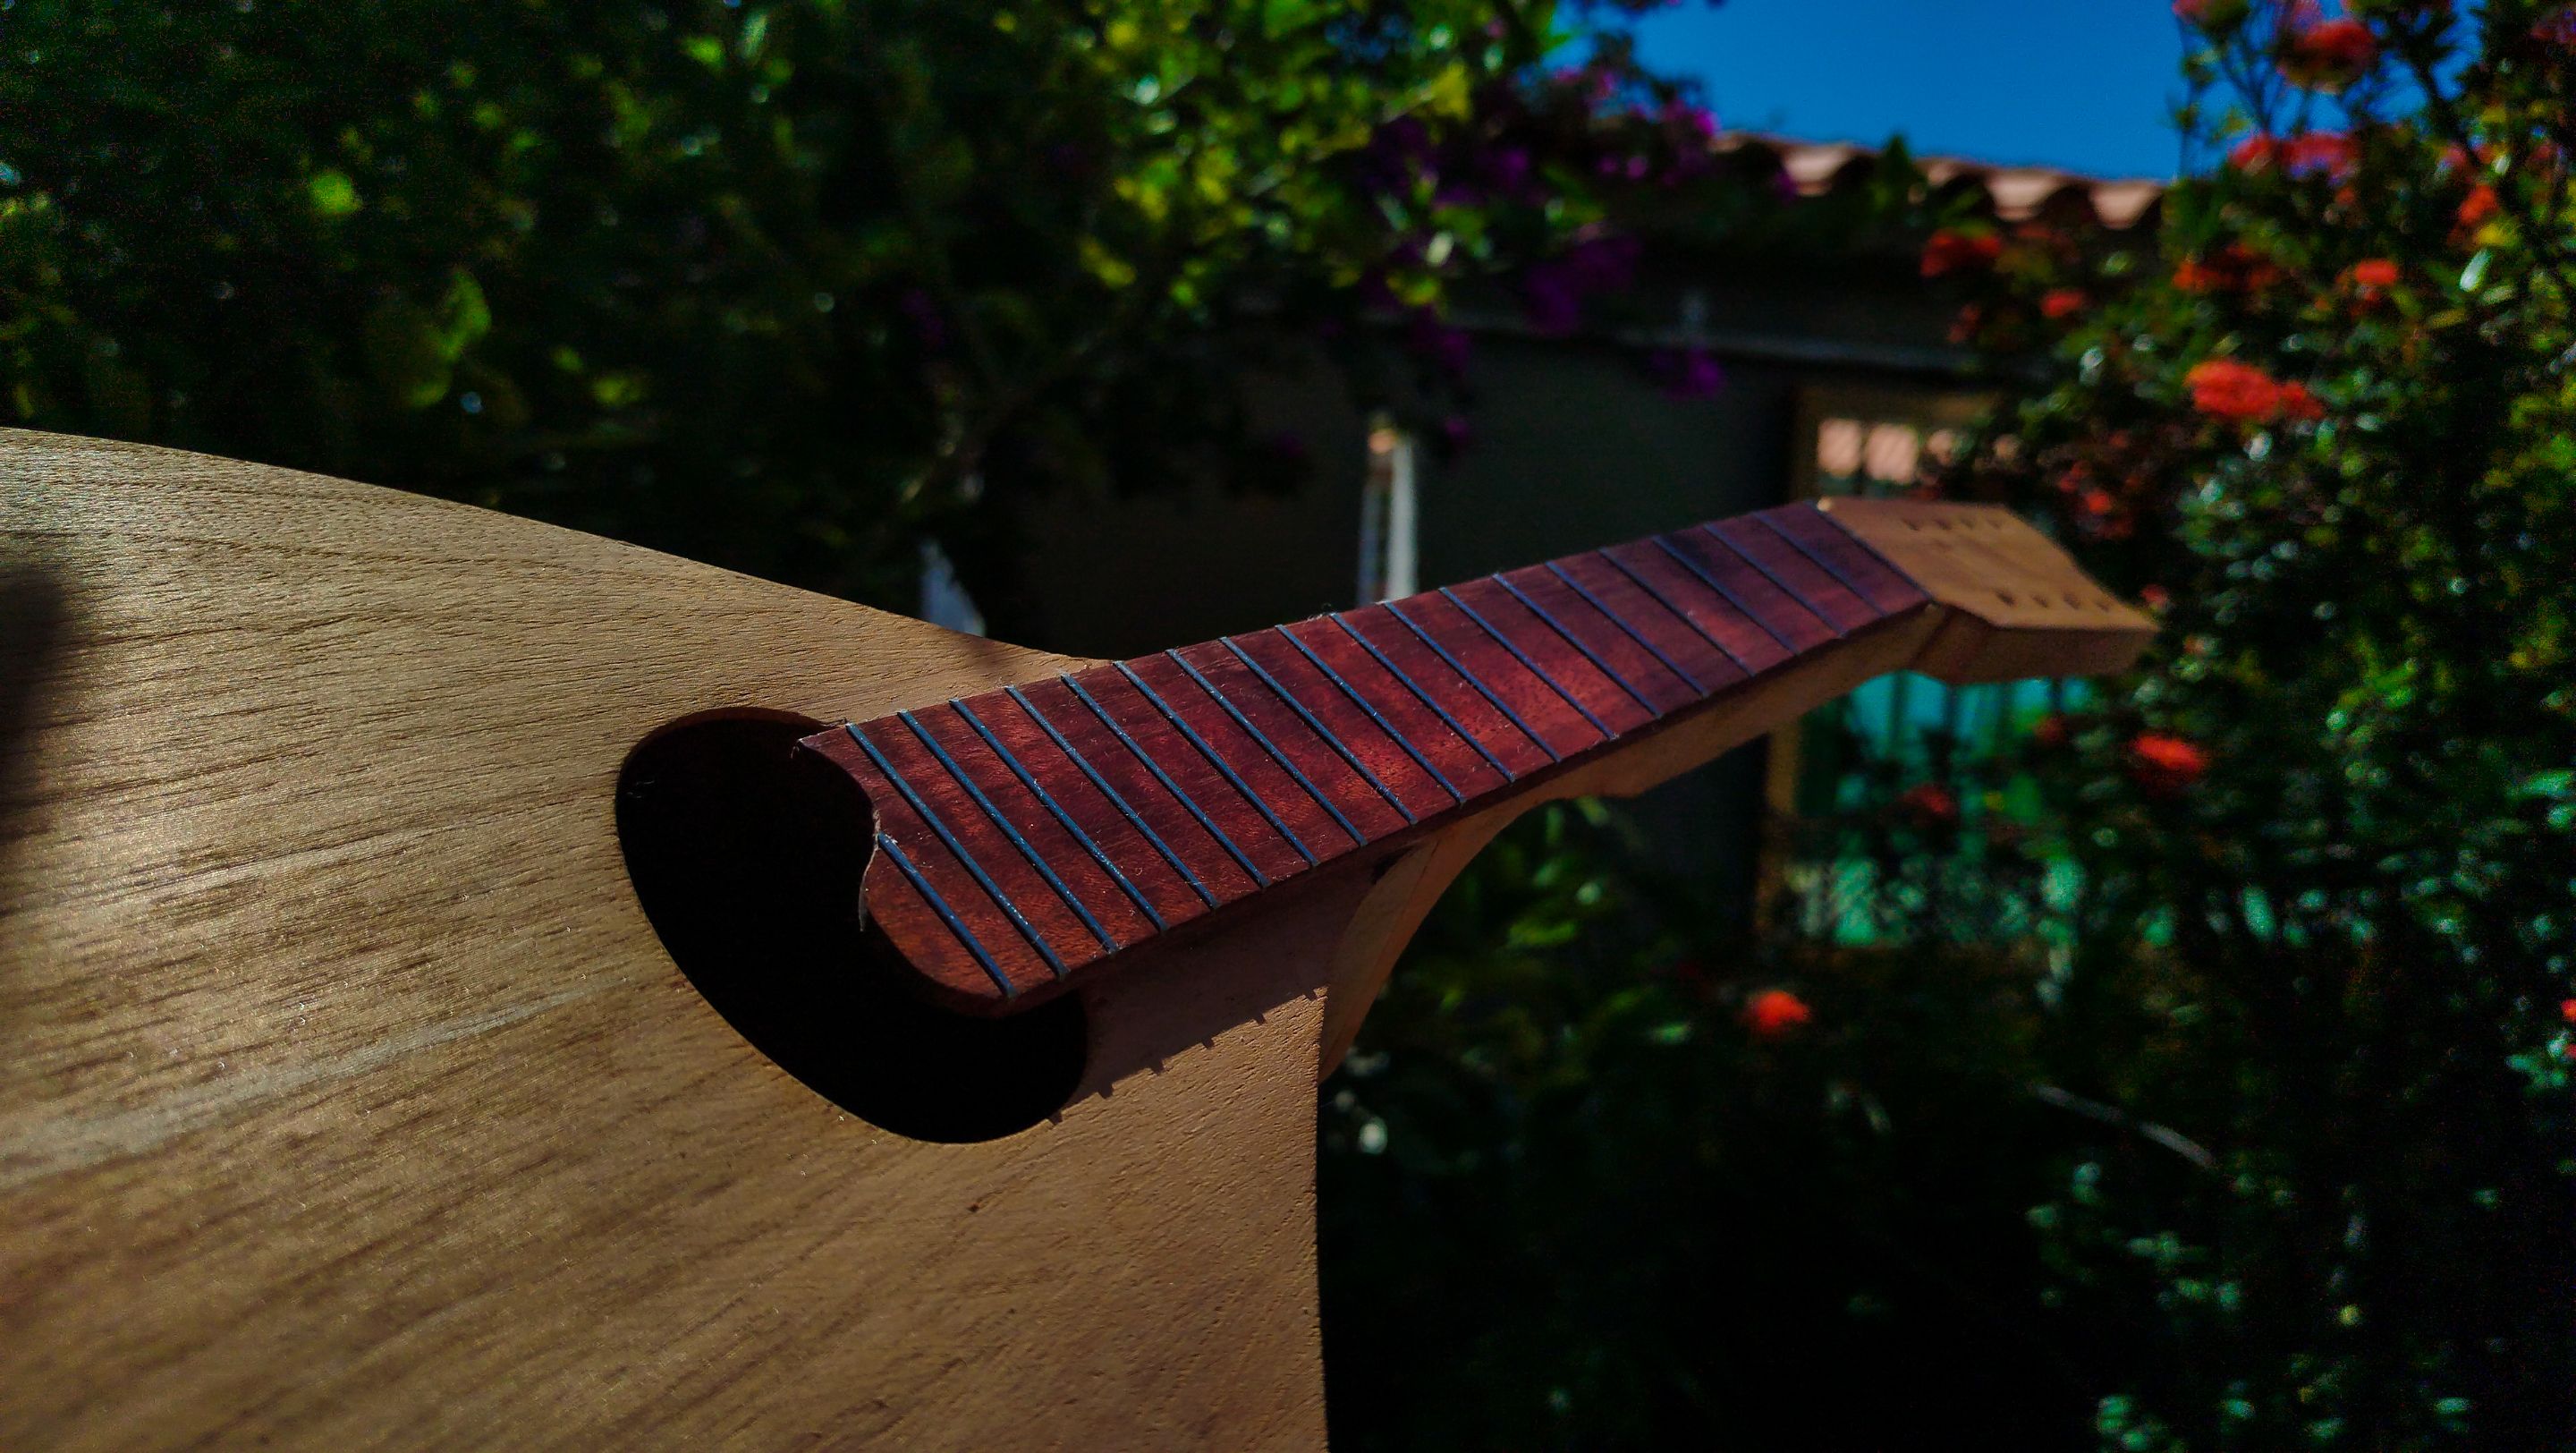
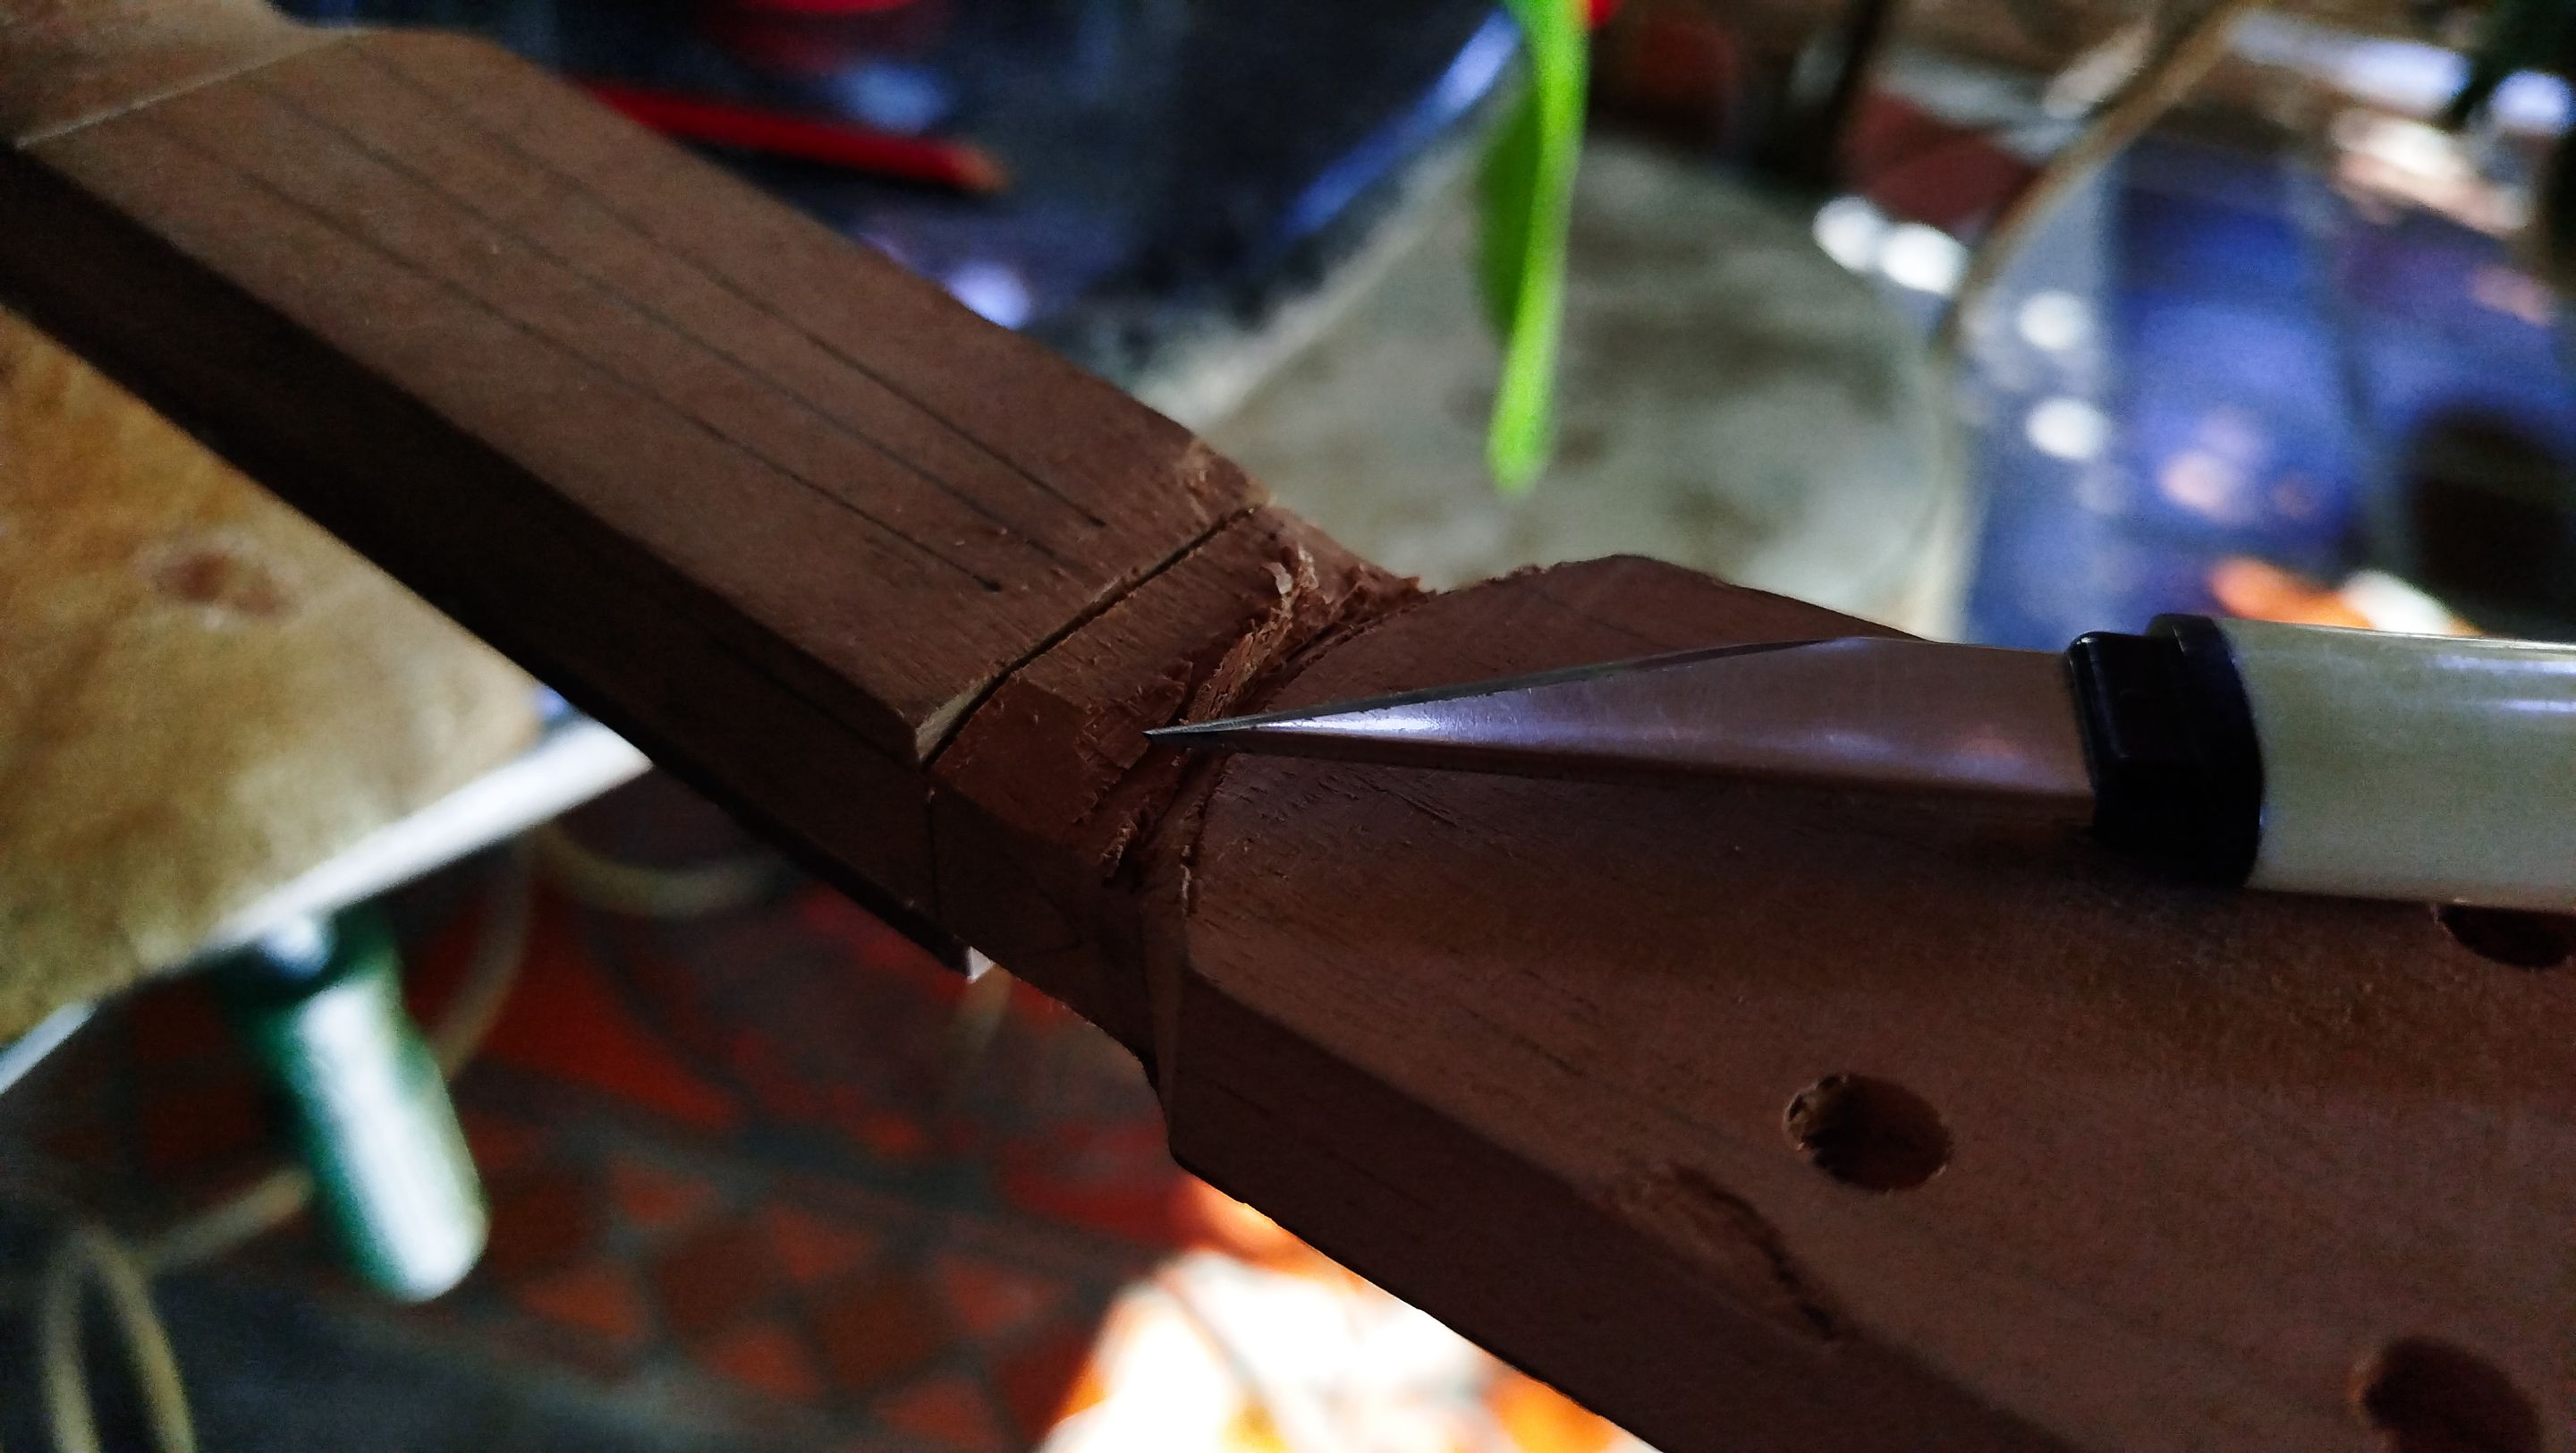
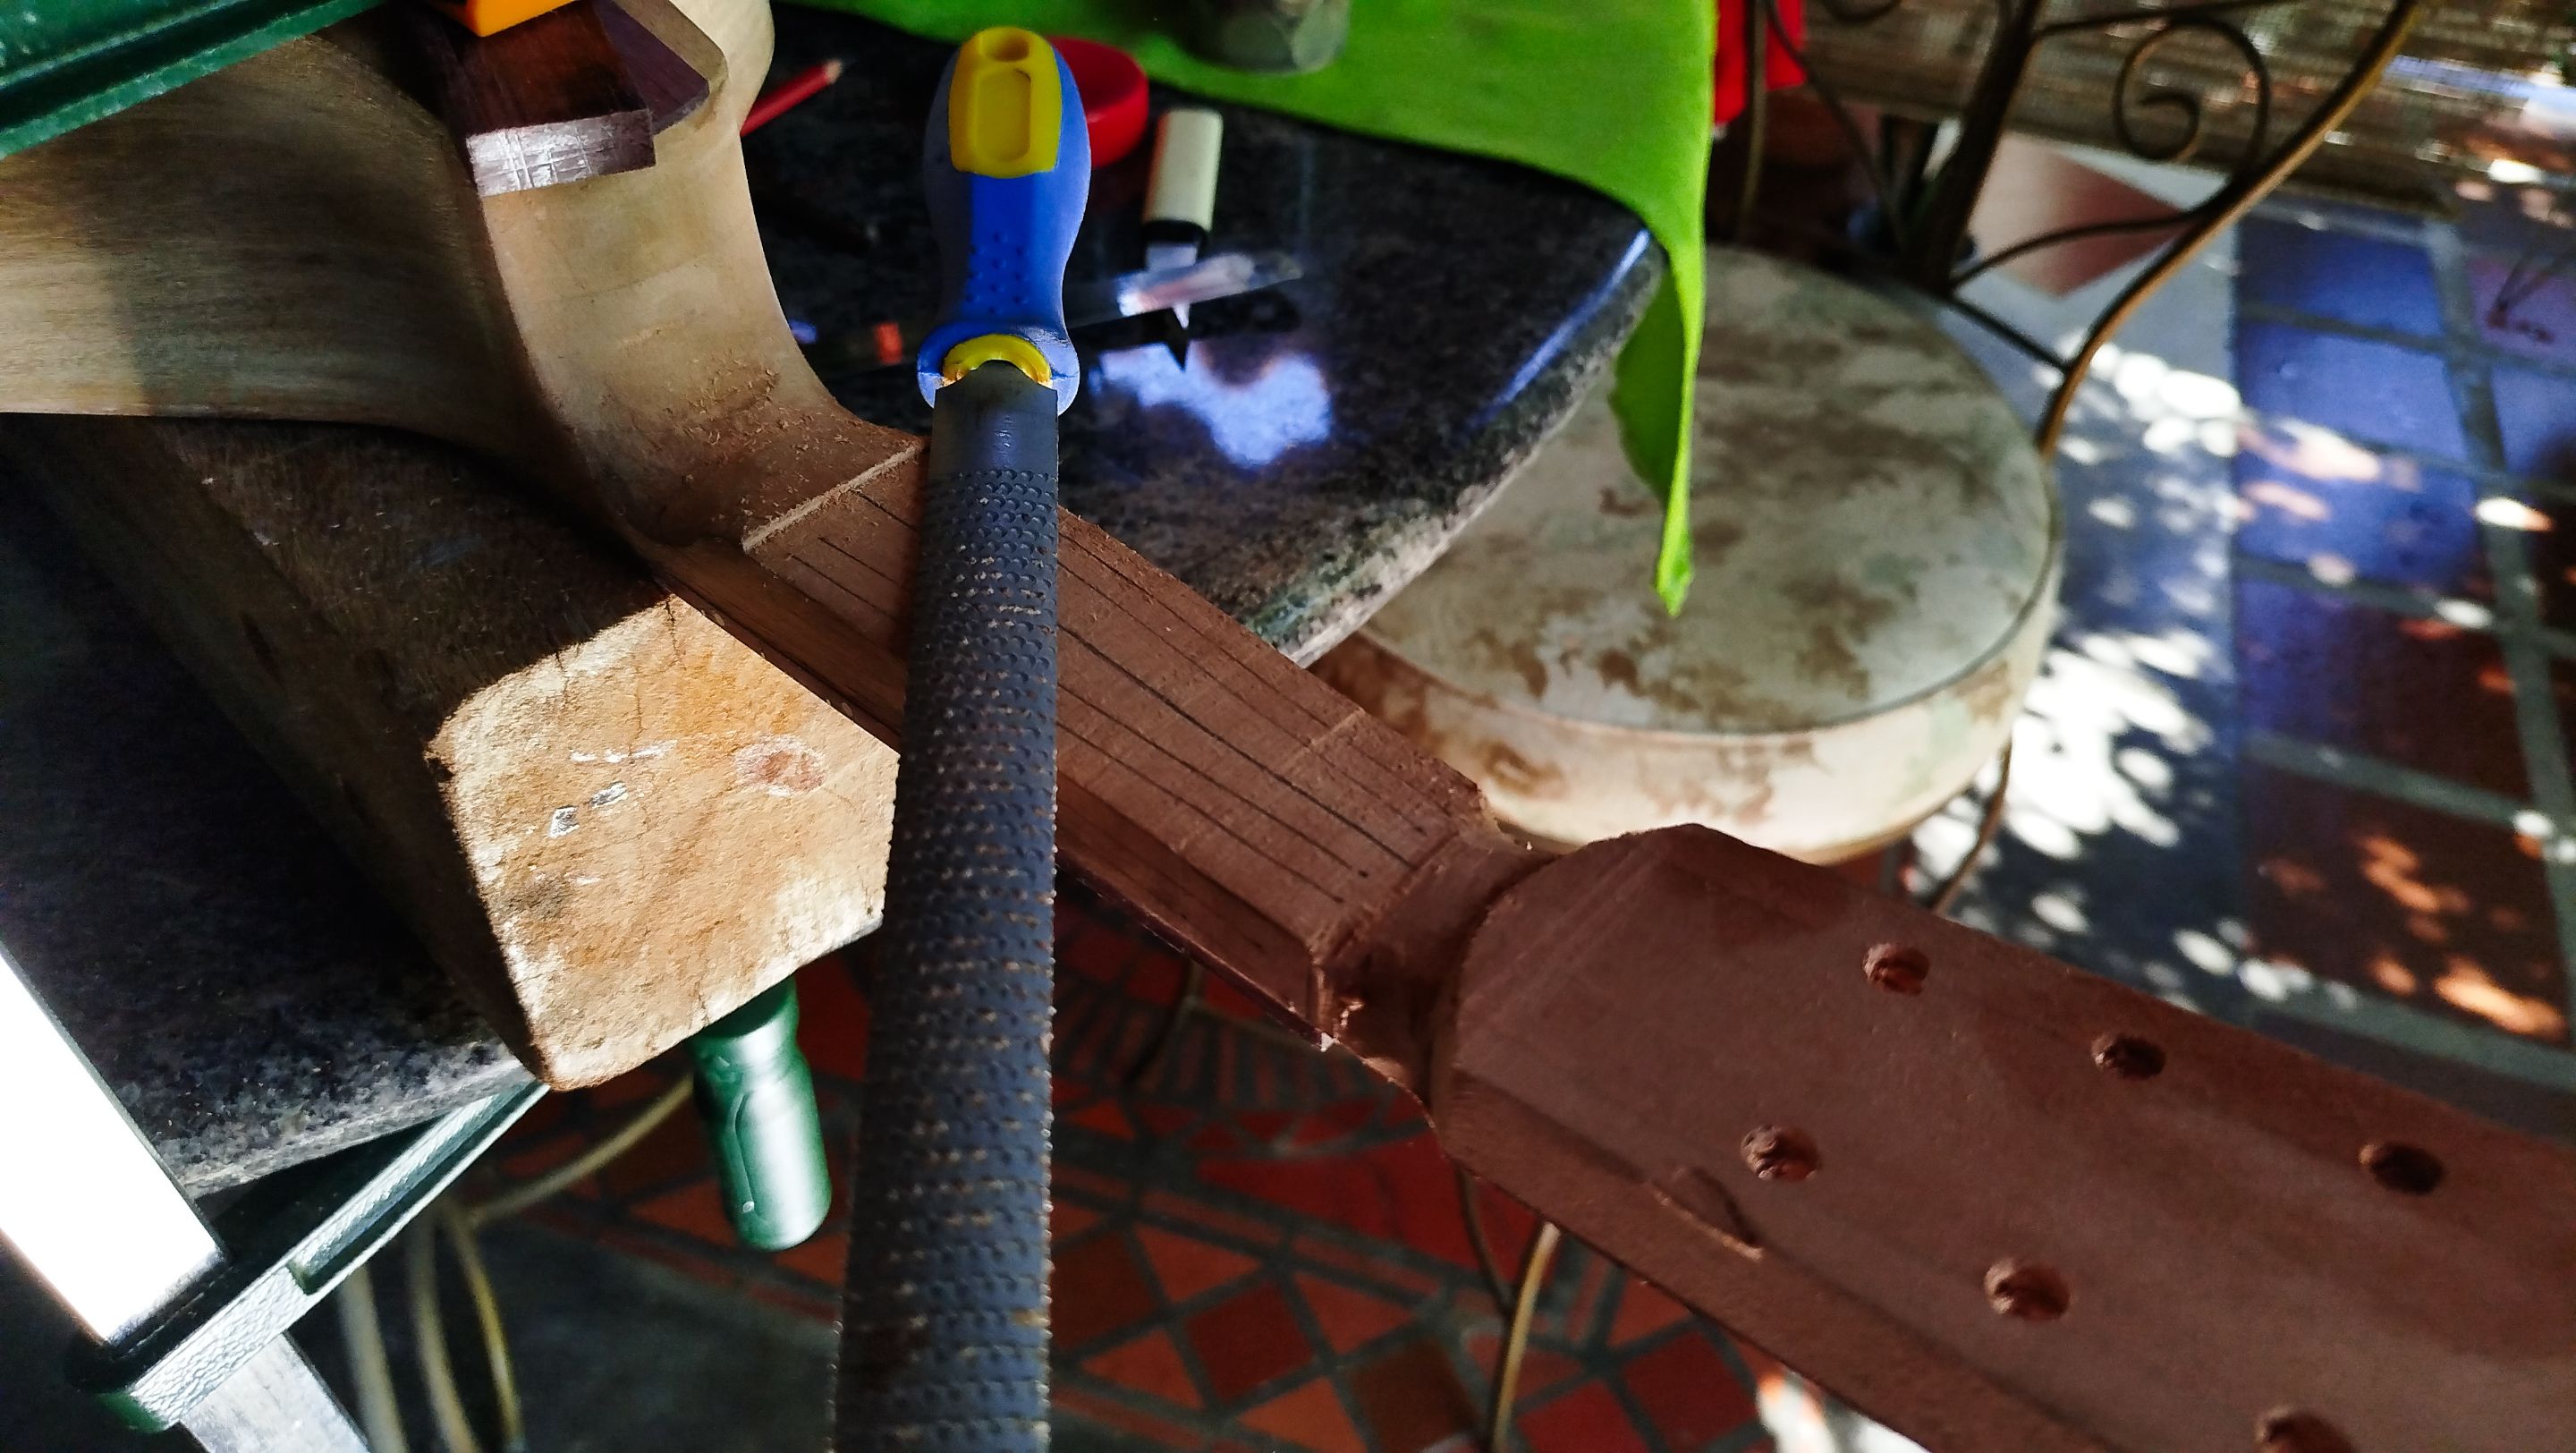
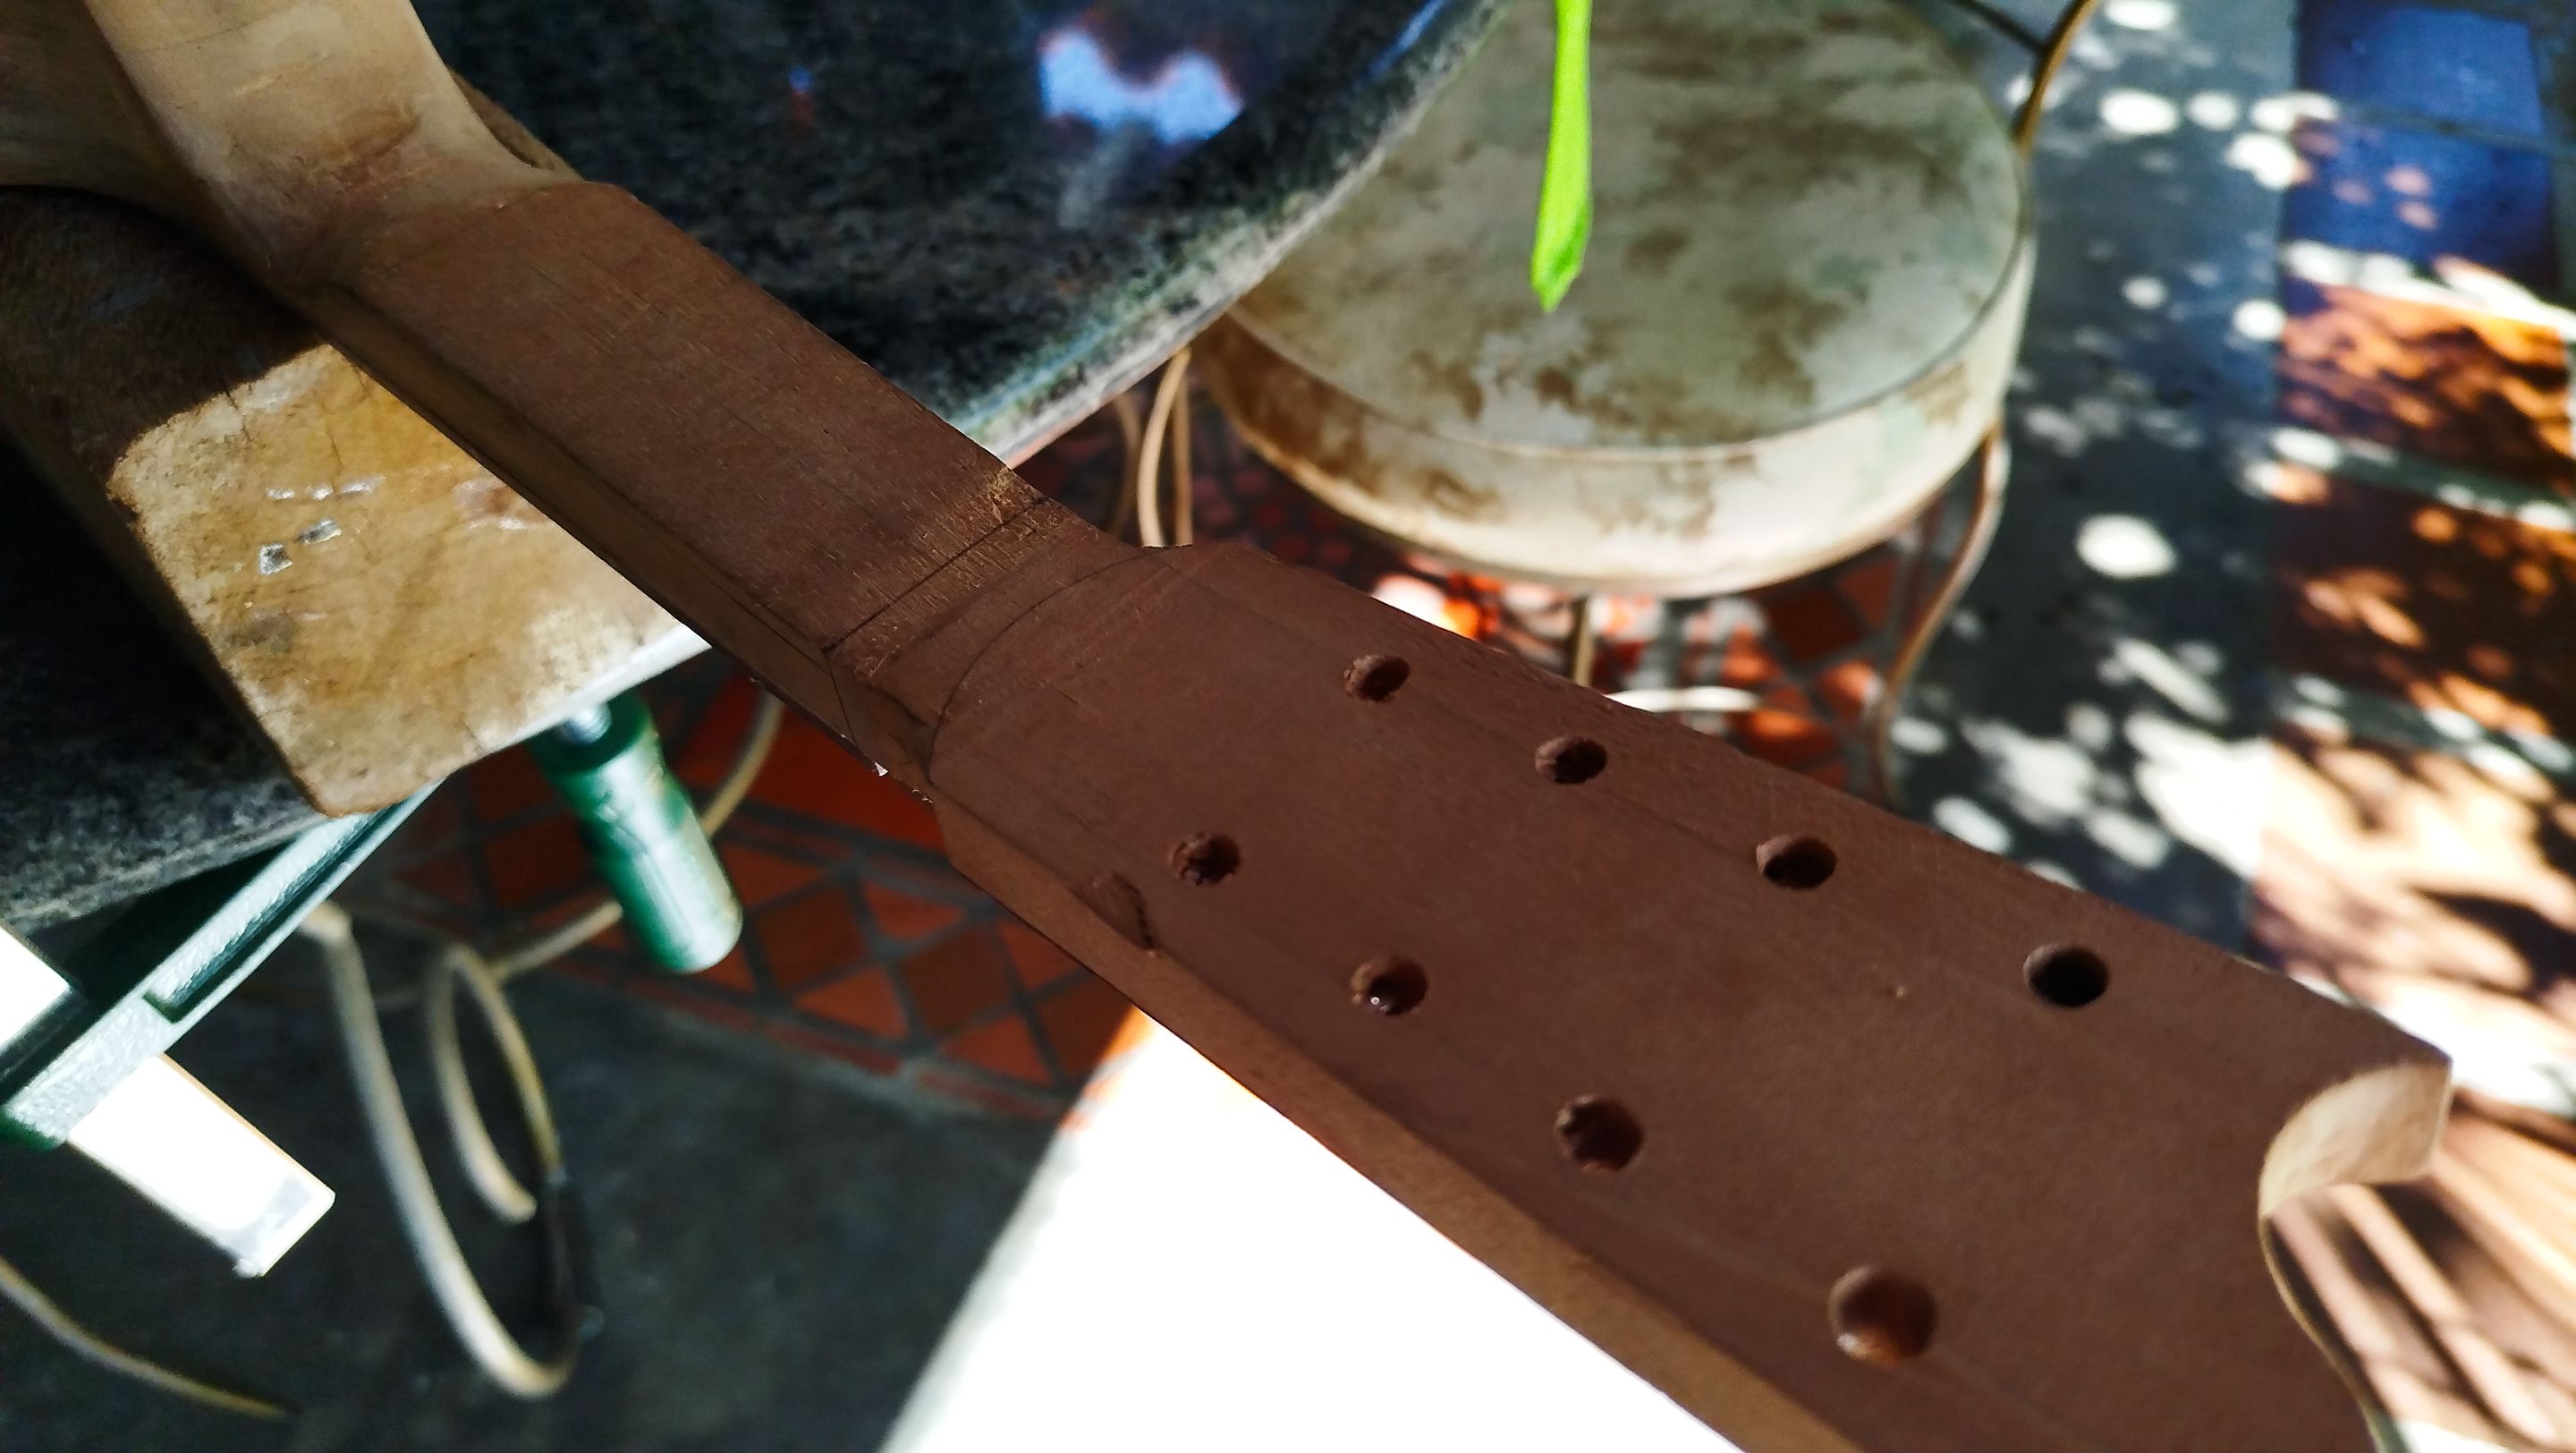
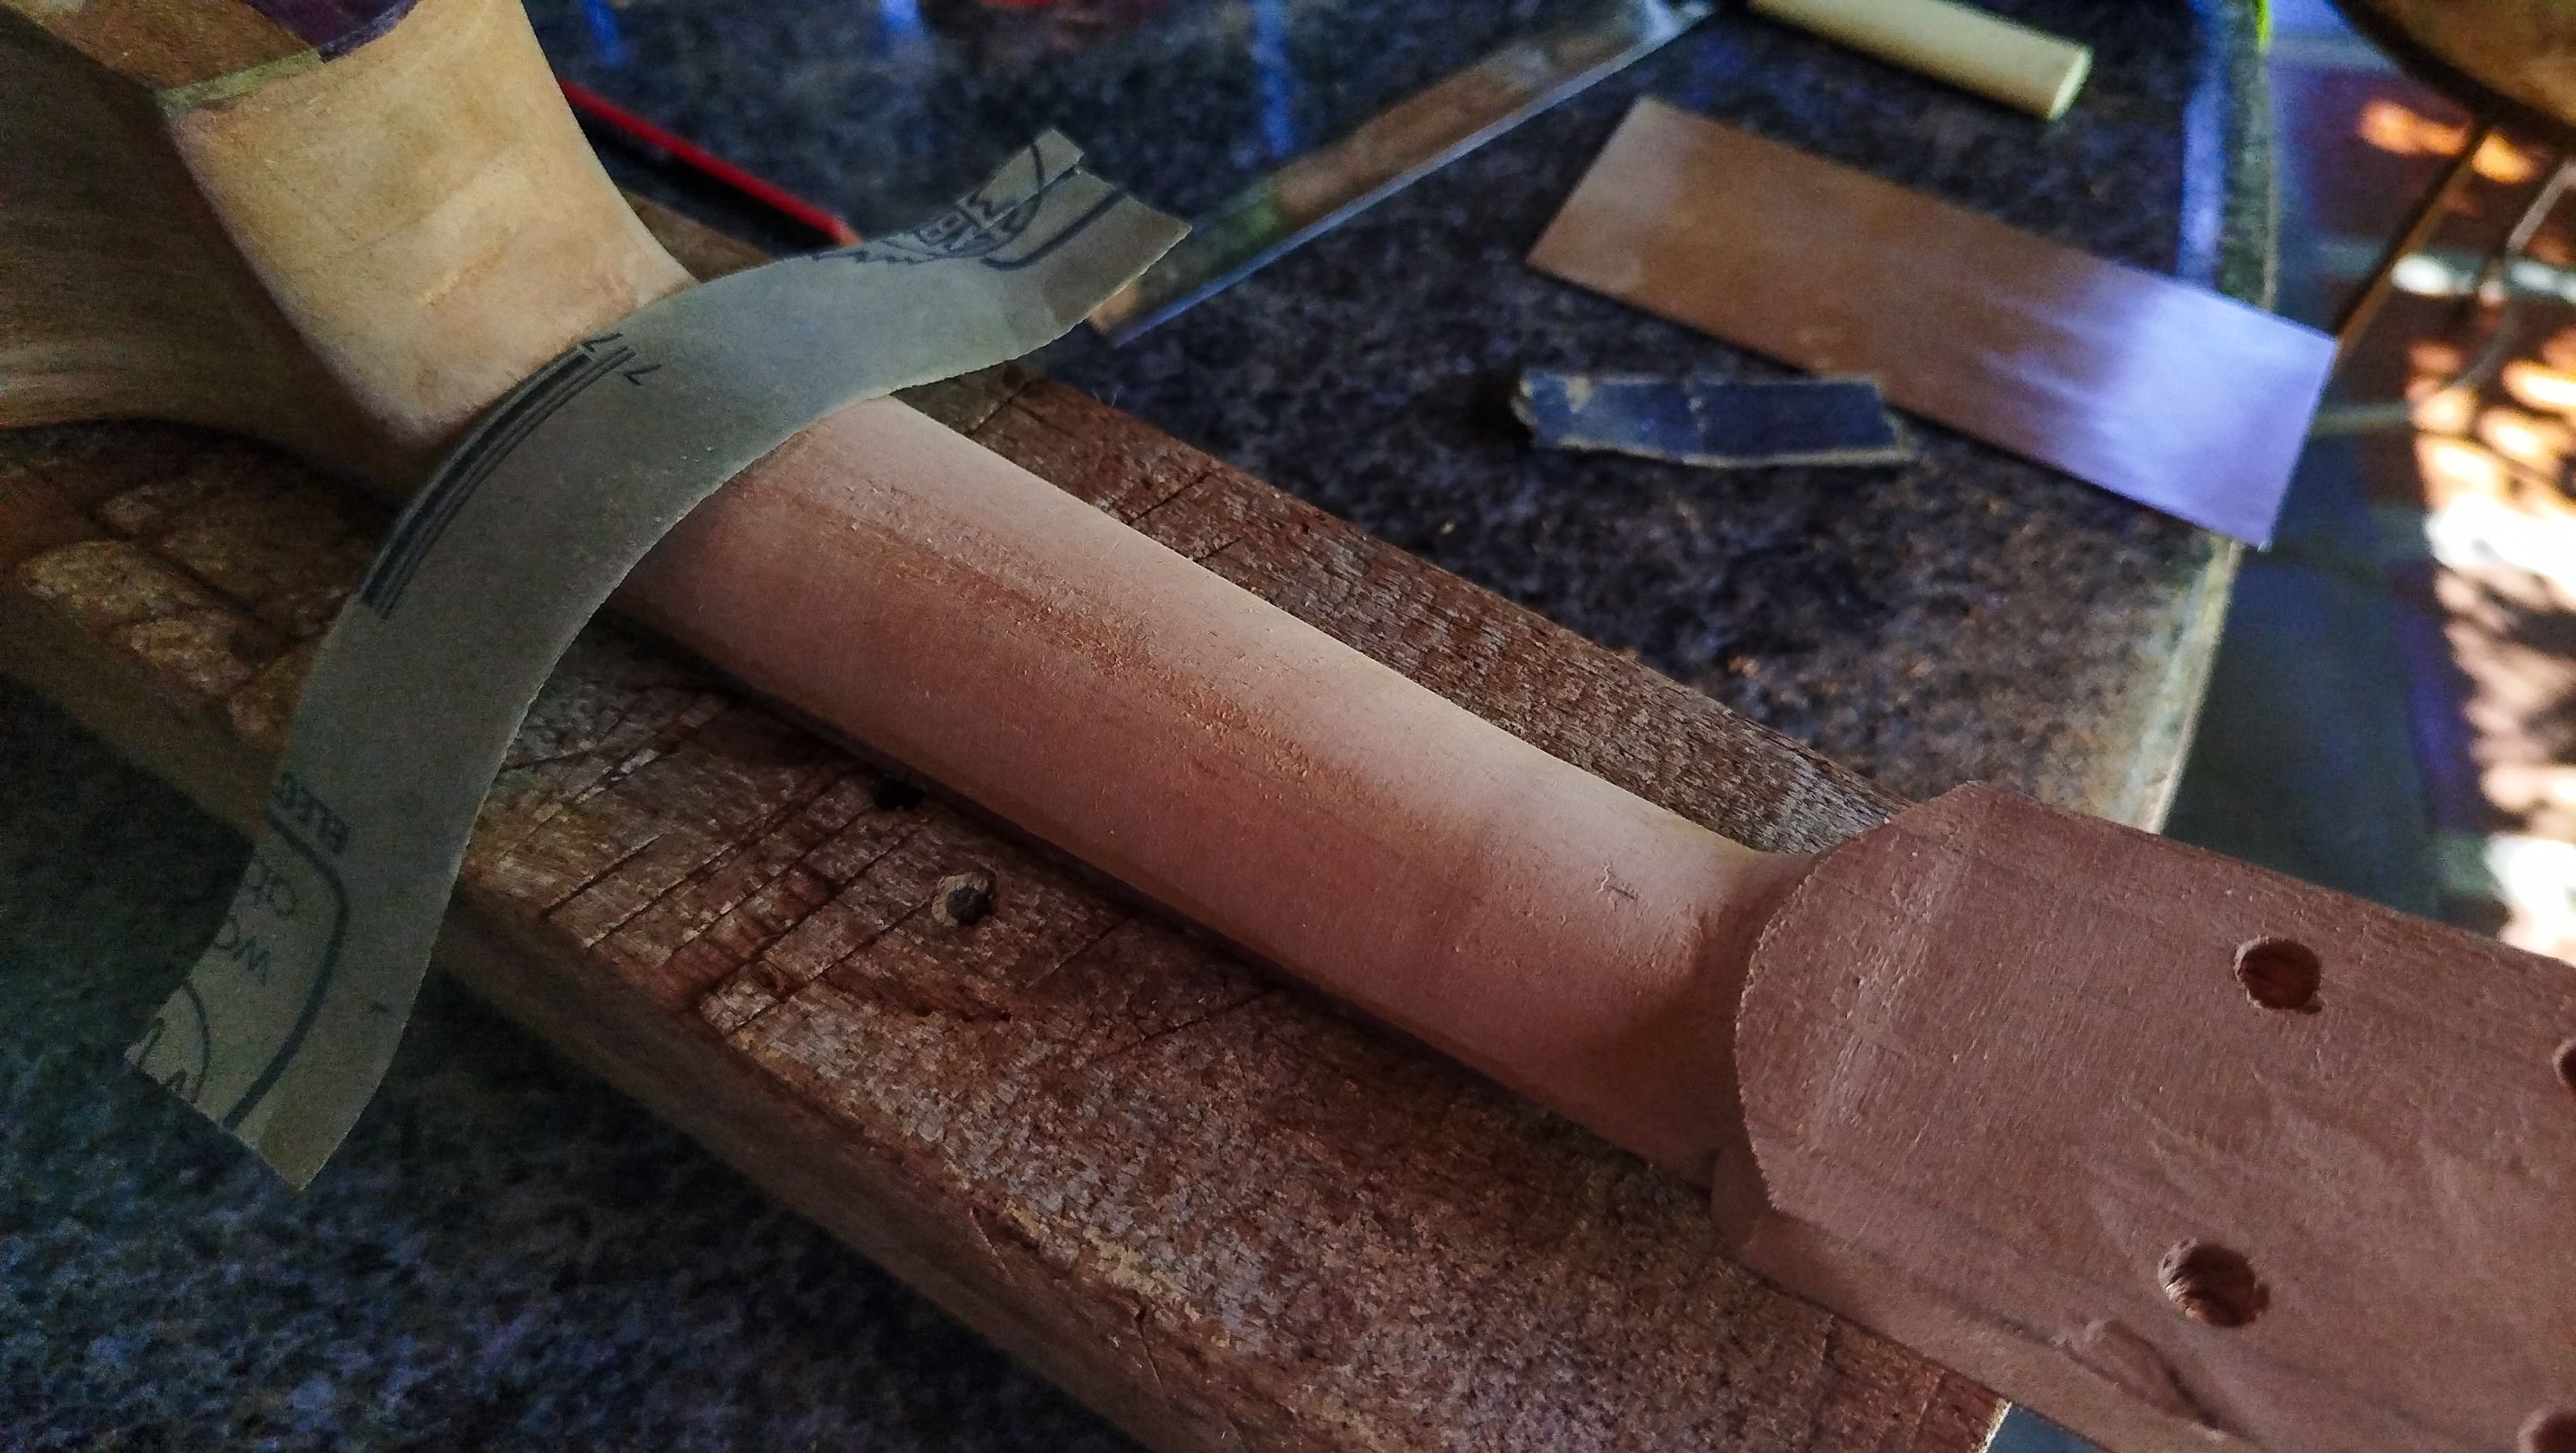
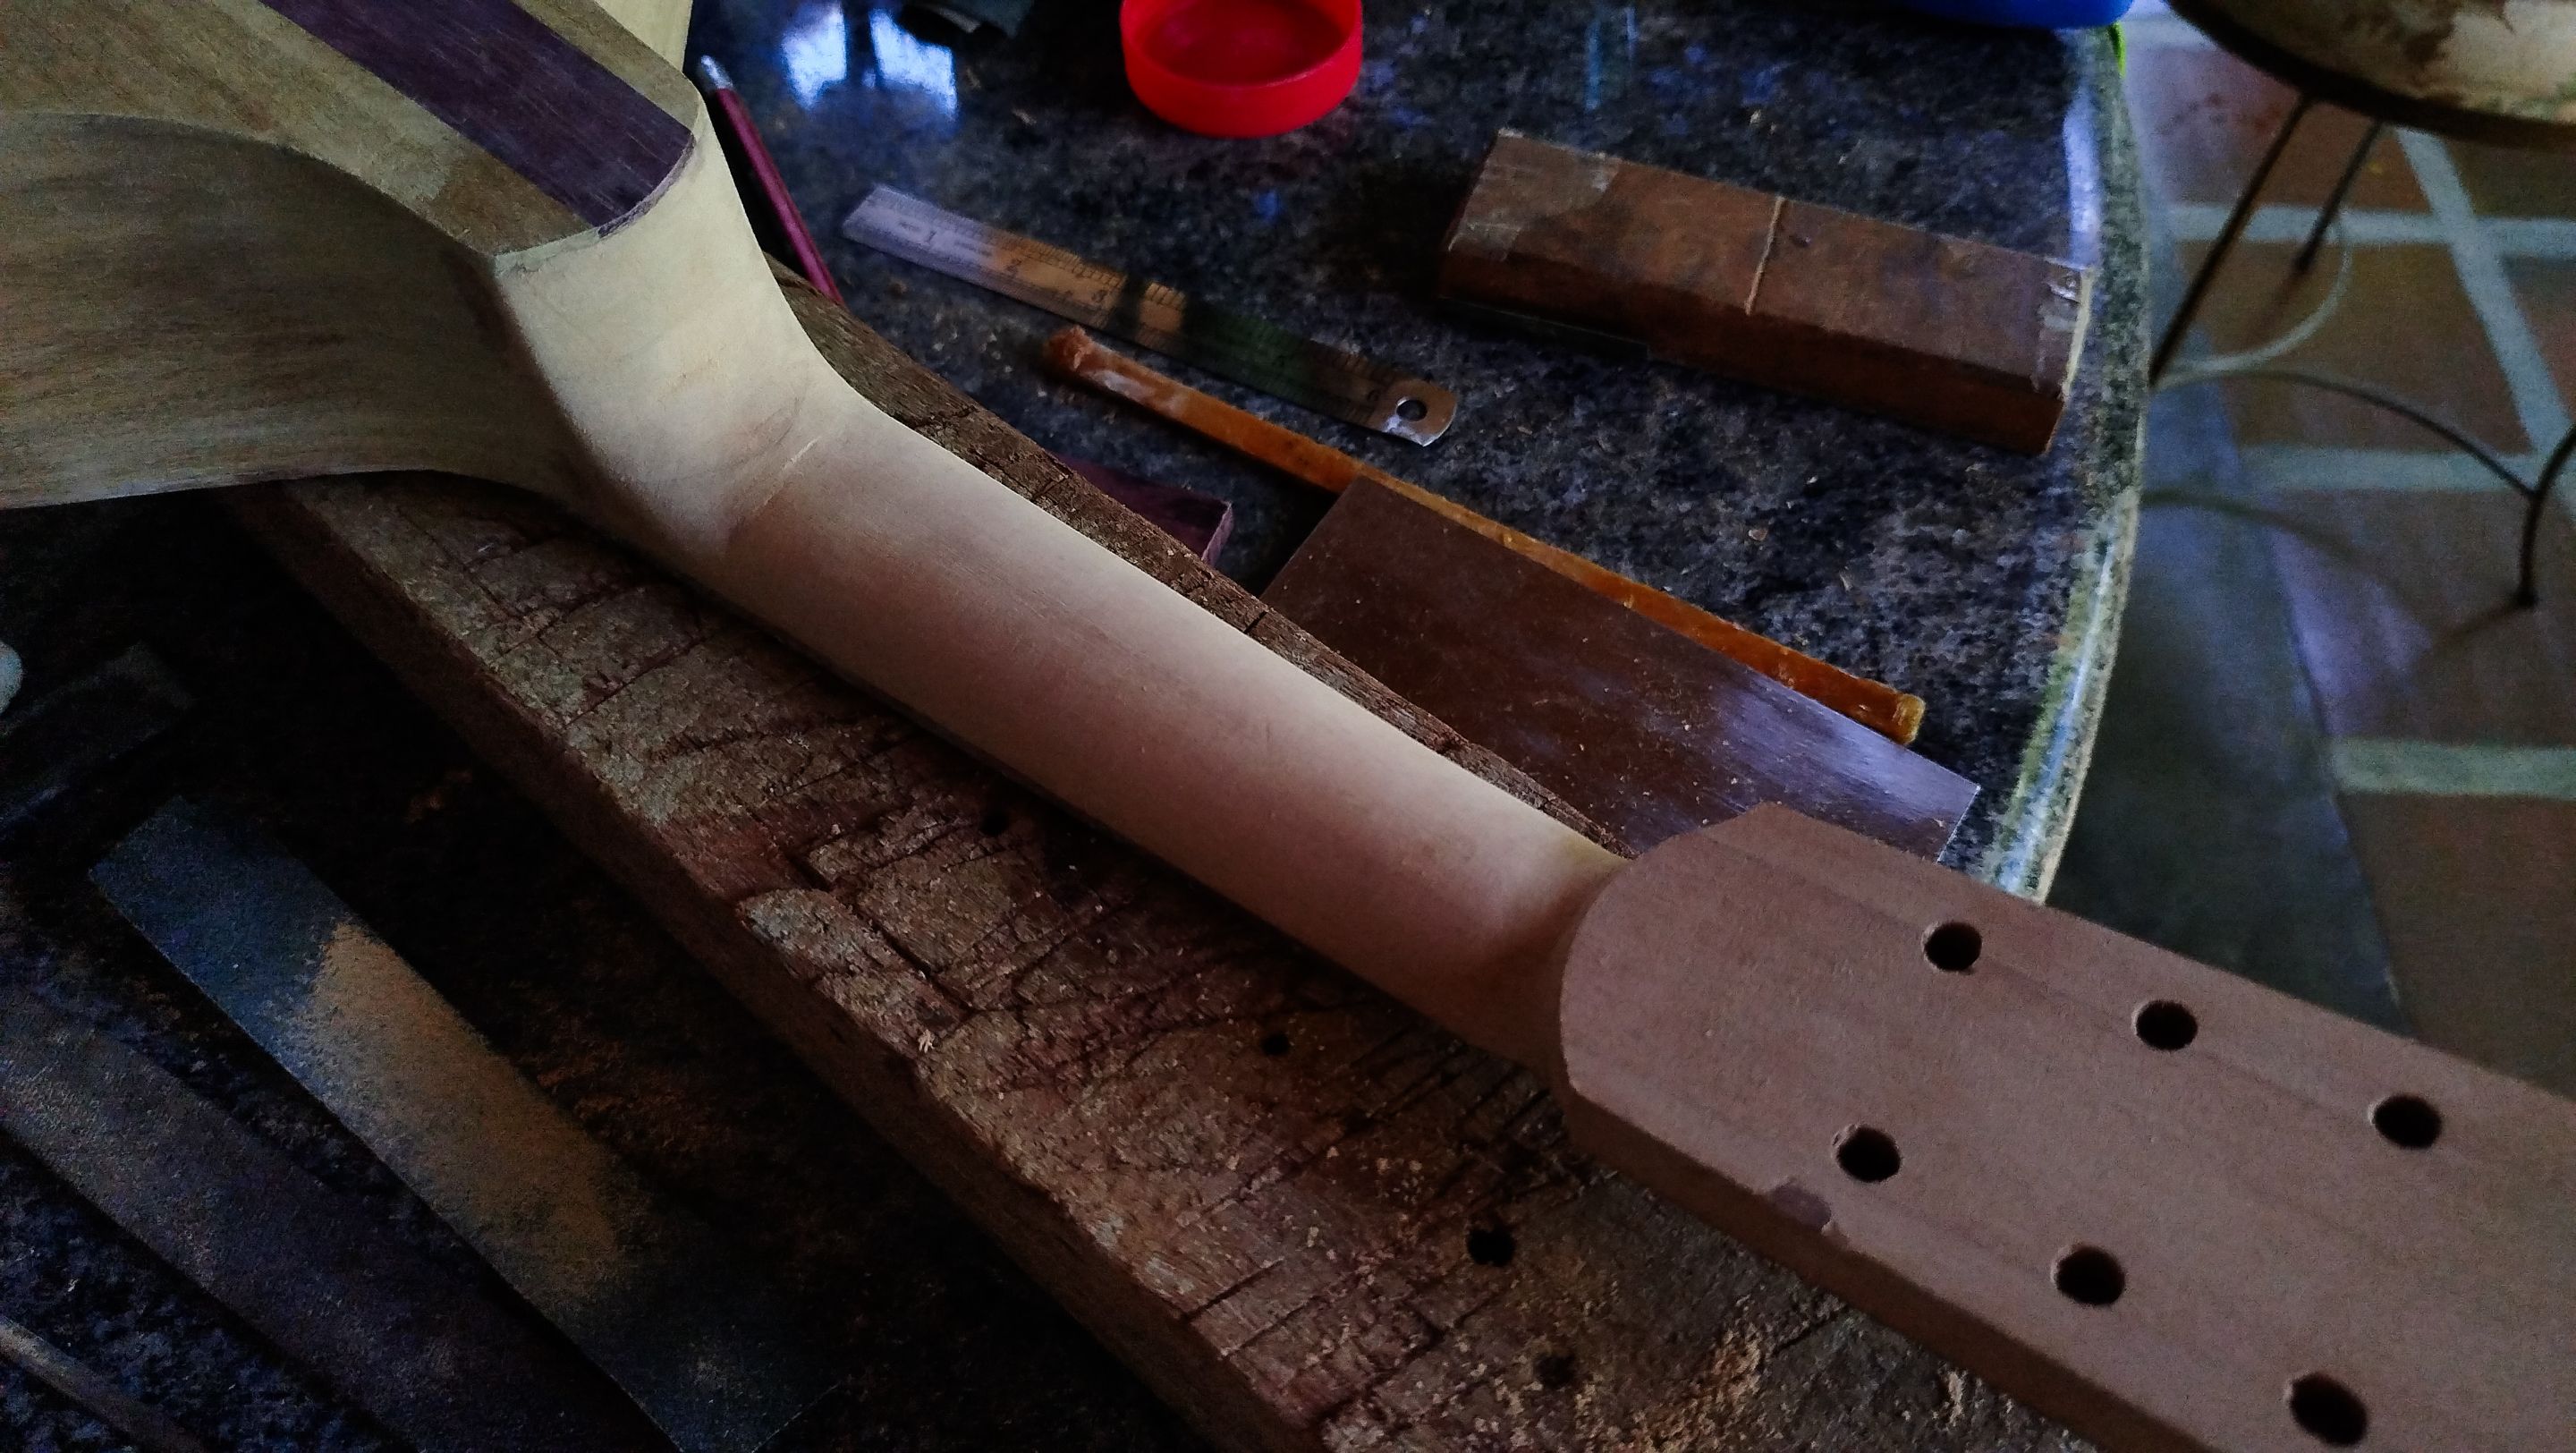
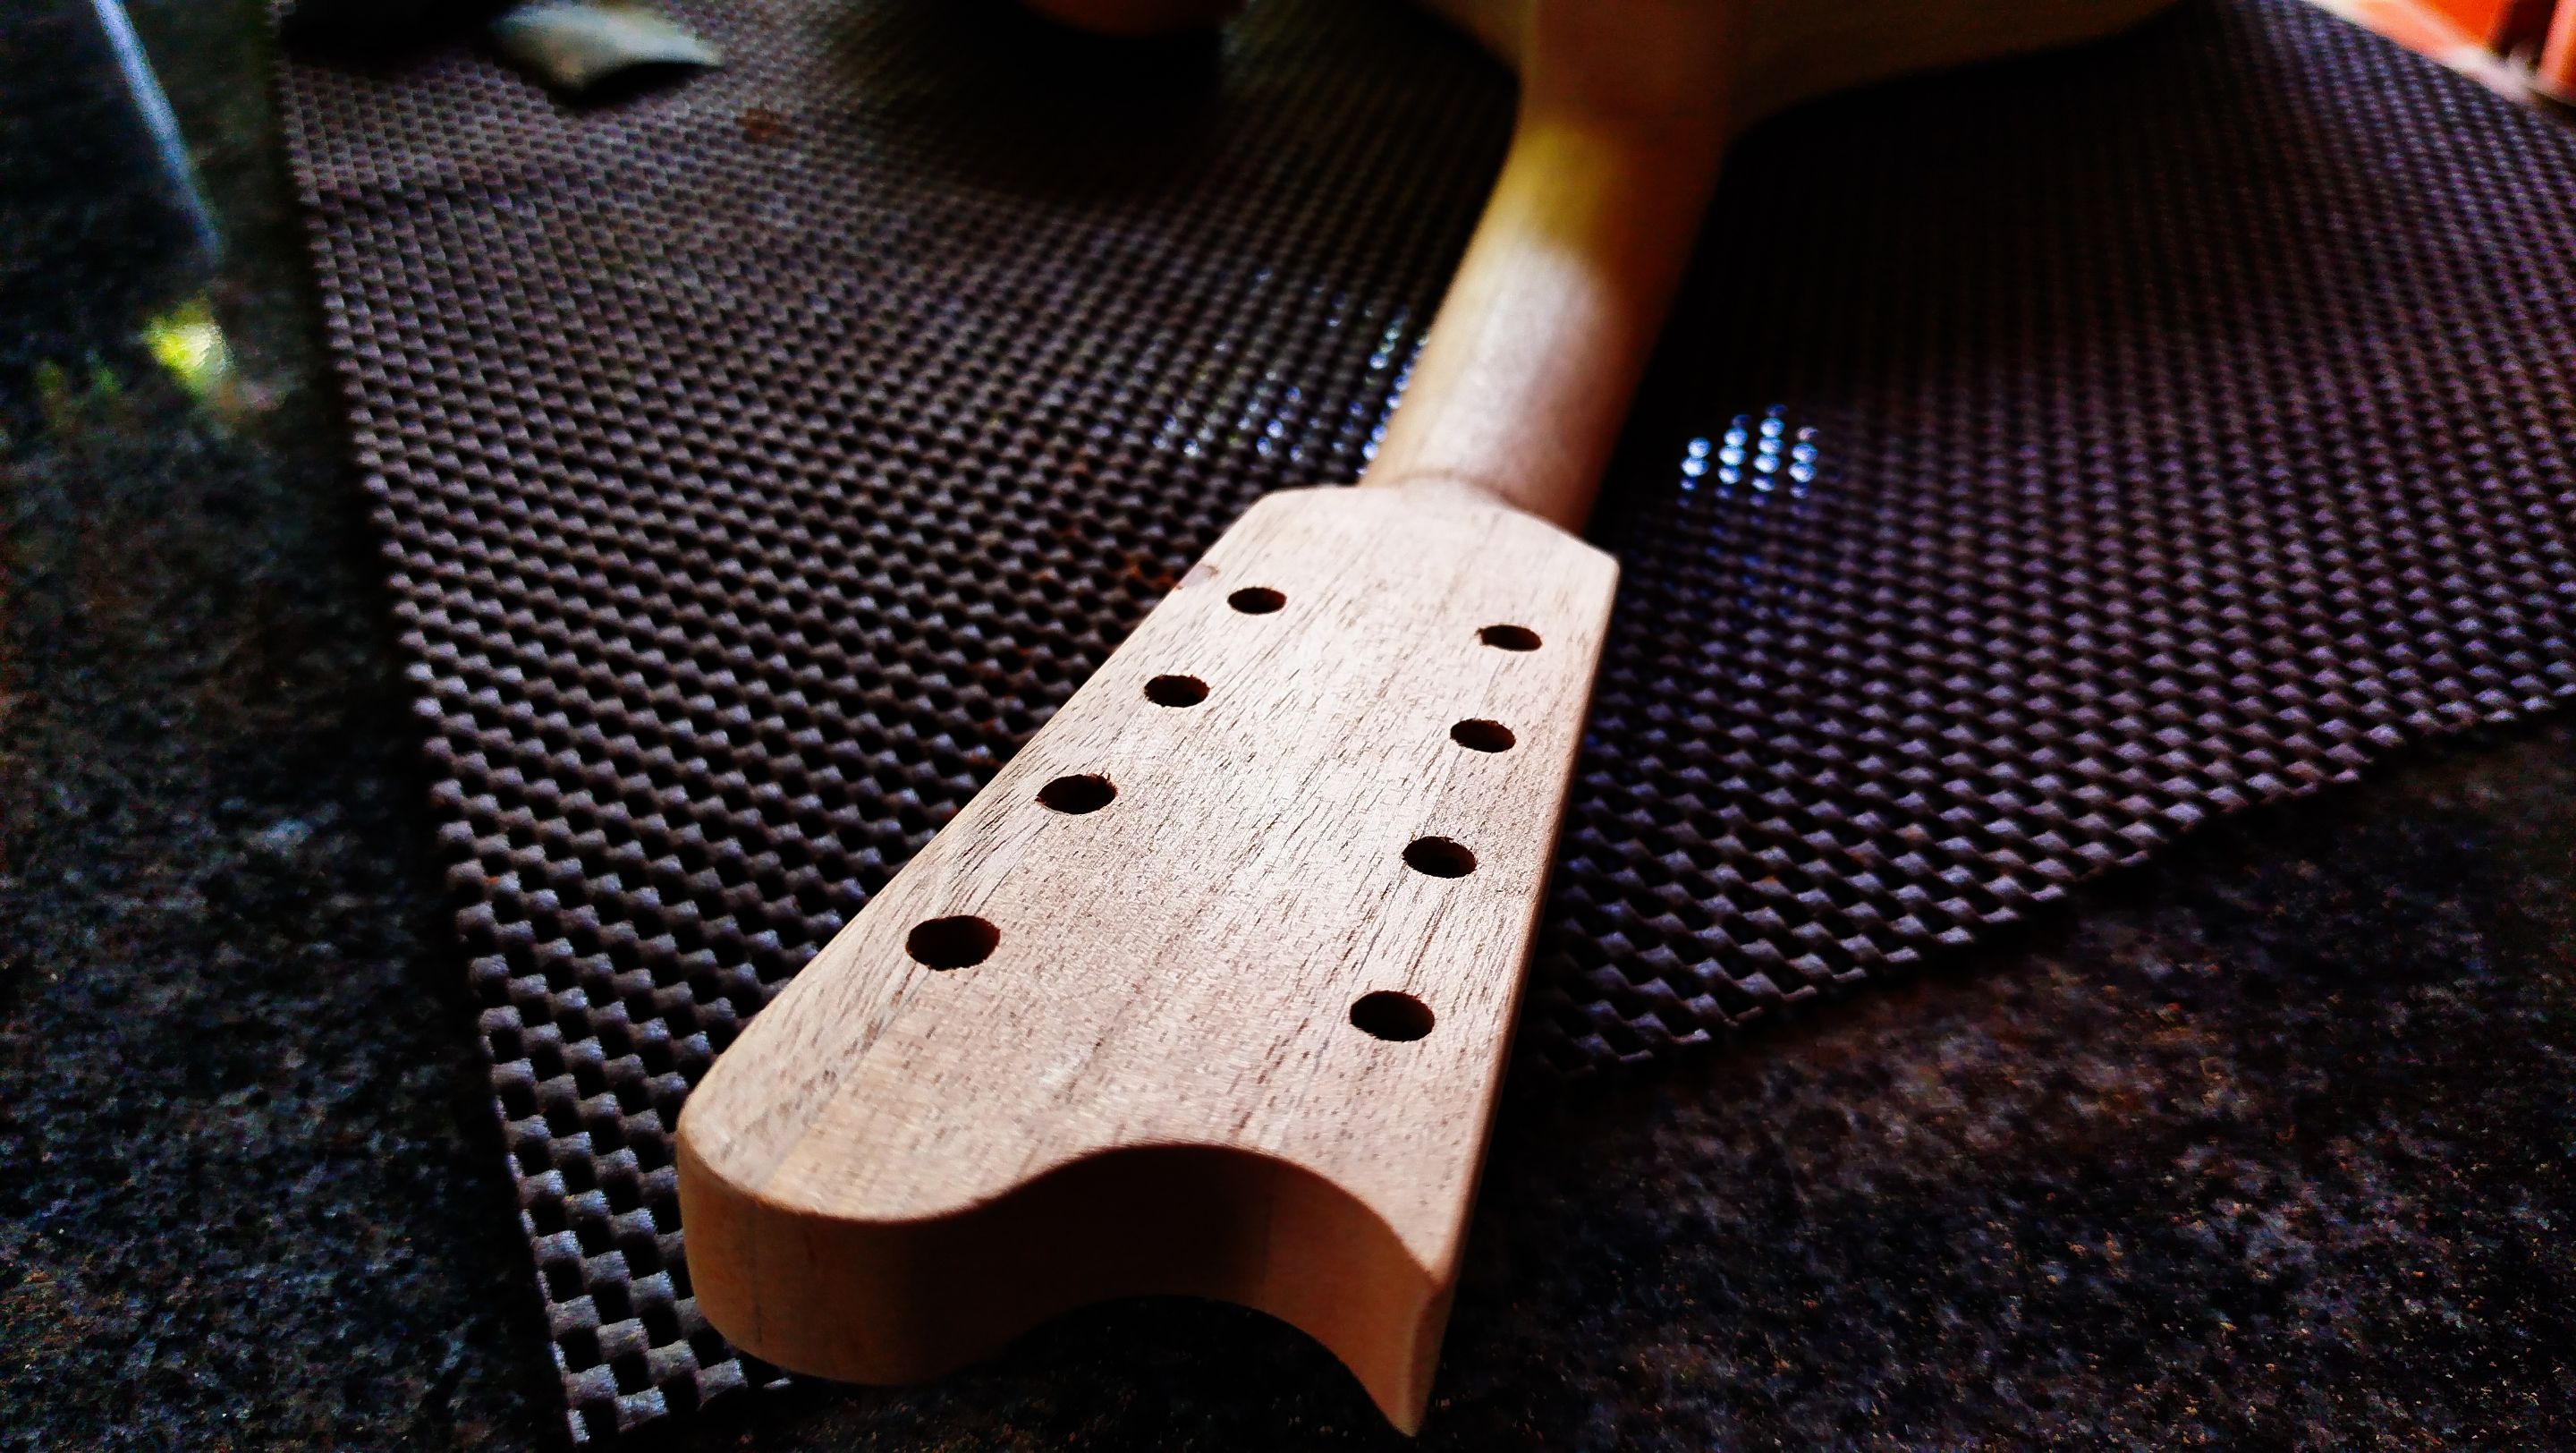
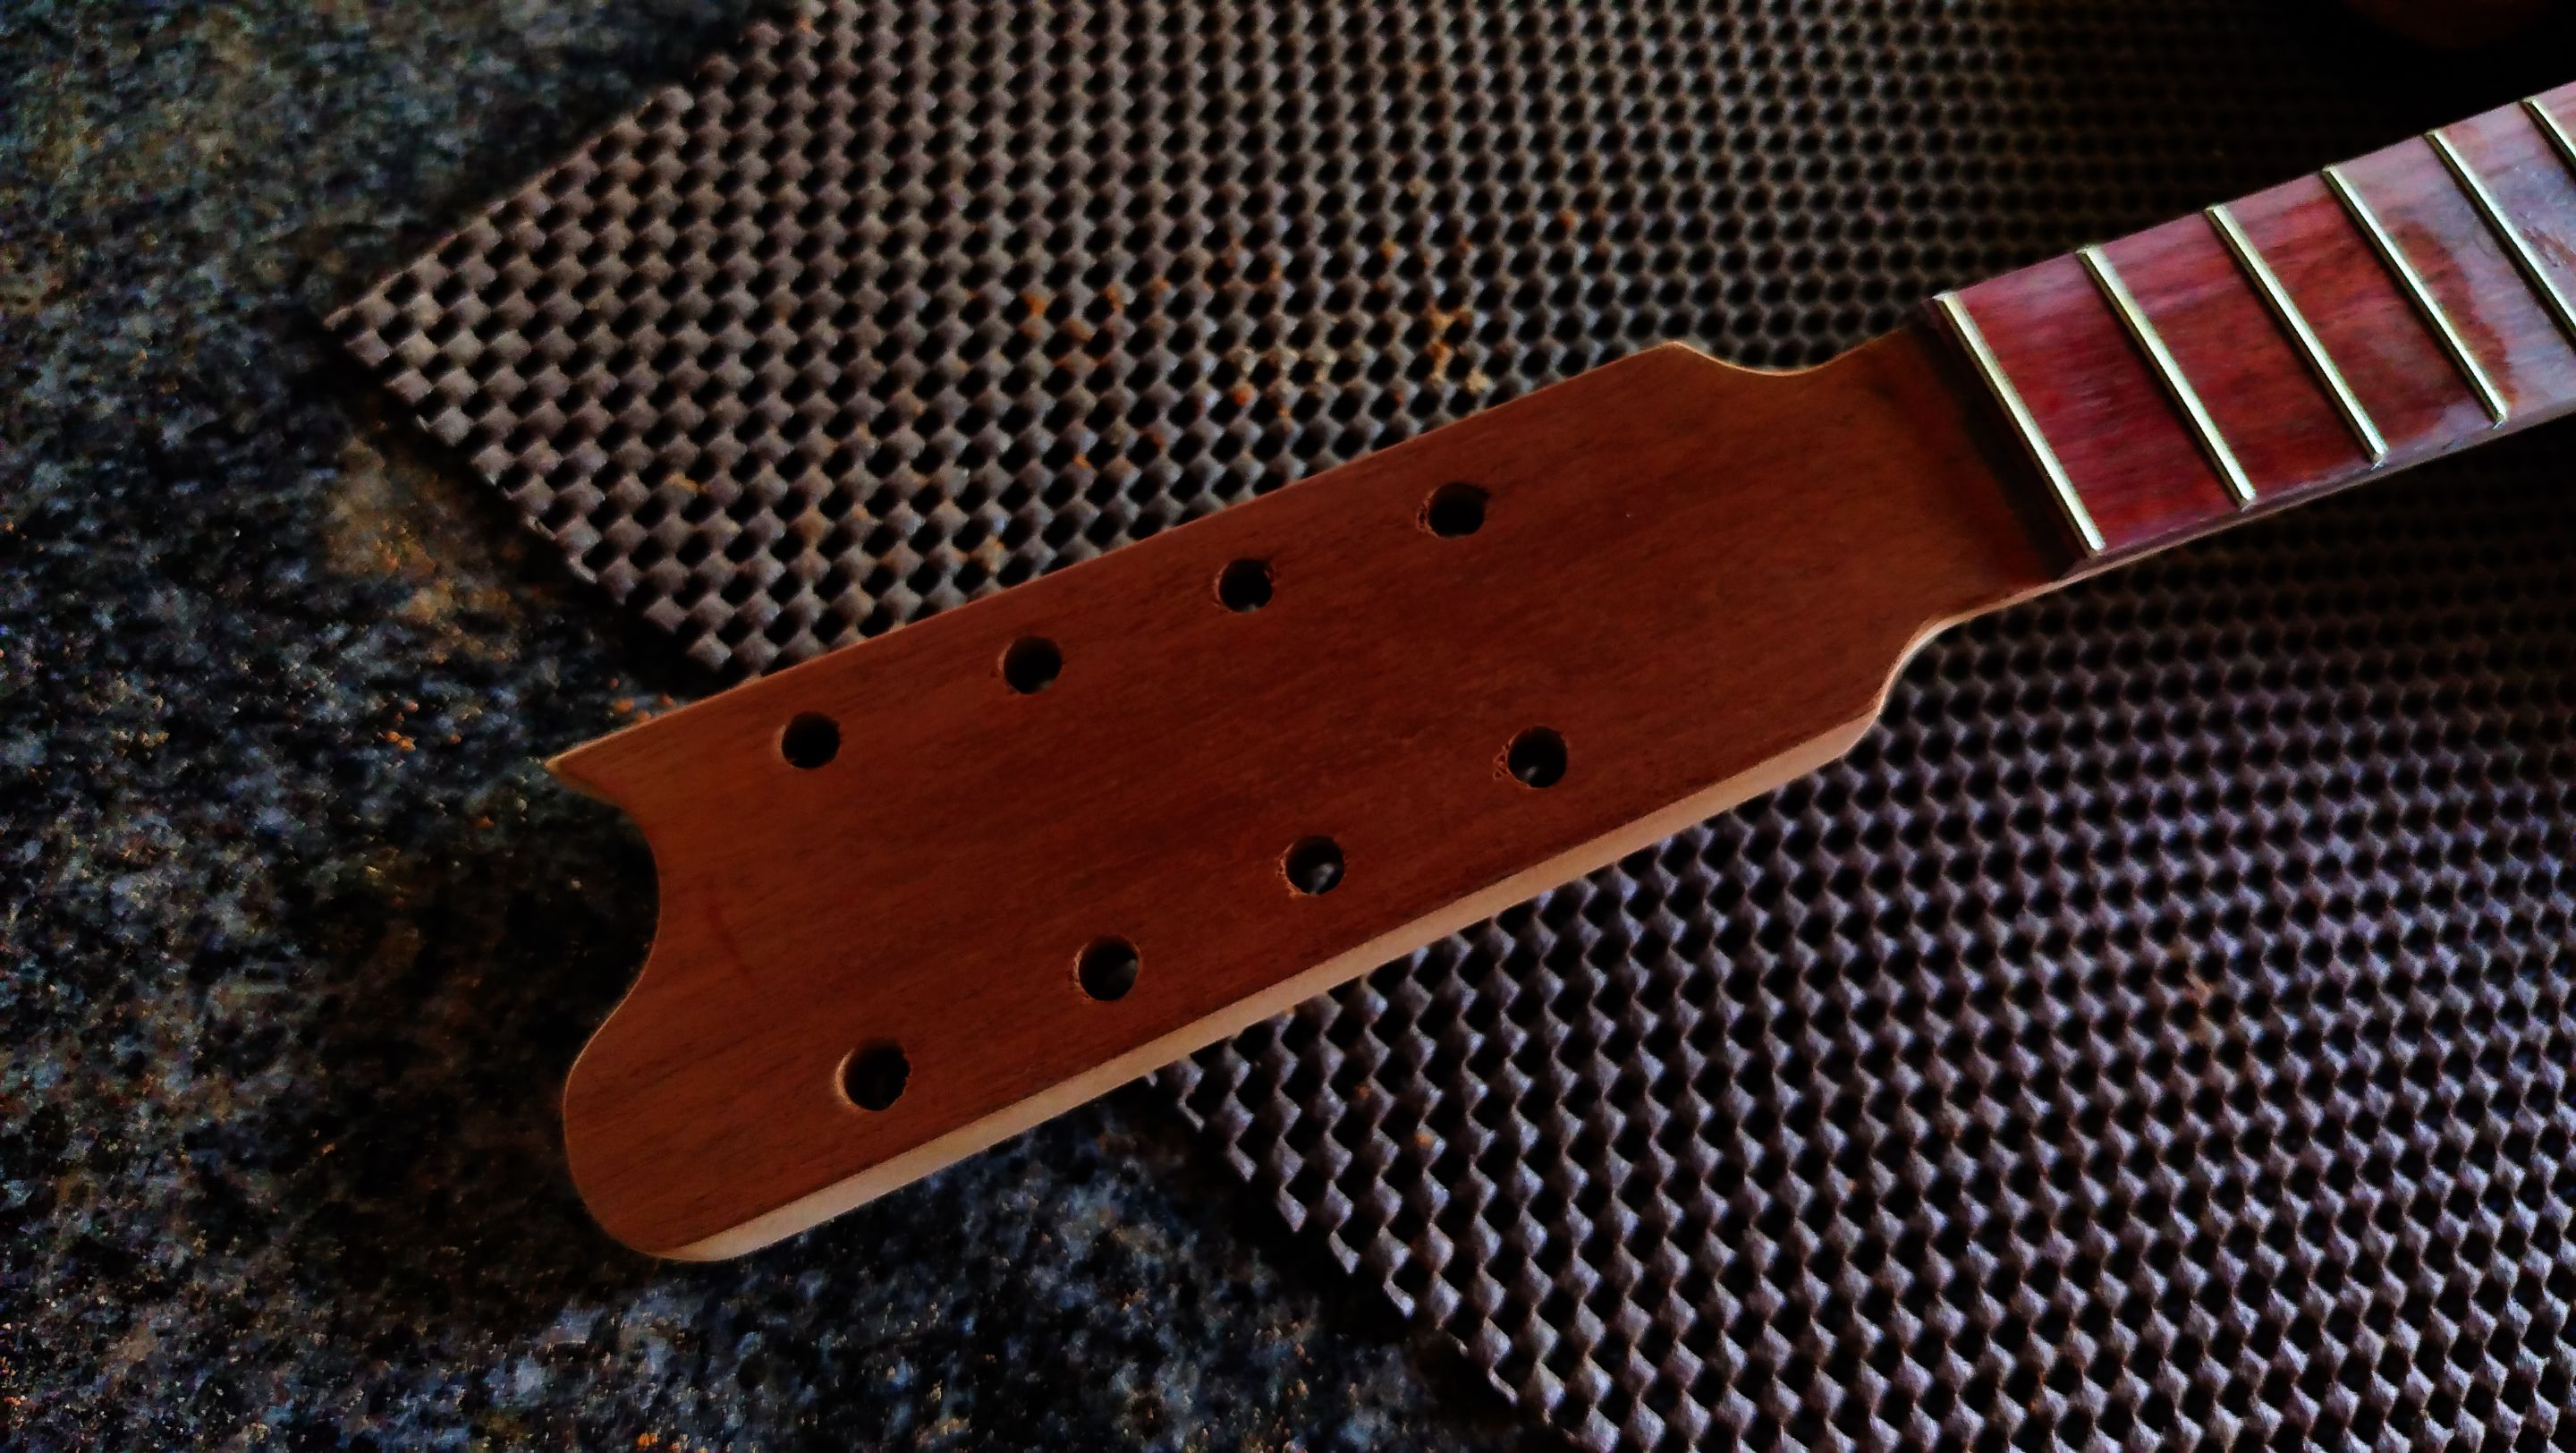
After having the frets installed, we are finally rounding the neck. To create the the shape, we need to draw some lines to have a way to guide ourselves. Then we start on the nearest point to the head stock. This is to create the first part of the curve to guide ourselves and having the chance to recreate the curve along the rest of the neck.
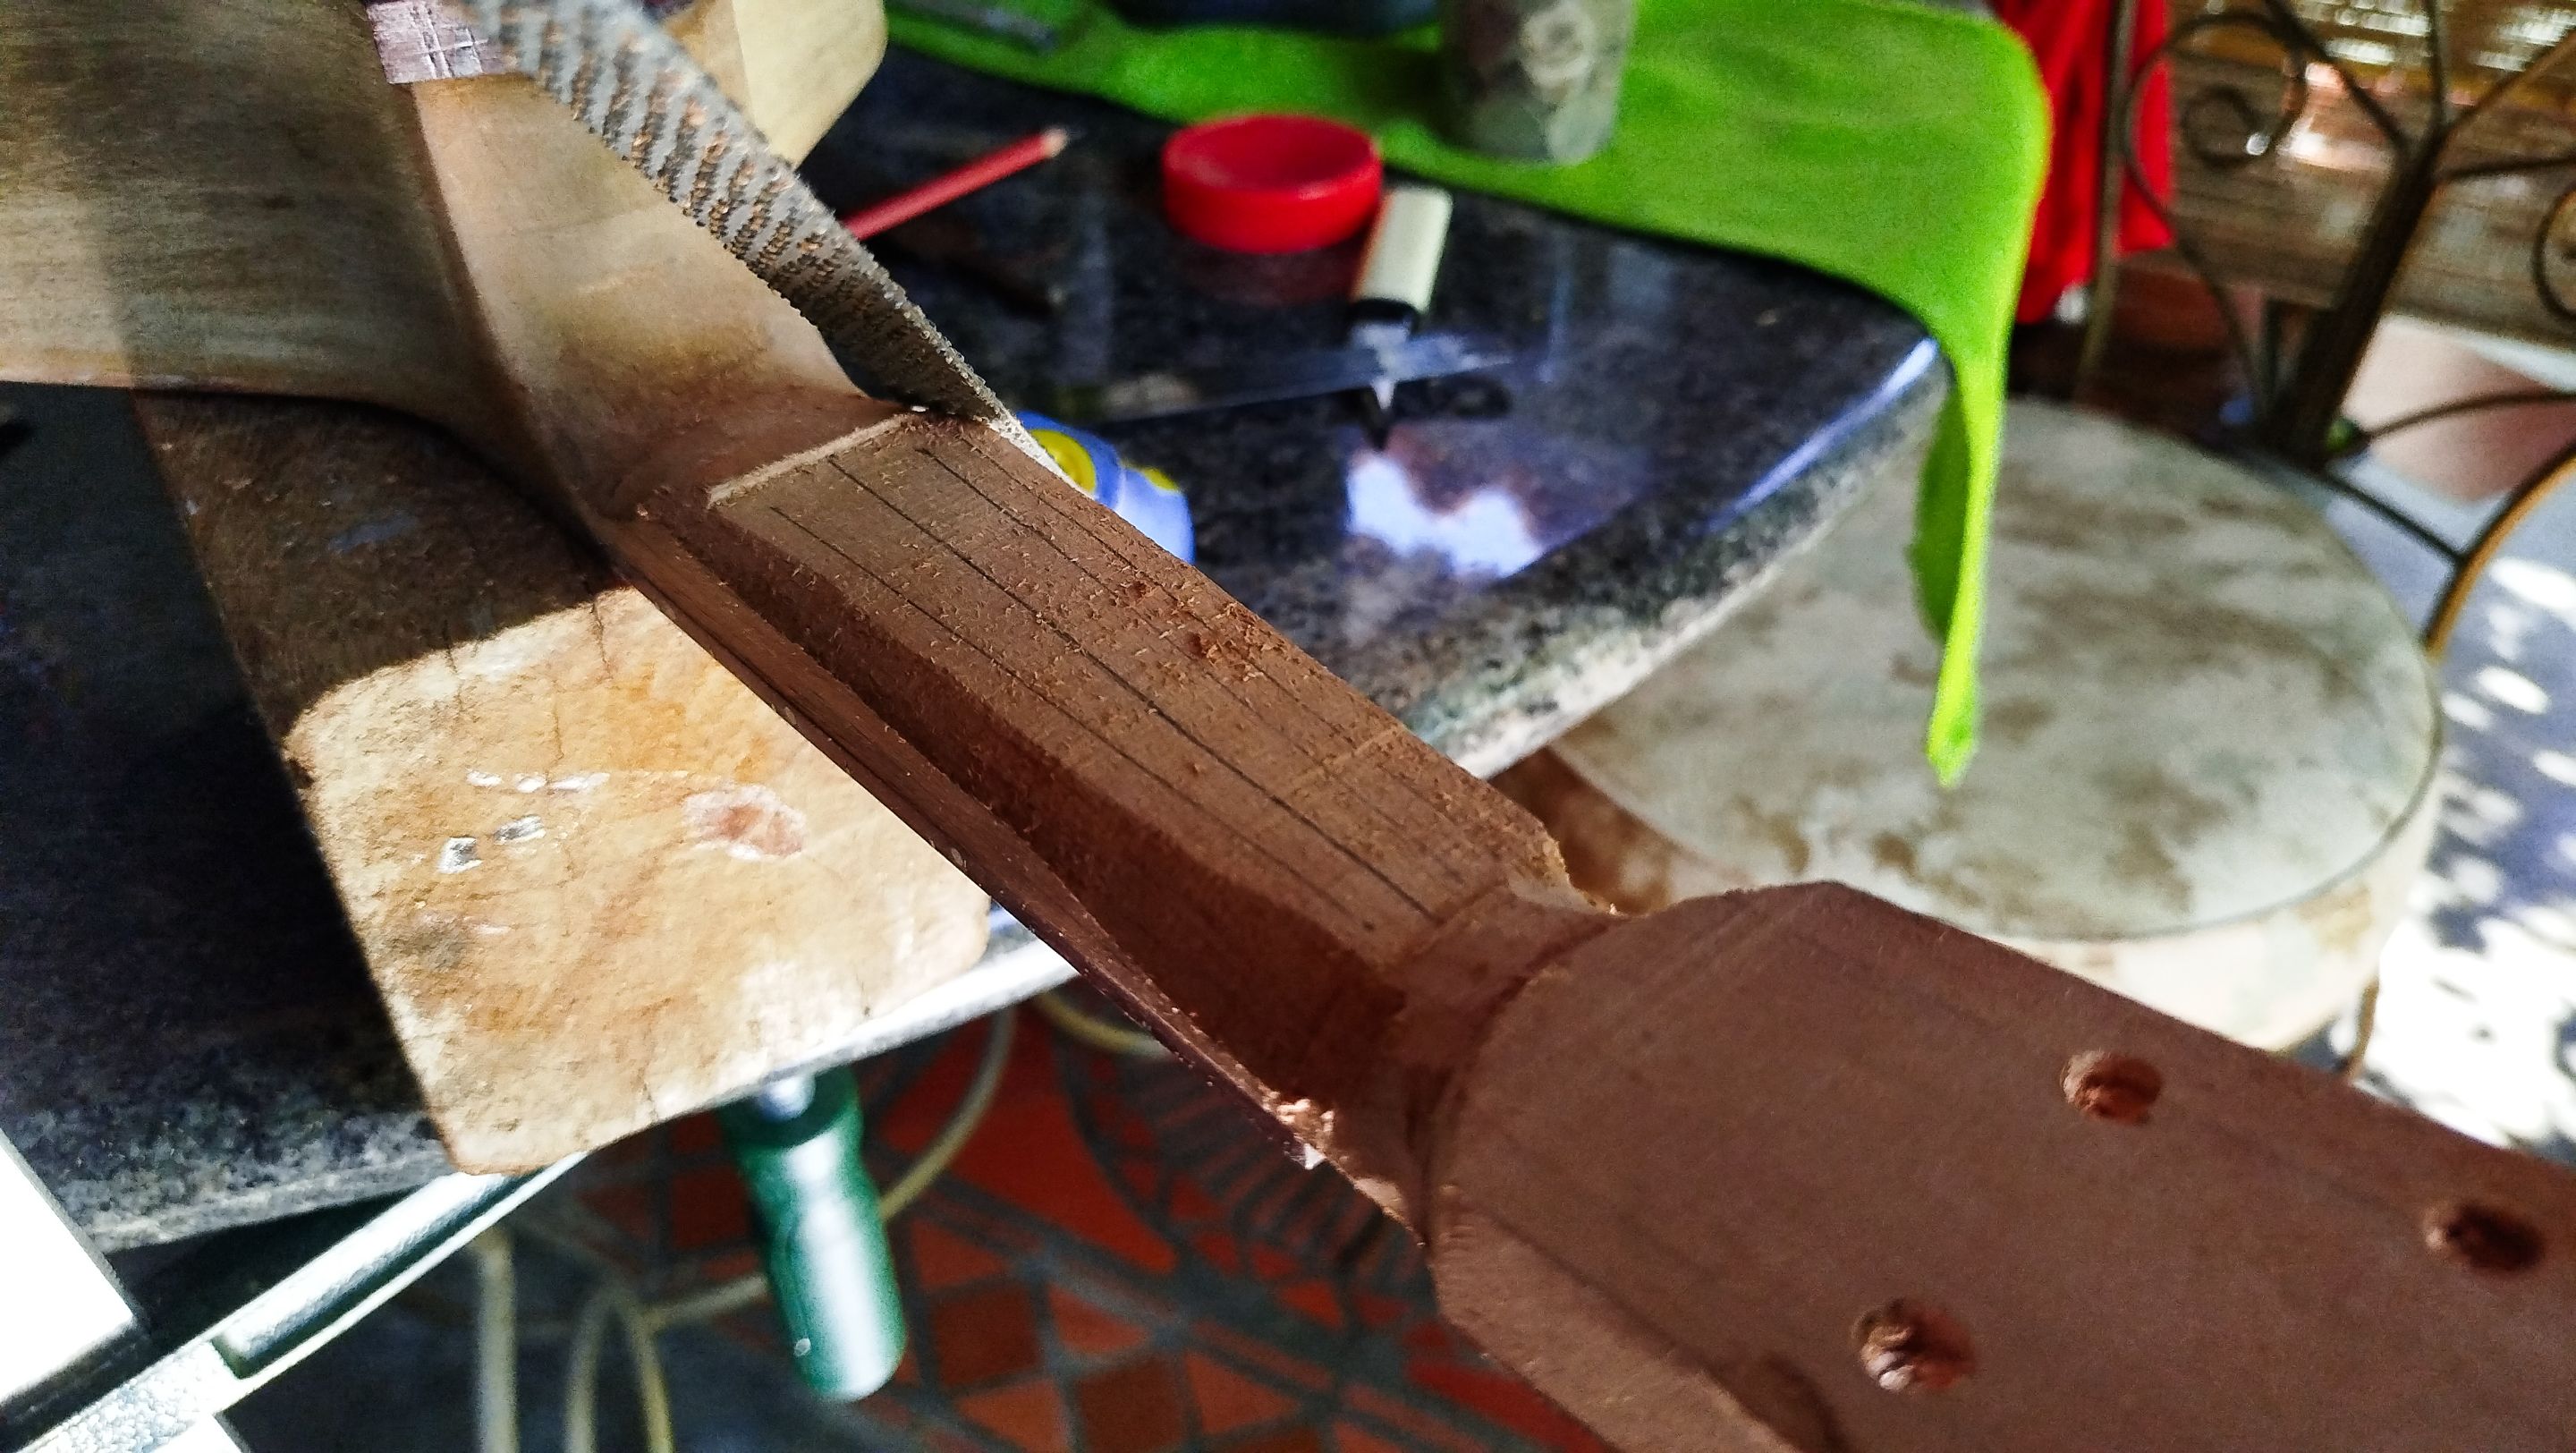
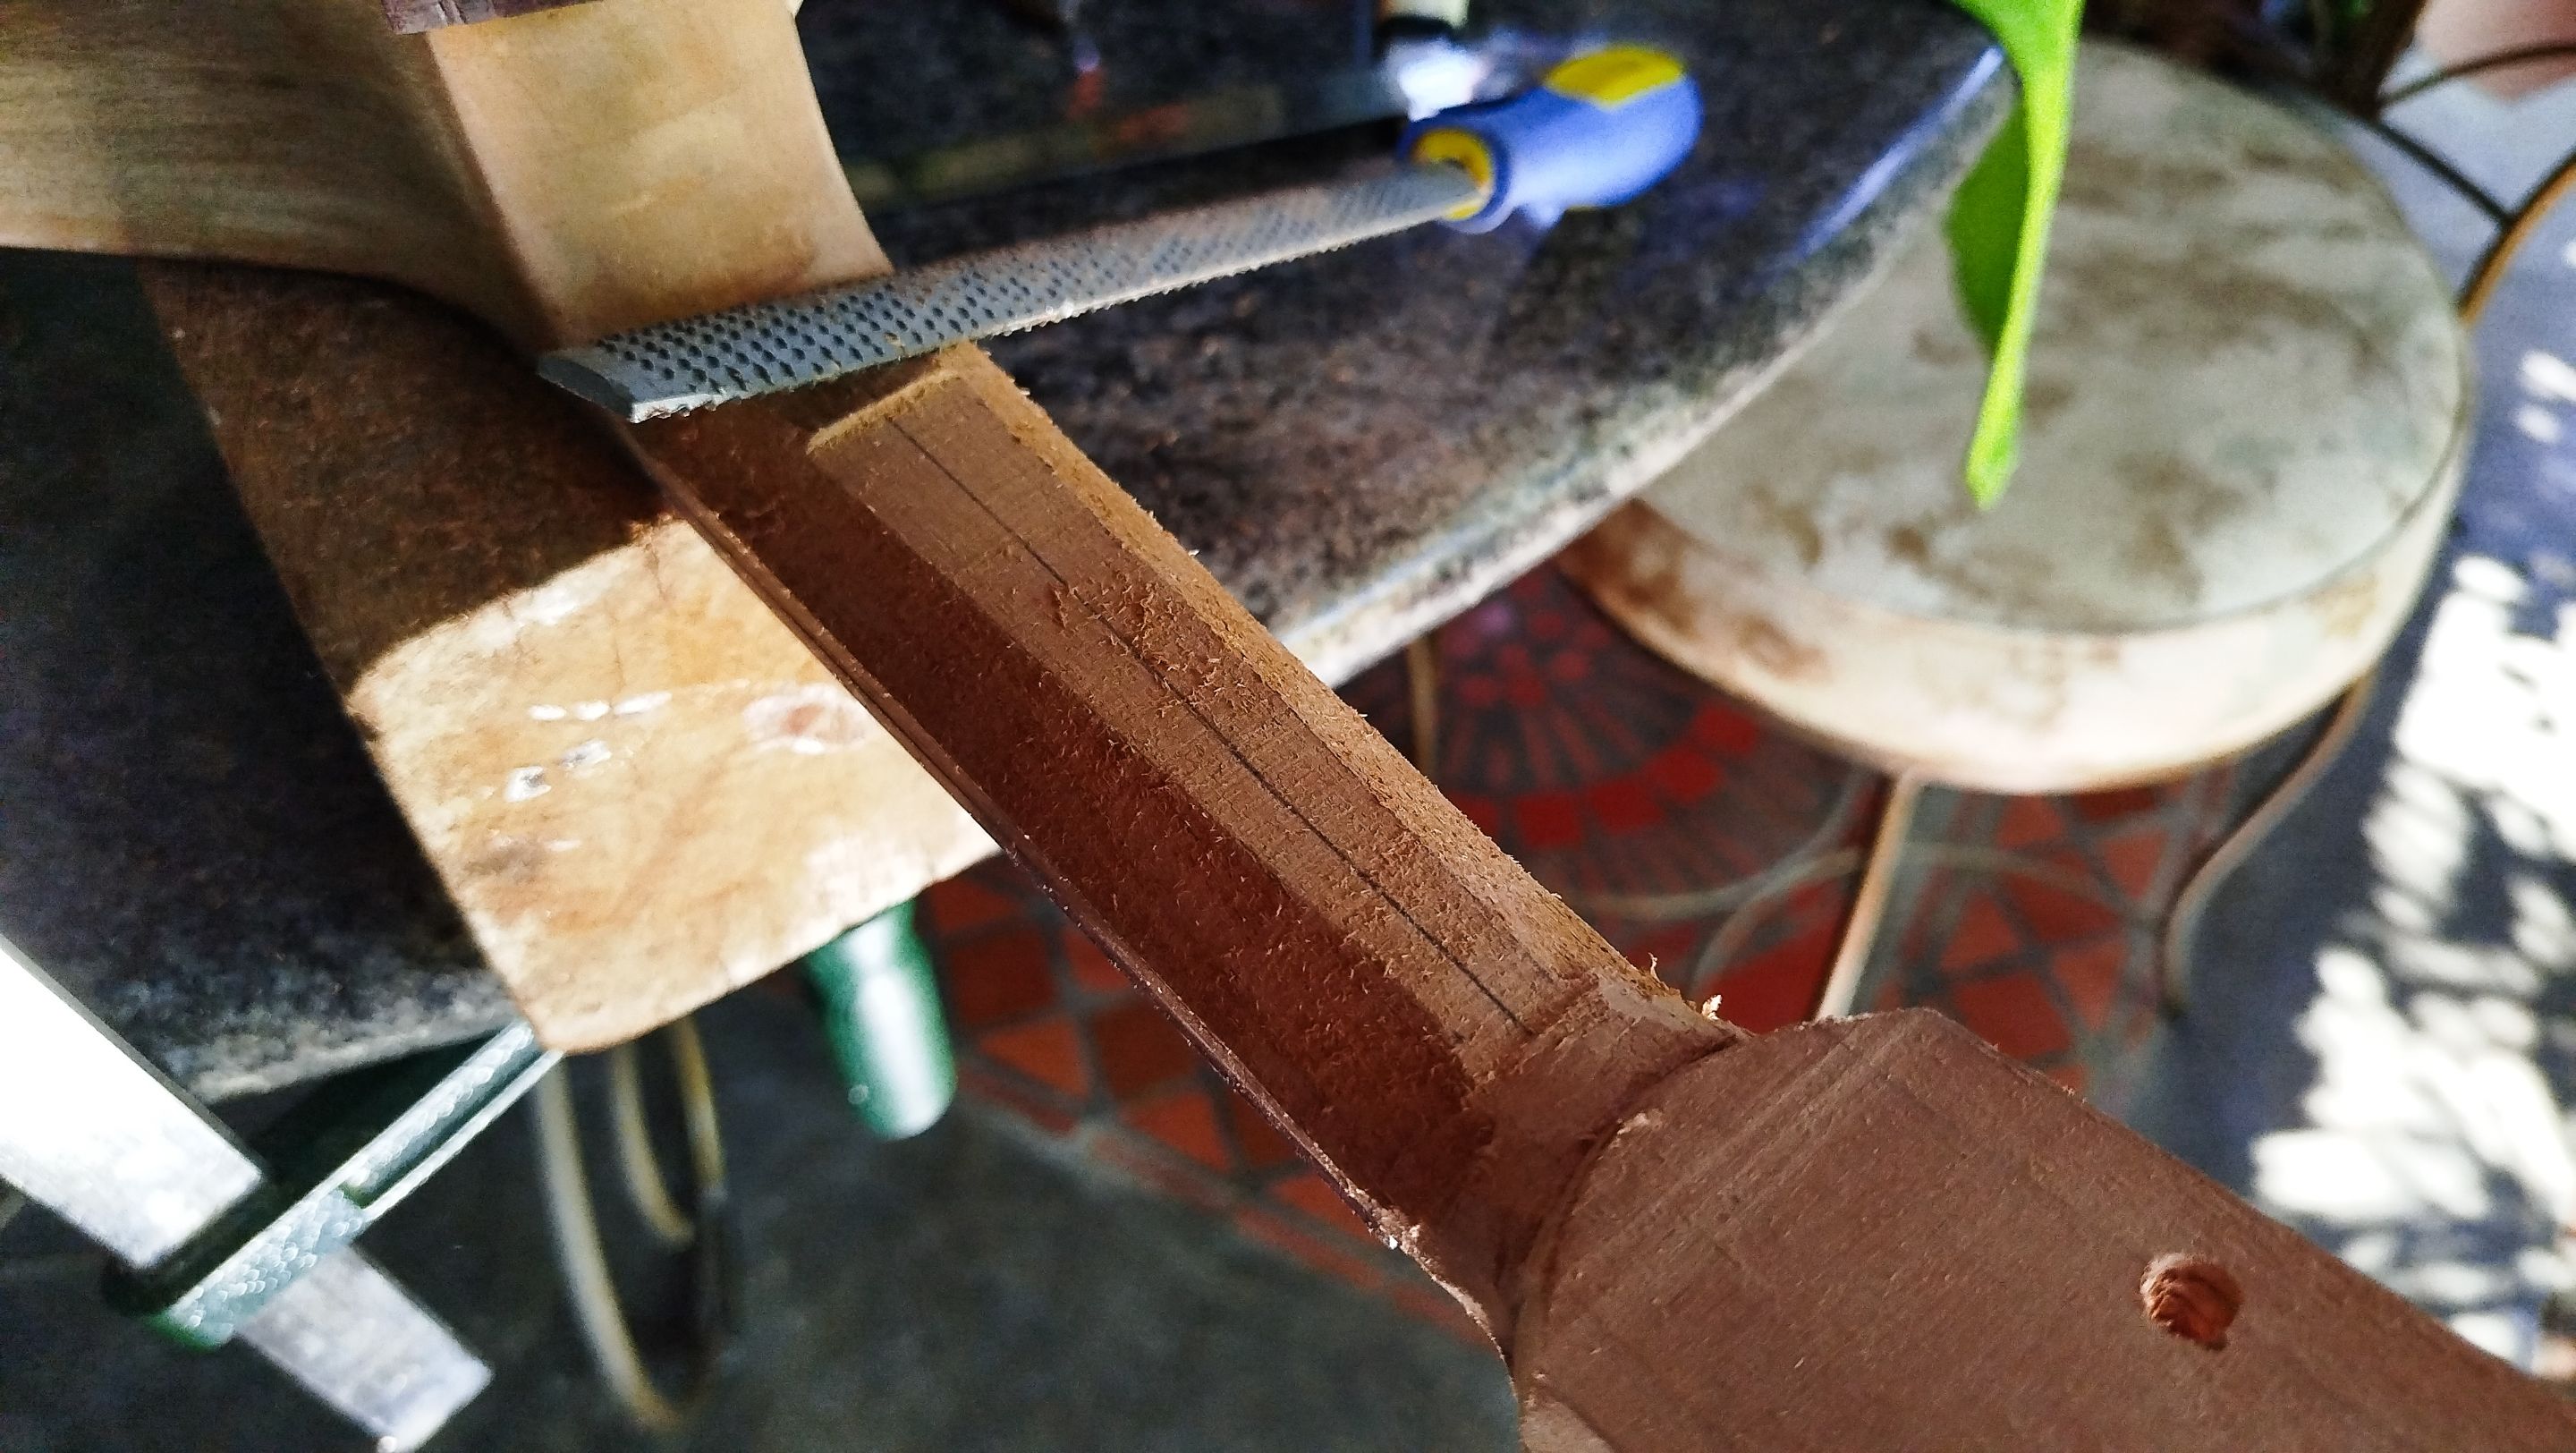
The next part is using the rasp to create the slope from the head stock to the heel. And with this we can start to round the rest of the surface by using the method of cutting corners. We just need to keep creating corners using the rasp and keep removing them. We keep repeating this process until we are ready to use sanding paper.
The sanding paper will be used to finish rounding the rest of the neck. We just keep passing the sand paper until we are done giving the shape to the neck and then we are ready to move to the next step.
Sanding and Sealer

Swipe to see the photos
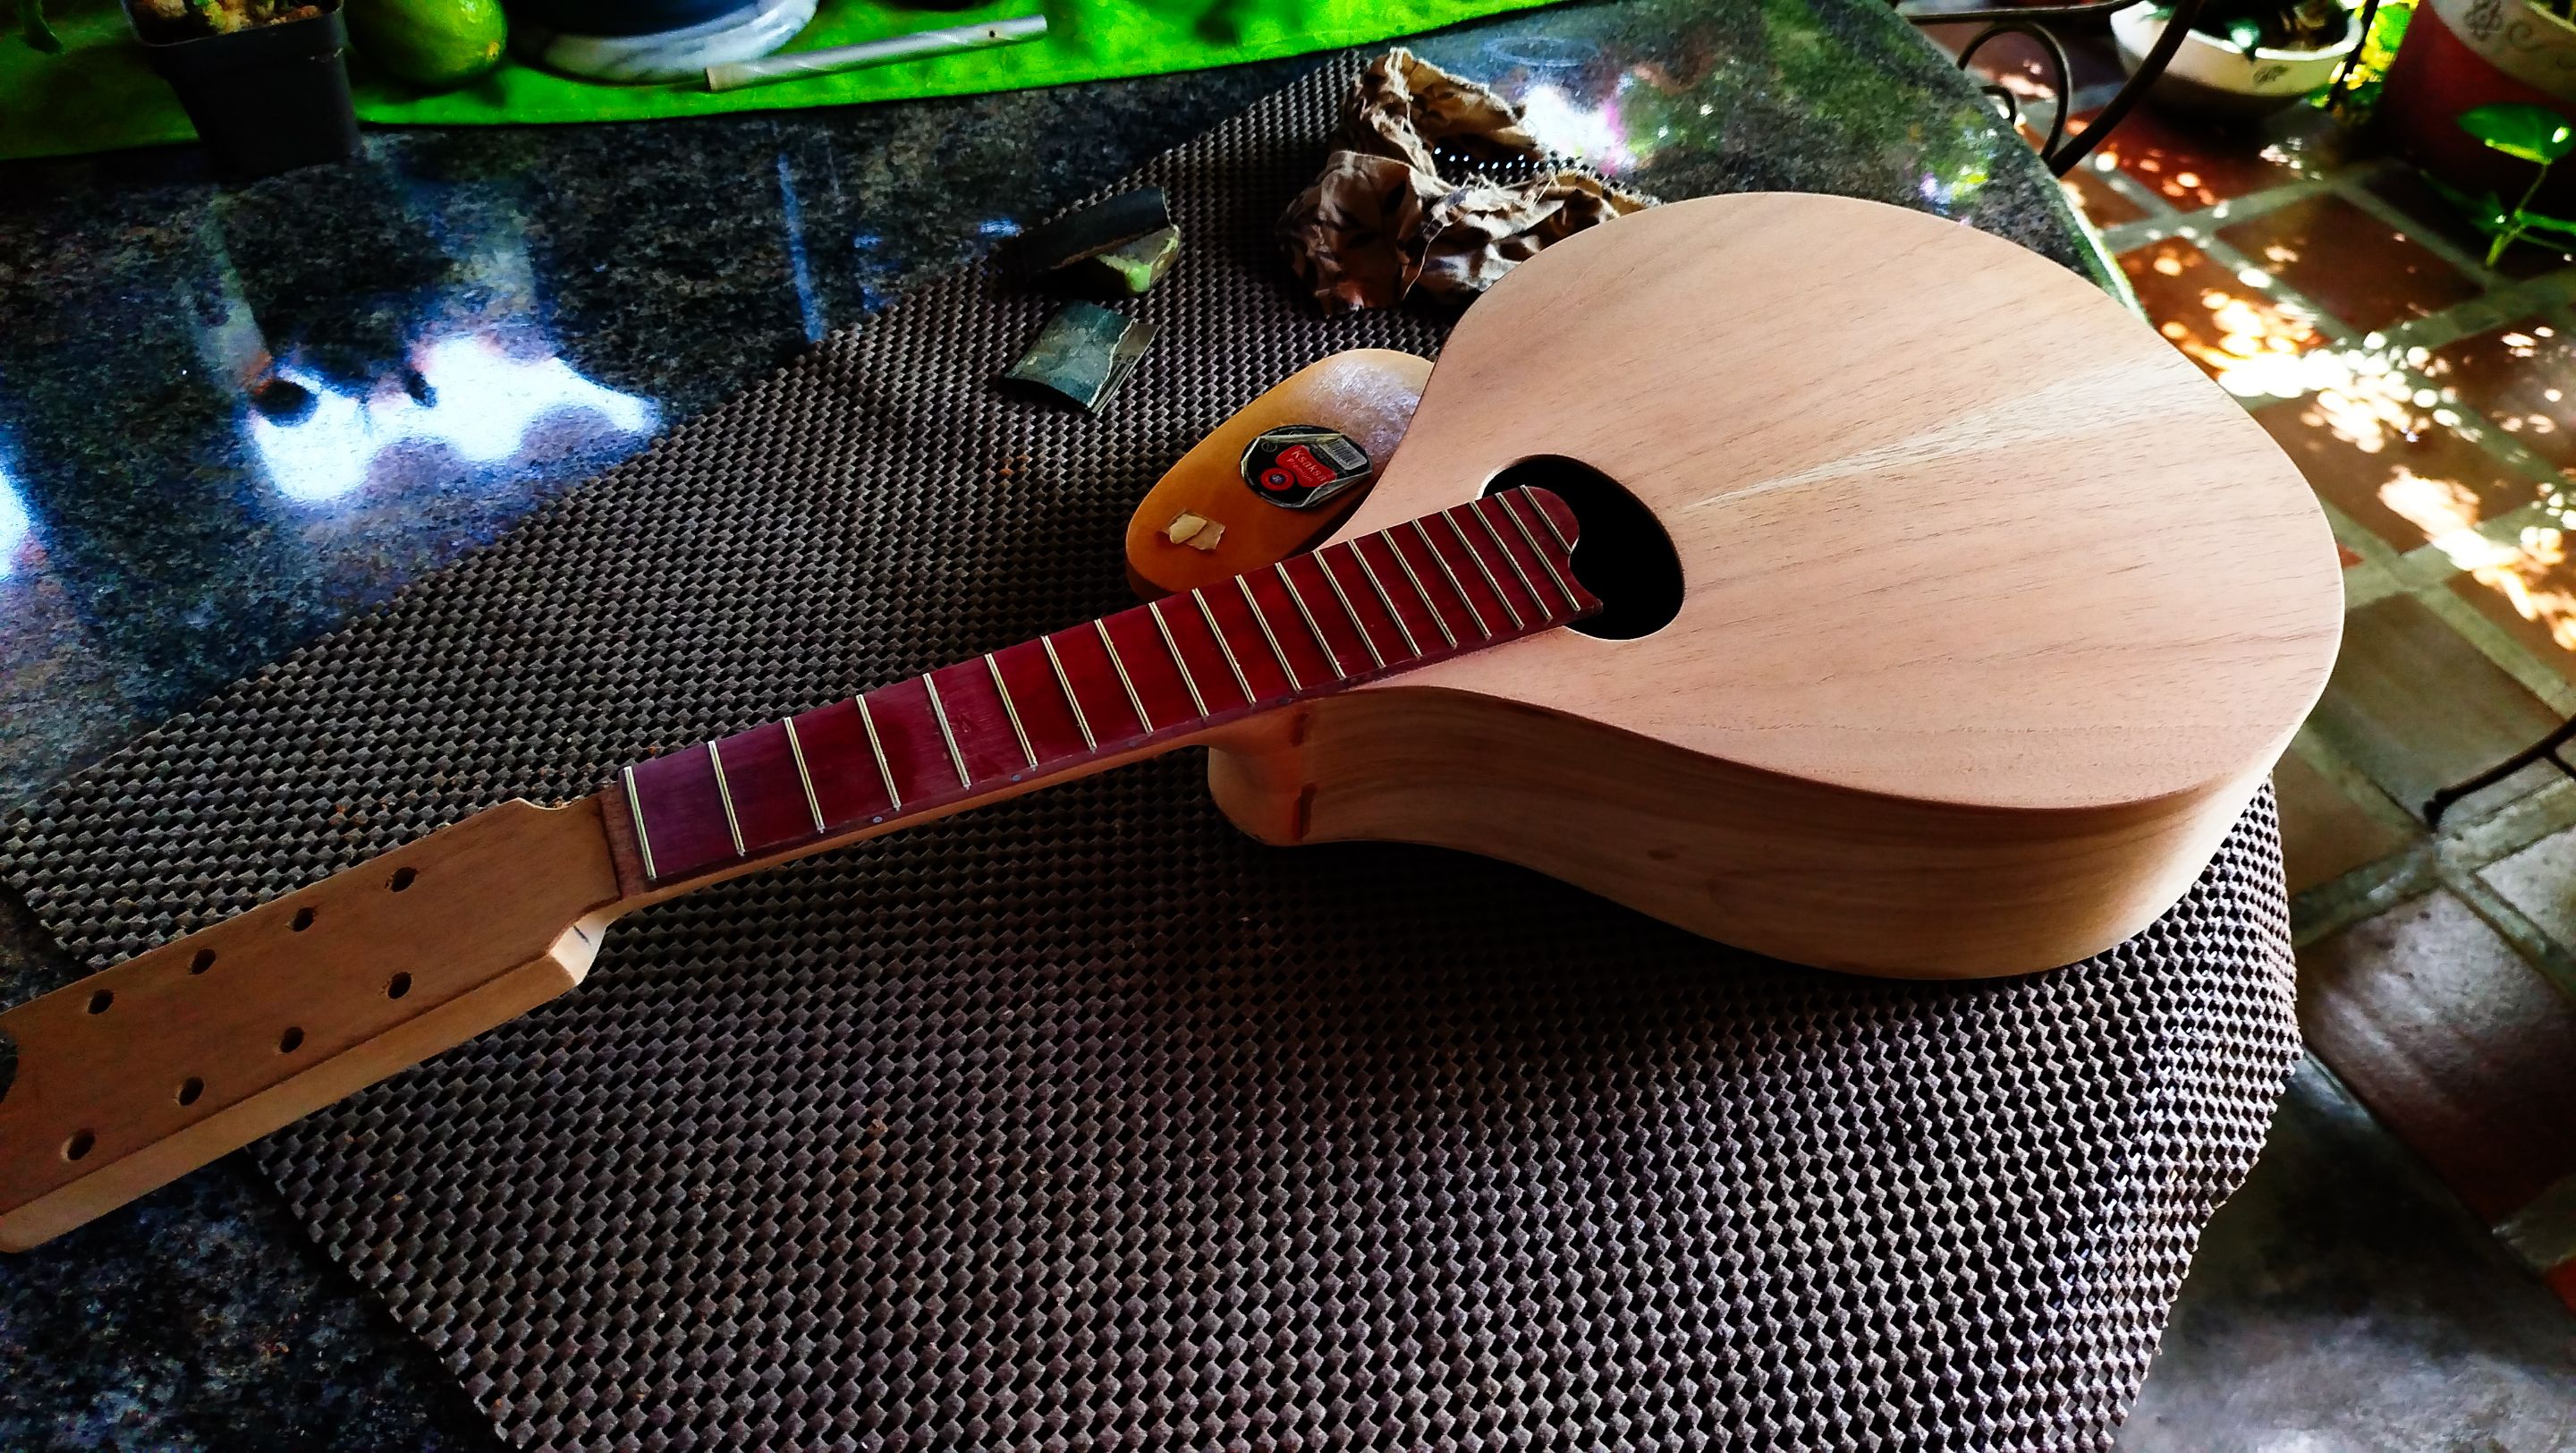
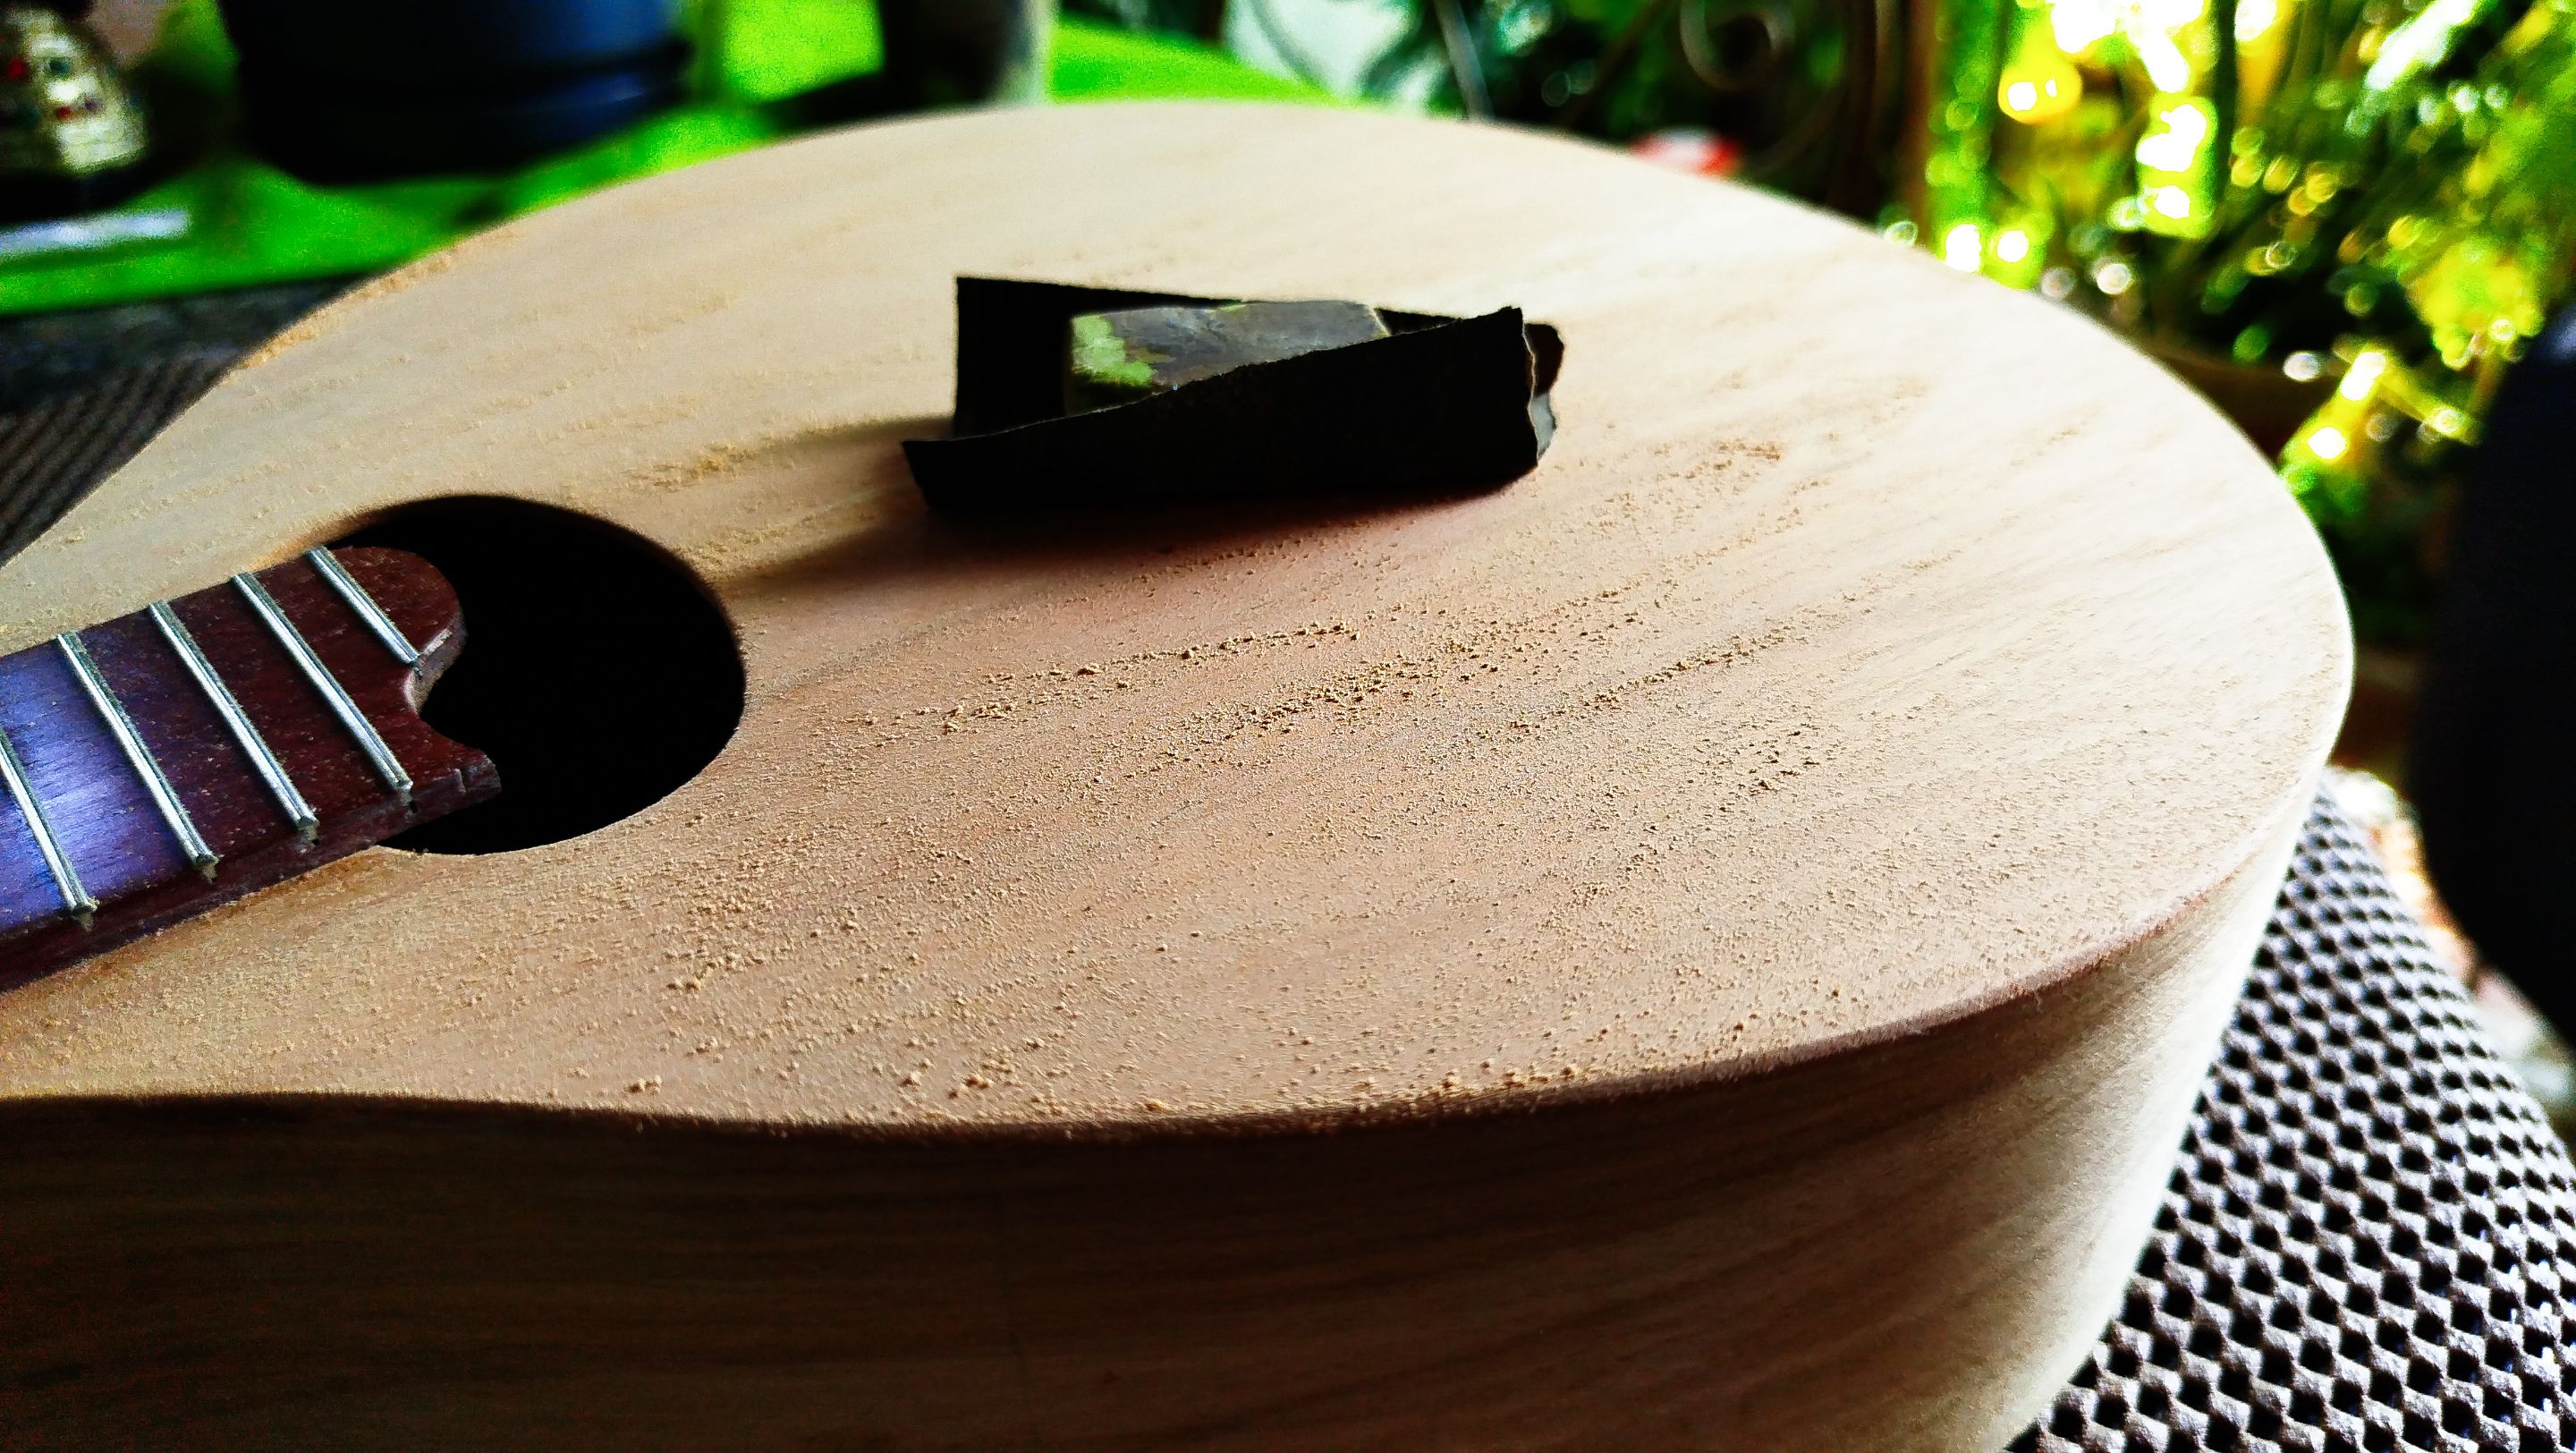
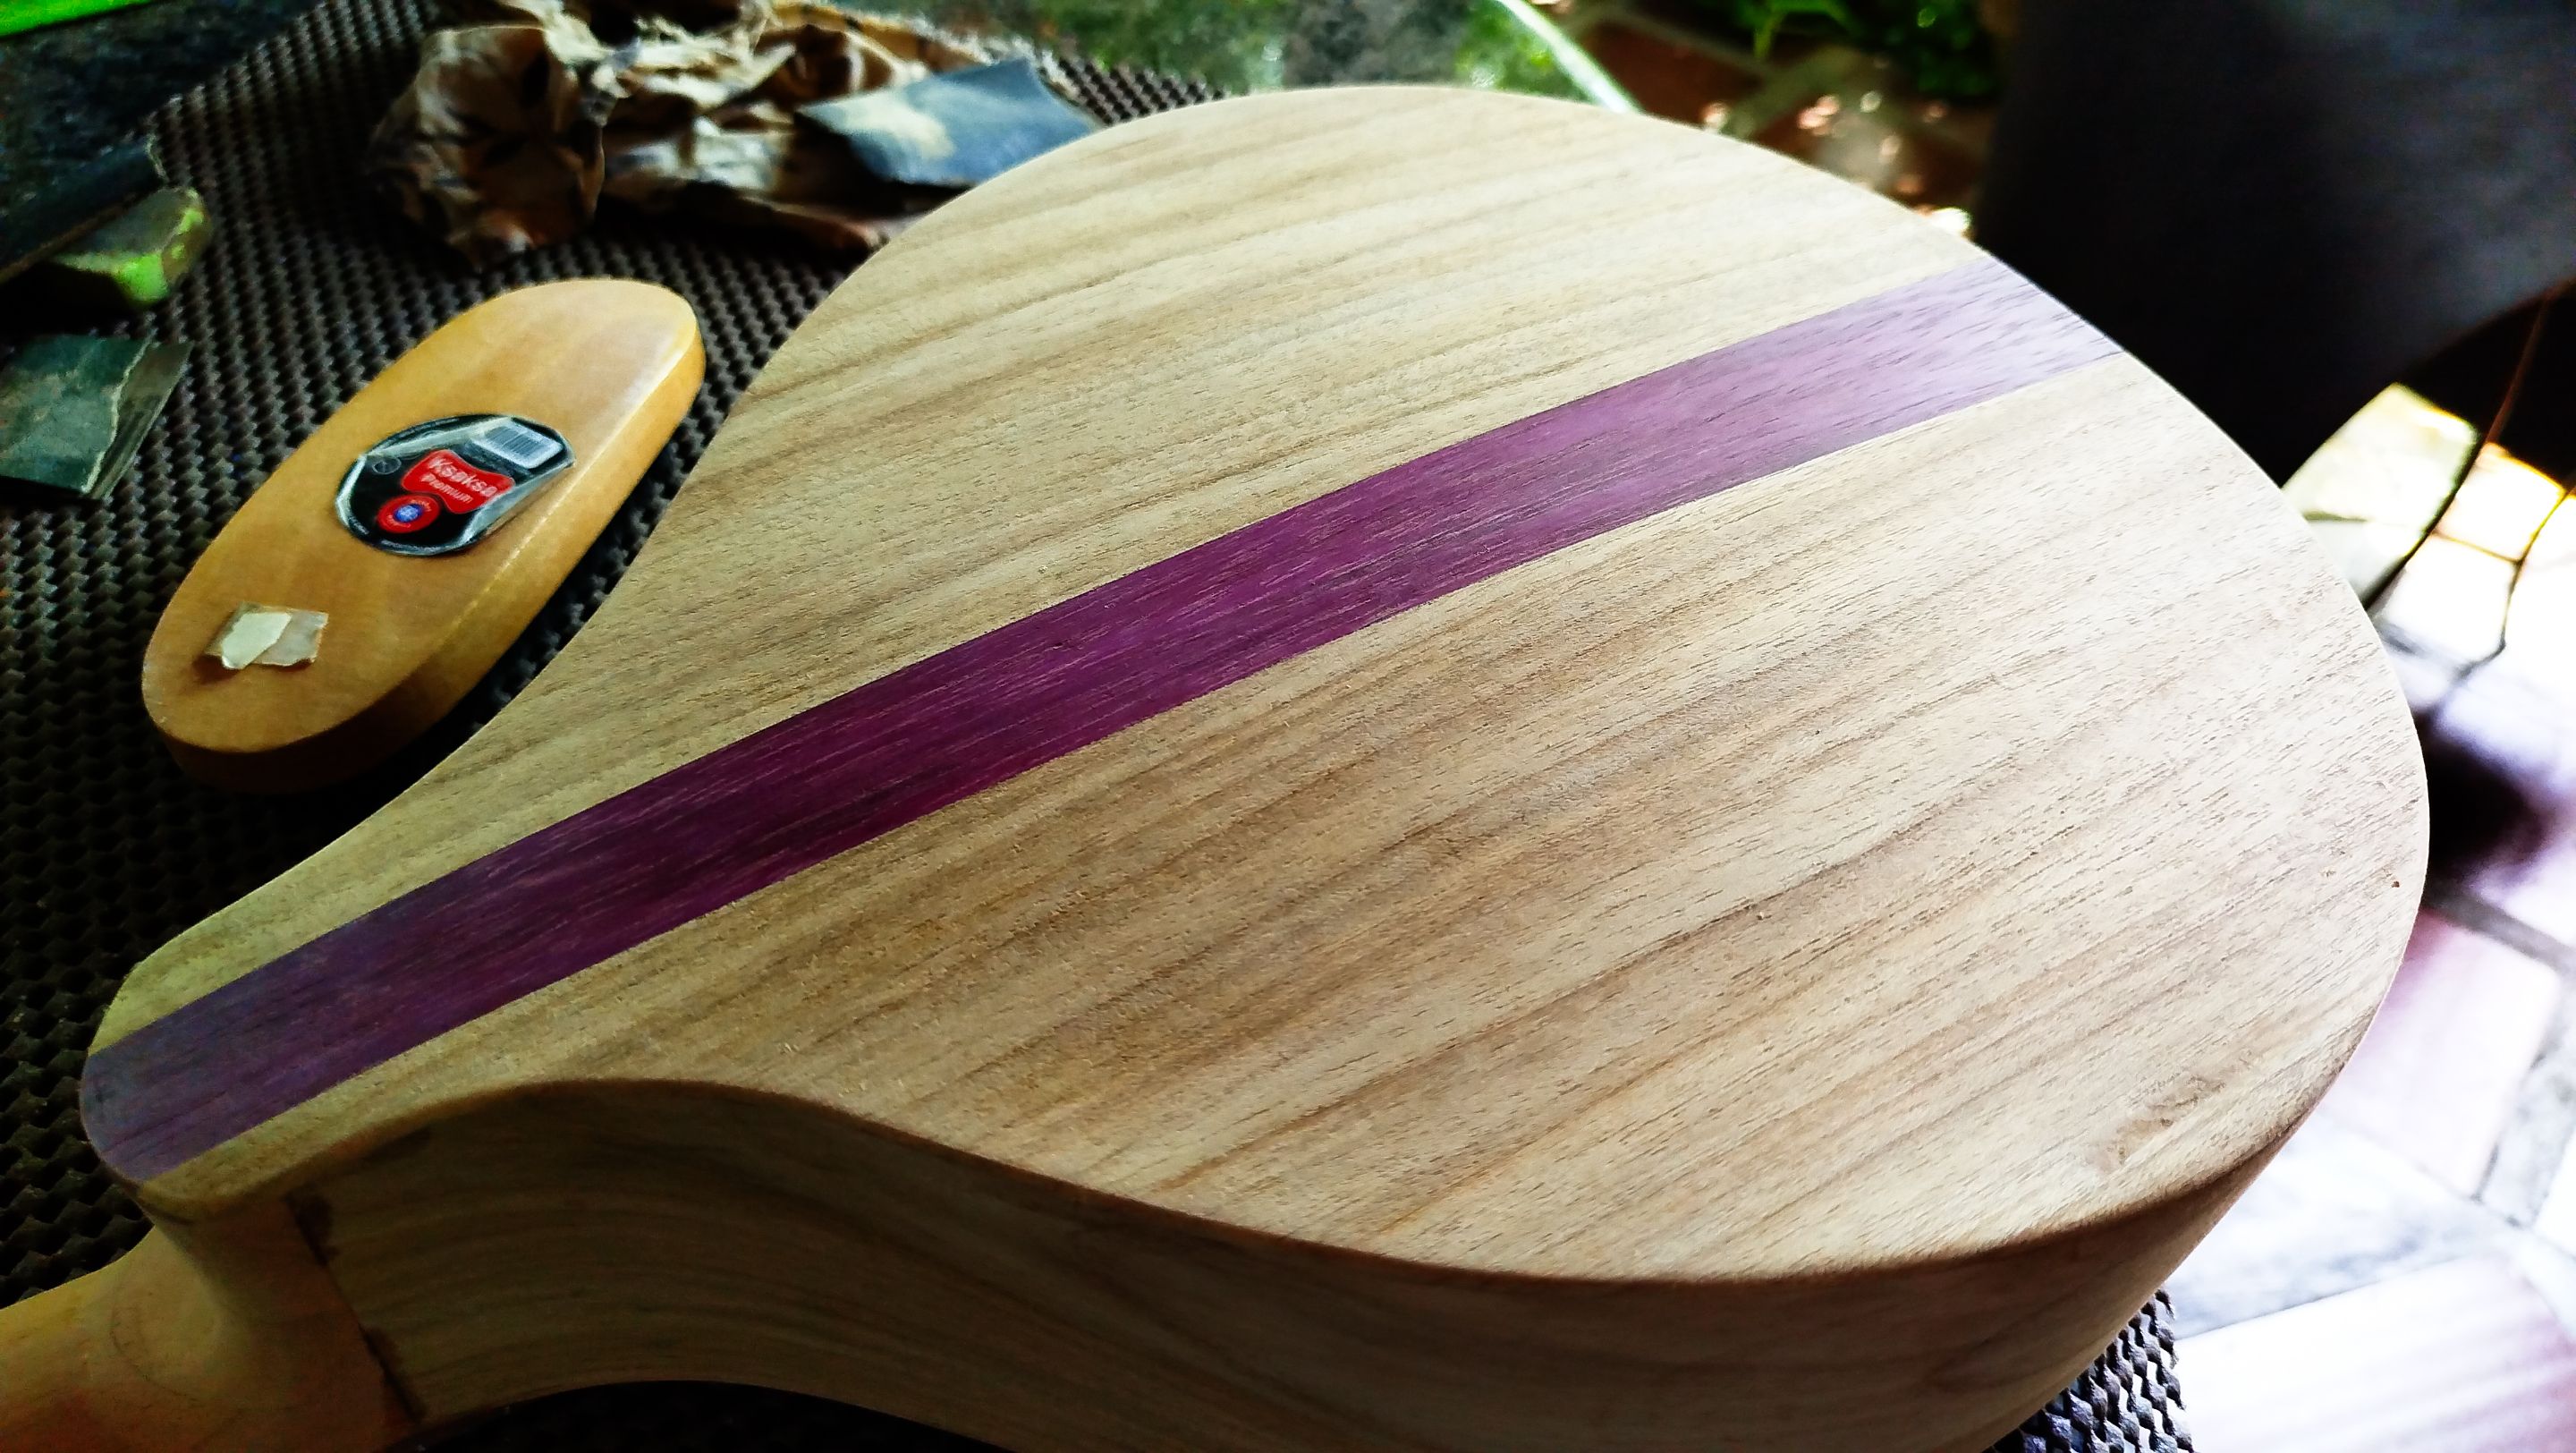
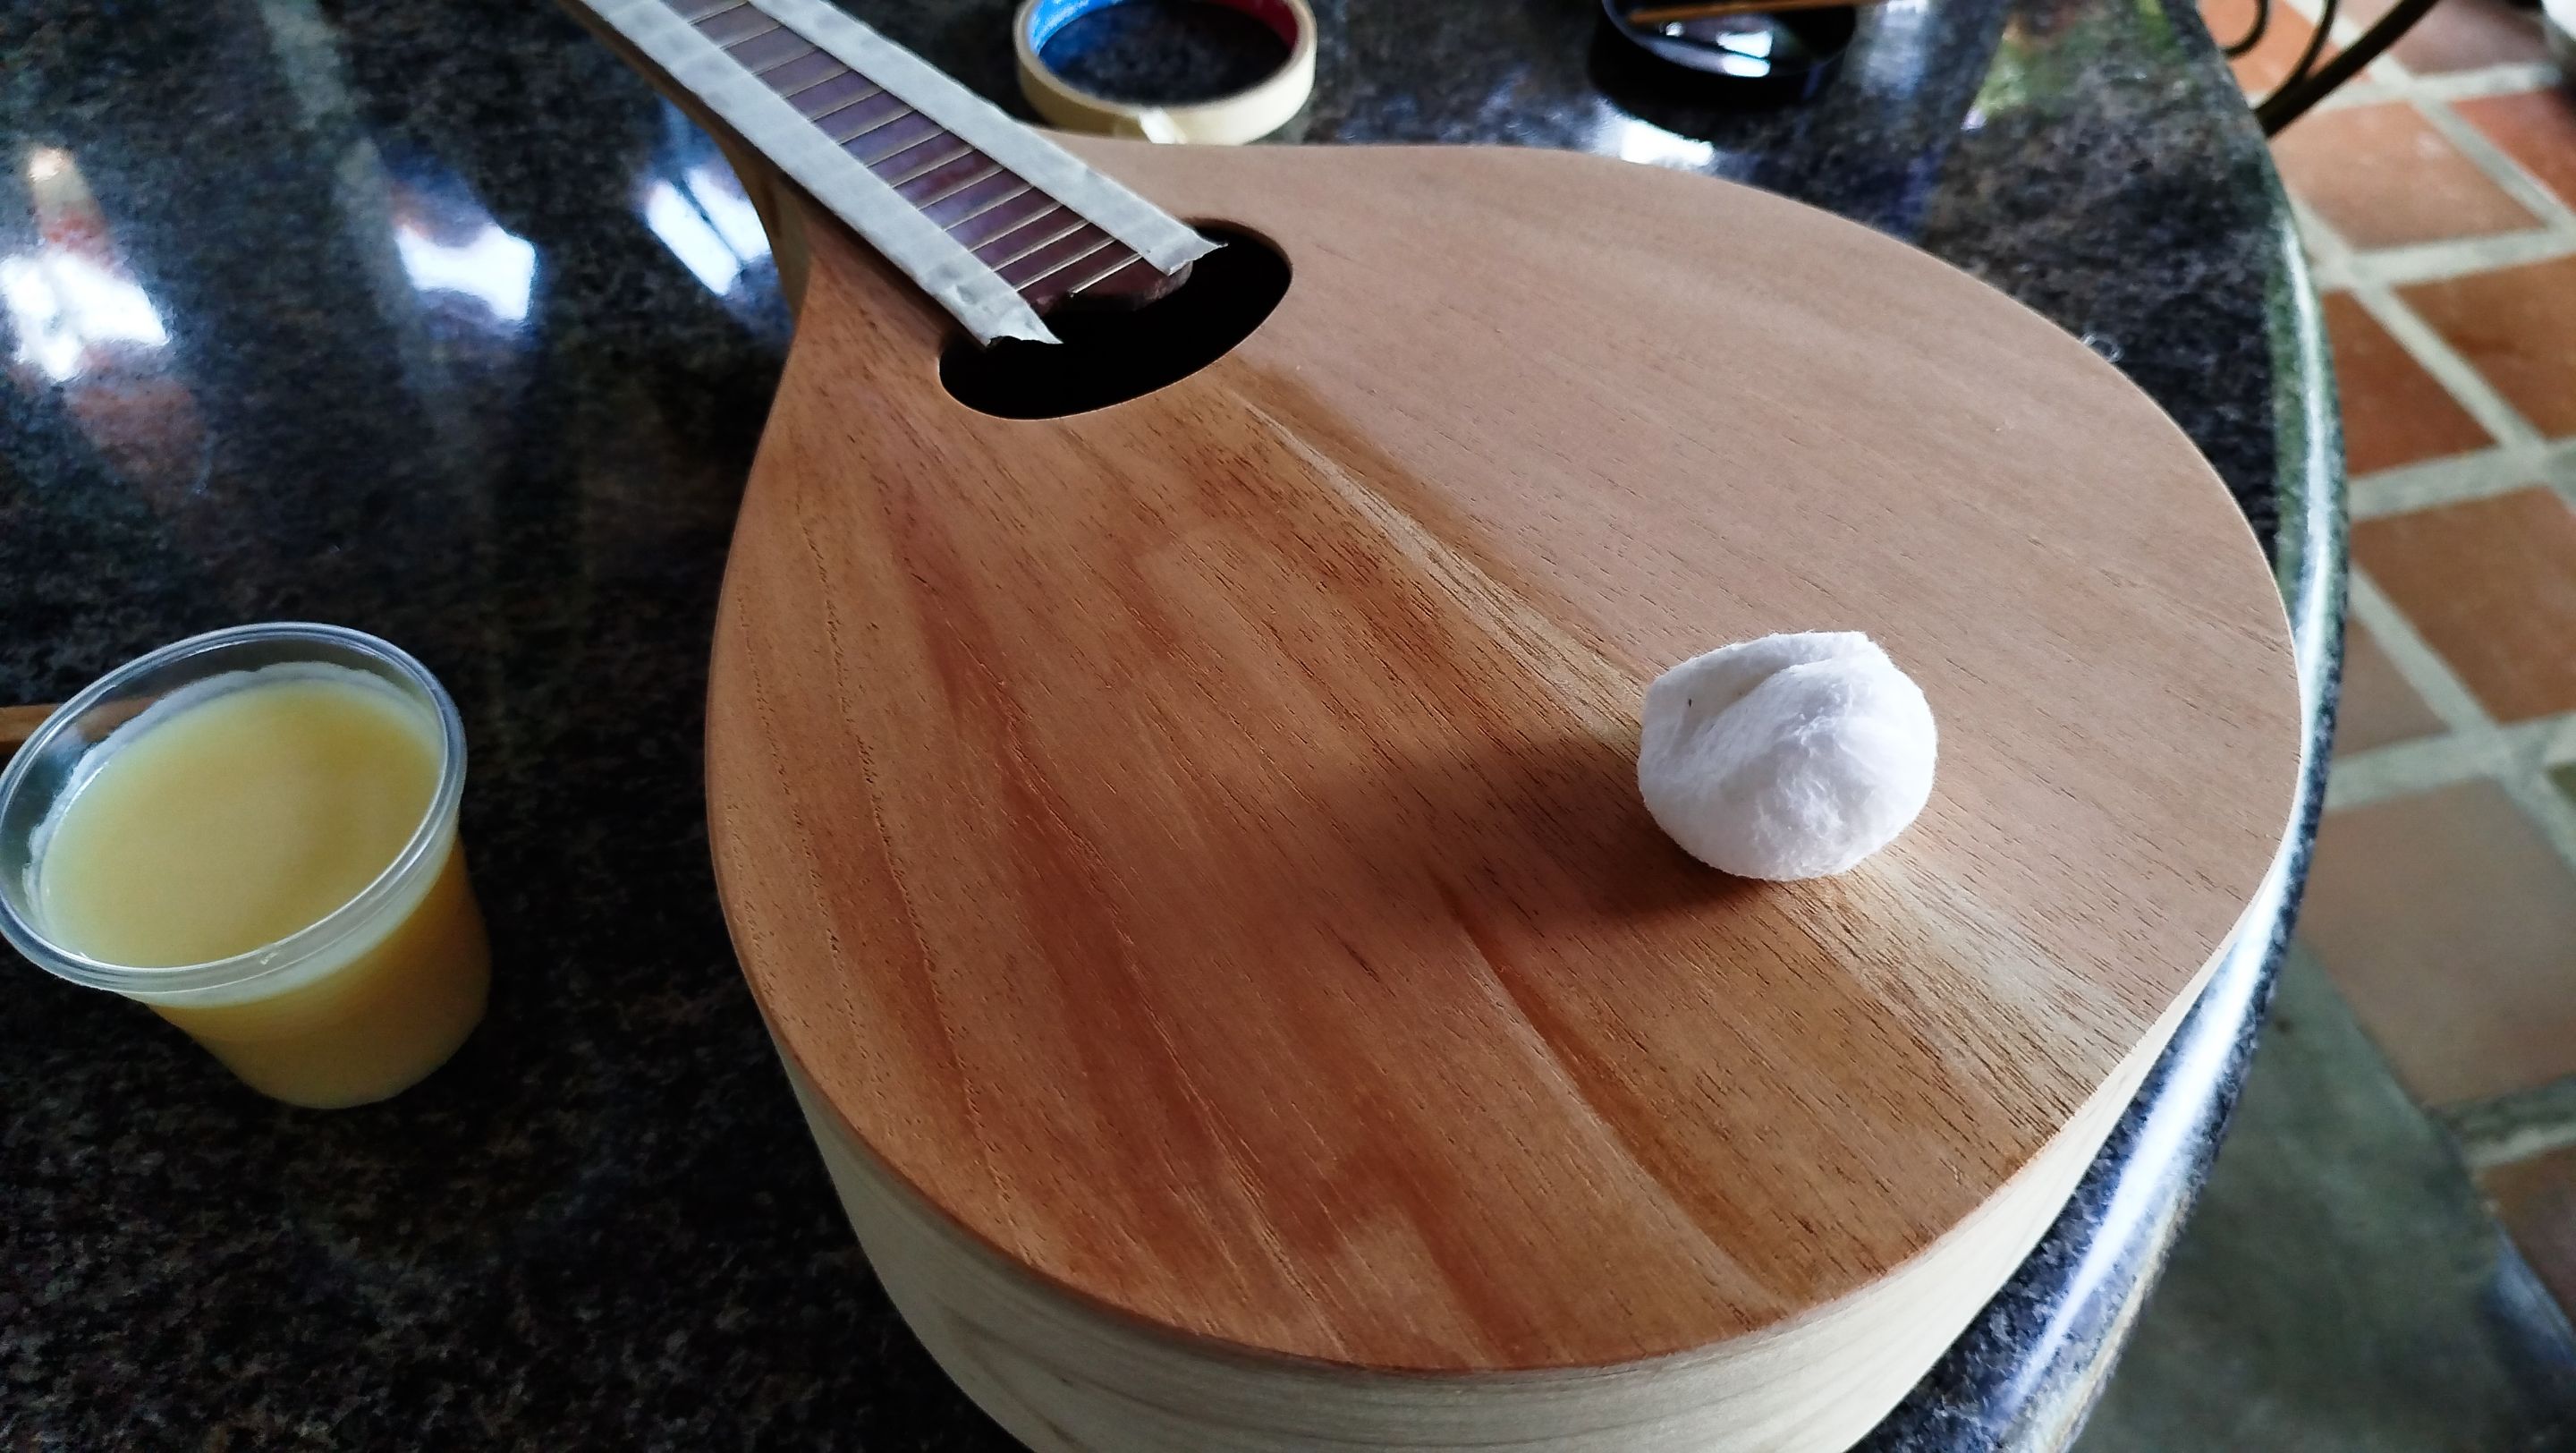
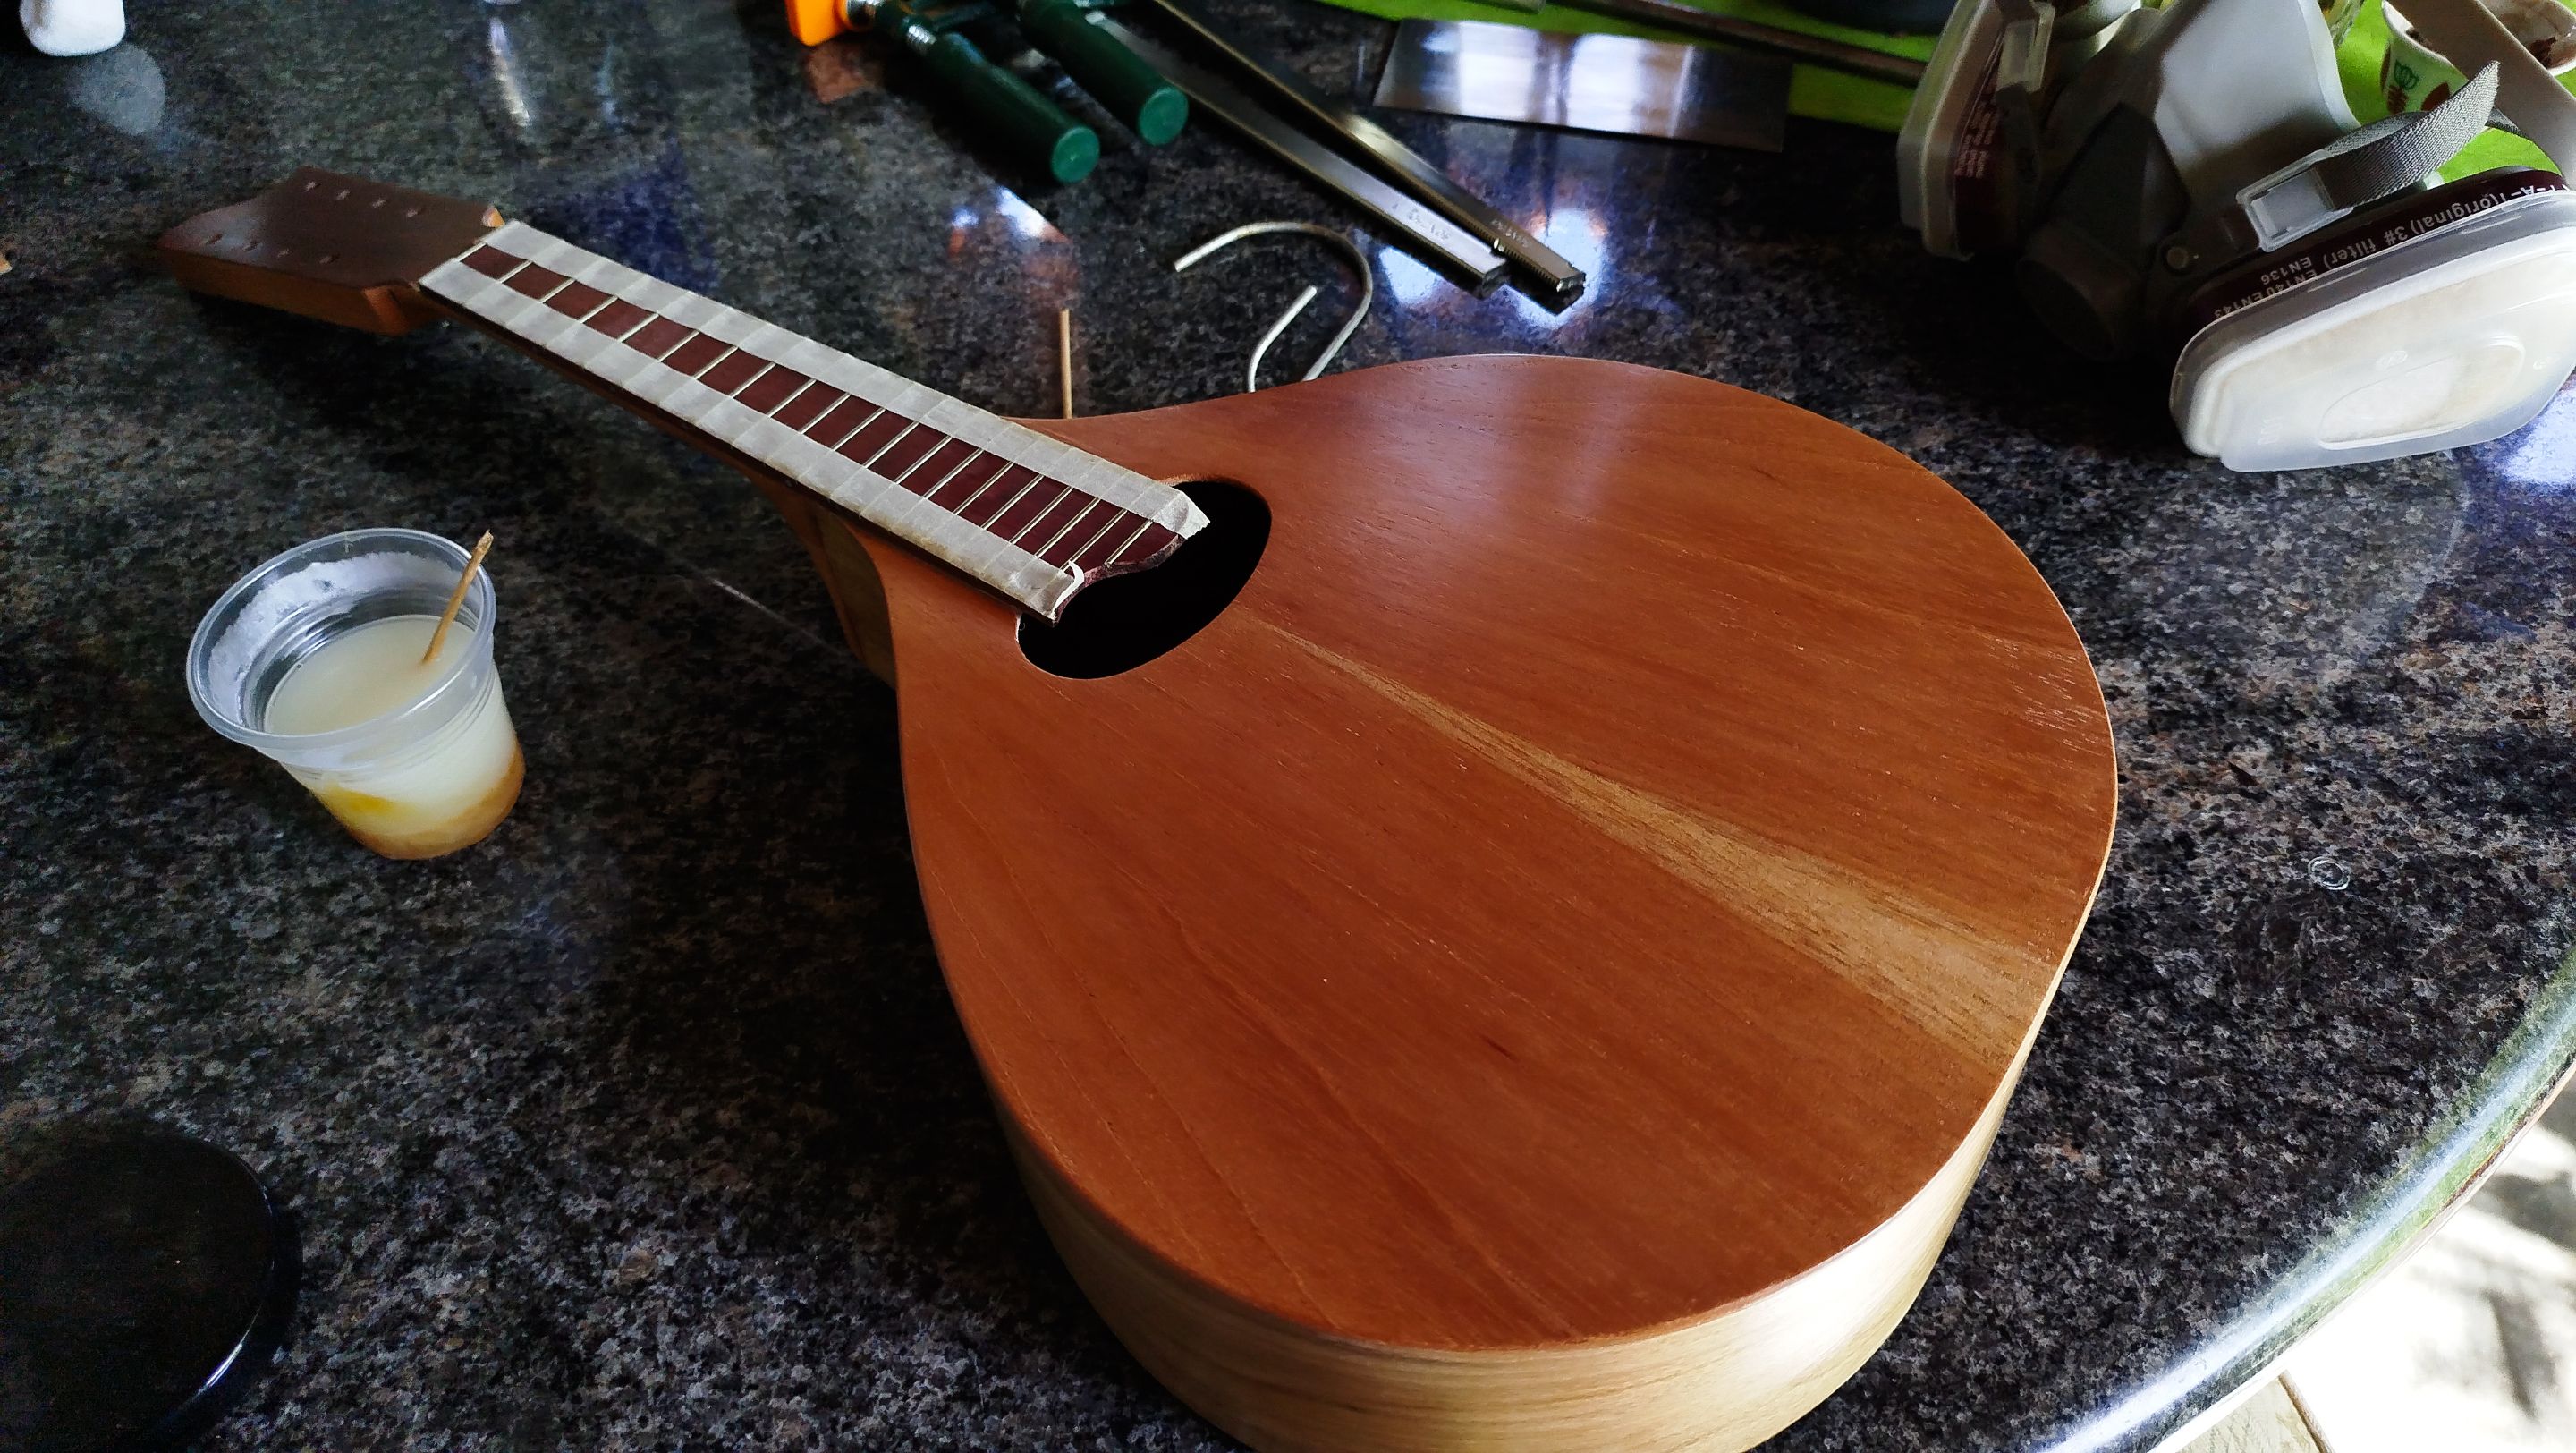
We are finally on the stage of sanding the rest of the instrument to start the whole process of applying the sealer. Now we take the instrument and start sanding the rest of the instrument using 100-grit sandpaper. This is repeated until we are looking at an even surface. Then we are just going to use a damp cloth. This is to make the splinters of the wood rise. Now we are just going to repeat the use of the same sandpaper. The process starts over and over until the splinters do not get up.
Then we move to the next grit of sandpaper. Now we use 220-grit. Sand everything and move ahead to use the damp cloth. All this process gets done until we can feel the the smoothness of the wood. We are not going further on grits since we need the sealer to stick to the surface. Besides, using higher grits is just for burnishing the wood.
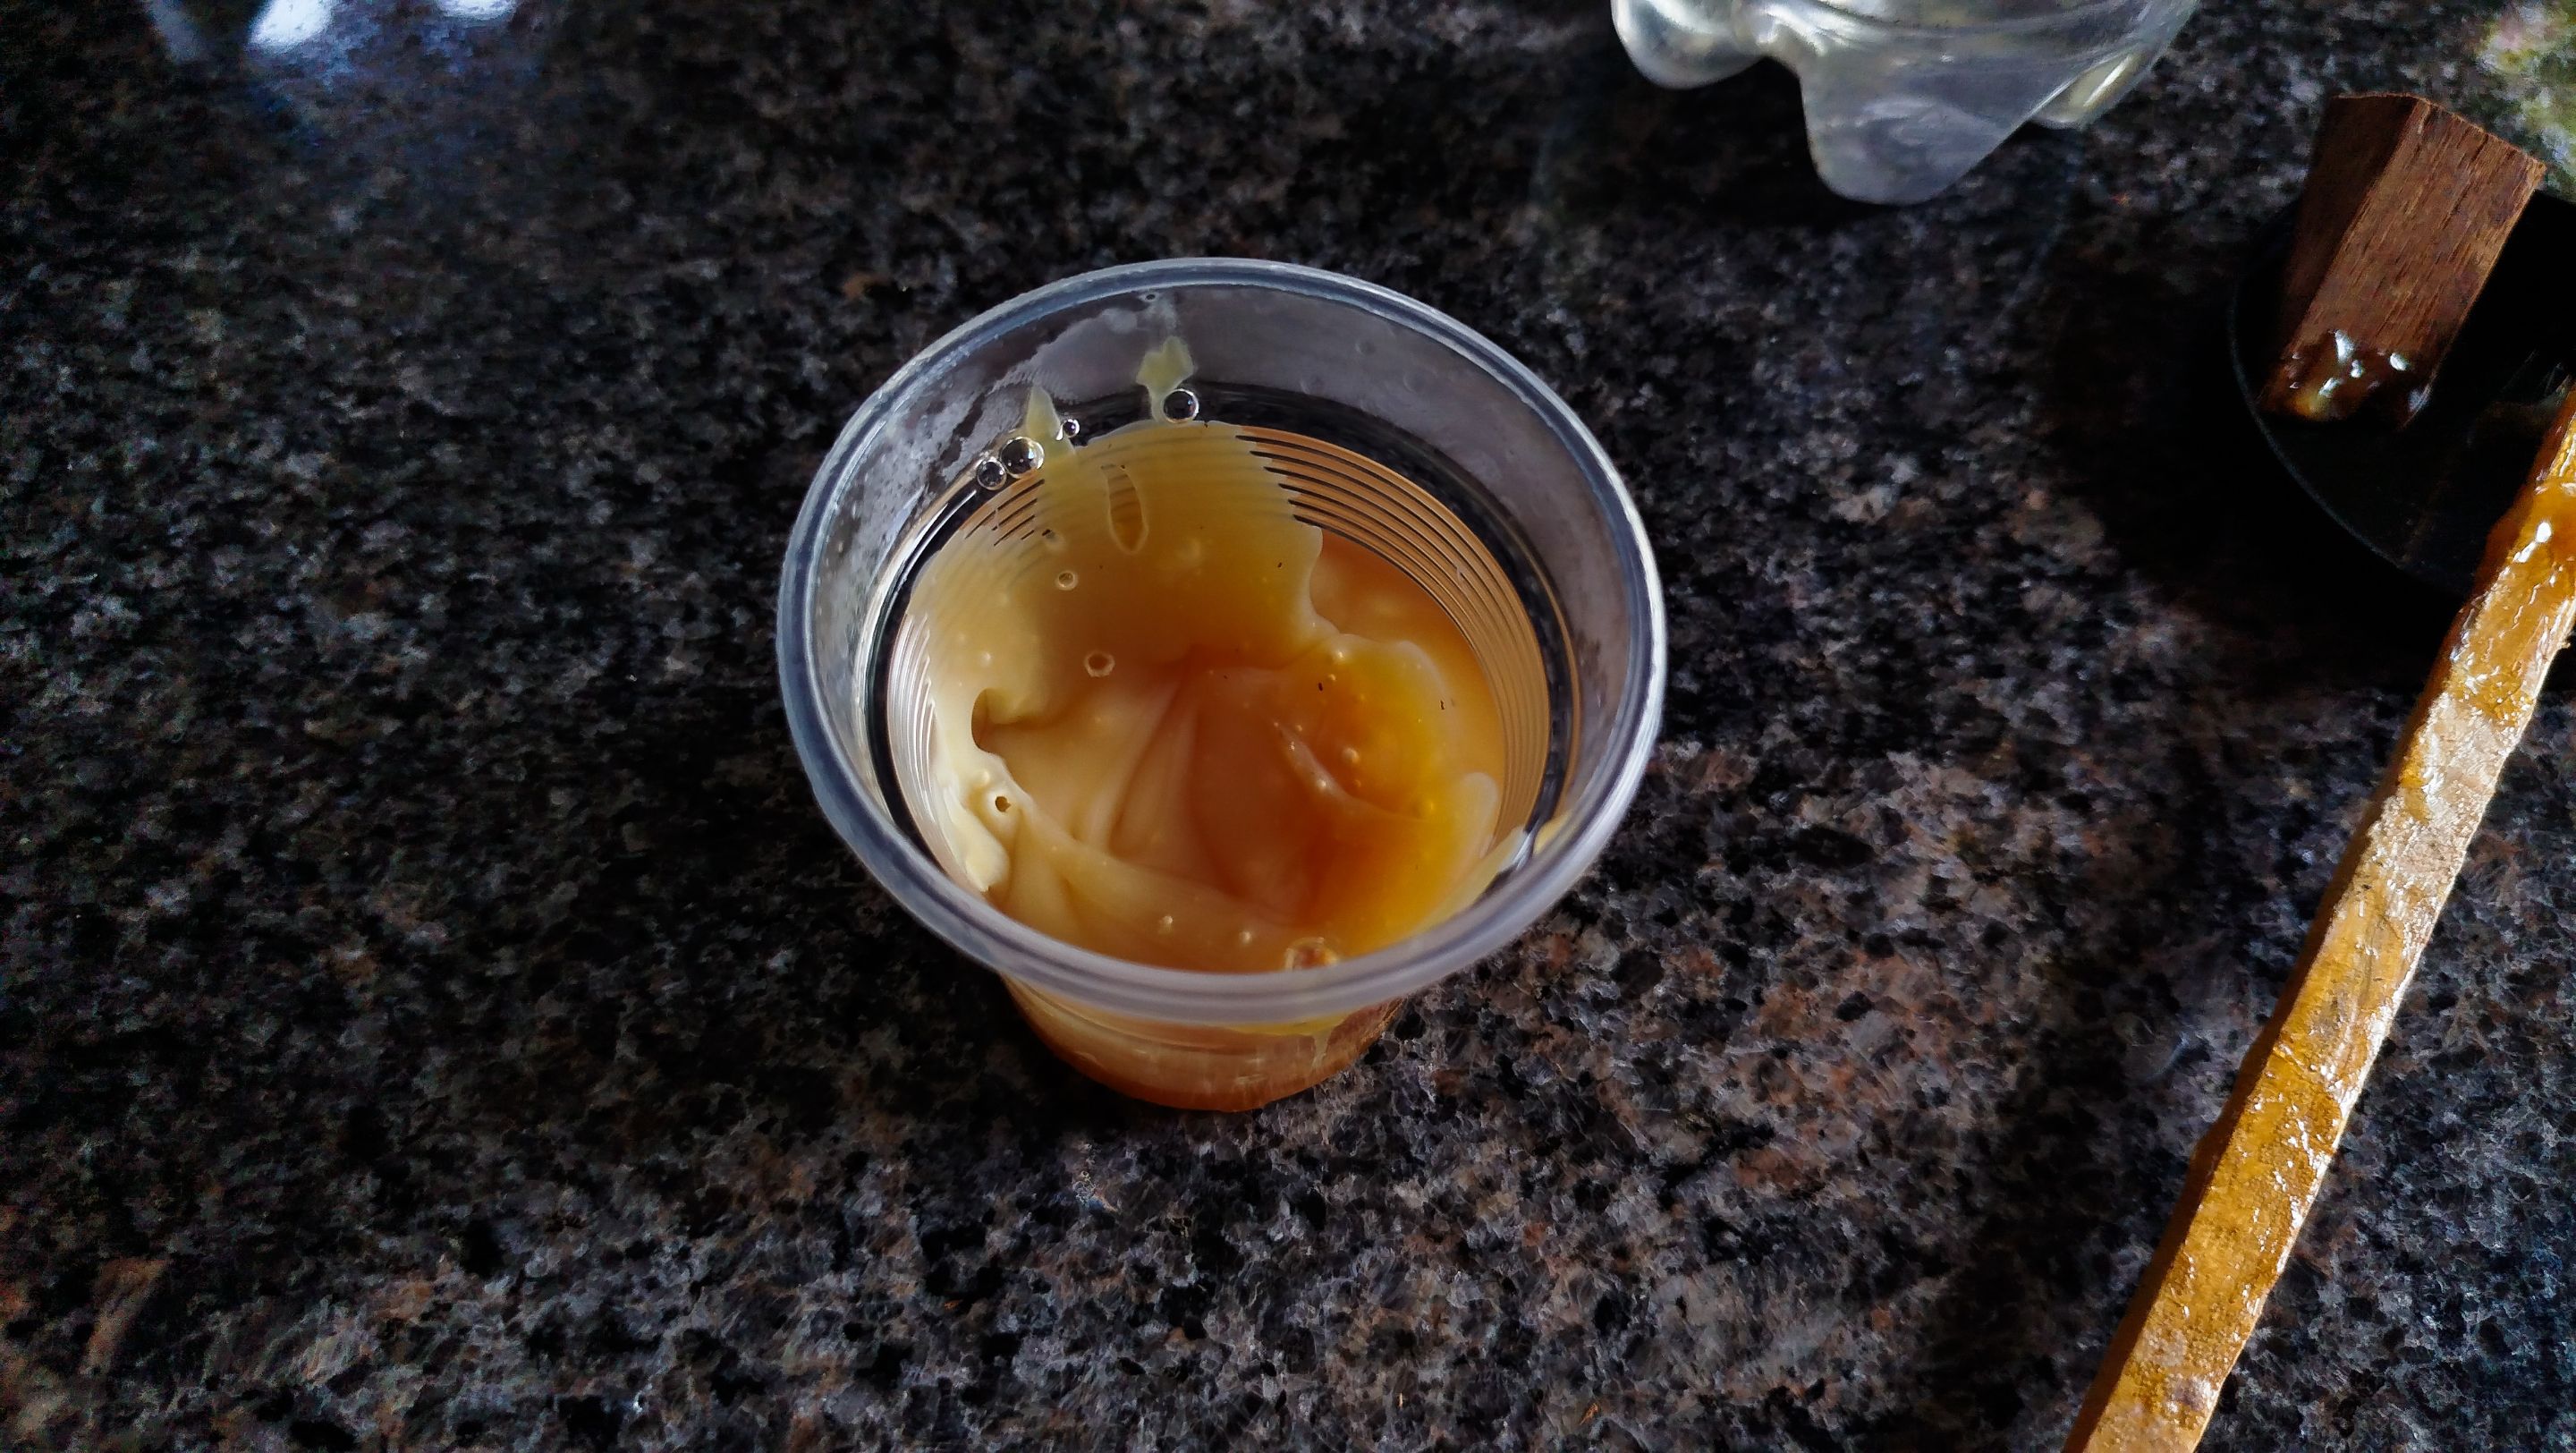
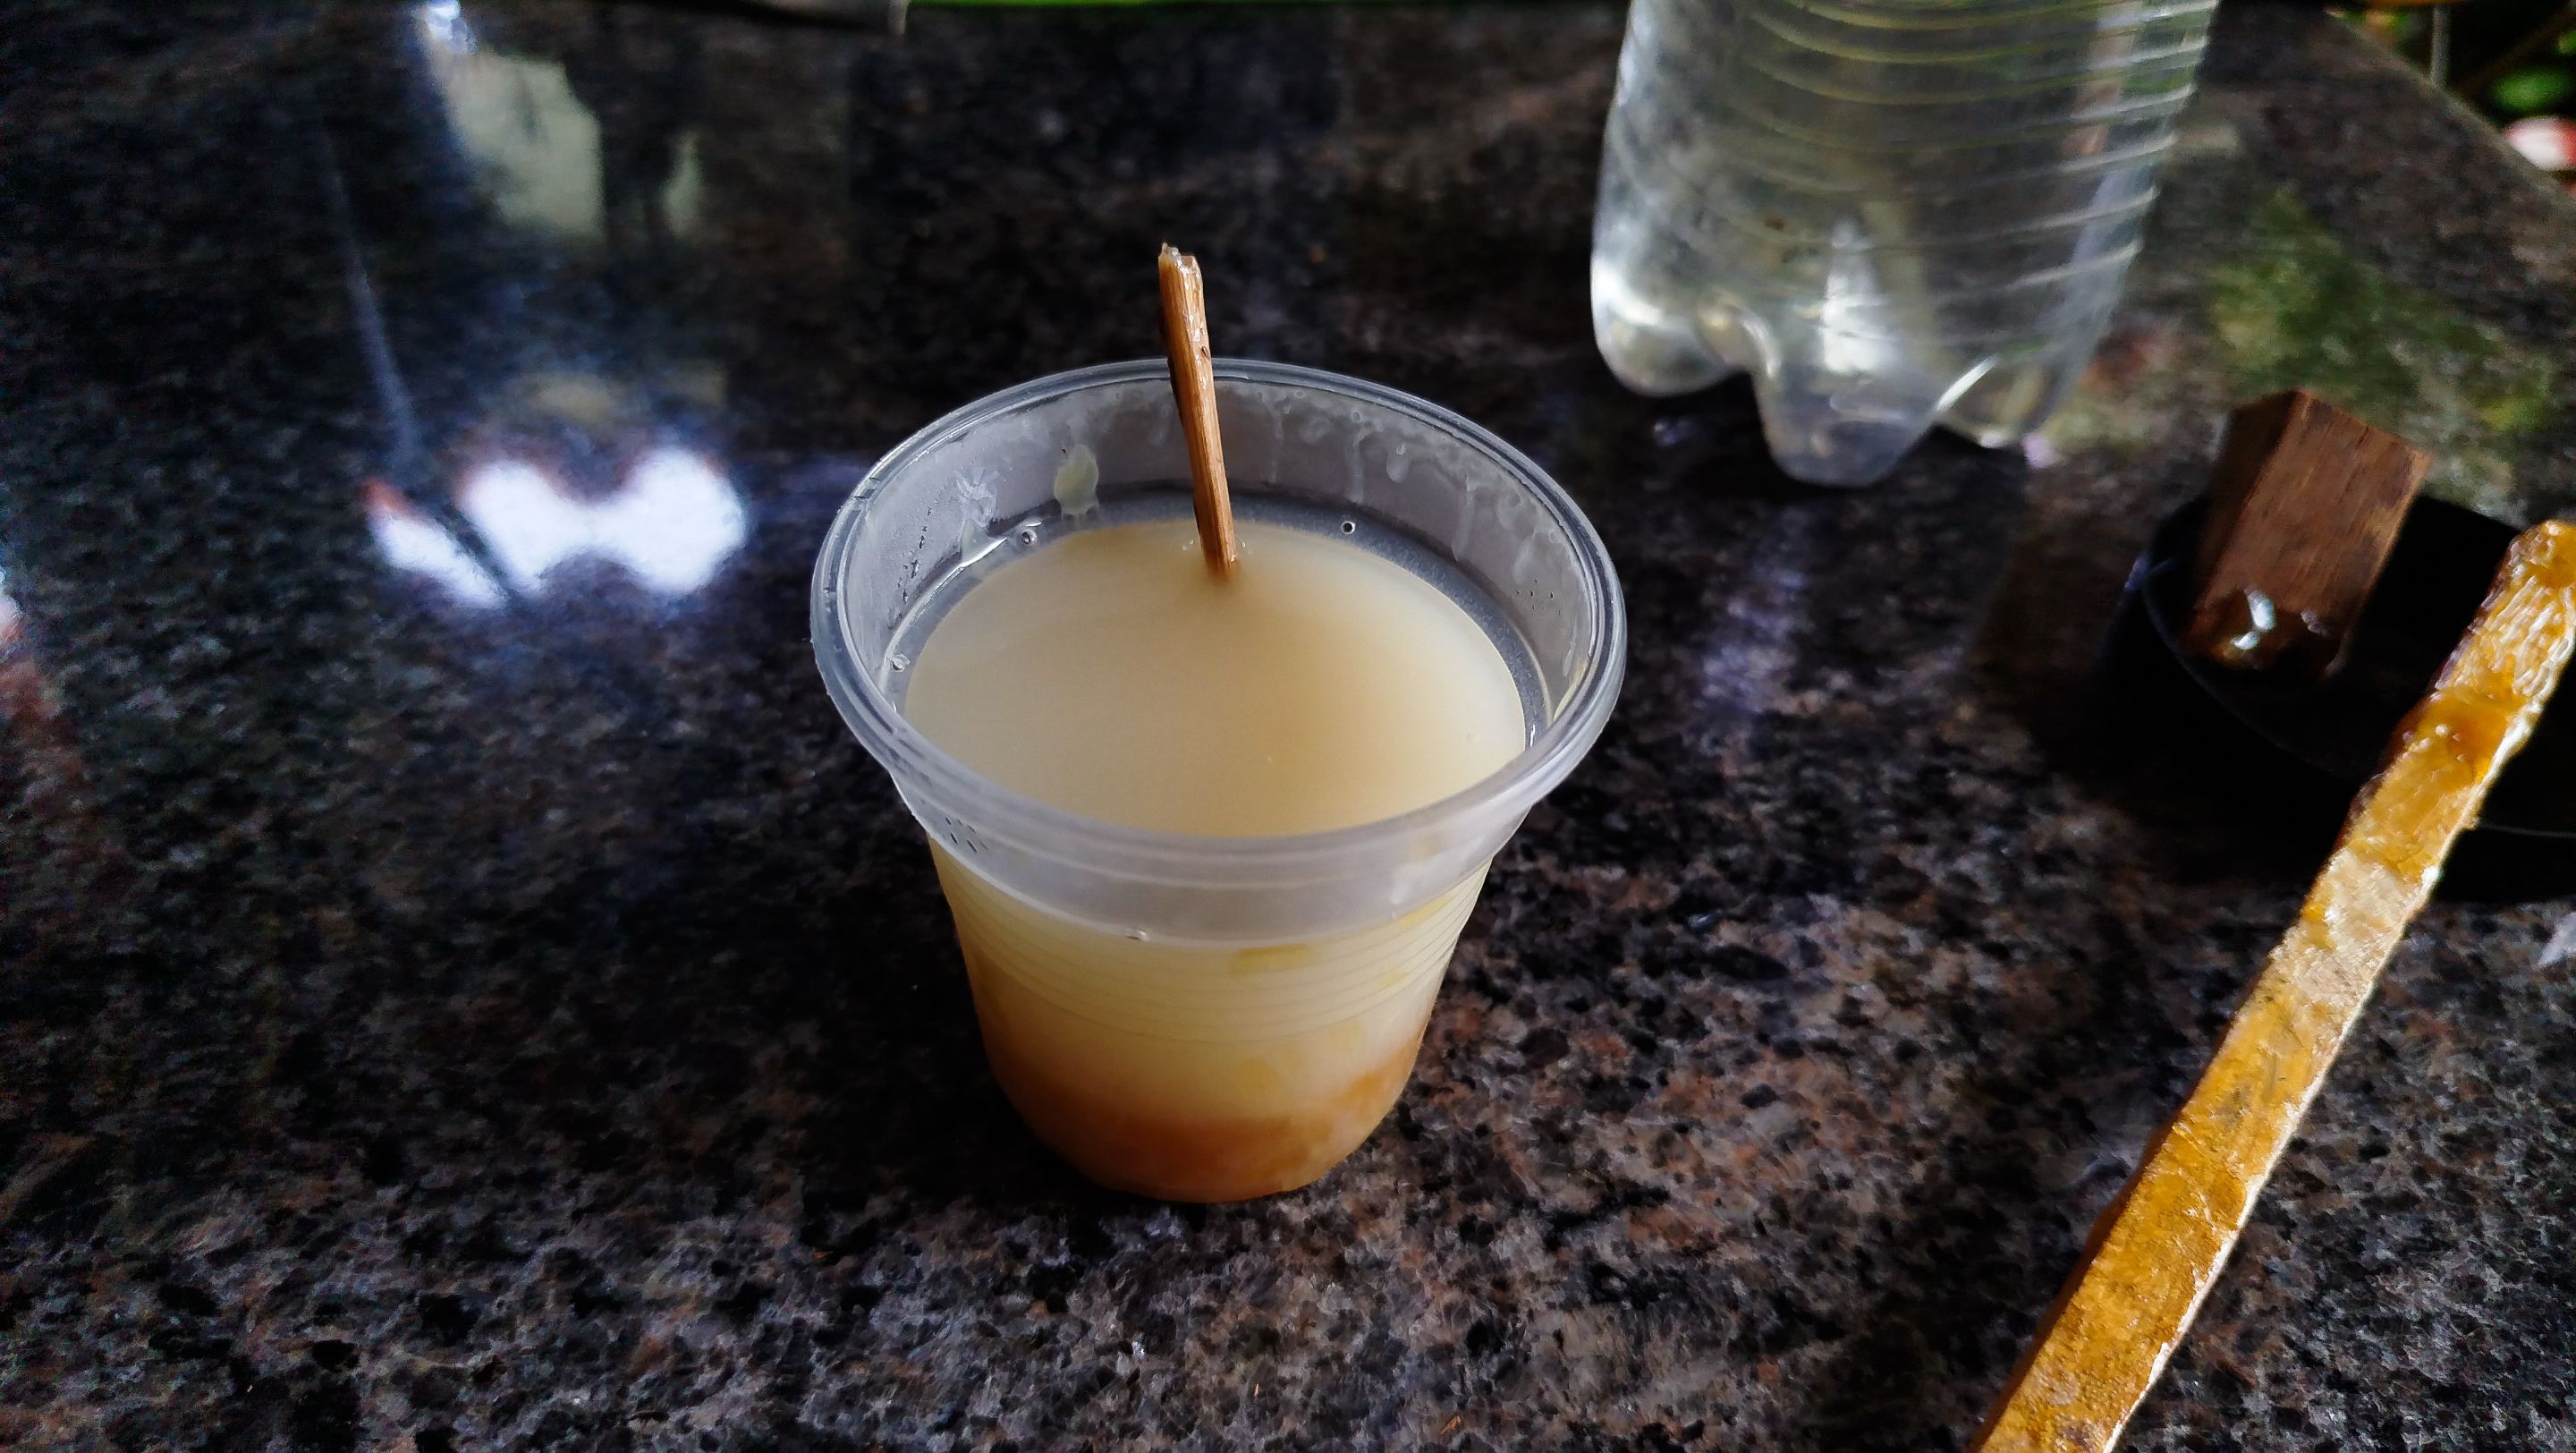
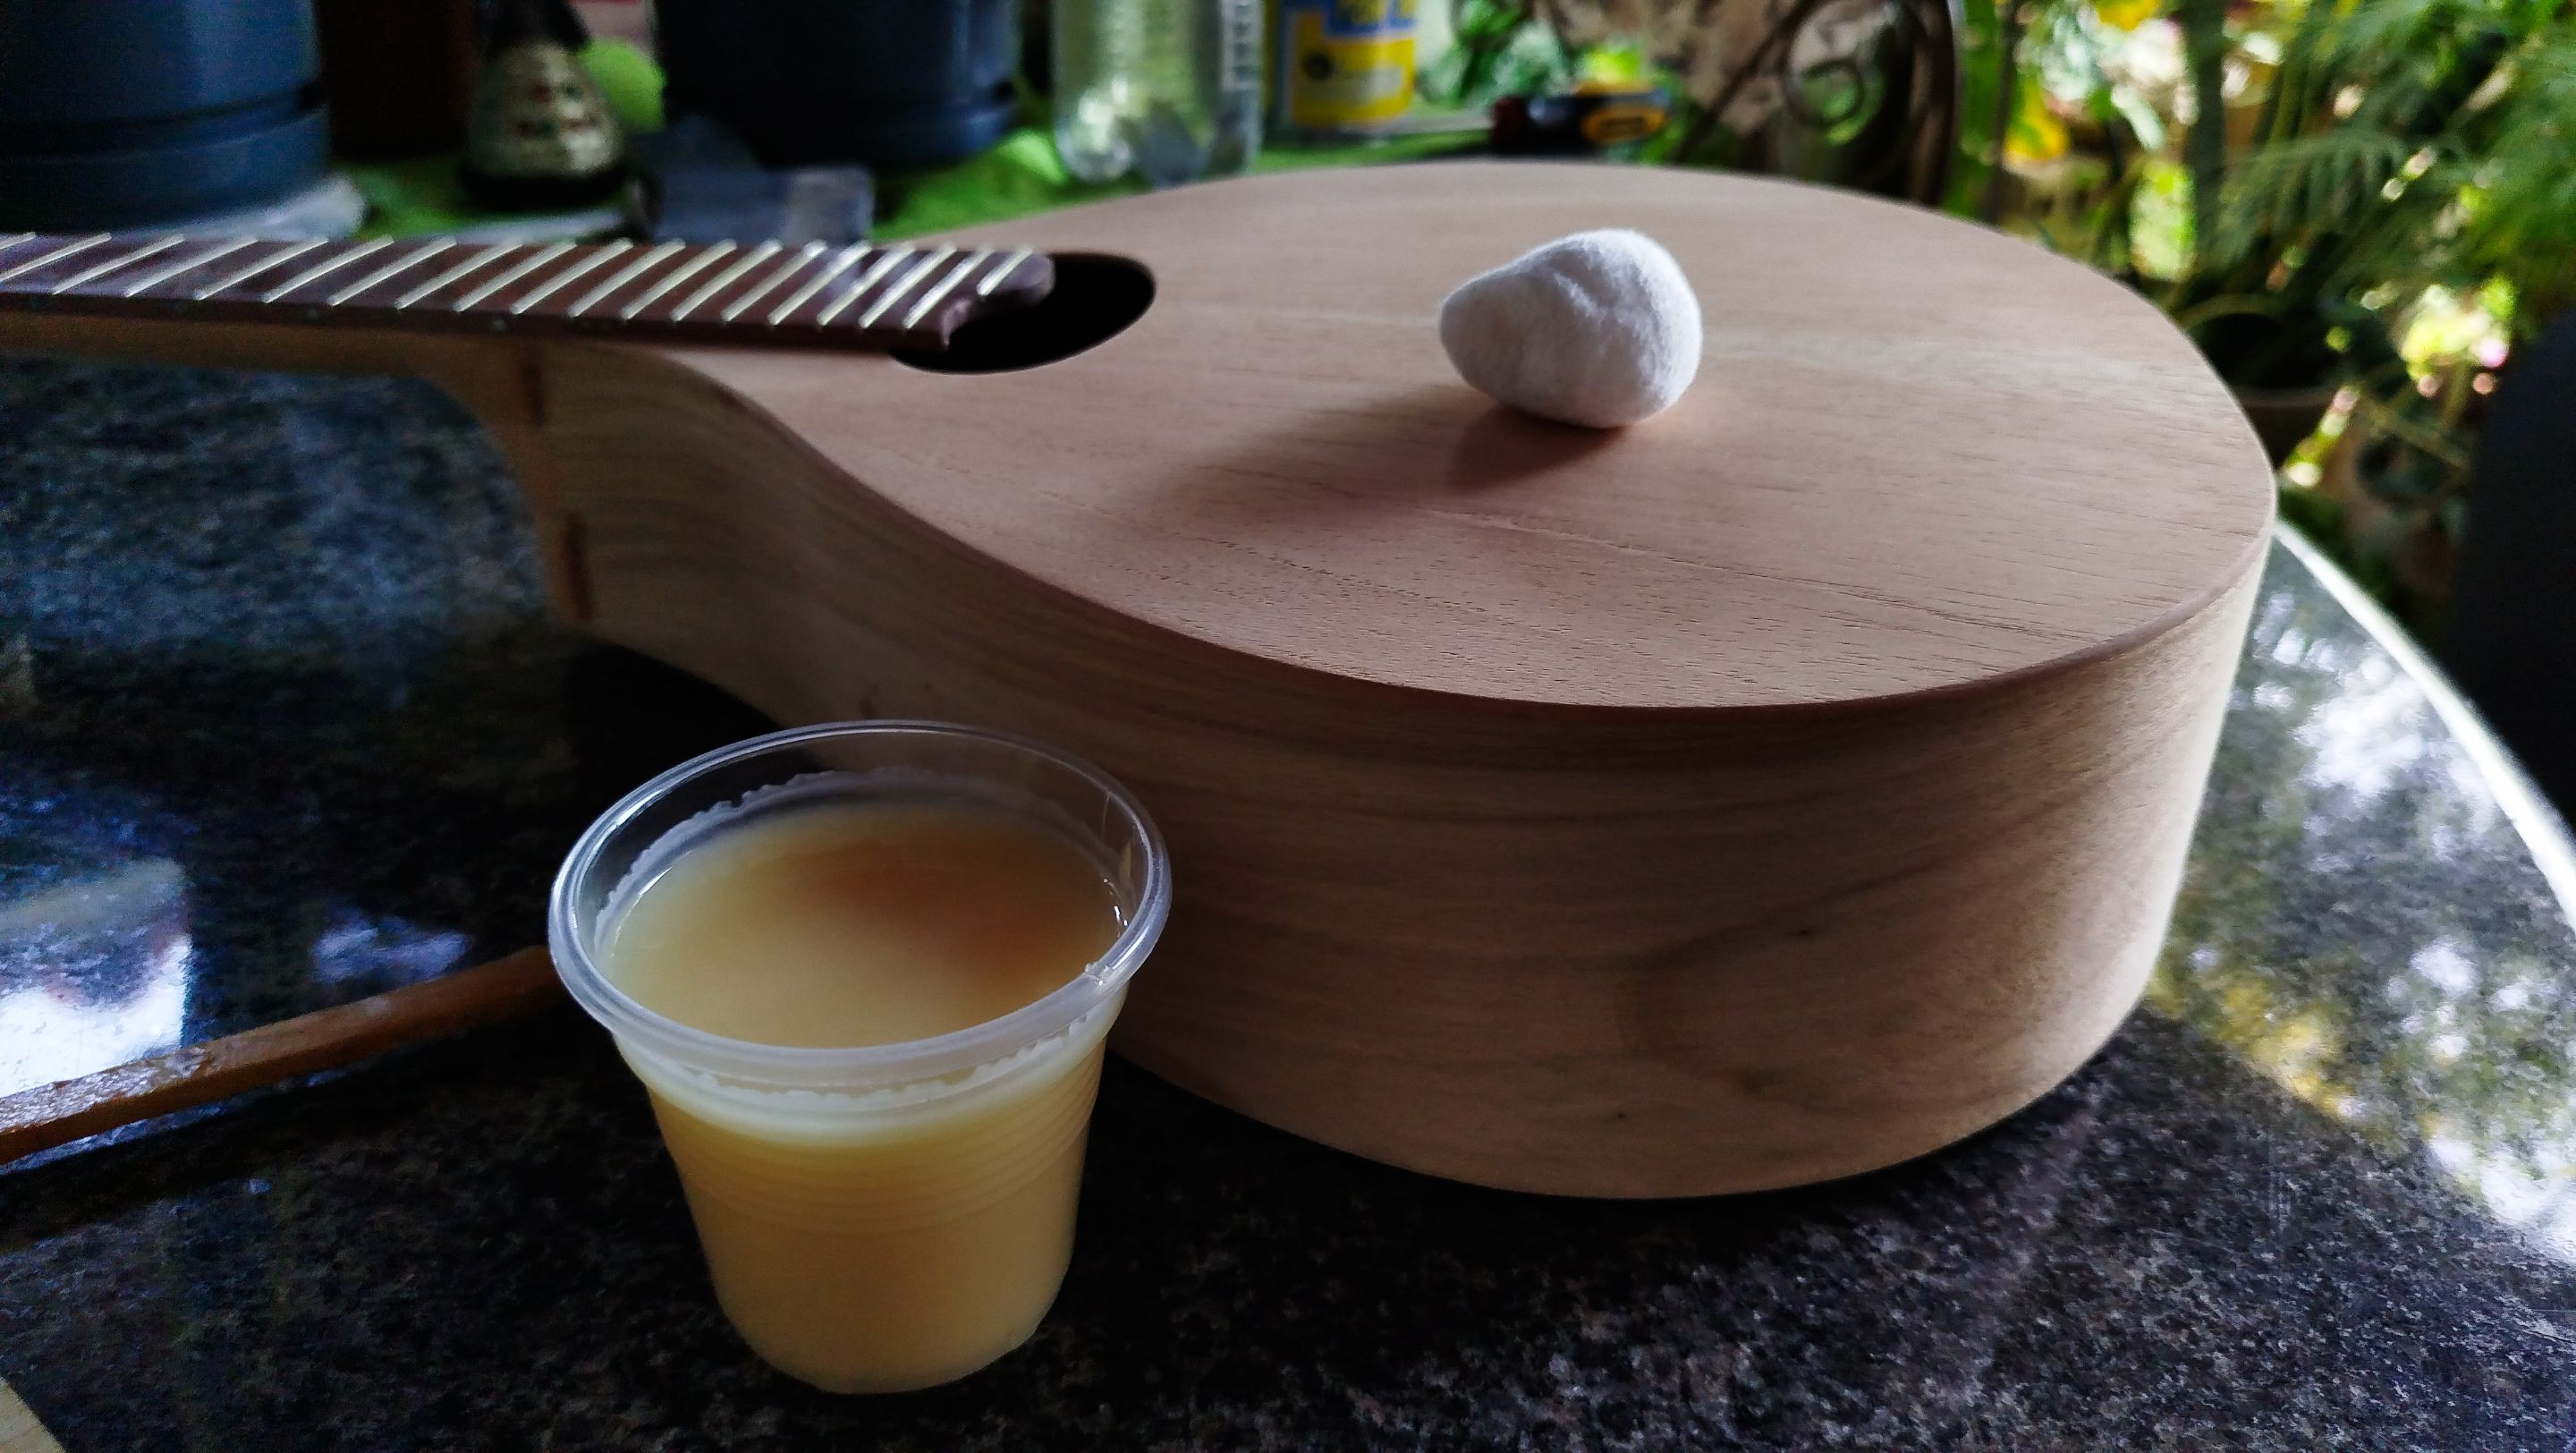
Now we make our mix of sealer. We start with a thin mix so it dries faster. We use a piece of cotton to apply the sealer on the rest of the instrument until we have covered all the other parts except for the fretboard. And we rinse and repeat until we finish everything we have mix in the cup.
| Number | Entry |
|---|---|
| 1 | The First Mandolin |
| 2 | Starting a Neck |
| 3 | The Heel |
| 4 | Headstock and Template |
| 5 | Neck, Sound Board and Mould |
| 6 | Round Back |
| 7 | End Block and Sides |
| 8 | Shape of Mandolin |
| 9 | Mandolin Fretboard |
| 10 | Markers and Sealer |
-
Photos 📷: Redmi Note 13
-
Thumbnail 🖼️: Canva.
-
Editing 🎬:Adobe Photoshop Lightroom.

Follow me on Instagram for enquires and commission.
If you'd like to help the workshop grow, you can make a donation here.
You can find me at discord as bertrayo#1763