
Hello there, my fellow artisans and handcrafts enthusiasts!
Welcome back to another entry on this Mandolin build. Last time, we started the neck by making the work on the blank. Then we also added the block of for the heel. Today, we are going to carve the heel and also add the rest of the pieces we need to create the head stock. Besides that, we are also making the template for future mandolin head stocks.
Let's get to it!
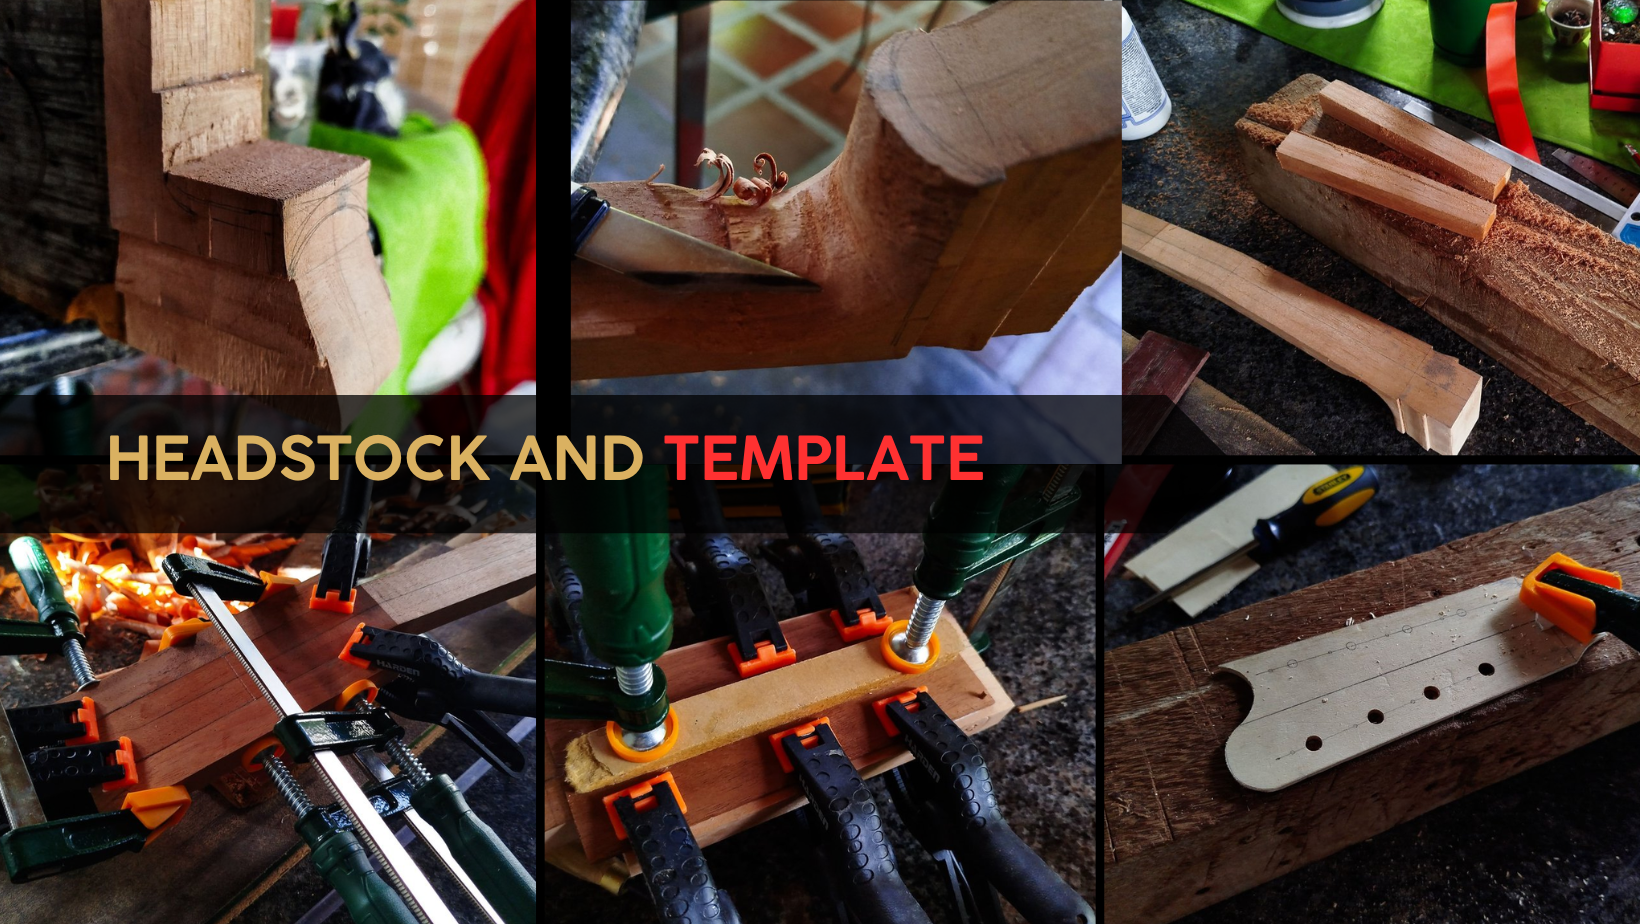
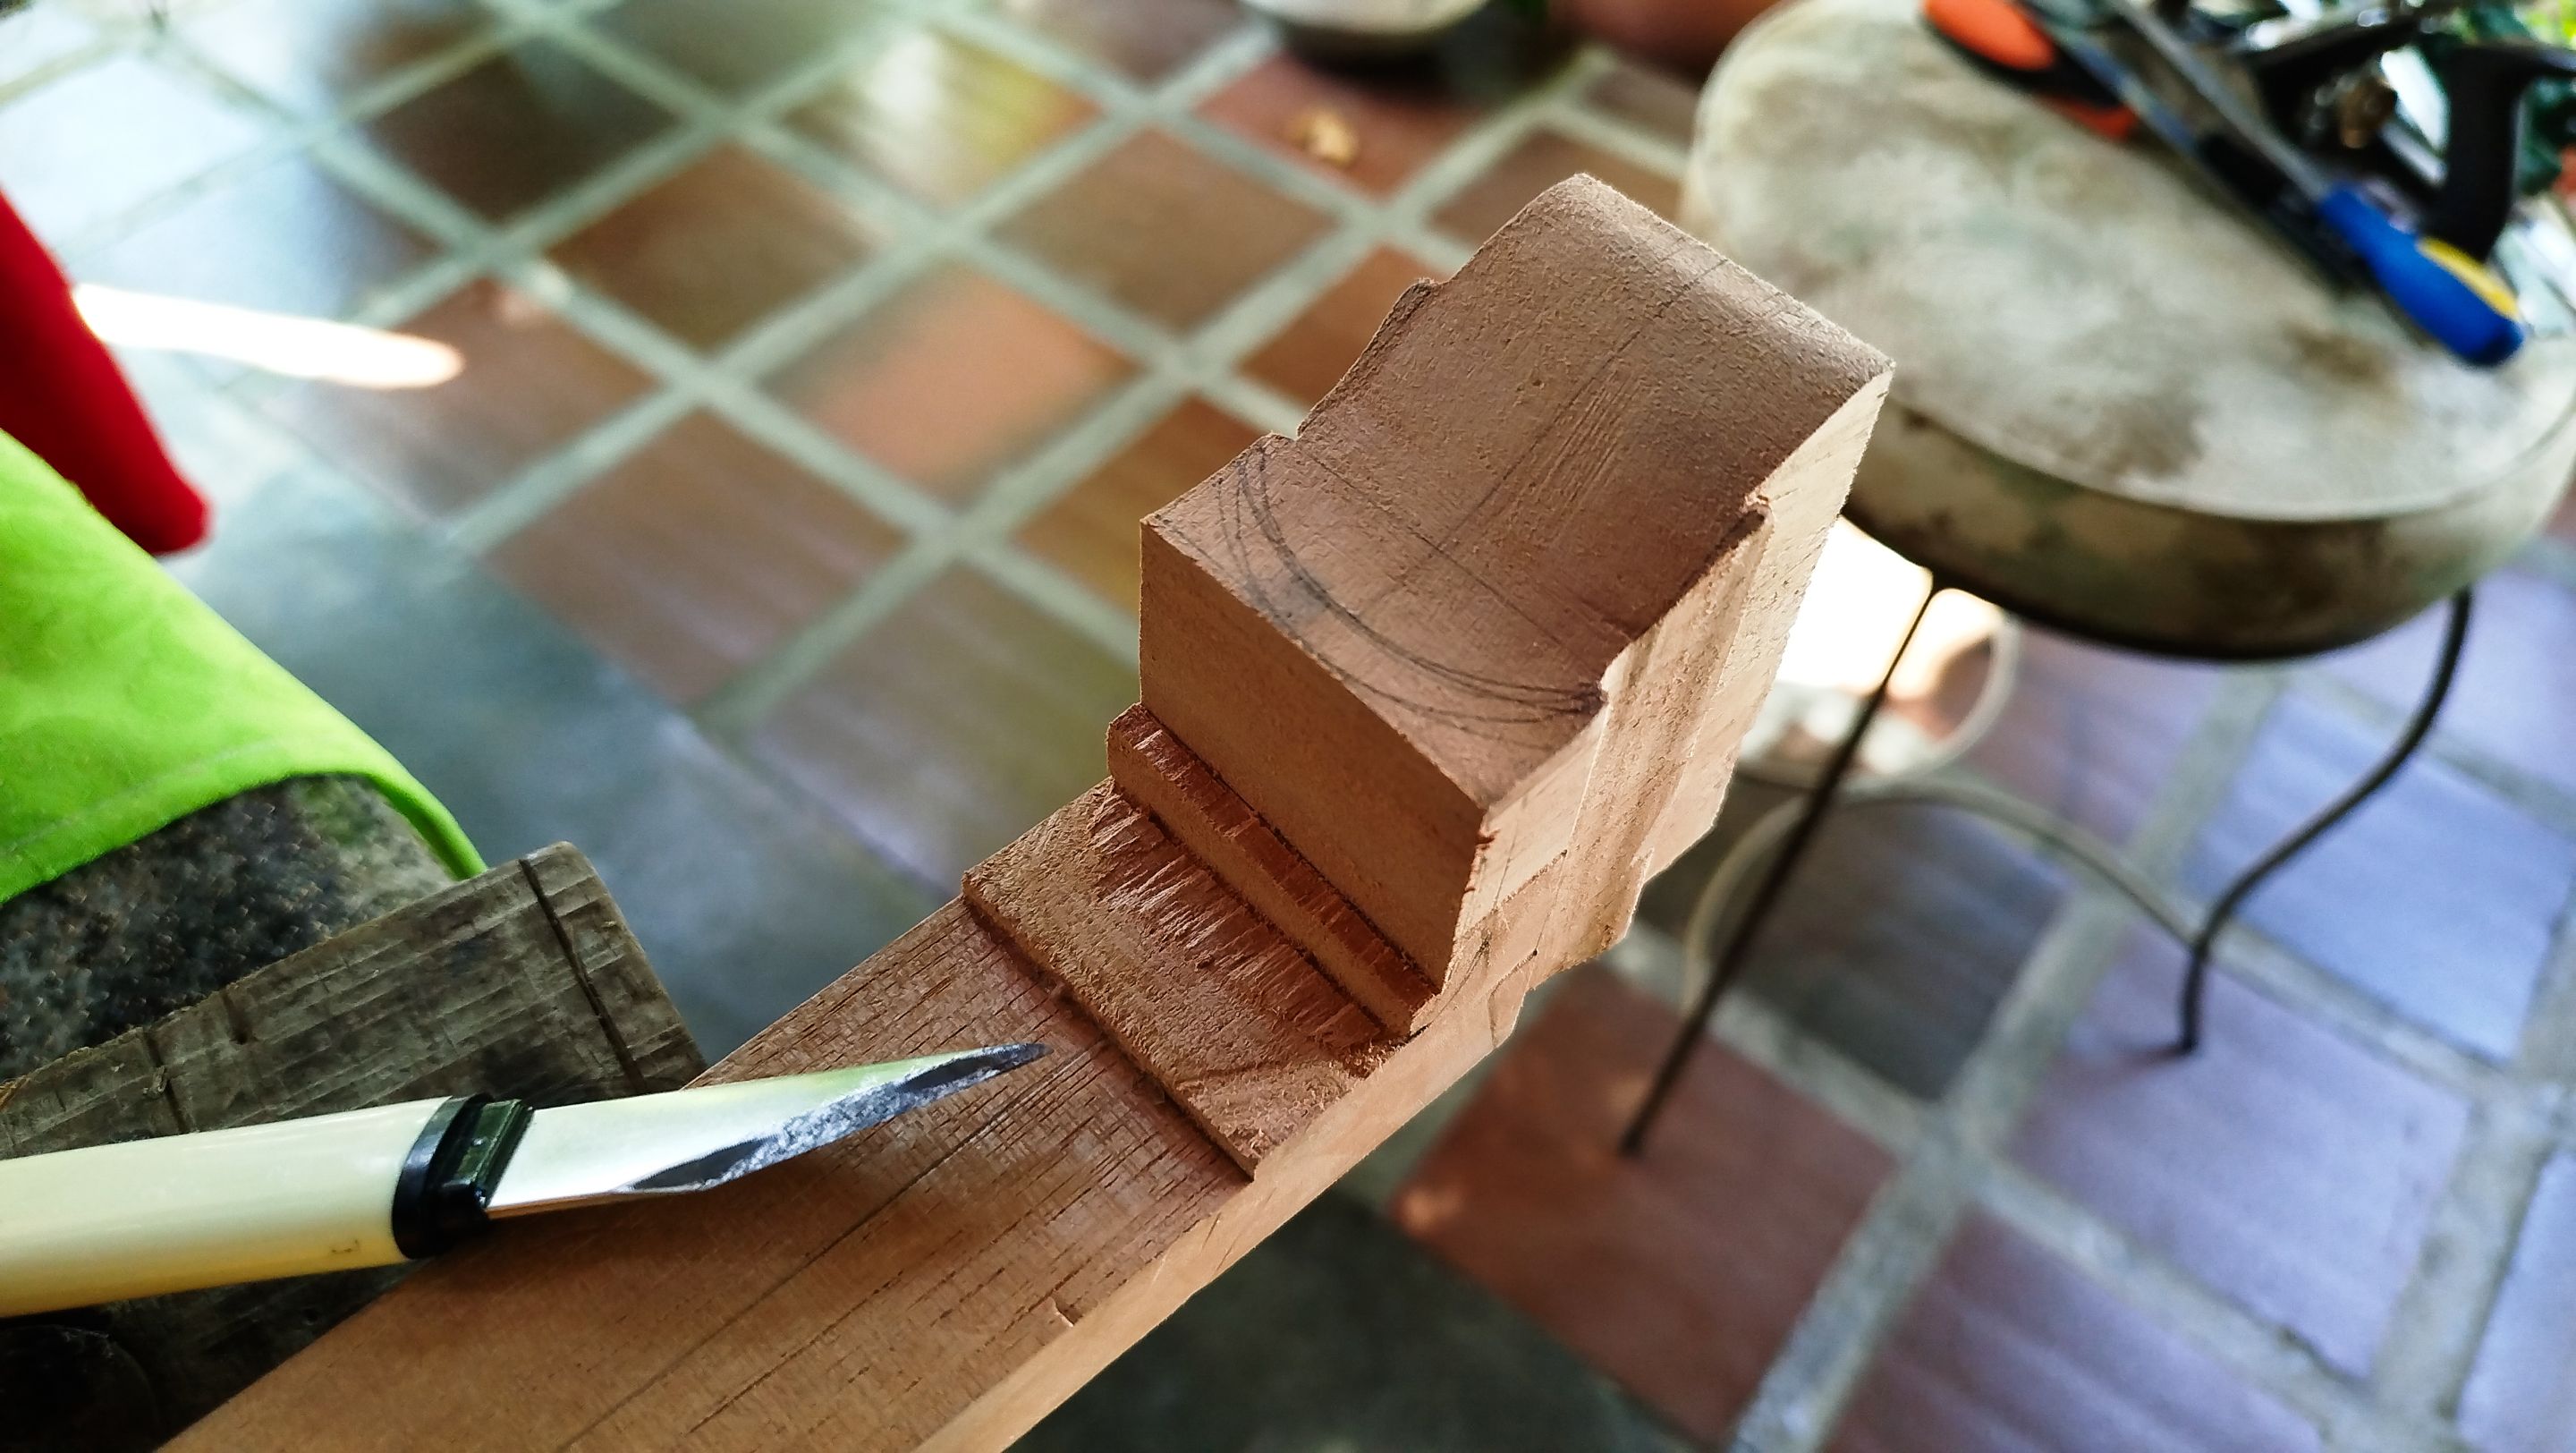
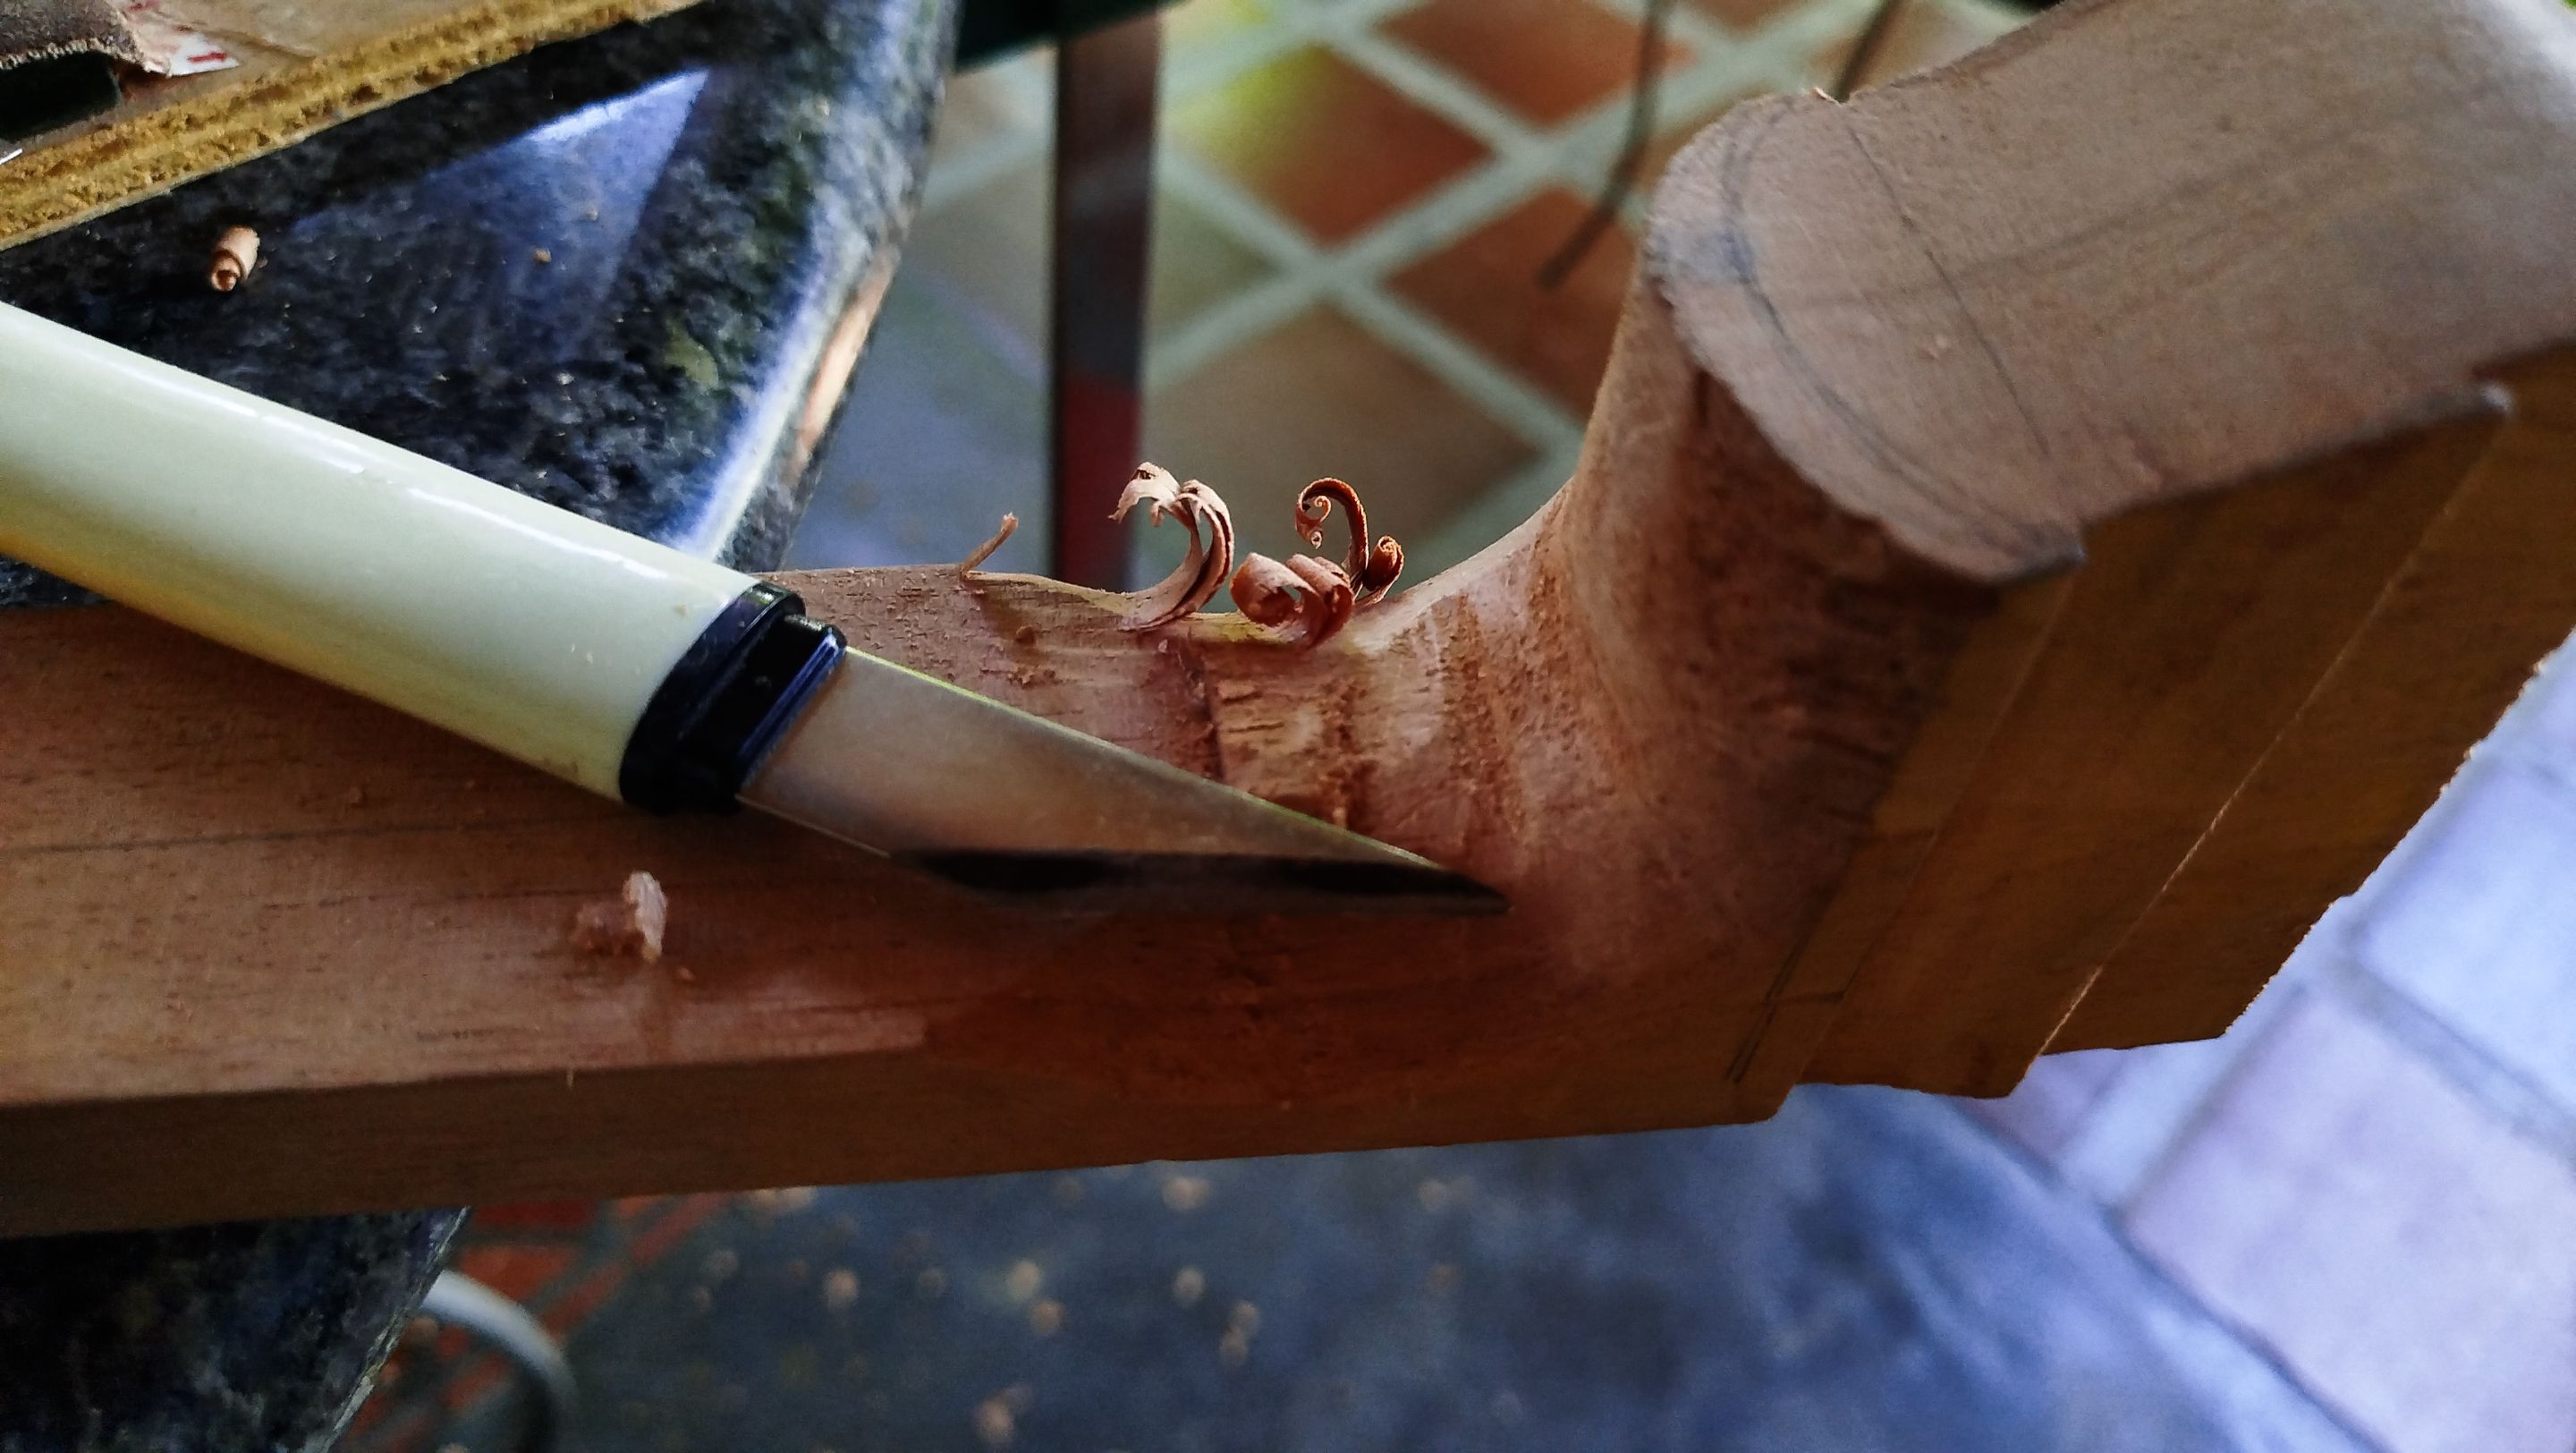
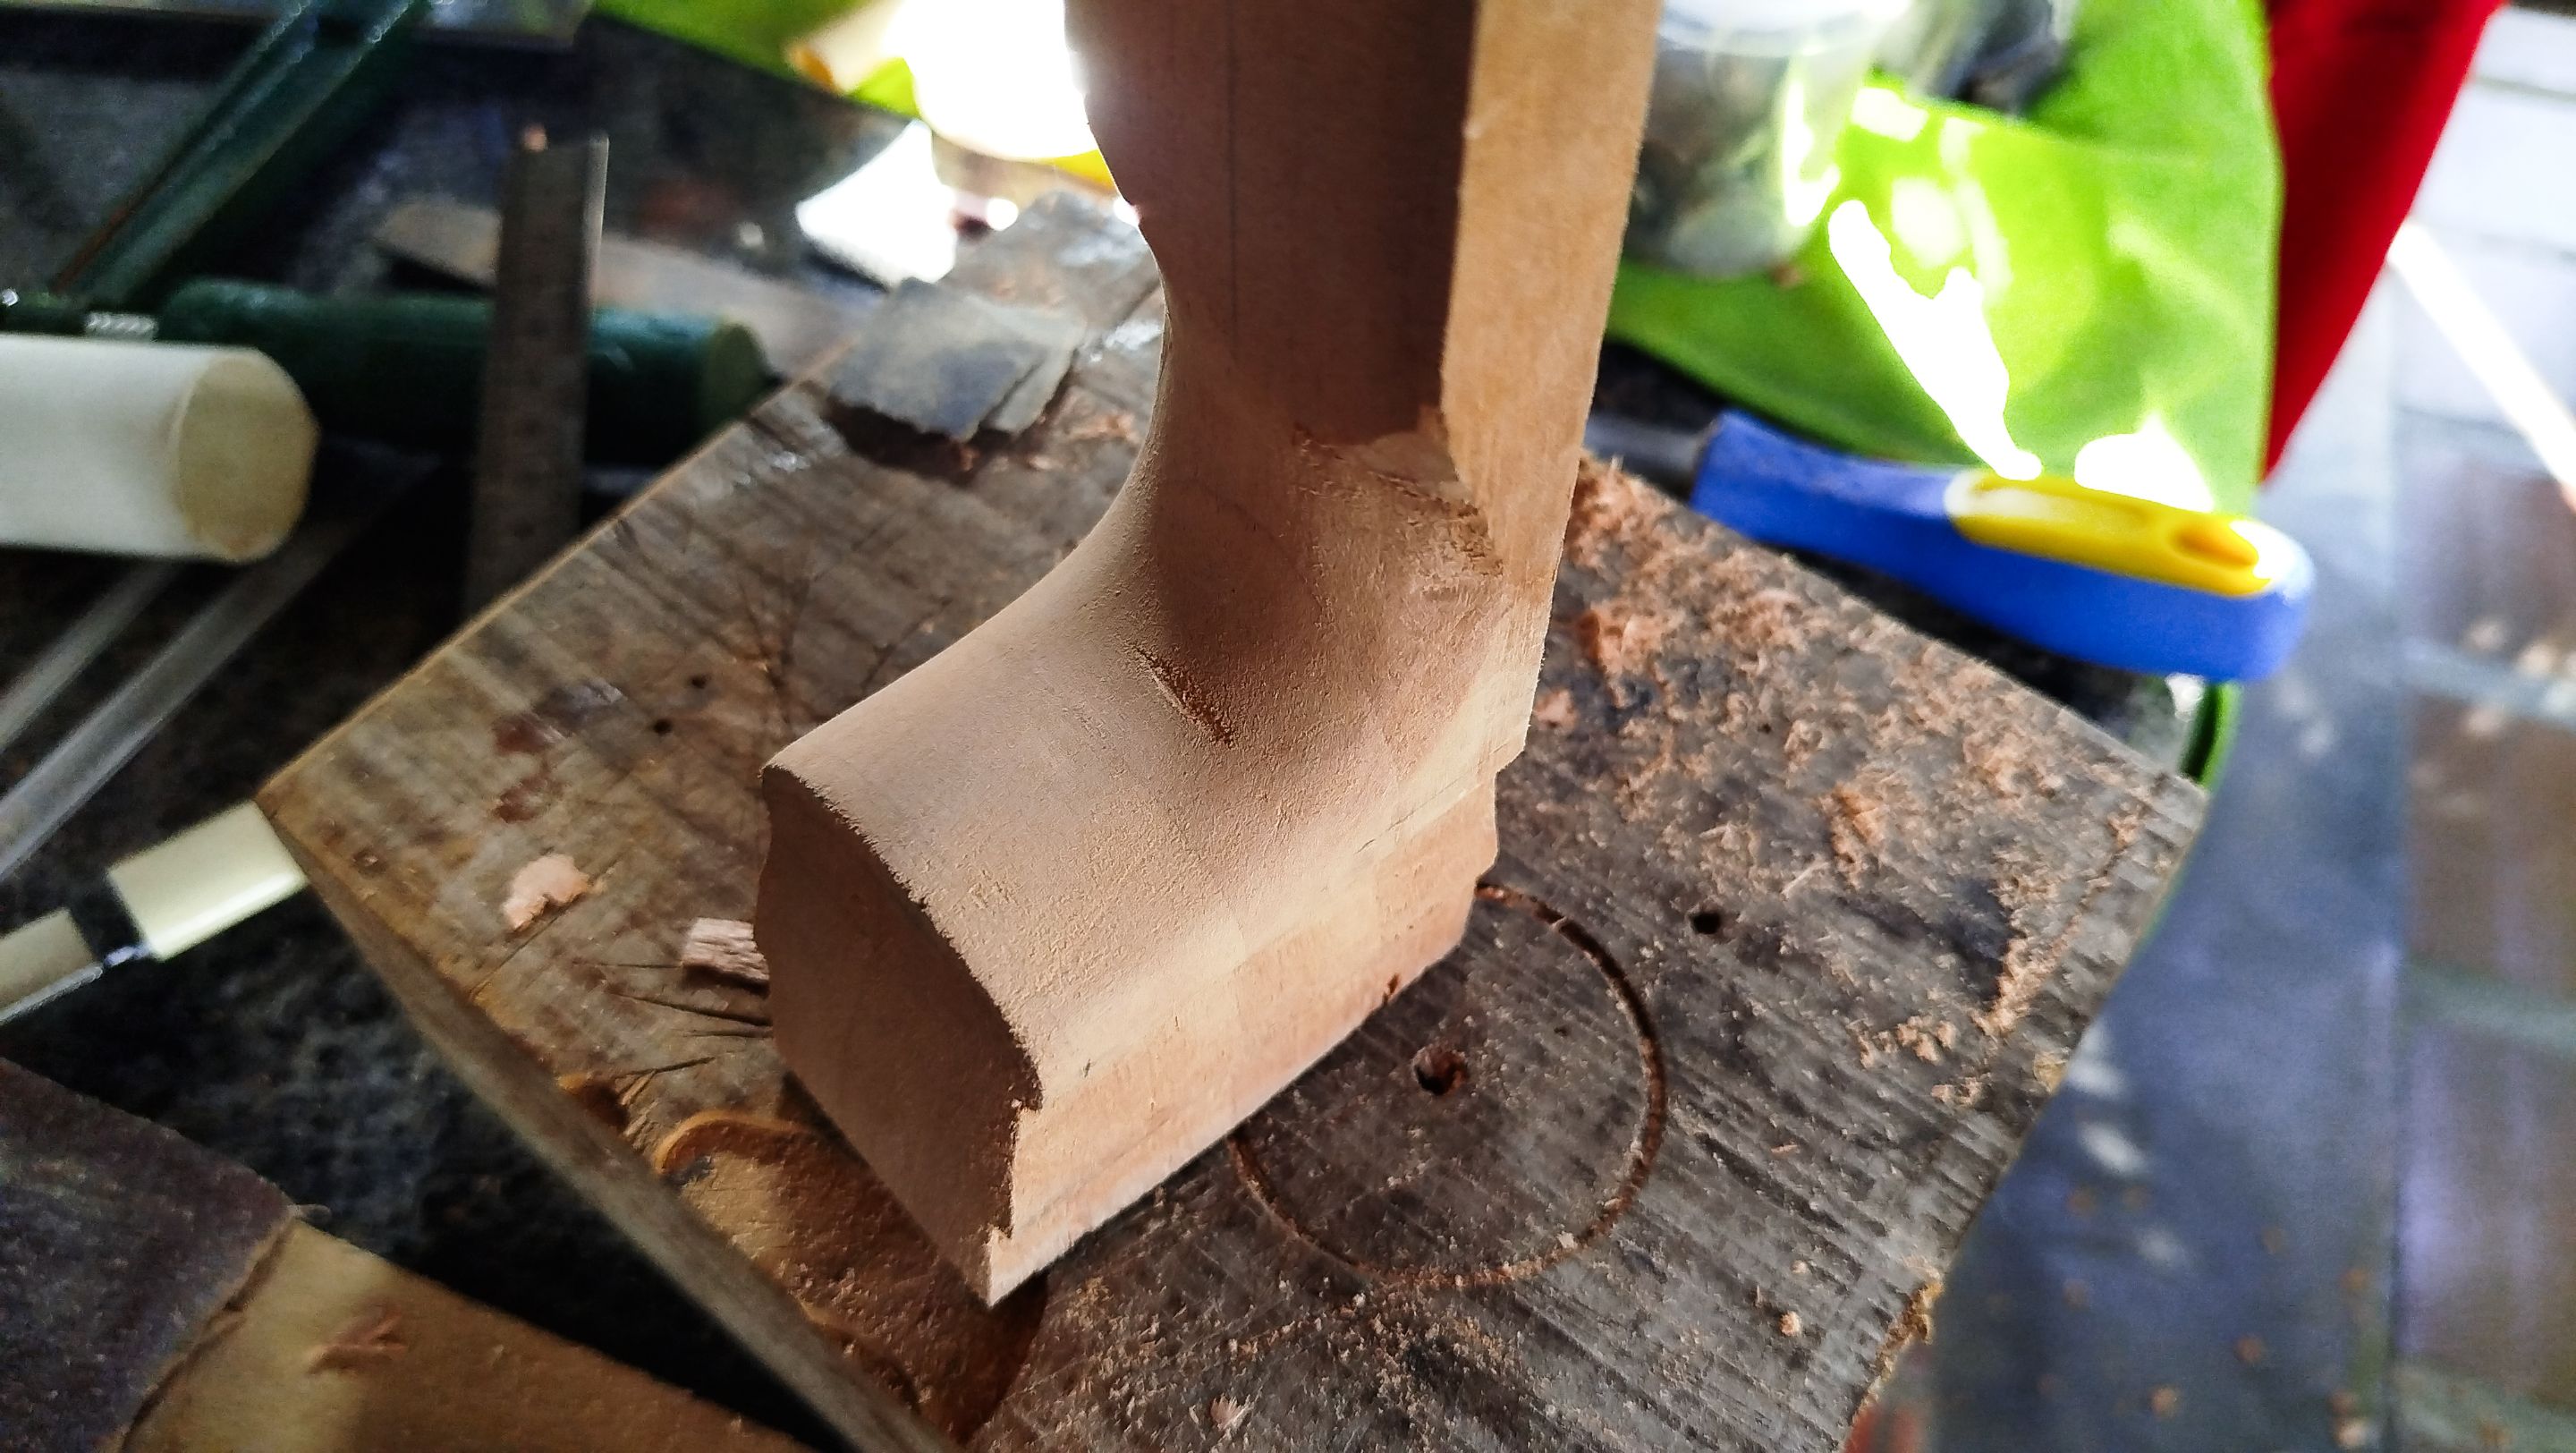
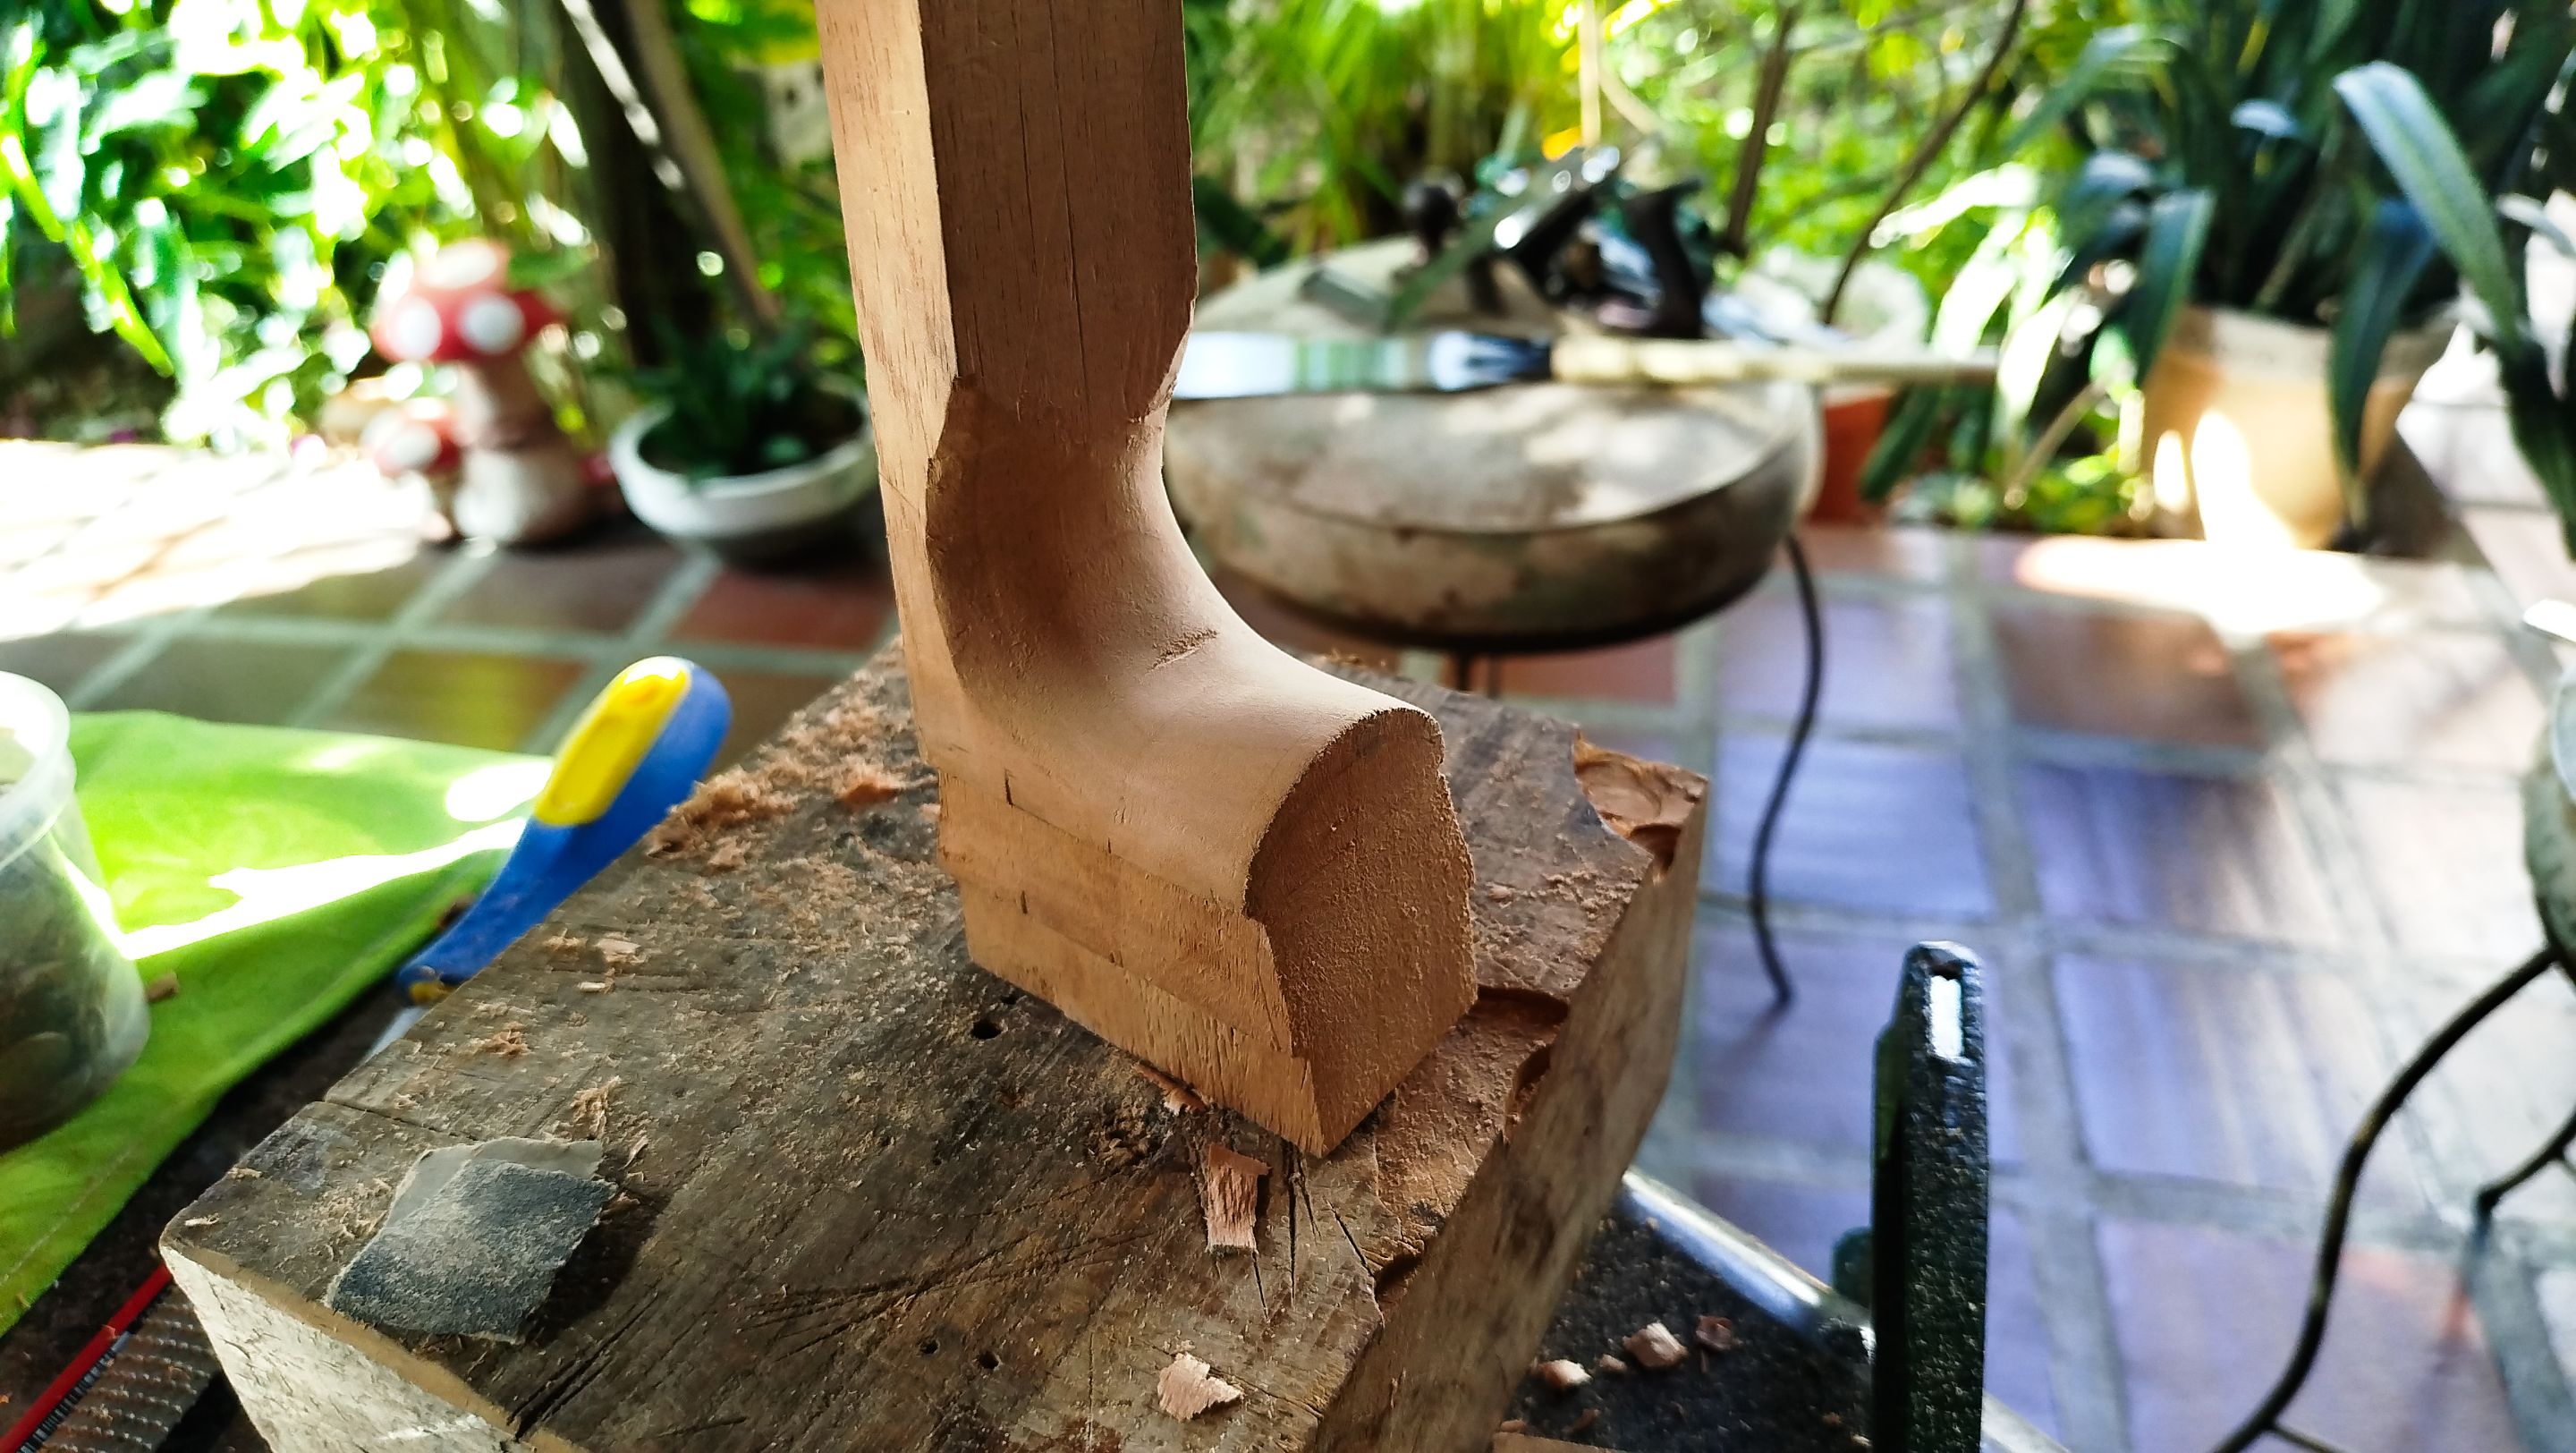
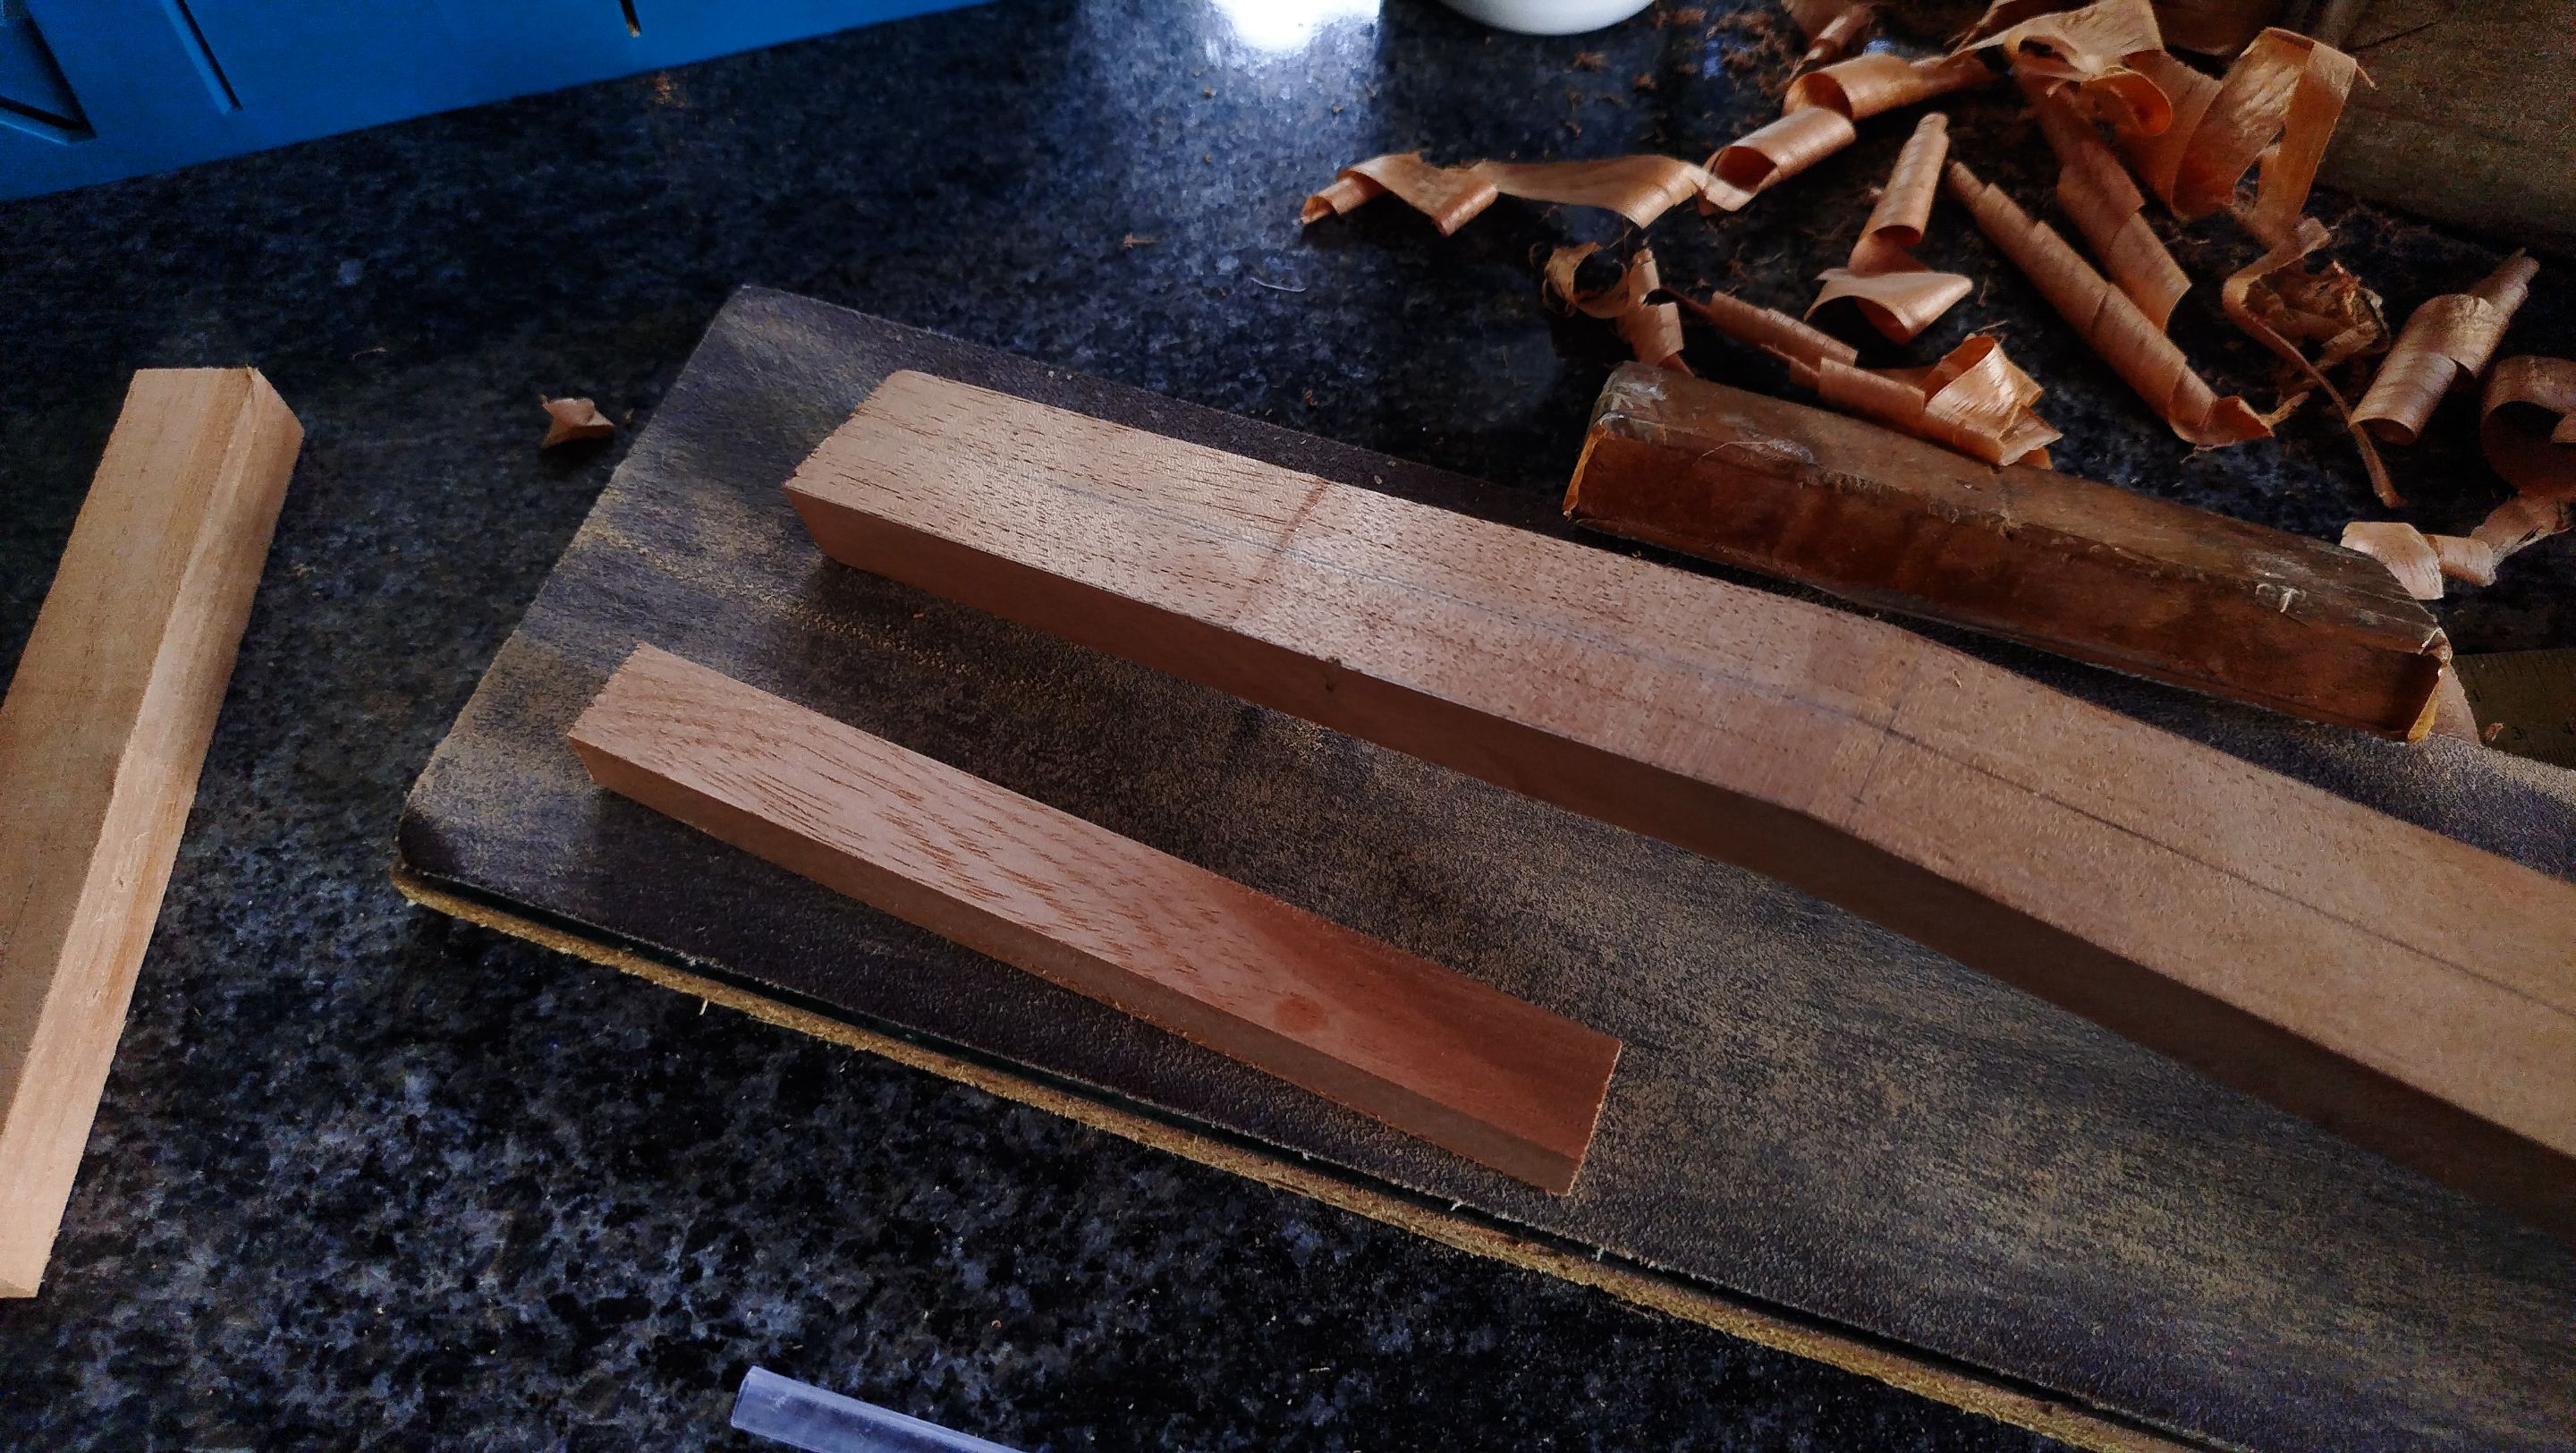
Carving the heel
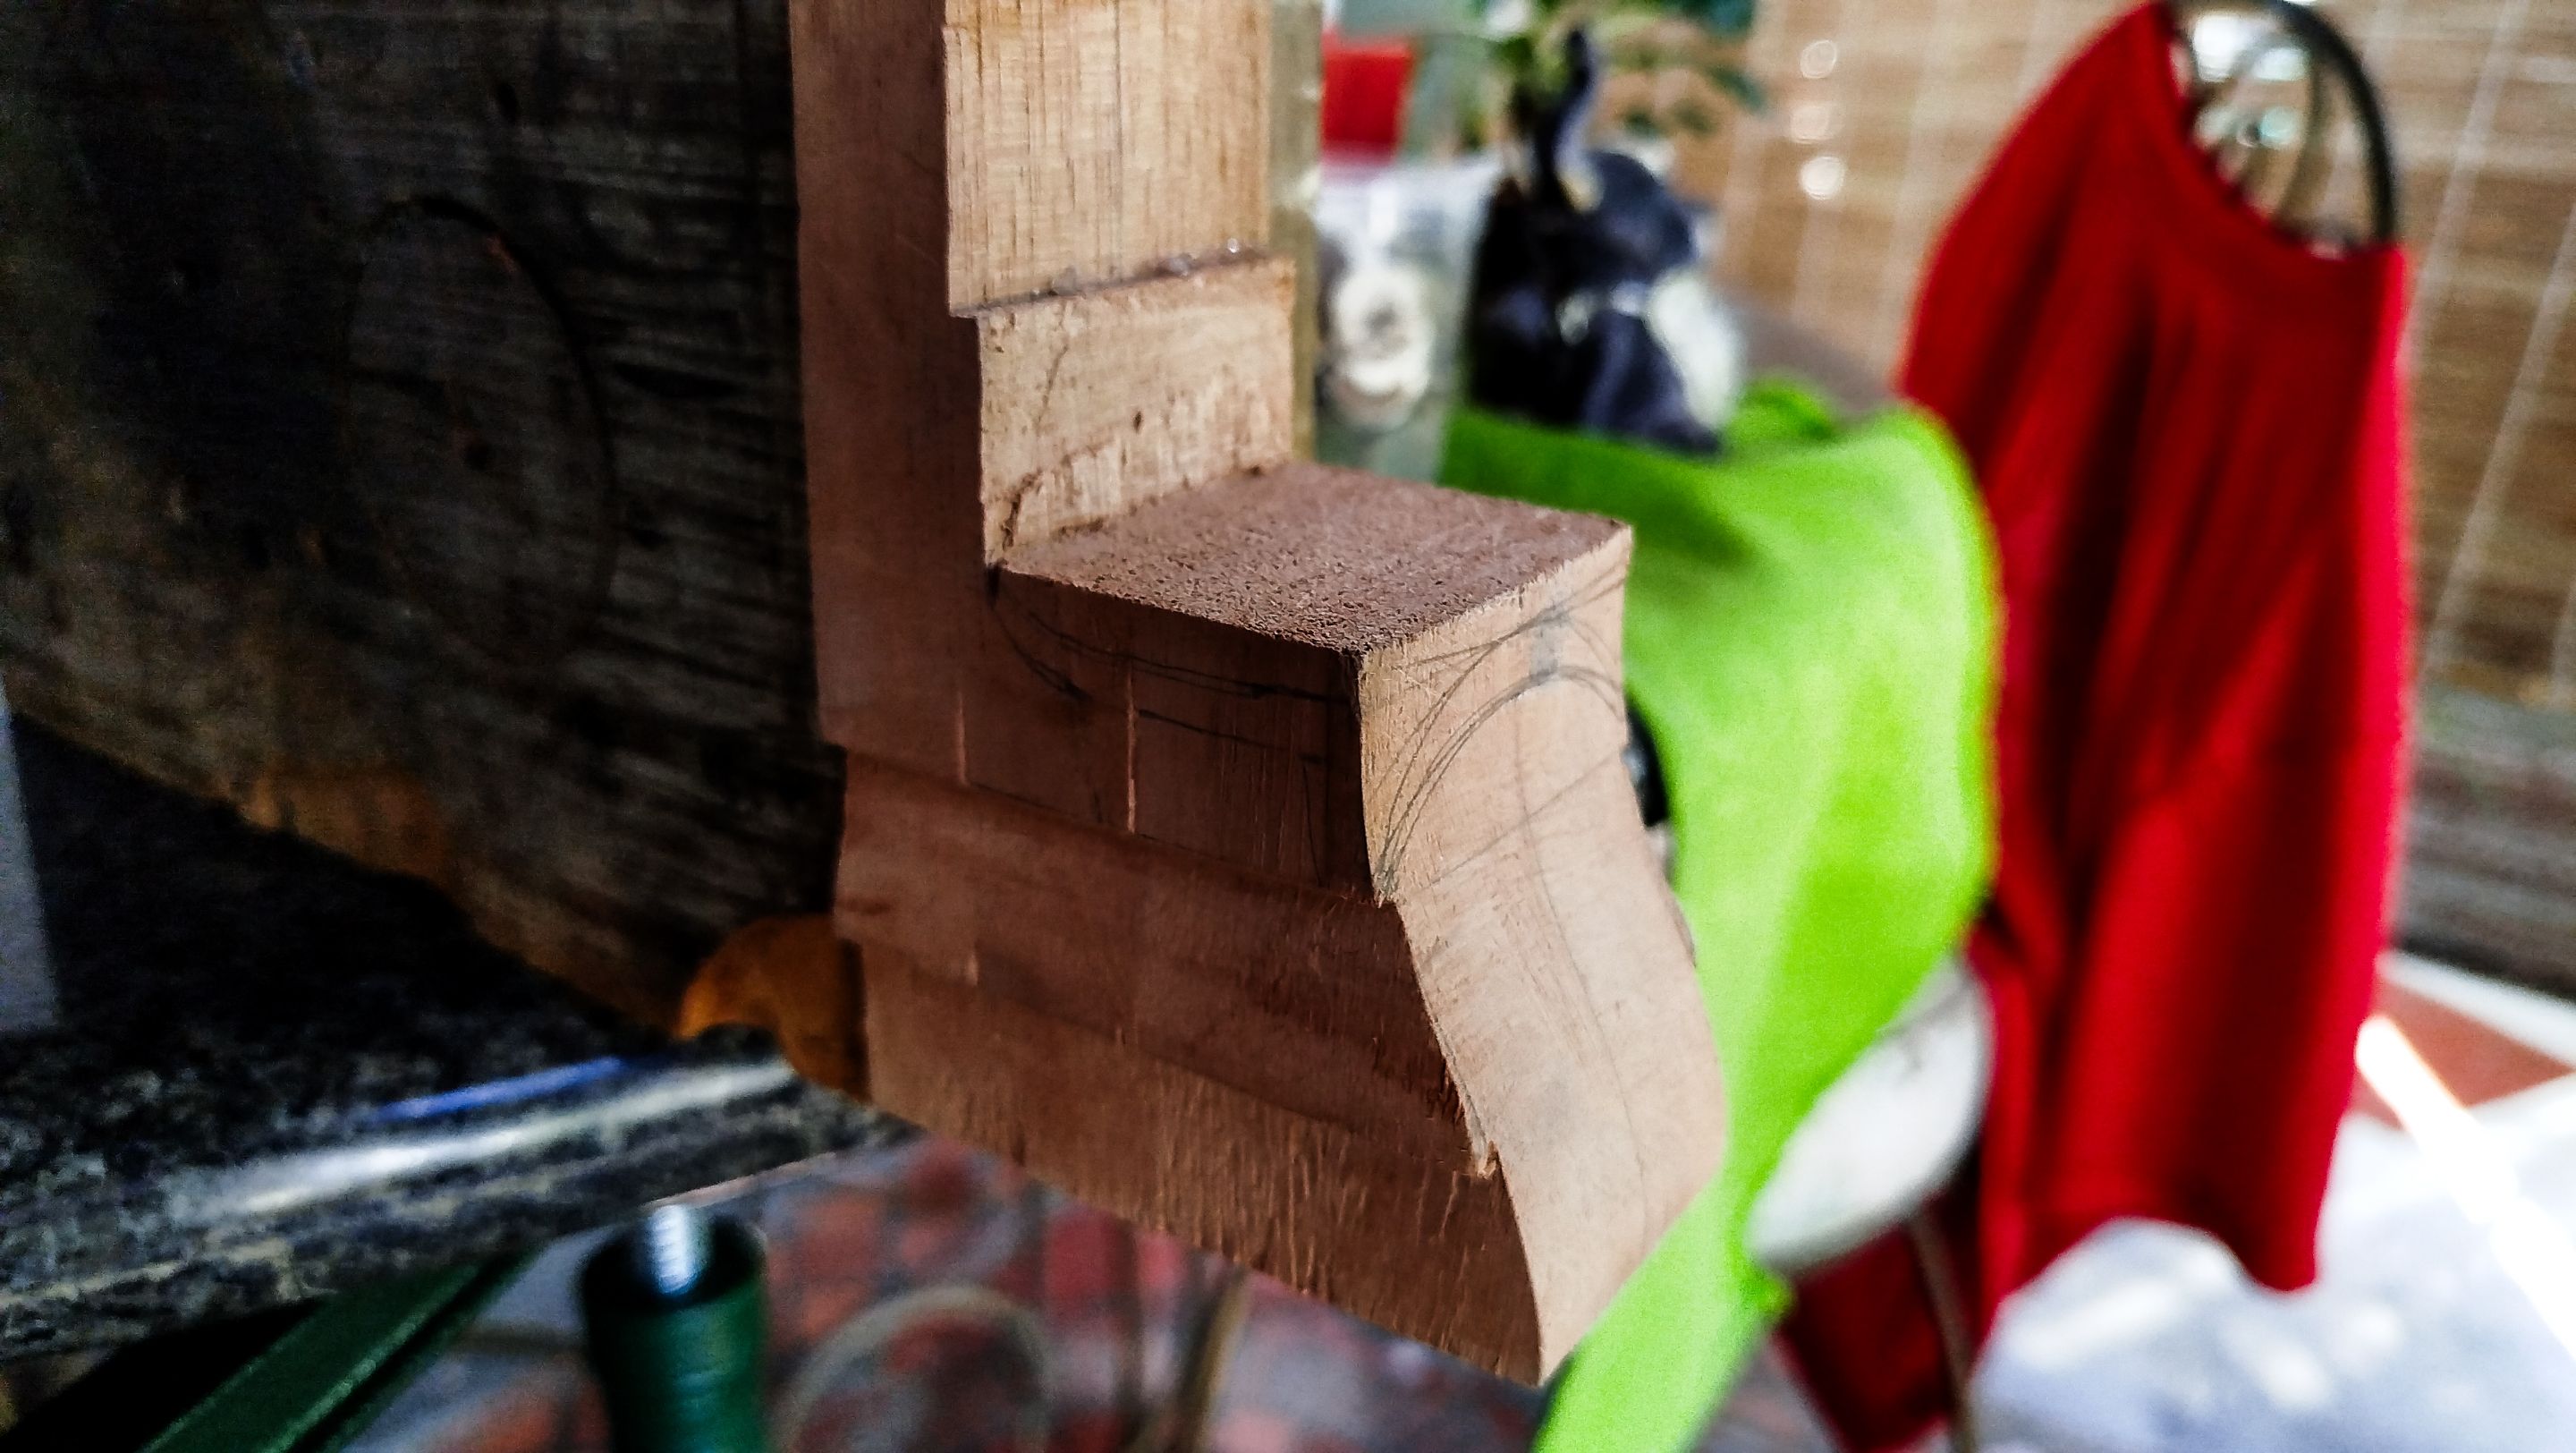
Swipe to see the photos
We need to follow the pattern of lines of the heel template to start carving. Since this is the first time, the photos are not abundant. We have to keep an eye on how the knife goes around the wood taking out shavings. Little by little, we remove wood until we get close enough to the lines.
The rest of the job is using a file to create the curve that comes from the neck to the heel. And of course, the first part of the curve comes from carving by knife. The rest of the job is using sandpaper to get the whole shape to the lines. And thus we get the heel carved. Then we move to the next step!
Head Stock

Swipe to see the photos
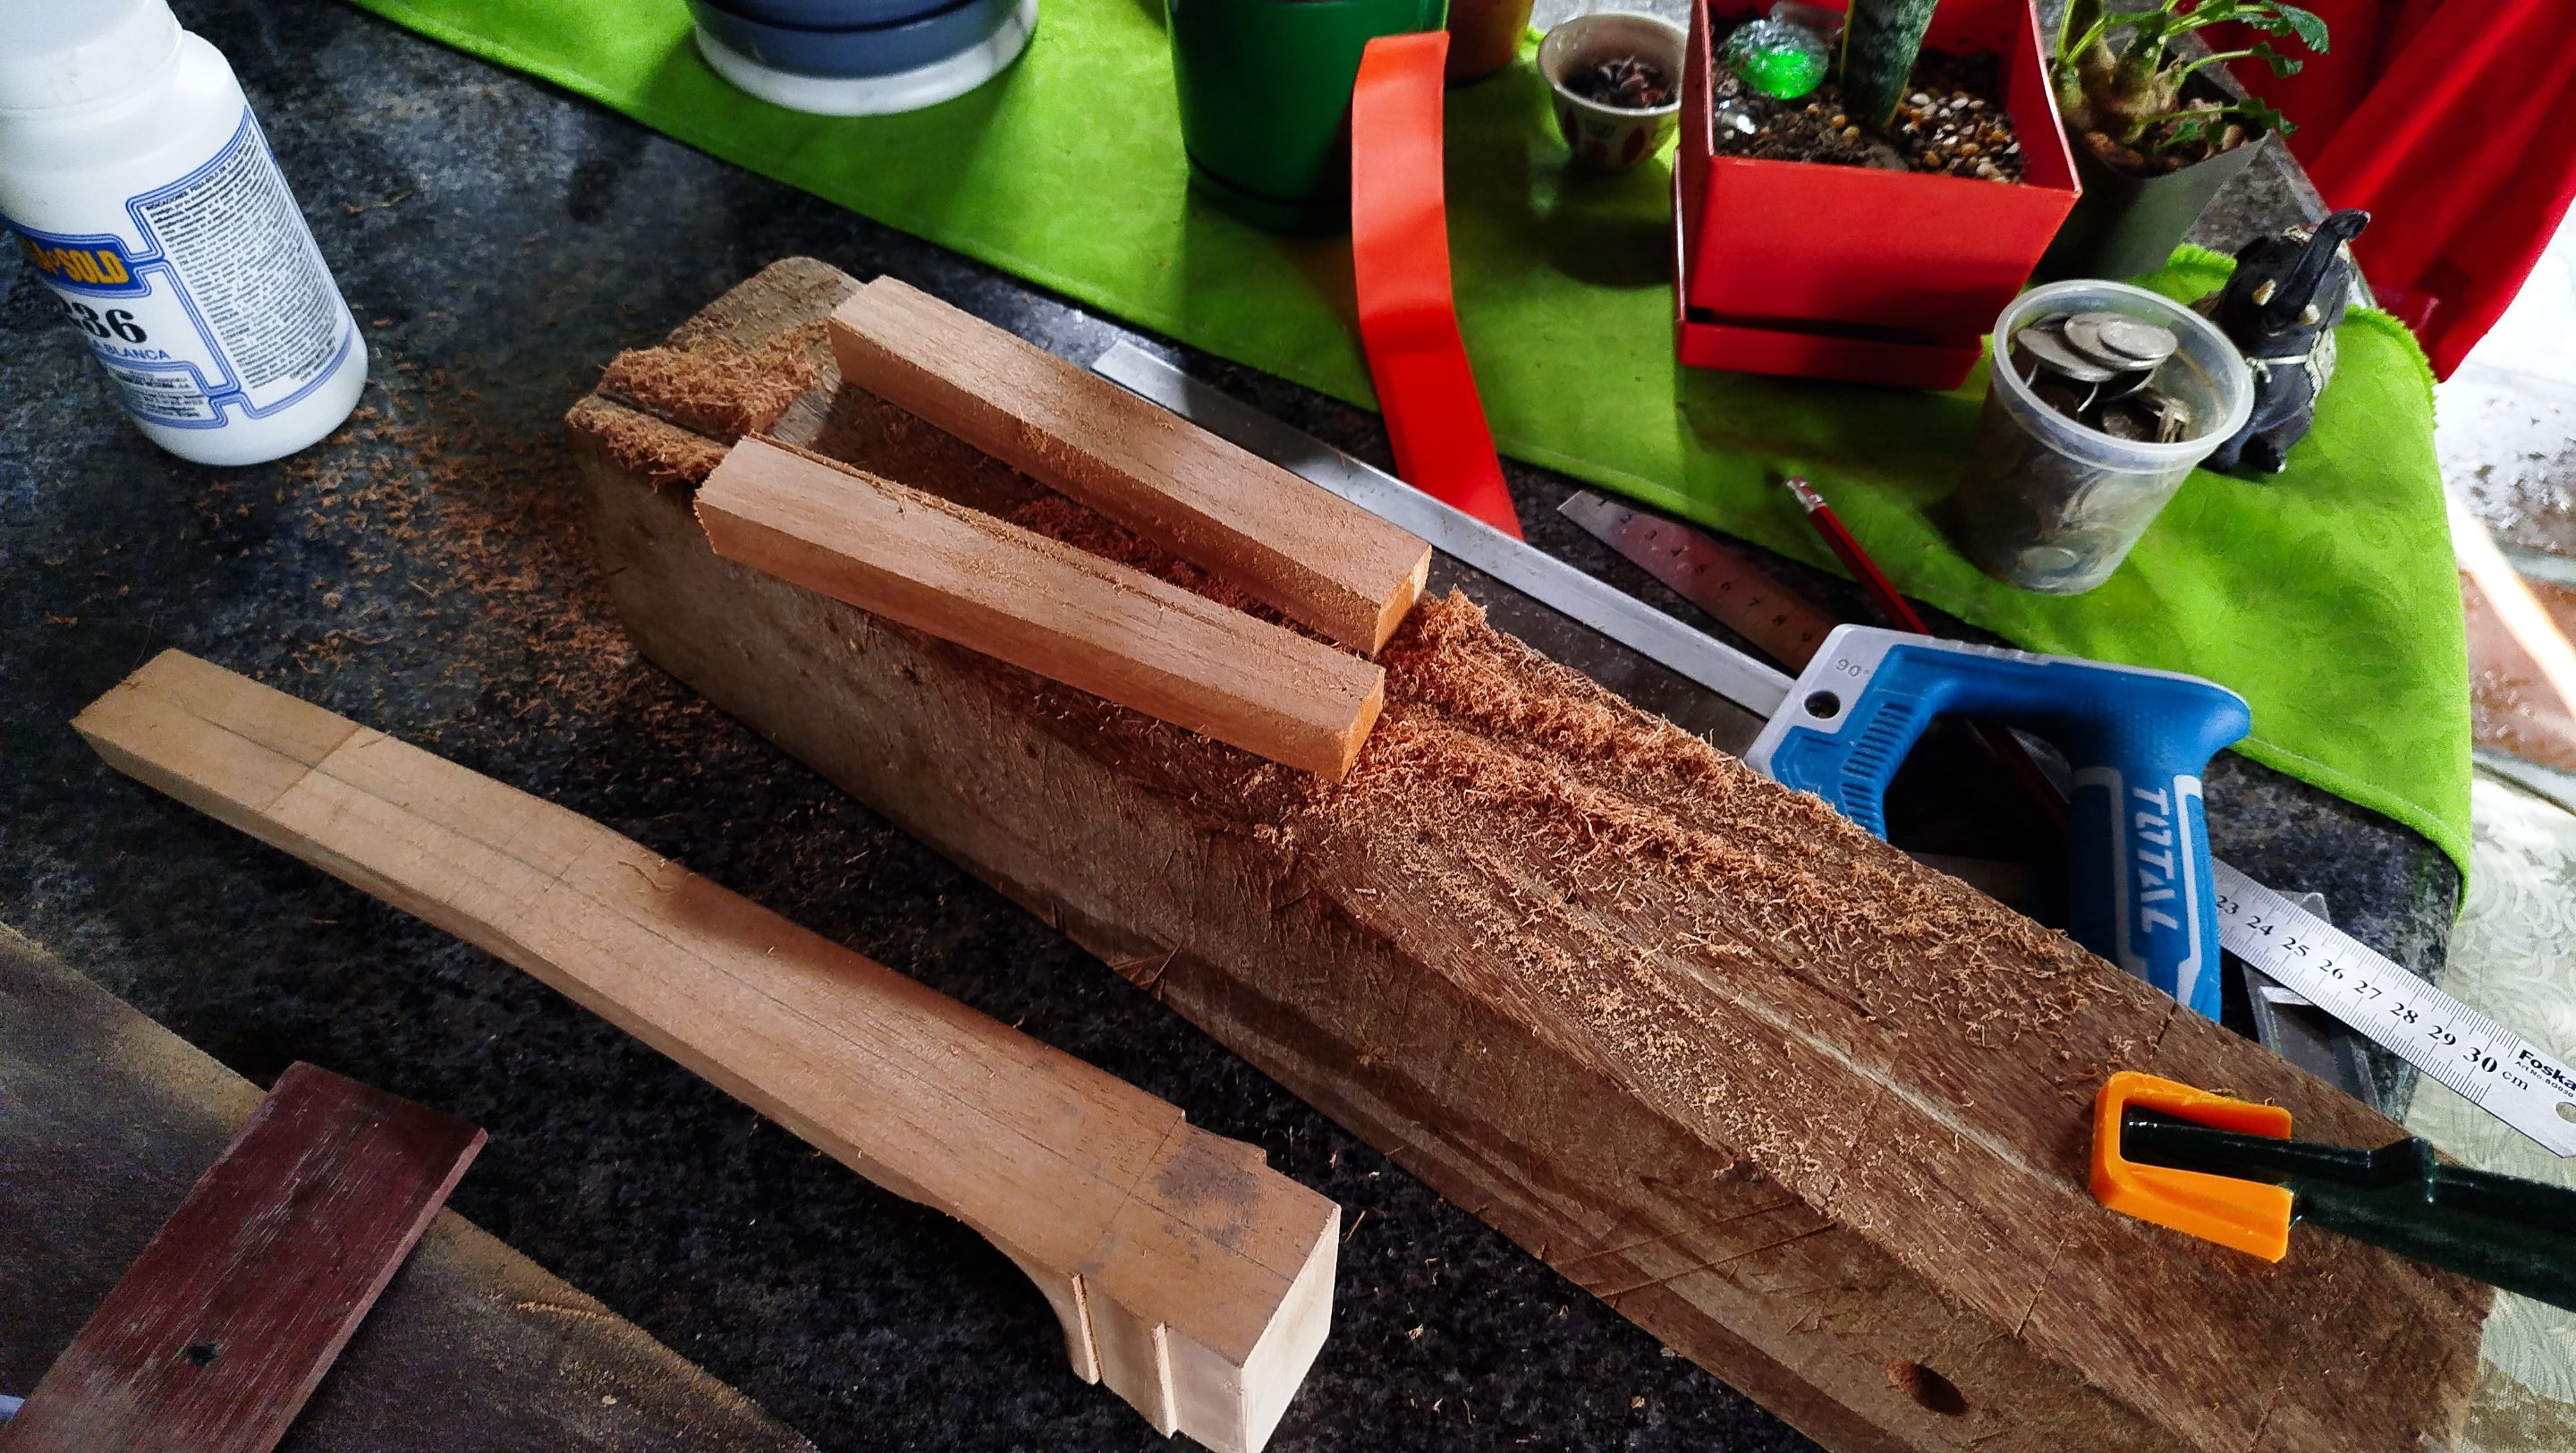
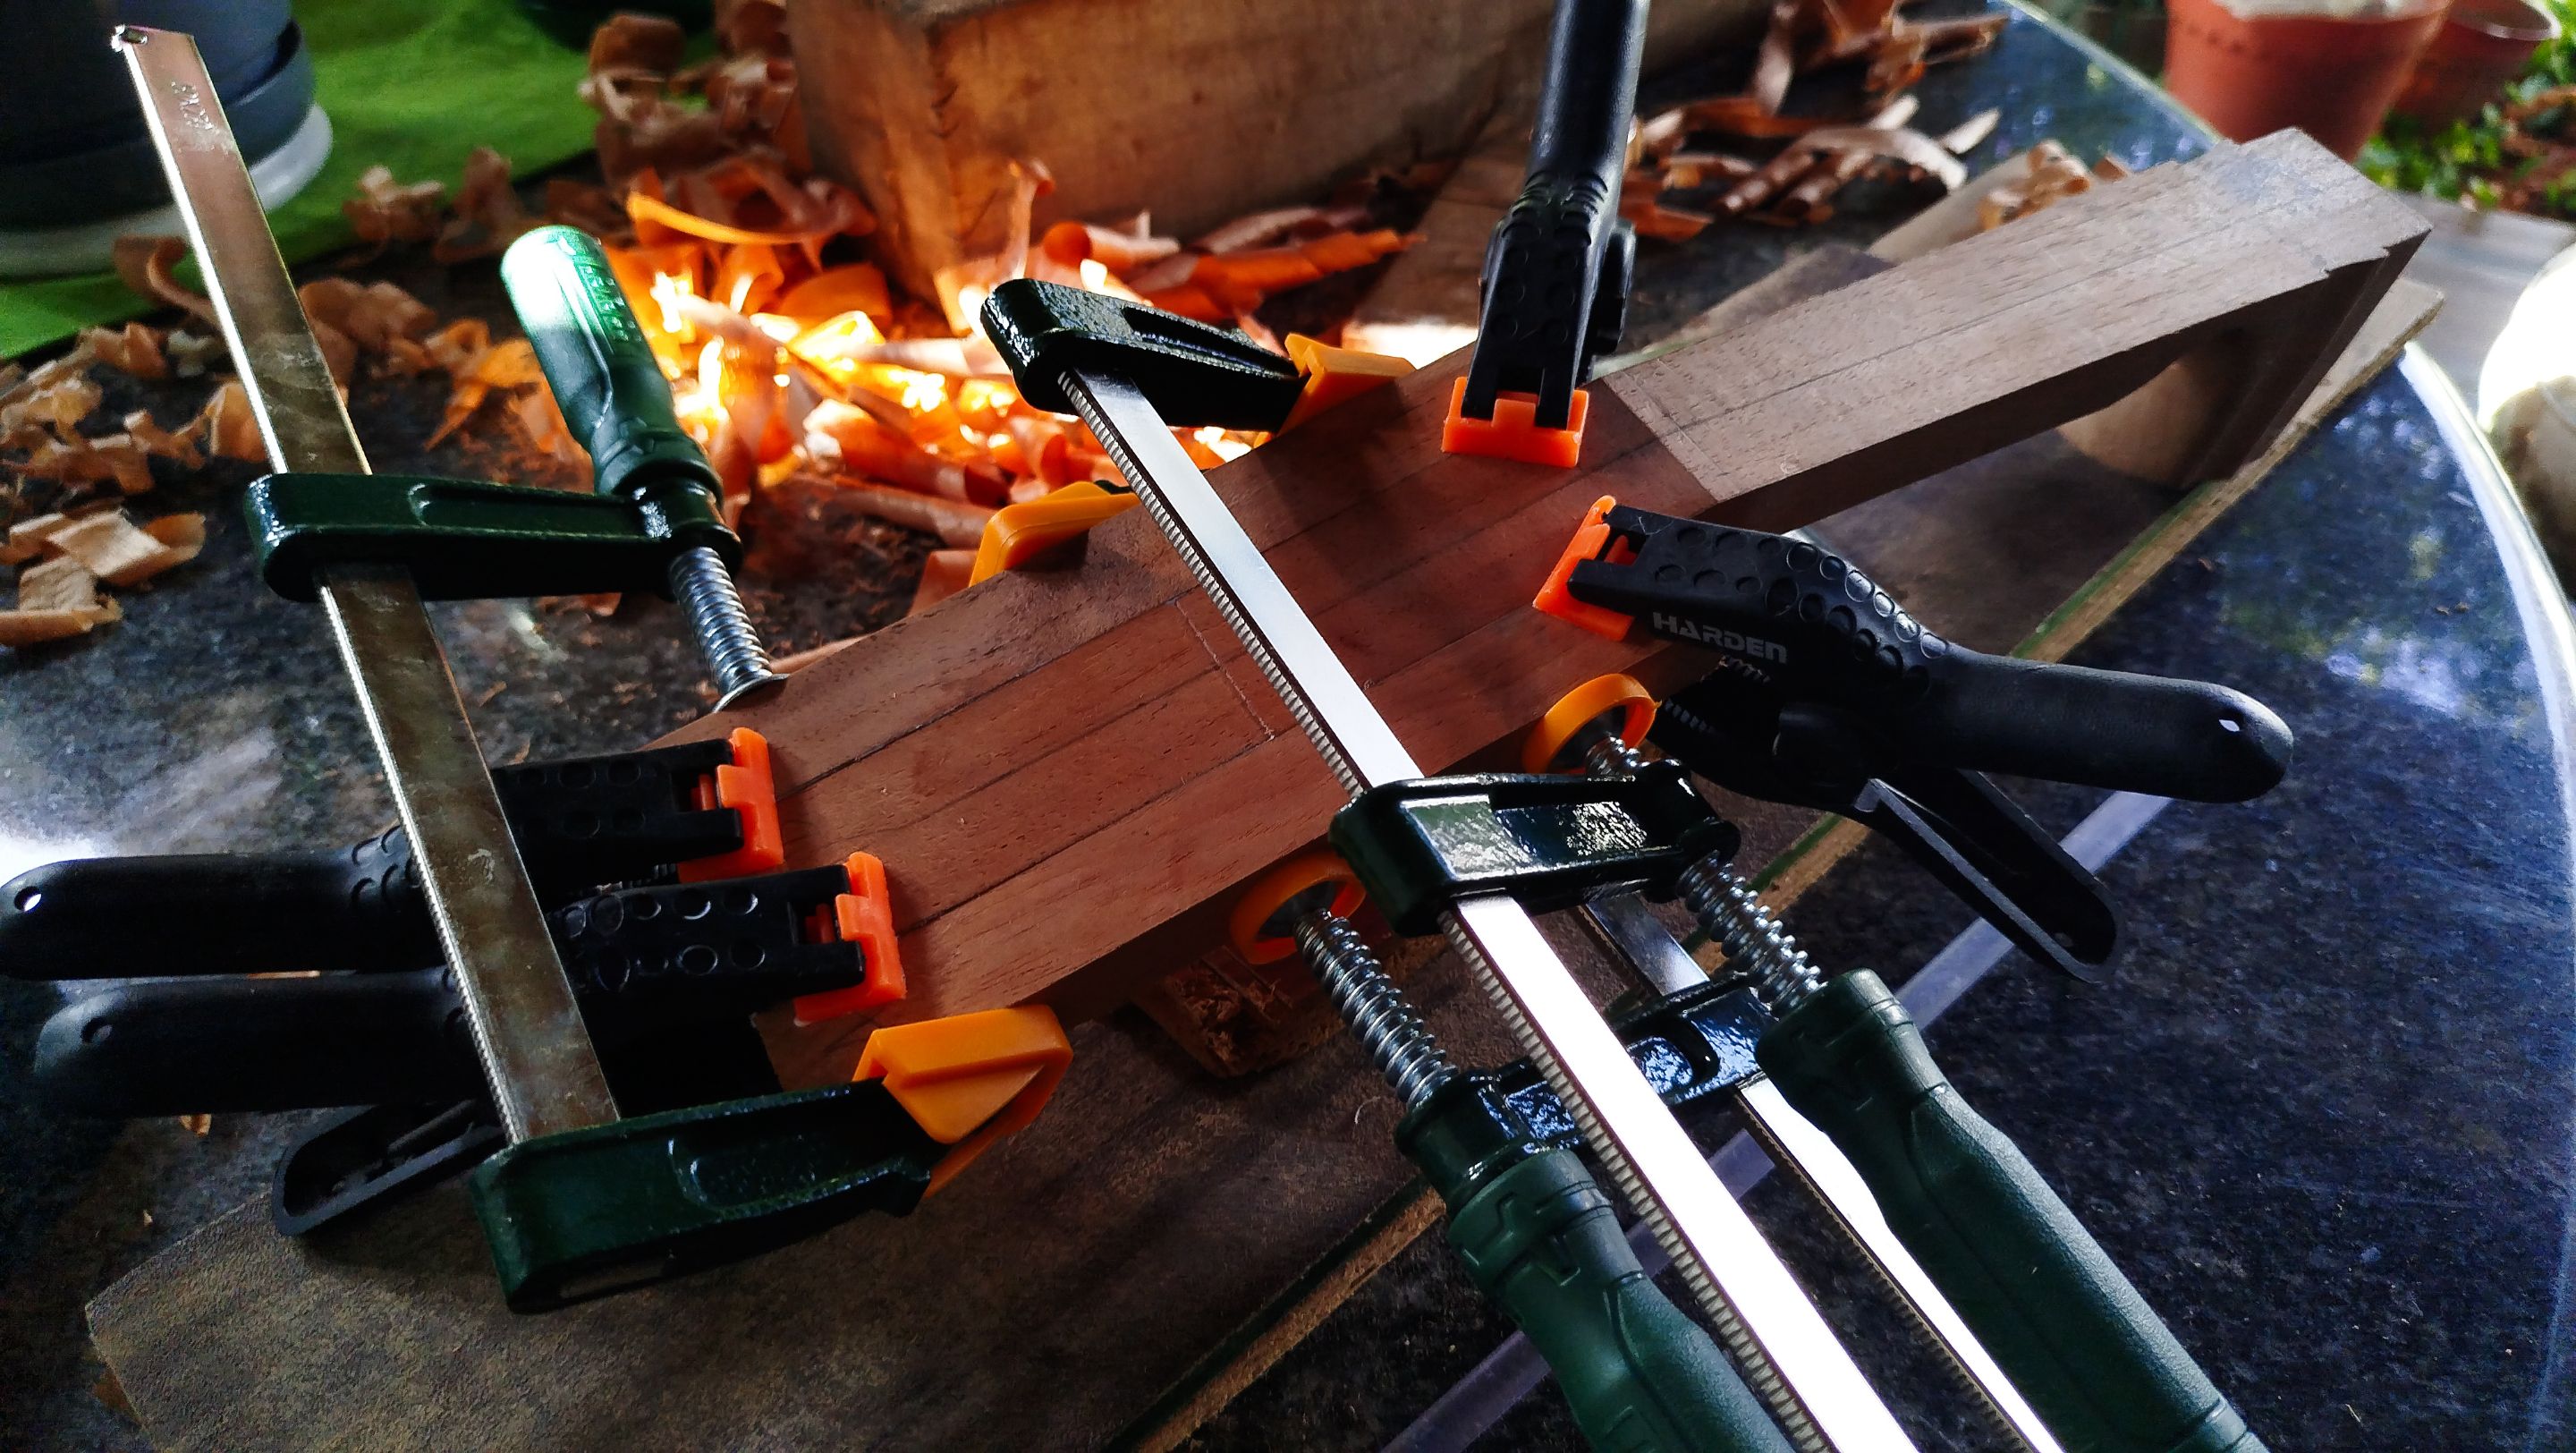
The first part of the head stock is creating the slope of the neck. We use the hand plane to remove from the sides of the neck taking into consideration the lines we had made previously. These lines are for reference of the fretboard. We have the thinner part near the head stock and the widest near the sound hole. When we get close enough to the line, we stop.
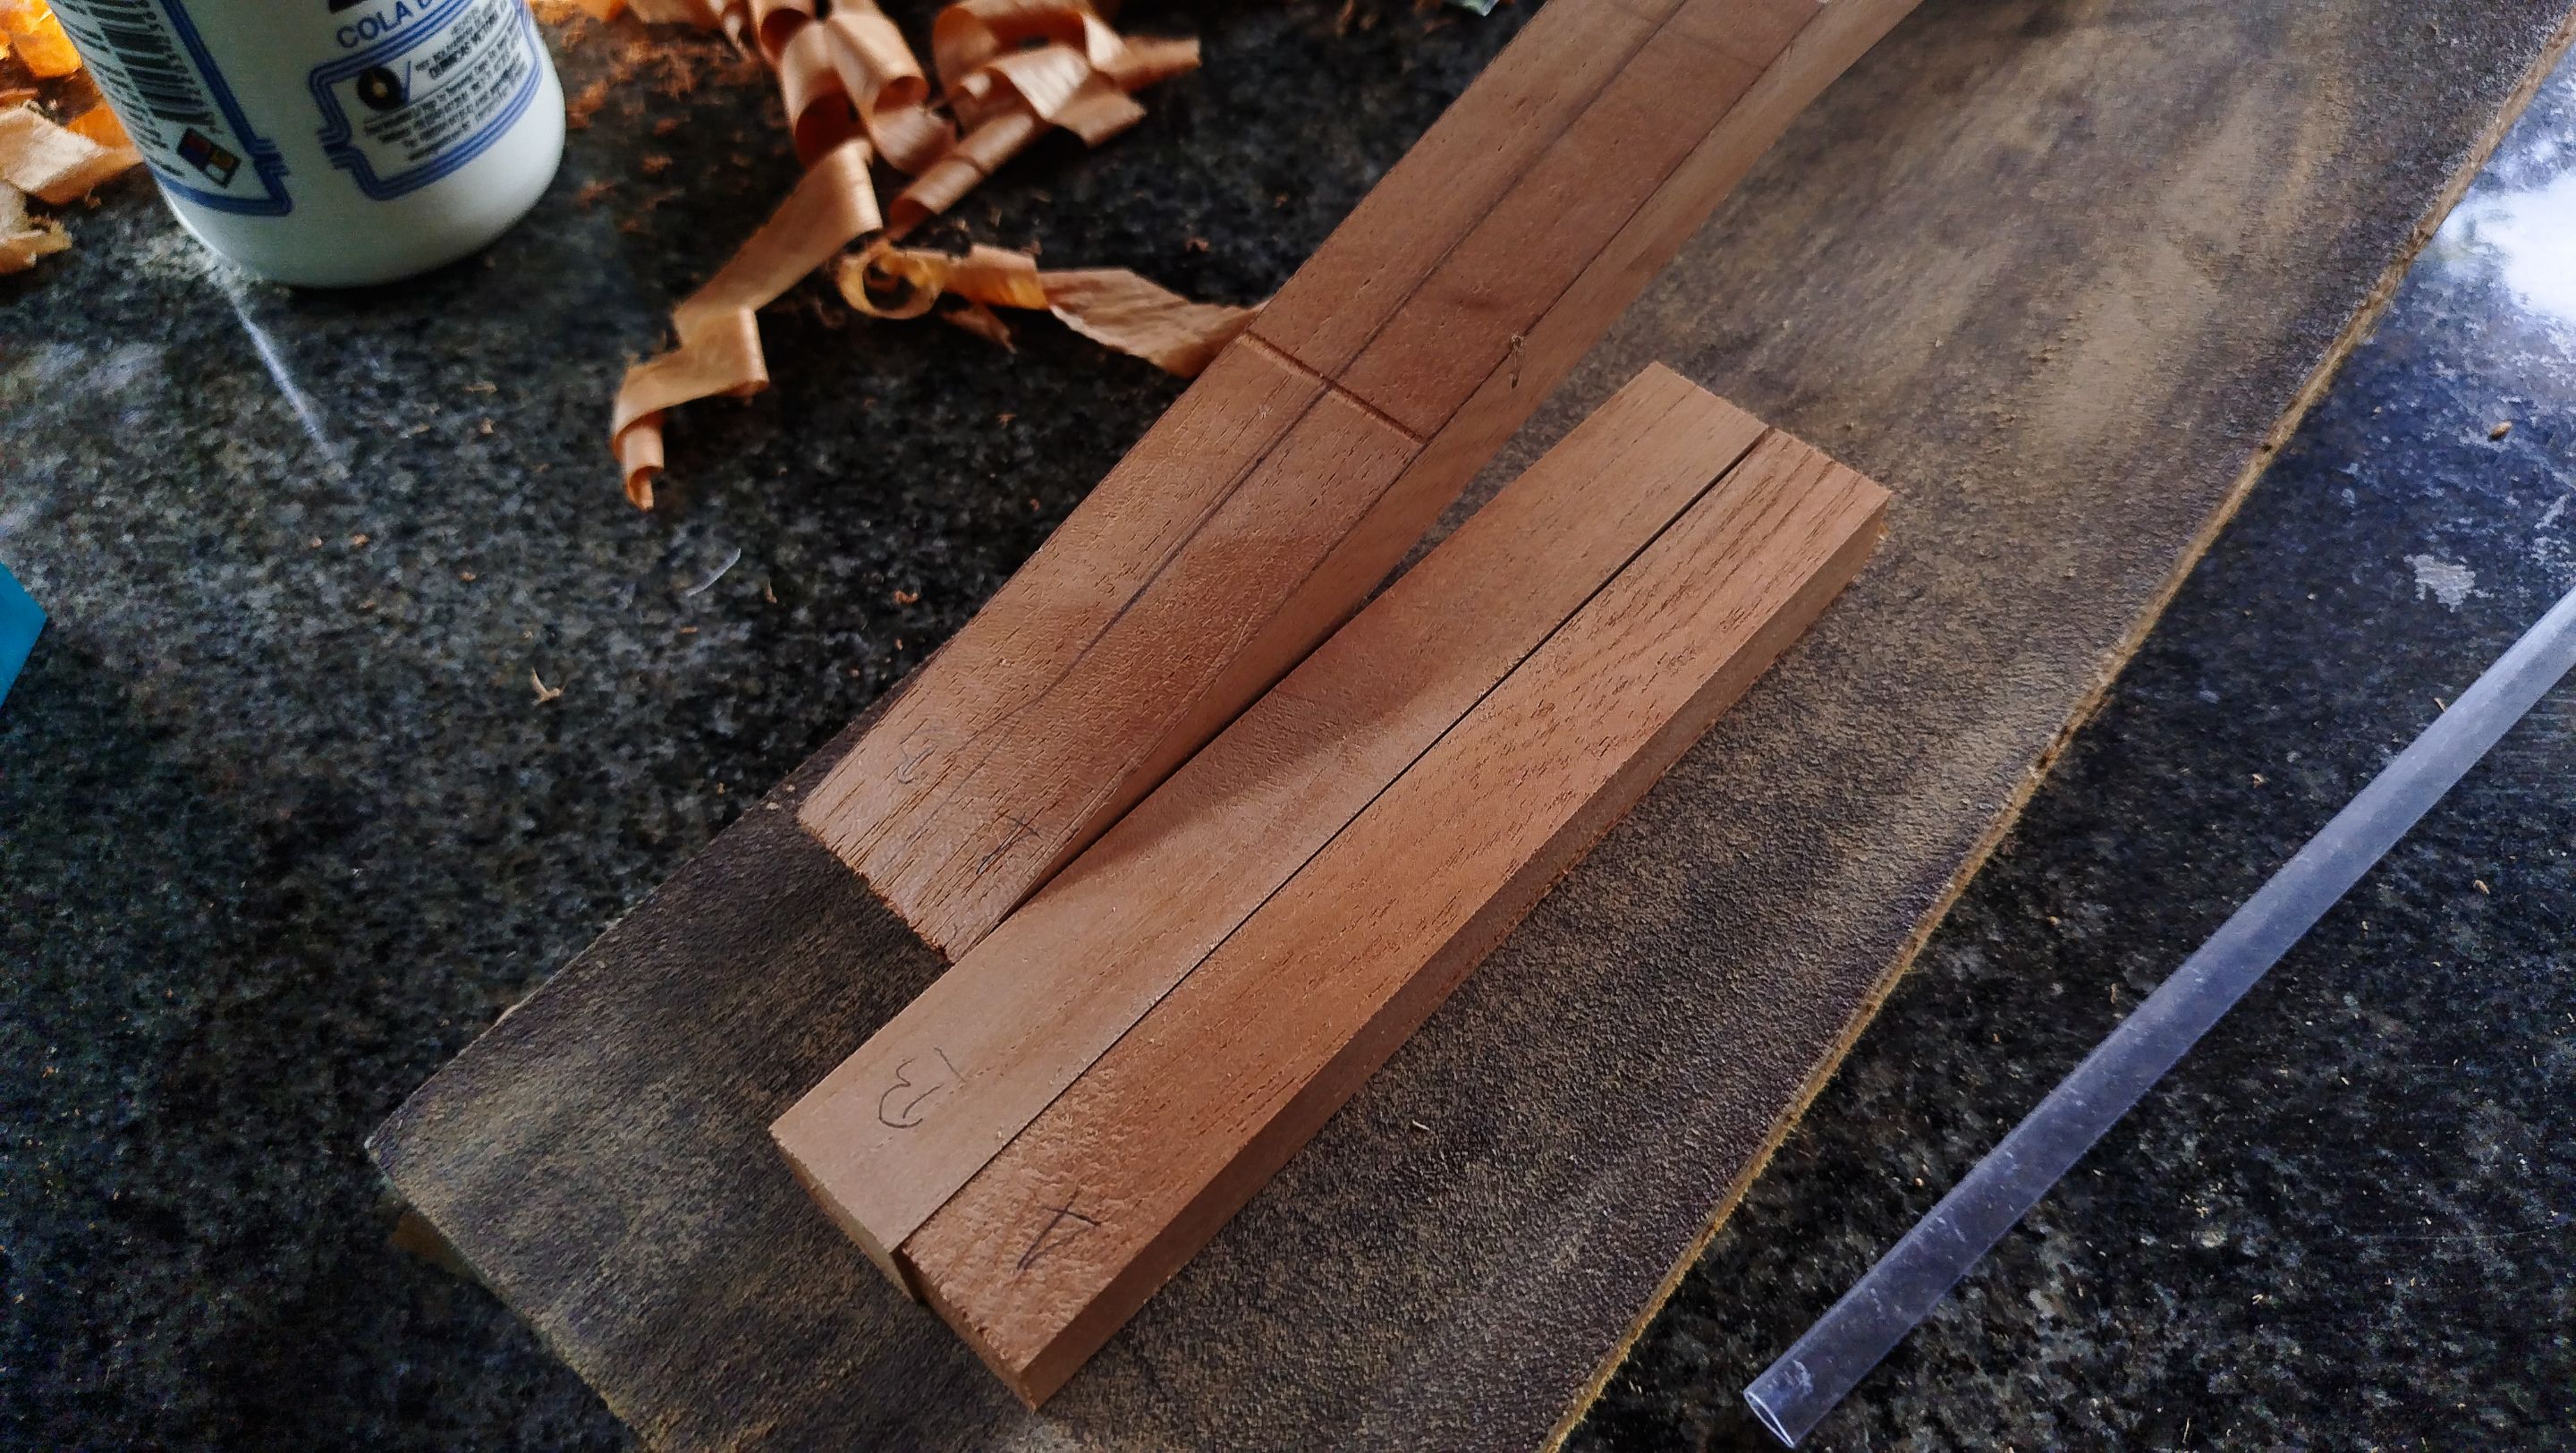
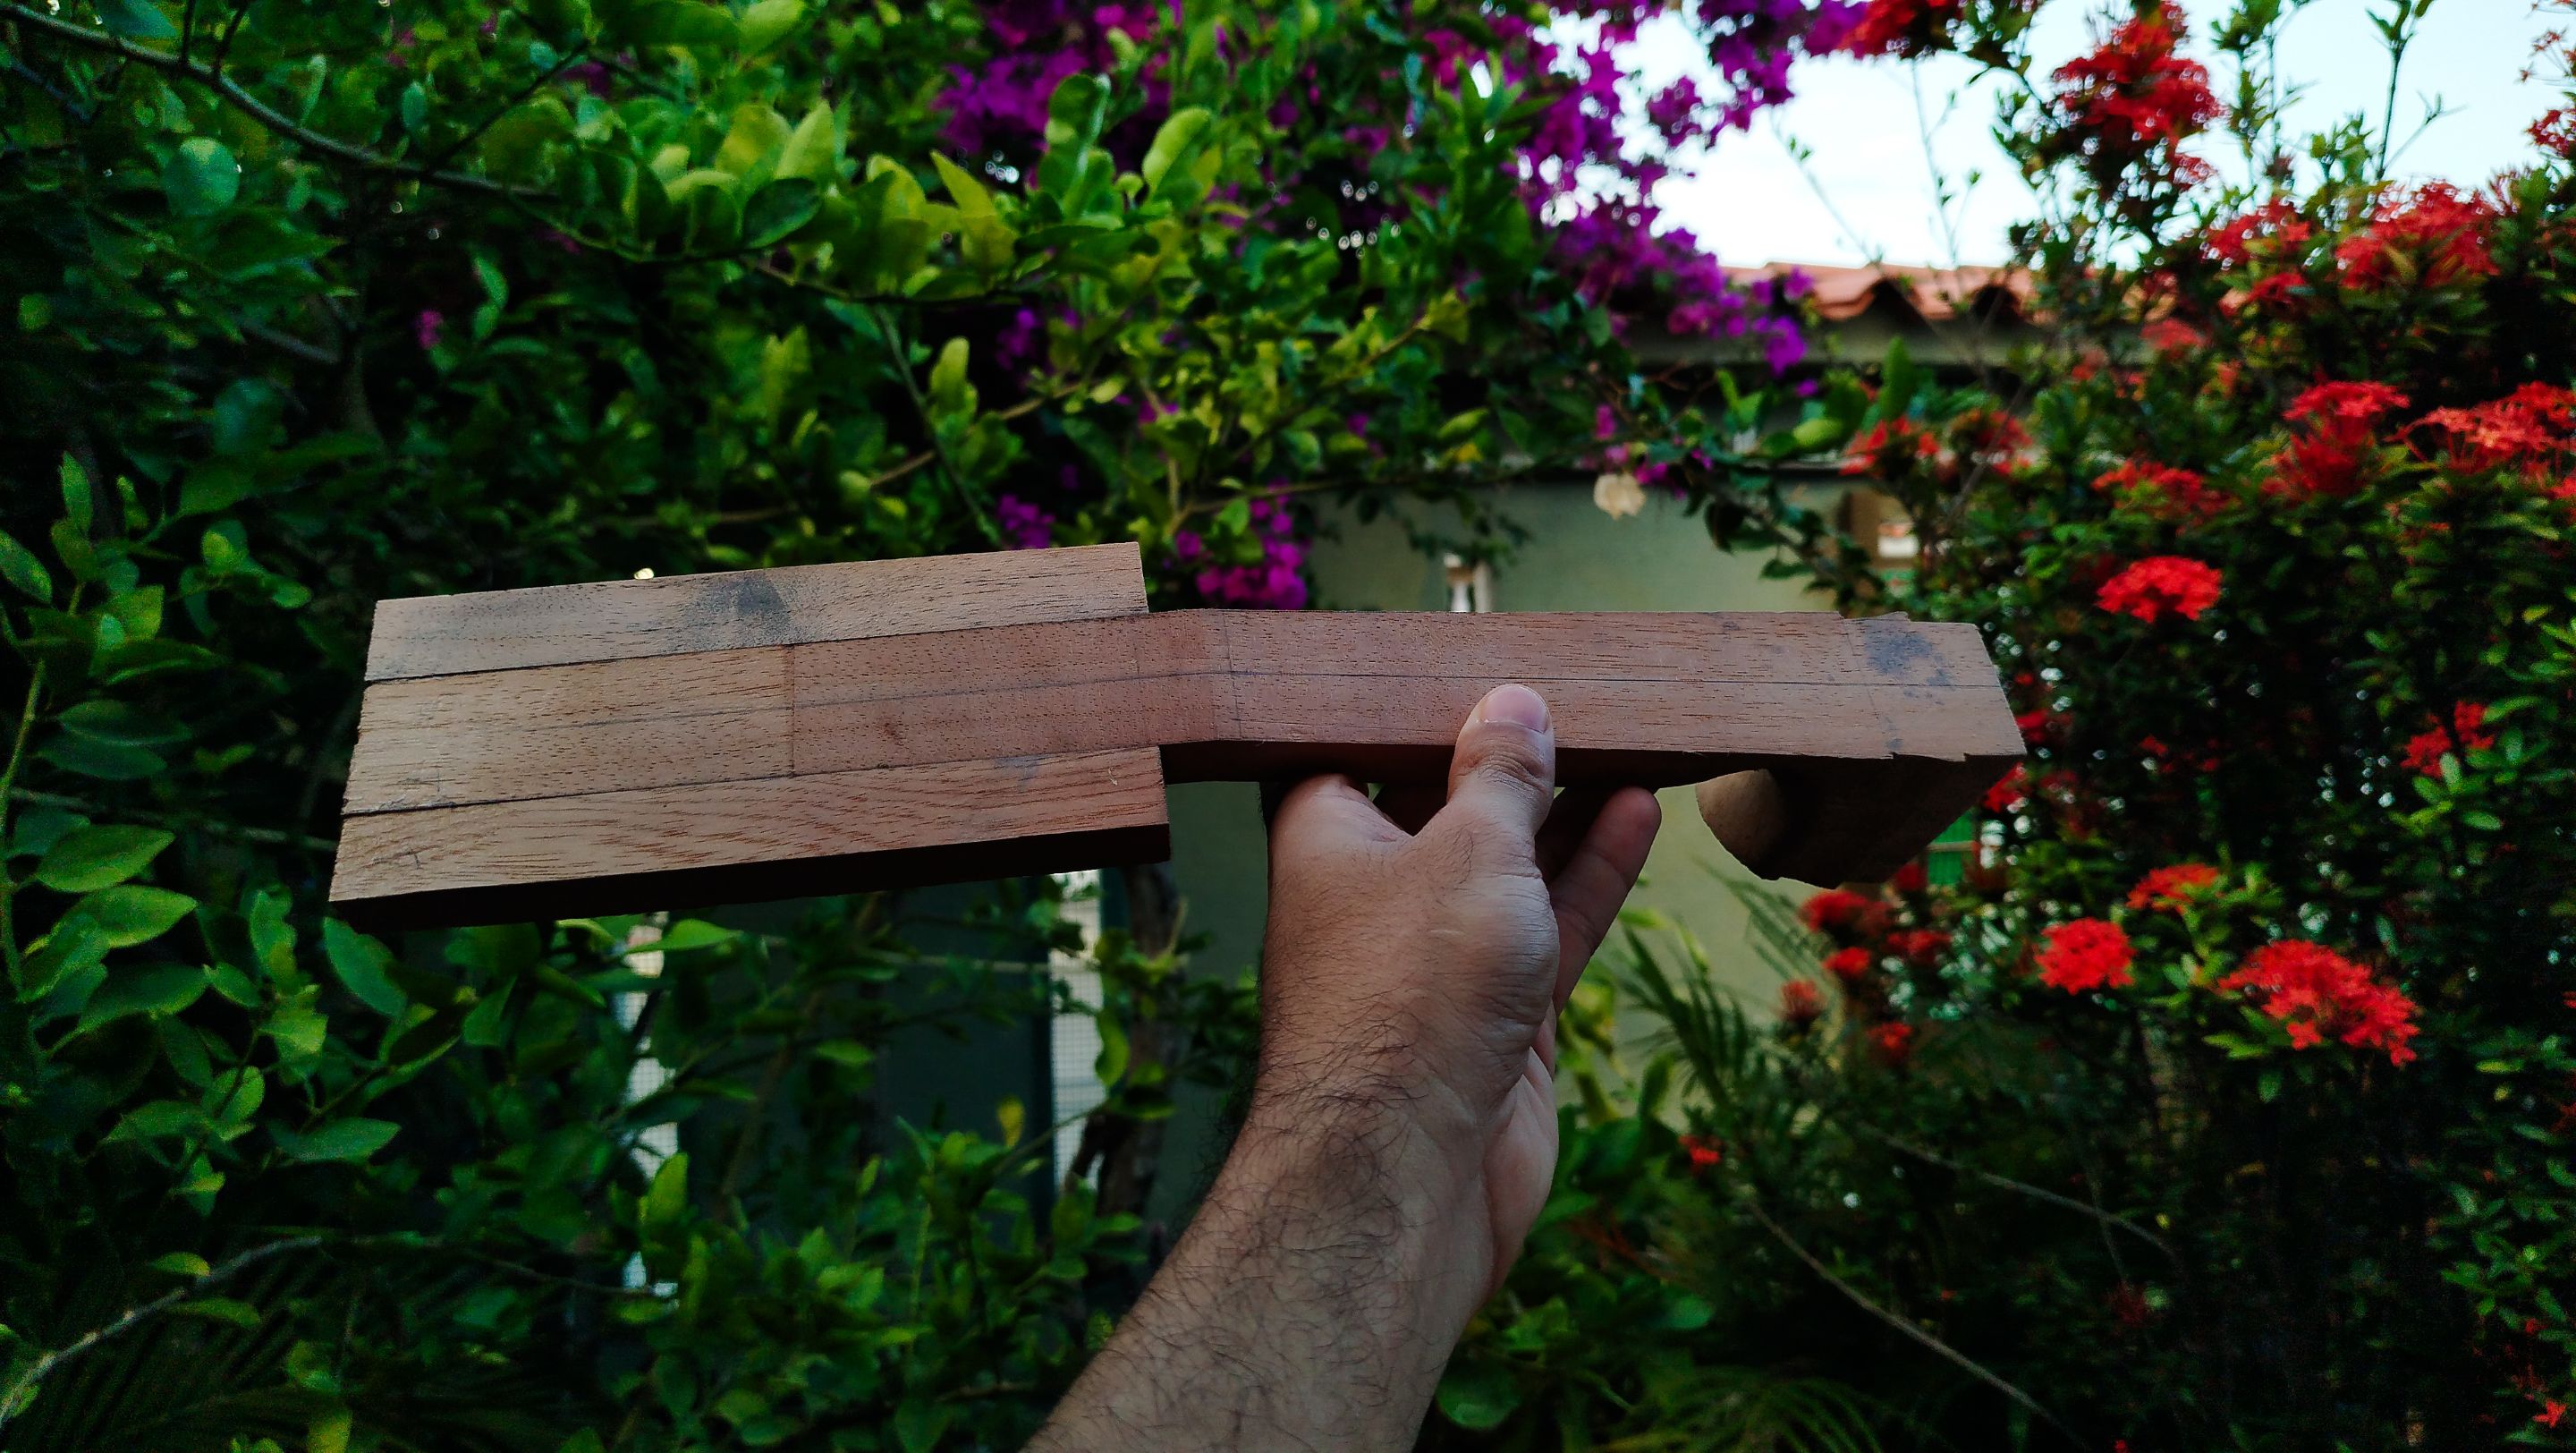
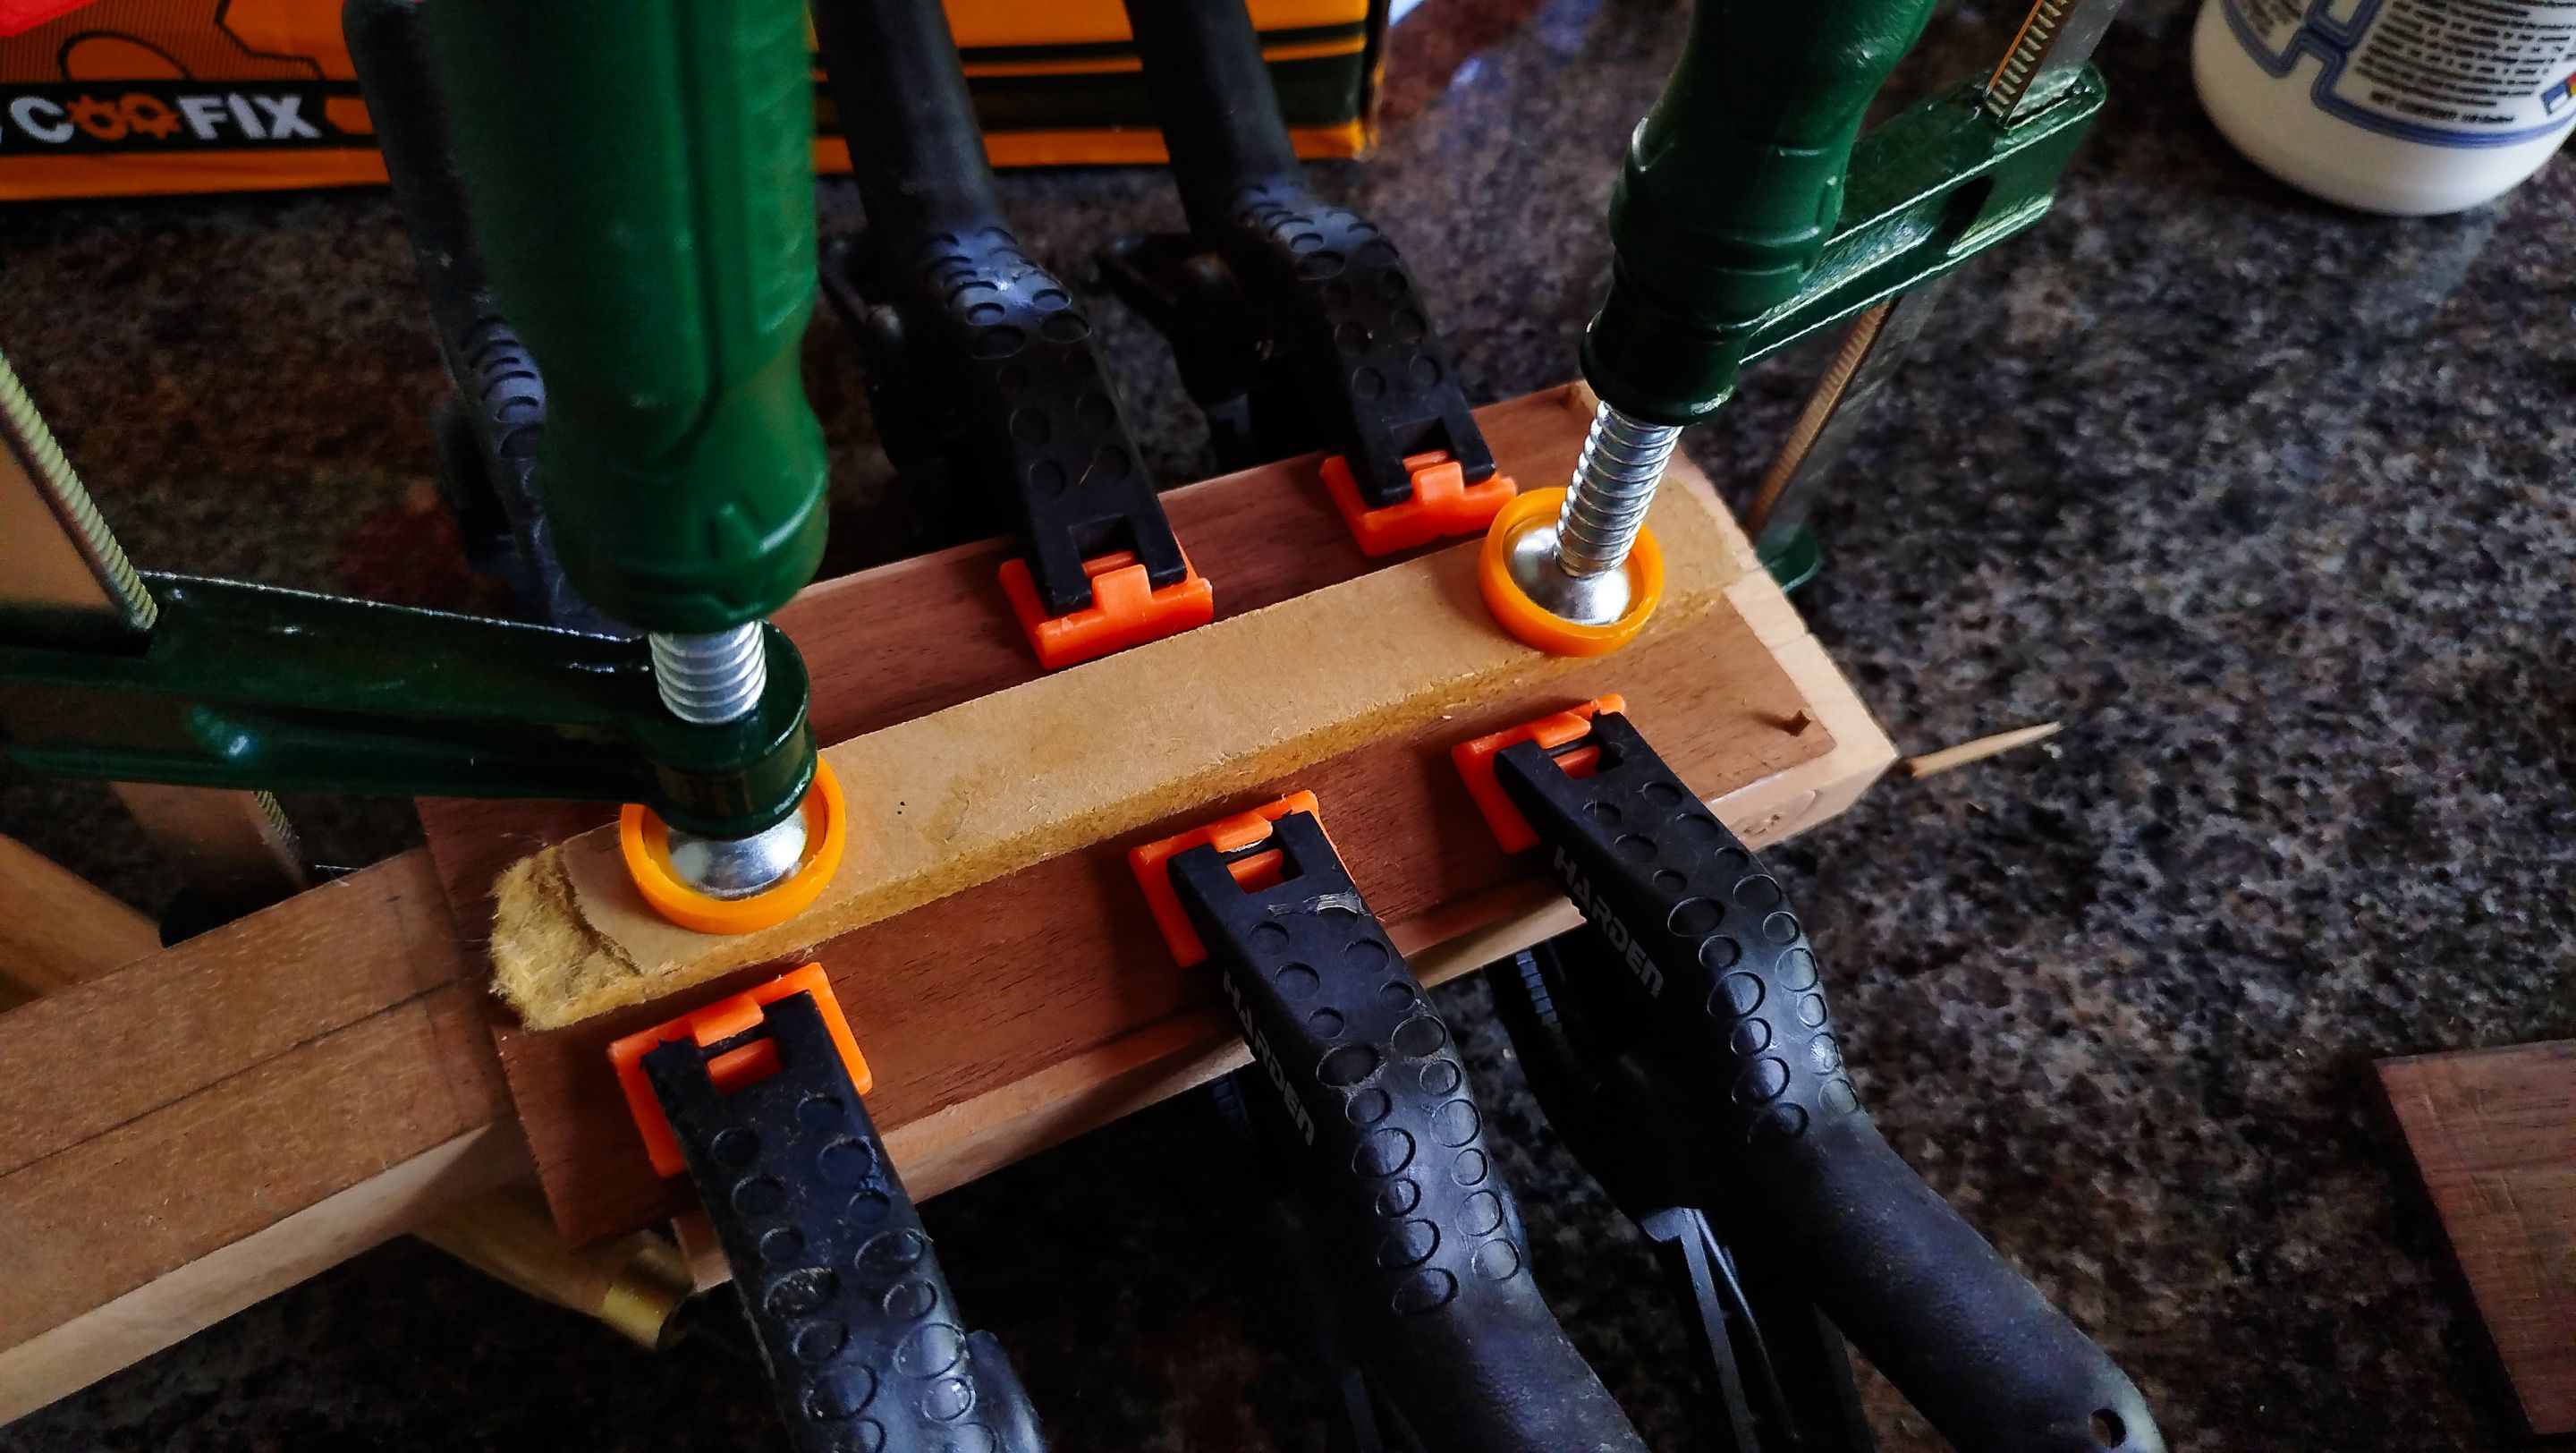
Next, we star working on the bars we have cut before to finish the head stock. We need to create a flush glue up to have enough strength of the construction. We use our sanding table for this. And we might also use it to work the main structure of the neck until we have everything aligned. Next, we start making the glue up. We use some smaller clamps to keep the bars in place. Then we use the bigger clamps to apply pressure.
This needs to rest until the glue has dried properly. Then we check the strength of the glue up by tapping a little on the headstock base.
Veneer and Template

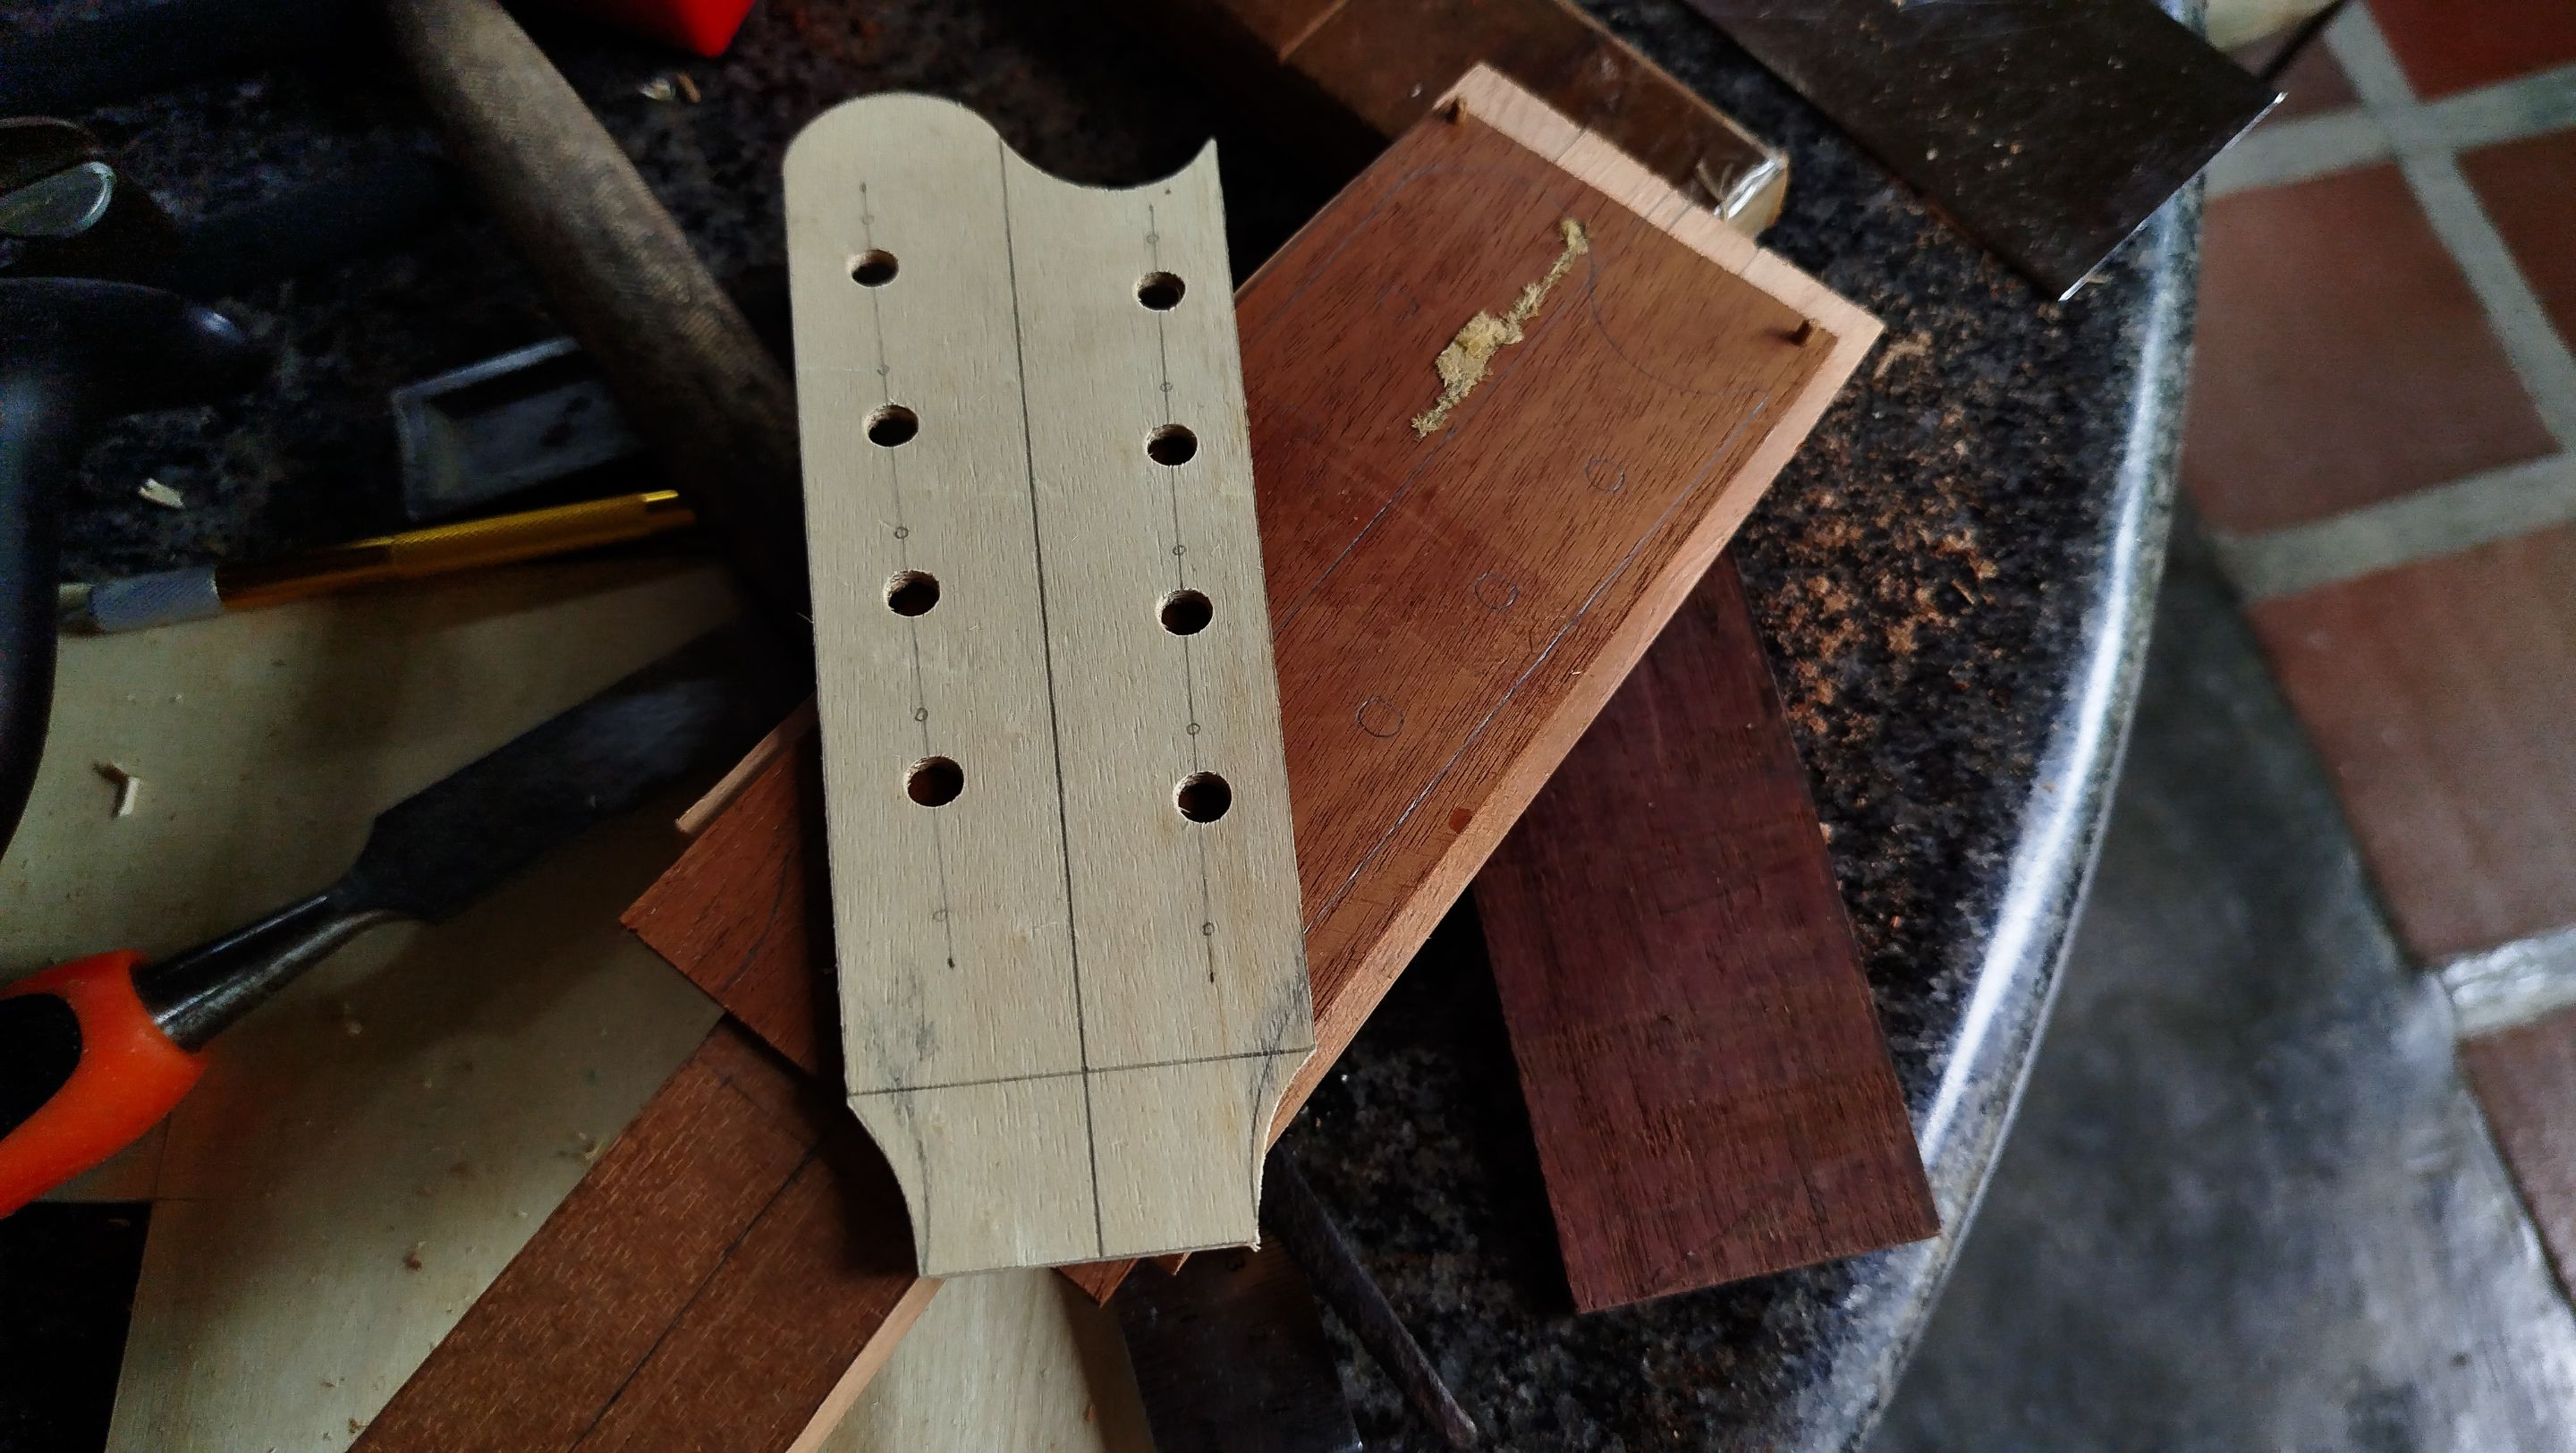
Swipe to see the photos
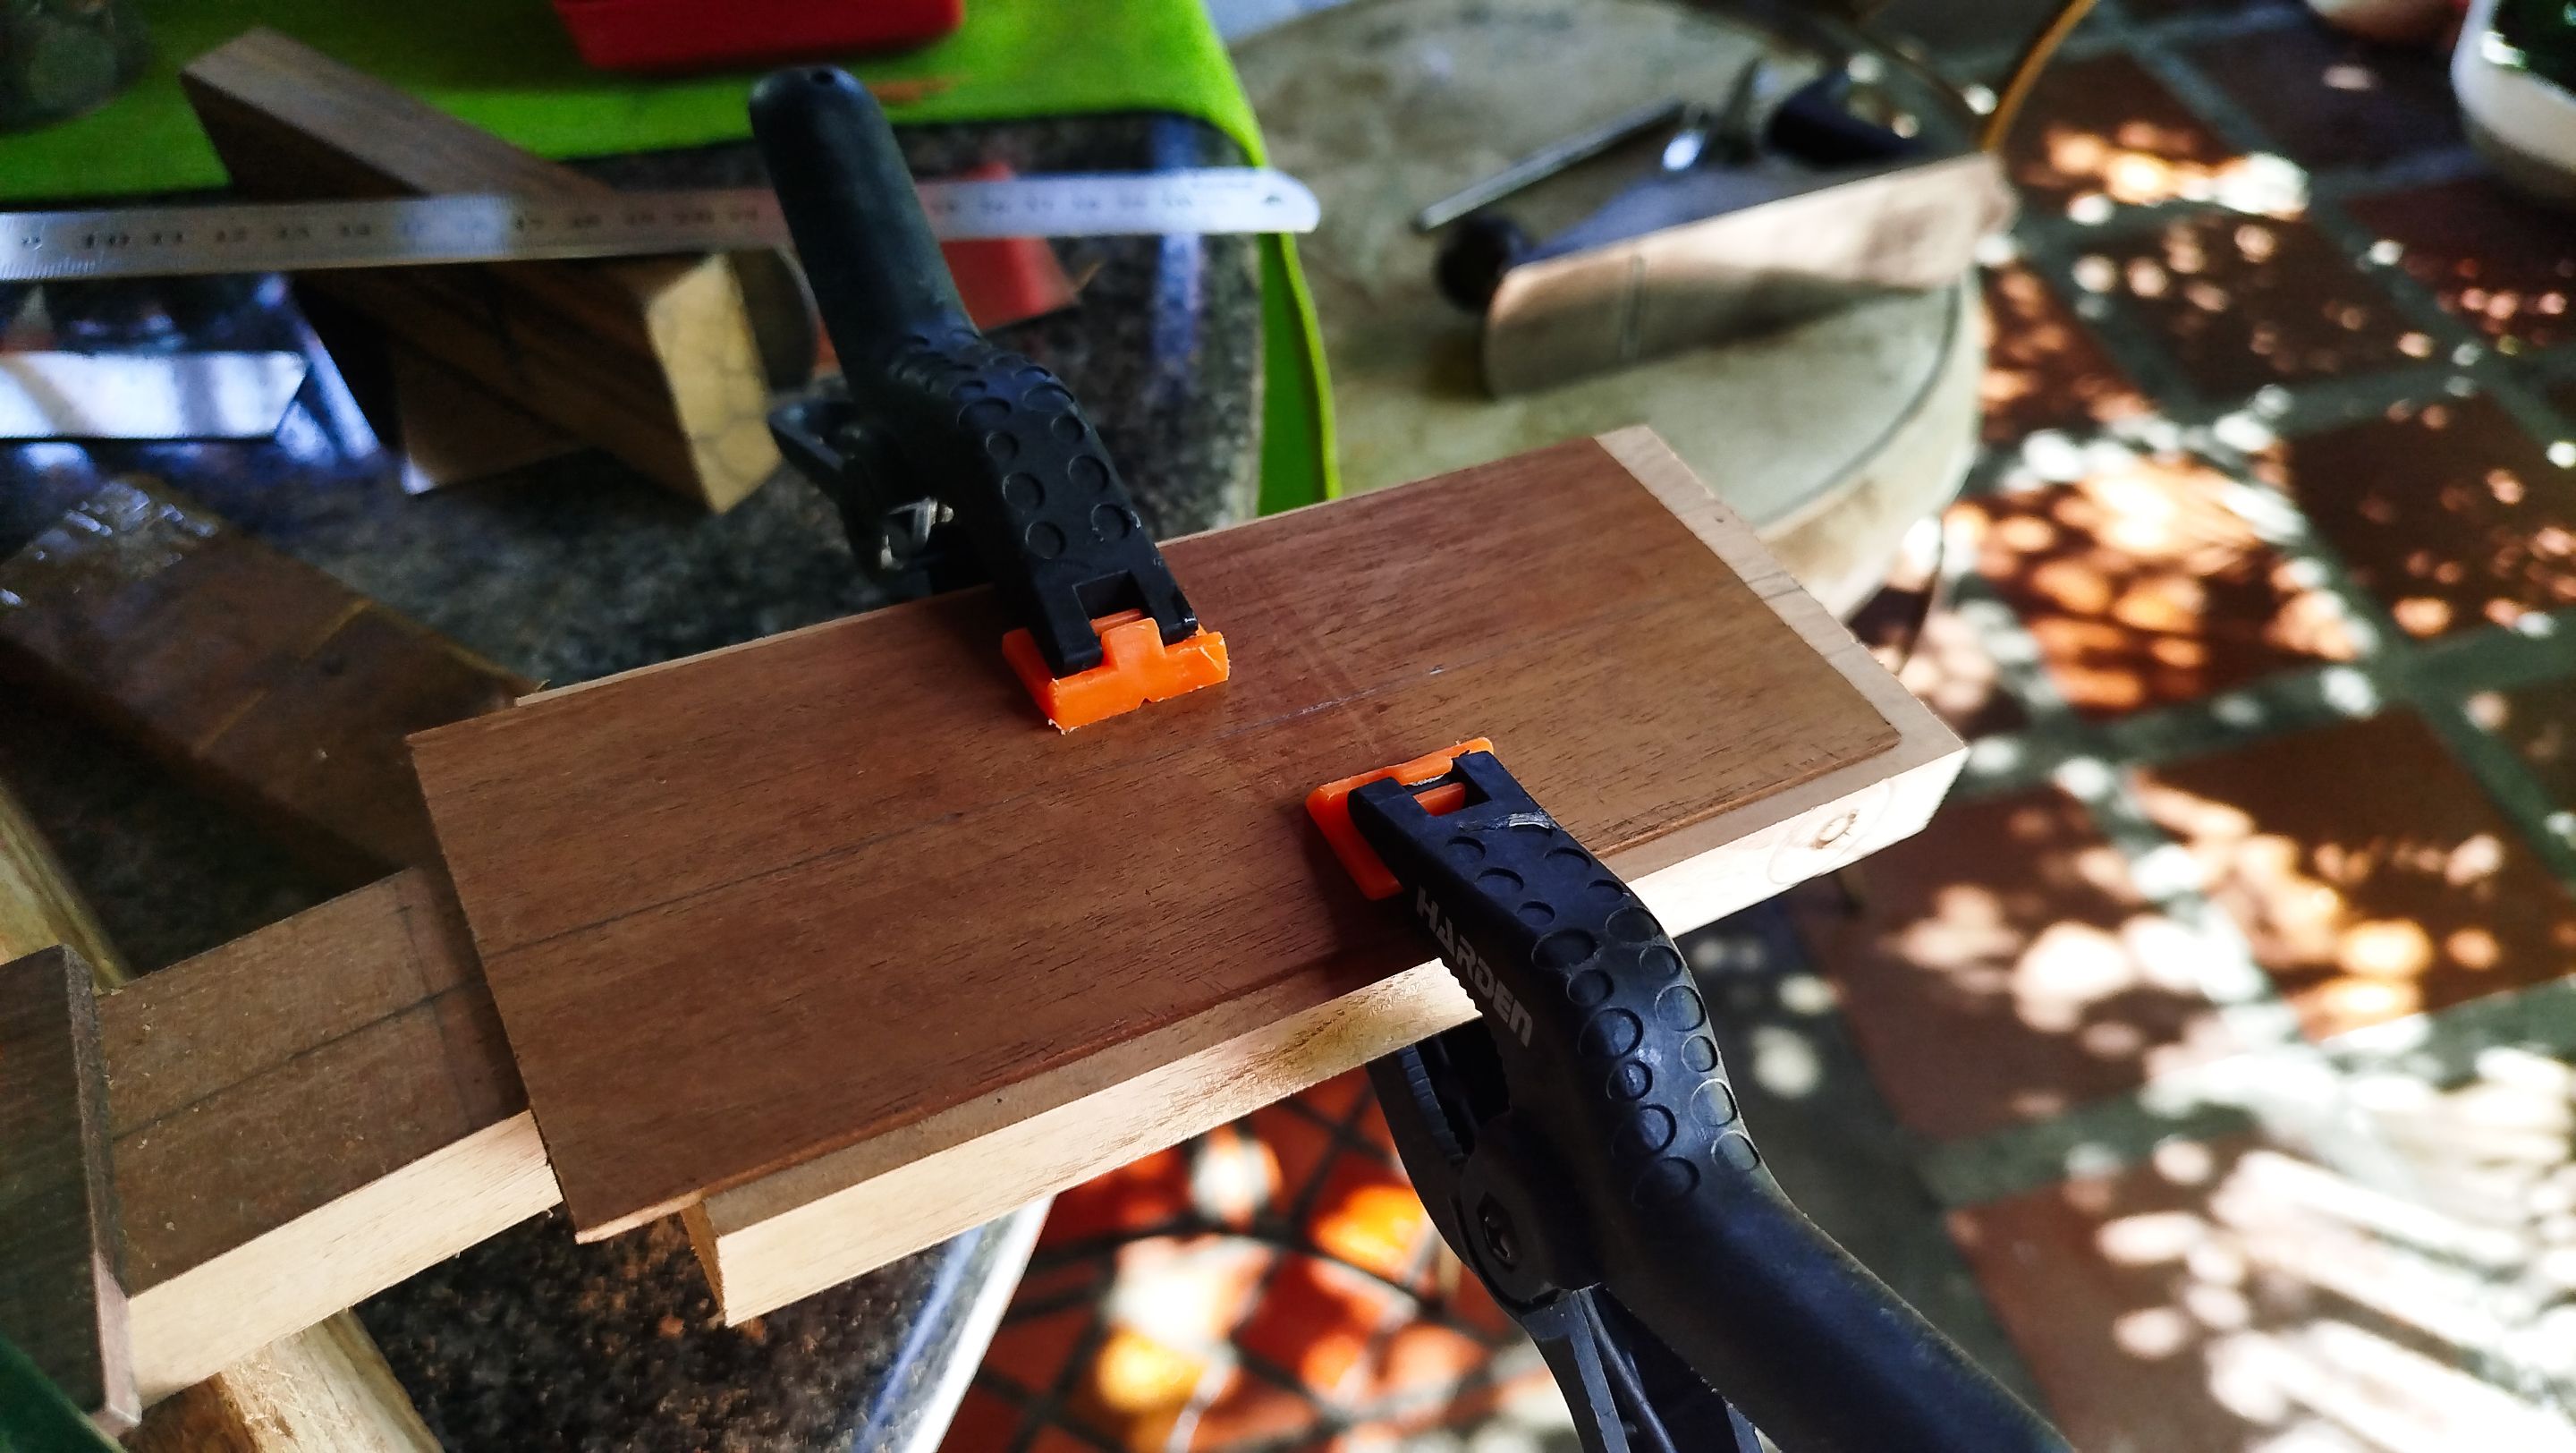
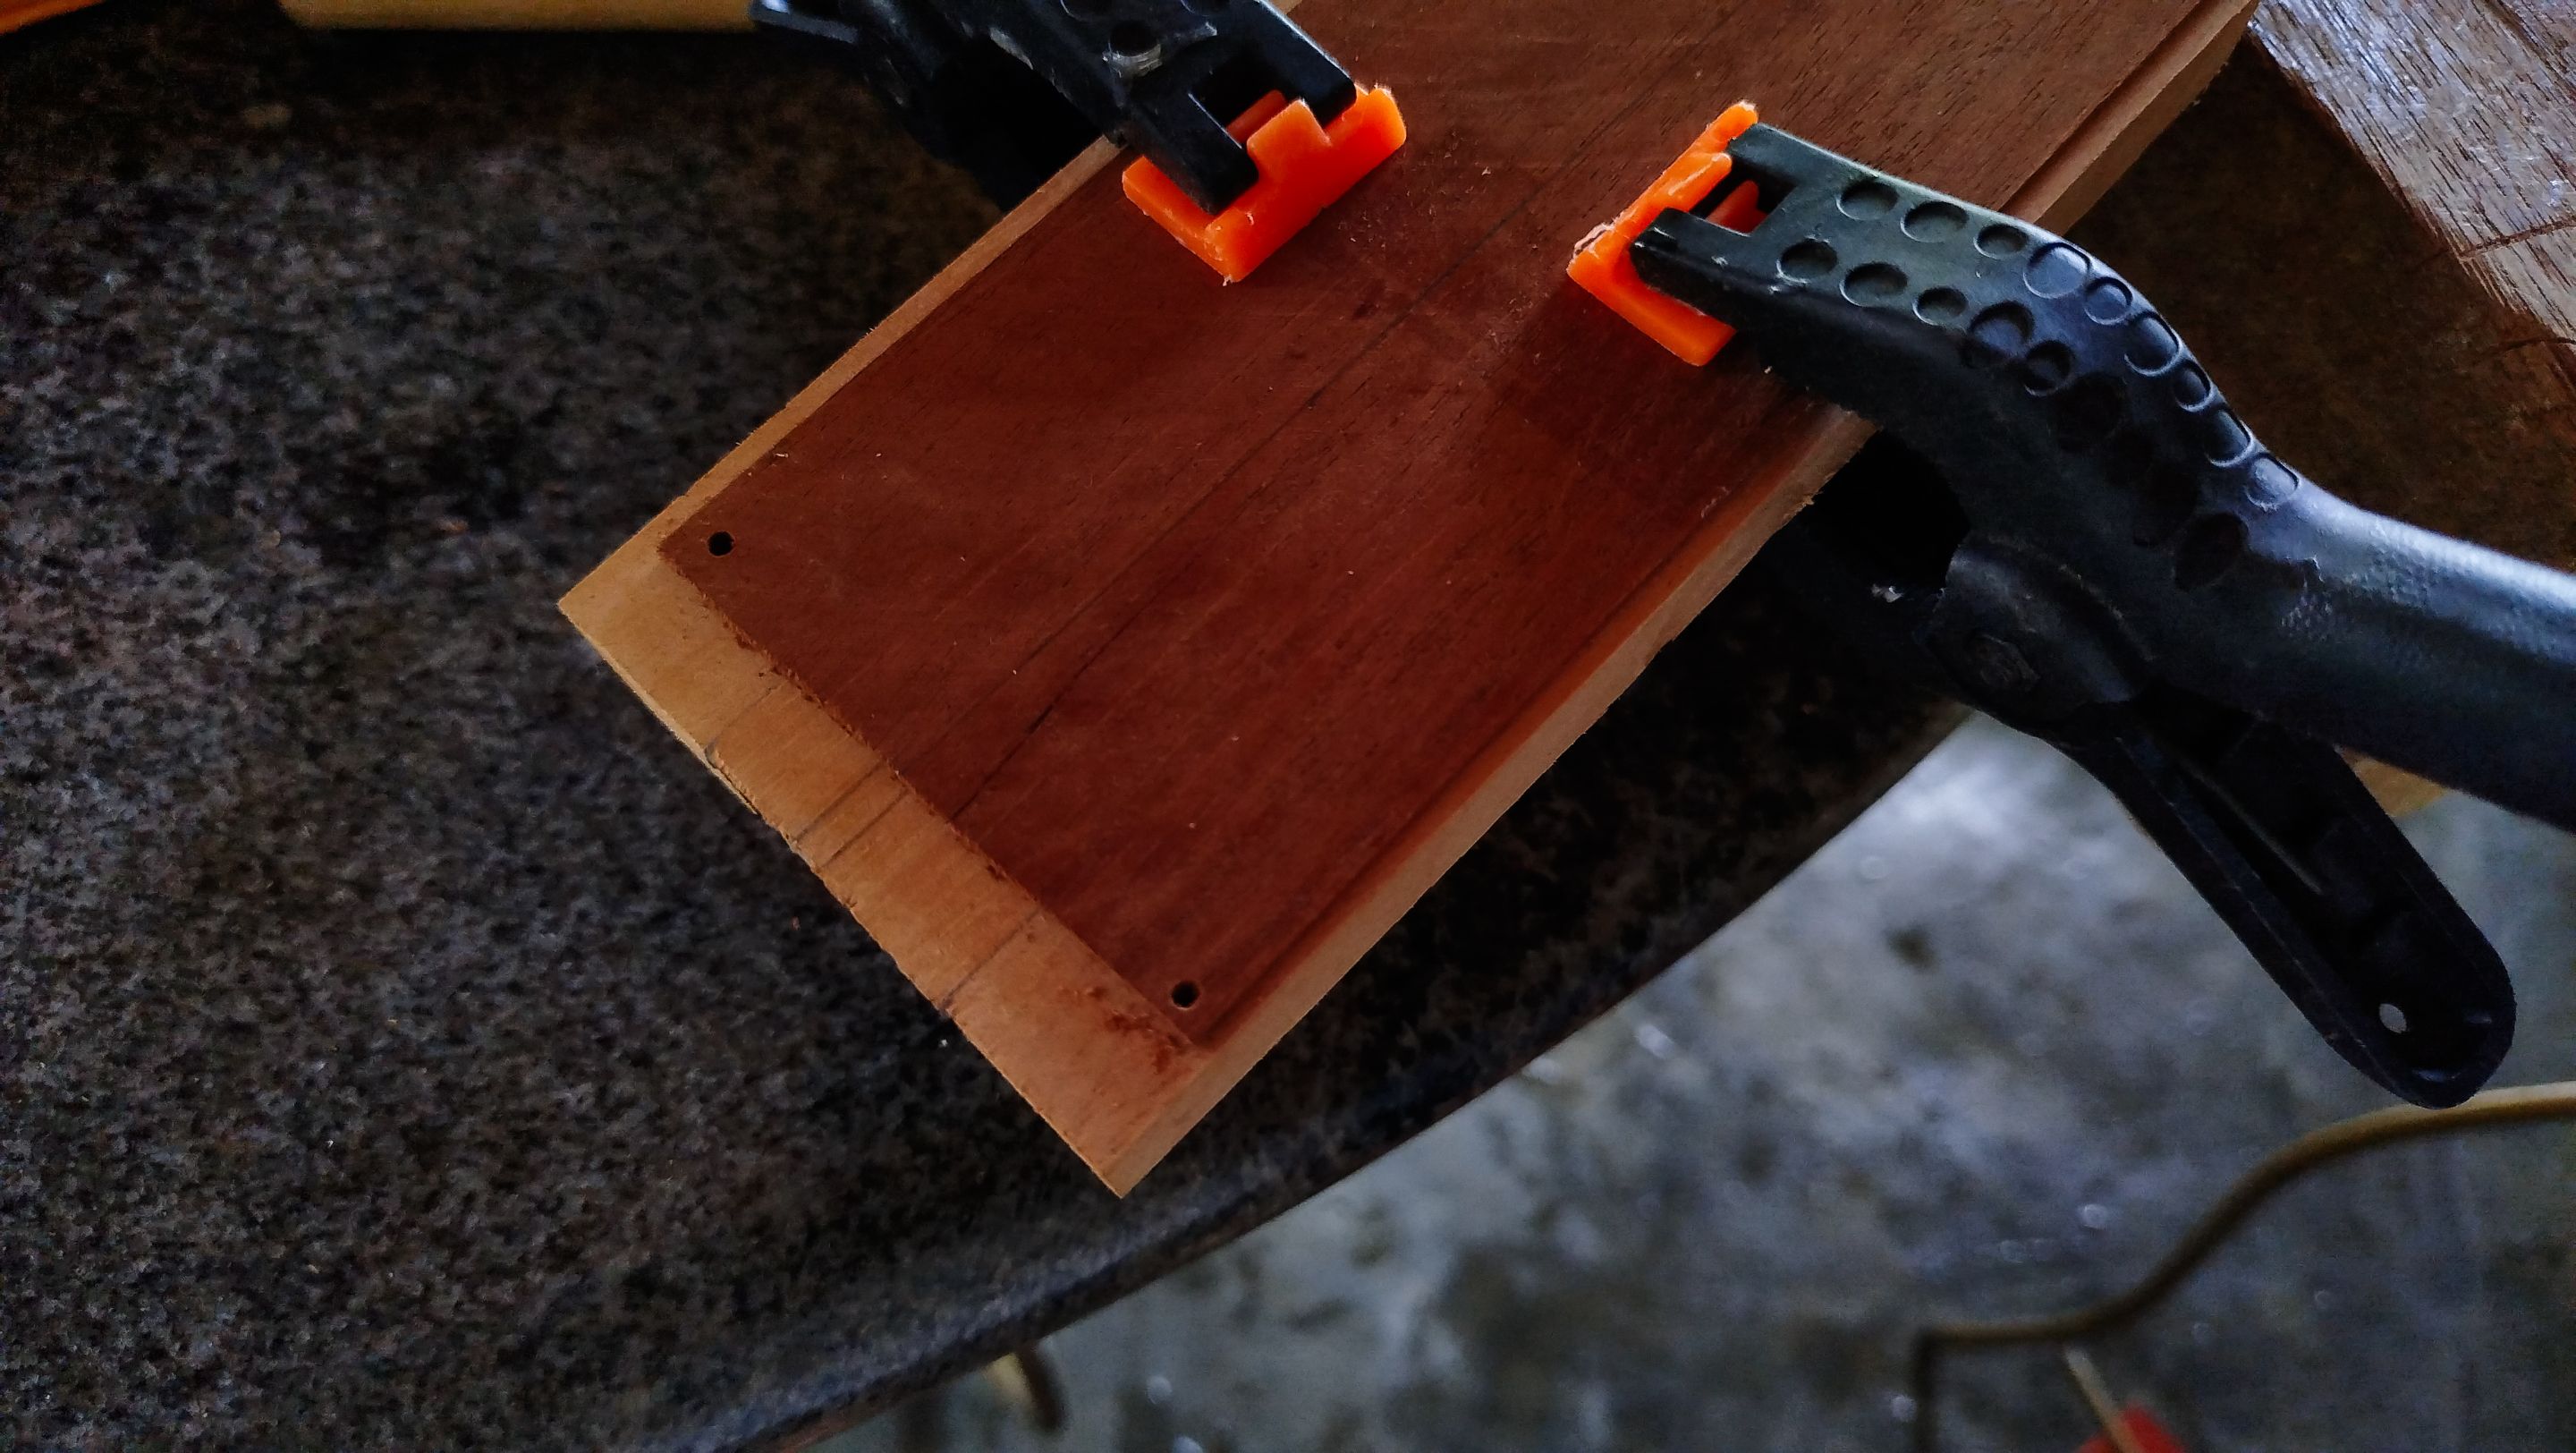
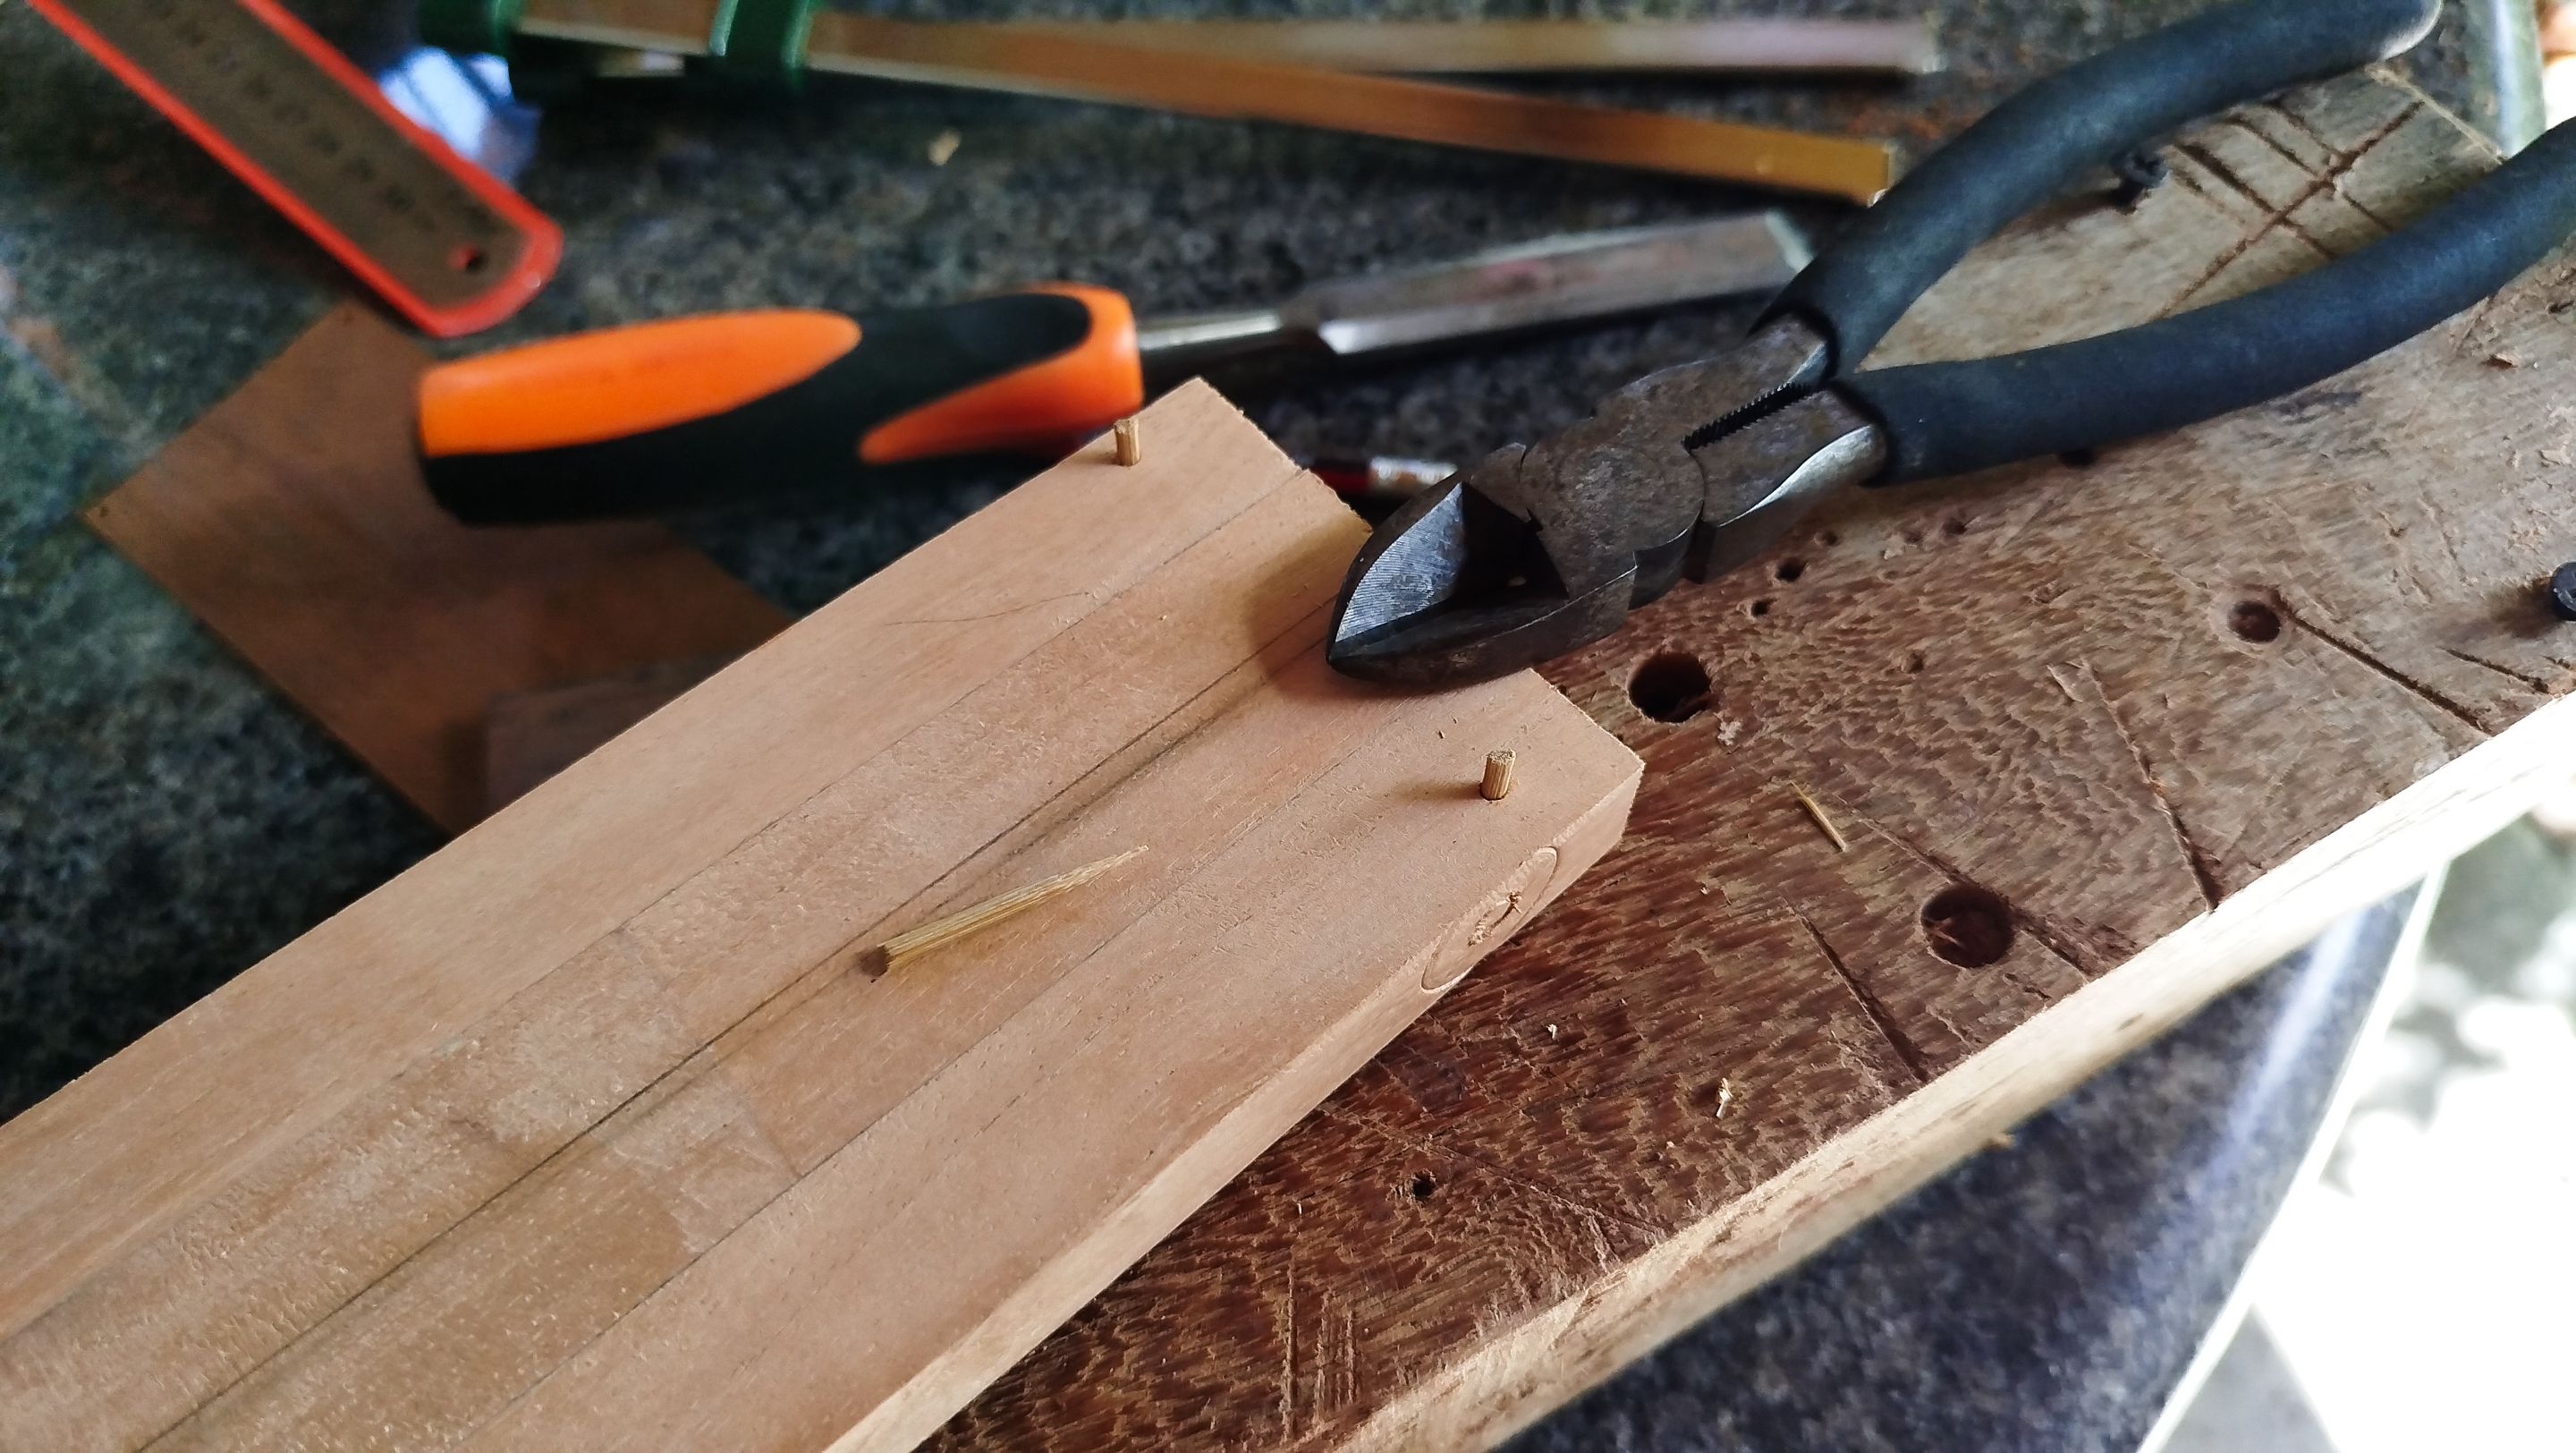
The next part is adding the veneer to the head stock. This is just an ornament to adorn the front part of the piece. We make some adjustments to create some straight lines to hold the veneer in place. We start by holding the mahogany veneer in place and make some holes to add anchors to keep the ornament in place for the glue up. We make a first dry fit to make sure everything is in the right place. Then we apply glue and use the clamps.
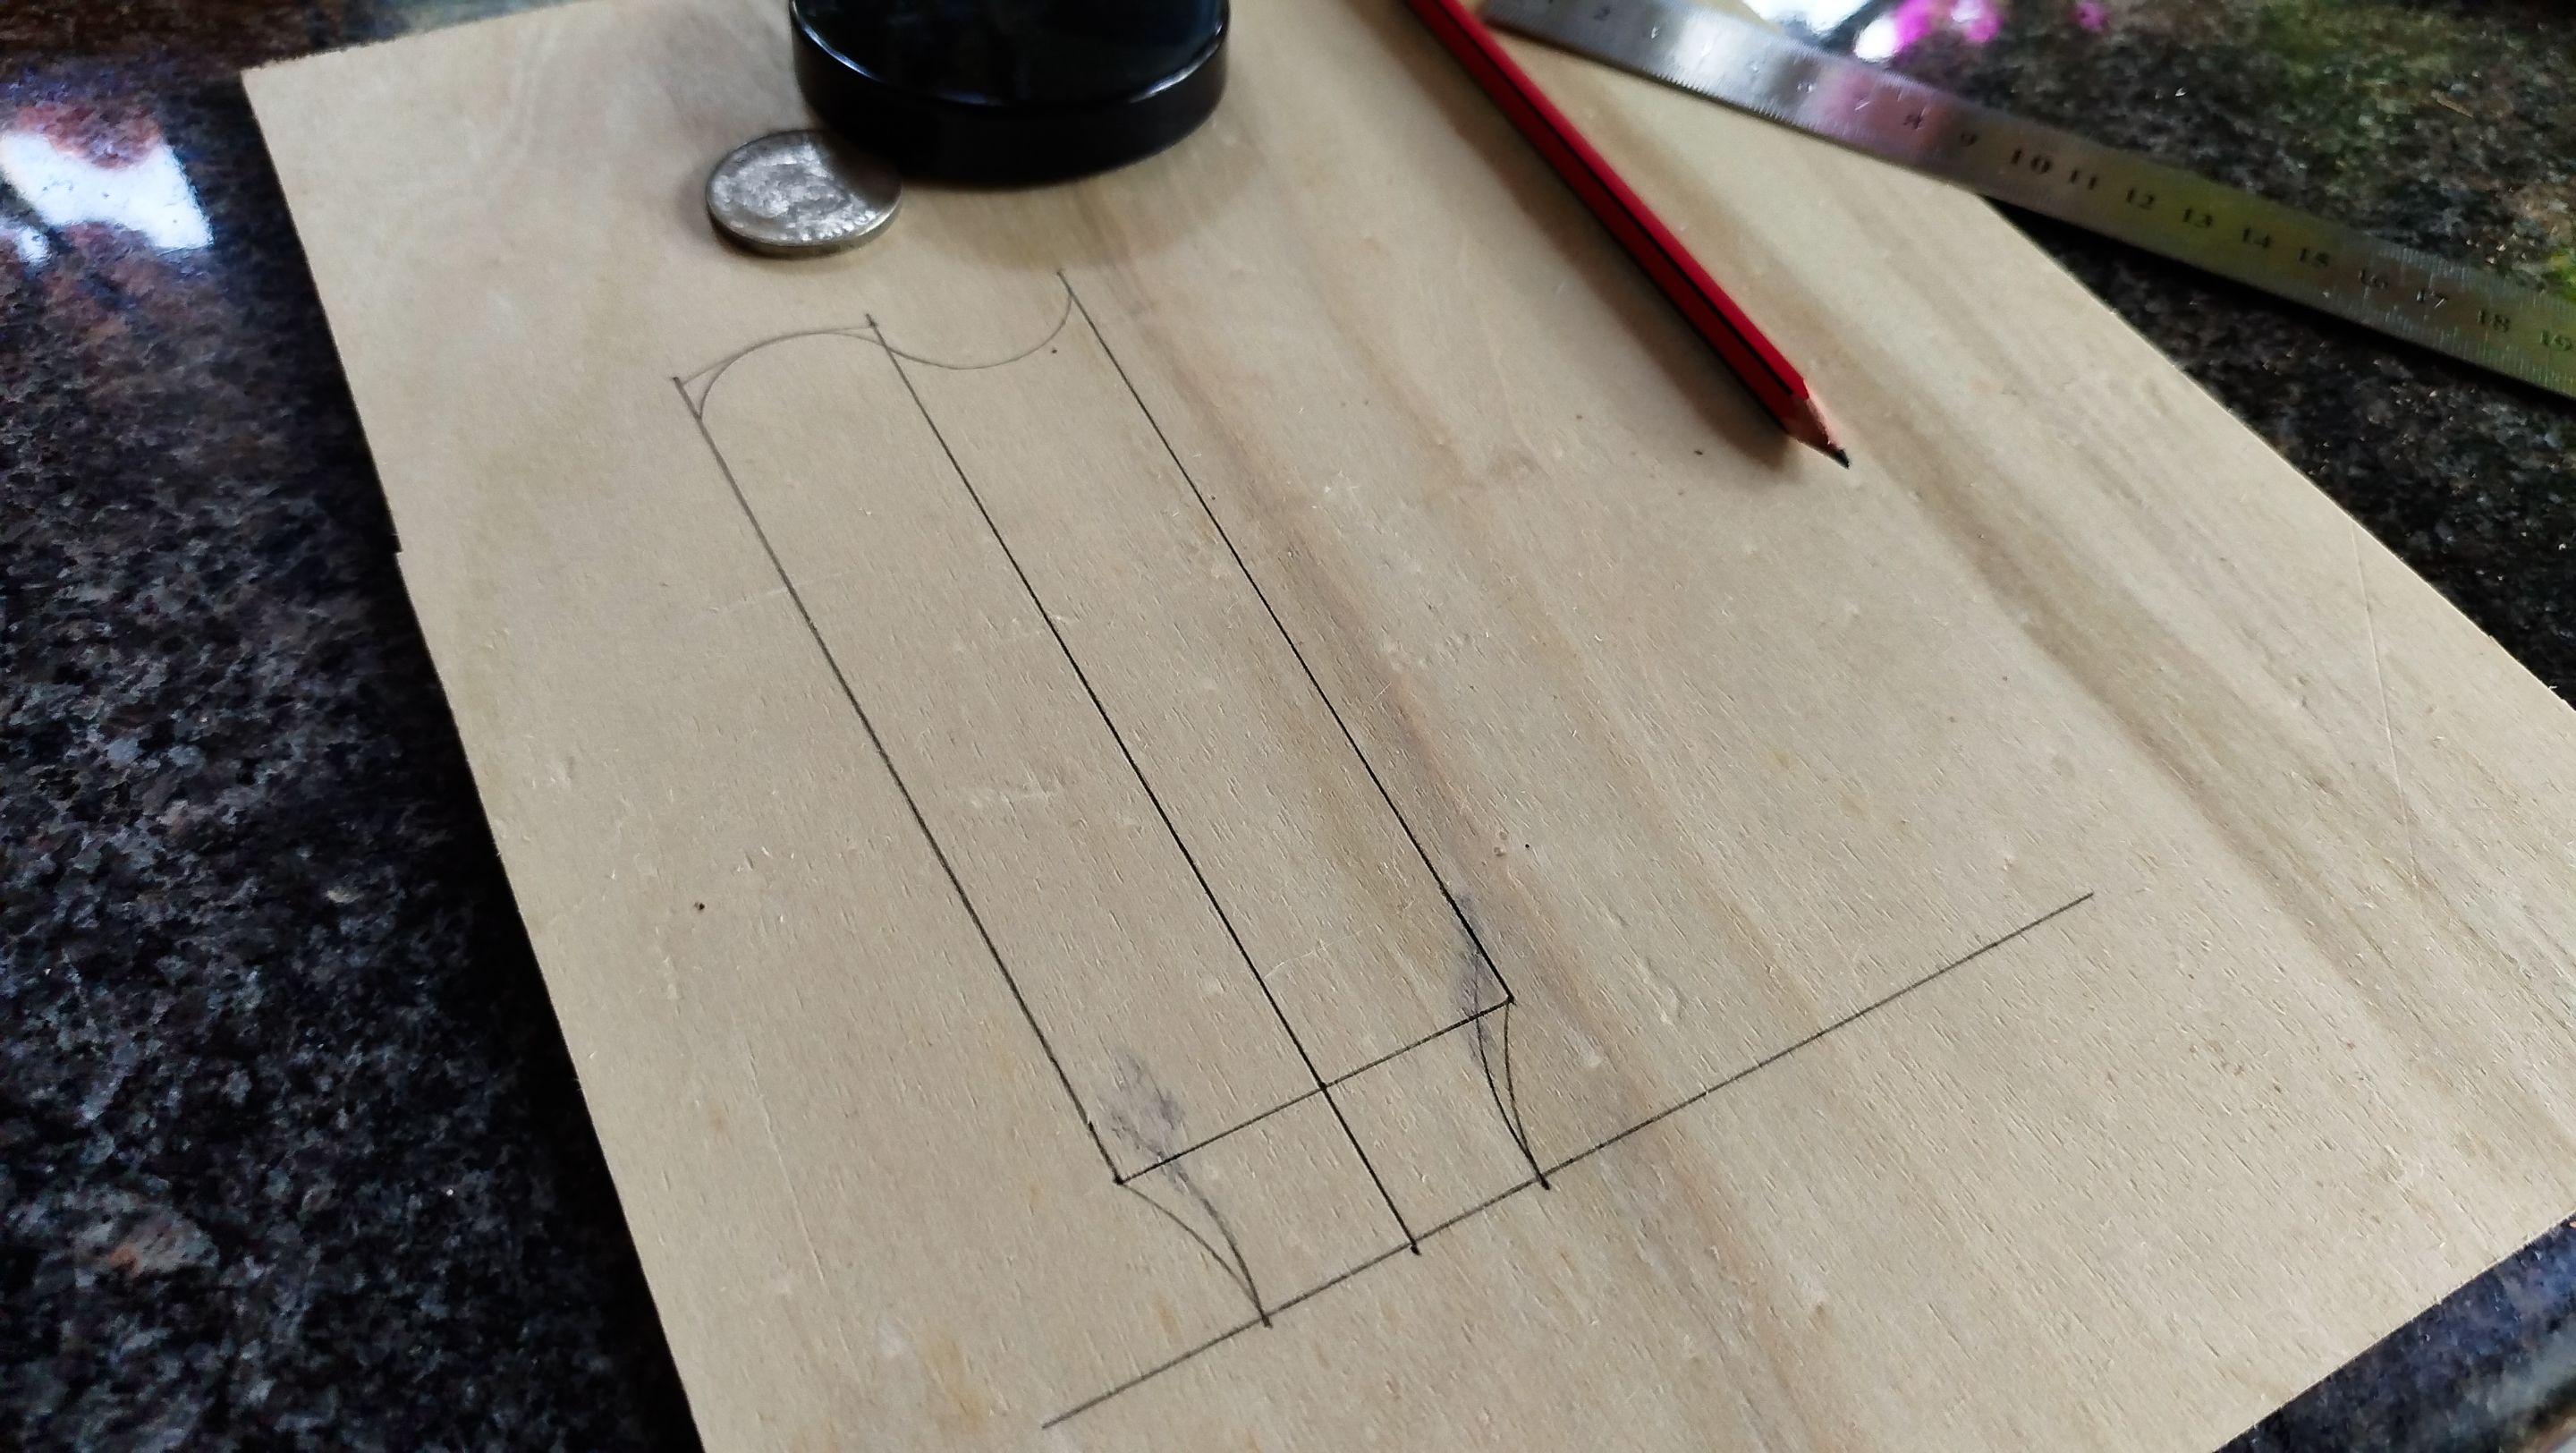
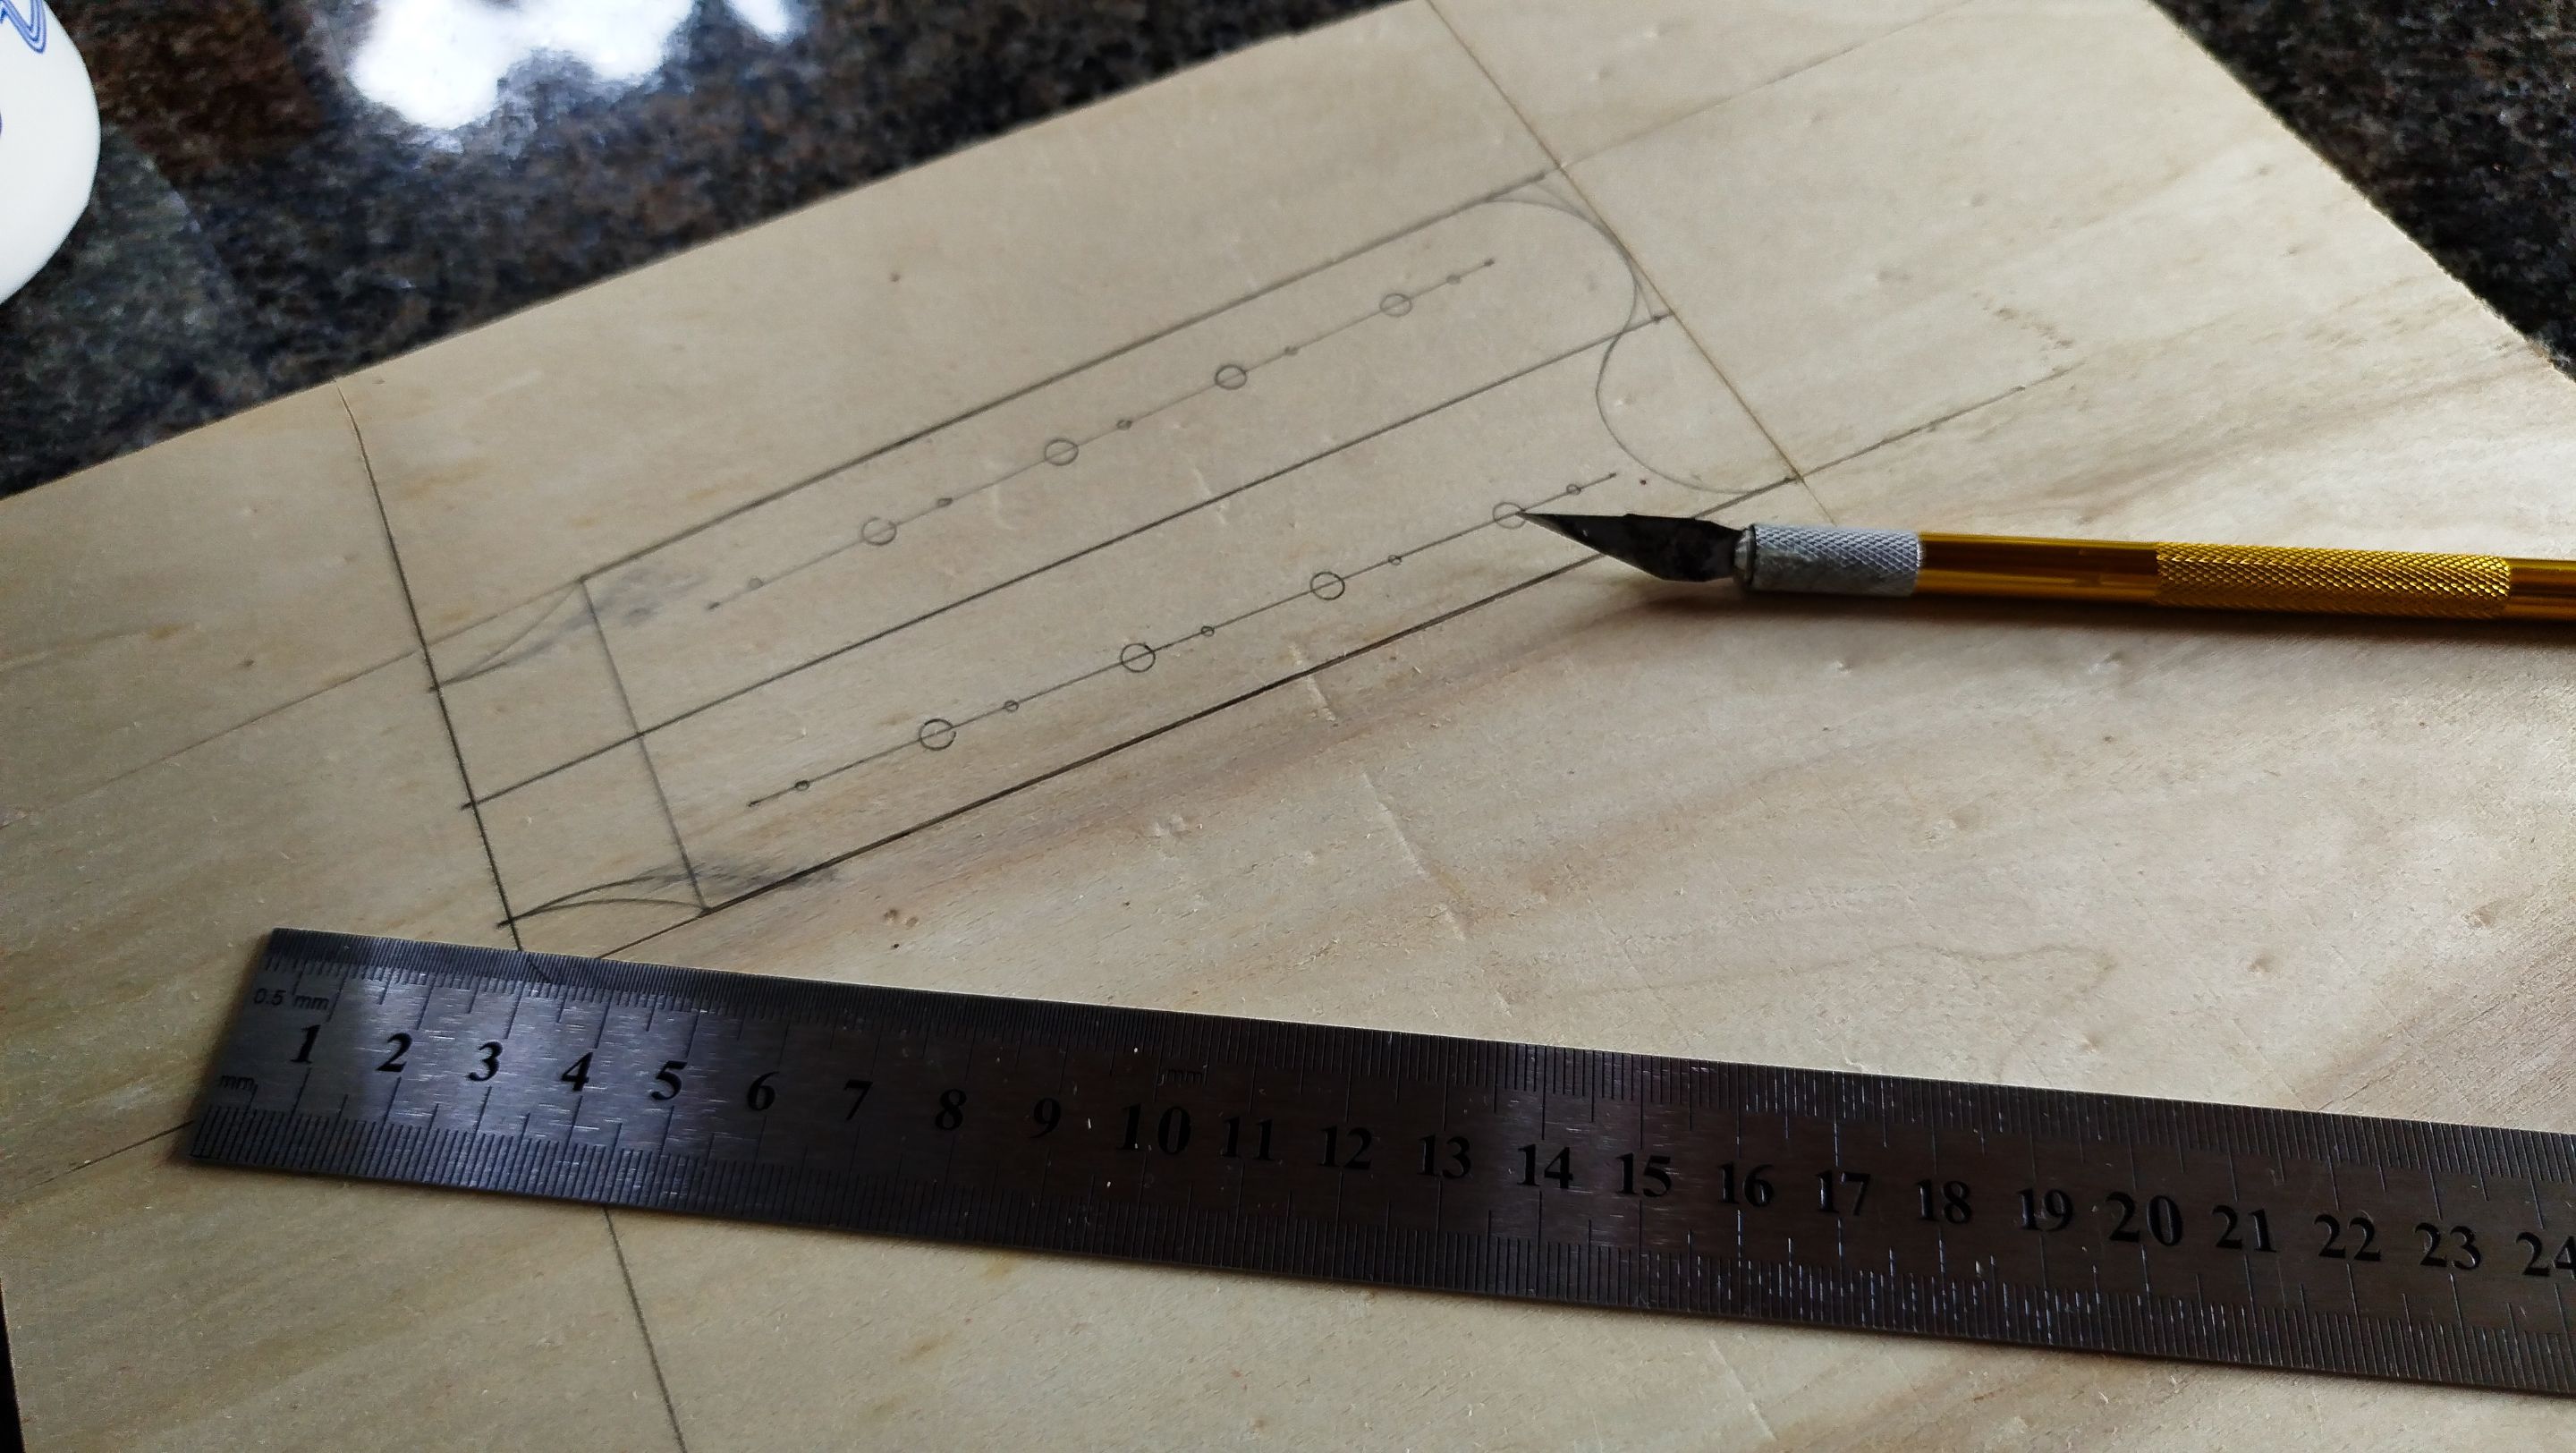
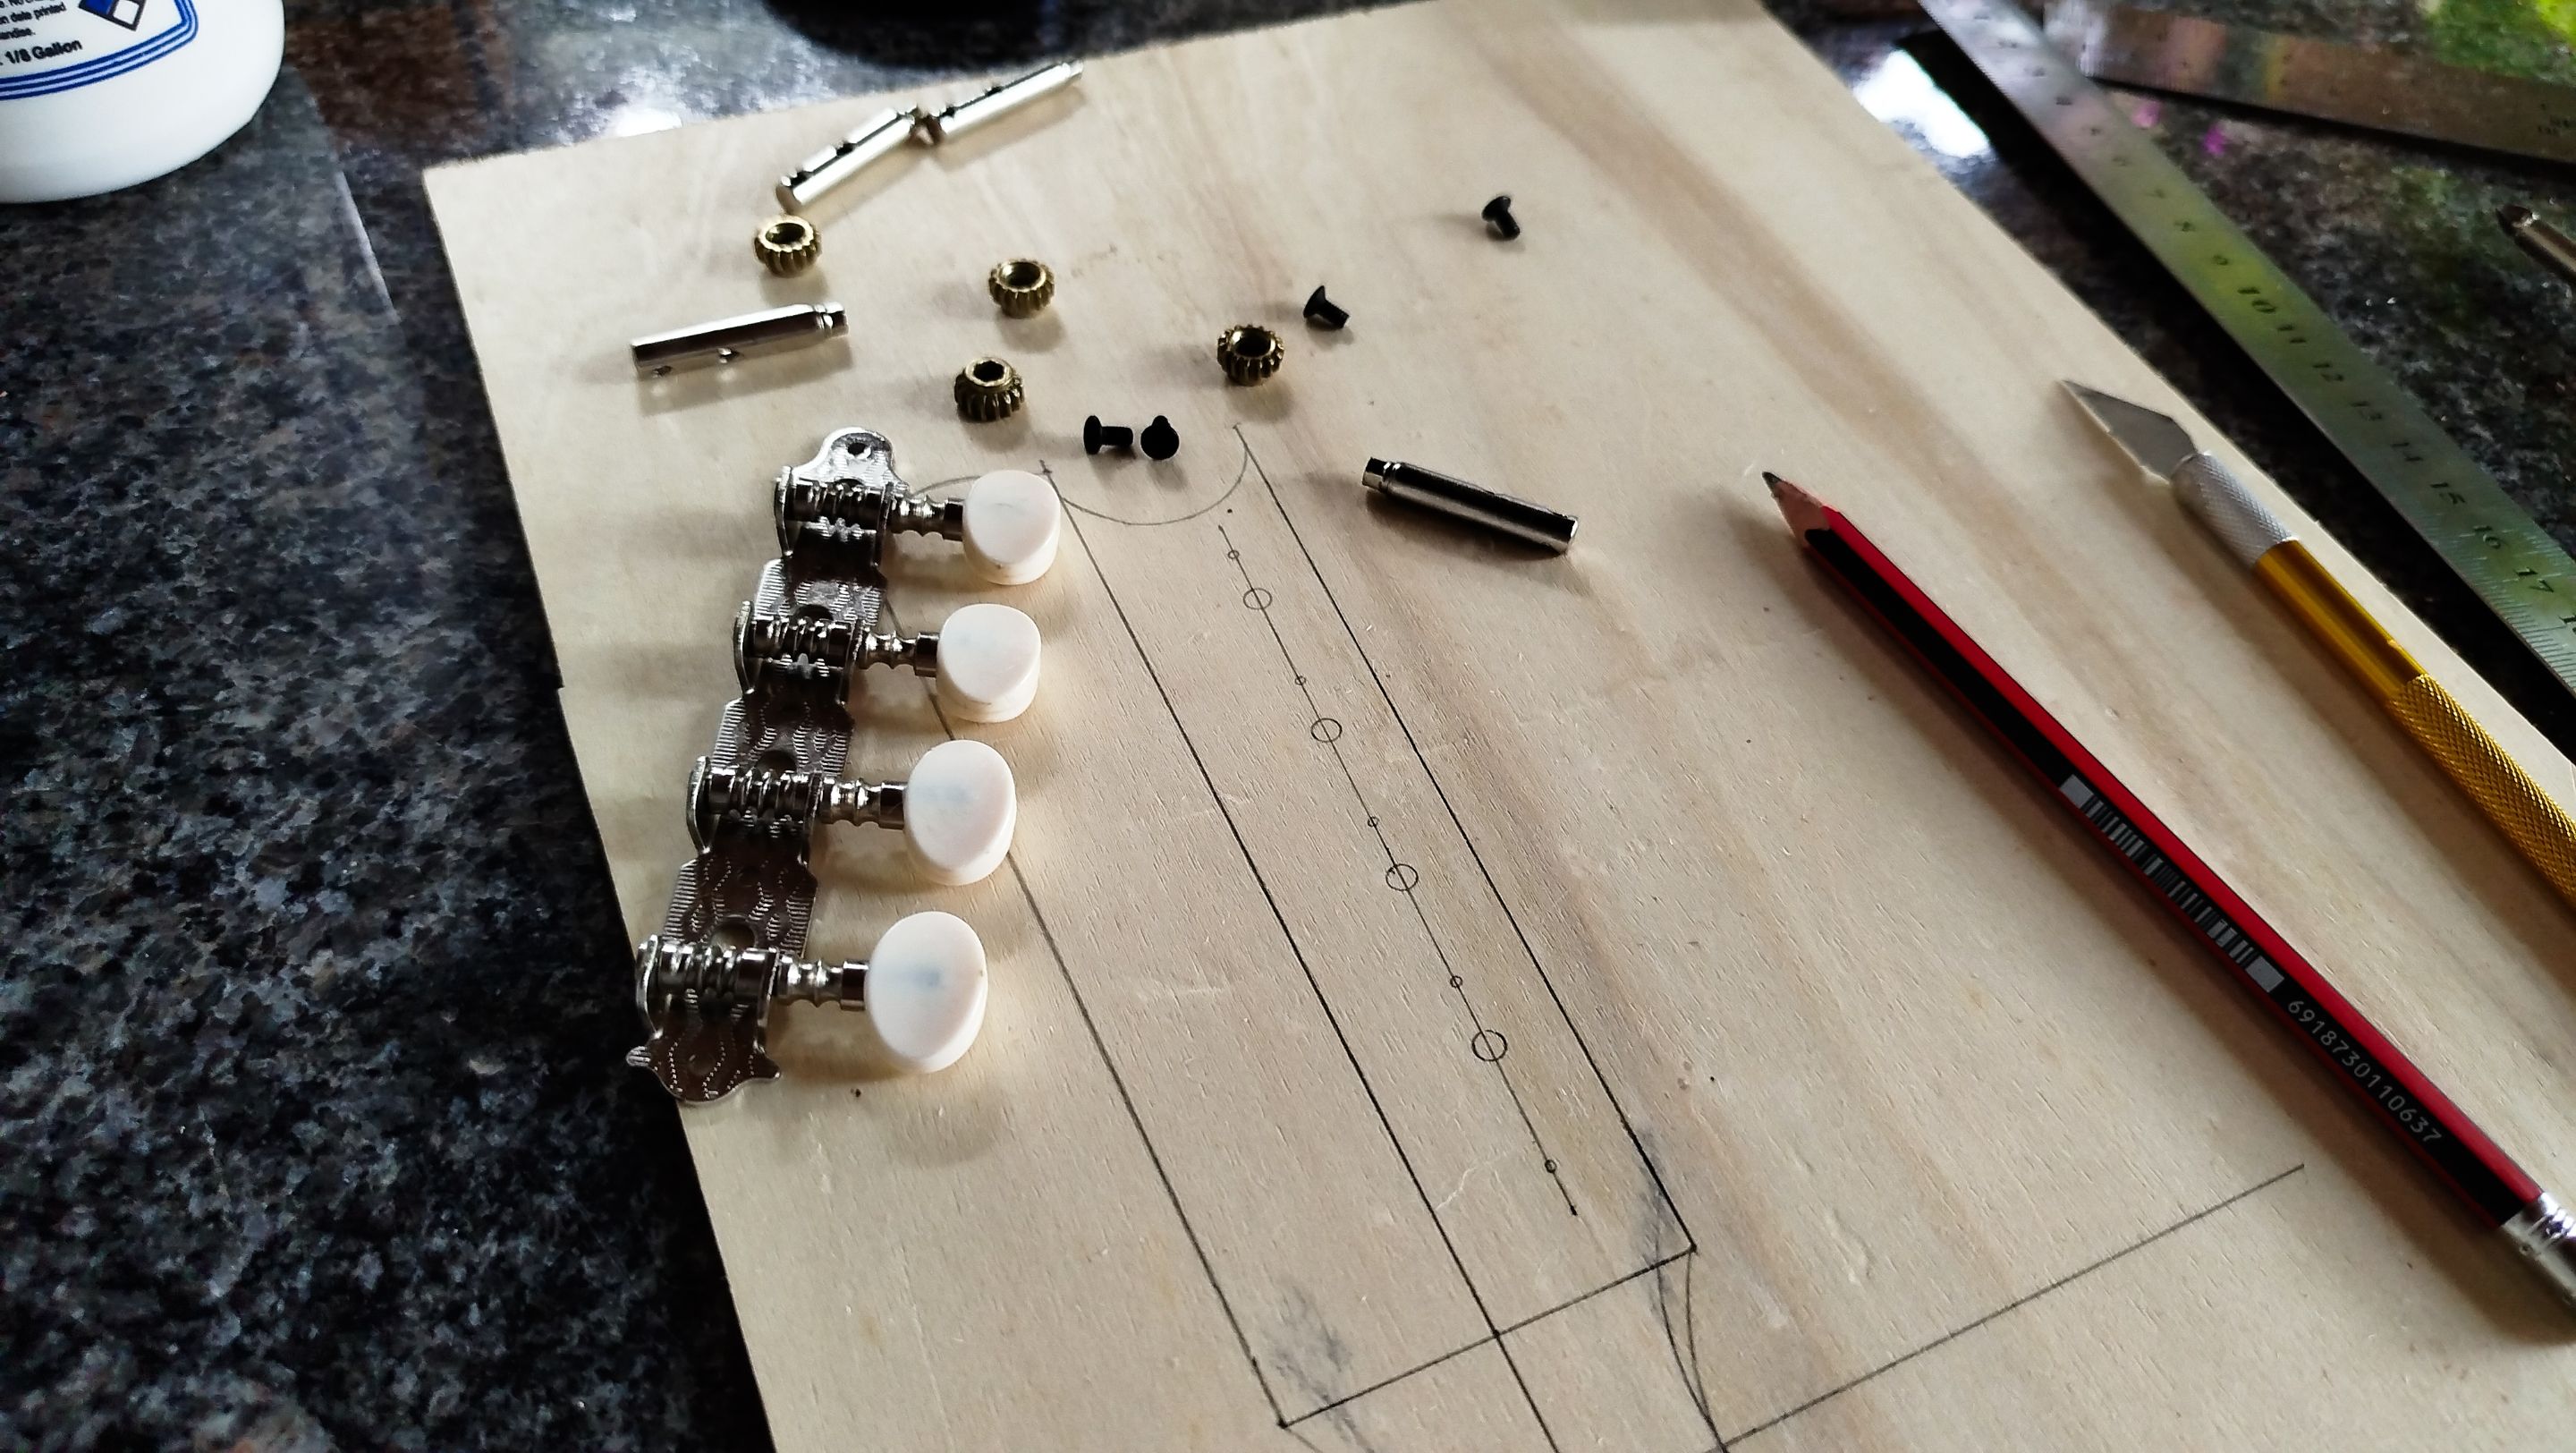
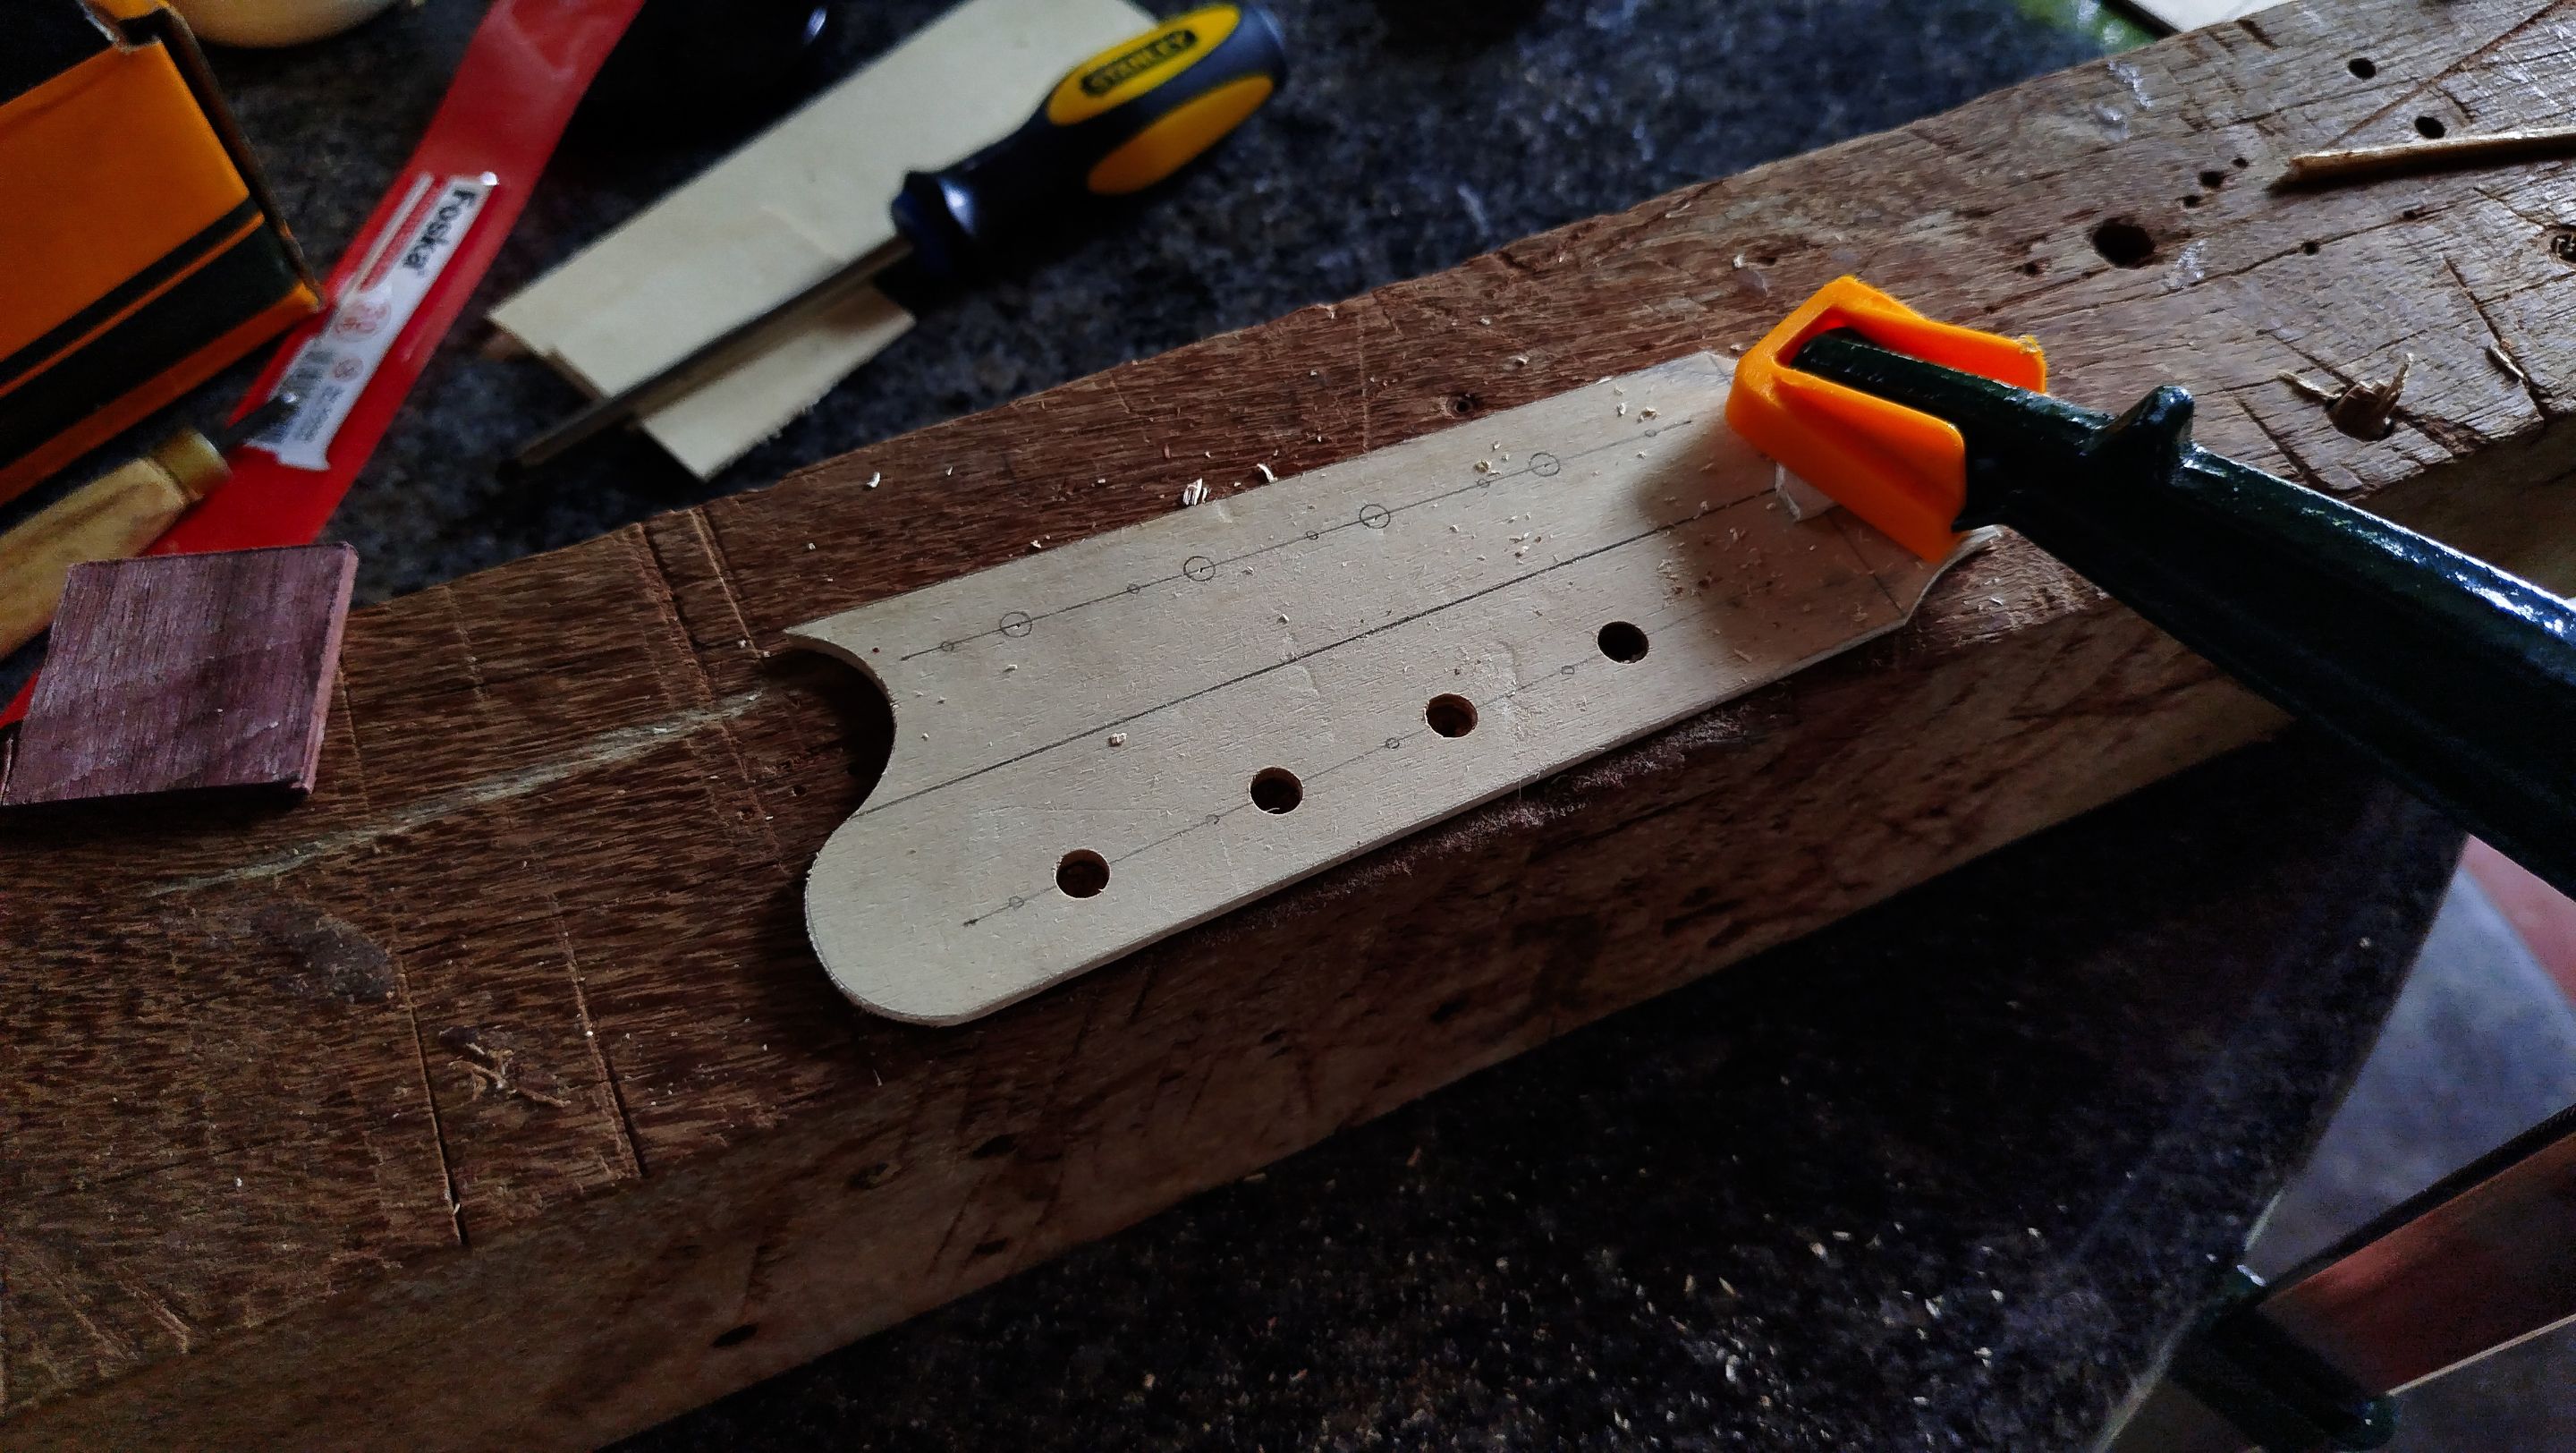
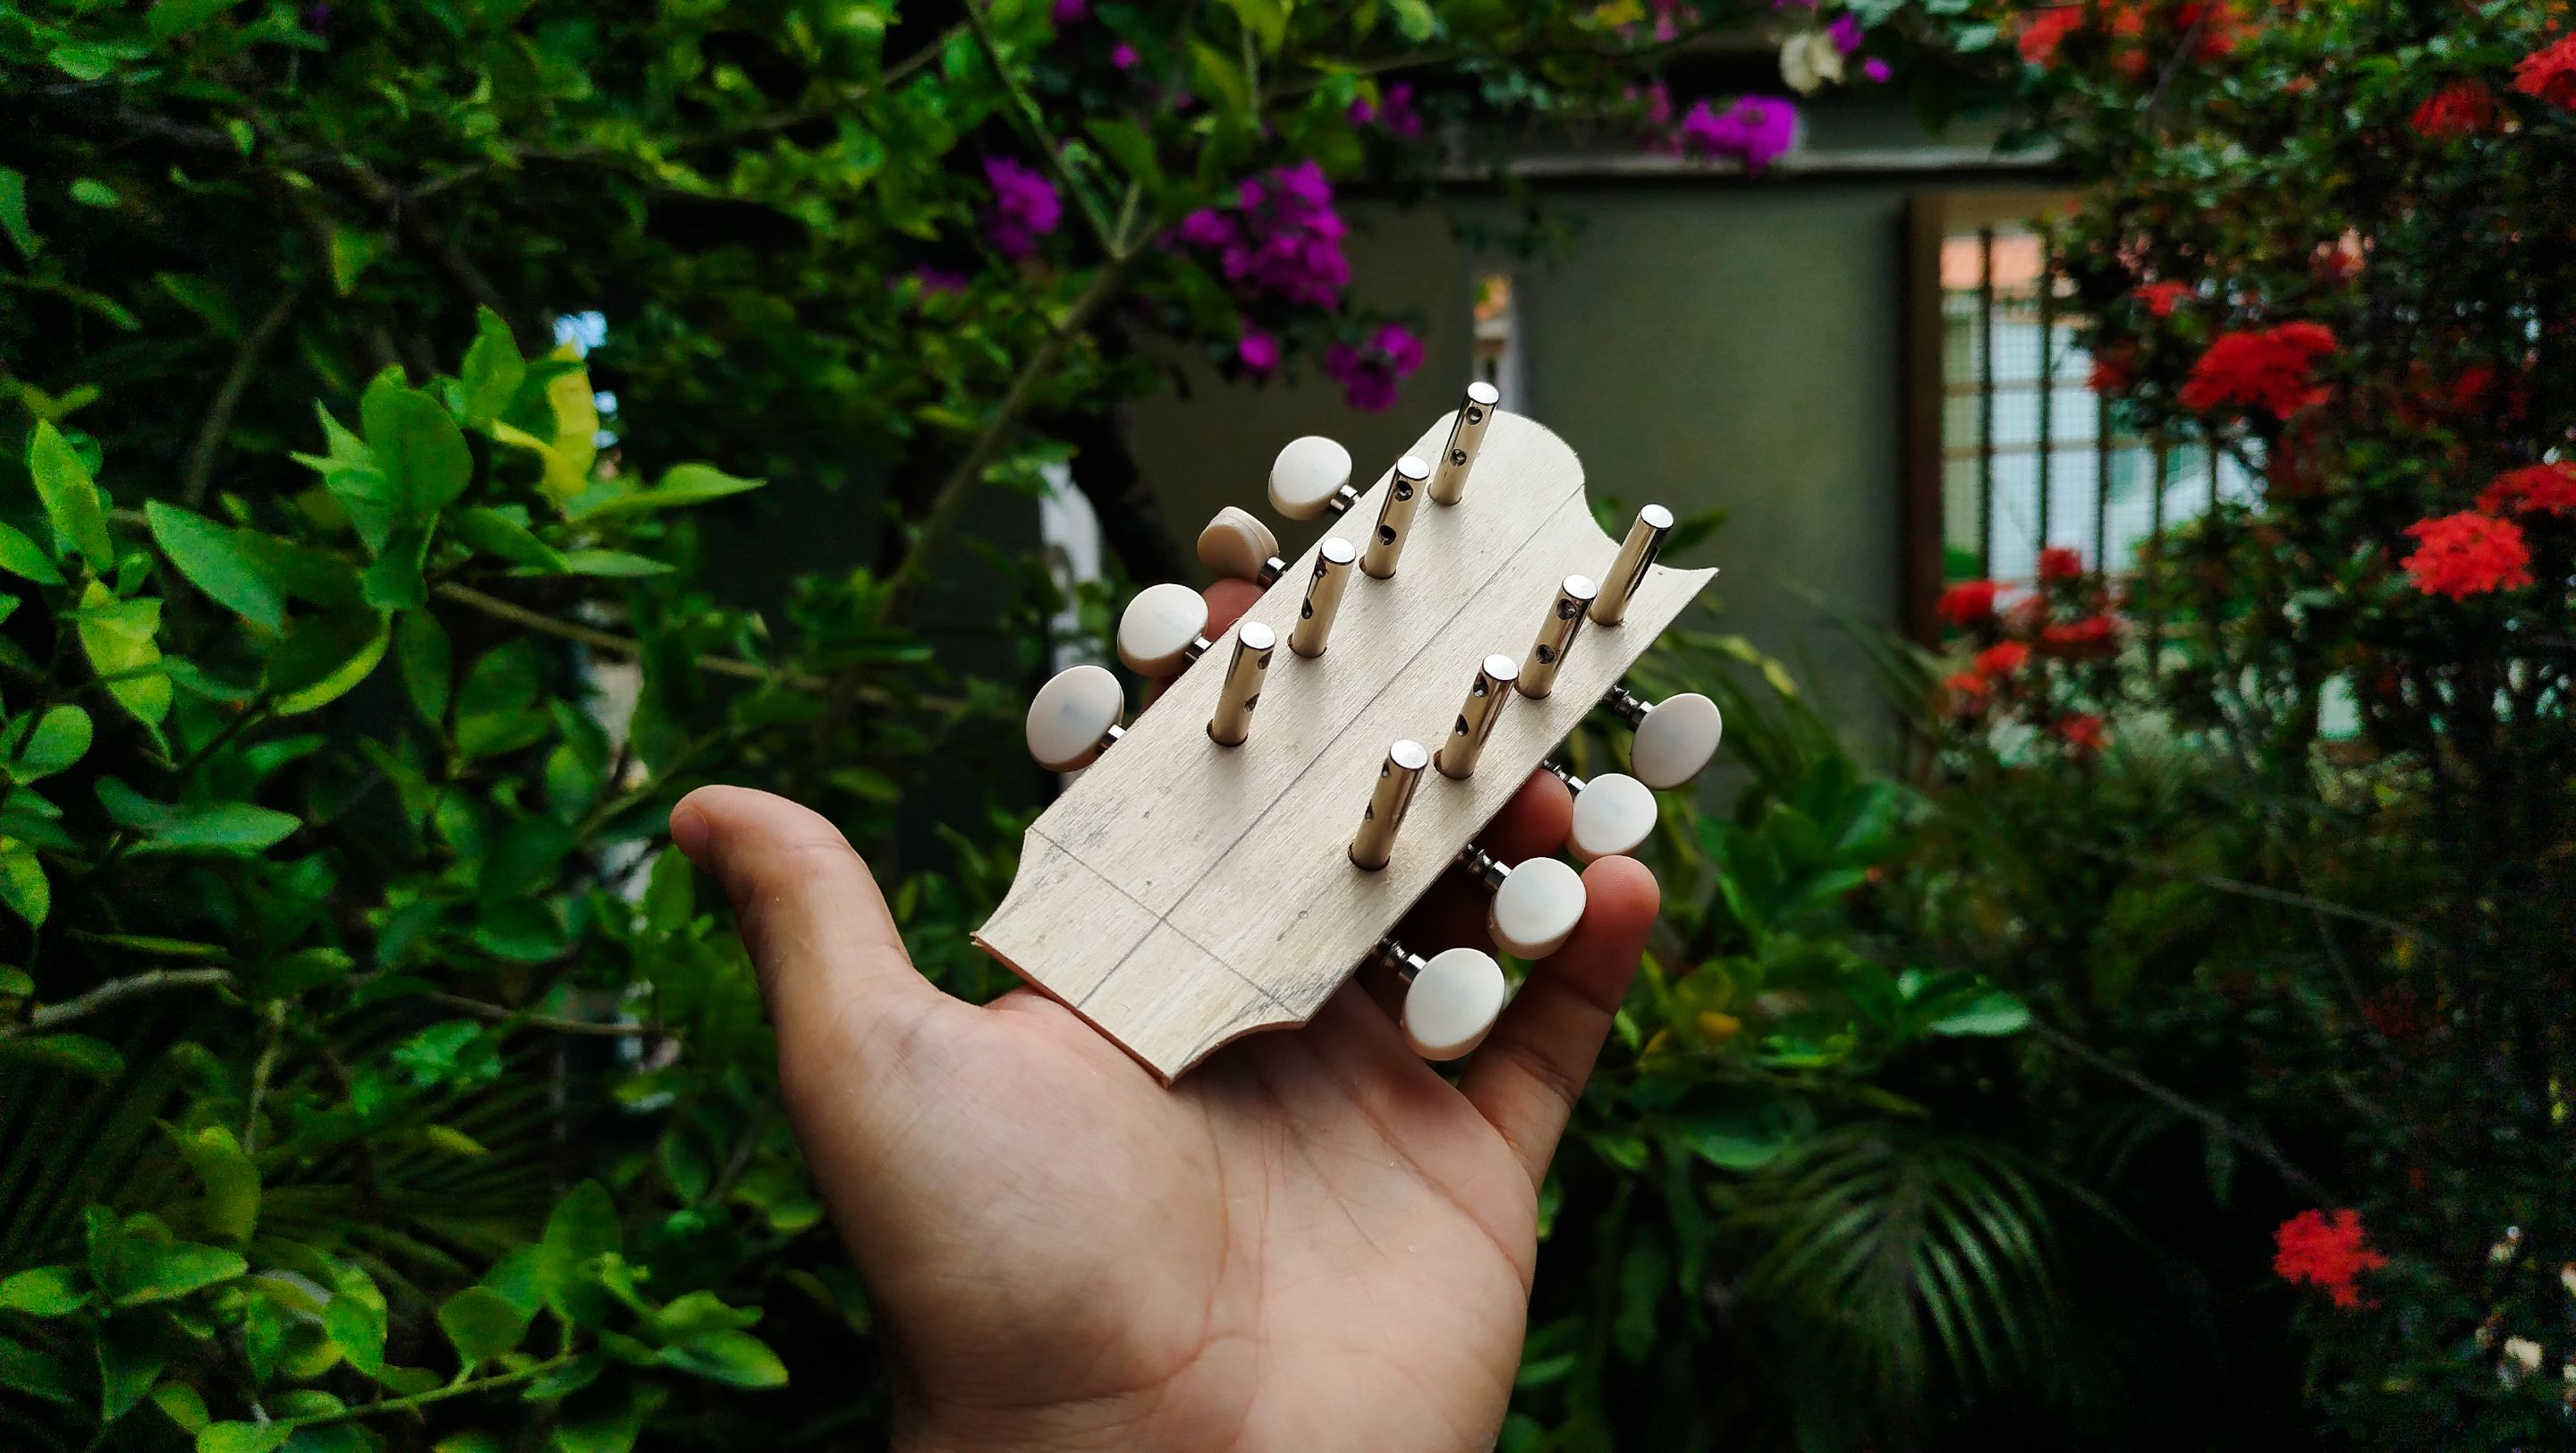
While this glues up, we are going to work on the template for the rest of the build. This will also work for all future builds. We are using some plywood for this task. We start by making the whole outline of the headstock. The rest of the template is made by using the tuners. For this we need to disassemble the tuners. The reason behind this that we need to use the alignment of the holes by using the tuners as its on reference. It gets tricky when the tuners come as one piece.
Once we have made all the pencil marks, we can start cutting the headstock template. The last task is to make the holes for the tuners. We can check the alignment by placing the tuner inside the template. And this way we have made something we are going to use all the time we make a new mandolin.
And this is the end of the entry for today. Next time we are going to keep working bit by bit until the build is complete. Thanks a lot for reading. See you next time!
| Number | Entry |
|---|---|
| 1 | The First Mandolin |
| 2 | Starting a Neck |
| 3 | The Heel |
-
Photos 📷: Redmi Note 13
-
Thumbnail 🖼️: Canva.
-
Editing 🎬:Adobe Photoshop Lightroom.

Follow me on Instagram for enquires and commission.
If you'd like to help the workshop grow, you can make a donation here.
You can find me at discord as bertrayo#1763