
Hello there, my fellow artisans and handcrafts enthusiasts!
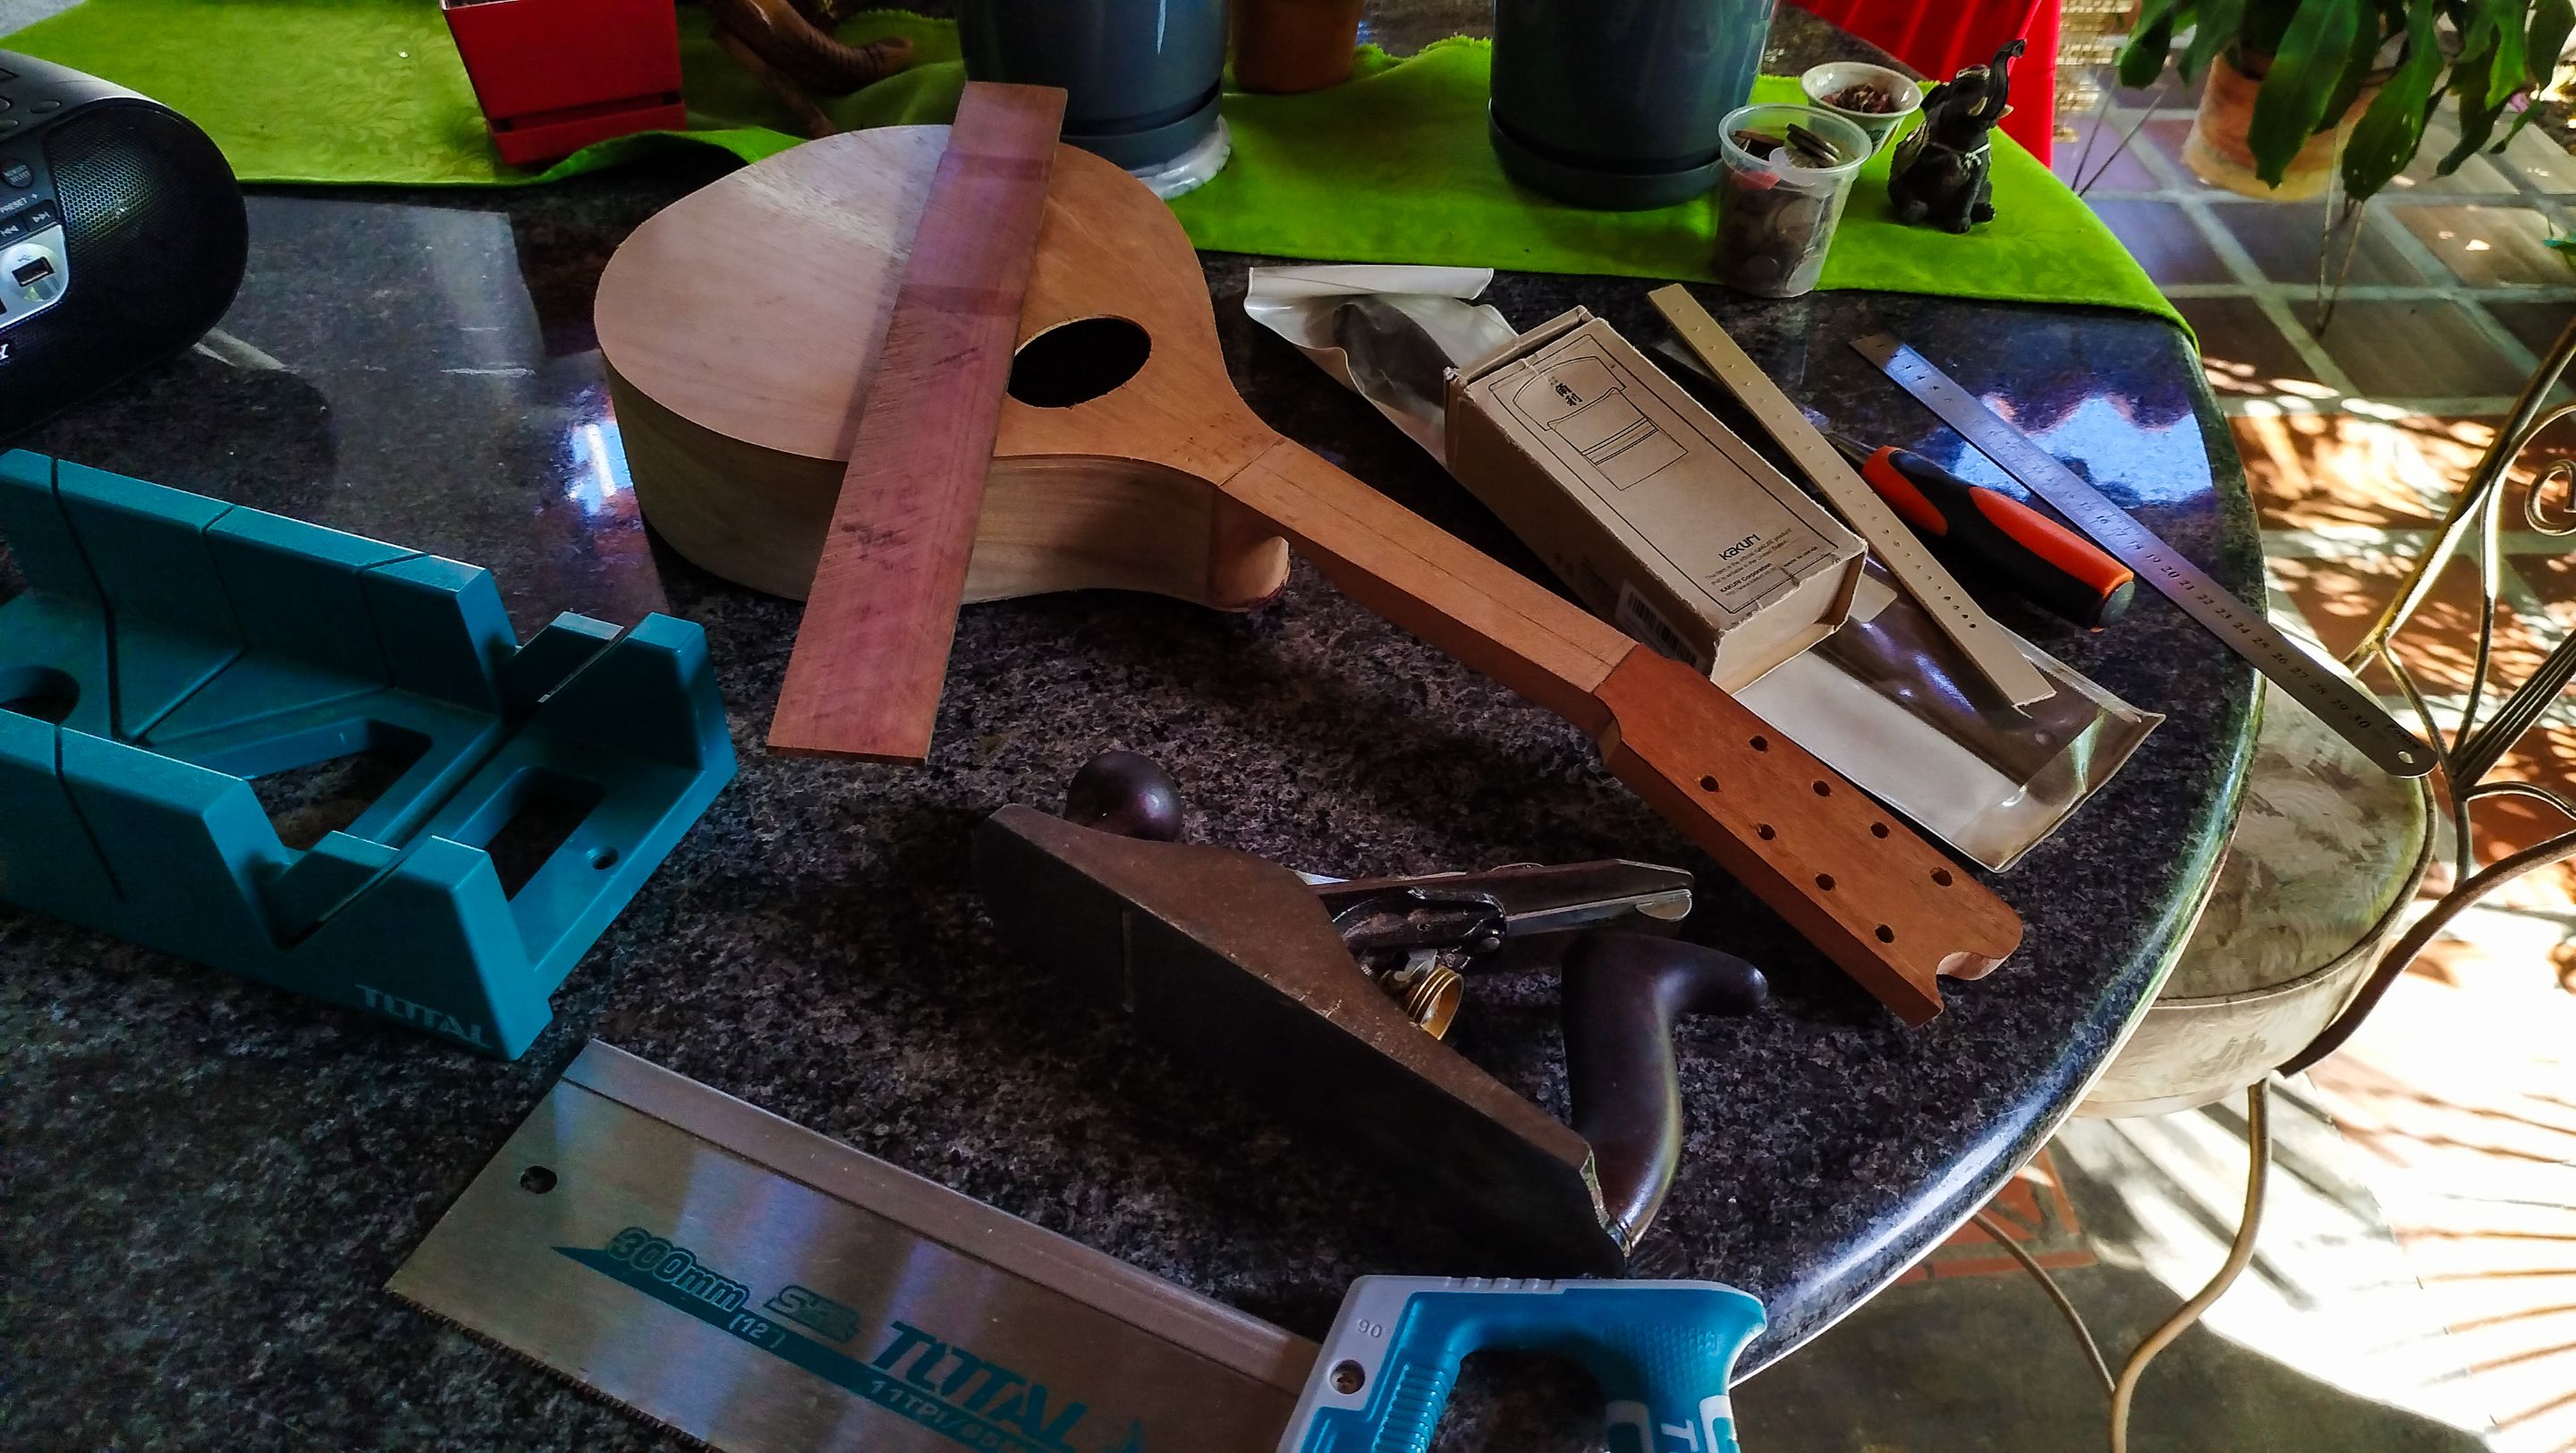
Welcome back to another entry on this mandolin build. Last time we saw this build, we finished closing the mandolin and are now on the stage of making the outside pieces. The first one we are making is the fretboard. That way we will only have left the pieces that are not fixed to the instrument. This takes a lot of steps that we will cover in time.
Let's get to it!
Slots

Swipe to see the photos
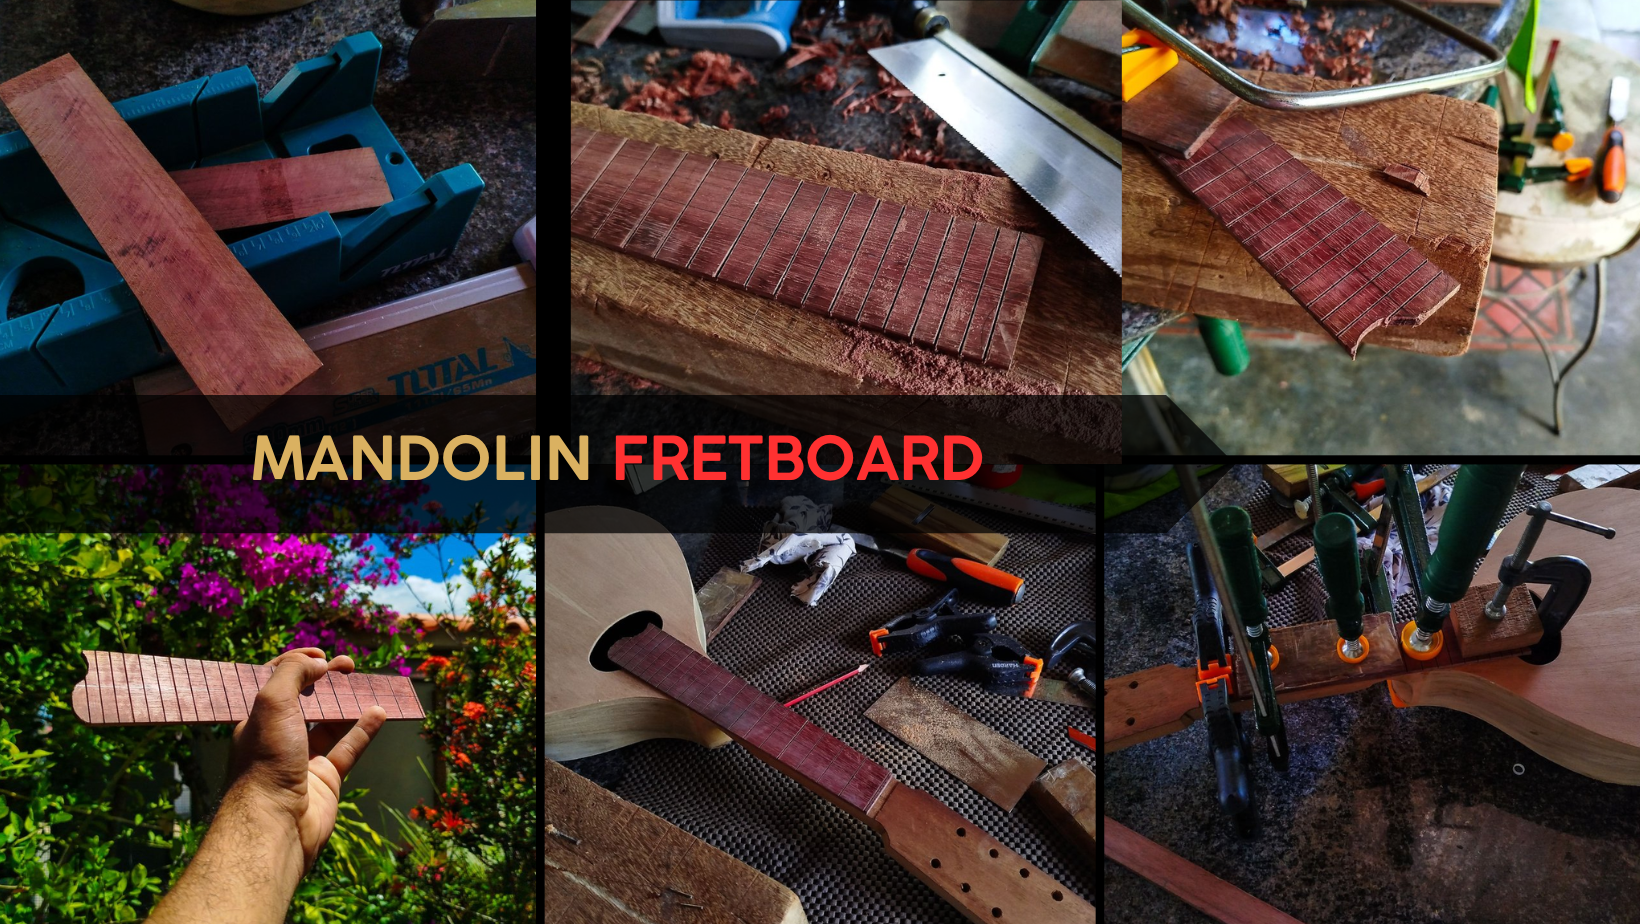
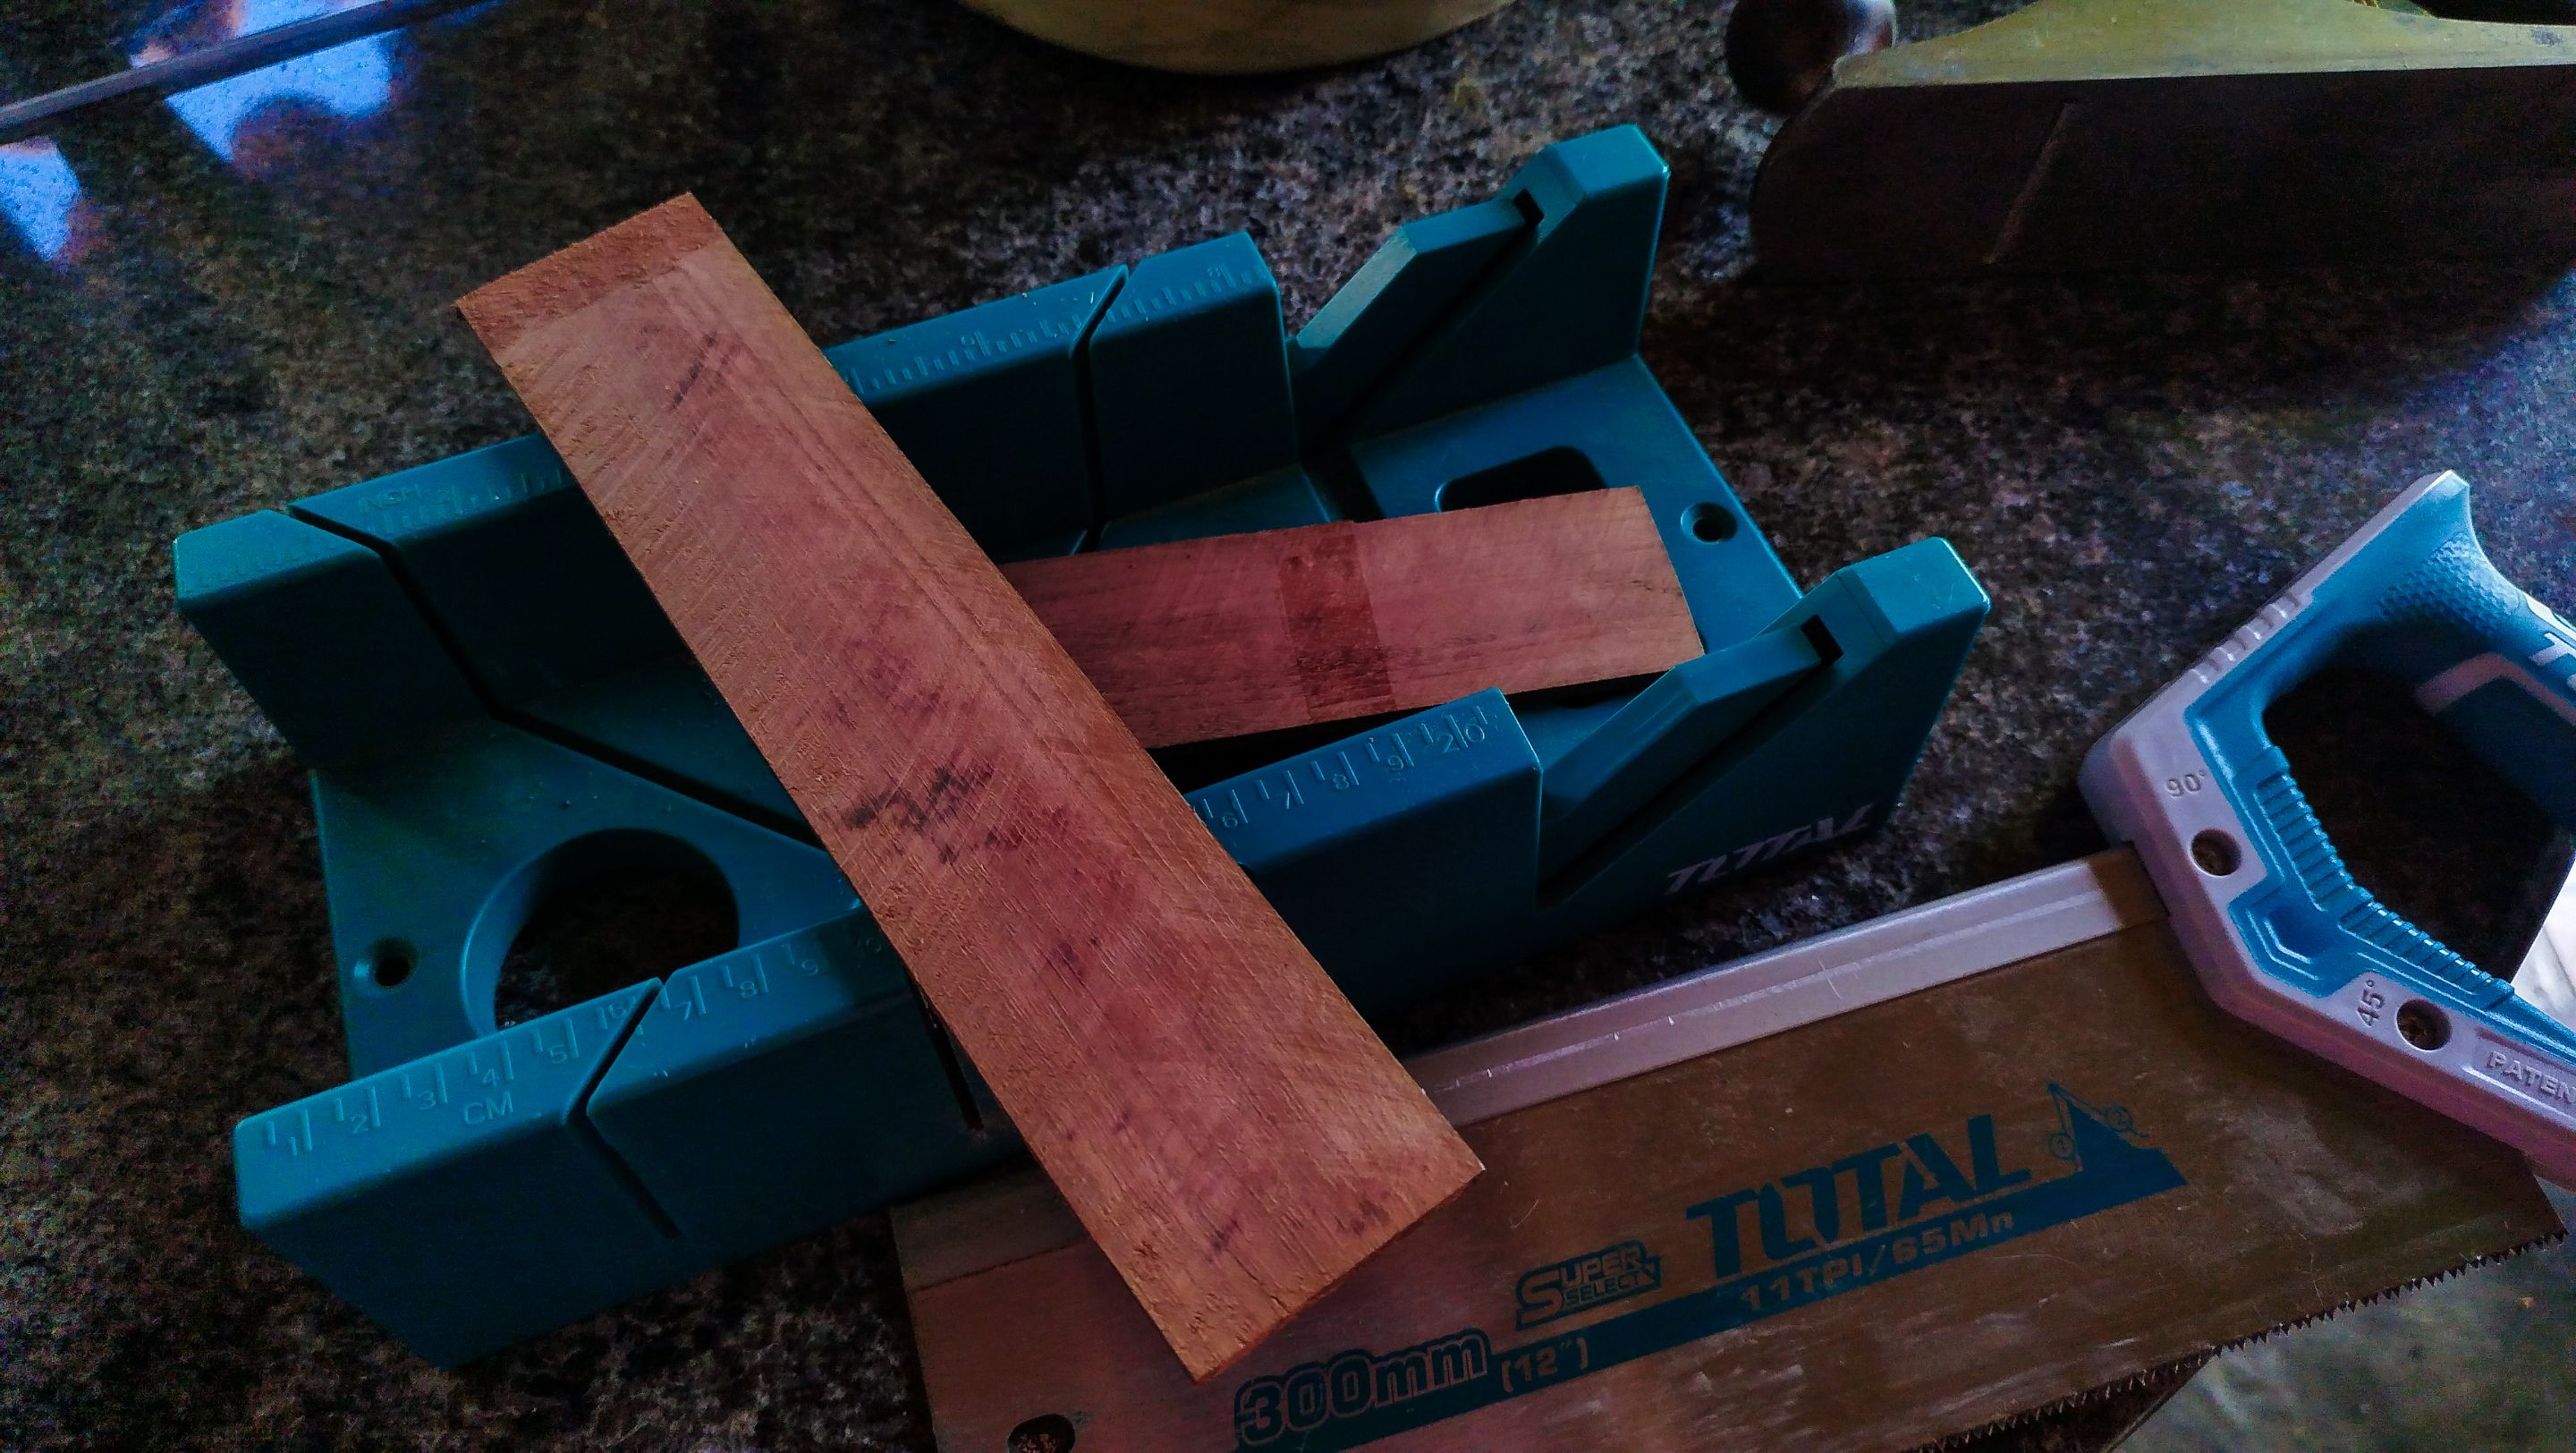
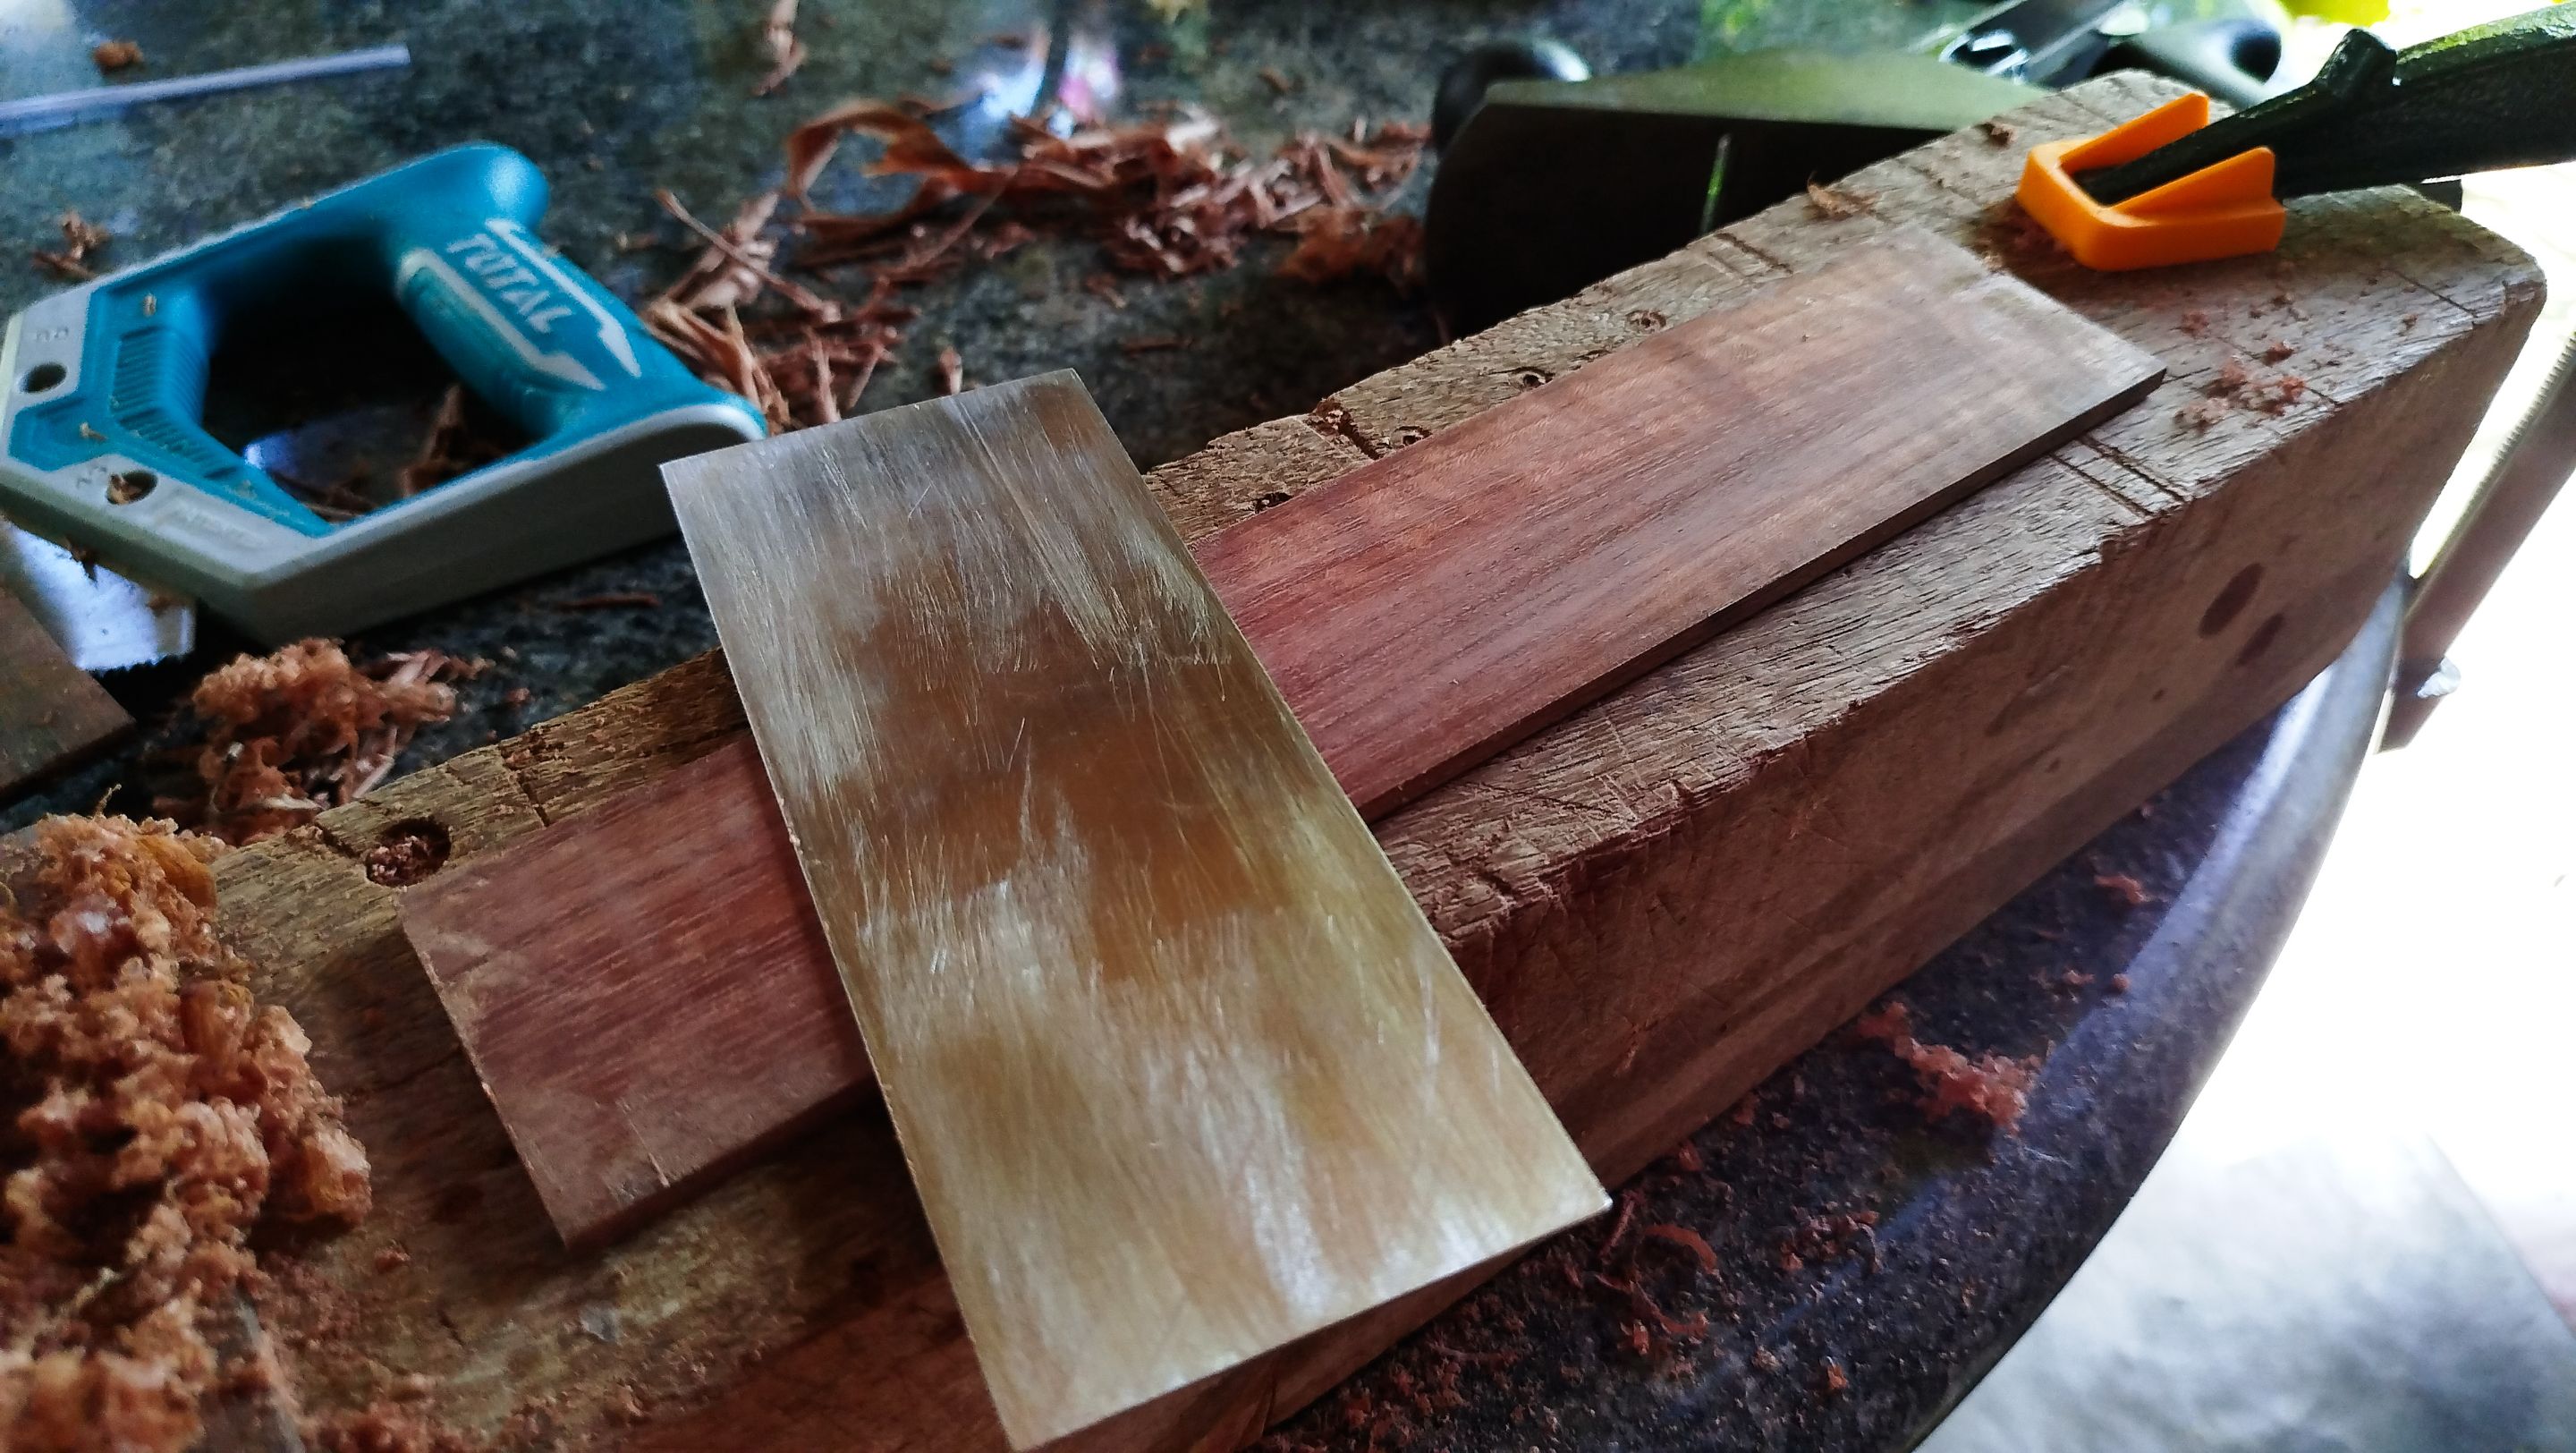
All fretboards start with blanks. This is a purpleheart blank that will be turned into a fretboard. We start by taking some measurements to have the middle section of the piece. Then we start making work on the wide faces of the blank. We need to remove all the cut and burnt marks. For this we employ both the hand plane and card scraper.
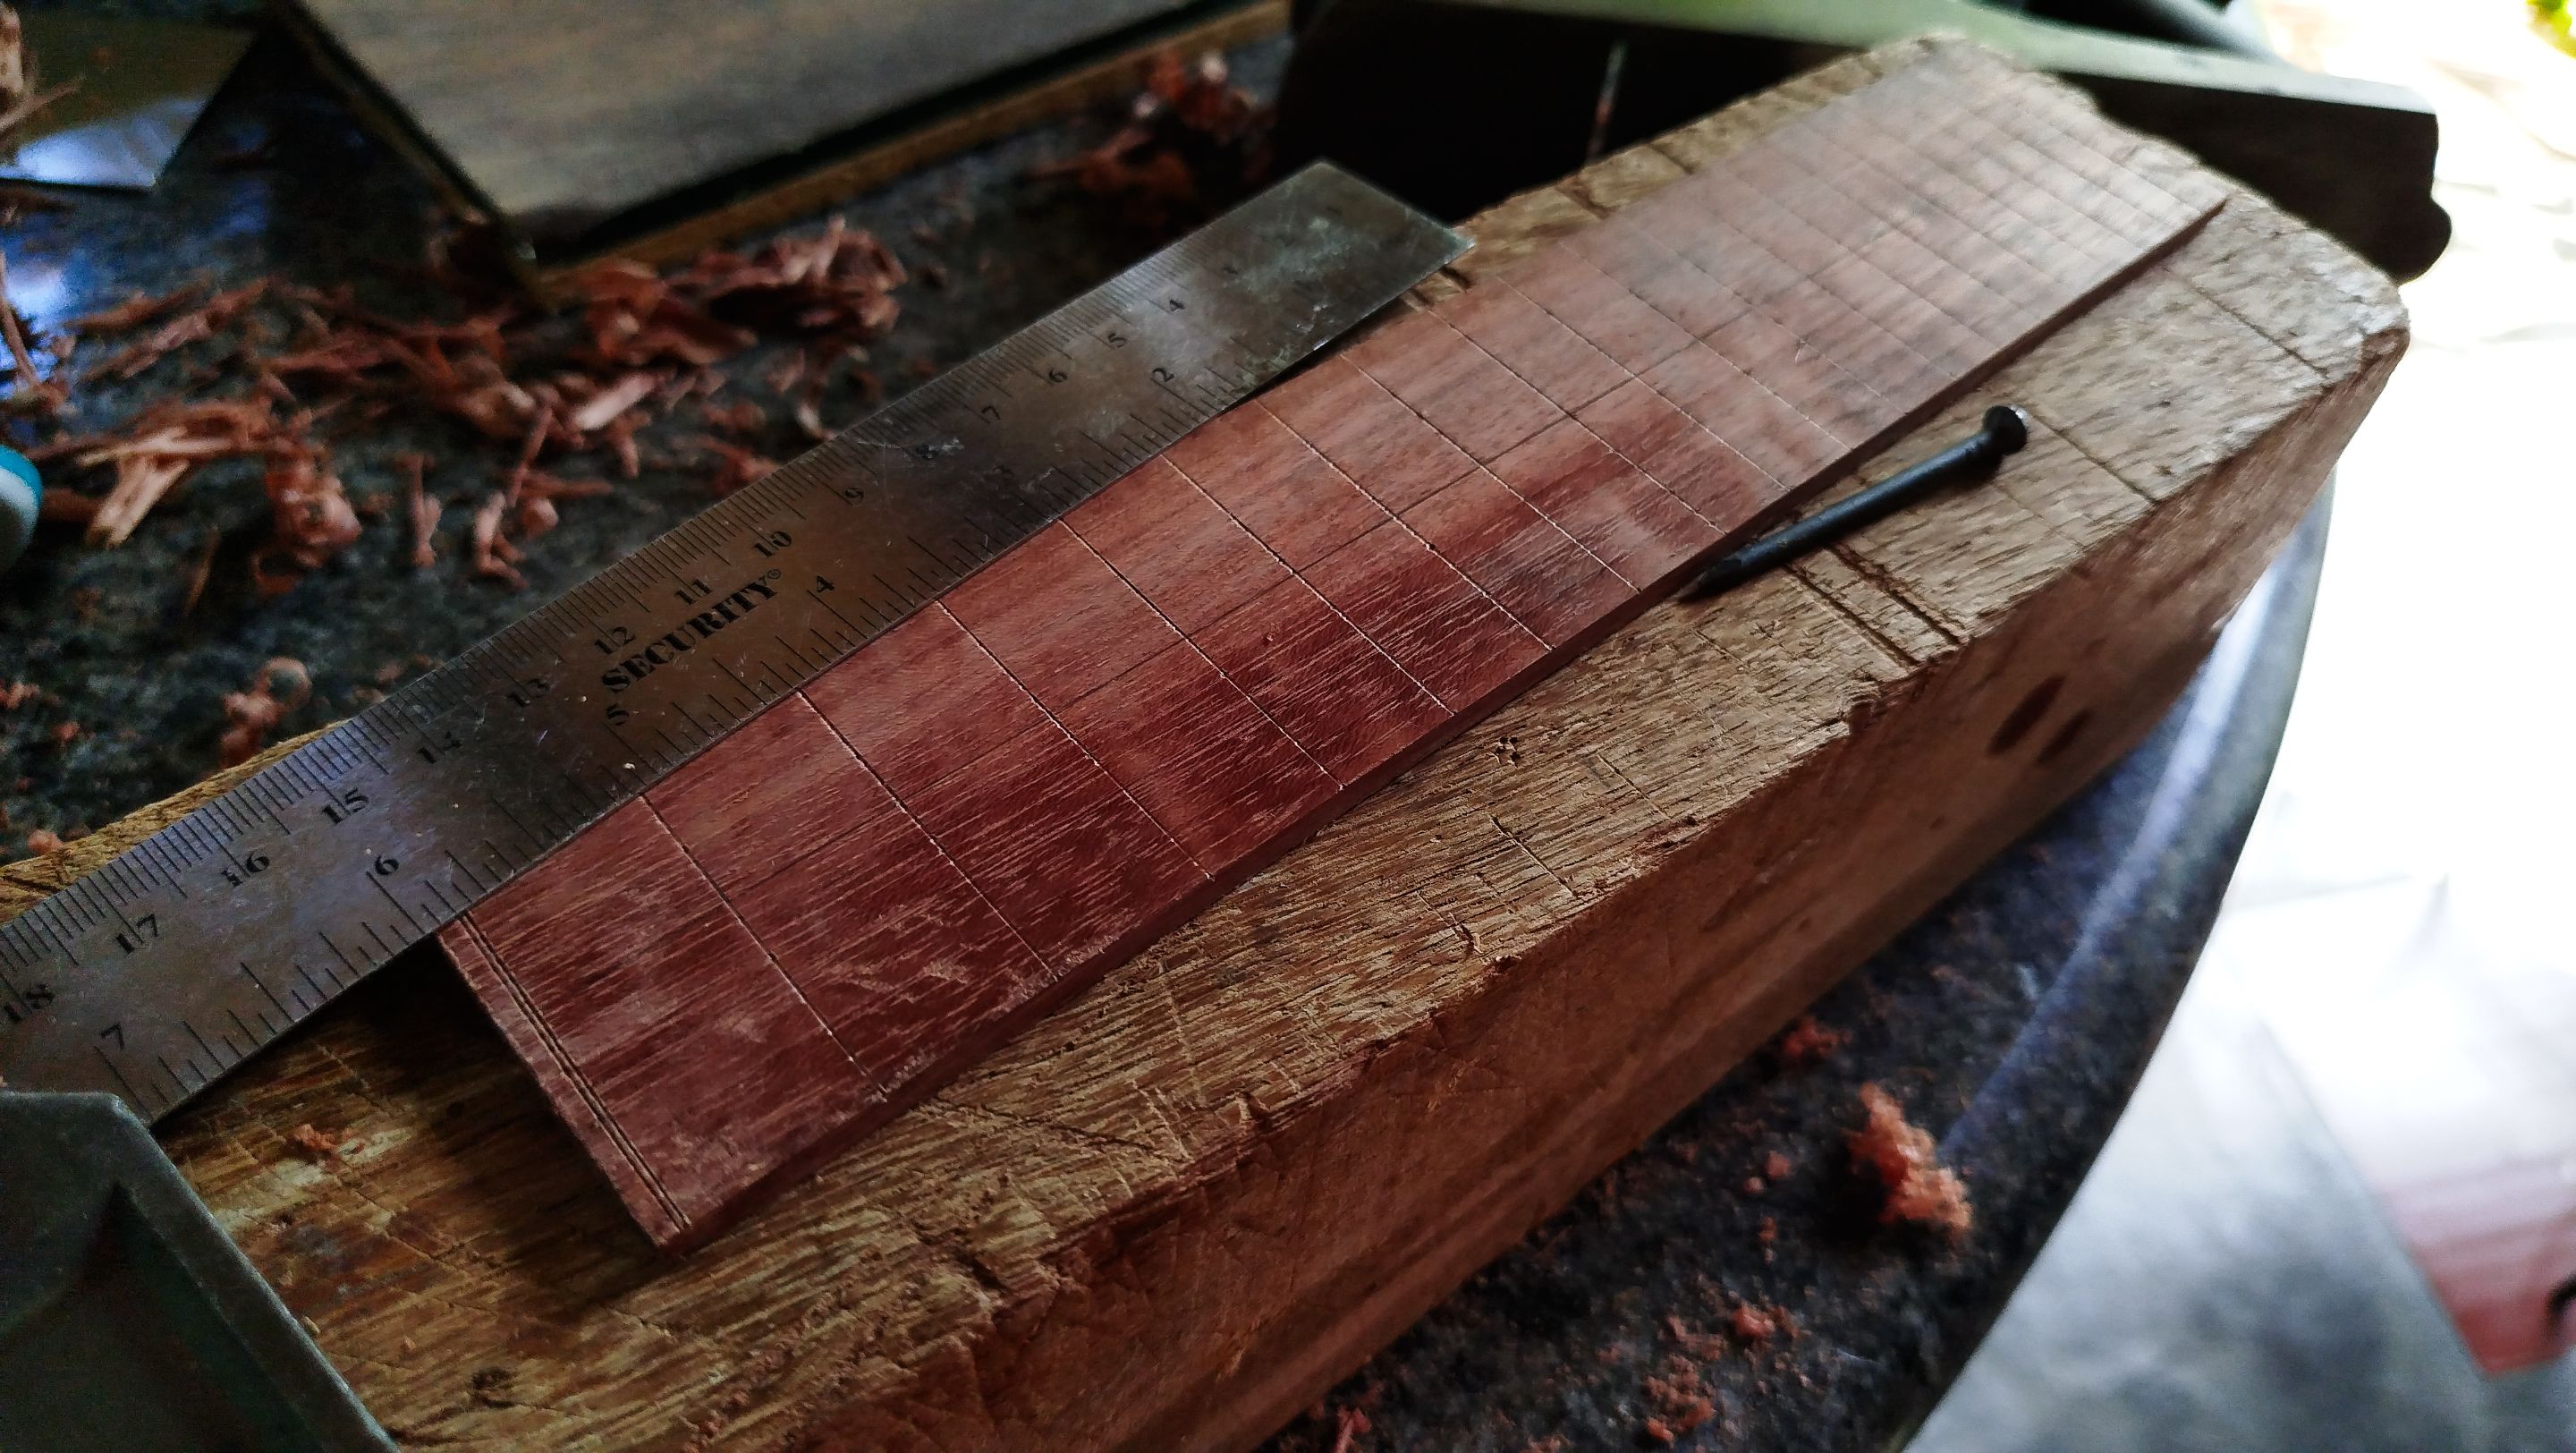
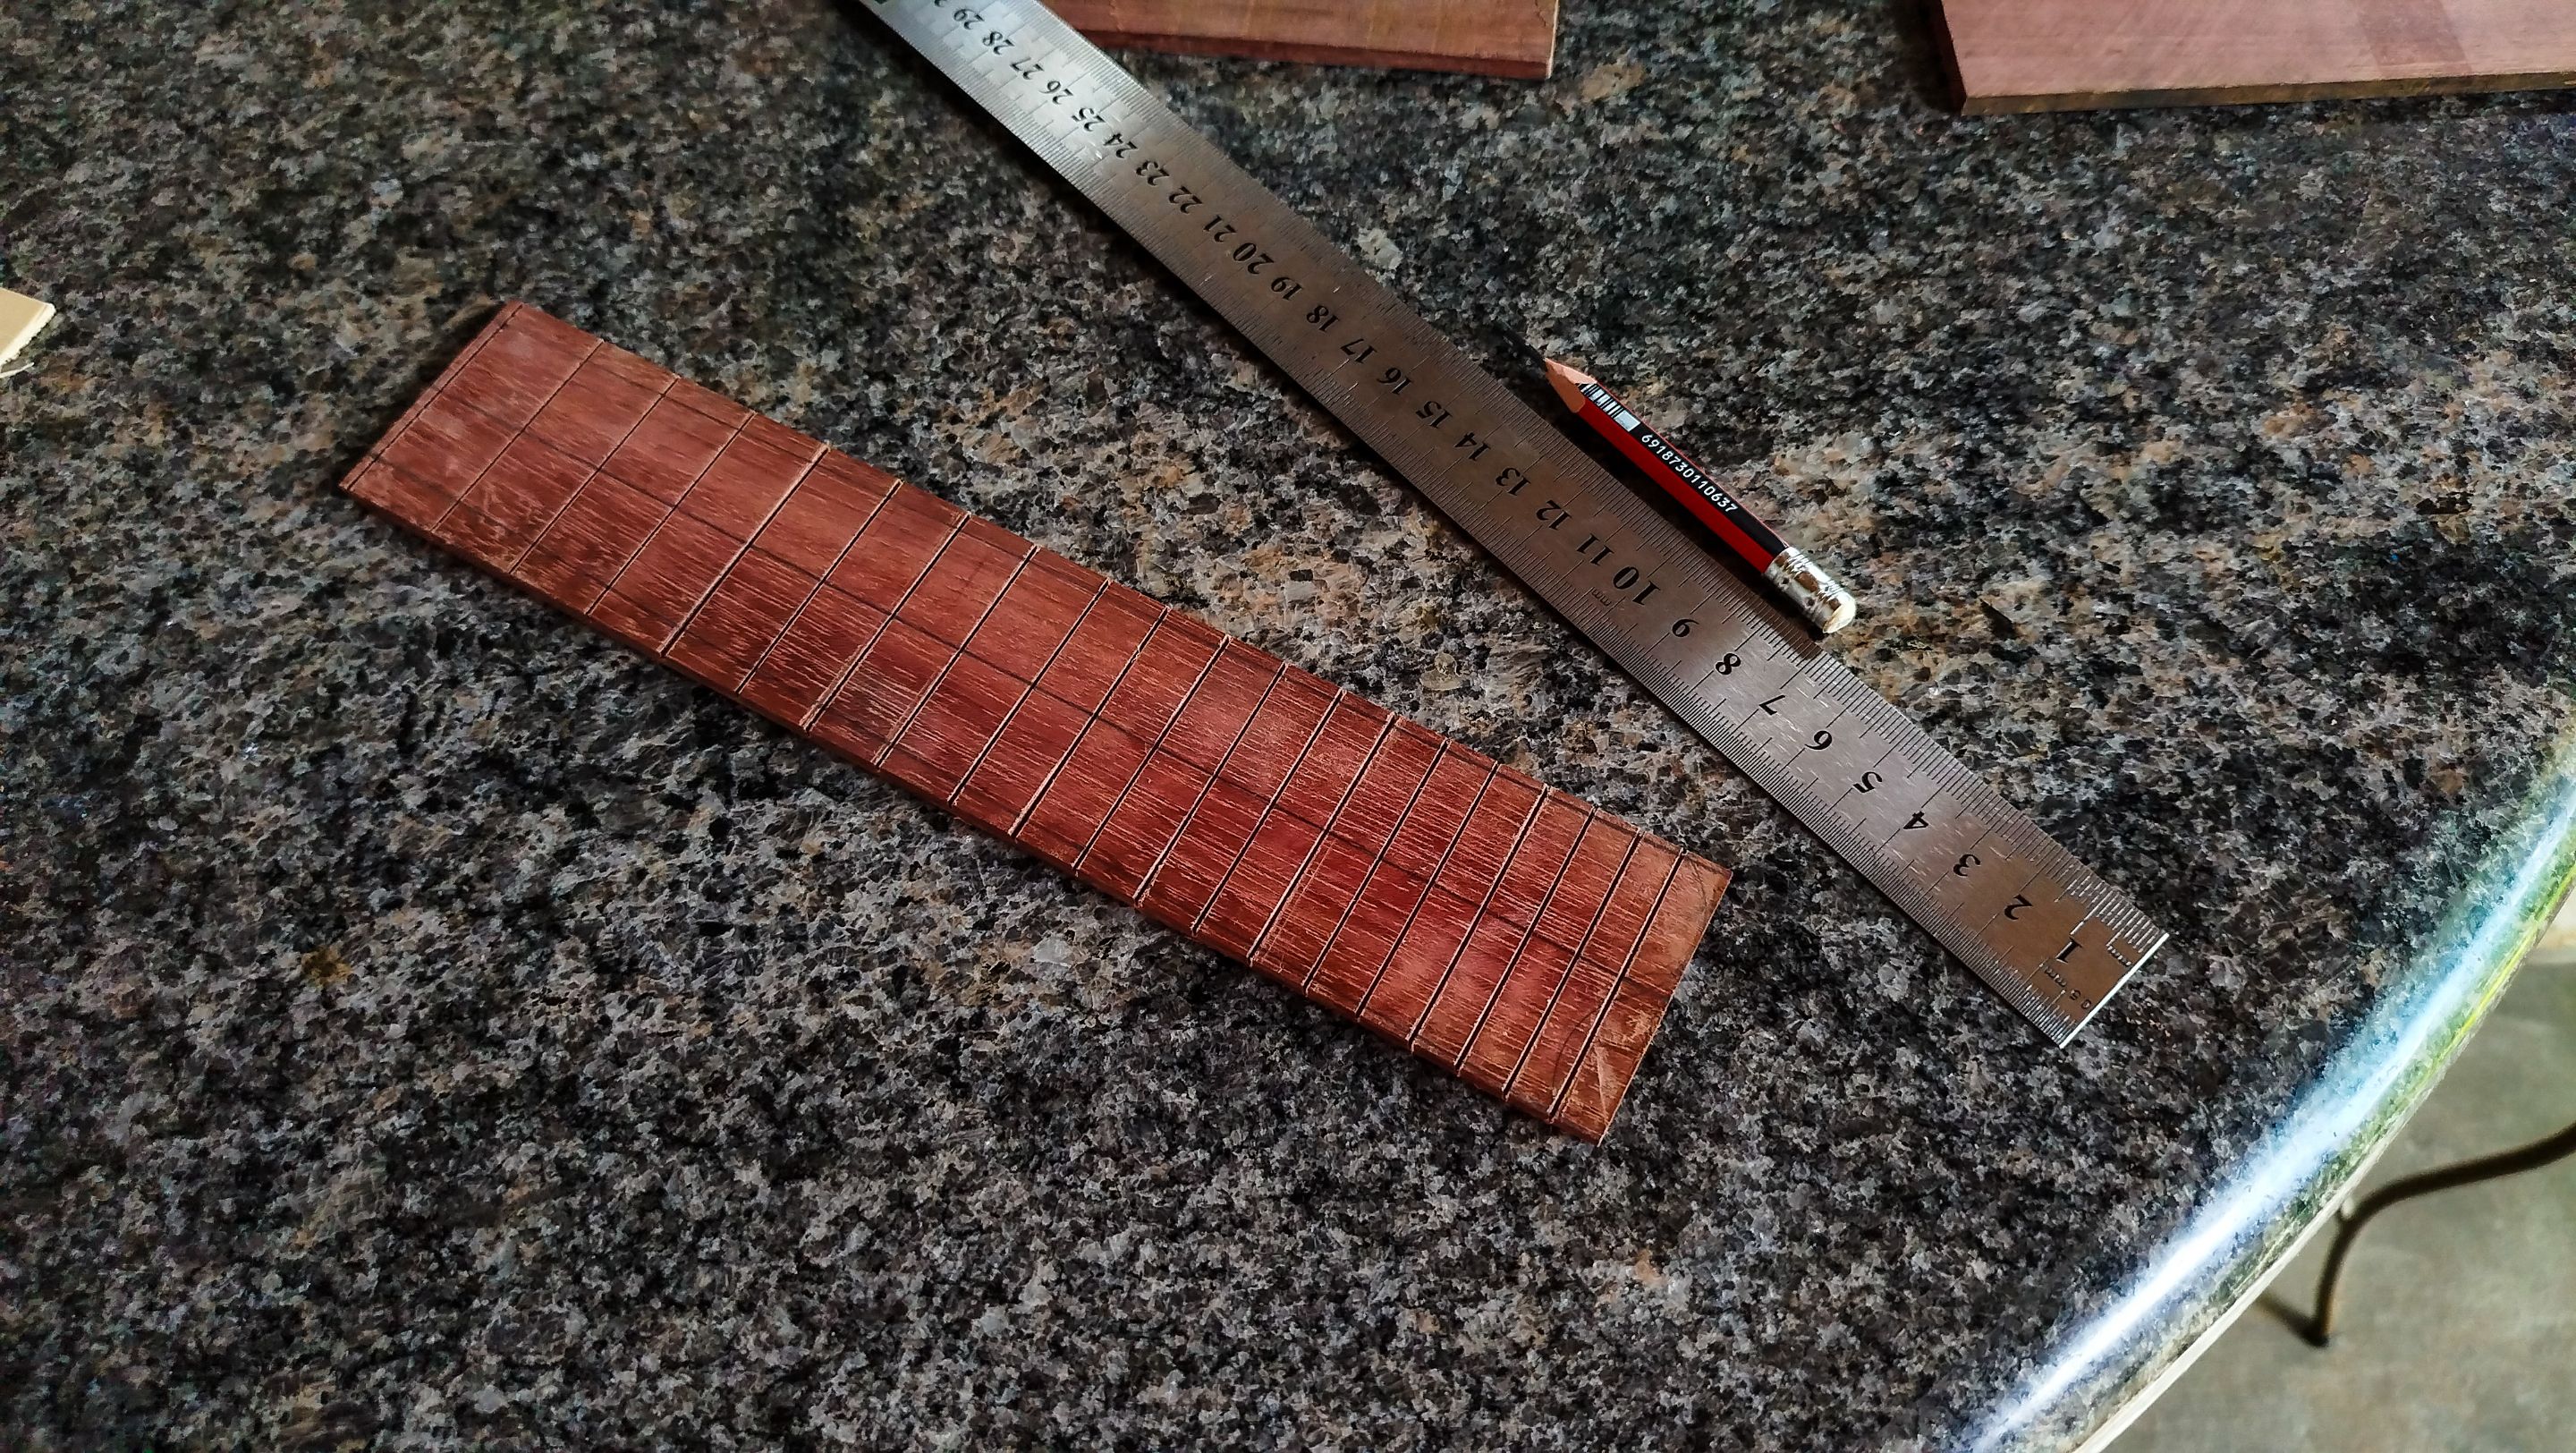
Once we have finished that task, we can move to the narrow faces. We need to have one of these squared off in order to transfer the marks of the fret slots. When we are ready, we use a carpenter' square to make all the marks required for the slots. We are marking 19 slots, but we are adding an extra one that will work as a 0th fret.
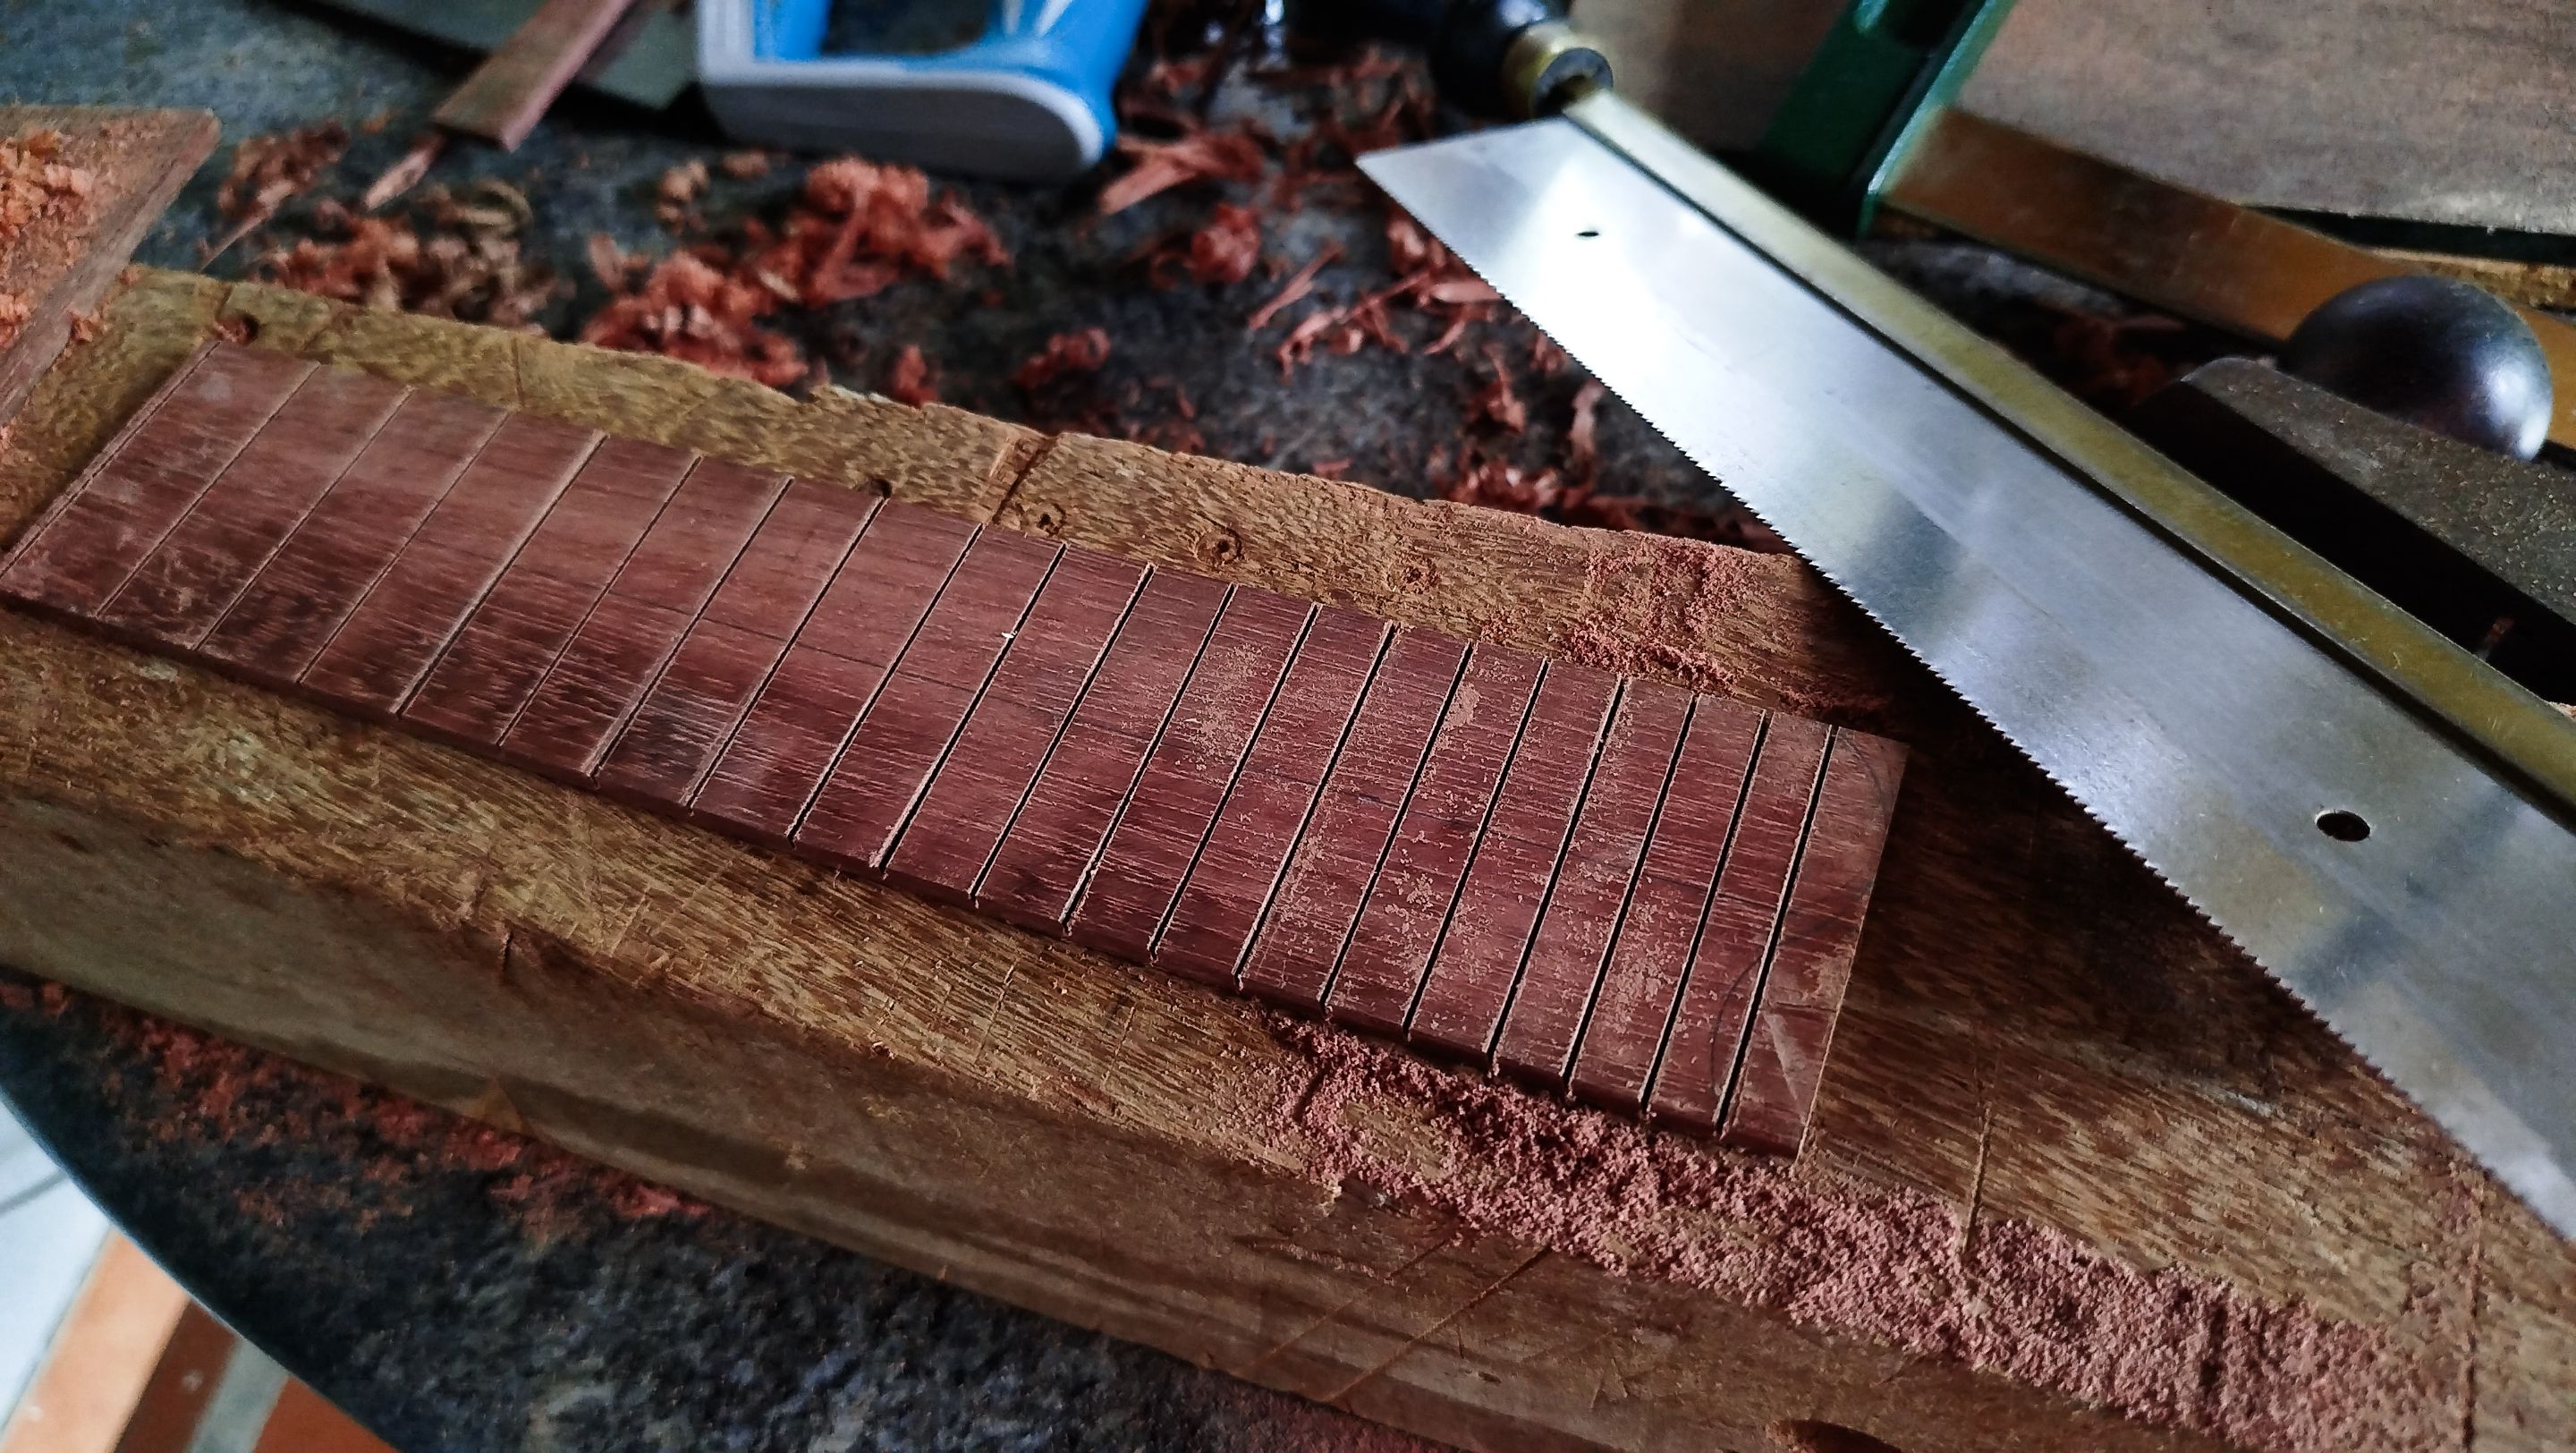
When all the slots are marked, we go over the process of making the slots. These are cuts that do not go all the way down into the wood. It is sort of shallow. We just need to make sure the saw does not move too much to keep the slot straight.
Design

Swipe to see the photos
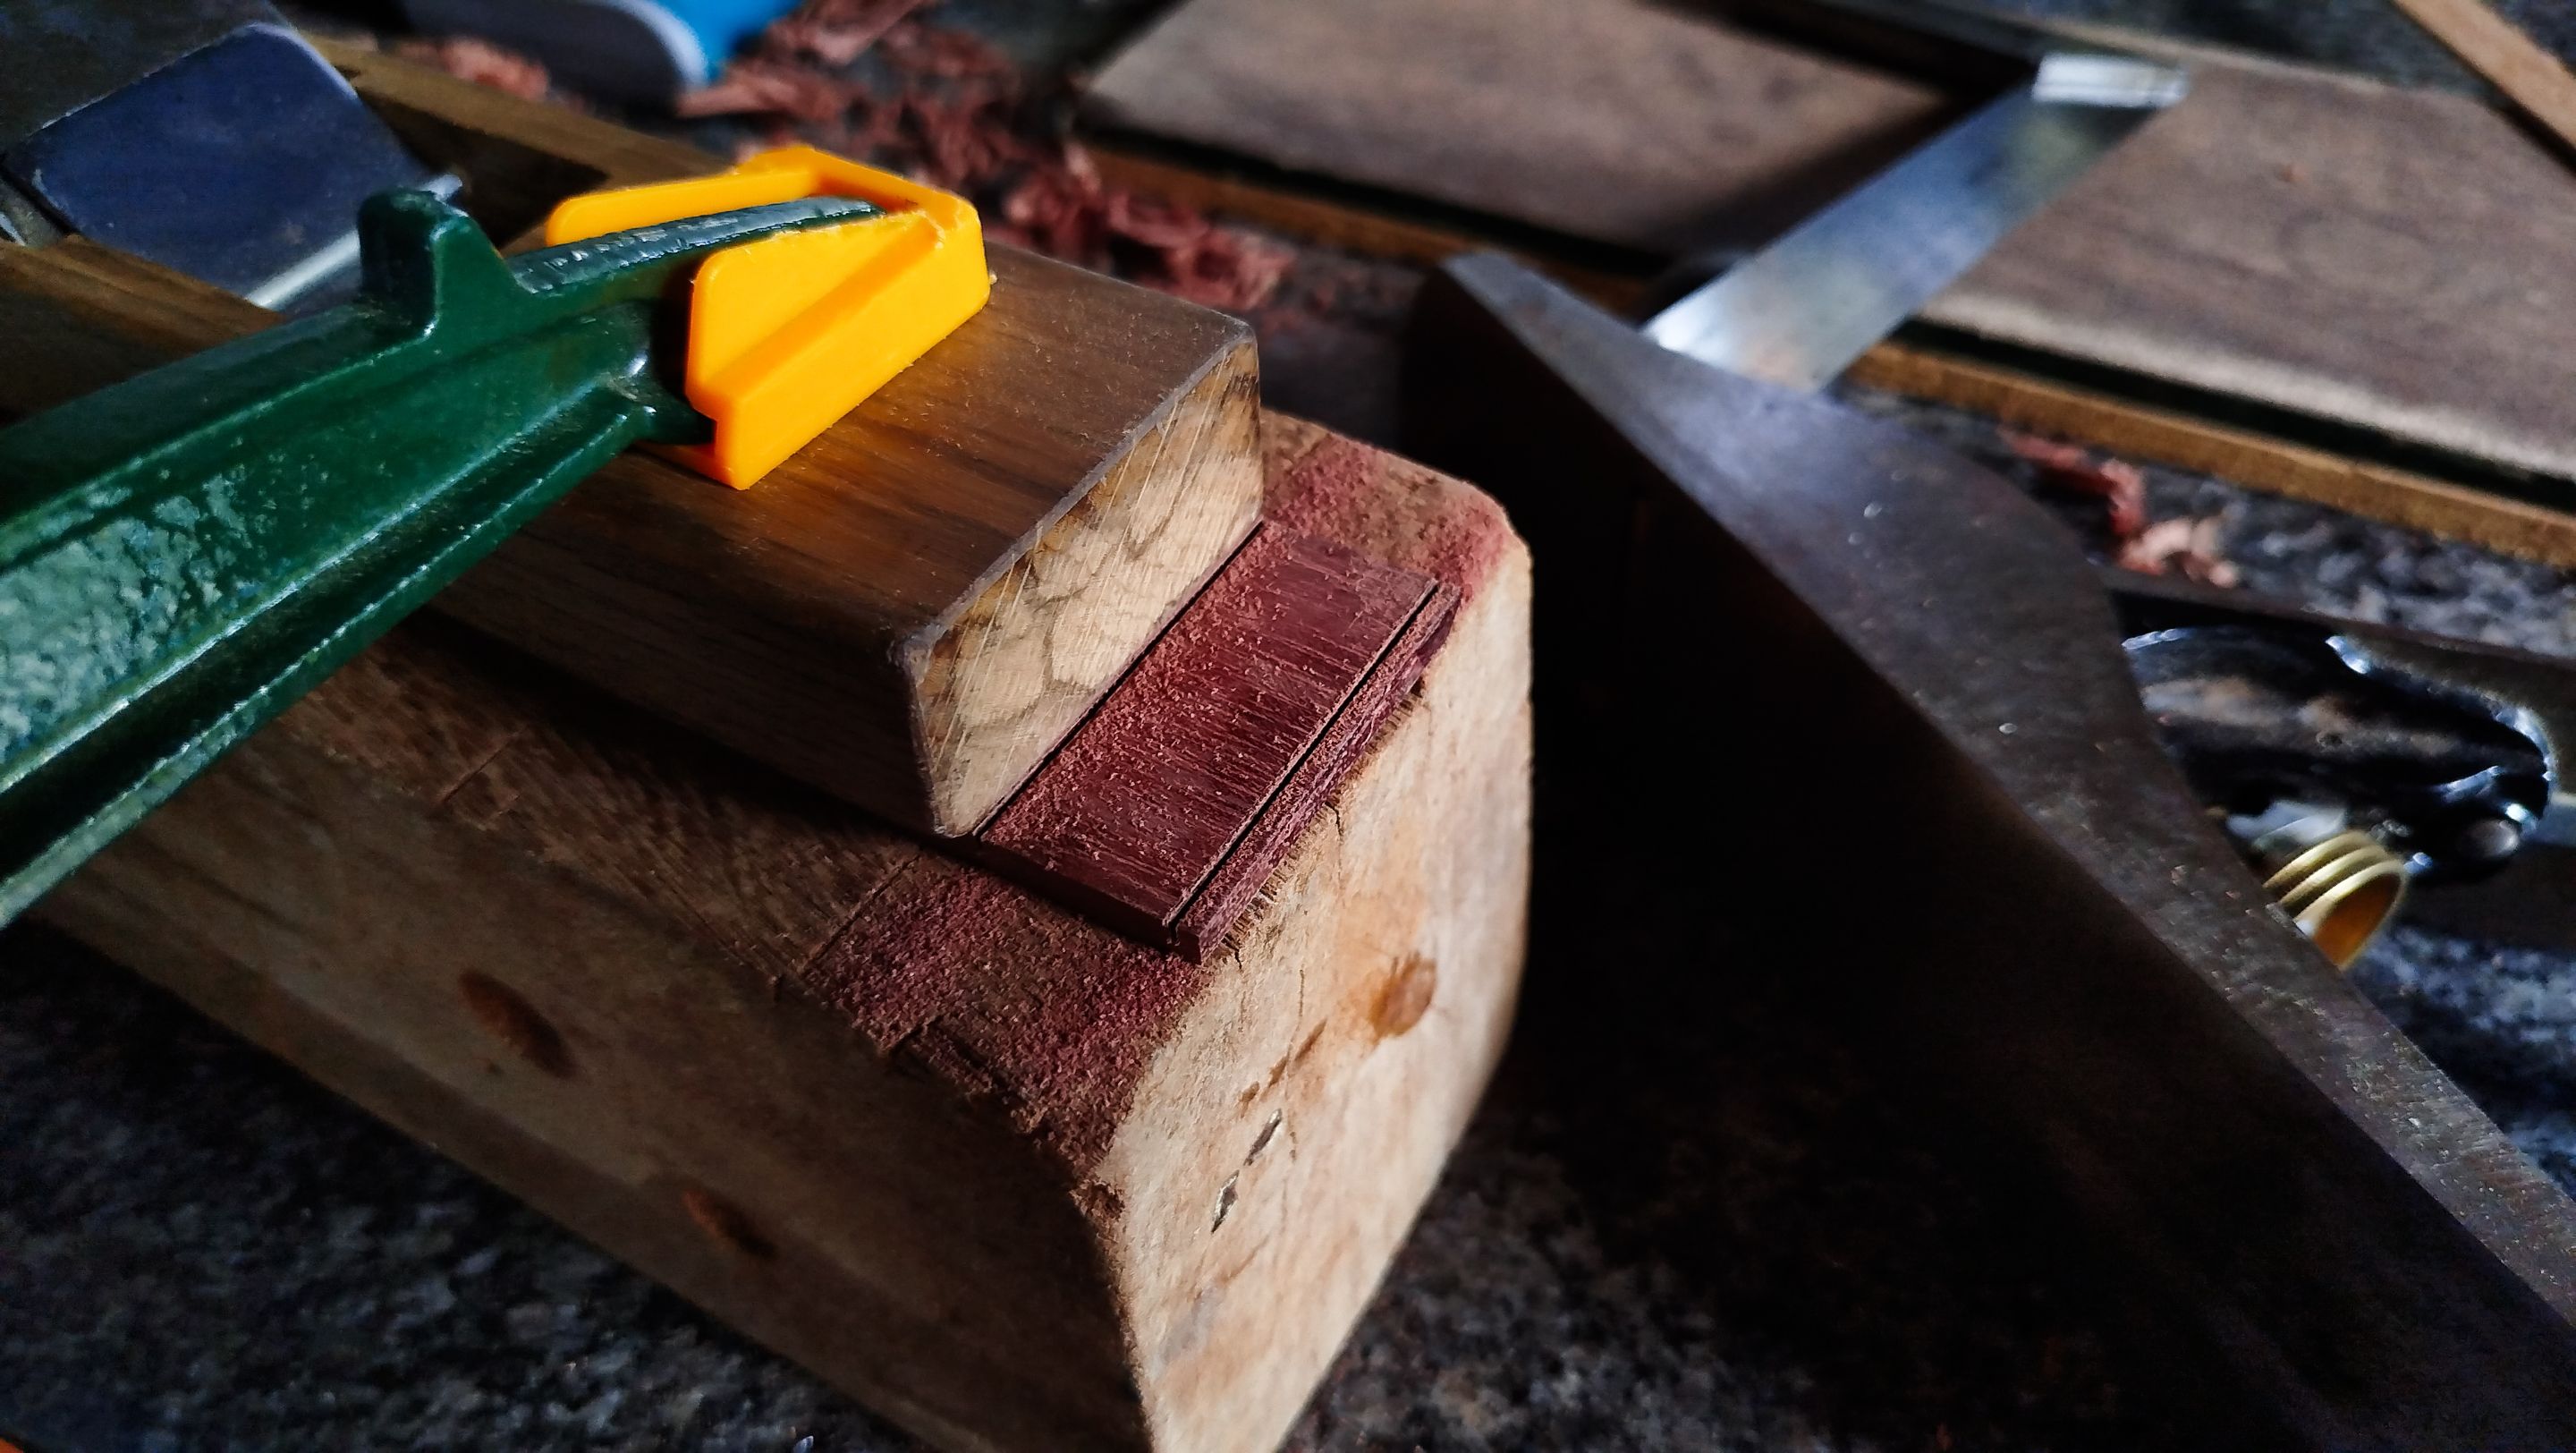
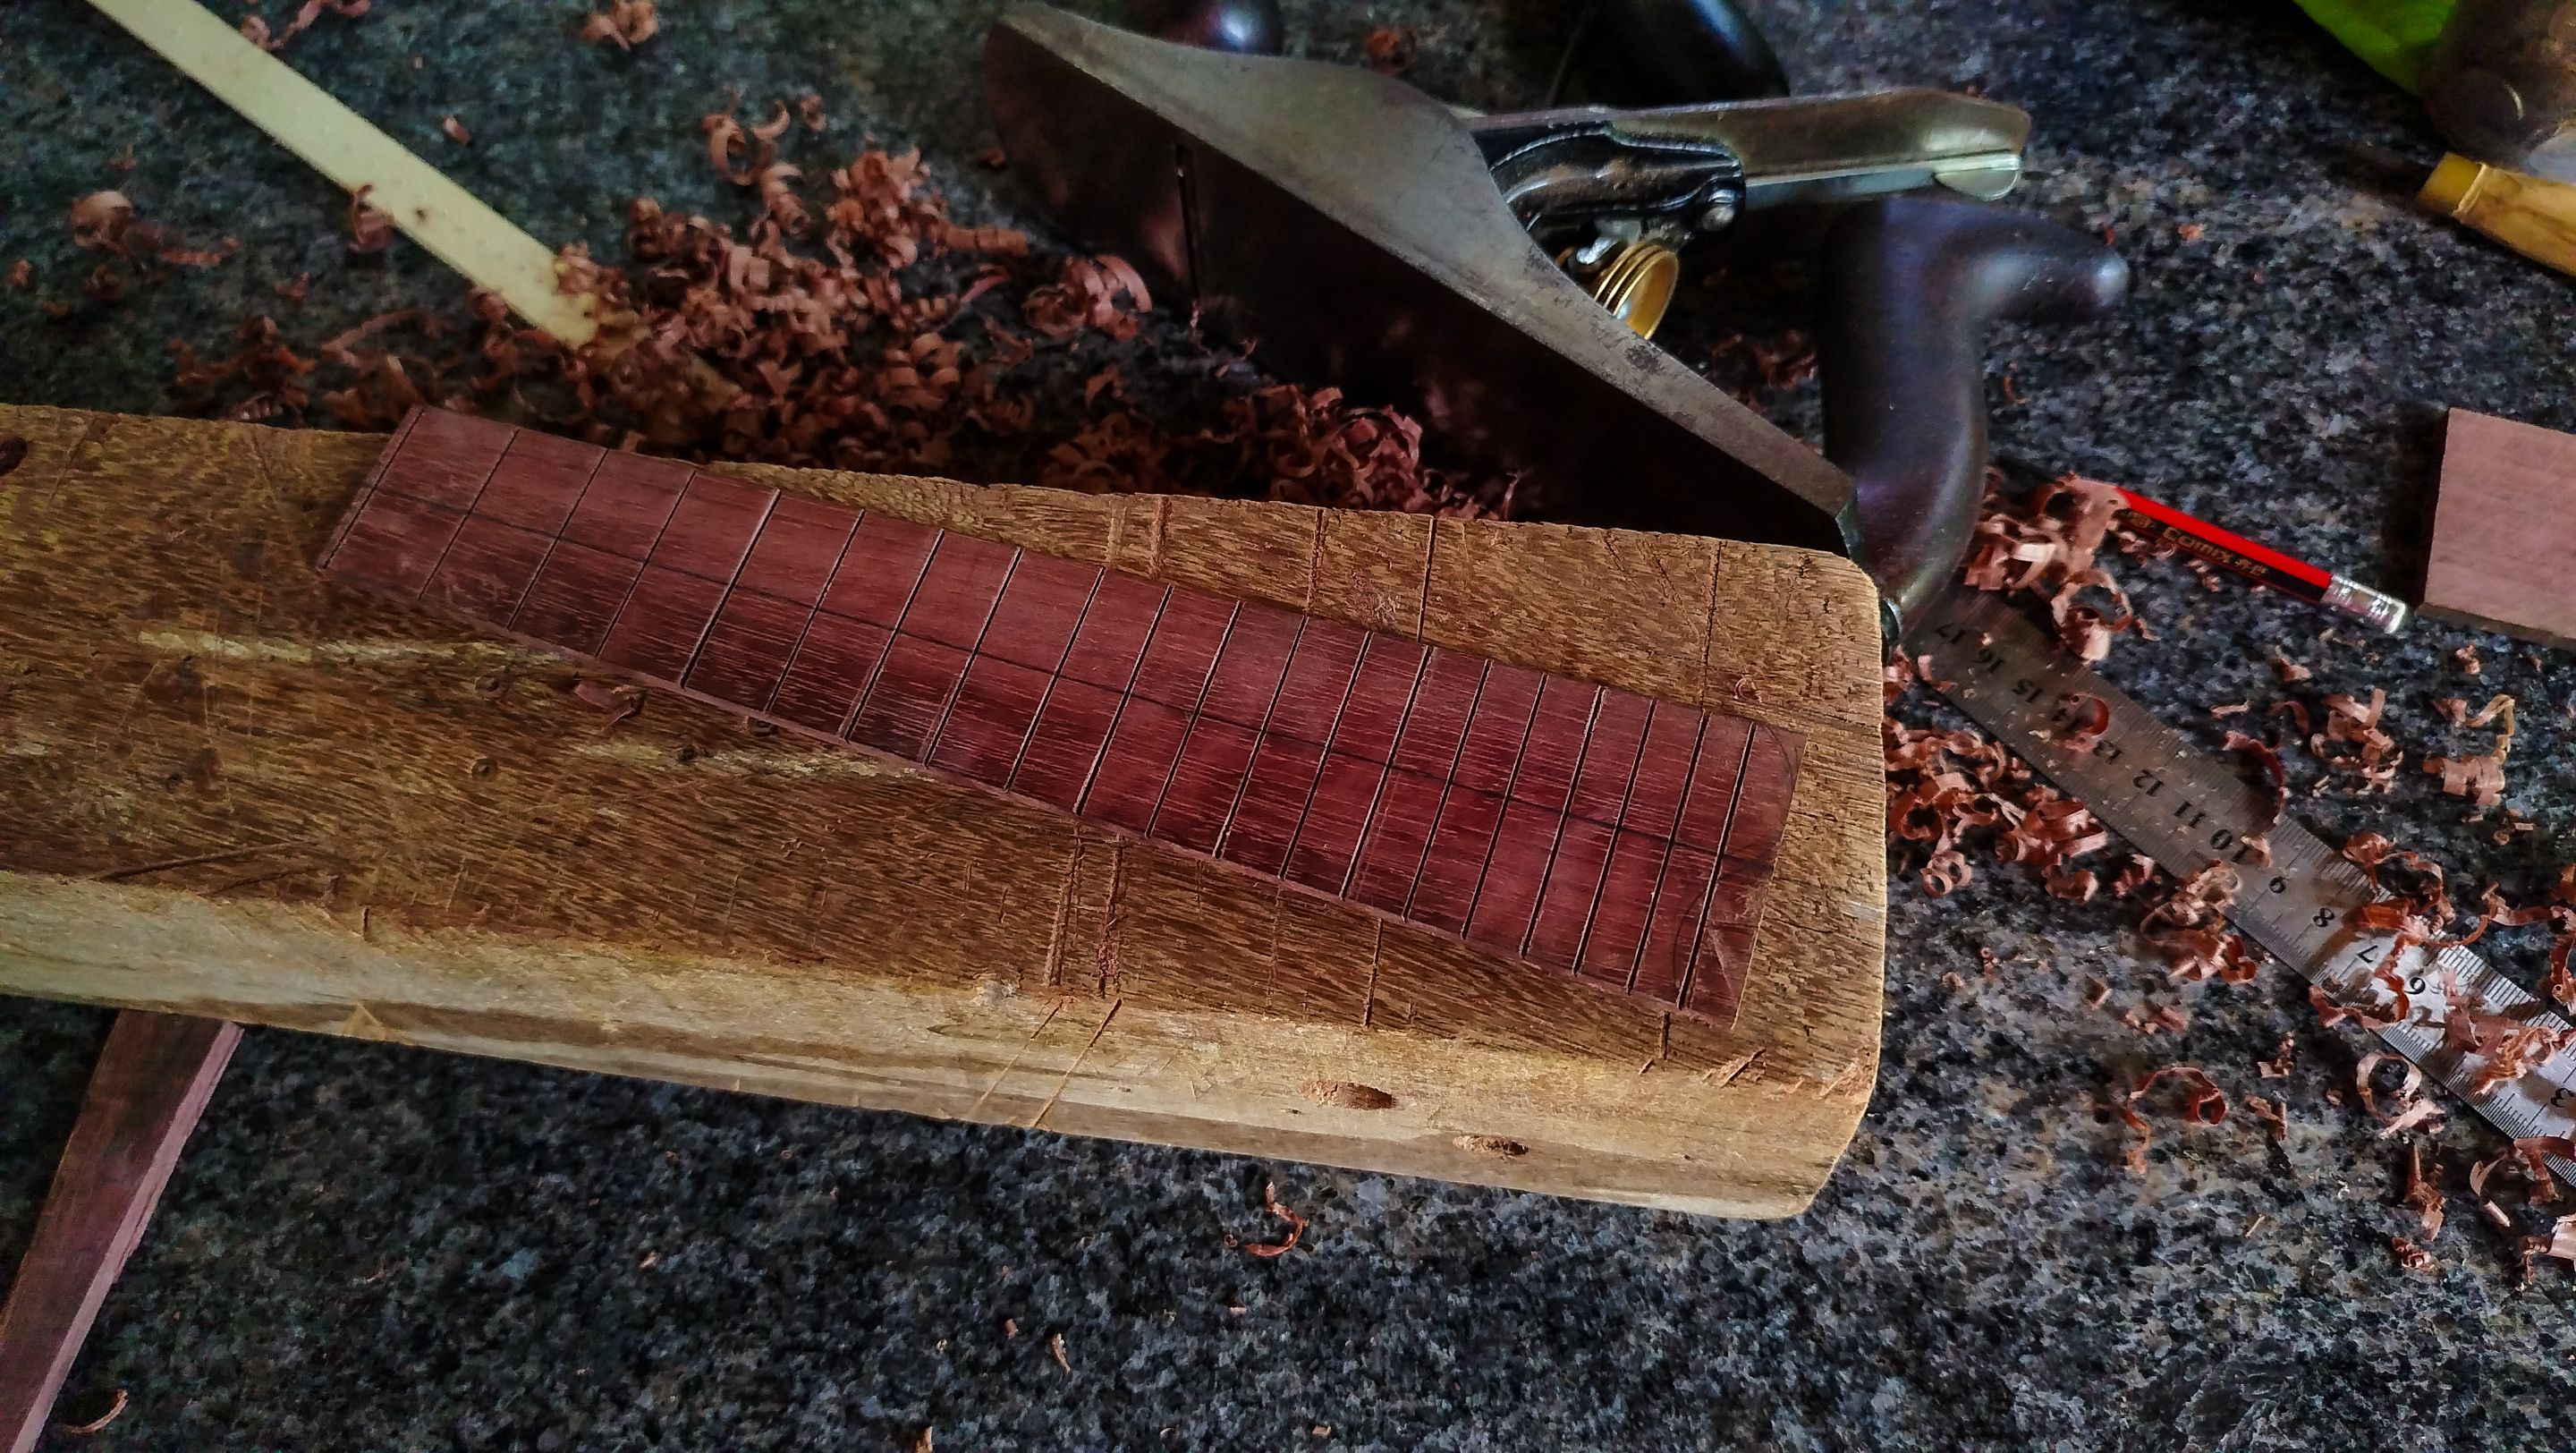
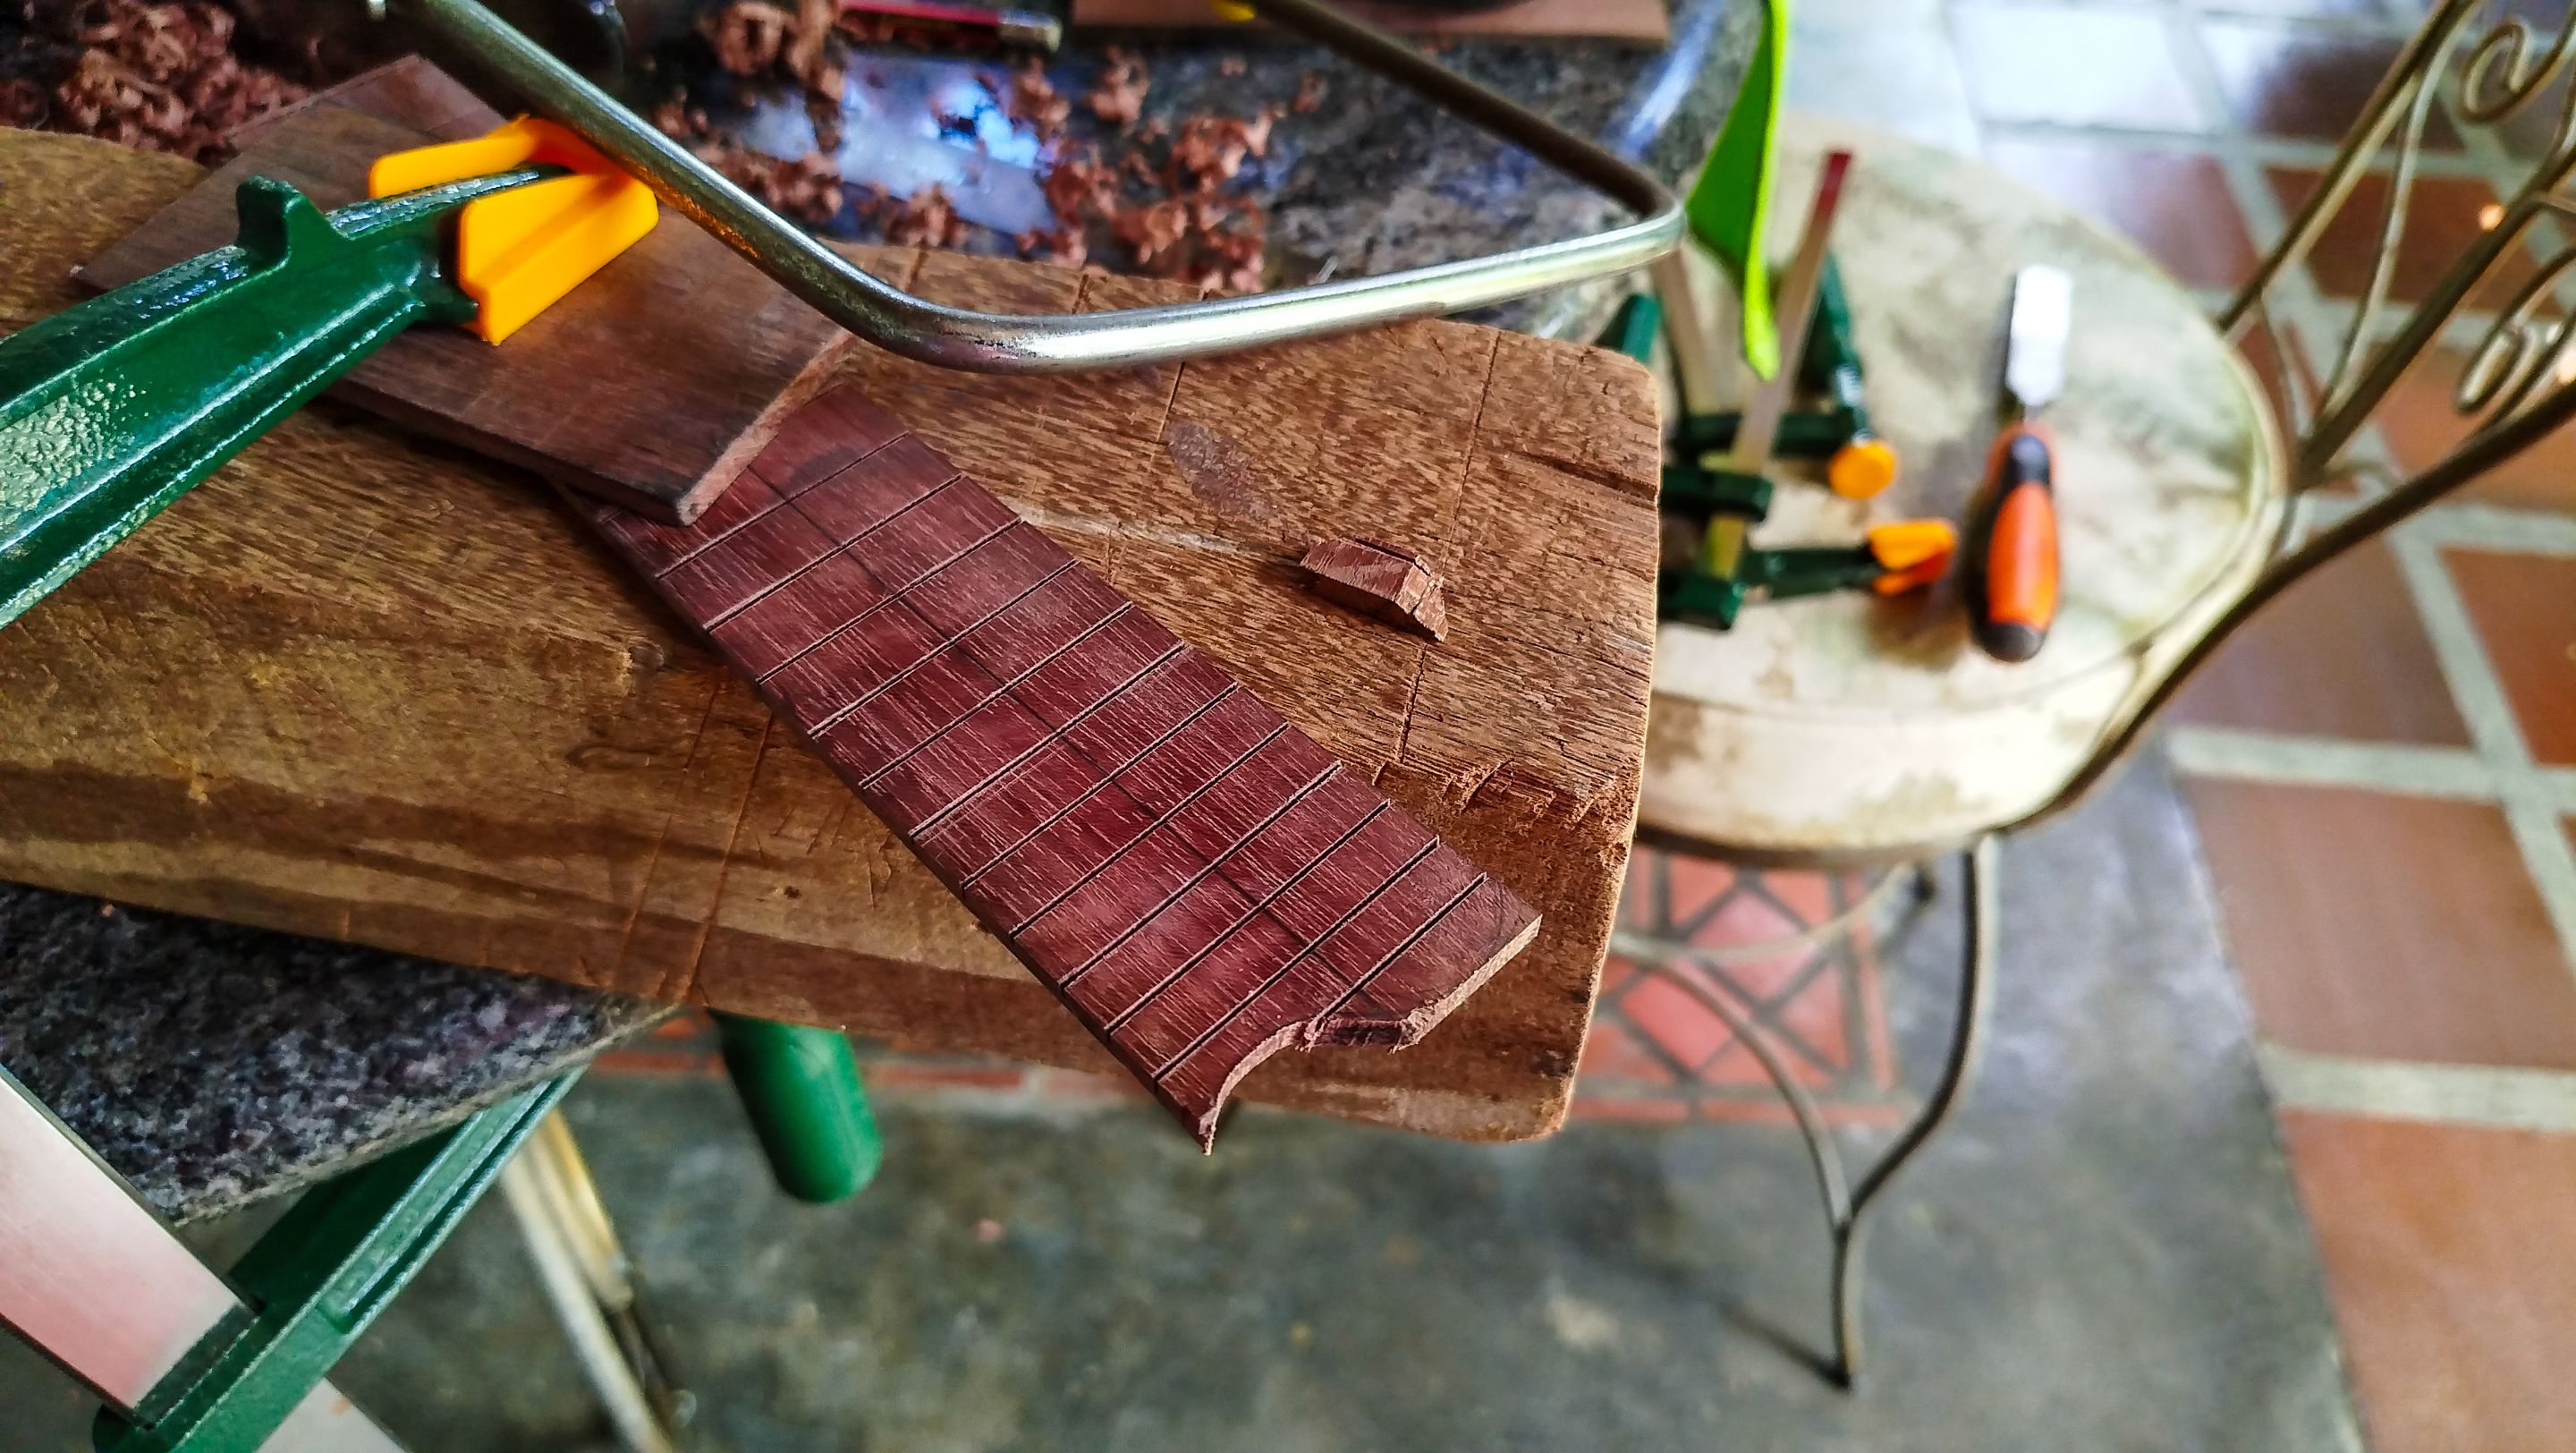
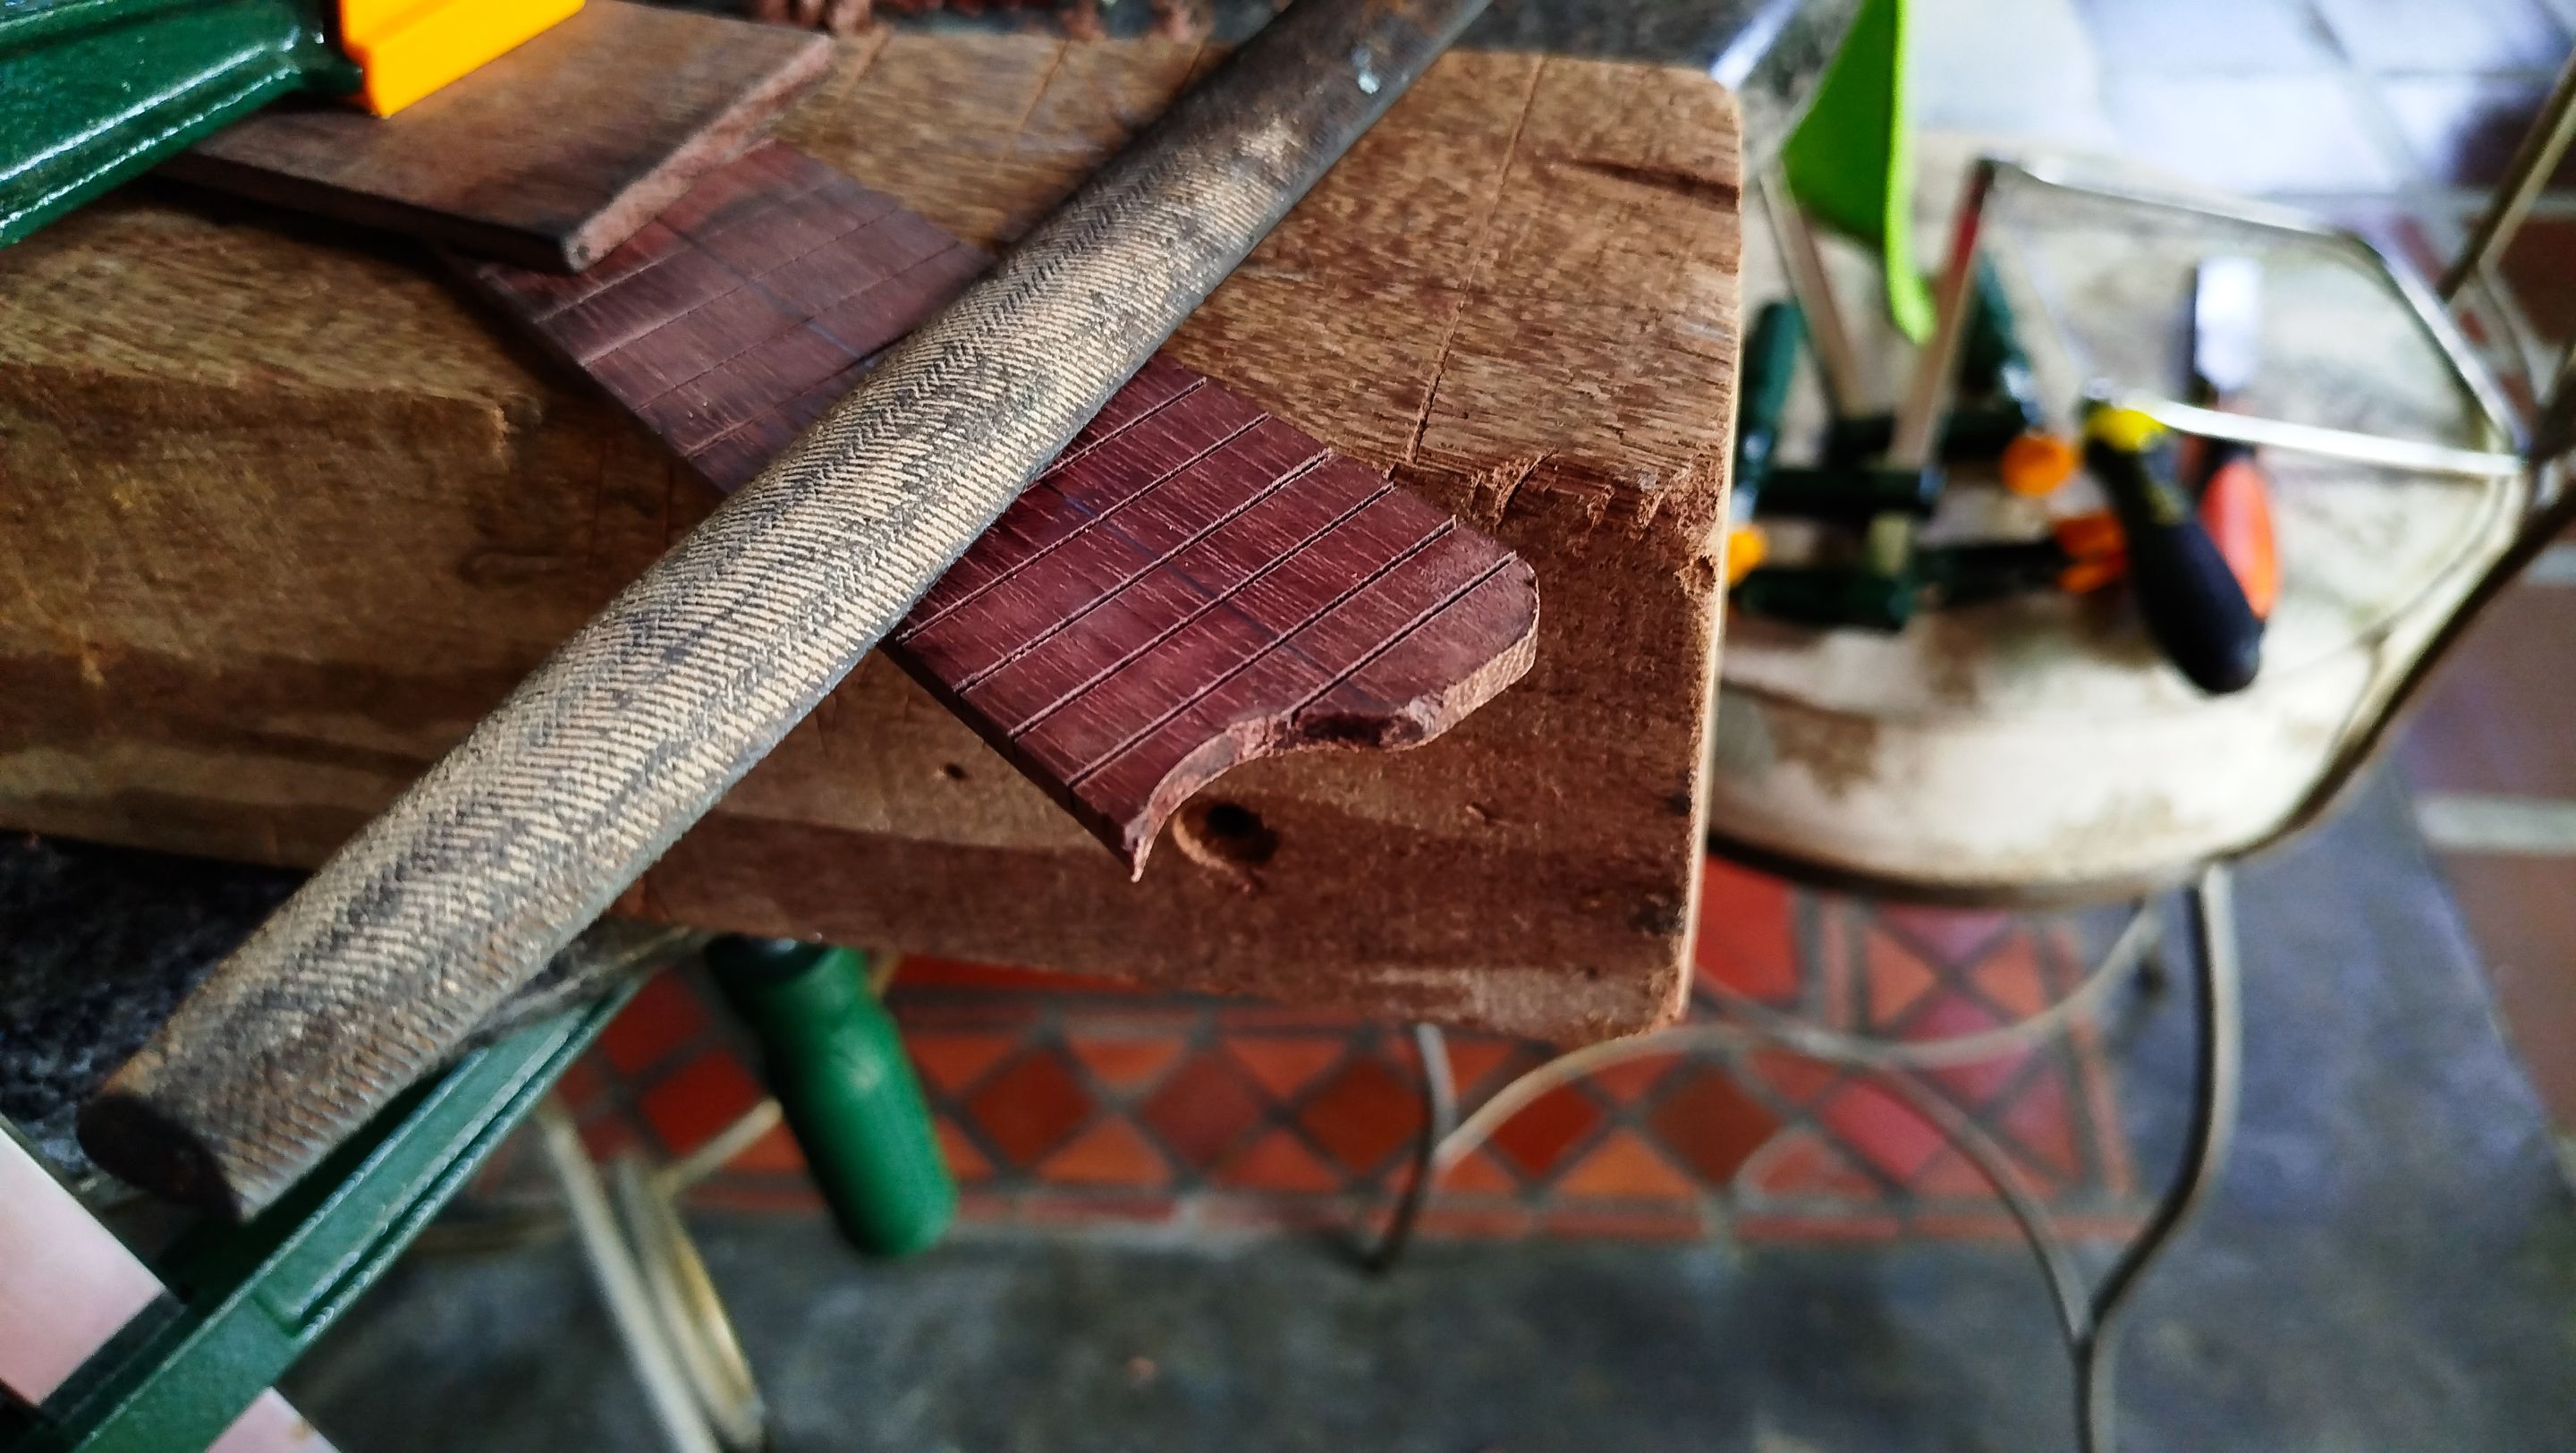
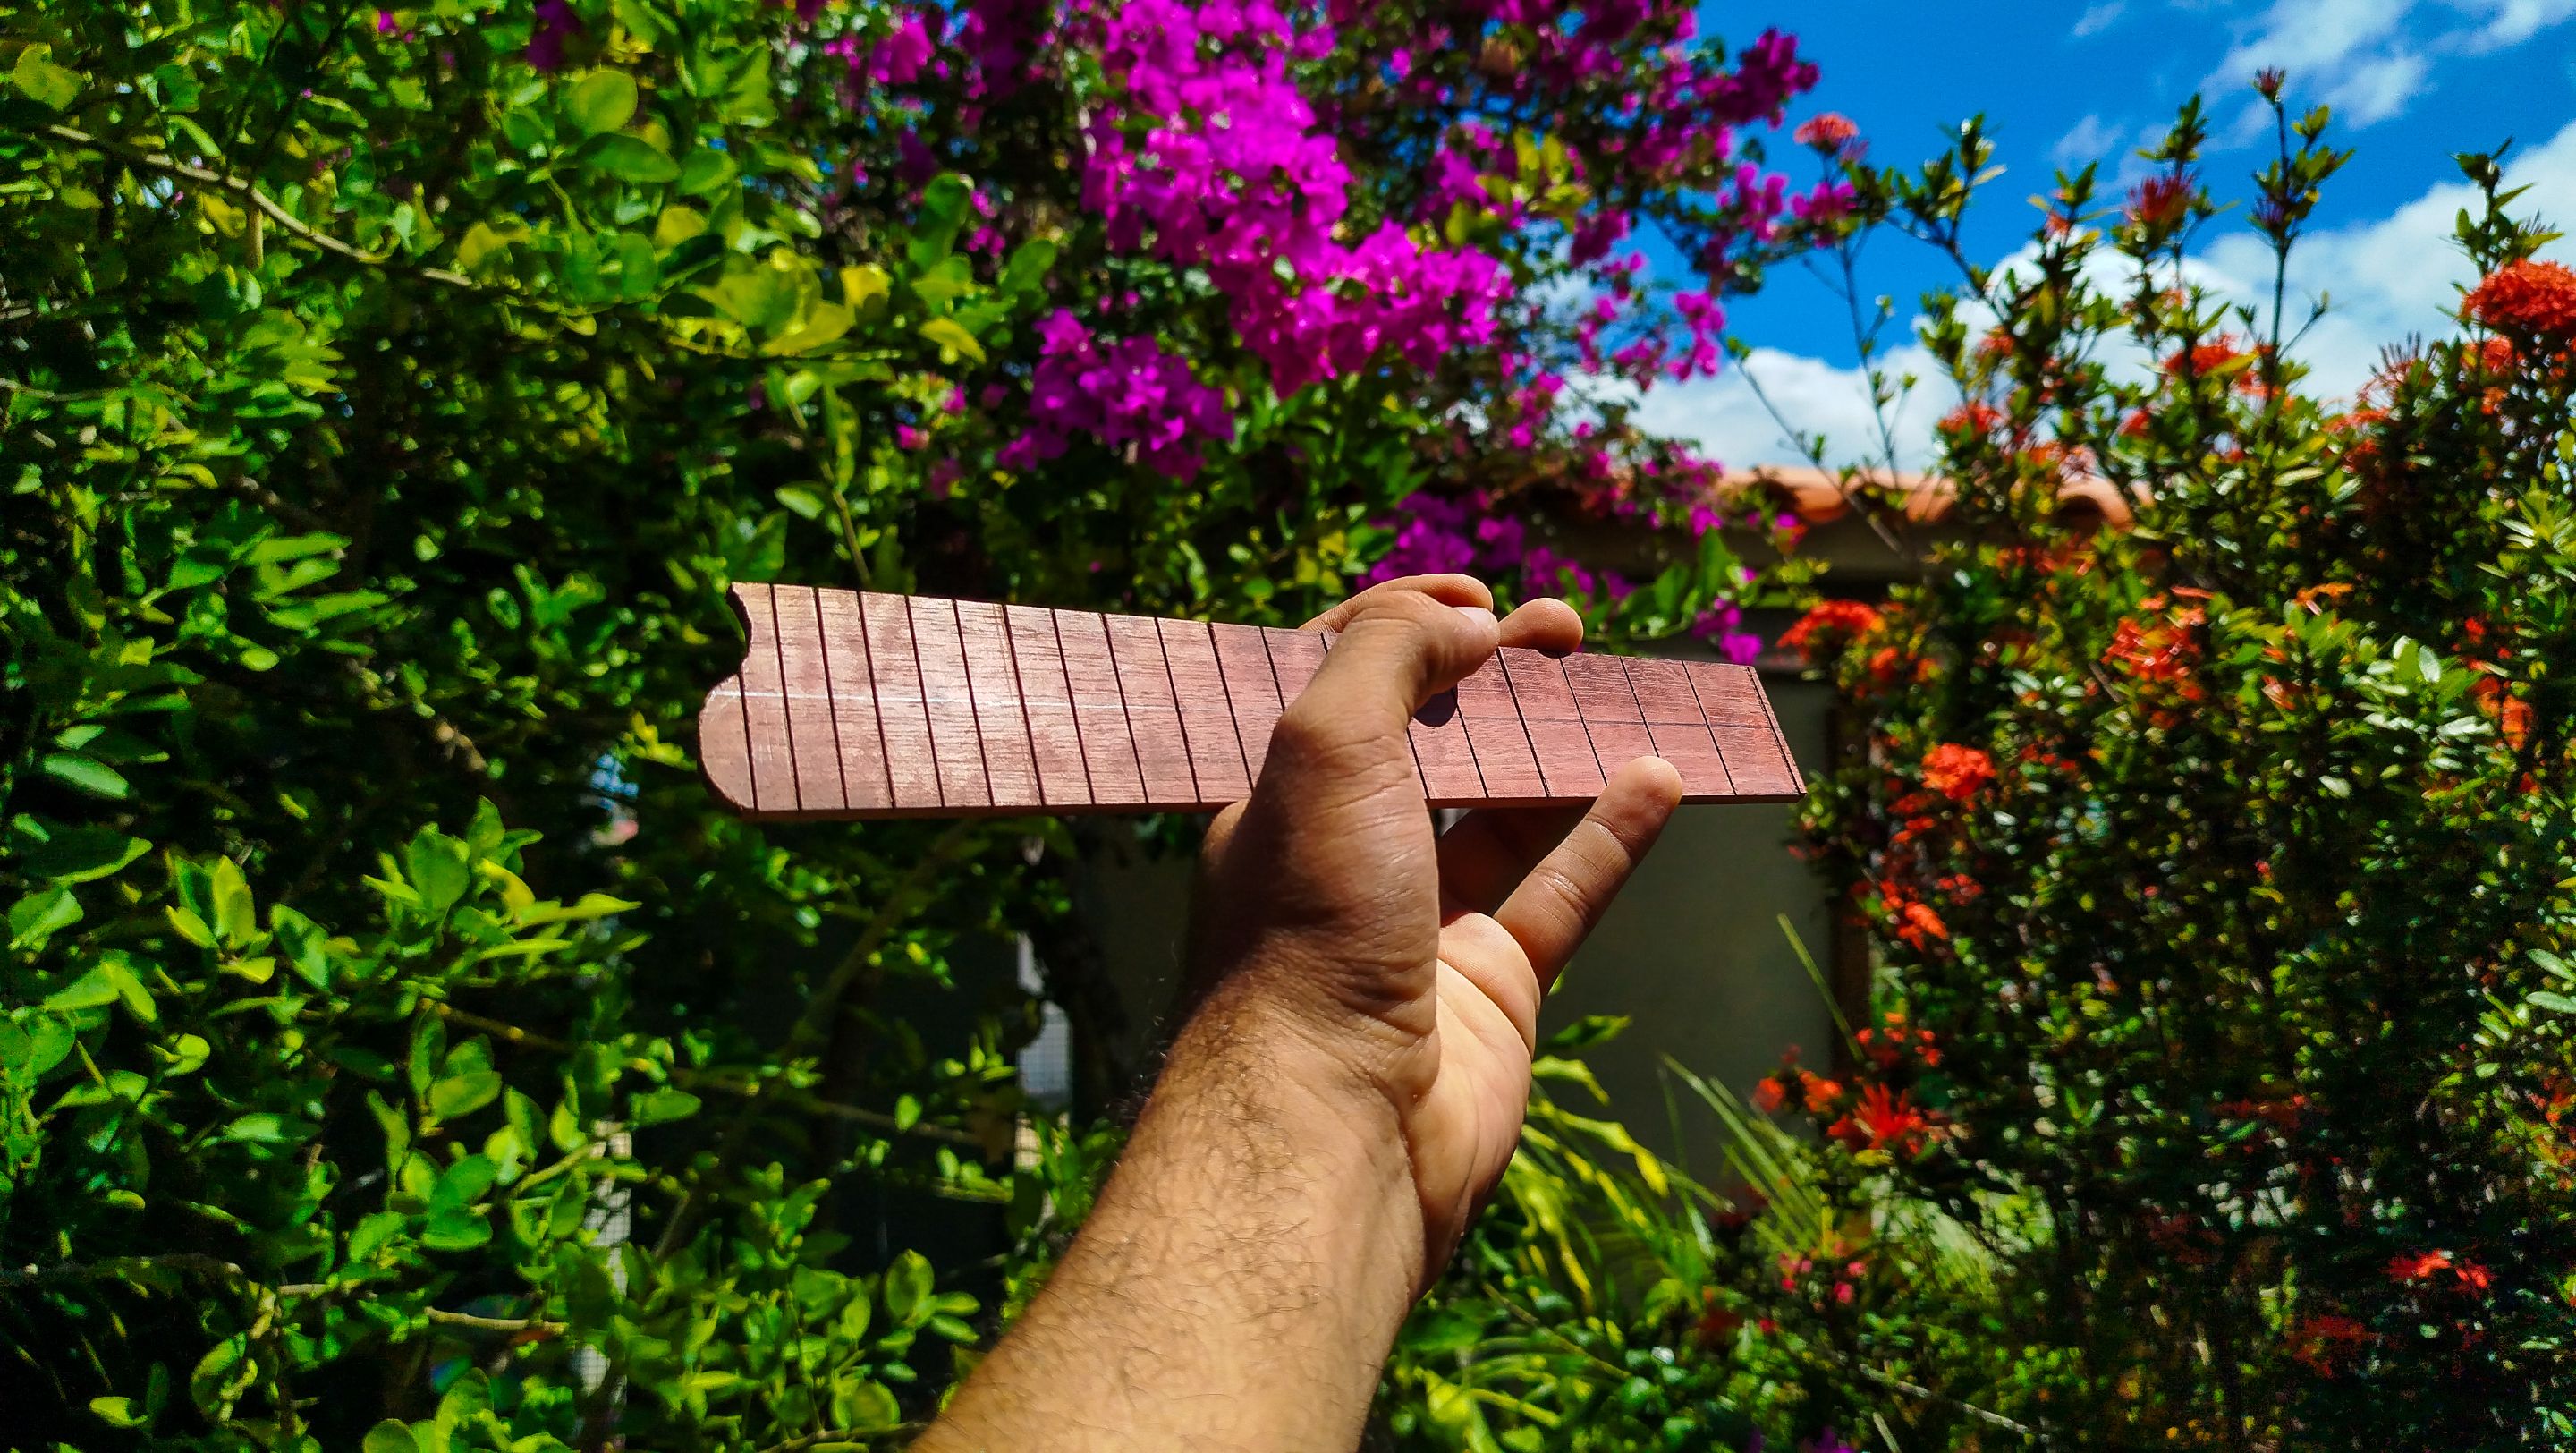
When the slots are ready, we can star removing material from the sides to give the fretboard the conic shape of the neck. Once we are done with this part this is an extra cut that will take some time to be done. It is the end of the fretboard. Since this is the first mandolin, we are copying the design of the head stock. Well, sort of. It looks like it.
Once we have decided the design, we start making the pencil marks. Then we use a coping saw to start taking off some material from the last fret. And when we finally remove all the cut, we start using a file to refine the cut. The, we use some sand paper to keep everything smooth.
And thus we have finished making the fretboard. Now we turn on the installation process.
Glue up
Swipe to see the photos
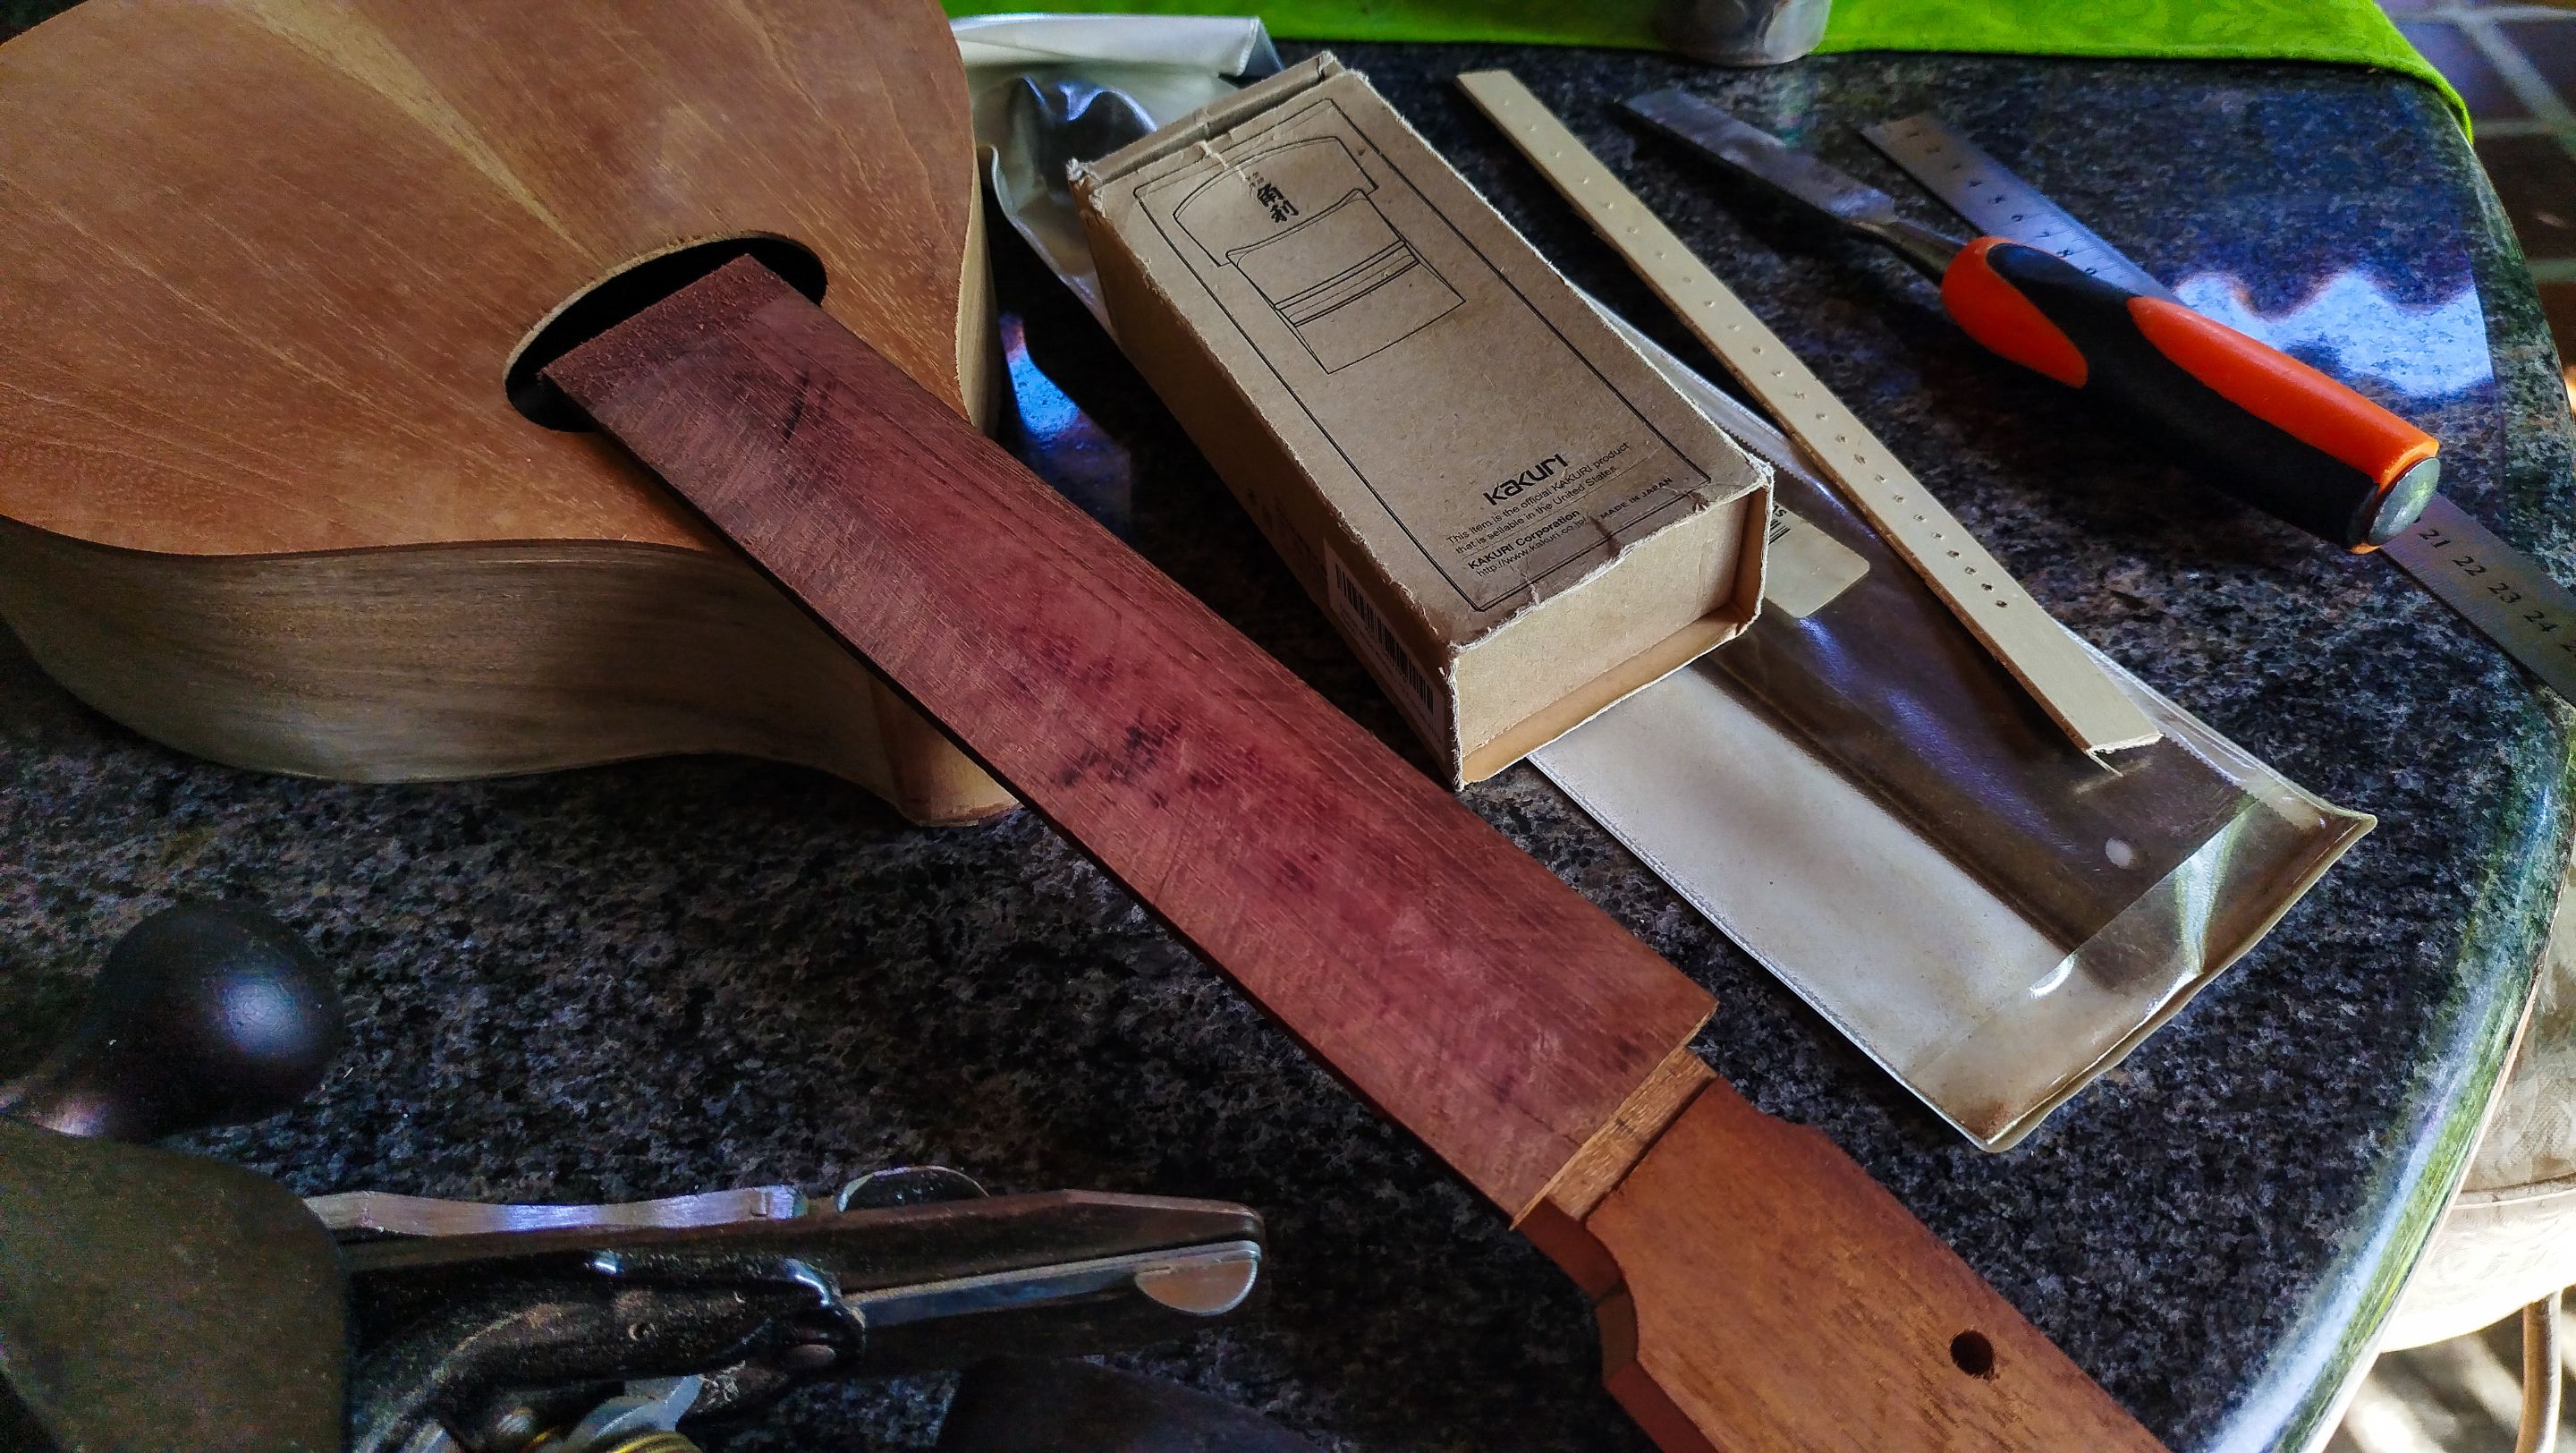
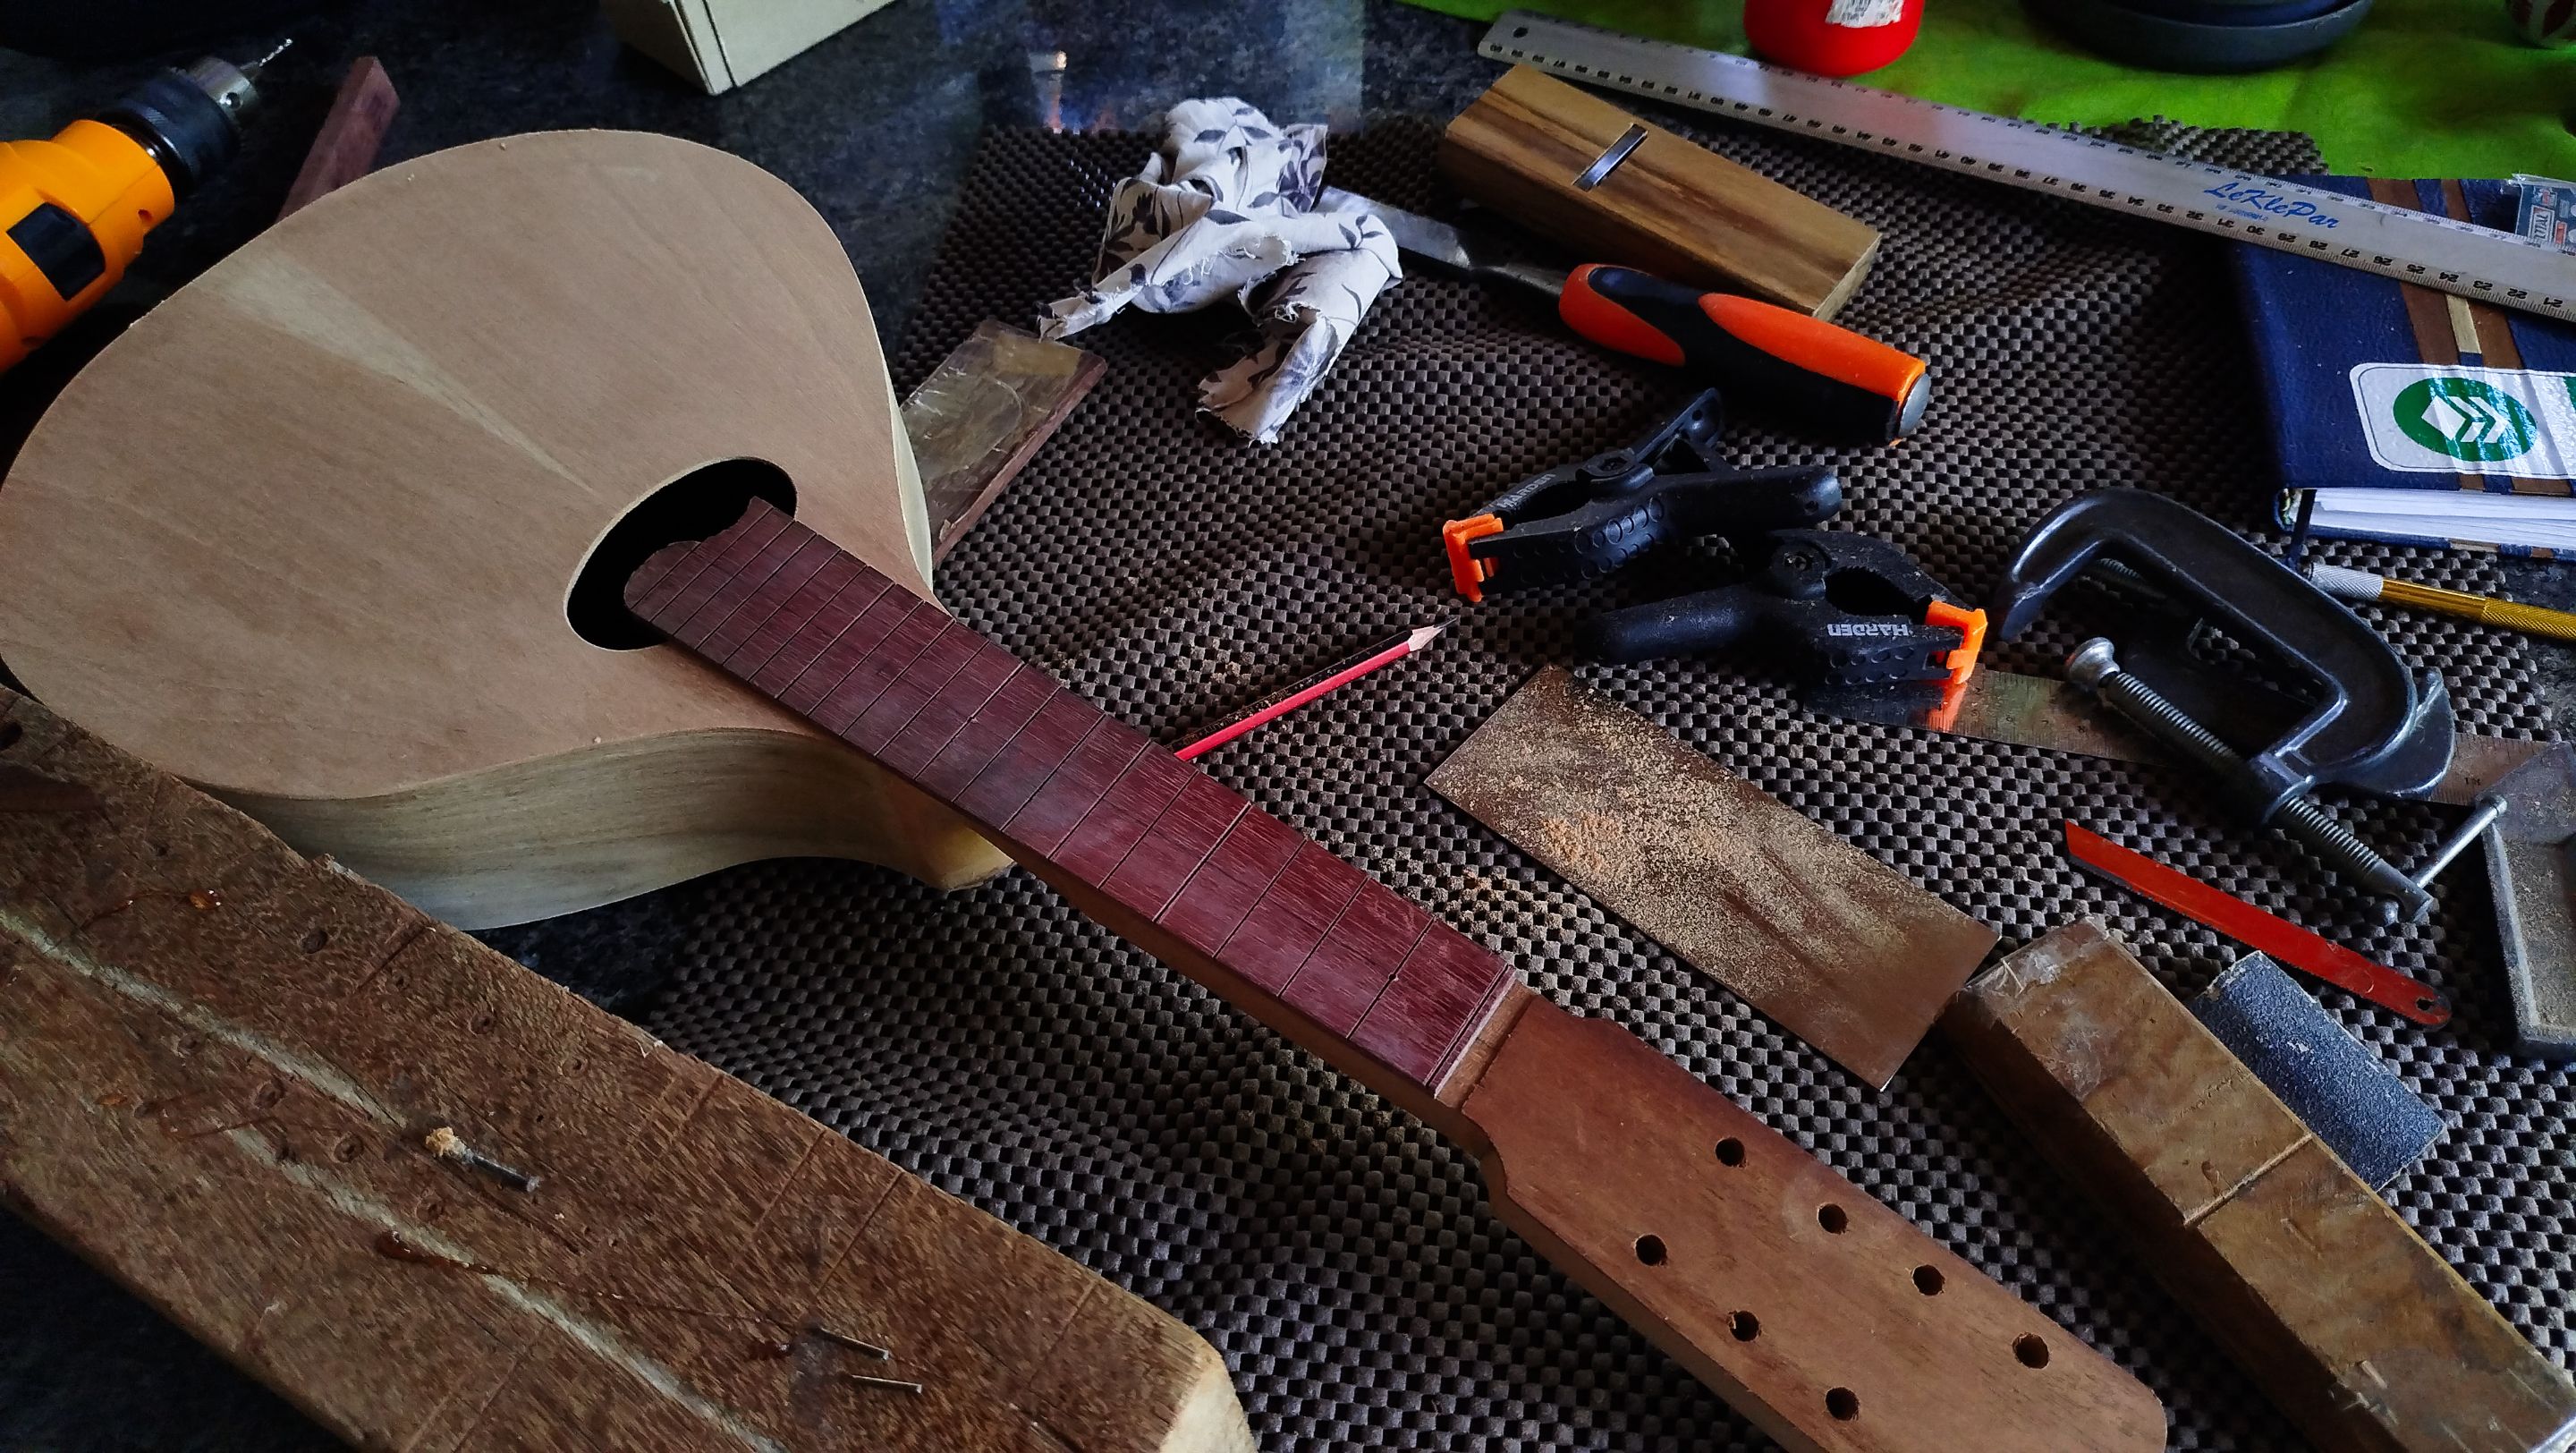
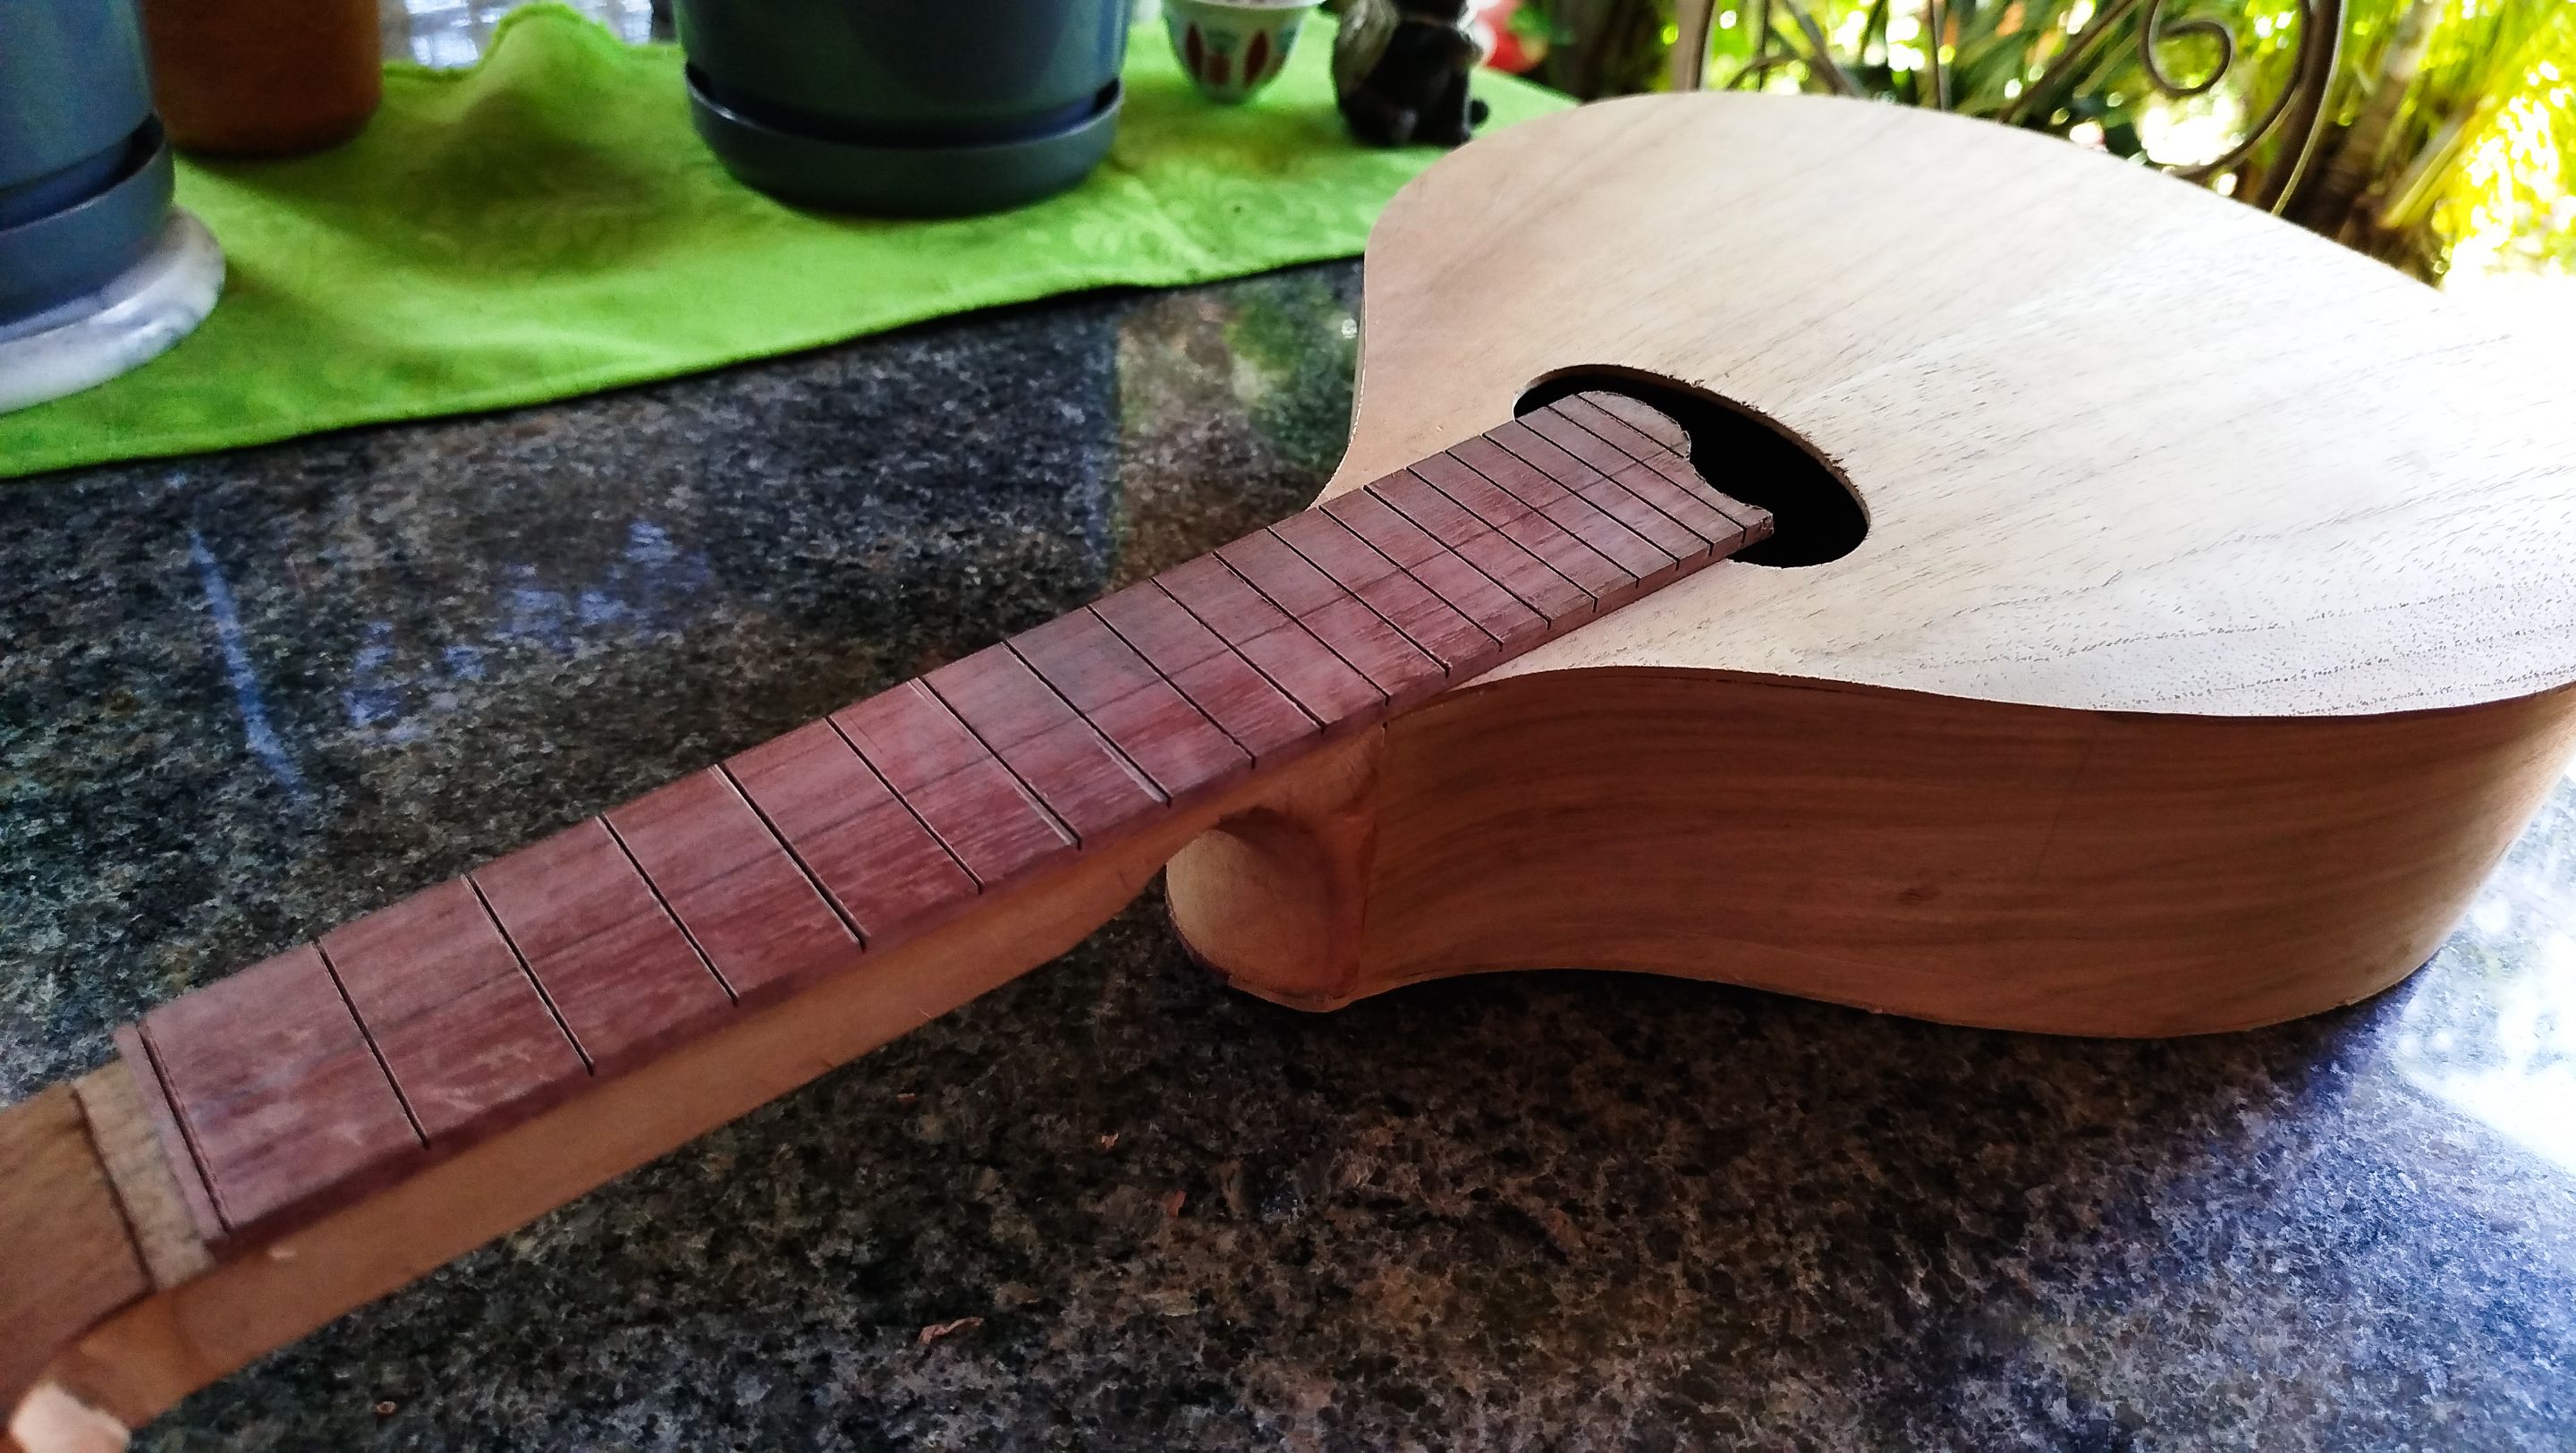
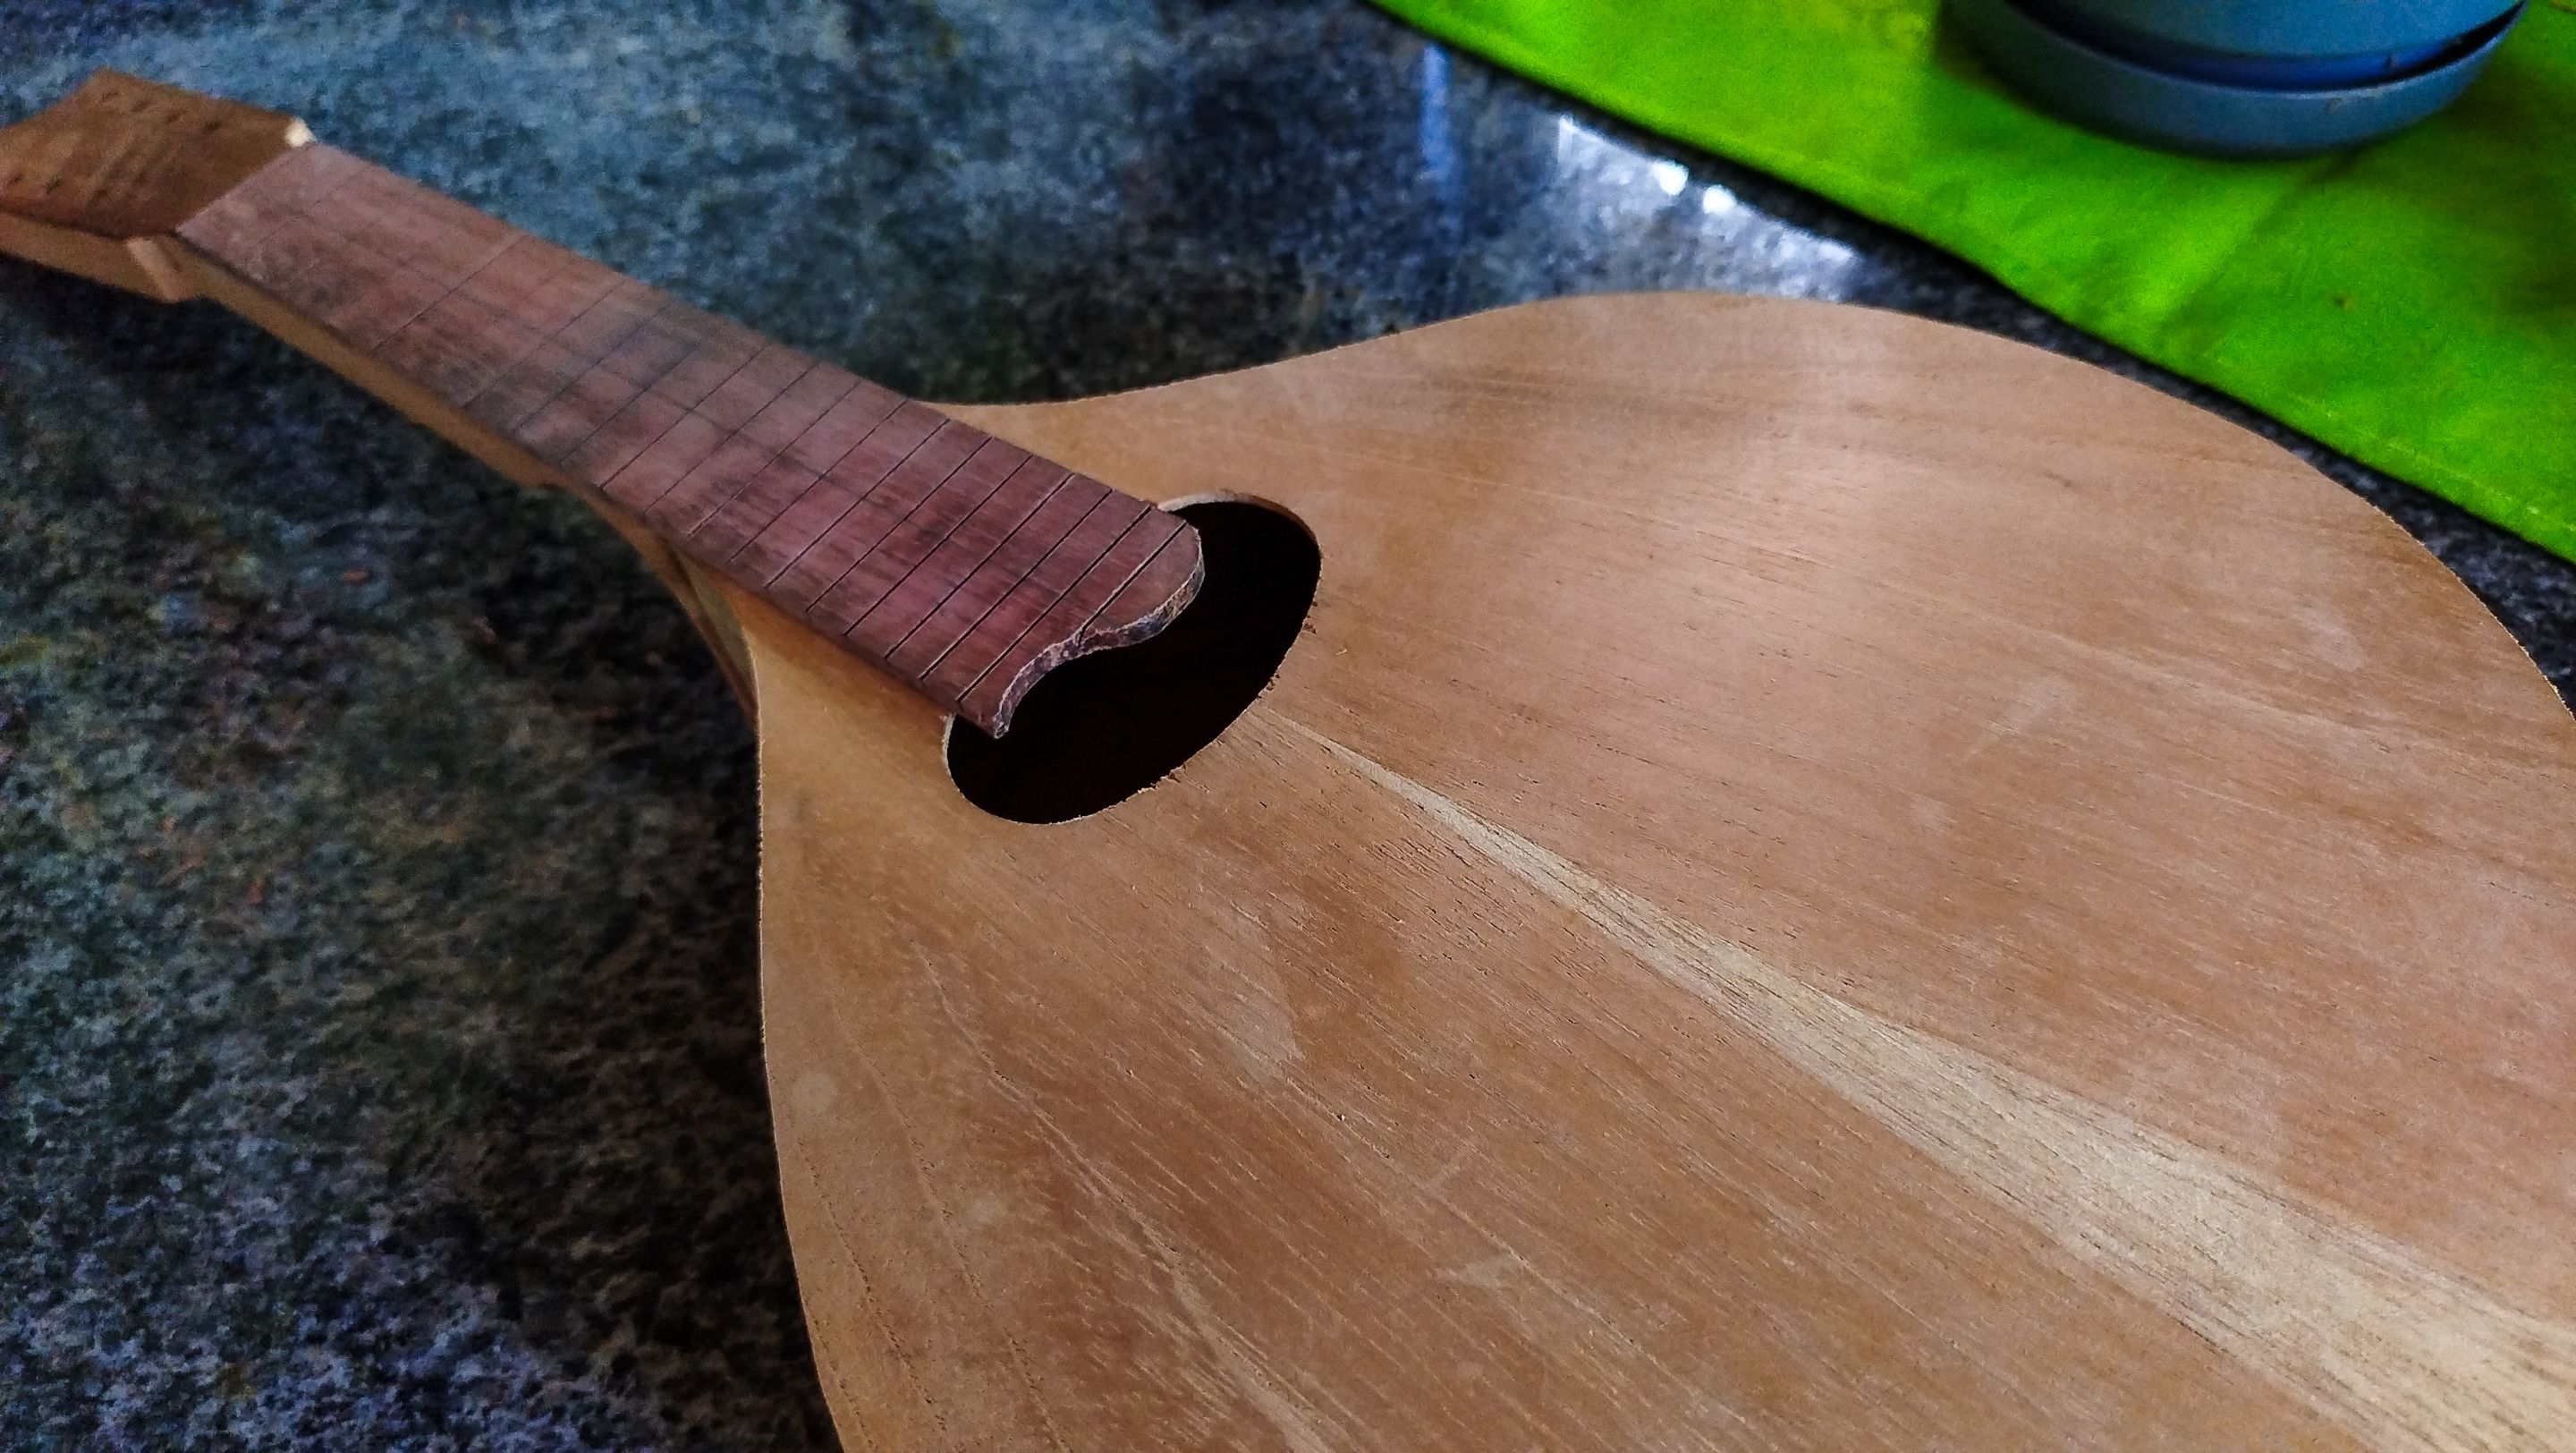
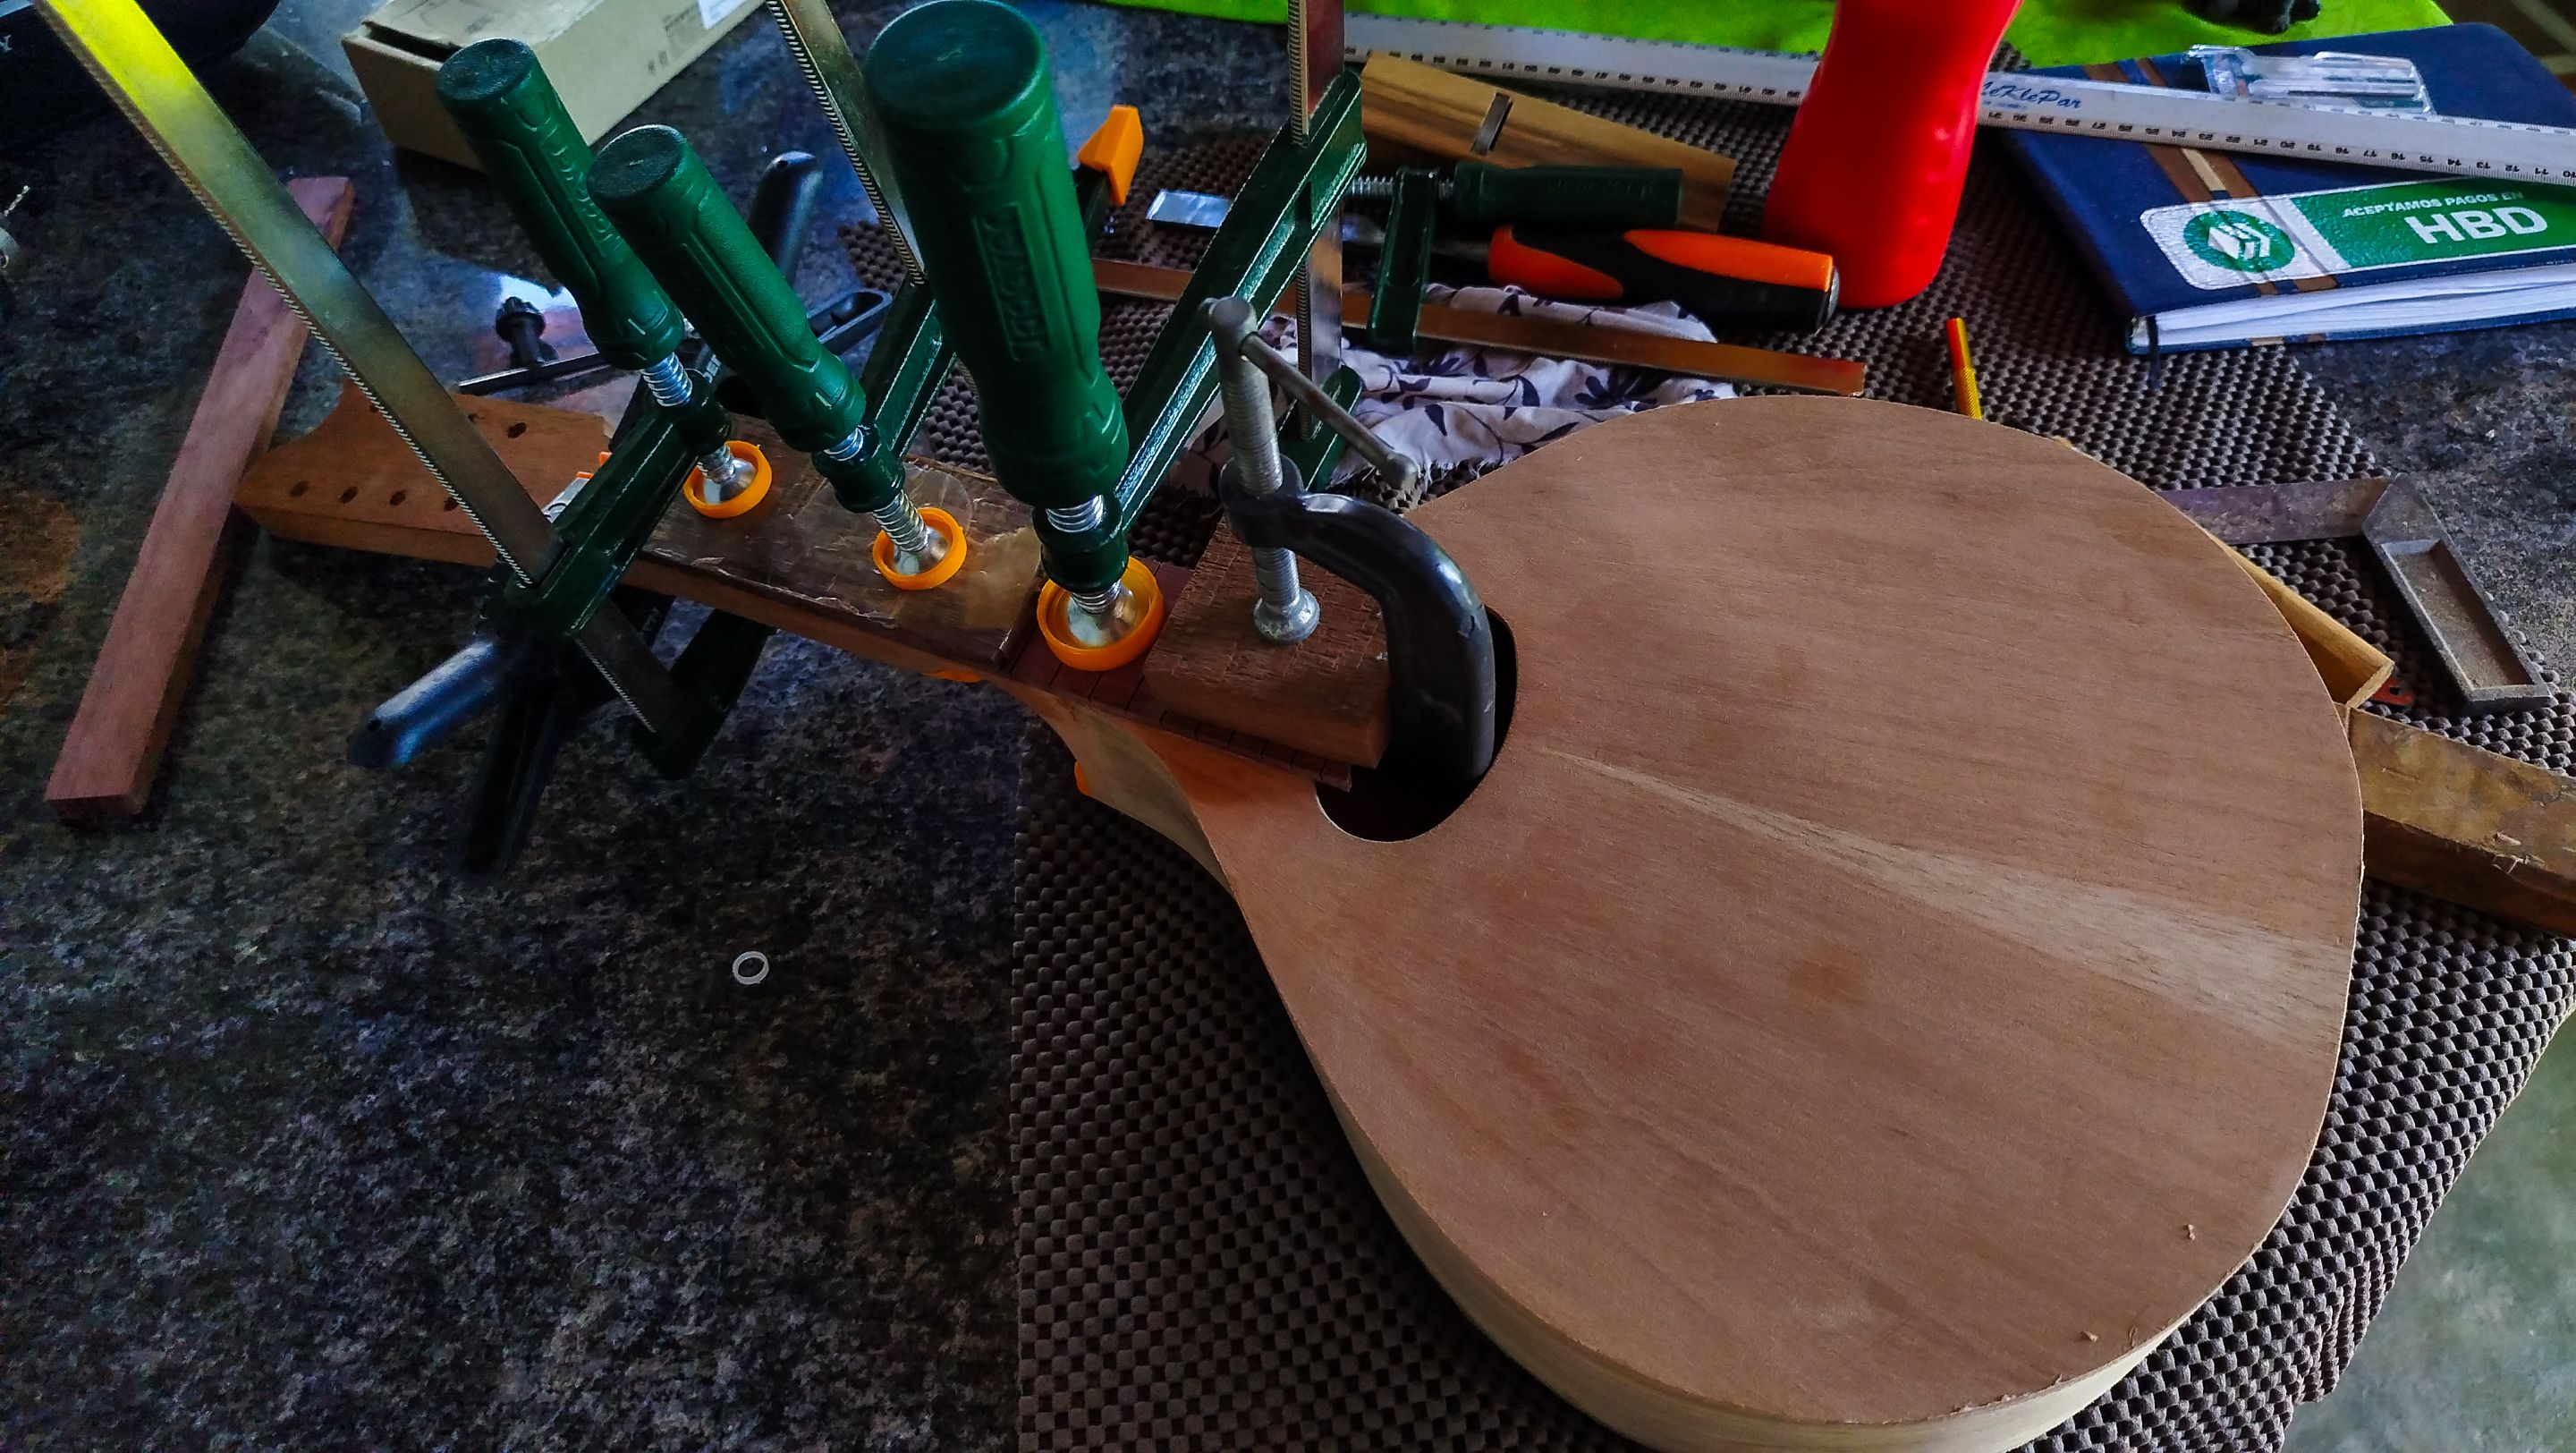
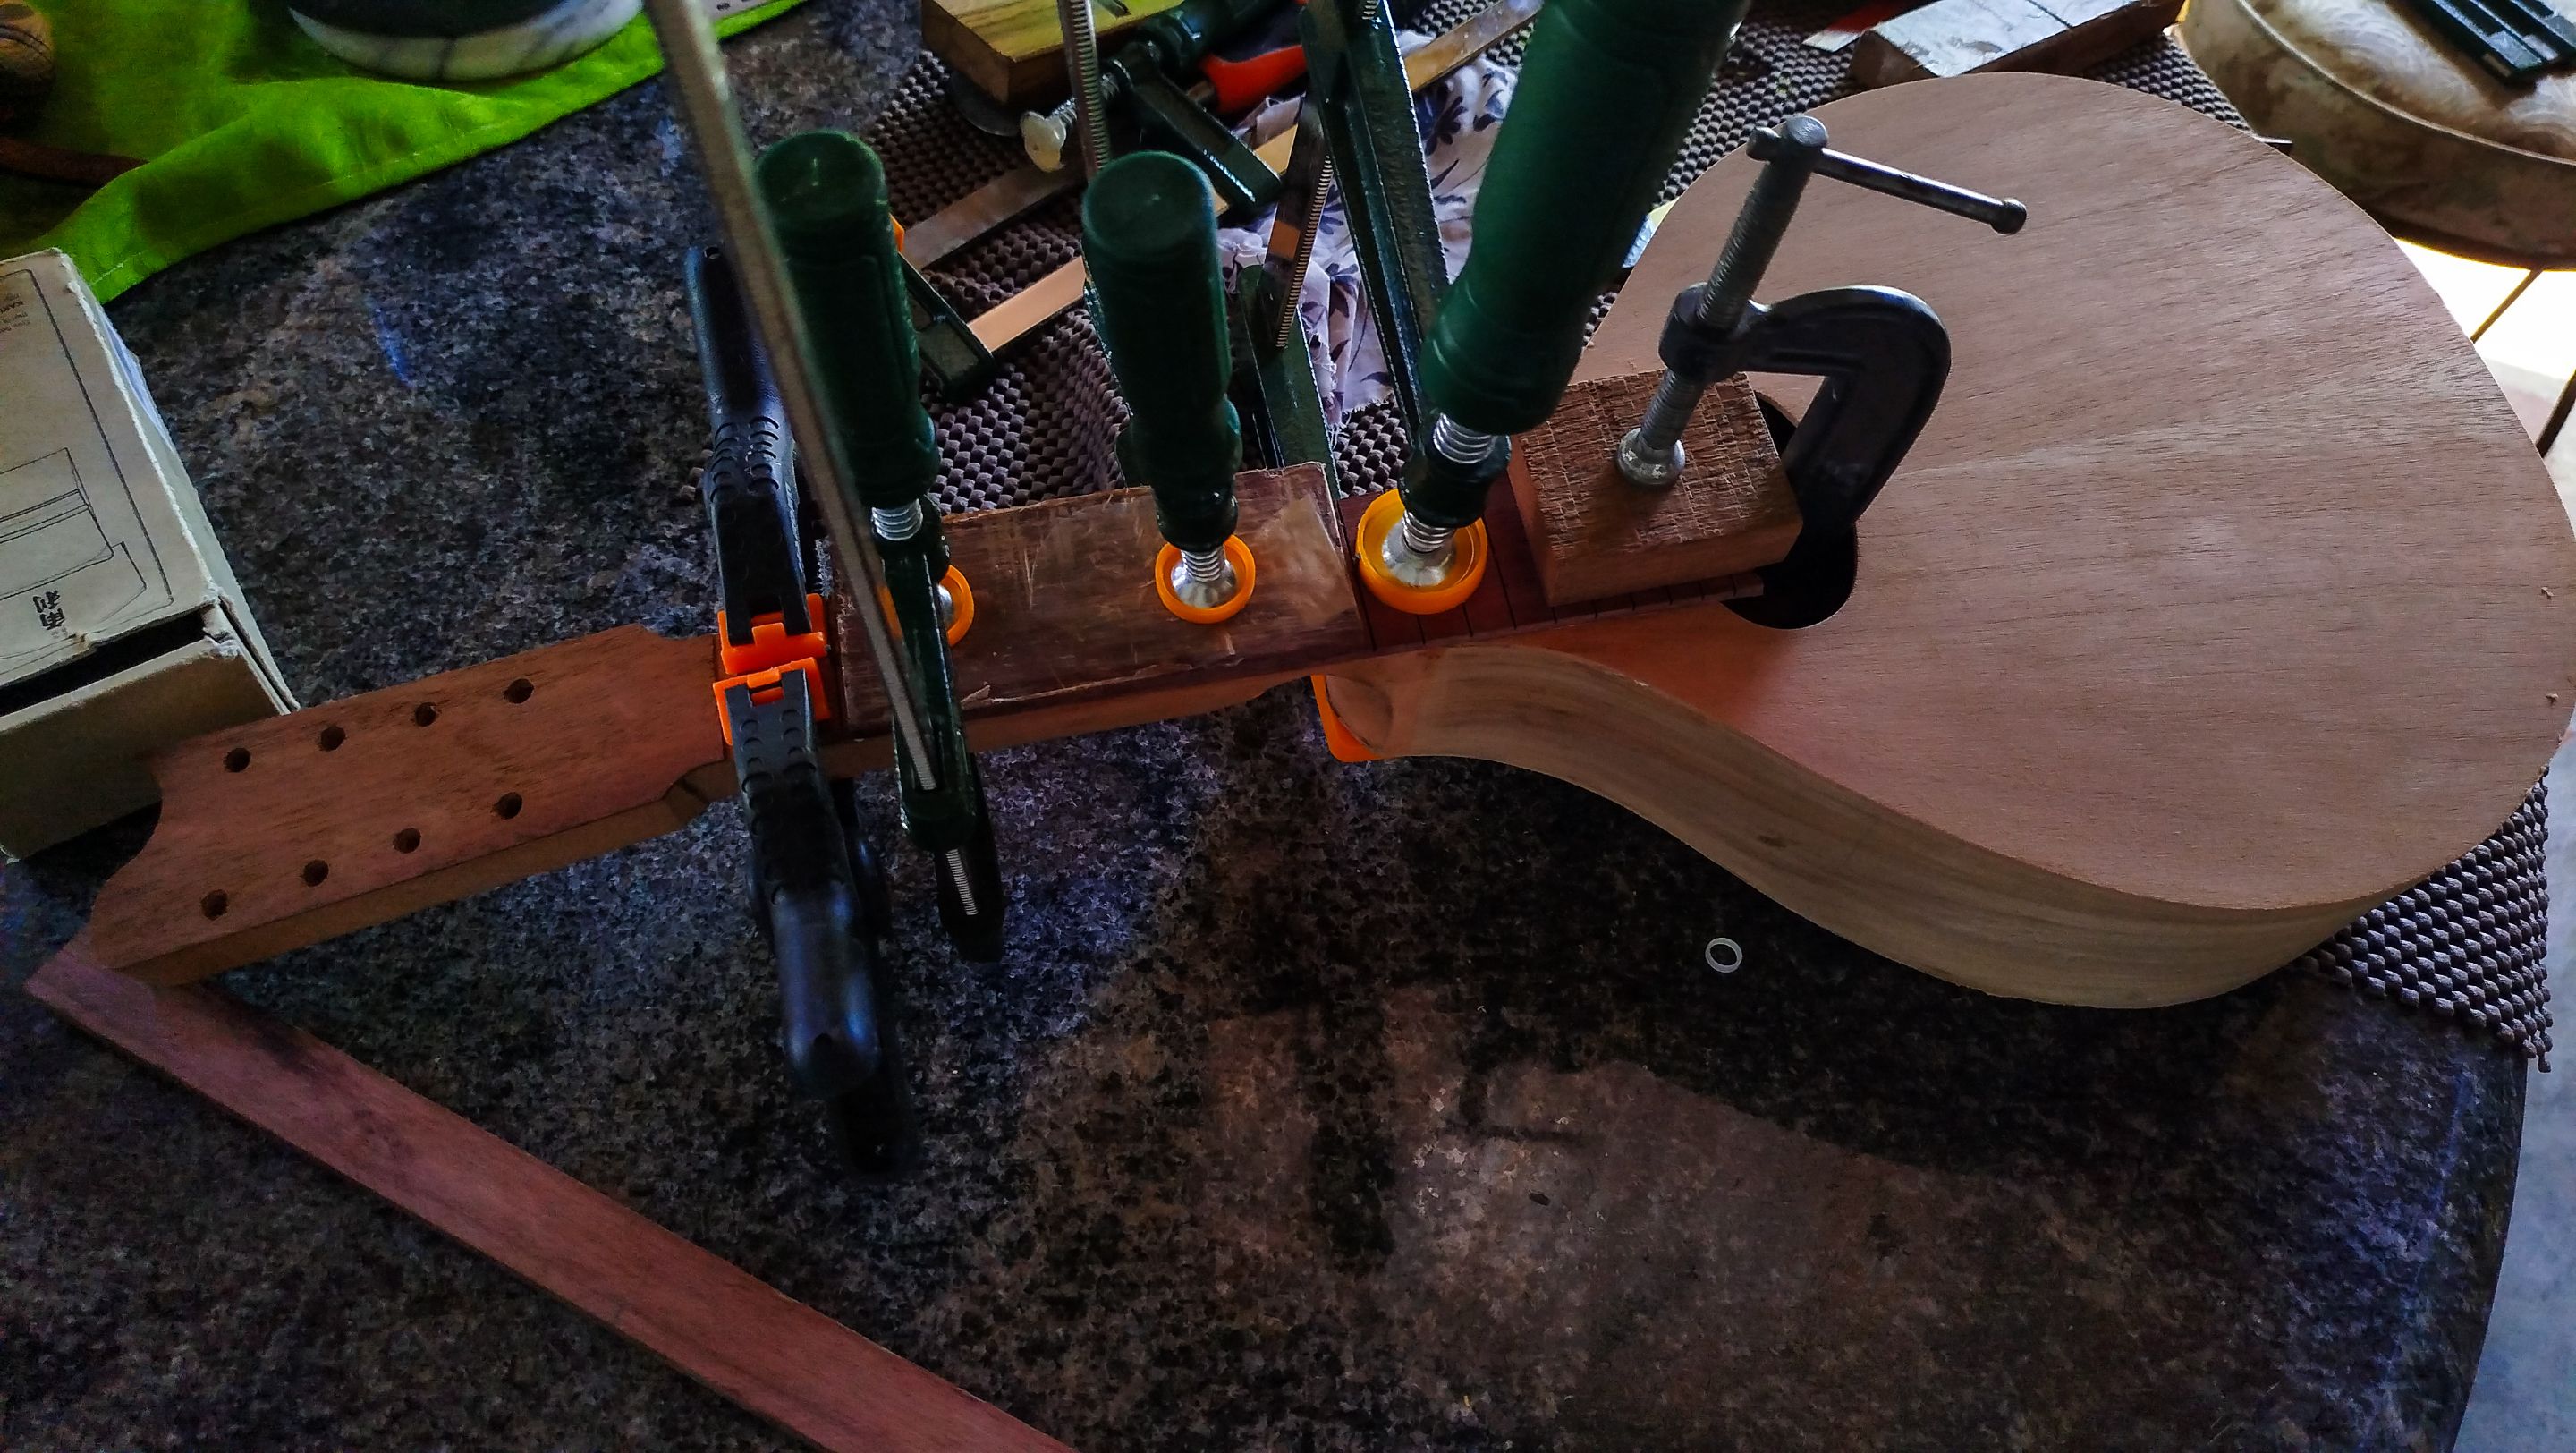
To finish the tasks for the day, we are gluing up the fretboard to the mandolin. We just need to make sure everything is aligned. We make all the necessary dry fits to rehearse the glue up. We are also adding some anchors. This part is not shown in the photos, but anchors are always in need to avoid having movement.
Once we are sure all the alignment is in place, we are ready to apply glue. Then we make some marks in the reverse of the fretboard to generate more tracking between the glue and the piece. And then we apply all the glue that we need and put the clamps in place. We also need to have a damp rag at hand to clean any spread that will get over all the other pieces.
The rest of the task is having it rest until the fretboard glues up. And that is all for this time.
Thanks a lot for reading. We are near the end of this build. Tune in next time to take a look at the bridge and some of the extra steps needed to get even closer to the end of the project. See you next time!
| Number | Entry |
|---|---|
| 1 | The First Mandolin |
| 2 | Starting a Neck |
| 3 | The Heel |
| 4 | Headstock and Template |
| 5 | Neck, Sound Board and Mould |
| 6 | Round Back |
| 7 | End Block and Sides |
| 8 | Shape of Mandolin |
-
Photos 📷: Redmi Note 13
-
Thumbnail 🖼️: Canva.
-
Editing 🎬:Adobe Photoshop Lightroom.

Follow me on Instagram for enquires and commission.
If you'd like to help the workshop grow, you can make a donation here.
You can find me at discord as bertrayo#1763