
Hello there, my fellow artisans and handcrafts enthusiasts!
Welcome back to another entry on this mandolin build. Last time we saw this mandolin, we had finished putting the fretboard in place. And now we are continuing some work on it and also starting to carve the bridge out of a blank of purpleheart. There is still a lot of work to do.
Let's get to it!
Start of a bridge

Swipe to see the photos
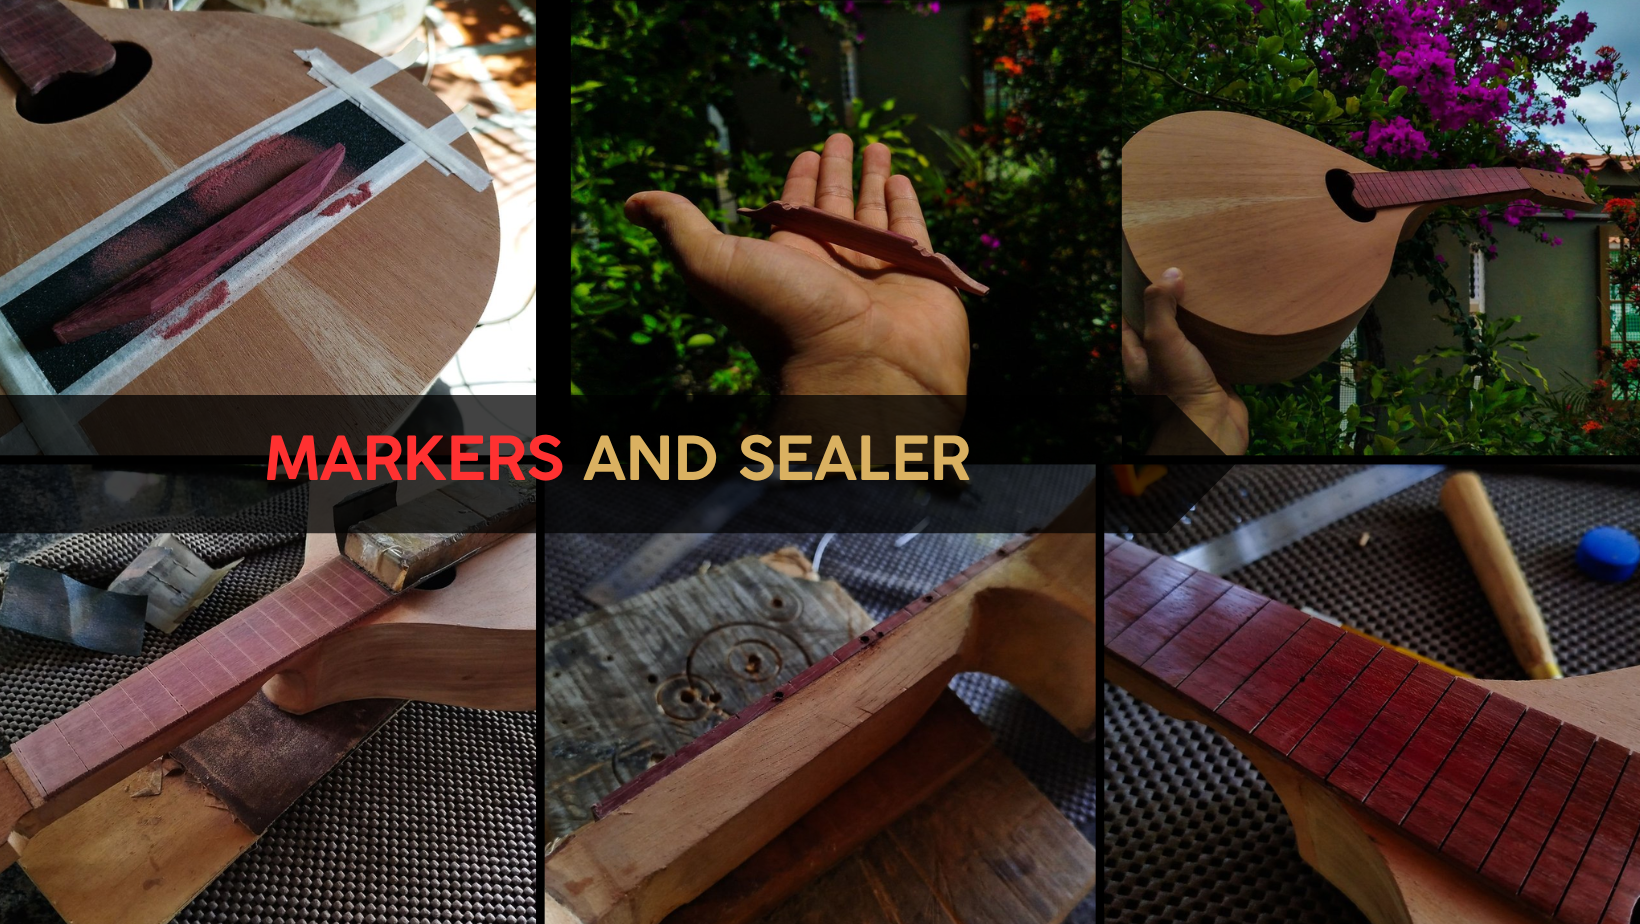
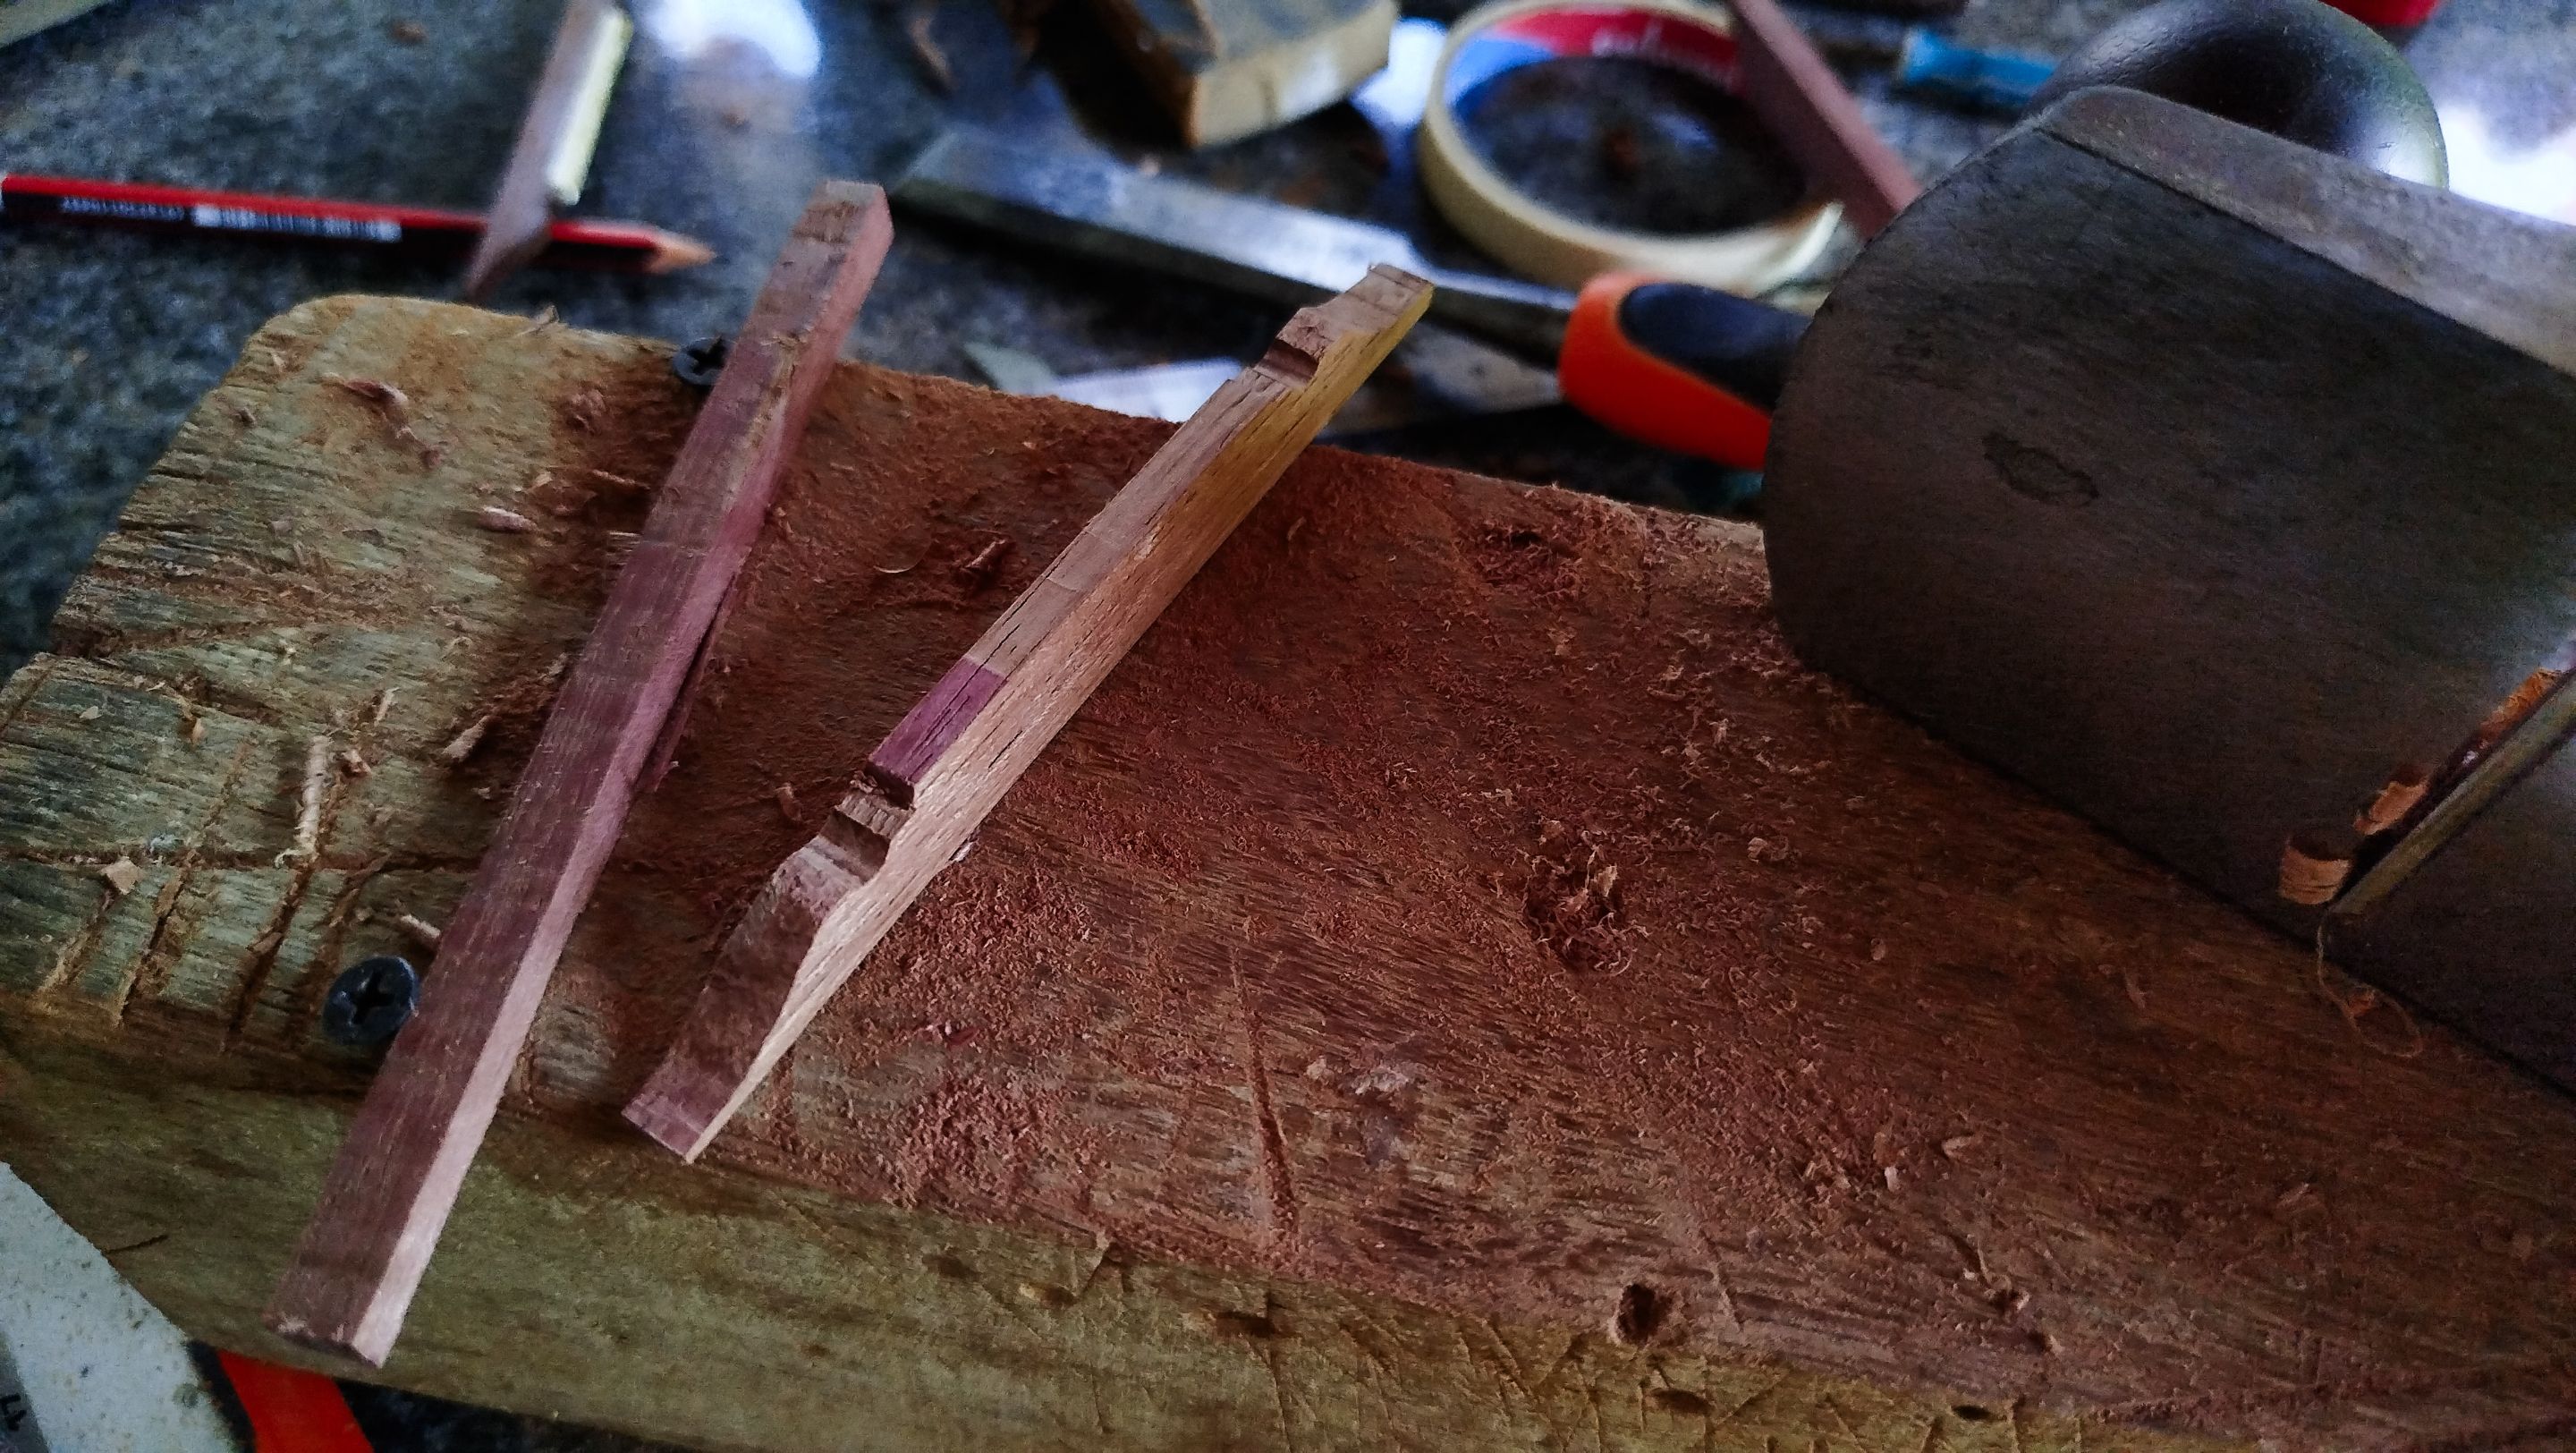
The best part of starting this bridge for the mandolin was having a mandolin bridge to study. This was something from my first mandolin. The bridge was there waiting for a moment to shine. The idea is understanding how to carve a new piece to create the bridge for my own mandolin.
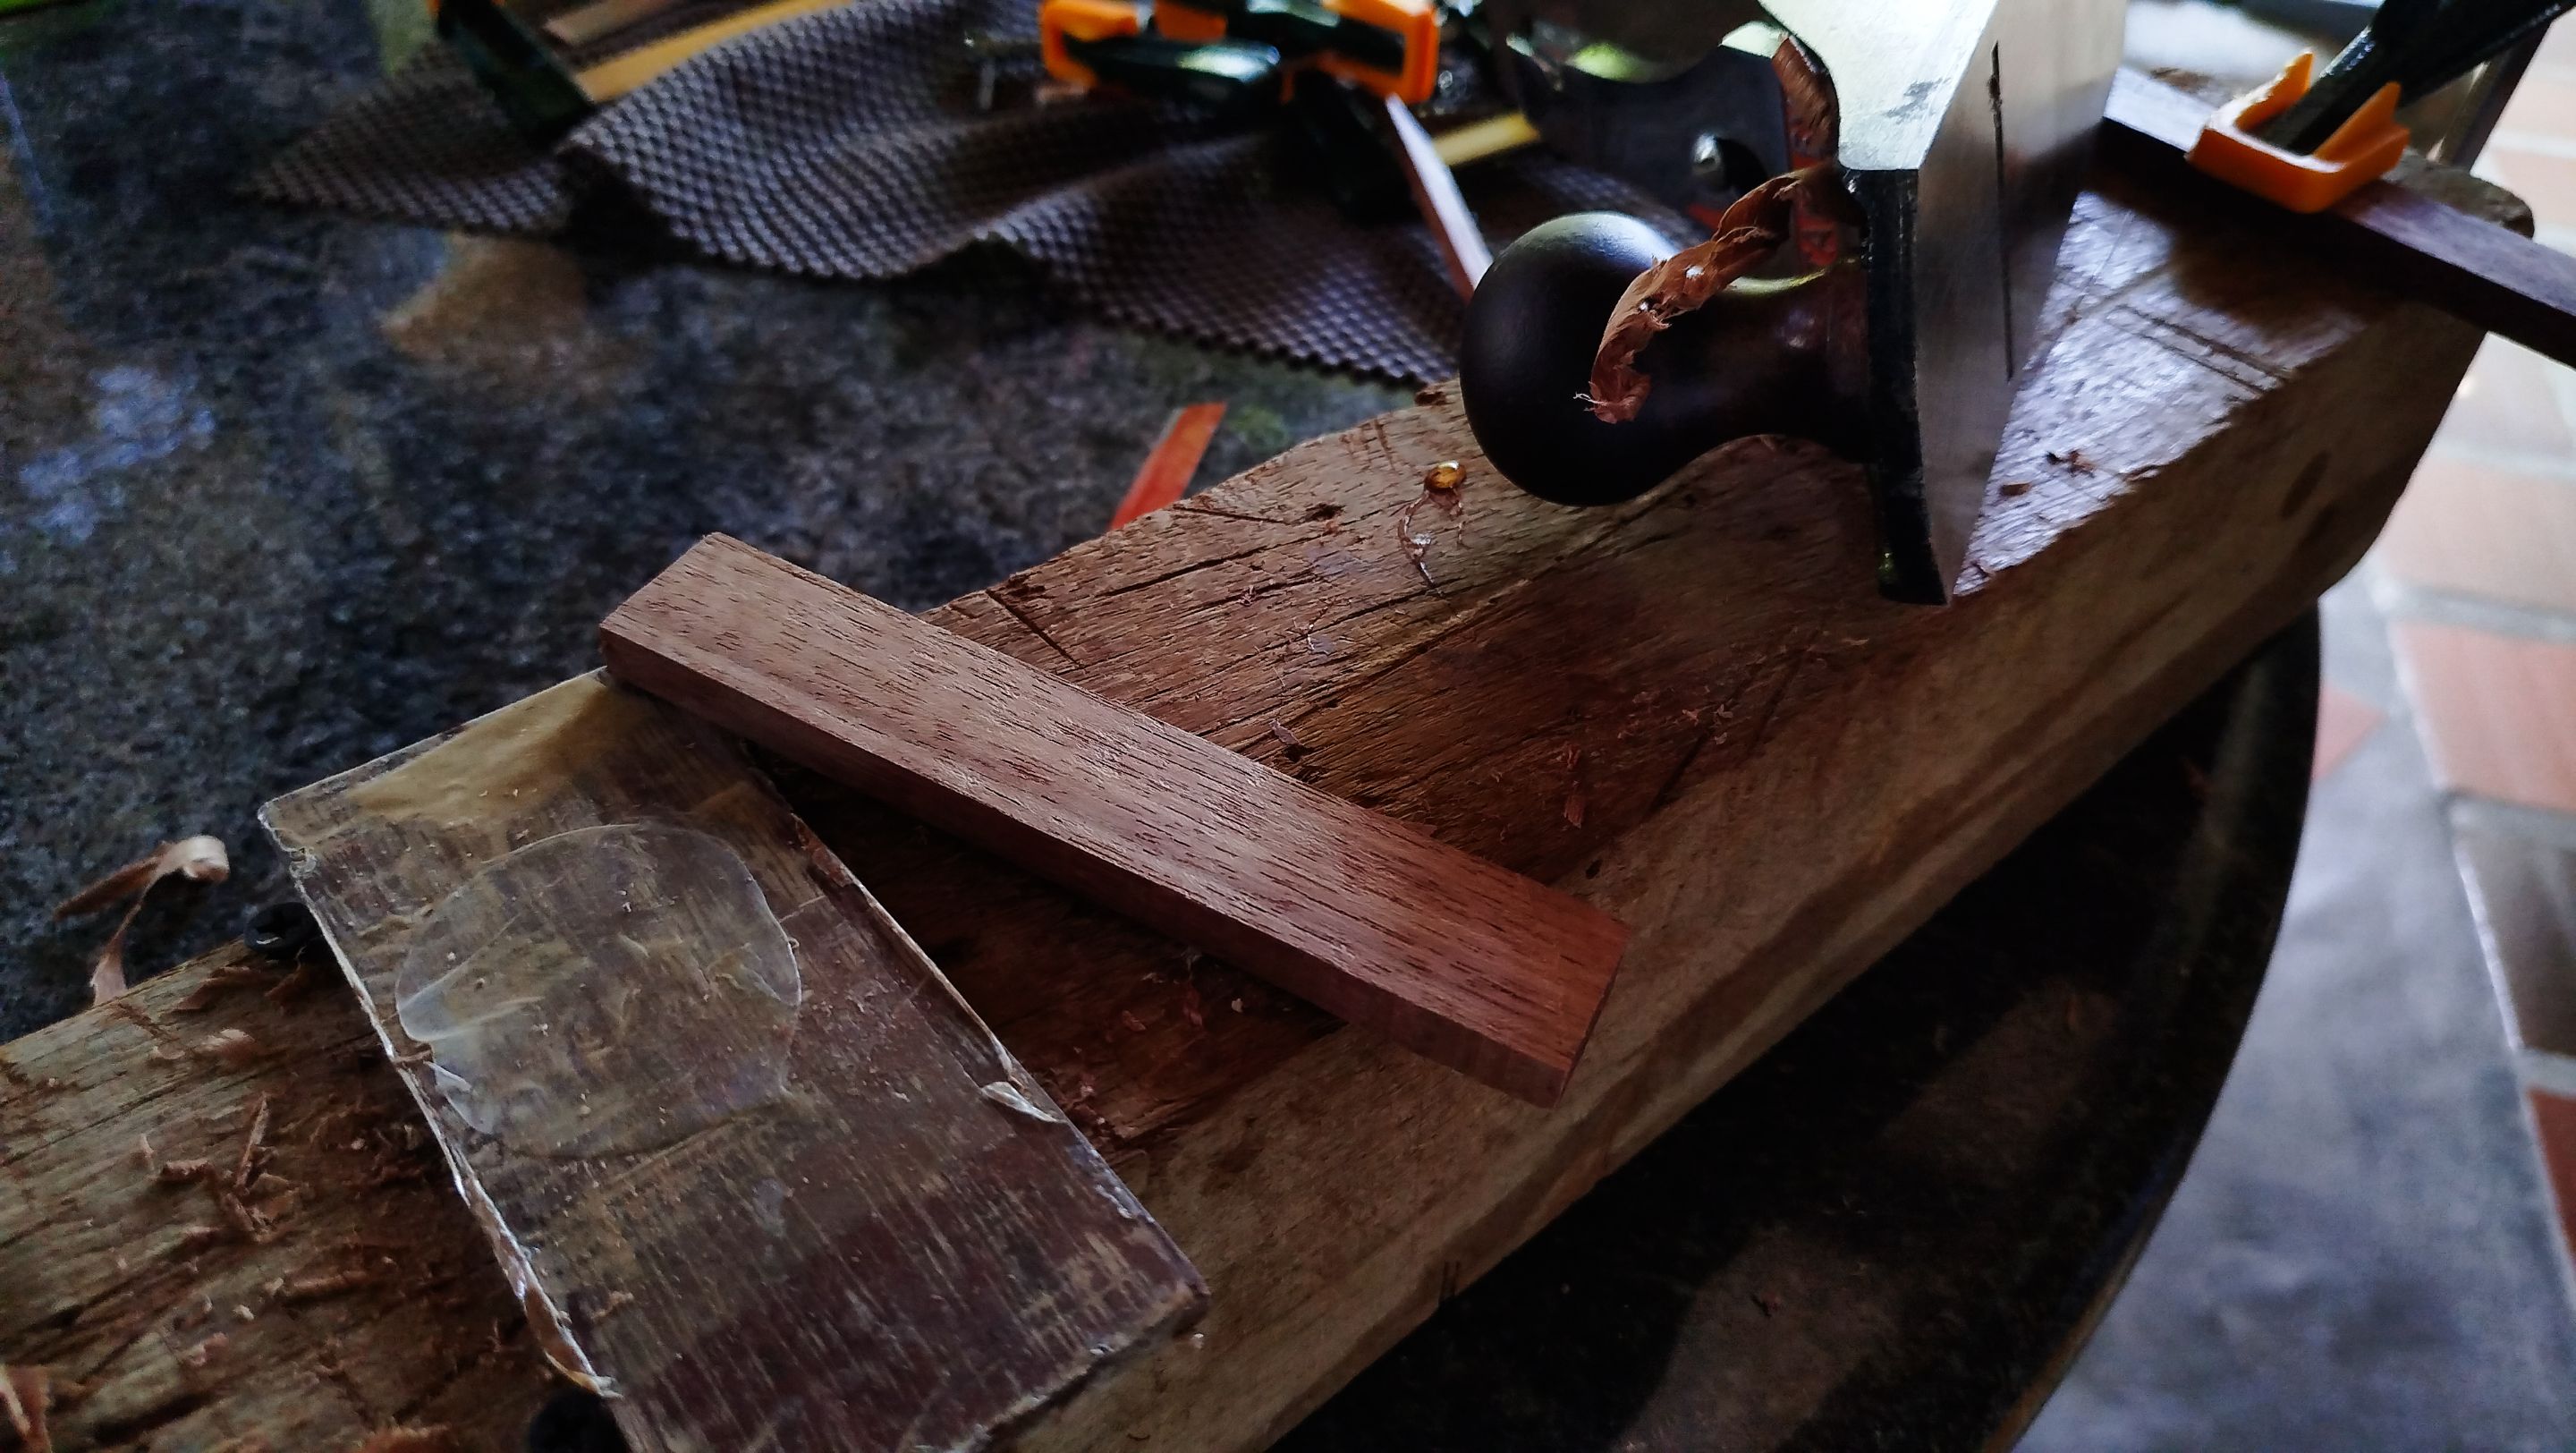
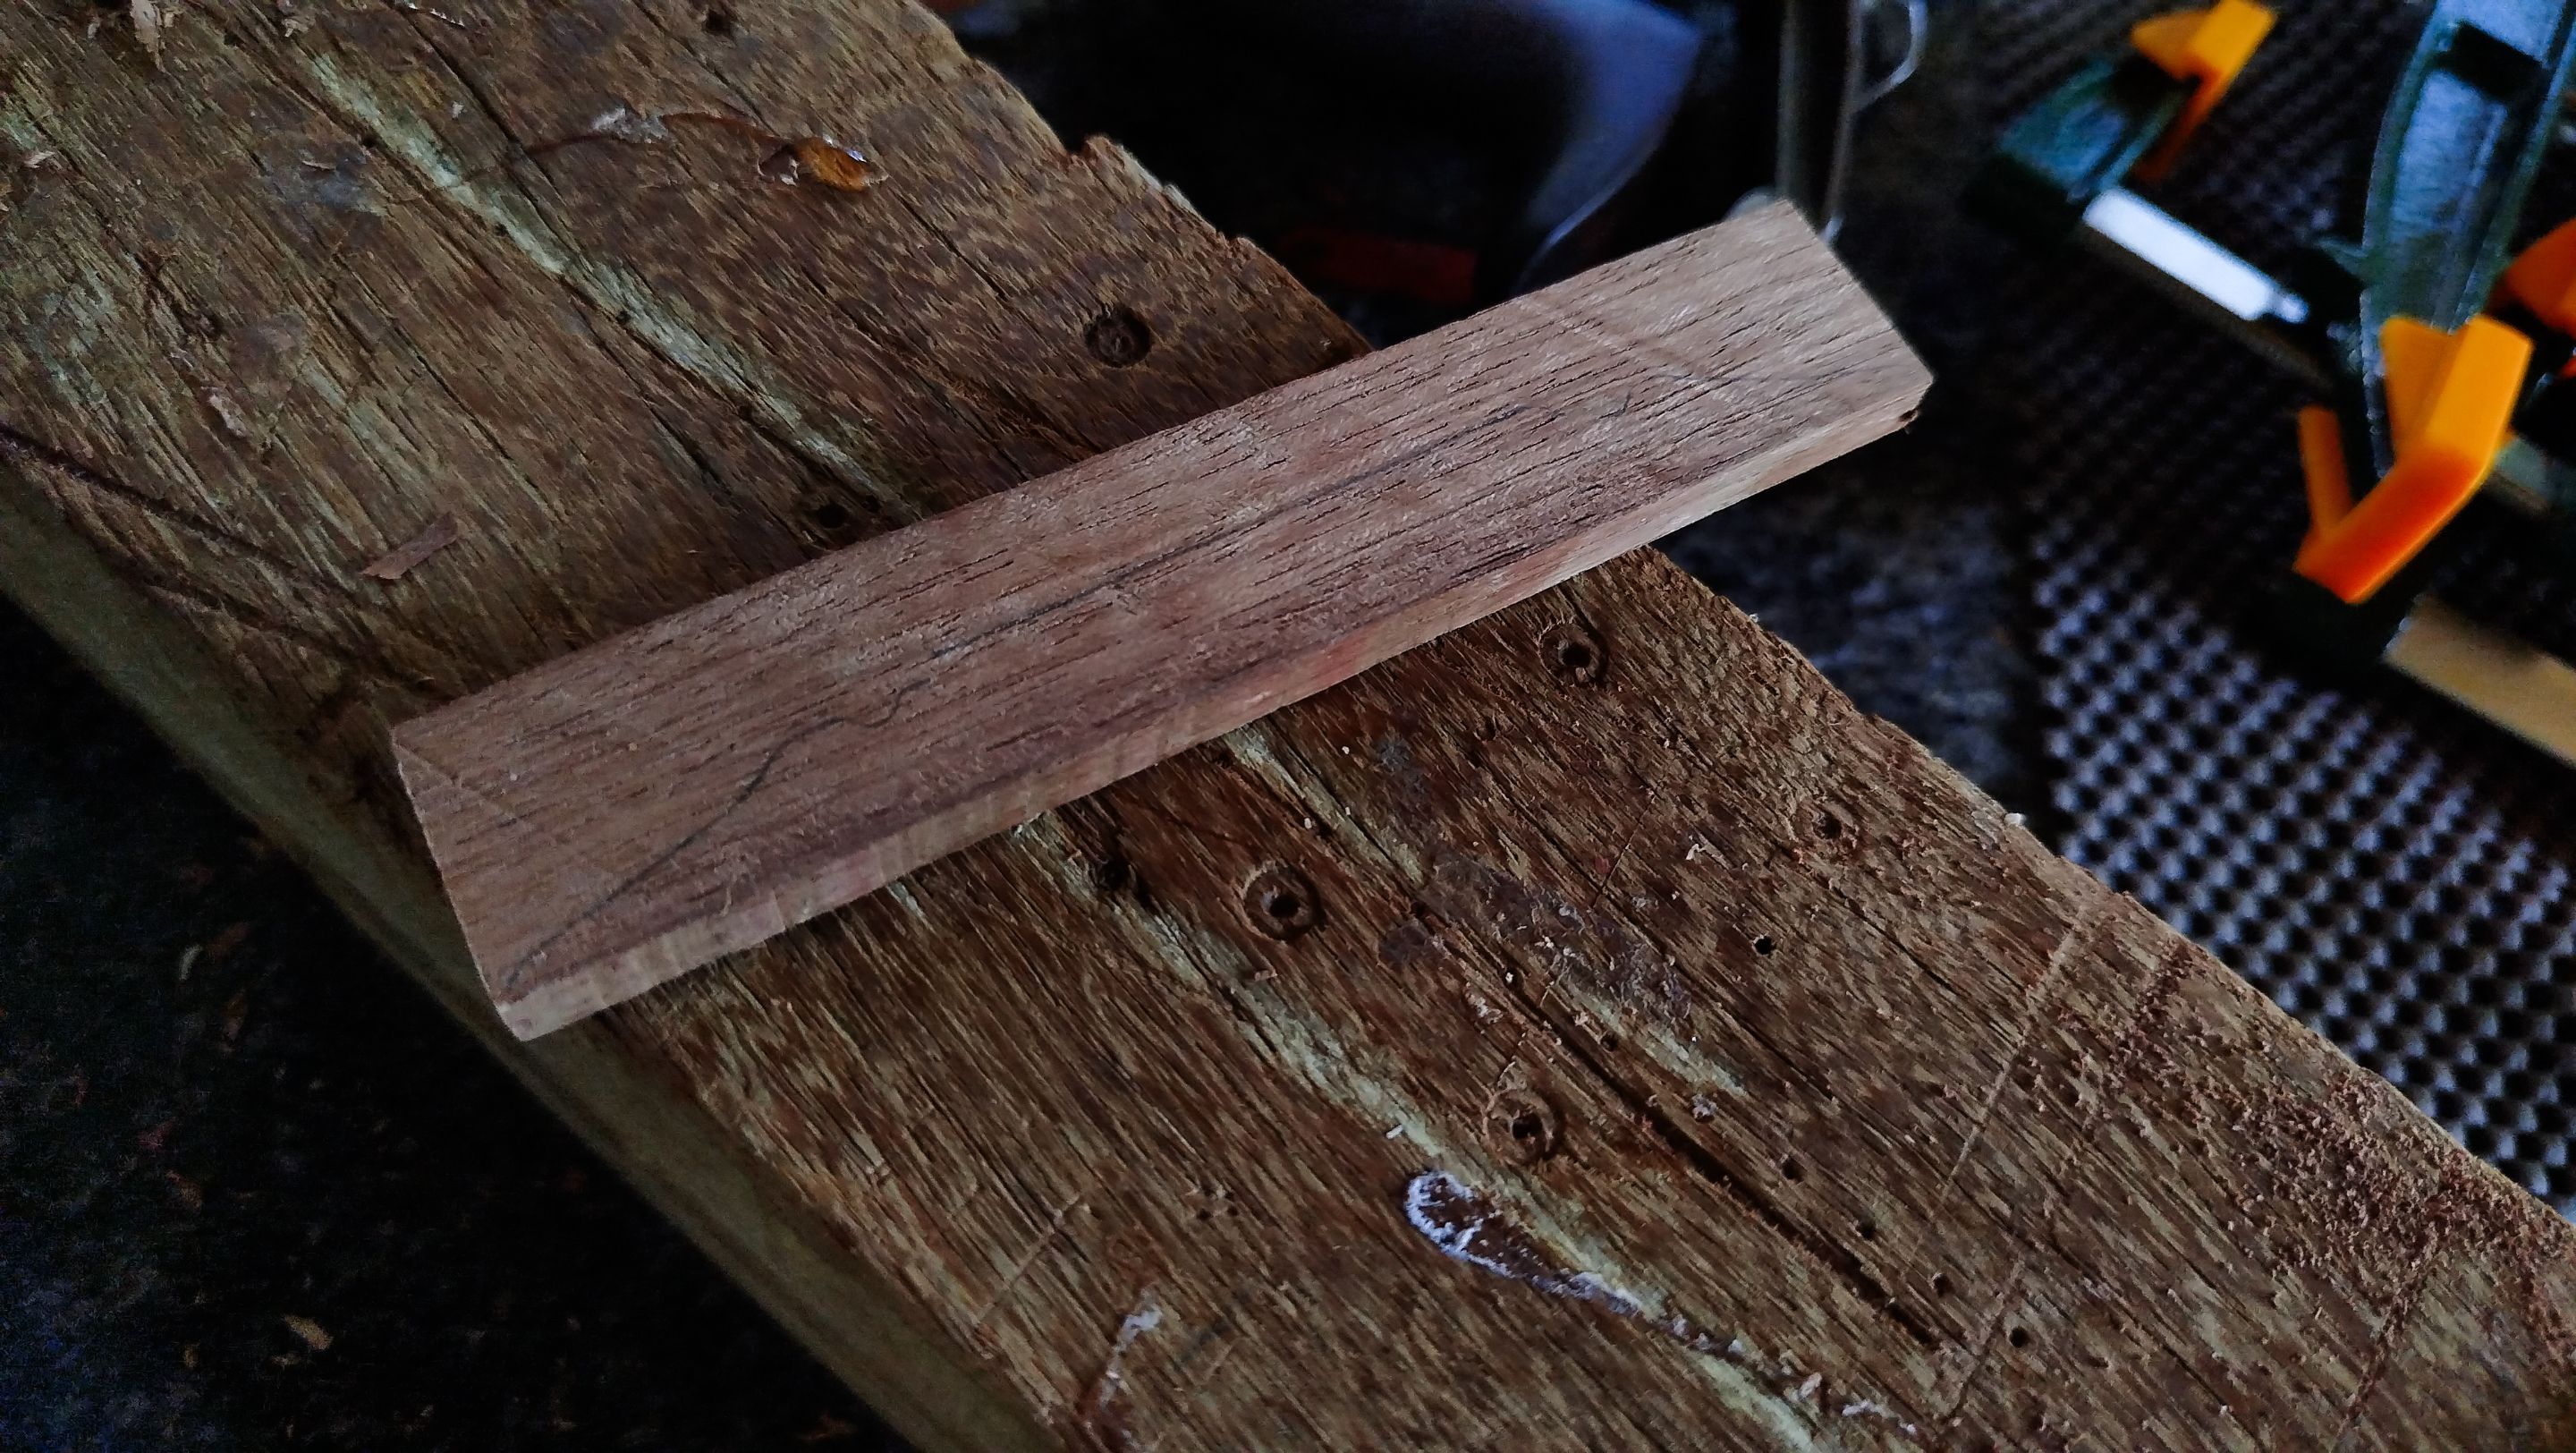
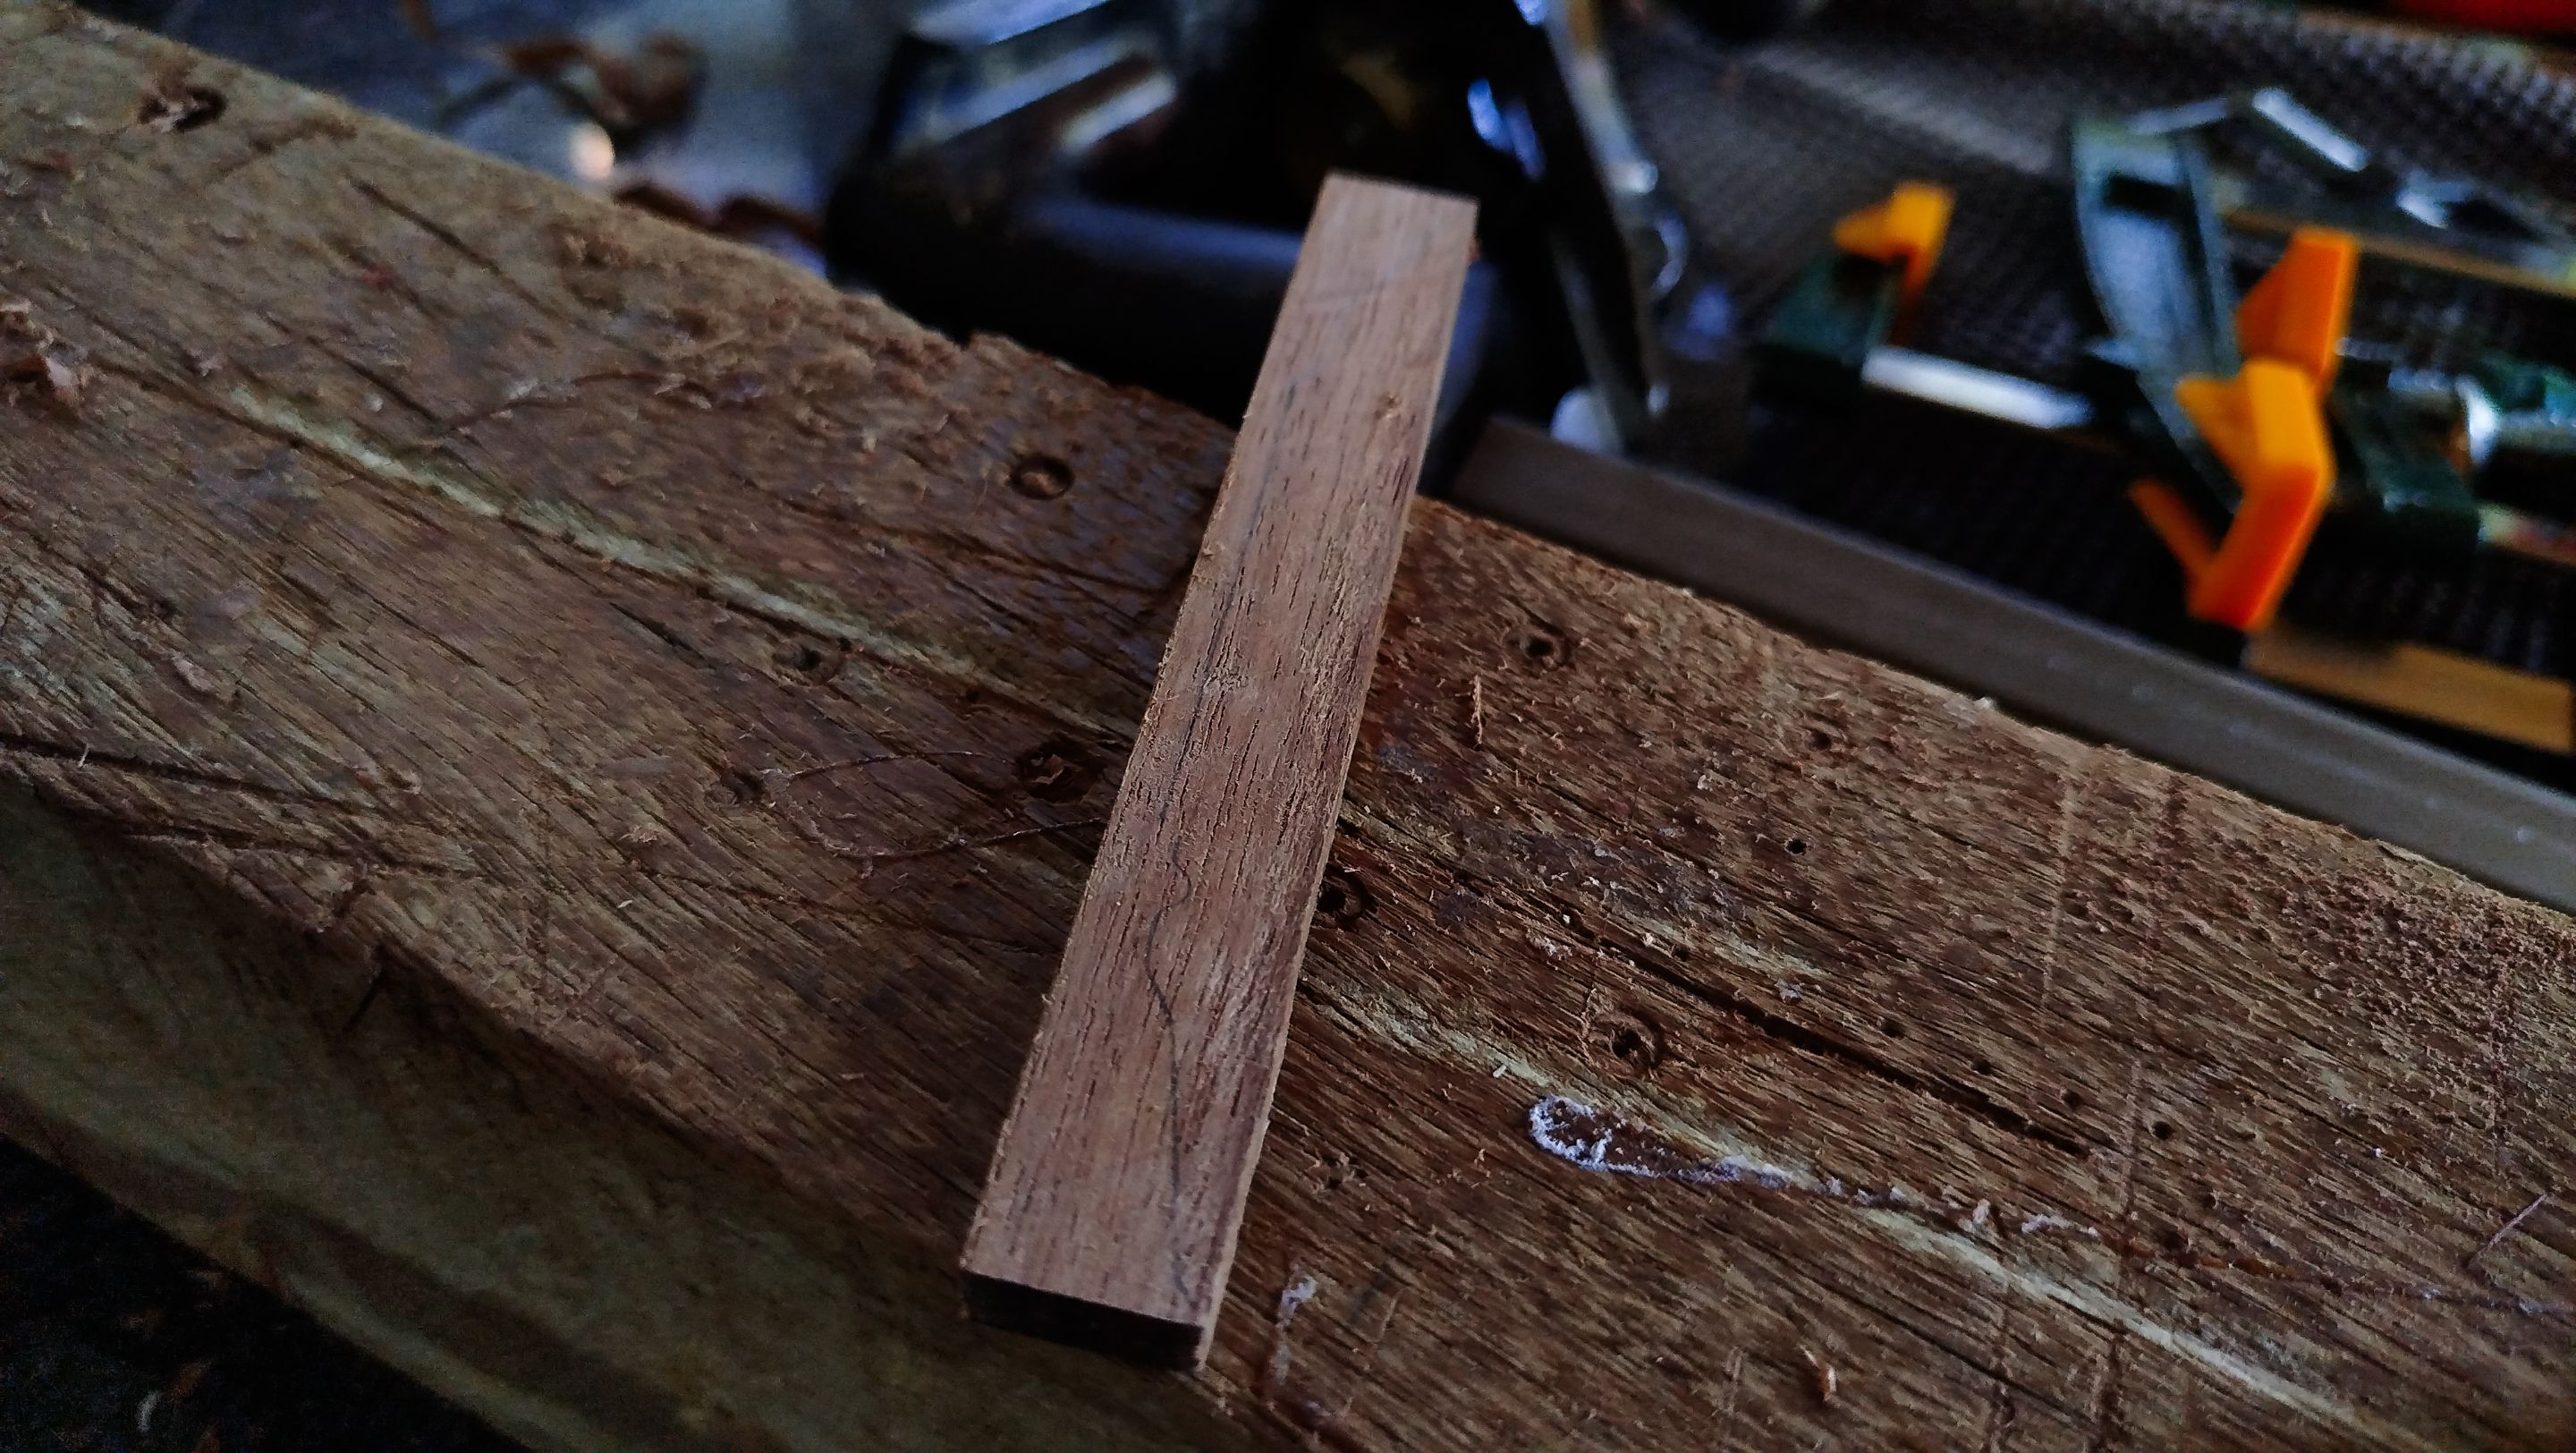
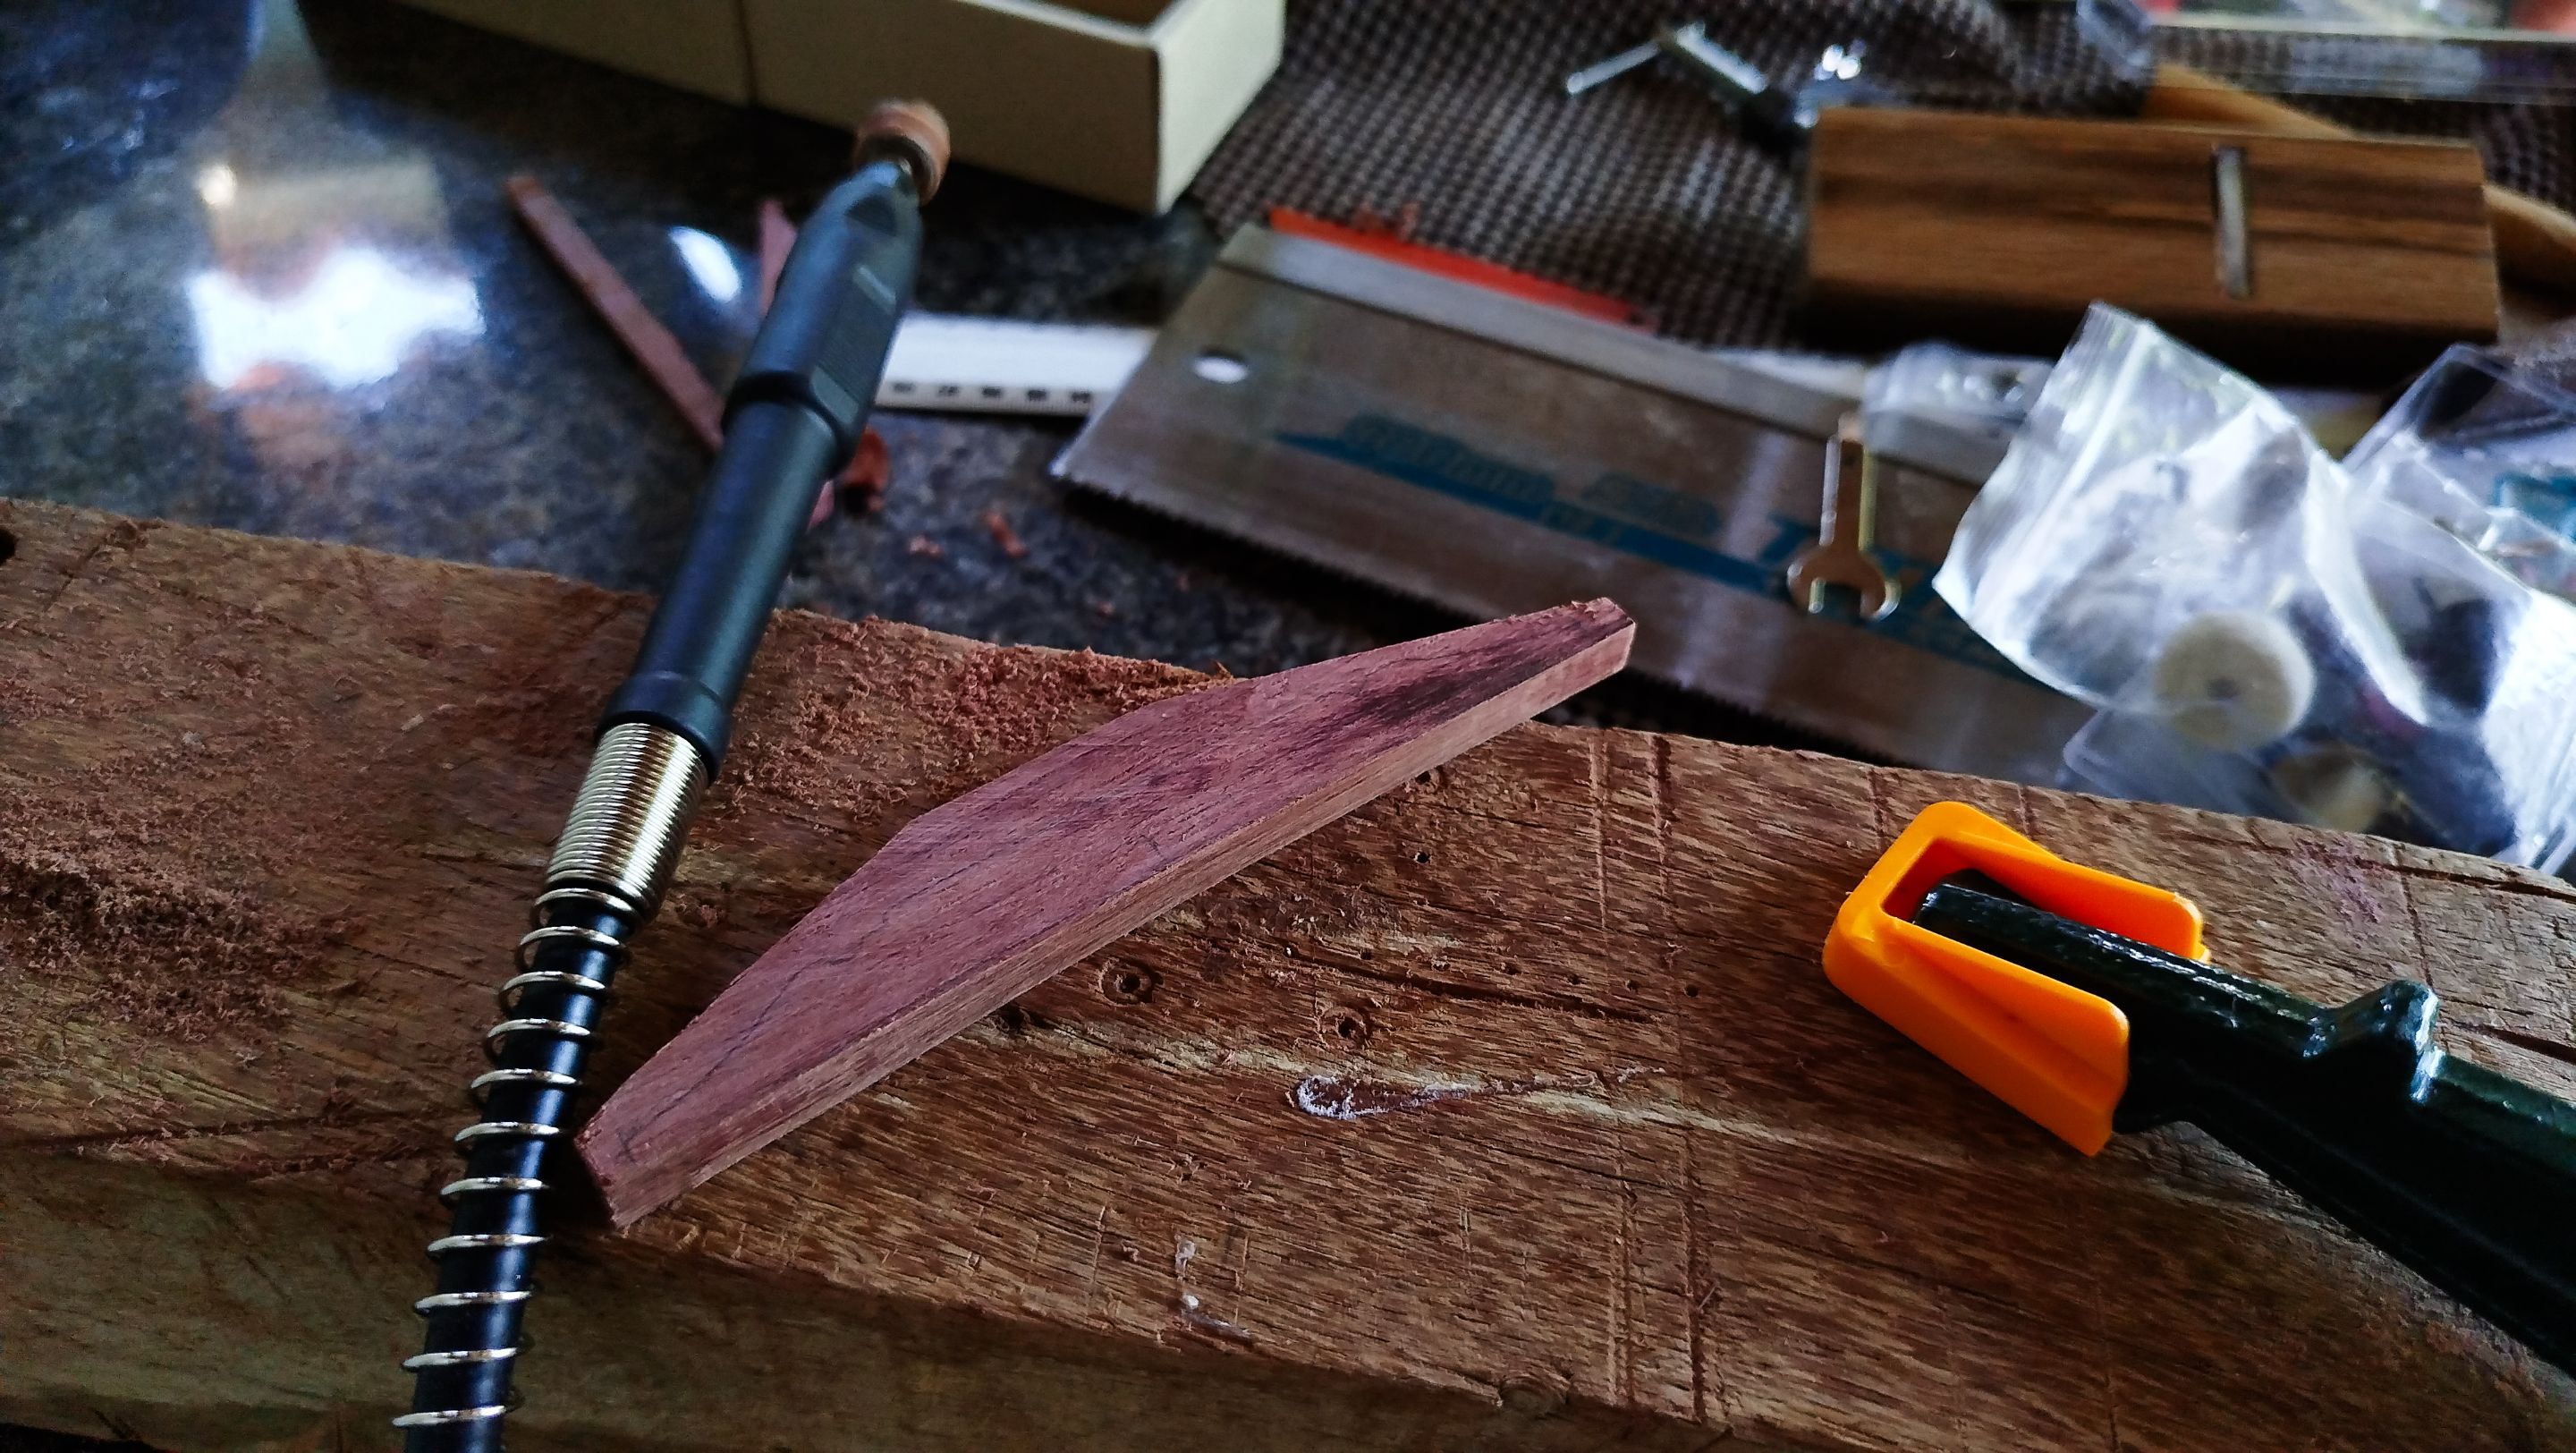
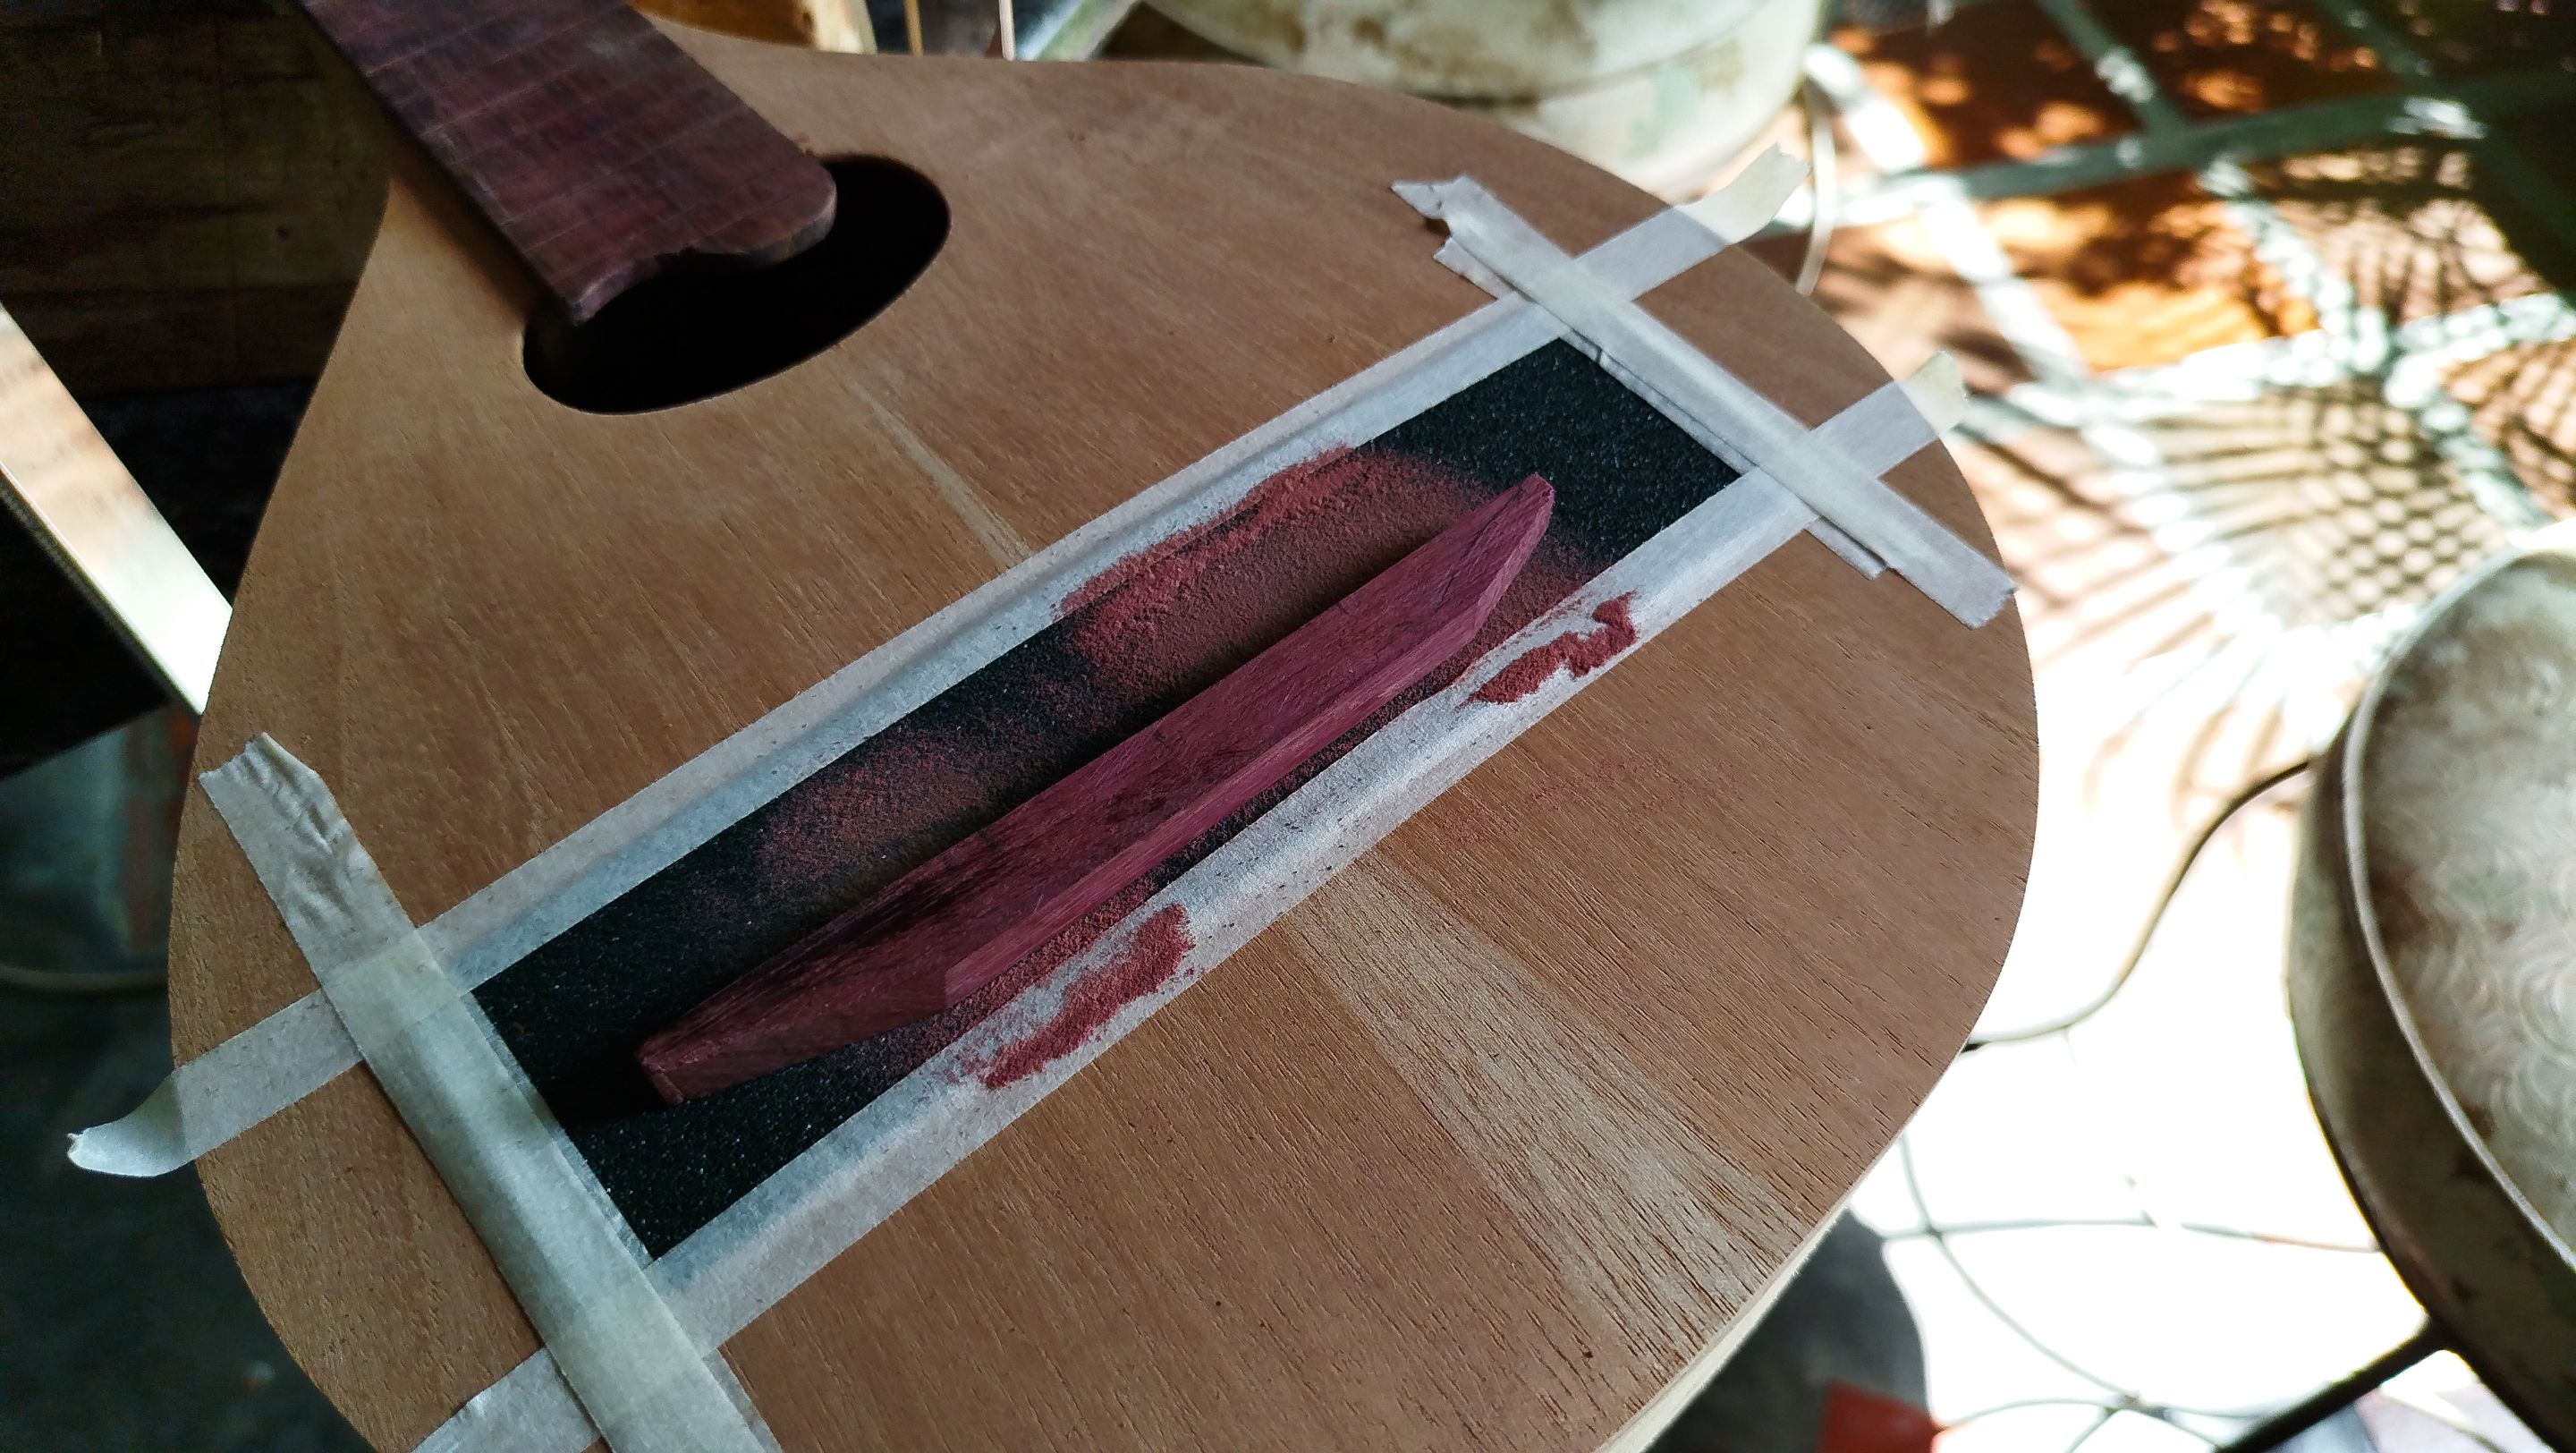
First, we take the blank and remove any marks from it using a hand plane. We are not removing a lot of material. Then we are marking the shape of the bridge on top of the blank. The next step is cutting some pieces our of it to have the rough shape. This is like a pyramid with with long base. To create the curve of the bottom part of the bridge, we use a piece of sandpaper with some masking tape on top of the sound board around the area where the bridge will rest. Remember this piece is not glued onto the instrument. The strings are the ones that hold the bridge in place.
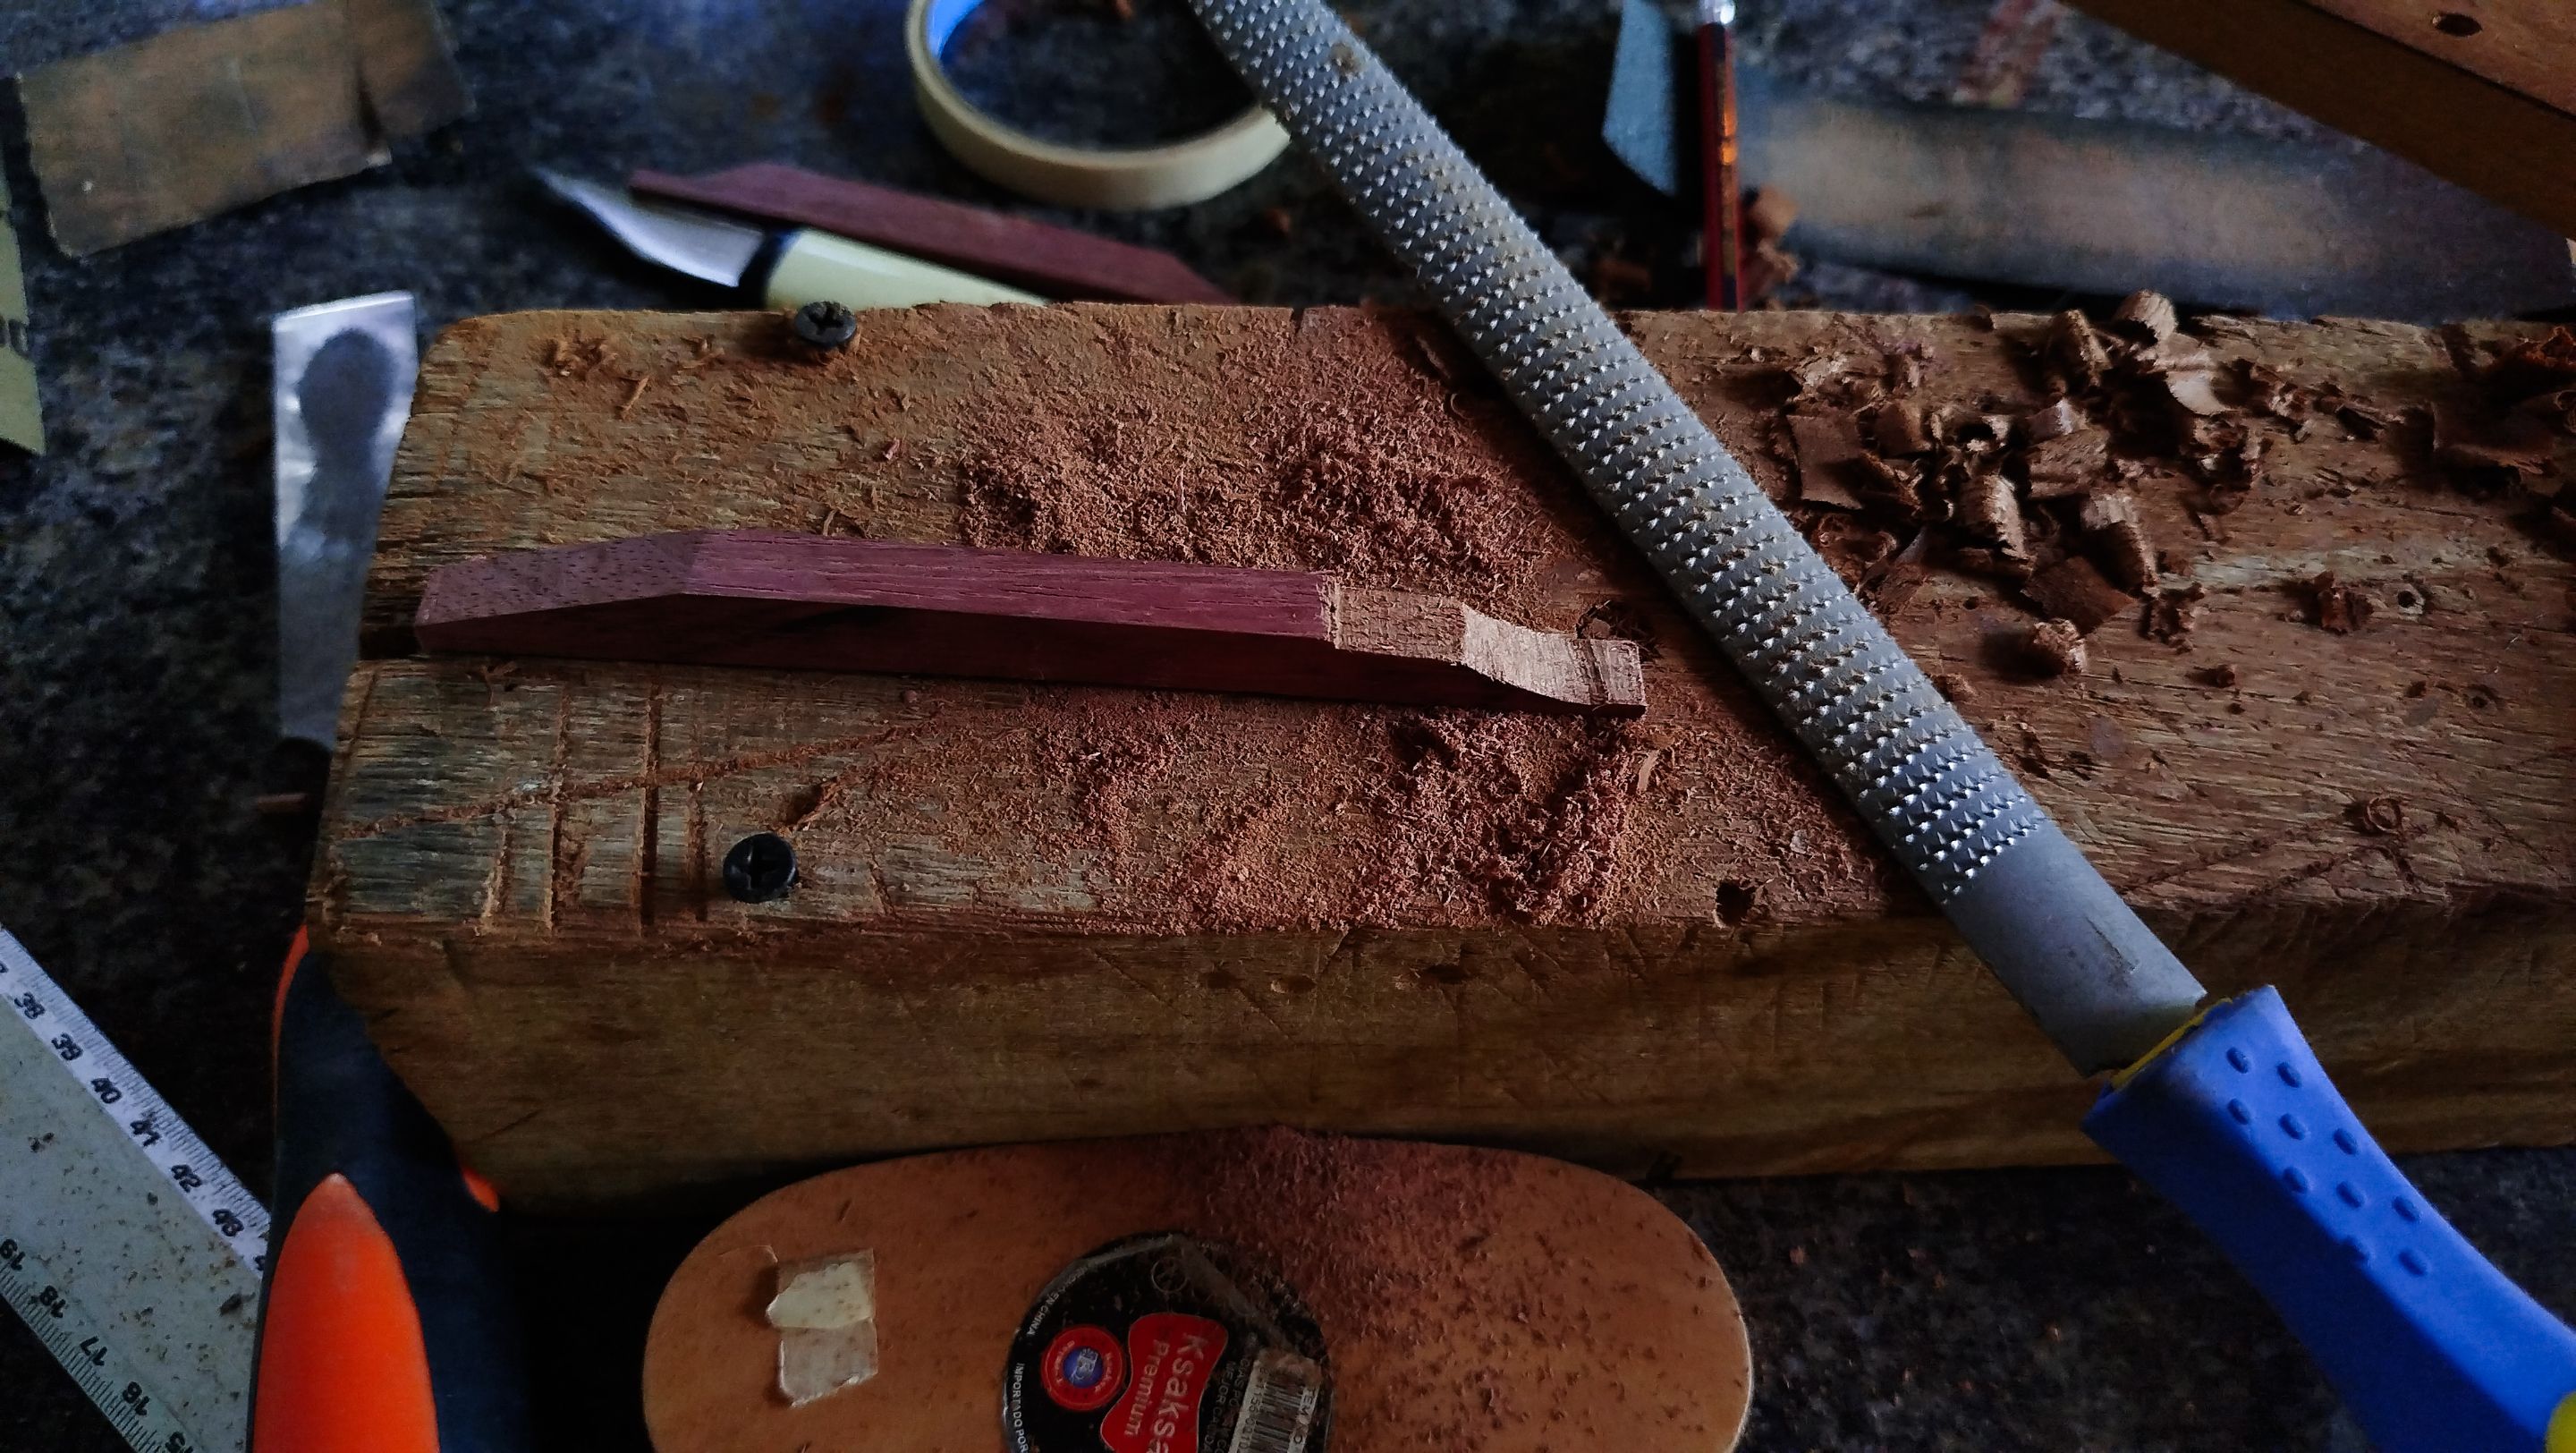
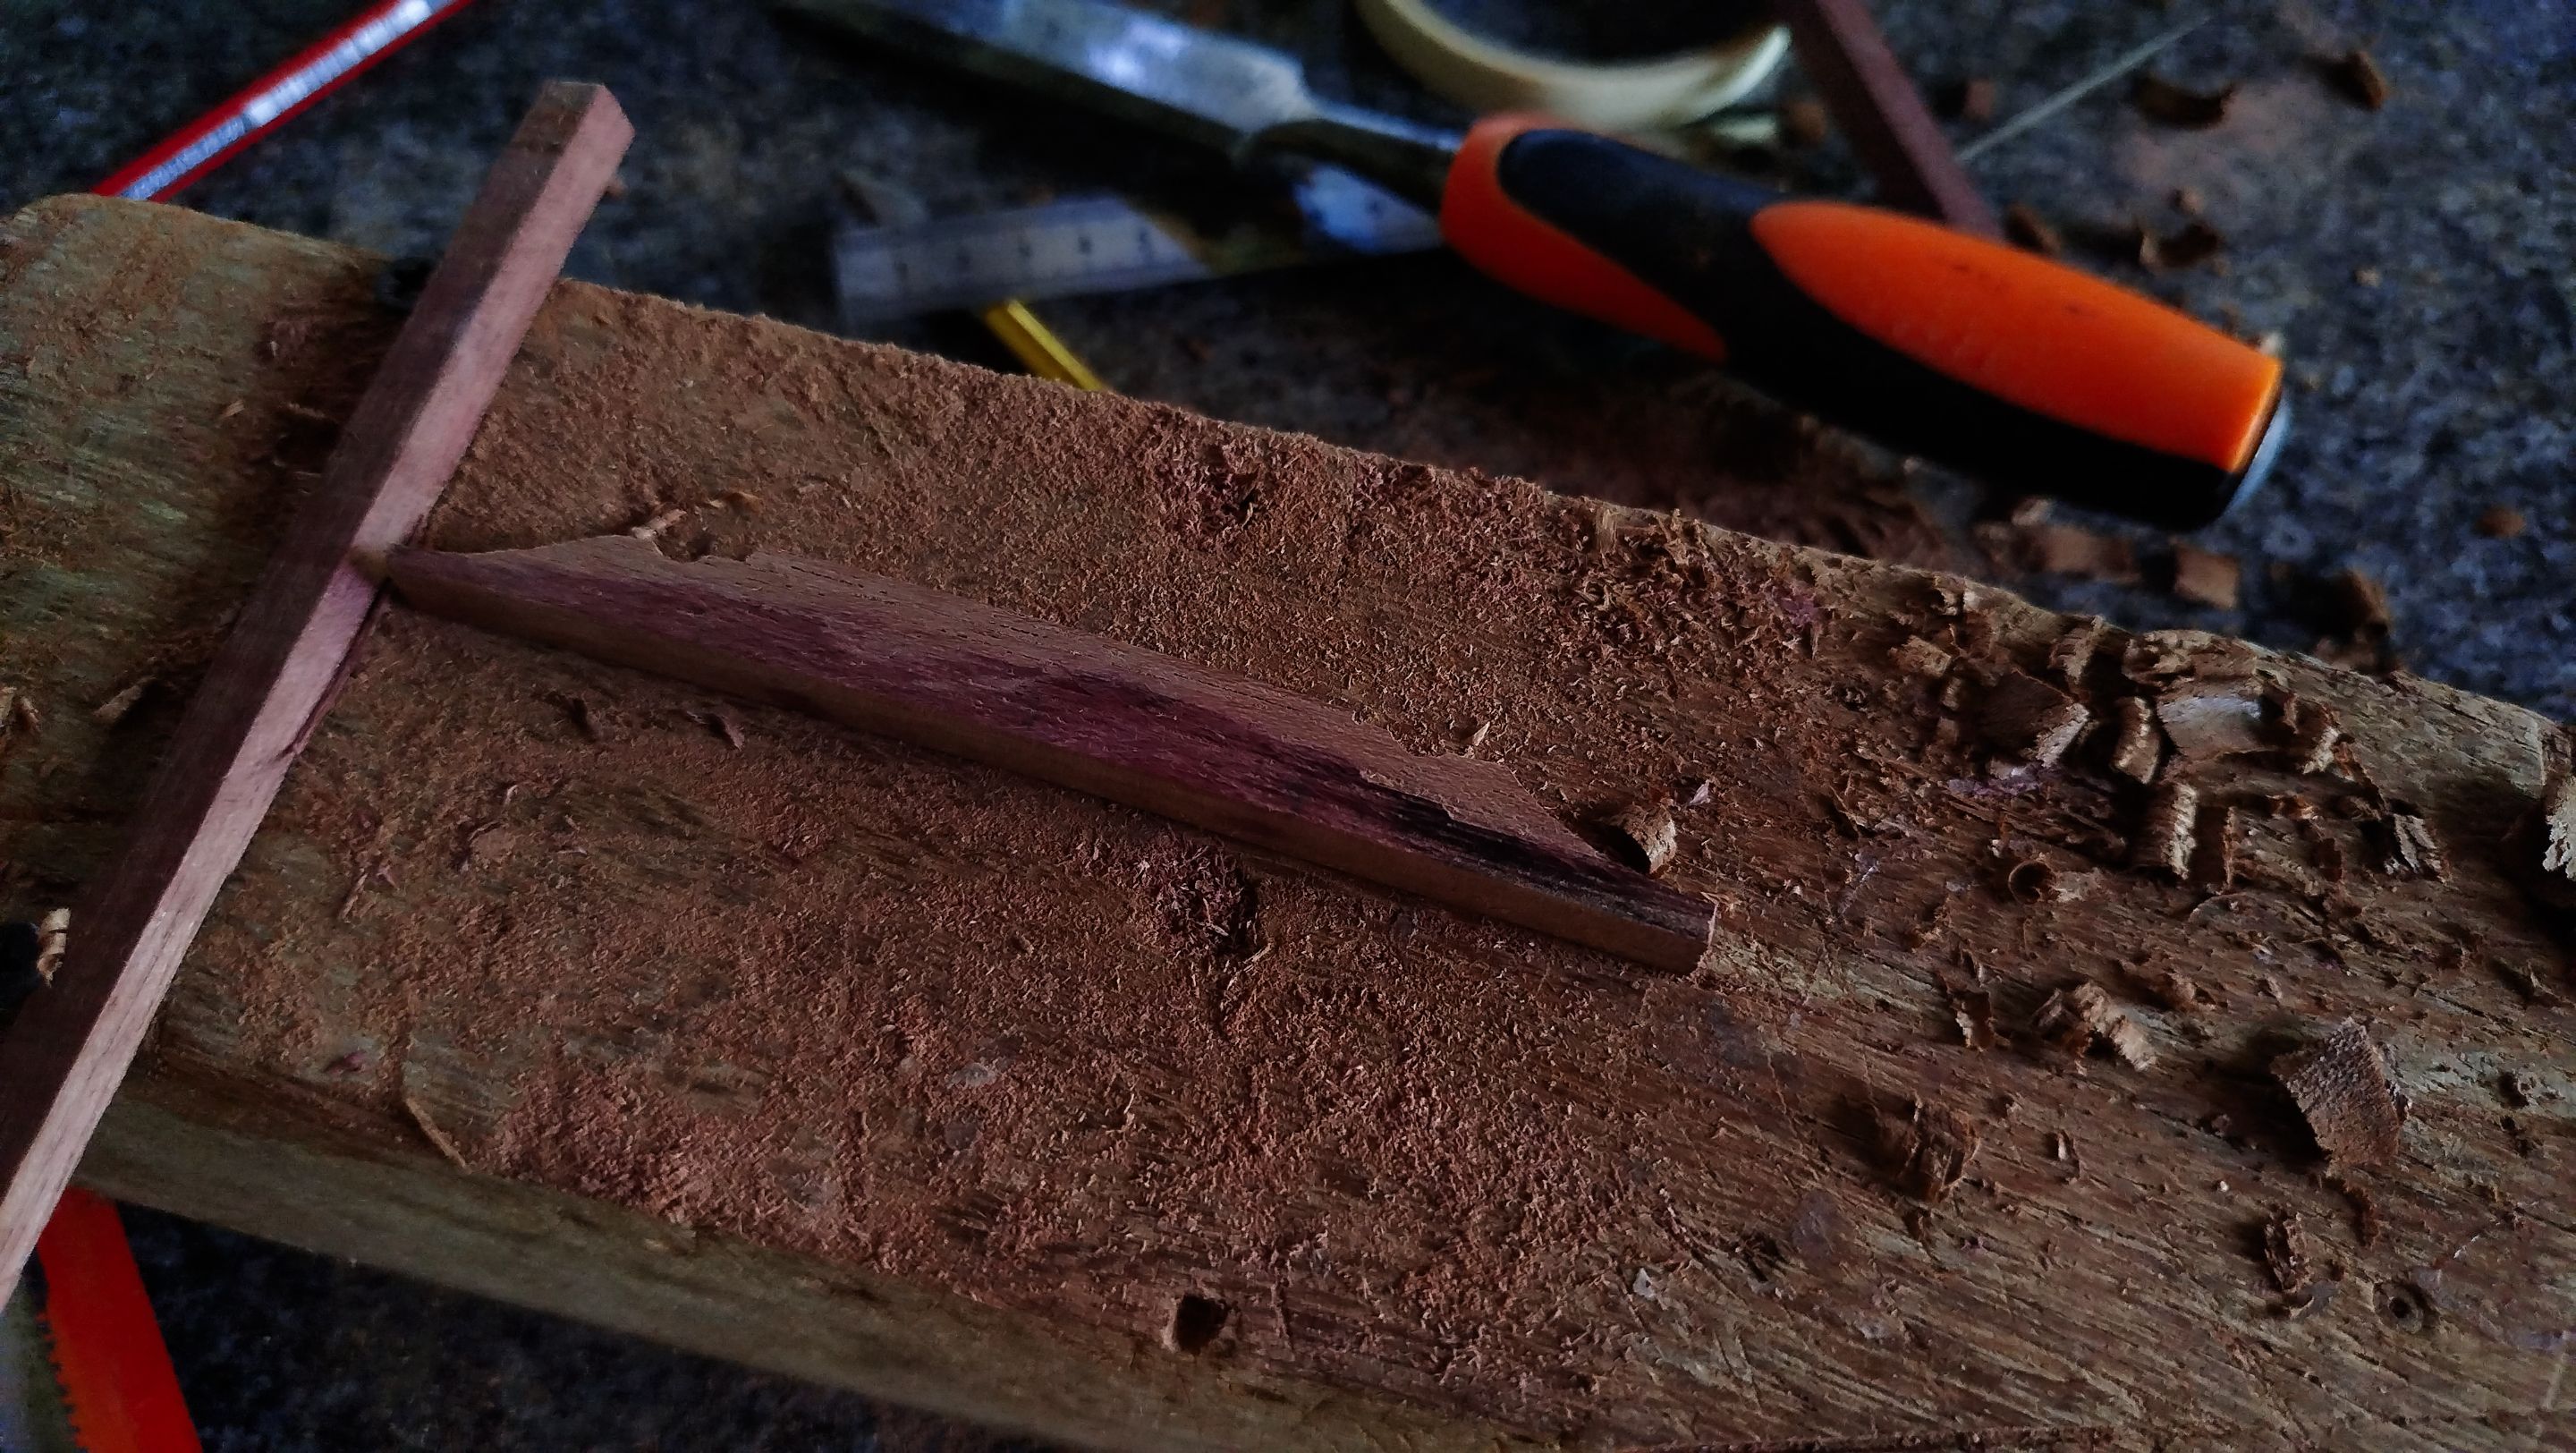
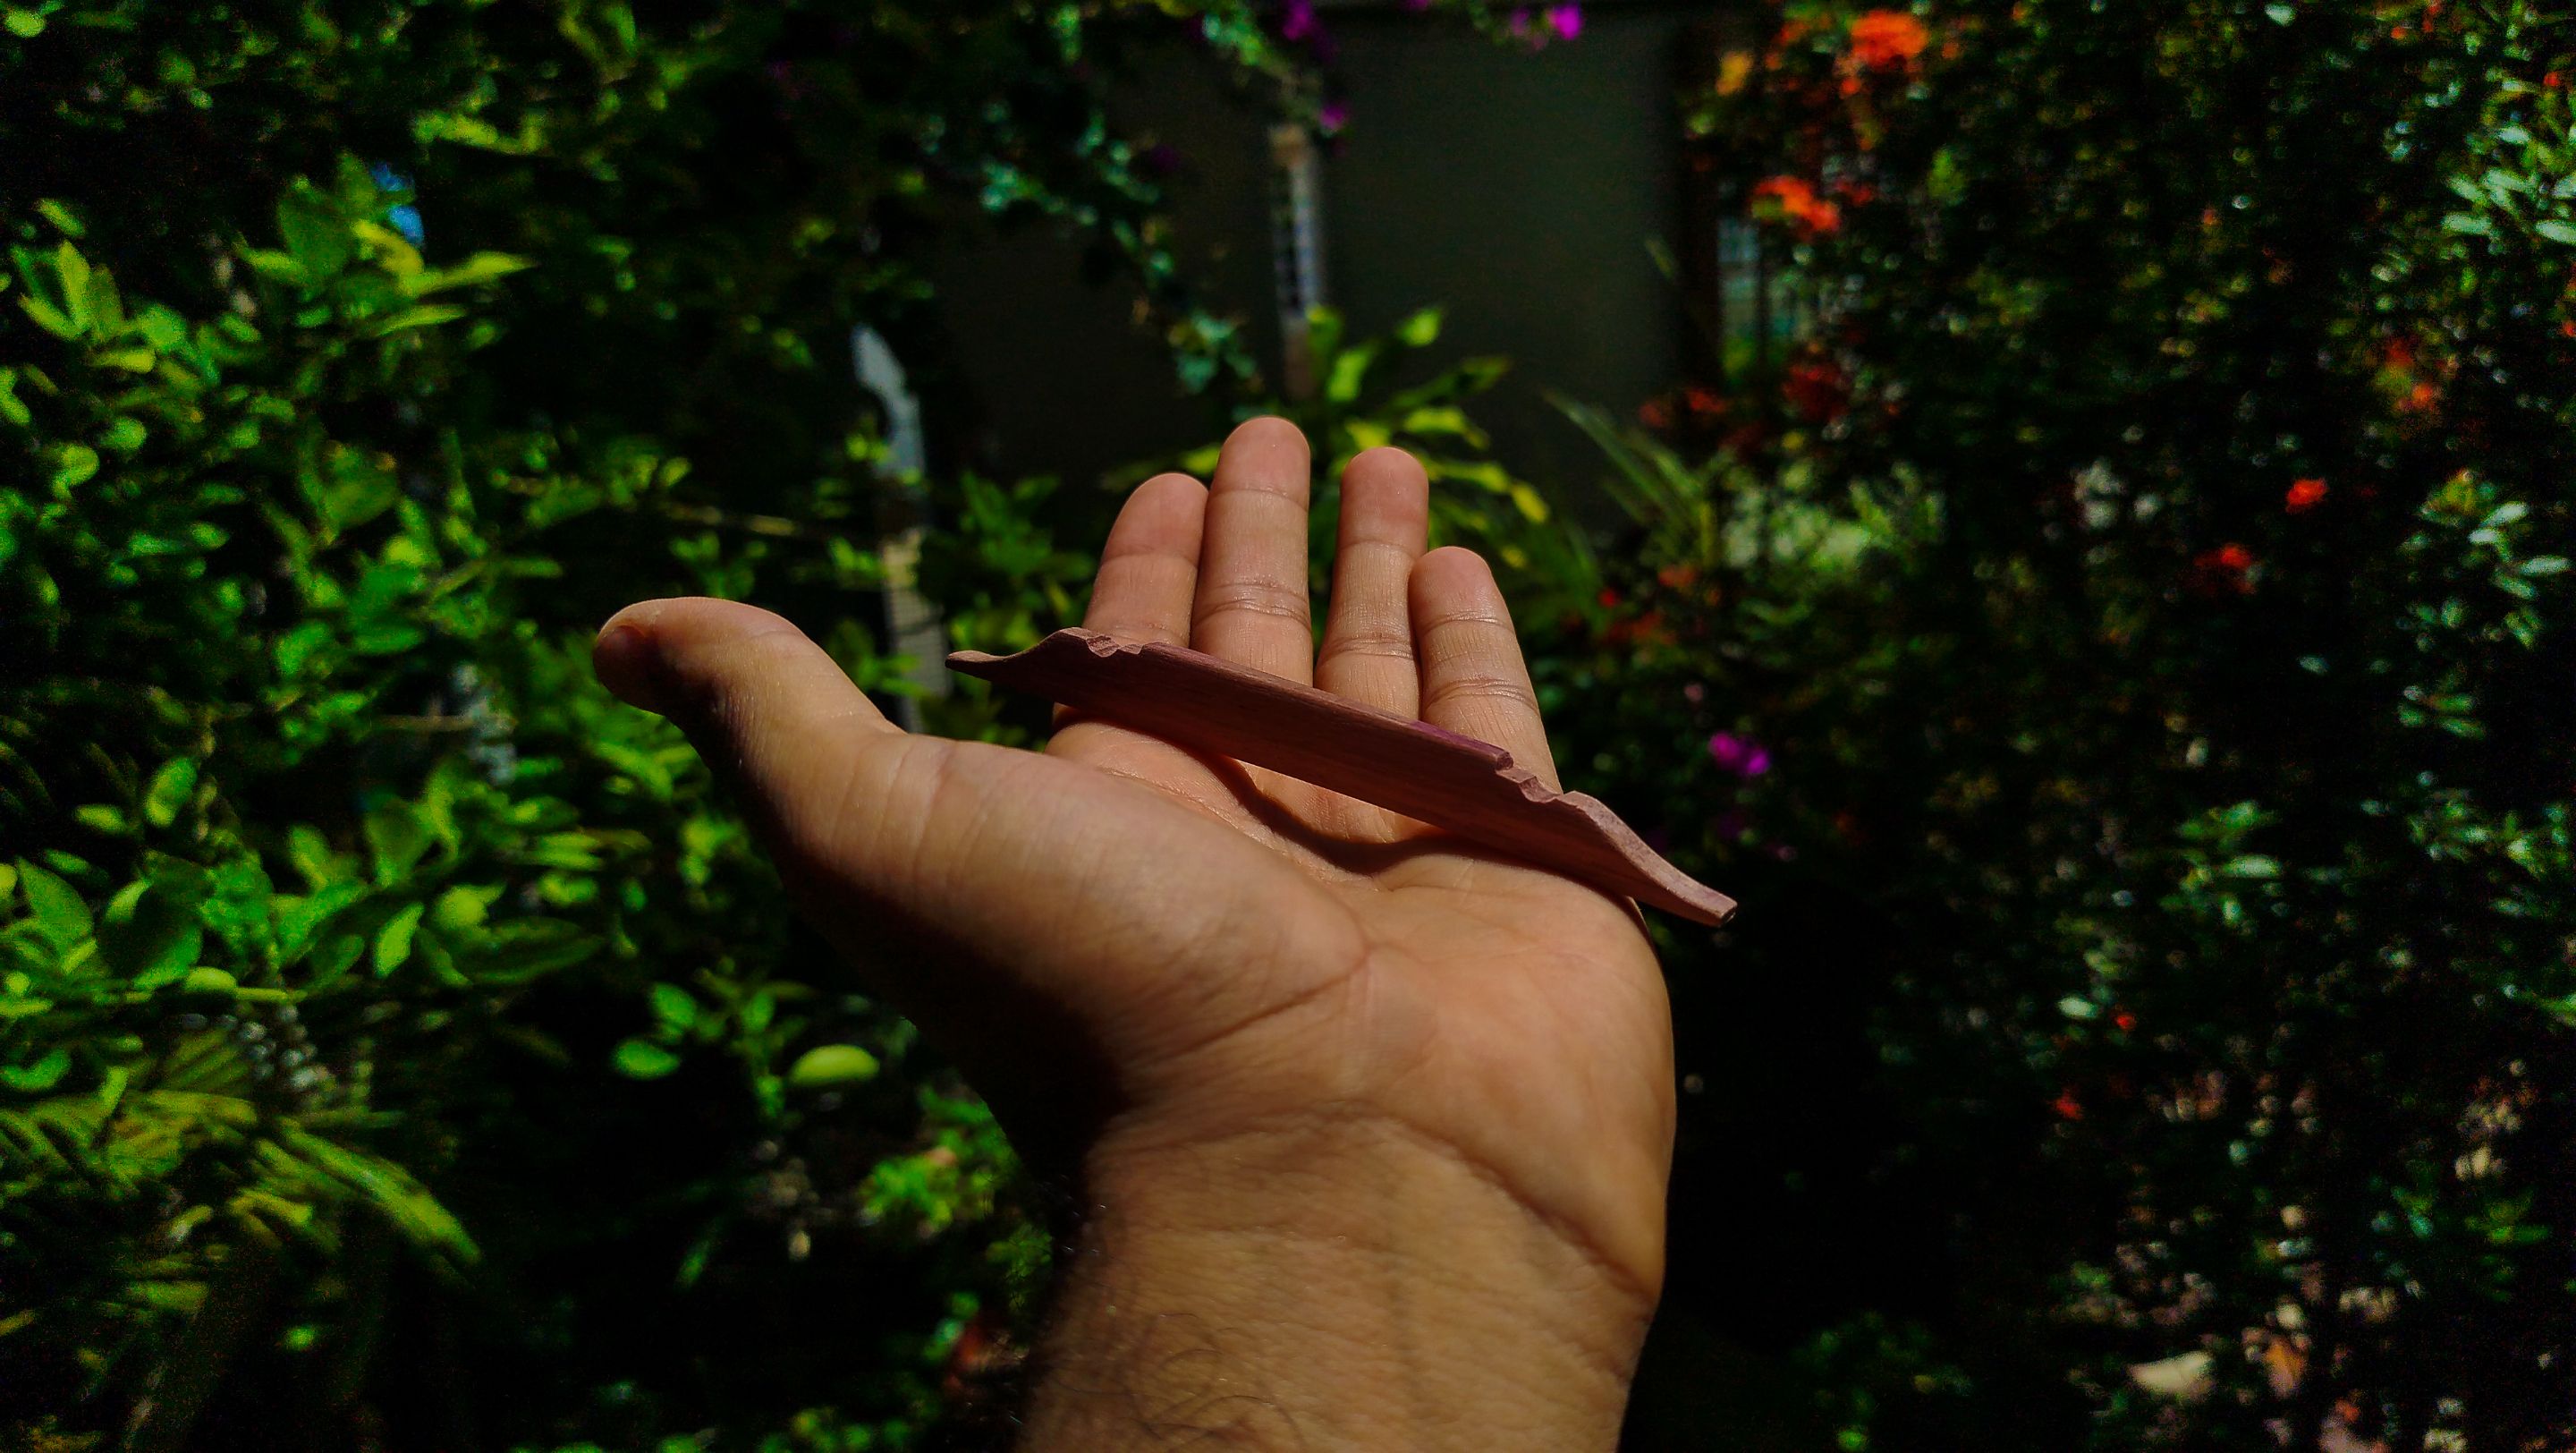
Now we can start carving the shape on the top of the bridge. We are using all the tools we can. We use the raps to finish carving the big parts. Then we use files to carve the curves to adorn the bridge. We sand some of this. However, we are not going to finish the shape of the bridge. Once we are ready to put the strings, we will need to make some slots on the bridge to hold the strings apart from each other.
Fretboard sanding
Swipe to see the photos
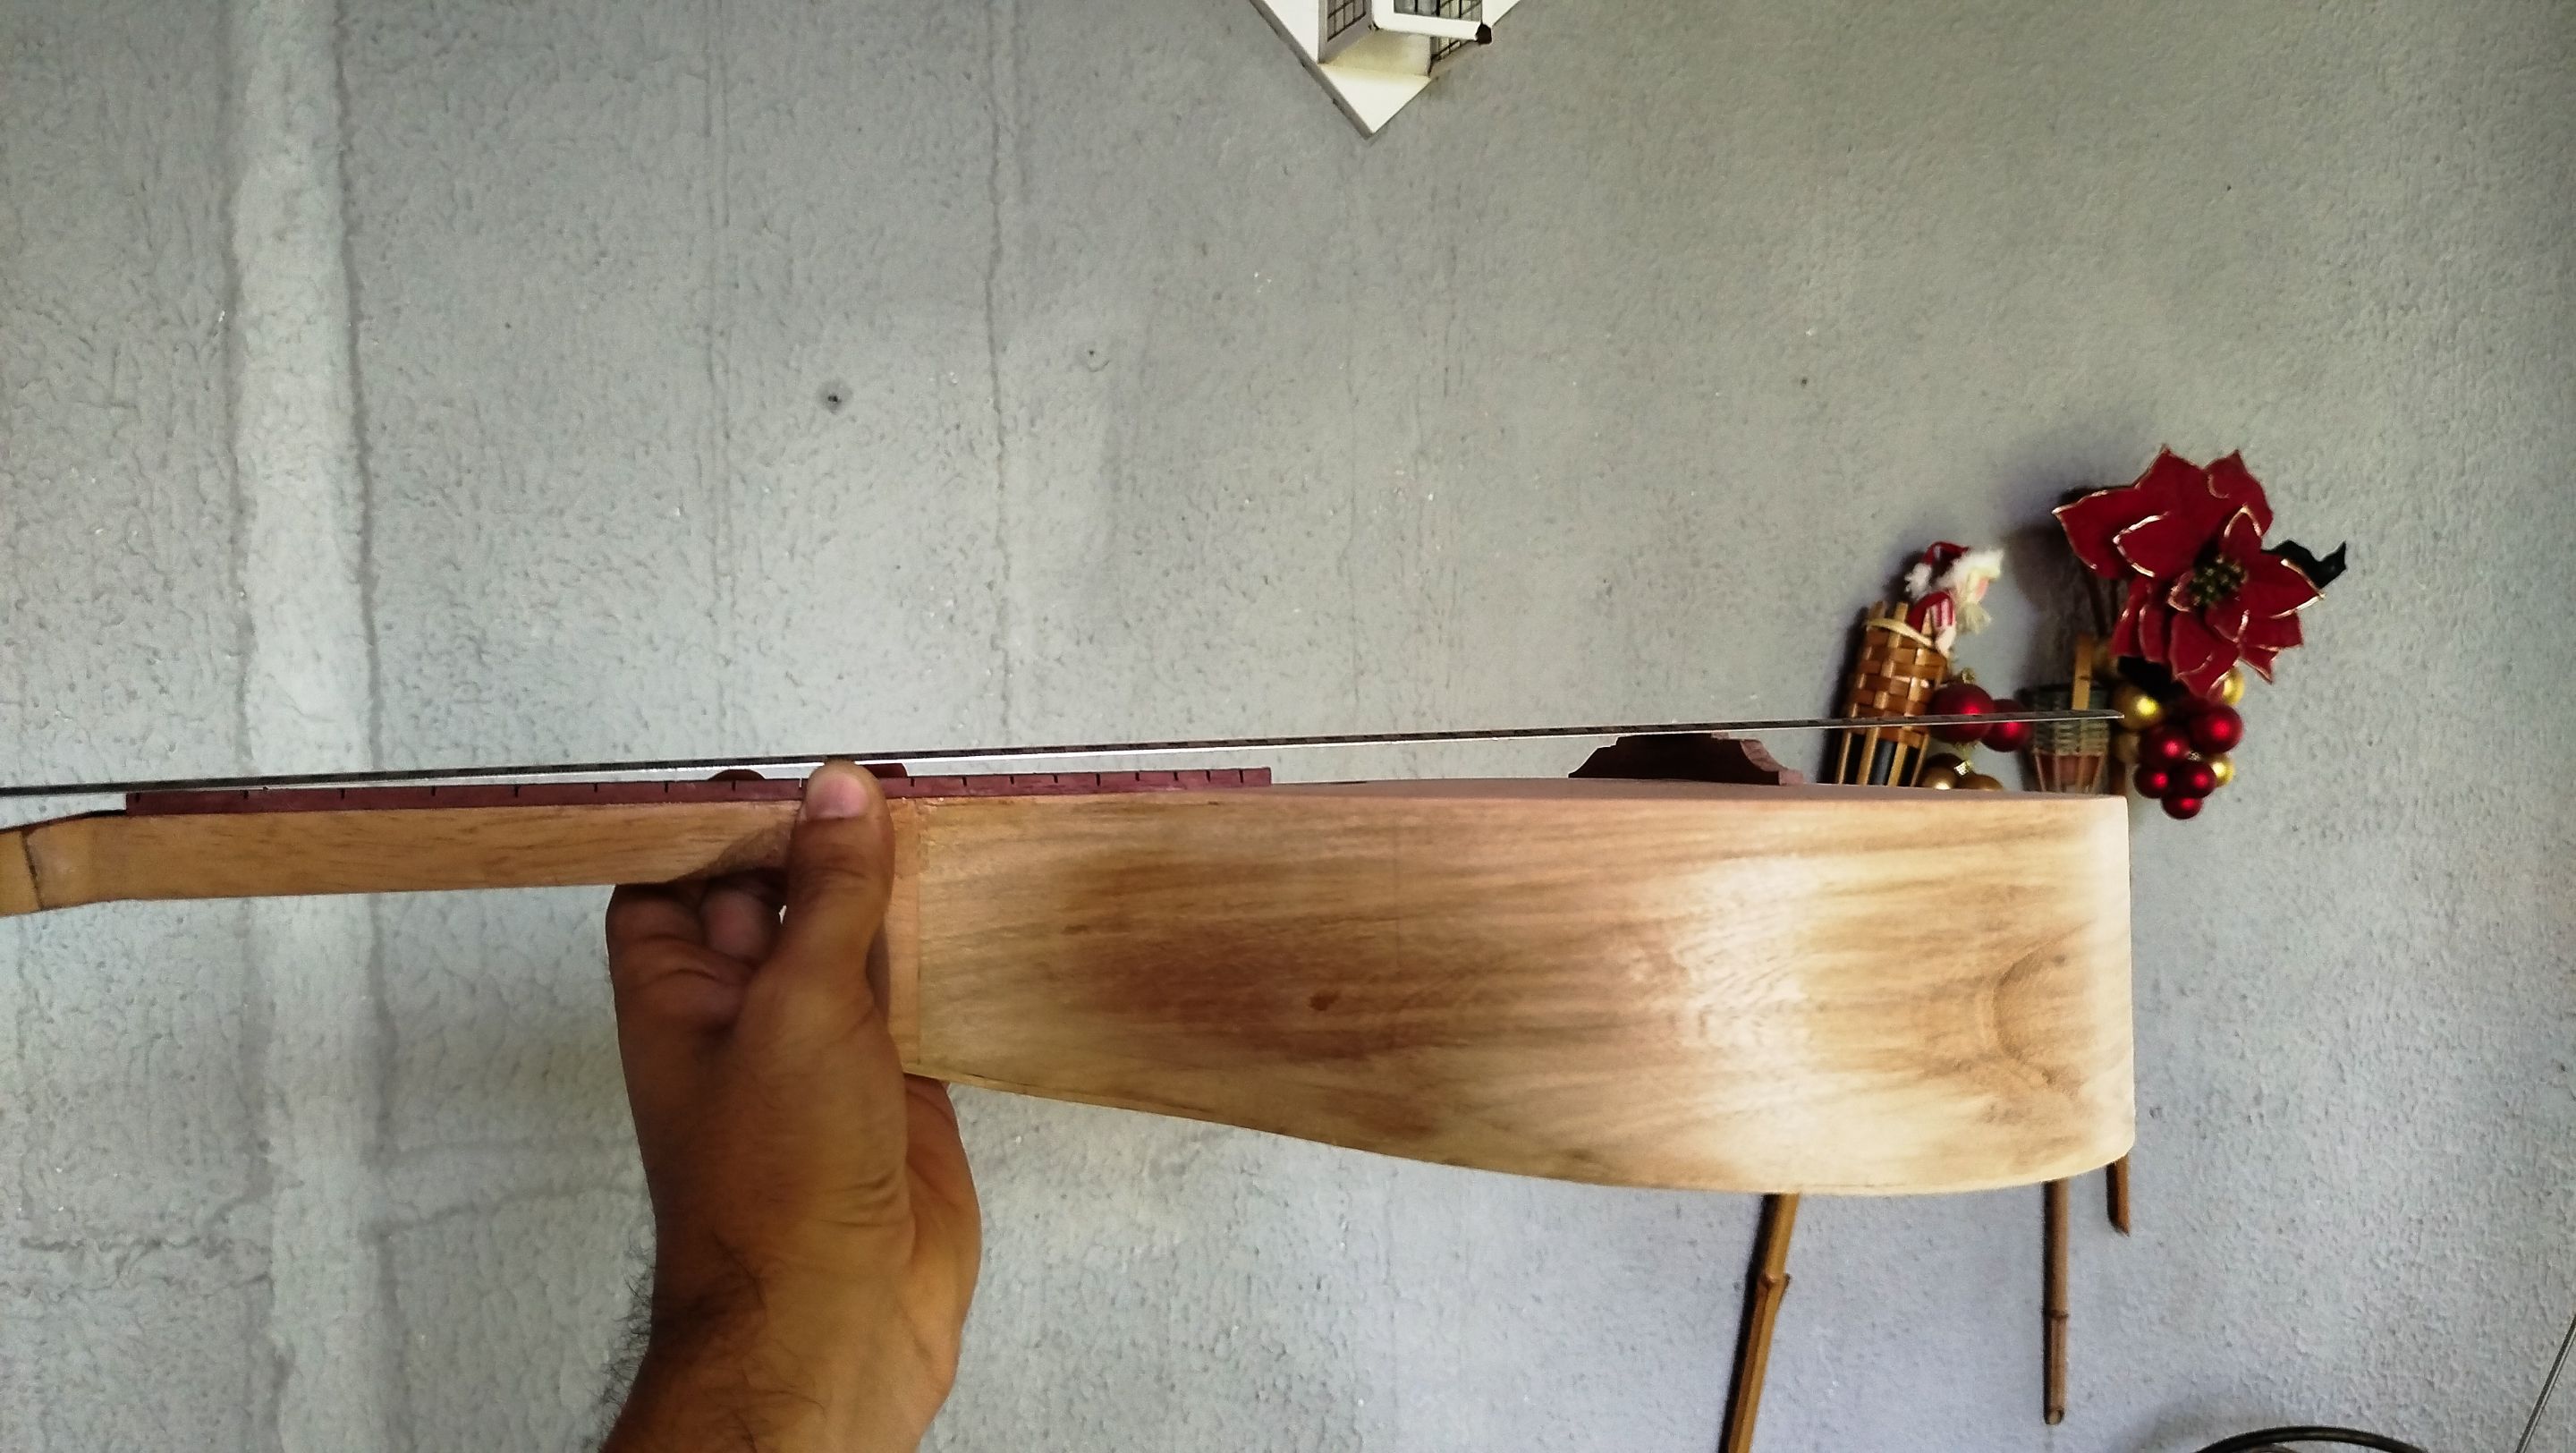
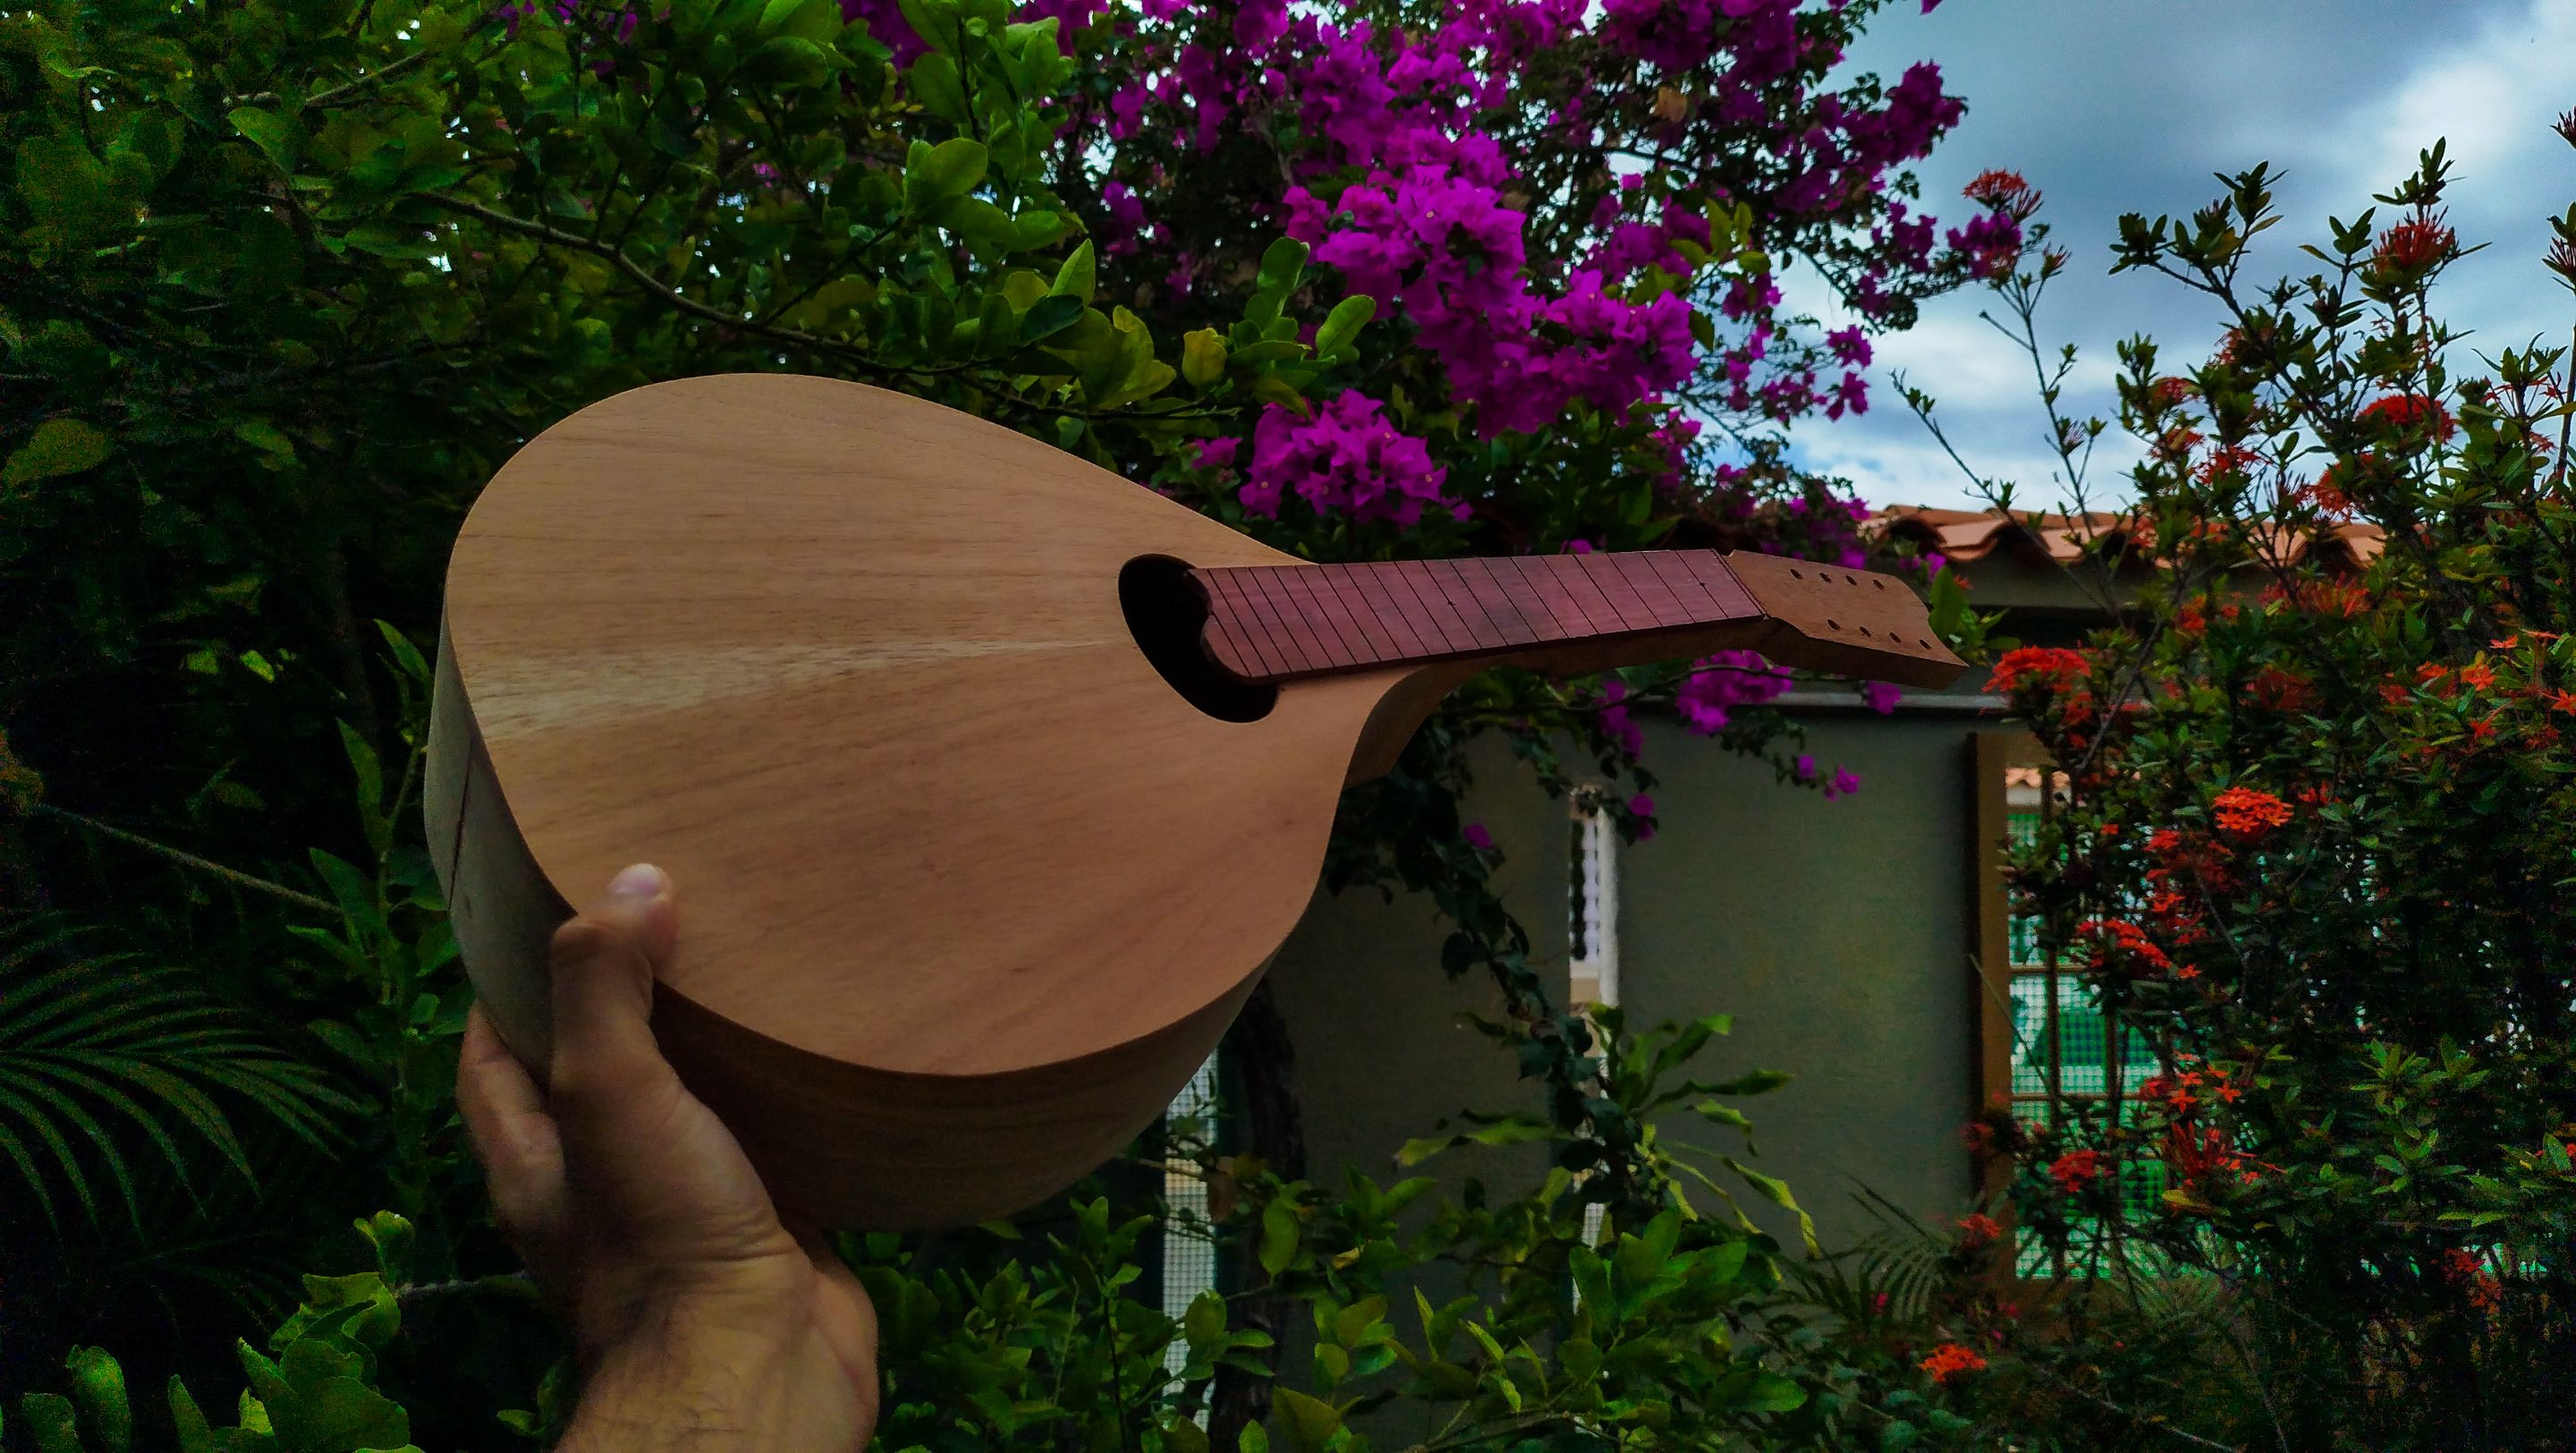
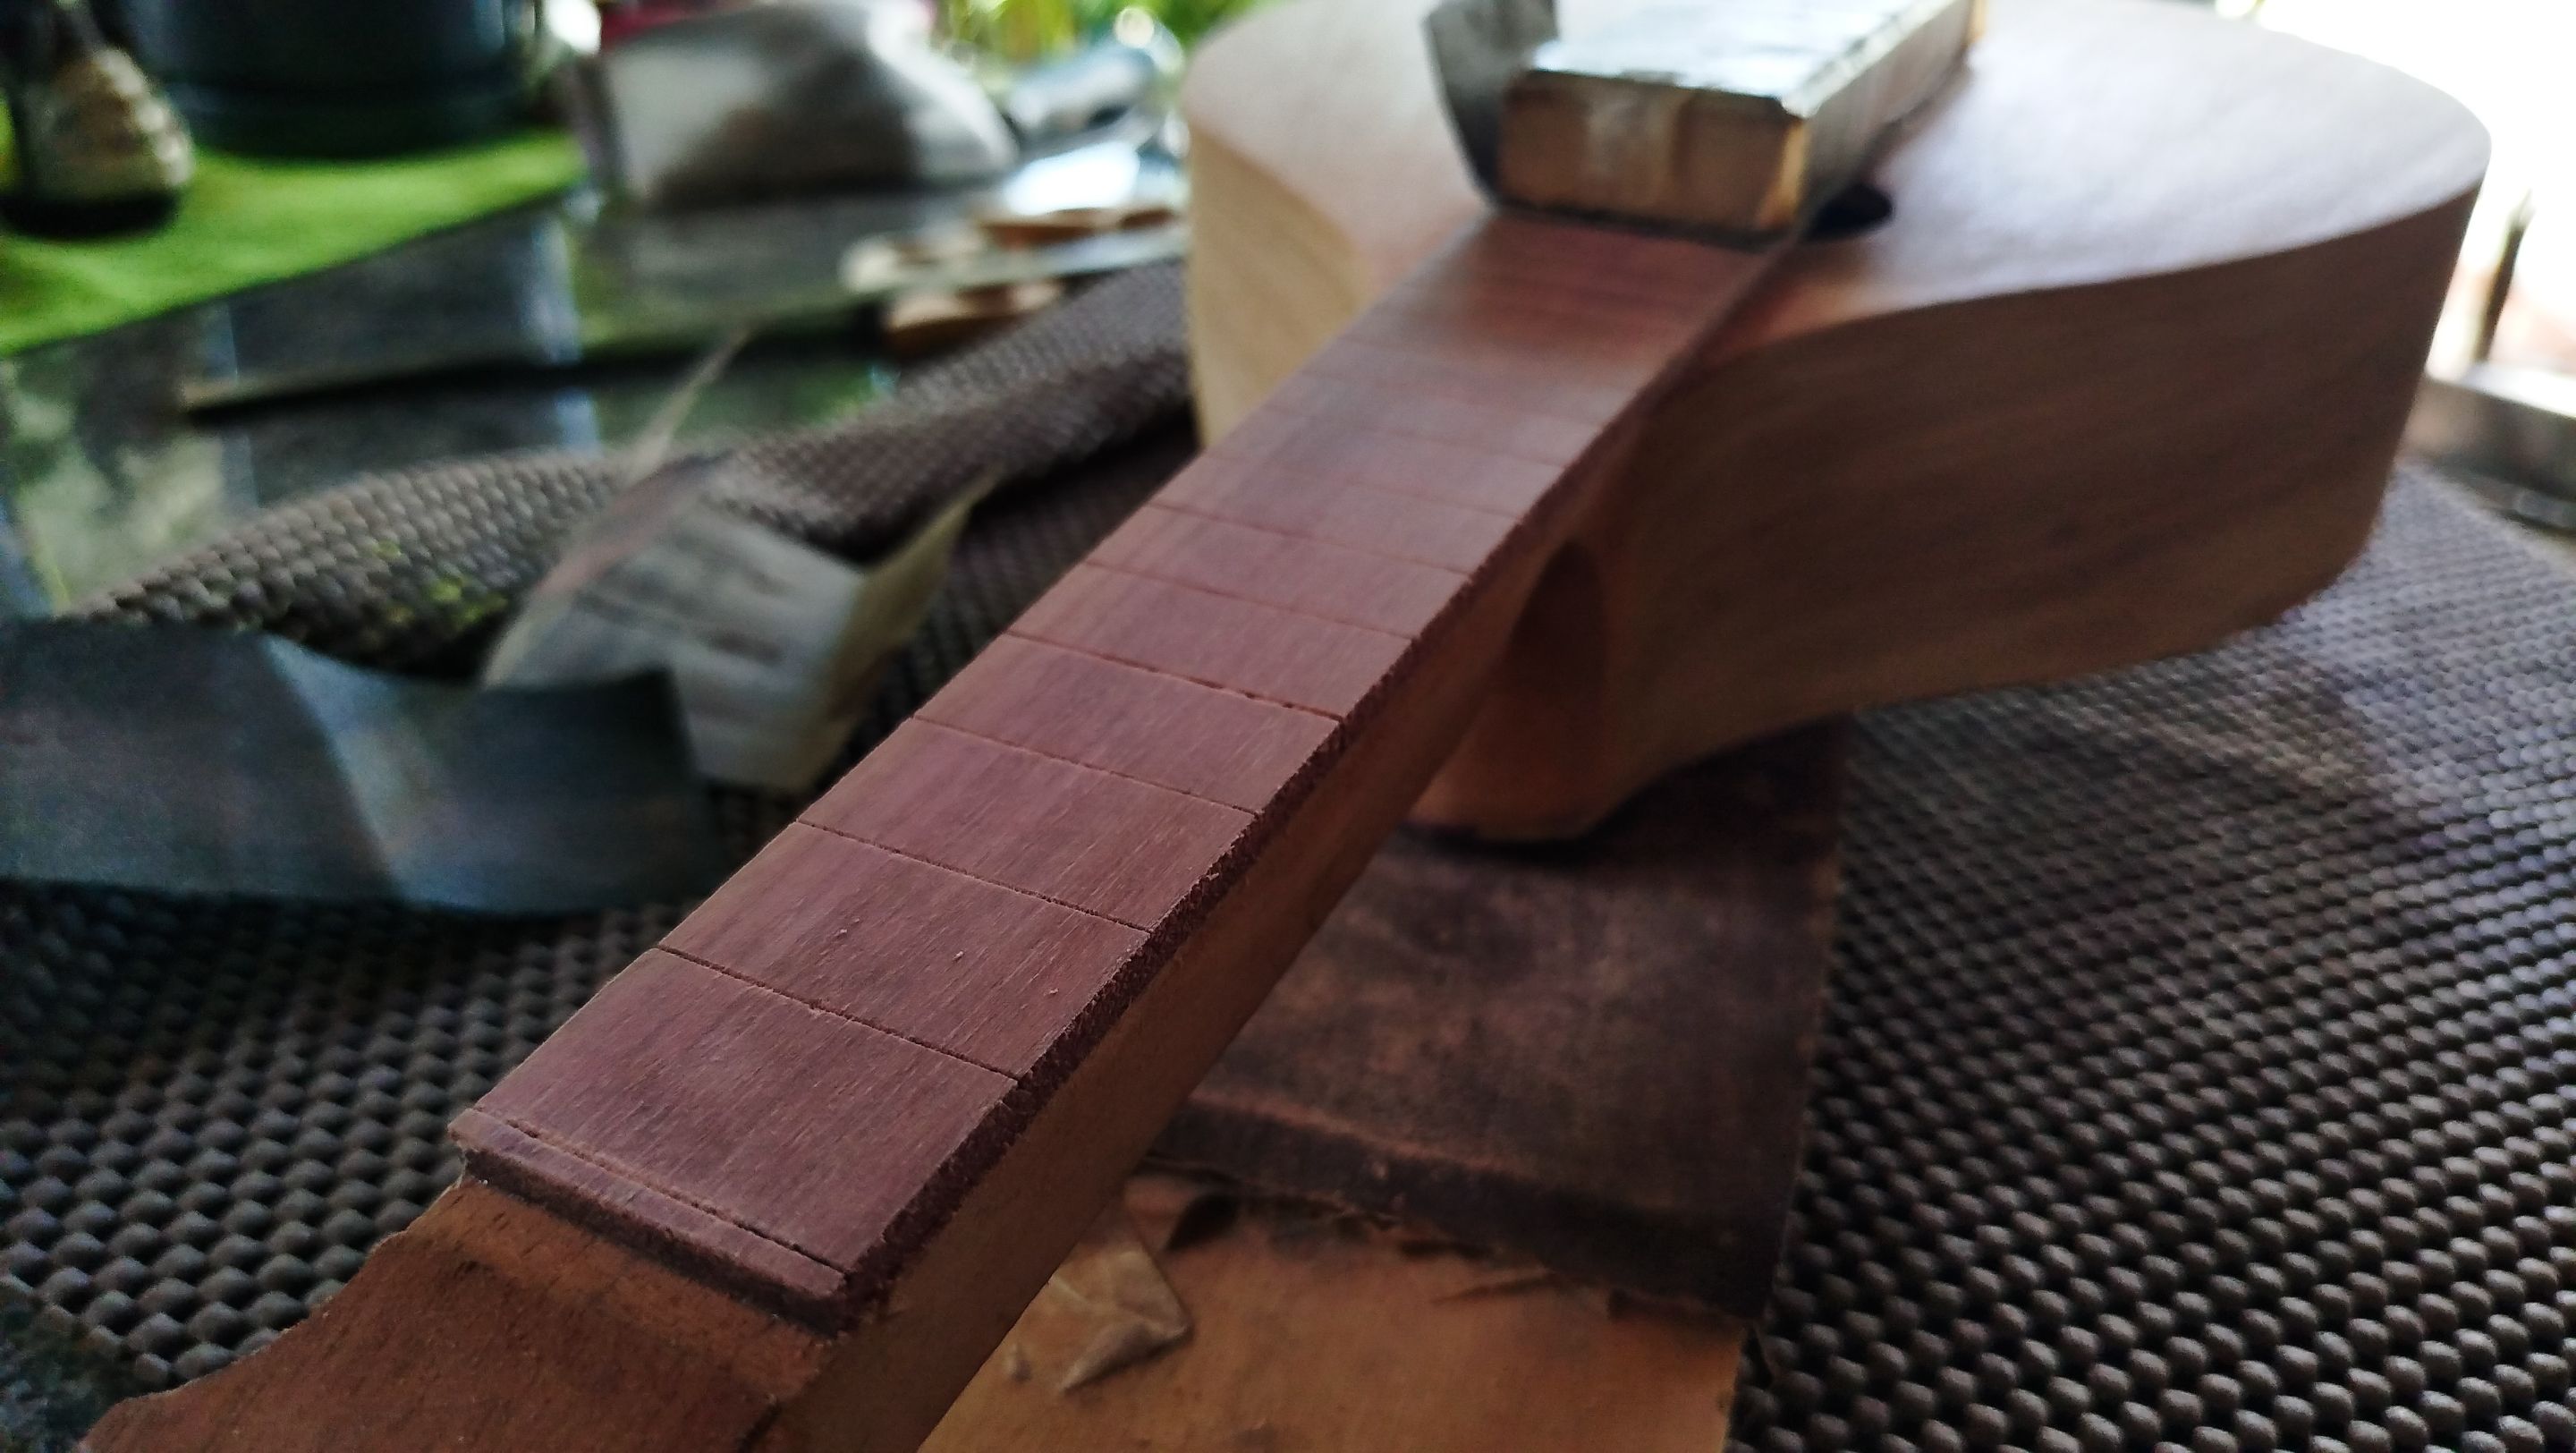
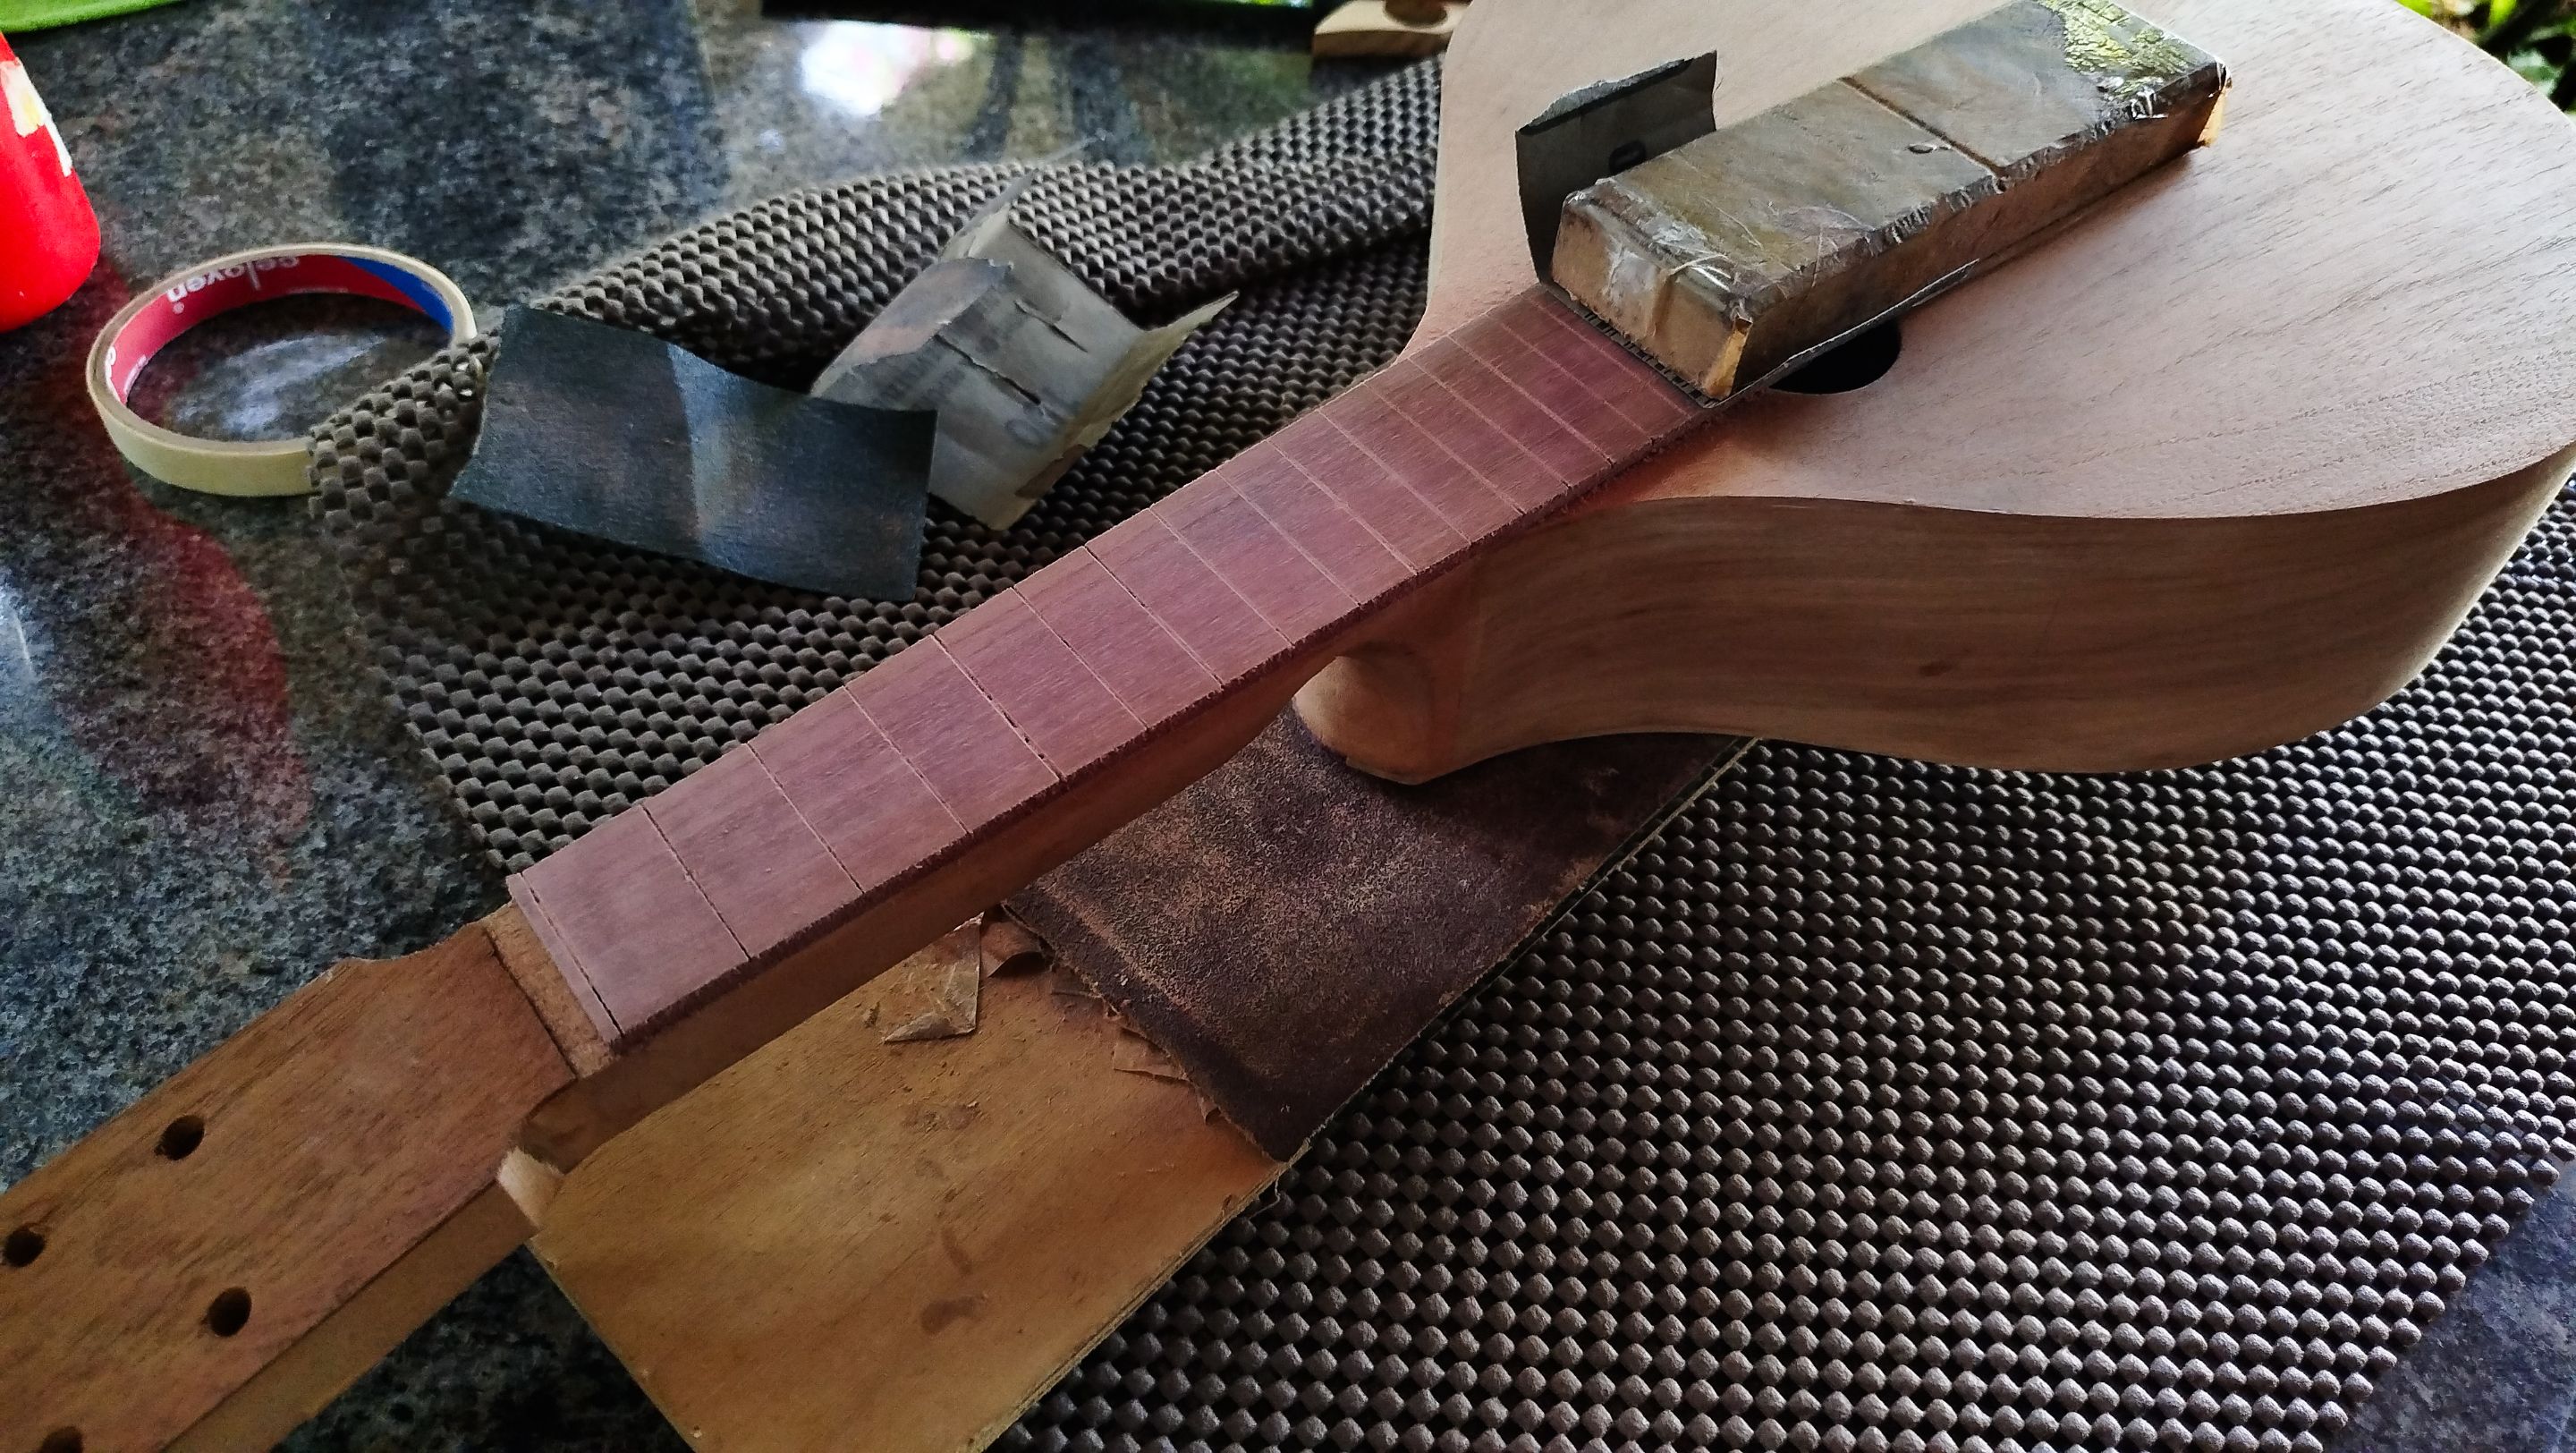
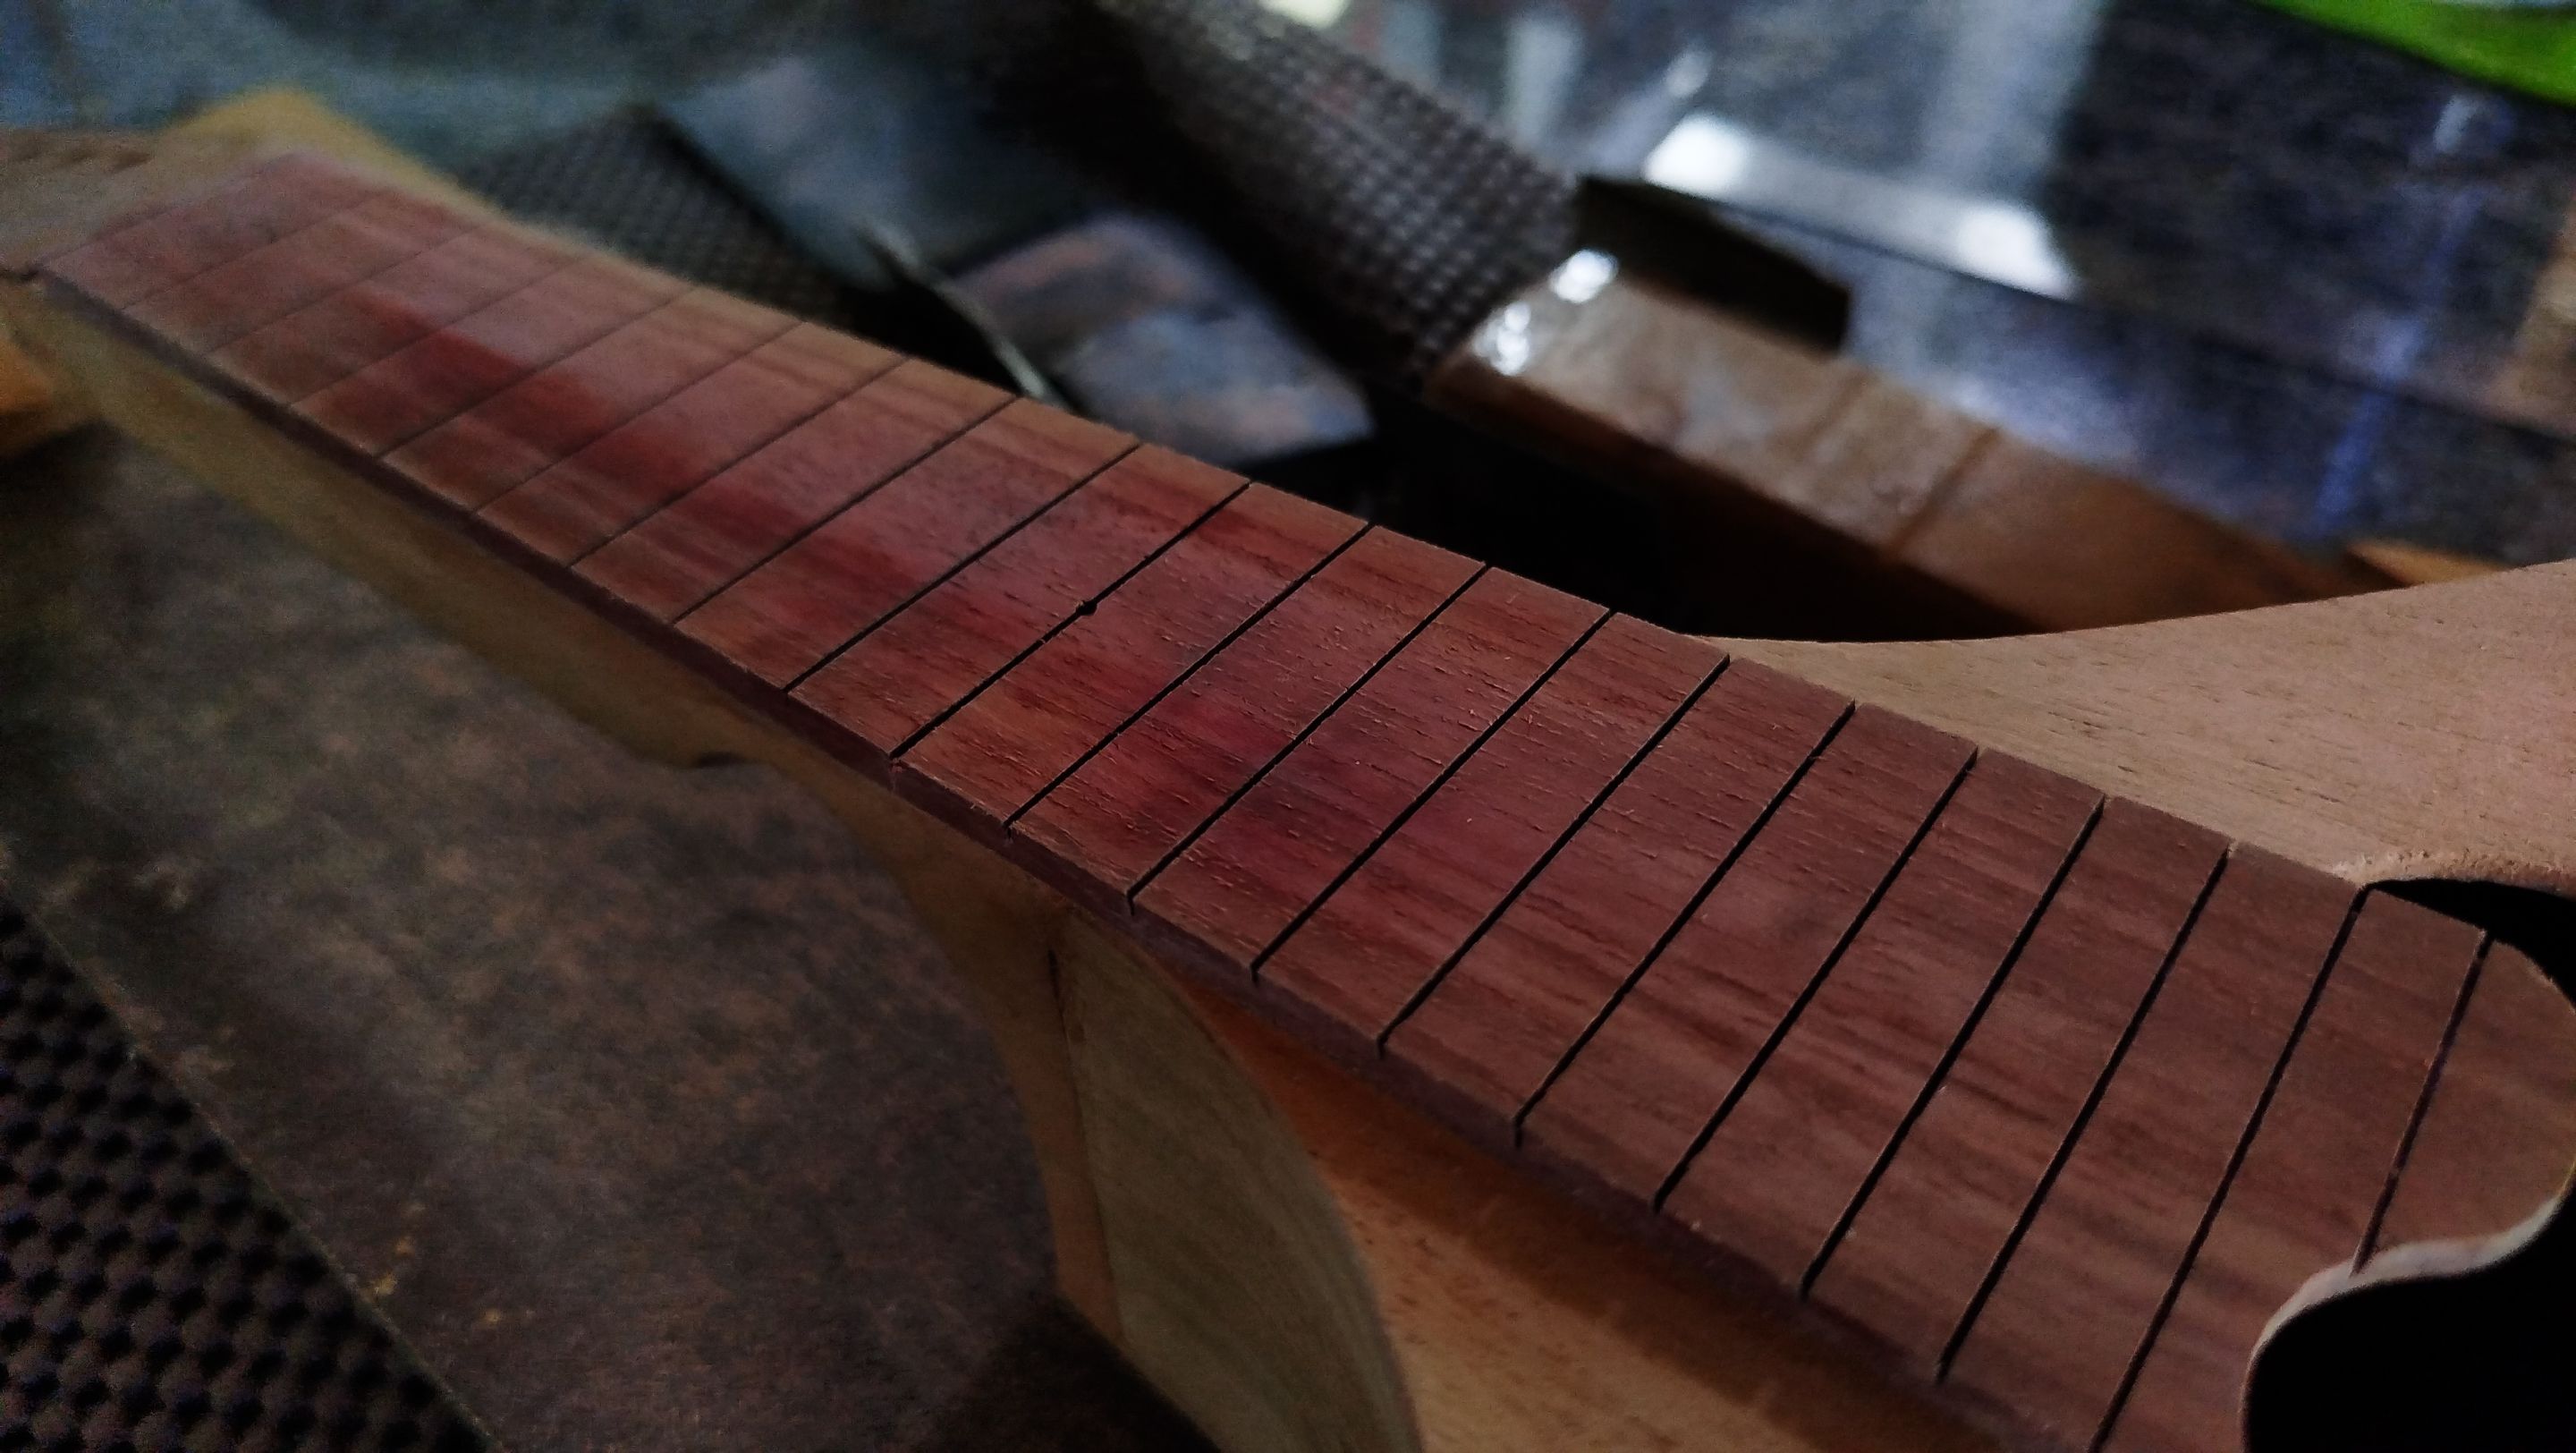
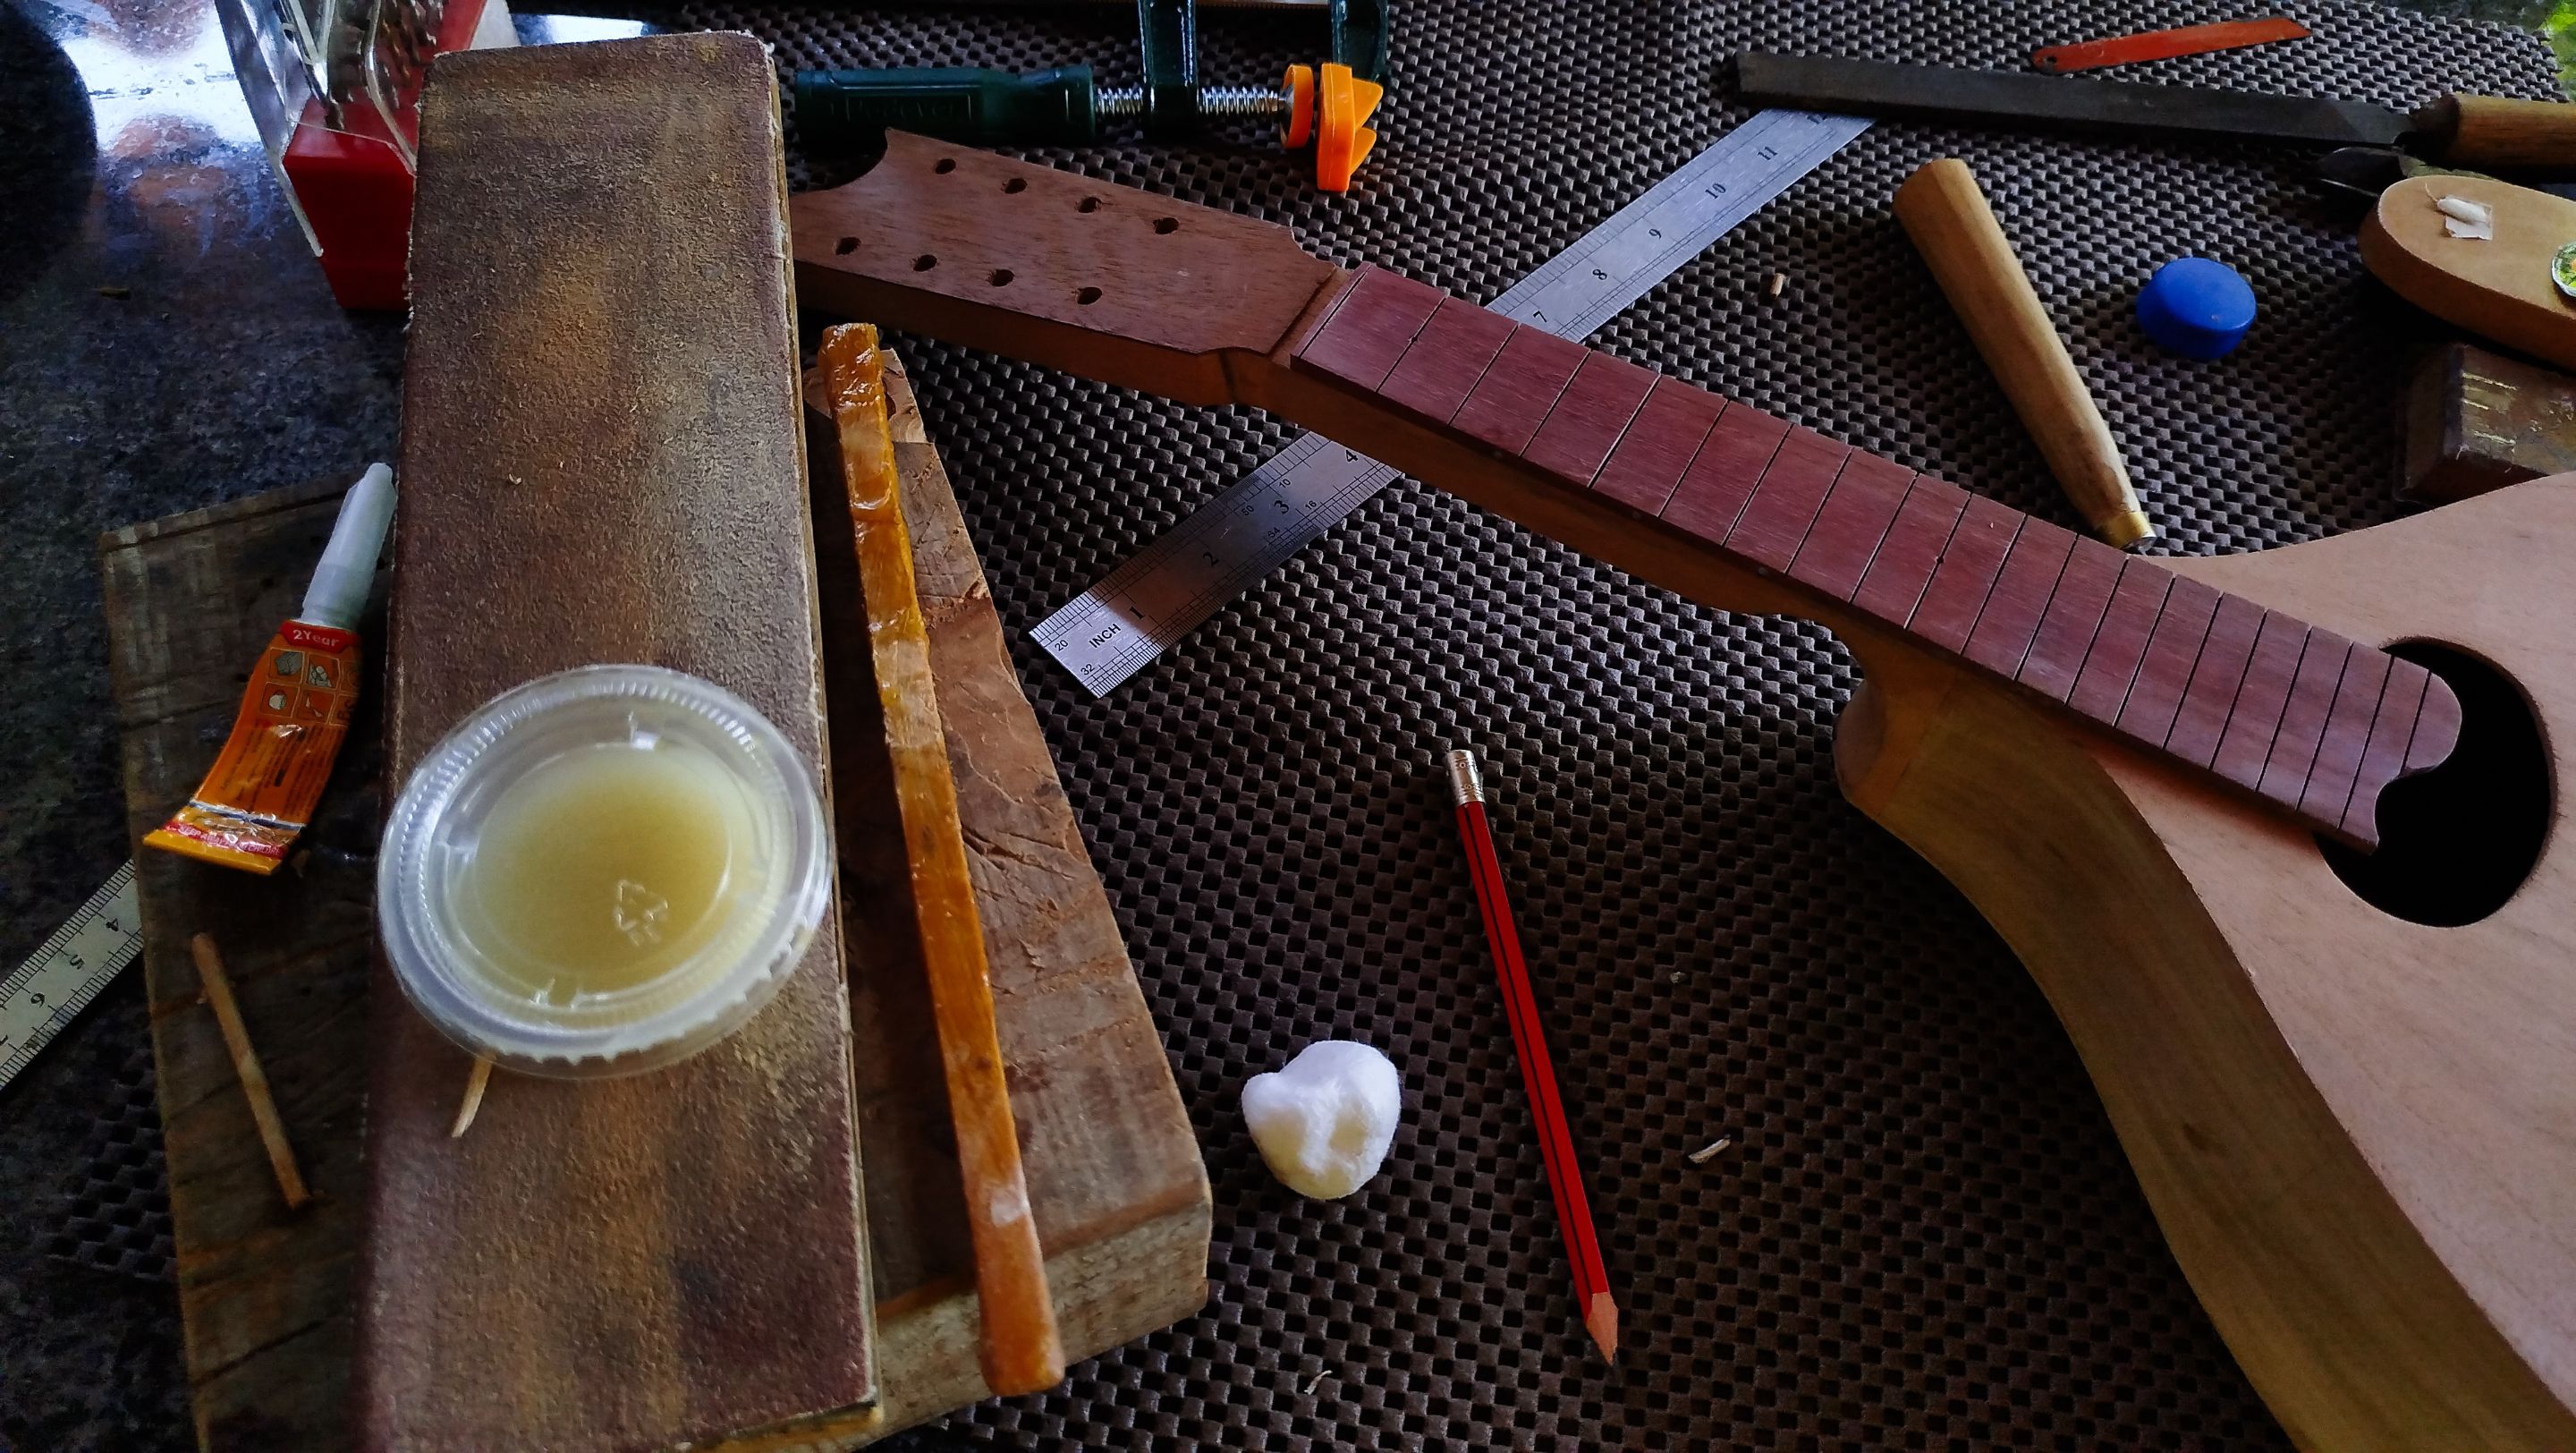
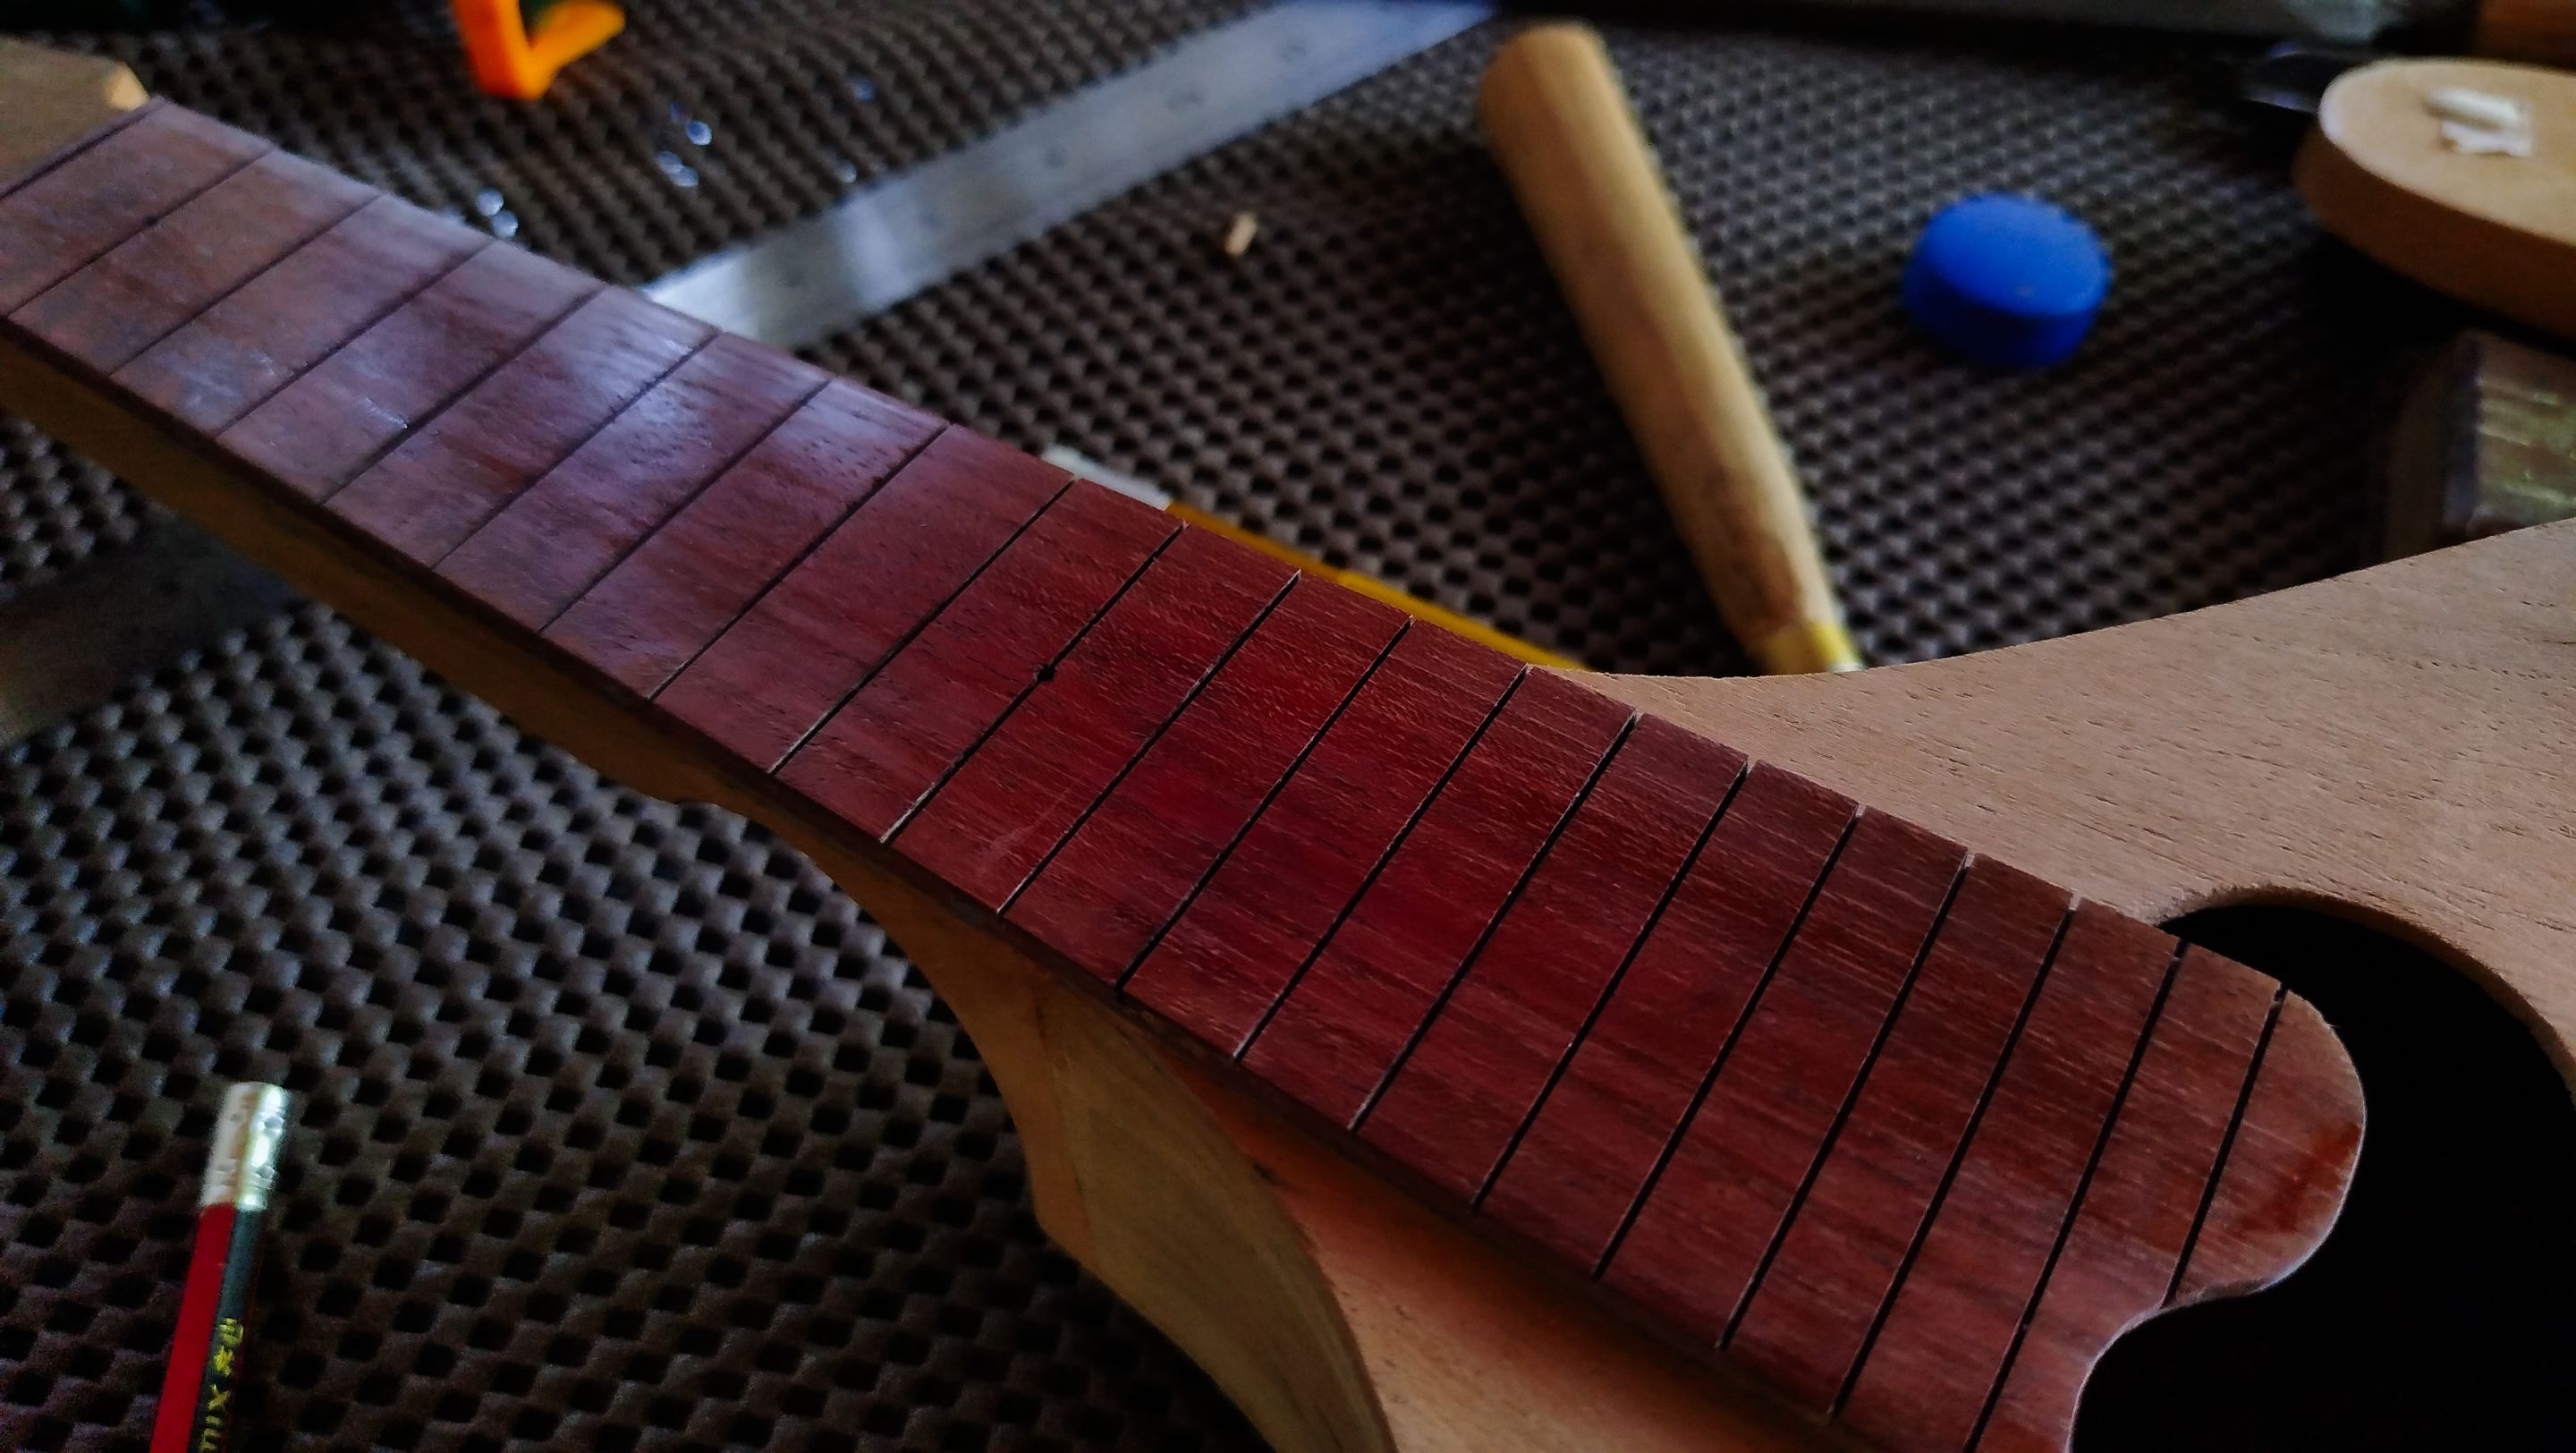
Here we are checking the looks of the instrument with the fretboard in place. The work on this piece is not over. Over this section, we are going to sand the fretboard to get it ready for the finish. This sanding also serves the process of flattening the fretboard to get it ready for the frets.
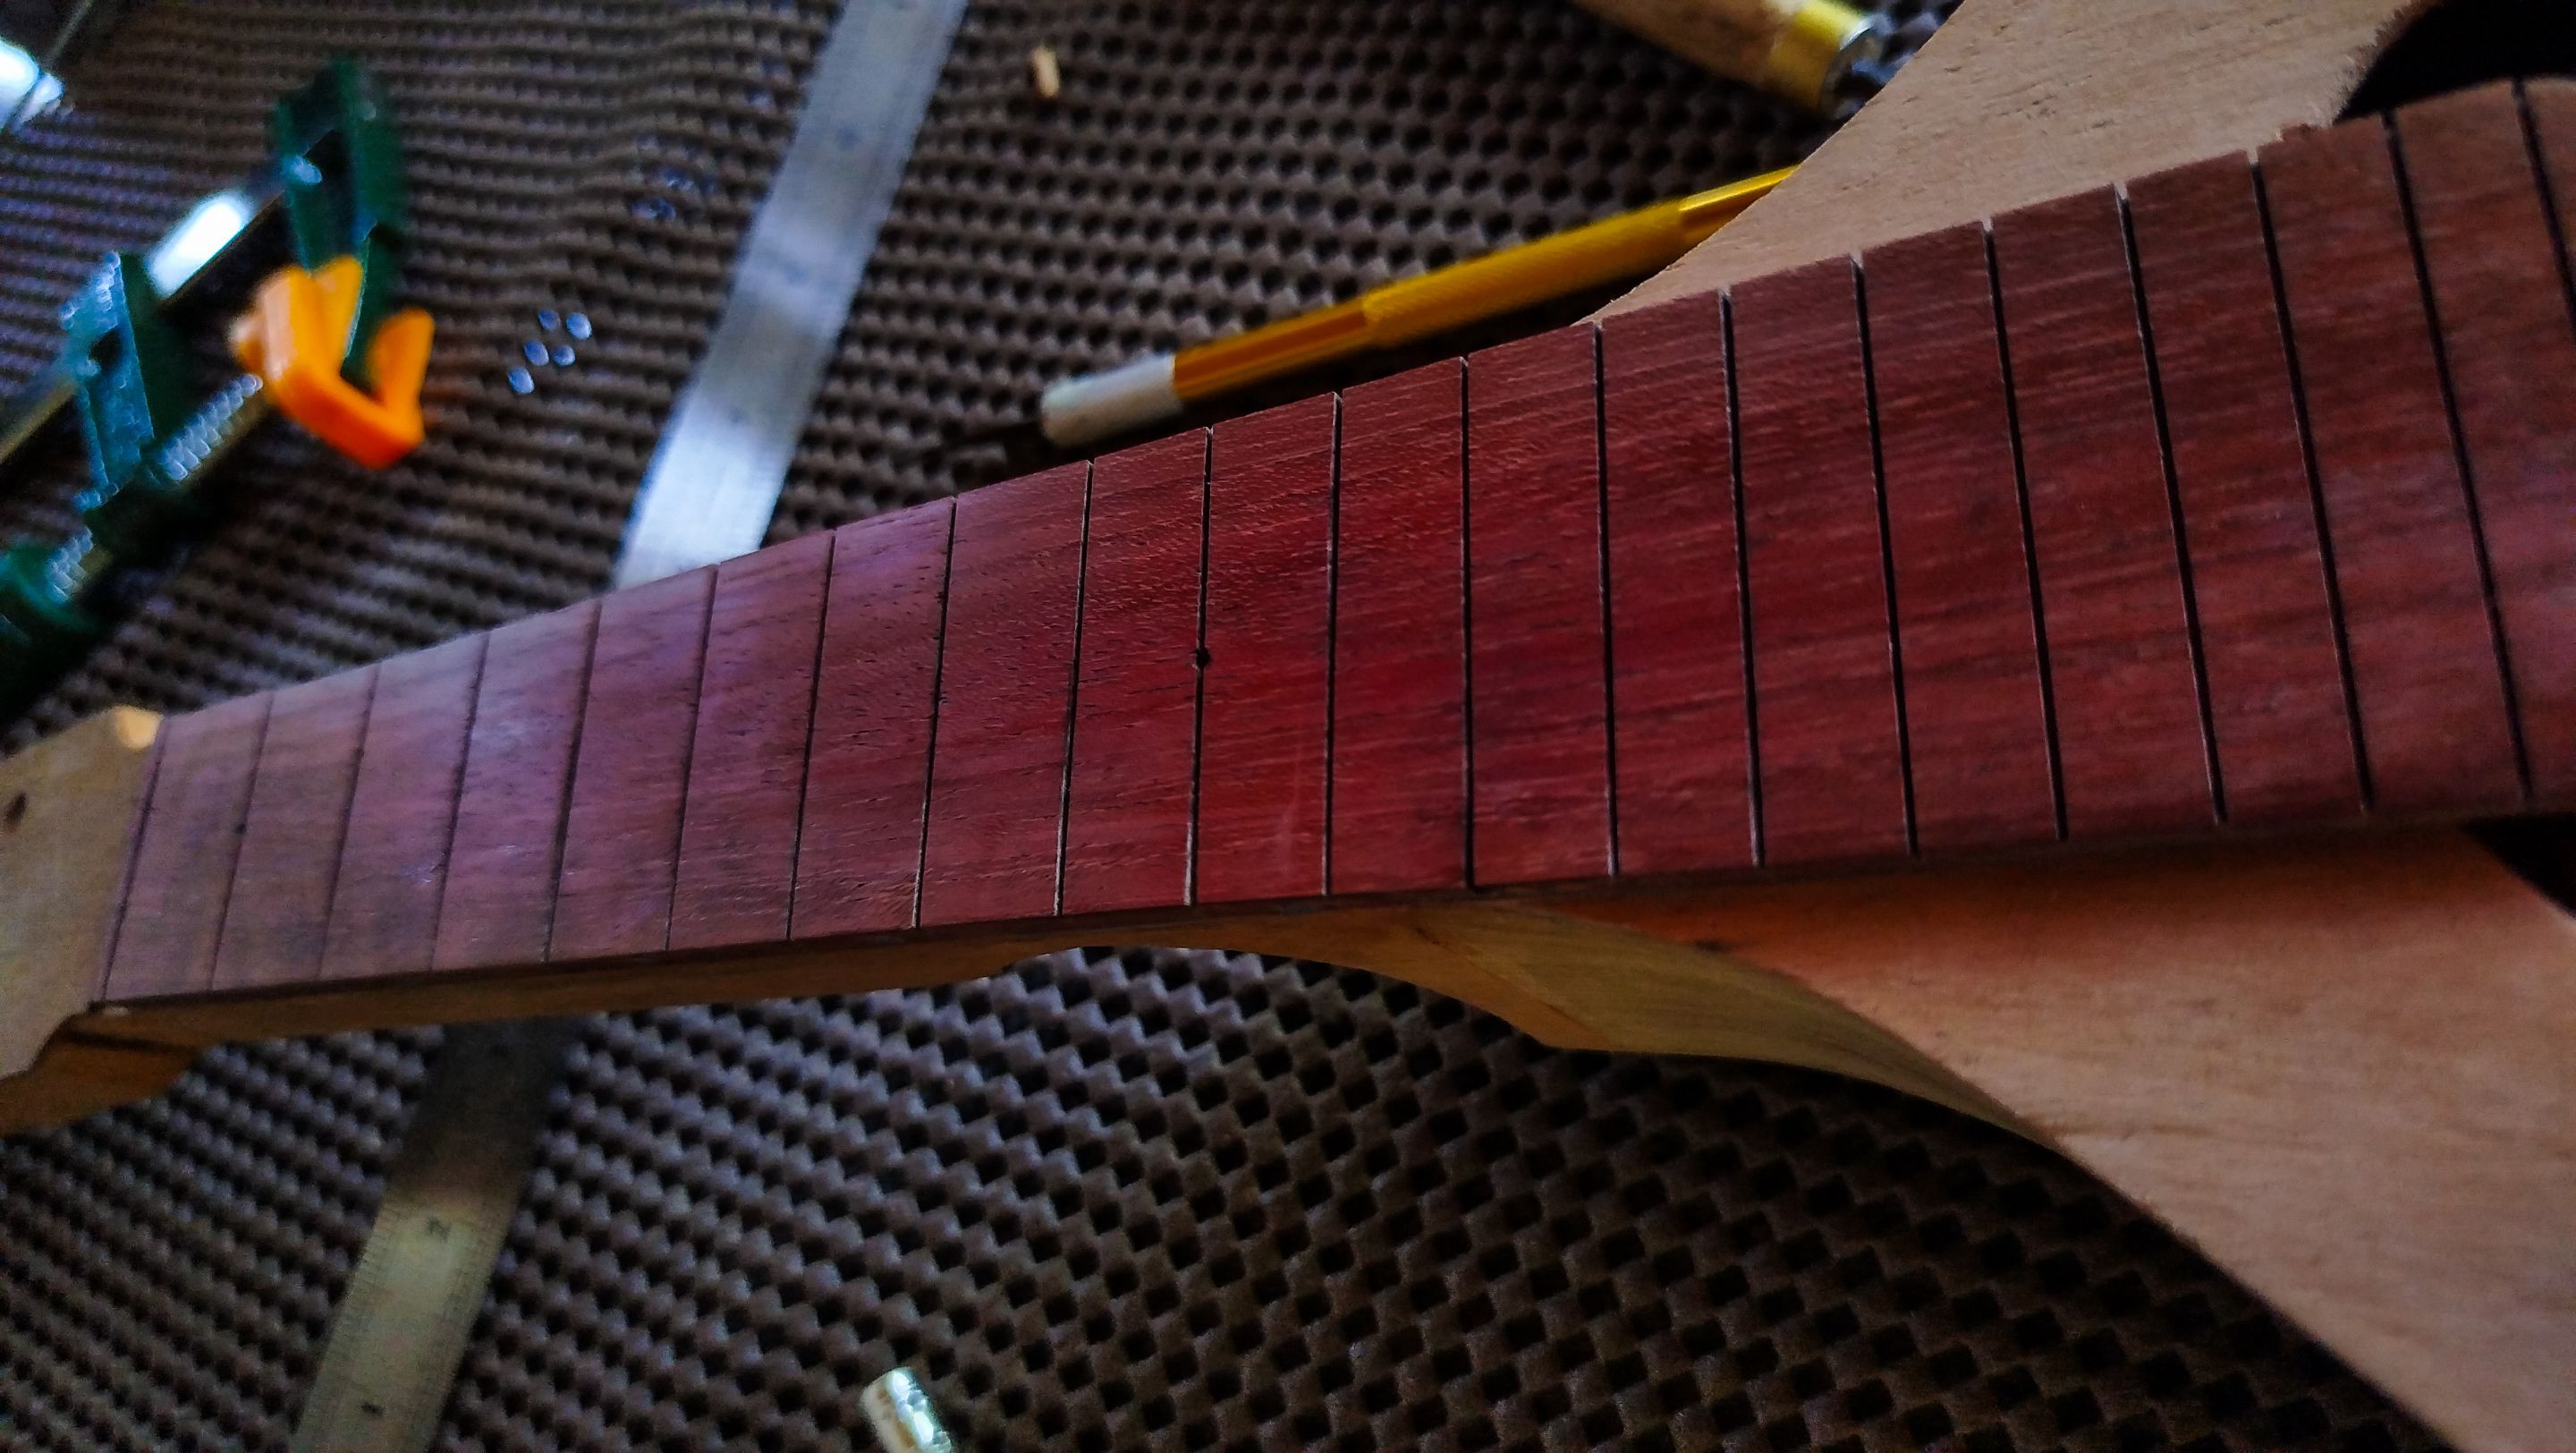
To make all this sanding we are use the sanding pad at first. Once we have corrected any other uneven spots on the fretboard. The next step is using a sanding block and a damp piece of cloth to finish the job. We use the cloth. We let it dry up. We sand. And this process is repeated until we get over the 220-grit until we are done remove any splinters that get up after we pass the cloth.
Position markers and finish
Swipe to see the photos
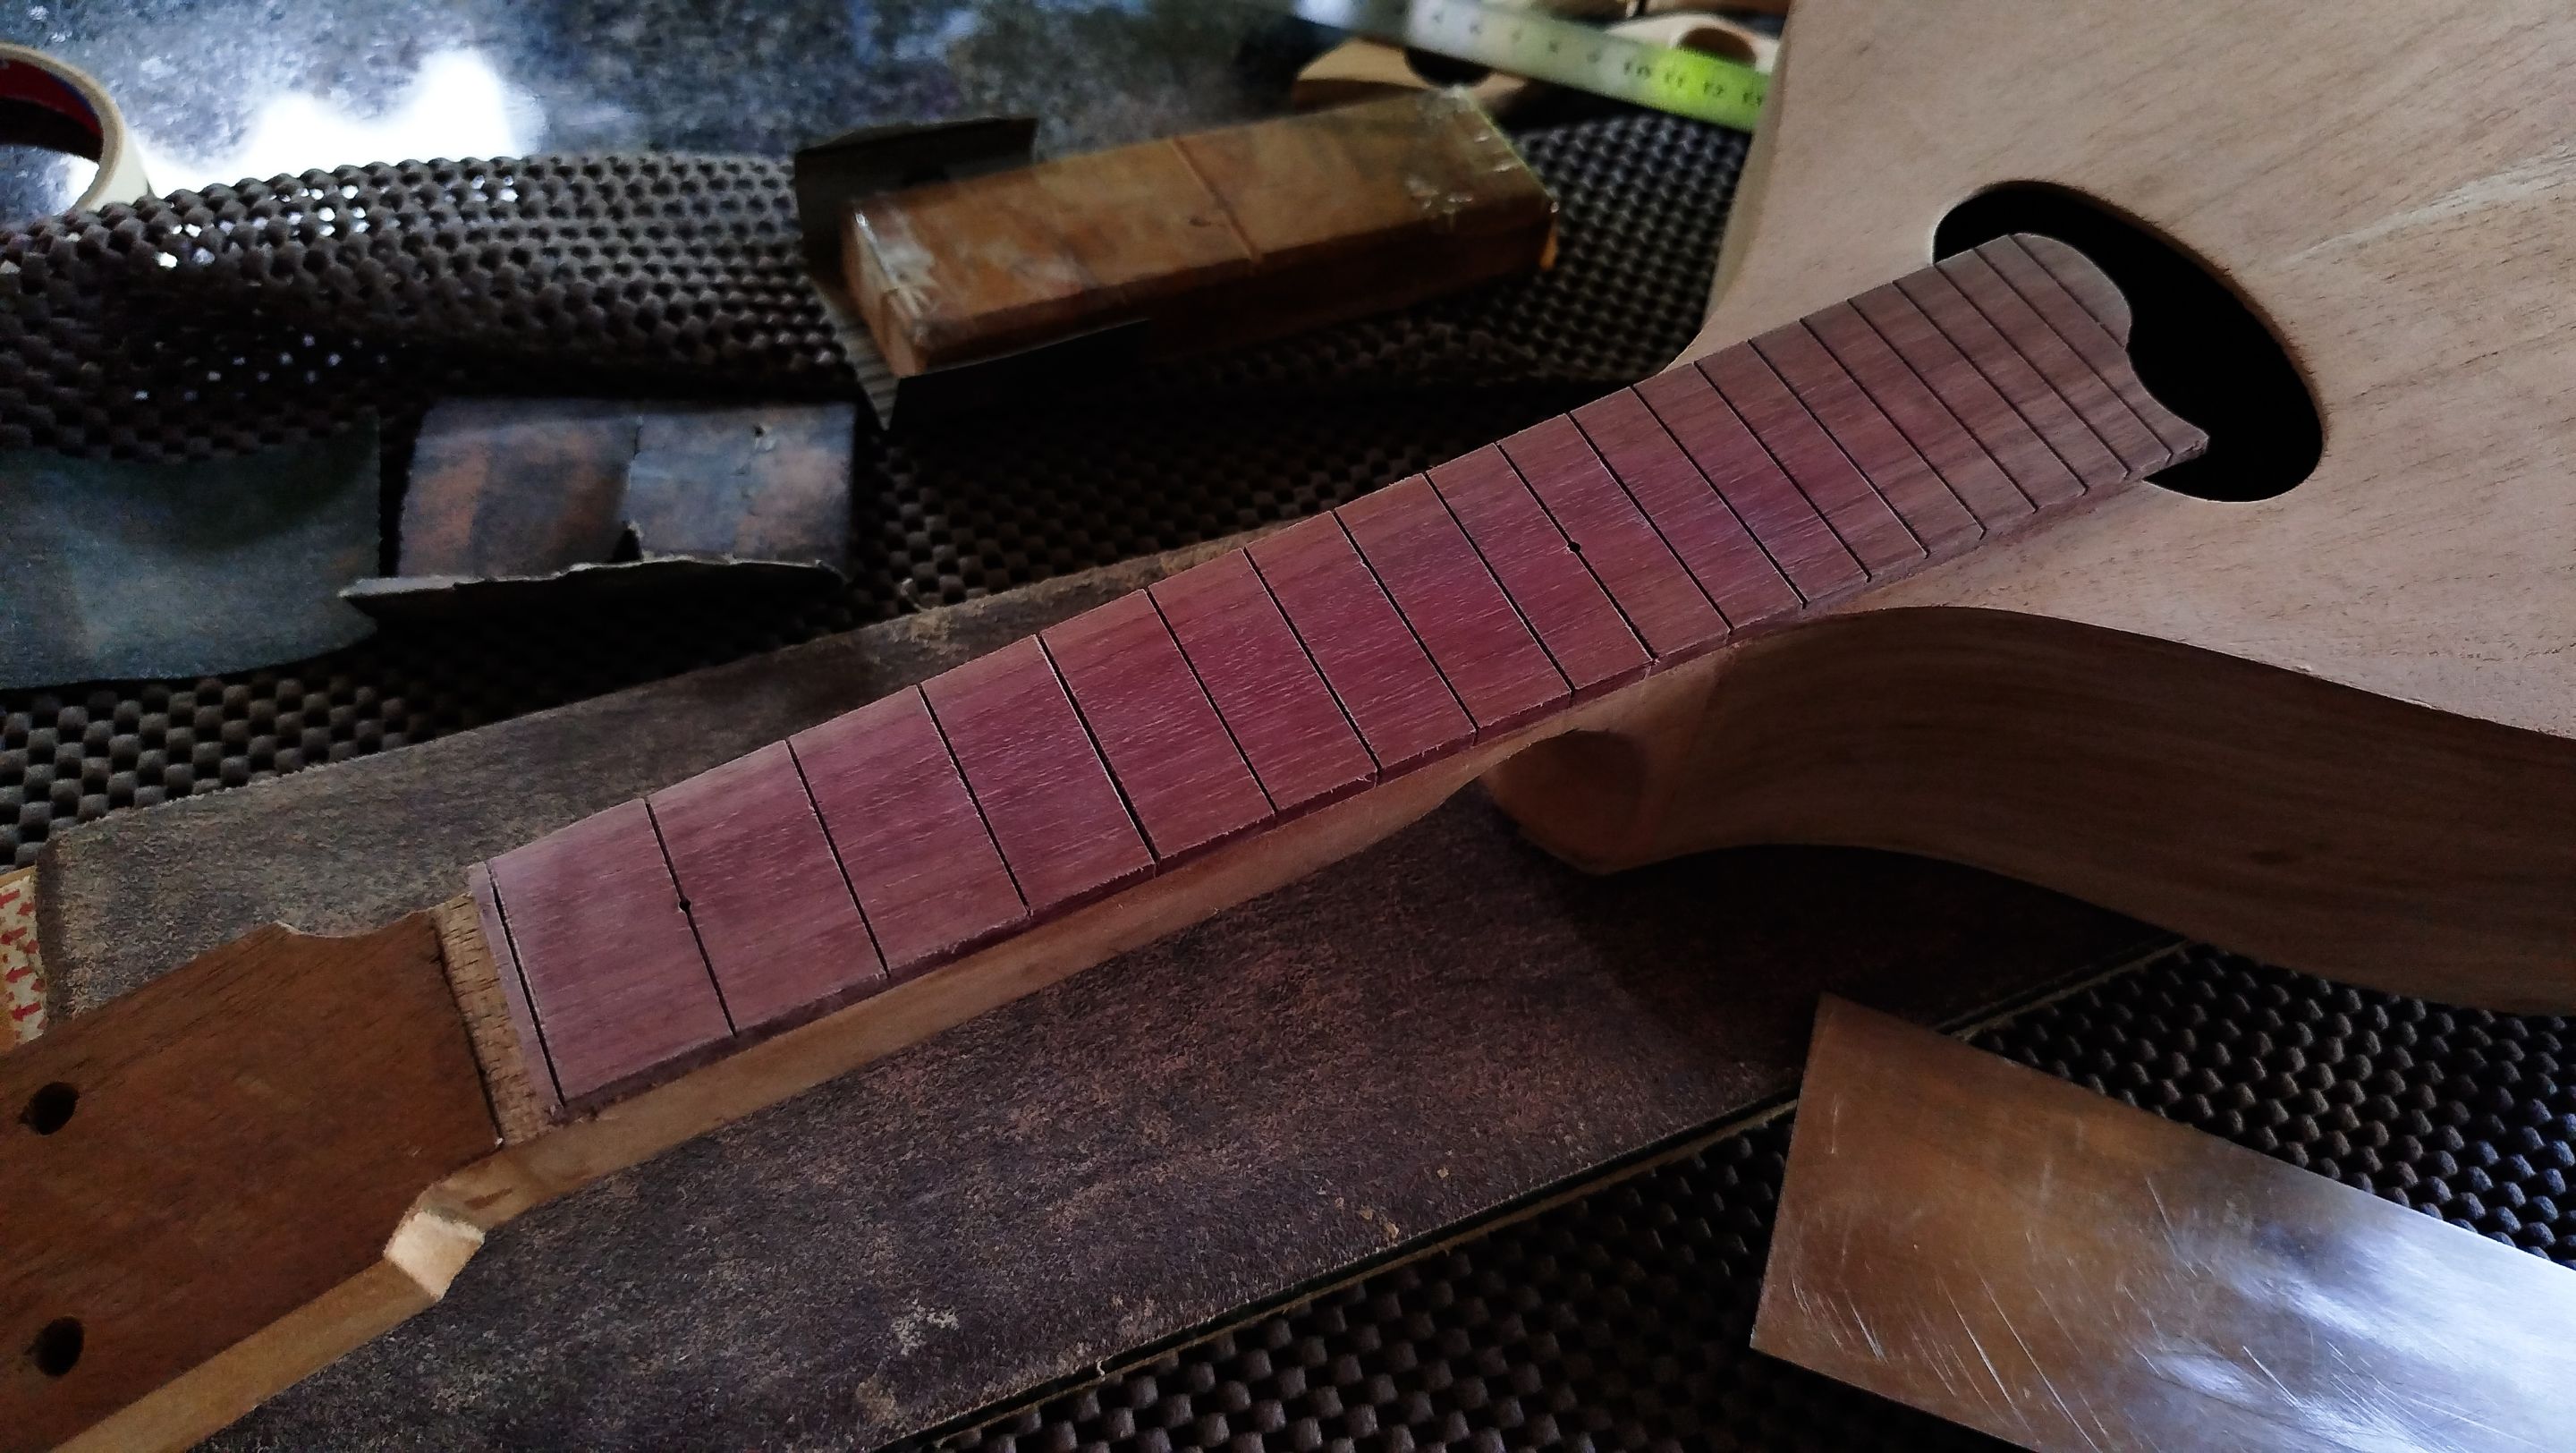
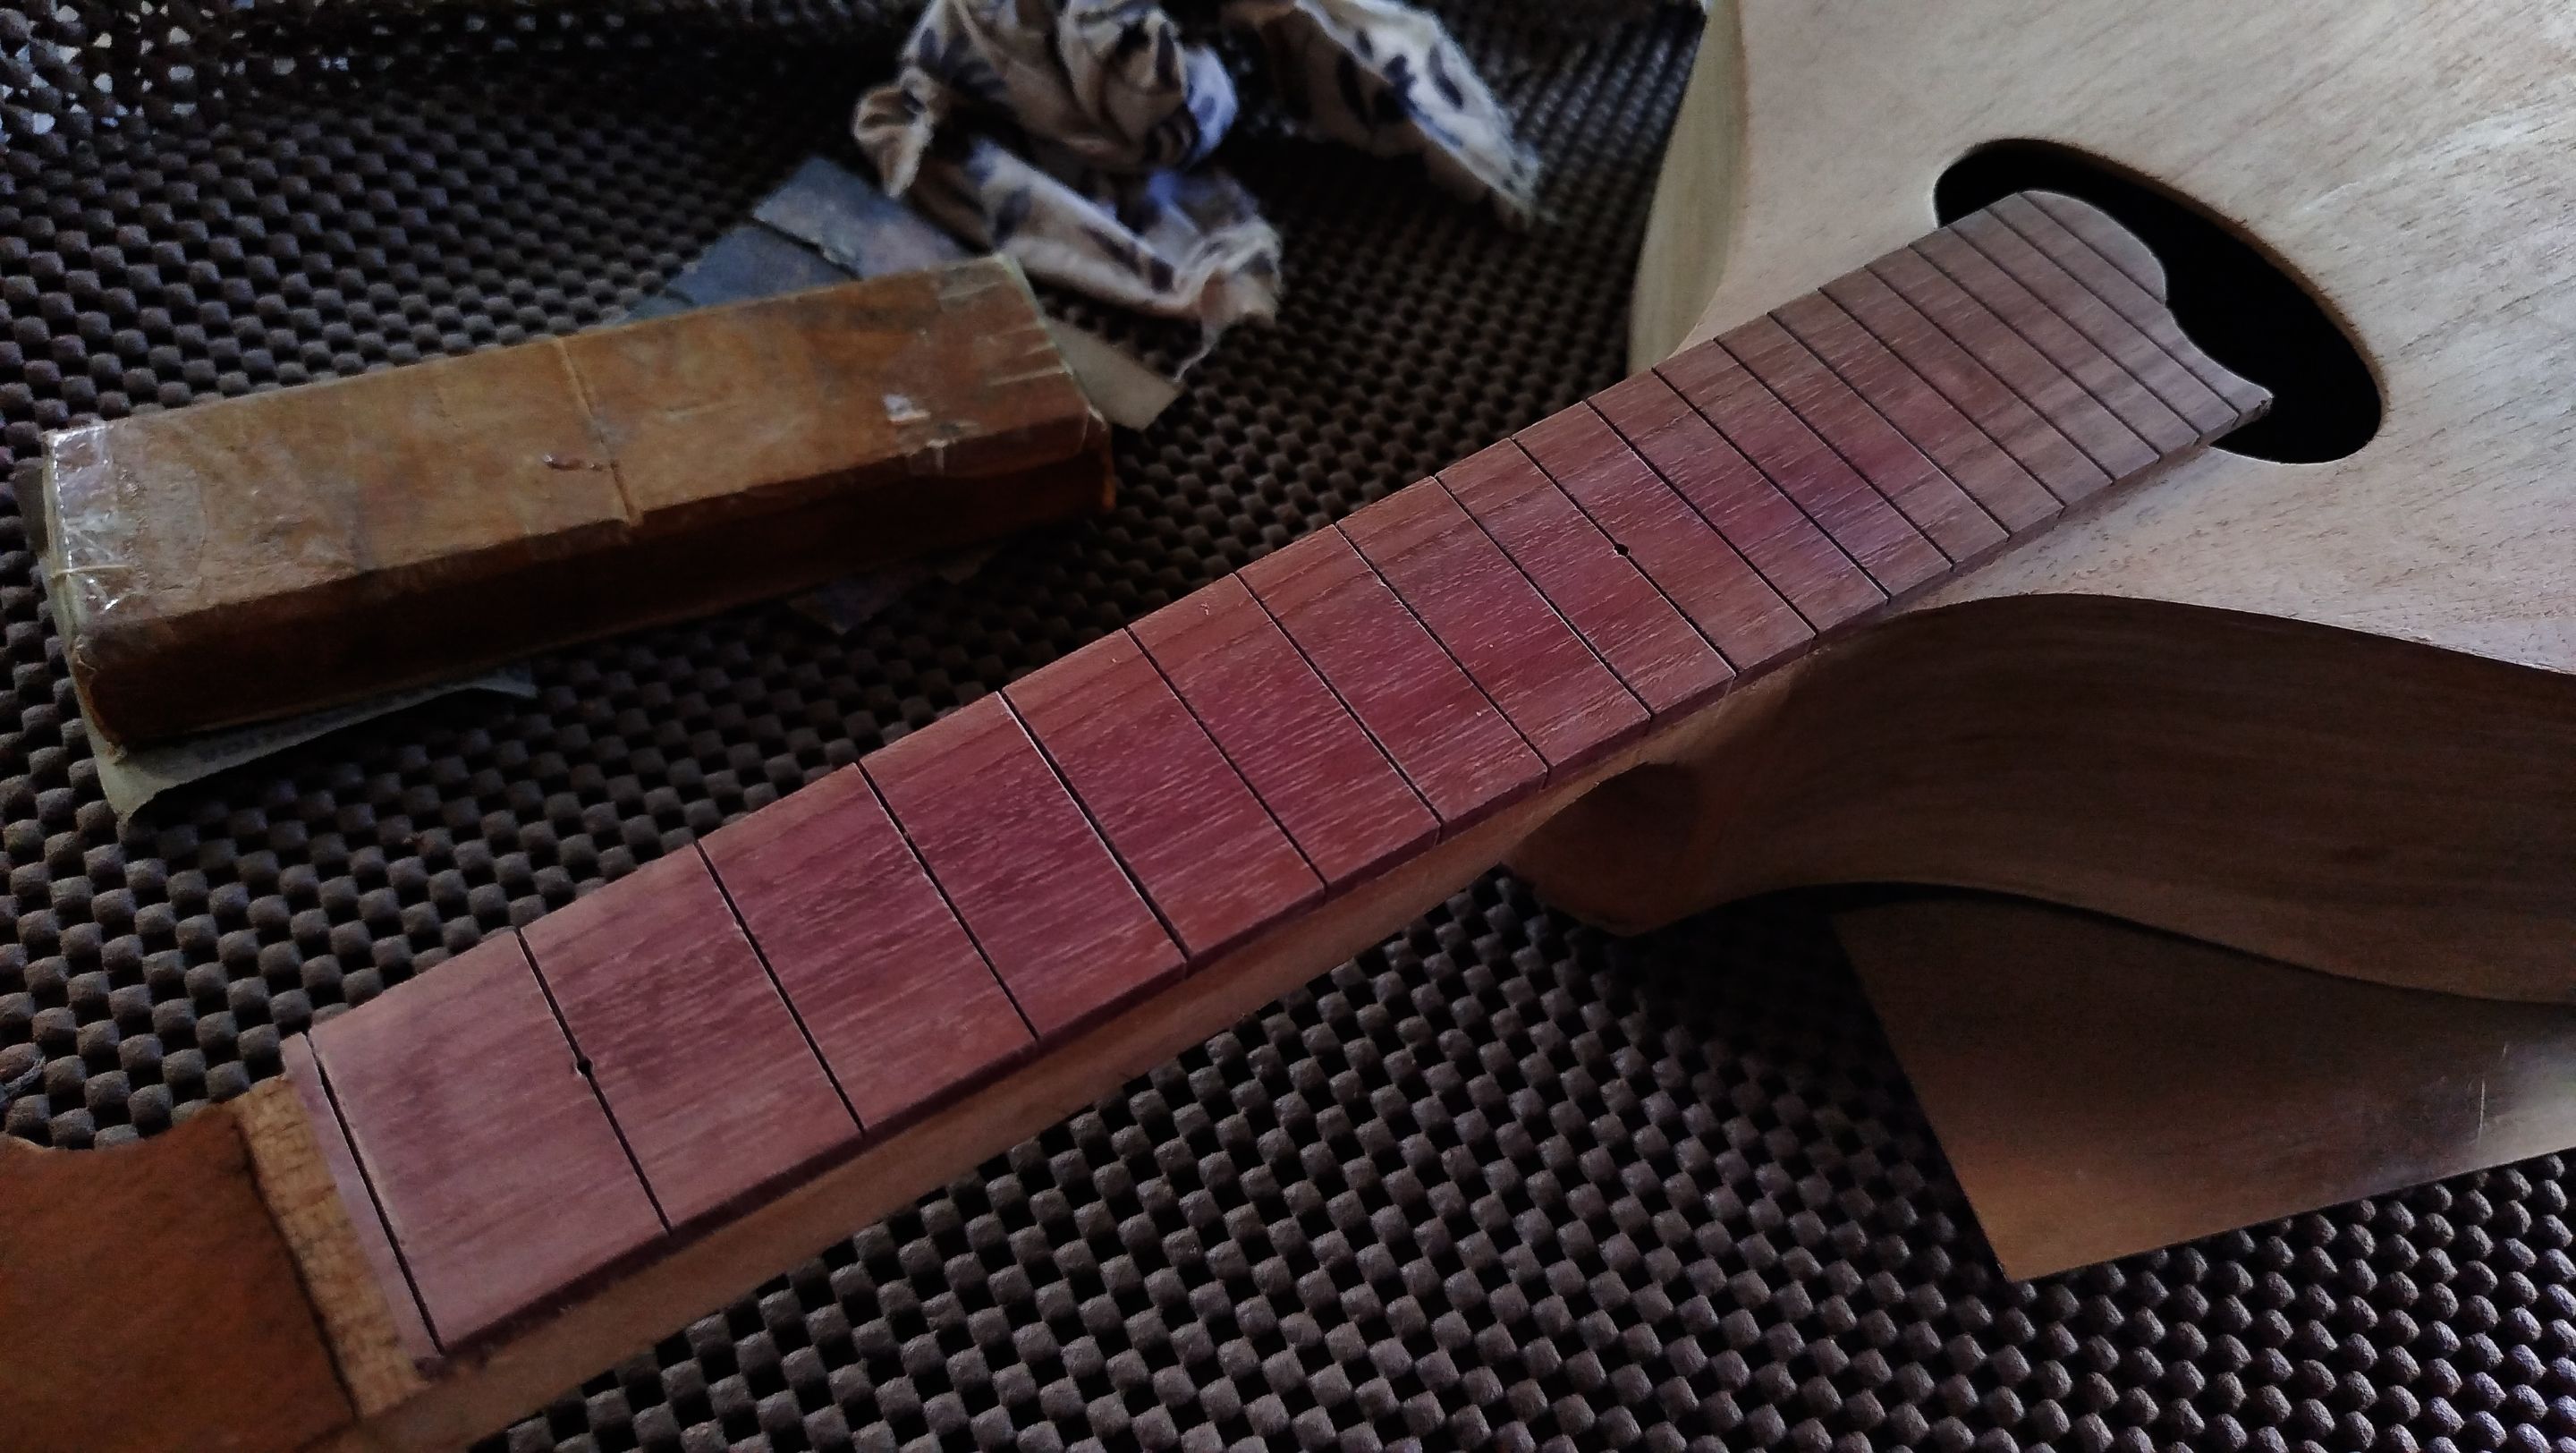
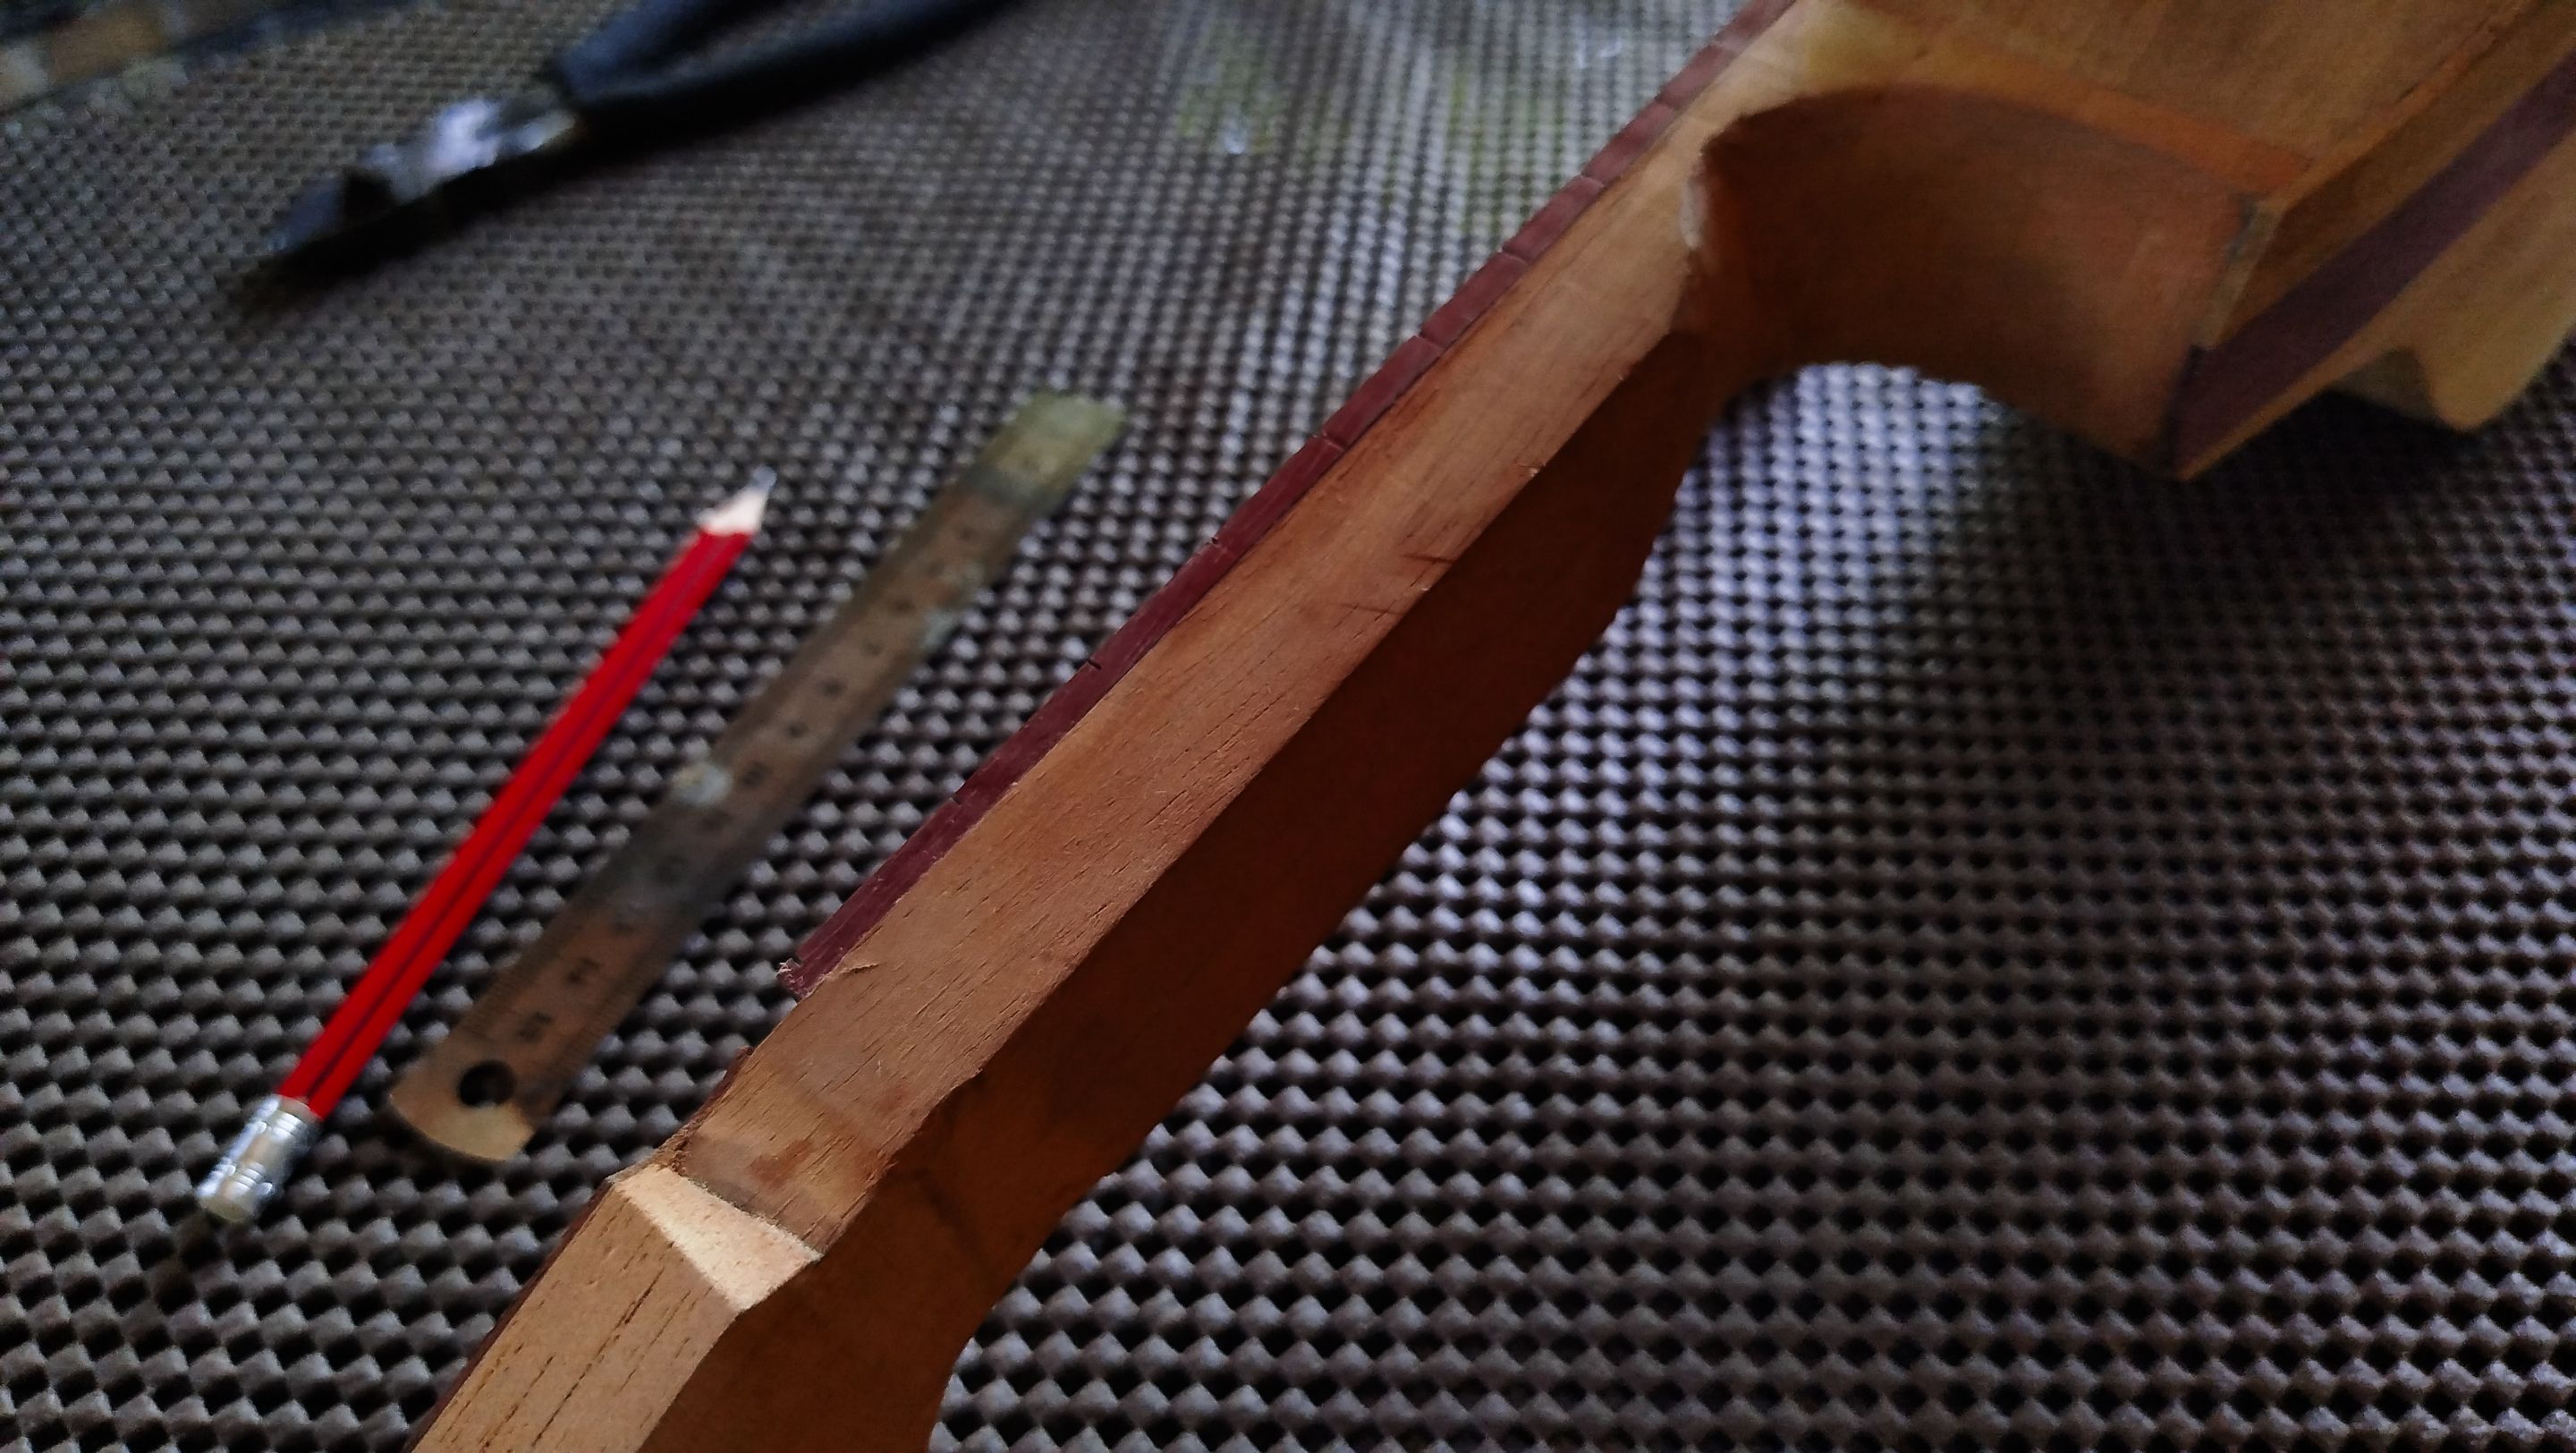
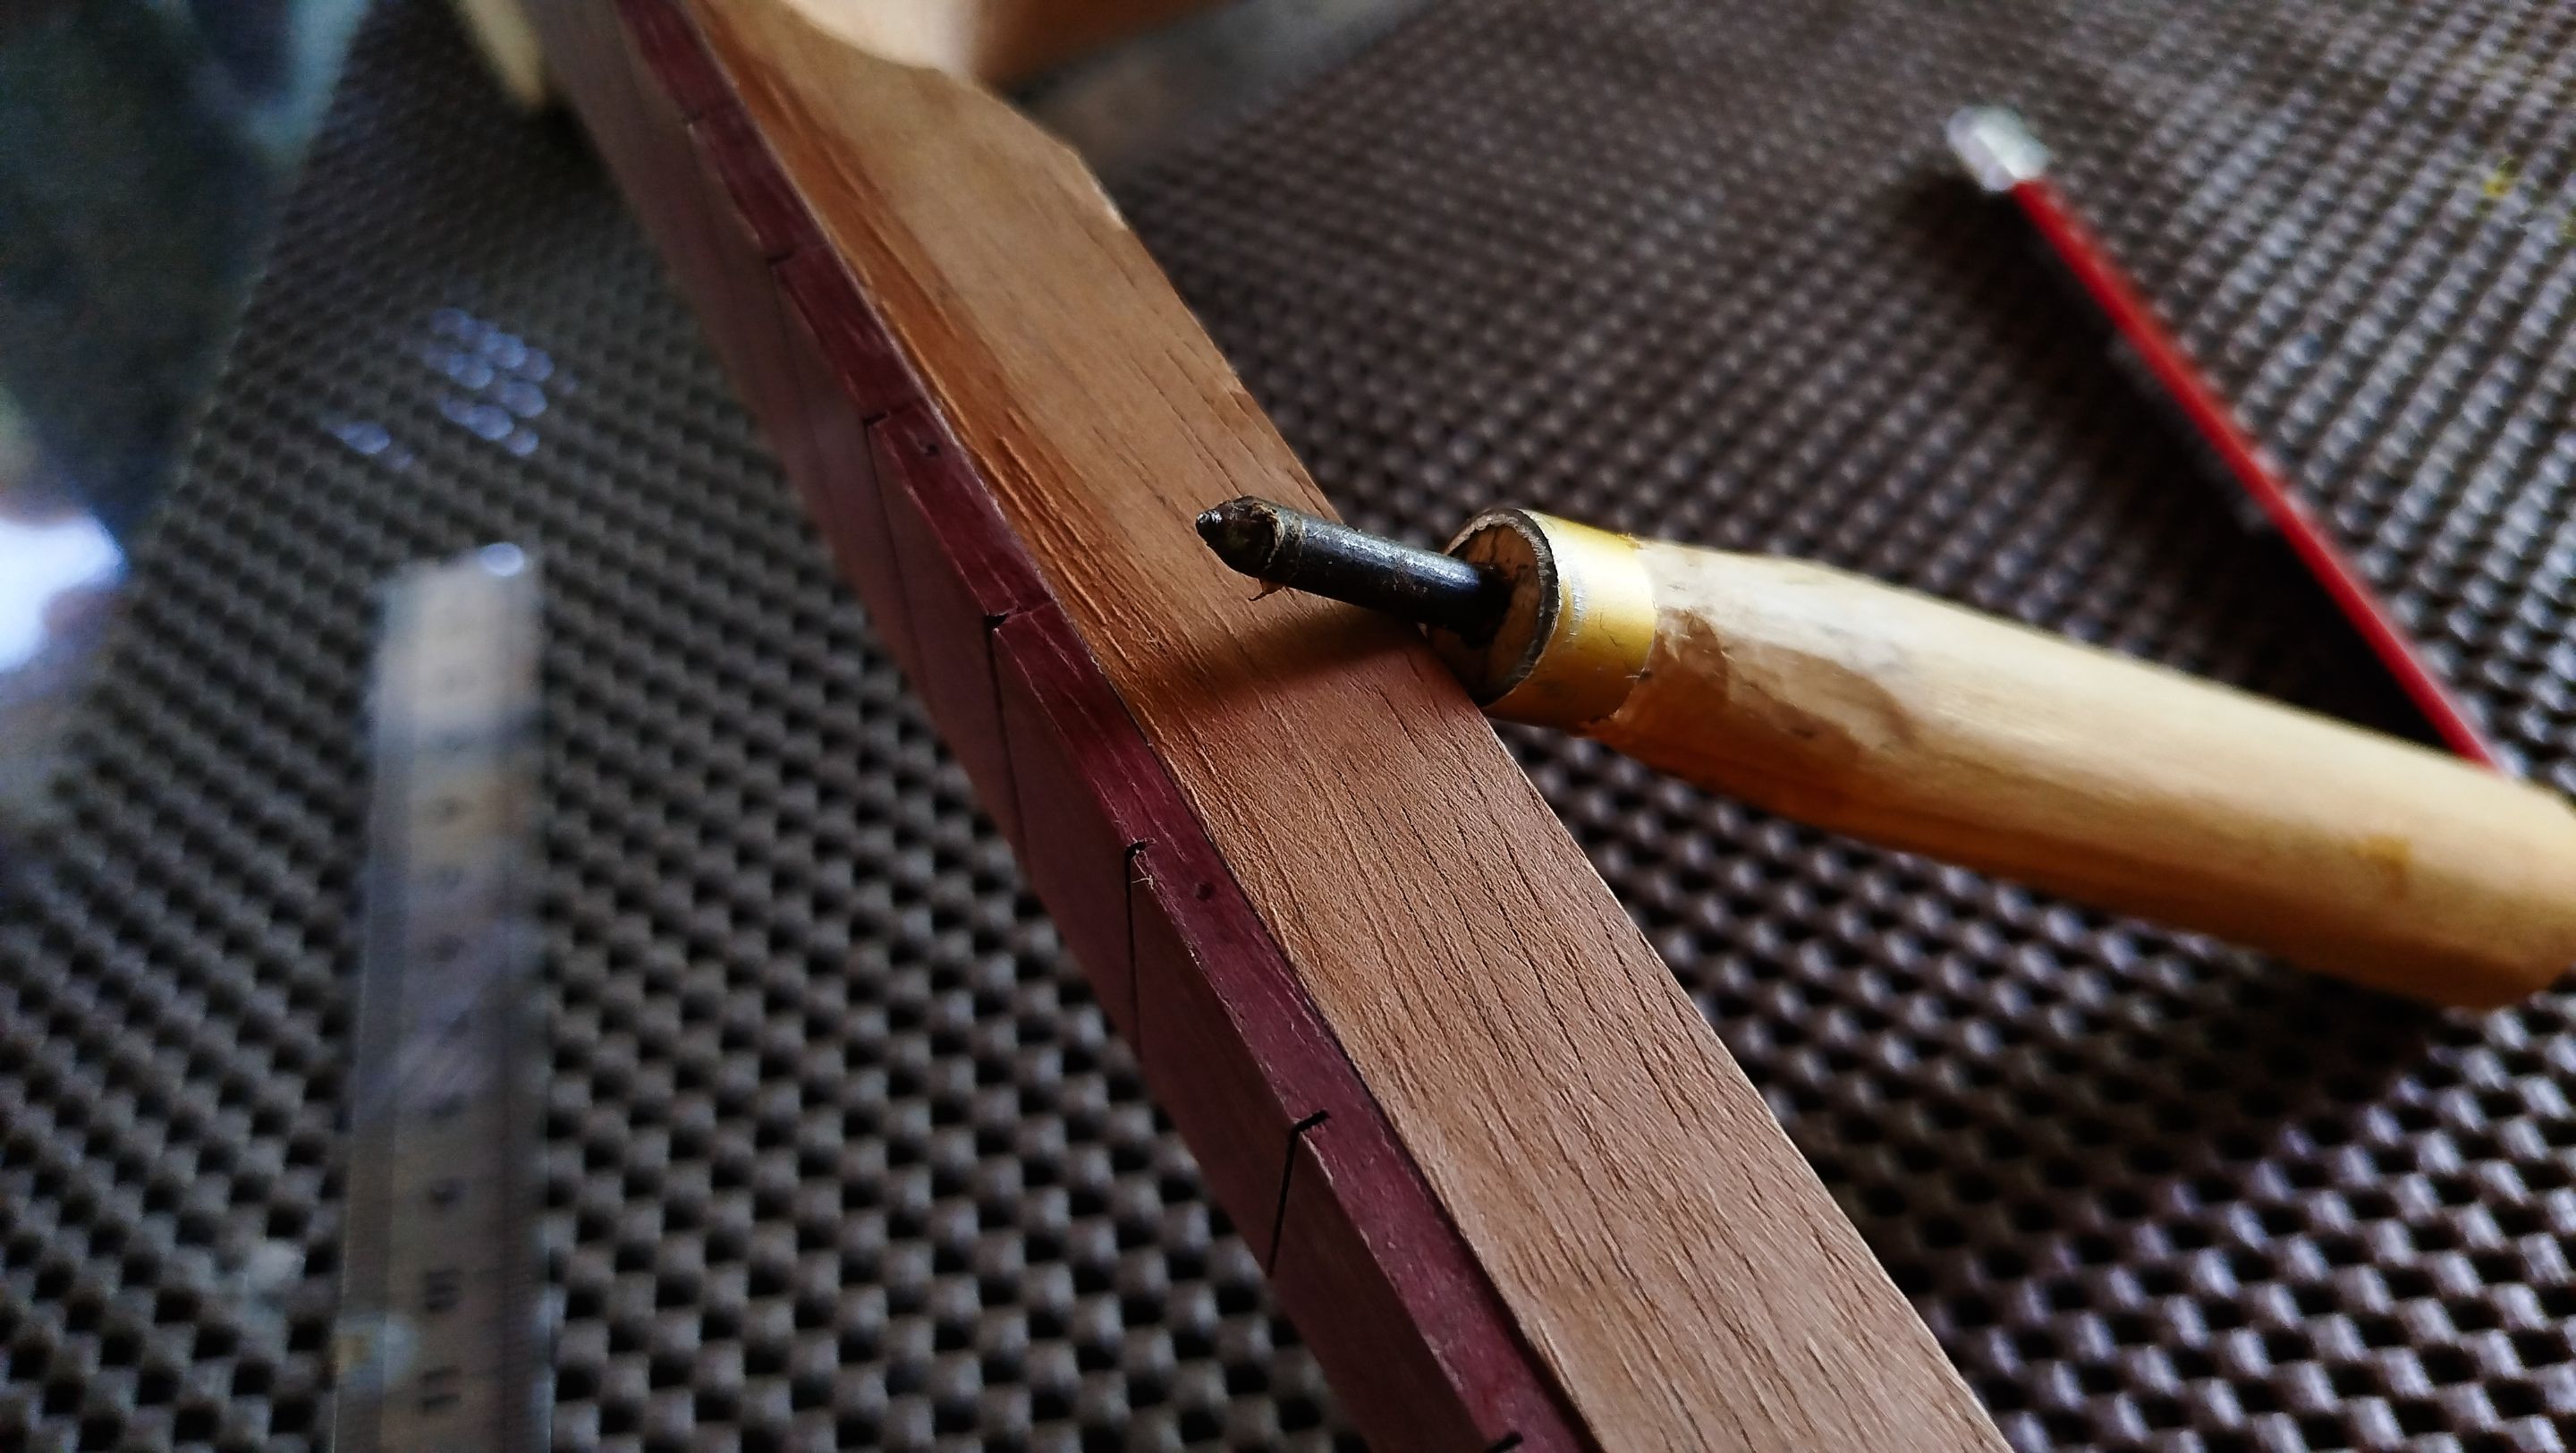
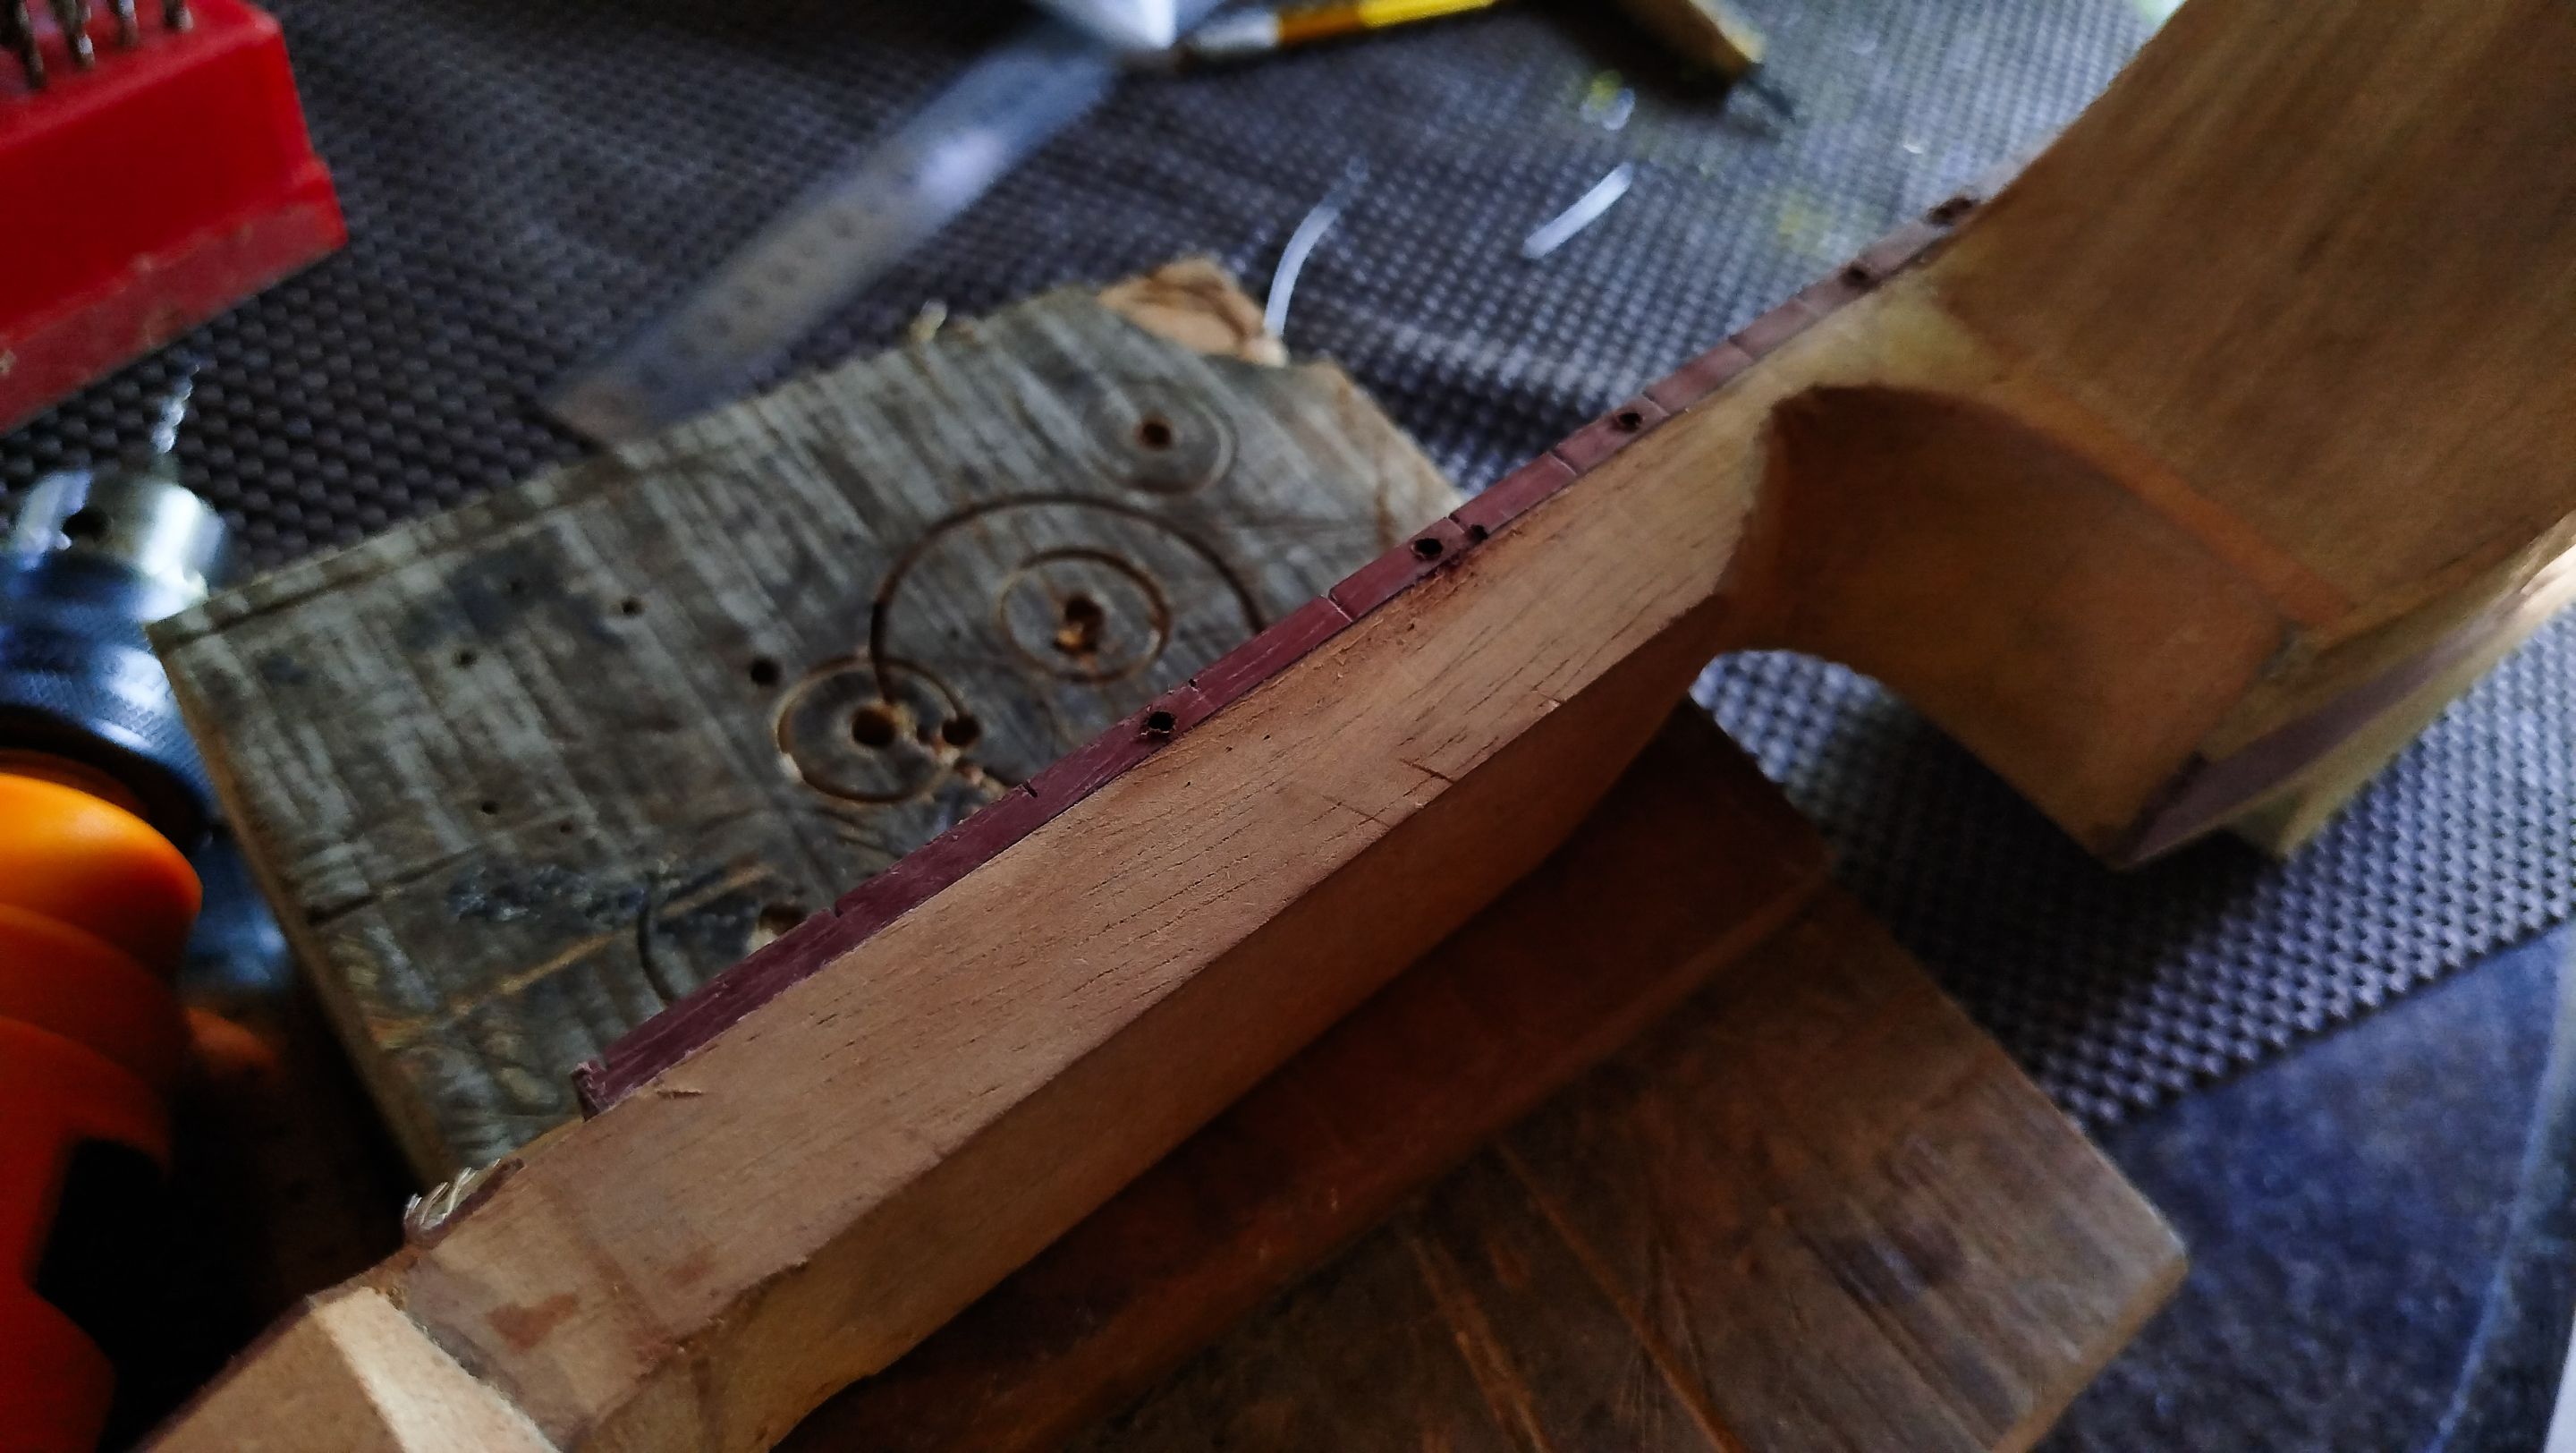
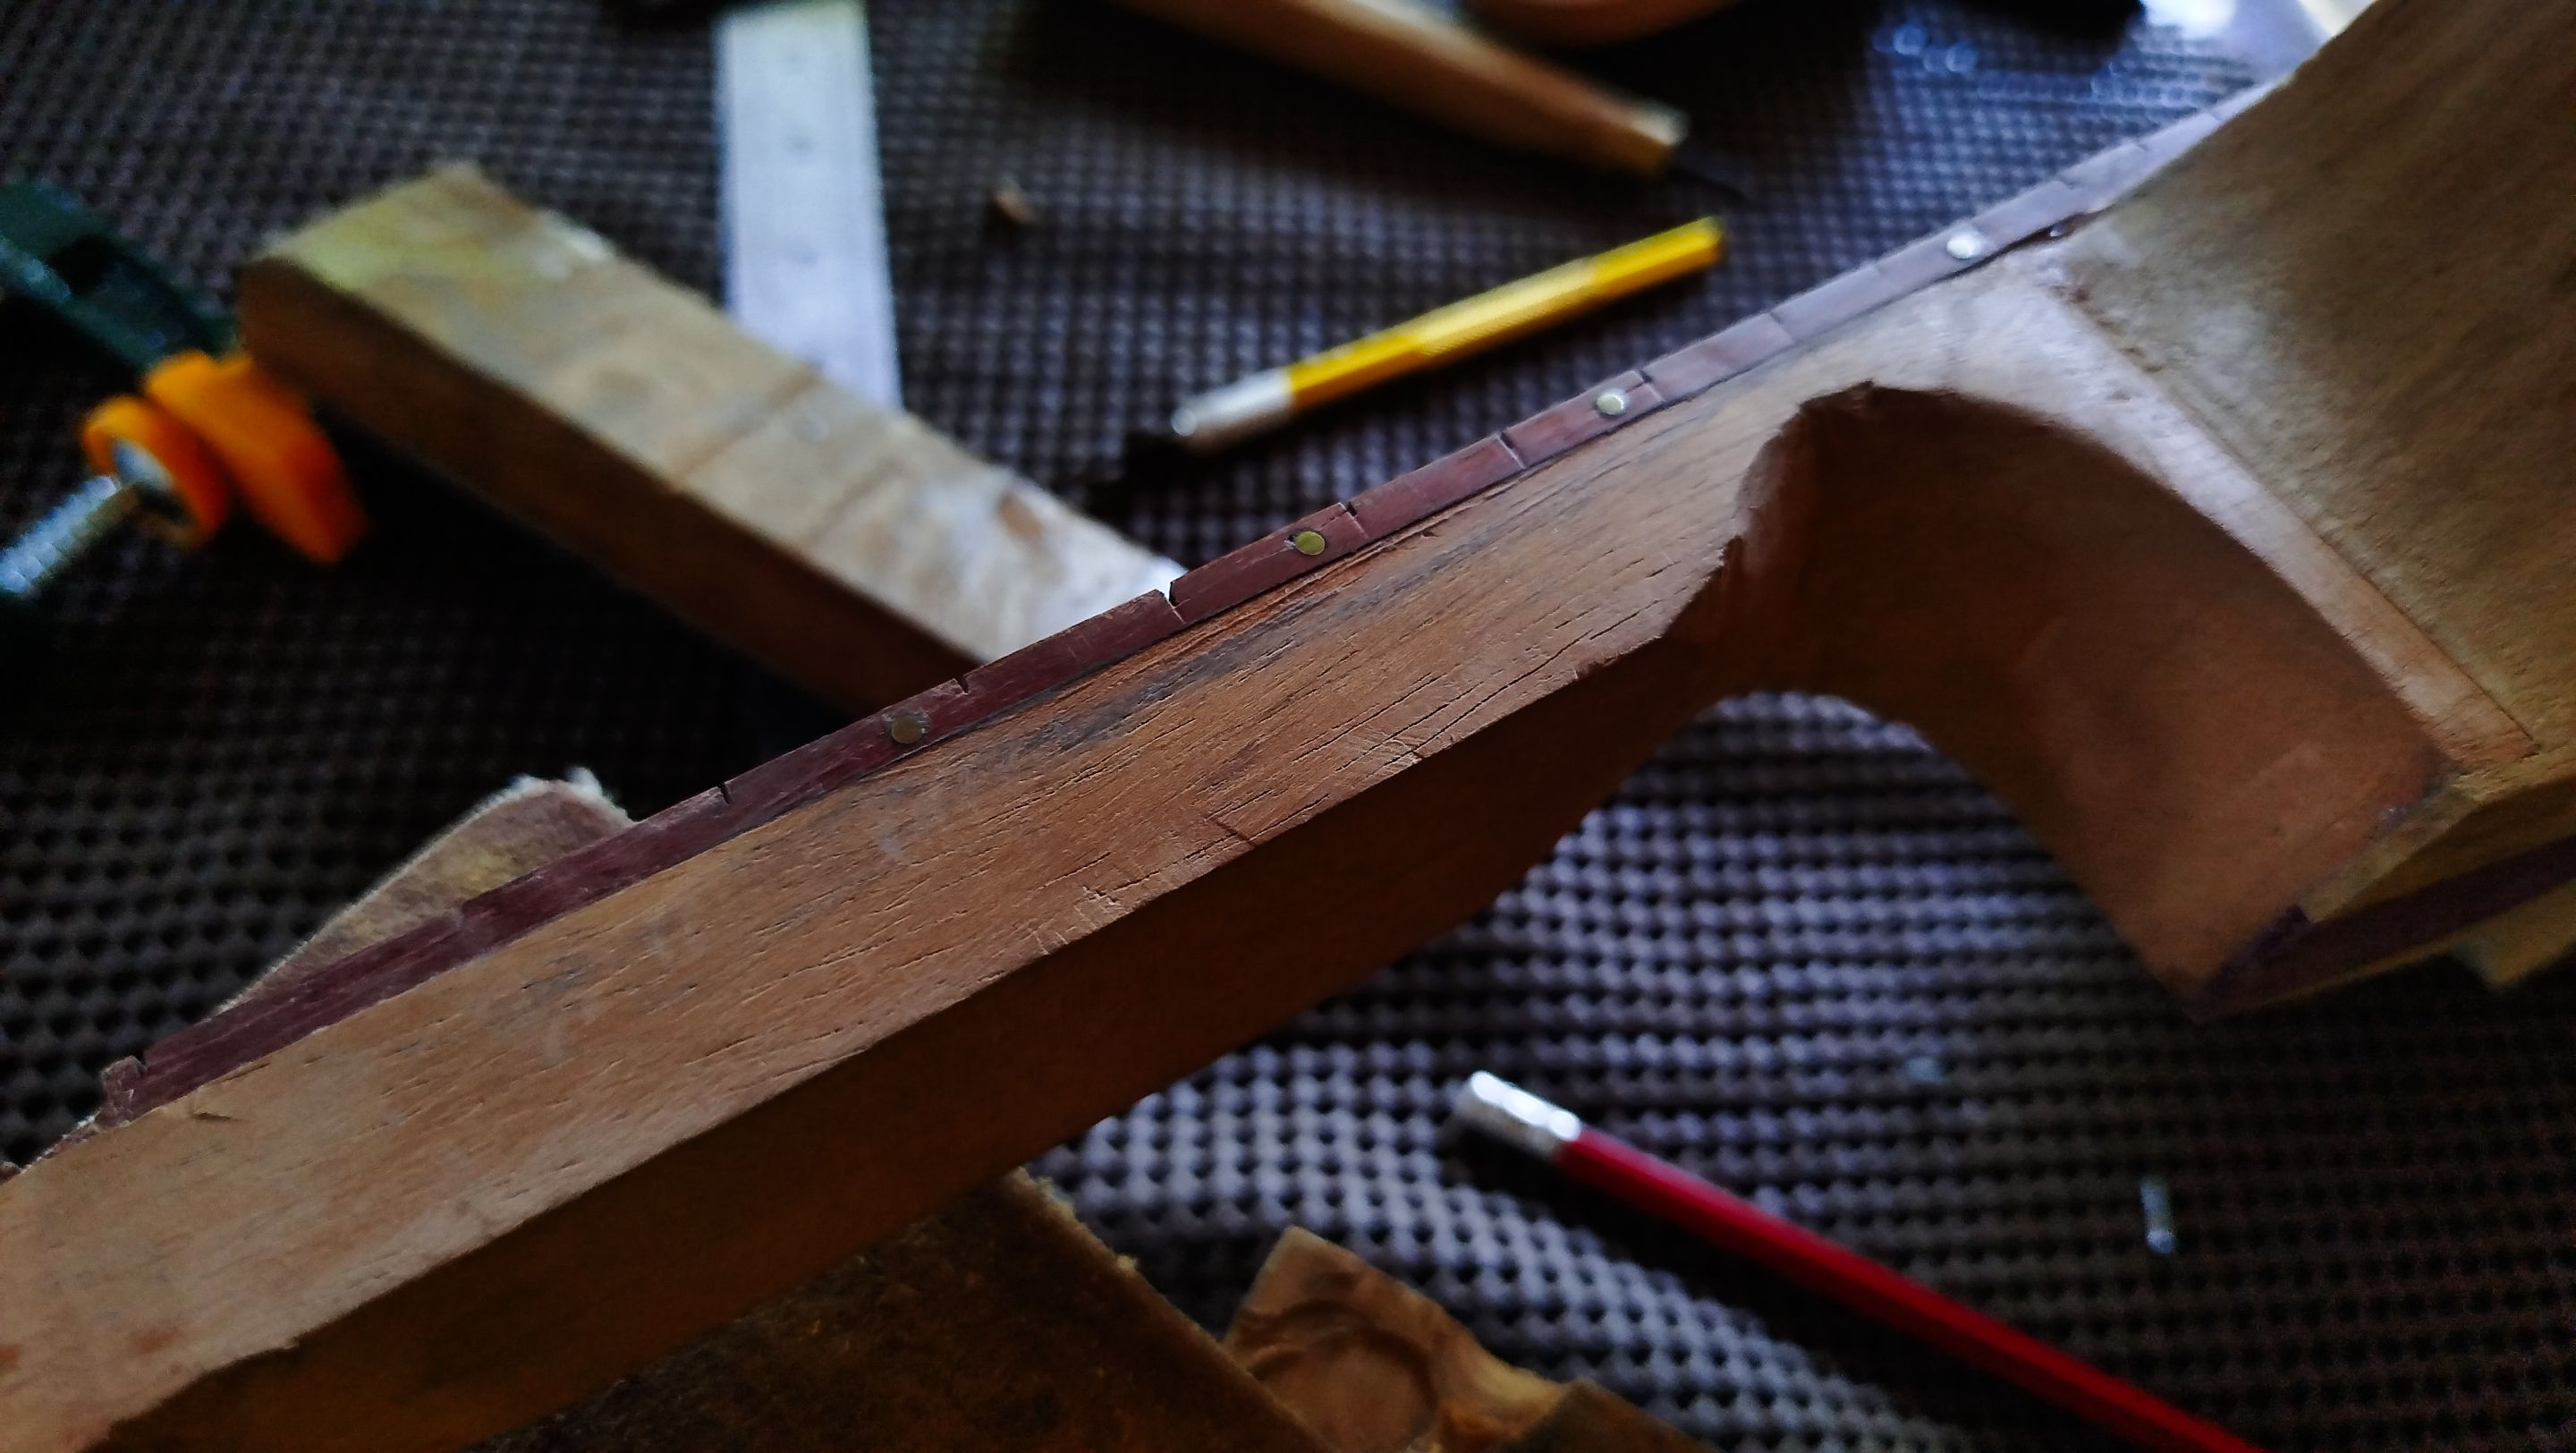
To finish the tasks for the day, we are going to get the position markers in place. This will help to get a look at the frets from the side. Starting this task is easy. We need to use a ruler to mark the spot for this pieces. Then we use the drill to make holes on the side of the fretboard. Once we are done, we use a piece of aluminum and cyanoacrylate glue to get the pieces in place. We use a drop for each marker and apply the glue one hole at a time. We cut each piece.
When all the pieces are glued in place, we use a file to lower them to the level of the fretboard. Then we use the sanding block to get the markers to shine.
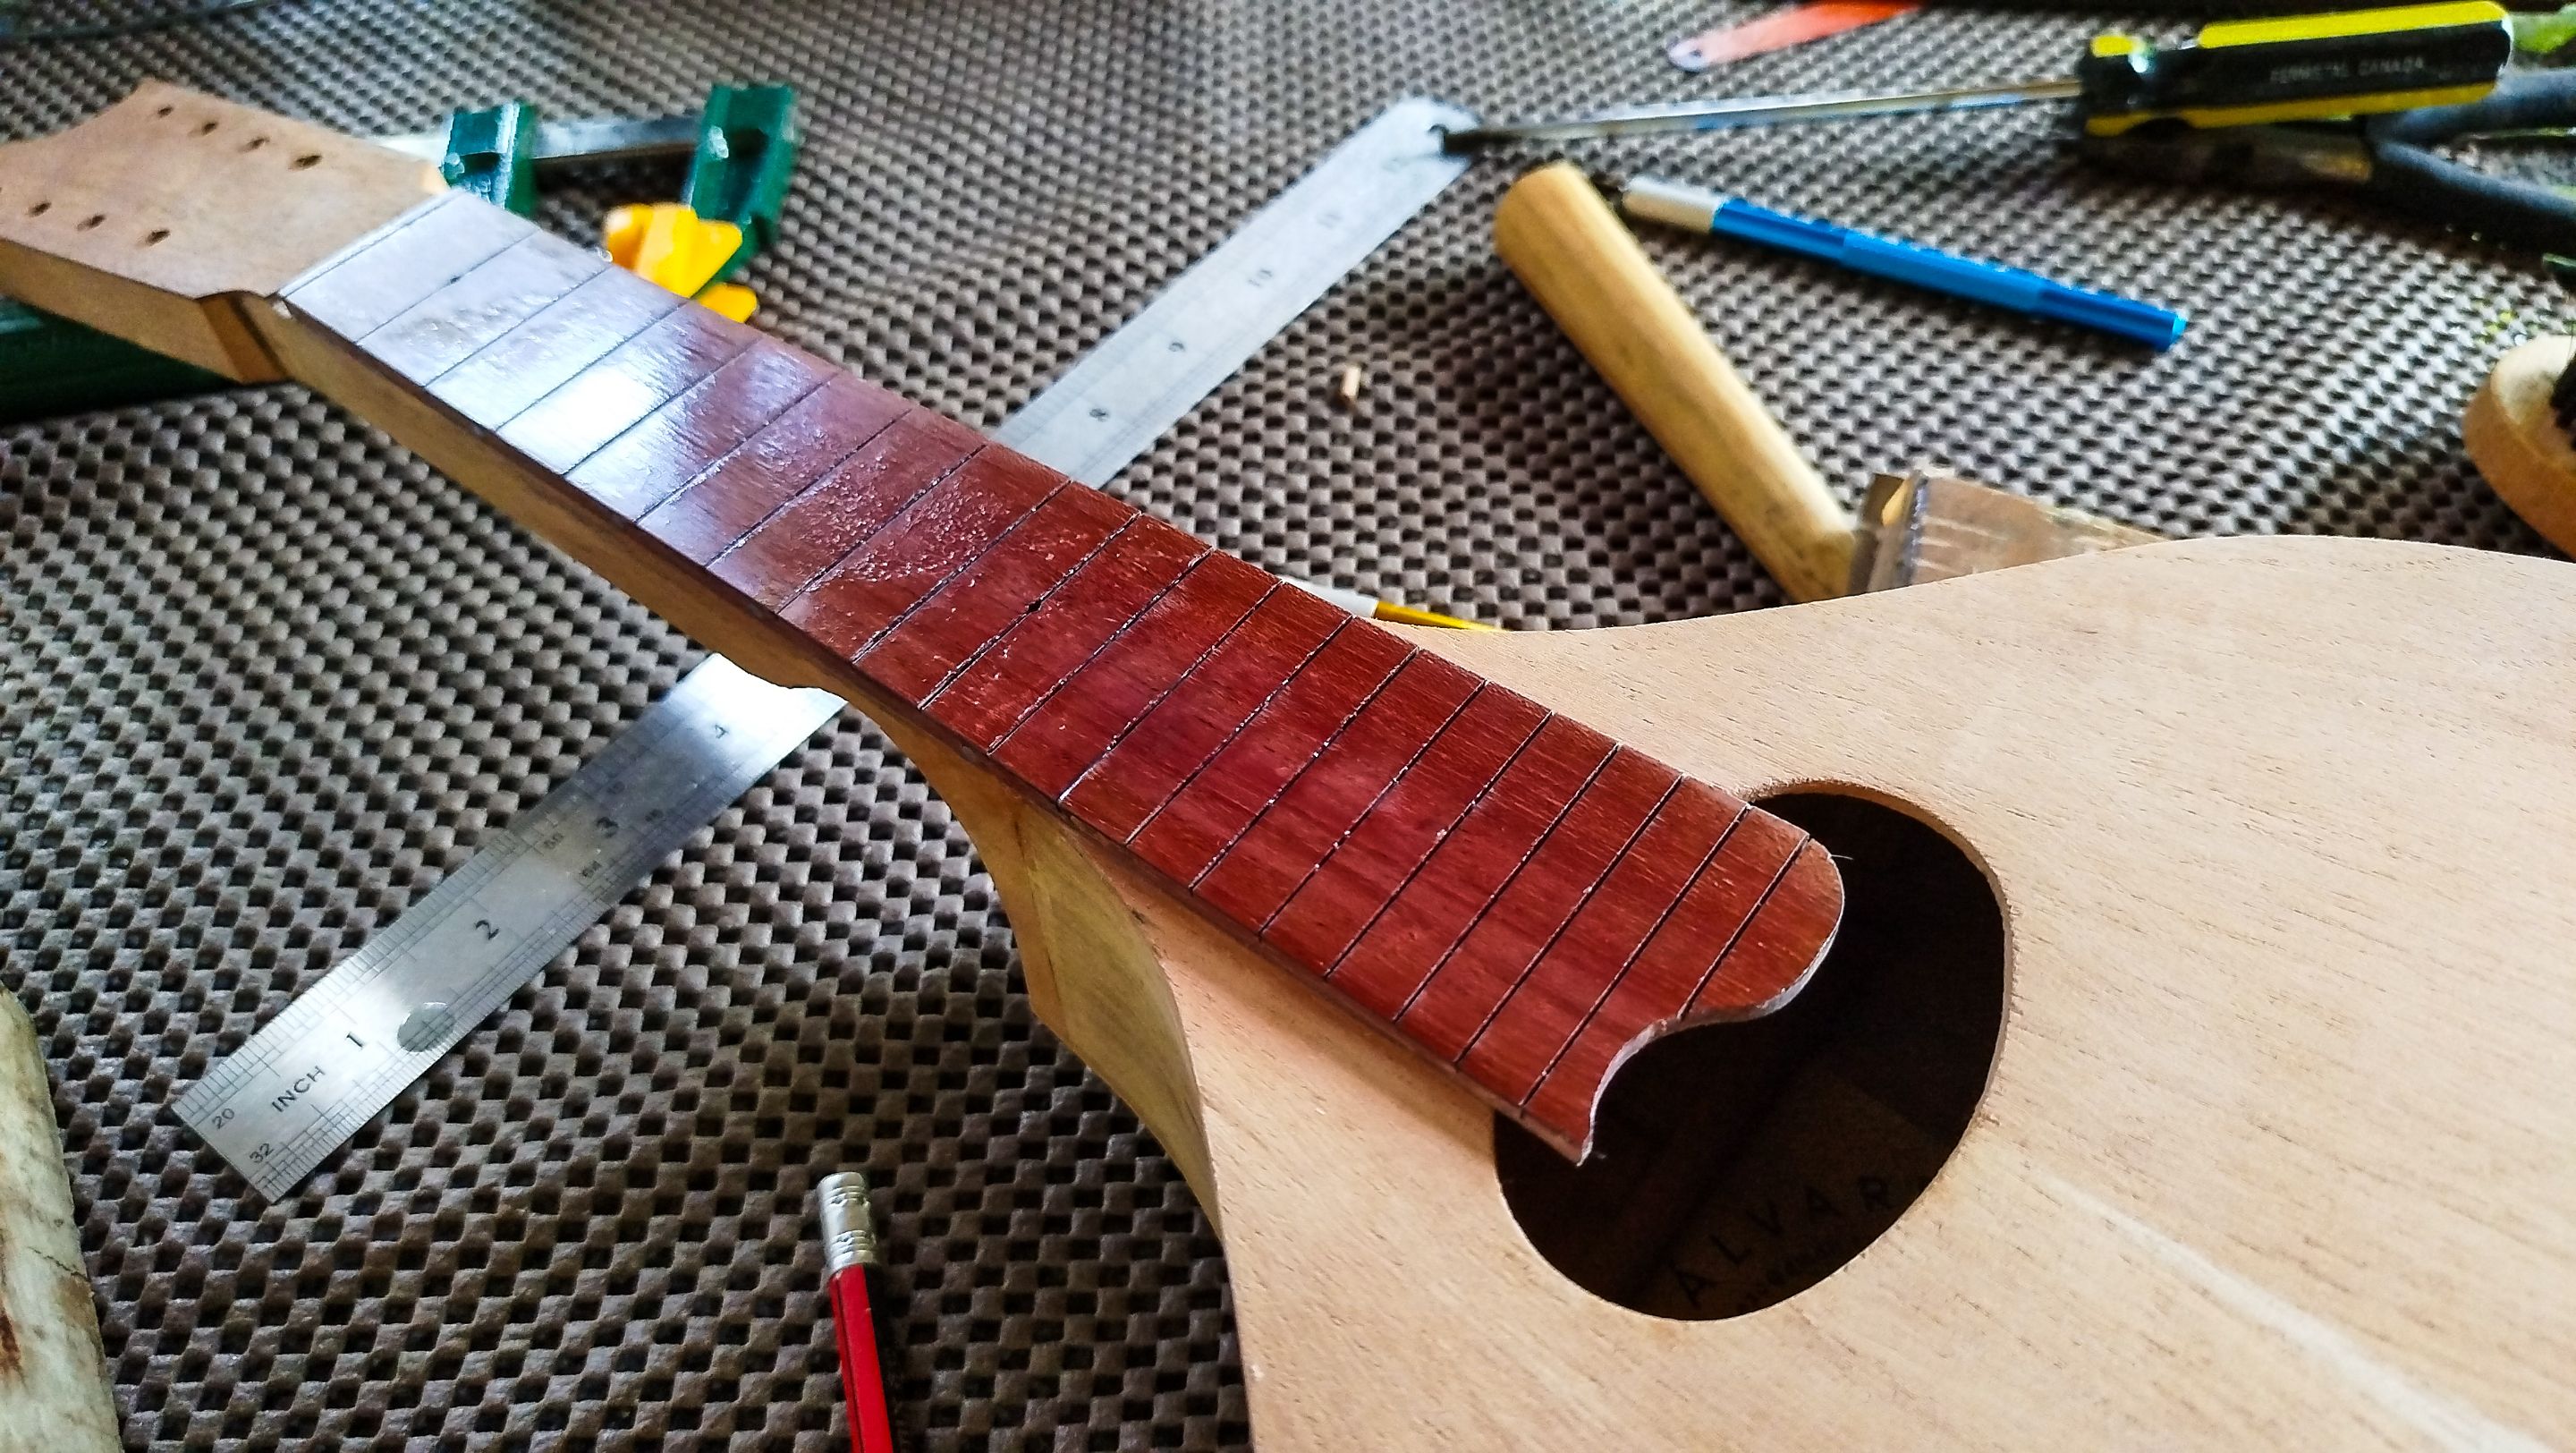
Now we are applying the first coat of finish on the fretboard's front. We apply a thin coat of sealer on the fretboard. We let the coats to dry before applying another and we let all the sealer to cure for at least a day before sanding and applying new coats.
With this we can move forward to a next step. The next entry will be all about getting the frets in place and do some other task to advance the project. Thanks a lot for reading. See you next time!
| Number | Entry |
|---|---|
| 1 | The First Mandolin |
| 2 | Starting a Neck |
| 3 | The Heel |
| 4 | Headstock and Template |
| 5 | Neck, Sound Board and Mould |
| 6 | Round Back |
| 7 | End Block and Sides |
| 8 | Shape of Mandolin |
| 9 | Mandolin Fretboard |
-
Photos 📷: Redmi Note 13
-
Thumbnail 🖼️: Canva.
-
Editing 🎬:Adobe Photoshop Lightroom.

Follow me on Instagram for enquires and commission.
If you'd like to help the workshop grow, you can make a donation here.
You can find me at discord as bertrayo#1763