
Hello there, my fellow artisans and handcrafts enthusiasts!
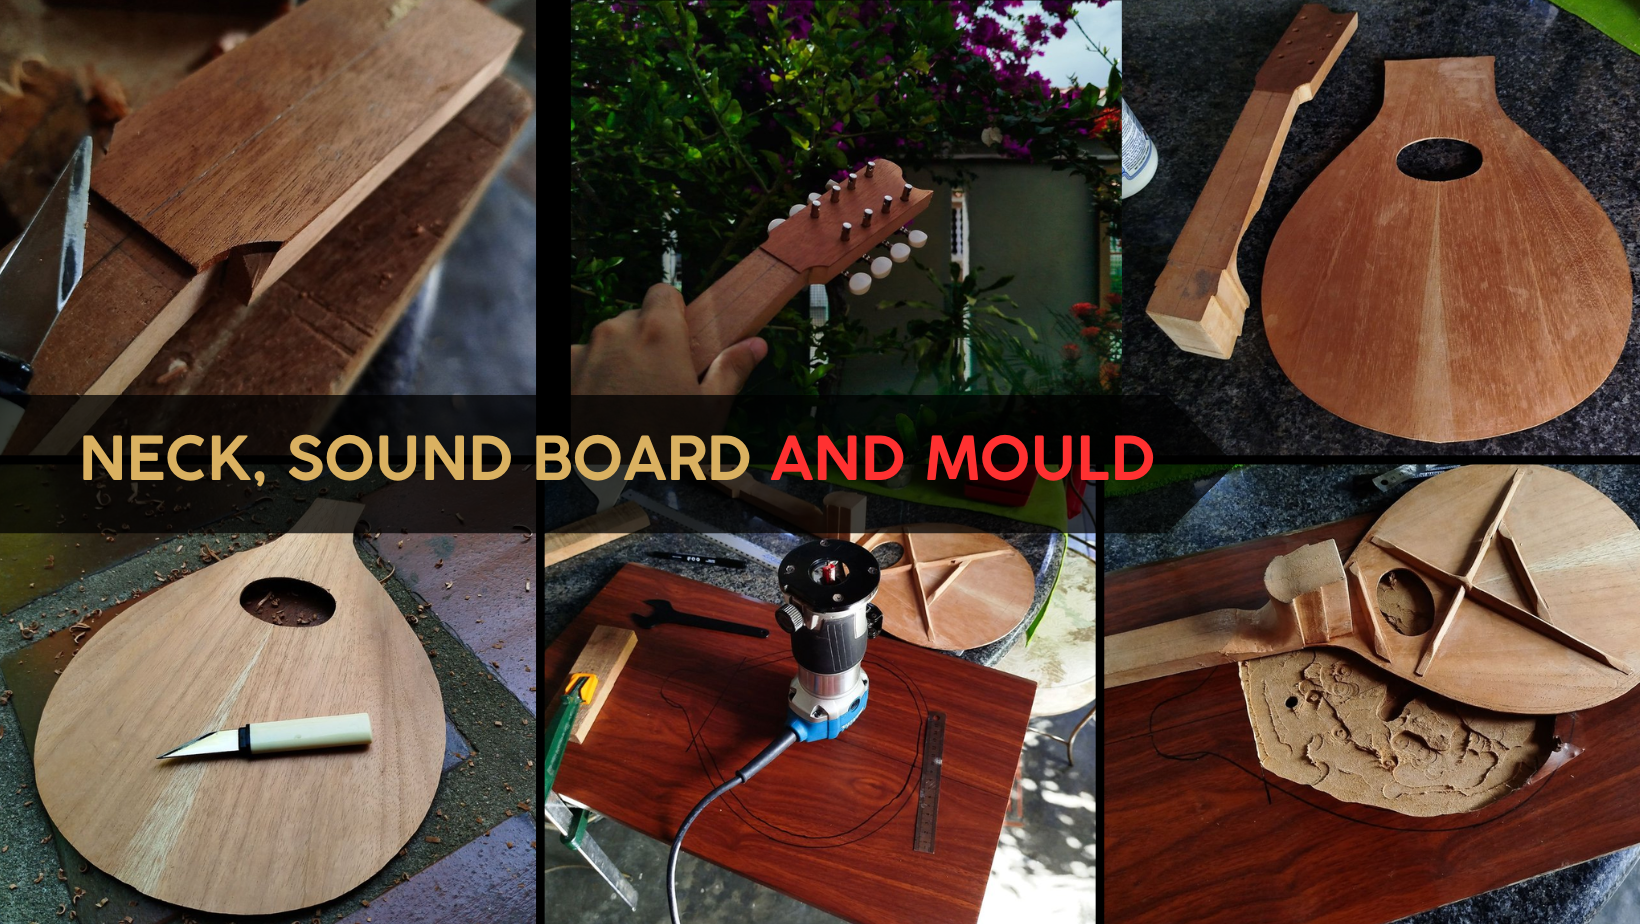
Welcome back to another entry in this Mandolin build. Last time we saw this instrument, we had just made all the work on the base of the head stock. Now that we have both it and the template, we can start making all the cuts and shaping in order to finish the work on the neck. Then we can proceed to the first steps of assembly. But that is far from all the things we need to do.
Let's get to it!
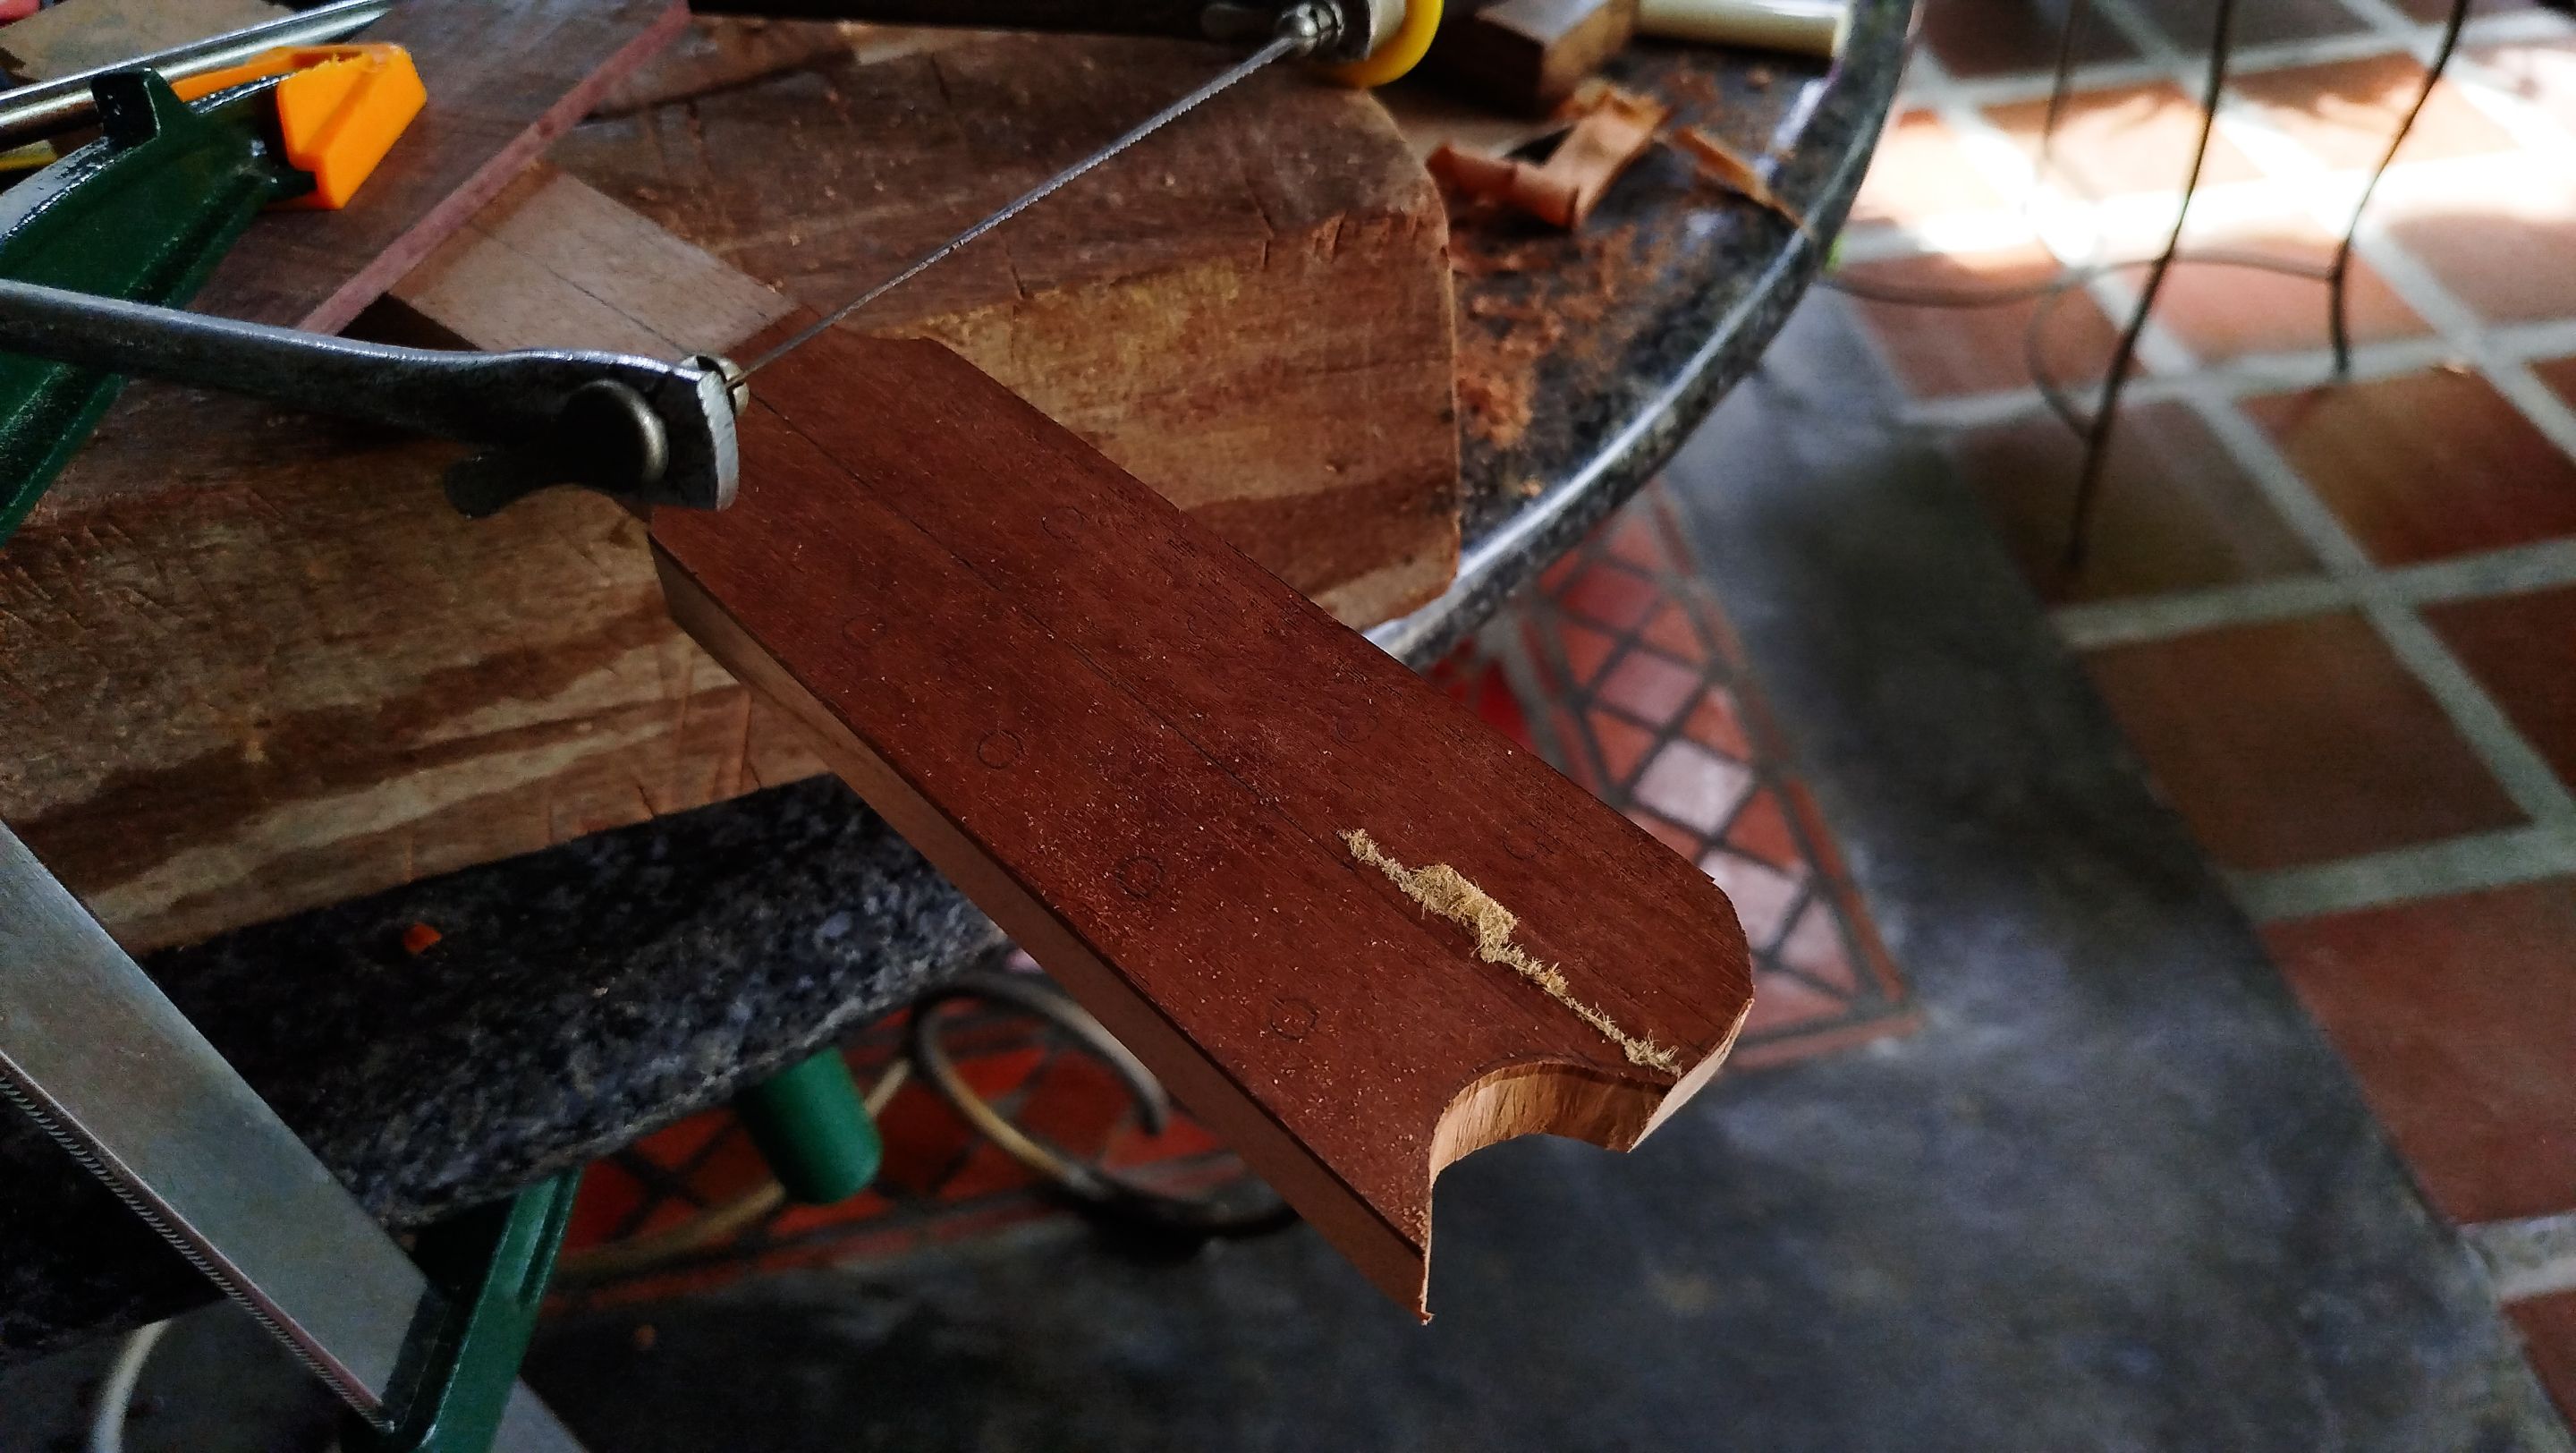
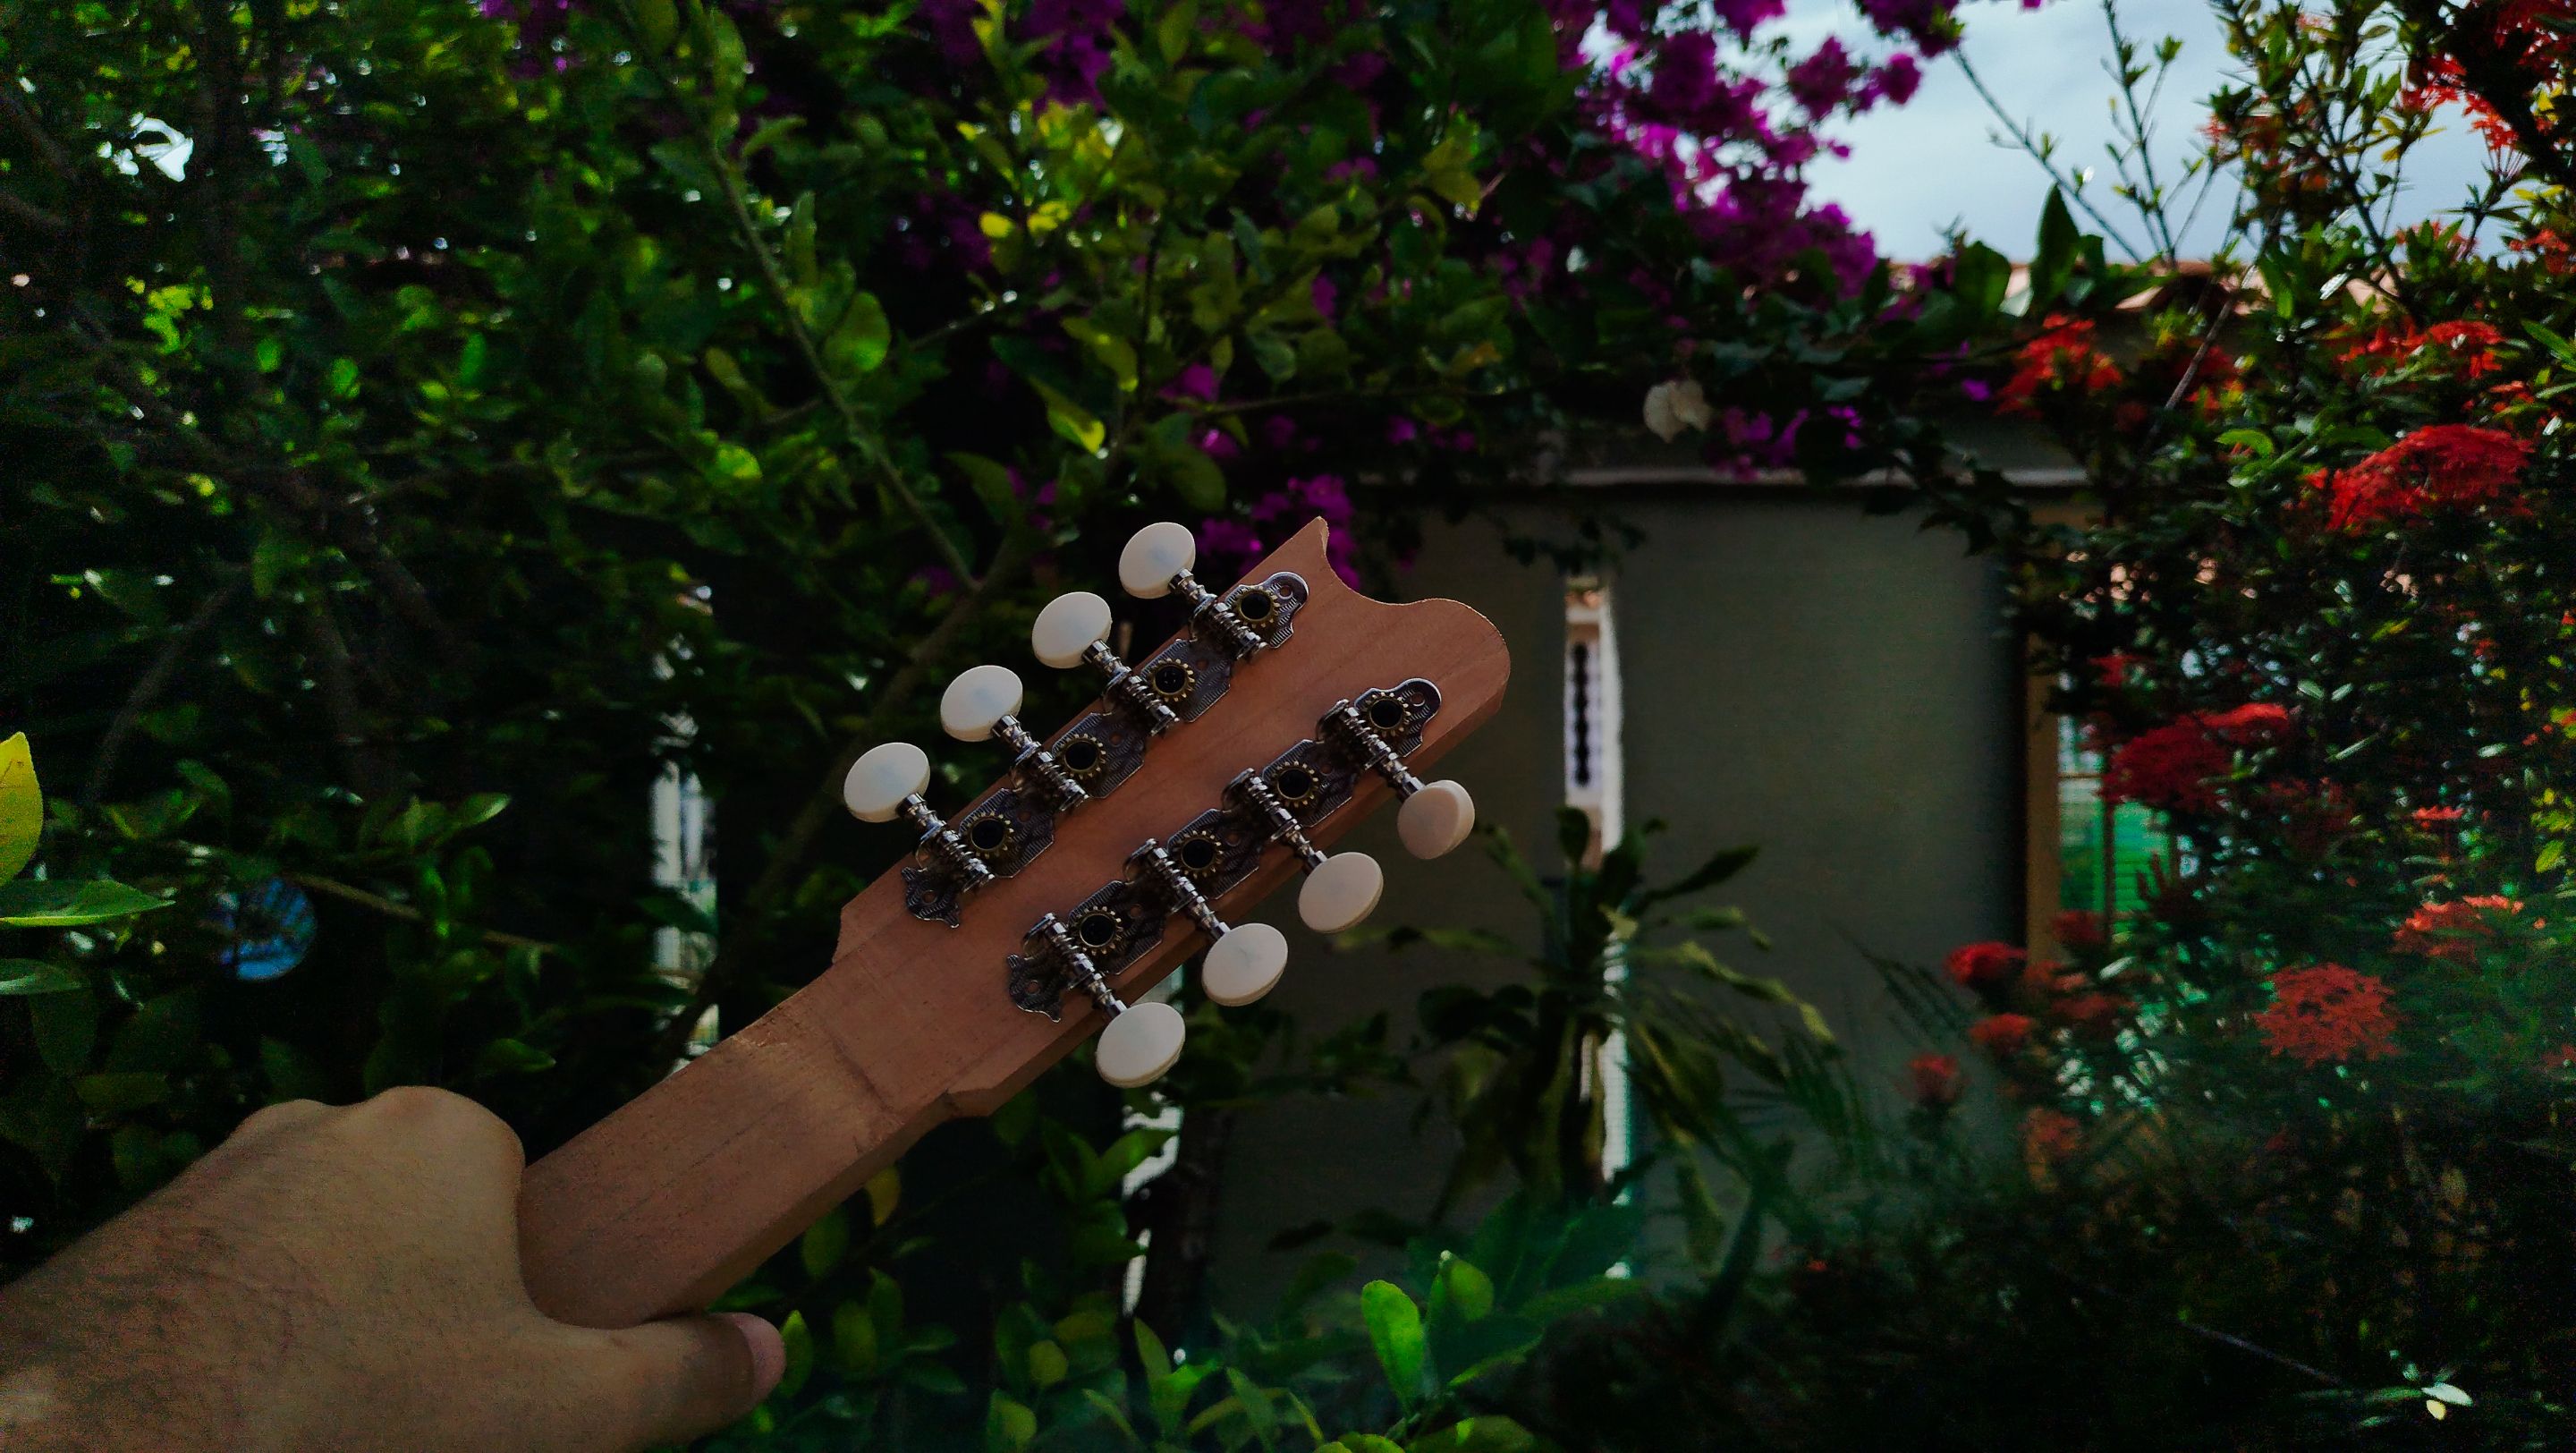
Head stock shape

Swipe to see the photos
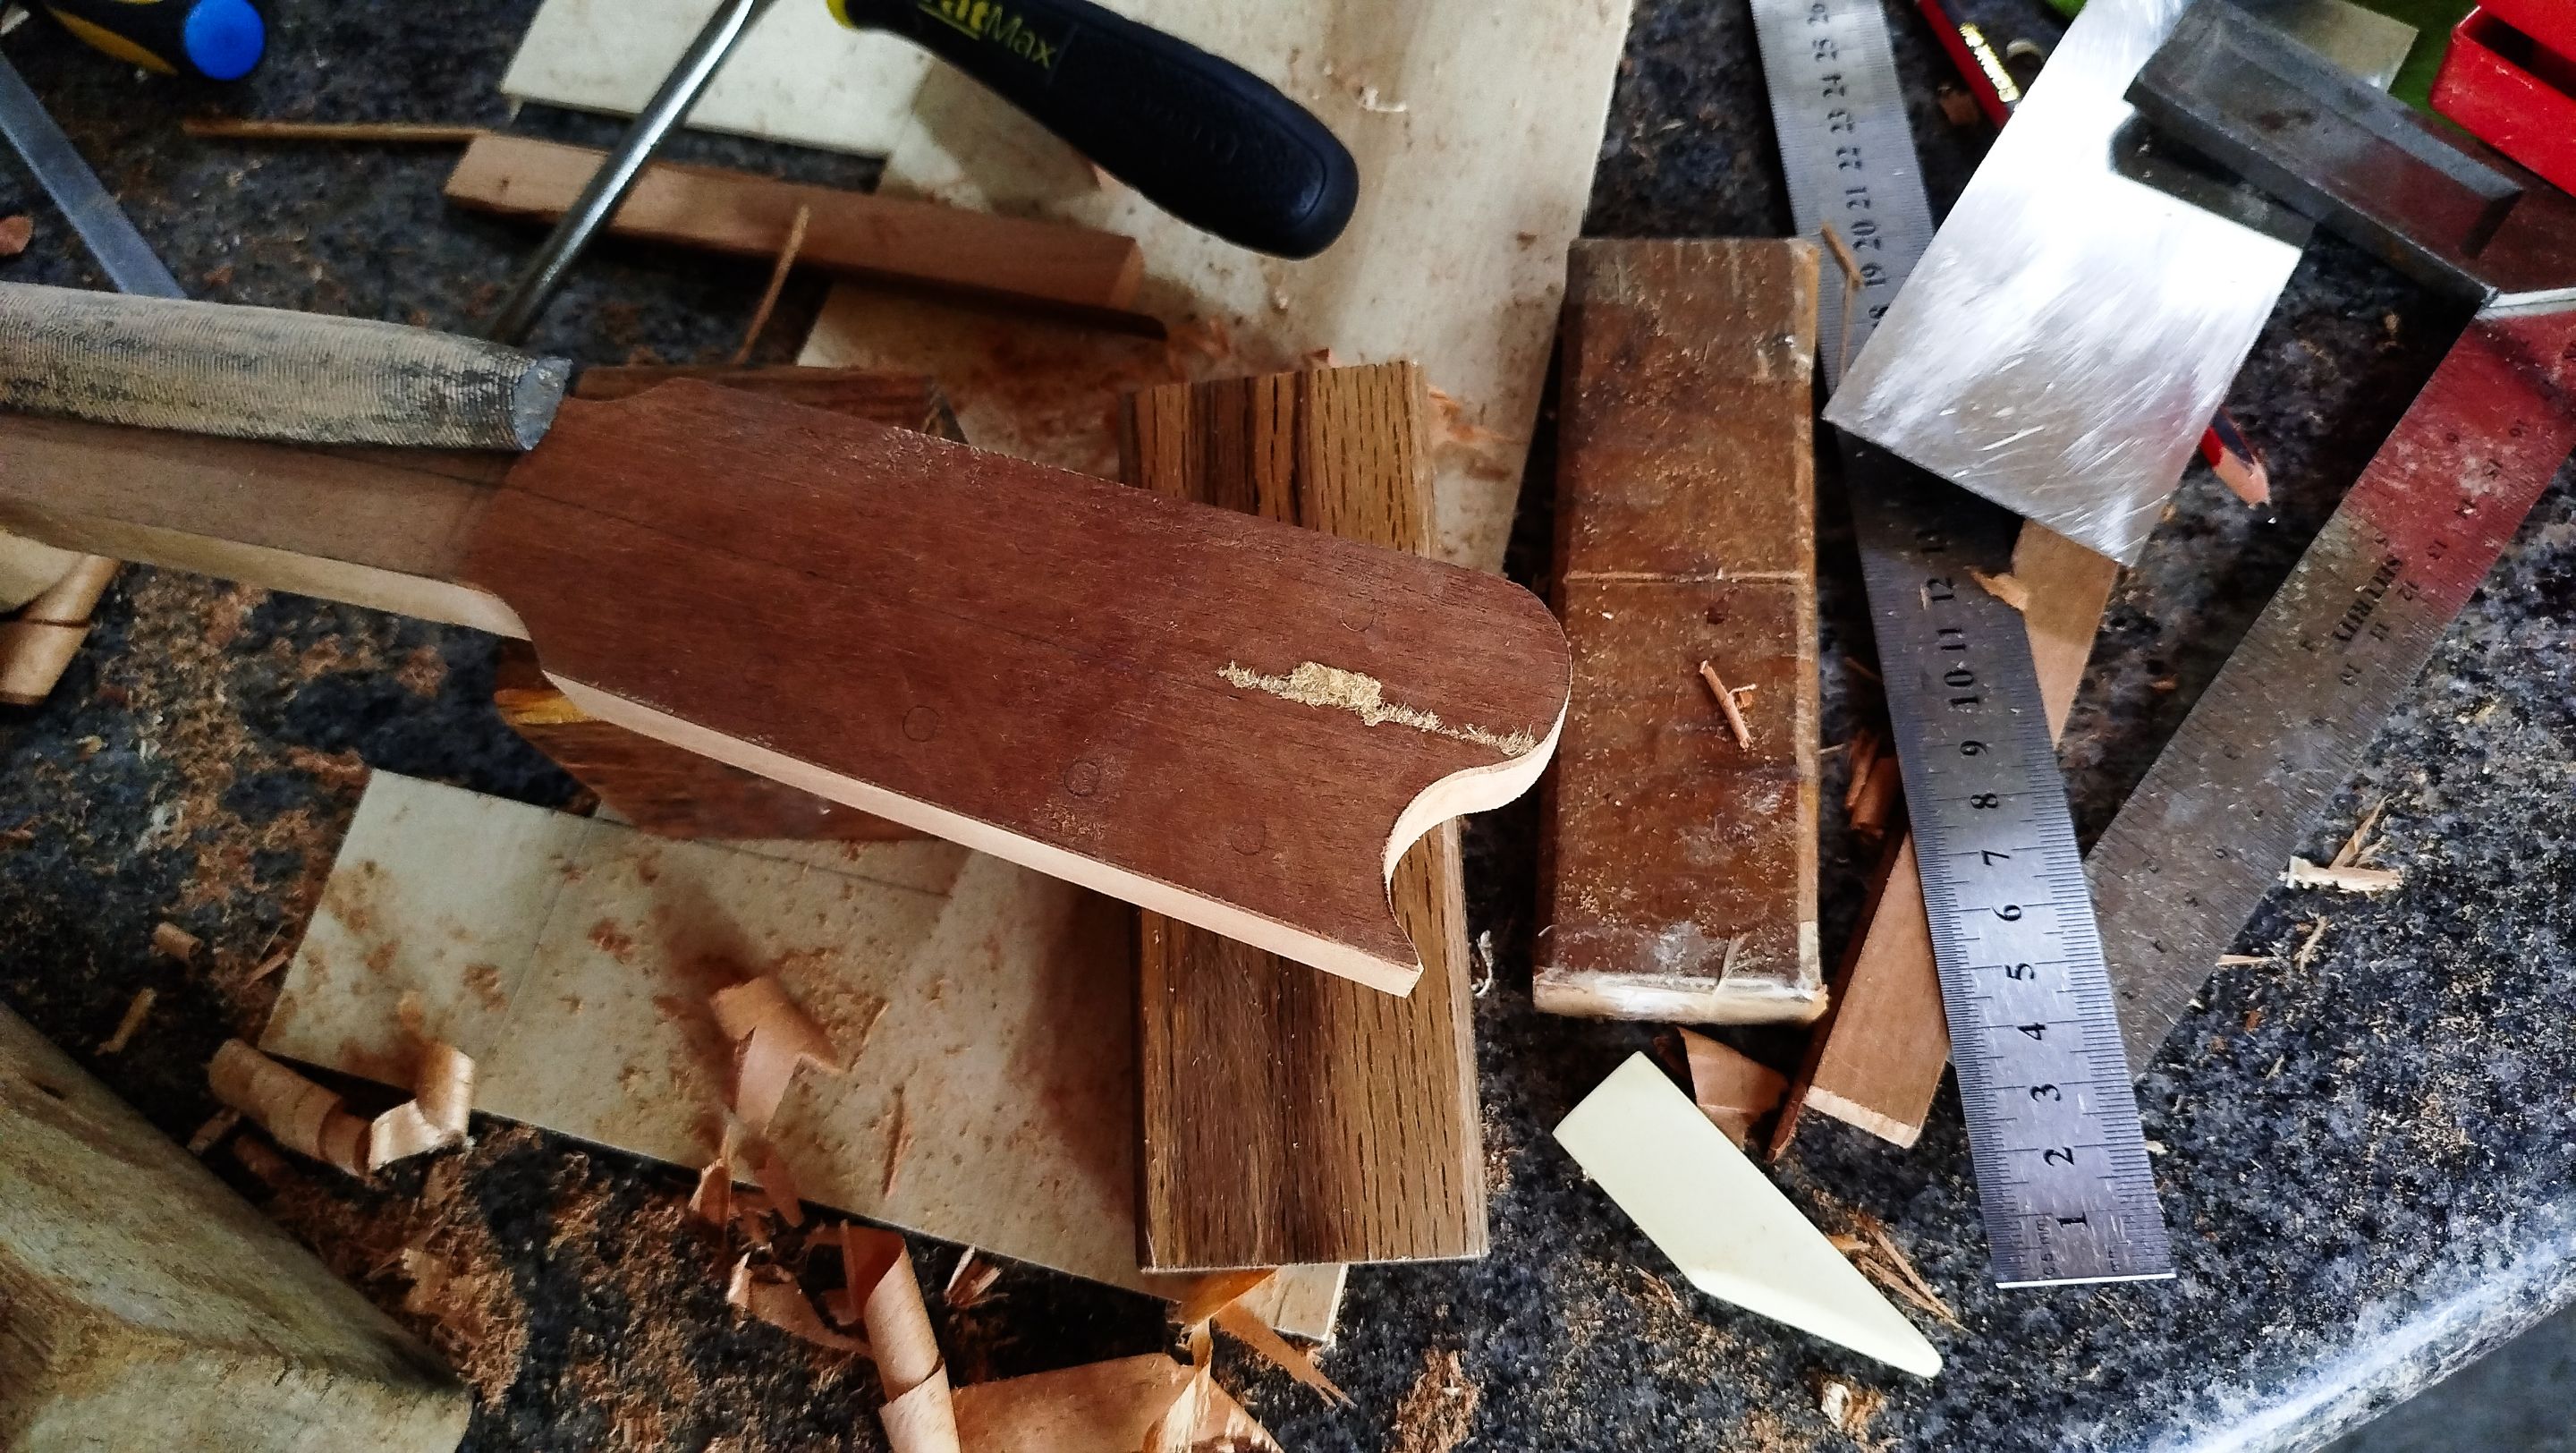
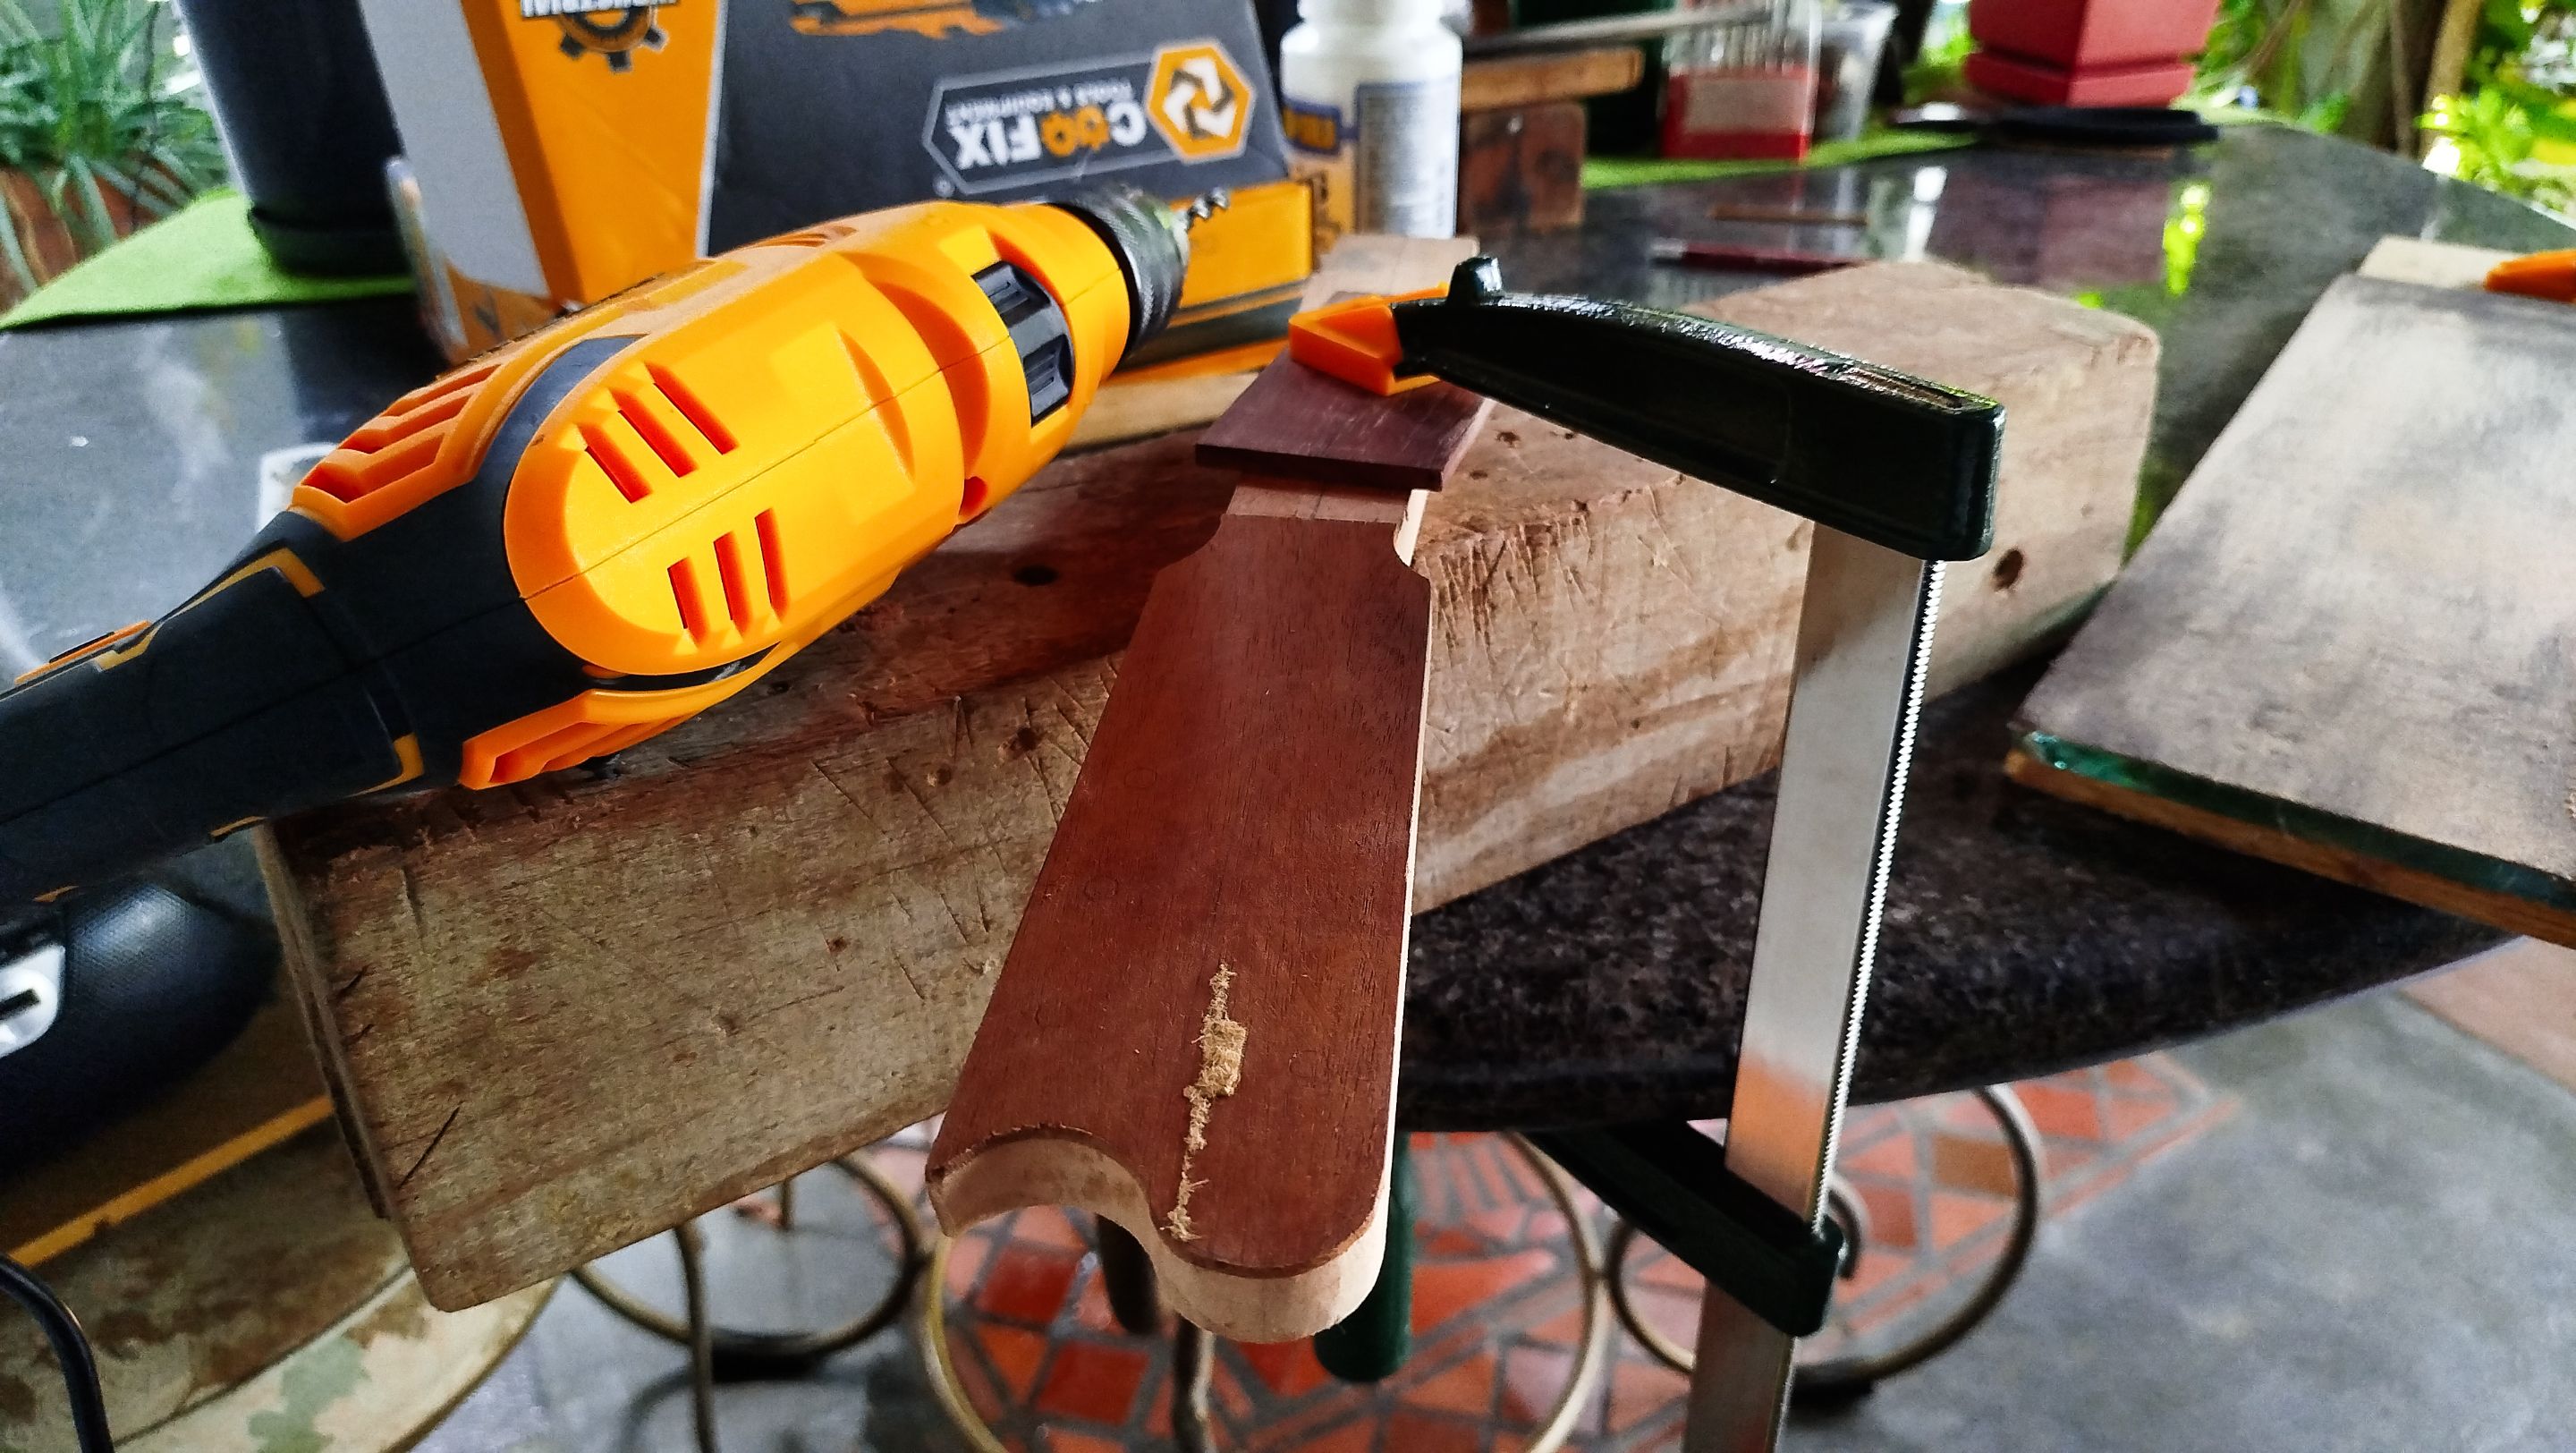
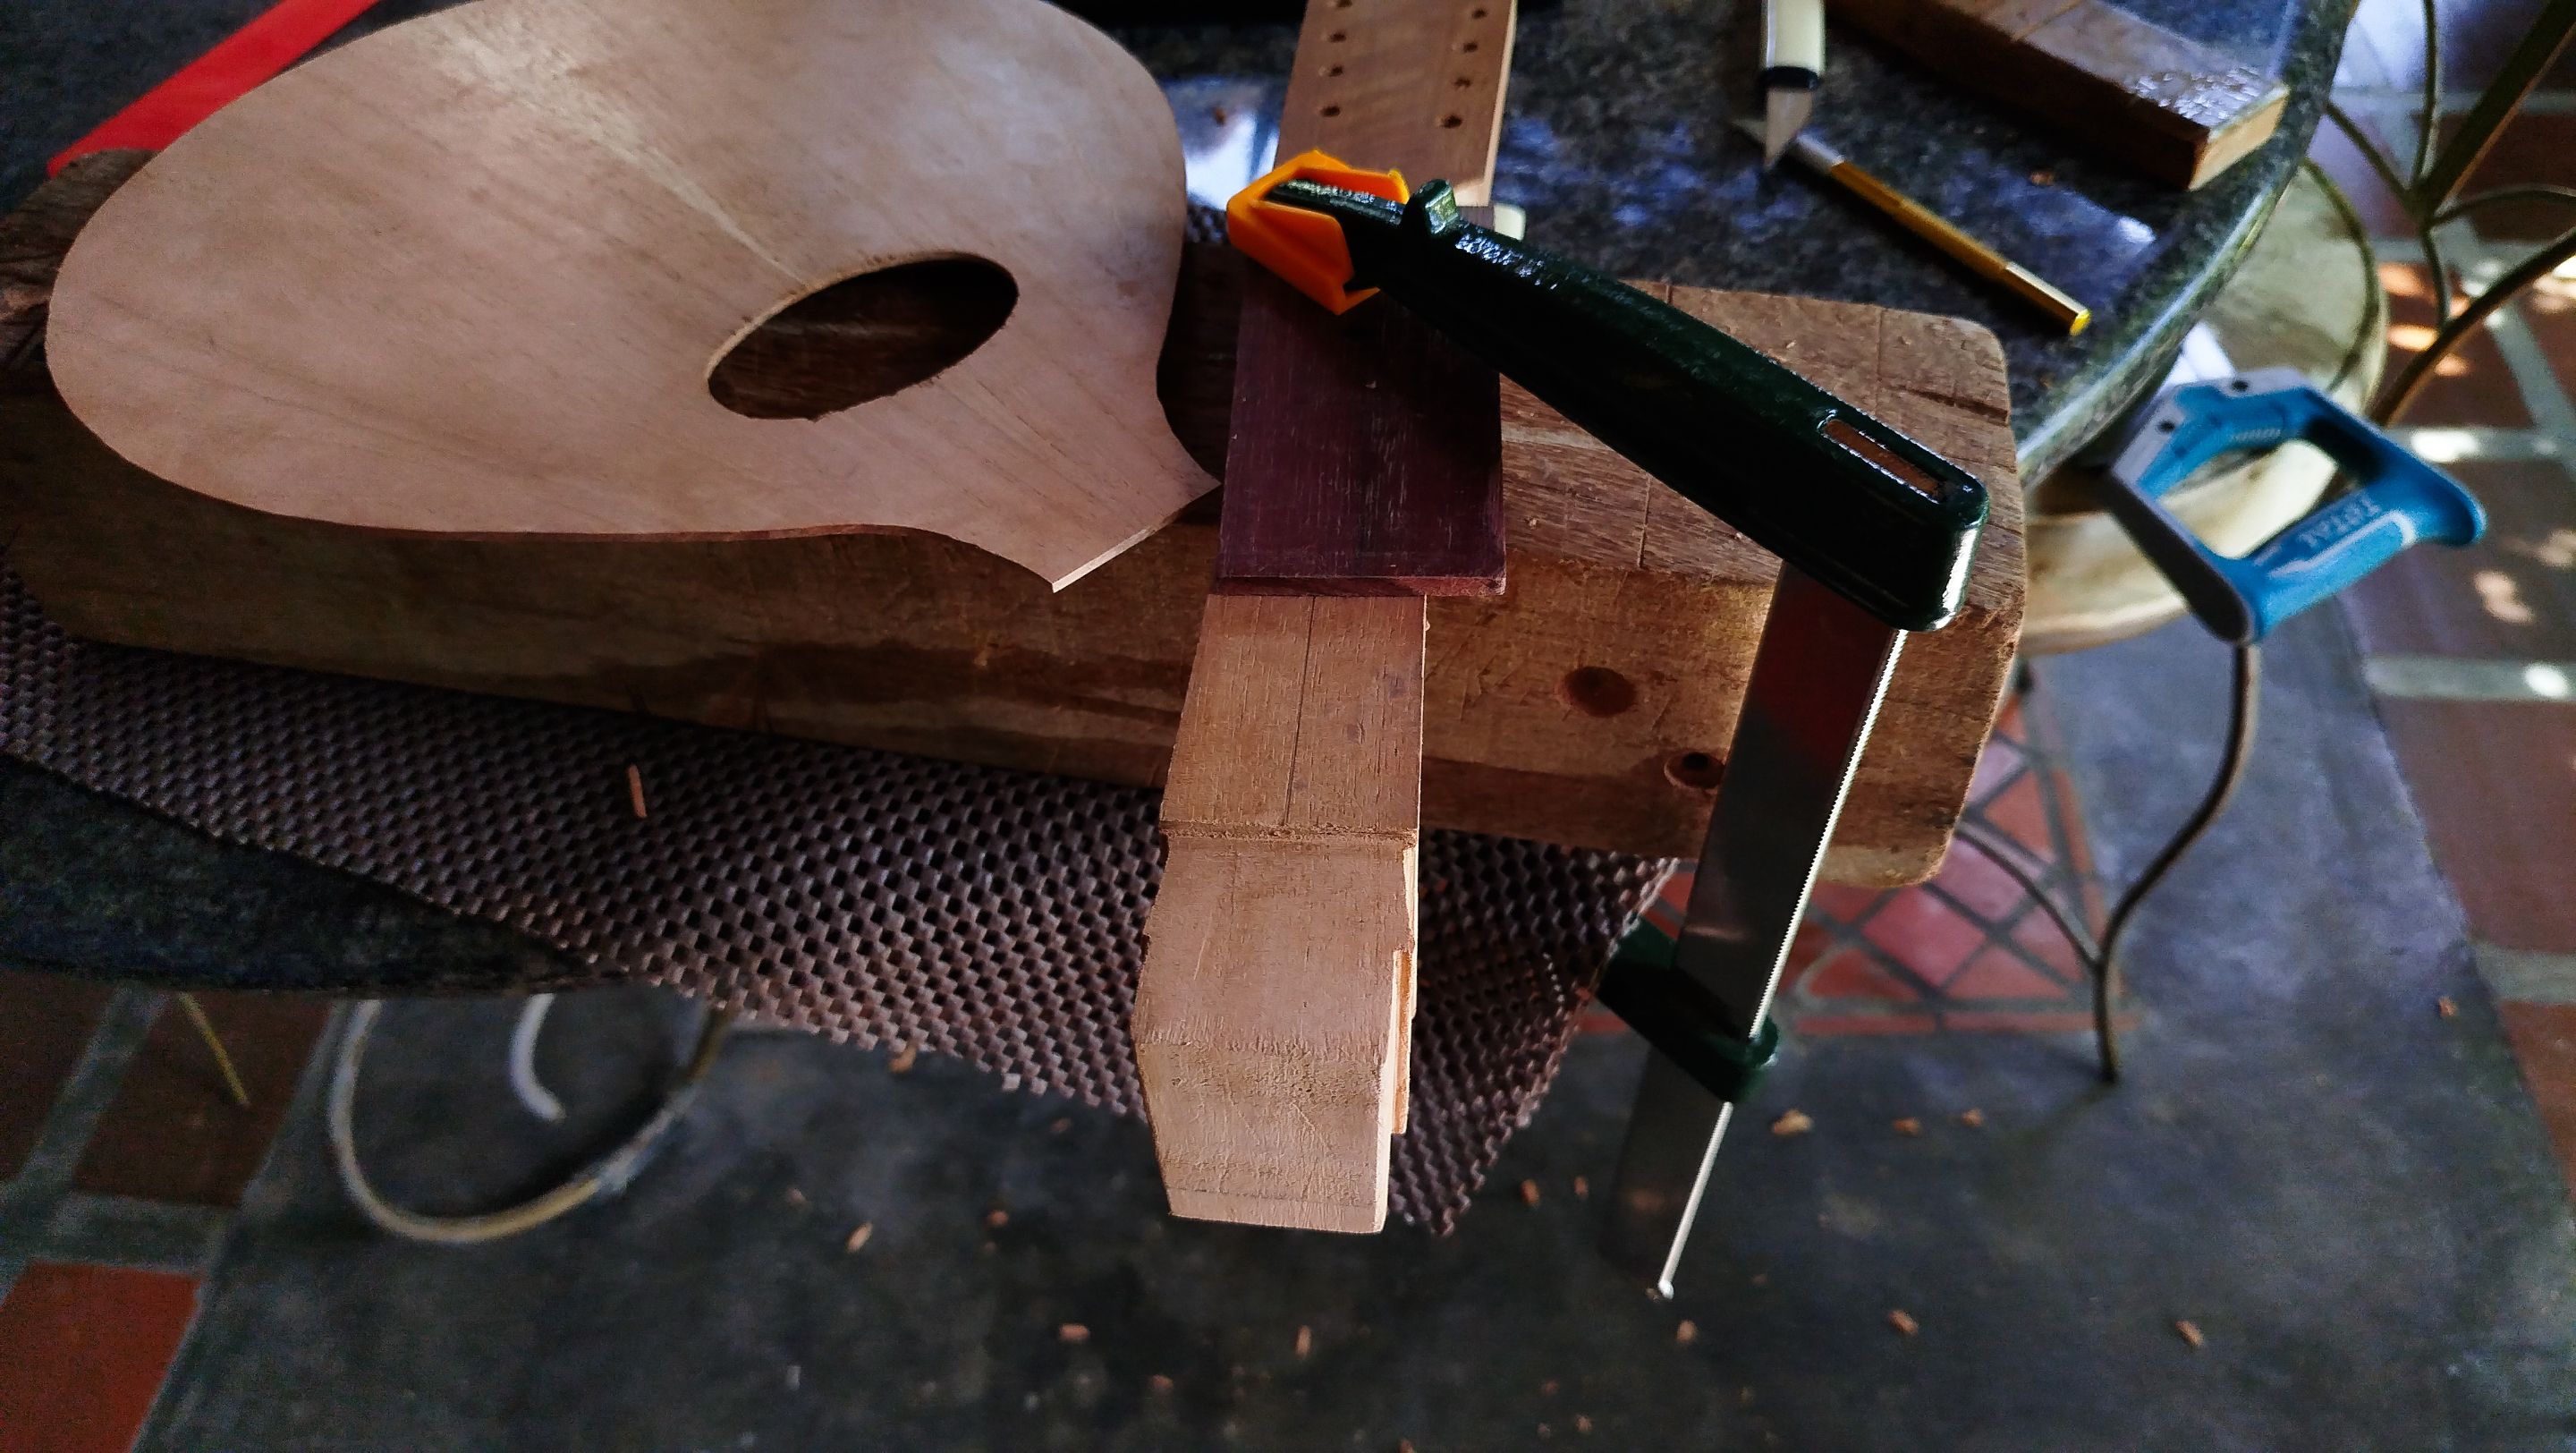
The base of the head stock is complete with the veneer that serves as ornament. Now we need to use the template to mark the lines to start cutting away the excess material and also give the head stock our design. Besides, the last part is making all the holes for the 4 pairs of tuners. That is the toughest part of this section.
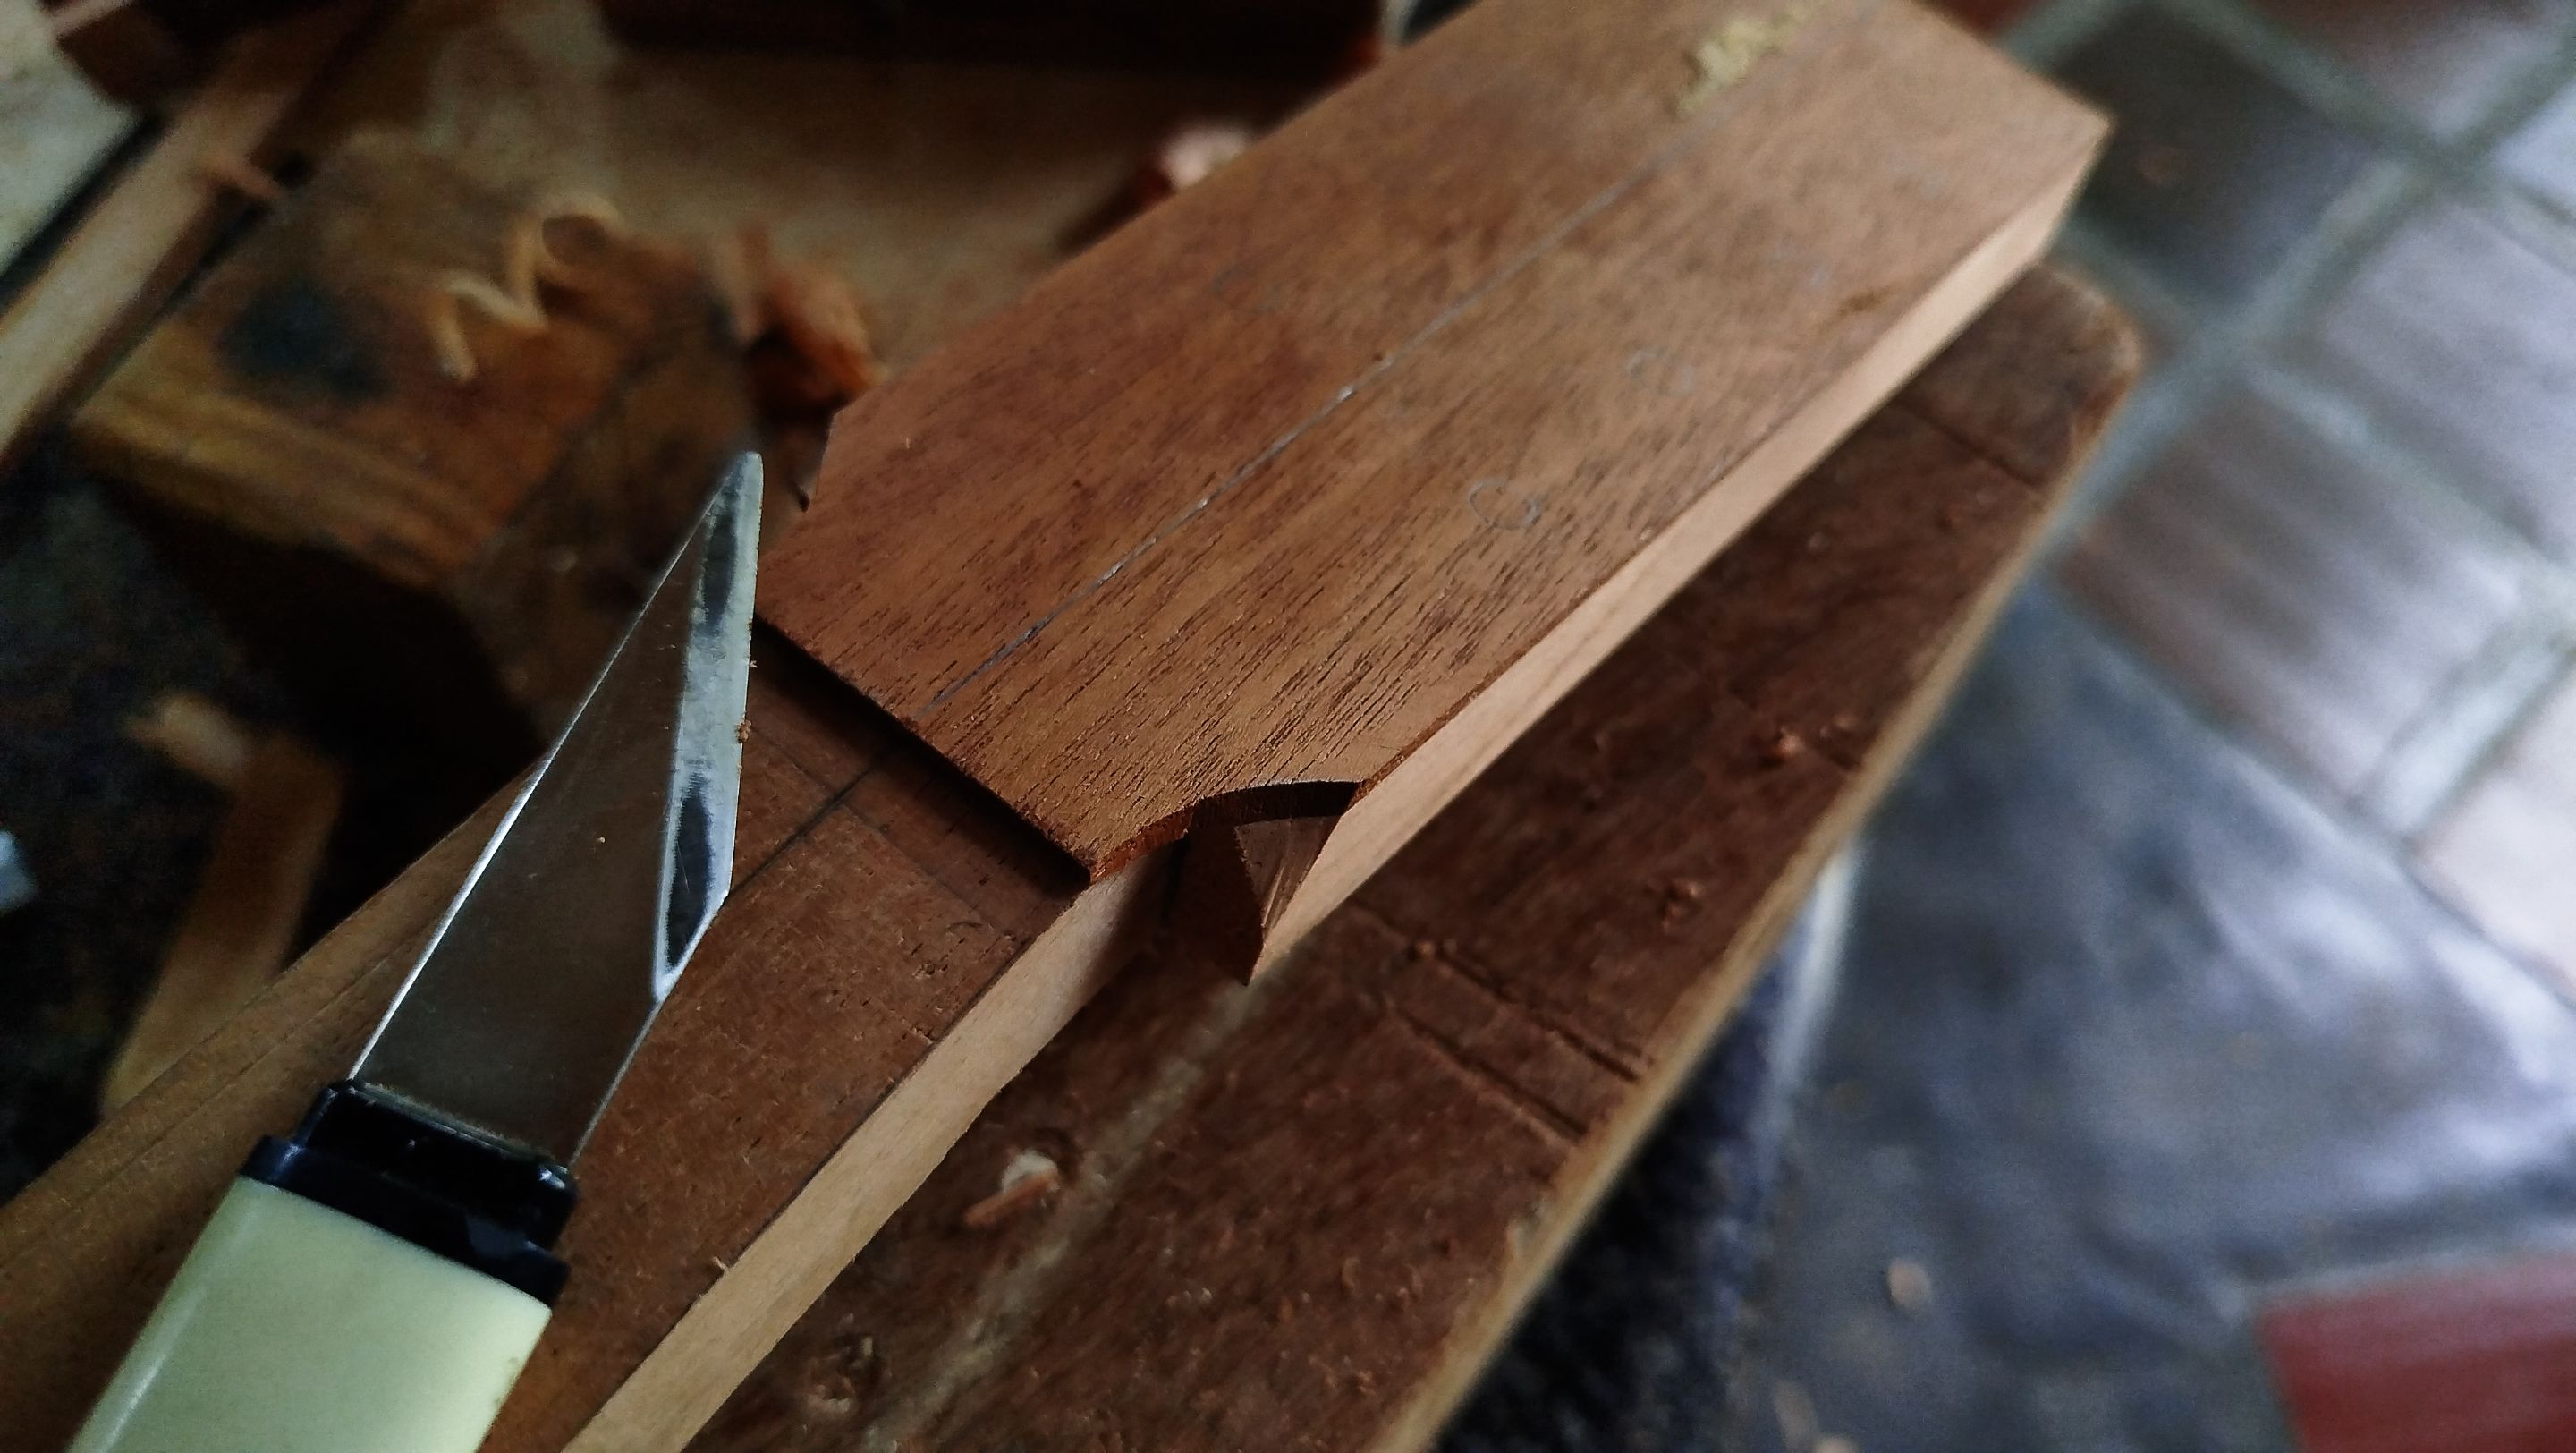
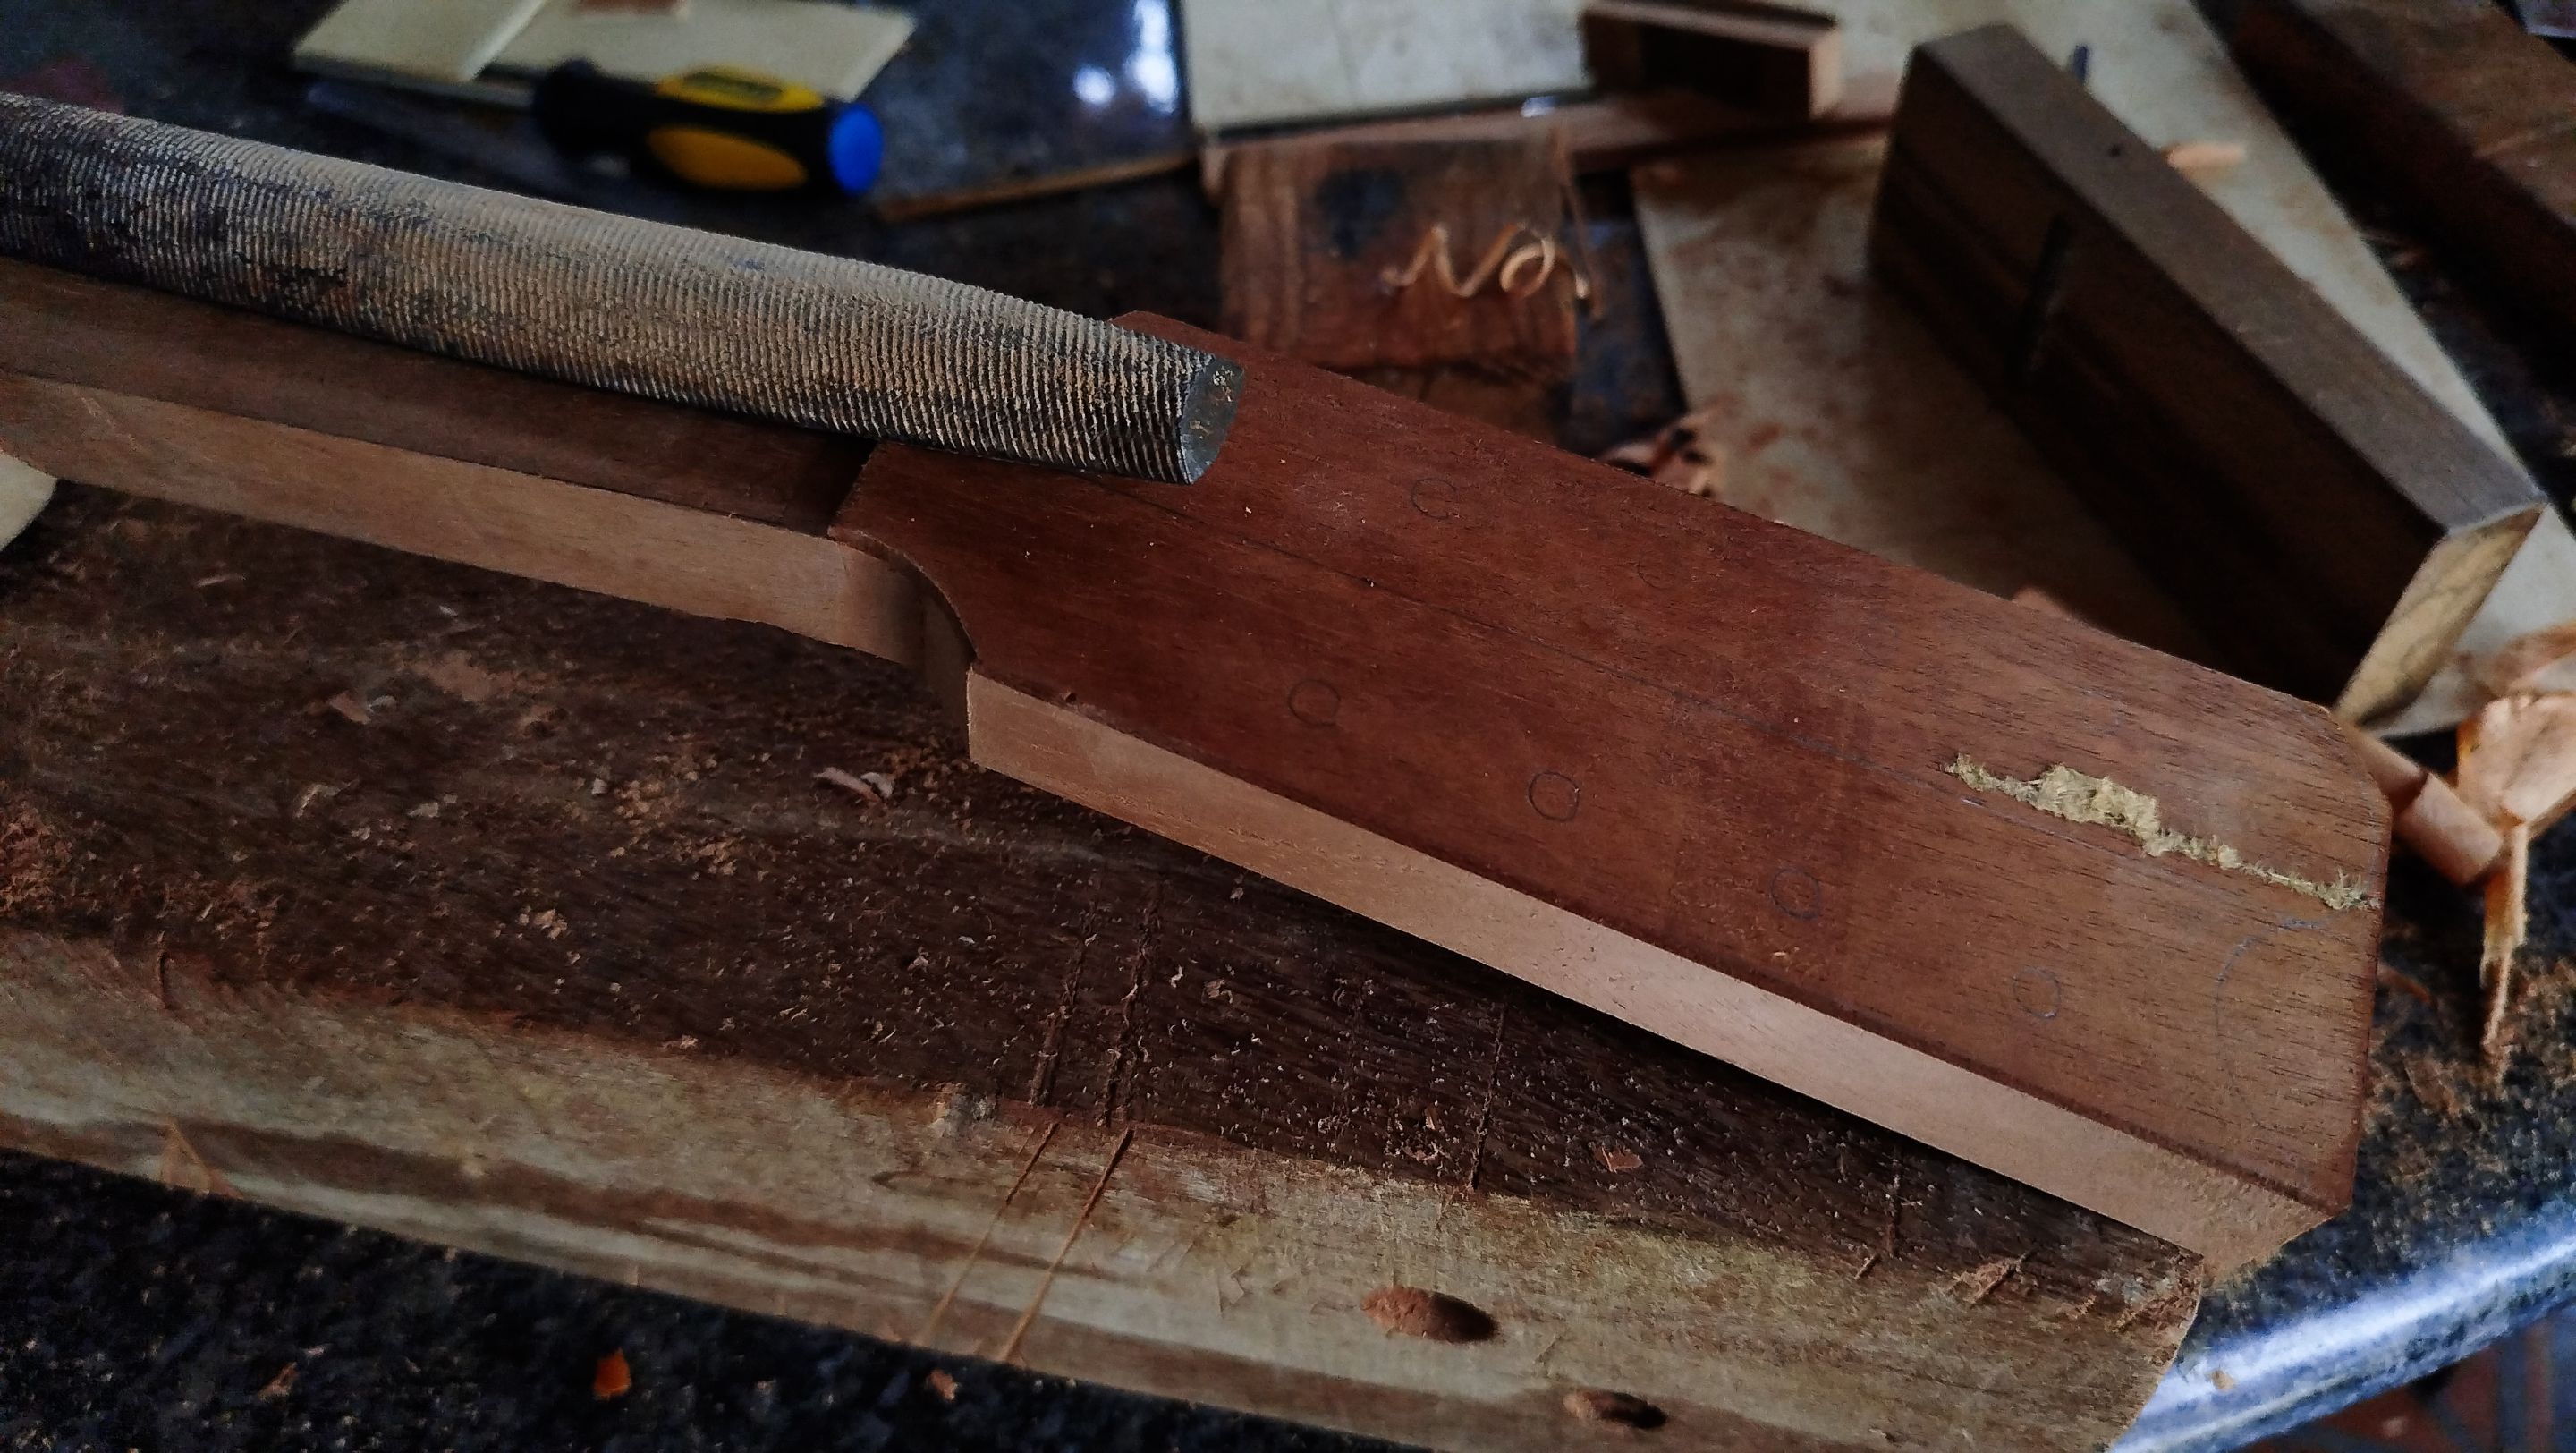
We use a saw to start cutting the shape of the head. We are stating from the sides. Then we use the coping saw to cut the curves on the top portion of the head. All the cuts are refined with either the hand plane and/or the file. All the rest of the work needs to be done with a knife.
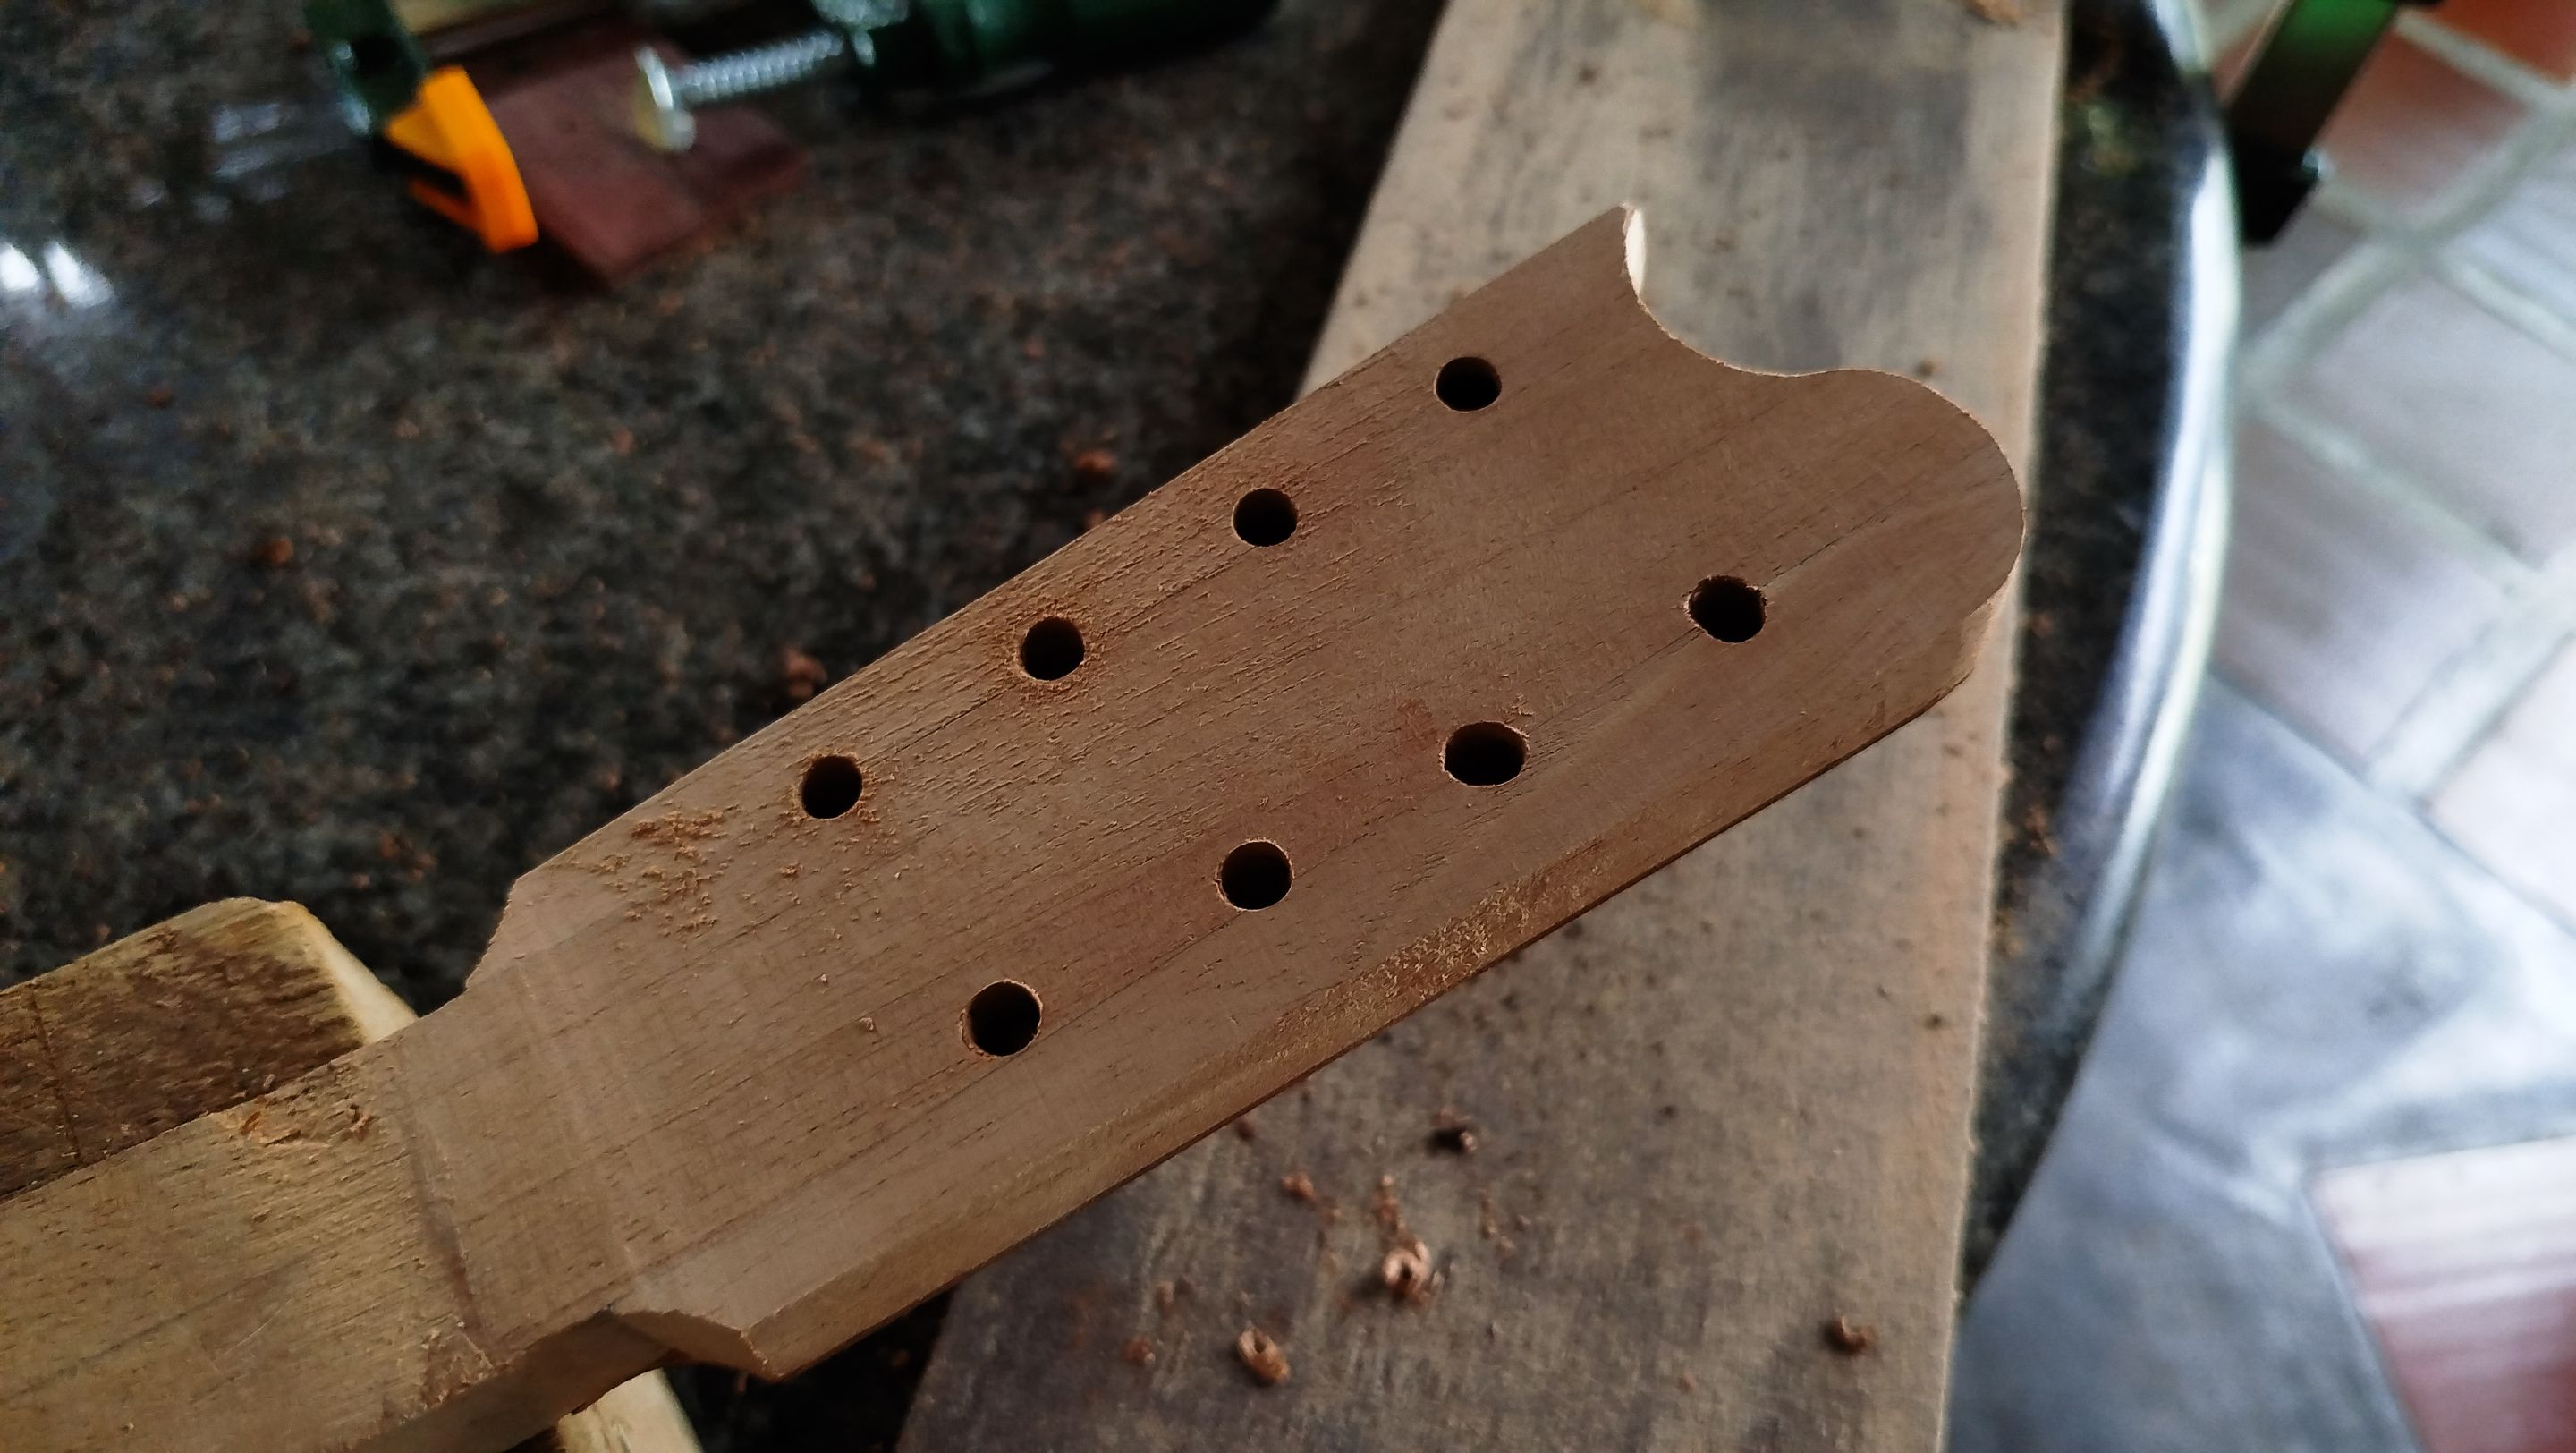
The last part is taking the drill and starting to make the holes for the tuners. For this we need to keep an eye for the marks we have already made with the template. Then we start to make the holes one at a time and with extreme care. Once all the holes are done, we can use the tuners to check everything is aligned.
Assembling Neck and Sound Board
Swipe to see the photos
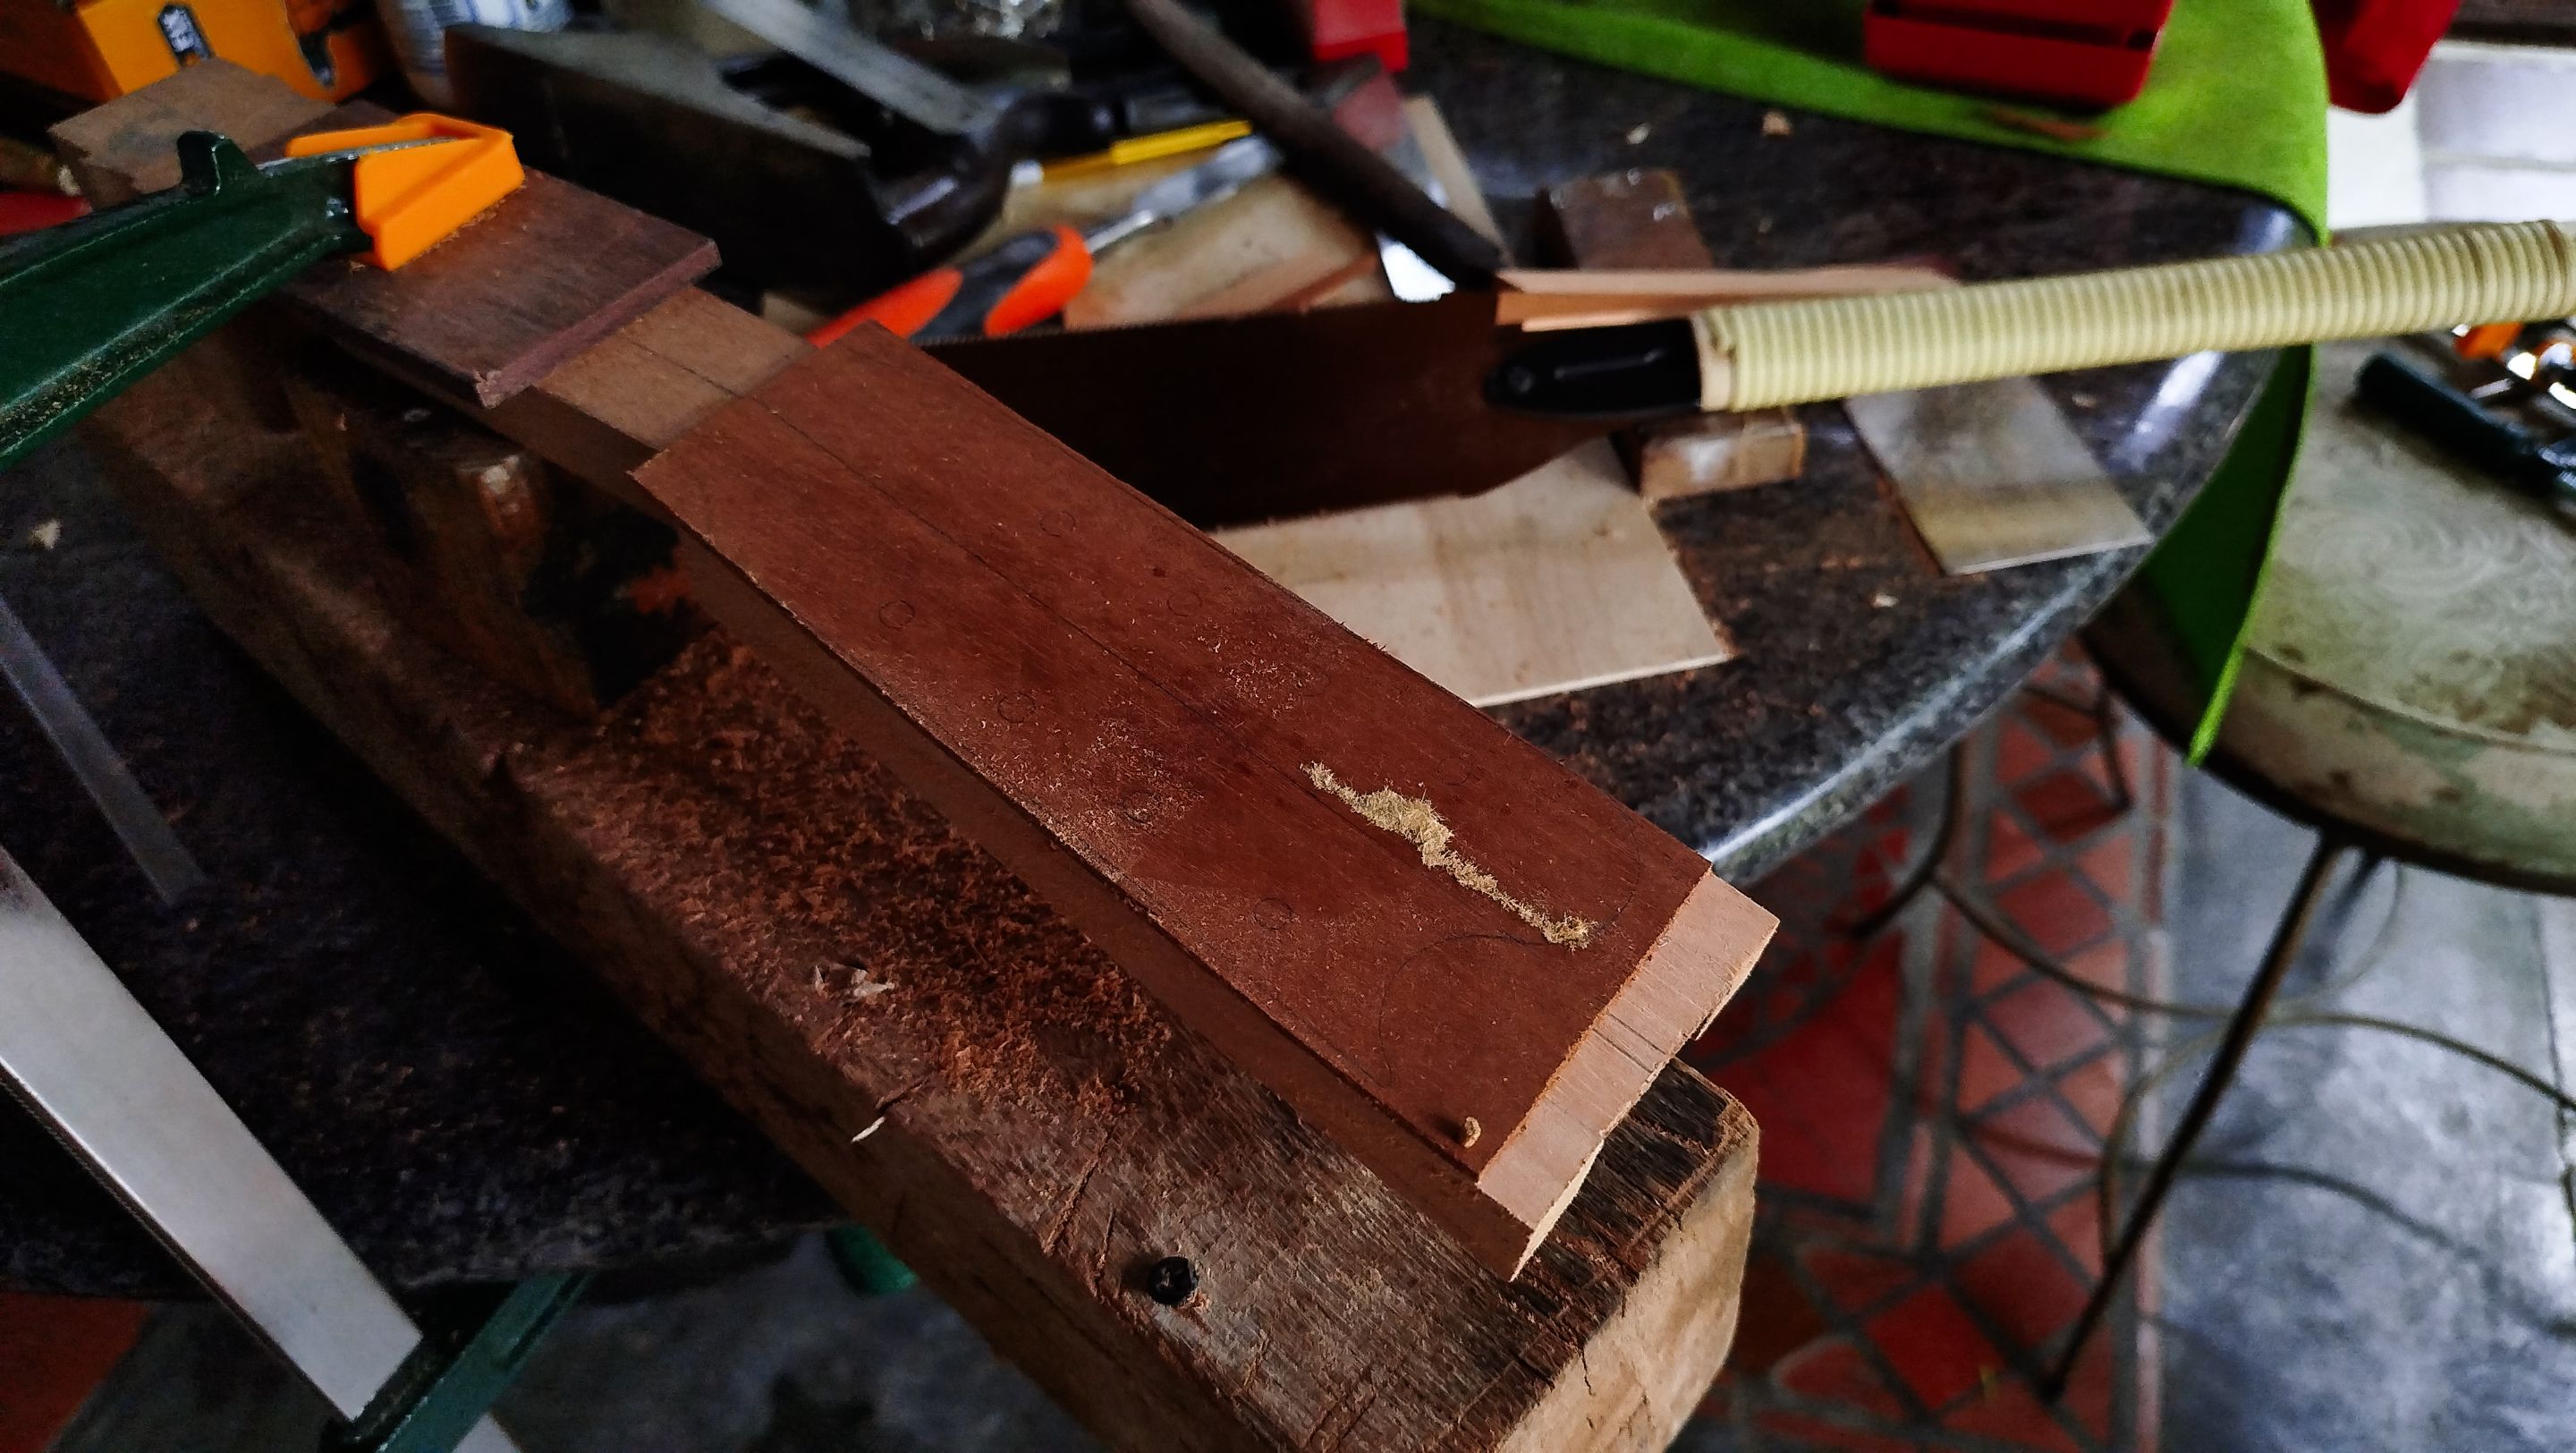
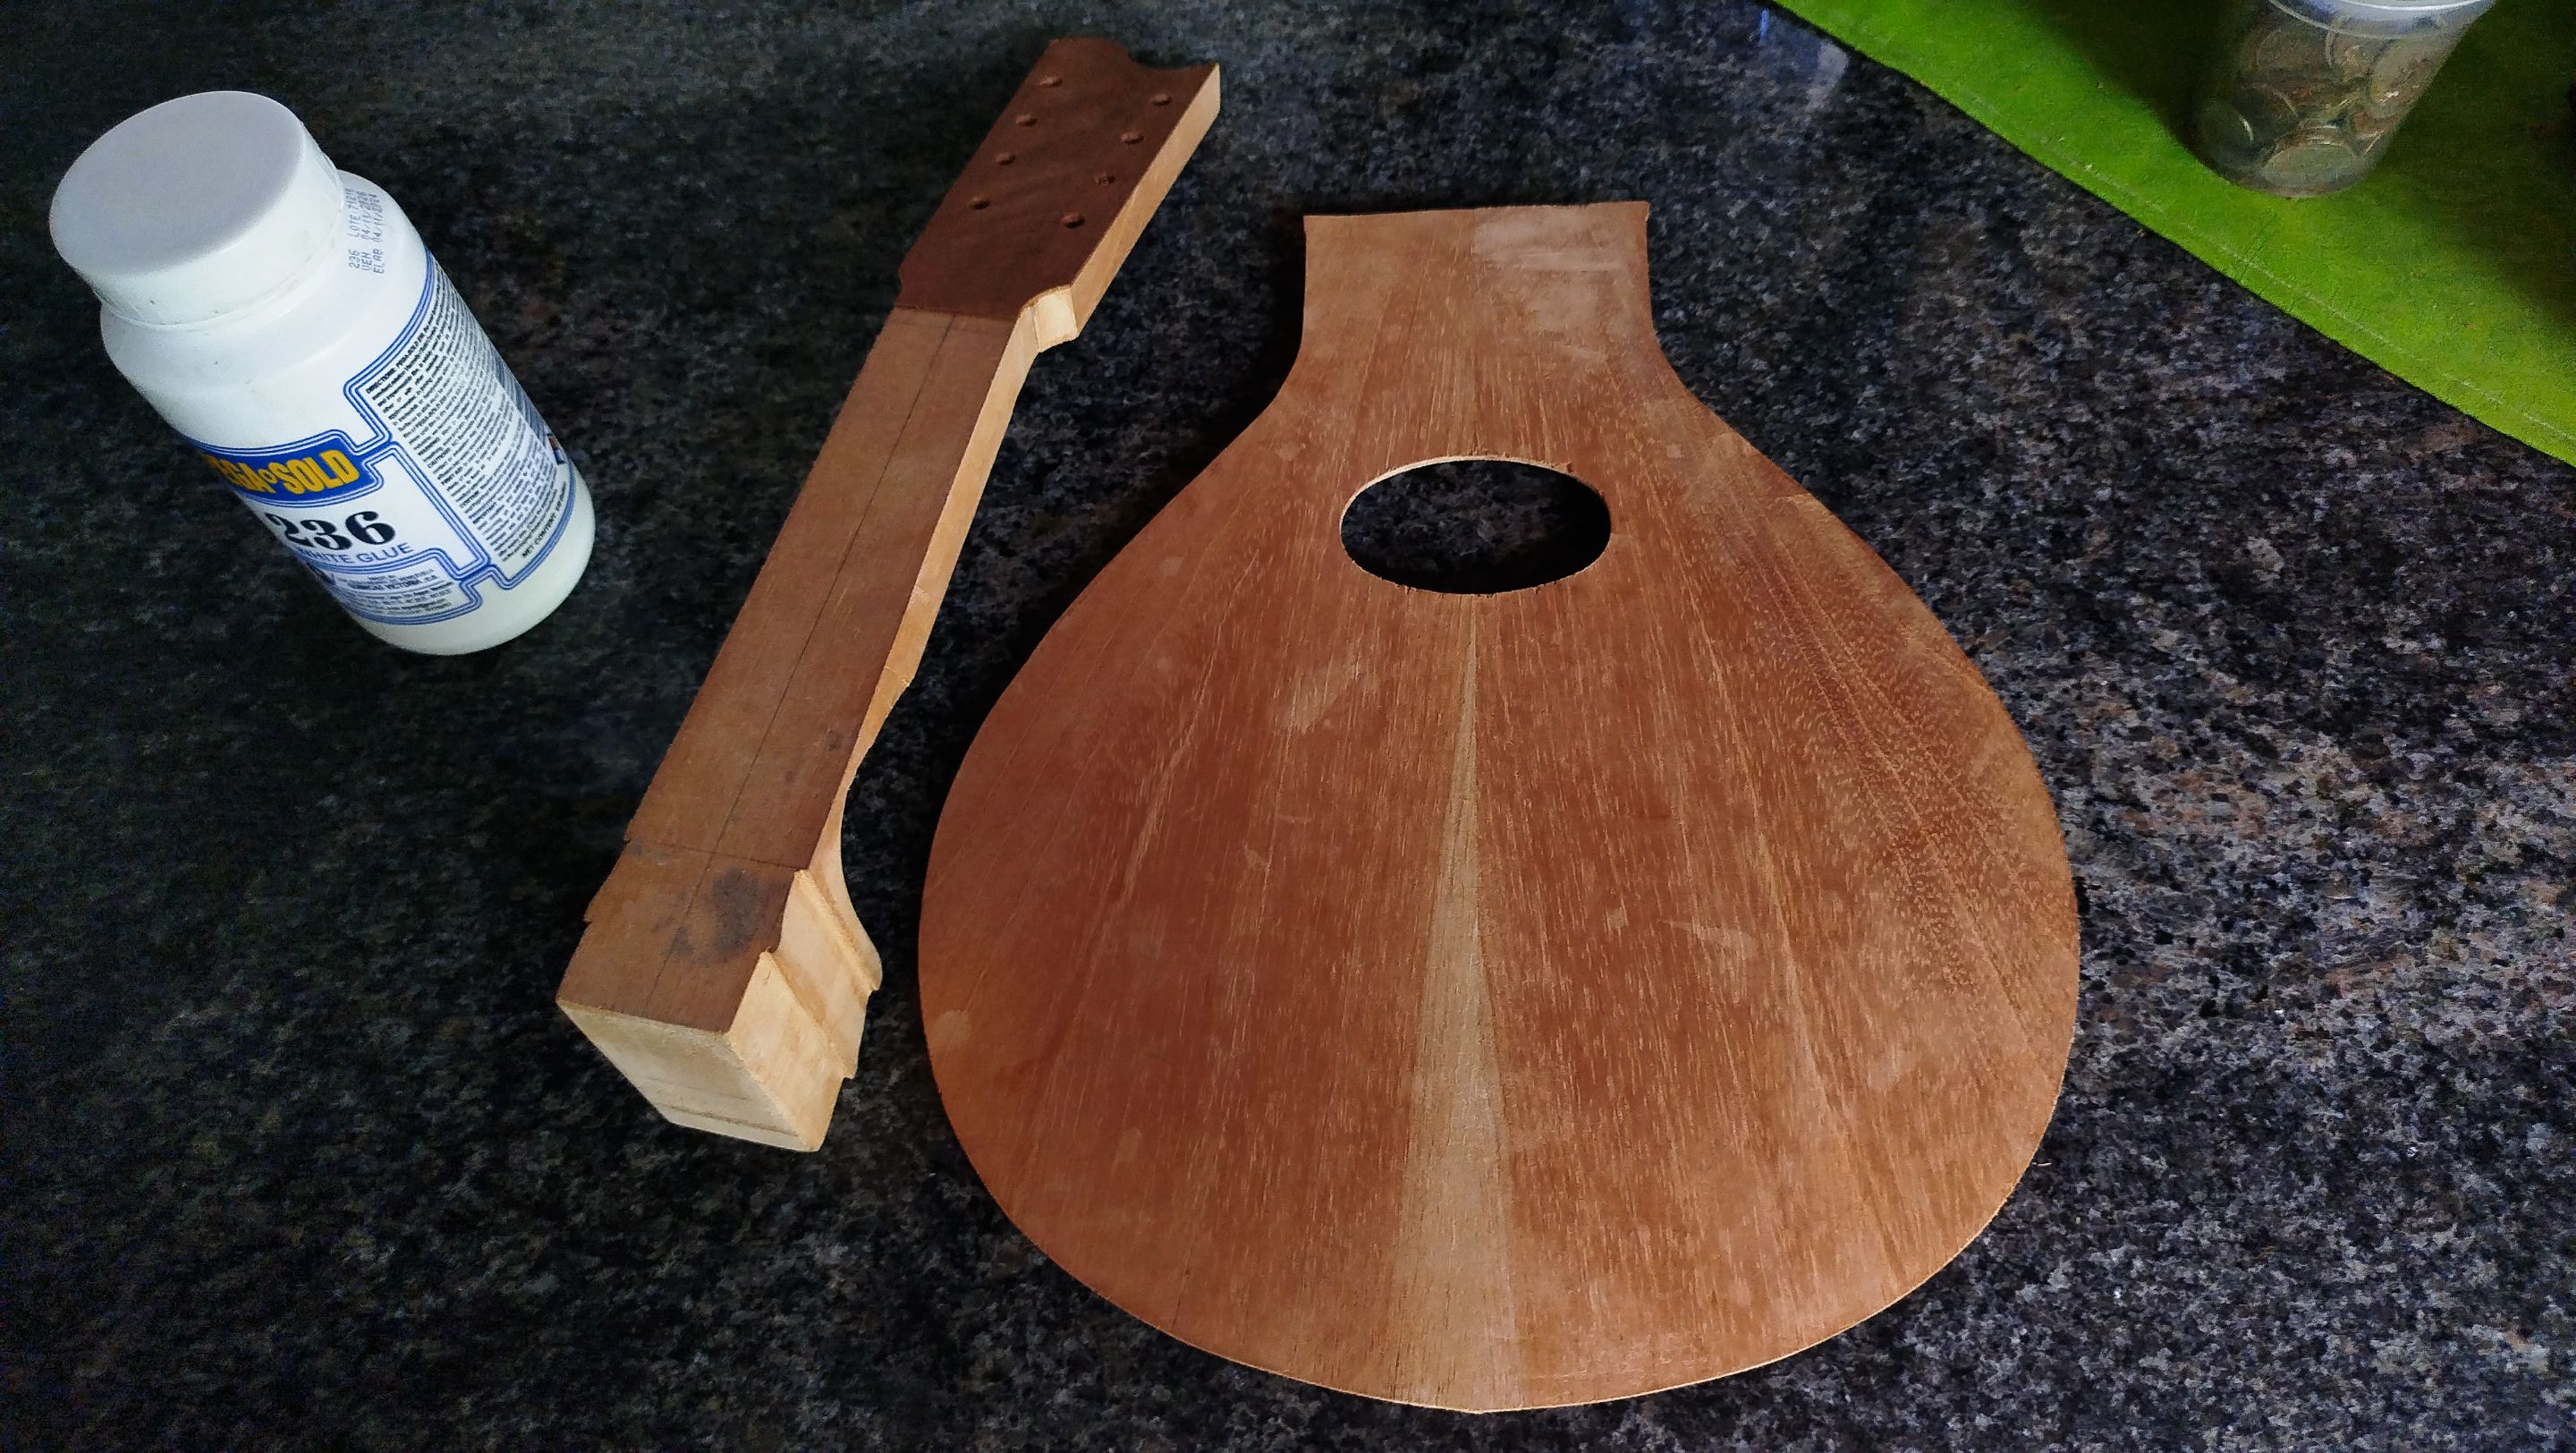
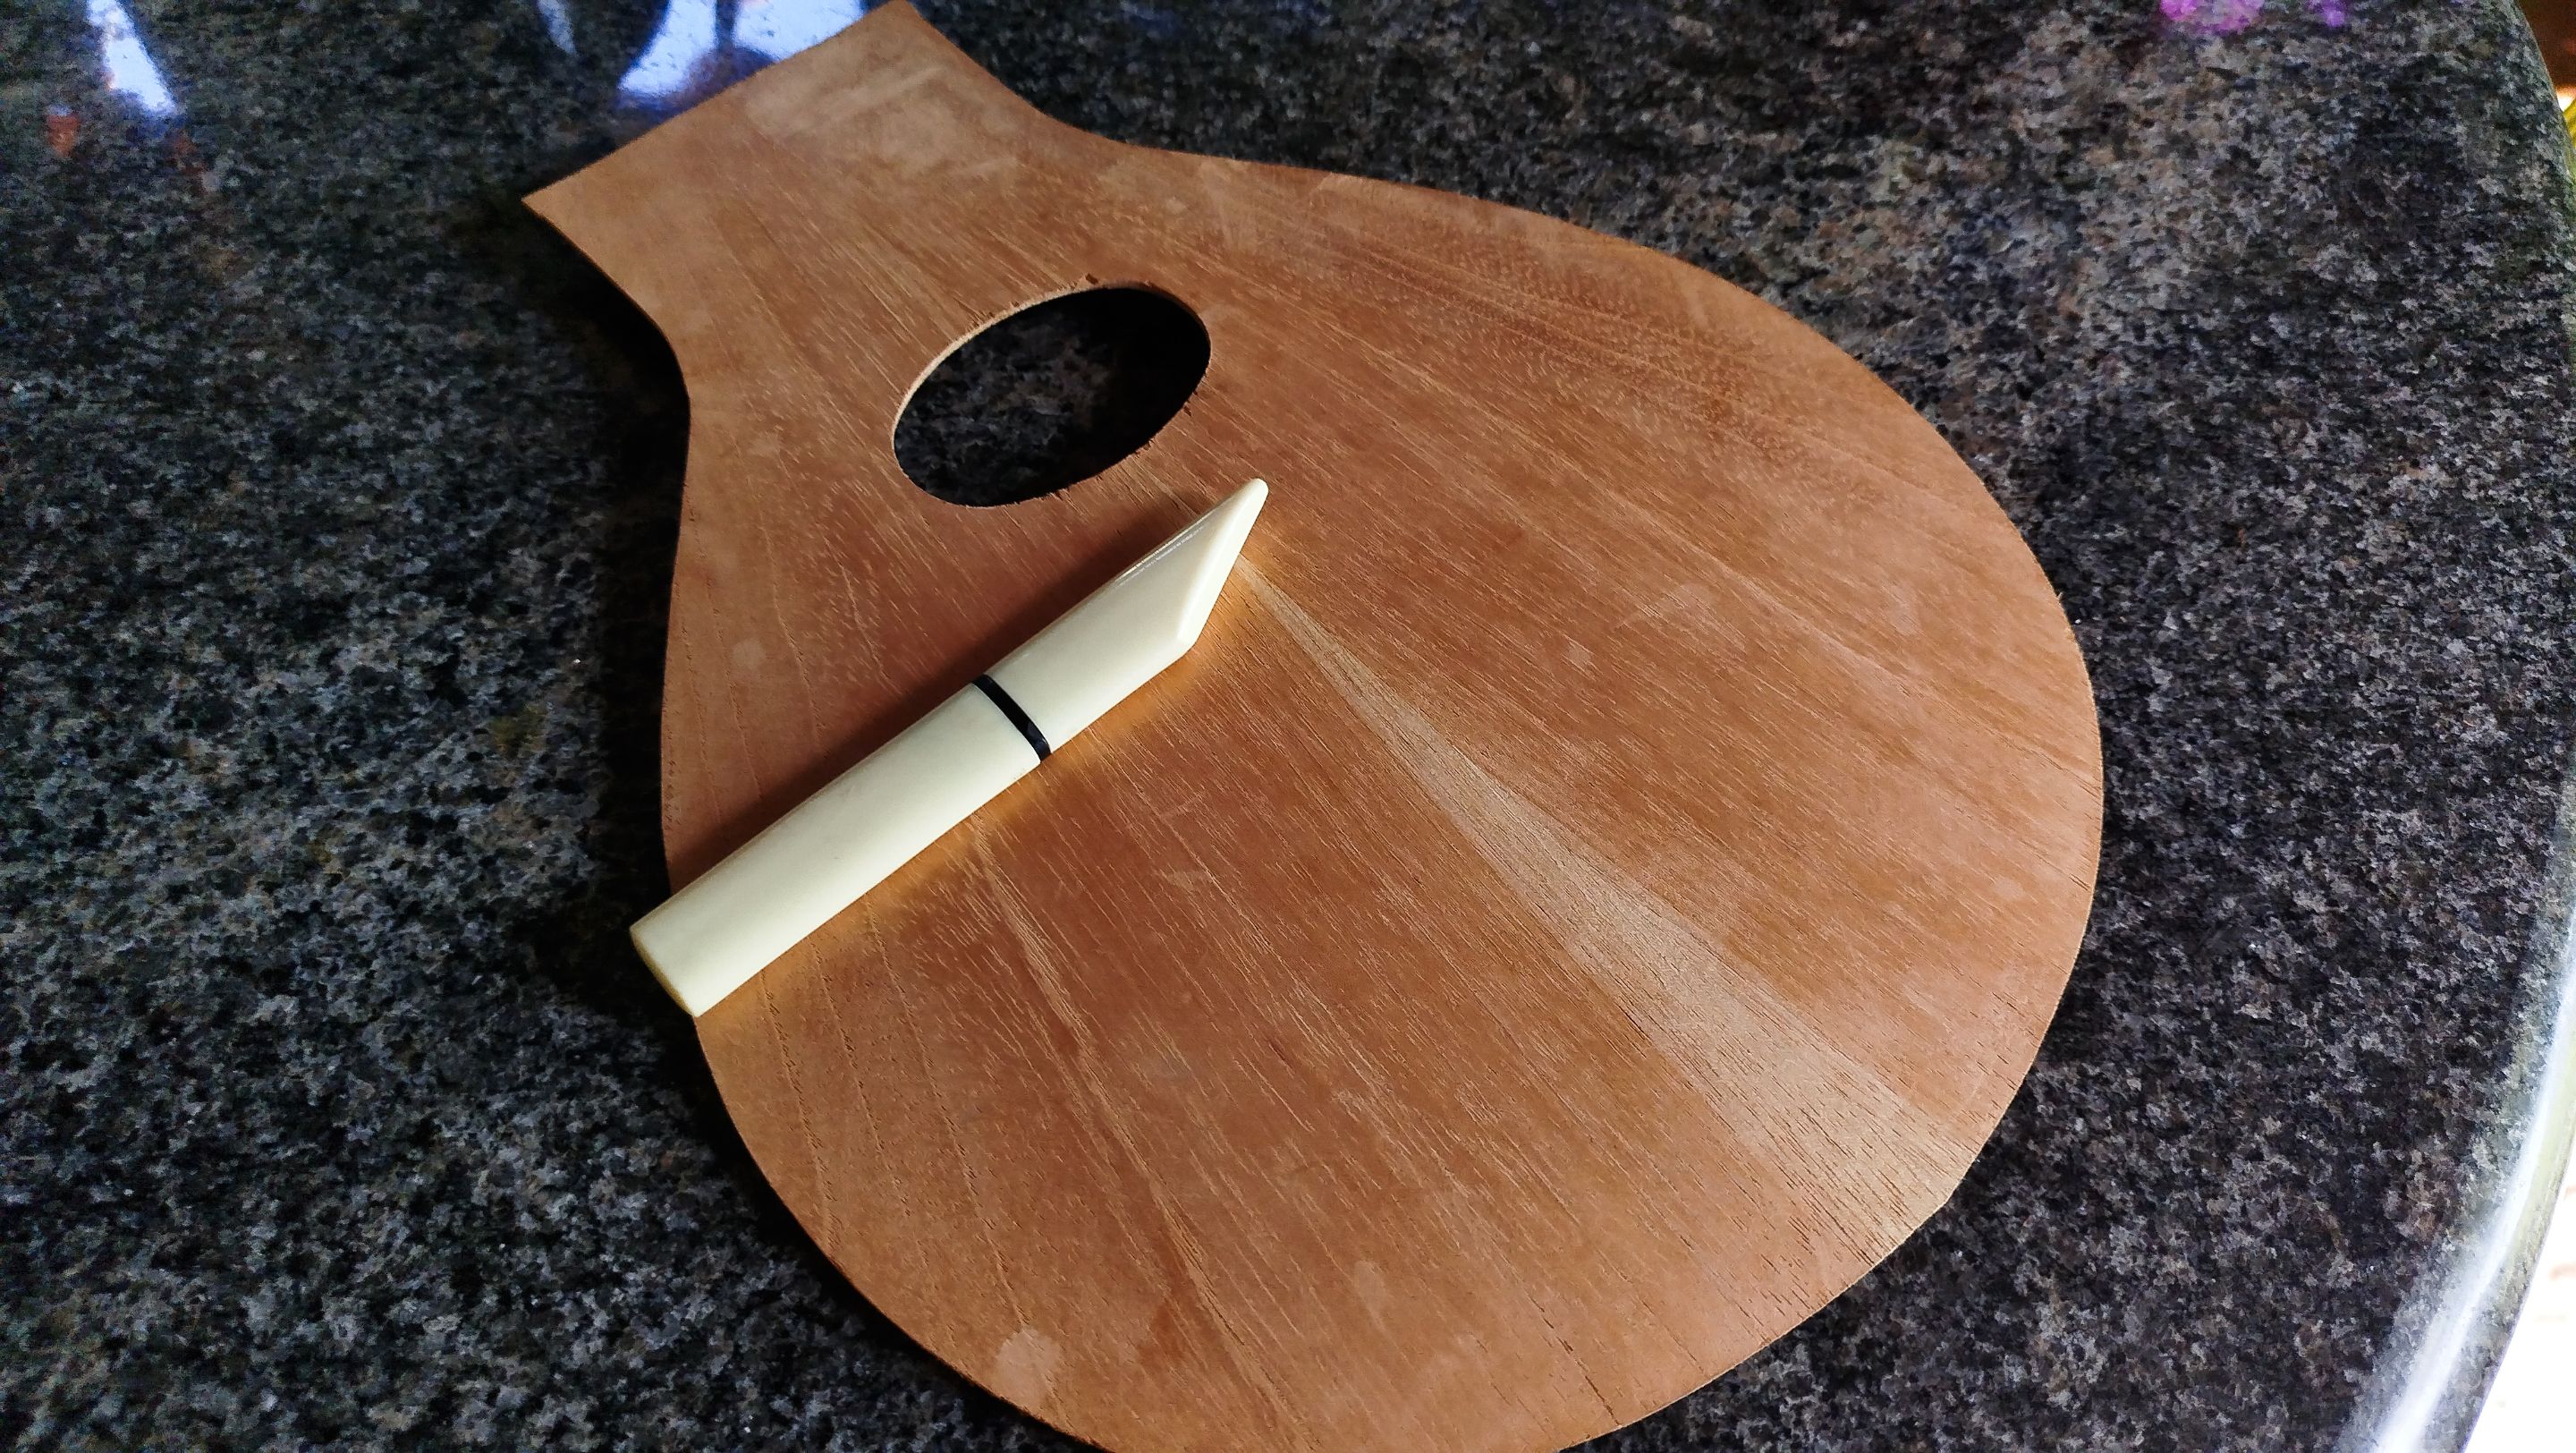
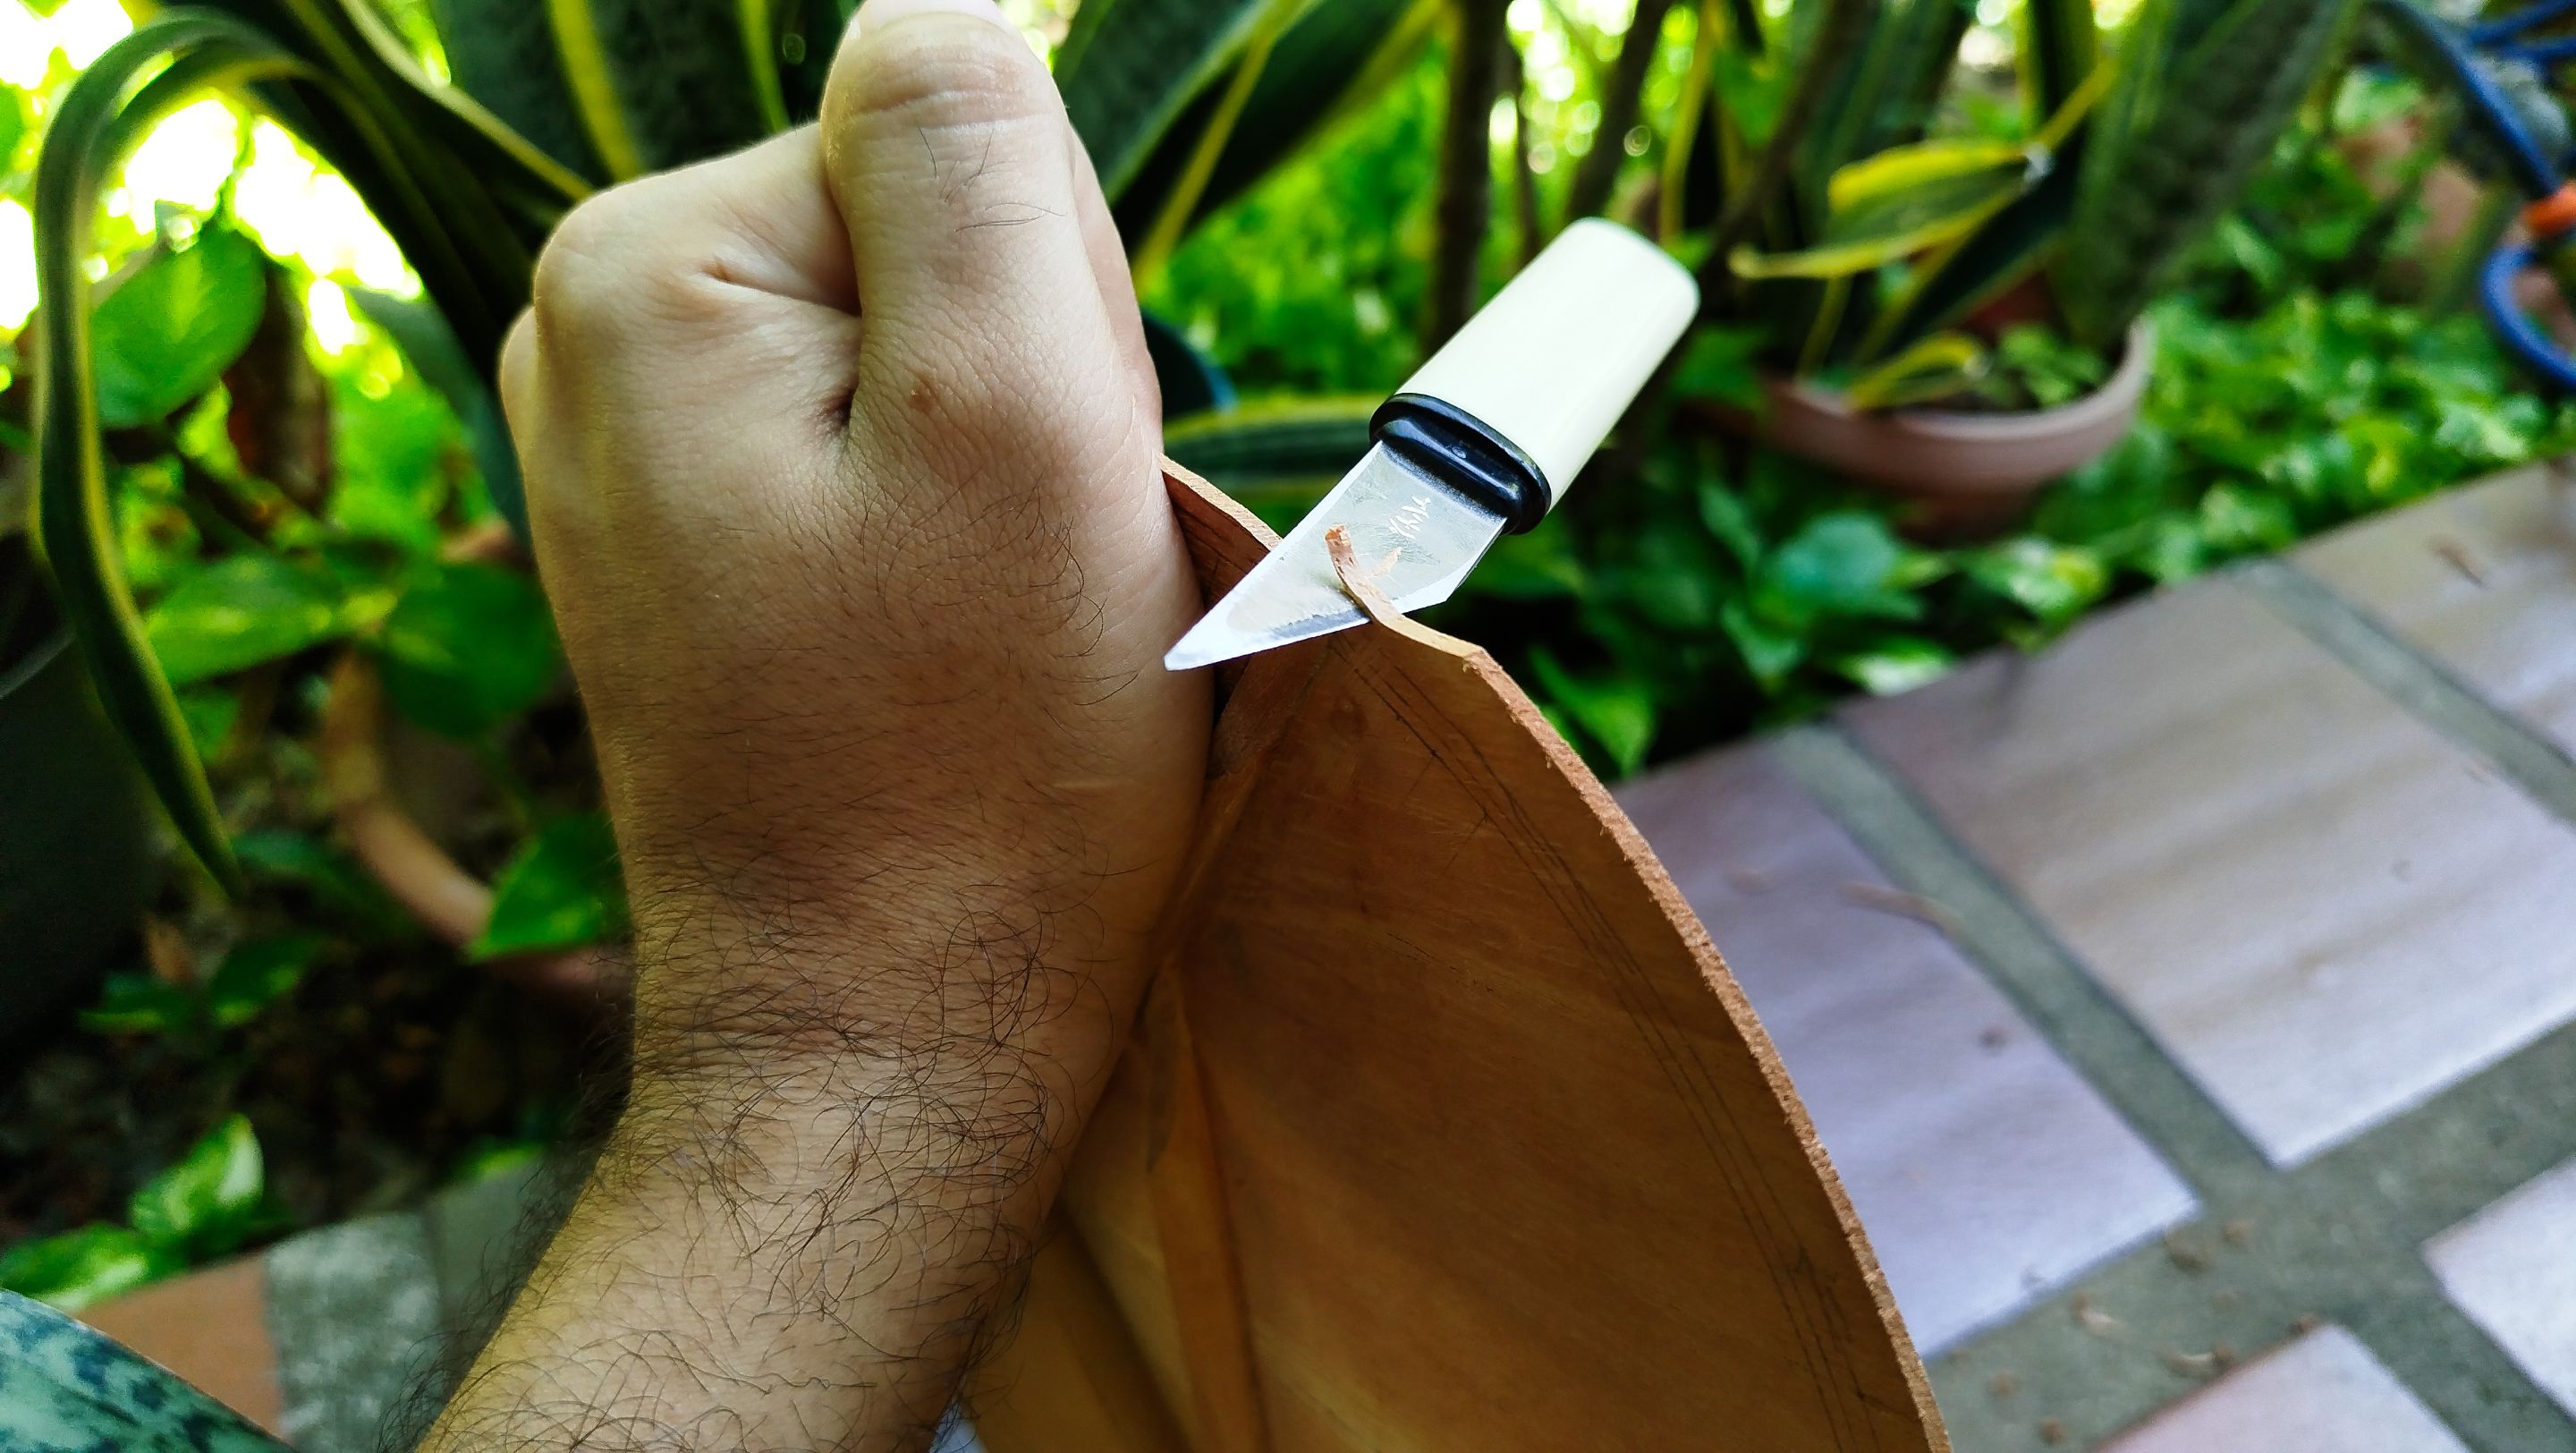
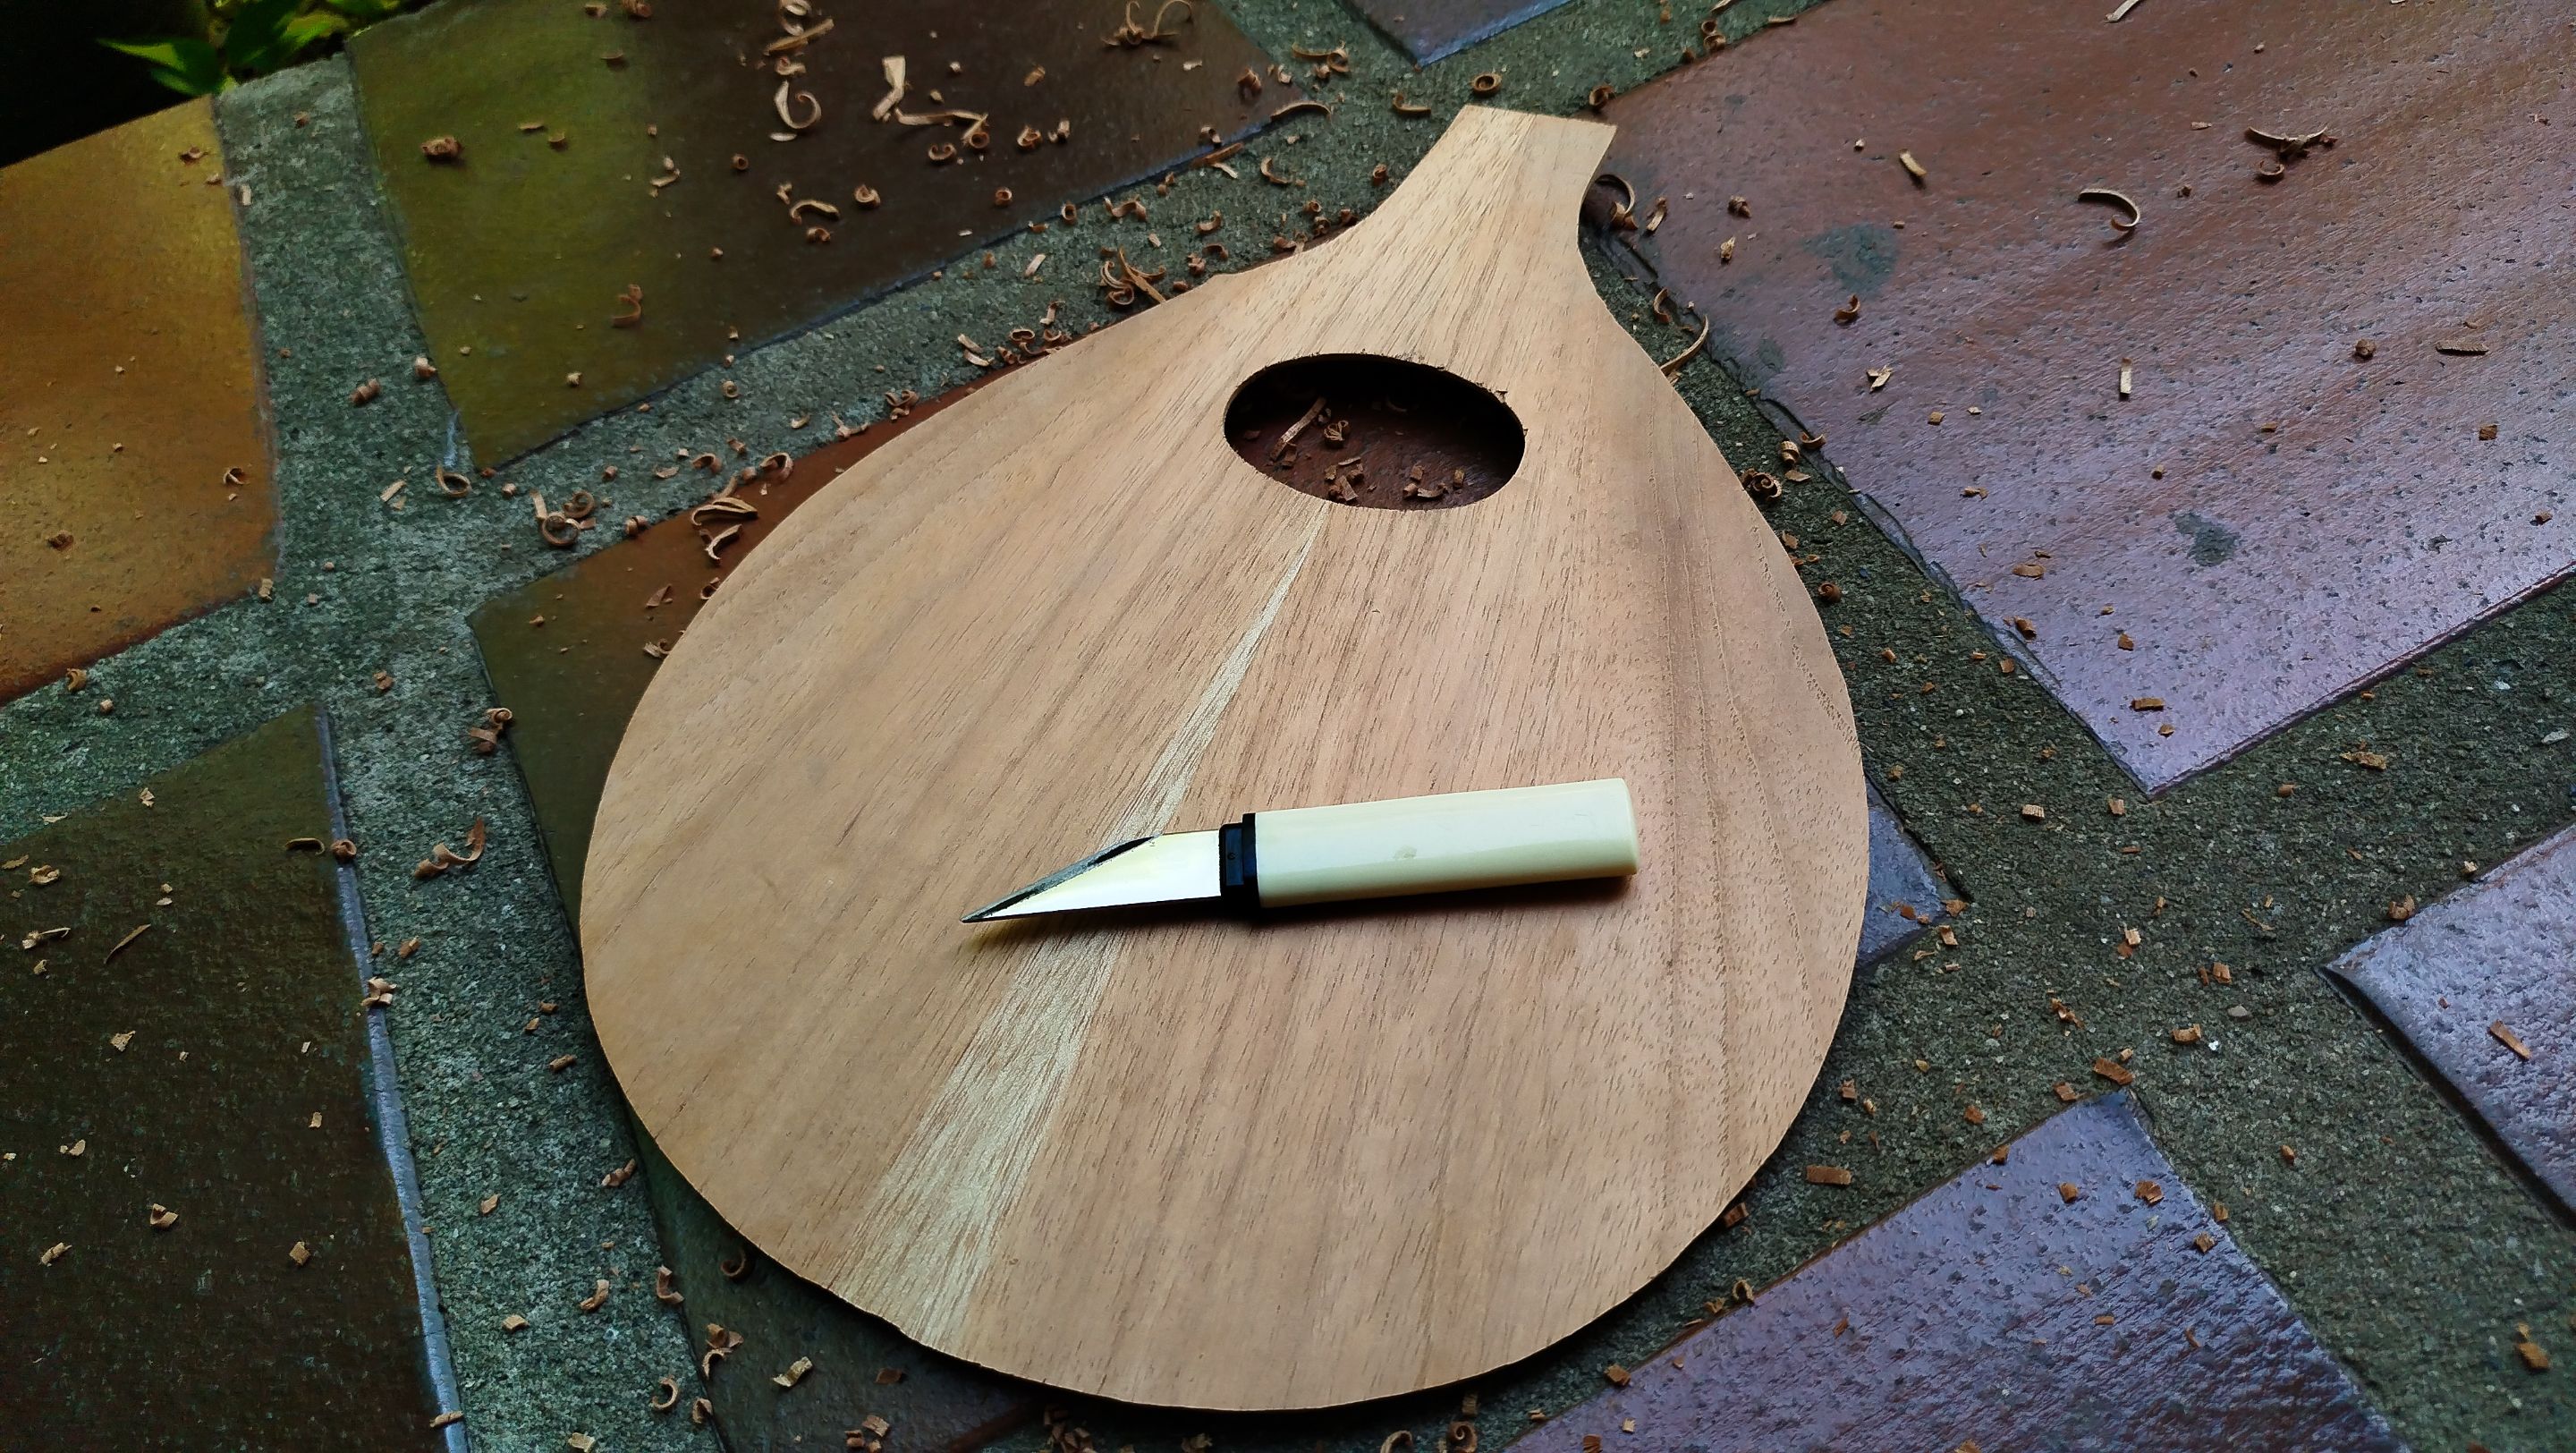
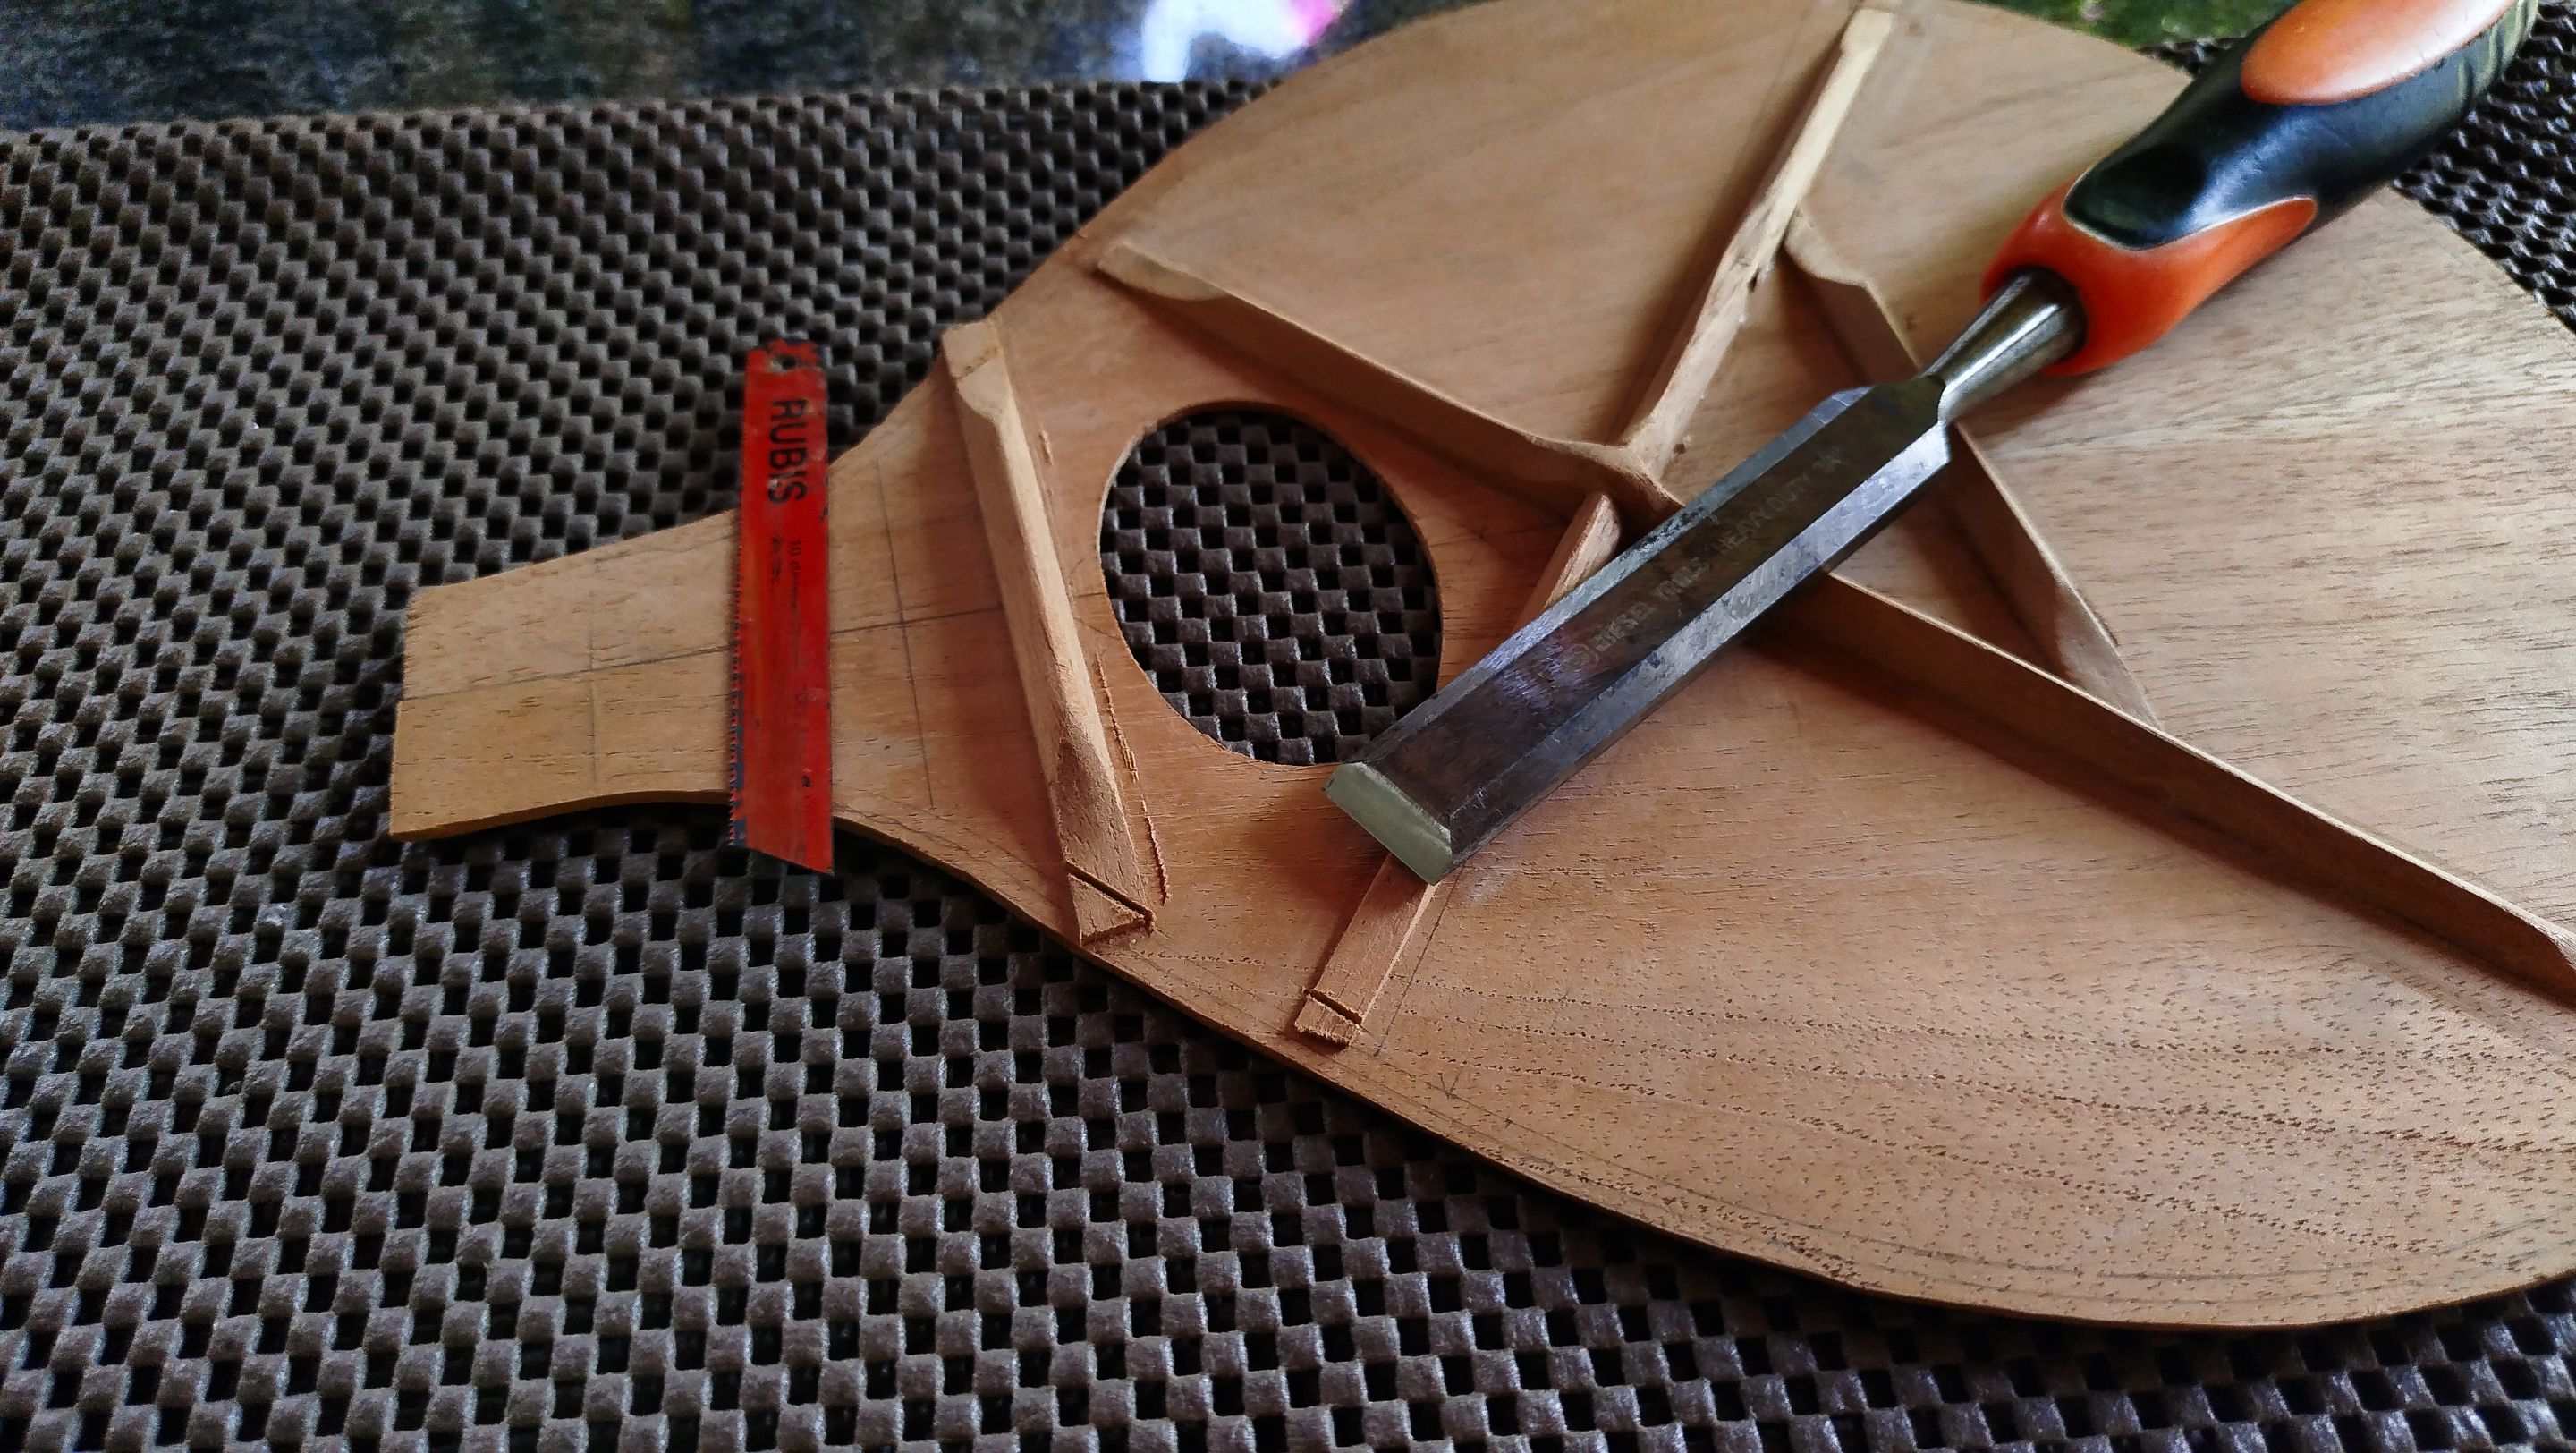
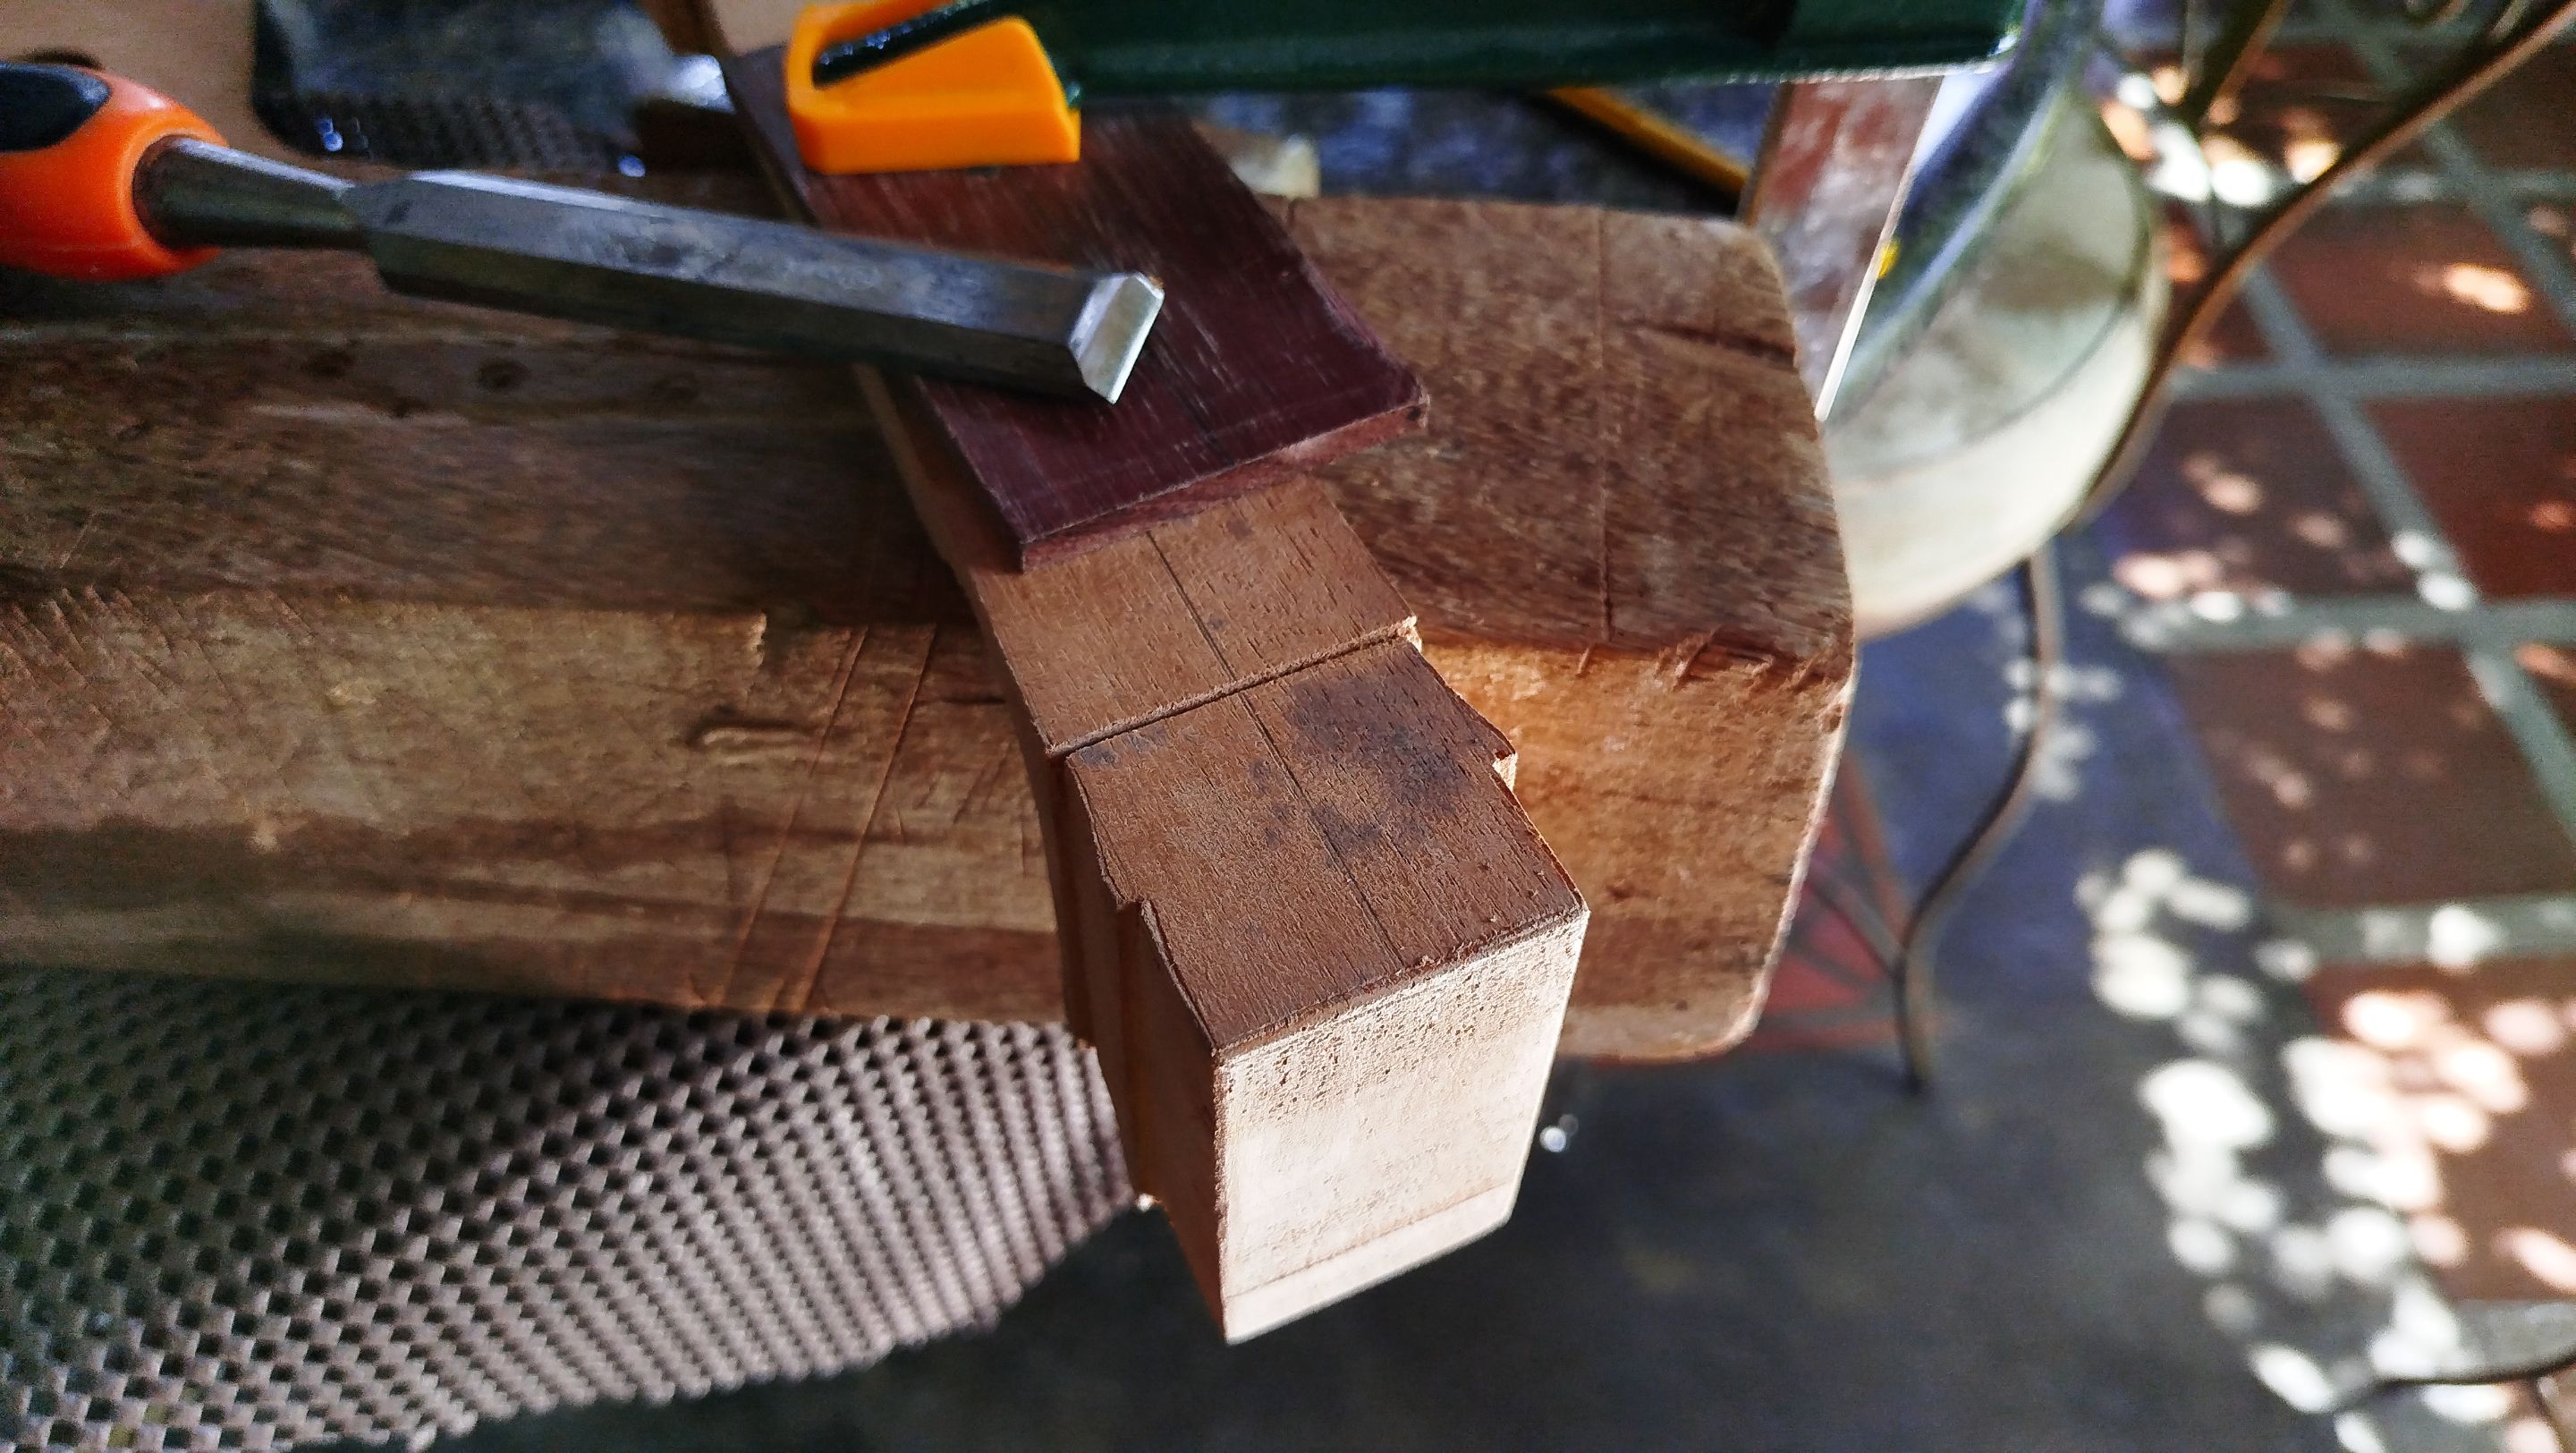
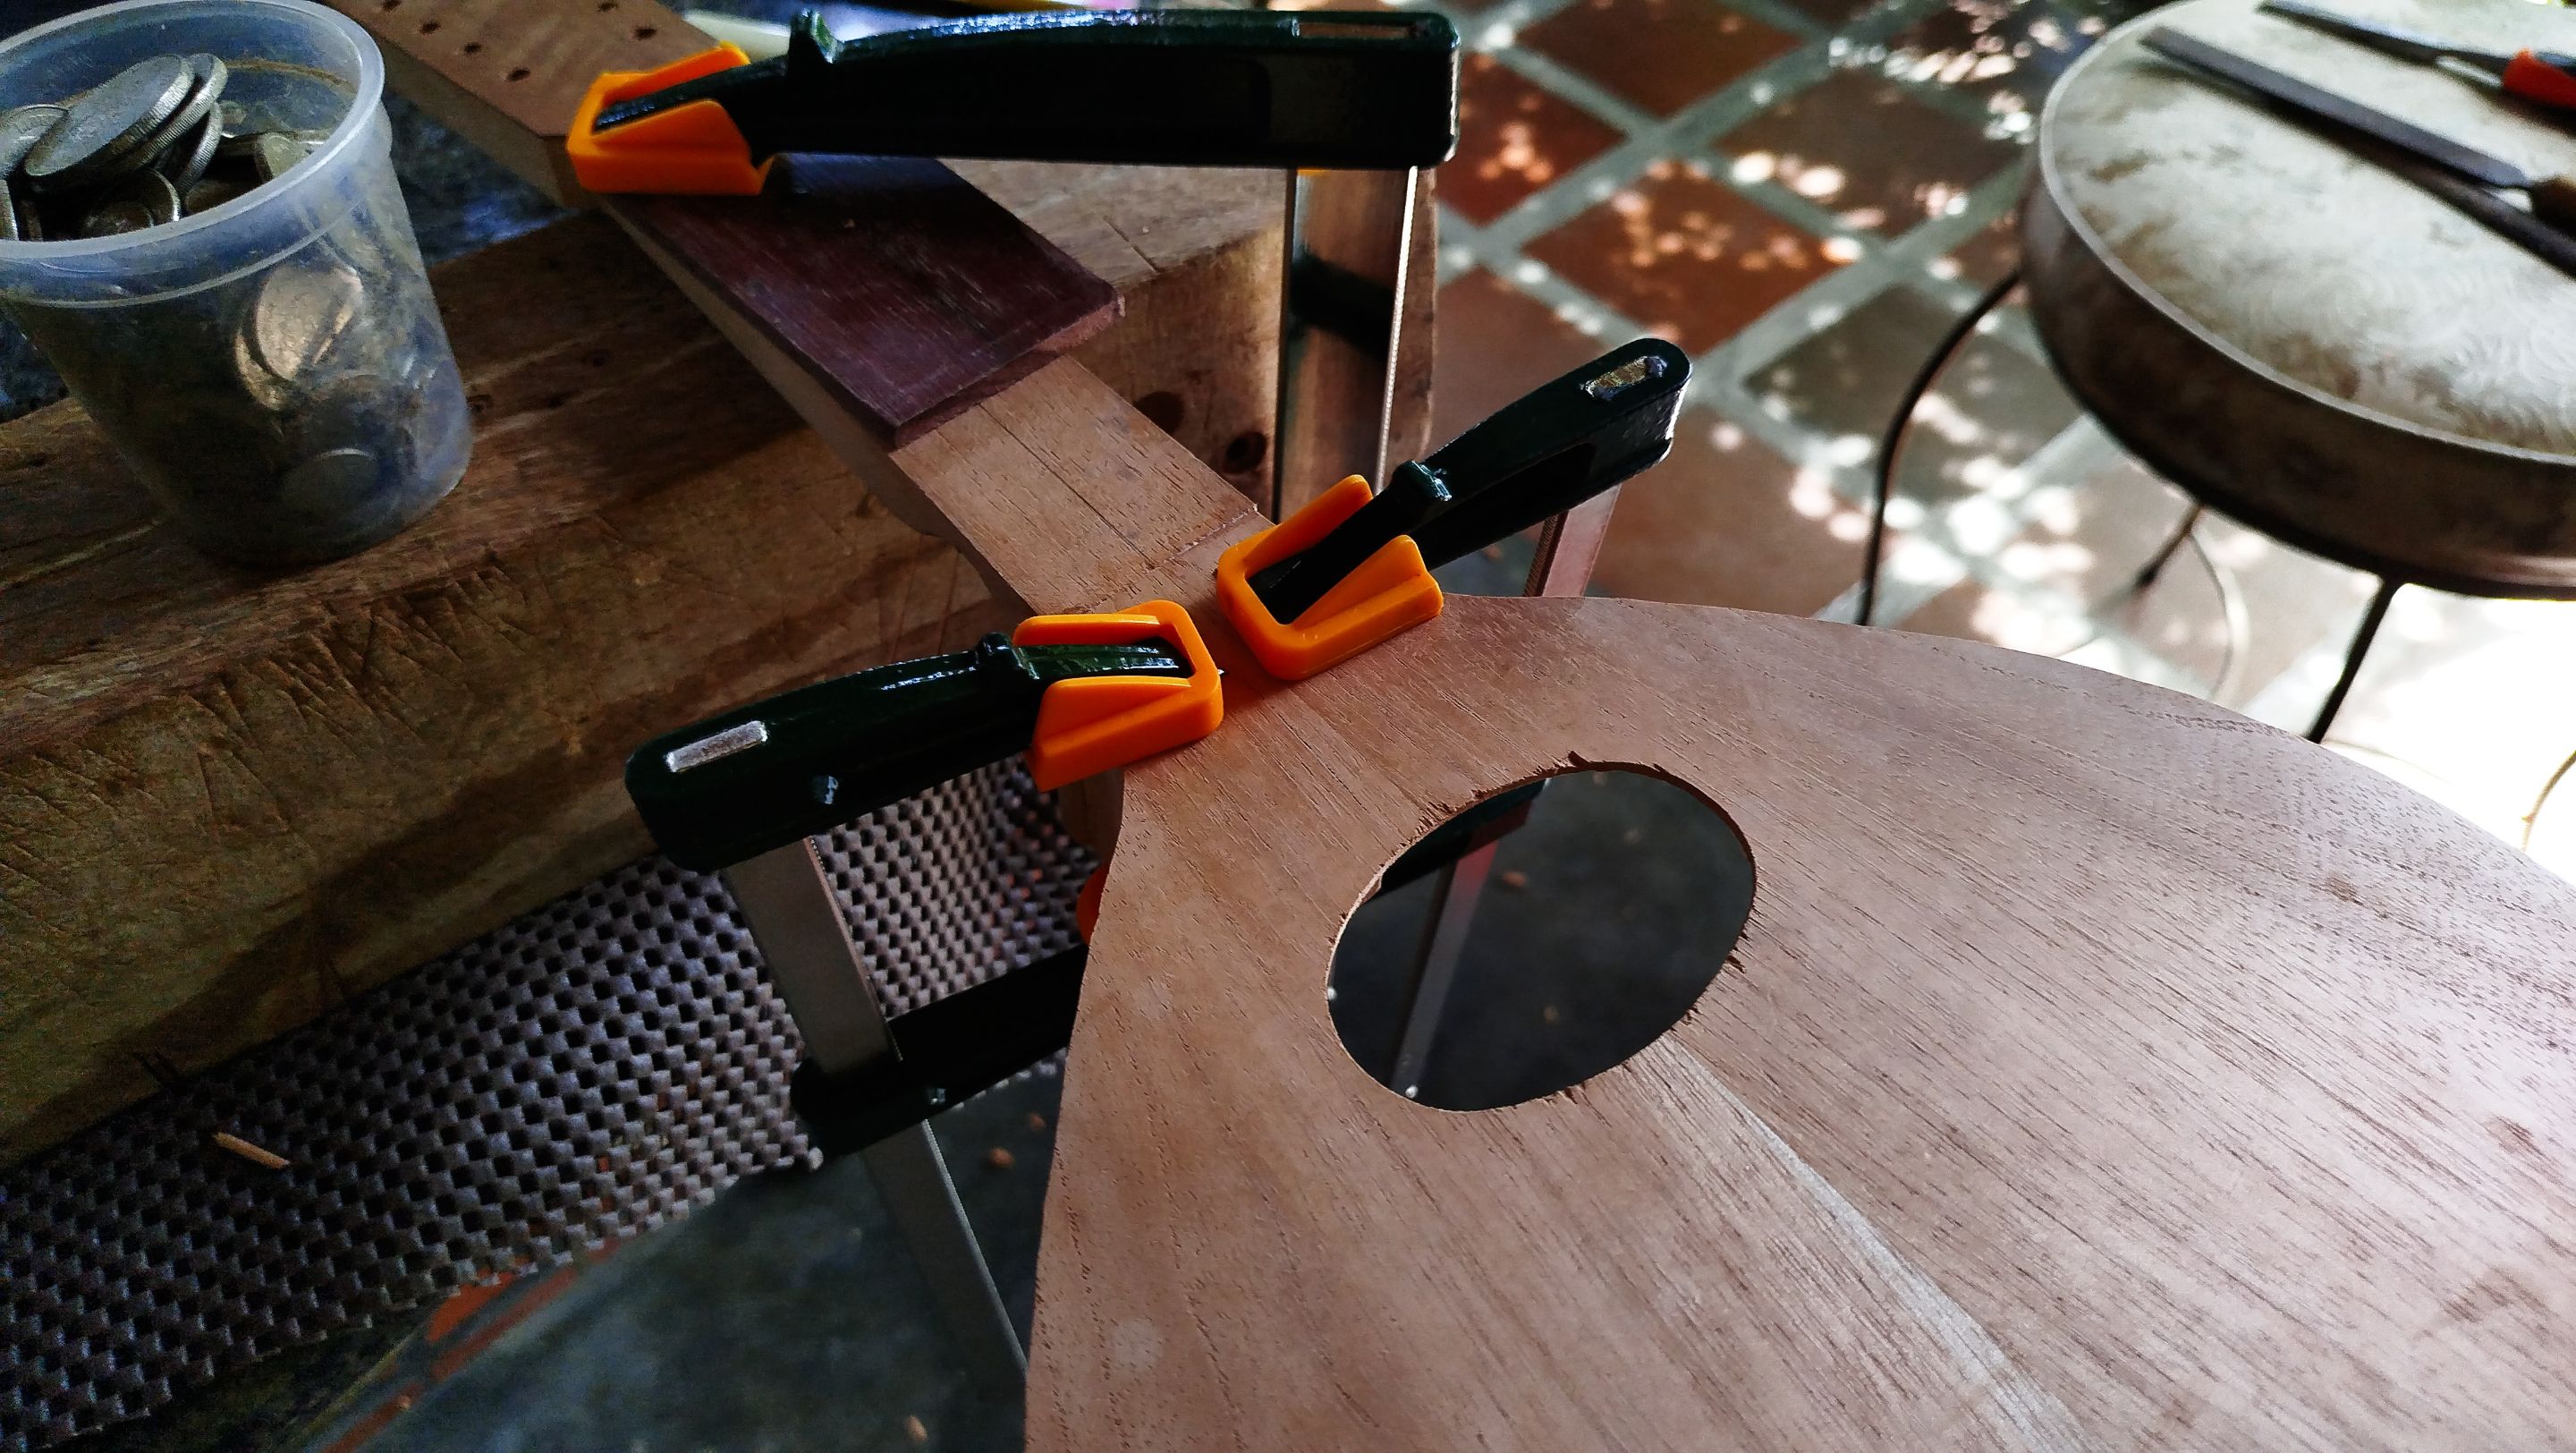
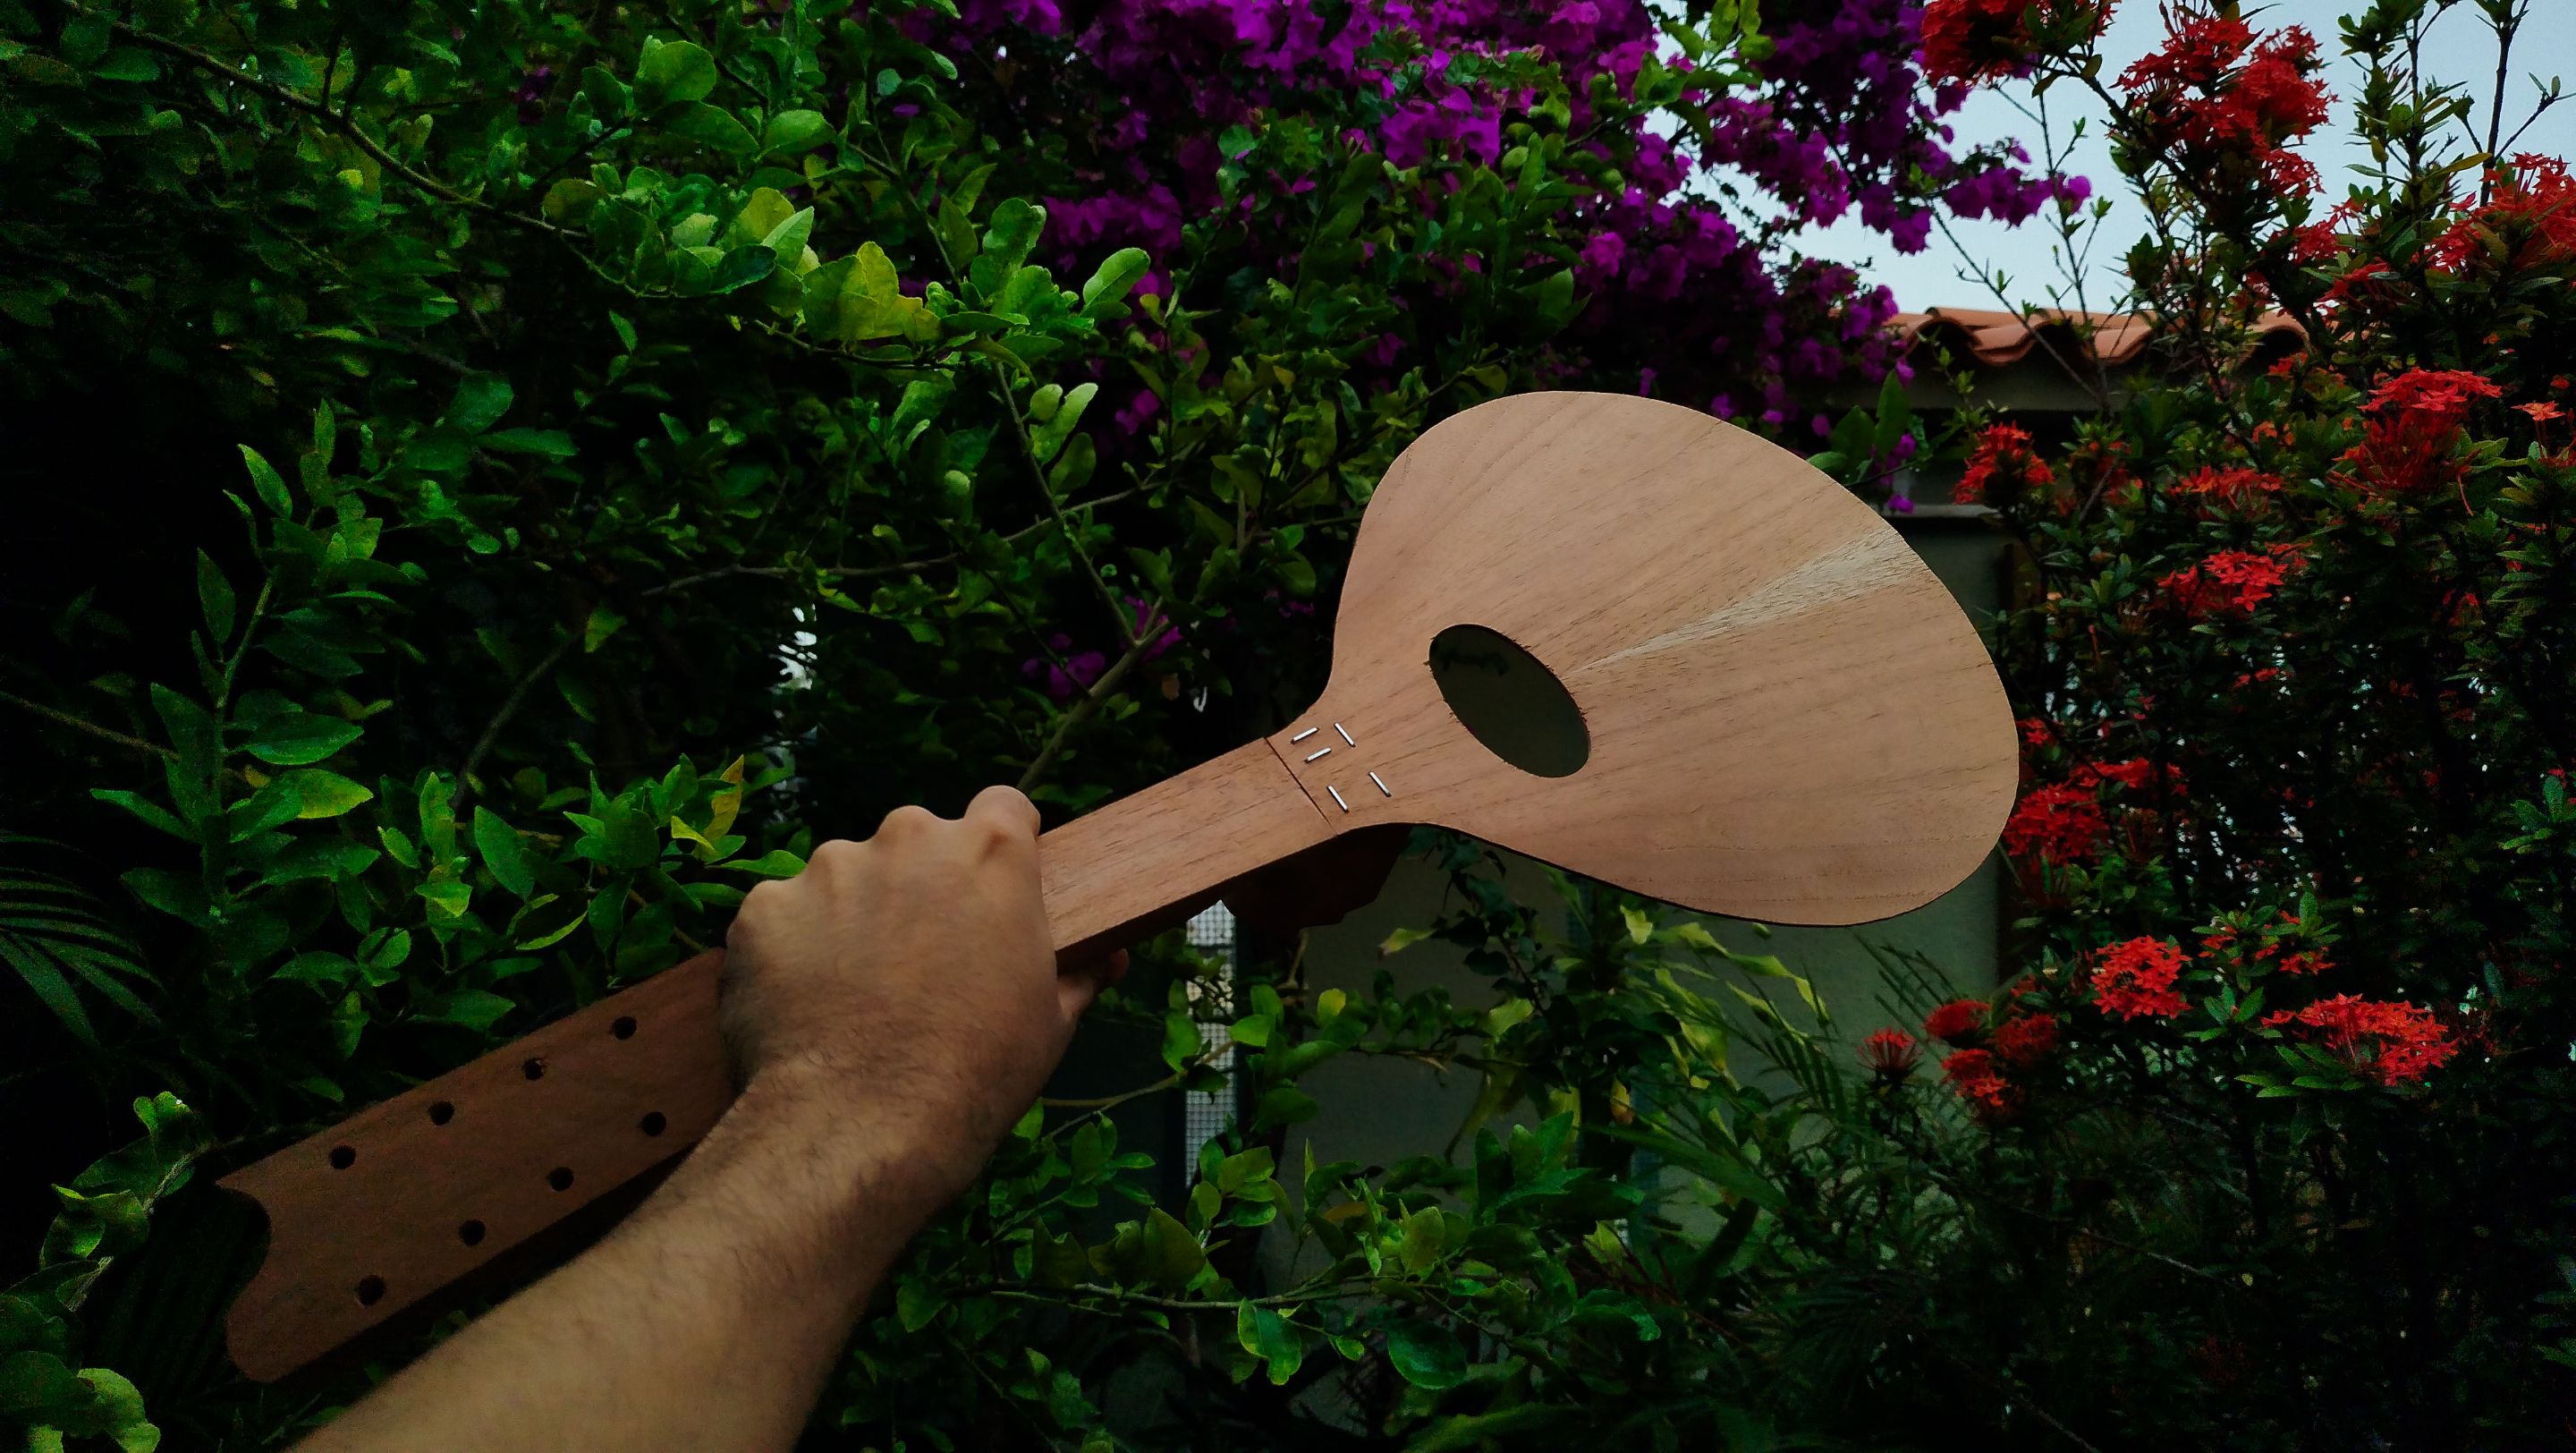
With the neck ready, we can finally start to assemble this instrument. However, the we need to work some things on the sound board. For this, we are need to use the knife to remove some material from the edges until we reach the lines we had marked when we made this part. The other things we need to remove are the edges of the bars. We need to cut very close to the inner line of the sound board.
Now we need to cut the top portion of the sound board. This extra portion does not need to be here. This is to keep the length of the scale we needed to create. We make the cut and also clean a portion of the the neck that will serves as a top for the sound board. Finally, we need to check the cut is good and everything lines up perfectly.
The last step is applying glue and clamping the sound board and neck until the glue dries up and this first step of assembly is done.
The Mould
Swipe to see the photos
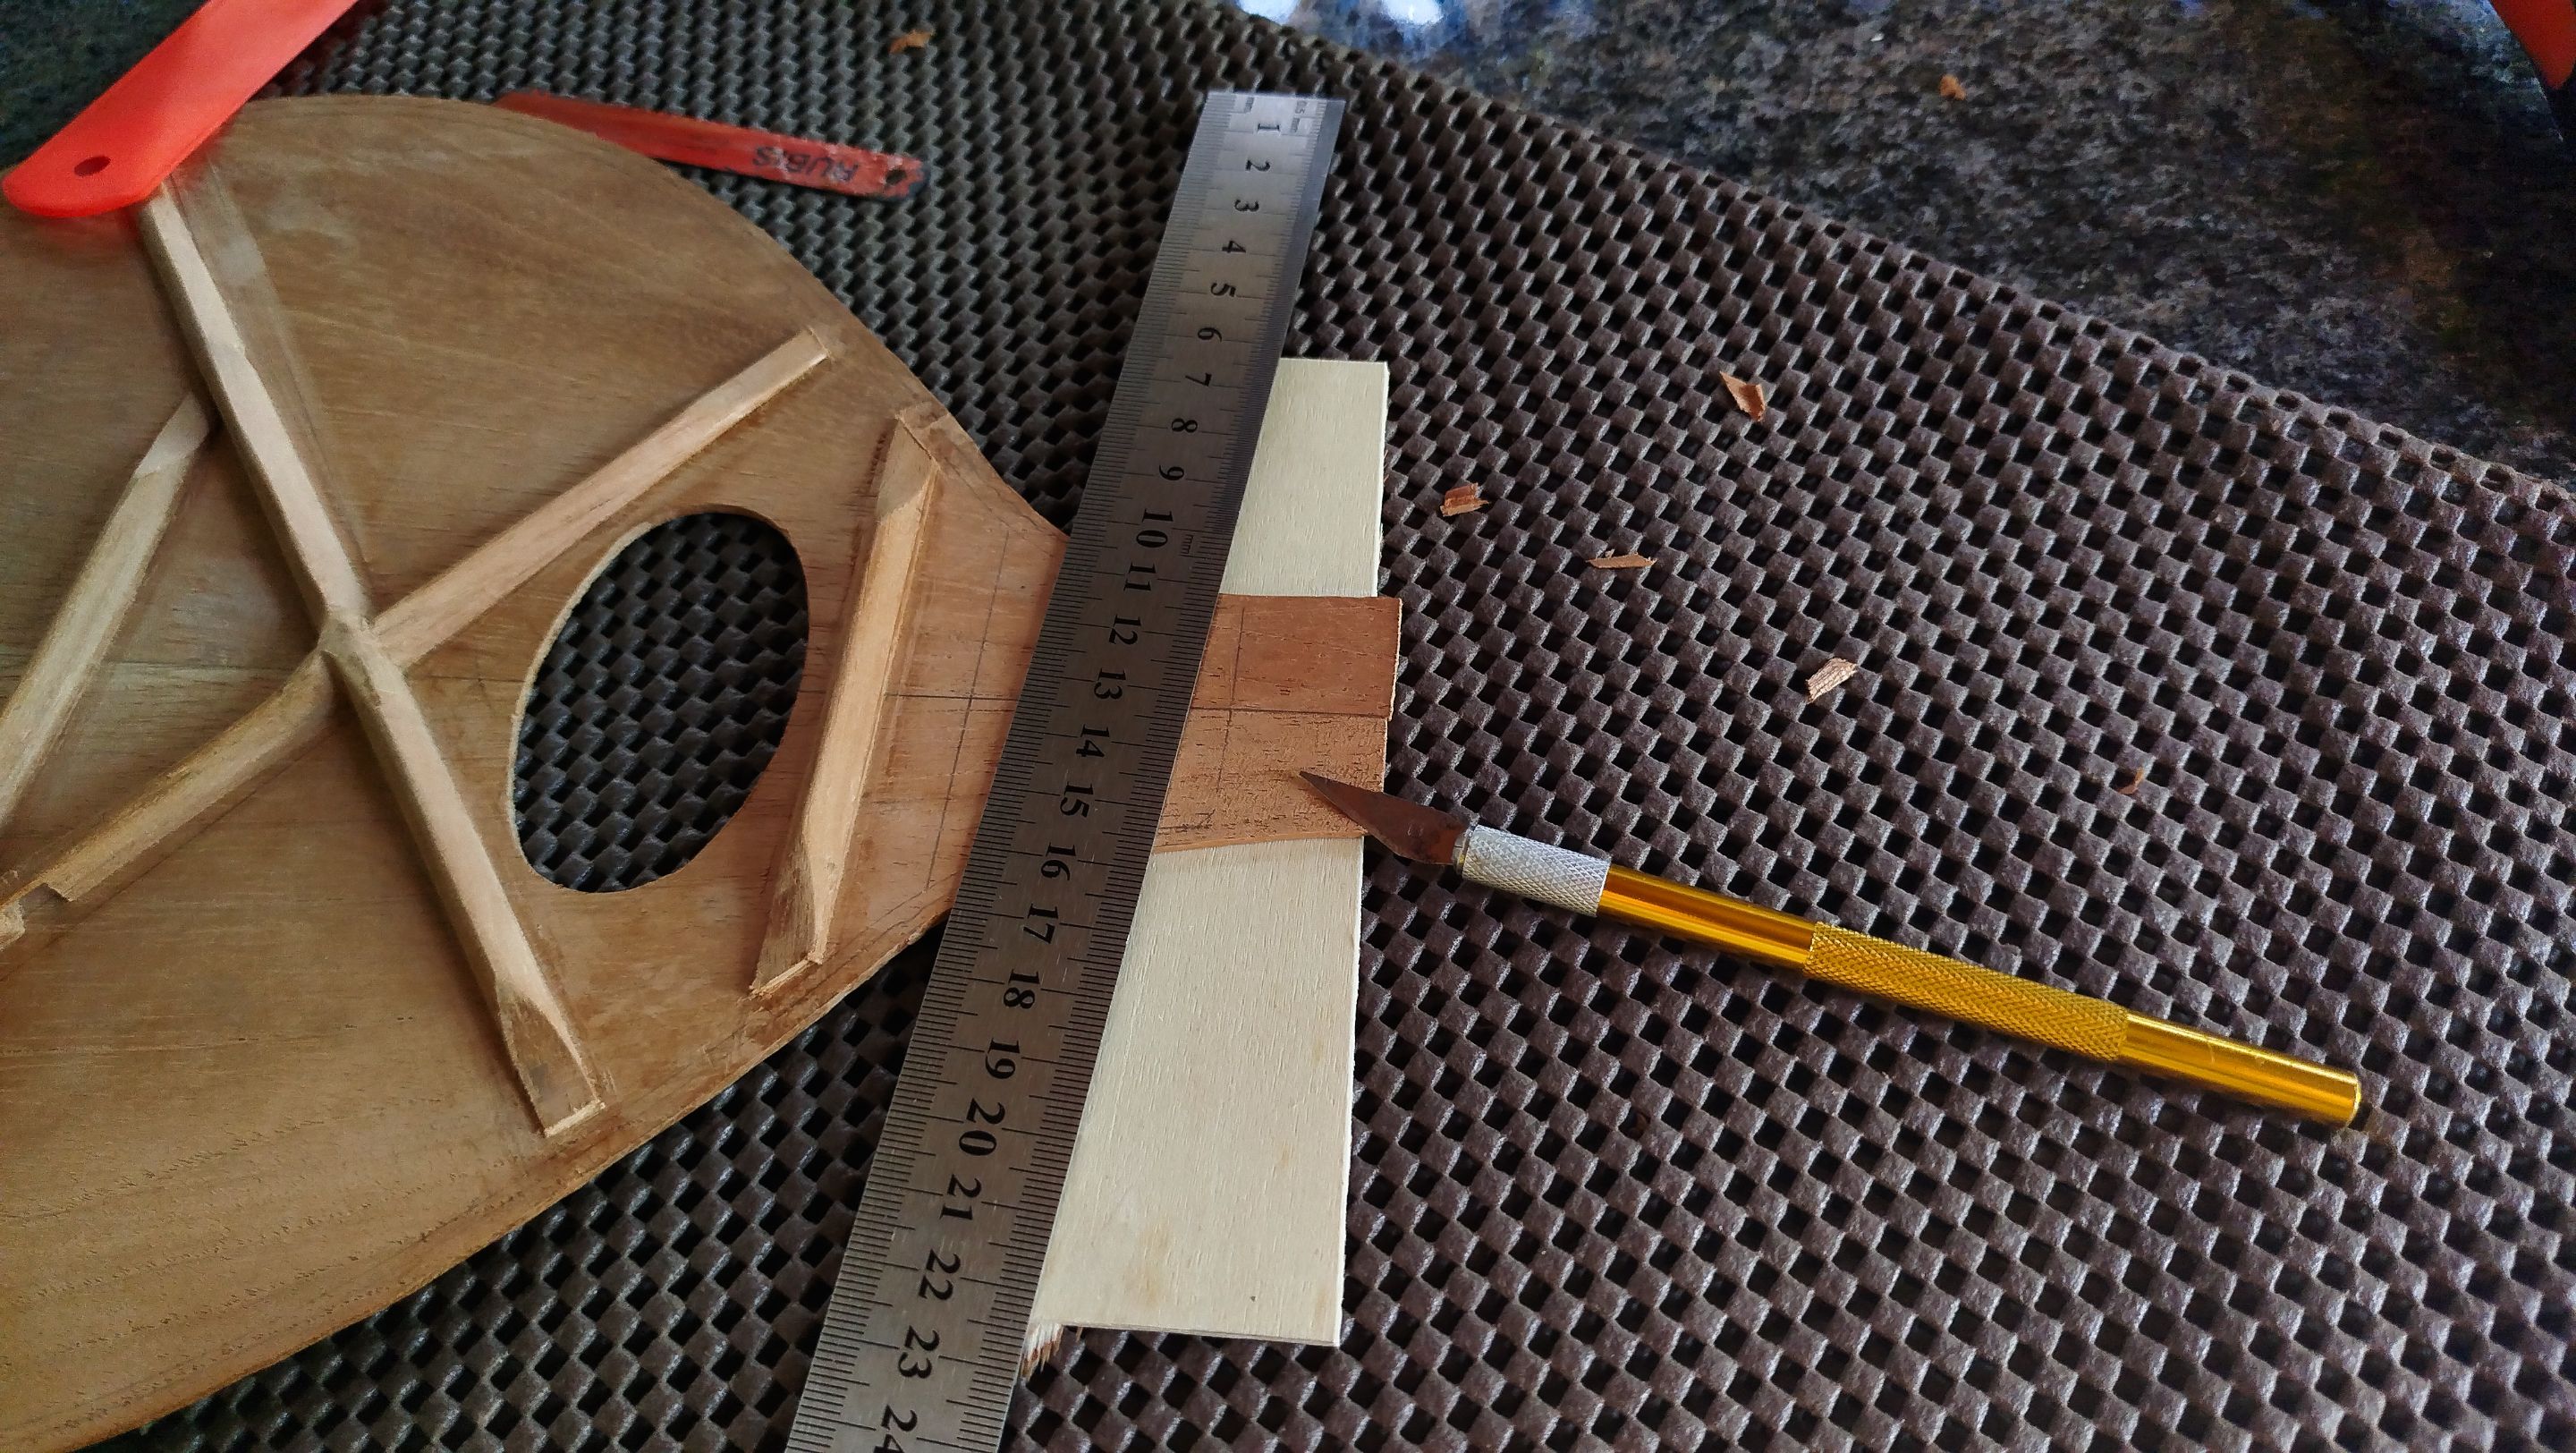
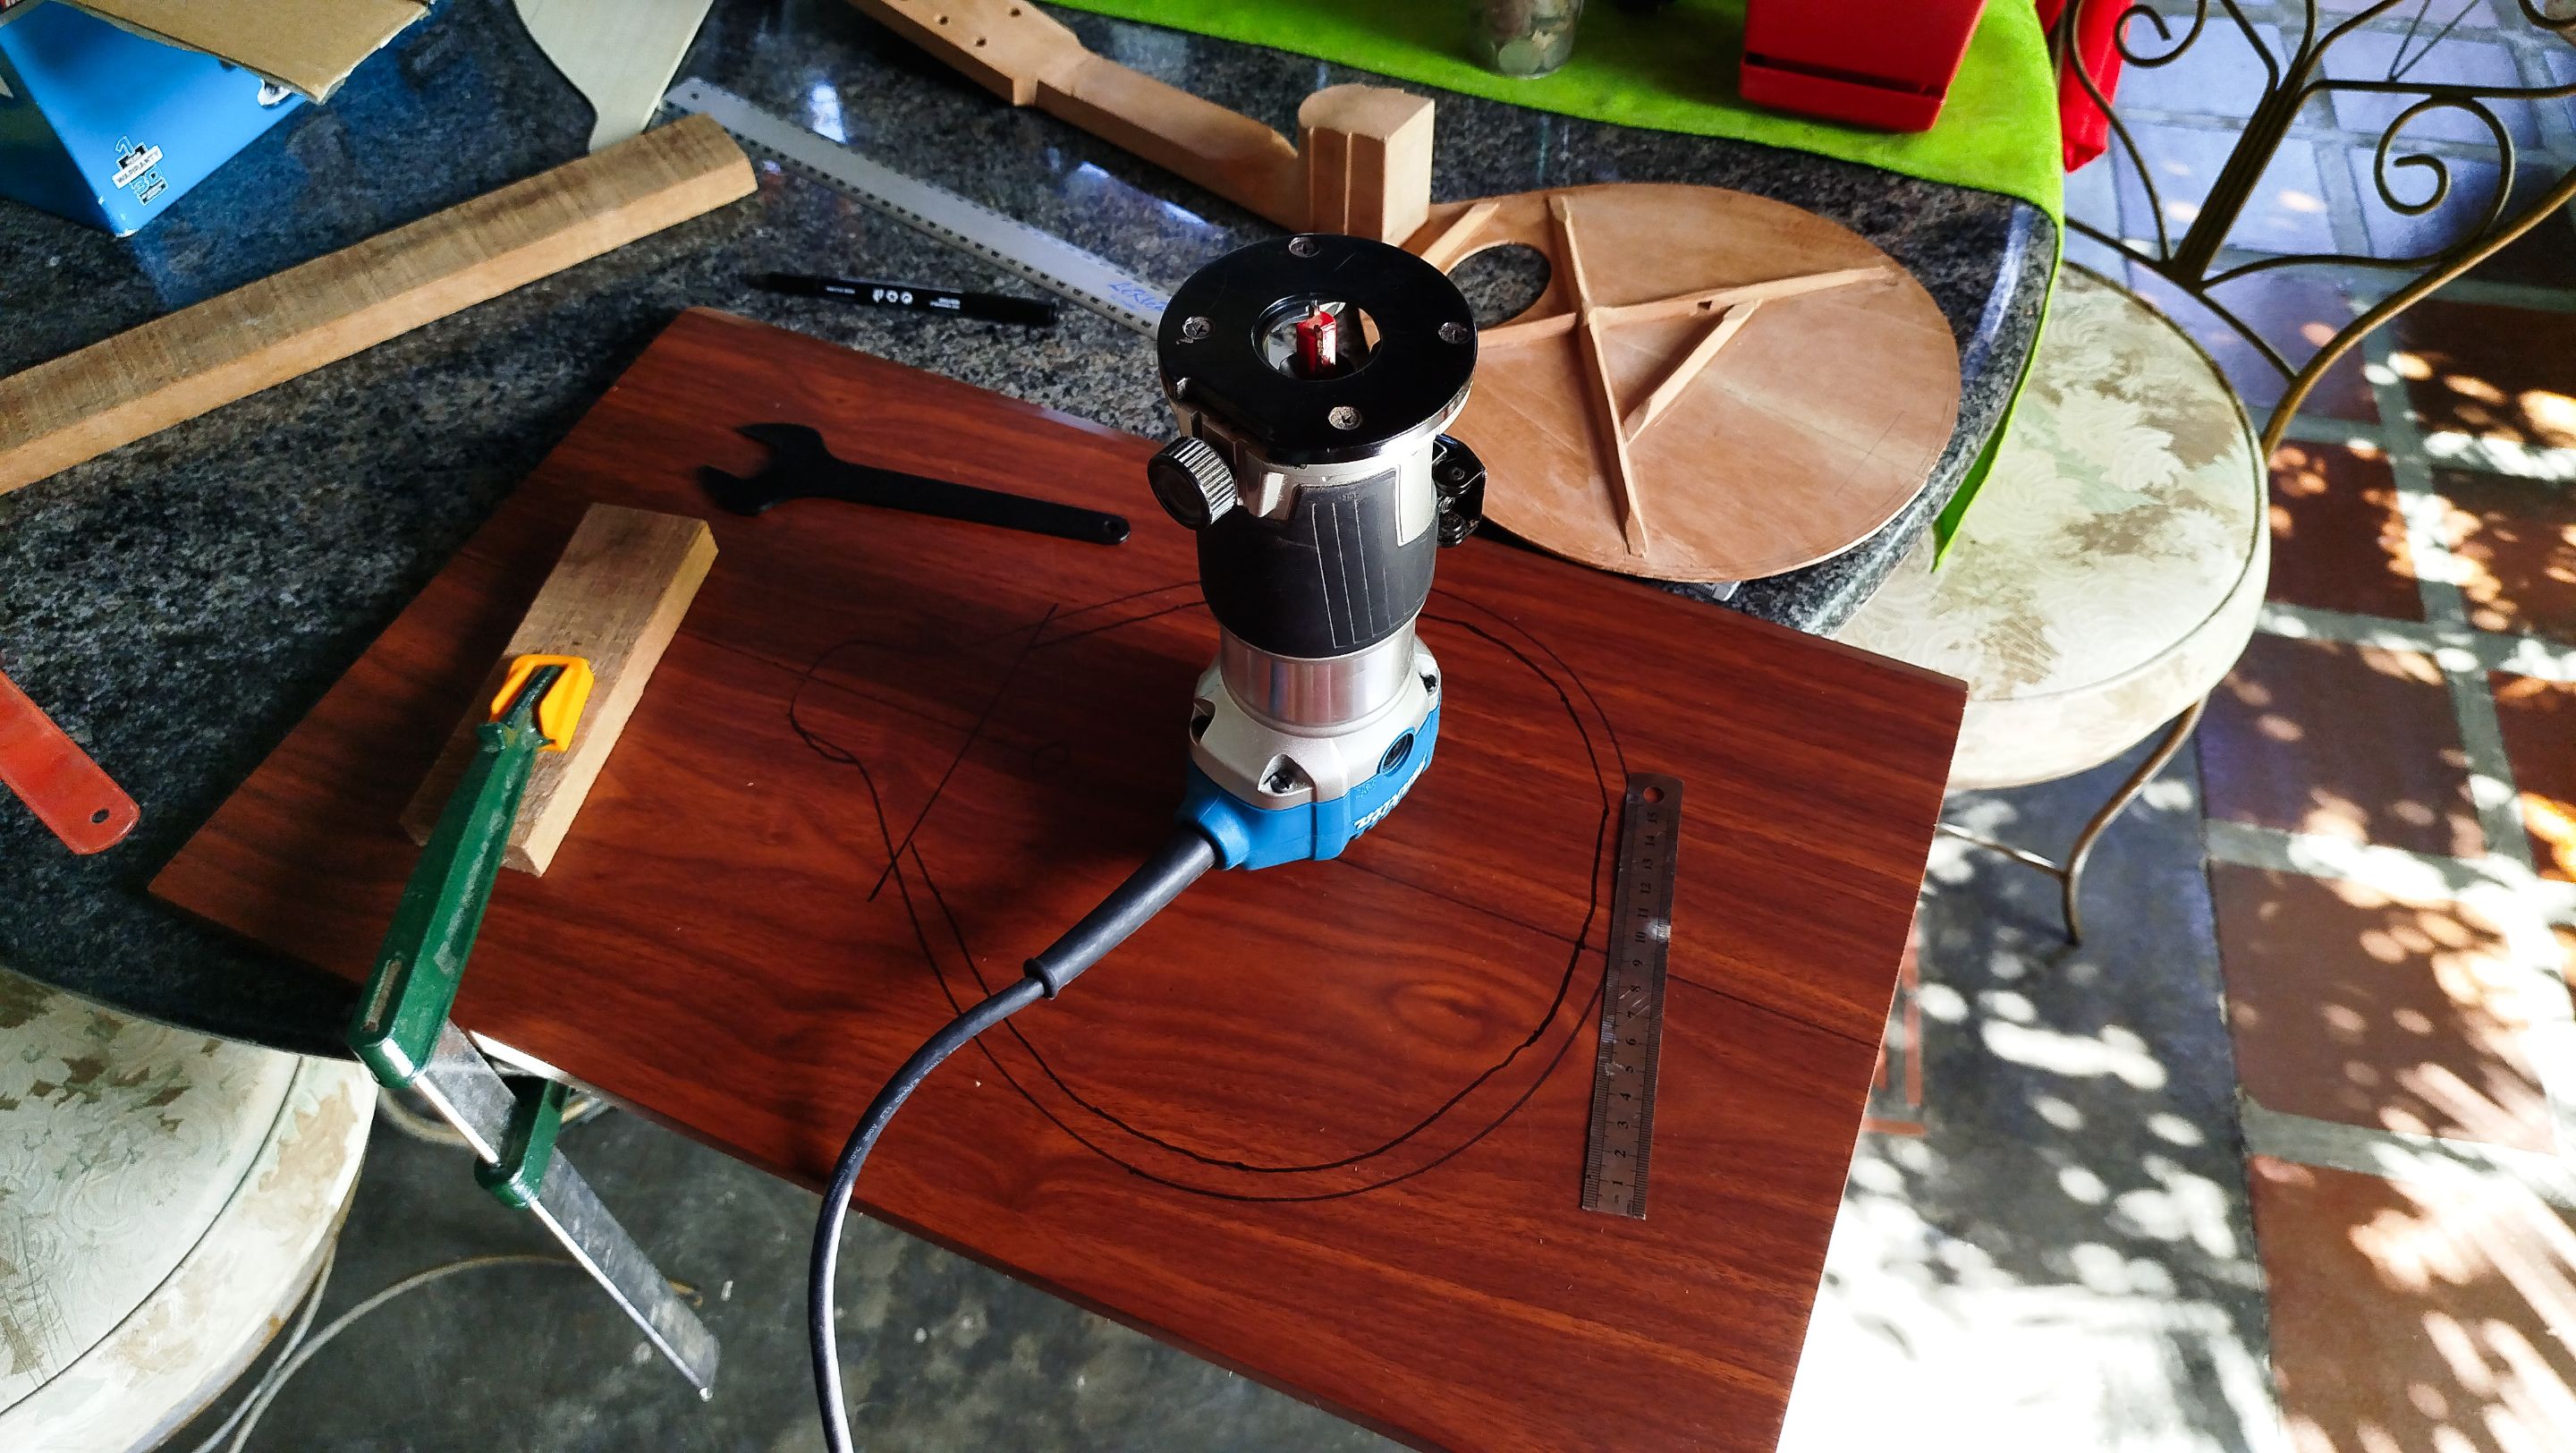
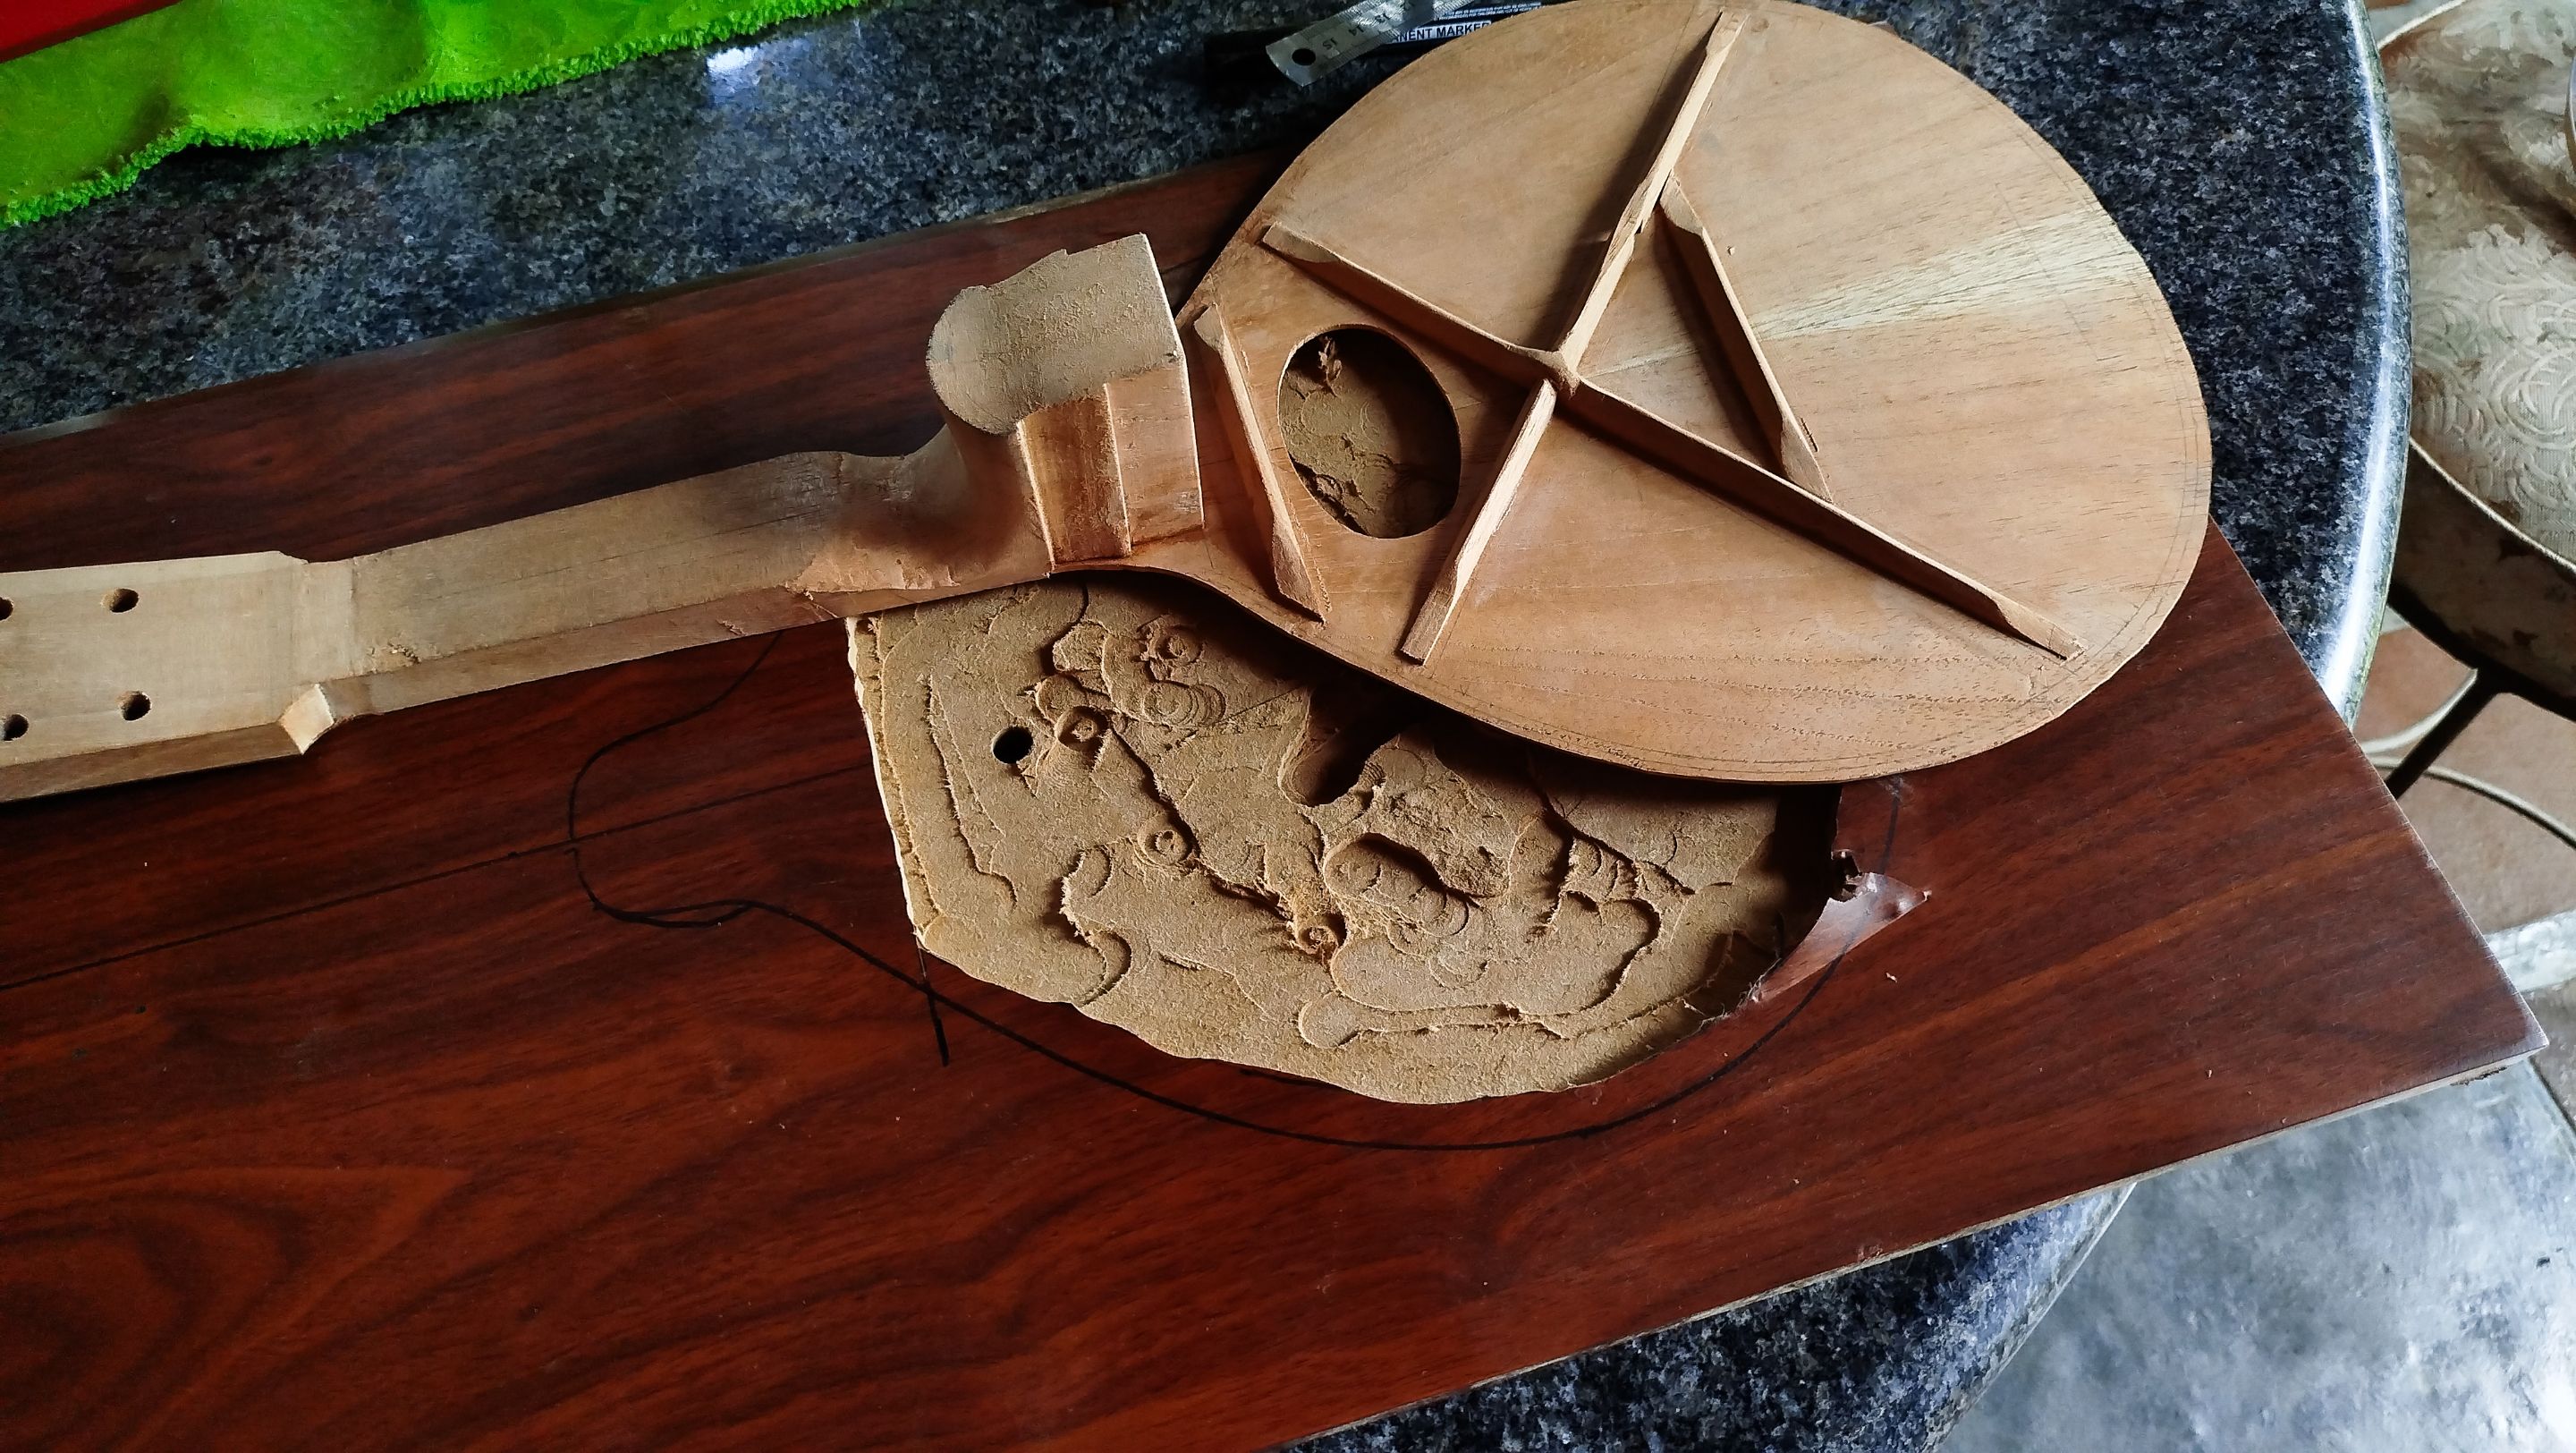
Something we have not addressed from the beginning of the build is the mould for this mandolin. We need to create a place to hold the whole build and start adding the rest of the pieces like sides and the back, and also the reinforcements that go inside.
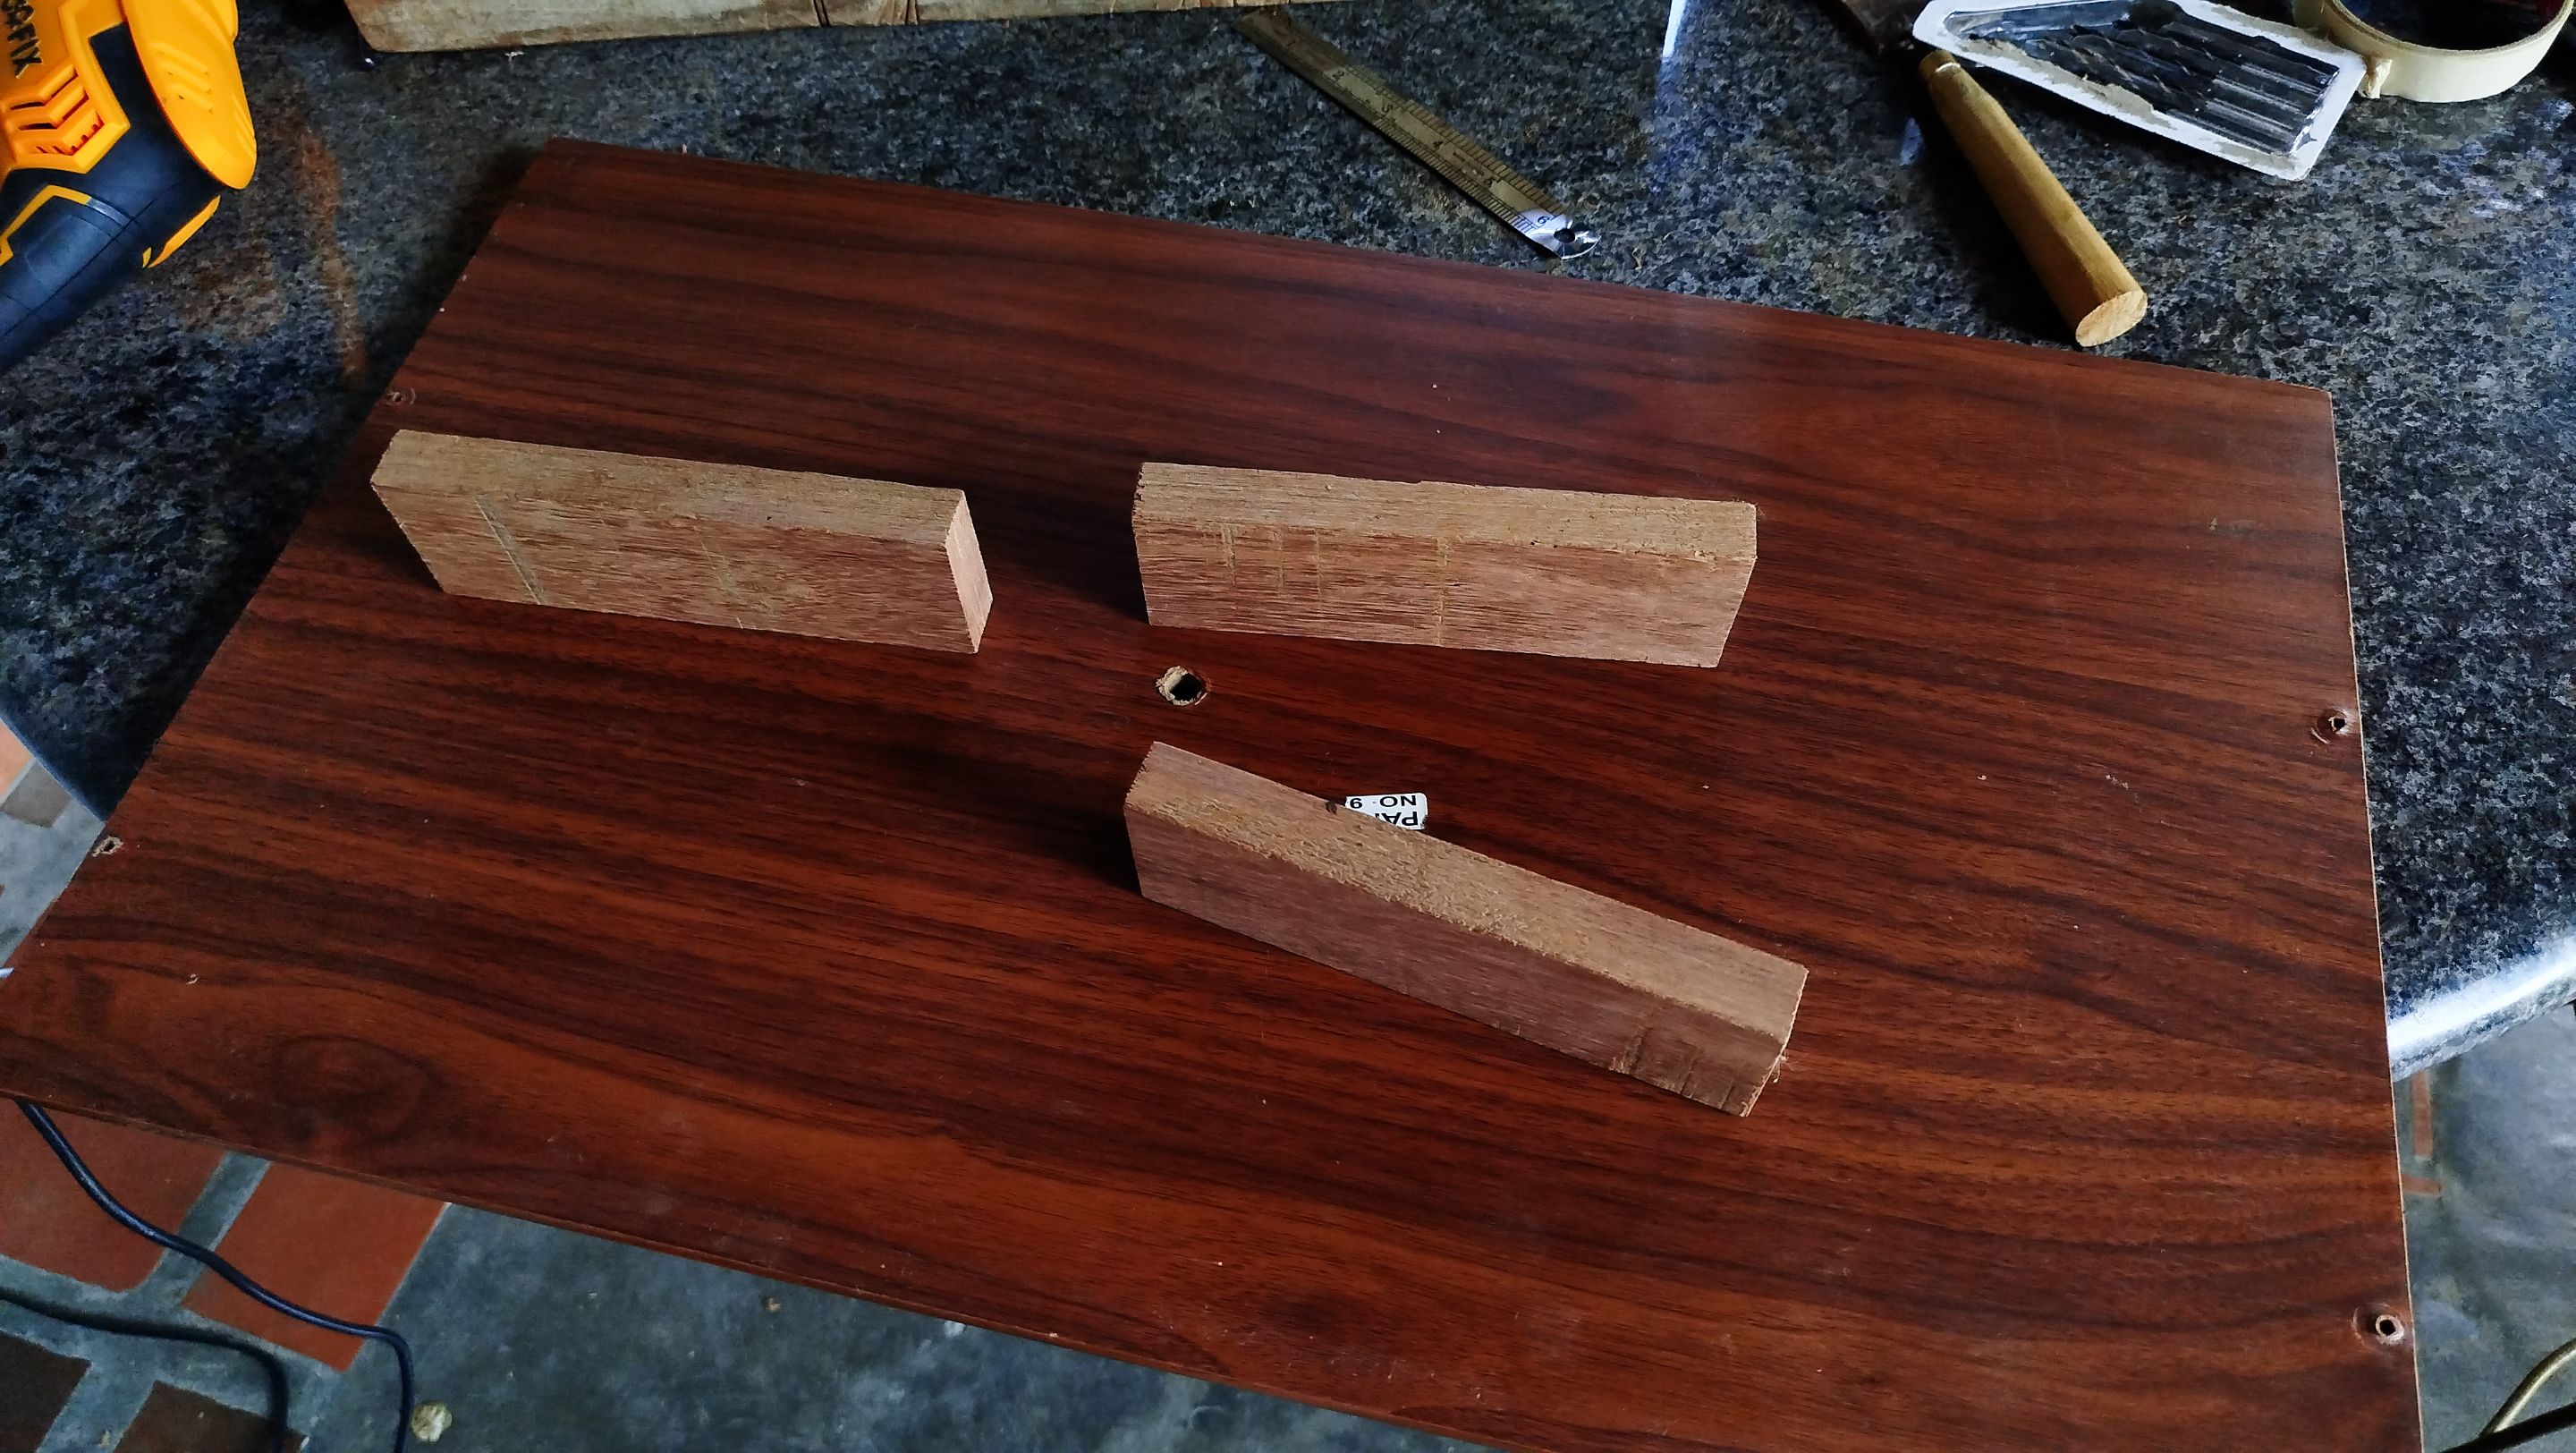
We are using a piece of an old desk to create this mould. We need to make some drawings on the top portion of it. This will help us remove the material needed to create a rest for the sound board. Since it has a curve we need to create a hollow portion of the mould to accommodate the first pieces we hav worked.
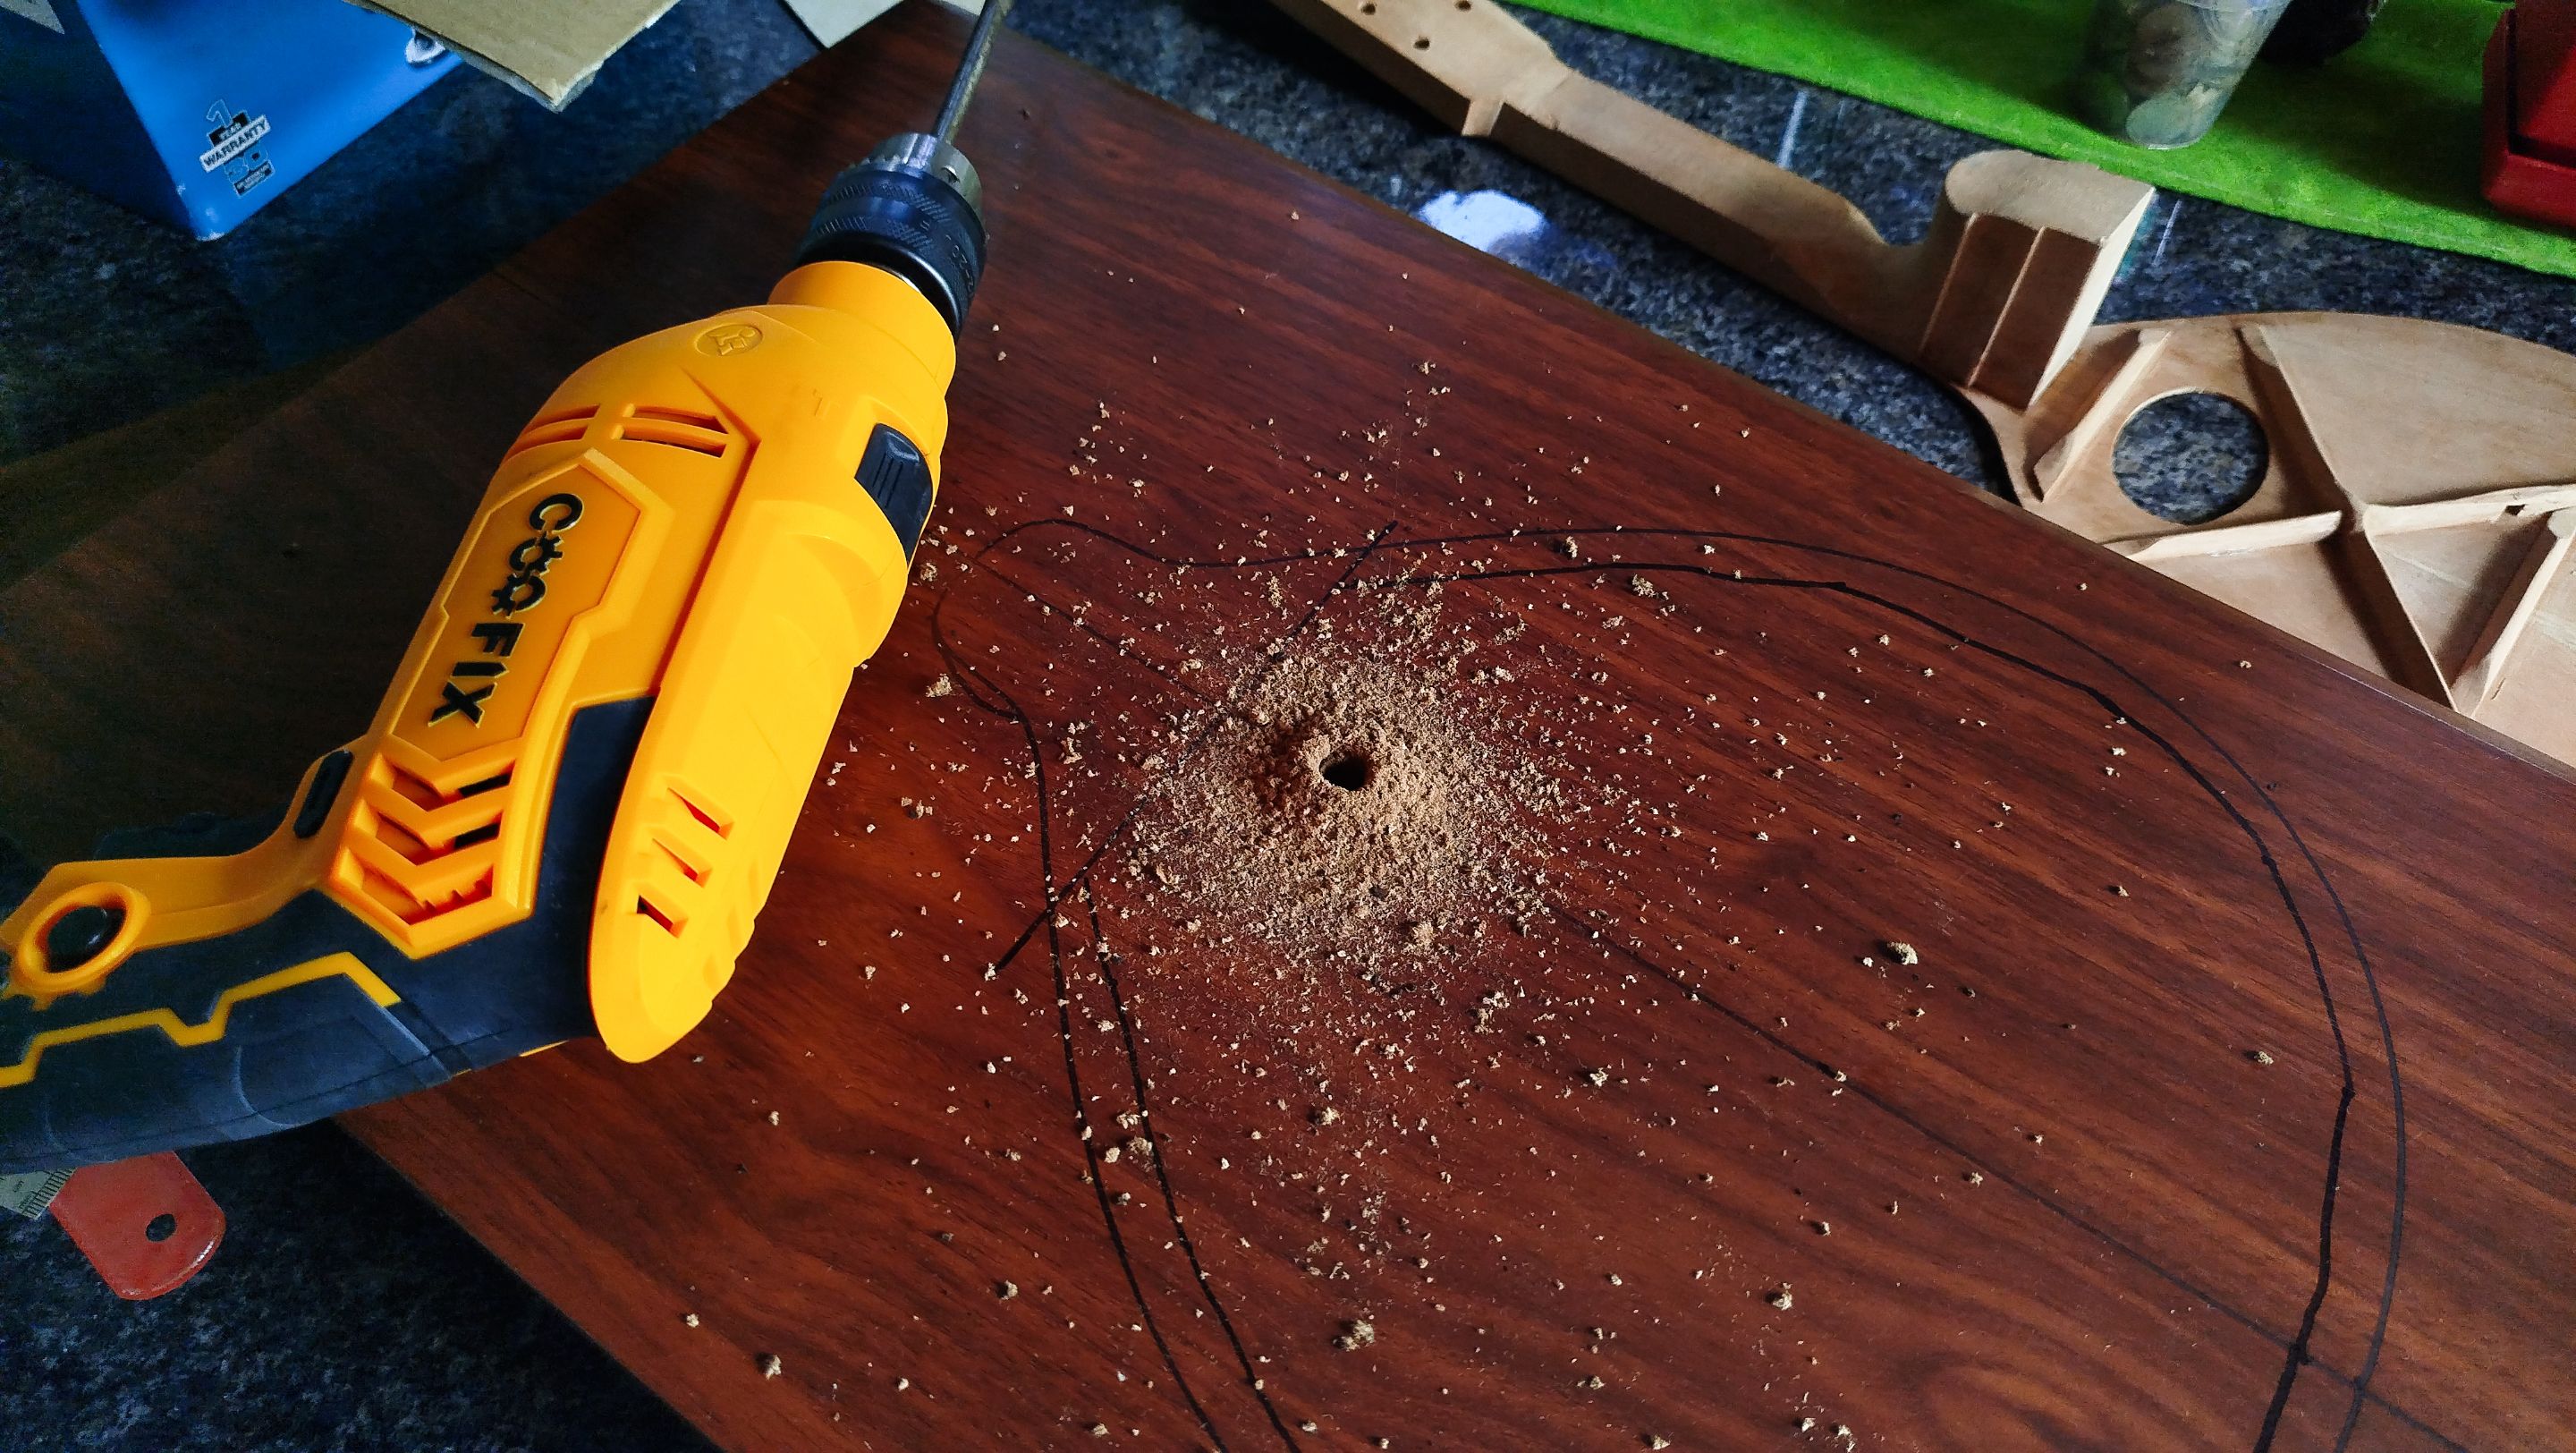
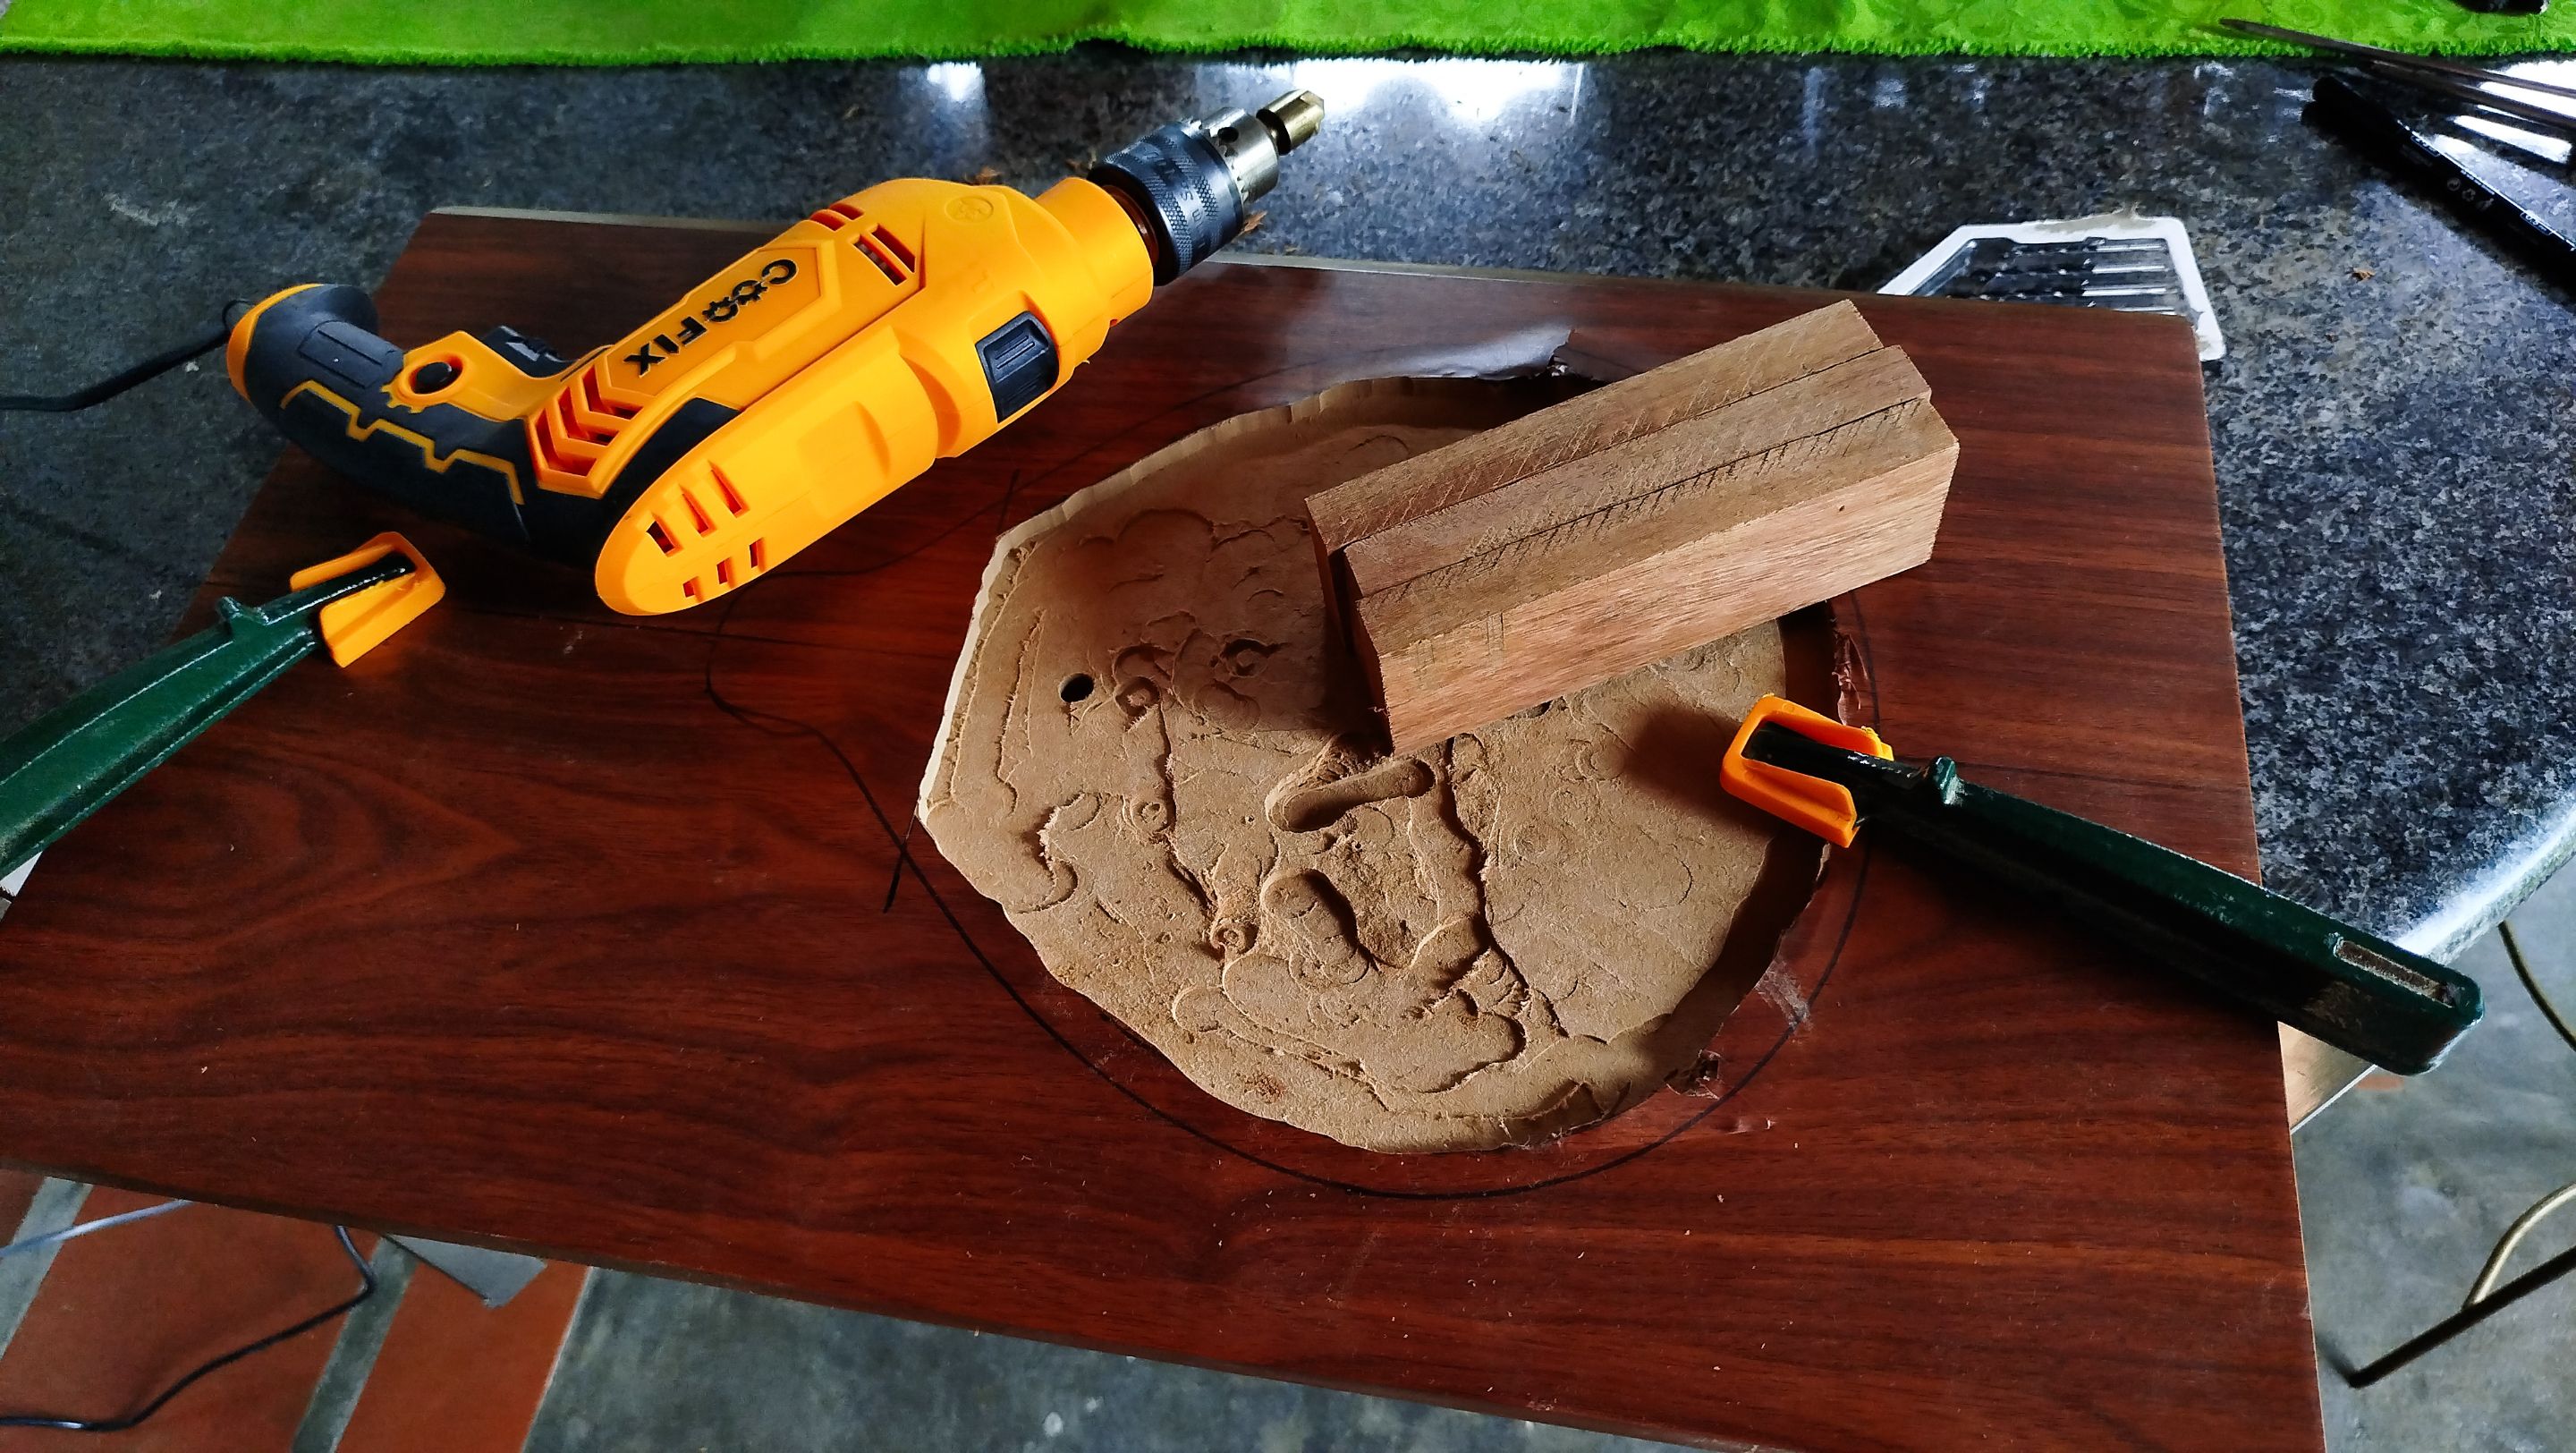
We start creating the hollow portion by making a hole all the way through in the board. Then we use the router to crate the second level. We need to work with care to avoid removing too much material. Once we have done this, we can address making some legs for the mould to stand by itself. We just need to use some pieces of wood. We make some more holes to fix the legs with the screws.
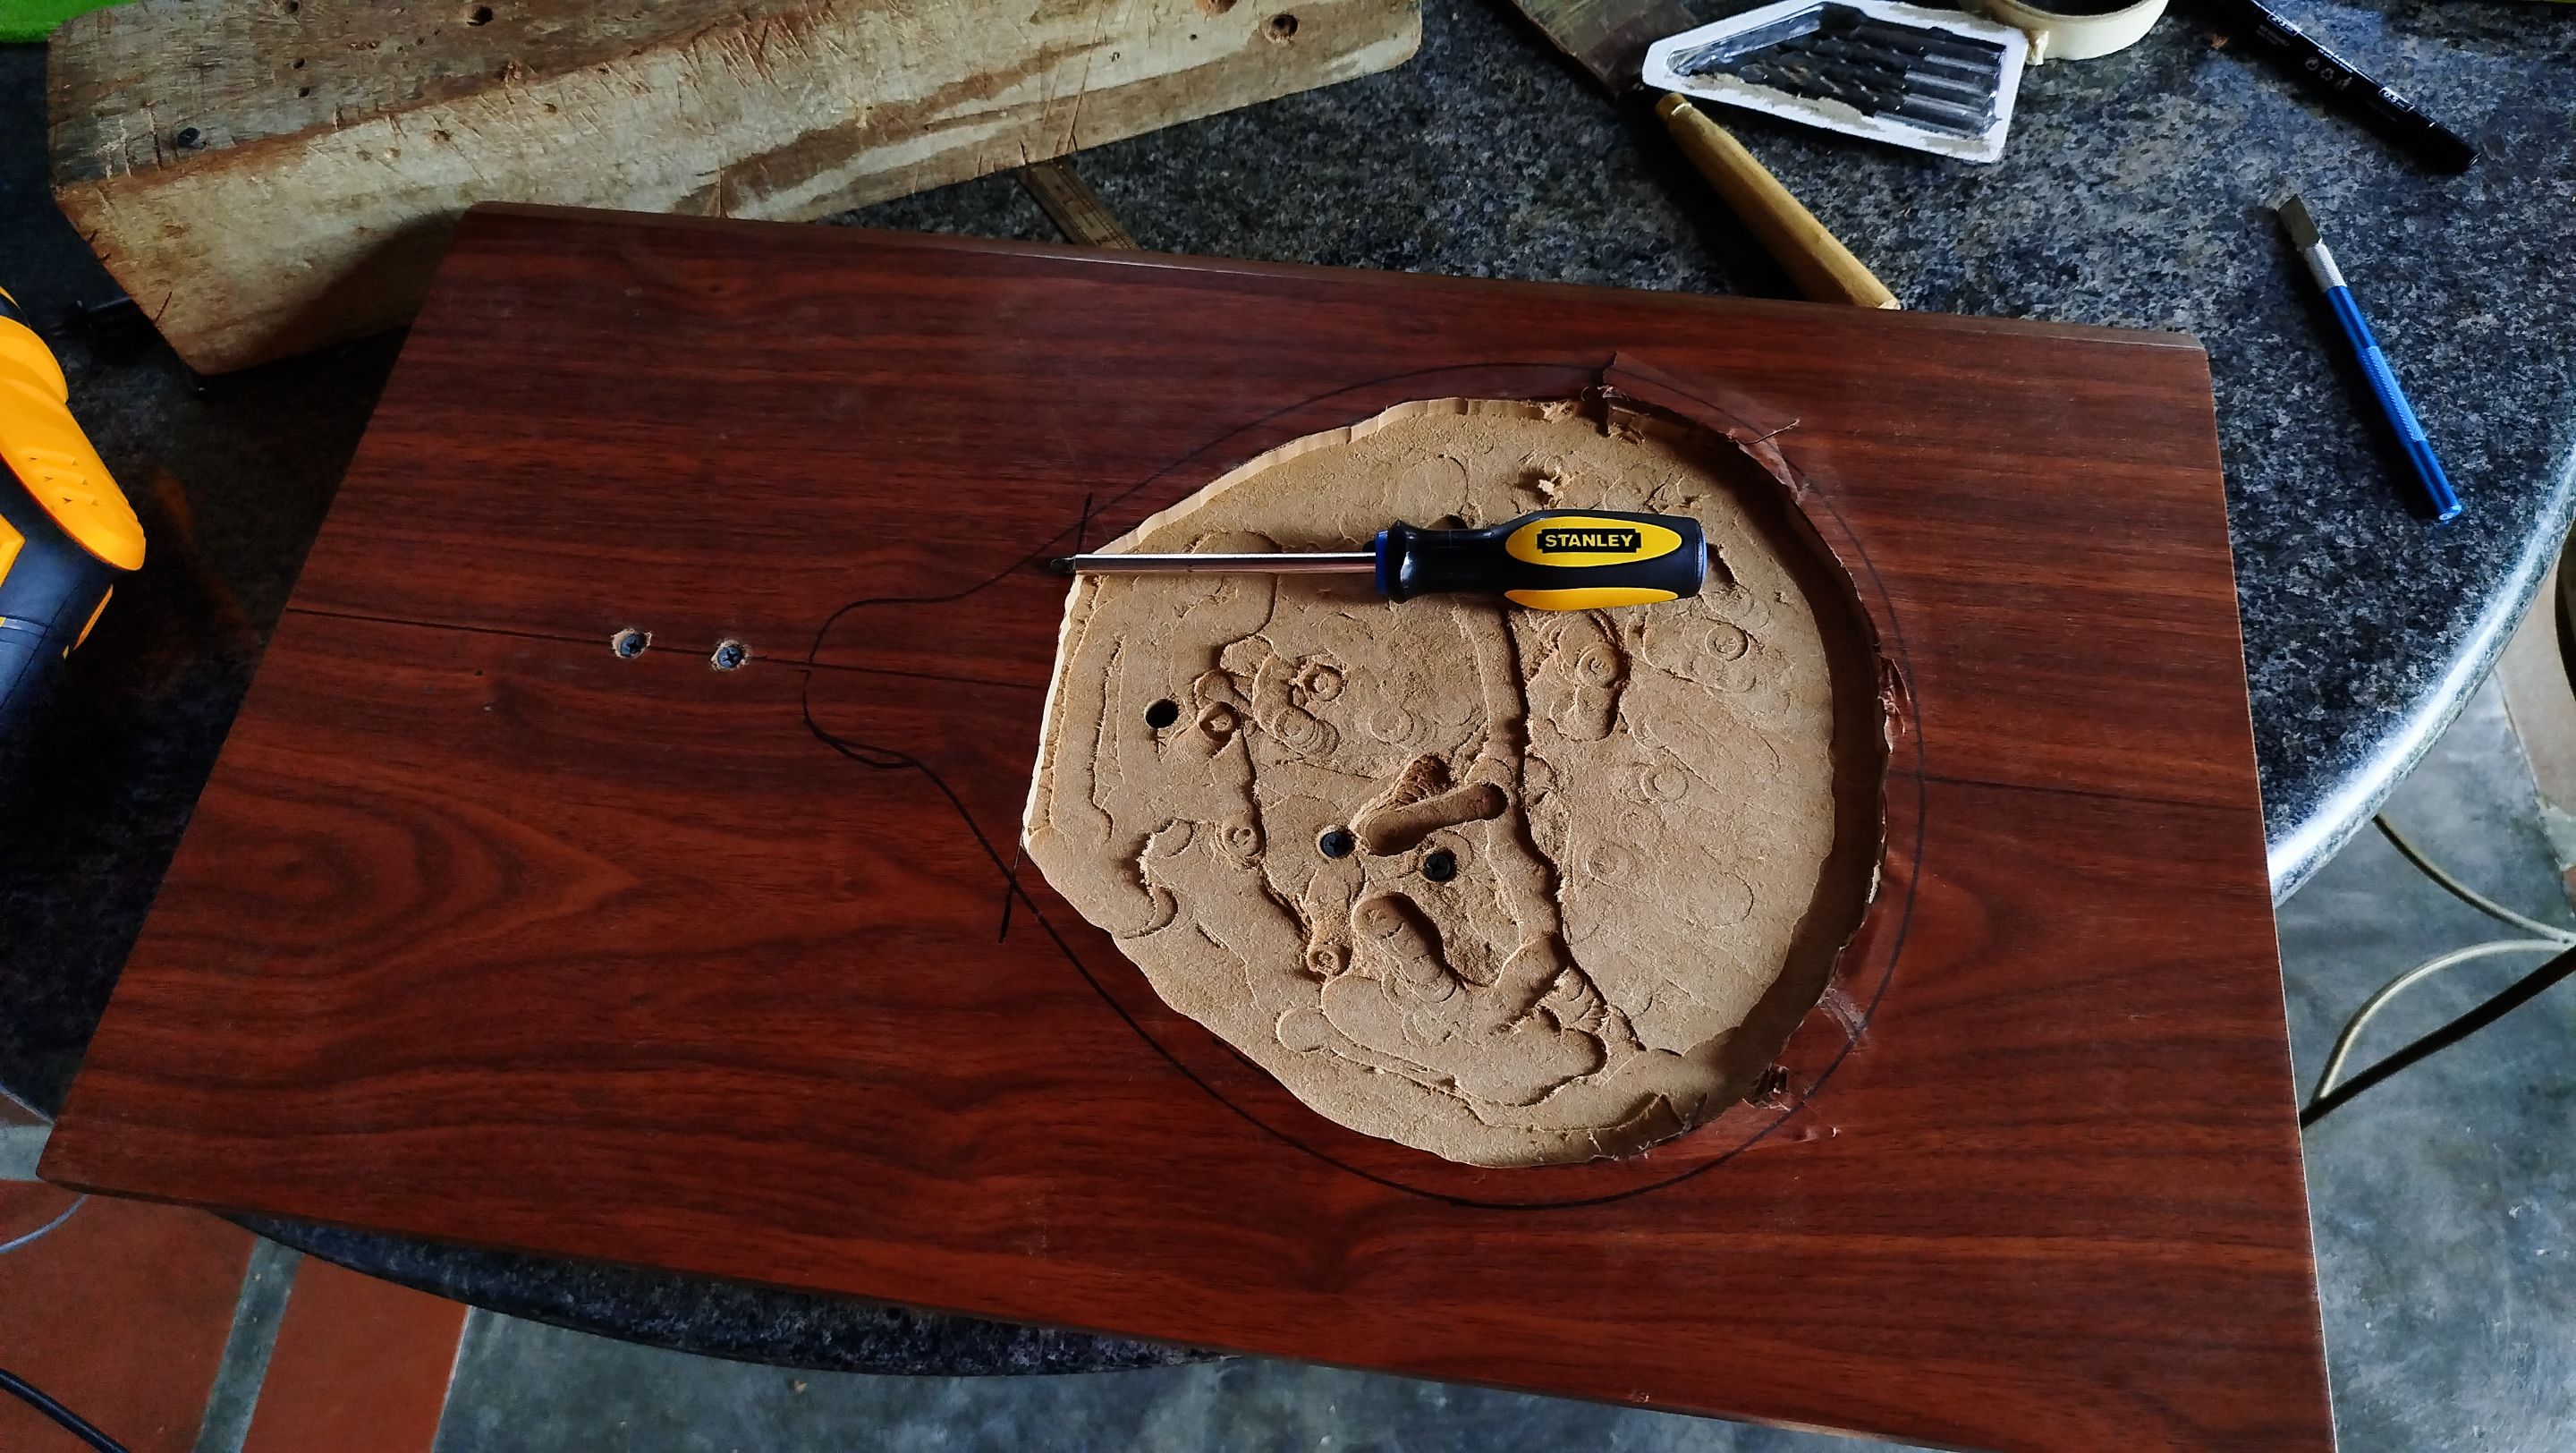
Once we have put the legs, we can check if the mould serves its purpose by fitting the sound board and neck in place.
That is all for this entry. On the next one, we are going to start working on the sides and back for this build. Thanks a lot for reading! See you next time!
| Number | Entry |
|---|---|
| 1 | The First Mandolin |
| 2 | Starting a Neck |
| 3 | The Heel |
| 4 | Headstock and Template |
-
Photos 📷: Redmi Note 13
-
Thumbnail 🖼️: Canva.
-
Editing 🎬:Adobe Photoshop Lightroom.

Follow me on Instagram for enquires and commission.
If you'd like to help the workshop grow, you can make a donation here.
You can find me at discord as bertrayo#1763