
Hello there, my fellow artisans and handcrafts enthusiasts!
Welcome back to another entry on this Mandolin Build. Last time we saw this project, we were on the topic of making the first assembly between the neck and sound board. Then we made the mould to assemble the whole instrument. Now we are going to start another part to get into the whole process of putting the pieces together. For now, we are working on the back of this mandolin.
Let's get to it!
Joinery

Swipe to see the photos
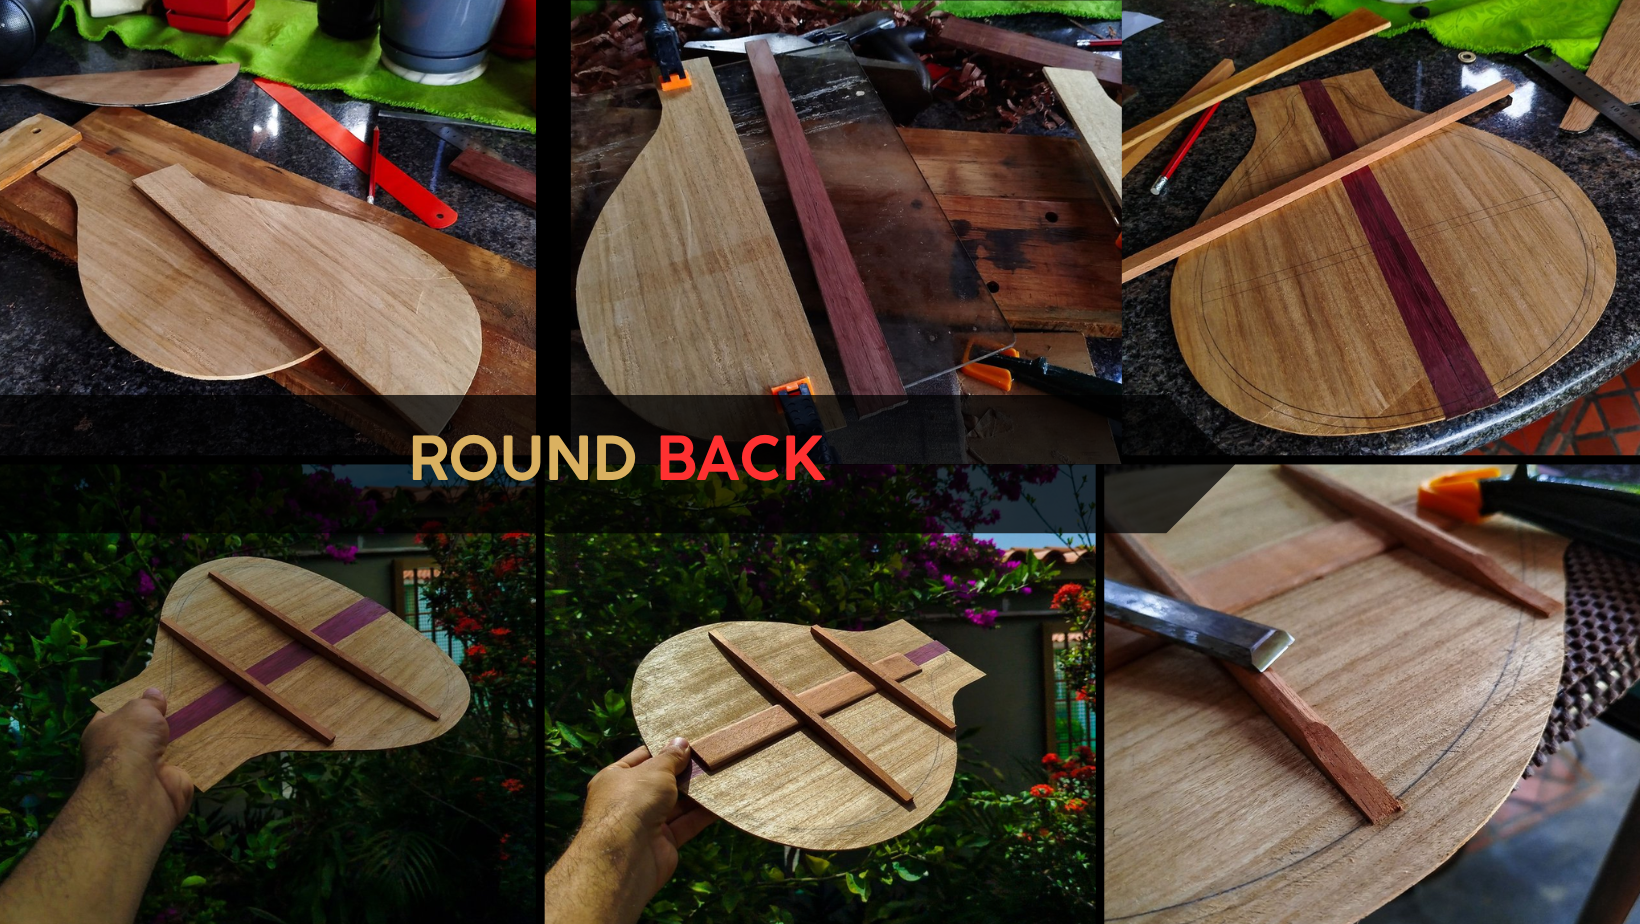
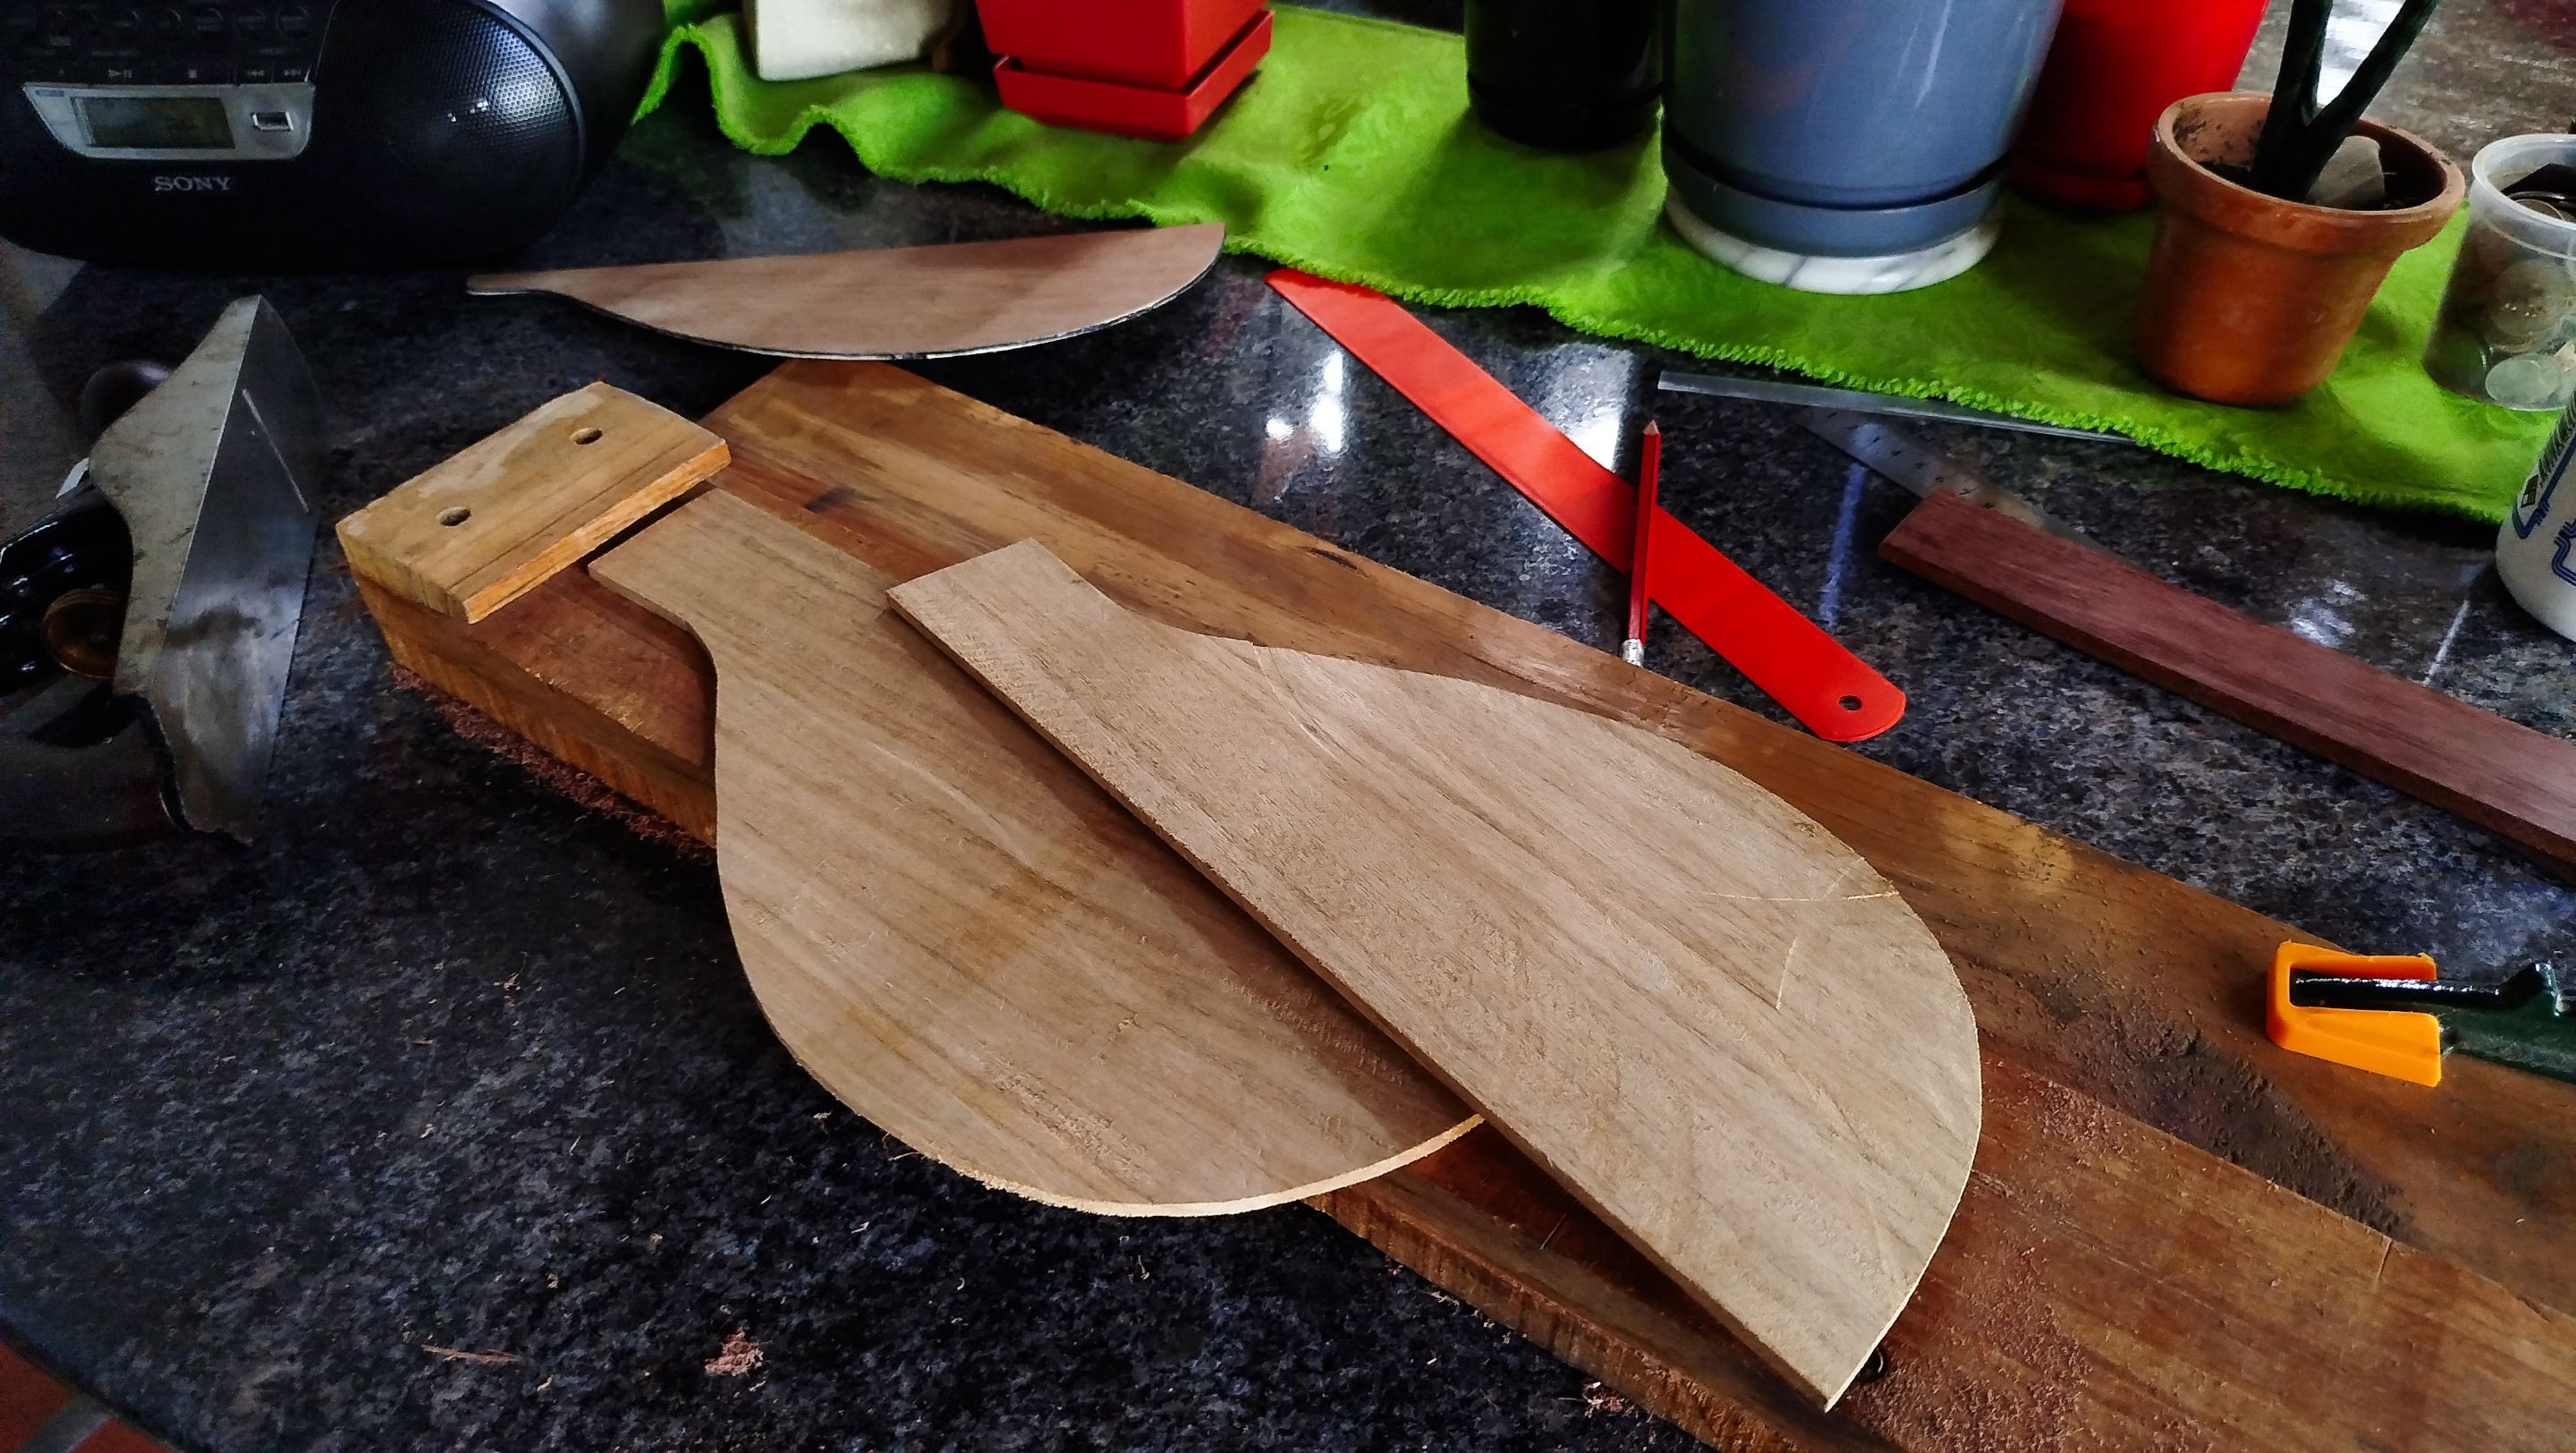
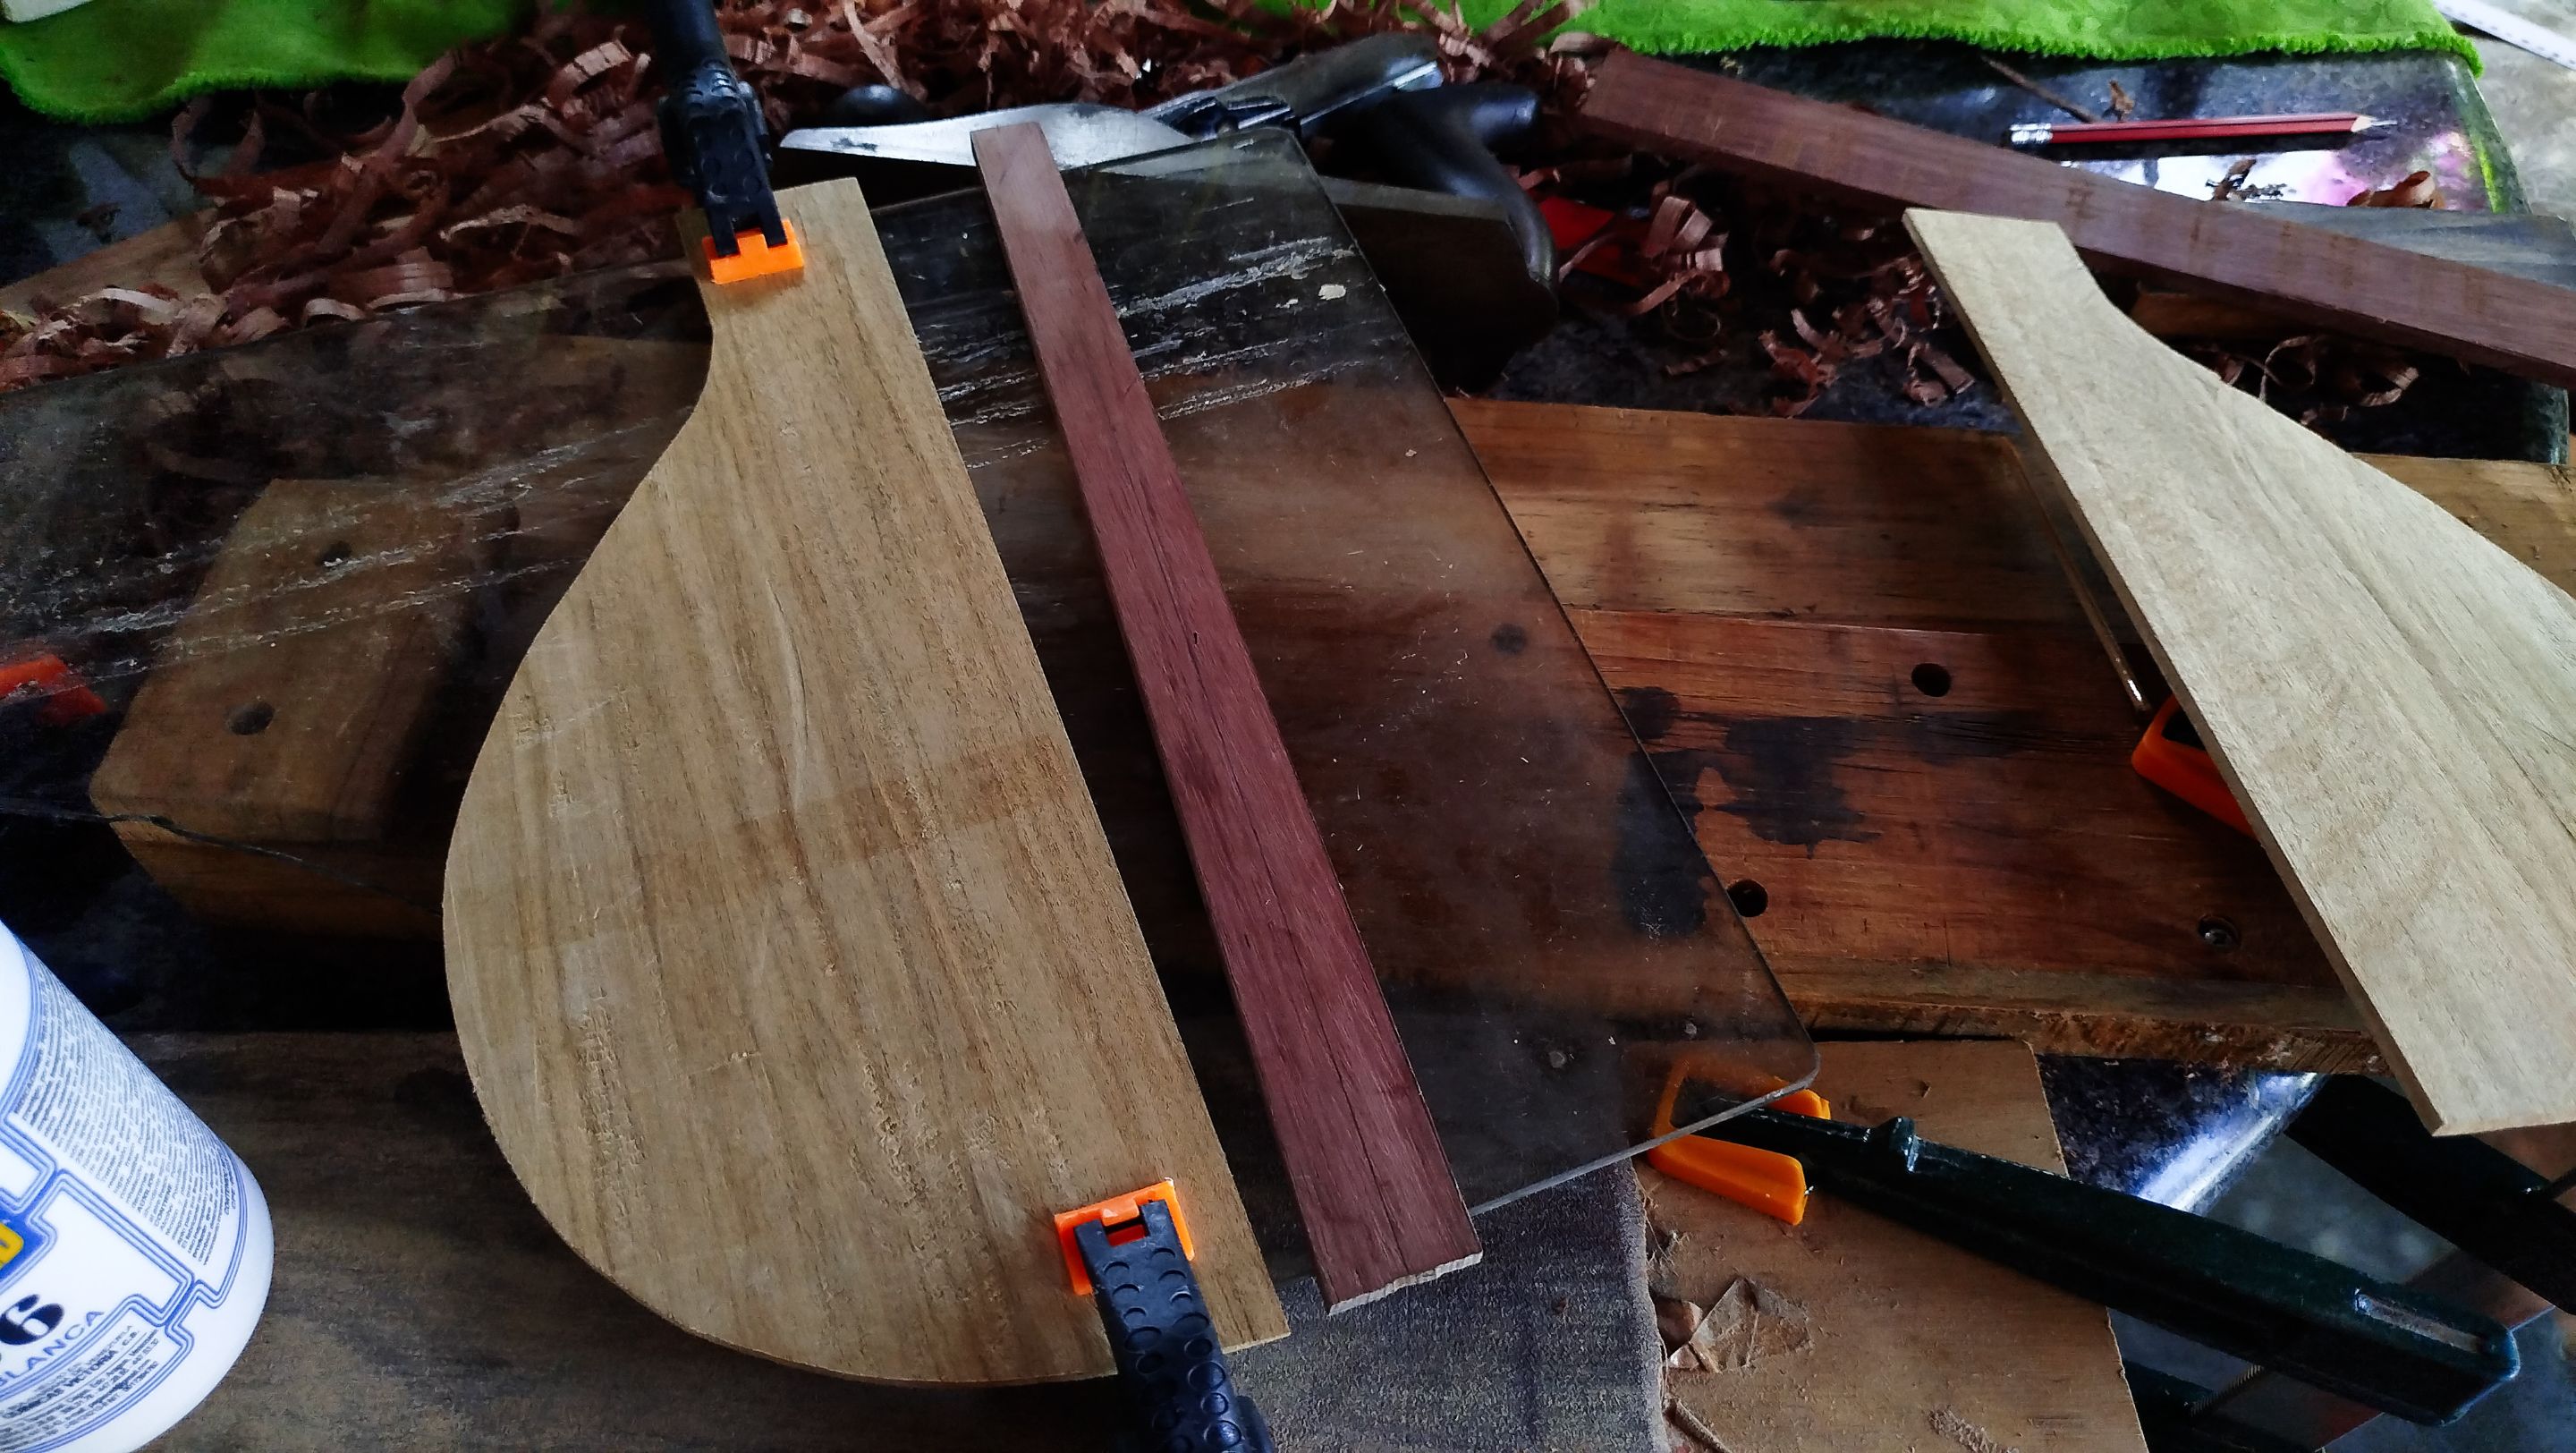
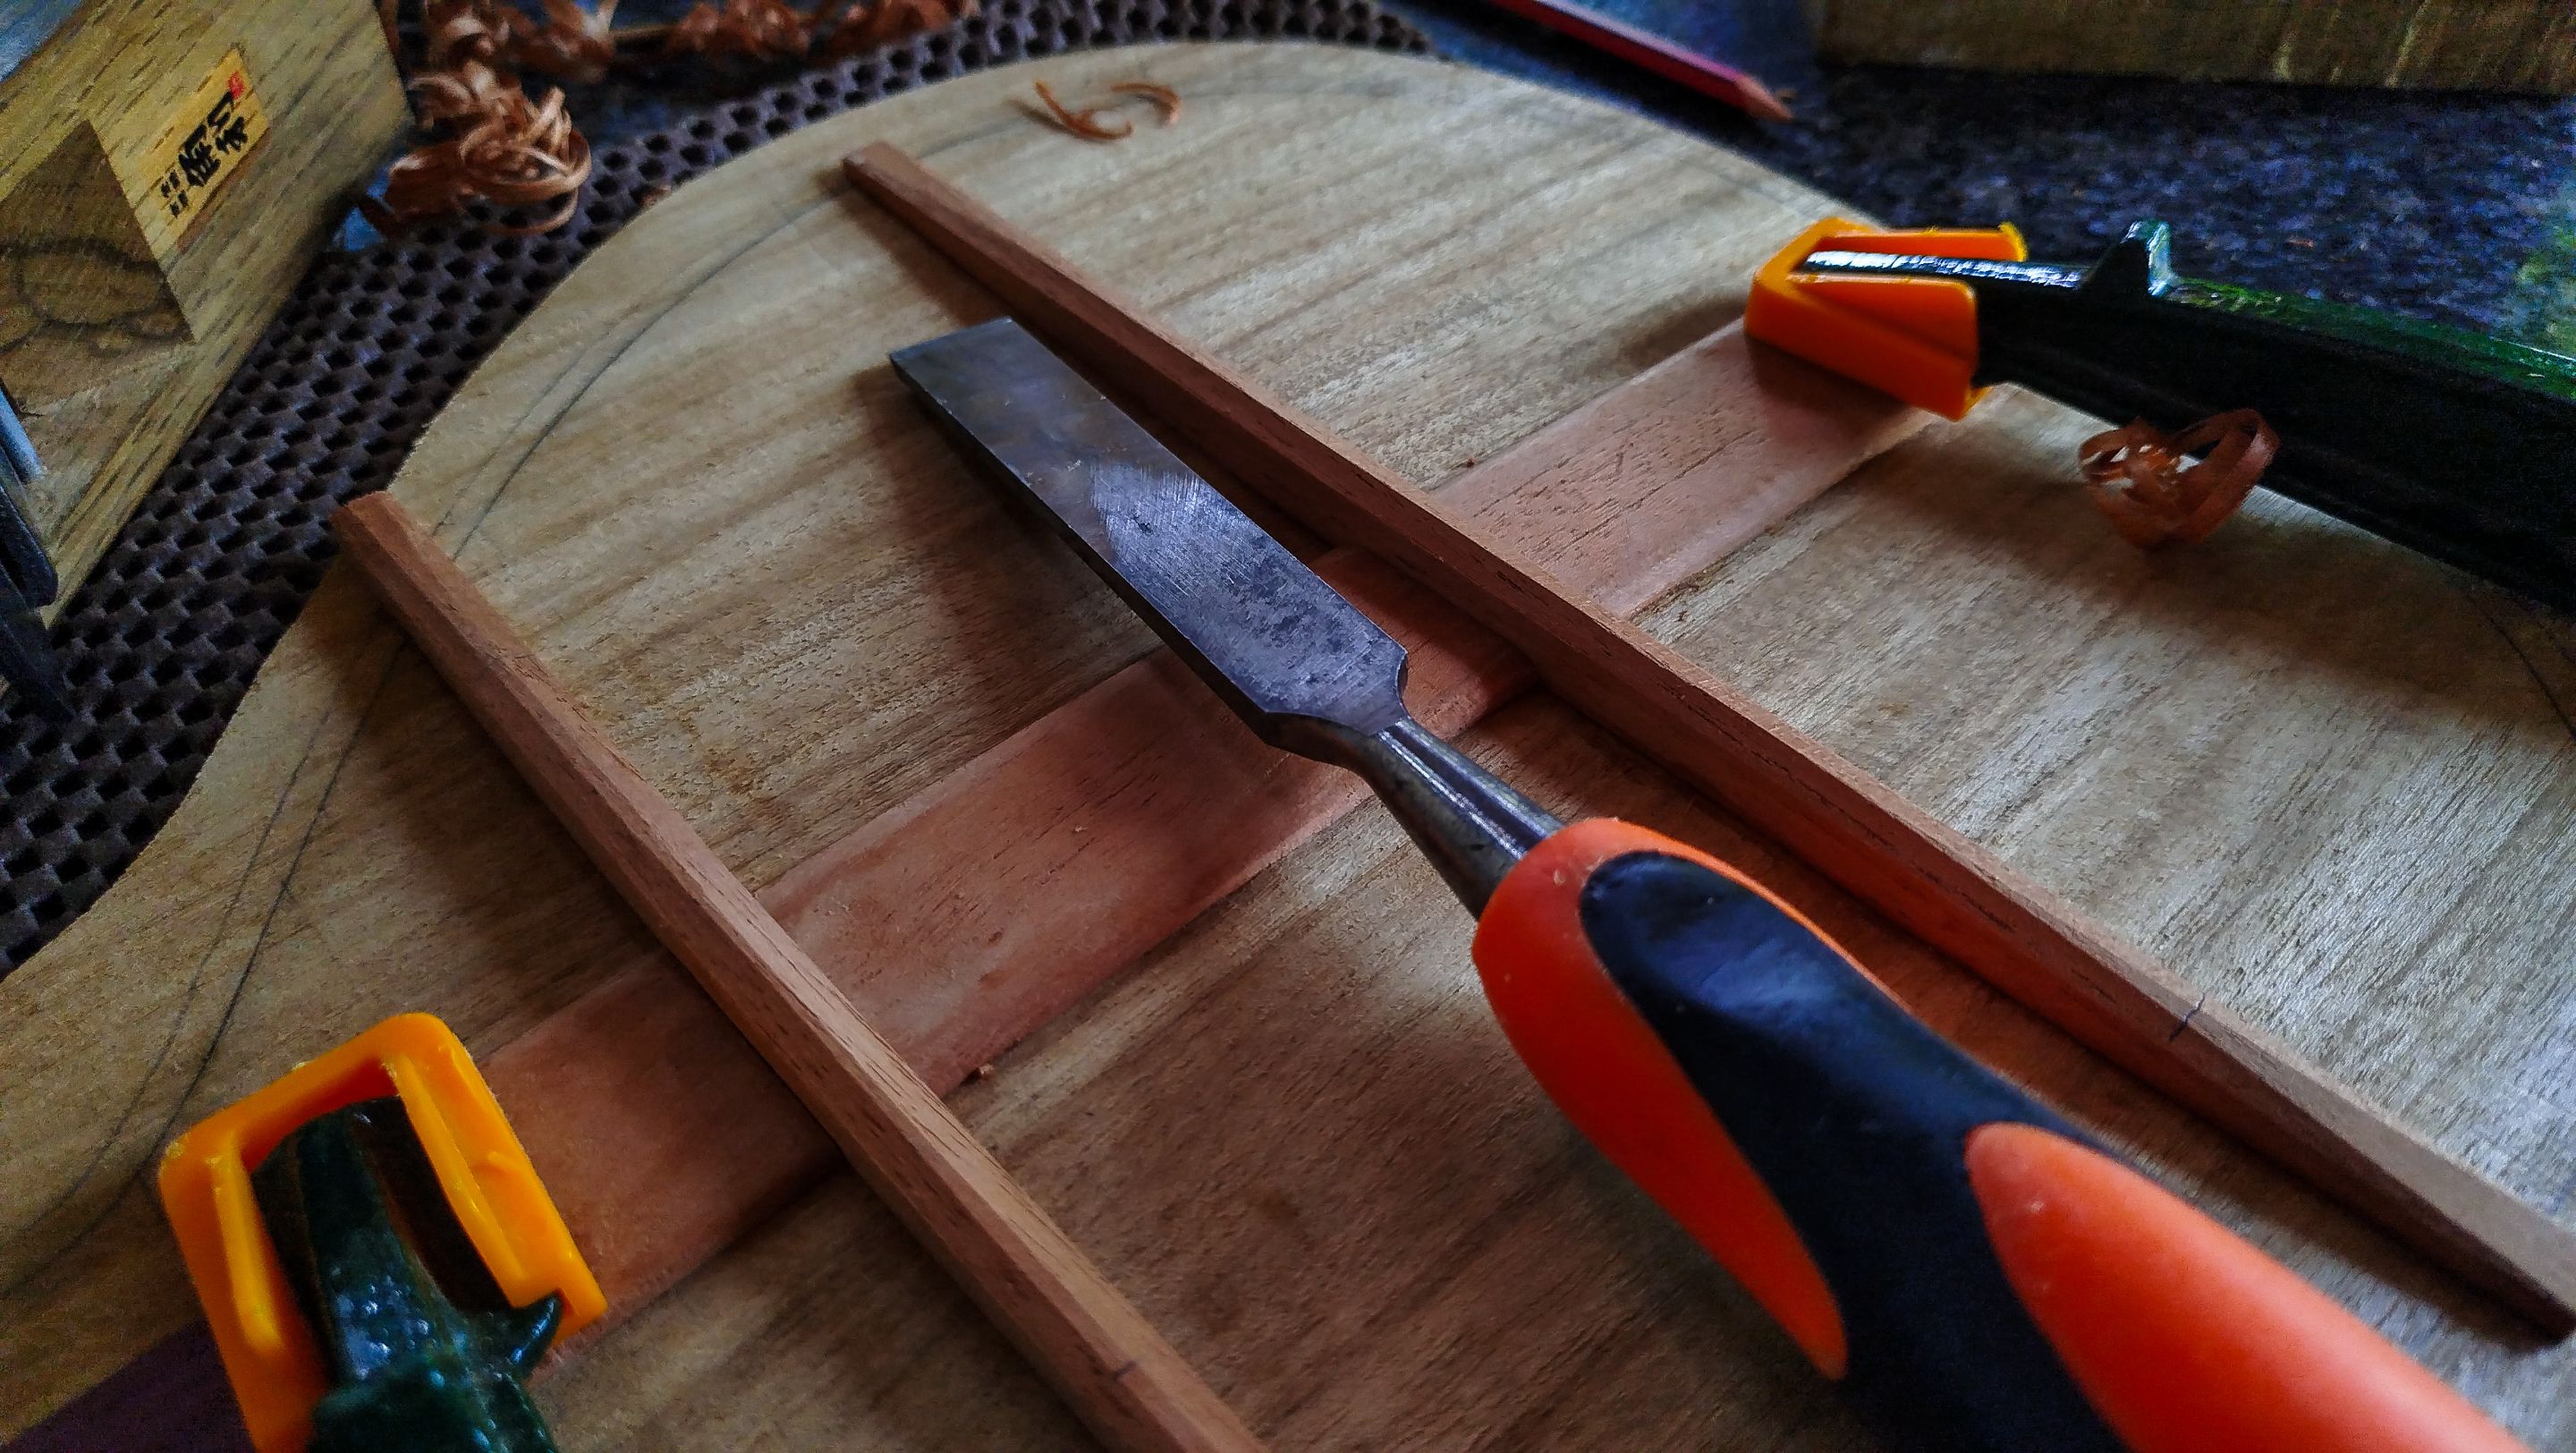
To start the back of the mandolin we are working on the edges of the pieces to make the joinery. We use the hand plane and remove material from this edges until we can put the pieces together and see no light coming through the joint. We can achieve this not only with tools, but we can also use sandpaper.
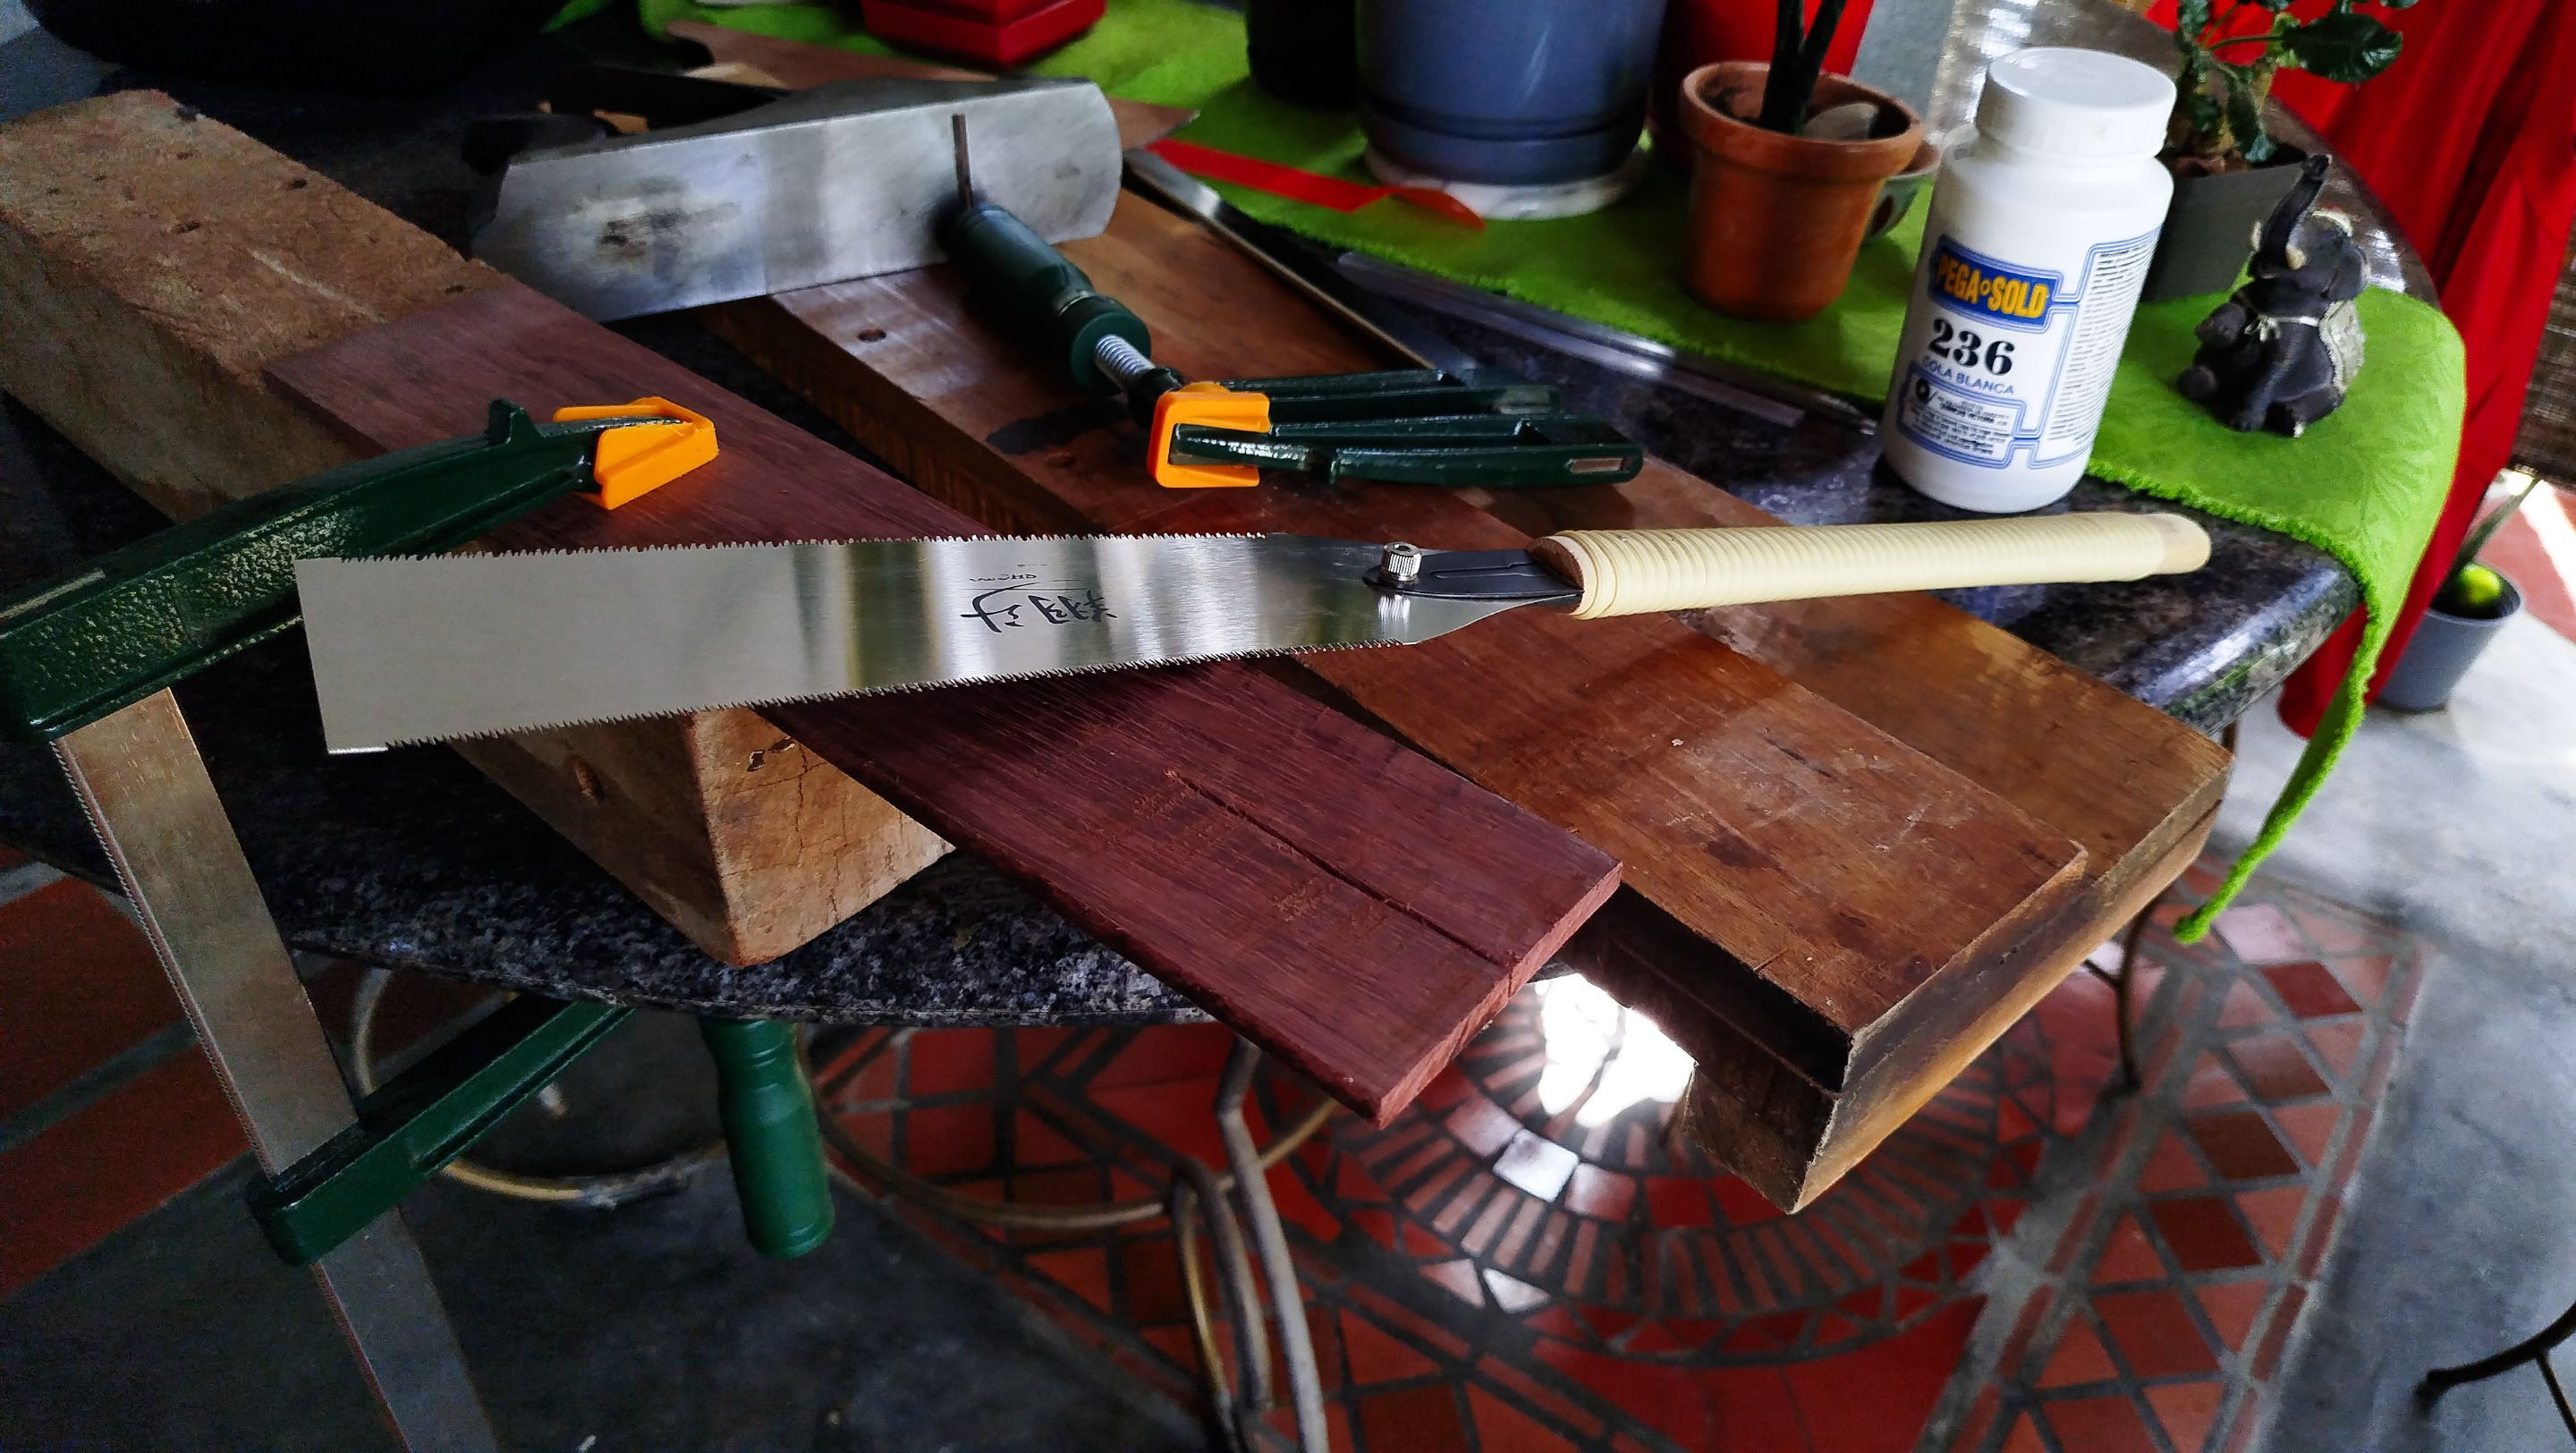
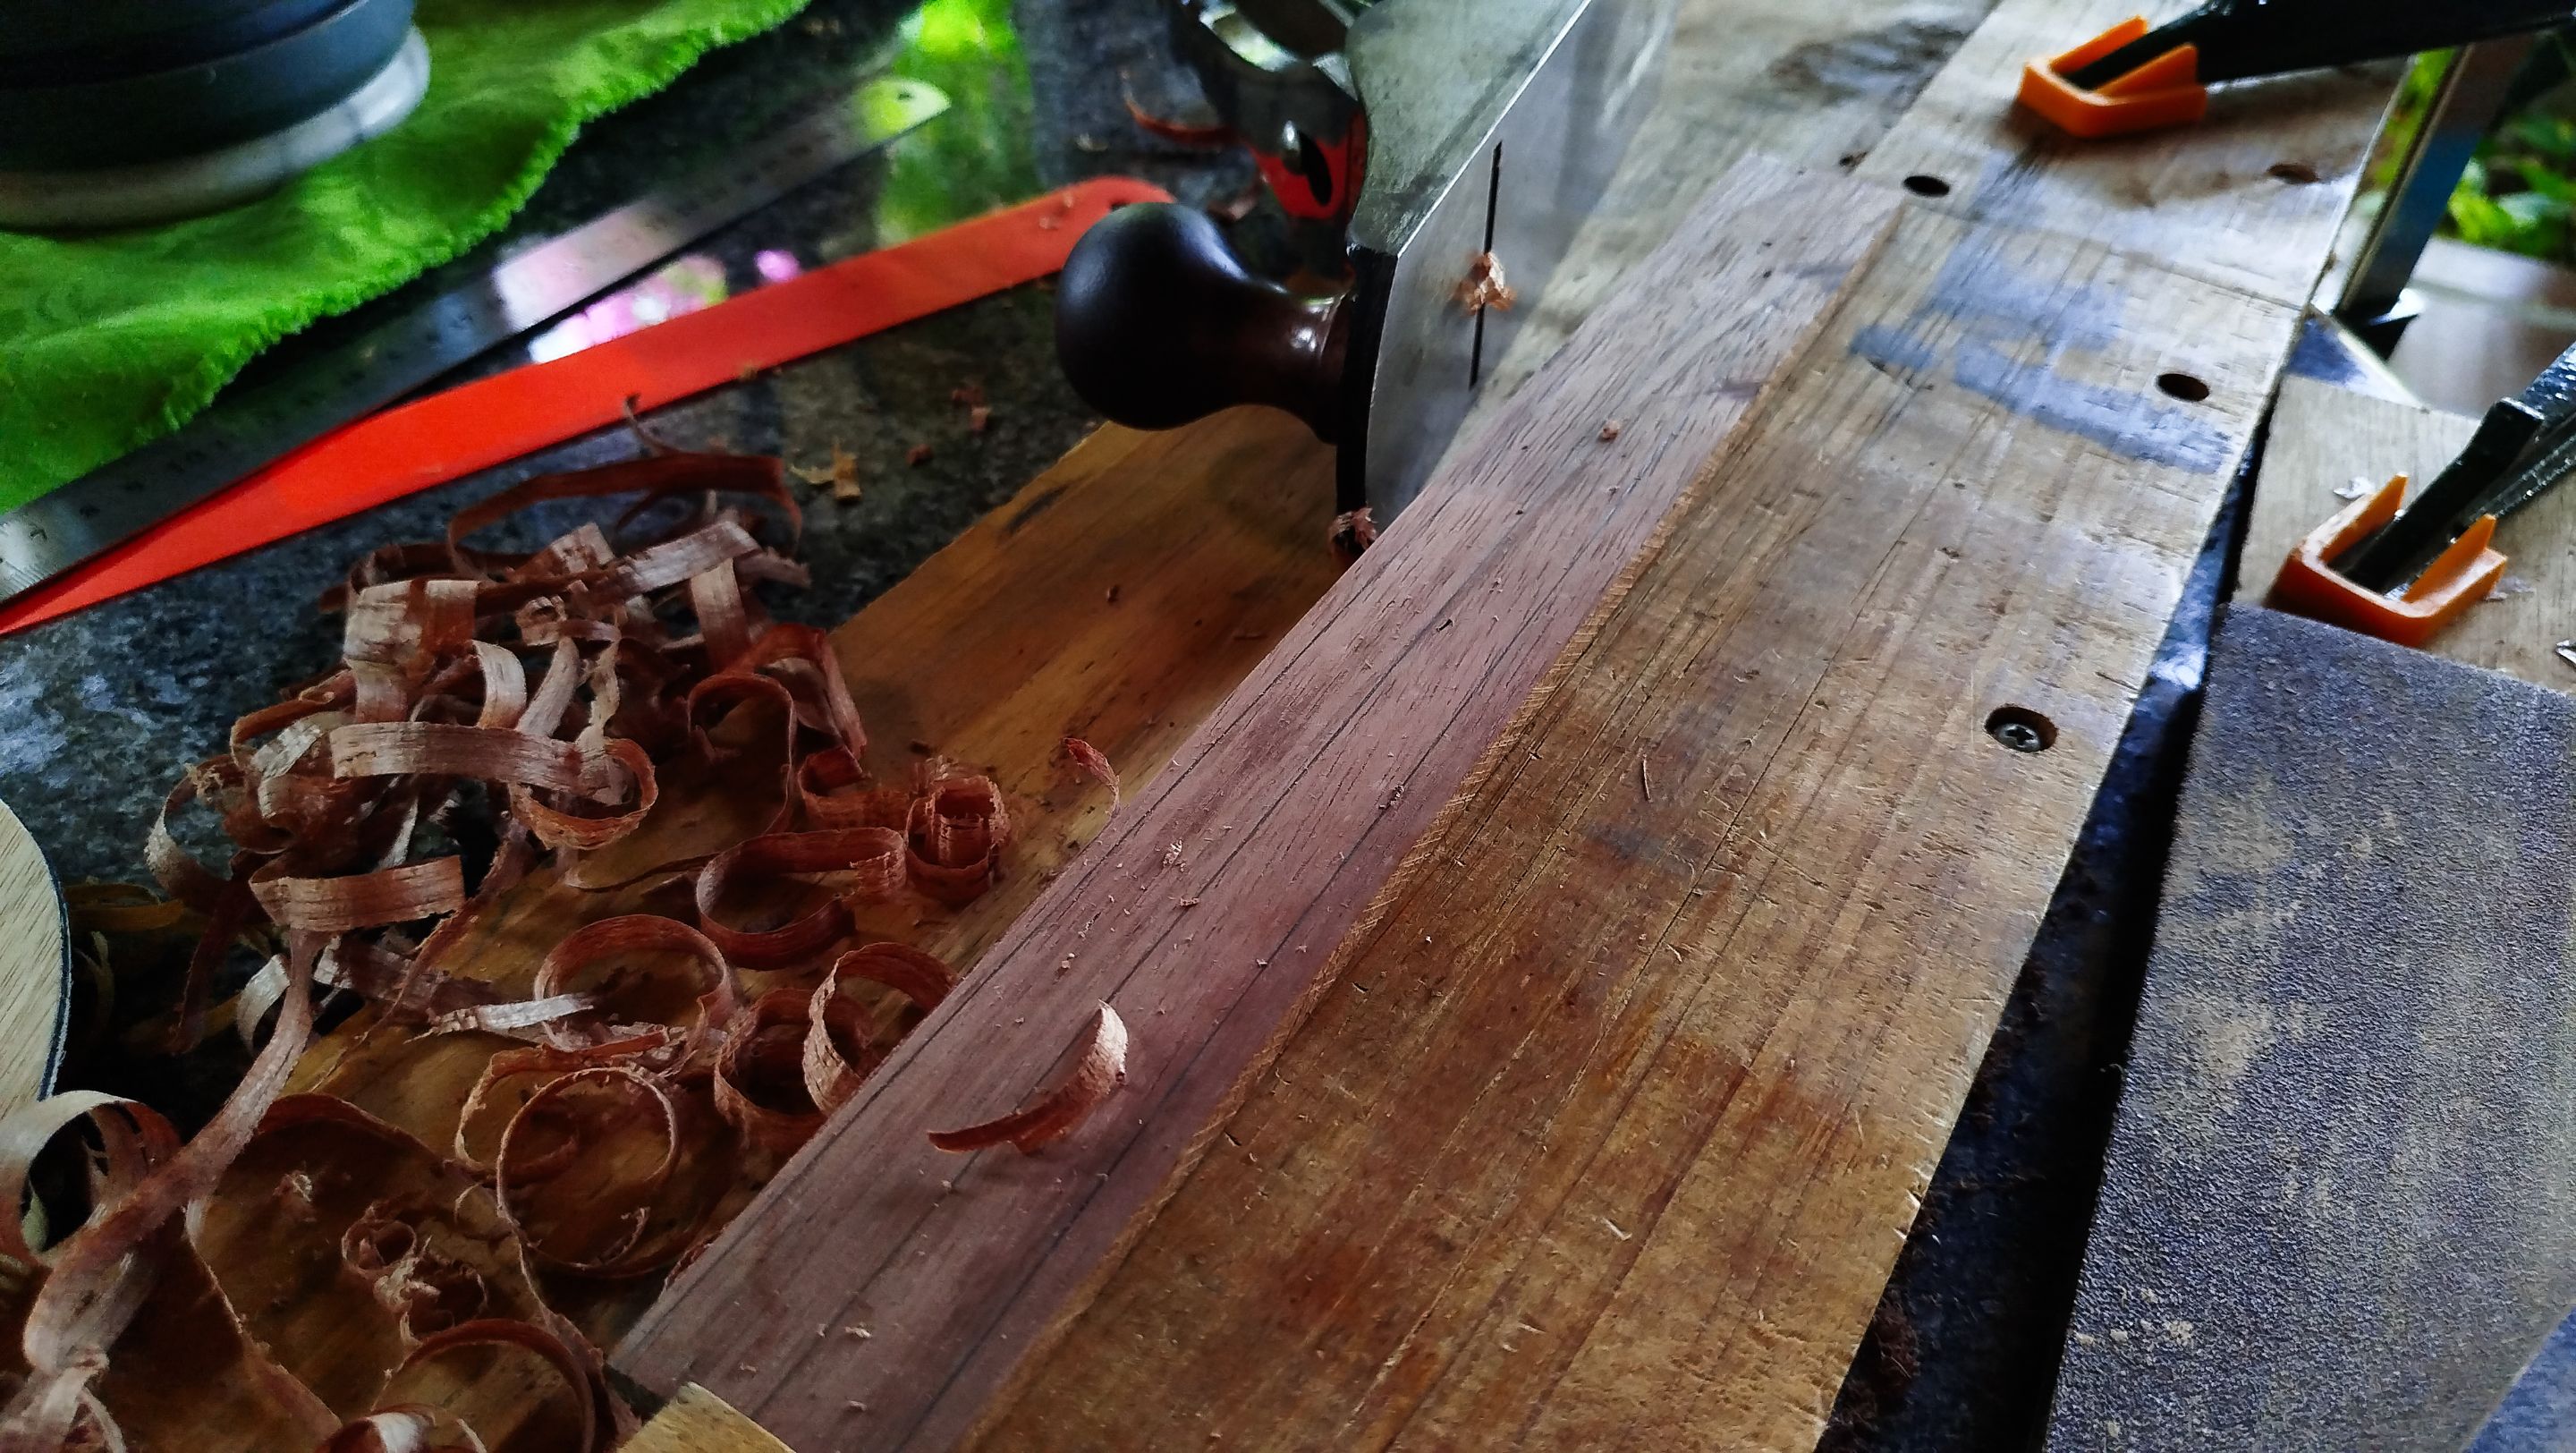
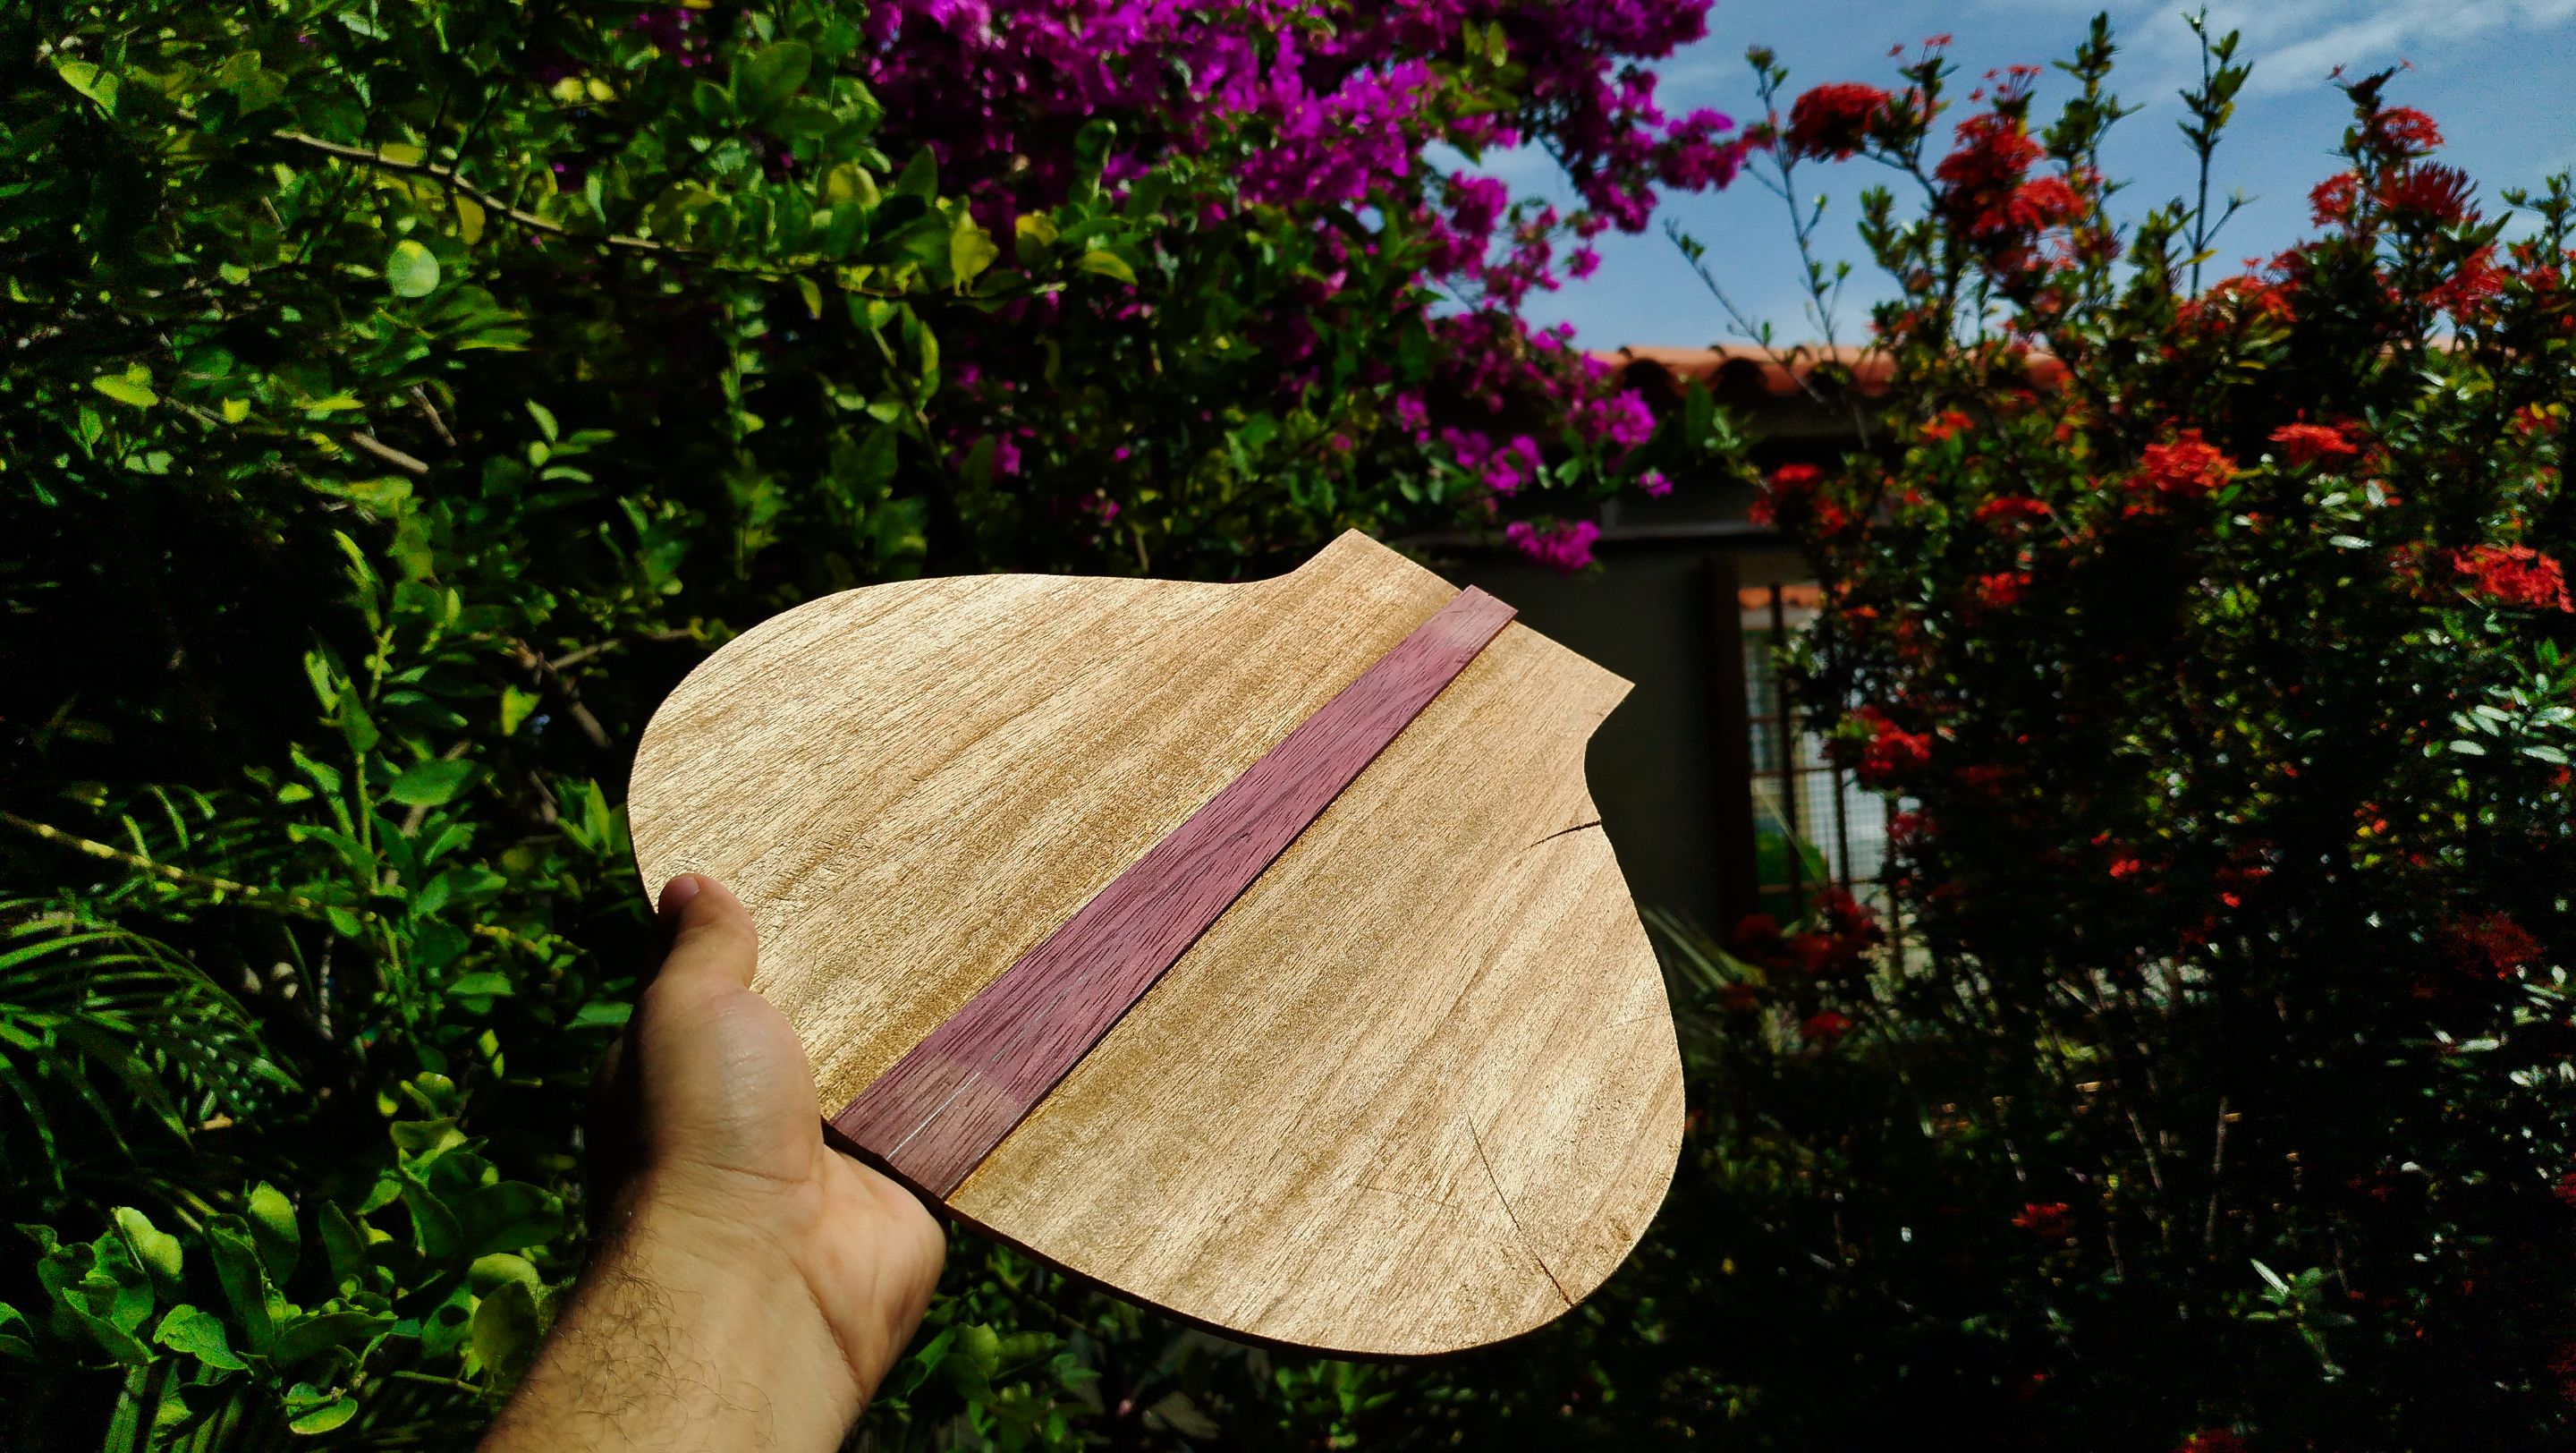
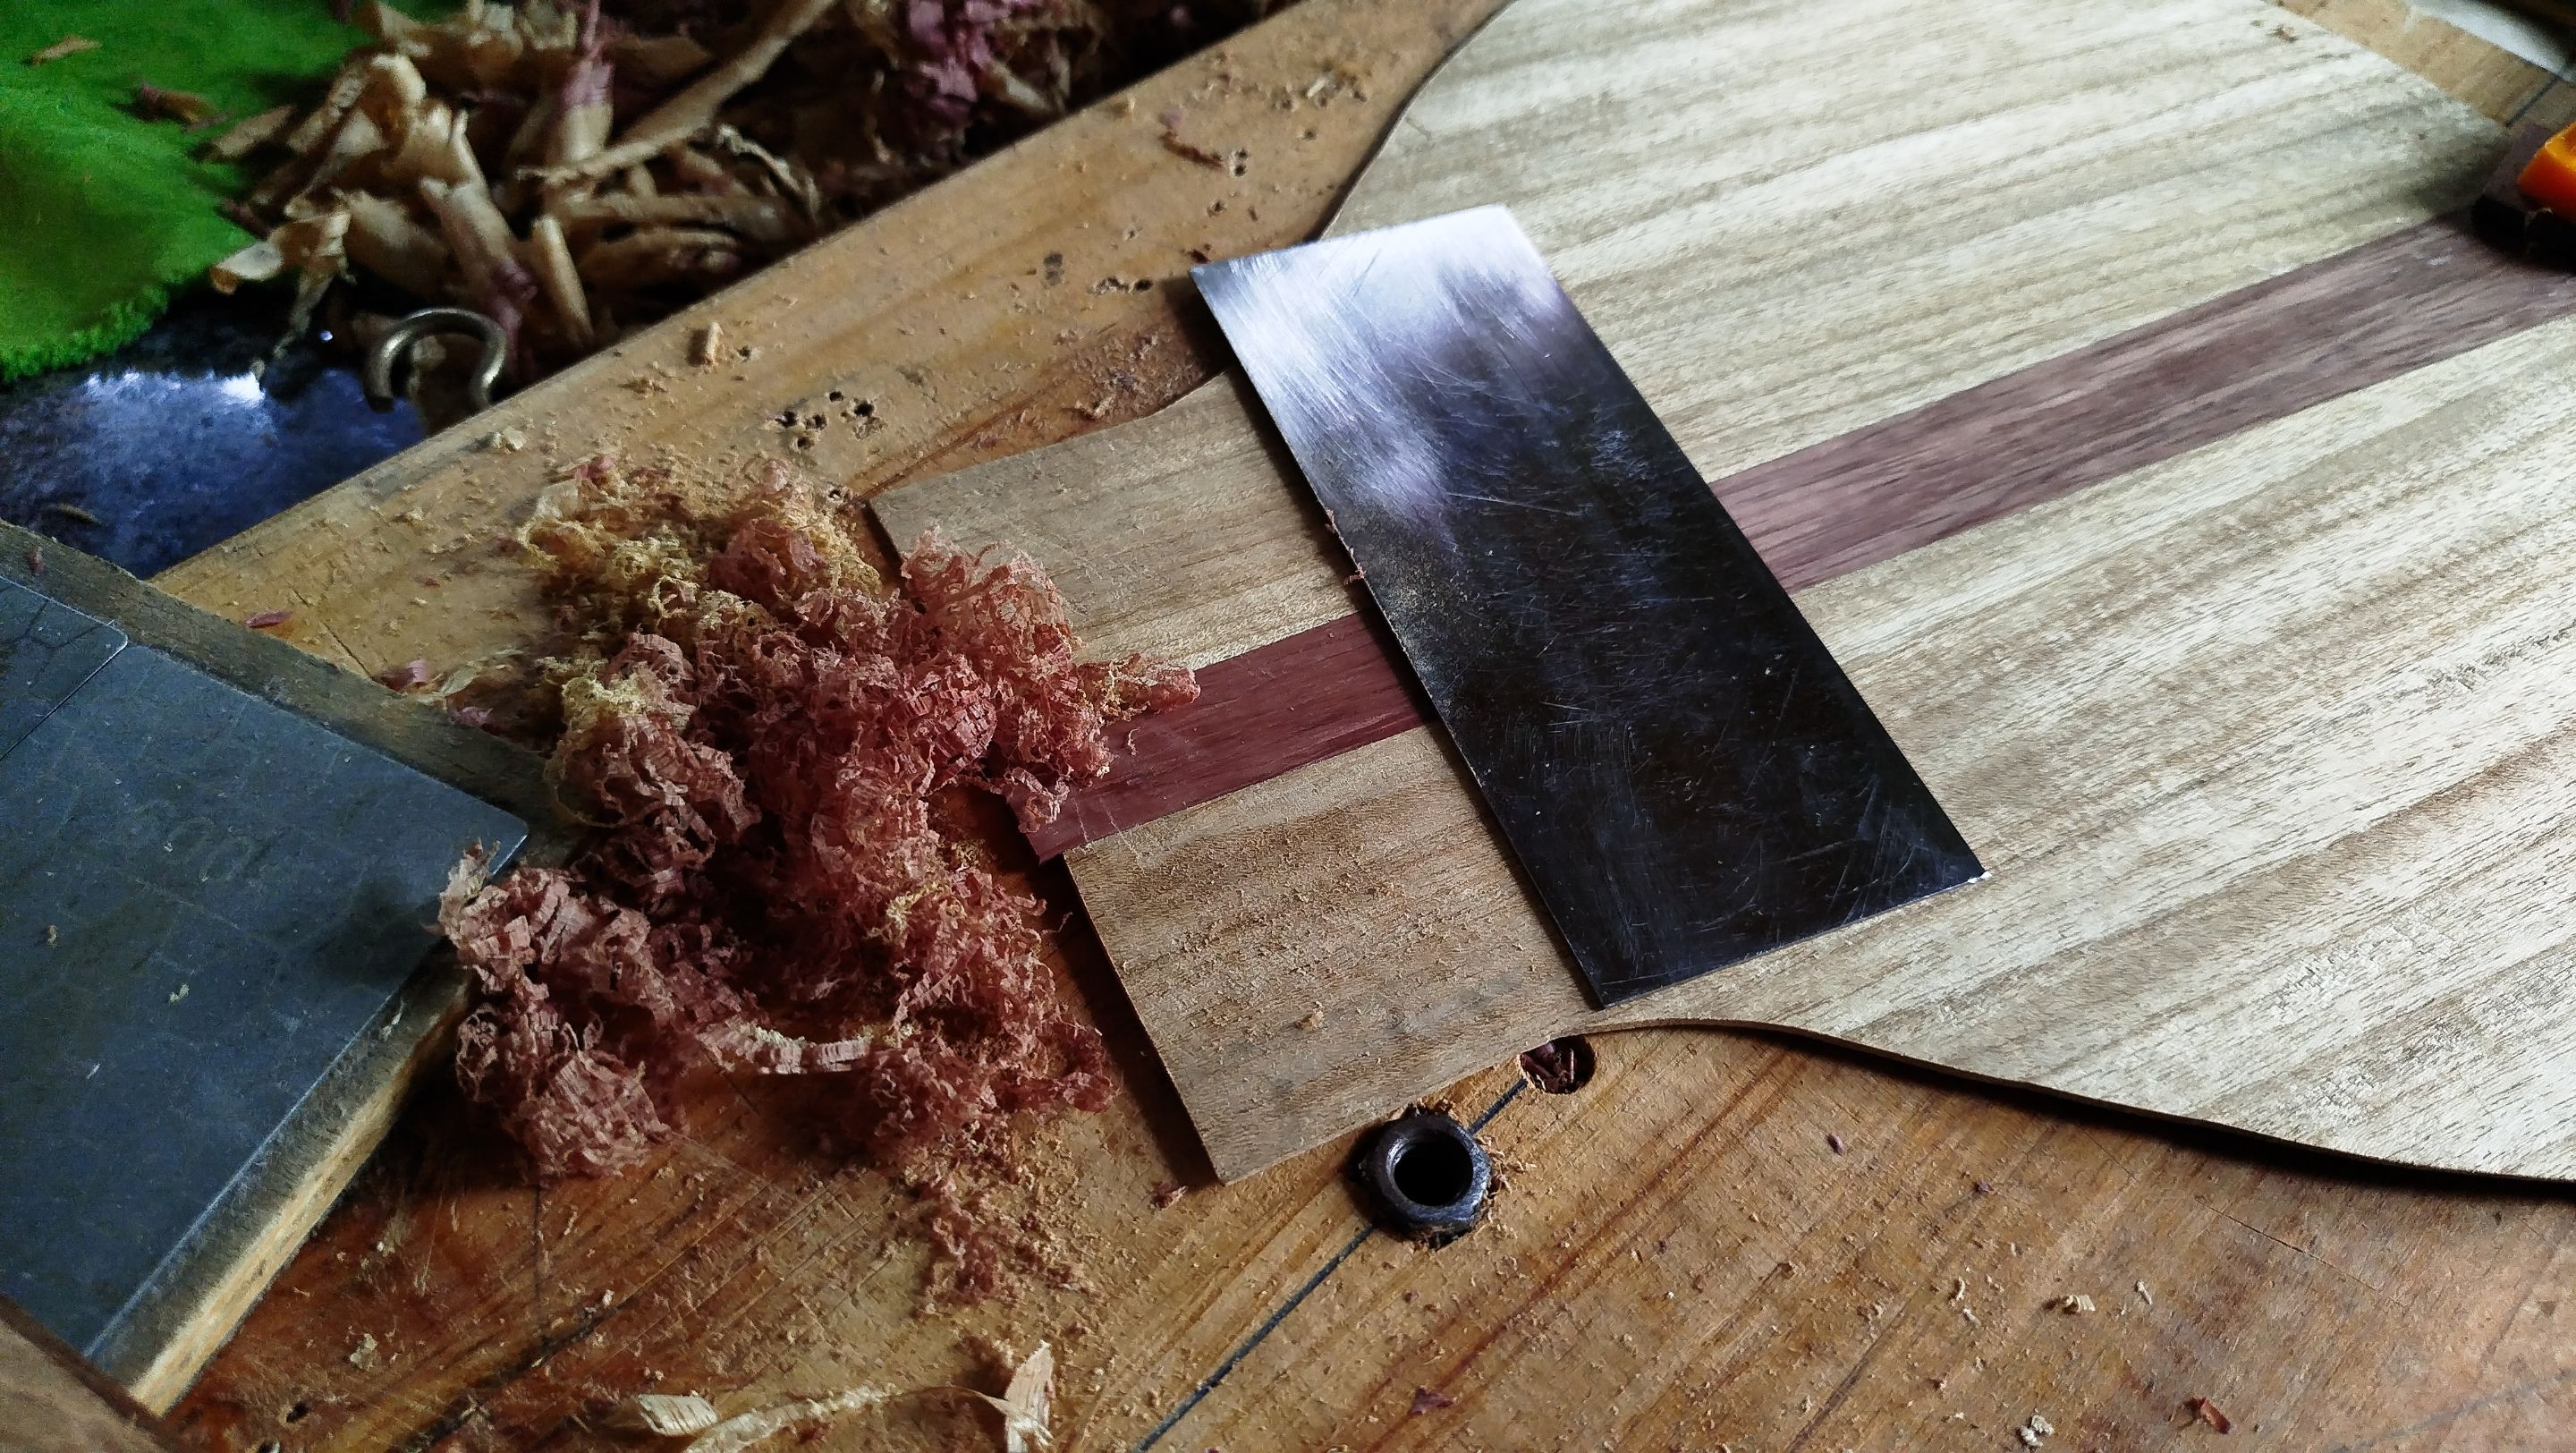
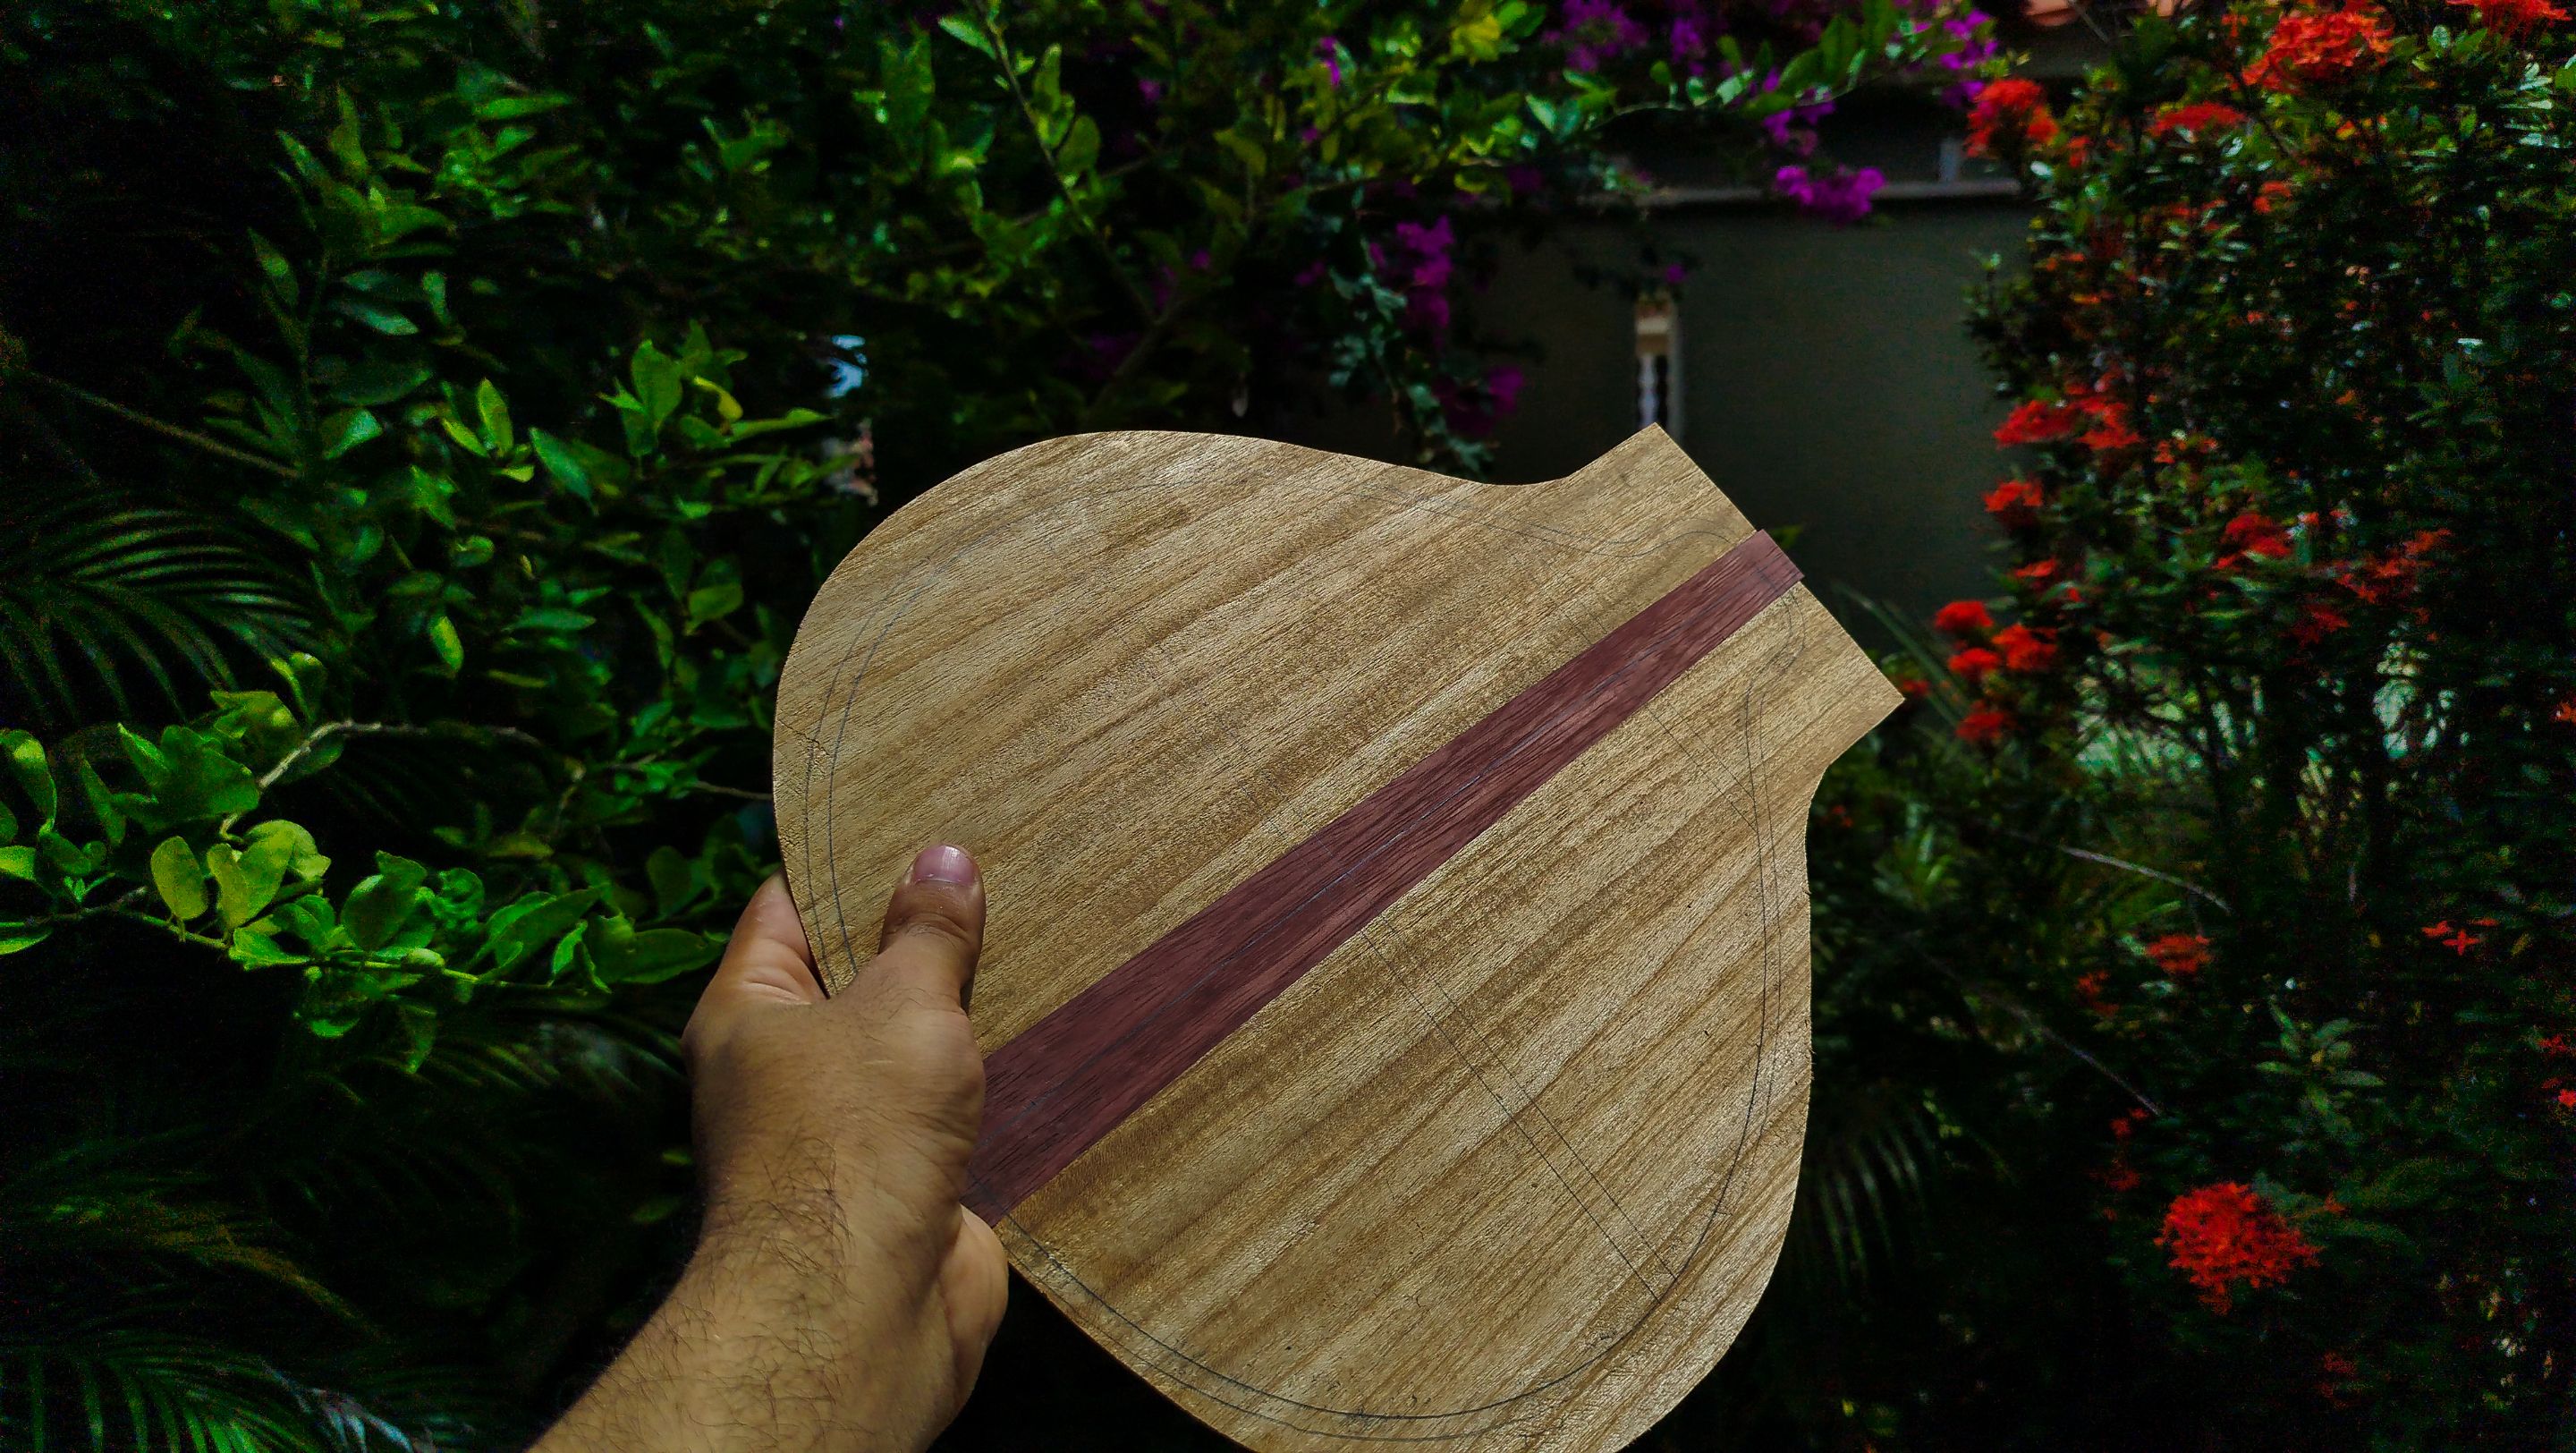
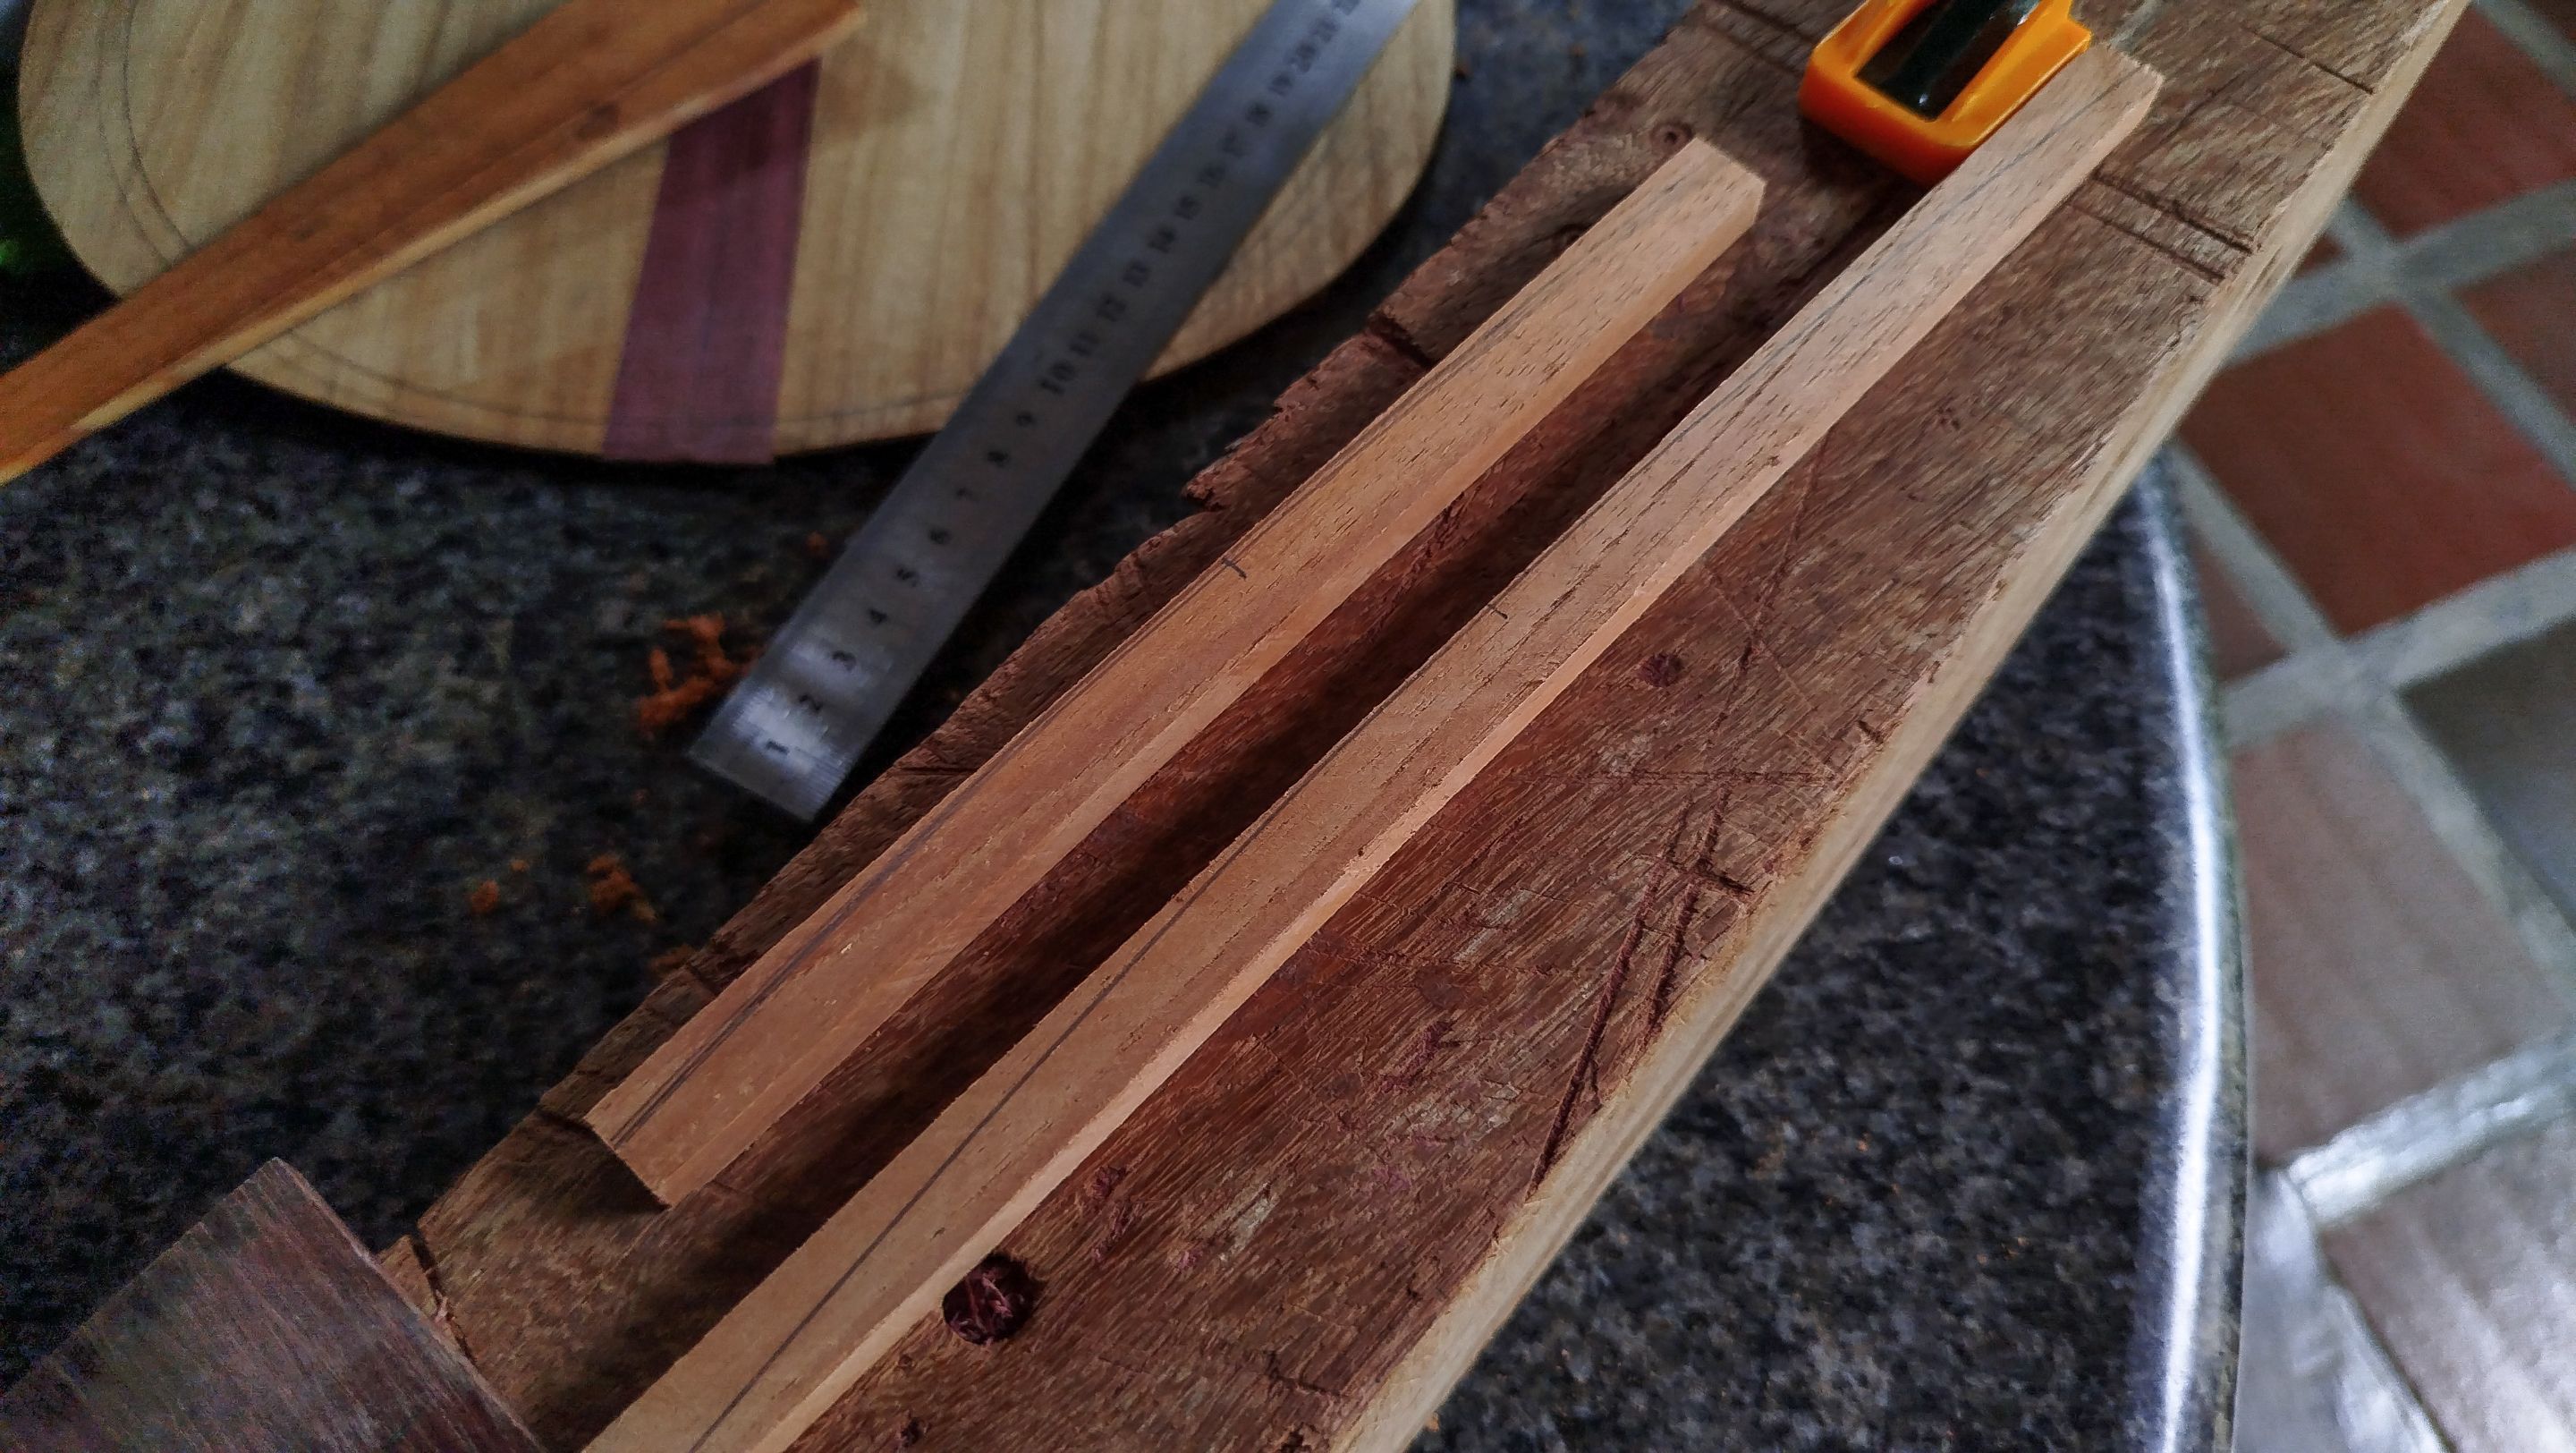
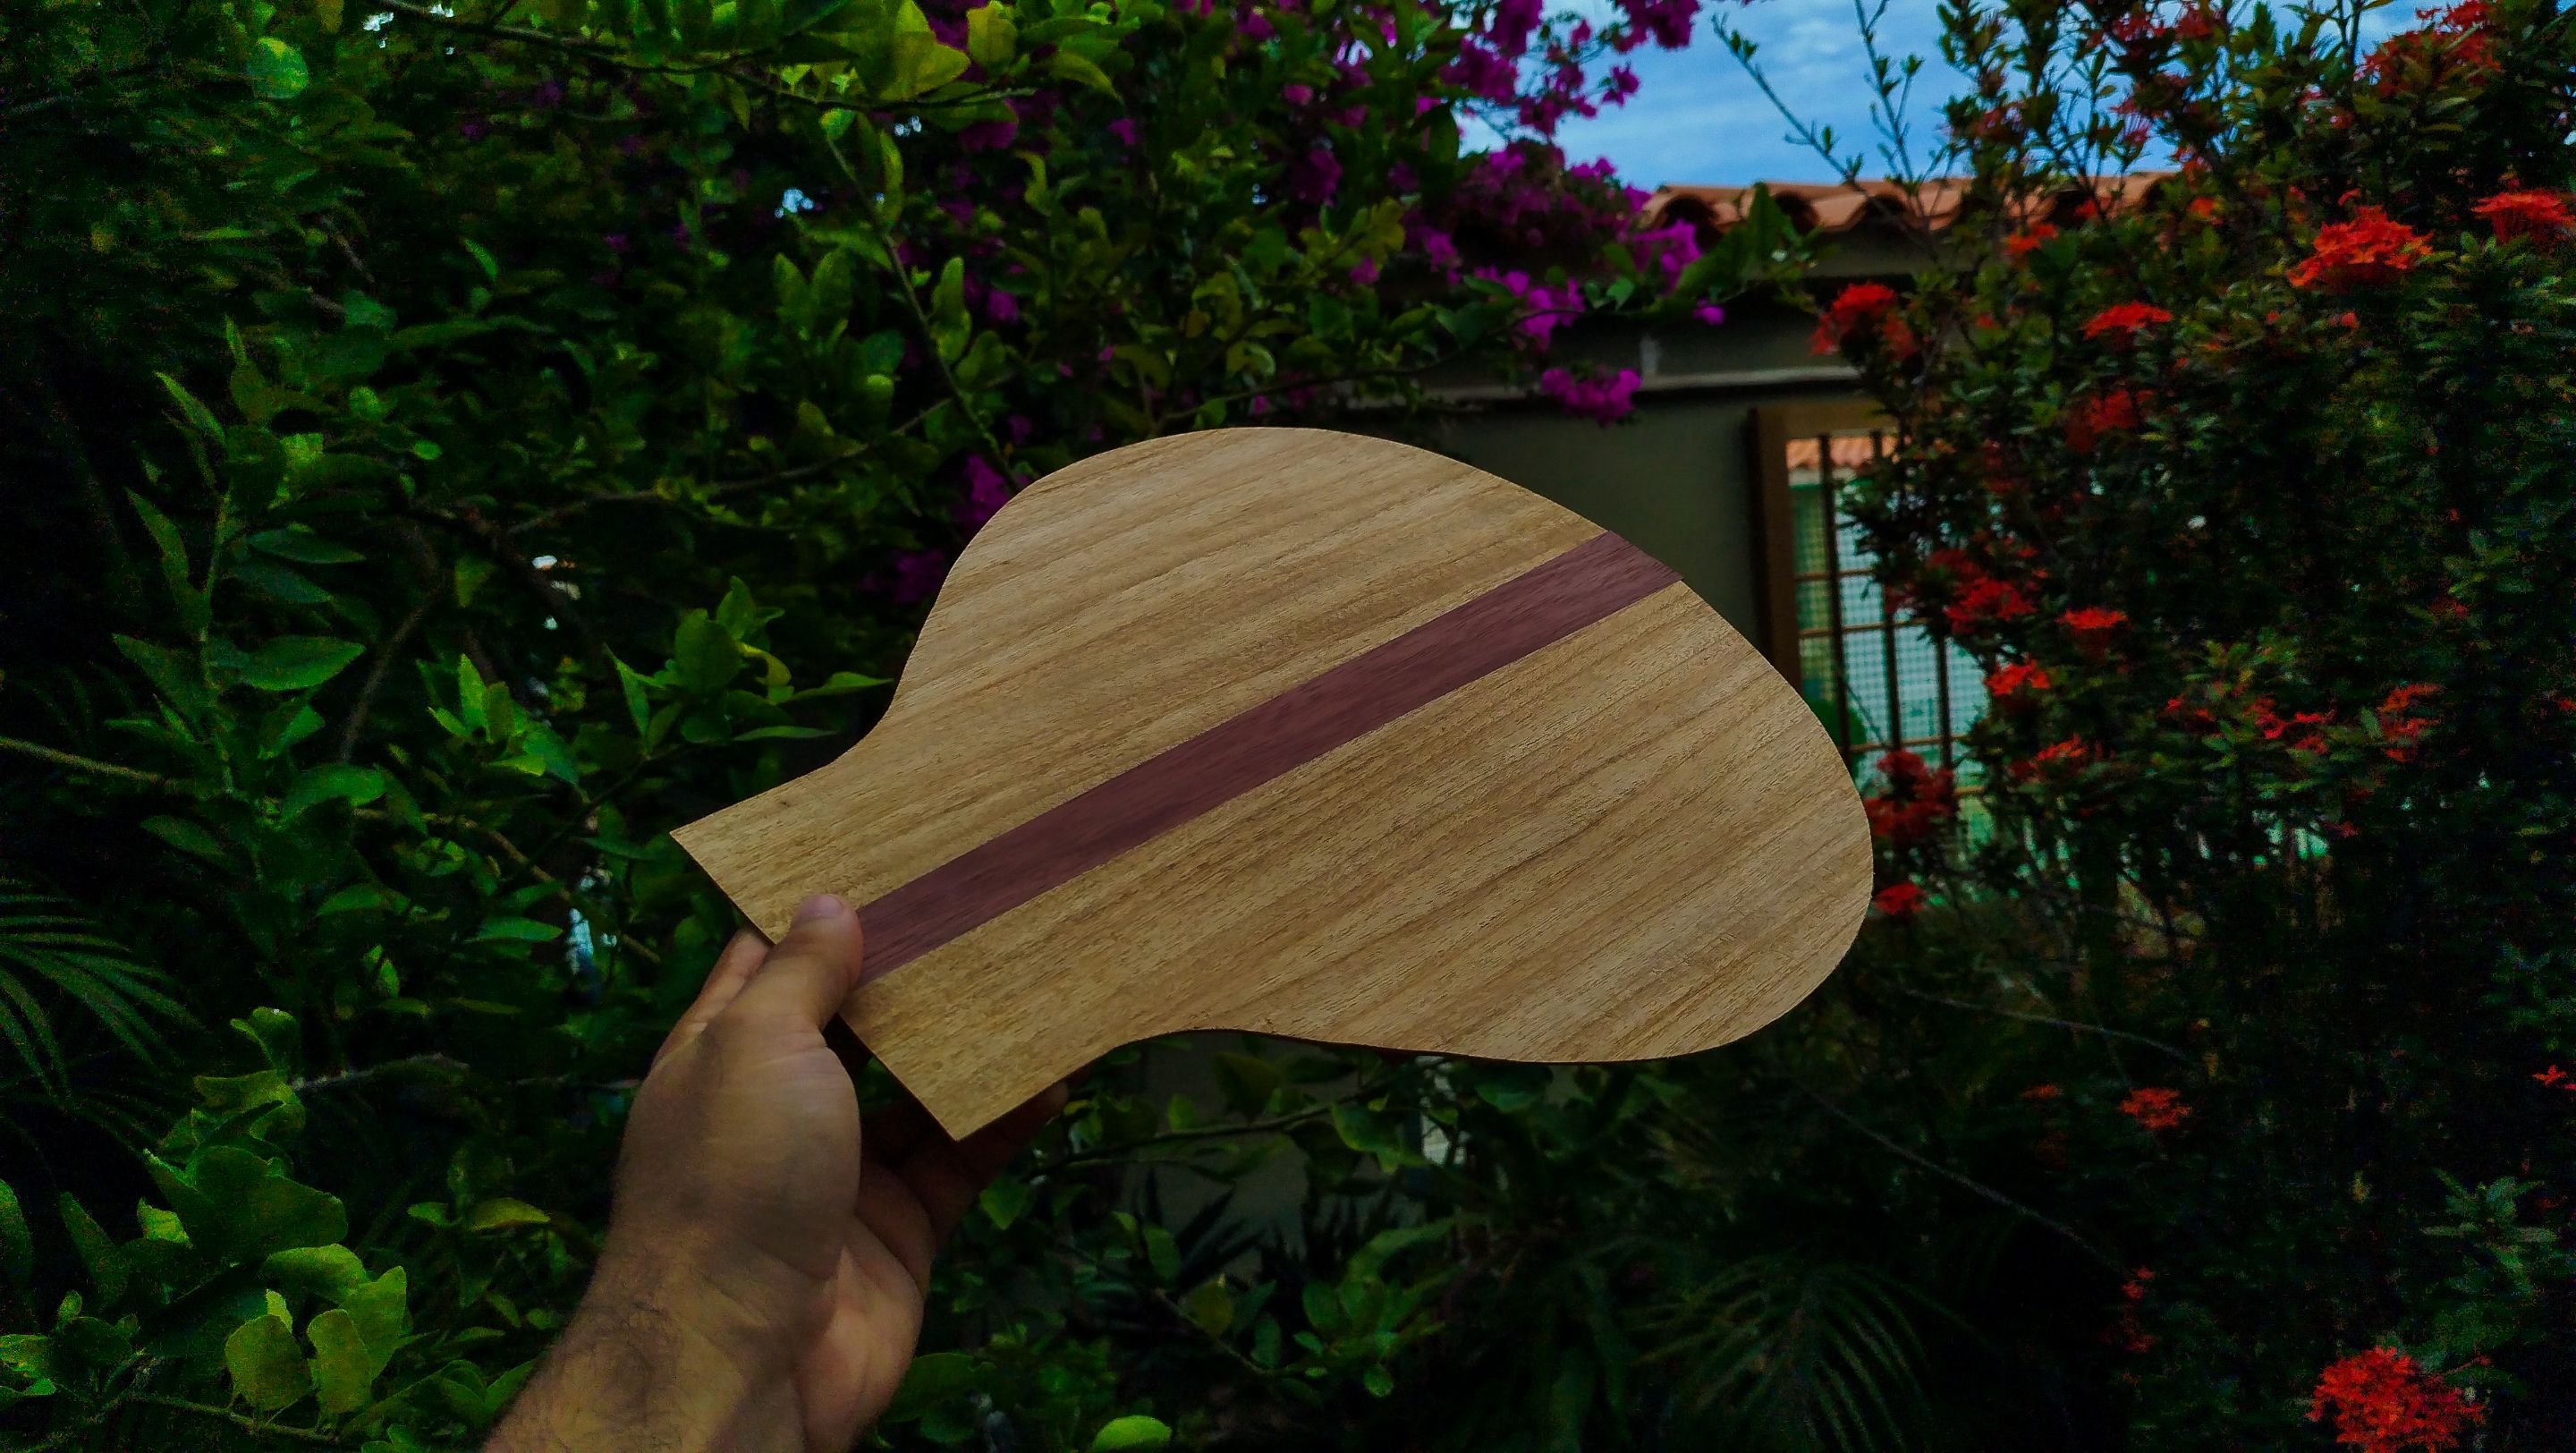
The other thing we are adding in an ornament in the middle of the back. We are cutting a piece of purpleheart to create a strip of wood that will go in the middle of this back. We then clean the ornament to make it flush with the other pieces of the back.
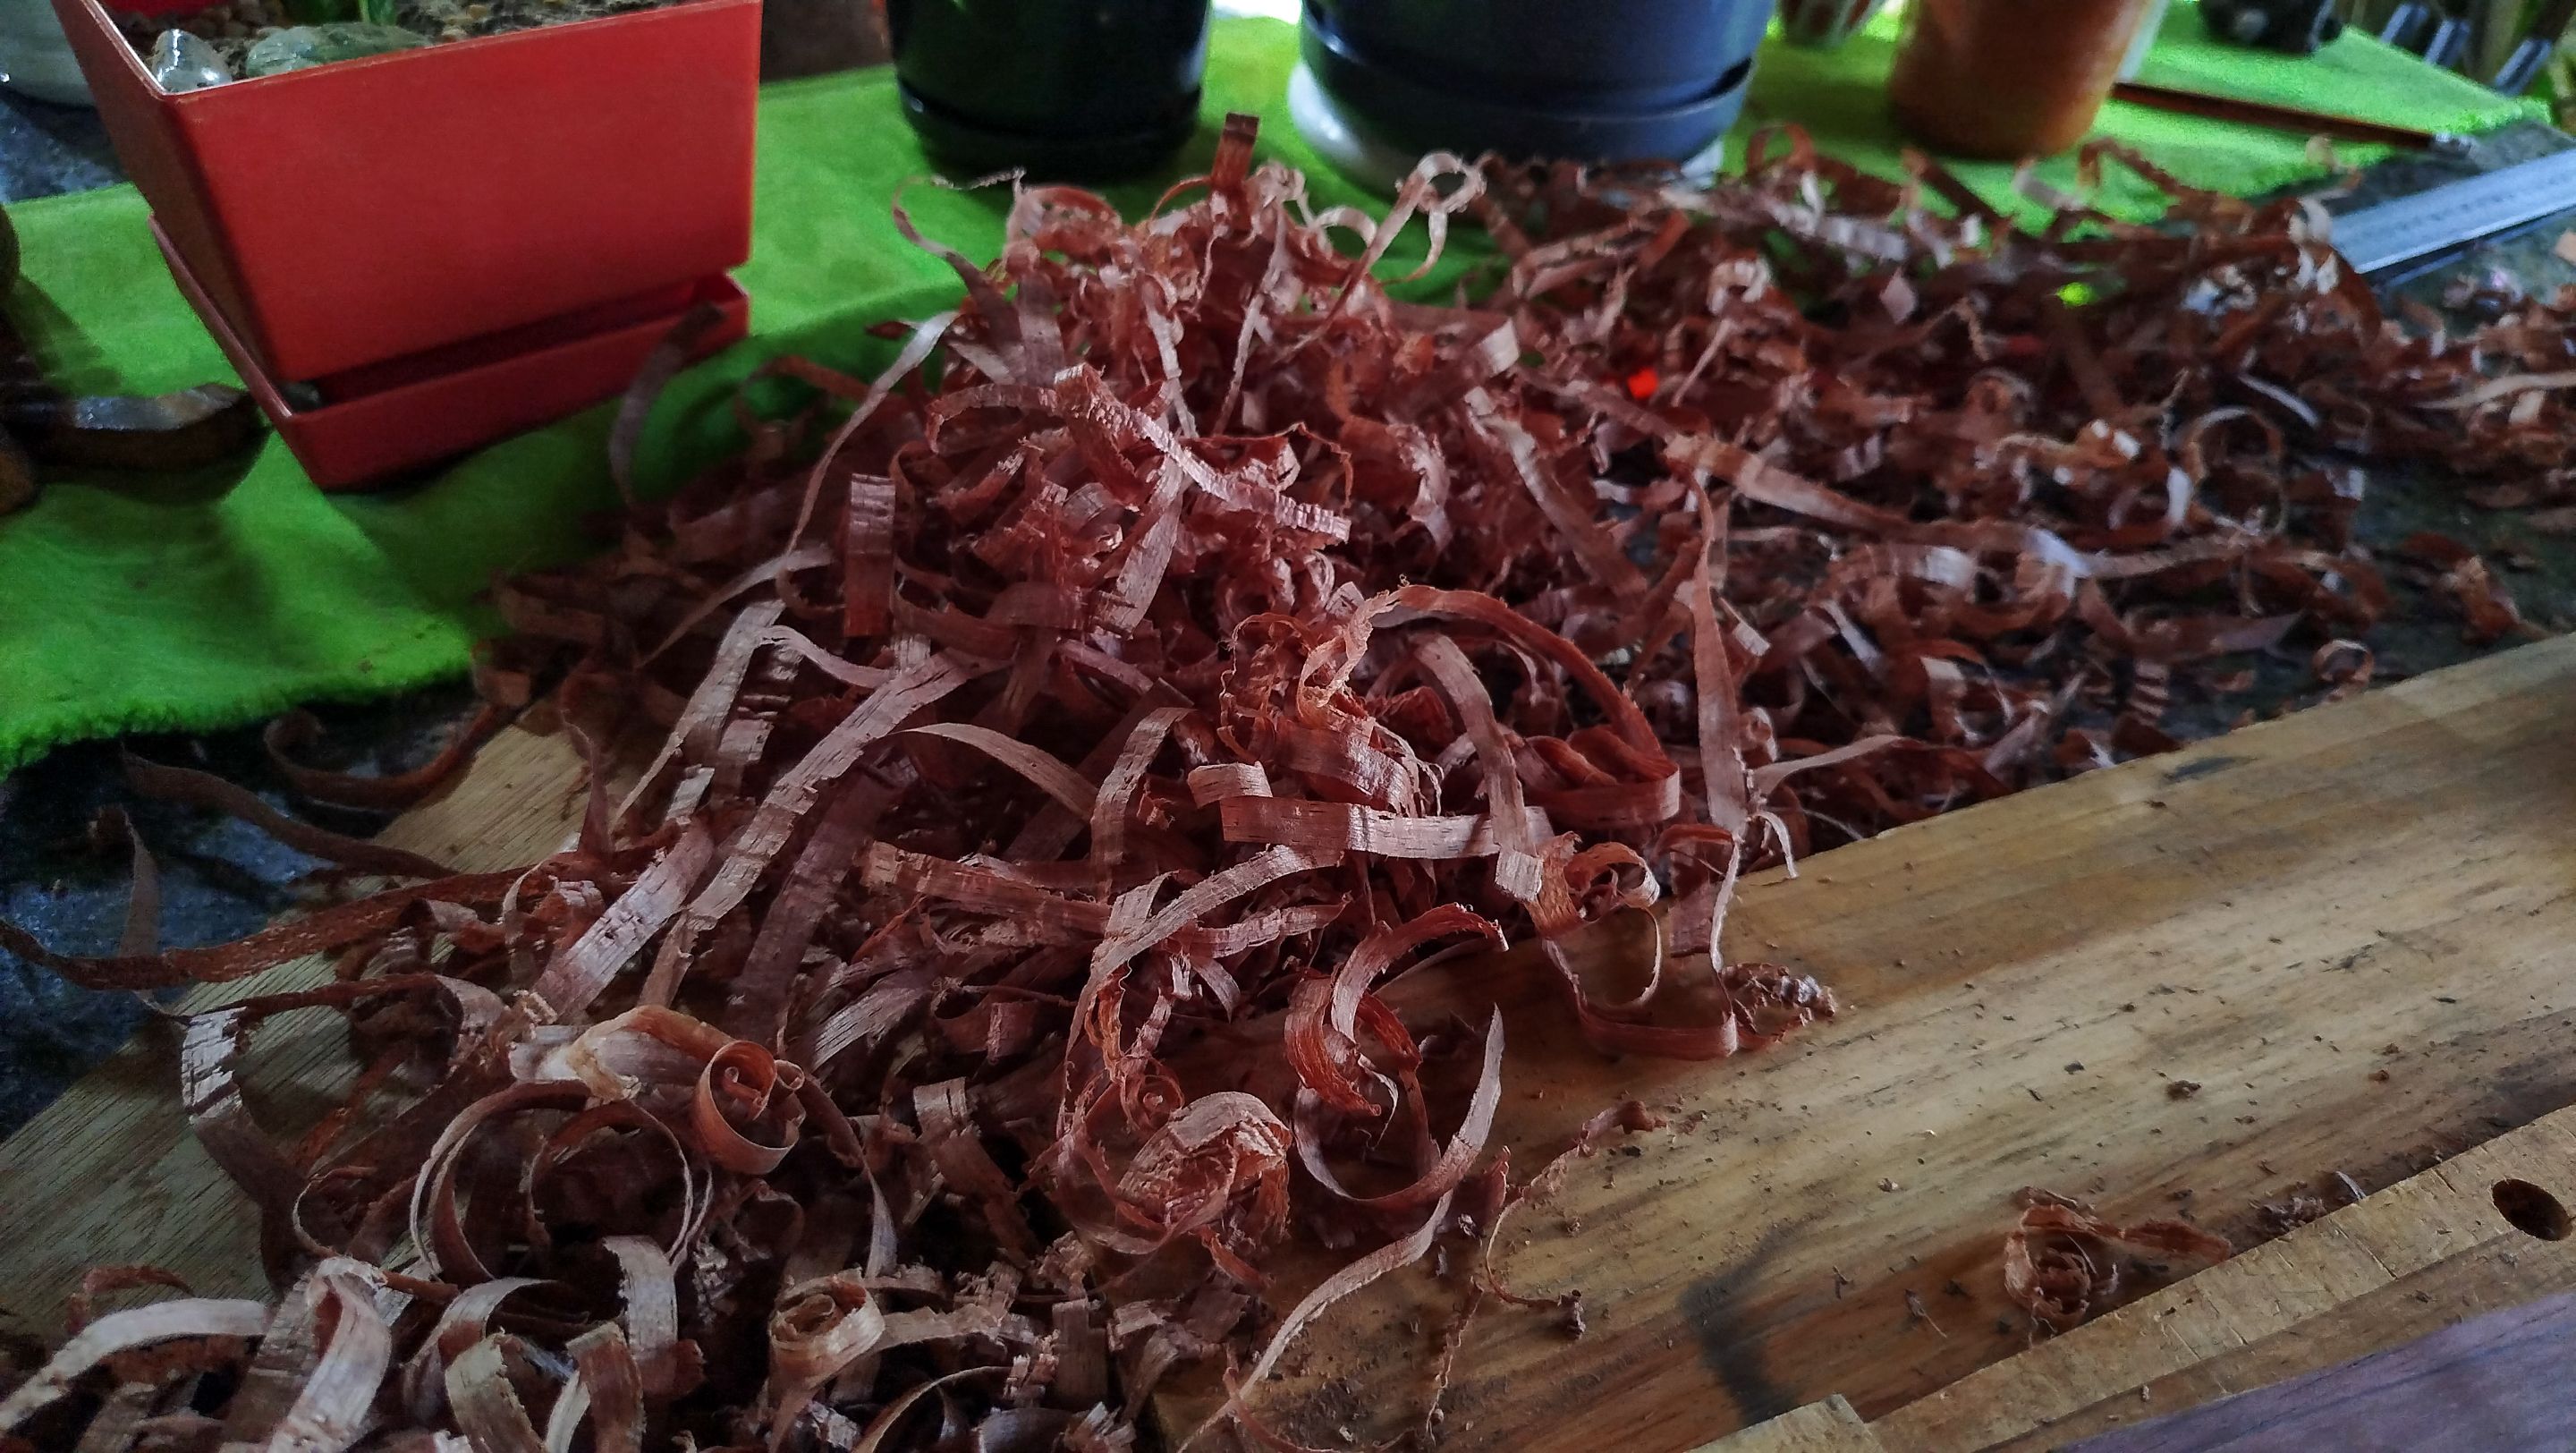
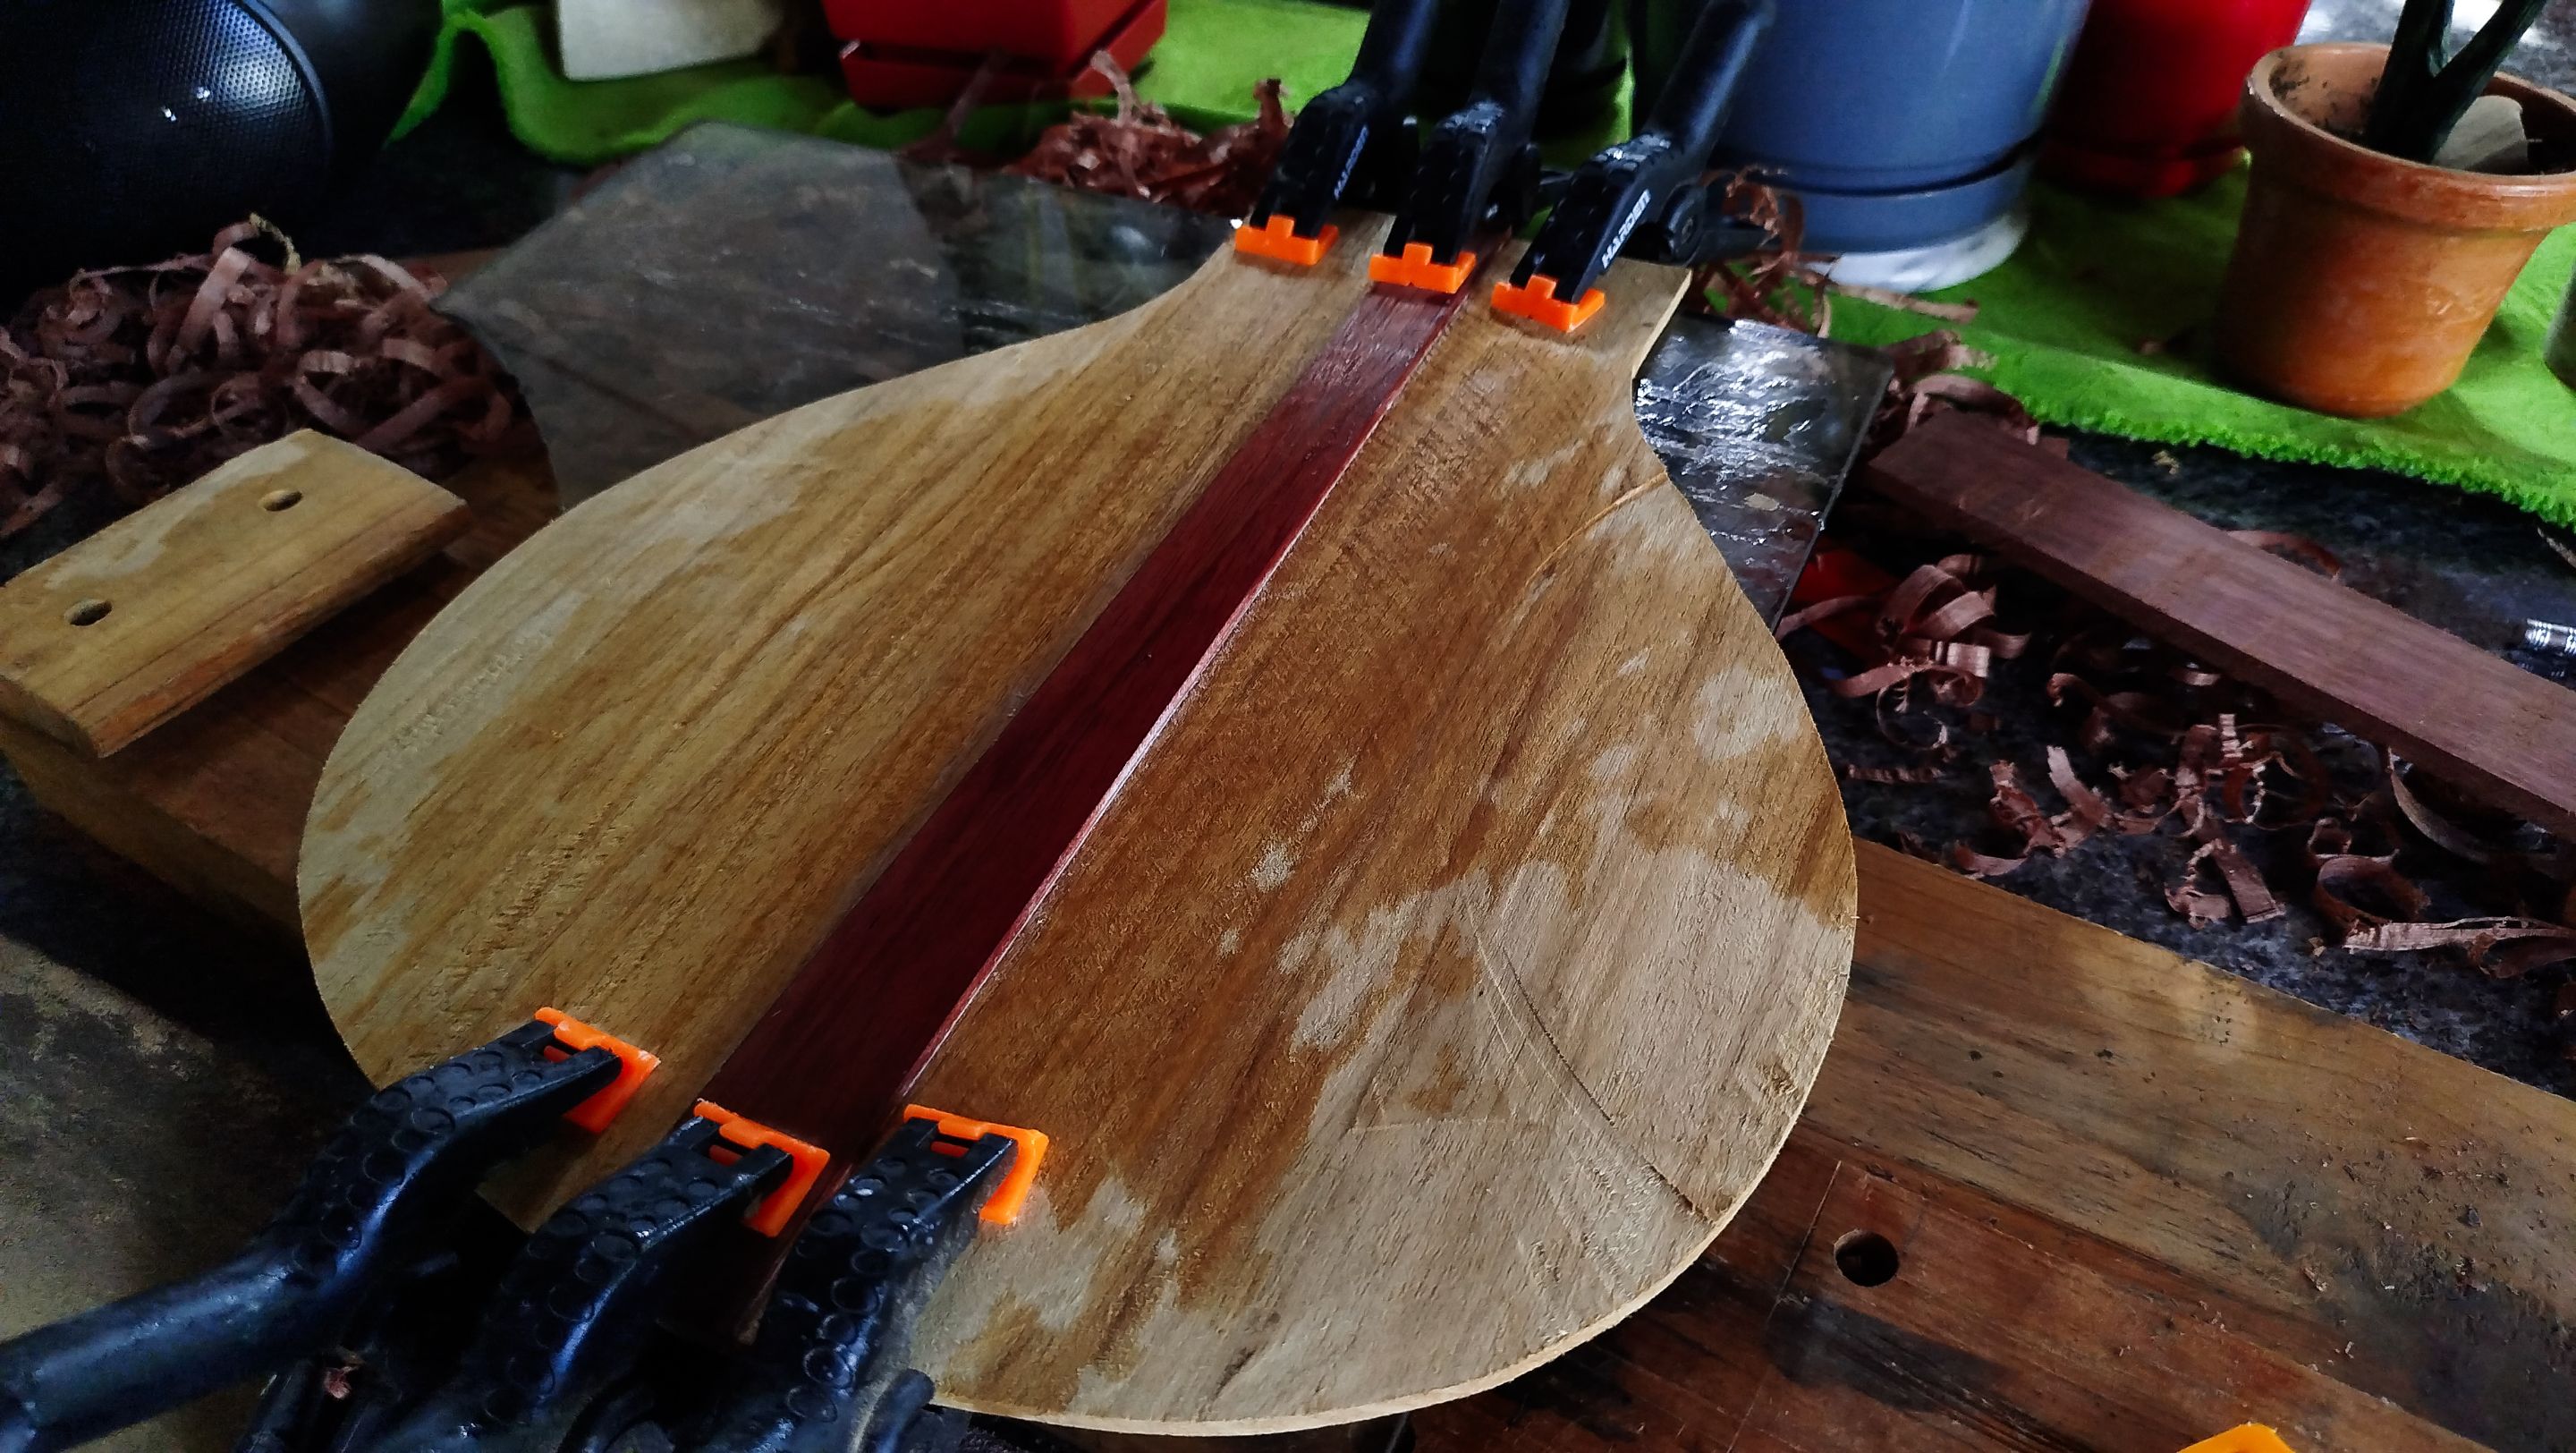
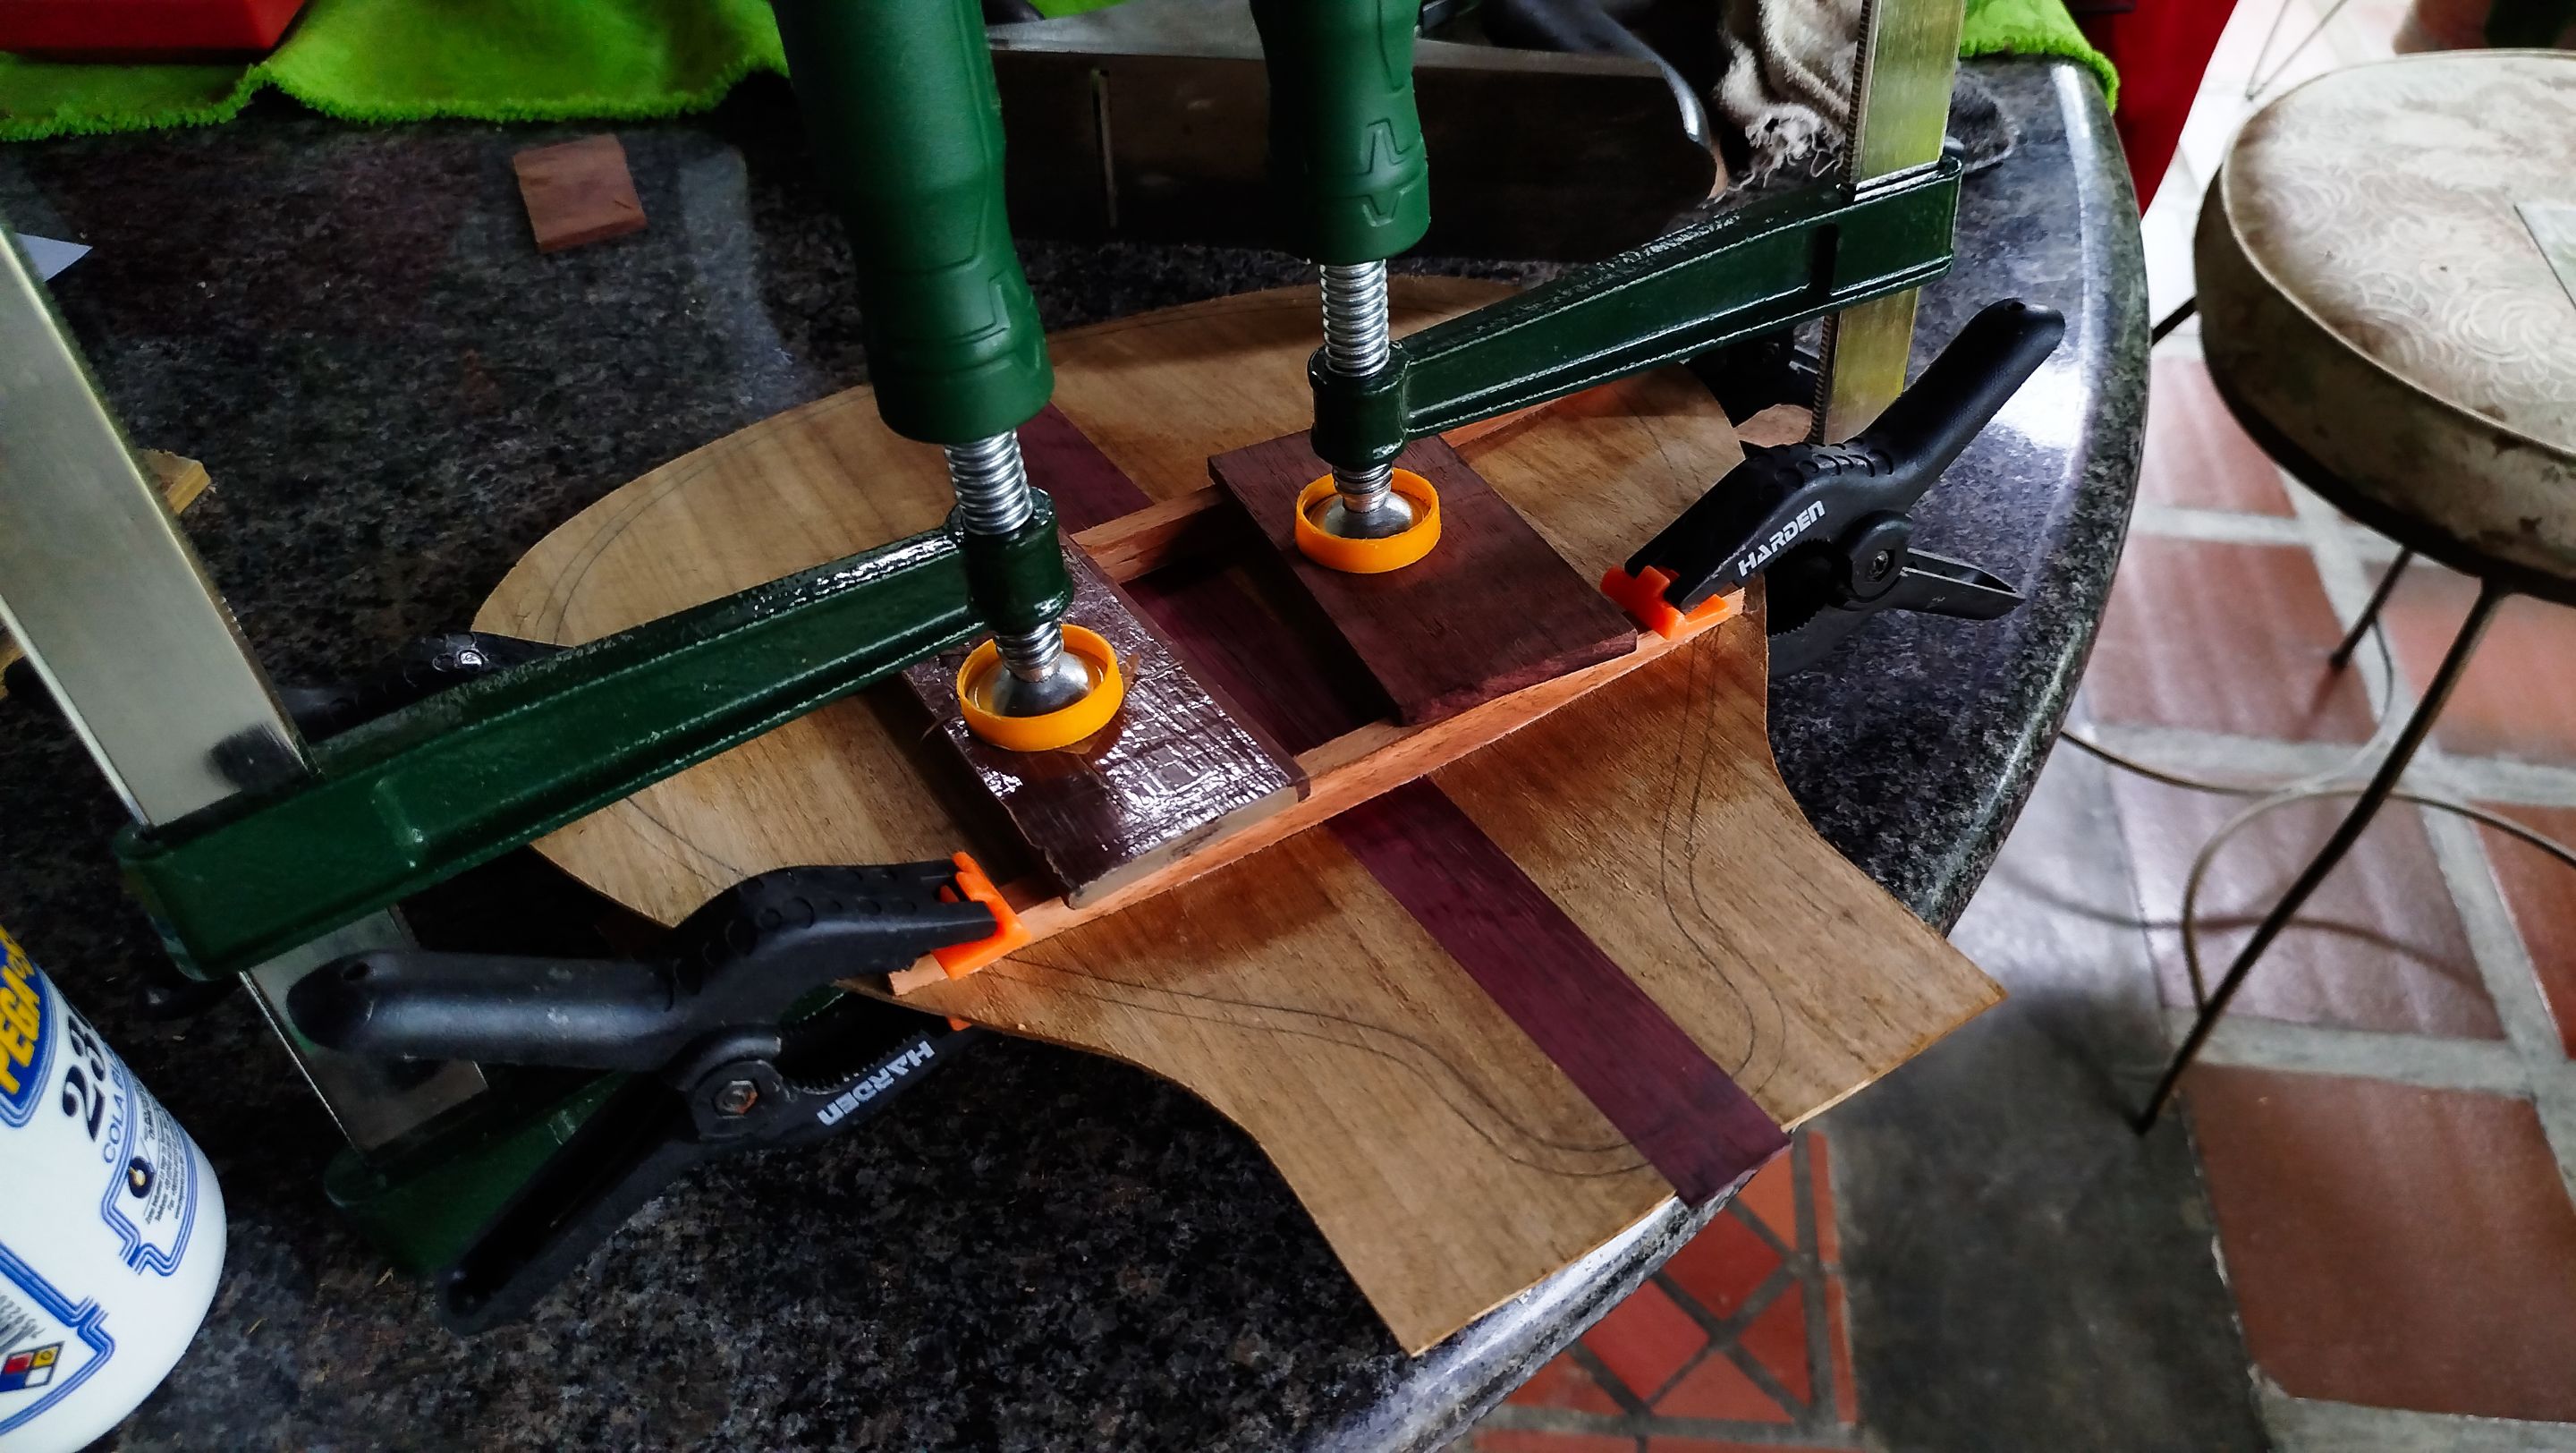
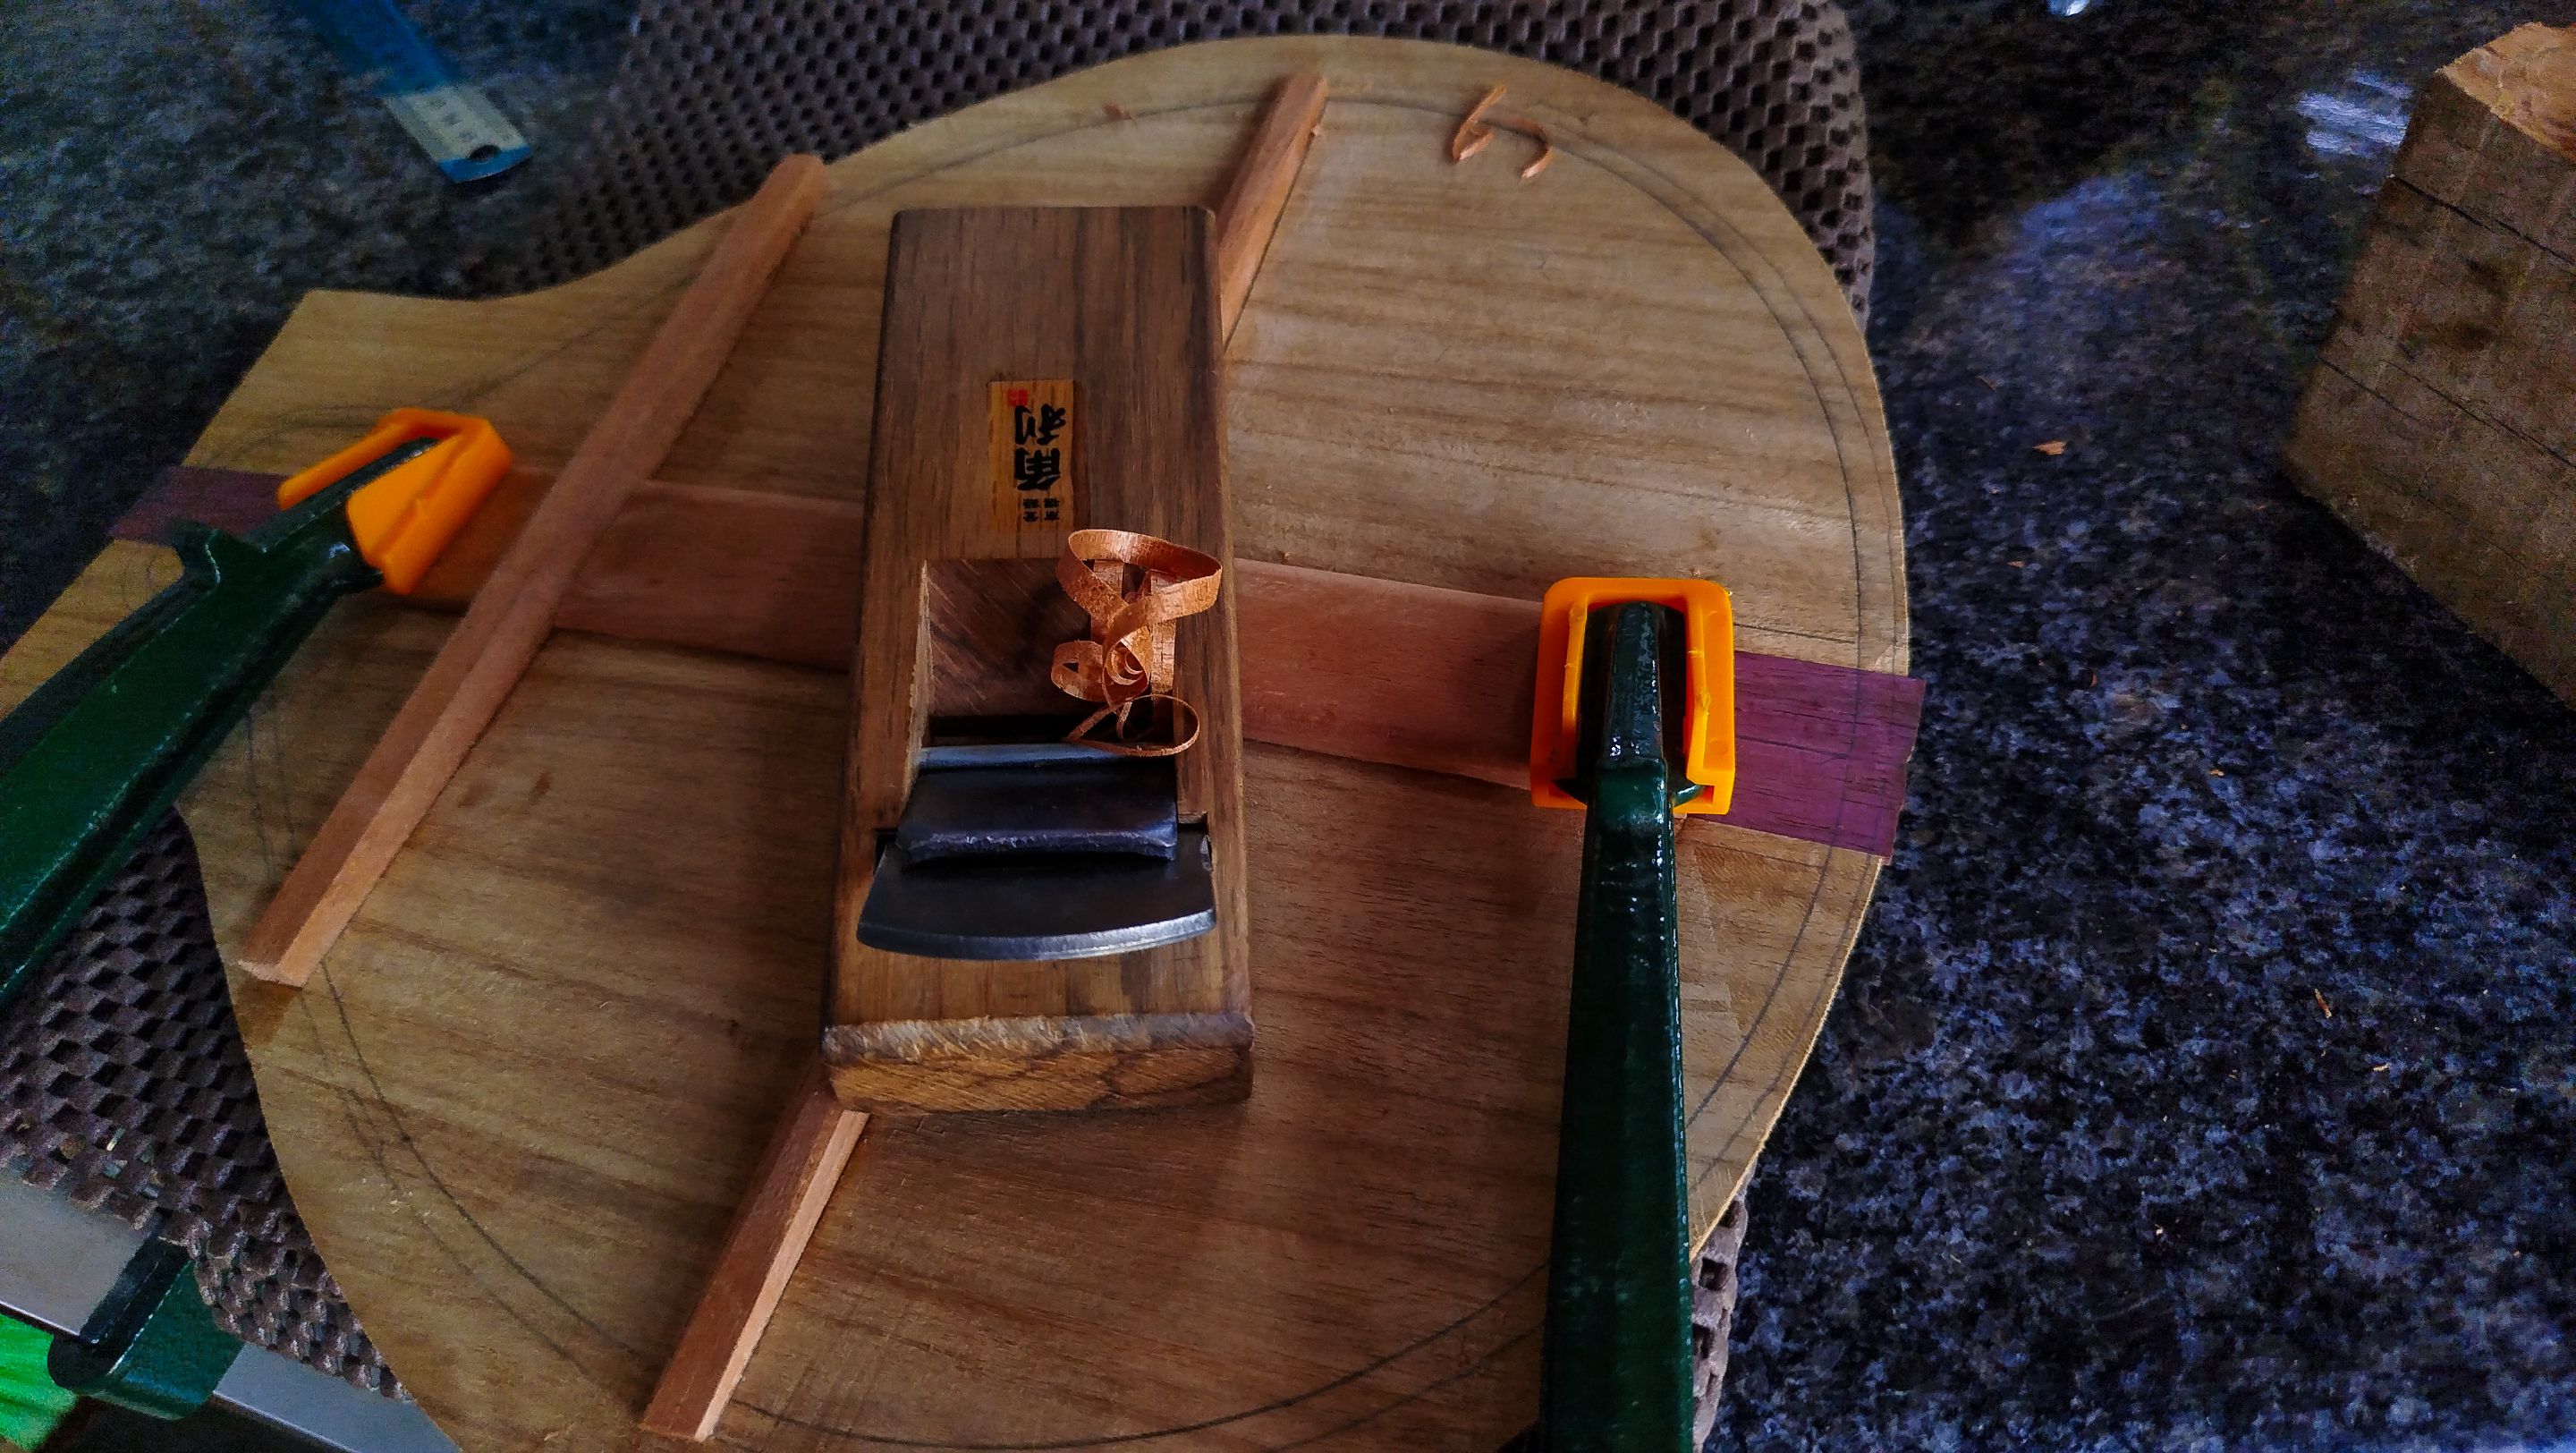
We can take a look at the shavings taken out of the ornament. Then we are making a dry fit to see how it looks. Now we are using the clamps and glue to get the pieces together until they are joined together. There is also a photo of the complete joinery.
Reinforcements
Swipe to see the photos
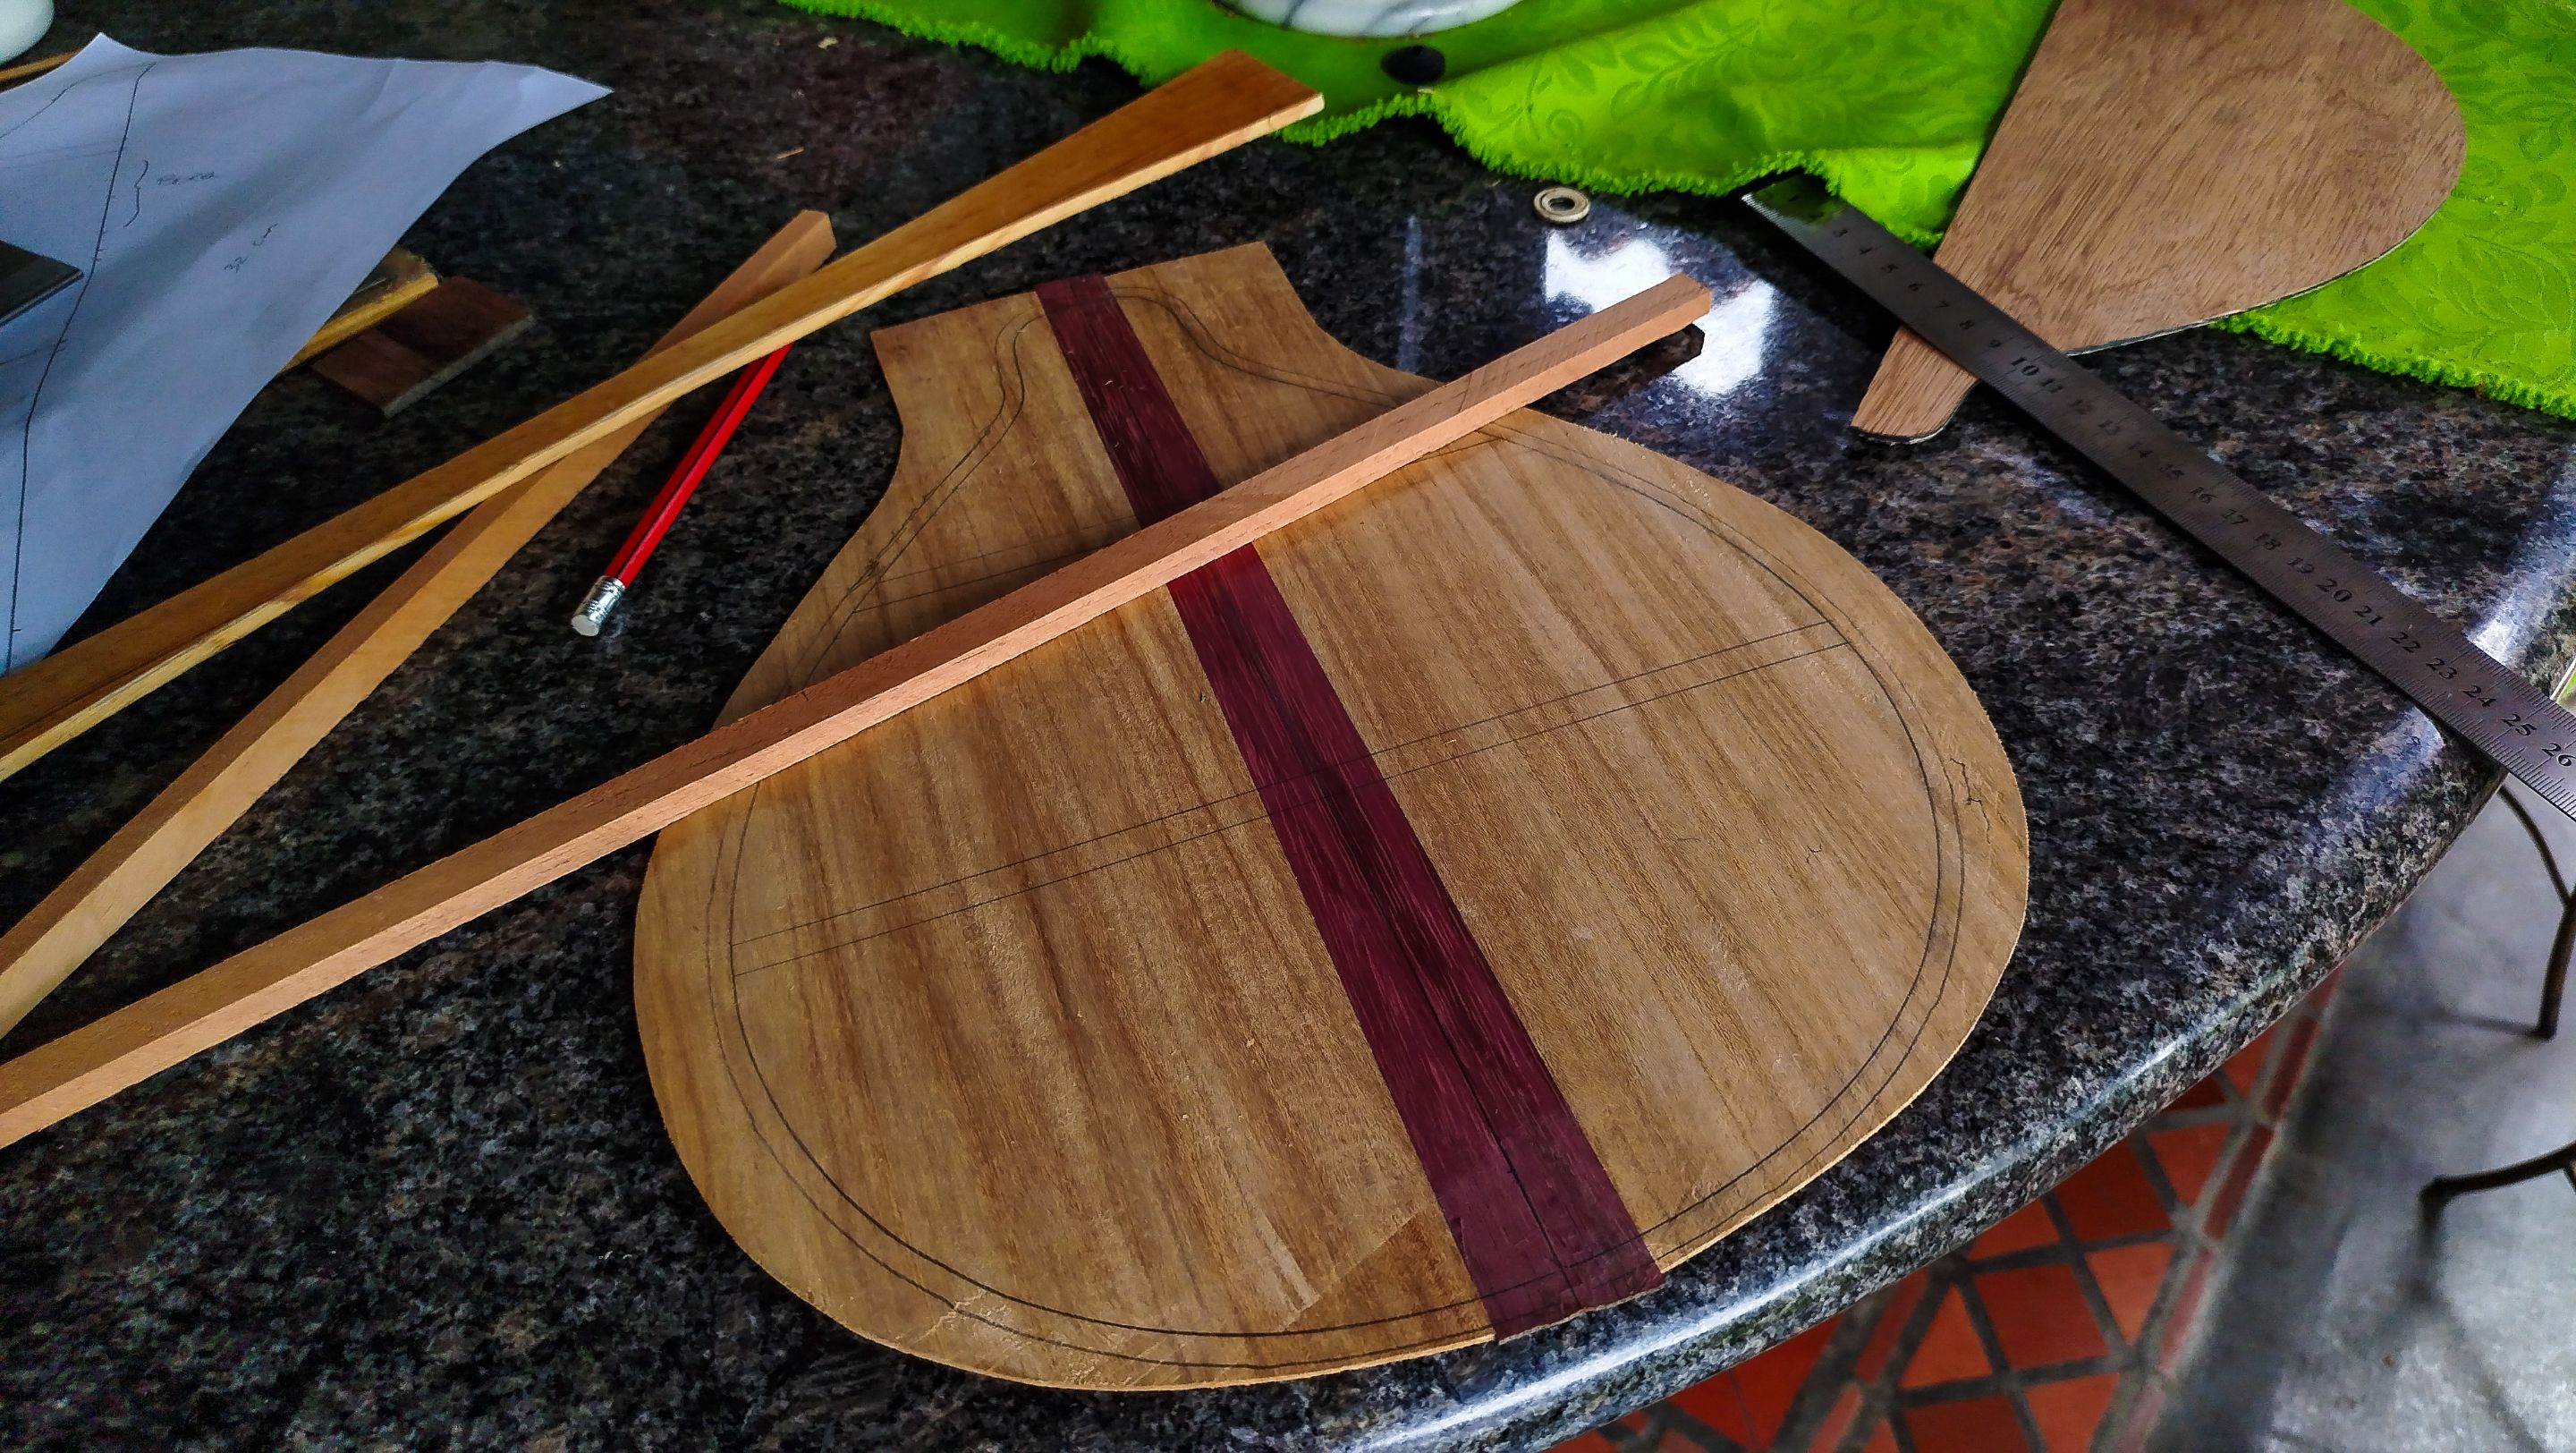
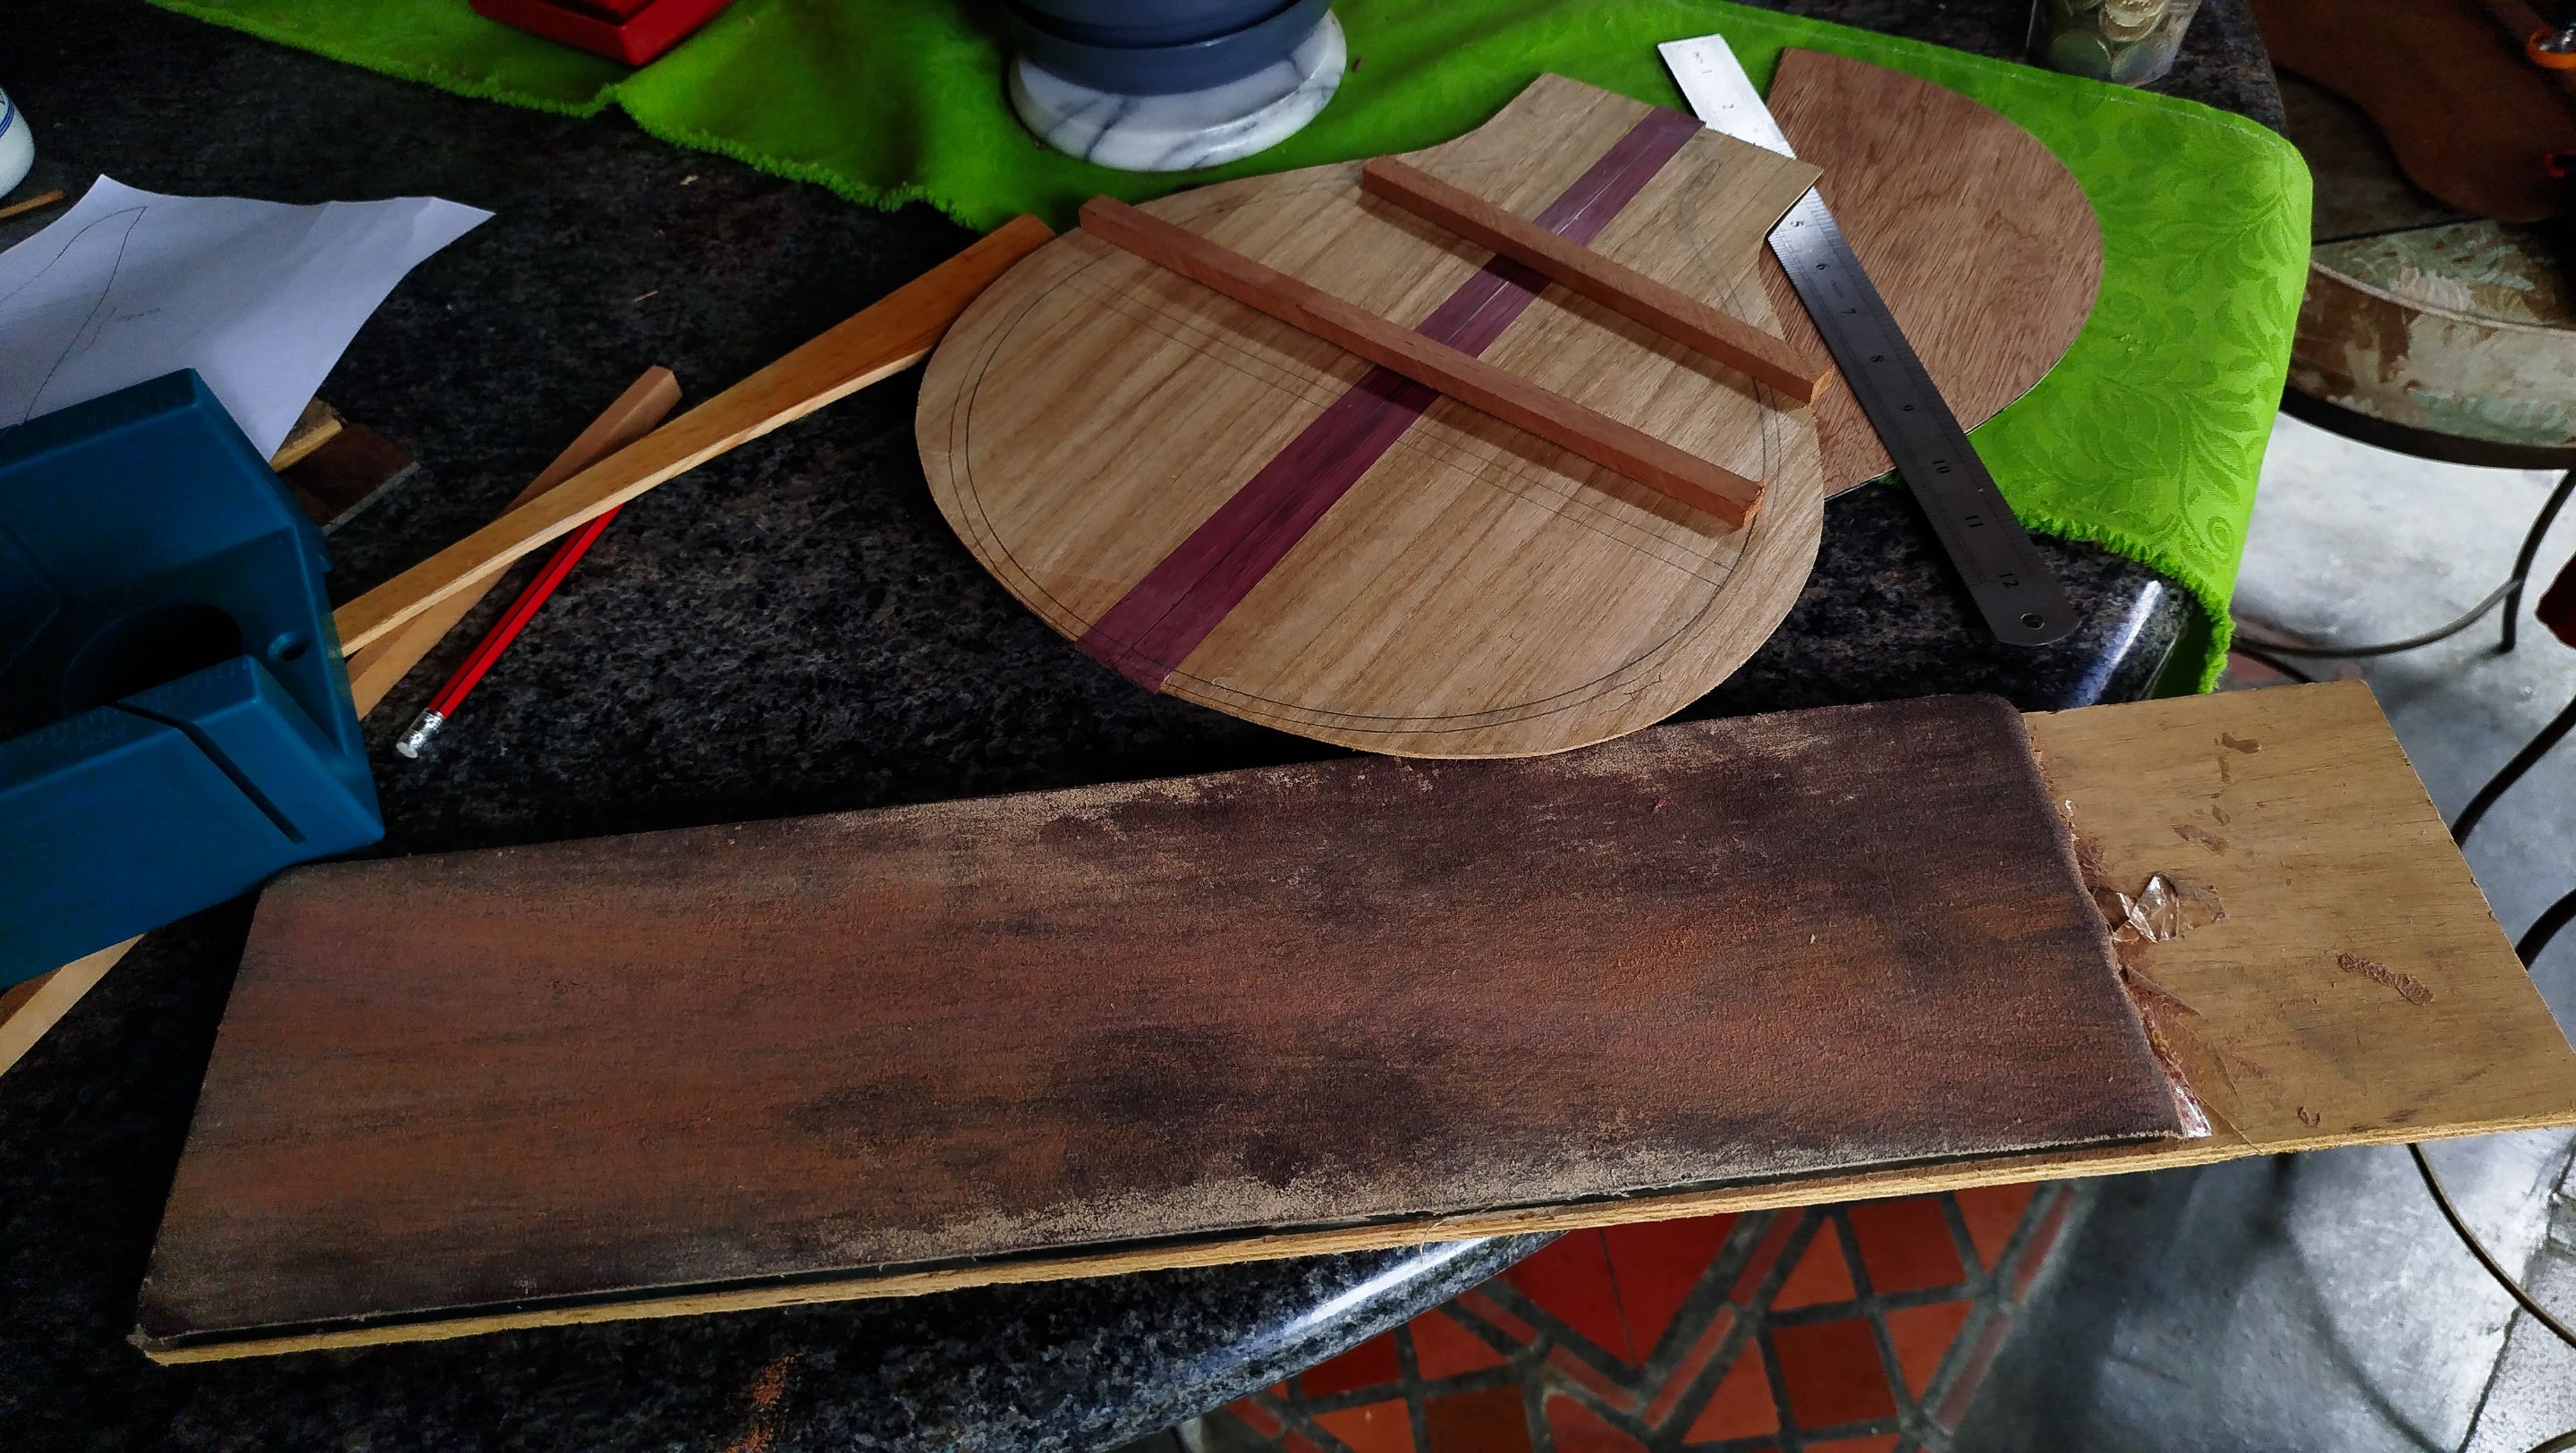
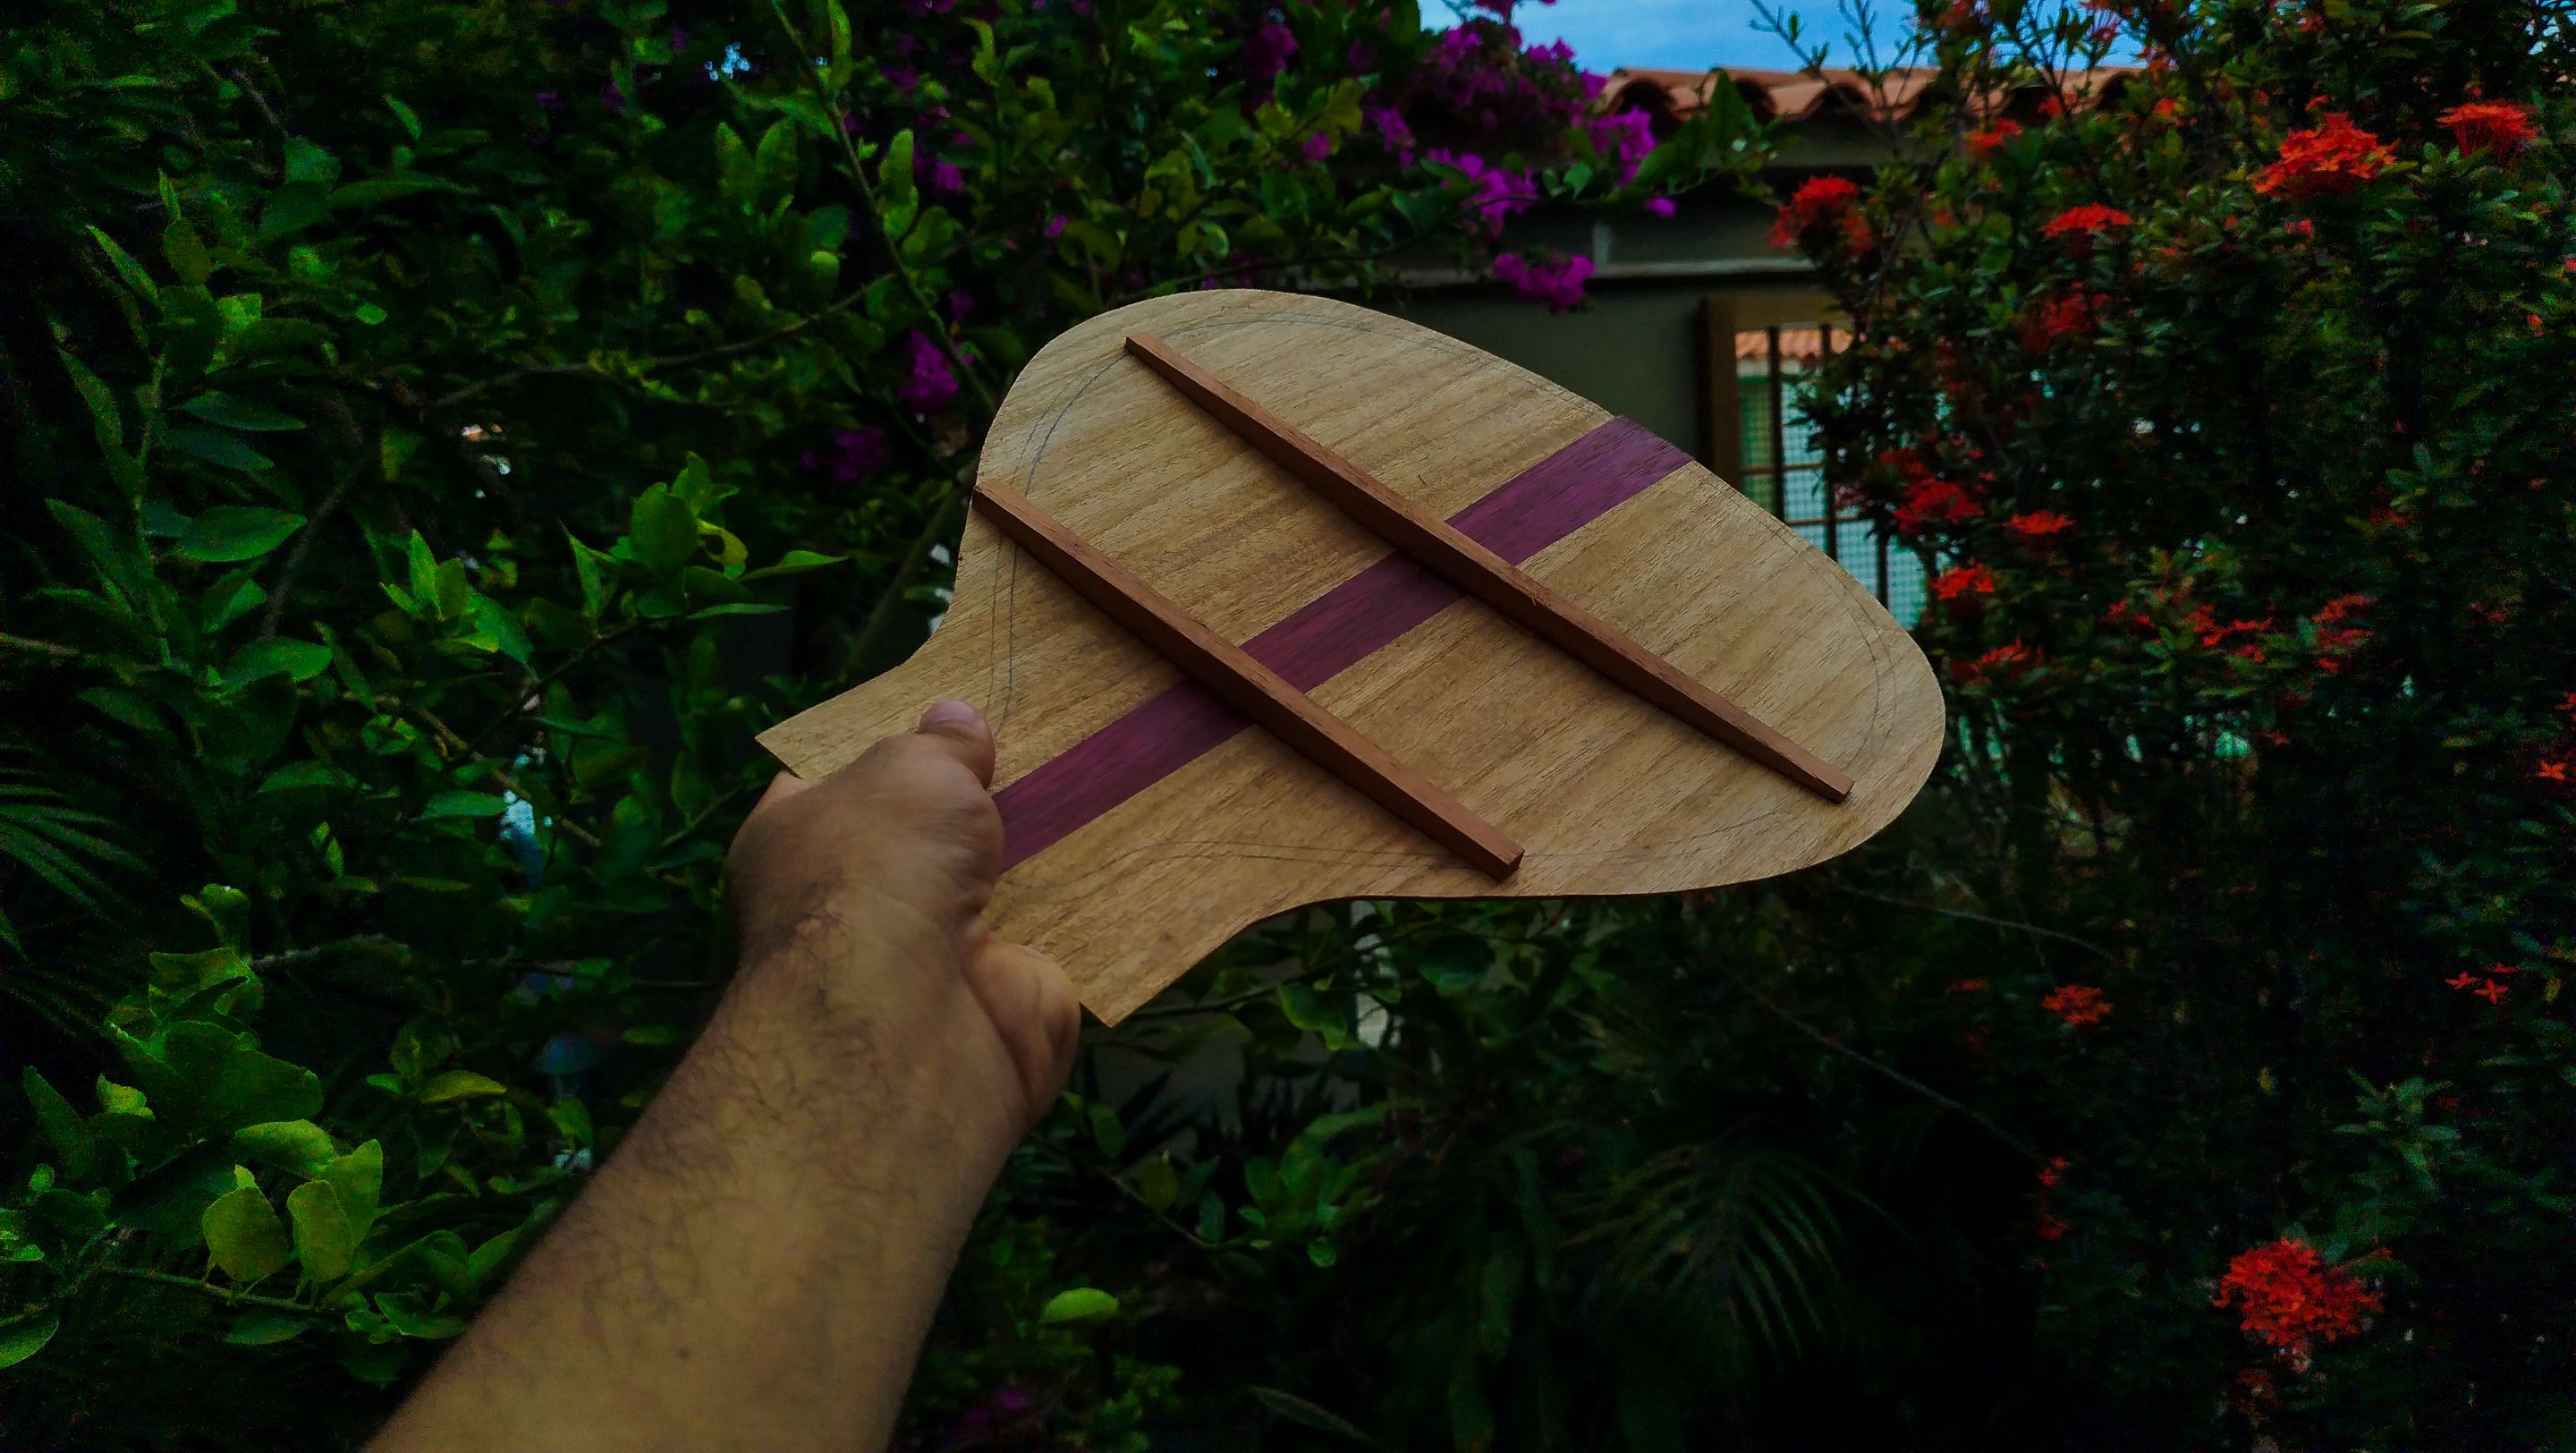
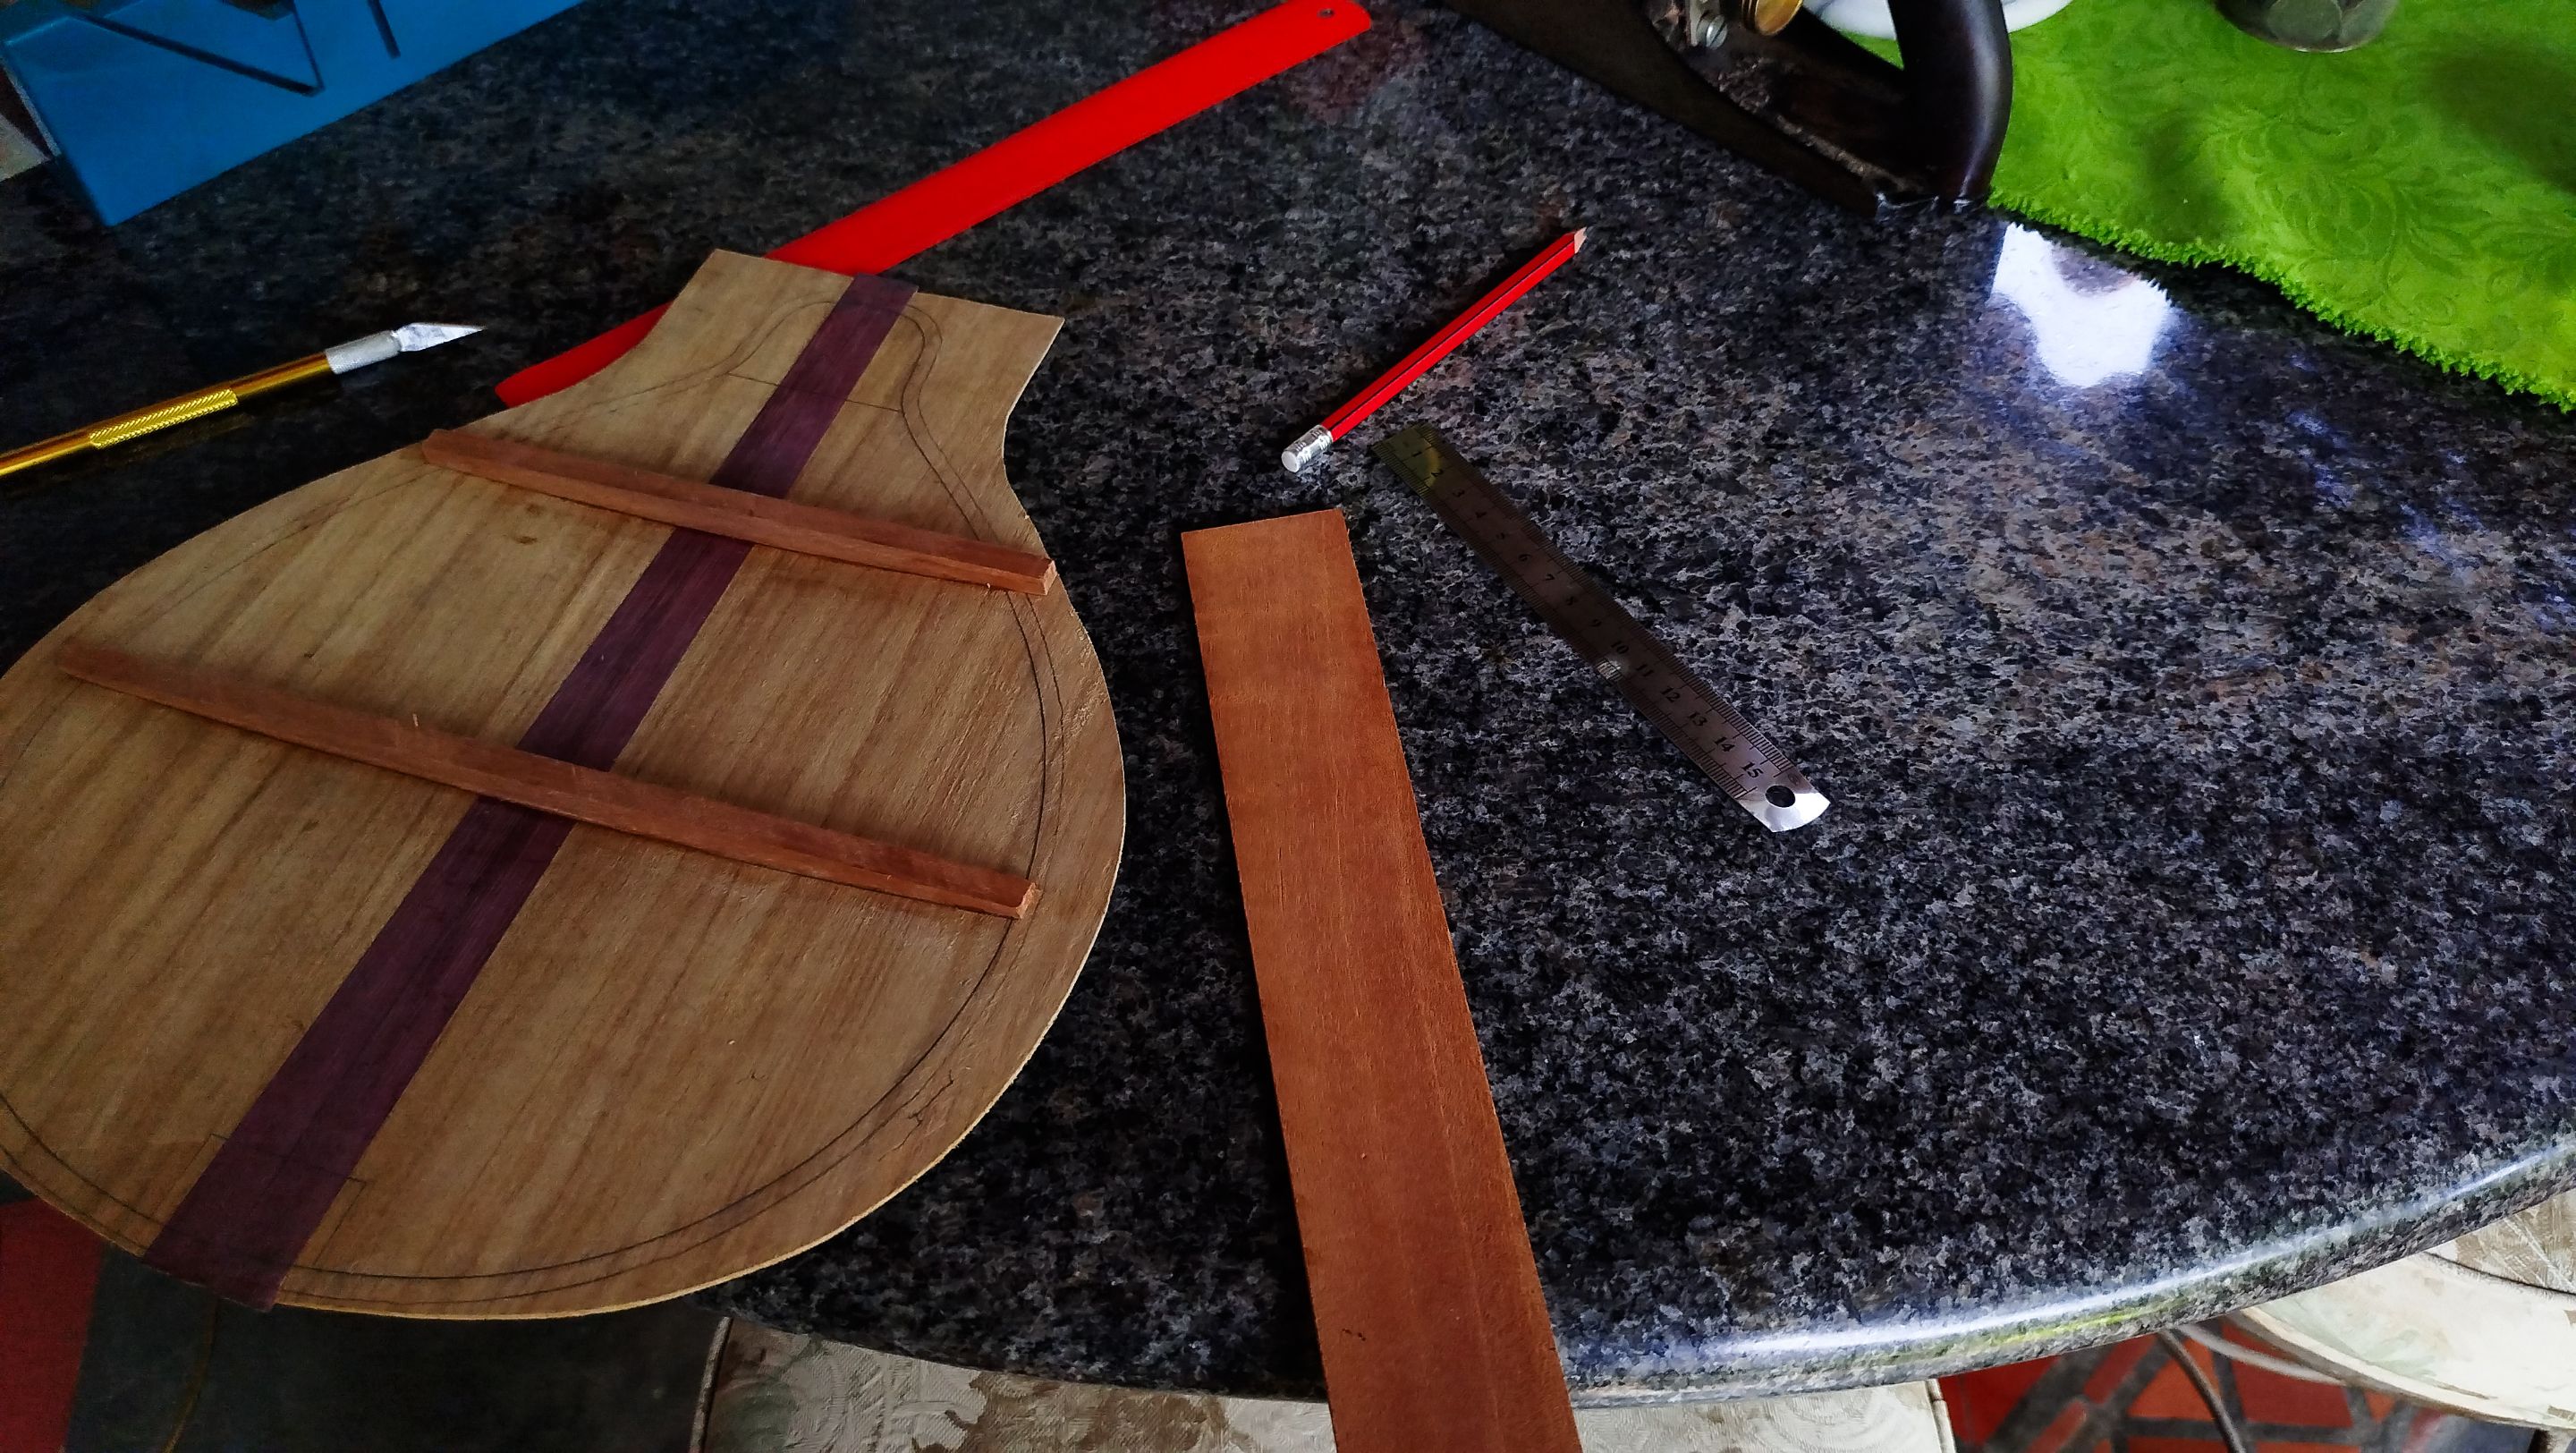
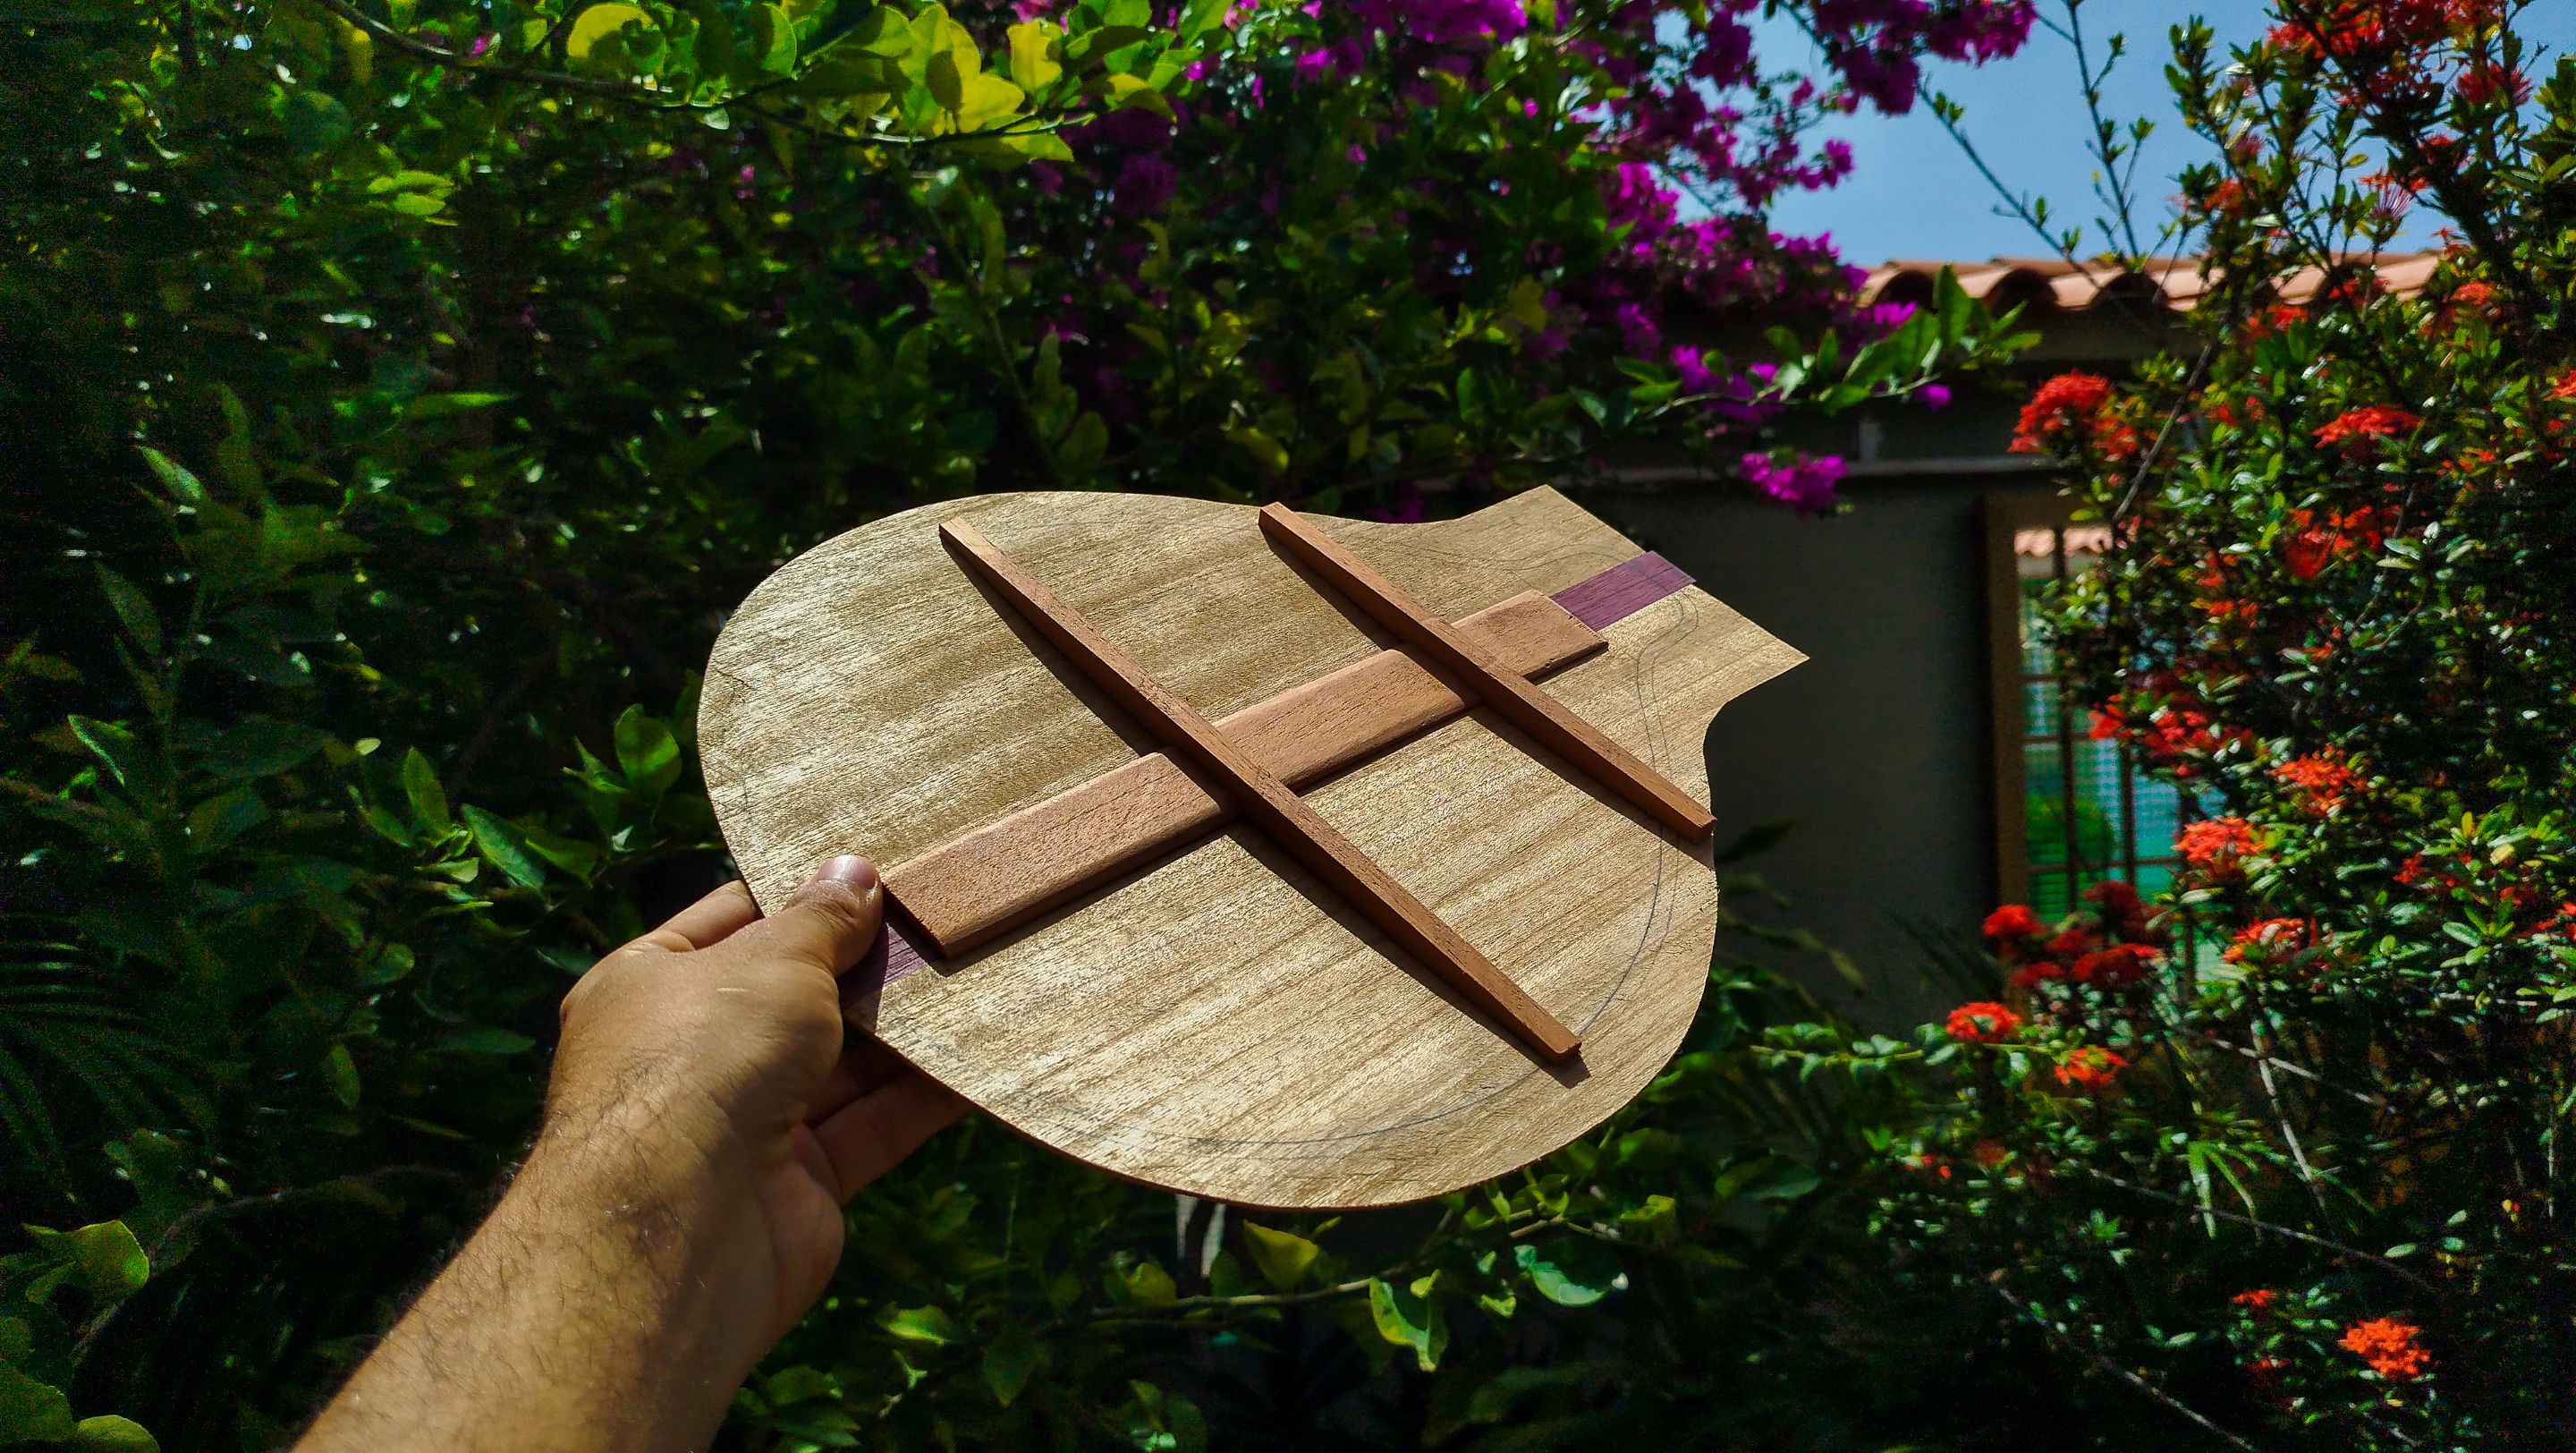
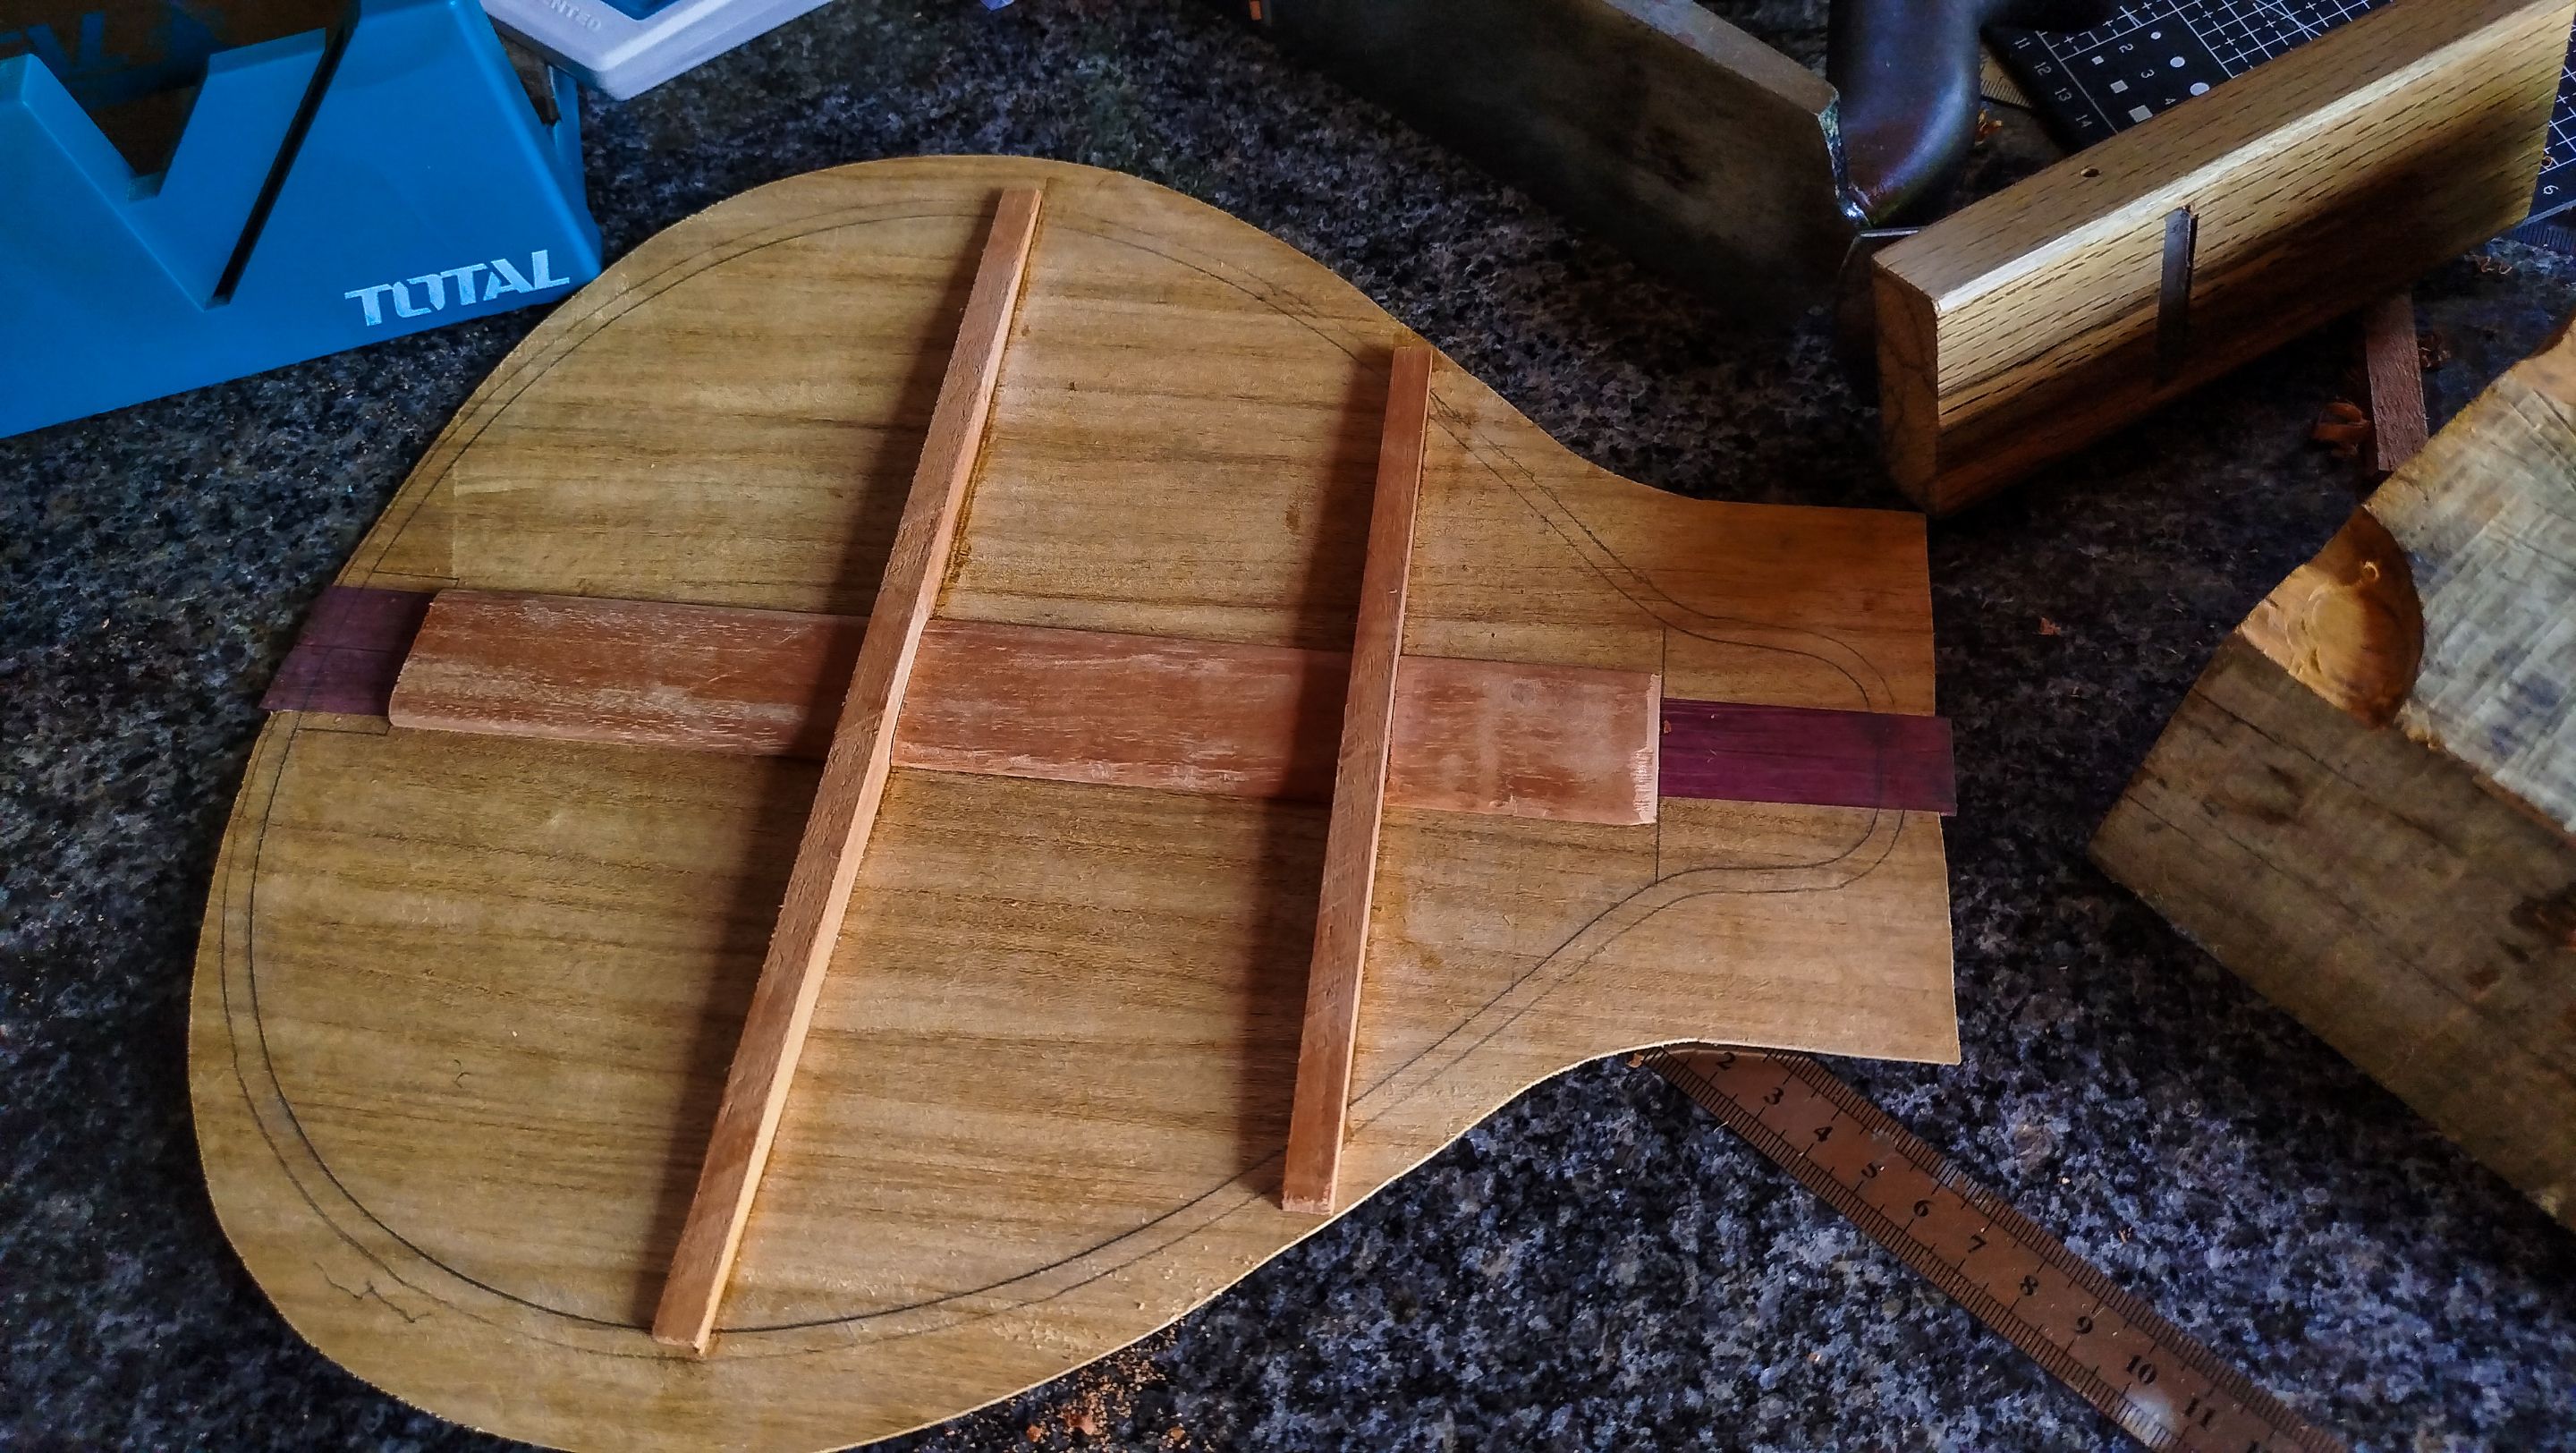
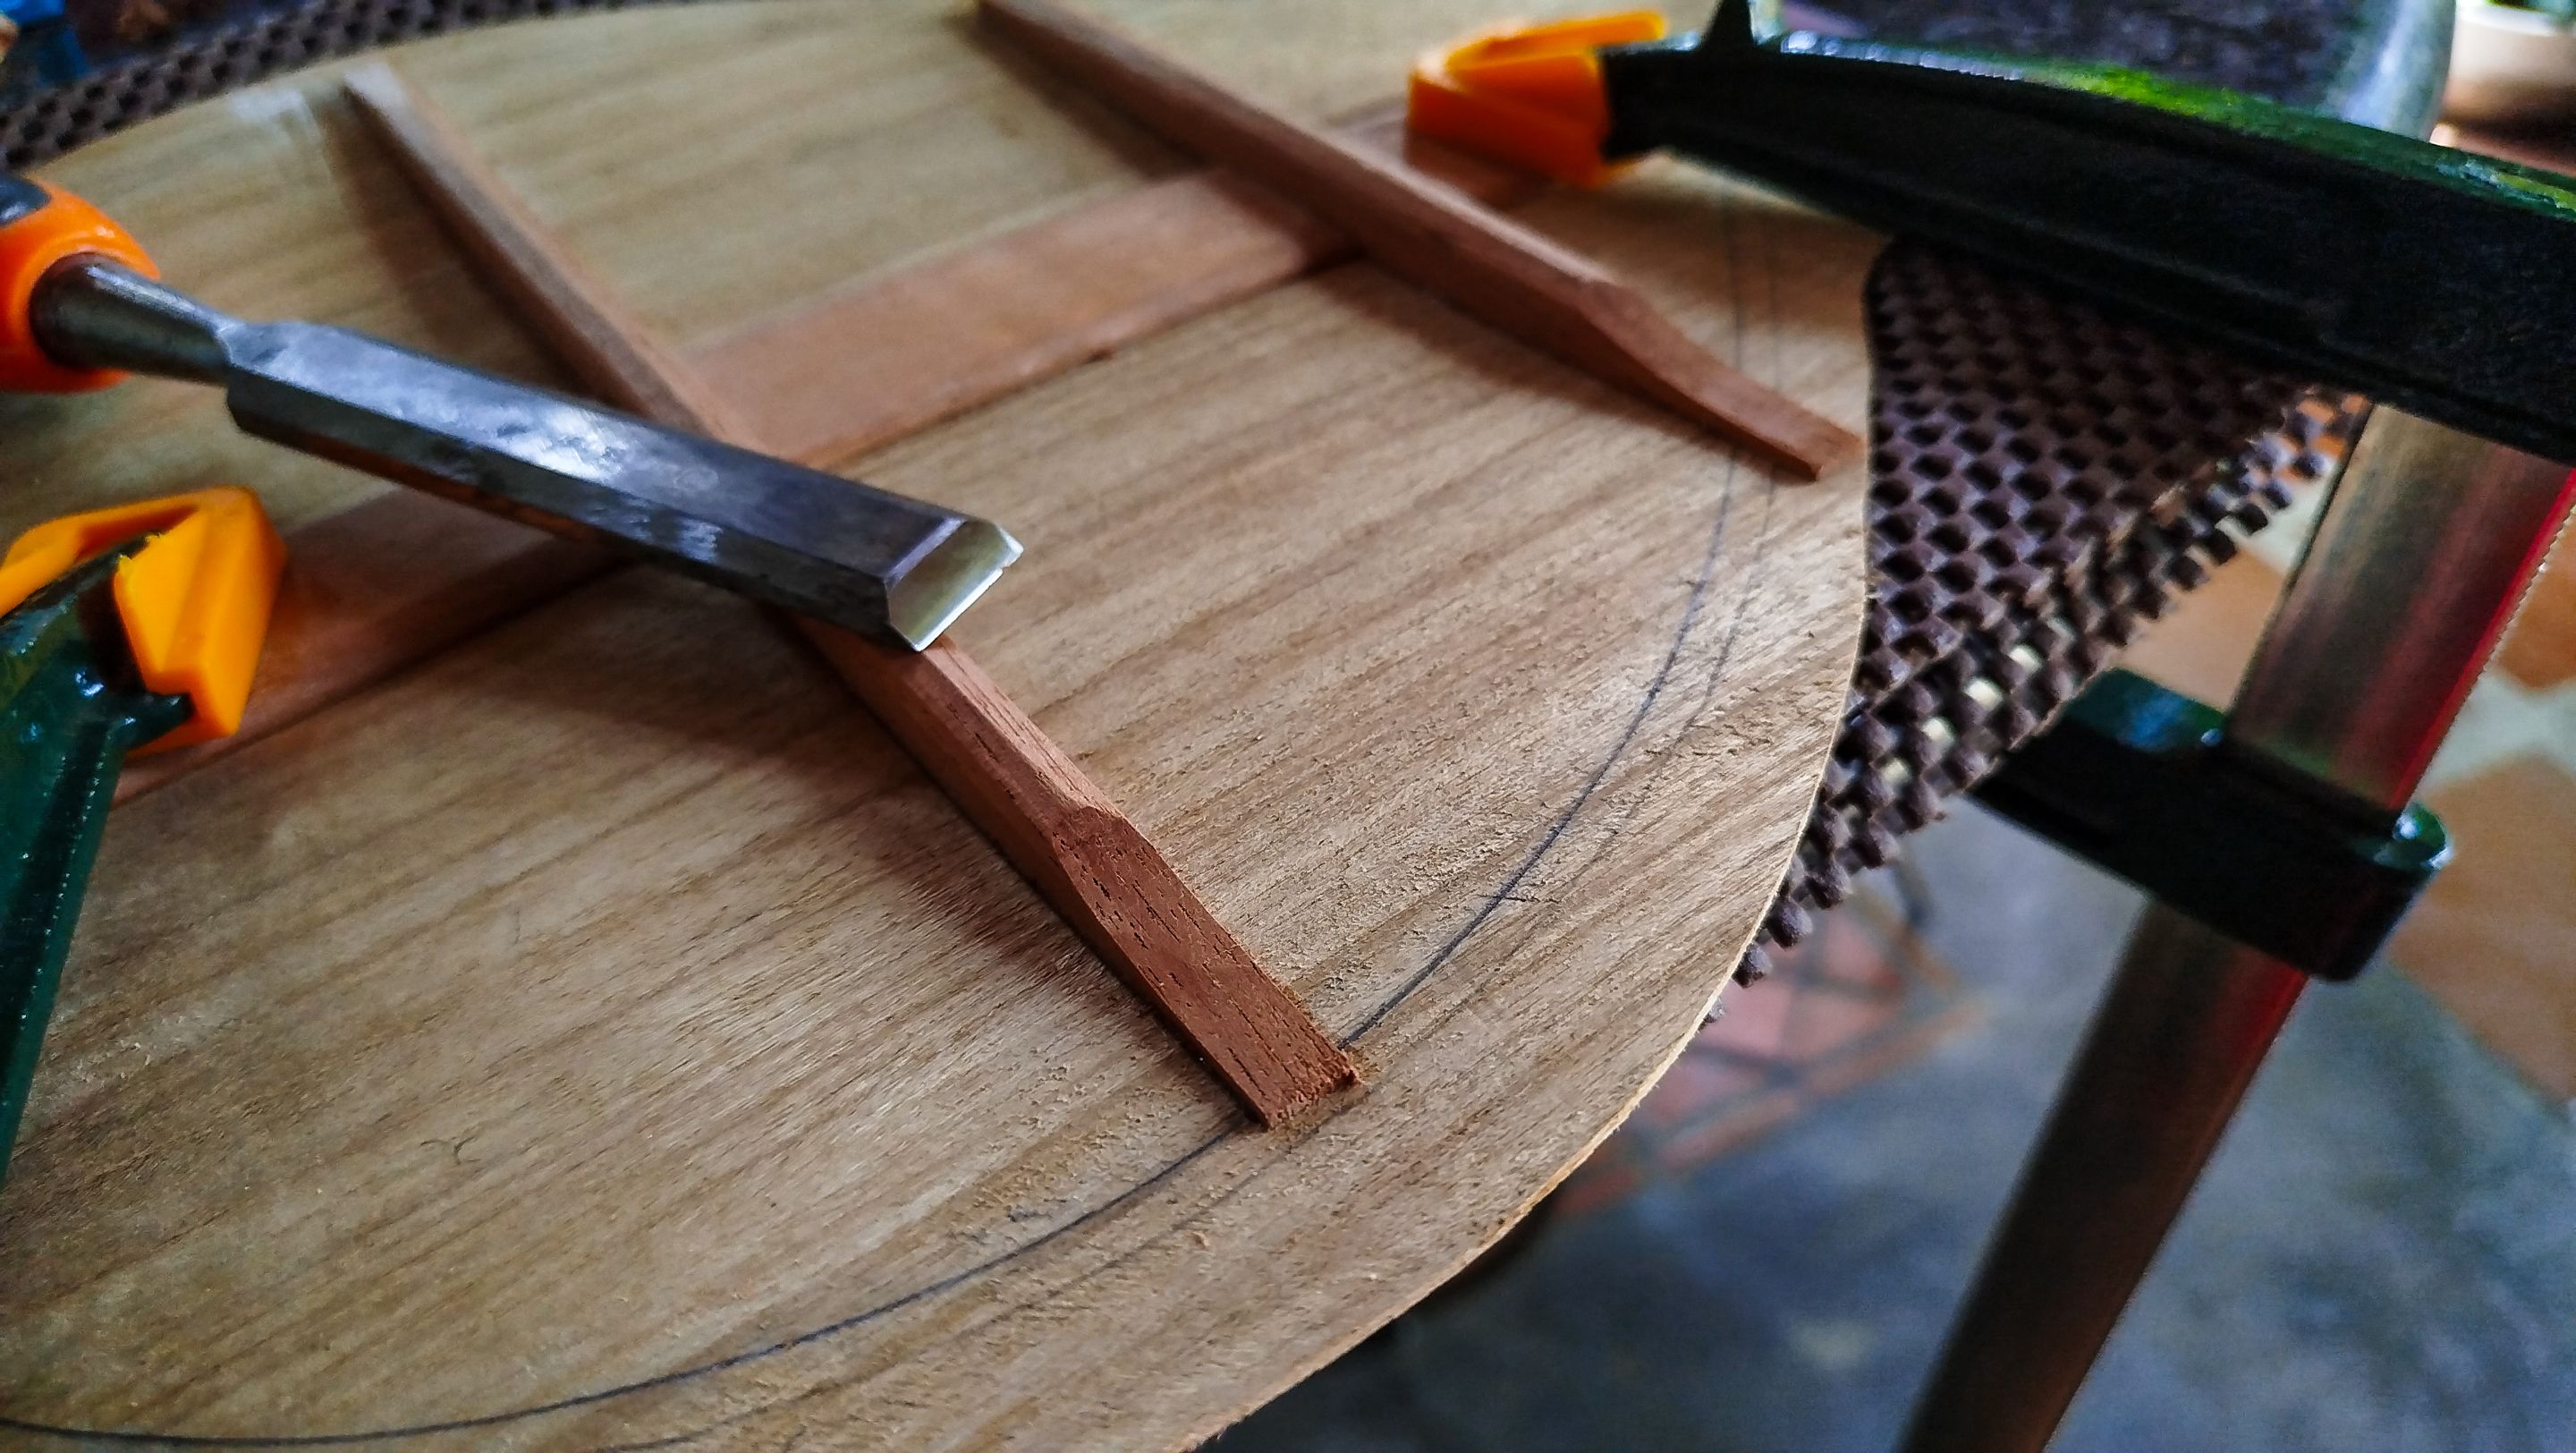
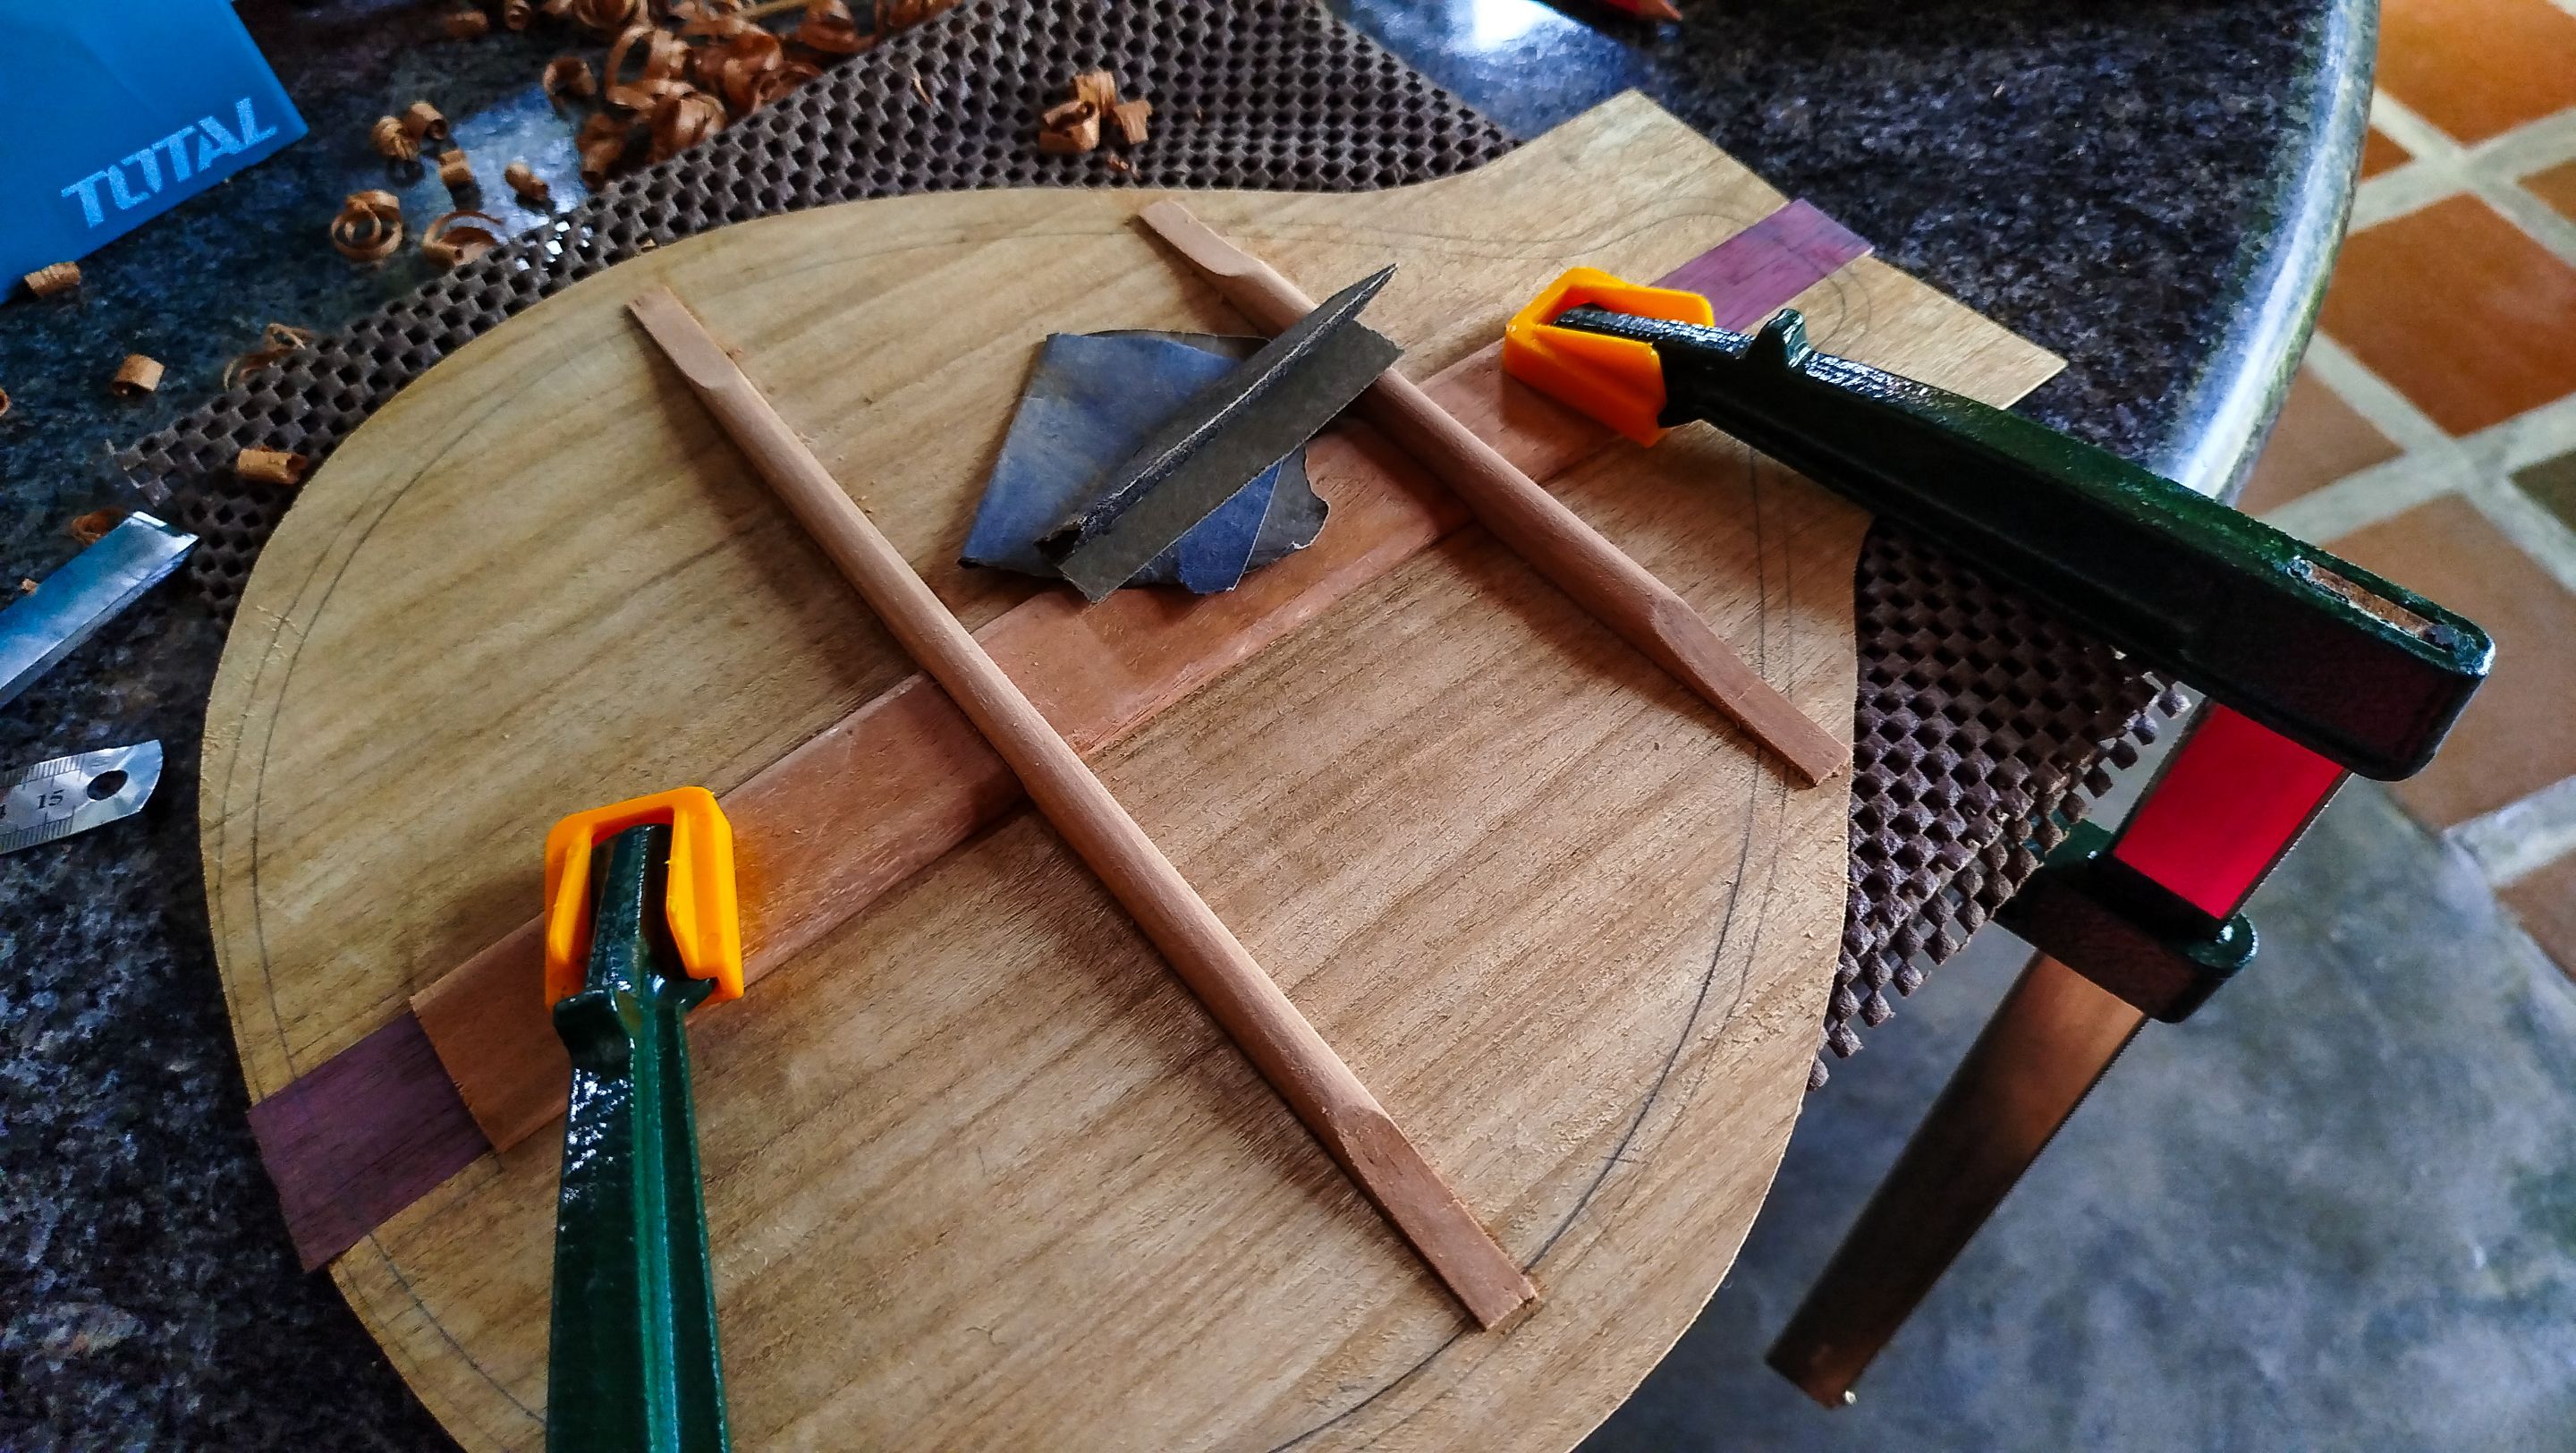
The first step before getting the reinforcements on their place, we are using the card scraper to put the ornament on the same level as the other parts of the back. Then we are also using the hand plane to get the thickness of the back to its final measurement. Once we get this part done, we can use the template to mark all the lines we need to make the cut and glue the bars in place.
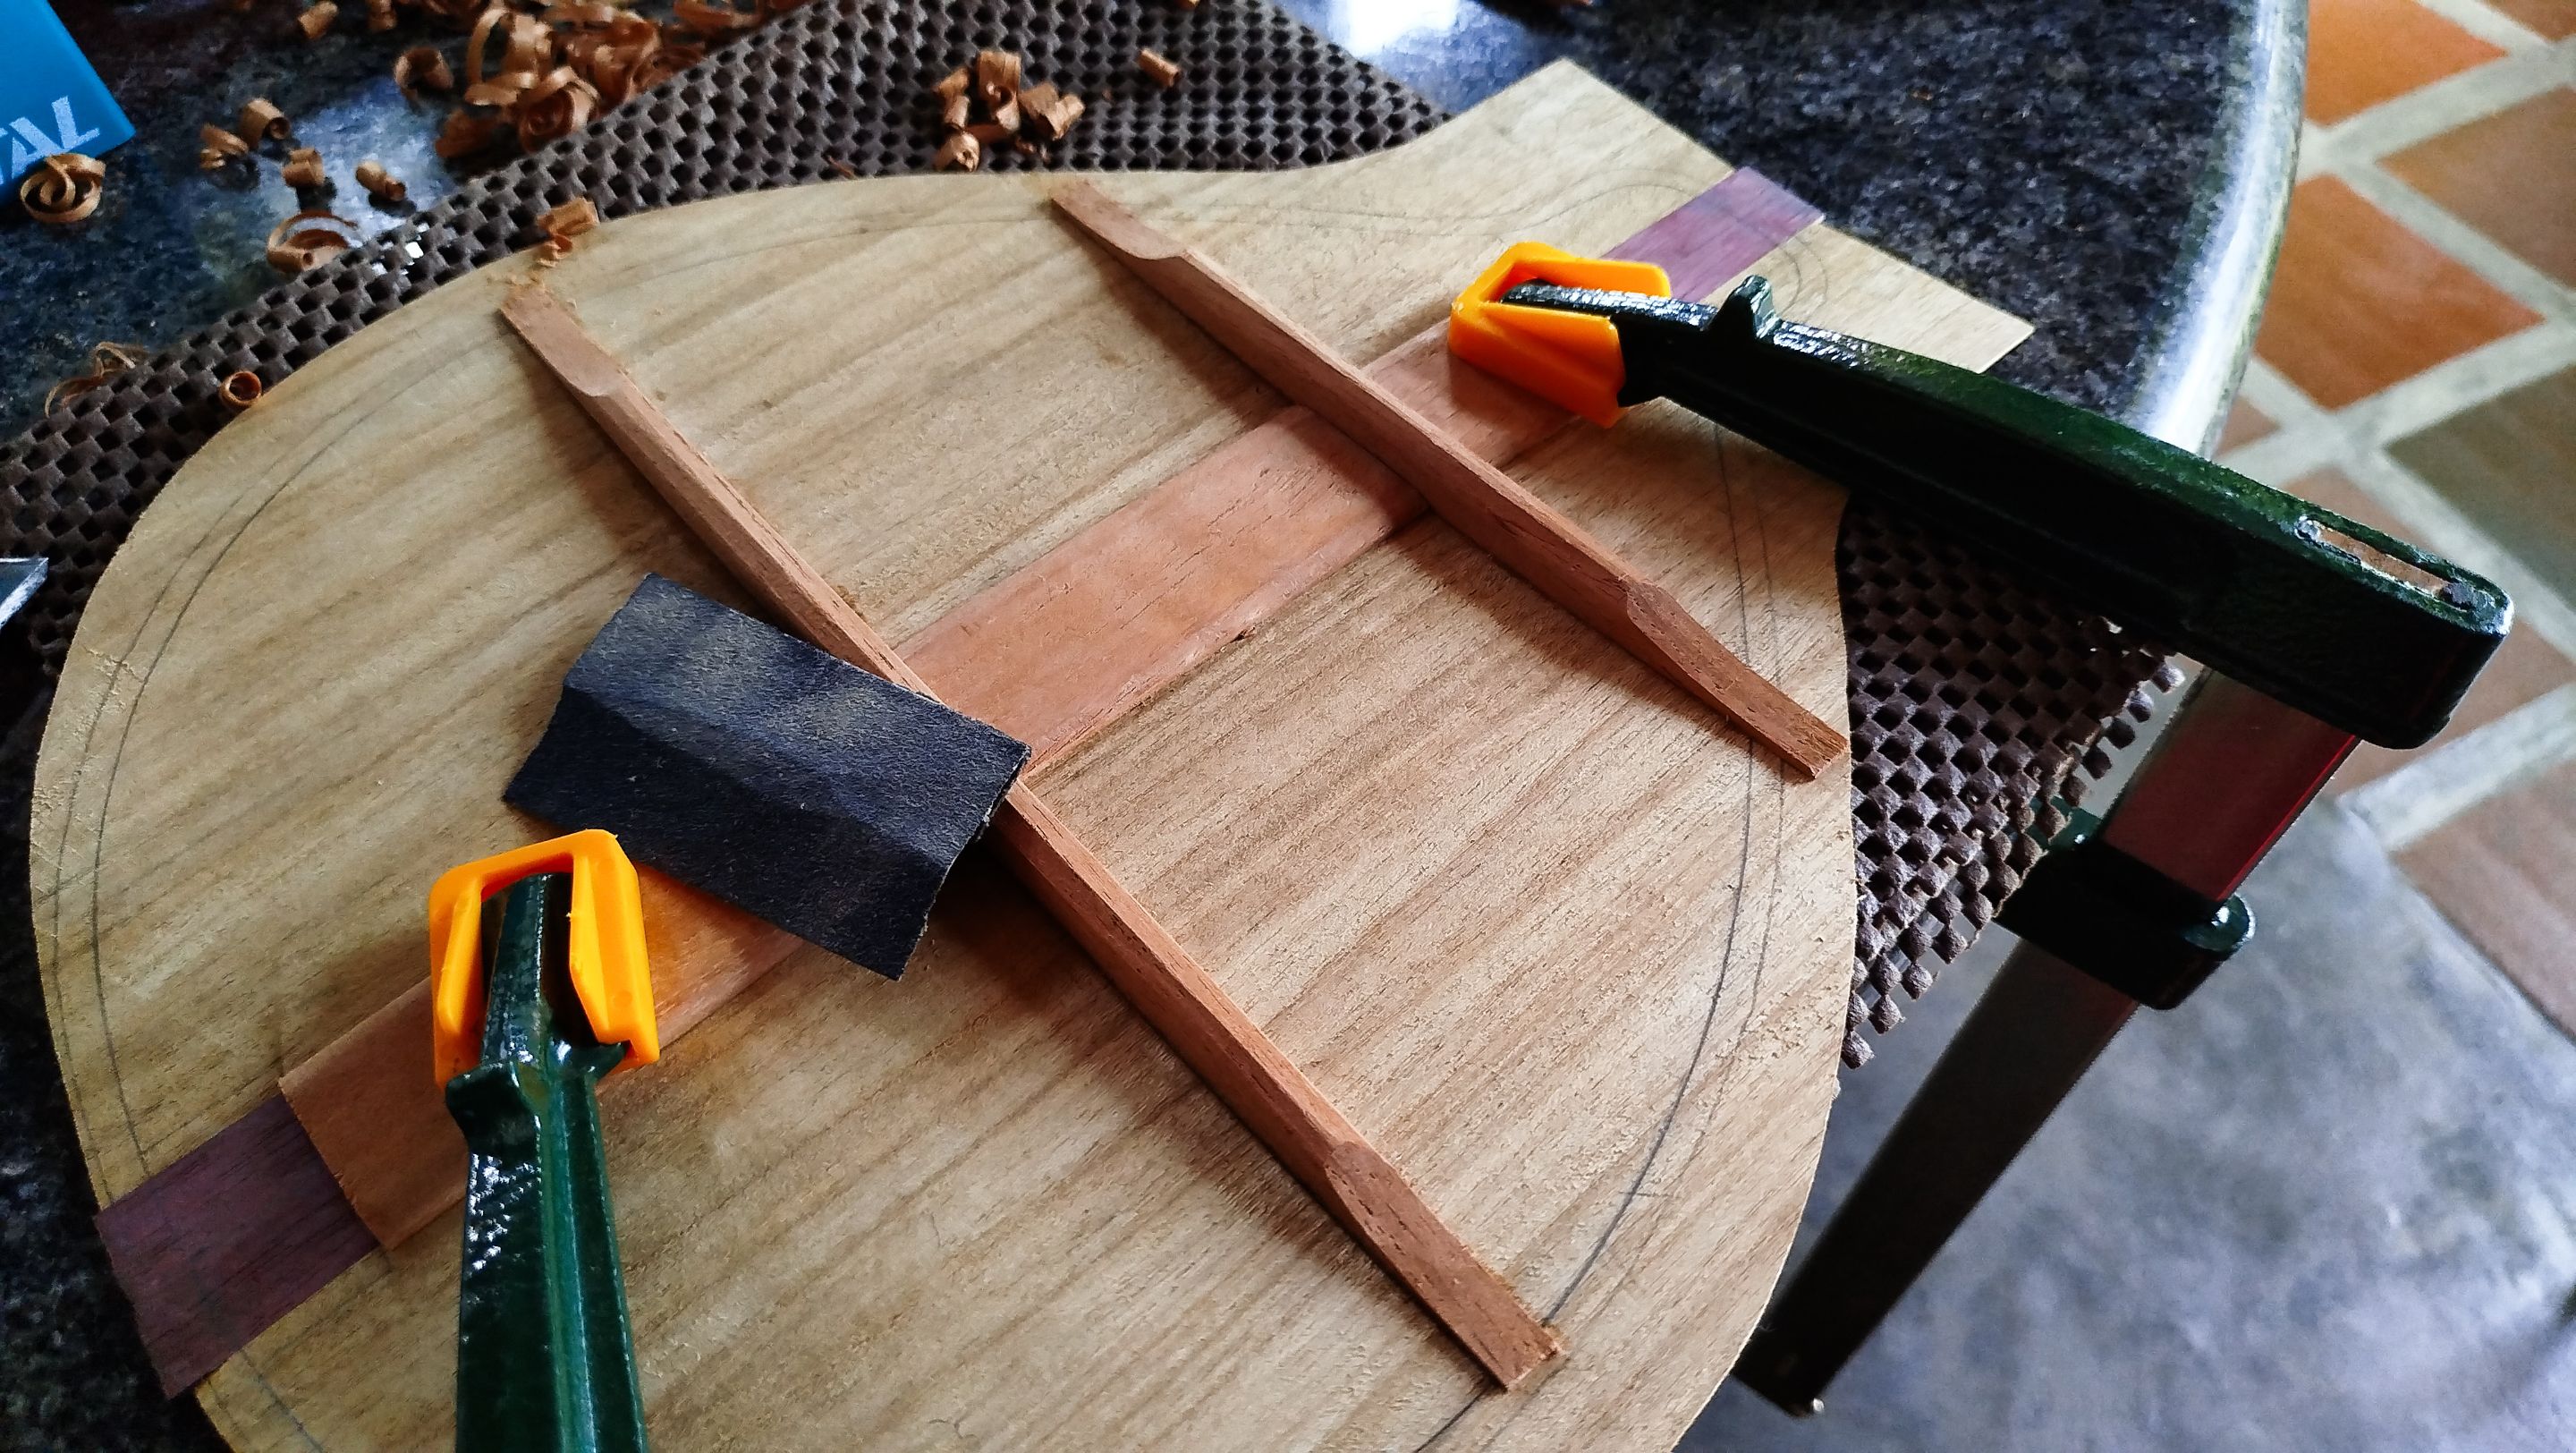
Now we cut the bars to length. Then mark the radius we need for the bars. This will give us the rounded back needed. We then carve the bars to give them the radius. Once we get this we are going to glue them to the back to get the rounded shape. For this, we are using as many clamps as possible to achieve the desired effect.
Joint reinforcement and shaping the bars
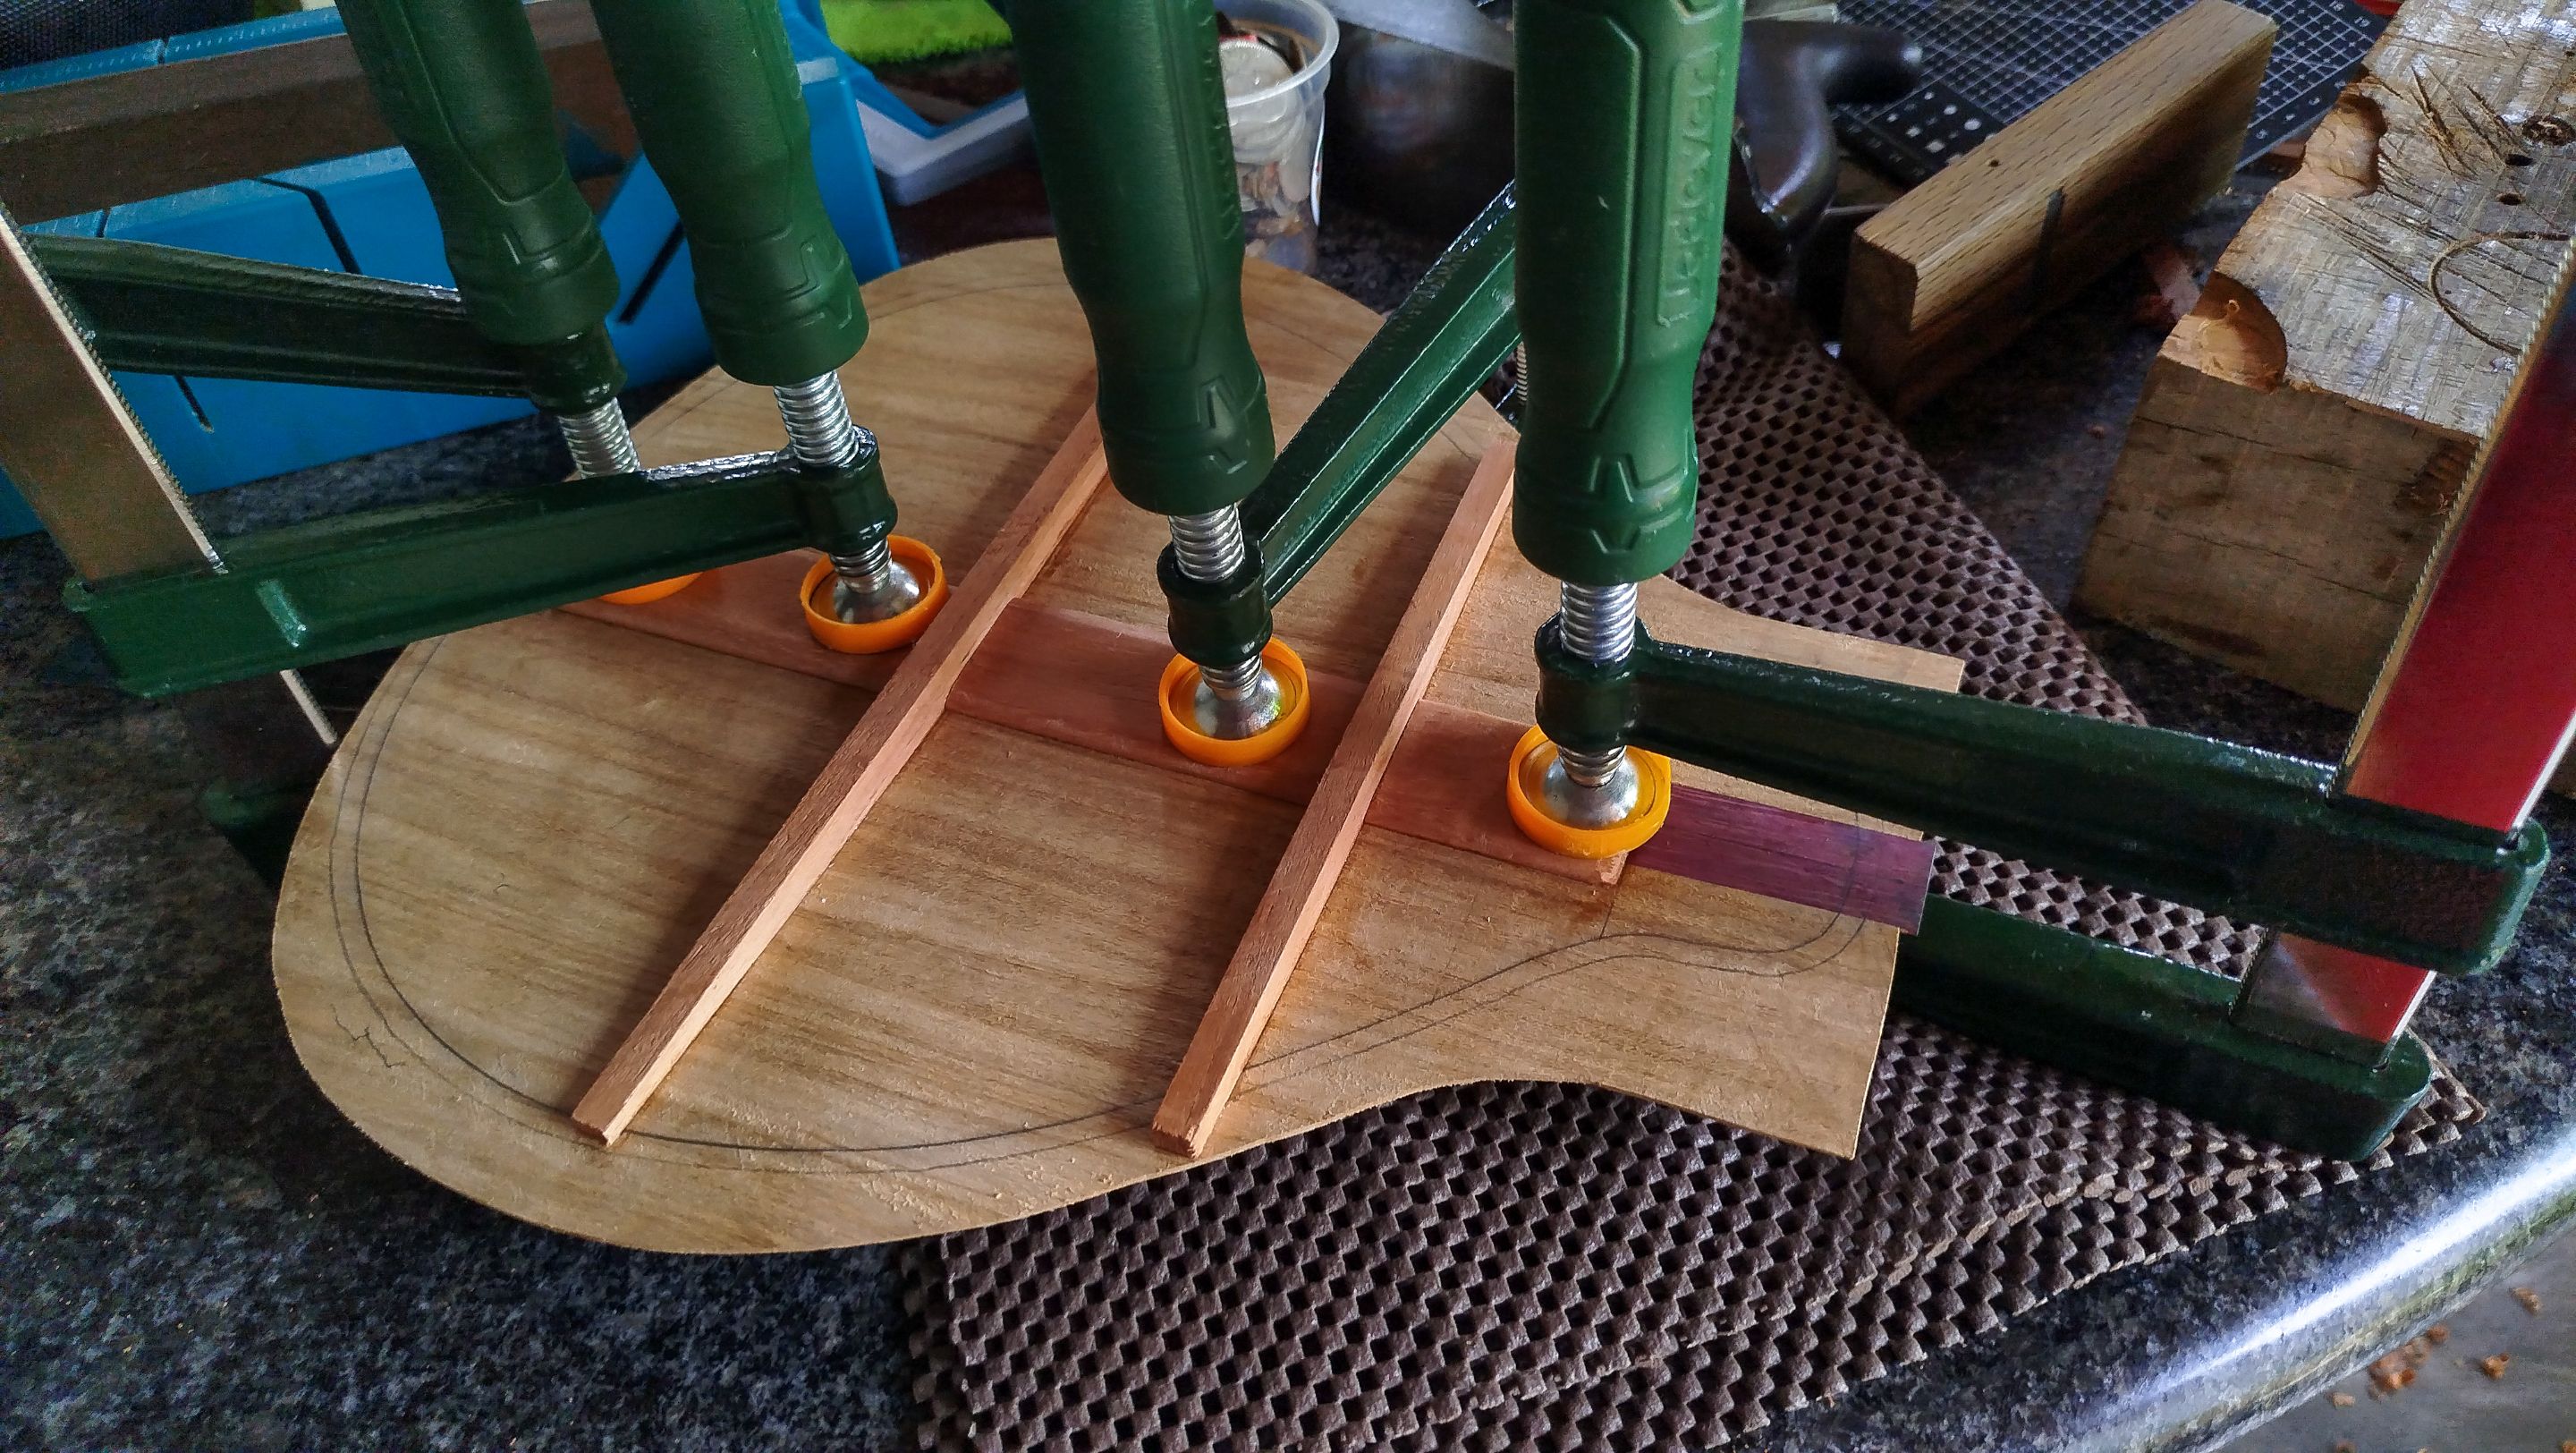
Swipe to see the photos
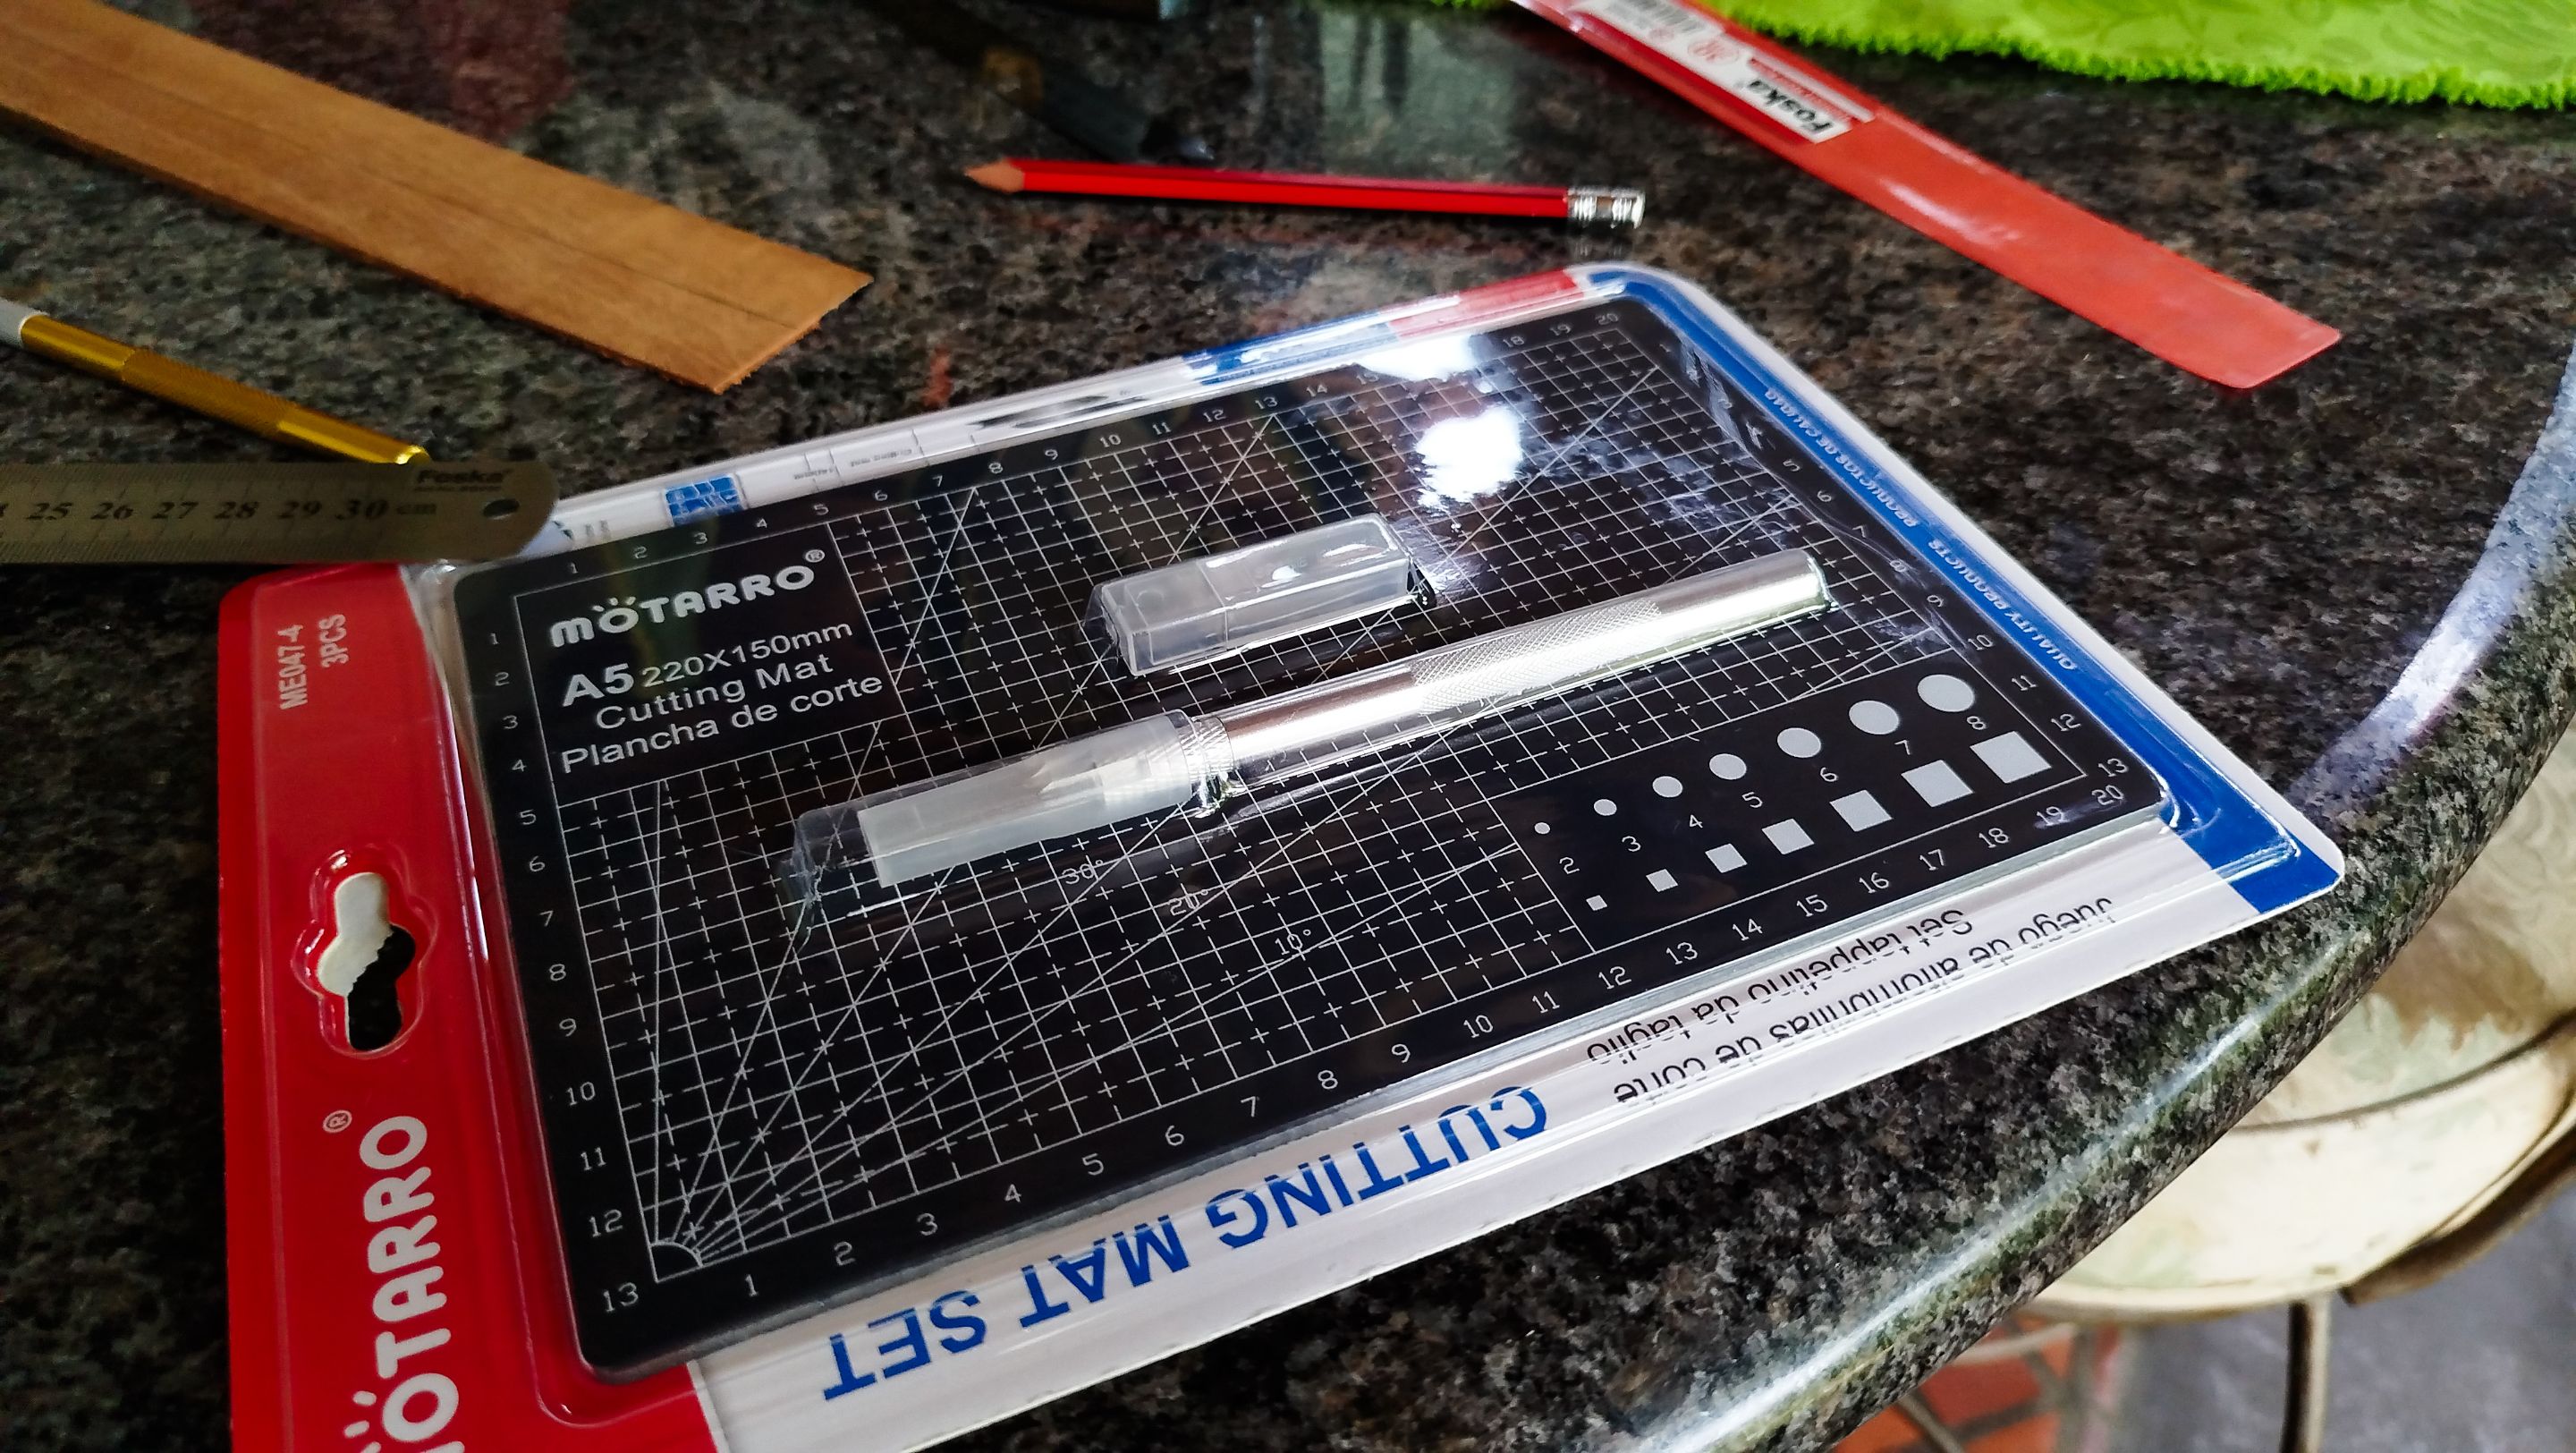
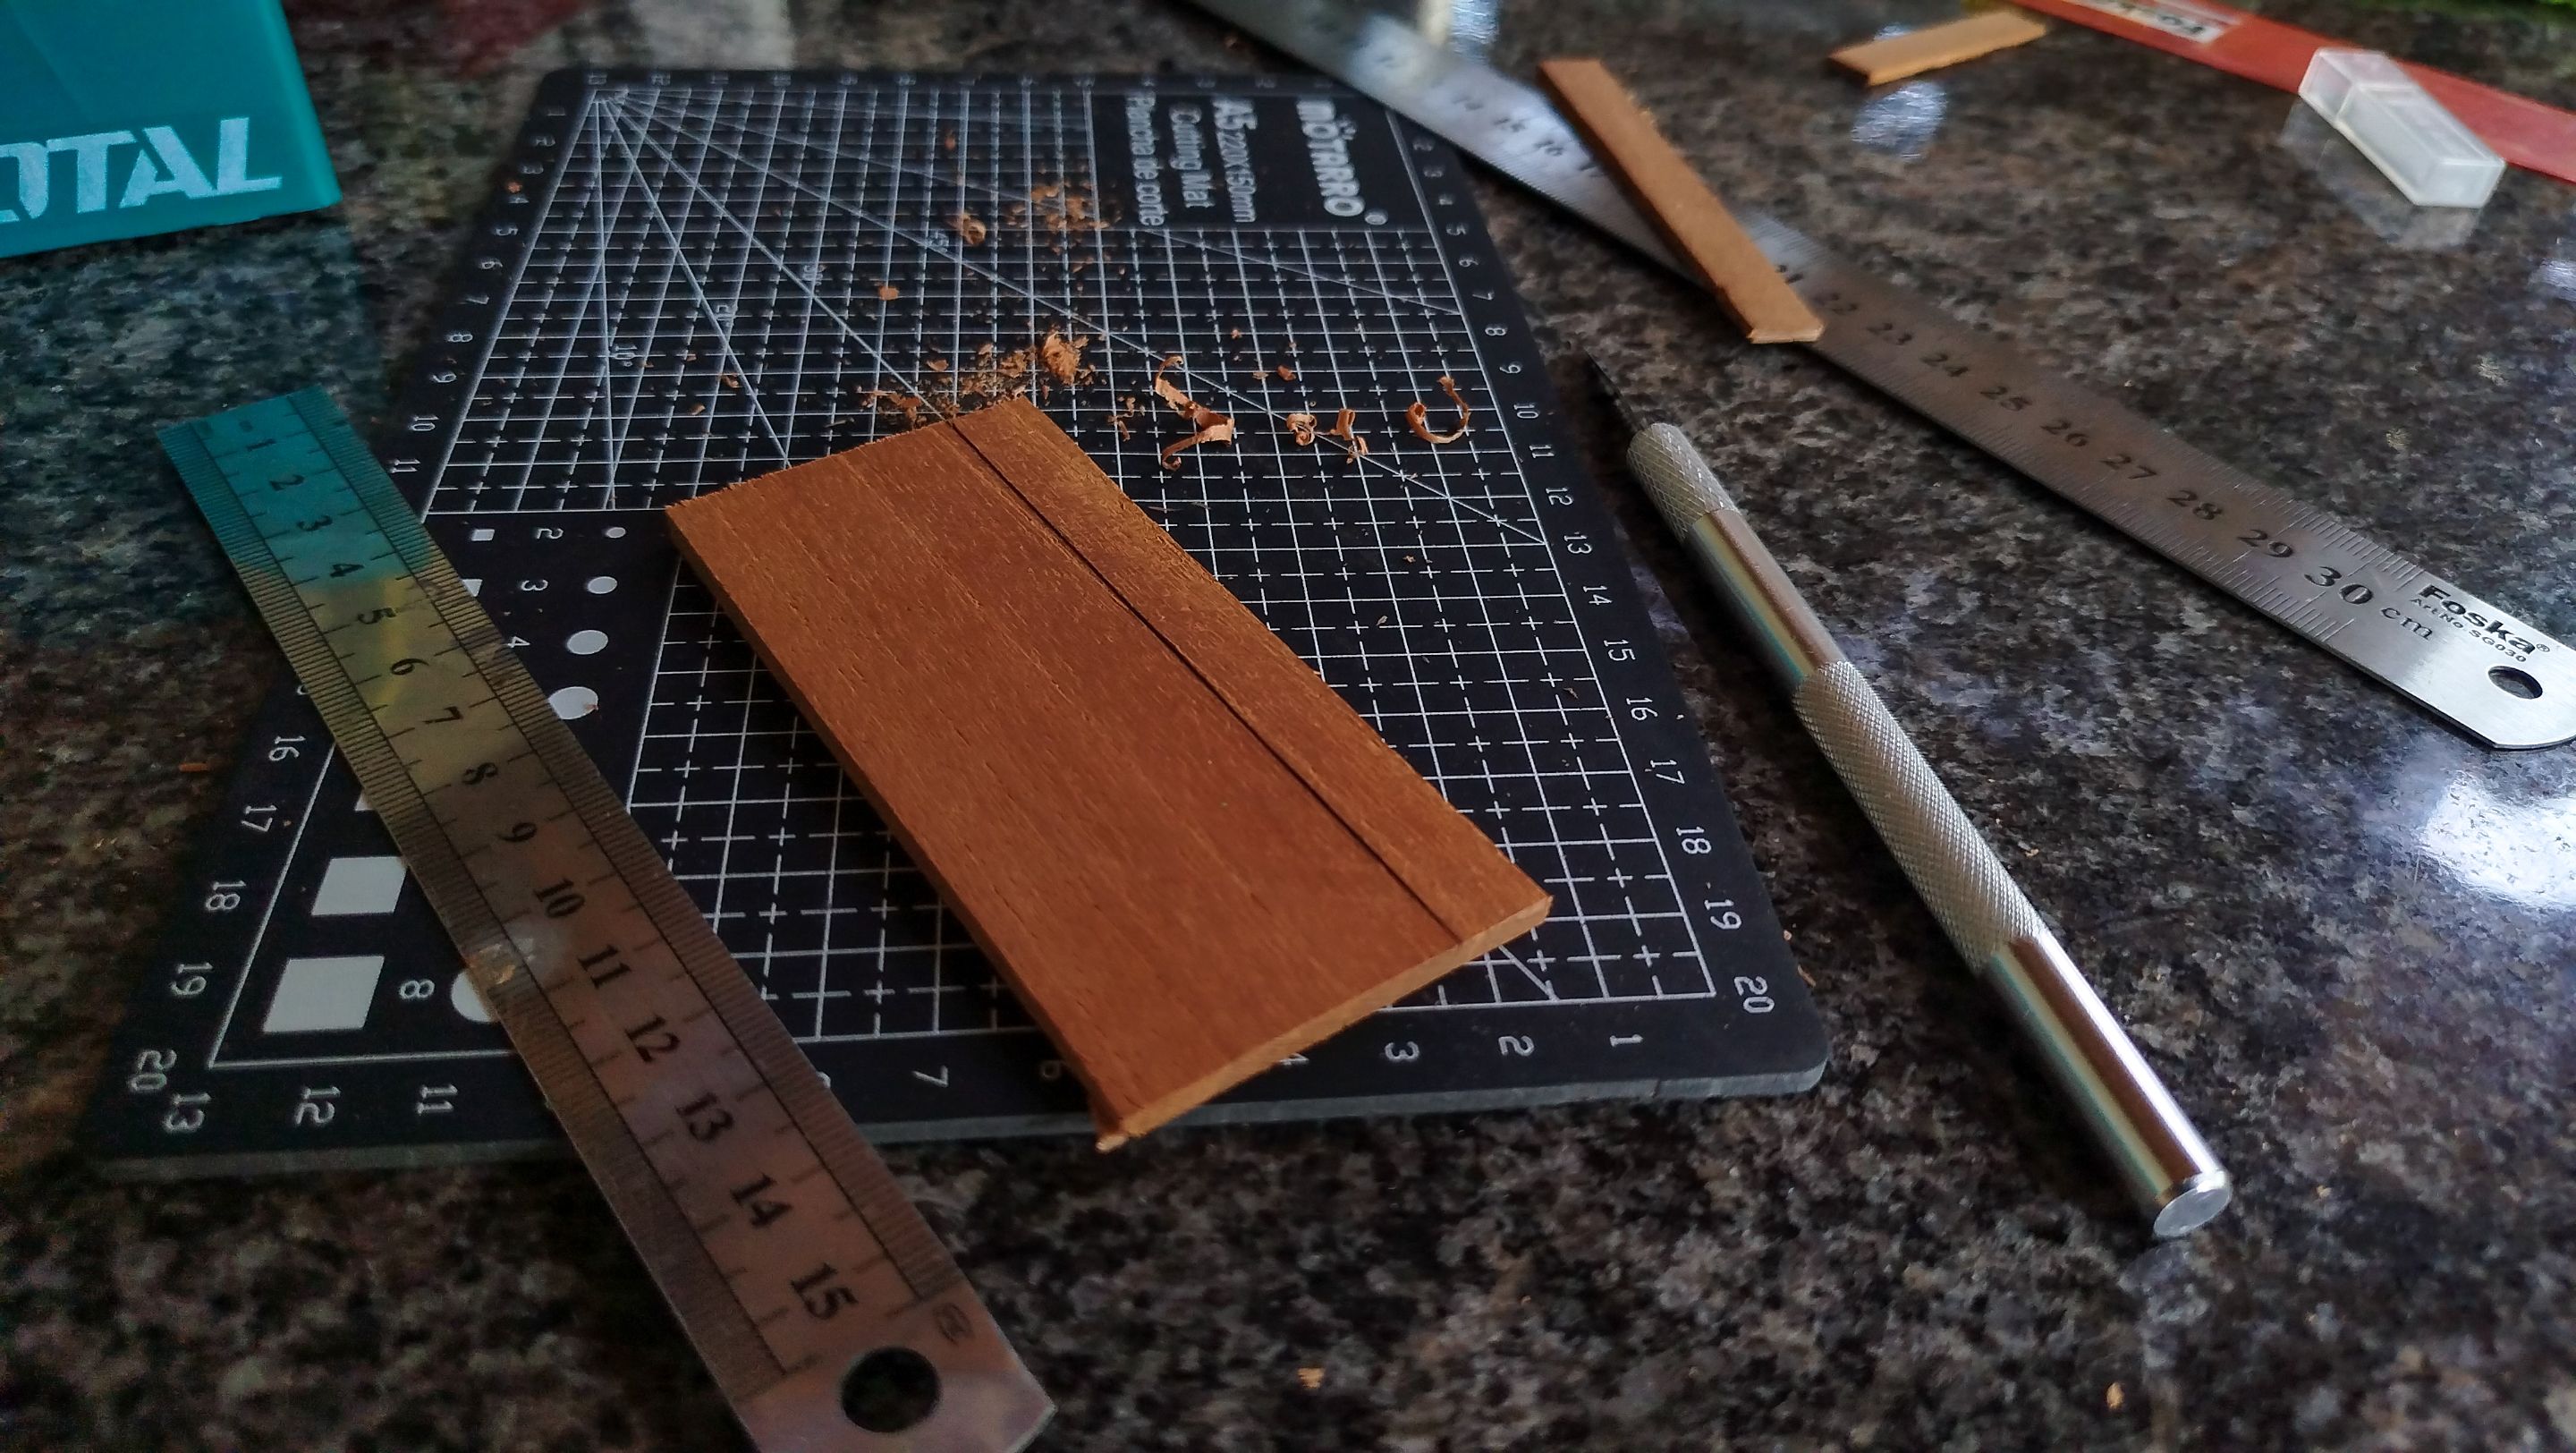
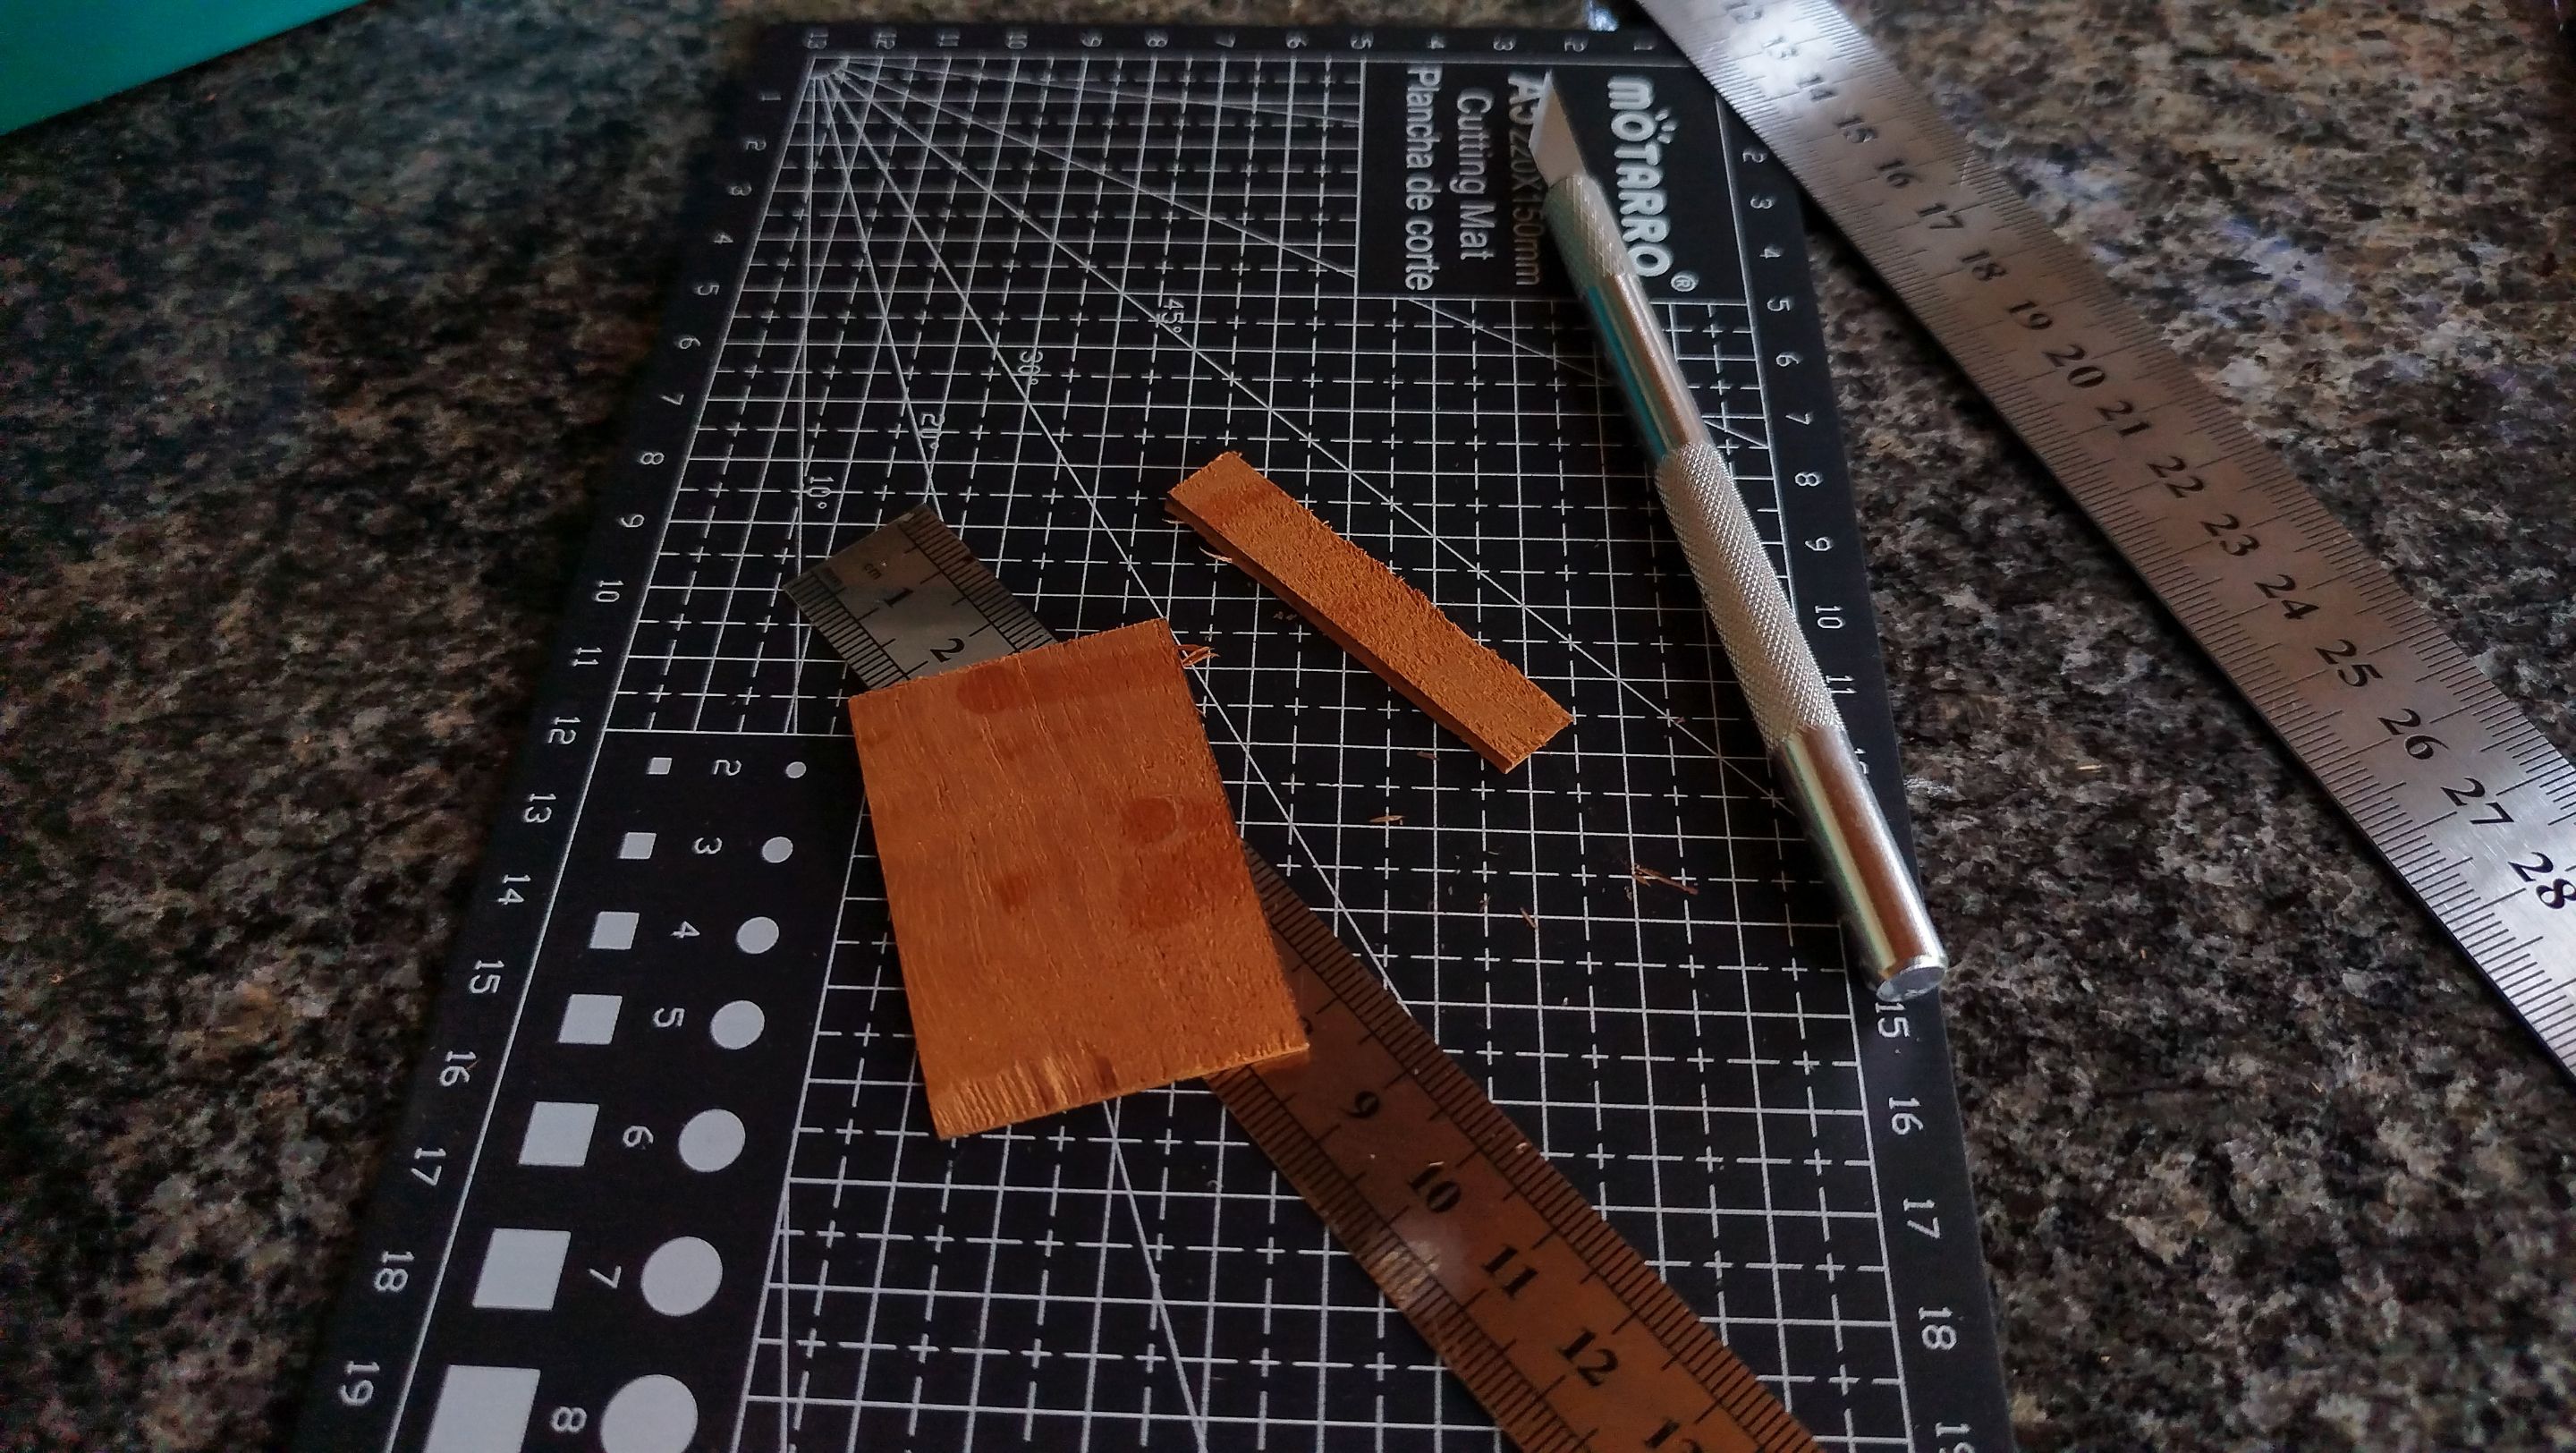
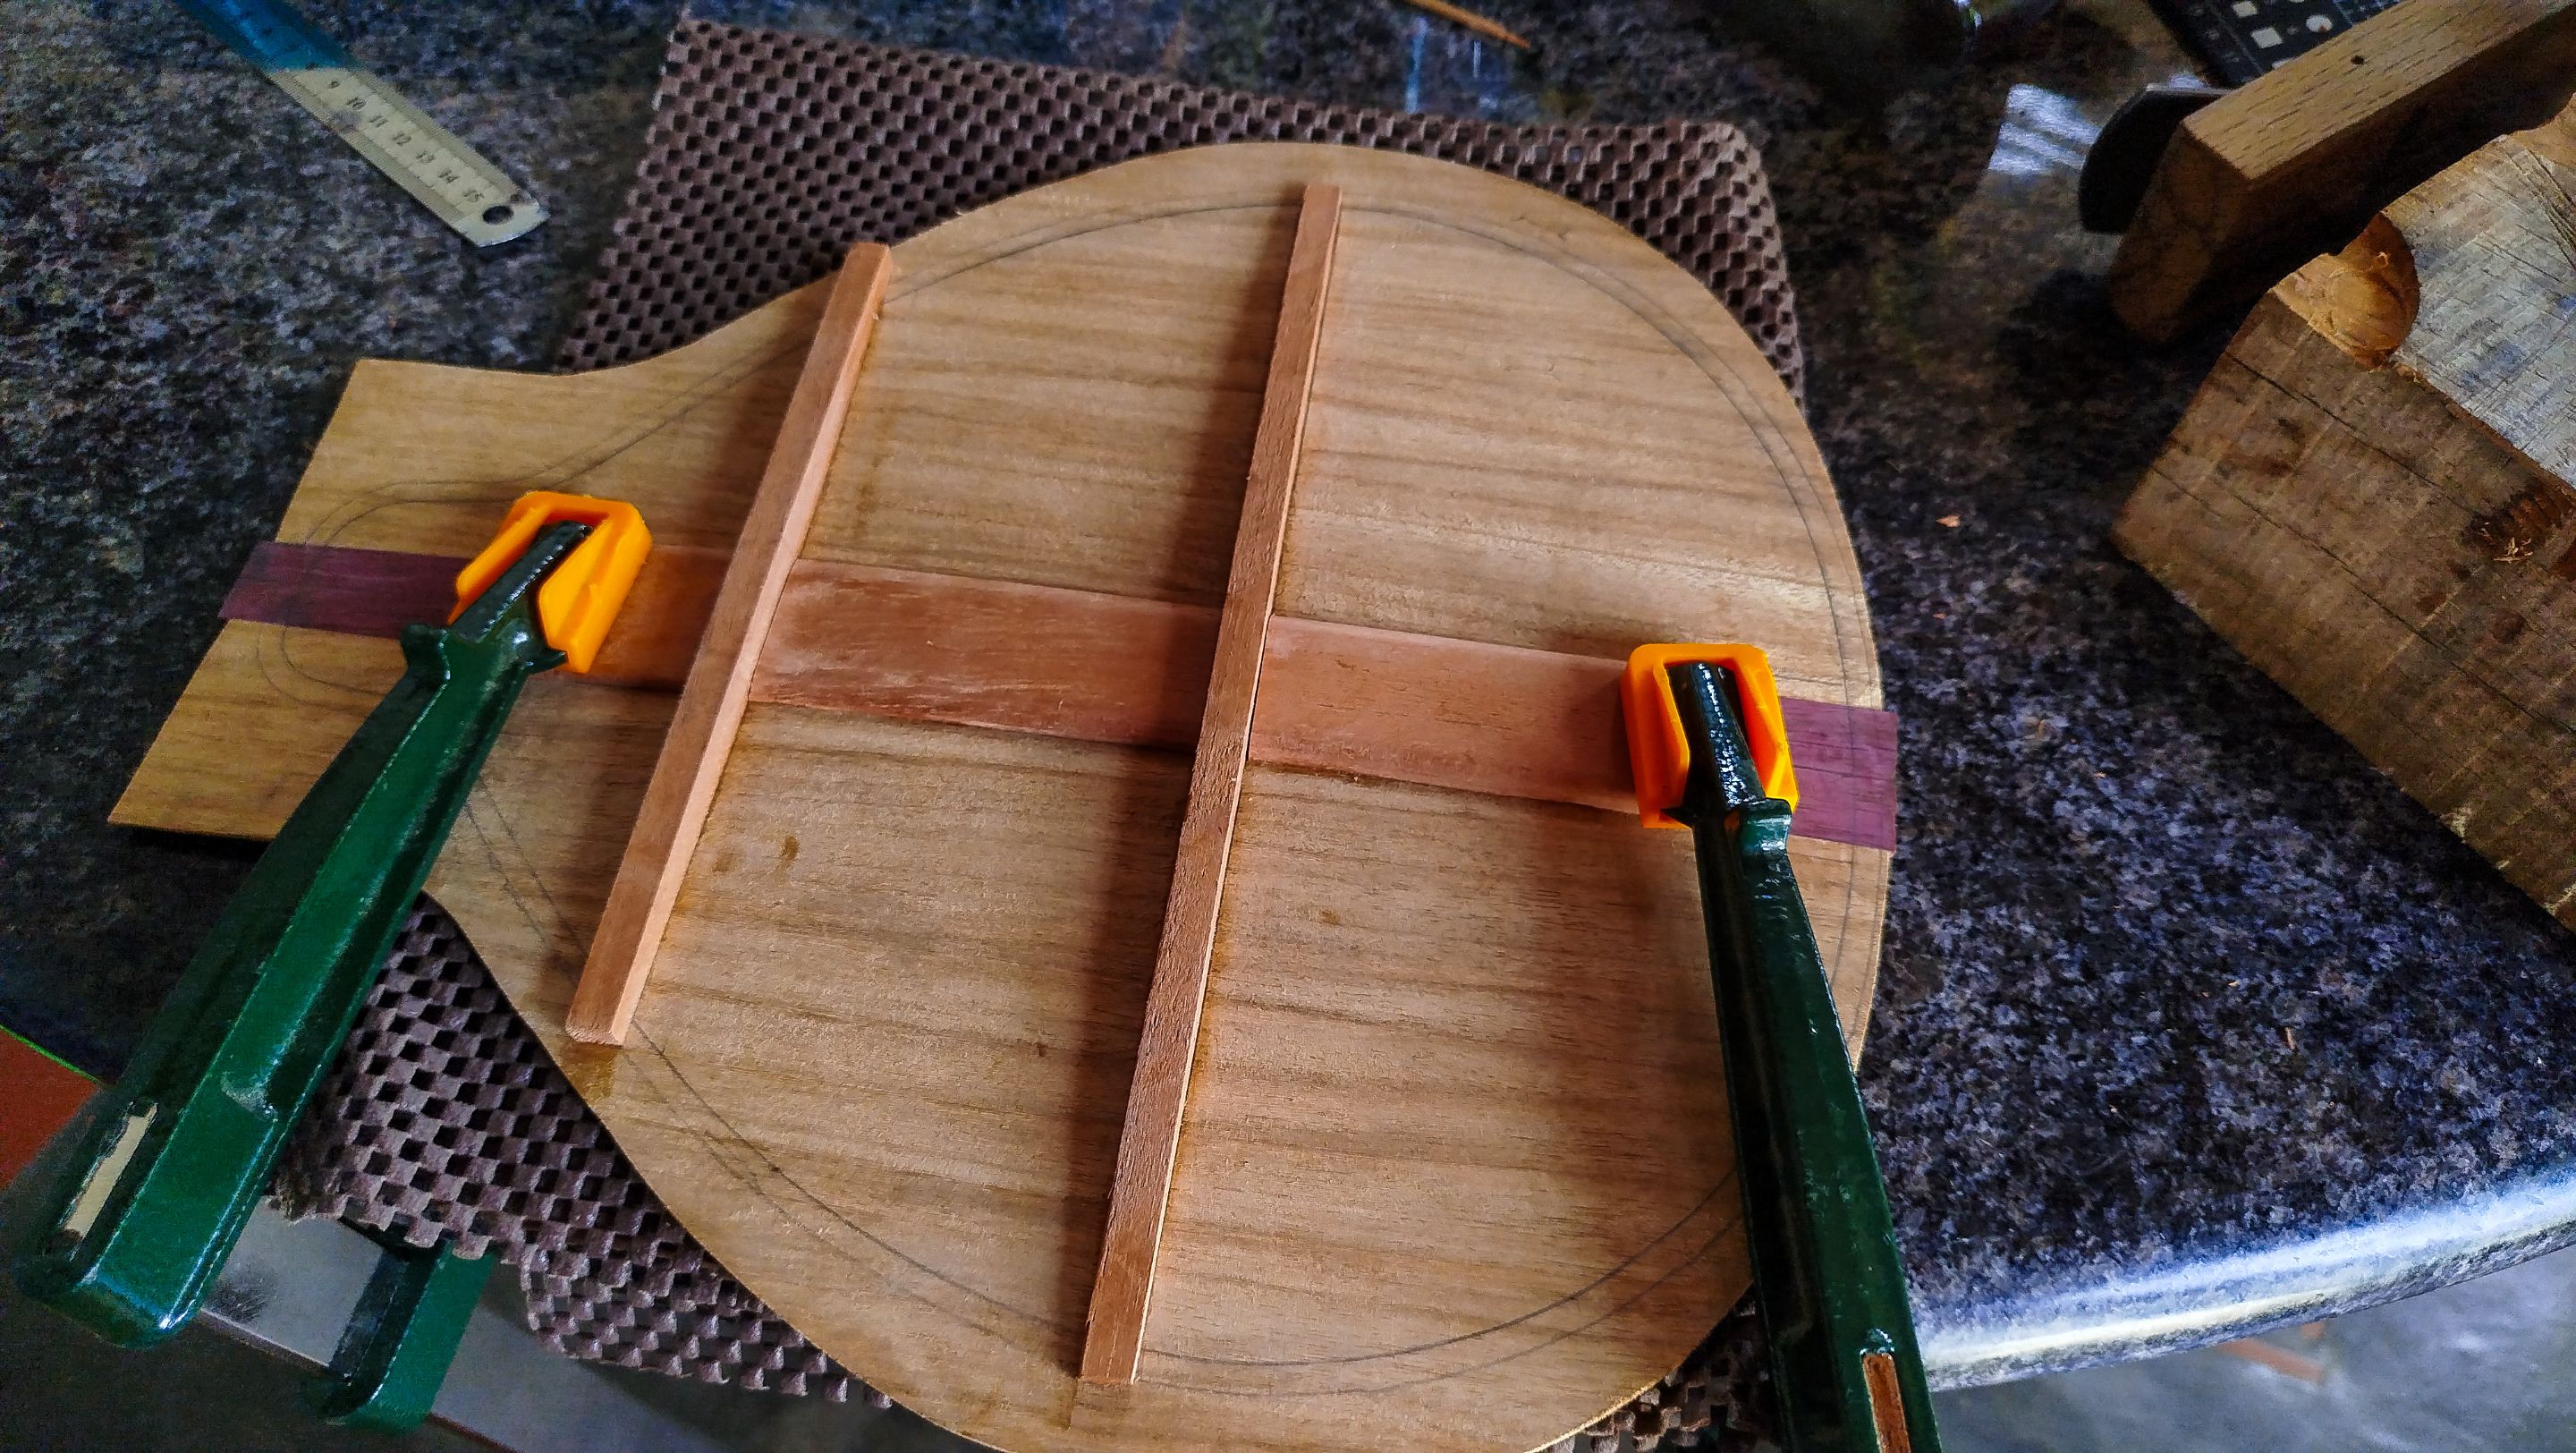
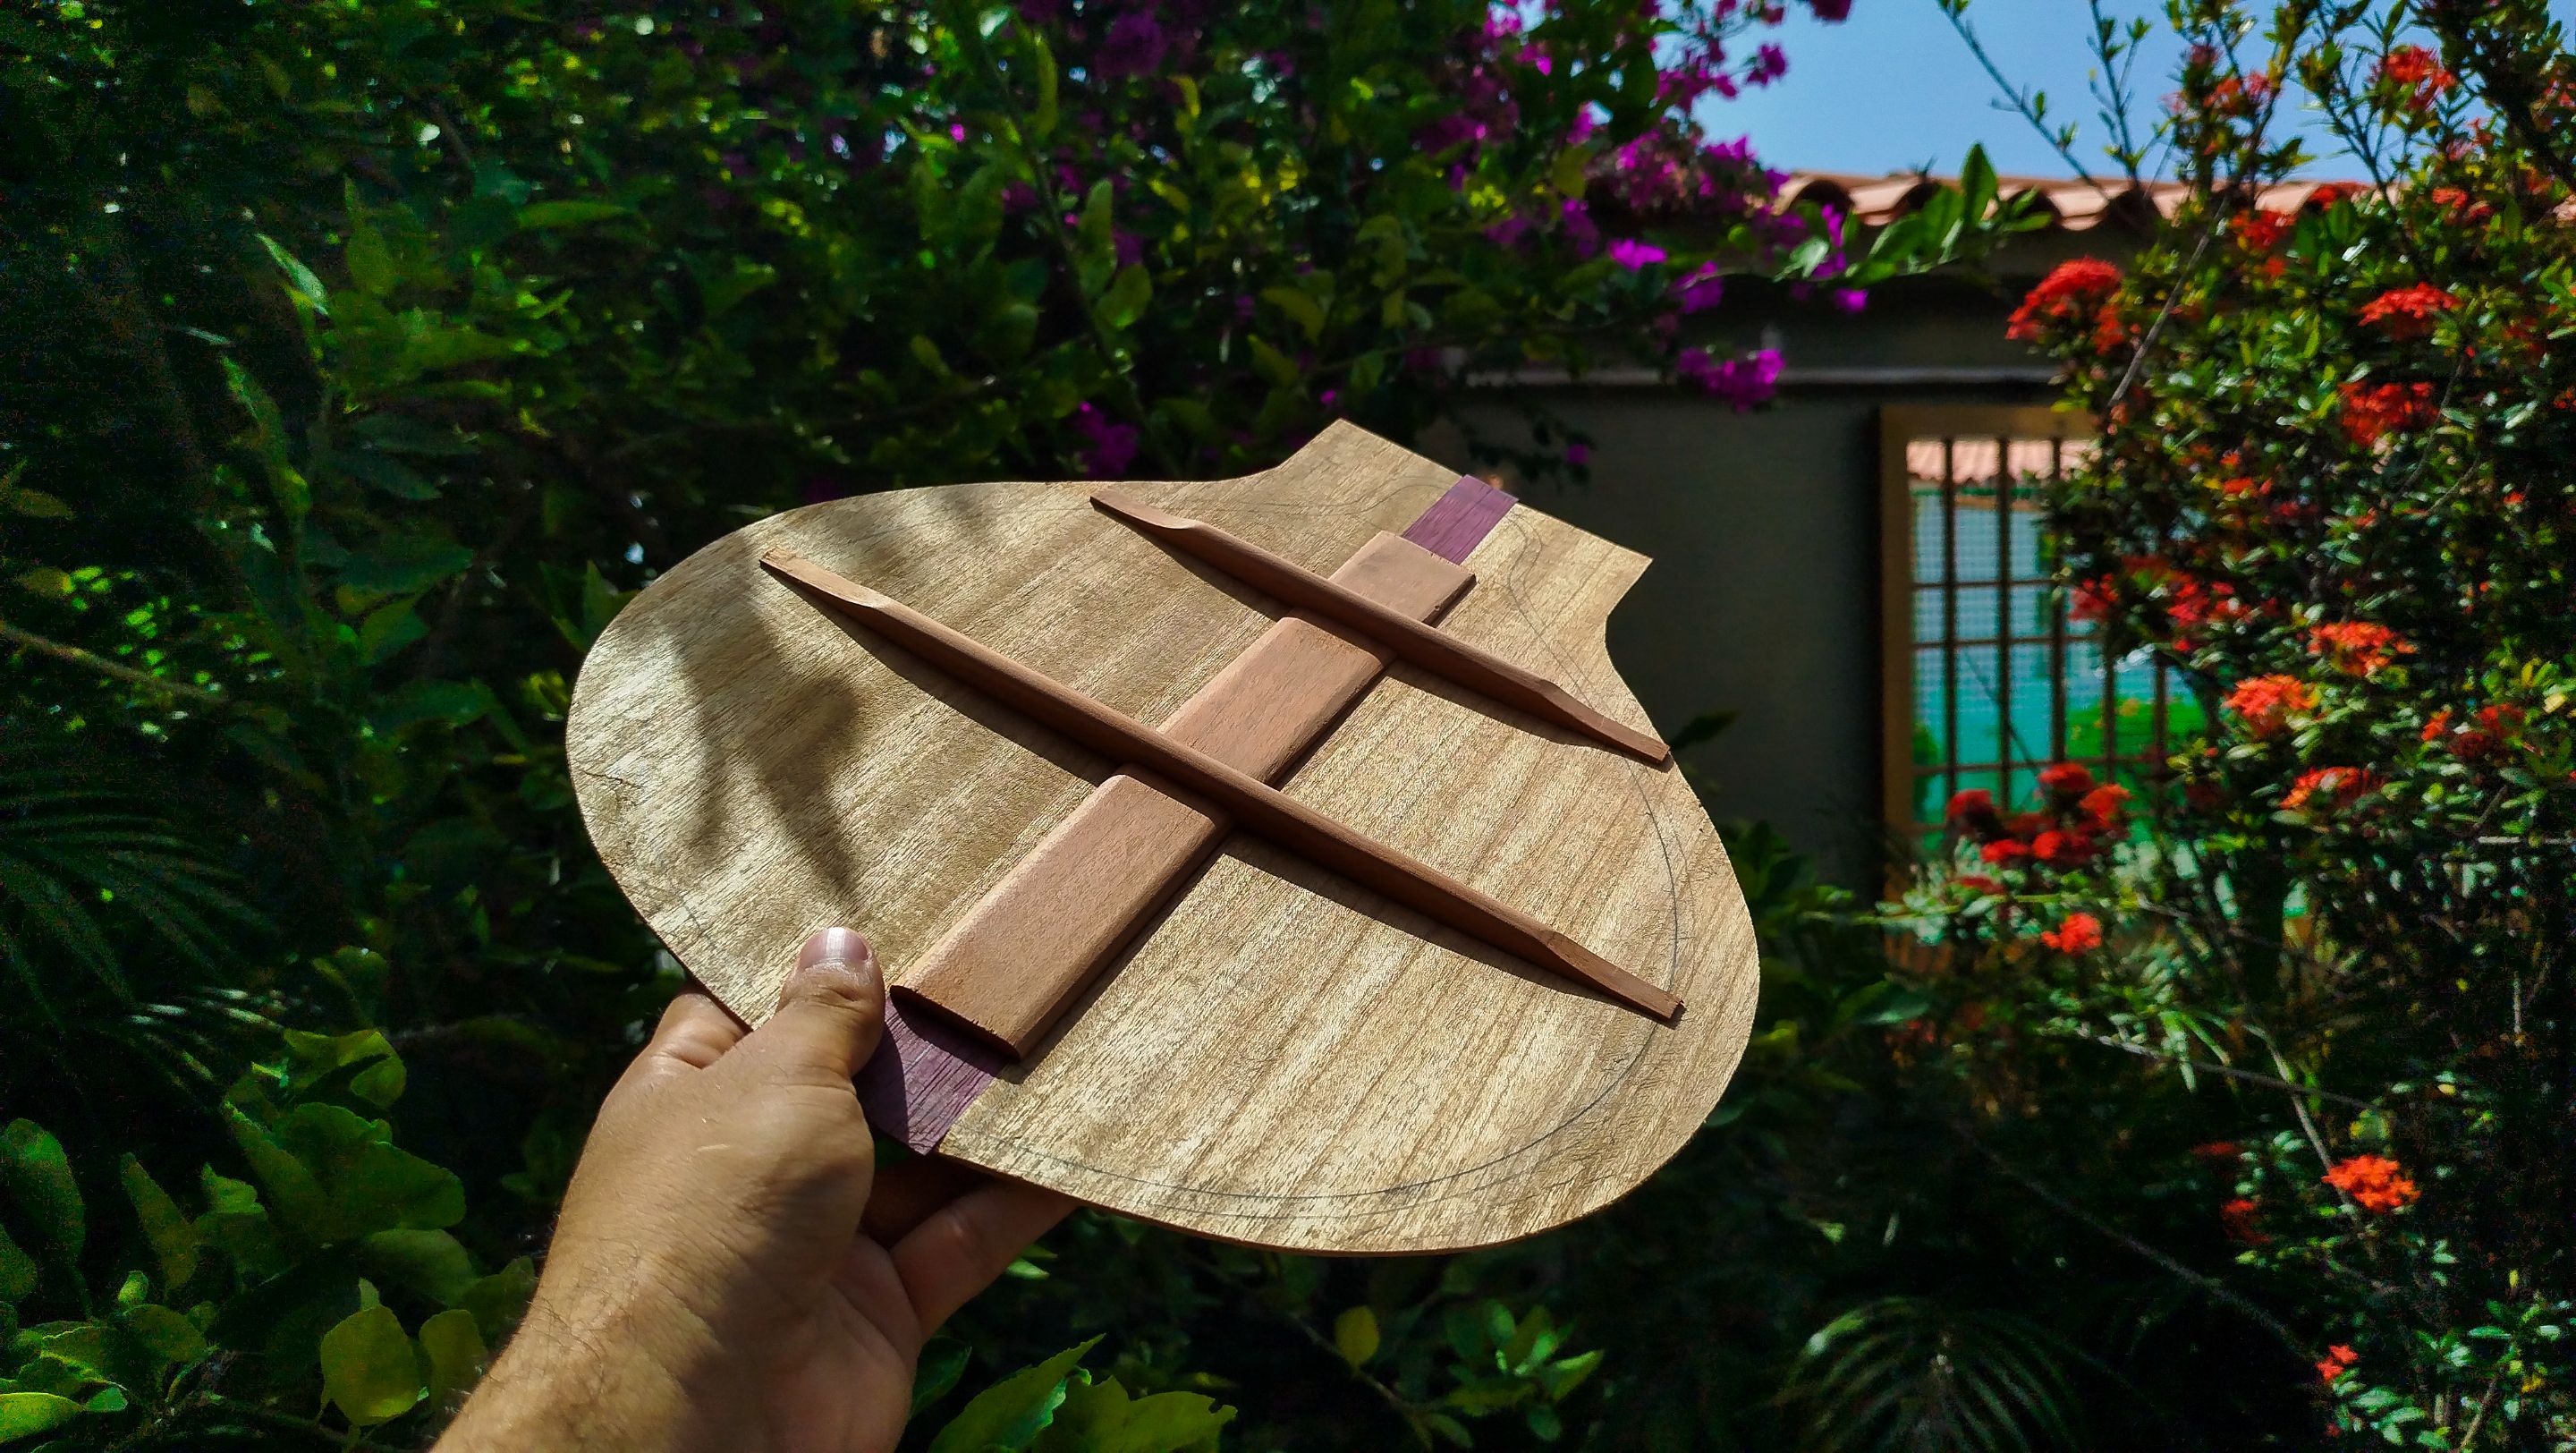
We bought a cutting mat to get a surface to make smaller cuts on other pieces of wood. This will help to get the smaller reinforcements cut when needed on a surface where we are not going to damage the table or workbench. It also came with a nice knife. We are using this to cut the joint reinforcement that need to be glued between the bars and also to the outsides of them. This is to make sure the back does not break apart in the glued places of the ornaments.
We are working on the pieces of this reinforcement until we have them shaped. Once we get them on the aesthetic side, we are gluing them in place. We need to let this rest for some time until the glue does its magic.
The last pieces of work is taking the bars and using both block plane and chisel to shape the height of the bars and the shape of the ends. To finish the rest of the bars we use sandpaper to make the bars smoother. And thus we have finished the back of the mandolin. We are only in need to cut the margins, but this will be done once we need to glue the back in place.
On the next entry, we are going to work on the end block and then on the sides. Thanks for reading. Until next time!
| Number | Entry |
|---|---|
| 1 | The First Mandolin |
| 2 | Starting a Neck |
| 3 | The Heel |
| 4 | Headstock and Template |
| 5 | Neck, Sound Board and Mould |
-
Photos 📷: Redmi Note 13
-
Thumbnail 🖼️: Canva.
-
Editing 🎬:Adobe Photoshop Lightroom.

Follow me on Instagram for enquires and commission.
If you'd like to help the workshop grow, you can make a donation here.
You can find me at discord as bertrayo#1763