
Hello there, my fellow artisans and handcrafts enthusiasts!
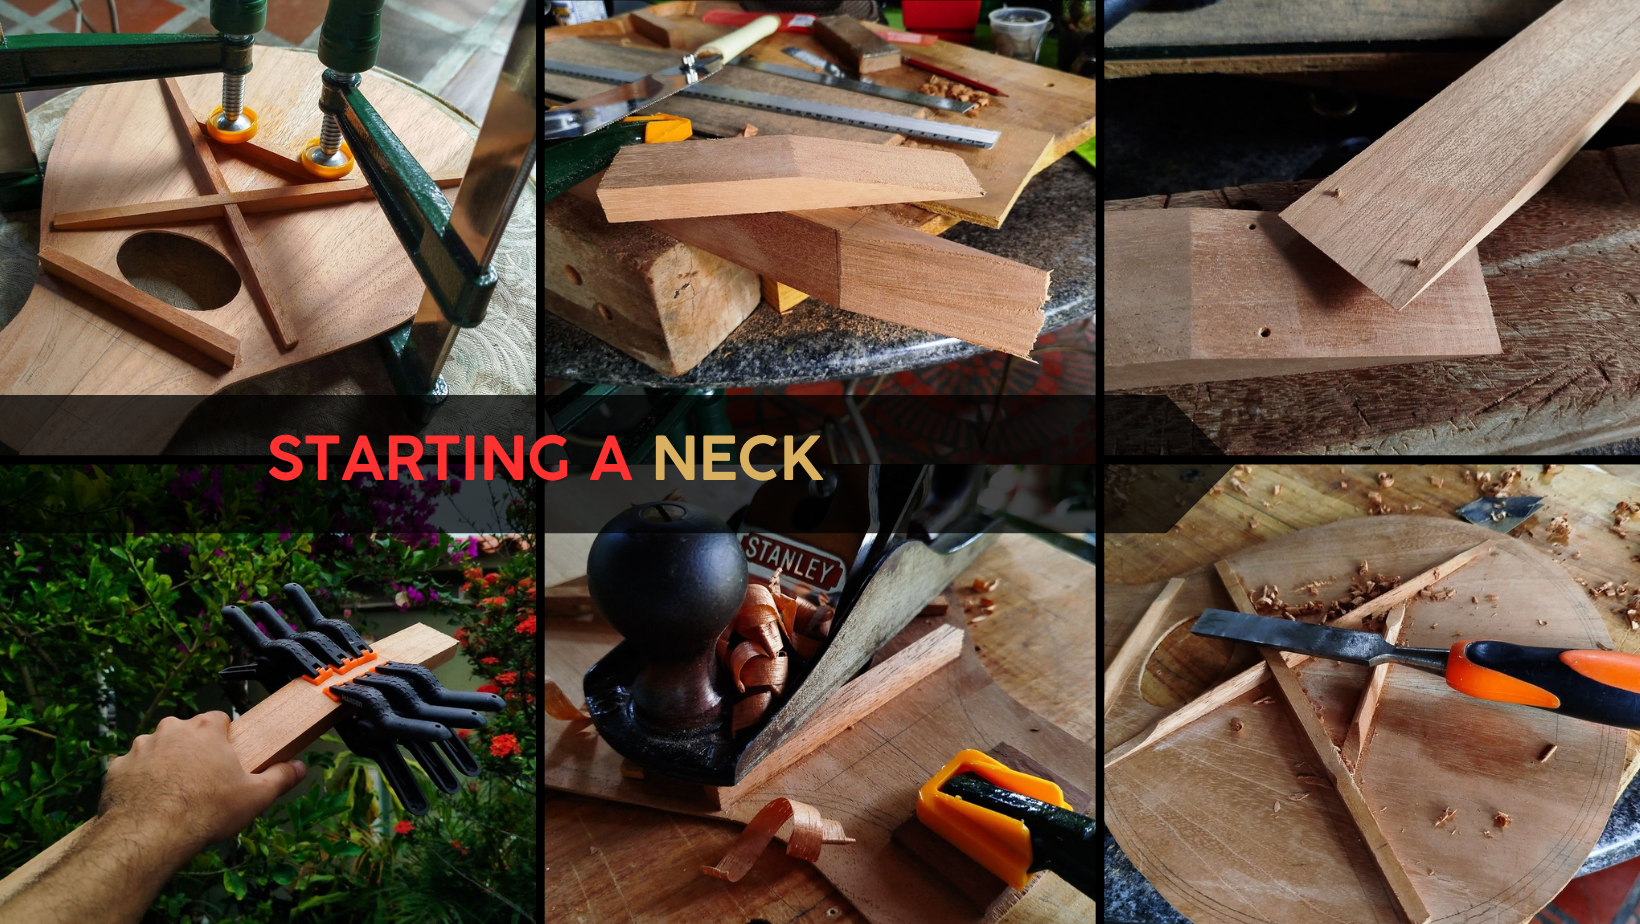
Welcome back to another entry into the projects of the workshop. Last time we started this project by working on the sound board. There is something that I missed showing but it is on the first part of this post. The rest is all about the start of the neck going from the blank to the cut of the head stock and gluing this part. We are going little by little on this build since a Mandolin is quite different from the other builds. But let's get to it!
Neck blank
Swipe to see the photos
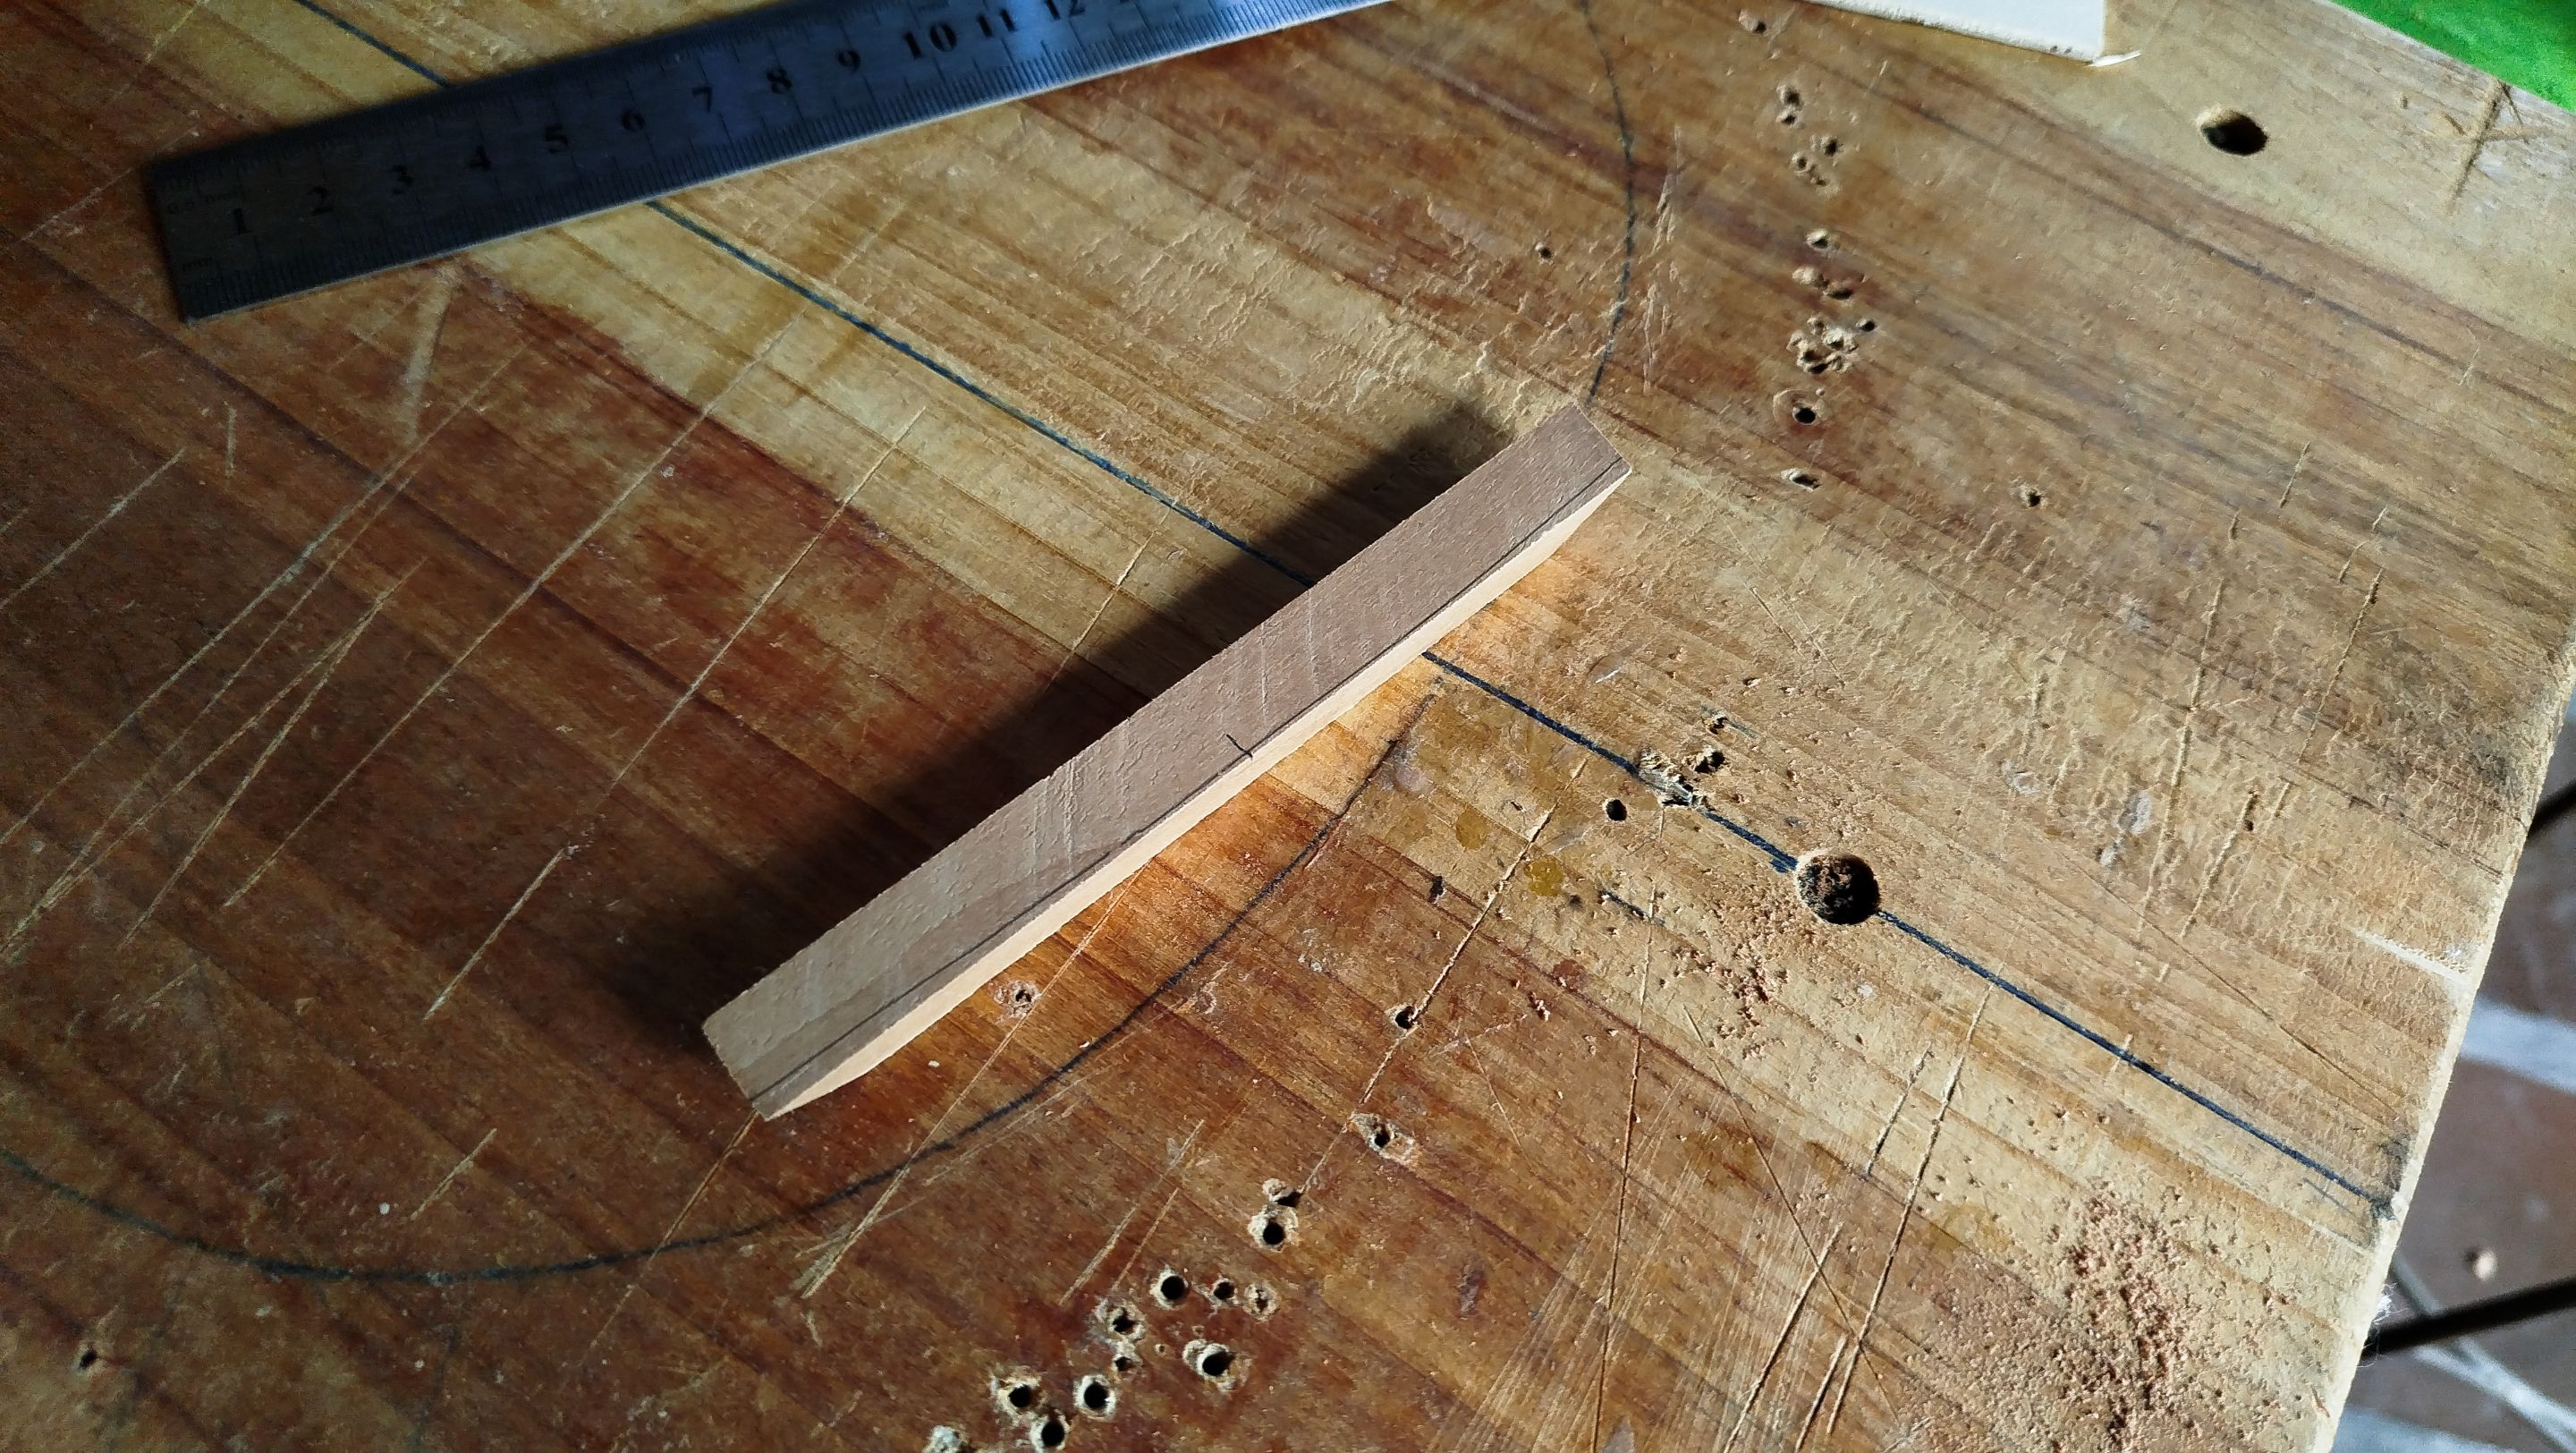
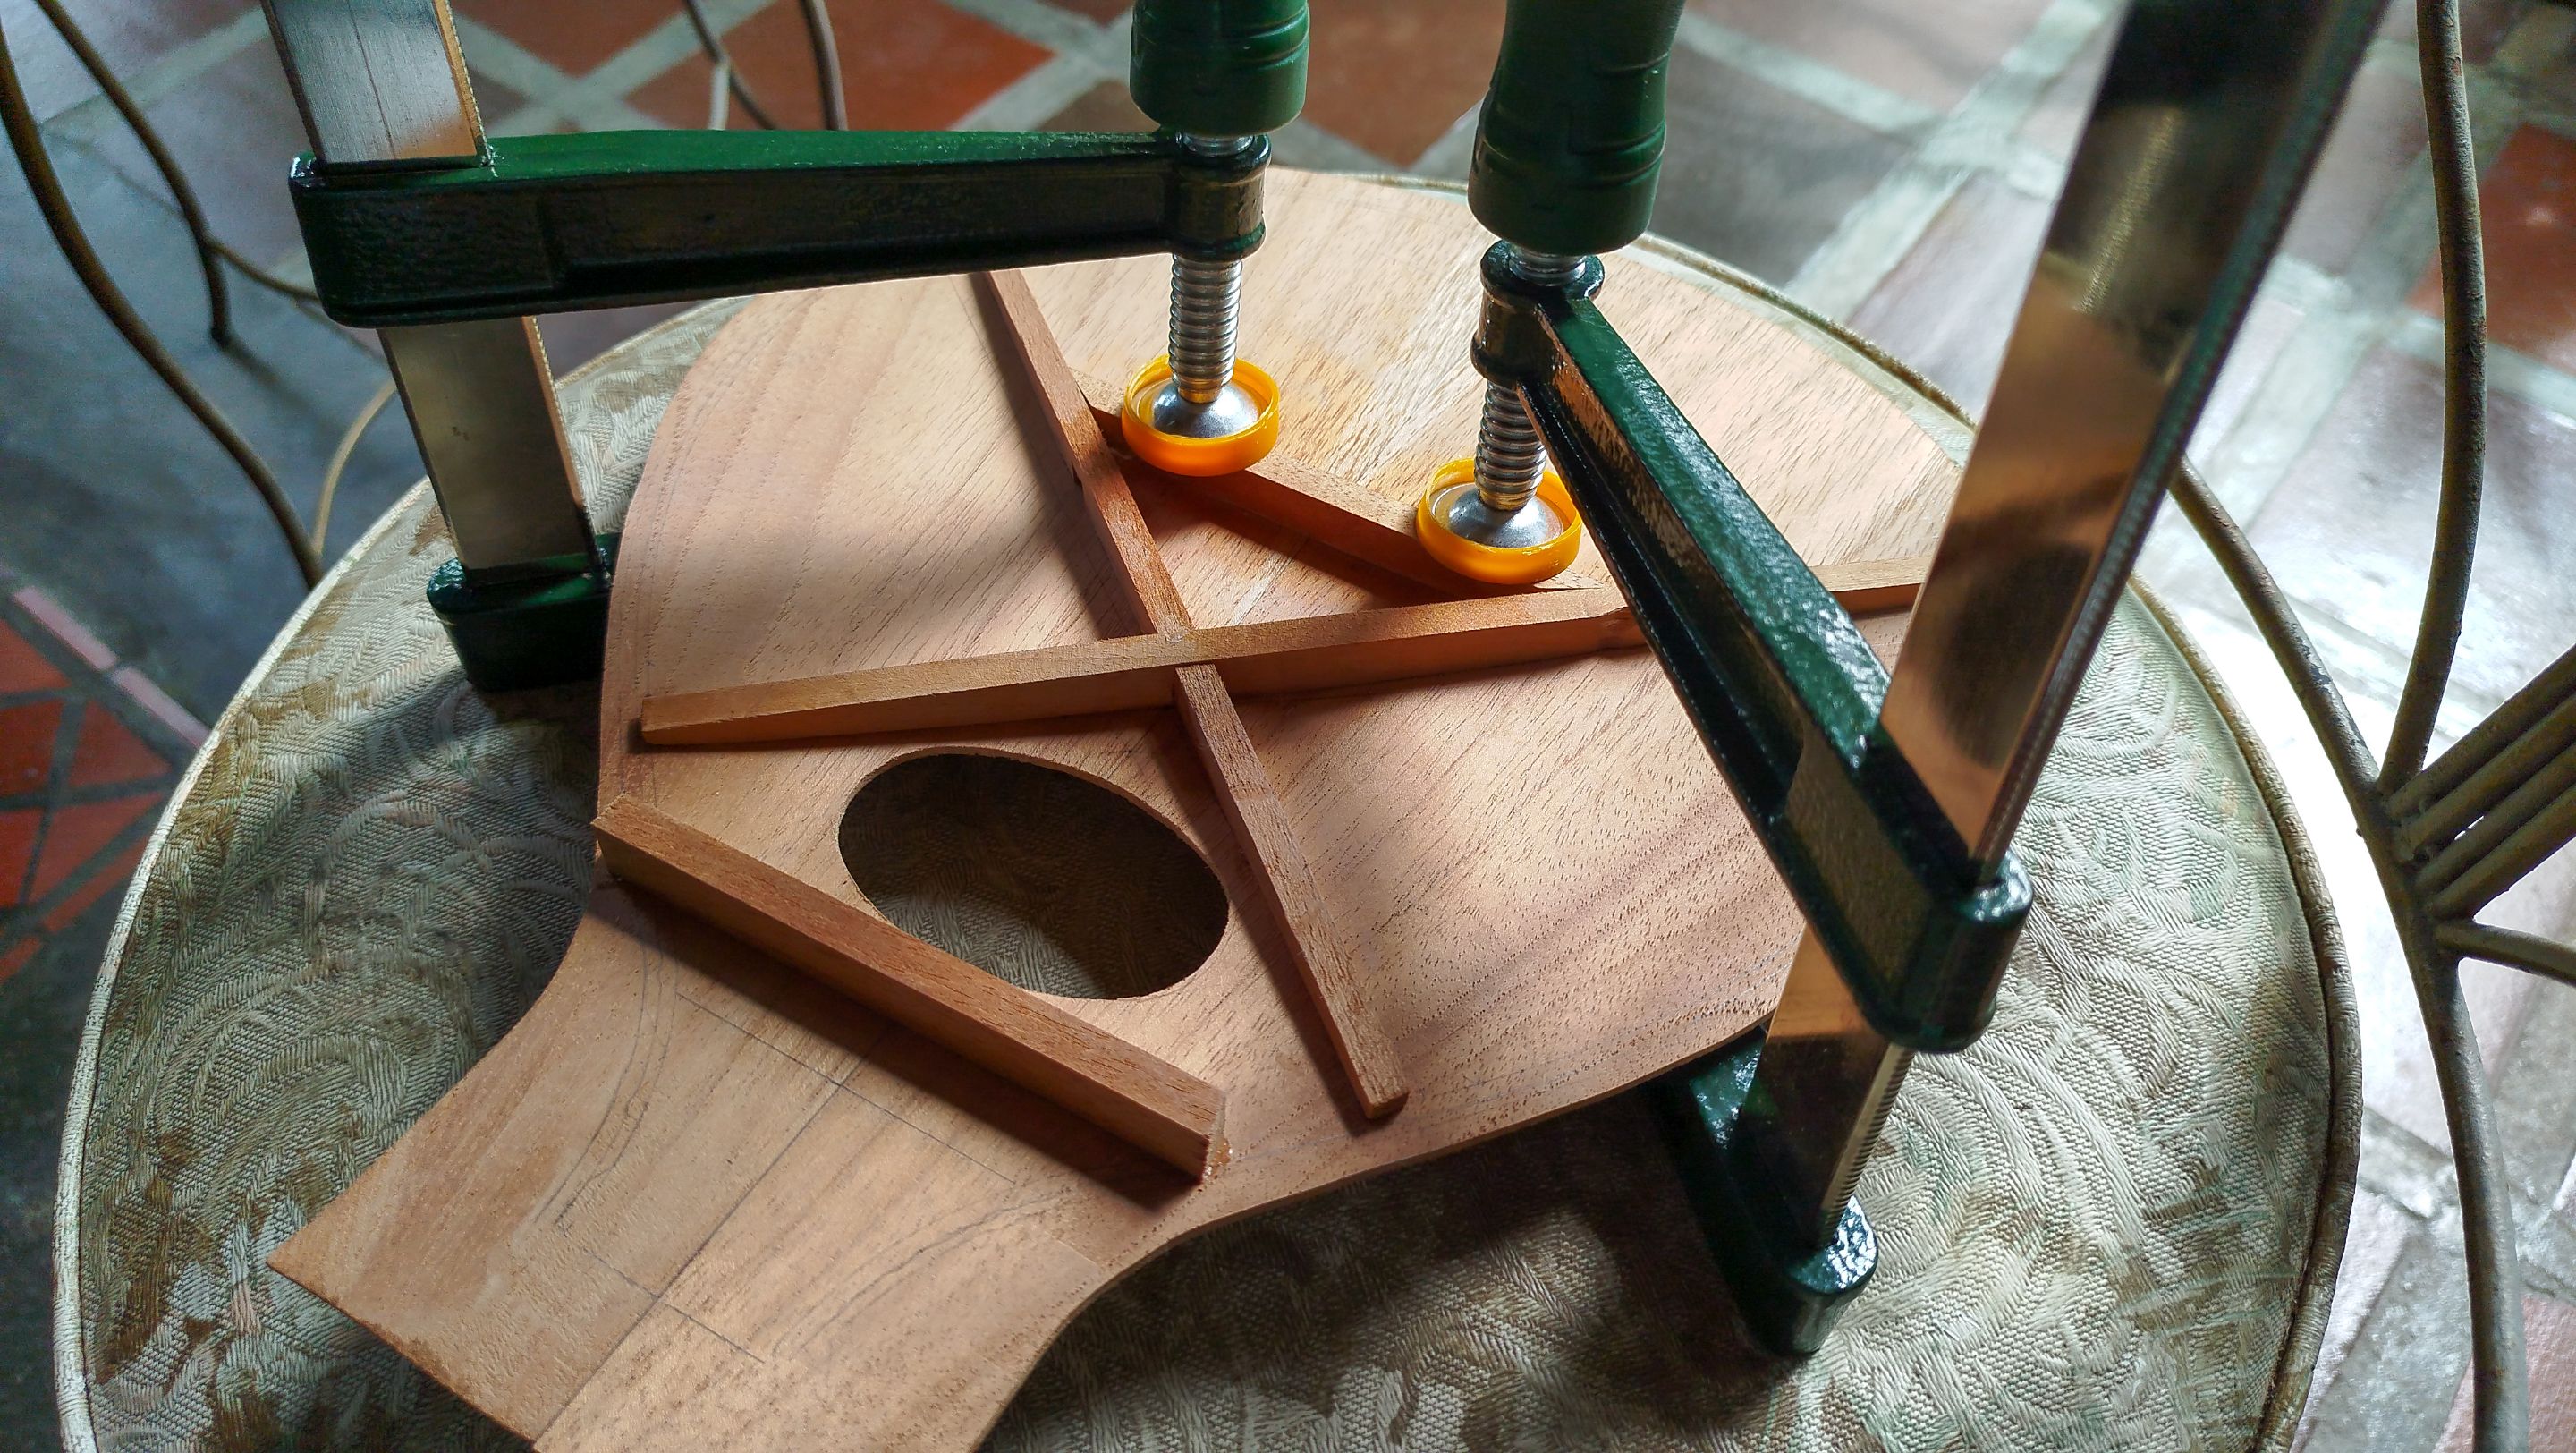
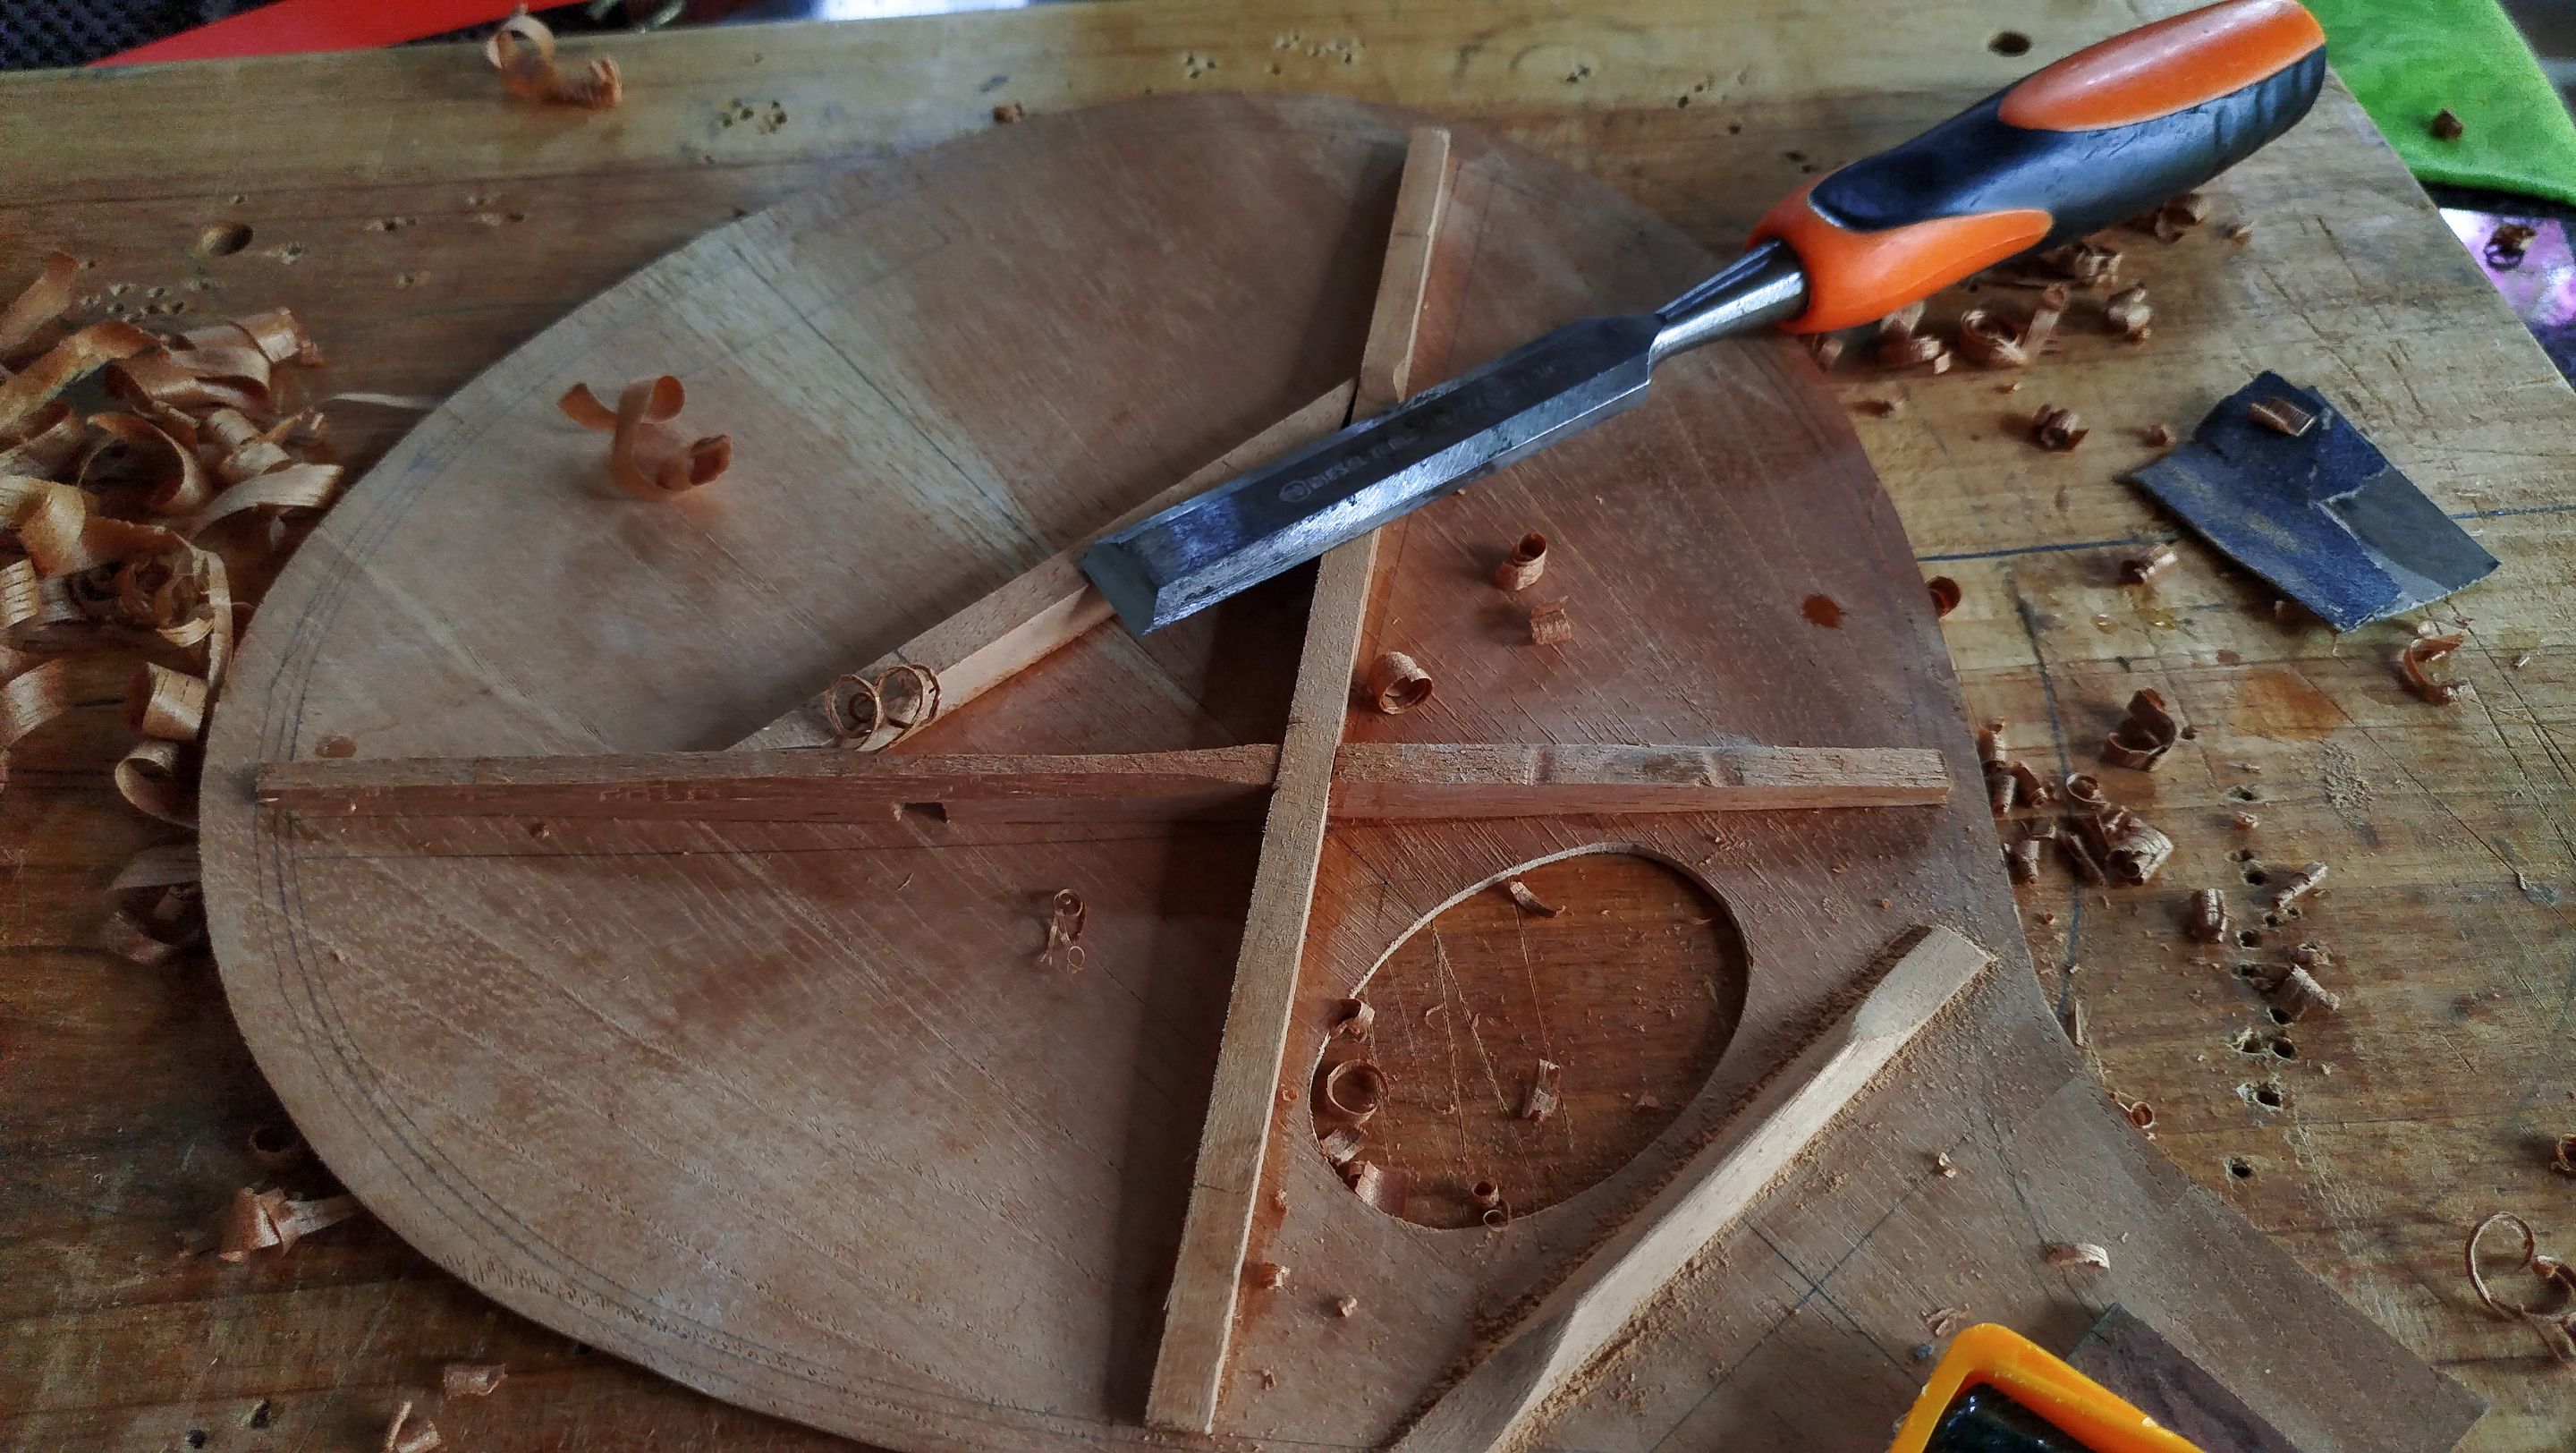
There was a reinforcement missing in the sound board. It was the bridge brace. This goes around the lower part of the X we hade with the other bars. We need to give the brace the radius of the sound board. The idea of this part is to give the joint extra strength. You cannot forget a mandolin has 4 courses of strings. That means 8 strings. They are made of metal. That is a lot of tension. So this brace is to prevent the the sound board from bending and then breaking.
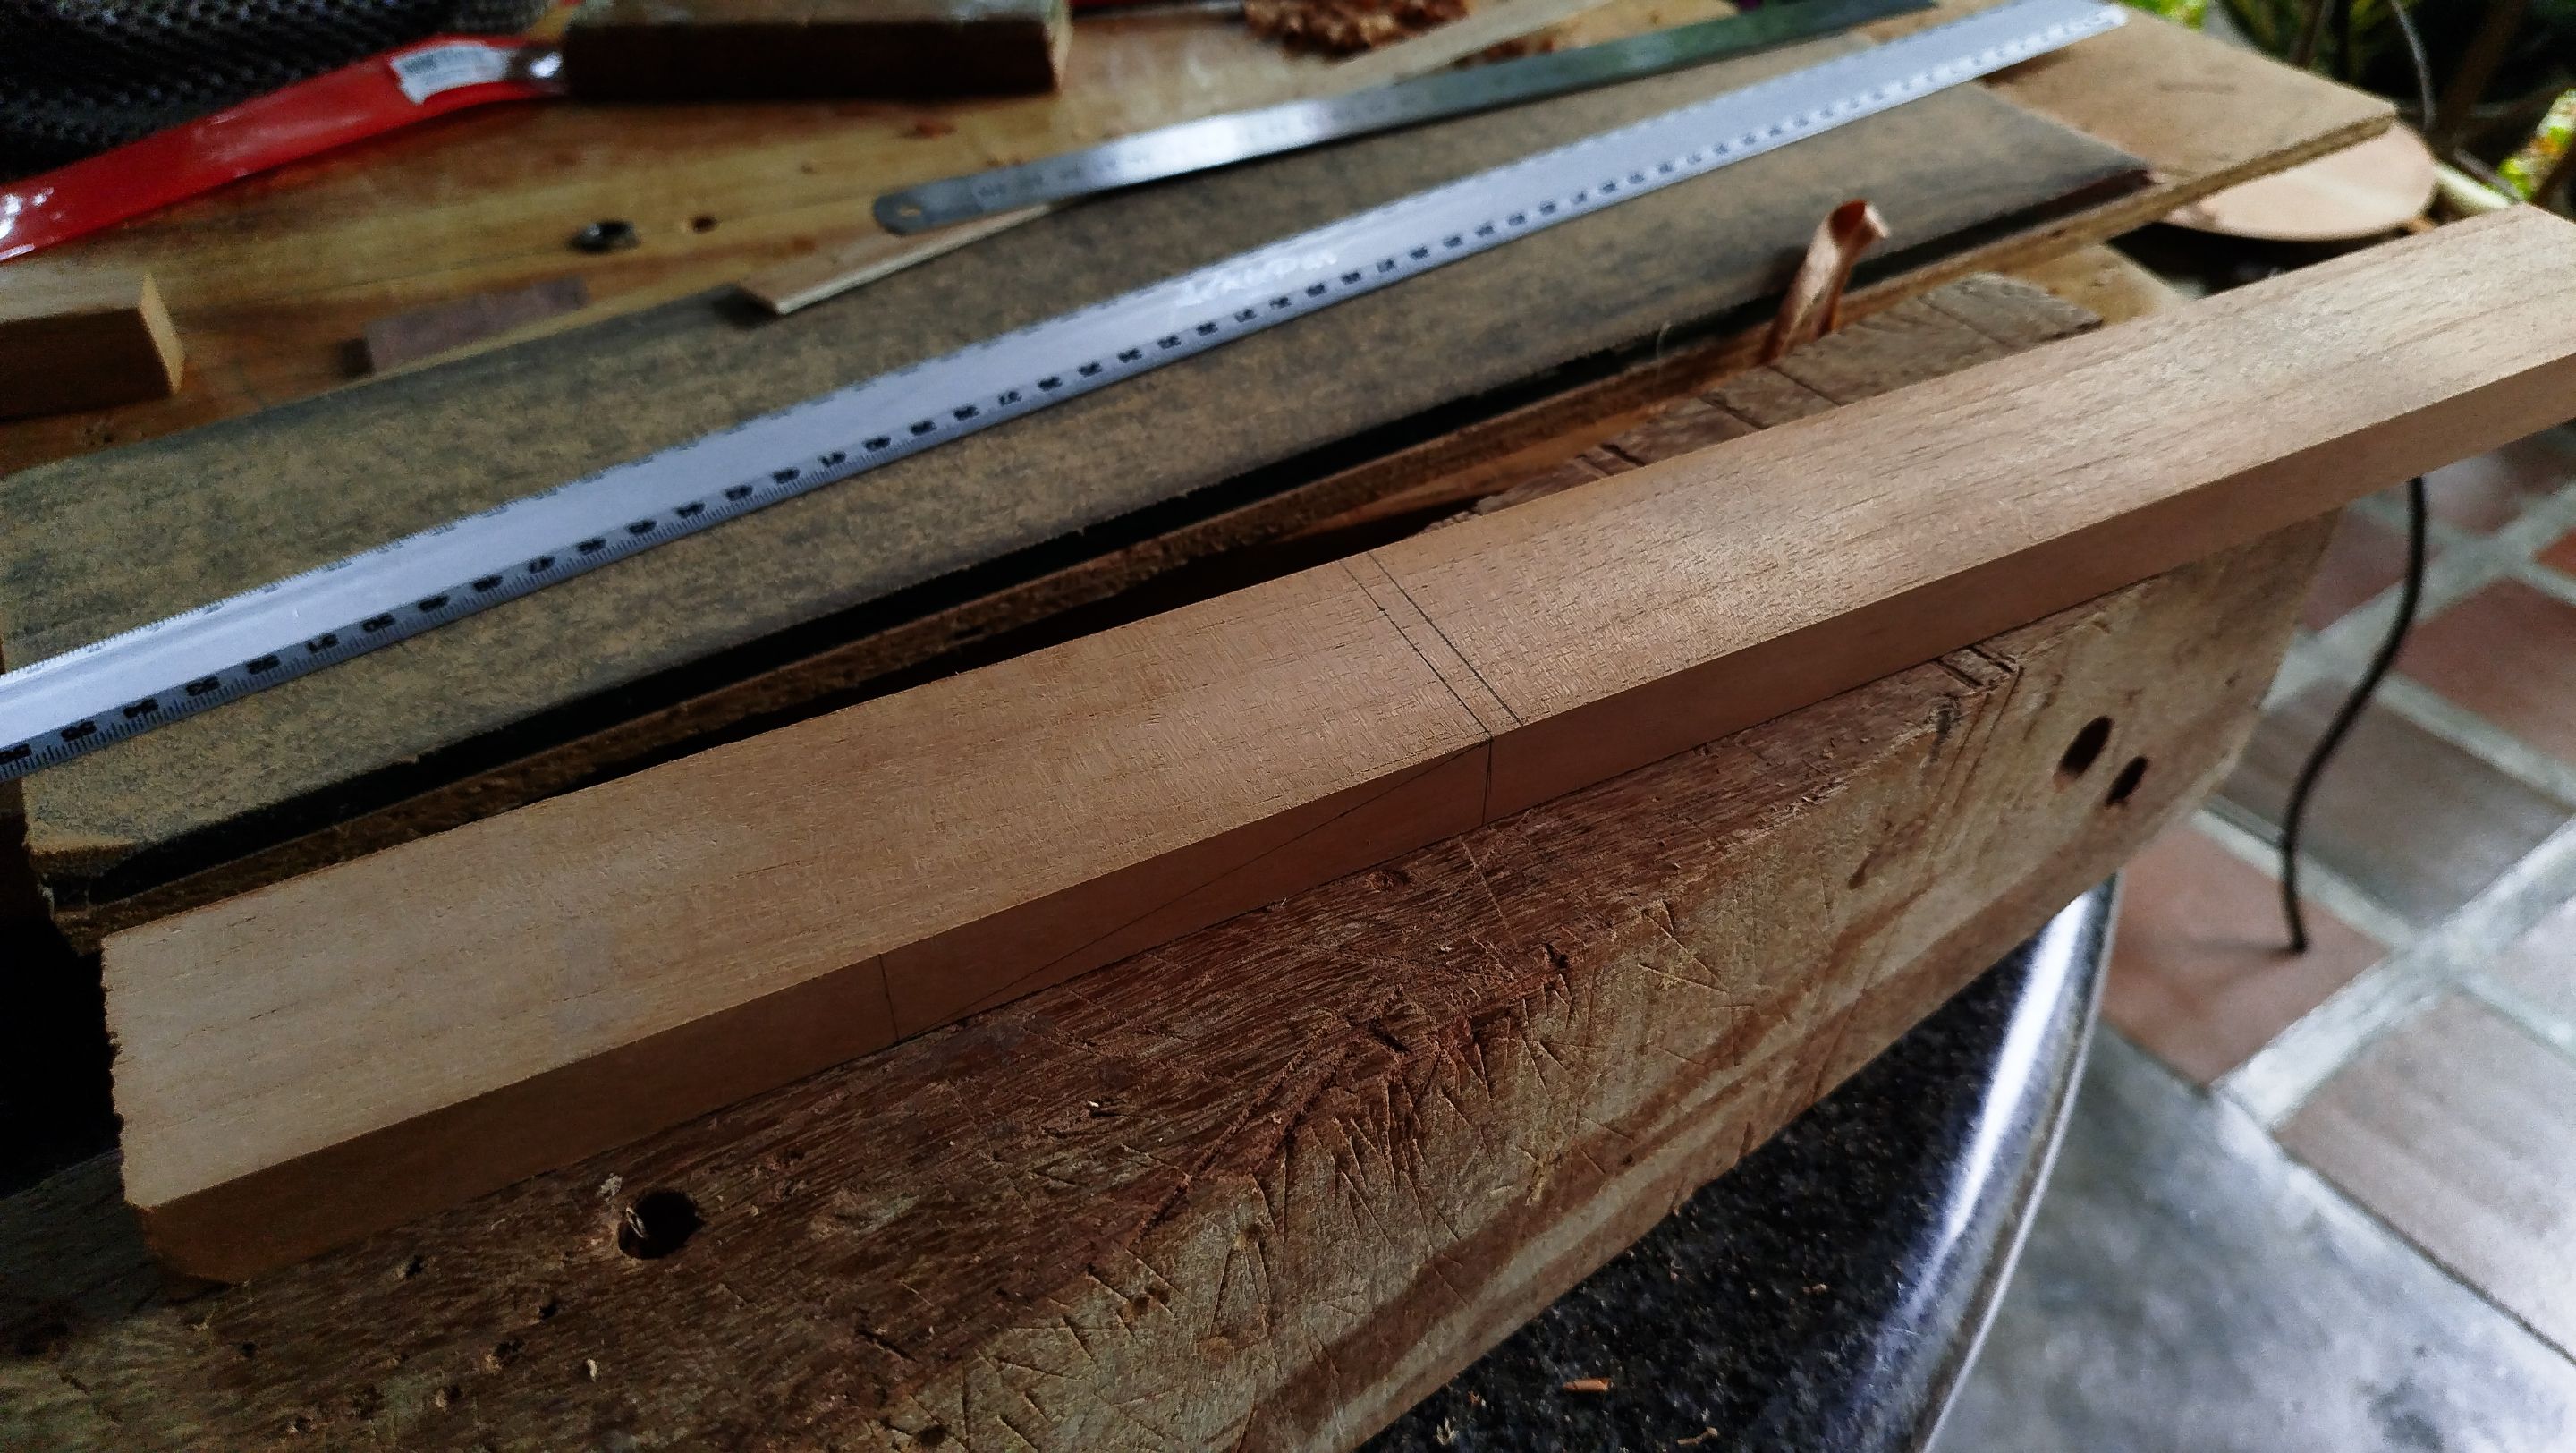
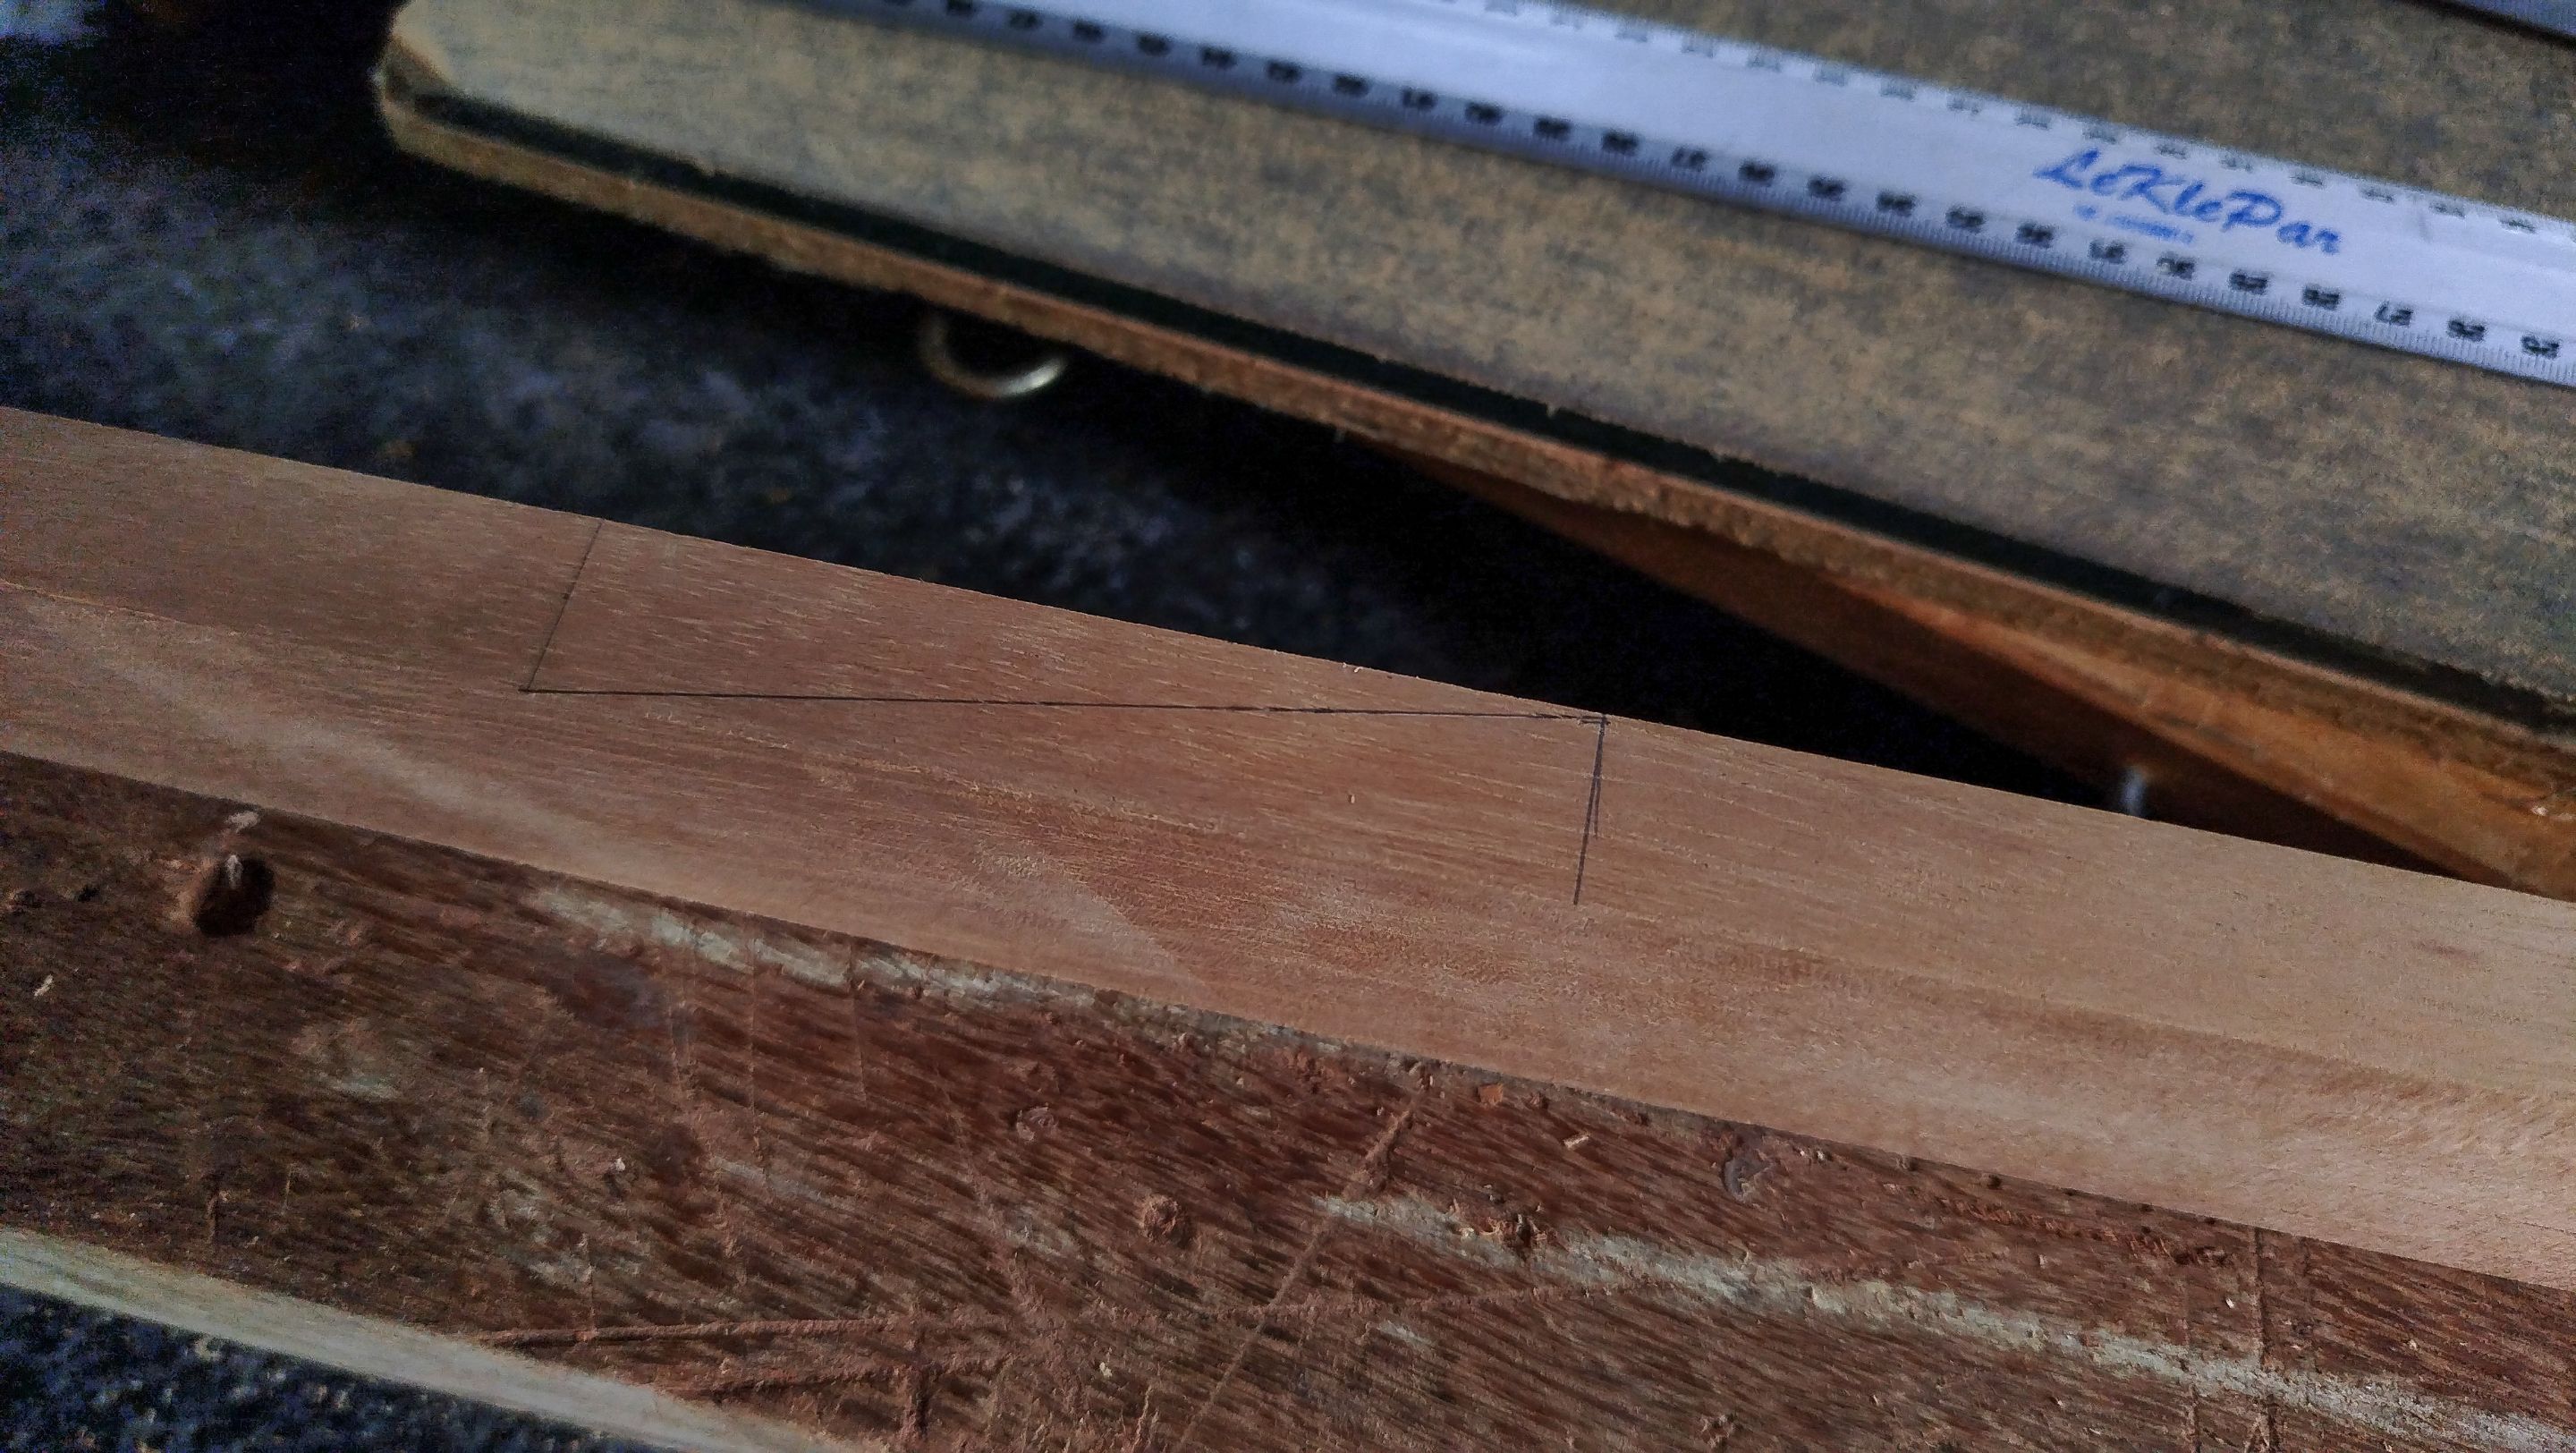
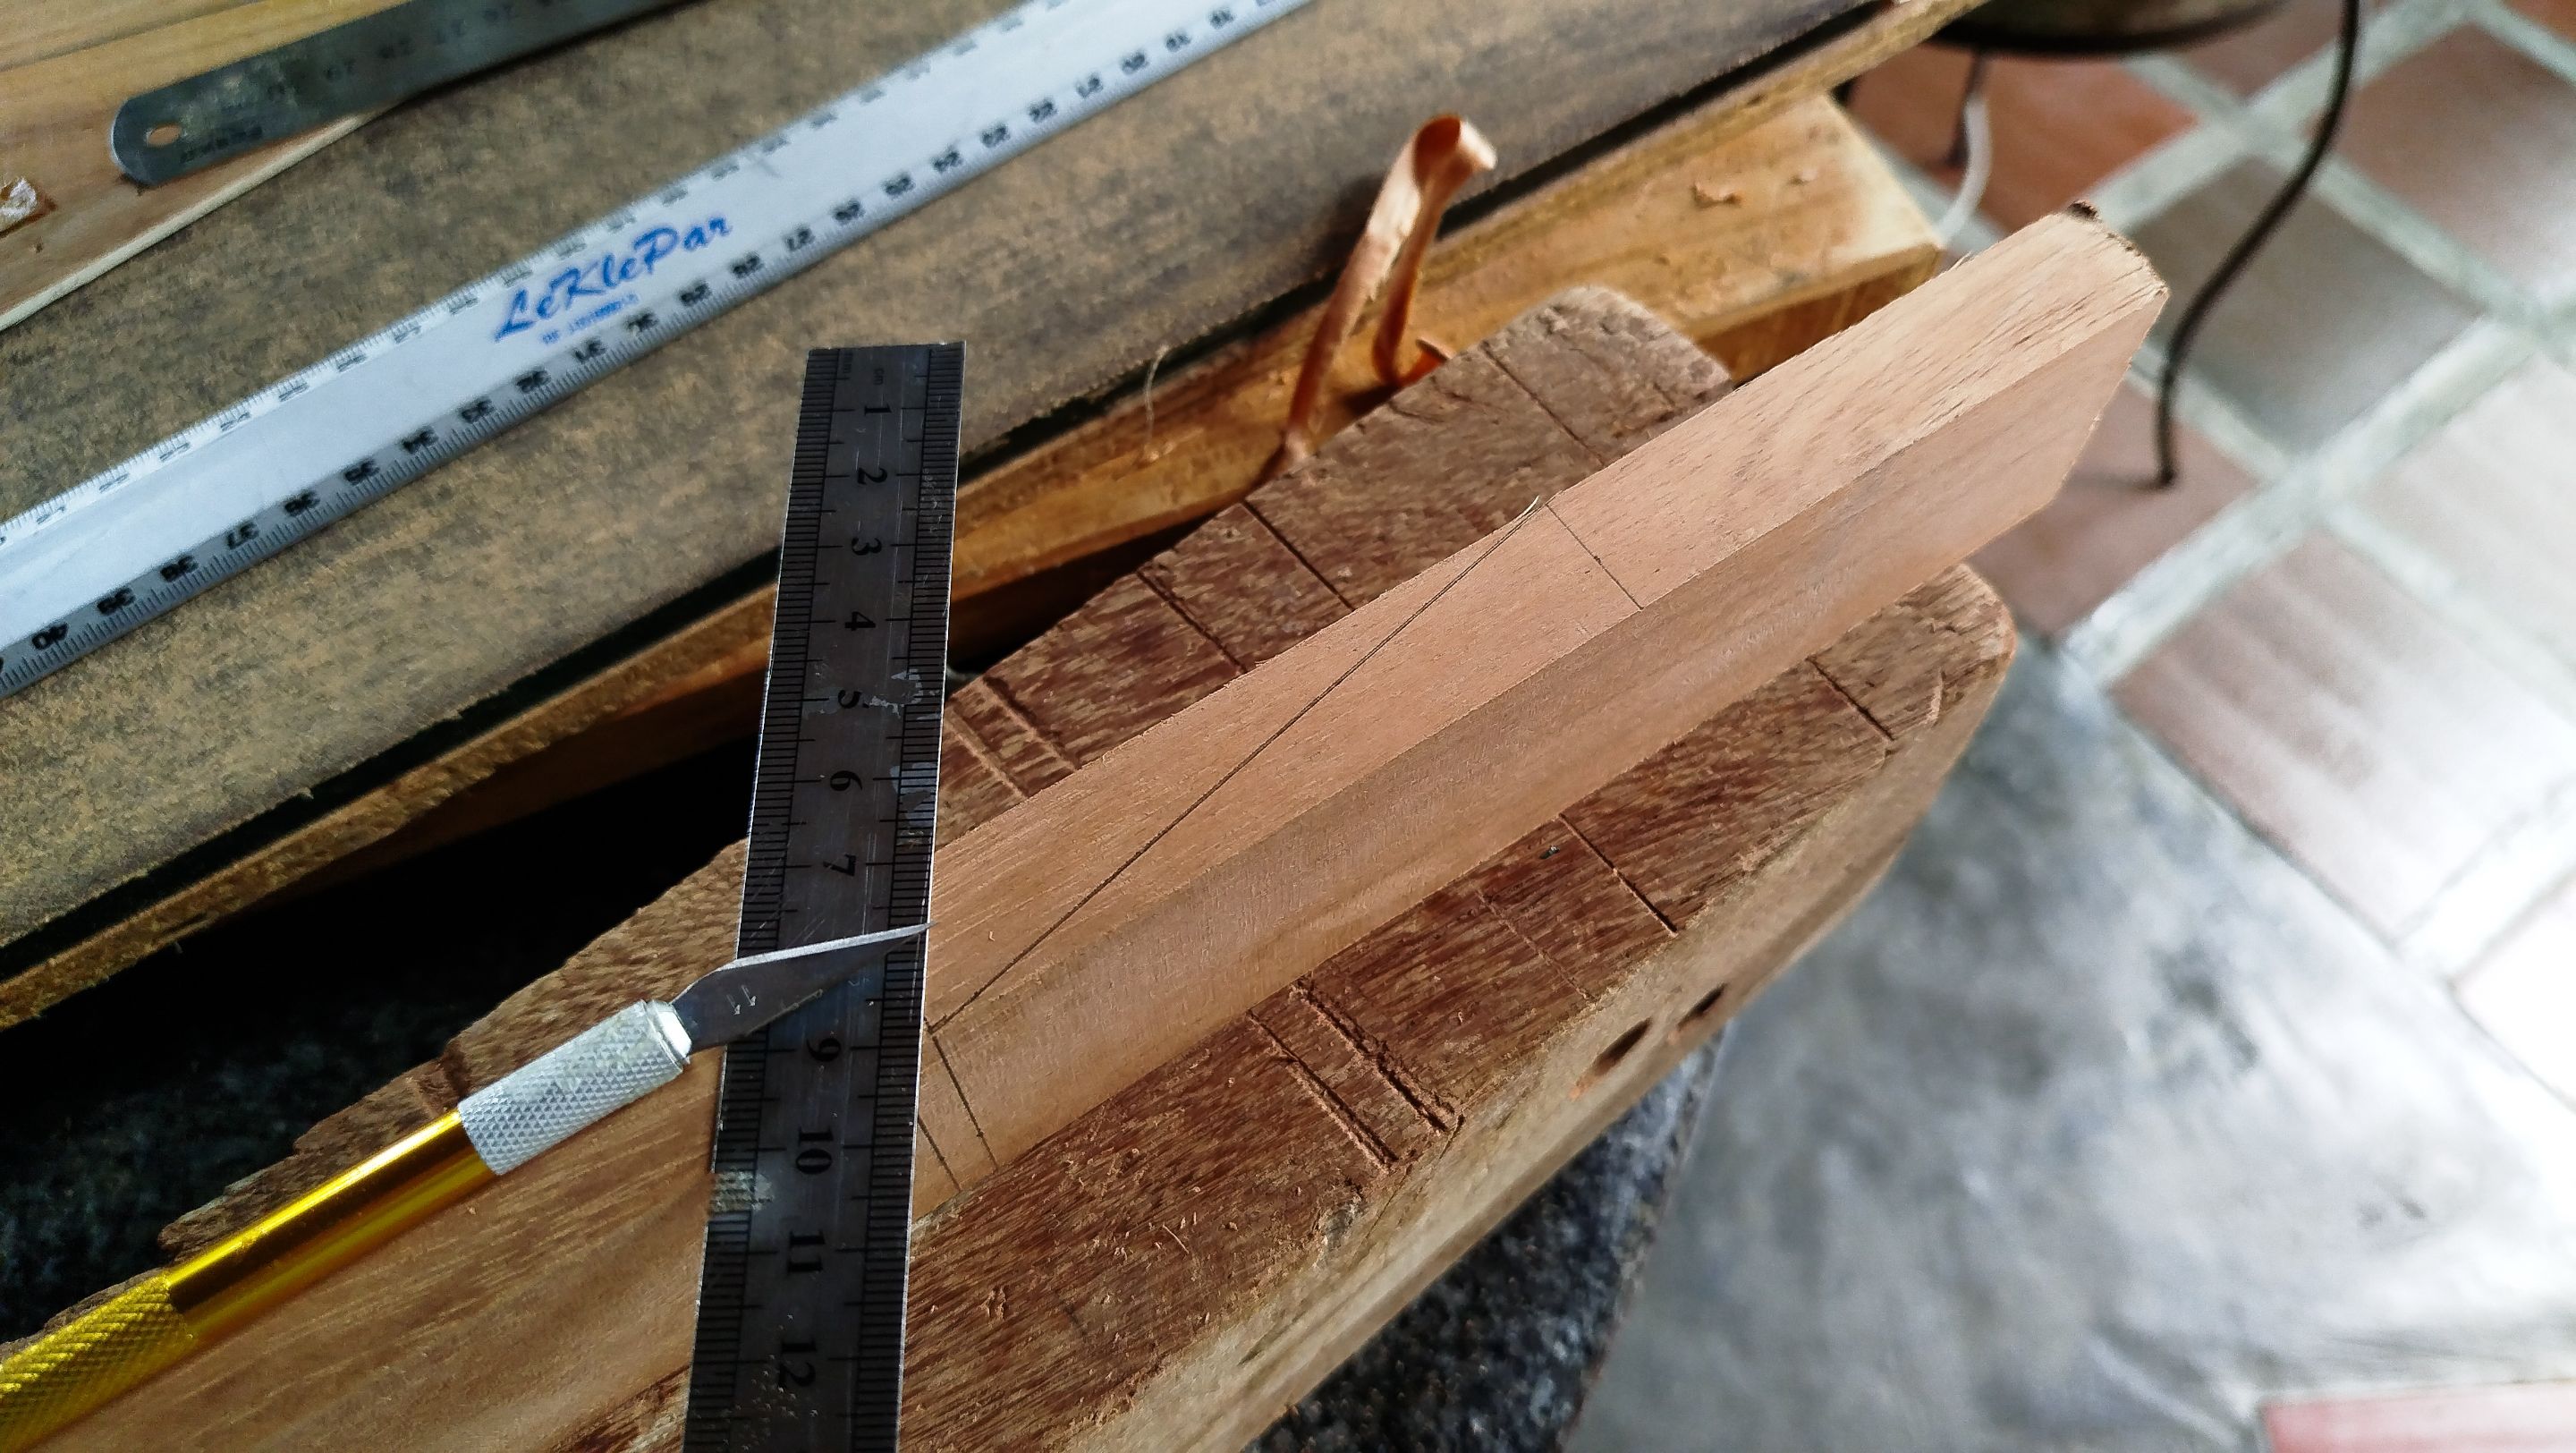
While that reinforcement glues in place, we can move to the neck blank. There are no photos of the cleanup process. But this piece was thoroughly cleaned and some of its faces were squared off. Now we start making the portion of the neck. To start we make the marks for the cuts of the head. For this we need to make sure to have at least 17cm for the head. This is necessary for the tuners. We are going to have 8 tuners. Usually, these tuners come in sets of four all connected. We take the measurements to make the cut.
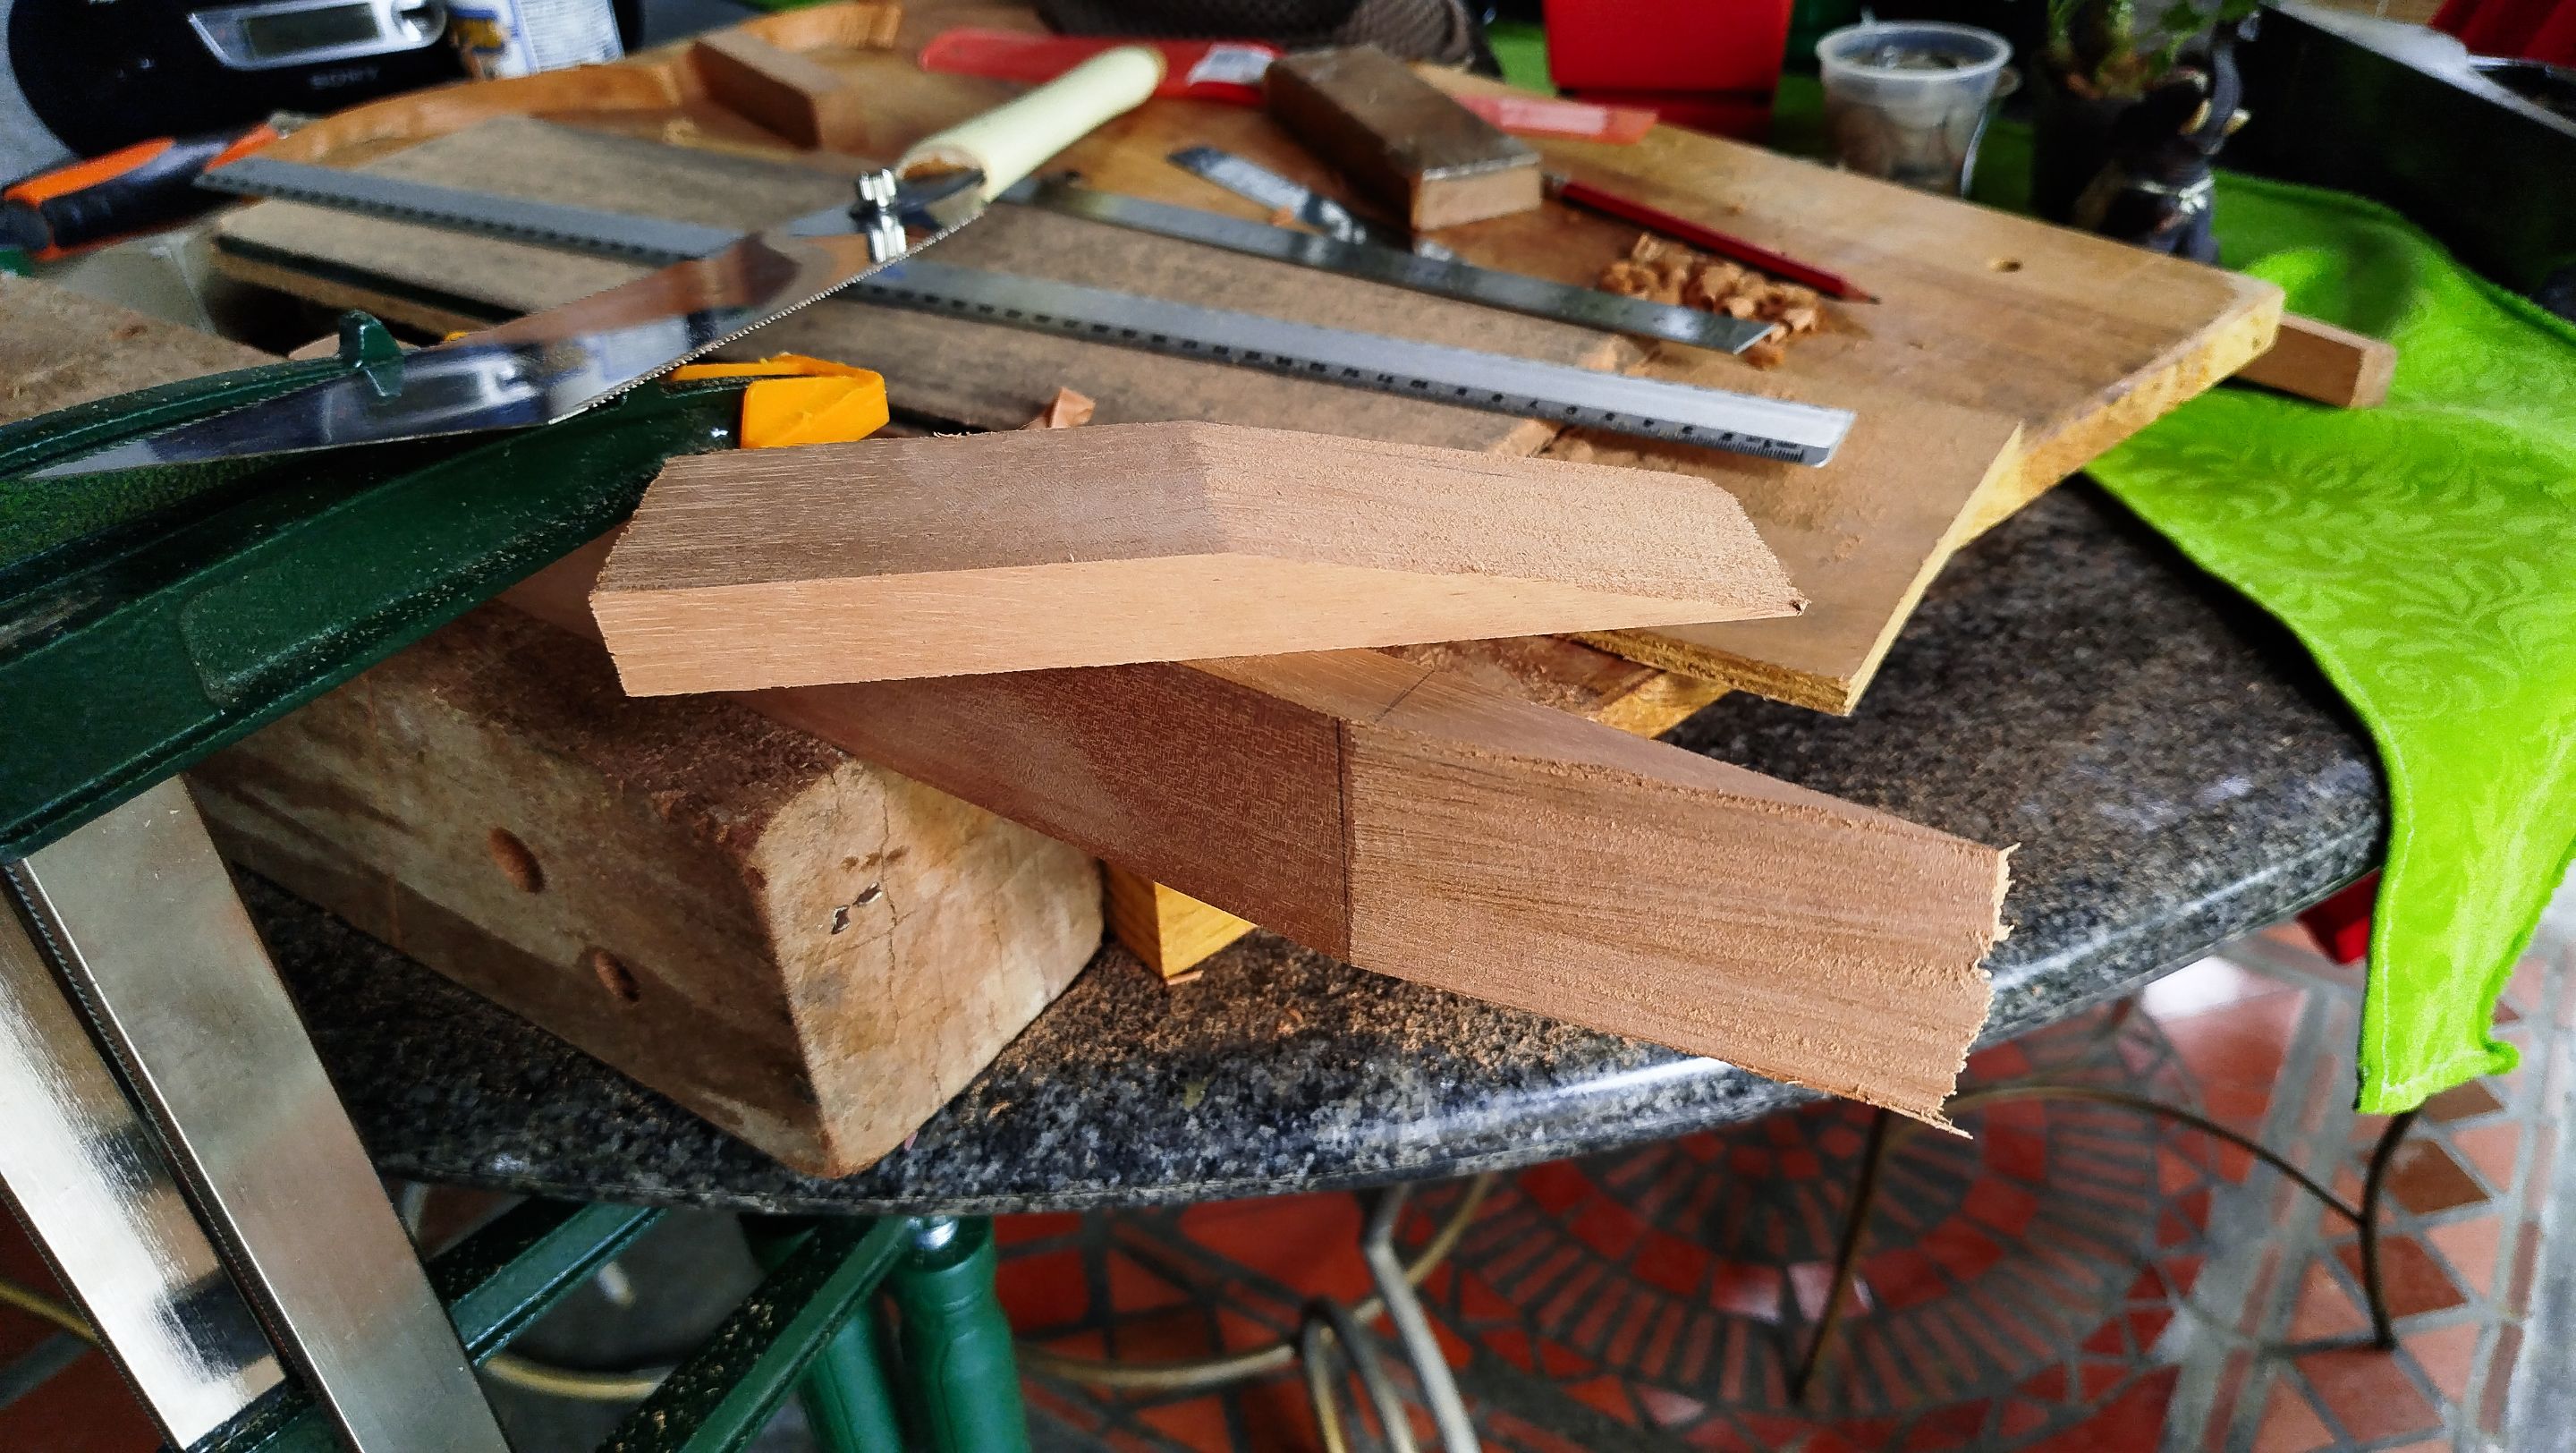
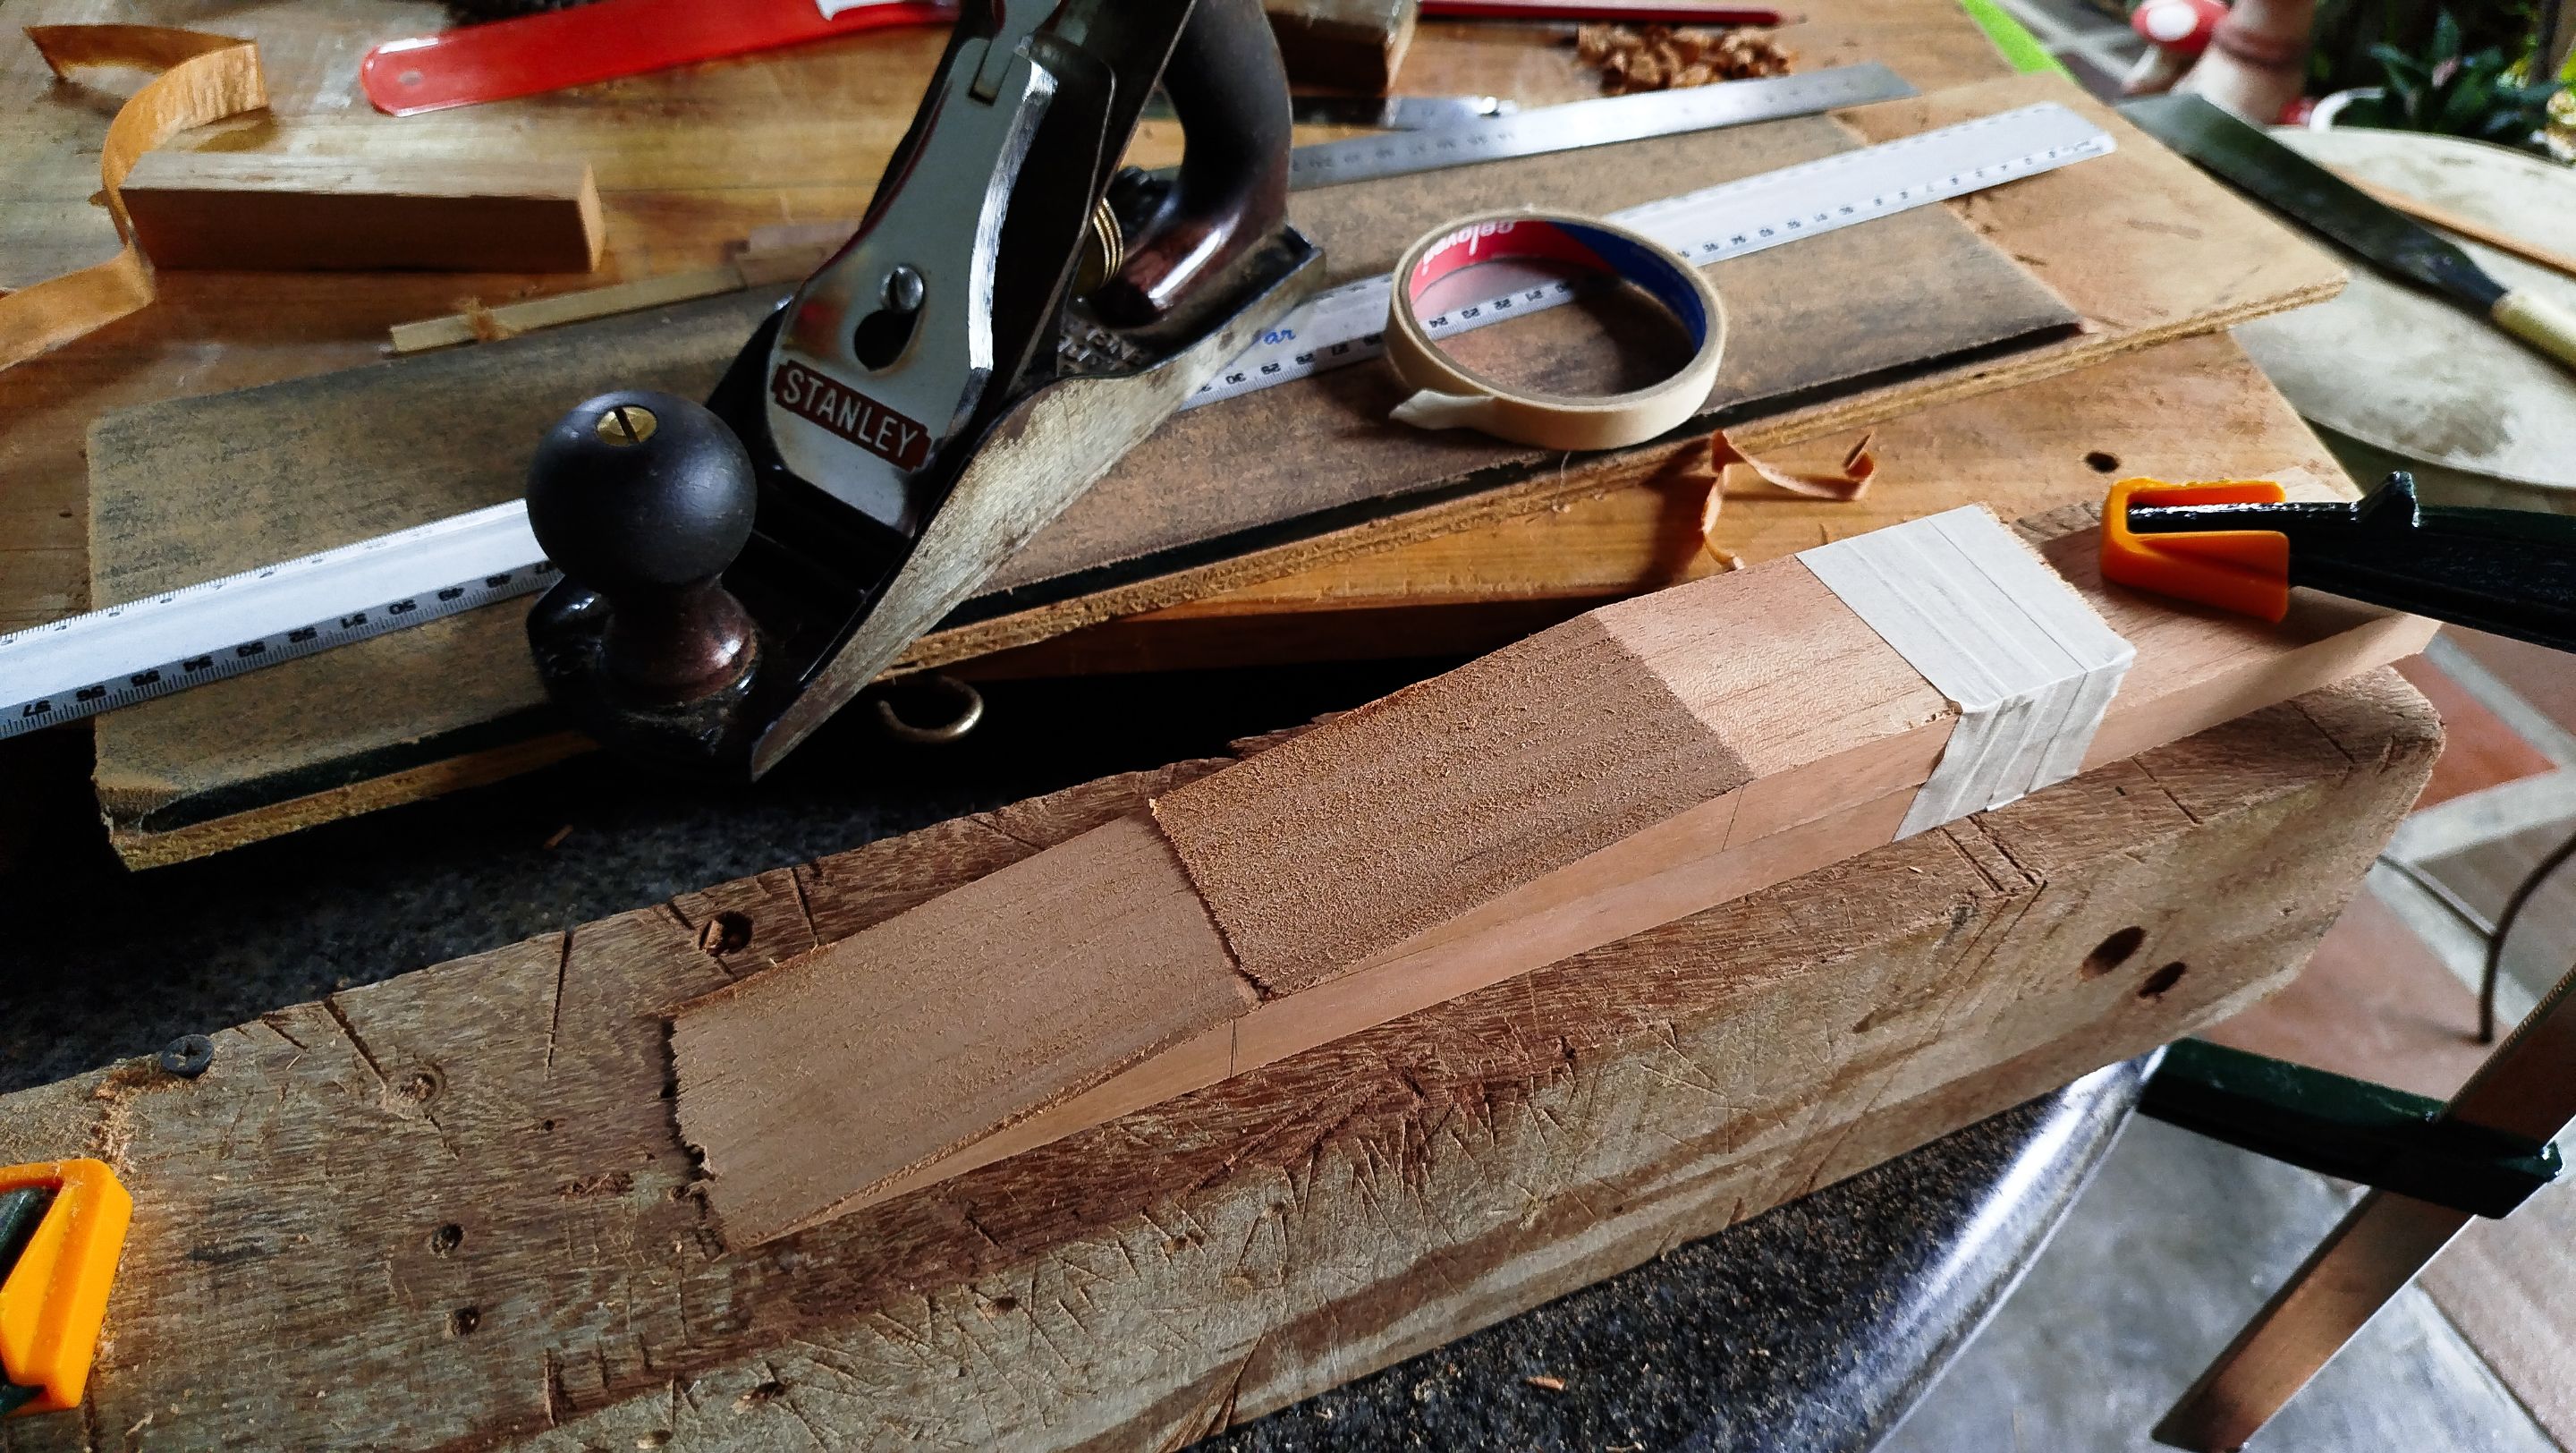
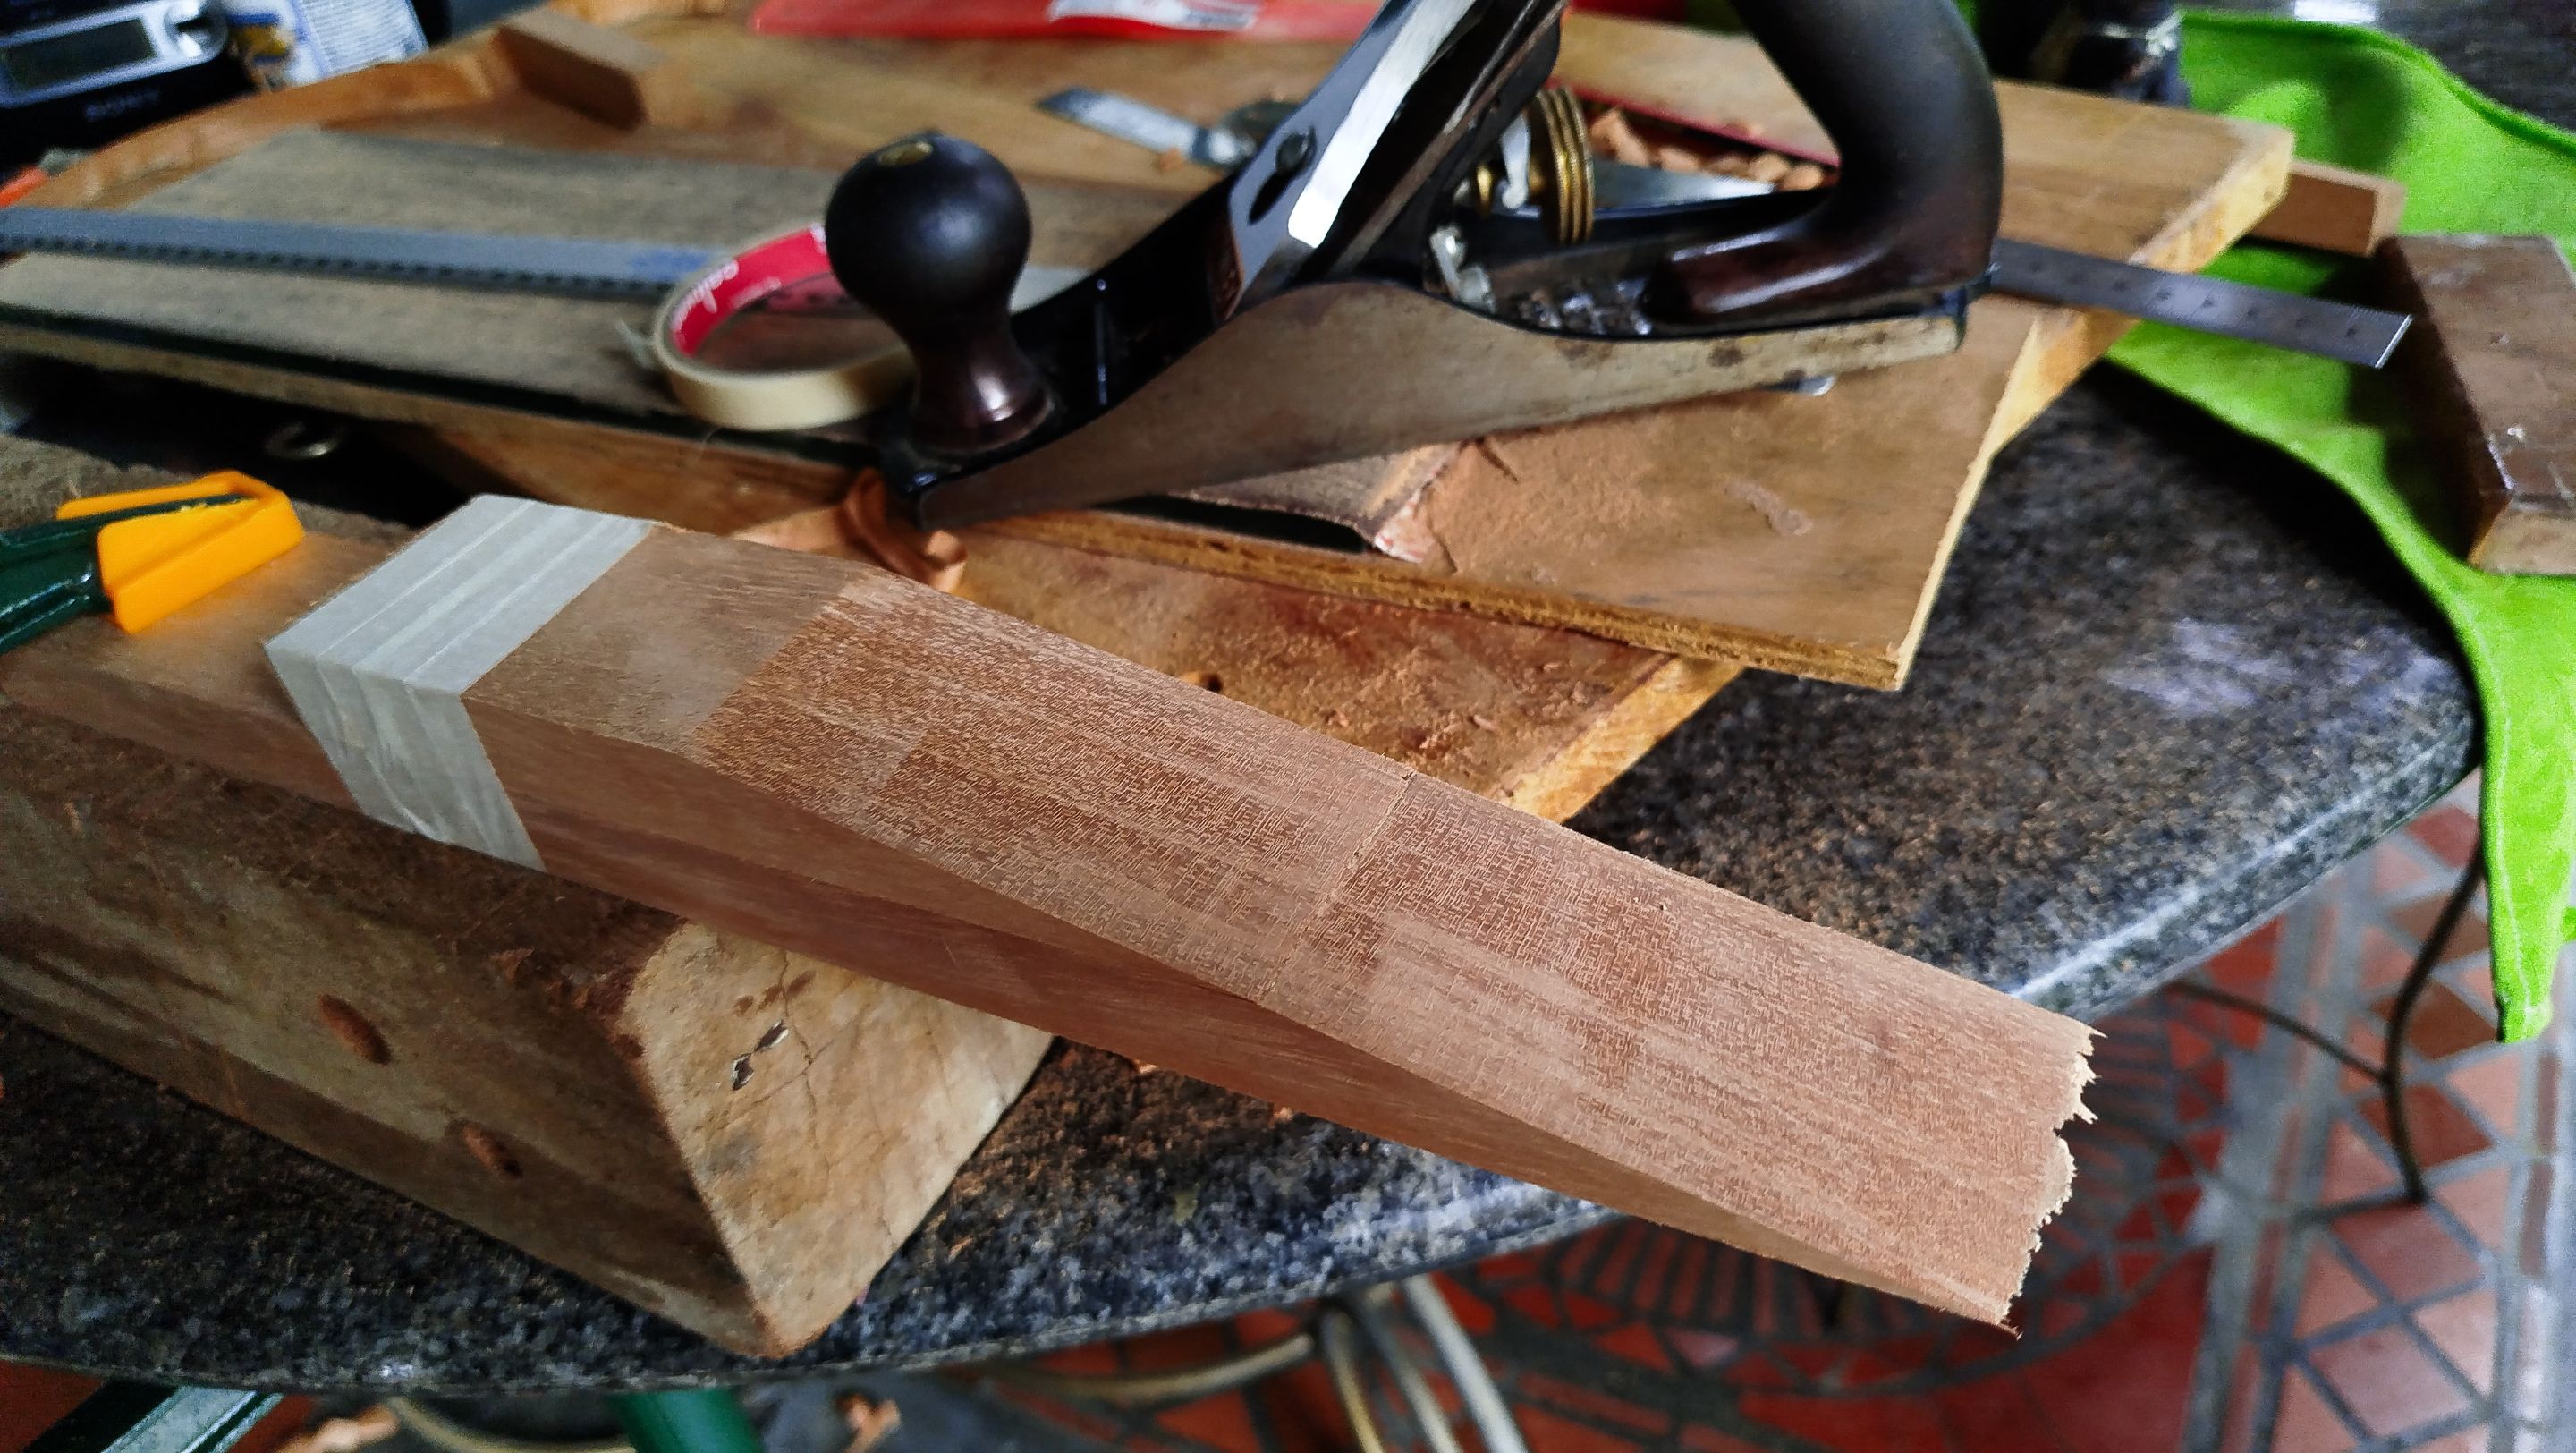
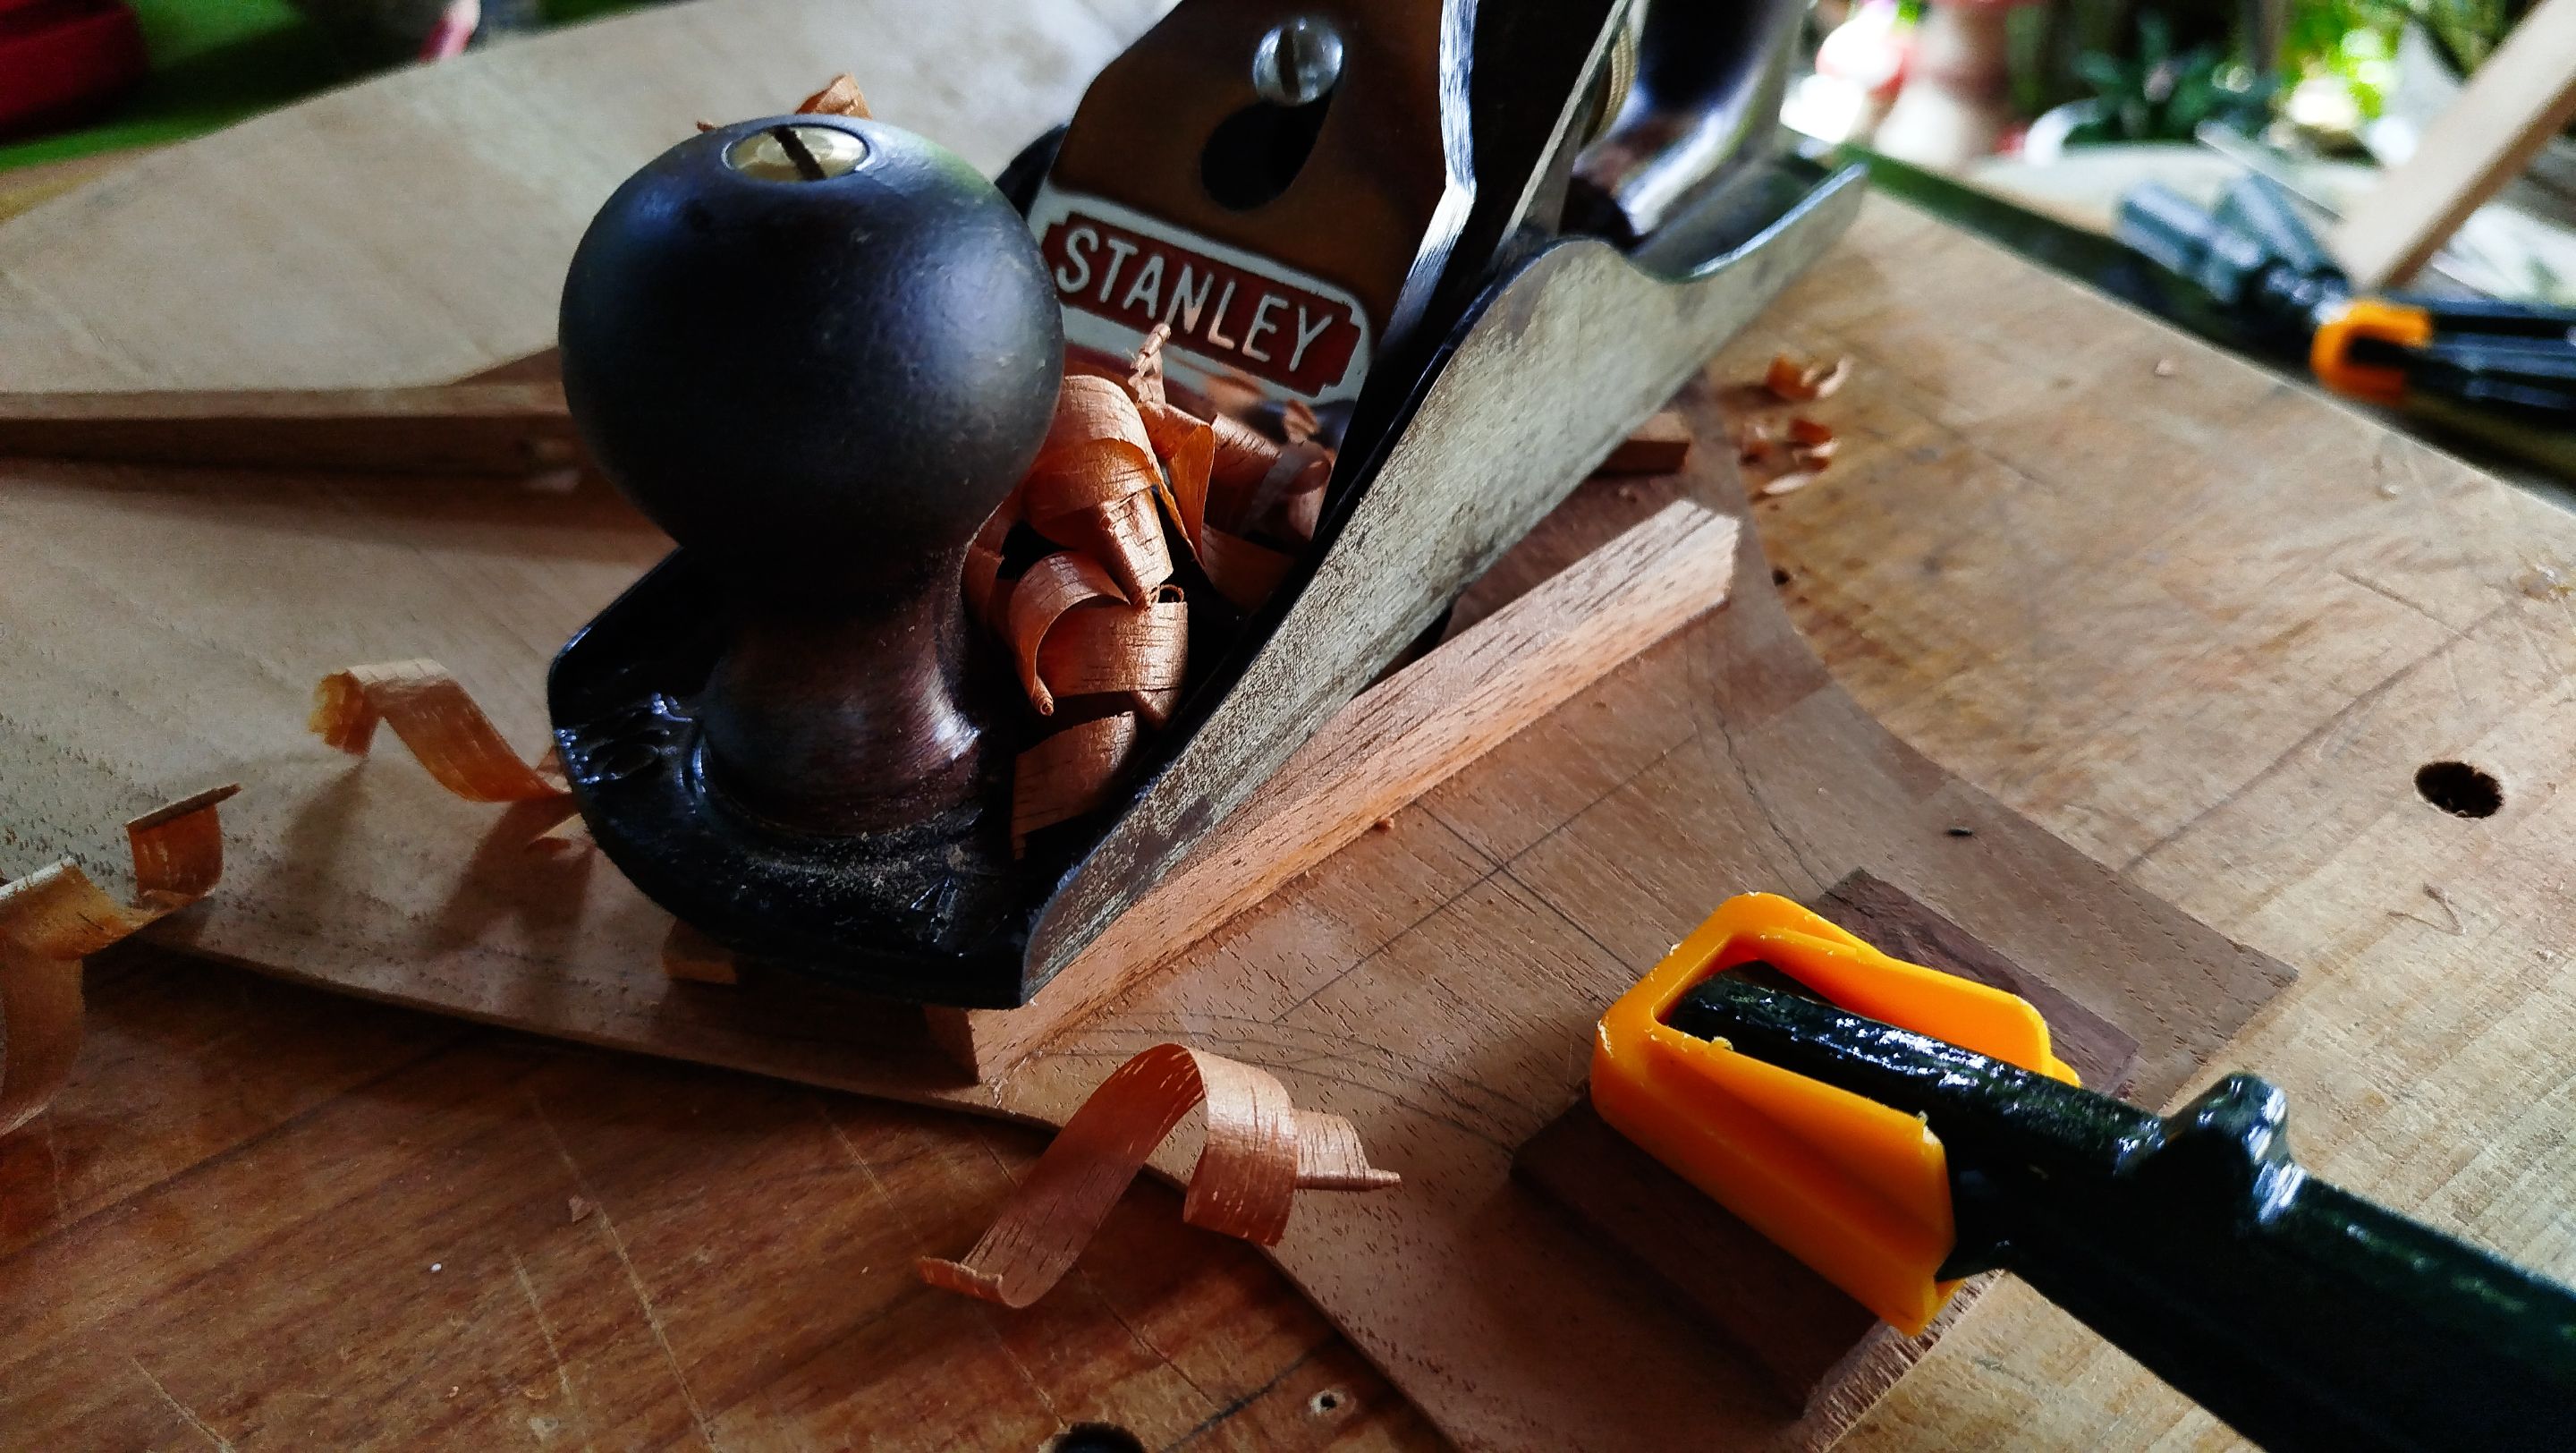
To make the best cut possible, we score the line and then move ahead to use the saw to make this diagonal cut. Then we need to clean this cut. We use a trick to hold the pieces together in order to use the hand plane.
Glue up
Swipe to see the photos
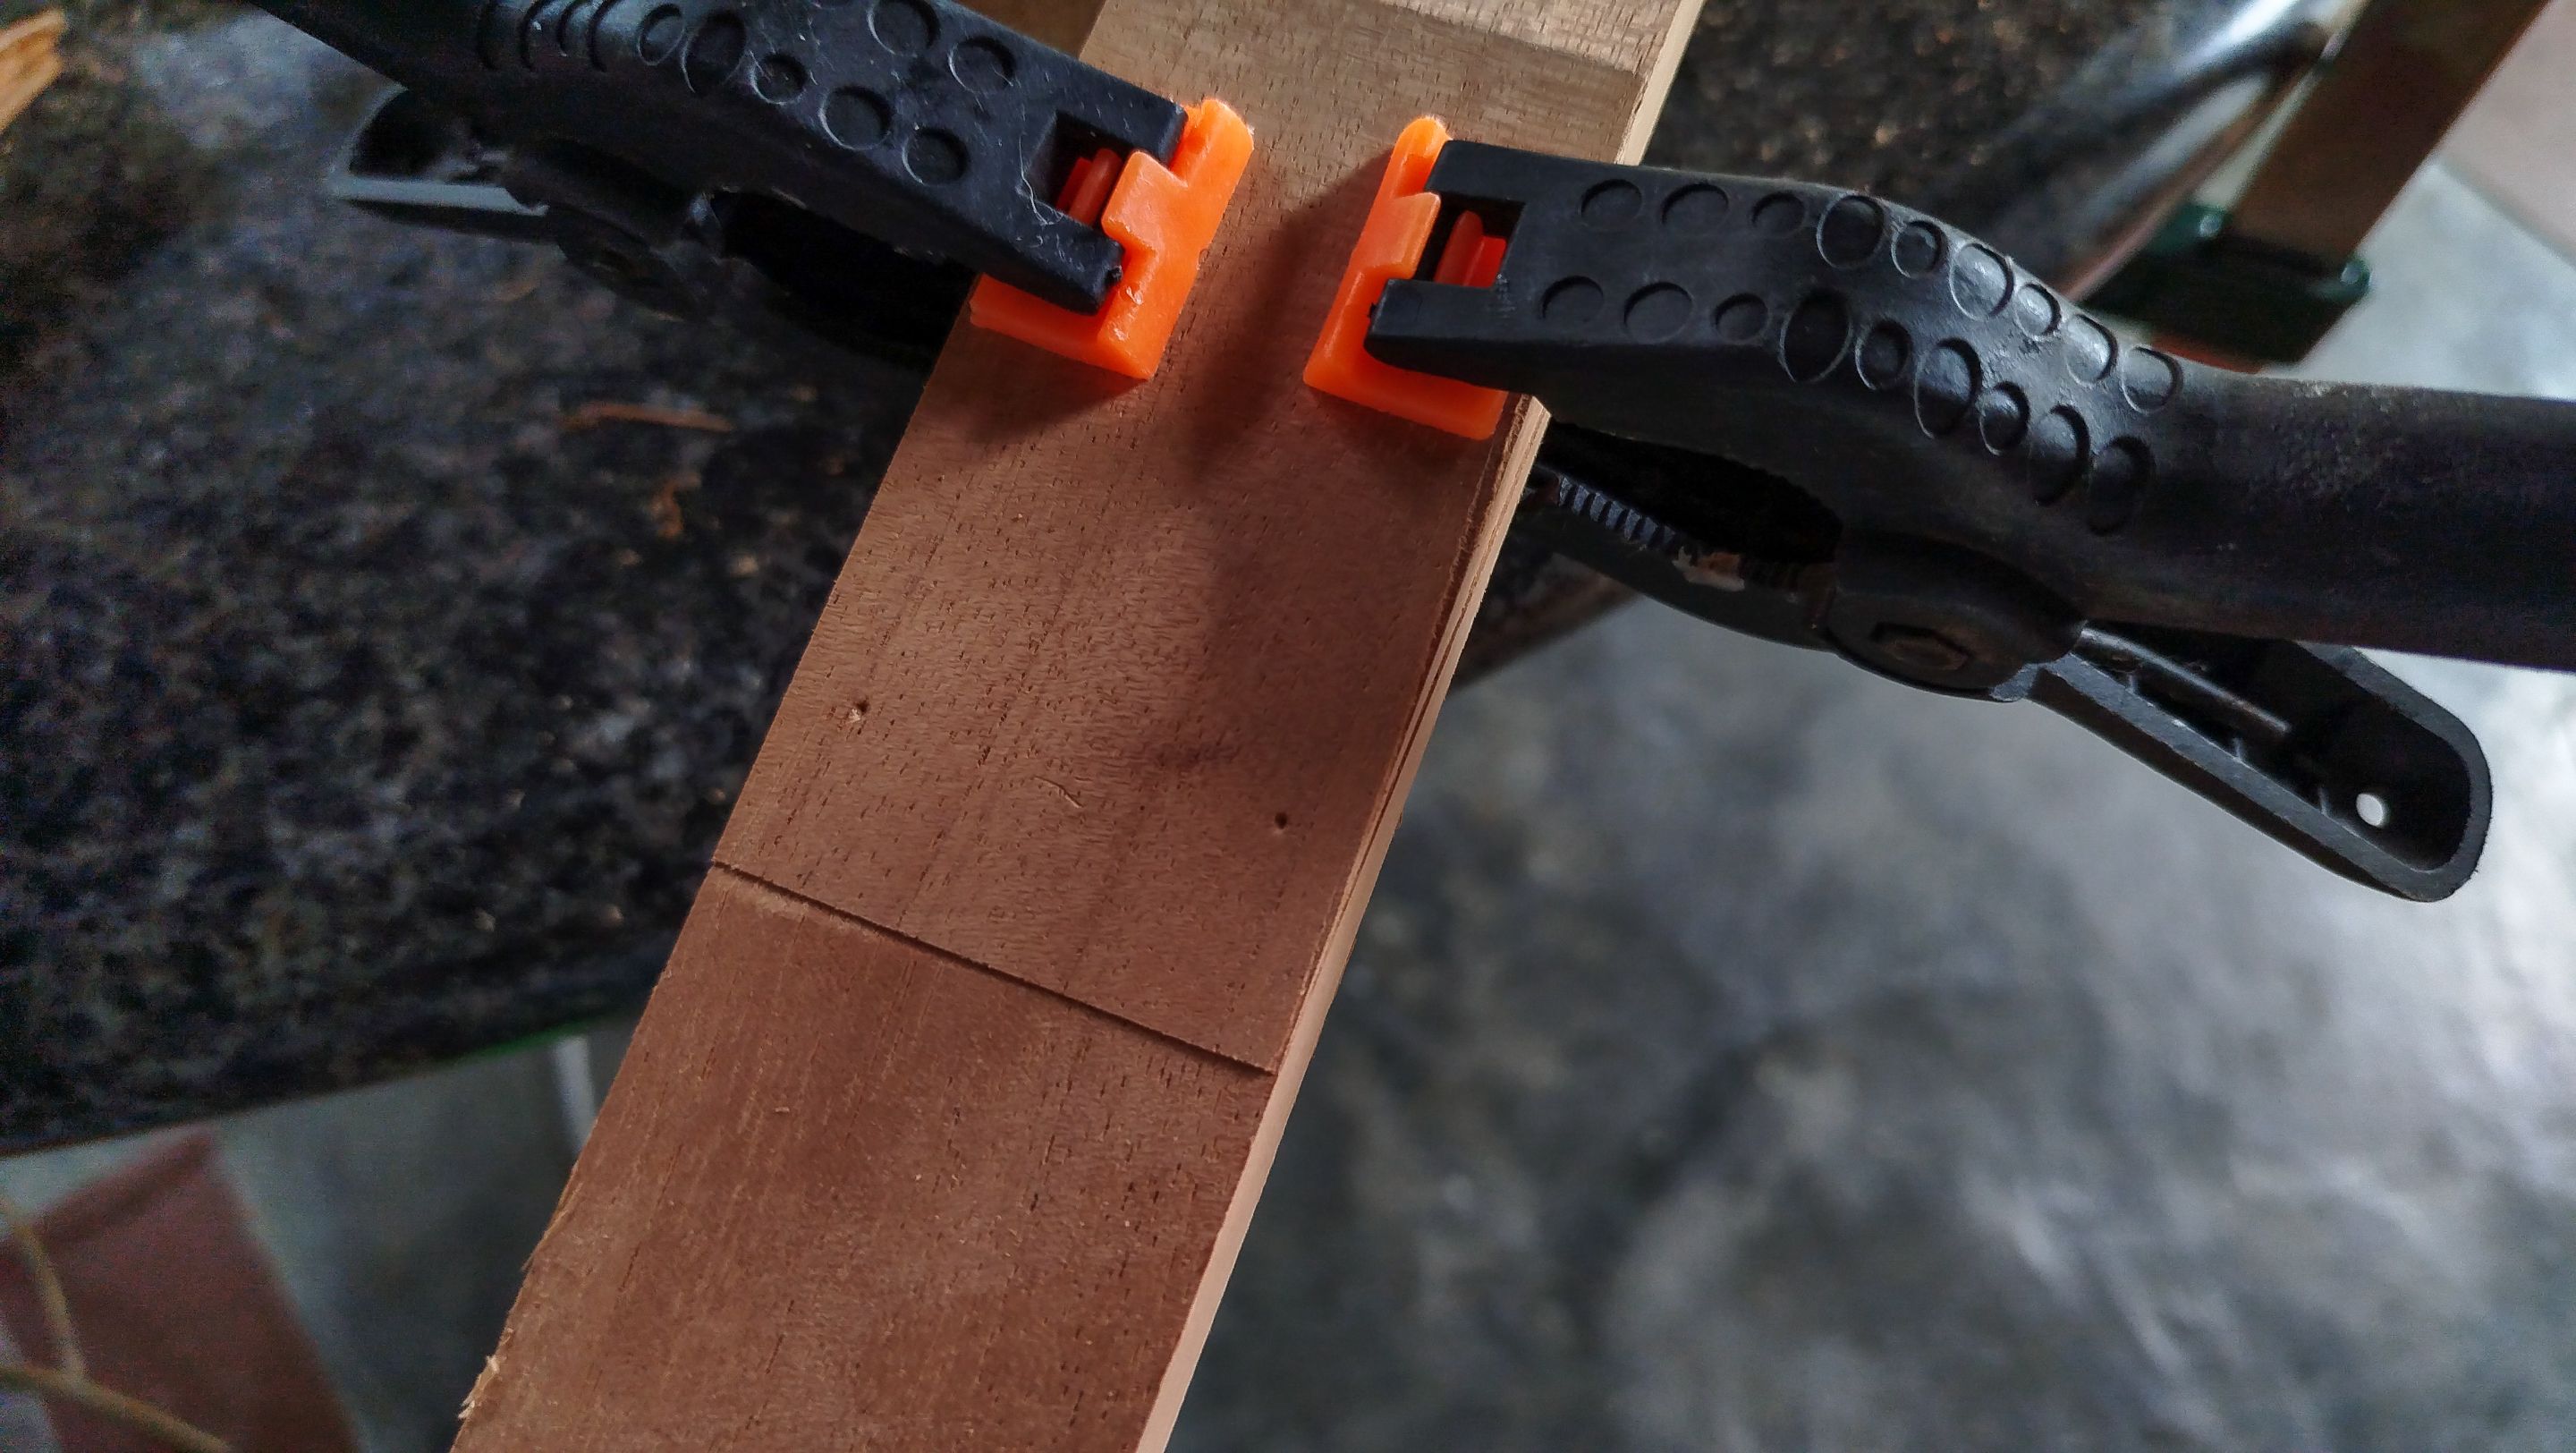
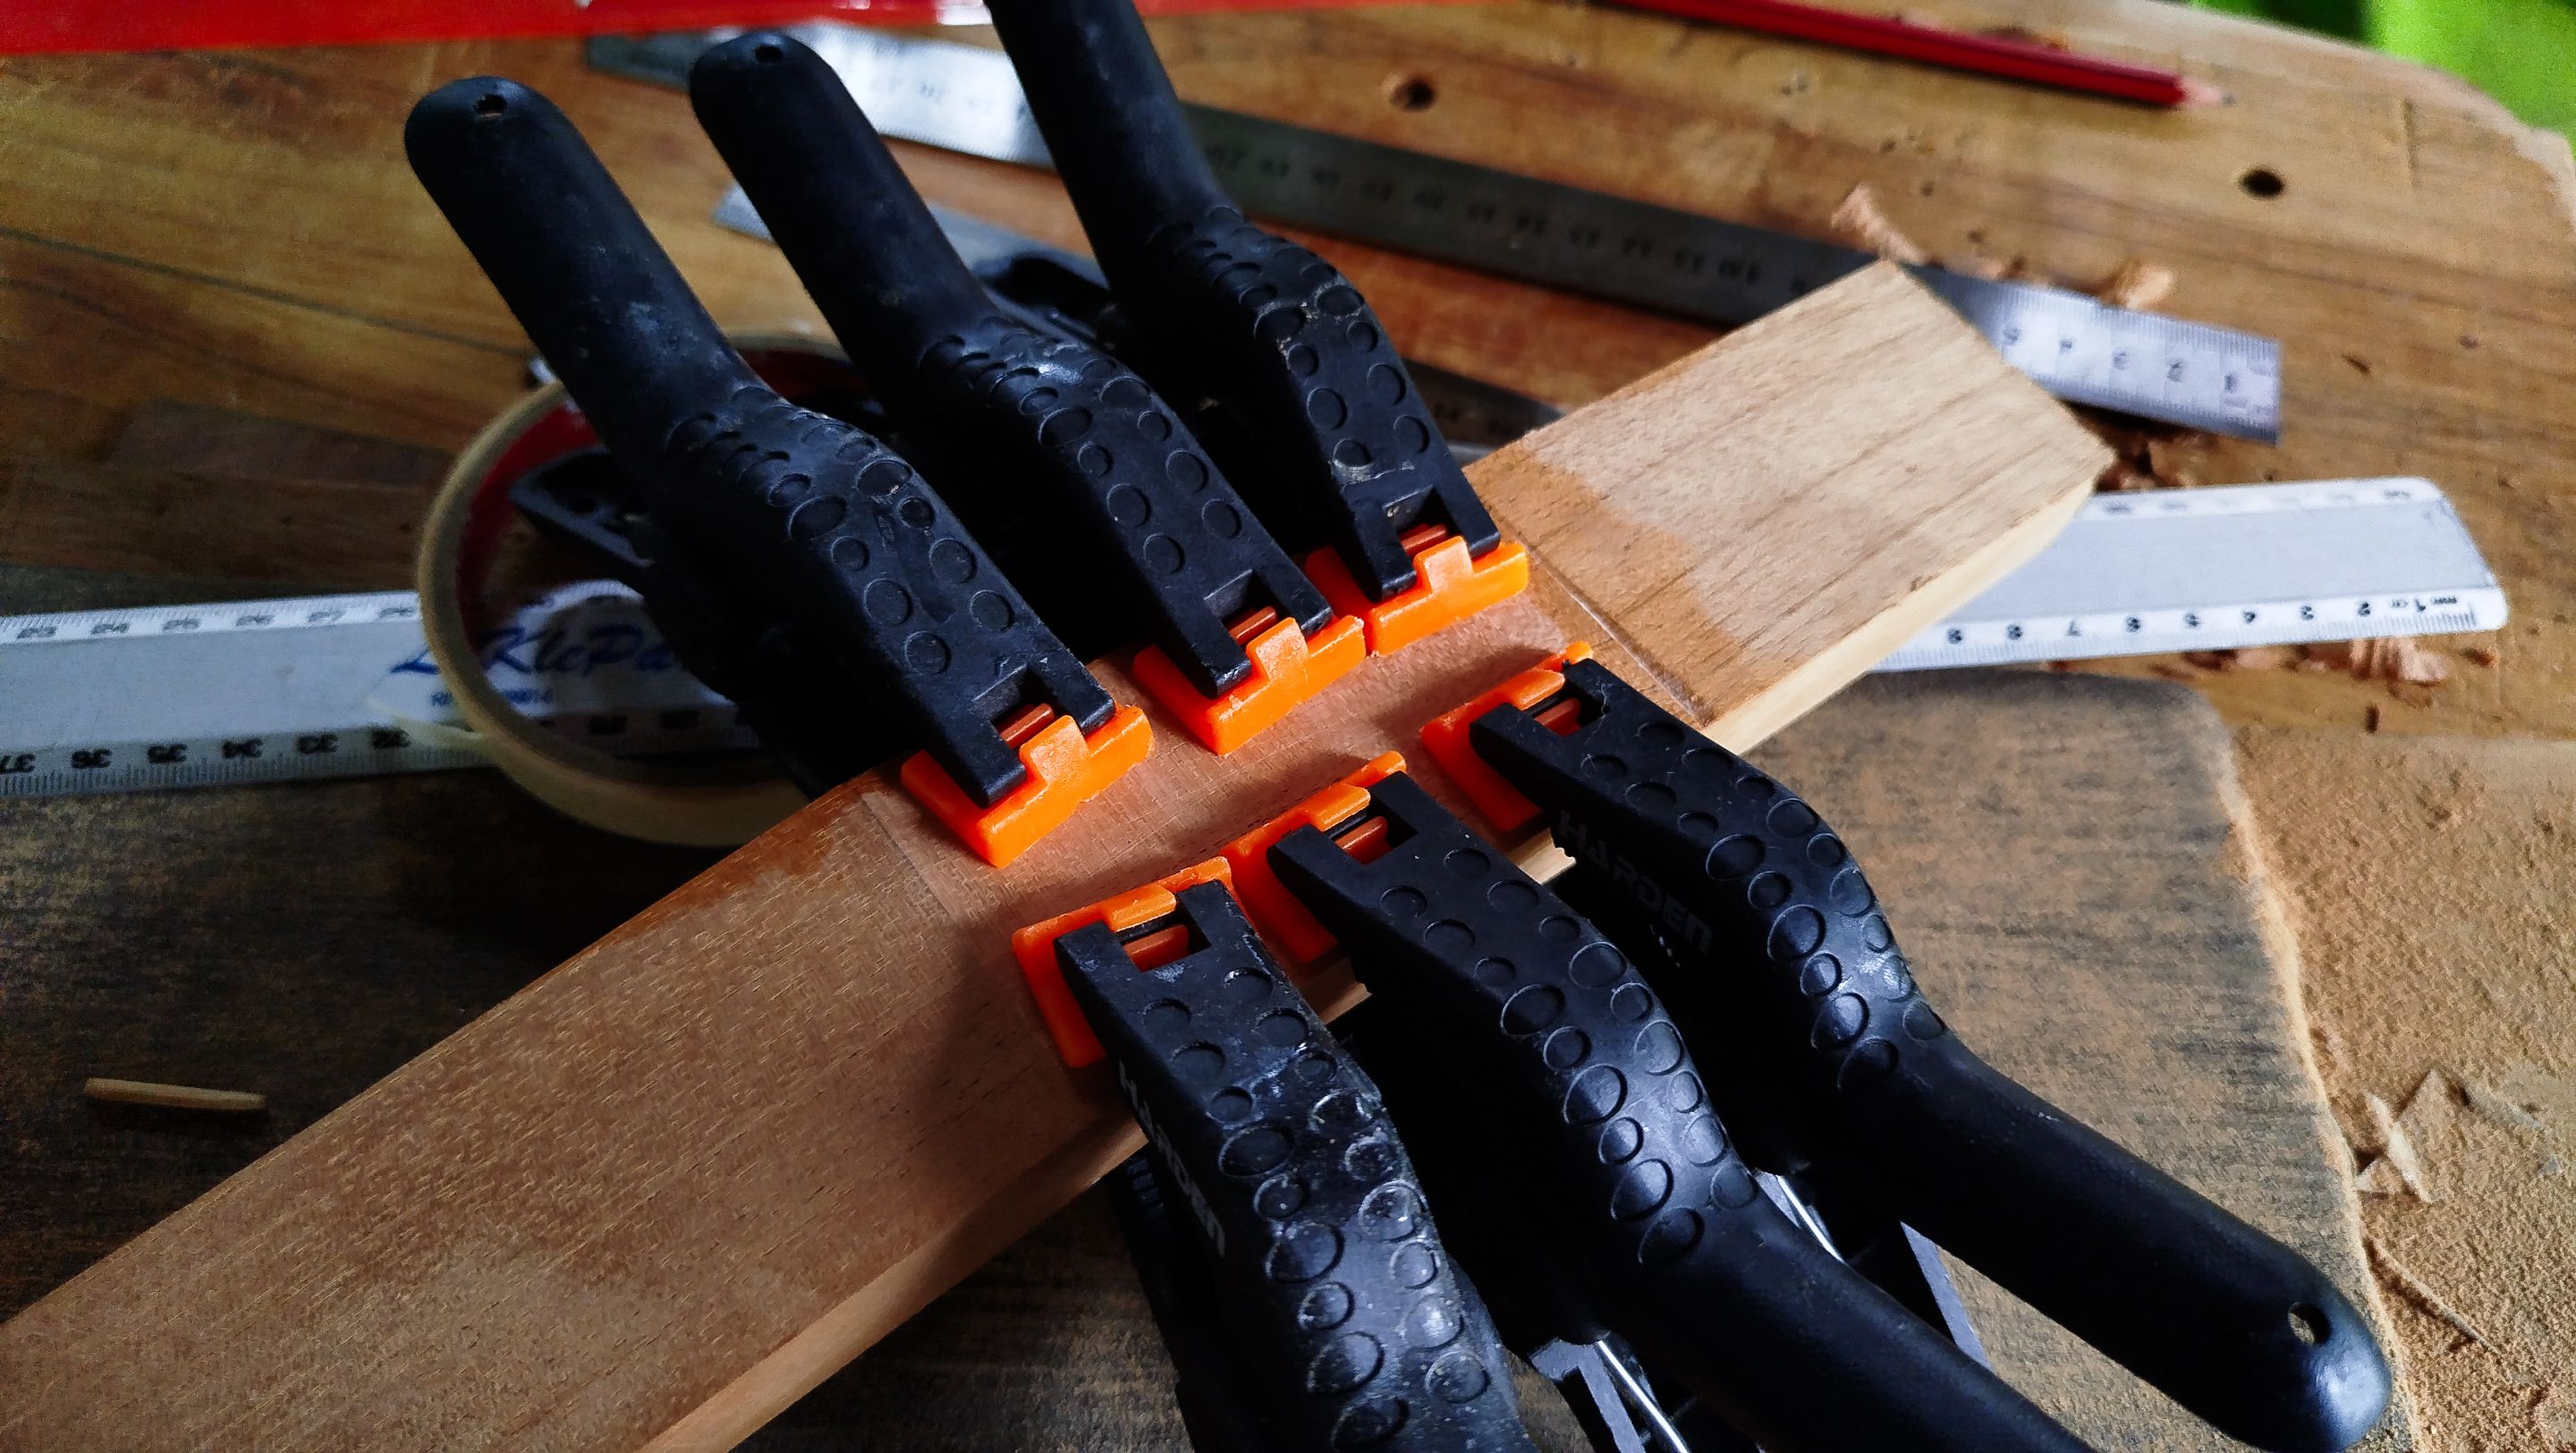
To make sure this glue up is made properly, we need to hold the pieces together. The first step is to measure we have the correct length of the head. Then we use the clamps to hold the parts together and mark the place for some anchors. This is an extra step we take around here to make the perfect glue up.
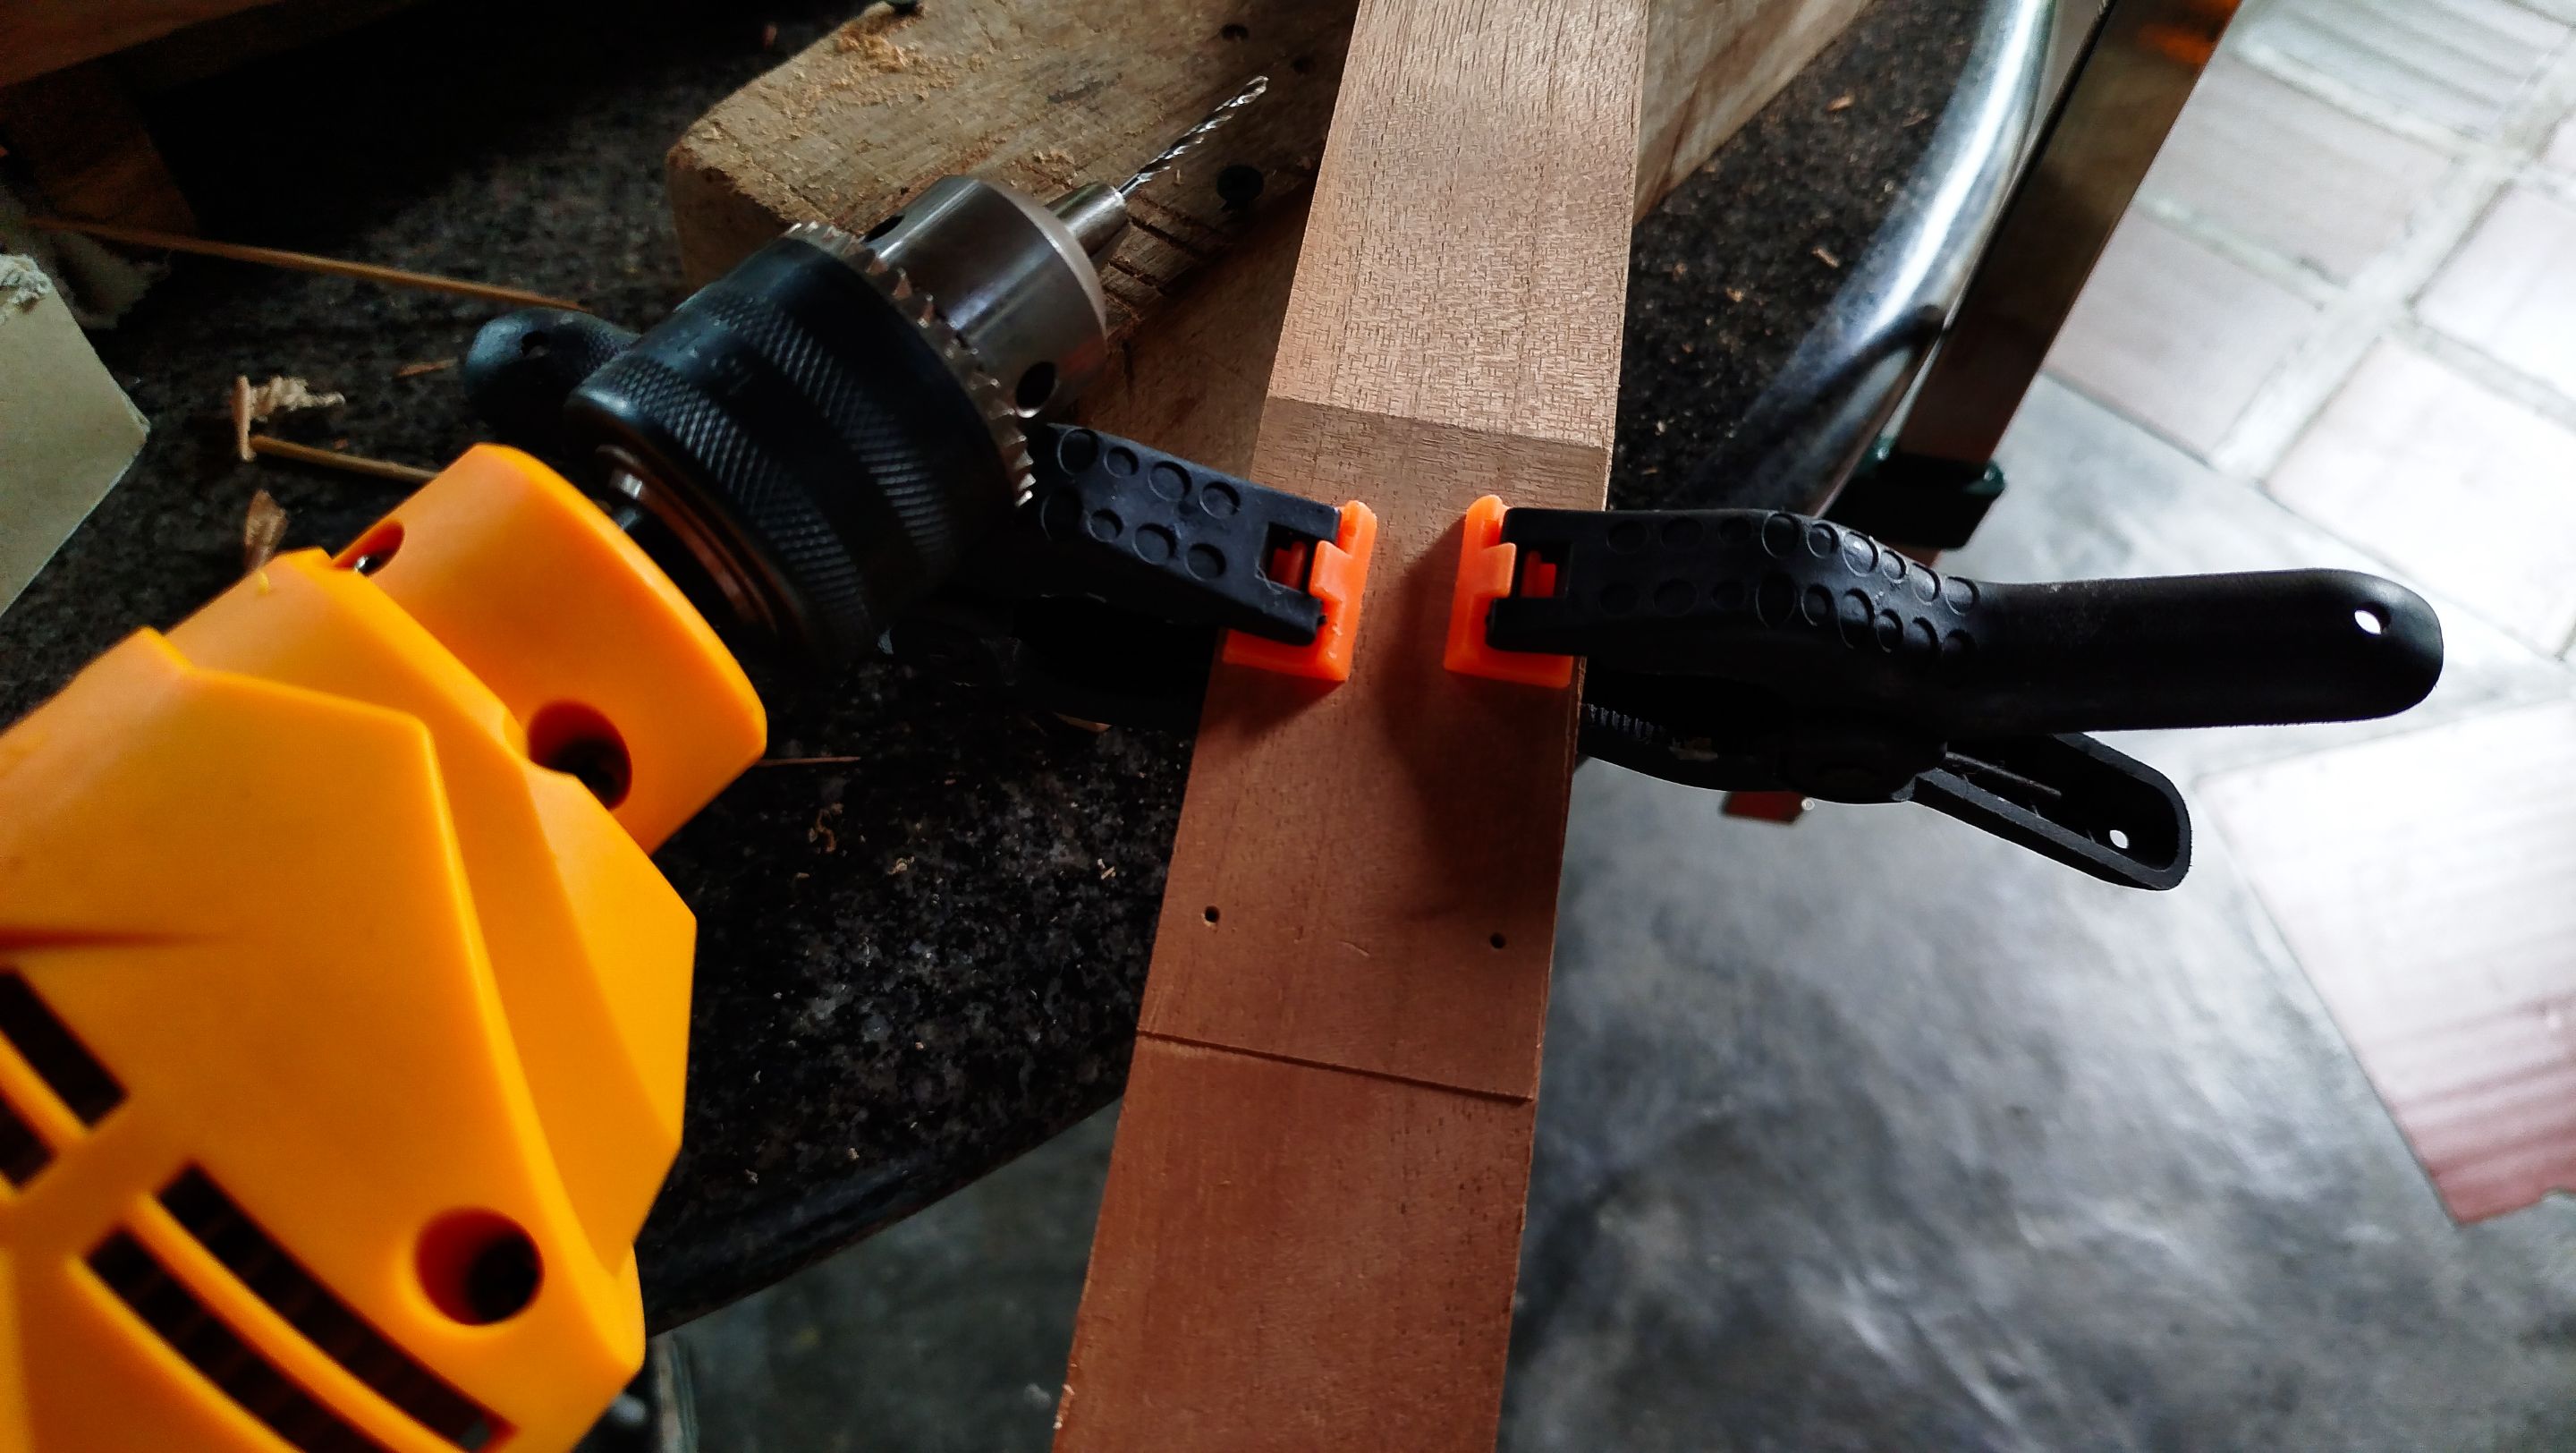
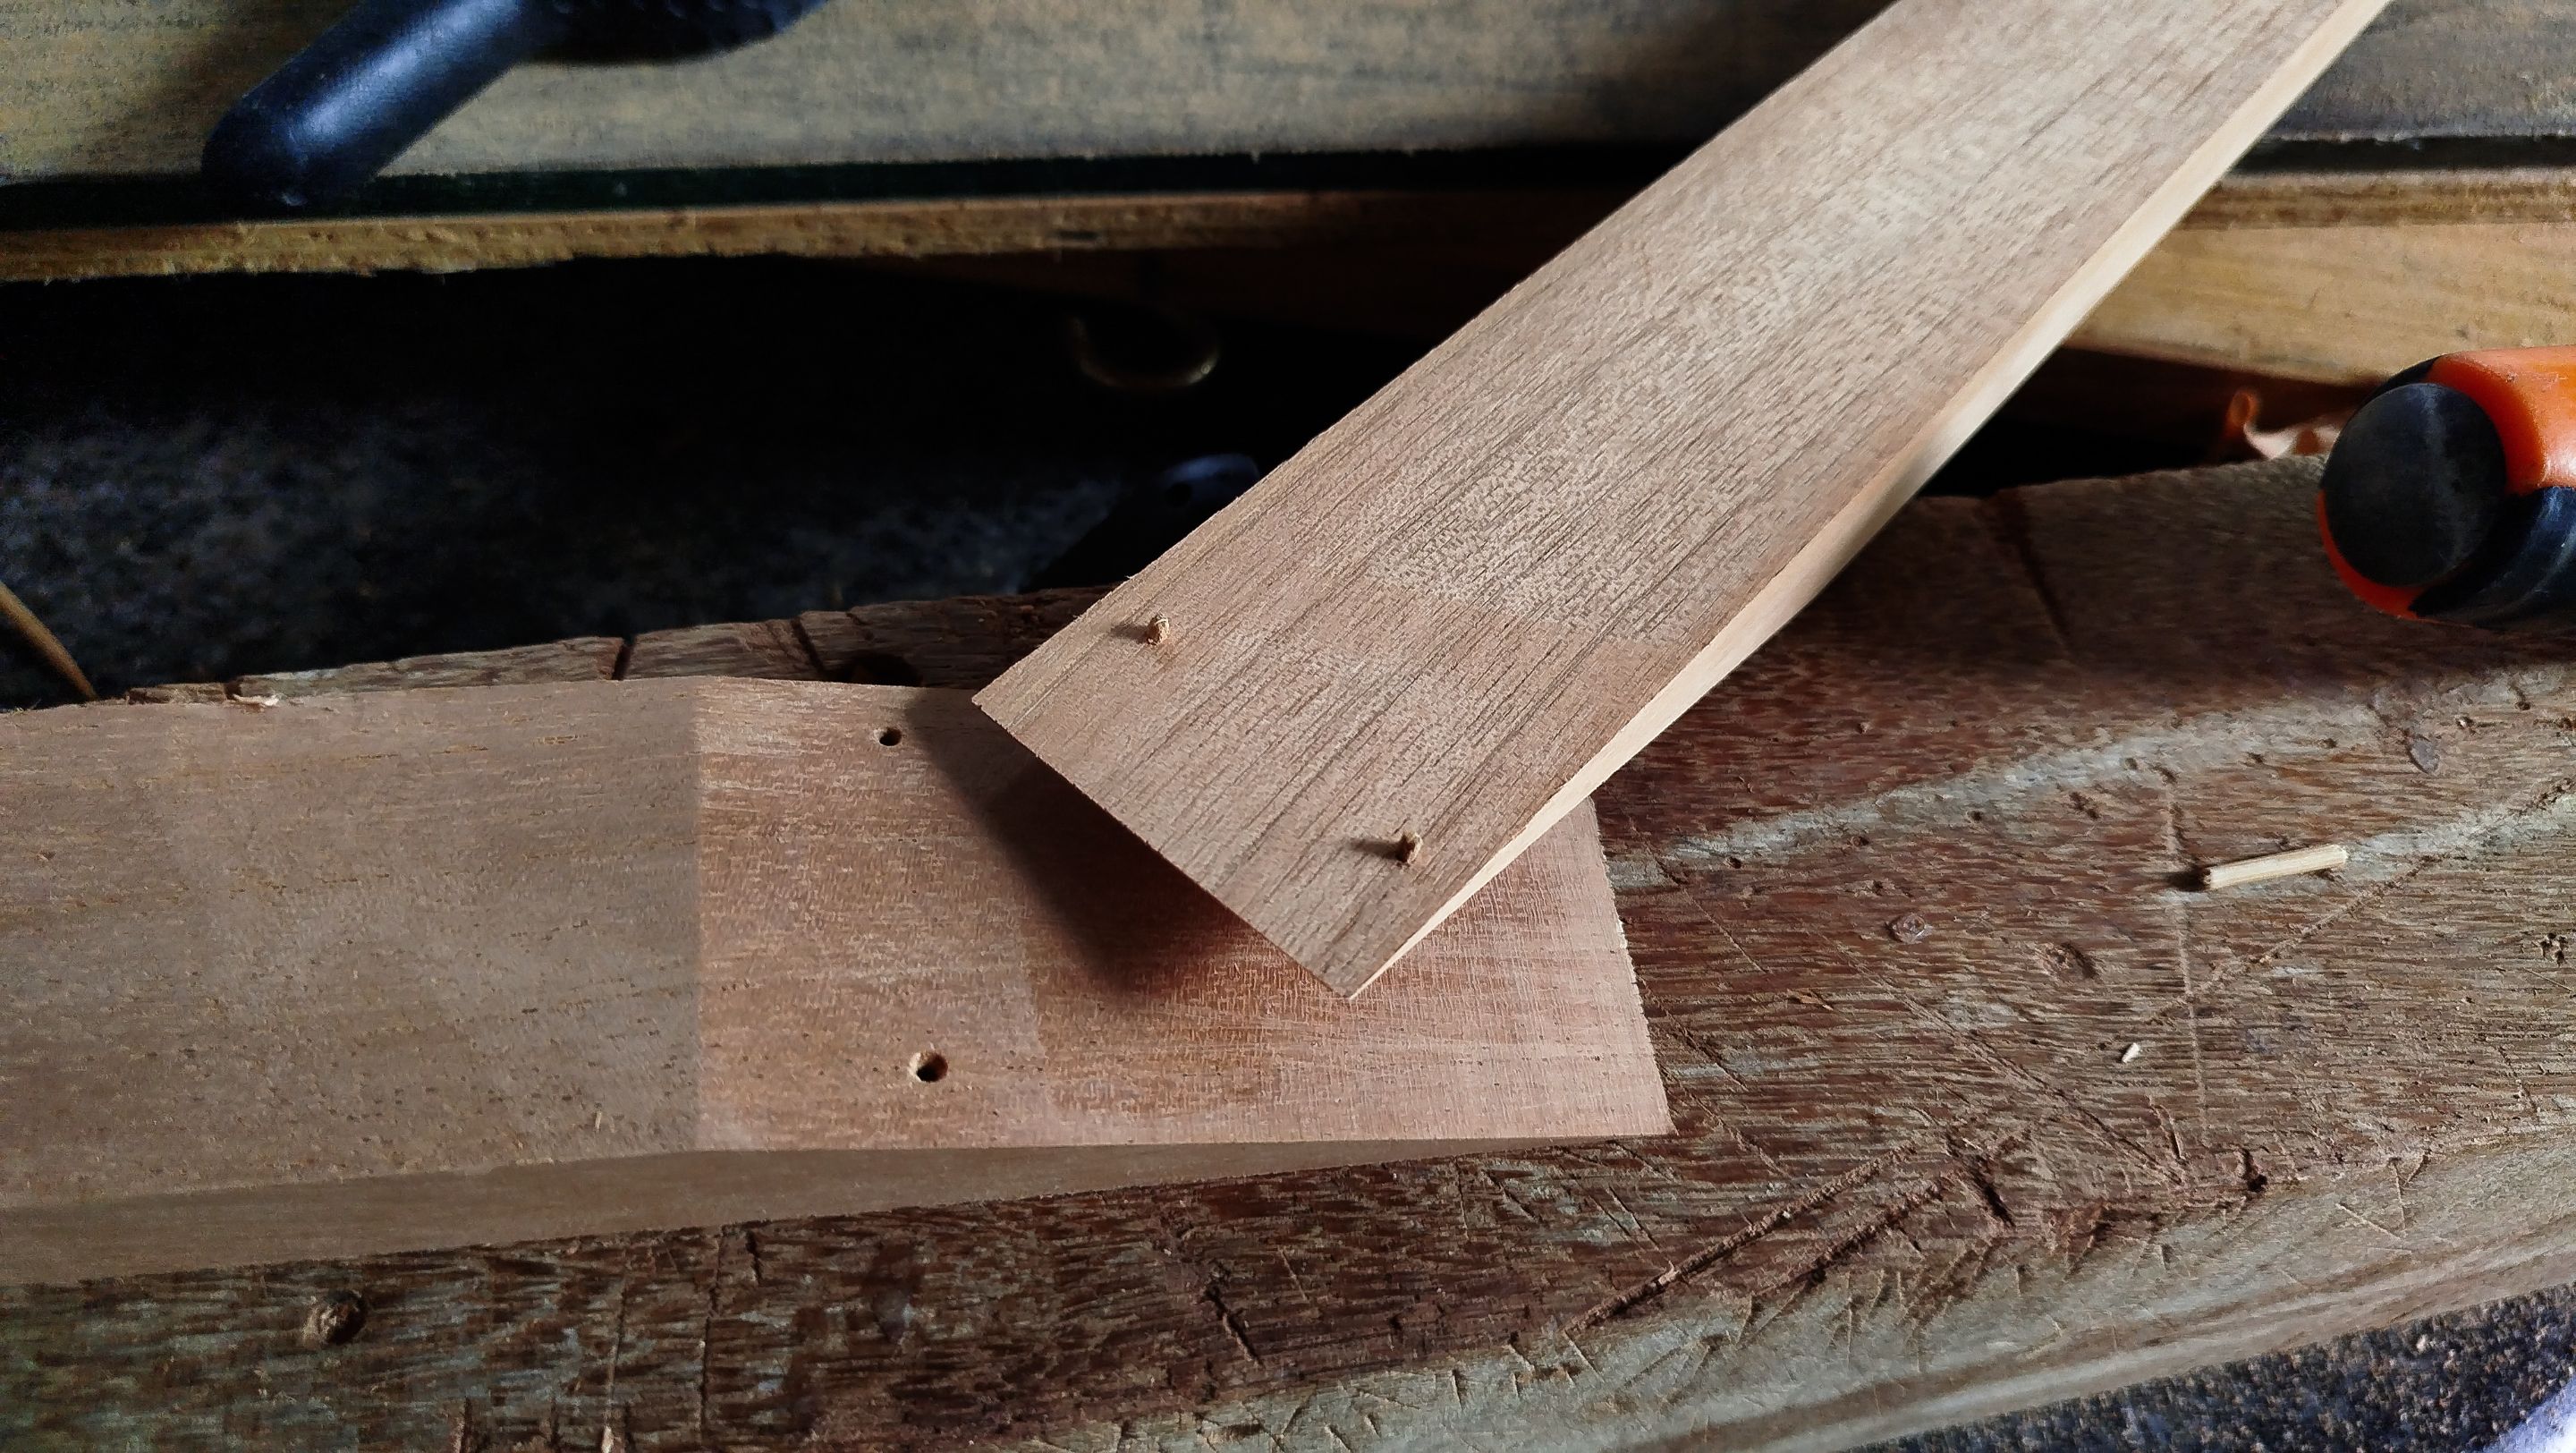
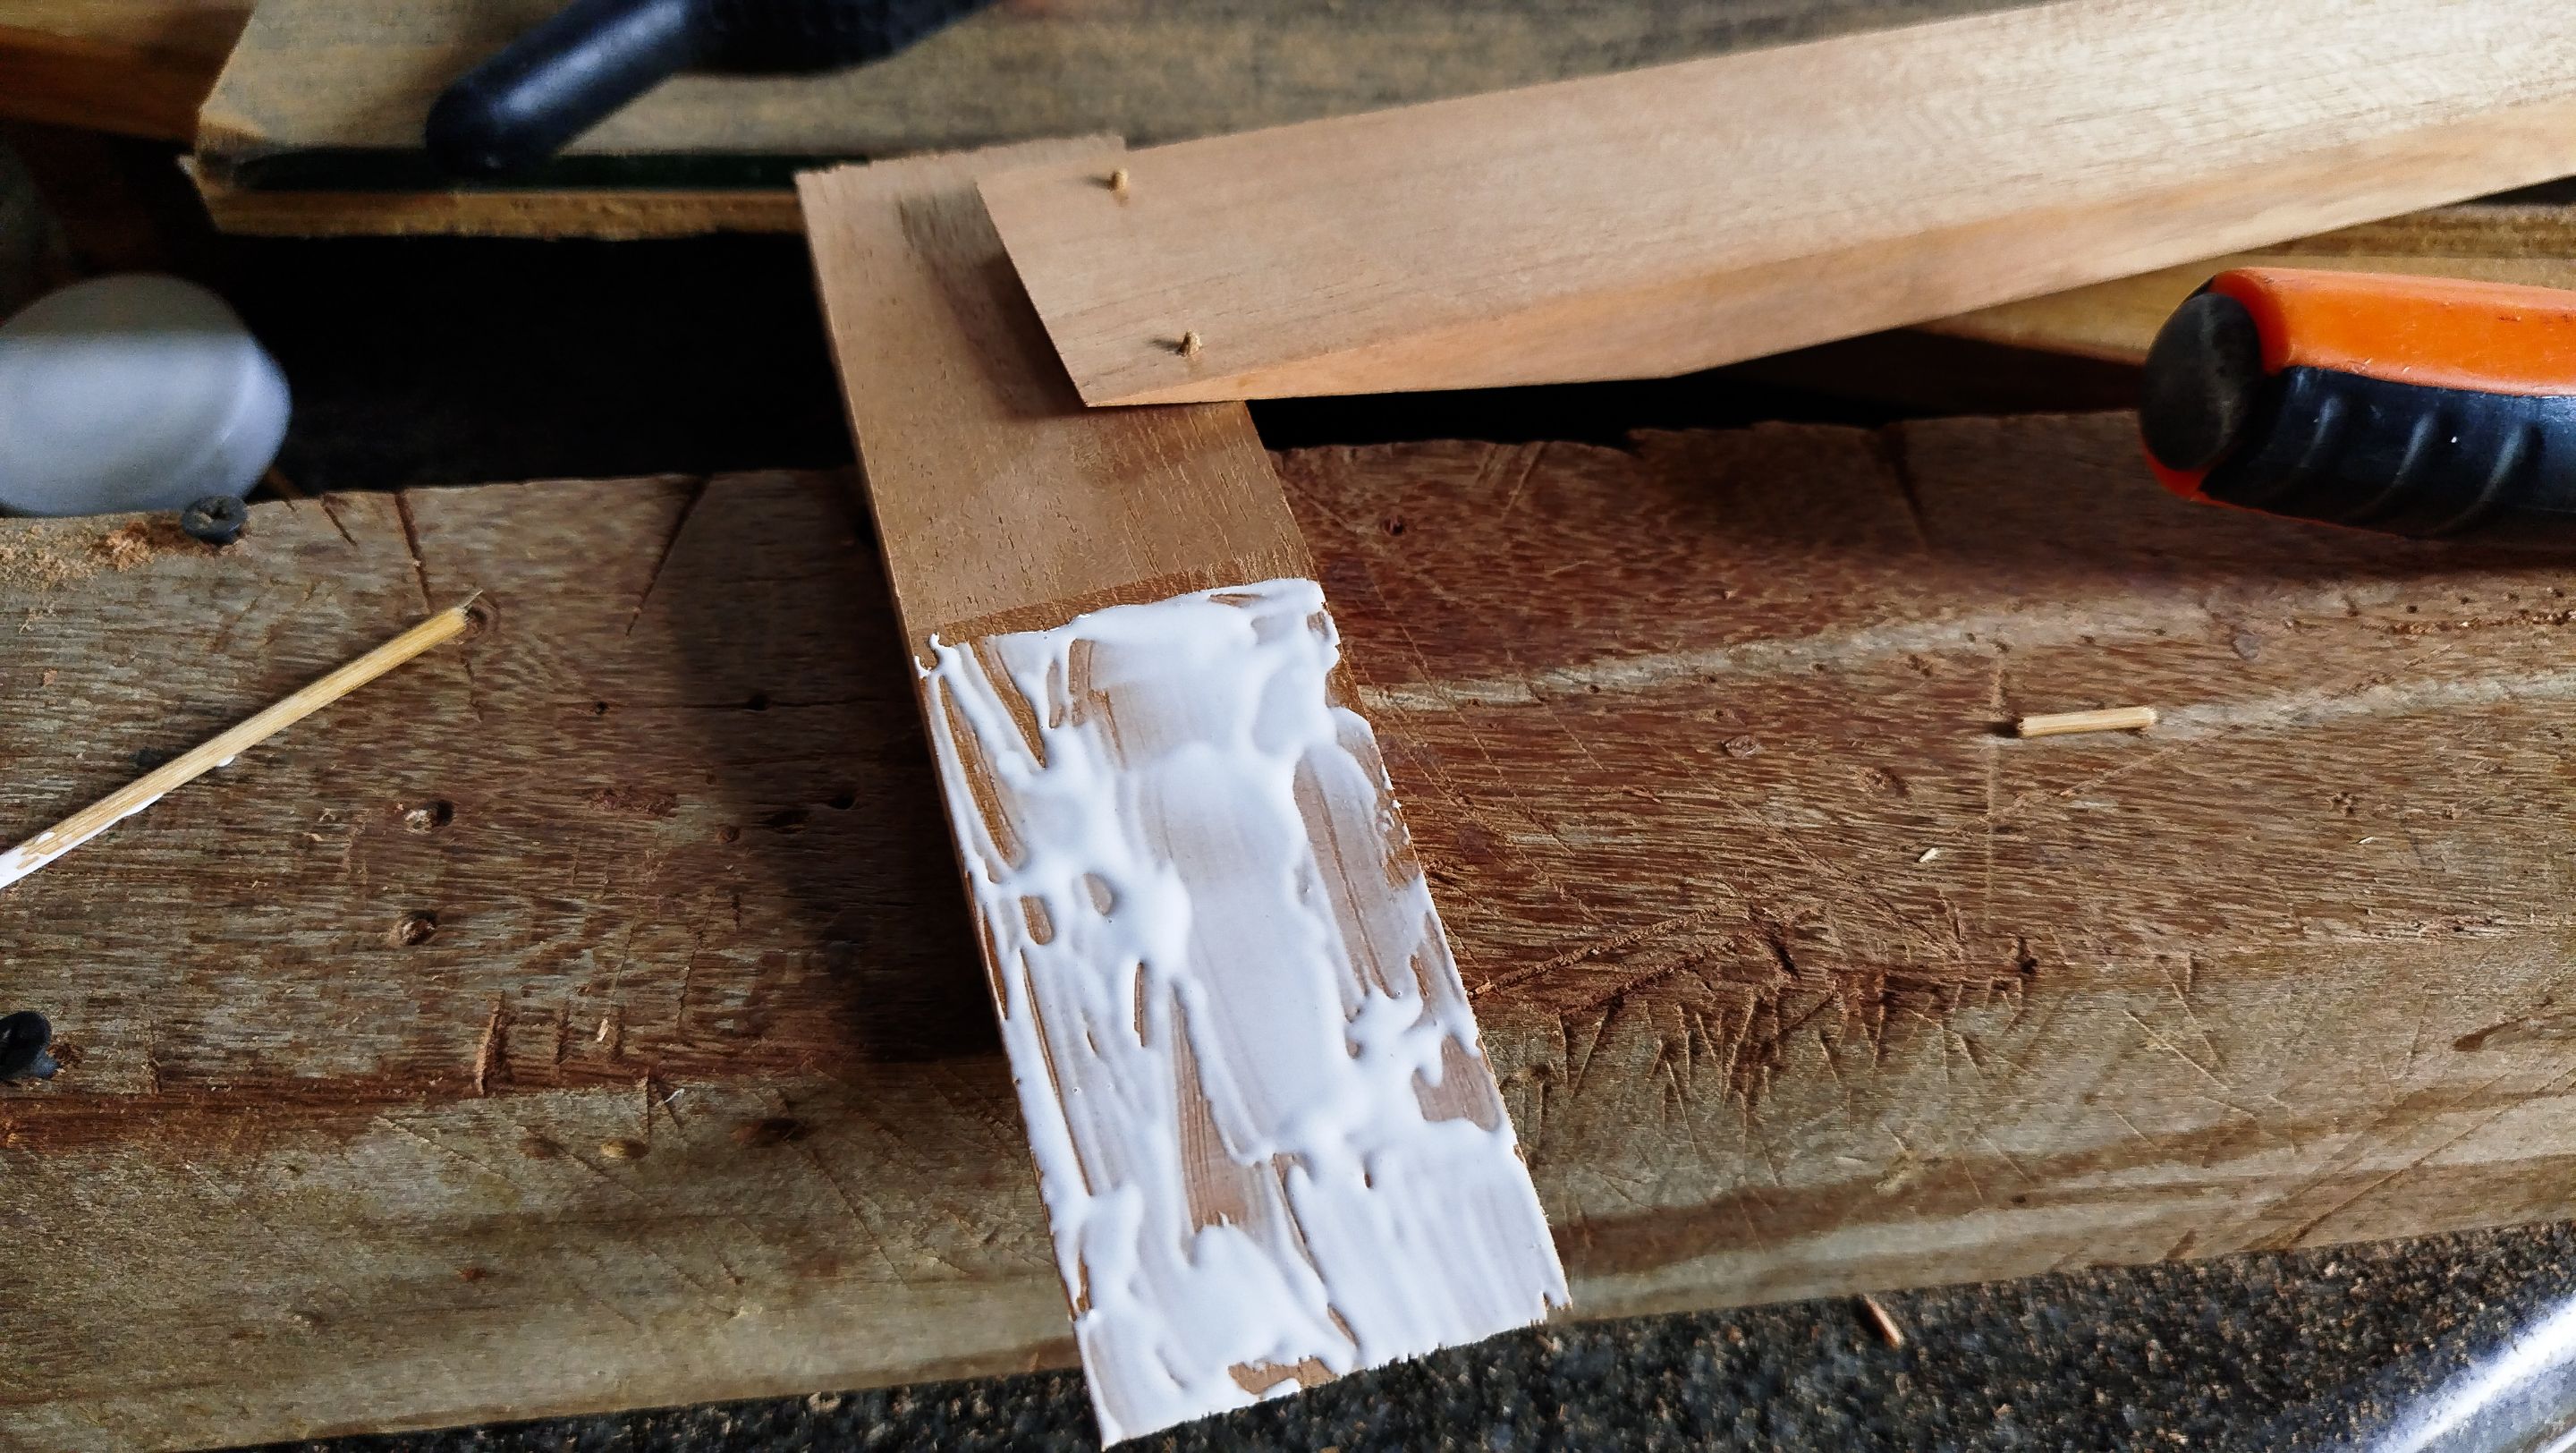
Once we marks are in place, we use the drill to make the holes for the anchors. We put them in place and then apply the glue to start the process of gluing all this. However, before we take this step, we have to perform a dry fit to make sure everything works properly.
Now we place the clamps in place to make sure the glue works its magic. We add some extra clamps off camera.
Working the reinforcements
Swipe to see the photos
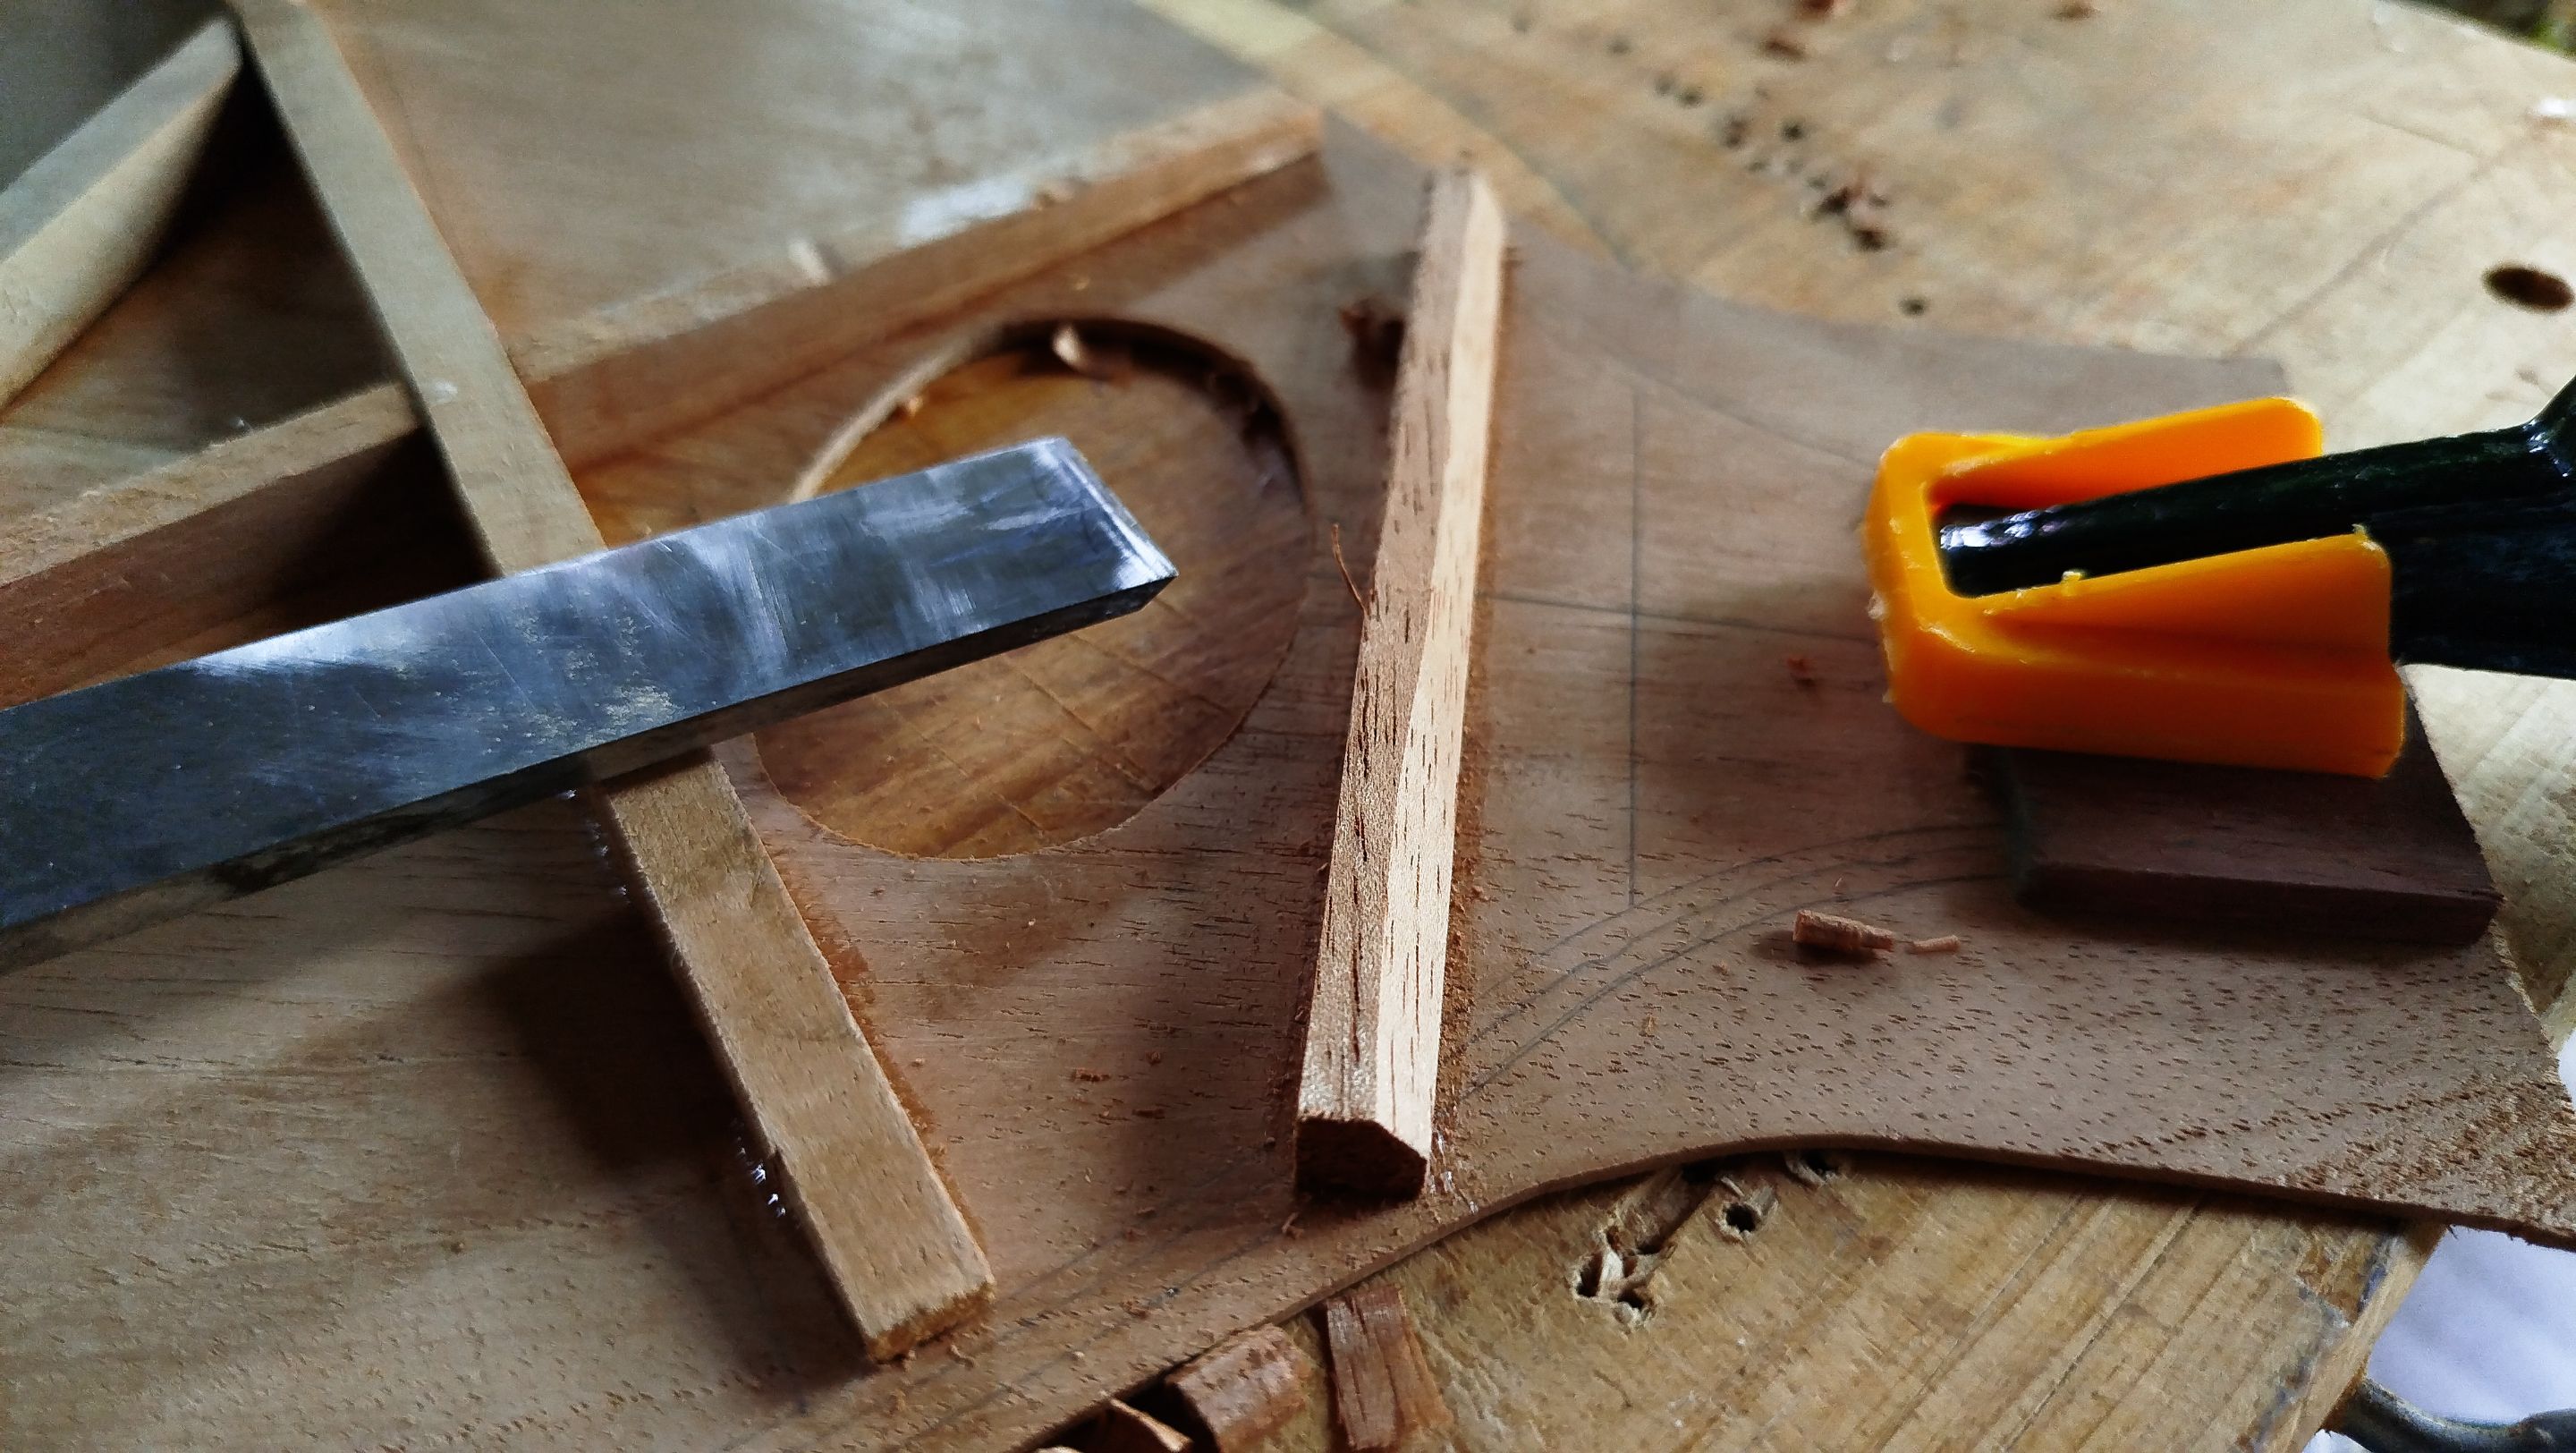
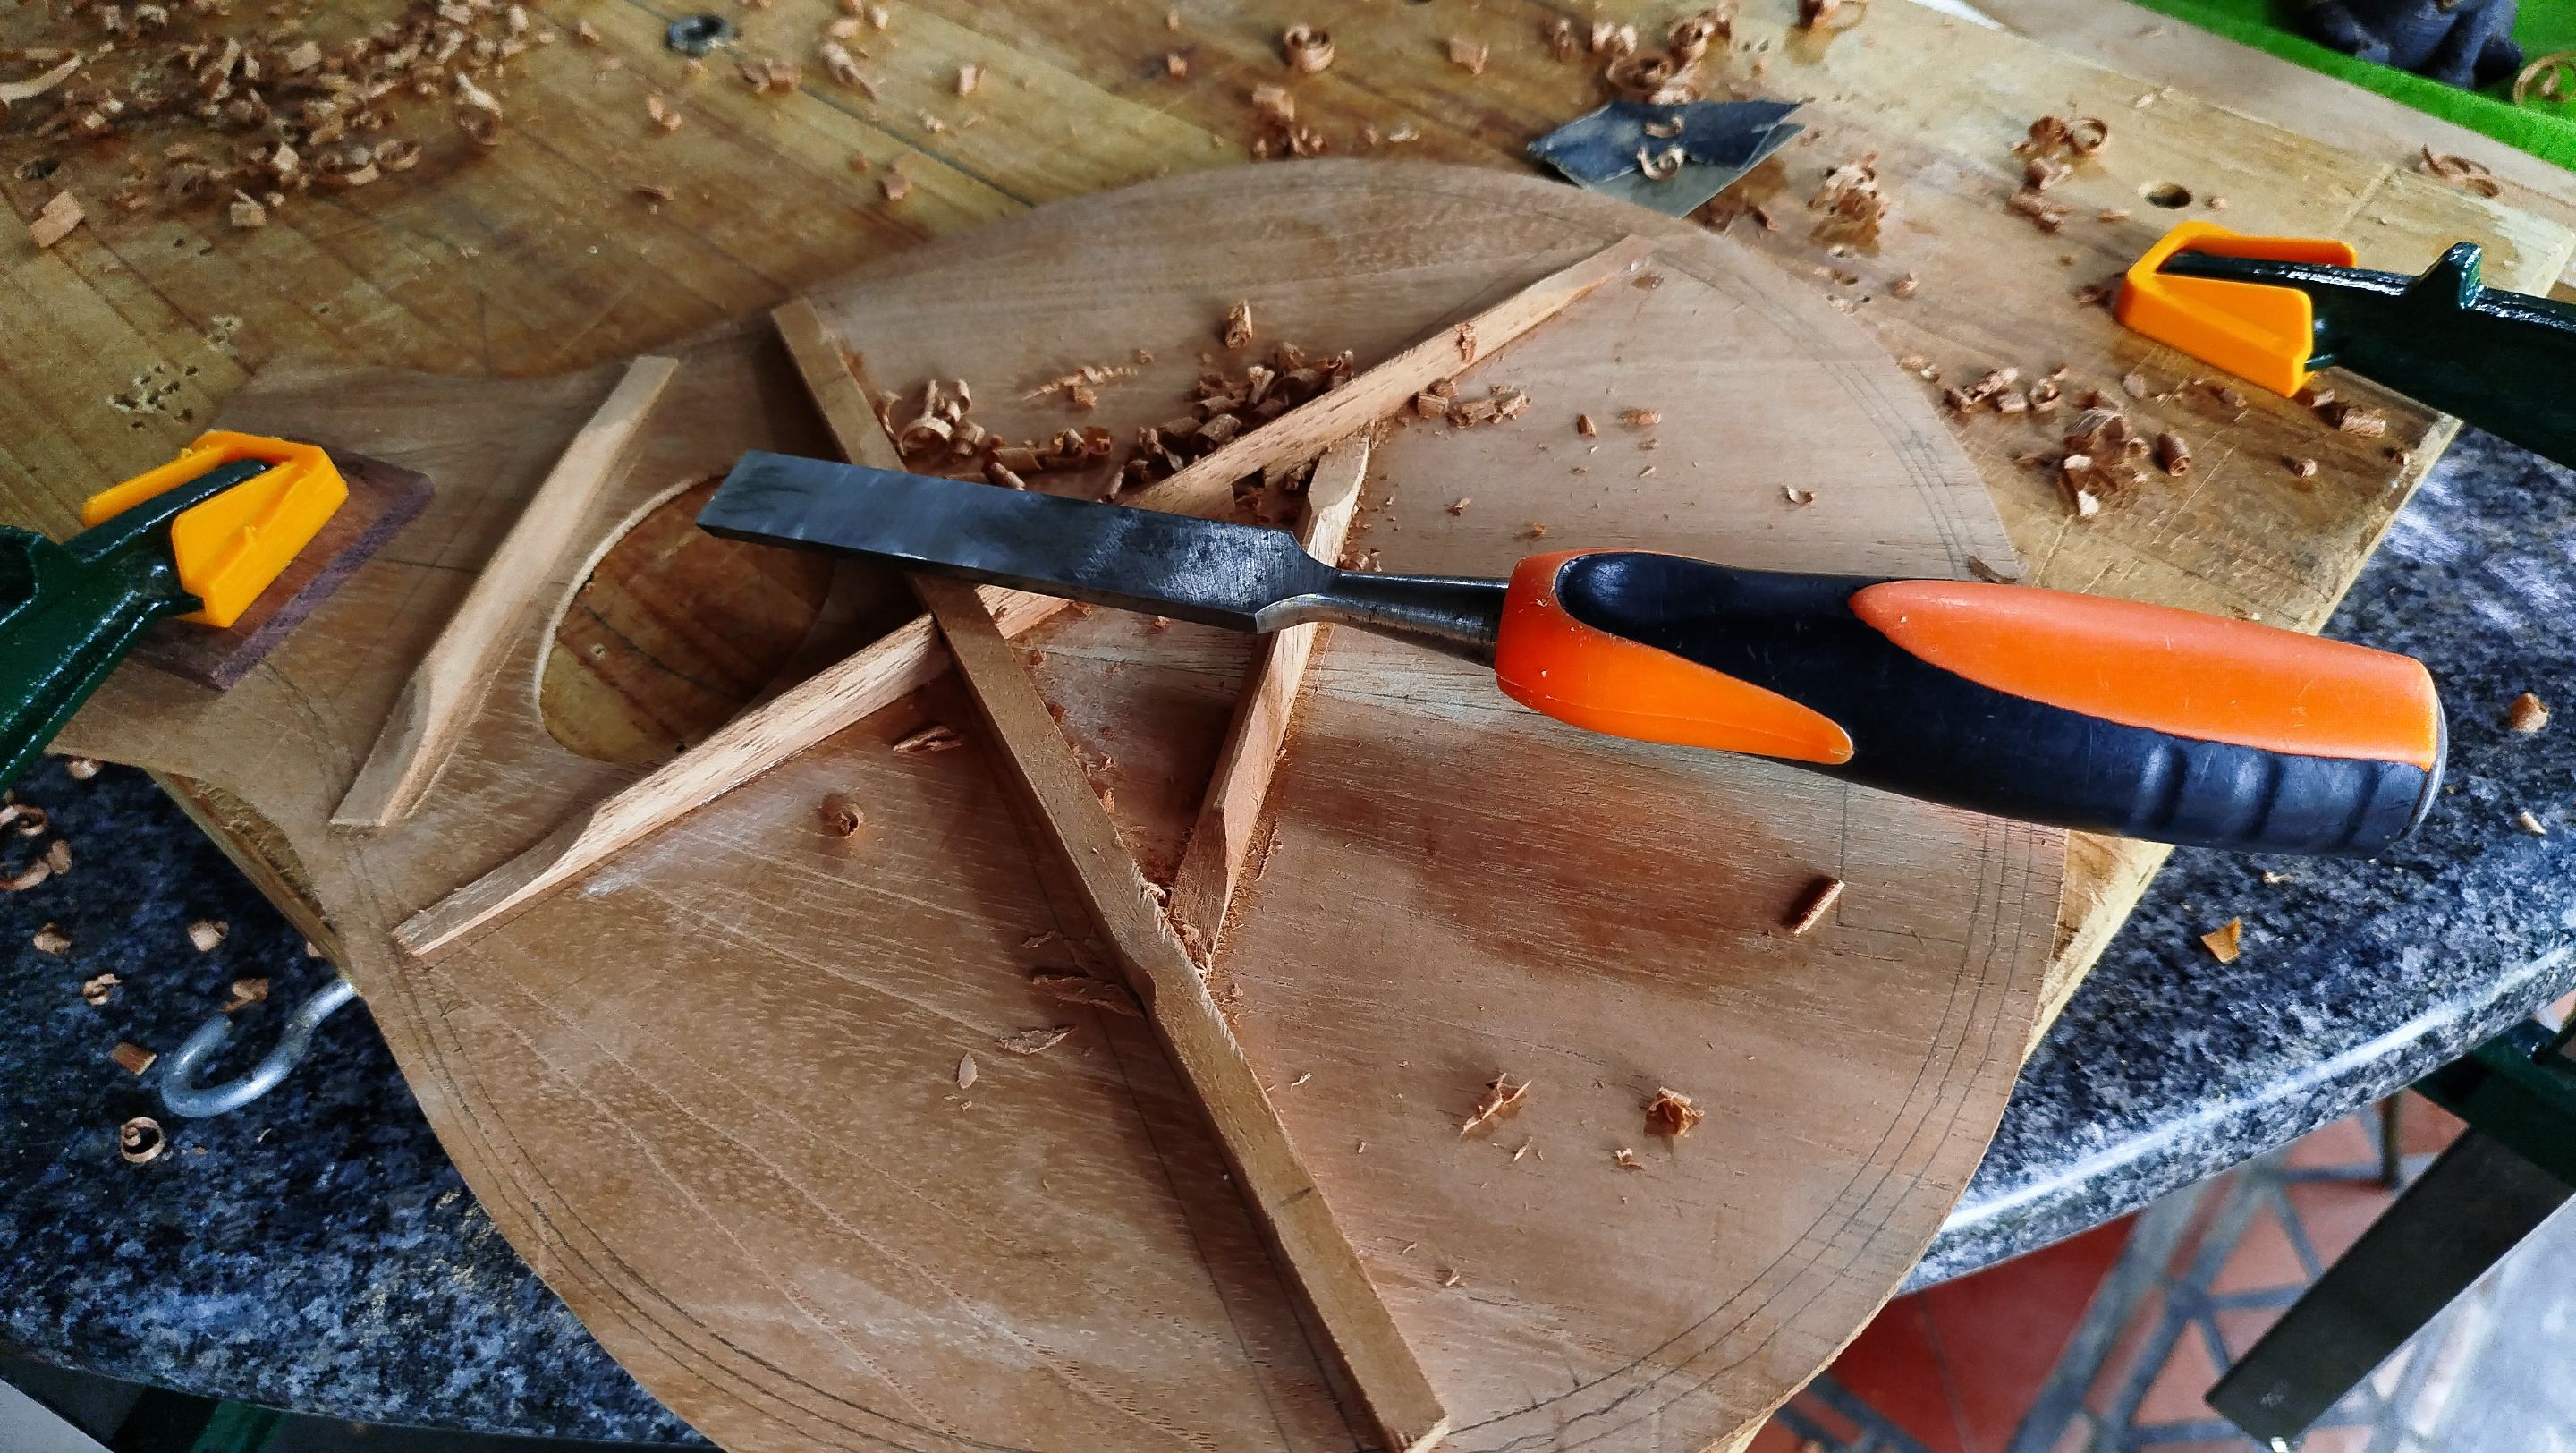
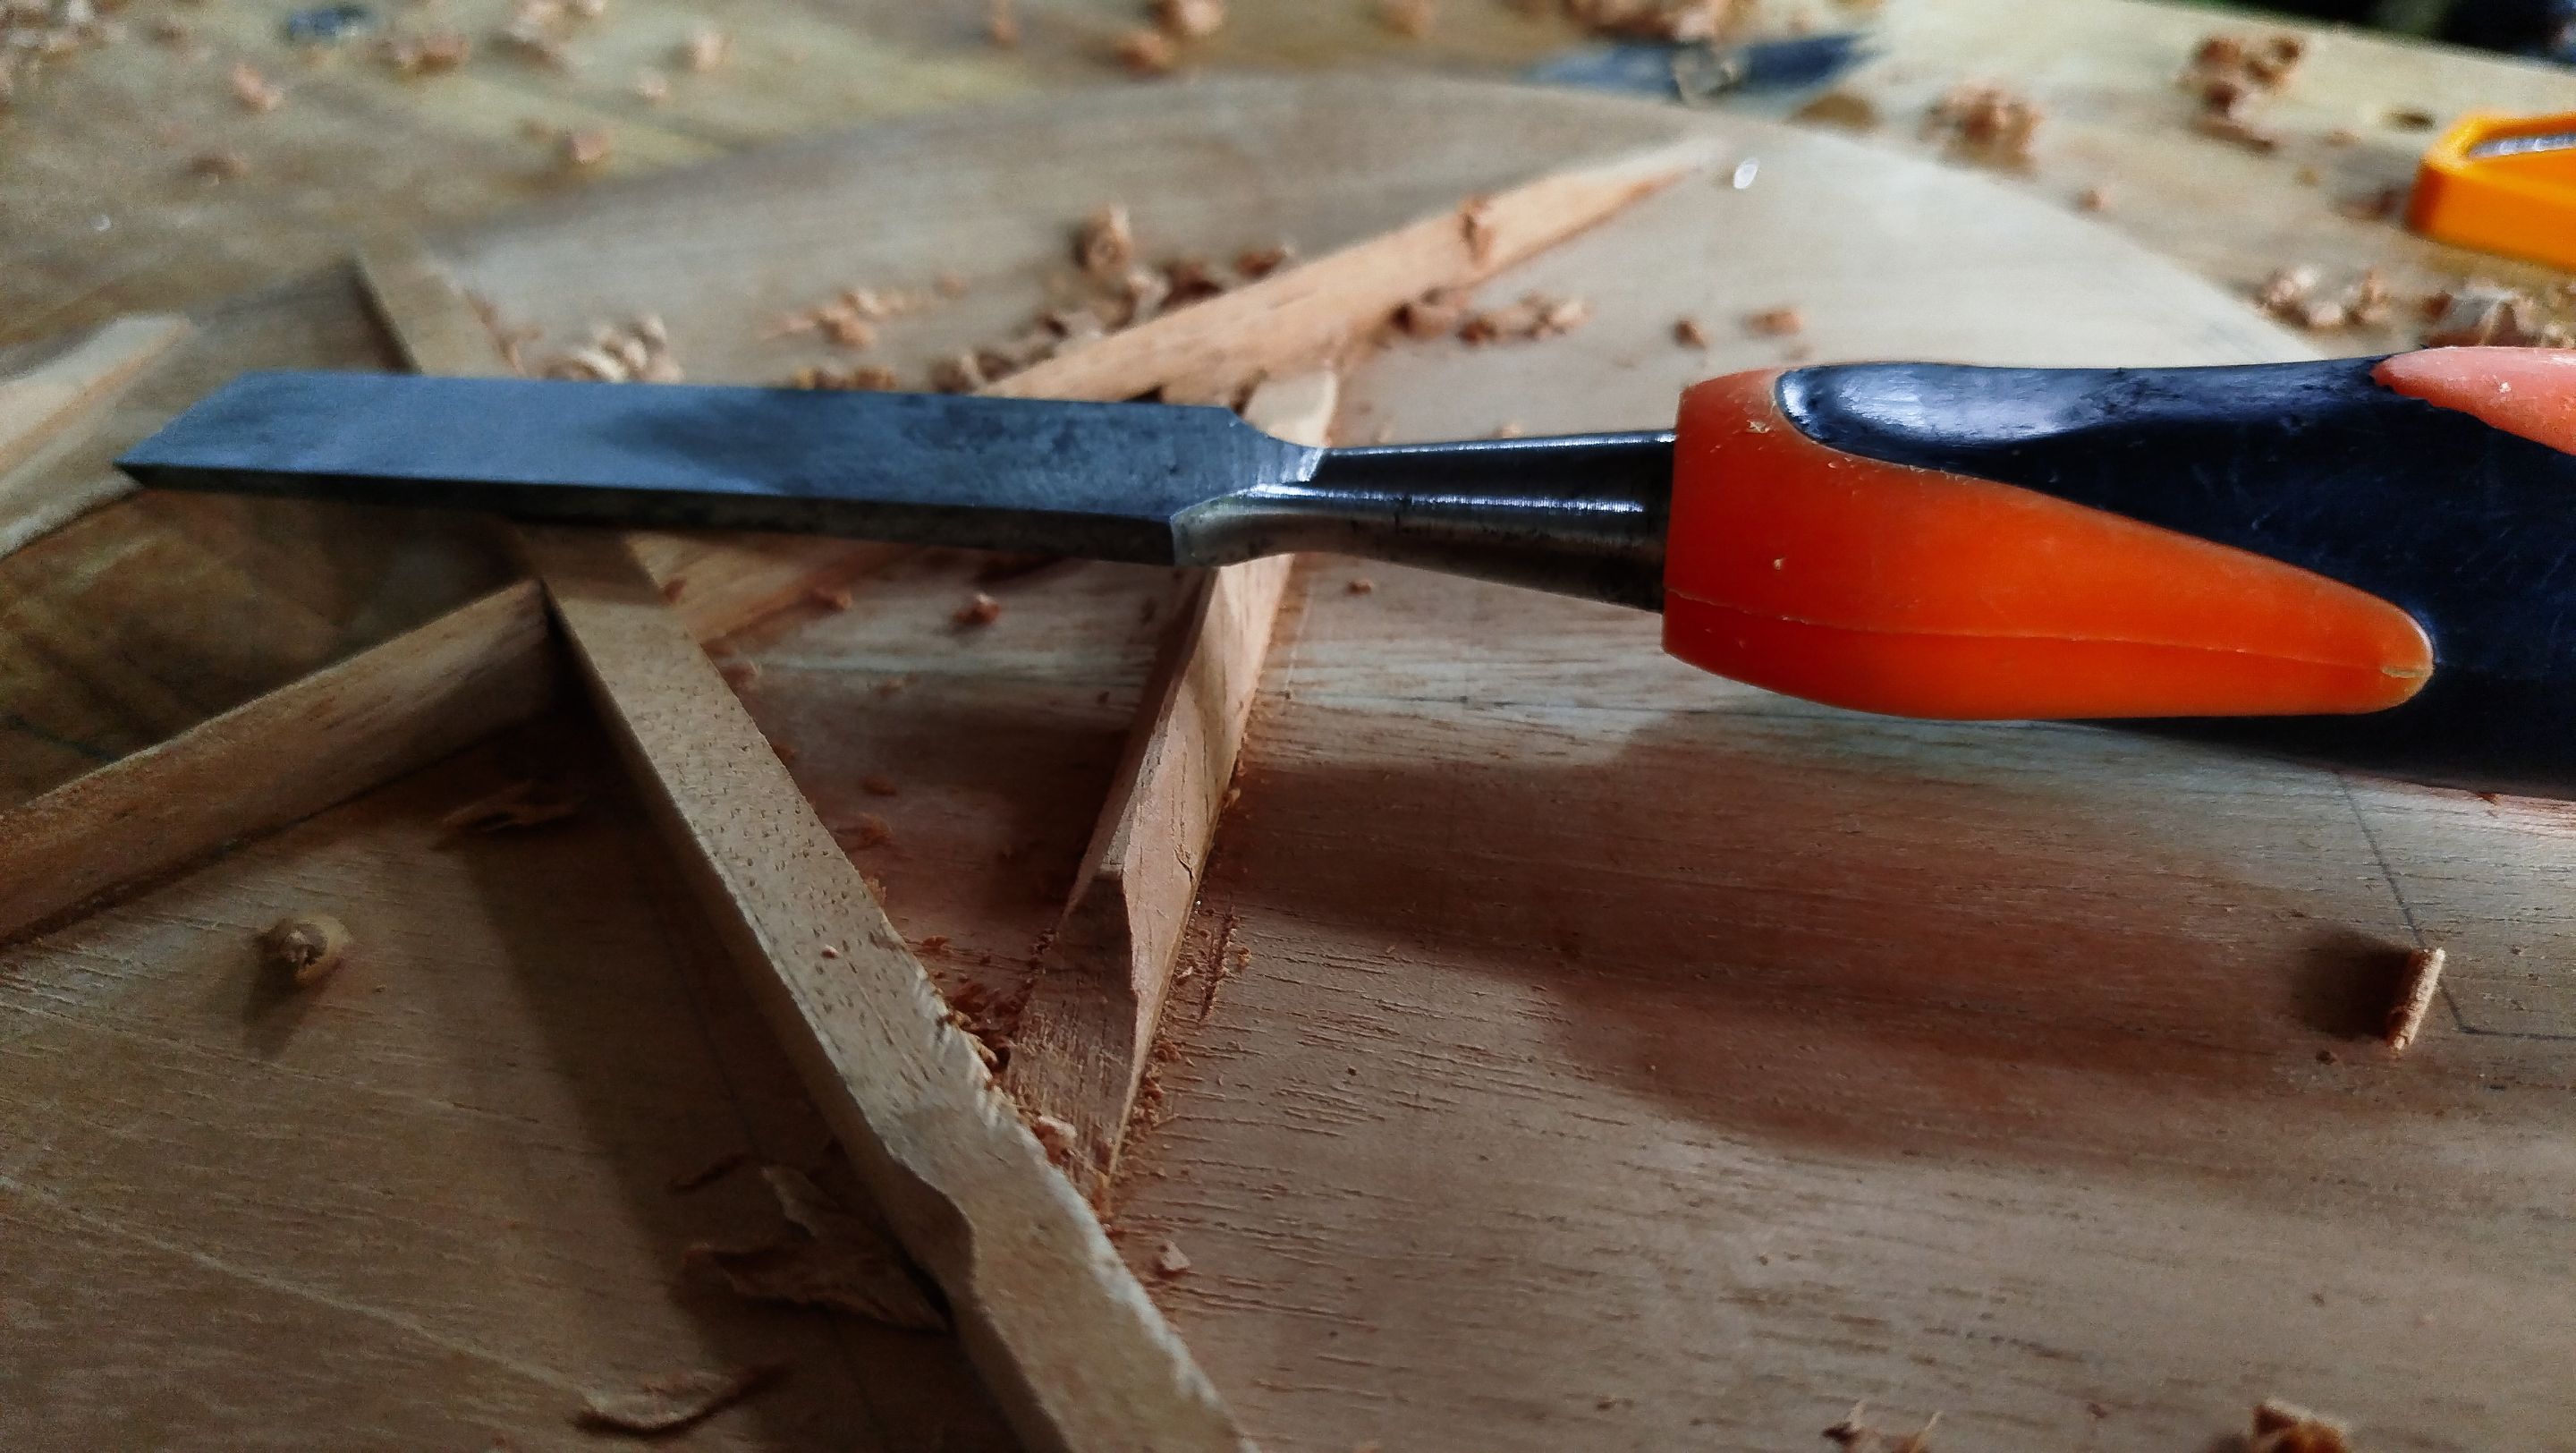
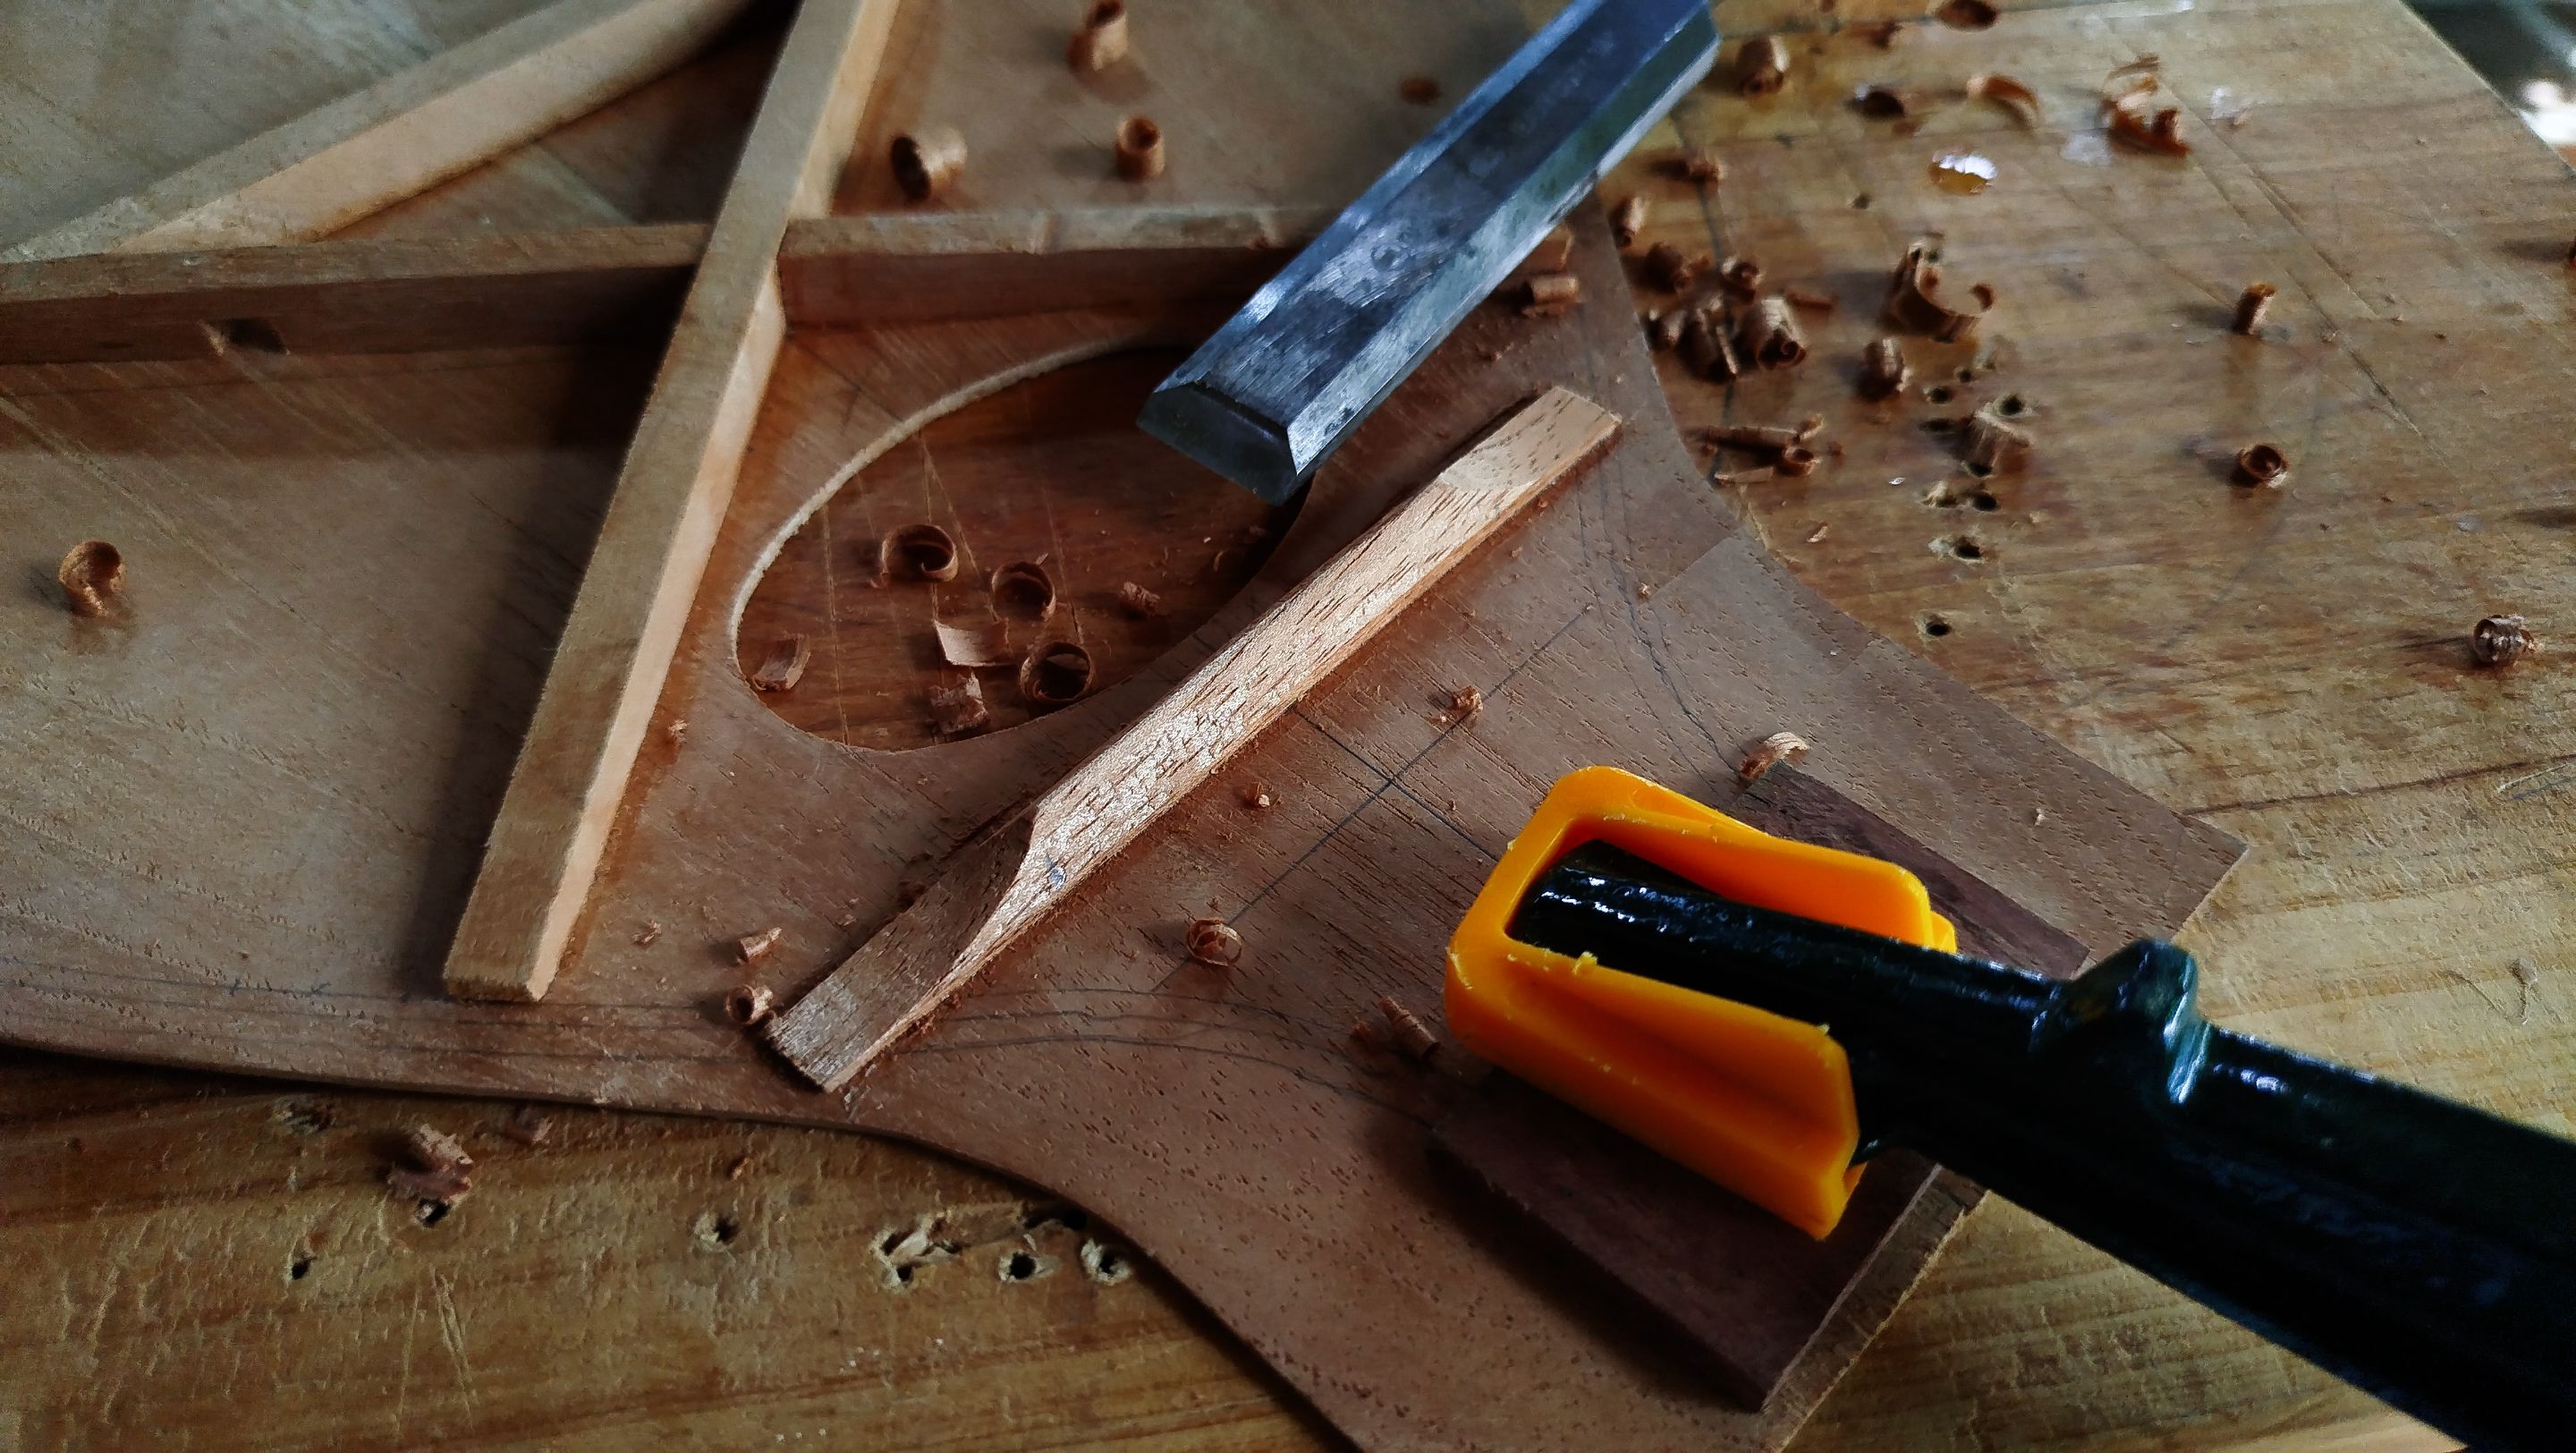
We start by carving the bars that are shorter. In this part, we go about the top and bottom ones. And give the bars their pyramid shape. The process is quite simple. We just need to remove from the top portion of each bar. Then we use a chisel to start taking shavings from the sides to create the tringle at the top.
The toughest part of the carving is the bridge brace. Since it is located between two bars it gets harder to remove material from the sides of the brace. We end the carving portion by sanding the bars and get ready to carve the longer ones.
That will be content for the next entry. Thanks a lot for following this new project. There are a lot of other steps to take before we get the complete instrument. And that is exactly what we are goin to do. See you next time!

| Number | Entry |
|---|---|
| 1 | The First Mandolin |

-
Photos 📷: Redmi Note 13
-
Thumbnail 🖼️: Canva.
-
Editing 🎬:Adobe Photoshop Lightroom.


Follow me on Instagram for enquires and commission.
If you'd like to help the workshop grow, you can make a donation here.
You can find me at discord as bertrayo#1763
