
Hello there, my fellow artisans and handcrafts enthusiasts!
Welcome back to another entry on the series of projects coming out of the workshop. Today, we continue with the build of the fist ukulele. Last time, we had set the some parts of the structure to have them ready. Now we are adding some more details and parts to these structures to get closer to the end goal: finishing the instrument.
Let's get to it!
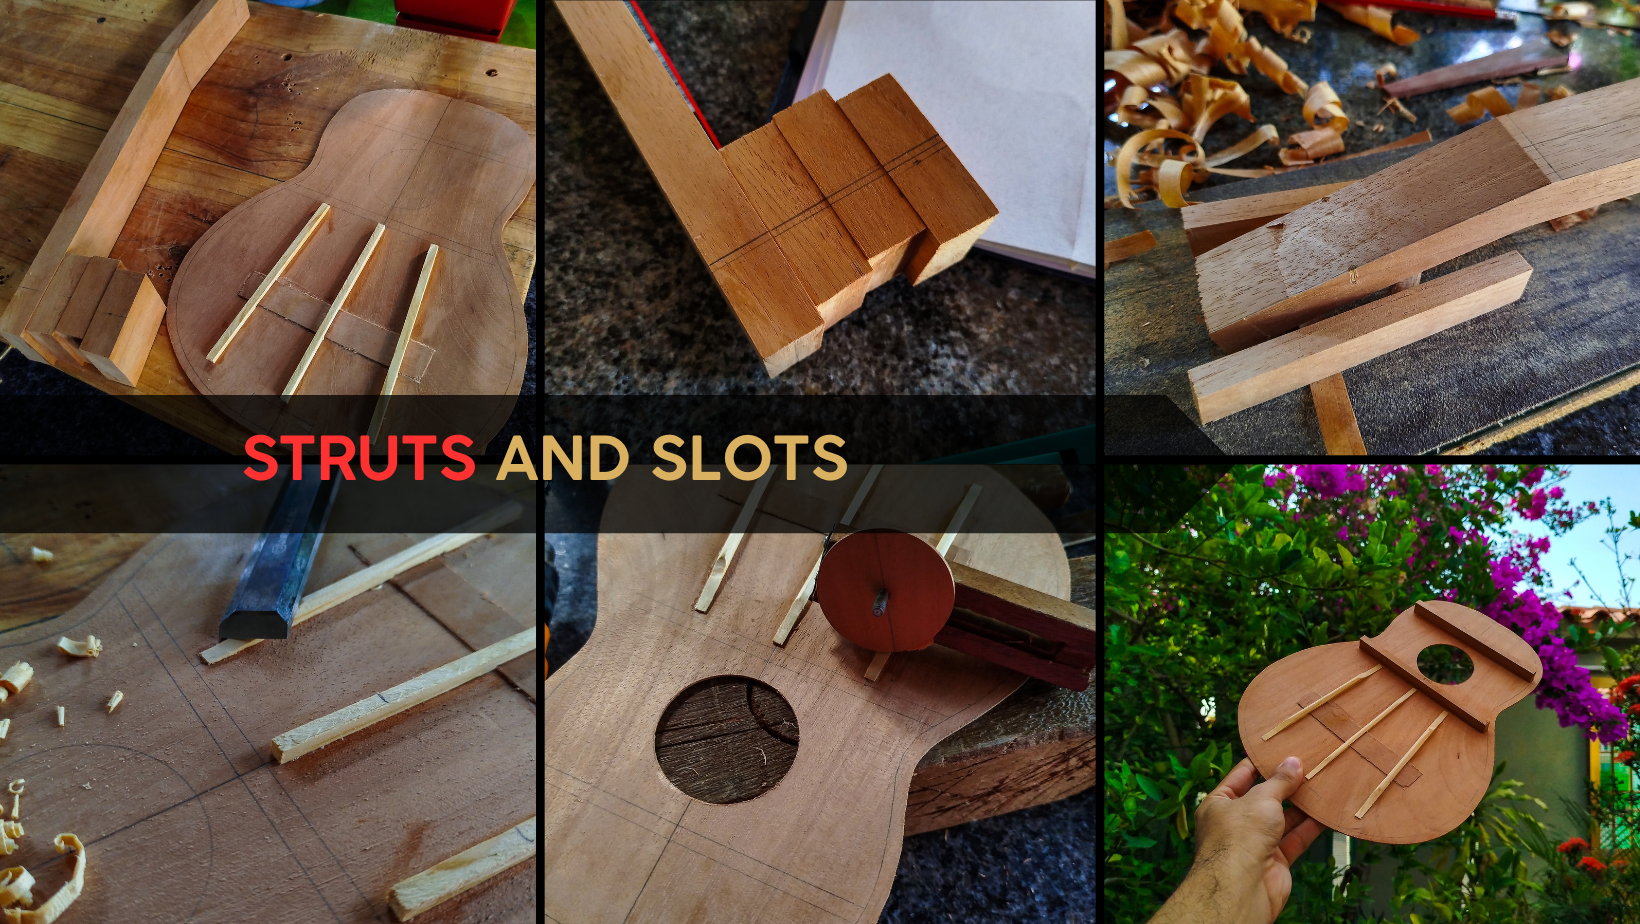
Struts and Slots


Swipe to see the photos
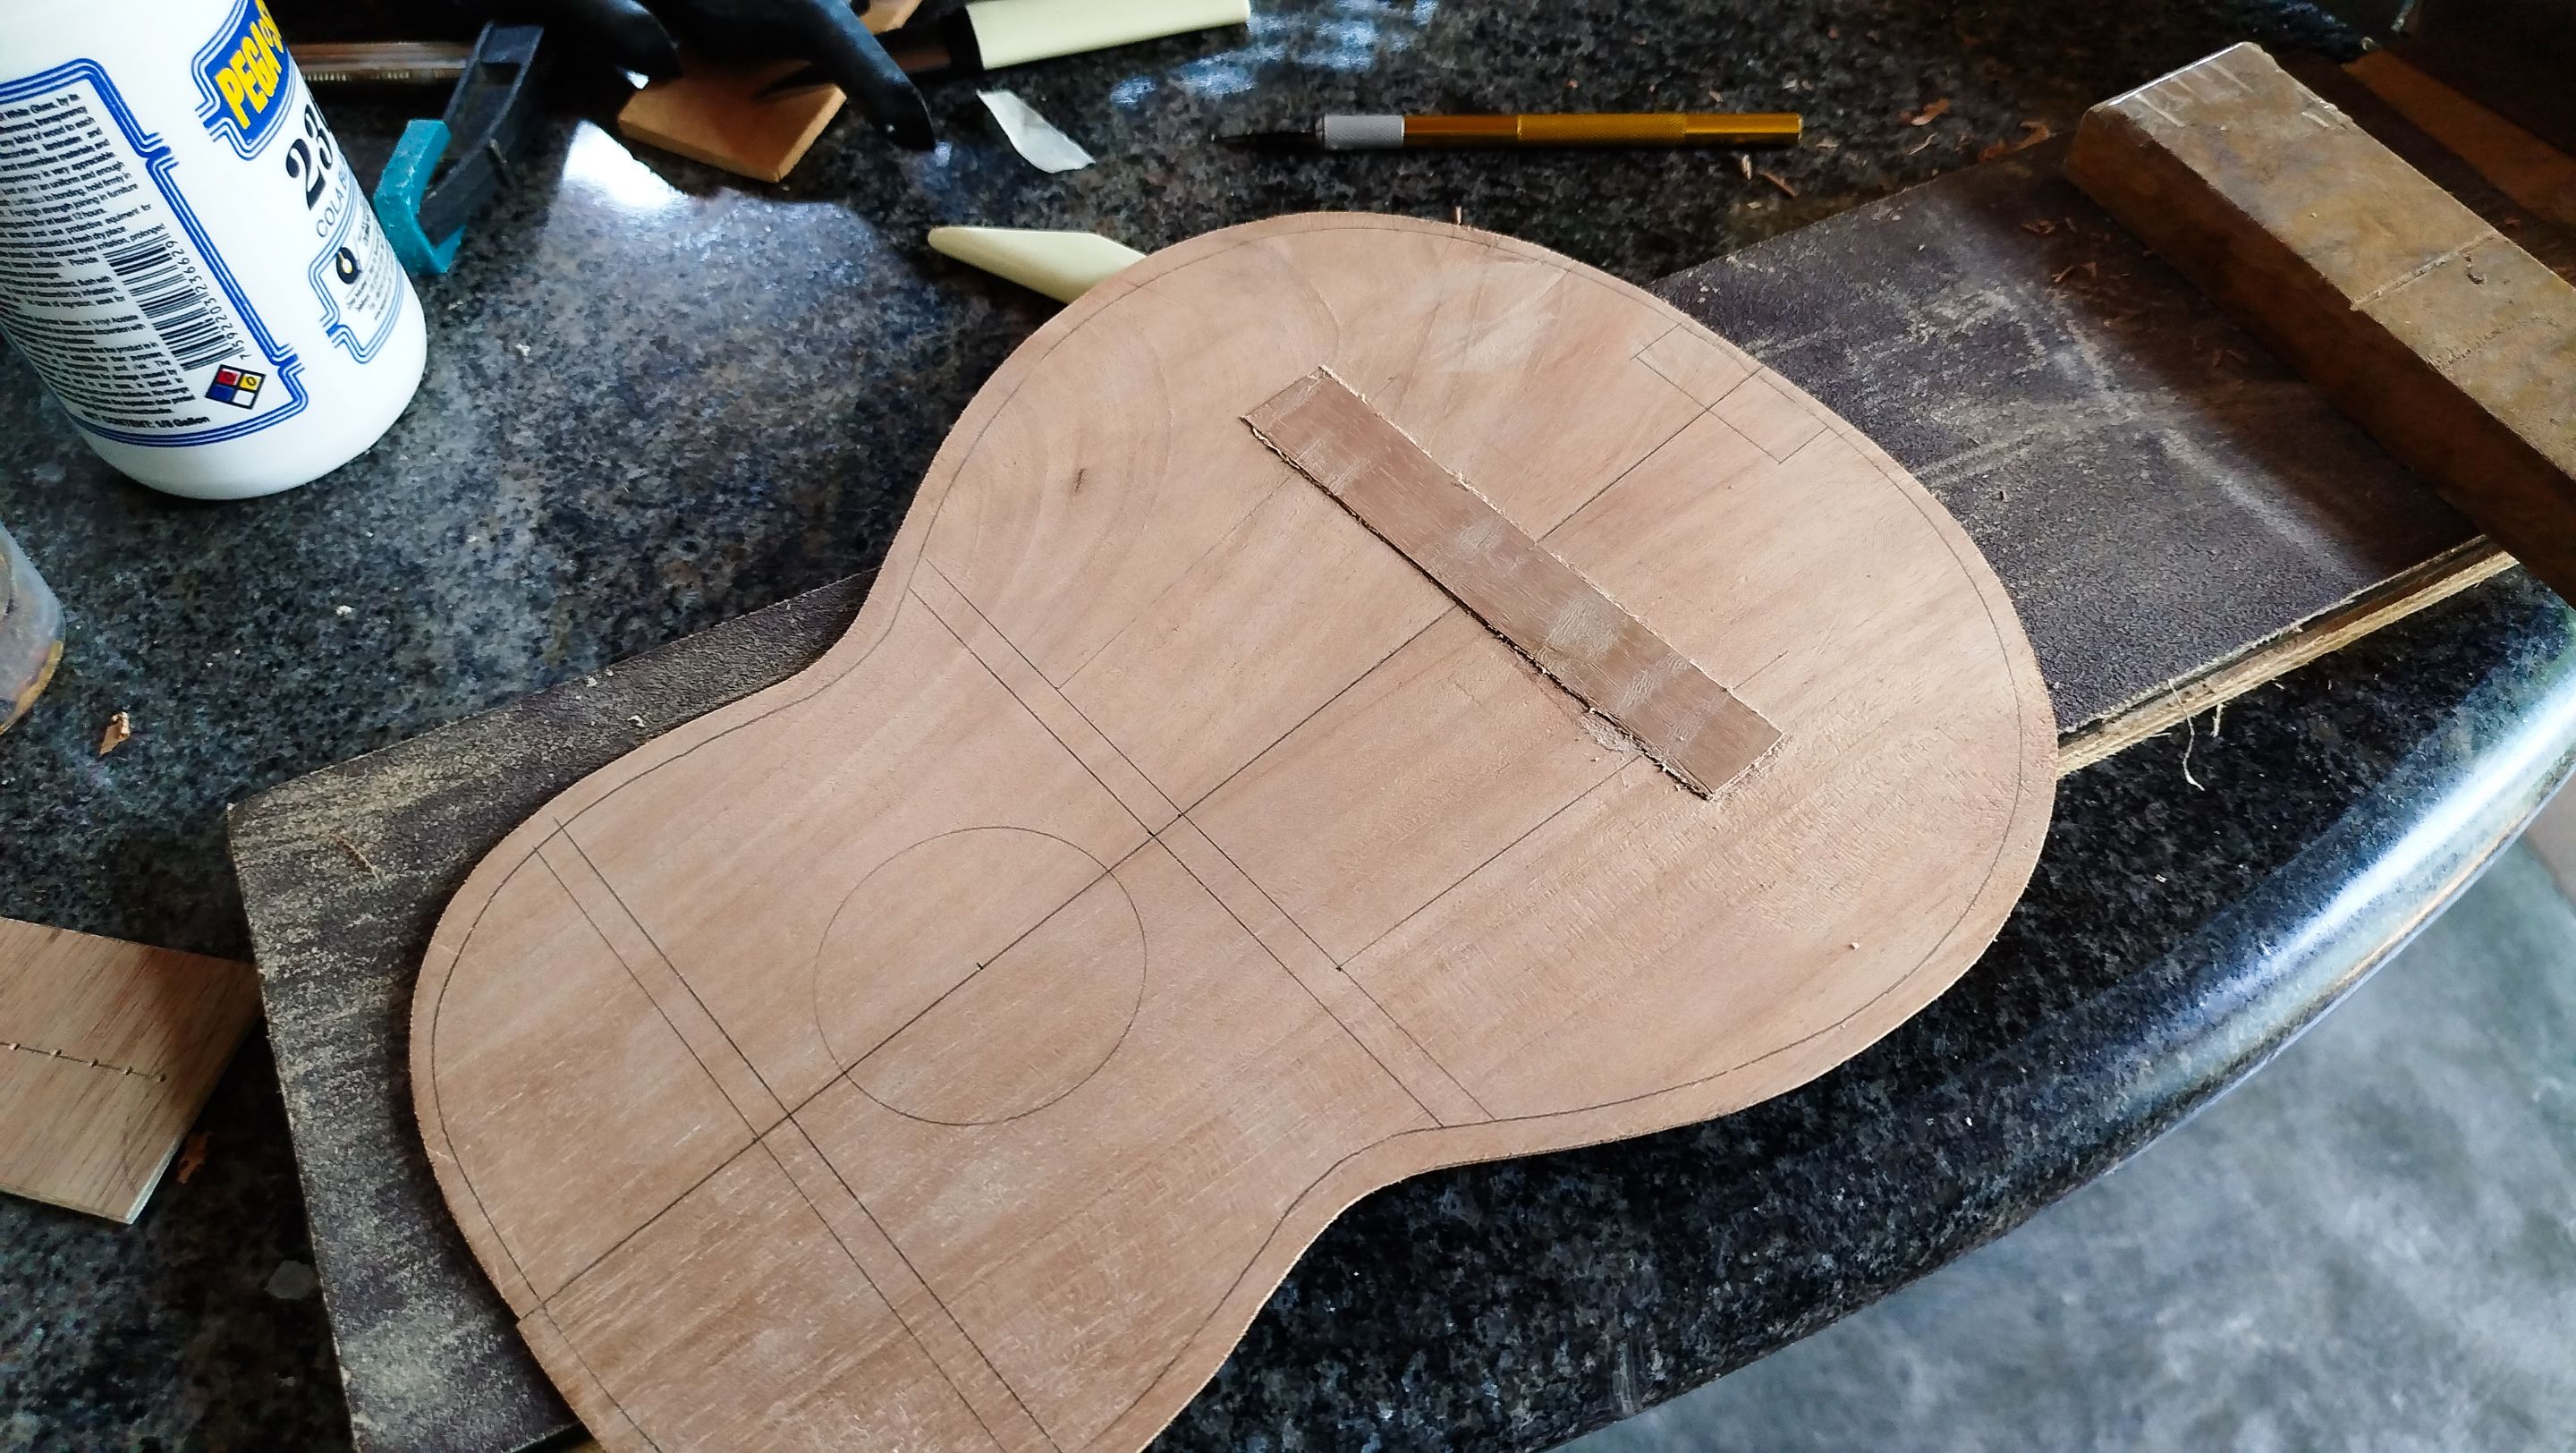
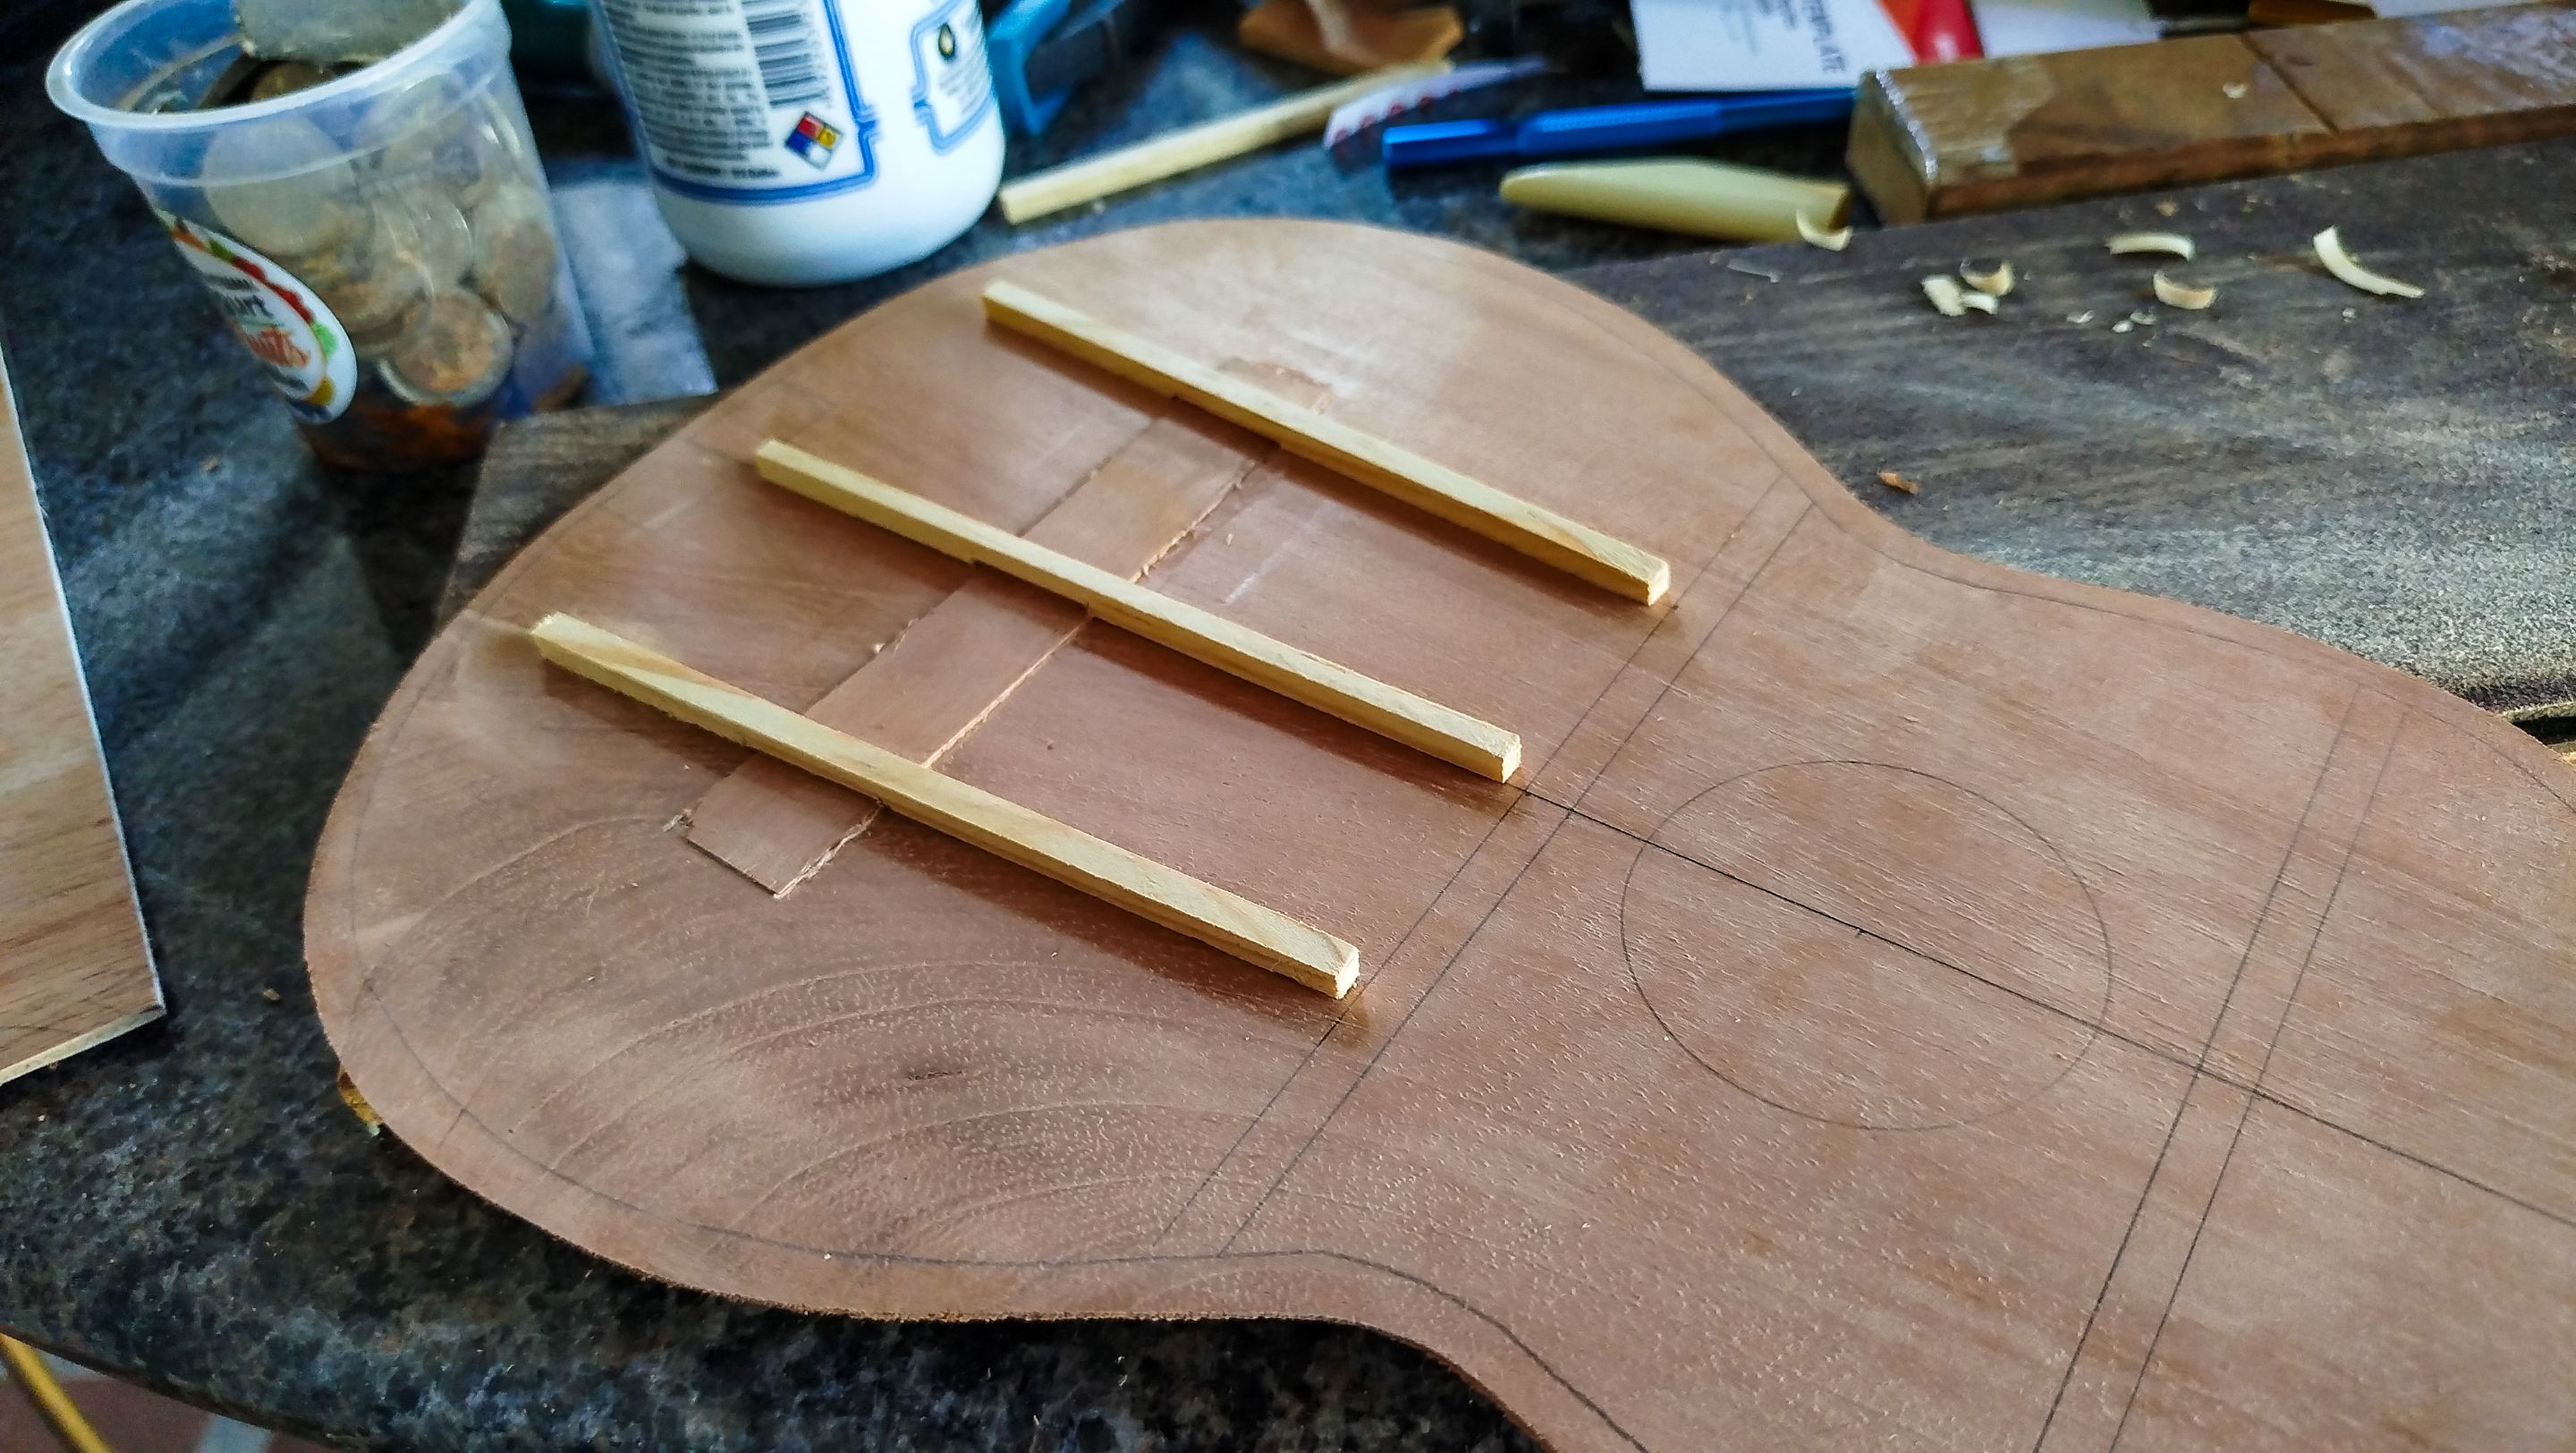
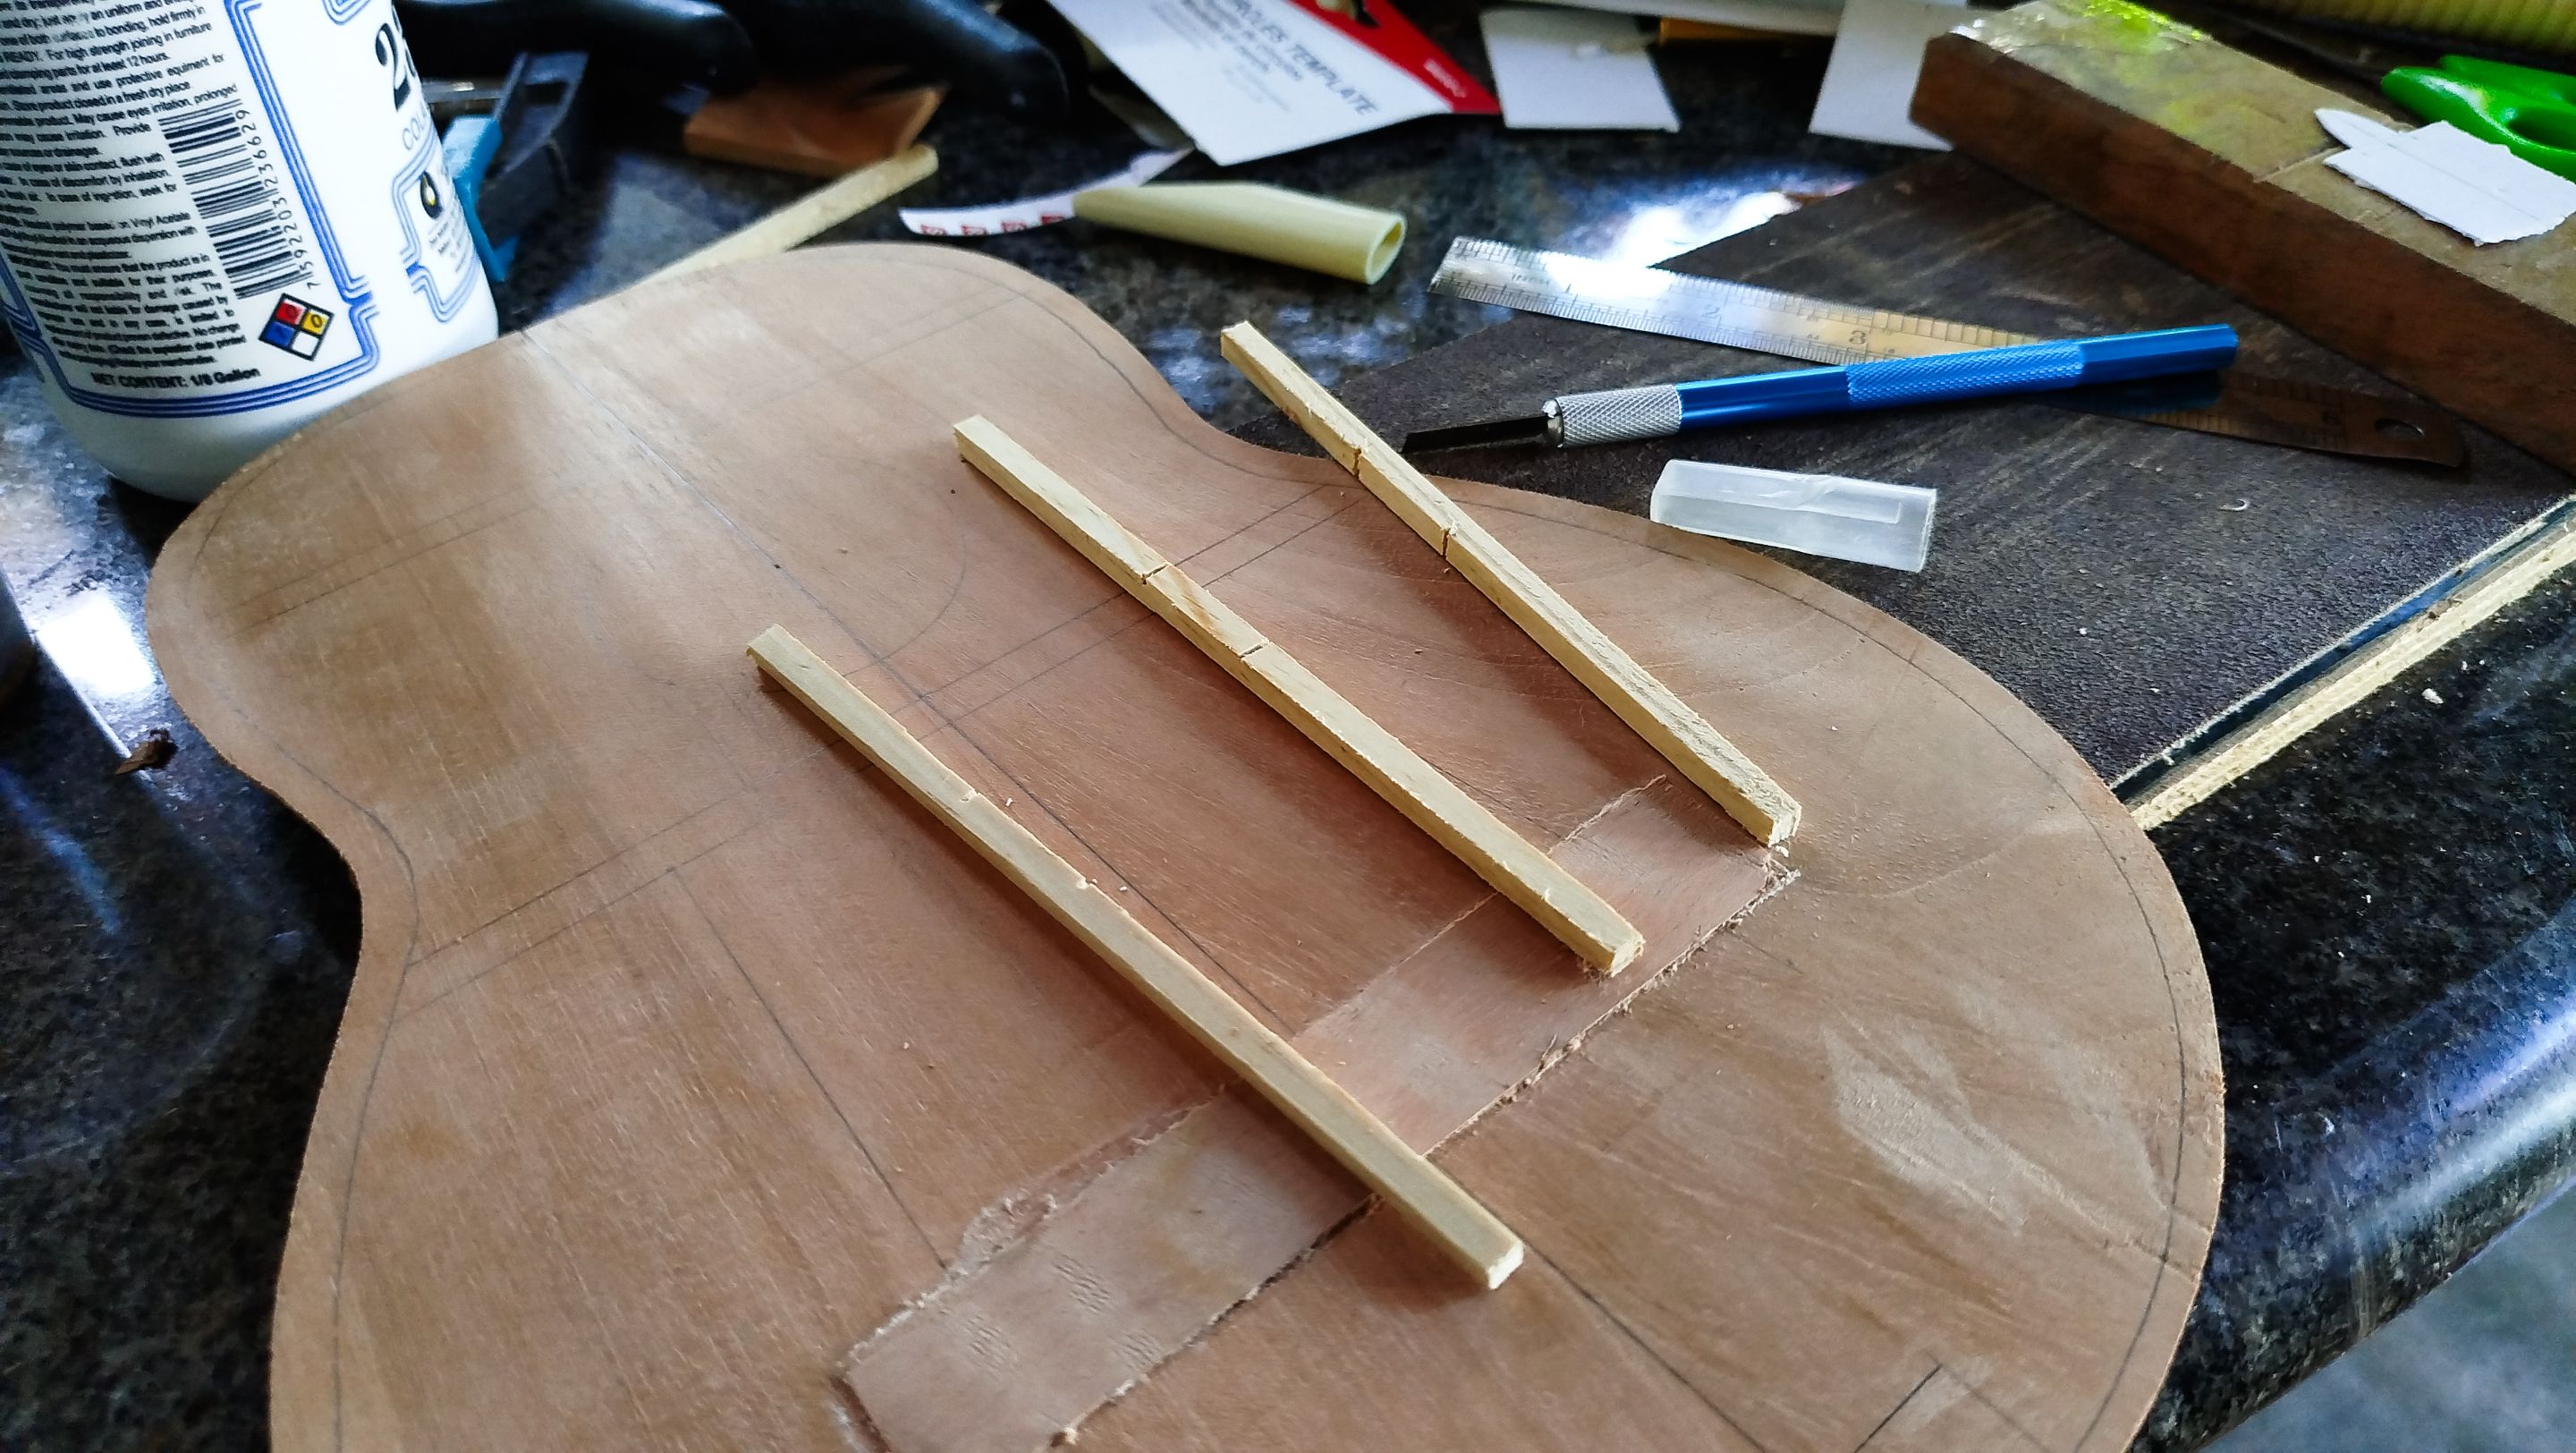
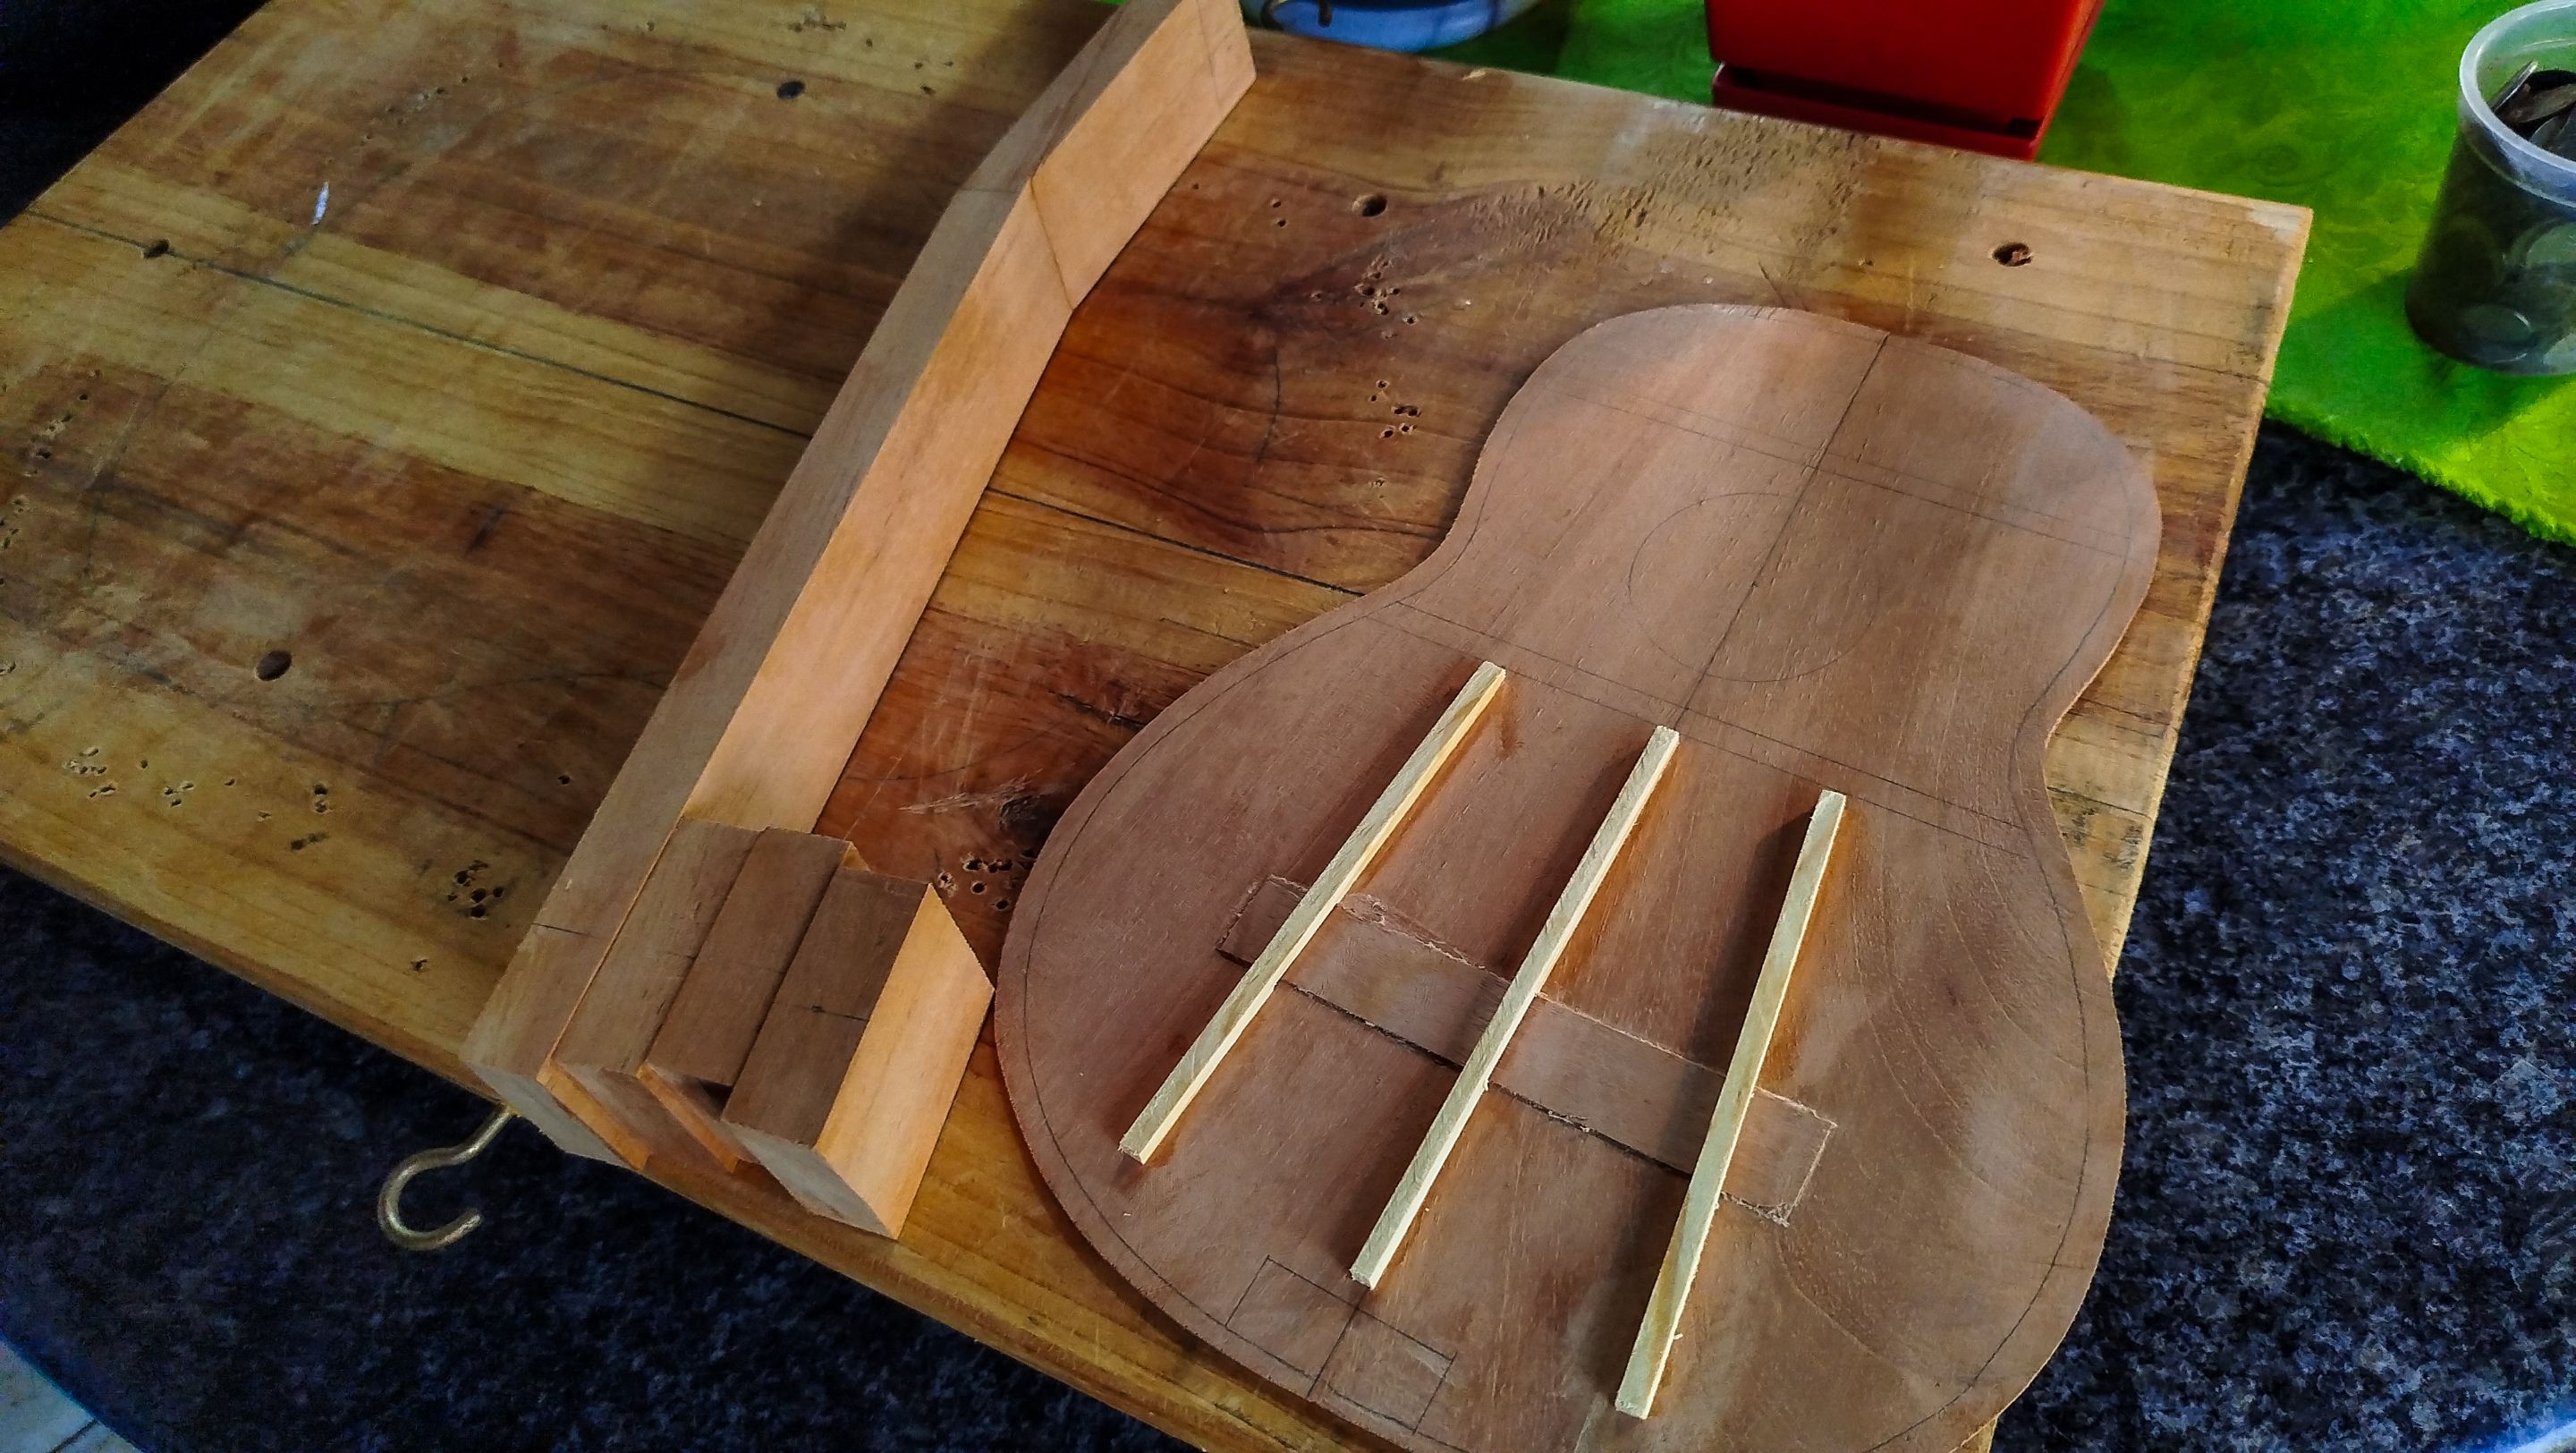
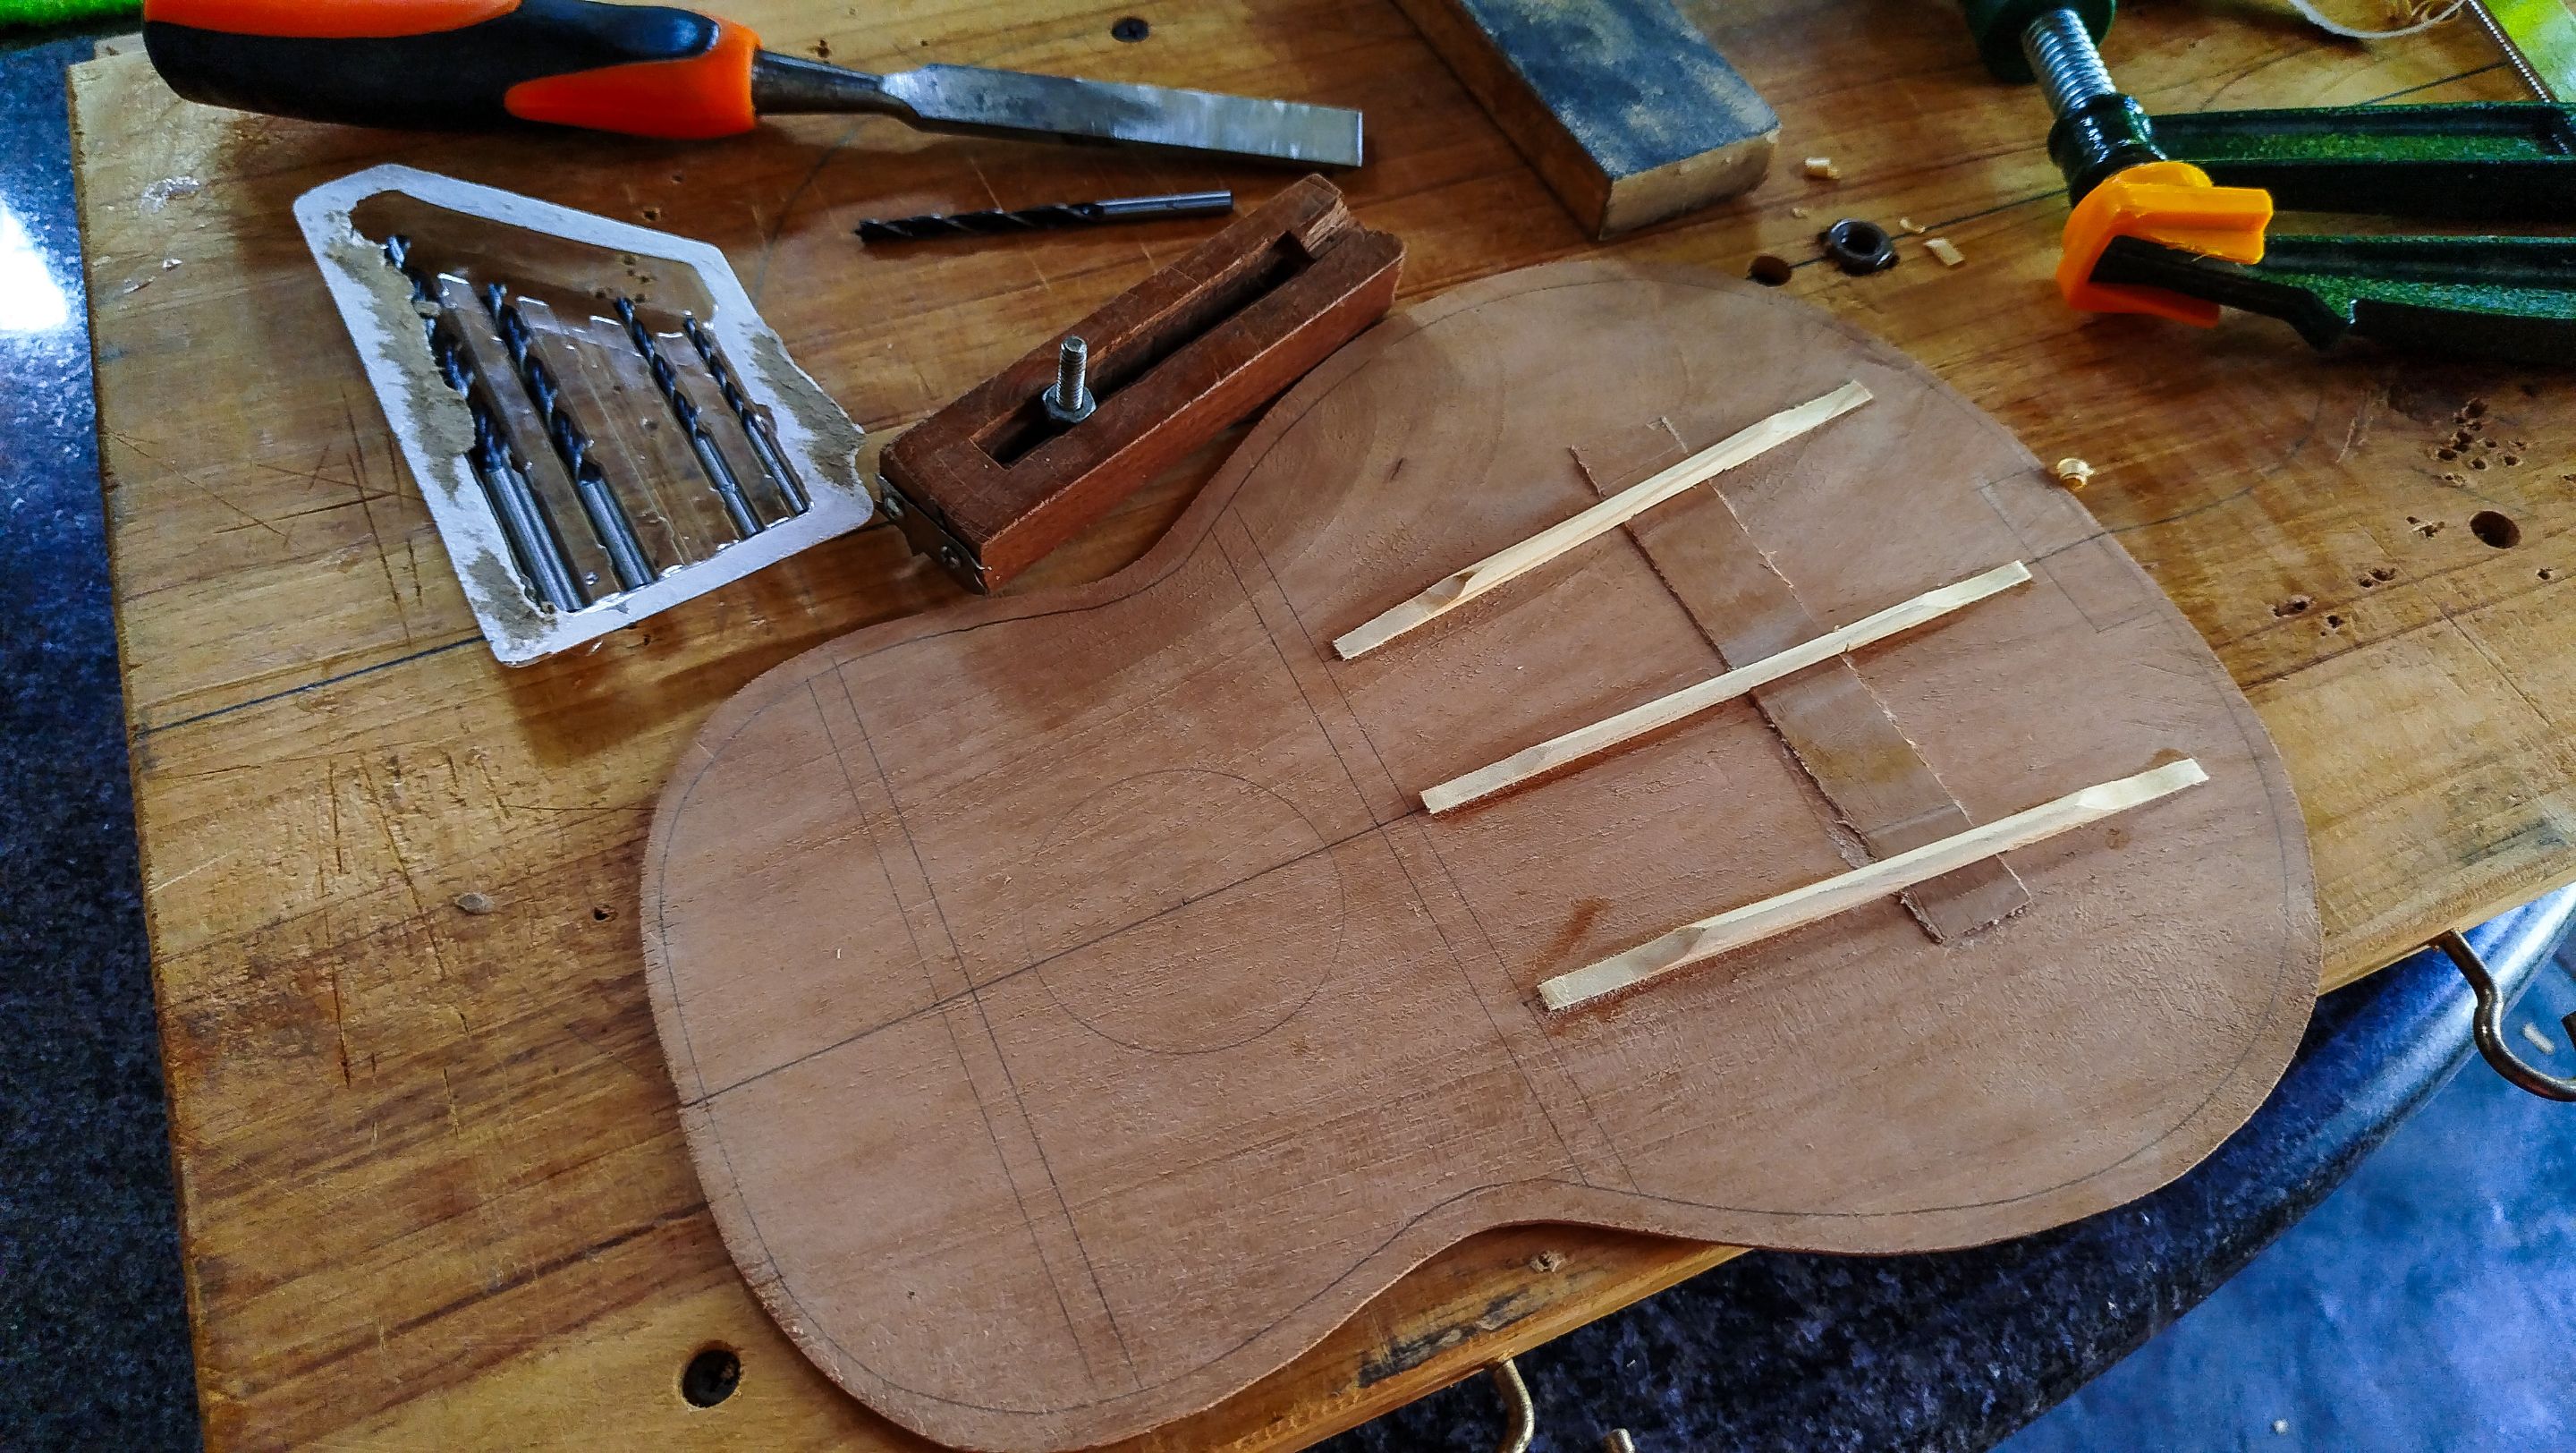
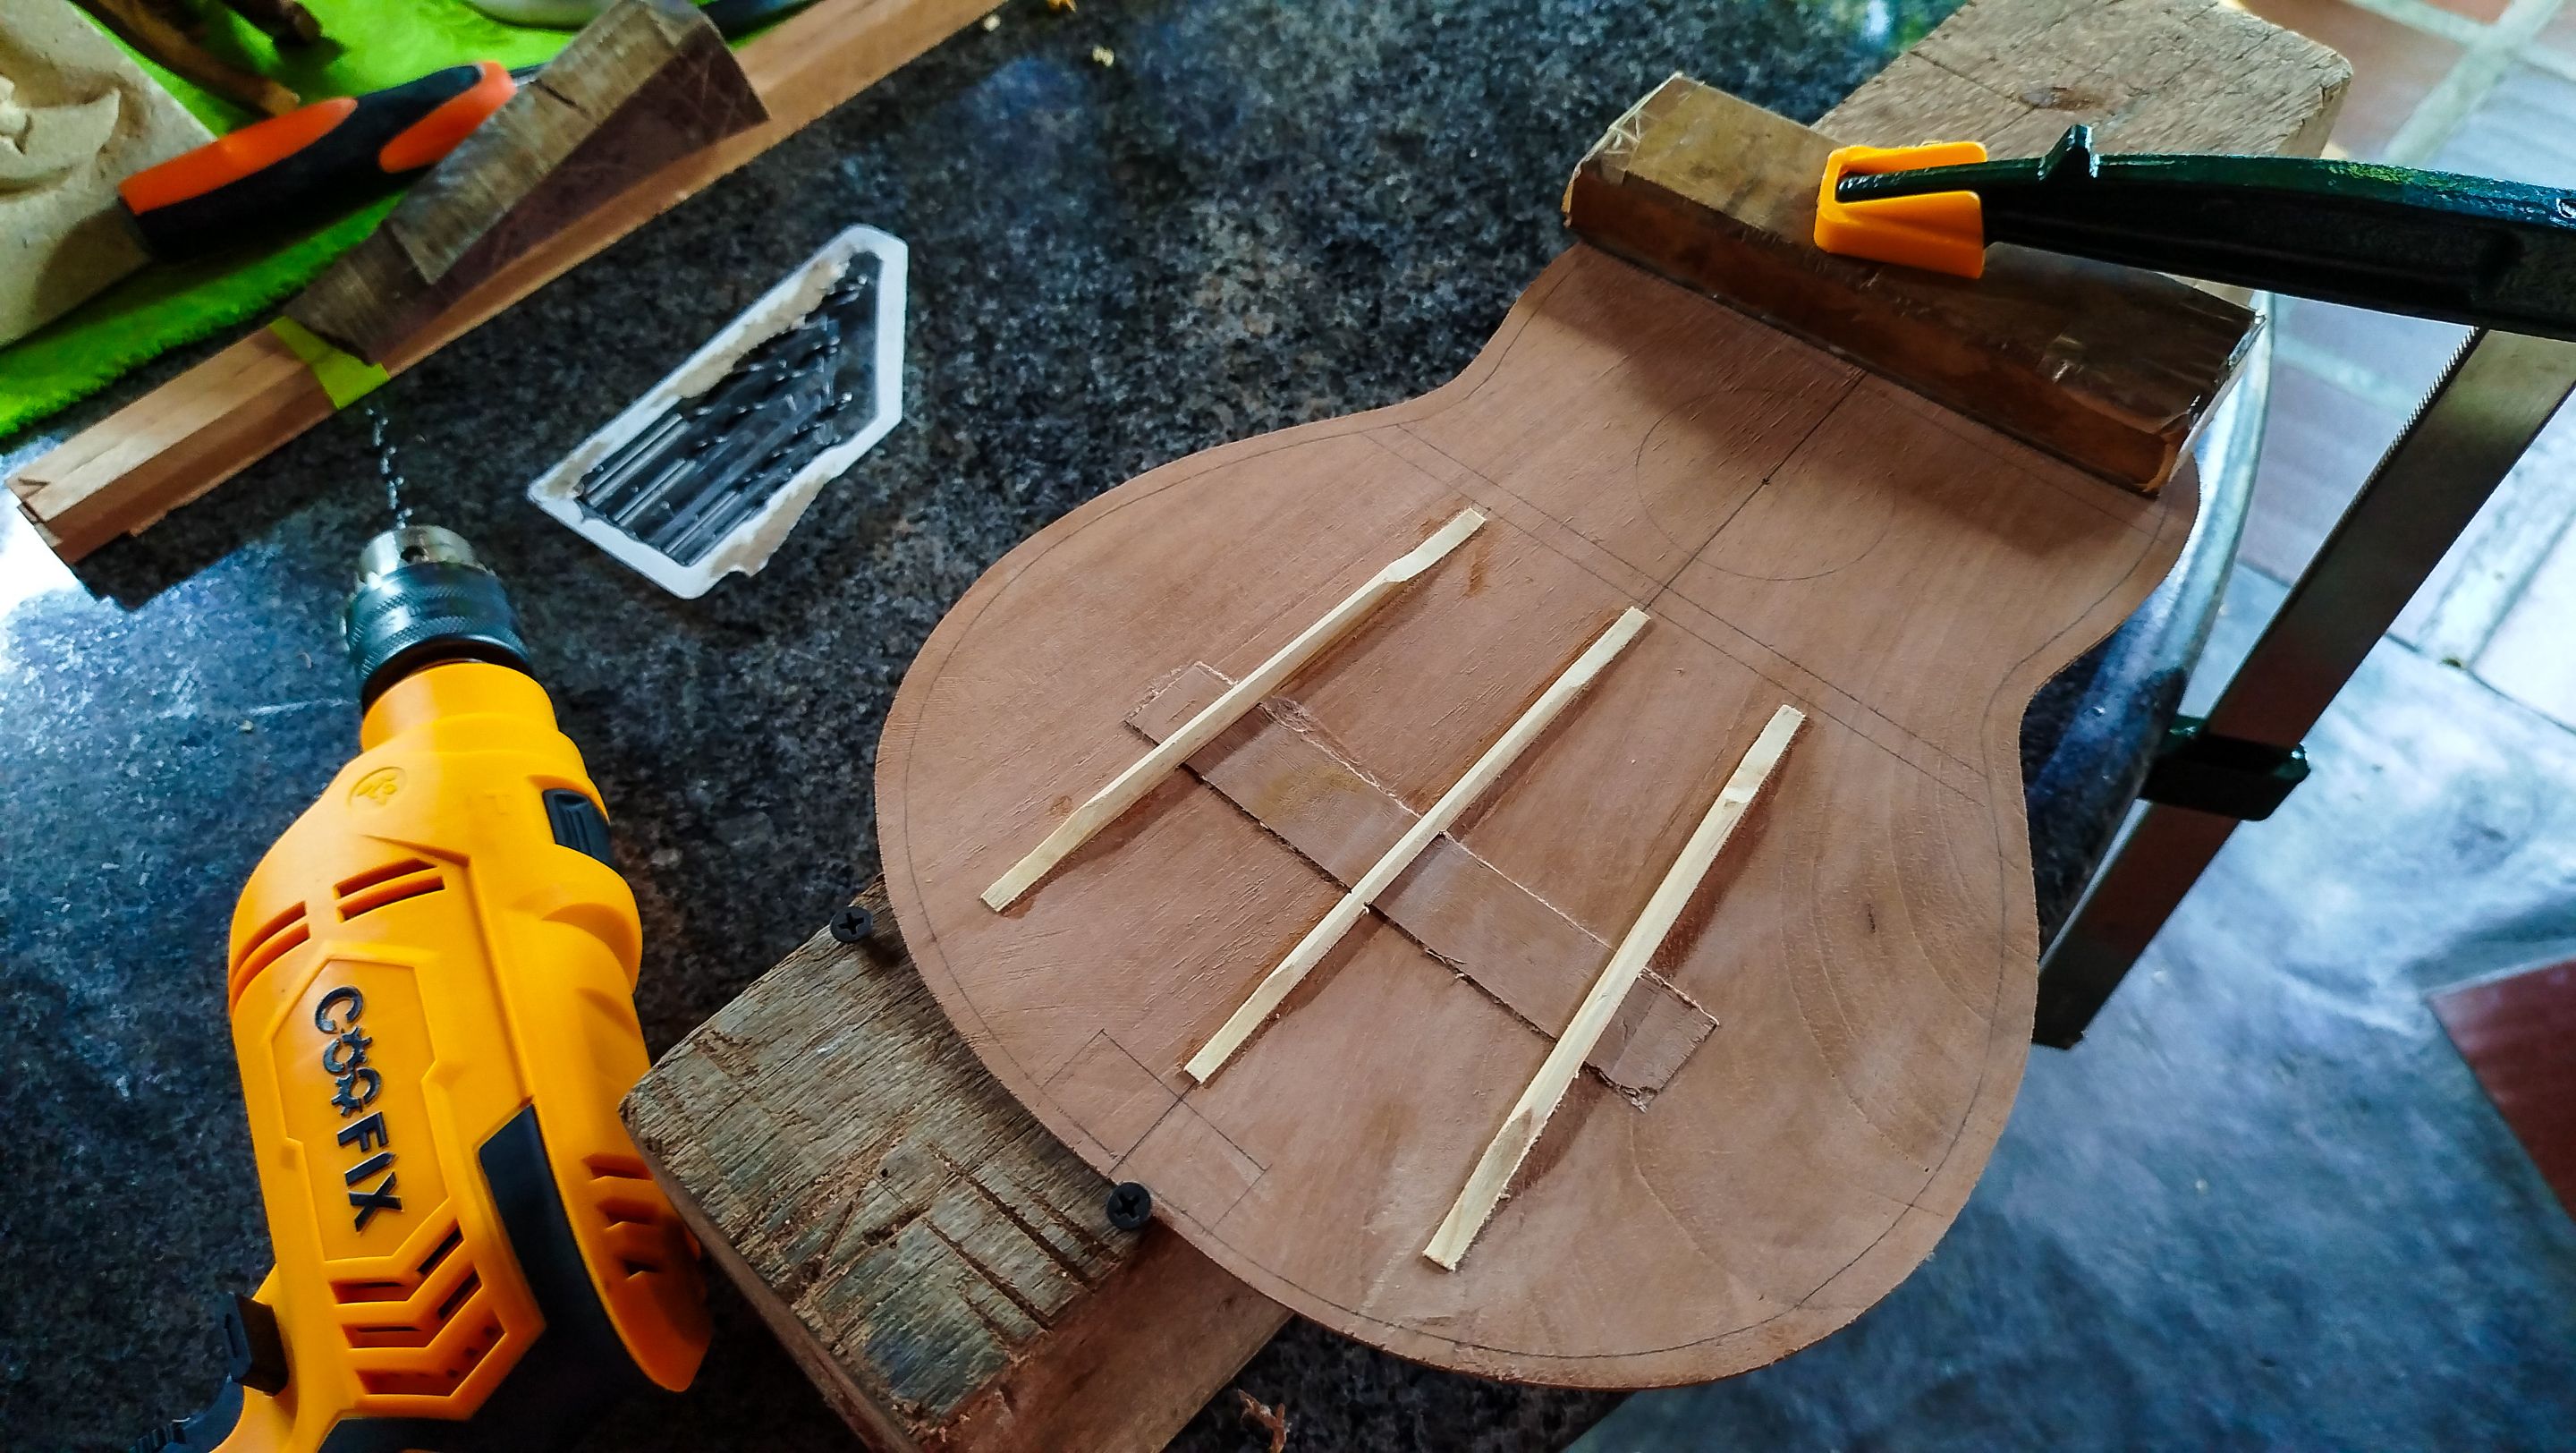
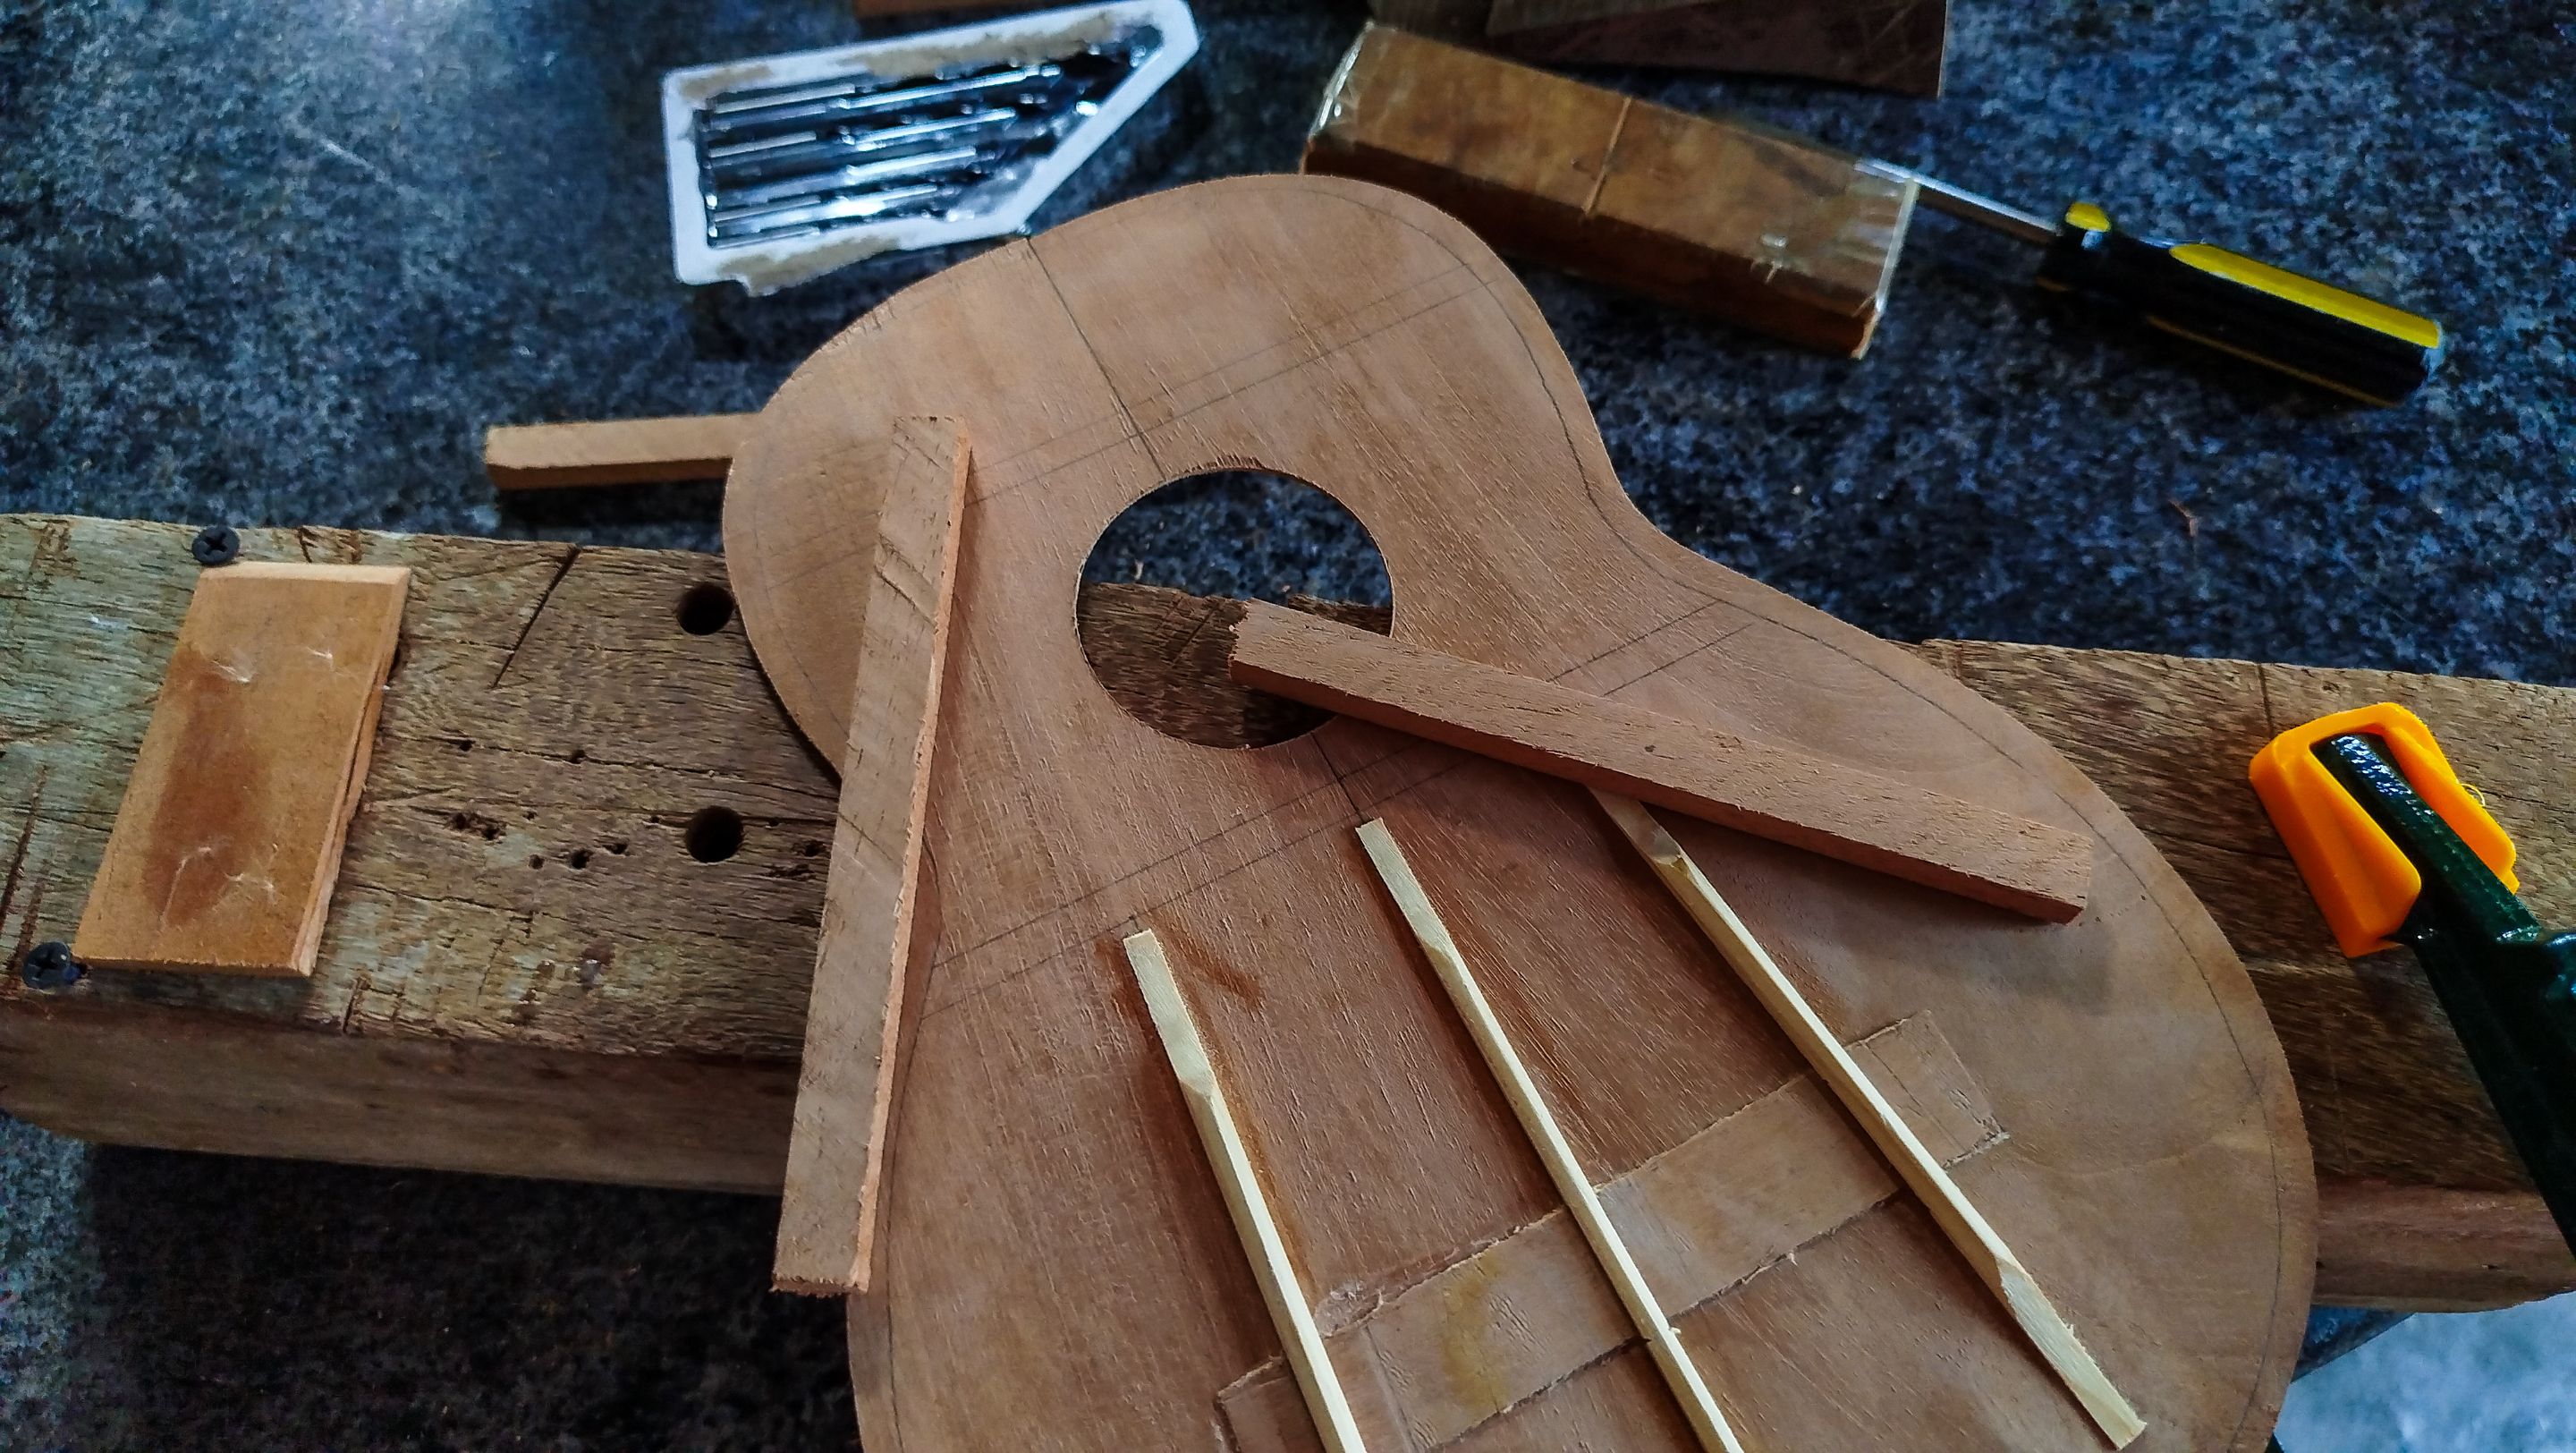
We already made the bridge plate and also put in place. Now we are adding the struts. These are the pieces of wood that create different nodes on the back of the sound board. Their purpose is to strengthen the piece, but they also alter the way in which the sound board vibrates. So the sound generated while the strings are in action changes. It could work for the treble, bass or both. There's a complete study on how these work and the several lots of configurations to achieve a certain sound. Adding three struts to this ukulele is a very normal practice. There can't be a lot of these bars here since the instrument wouldn't make any sound. The idea is that these bars give us some resistance to the tension as well. That have the top will not bend once the strings are tuned.
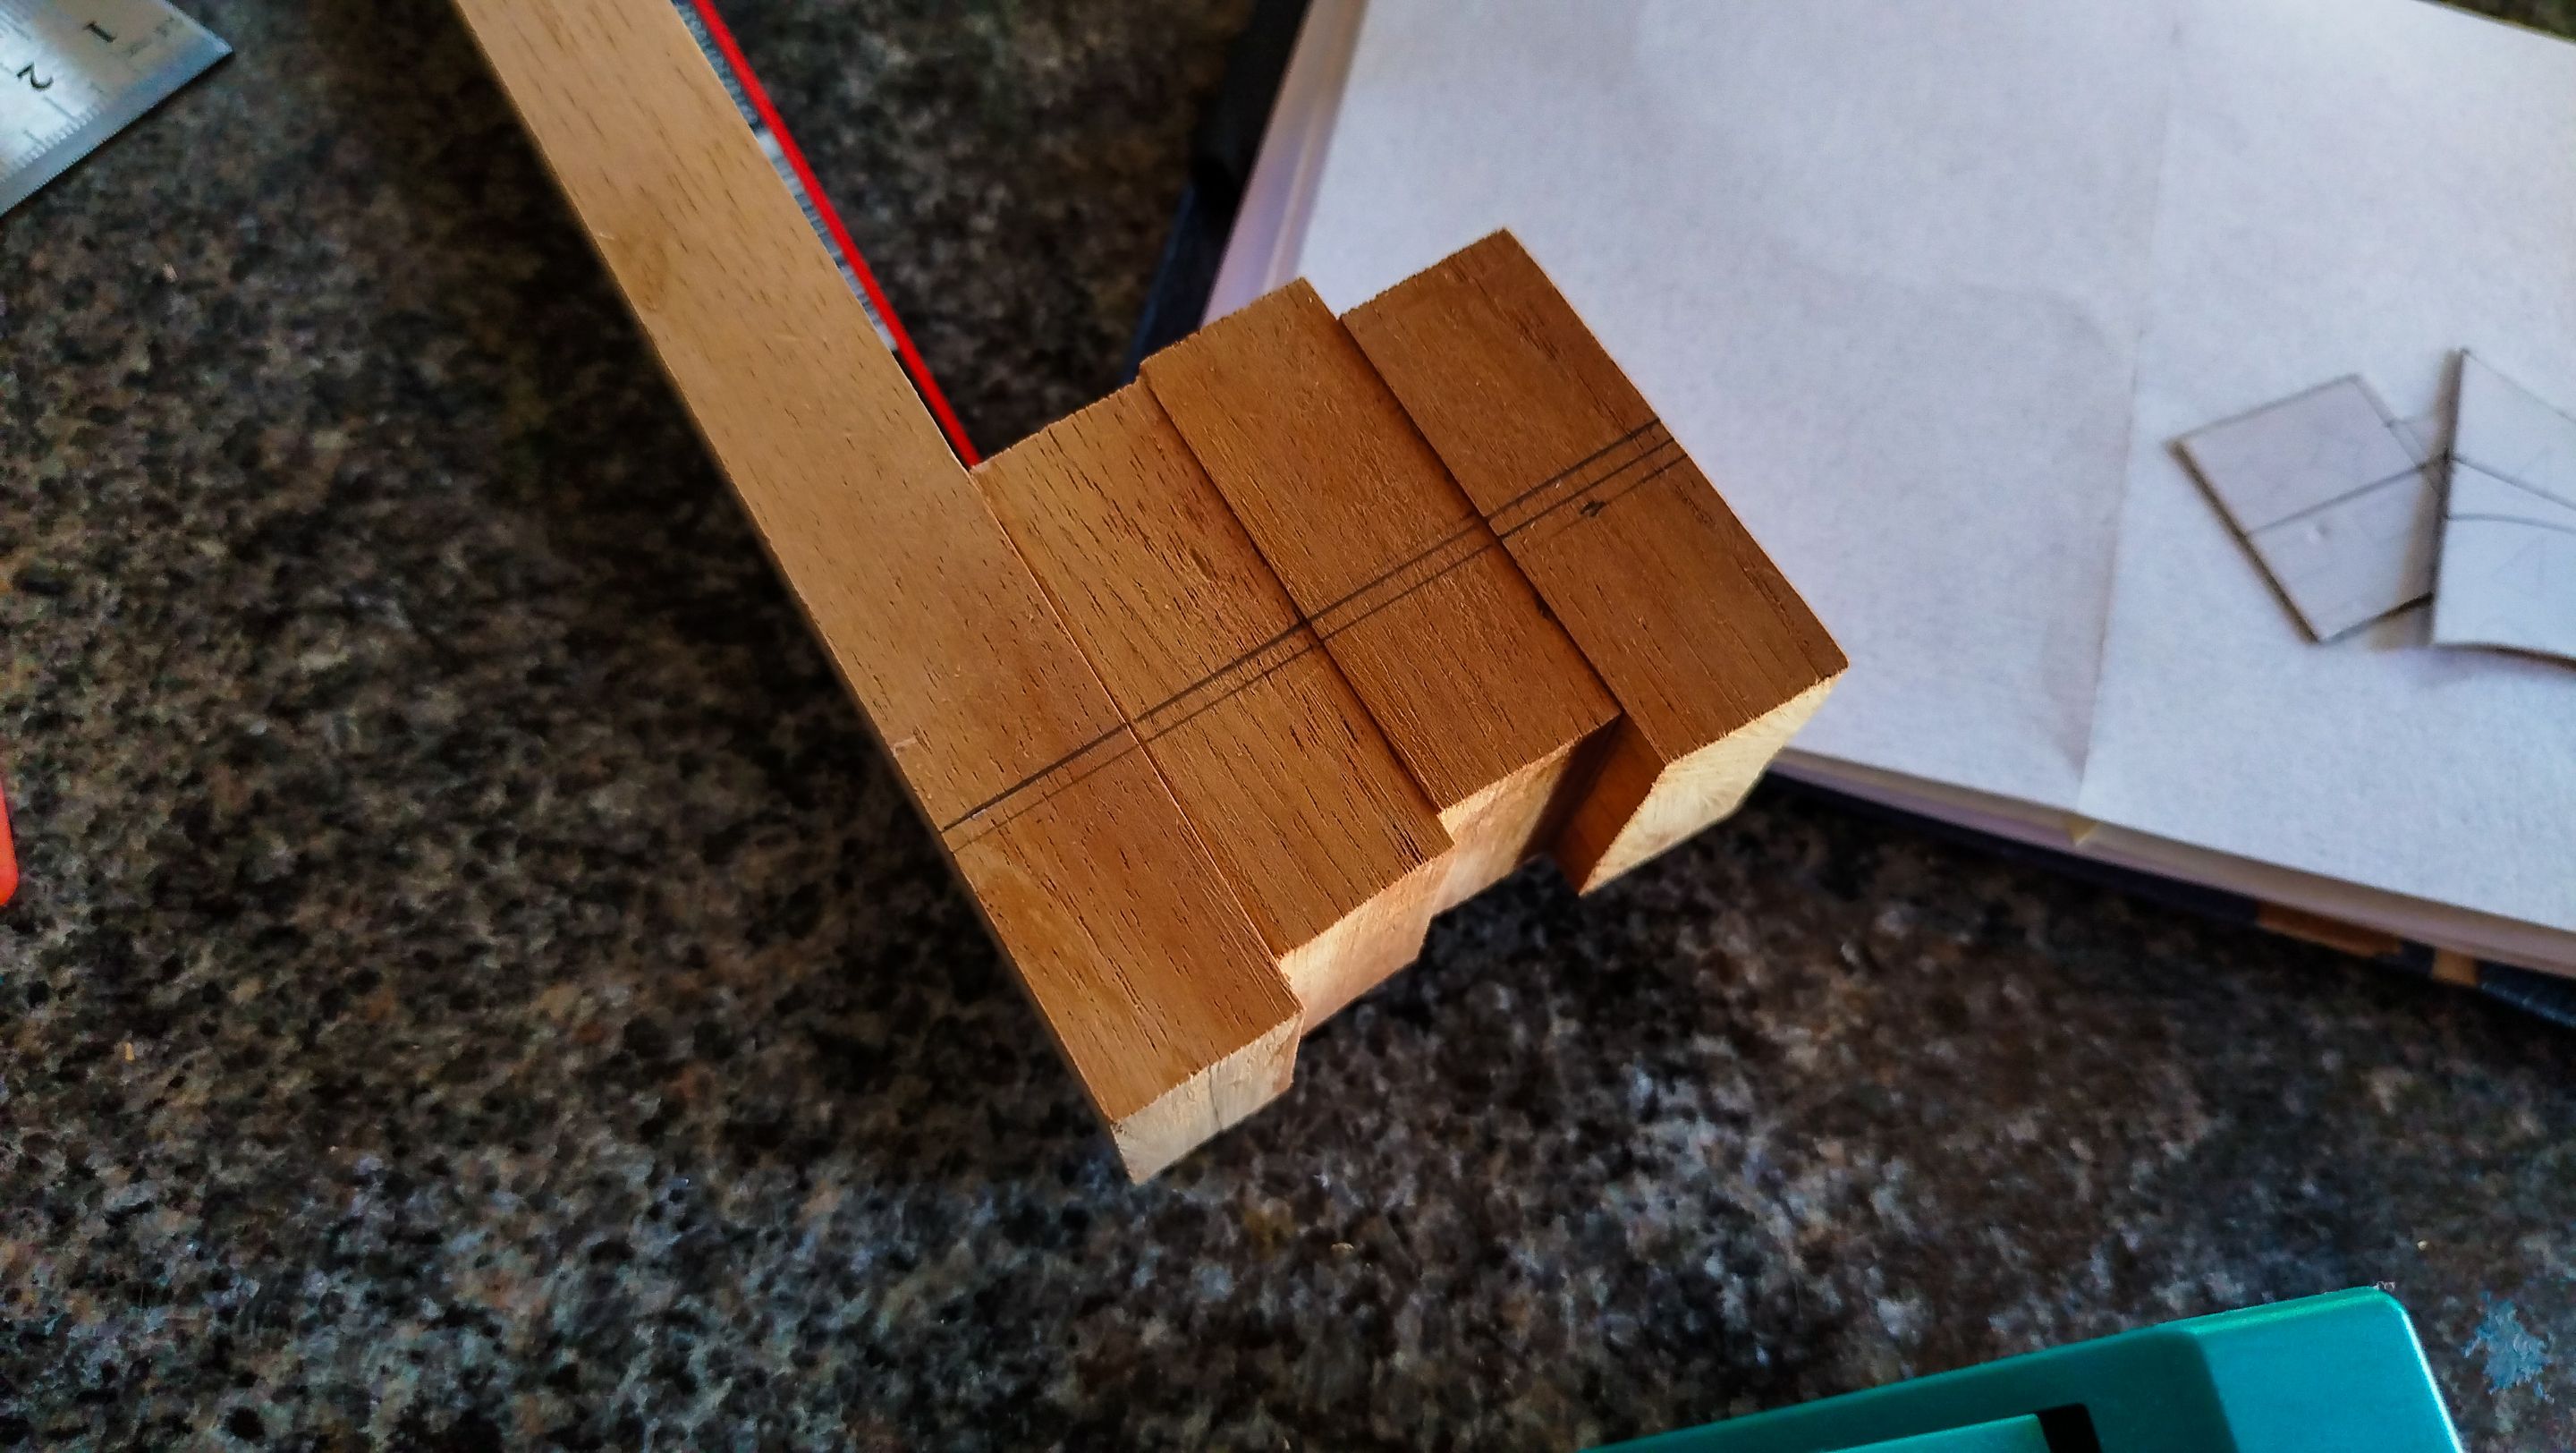
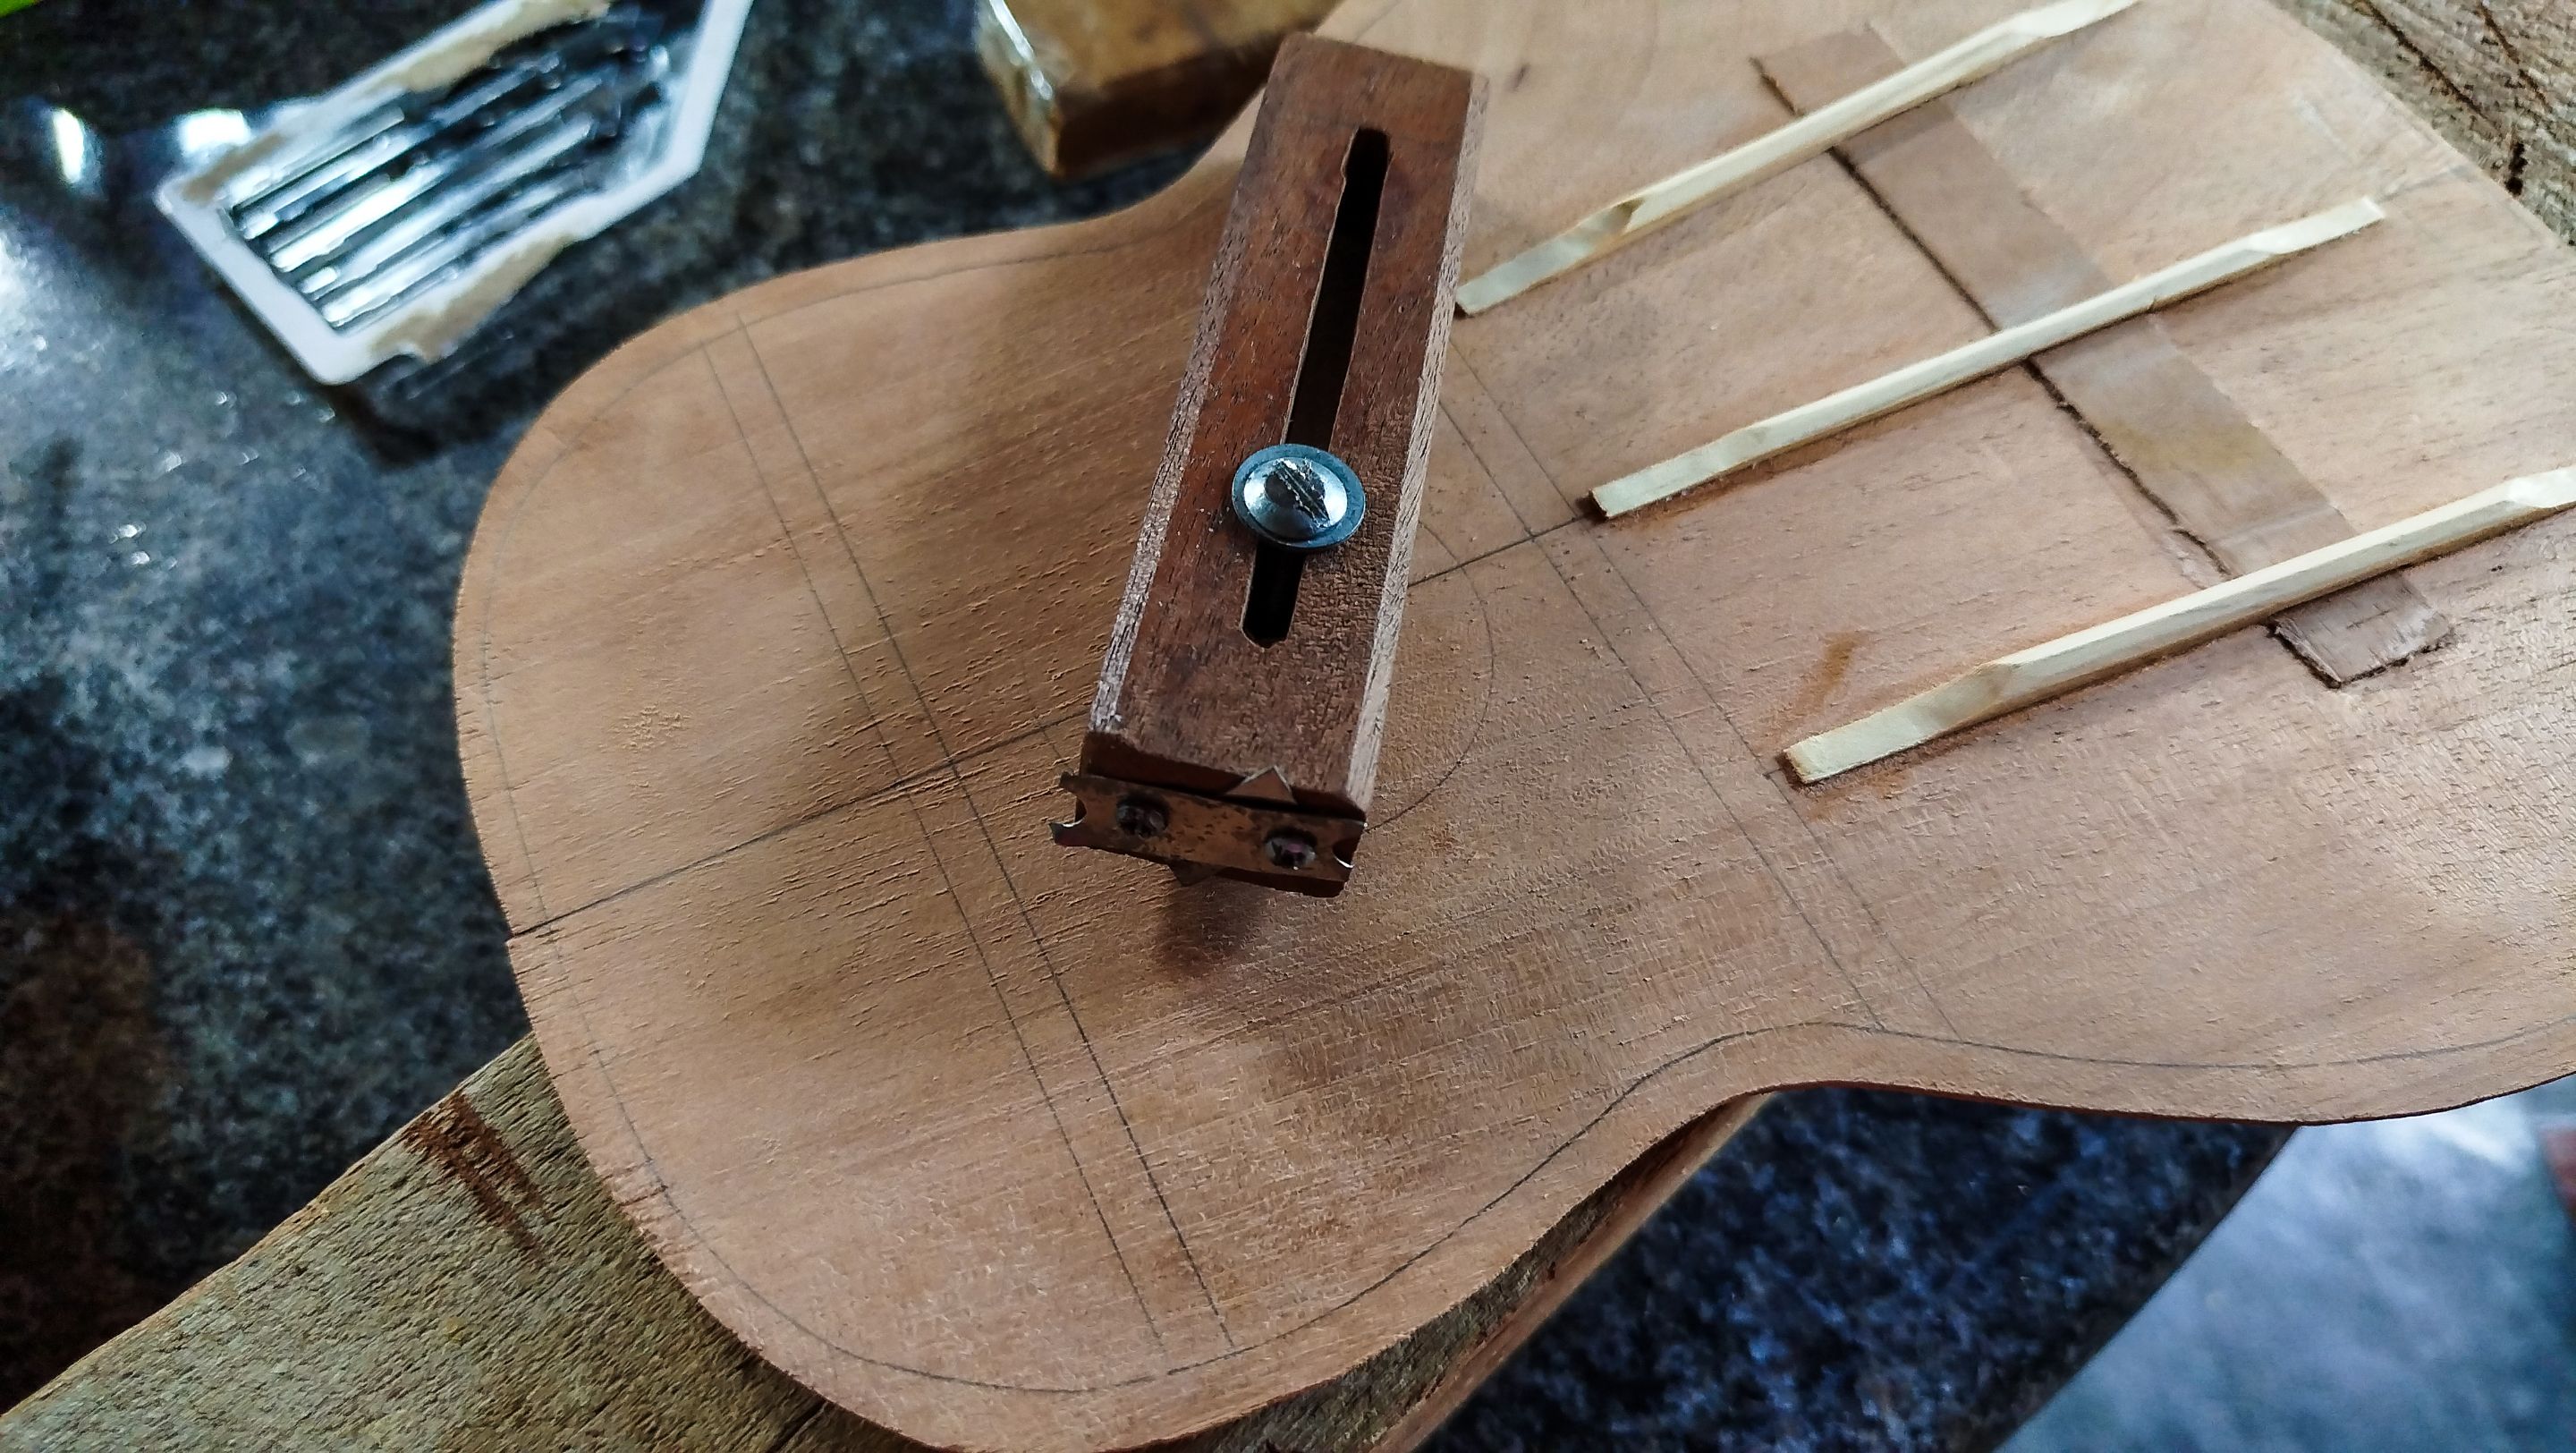
On the other hand, we make the drawing of the heel design for the neck. This is something new. Making a smaller design than usual is always a sort of challenge. Along this design comes the idea of making the slots for the sides. And we nailed it with the position of these ones. With the slot ready, we just need to add the extra wood to the head to create the head stock. But there is something extra to do before it.
Completing a neck

Swipe to see the photos
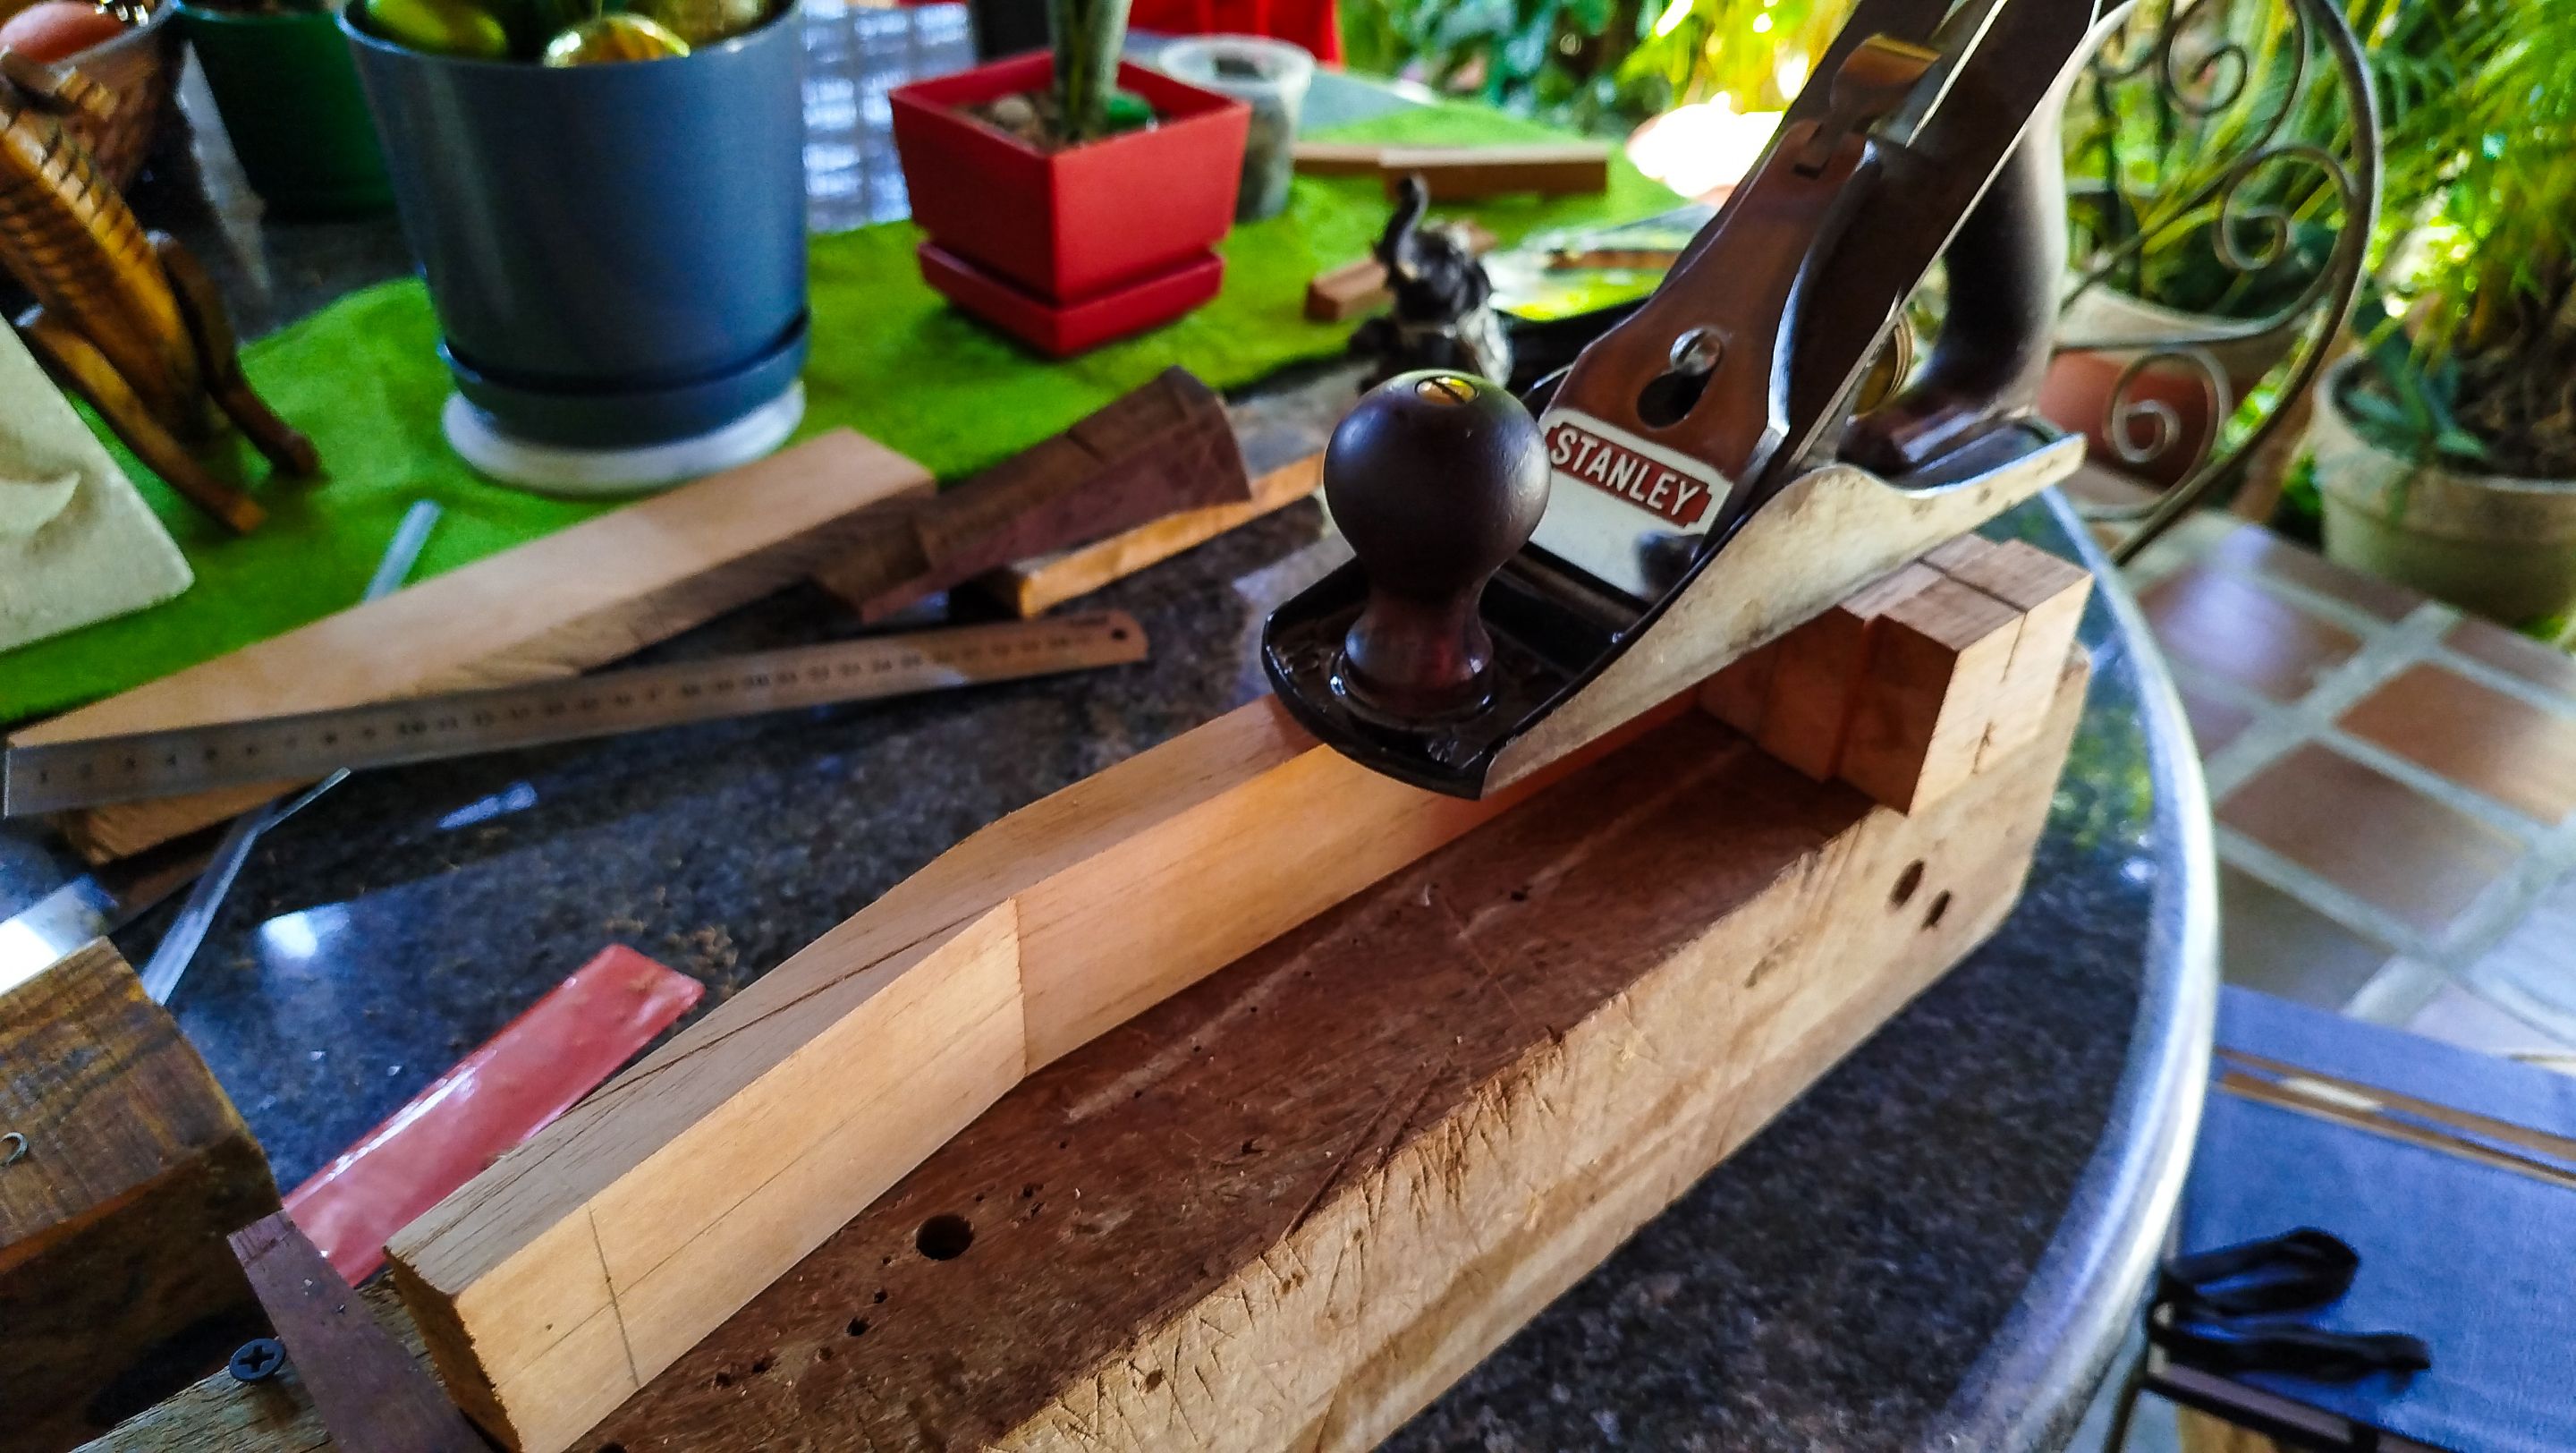
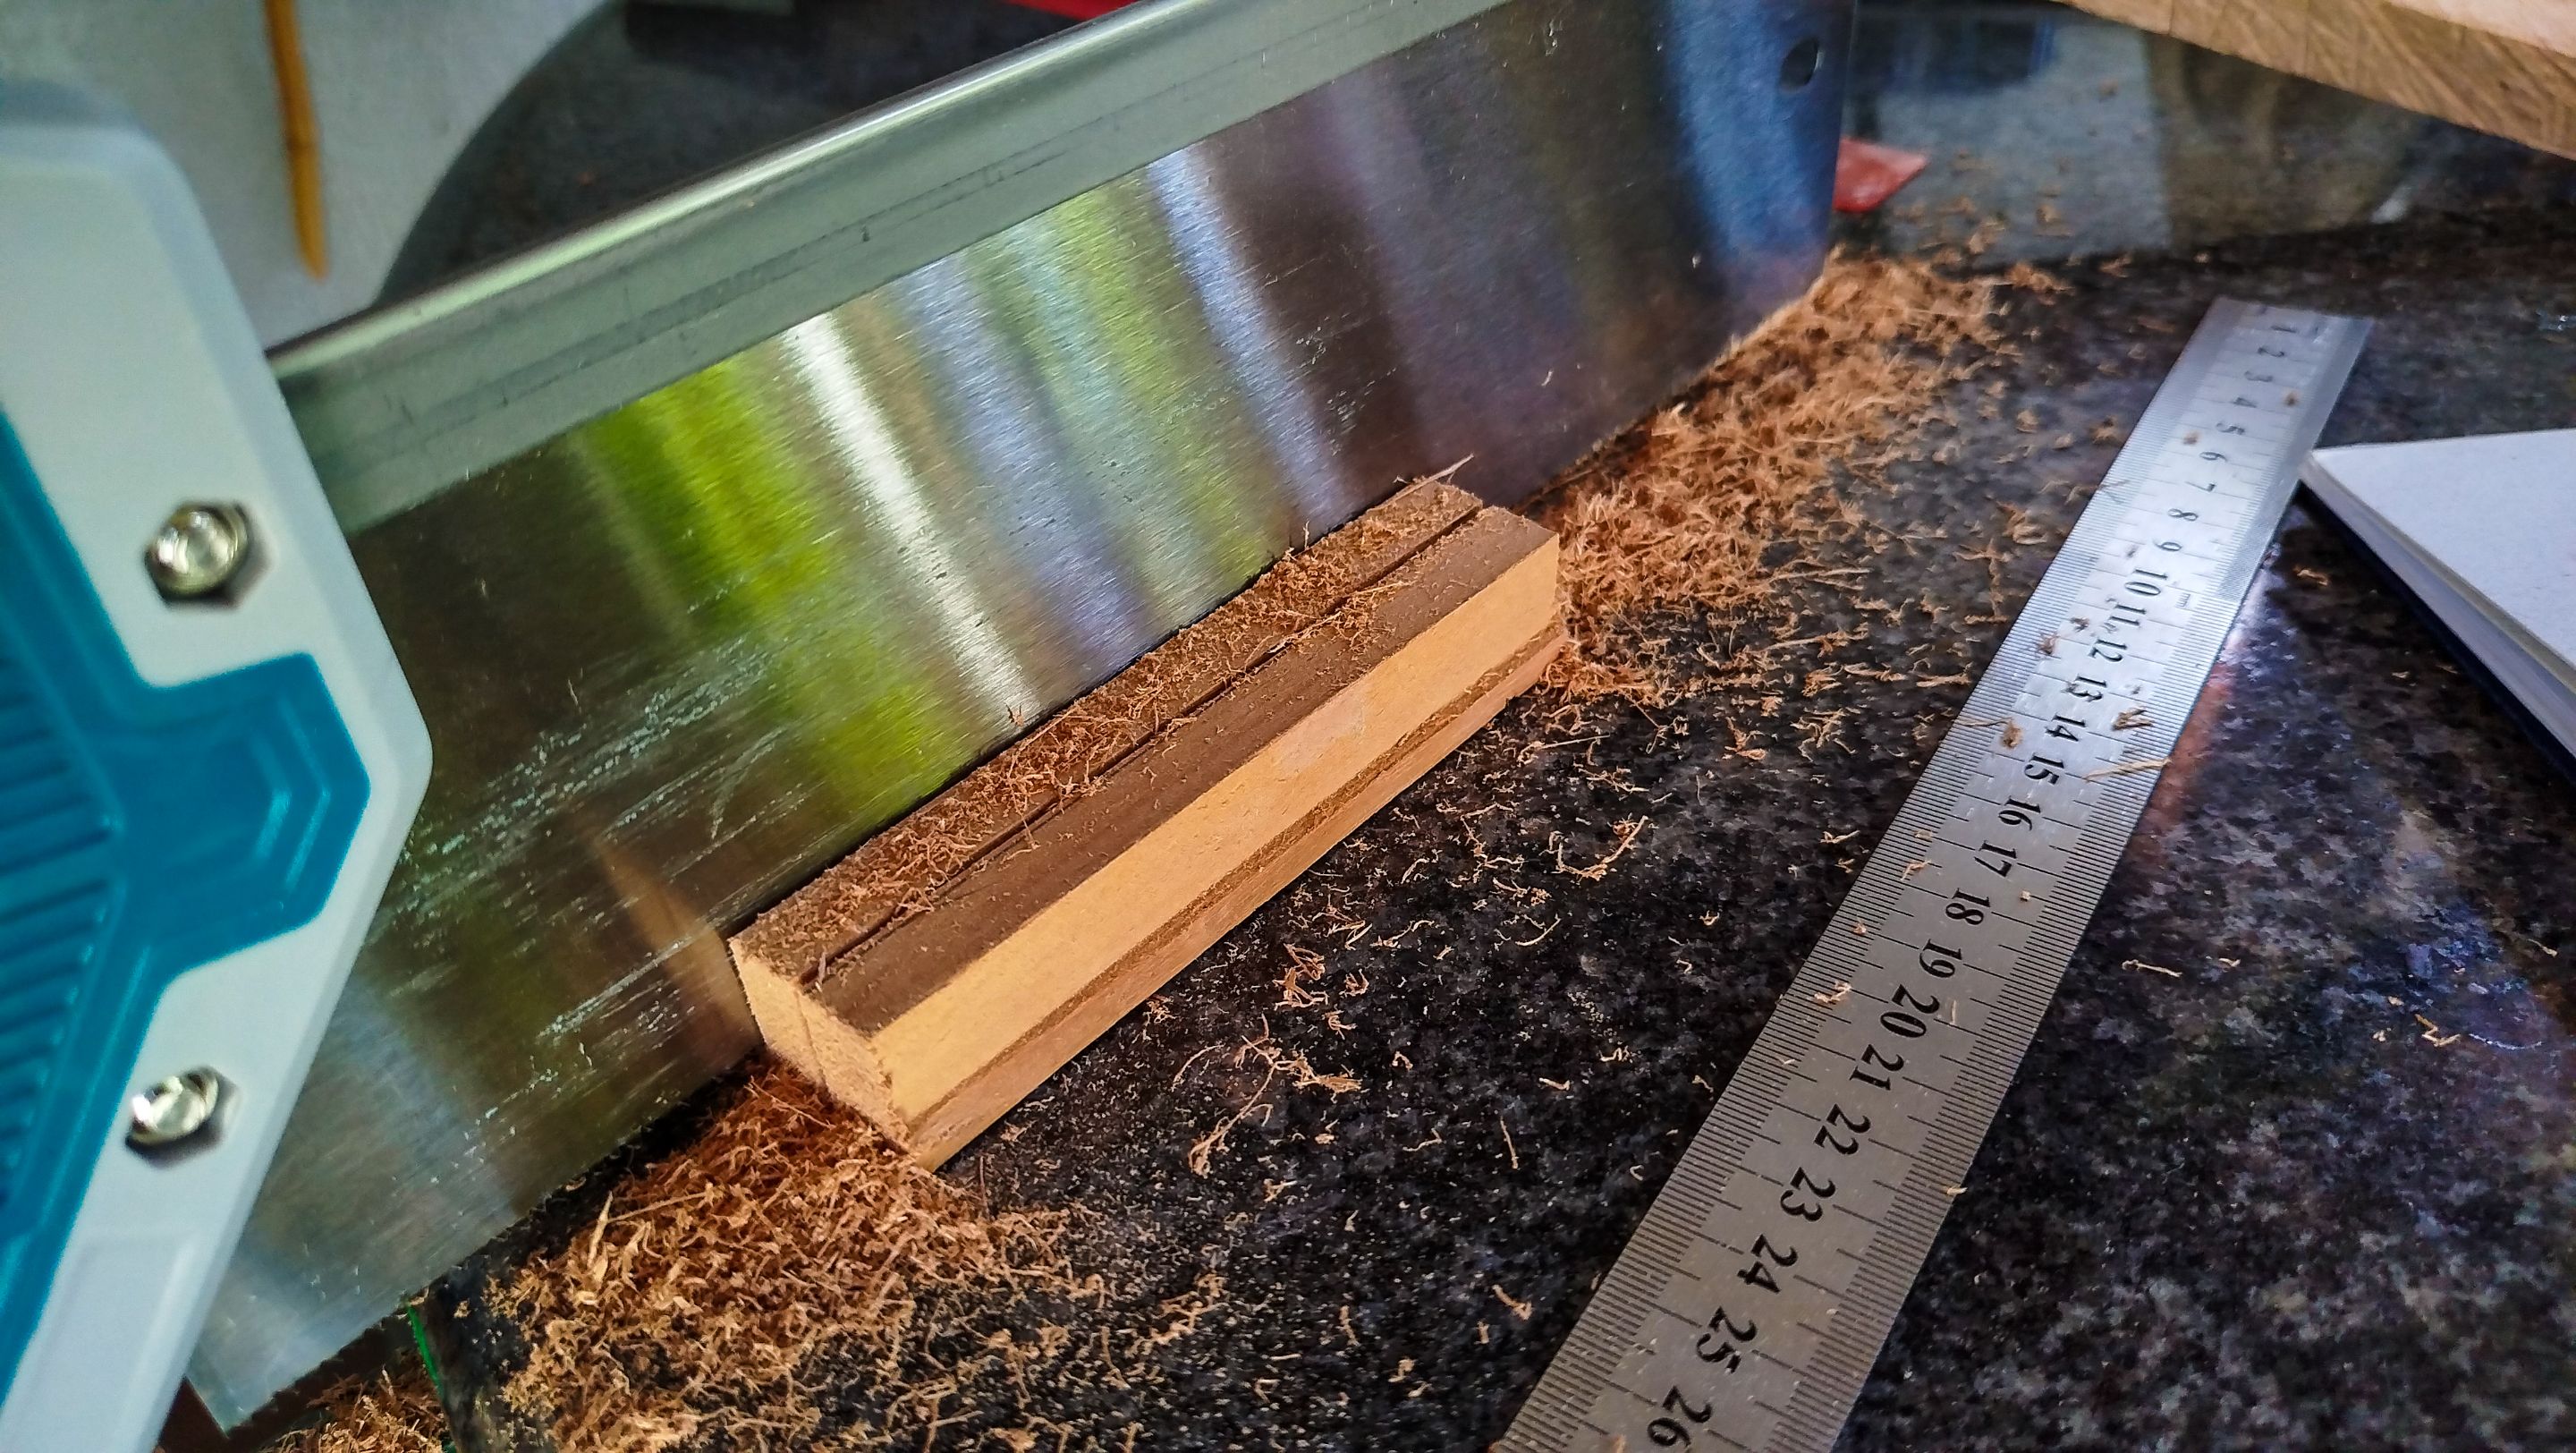
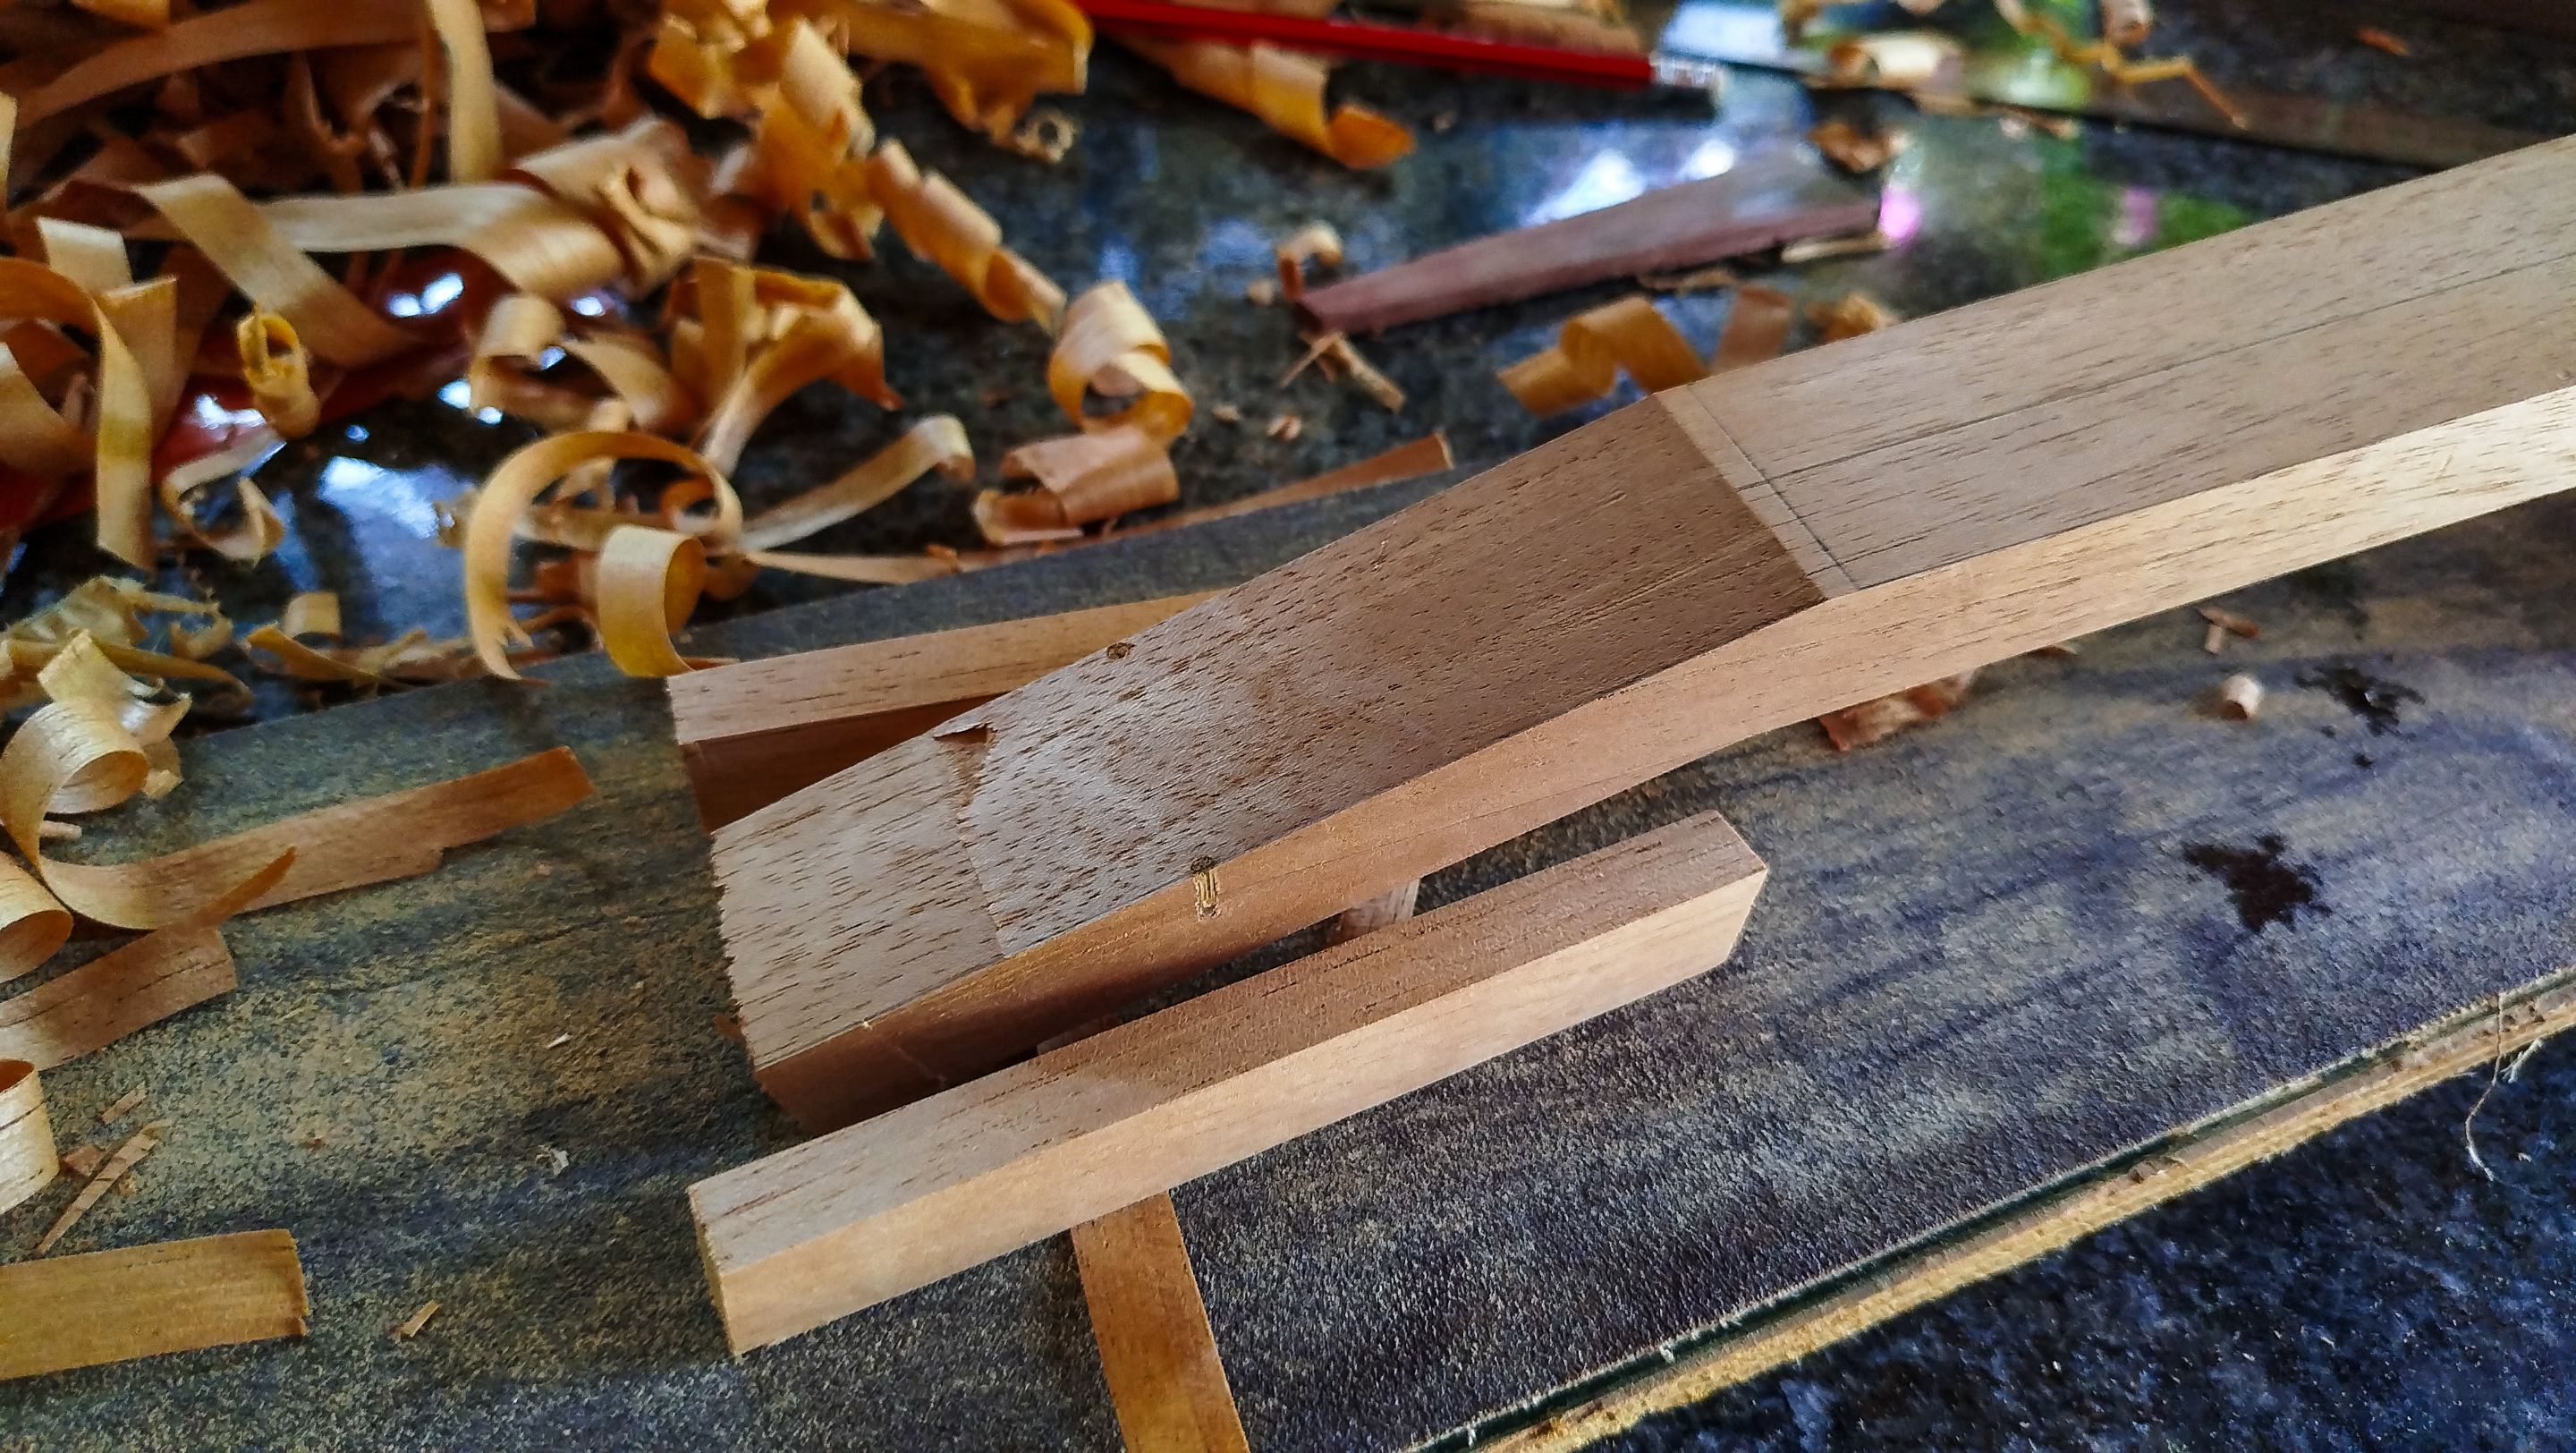
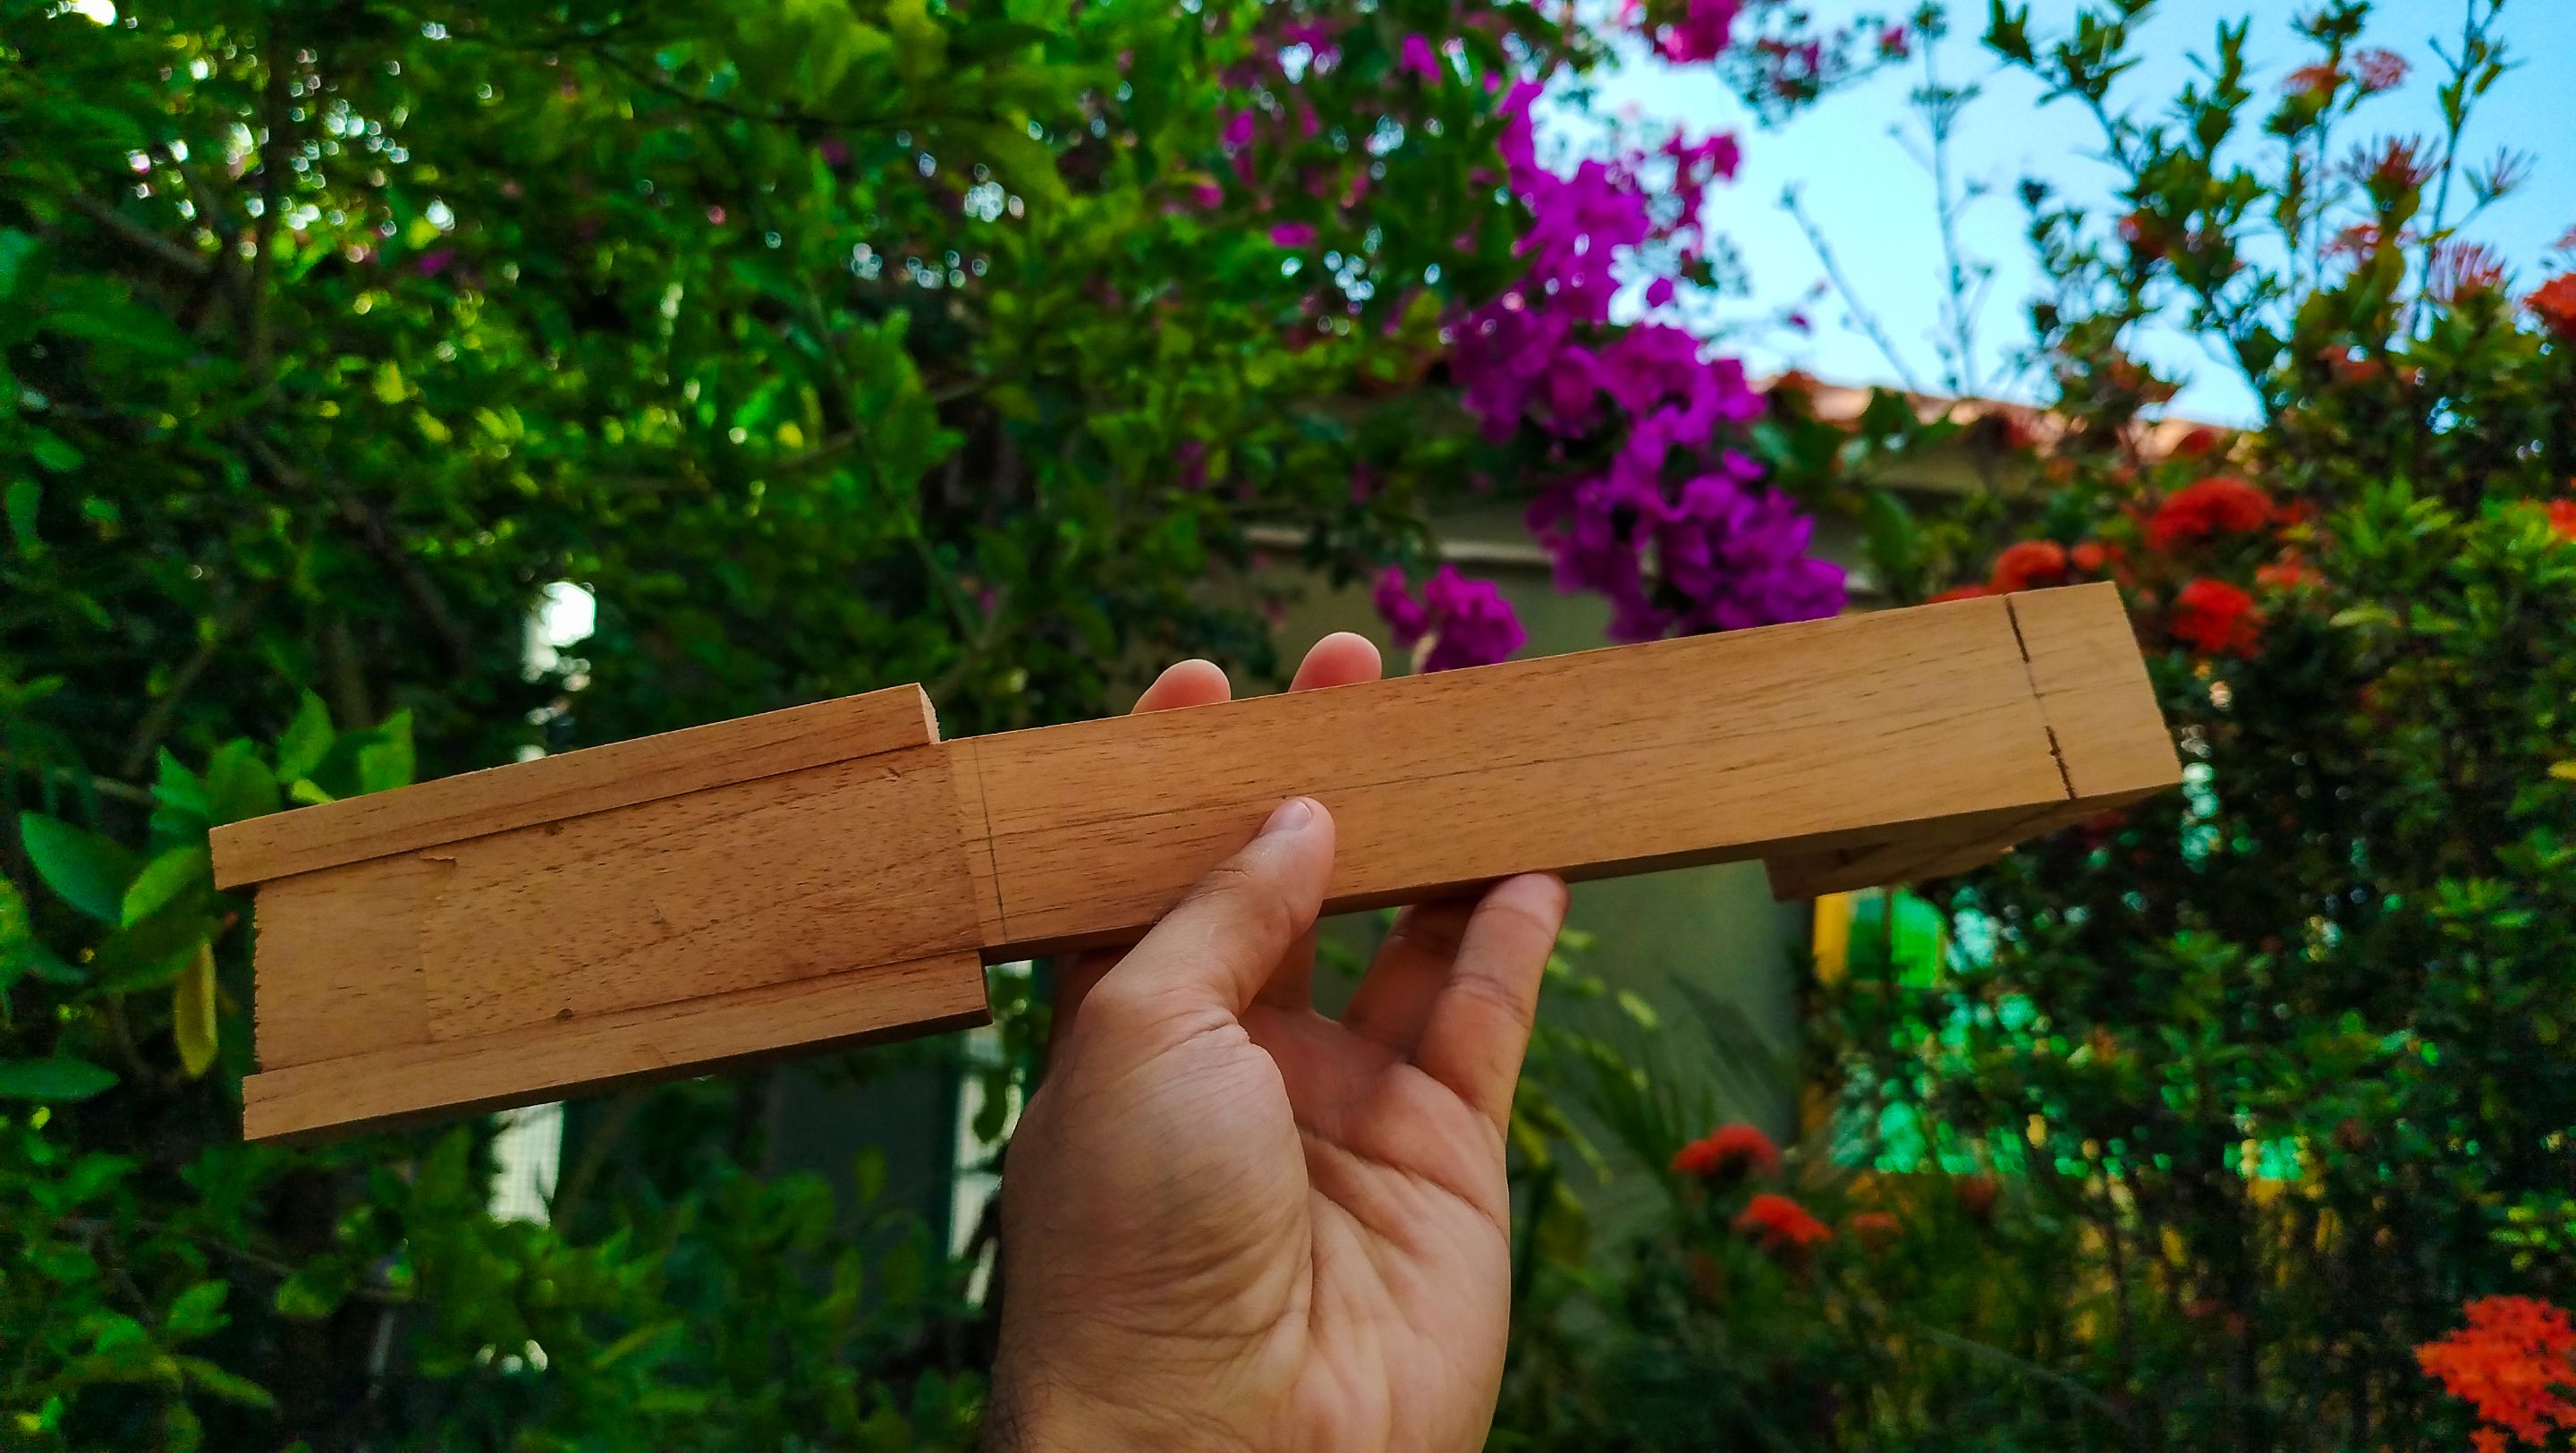
Once the slots are ready, we can finally work on the shape of the neck. We need to create a conic shape. It will be thinner at the head and thick towards the heel. We do this using the measurements of the fretboard and then applying some elbow grease with the hand plane until we have achieve the desired results. In this case having the shape we are looking for.
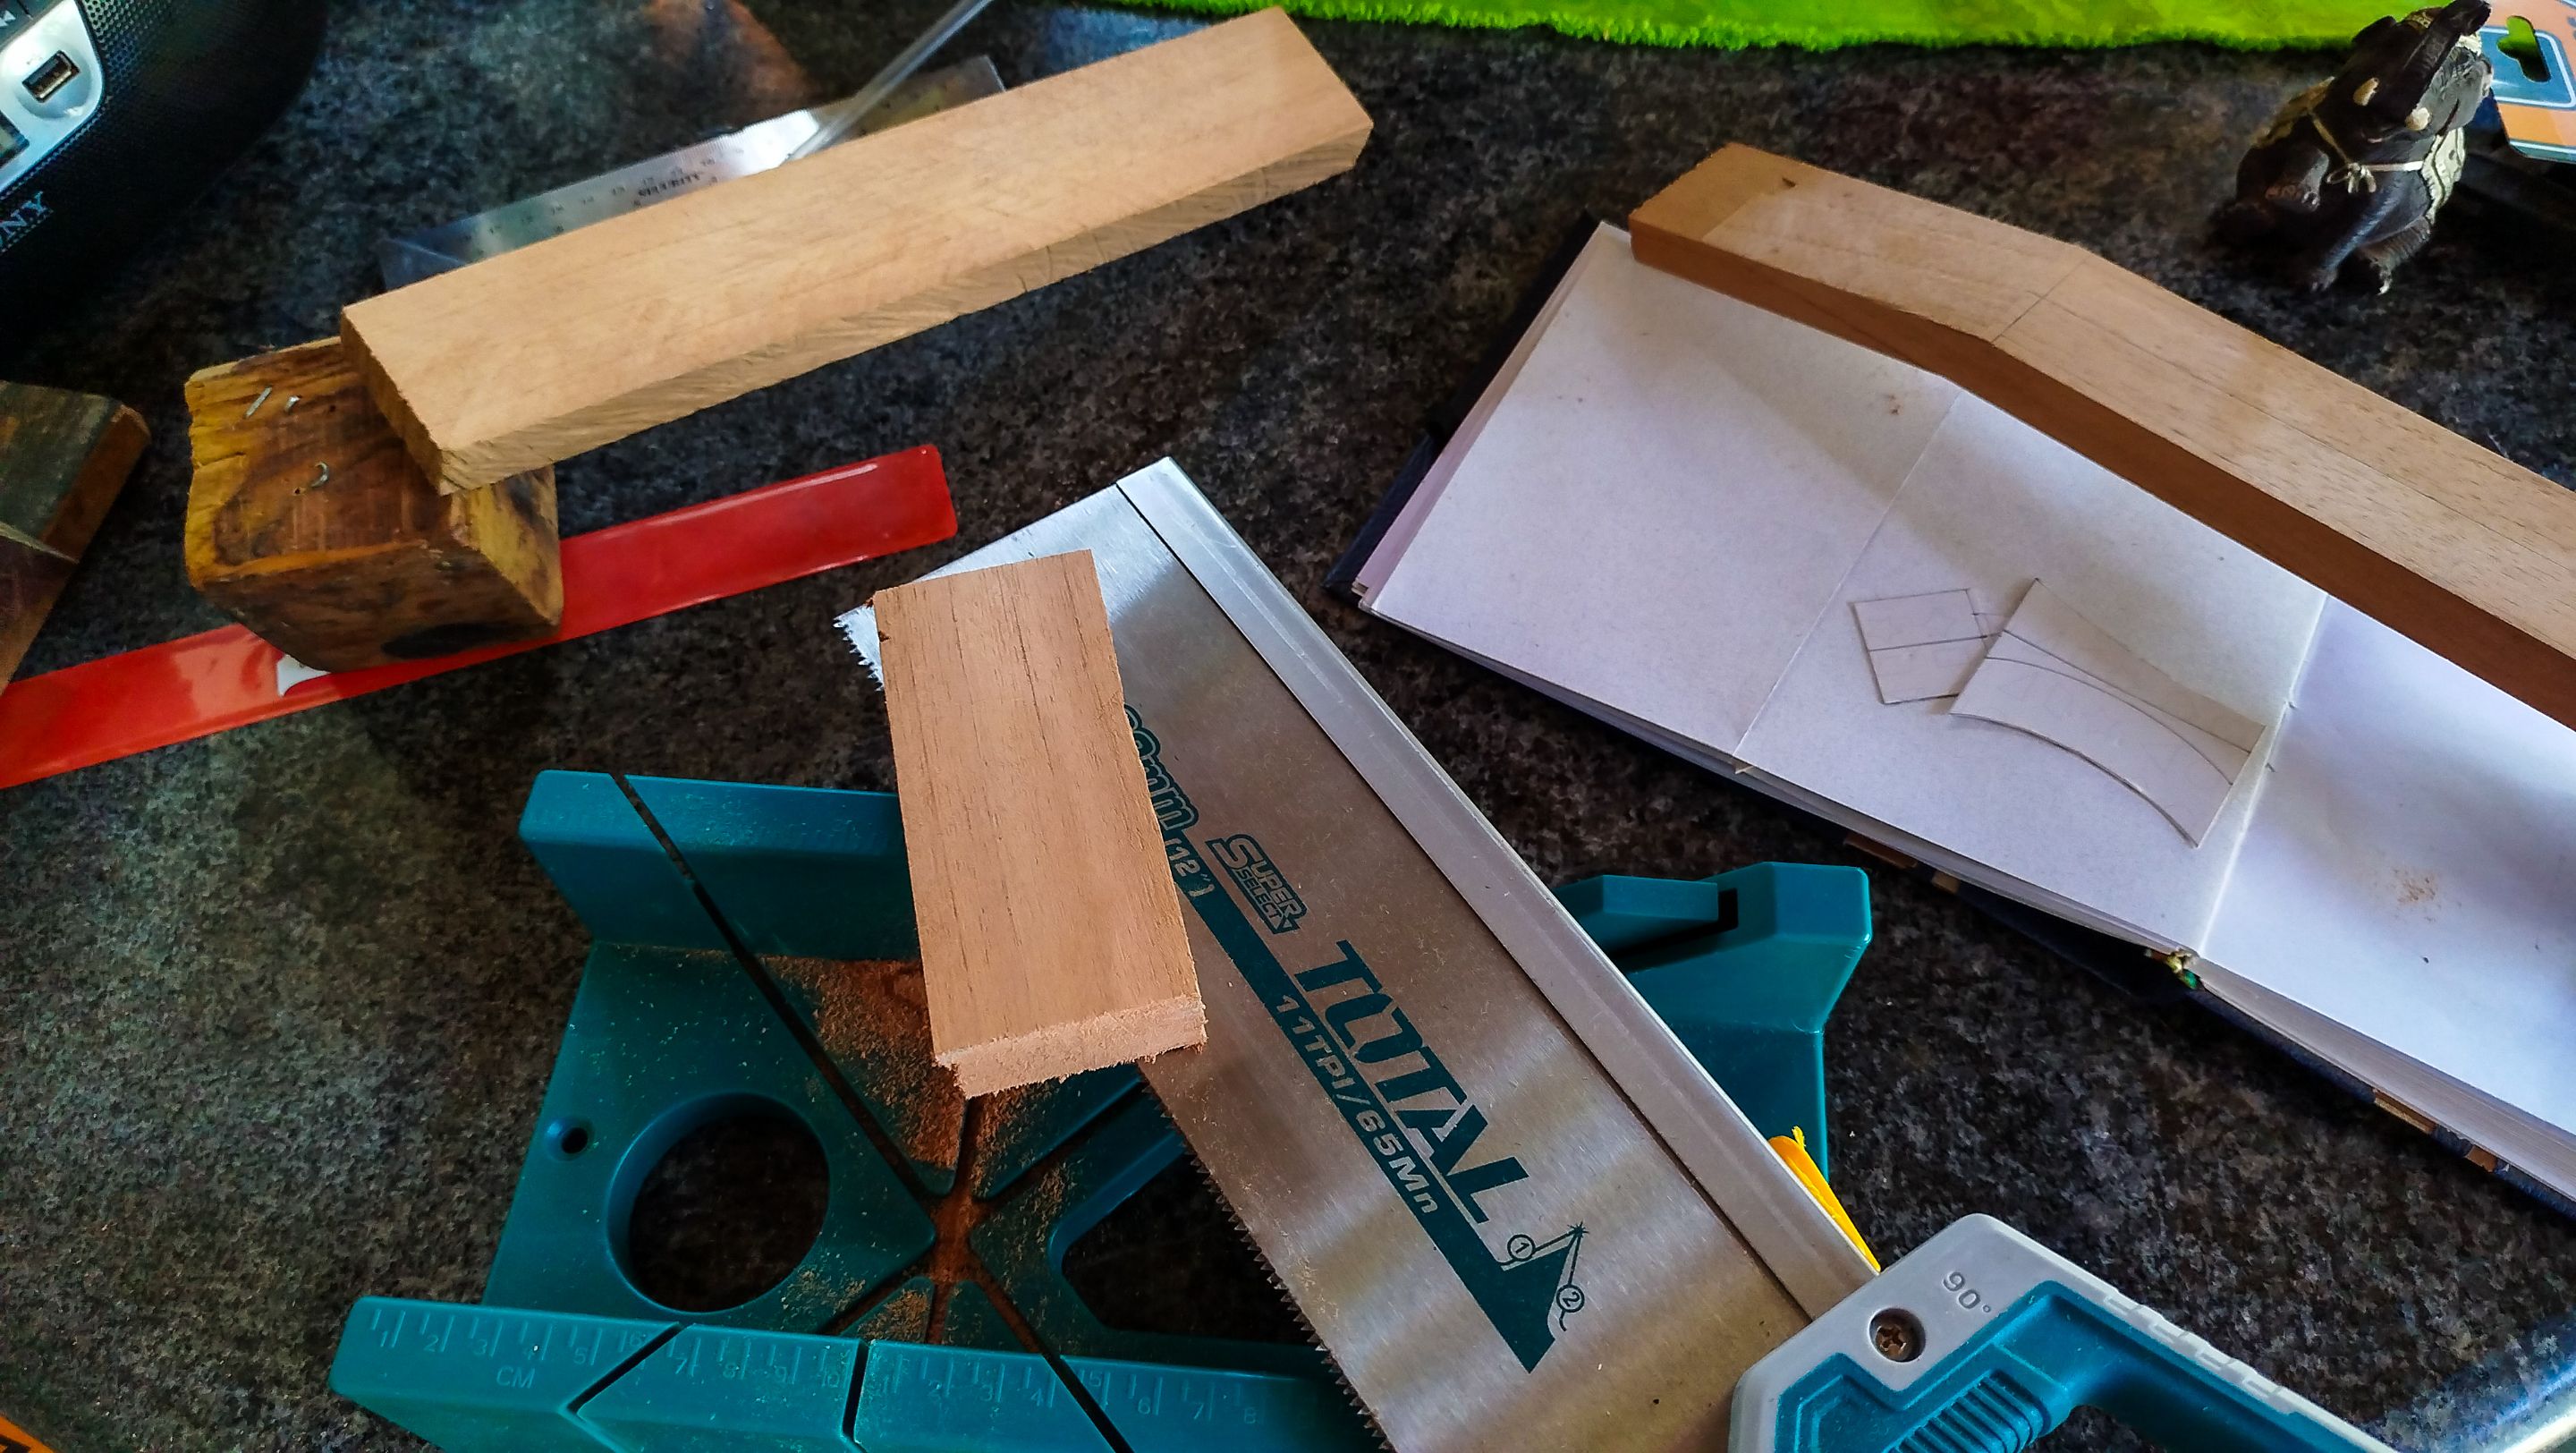
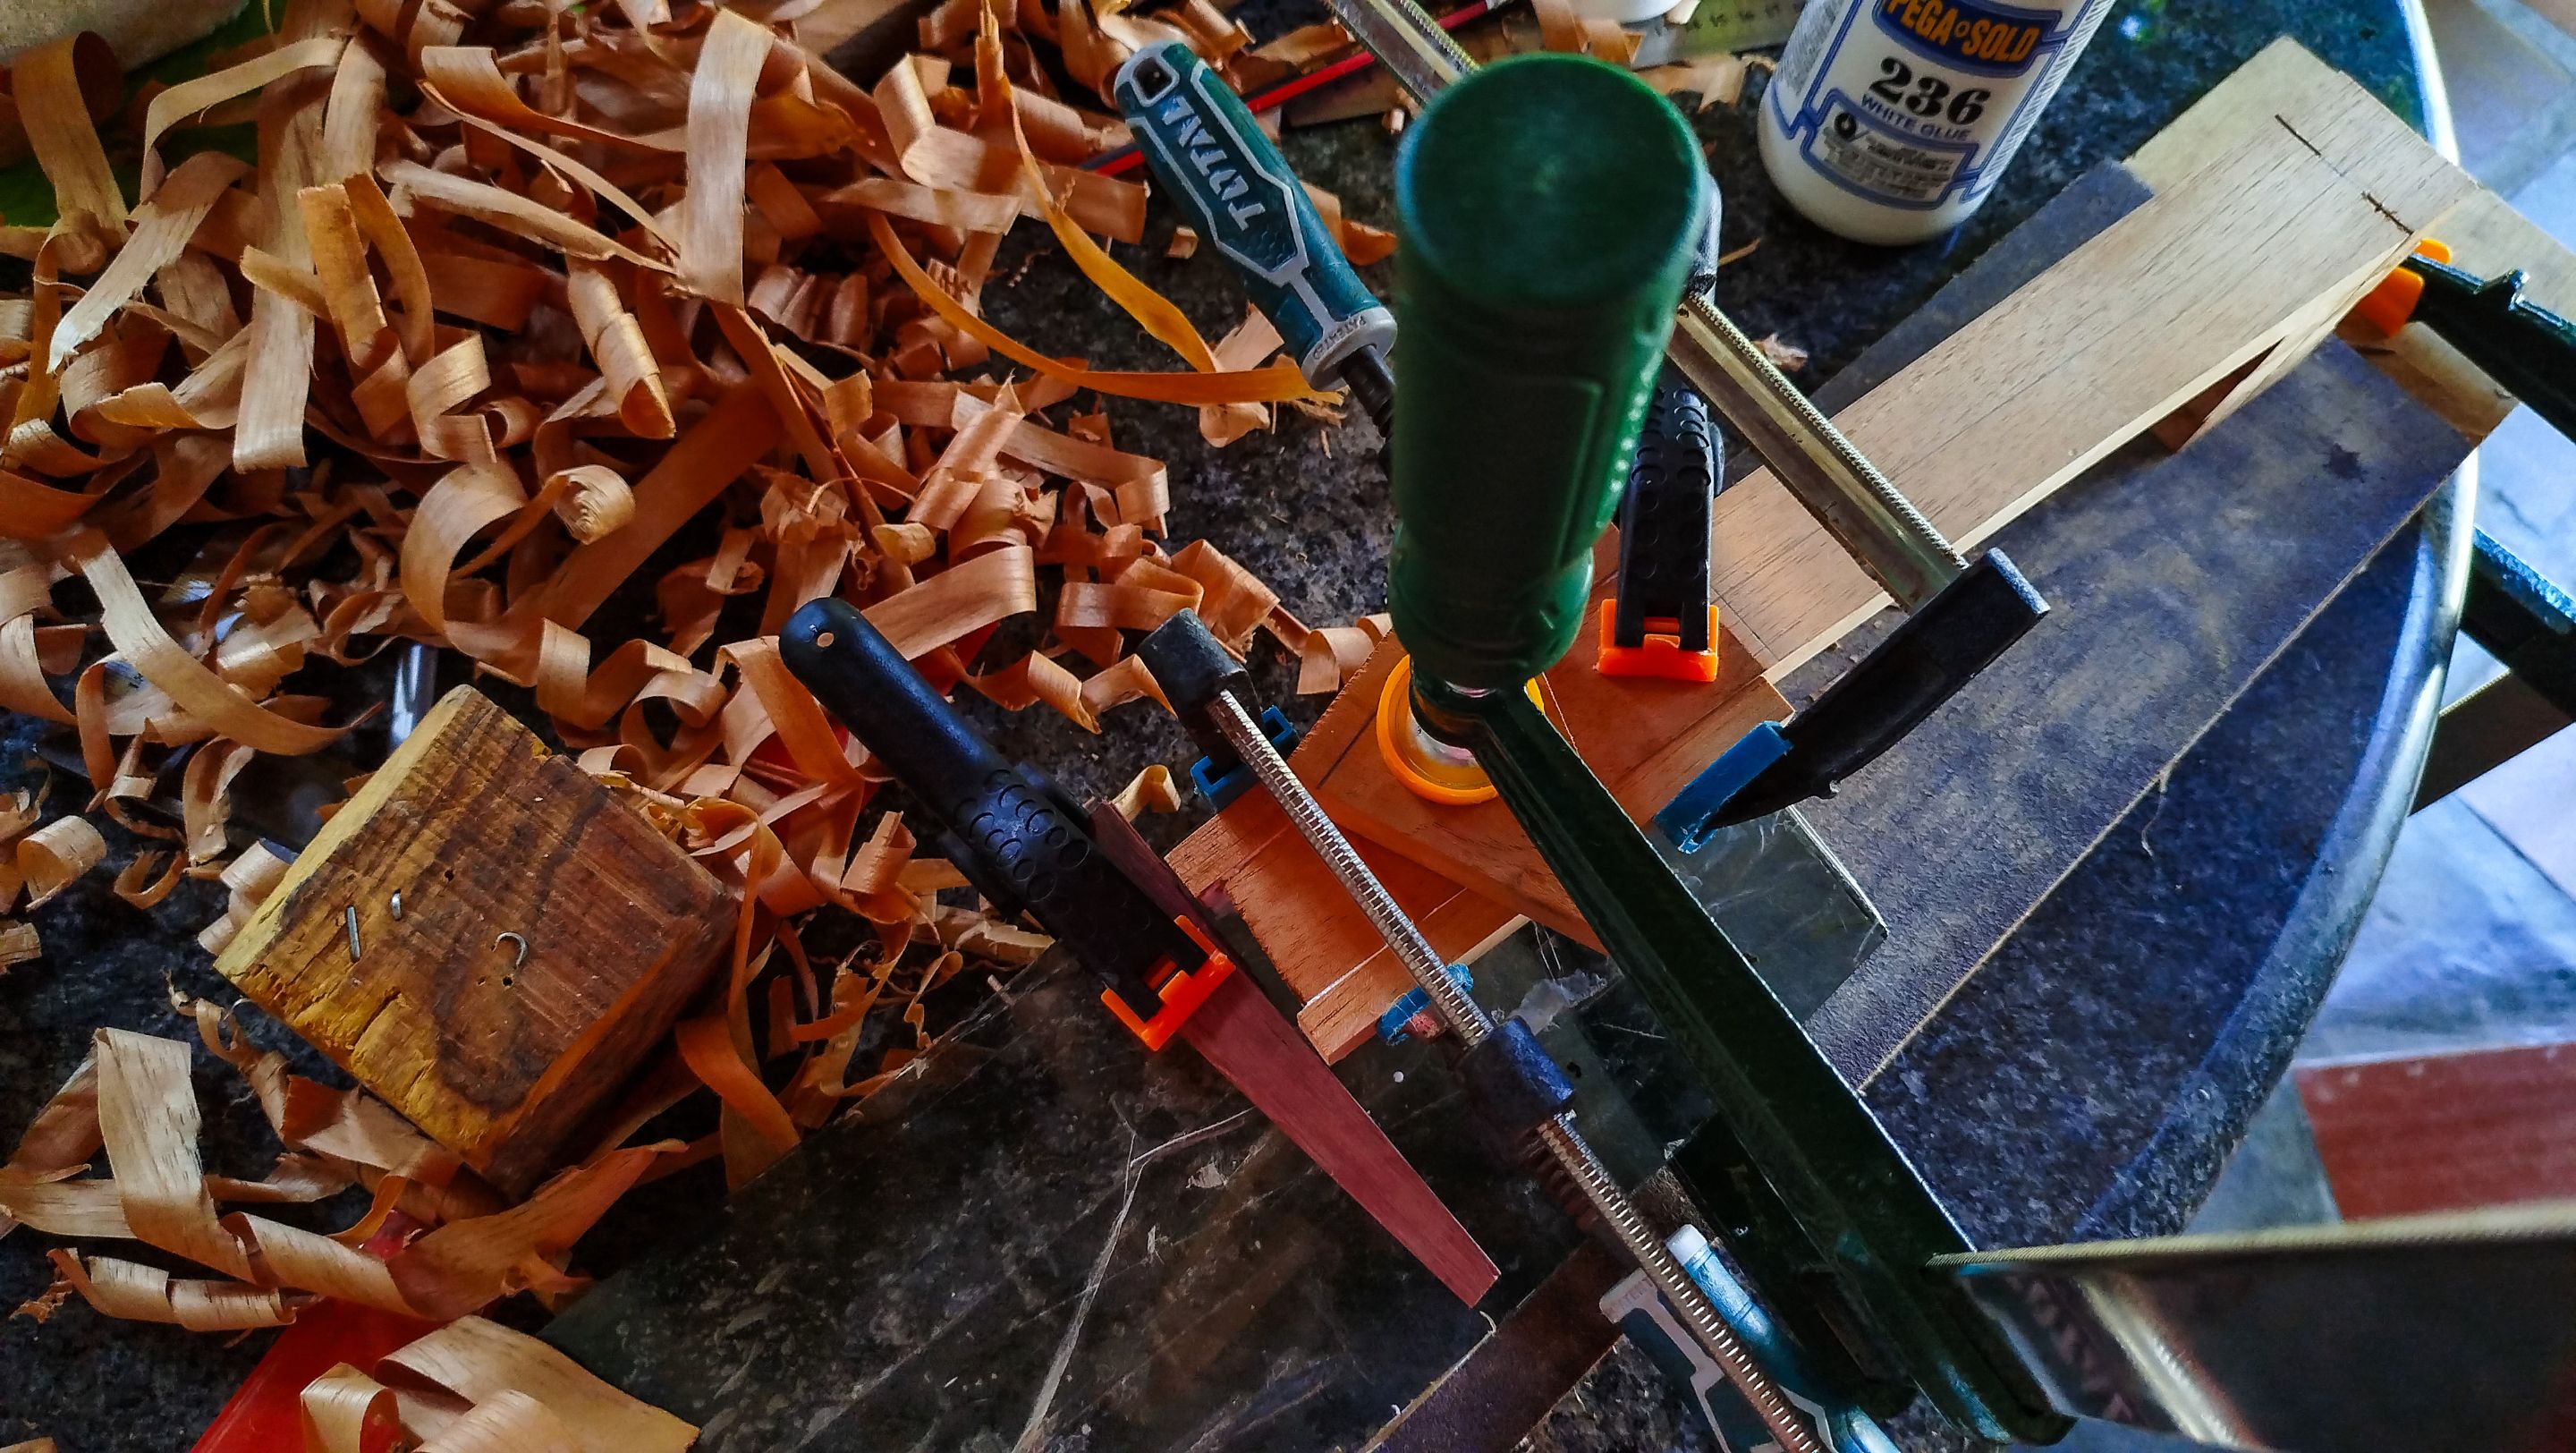
The next part is cutting some pieces of wood to add to the head. Since we did some work and reduced its area, we need to add some supplements at the sides to complete the width for the head stock. We still have some more cedar to cut. We measure and cut the pieces. Then we get to have one of their faces even with the base structure of the head. Once we can dry fit it and make sure we will have a good joint, we apply glue and use the clamps to hold everything in place.
Carving and Sound hole

Swipe to see the photos
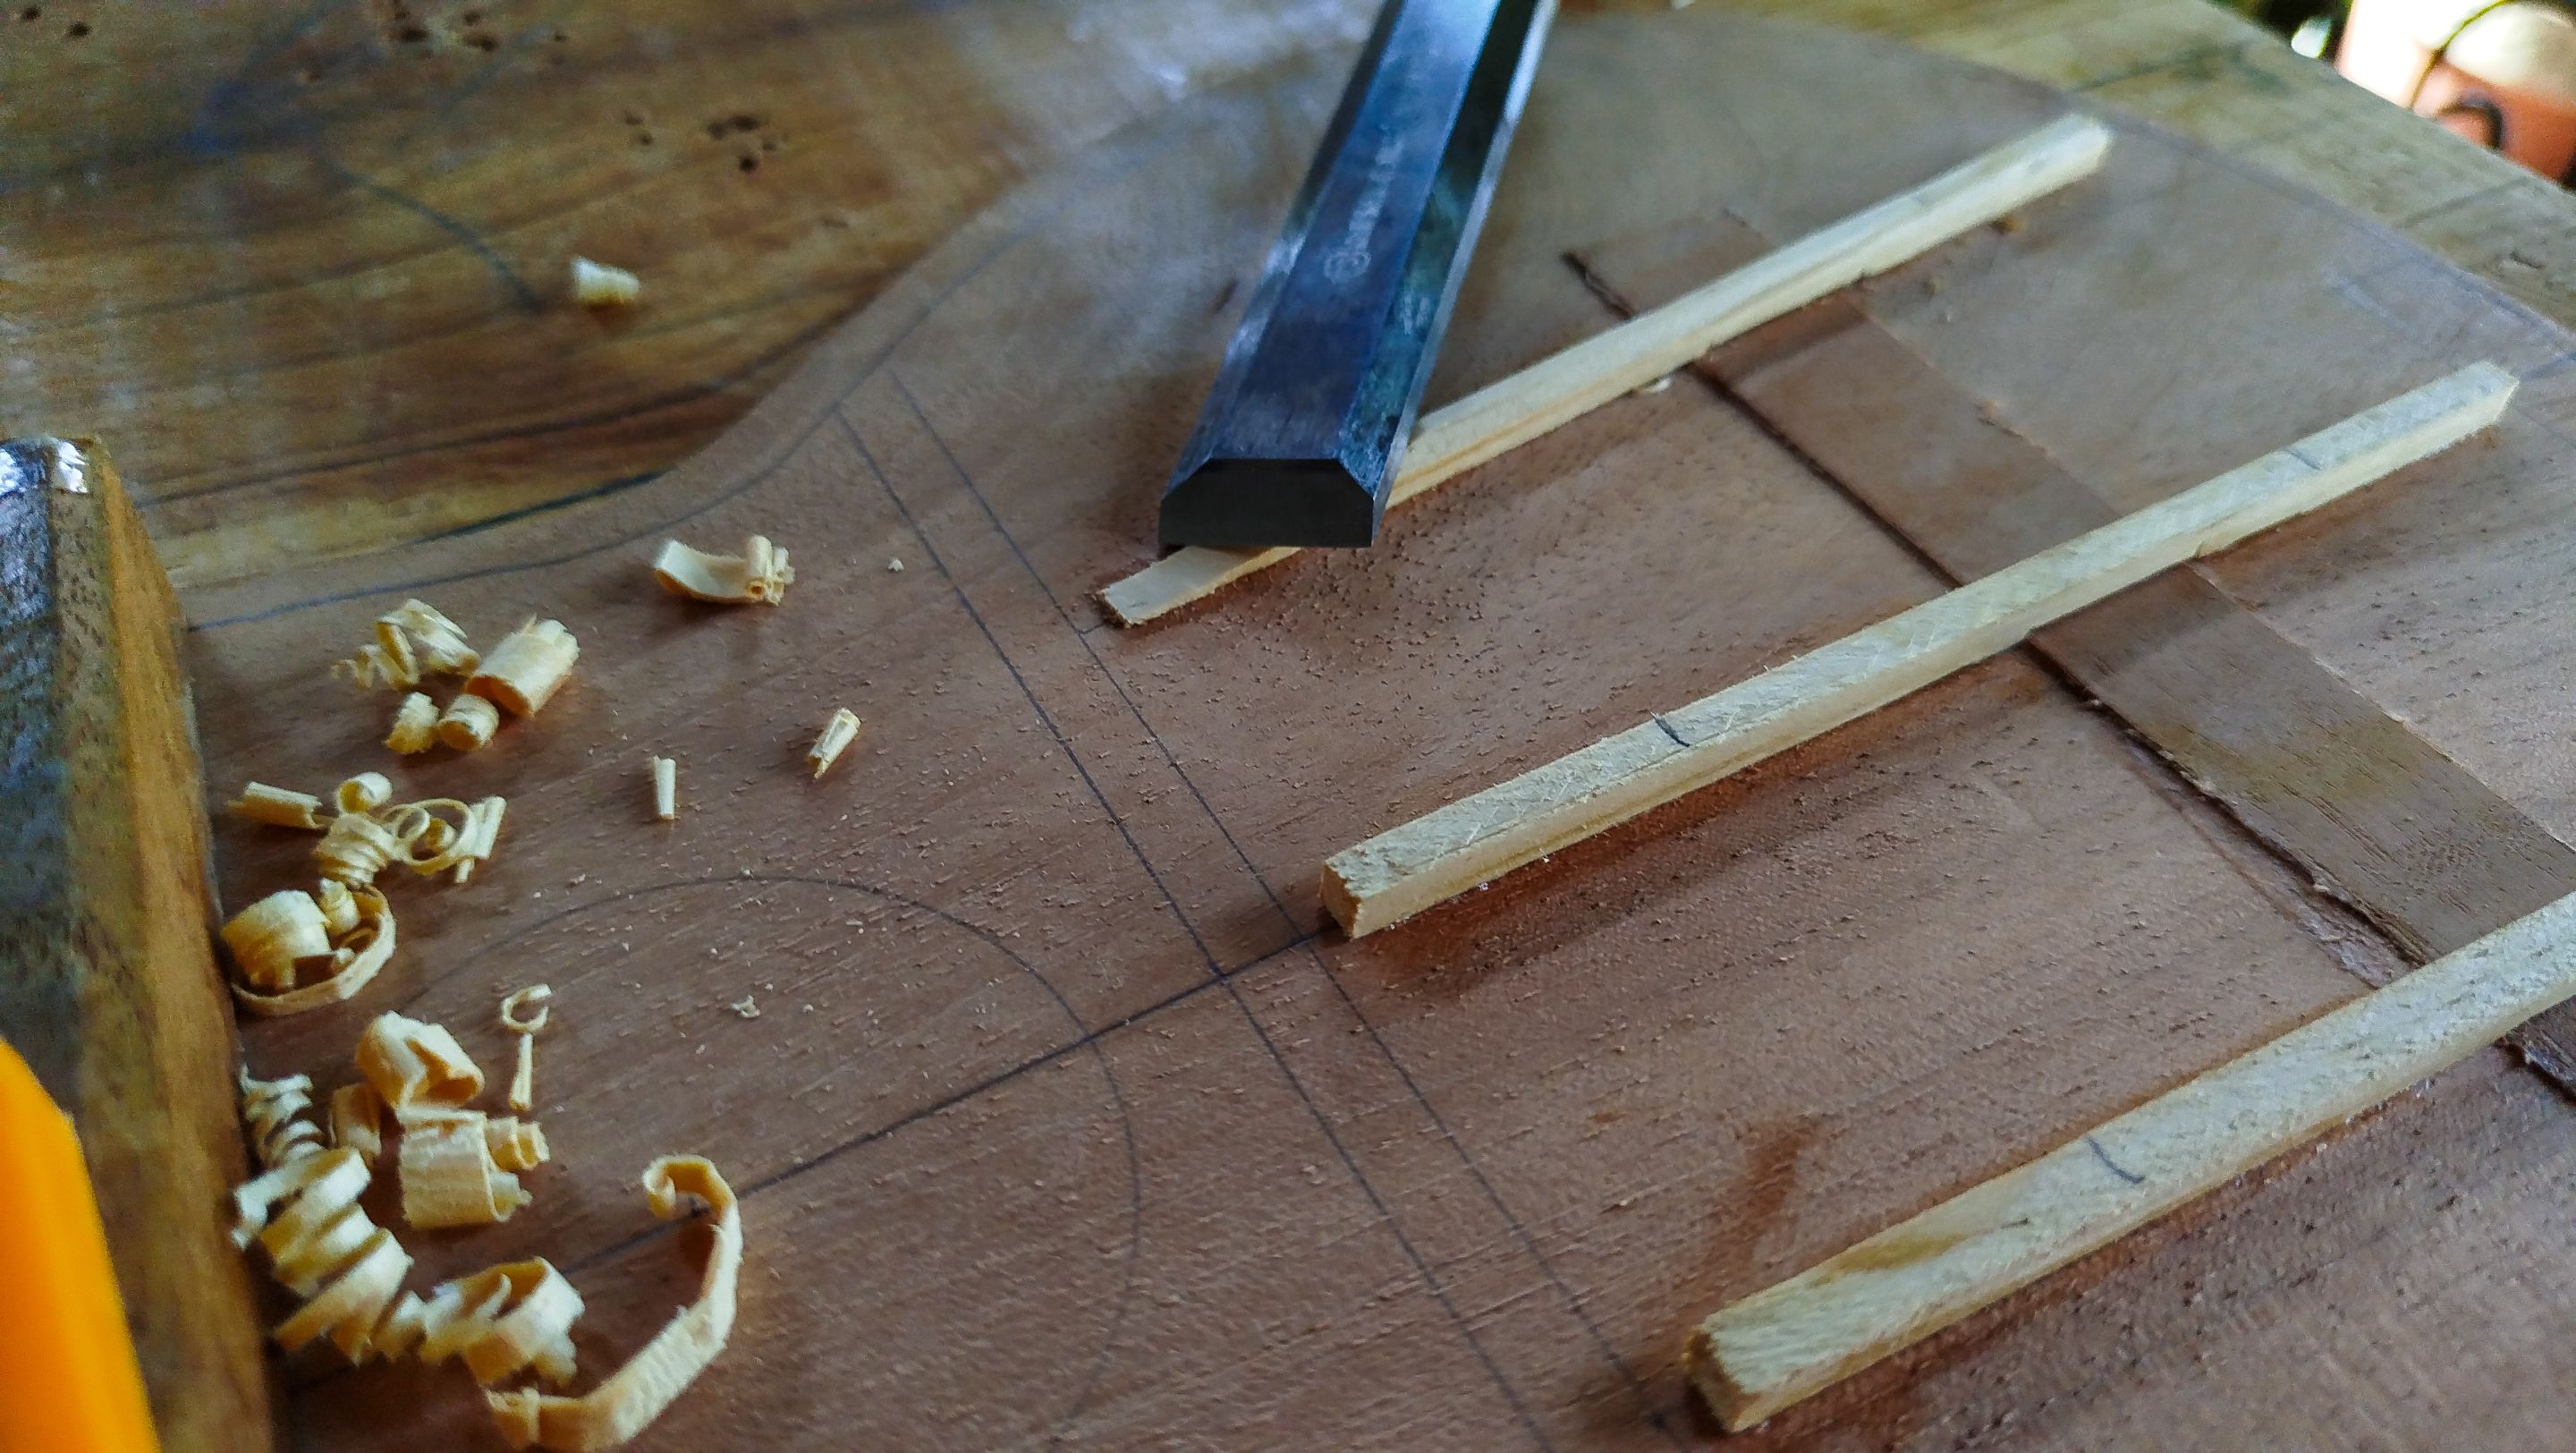
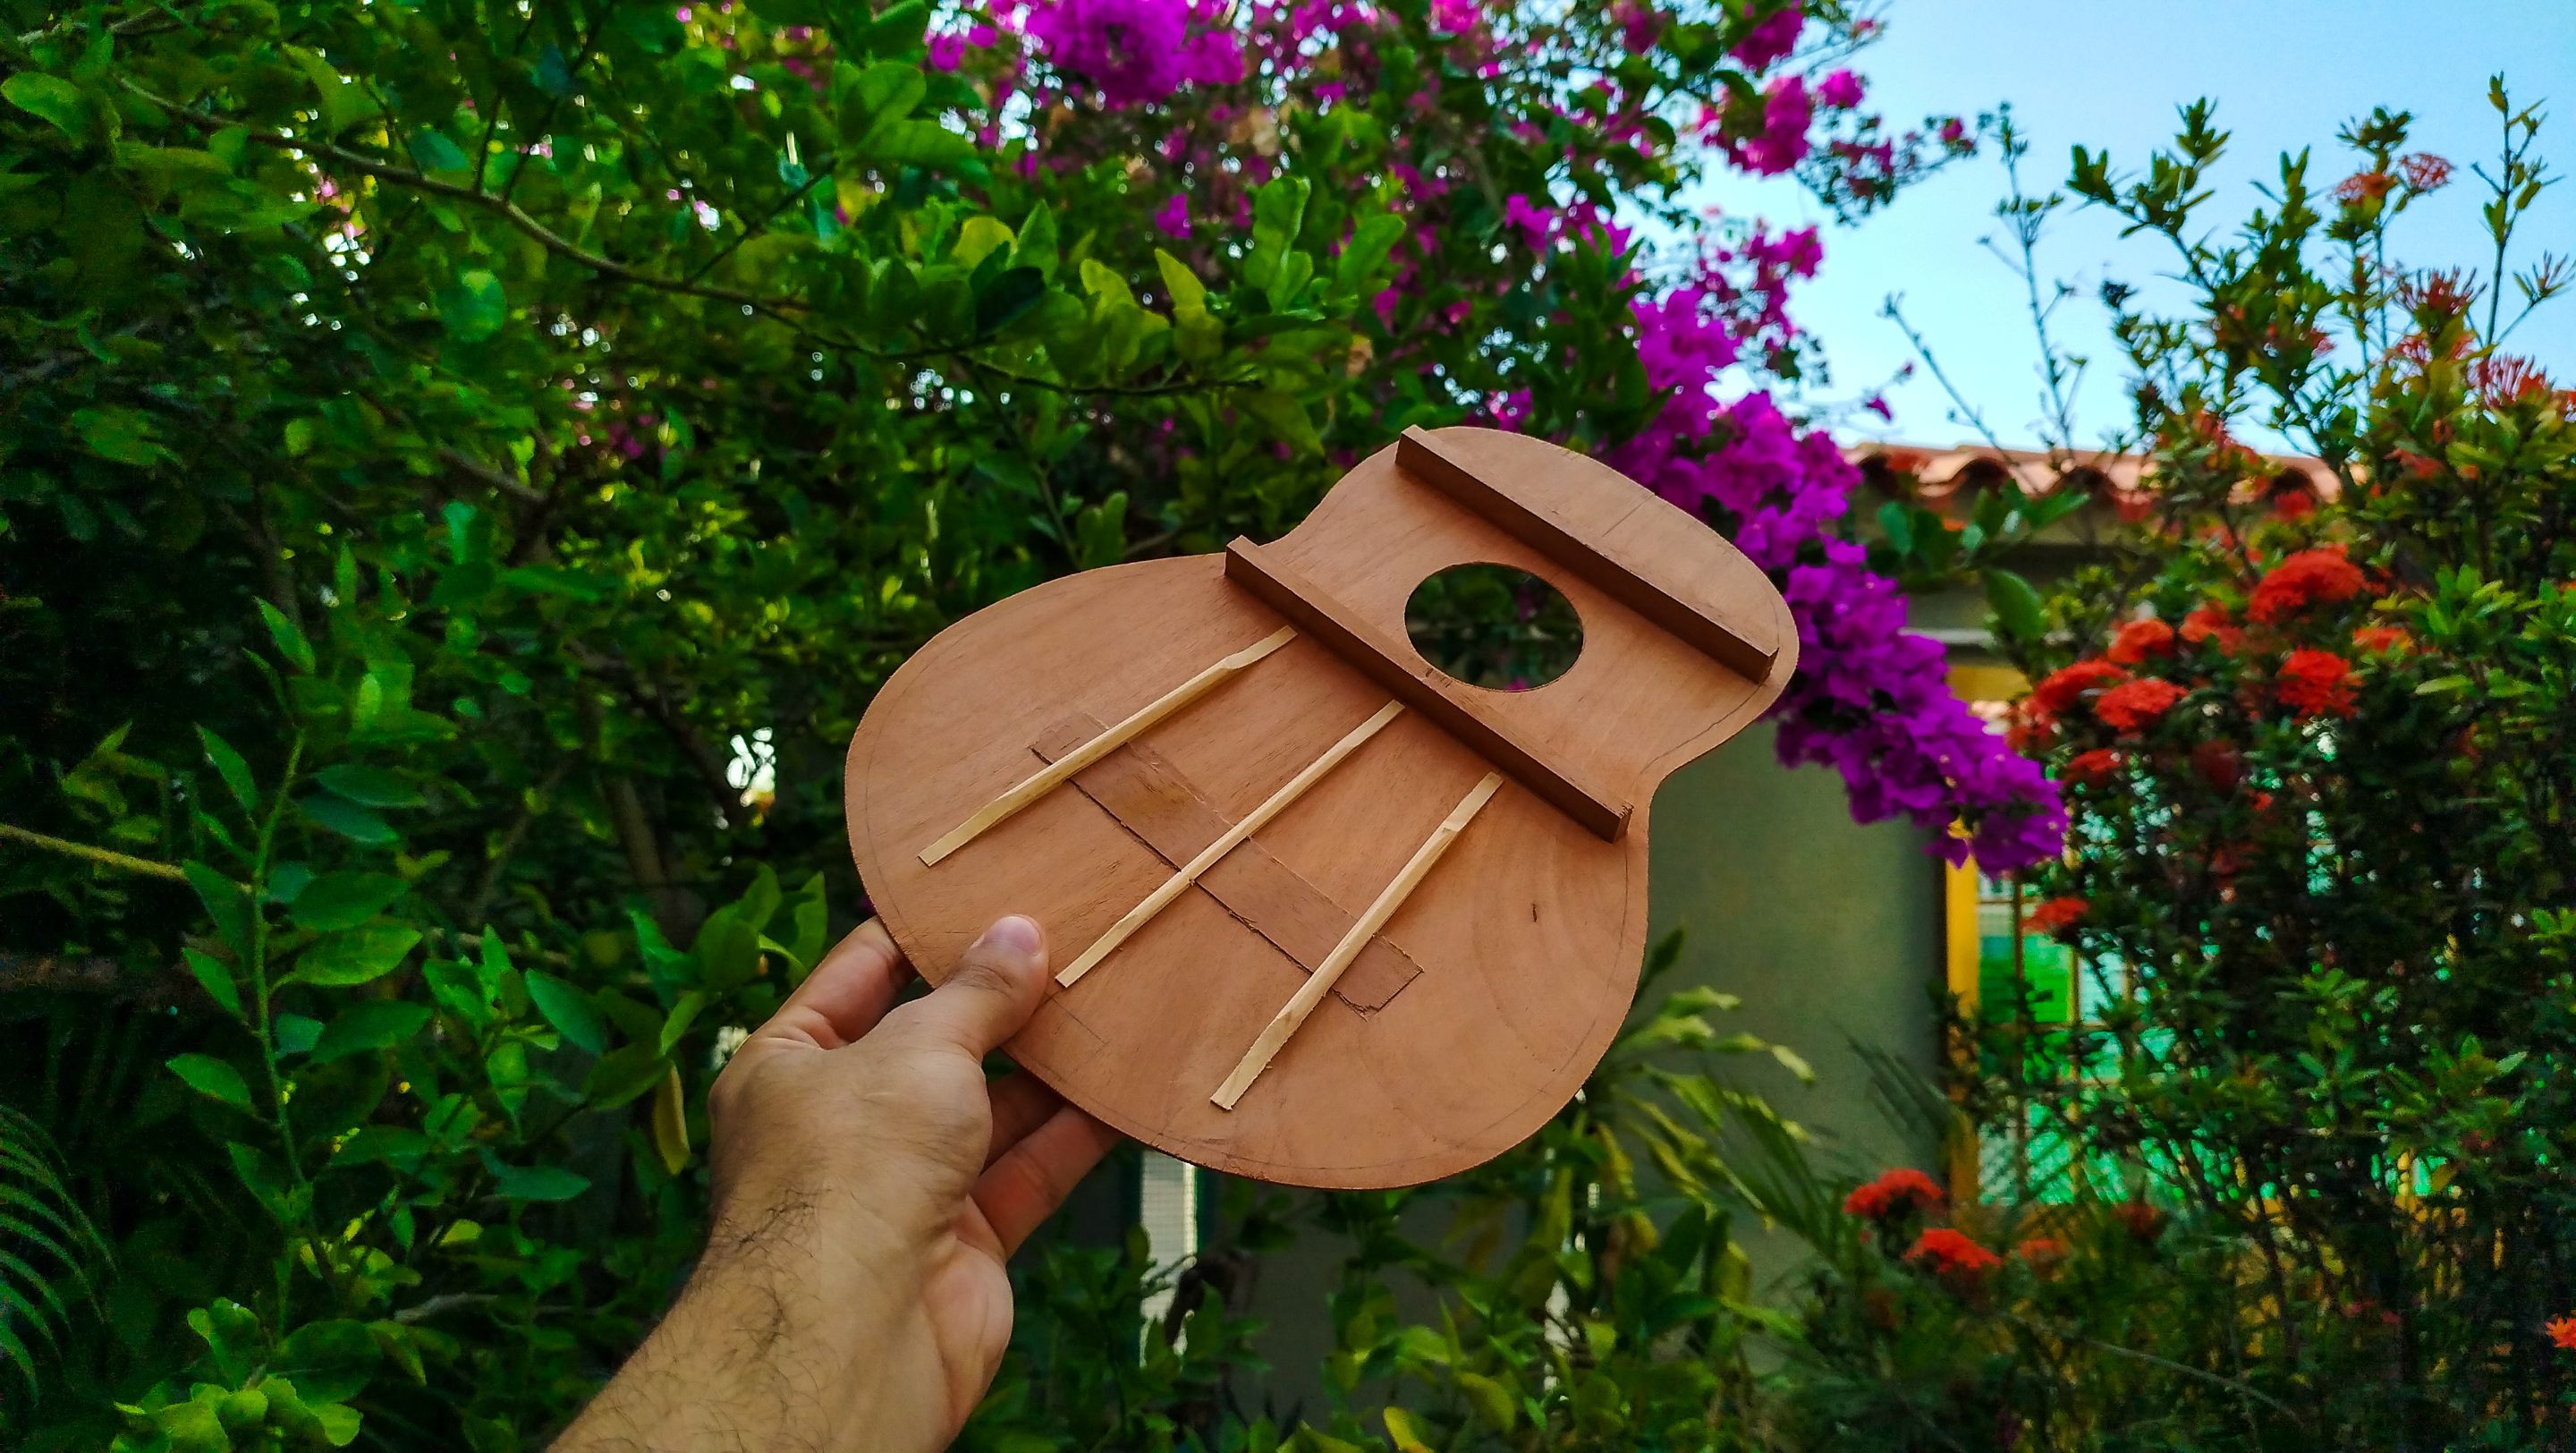
While the head stock structure is gluing, we can get to finish the work on the sound board. First, we are carving the struts. We not only need to place them. We also need to shape them. The usual idea is to have a more rigid strut towards the treble. Thinner ones always on the other side, i.e., the bass. We do all this work with a chisel. And once we are done with the chisel, we use sand paper.
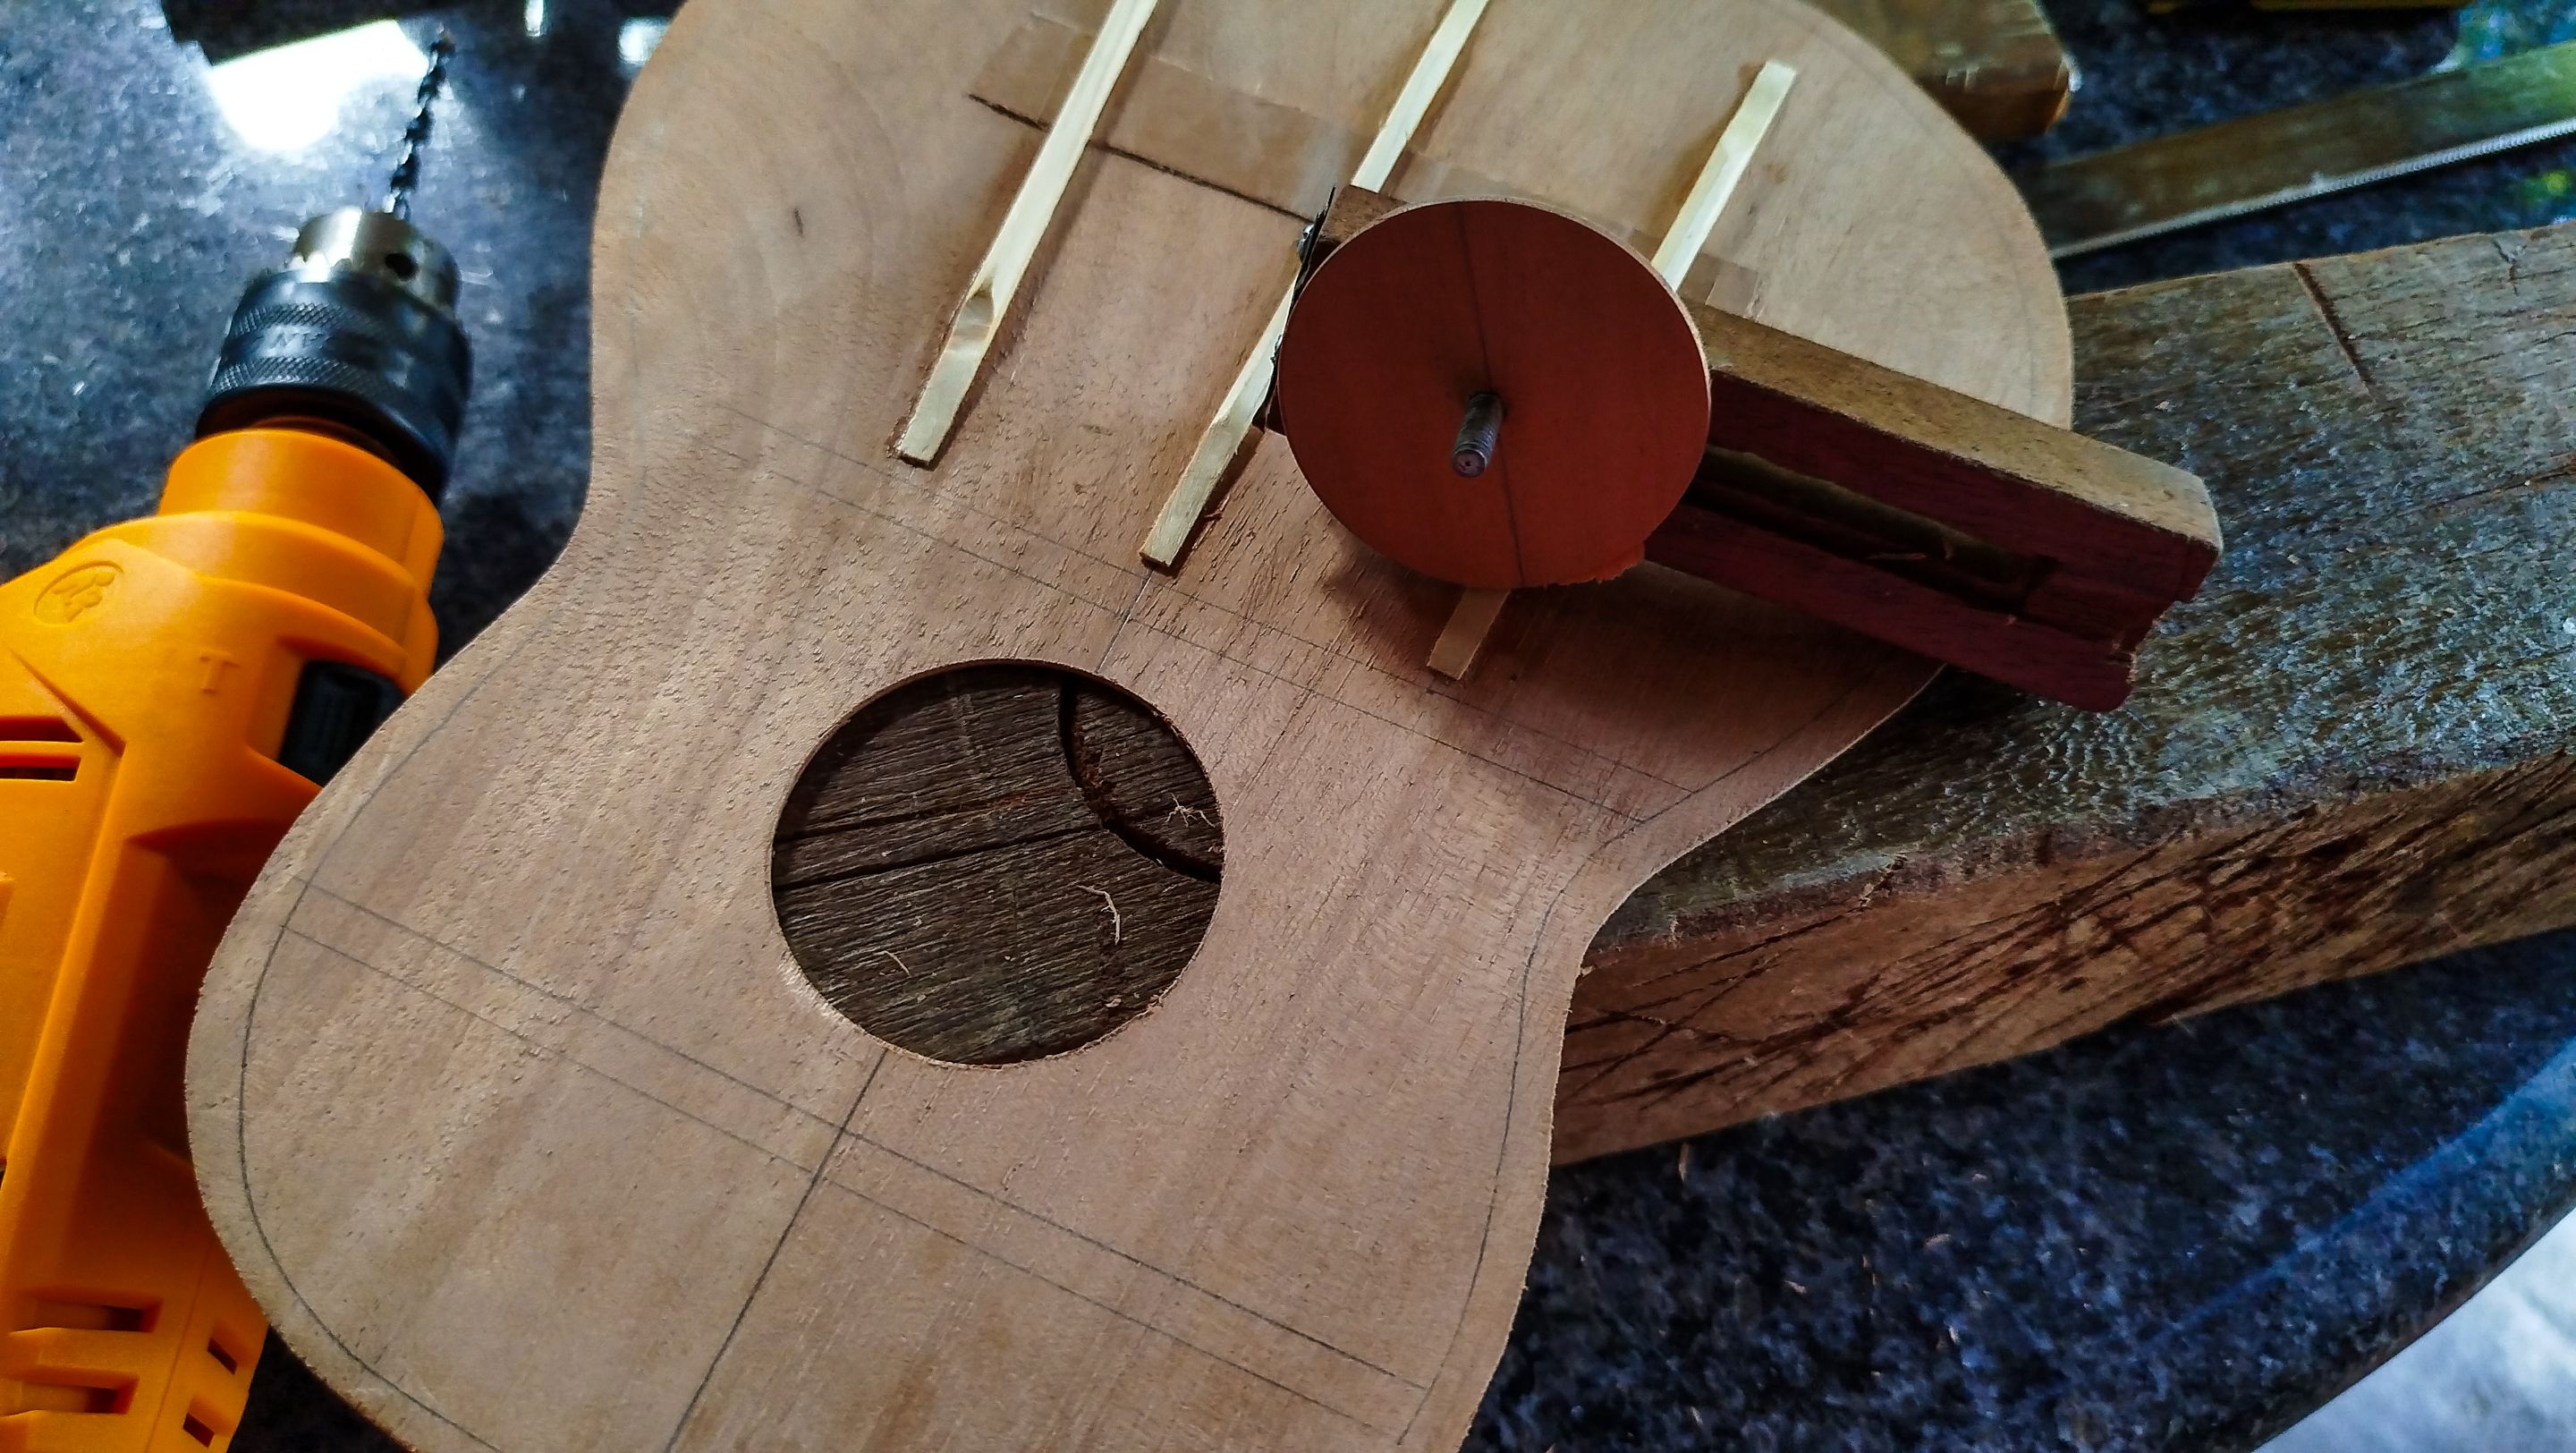
Next, we are opening the sound hole. This is something that should have been done before anything else. However, we are doing it now. We need to move accordingly since the struts are in the middle. After sorting the ways of using the circle cutter, we have a sound hole in all its round shape.
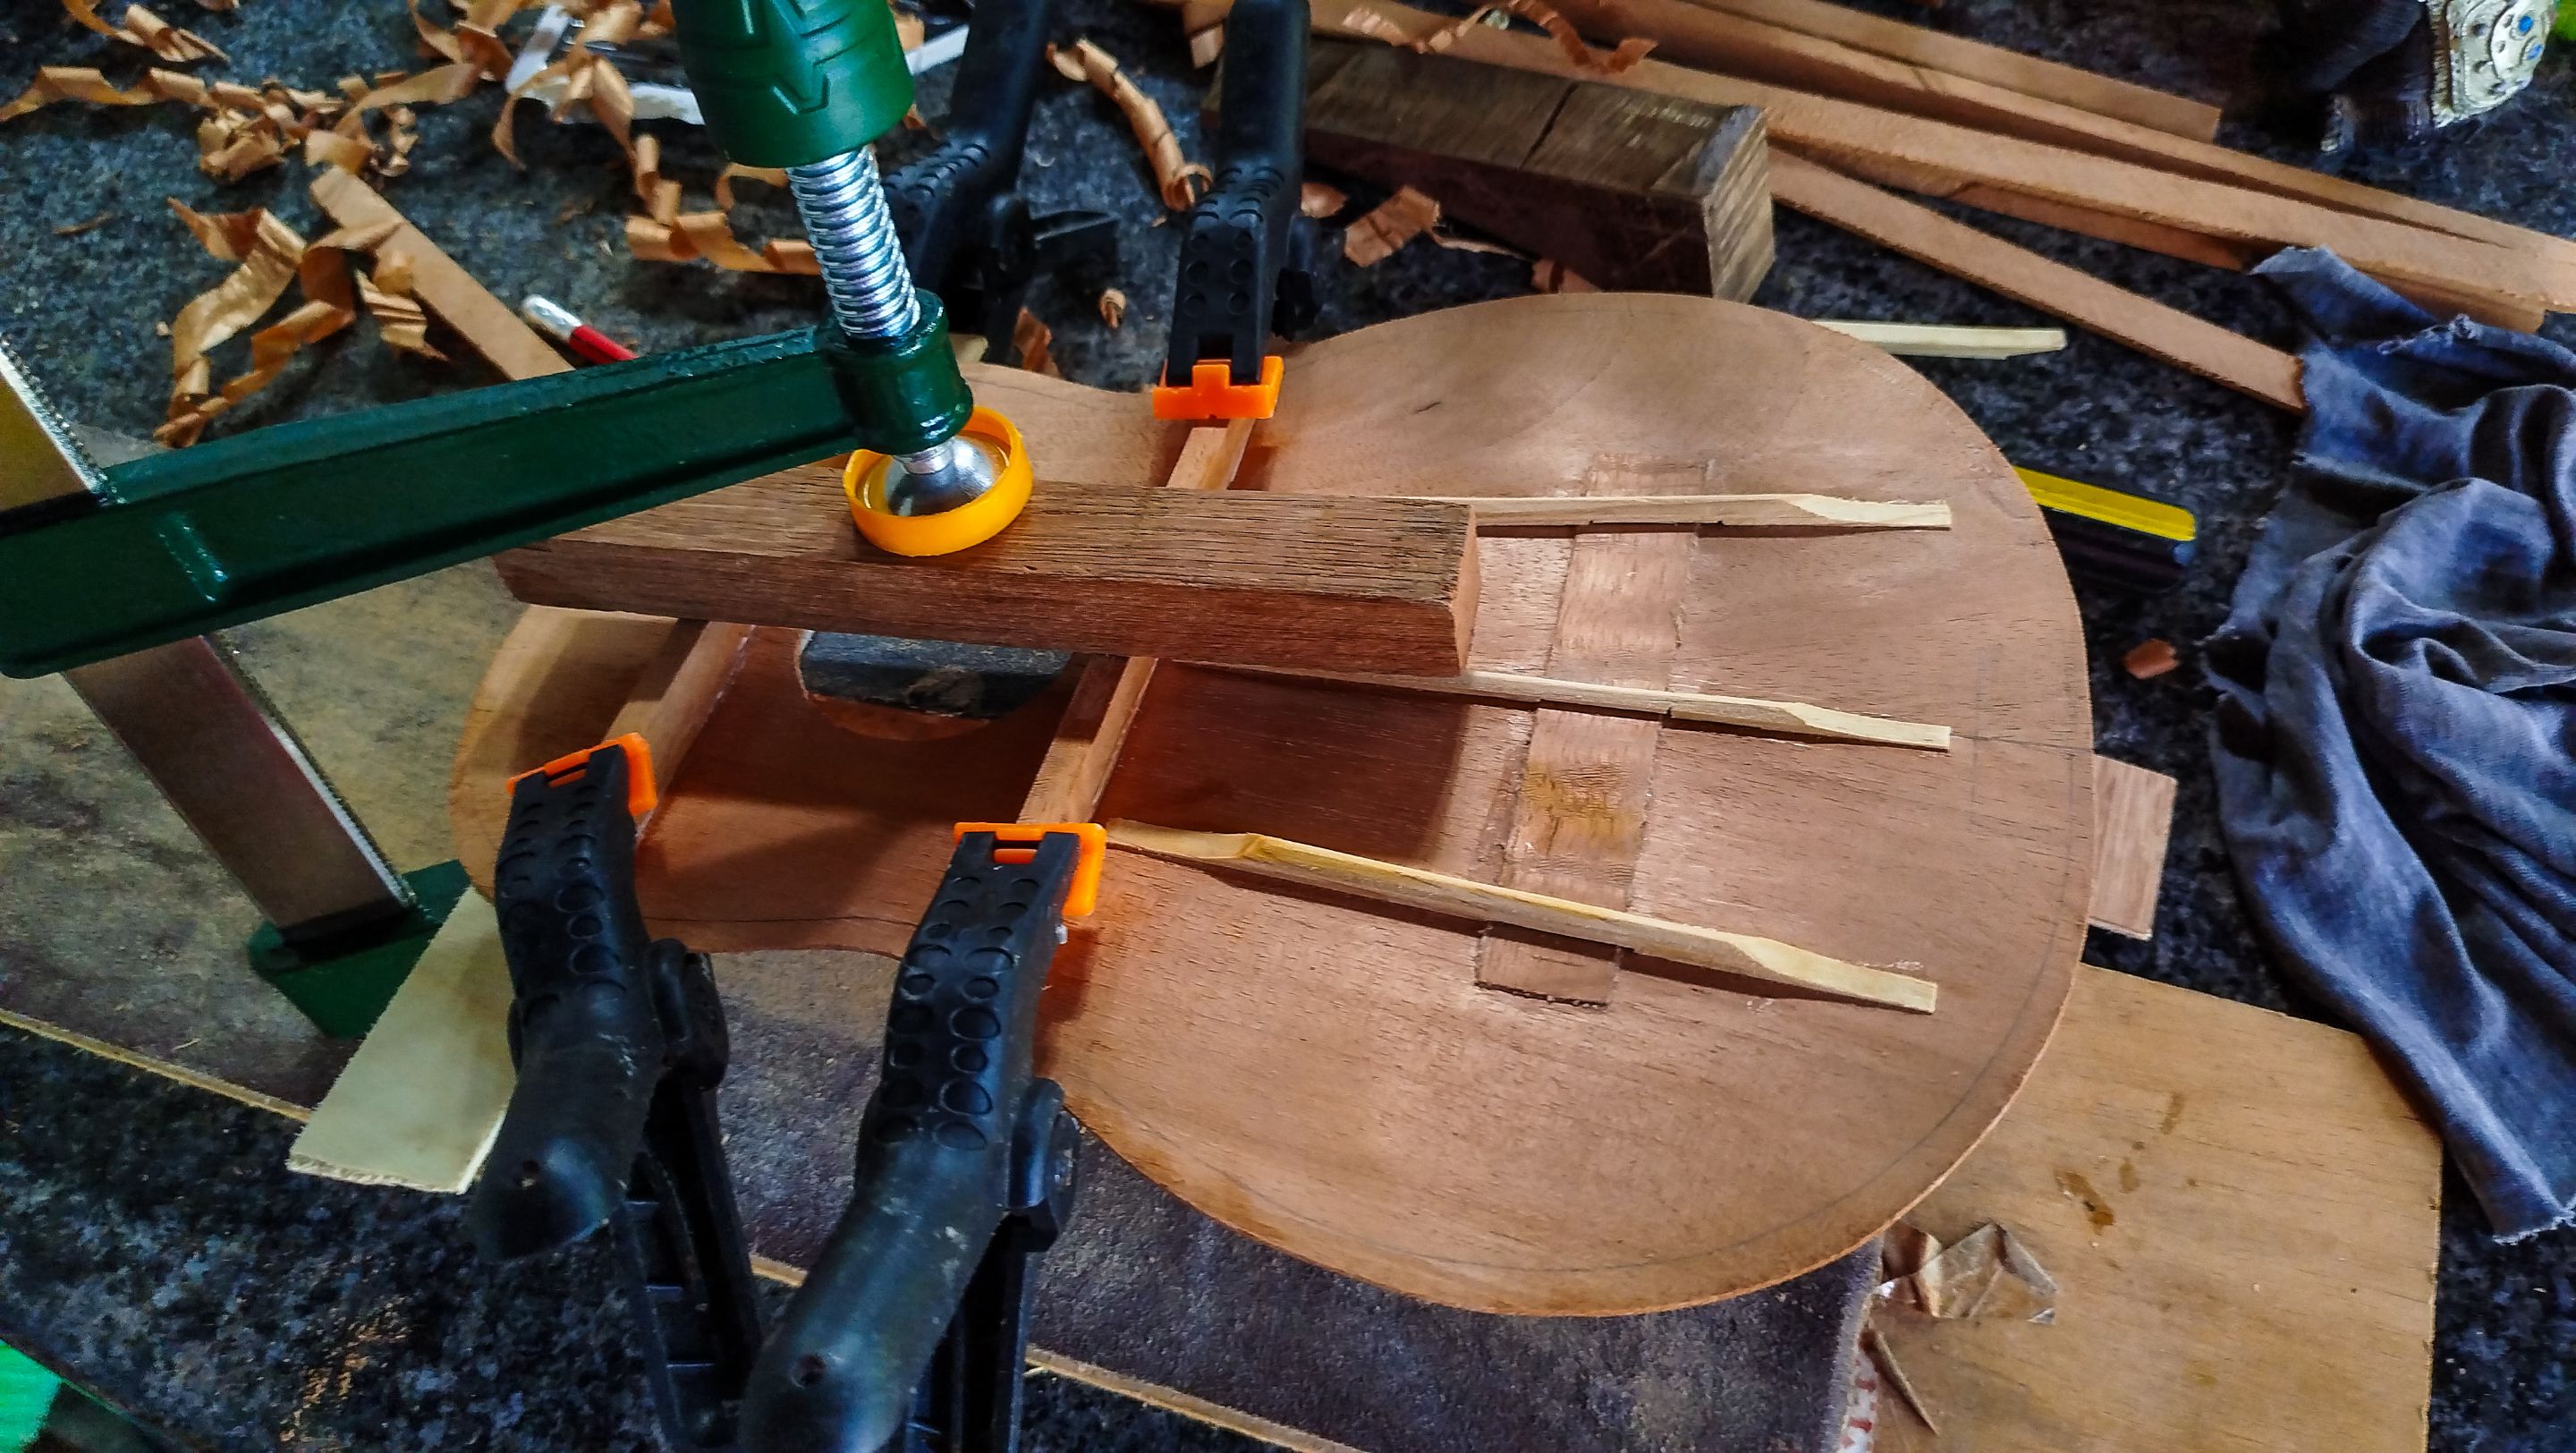
The final pieces for the sound board are the bars. These are the ones that prevent the piece from bending. You cannot see it here, but once your start removing material from the sound board, it starts to curl to one direction. It is the usual movement of wood. We cut the bars to the shape needed. Then we sand them to have flat areas of contact. Finally, we apply glue and clamp them to the sound board. Now the top won't bend.
We can take a moment to appreciate the results of all the work and get ready for the next session of work. Next time, we will carve some more and start putting the pieces together to see the ukulele come to life.
Thanks for reading. See you in the next entry!
| Entry | Title |
|---|---|
| 1 | The Fist Ukuele |
| 2 | Structure |
-
Photos 📷: Redmi Note 13
-
Thumbnail 🖼️: Canva.
-
Editing 🎬:Adobe Photoshop Lightroom.

Follow me on Instagram for enquires and commission.
If you'd like to help the workshop grow, you can make a donation here.
You can find me at discord as bertrayo#1763