

Hello there, my fellow artisans and handcrafts enthusiasts!
Welcome back to another entry on the projects of the workshop. Today, we start the series of the first Mandolin build. I am excited to share with you the whole process from start to finish. There are more projects currently in the making, but we need to share the ones that are done from start to finish.
Let's get to it!
Sound Board

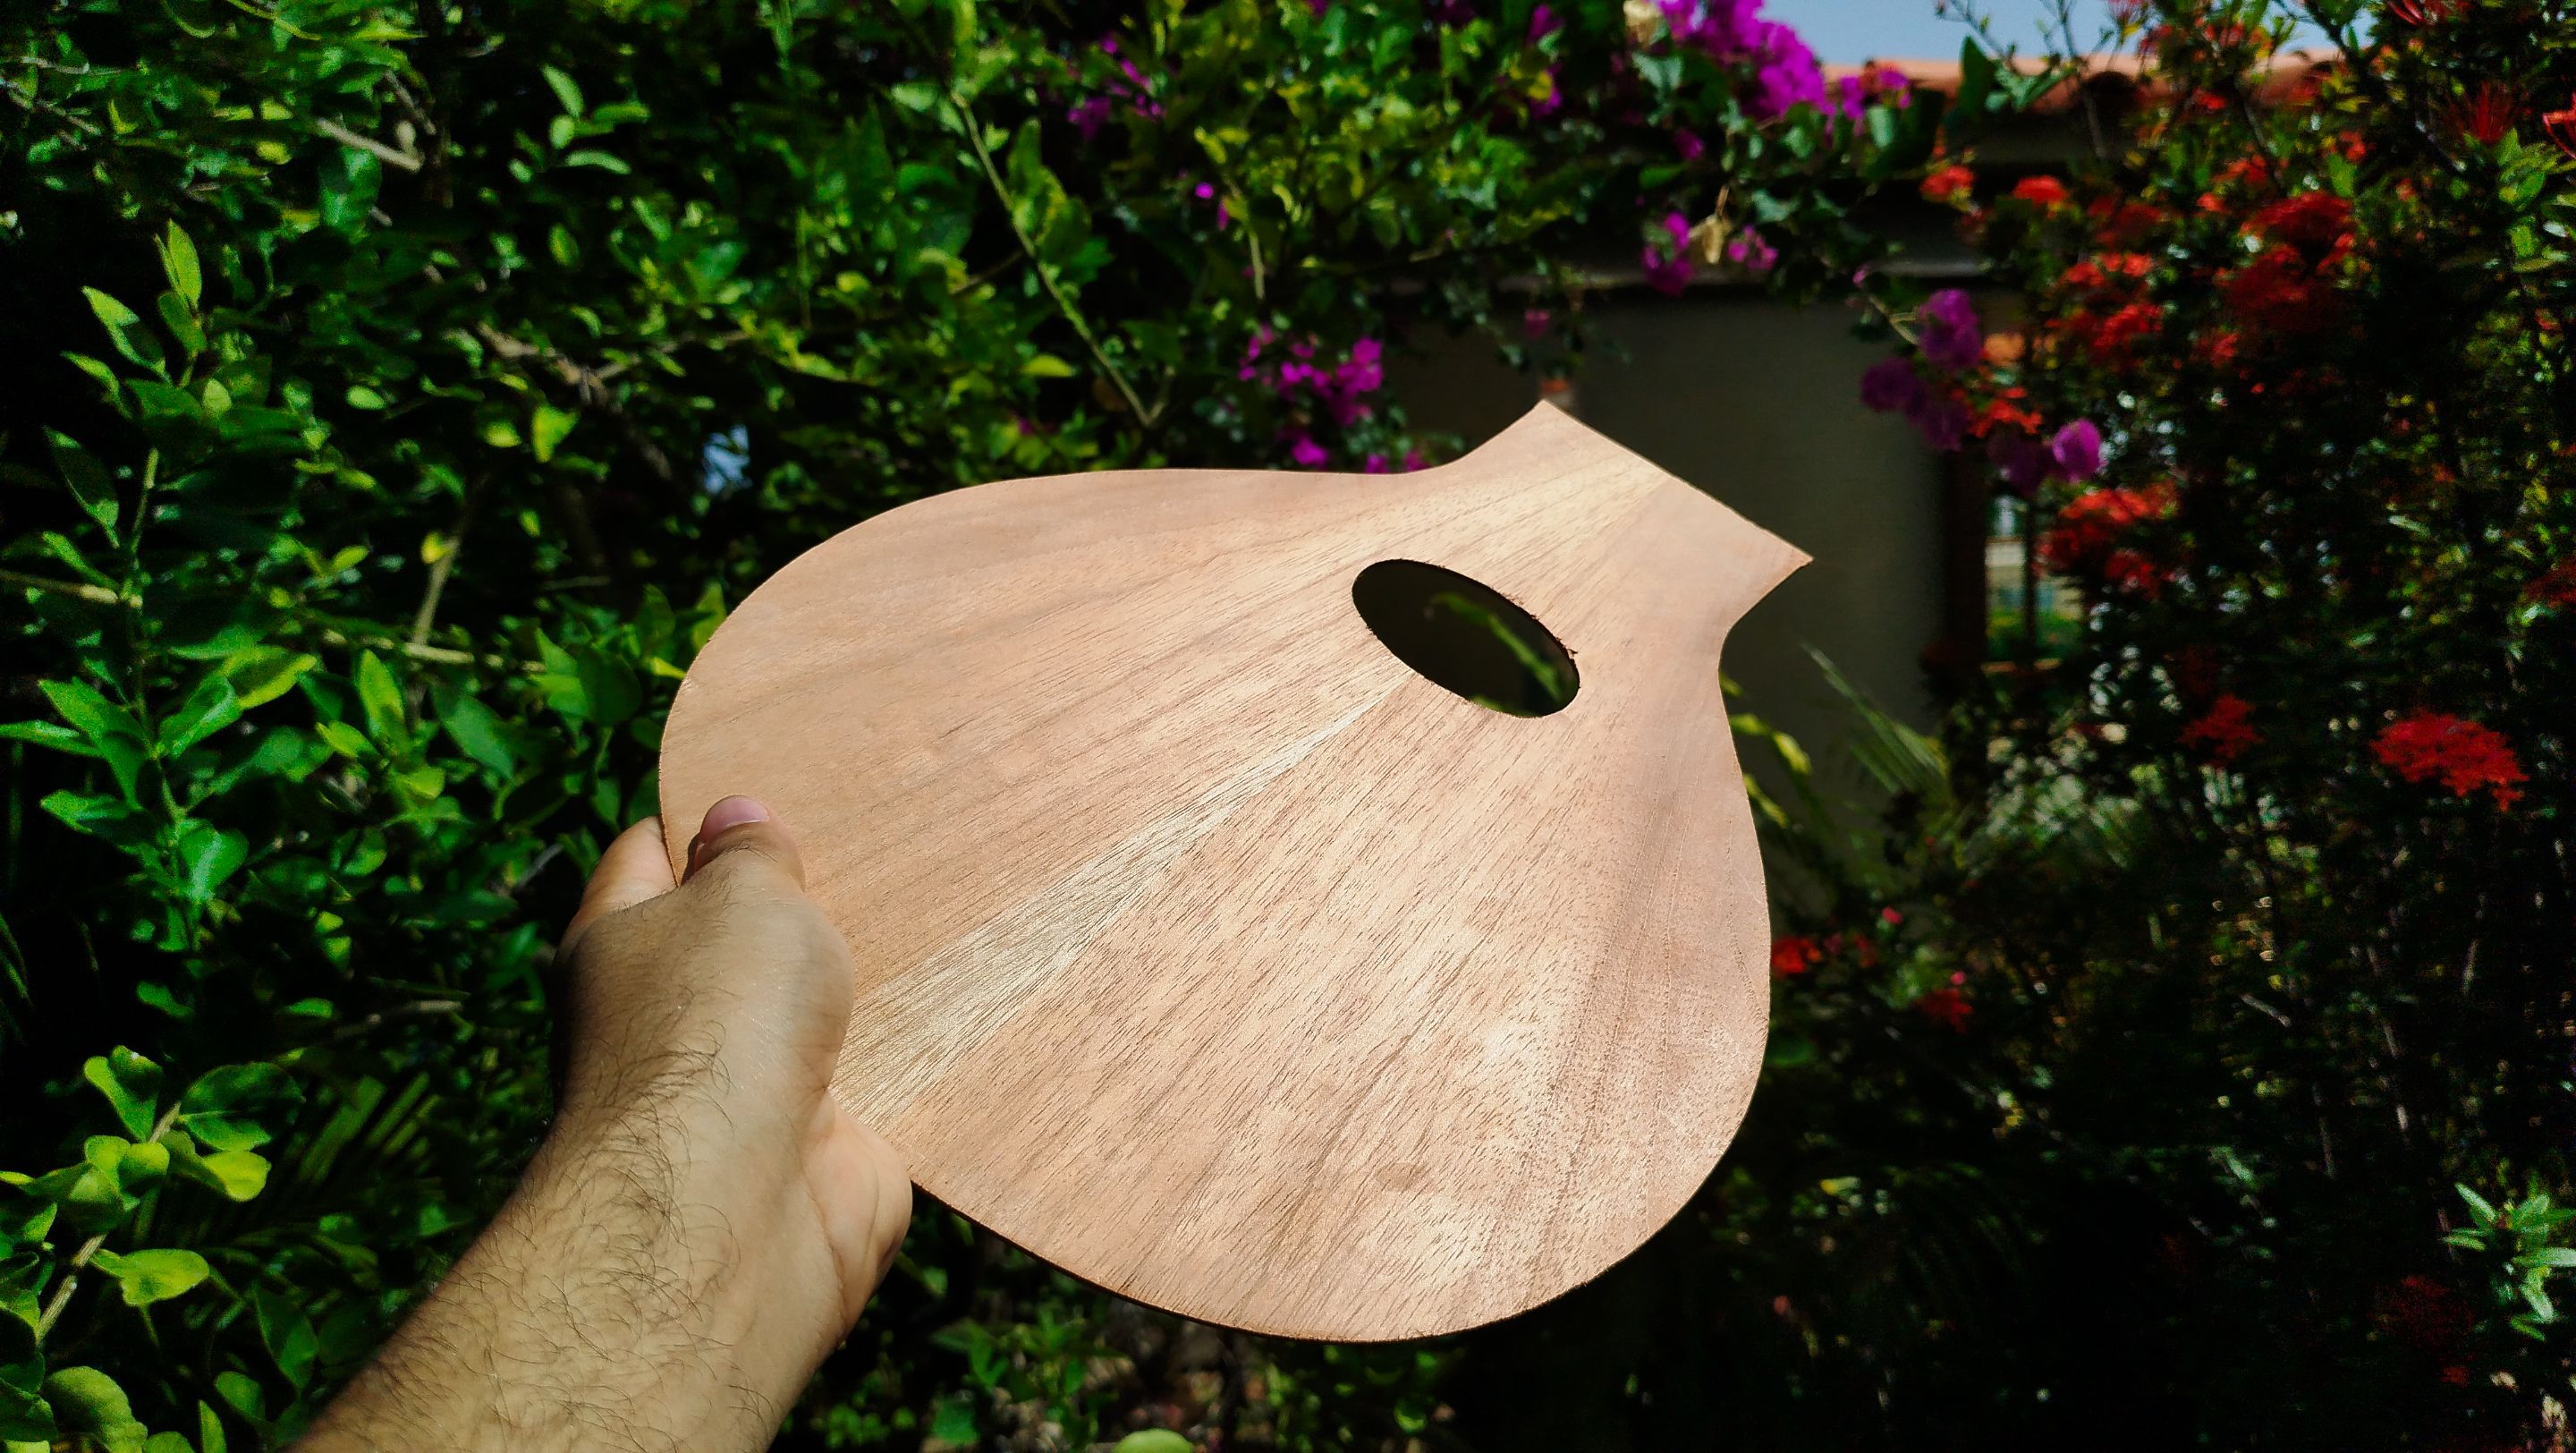
Swipe to see the photos
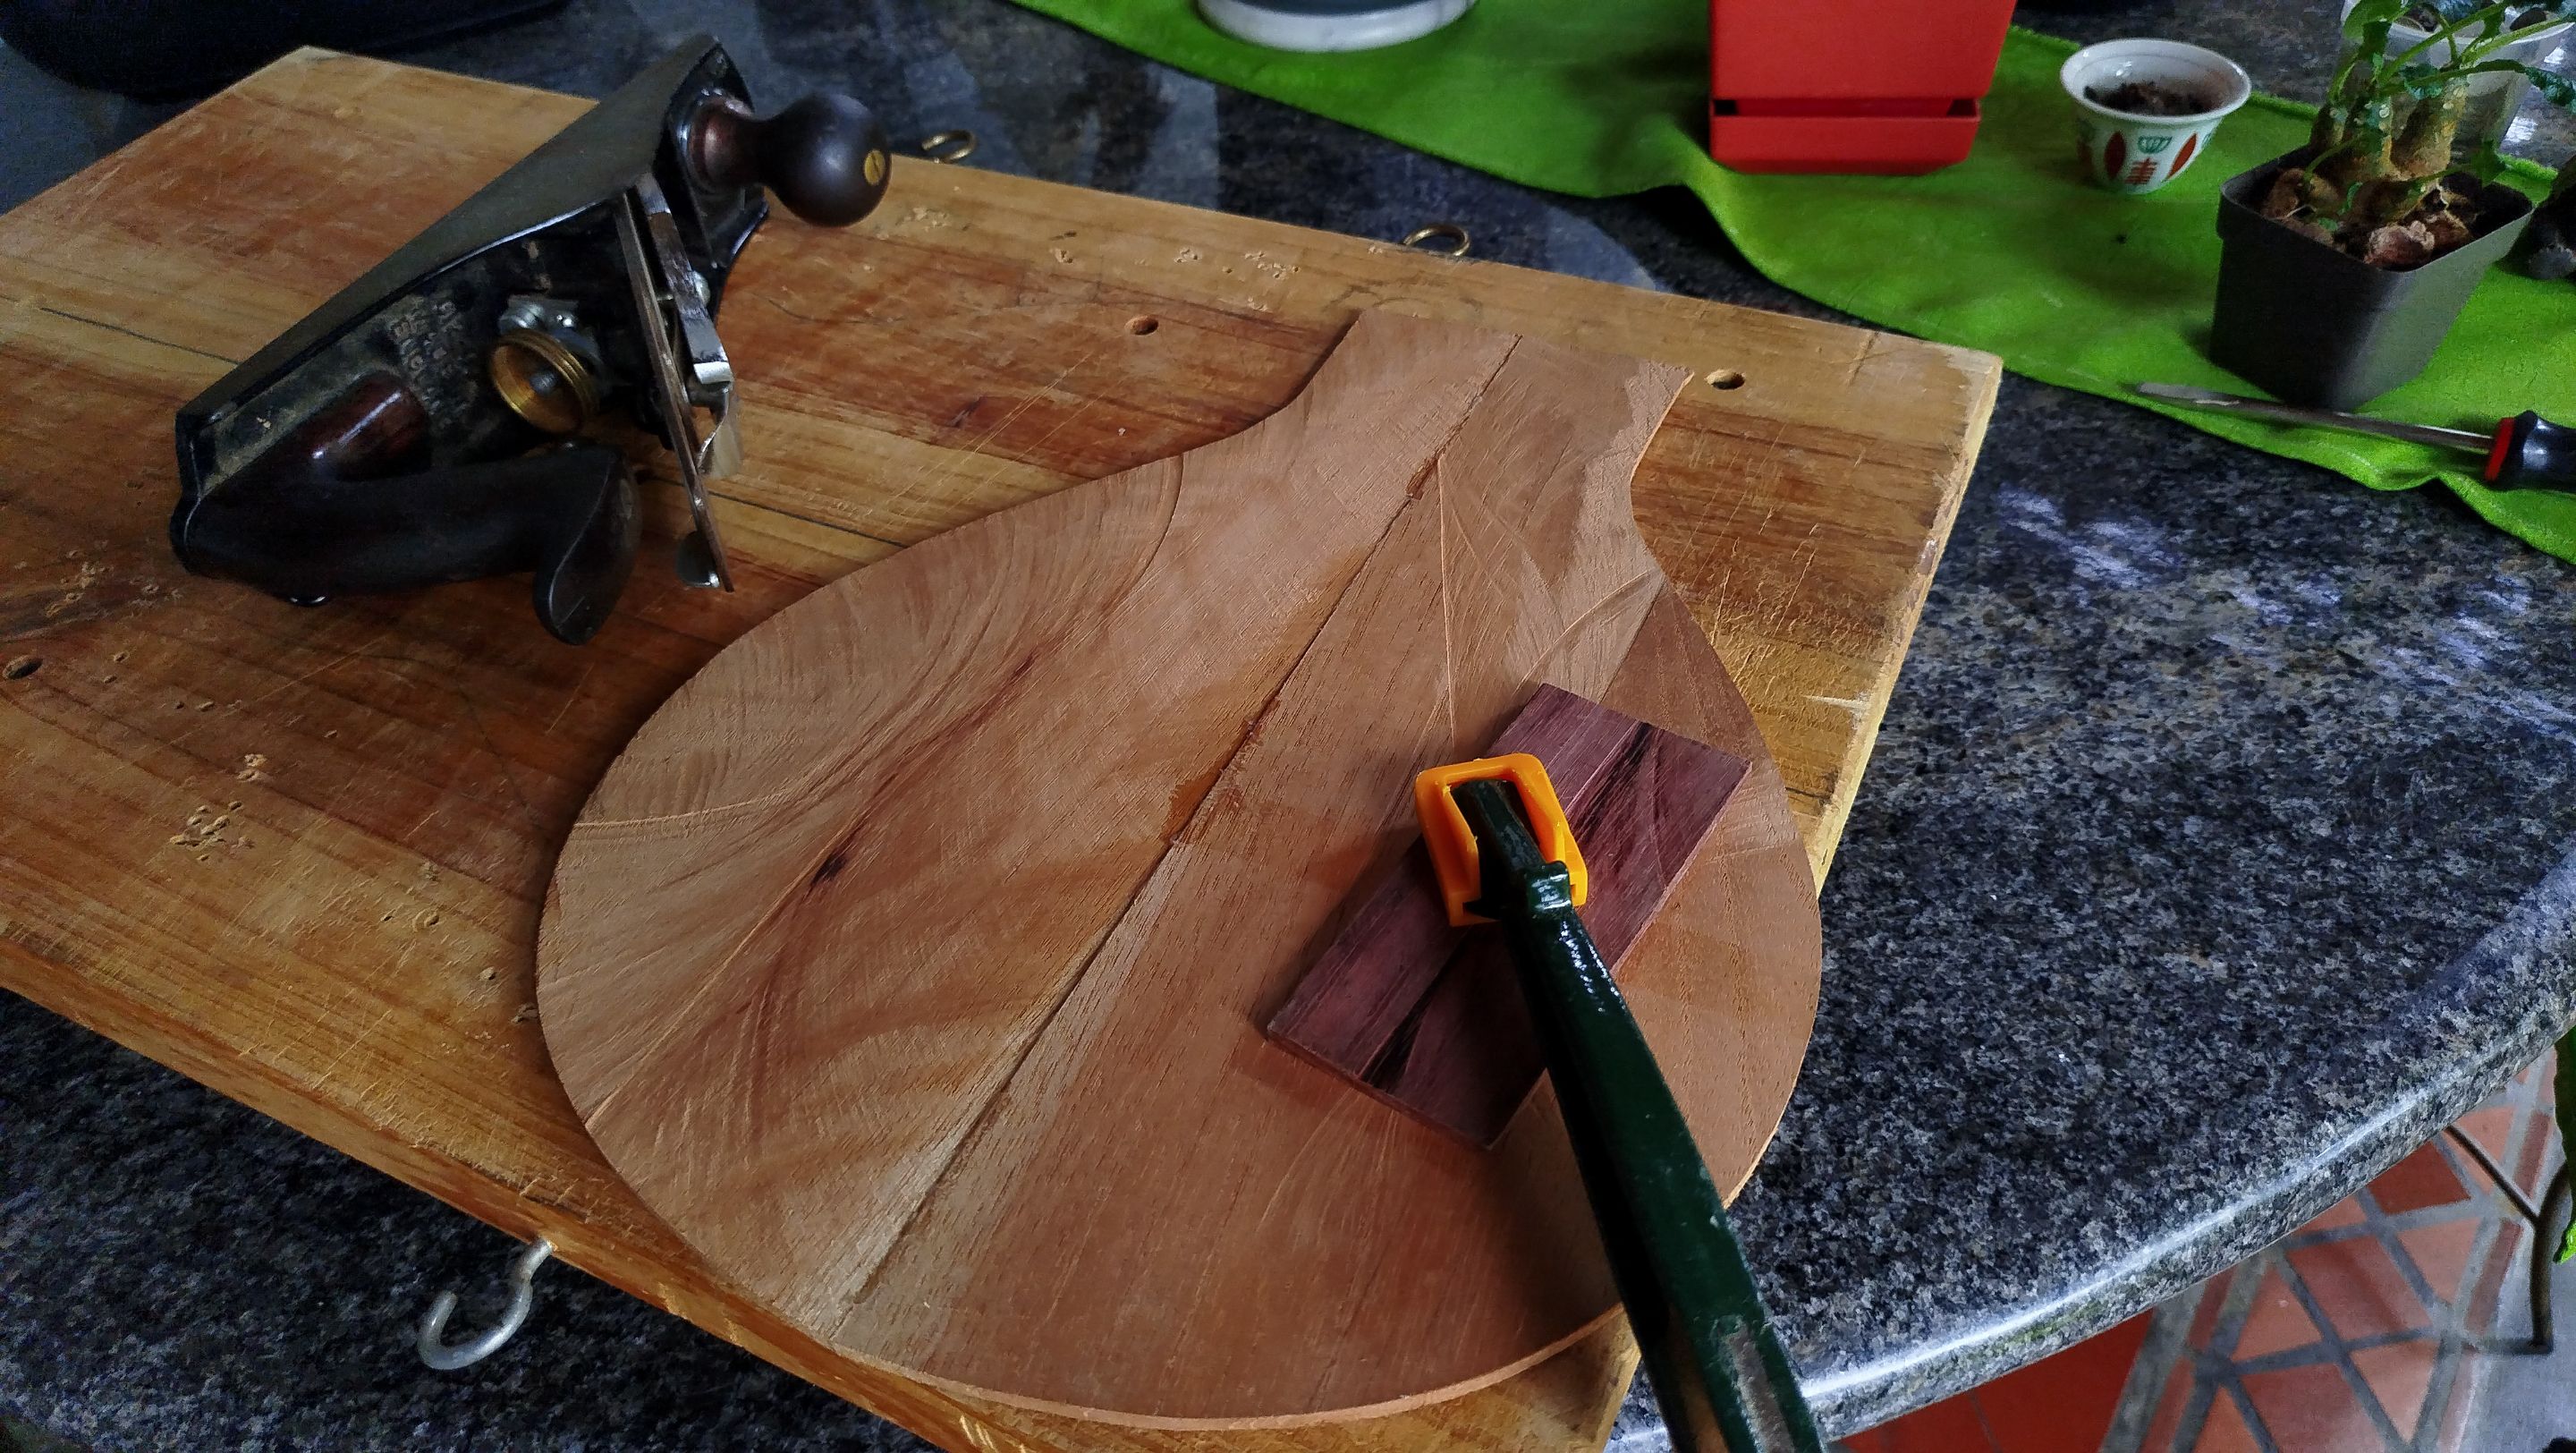
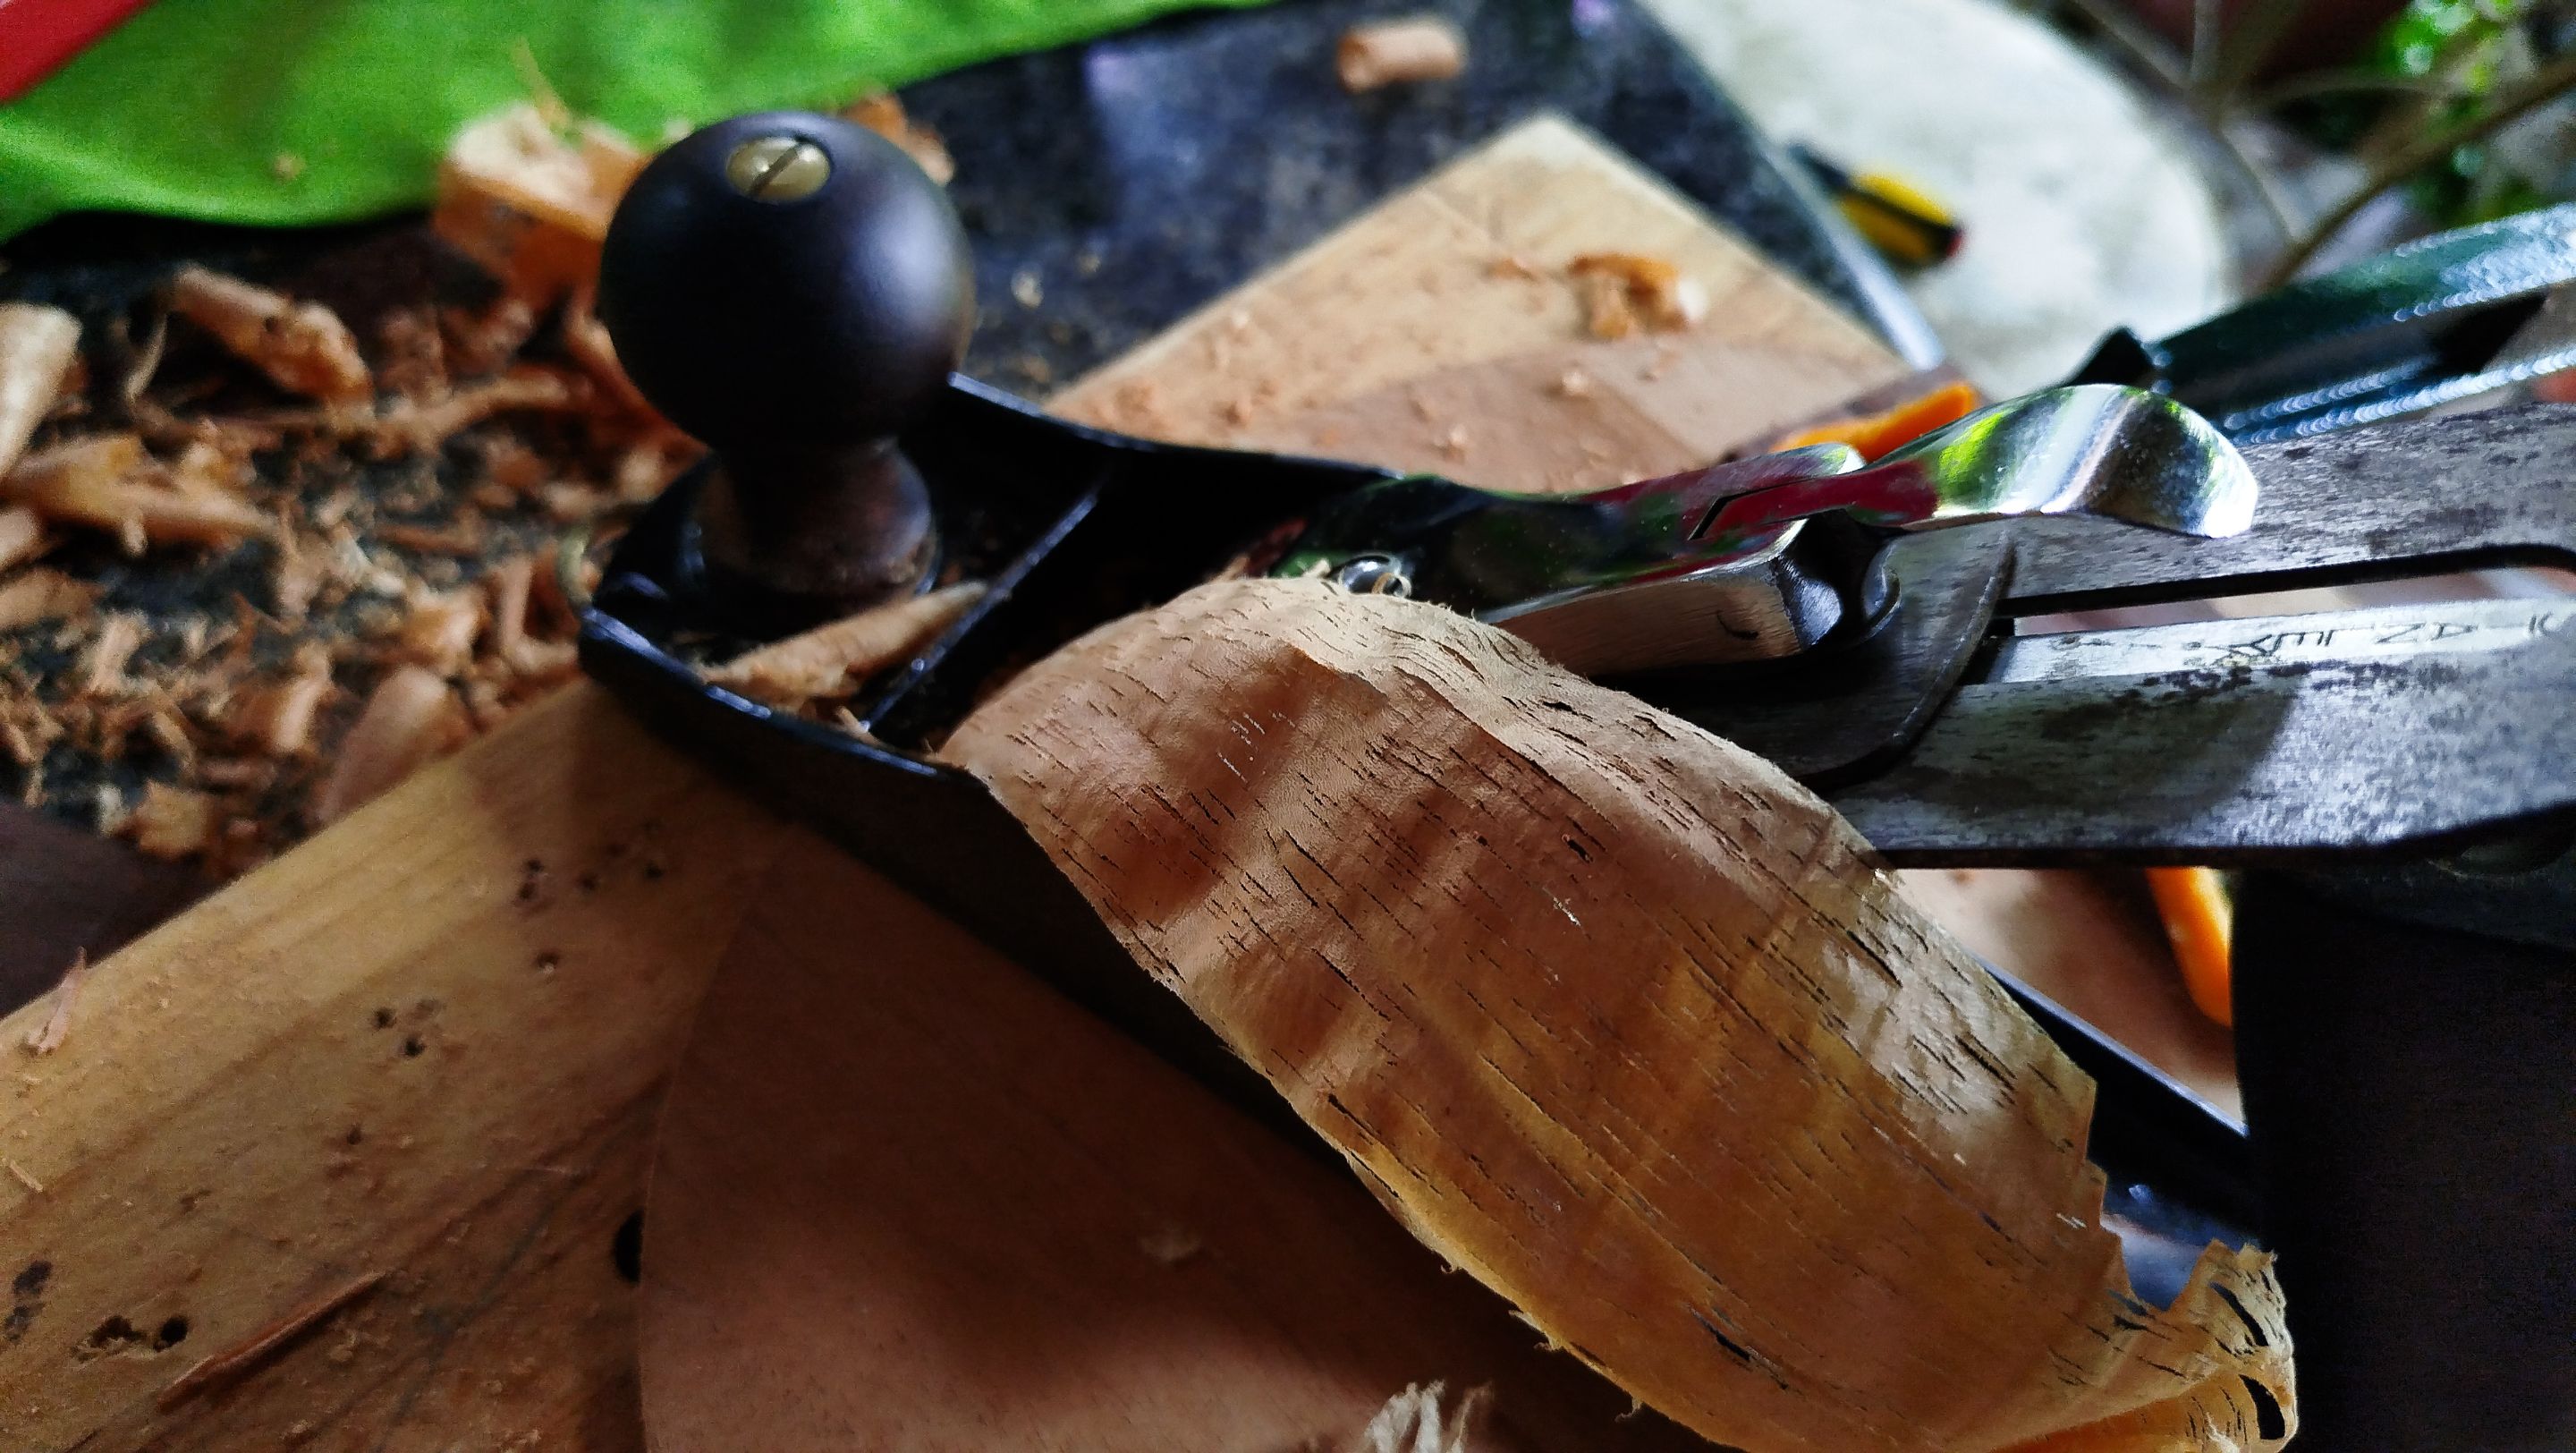
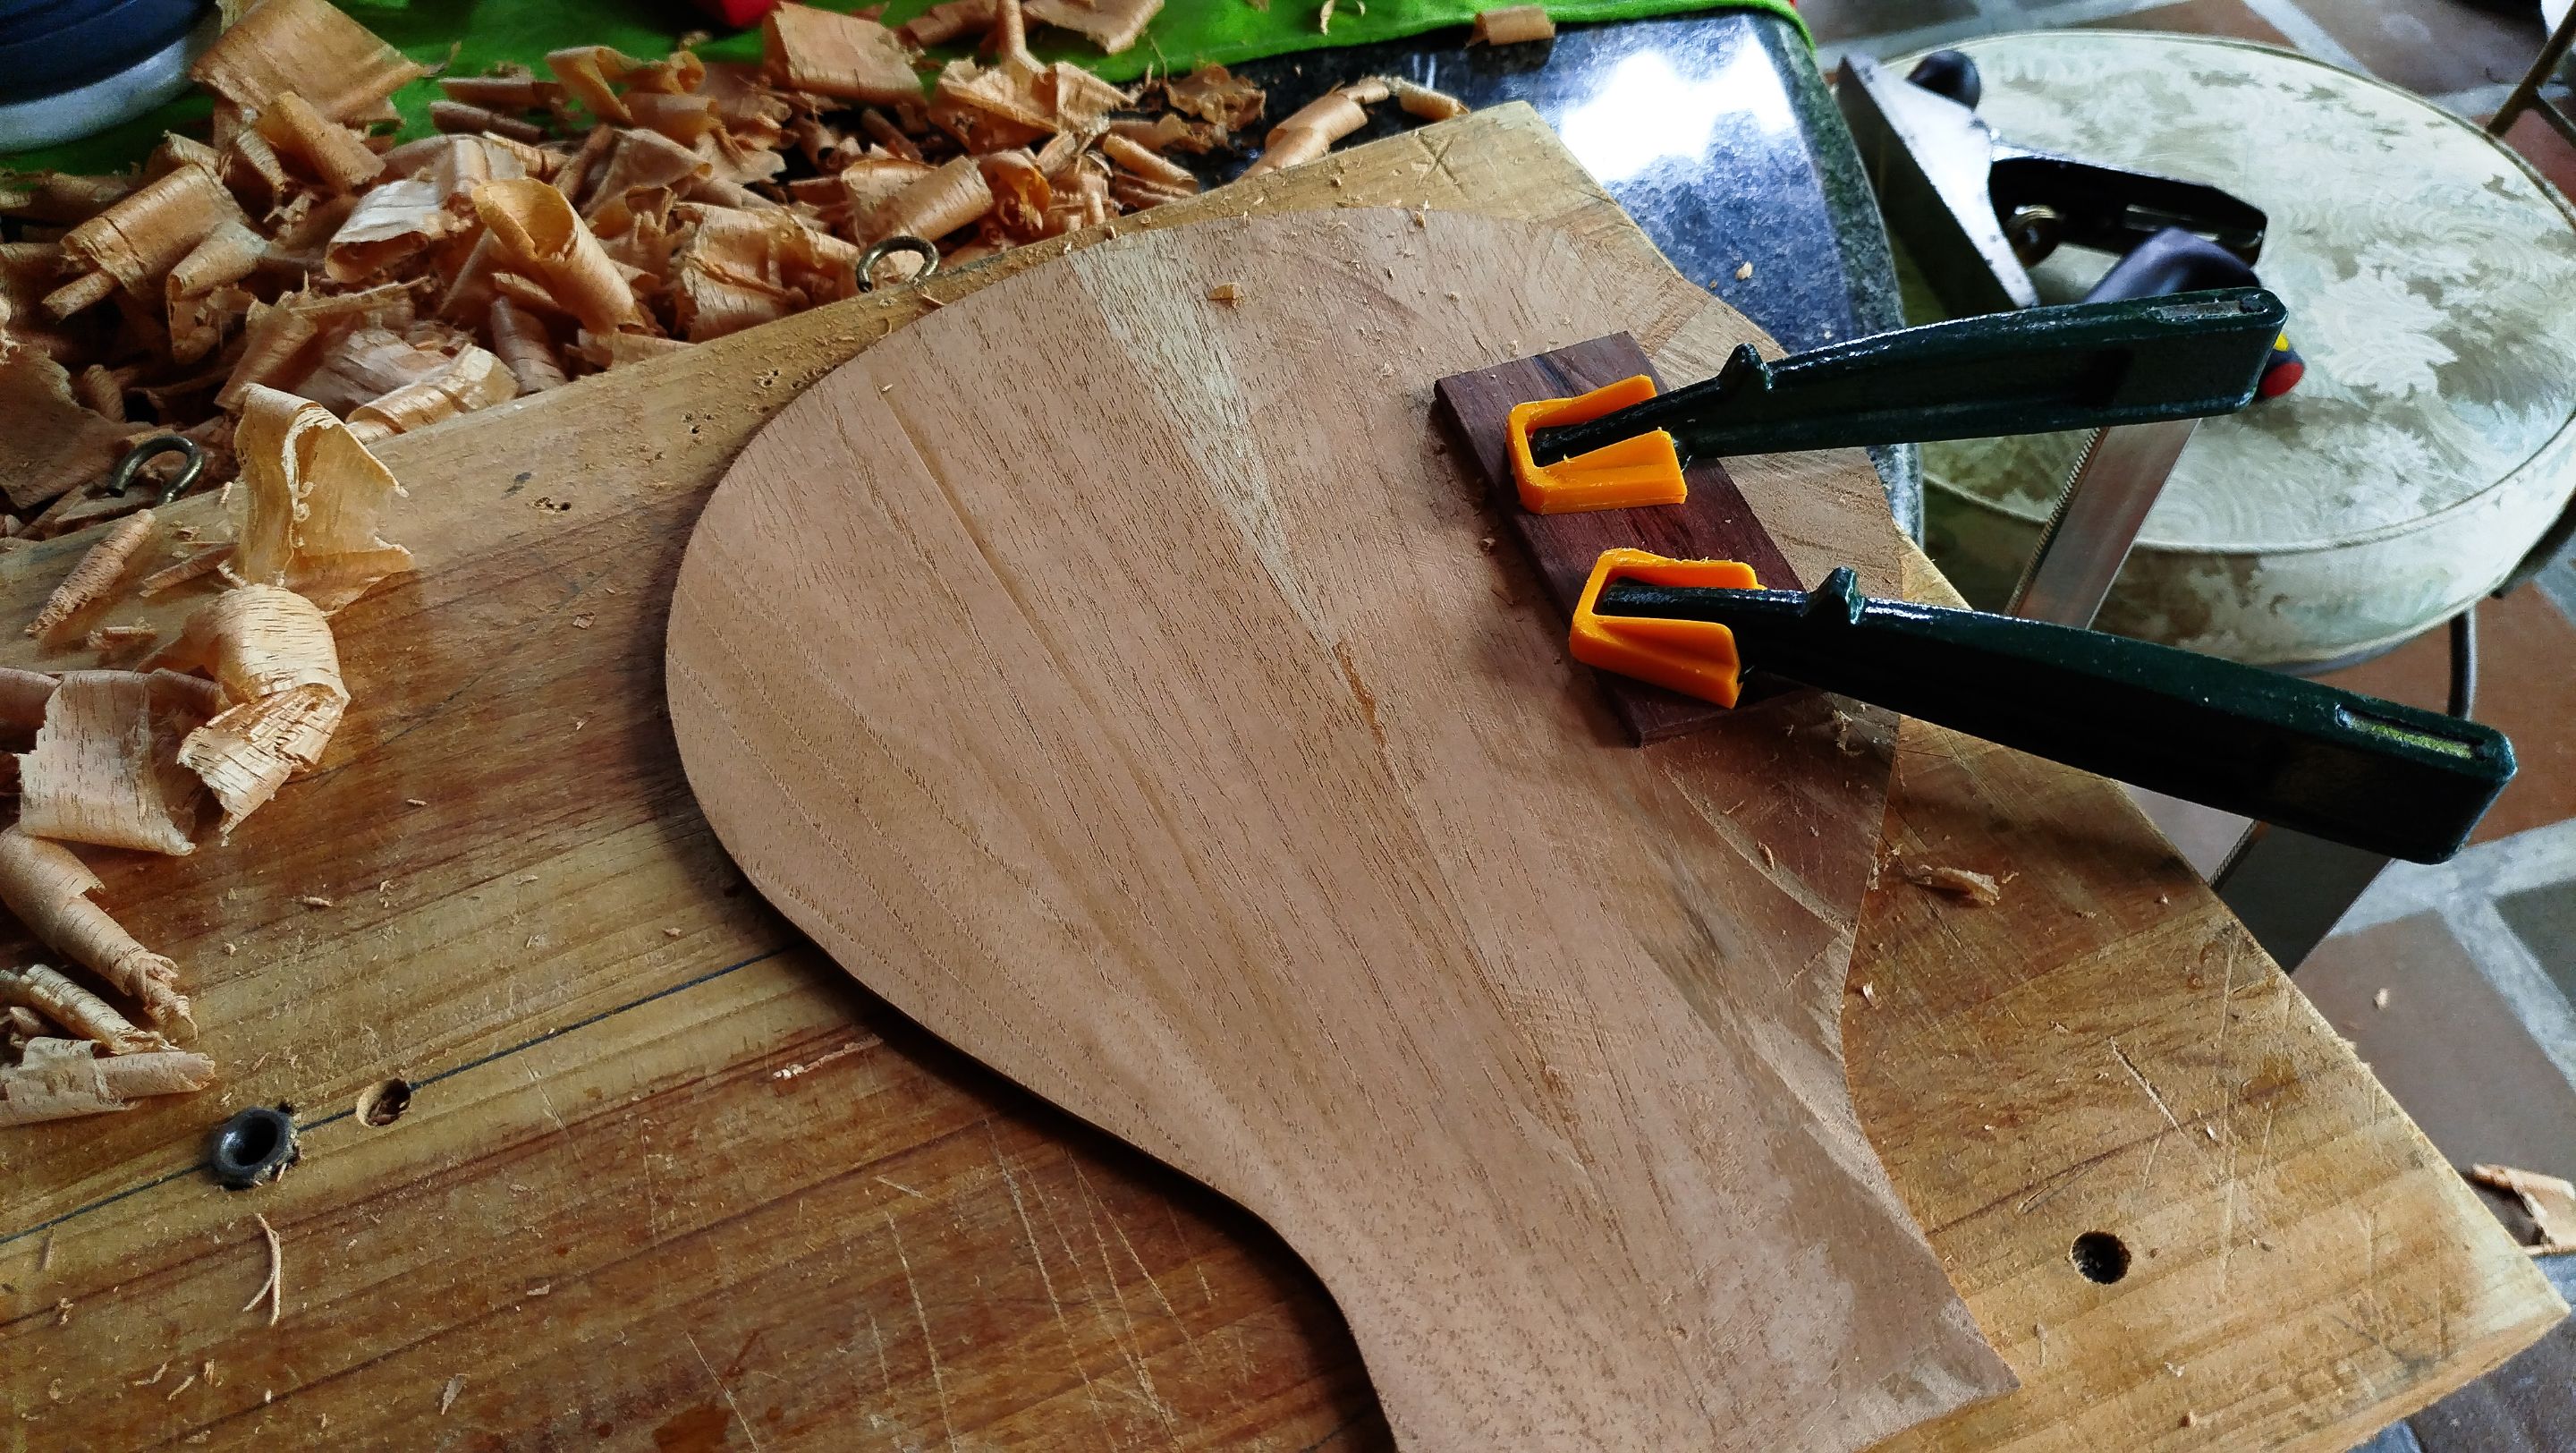
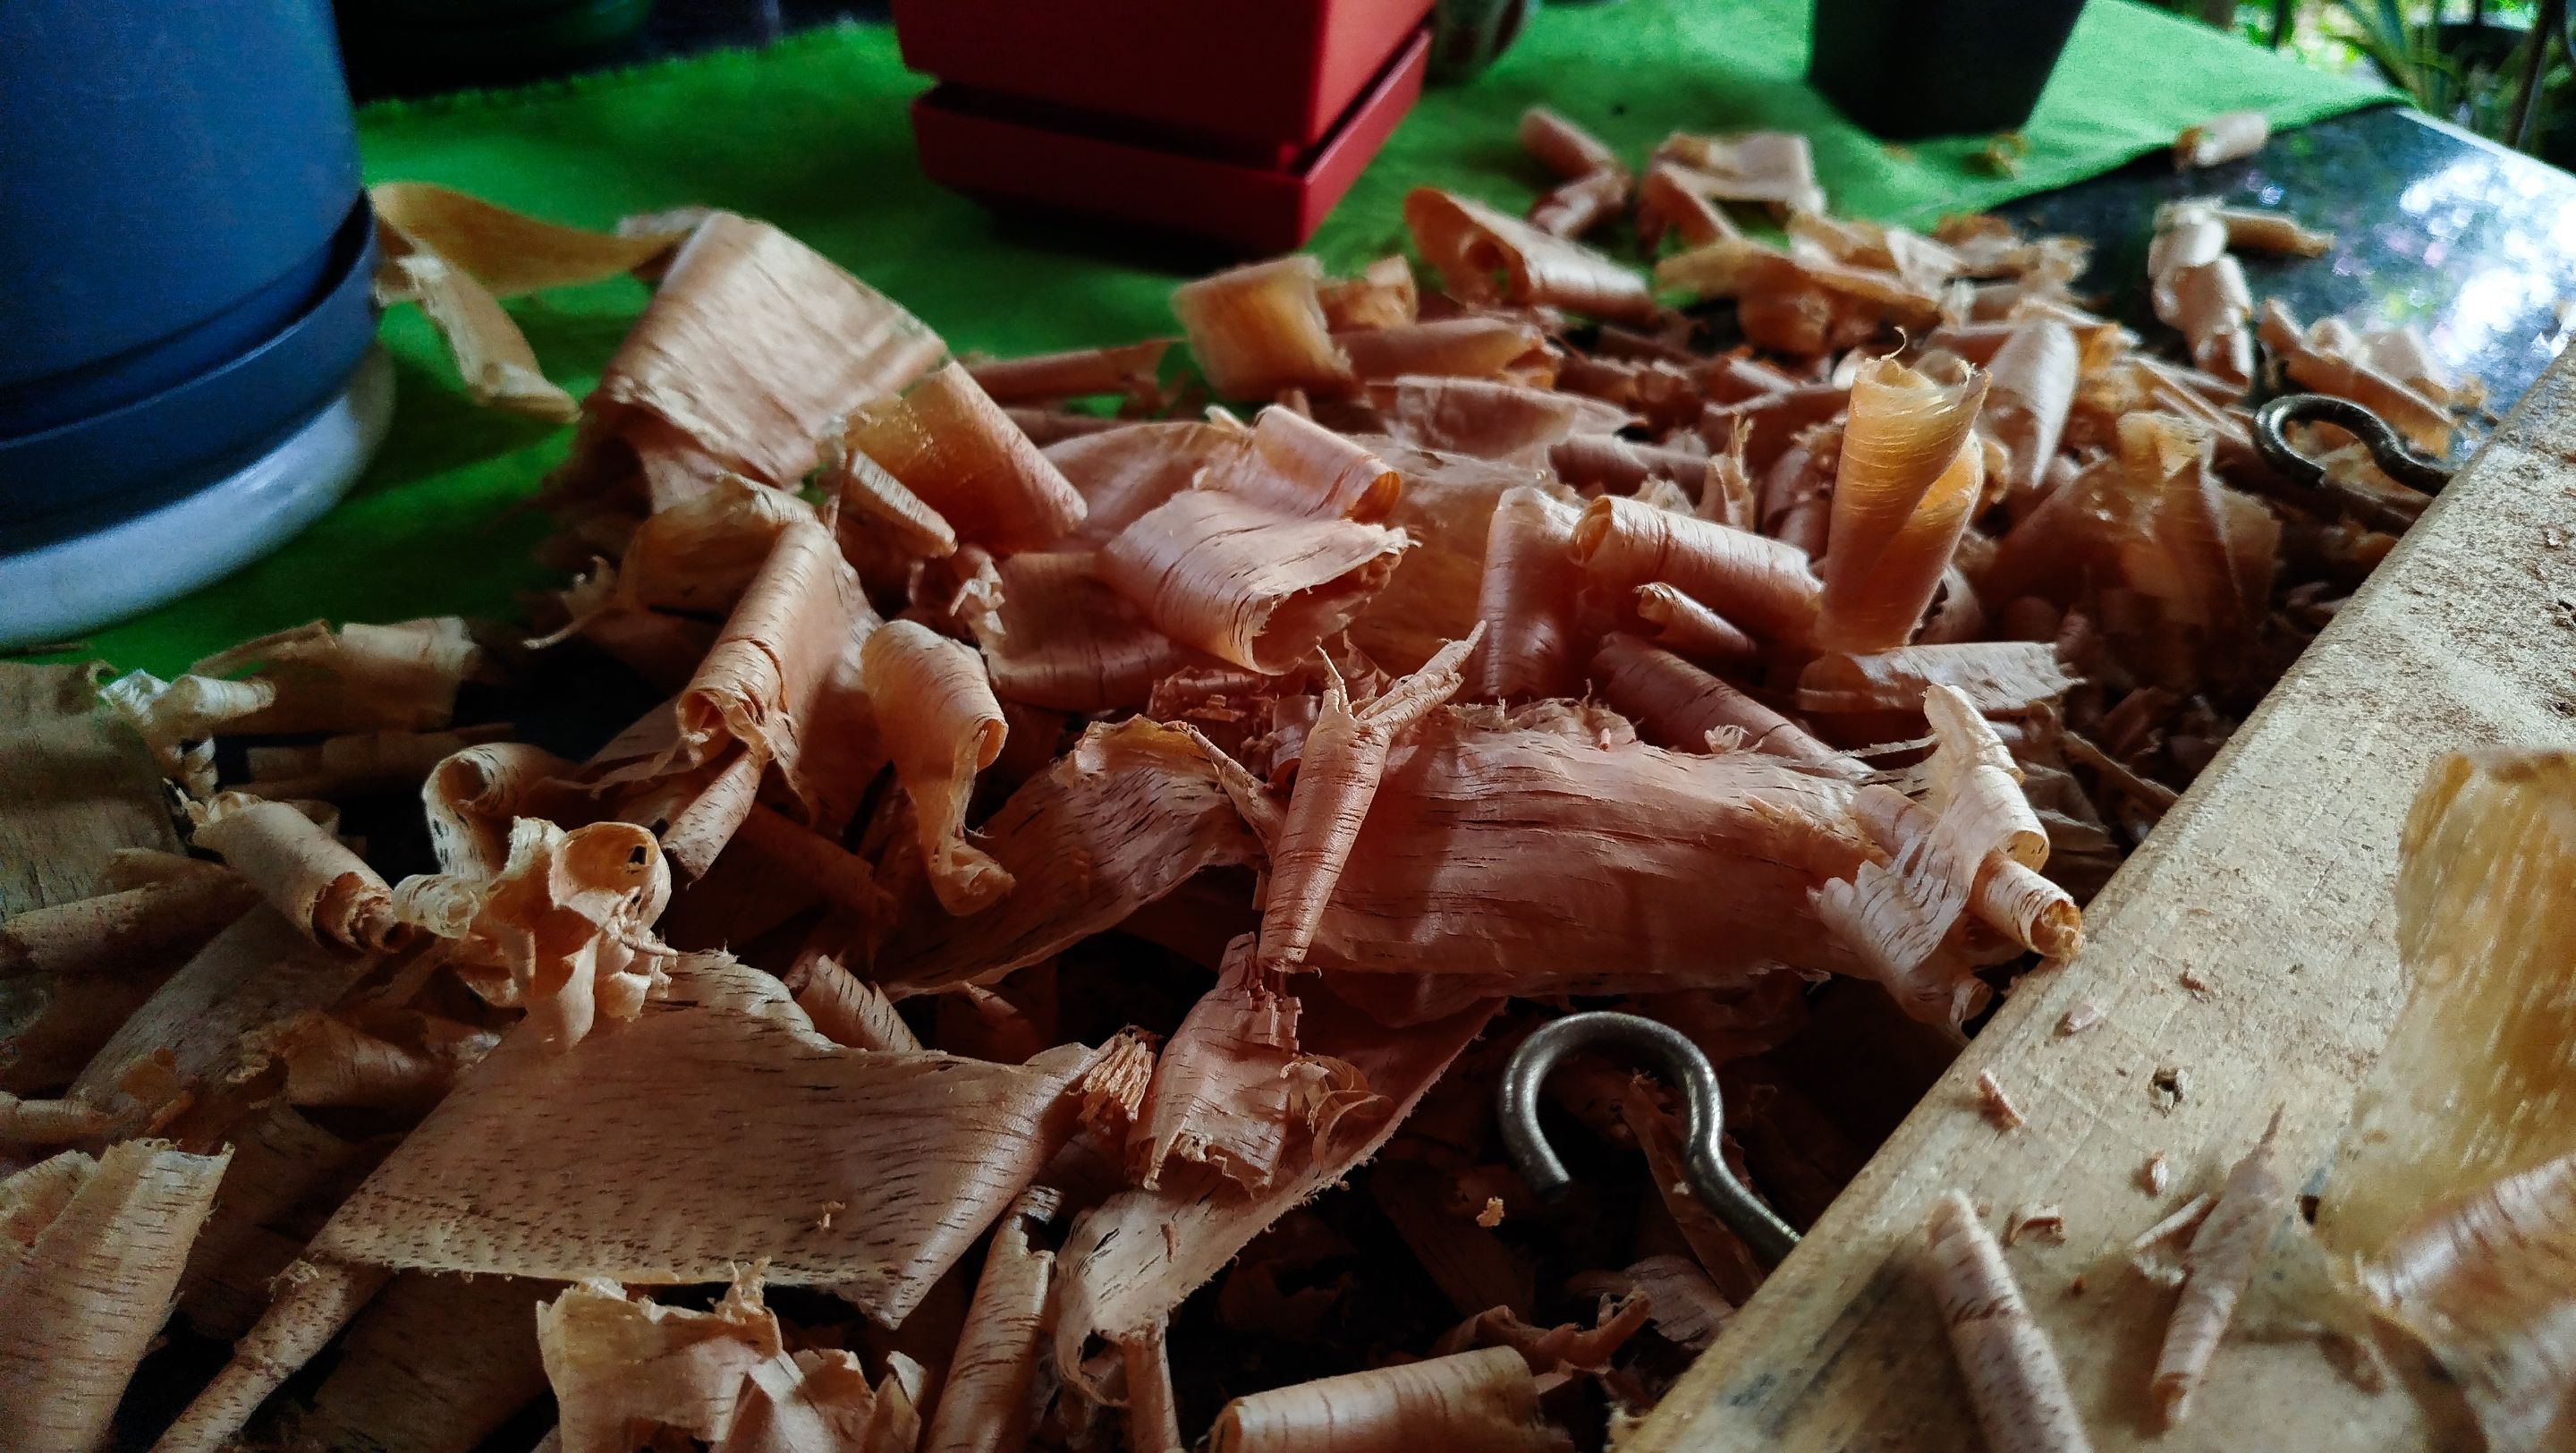
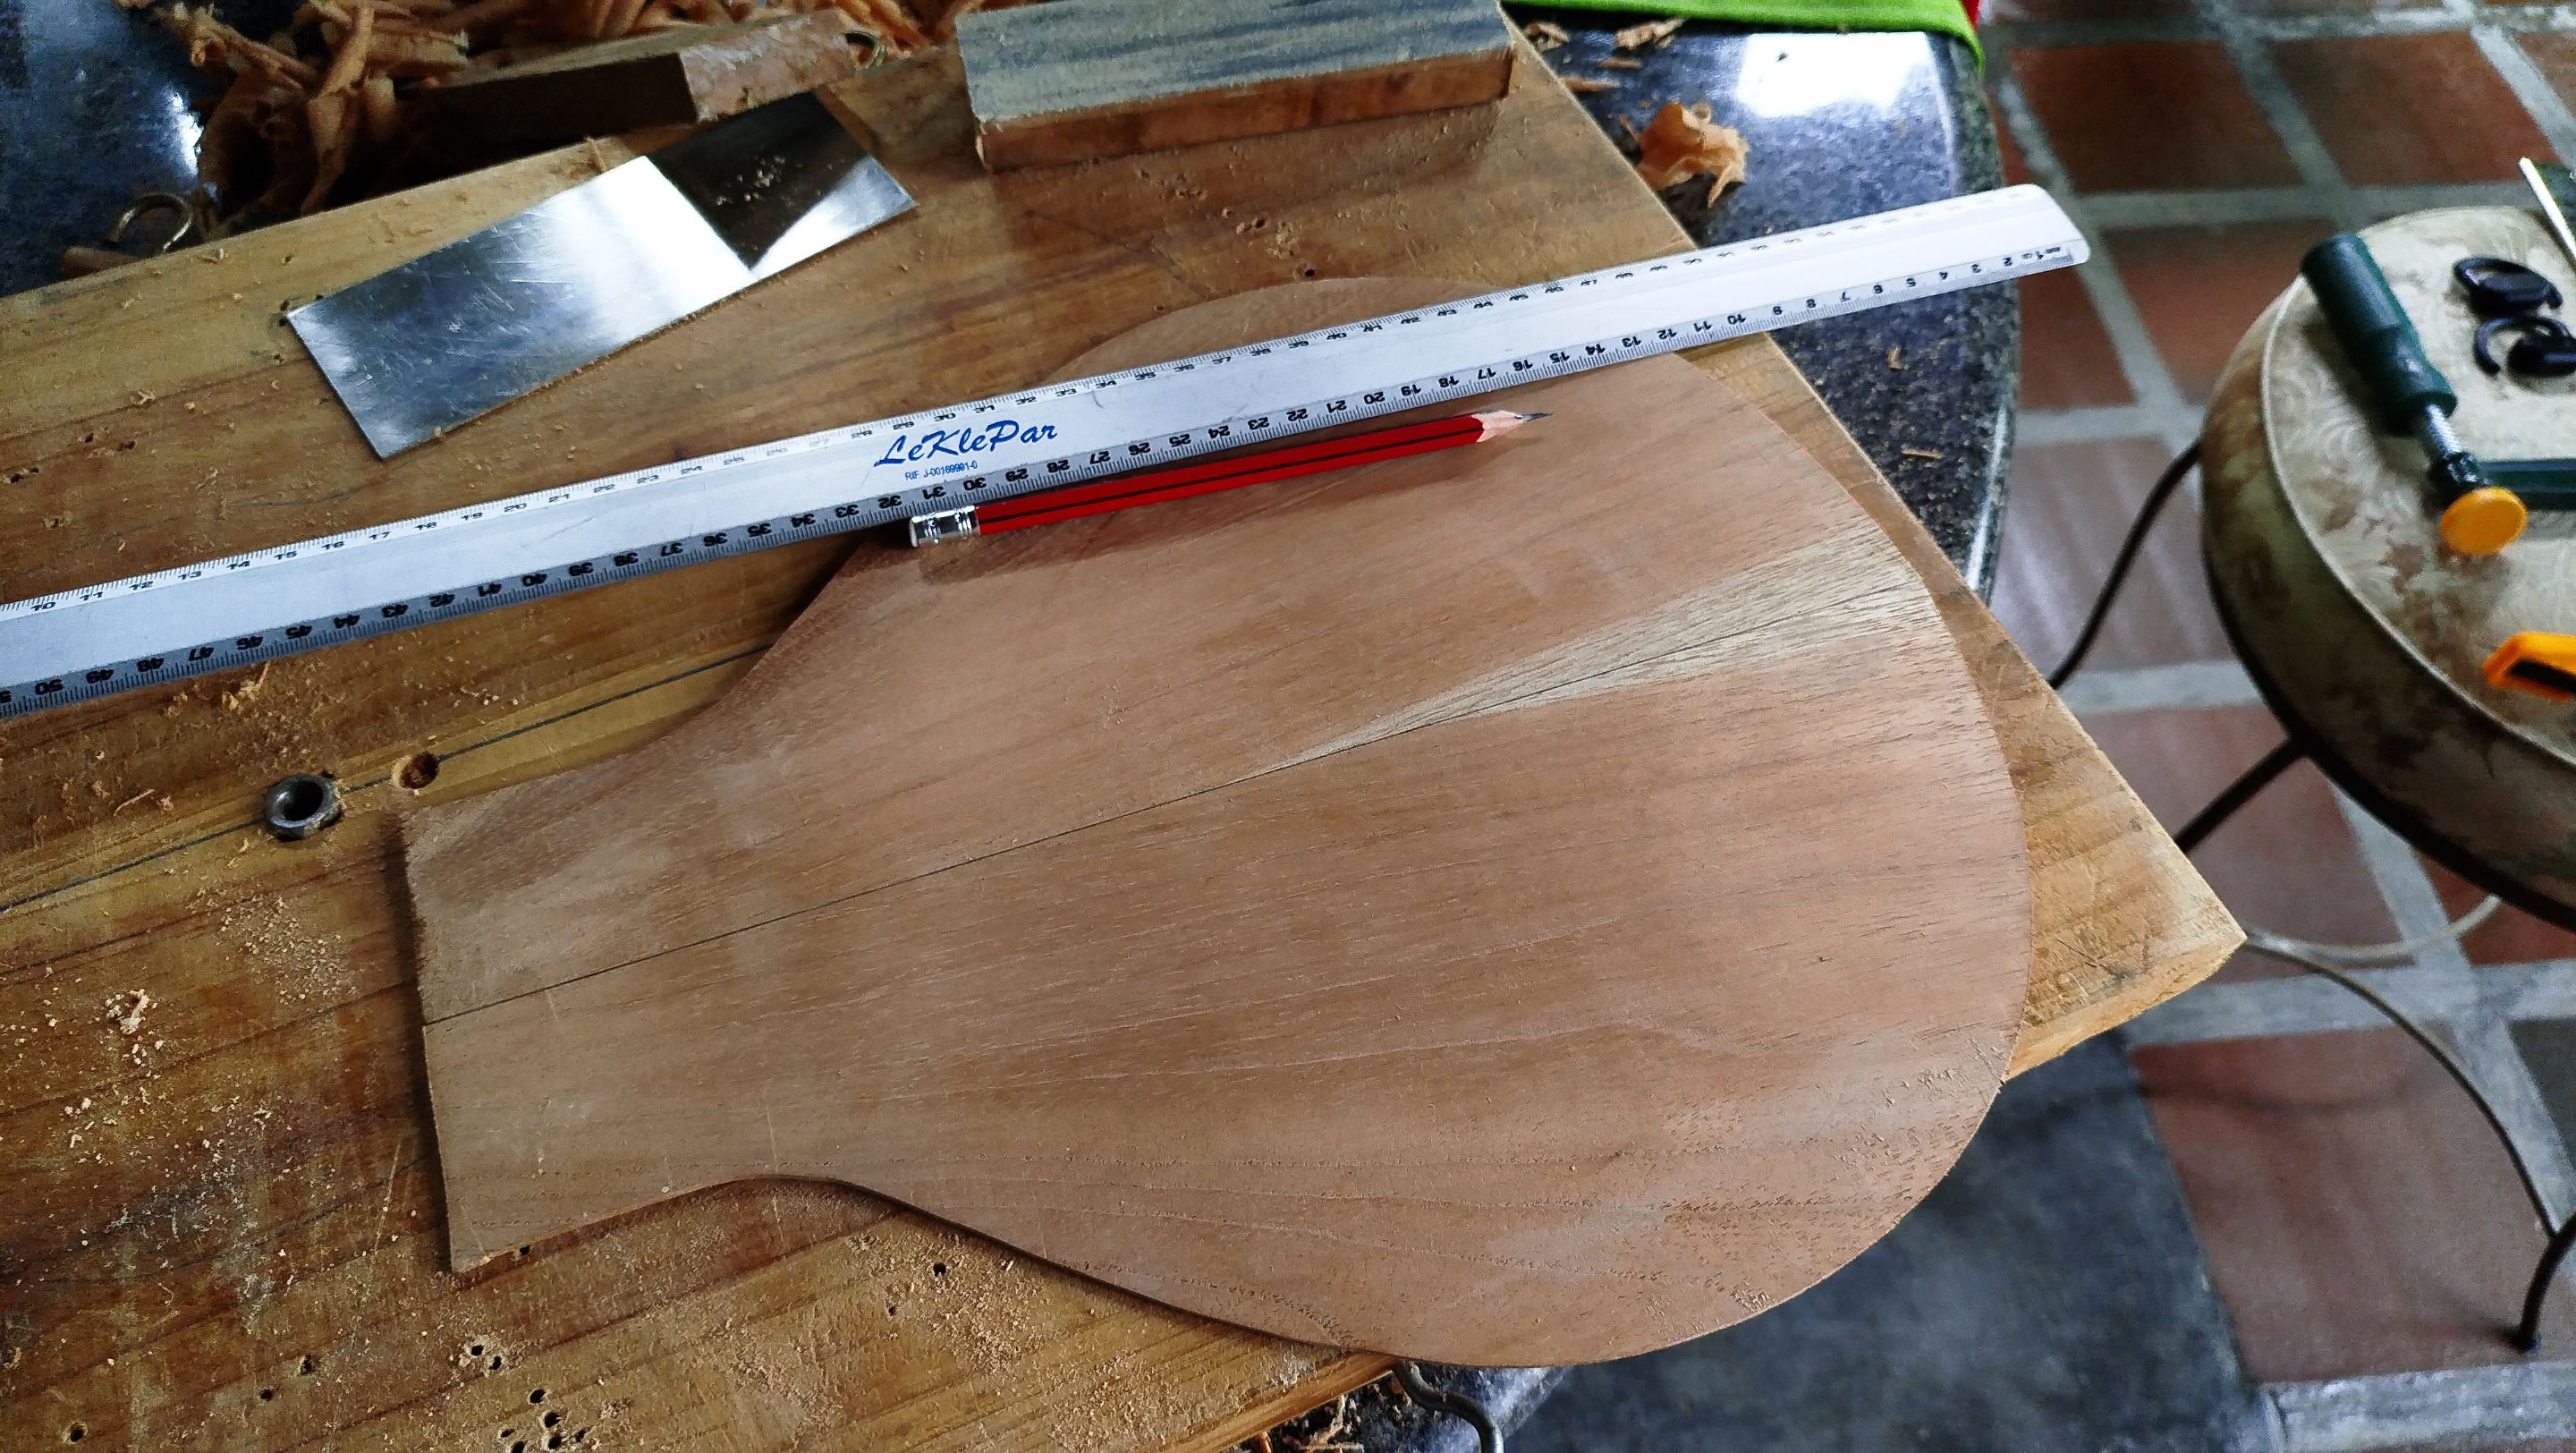
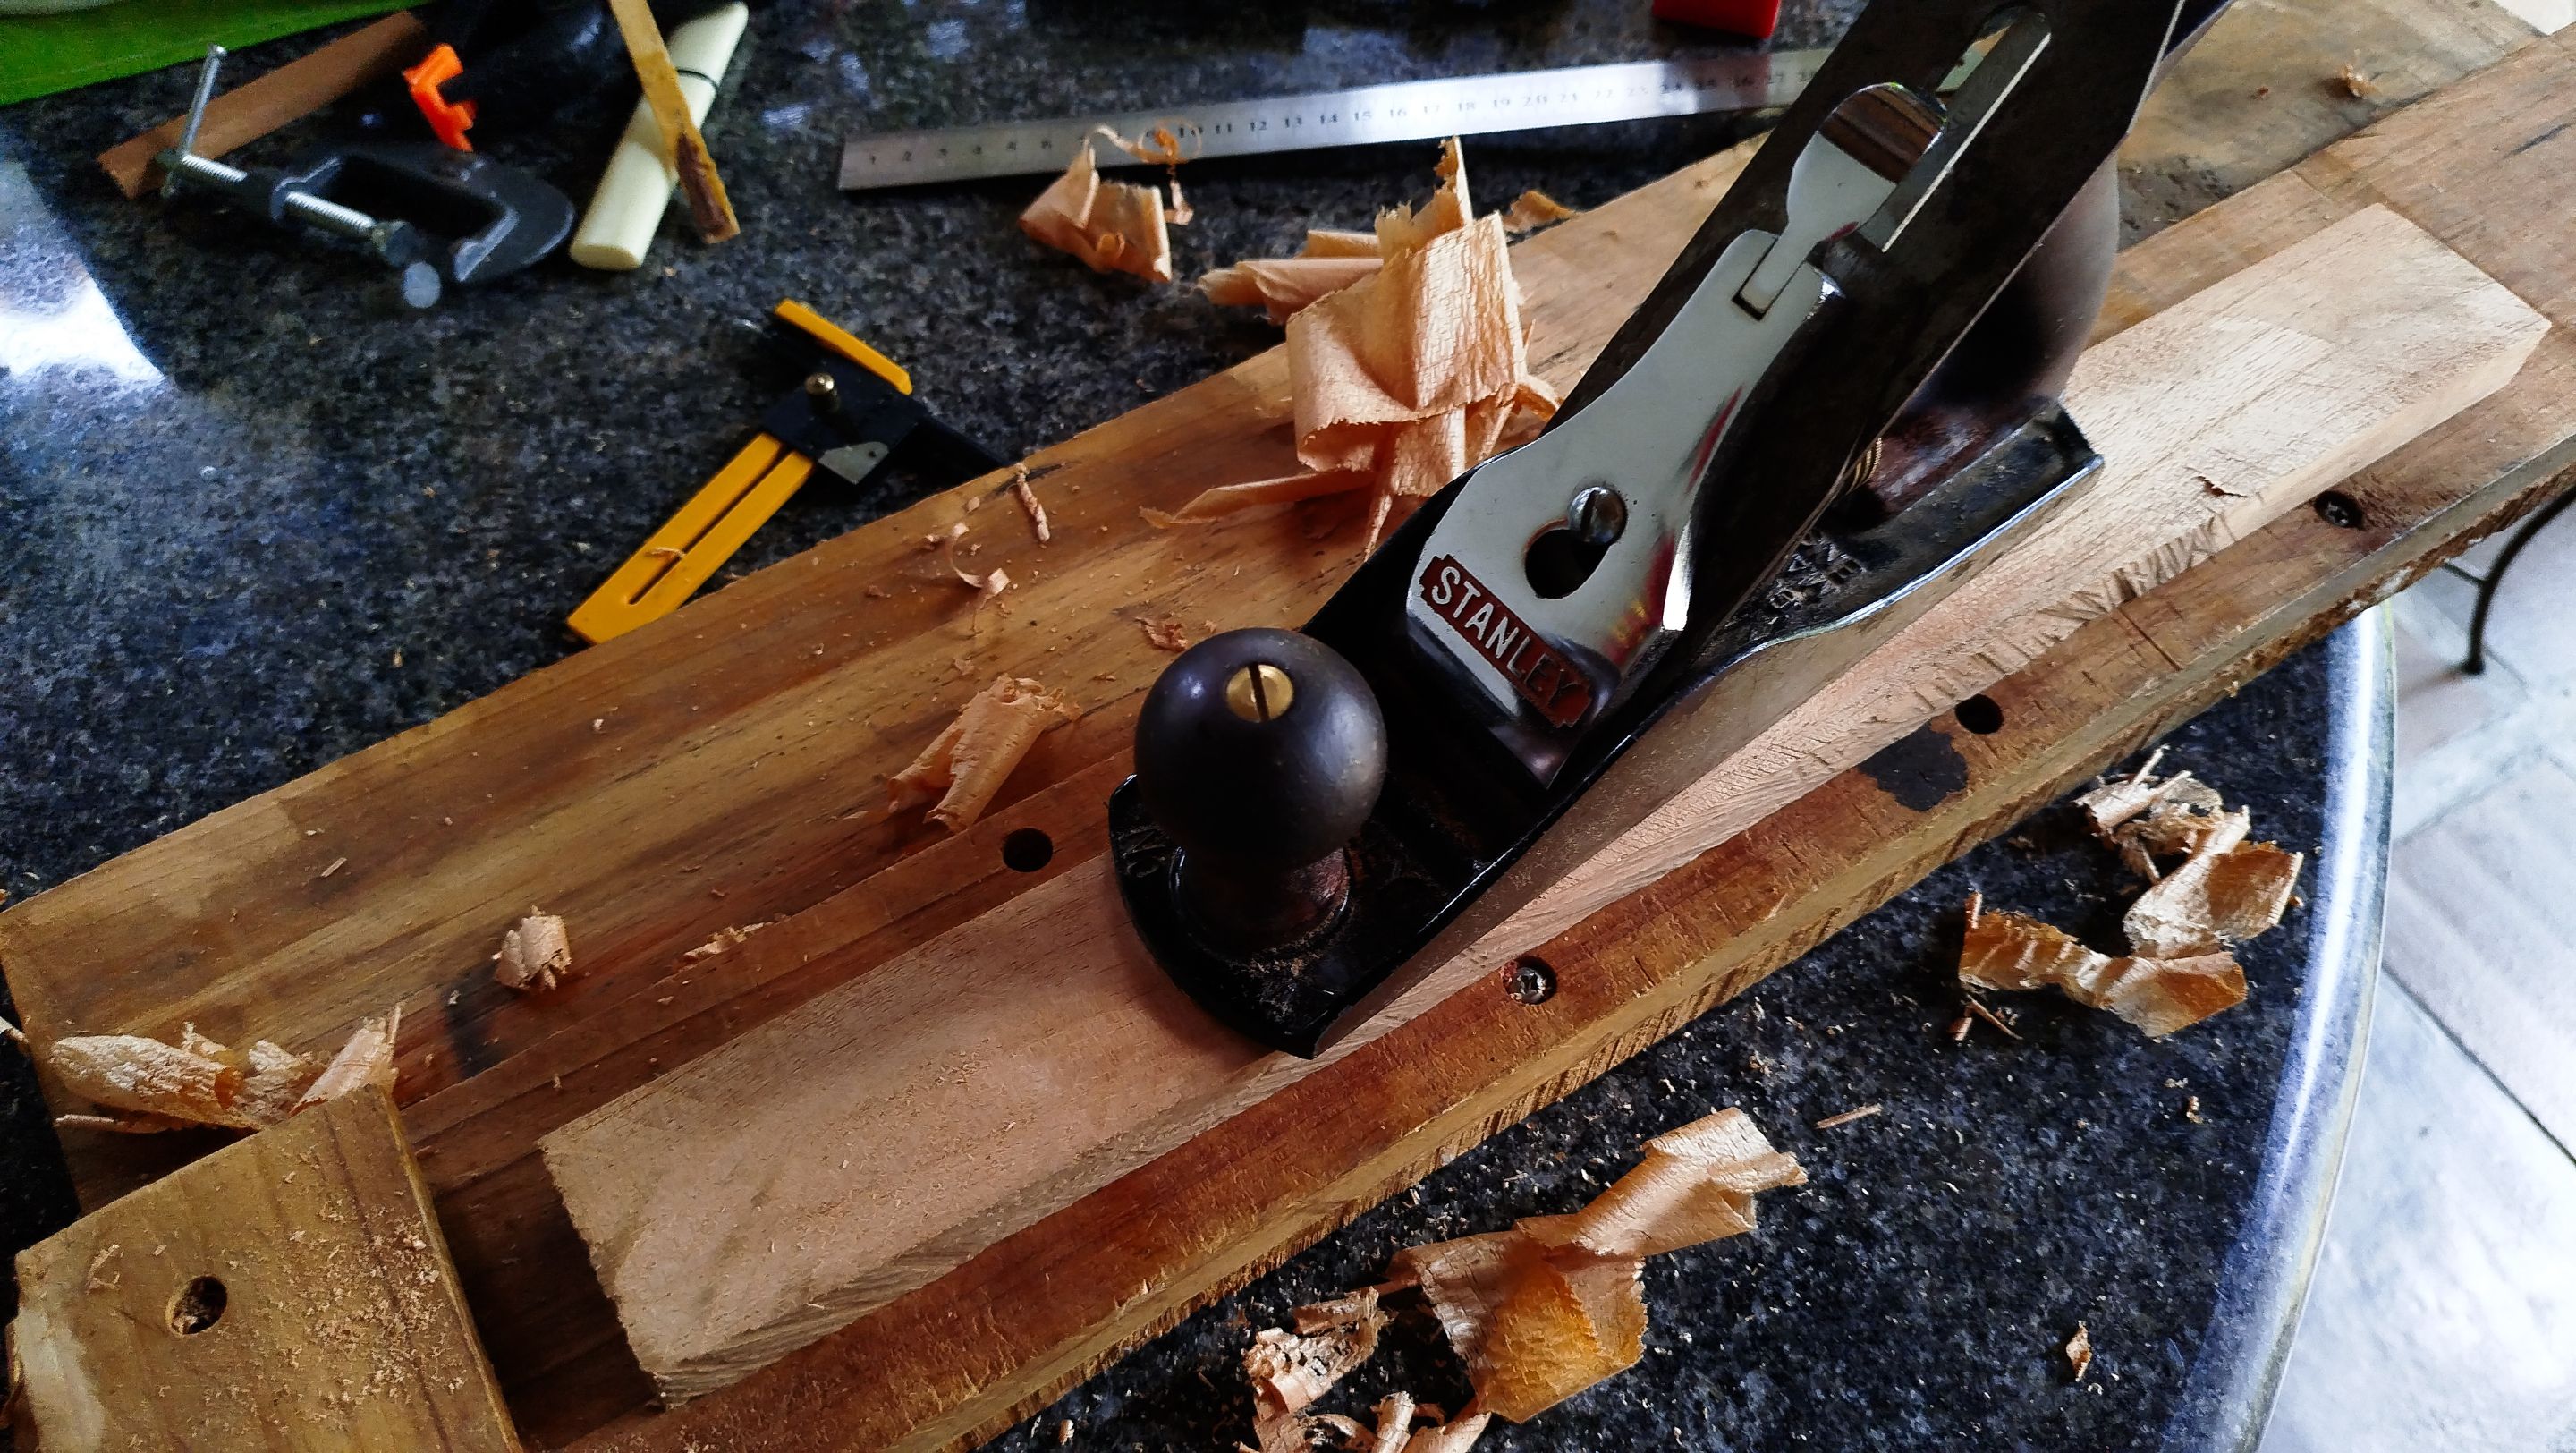
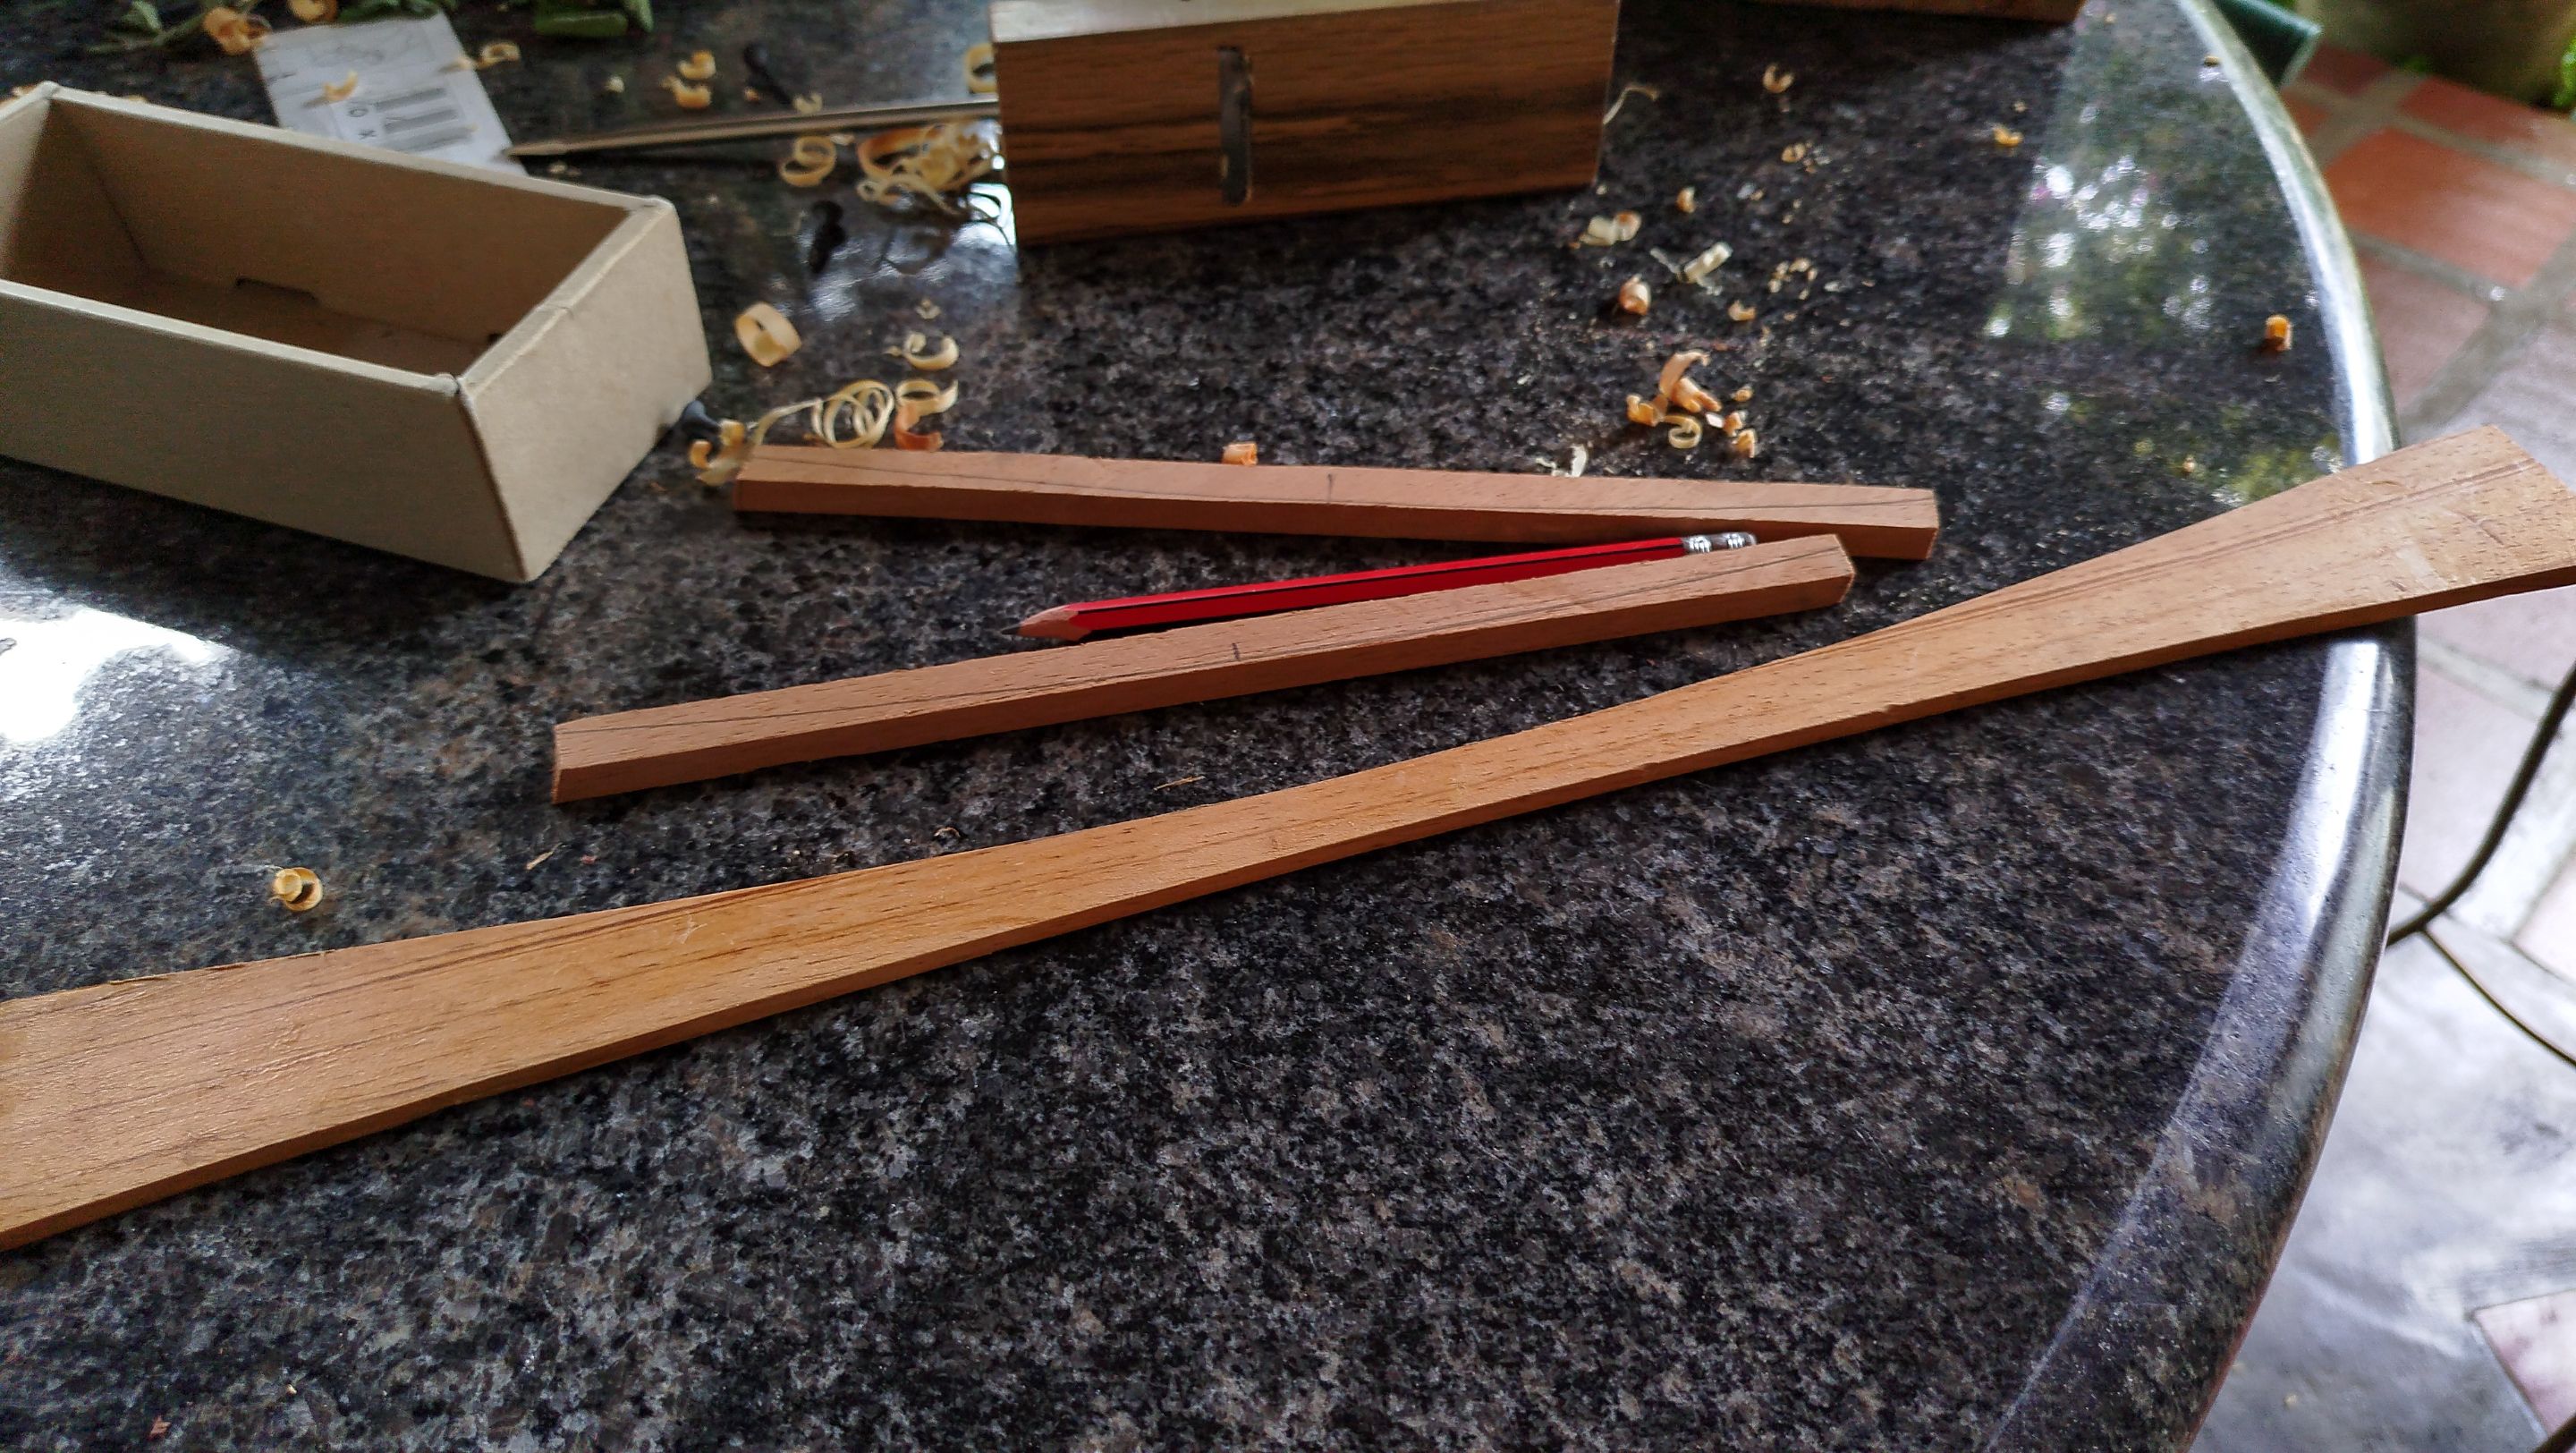
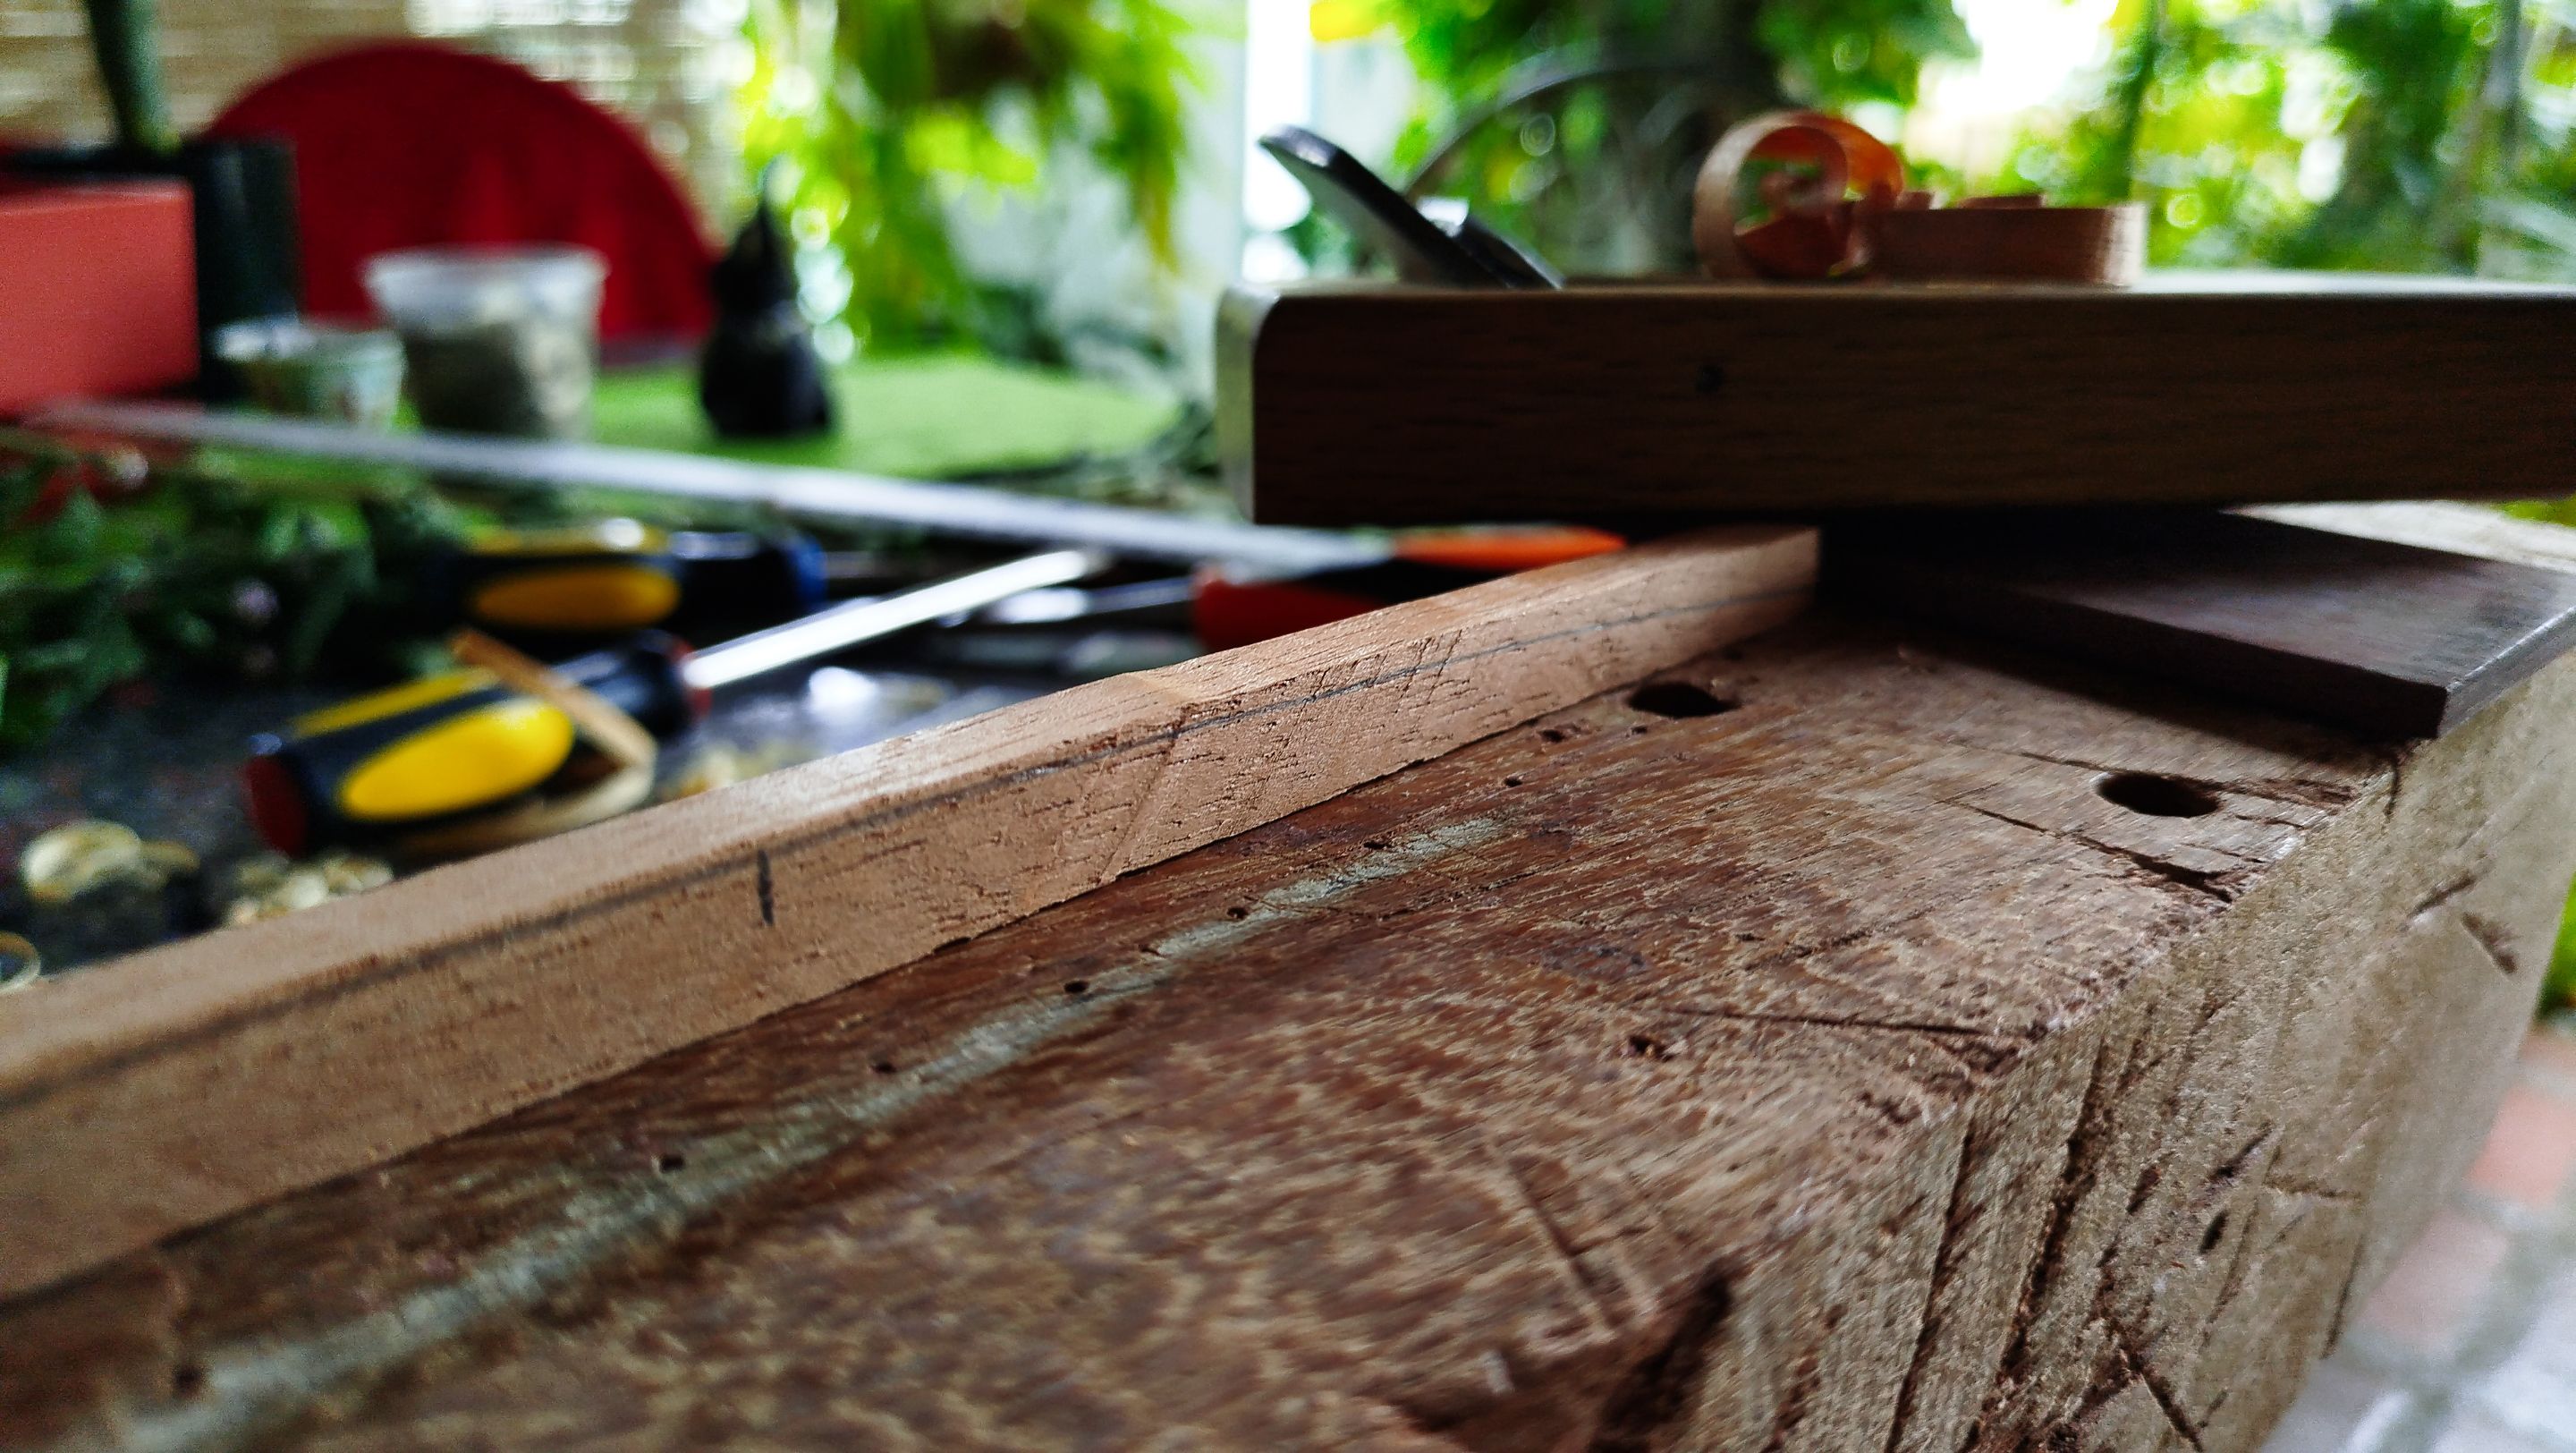
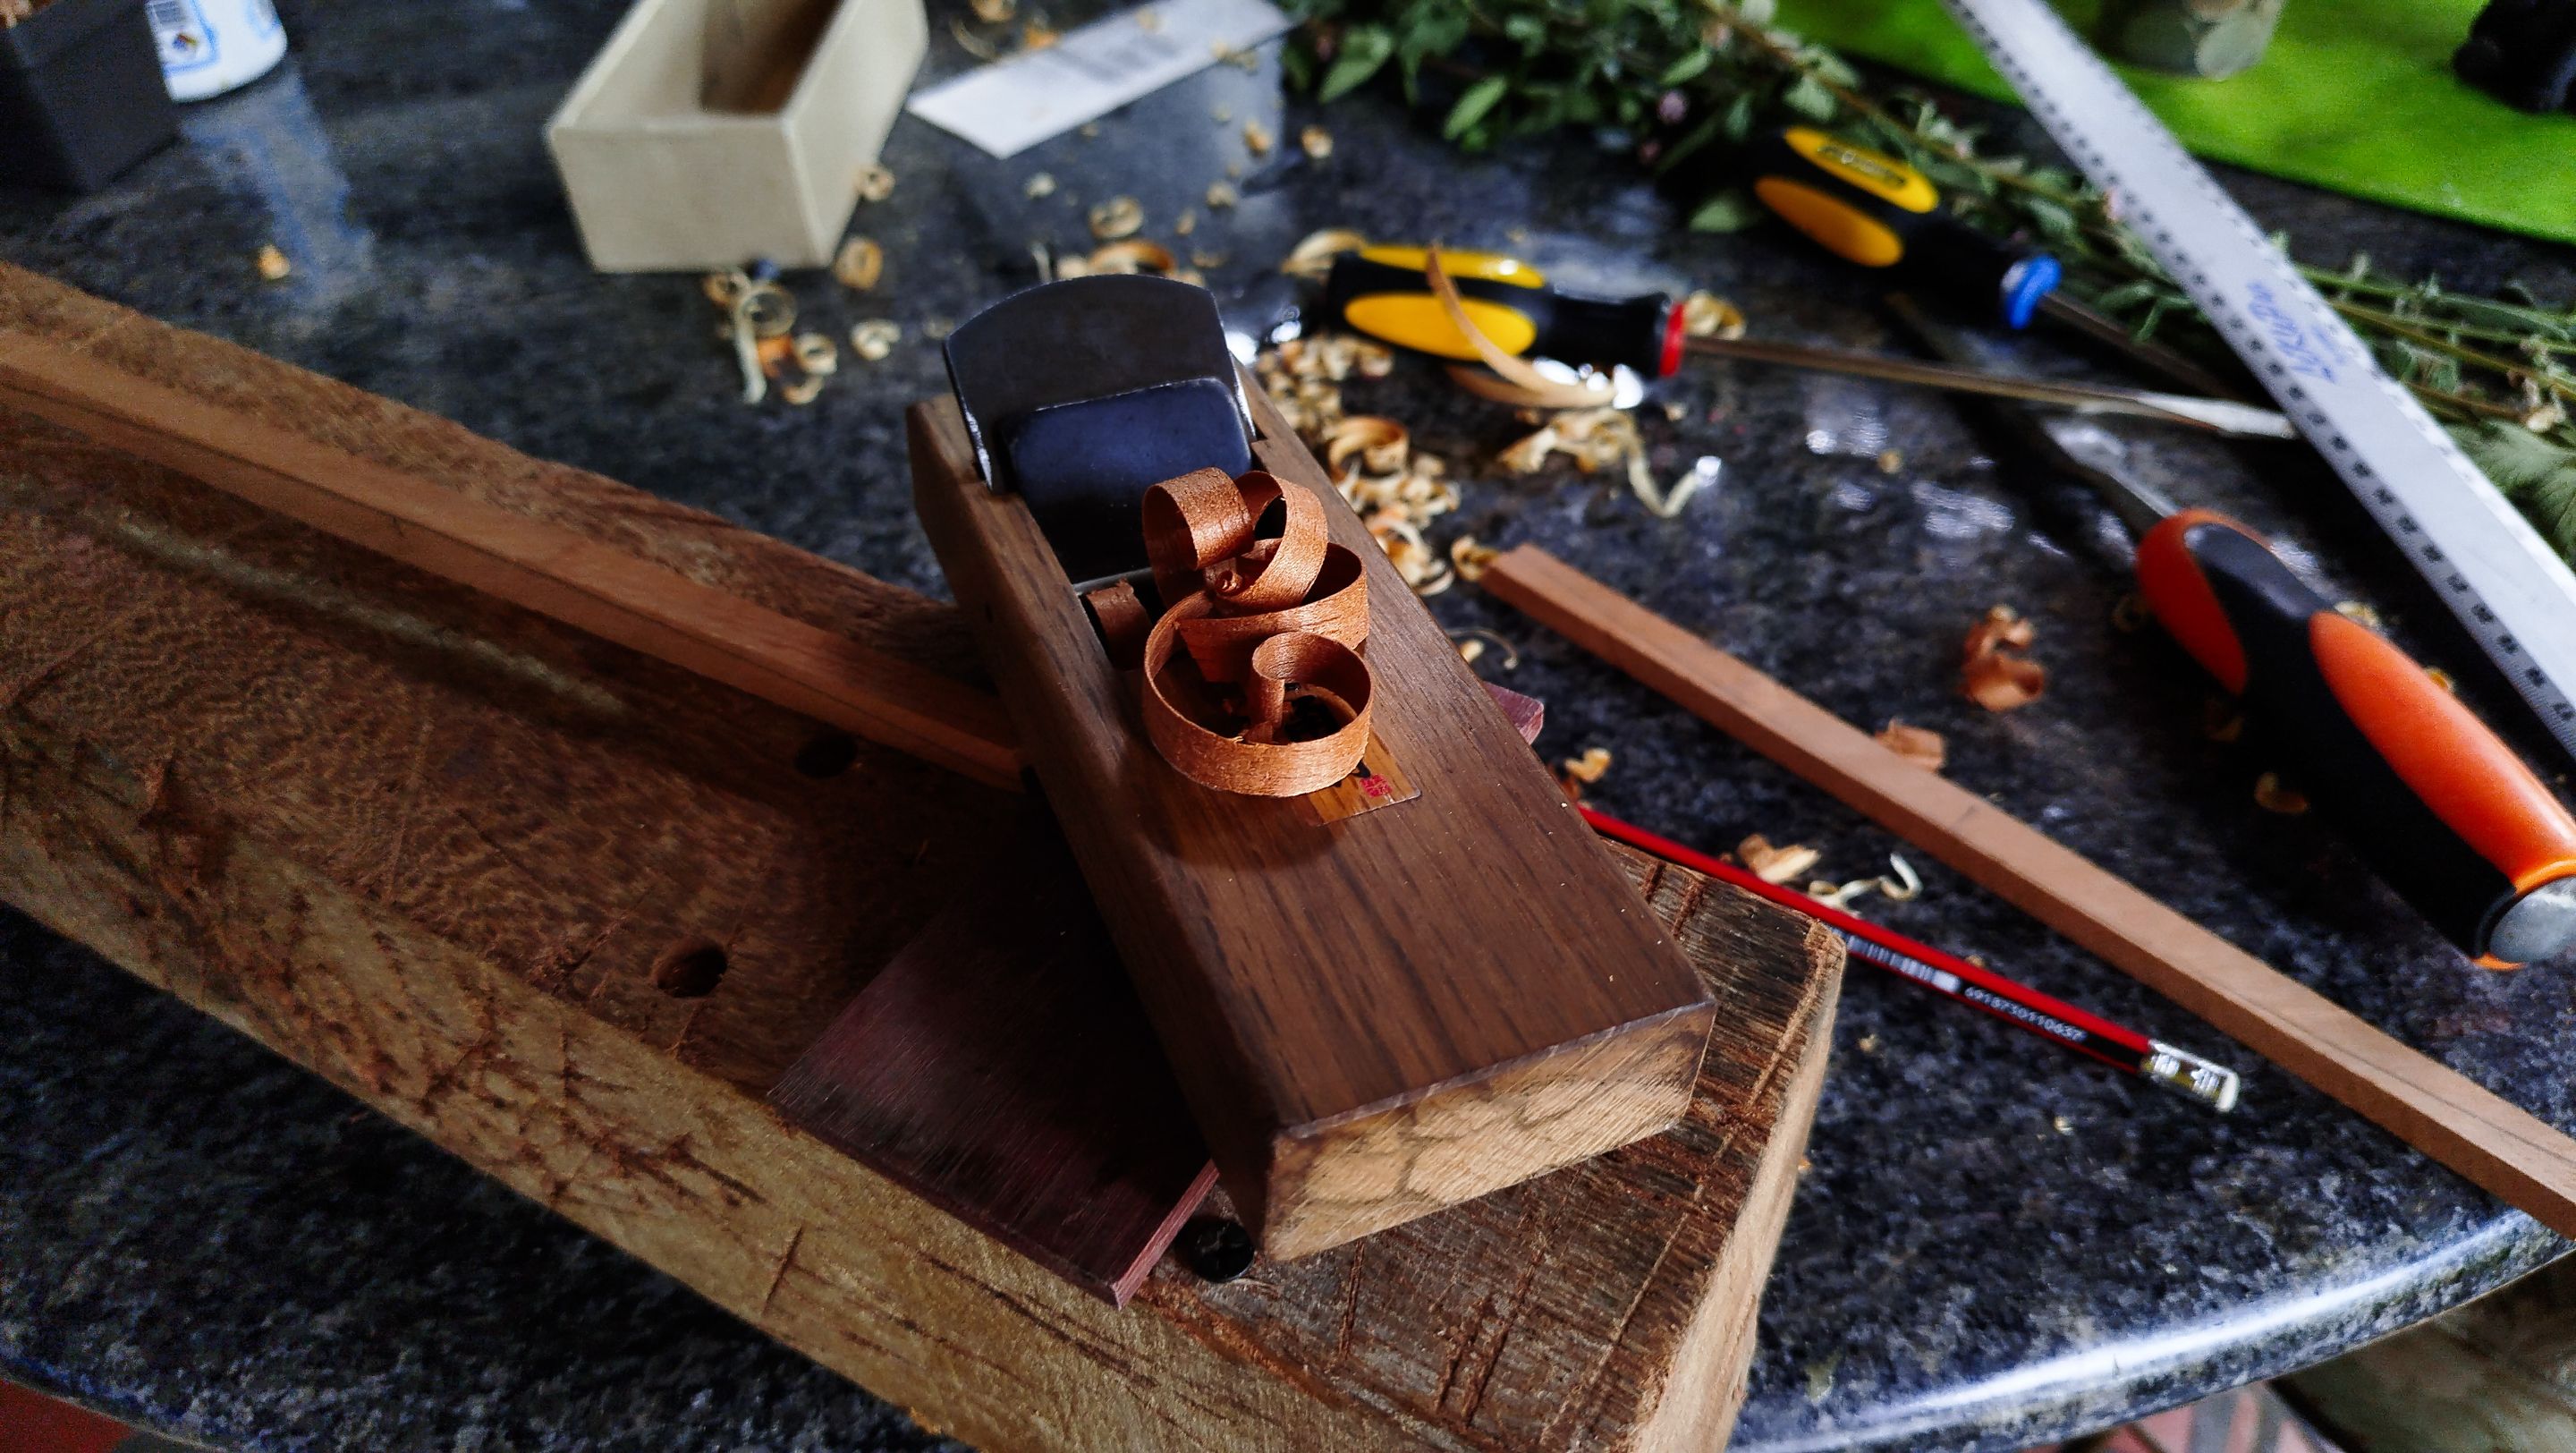
Remember we made the joint of the pieces of the sound board back when the ukulele build started? We are finally going to use that piece to start a build. Now we take the sound board blank to work on its thickness. We use the hand plane and take shavings until we get close to the desired thickness. In this case, we are using around 2.5mm. This measurement is related to the nature of the cedar top. Cedar is quite soft as a wood and bends very easily.
The whole idea behind having a soft wood as the sound board is having something that moves well with the tension of the strings. However, this will need some good reinforcements in order to prevent the sound board from bending and splitting. More on that goes later.
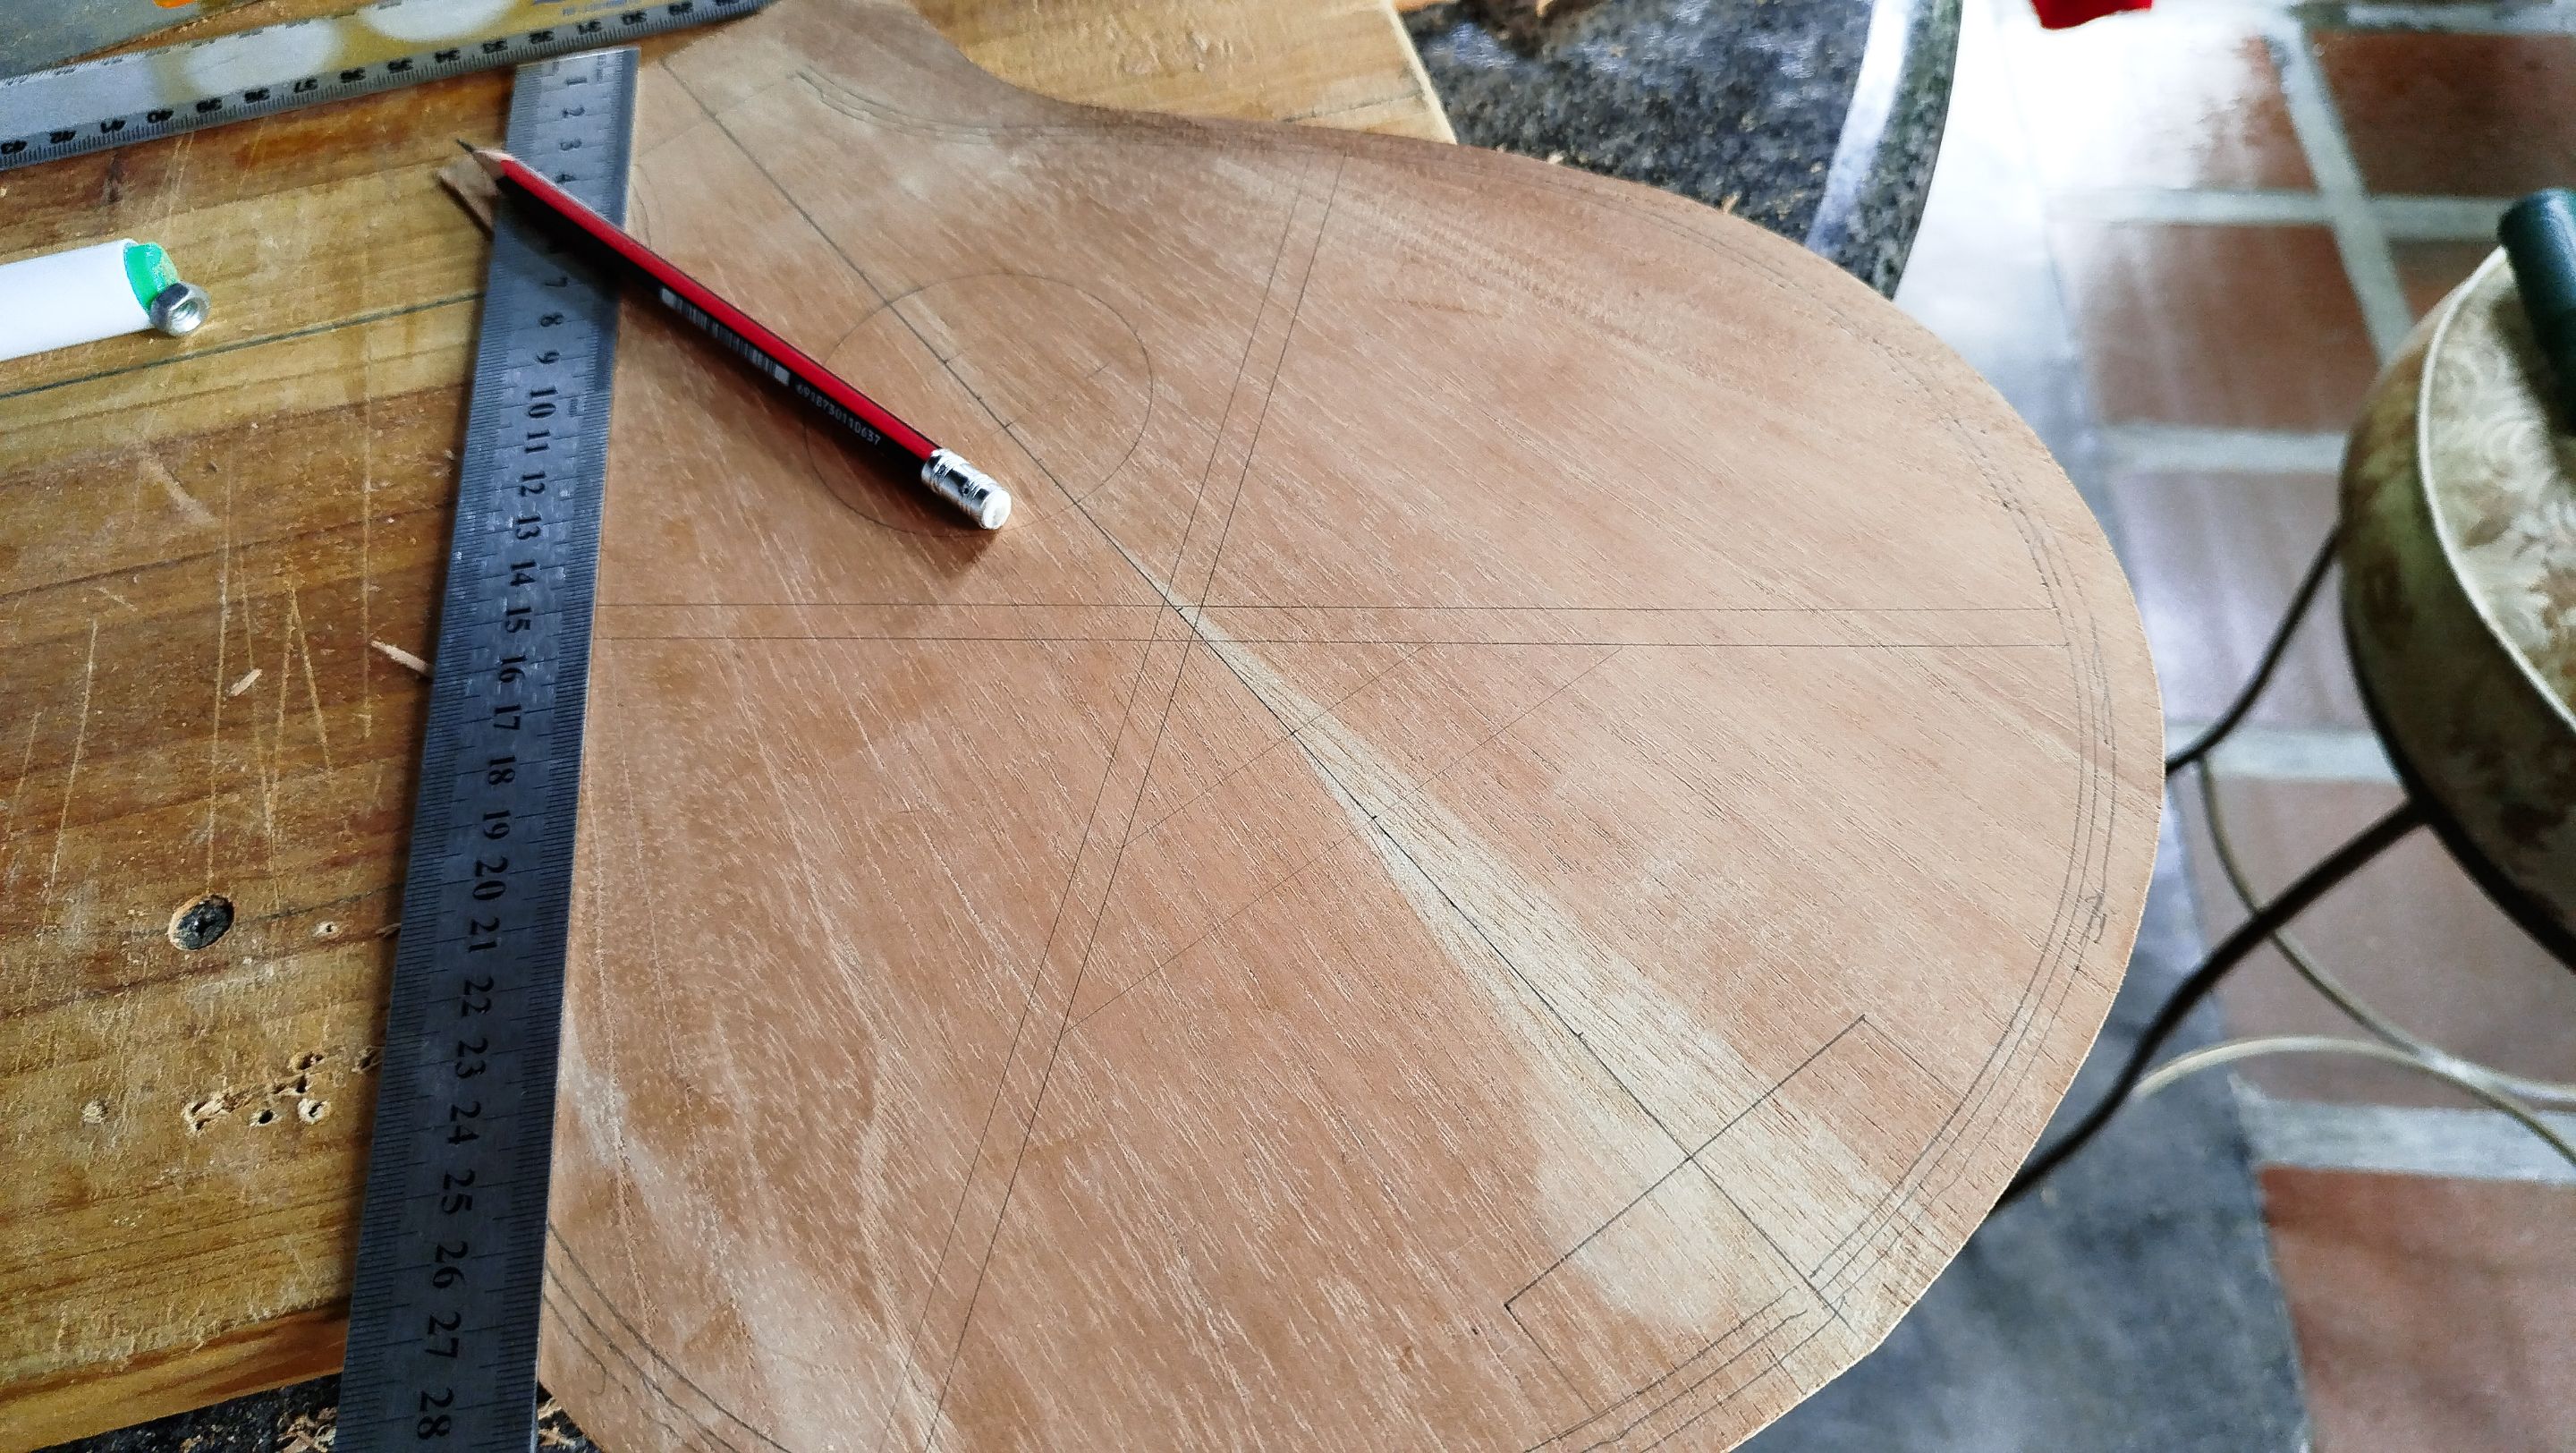
When the thickness is done, we need to start making the drawings of the reinforcements we will place in the reverse of the piece. We are using X braces. We will also shape these brace to add a curvature in the sound board. This will add more strength to all the build.
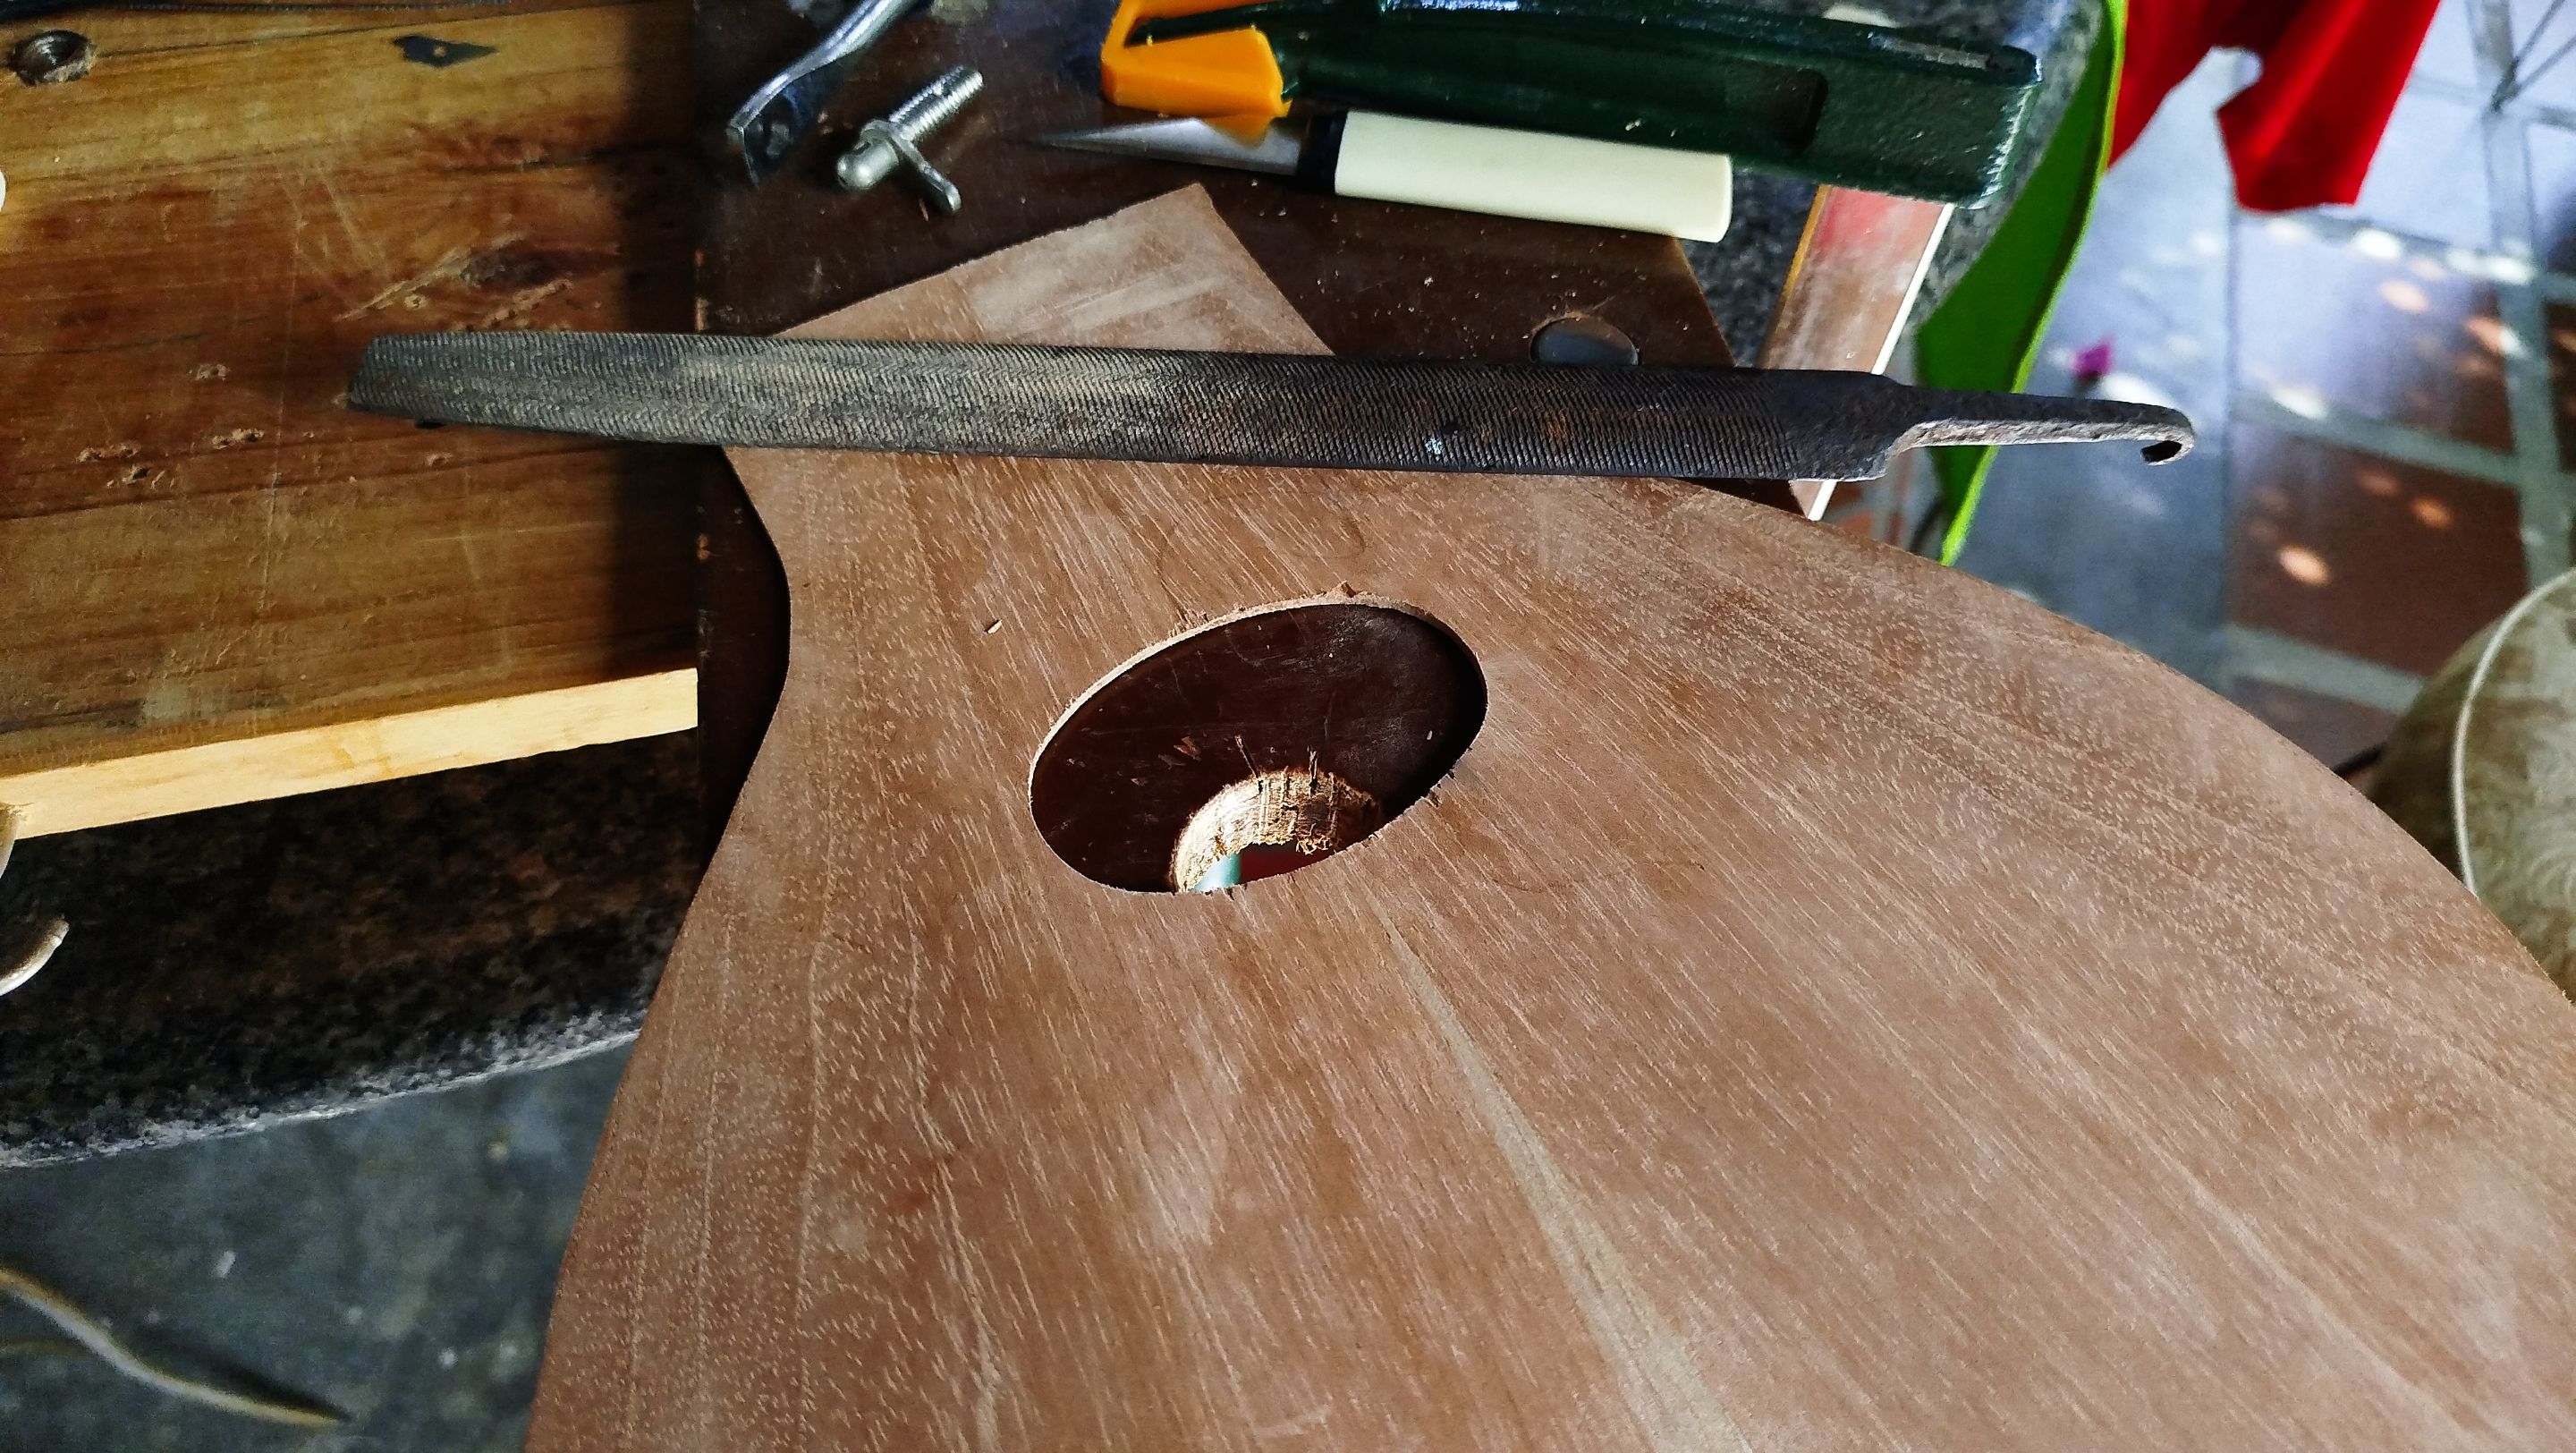
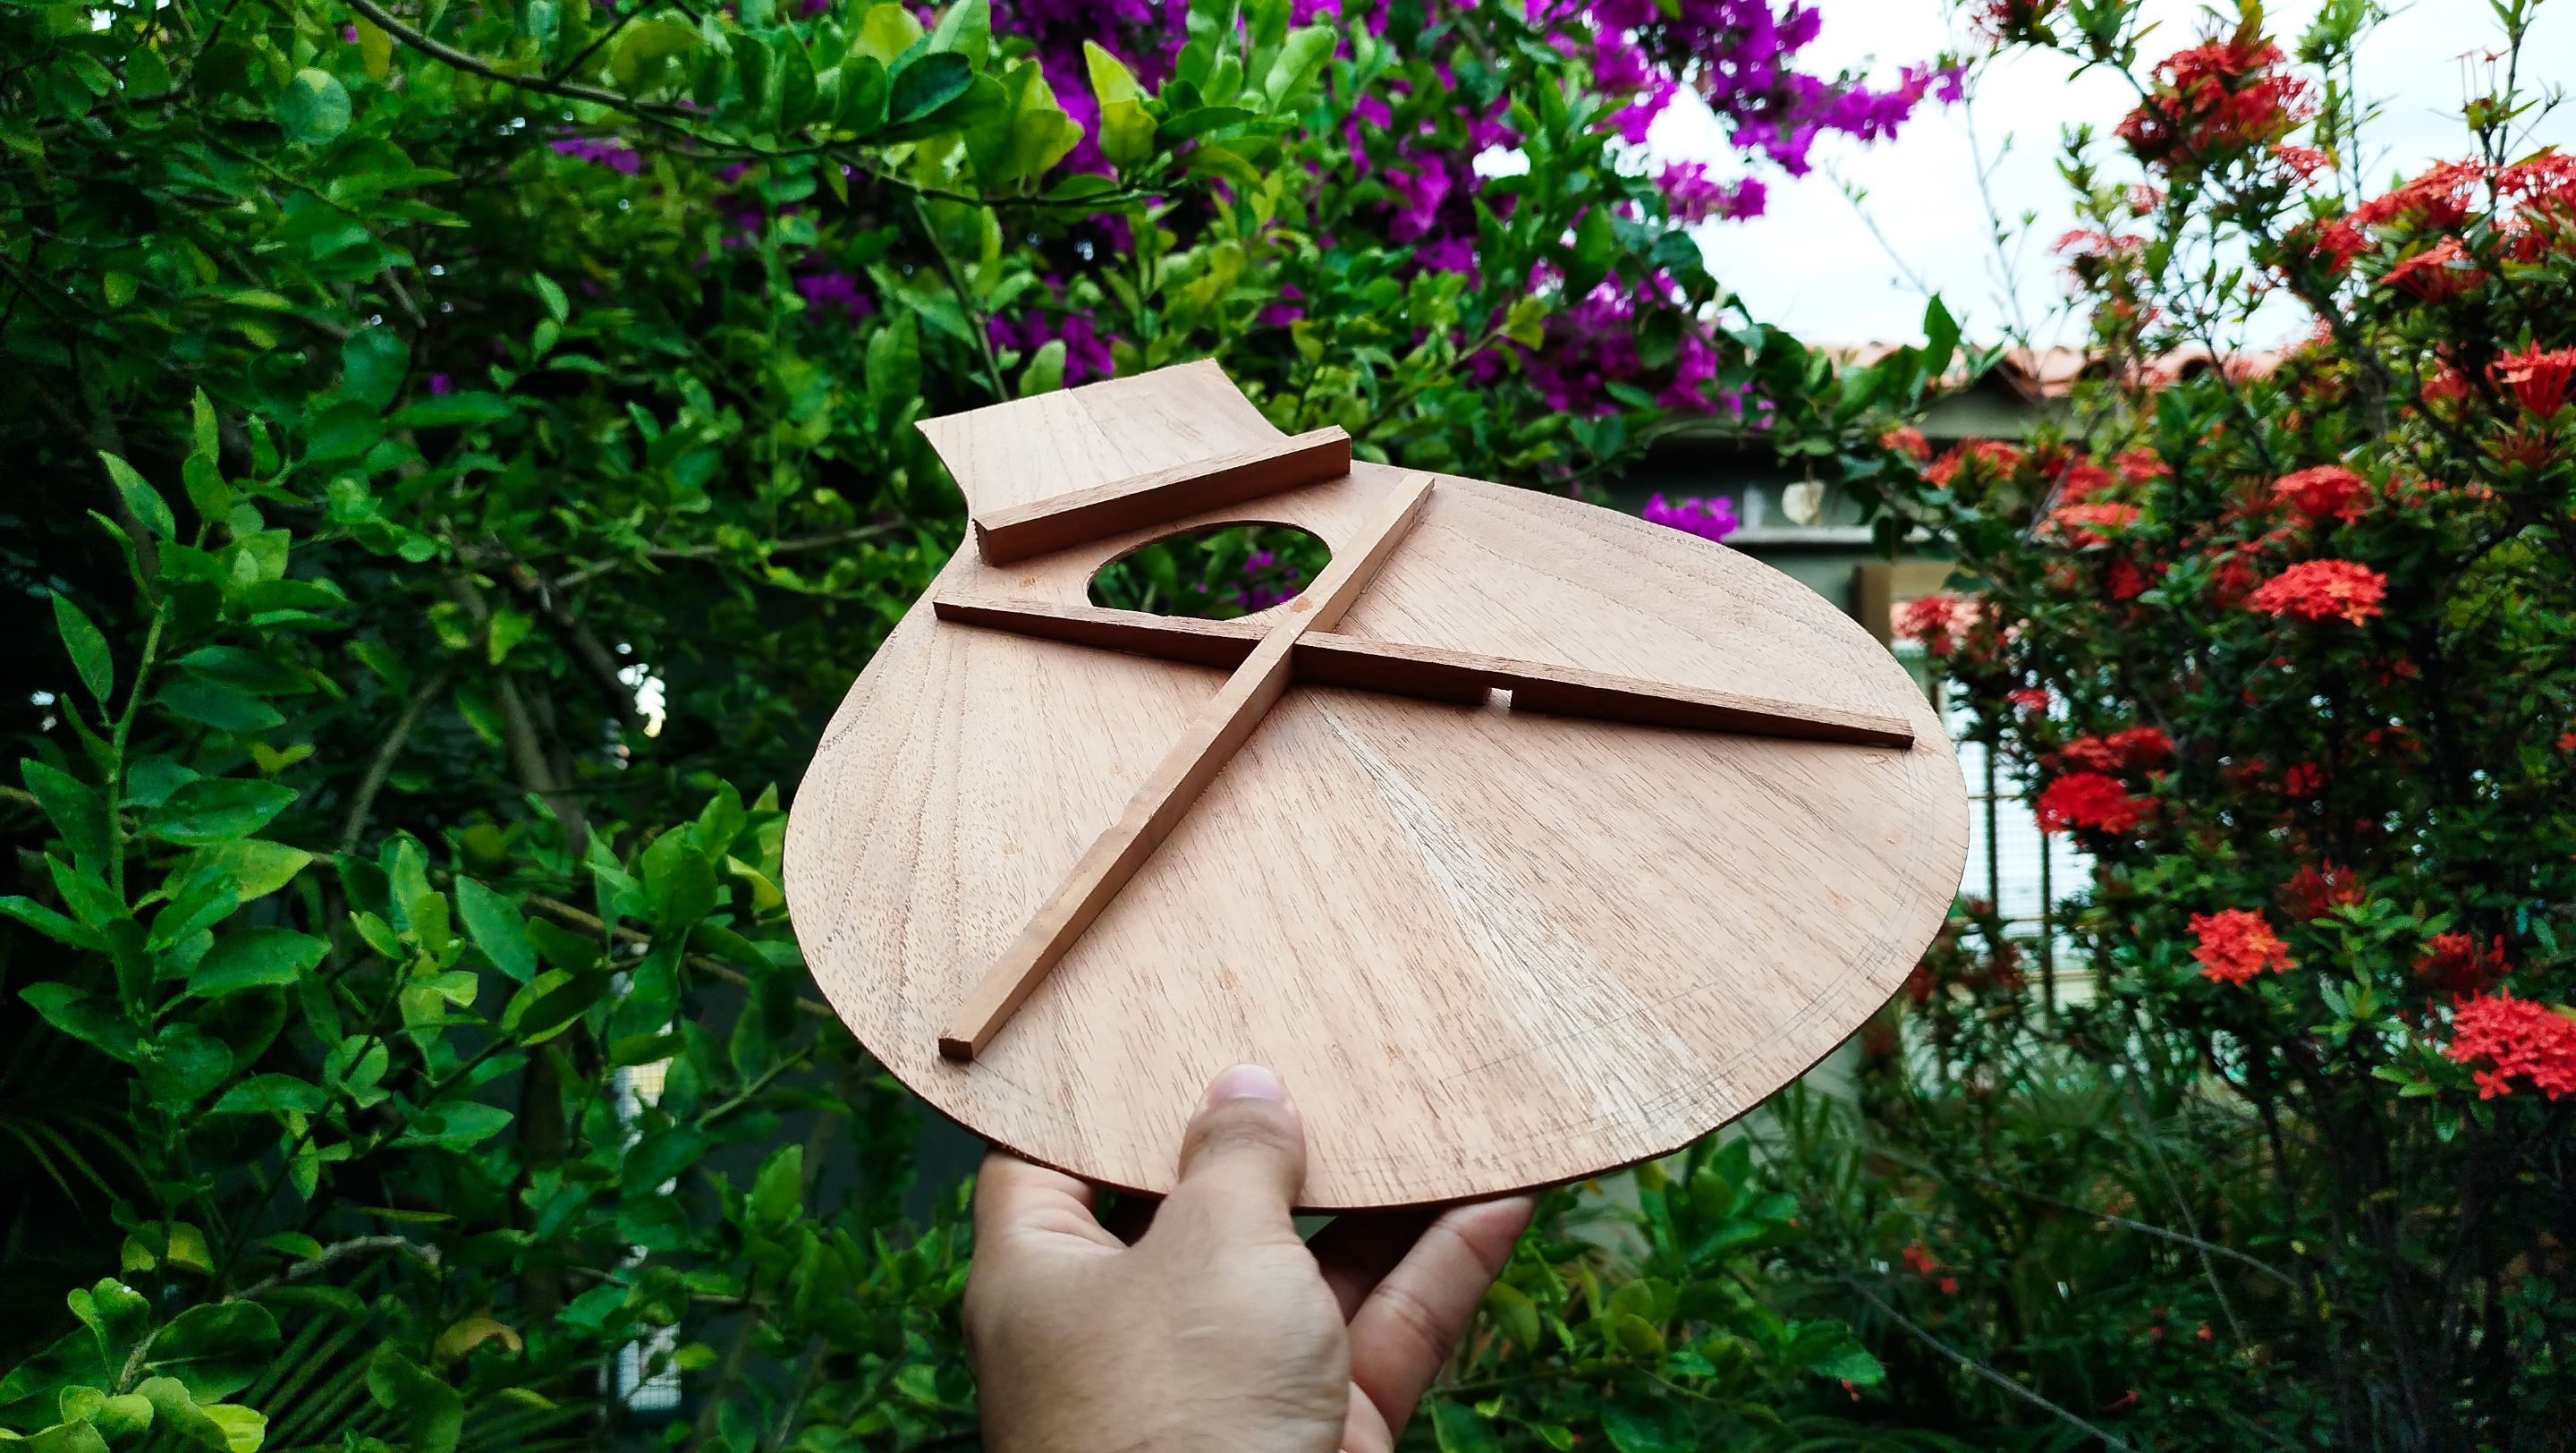
This is also the first time we are using an oval sound board in a build,. This was quite a challenge since there was a lot of research into the idea of how to make the oval shape and cut. It was also an amazing task to complete. It also adds to the aesthetics of the build. This ends by adding a bar to the flat portion of the sound board.
Fretboard template and neck start
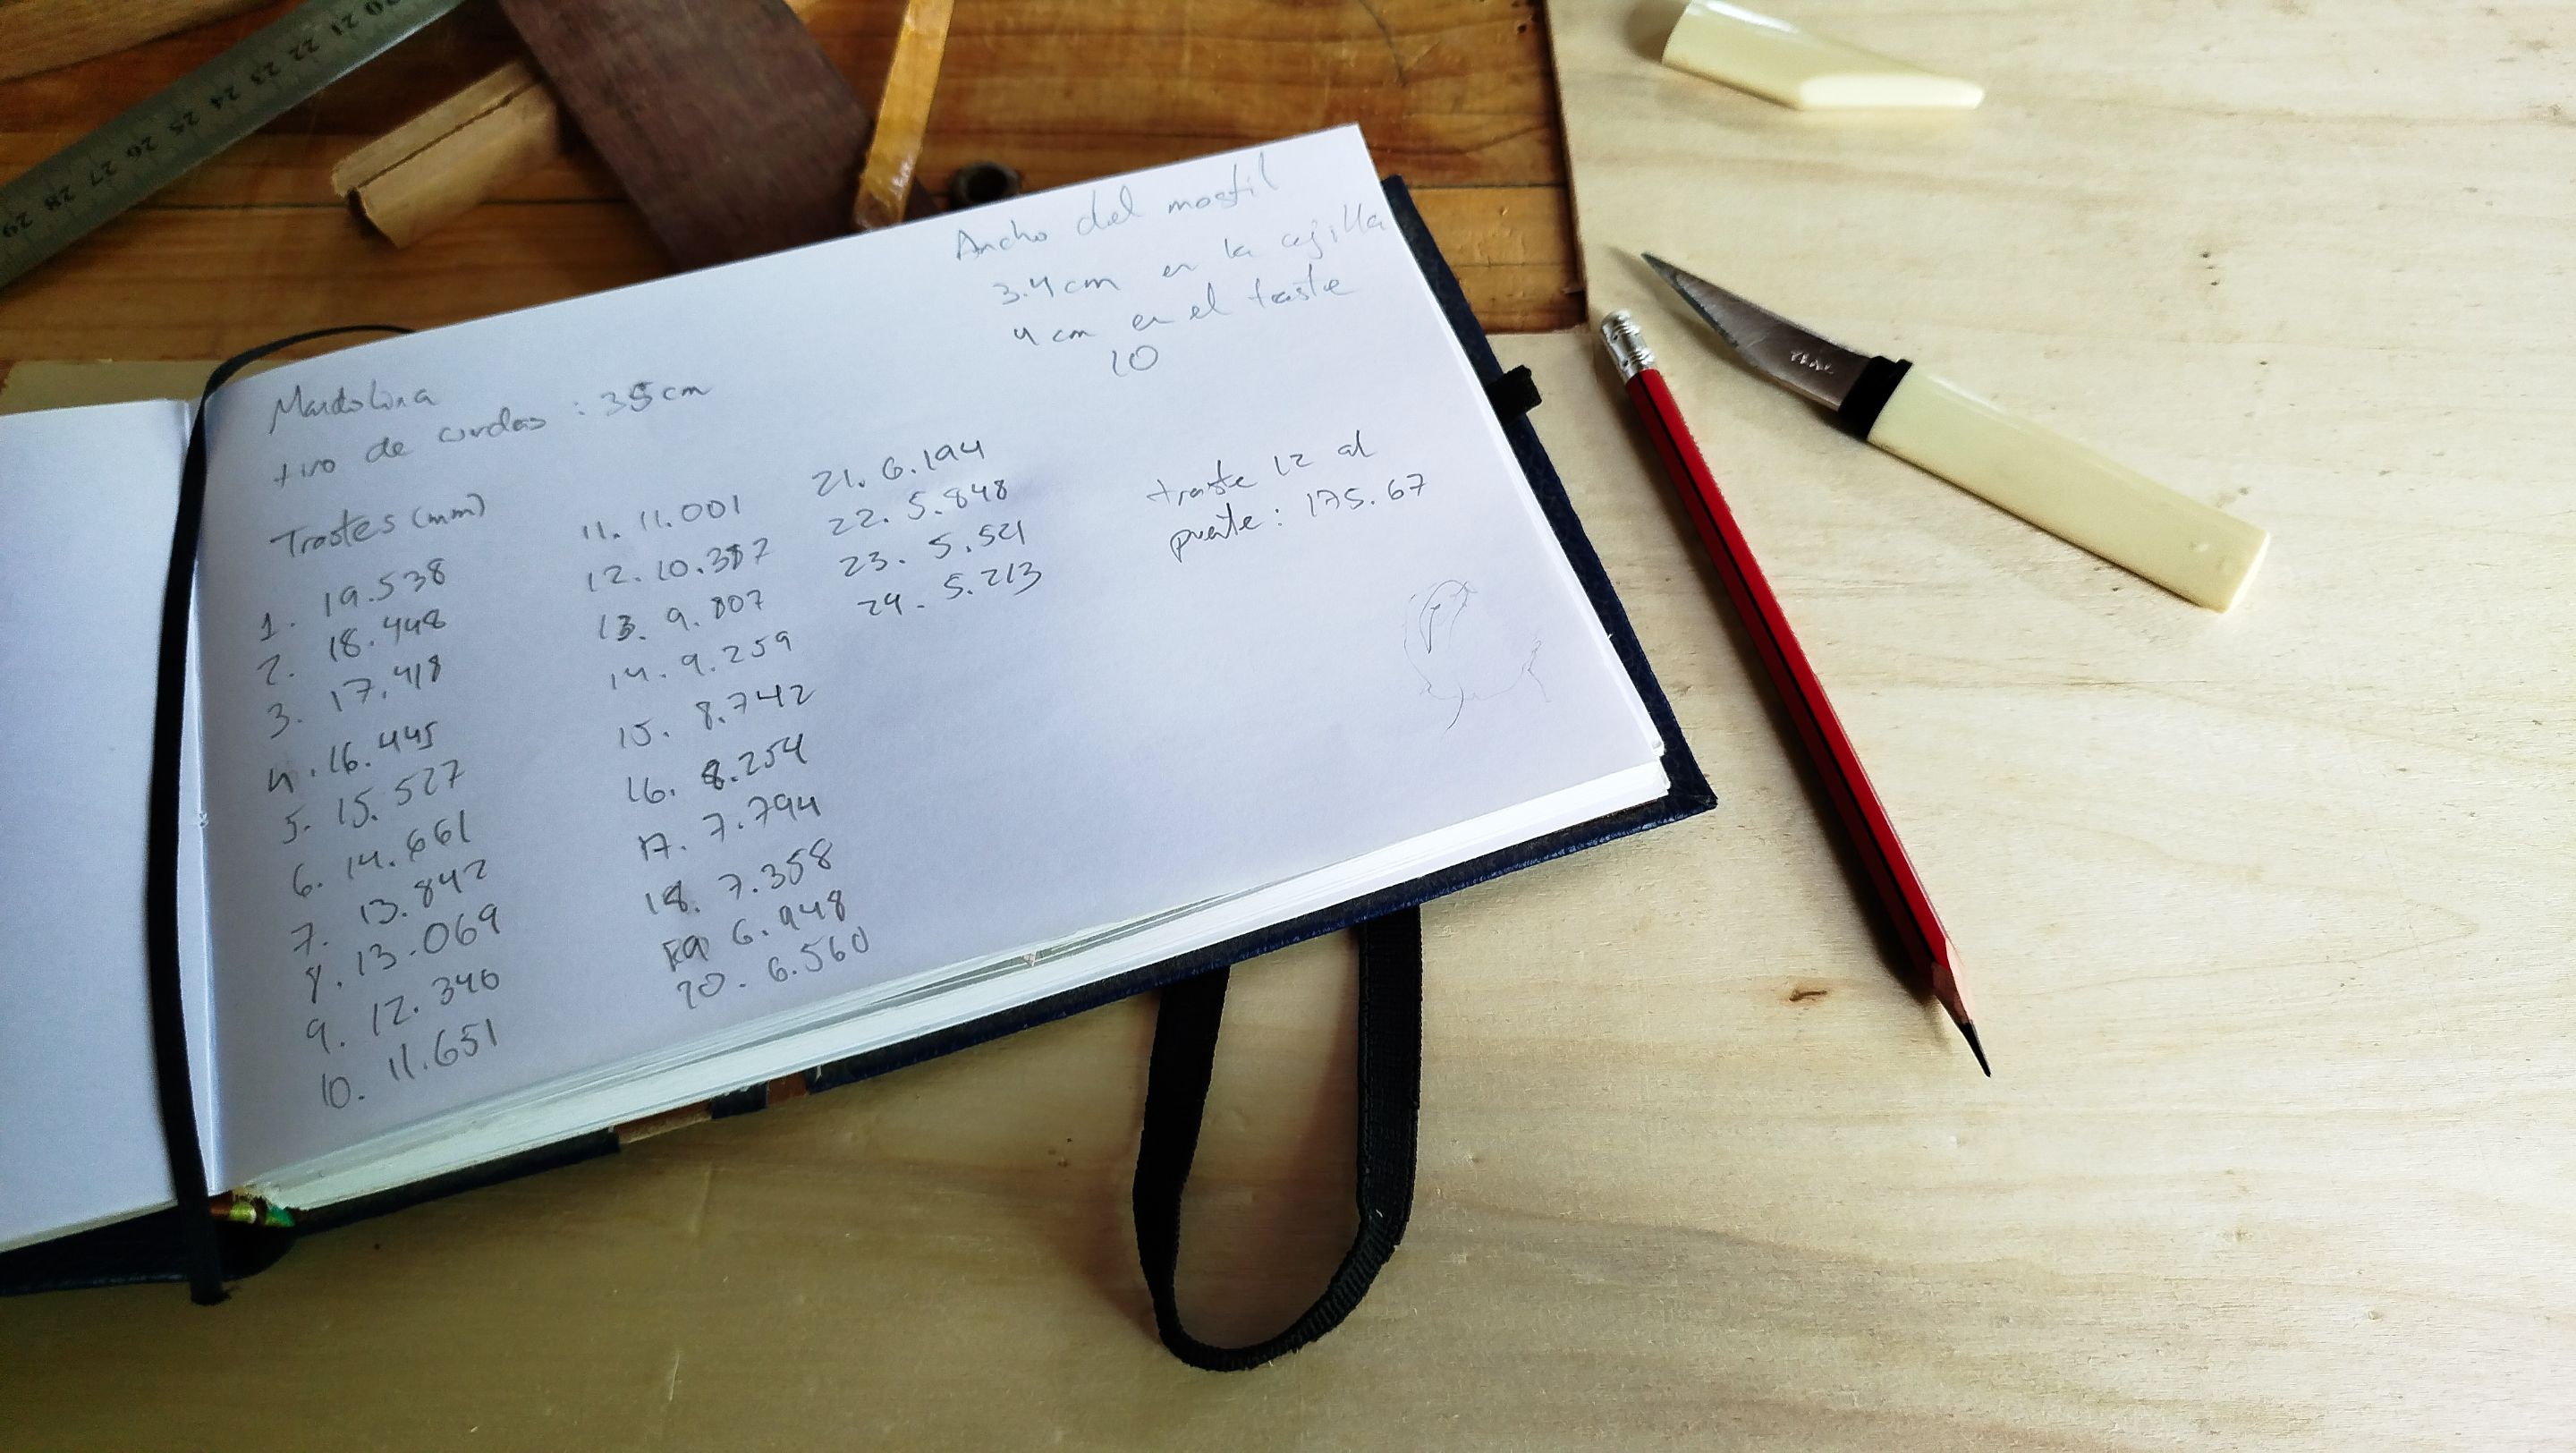
Swipe to see the photos
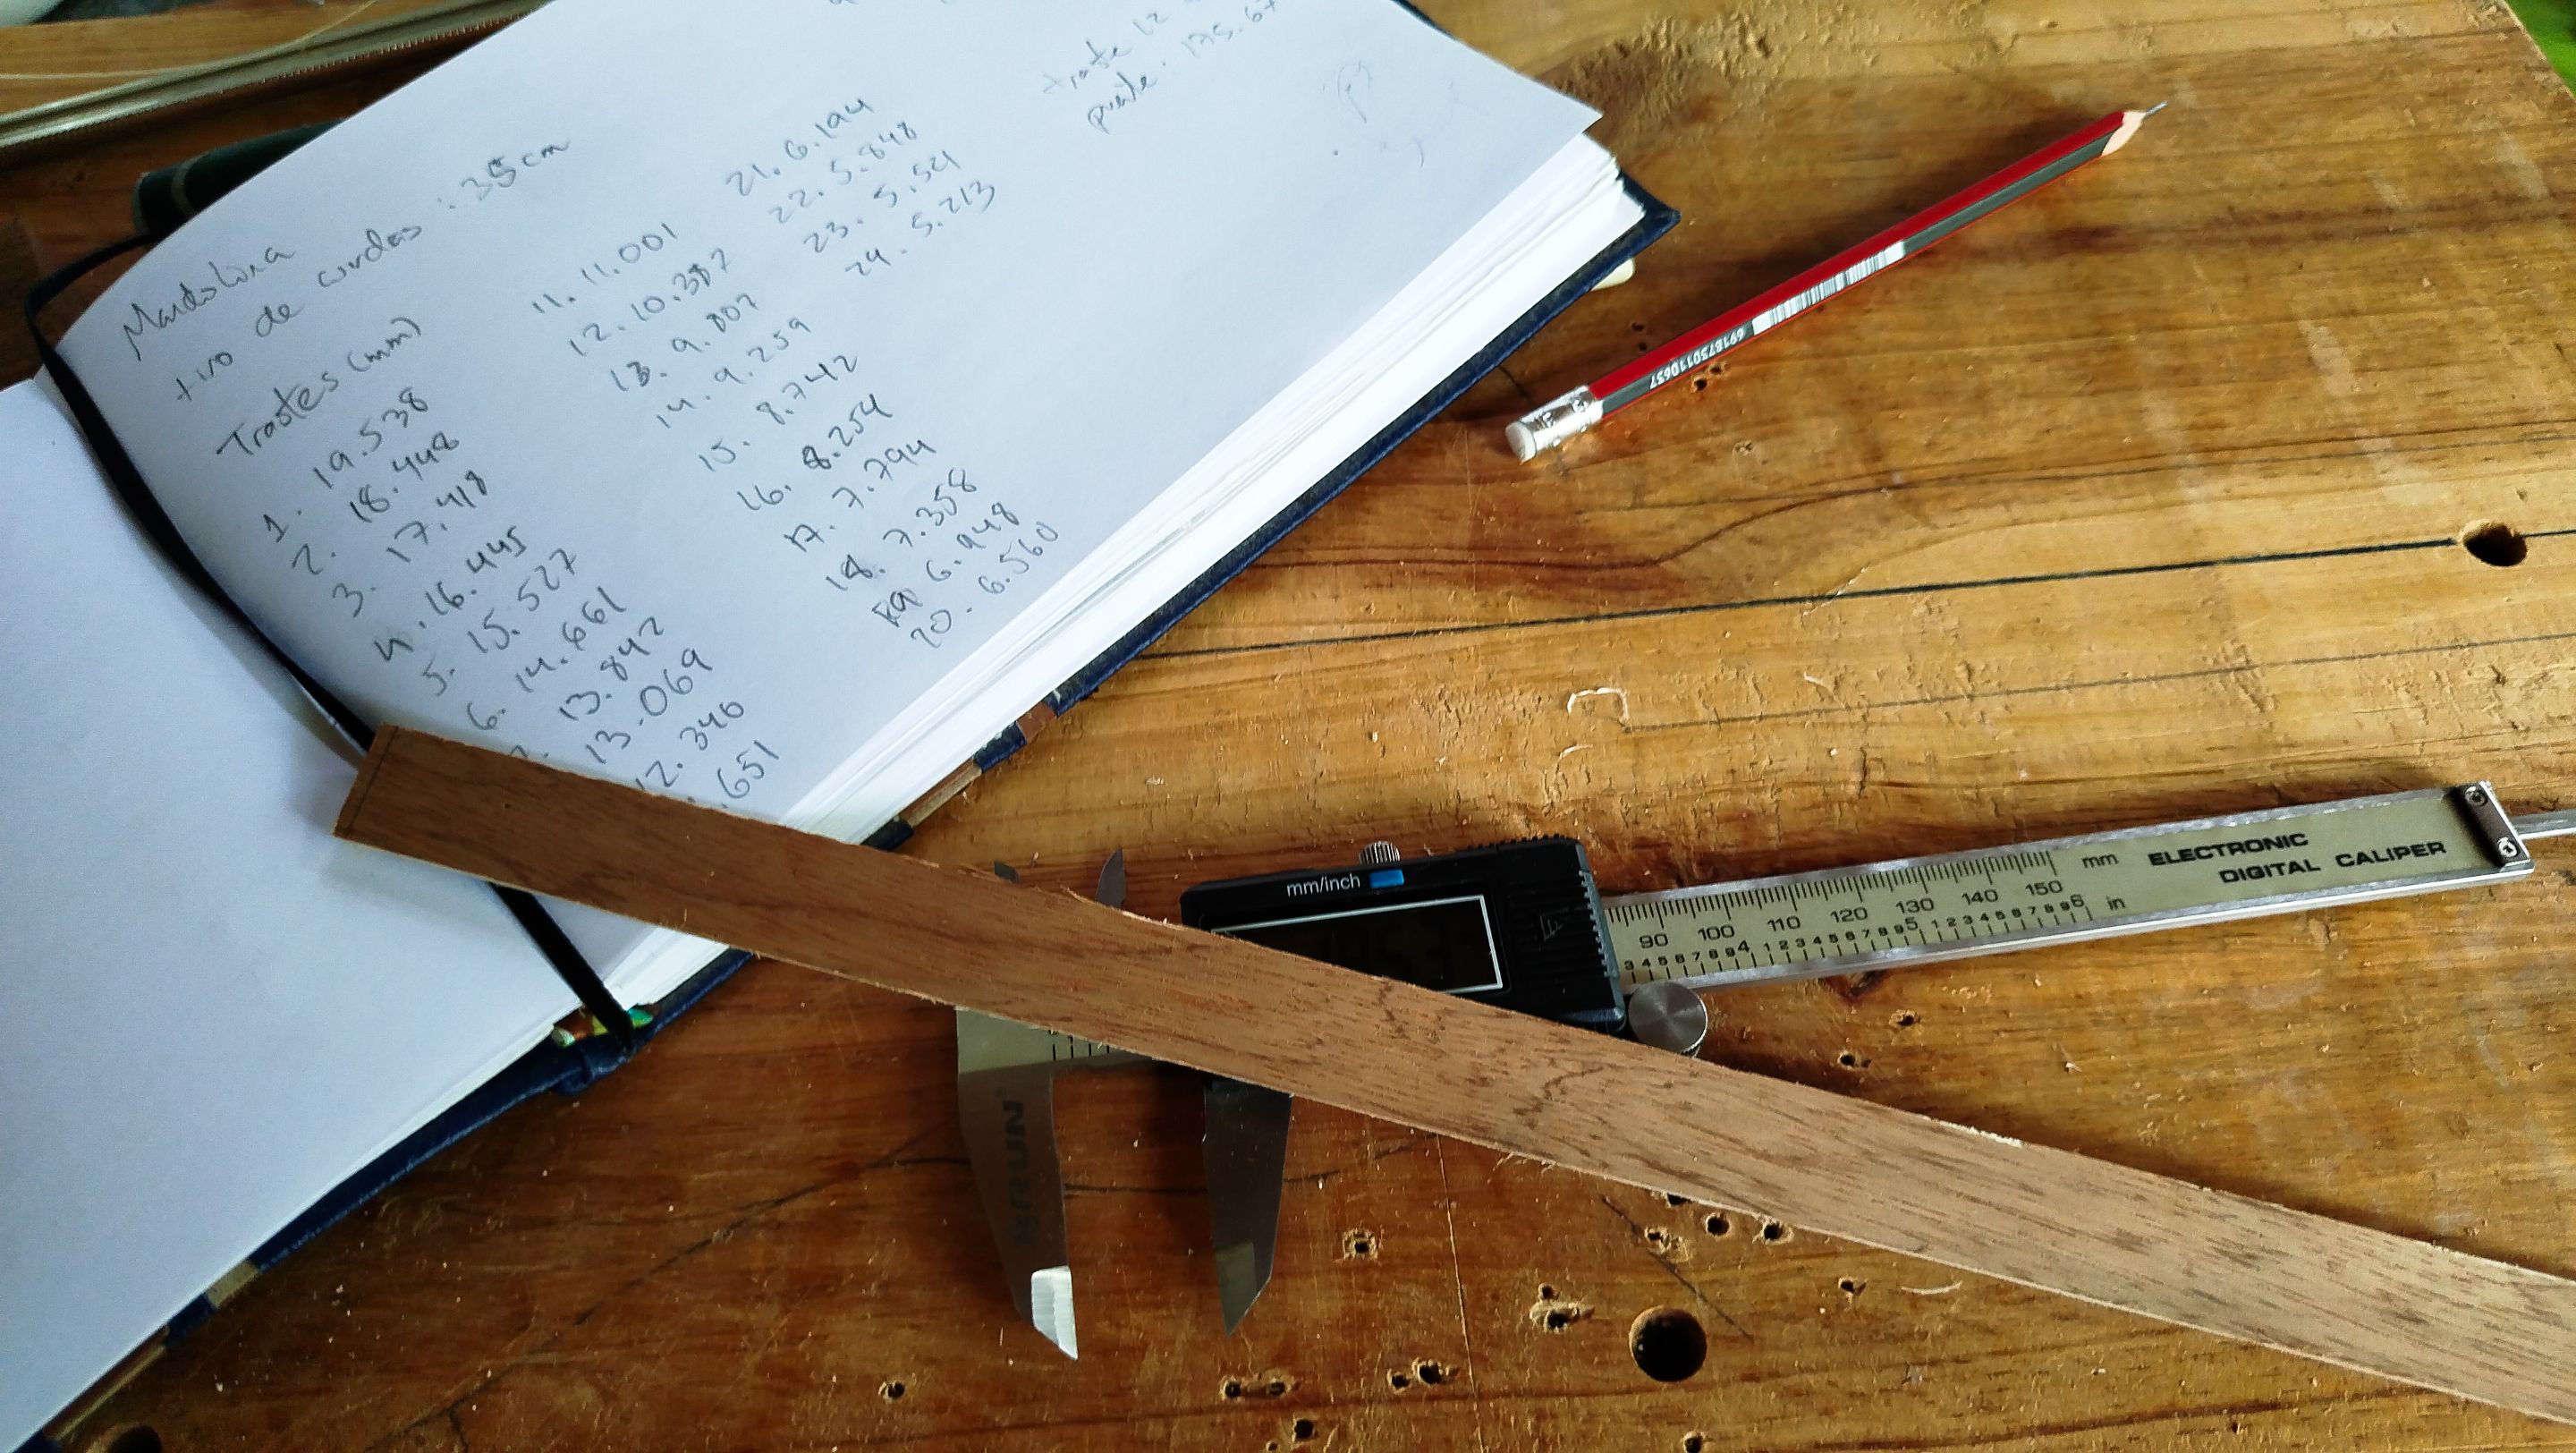
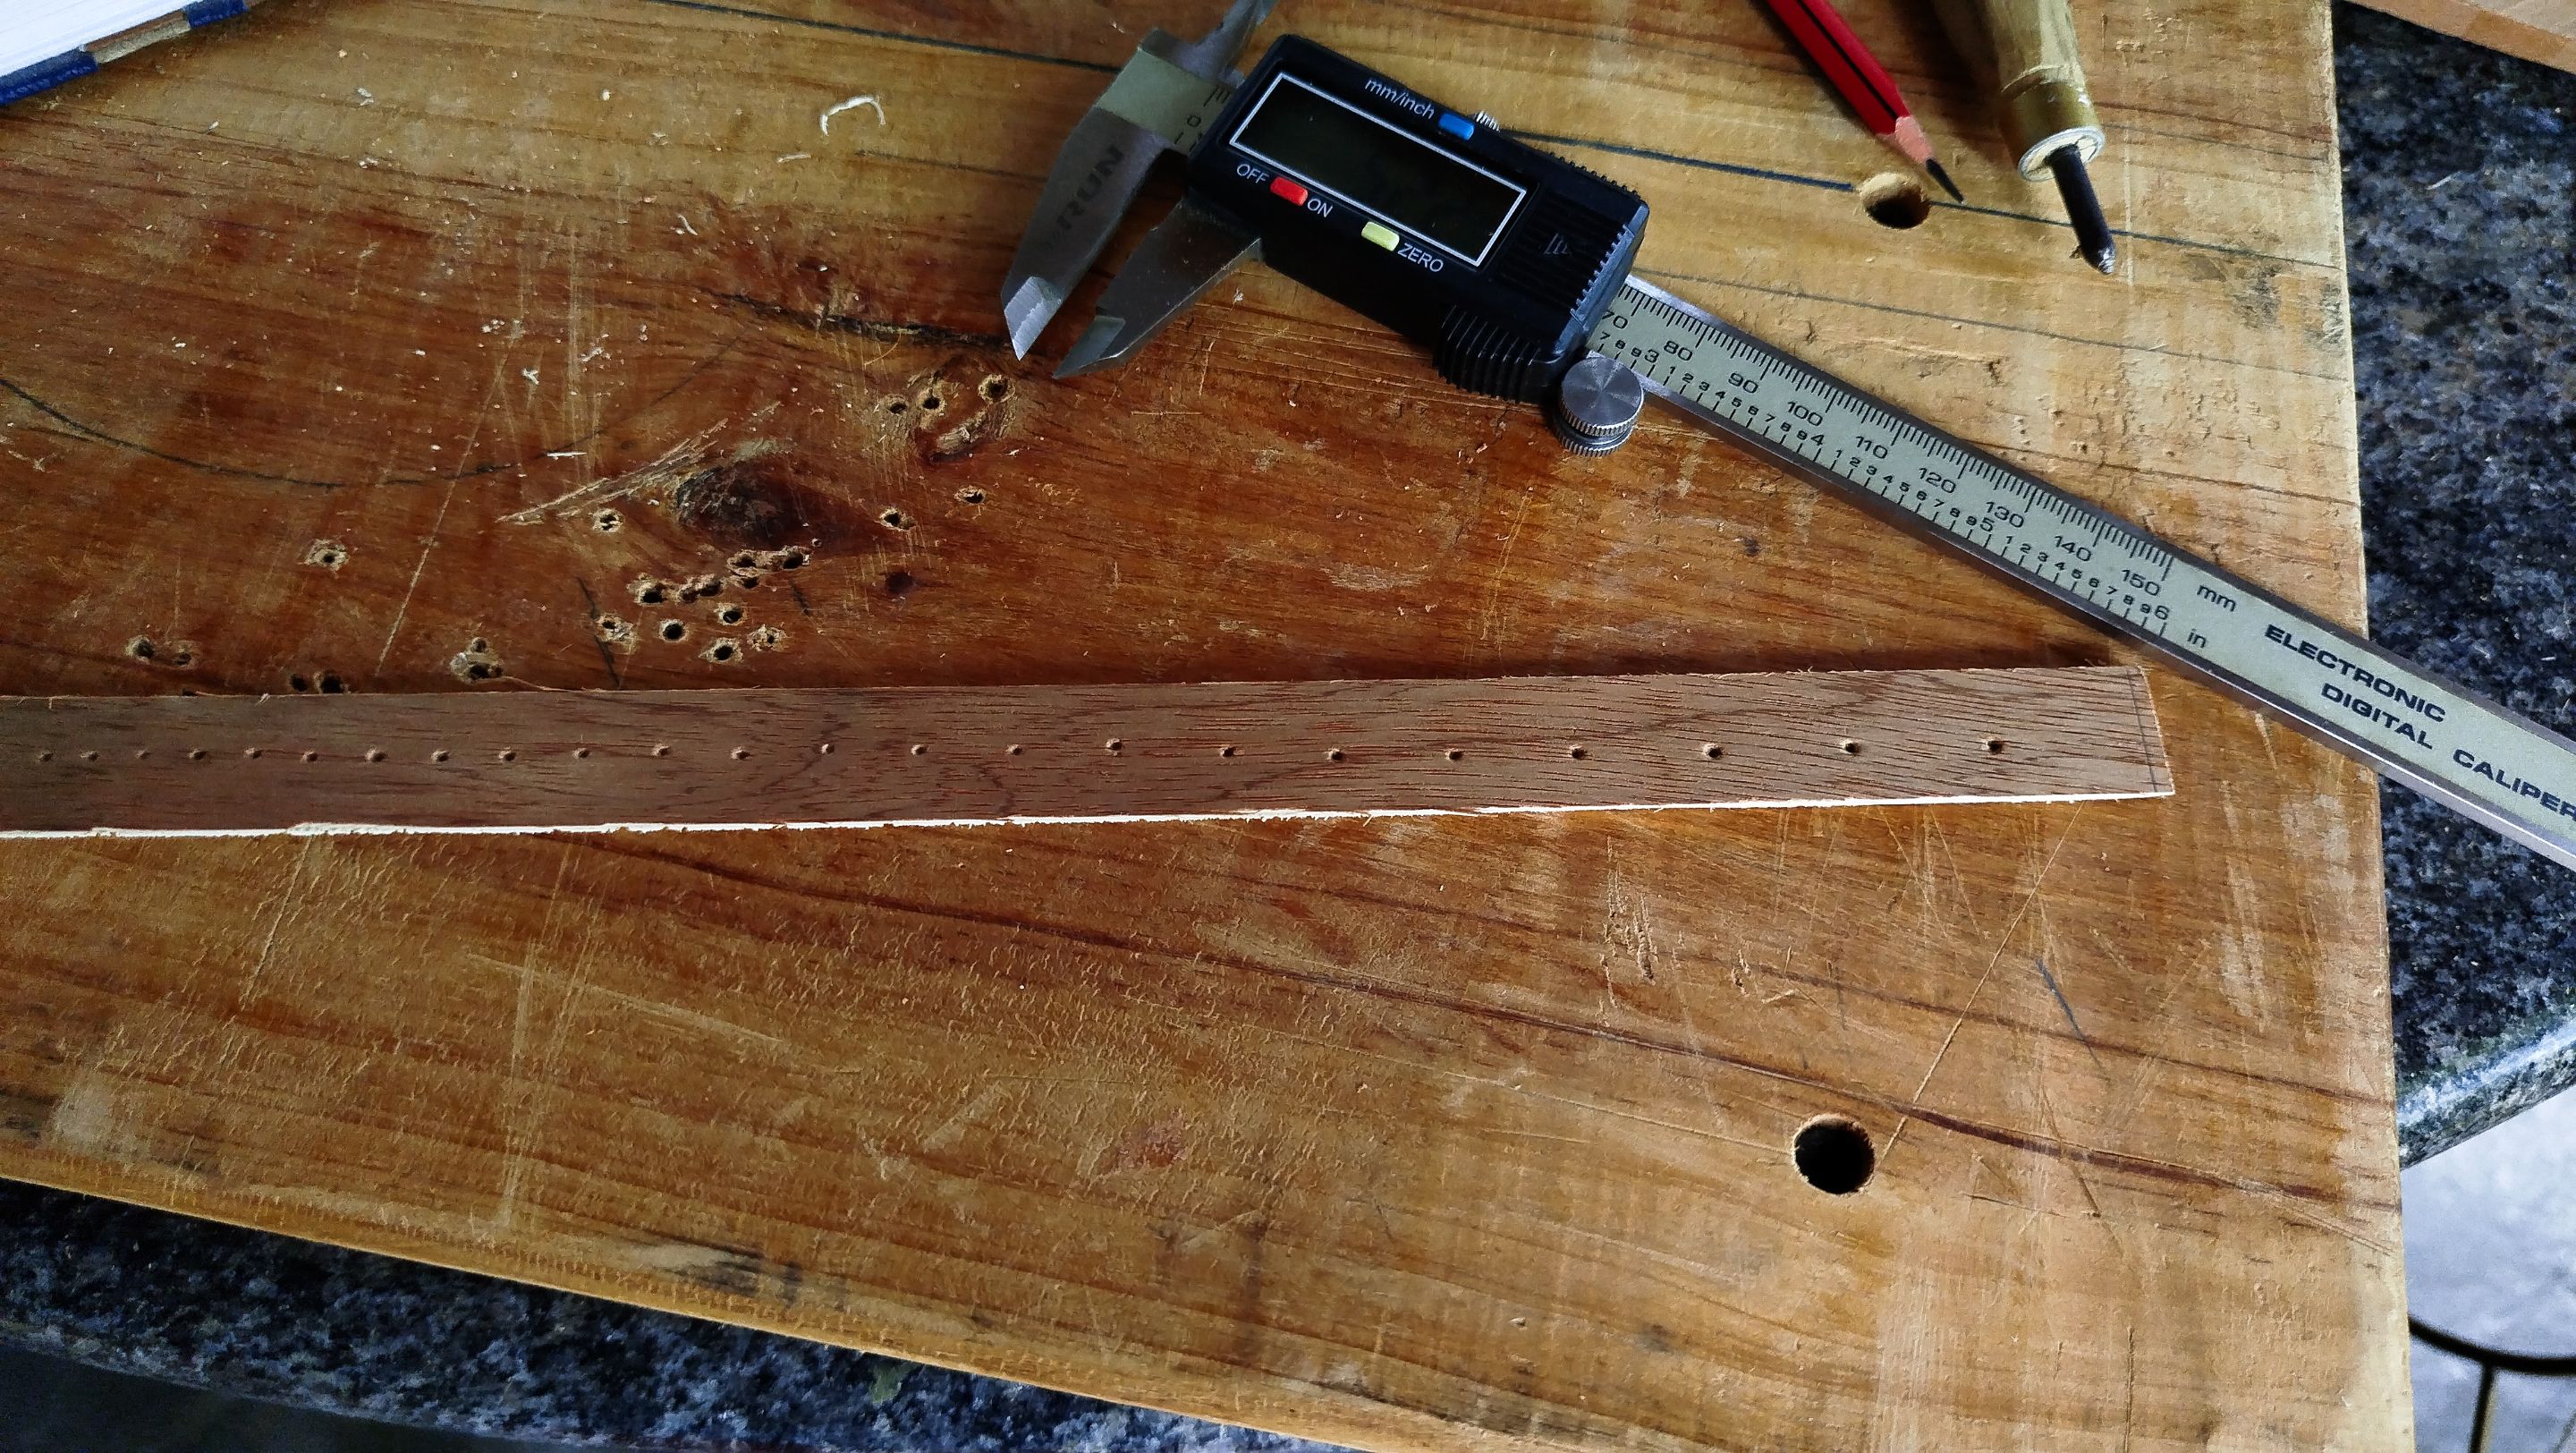
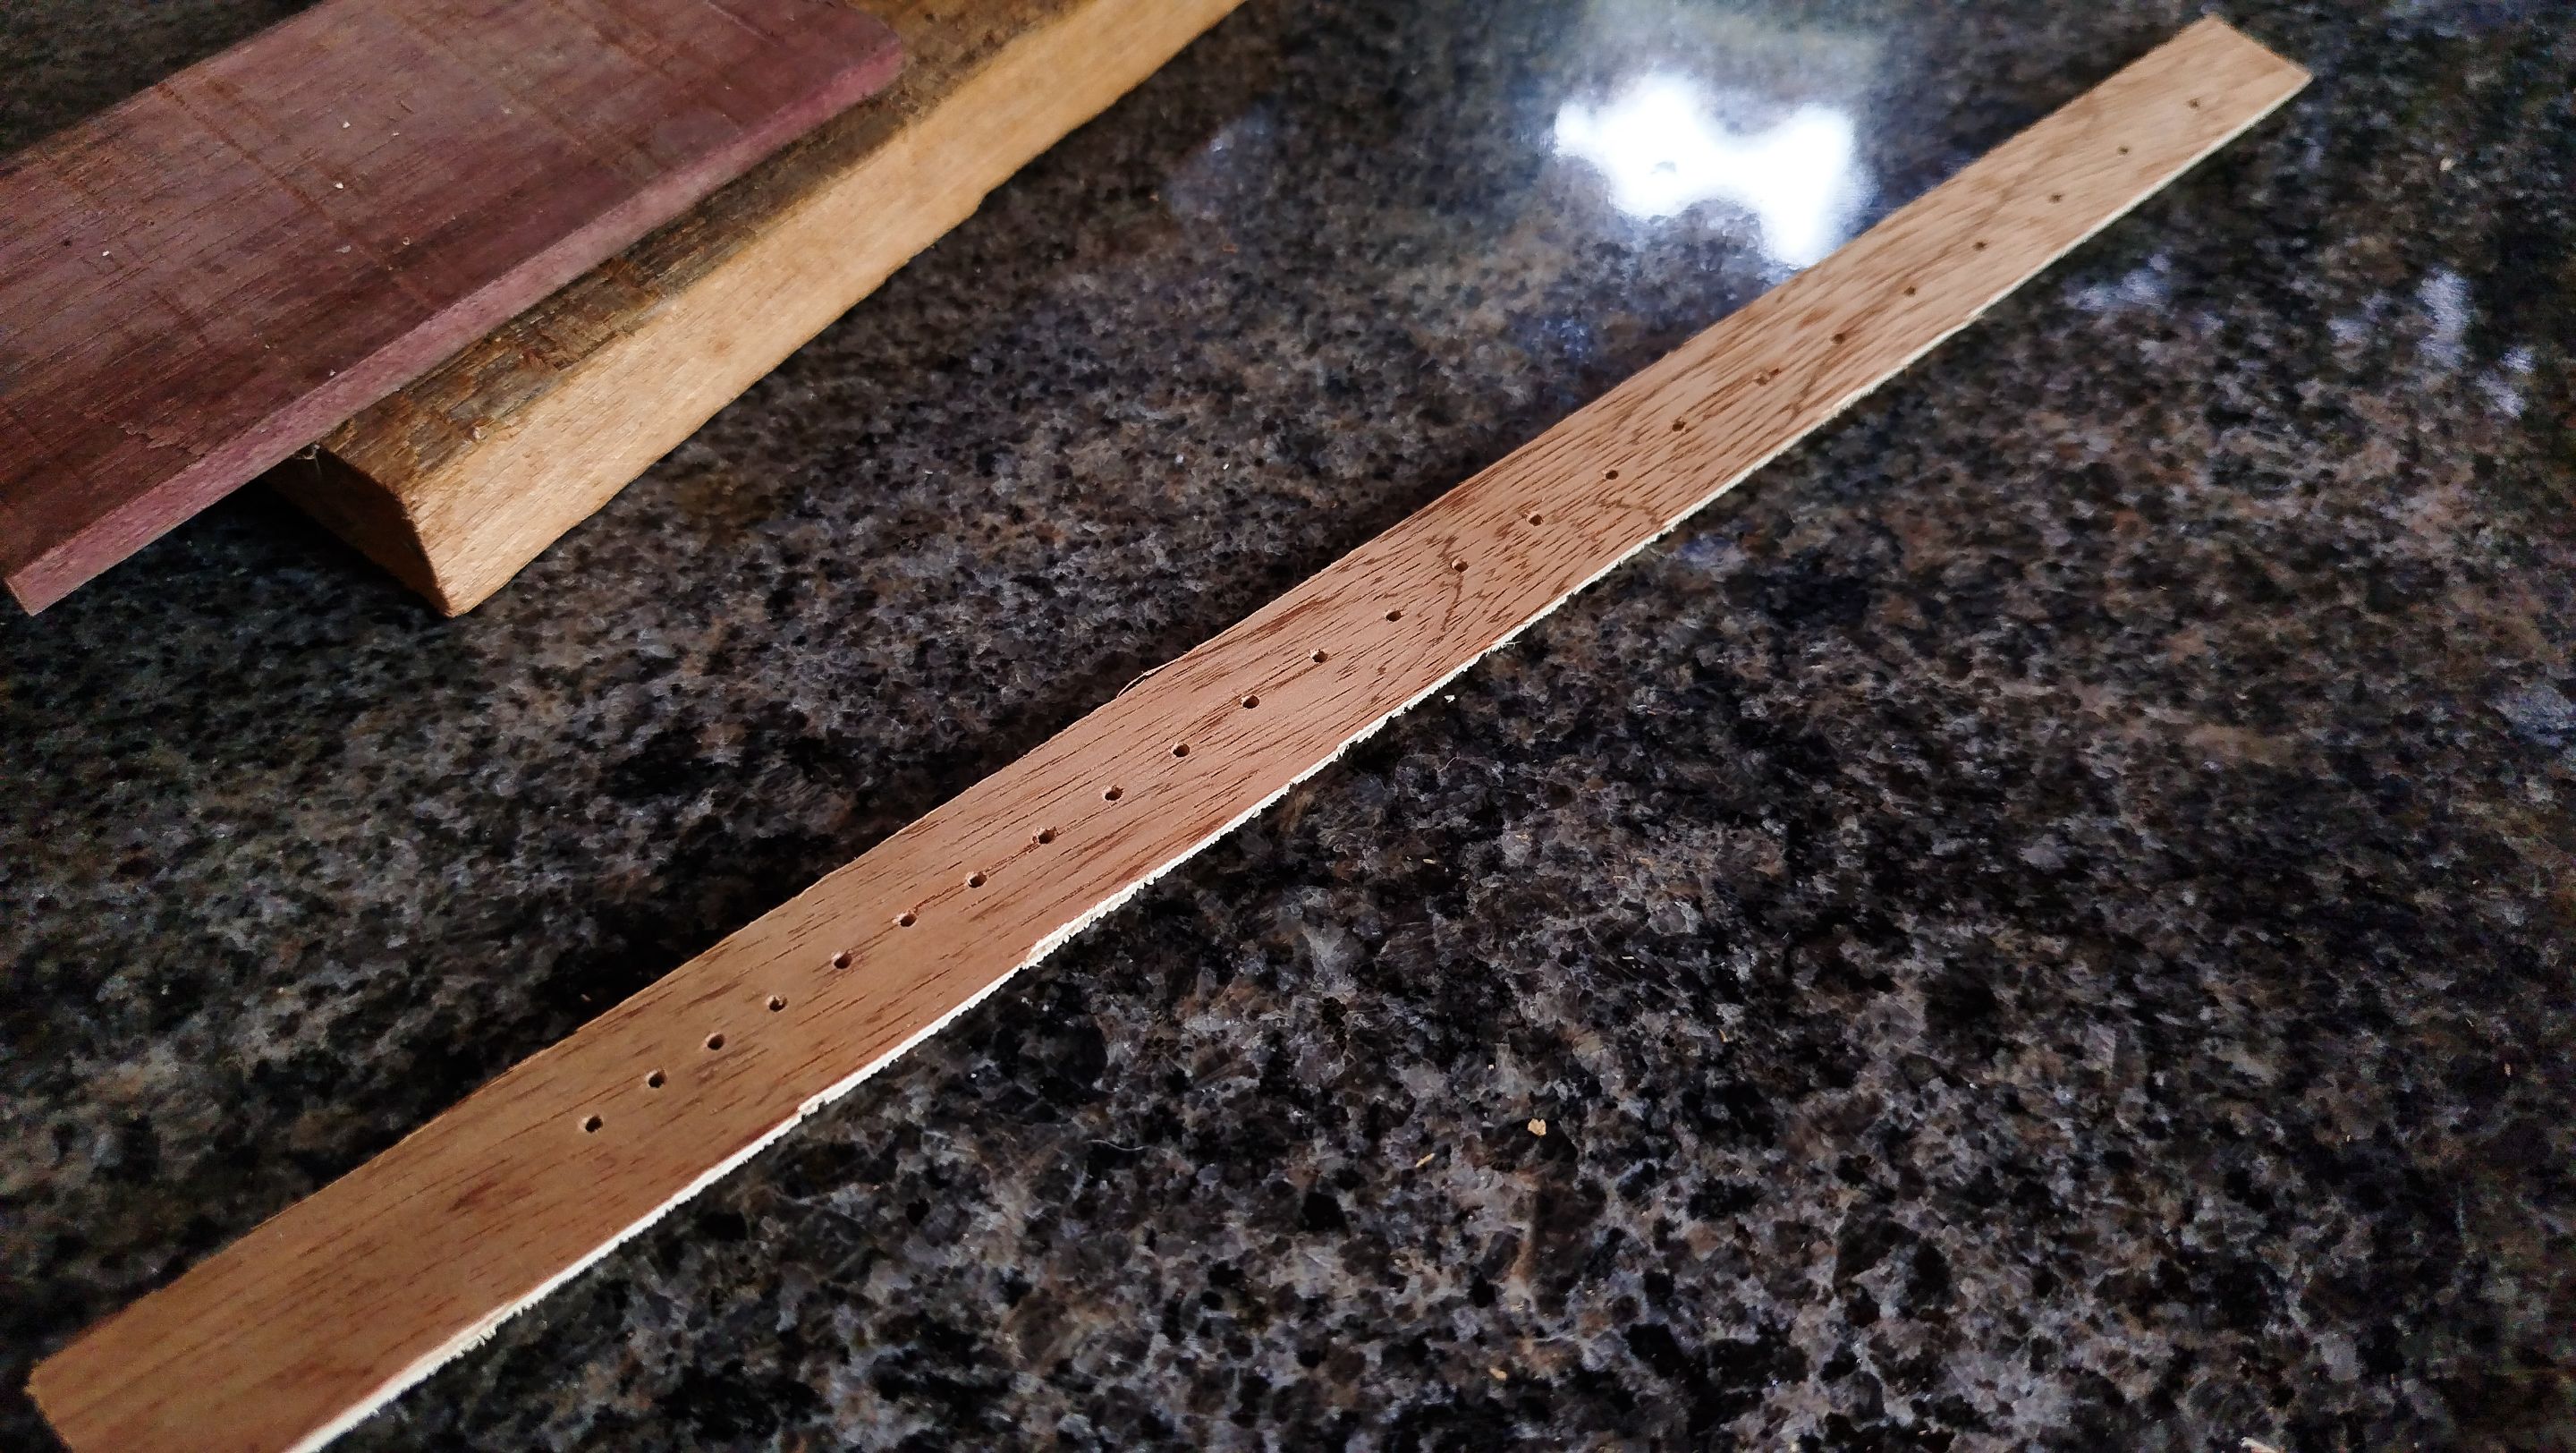
Before we start having the neck into shape, we need to make the calculations for the fretboard. This is done via an Excel spreadsheet with all the formulas in place. We take notes of these numbers in the workshop diary. This is also used to put the distance between these numbers in a piece of plywood. Then we make the holes on the piece of plywood to get a template.
This is not necessary right now, but it will help us mark the length of the neck, the position of the fretboard and the cut for the sides. This build has some many other things that make it really different from the rest of the things we have made so far.
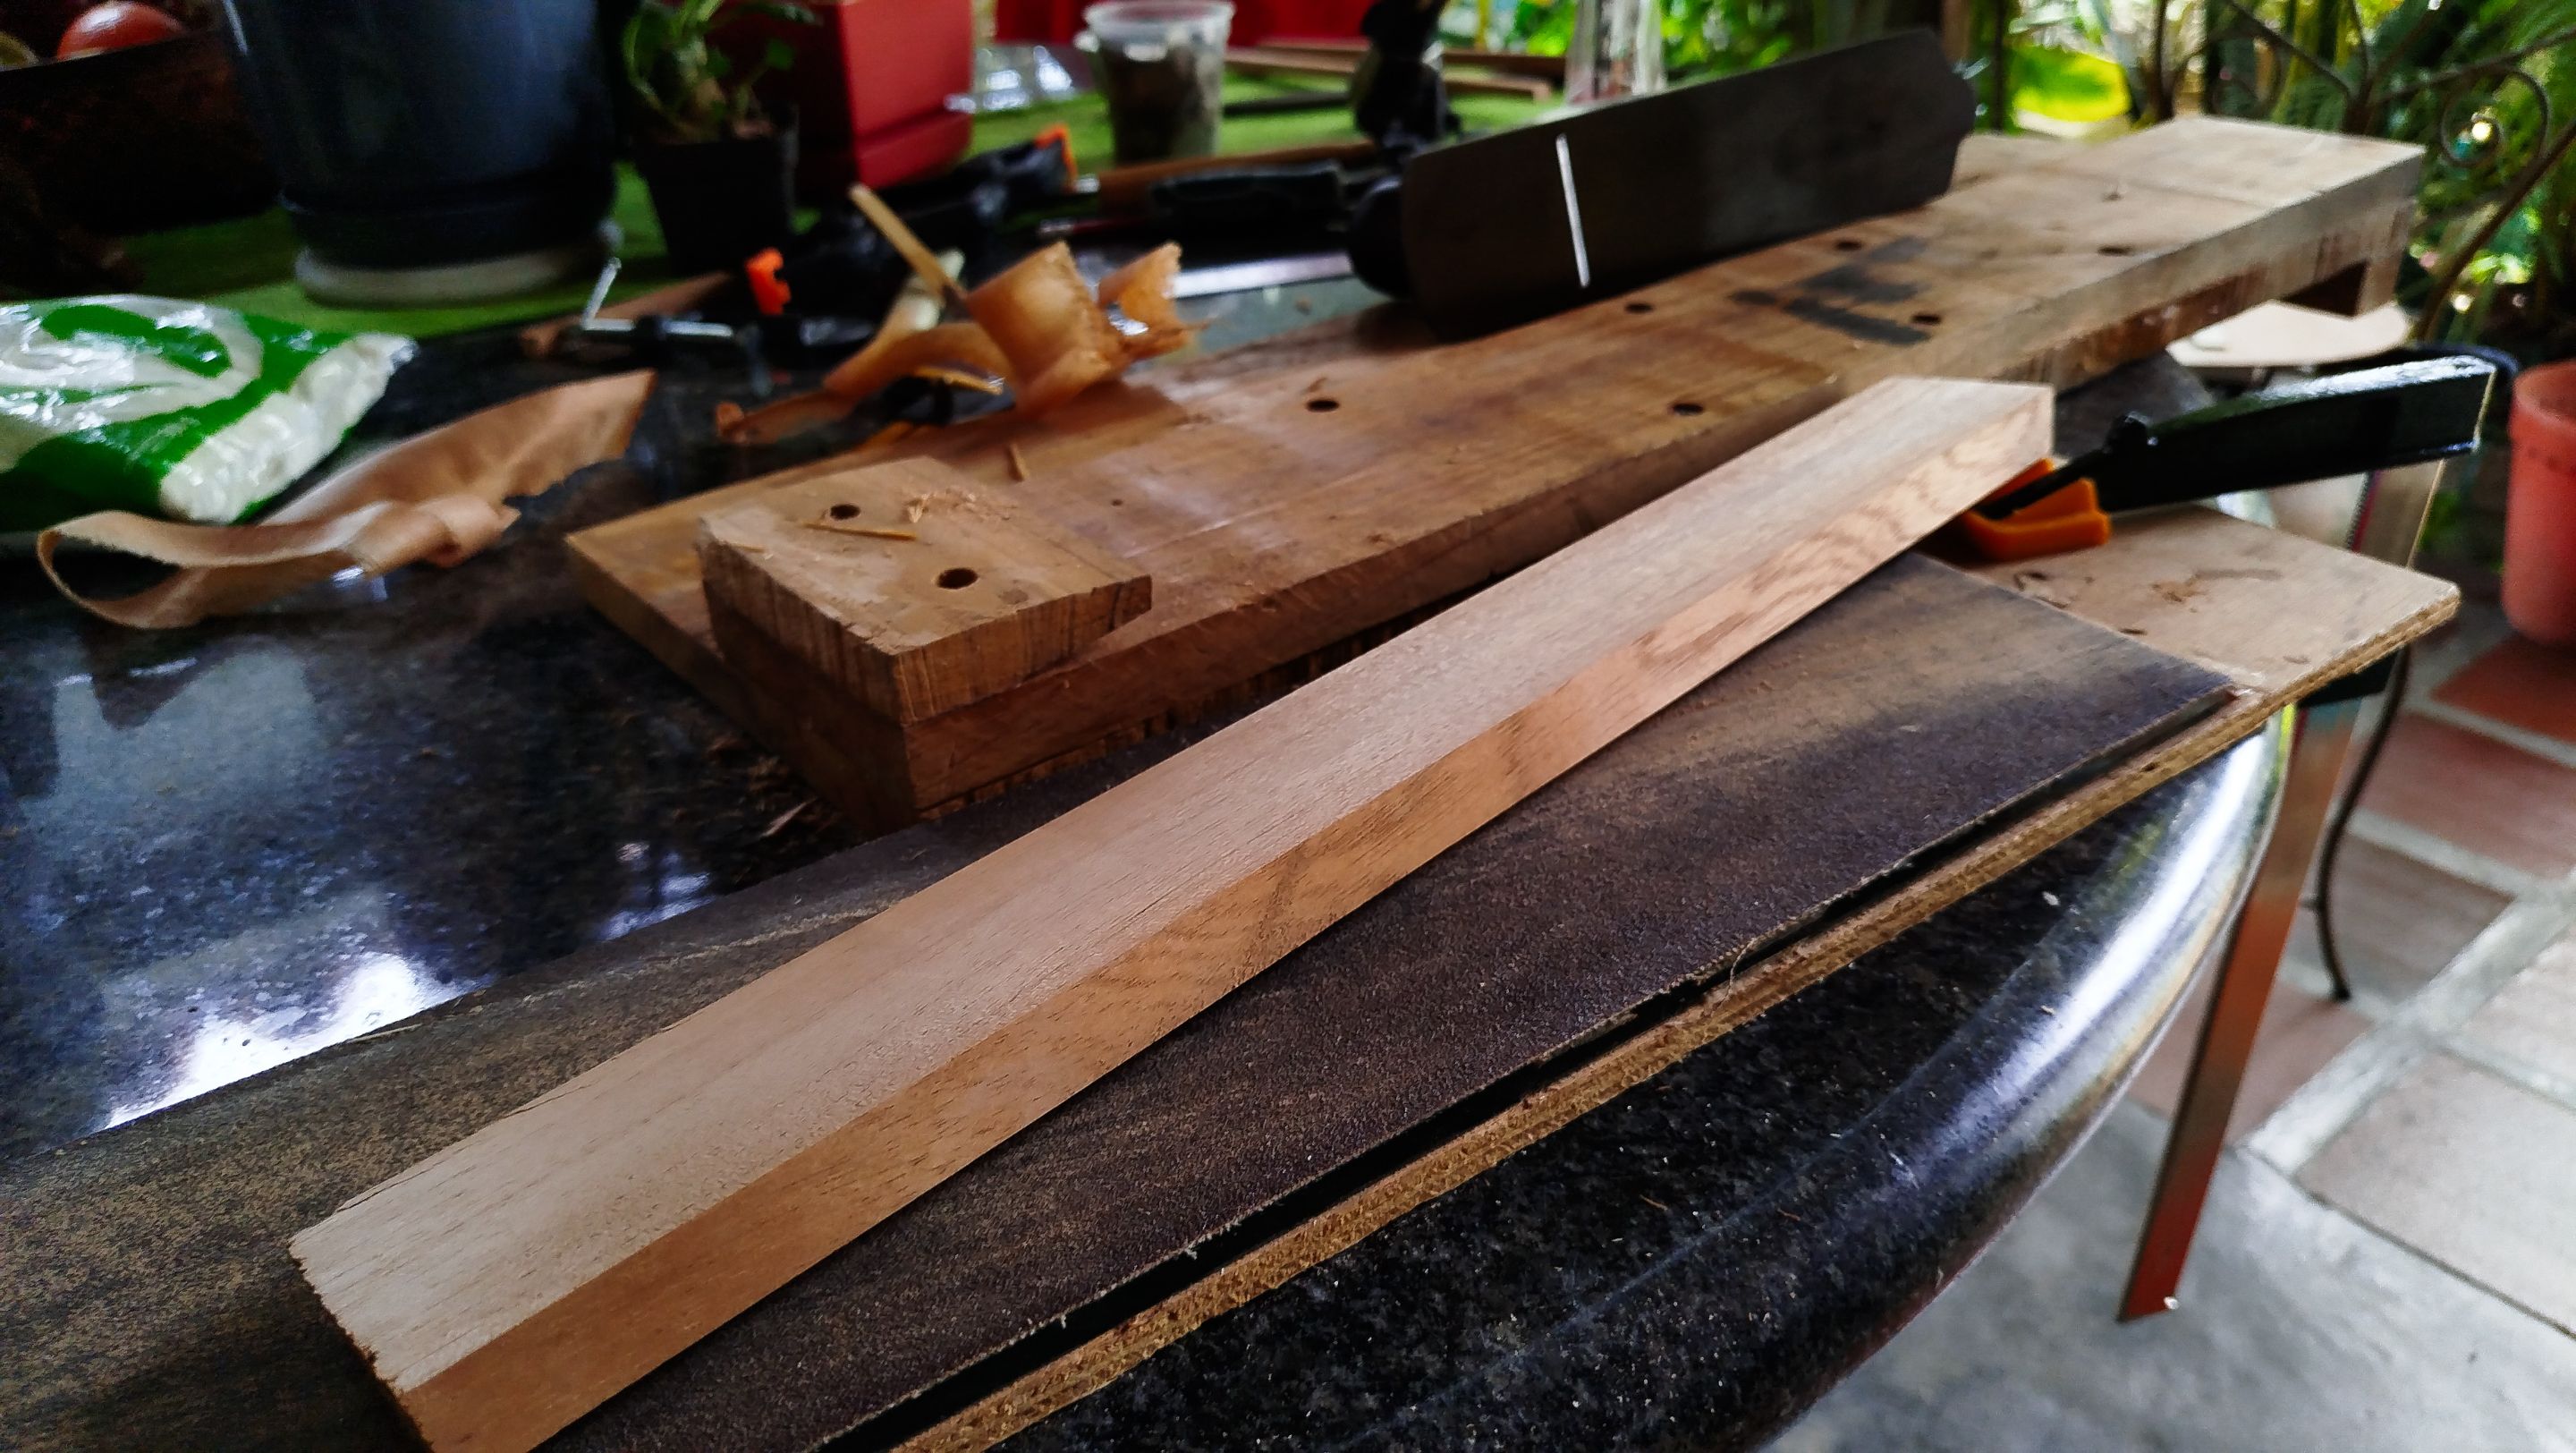
And to start making the neck, we take the blank and use the hand plane to get some work out of the way. But we will get back to the this piece in the future.
Reinforcements
Swipe to see the photos
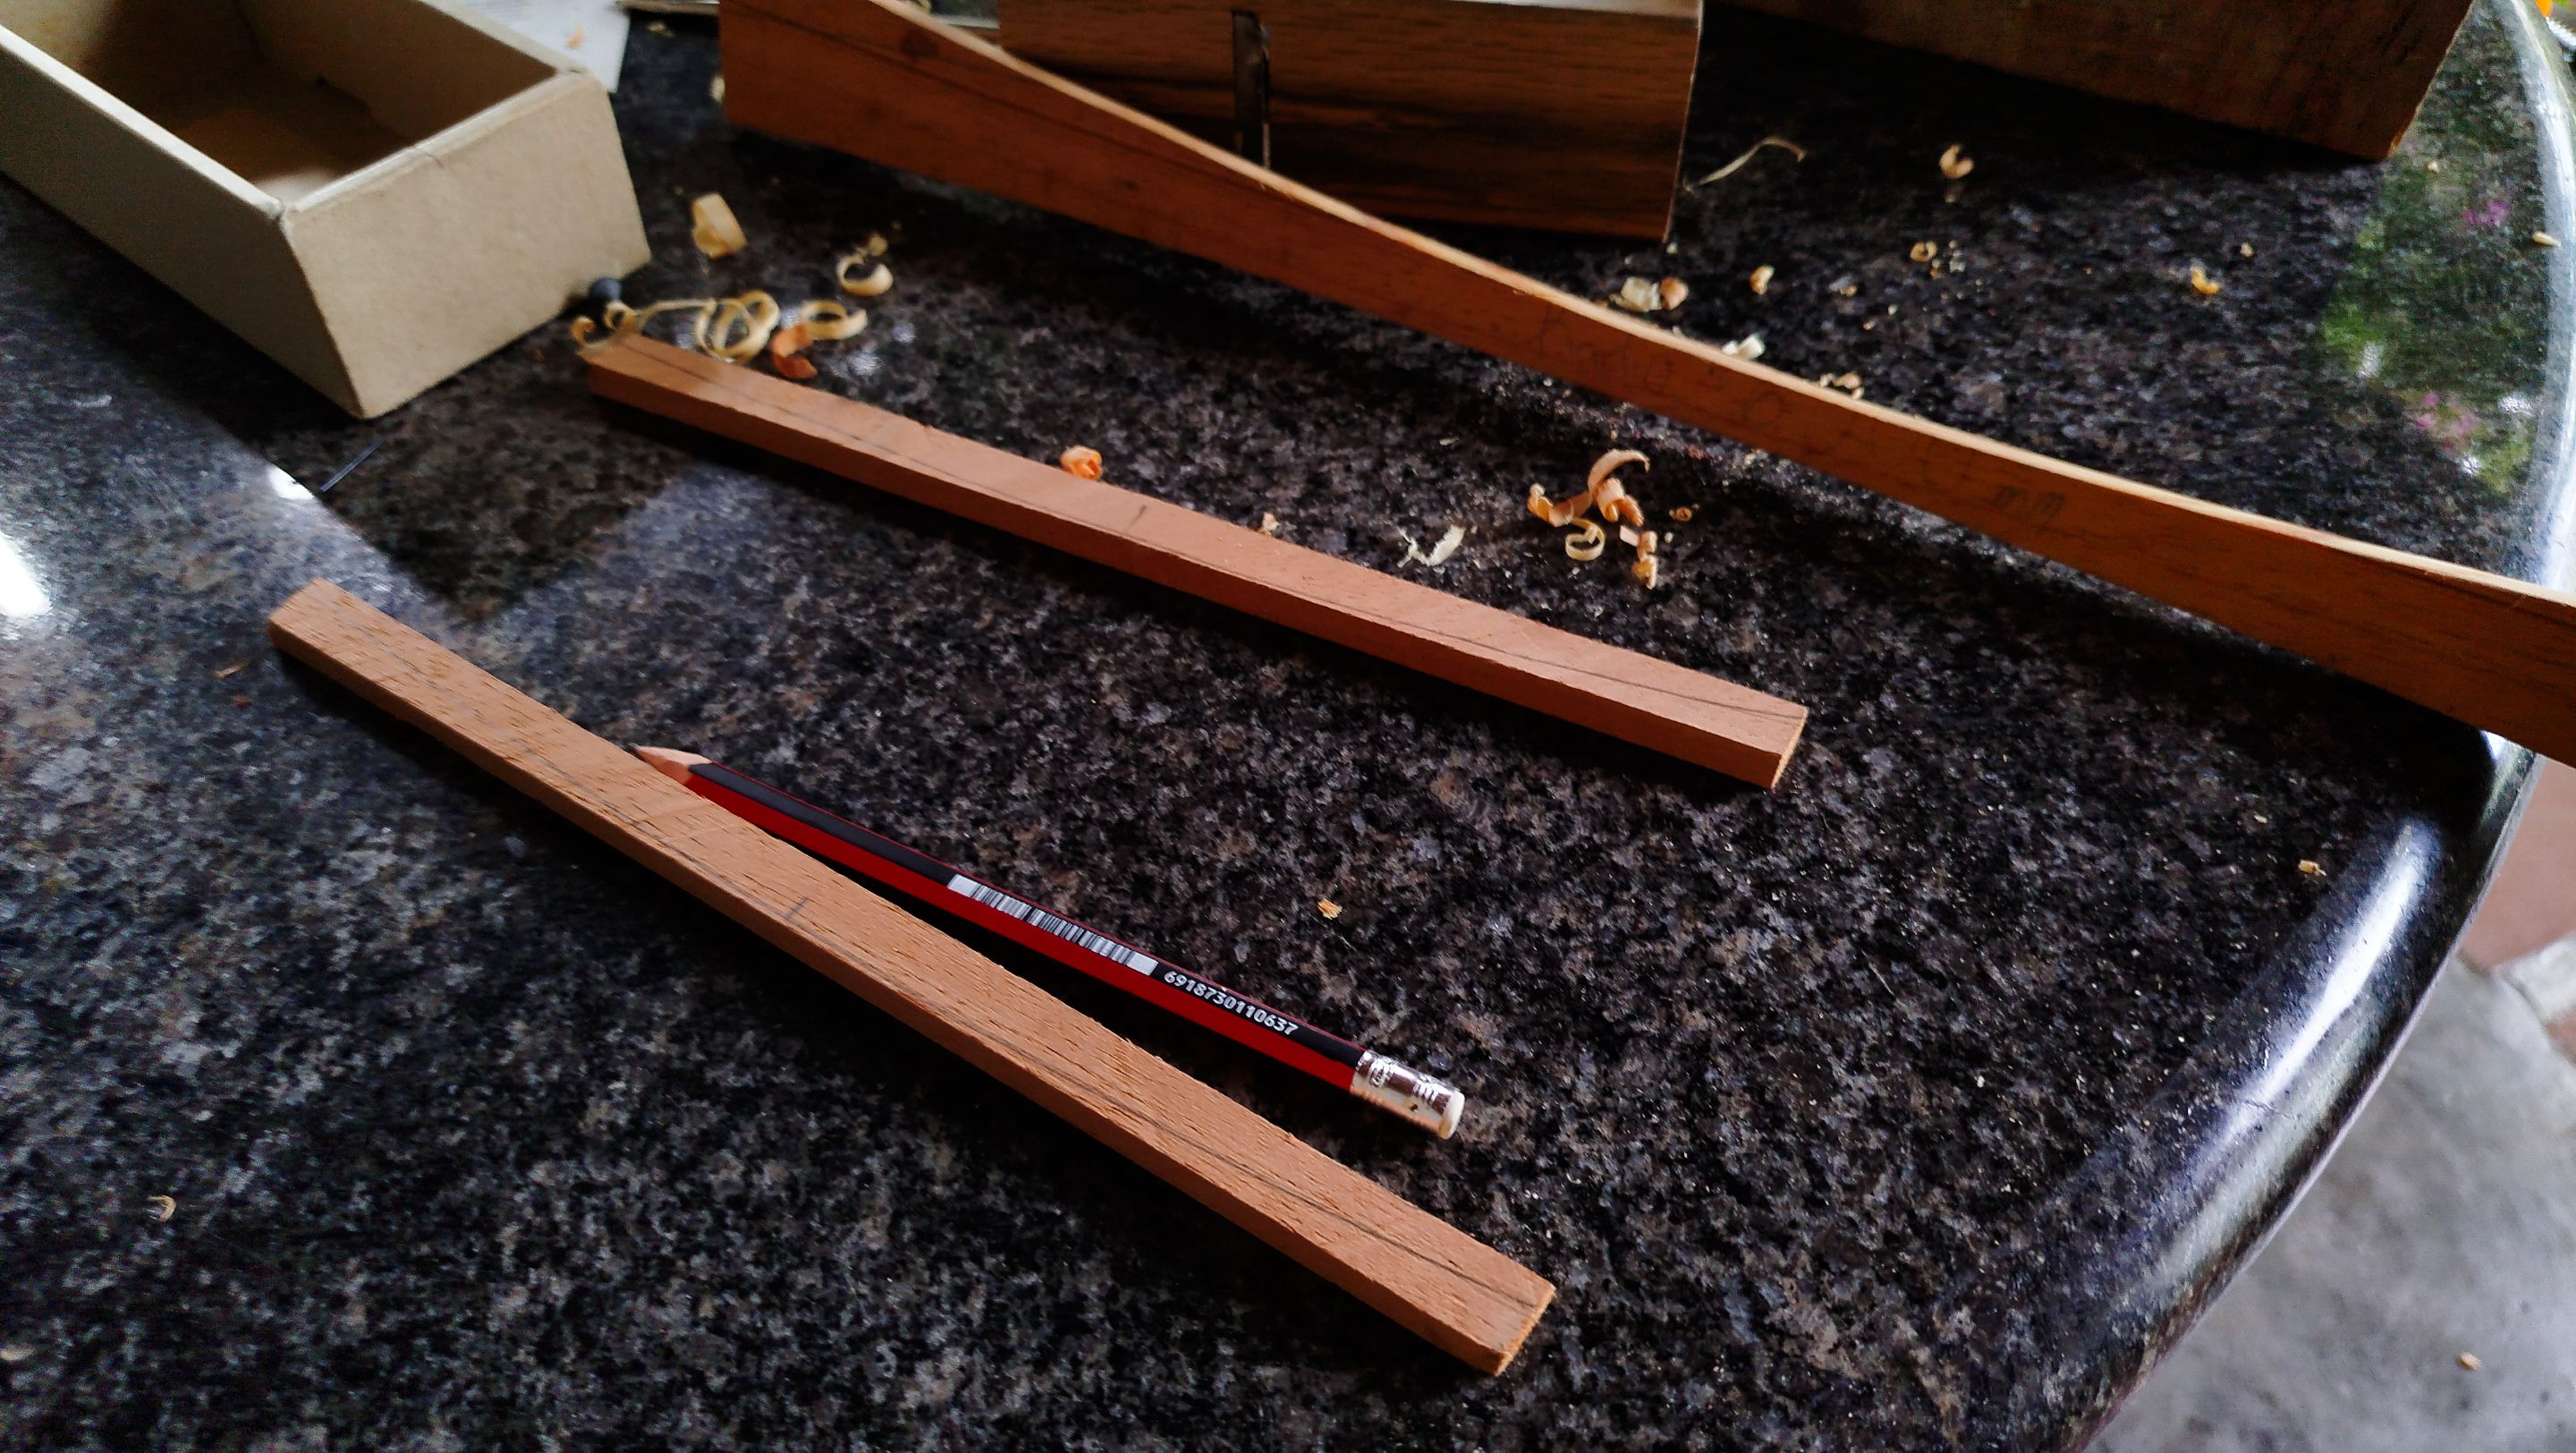
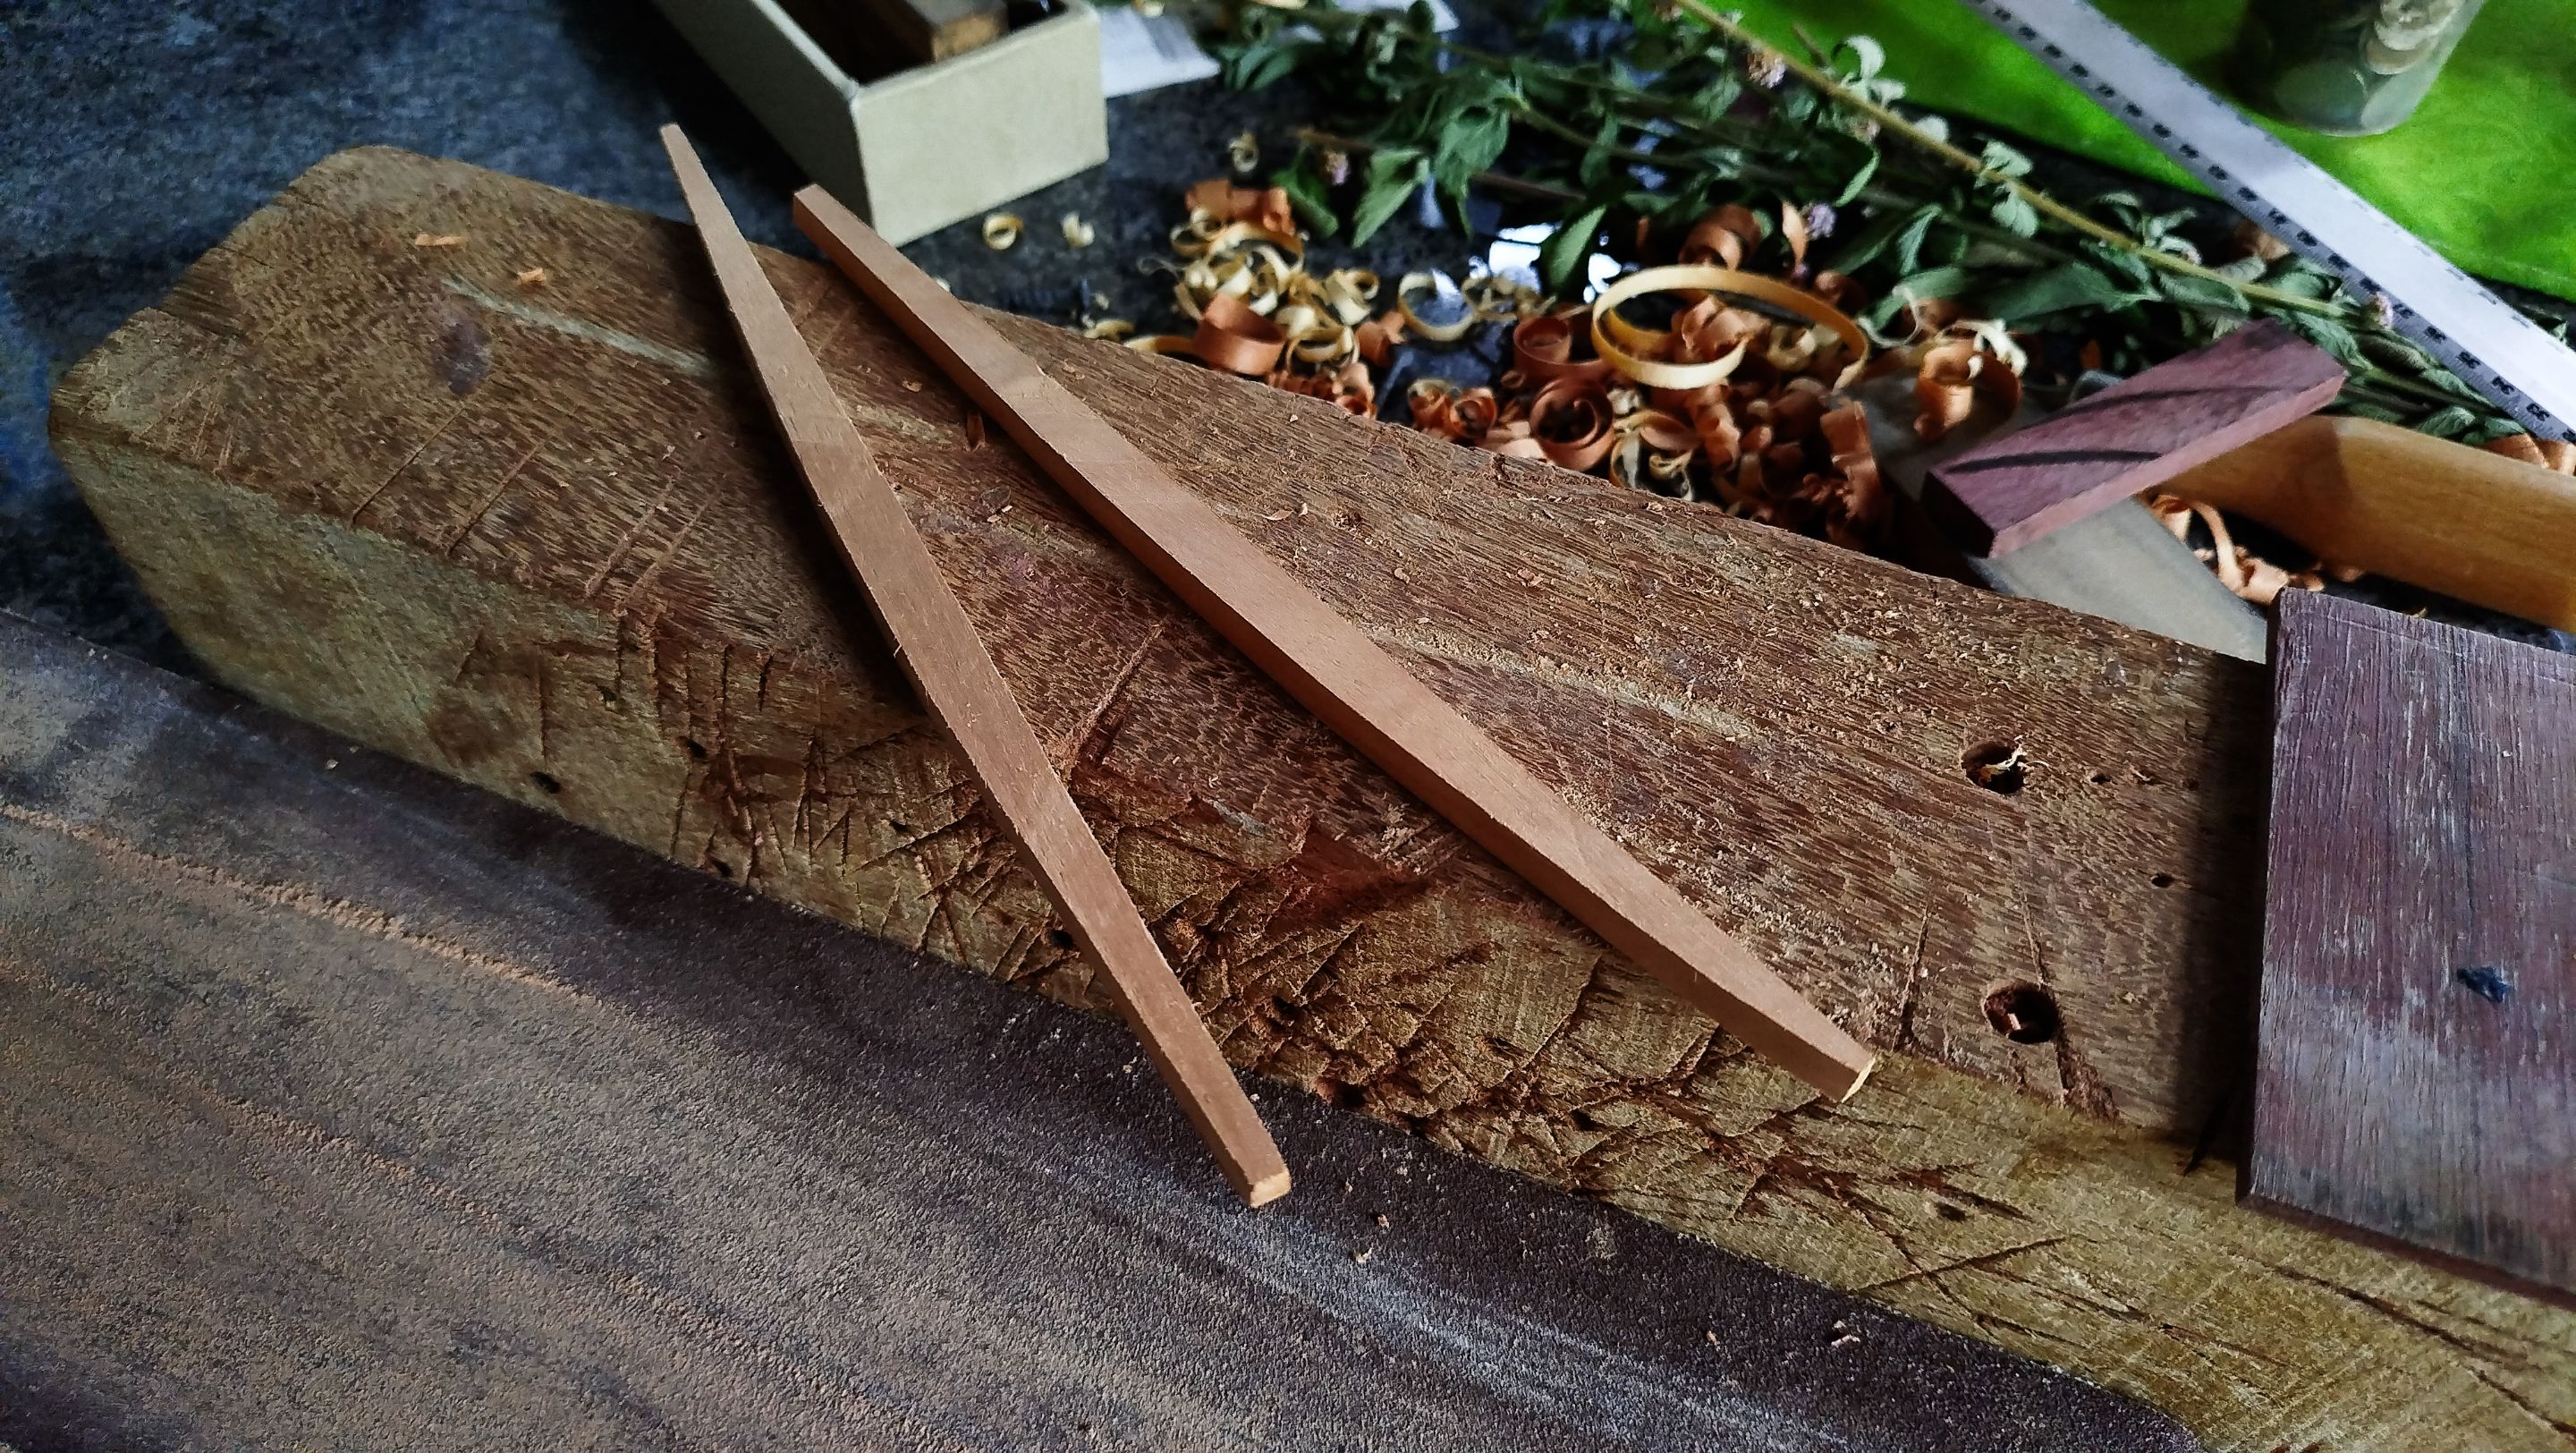
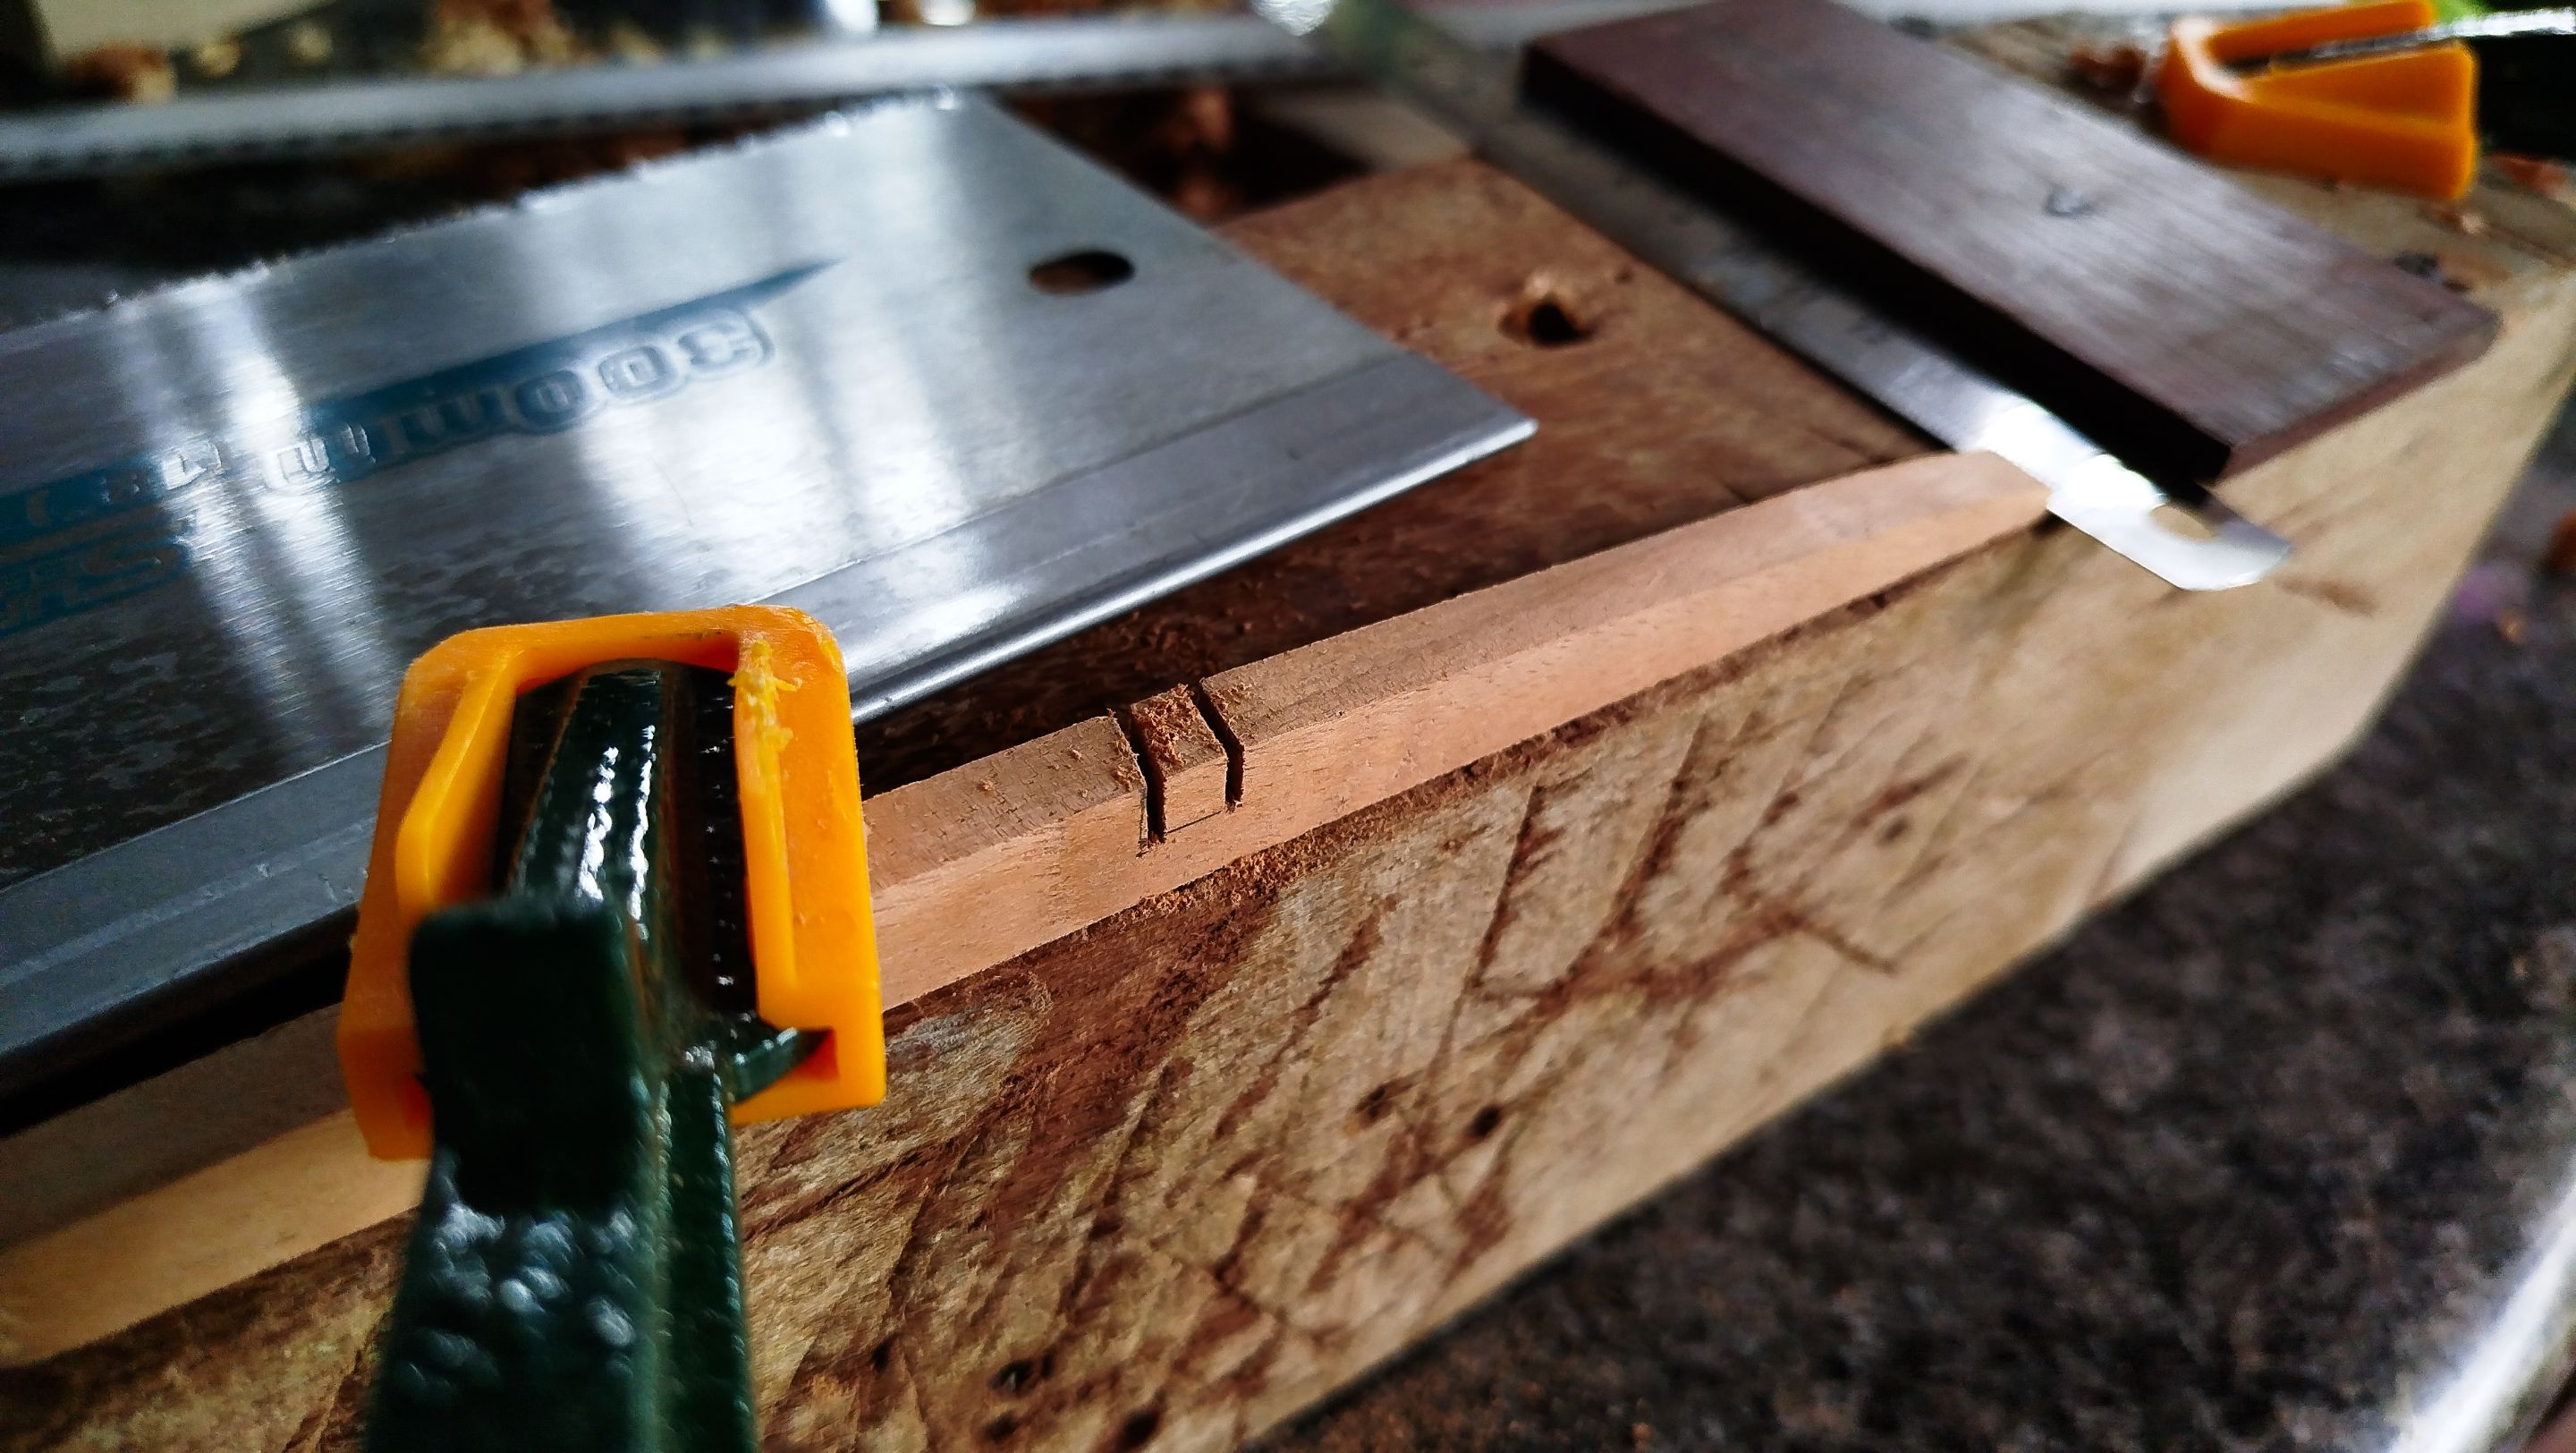
Now it is time to shape the bars. The special features on these reinforcements is that they have a radius. The radius is 4000mm. This is to make the sound board concave. As explained previously, this is to make the piece stronger. It also works well when an instrument has metal strings and the wood has to fight a lot of tension.
First, we cut the bars. Then we use the template for the radius. We mark each bar. Next we use the blockplane to remove material from the top to create the curvature on one side of the bars. Once we have made all these cuts we sand the piece to get them ready.
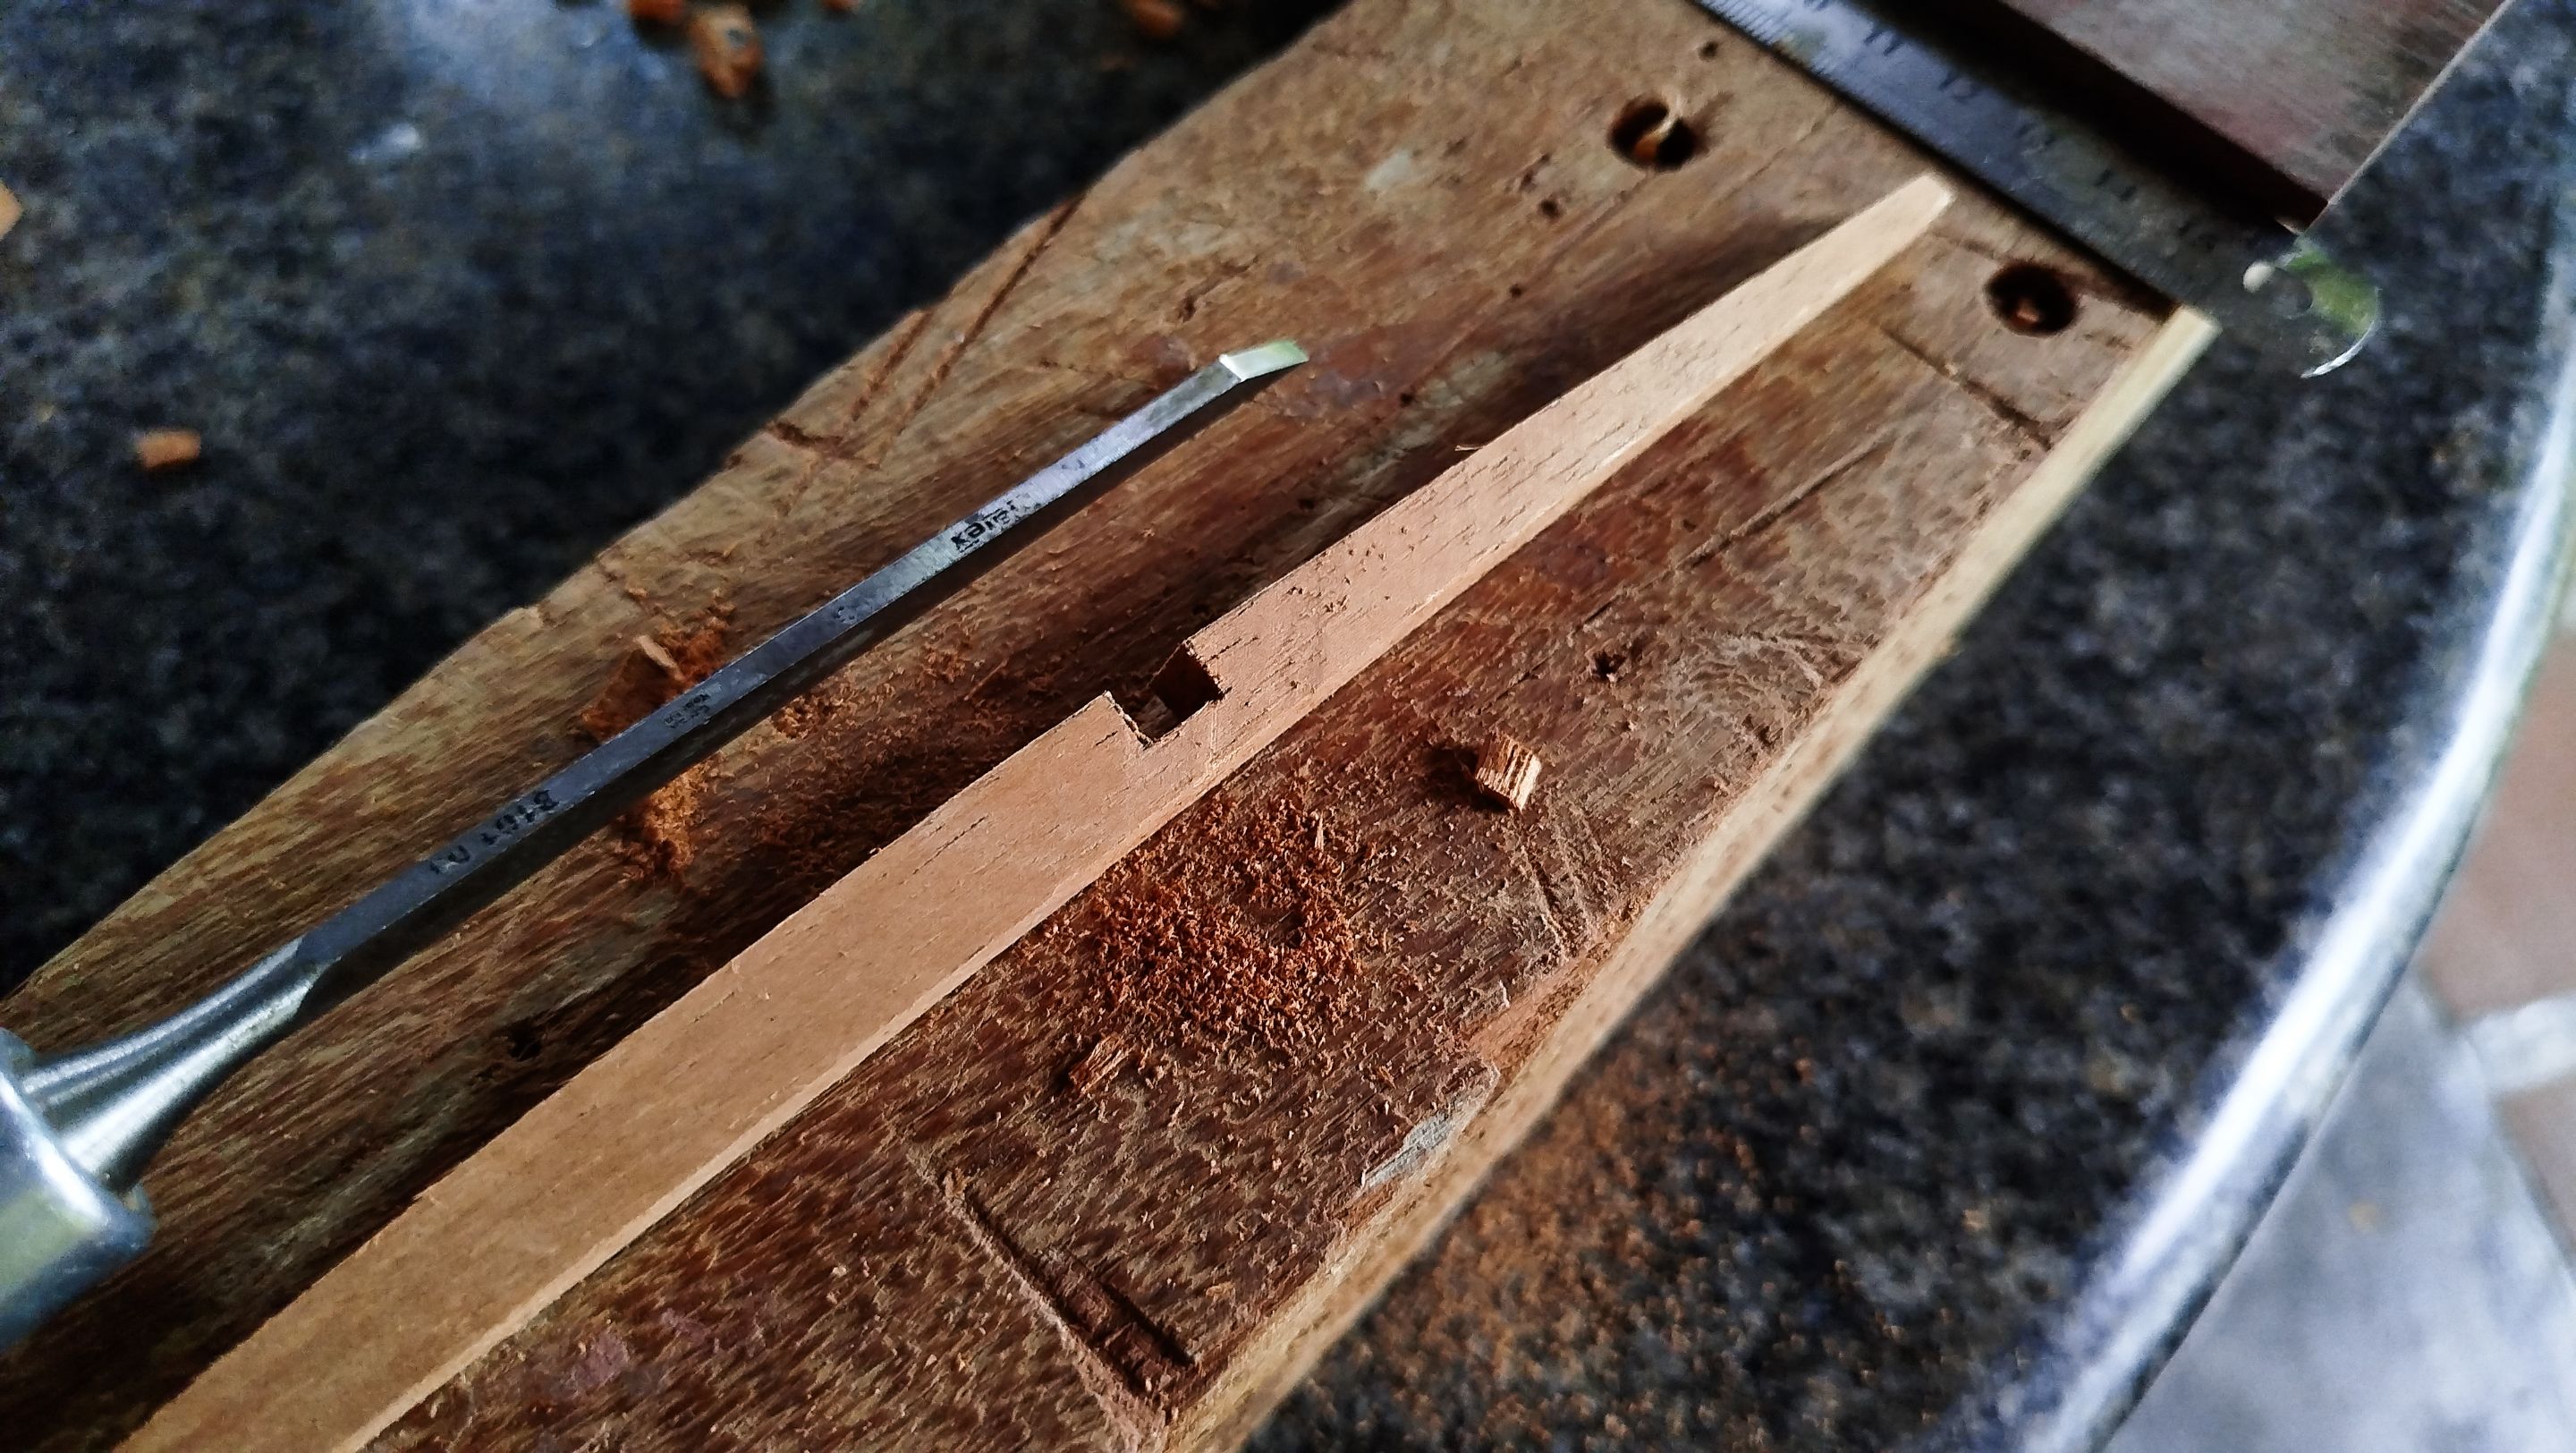
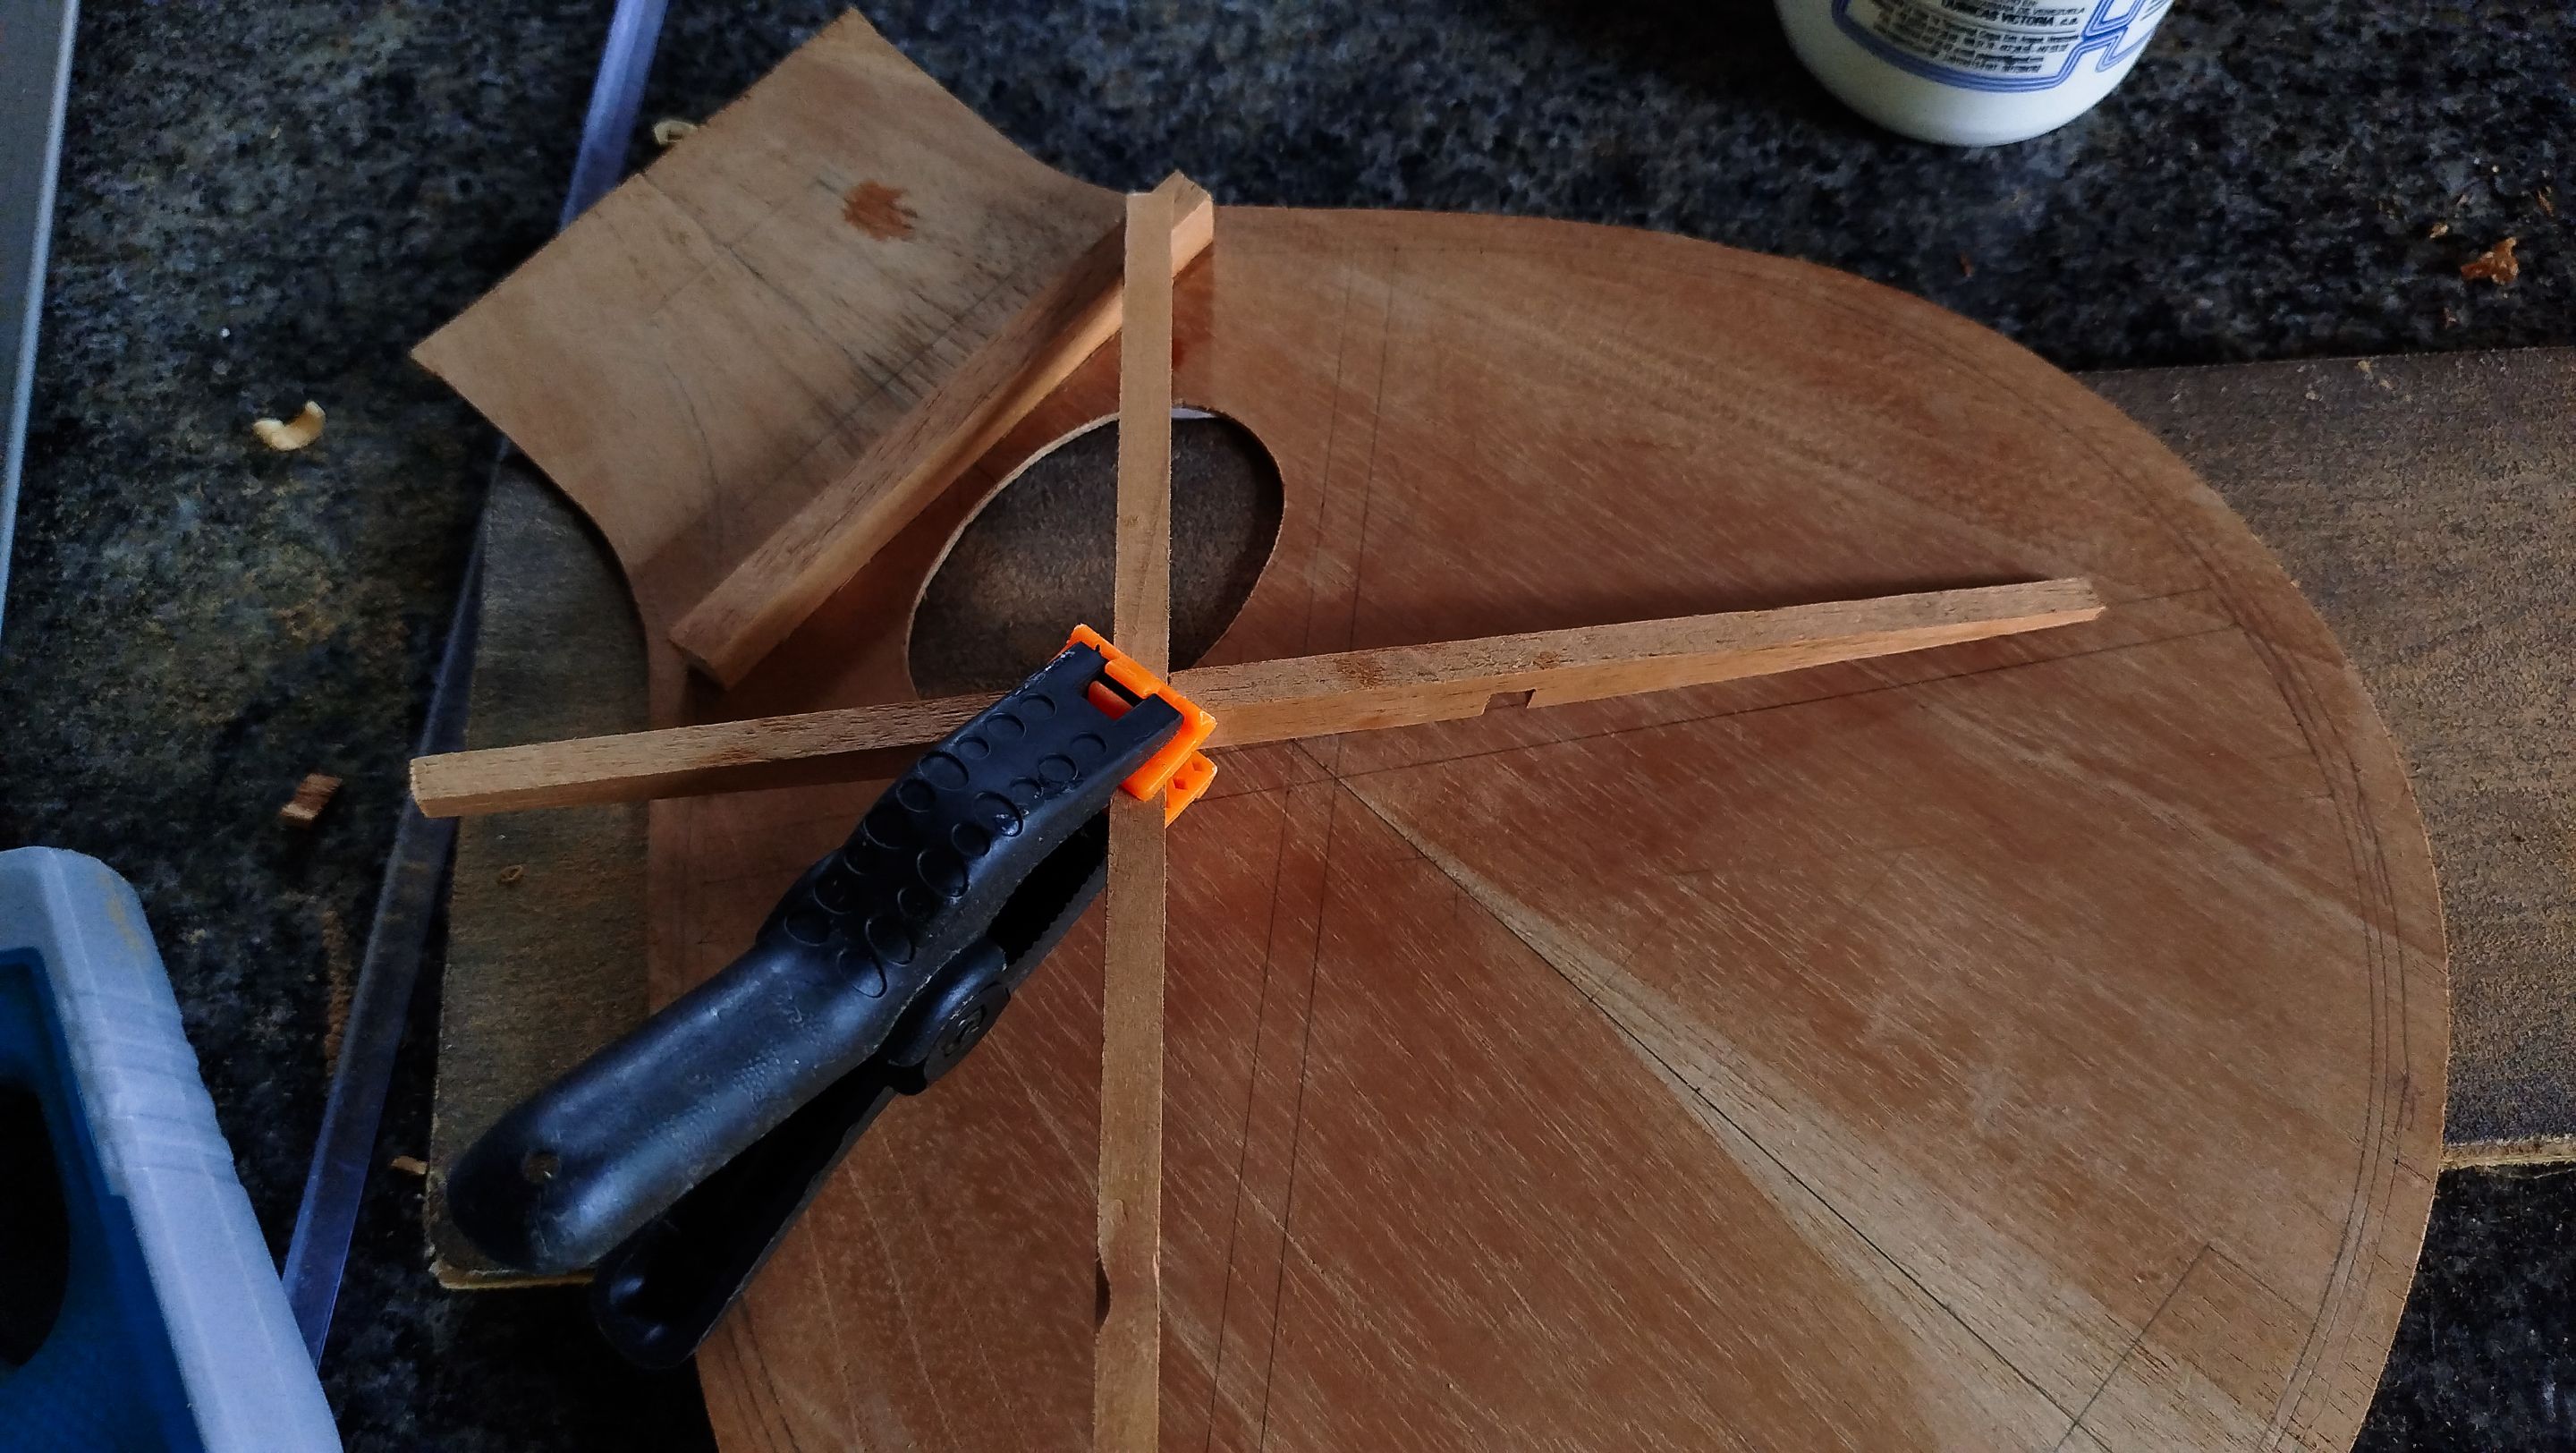
Secondly, we need to fit the bars onto each other. So we make the cuts in the middle of the bars. We need to make sure we make a shallow cut on the top of one bar and another on the reverse of the other bar. Sounds confusing, but the photos illustrate all the procedure. Then we can glue these braces.
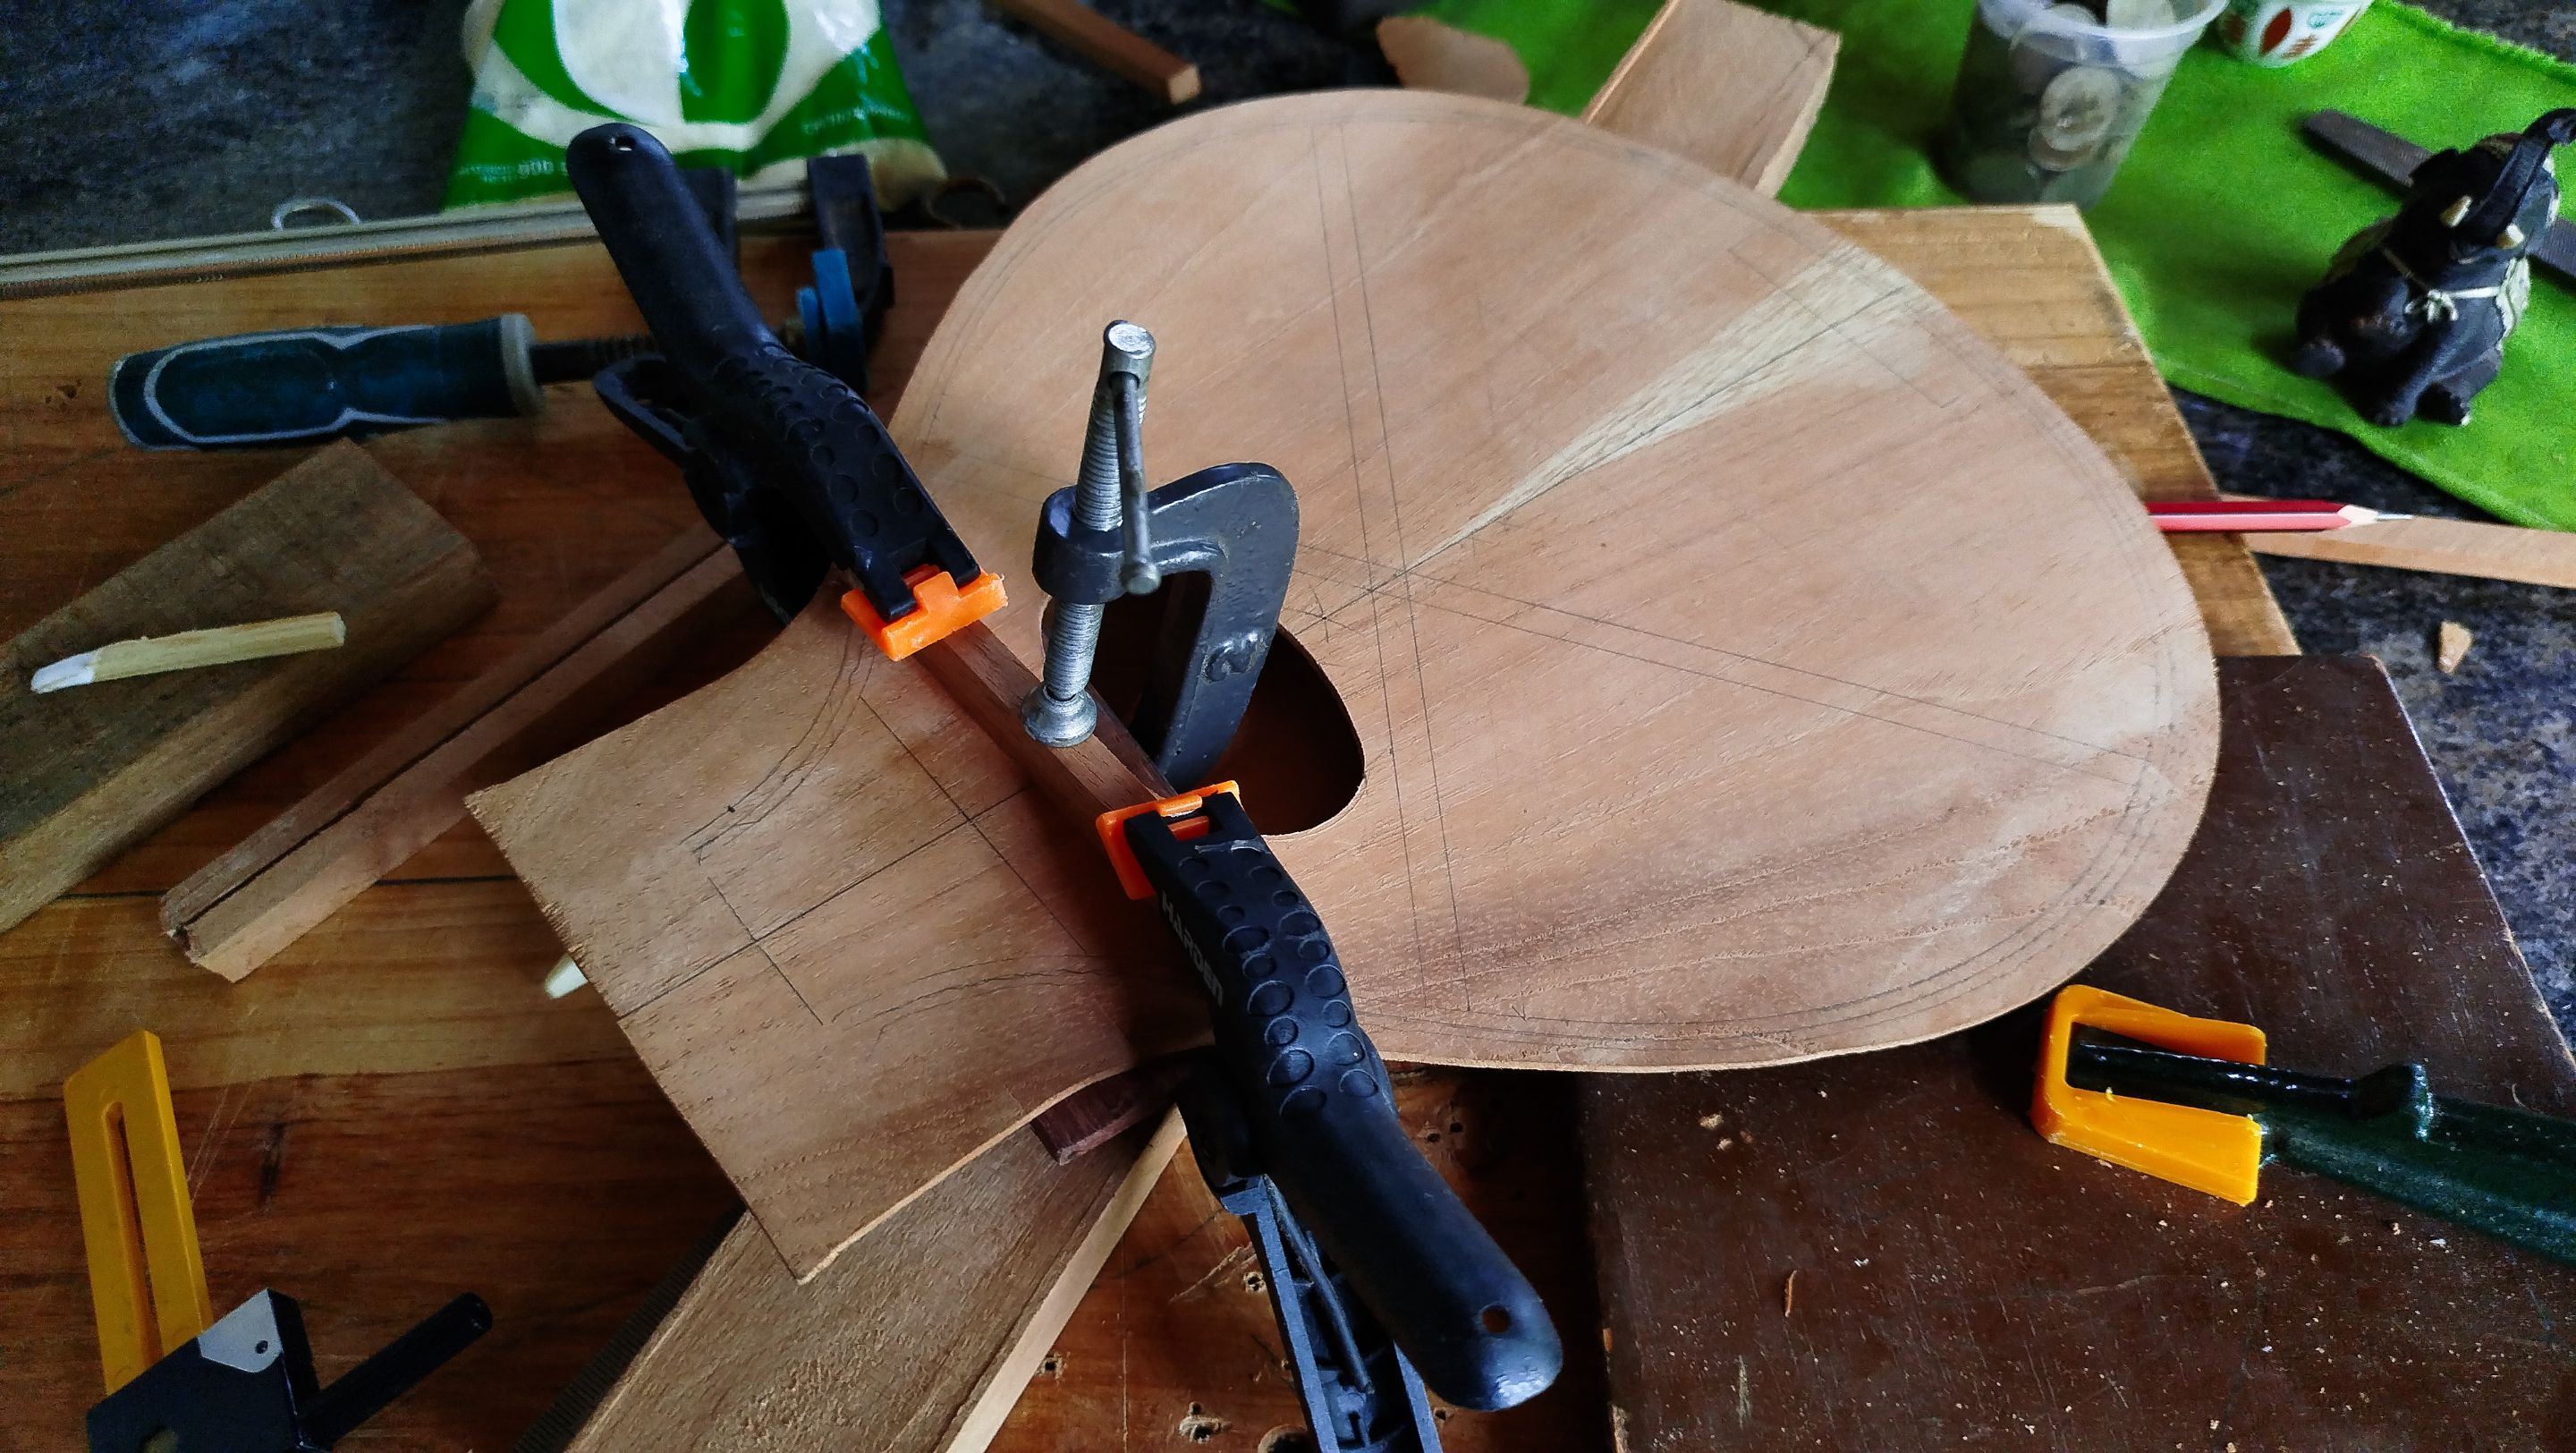
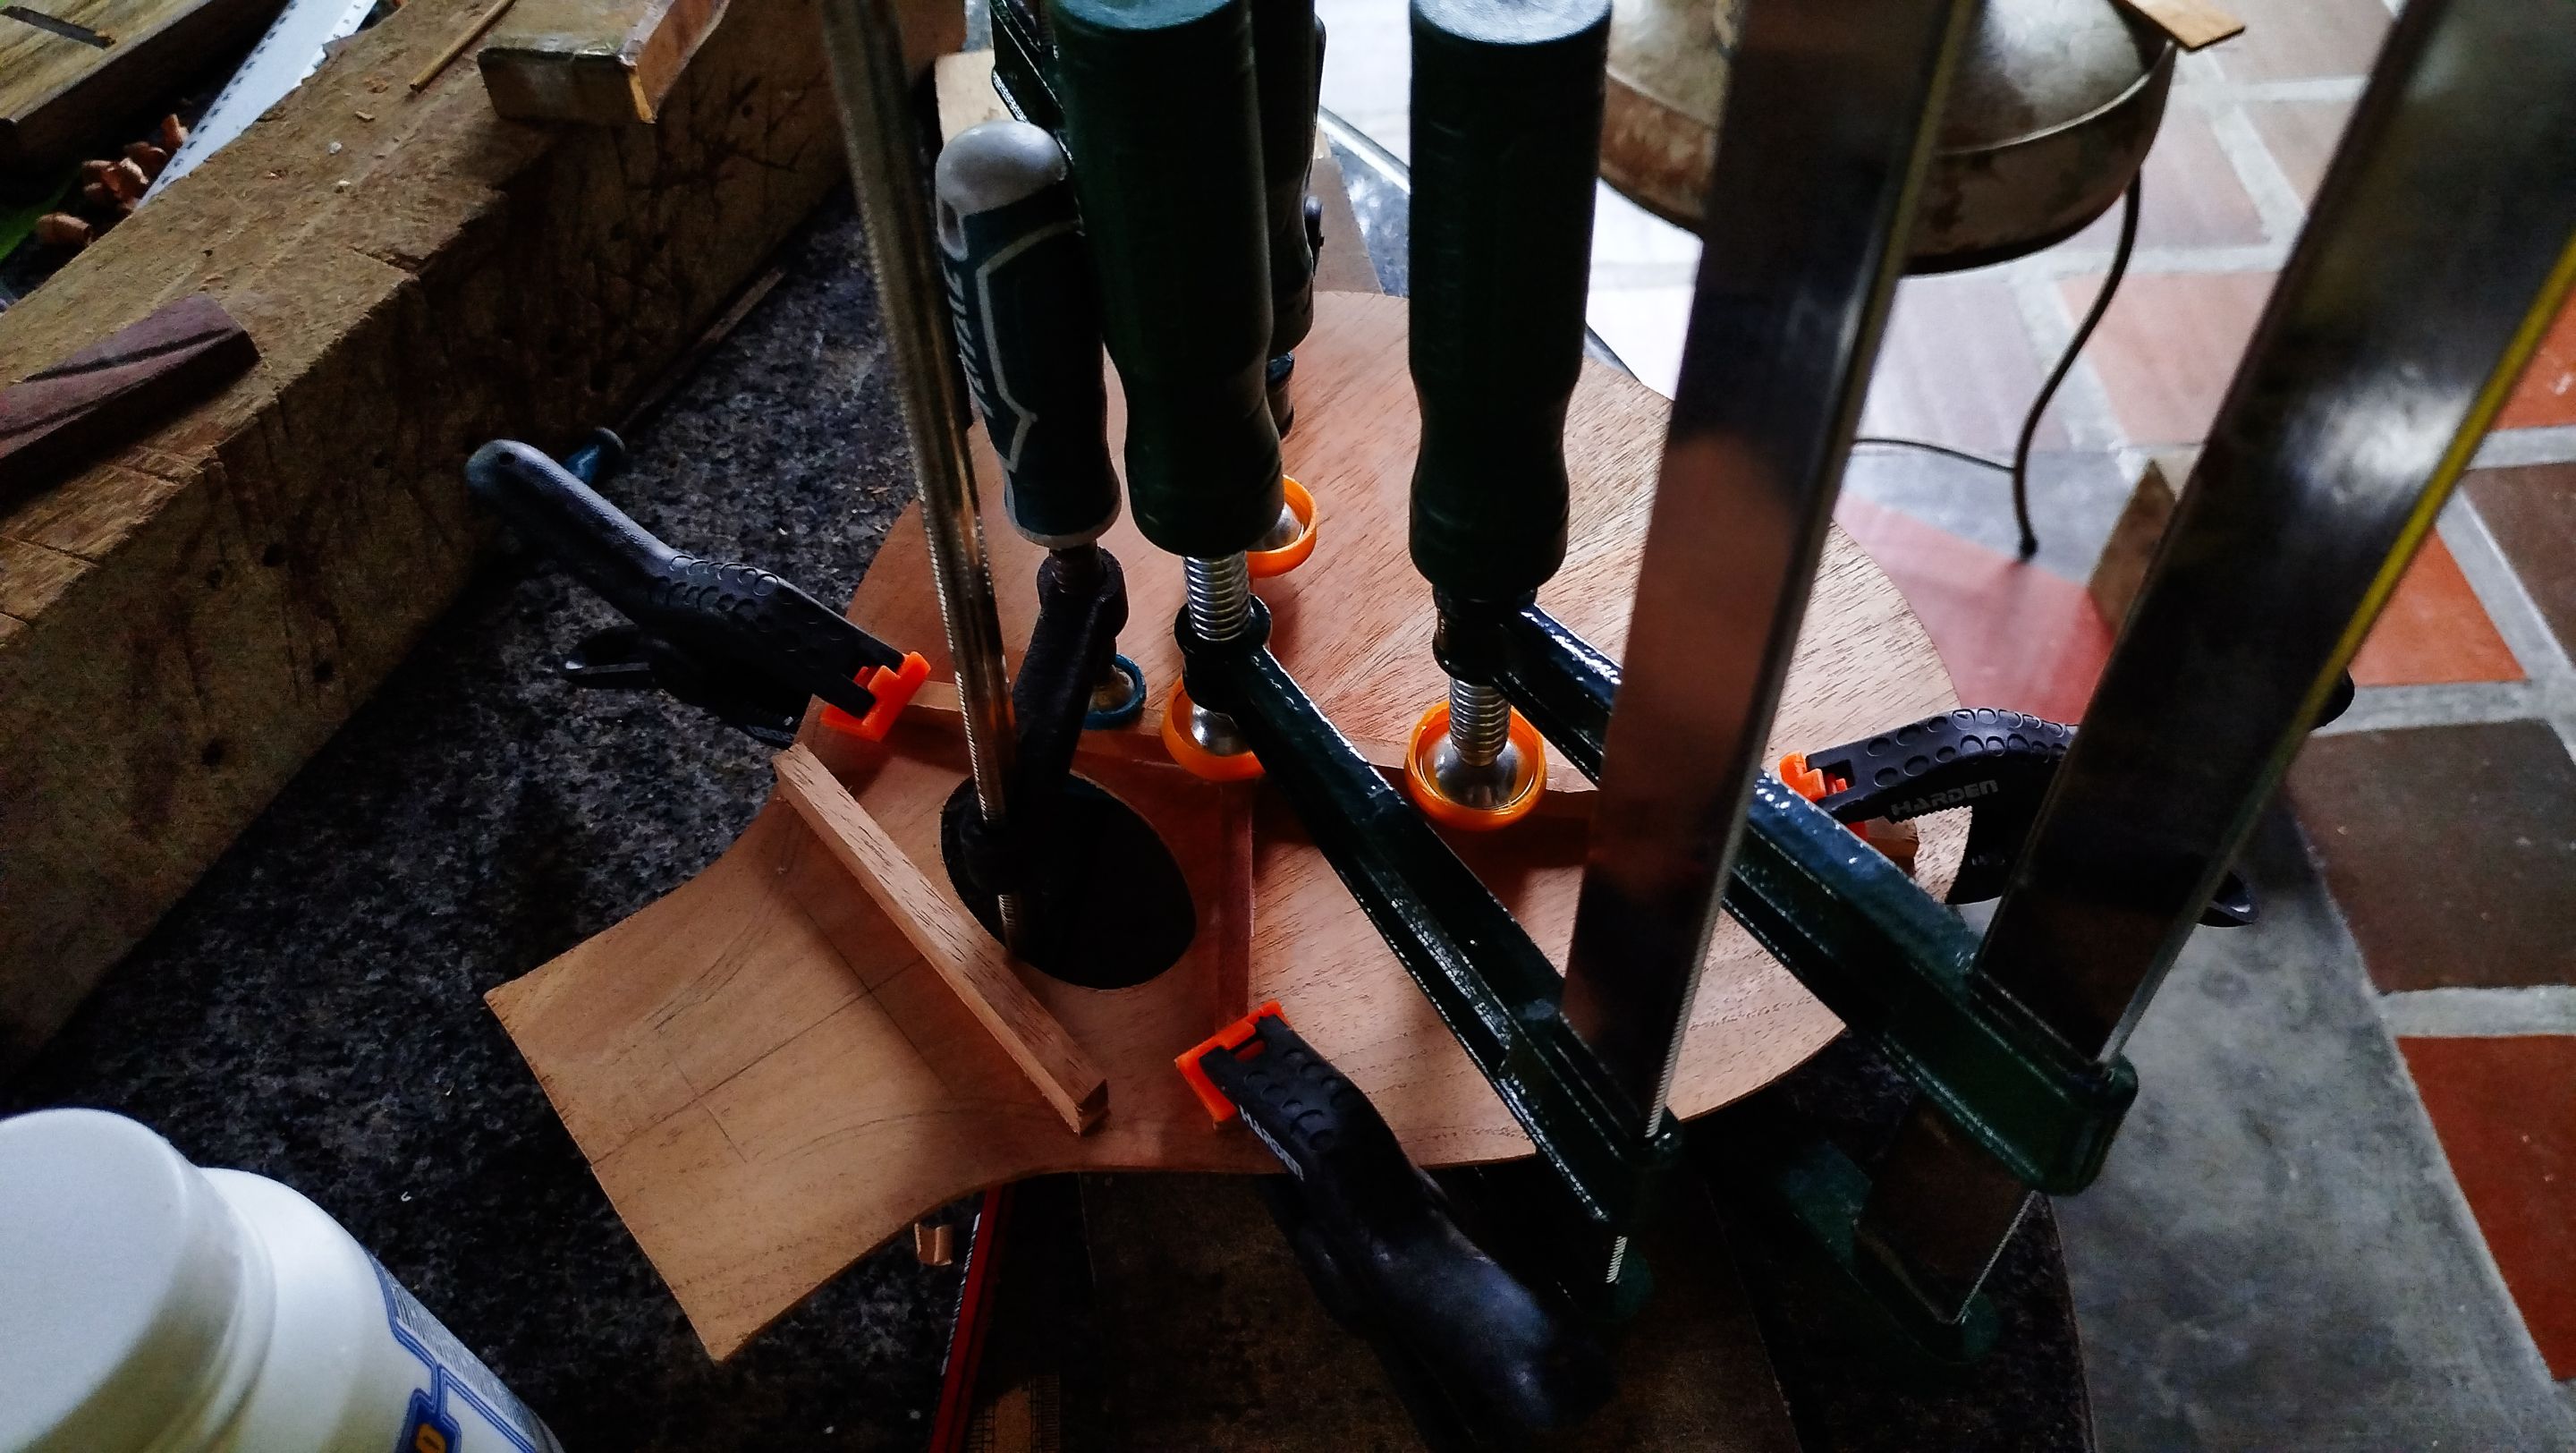
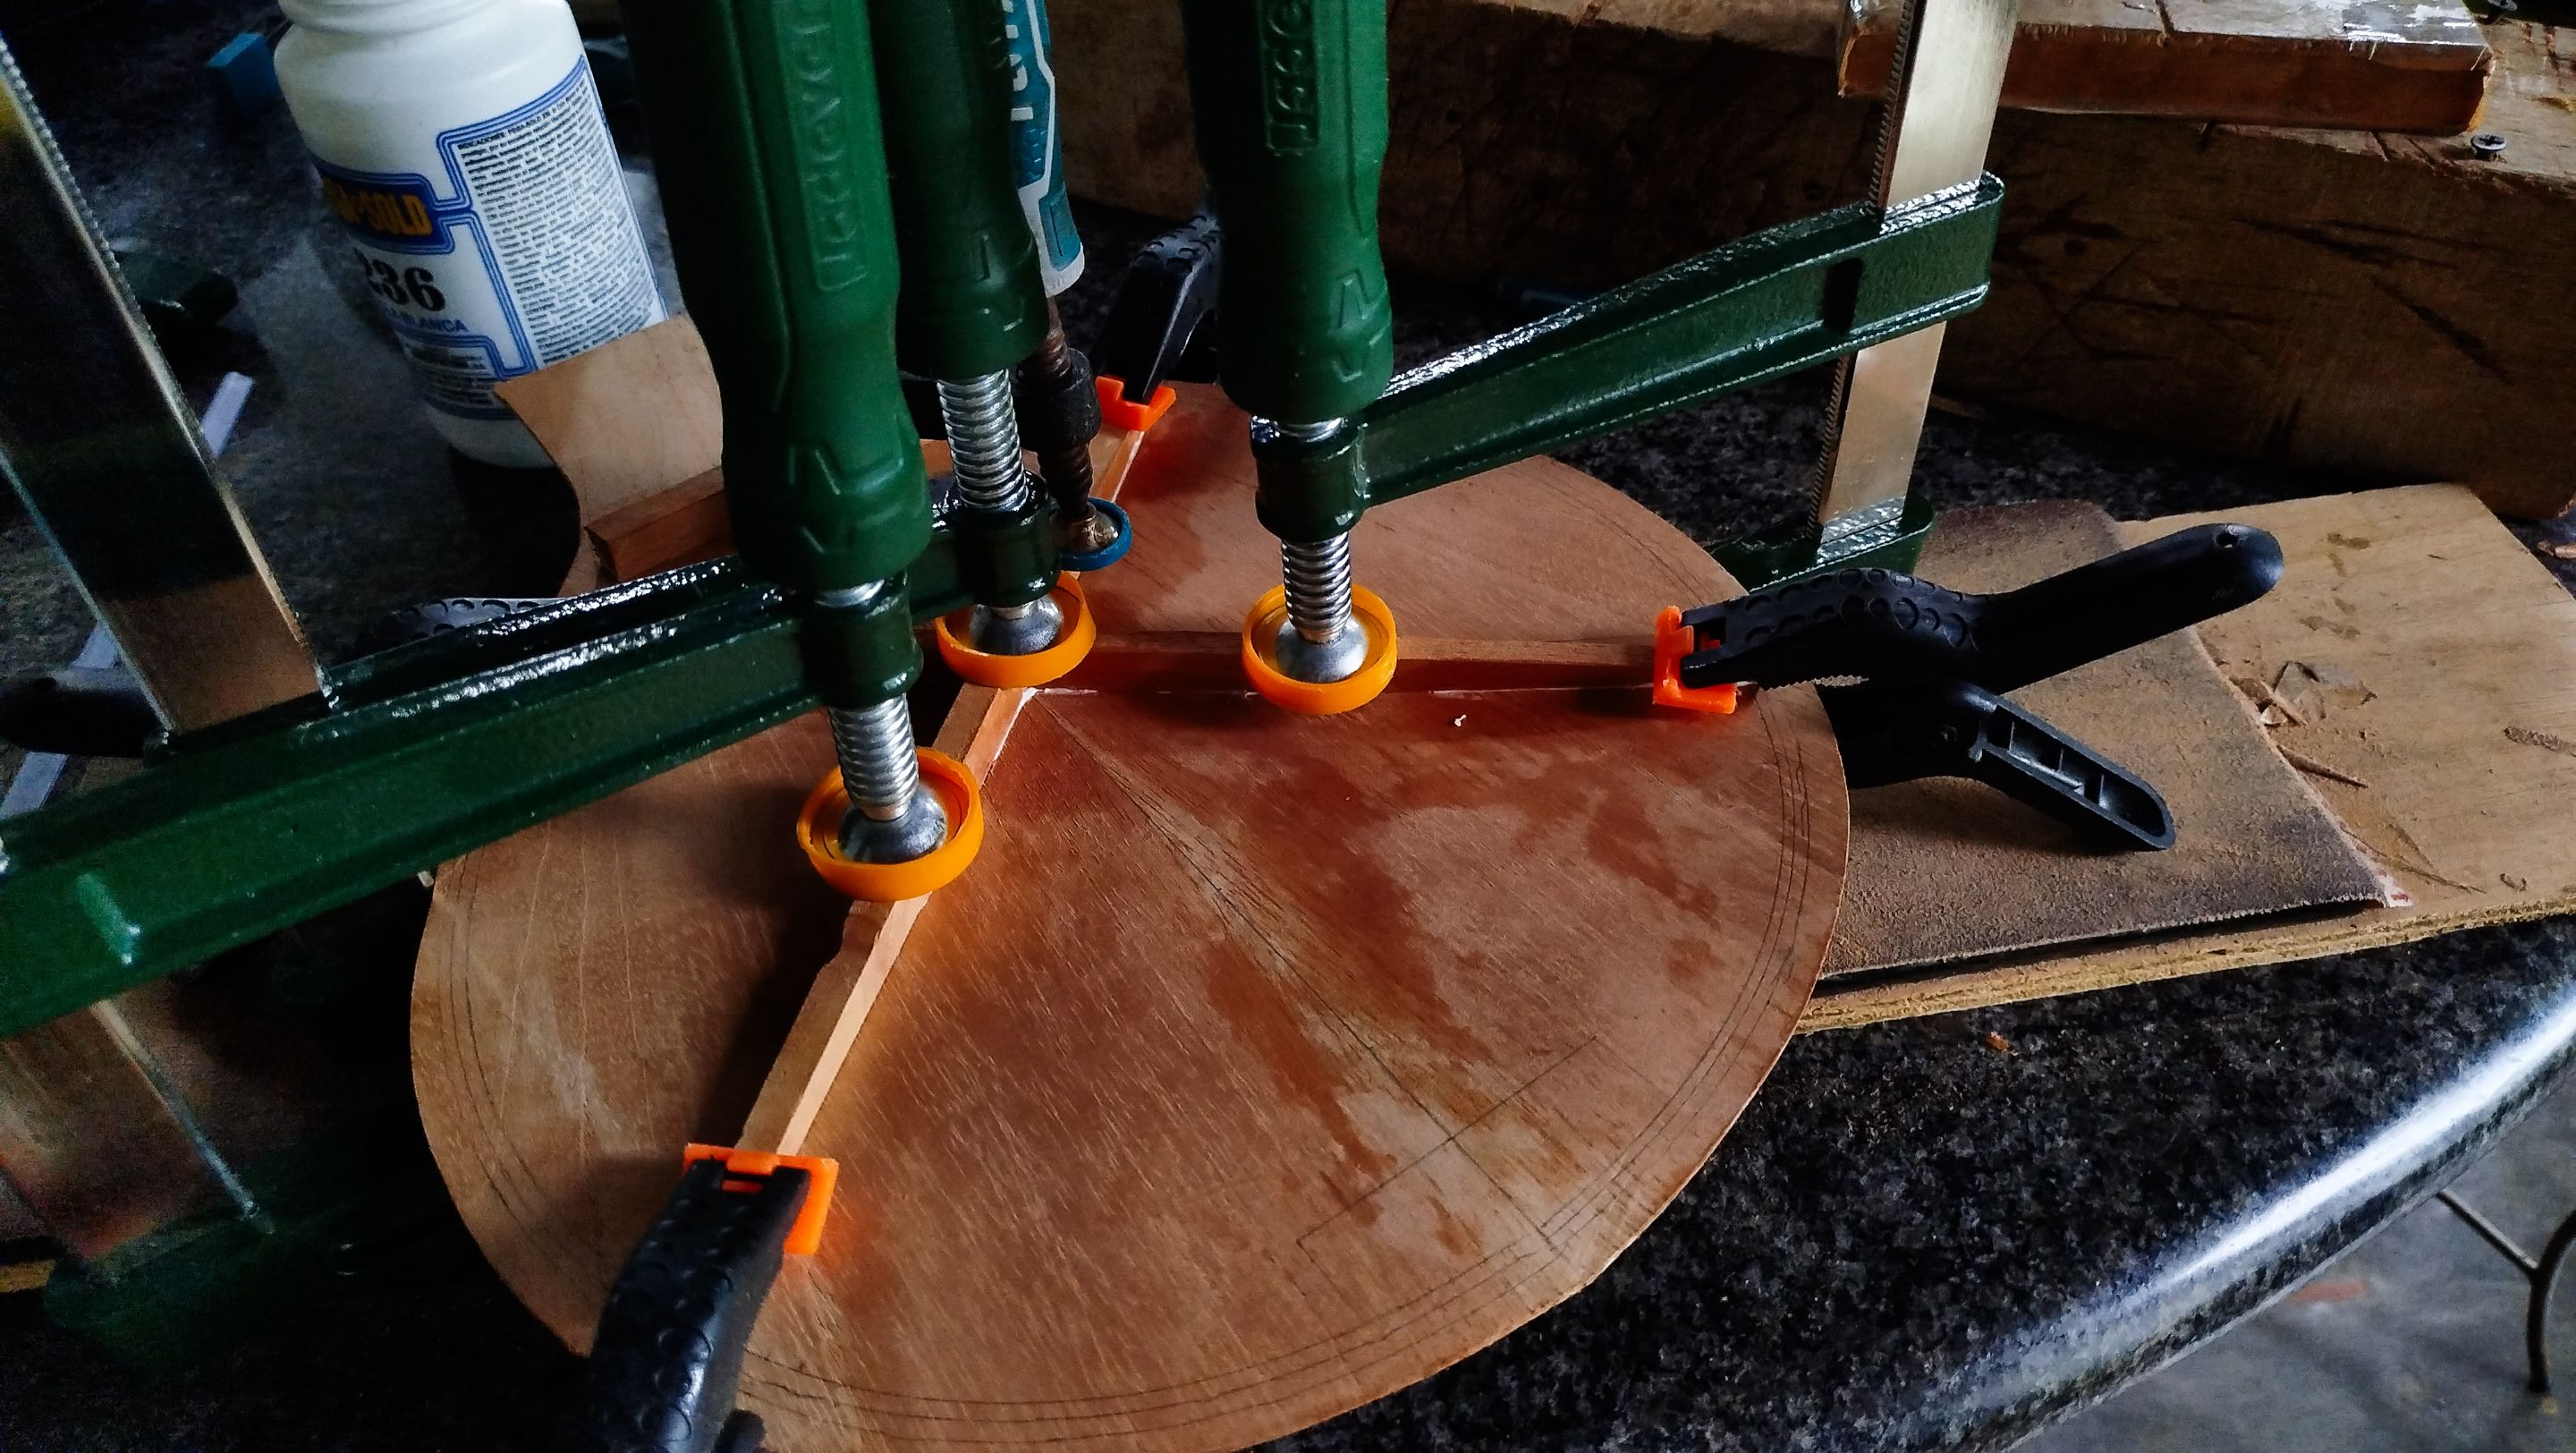
Third, we can glue the X on the reverse of the sound board. We need to use a lot of clamps to coax the wood into the shape. This helps us create the concave curve of the sound board. Then it is just time to let the clamps and glue to do its magic. After the glue has dried we can remove the clamps and take a look at the reinforced sound board.
Keep an eye for the next entries on this build as all the other parts keep getting into shape. Thanks a lot reading. See you then!
-
Photos 📷: Redmi Note 13
-
Thumbnail 🖼️: Canva.
-
Editing 🎬:Adobe Photoshop Lightroom.

Follow me on Instagram for enquires and commission.
If you'd like to help the workshop grow, you can make a donation here.
You can find me at discord as bertrayo#1763