
Hello and welcome everyone to my blog, where creating is my life: cutting and sewing. I'm proud to be here and share with you my passion for fashion and design. Today I want to introduce you to a new women's shirt design that I've been lovingly working on. This design is both simple and tender, perfect for those looking for an elegant style without complications. I've incorporated a small detail near the collar that gives it a distinctive and charming touch. This design is versatile, meaning it can be worn on a variety of occasions. Whether you're planning to go out with friends, attend a work meeting, or enjoy a special event, this shirt will suit your needs.
The choice of fabric is also crucial. I opted for a microdurable fabric, known for its softness and comfort. This fabric is not only pleasant to the touch but also allows for good breathability, making it ideal for any season. Comfort is key, especially on those days when we want to look good without sacrificing freedom of movement. I also love that this style can be easily combined with different garments. You can wear it with jeans for a casual look, or with an elegant skirt for a more formal occasion. You can also add accessories like a statement necklace or earrings to give it a personal touch.

(Materiales:)||(Materials:)
- Tela blanca y negra
- Tijeras
- Hilo blanco y negro
- Patrón de camisa talla M
- Alfileres
- Máquina de coser
- Black and white fabric
- Scissors
- Black and white thread
- Shirt pattern, size M
- Pins
- Sewing machine
(Procedimiento:)||(Procedure:)


-
Paso nro 1
Paso nro 1
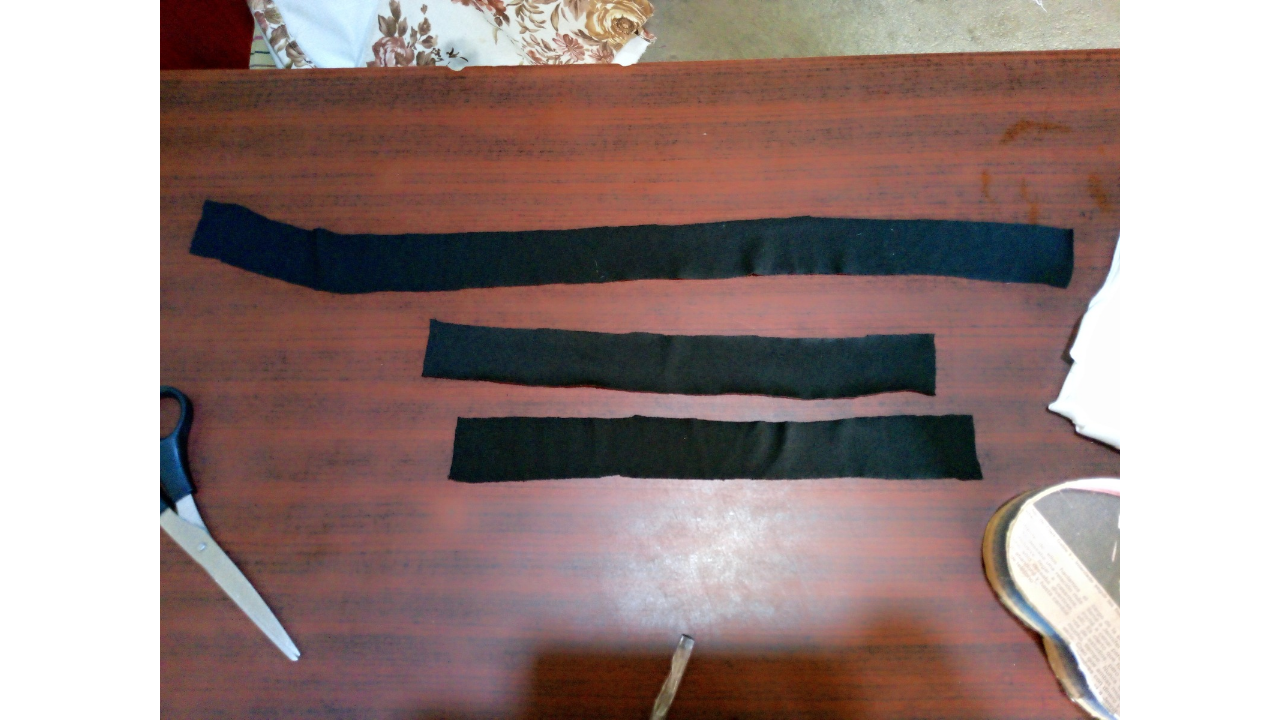
First, I take the size M shirt pattern and place it on the white fabric. I carefully trace the outline of the pattern with a pencil. Next, I cut out the front and back pieces for the sleeves. I also trace the pattern, making sure they are all the same size as the pattern. Now, I take the collar pattern and place it on the black fabric. I trace the outline again and cut a piece for the collar. Next, I use the cuff pattern and cut two pieces out of black fabric for the sleeve cuffs. Finally, I cut an additional piece of black fabric that I will use to make the small bow that will go on the collar of the shirt.


-
Paso nro 2
Paso nro 2
First, I used the overlock machine to sew the edges and hems of the shirt pieces. This helps make the seam cleaner and stronger. Then, I switched to the straight-edge sewing machine to join the different parts of the shirt. I started by sewing the shoulders, joining the front and back pieces. Next, I sewed the sides of the shirt, joining the sides of the front and back pieces.


-
Paso nro 3
Paso nro 3
Now I'm going to sew the sleeves. Take both sleeve pieces. Use the overlock machine to sew the edges and edges of the sleeves, making sure the seam is clean and sturdy. Once I have the sleeves prepared with the overlock, I place them on the shirt and pin them in place. This will help keep them properly aligned and prevent them from shifting while sewing. Next, I move on to the straight-stitch sewing machine. I carefully sew the sleeve to the shoulder opening, making sure it is perfectly joined without any wrinkles or creases. I repeat the same process with the second sleeve.


-
Paso nro 4
Paso nro 4
For the cuffs, I took the black fabric pieces I had previously cut and sewed them to the ends of the sleeves, using first the overlock machine and then the straight machine to ensure a nice finish. For the collar, I placed the black fabric piece over the neck opening of the shirt and sewed it carefully, making sure it was perfectly aligned and without wrinkles. I also added the bow detail to the front of the collar. Finally, I proceeded to sew the hem of the shirt, using the straight machine to get a clean and durable finish.
(Resultado final:)||(Bottom line:)
And this is how the shirt turned out. Here is a more visualized photo. I thank you for following me. Without a doubt, this shirt is too charming. I hope to have the opportunity to share another sewing project with you, my friends.


Las fotos presentadas en este blog son de mi autoría. Las imágenes han sido editadas utilizando Canva. Las fotografías fueron tomadas con mi celular Infinix hot 10. El contenido ha sido traducido con el traductor de Google.
The photos presented in this blog are my responsibility. The images have been edited using Canva. The photographs were taken with my Infinix hot 10 cell phone. The content has been translated with Google translator.