
Hello everyone in this beautiful community. I hope you're all doing well. Today I want to share with you a creative project I've been working on: creating my own custom patches. The idea came about because I had a jacket that, although I really like, looked a bit plain and needed a special touch to stand out. While I was thinking about what kind of design to make for it, I remembered I had a microdurable fabric with a beautiful Mickey Mouse print. This fabric is so fun and cheerful, perfect for bringing my jacket to life. Looking at the different characters from the animated series printed on the fabric, I decided that the protagonists would be Mickey and Minnie, since they are iconic and always bring a smile.
However, when working with microdurano, I realized that, although it's a soft and pleasant fabric to the touch, it could be difficult to sew without it wrinkling or warping. To avoid this problem, I came up with a practical solution using a pelon, a material that gives fabrics body and strength. This way, I could sew the patches onto a harder base, allowing me to work more easily and achieving a more professional finish.
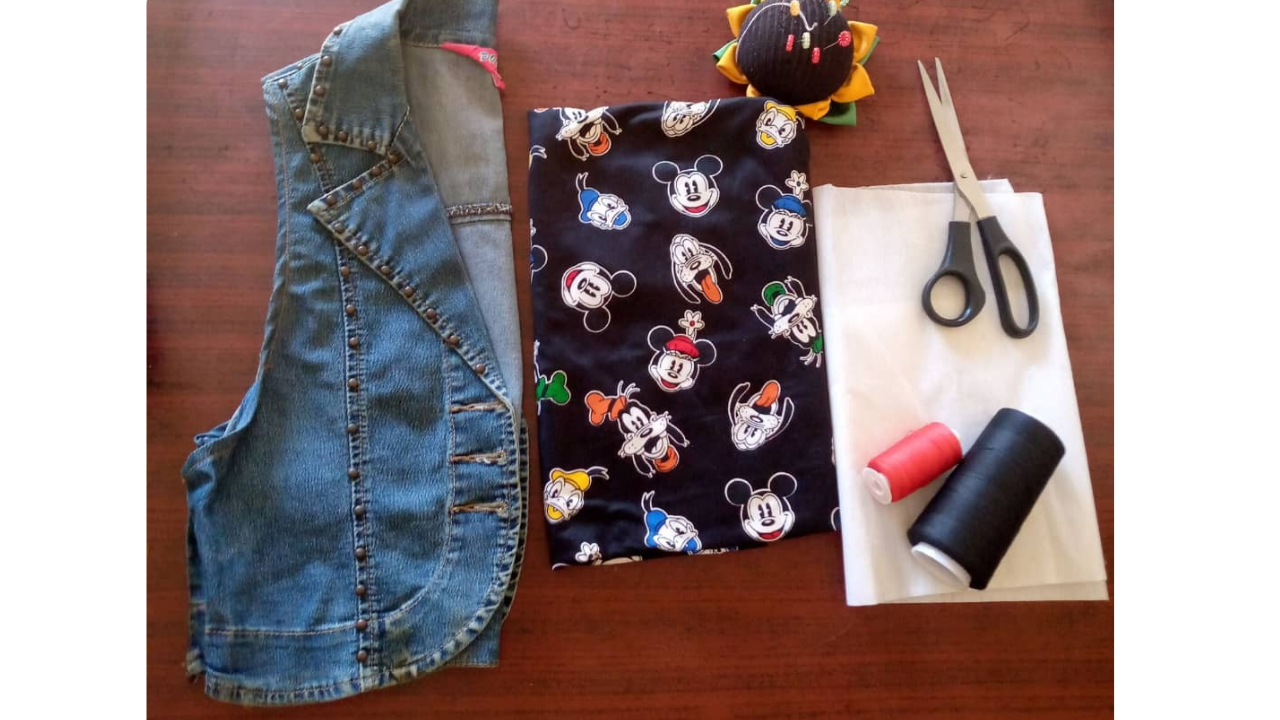
(Materiales:)||(Materials:)
- Tela microdurasno de estampado de Mikie mouse (o el de tu preferencia)
- Hilo rojo y negro
- Tijeras
- Alfileres
- Pelón
- Un pedazo de tela más dura
- Chaqueta que será personalizada
- Microdurable fabric with a Mickey Mouse print (or your choice)
- Red and black thread
- Scissors
- Pins
- Hairpin
- A piece of stiffer fabric
- Jacket to be personalized
(Procedimiento:)||(Procedure:)


-
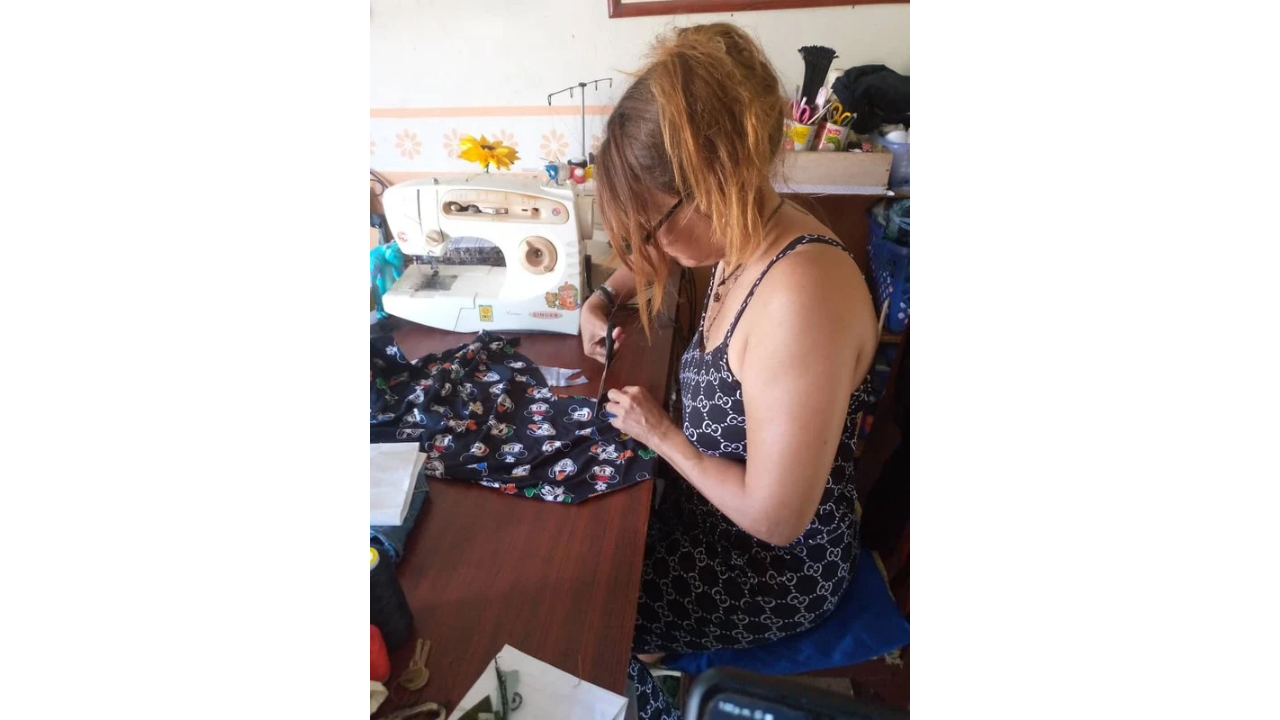
Paso nro 1
Paso nro 1
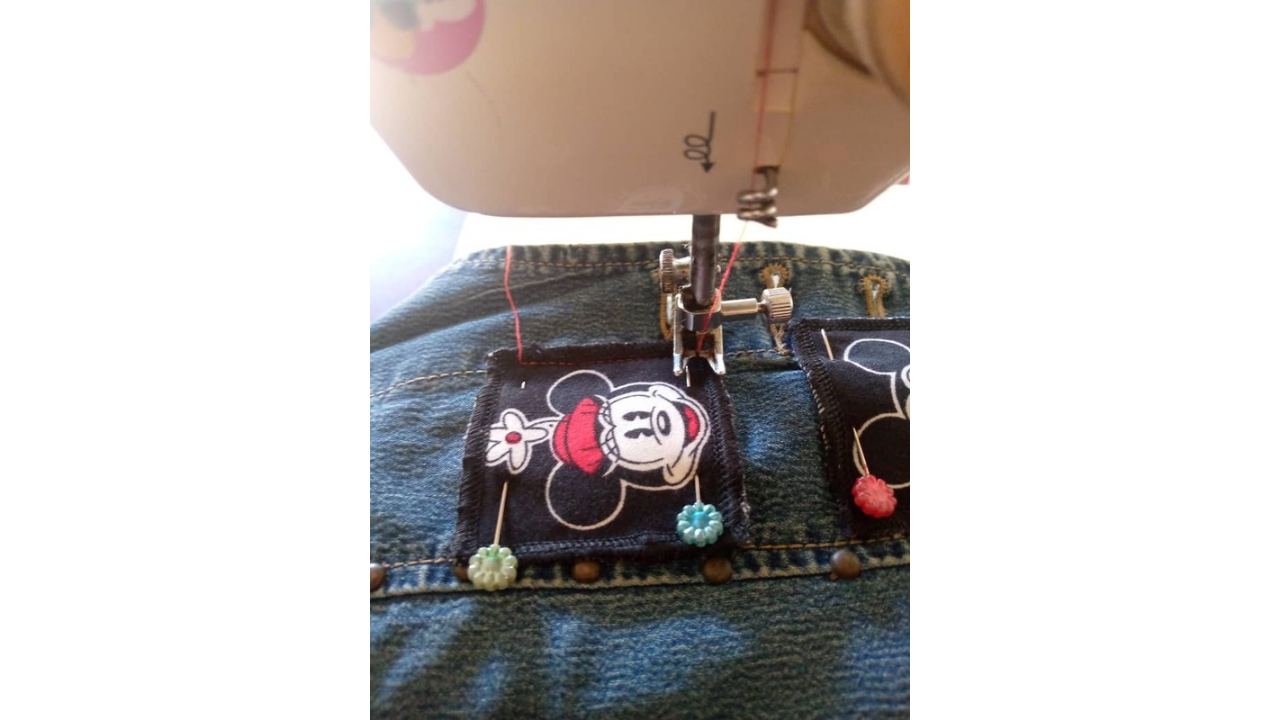
I started by cutting out the pieces of fabric I would use for the patches. Making sure each shape was precise, I also cut the felt to the same size as the fabric pieces. This is critical so that both materials align perfectly when we sew them together. To keep everything in place while I worked, I used a pincushion. Pinning the fabric and felt pieces not only helps keep them in place, but also makes sewing easier, as I can focus on the details without worrying about anything slipping.

-
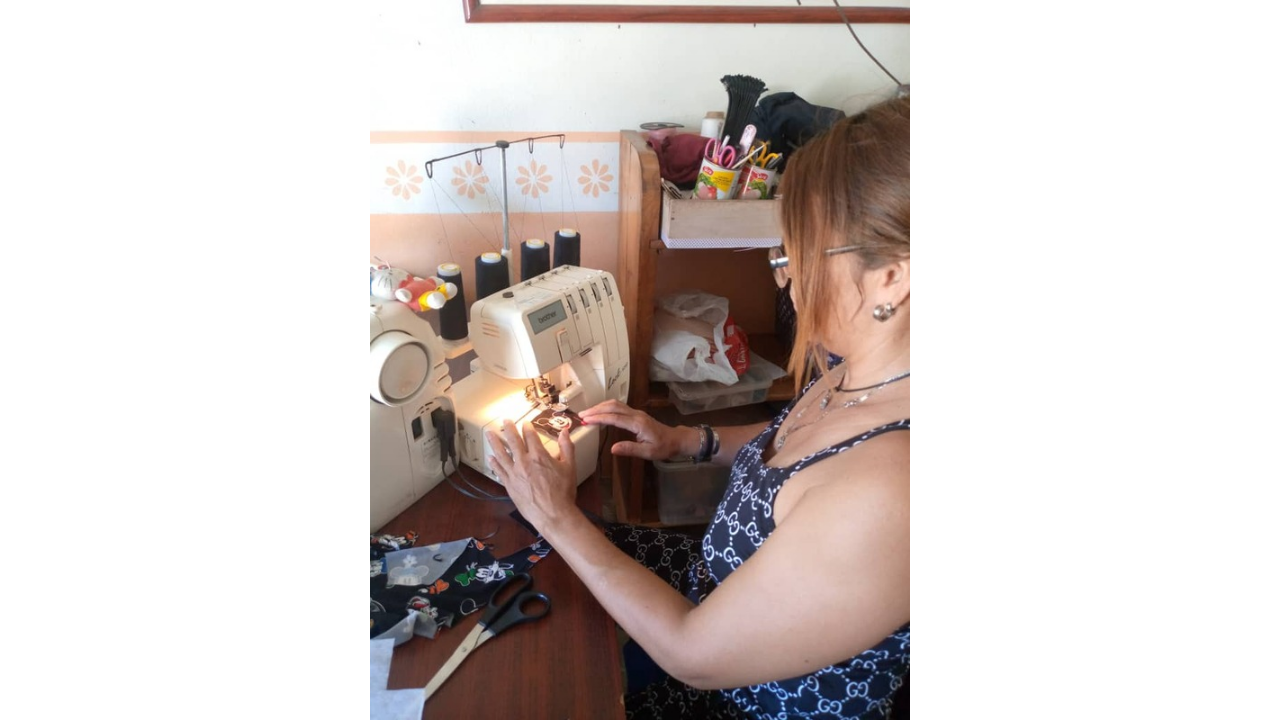
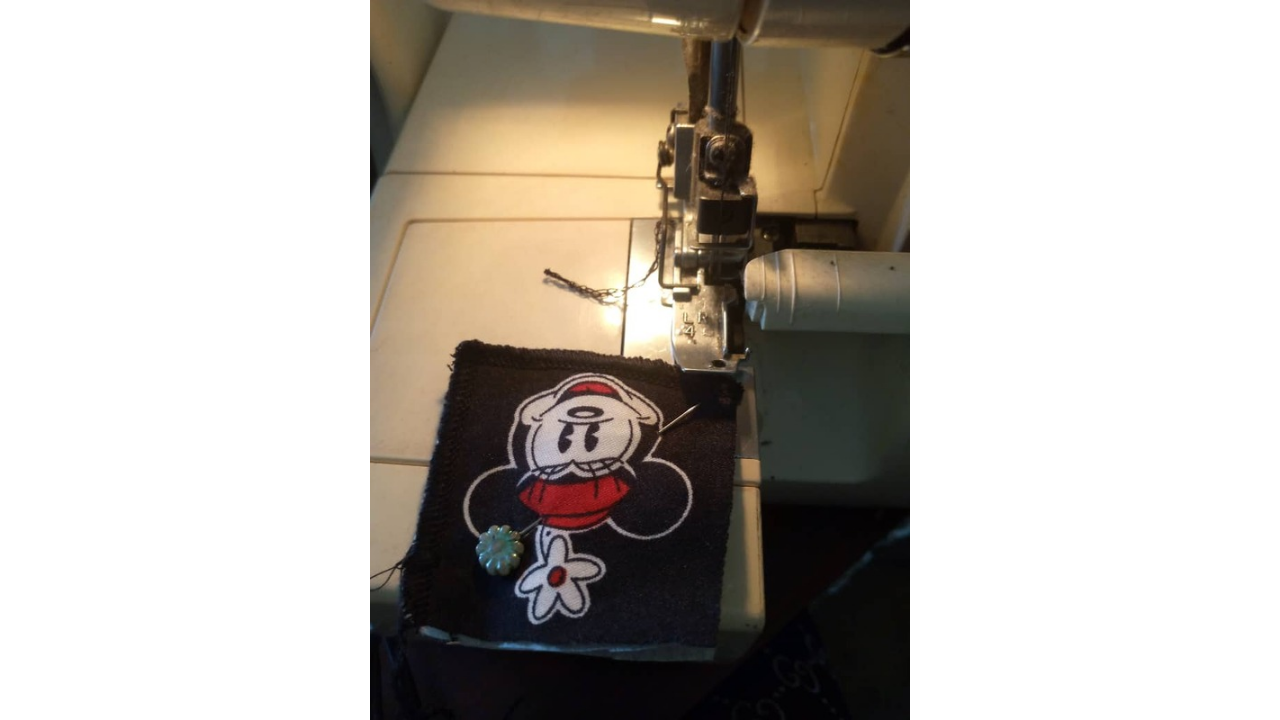
Paso nro 2
Paso nro 2
Once I had everything ready, I proceeded to sew the patches. This process requires patience and attention, especially when working with fabrics that can be a bit slippery. I made sure to sew around the edges of each patch, paying attention to the details.

-
Paso nro 3
Paso nro 3
After finishing the sewing, I was excited to see how the patches would look on the jacket. I decided to place them in strategic locations where they would really stand out and give the garment a new look.
(Resultado final:)||(Bottom line:)
After seeing how pretty the patches look on my jacket, it makes me think about making more and decorating my clothes with more patches. They would also look good on bags and hats. I hope you like this idea for creating your own custom patches.


Las fotos presentadas en este blog son de mi autoría. Las imágenes han sido editadas utilizando Canva. Las fotografías fueron tomadas con mi celular Infinix hot 10. El contenido ha sido traducido con el traductor de Google.
The photos presented in this blog are my responsibility. The images have been edited using Canva. The photographs were taken with my Infinix hot 10 cell phone. The content has been translated with Google translator.