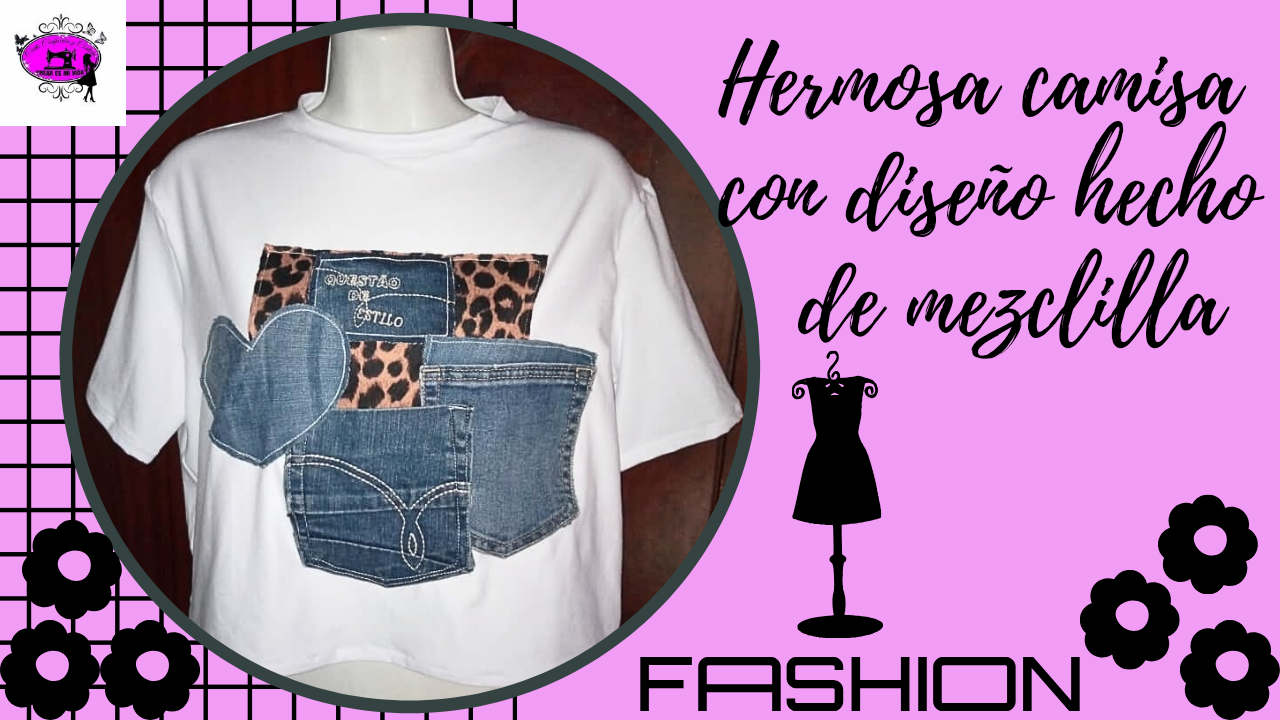
Welcome everyone to a new blog about creating is my life, cutting and sewing 👋
A cordial greeting, I am back here to show you my new acquisition after a long time without being able to share the seams that I do because the machines had been damaged and it was one machine first and then the other machine followed it and it was very overwhelming, I almost threw in the towel I did not want to sew anymore, but after meditating I thought things better, and it took me a while to gather again since the machines made me bankrupt, but finally I was able to buy fabrics again and return to my trade which is what I like most to create and design, and that is what I am going to show you this time, I want you to accompany me in this Blog and I will greatly appreciate your comments.
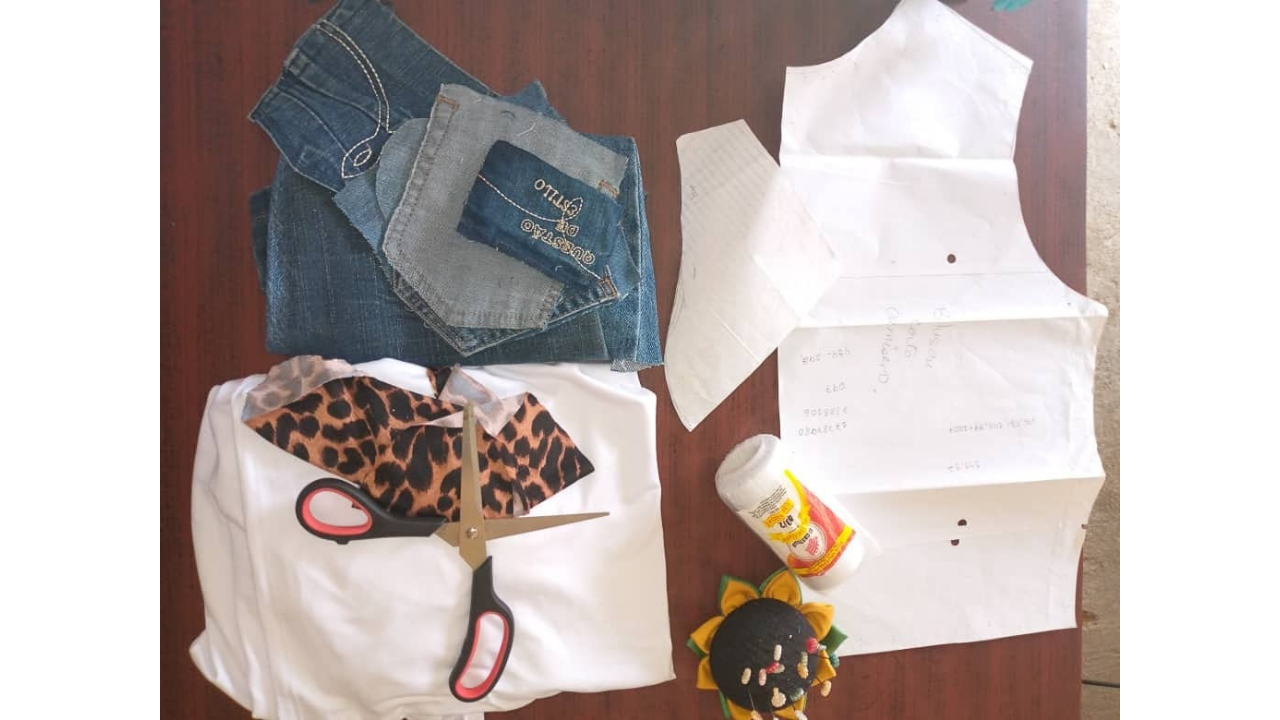
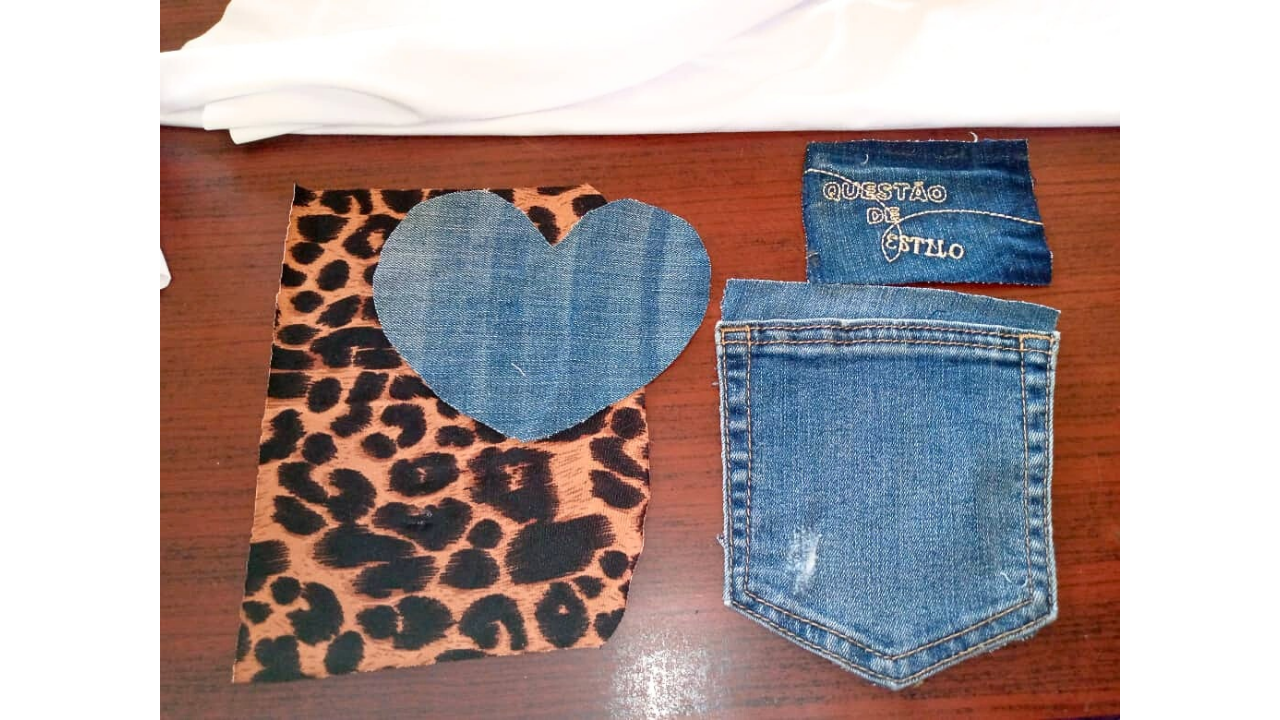
(Materiales:)||(Materials:)
- Tela microdurasno de color blanco
- Tela de mezclilla
- Tela de animalprint
- Patrón de camisa talla M
- Tijeras
- Hilo
- Alfileres
- Lápiz
- White microdurable fabric
- Denim fabric
- Animal print fabric
- Shirt pattern, size M
- Scissors
- Thread
- Pins
- Pencil
- Tape measure
(Procedimiento:)||(Procedure:)
-
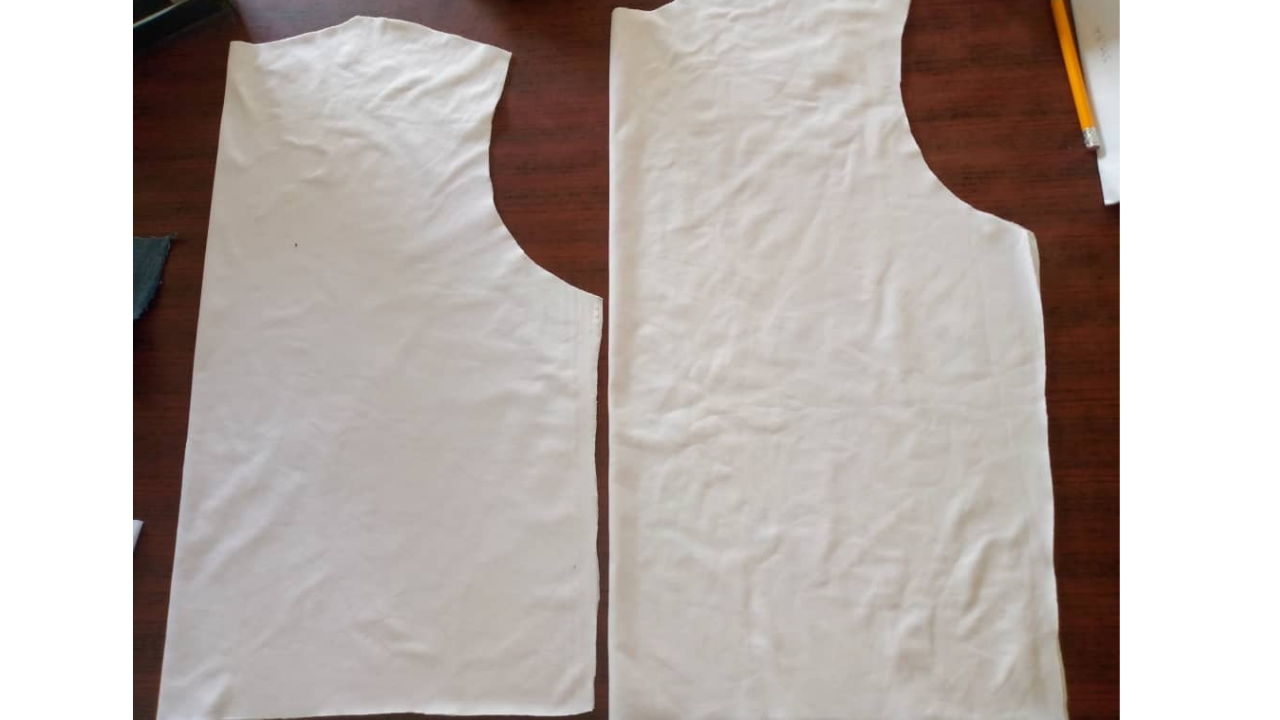
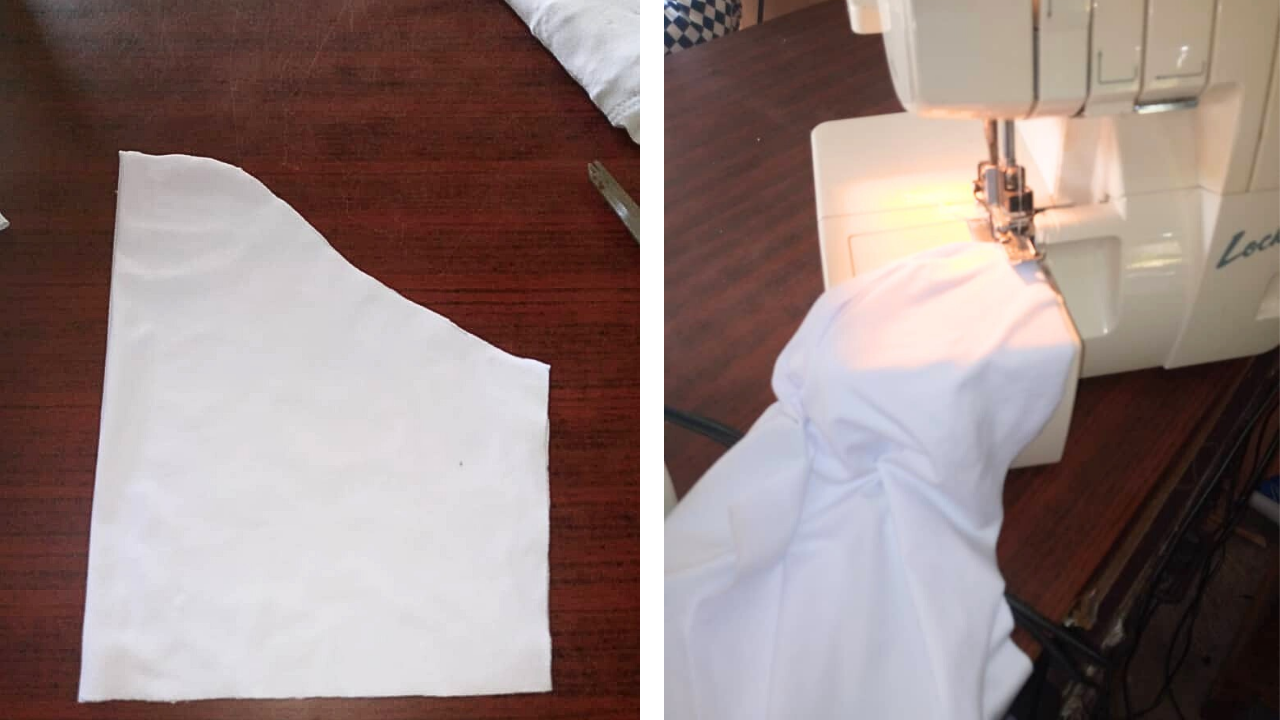
Paso nro 1
Para iniciar el proceso, es fundamental realizar un corte preciso en ambas secciones, la parte delantera y la trasera de la camisa.Este primer paso es esencial, ya que garantiza que tengamos una base adecuada sobre la cual trabajar. Al cortar la parte delantera, debemos asegurarnos de que el ángulo y la longitud sean correctos, mientras que el corte de la parte trasera debe complementarse con el primero para mantener la simetría y funcionalidad del diseño. Una vez que haya completado estos cortes, estare lista para avanzar a la siguiente etapa.
Paso nro 1
To begin the process, it's essential to make a precise cut on both the front and back sections of the shirt. This first step is essential, as it ensures we have a suitable base to work from. When cutting the front, we must ensure the angle and length are correct, while the back cut must complement the first to maintain the symmetry and functionality of the design. Once you've completed these cuts, you'll be ready to move on to the next stage.
-
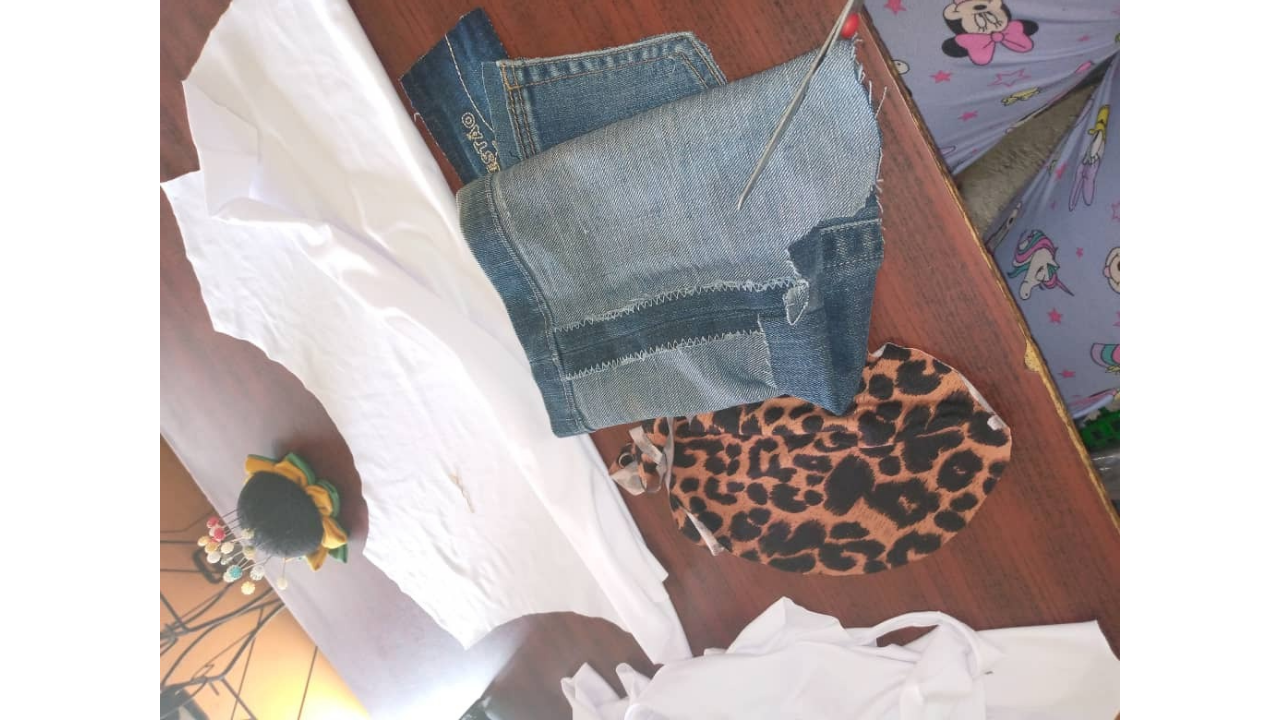
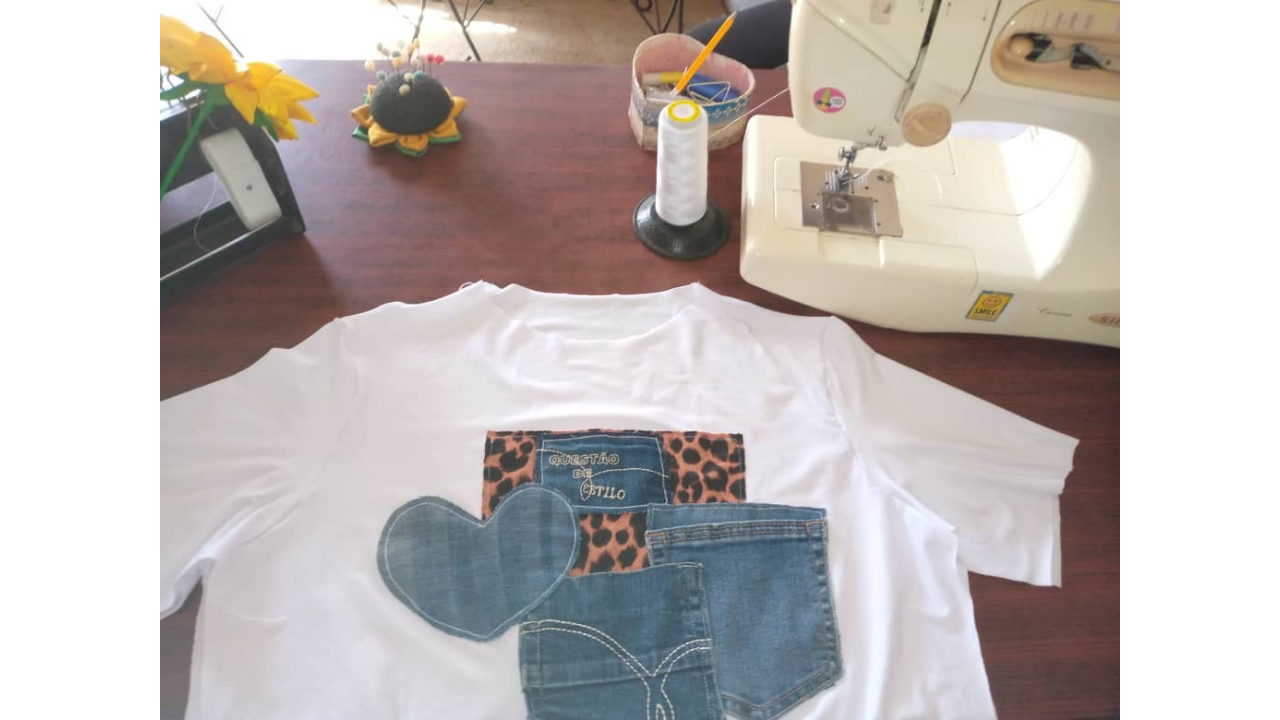
Paso nro 2
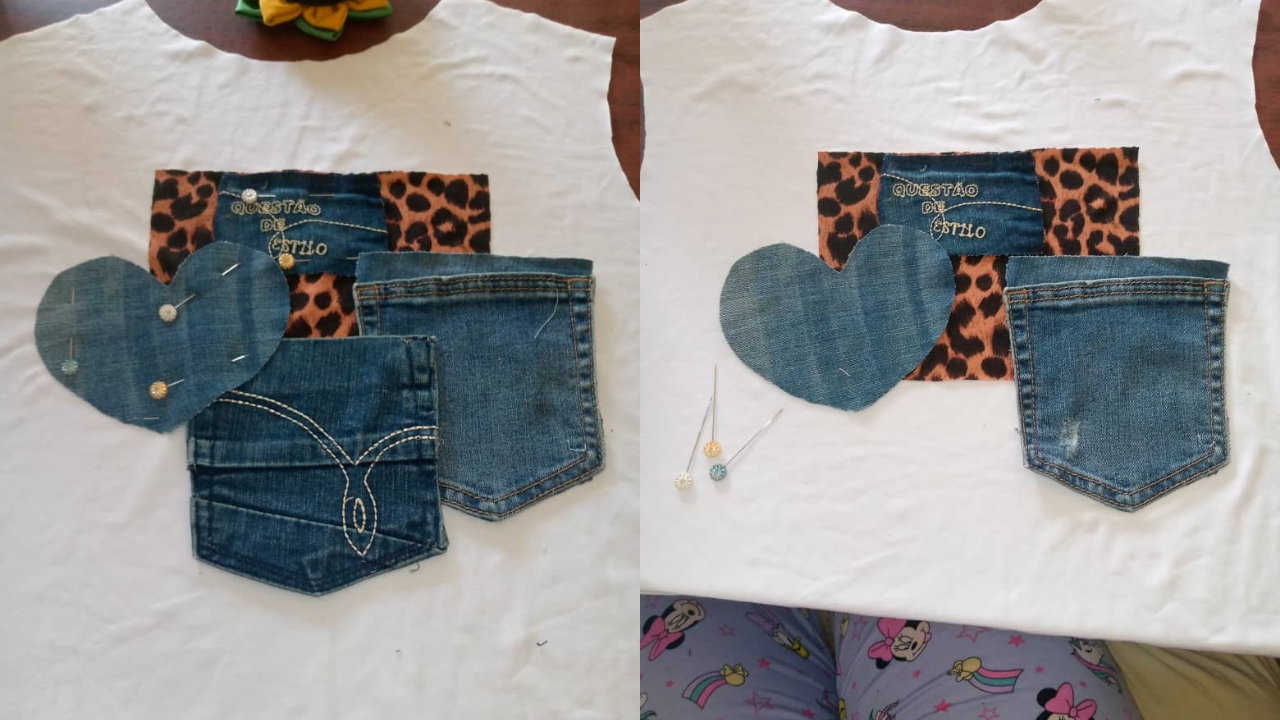
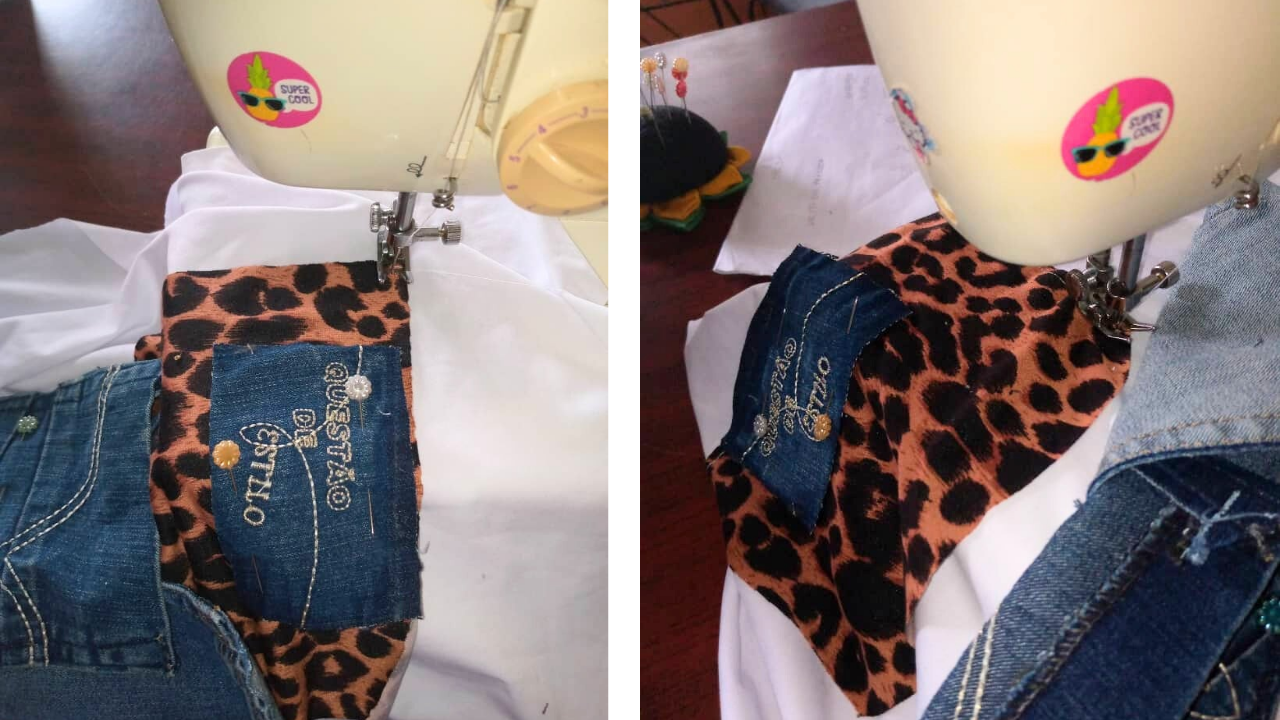
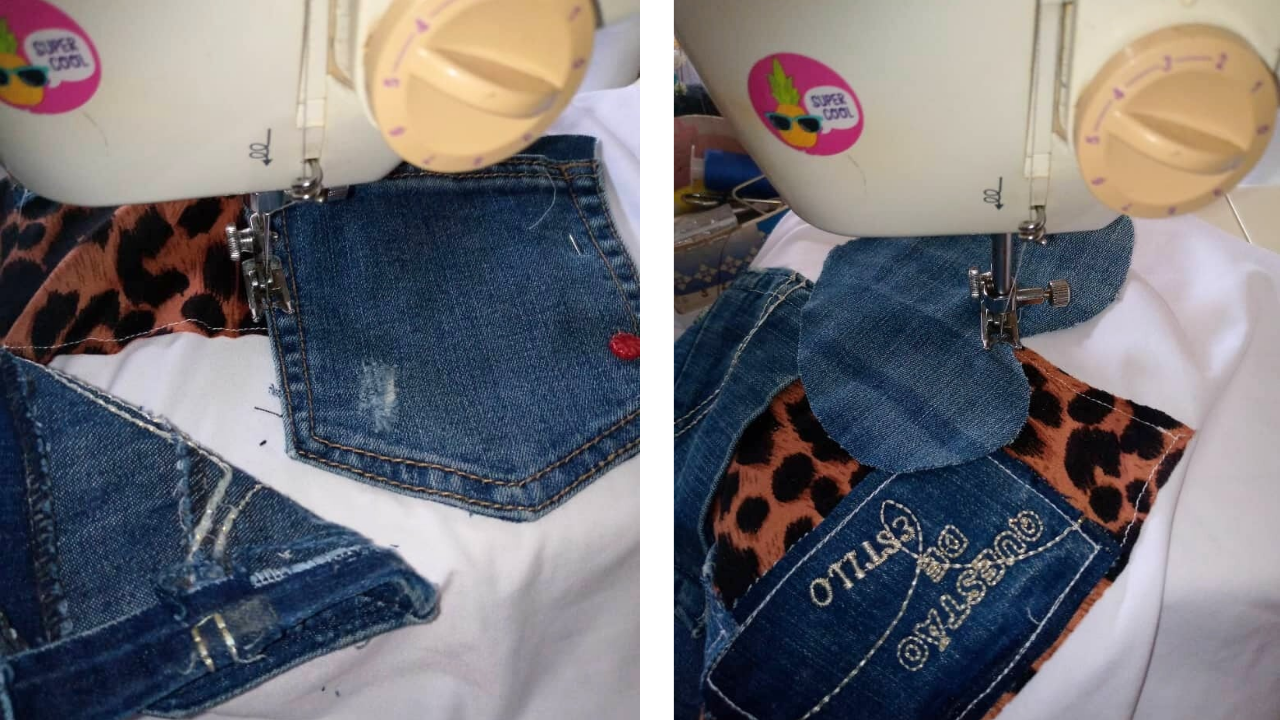
Comencé el proceso de confección de la camisa seleccionando cuidadosamente las piezas y definiendo su ubicación en la parte delantera de la franela. Para asegurar que mantuvieran su posición durante el proceso de costura, fijé las piezas con alfileres. Inicié la costura en costura recta, comenzando con el rectángulo estampado de animal print, que serviría como base. Luego, añadí un cuadrado pequeño con letras en mezclilla, creando un contraste visual interesante.Decidí no quitar los alfileres para preservar el diseño original. Mientras cosía, levantaba las piezas que iban a quedar en la parte superior, cosiendo cada una de manera individual hasta lograr el resultado deseado.
Paso nro 2
I began the shirtmaking process by carefully selecting the pieces and defining their placement on the flannel front. To ensure they would stay in place during the sewing process, I pinned them in place. I began sewing with a straight stitch, starting with the animal print rectangle, which would serve as the base. Then, I added a small square with denim lettering, creating an interesting visual contrast. I decided not to remove the pins to preserve the original design. As I sewed, I lifted the pieces that would go on top, stitching each one individually until I achieved the desired result.
-
Paso nro 3
Una vez que uní el diseño en la parte delantera, ahora pase a coser la camisa uniendo la parte delantera con la trasera por los hombros, procedí a cortar las mangas.
Paso nro 3
Once I joined the design on the front, I now moved on to sewing the shirt, joining the front with the back at the shoulders, and then proceeded to cut the sleeves.
-
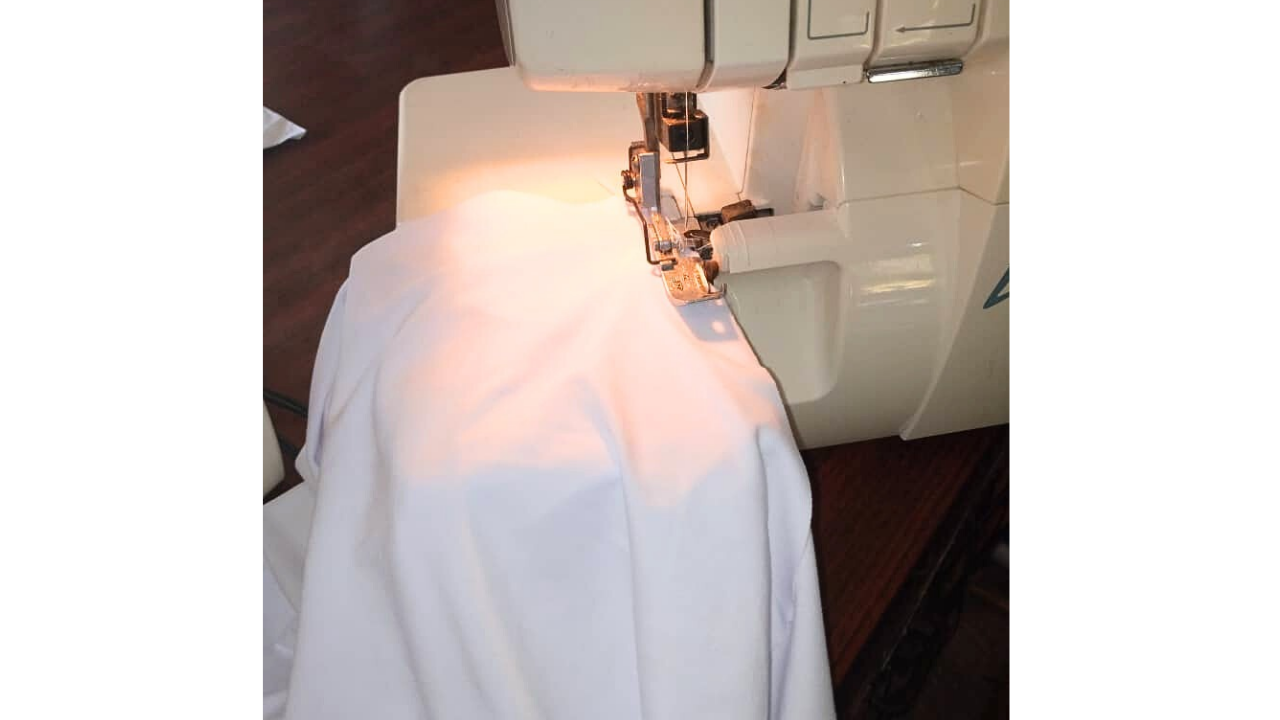
Paso nro 4
Paso nro 4
Next, I attached the sleeves, making sure they were properly aligned. Next, I sewed along the sides of the garment, and later, the collar would be added. This flannel is fairly simple; the main focus is on the design. The sleeves have a straight hem, as does the bottom of the garment. So, with these simple details, the shirt was elegant and functional, highlighting the design I had envisioned.
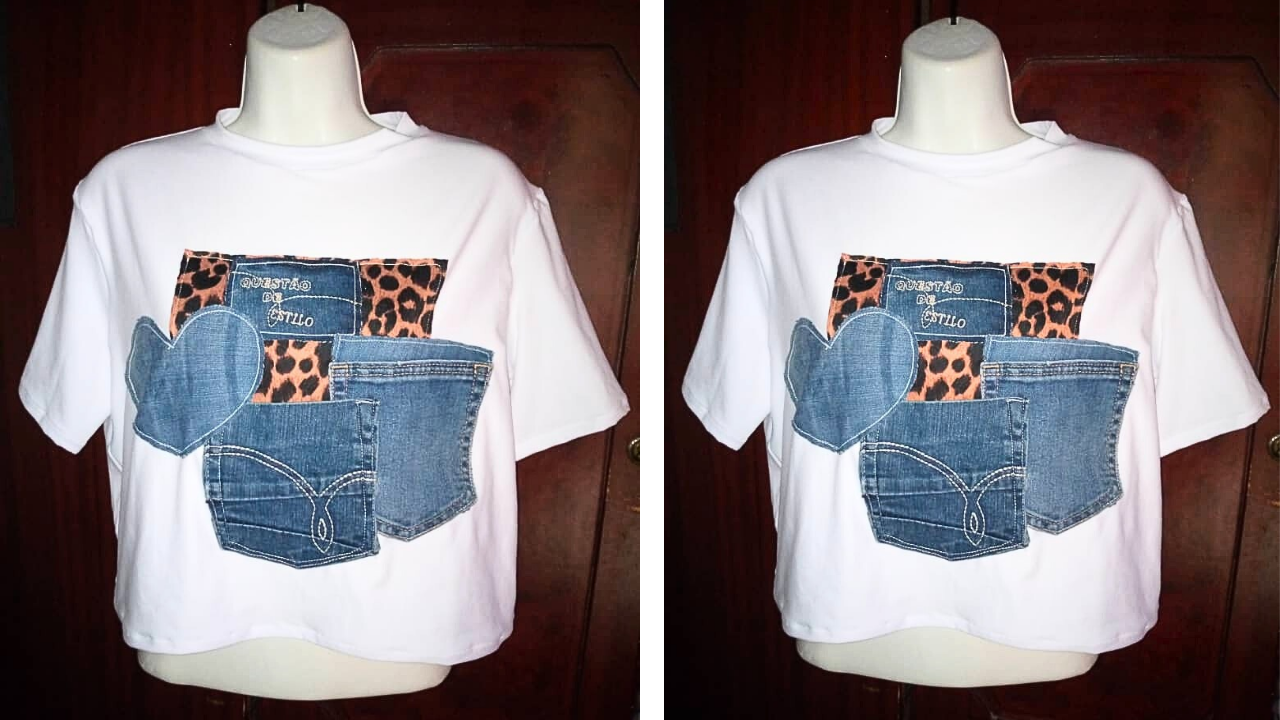
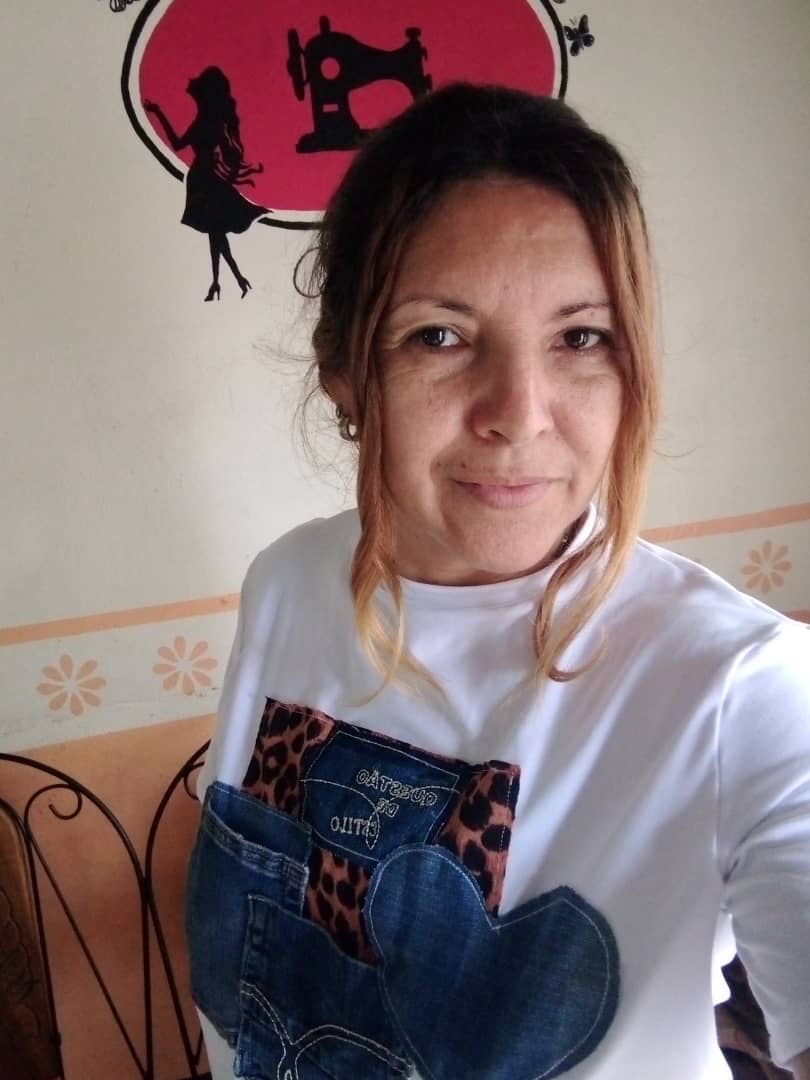
(Confección terminada:)||(Finished clothing:)
At the end of this manufacturing process, I feel satisfied with the result. Every step, from selecting the pieces to the final stitching, has been a reflection of my creativity and dedication. This shirt is not only a piece of clothing, but also an expression of my personal style and a testament to the effort invested in its creation. I'm excited to wear it and share it, knowing that every detail tells a unique story.
**
Las fotos presentadas en este blog son de mi autoría. Las imágenes han sido editadas utilizando Canva. Las fotografías fueron tomadas con mi celular Infinix hot 10. El contenido ha sido traducido con el traductor de Google.
**
**
The photos presented in this blog are my responsibility. The images have been edited using Canva. The photographs were taken with my Infinix hot 10 cell phone. The content has been translated with Google translator.
**