Buenas noches amigos, hoy les enseñaré un tutorial sobre como pintar un biscocho de cerámica ( busto) con pintura de esmalte para pared.
Y como siempre verán que les enseño cosas que ustedes pueden aprender a hacer.
Los materiales que usaran son:
Biscocho de cerámica... es una pieza hecha de barbotina (ARCILLA) blanca cocida en horno especial y que sale lista para pintar y decorar a tu gusto, con esta arcilla se fabrican los platos, tazas de uso diario. -Esmalte (pintura para pared a base de aceite) -Pinceles. -Pega para papel foil. -Papel foil de distintos colores.
Good evening friends, today I will teach you a tutorial on how to paint a ceramic biscuit (bust) with enamel wall paint.
** _ And as always you will see that I teach you things that you can learn to do ._ **
The materials they will use are:
- Ceramic biscuit ... it is a piece made of white slip (CLAY) baked in a special oven and that comes out ready to paint and decorate to your liking, with this clay plates, cups for daily use are made. -Enamel (oil-based wall paint) -Brushes. -Glue for foil paper. -Foil paper of different colors. *
PROCEDIMIENTO:
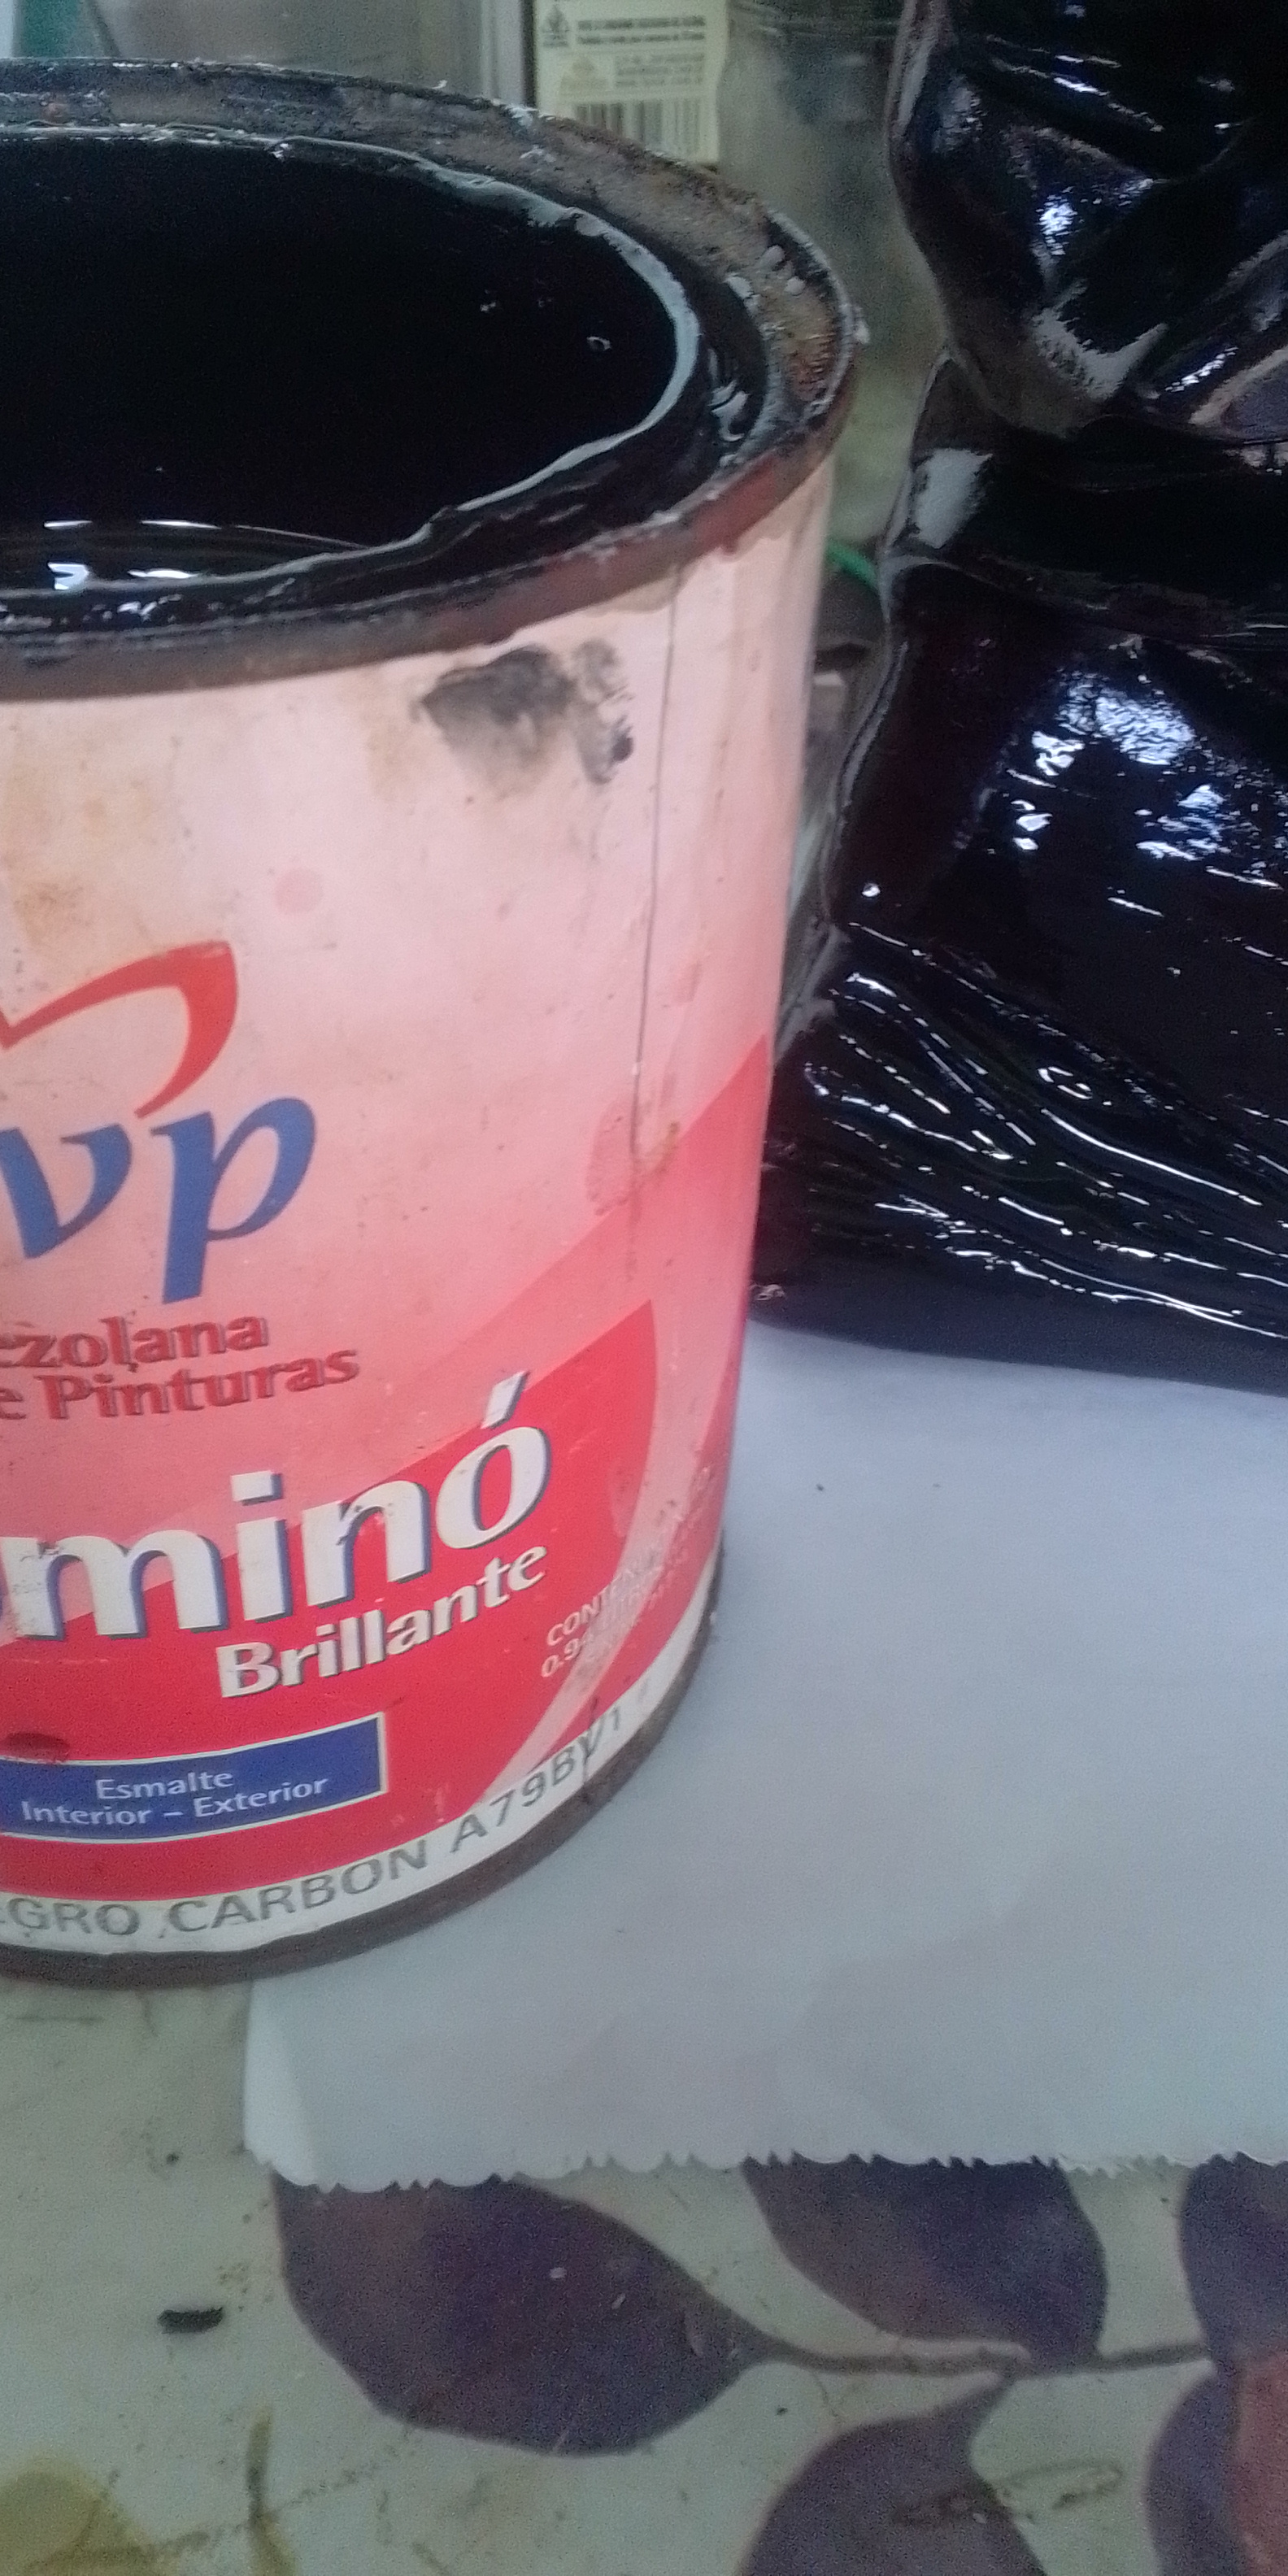
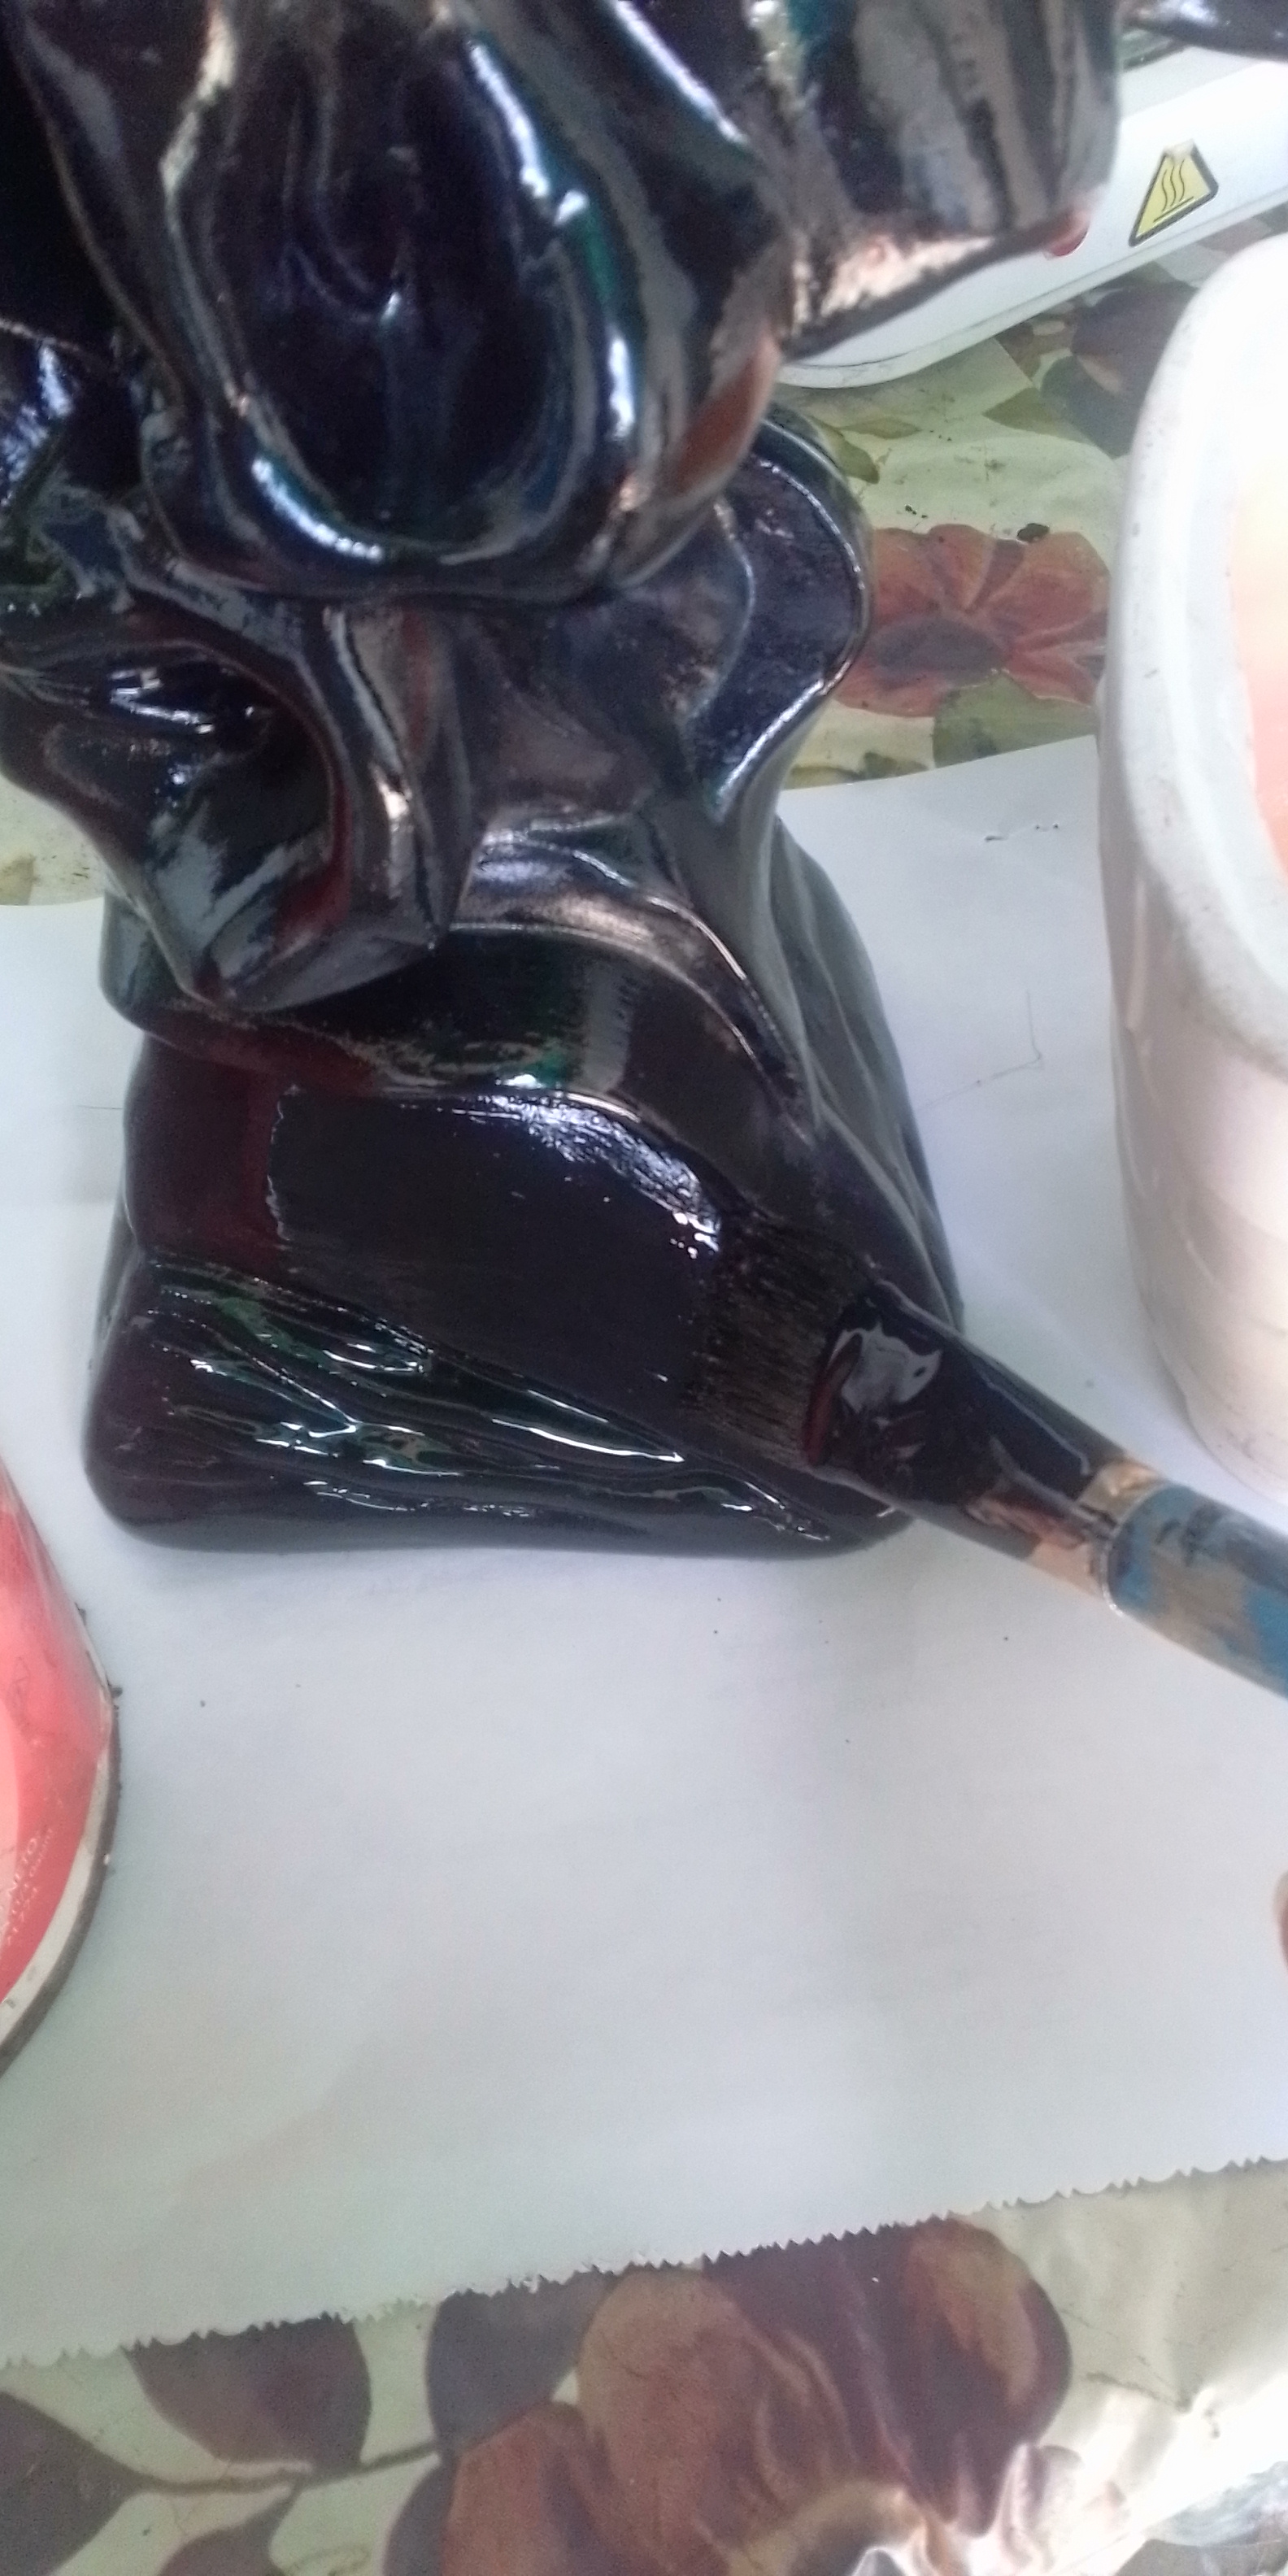
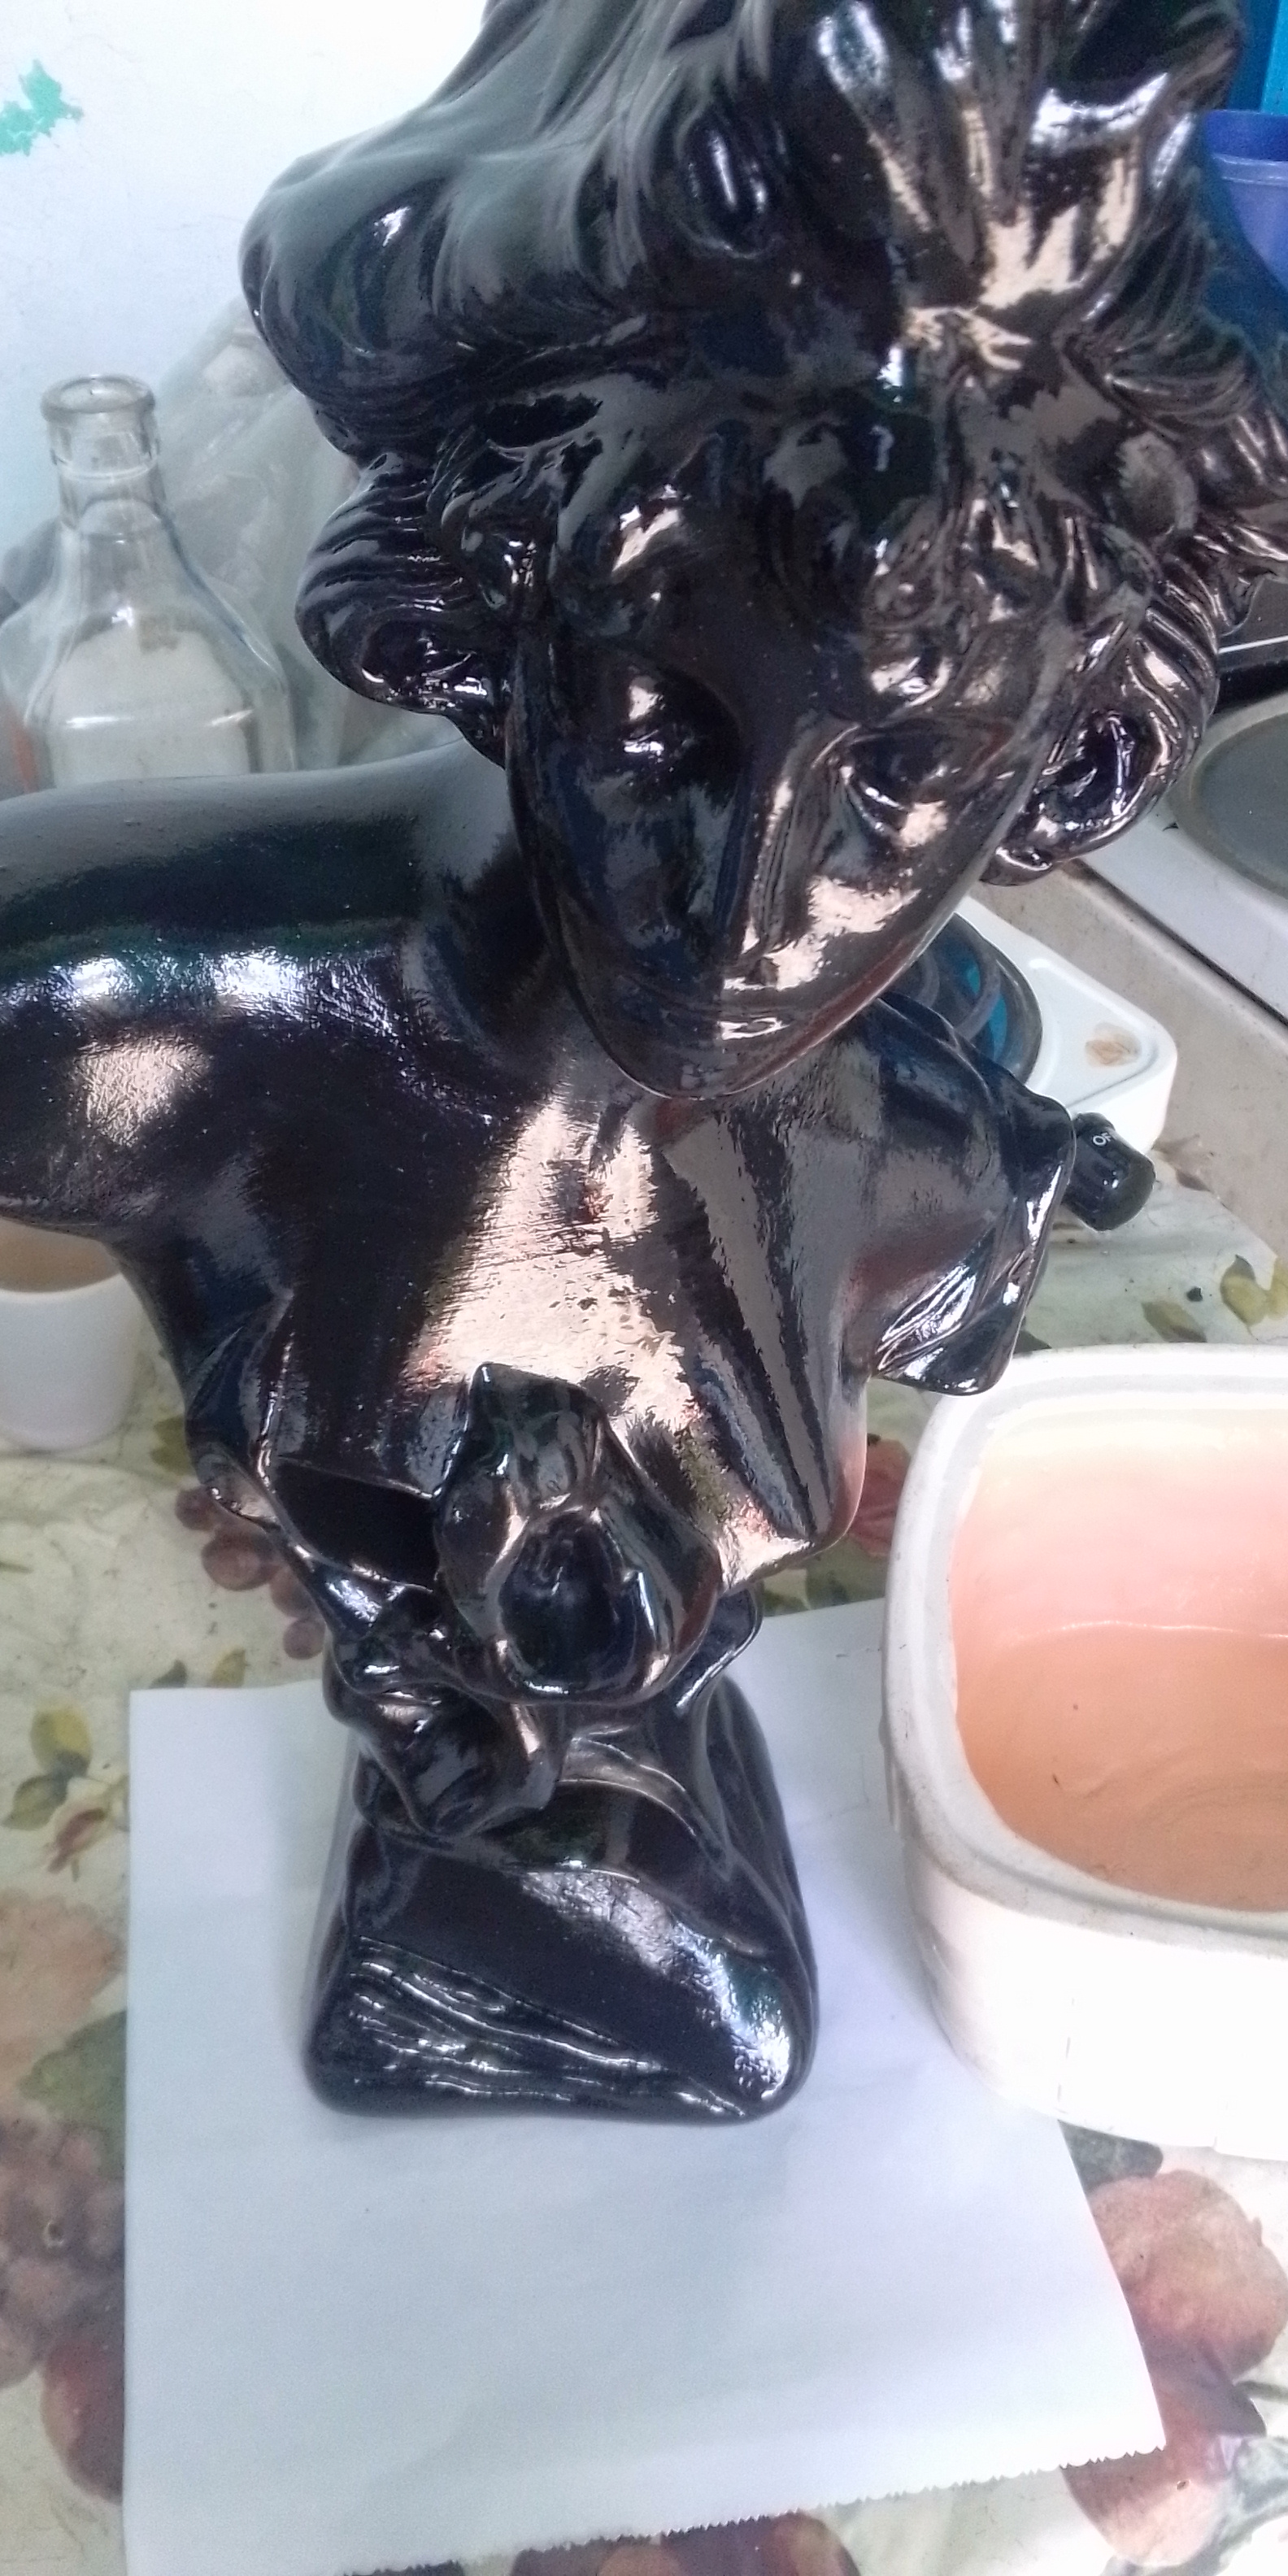
Foto 1, 2 y 3:
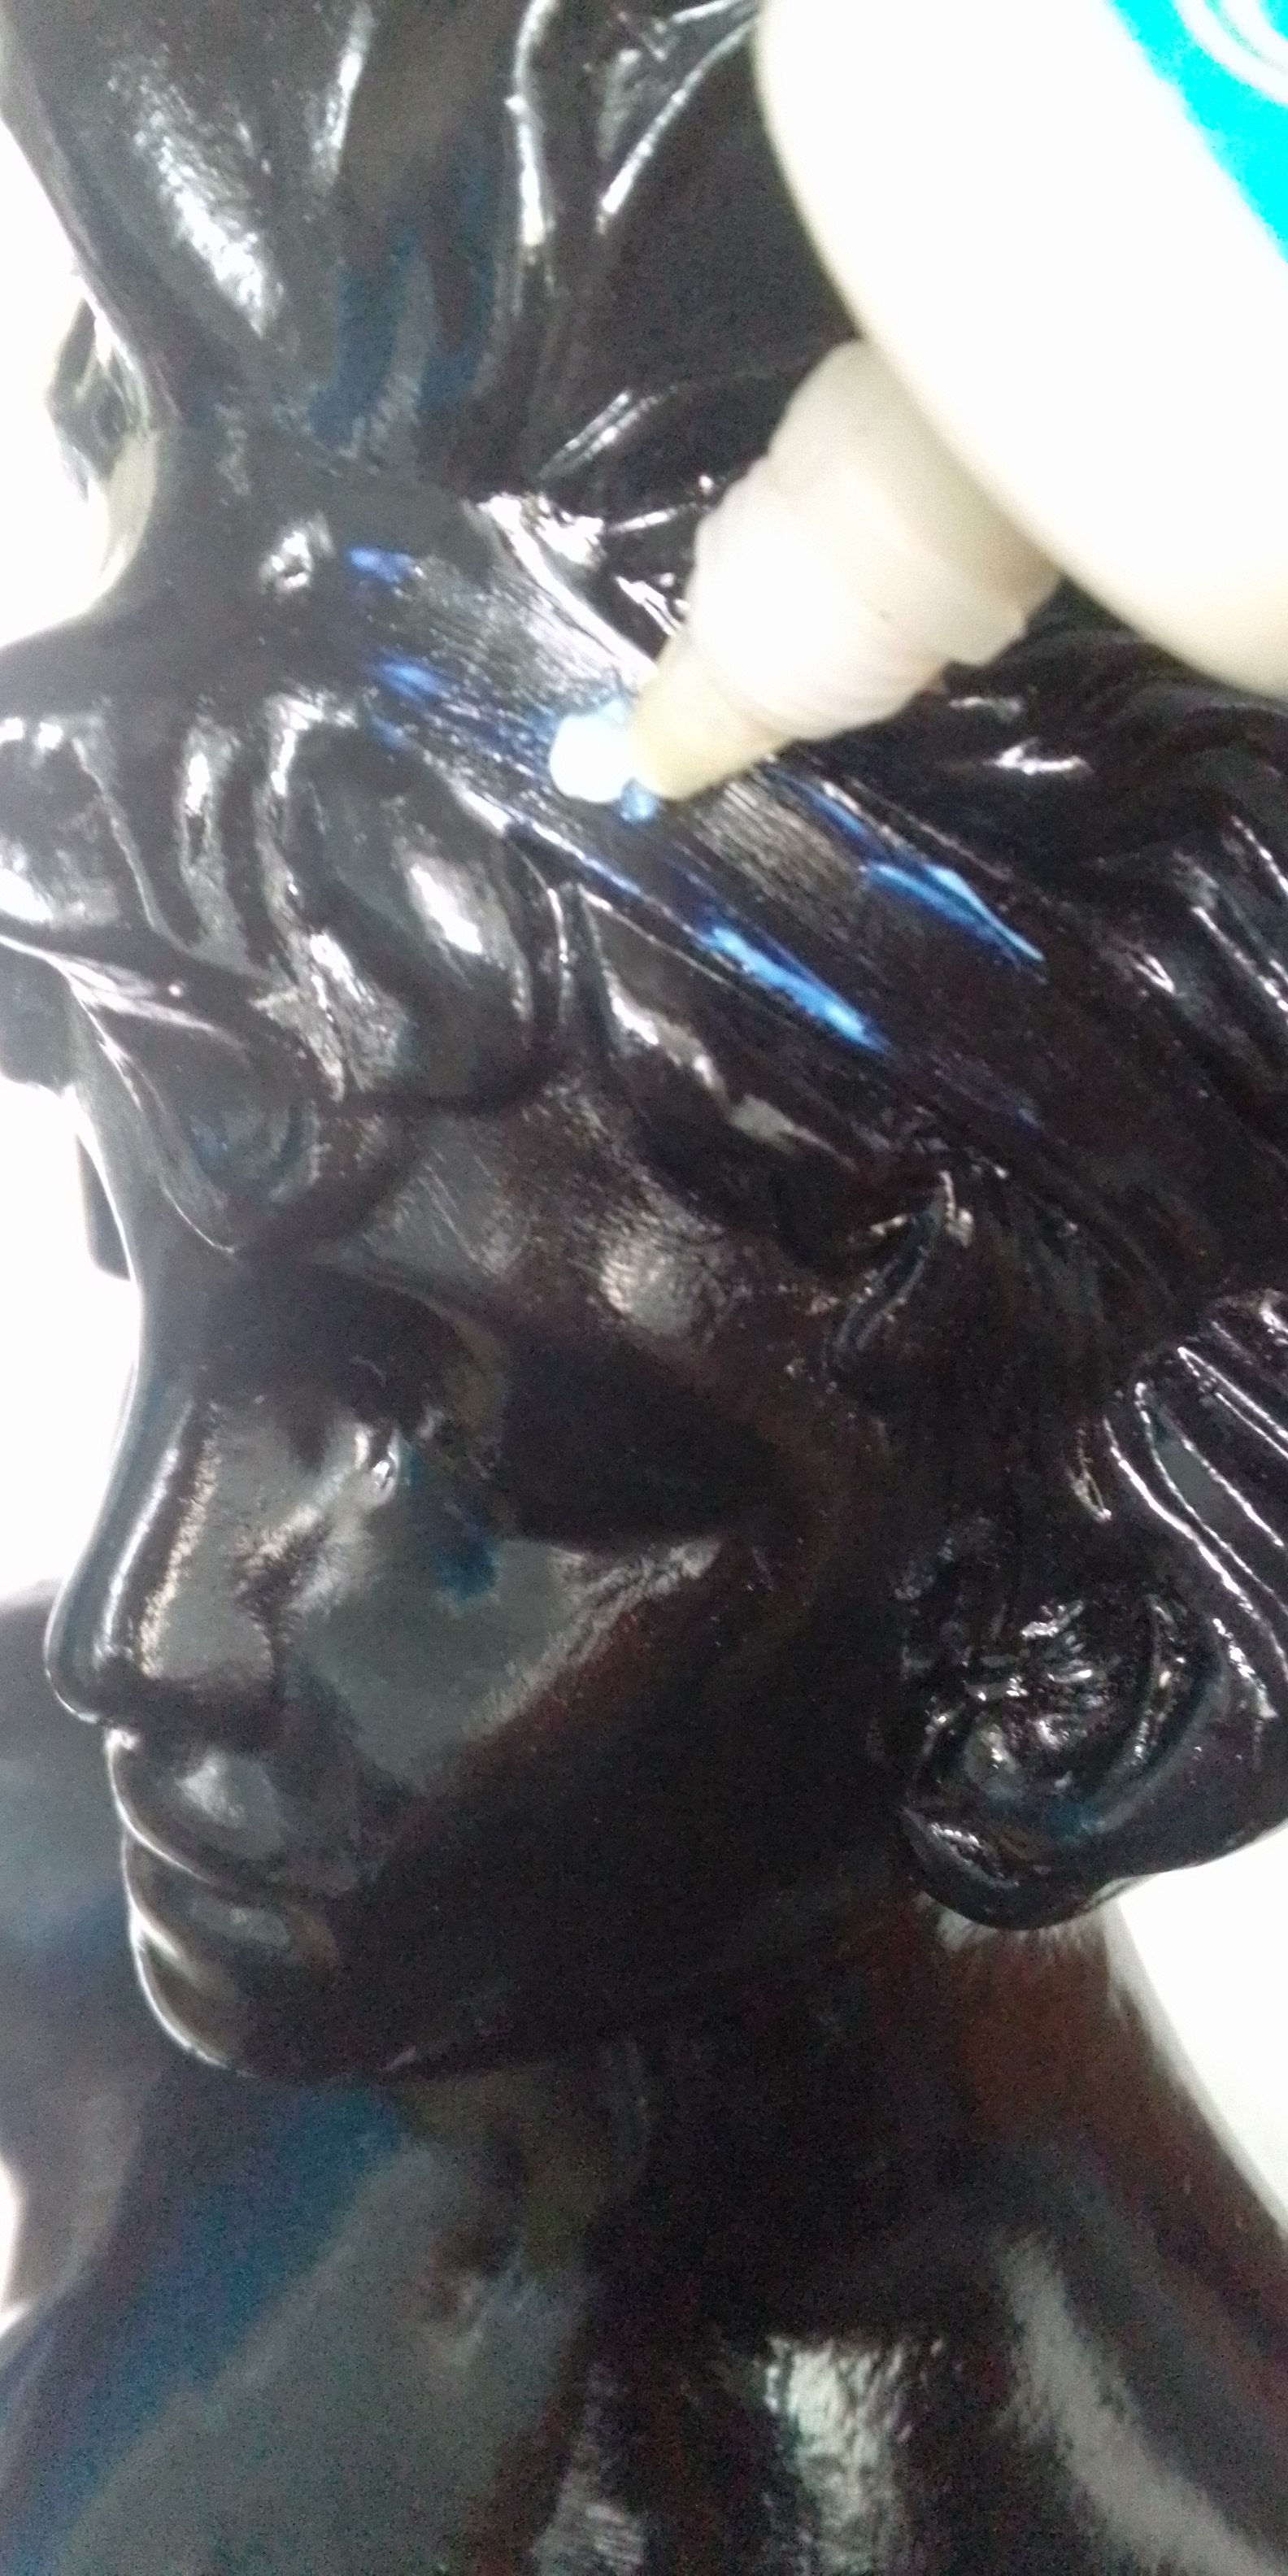
Pintamos la pieza con un pincel suave y dejamos secar media hora para colocarle la segunda capa de pintura, después dejamos secar 24 horas.

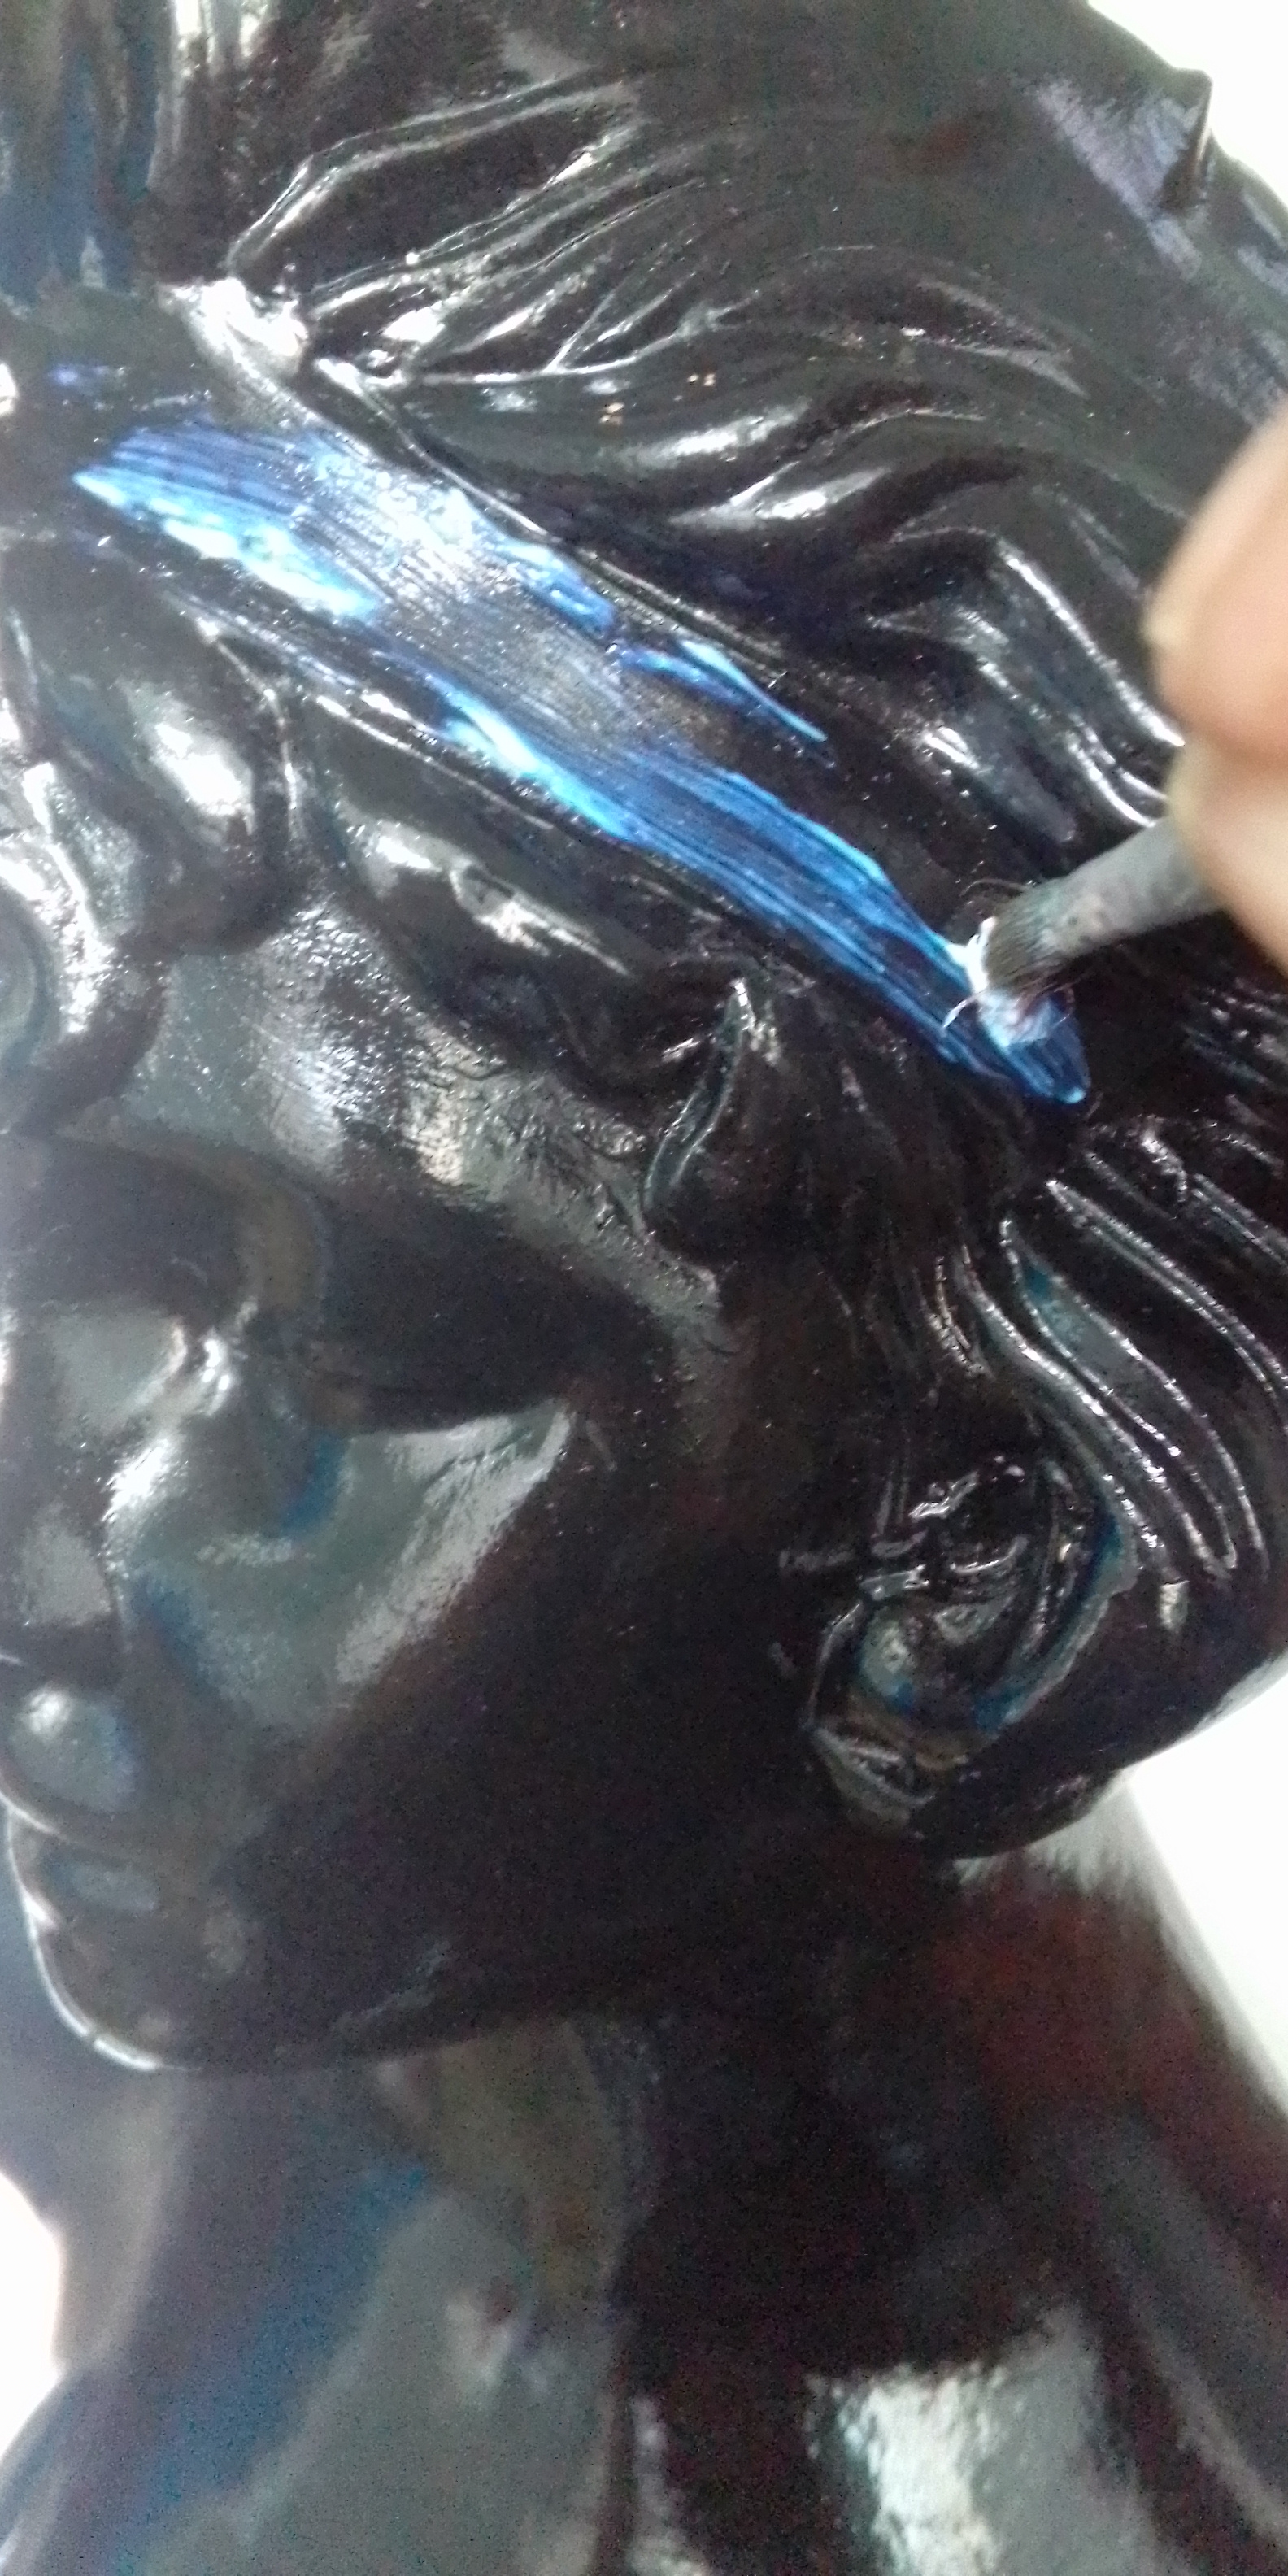
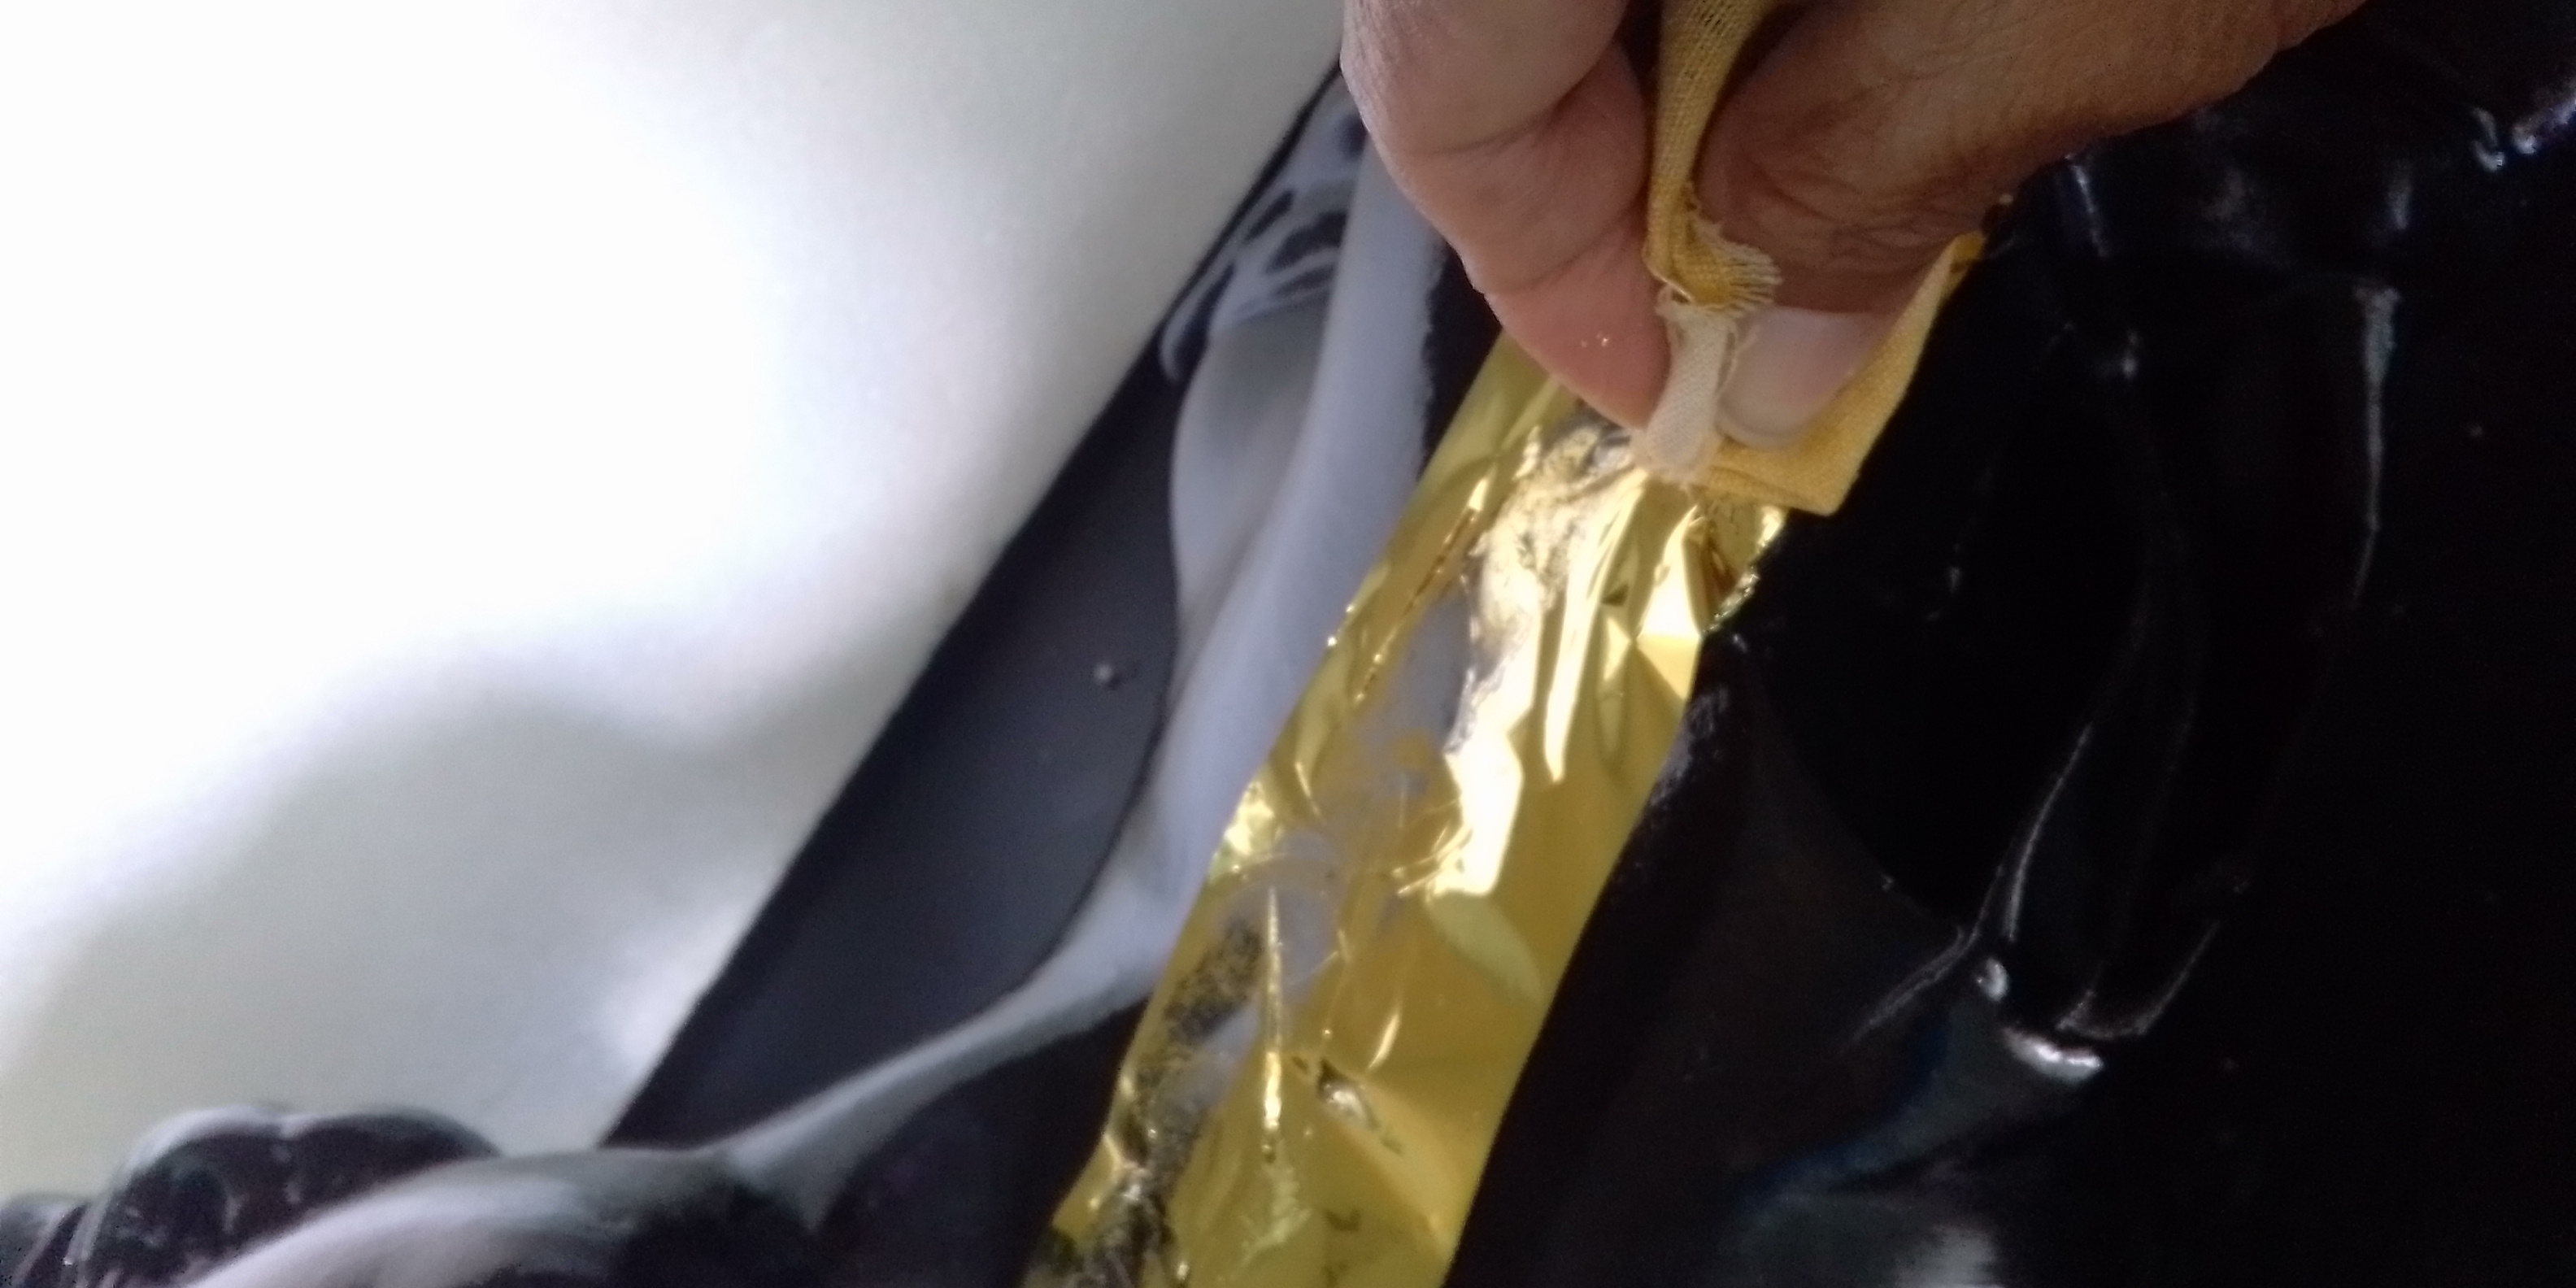
Fotos 4,5 y 6: Ahora empezamos a colocar pegamento para papel foil en algunas partes de la pieza que selcciones y riegas con un pincel suave dejando secar por 30 minutos o por el tiempo que aparezca en el pegamento. ** Photos 4,5 and 6: ** * Now we begin to place glue for foil paper in some parts of the piece that you select and water with a soft brush, allowing it to dry for 30 minutes or as long as it appears on the glue. *
Fotos 7,8 ,9 y 10:
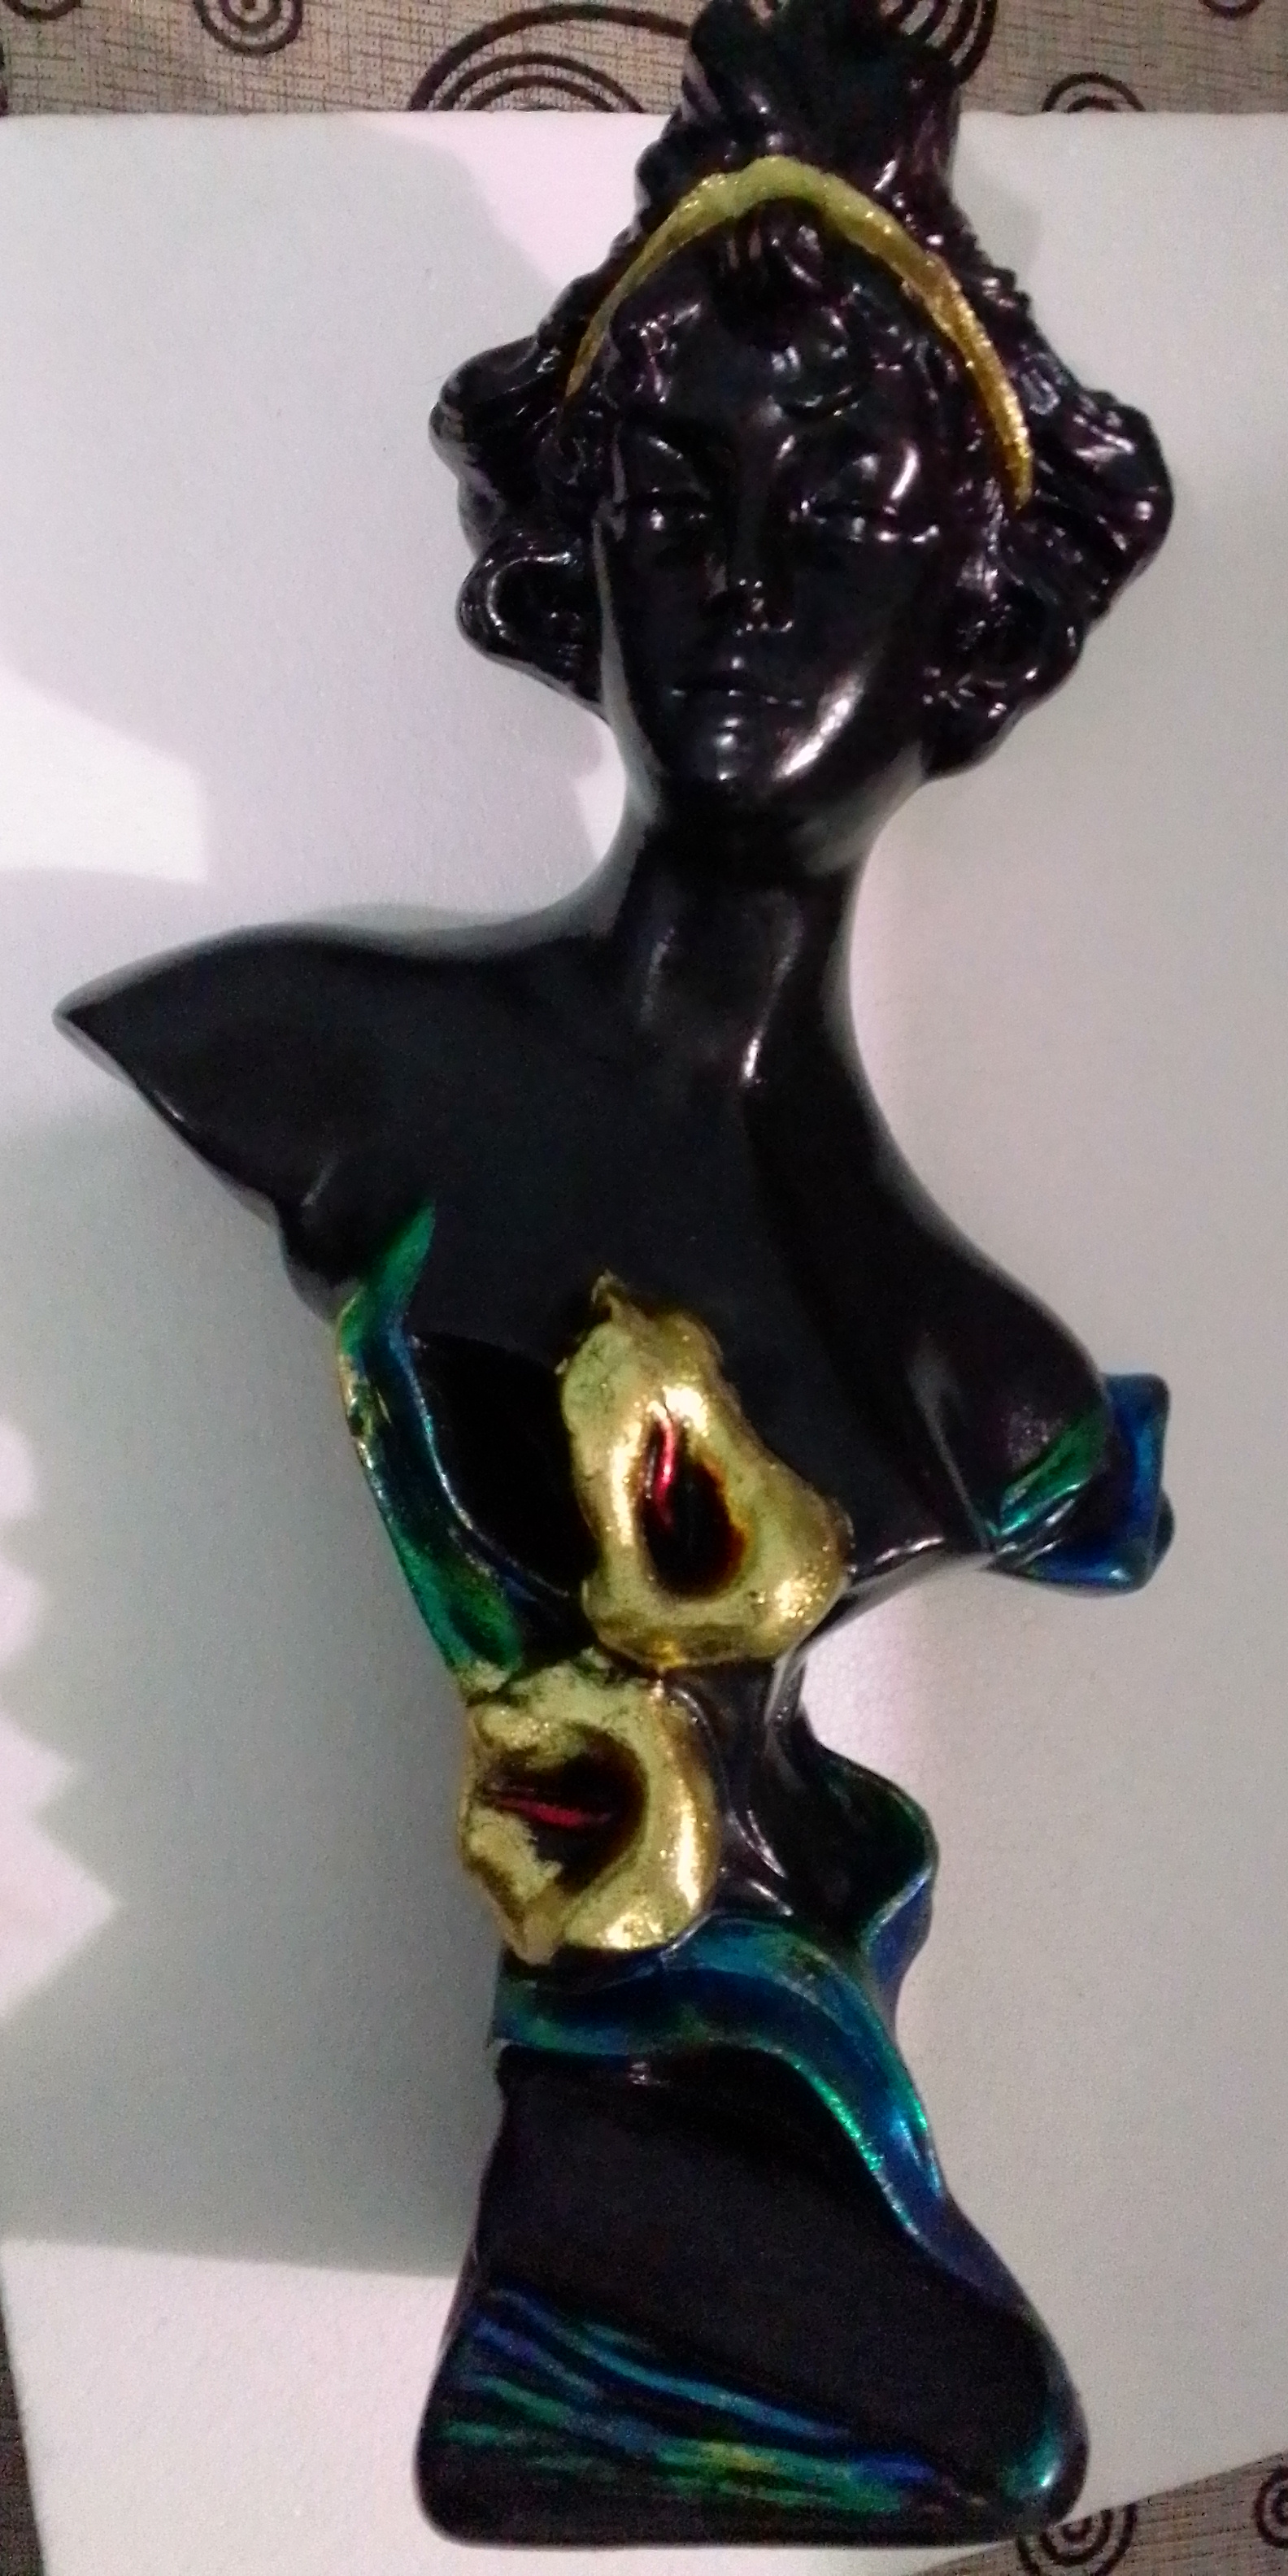
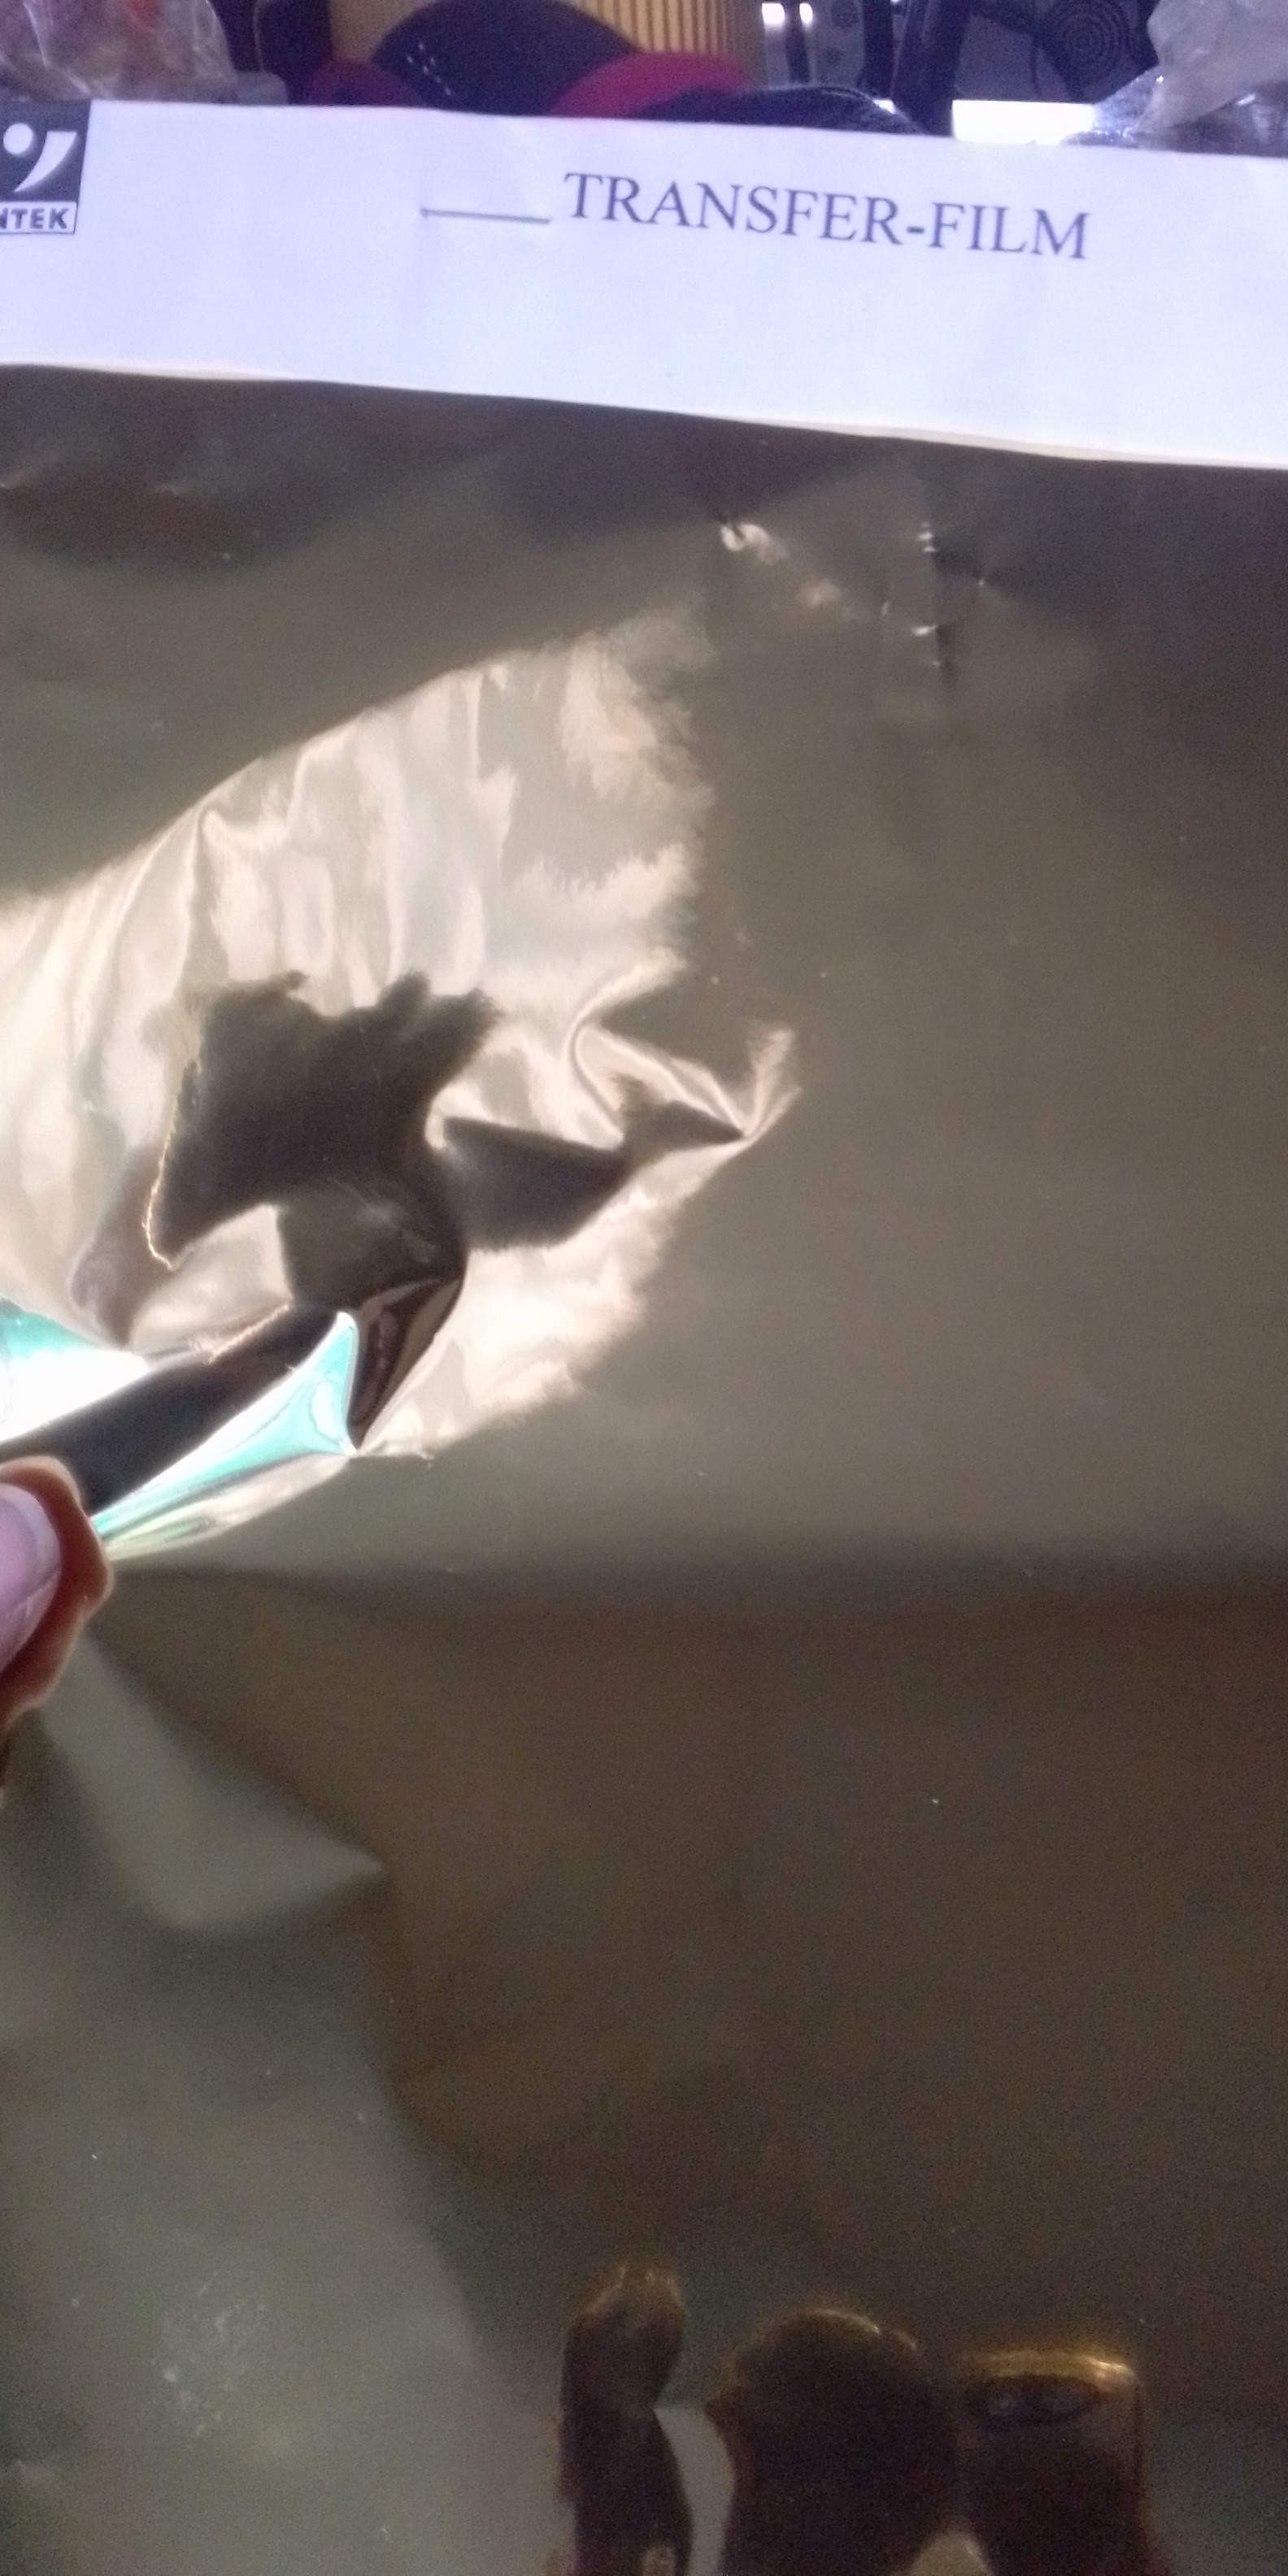
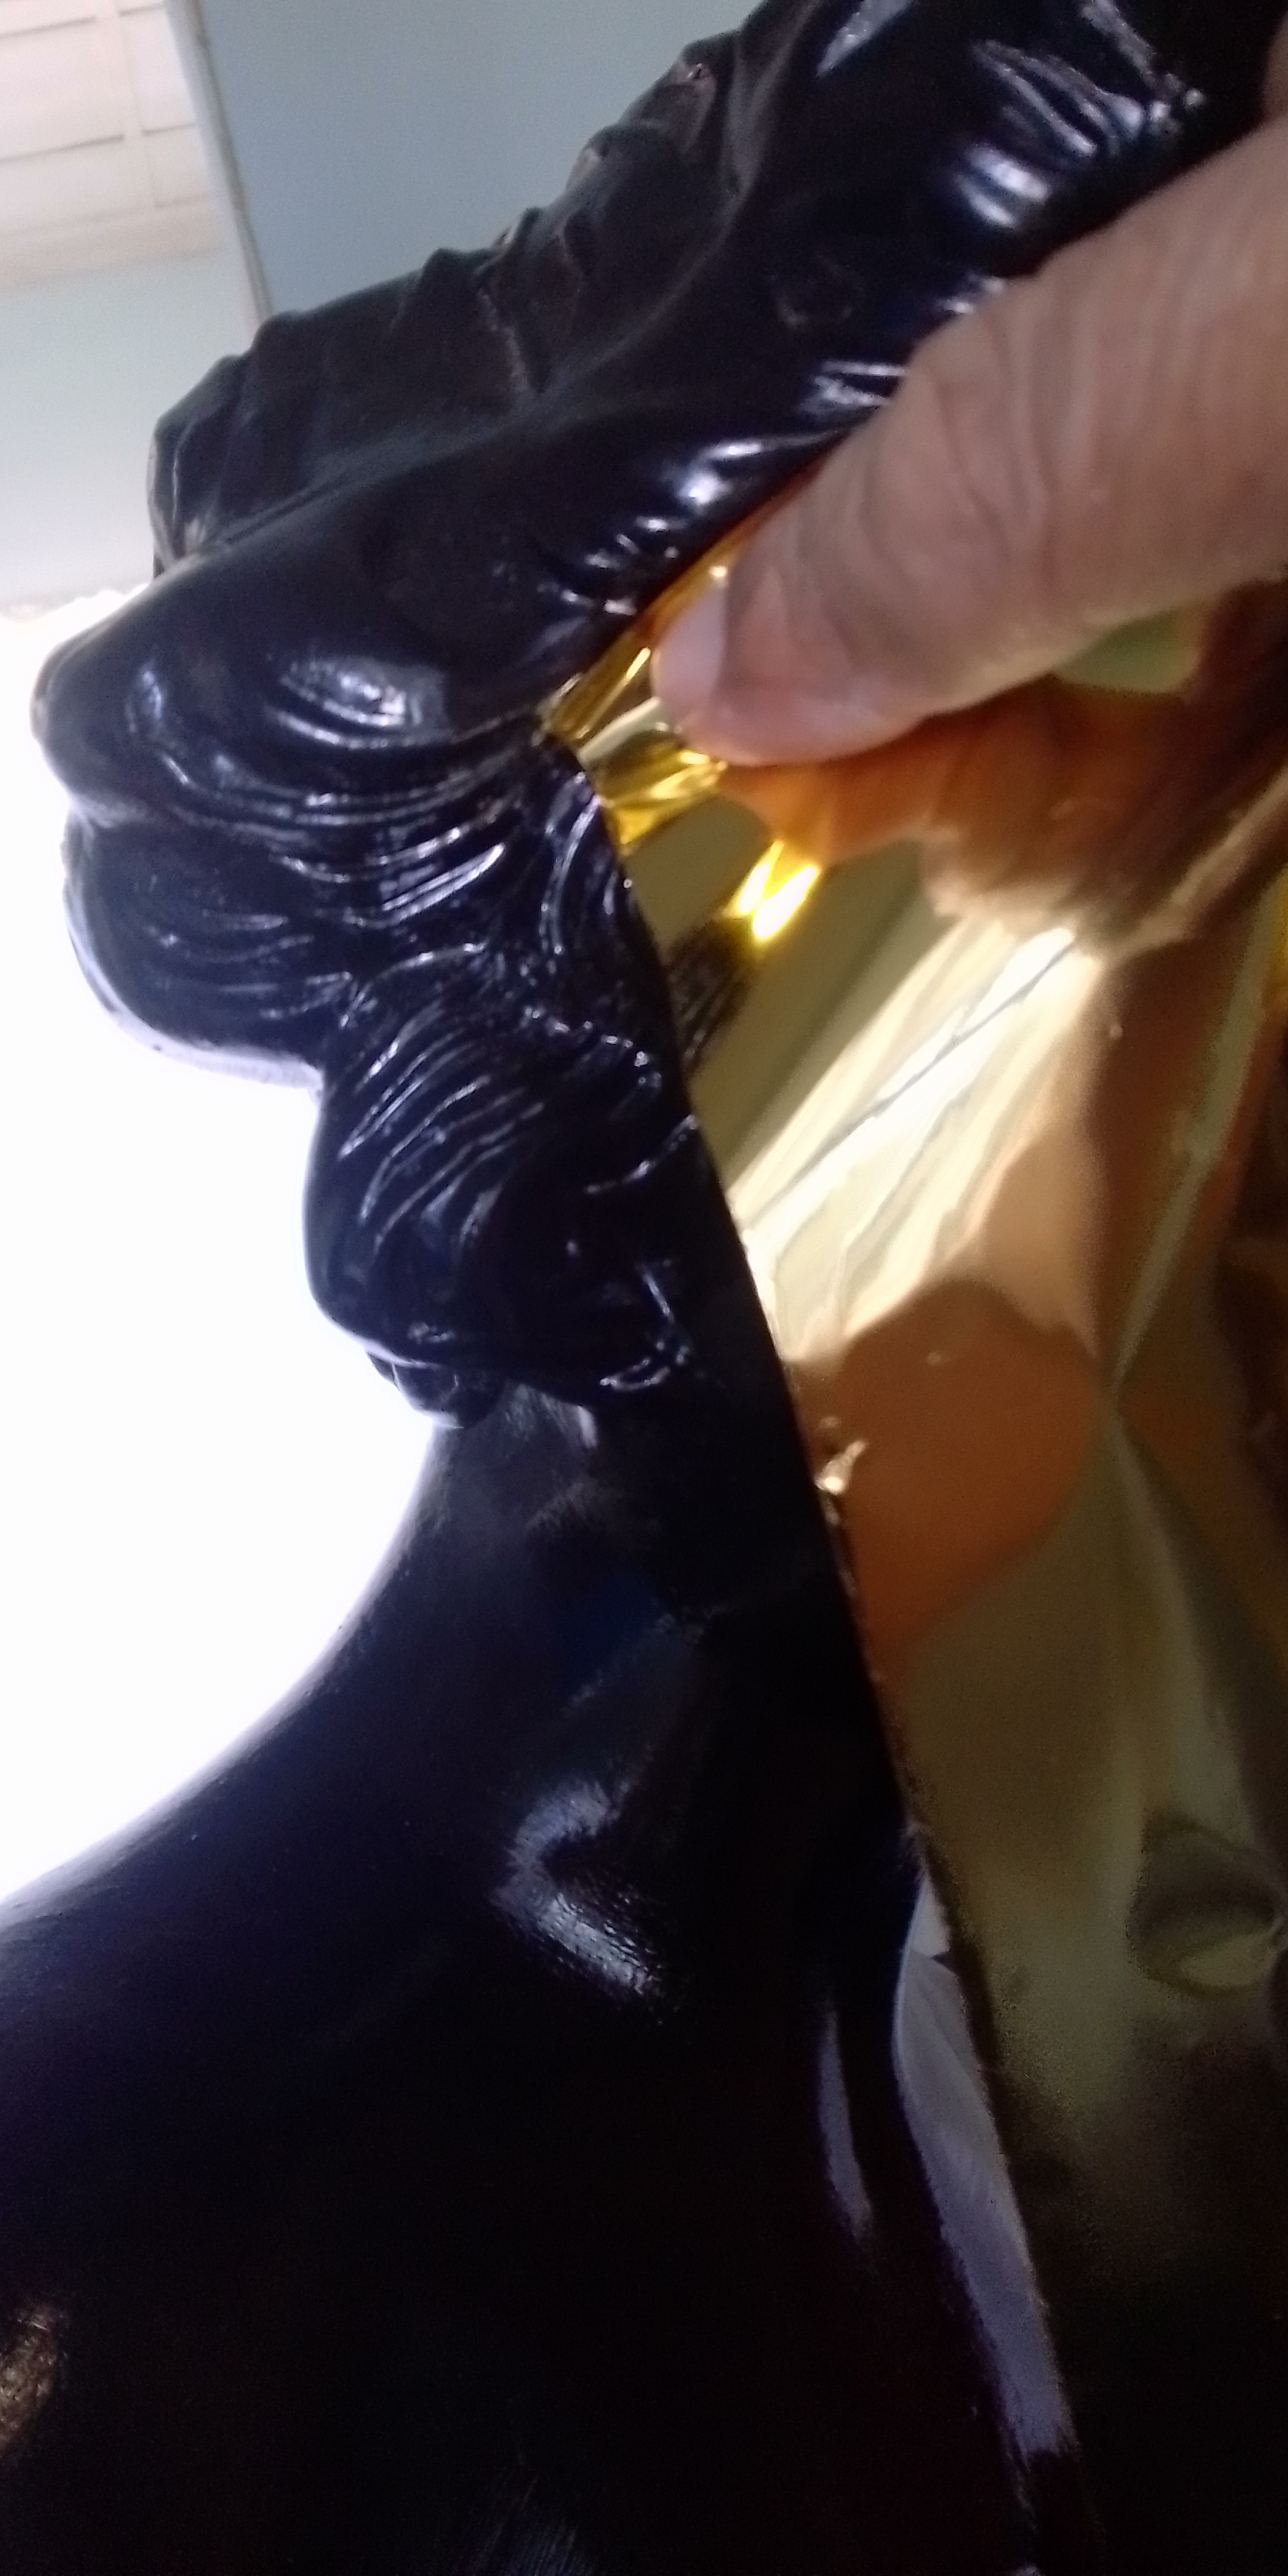
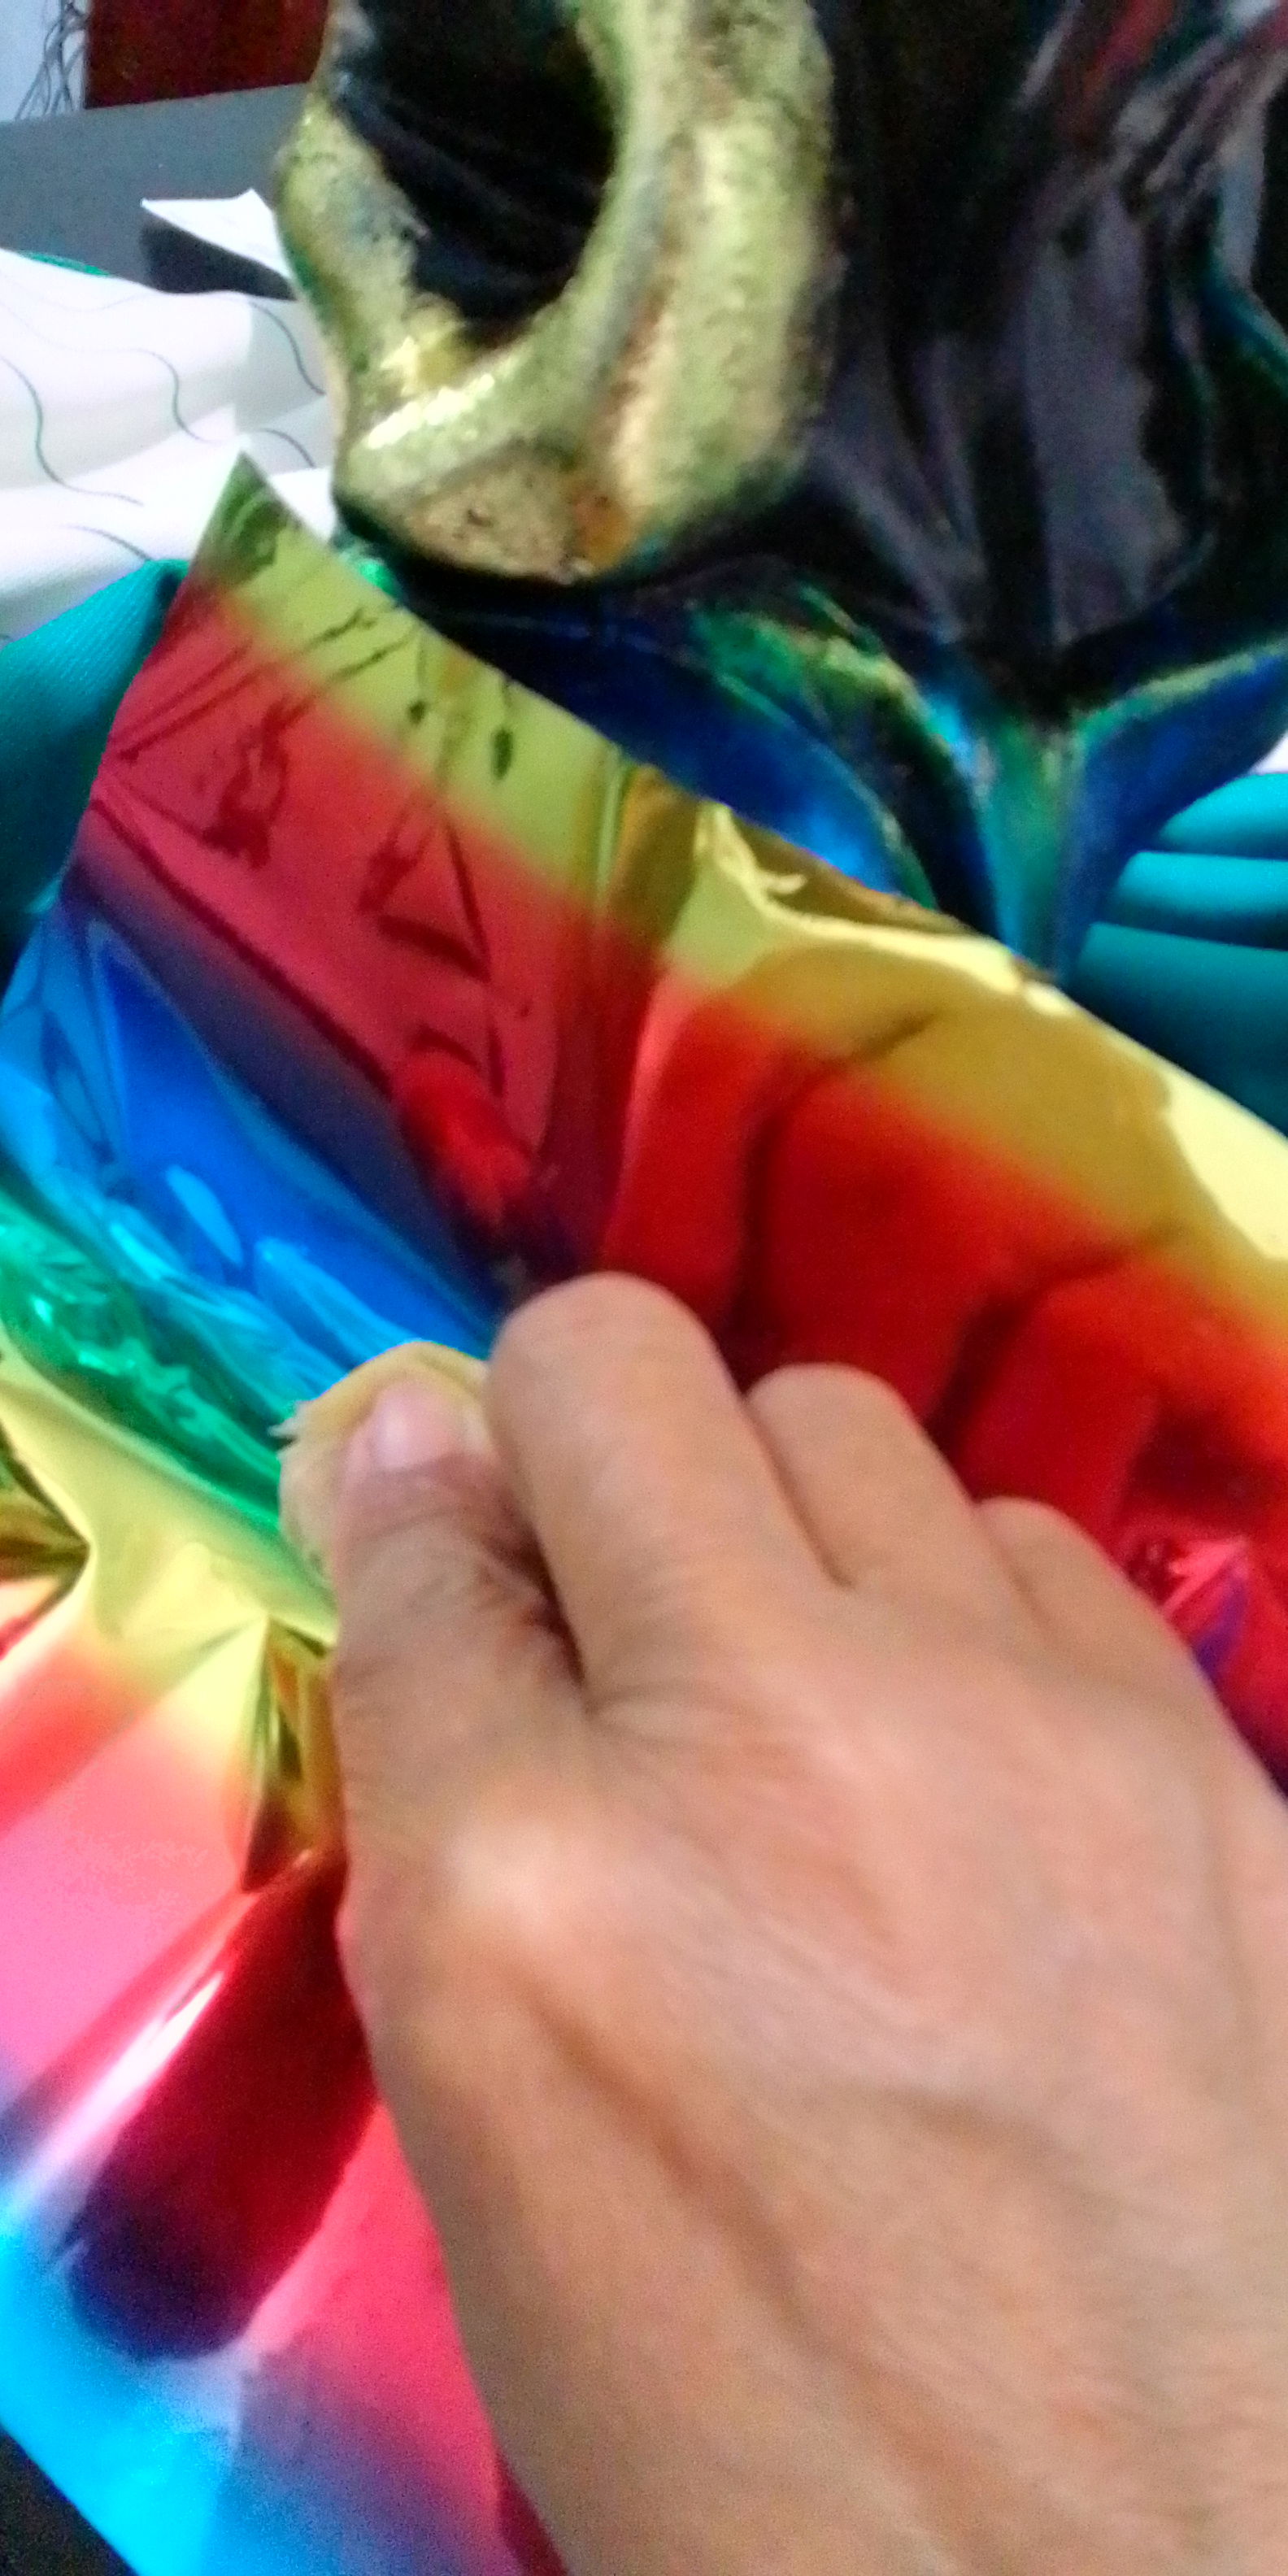
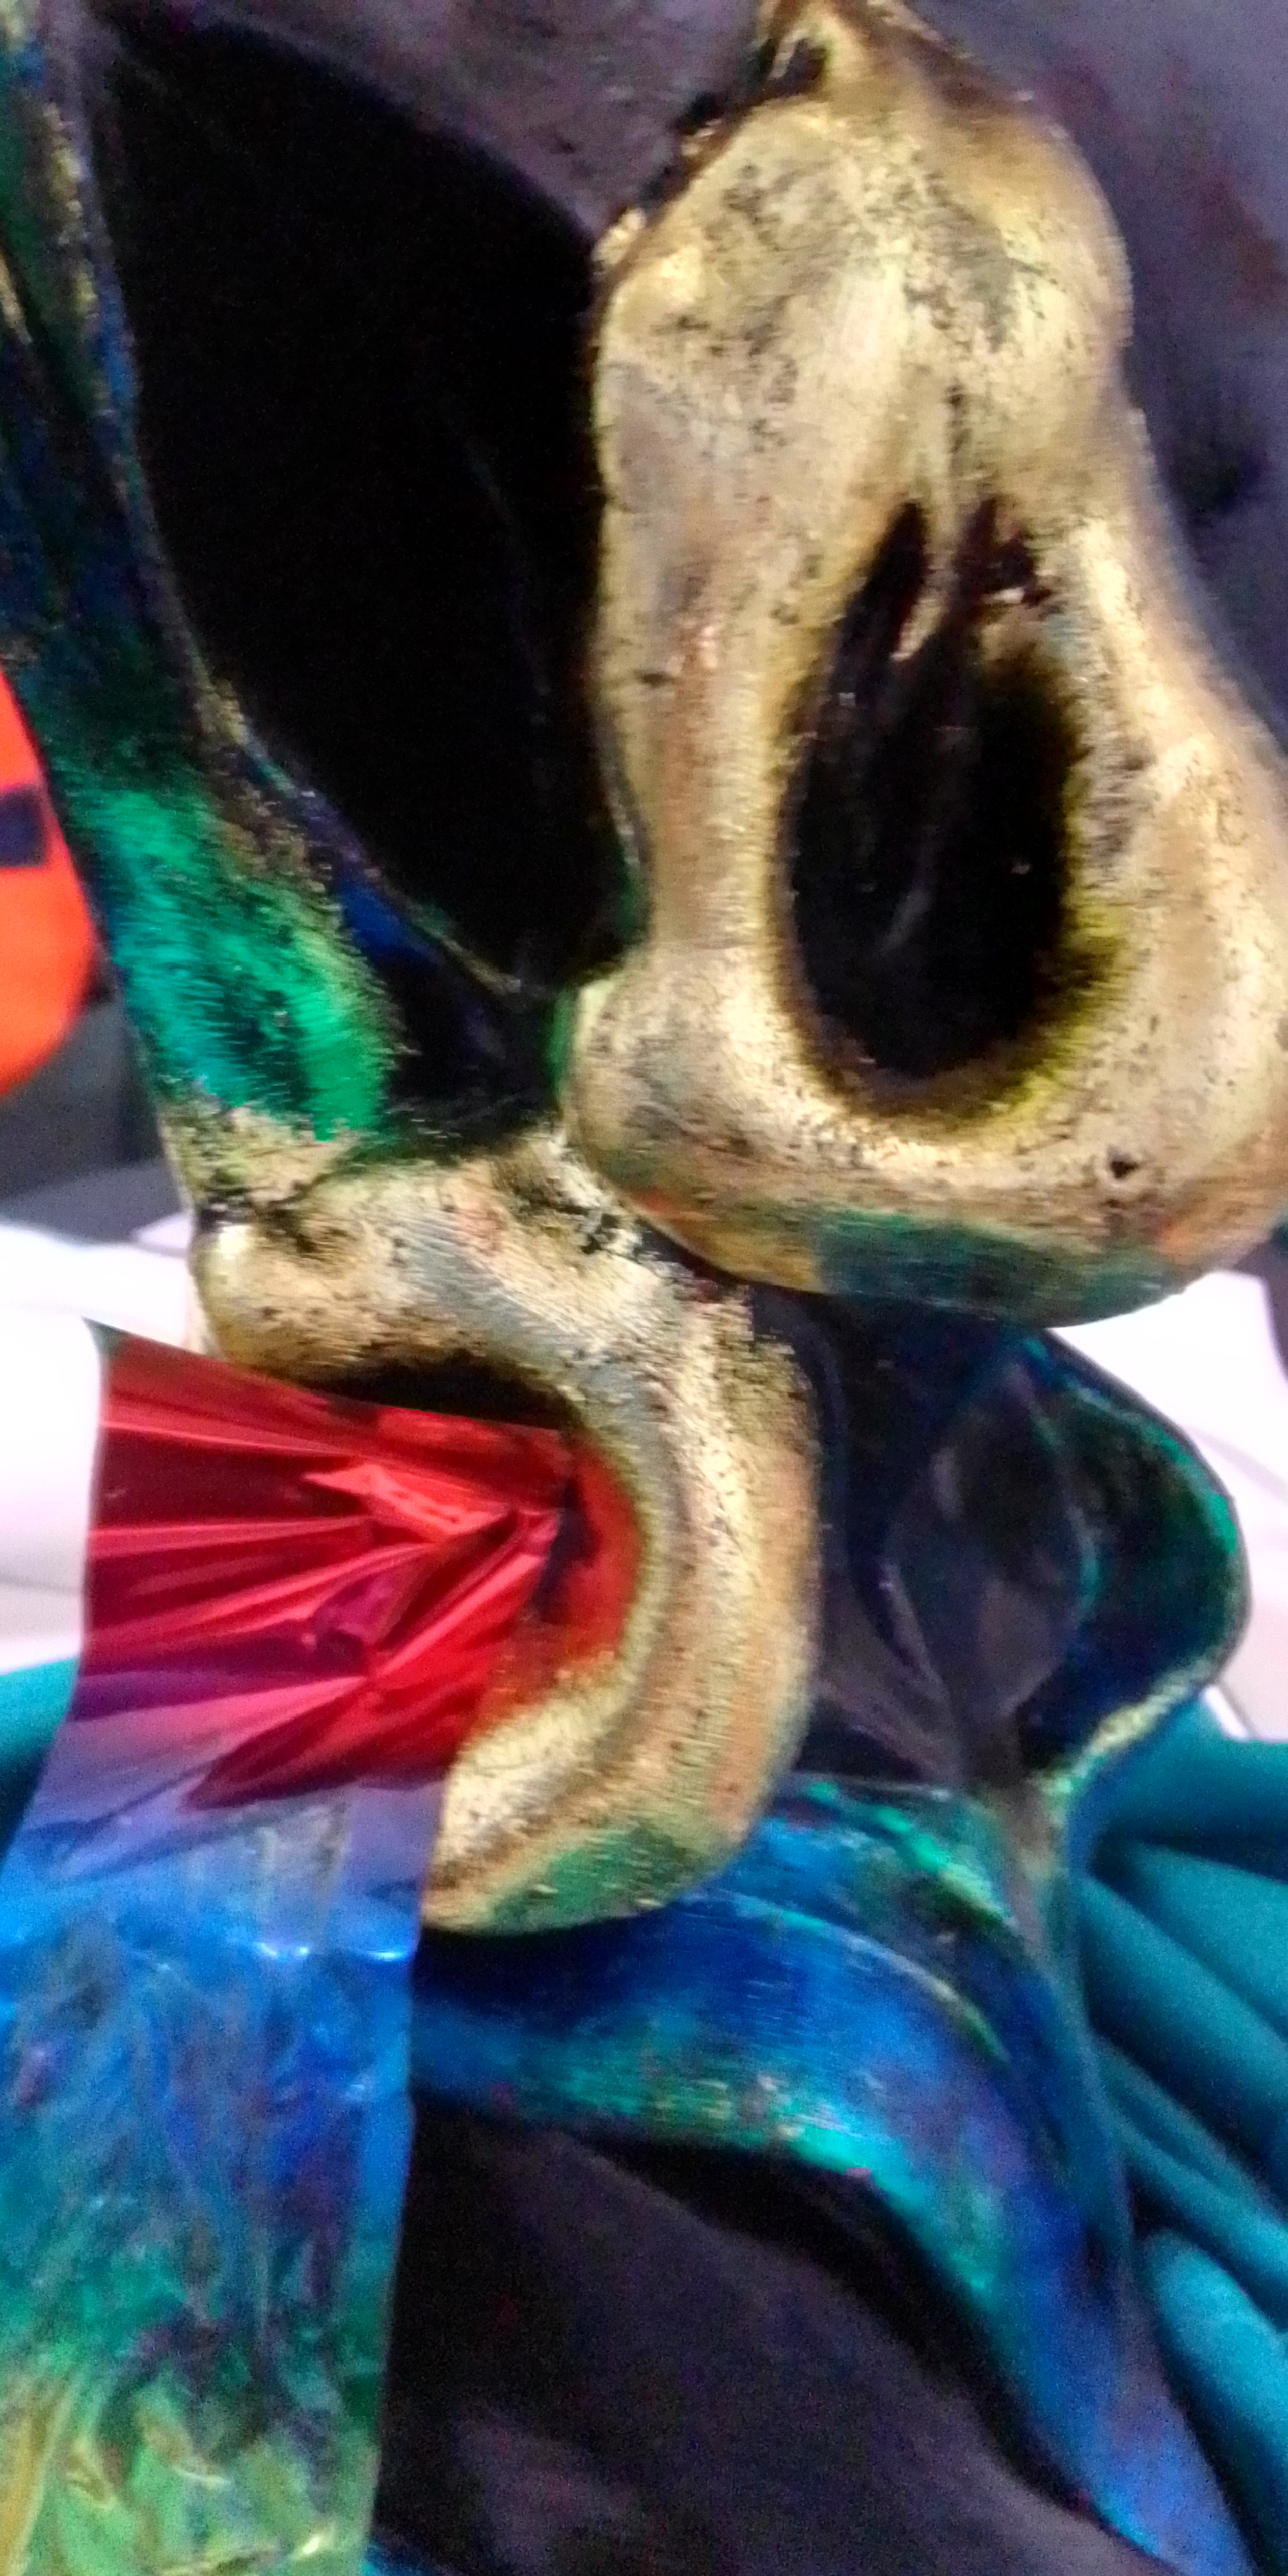
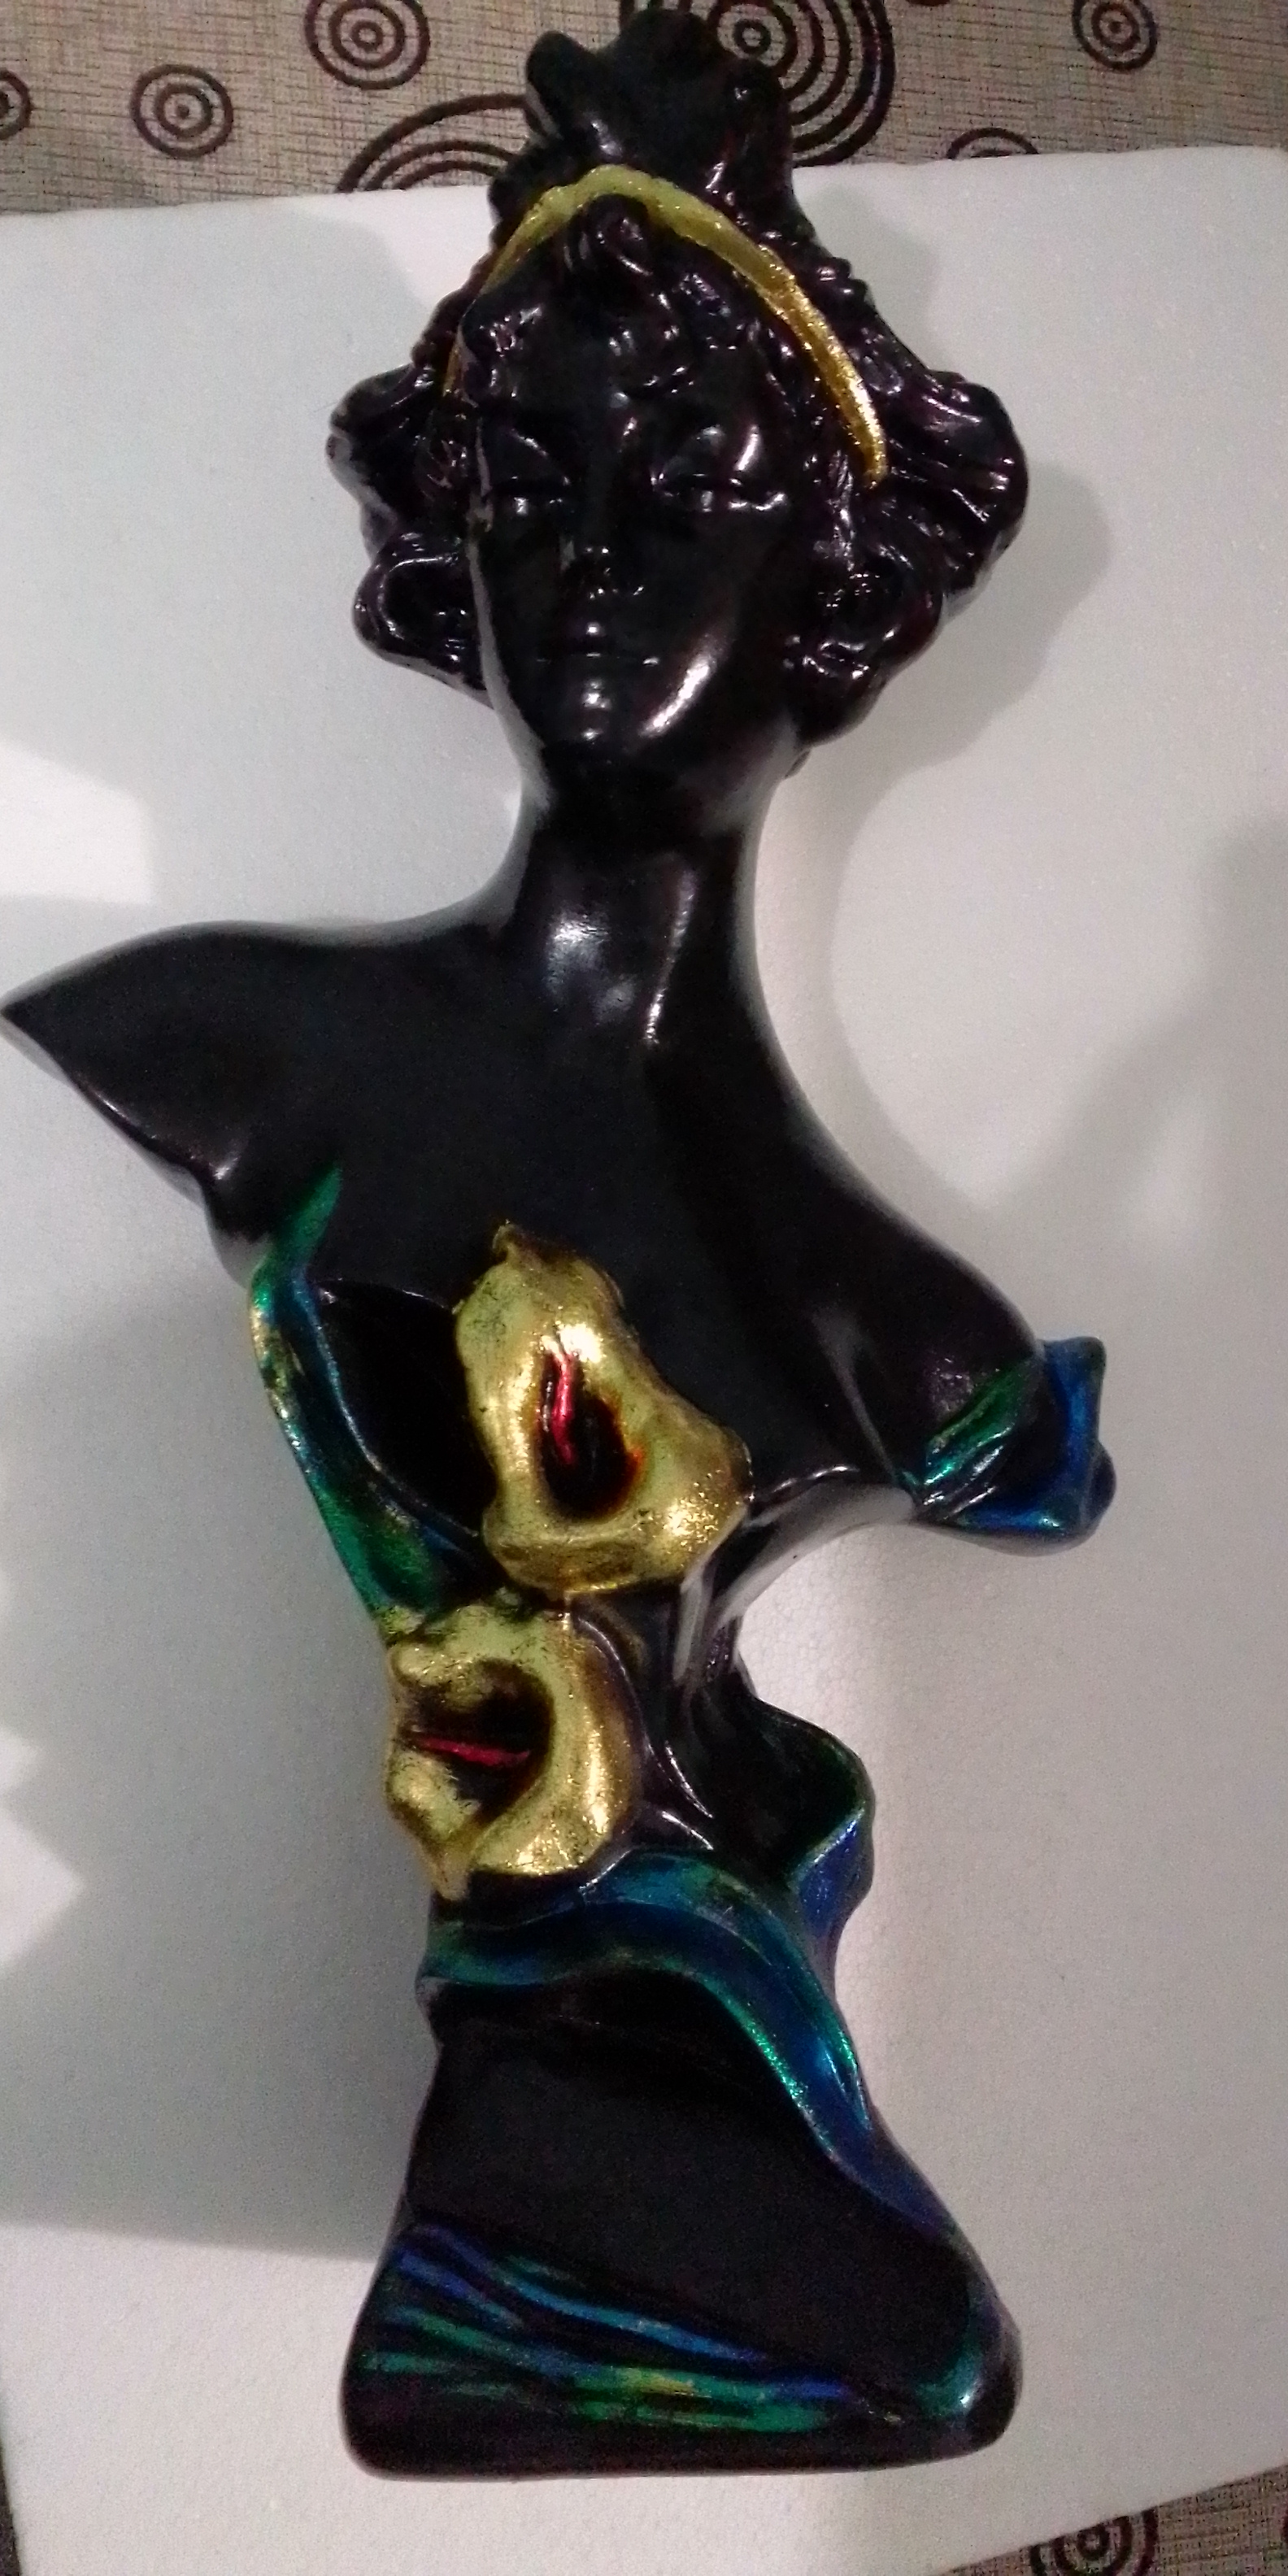
Transcurrido el tiempo, empezamos a pegar el papel y frotamos con un pedacito de tela para que se adhiera bien a la pieza. Si queda algún espacio sin pegar, nuevamente le colocas pegamento, dejas secar y repites el procedimiento. Y ASÍ QUEDA TERMINADO ESTE HERMOSO BUSTO
ESTA TÉCNICA LA PUEDES UTILIZAR EN CUALQUIER BISCOCHO, TAMBIEN HAY PEGAMENTOS QUE SIRVEN PARA MADERA, PLÁSTICOS, VIDRIOS, ETC.
Entonces te invito a realizar este bello y fácil paso a paso...
APRENDER Y HACER SIEMPRE ES BUENO!
Photos 7,8, 9 and 10:
- After time, we begin to paste the paper and rub with a piece of fabric so that it adheres well to the piece. If there is any unglued space, you glue it back on, let it dry and repeat the procedure. * ** AND SO THIS BEAUTIFUL BUST IS FINISHED **
! [Uploading image # 20 ...] ()
THIS TECHNIQUE CAN BE USED ON ANY BISCOCHO, THERE ARE ALSO GLUES THAT ARE USED FOR WOOD, PLASTICS, GLASSES, ETC.
Then I invite you to do this beautiful and easy step by step ...