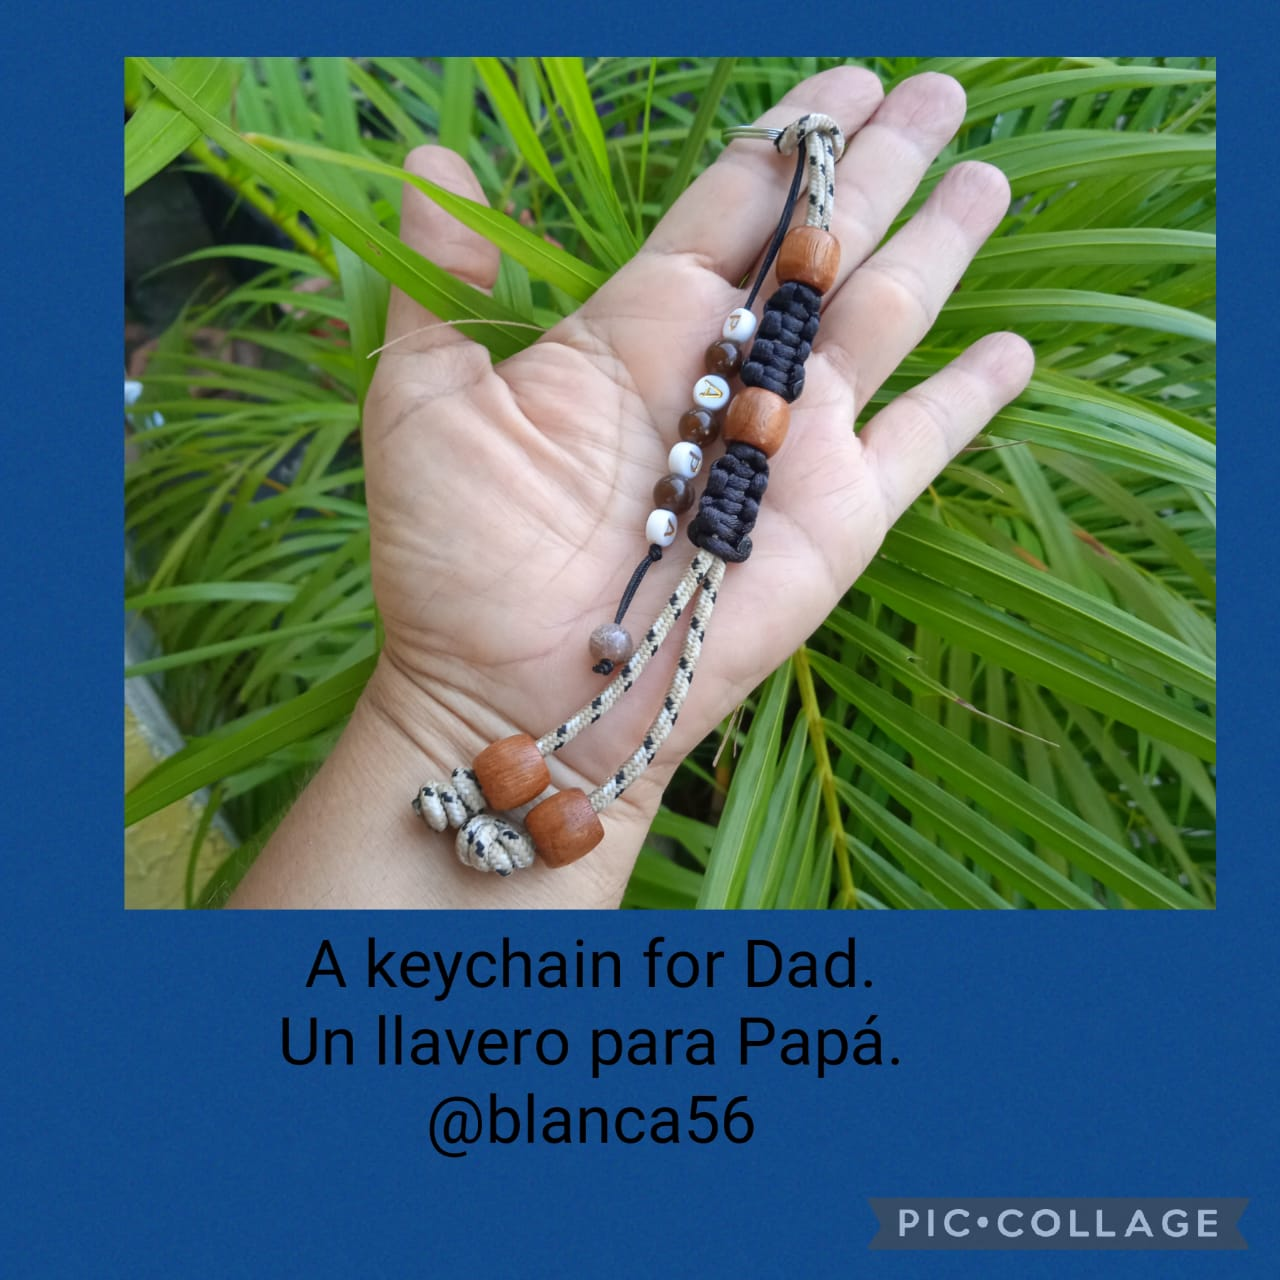
Greetings hivers, father's day is coming and I decided to make a simple keychain to give as a gift on that special date. A detail to express or connect with that person who is part of the family, they also deserve gifts. This time I bring you a simple design of a keychain where I used basic materials that I had on hand as scraps of yarn that I had left from other projects, wooden beads because they are attractive and at the same time reflect the strong personality of the man, along with the letters DAD, which are like a reminder of love, respect and strength. And I complemented the design with the flat knot technique. Without further ado, I will share the steps to make a keychain for Dad.
>Saludos hivers, se acerca el día del padre y decidí hacer un sencillo llavero para regalar en esa fecha especial. Un detalle para expresar o conectar con esa persona que es parte de la familia, ellos también merecen regalos. En esta oportunidad les traigo un diseño sencillo de un llavero donde utilicé materiales básicos que tenía a la mano como retazos de hilos que me habían quedado de otros proyectos, cuentas de madera porque son atractivas y a la vez reflejan la personalidad fuerte del hombre, junto con las letras PAPÁ, que son como un recordatorio de amor, respecto y fortaleza. Y complemente el diseño con la técnica del nudo plano. Sin mas nada que agregar comparto los pasos para elaborar un llavero para Papá.
#
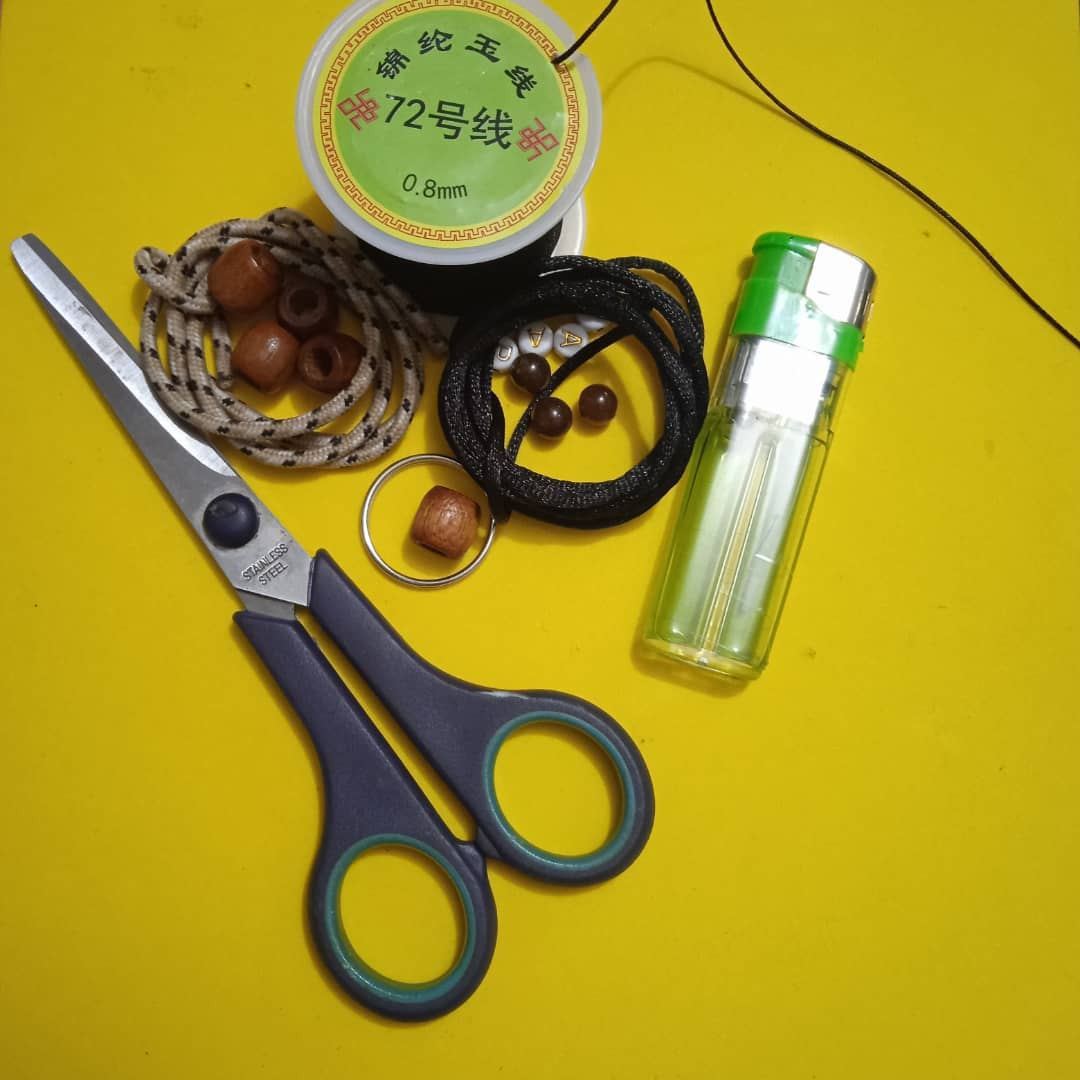
✨***MATERIALS//MATERIALES***✨
* Chinese thread of 0.8 mm.
* Piece of paracord thread.
* Piece of mouse tail thread.
* Wooden beads.
* Letter type beads.
* 4 brown ceramic beads.
* Ring for key rings.
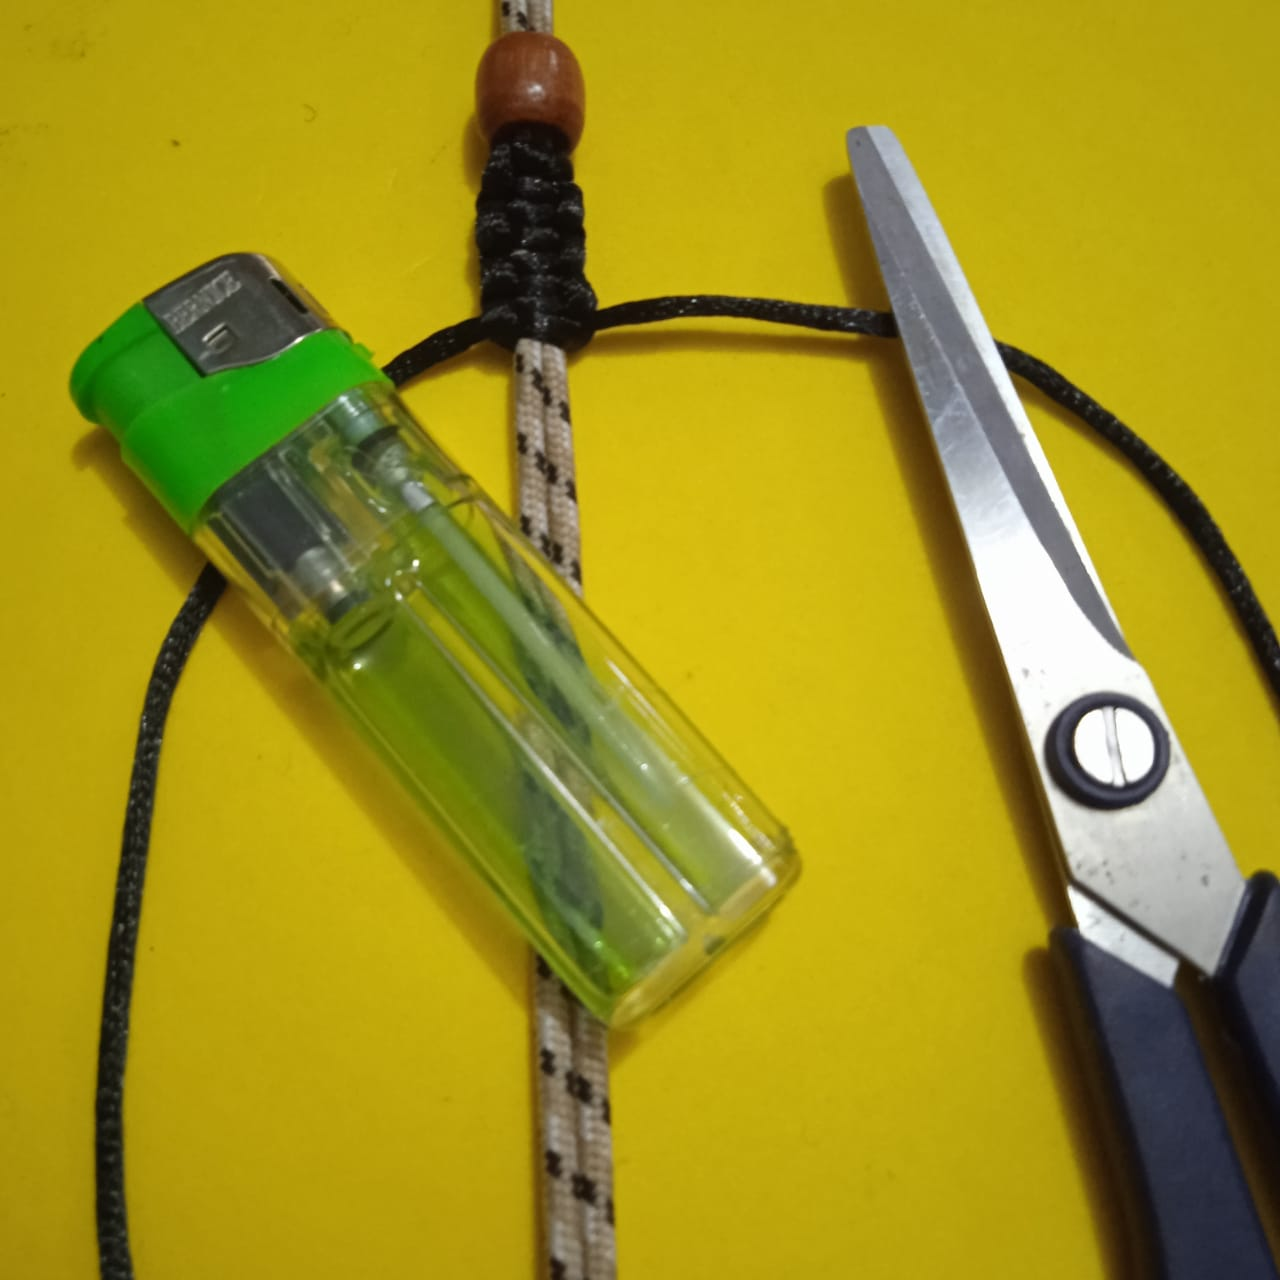
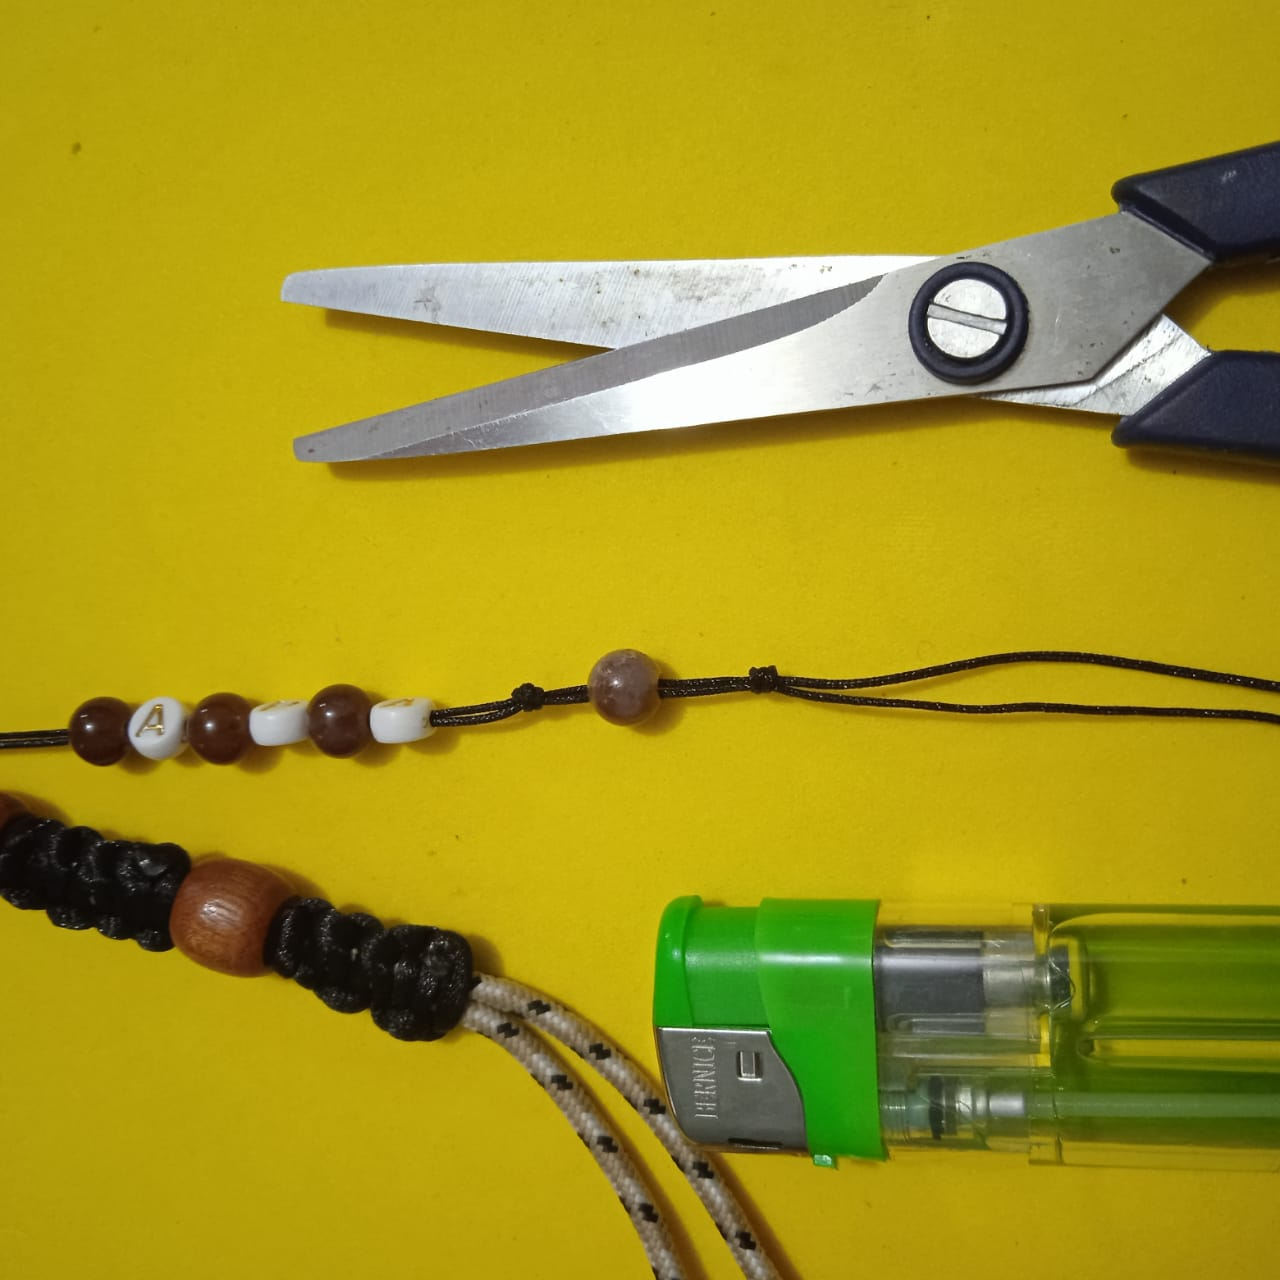
* Scissors.
* Lighter.
>* Hilo chino de 0.8 mm.
>* Retazo de hilo paracord.
>* Retazo de hilo cola de ratón.
>* Cuentas de madera.
>* Cuentas tipo letras.
>* 4 Cuentas de cerámica color marón.
>* Argolla para llaveros.
>* Tijera.
>* Encendedor.
#
✨***STEPS//PASOS***✨
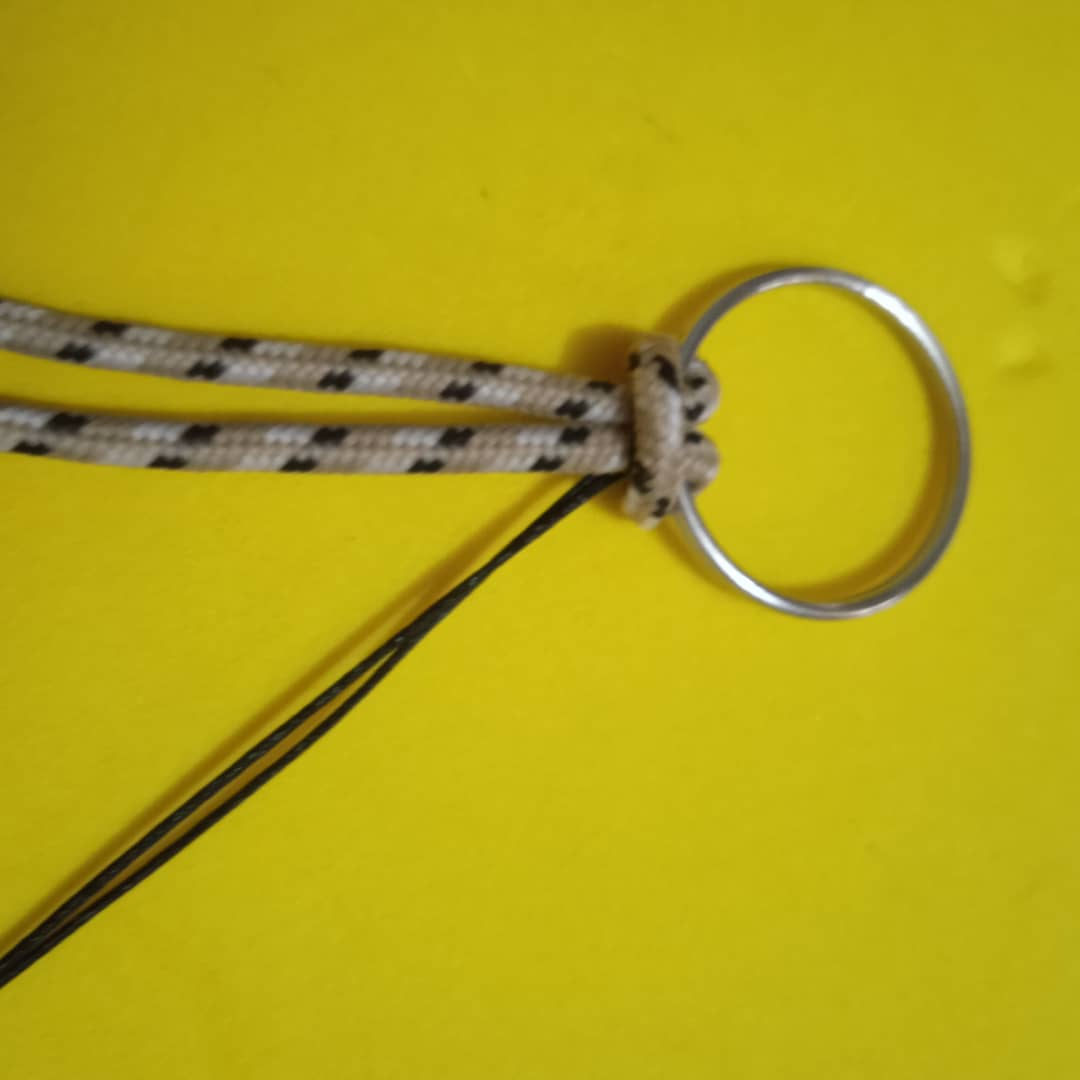
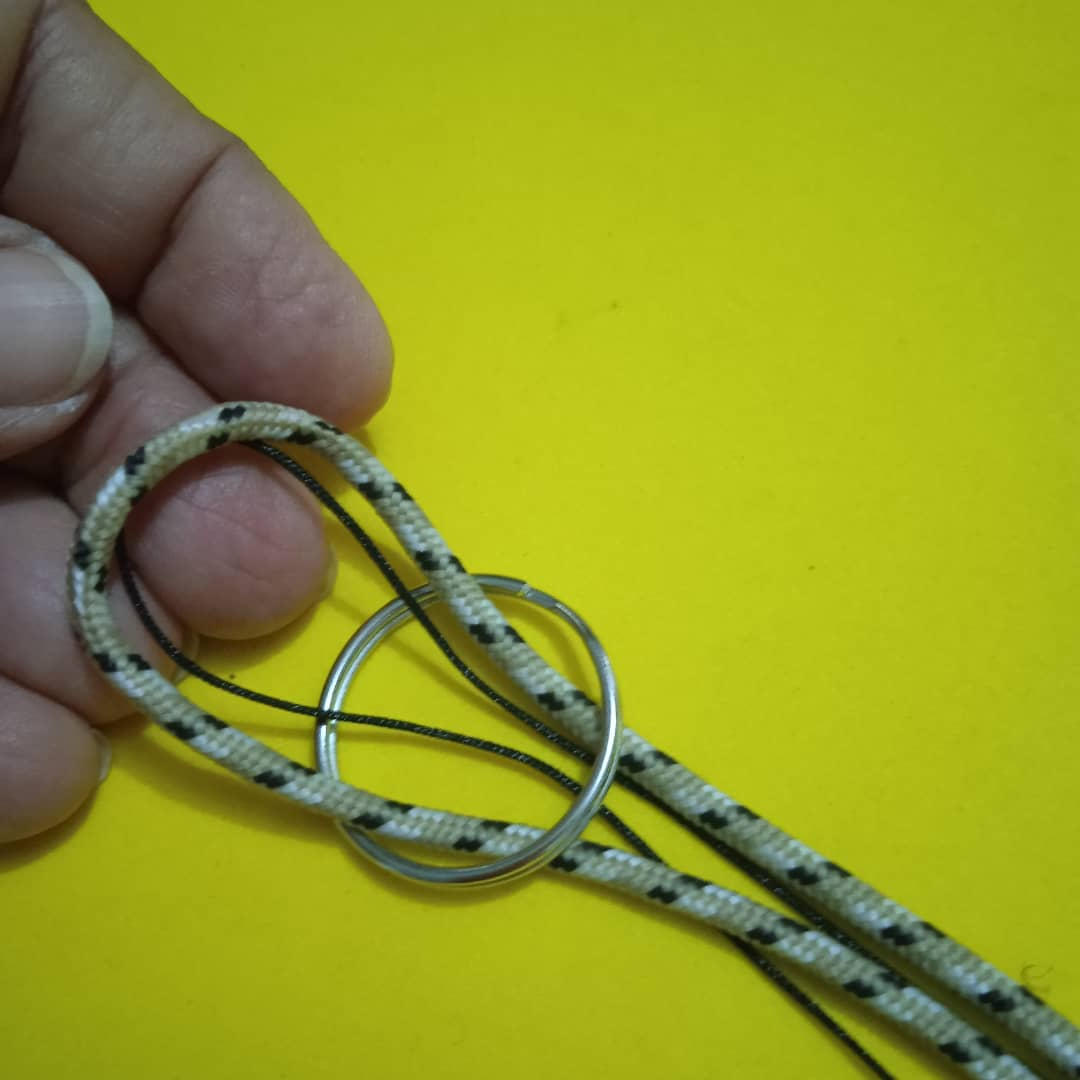
* Cut 40 centimeters of paracord thread and 30 centimeters of Chinese thread in black color.
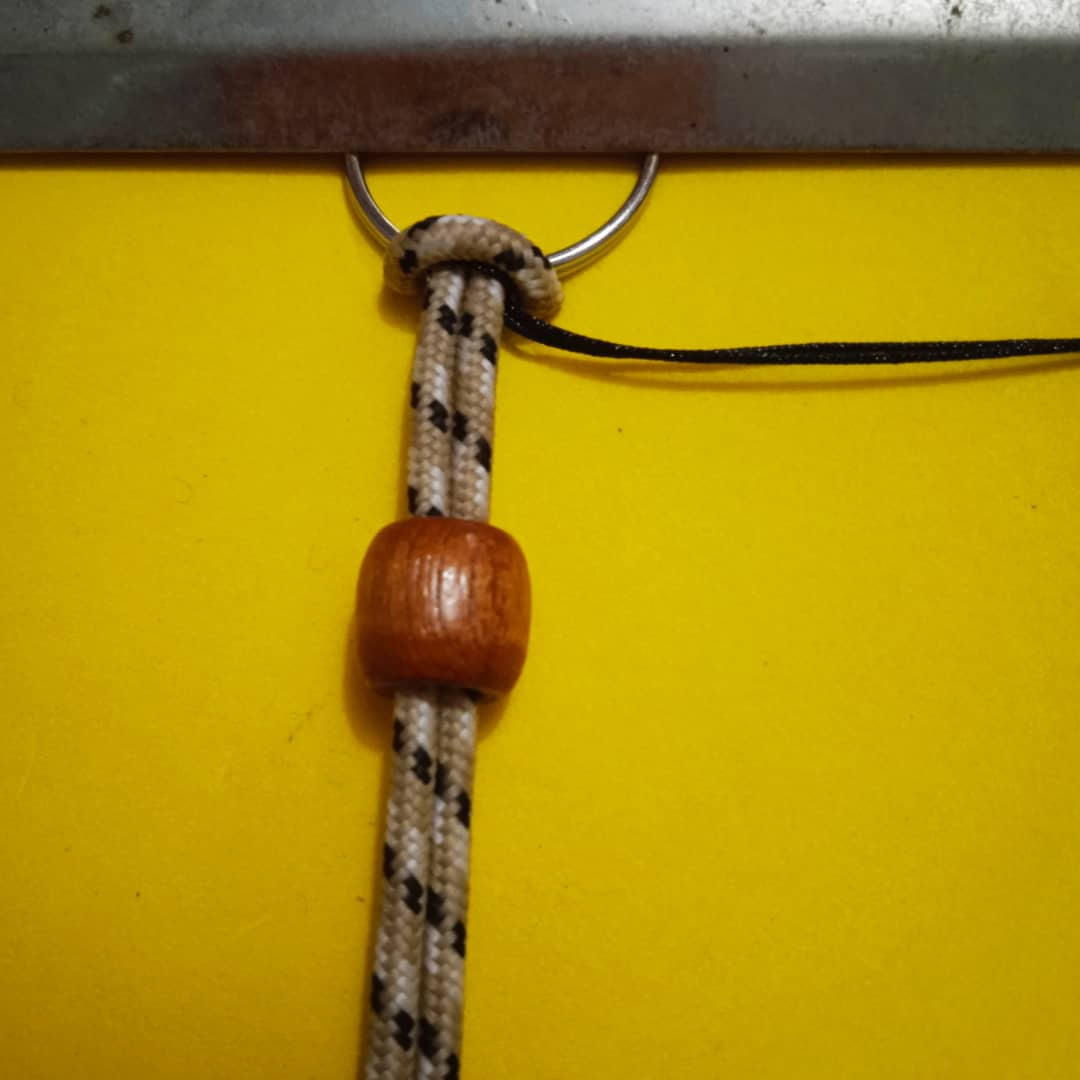
* Take both threads and pass them through the ring, then pass the ends of the thread through the loop.
>* Cortar 40 centímetros de hilo paracord y 30 centímetros de hilo chino color negro.
>* Tomar ambos hilos y pasarlos por el aro, luego pasar las puntas del hilo por el bucle.
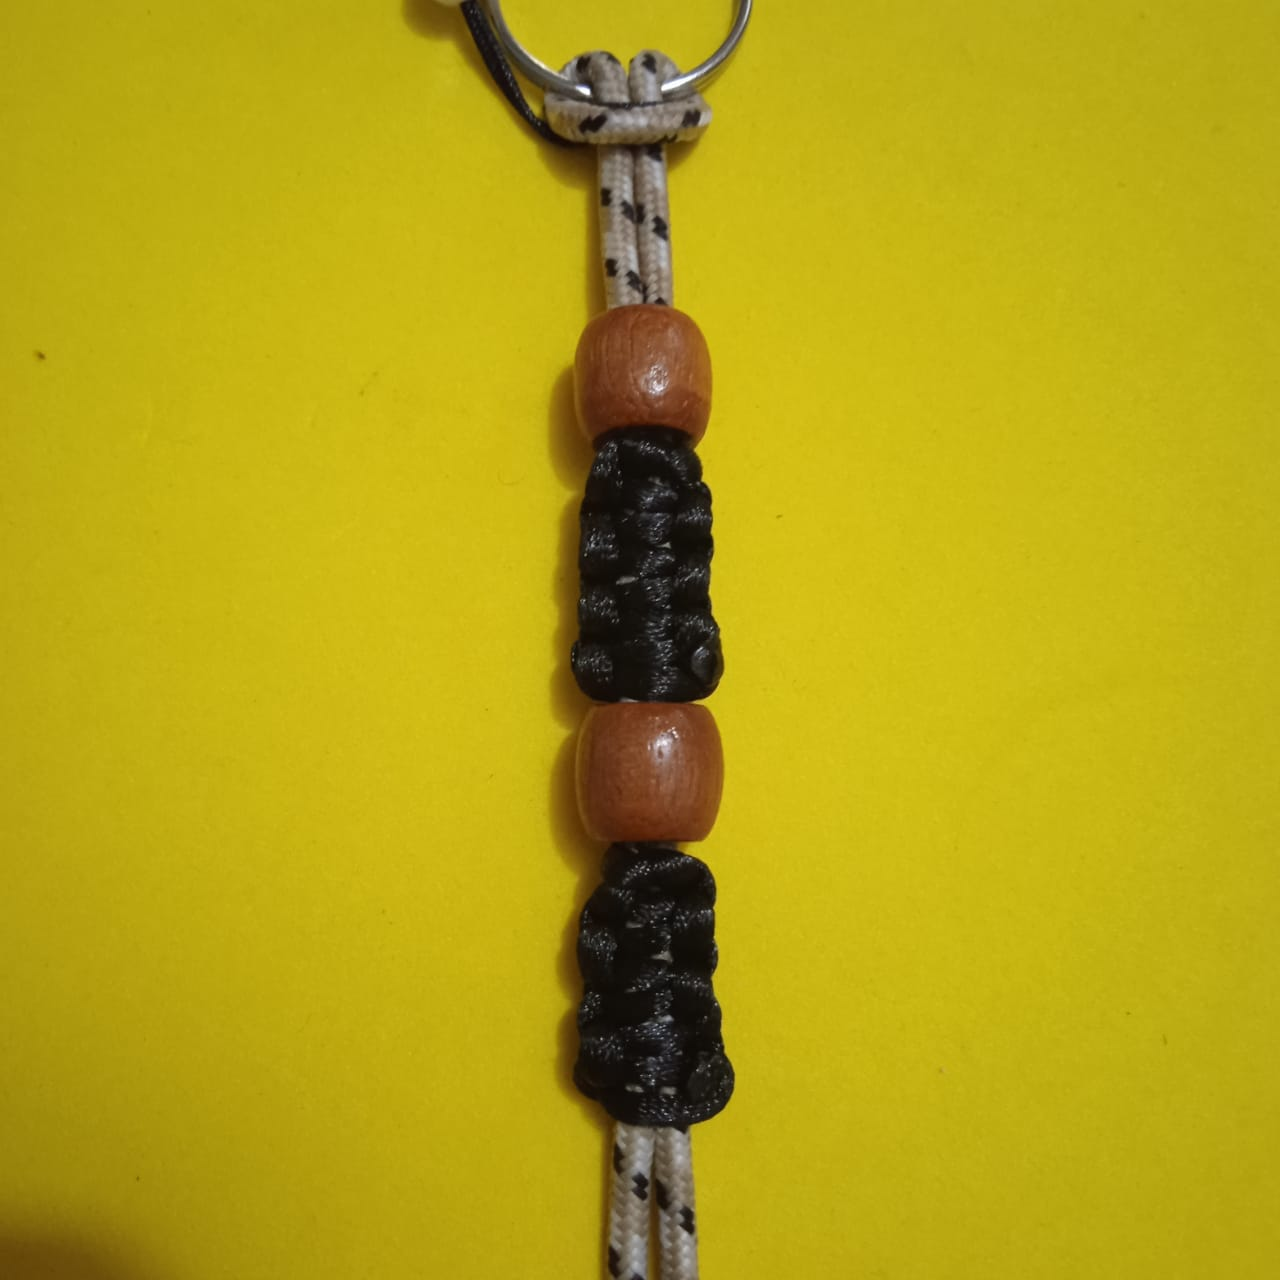
* Hold with the hook of the work table, separate the threads, for the moment you are going to work with the paracord thread.
* Insert a wooden bead, leaving about two centimeters free of the paracord thread.
>* Sujetar con el gancho de la tabla de trabajo, separar los hilos, por el momento se va a trabajar con el hilo paracord.
>* Introducir una cuenta de madera, dejando unos dos centímetros libres del hilo paracord.
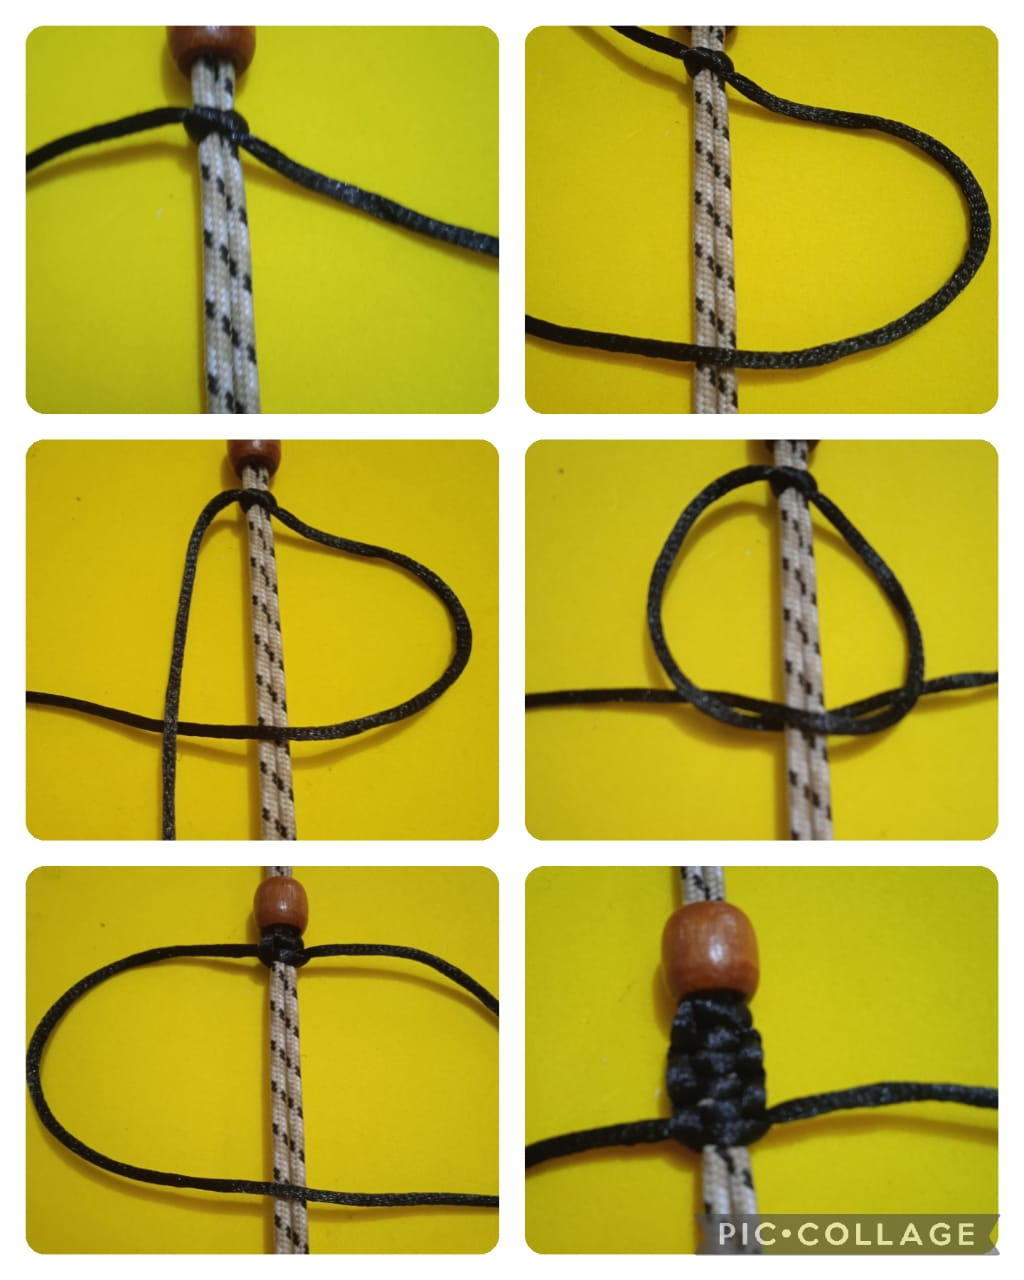
* Cut 35 cm of mouse tail yarn to make the flat knot, as follows: Pass the mouse tail yarn and make a single knot over the base yarn, then make a P by passing over the base yarn and with the left hand yarn pass over and with the tip of the left hand yarn pass underneath coming out through the belly of the P, then pull both yarns at the same time. Continue making a q and repeat the same process. Repeat the flat knot 7 times.
>* Cortar 35 cm de hilo cola de ratón para hacer el nudo plano, de la siguiente manera: Pasar el hilo cola de ratón y hacer un nudo sencillo sobre el hilo base, luego hacer una P pasando por encima del hilo base y con el hilo de la izquierda pasar por encima y con la punta del hilo de la izquierda pasar por debajo saliendo por la barriga de la P, luego tirar de ambos hilos al mismo tiempo. Seguir haciendo una q y repetir el mismo proceso. Repetir 7 veces el nudo plano.
* Cut off the excess material and seal with the lighter.
* Insert the second wooden bead.
>* Cortar el material sobrante y sellar con el encendedor.
>* Introducir la segunda cuenta de madera.
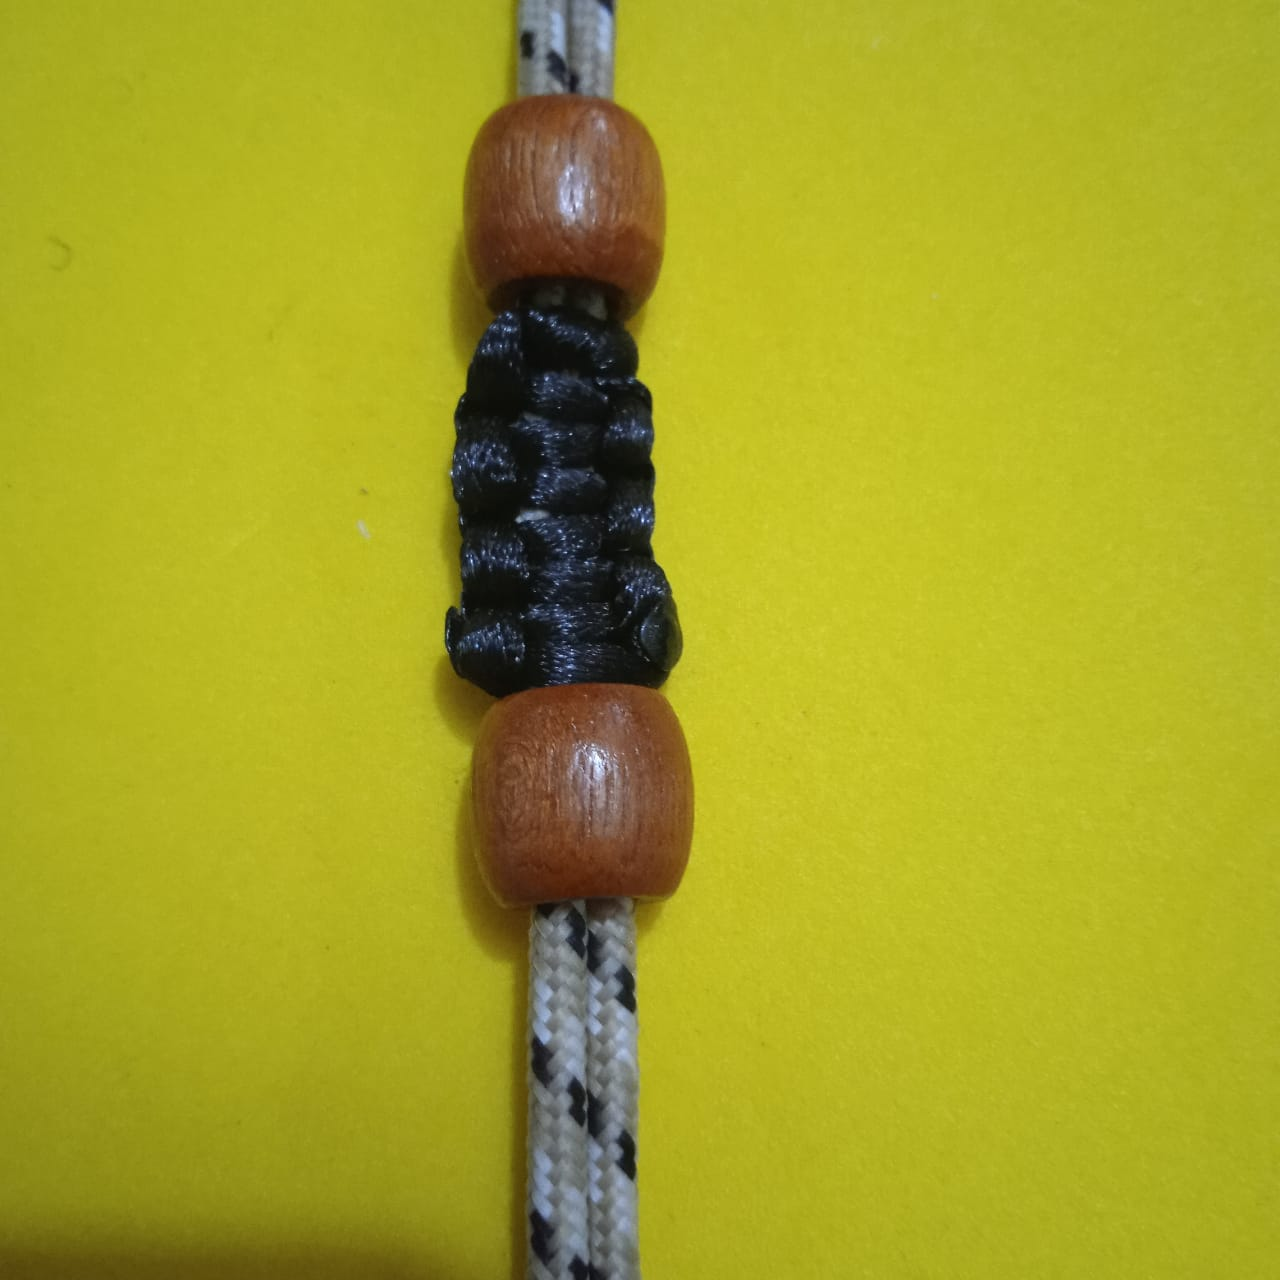
* Repeat again 7 flat knots. Cut off excess material and seal with the lighter.
>* Repetir nuevamente 7 nudos planos. Cortar el exceso de material sellar con el encendedor.
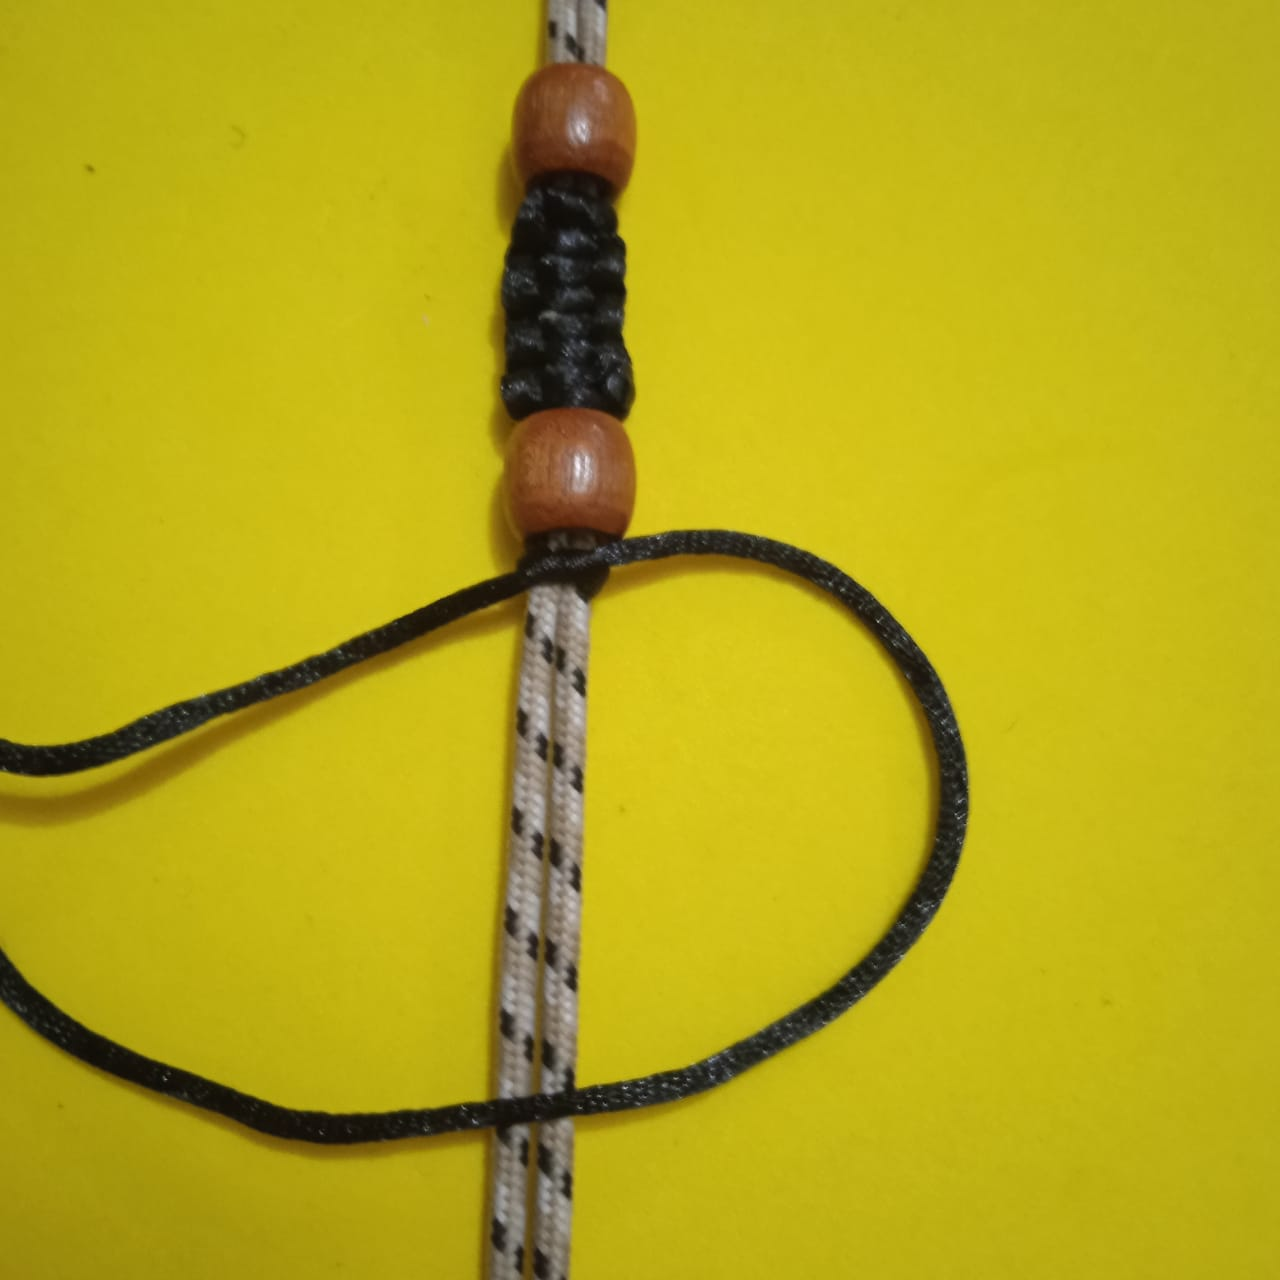
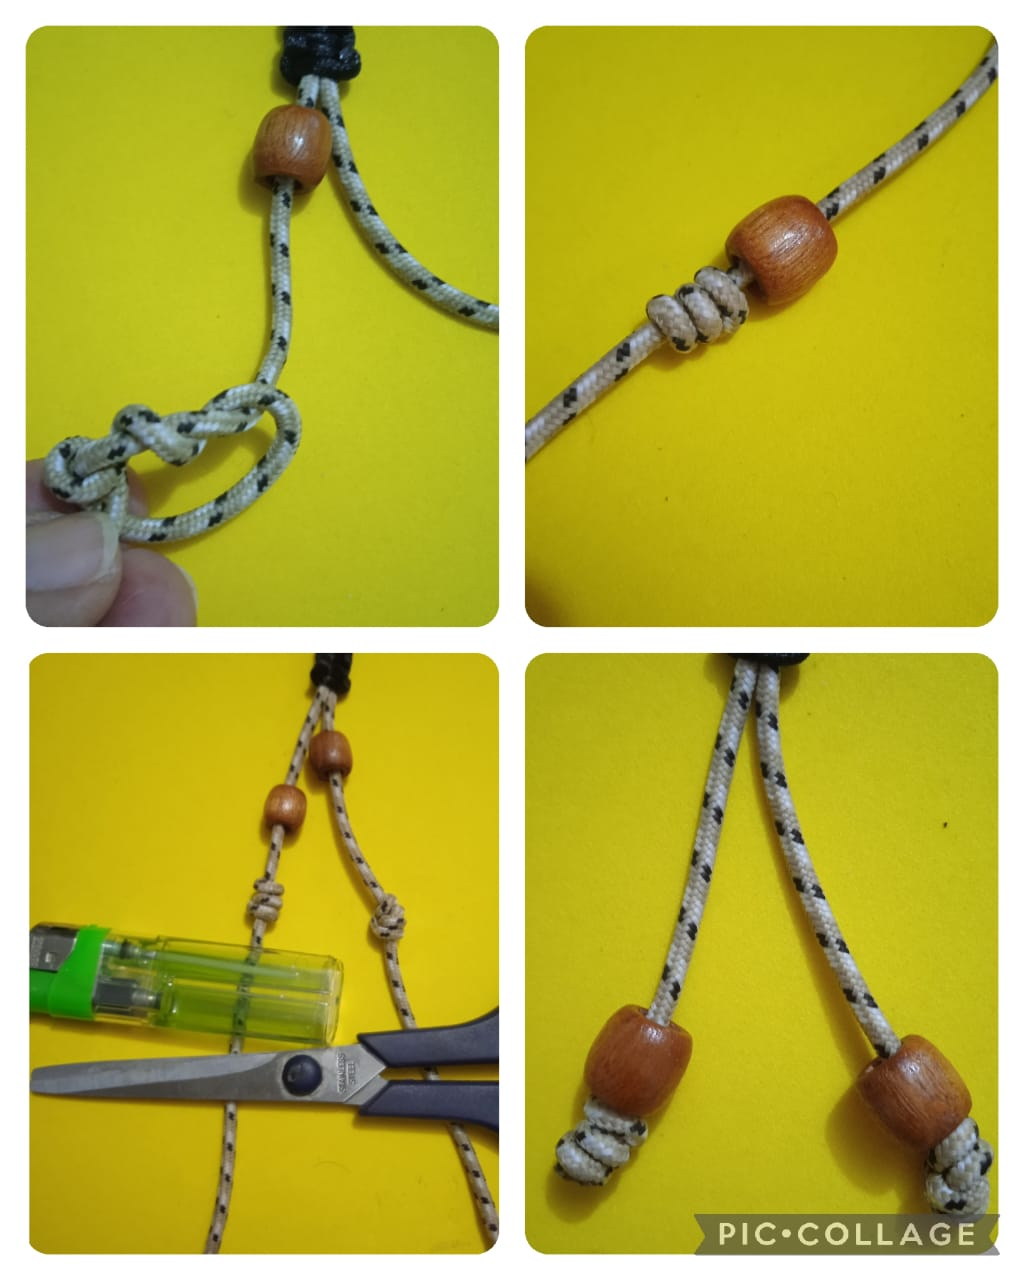
* Separate the threads, introduce 1 wooden bead in each thread, then make a kind of triple knot, passing the thread 3 times and with the help of our fingers bring them to the indicated place. Cut and seal.
>* Separar los hilos, introducir 1 cuenta de madera en cada hilo luego hacer una especie de nudo triple, pasando 3 veces el hilo y con ayuda de nuestros dedos llevarlos hasta el lugar indicado. Cortar y sellar.
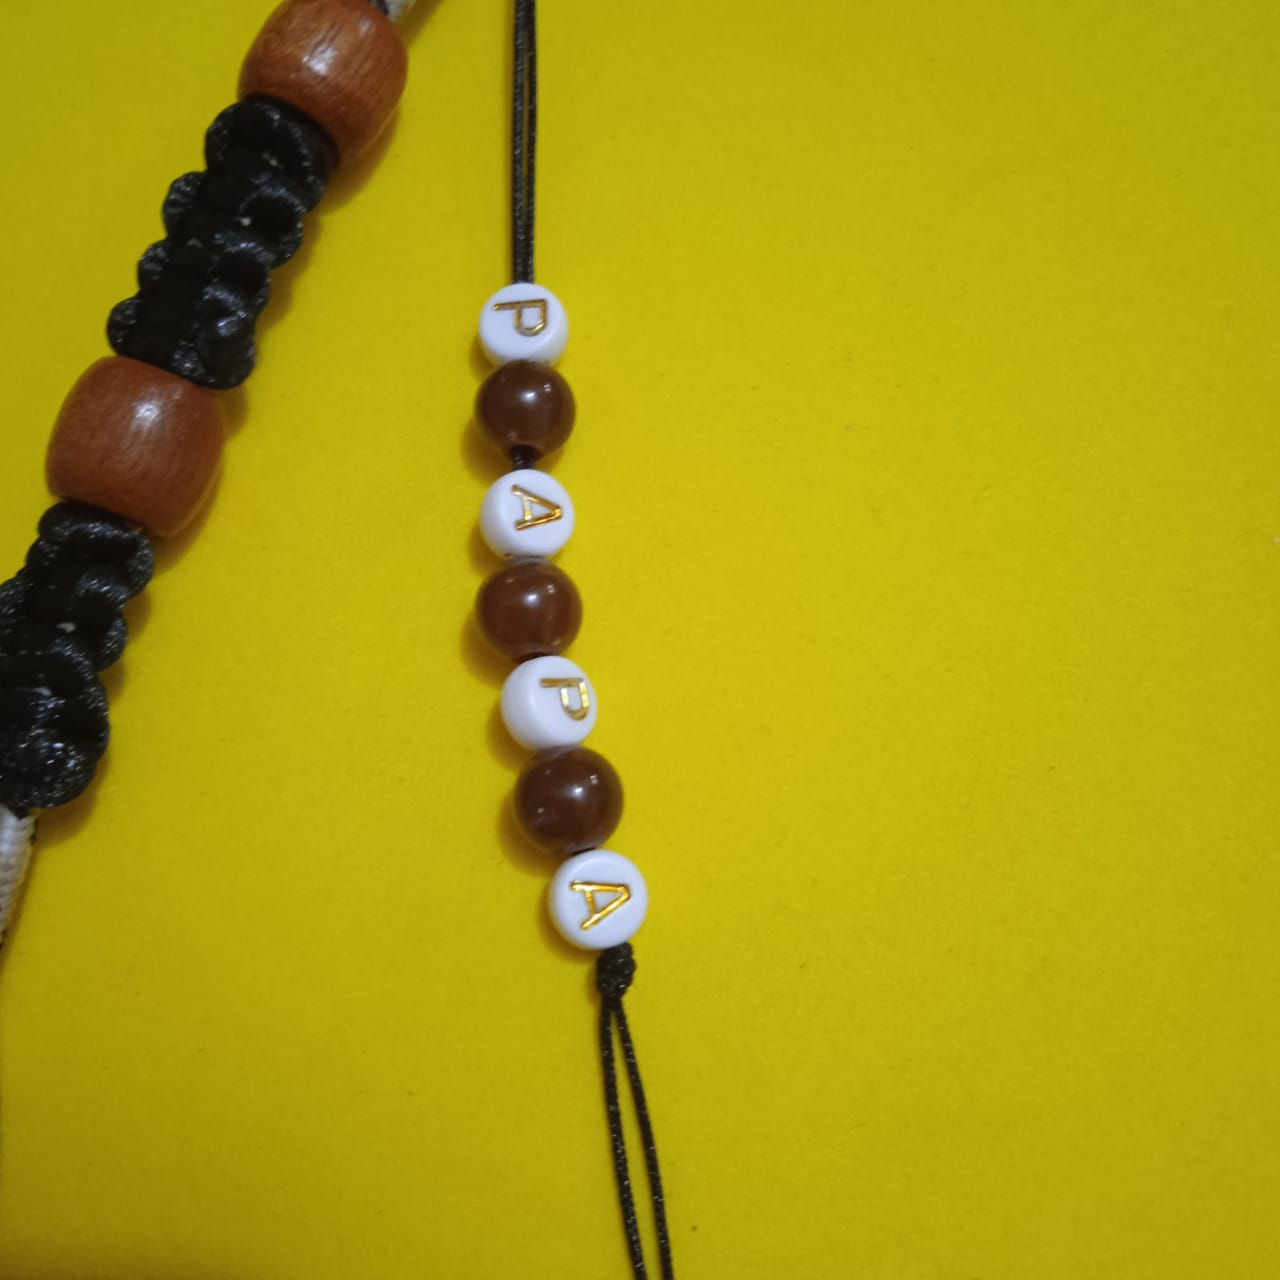
* Then insert the letters DADDY and the brown ceramic beads. Make a simple knot, cut and seal with the lighter.
>* Luego introducir las letras PAPÁ y las cuentas de cerámica color marrón. Hacer un nudo sencillo, cortar y sellar con el encendedor.
#
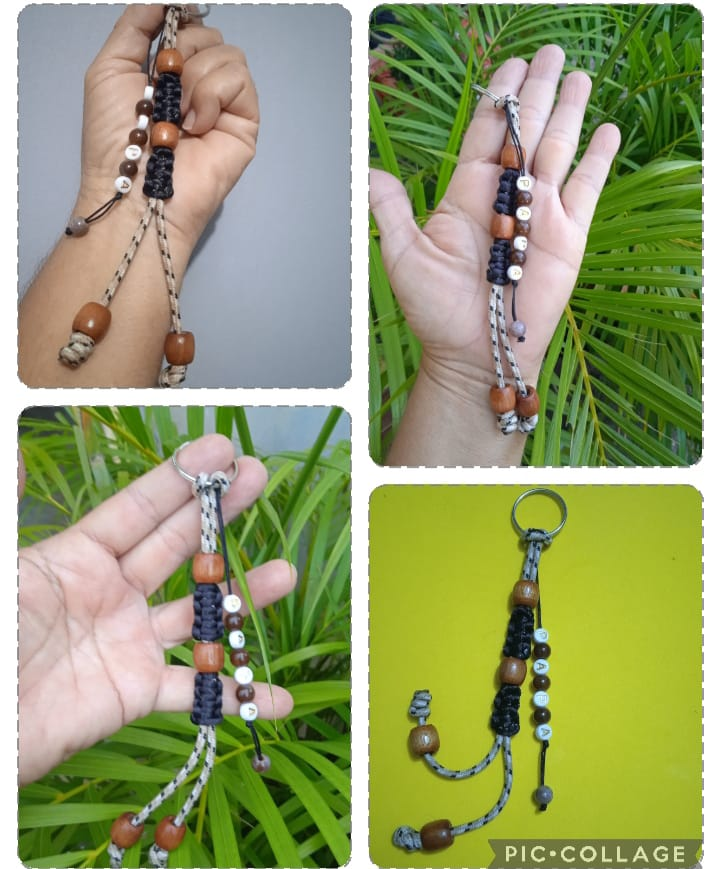
✨***FINAL RESULT/ RESULTADO FINAL***✨
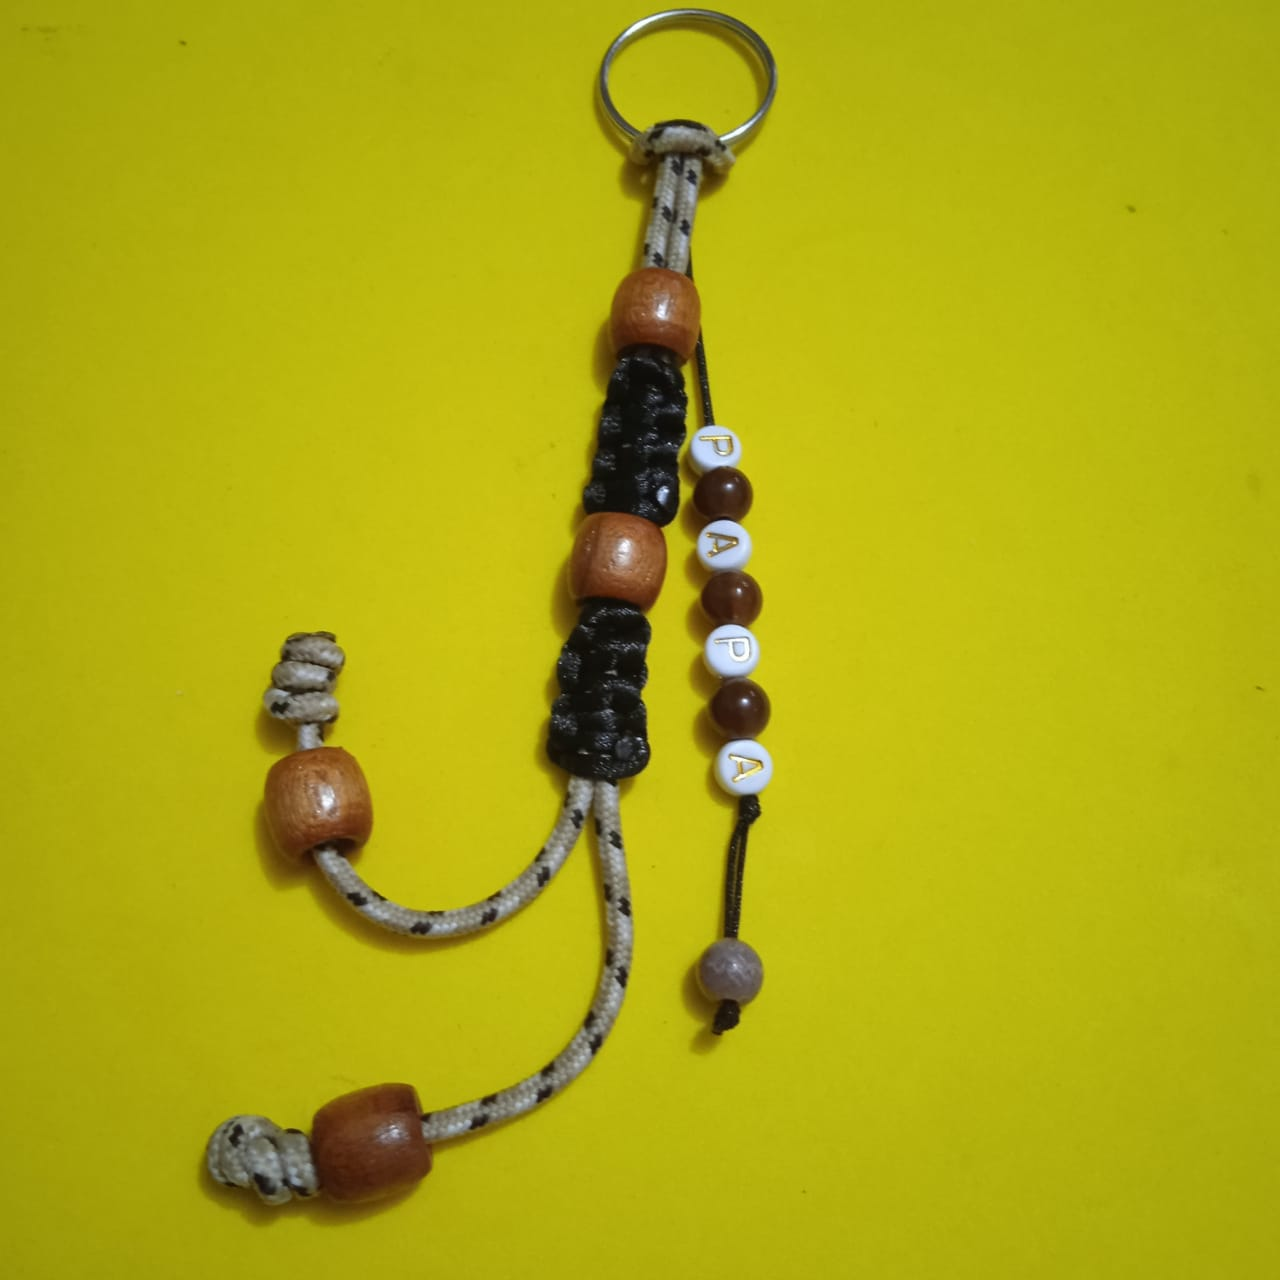
* A simple detail for Dad made with love to celebrate the special day, with materials I had at home and a little imagination I achieved a nice result. I say goodbye 🖐️ thanking you for your visit and comments. I hope you like it.
>* Un detalle sencillo para Papá hecho con amor para celebrar el día especial, con materiales que tenía en casa y un poco de imaginación logré un lindo resultado. Me despido 🖐️ agradeciéndoles su visita y comentarios. Espero les guste.

Photos taken with my Xiaomi Redmi 9C. /Fotos tomadas con mi Xiaomi Redmi 9C.
Translated with / Traducido con: DeepL Translator.
Photo collage made with the PicCollage application./Collage de fotos hecha con la aplicación PicCollage.


#hive-189641
#spanish
#diyhub
#manualidades
#hivediy
#handmade
#dad
#keychains
Payout: 0.000 HBD
Votes: 22
More interactions (upvote, reblog, reply) coming soon.