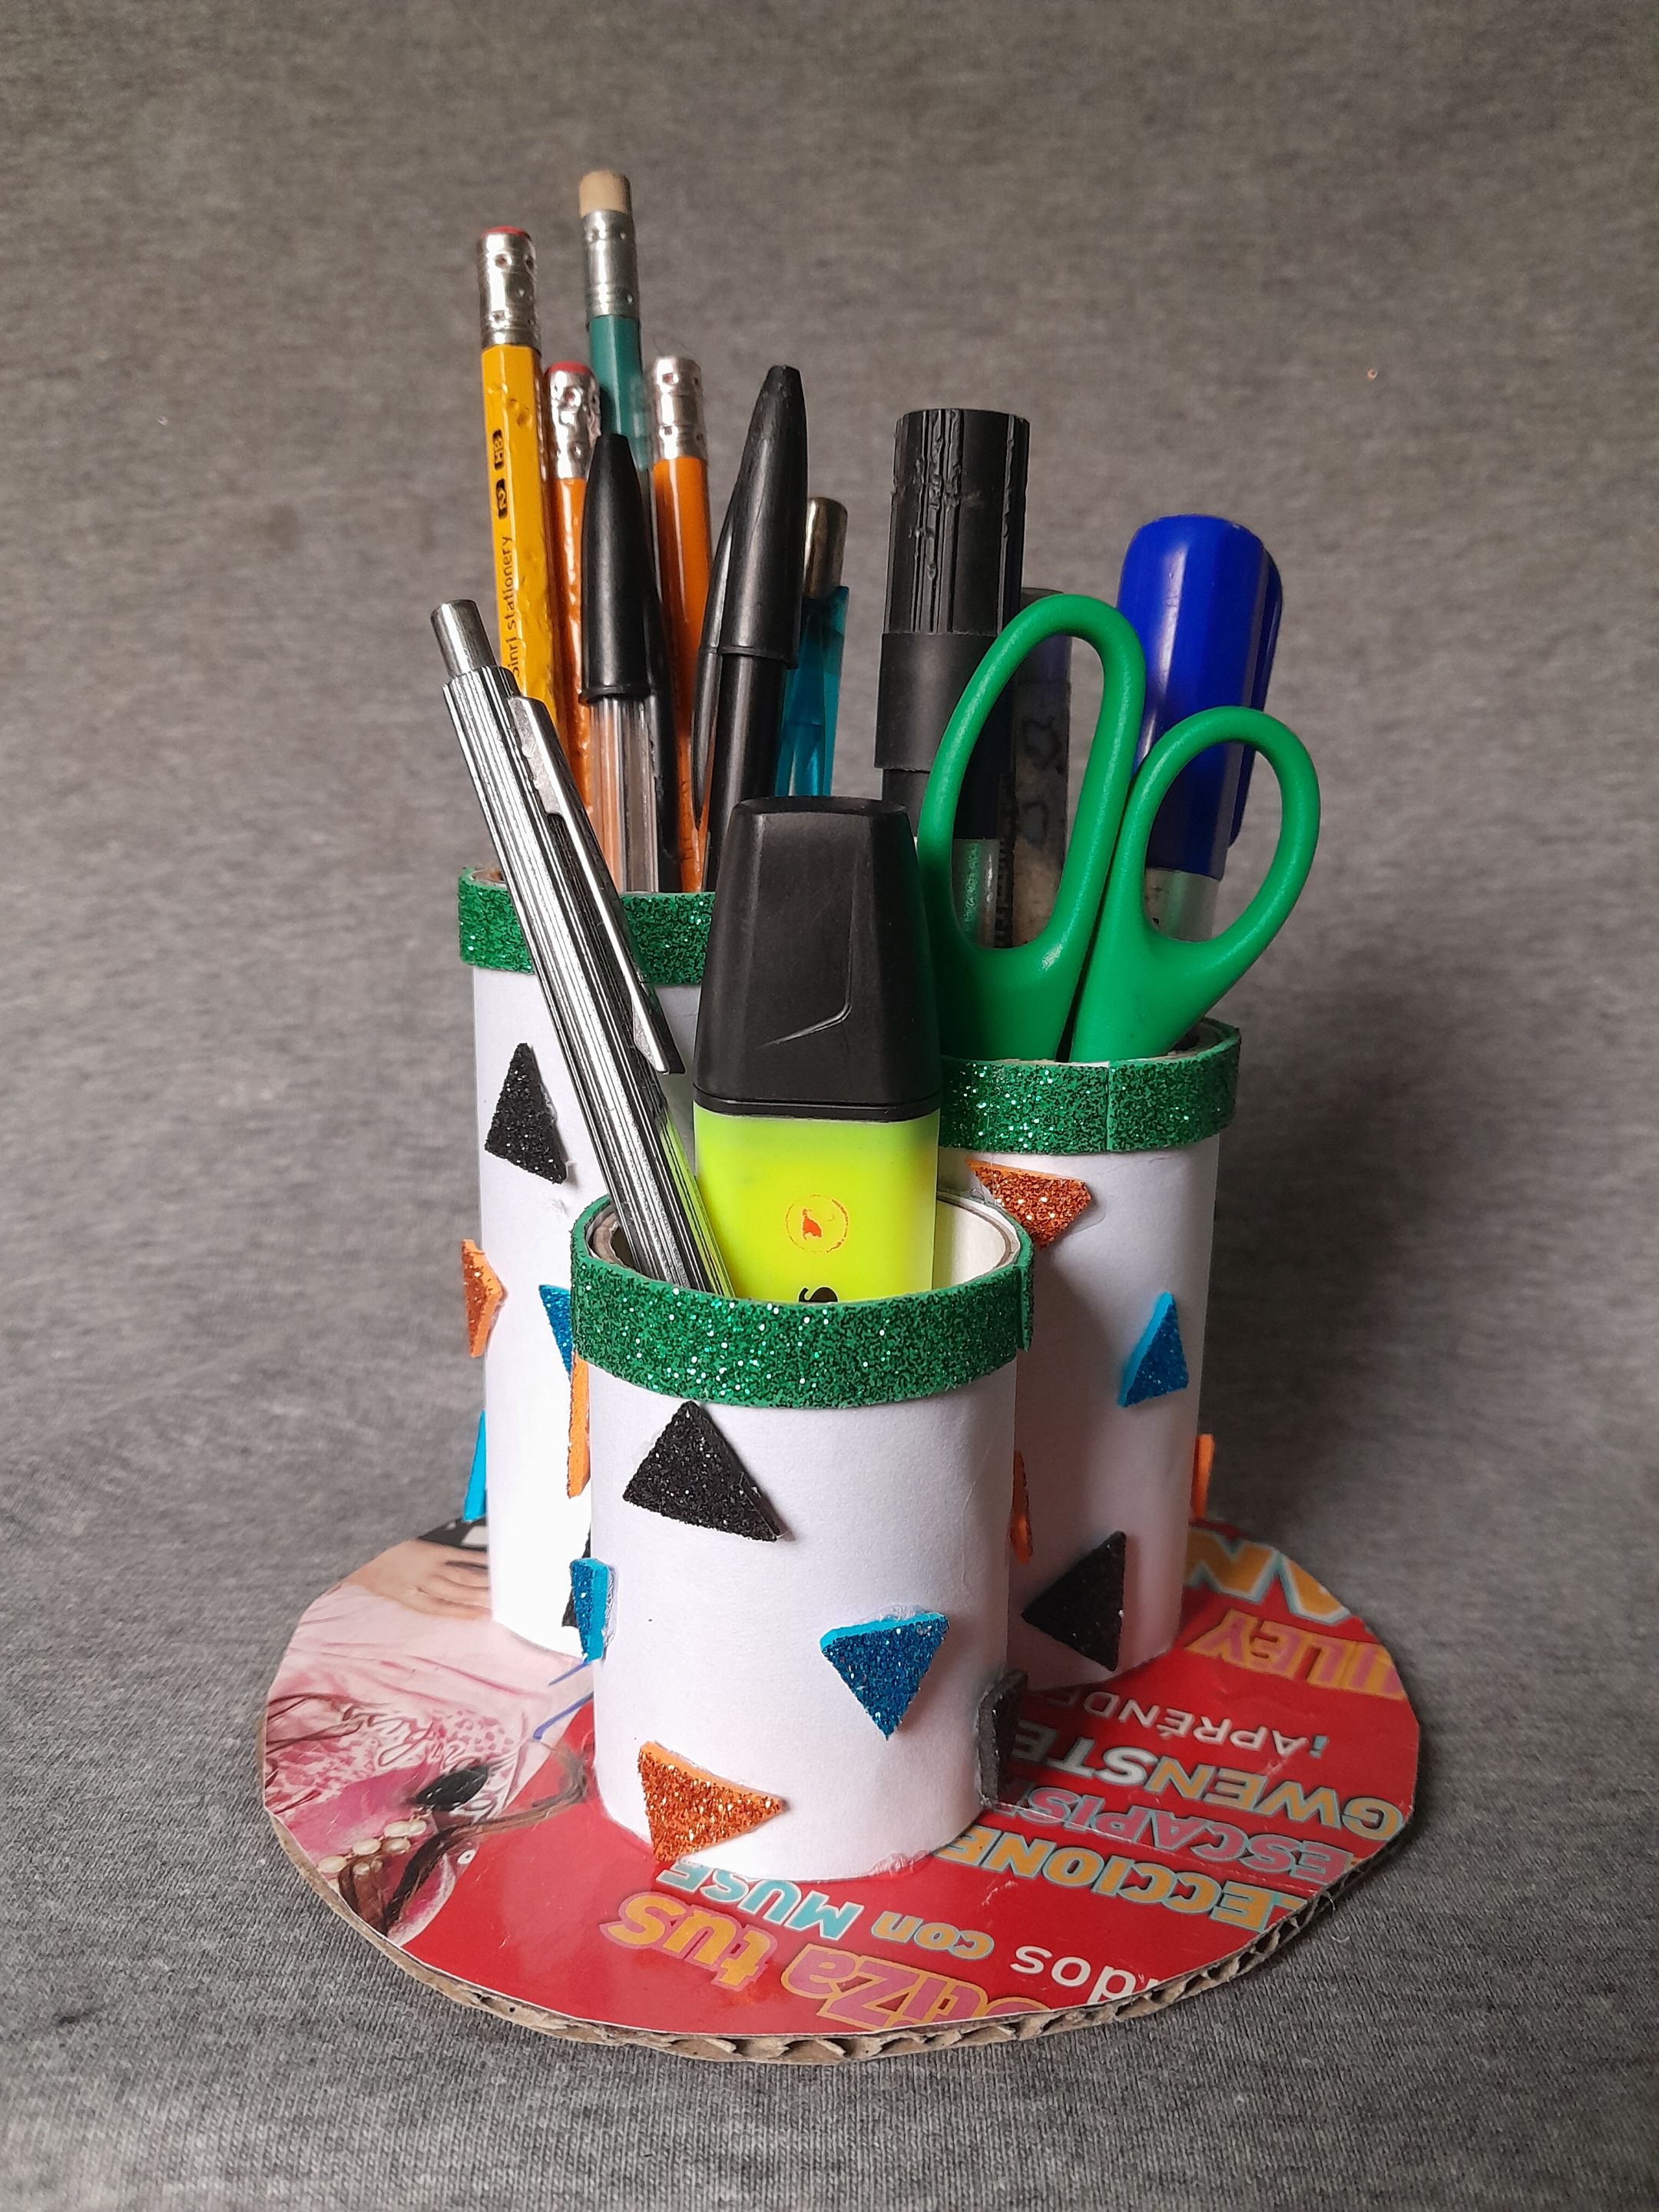
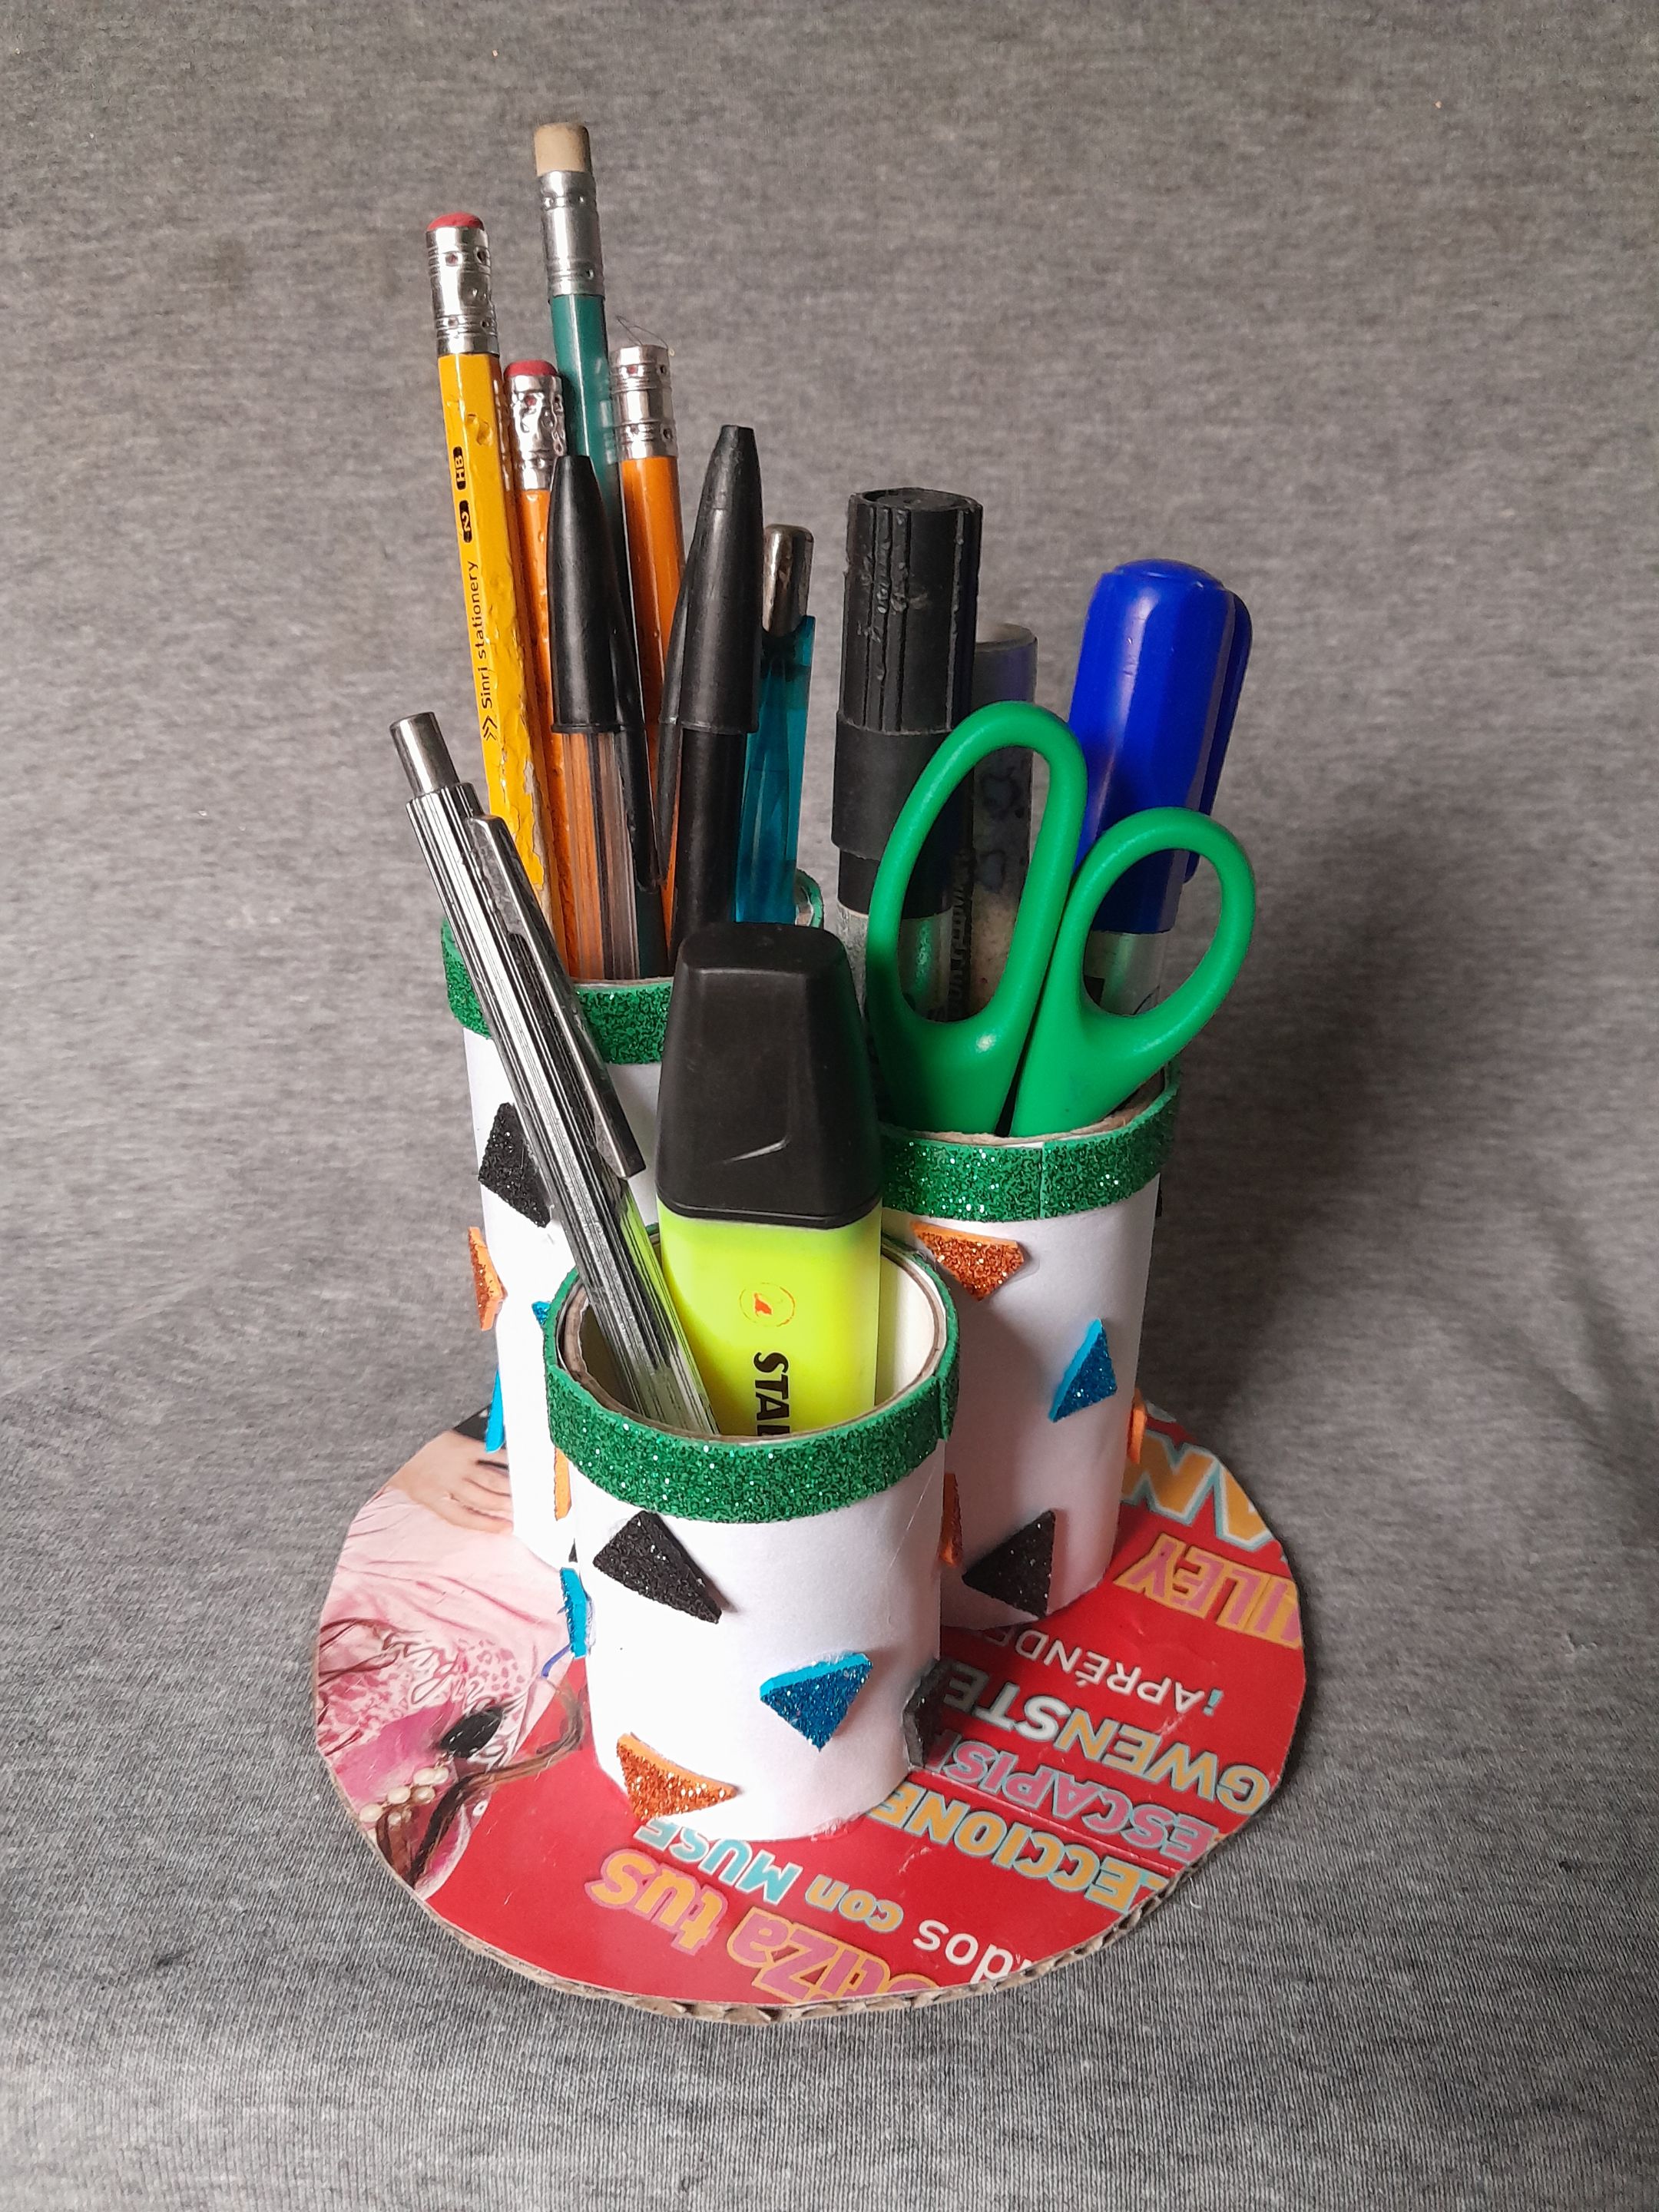
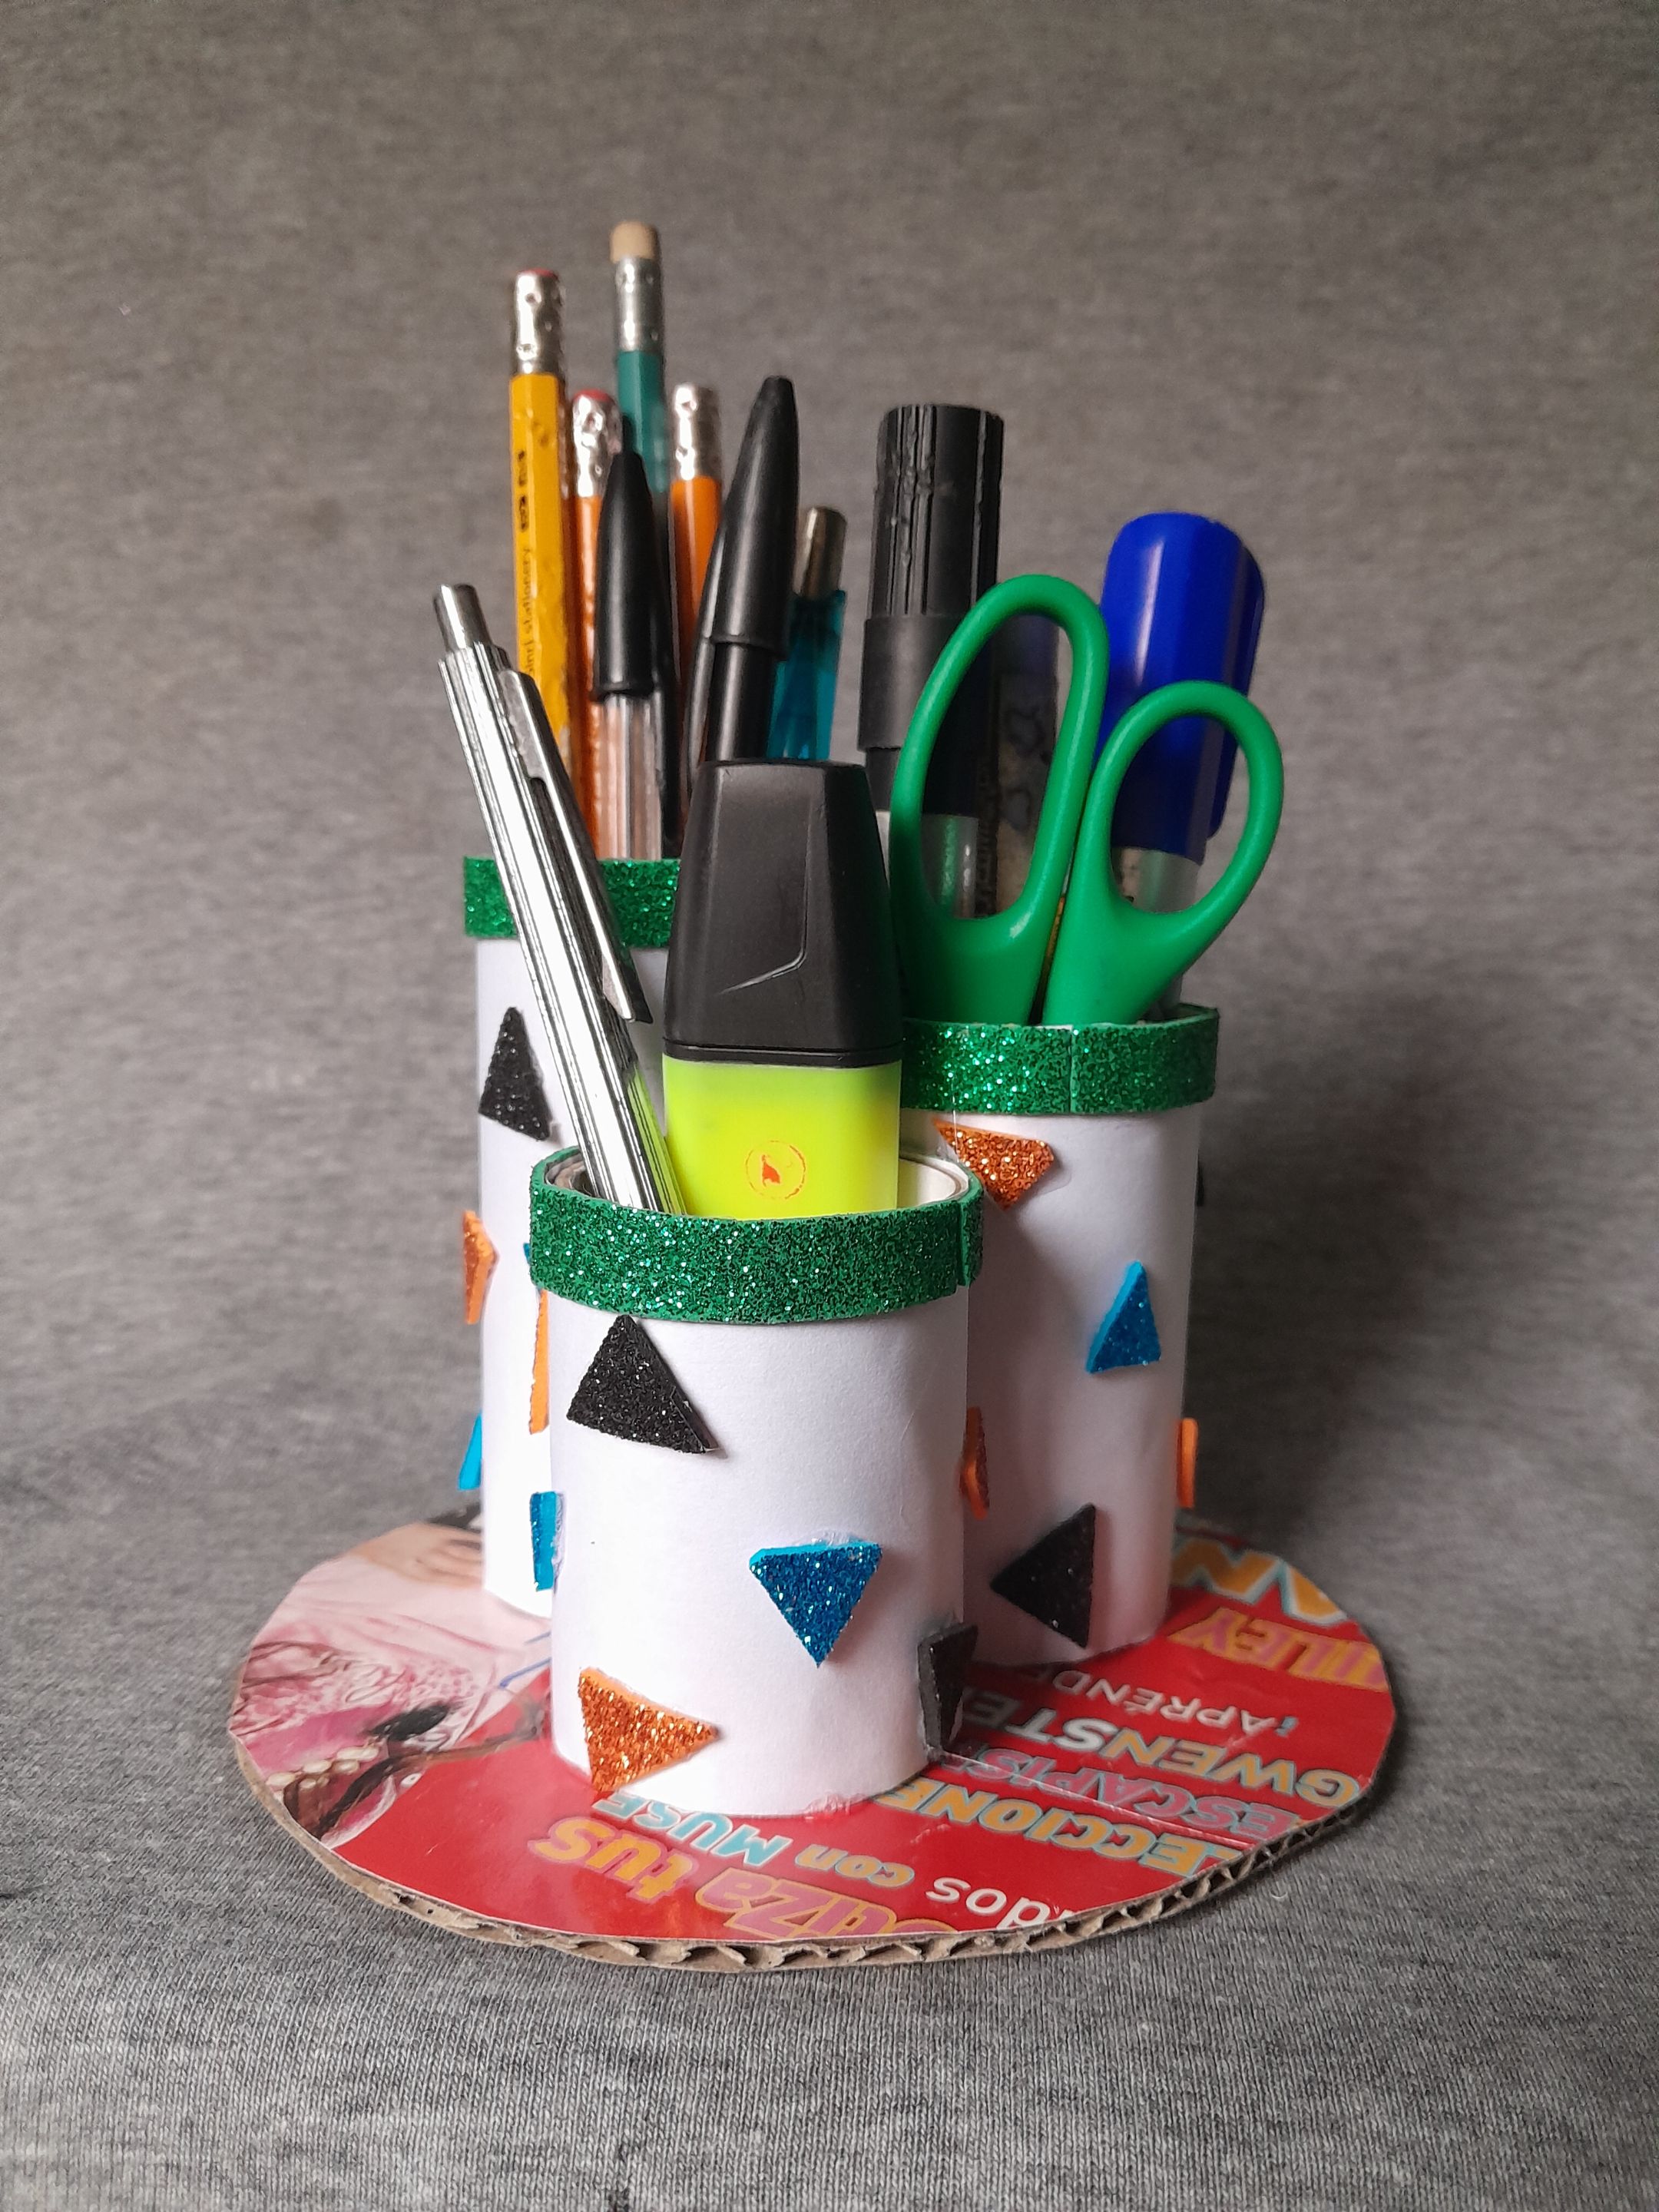
Saludos a mi gente creativa de hive diy, el día de hoy les traigo un lindo y sencillo porta lapices, muy útil para cualquier persona al momento de utilizar los lapices o material de trabajo y estudio, así tendremos todo organizado en un solo sitio. Hecho con material de provecho y es muy fácil de hacer.
Greetings to my creative people of hive diy, today I bring you a nice and simple pencil holder, very useful for anyone when using the pencils or work and study material, so we will have everything organized in one place. Made with useful material and it is very easy to make.
###
Español:
Materiales:
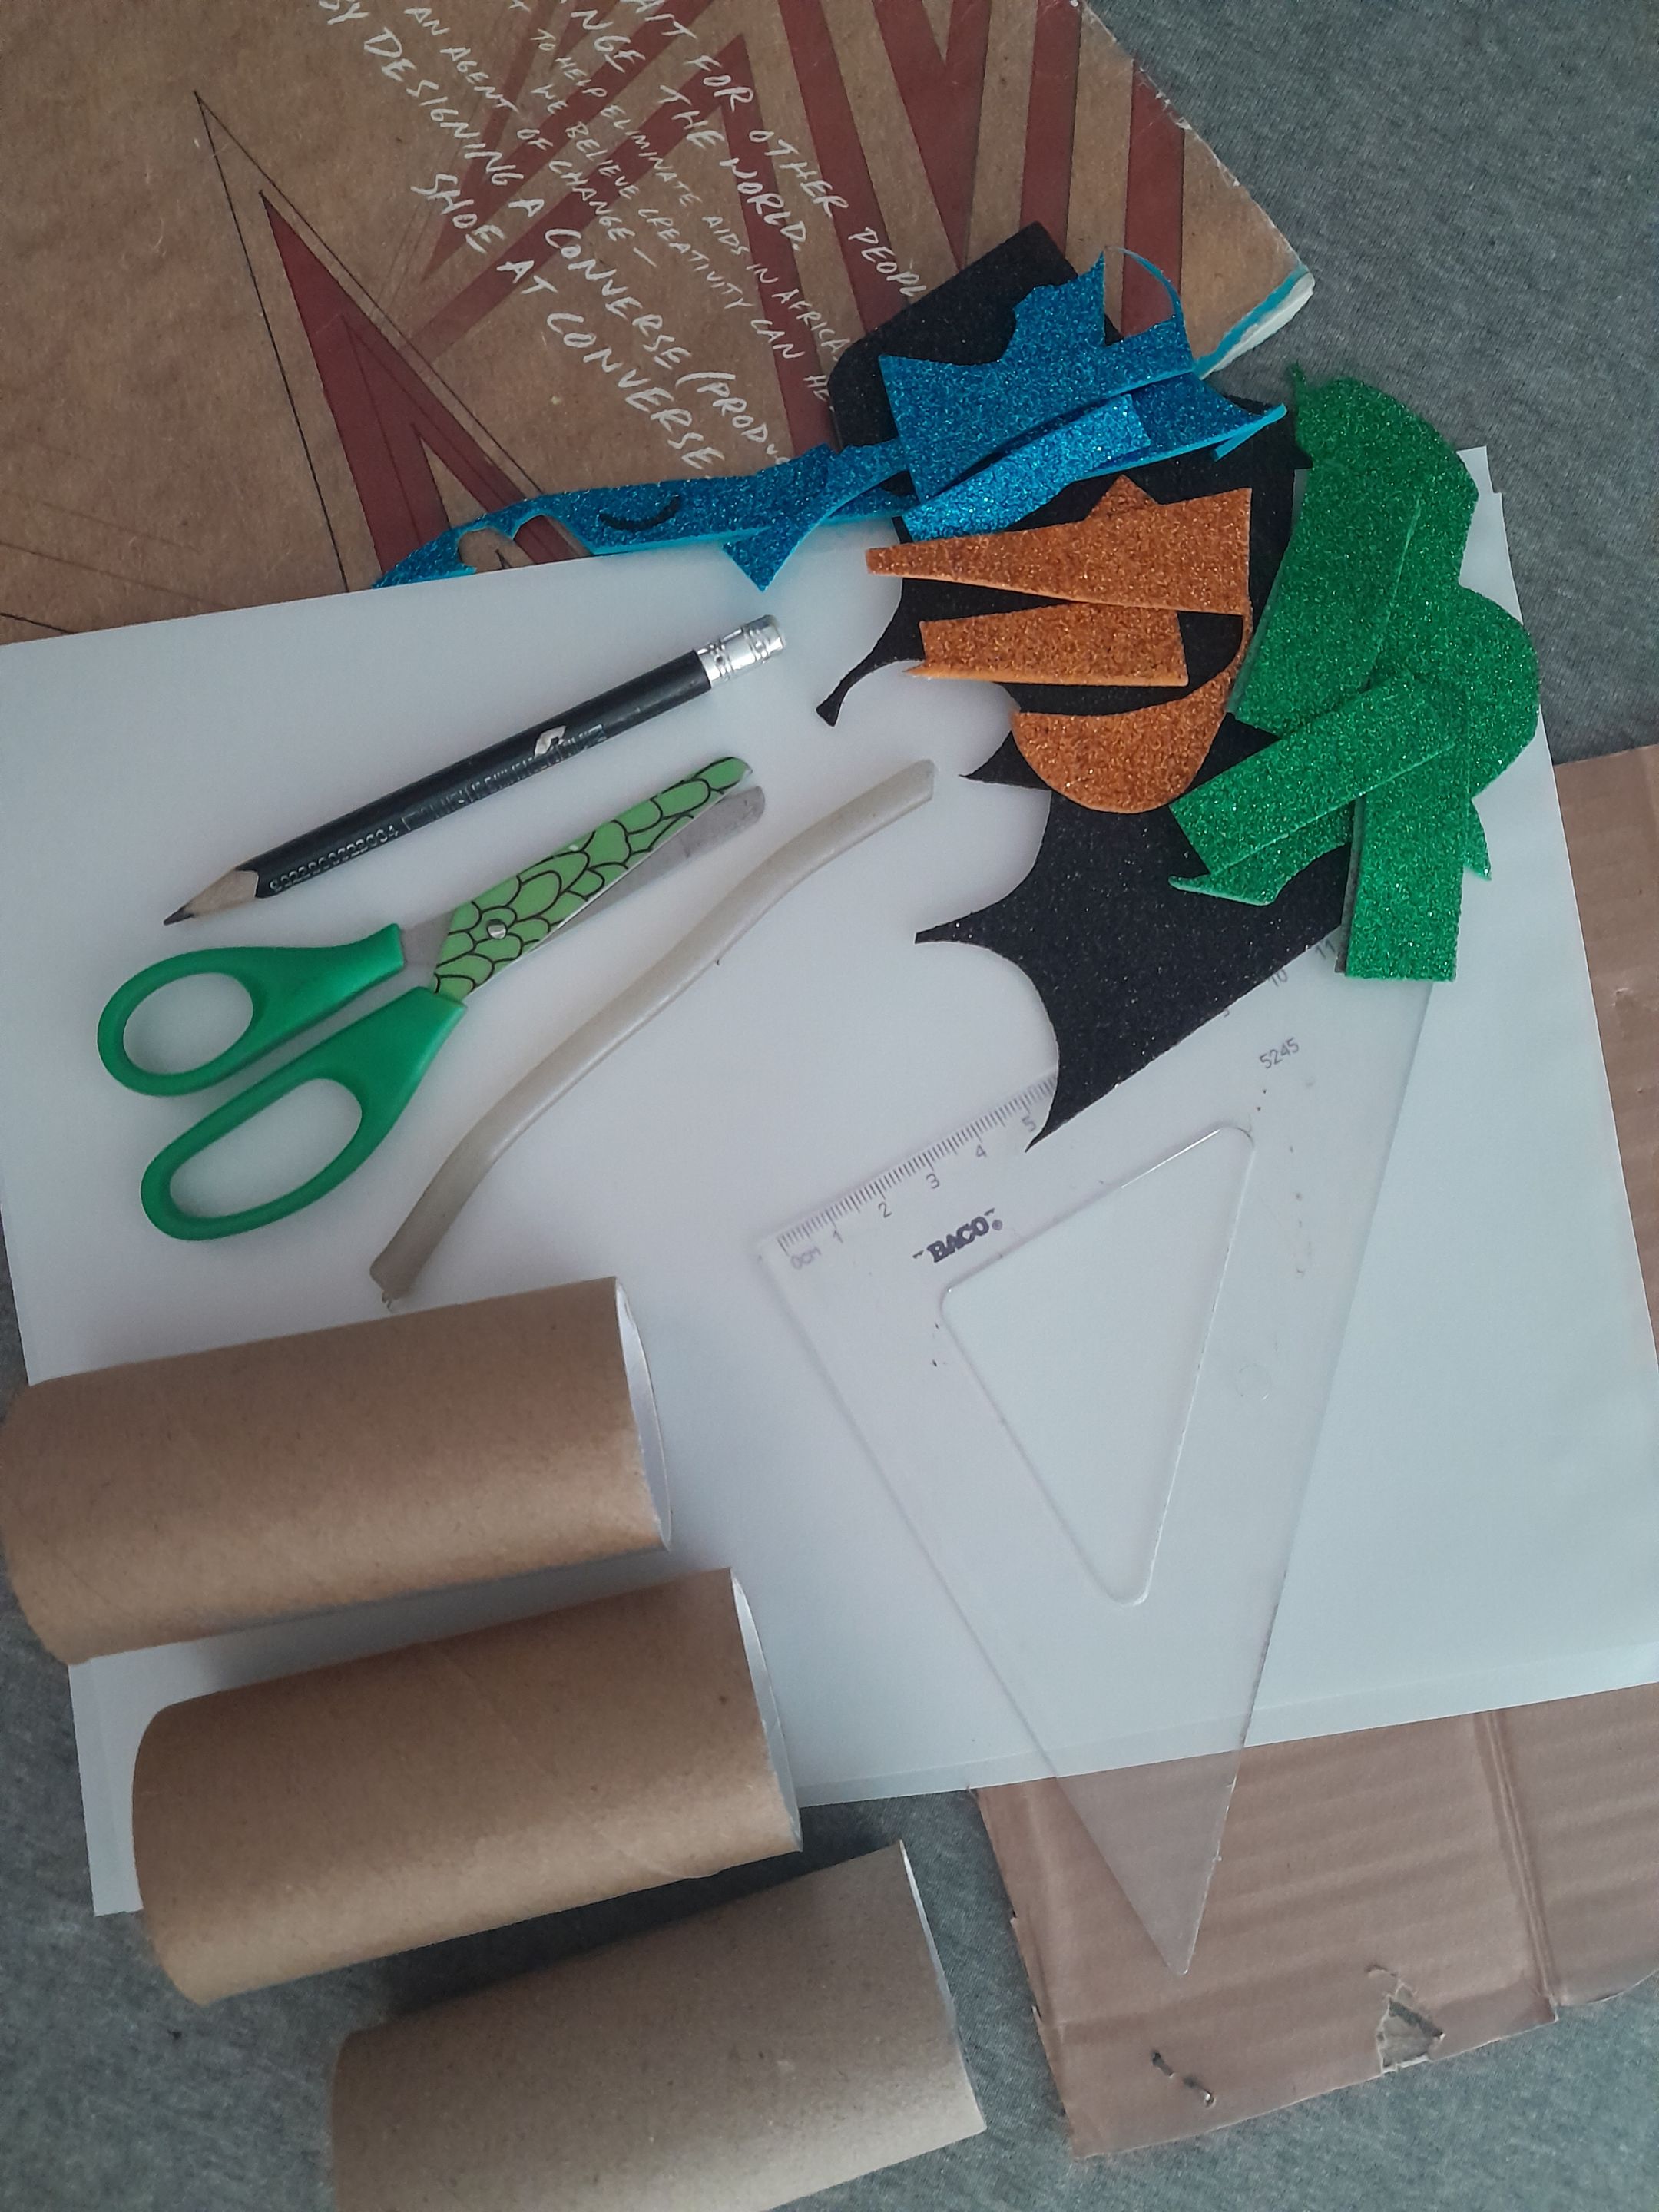
- **3** tubos de cartón del papel higiénico.
- **1** pedazo de cartón.
- **1** hoja de revista.
- Retazo de foami escarchado color verde, azul, negro y naranjado.
- **1** hoja de papel blanca.
- Siilicon.
- Tijera.
- Lápiz.
- Regla.
###
English:
Materials:
- **3** tubos de cartón del papel higiénico.
- **1** pedazo de cartón.
- **1** hoja de revista.
- Retazo de foami escarchado color verde, azul, negro y naranjado.
- **1** hoja de papel blanca.
- Siilicon.
- Tijera.
- Lápiz.
- Regla.

###
Español:
Paso 1:
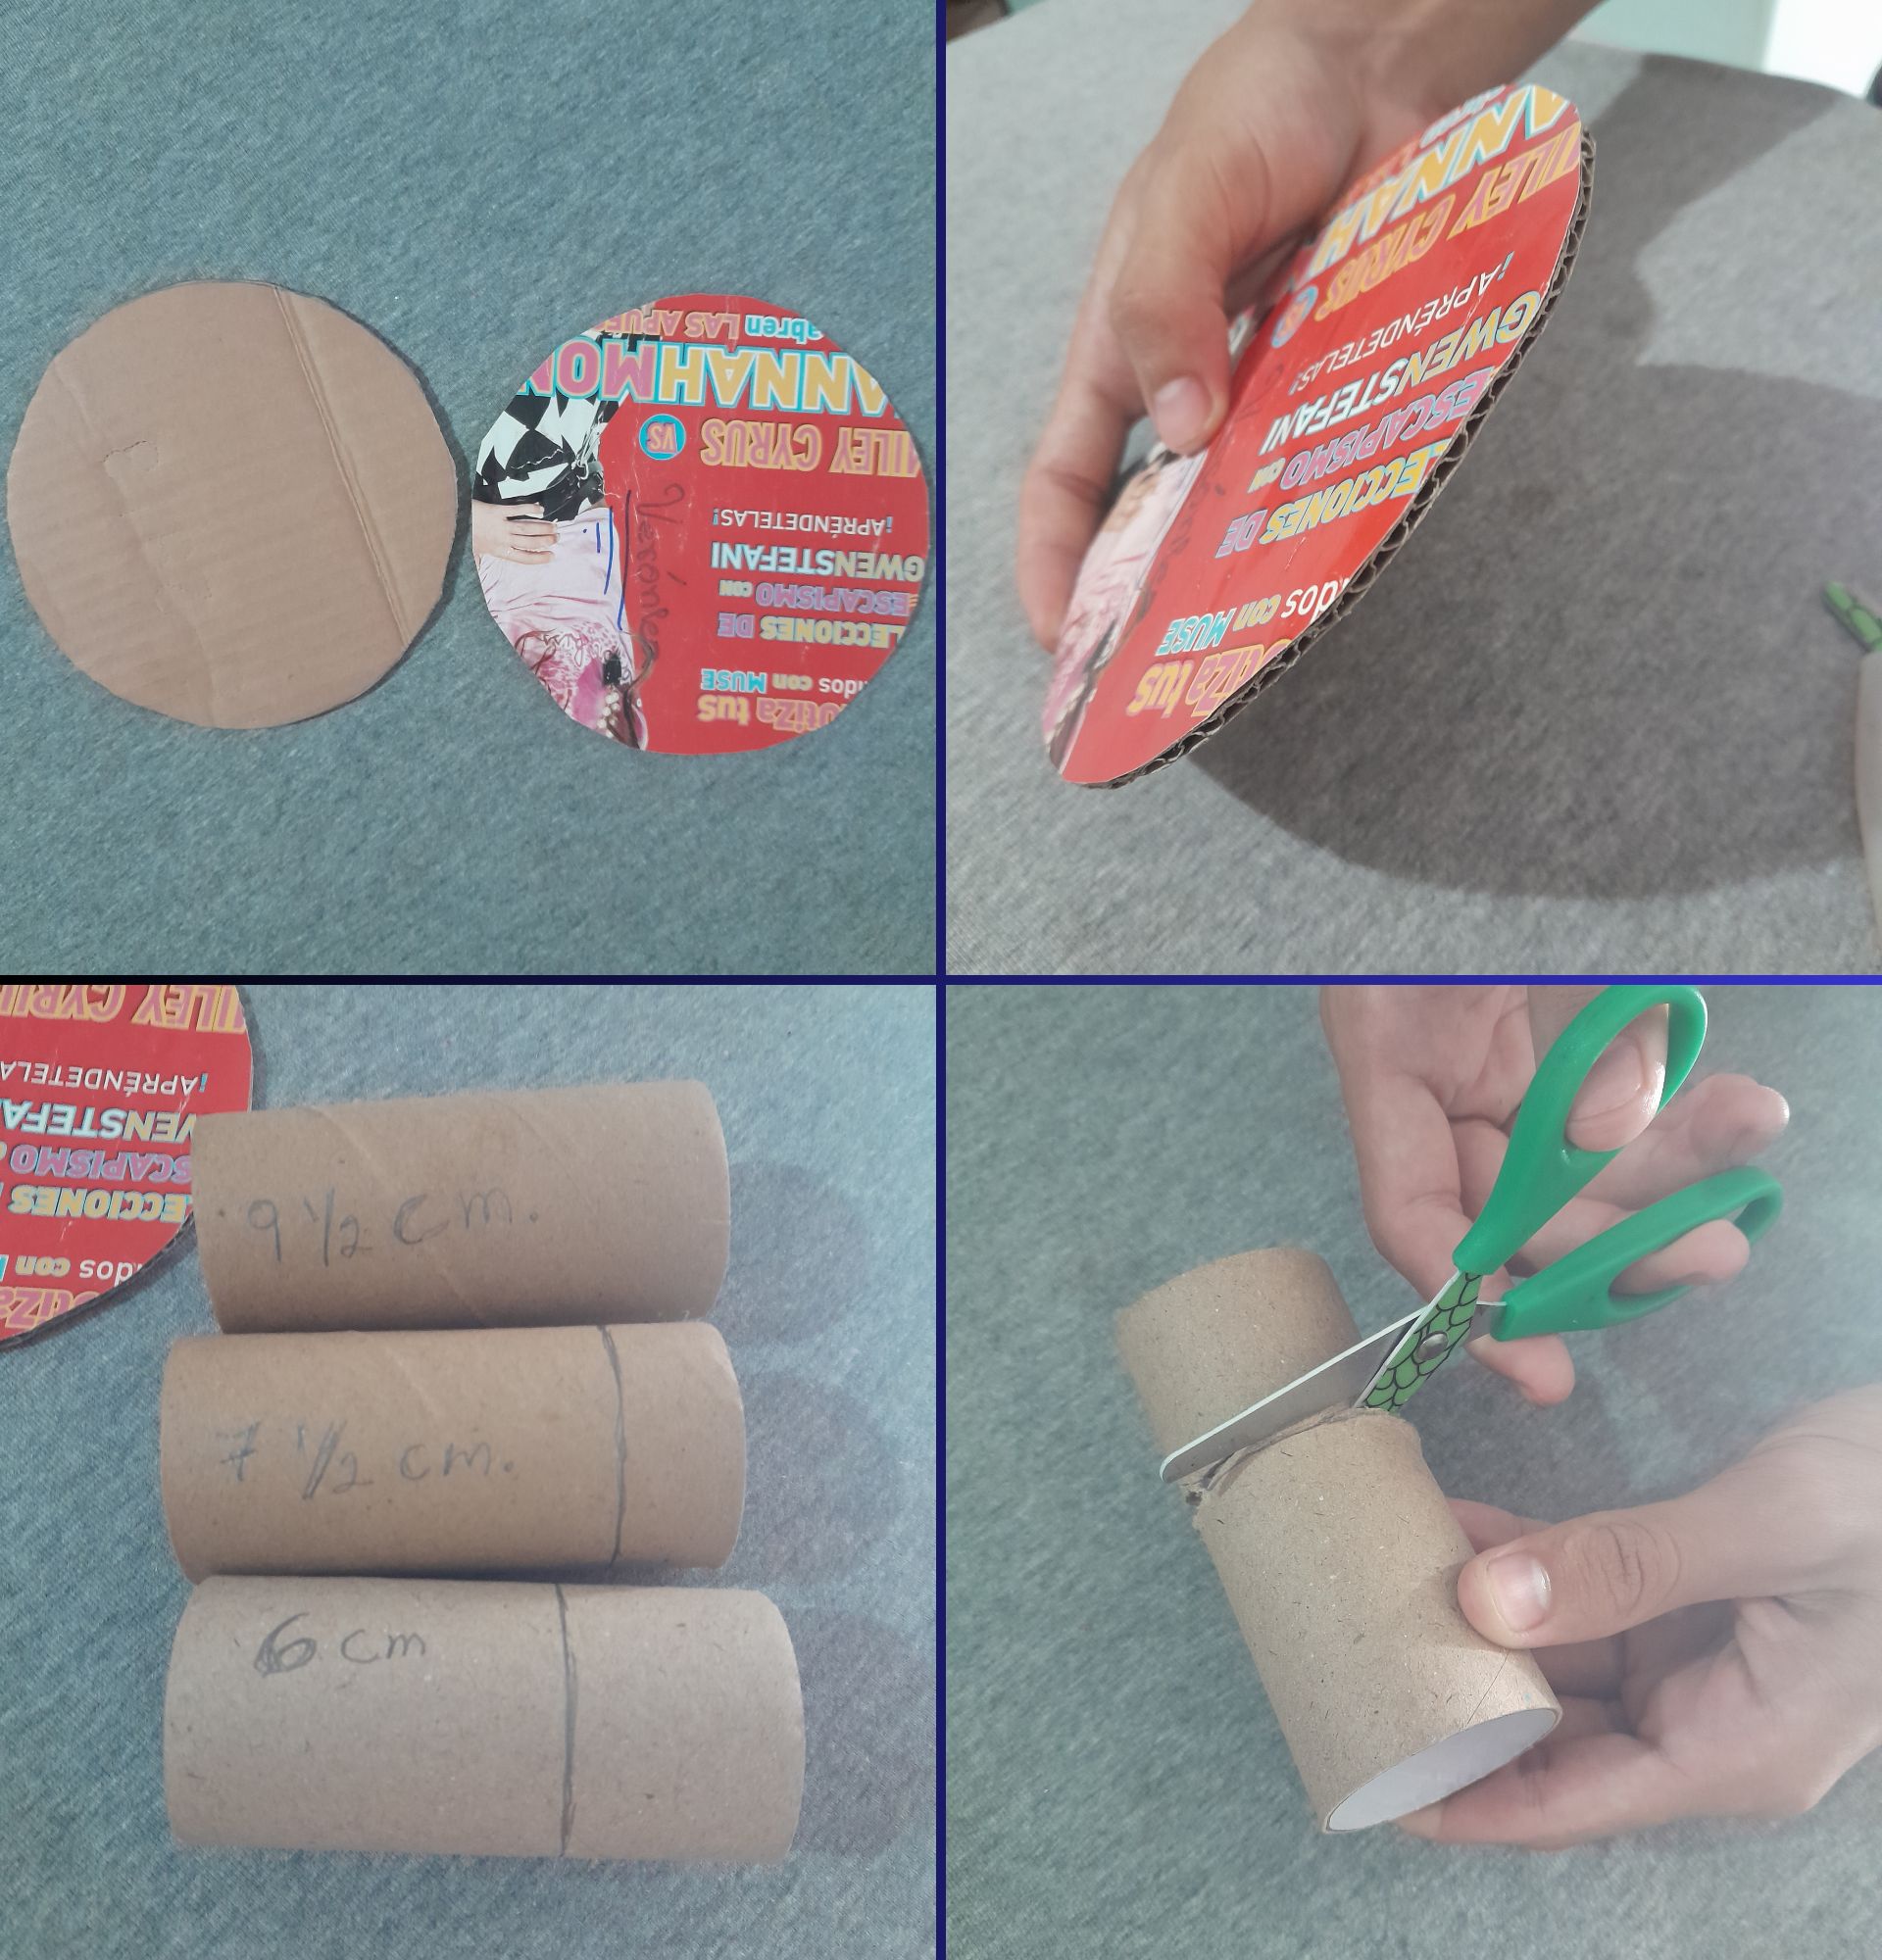
- Dibujo y recorto, **1** circulo de **14** cm de diámetro en el cartón y en una hoja de revista, luego pego con el silicon los dos círculos juntos, uno debajo del otro, después marco con el lápiz los tubos de cartón a la medida de **6**cm de altura, **7** **1/2** , y **9** **1/2**, ahora procedo a recortar por la marca indicada.
###
English:
Step 1:
- I draw and cut out **1** circle of **14** cm in diameter on the cardboard and on a magazine sheet, then I glue with the silicone the two circles together, one below the other, then I mark with the pencil the cardboard tubes to the measure of **6**cm in height, **7** **1/2**, and **9** **1/2**, now I proceed to cut out by the indicated mark.

###
Español:
Paso 2:
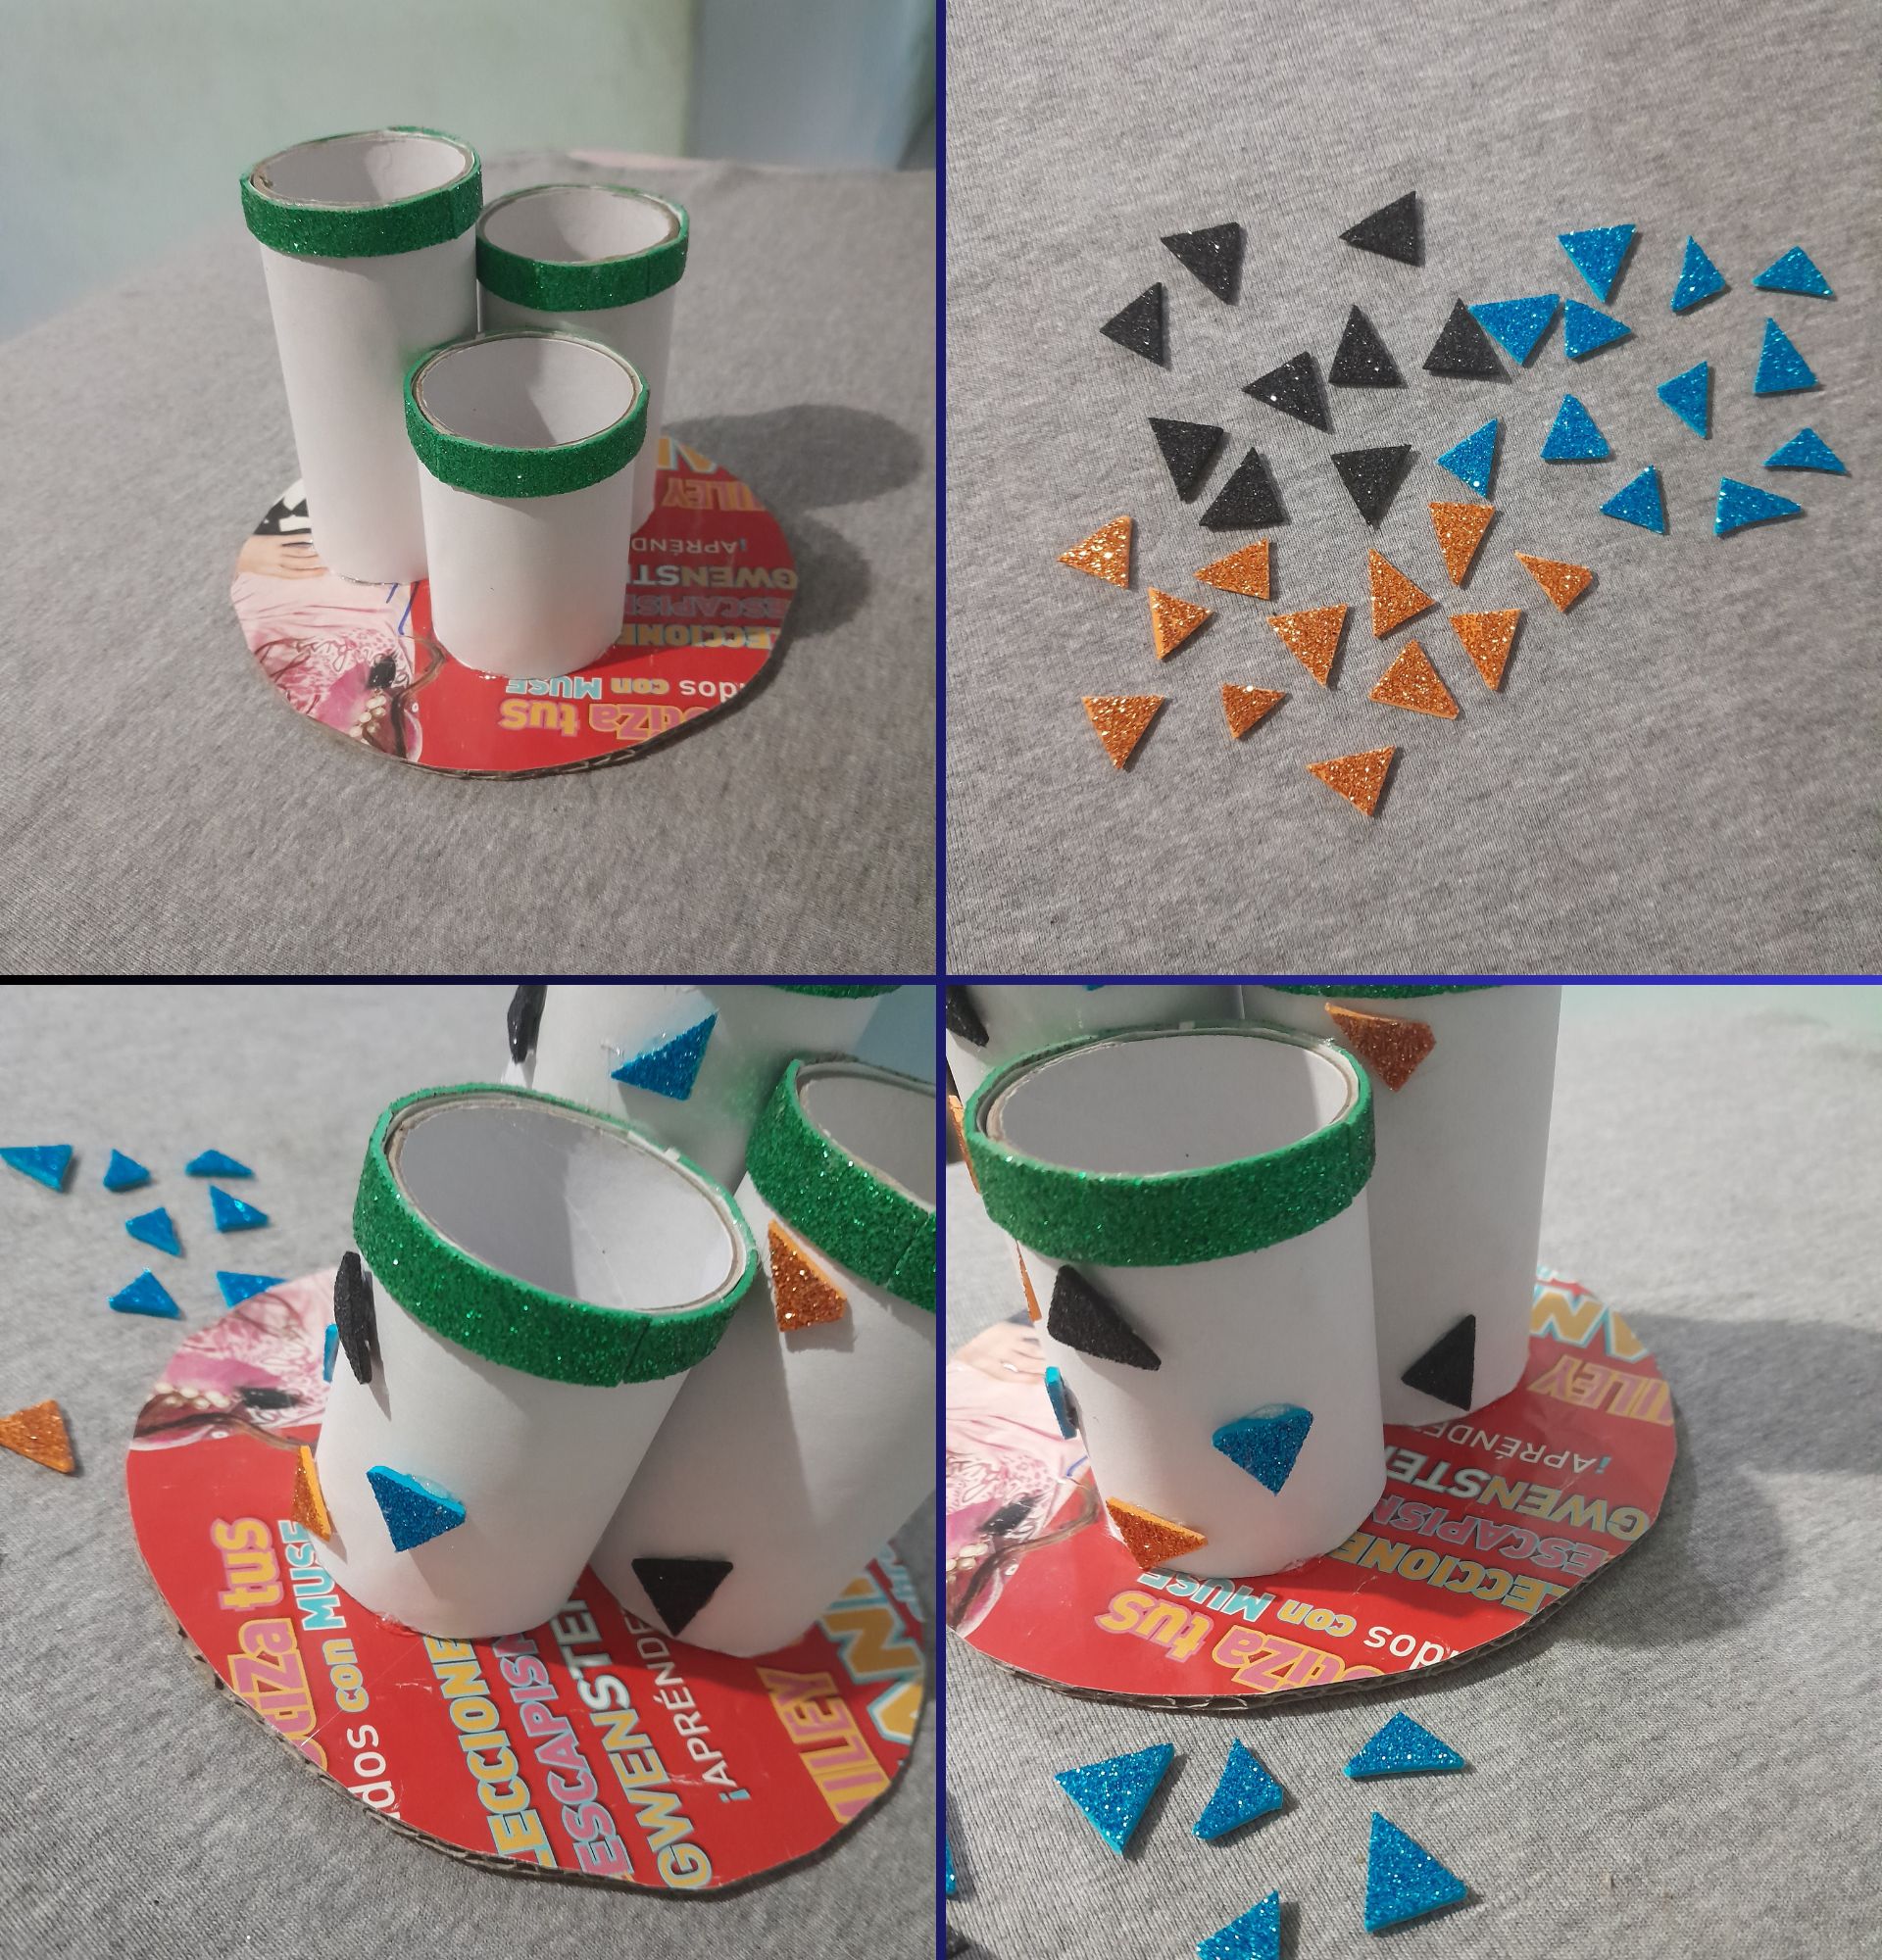
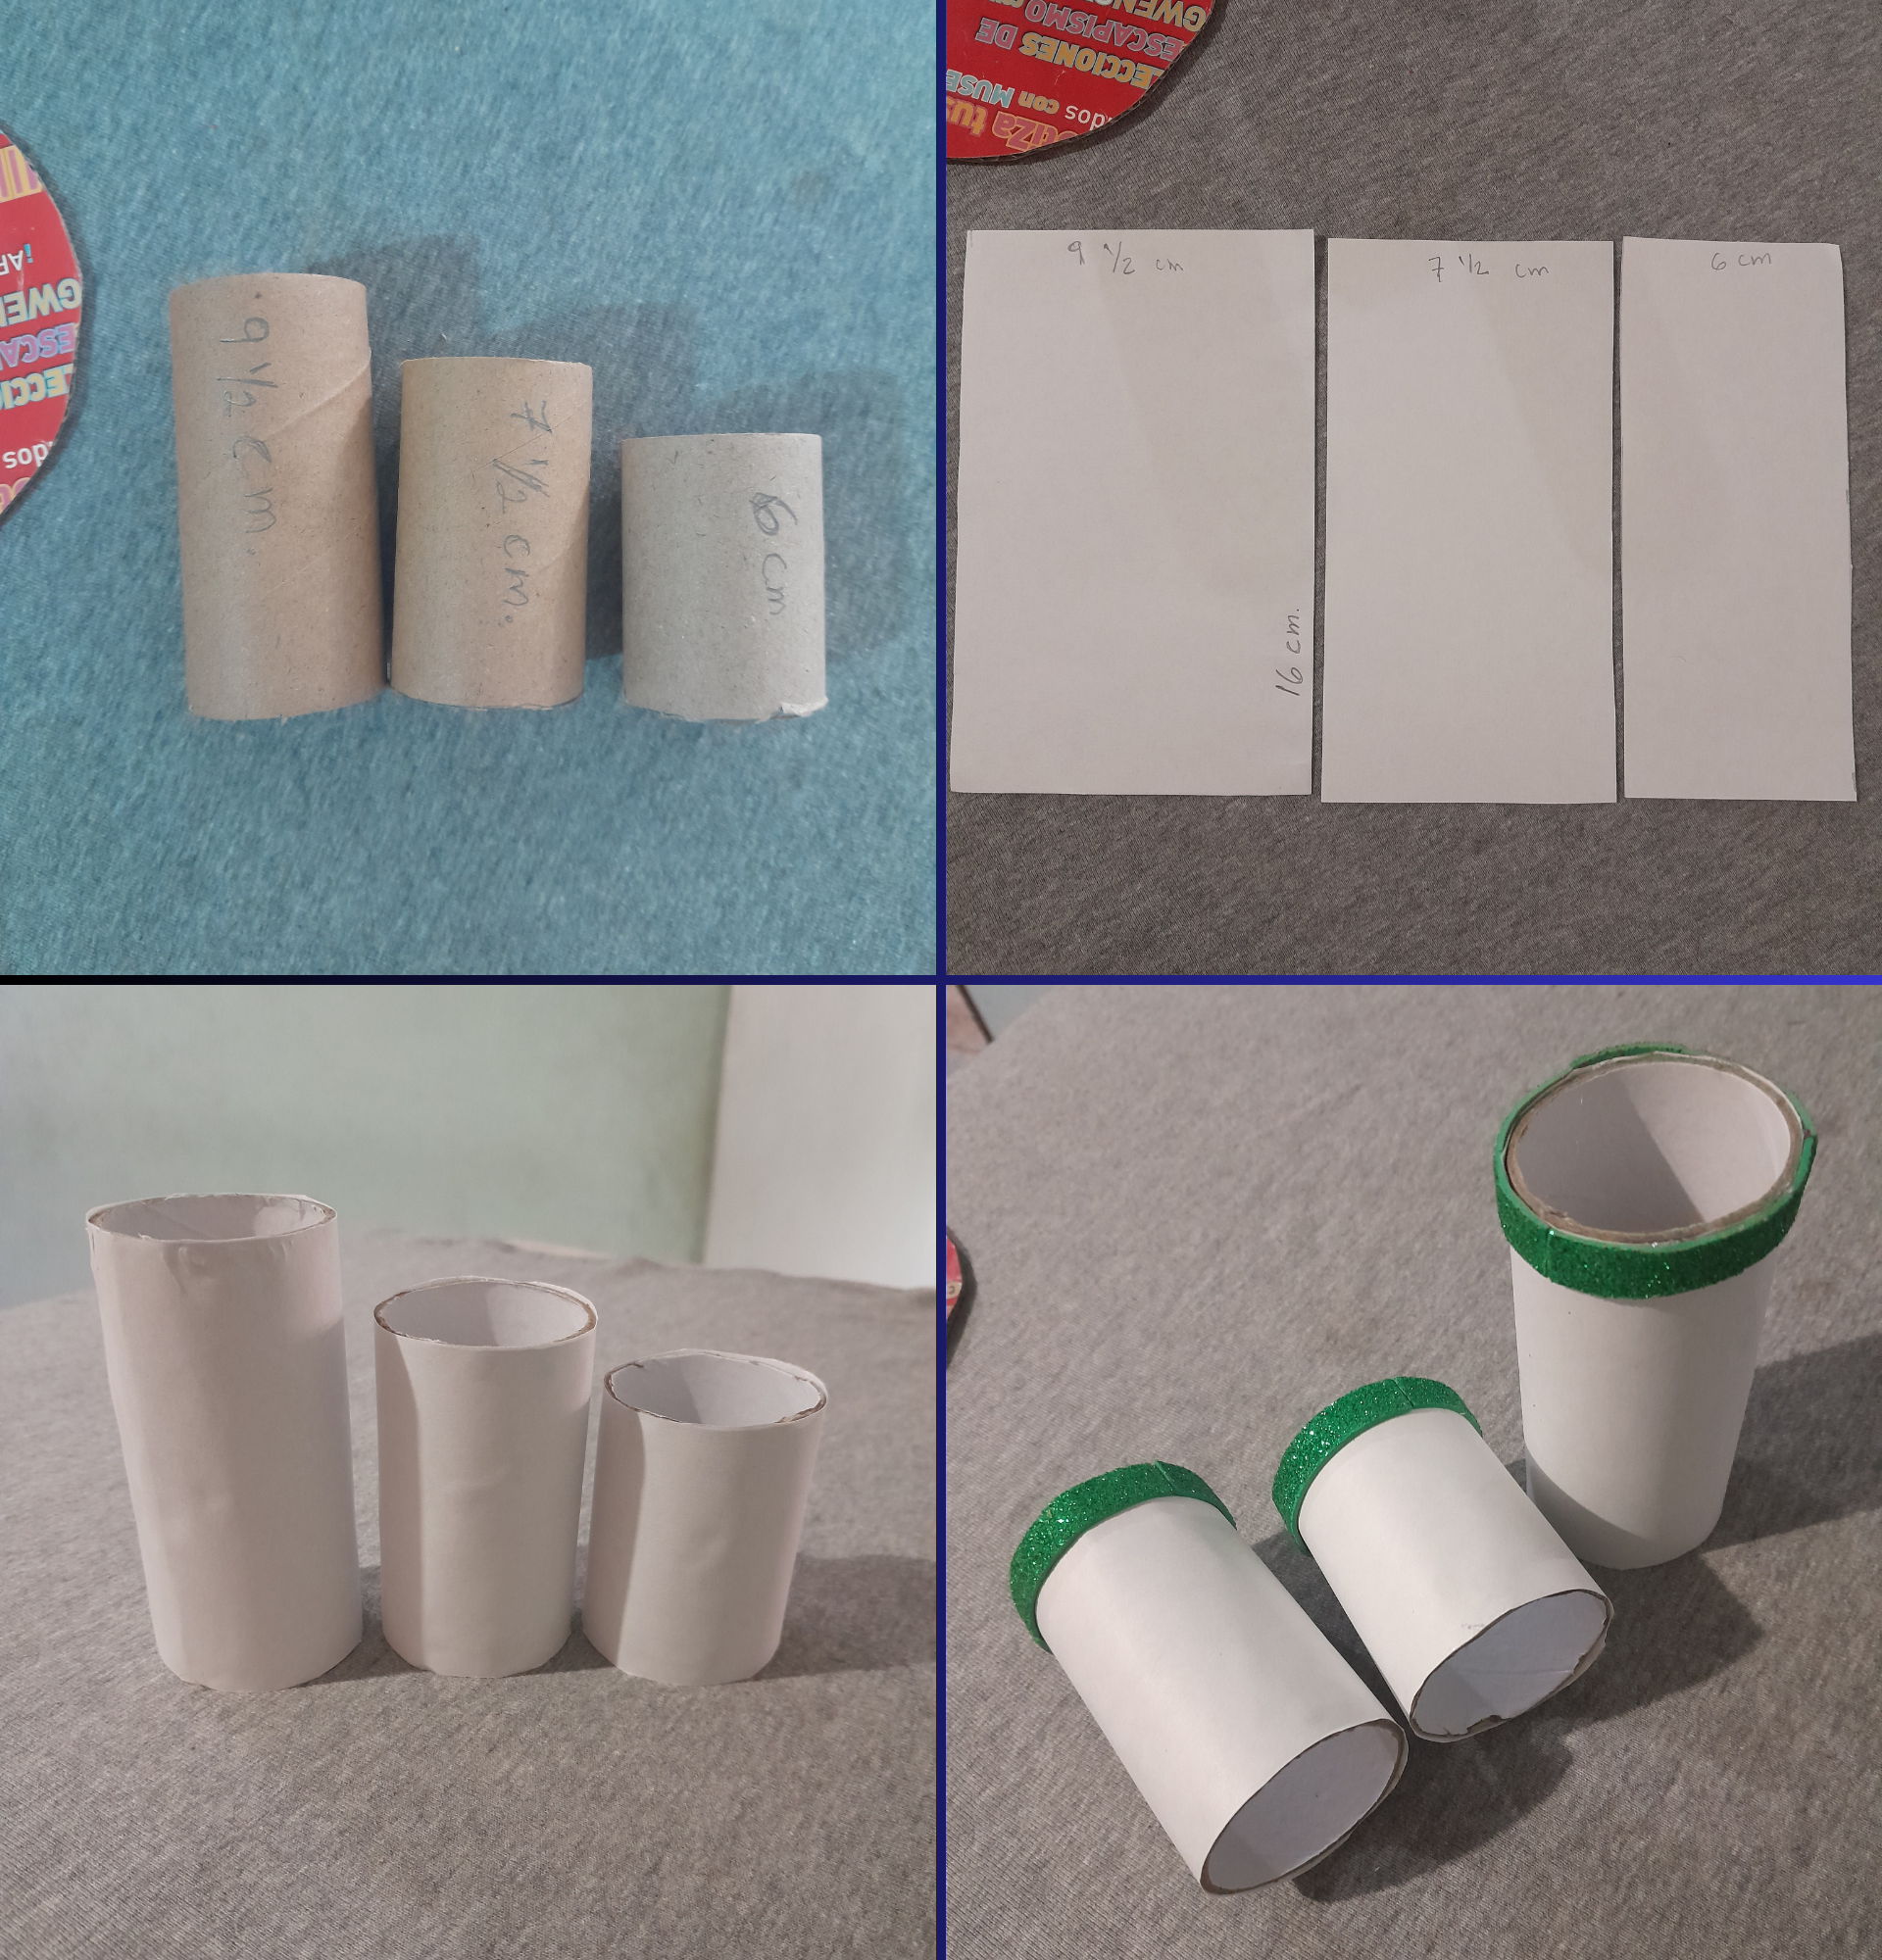
- Teniendo los **3** tubos de cartón recortados, marco y recorto en la hoja de papel blanca **3** rectángulos a la medida de la altura de los tubos de cartón por **16** cm cada uno, luego procedo a forrar los tubos con los rectángulos de papel, recorto **3** tiras de foami verde de **1** cm de ancho y lo pego con silicon caliente en el borde de arriba.
English:
Step 2:
- Having the 3 cardboard tubes cut out, I mark and cut on the white paper sheet 3 rectangles to the measure of the height of the cardboard tubes by 16 cm each, then I proceed to line the tubes with the paper rectangles, cut 3 strips of green foami 1 cm wide and glue it with hot silicone on the top edge.
###
Español:
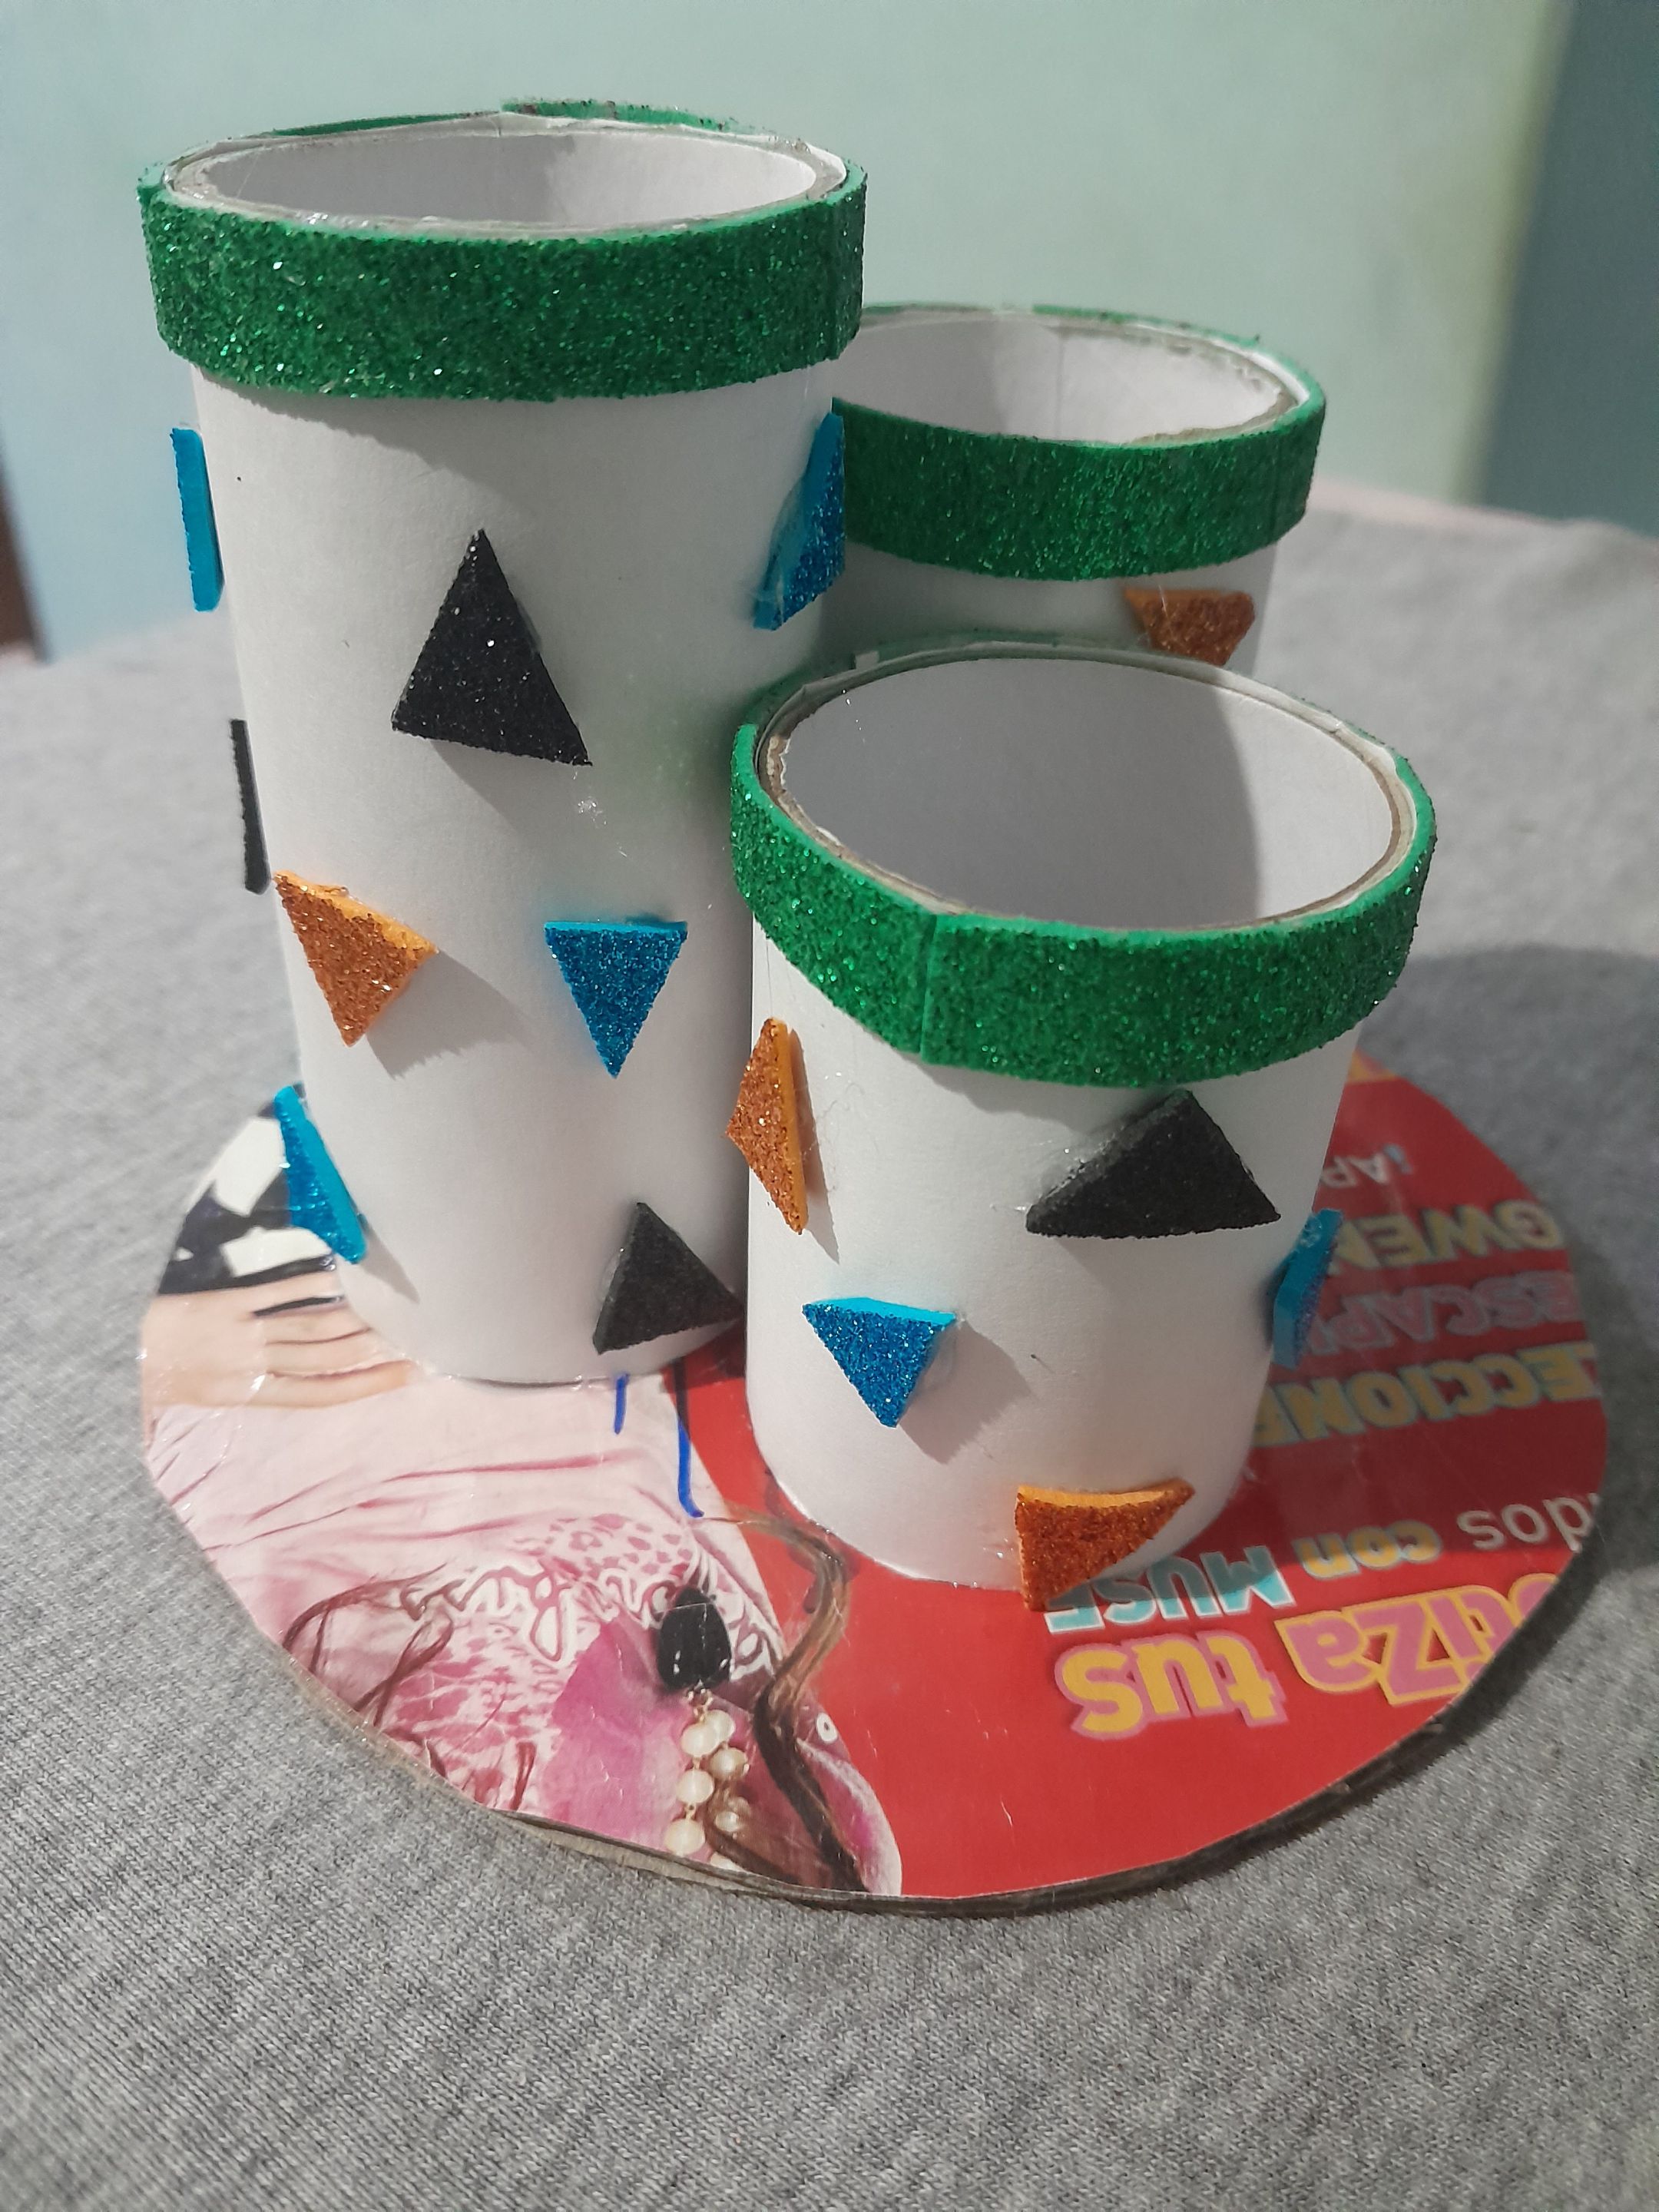
Paso 3:
- Luego pegamos los tubos de cartón en el centro de la base del porta lapices, después recortamos varios triángulos de foami negro, azul y naranjado; comienzo a pegarlo por todo el alrededor de los tubos de cartón, y así darle un diseño colorido a nuestro porta lapices.
Step 3:
- Then we glue the cardboard tubes in the center of the base of the pencil holder, then we cut out several triangles of black, blue and orange foami; I start gluing them all around the cardboard tubes, and thus give a colorful design to our pencil holder.