
Greetings friends I tell you that I like origami very much, I do it since I was a child and although with the passing of time I have lost the practice always watching a video on Youtube is enough to refresh the lost knowledge.
Origami is the art of making figures with paper, that is to say that other tools such as glue are completely discarded. Originally from Asia and dating back centuries, today it is used to teach children the discipline of handmade art and stimulate their creativity, adults are very relaxed and favors concentration.
Today I share with you a tutorial to make an origami envelope in the shape of a heart that when opened becomes a small box, it is ideal to make gifts of photos, cards, love letters or small gifts. It is very simple to make and you need a sheet of paper, cheer up to see how nice it is.

Step 1
Cut in such a way that it is 20 cm long and 20 cm wide as best as possible so that it is square.
Step 2
Make marks on the paper by folding it and then releasing it to form diagonal grooves leading from corner to corner, unfold. Do the same with half of the paper, will be grooves marked as an asterisk.
Step 3
Take one of the corners of the paper to the central point, fold, mark the furrow and let go. Do the same with the opposite corner.
Step 4
Take those same corners to the new reference point formed in the previous step.
Step 5
Catch the corners by closing the paper in the fold, rewrap until both ends are in the center.
Step 6
Look at the guide fold in the middle, place your finger on the central point and raise the tab making a diagonal groove that makes the paper lift itself. Do the same with the tab next to us. Flip the paper and do the same steps on the opposite end.
Step 7
The flap that is raised is crushed by taking it to the central axis.
Step 8
The triangles formed at the ends are folded to bring all the corners to the center of the figure.
Step 9
Fold that figure in half and with this step we will have finished one of the doors of the box.
Step 10
At the other end, repeat steps 7 to 9 to make the other door.
Step 11
To open the doors and we can see that the envelope opens in the form of box, until here it is perfect, but if we want a romantic presentation we bend the corners of the doors in the form of heart.
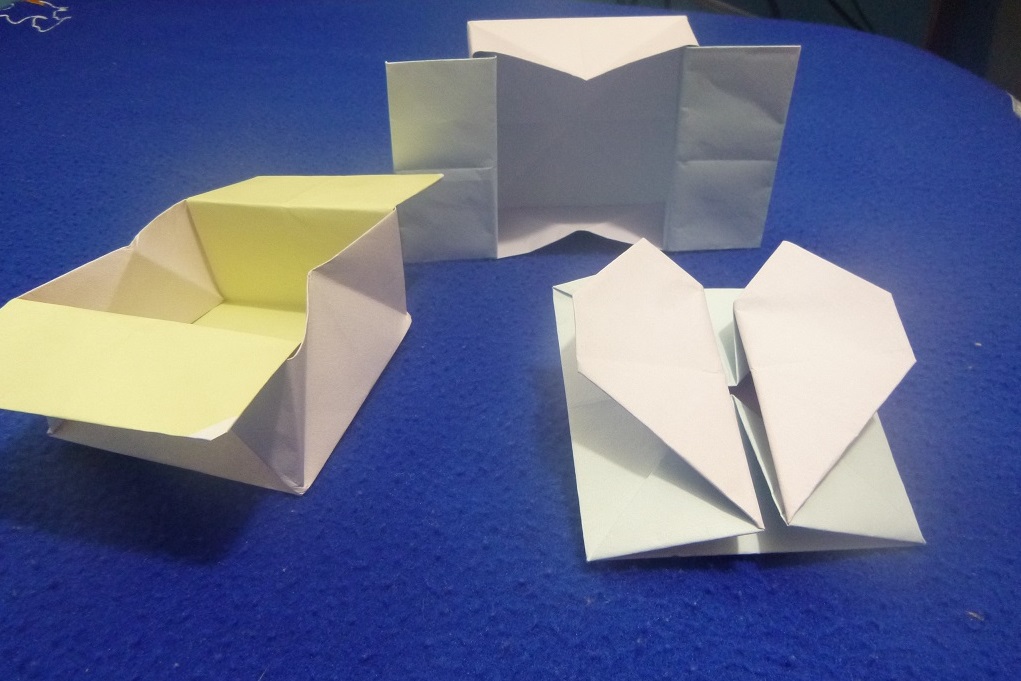
We can make them in different colors and sizes.
Own photos.
Would you try it?
![]()