Buenas noches amigos de esta creativa y maravillosa comunidad de Hive.
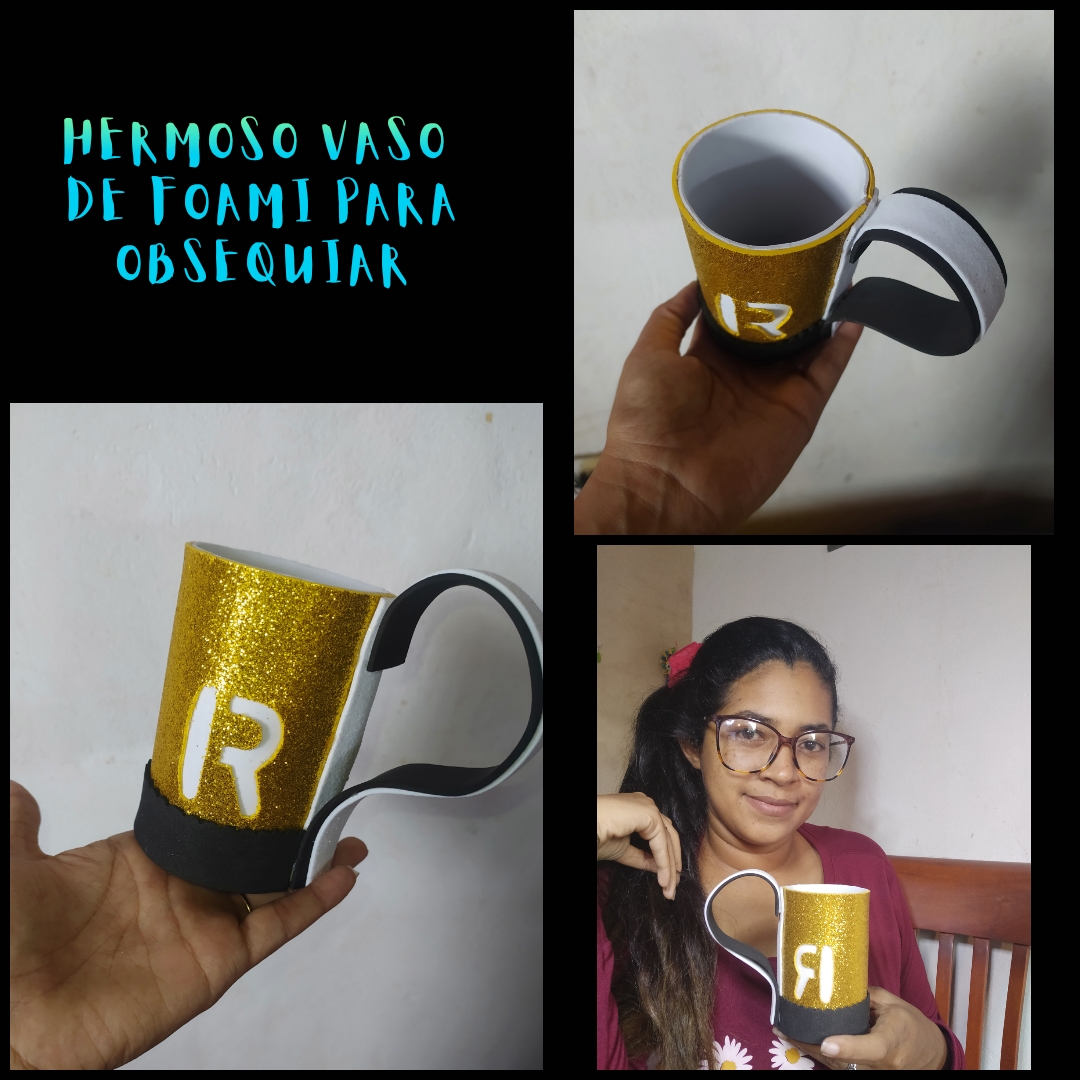
Hoy estaré compartiendo con ustedes un post el cual podemos utilizar para obsequiar y fabuloso para esta fecha que se acerca del día del padre. Espero les guste y sea de provecho.
>Good evening friends of this creative and wonderful Hive community.
Today I will be sharing with you a post which we can use to give away and fabulous for this date that is approaching Father's Day. I hope you like it and be useful.
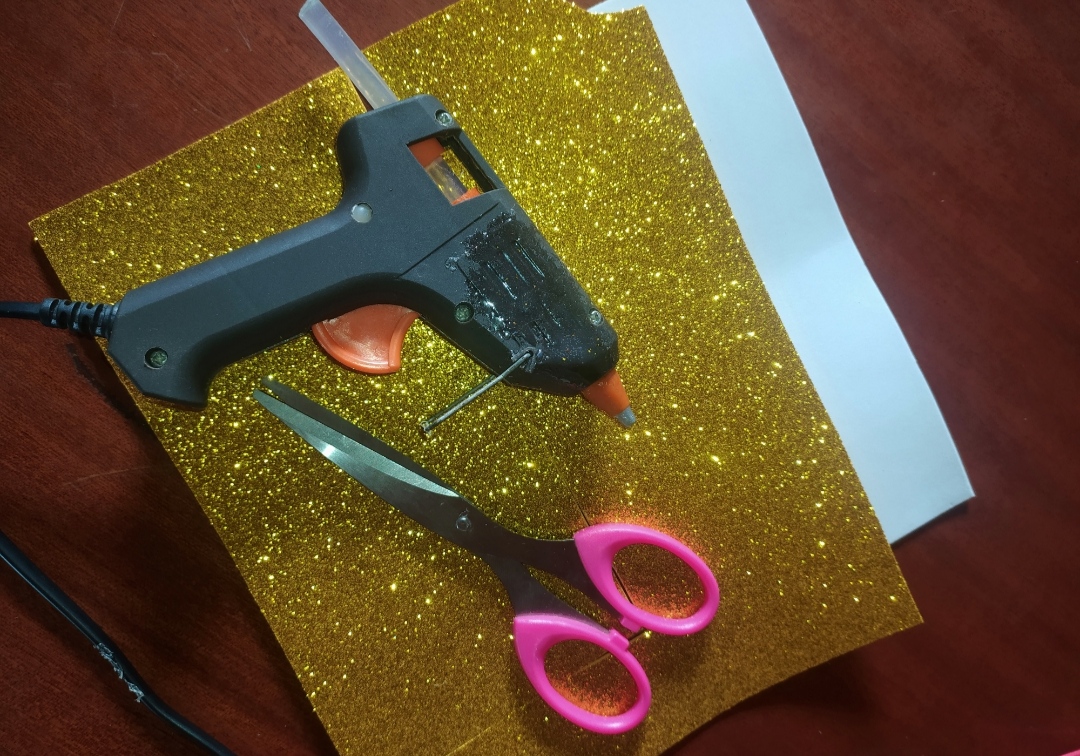
**Materiales:**
Foami
Lápiz
Regla
Tijera
Silicon
>**Materials:**
foami
Pencil
Rule
Scissors
Silicon
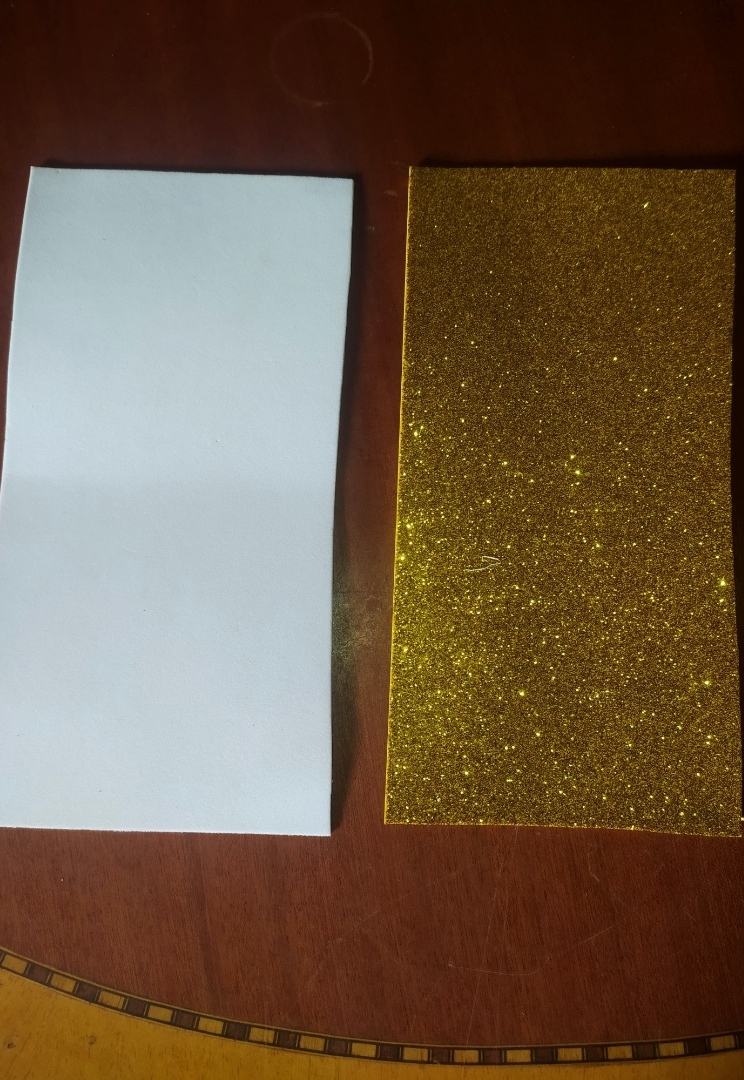
Lo primero a realizar es cortar 2 cuadrados con las mismas medidas 6cm de ancho por 15cm de largo.
>The first thing to do is cut 2 squares with the same measurements 6cm wide by 15cm long.
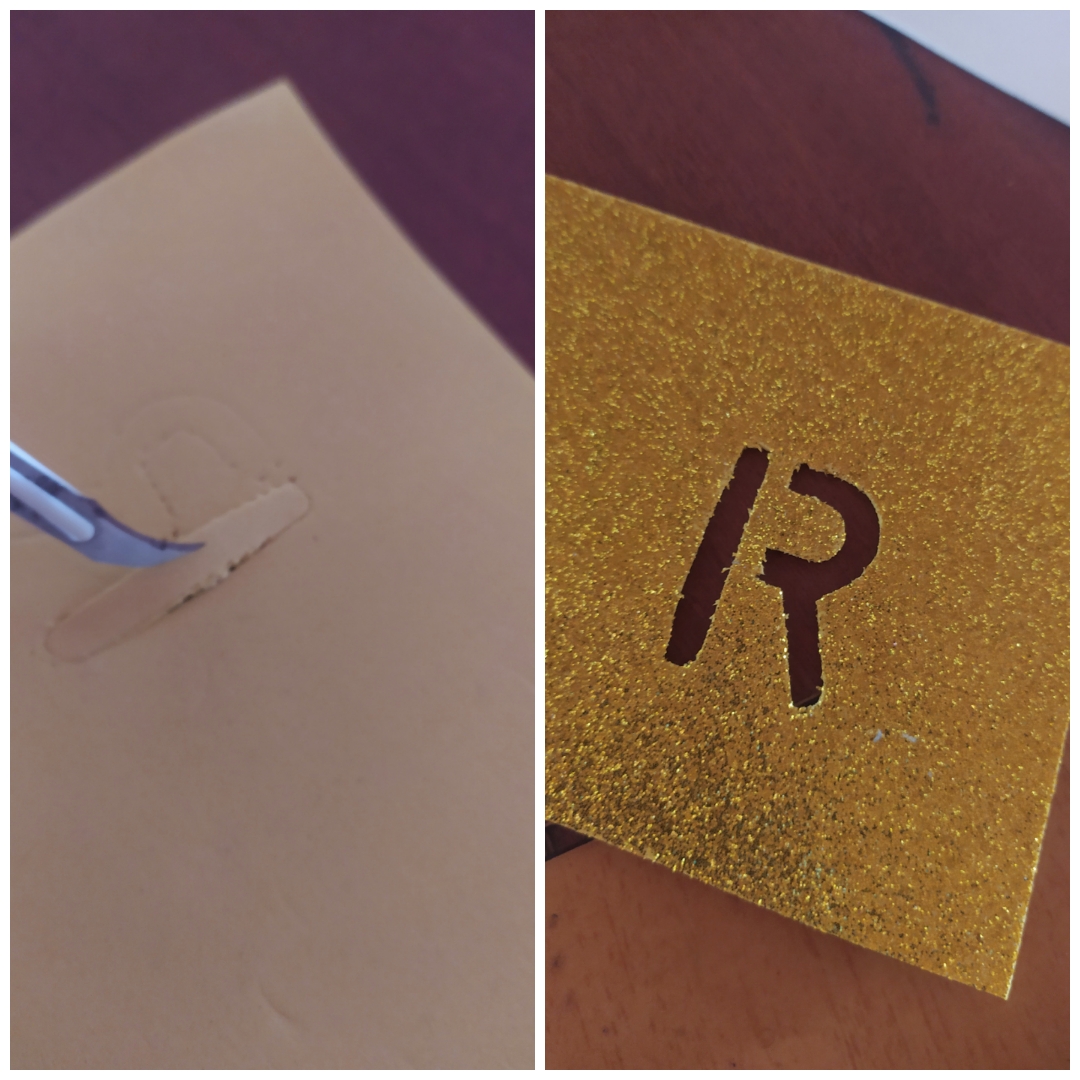
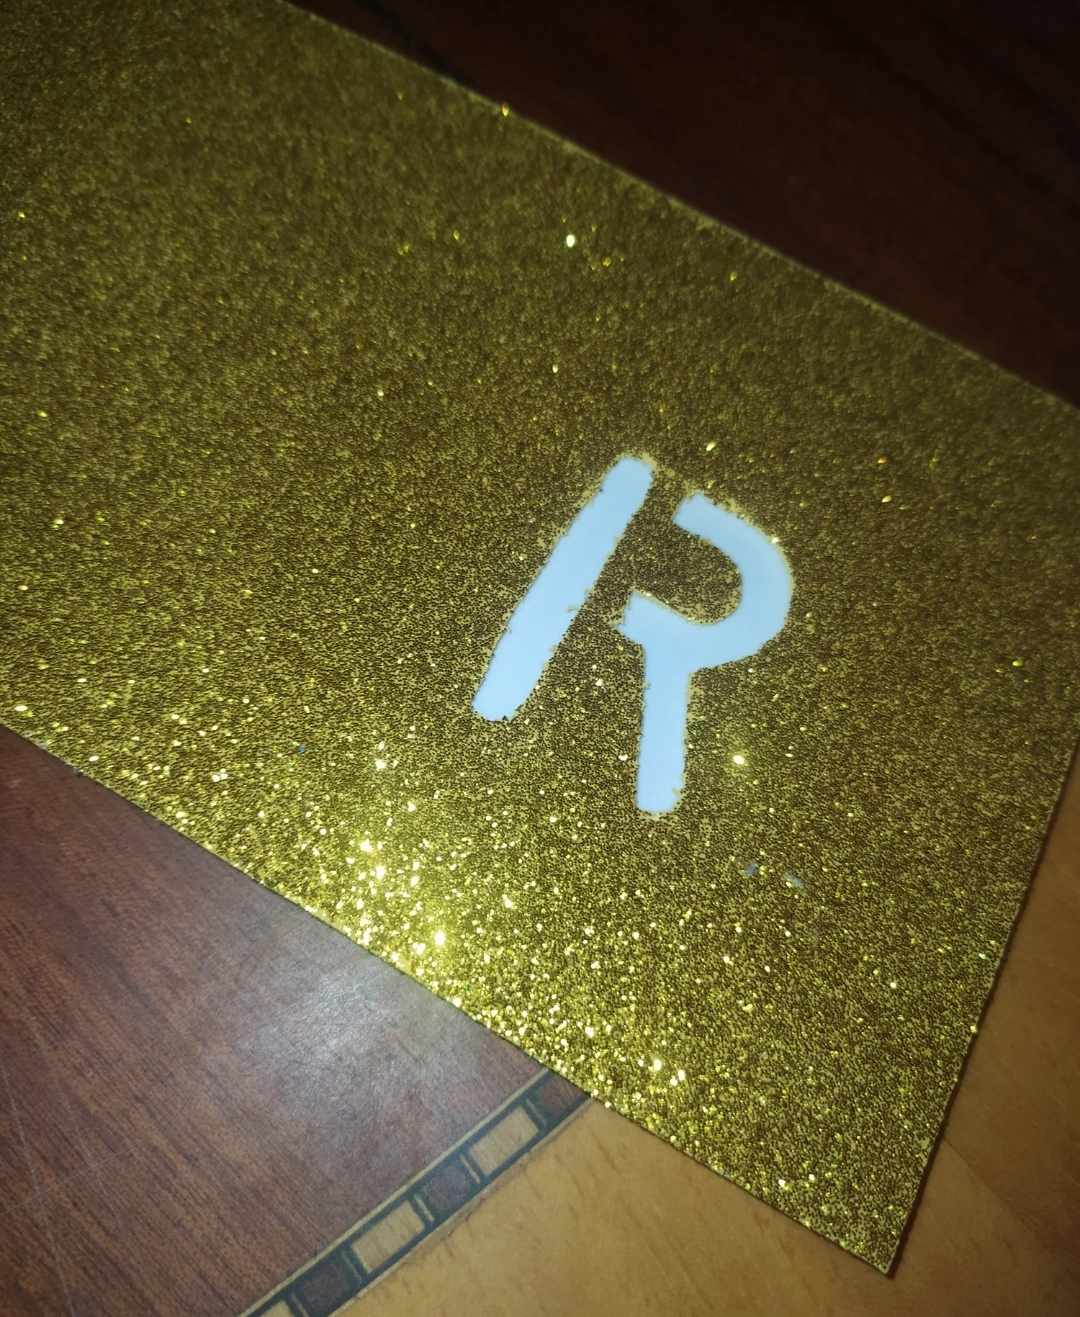
Al foami dorado que recorte voy a Elaborar una letra de tu preferencia. En este caso elabore la letra R.
>To the golden foami that I cut out I am going to elaborate a letter of your preference. In this case make the letter R.
Seguidamente pegamos los dos cuadrados uno encima del otro con Silicon.
>Then we glue the two squares one on top of the other with Silicon.
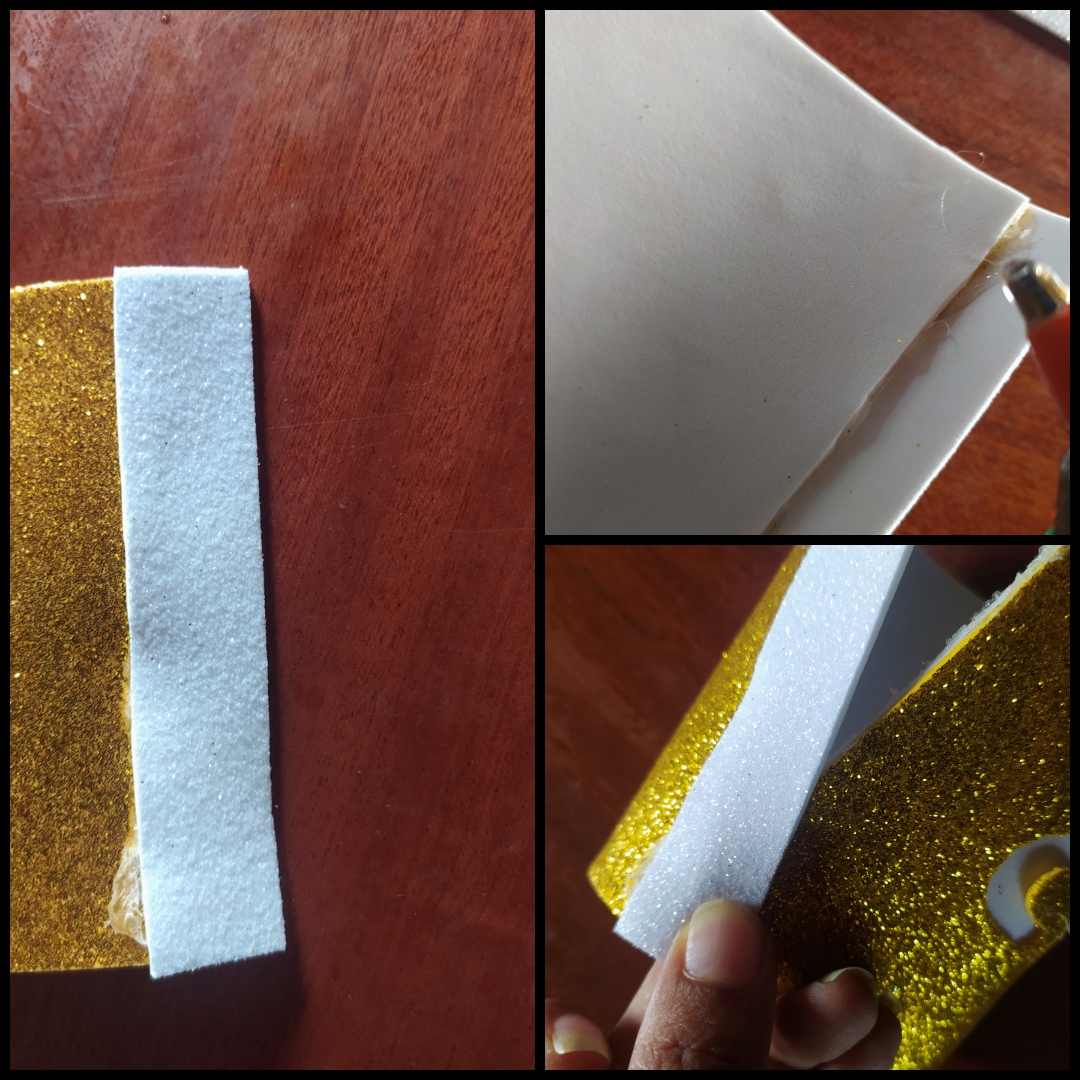
Luego cortamos una tira de 2cm de ancho por 6cm de largo y pegamos una punta de los cuadrados pegados para unirlos.
>Then we cut a strip 2cm wide by 6cm long and glue one end of the glued squares to join them.
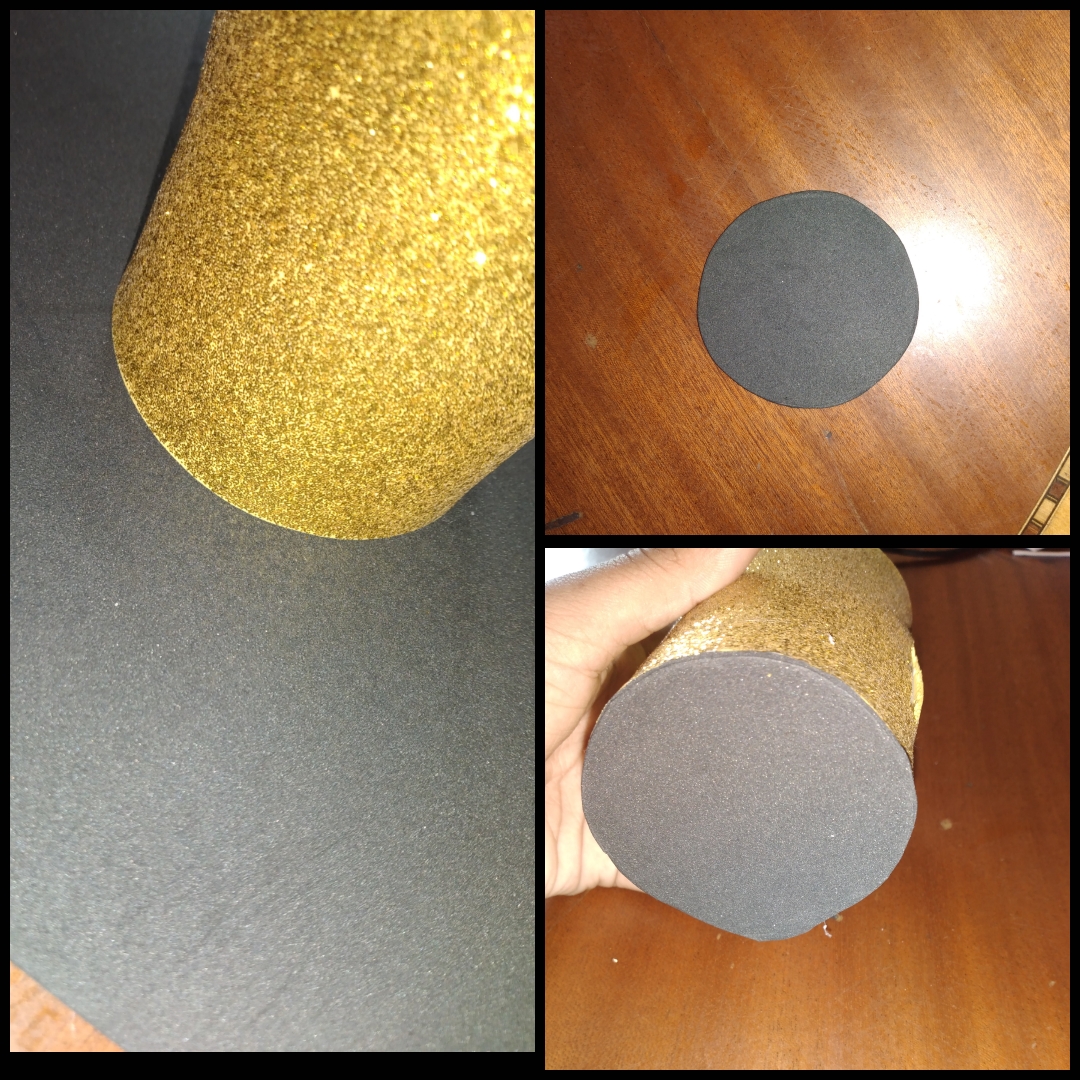
Realizamos nuestra tapa del vaso lo que sería el fondo del vaso y pegamos.
>We make our glass lid what would be the bottom of the glass and glue.
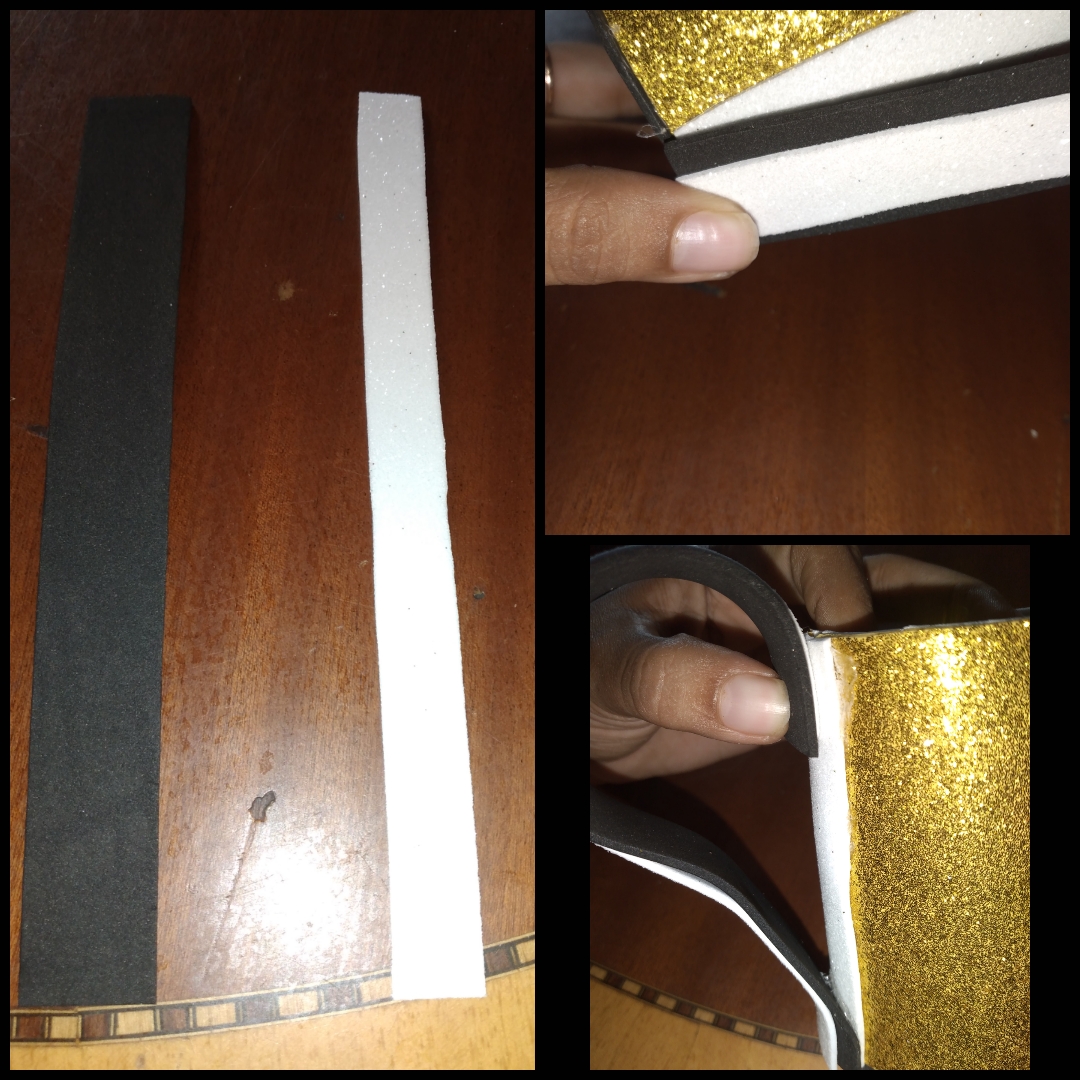
Recortamos 2 tiras una de 3cm de ancho por 12cm de largo y la otra tira de 1.5cm de ancho por 12cm de largo y pegamos una encima de la otra, lo que seria nuestra aza del vaso.
>We cut 2 strips, one 3cm wide by 12cm long and the other 1.5cm wide by 12cm long and glue one on top of the other, which would be our glass handle.
Procedemos a pegar nuestra aza.
>We proceed to hit our aza.
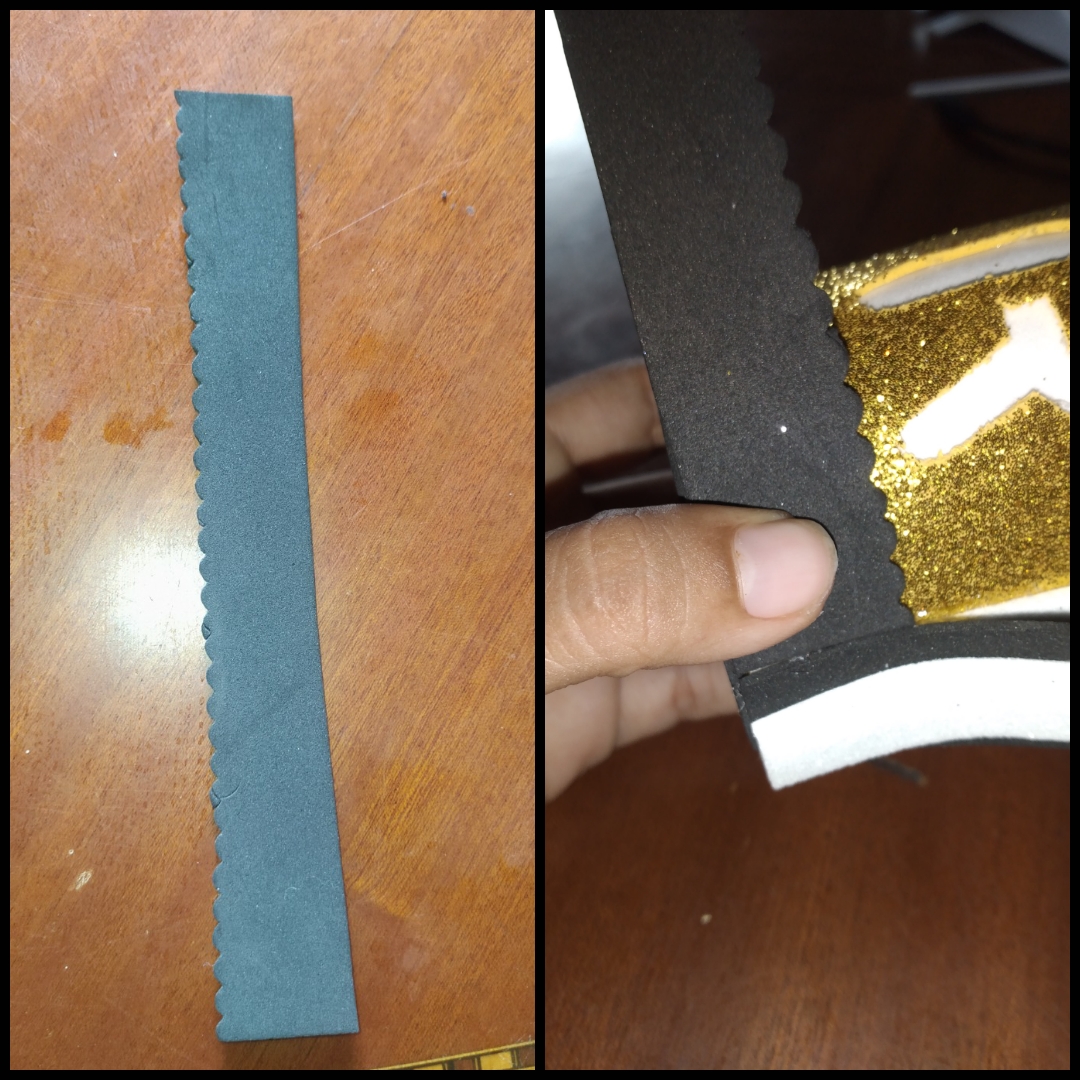
Cortamos una tira de 3cm de largo por 13cm de largo, elabore un pequeño detalle en un borde de la tira y pegue de nuestro vaso.
>We cut a strip of 3cm long by 13cm long, make a small detail on one edge of the strip and paste from our glass.
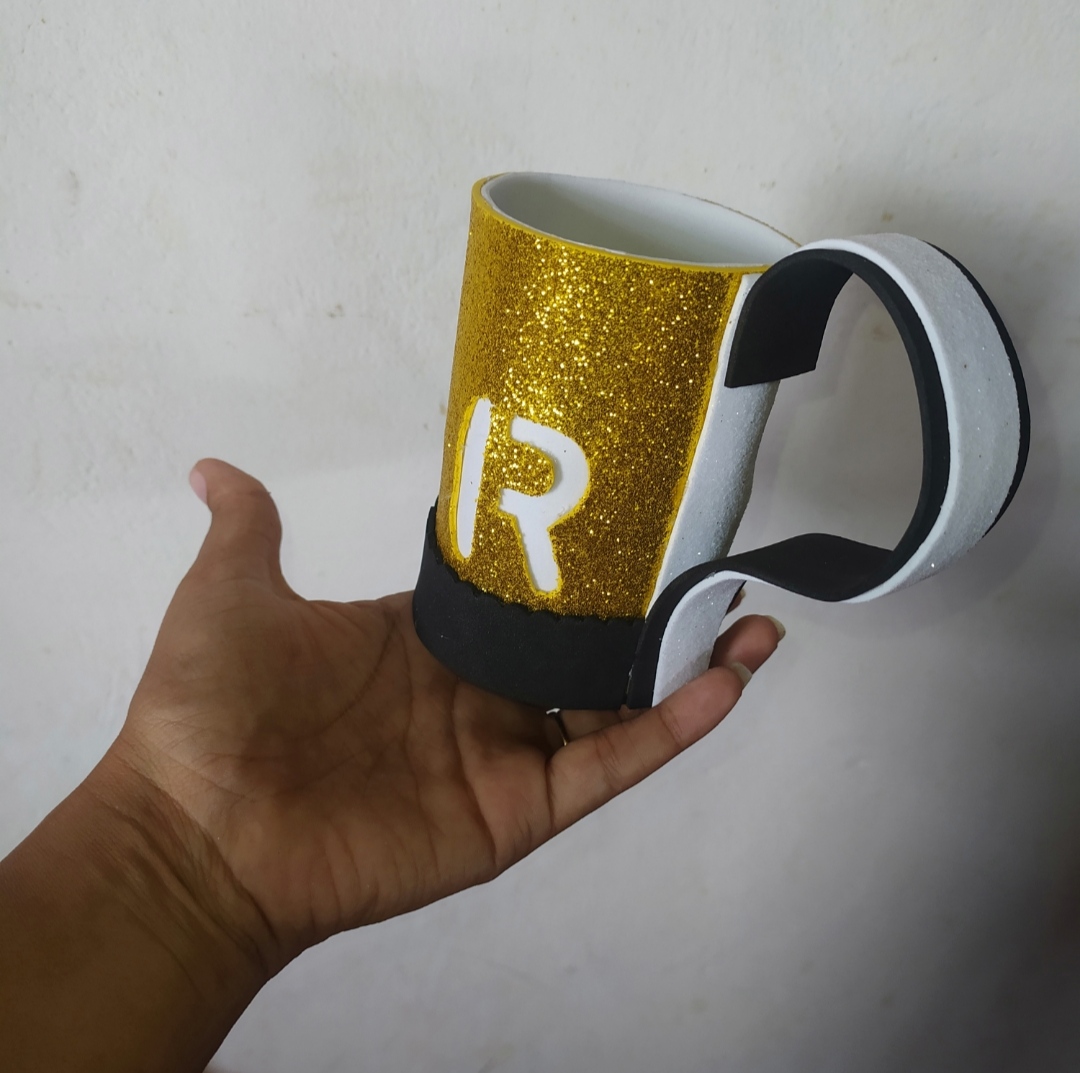
Espero les haya gustado mi post de hoy. Muy interesante.
>I hope you liked my post today. Very interesting.
[SPN/ENG] Creativo Vaso de Foami Para Obsequiar/ Creative Foami Glass To Give
@britoreicy
· 2022-05-27 23:45
· Hive Diy
#spanish
#curangel
#ocd
#appreciator
#neoxian
#manualidad
Payout: 0.000 HBD
Votes: 10
More interactions (upvote, reblog, reply) coming soon.