Hi Hi..
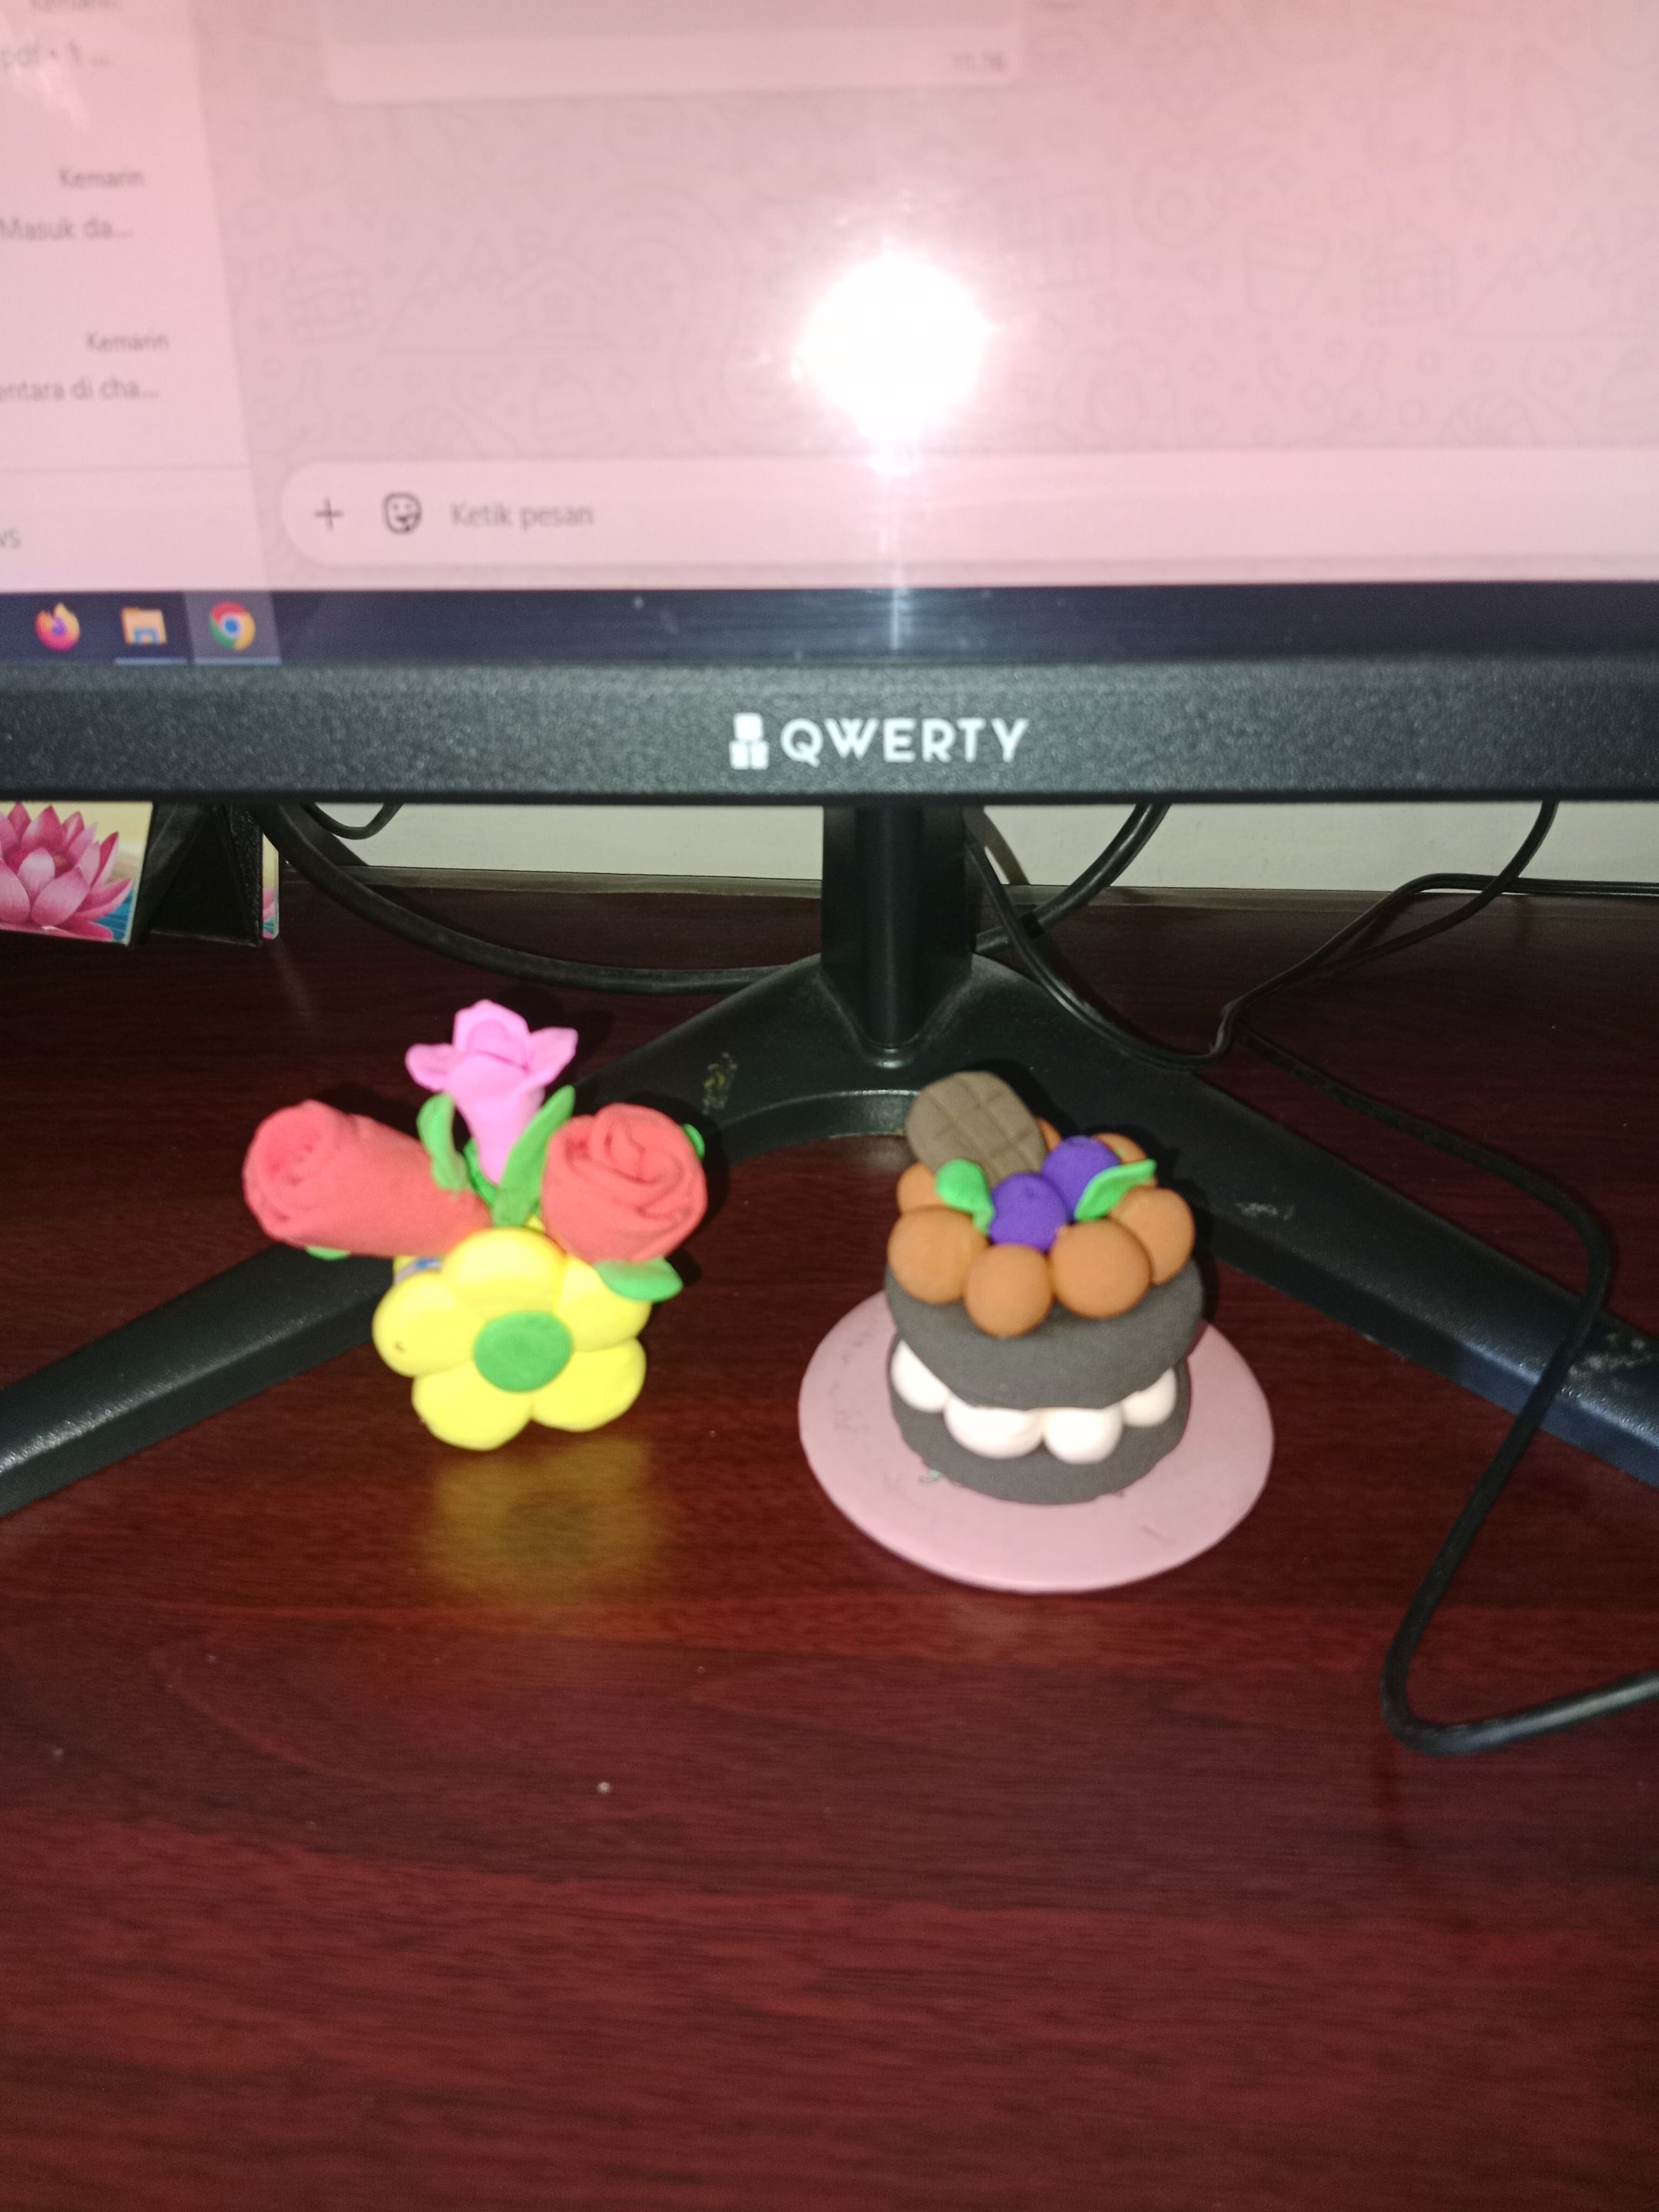
Yesterday I made clay flowers to decorate my desk, but this time I want to make something sweet. Do you know what I'm going to make? Of course, it's still using the same ingredients: clay.
This time I'll share a tutorial for making Clay Cake
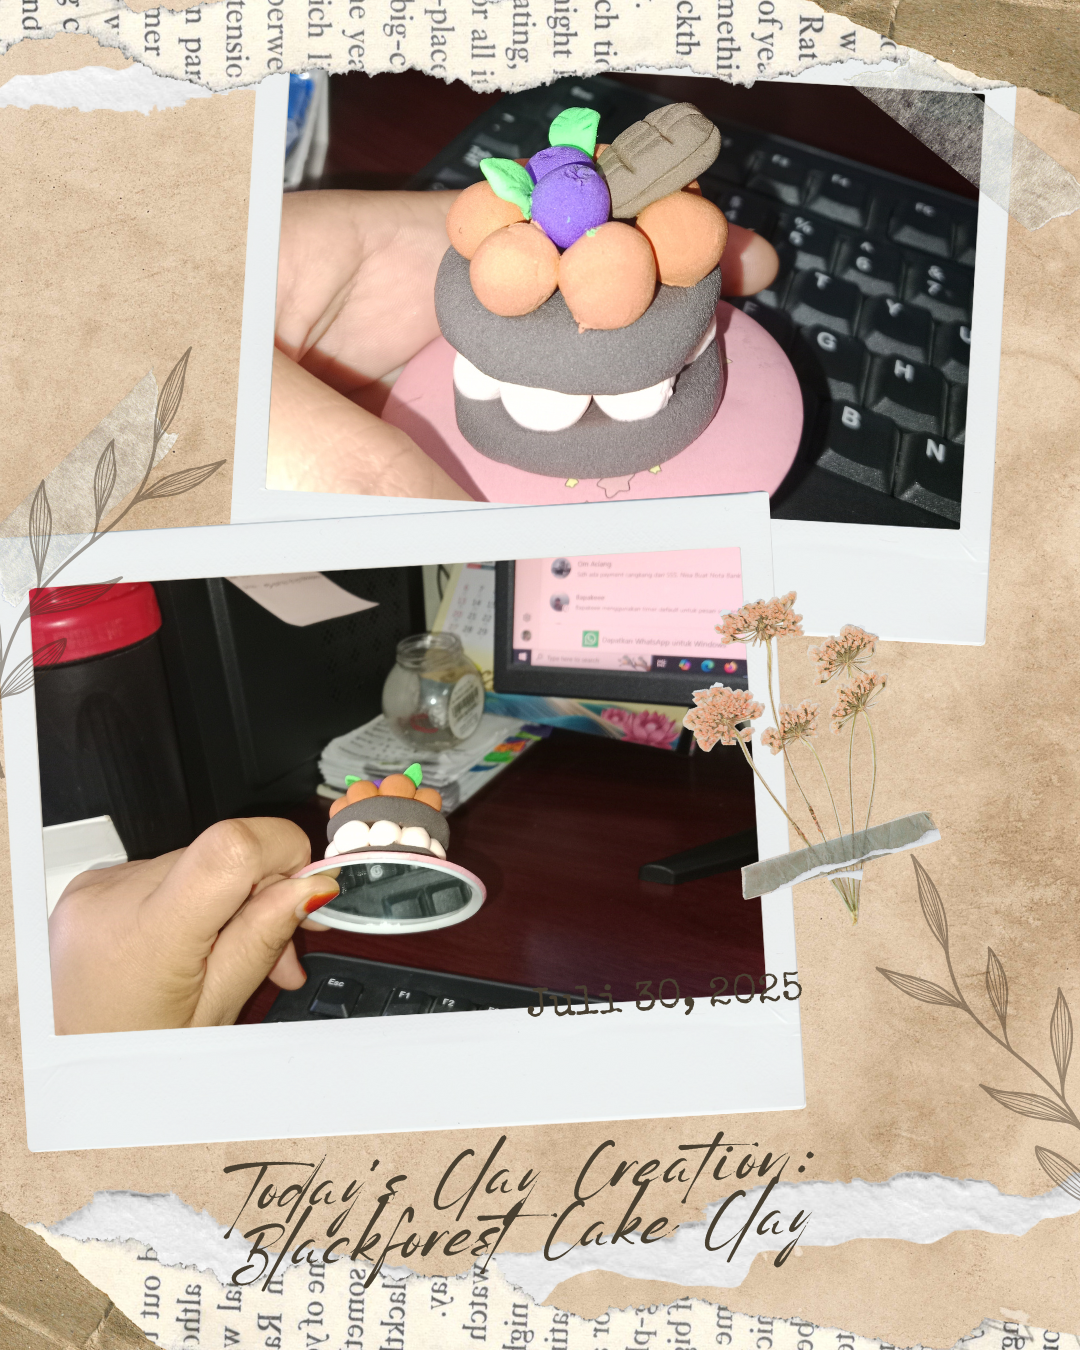
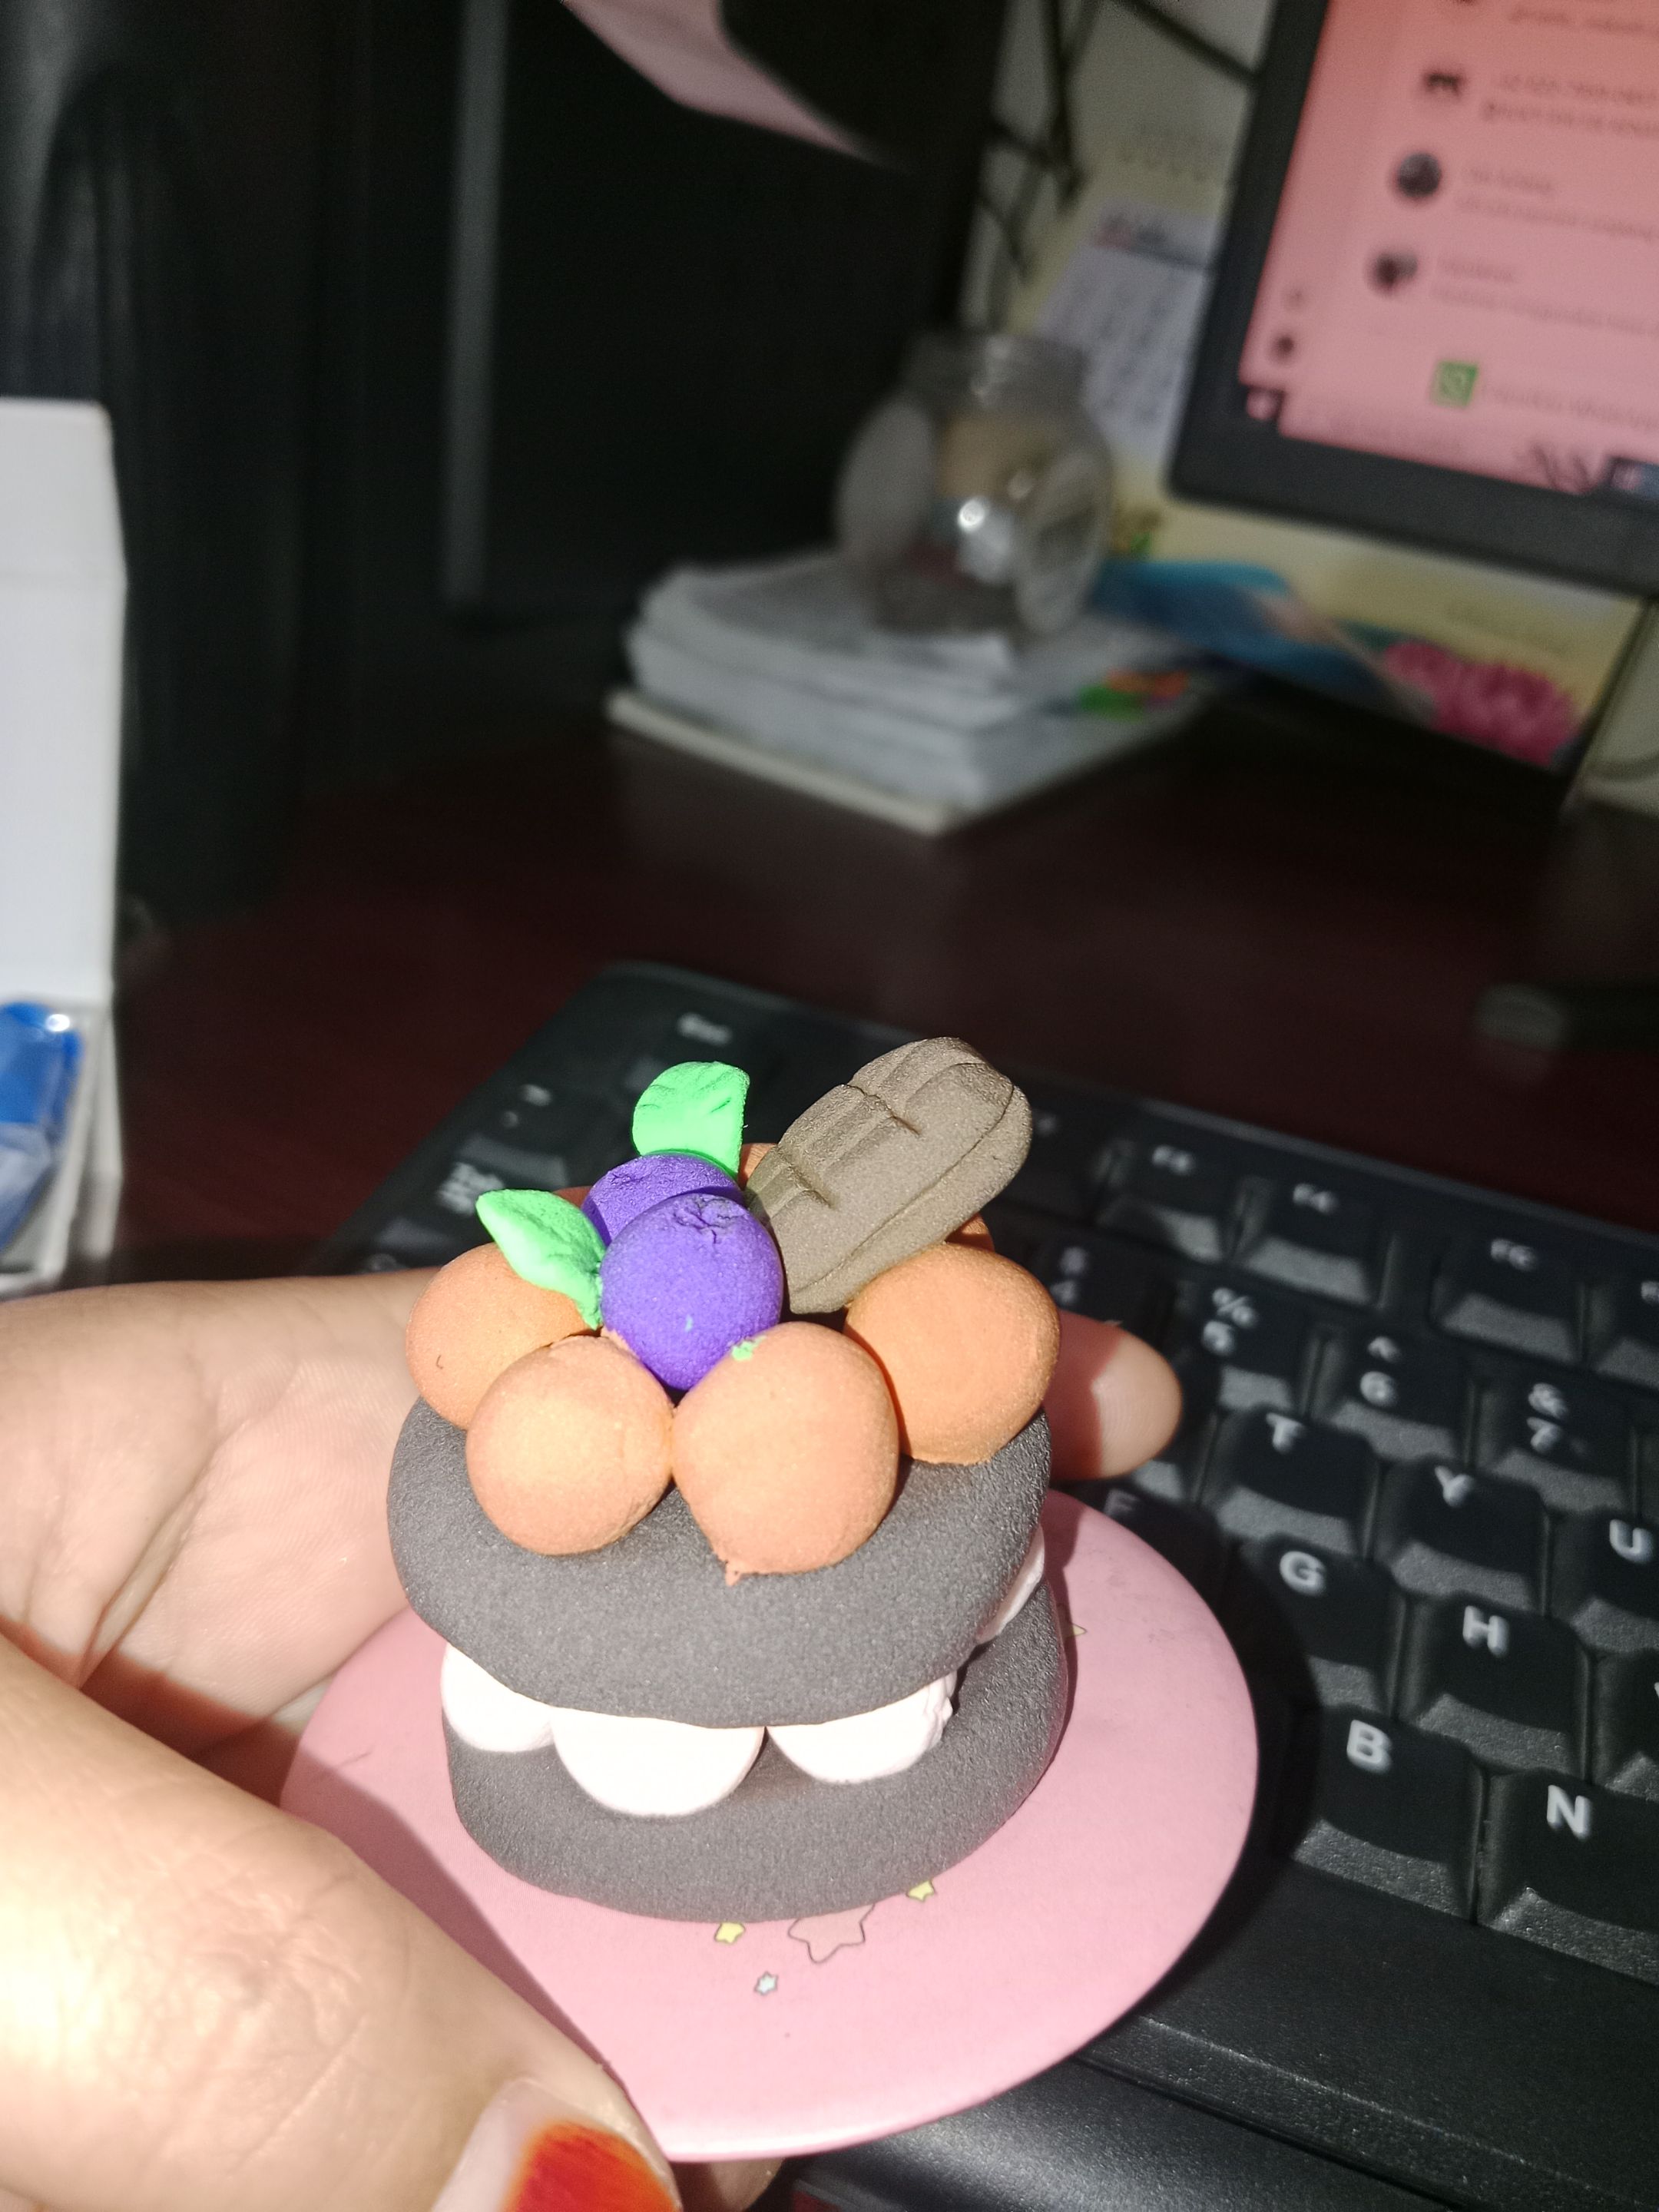
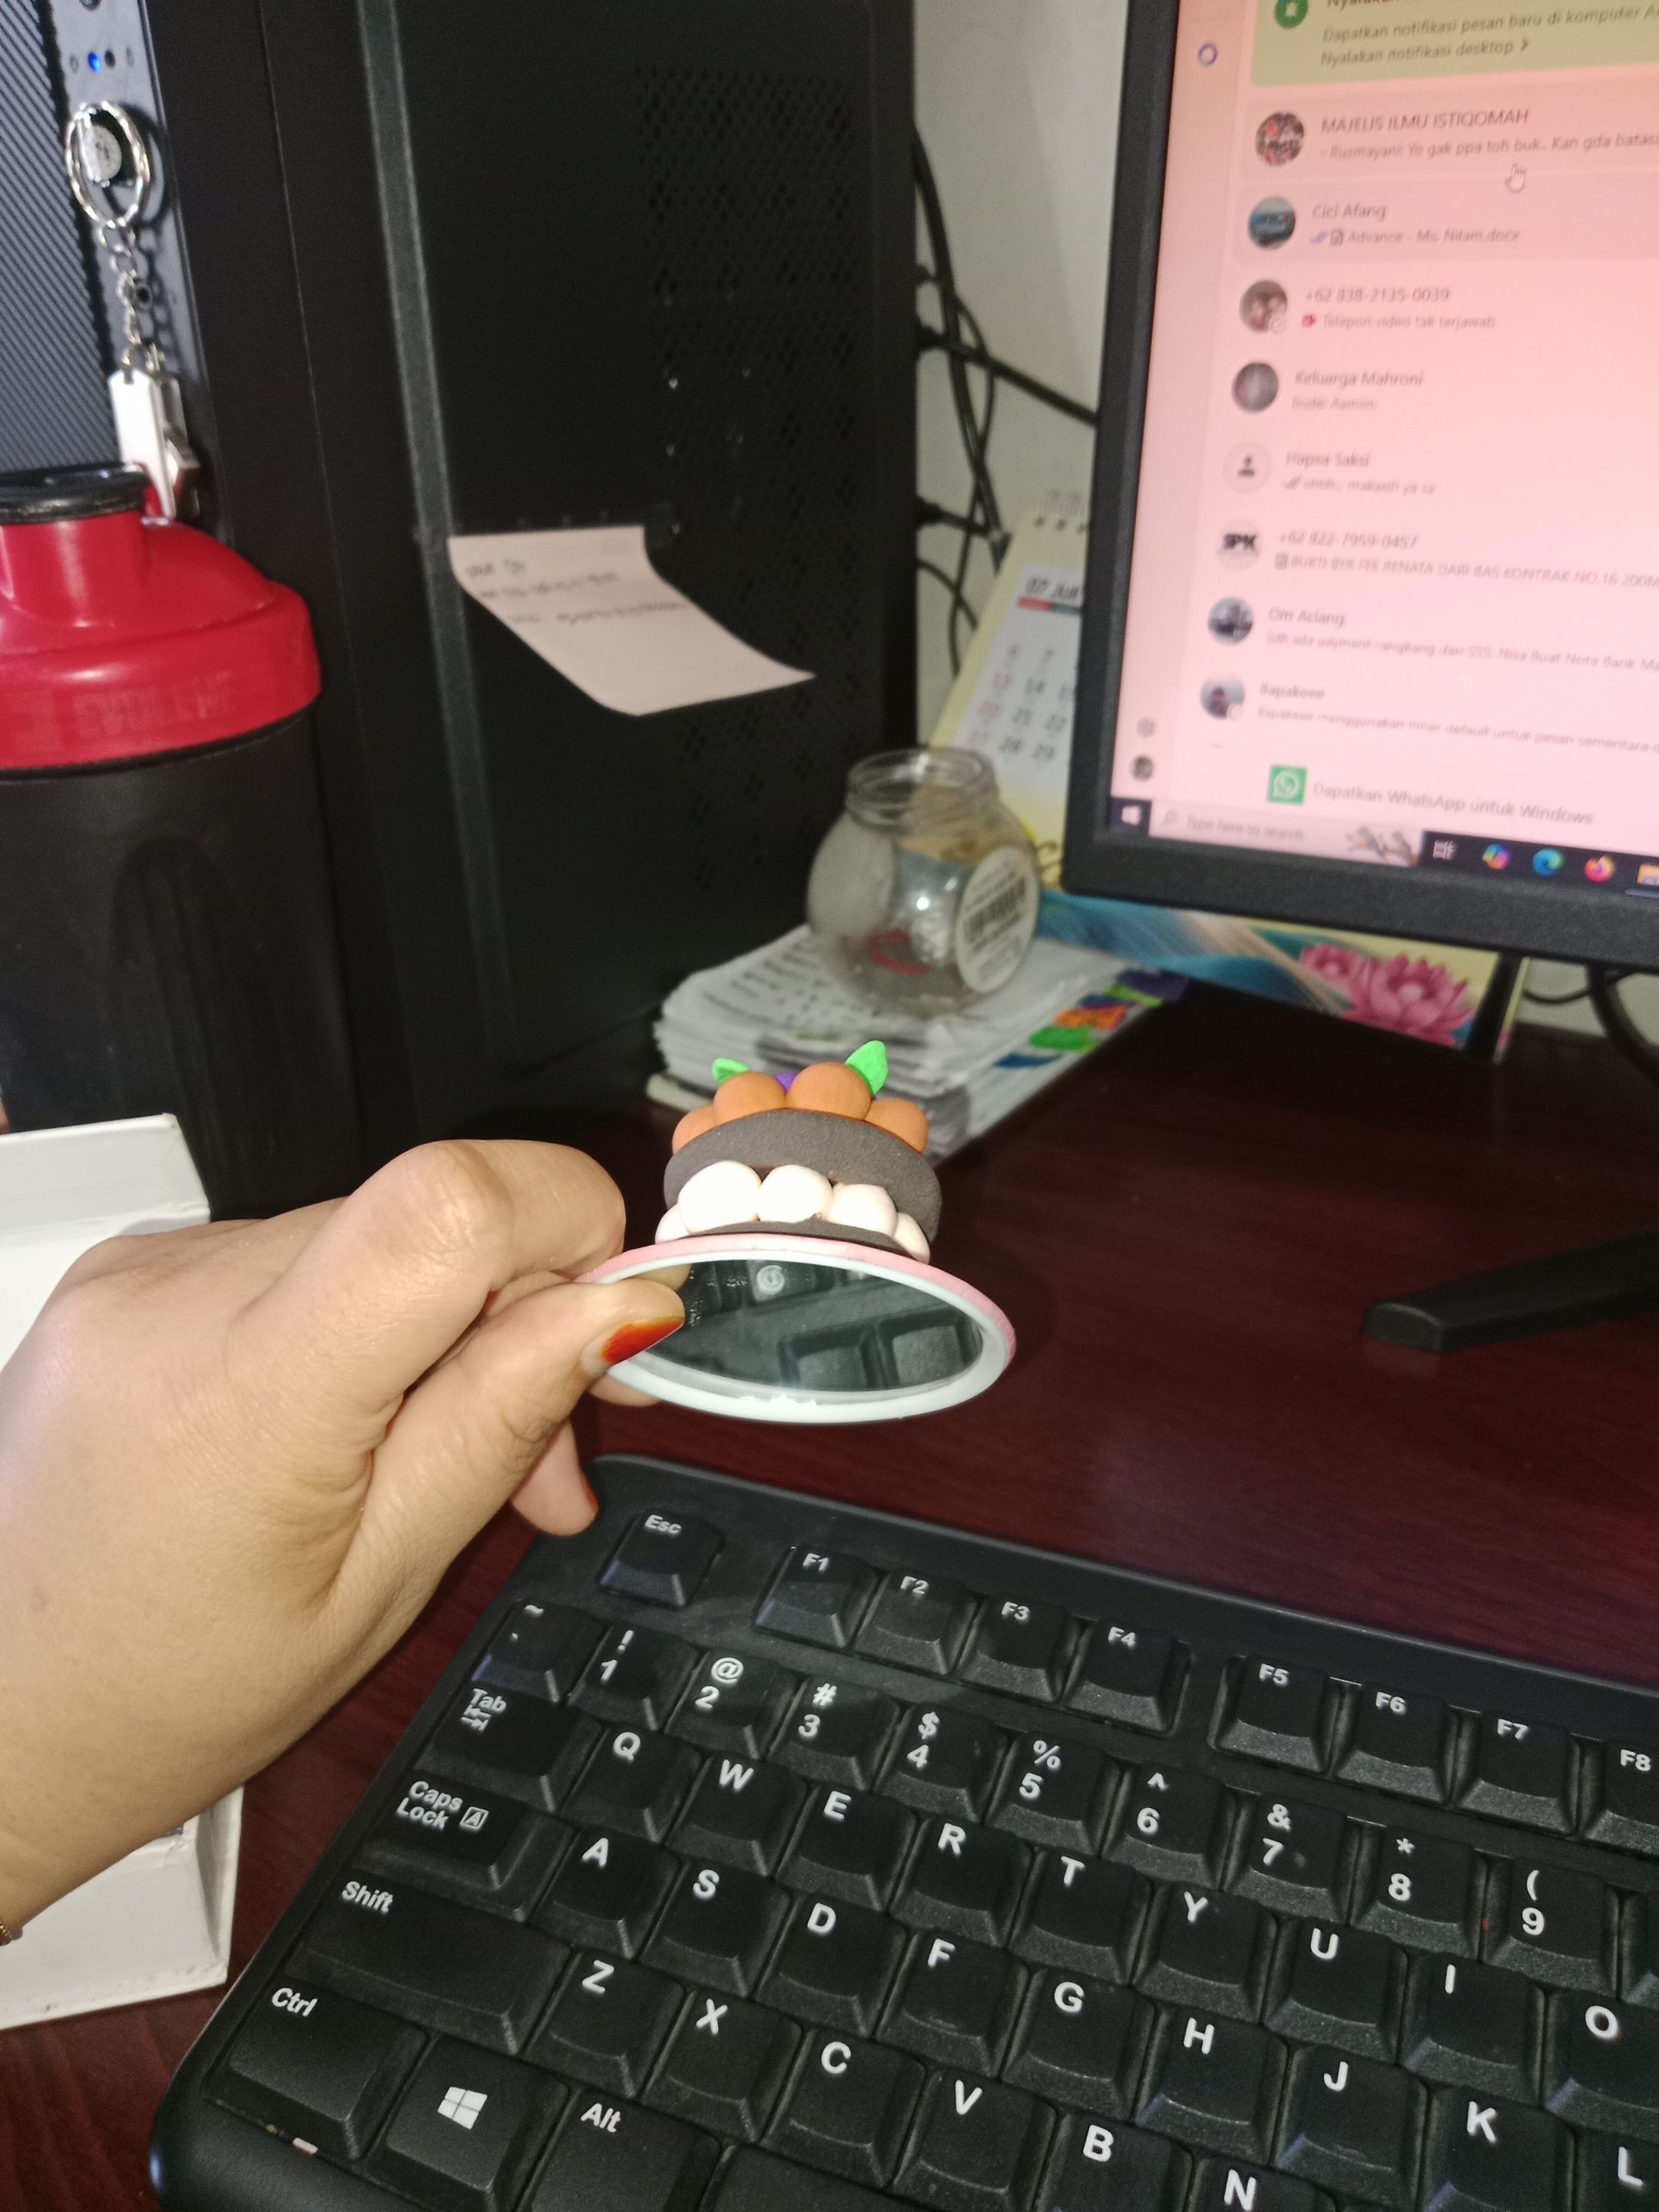
Actually, I made this clay cake for my little glass coaster, hehe... but when the glass is closed, it reveals a cake that's both eye-catching and makes you hungry, haha.
-------------
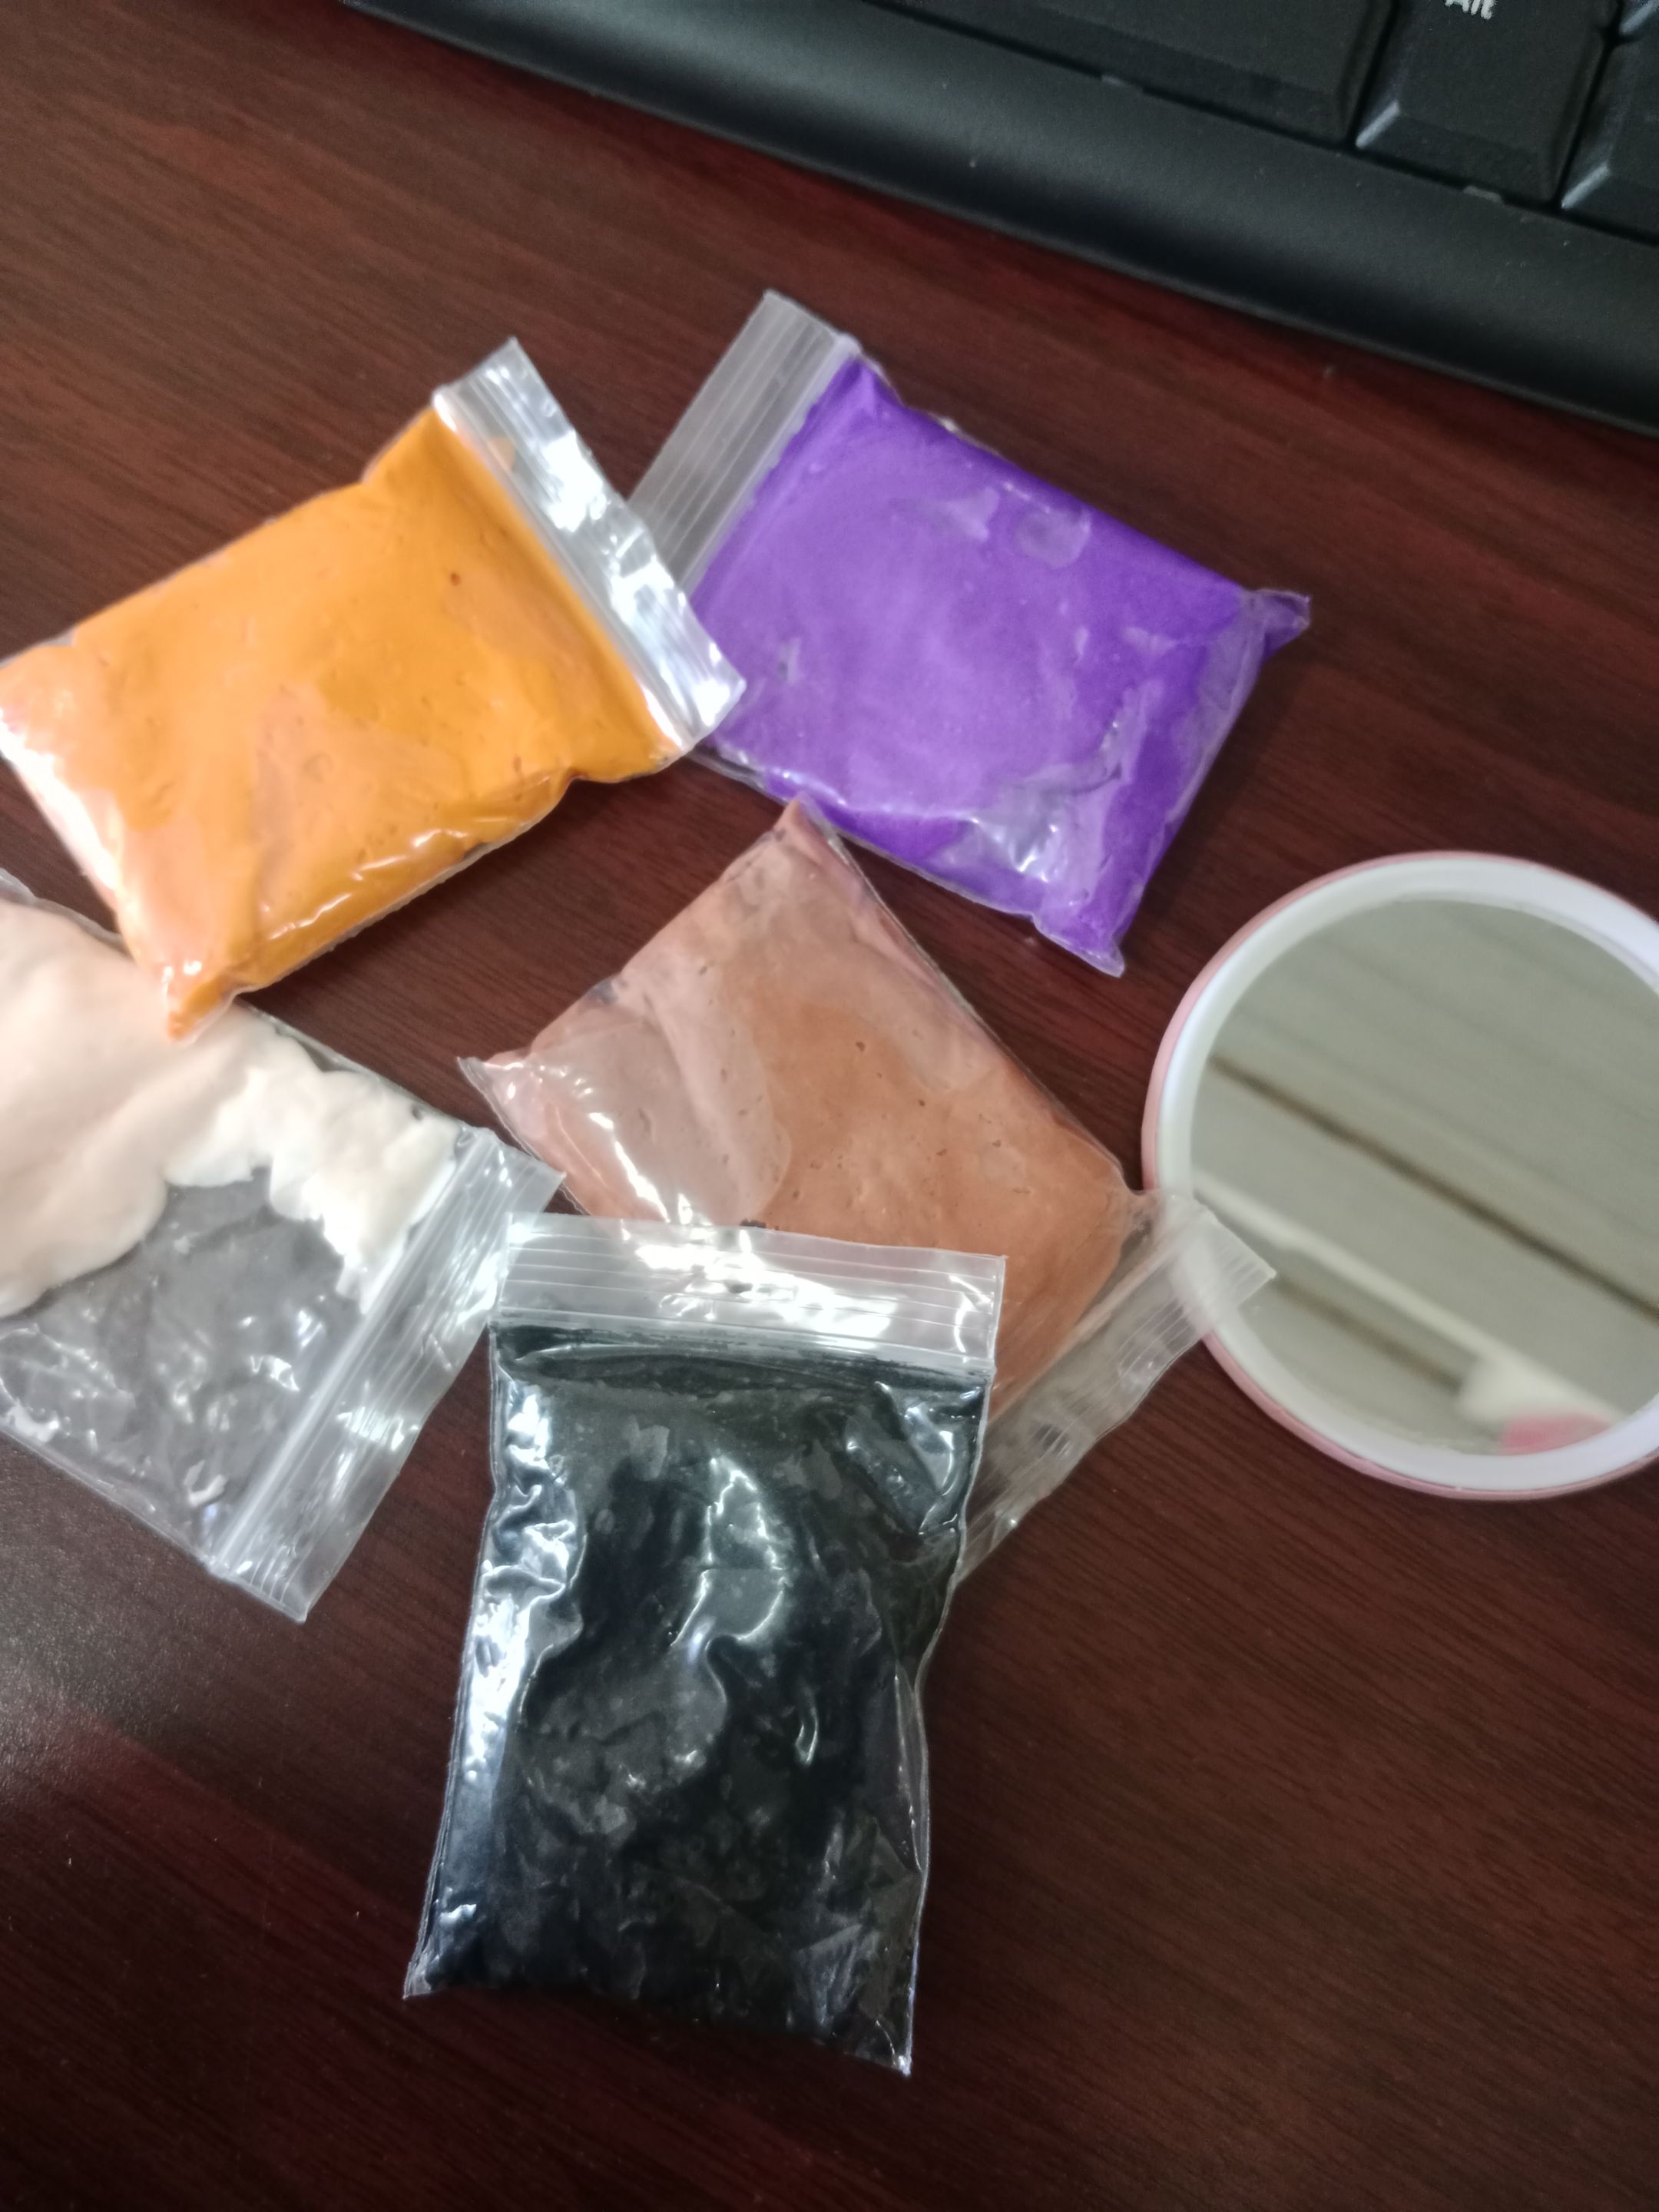
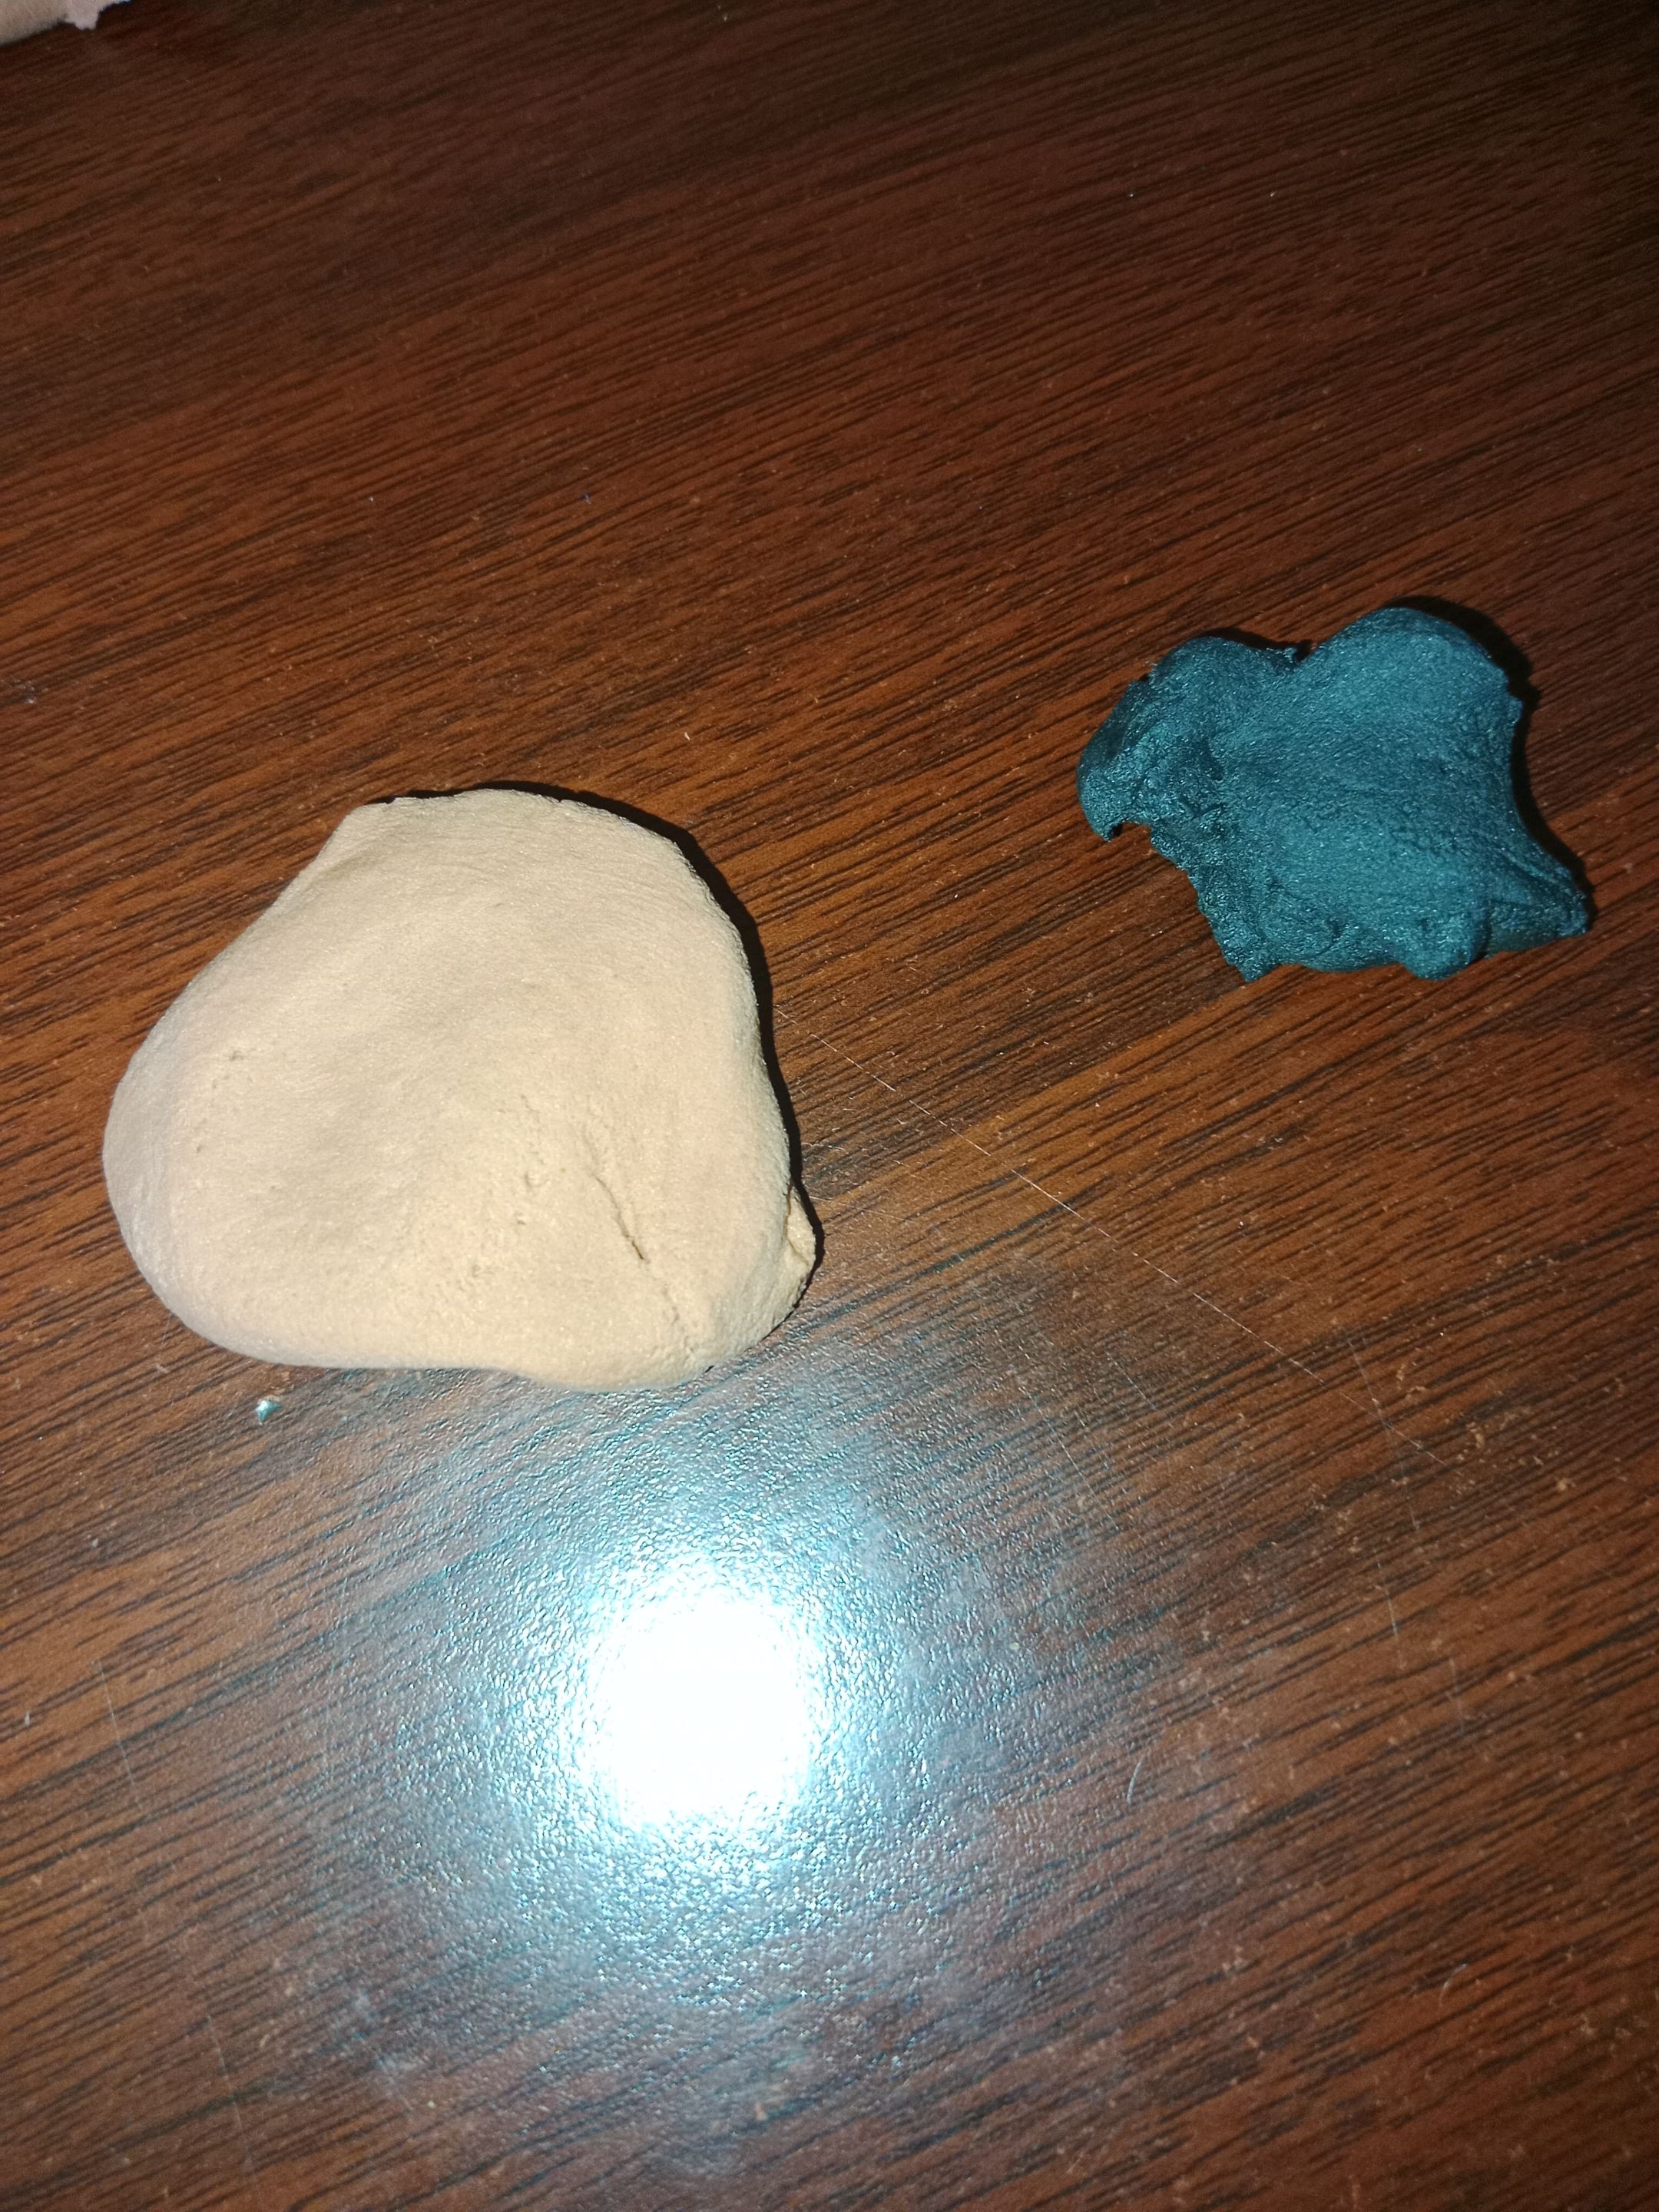
Let's prepare the necessary ingredients:
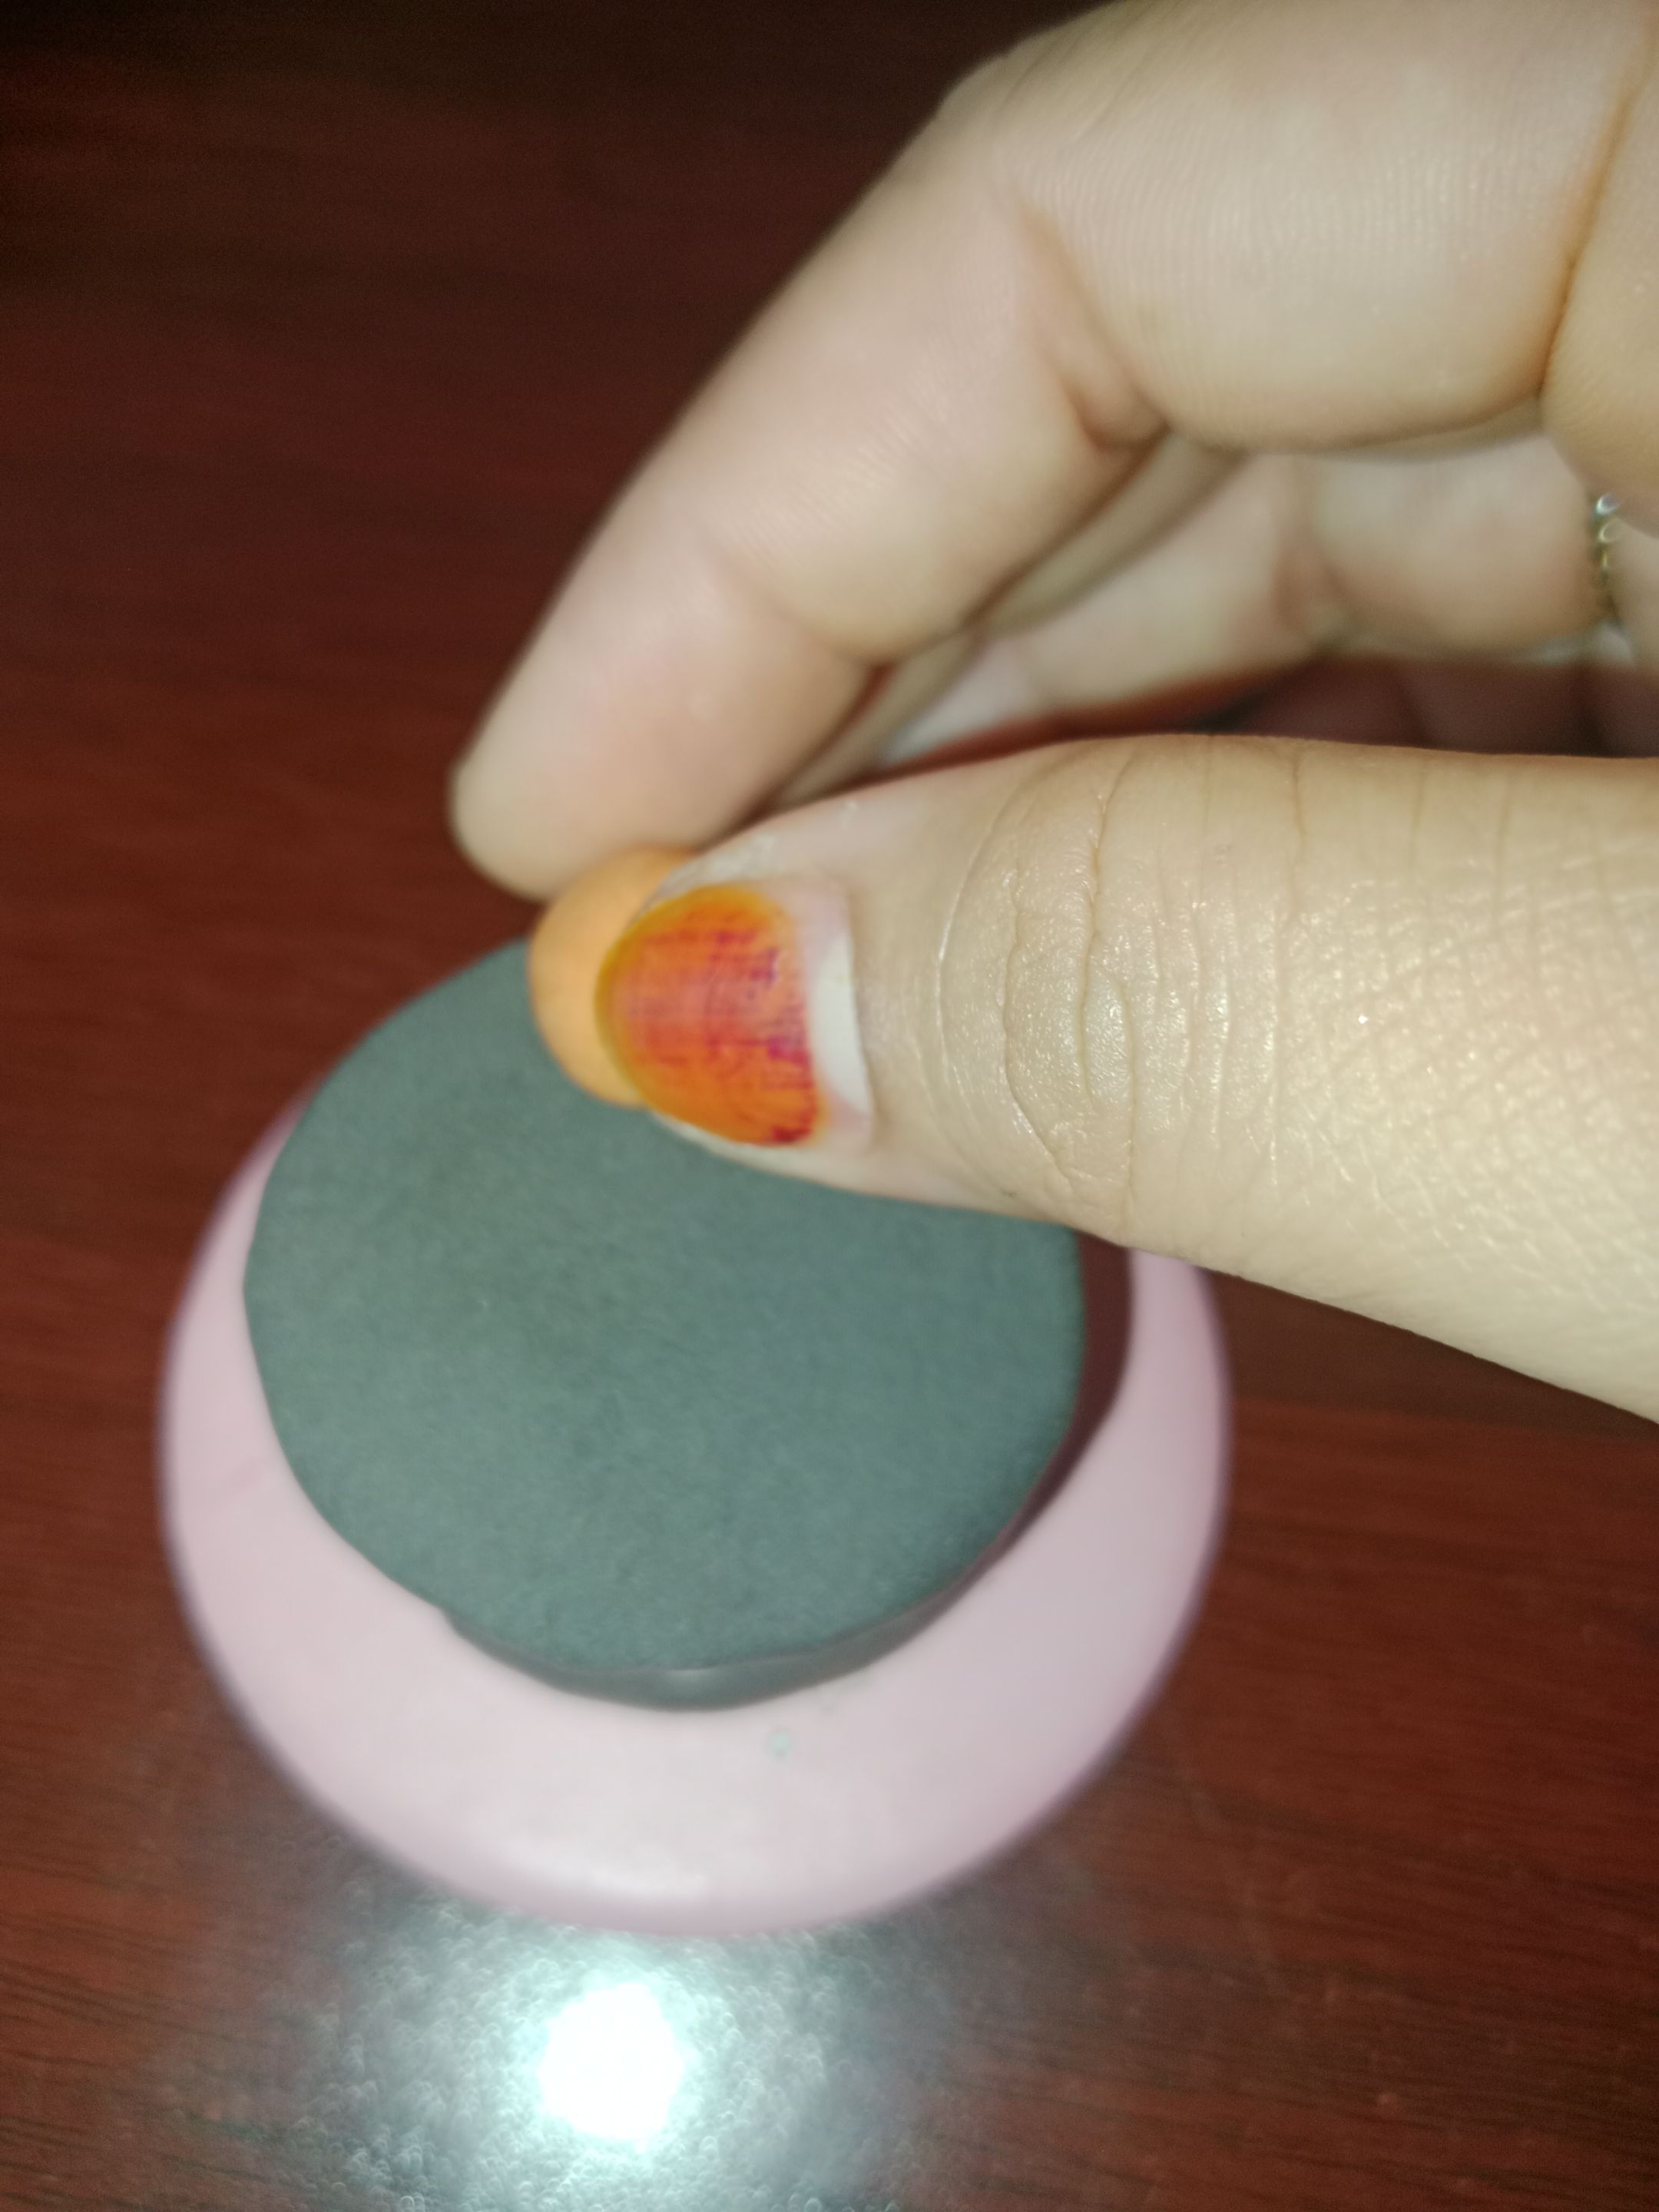
- Light pink clay
- Black clay
- Purple clay
- Orange clay
- and brown clay
How to Make:
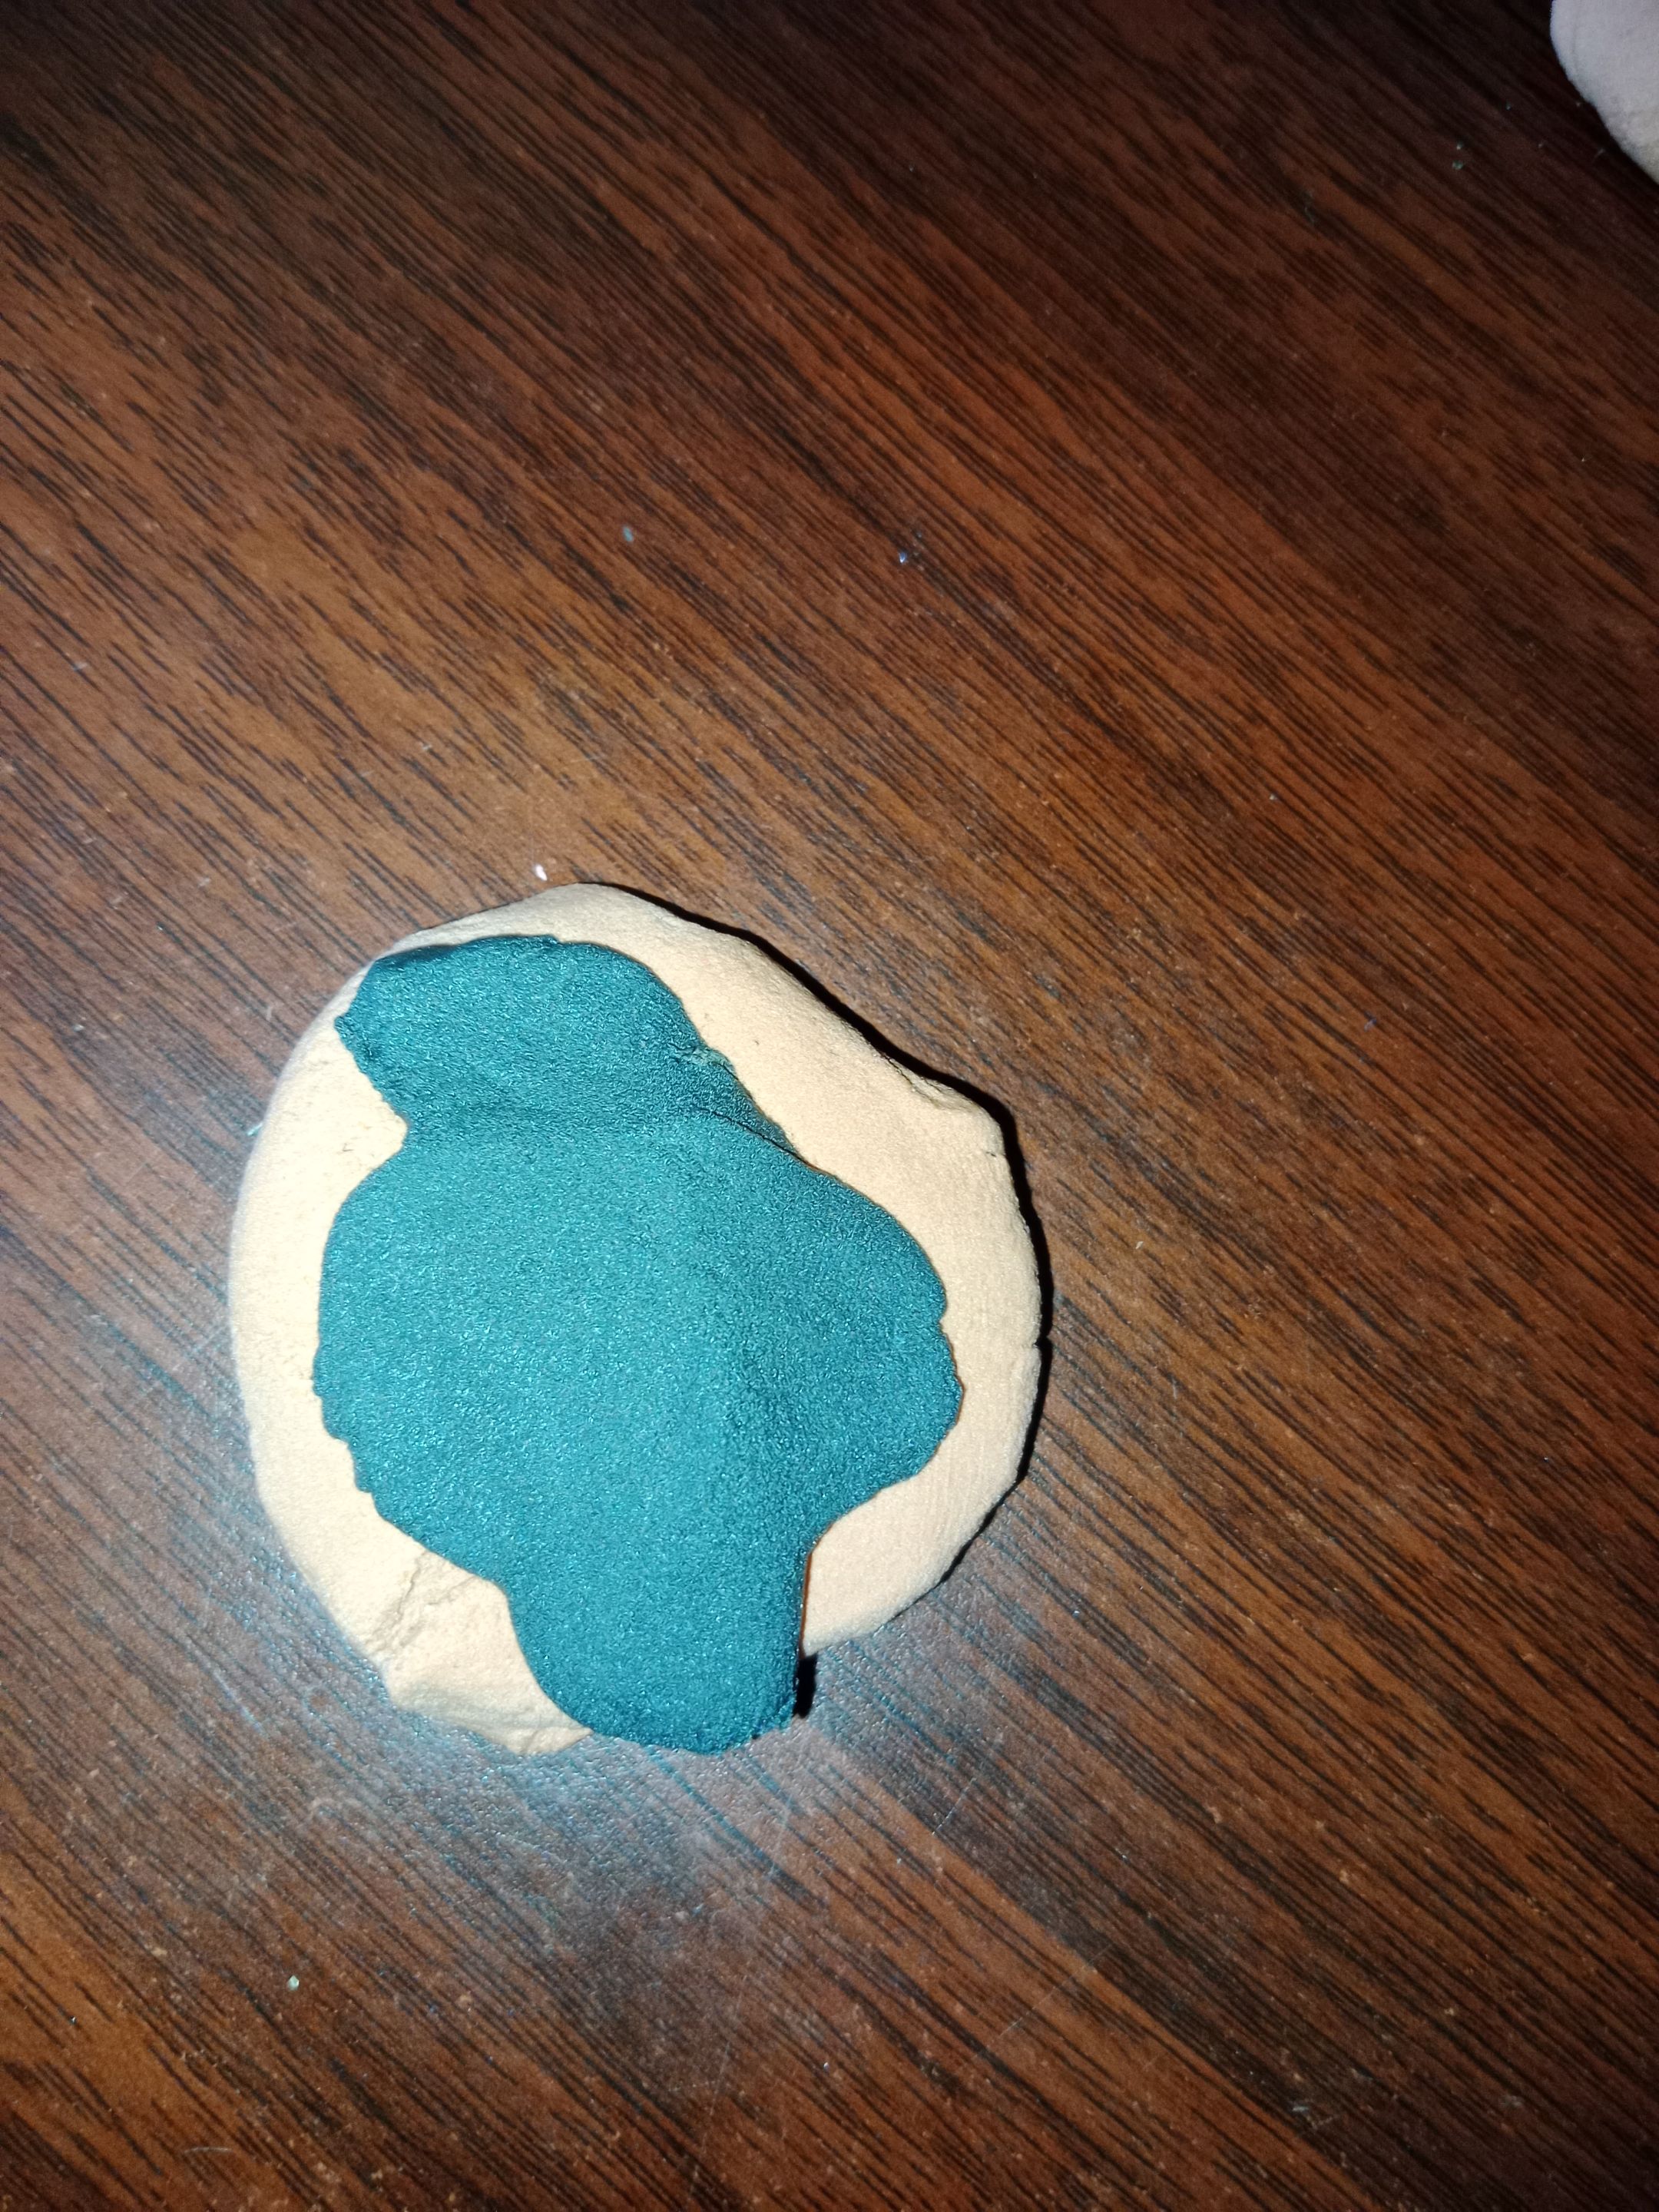
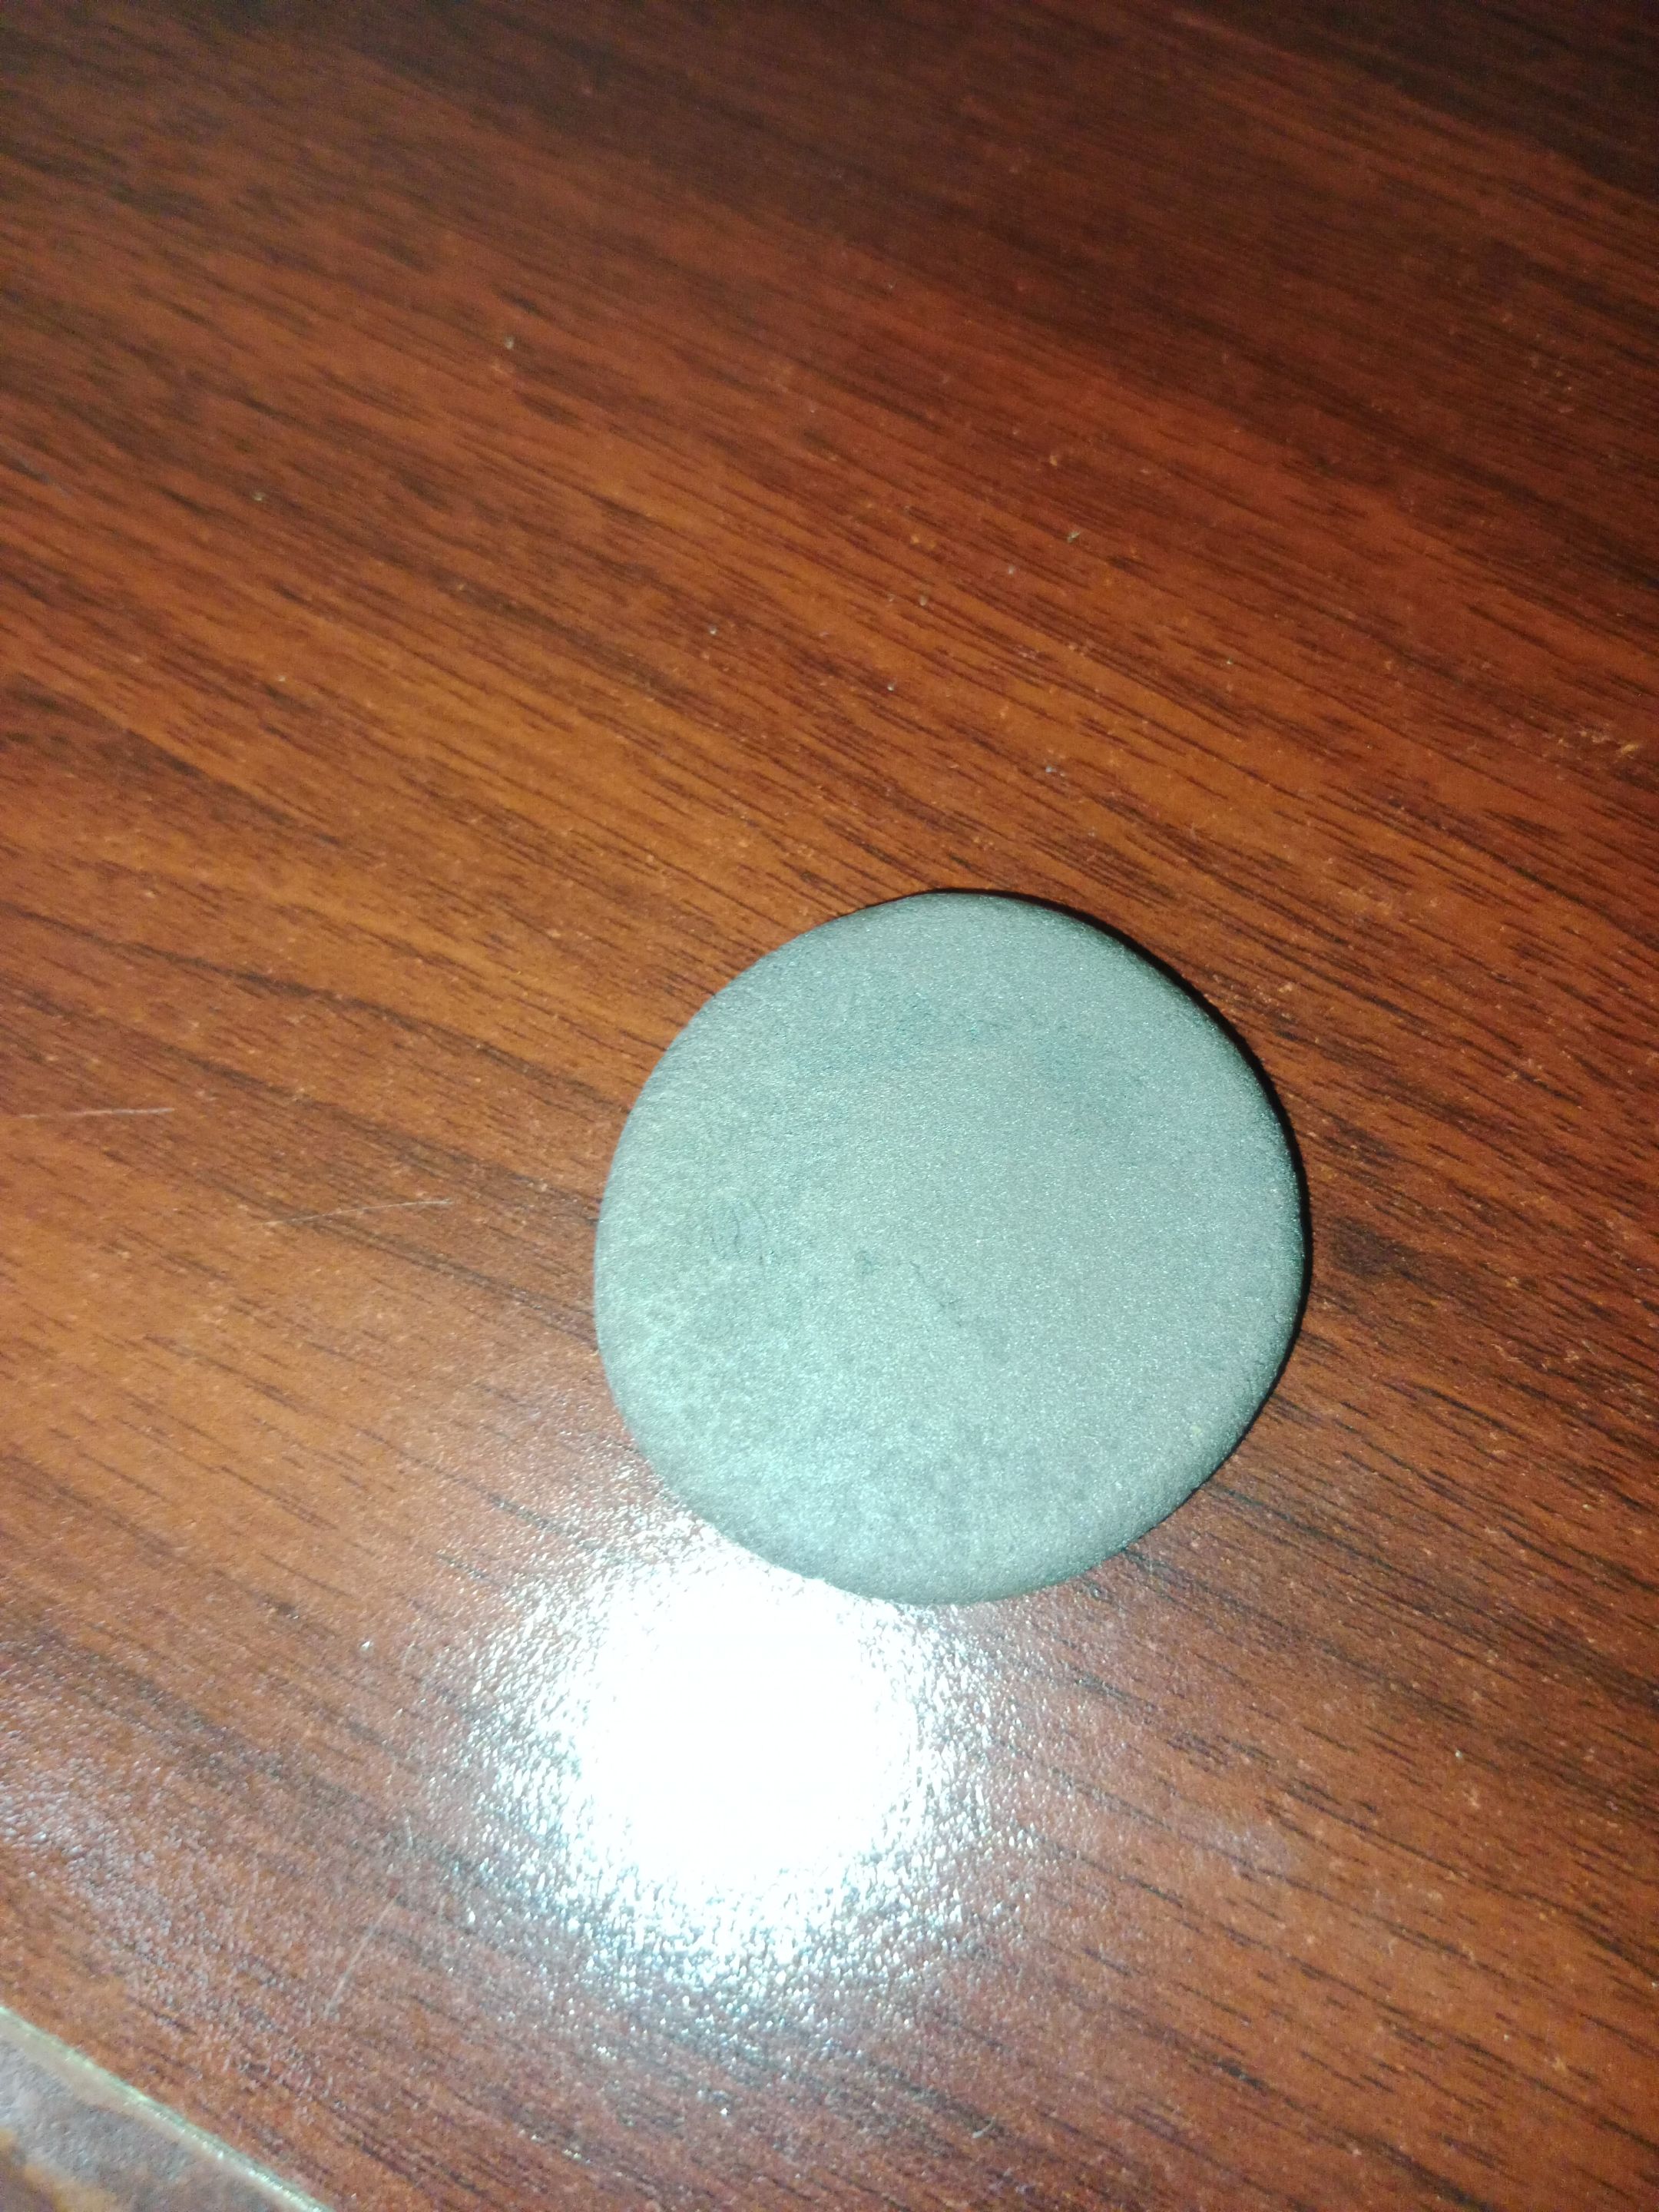
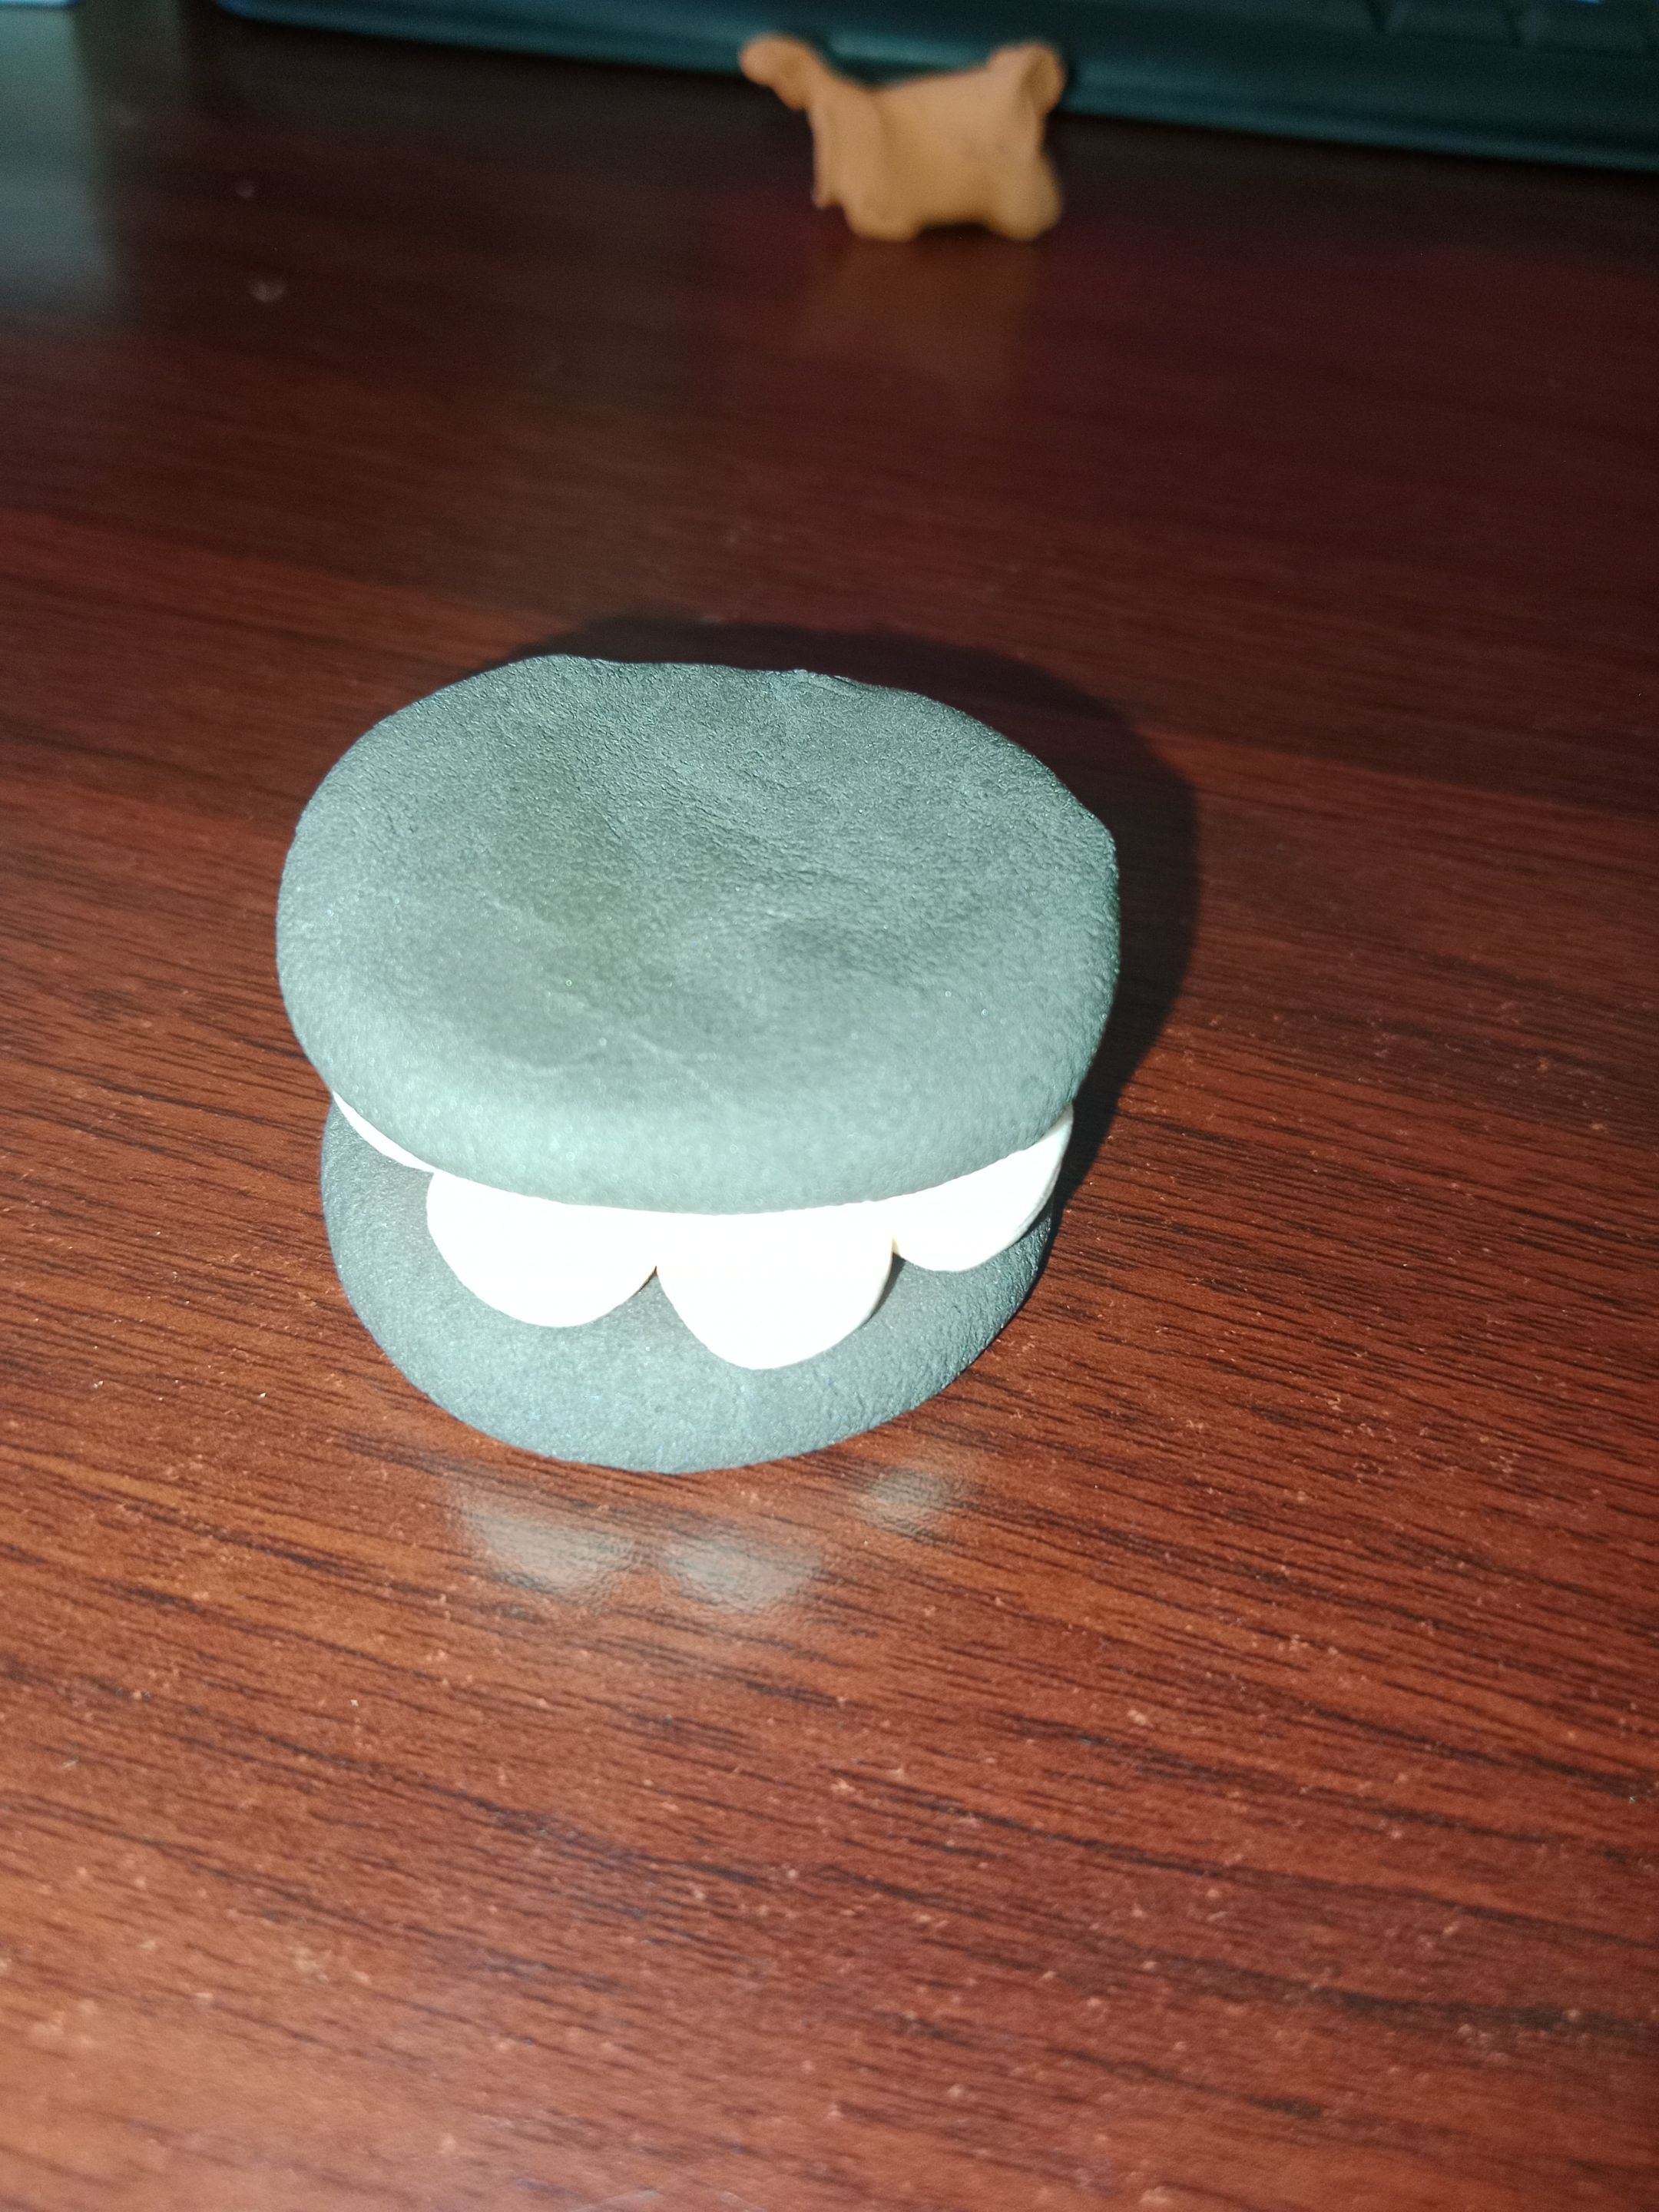
- First, take brown and black clay in a 1:3 ratio and mix the clay until the colors are evenly combined.
 |
 |
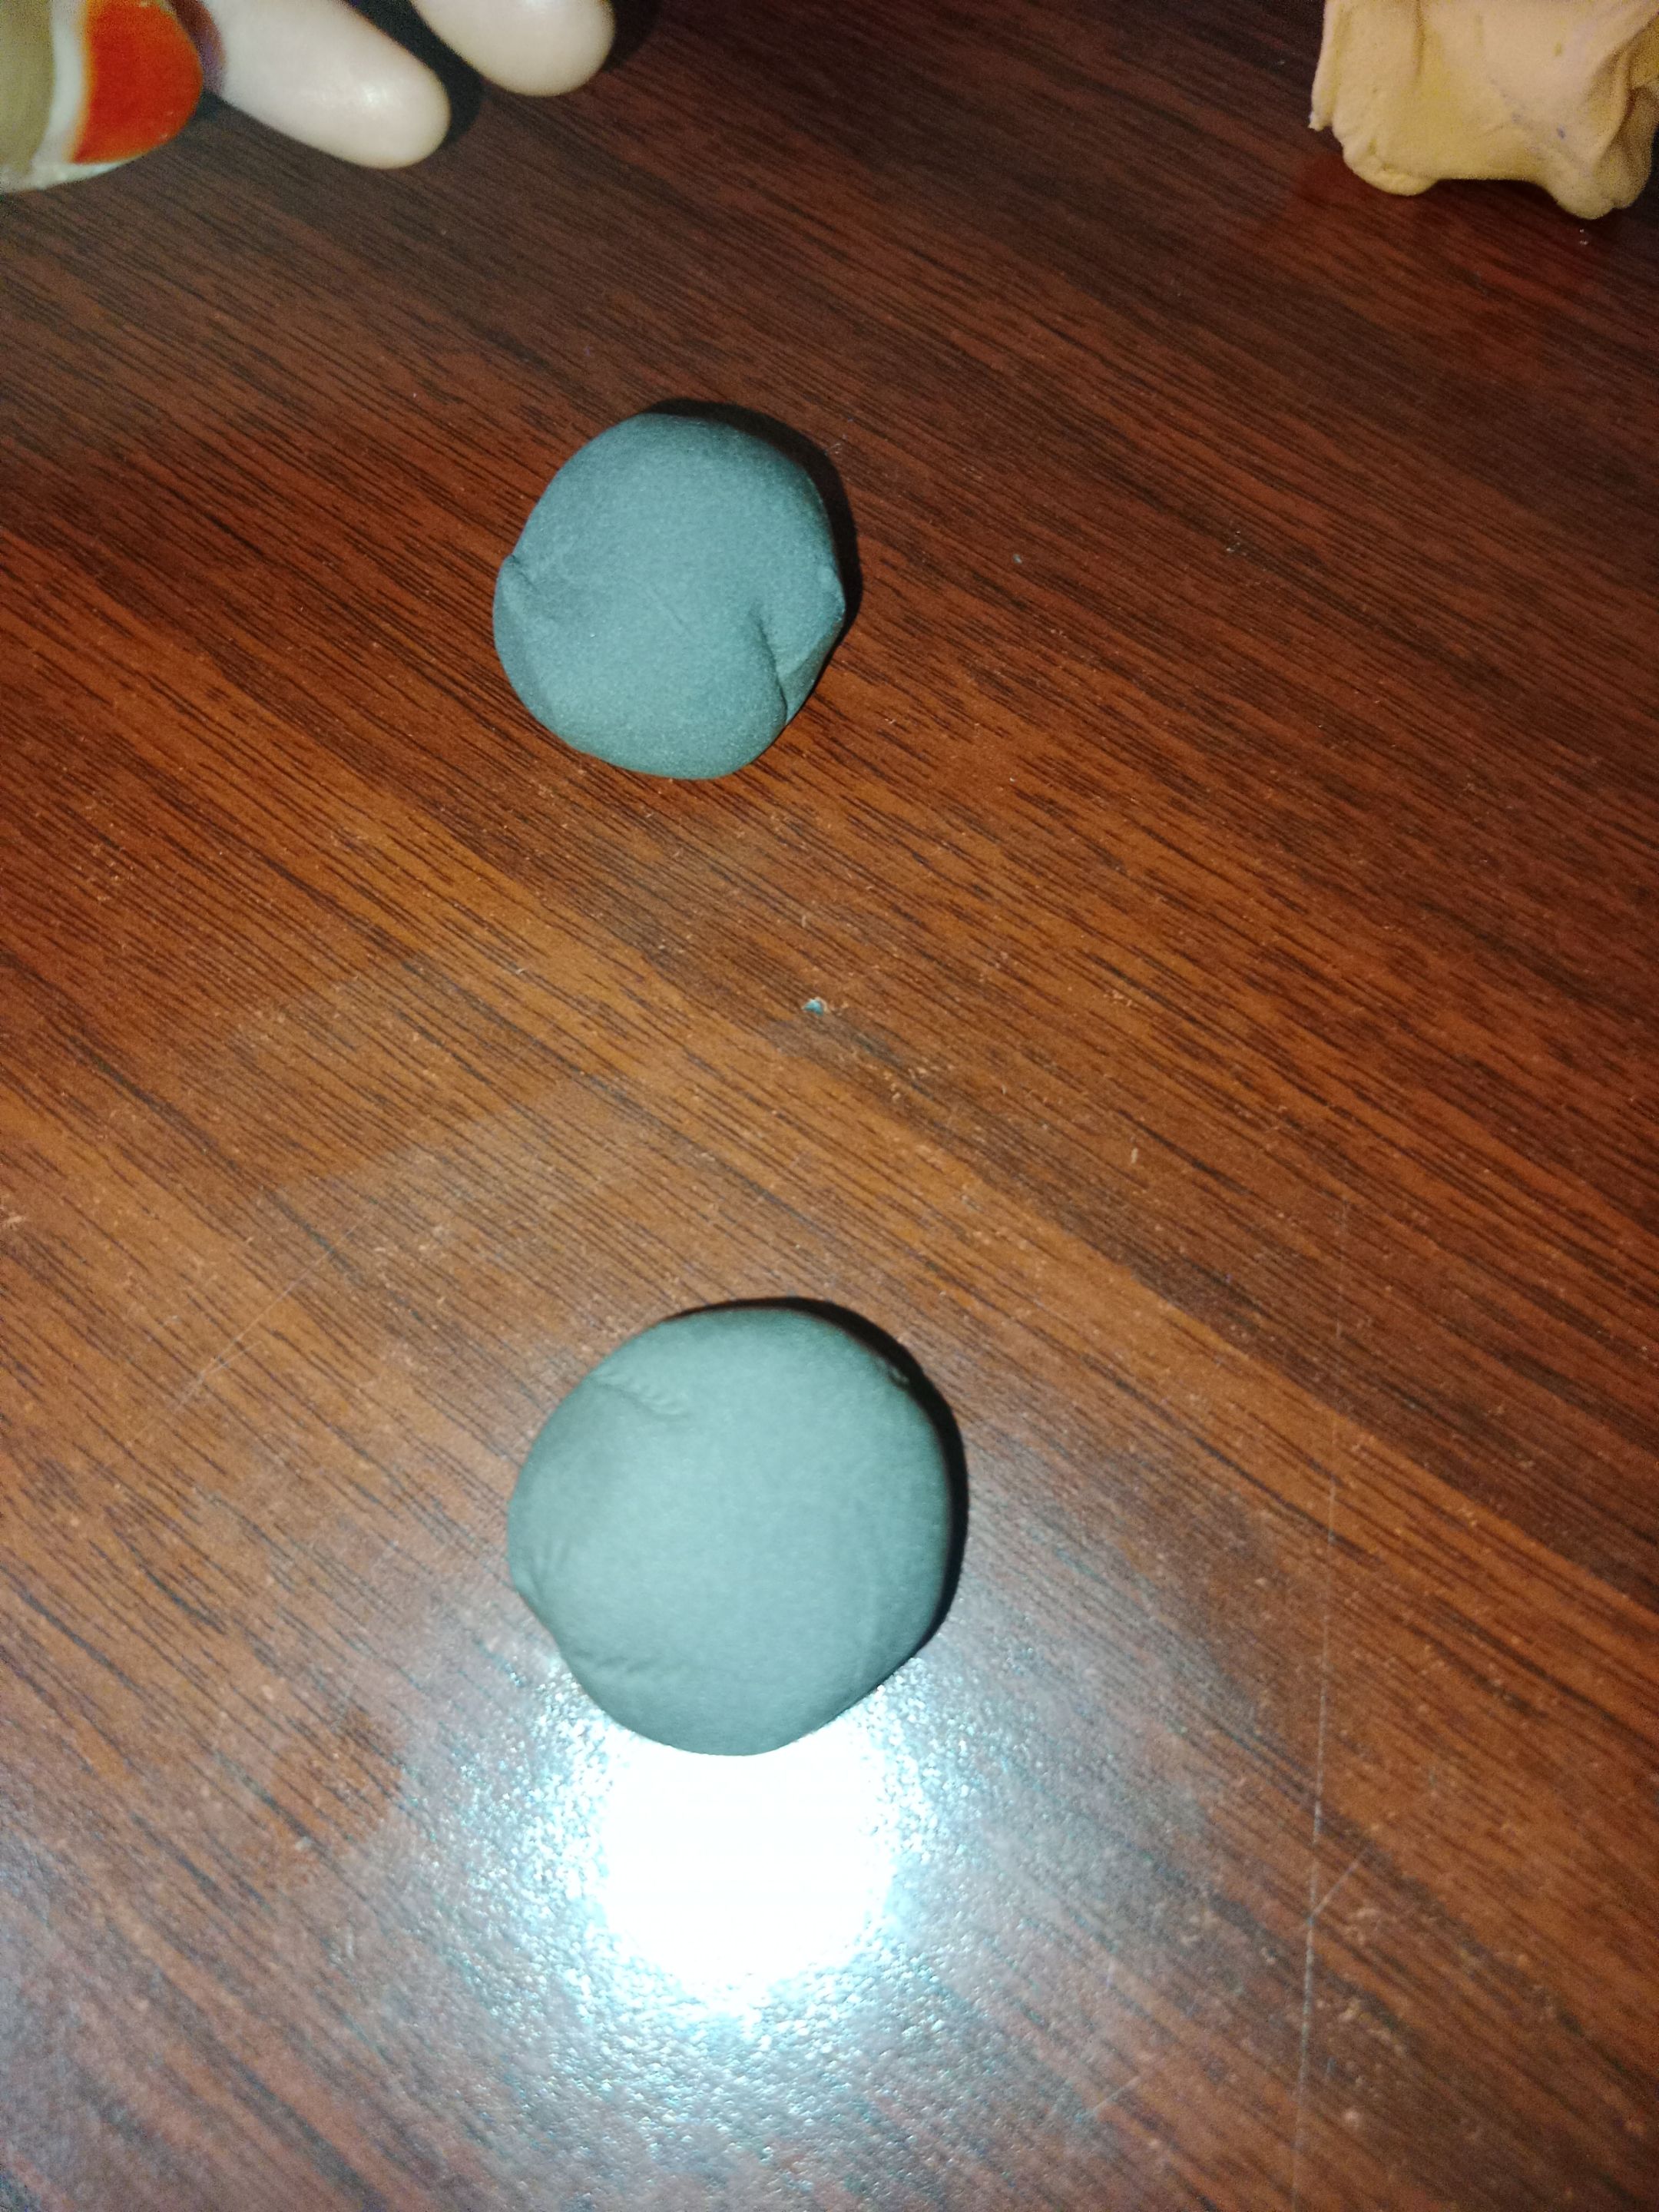
- After that, divide the clay mixture into 2 balls.
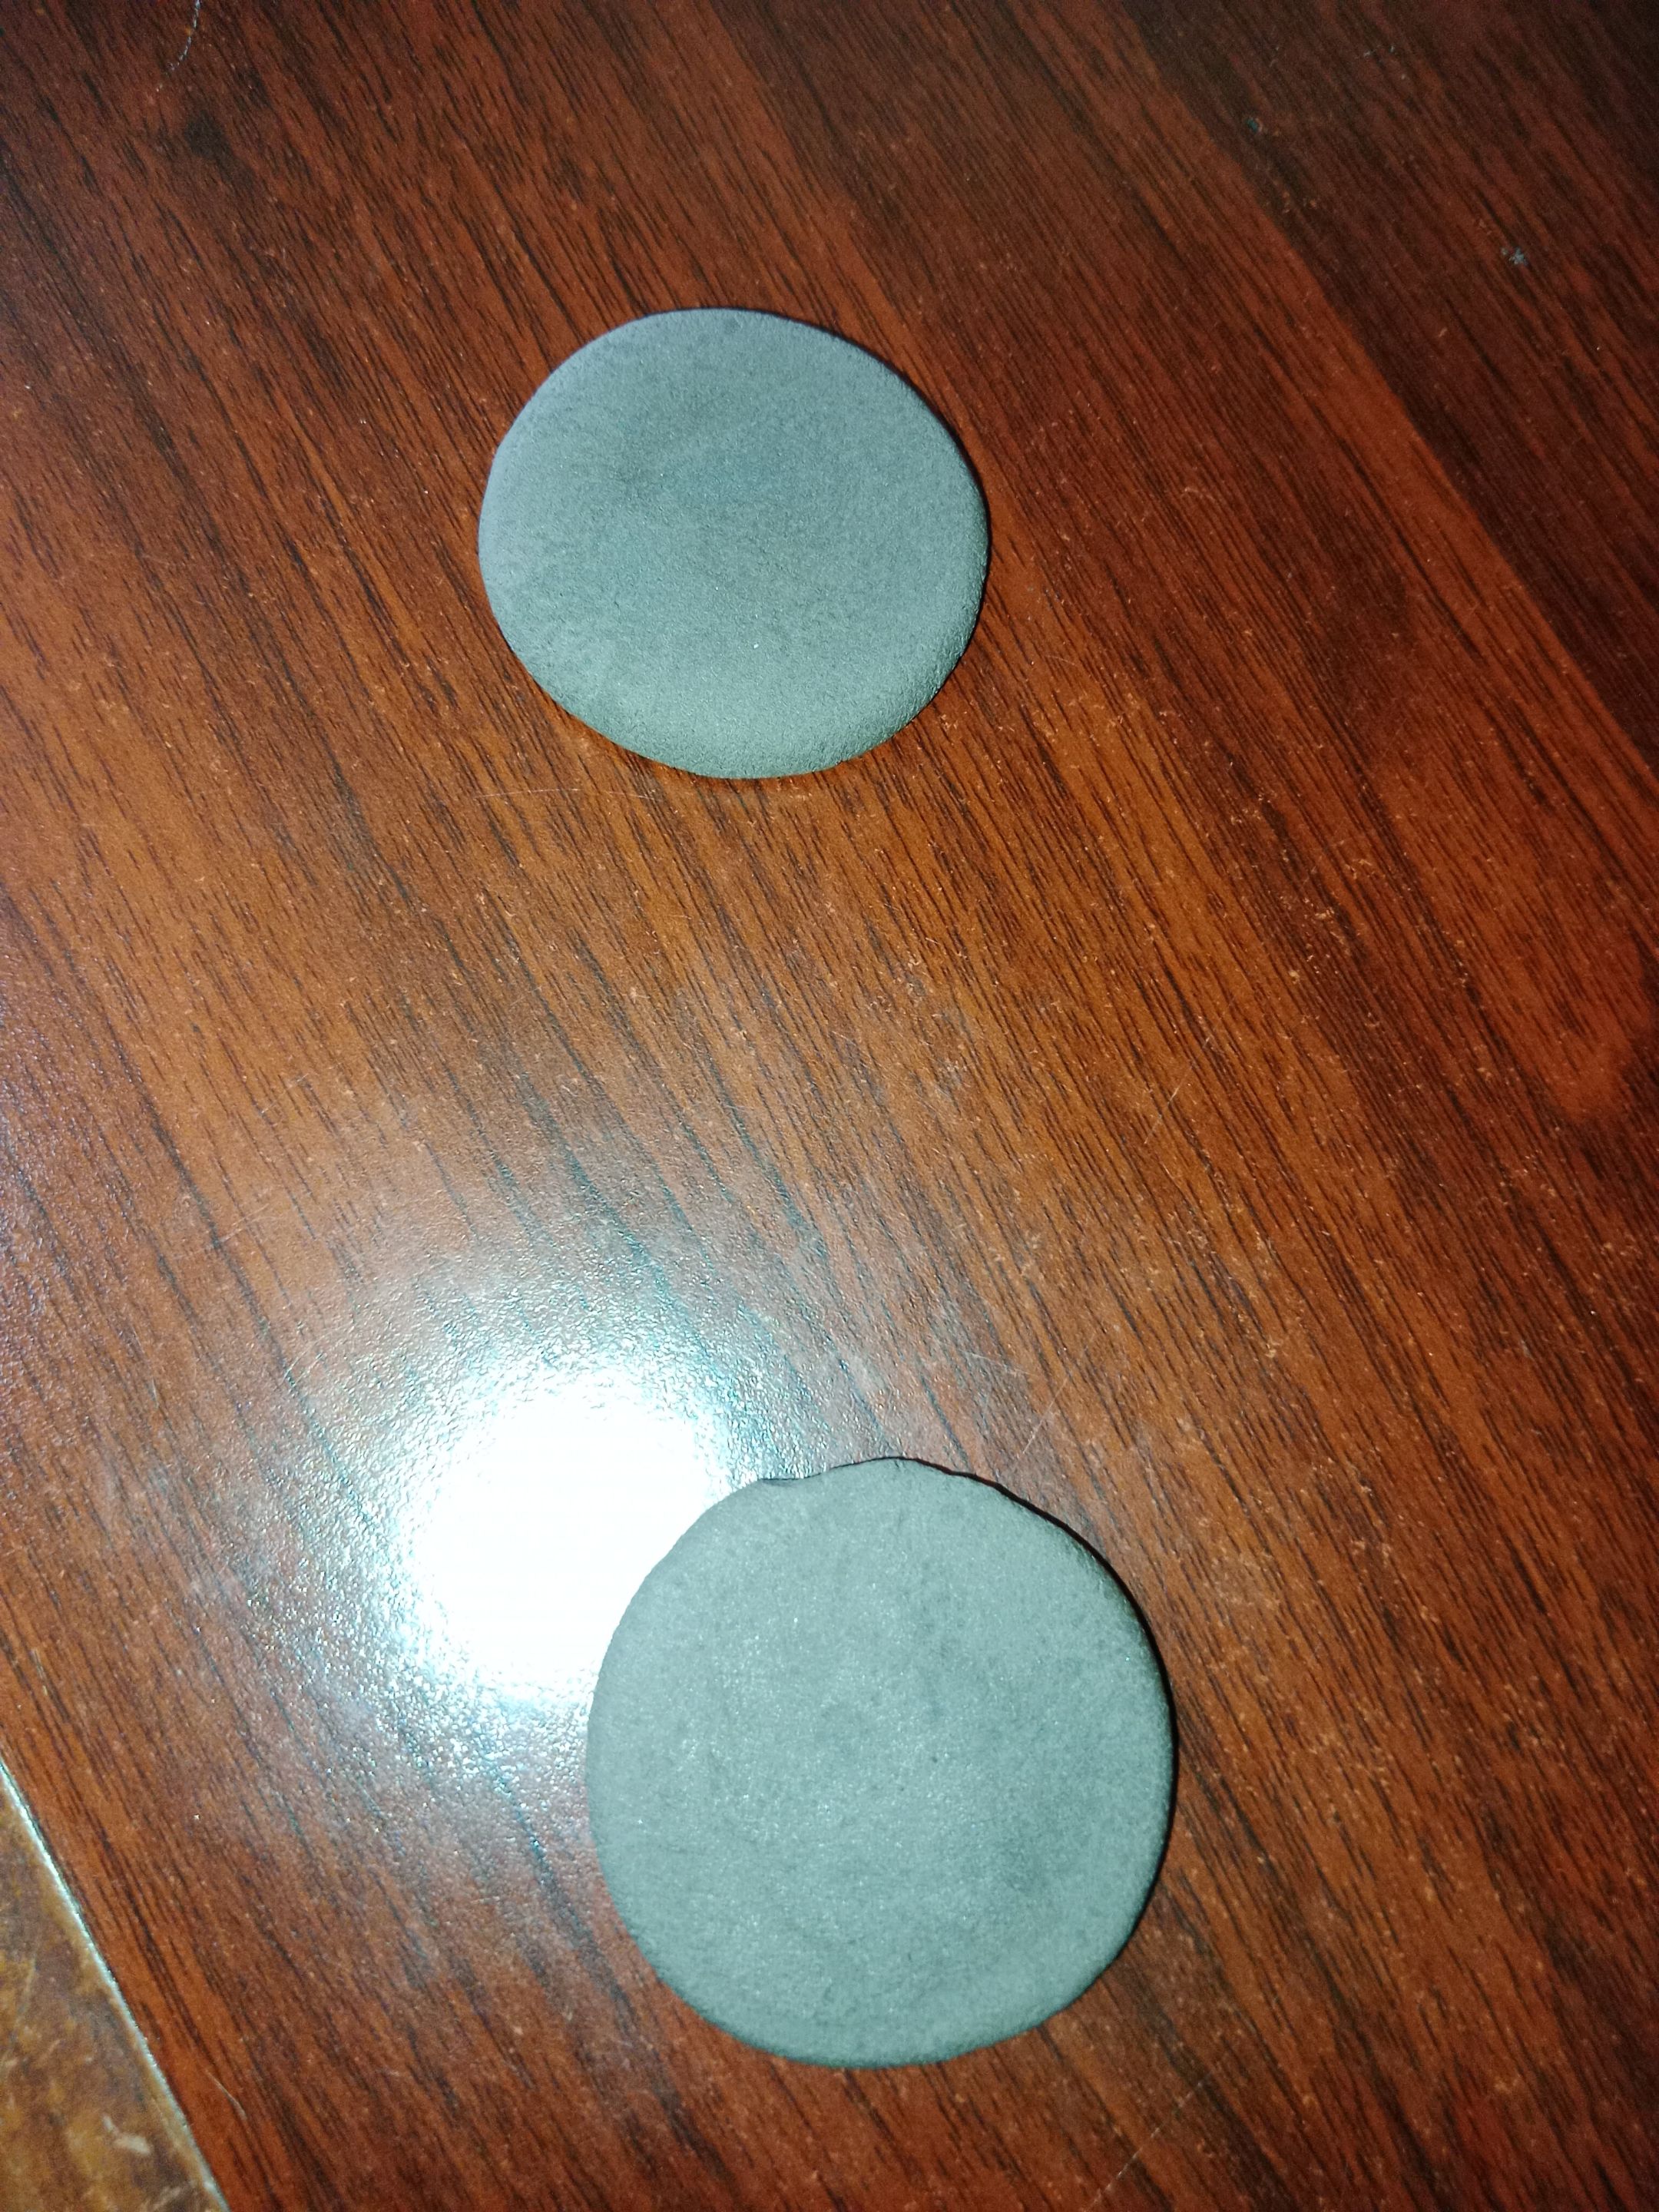
- Once you have 2 balls, flatten each ball to form a cake batter-like shape, or the size of a baking sheet.
 |
 |
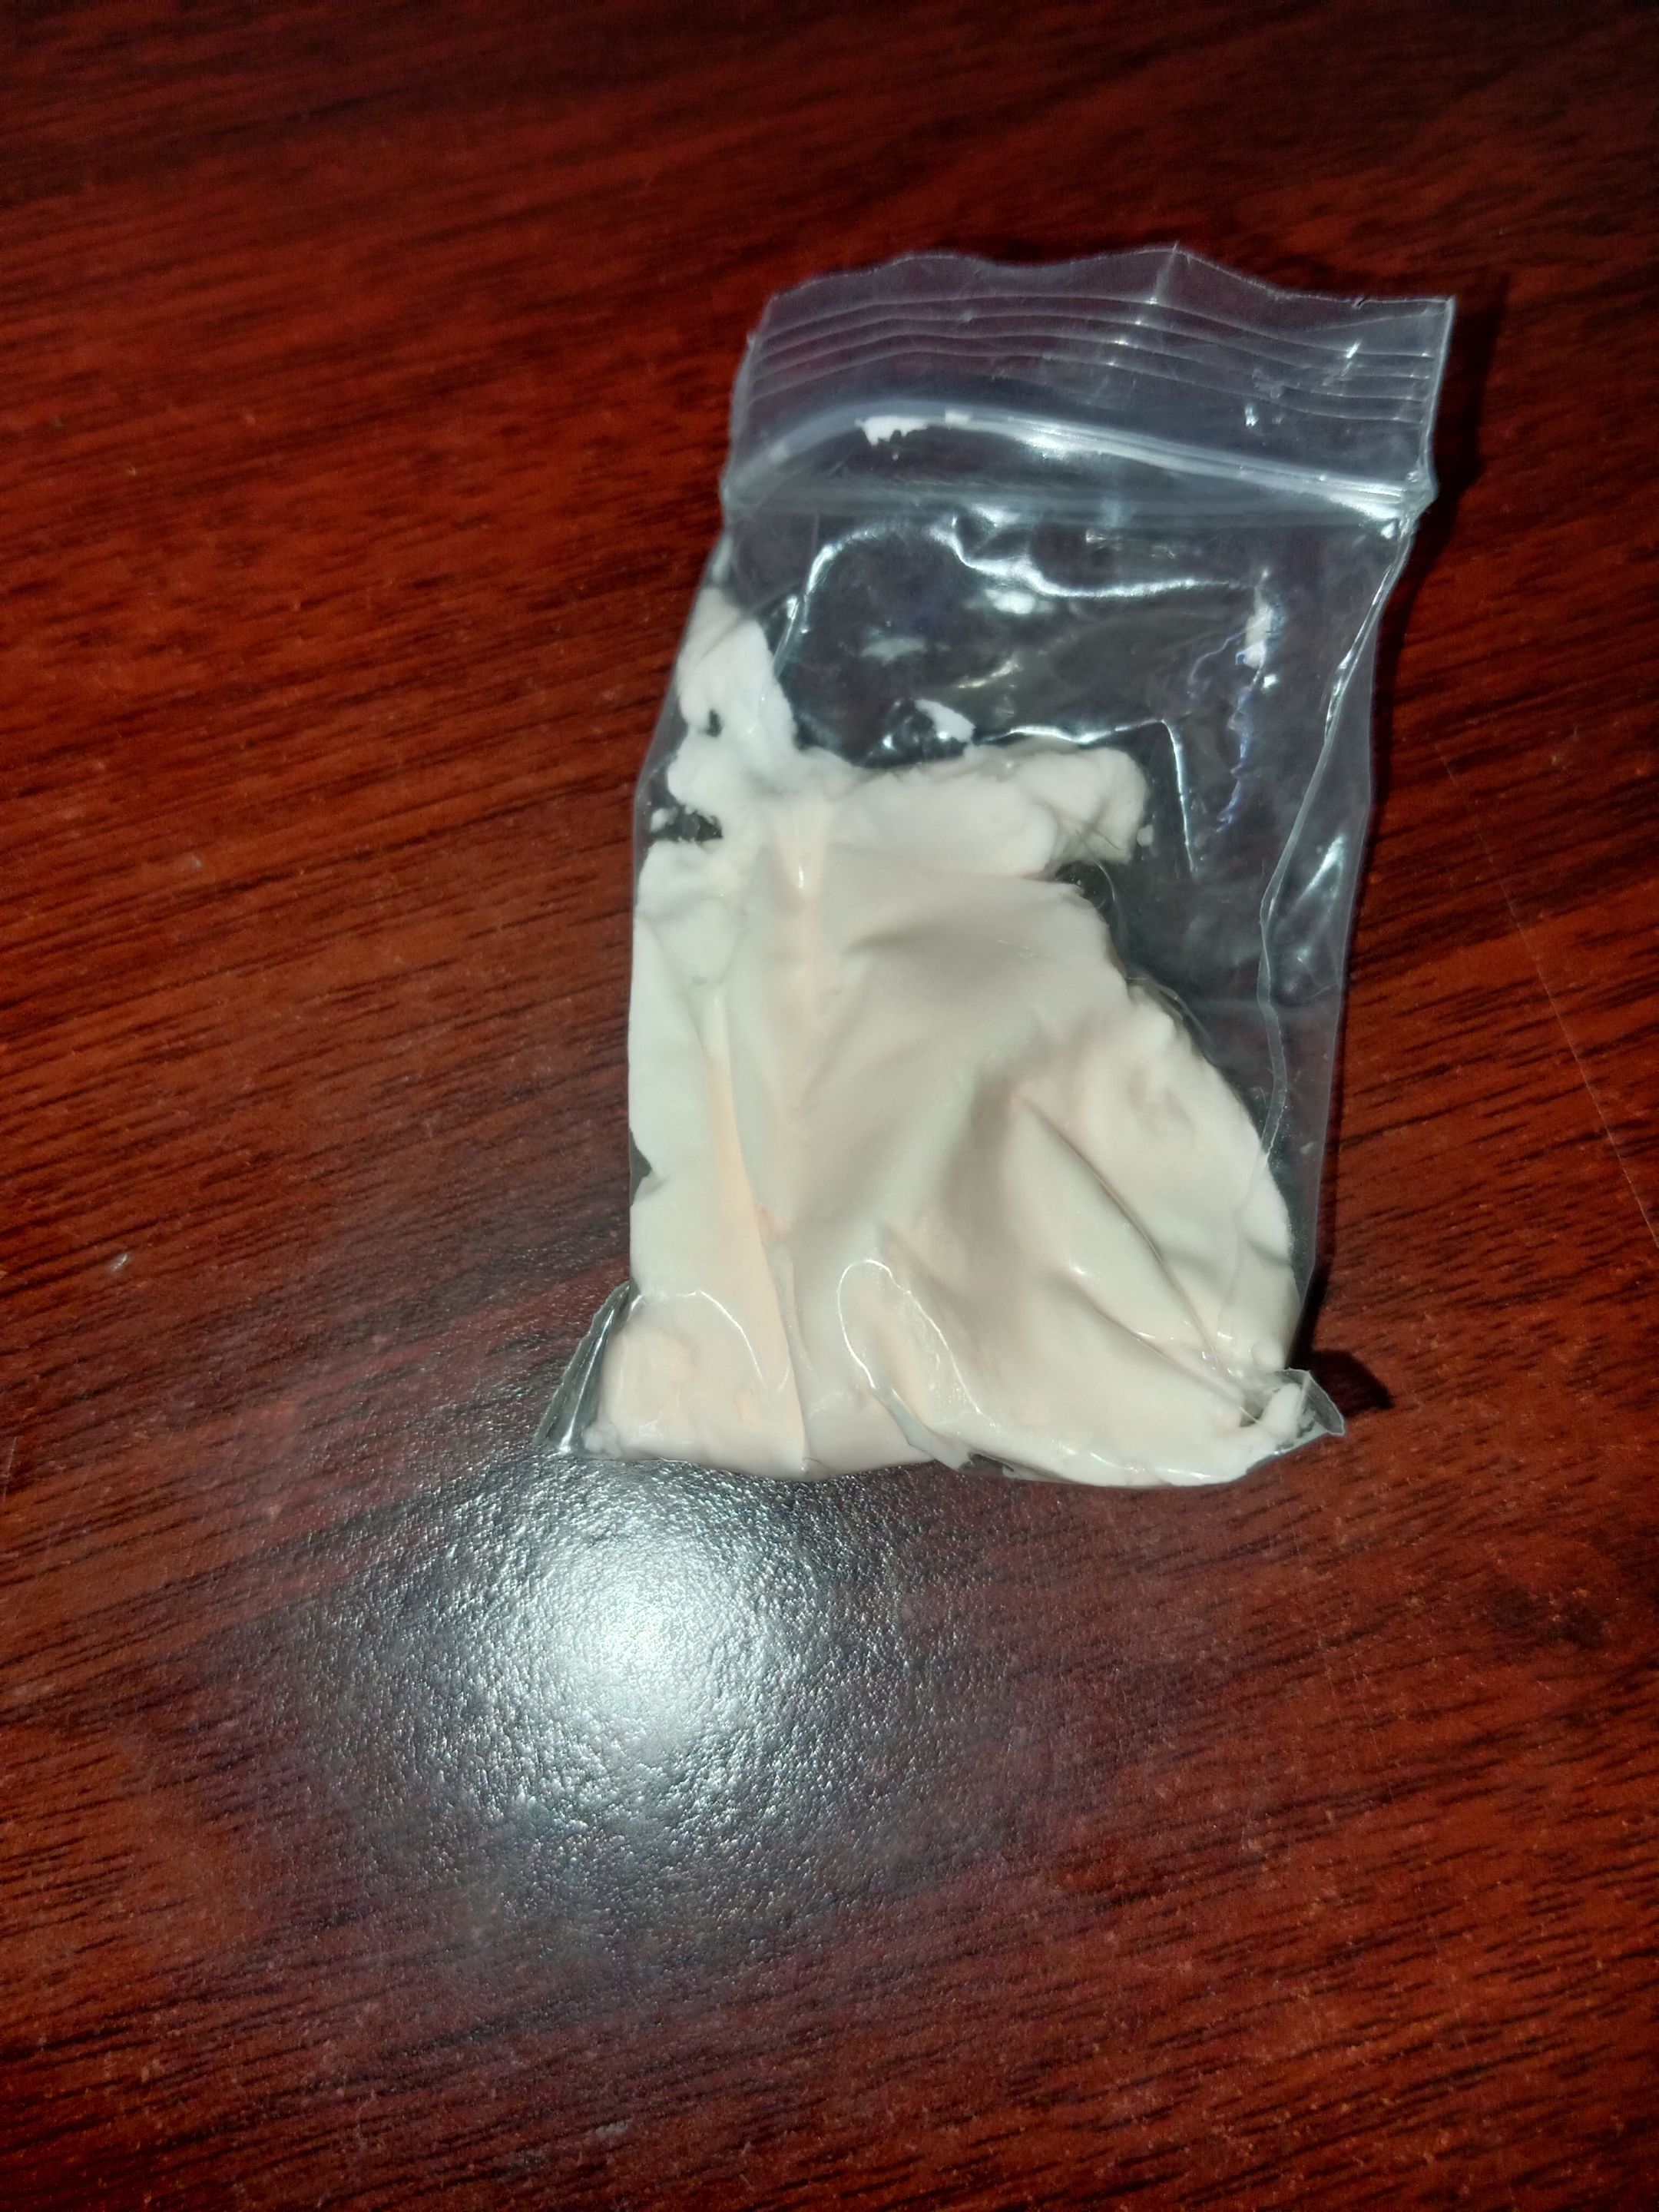
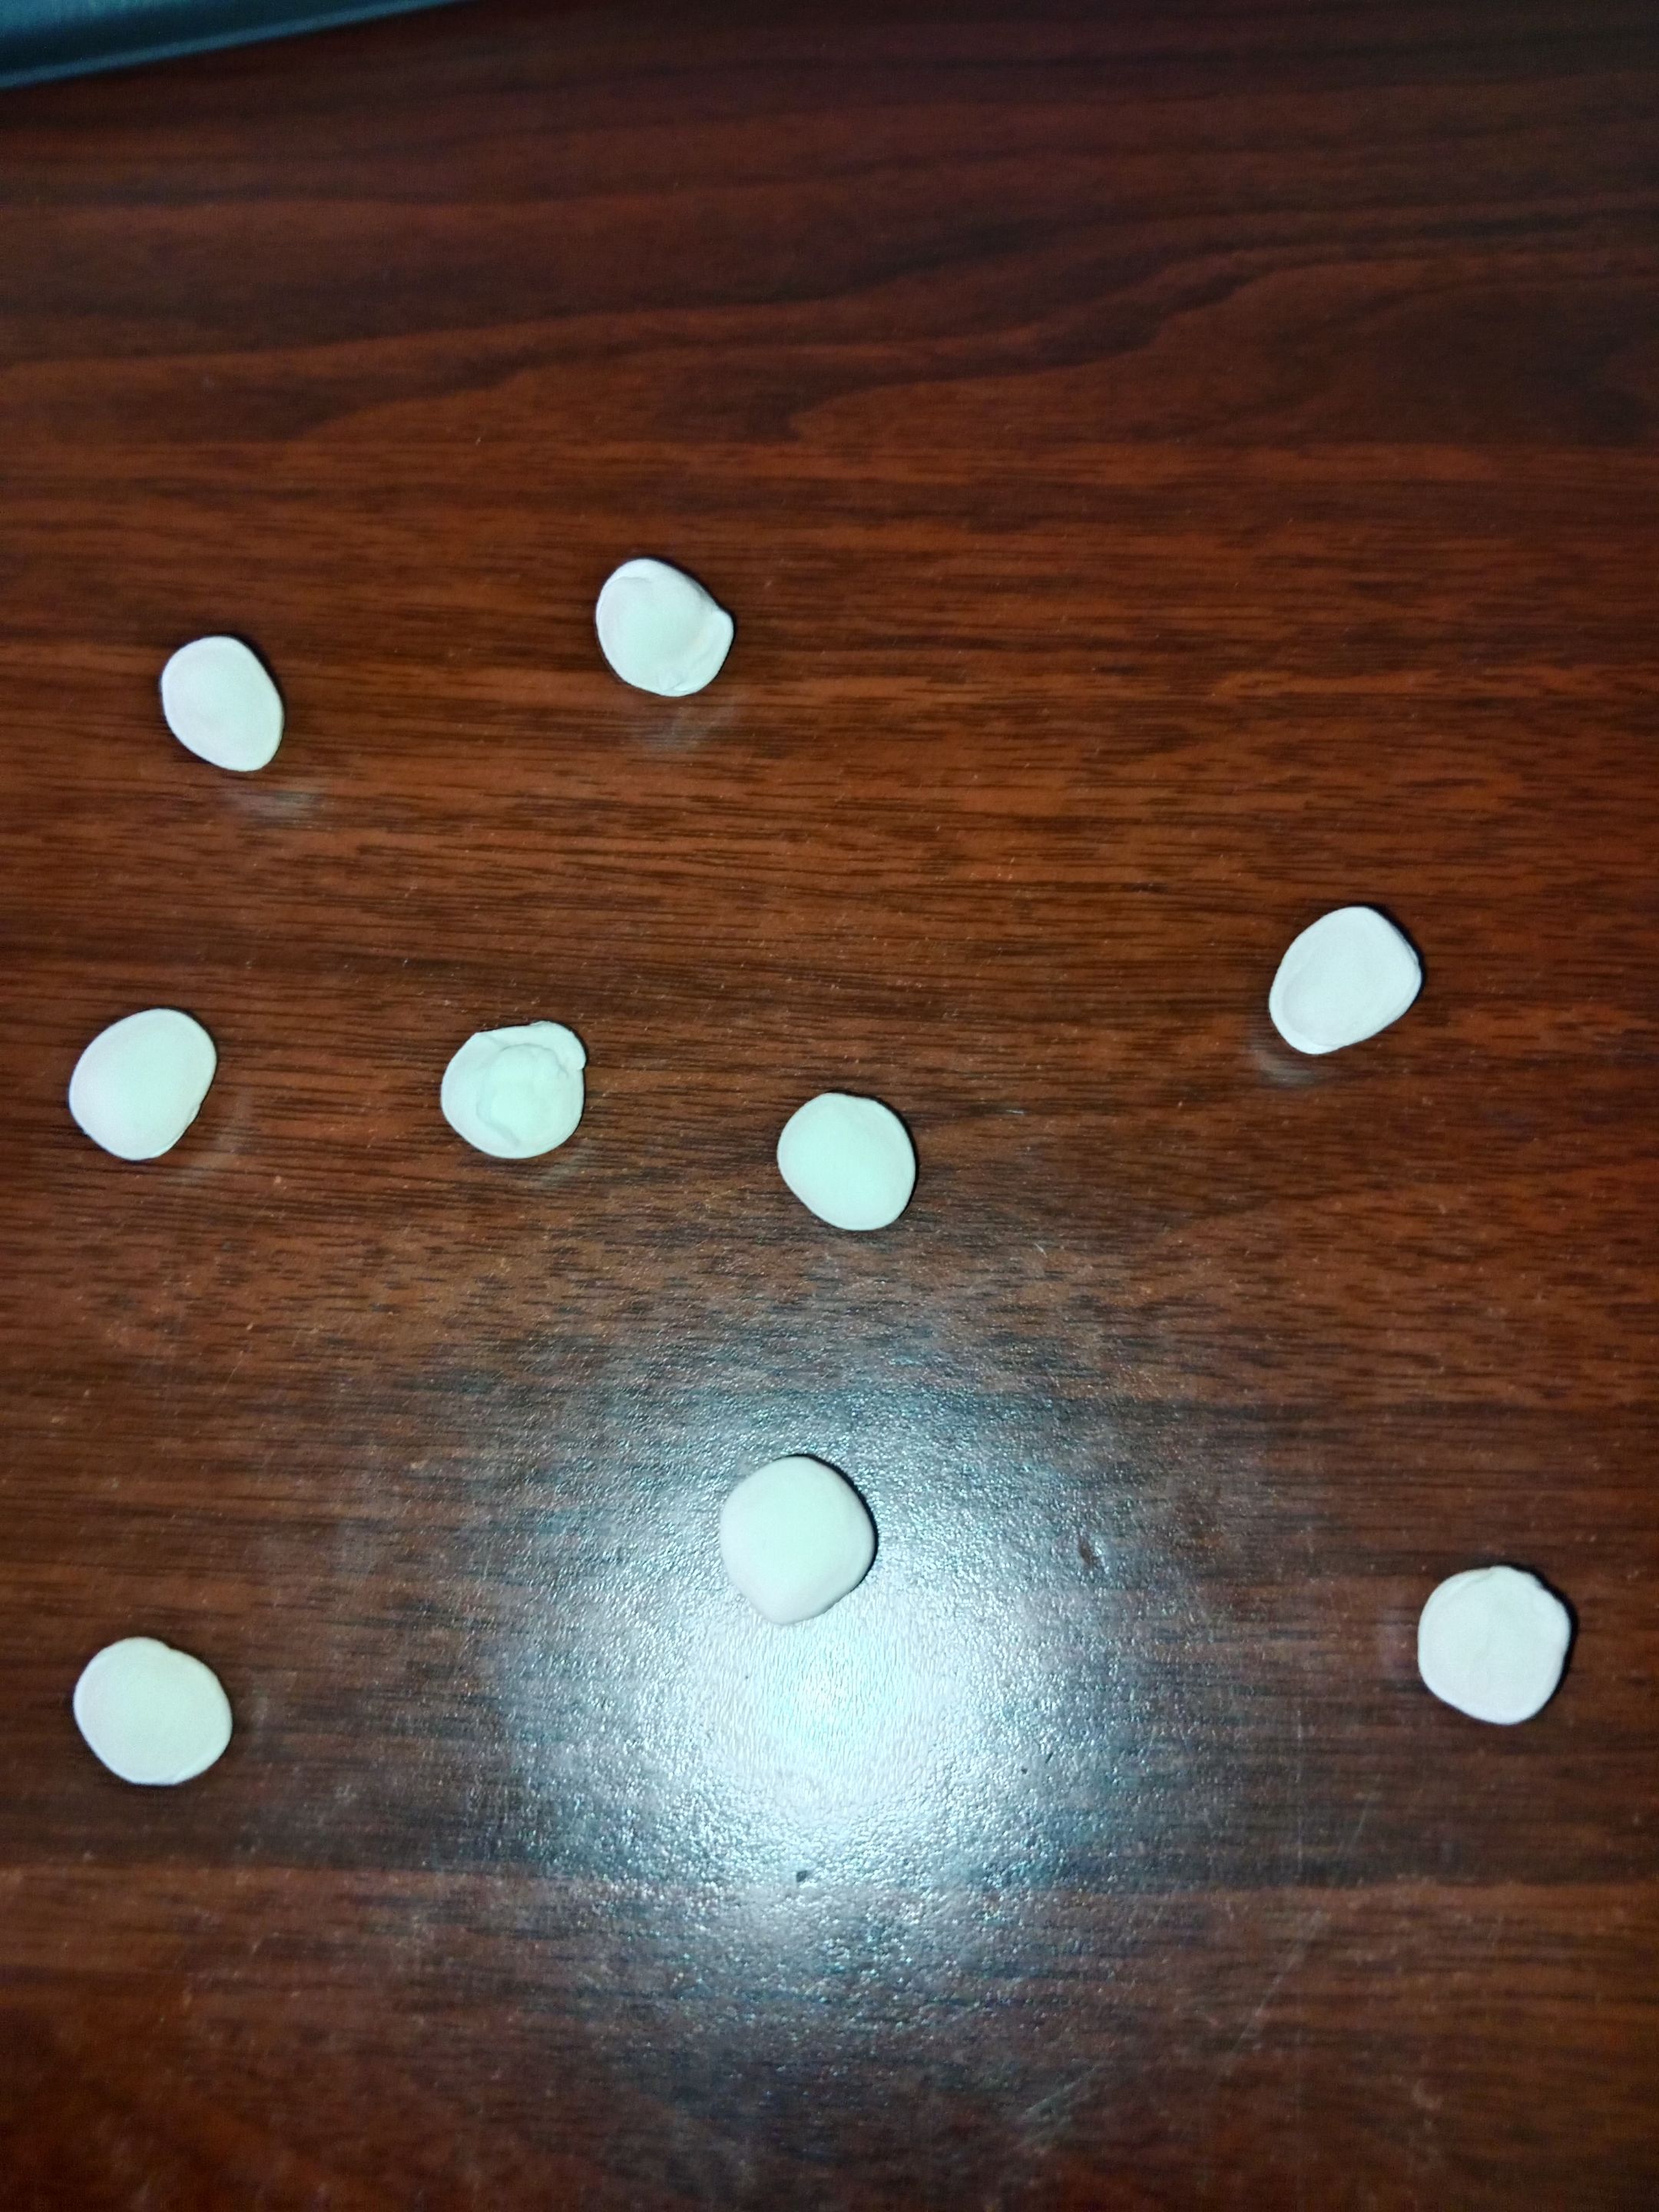
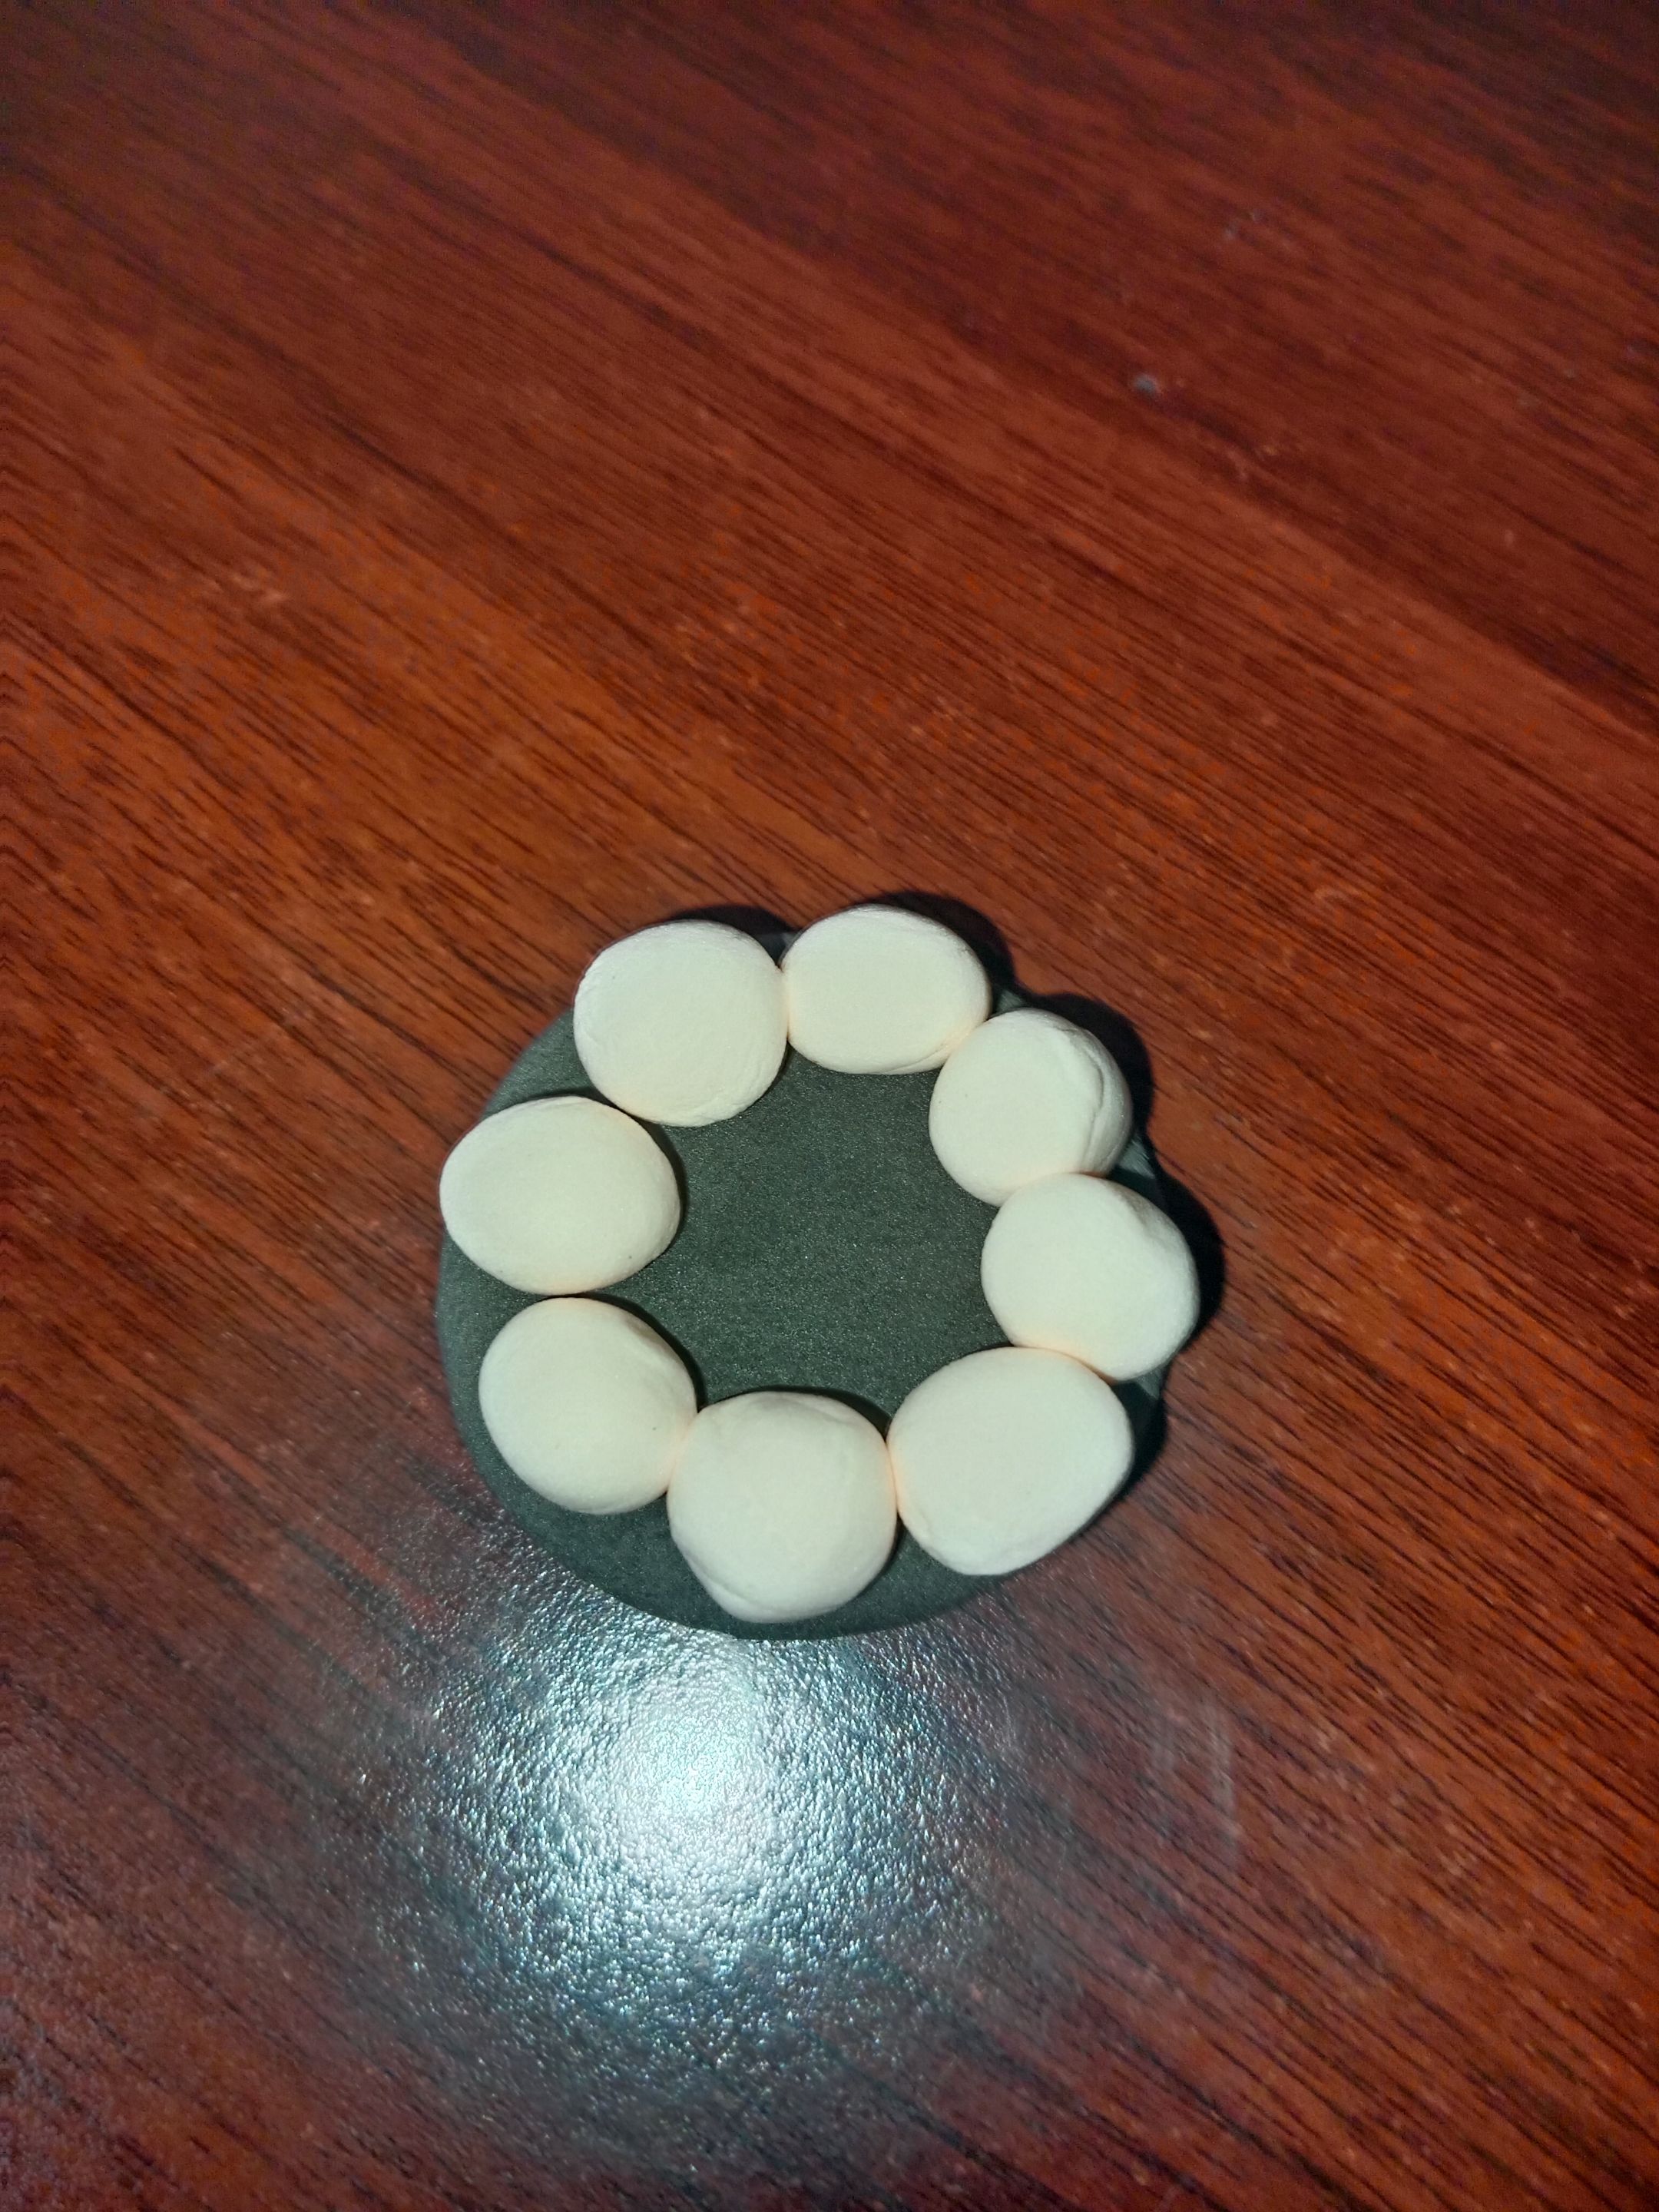
- Next, take light pink clay to fill the cake. Here, I formed 8 small balls.
 |
 |
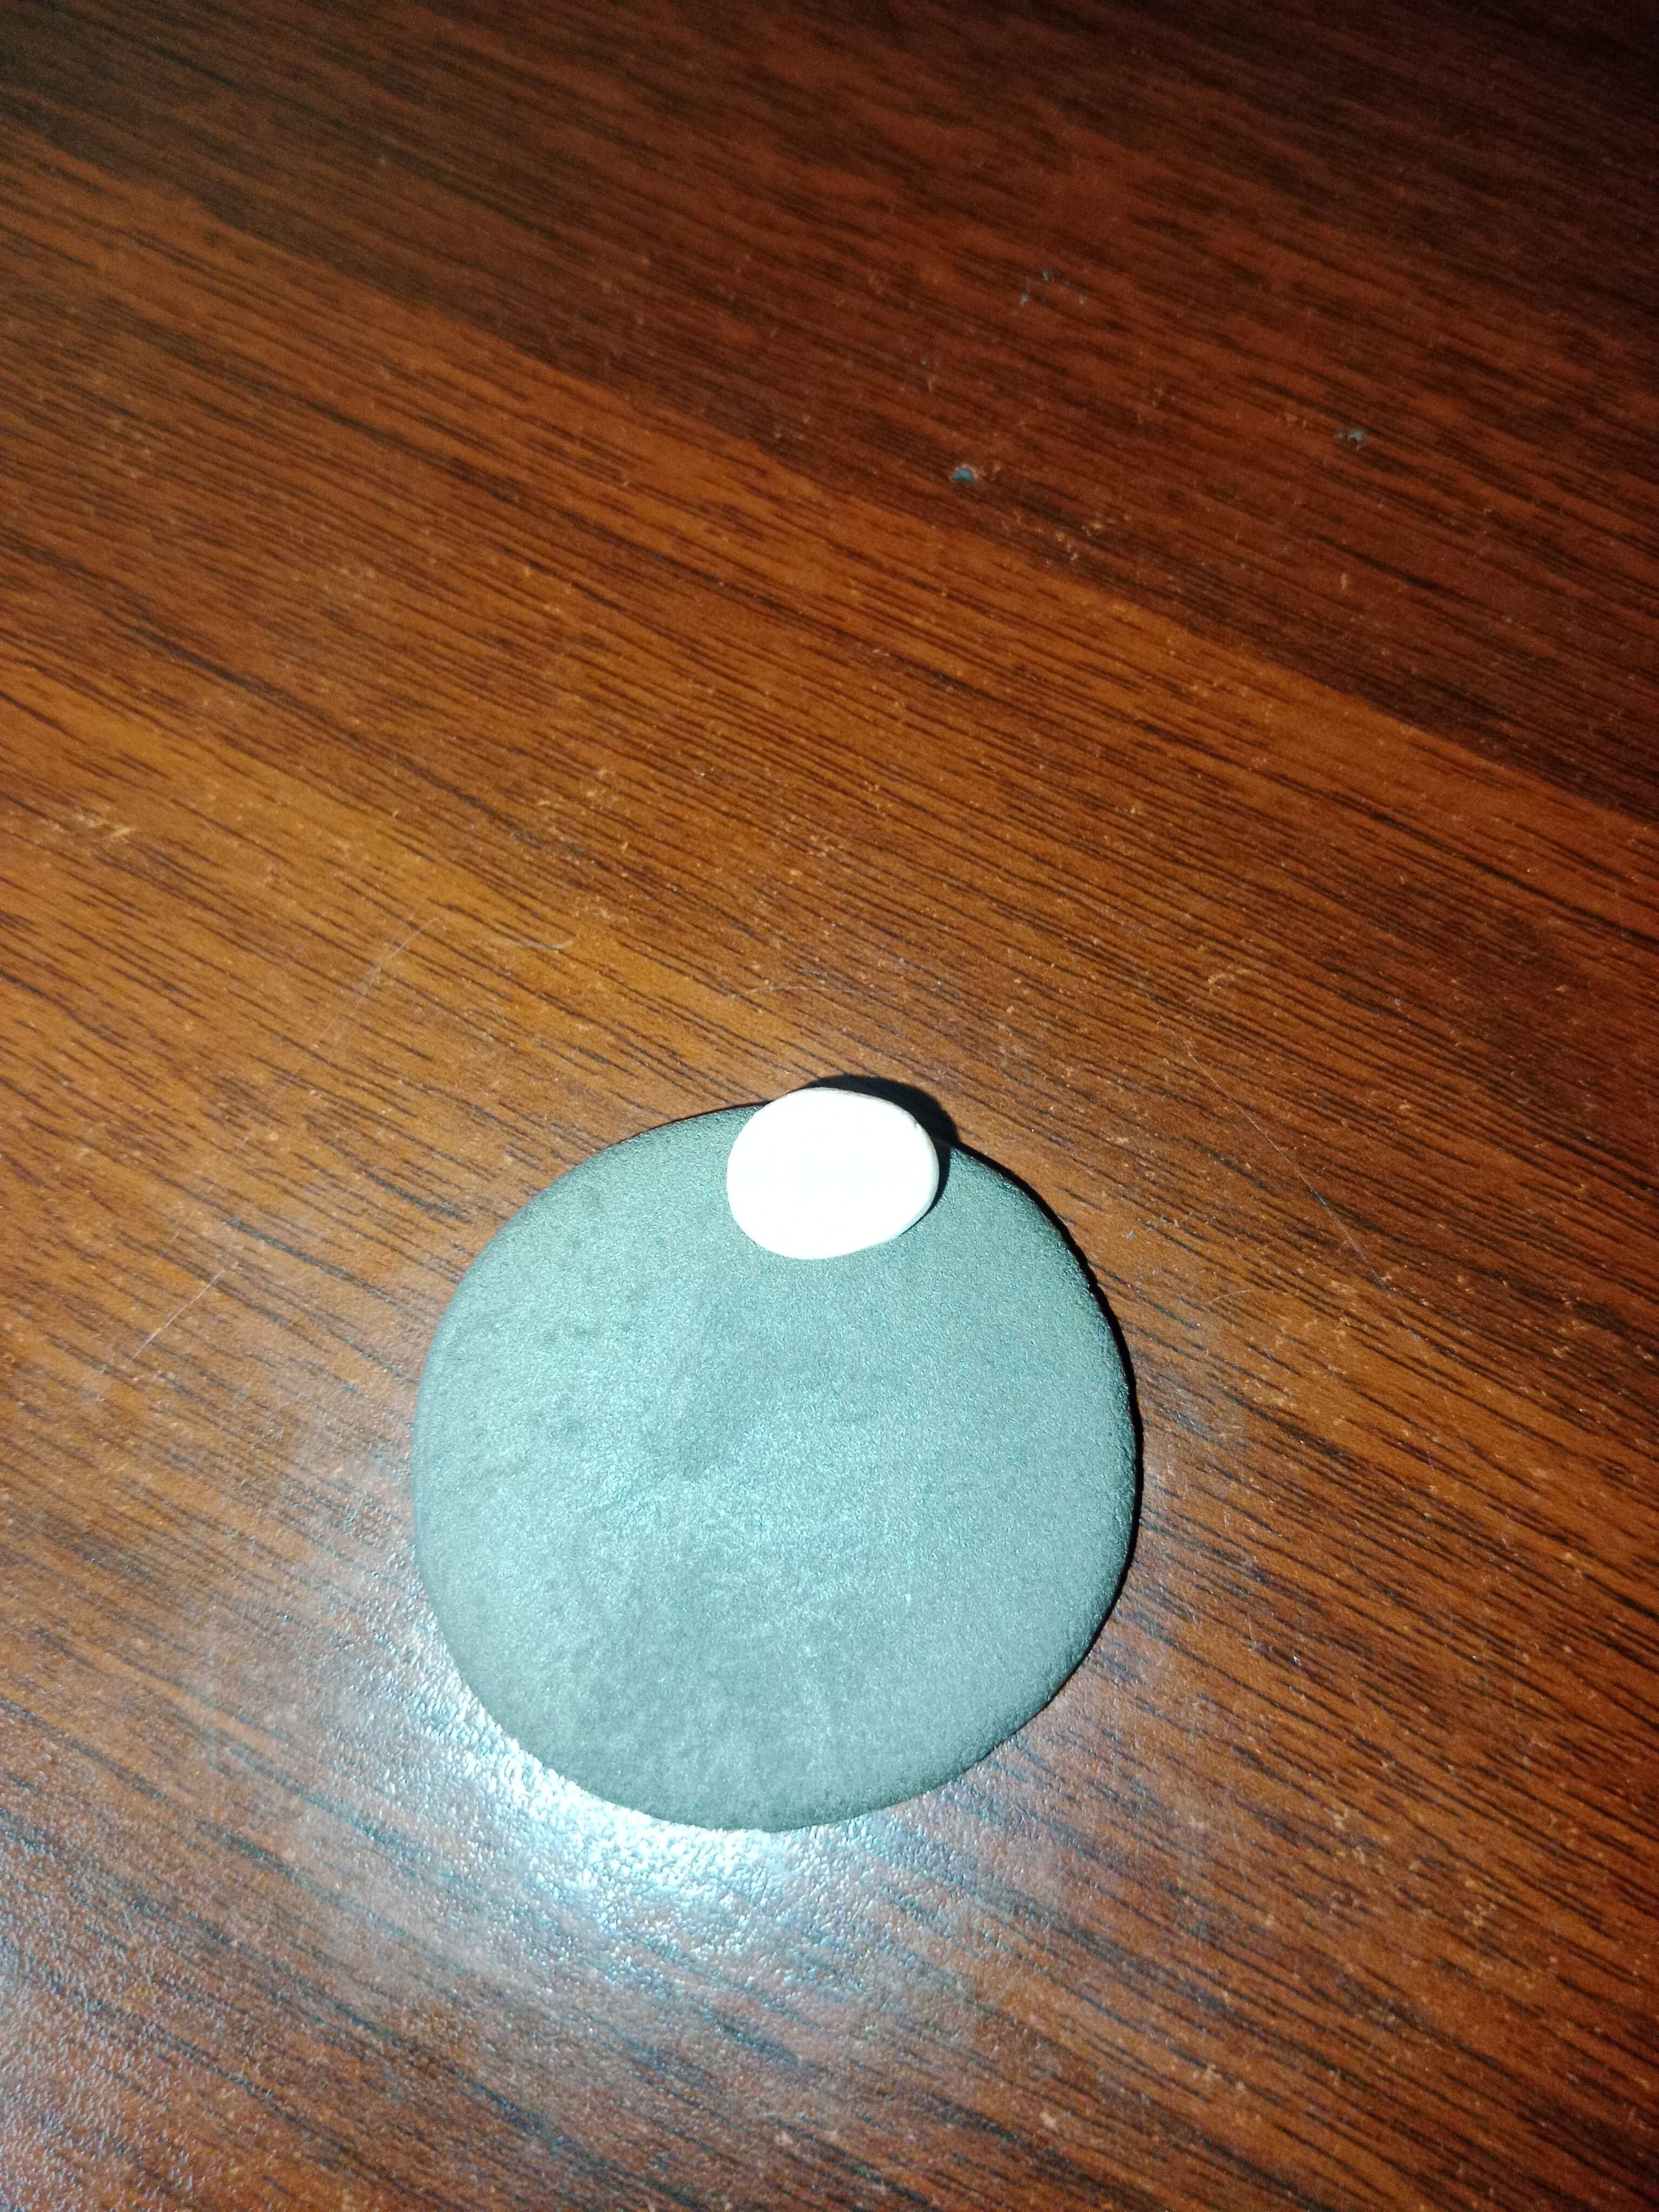
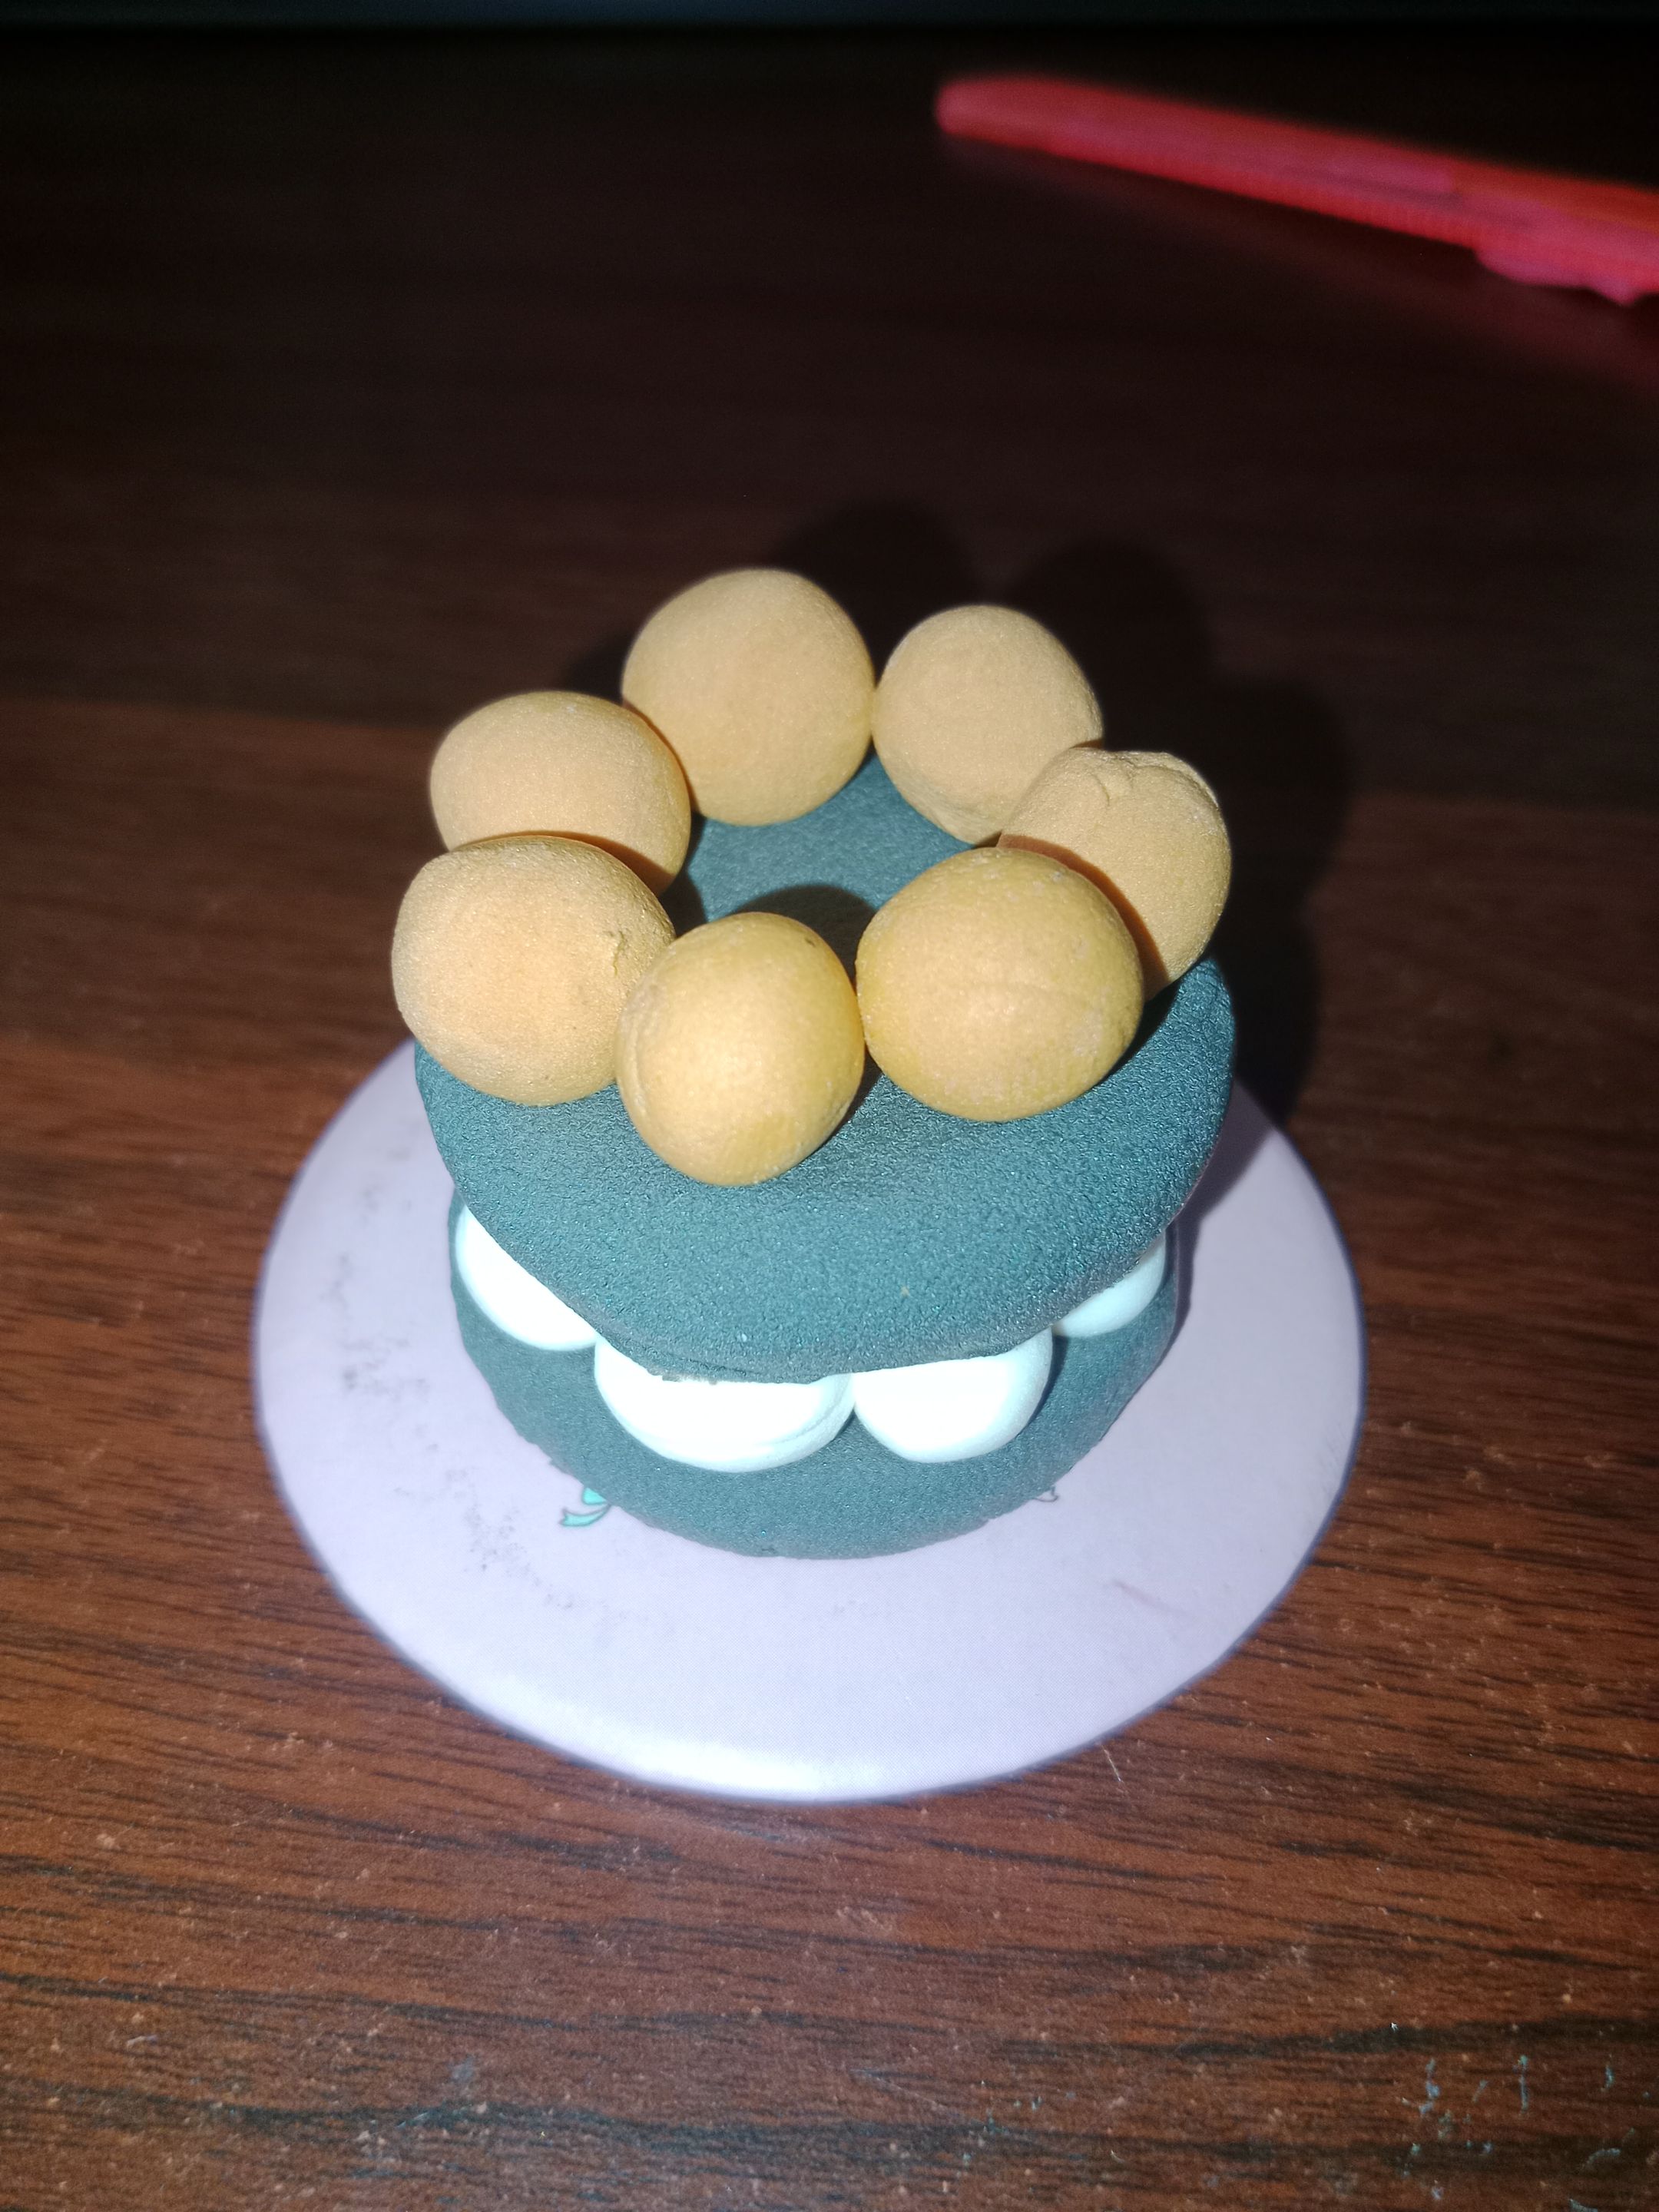
- Then, place the small balls on top of the brown clay, forming a circle following the shape of the cake clay mixture. Cover with the brown clay again.
 |
 |
 |
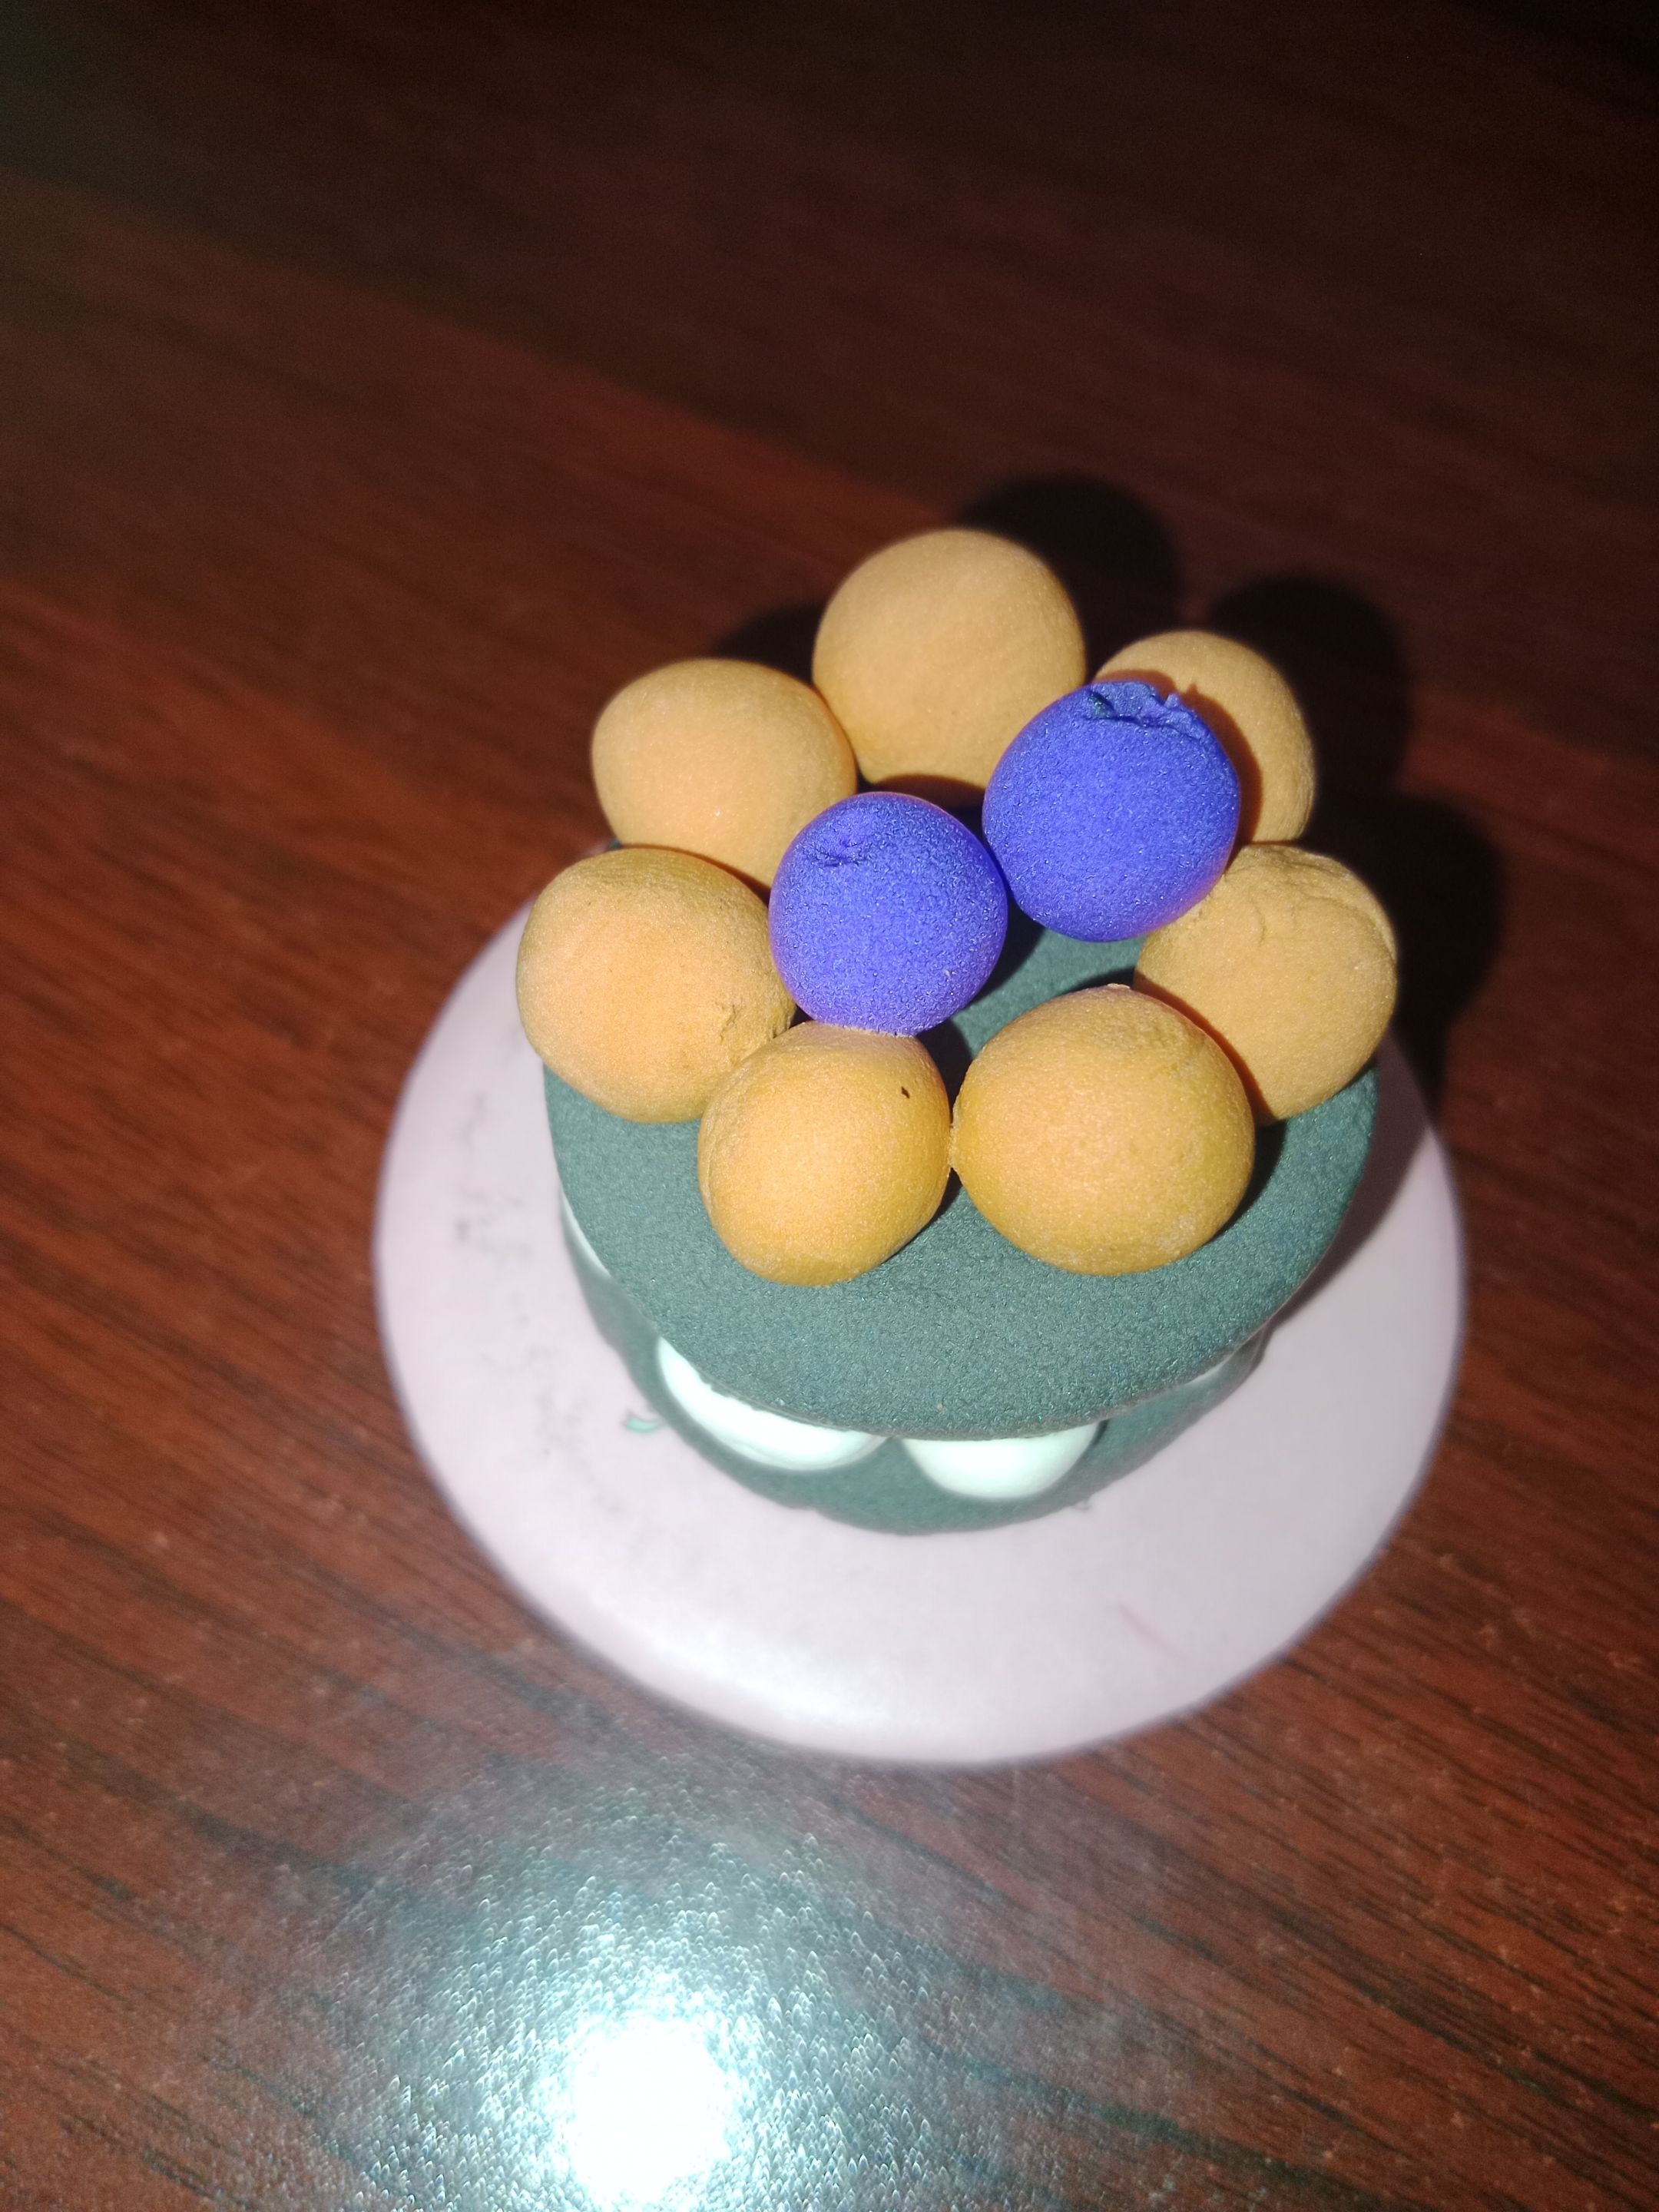
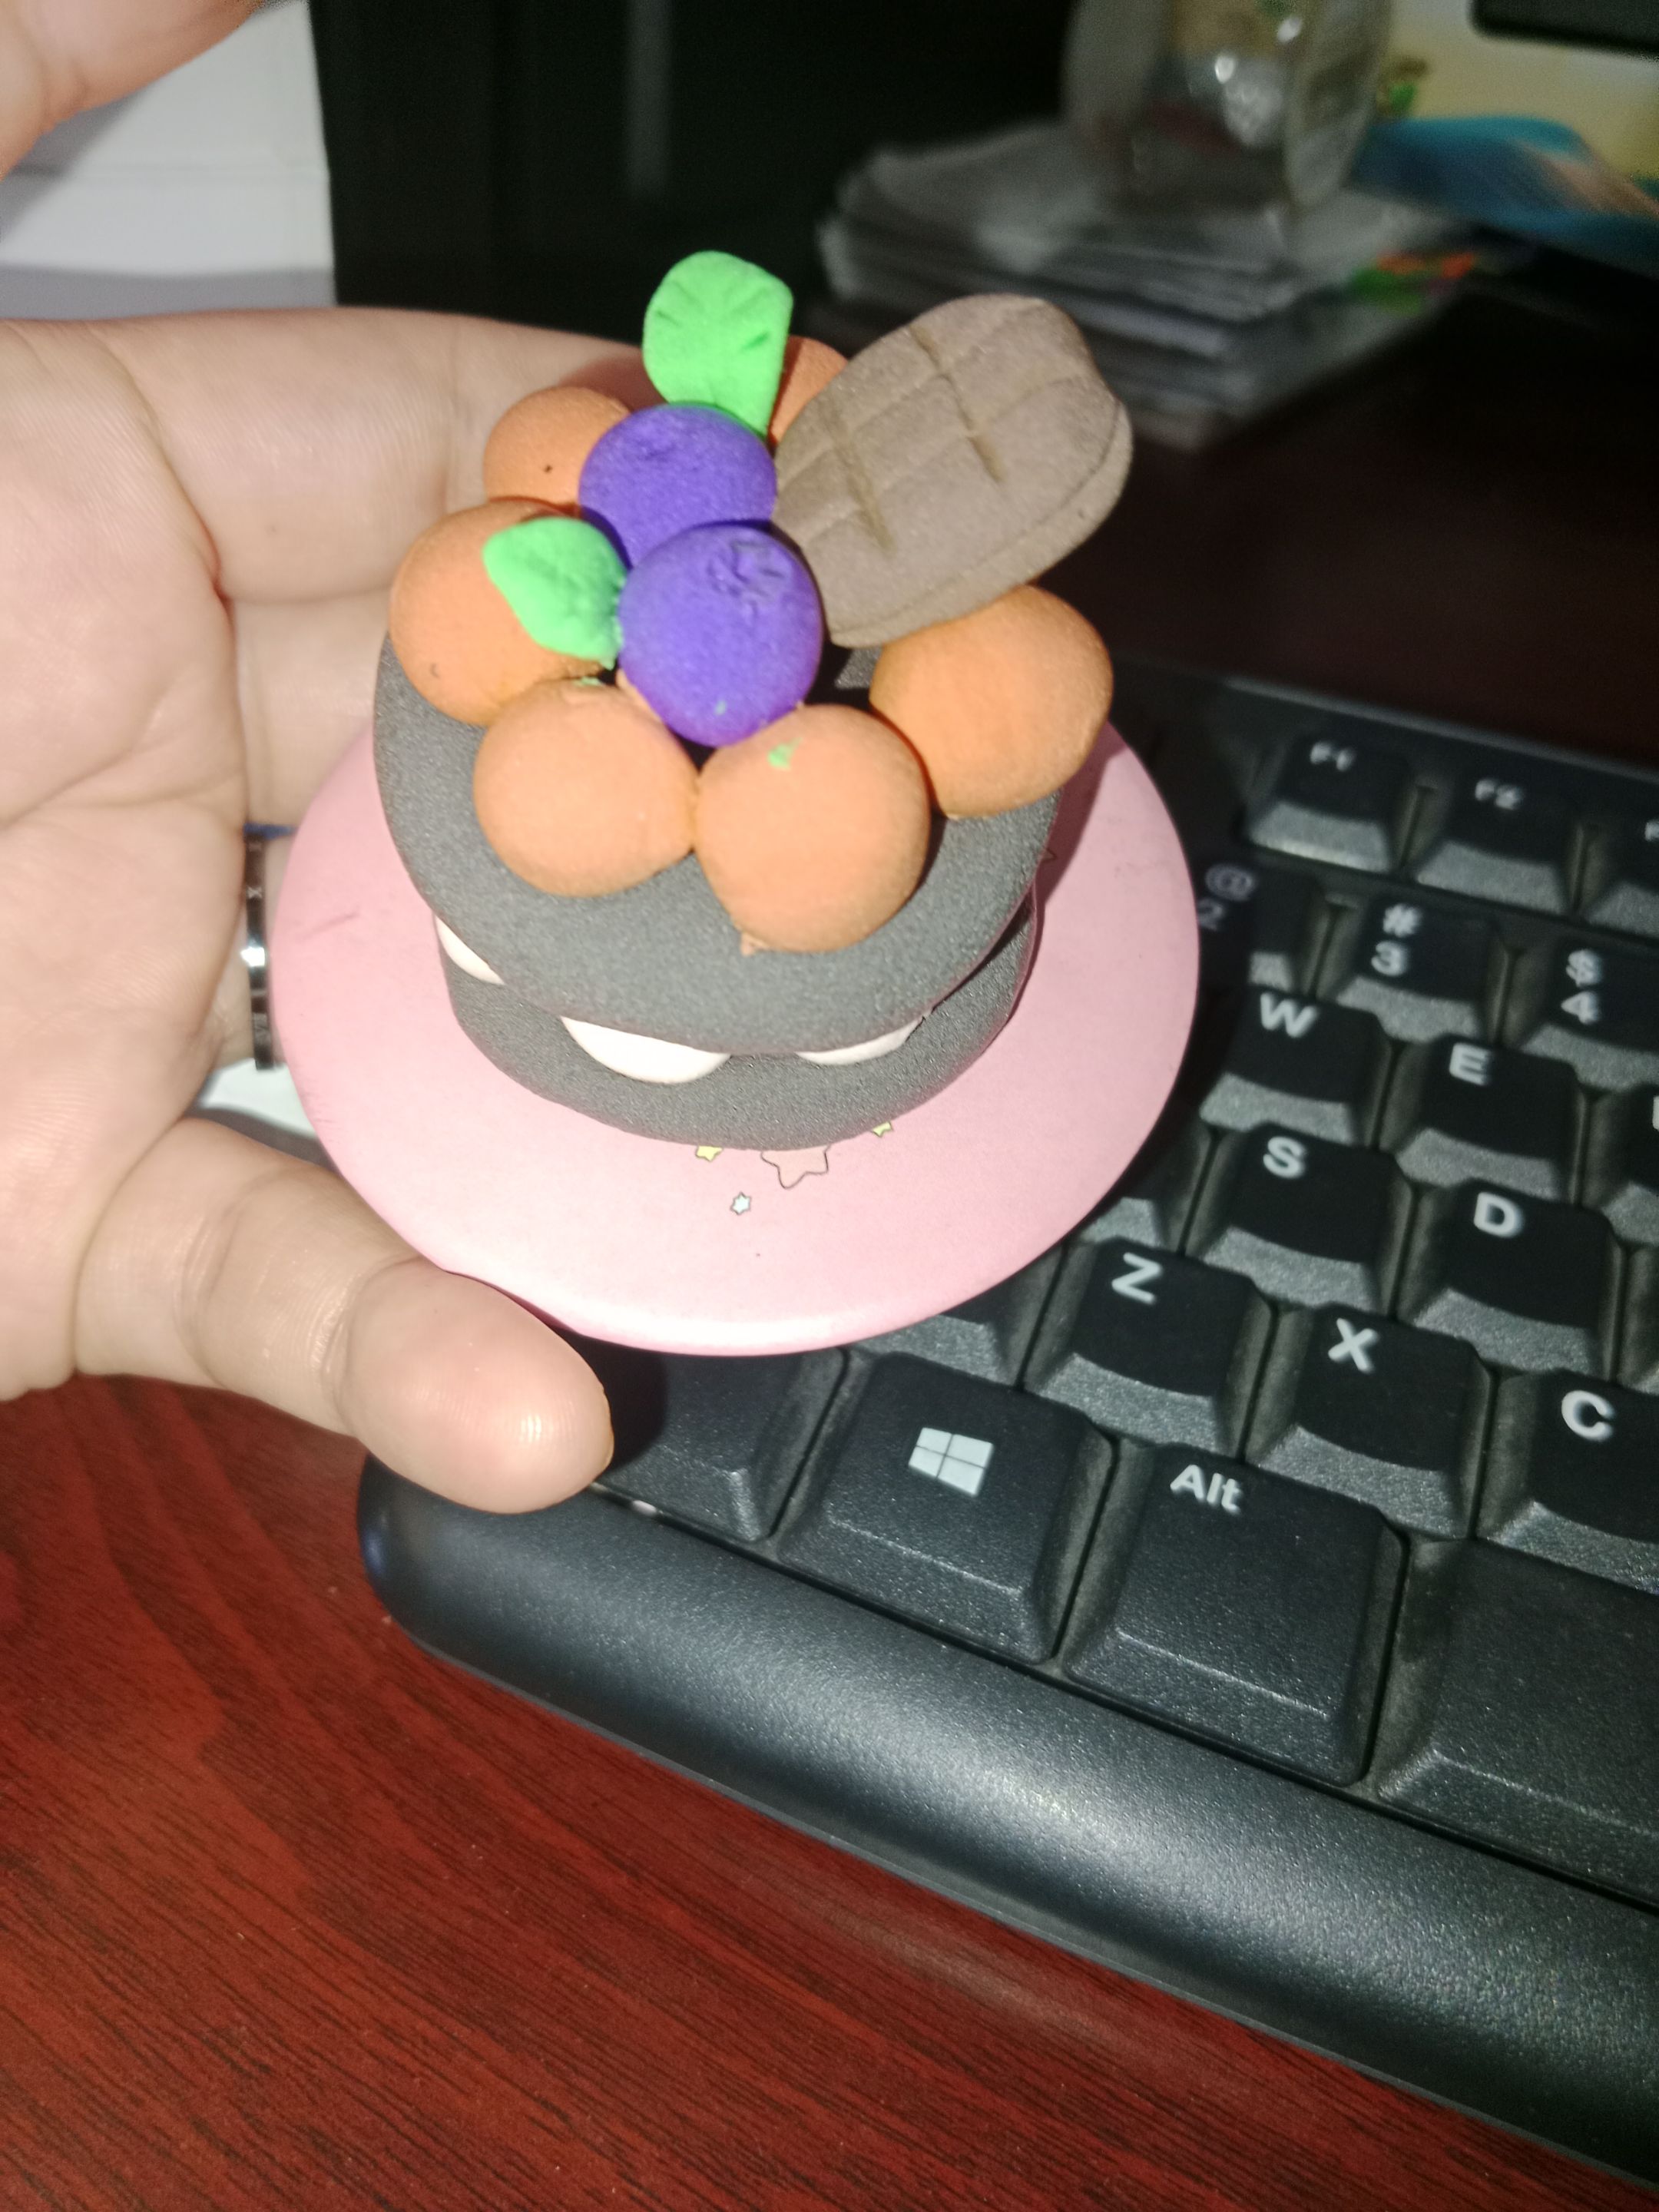
Then, we can move on to the top decoration. Here, I used orange and brown clay in a 1:1 ratio.

- Mix the clay until the colors are evenly combined.
 |
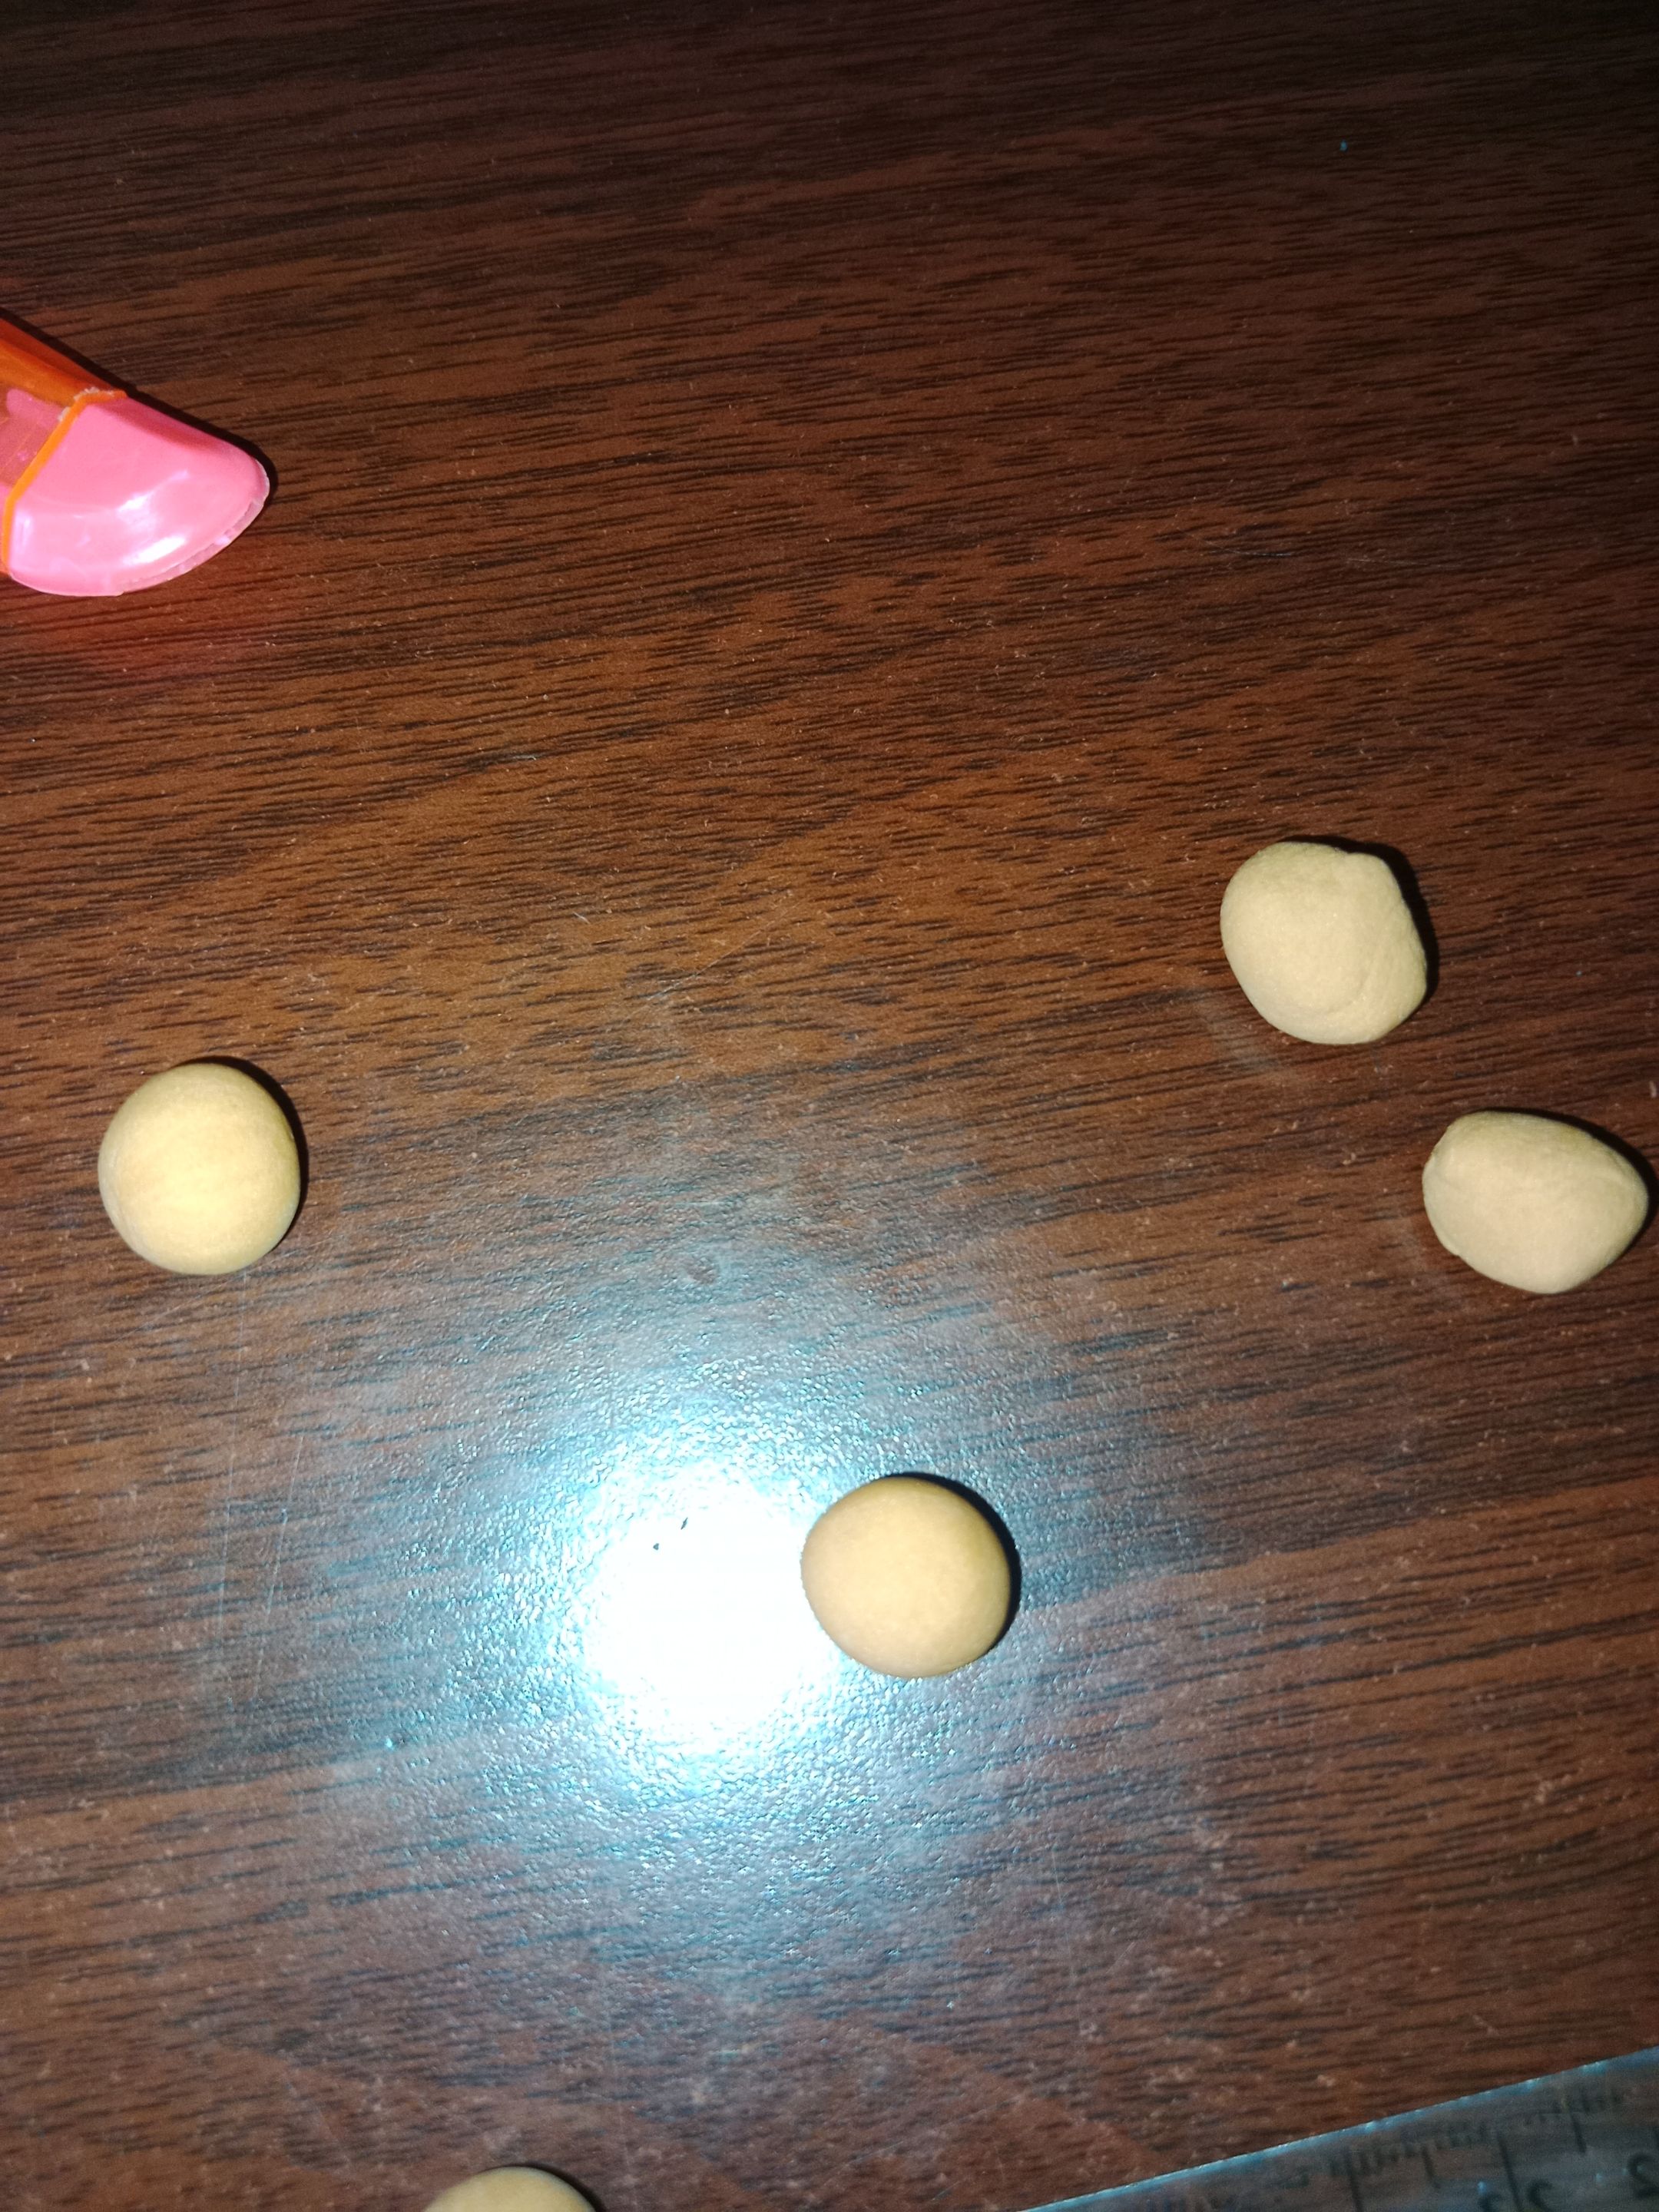 |
- Then, divide the clay mixture into 7 portions and shape them into balls. and then After that, place the balls on top of the cake clay.
 |
 |
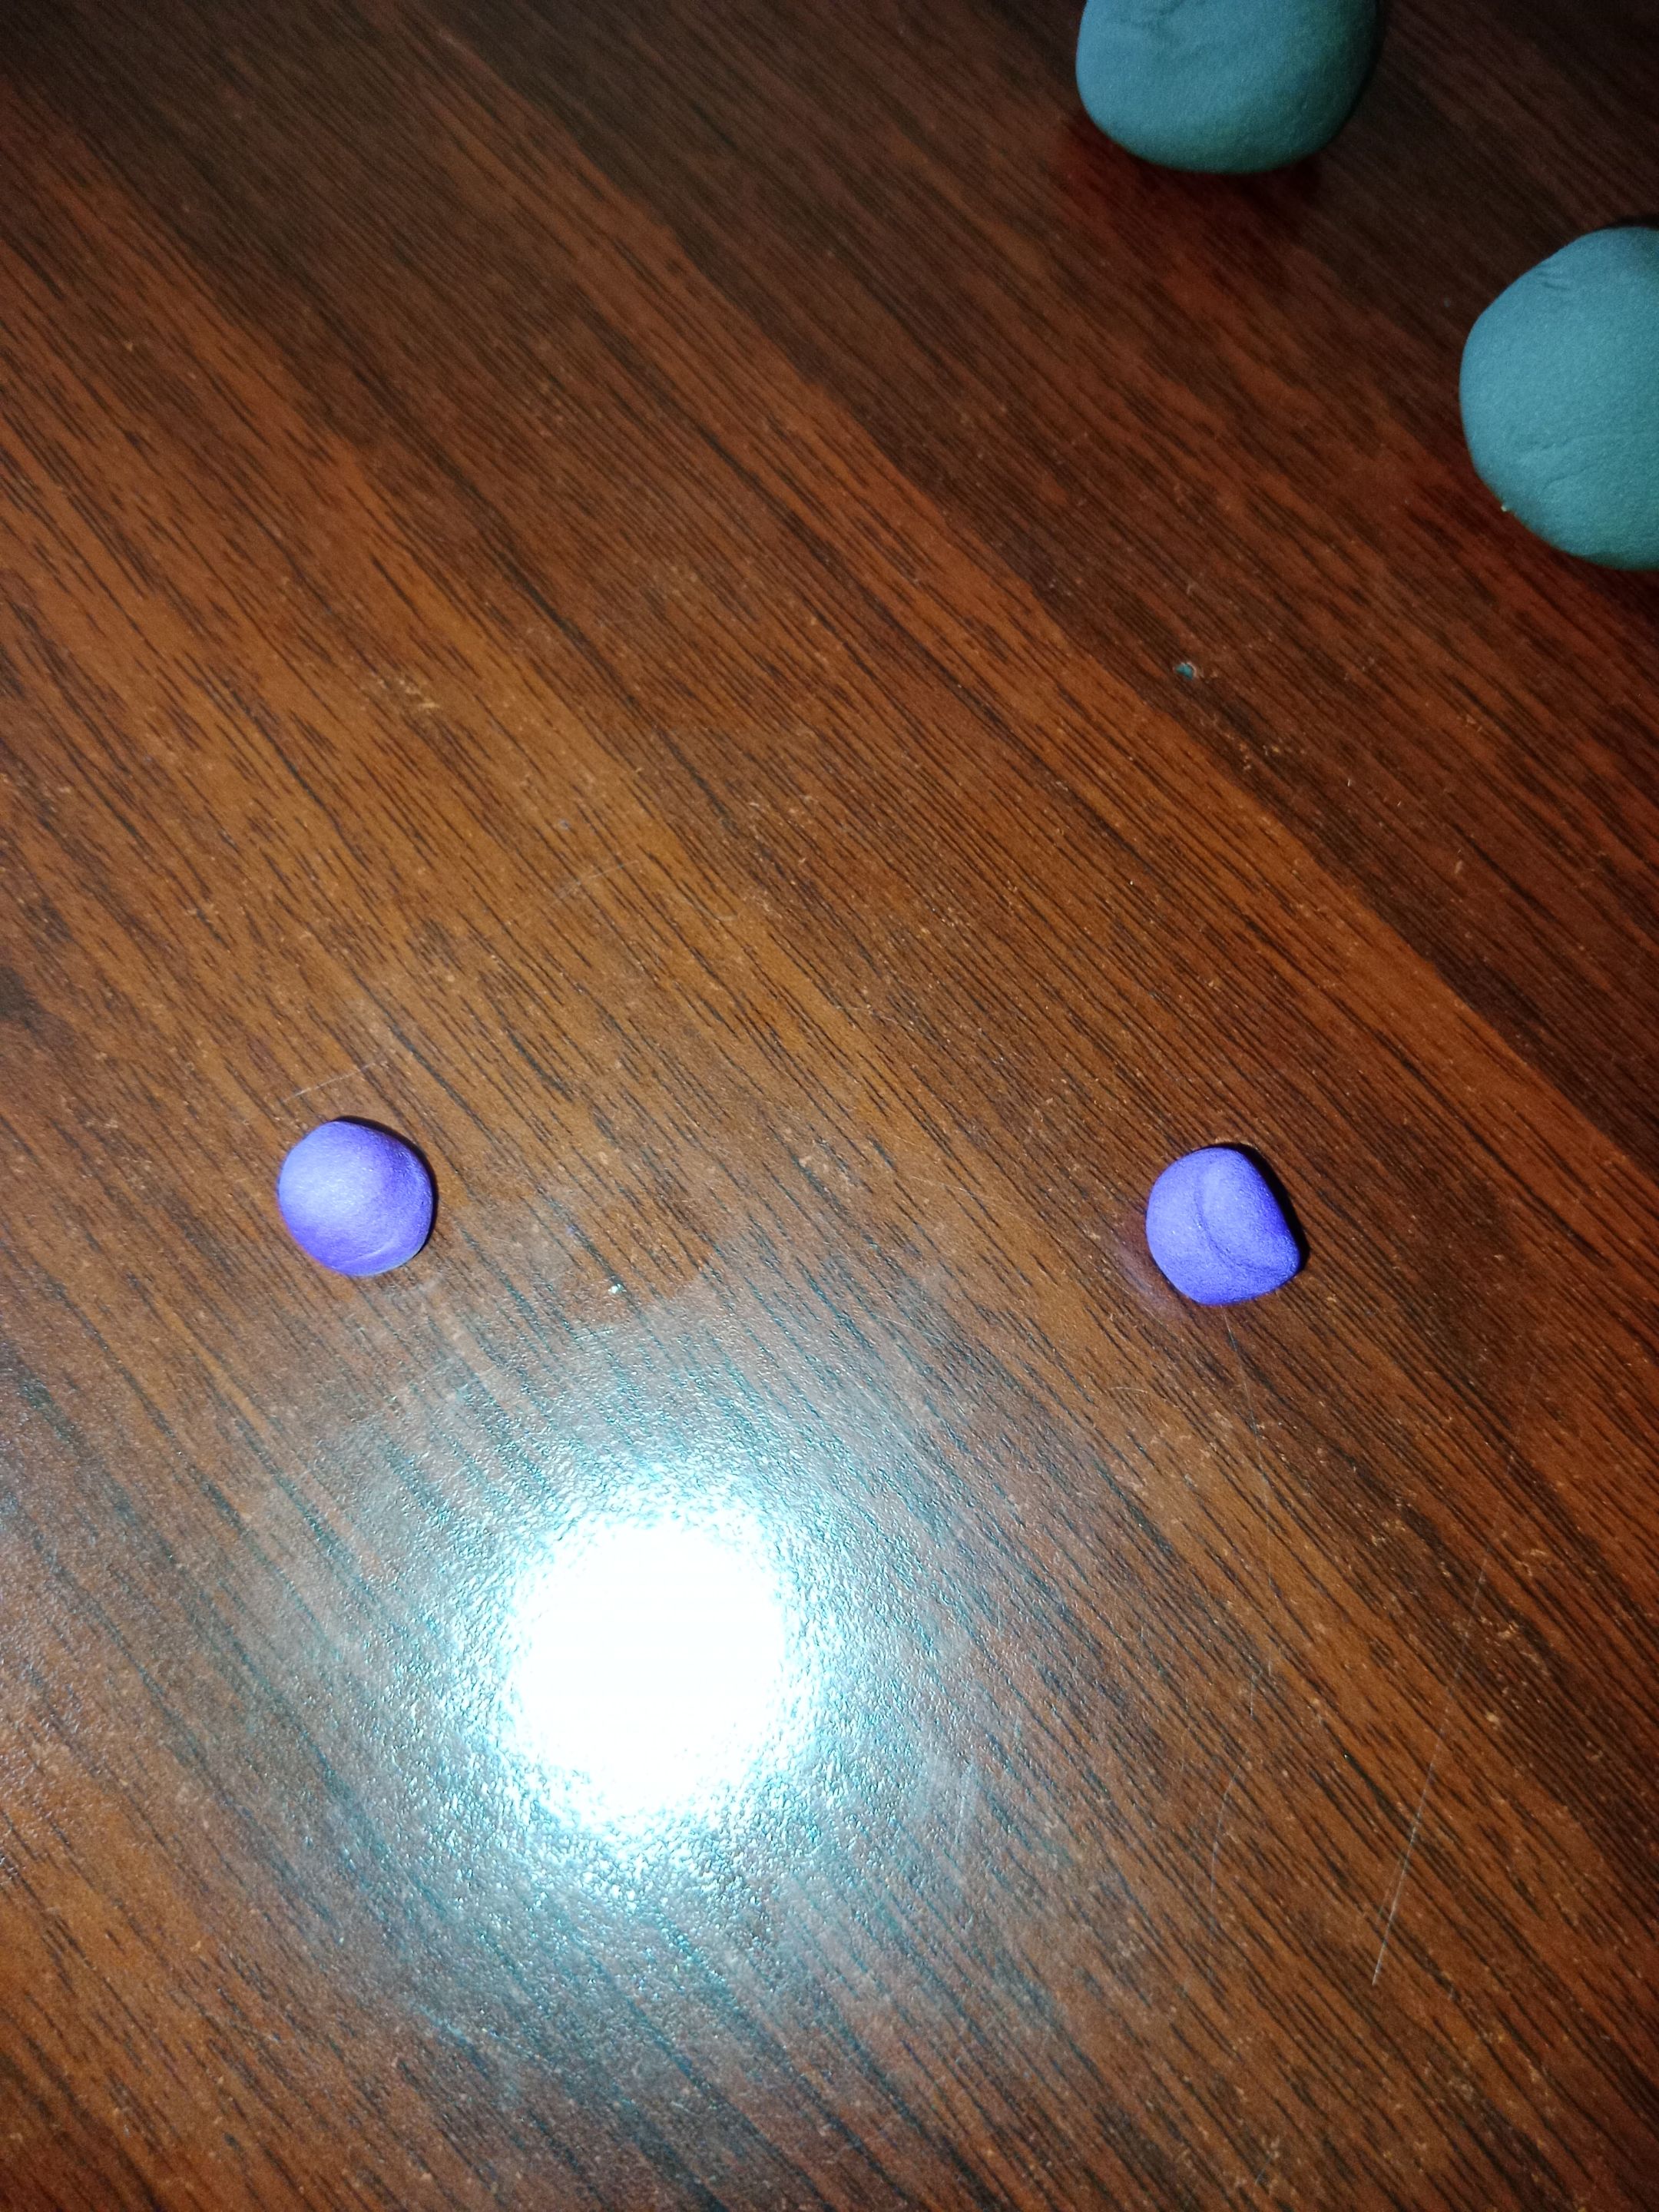
Here, I also added blueberry decorations. I took purple clay and formed them into balls with slight scratches that resemble blueberries.
 |
 |
- Then, place the clay blueberry in the center of the cake.
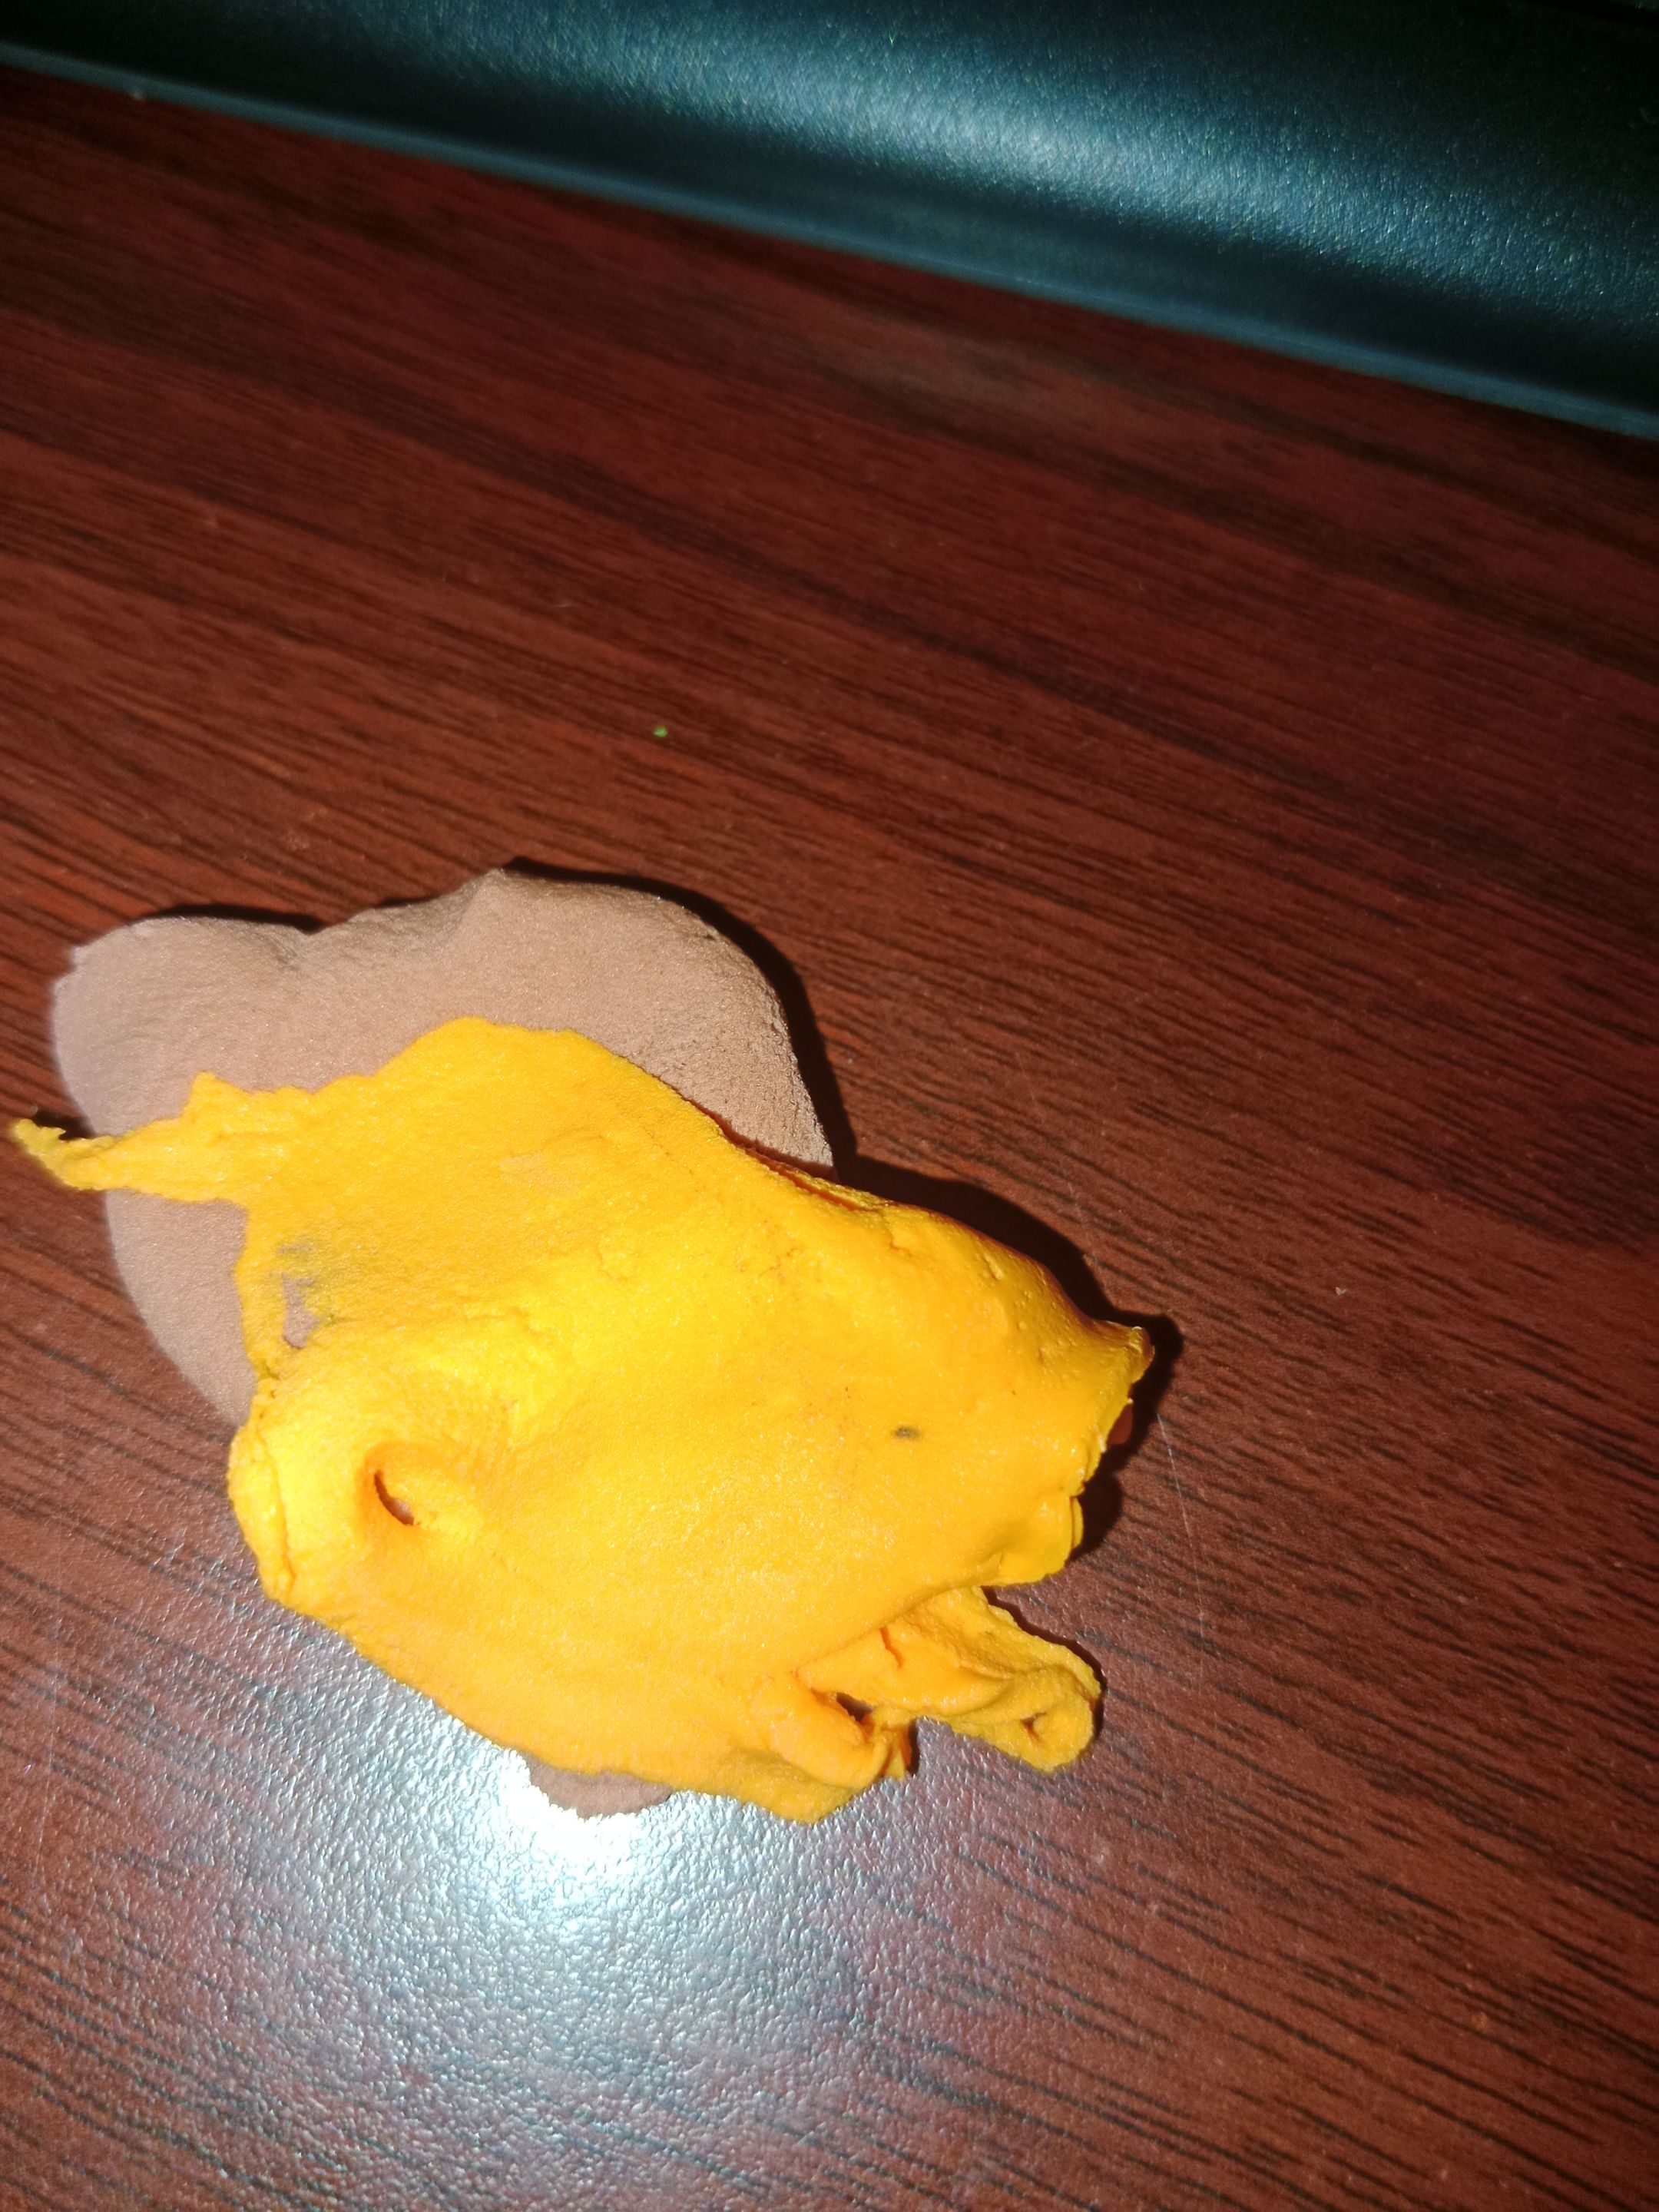
I also added a chocolate bar shape that will later be placed next to the blueberries.
- Take brown clay and shape it into a chocolate bar.
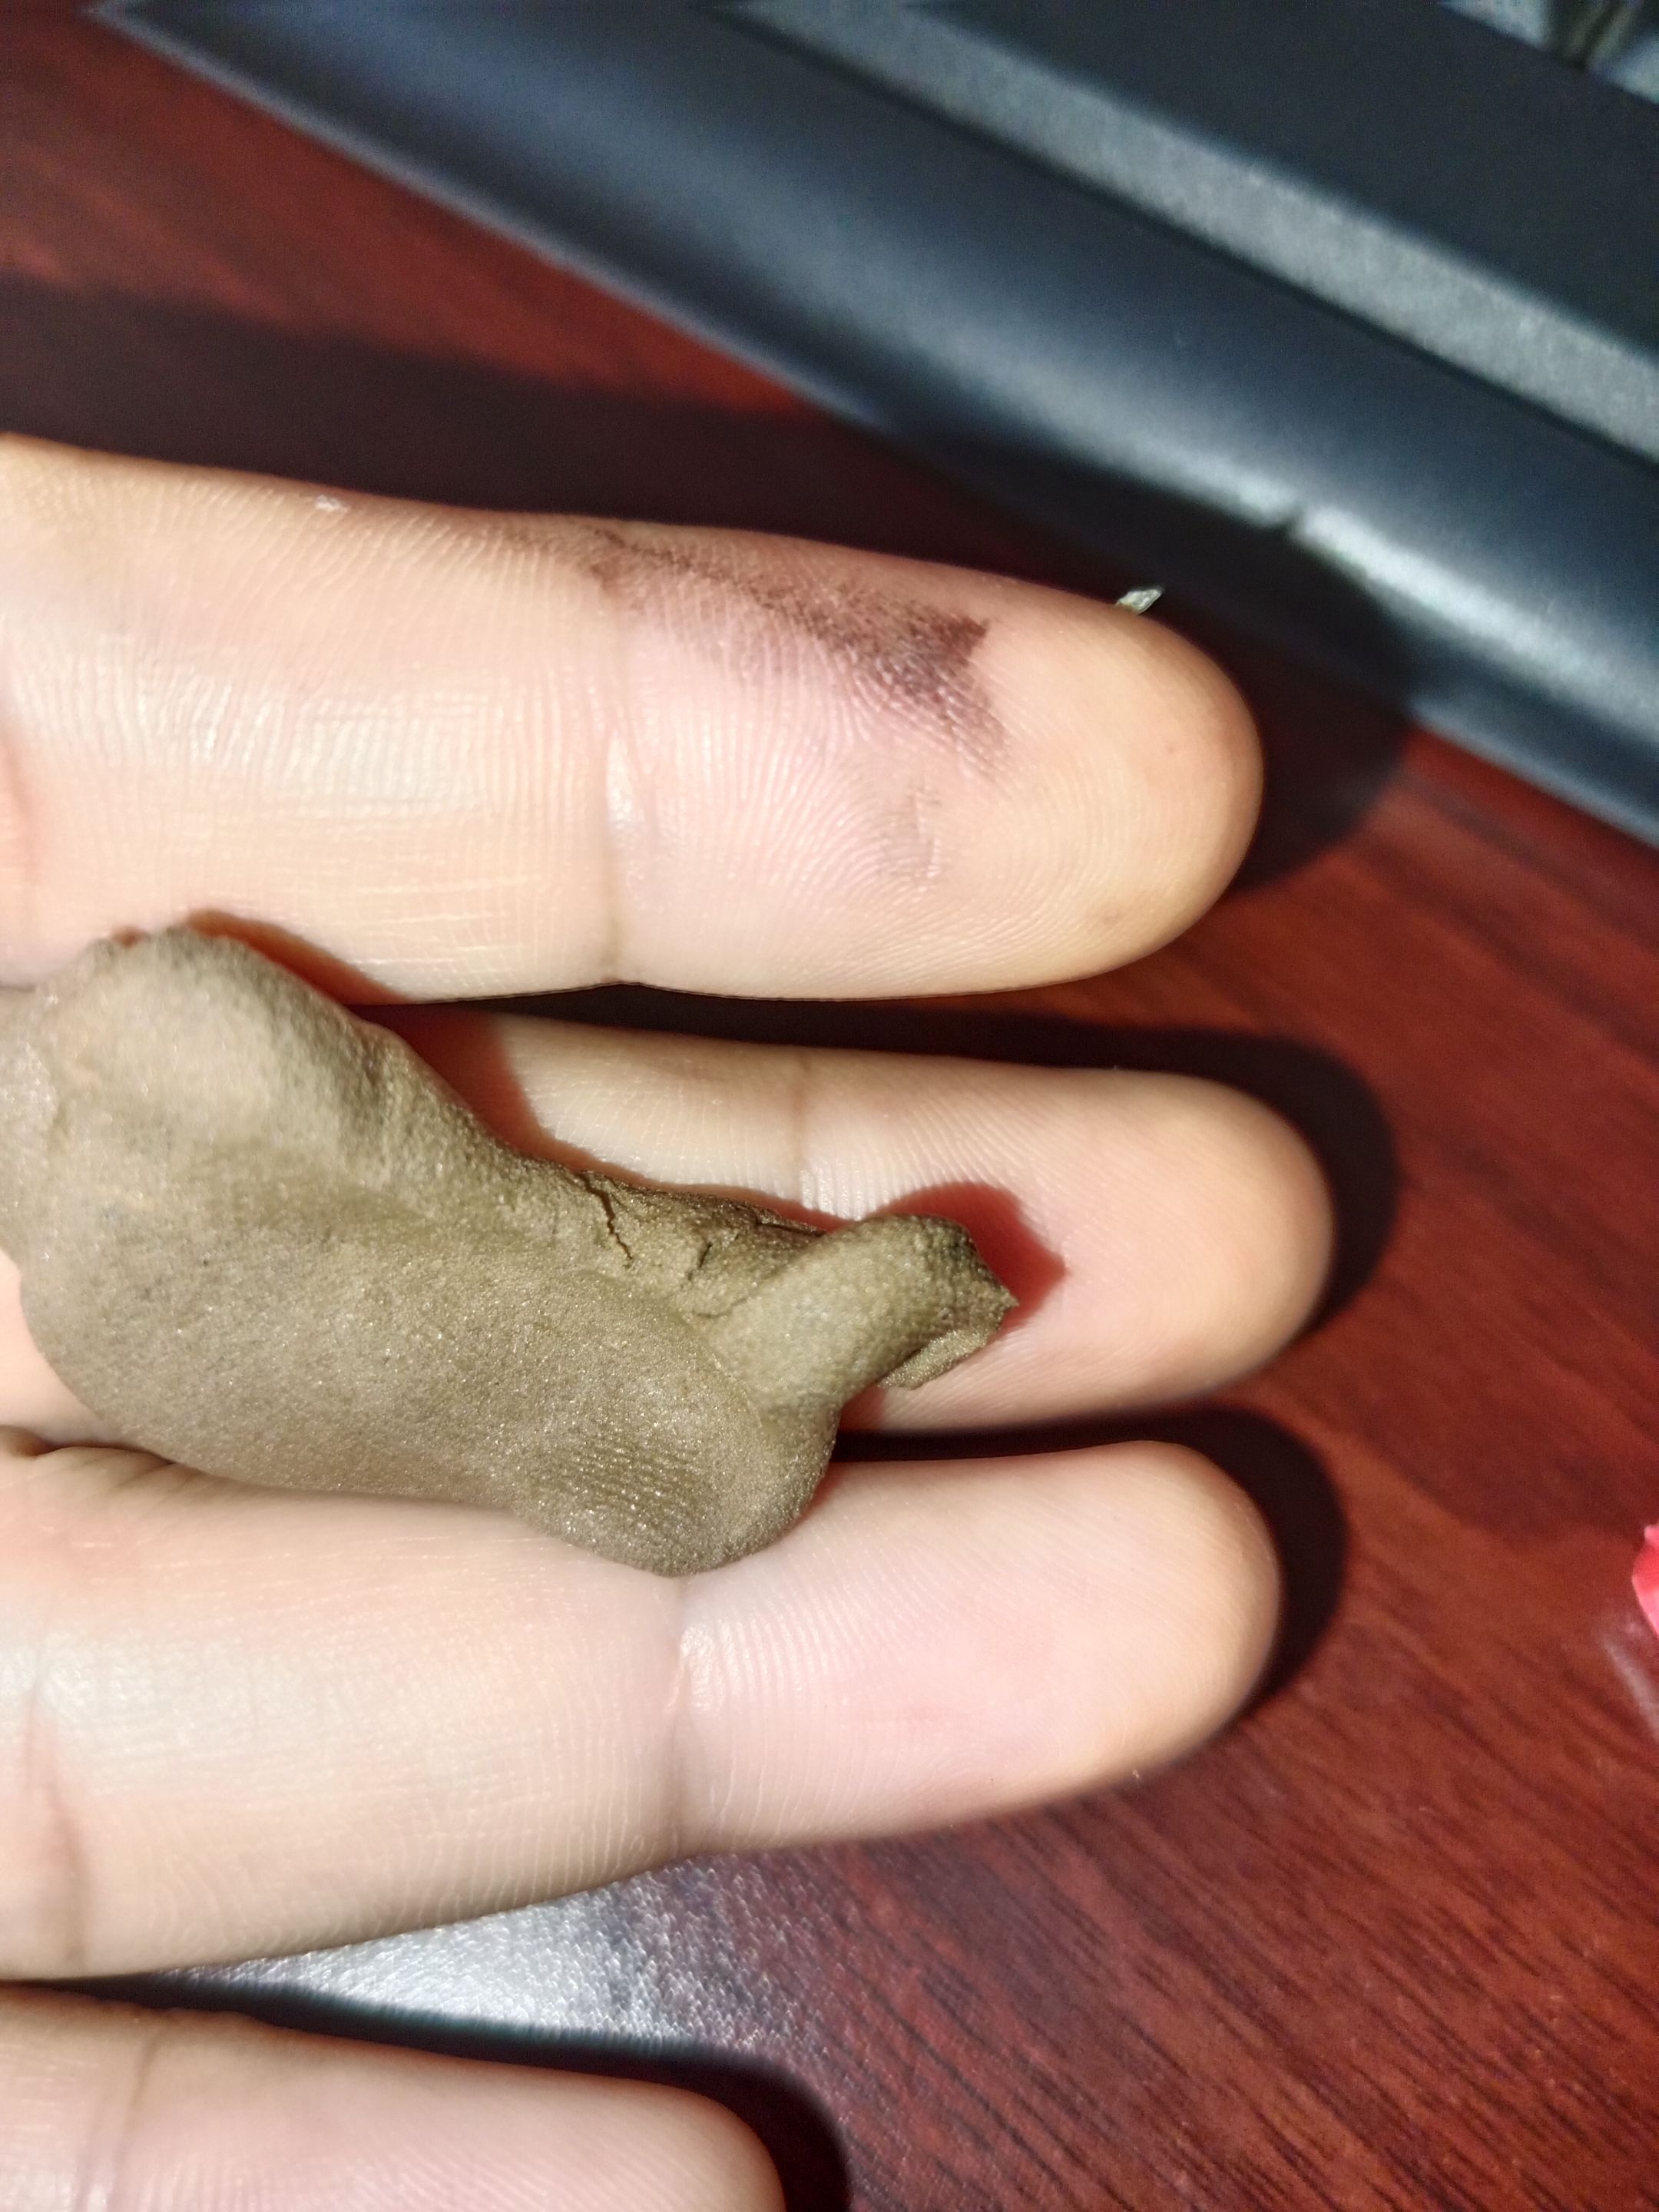
After that, place it on top of the clay cake.
 |
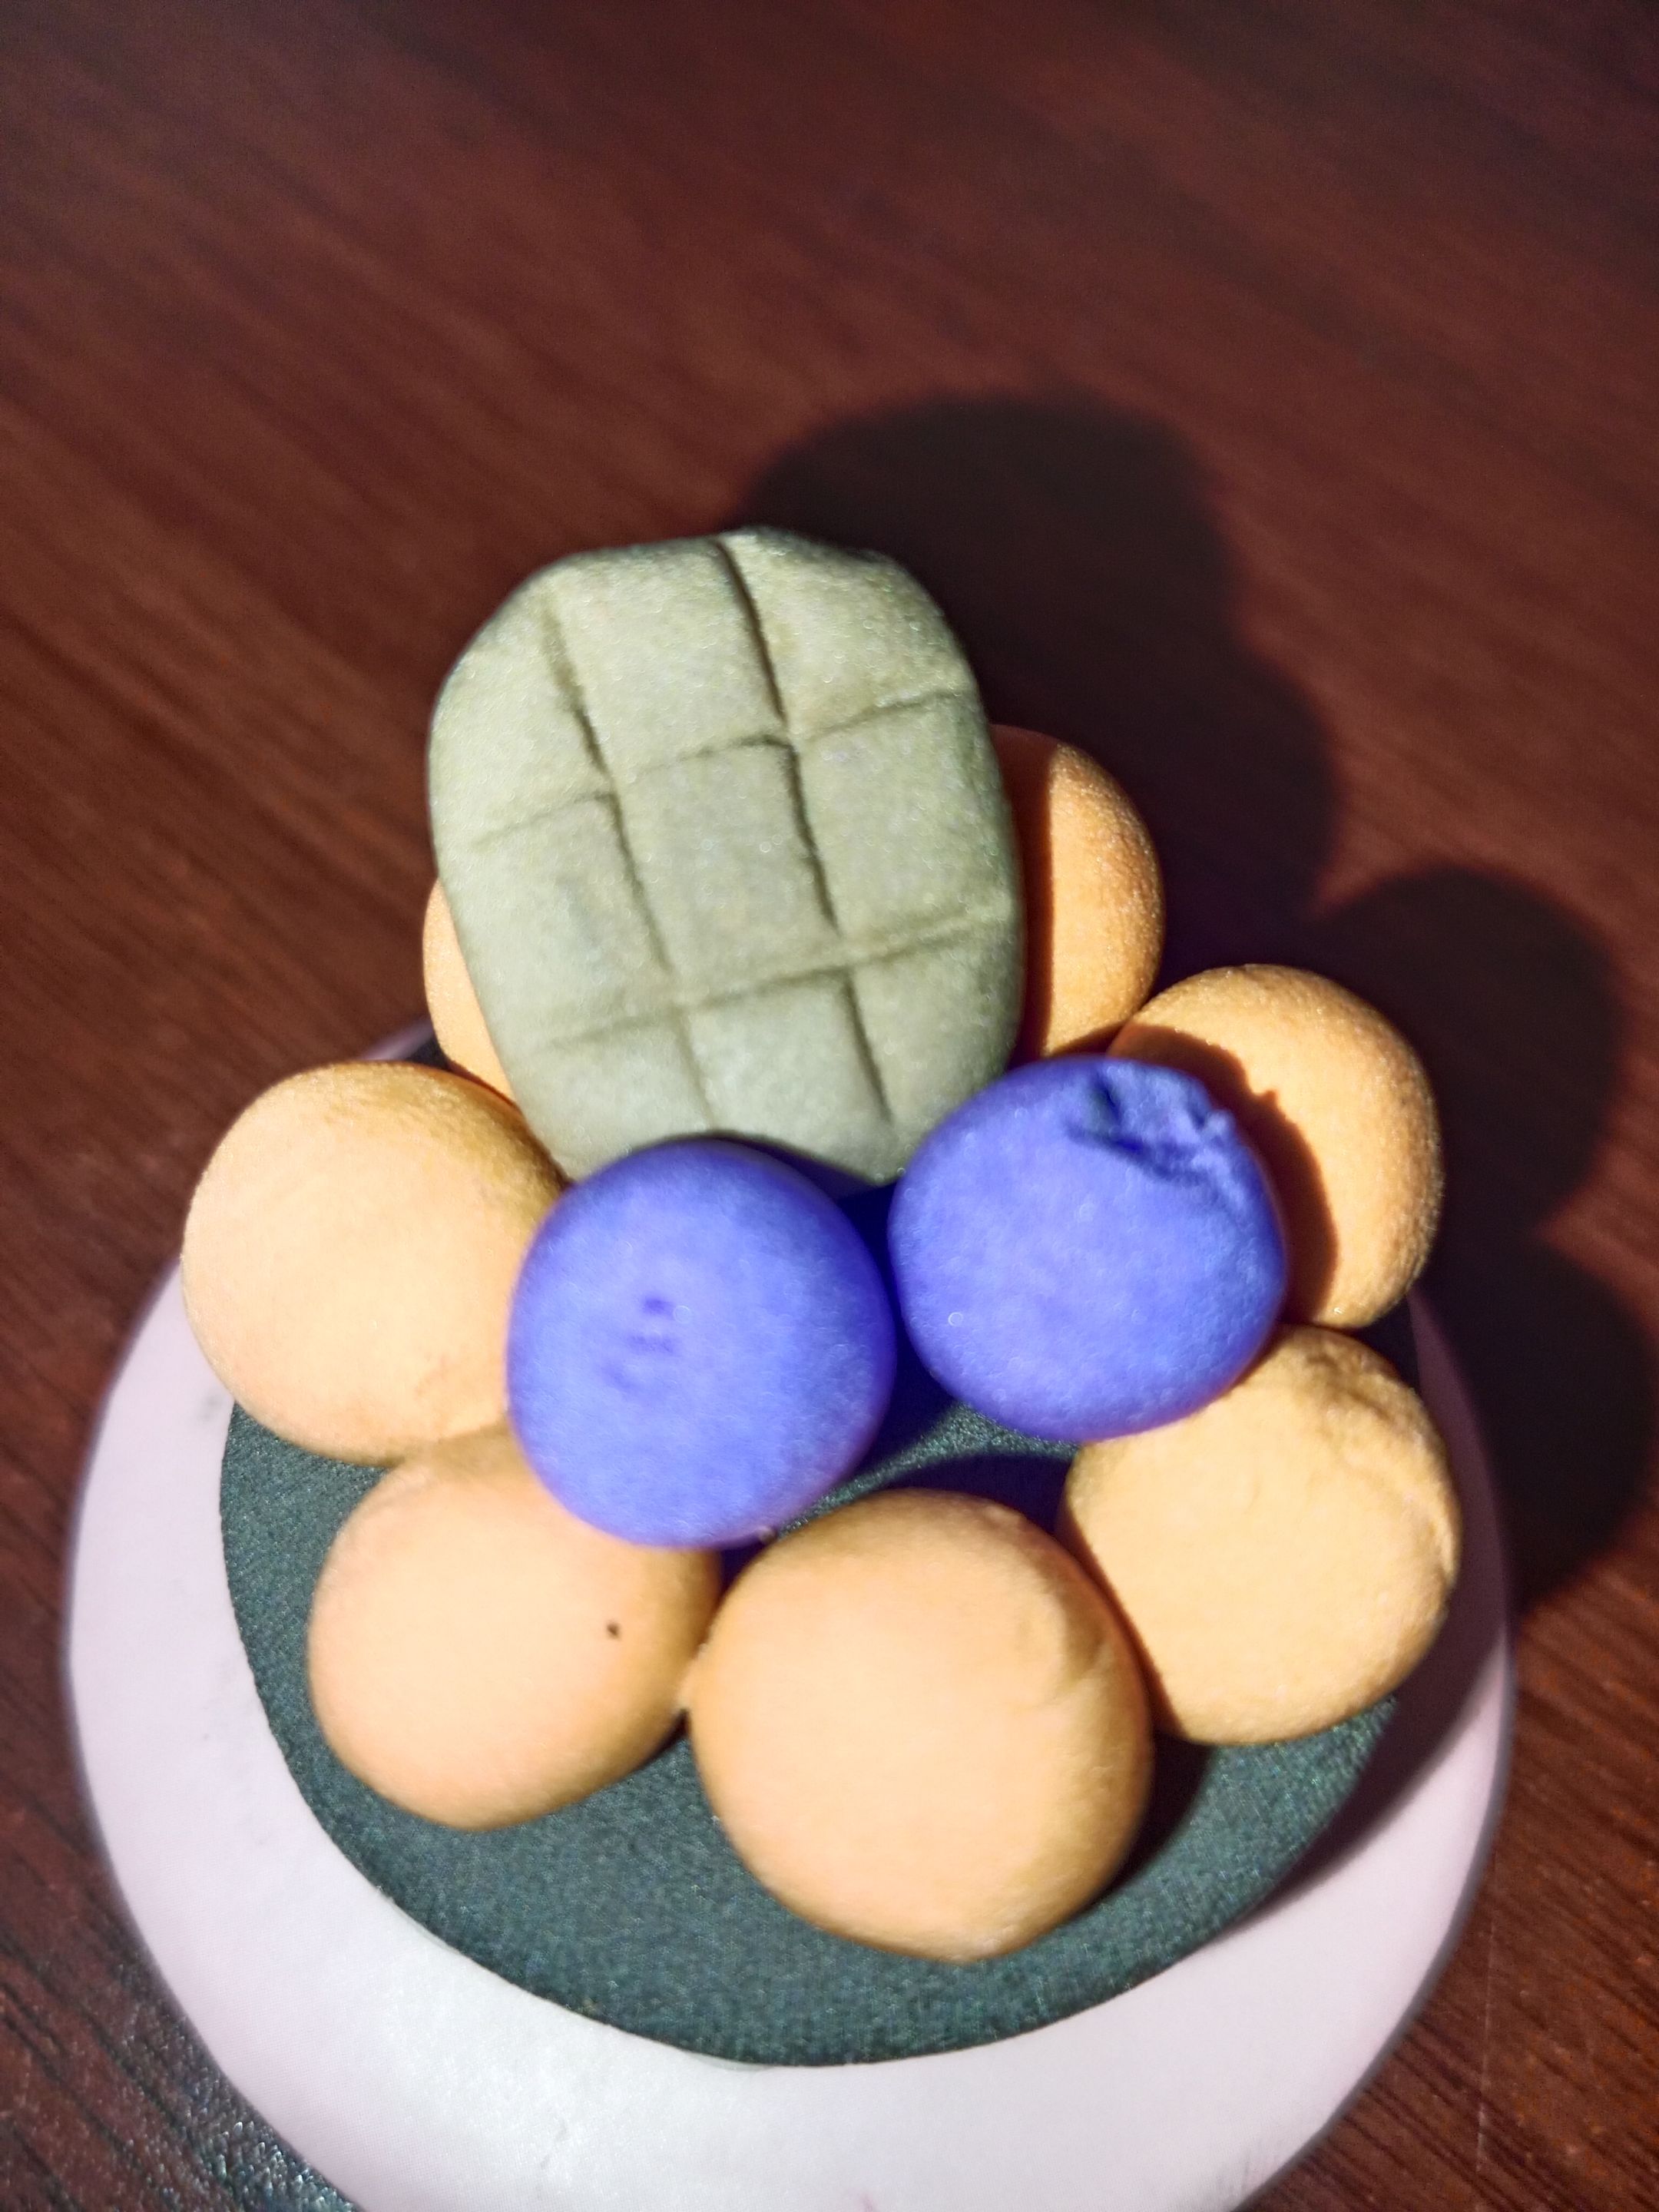 |
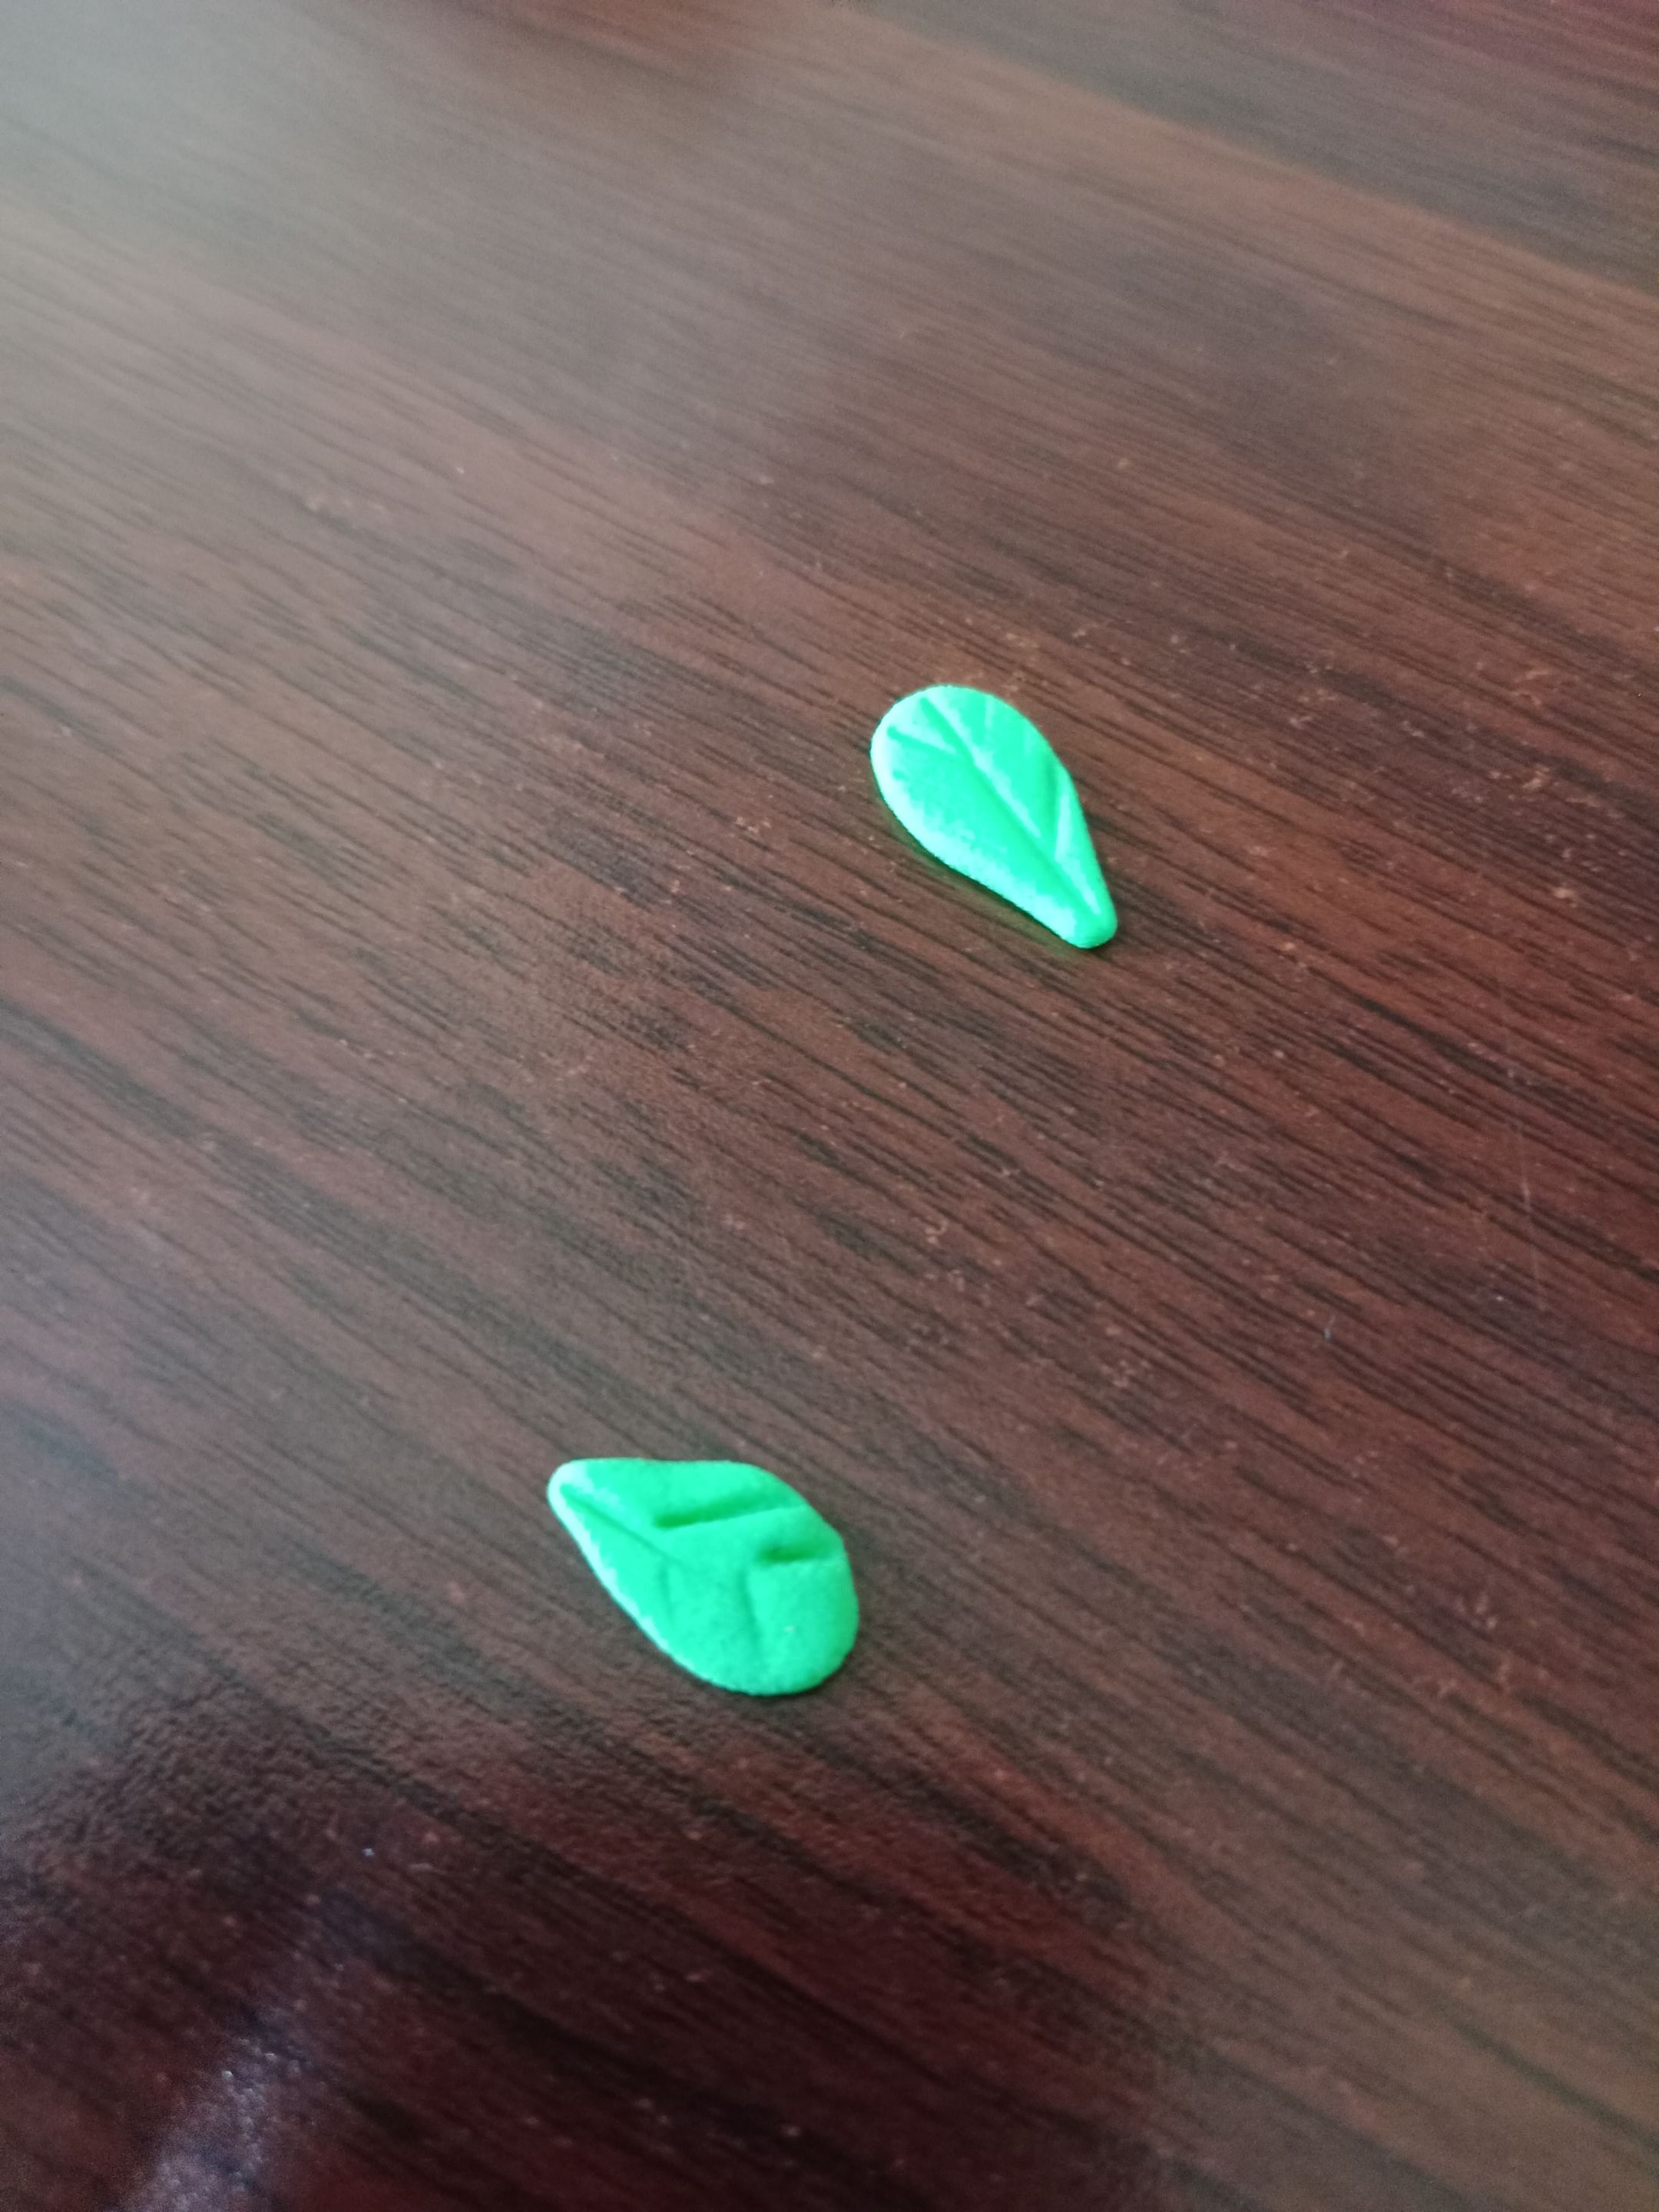
Oh, and finally, I also added a leaf effect from the clay.
- Take green clay and form a leaf and attach it near the clay blueberry.
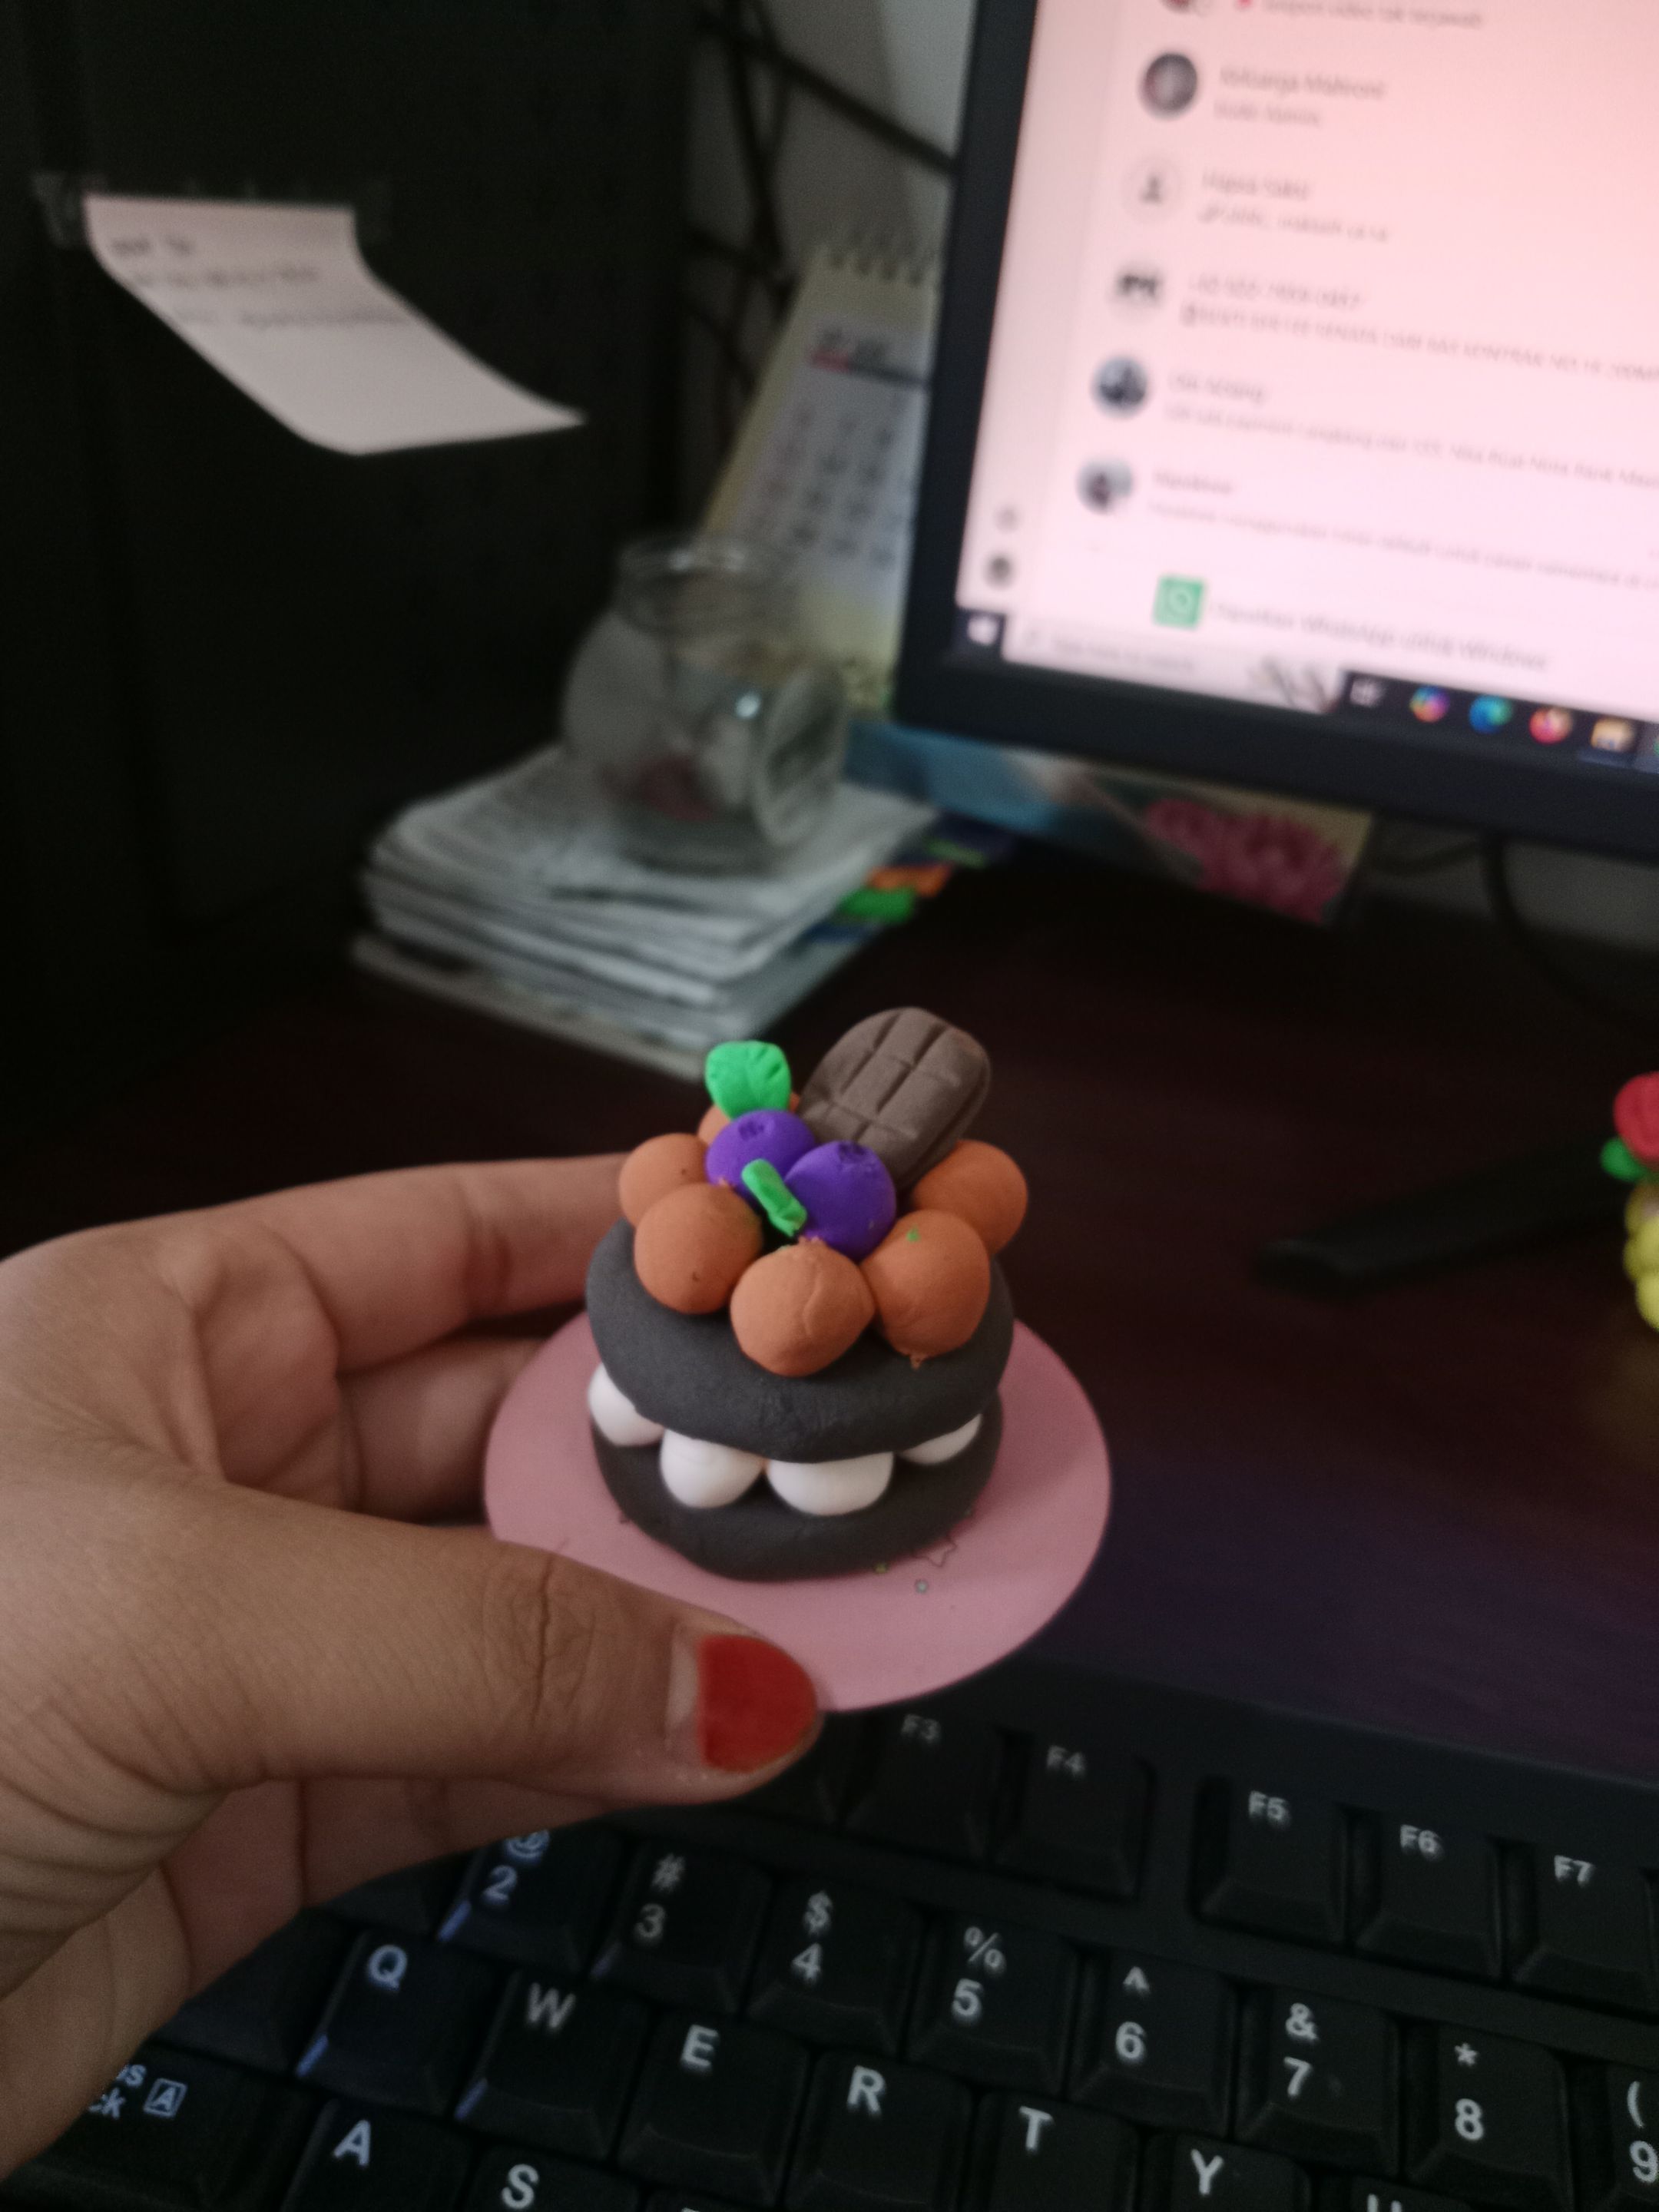
And voila... the Clay Chocolate Cake is done. I hope you like it and I hope it inspires my creative friends.
-----------------
Hello This is Nisa, an amateur writer (I apologize if there are any errors in writing or in the wrong translation of words in writing, and I am very grateful that you have visited my blog. See you in other posts)