Cycling
*Learning How to Repair Bicycle Wheels/ Aprendiendo el Enrayado de Llantas de Bicicleta*

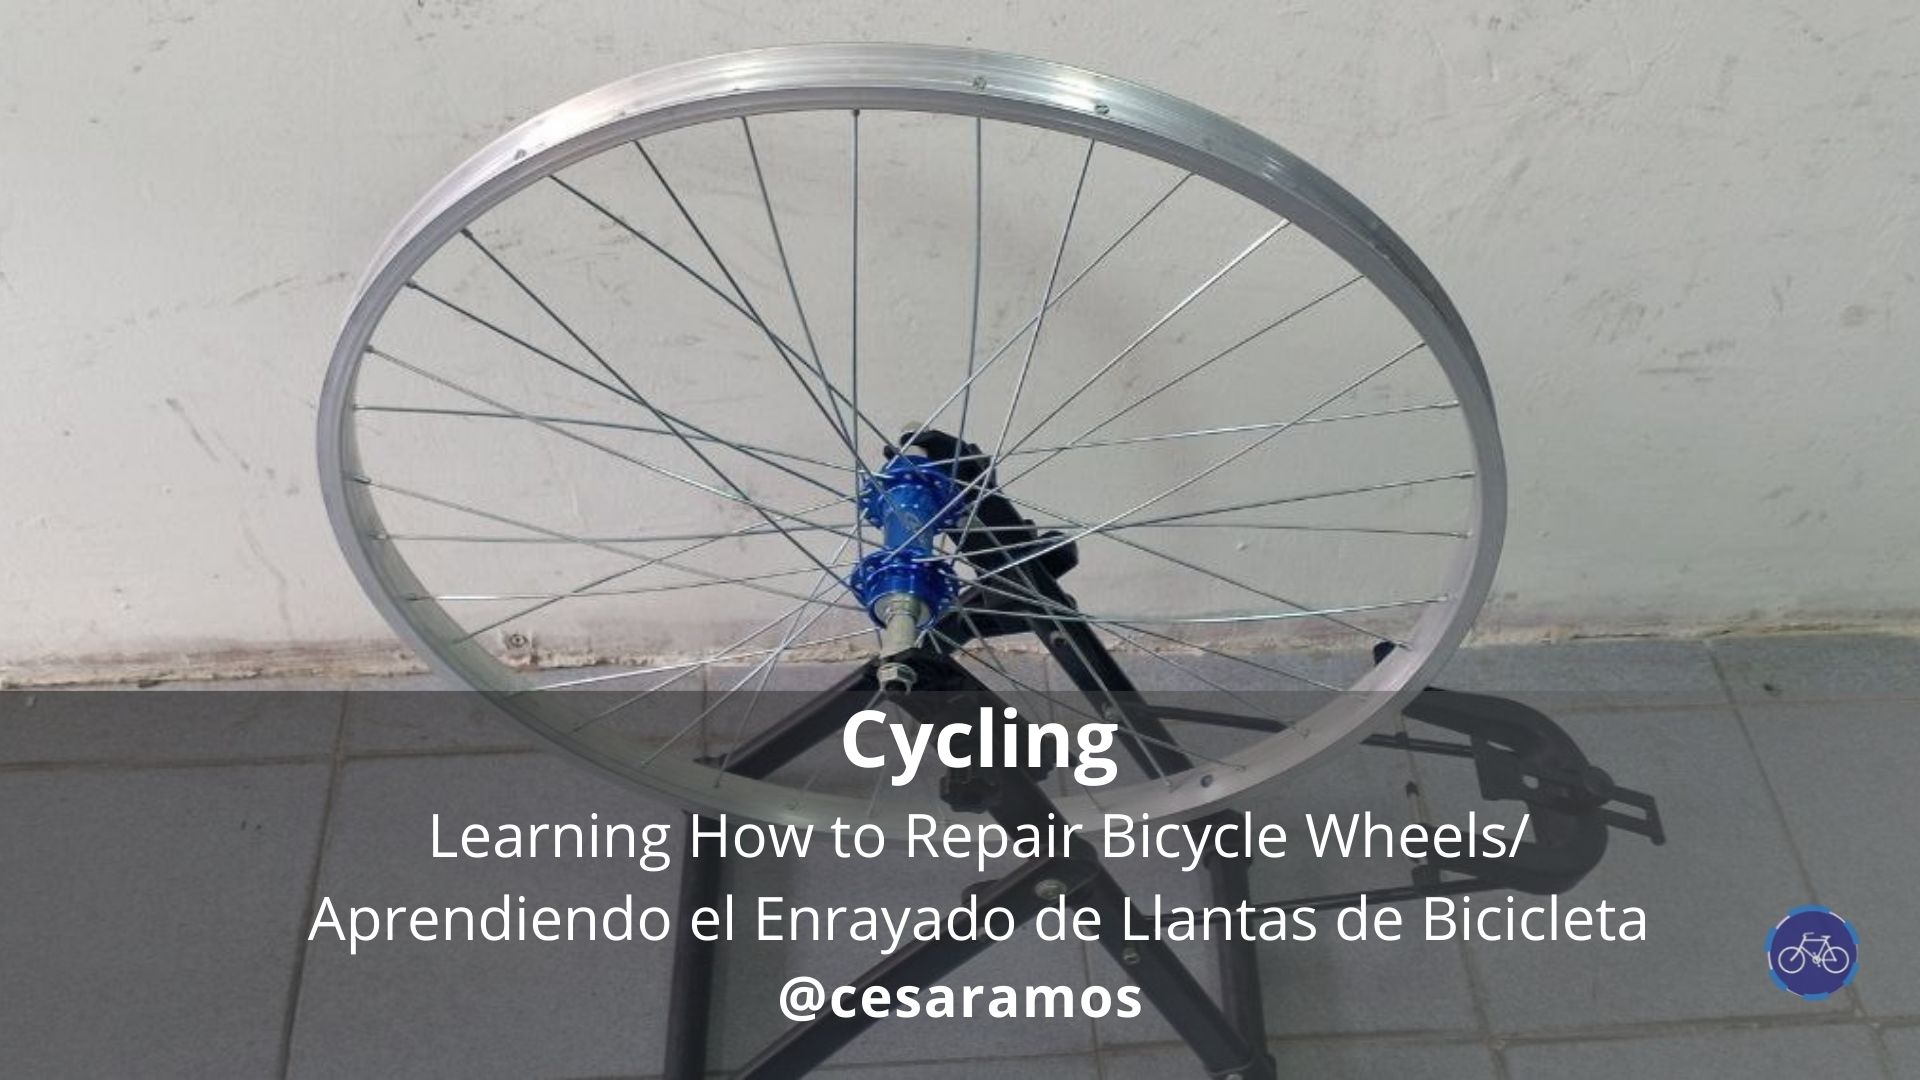
Que tal, Cycling. Hace poco inicié una aventura con el trabajo directo en al mundo del ciclismo con el enrayado de llantas de bicicleta, una habilidad fundamental para cualquier mecánico o ciclista que desee construir o reparar sus propias ruedas. El proceso, aunque parece complejo a primera vista, se basa en principios geométricos y mecánicos que, una vez comprendidos, permiten obtener una rueda sólida, duradera y perfectamente centrada. El método de aprendizaje para el enrayado de llantas de 26" y 20", utilizando bujes (o Bocinas, come le llamamos acá en Venezuela) de 36 radios, y destaca la universalidad de este proceso, diferenciándolo de otros formatos como el del rin 29".
Hi, Cycling. I recently embarked on an adventure working directly in the world of cycling with bicycle wheel truing, a fundamental skill for any mechanic or cyclist who wants to build or repair their own wheels. The process, although it seems complex at first glance, is based on geometric and mechanical principles that, once understood, allow you to obtain a solid, durable, and perfectly centered wheel. The learning method for lacing 26“ and 20” wheels, using 36-spoke hubs (or “Bocinas,” as we call them here in Venezuela), highlights the universality of this process, differentiating it from other formats such as the 29" rim.


The main purpose of lacing is to connect the hub (the central part of the wheel) to the rim (the wheel rim) using spokes, creating a structure that is both rigid and elastic. Proper lacing distributes tension evenly across all spokes, preventing deformation and premature failure. The training has focused on the “three-cross” (3X) lacing pattern, which is the most common and versatile for mountain bikes, city bikes, and BMX bikes. This pattern offers a good balance between lateral stiffness and torsional strength.
> El objetivo principal del enrayado es unir el buje (la parte central de la rueda) con el aro (la llanta) mediante los radios, creando una estructura que sea a la vez rígida y elástica. Un enrayado correcto distribuye la tensión de manera uniforme en todos los radios, lo que previene deformaciones y fallas prematuras. El aprendizaje se ha centrado en el patrón de enrayado "a tres cruces" (3X), que es el más común y versátil para bicicletas de montaña, de ciudad y BMX. Este patrón ofrece un buen equilibrio entre rigidez lateral y resistencia a la torsión.

https://images.hive.blog/500x250/https://files.peakd.com/file/peakd-hive/cesaramos/23xVGeB8zjxjPiUDRhqtGGsGuFRgZWXPh5ZYLpHATFUtfNfKLQAVDLcyaAaE8PjccKp22.jpg
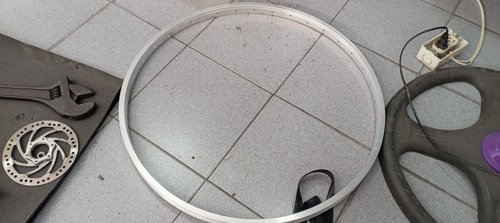
For 36-hole hubs: Make sure the hub holes are clean. Modern hubs usually have two flanges, one for each side. 36-hole rim: Similar to the hub, the rim holes must be clean. It is crucial to identify whether the rim has an alternating hole pattern (facing left and right), which facilitates lacing. It is very important to place each spoke on the corresponding side. In the case of profiled rims, following the same pattern facilitates lacing. Spoke nipples (36 units): The nipples are the nuts that connect the spoke to the rim. In the case of Tools to use: Spoke wrench of the appropriate size, centering stand (optional but highly recommended), spoke tension meter (for professional work), and a flat or Phillips screwdriver for the first threads.
****
> Para Bujes de 36 orificios: Asegurarse de que los orificios del buje estén limpios. Los bujes modernos suelen tener dos bridas, una para cada lado. Aro de 36 orificios: Similar al buje, los orificios de la llanta deben estar limpios. Es crucial identificar si la llanta tiene un patrón de orificios alternados (dirigidos a la izquierda y a la derecha), lo que facilita el enrayado, es muy importante colocar cada rayo del lado correspondiente, en el caso de los perfilados, seguir el mismo patrón facilita el enrayado. Cabecillas de radio (36 unidades): Las cabecillas son las tuercas que unen el radio al aro. En el caso de las Herramientas a usar: Llave de radios de la medida adecuada, soporte de centrado (opcional pero muy recomendable), tensiómetro de radios (para un trabajo profesional) y un destornillador plano o de estrella para las primeras roscas.
****
https://images.hive.blog/300x250/https://files.peakd.com/file/peakd-hive/cesaramos/23yJGPLatgEAbDNNhidrn1vbvZAtrmKRuUGty7met5mafmLU7axBEQQS5oqzPszco9MvZ.jpg
Initial Spoking (Spokes “Head Inward”): Start by inserting 18 spokes into the right flange of the hub, with the spoke head facing outward from the hub (“head inward”). These spokes are inserted into every other hole on the right flange. The first spoke is placed in the tire, in a hole to the right of the valve hole (looking at the tire from the front). From there, skip three holes in the rim and insert the next spoke, repeating this process until all 9 spokes in this group are installed in half of the holes in the rim. Repeat the process for the left flange, using the remaining holes. I know it sounds complicated, but with a lot of practice it becomes easy.