Greetings, fellow craft lovers! Welcome back to my workshop @bricolajedc. Today, we're going to continue making the jewelry set inspired by the Splinterlands Firecaller card, this time with the necklace and earrings. Join me and I'll show you the creative process.
>>¡Saludos amigos amantes de las artes manuales! Les doy la bienvenida una vez más a mi taller @bricolajedc, en esta oportunidad vamos a continuar con la elaboración del juego de joyería inspirado en la carta de Splinterlands Firecaller, esta vez con el Choker y los aretes. Acompáñenme y les muestro el proceso creativo.
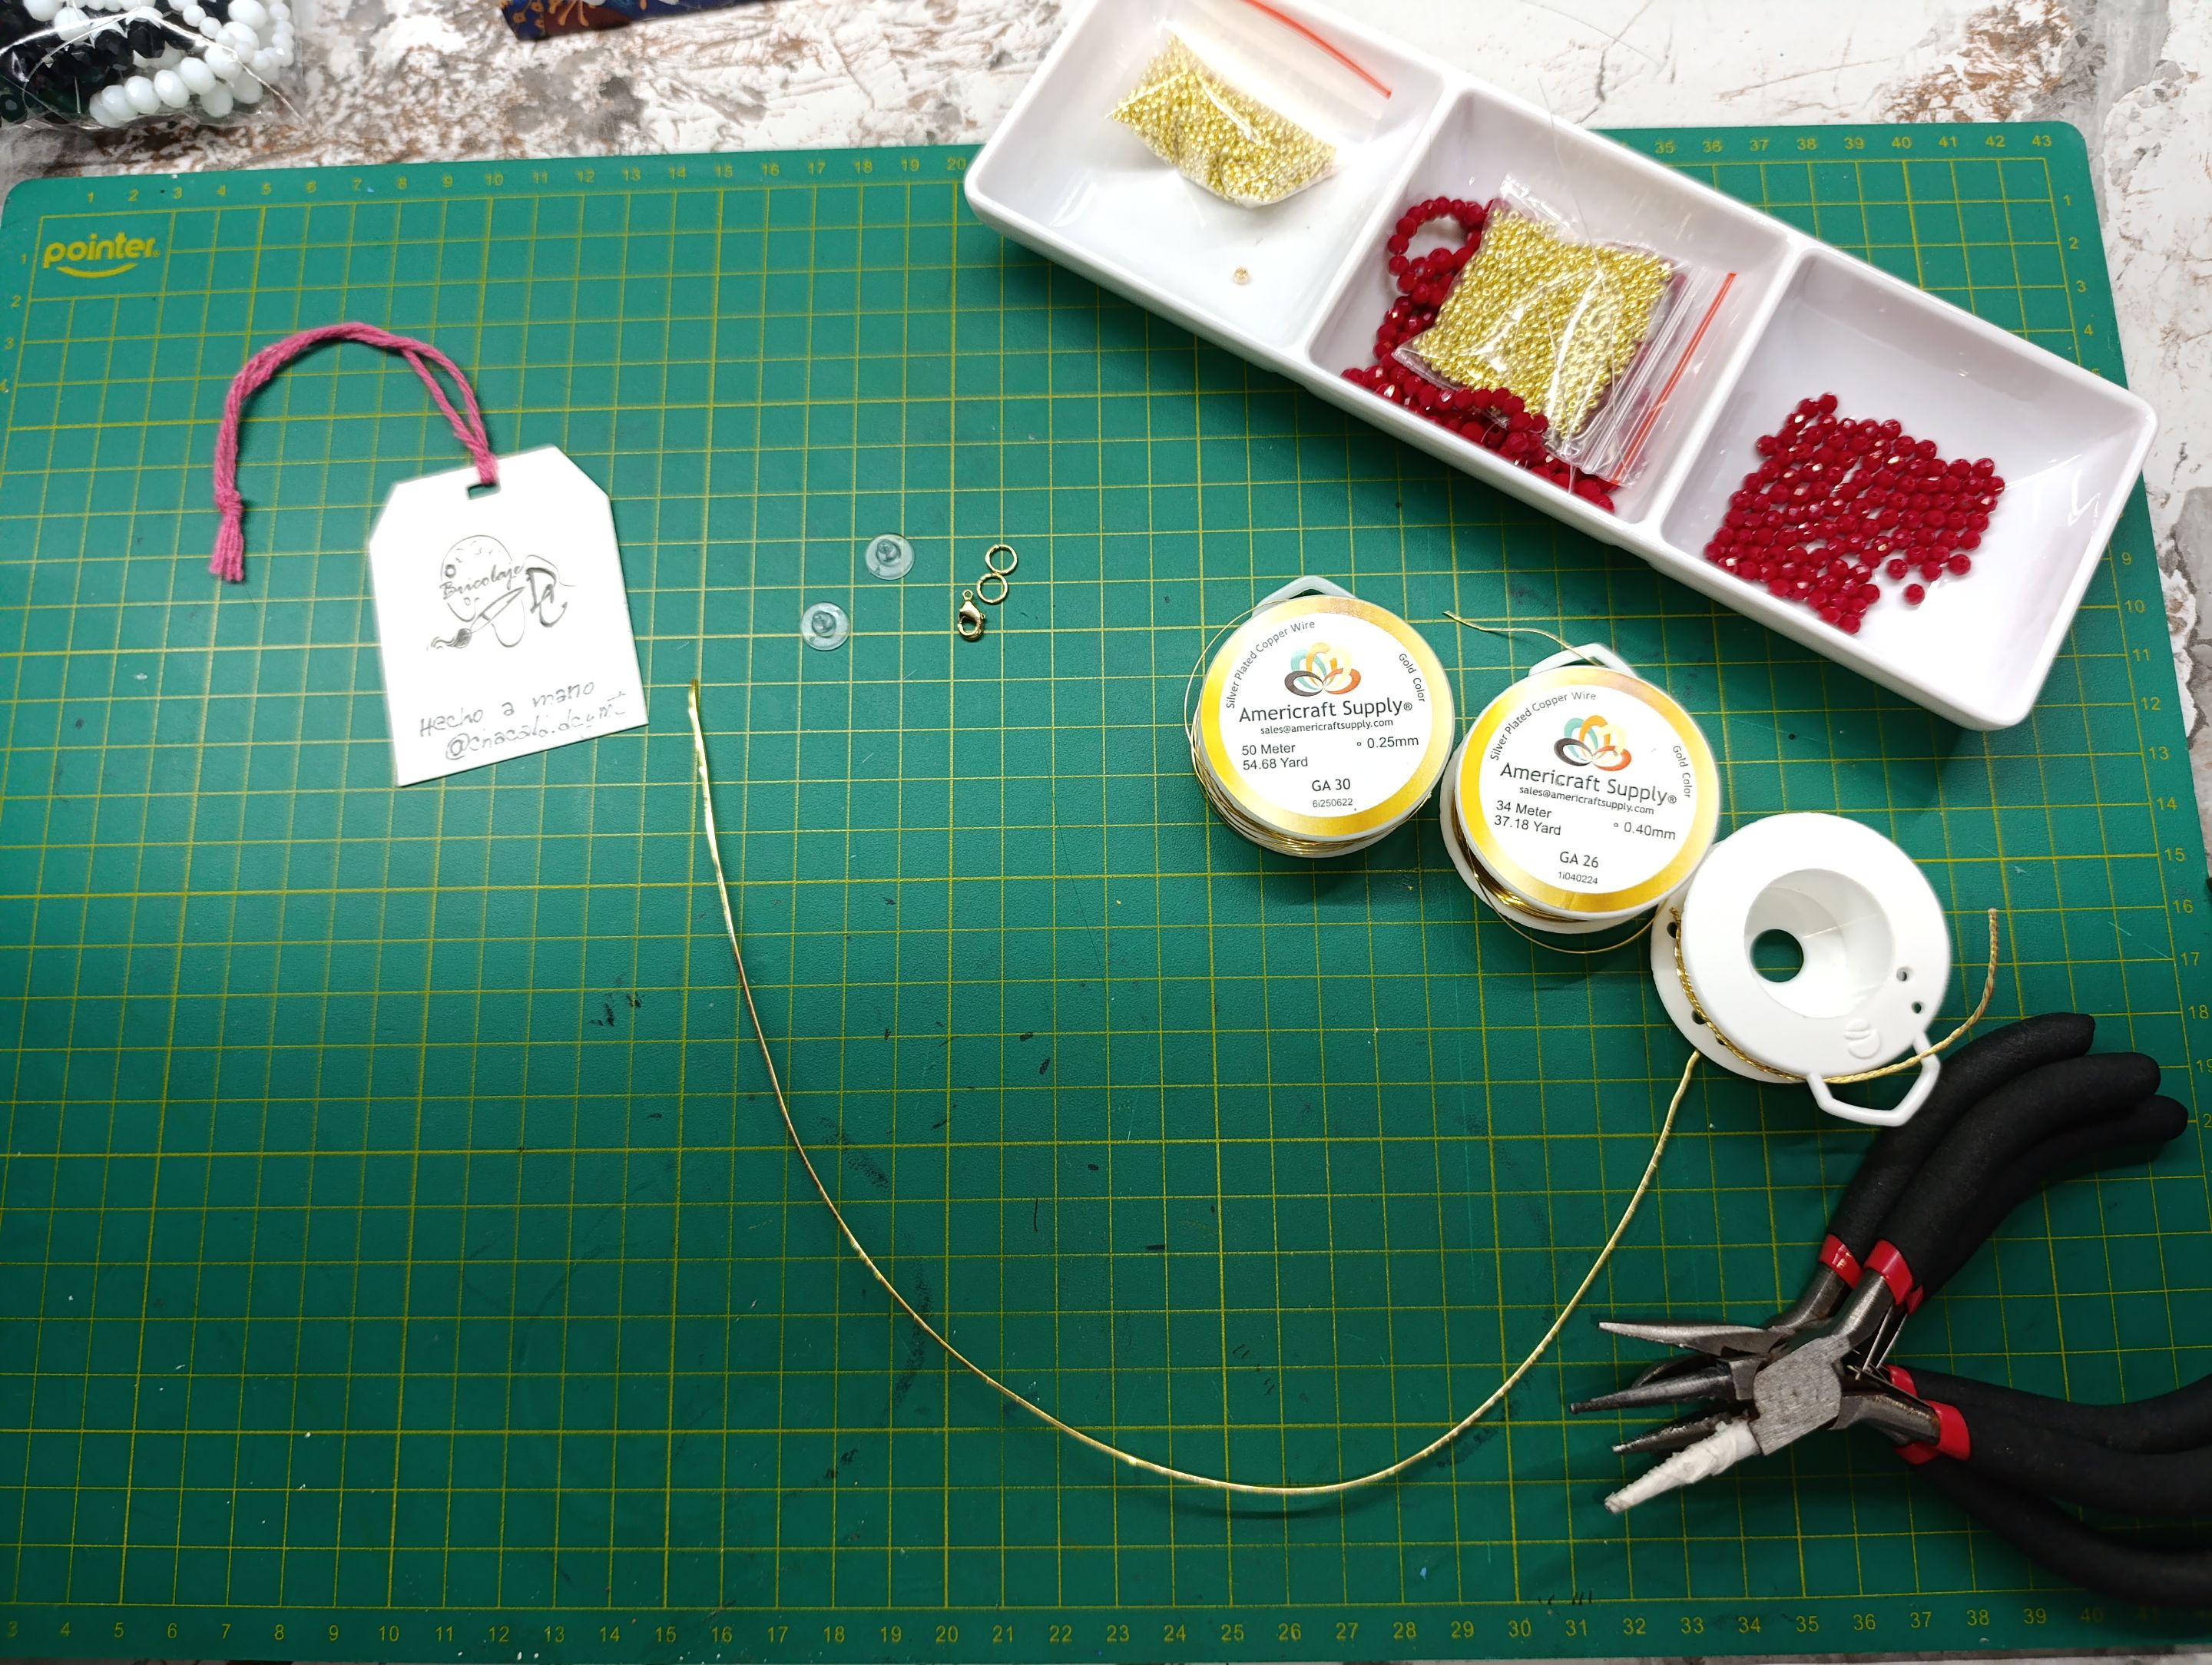
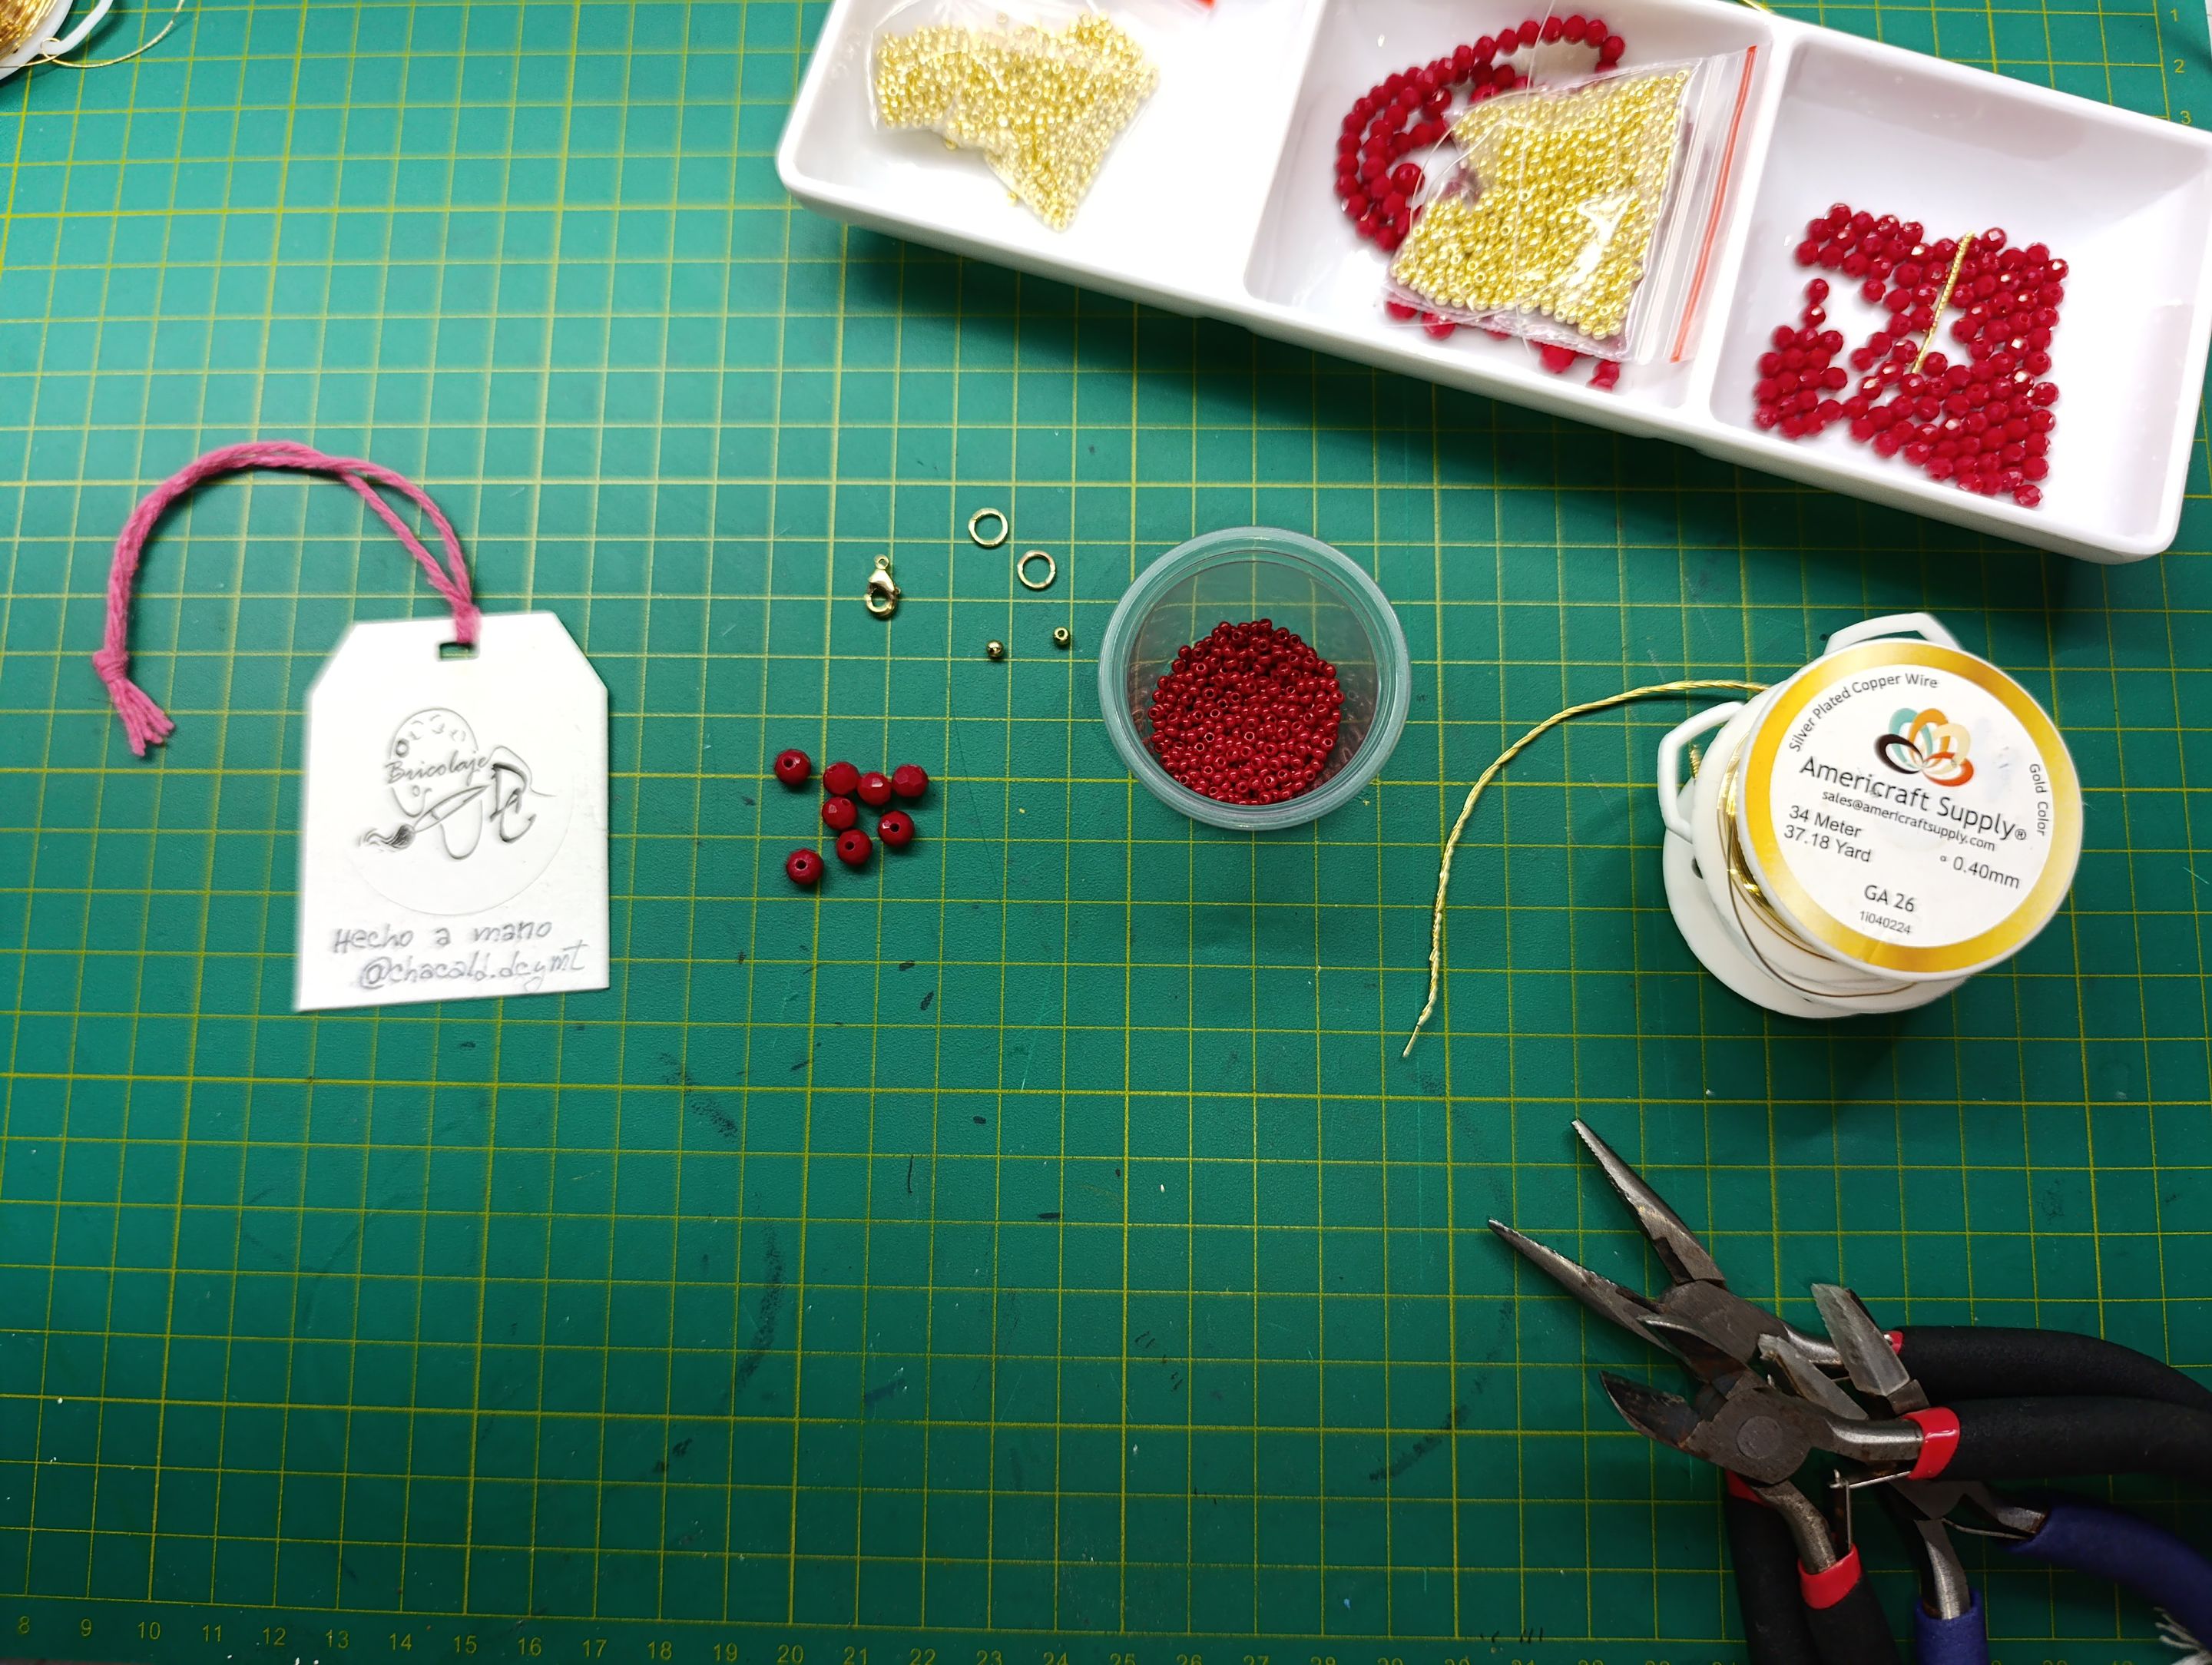
***Materials:***
Hypoallergenic silver-plated jewelry wire #18, #26, and #30
4-strand twisted wire #26
Red Murano glass beads #8
Red and gold Czech seed beads
2 silicone earring caps
2 rhodium-plated jump rings
1 small rhodium-plated parrot bead
4 rhodium-plated seed beads
You will also need a round mandrel, a ruler, and jewelry pliers.
>***Materiales:***
>
>>Alambre para bisutería hipoalergénico con baño de plata #18, #26 y #30
Alambre #26 entorchado a 4 hebras
Cristales de murano #8 de color rojo
Mostacilla Checa calibrada de color rojo y dorado
2 Tapitas de silicona para aretes
2 argollas de rodio
1 pico de loro pequeño de rodio
4 balines de rodio
>>
>>Además de eso utilizaremos el mandril redondo, regla para medir y las pinzas para bisutería.
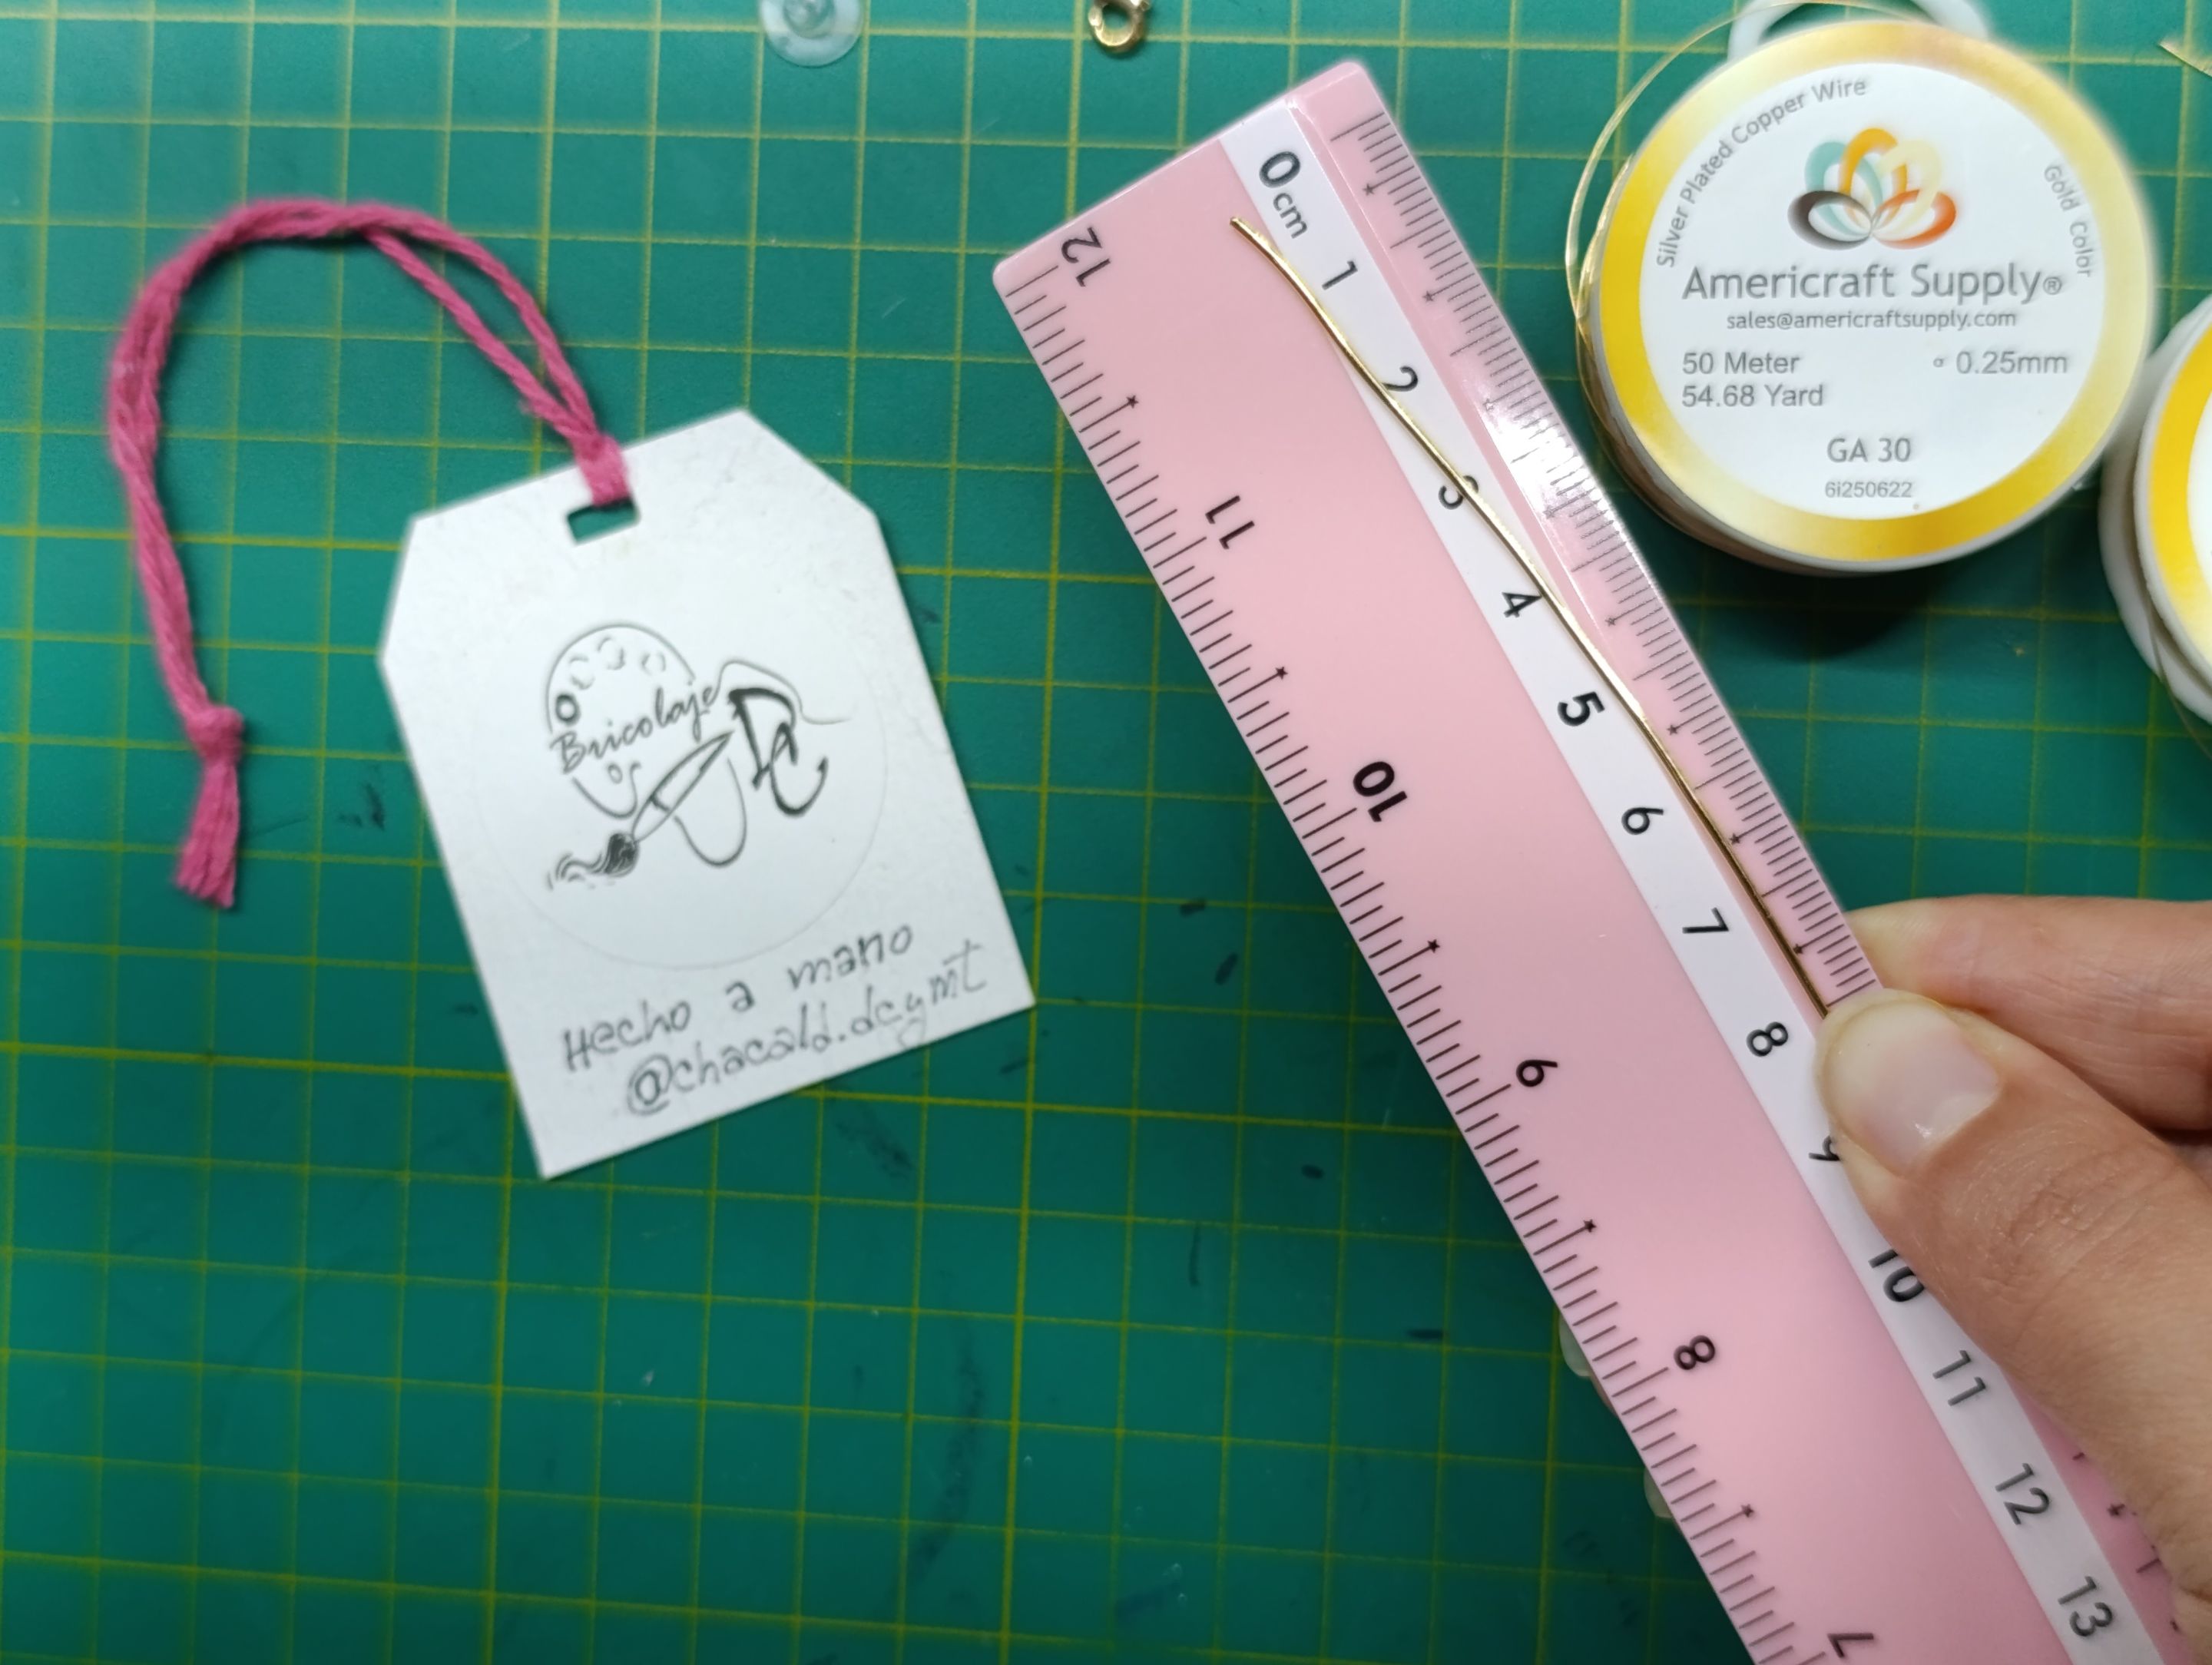
# Firecaller Earrings:
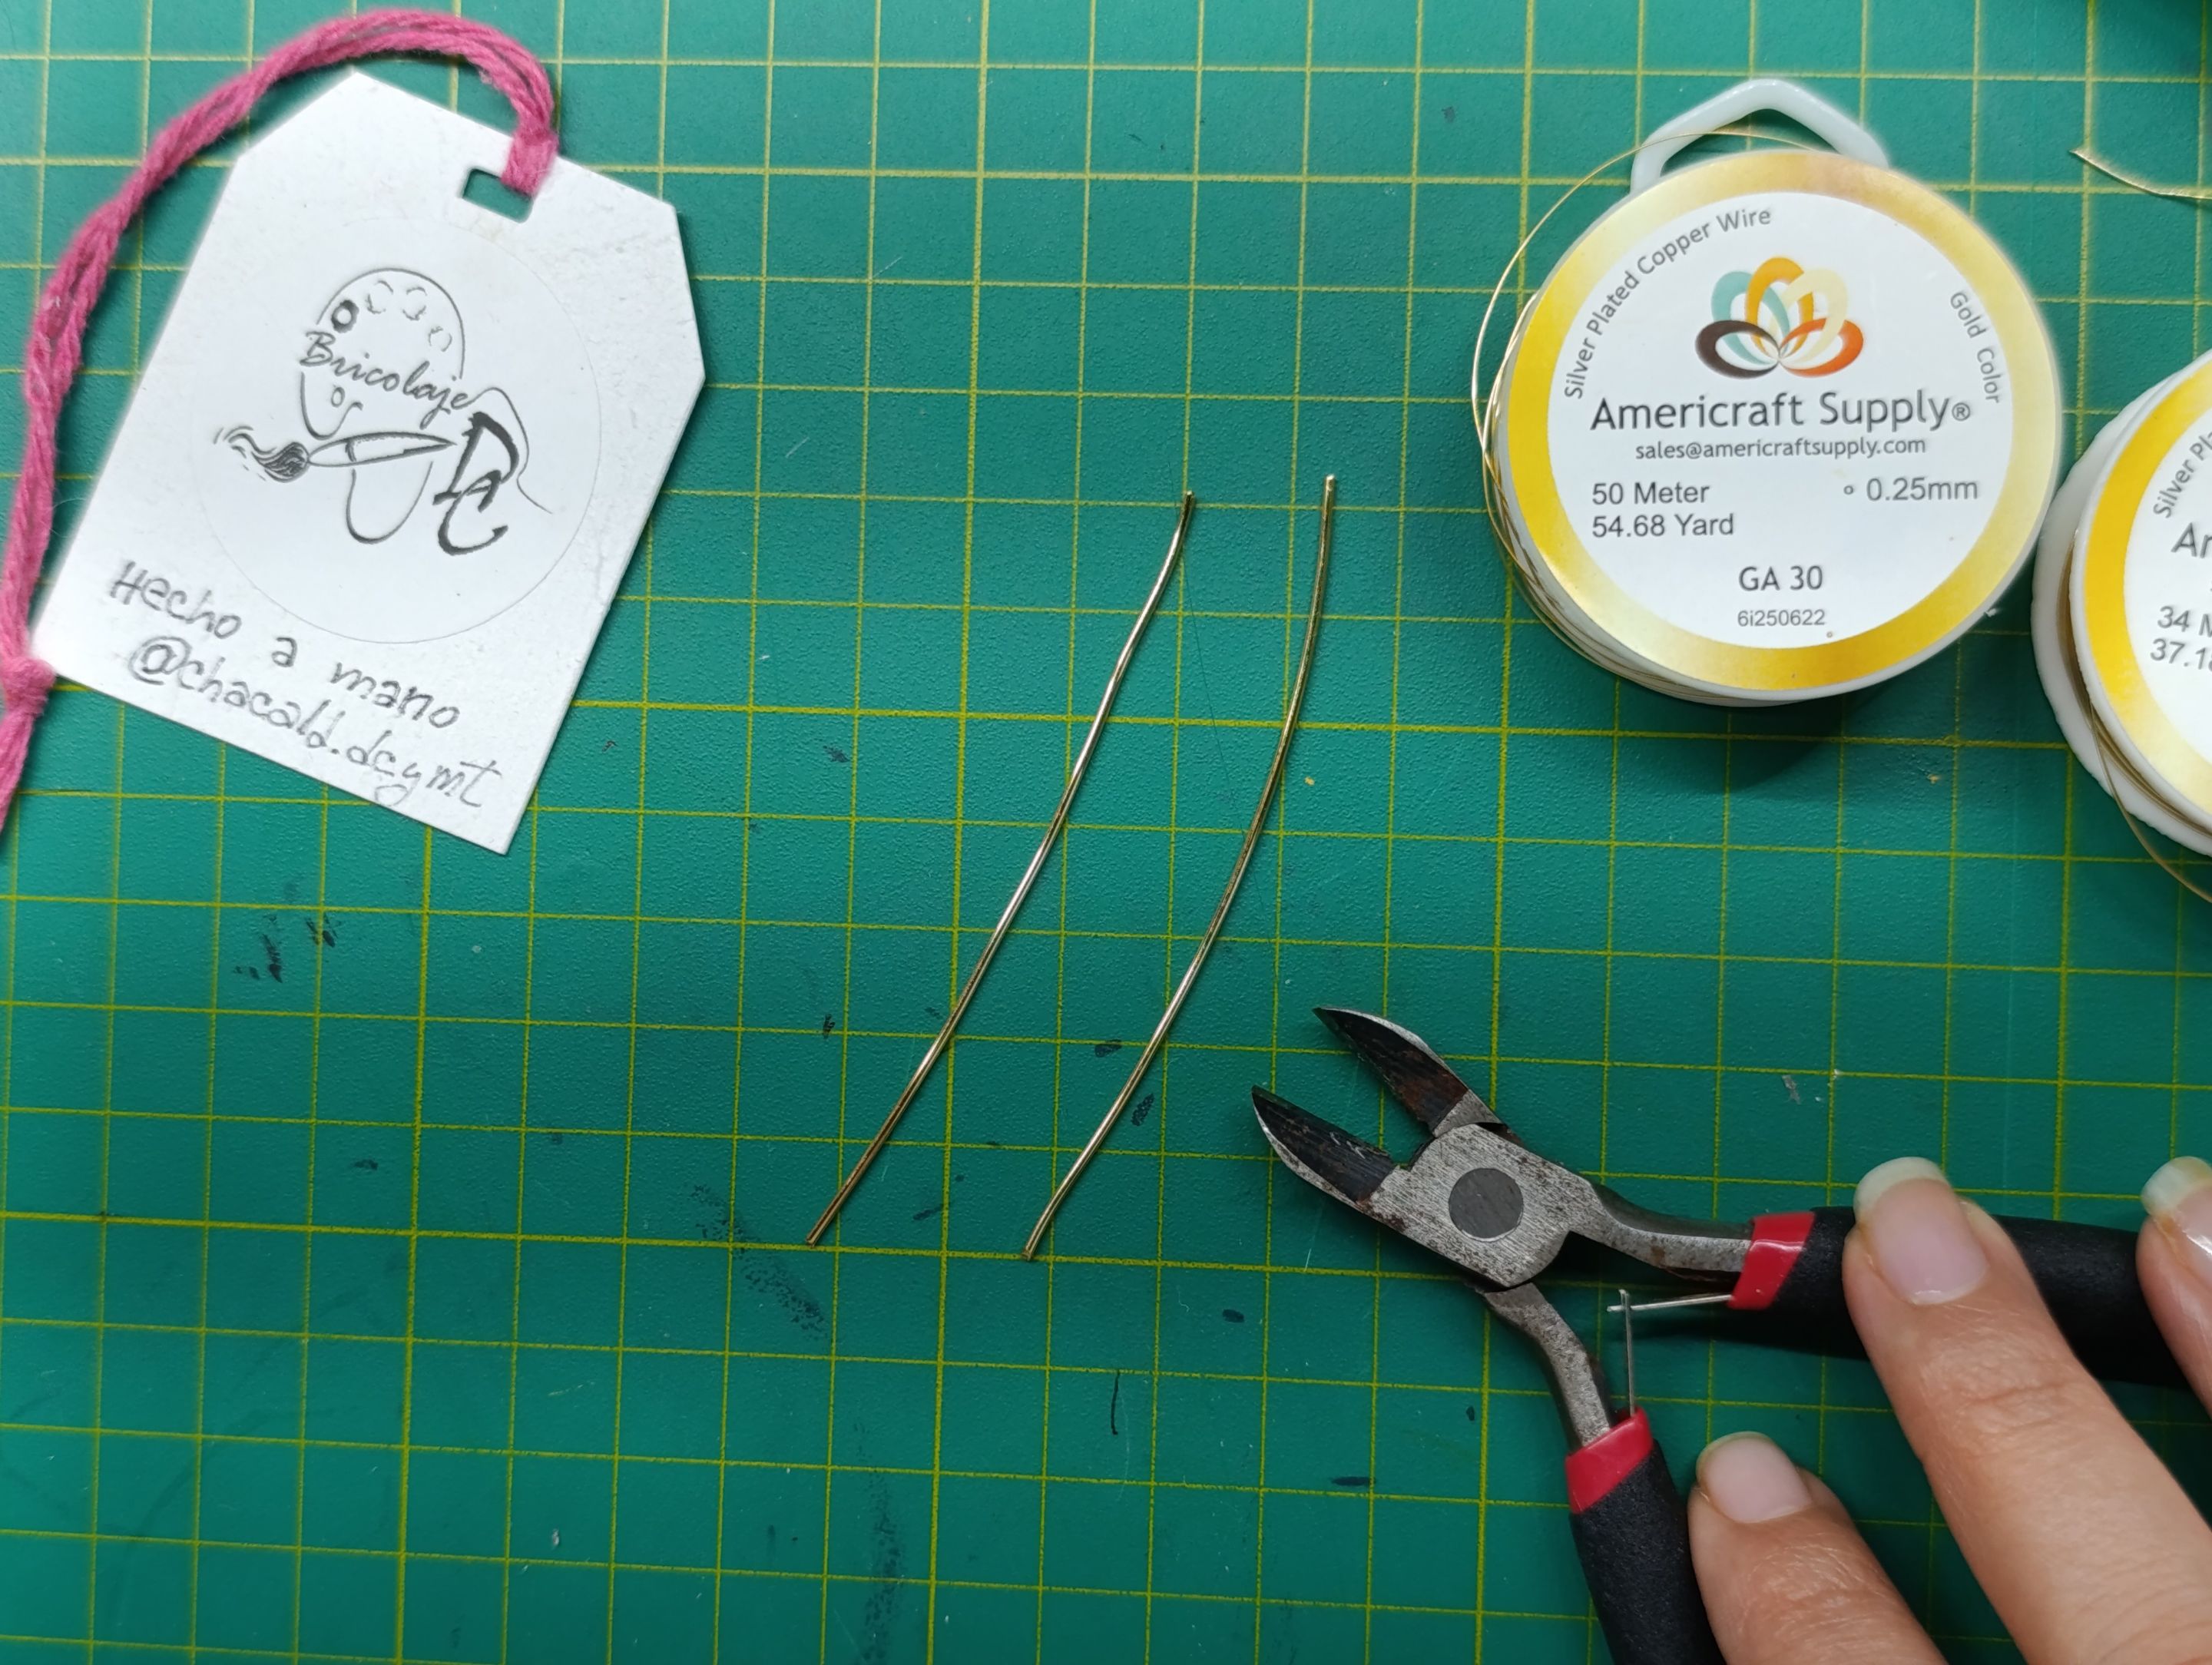
Start by cutting two 8-centimeter pieces of #18 wire.
># Aretes Firecaller:
>
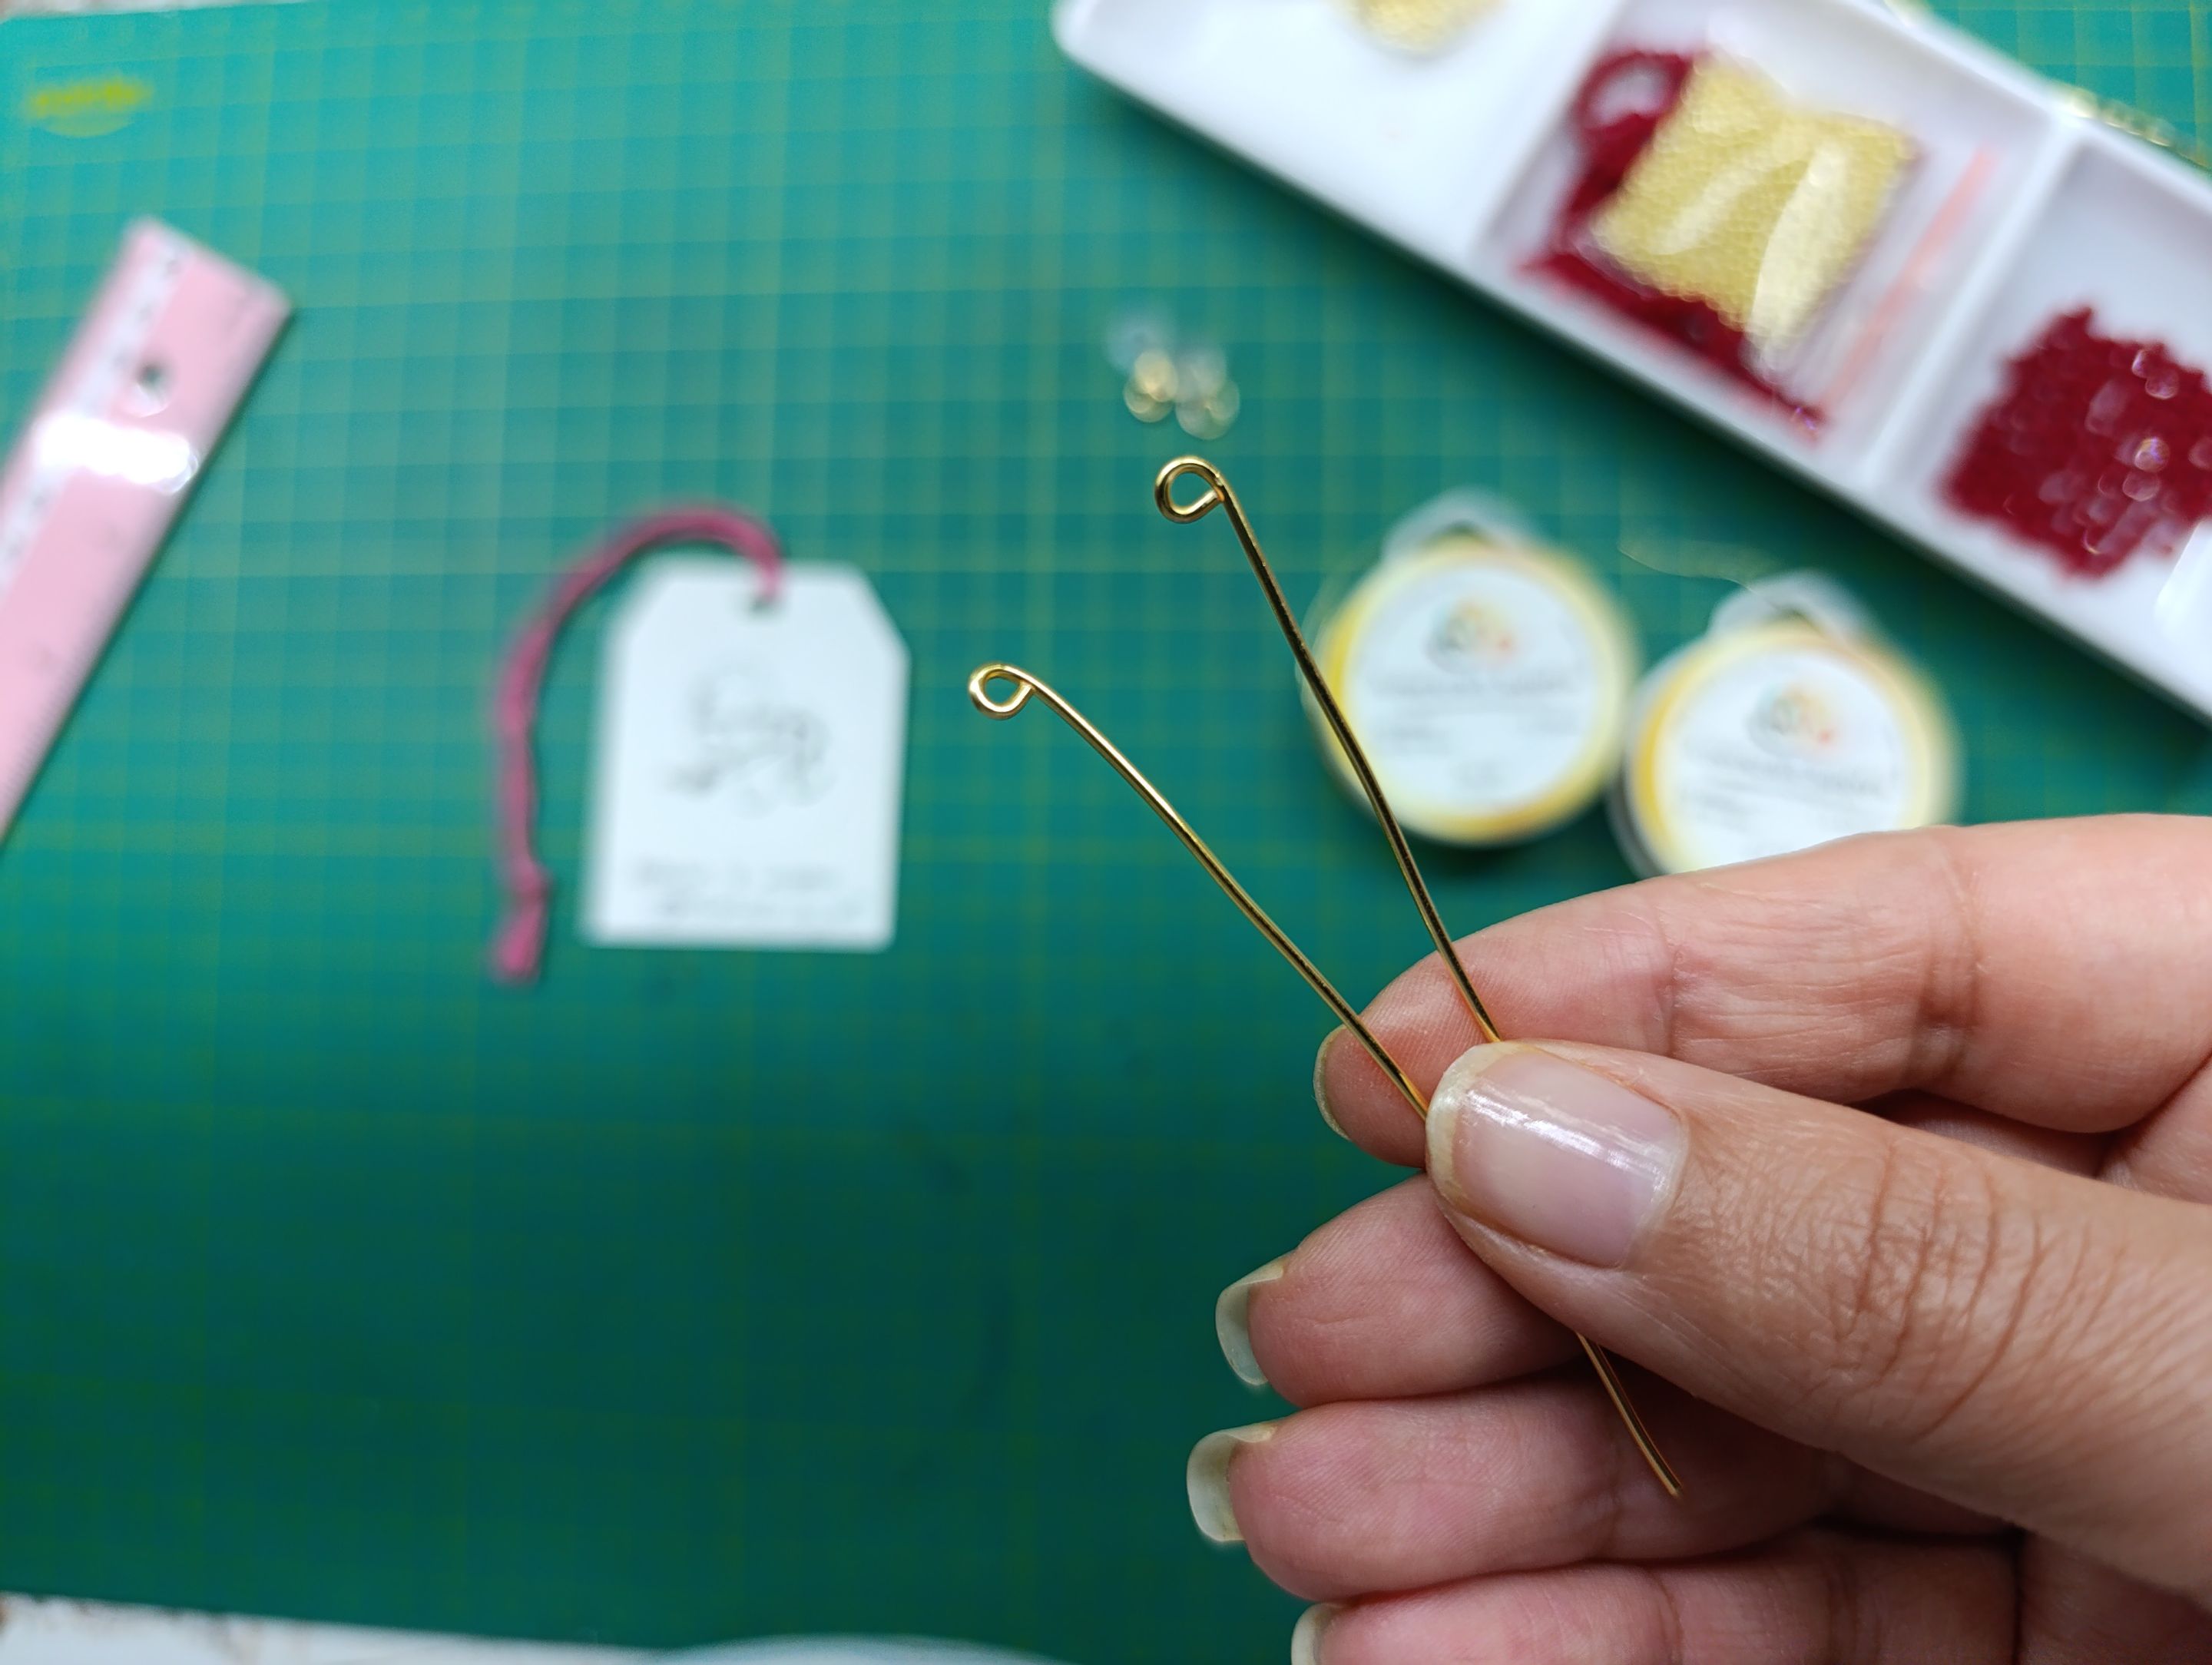
>>Comenzaremos cortando 2 piezas de alambre #18 de 8 centímetros.
We will make a ring using the smallest size of the round pliers. We will distribute this among each of the pieces of wire that will form the bases of the earrings.
>>Haremos una argolla en la medida más pequeña de la pinza redonda. Esto vamos a repartirlo en cada una de las piezas de alambre que serán las bases de los aretes.
|||
|-|-|
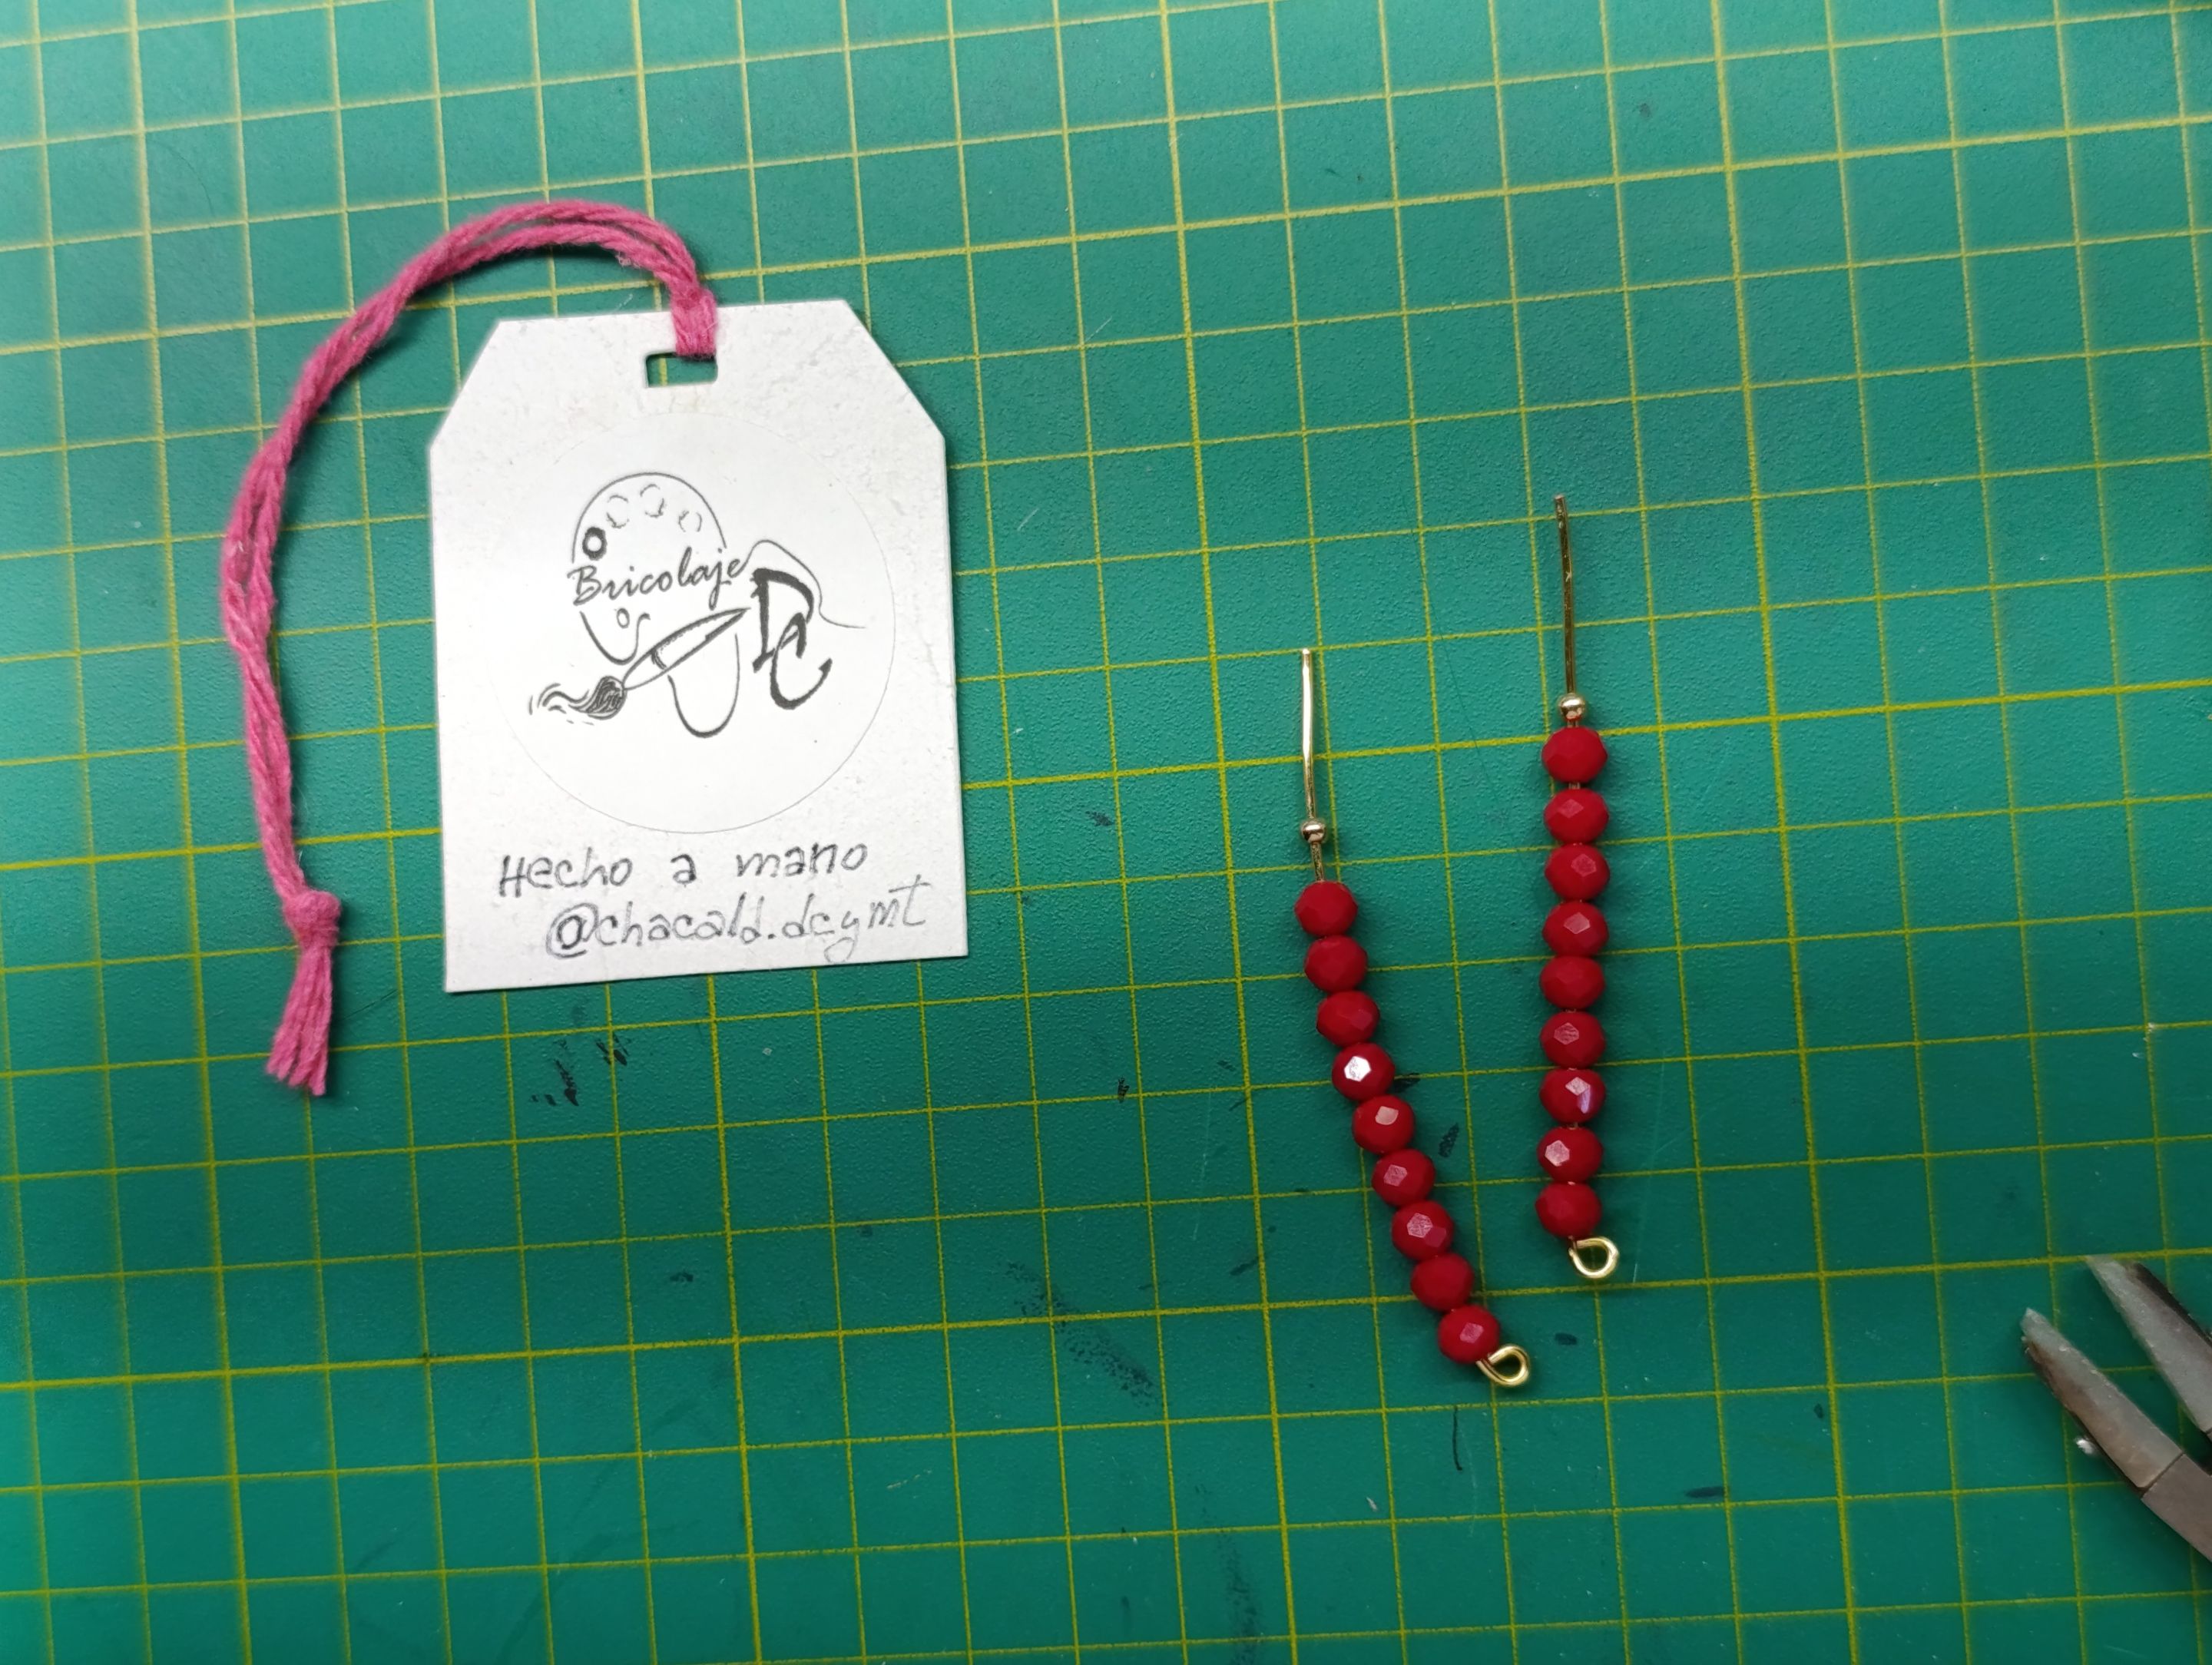
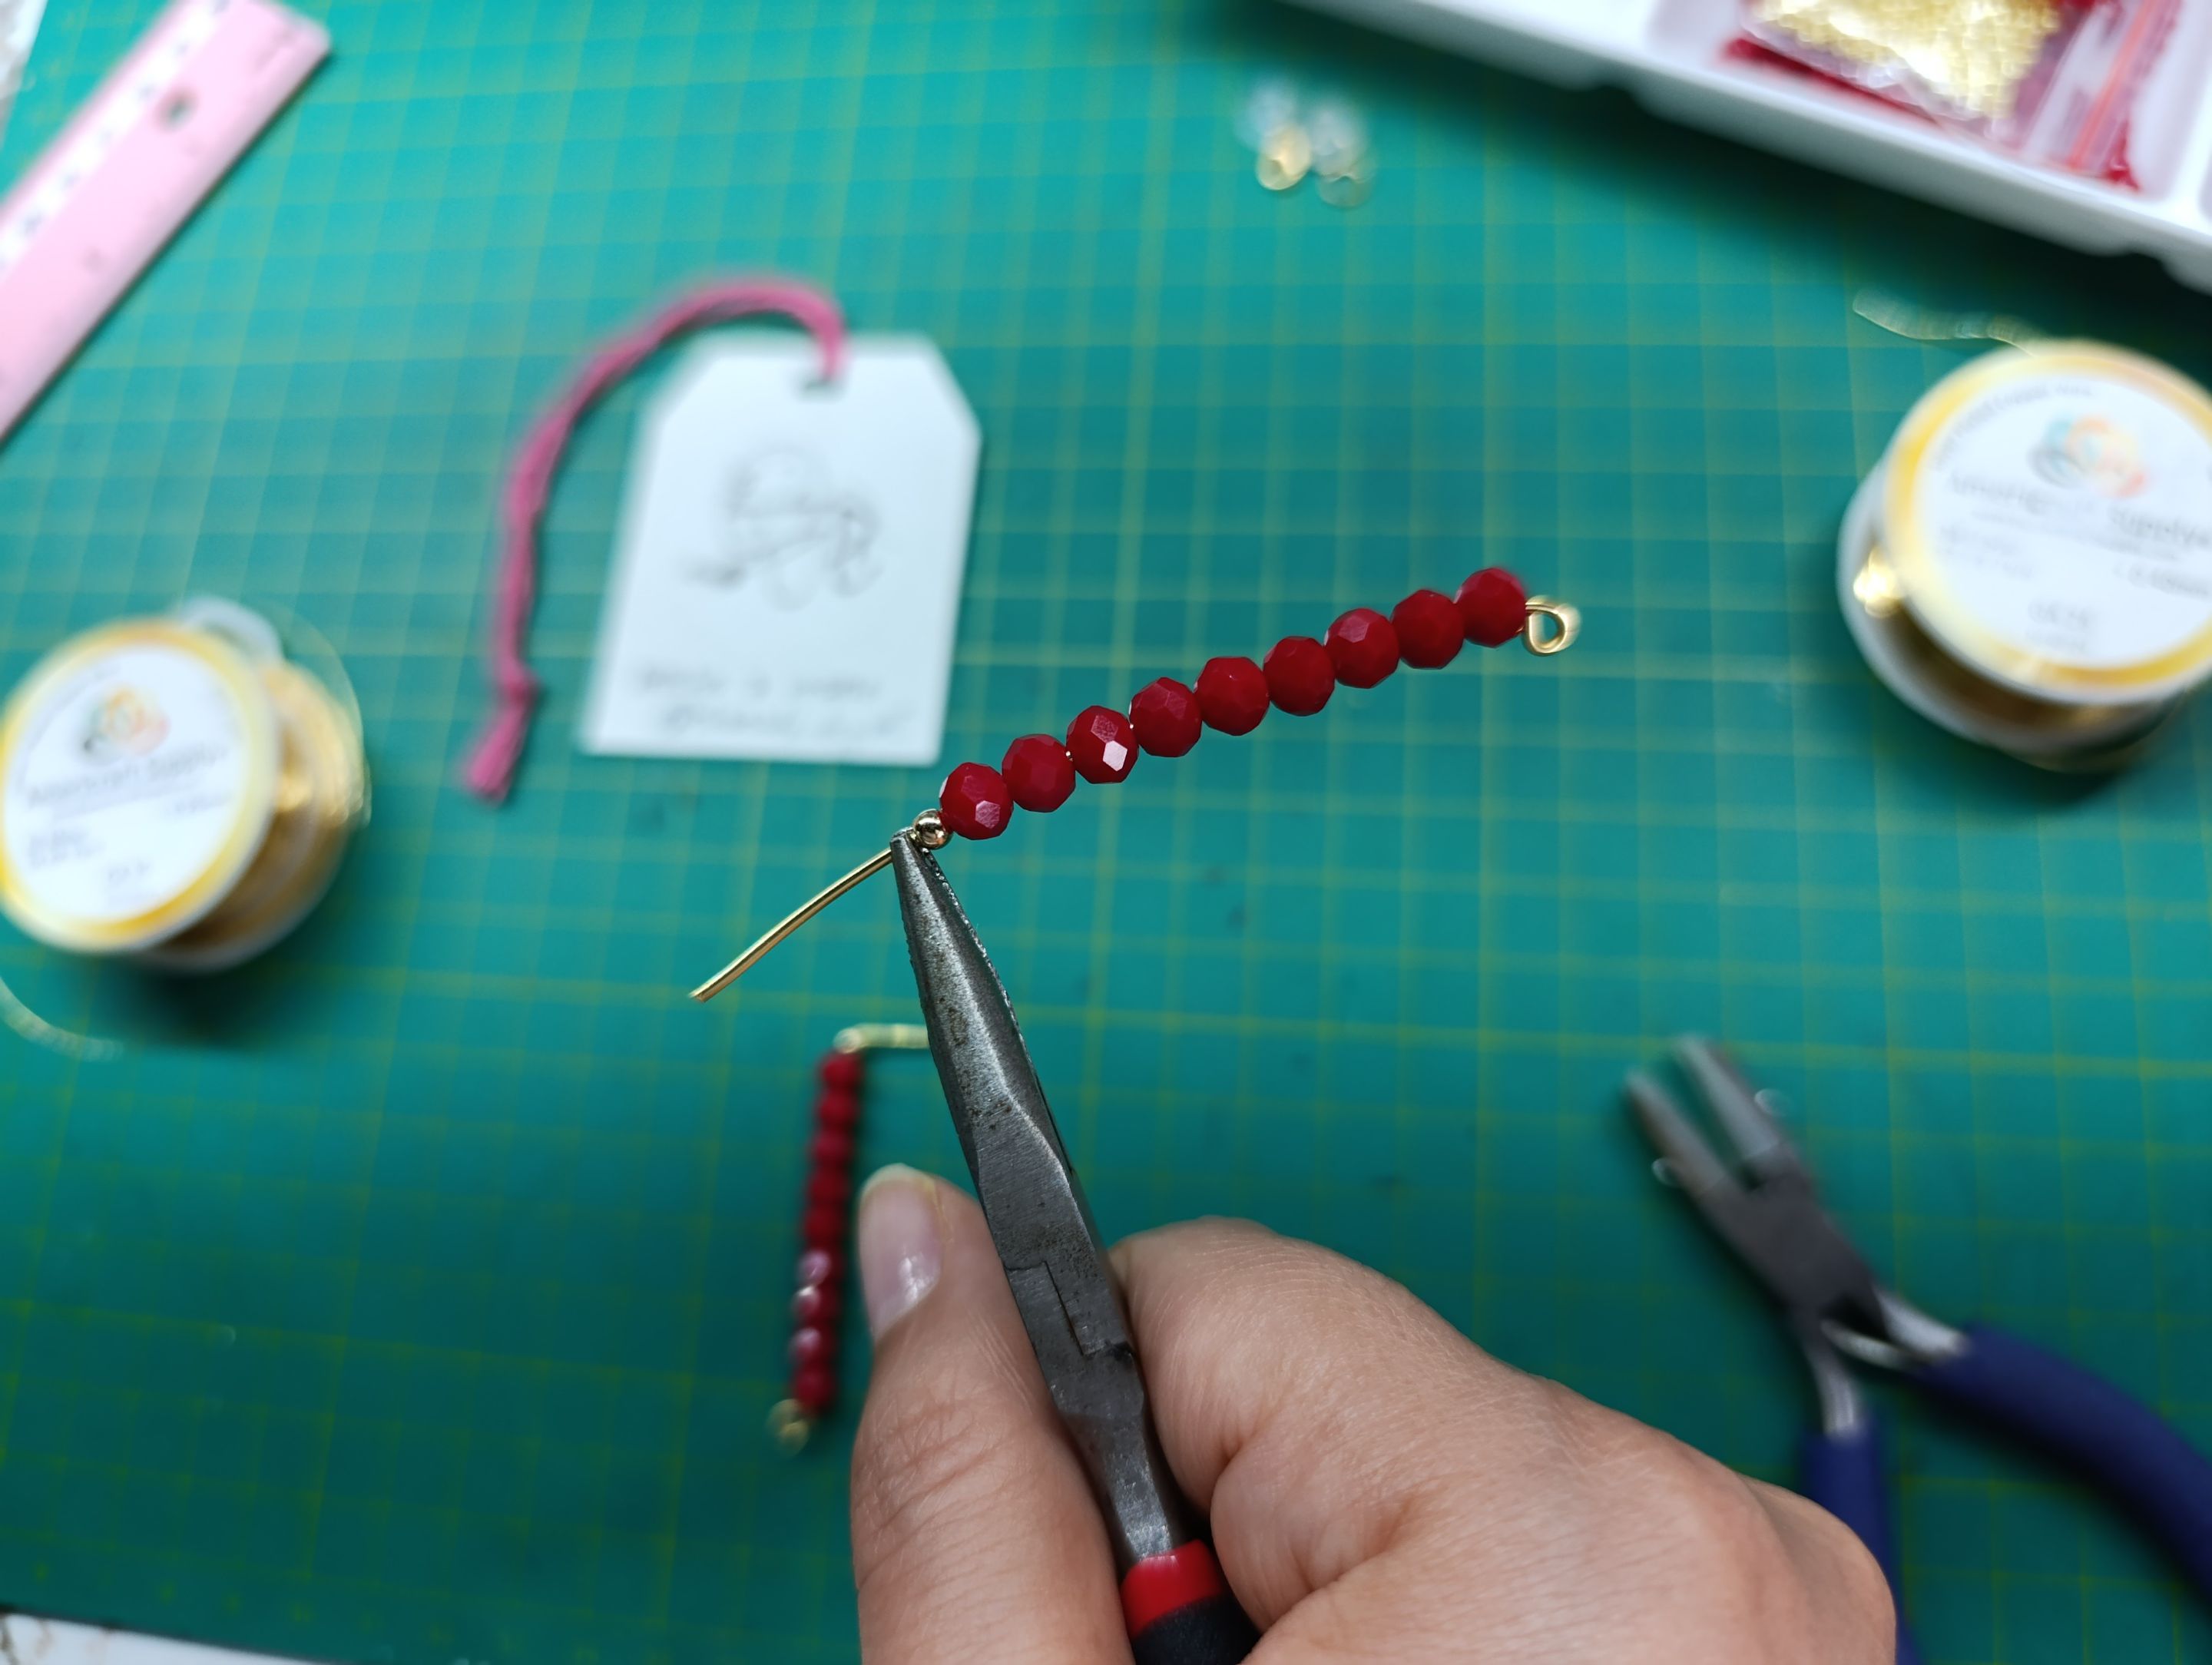
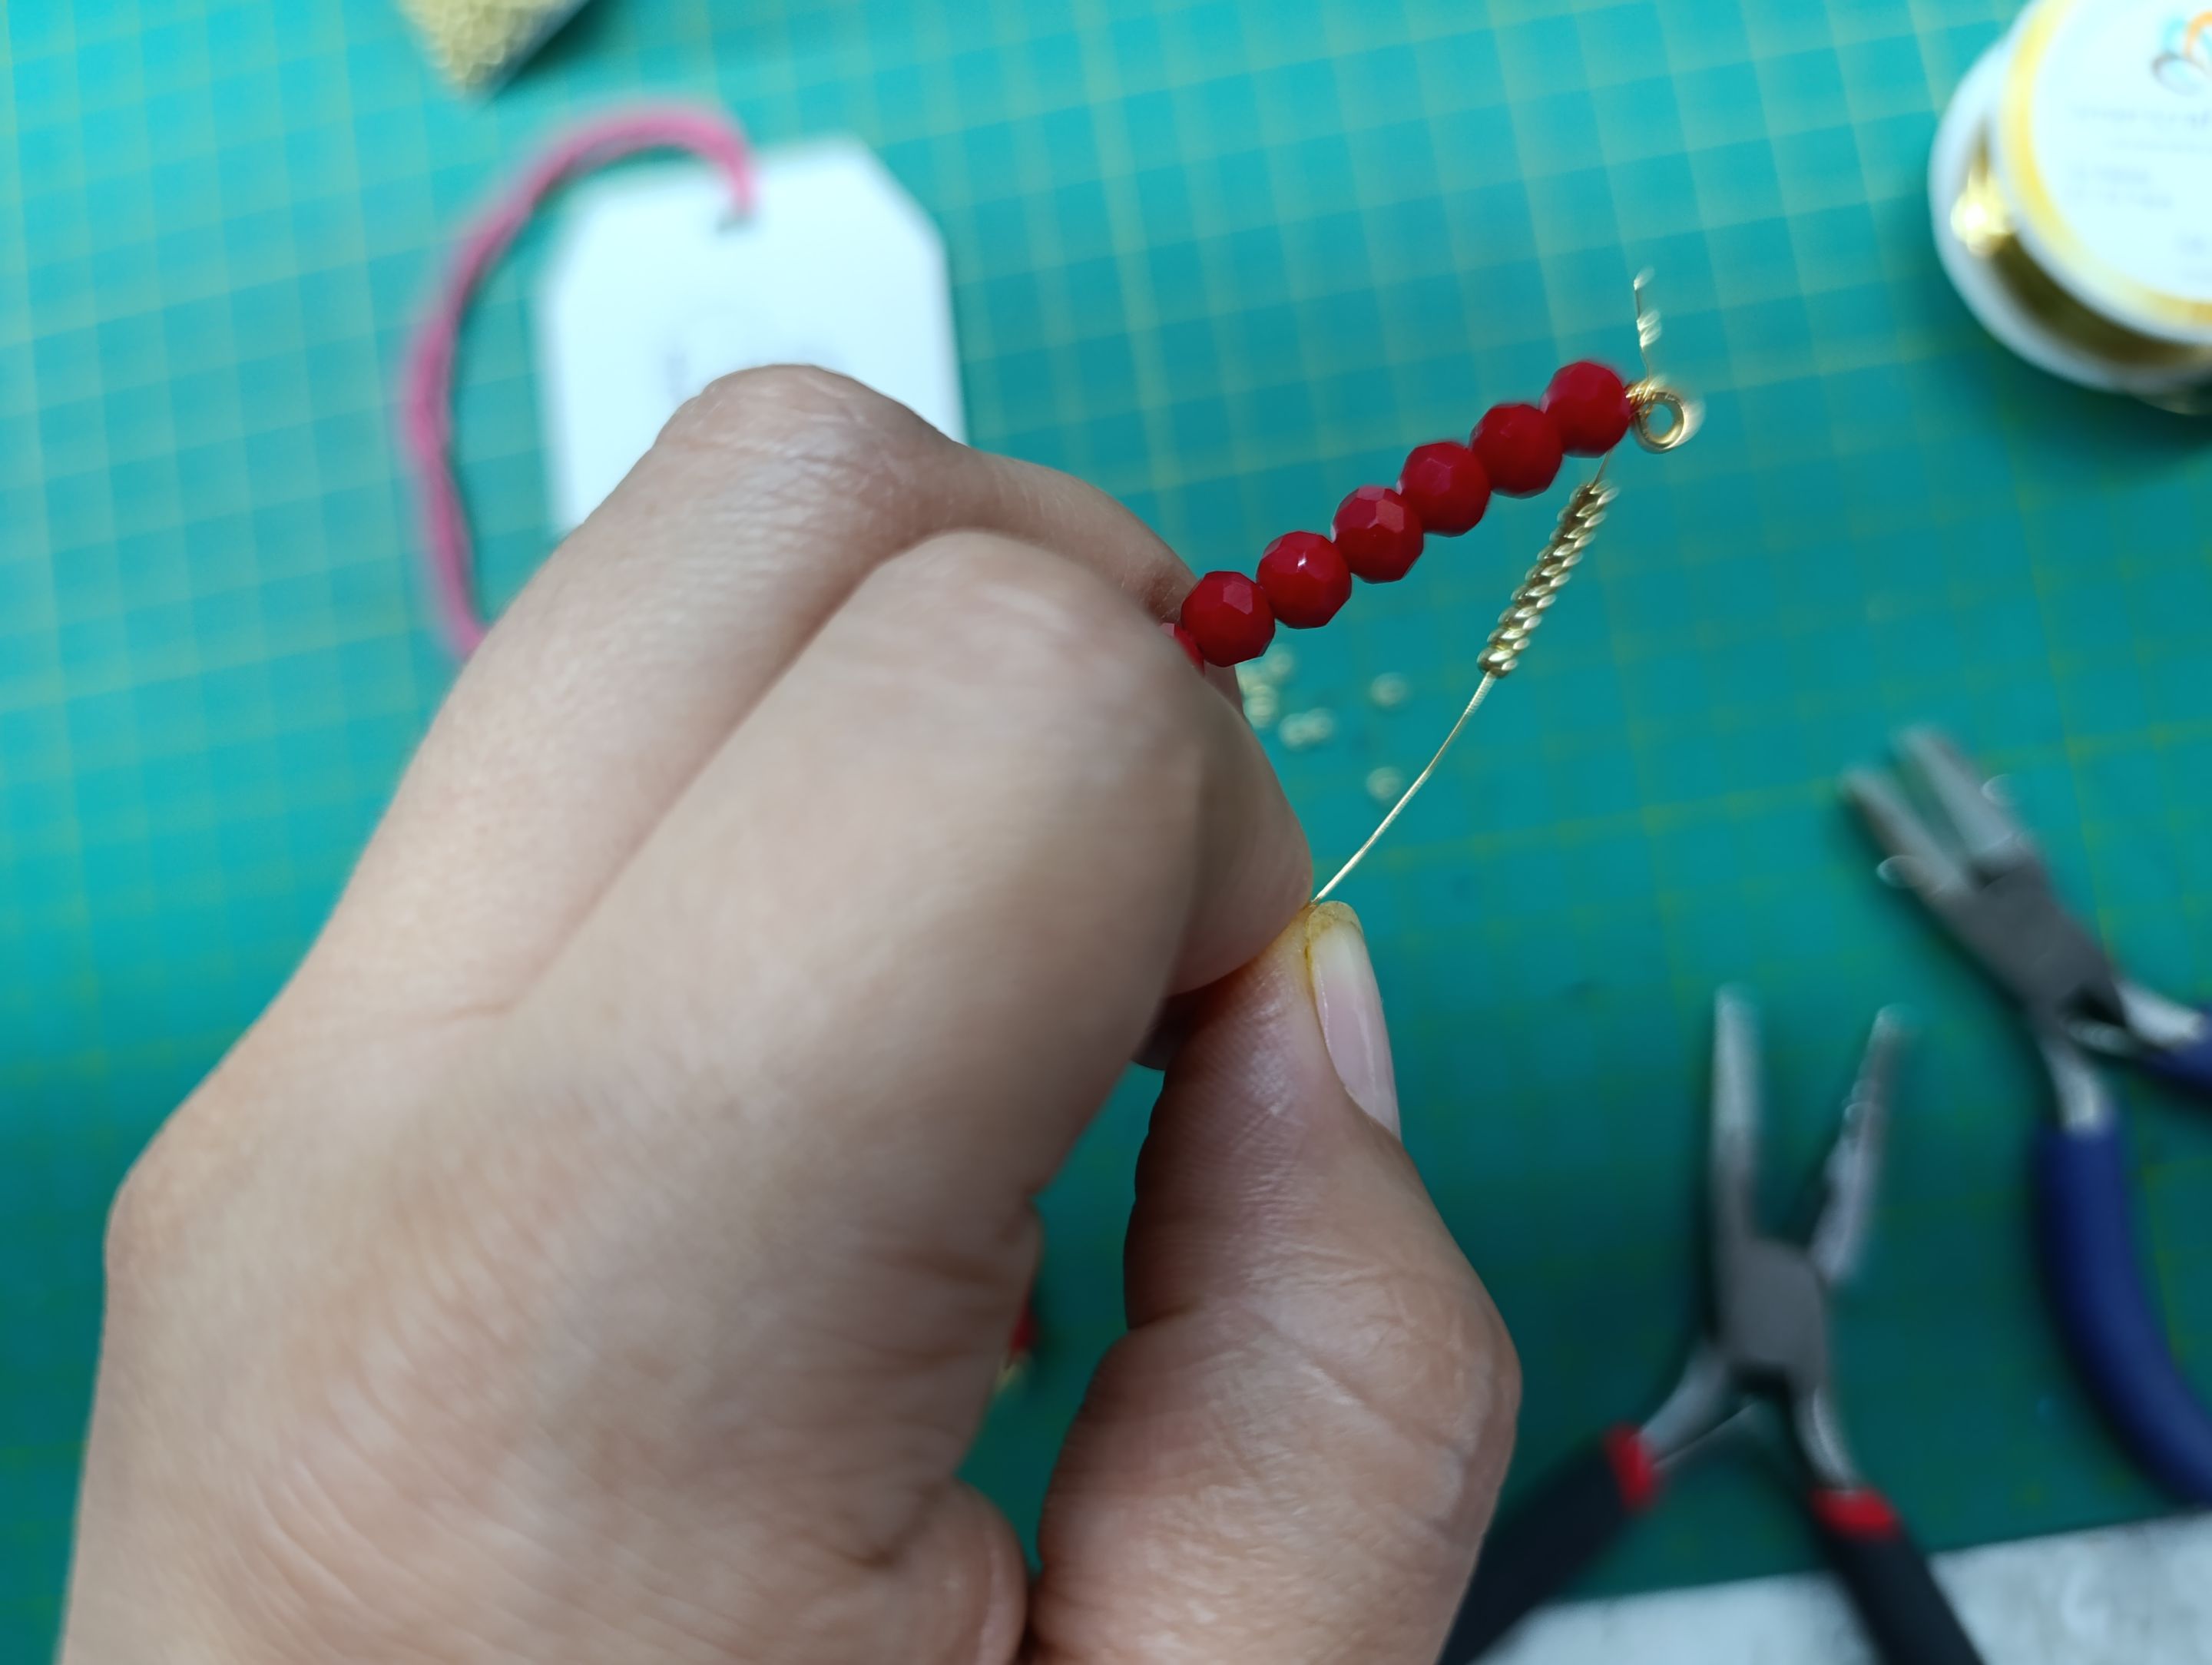
Insert 9 Murano glass beads and a ball bead. Using the flat pliers, bend the tip of the earring to shape it.
>>Introducimos 9 cristales de Murano y un balín. Con ayuda de la pinza plana doblamos la punta del aretes para darle forma al arete.
|||
|-|-|
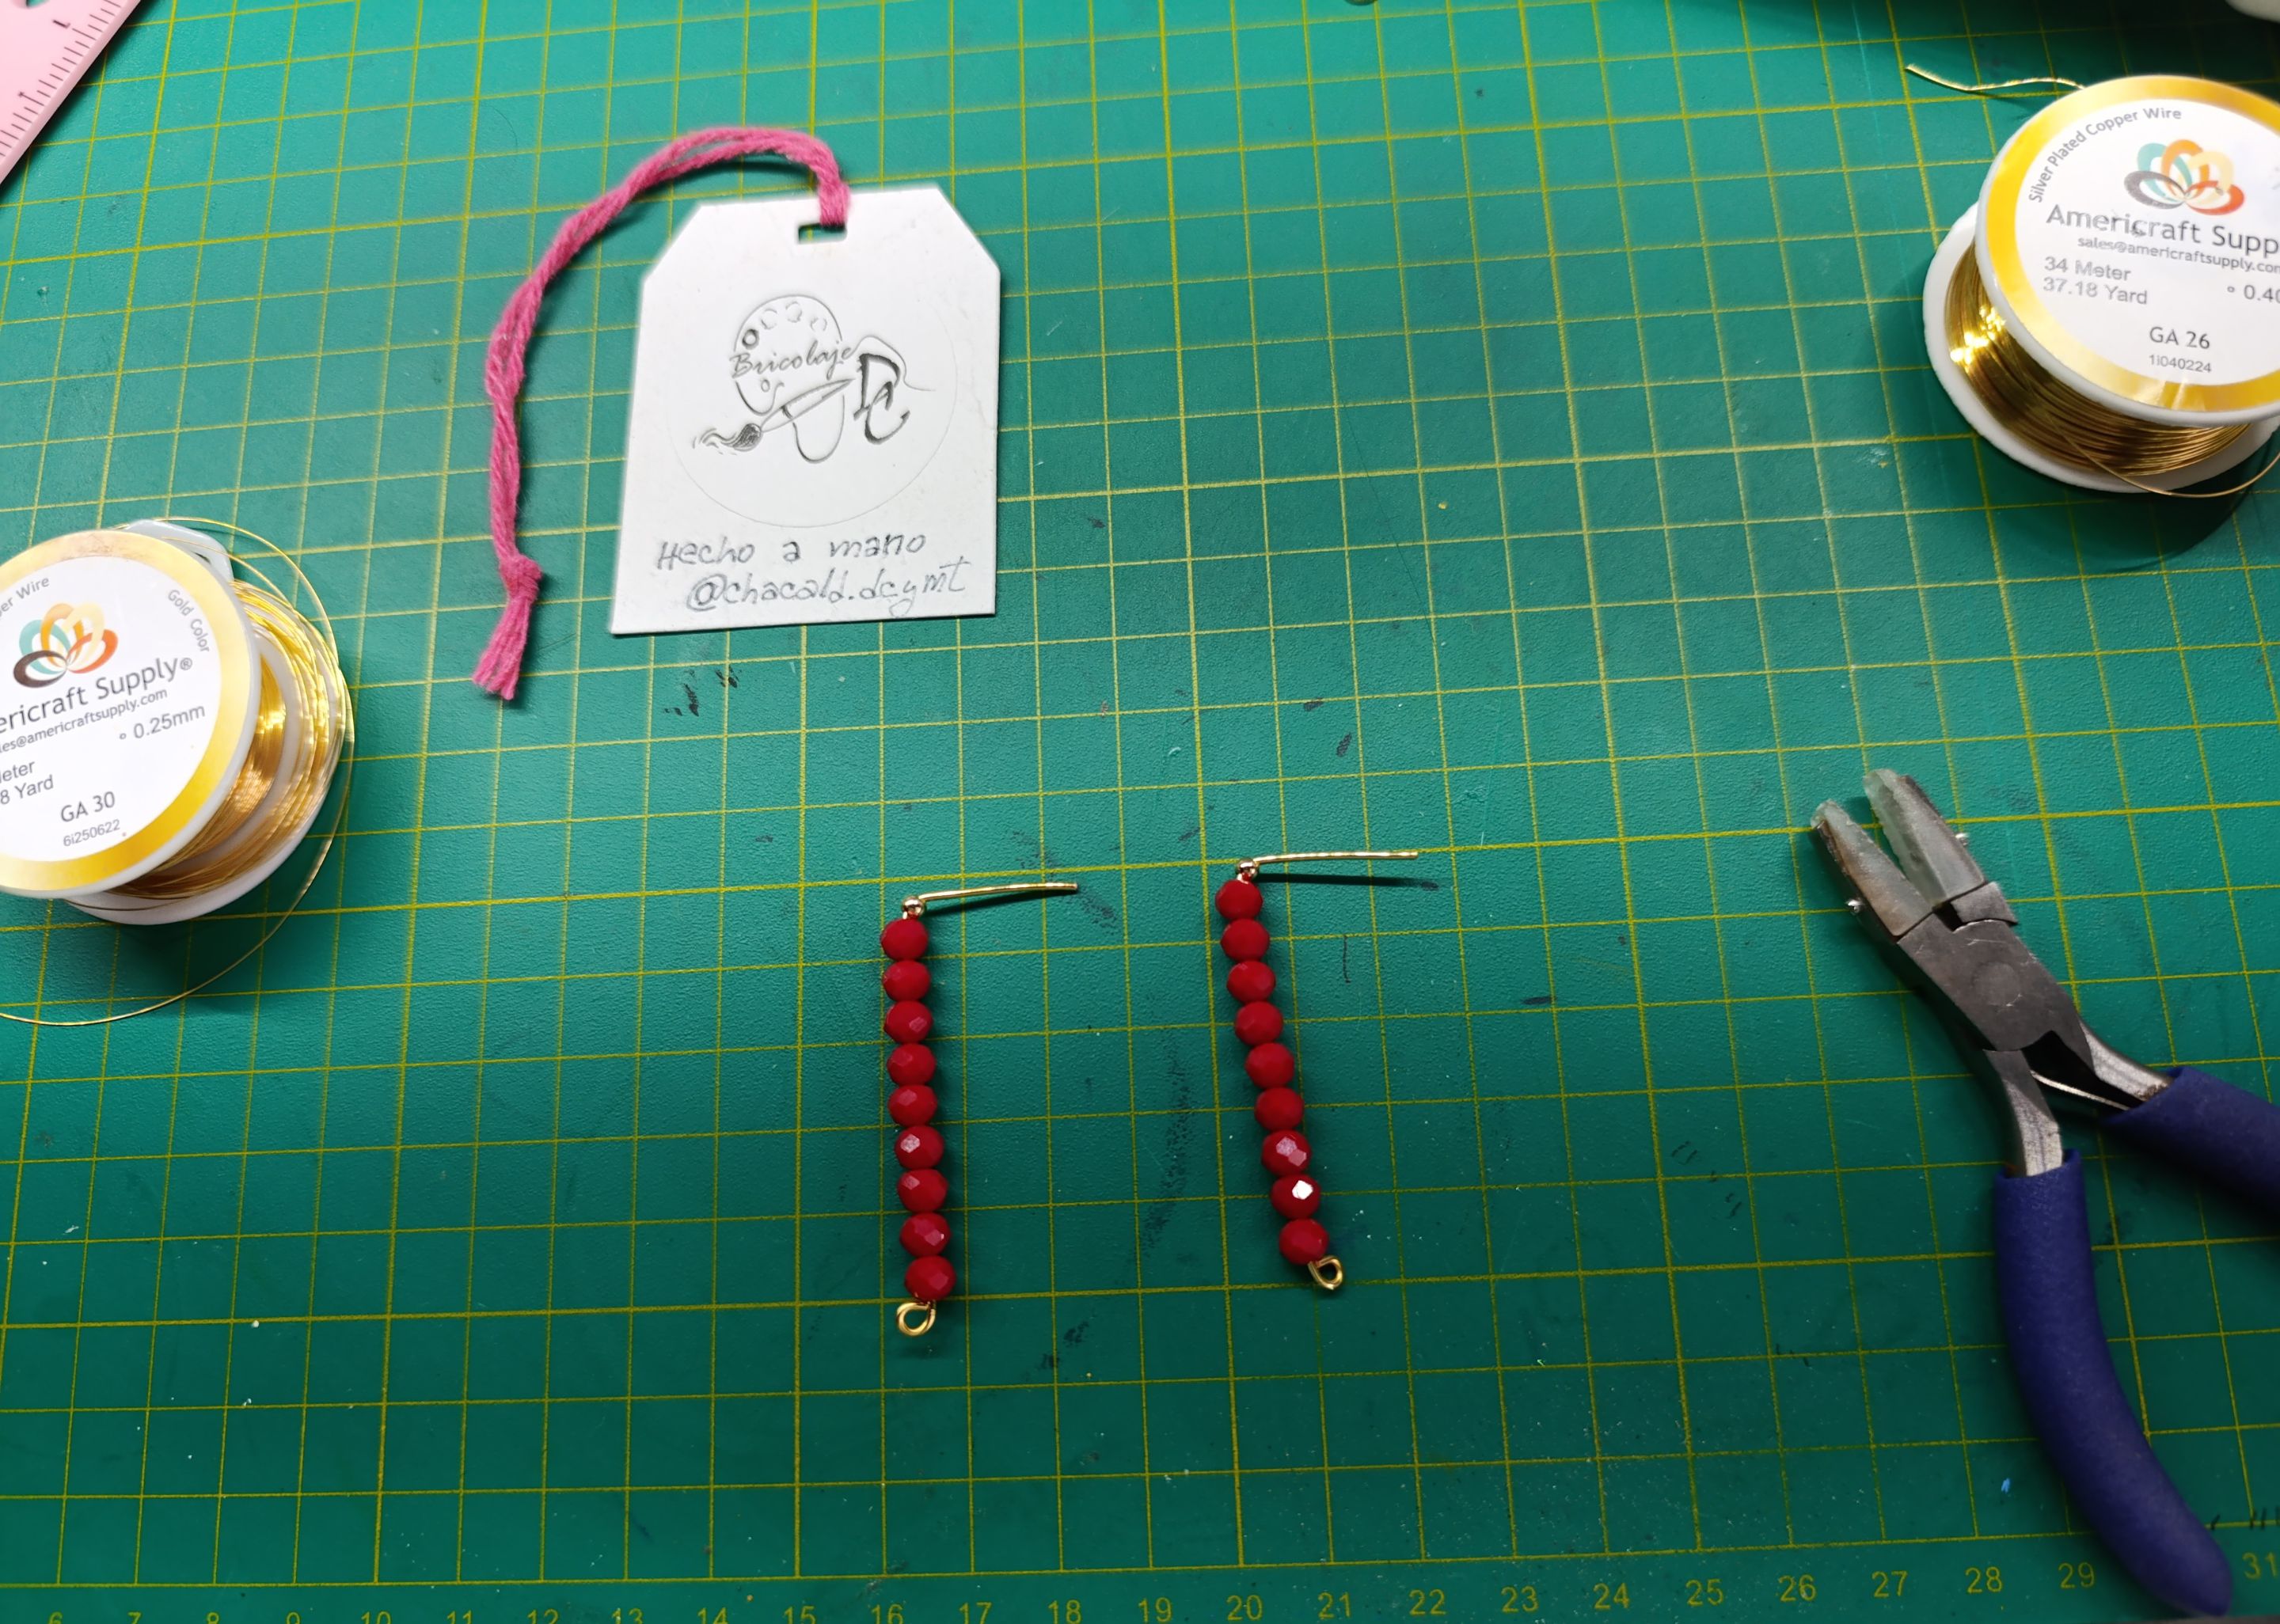
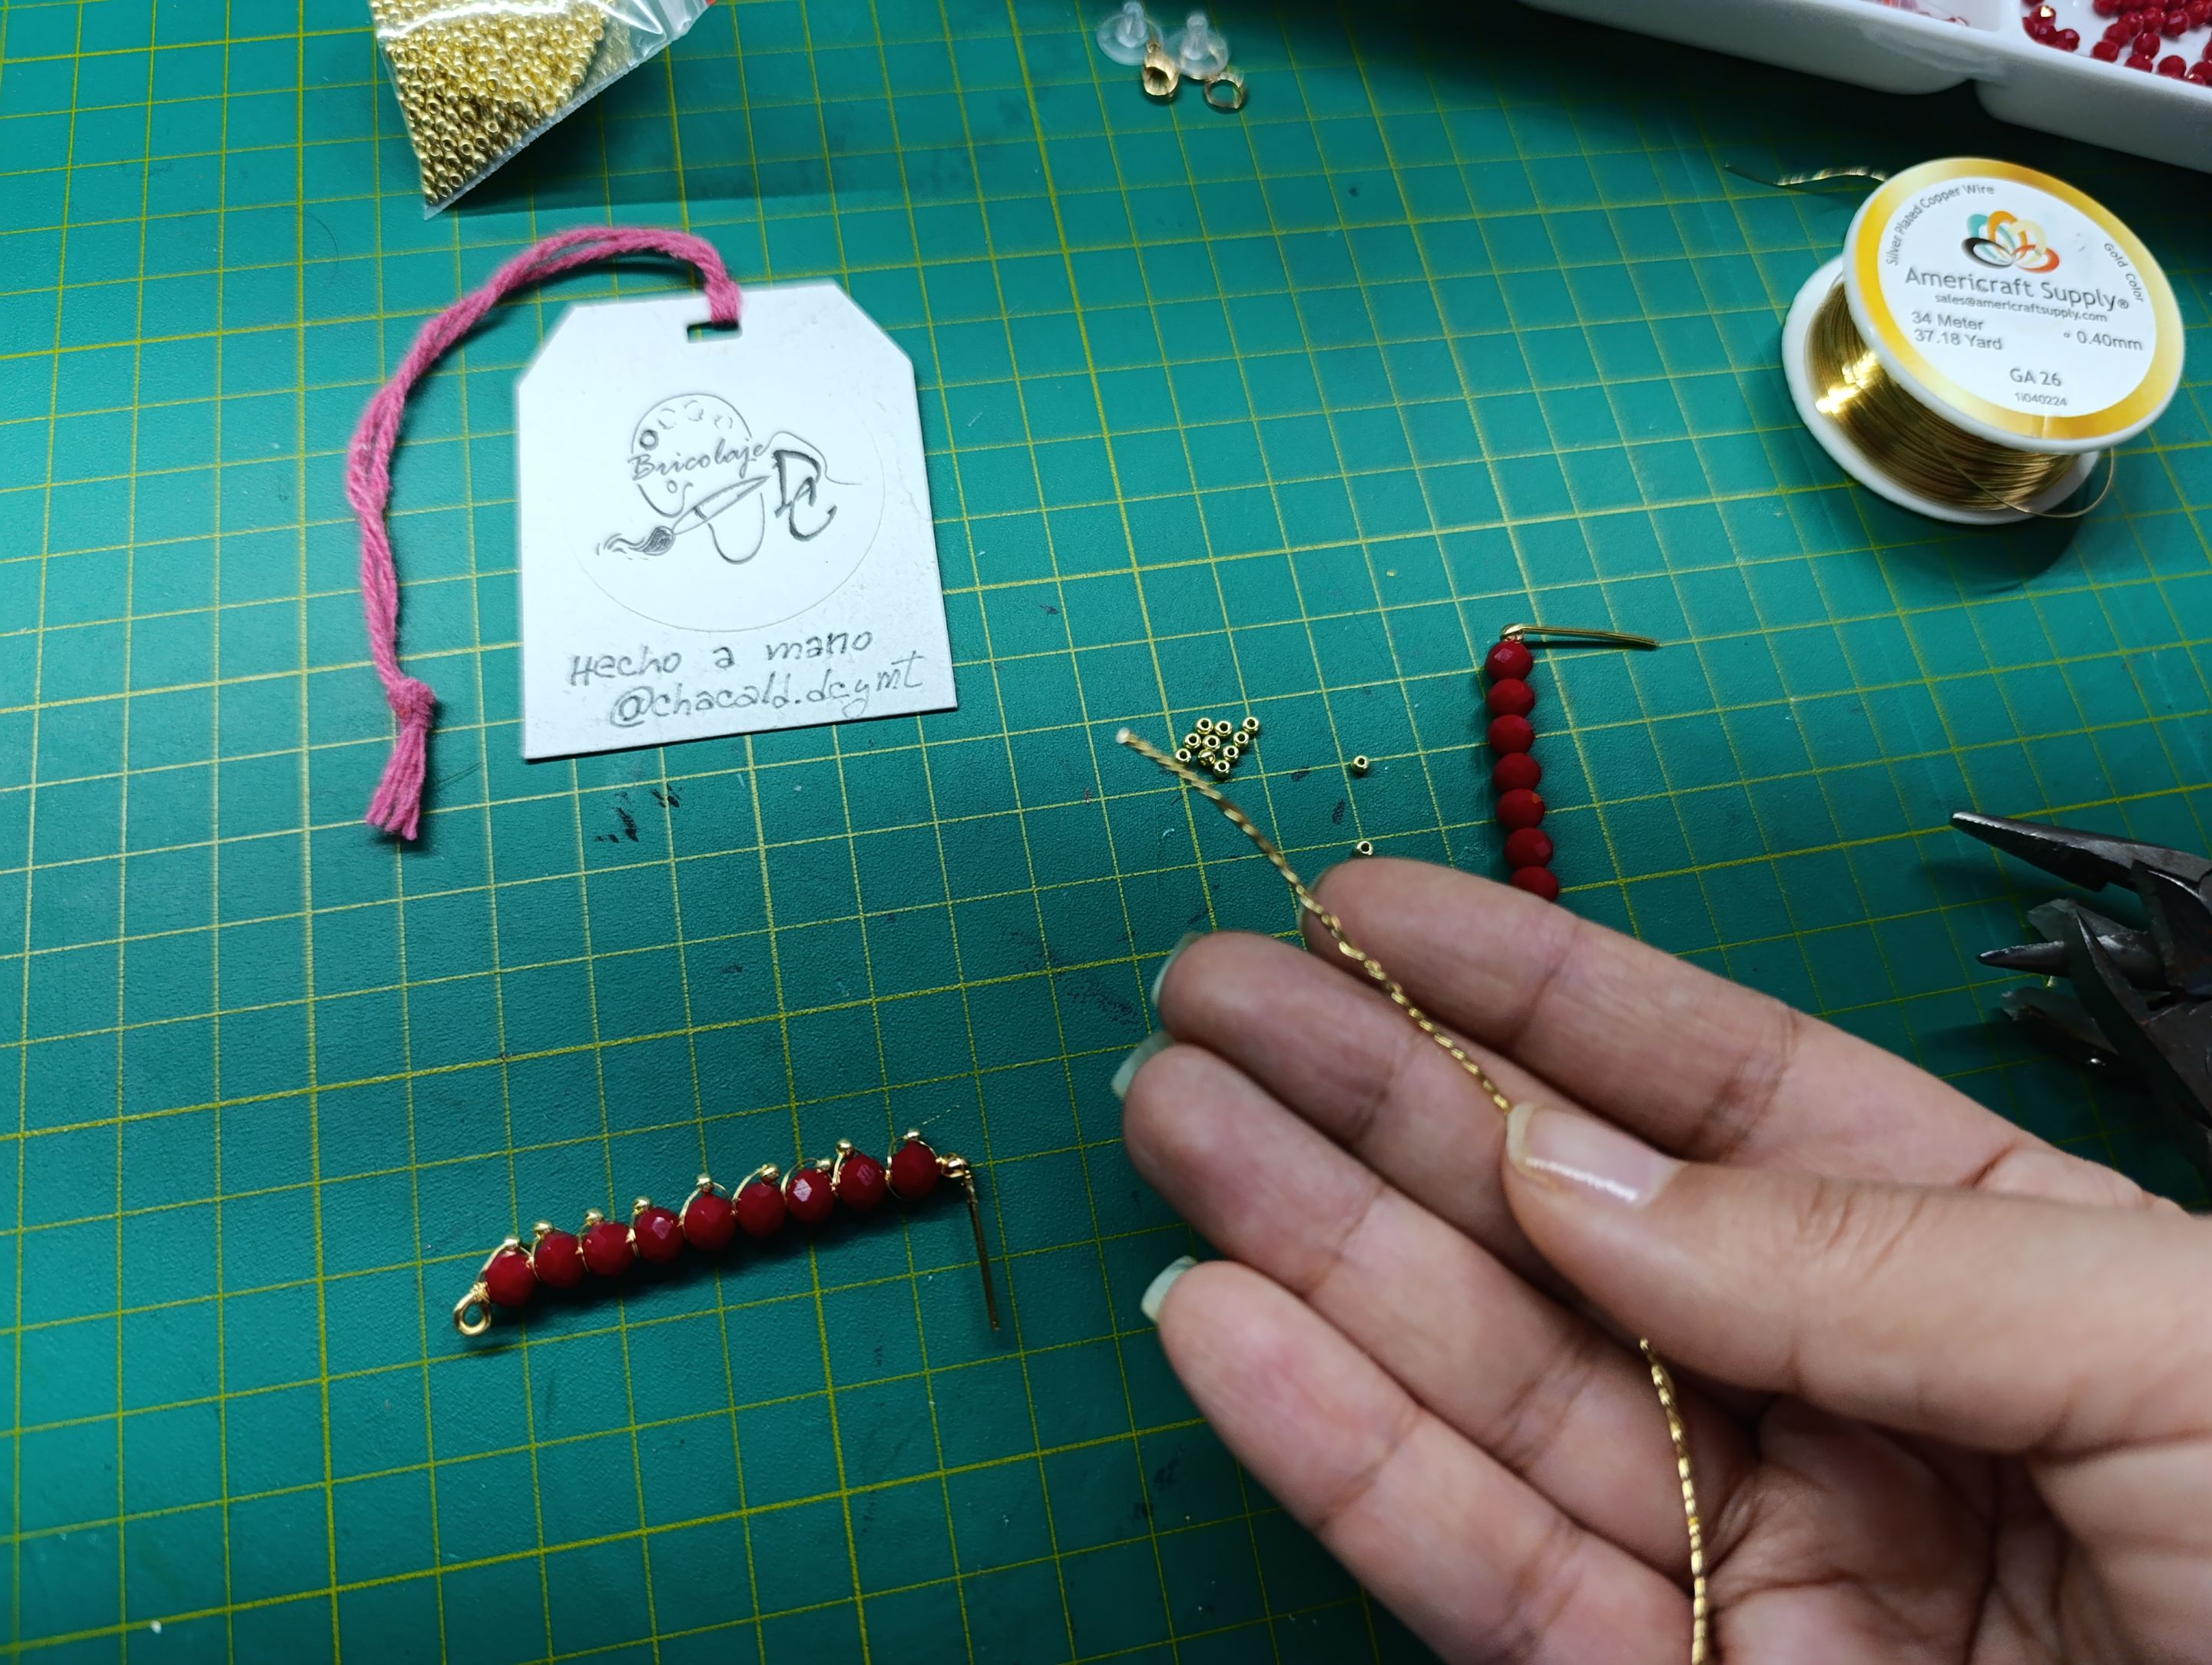
Once we have the bases of the earrings ready, we can start decorating.
>>Una vez que tenemos la bases de los aretes listas. Vamos a comenzar a adornar.
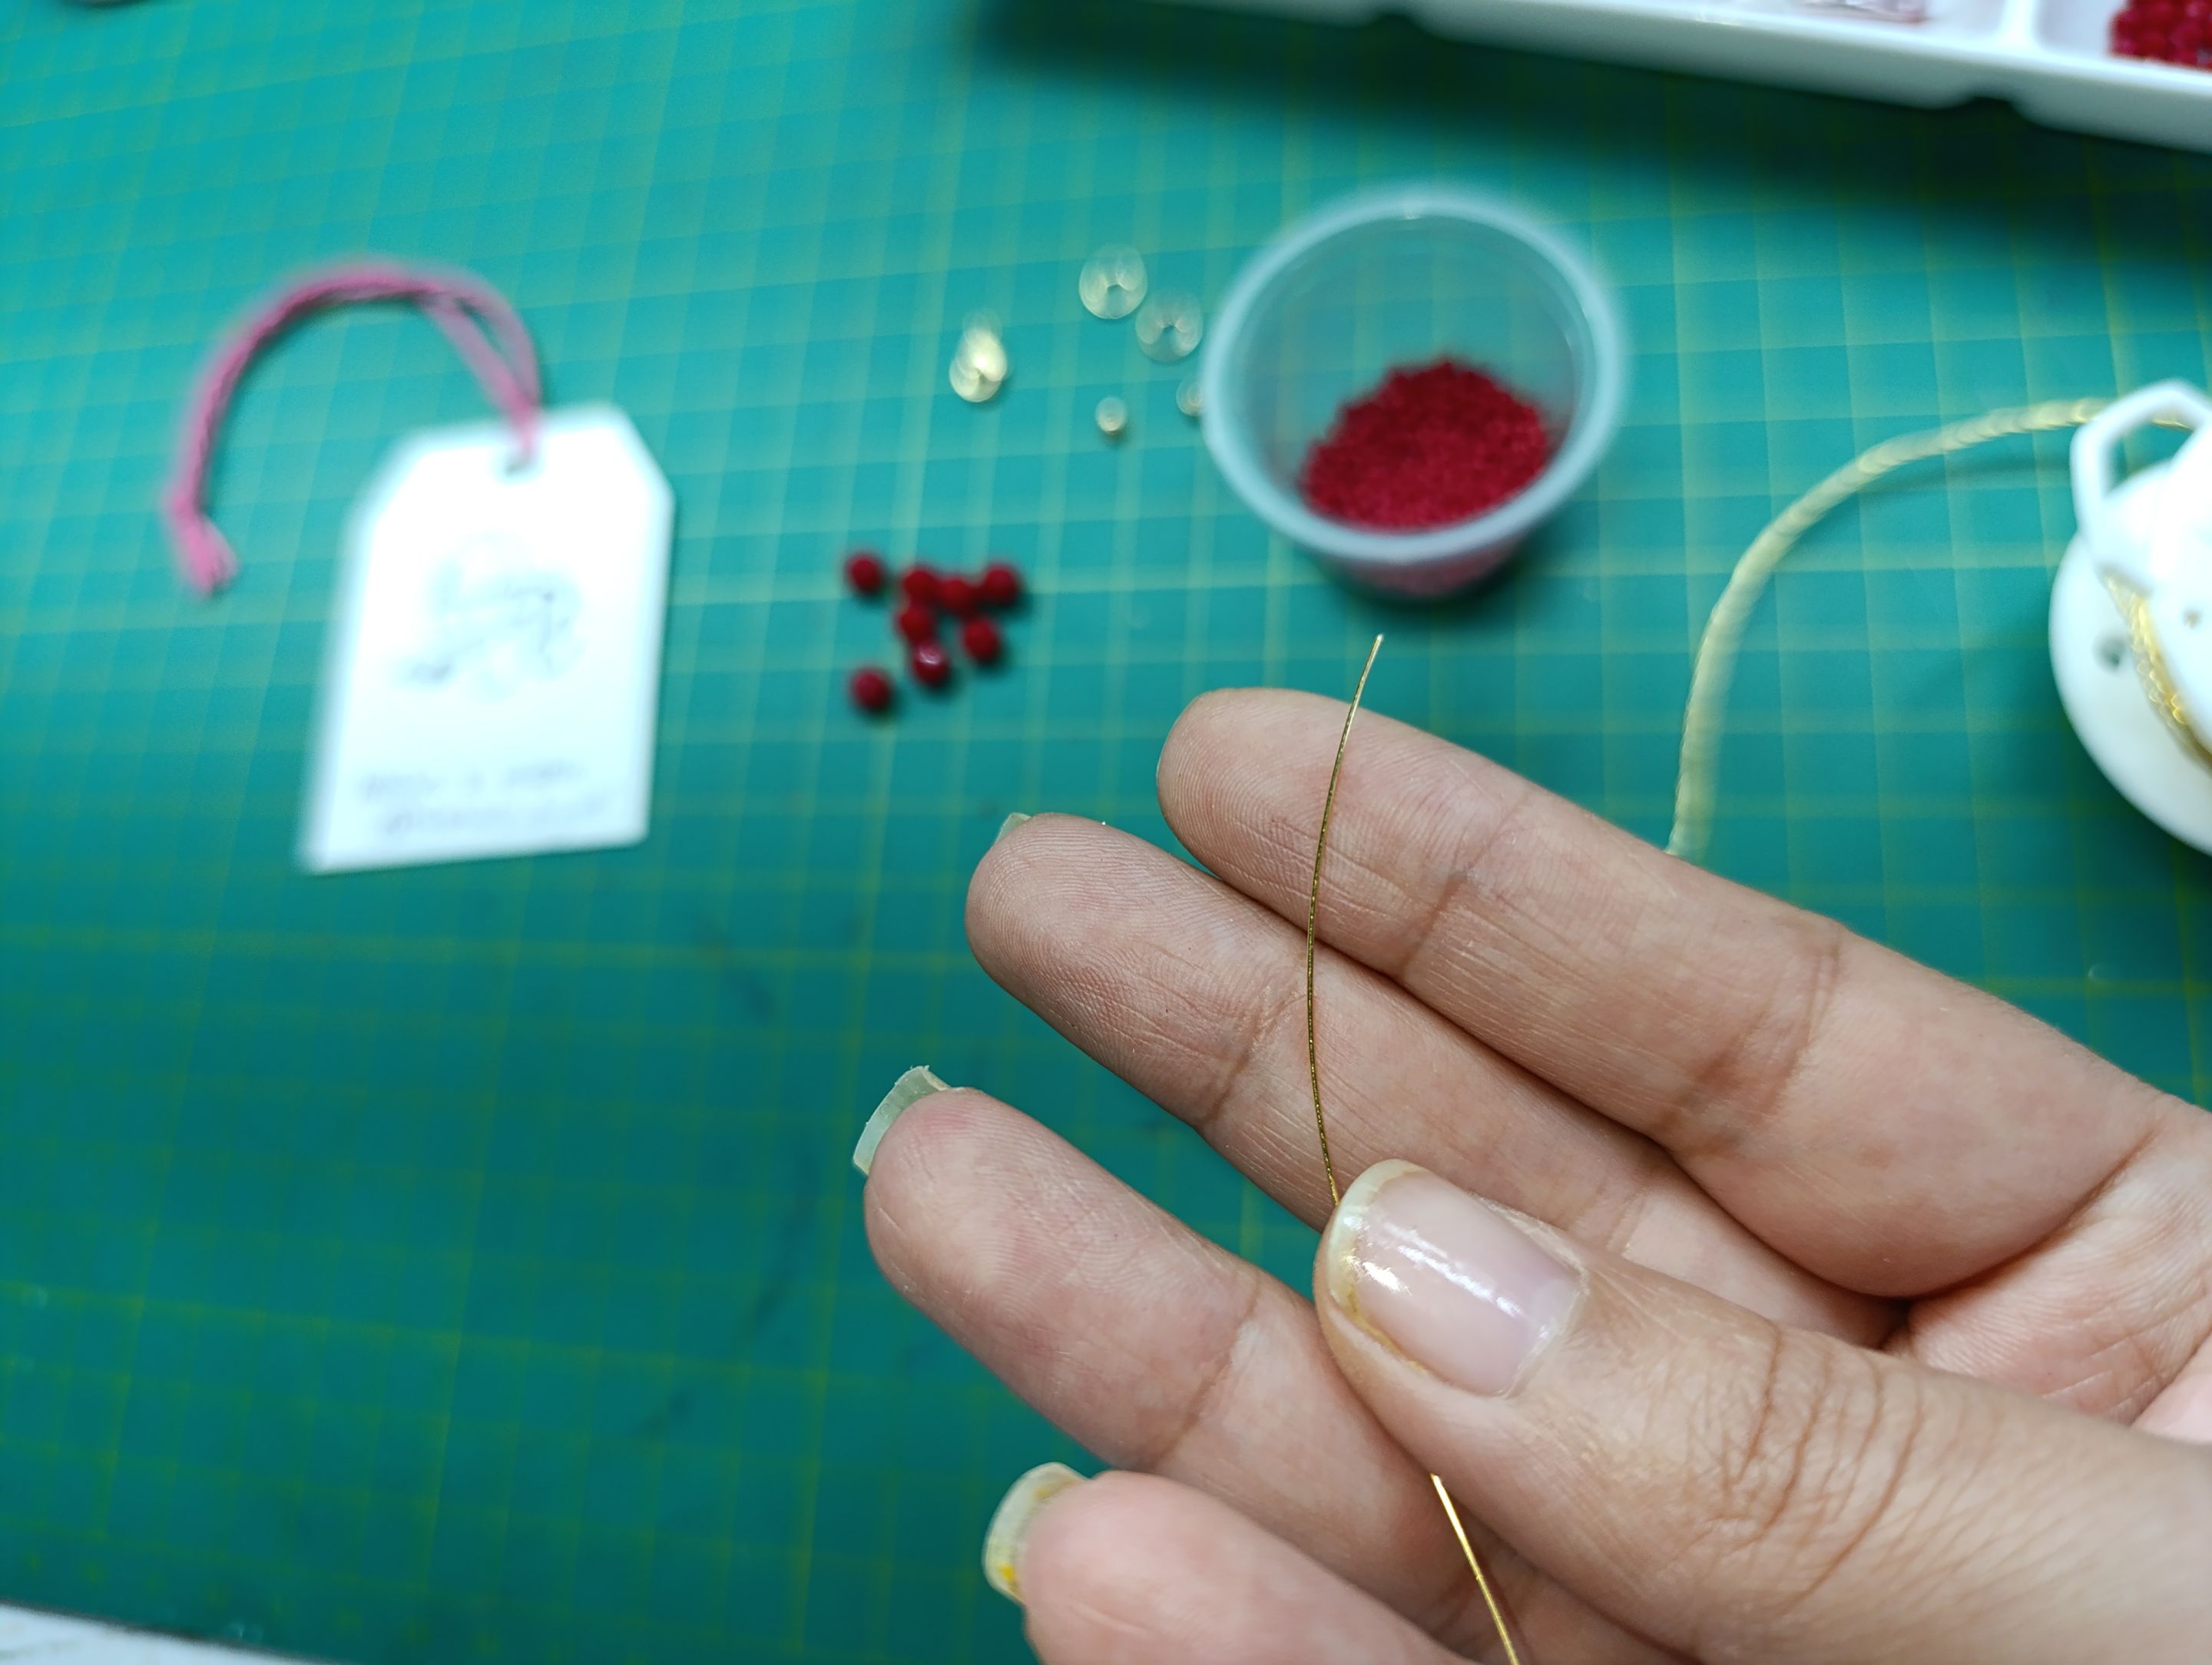
Take the #30 wire directly from the roll so as not to waste any wire, and start weaving a chain of loops with gold-colored seed beads.
Insert 9 gold-colored seed beads. Secure the wire with 3 loops in the initial ring of the ring pass.
>>Tomamos el alambre #30 y directamente del rollo para no desperdiciar alambre, vamos a comenzar a tejer una cadena de vueltas con mostacilla de color dorado.
Introducimos 9 mostacillas de color dorado. Sujetamos con 3 vueltas el alambre en la argolla inicial de la pase de anillos.
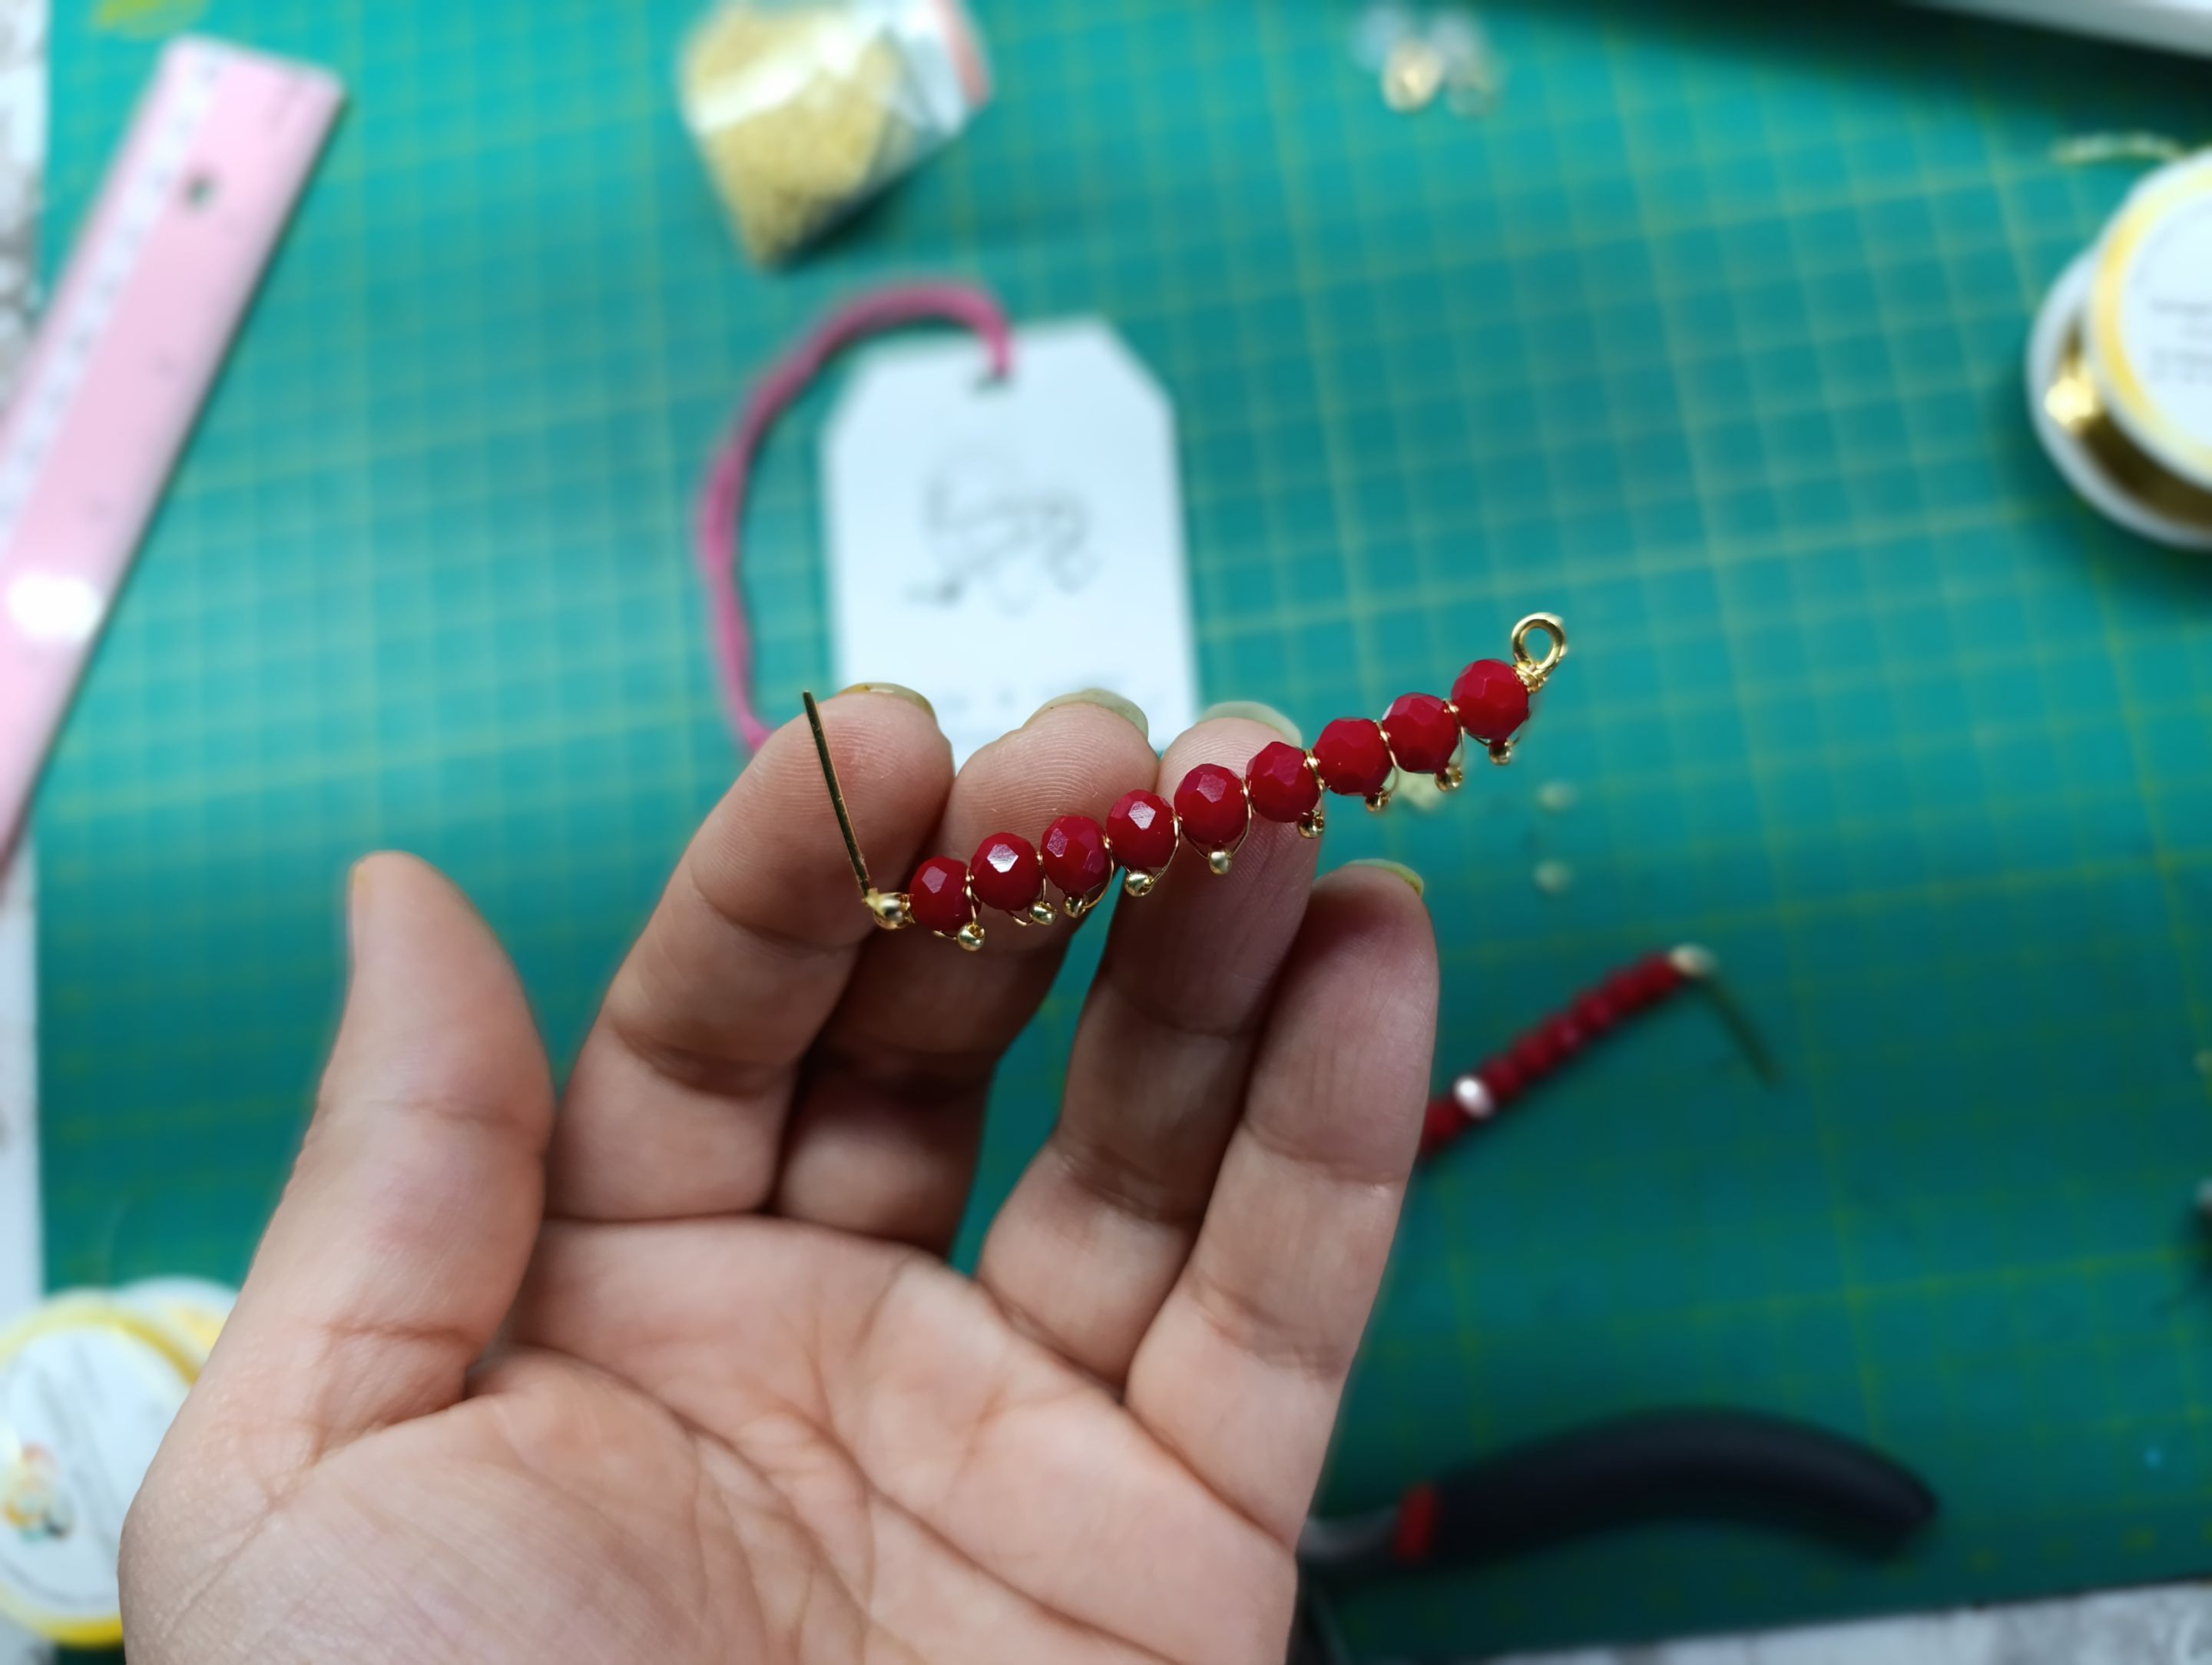
Once we have placed each bead on the Murano glass beads, we will begin to roll the twist. We make one turn between each of the Murano glass beads. And we close with two turns over the clasp at the base of the earrings.
>>Una vez que tenemos ubicada cada mostacilla sobre los Muranos, vamos a comenzar a enrollar el entorchado. Damos 1 vuelta entre cada uno de los Muranos. Y cerramos con 2 vueltas sobre el balín del cierre de la base de los aretes.
|||
|-|-|
Take the mandrel and, at measurement #5, close it into a ring shape.
>>Tomamos el mandril y en la medida #5 vamos a cerrar en forma de argolla.
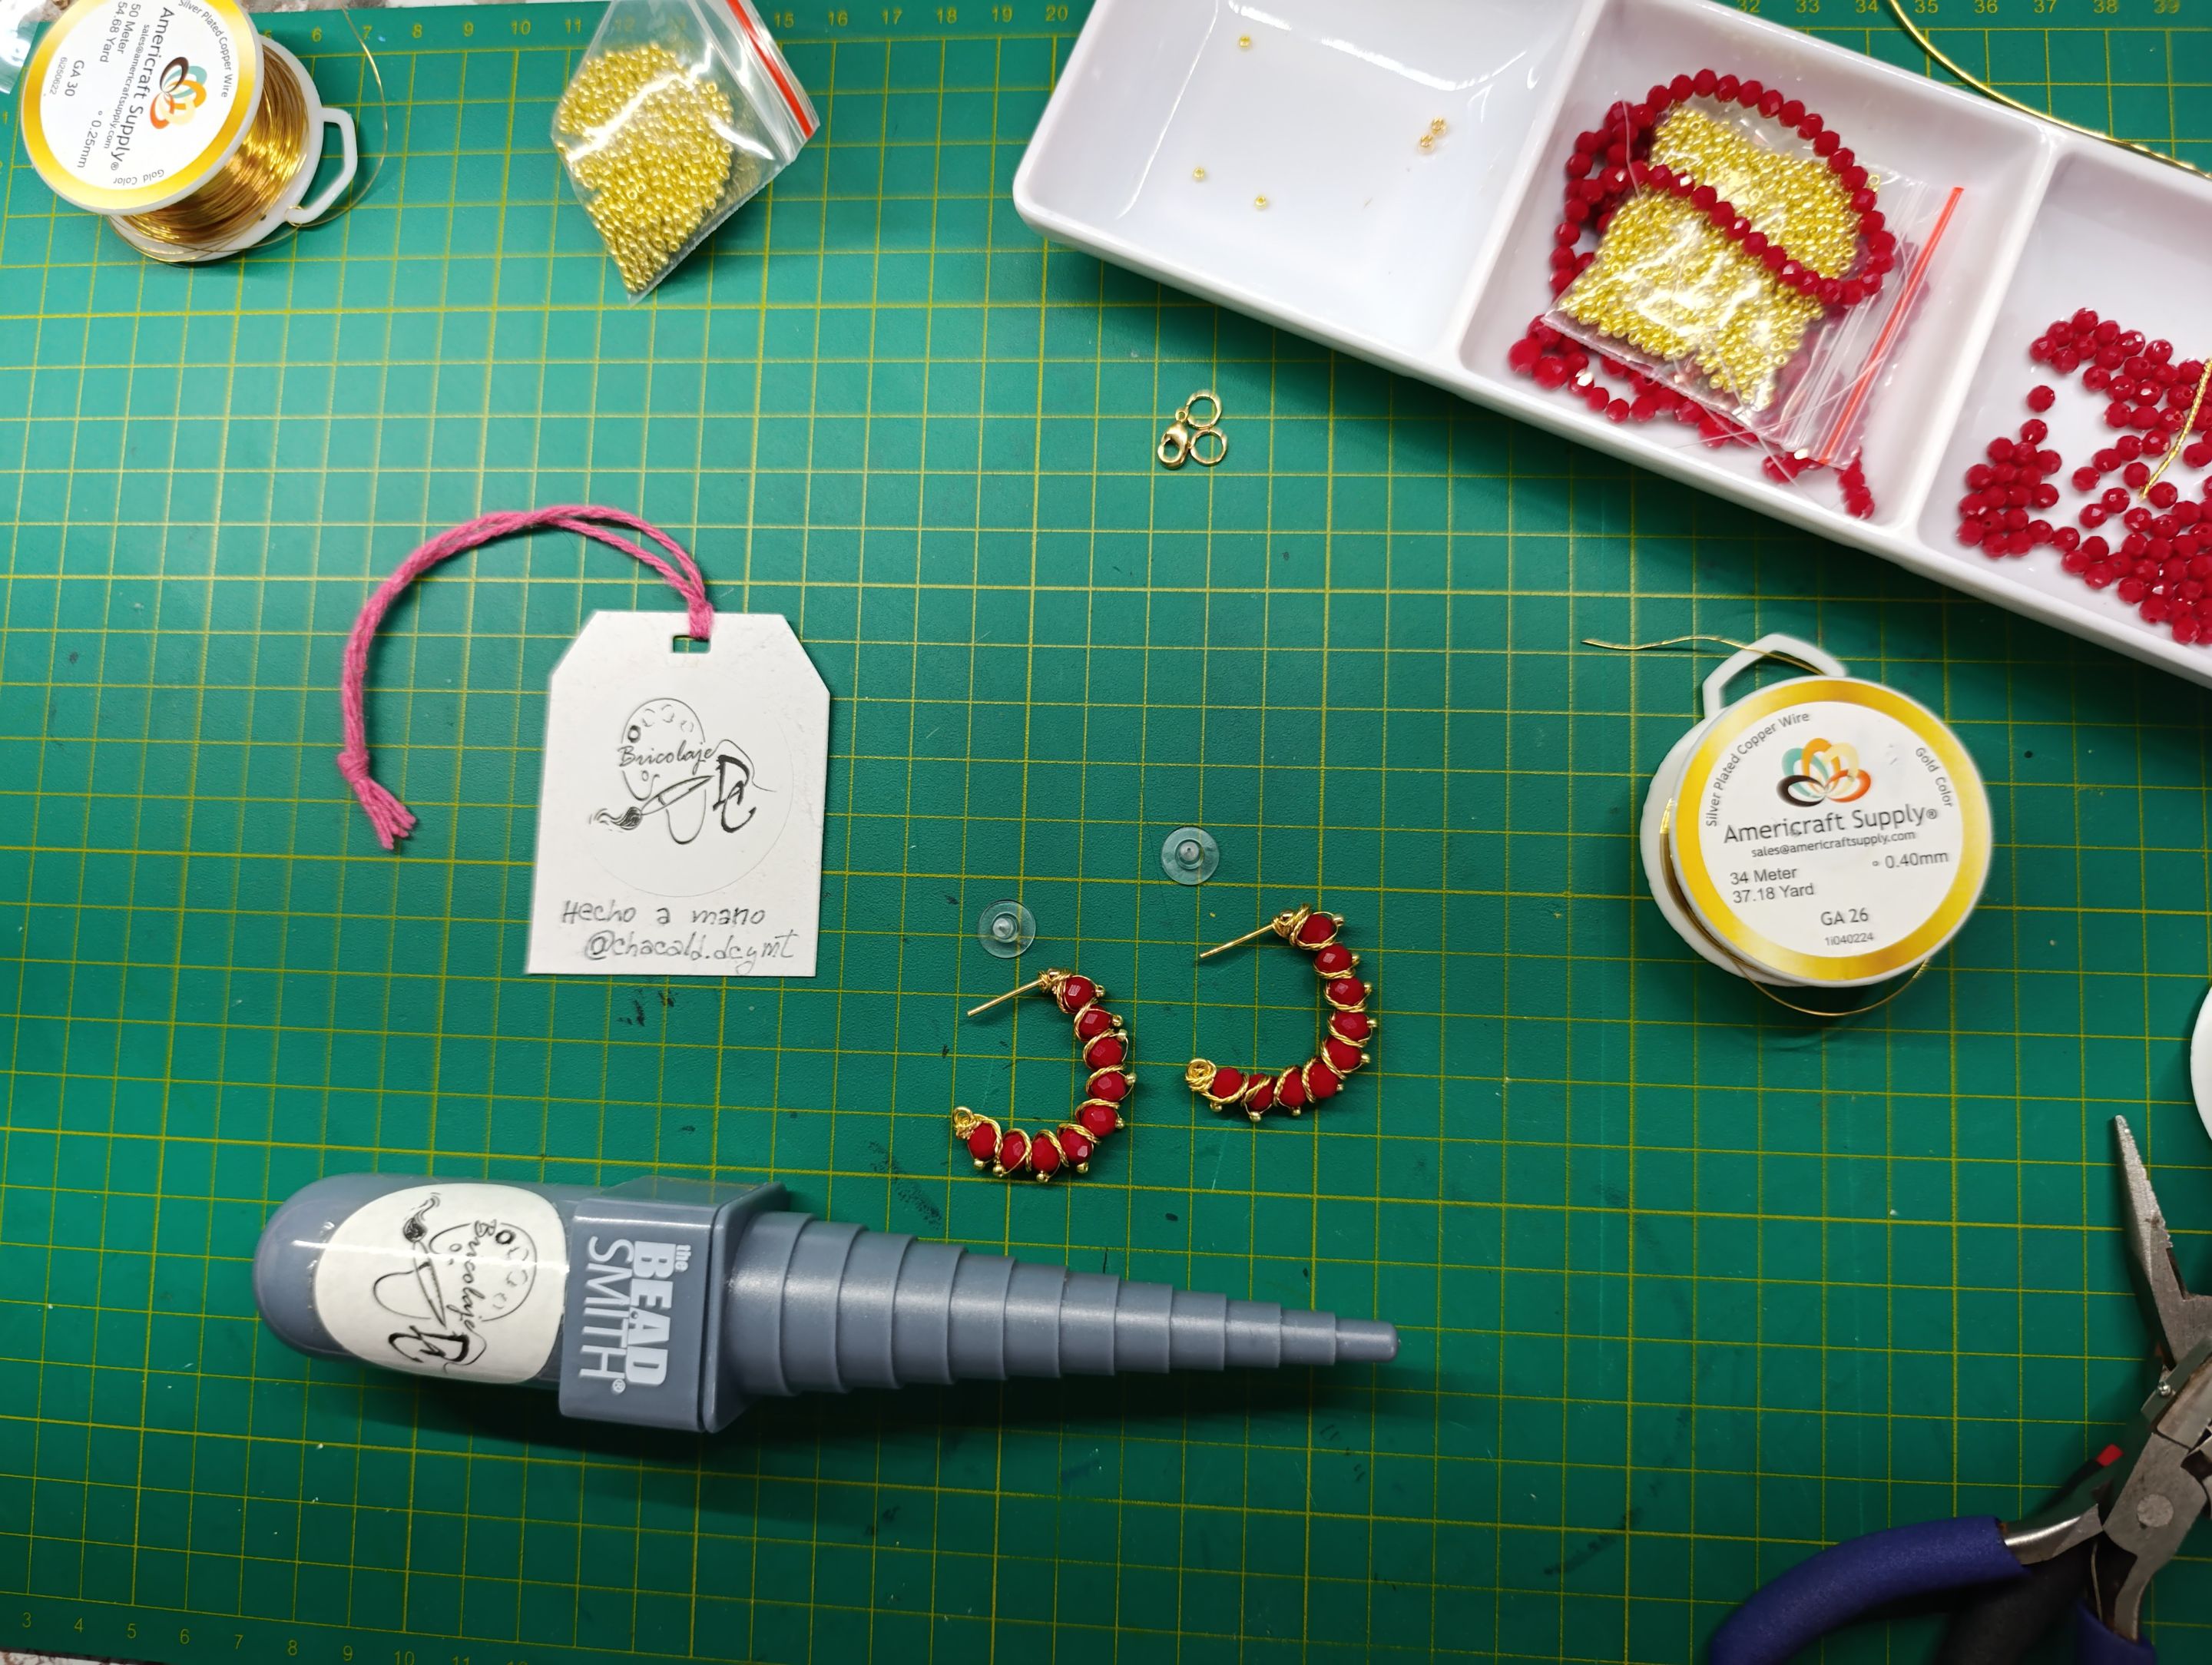
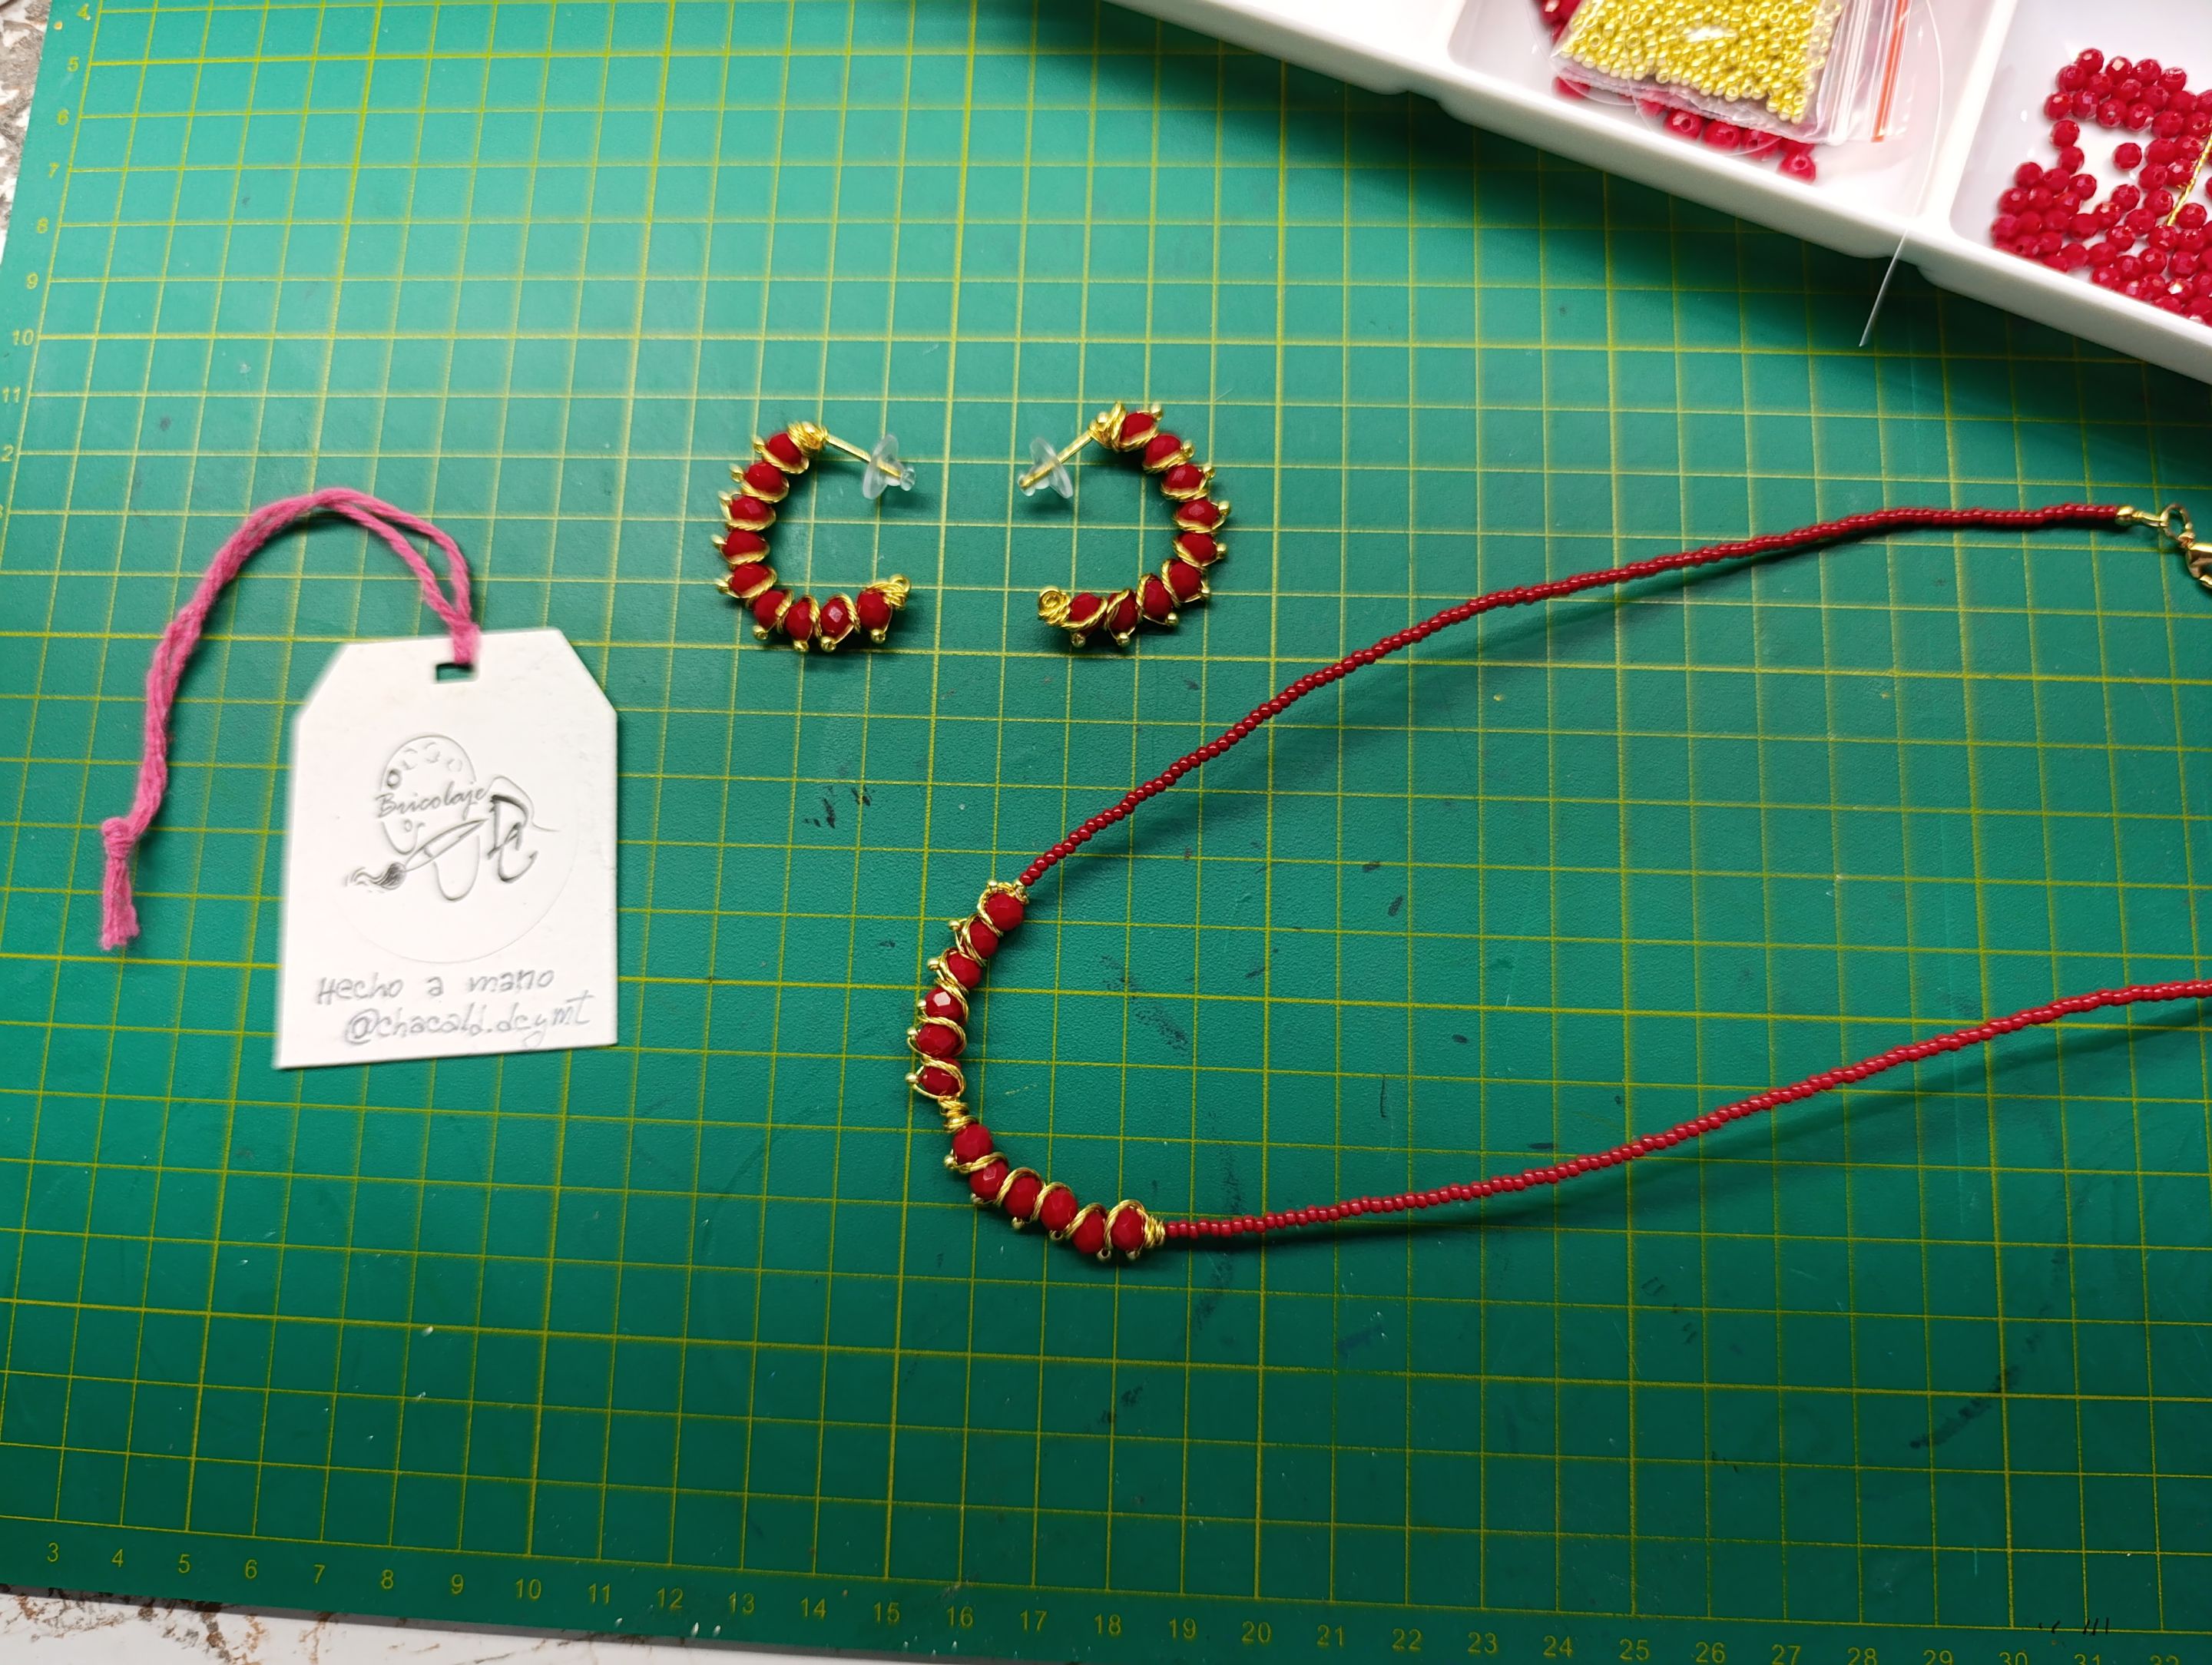
Put the silicone caps on and you're done. Now you have your beautiful Firecaller-inspired earrings.
>>Colocamos las tapitas de silicona y listo. Tenemos nuestros hermosos aretes inspirados en Firecaller.
# Choker
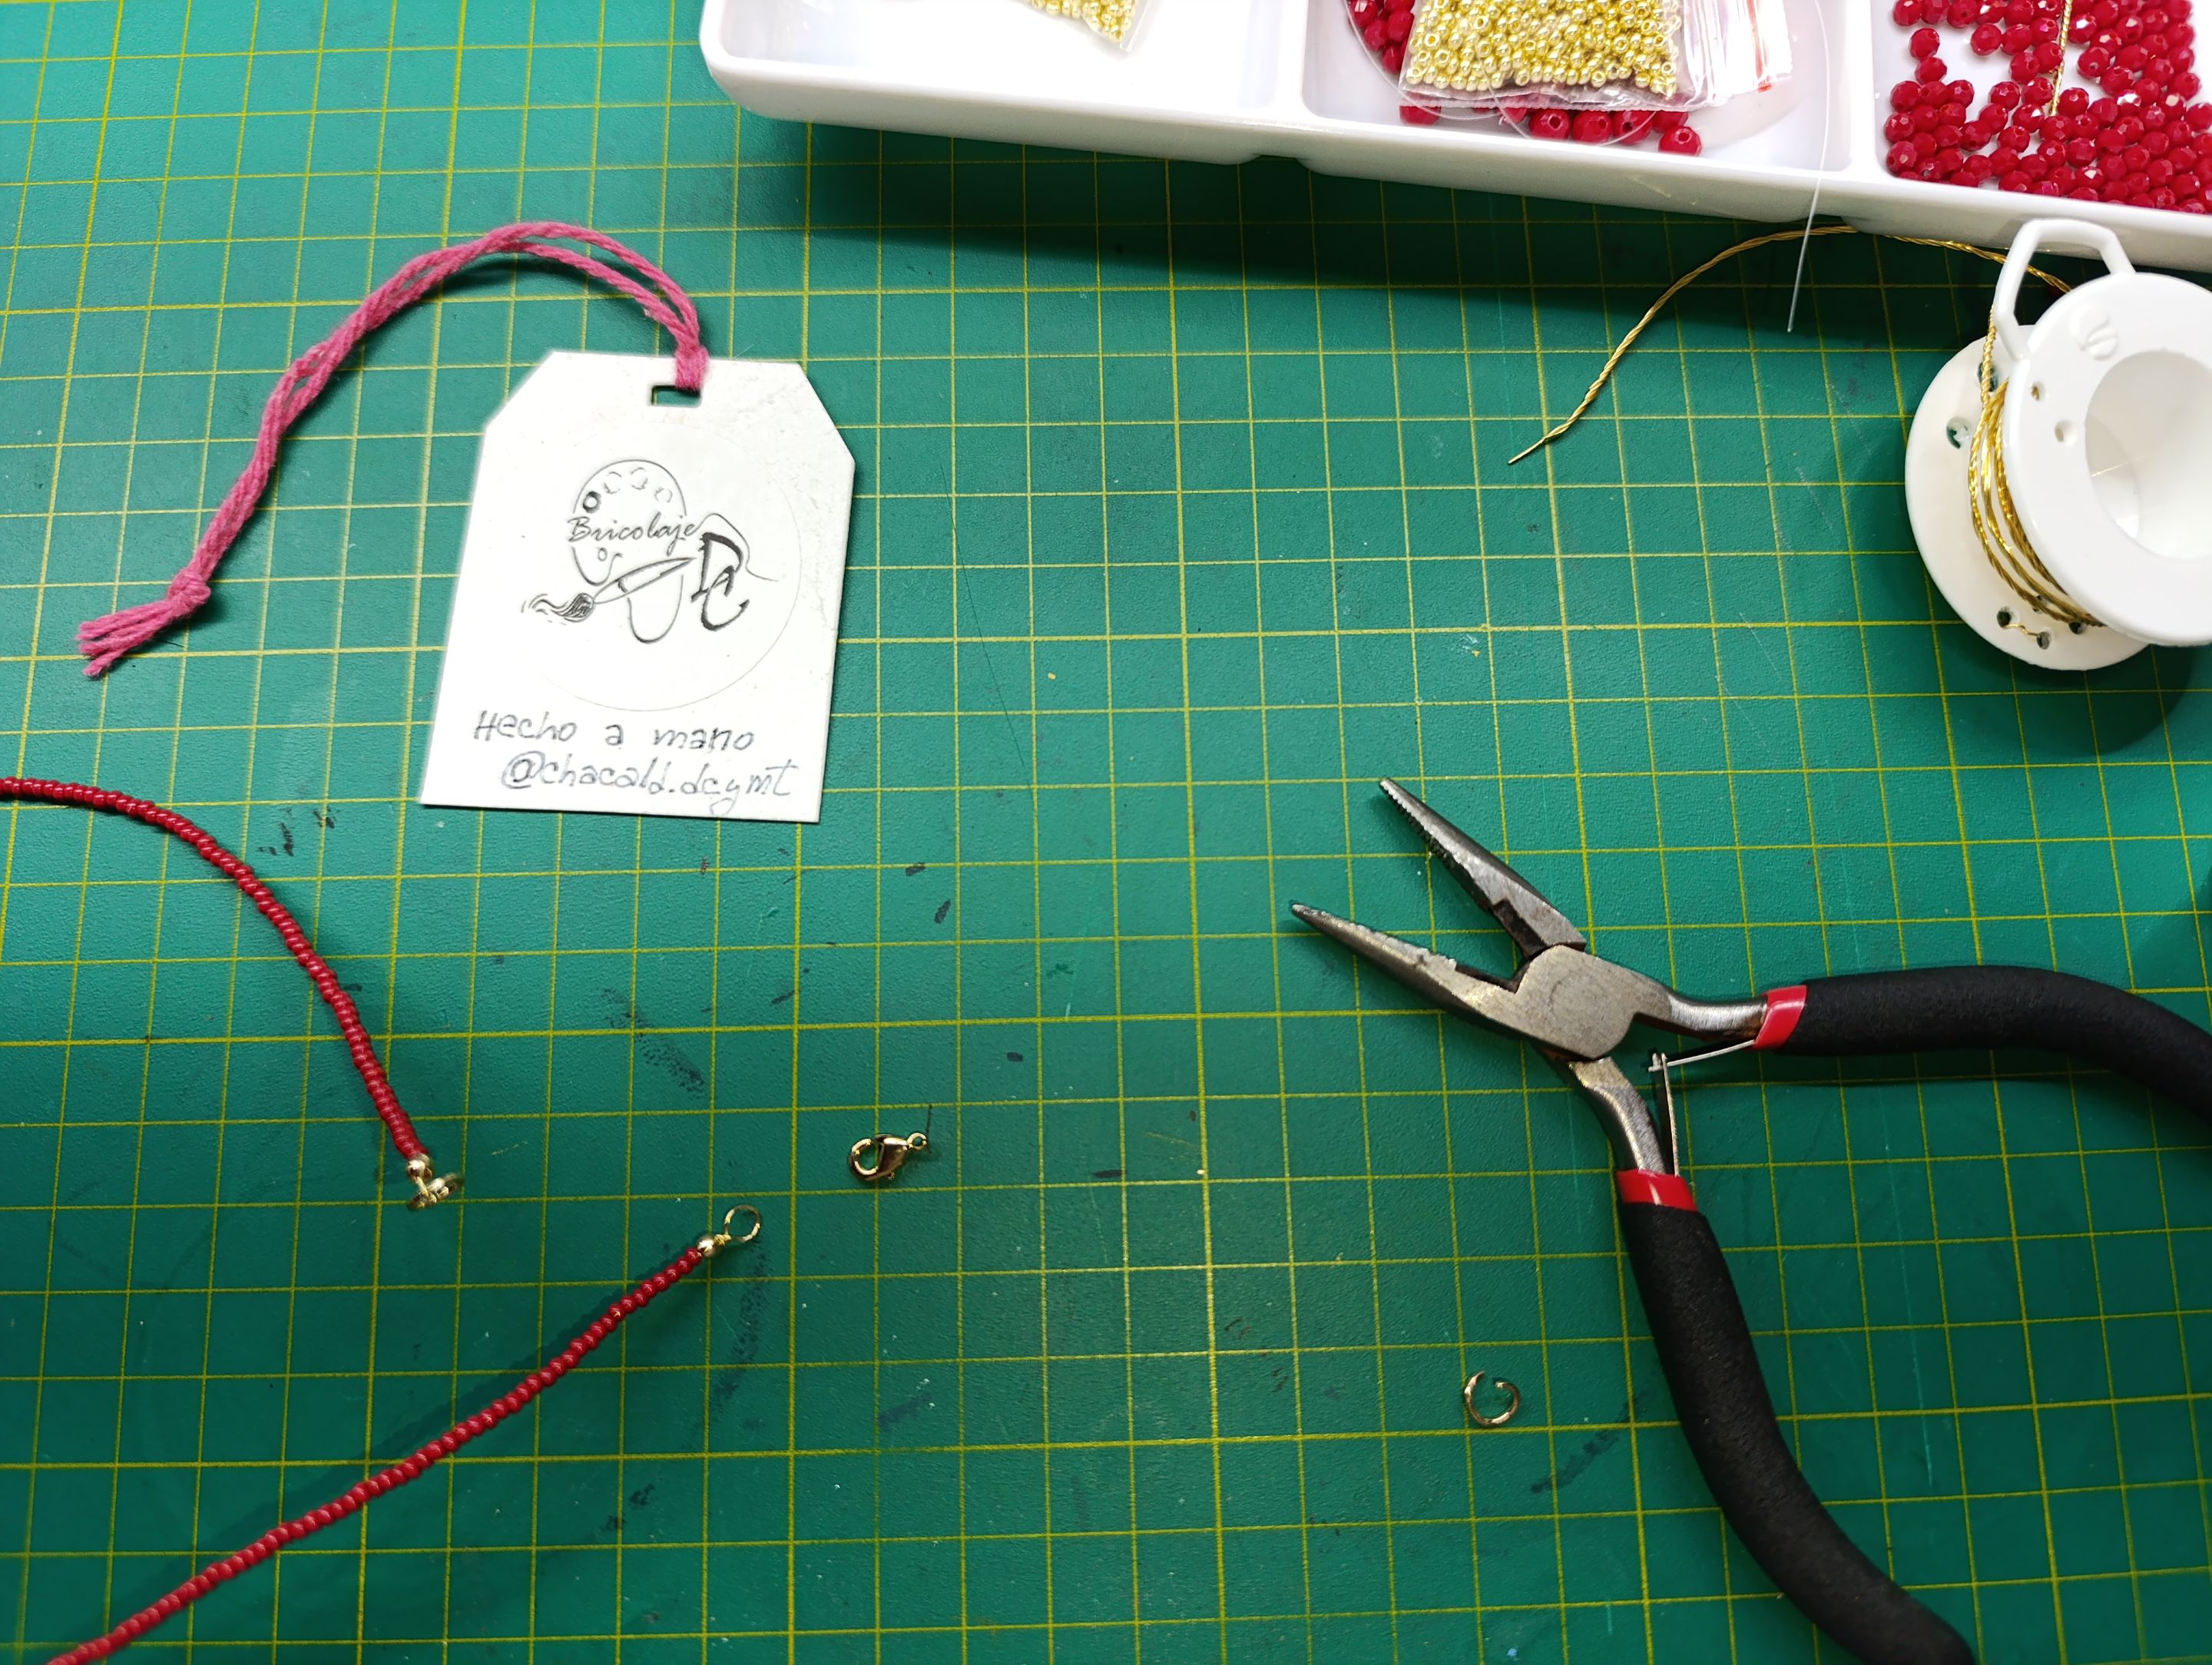
For the choker, we will take 55 centimeters of #26 wire. We will also need 12 Murano crystals, which we will use as the center of the choker.
># Choker
>
>>Para el choker, vamos a tomar 55 centímetros de alambre # 26. También vamos a necesitar 12 cristales de Murano que utilizaremos como centro del Choker.
Take the round pliers and, using the smallest size, close a ring with a rosary knot.
>>Tomamos la pinza redonda y con la medida más pequeña vamos a cerrar una argolla con un nudo rosario.
||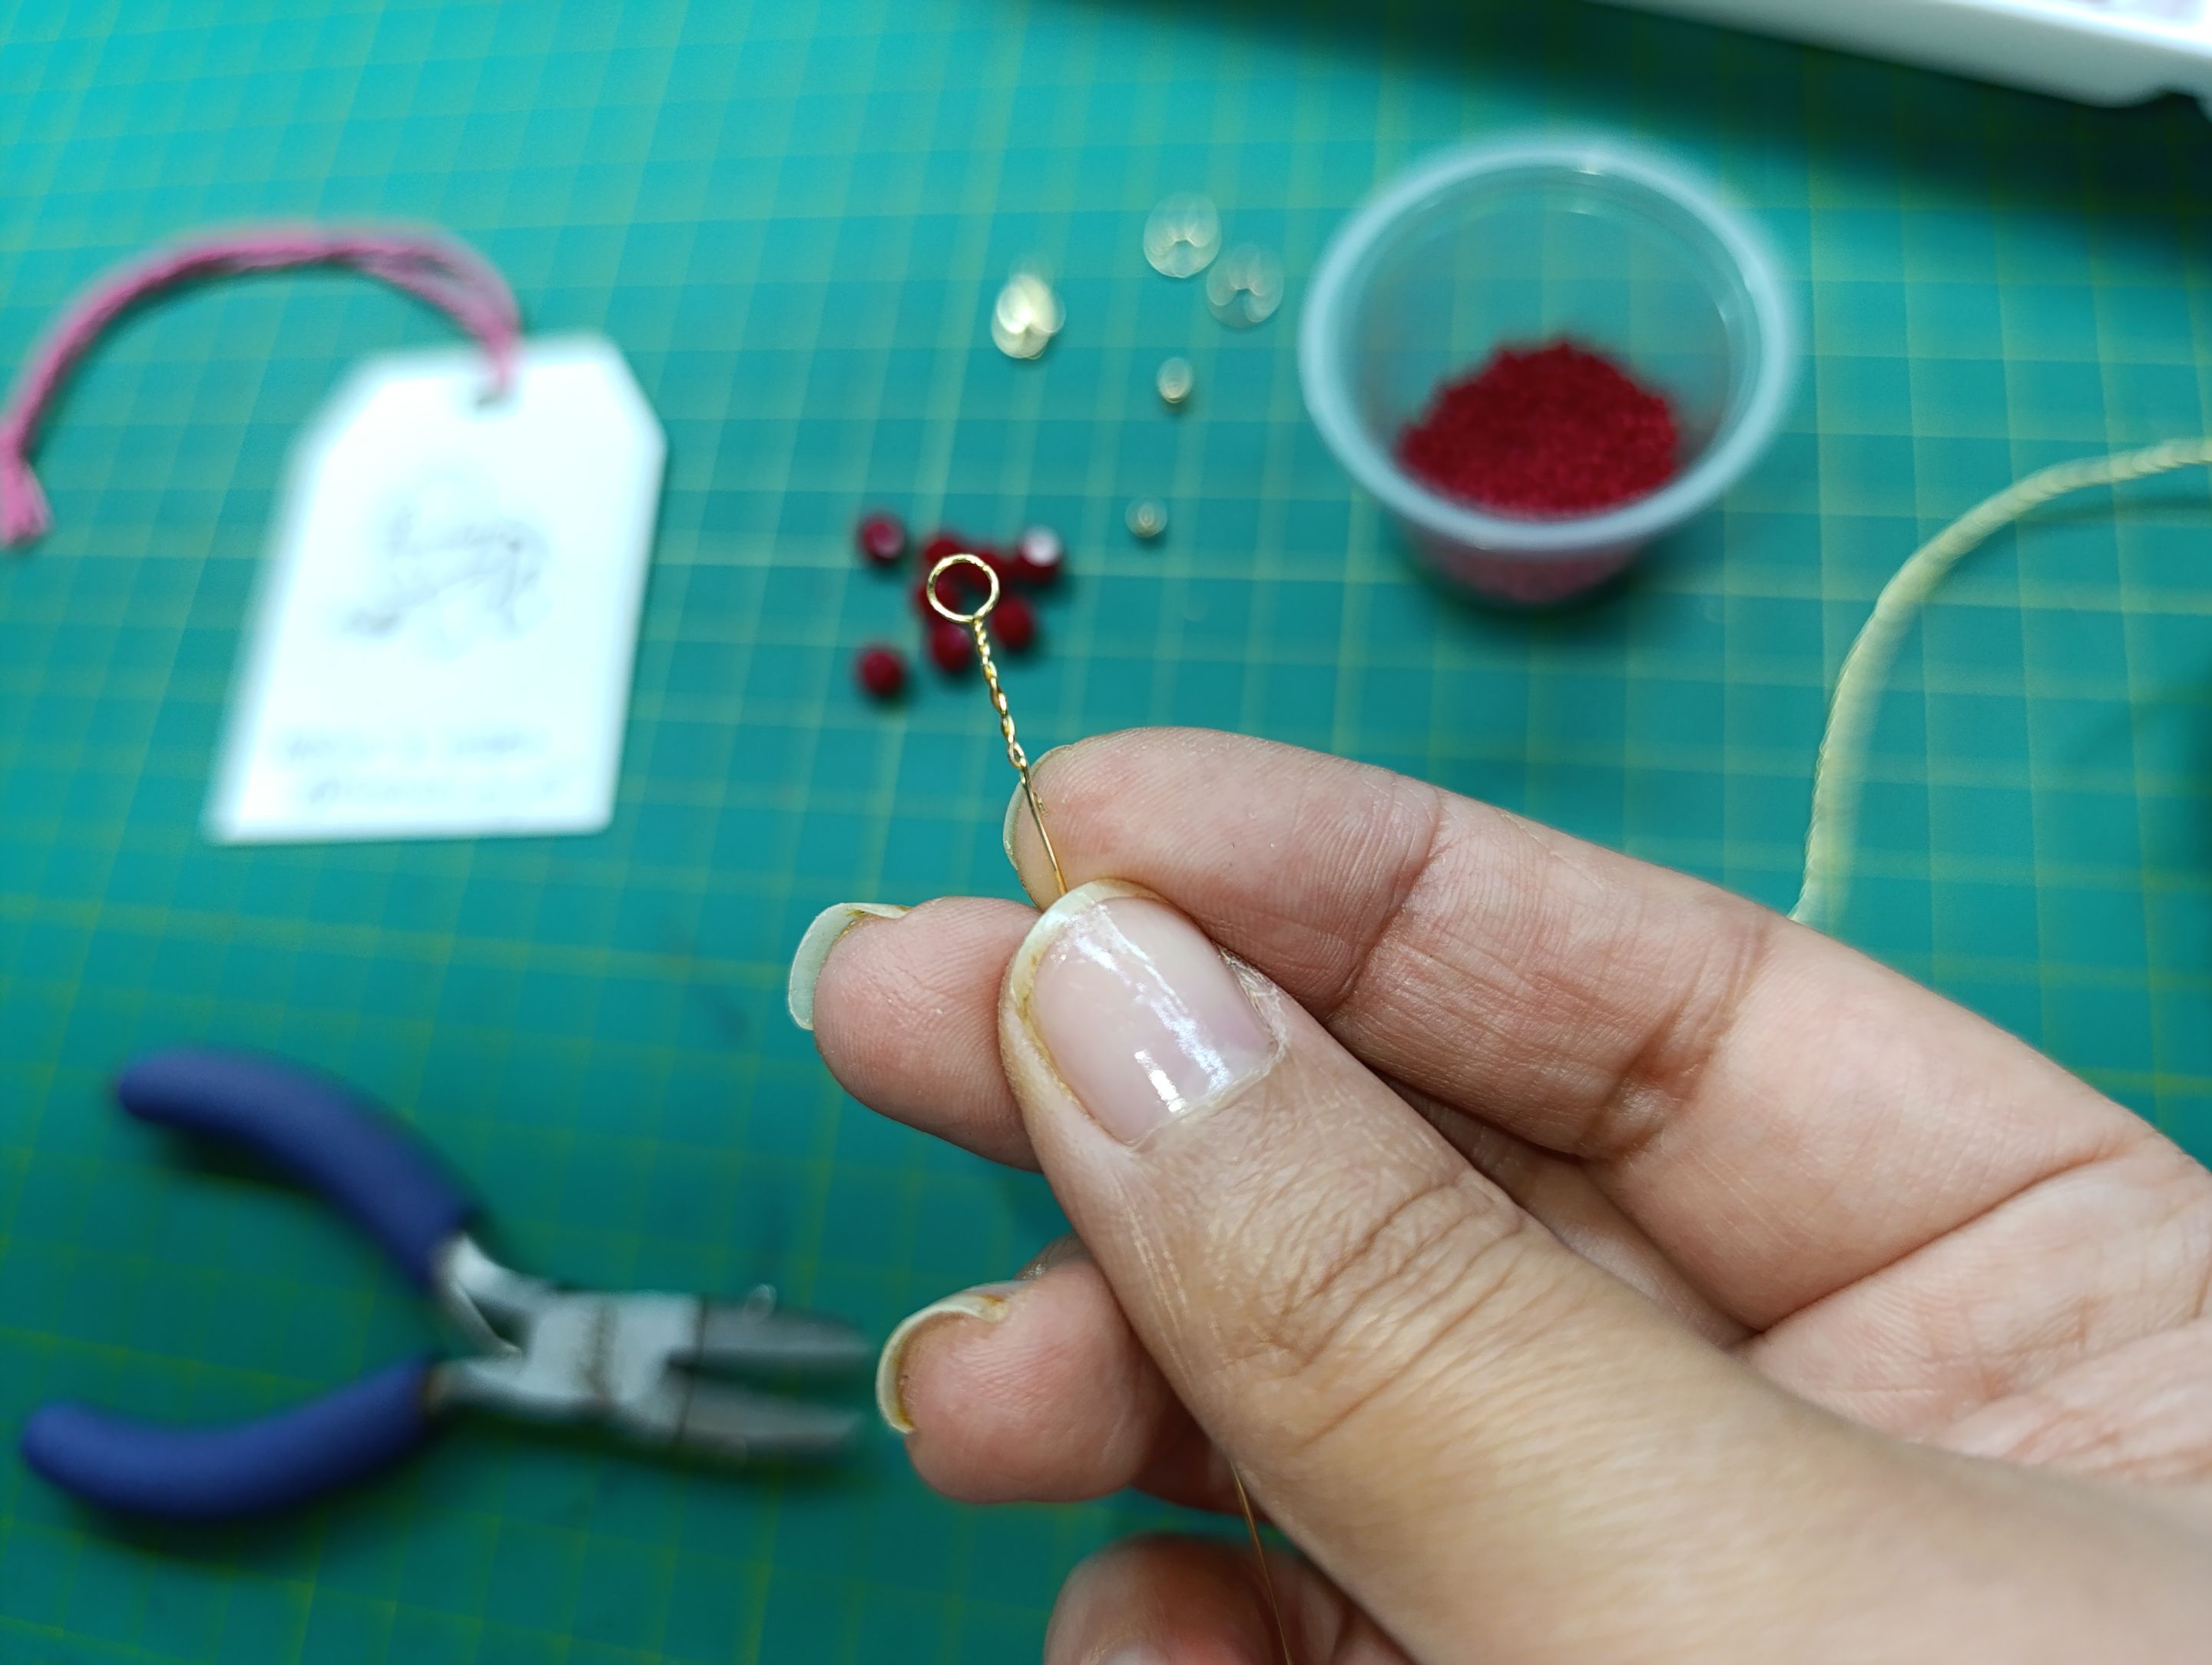|
|-|-|
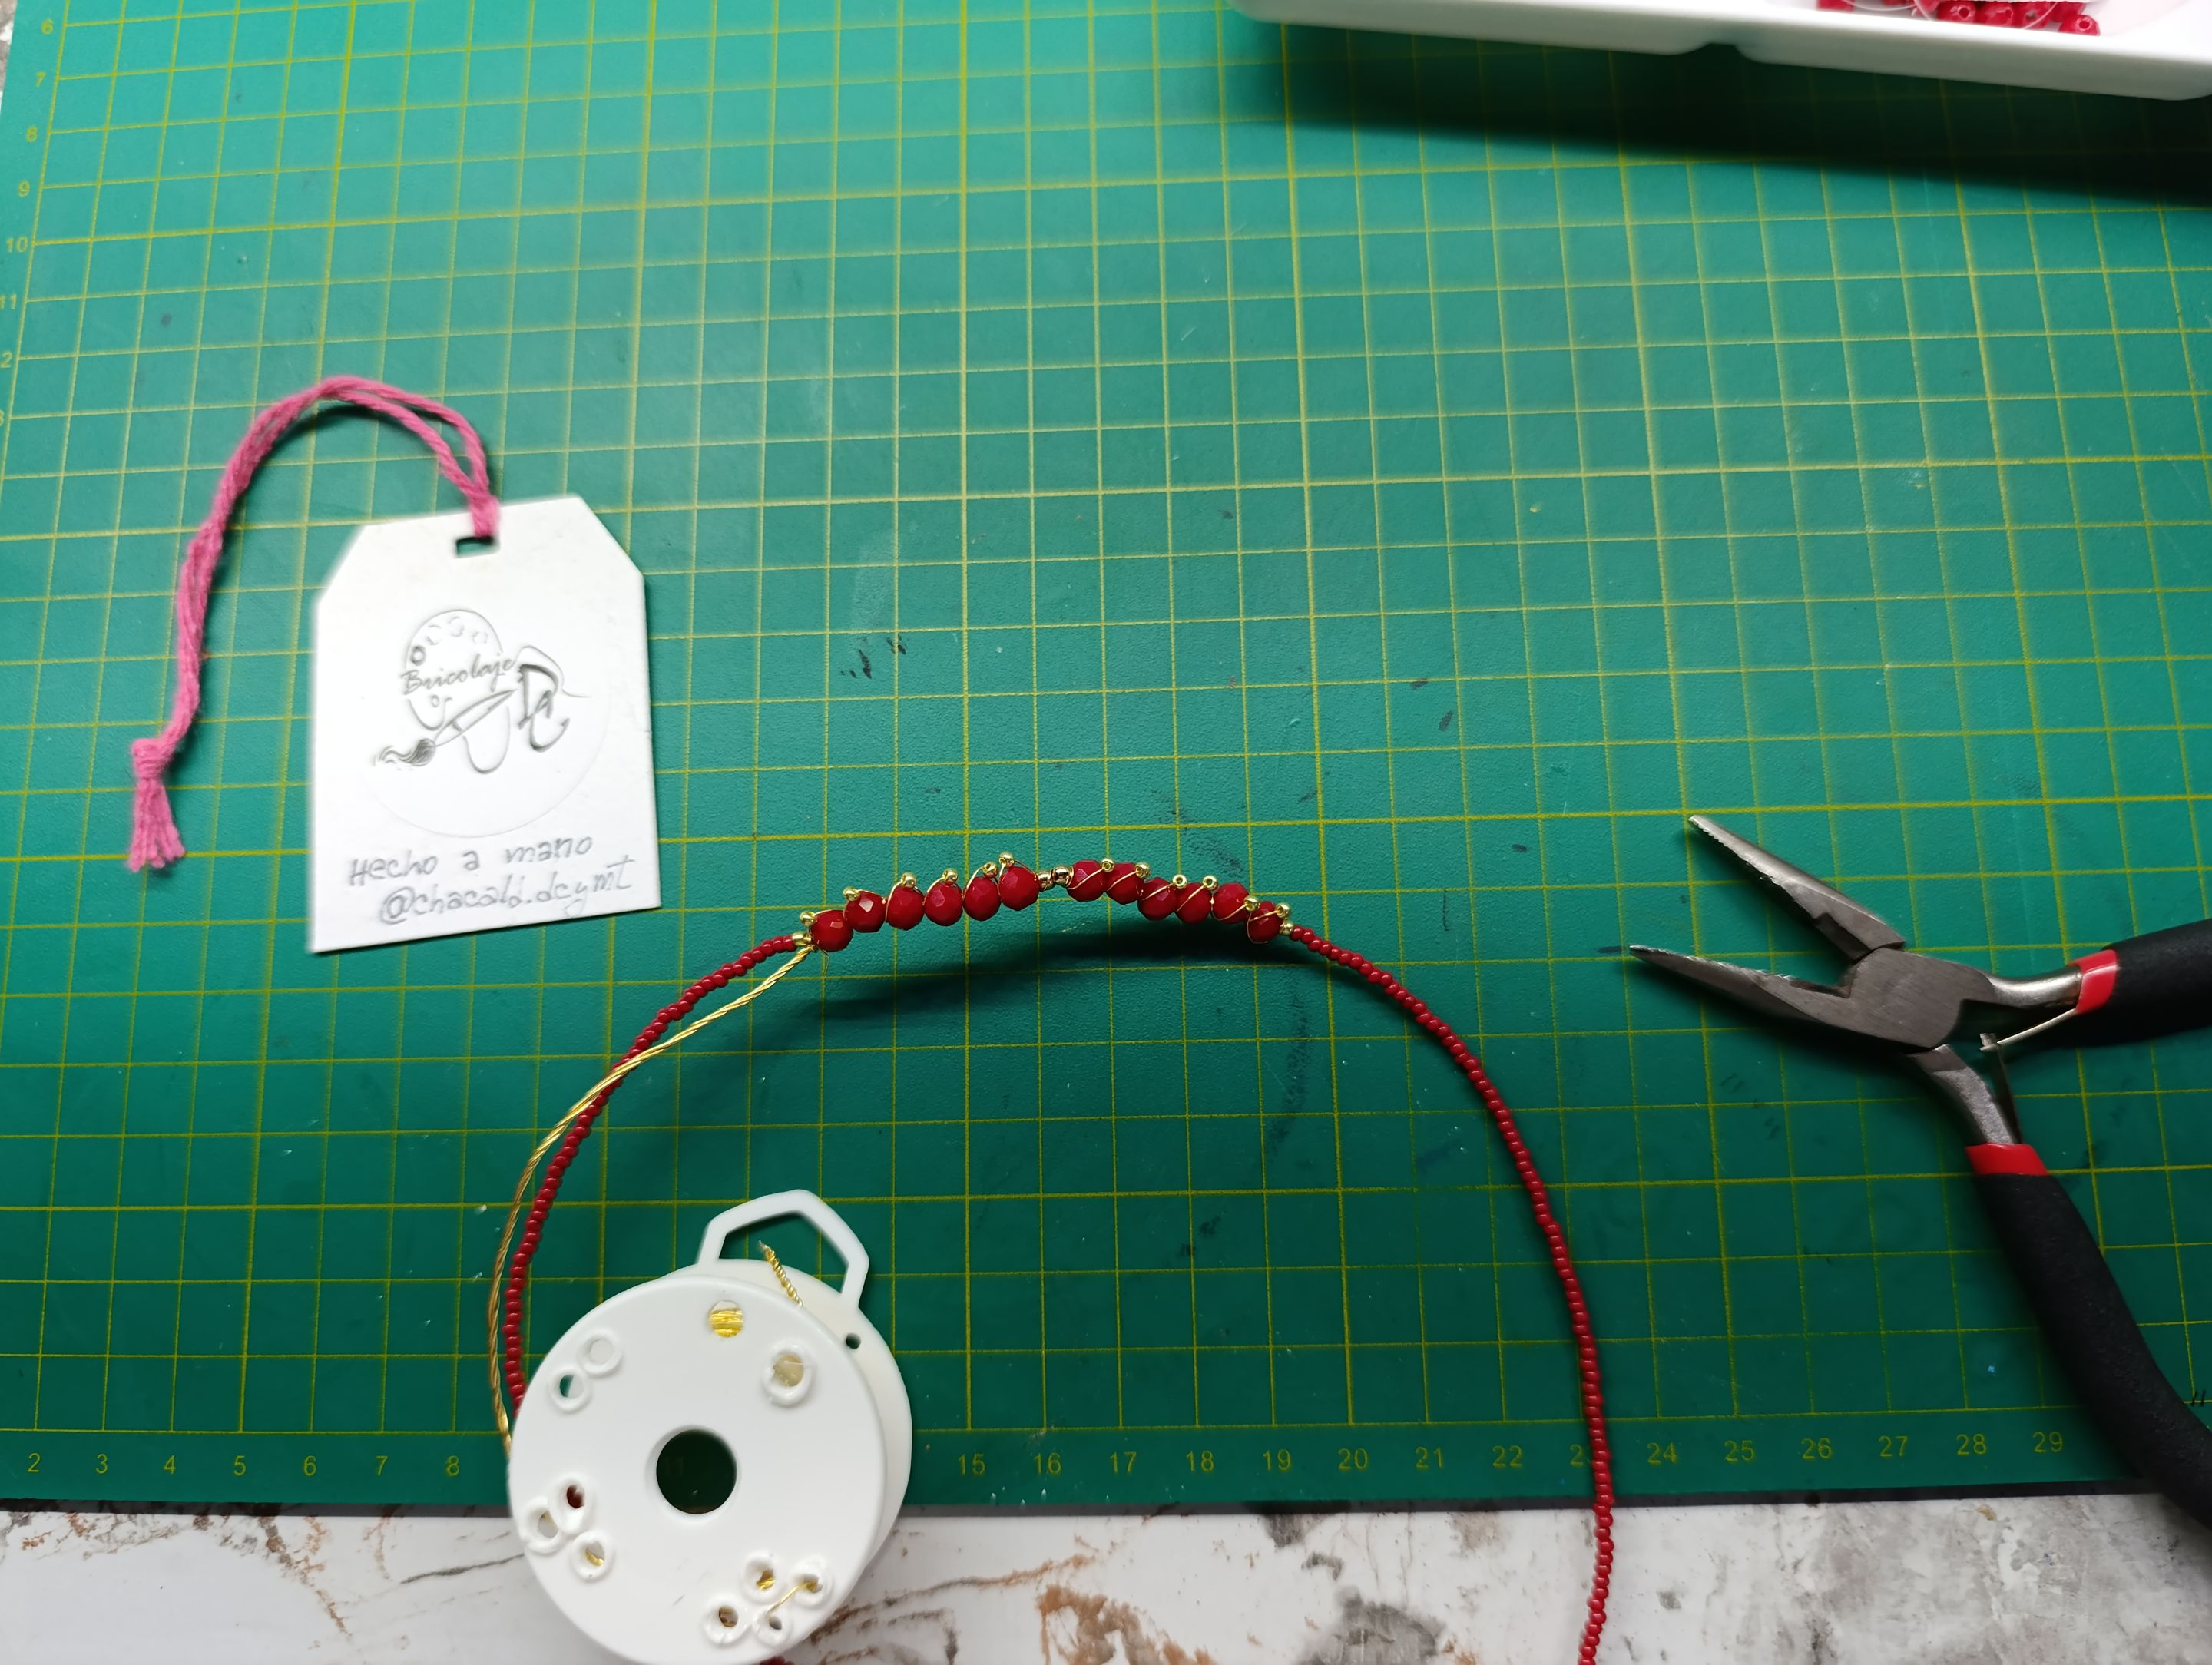
We begin by inserting a gold bead. We continue with the red beads, taking care not to reach the center of the choker.
>>Comenzamos introduciendo una mostacilla dorada. Seguimos con las mostacillas de color rojo cuidando de no llegar al centro del Choker.

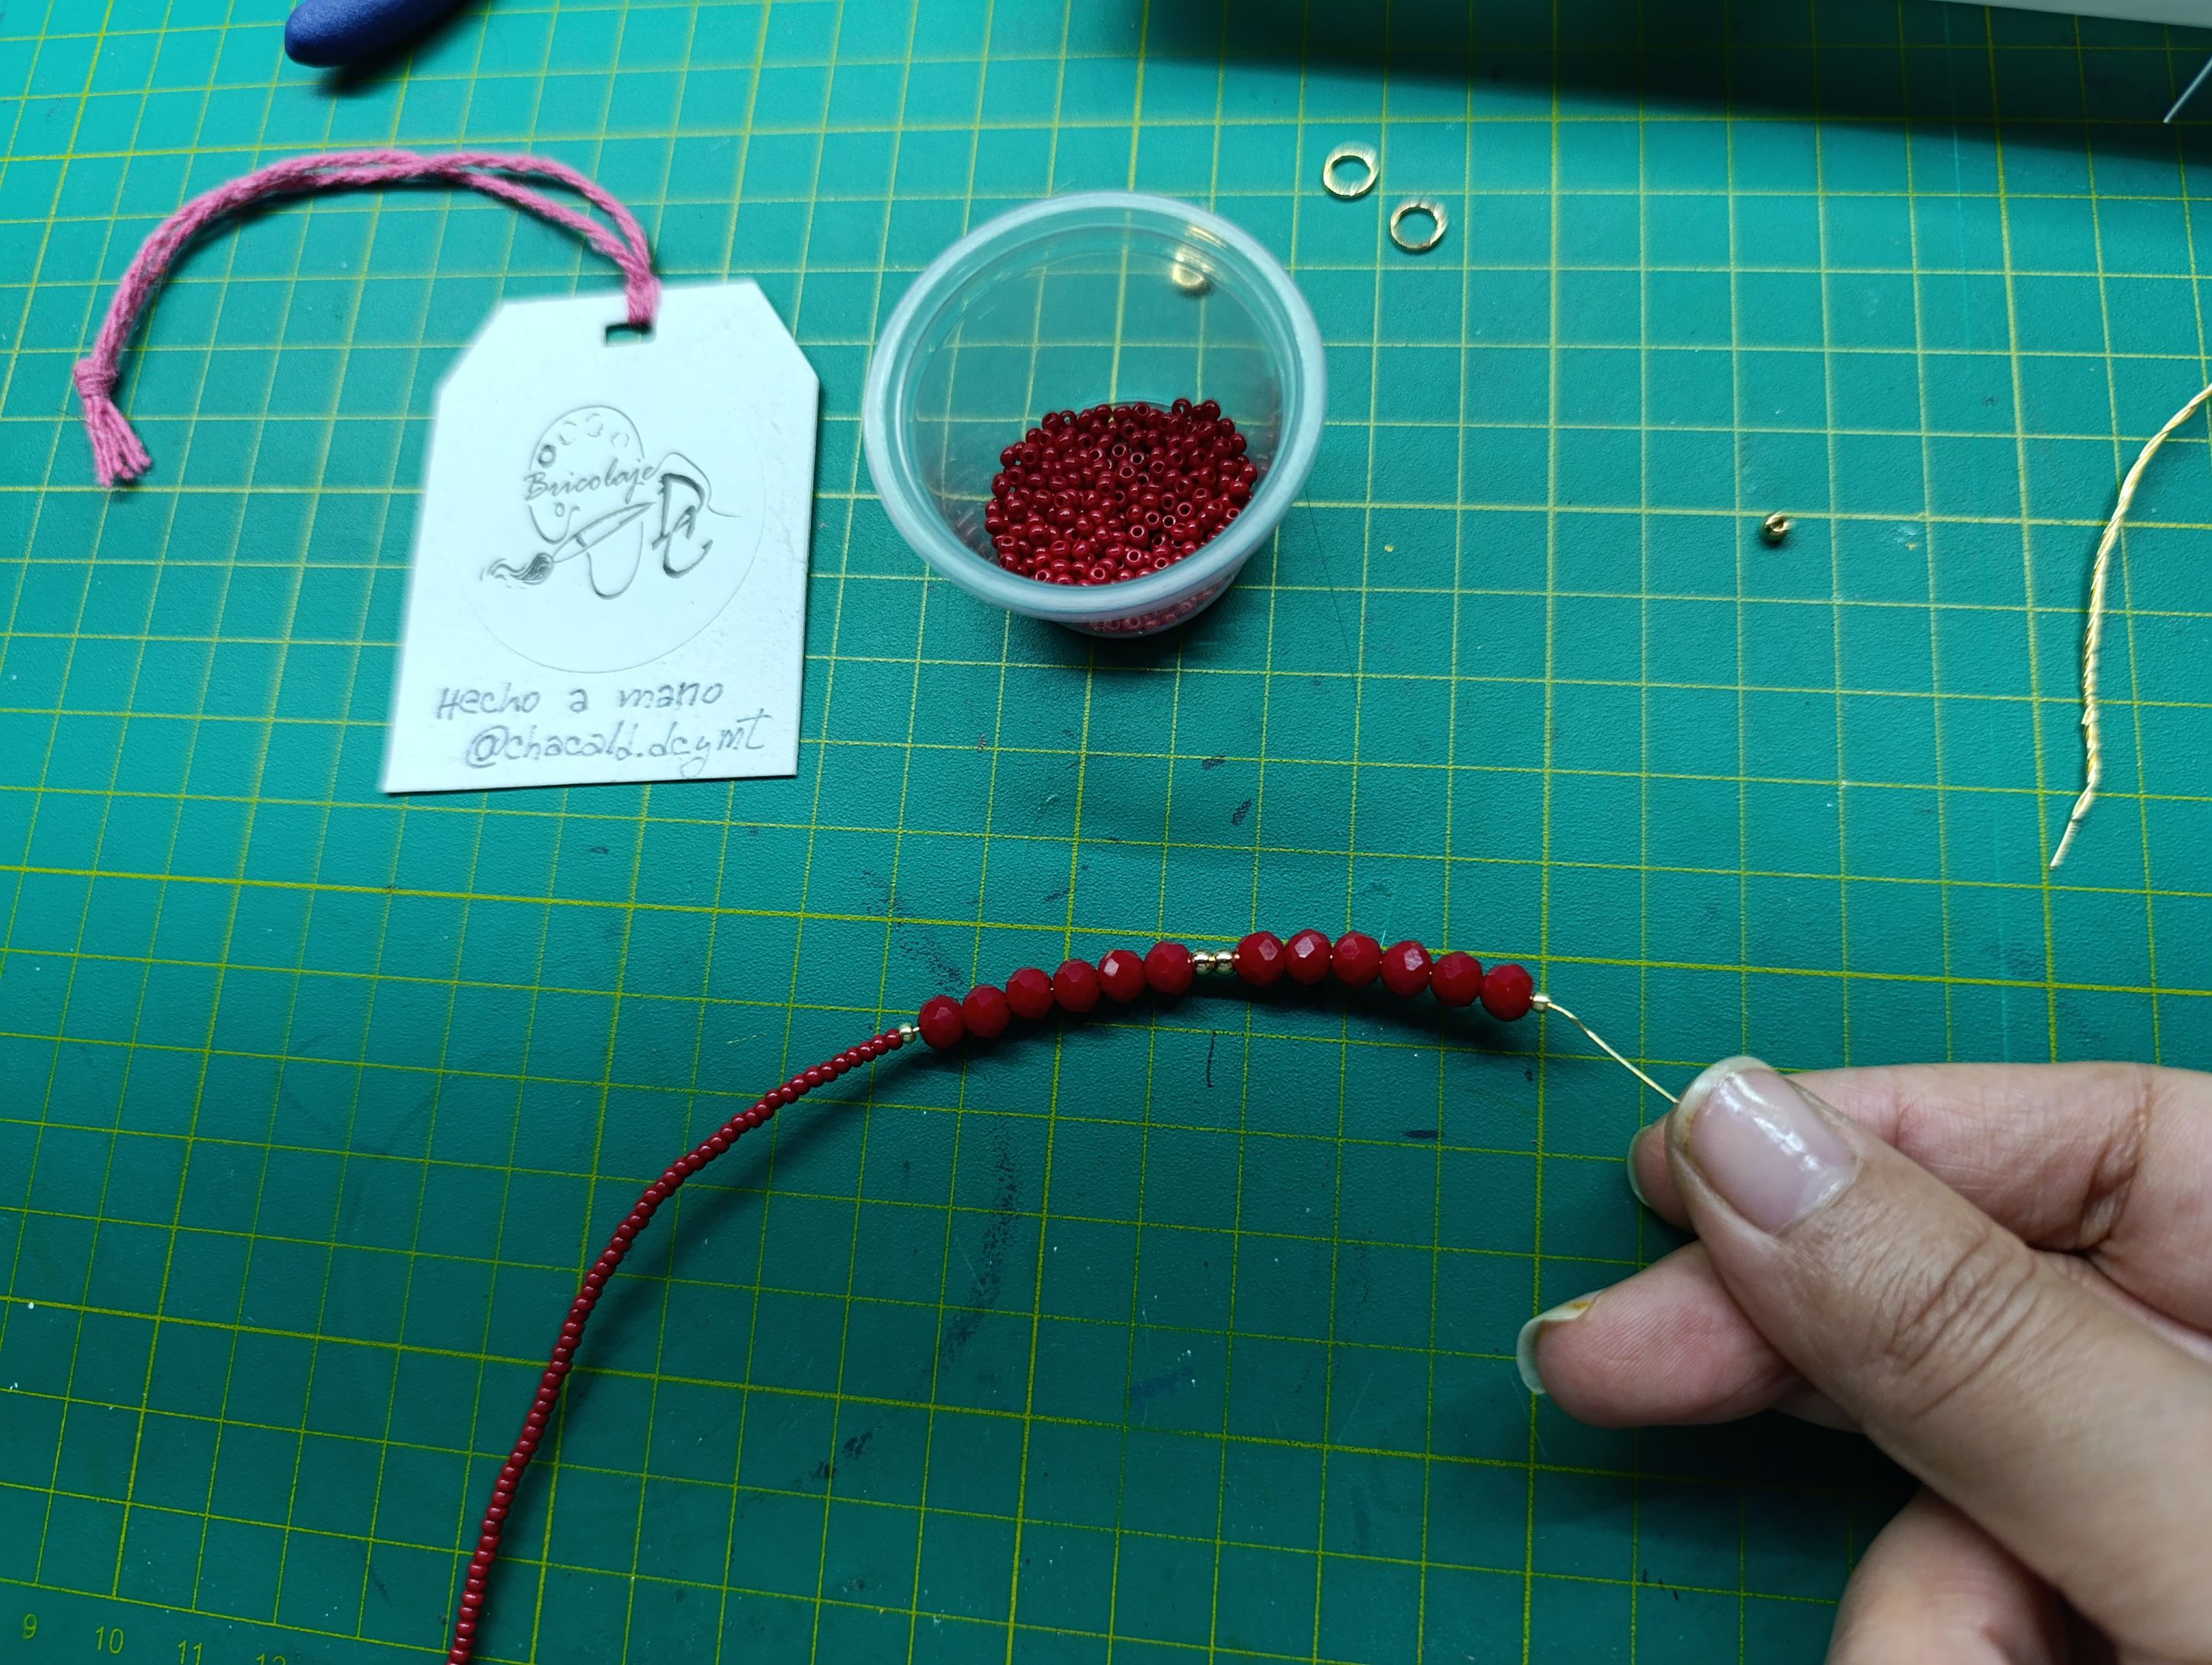
I like to make a mark on the base wire of the choker where the center begins and where I need to insert the seed beads. This helps me save time.
For the center of the choker, we will insert a bead and then 6 Murano beads. Place 2 beads together and then repeat the same process as in the first half of the choker.
>>Me gusta hacer una marca en el alambre de base del Choker de donde comienza el centro y hasta donde debo introducir las mostacillas. Esto me ayuda a ahorrar tiempo.
>>
>>Para el centro del Choker, vamos a introducir un balin y luego 6 Muranos. Colocamos 2 balines juntos y luego repetimos todo igual que en la primera mitad del Choker.
Let's close with a rosary knot and hide the wire inside the first stone.
>>Vamos a cerrar con un nudo rosario y esconderemos el alambre dentro de la primera piedra.

Using the flat pliers, attach the rings and parrot's beak to the rings at each end of the base of the choker.
>>Vamos a colocar las argollas y el pico de loro, con ayuda de la pinza plana, en las argollas de cada extremo de la base del Choker.
Now let's repeat the pattern we made on the earrings. First with the wire and seed beads, and then with the twisted wire.
>>Ahora vamos a repetir el patrón que hicimos en los aretes. Primero con el alambre y las mostacillas y luego con el alambre entorchado.
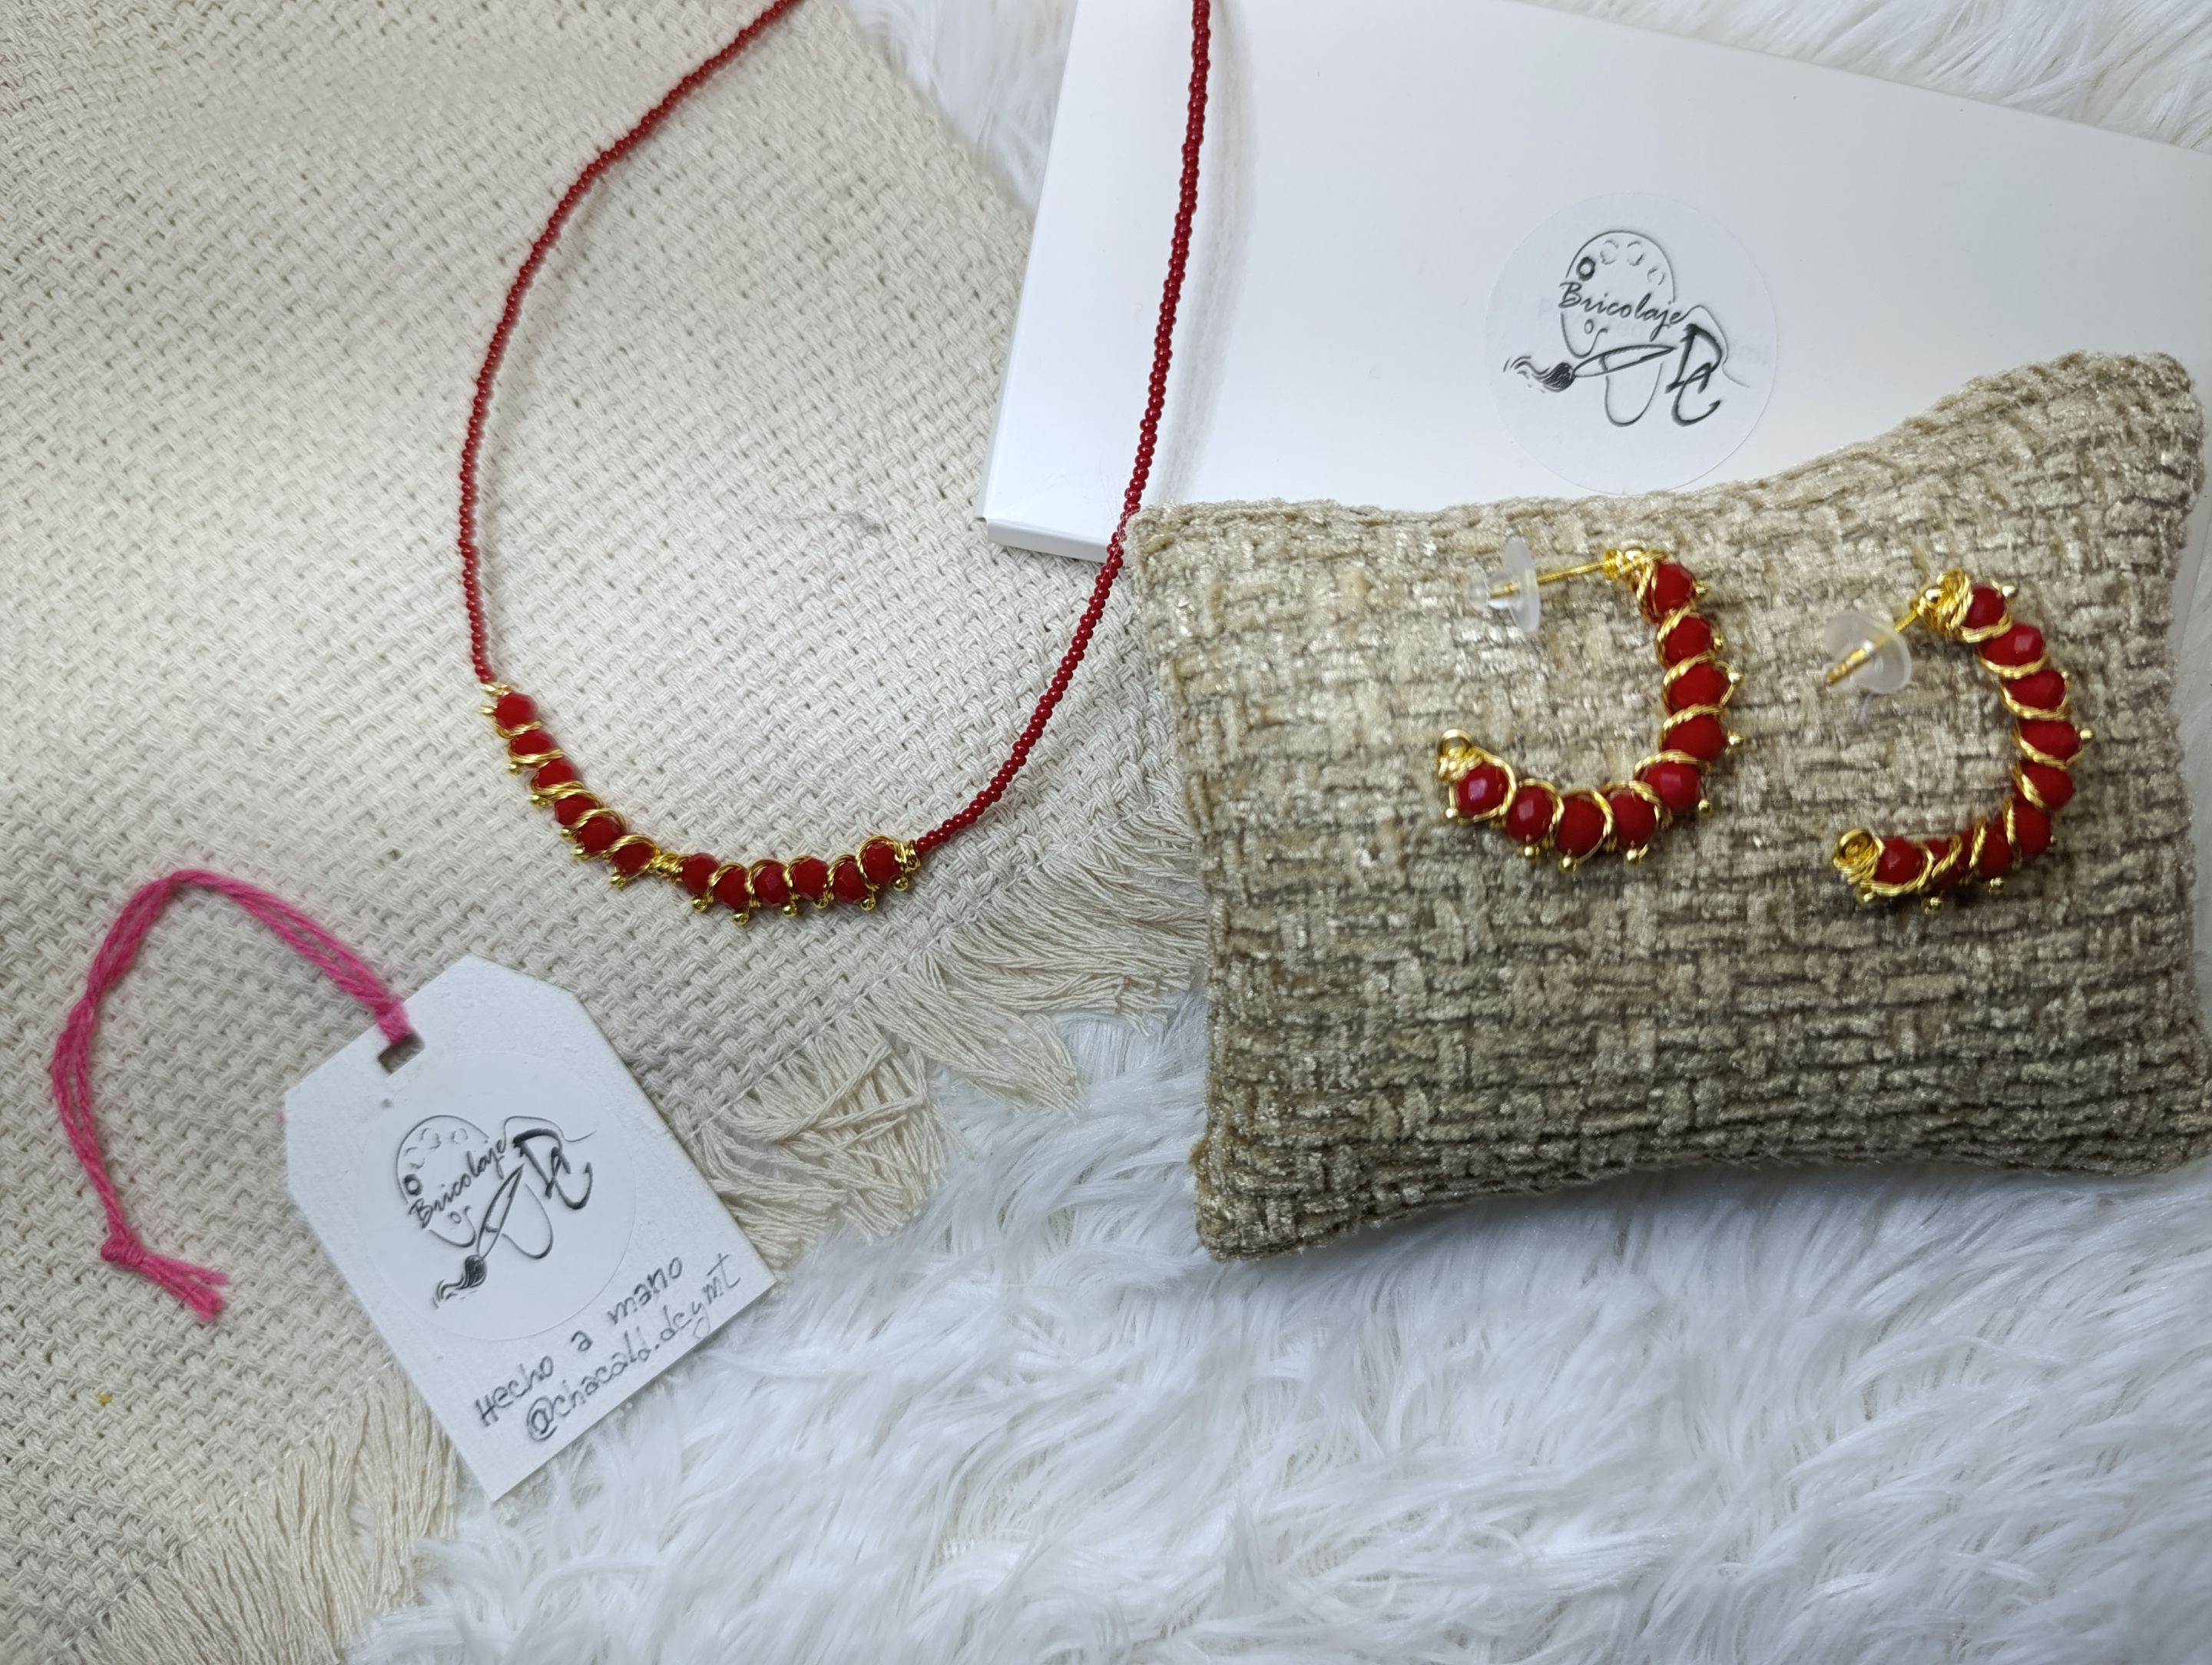
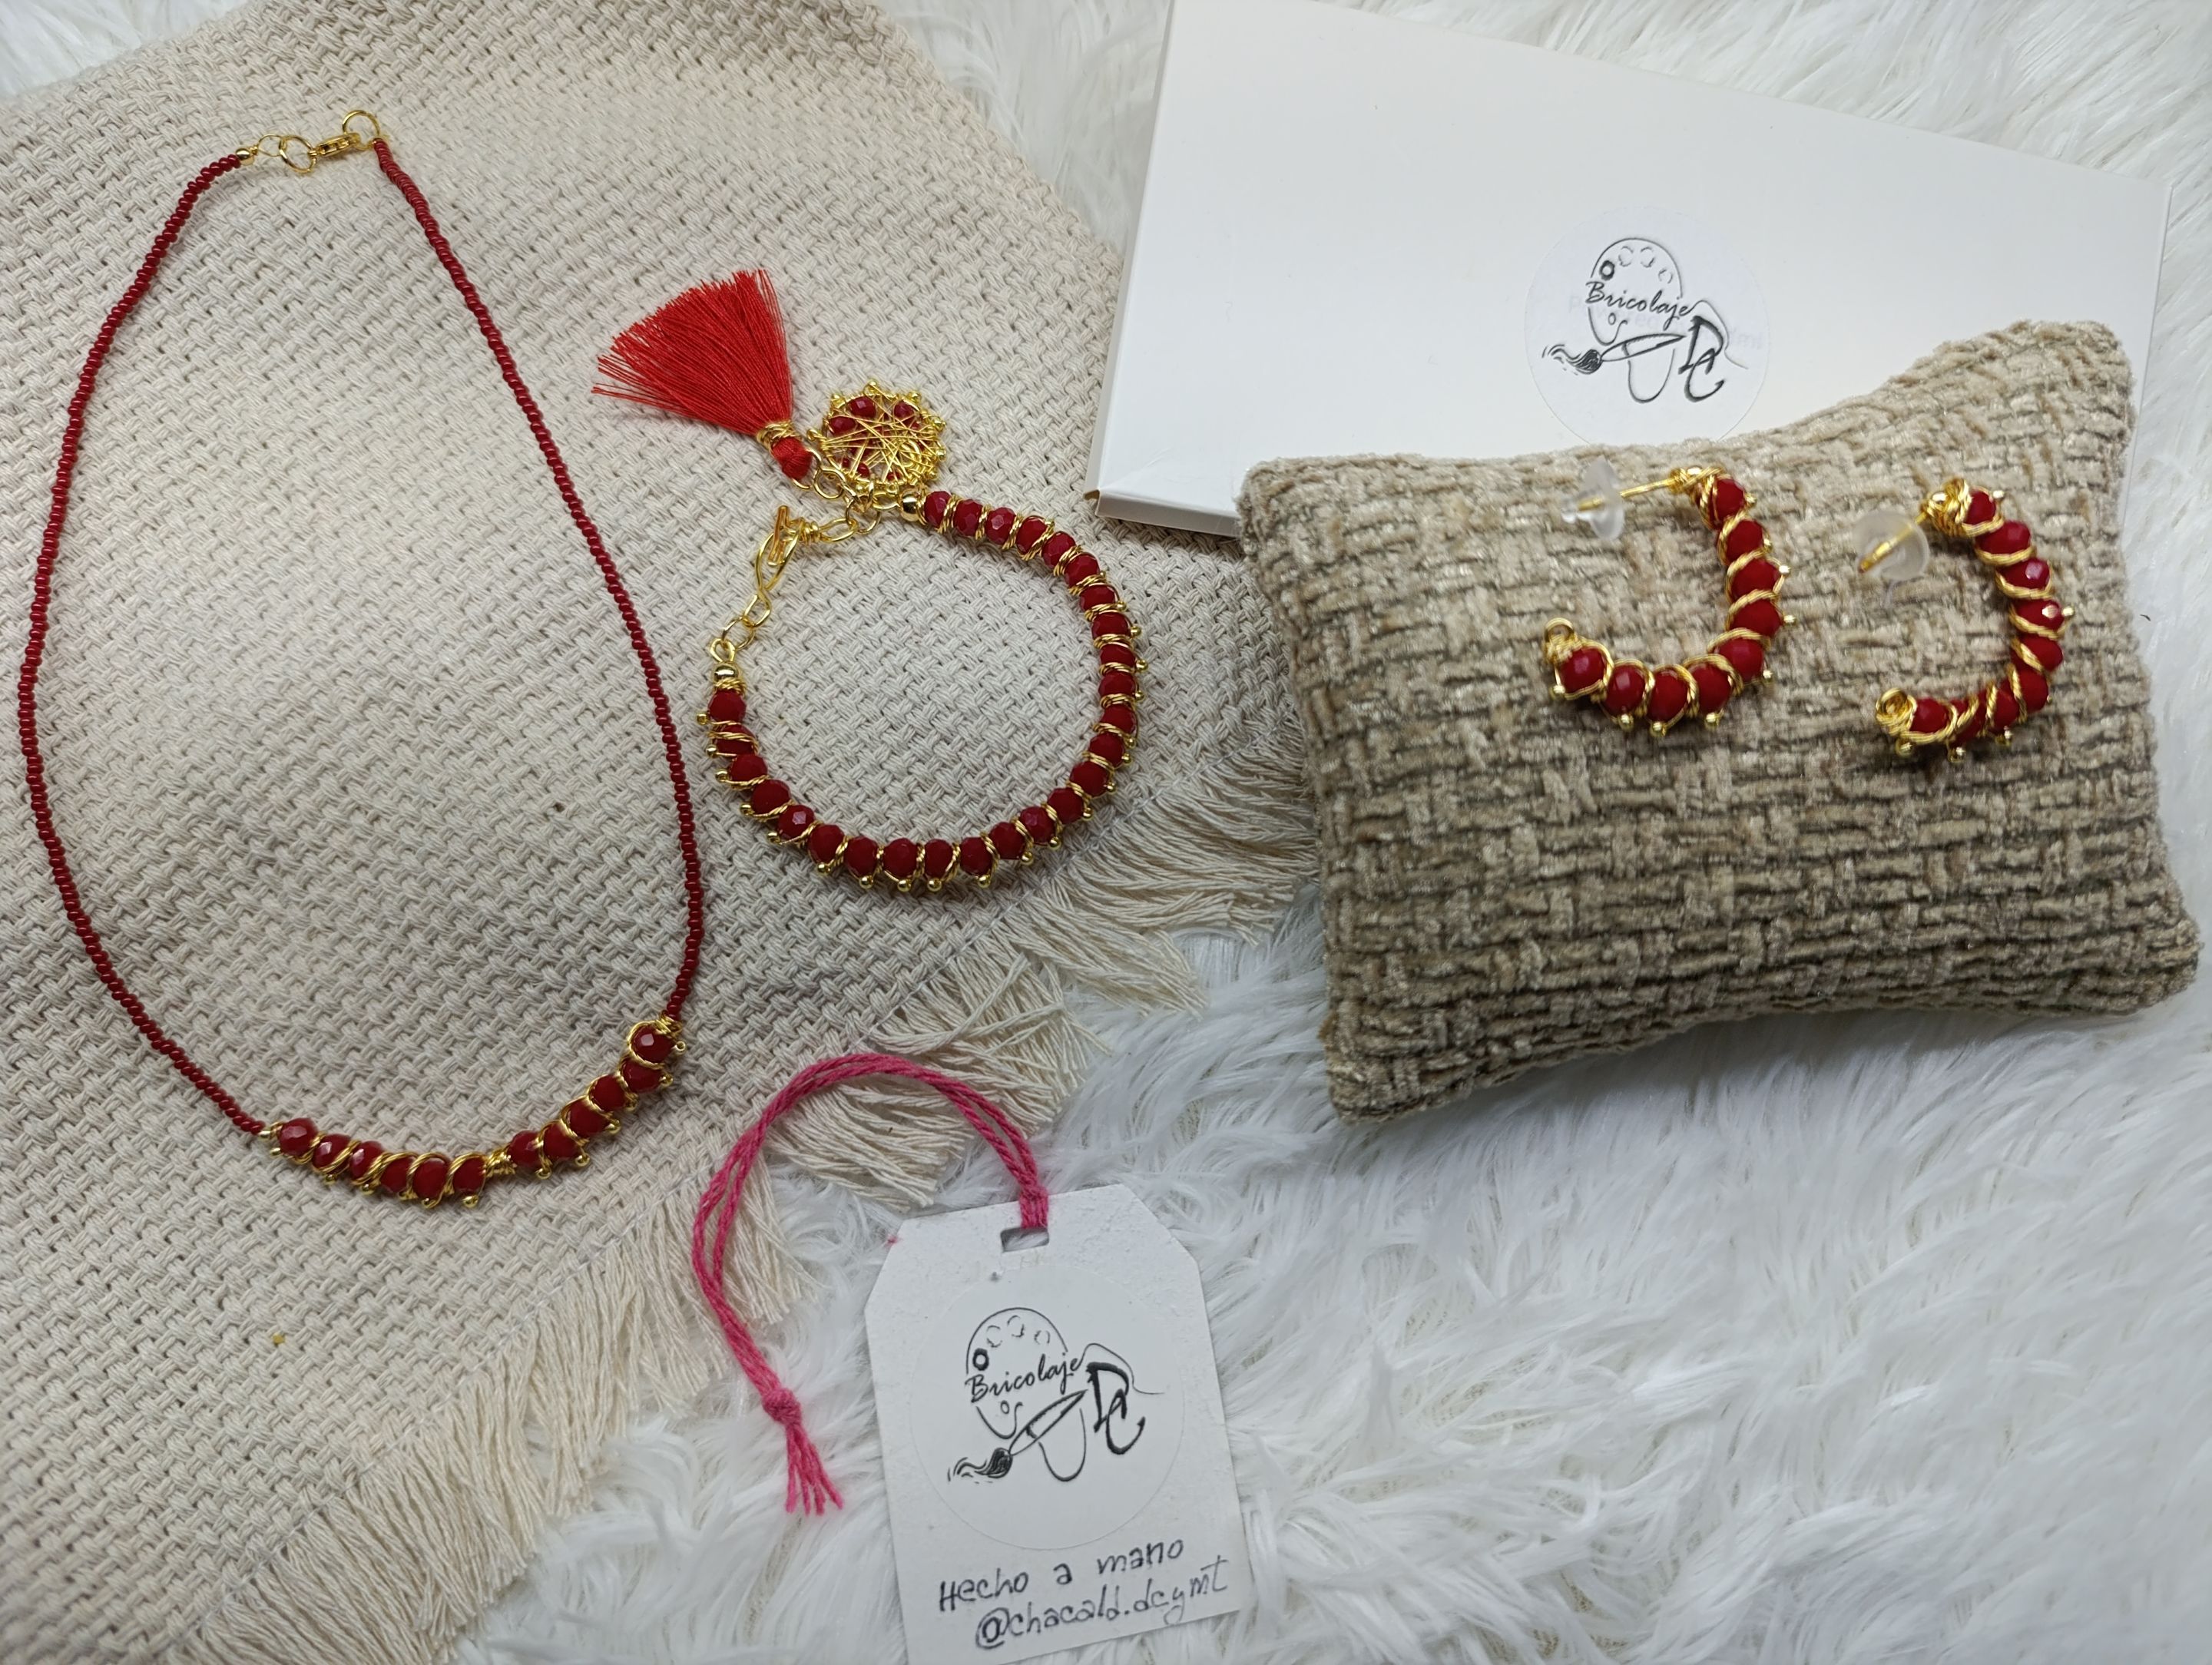
And so we have our Firecaller-inspired earrings and choker ready to wear. I invite you to see the creative process behind the bracelet (https://peakd.com/hive-130560/@chacald.dcymt/wire-bracelet-firecaller-or-diy-entorchador-eng-esp) that completes the set.
>>Y así tenemos nuestros aretes y Choker inspirados en Firecaller listos para lucir. Te invito a ver el proceso creativo del [brazalete](https://peakd.com/hive-130560/@chacald.dcymt/wire-bracelet-firecaller-or-diy-entorchador-eng-esp) que completa el juego.
I loved the final result of this project. I think these pieces are very elegant and easy to make. I hope you like my work and feel inspired to try it yourself. See you next time. Bye!
>>Me encantó el resultado final de este proyecto. Me parece que son piezas muy elegantes y sencillas de elaborar. Espero que les guste mi trabajo y se animen a realizarlo. Nos vemos en una próxima oportunidad. Chao!

If you are not yet playing Splinterlands go here and join the adventure.
Si todavía no estás jugando Splinterlands entra aquí y únete a la aventura.
