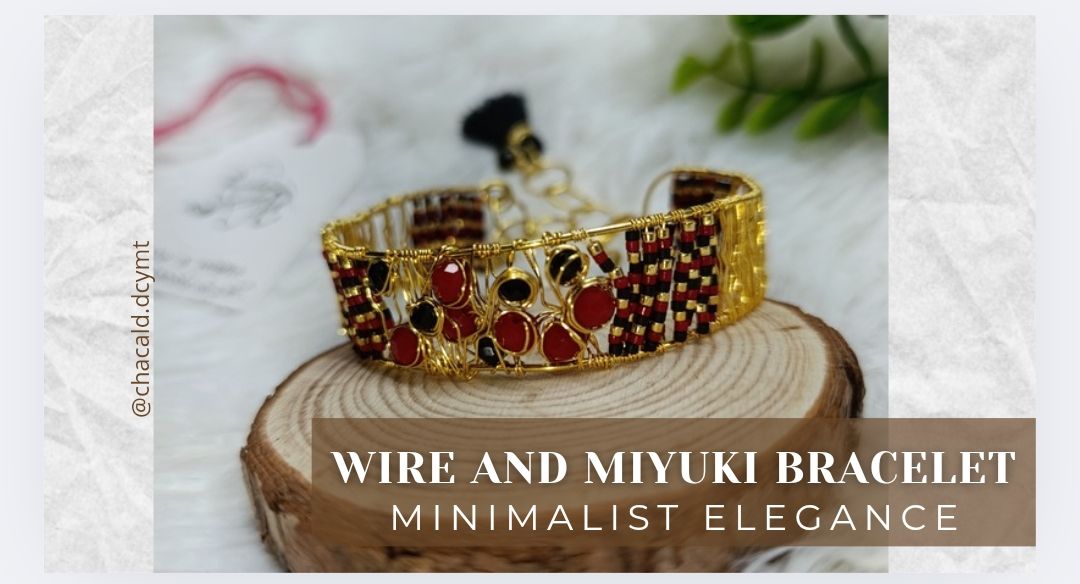
Greetings, fellow craft lovers! Welcome back to my workshop @bricolajedc. This time, we're going to make a beautiful wire bracelet with Miyuki beads.
I thought the combination of these colors was very pretty. I bought these Miyuki beads a while ago and this is the first time I've used them, so I'm looking forward to seeing the final result. Join me and I'll show you the creative process.
>>Saludos amigos amantes de las artes manuales! Les doy la bienvenida una vez más a mi taller @bricolajedc, en ests oportunidad vamos a realizar un hermoso brazalete en alambre con miyuki.
>>
>>Me pareció muy bonita la combinación estos colores. Hace un tiempo compré estos miyuki y es la primera vez que los utilizo así que estoy a la espectativa con el resultado final. Acompáñenme y les muestro el proceso creativo.
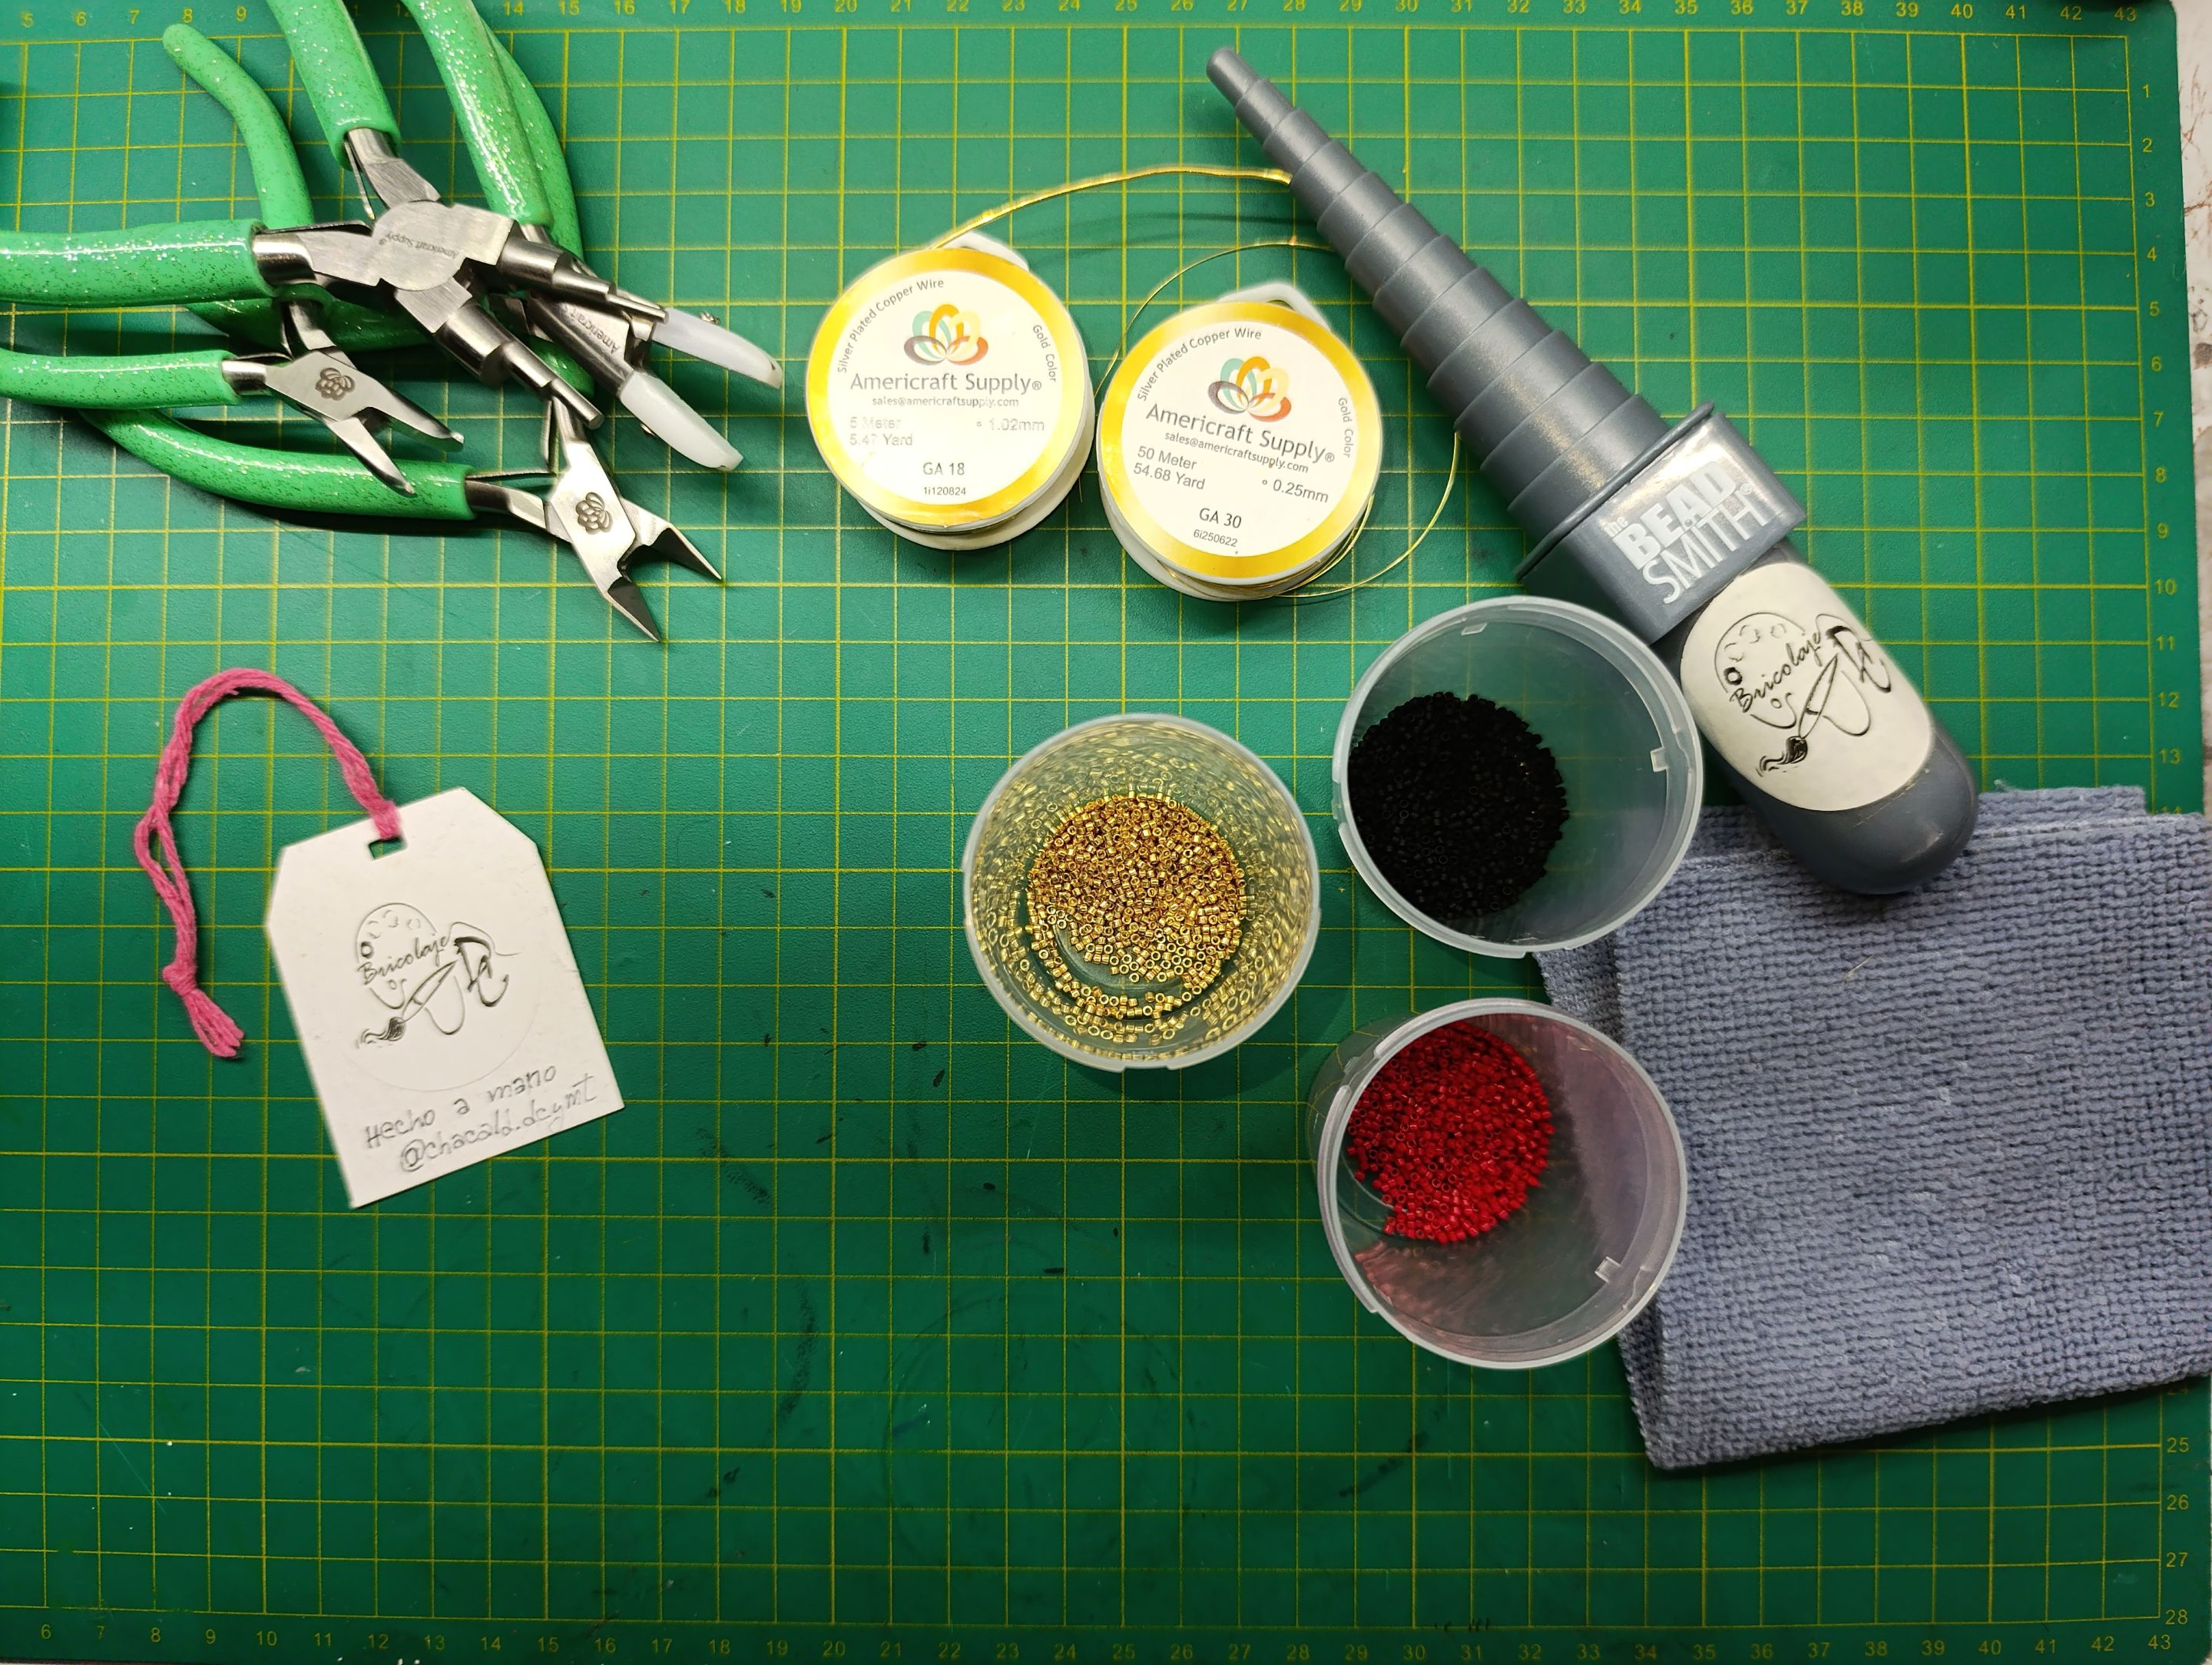
***Materials:***
#18 hypoallergenic gold-colored wire
#30 hypoallergenic gold-colored wire
#26 hypoallergenic gold-colored wire
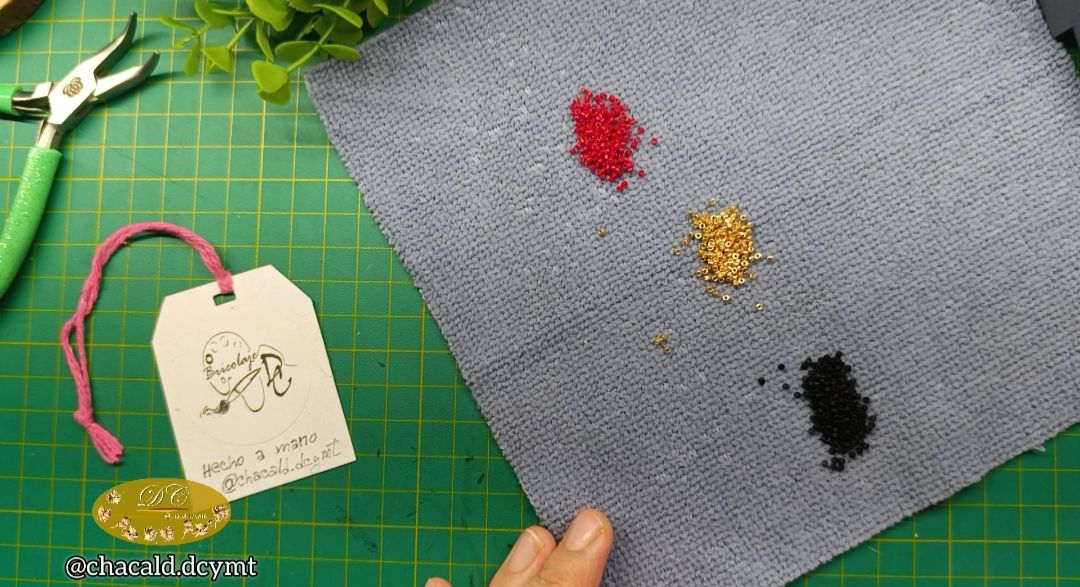
Miyuki beads in red, black, and gold
Jewelry pliers
Round mandrel
Metric ruler
7 red Murano glass beads #5
7 black Murano glass beads #4
>***Materiales:***
>
>>Alambre calibre #18 hipoalergénico color oro
>>Alambre calibre #30 hipoalergénico color oro
>>Alambre calibre #26 hipoalergénico color oro
>>Miyuki en color rojo, negro y dorado
>>Pinzas para bisutería
>>Mandril redondo
>>Regla métrica
>>7 cristales de Murano #5 en color rojo
>>7 cristales de Murano #4 en color negro
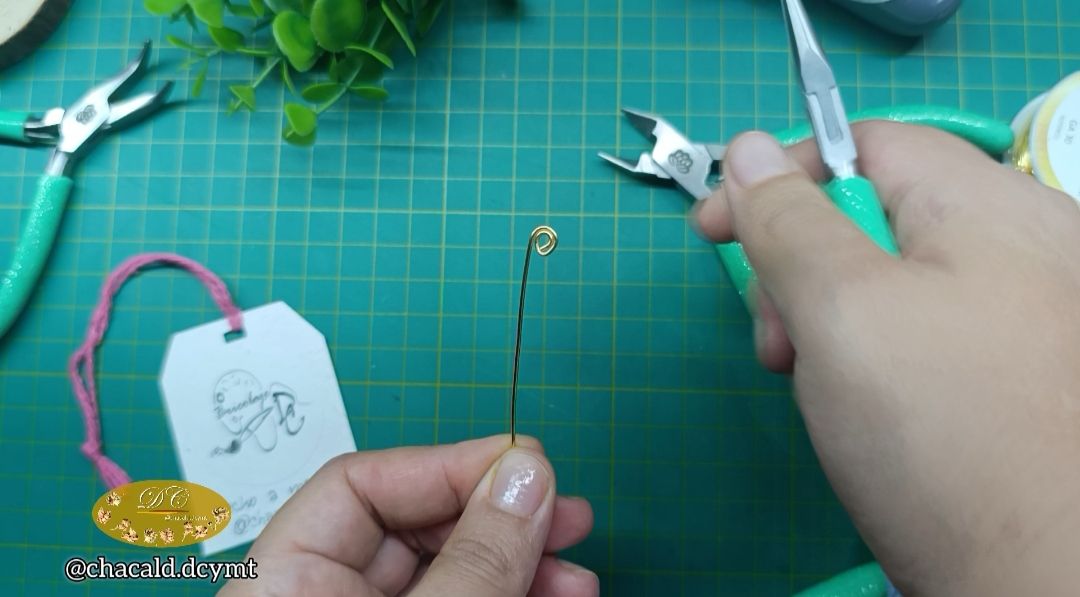
We start by making a small spiral with two turns on the #18 wire, straight from the roll so as not to waste any wire.
>>Comenzamos haciendo un pequeño espiral de 2 vueltas en el alambre # 18, directamente del rollo para no desperdiciar alambre.
Then we take the ruler and measure 17 centimeters from the spiral.
>Luego tomamos la regla y medimos 17 centímetros a partir del espiral.
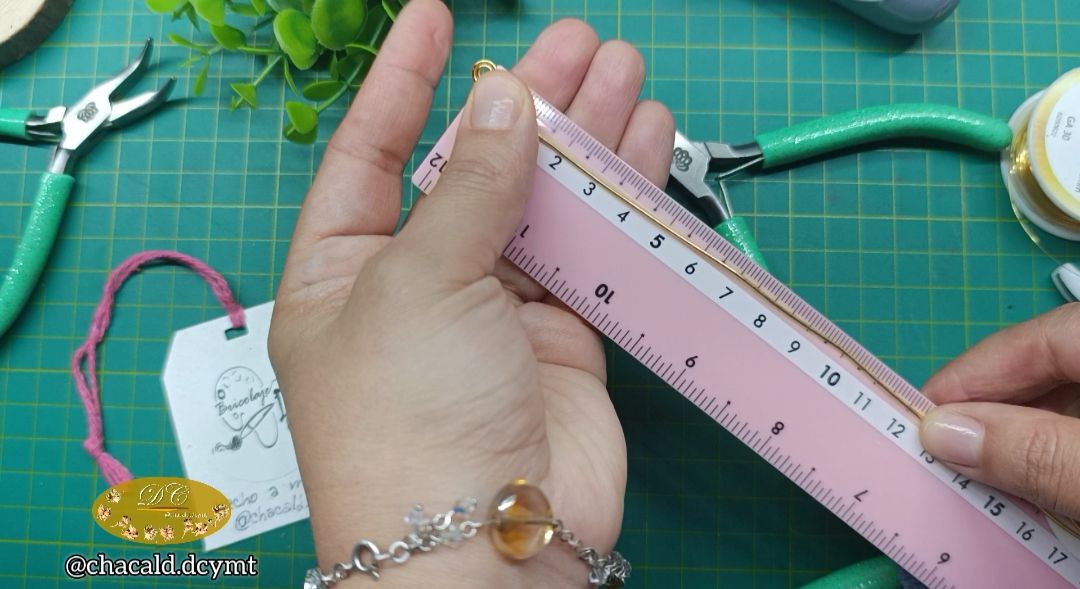
At exactly 17 centimeters, we will take the mandrel and turn it to measurement #4.
>>Justo en los 17 centímetros vamos a tomar el mandril y le daremos una vuelta en la medida #4.

We measure 17 centimeters more and leave a 4-centimeter excess to make the 2-turn spiral.
>>Medimos 17 centímetros más y dejamos un excedente de 4 centímetros para hacer el espiral de 2 vueltas.
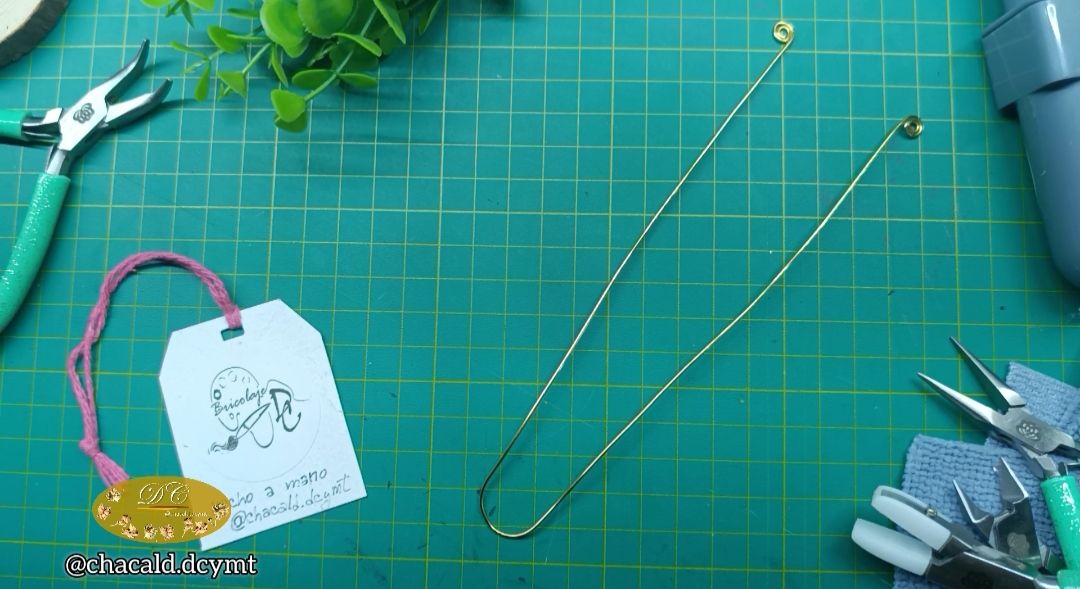
Leave the semi-circle free to make the clasp for the bracelet.
Start by tying the #30 wire at one end and insert a Miyuki pattern of your choice. I used red, gold, and black.
>>Dejamos el semi círculo libre para hacer el broche de cierre del brazalete.
>>
>>Comenzamos anudando el alambre #30 en uno de los extremos y vamos a introducir un patrón de miyuki según sea nuestra preferencia. Yo lo hice rojo, dorado y negro.

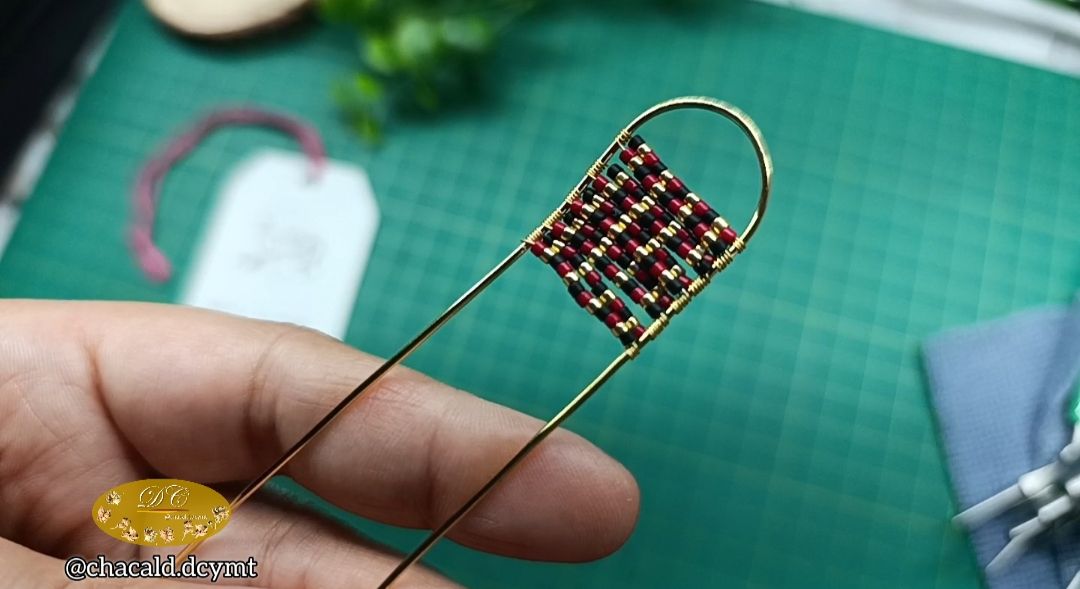
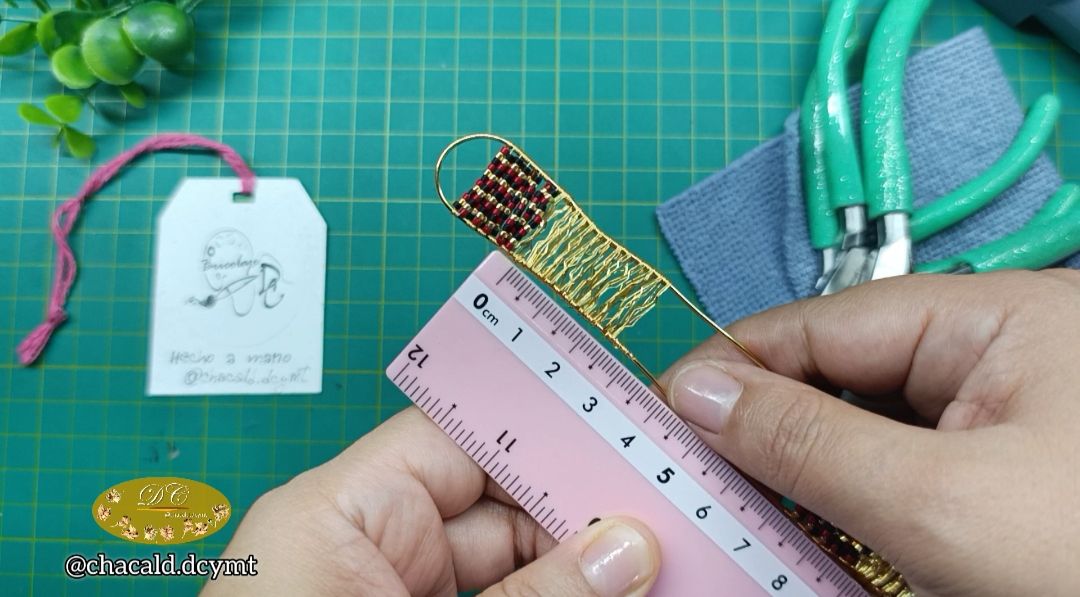
We make a section of 10 rows of Miyuki beads following the desired pattern.
>>Hacemos un tramo de 10 filas de miyuki siguiendo el patrón deseado.
Take the #26 wire and cut four 50-centimeter strands to make a woven section. Weave 3 centimeters of the bracelet.
>>Tomamos el alambre #26 y vamos a cortar 4 hebras de 50 centímetros para hacer un tramo tejido. Vamos a tejer 3 centímetros del brazalete.
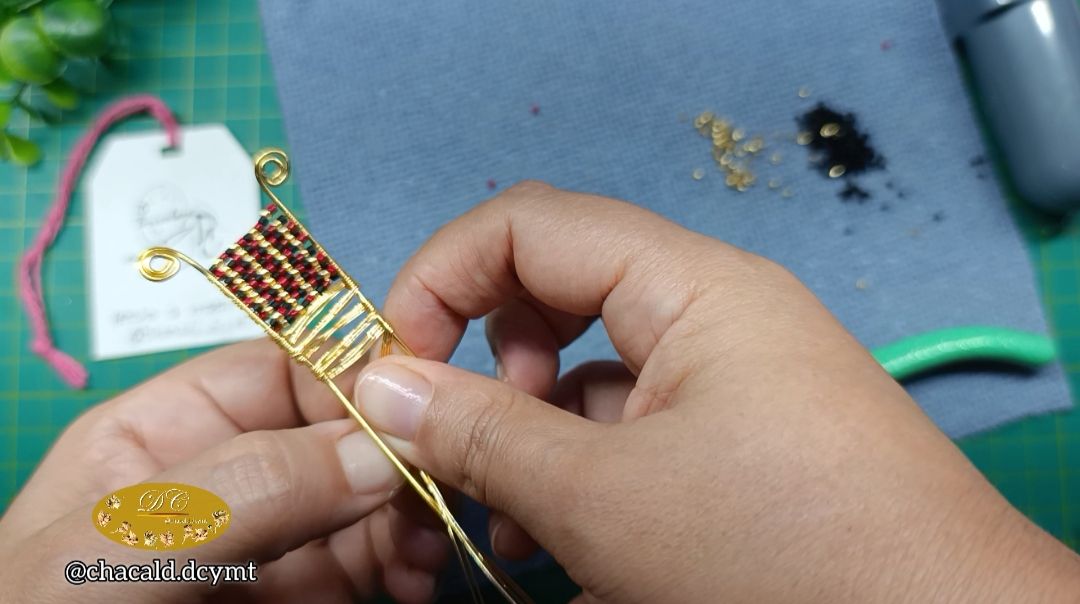
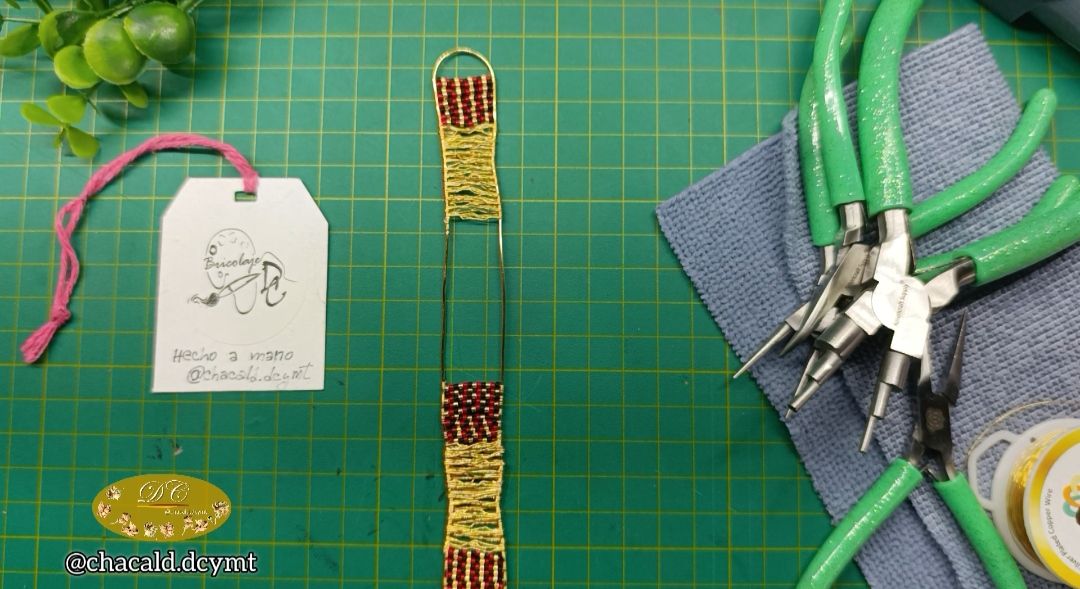
We must complete a section of Miyuki, a woven section, and another section of Miyuki.
I recommend starting at each end of the bracelet and working toward the center so that the 5 centimeters in the middle are left for the central decoration.
>>Debemos completas un tramo de miyuki, un tramo tejido y un tramo de miyuki nuevamenta.
>>
>>Recomiendo comenzar por cada uno de los extremos del brazalete hacia el centro para que queden los 5 centímetros en la mitad donde haremos el adorno central.
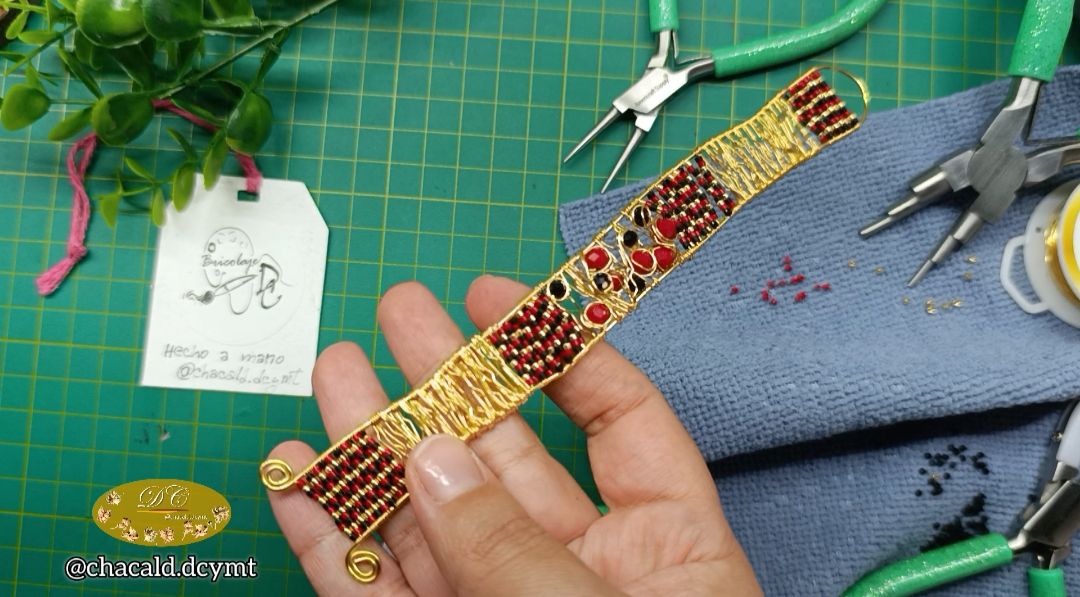
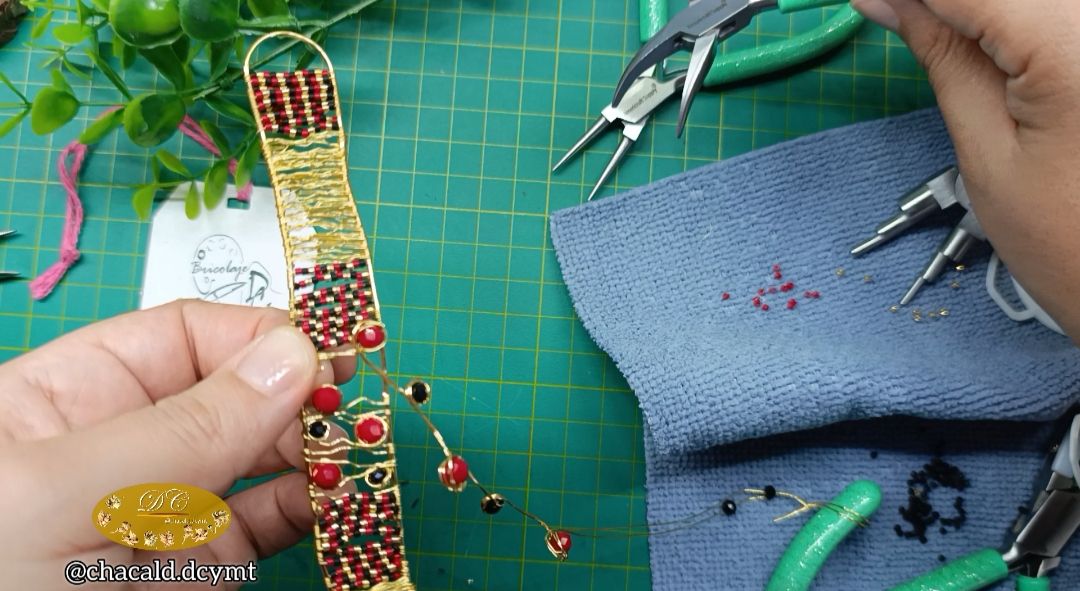
Take the #26 wire and cut two strands, each measuring 50 centimeters. Insert the Murano glass beads, alternating colors, and begin to twist the wire around each bead three times.
Next, wrap this section of beads strung on the #26 wire around the center of the bracelet.
>>Tomamos el alambre #26 y cortamos 2 hebras de 50 centímetros cada una. Introducimos los cristales de Murano intarcalando el color y comenzamos a enroscar, dando 3 vueltas con el alambre a cada cristal.
>>
>>Luego vamos a enrrollar este tramo de cristales engarzados en el alambre #26 en el centro del brazalete.
To make the clasp, take 5 centimeters of #18 wire and make a hook using the 6-in-1 pliers.
Then, using size 5 of the 6-in-1 pliers, make 6 loops to make the bracelet adjustable.
>>Para hacer el cierre, tomamos 5 centímetros de alambre #18 y hacemos un anzuelo con ayuda de la pinza 6 en 1.
>>
>>Luego con la medida 5 de la pinza 6 en 1 hacemos 6 argollas para hacer que el brazalete sea ajustable.
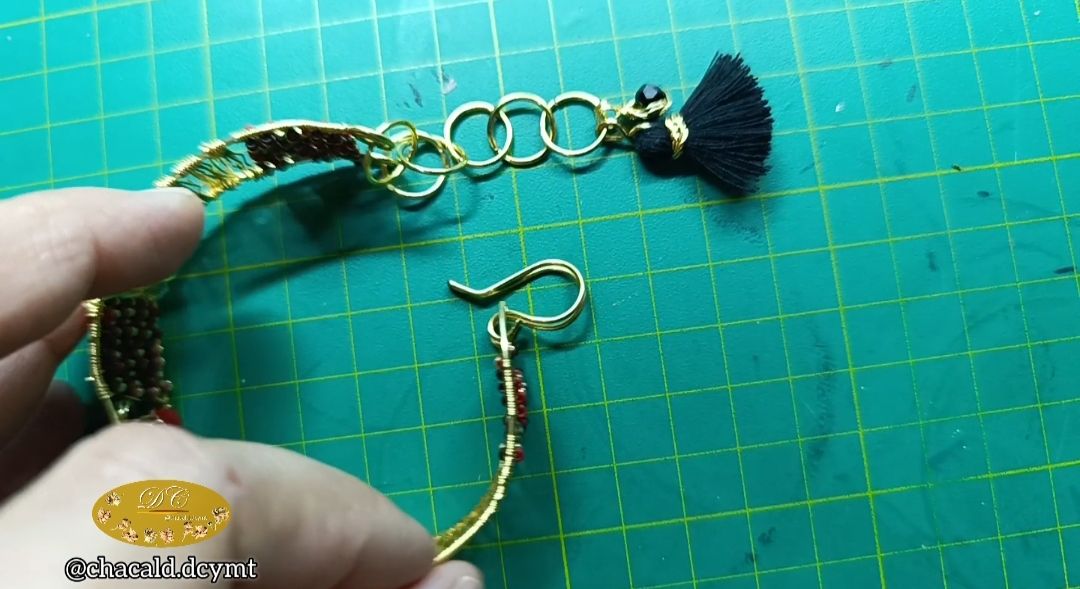
To finish, we place two charms on the end ring. And that's how we finish our bracelet.
I loved the final result. Being able to use several techniques in the same project was great. I hope you like it. See you next time. Bye!
>>Para finalizar colocamos 2 dijes en la argolla del extremo. Y así terminamos nuestro brazalete.
>>
>>Me encantó el resultado final. Poder utilizar varias técnicas en un mismo proyecto fue genial. Espero que les guste. Nos vemos en una próxima oportunidad. Chao!

Original content by the author. Resources: App: Canva / Giphy / Inshot 📷 Redmi 13 note pro Smartphone Translated with Deepl.com ✿ All Rights Reserved || © @chacald.dcymt 2025✿ 💌 Discord: chacald.dcymt#3549 X: @chacald1 Reddit: chacald
Online store @bricolajedc Follow us on Instagram
_ Contenido original del autor. Recursos: App: Canva / Giphy / Inshot 📷 Redmi 13 note pro Smartphone Traducido con Deepl.com ✿ Todos los Derechos Reservados || © @chacald.dcymt 2025✿ 💌 Discord: chacald.dcymt#3549 X: @chacald1 Reddit: chacald

Tienda virtual @bricolajedc Síguenos en Instagram
Online store @bricolajedc Follow us on Instagram